antanasp
-
Posts
66 -
Joined
-
Last visited
Content Type
Profiles
Forums
Gallery
Events
Everything posted by antanasp
-
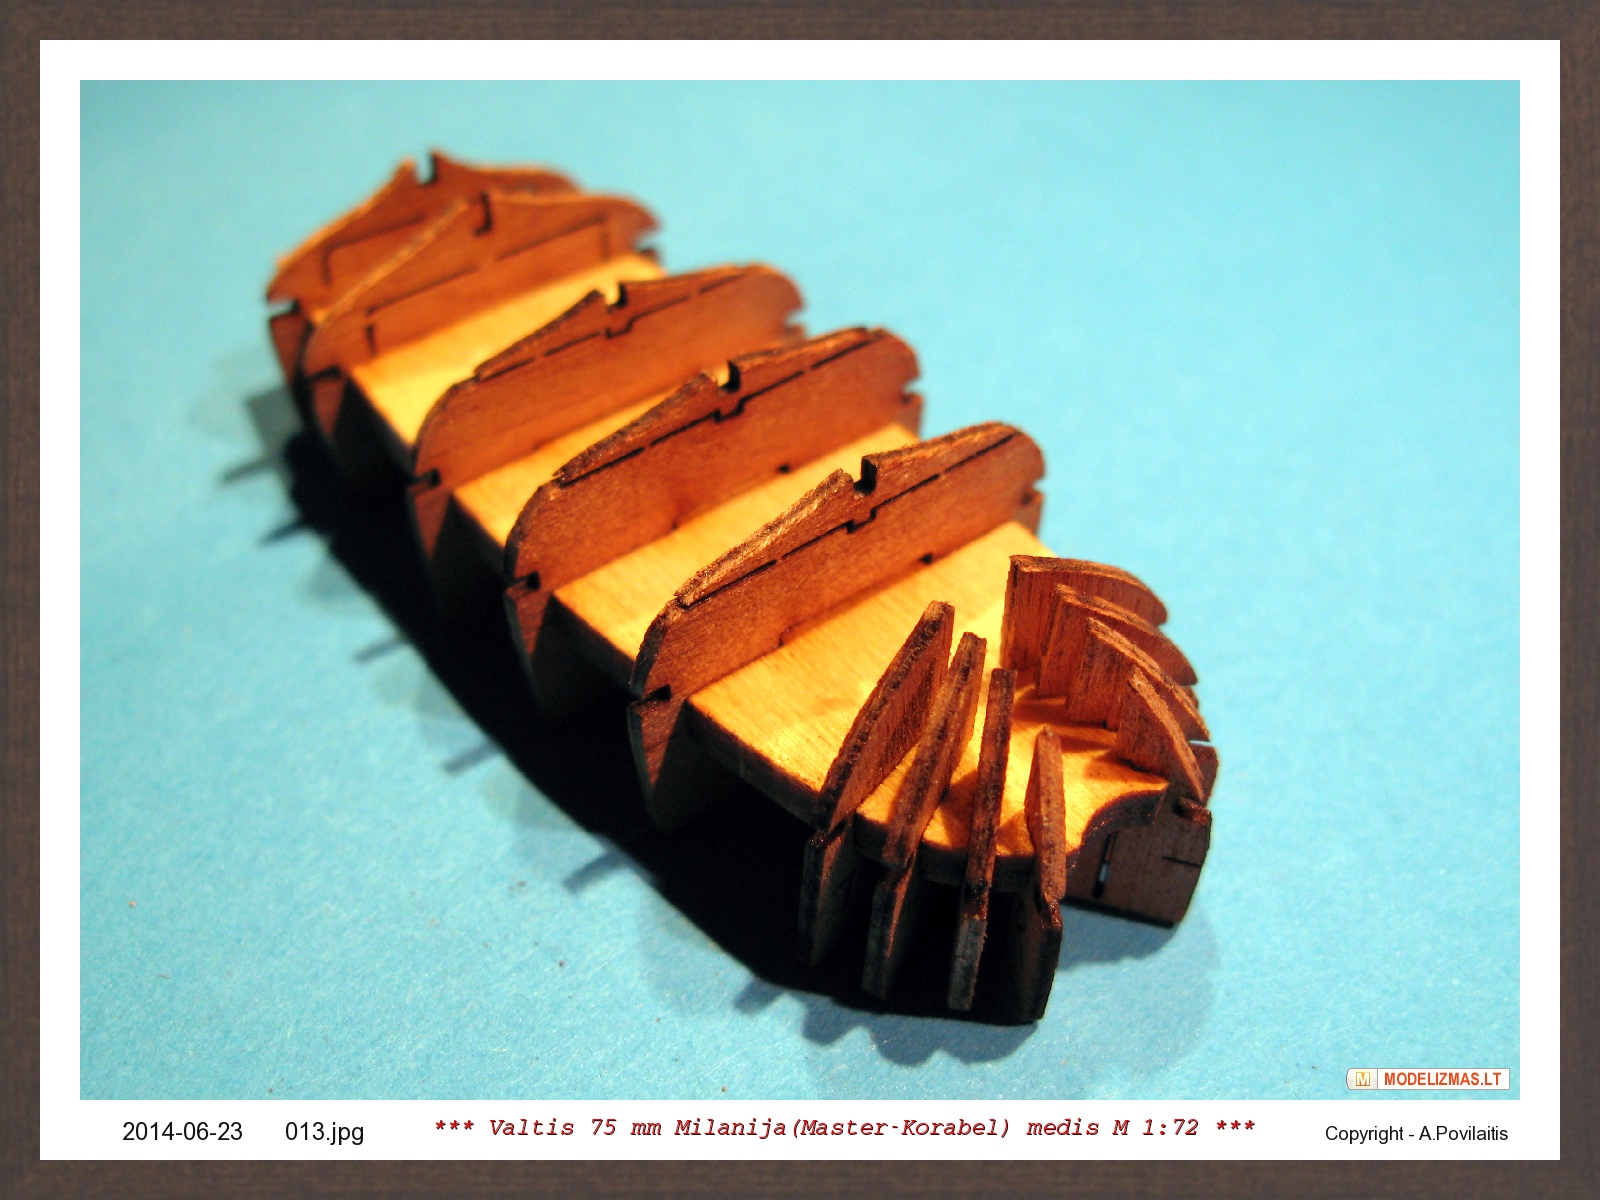
 Yes and no Keith. Yes - the frames are removed, but further.... . Later You will see all process... Regards, Antanas
- 22 replies
-
- 2
-

-
- master korabel
- 75mm boat
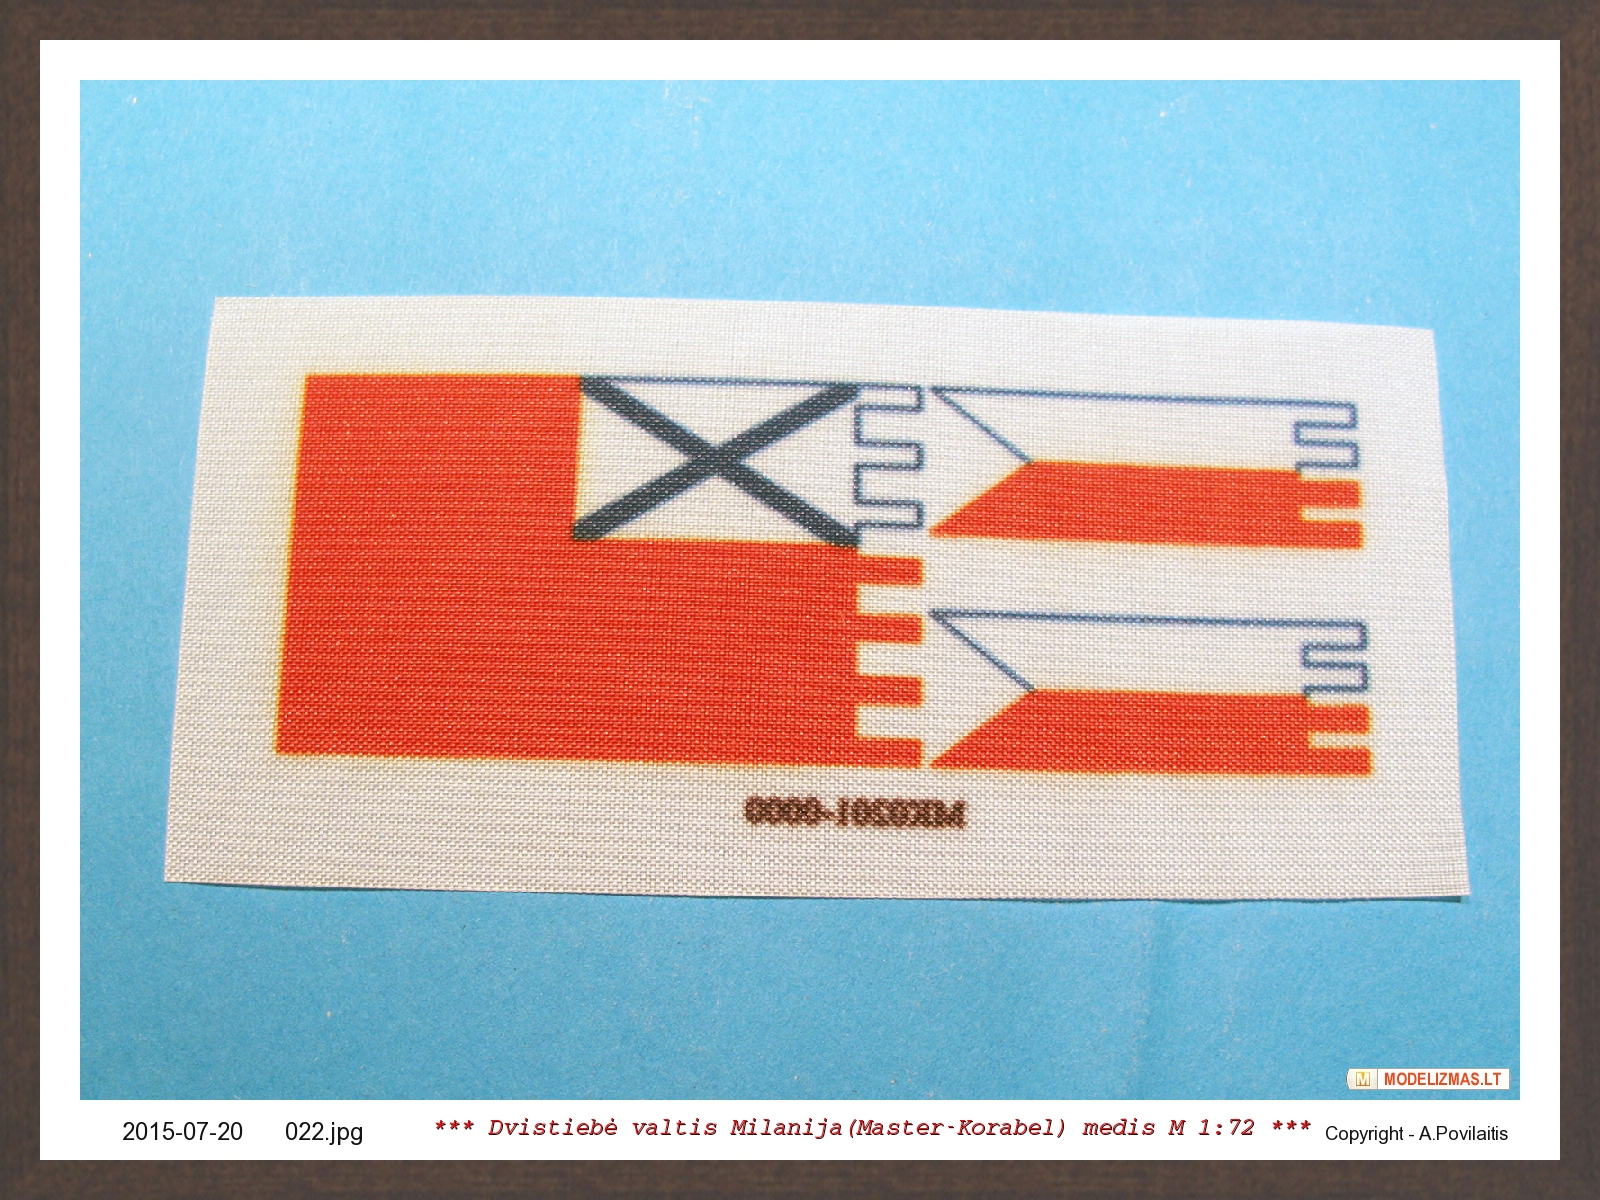
- (and 1 more)
-
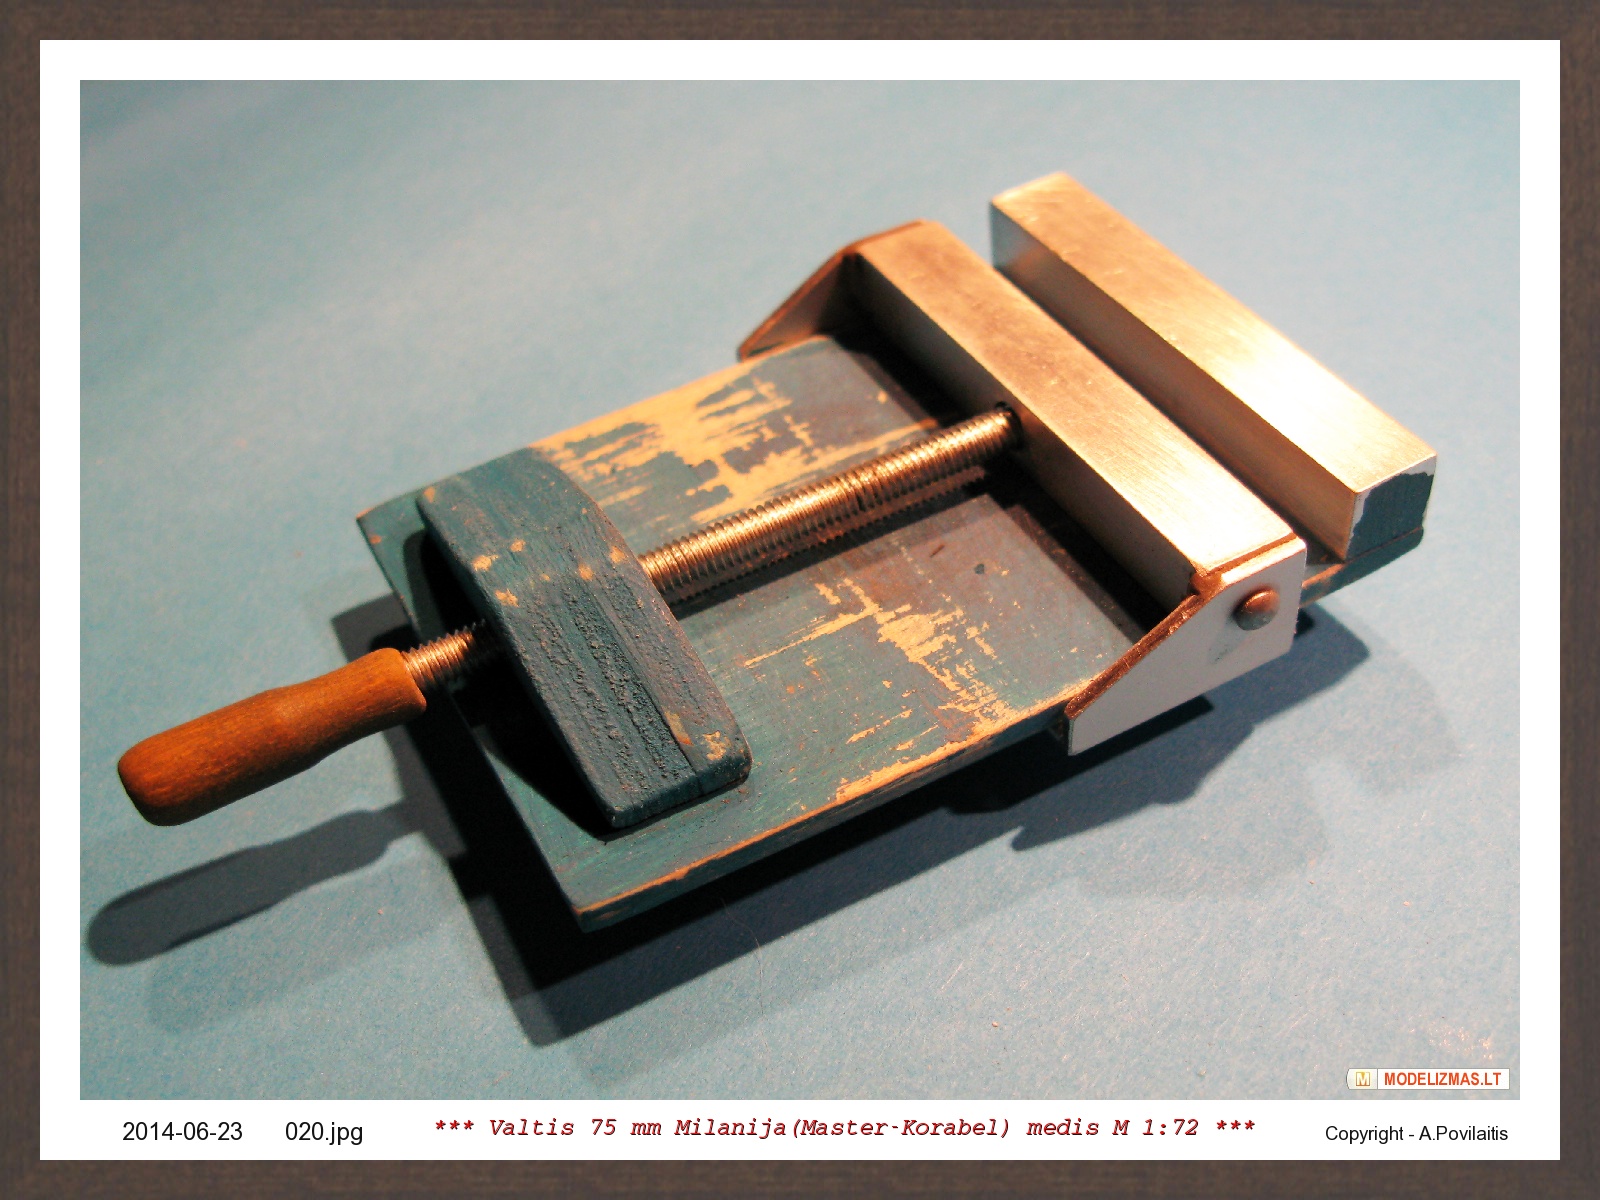
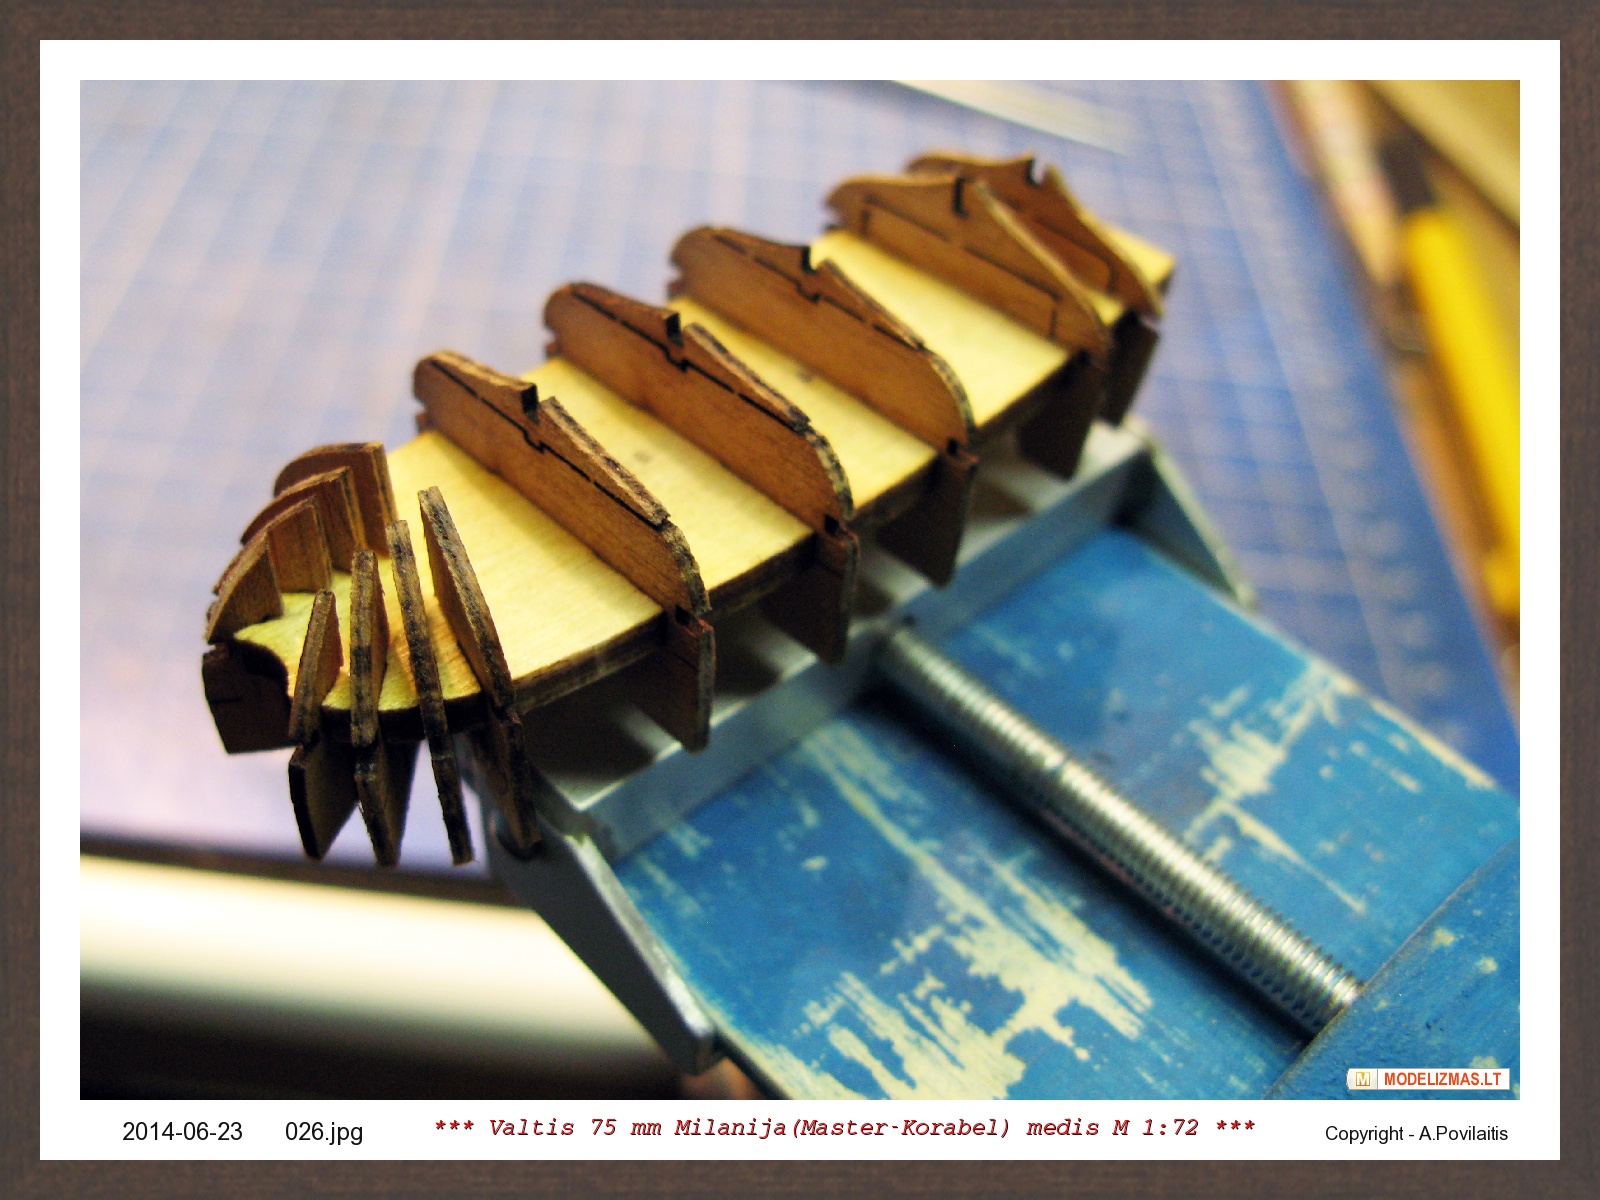
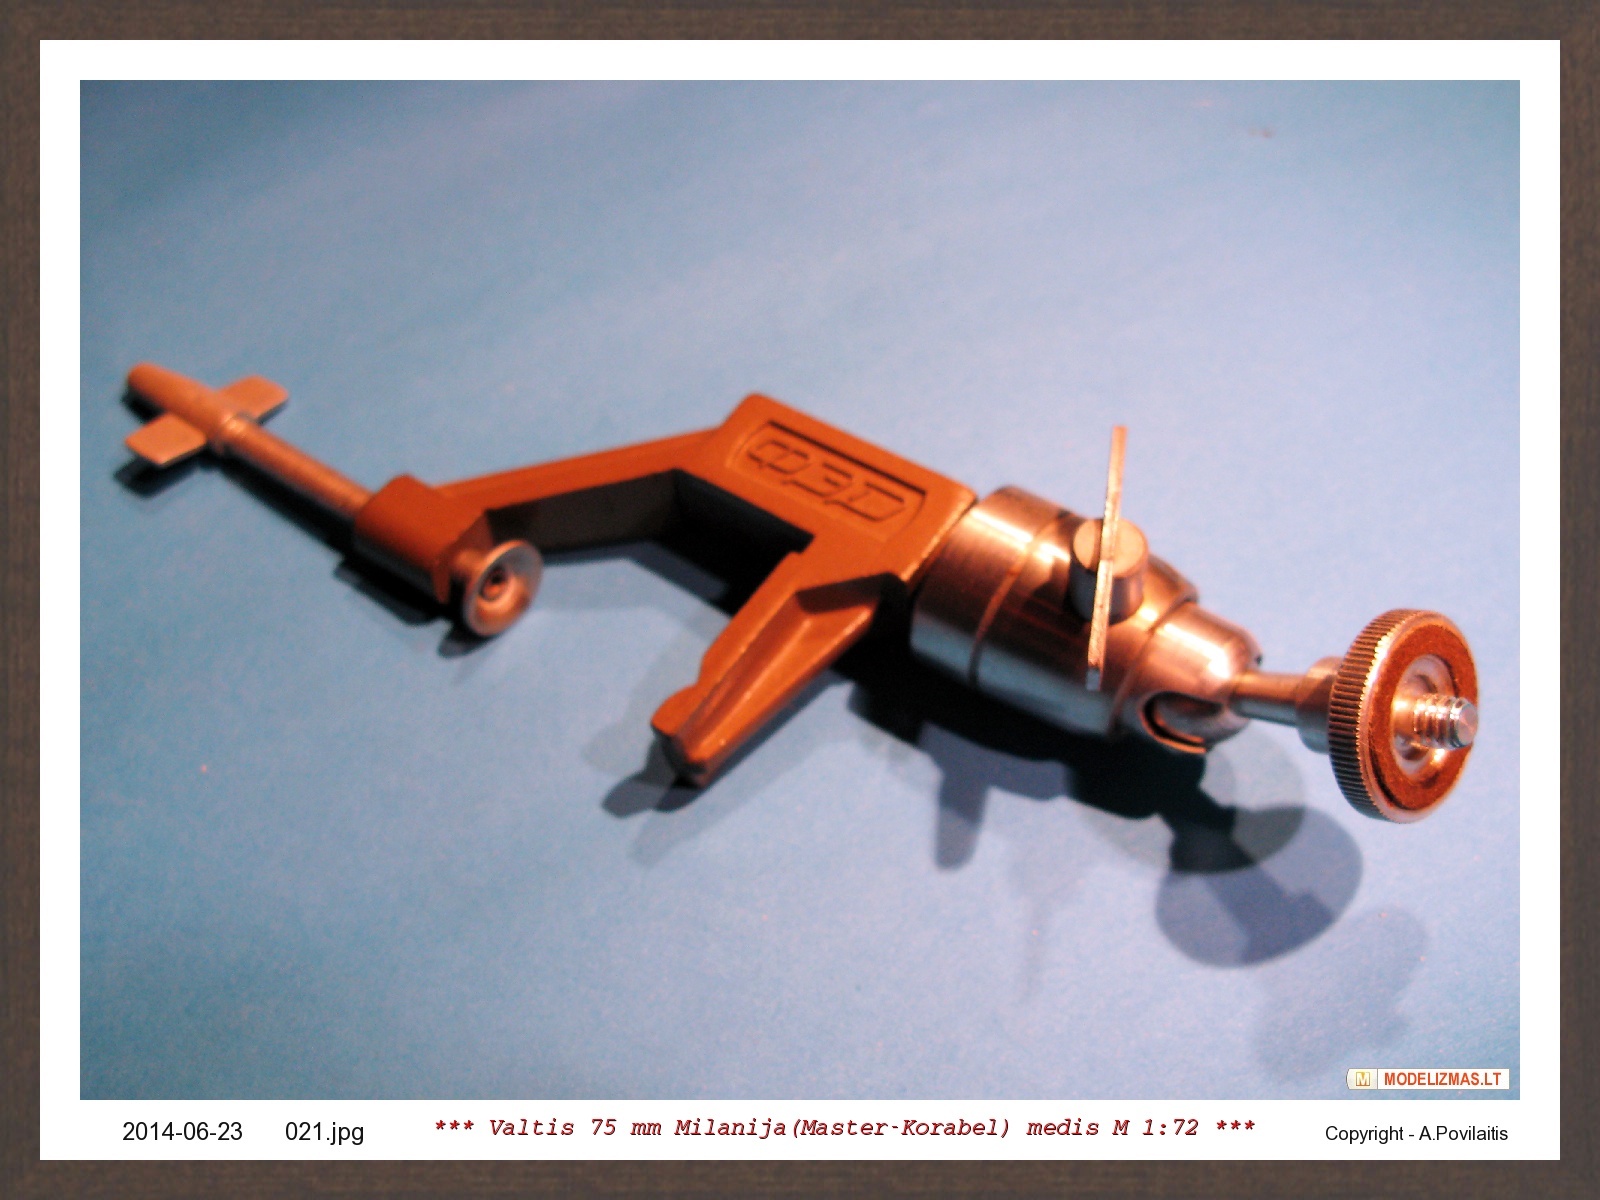
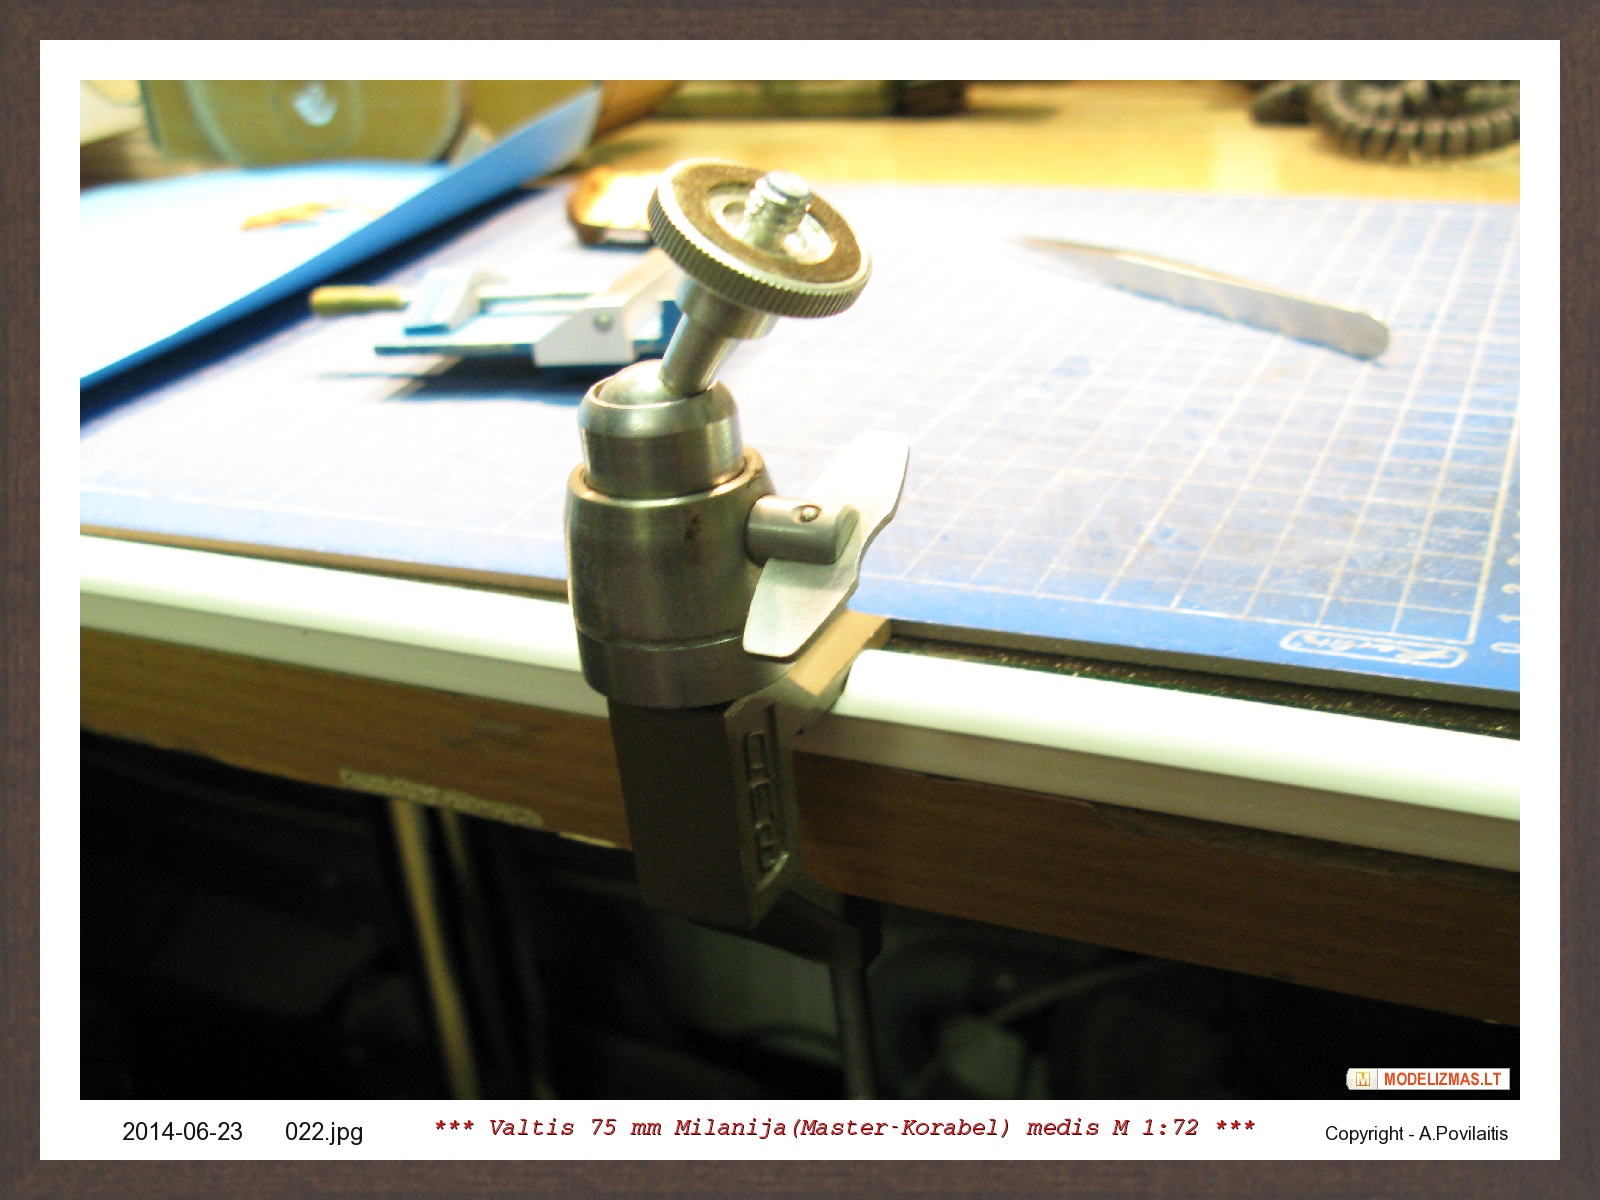
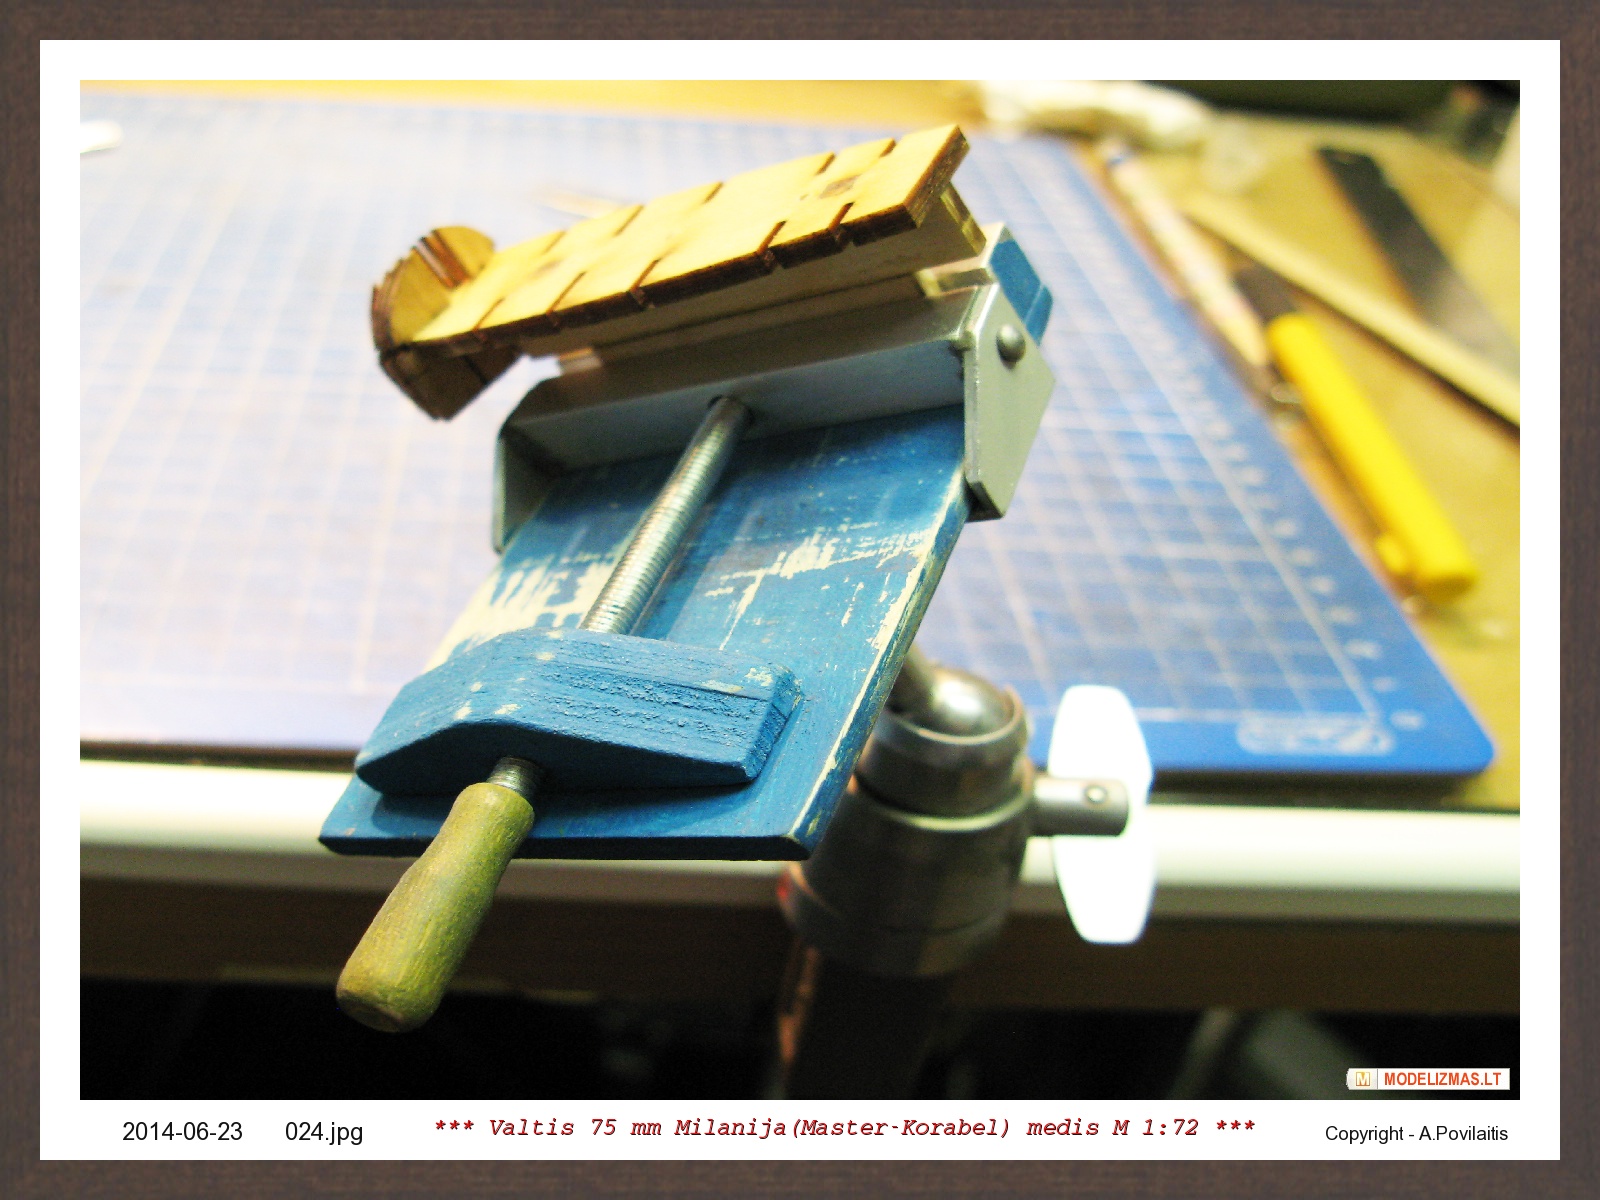
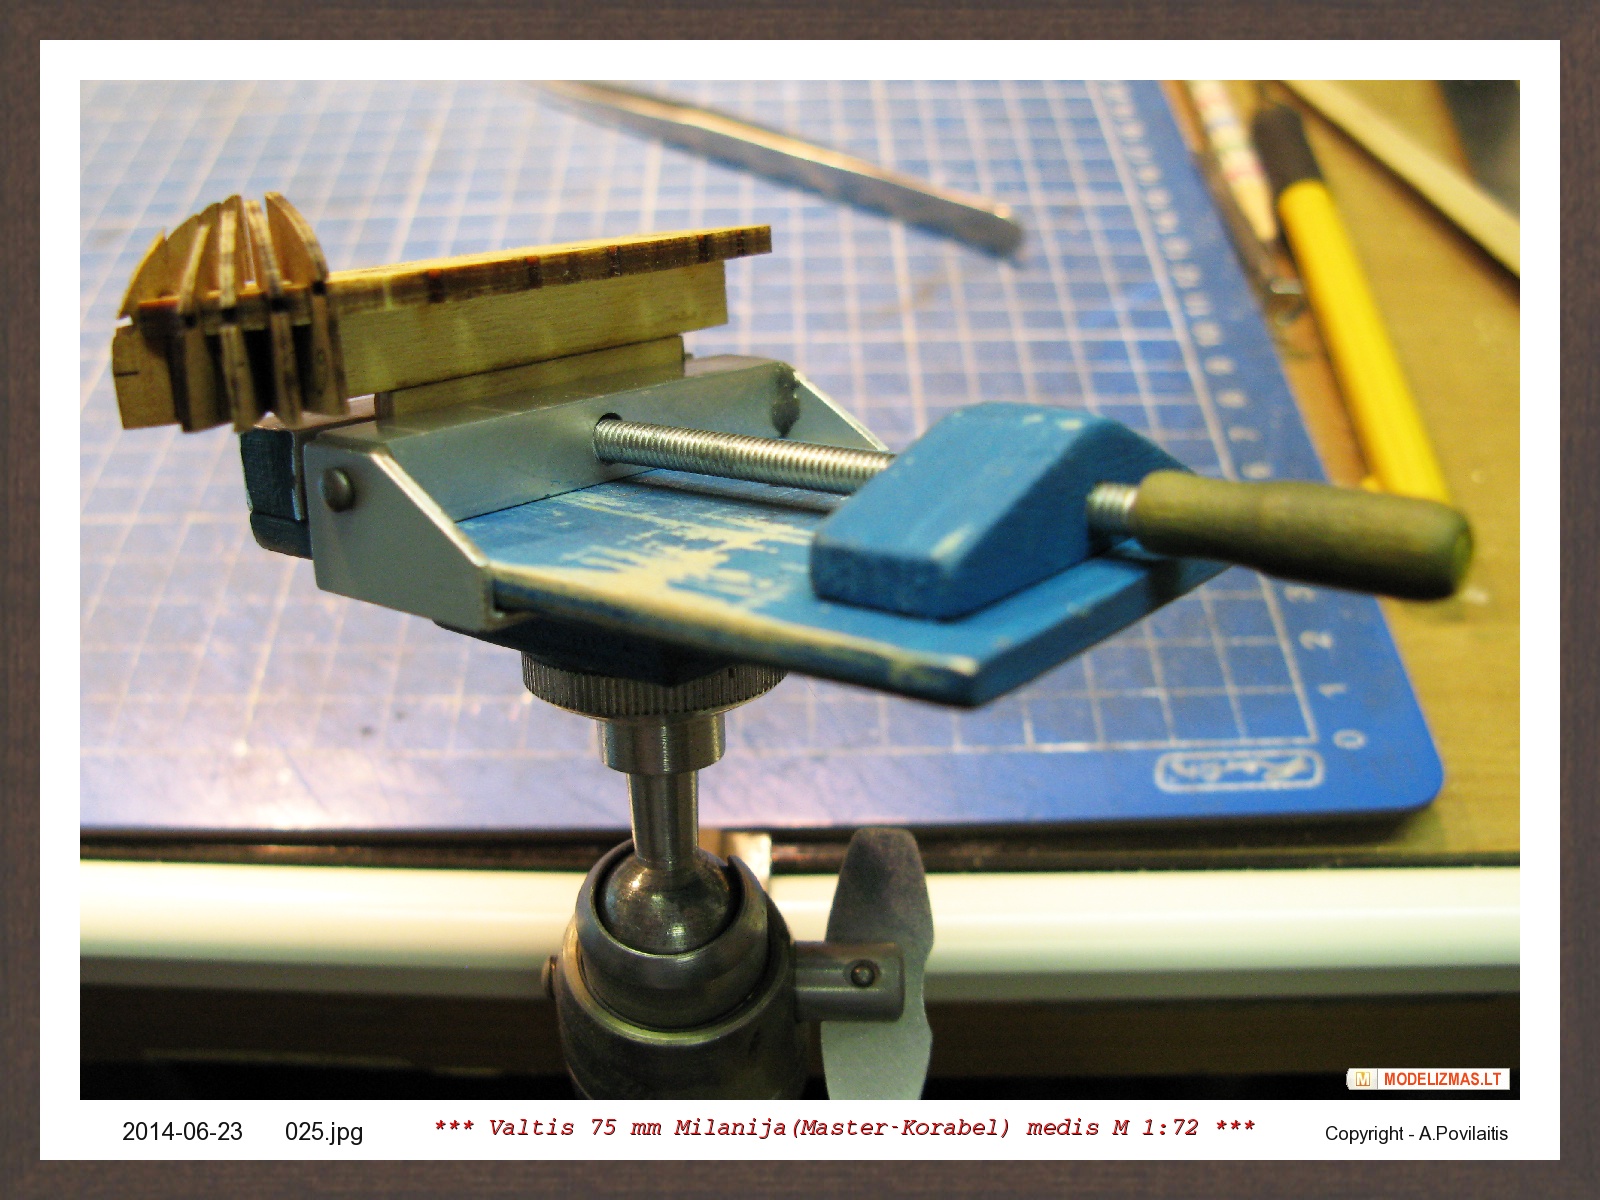
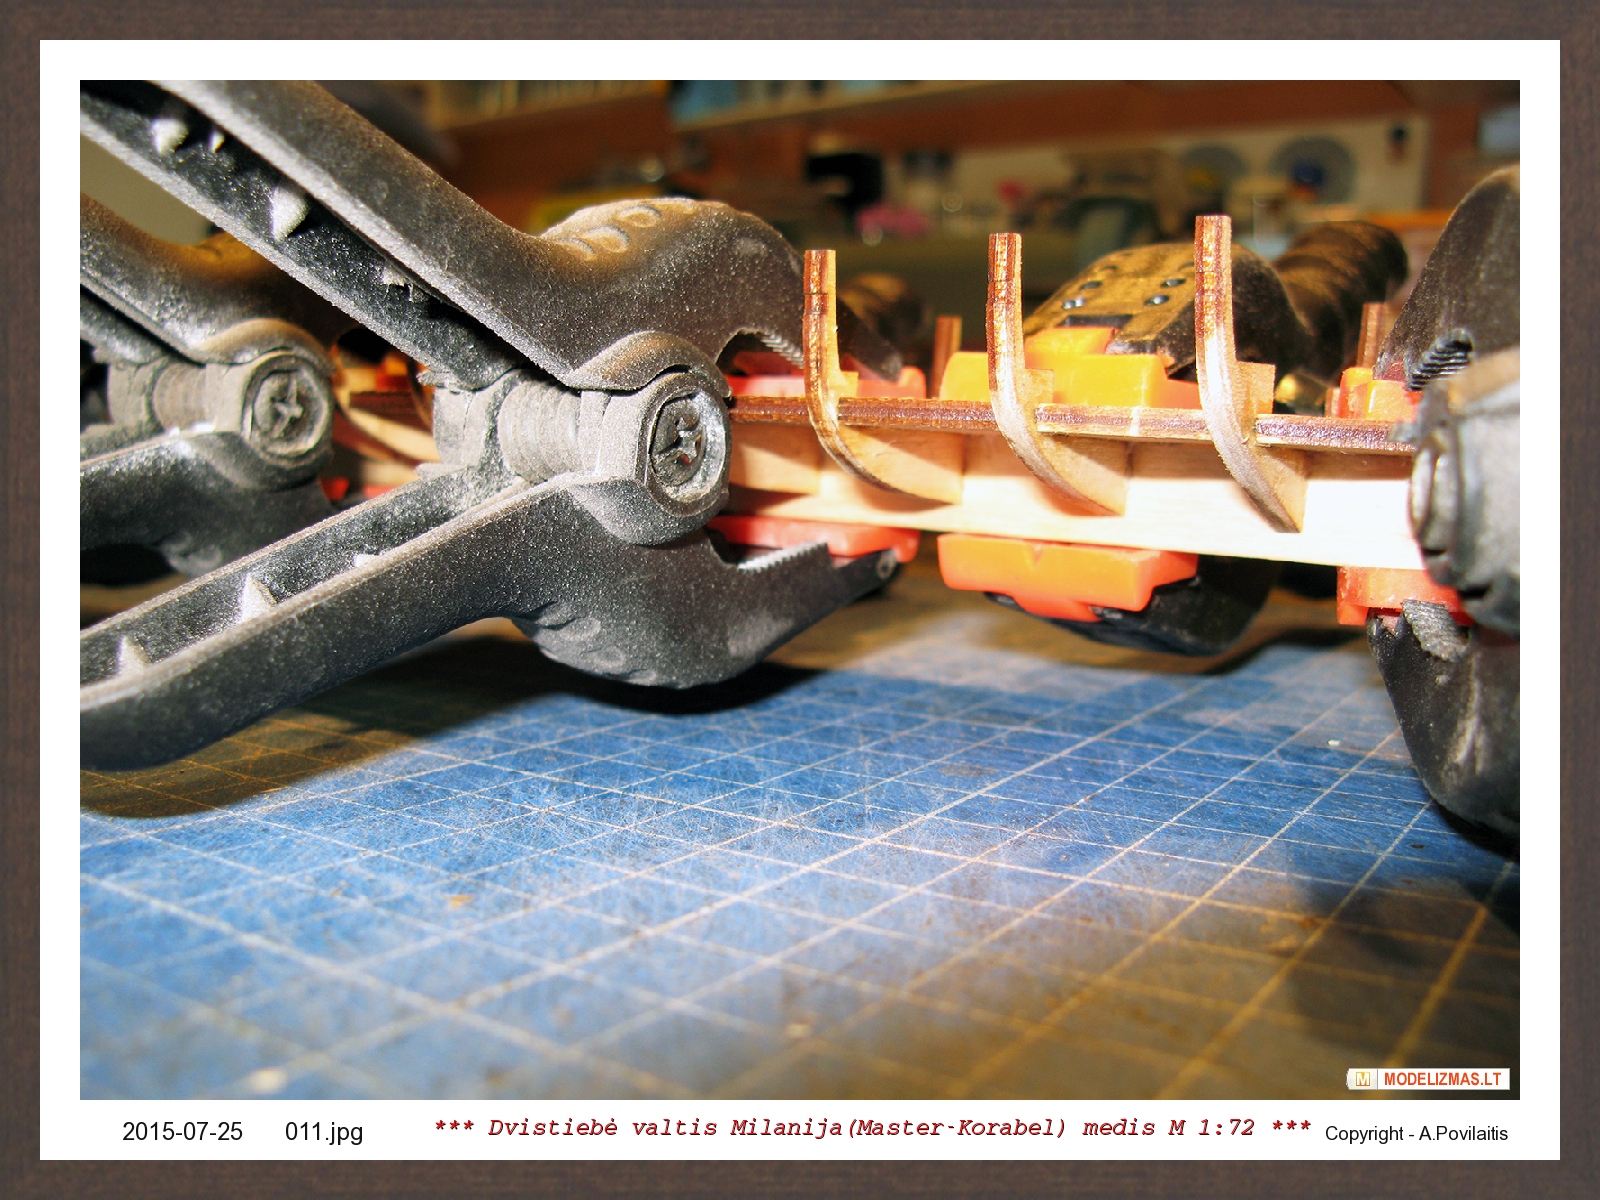
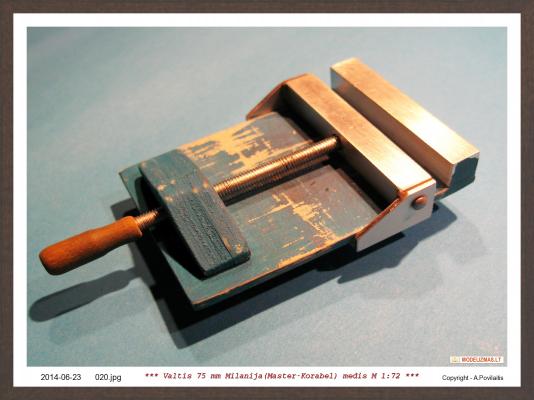
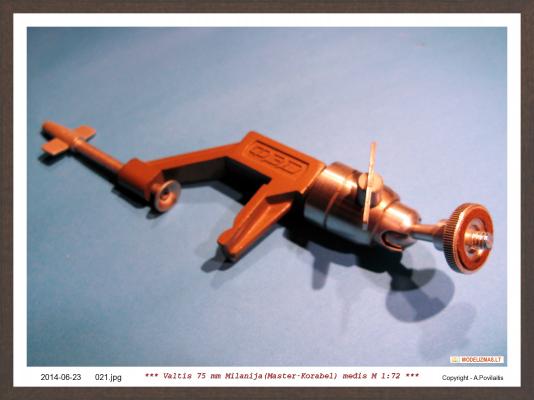
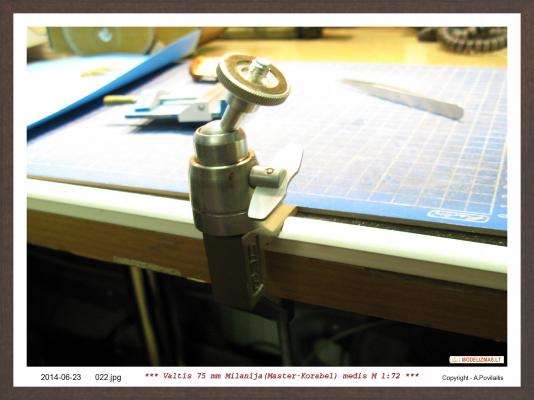
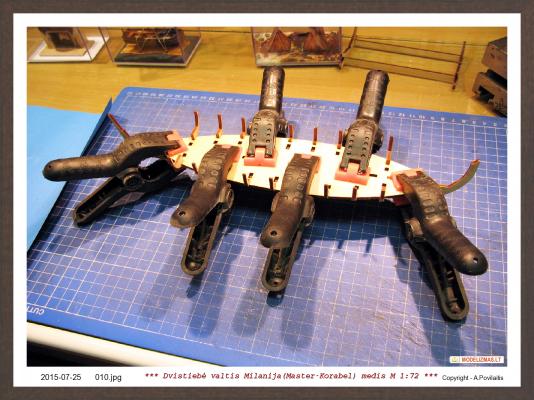
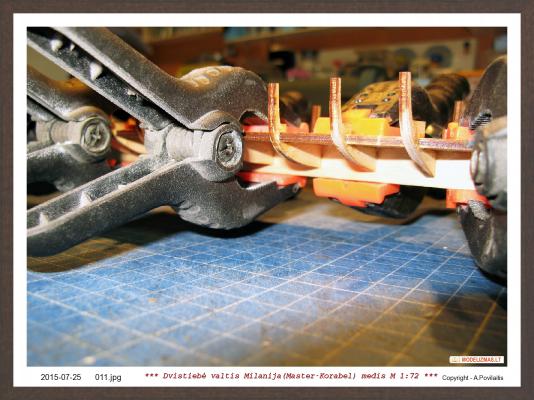
Edges of the some temporary frames must be sanded at the some angle. They have laser marks too. I do it very carefuly, because the temporary frames are very breakable. Remember this, if You will build this model. In this kit are used temporary frames and they holder. At the first I checked the holder. And I decided to do some improvements. Now I can use my self maded vise. I made it from some pieces of aliuminium, plywood and threaded steel road. As the clamp I used the old photo camera clamp. It is very useful for working with the small parts, because I can fix the vise at any angle. Regards, Antanas


- 22 replies
-
- 4
-
-
- master korabel
- 75mm boat
- (and 1 more)
-
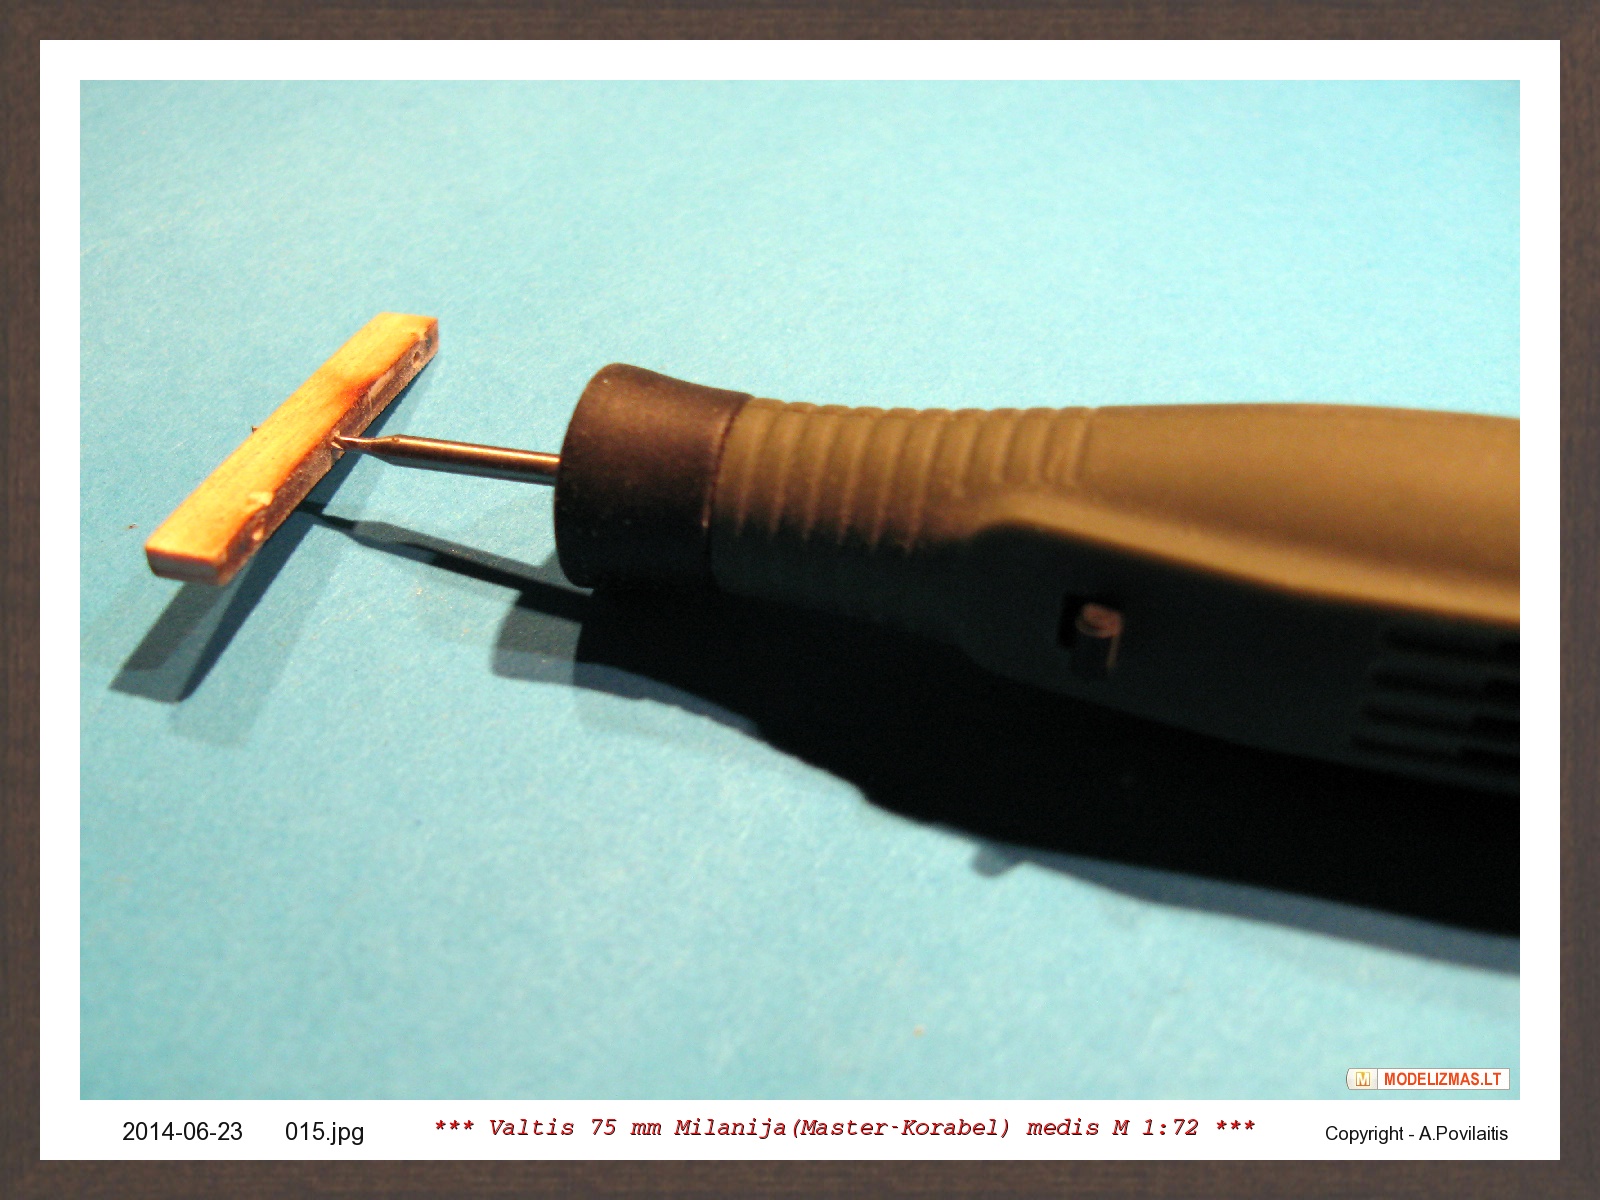
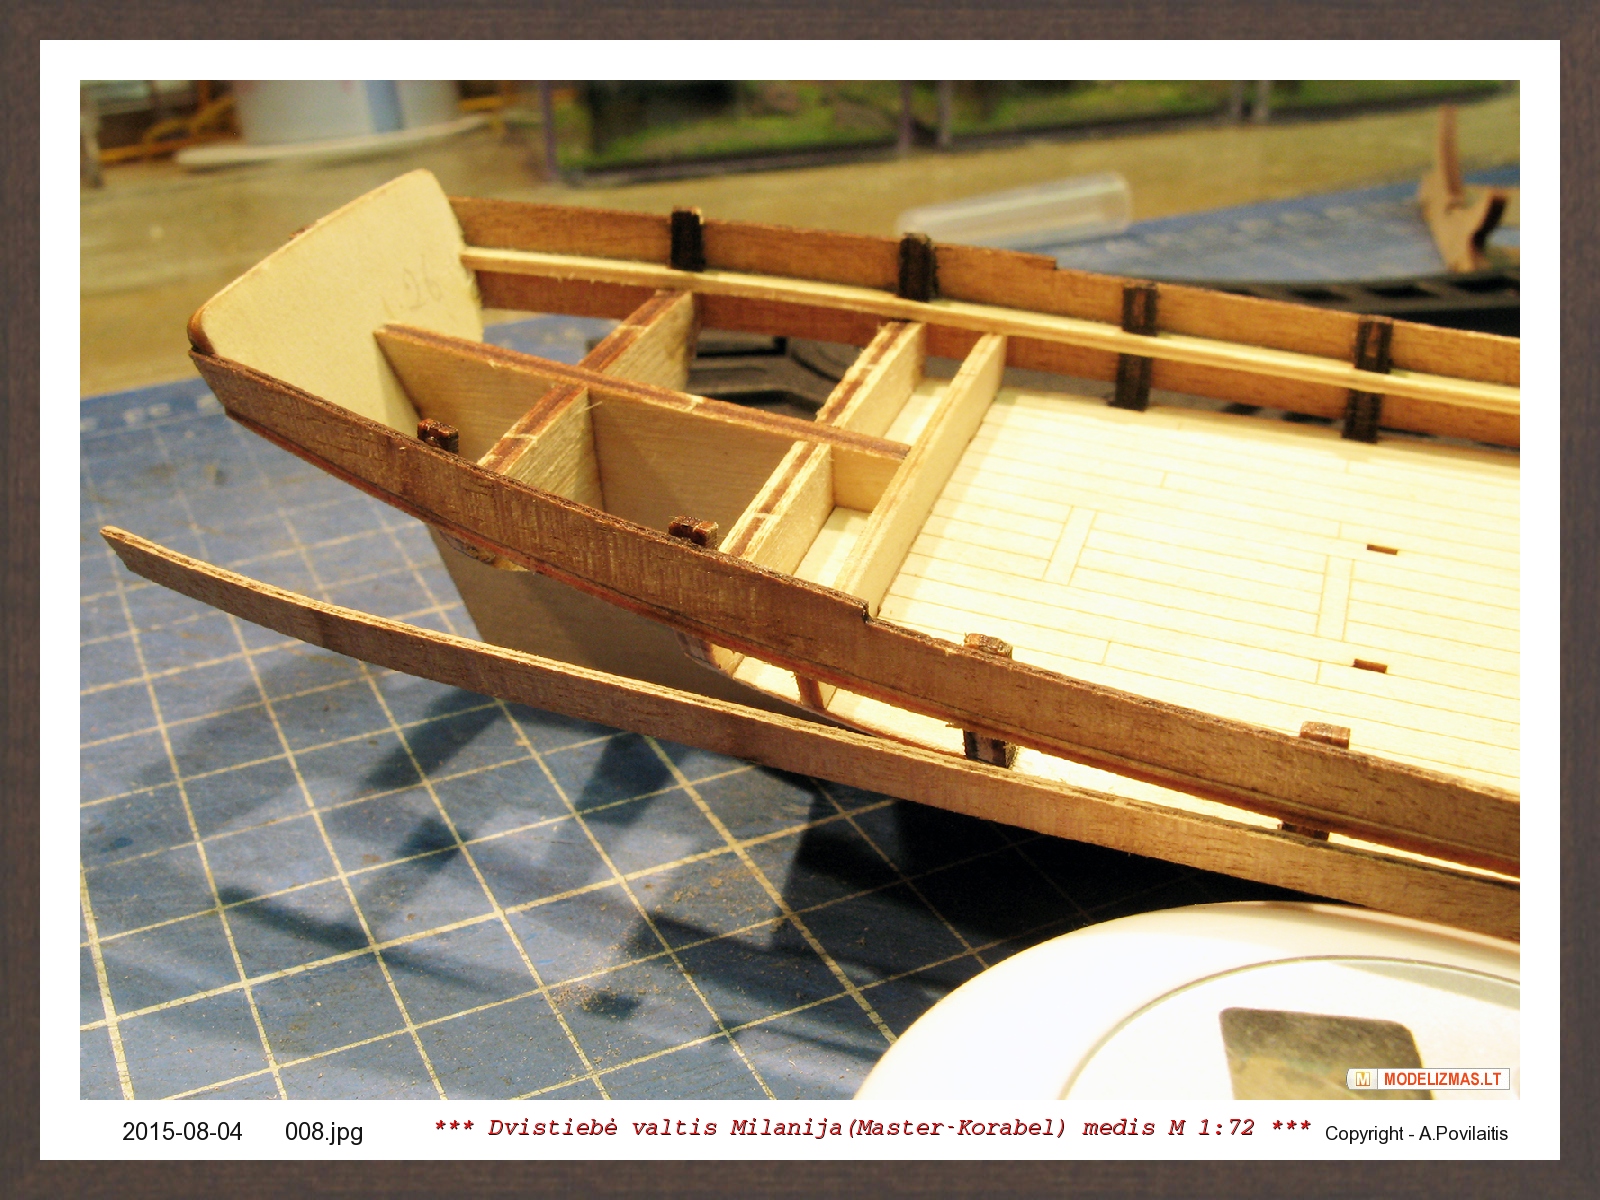
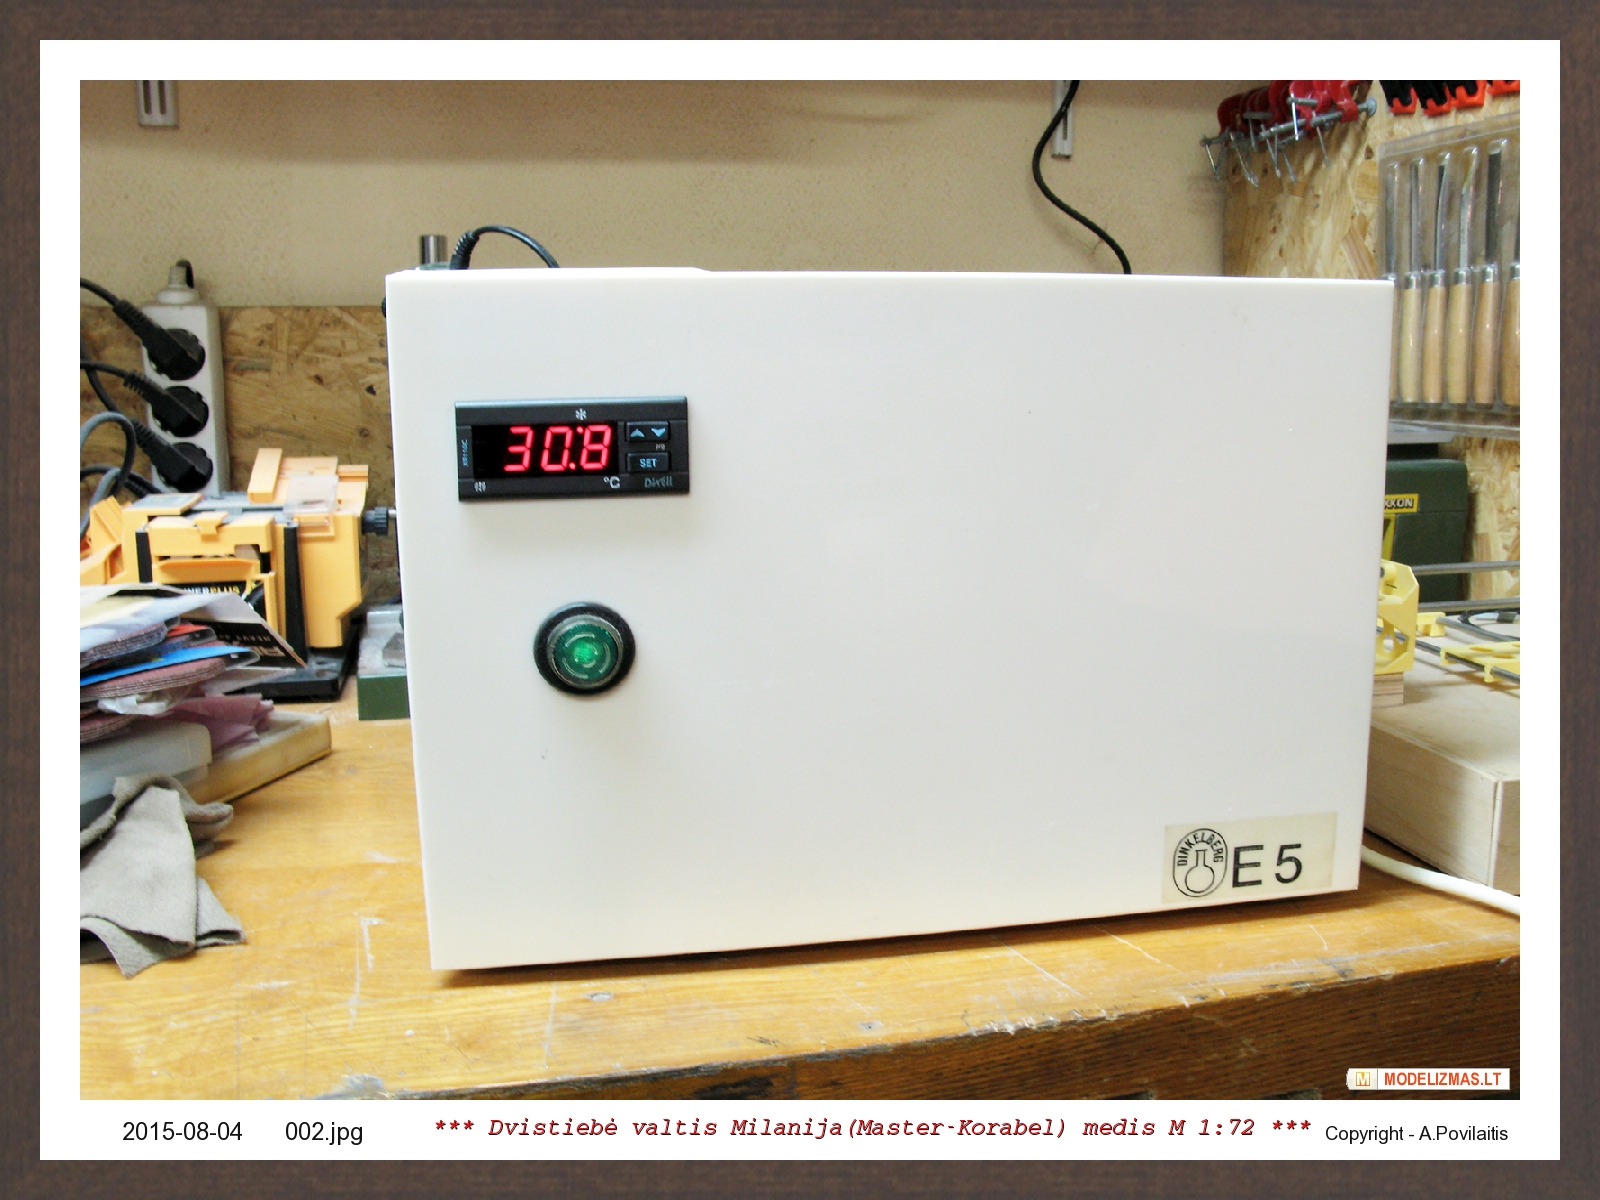
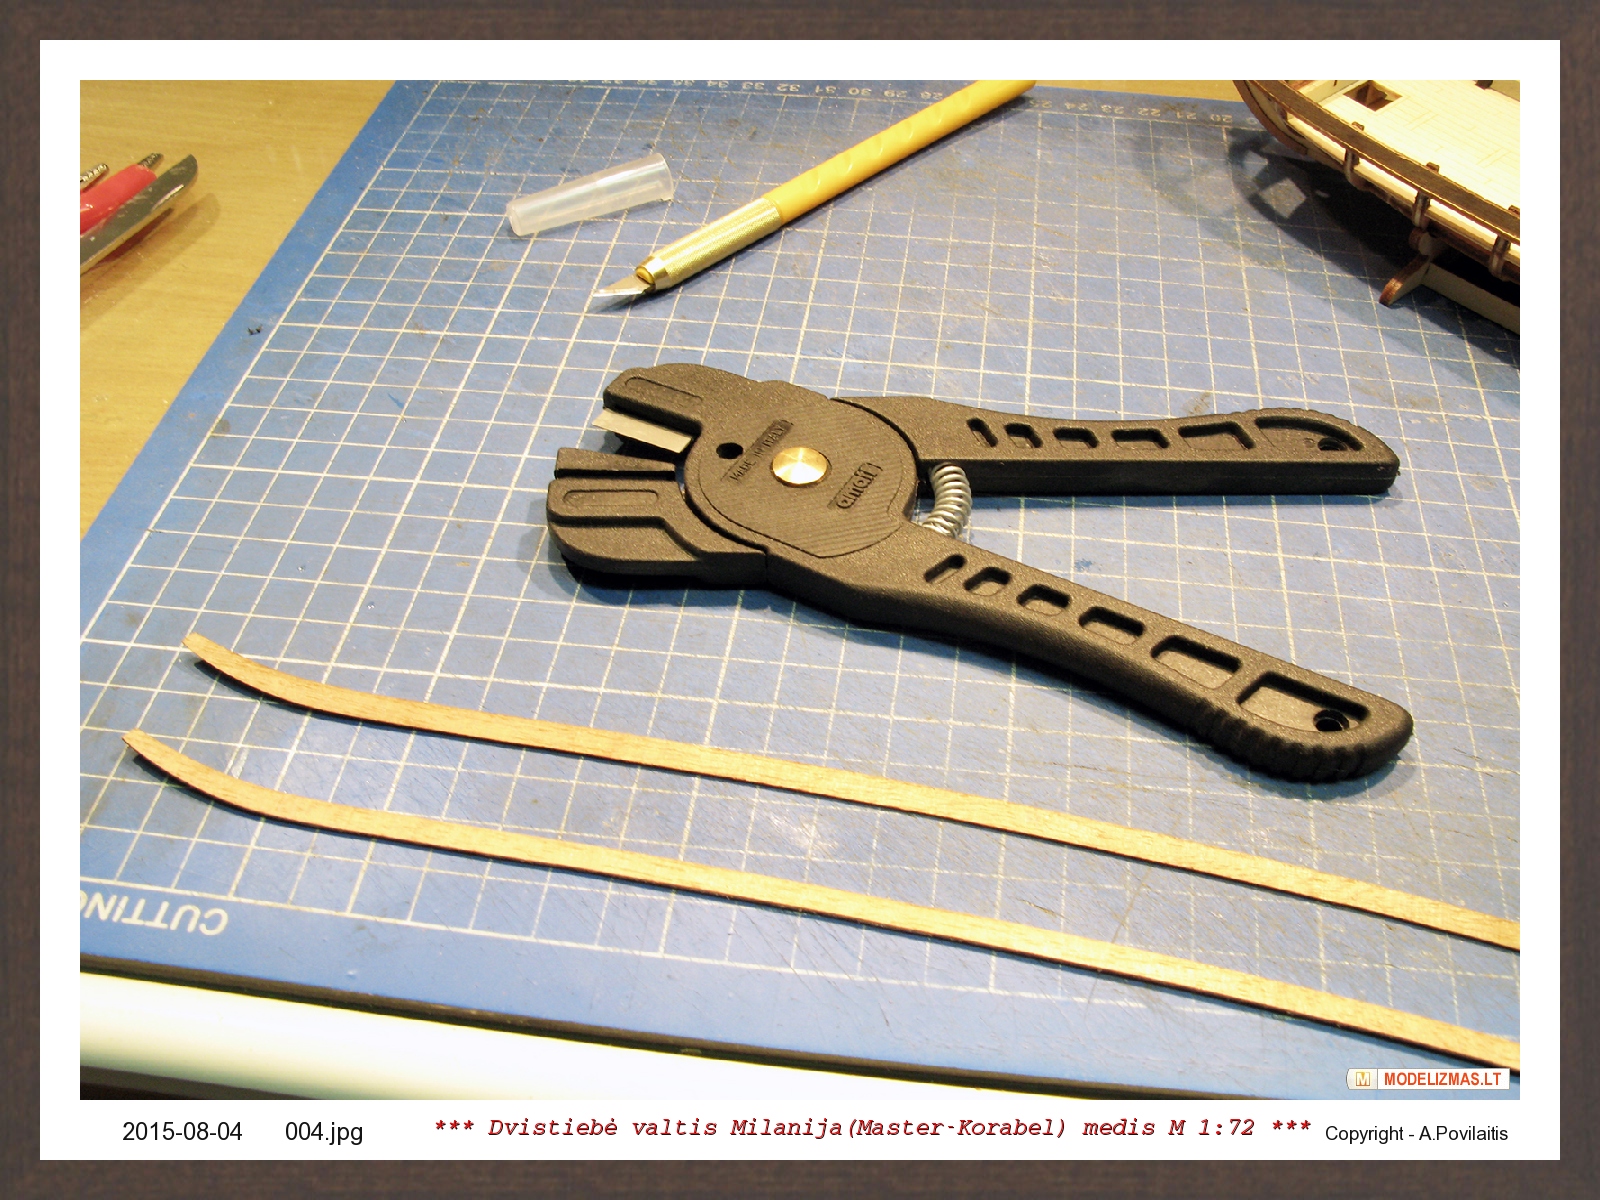
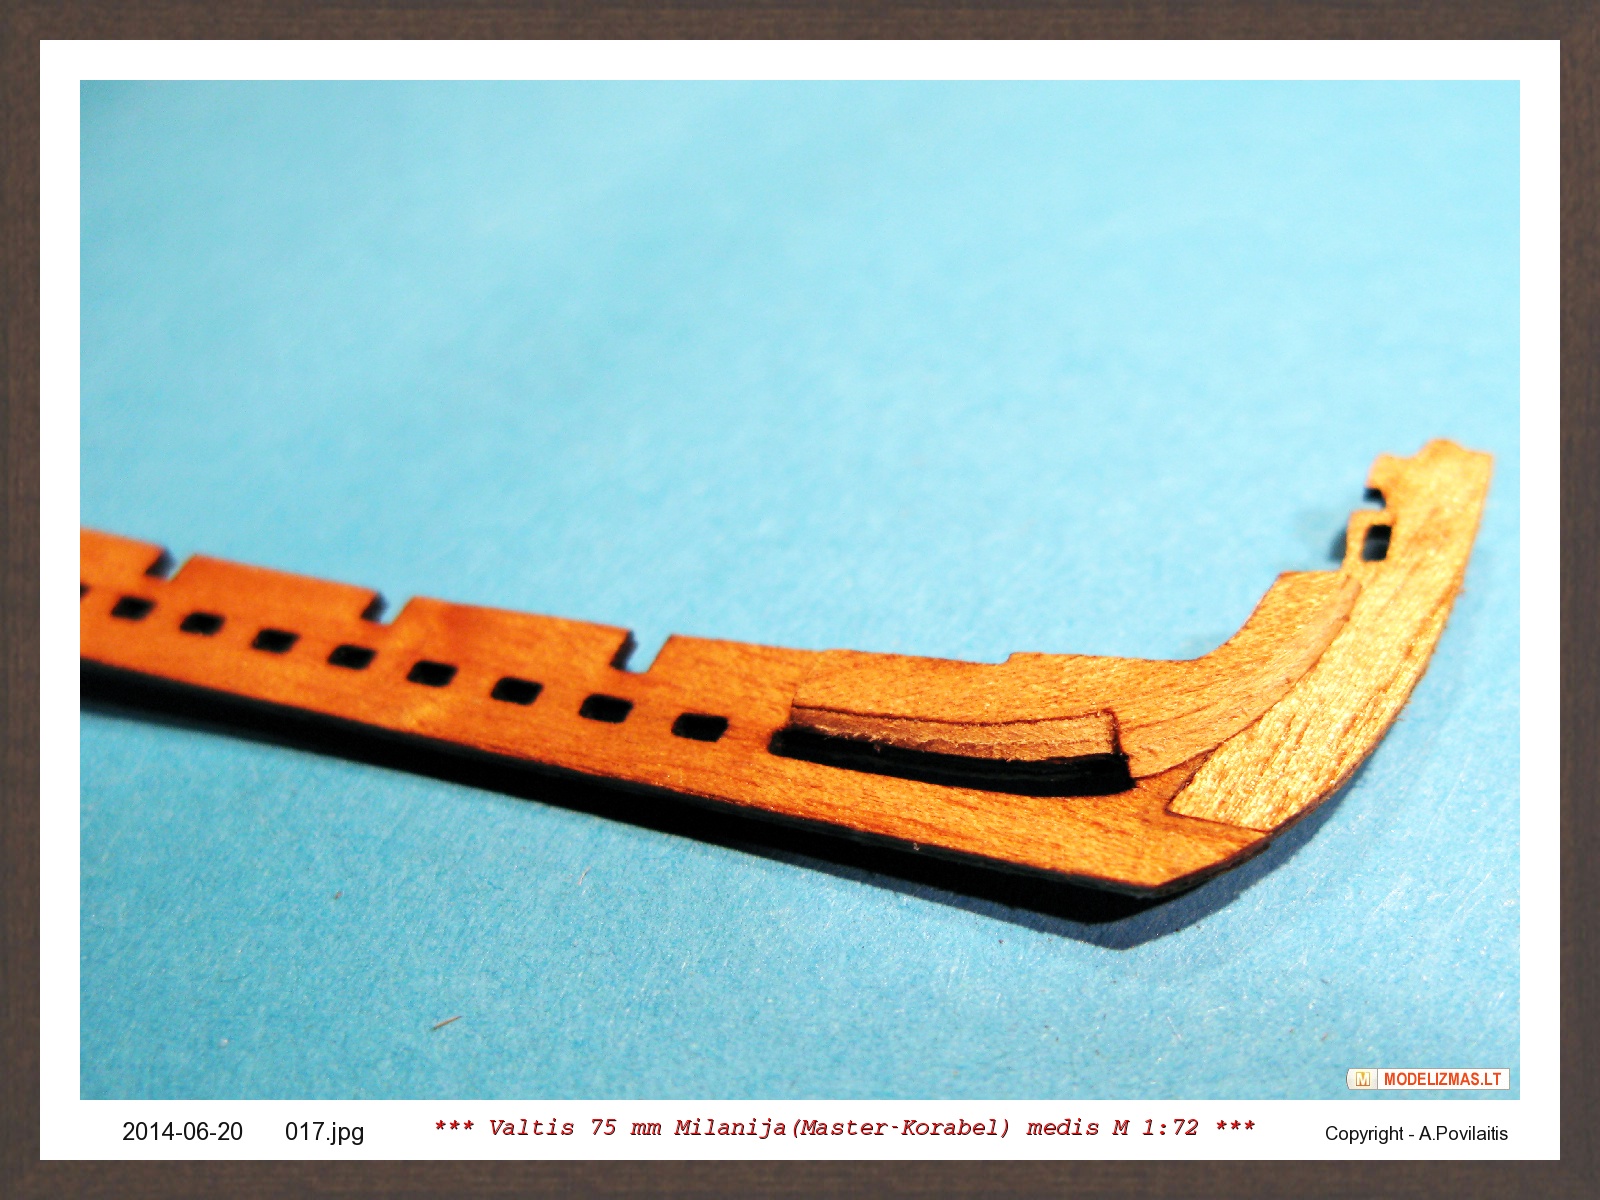
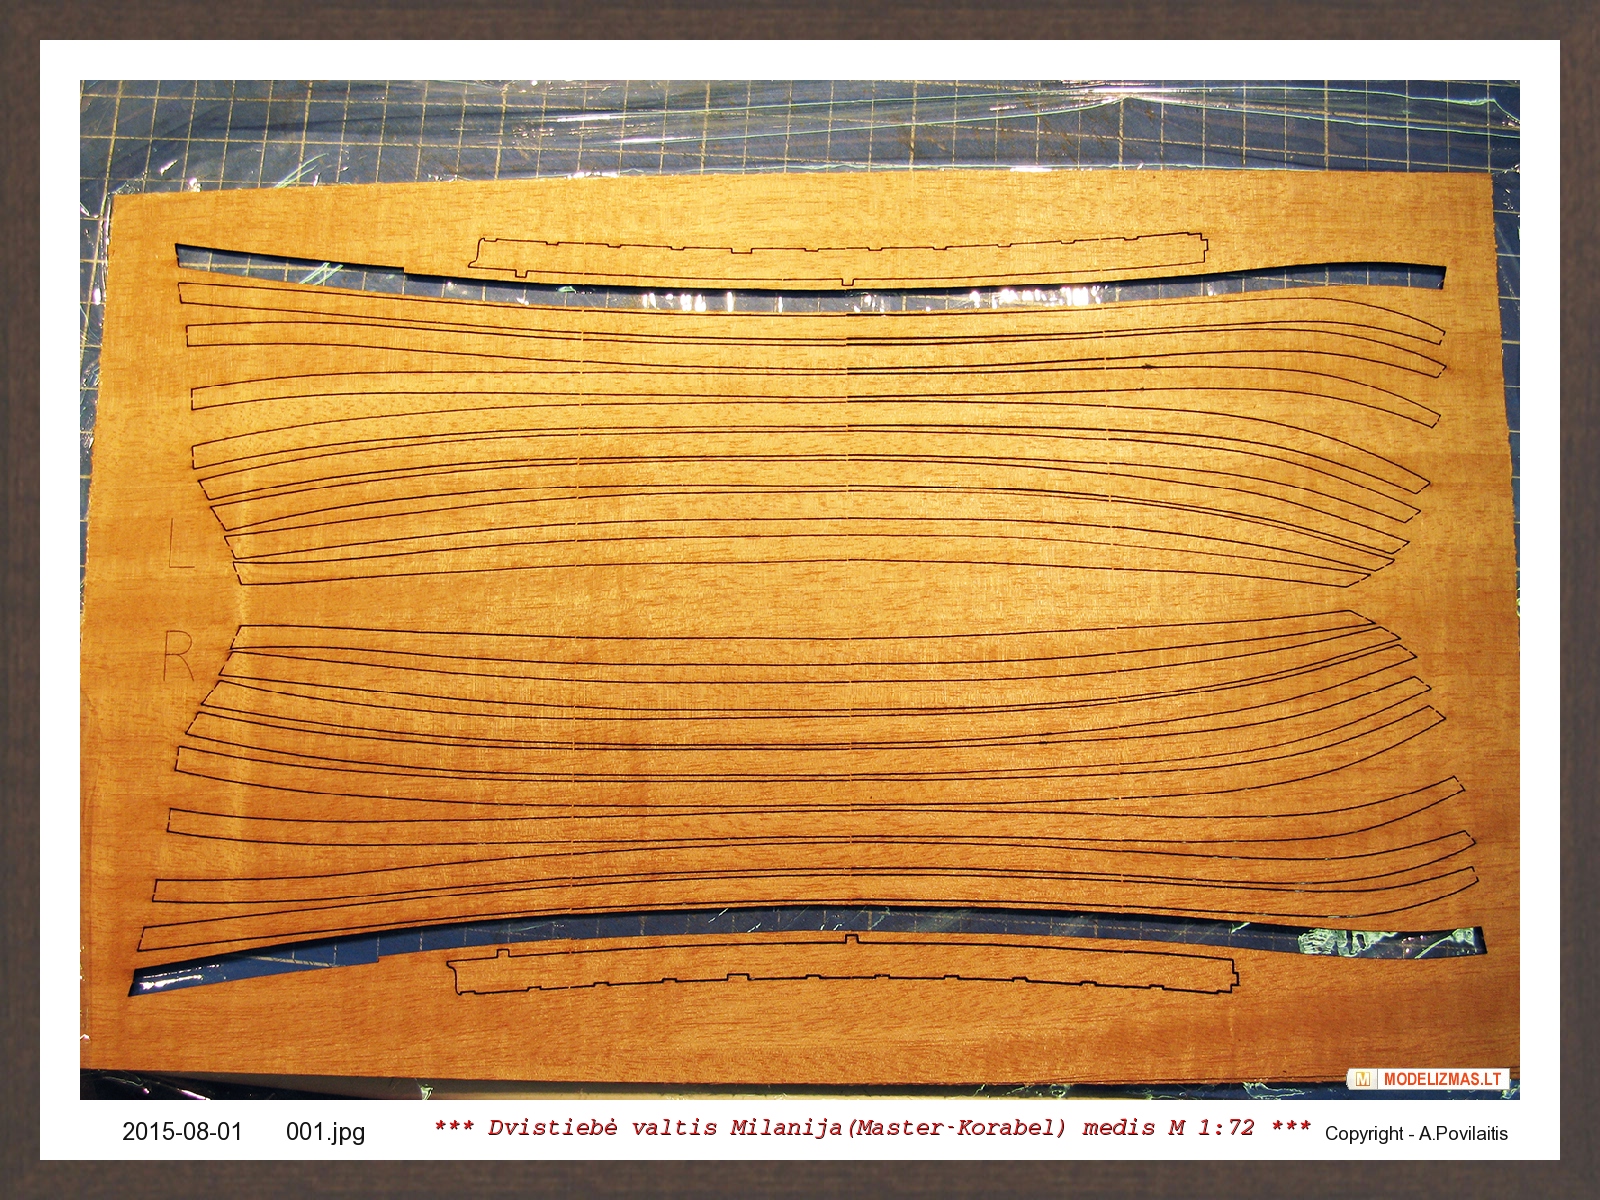
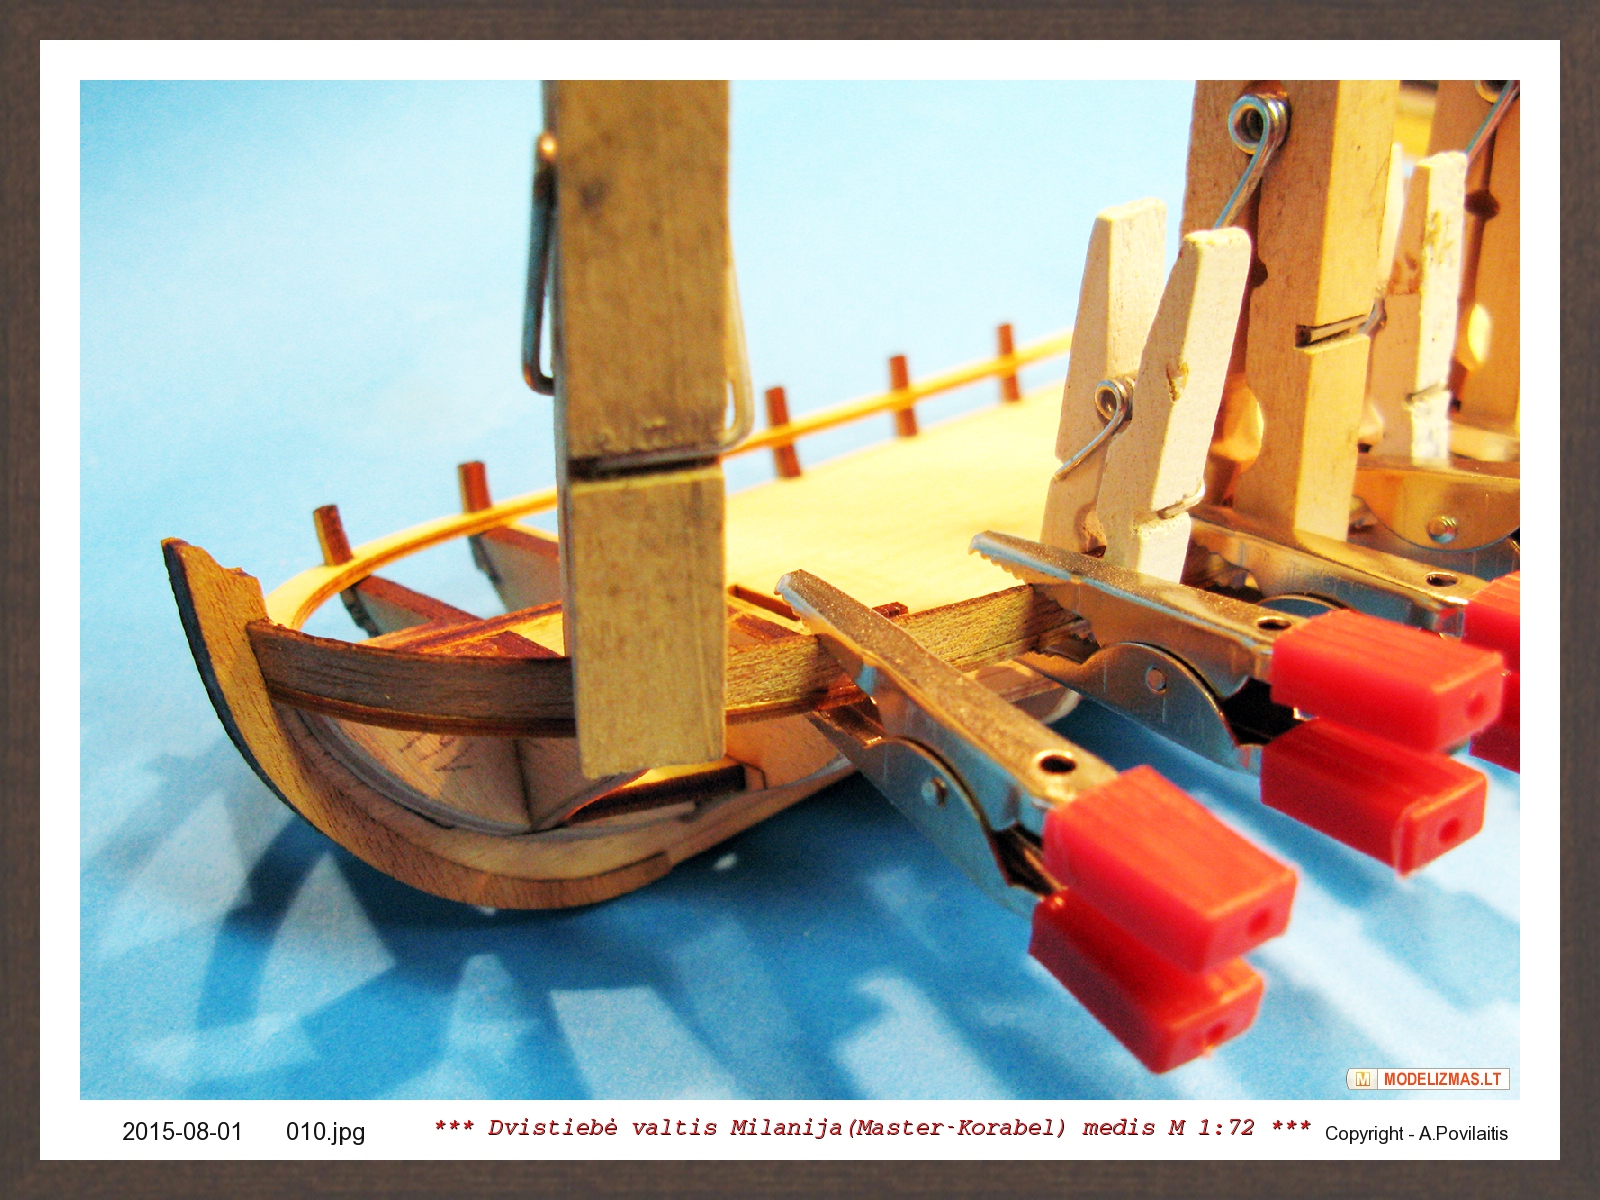
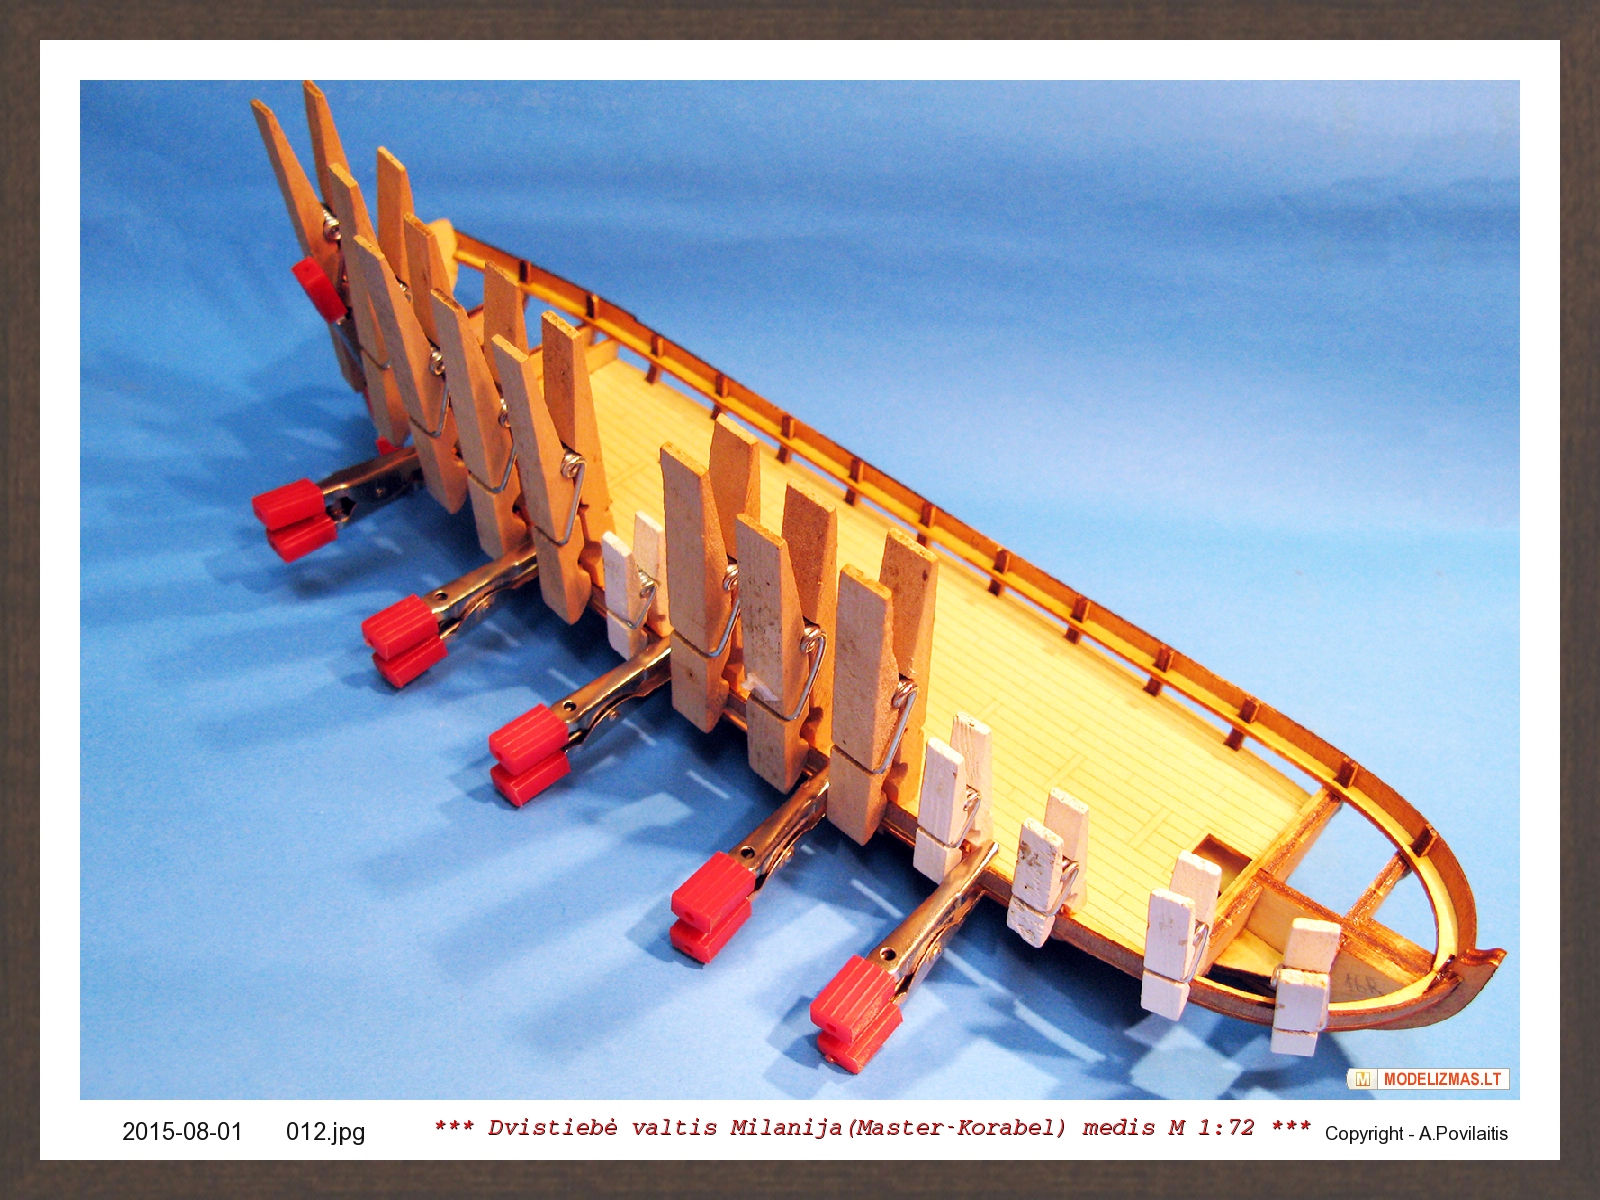
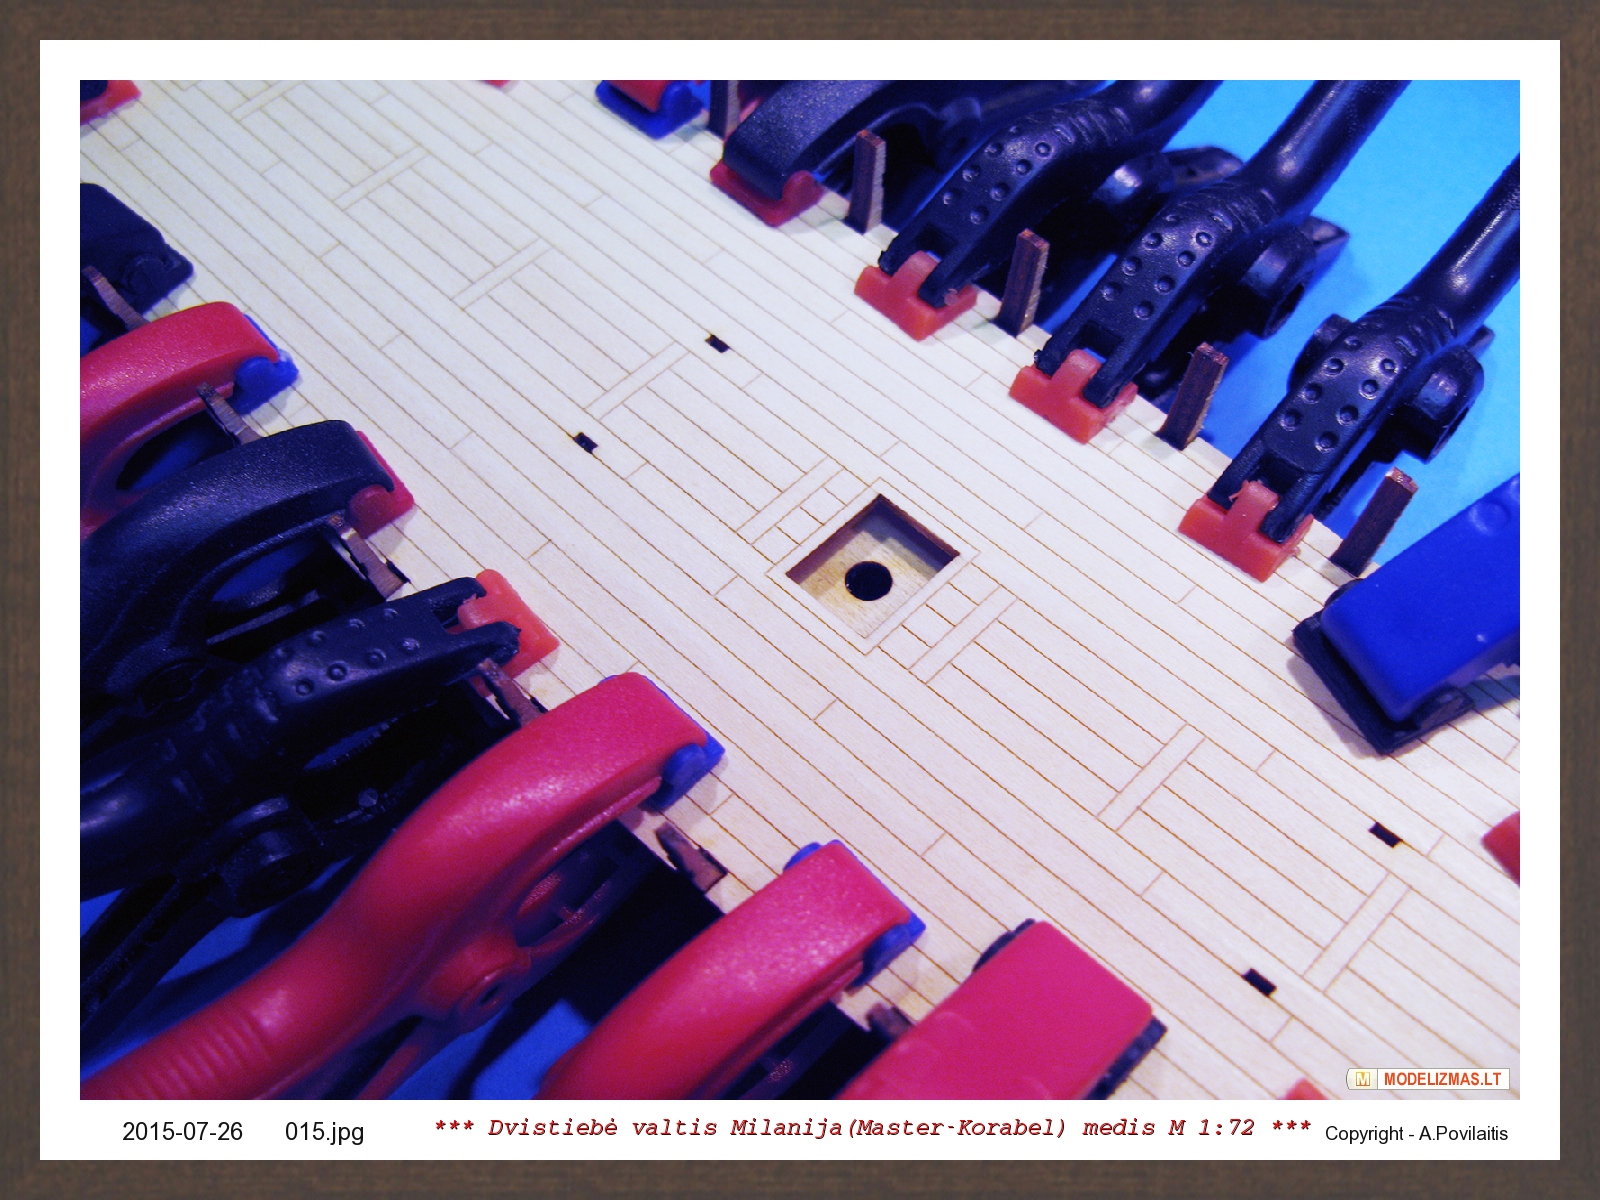
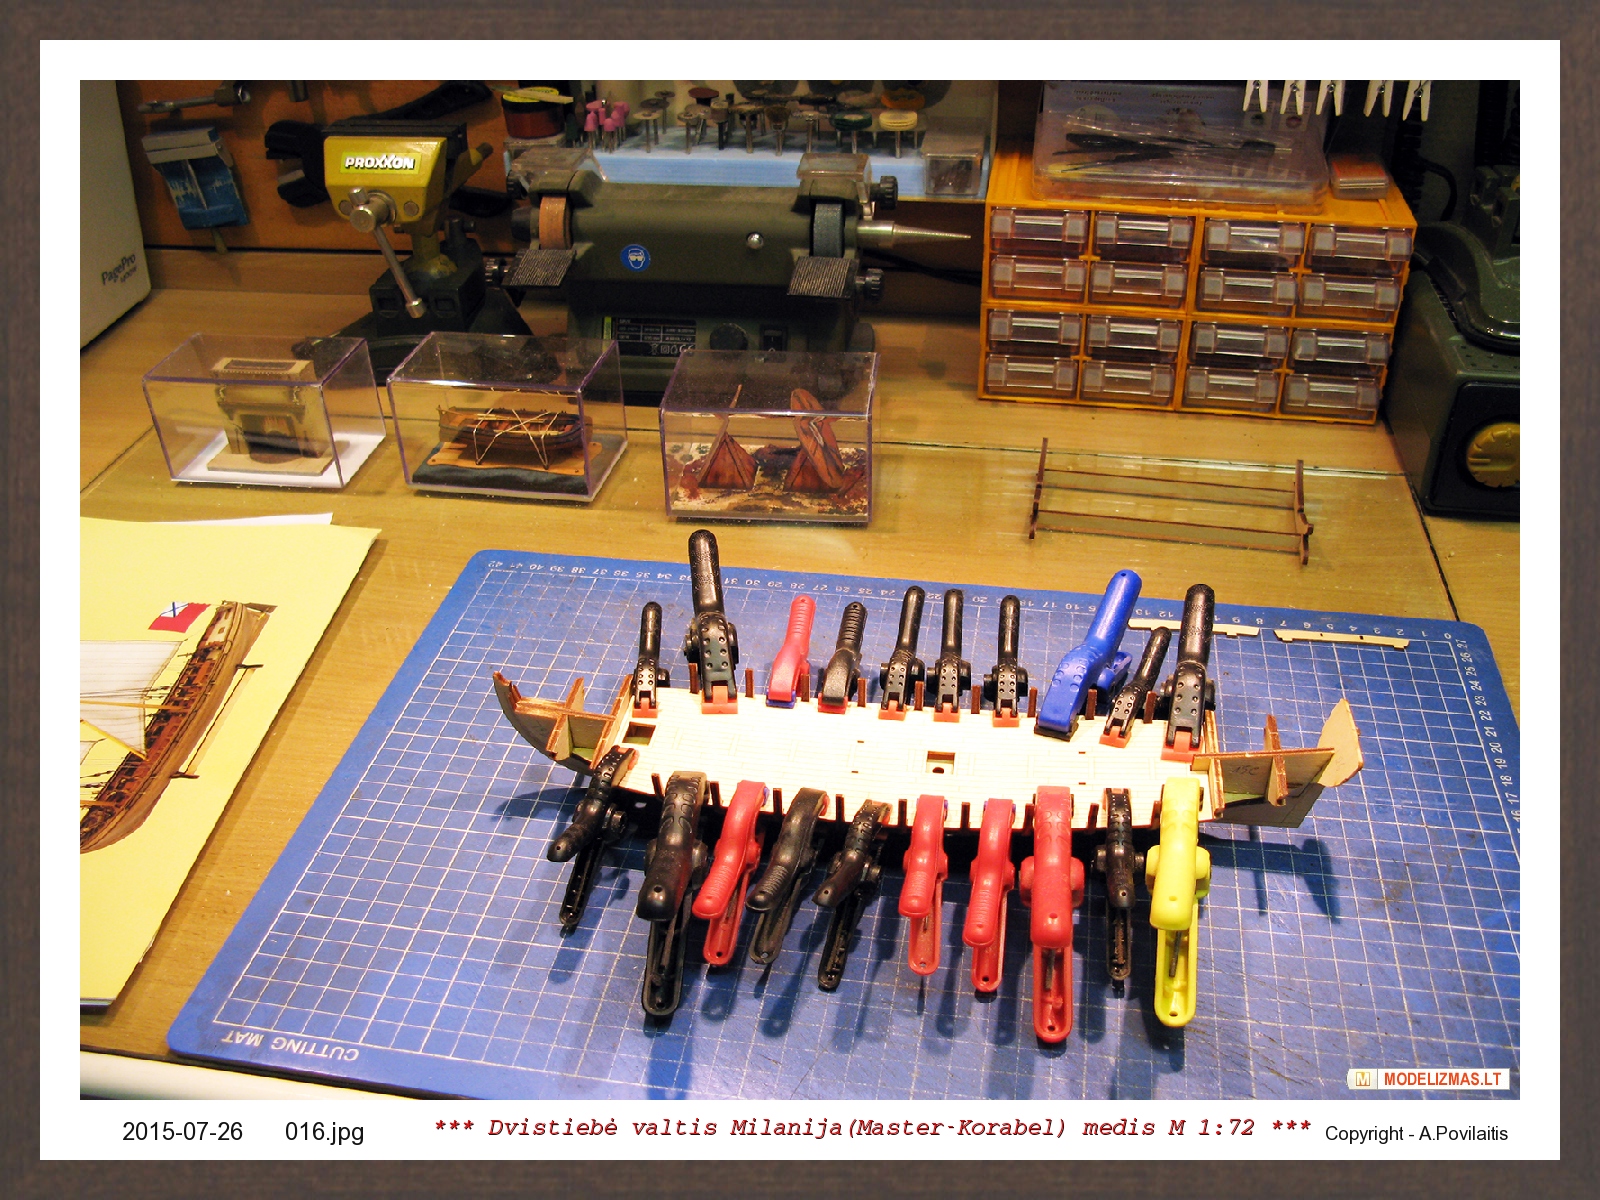
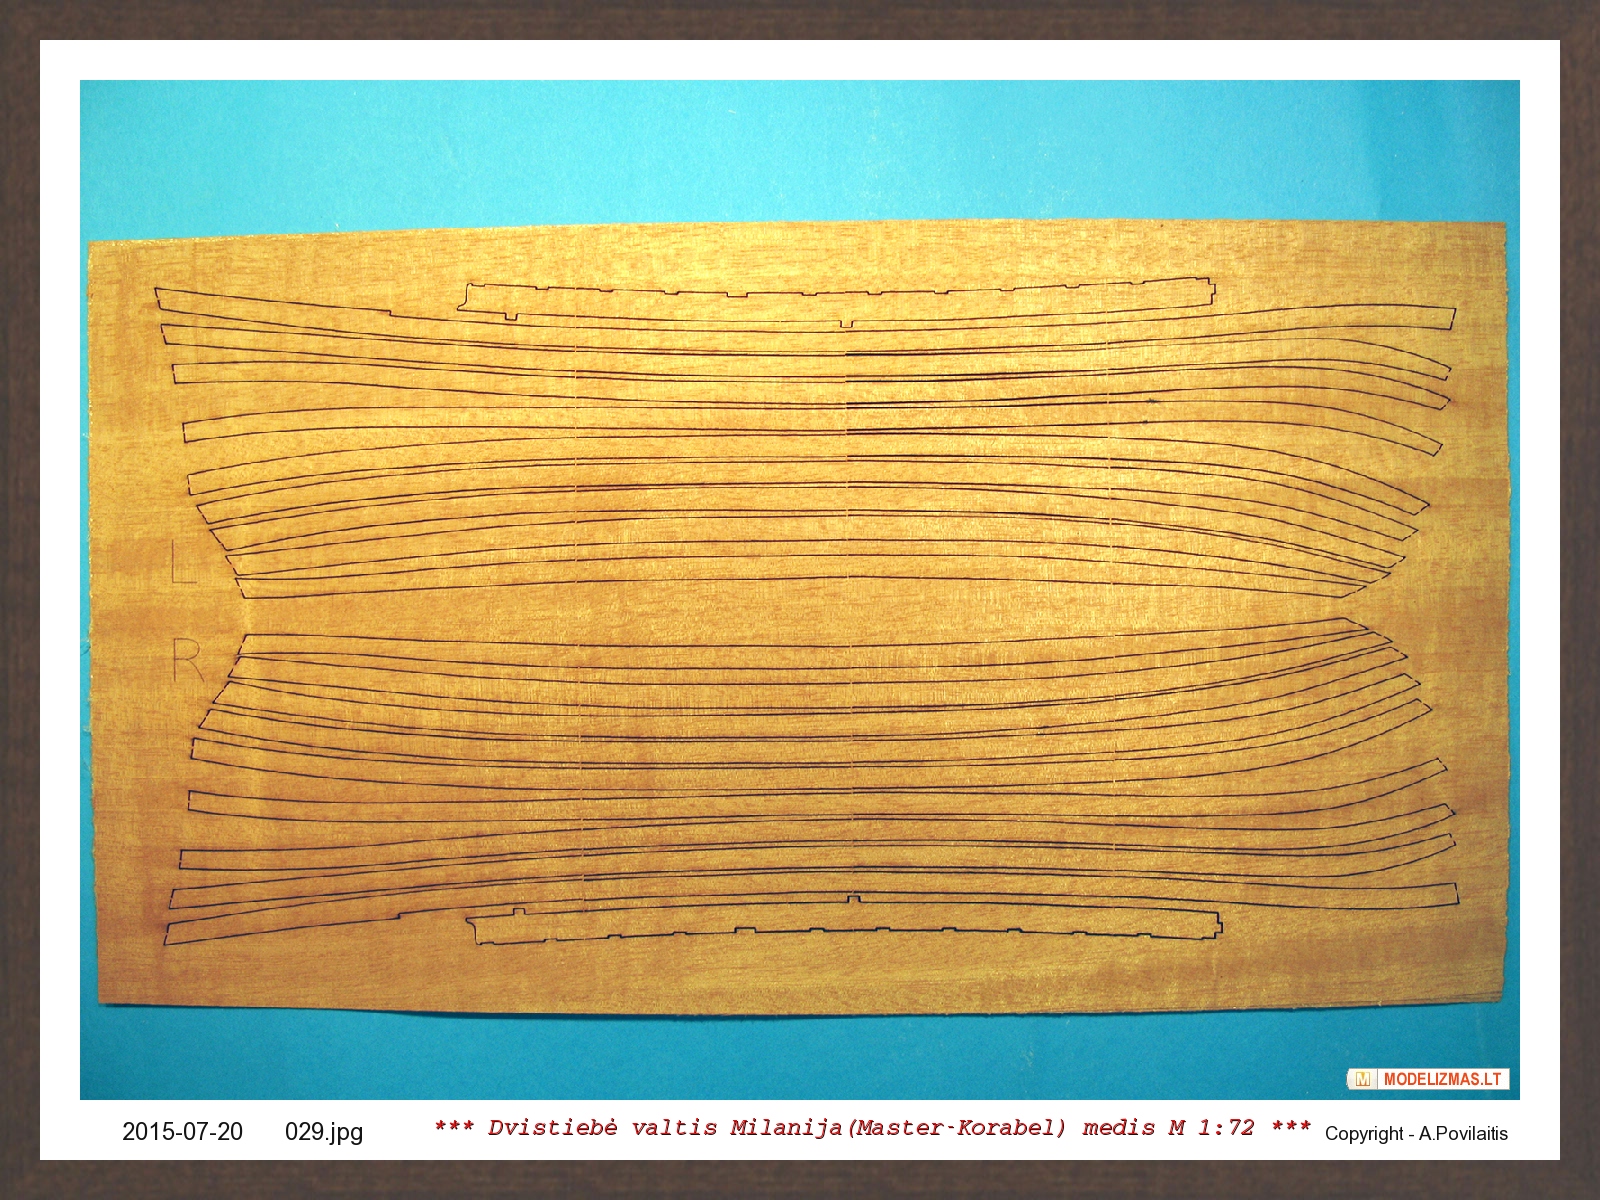
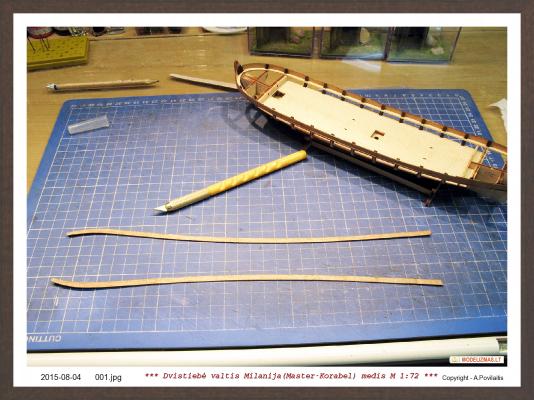
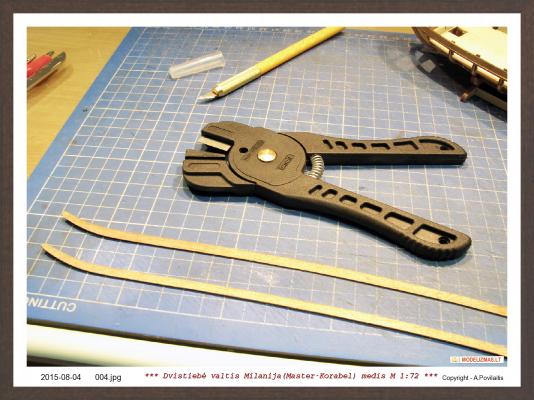
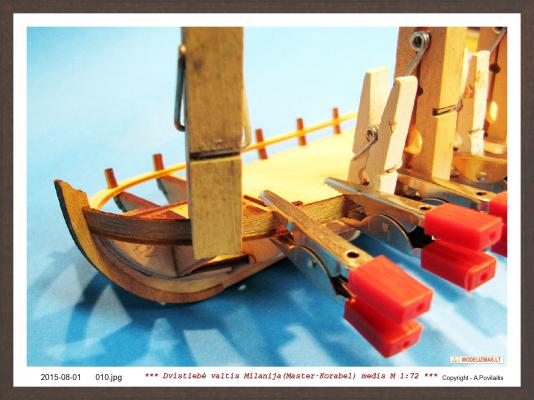
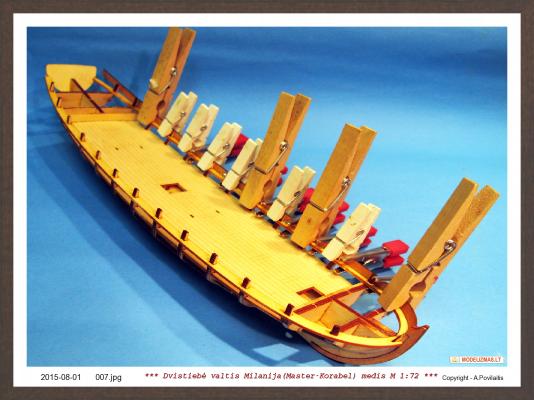
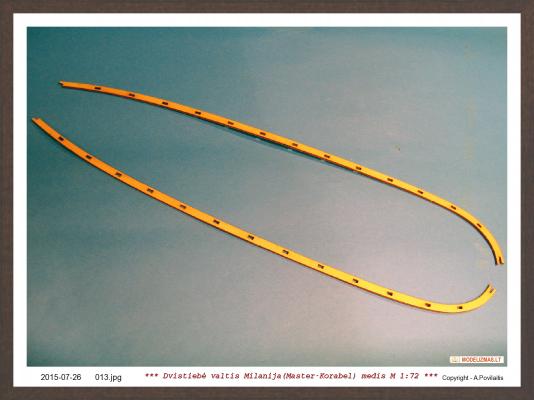
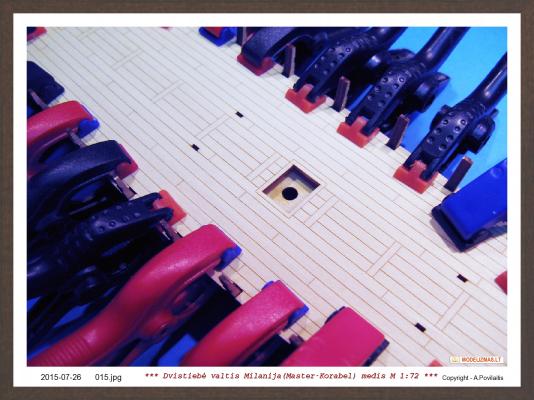
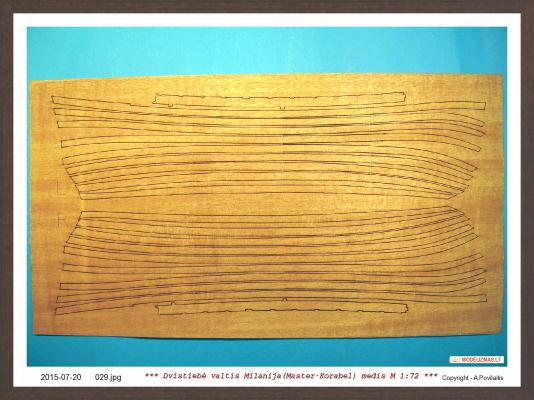
Thank You Steve. Checked the hull again. Sanded some frames and removed from plate first plank for left and right sides. They are cut using laser and the adhesion of the brown edges are very bad. Sanded the edges of the planks. Later - checking, bending and again checking. Many times. Then the plank fit properly, leave it to dry and working on the second plank. For bending I used my "water box" . I buy this mashine on Ebay auction only for 1€ plus shipping. Now I can set the temperature of the water as I want for a long time. This is very usefull toy.. So, for the bending I use the hot water( 60 degrees of celsius) and amati bending tool. Why not only water? Because it is more easy... Amati bending tool leave the marks on the plank. So I put the plank in to the hot water for a 3 minutes and then bend, the marks after the plank is dried, disapear... Some notes. About 90 percent of the photos are in macro... Sometimes they looks terrible, but I need to do it, because want to see my usually hardly visible bugs . Now the planks fits in the place very easy. I don't need to use any clamps, nails and etc.. Only my fingers. At first glued the plank at the bow, then at the middle. And the aft. One plank - 6 minutes. The checking and bending - much more time... Two planks is glued. Regards, Antanas


-
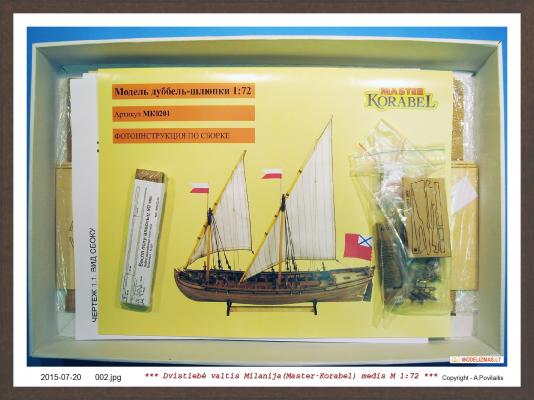
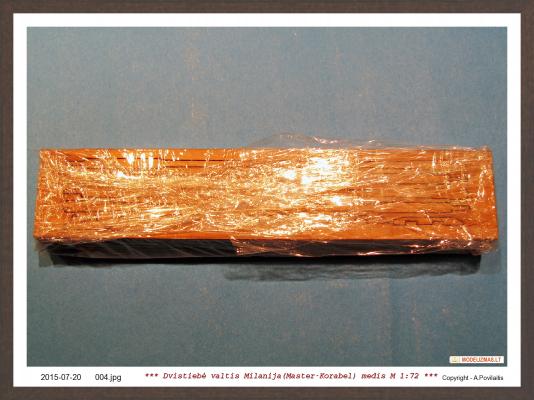
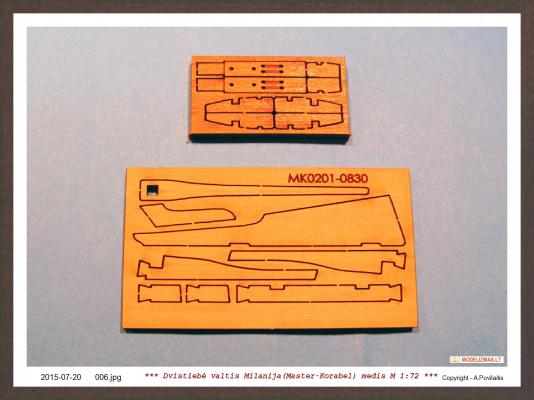
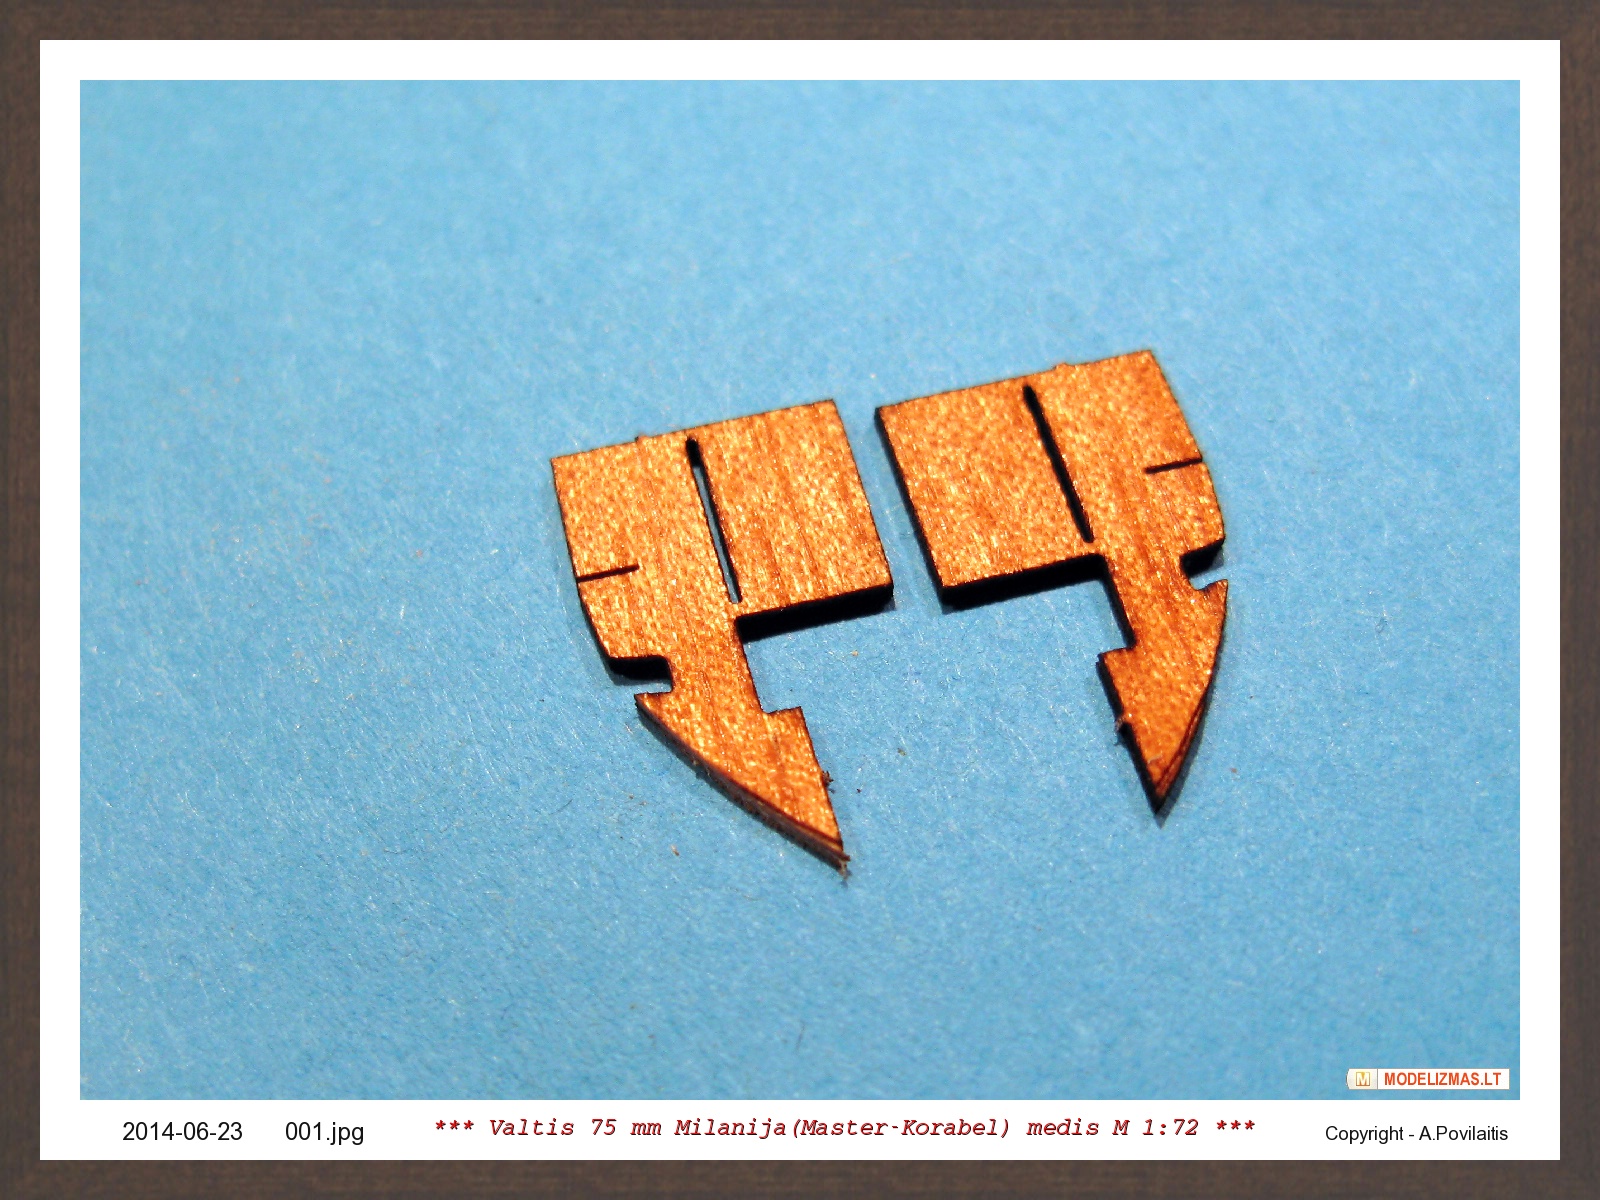
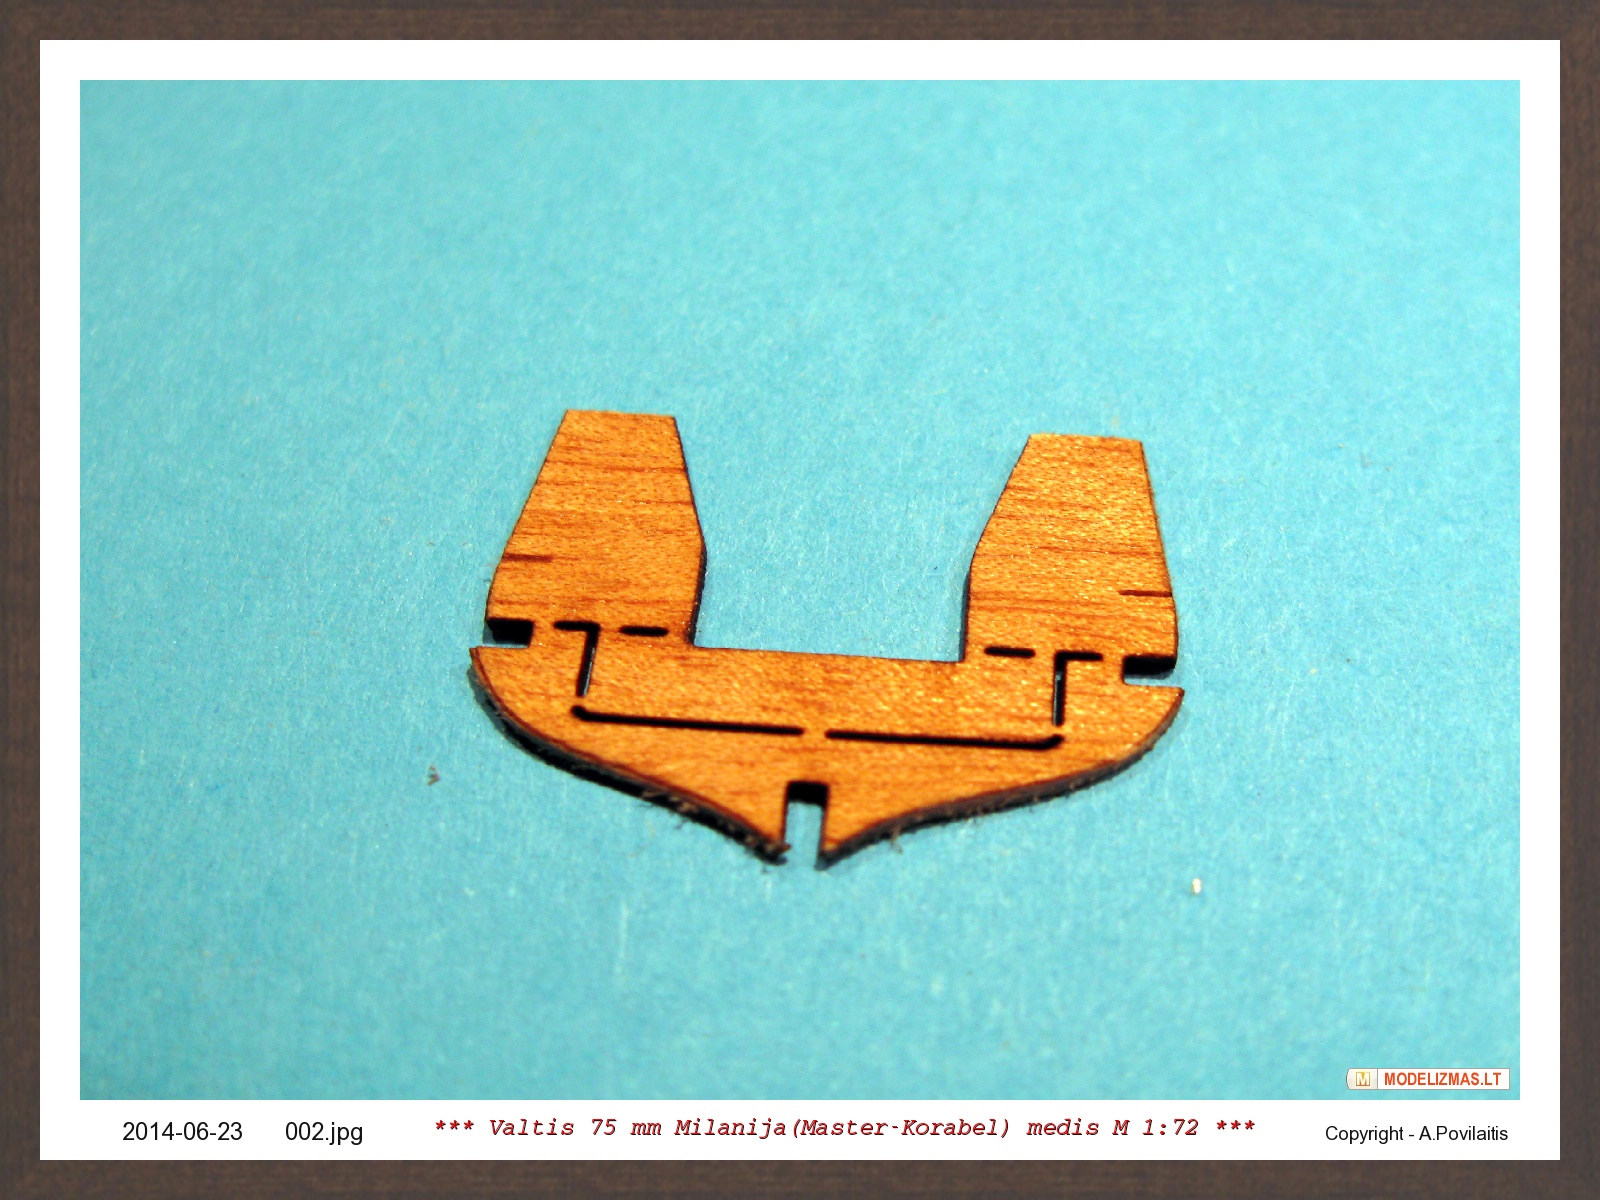
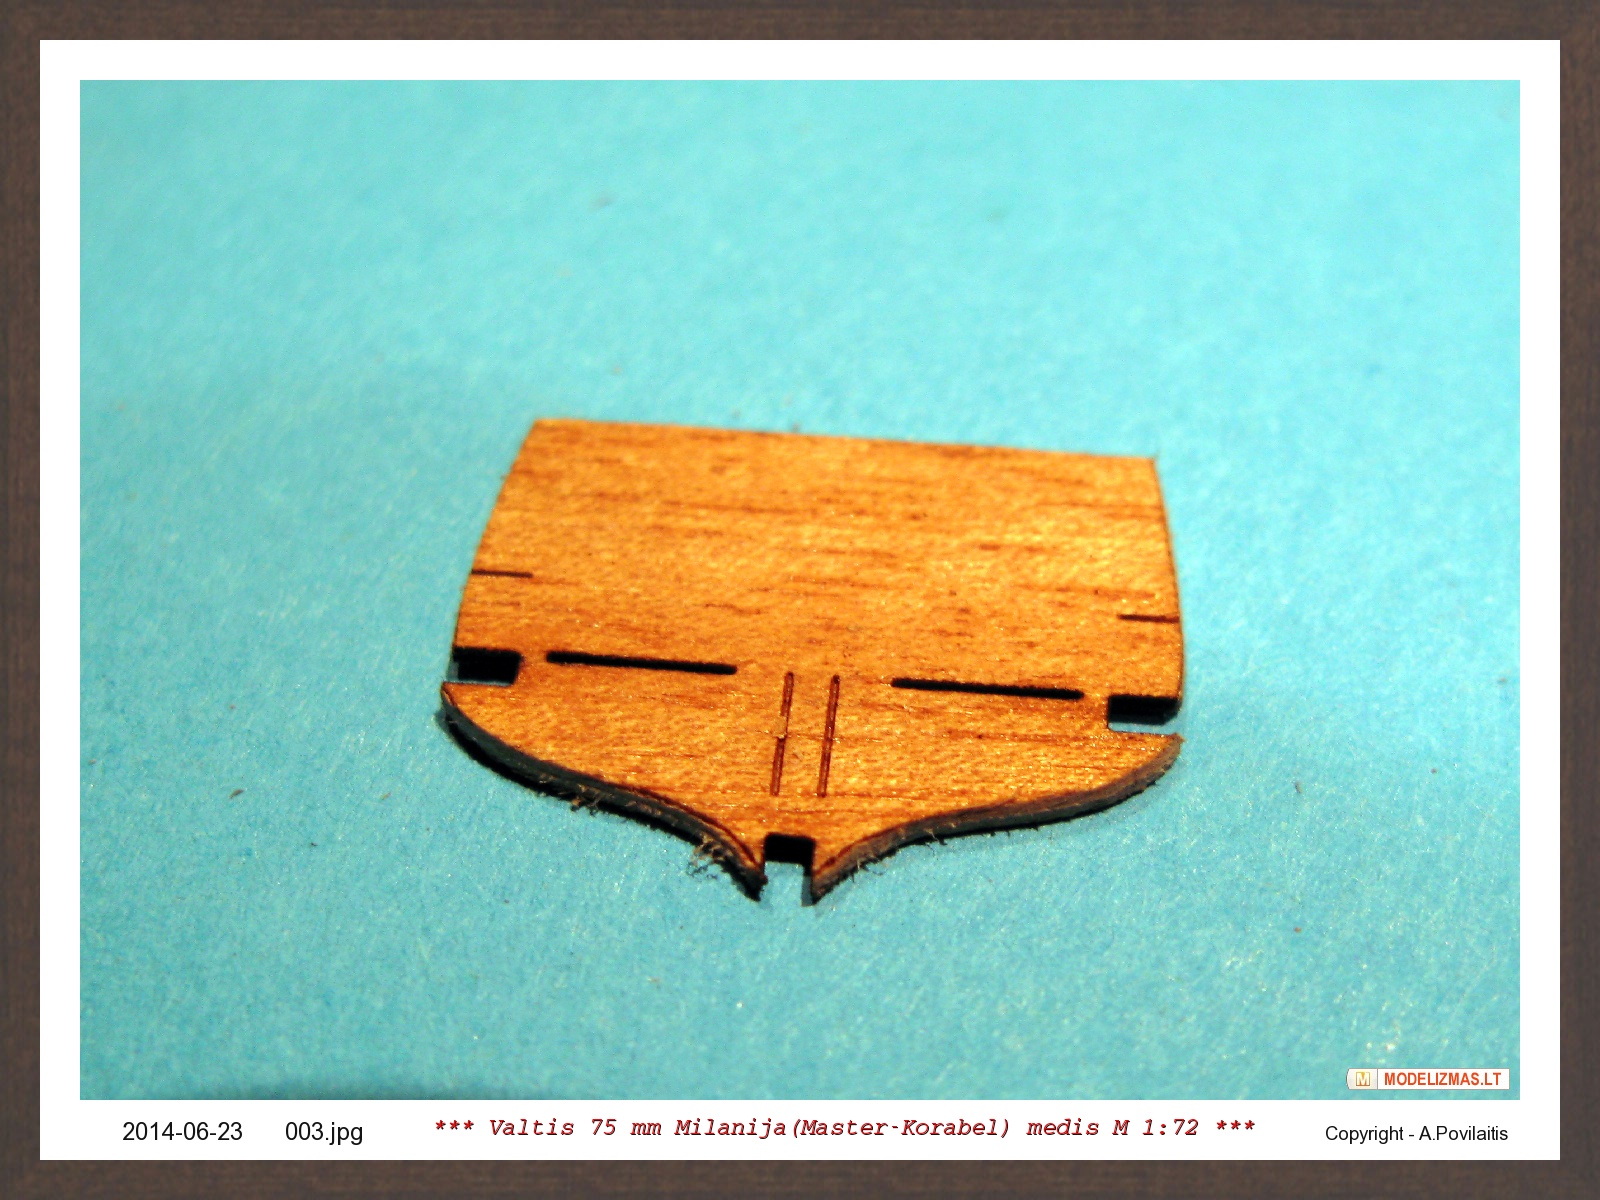
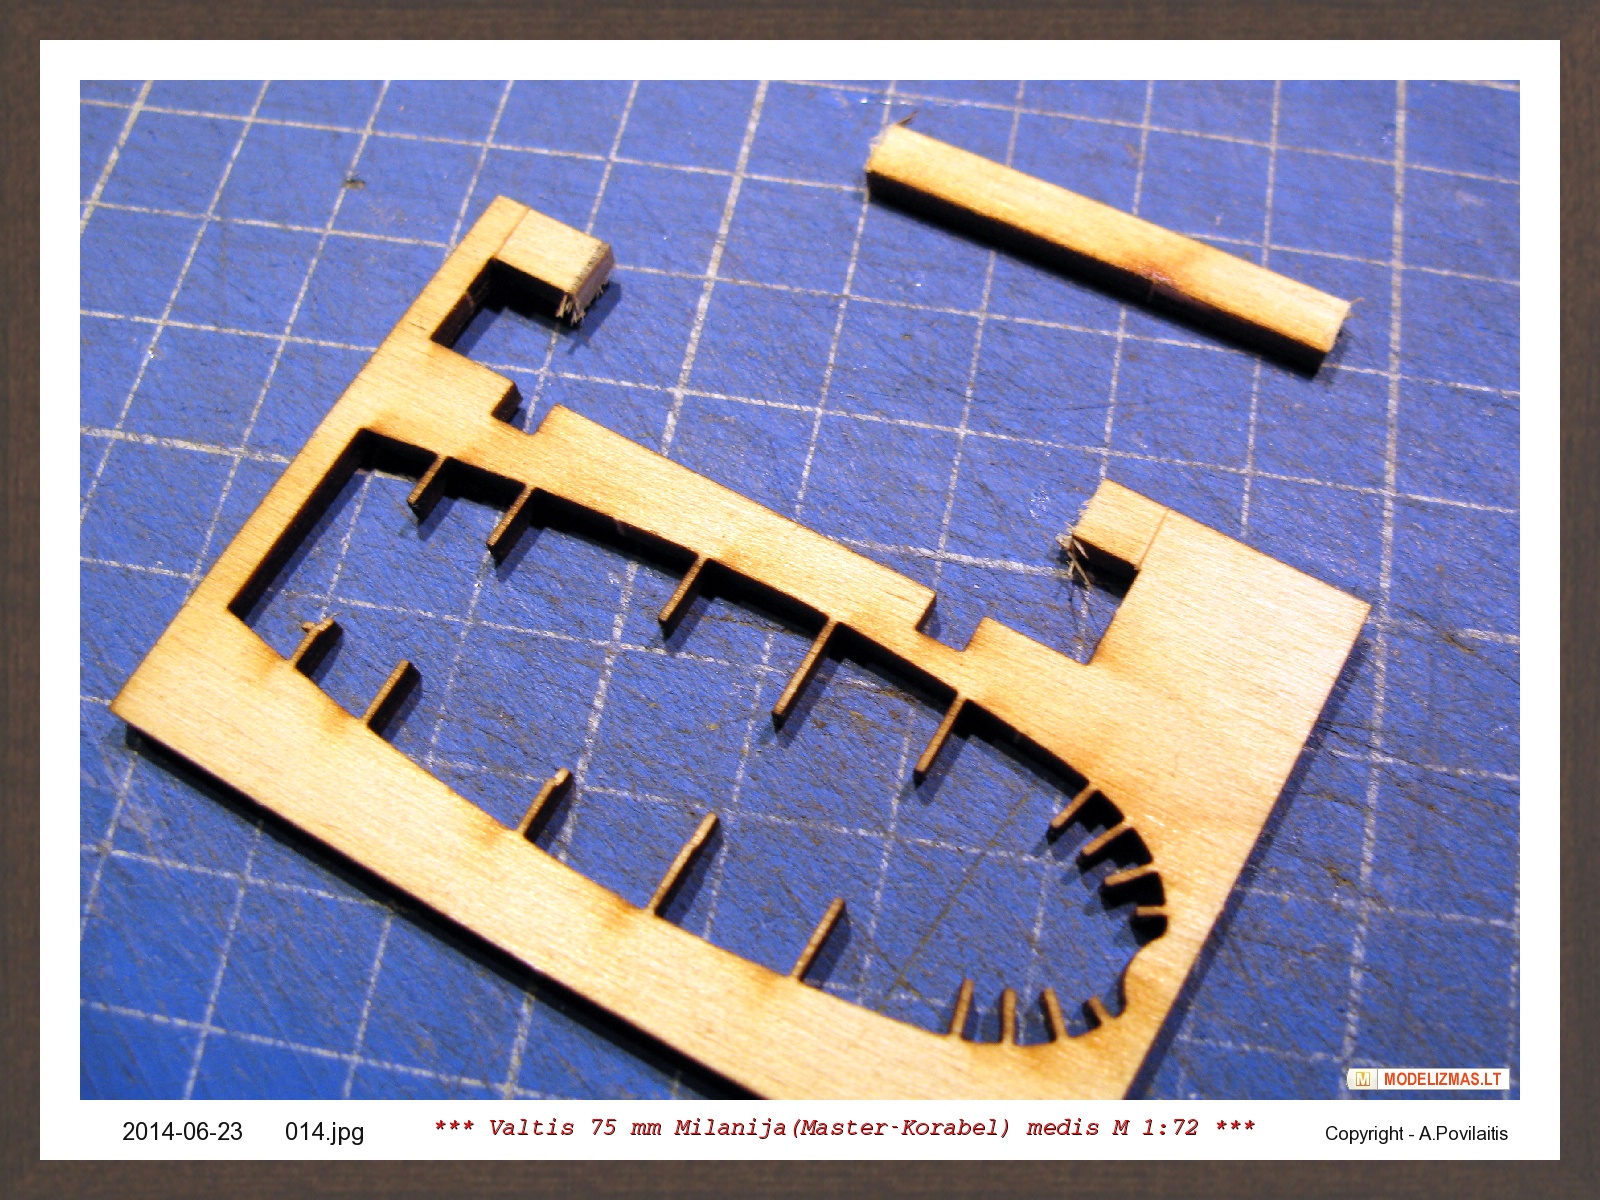
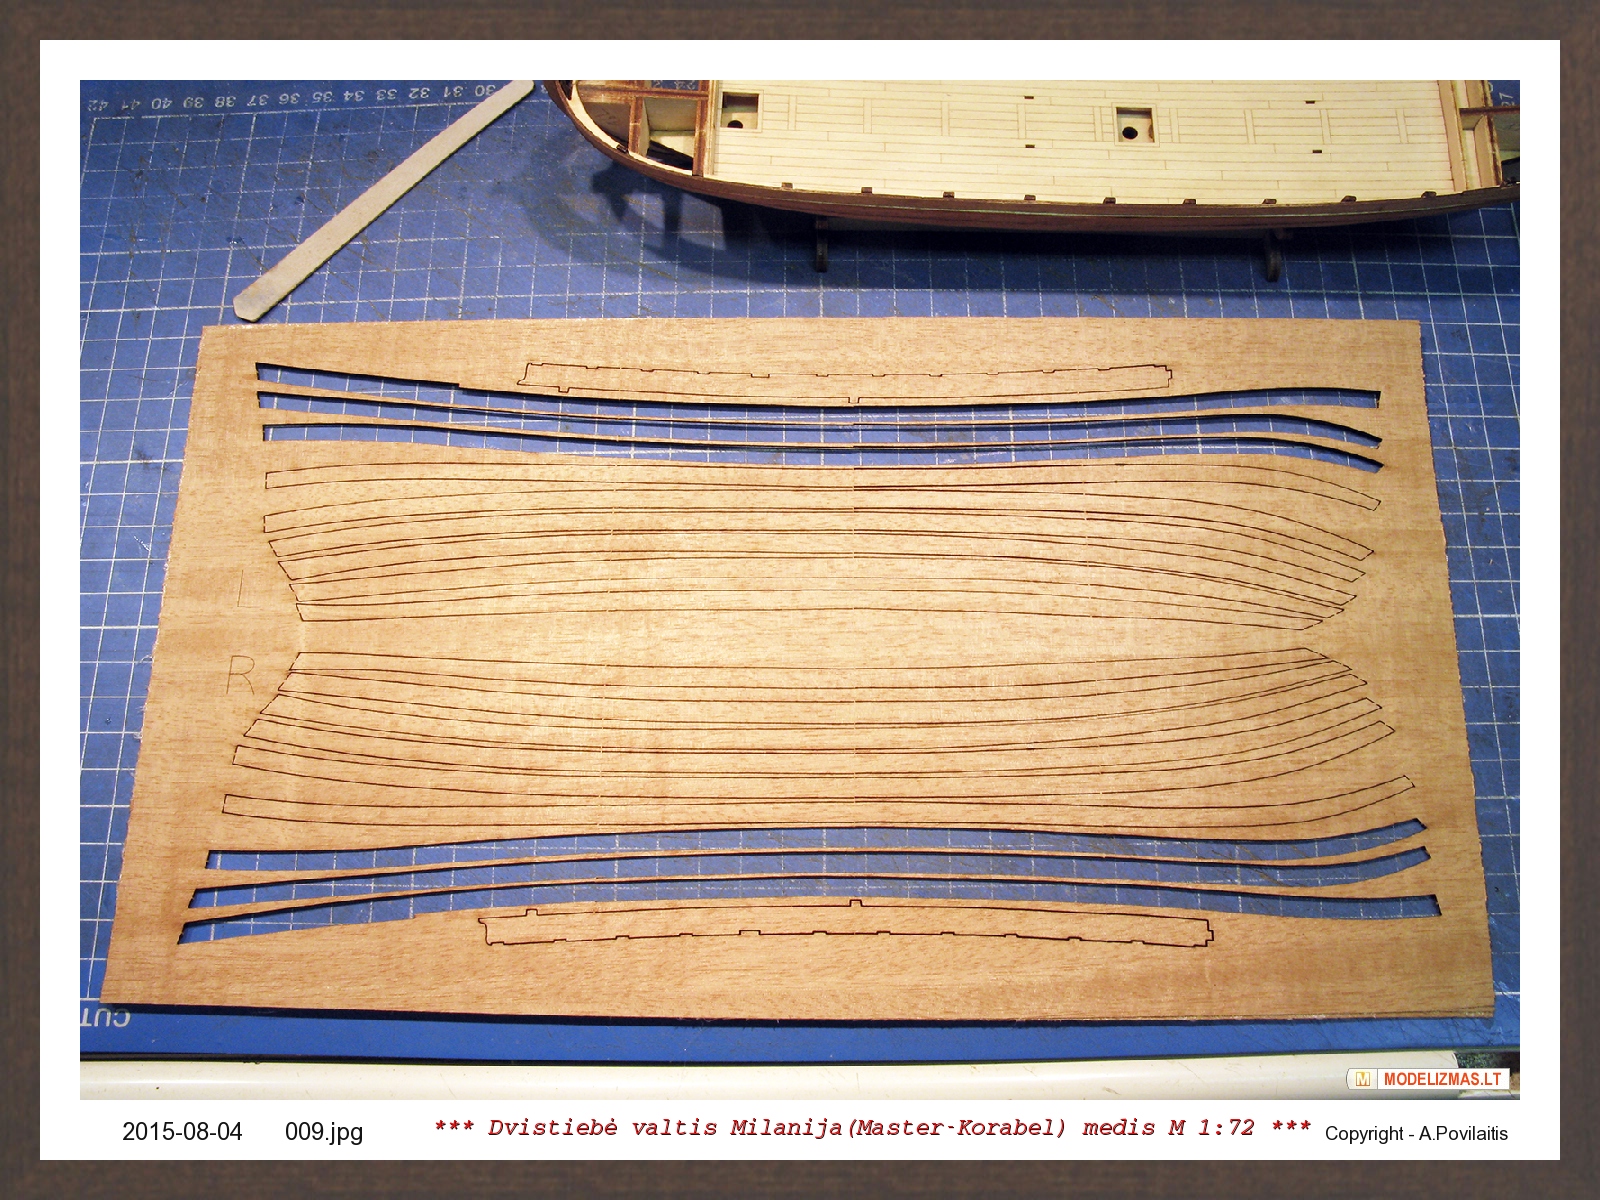
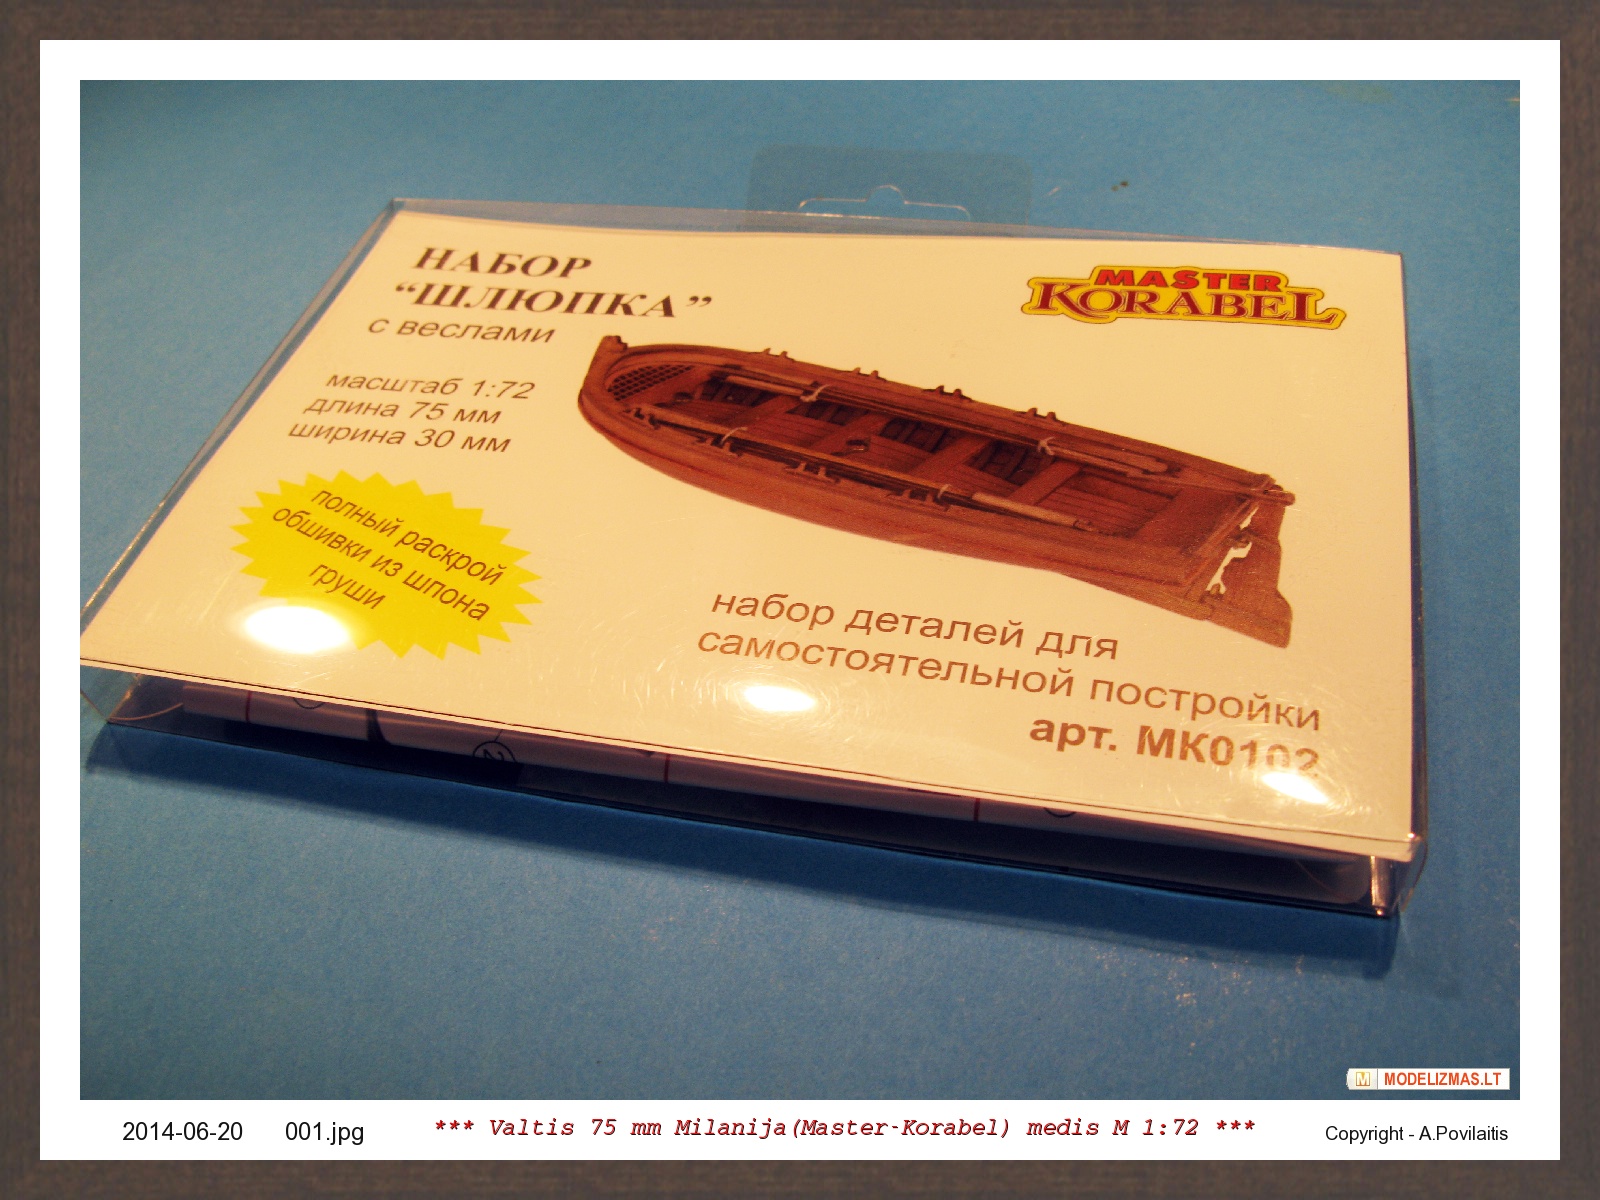
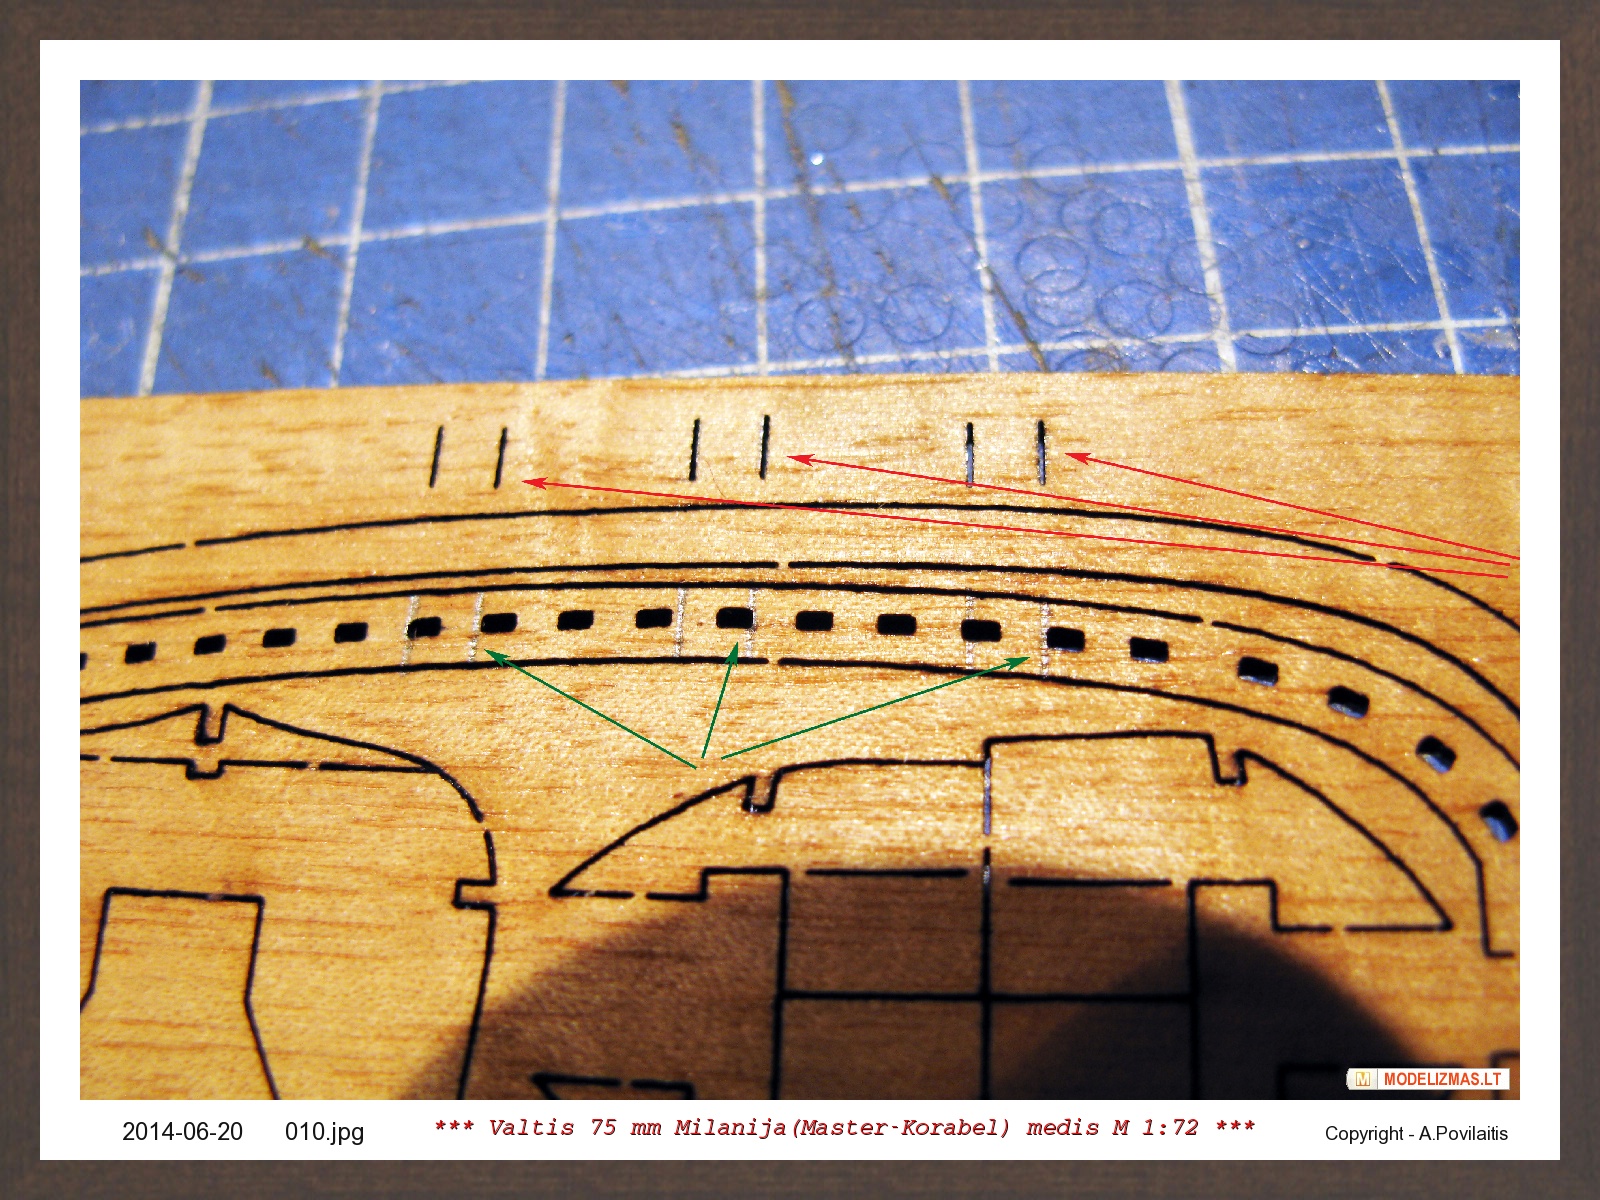
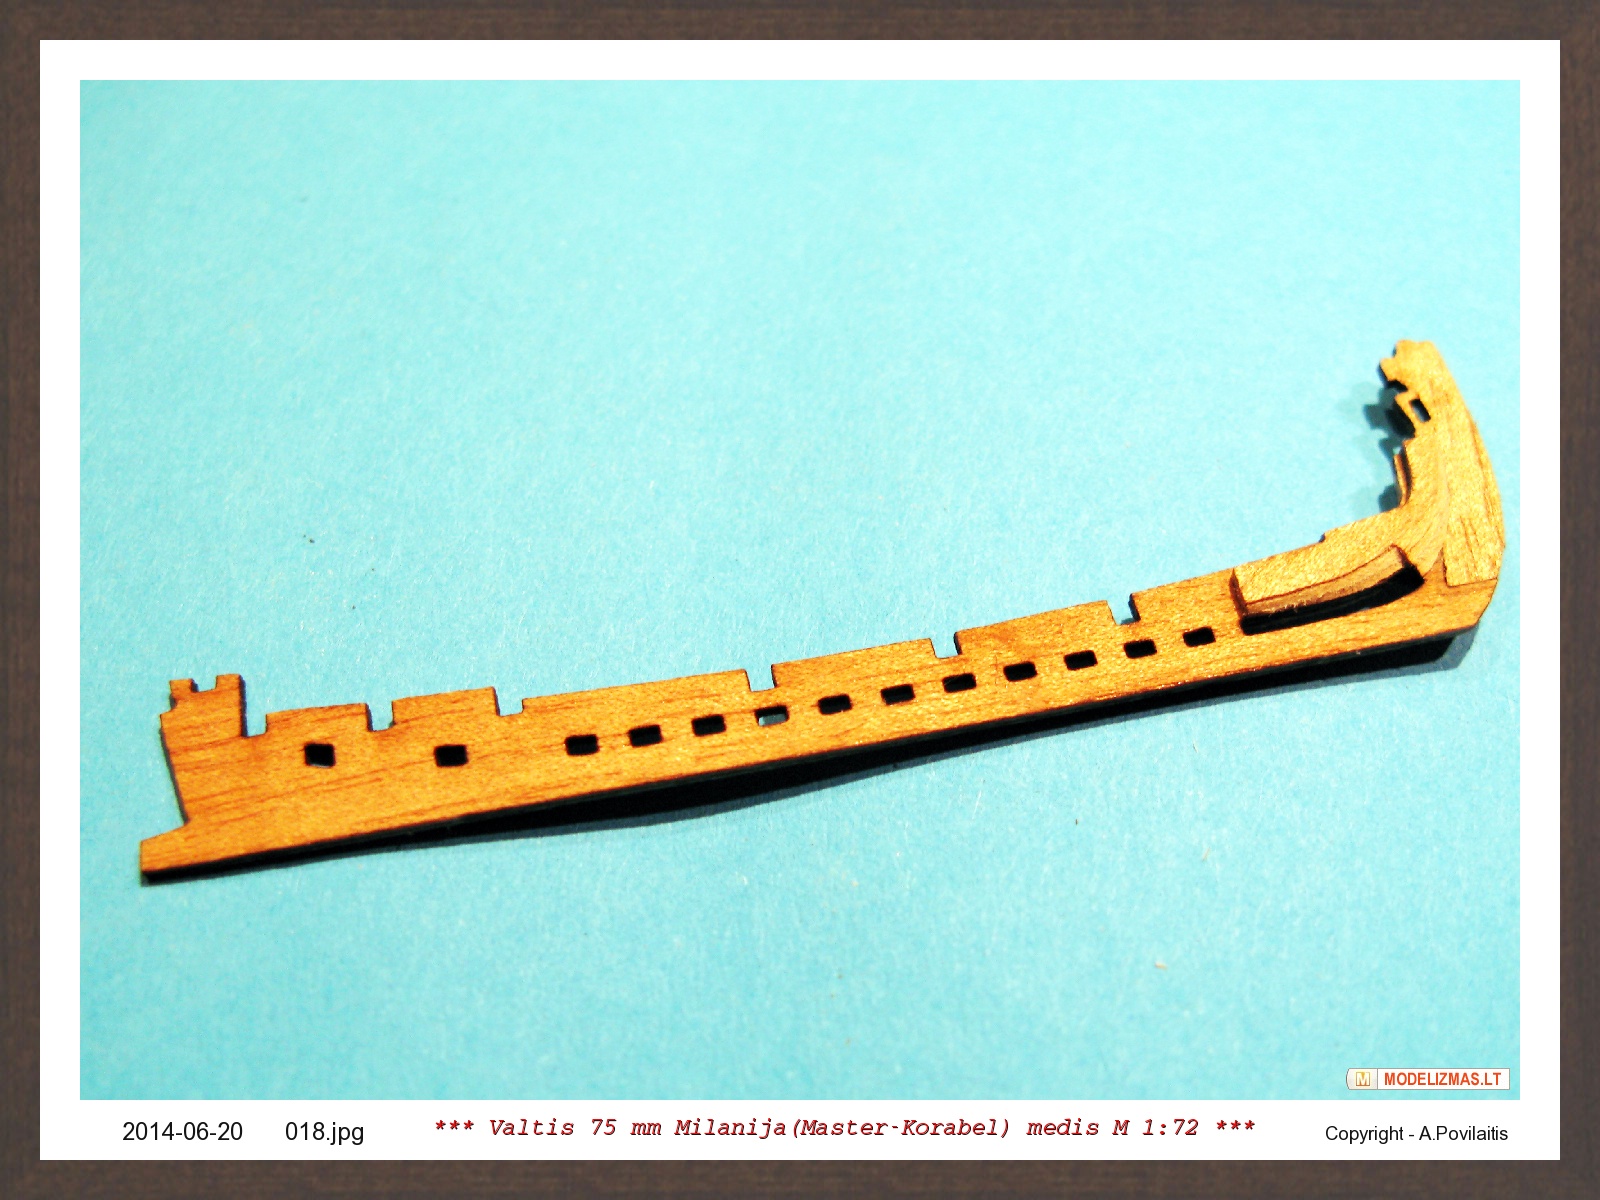
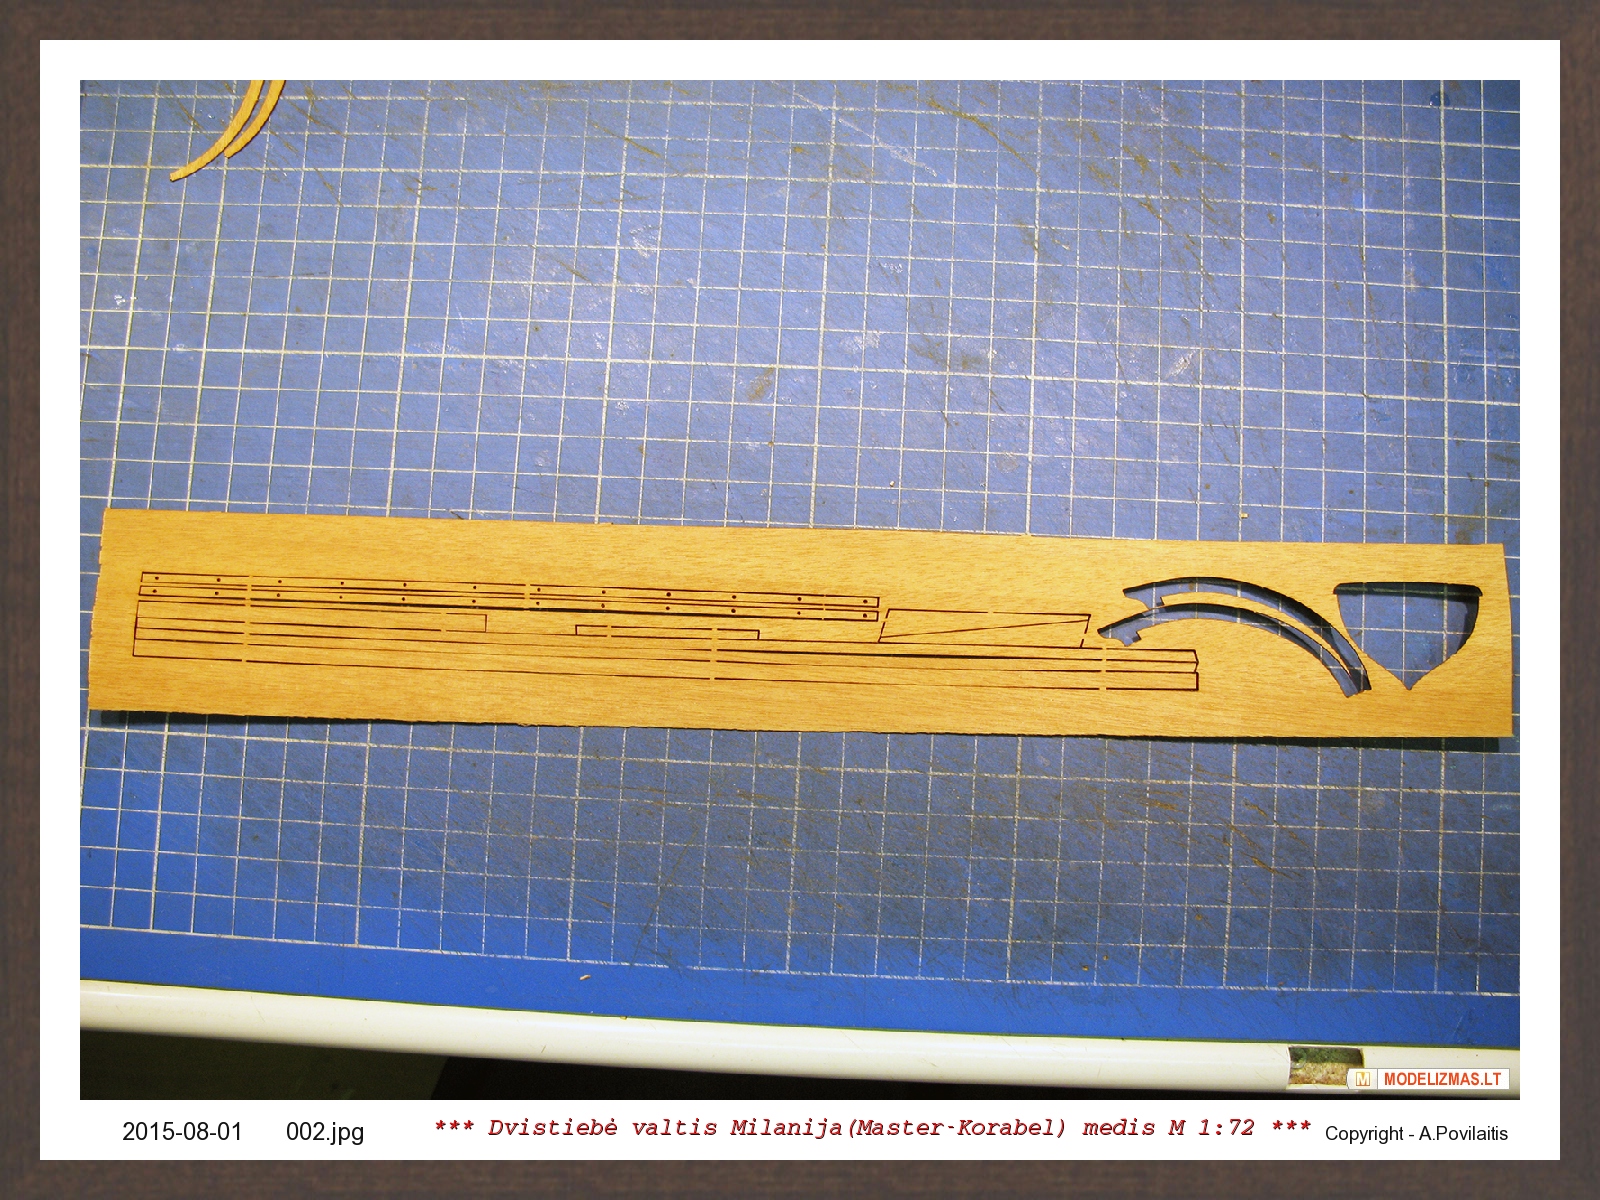
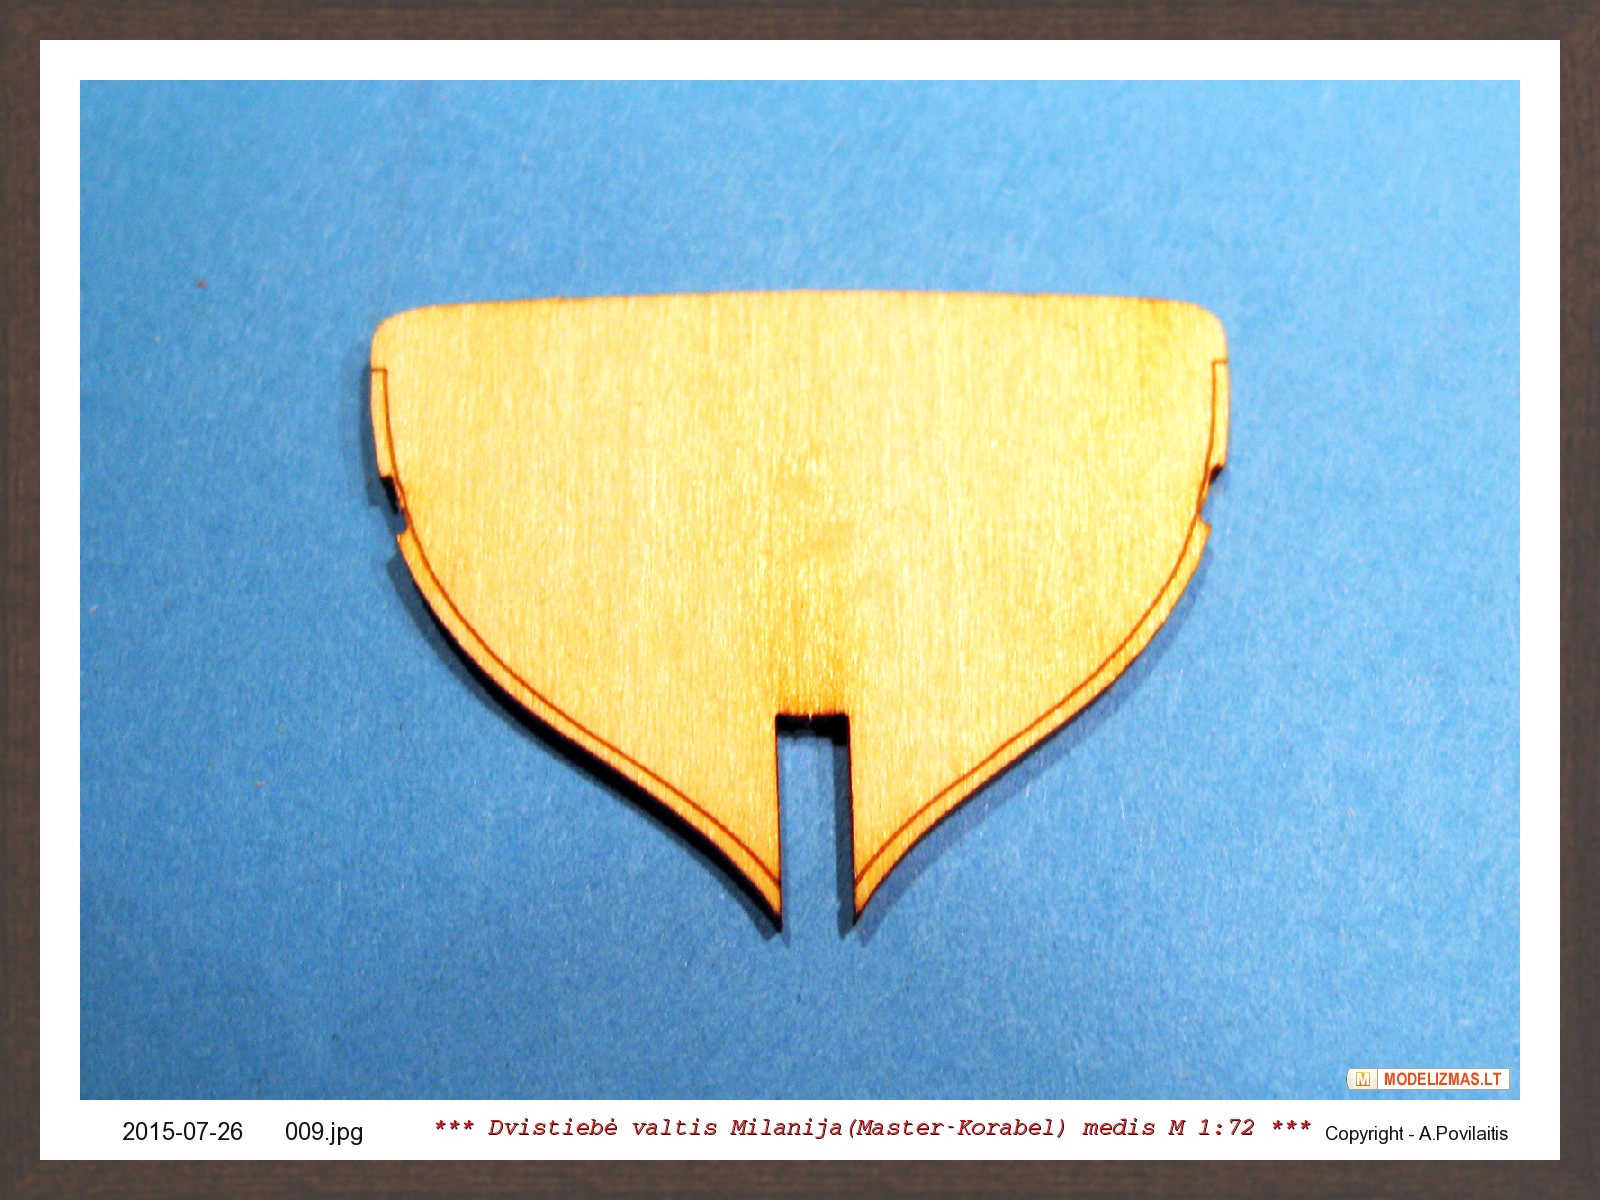
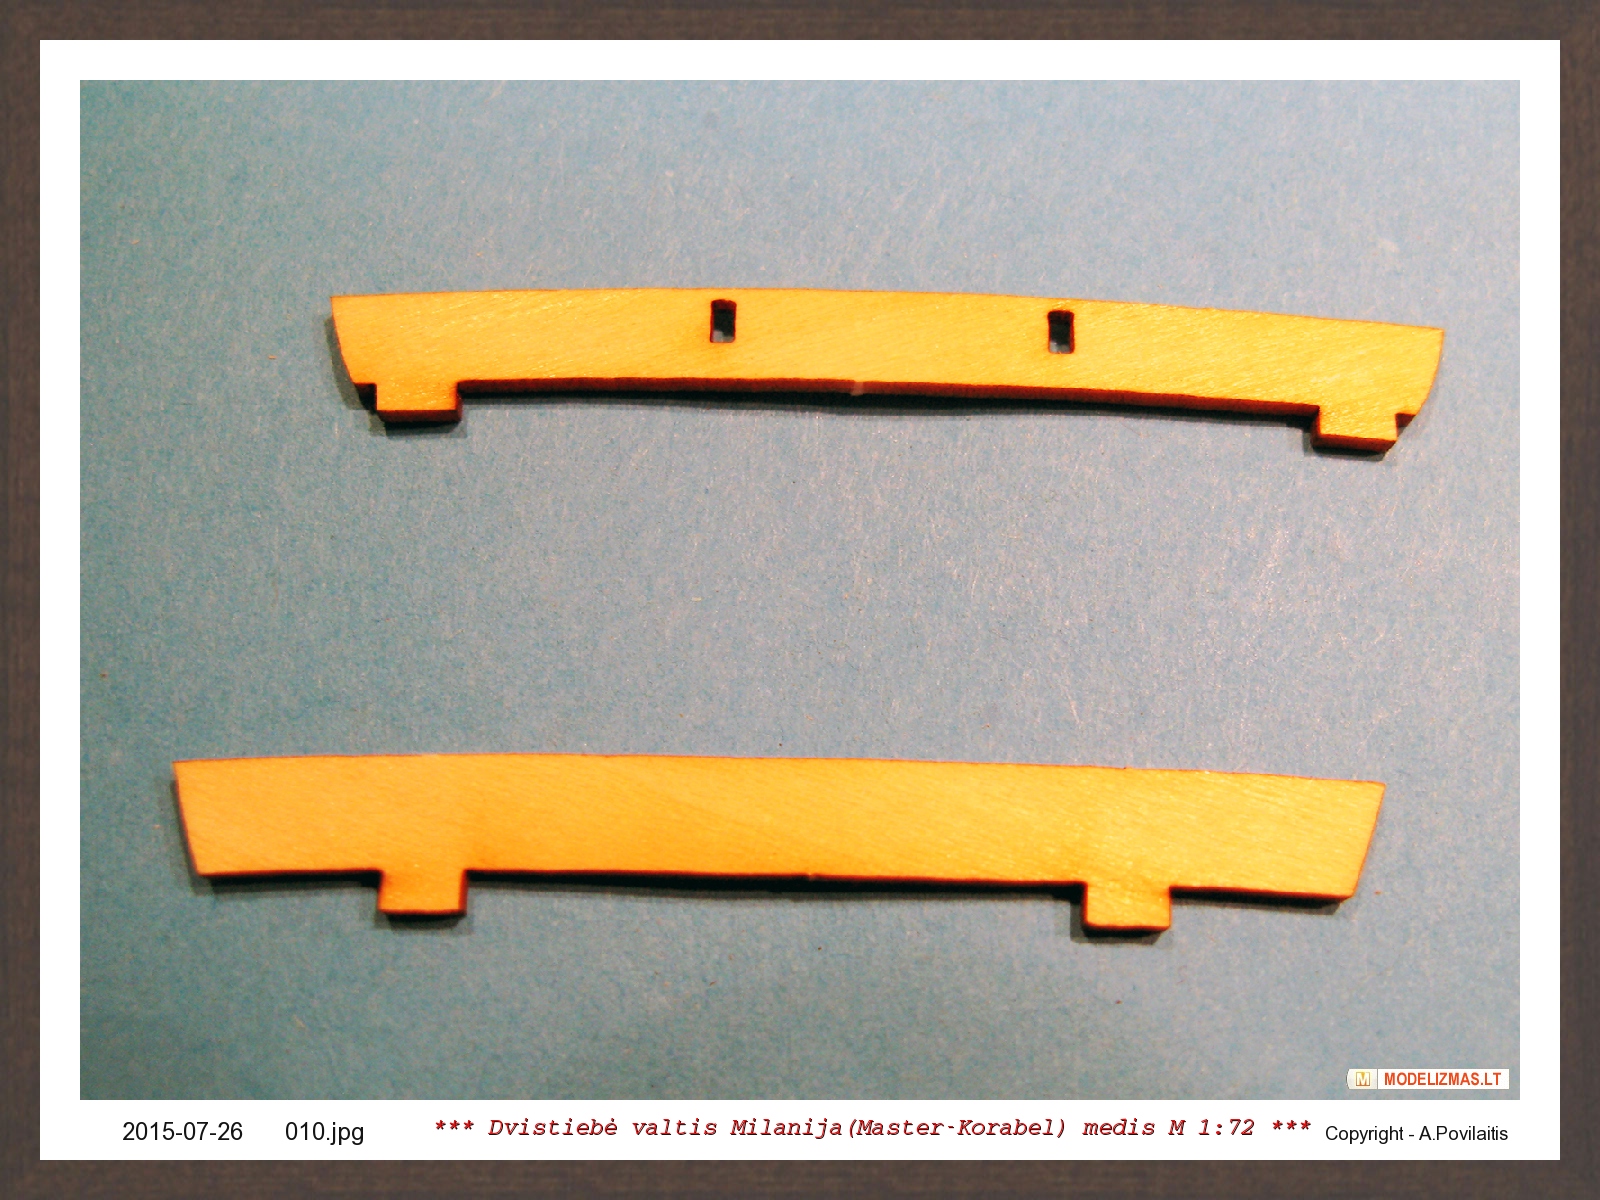
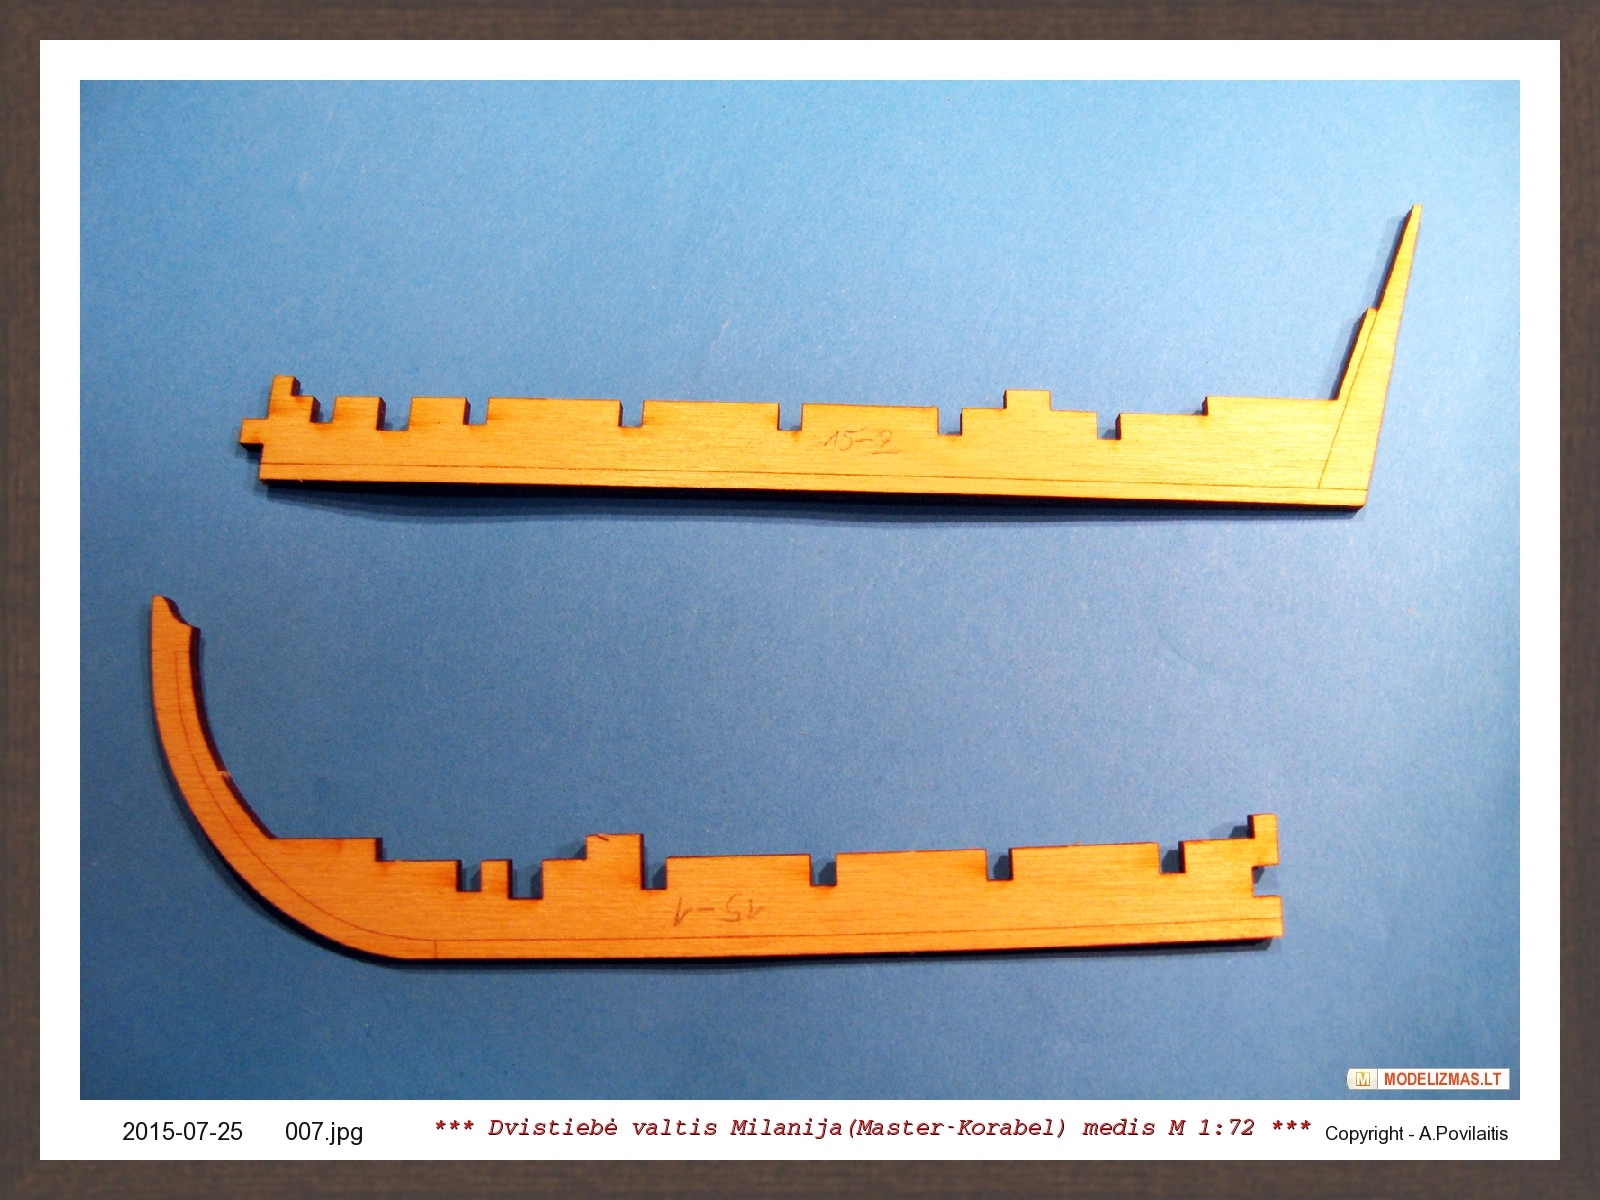
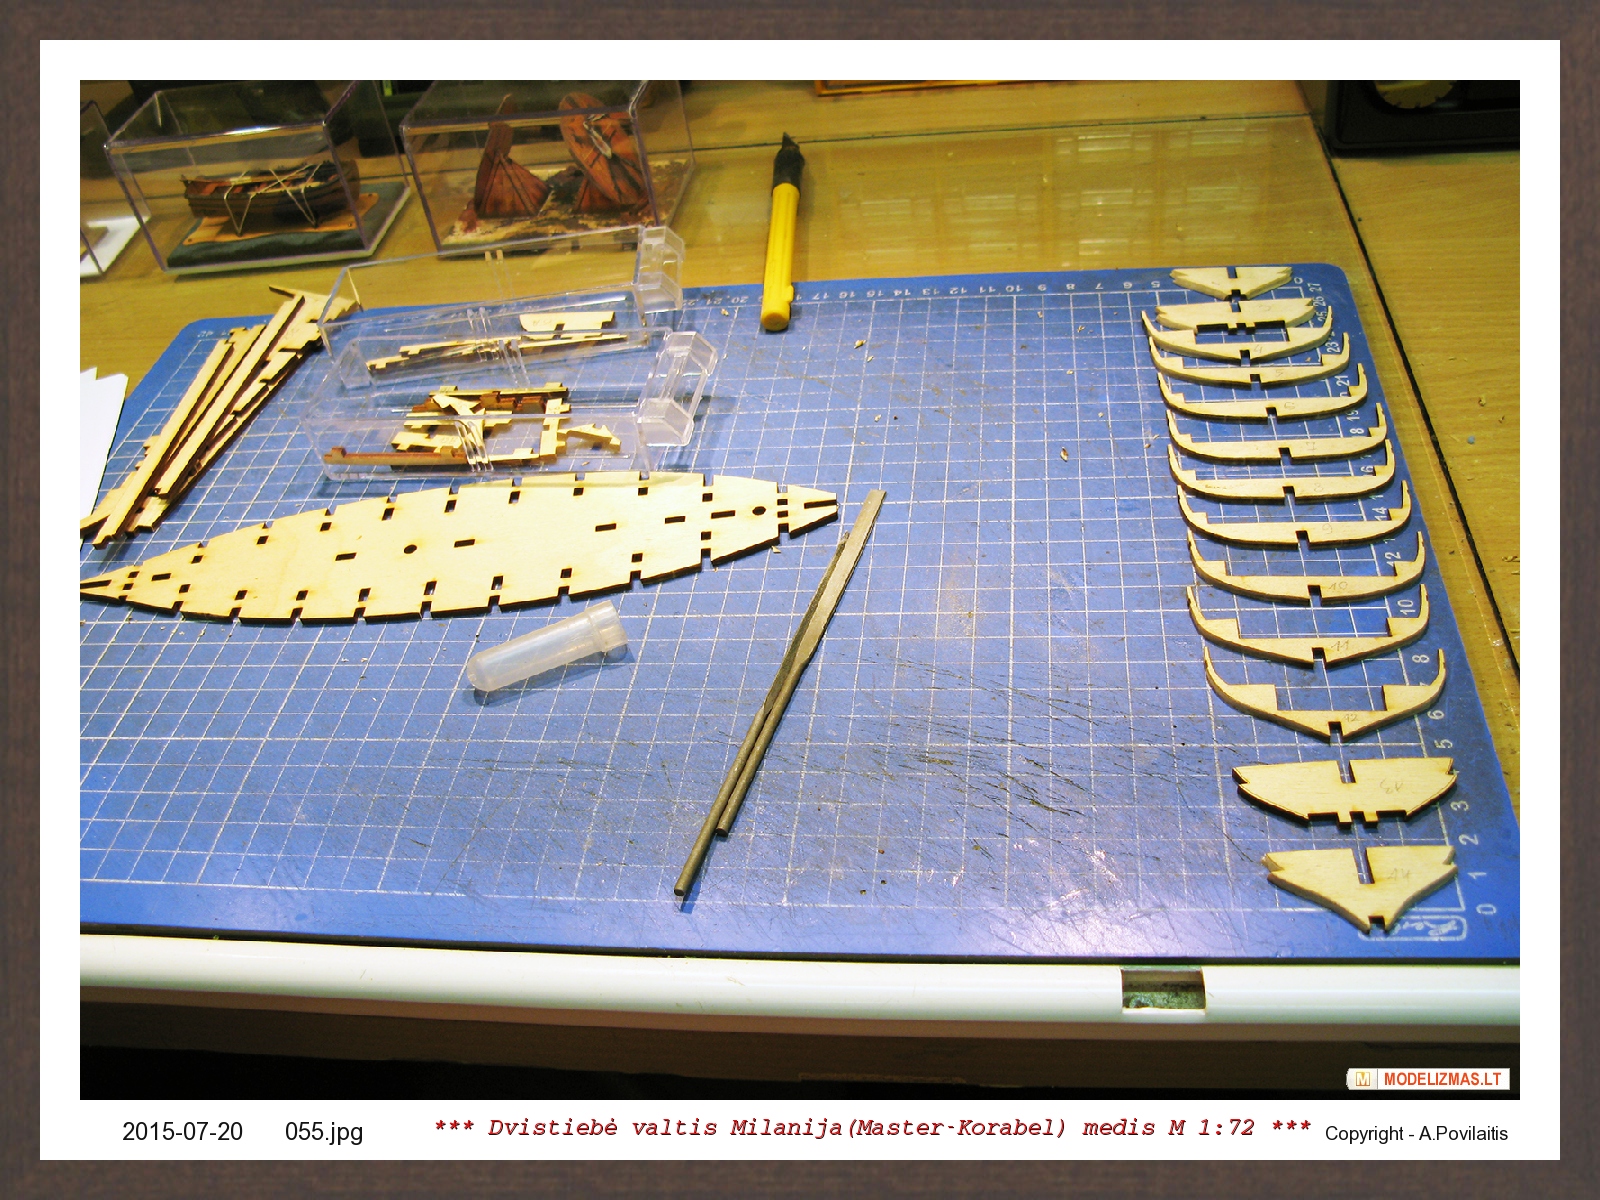
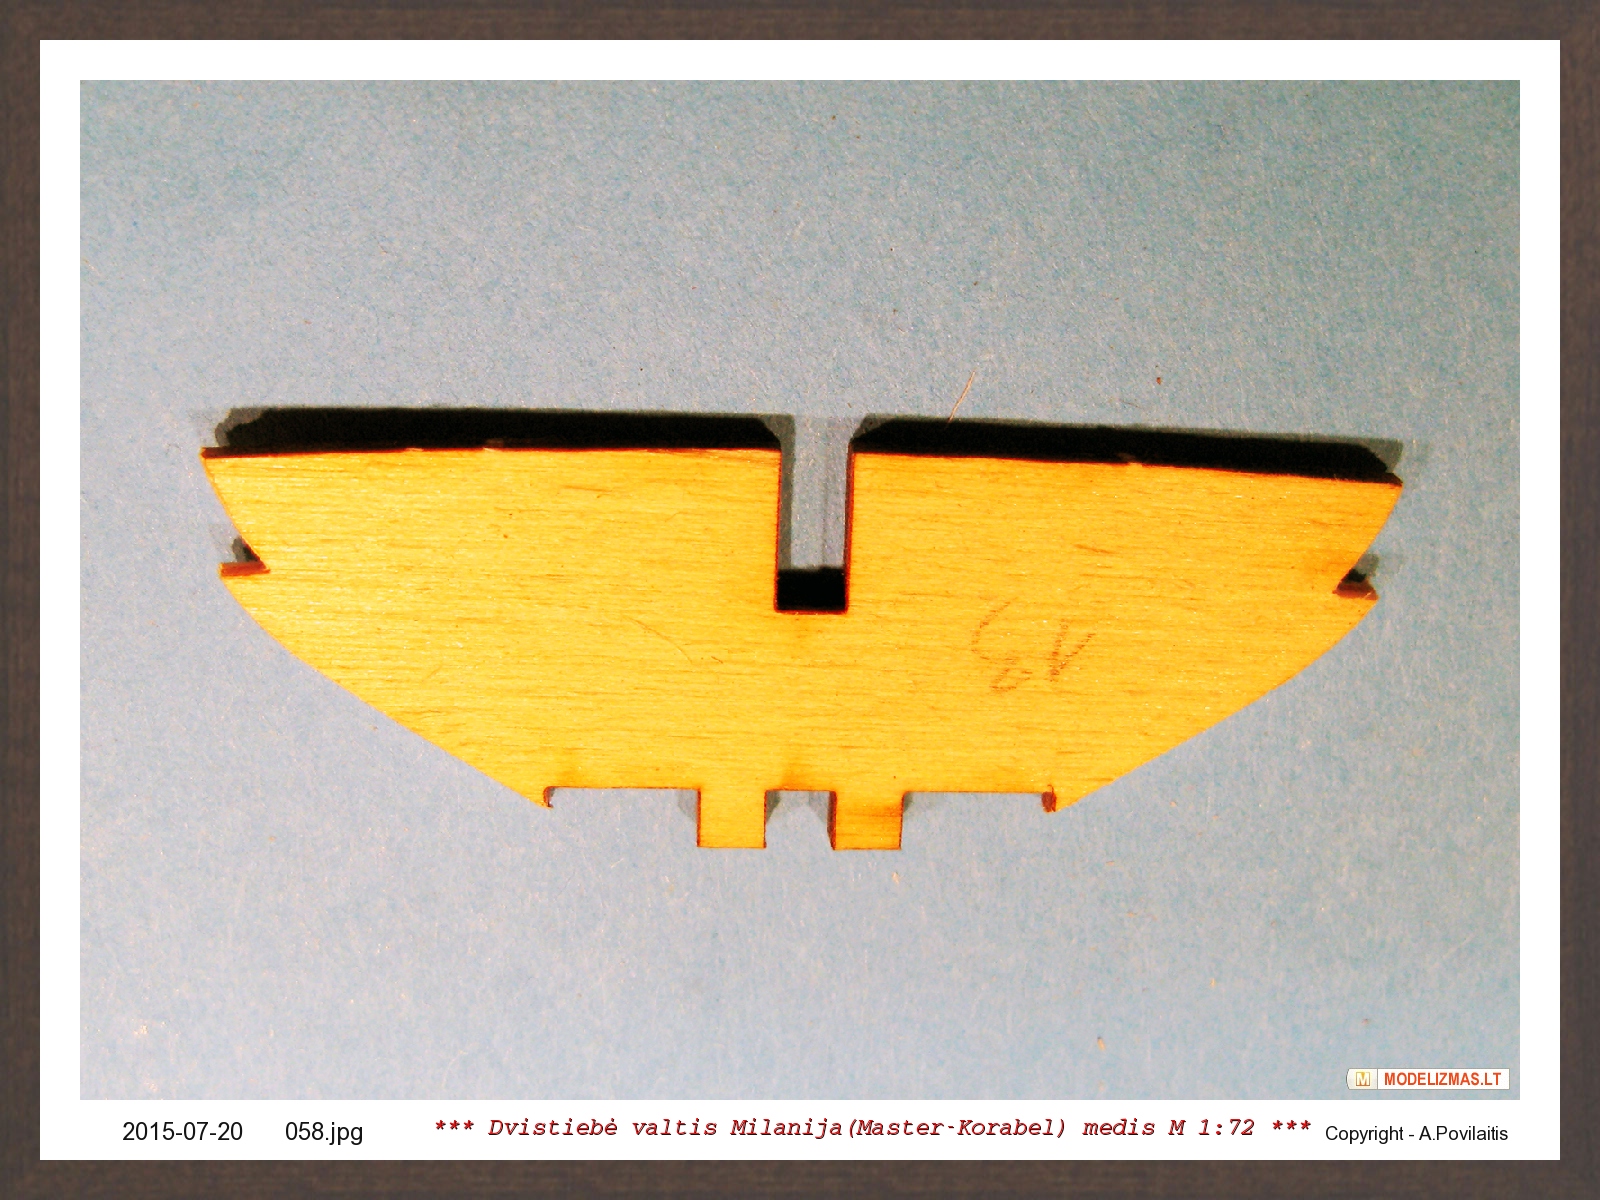
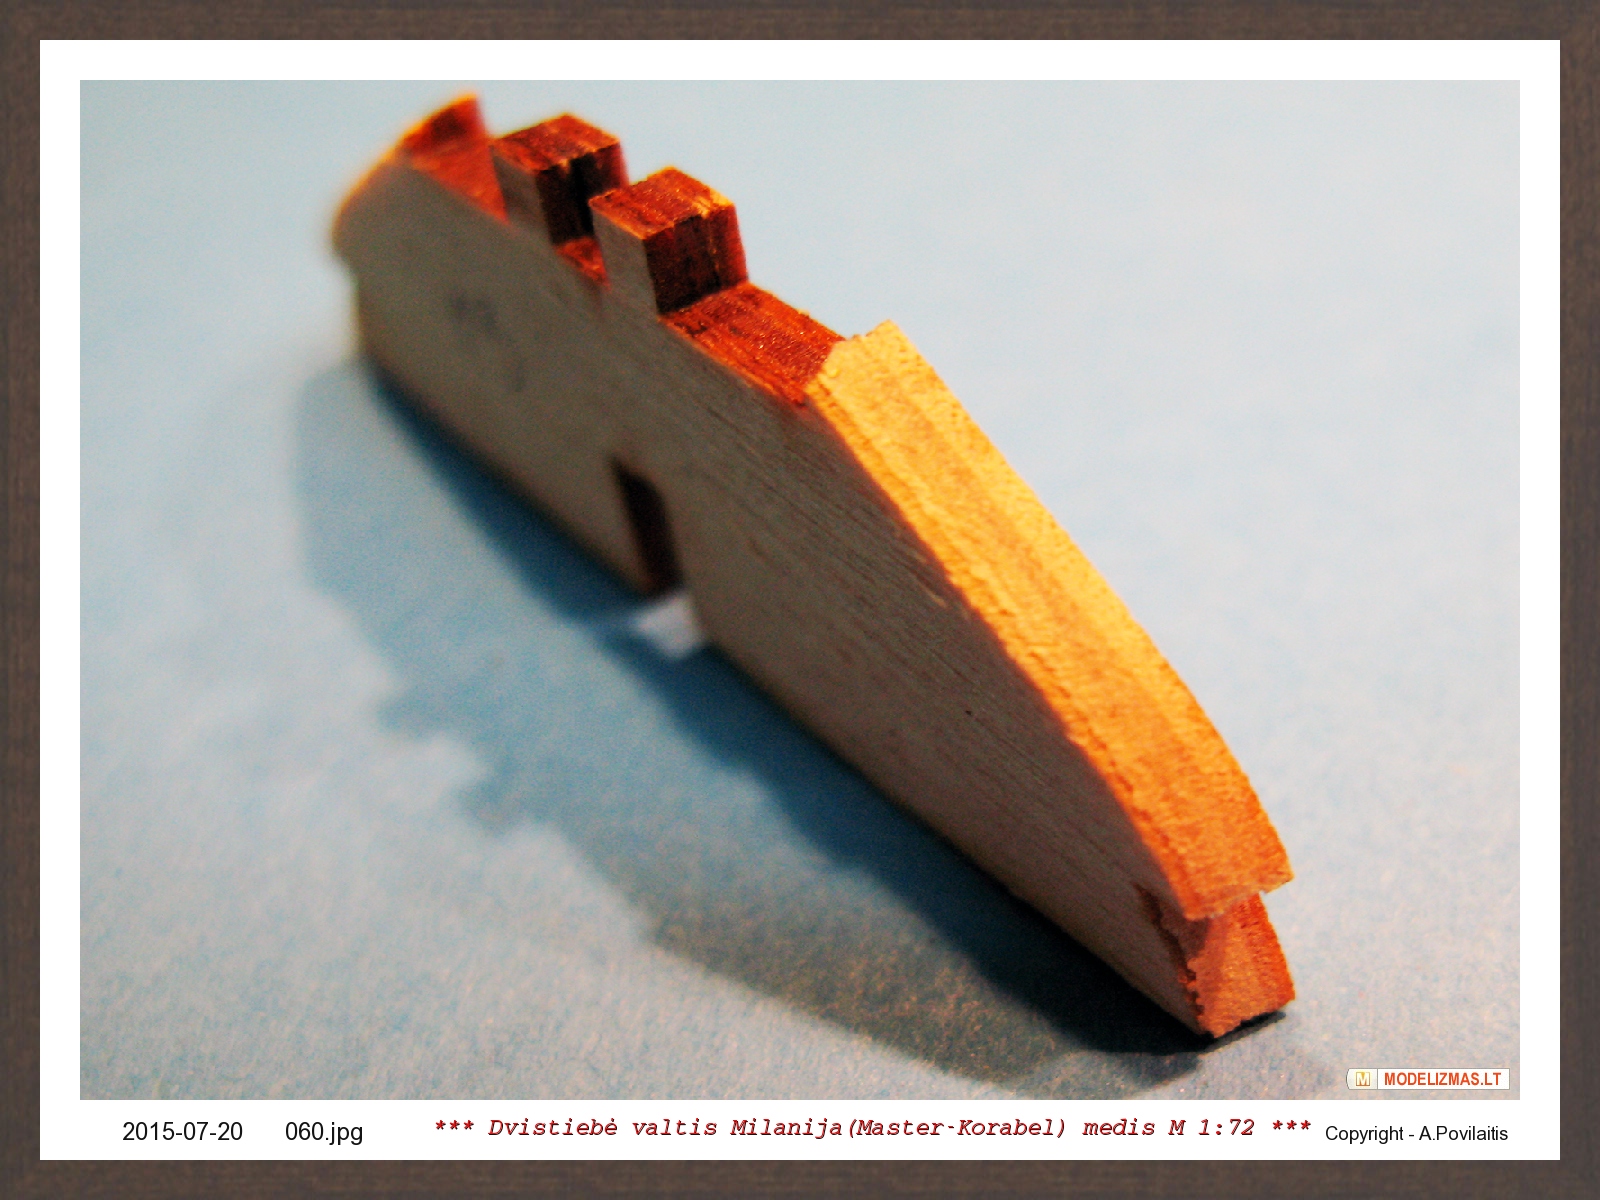
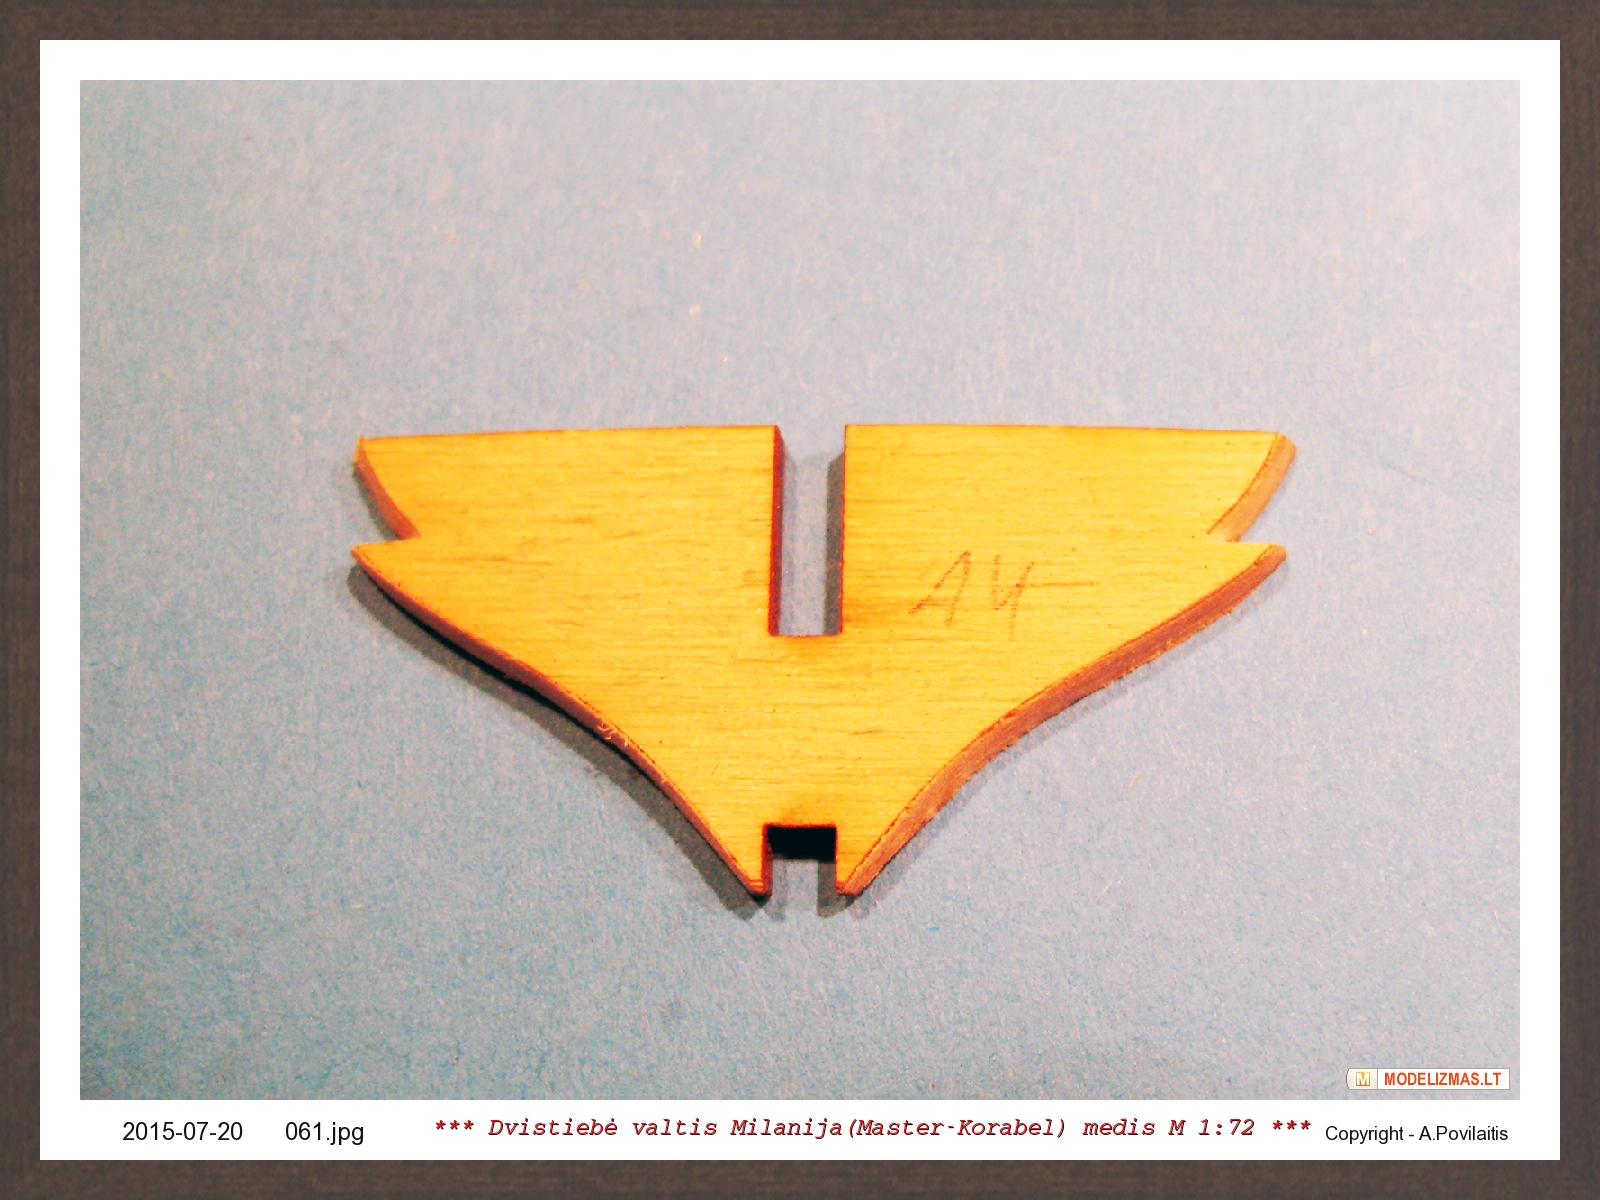
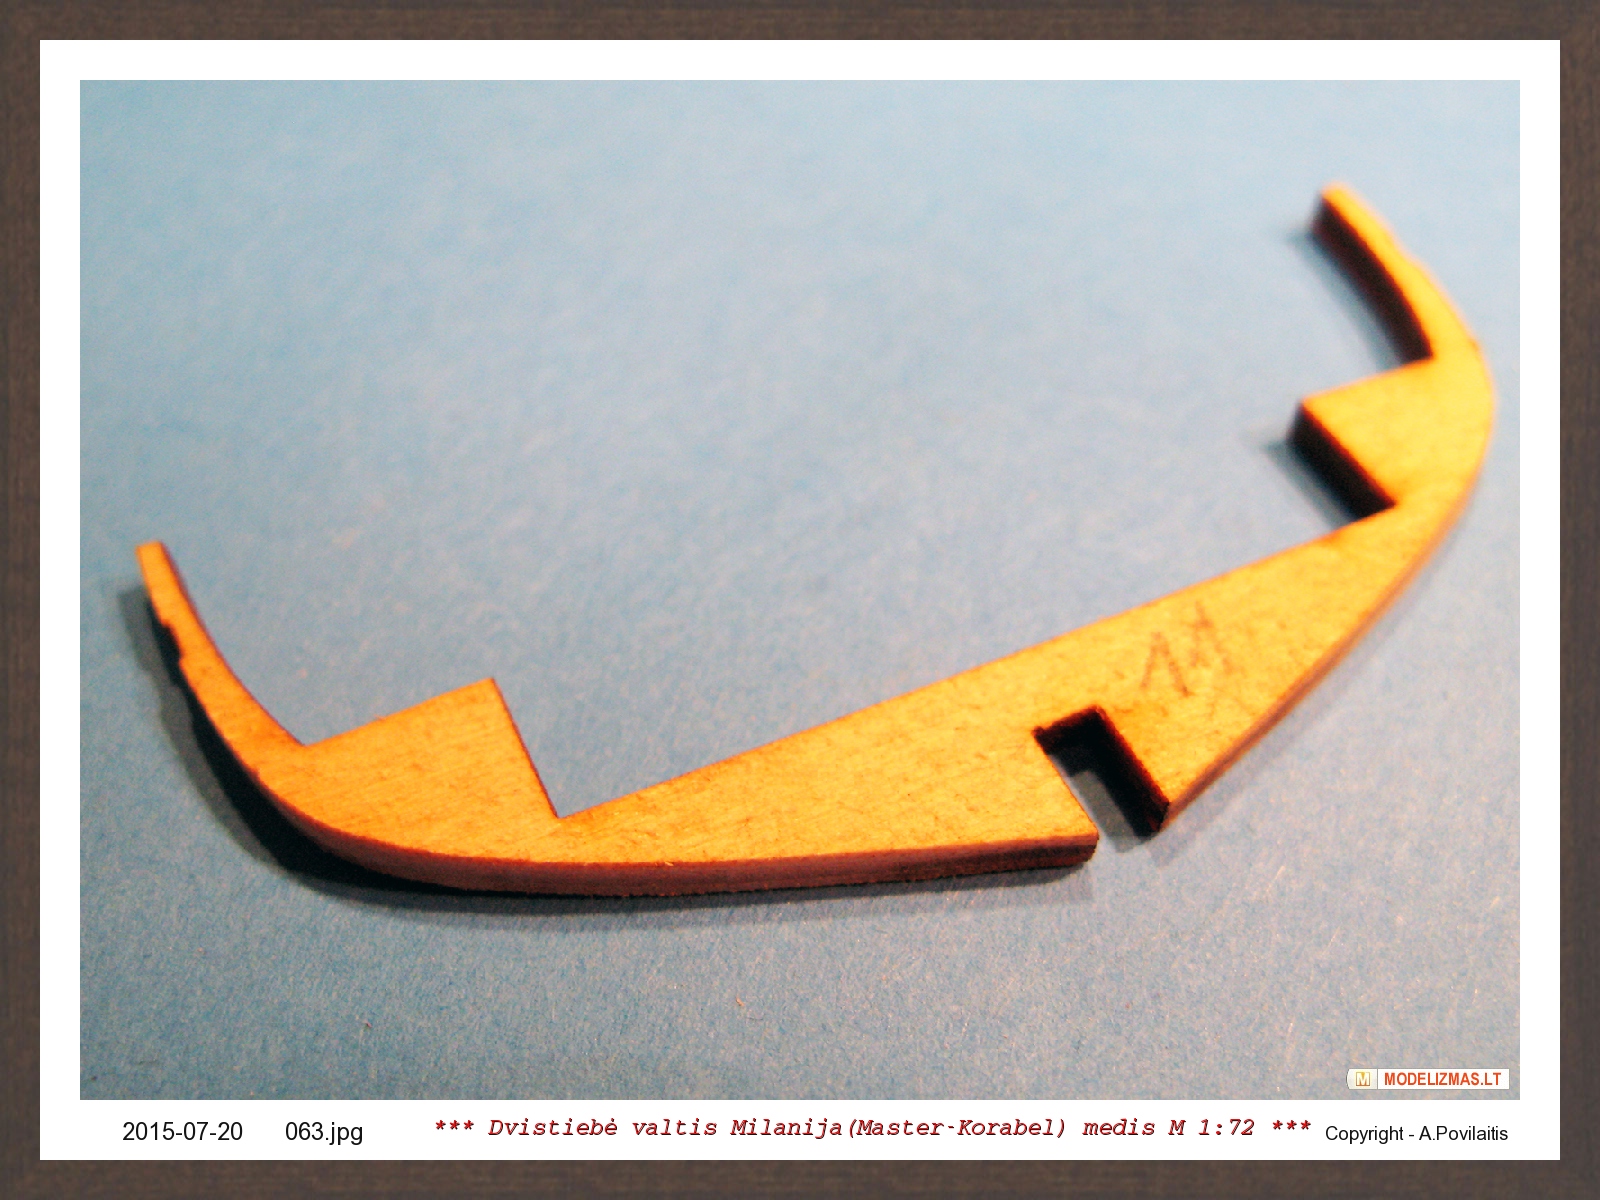
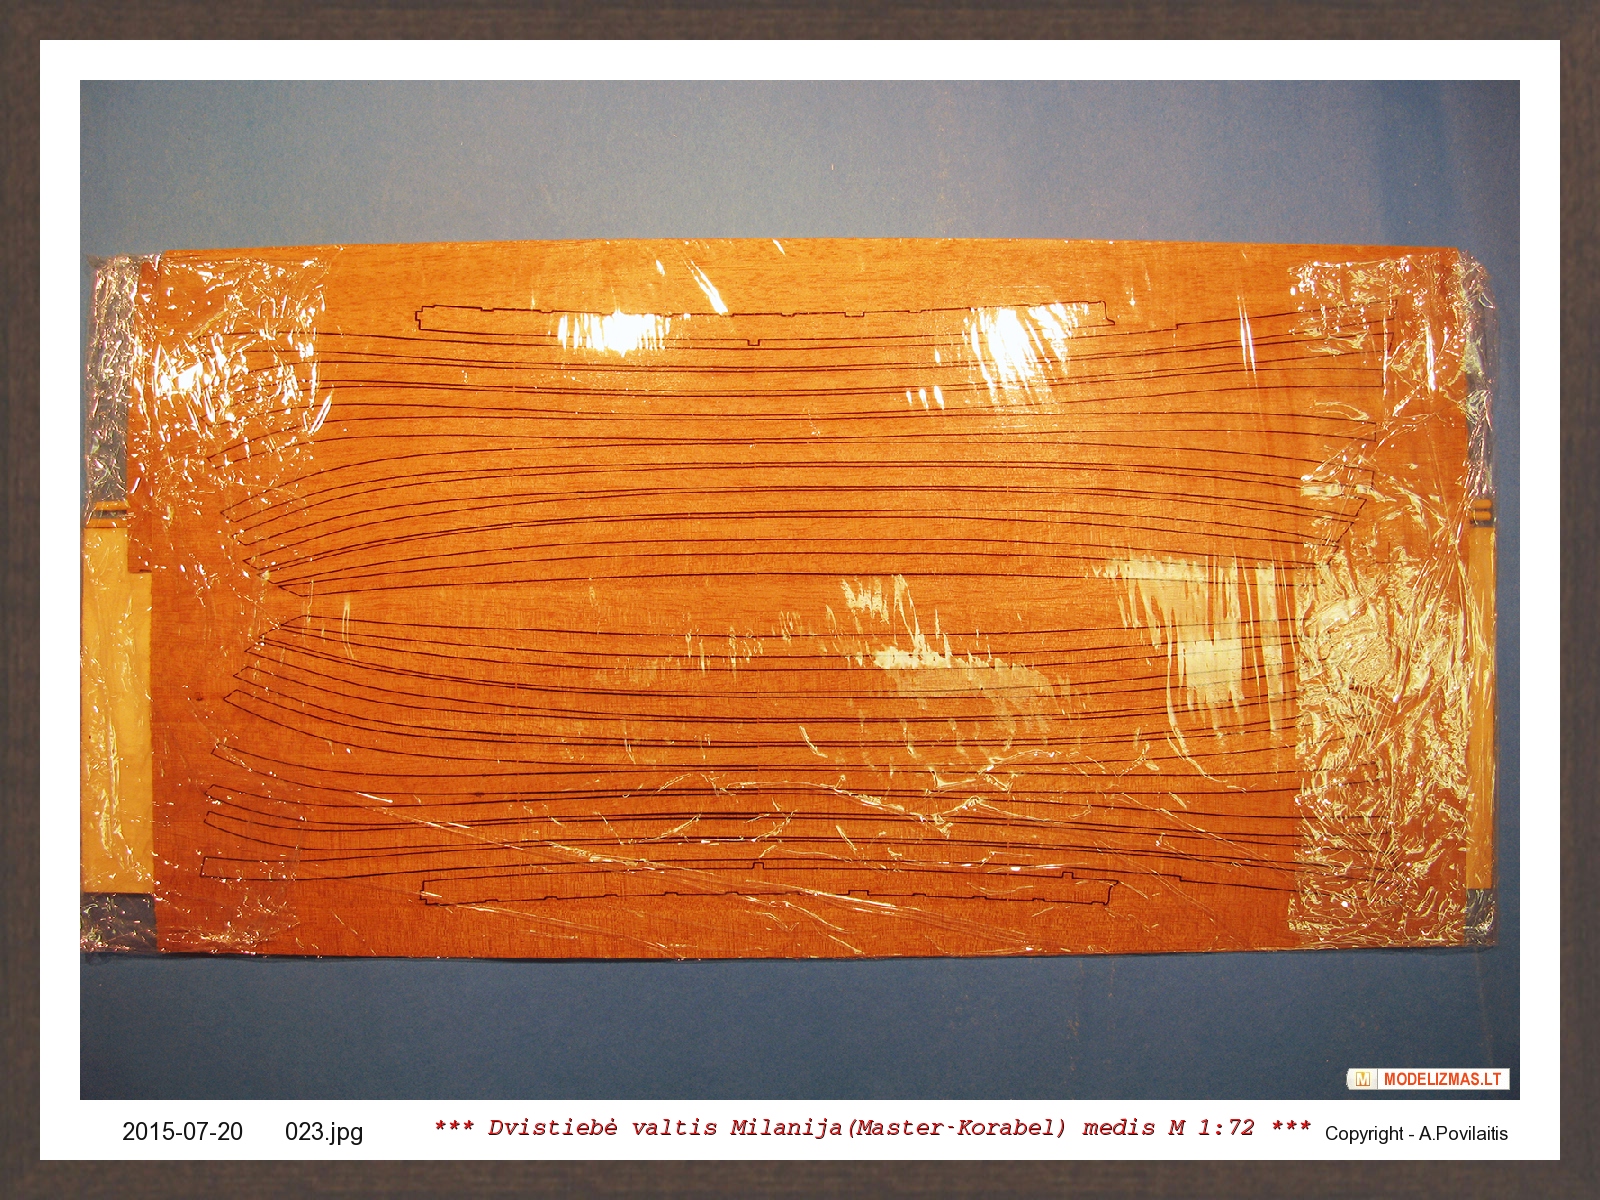
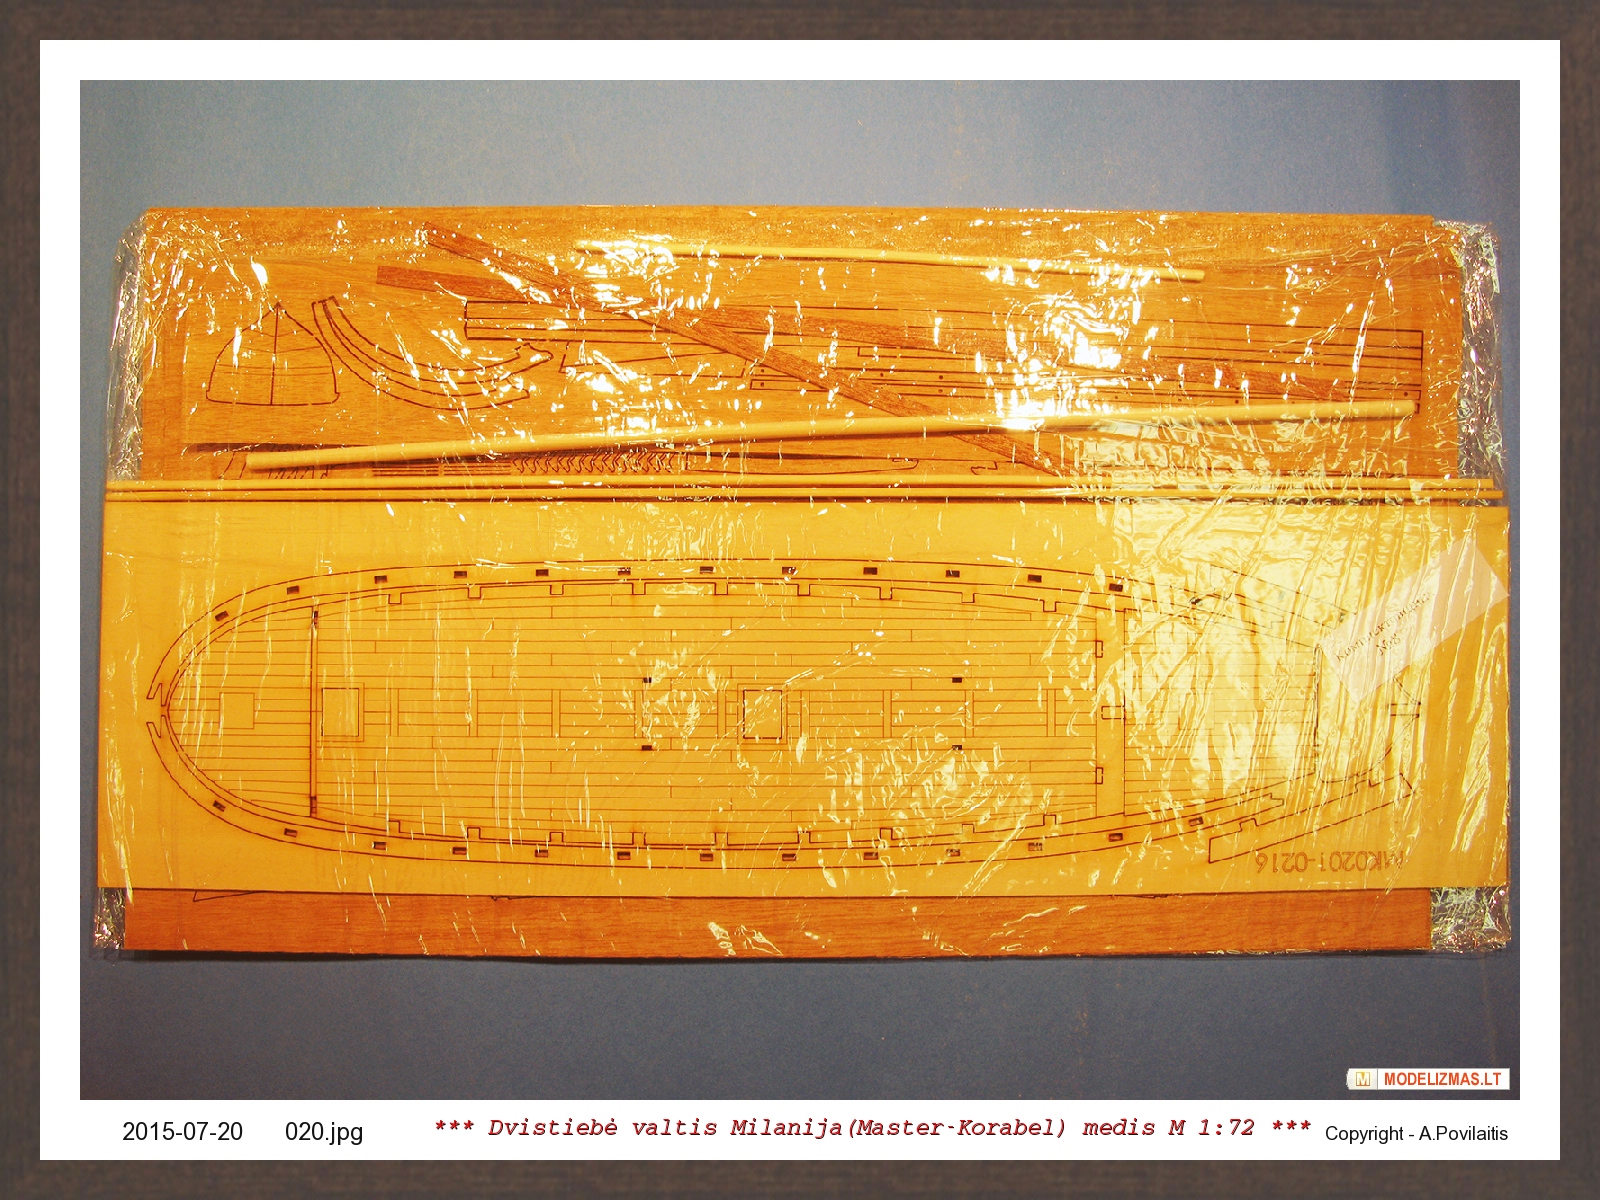
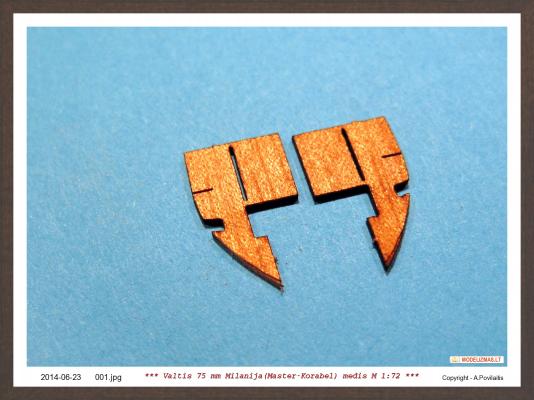
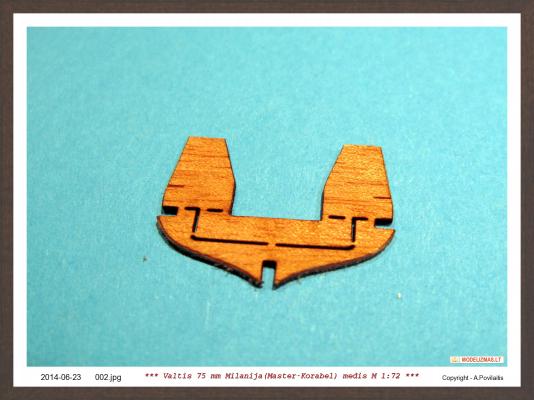
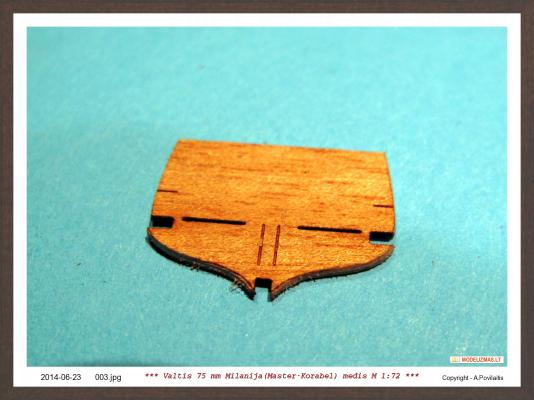
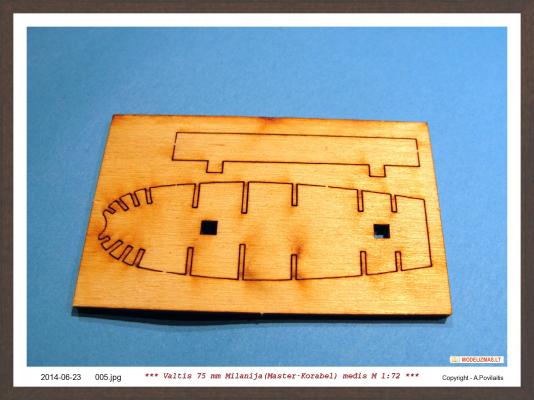
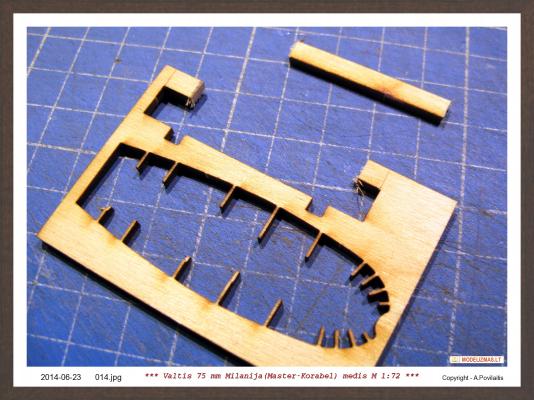
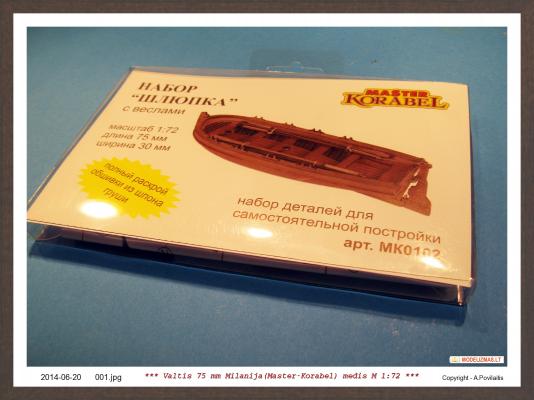
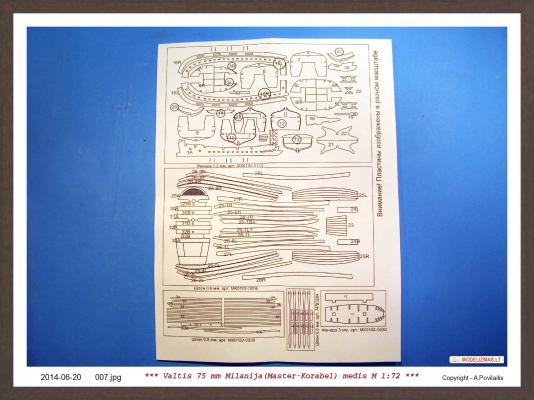
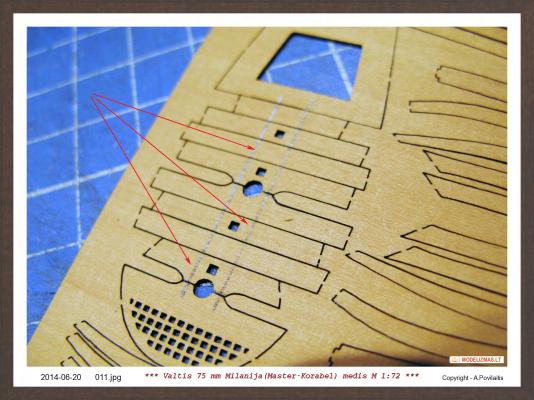
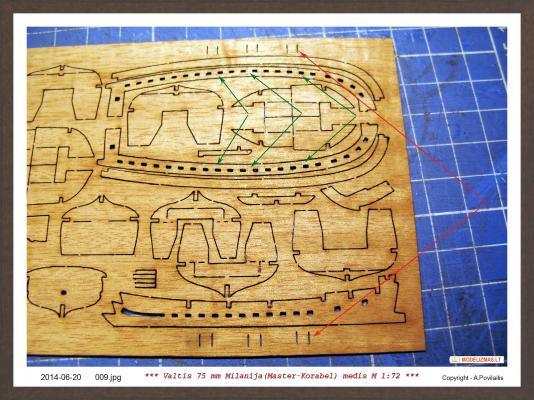
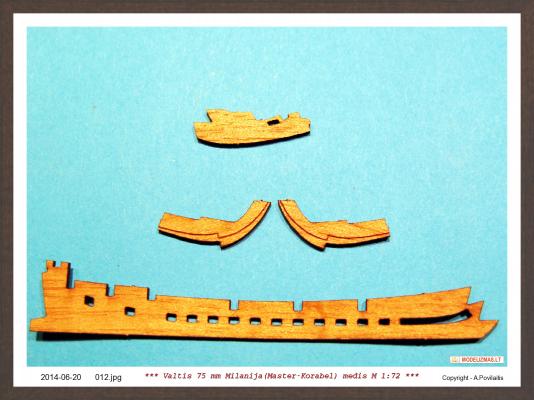
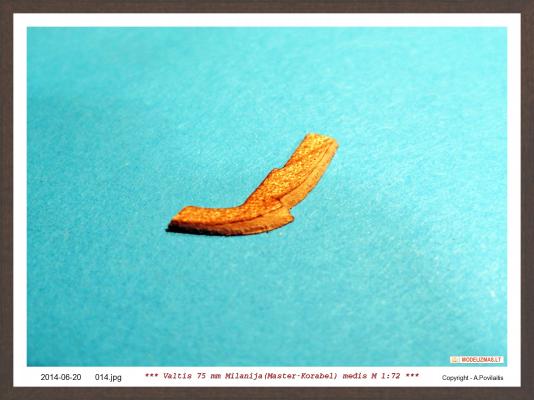
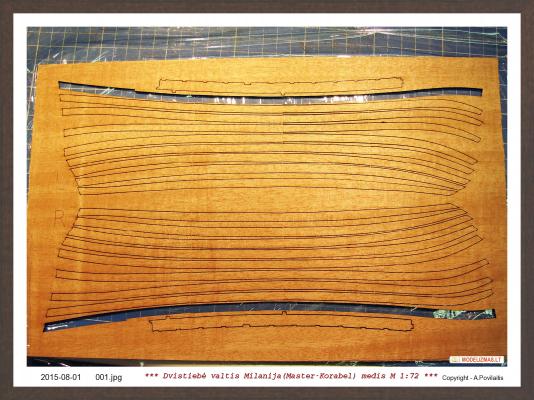
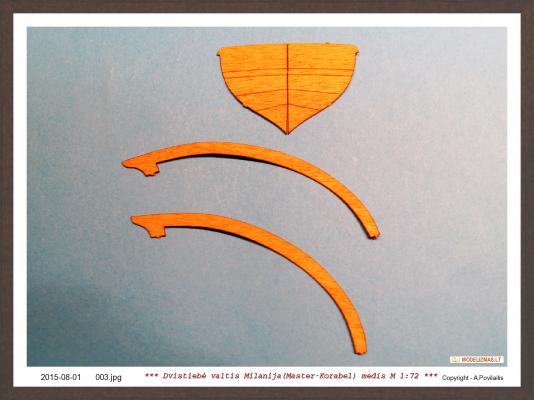
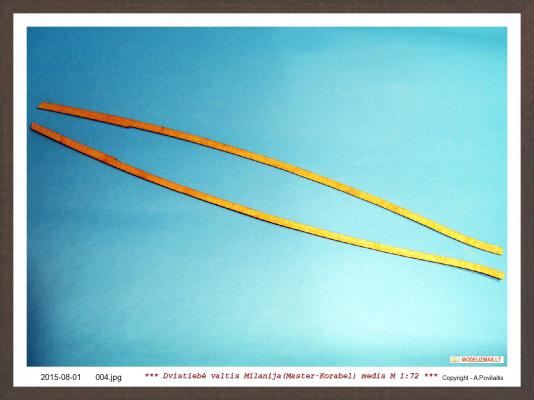
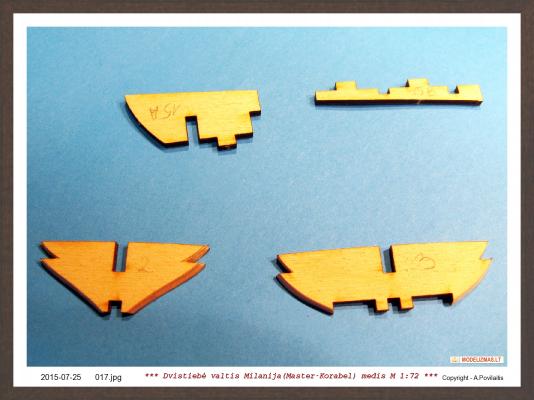
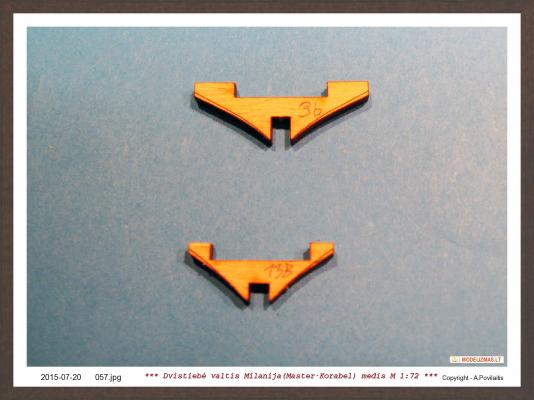
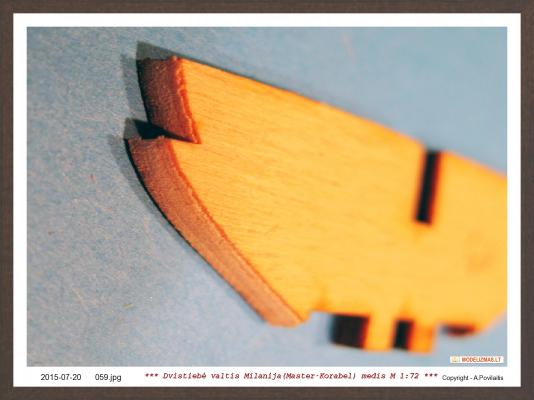
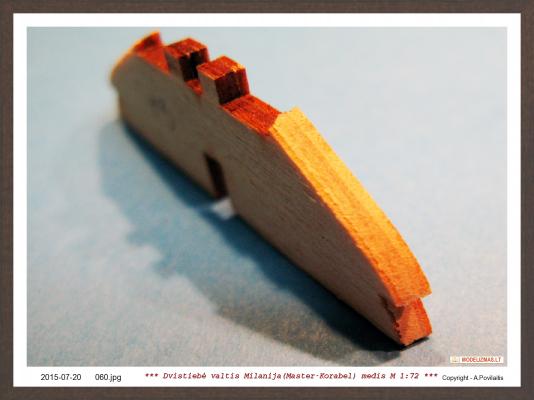
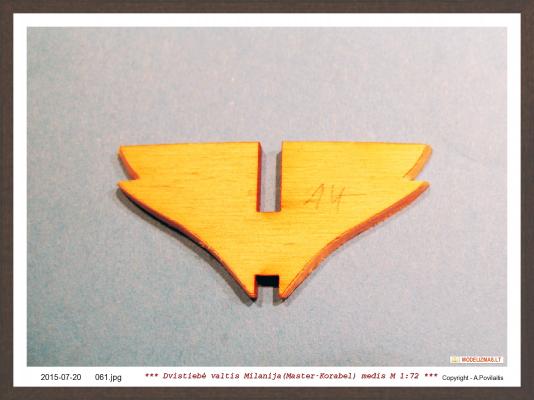
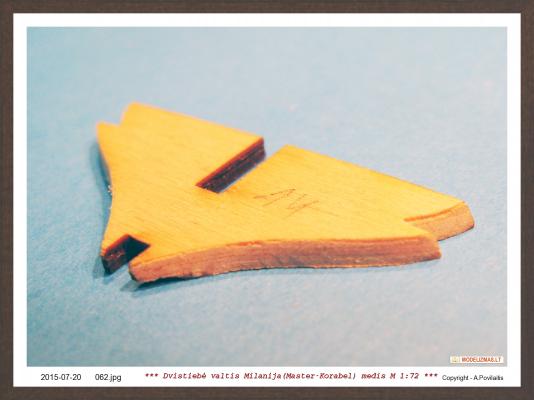
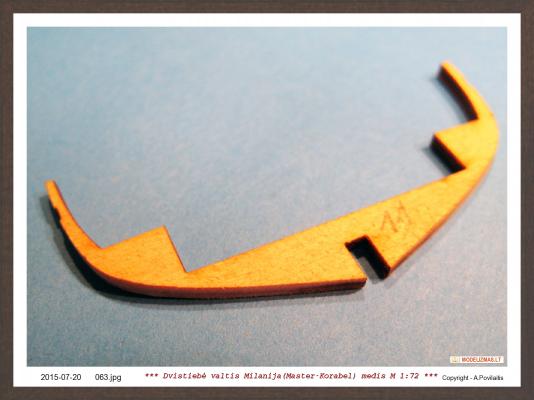
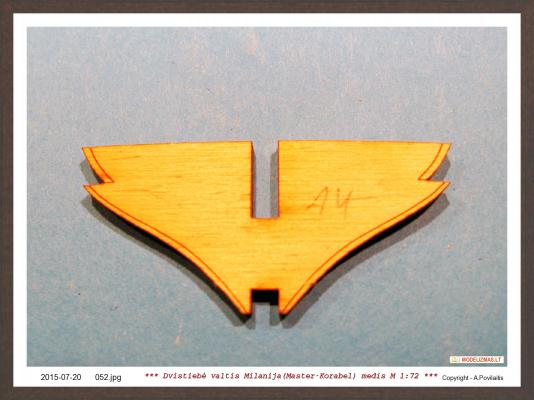
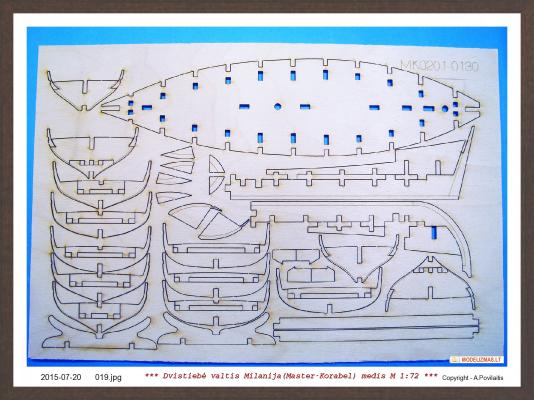
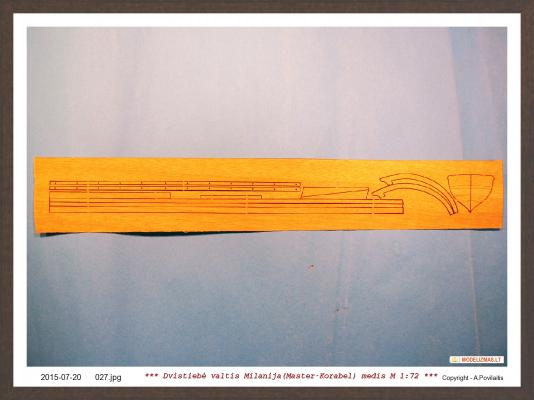
Hello. I desided to place this build log on MSW for several reasons. Although the model is complete before nearly 6 months, this boat is included in the biggest kits from "Master Korabel", and if build one of them, You will be must build this boat. This is very cheap kit, but You can build very nice separate model. And at least - this is simply, but not very easy to build kit. The parts are very small, must be glued and sanded very precise. It will be very good experience for You. This is my first kit from "Master Korabel" and I love it... Now, what are in package of this small 75 mm lenght boat: The boat planks are laser cutted from the pear wood. The other parts are from the pear too, except the oars. Now let's begin. At first make marks on the plate as shown in the photo. The red color arrows shows the laser marks. The green arrows - my marks by pencil. This will be usefull to place the parts before to glue it. Then removed teh keel parts as the shown from the plate. Then glued keel parts together. Sanded the other parts at an angle, as shown on the photo. How many to sand are wery easy to see. The parts has marks, made by the laser. Then keel and sanded parts are glued together. Regards, Antanas


- 22 replies
-
- 4
-
-
- master korabel
- 75mm boat
- (and 1 more)
-
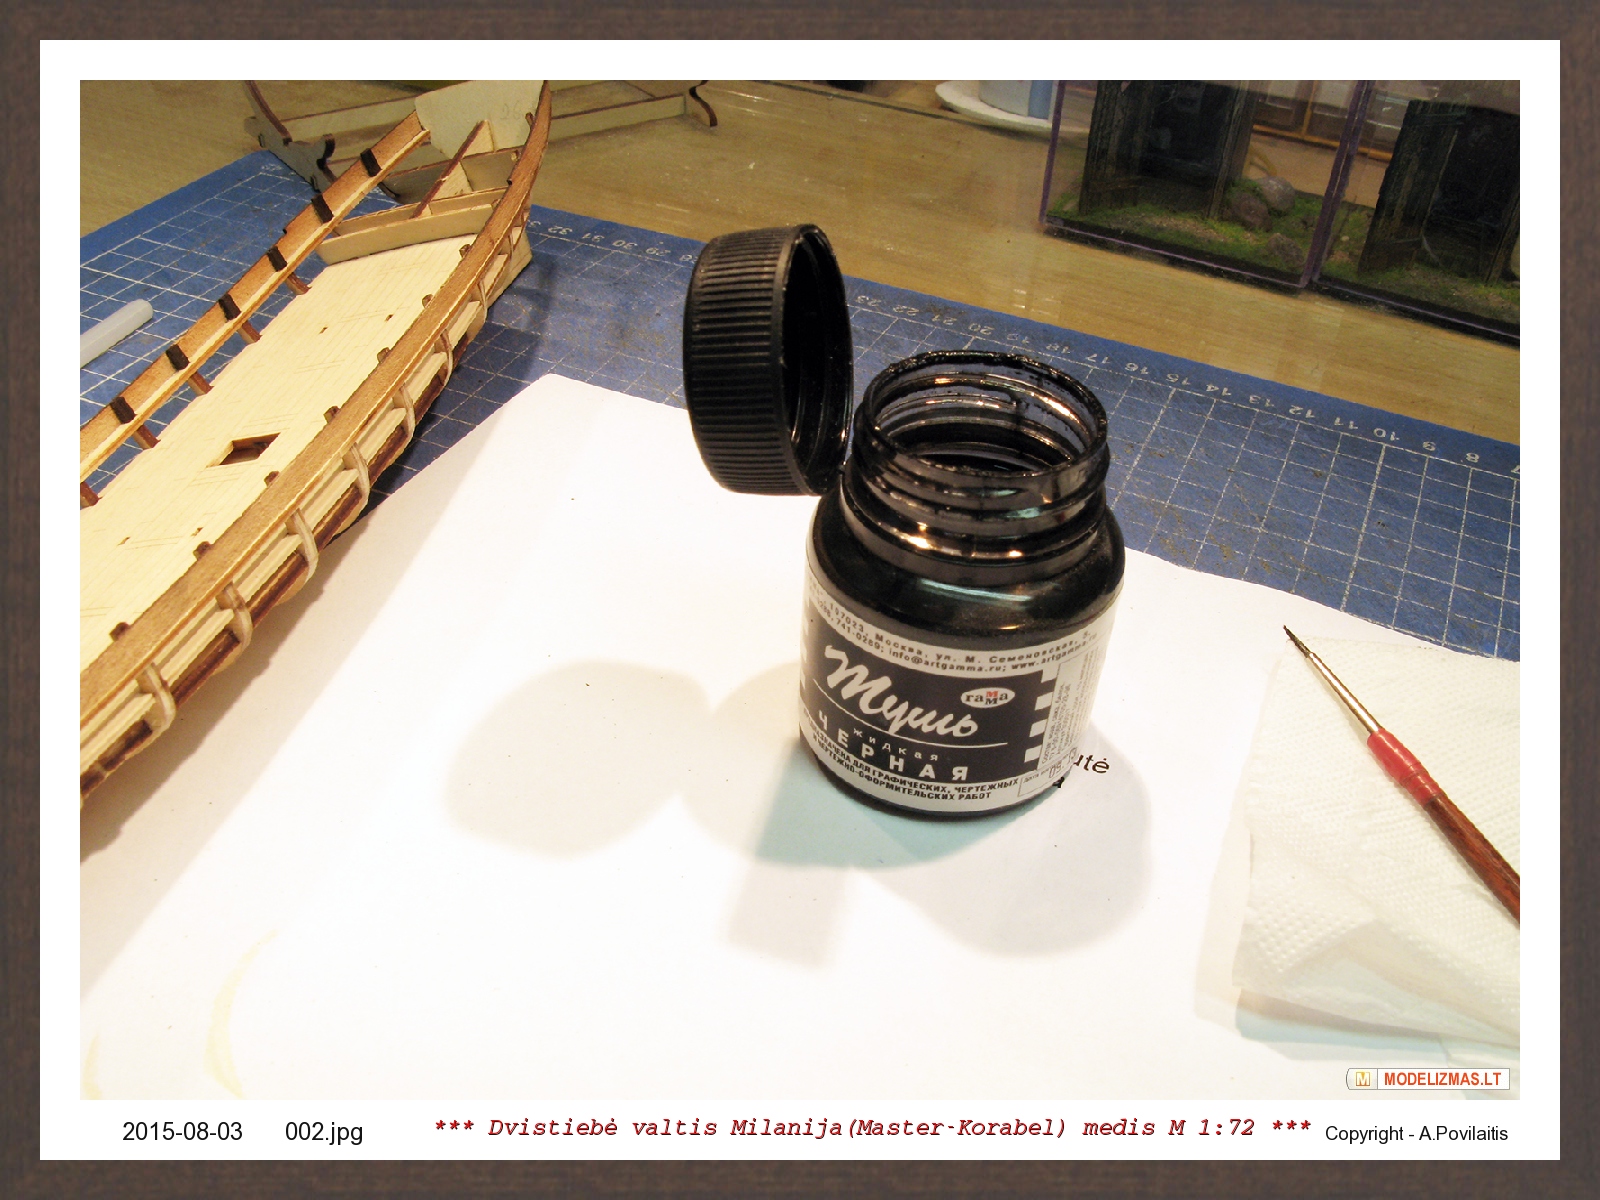
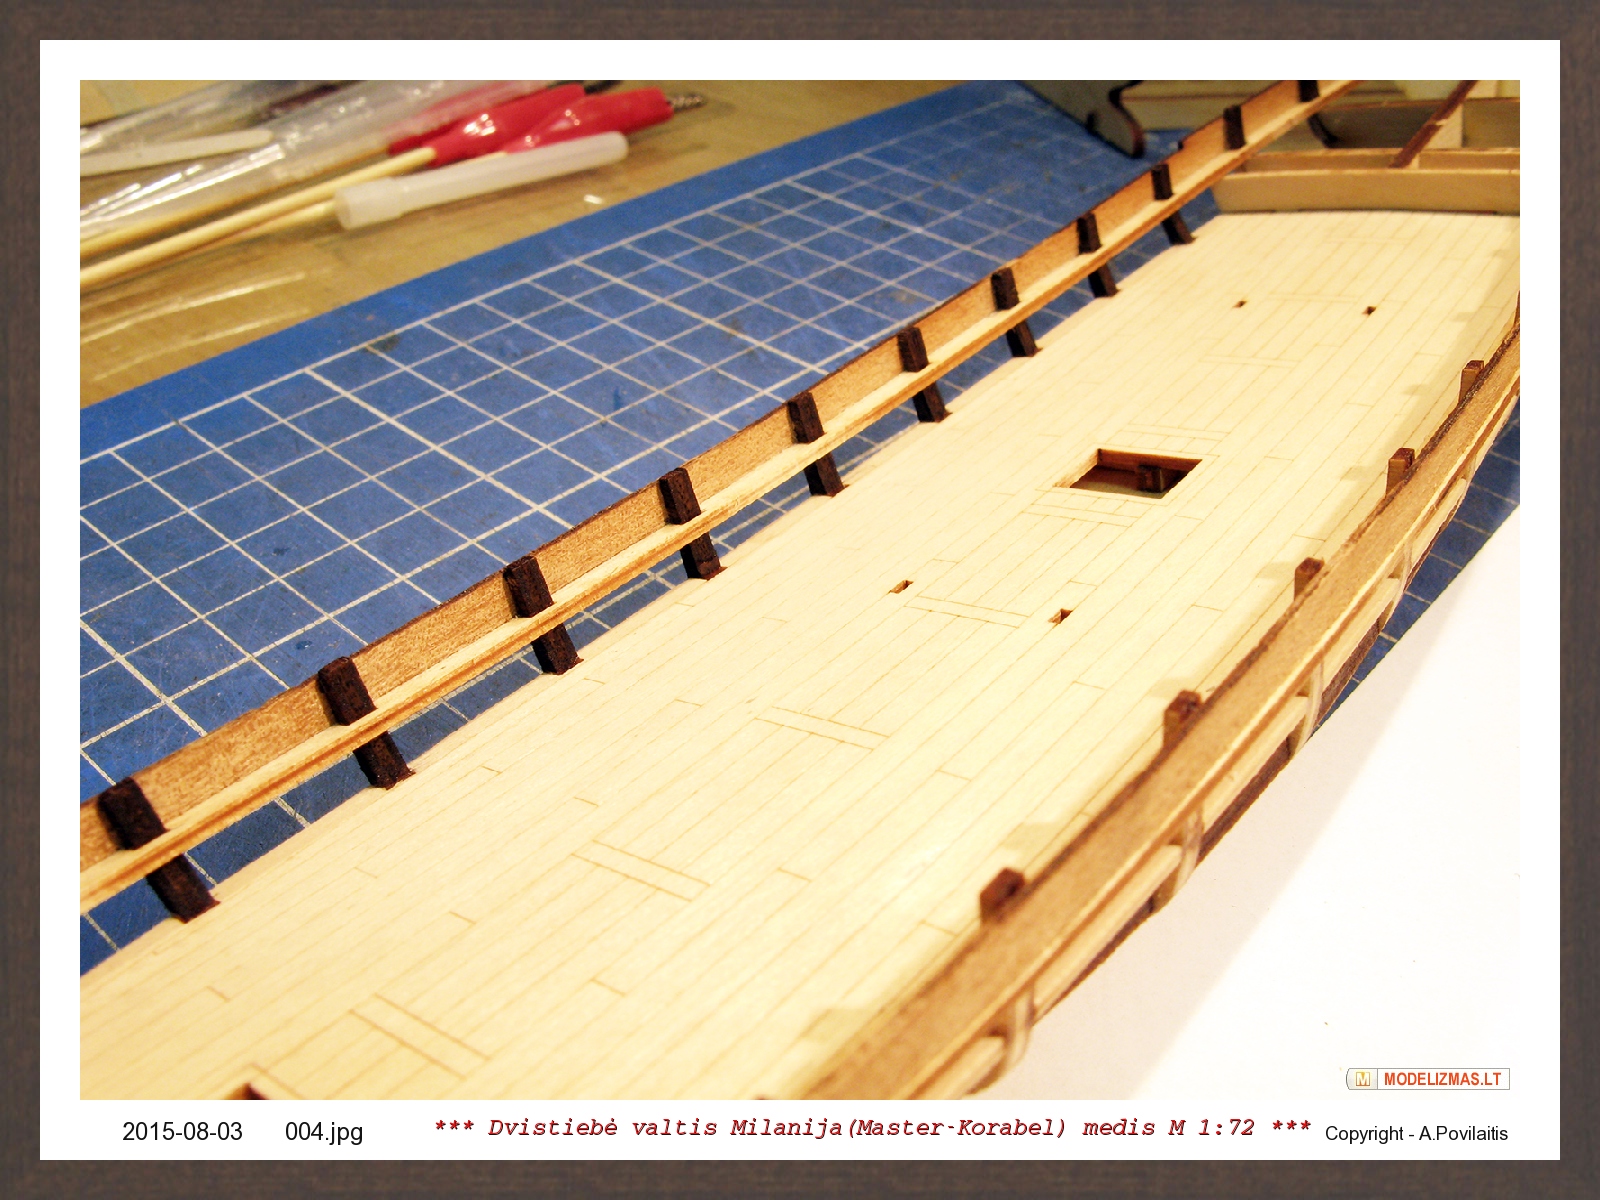
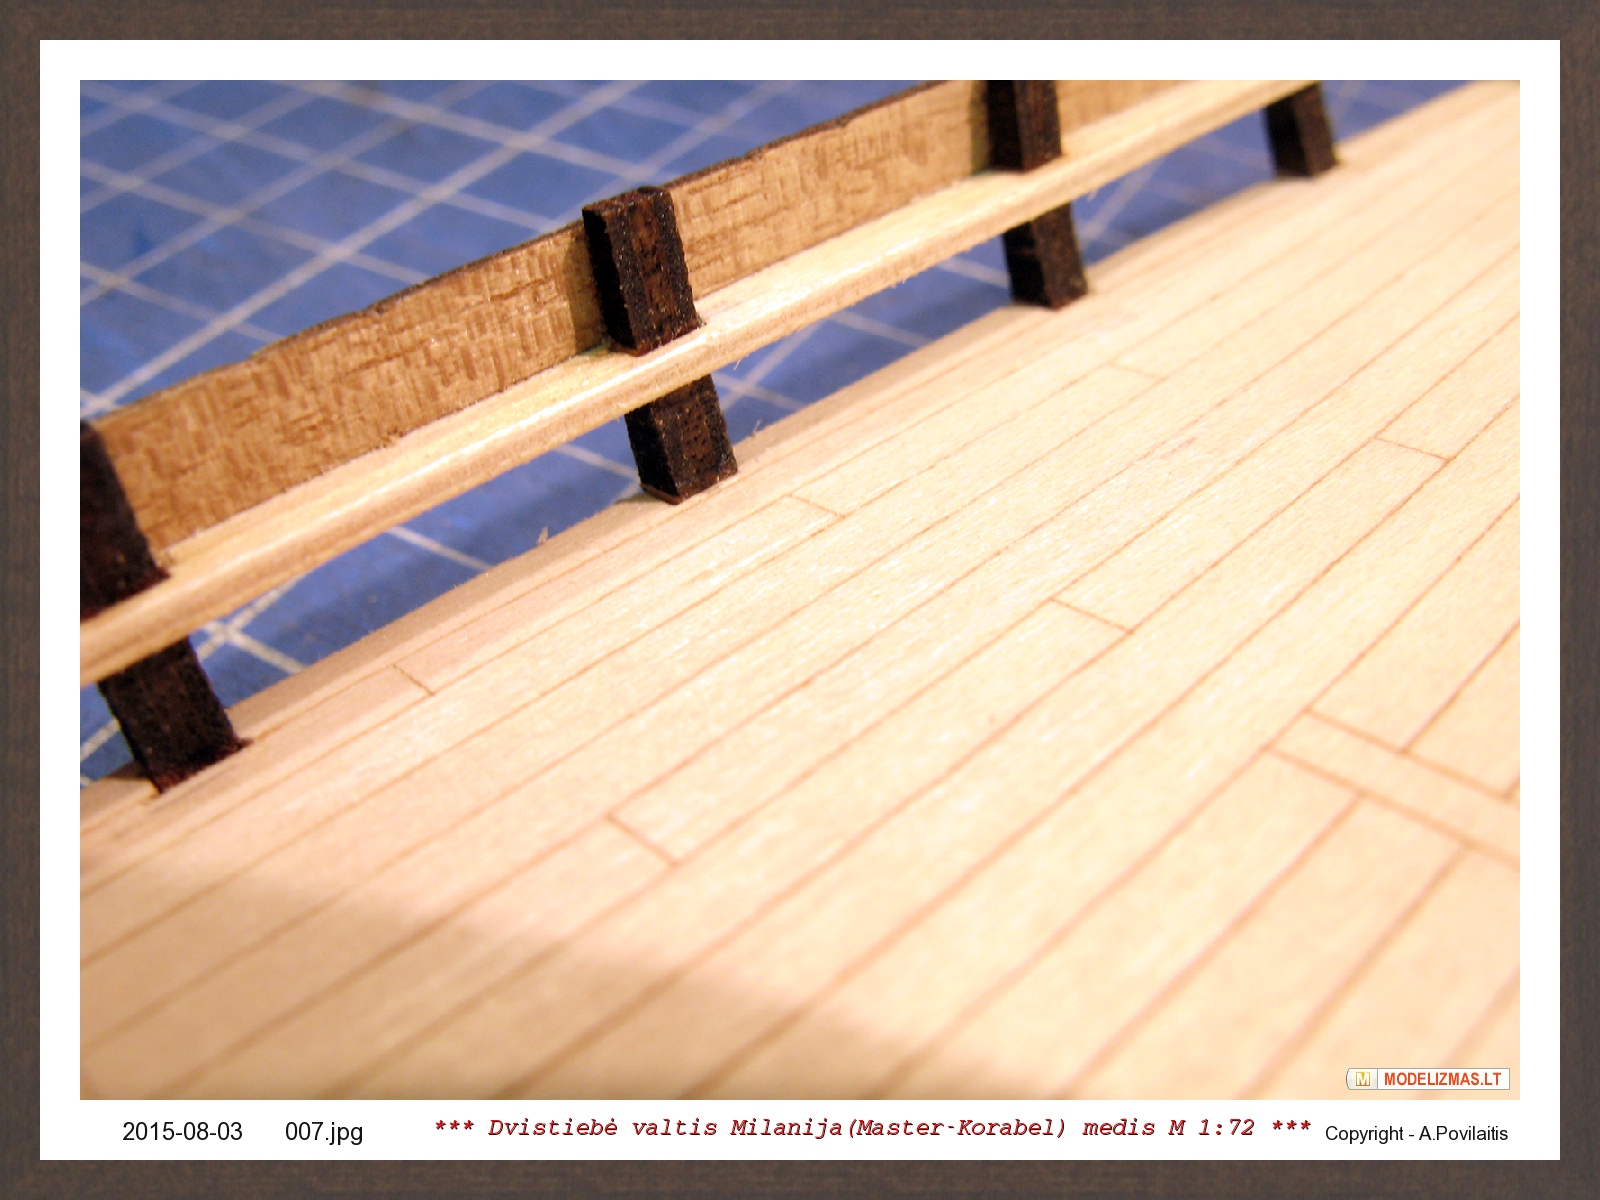
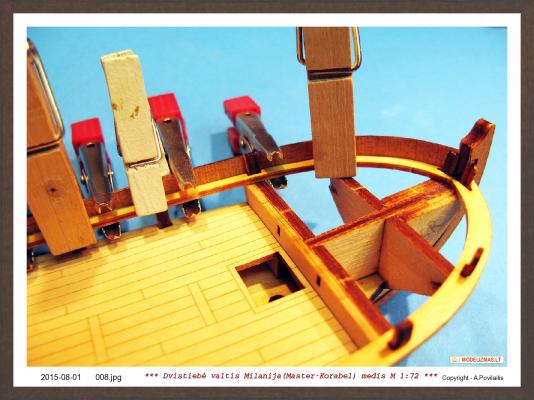
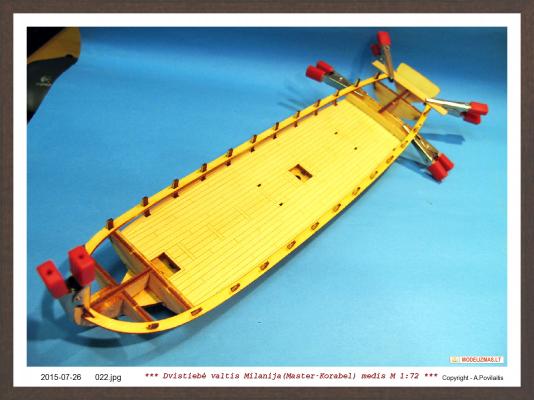
Thank You Steve. Yes, the quality is very hight. Guys from the Master-Korabel are the quality fanatics. I can only say, that most of the builds from Master-Korabel kits by beginners, are much better and historic more true, then many of the scratch builds... And the prices!.. There are very good... So. I understand that I have a big problem. I make decision to change a little some colors of model. Some parts will be dark or black. But I forget to paint the top parts of the frames. They are from plywood and will be visible. And the plywood look's not very well... Now the painting will be not easy! I use the black ink for this. It took about 4 hours, but the result is not very bad... The easy sanding delete the some small black dots from the deck. The other problem is horizontal playwood plank in the middle of frame top parts. I sanded it. The color now is white, not brown, but playwood after oil will be visible very well. Maybe I'll cut a strip from one layer of the playwood and glue on this part?..


-
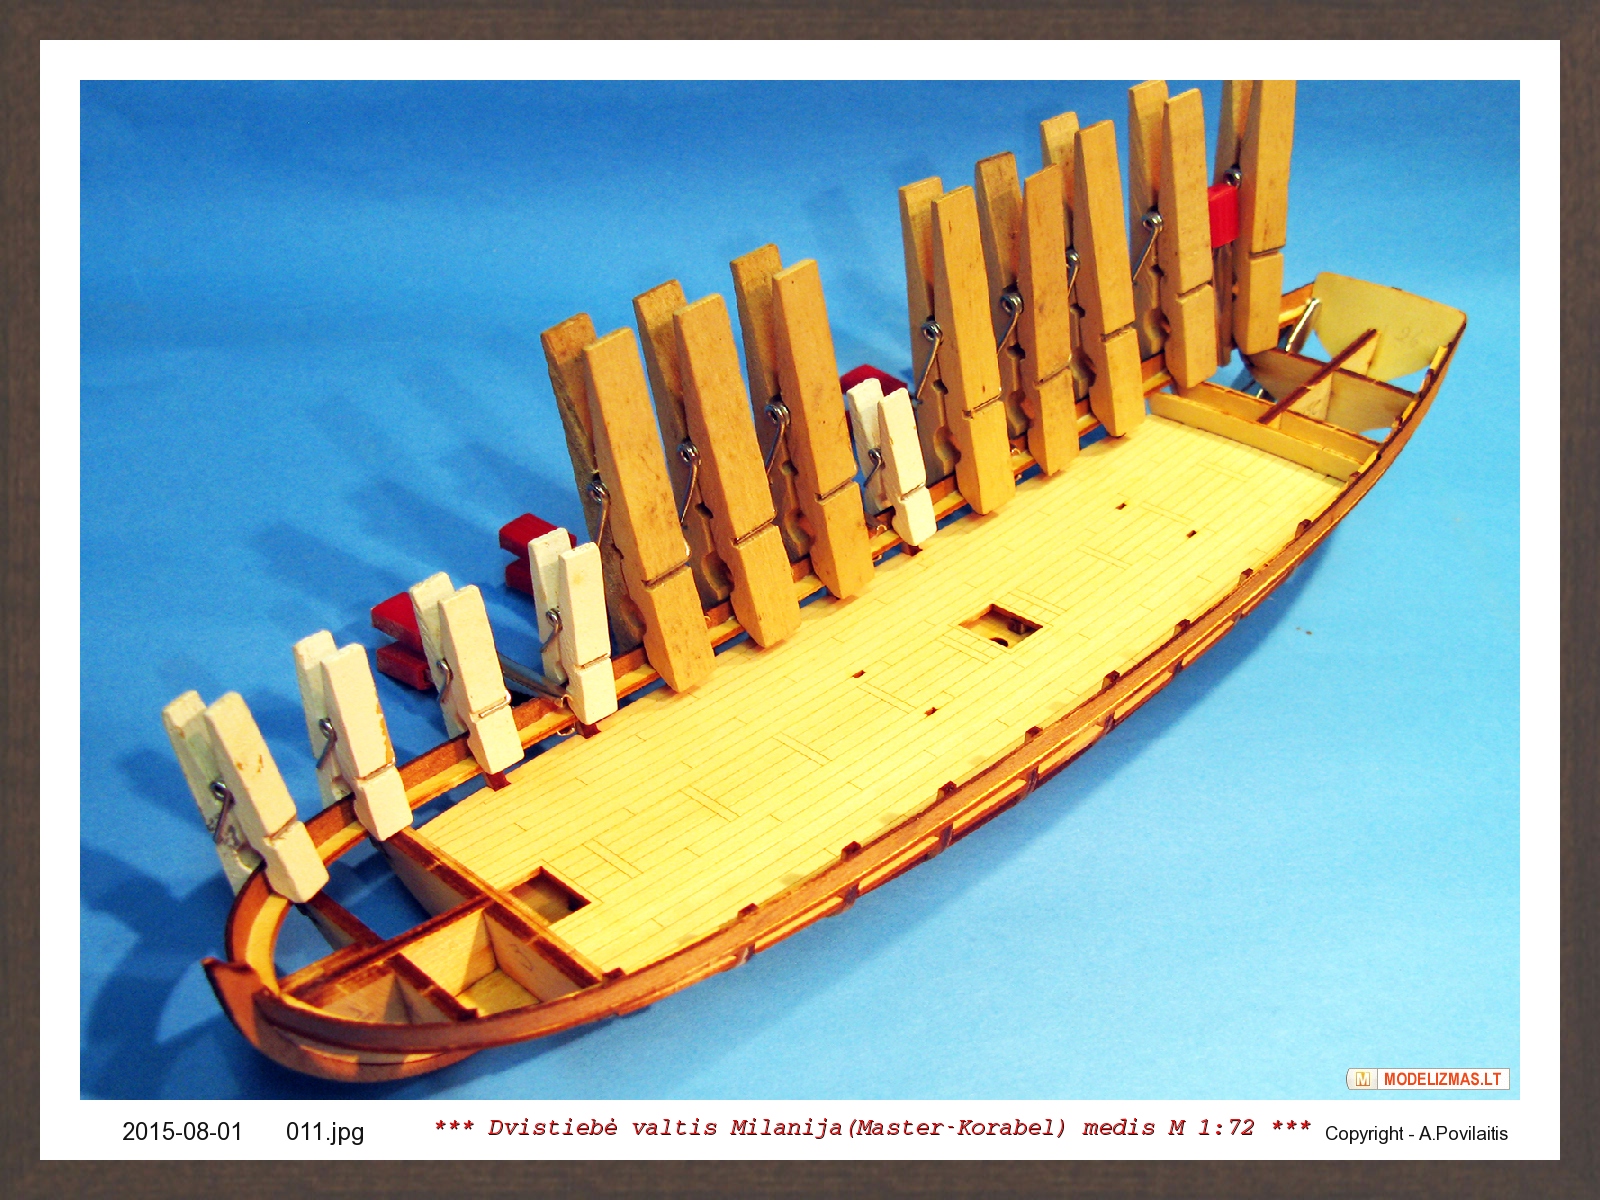
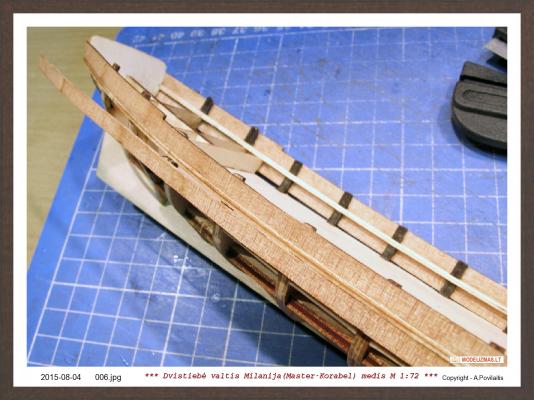
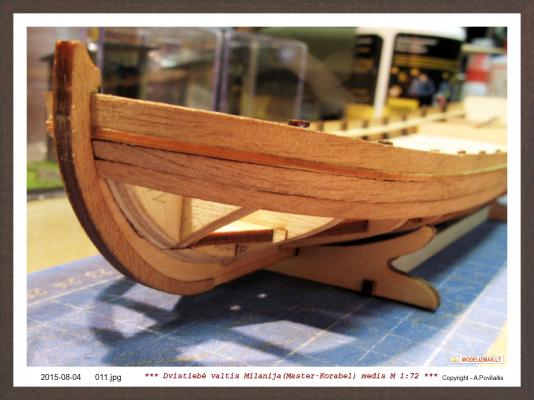
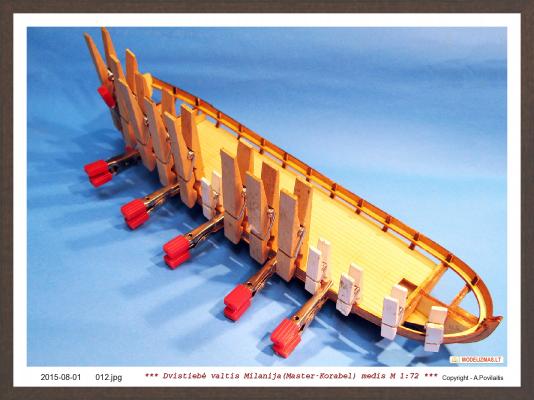
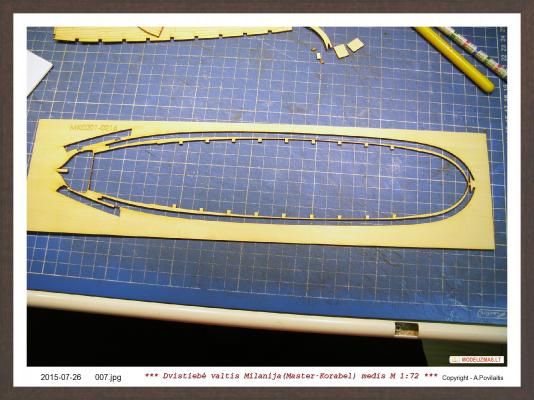
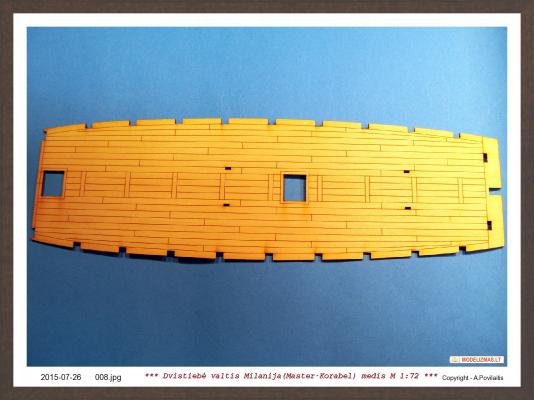
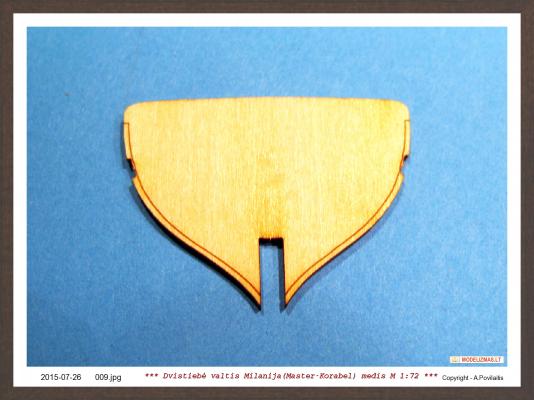
This week I planking the hull. At first marked all planks on the plate. It is very important to do. If I miss the left and right side, they not fit properly and the gaps will apear. And at the time used only one left and one right planks. Then glued, removed the next. But before the planking, I used the other plate and removed some parts foe the keel and transom. And glued it's in the place. And now the first plank. I check and bend it using the hot water. And glued in the place. At the first glued the plank at the bow and middle of hull. The plank properly fixed. About one hour later glued the plank at the aft of the hull. And the right plank. And result.


-
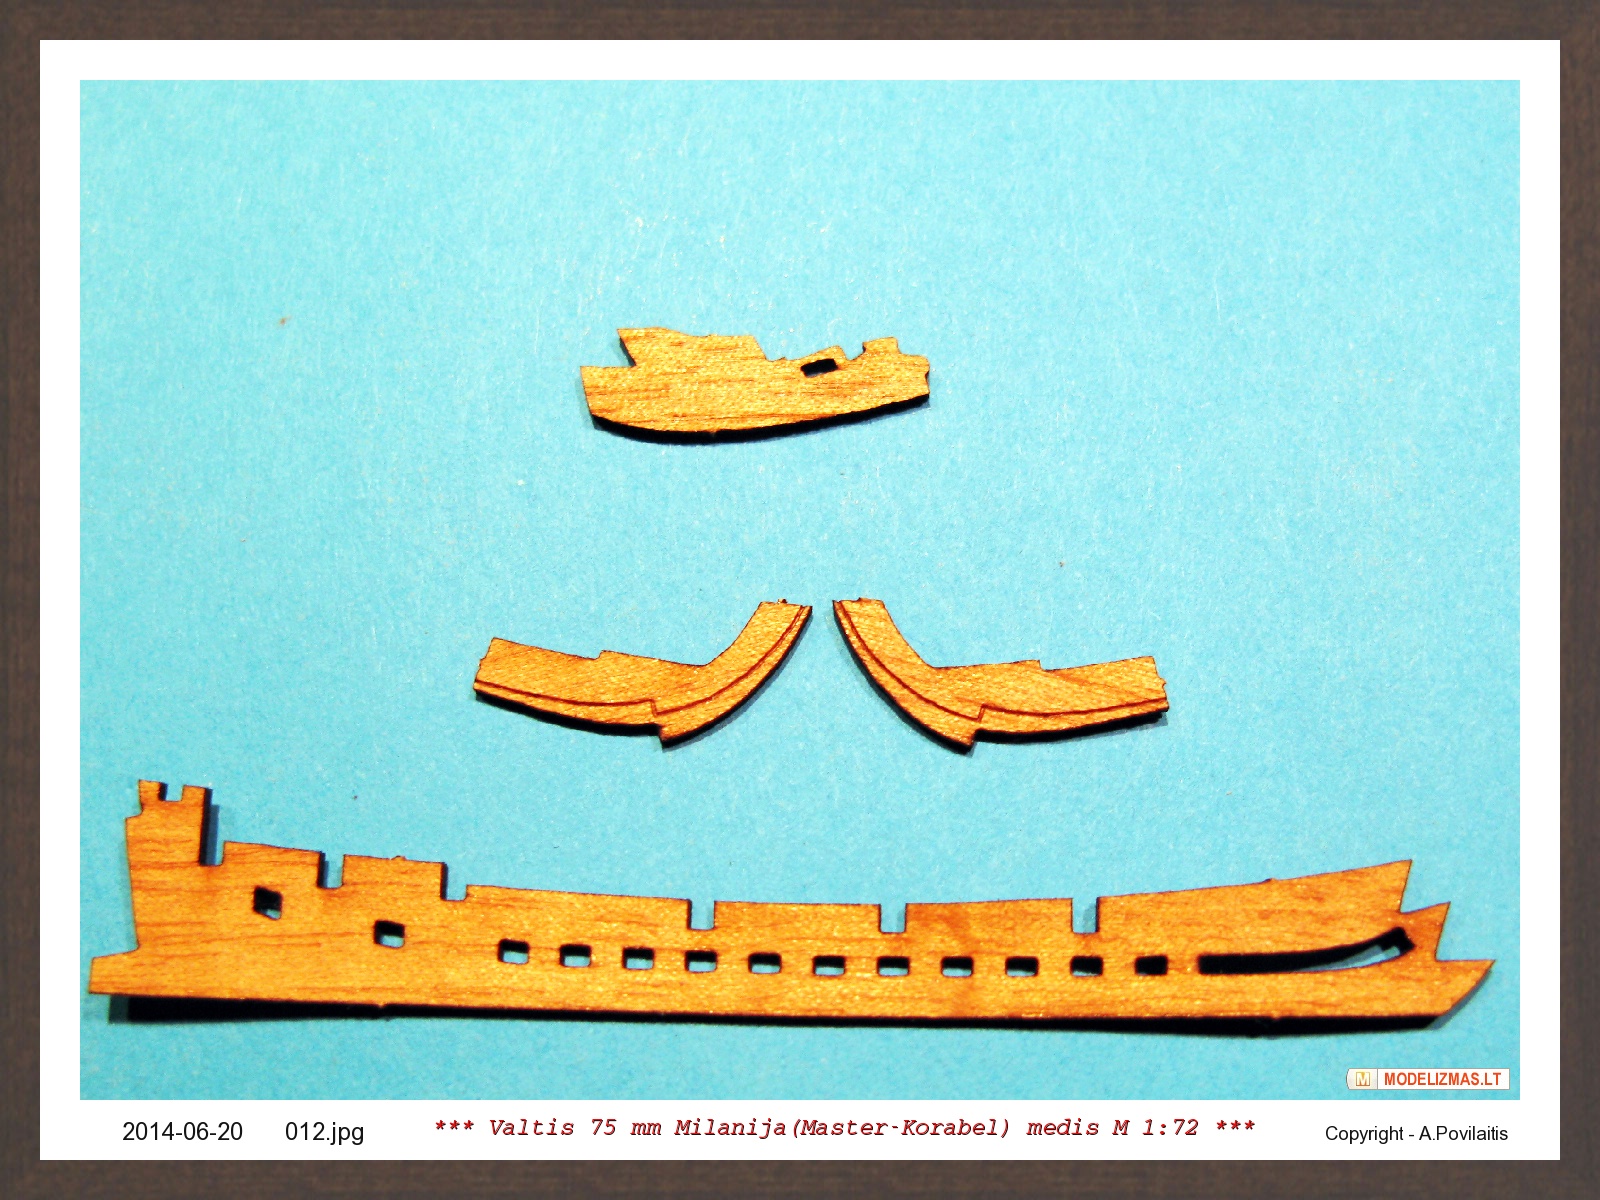
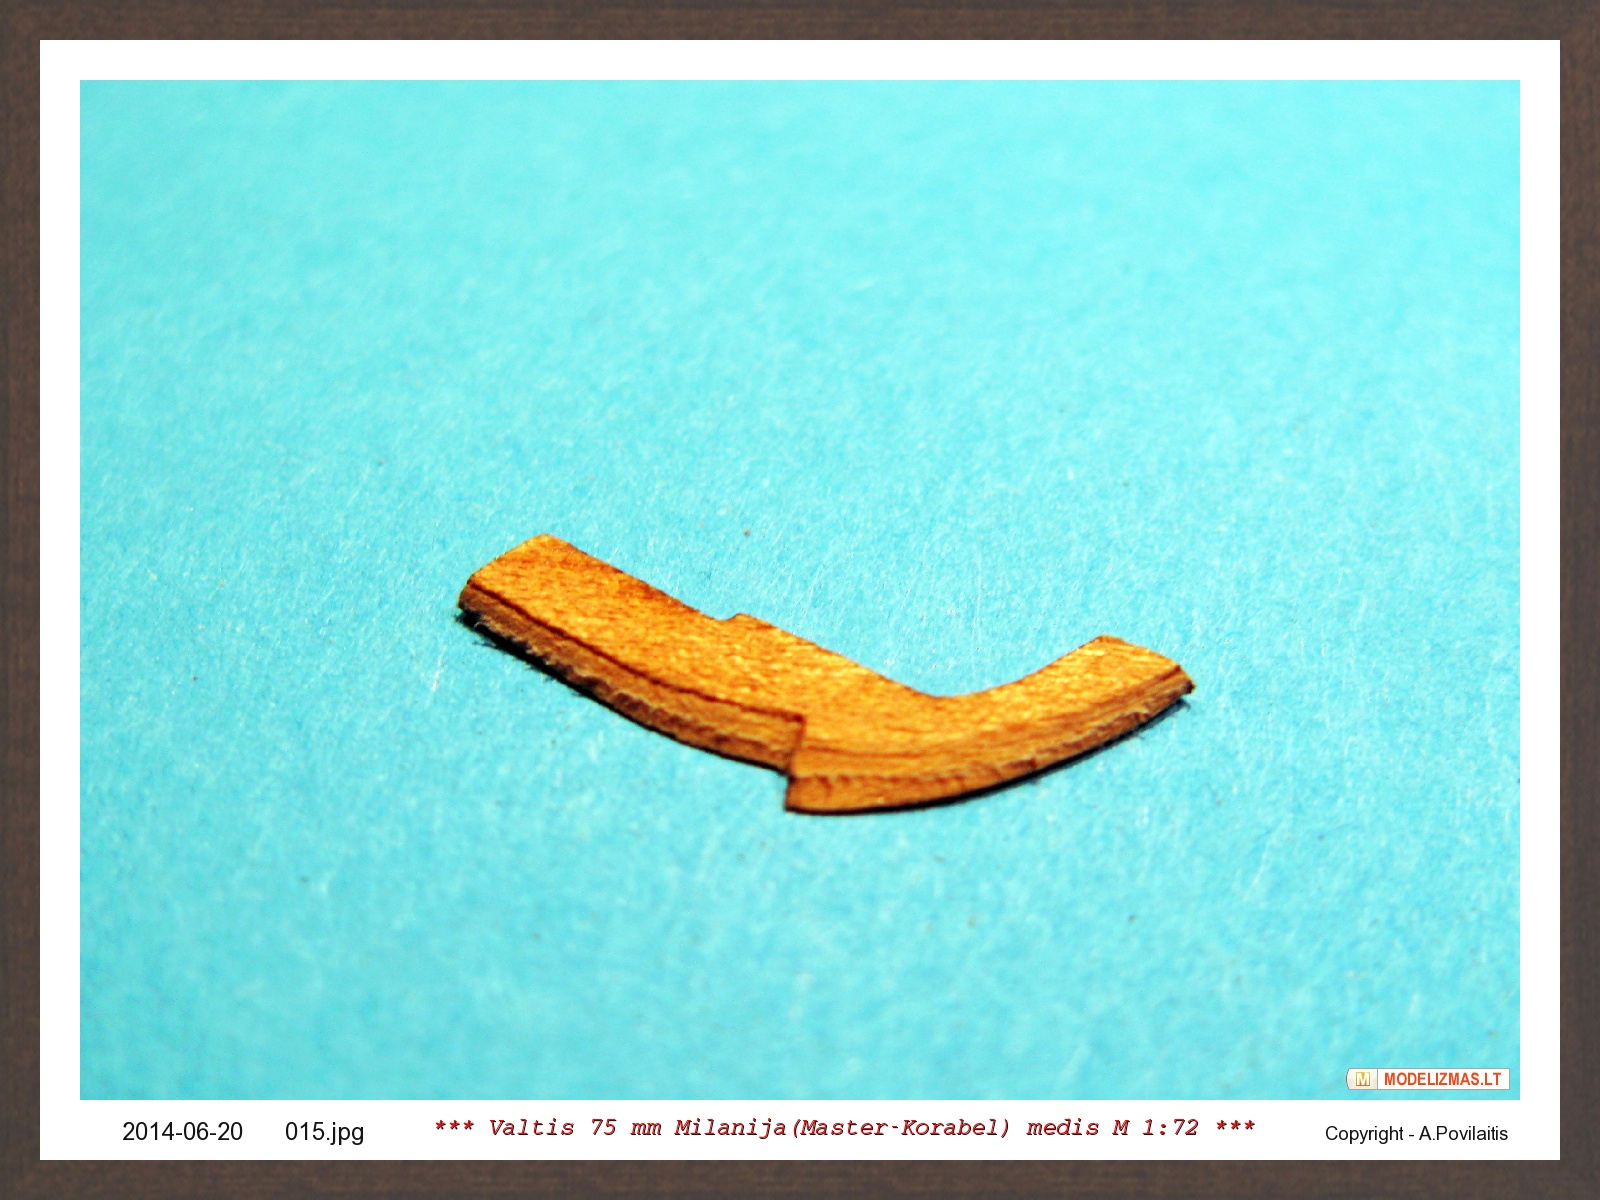
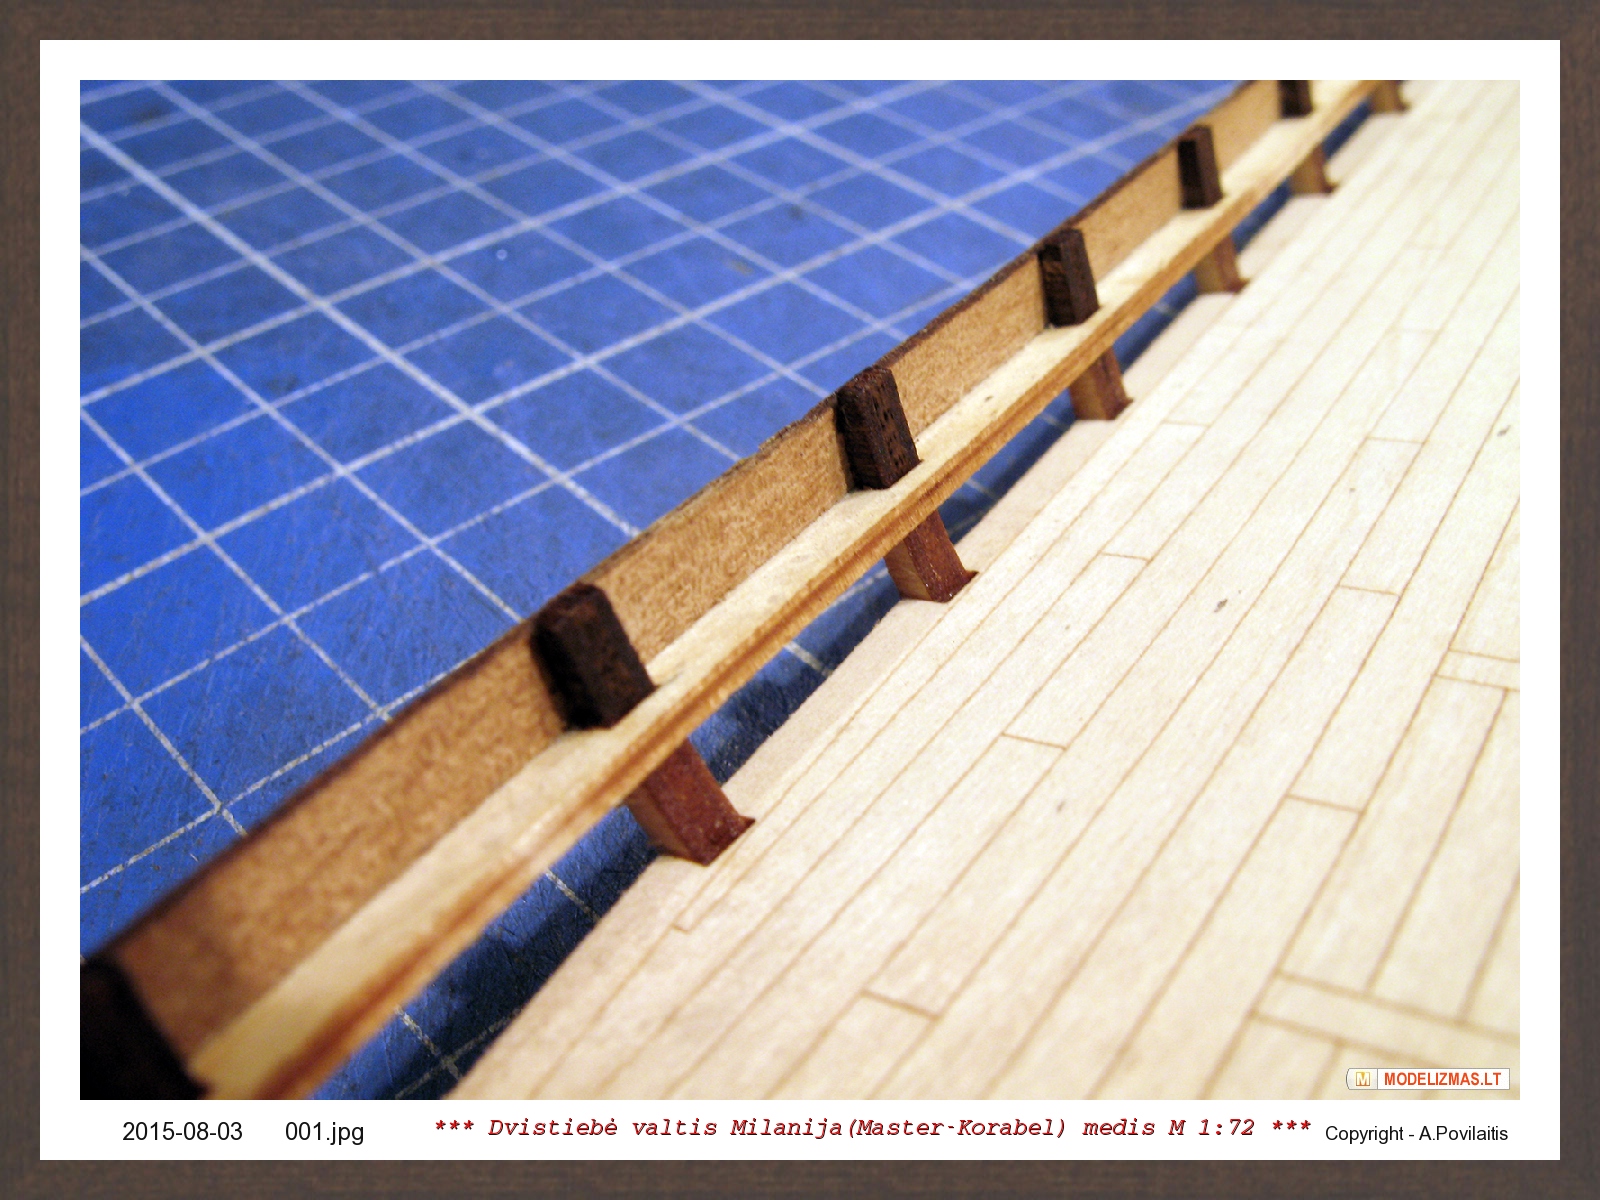
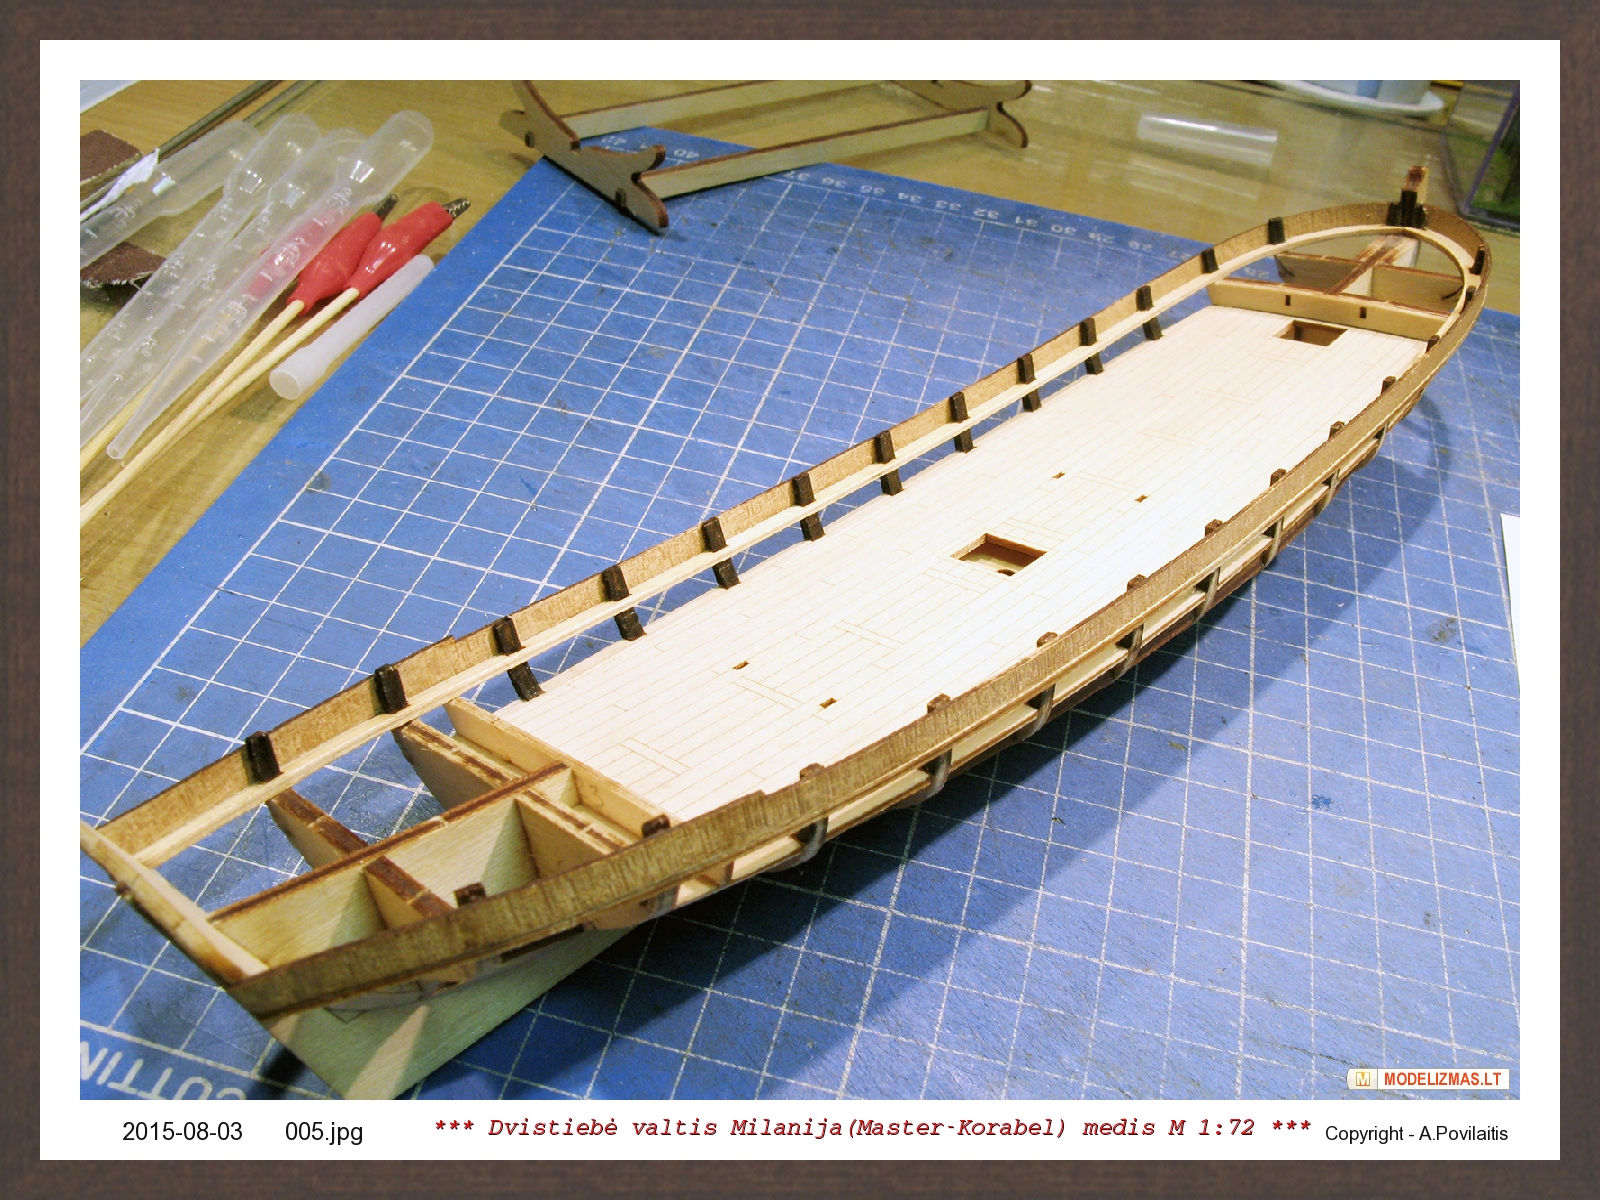
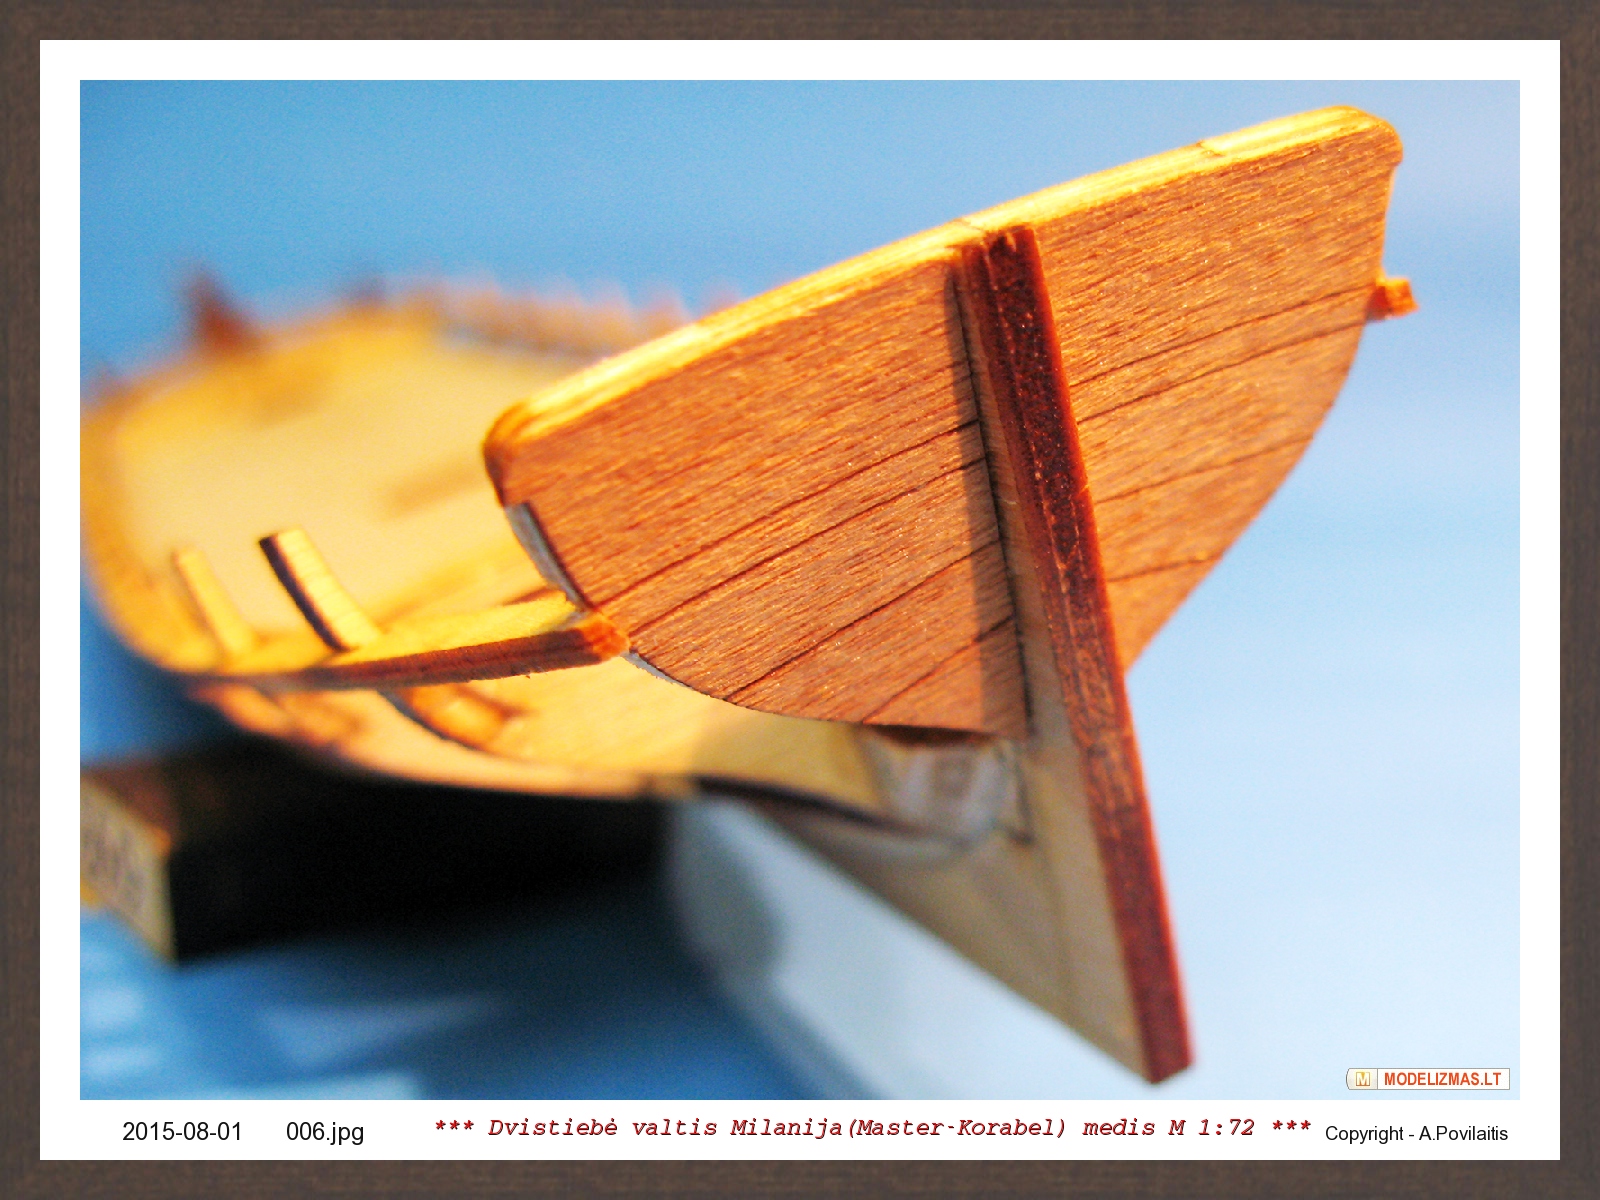
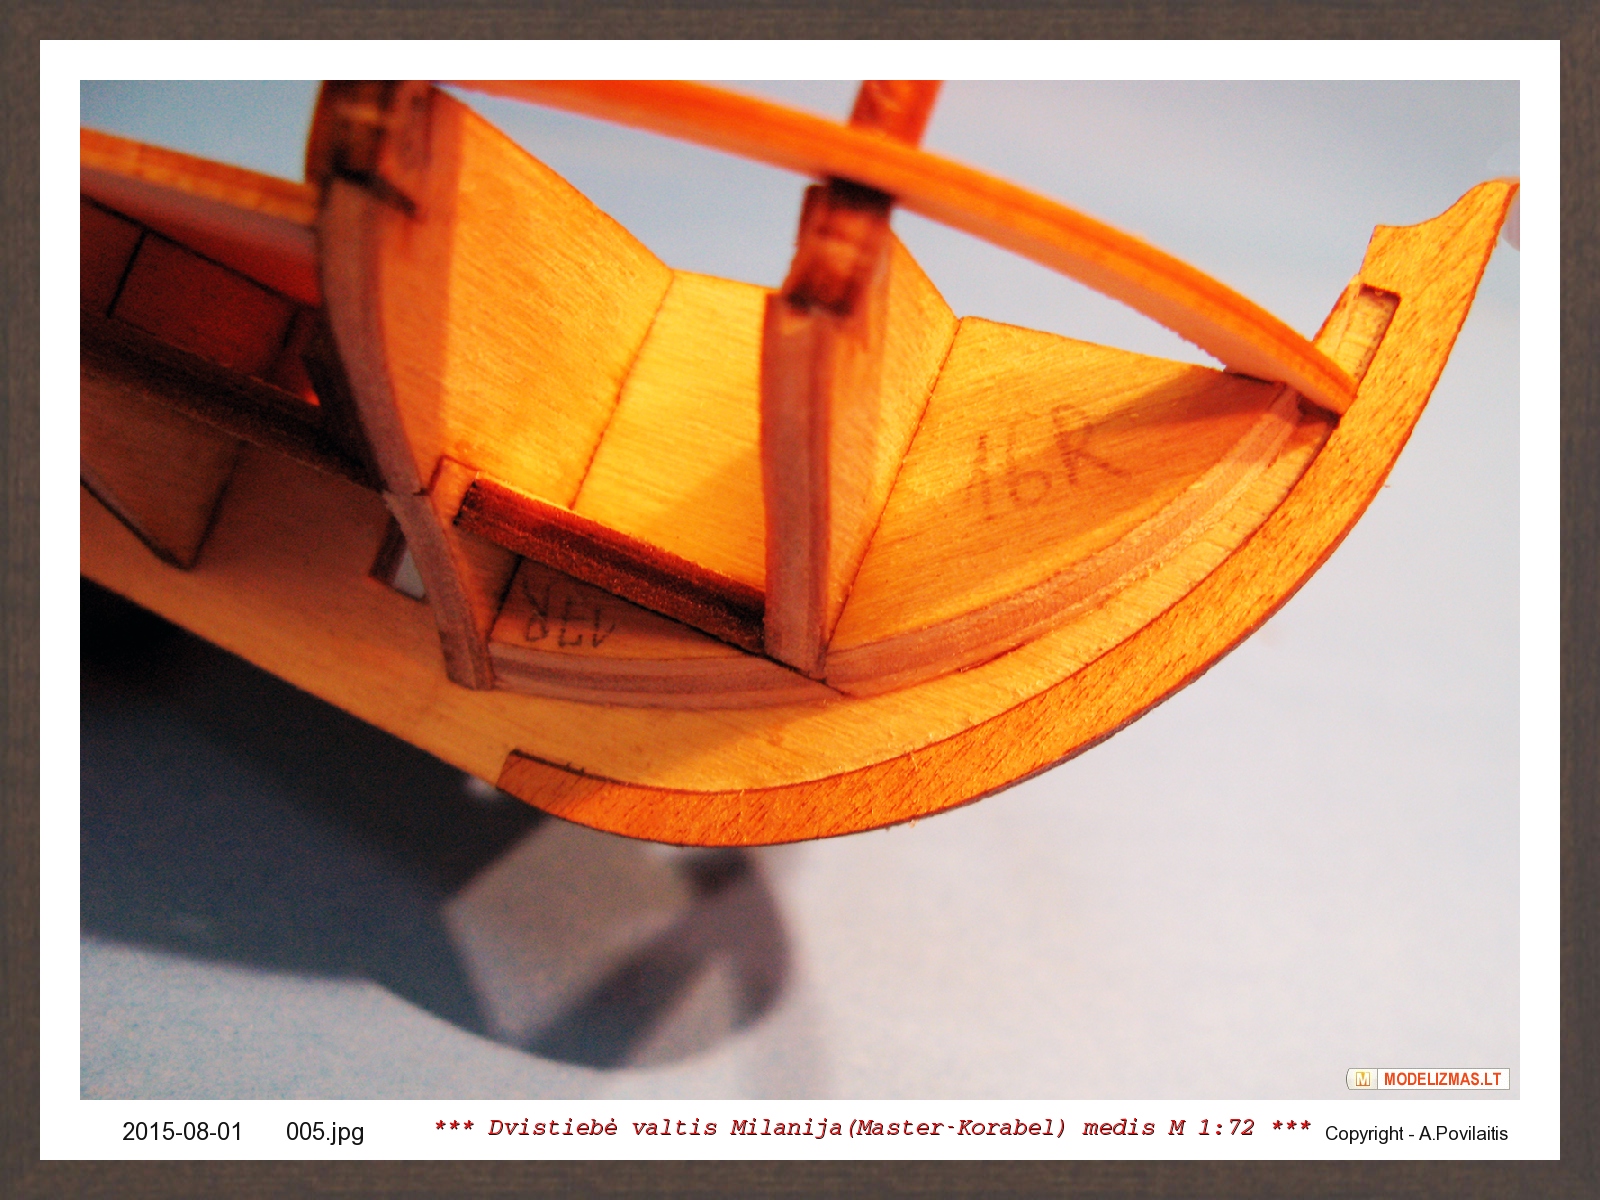
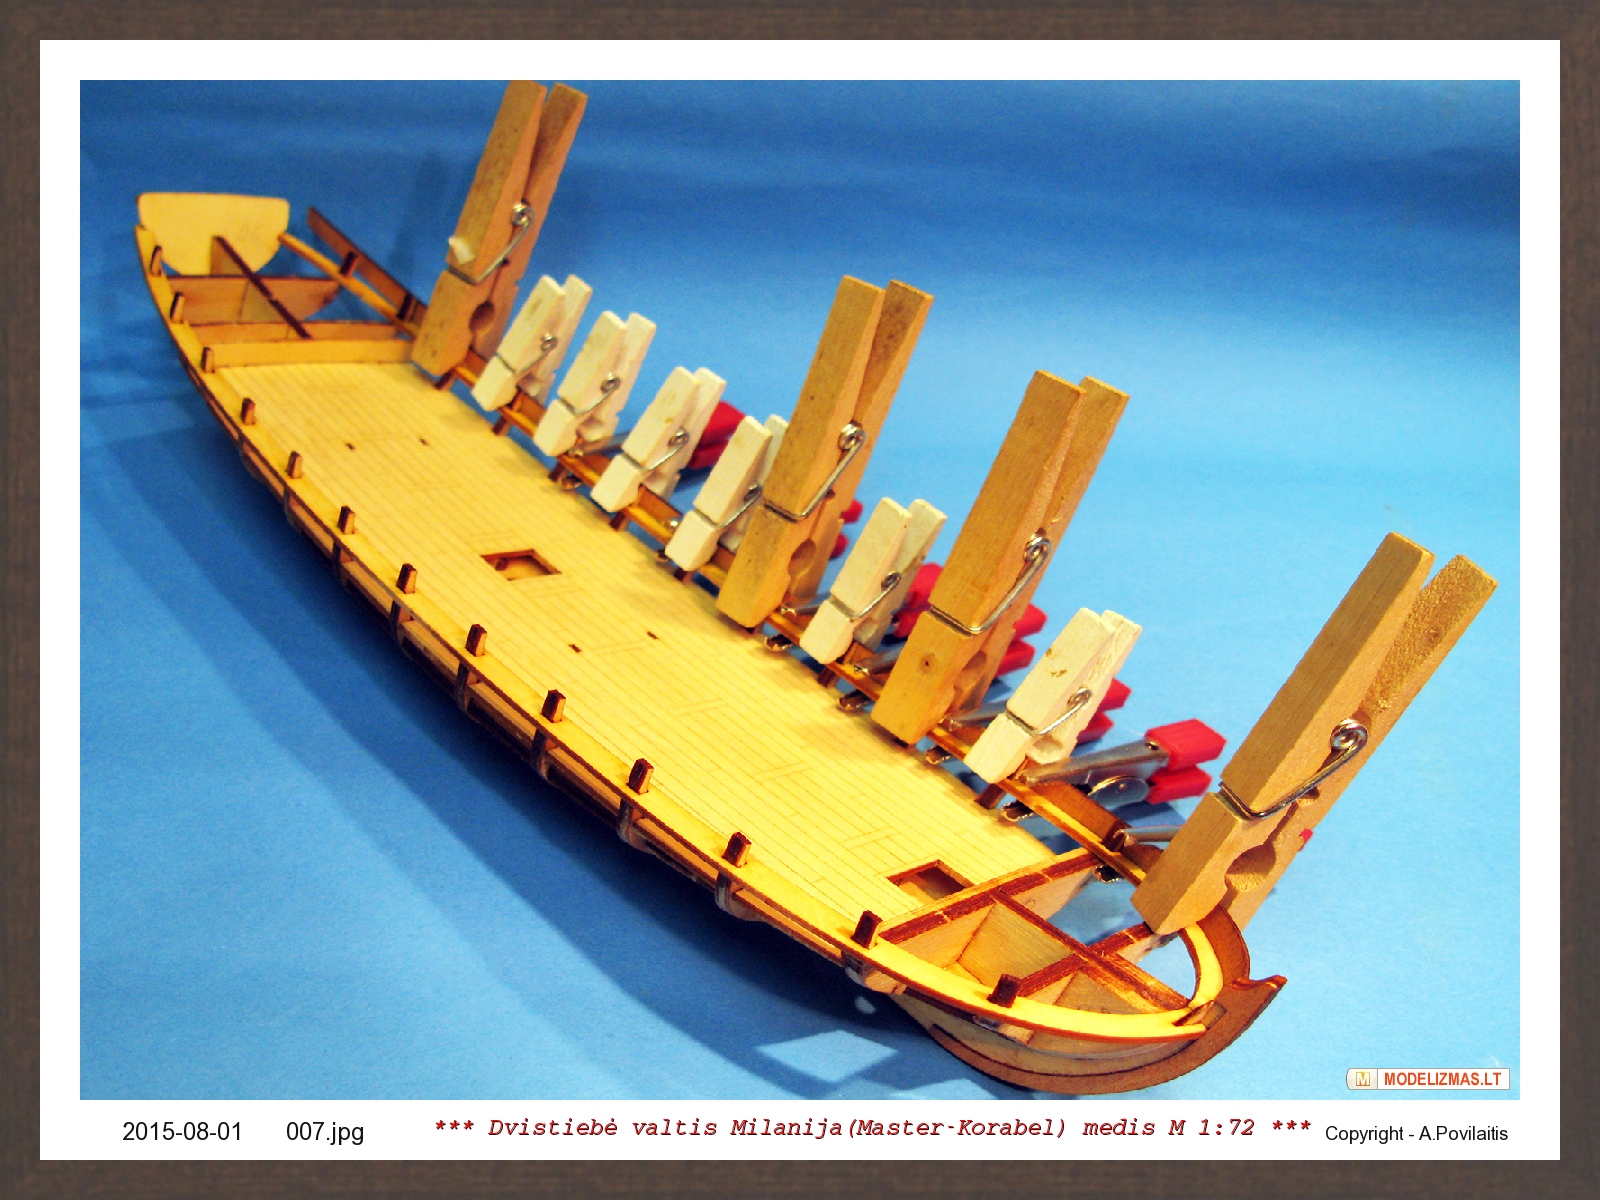
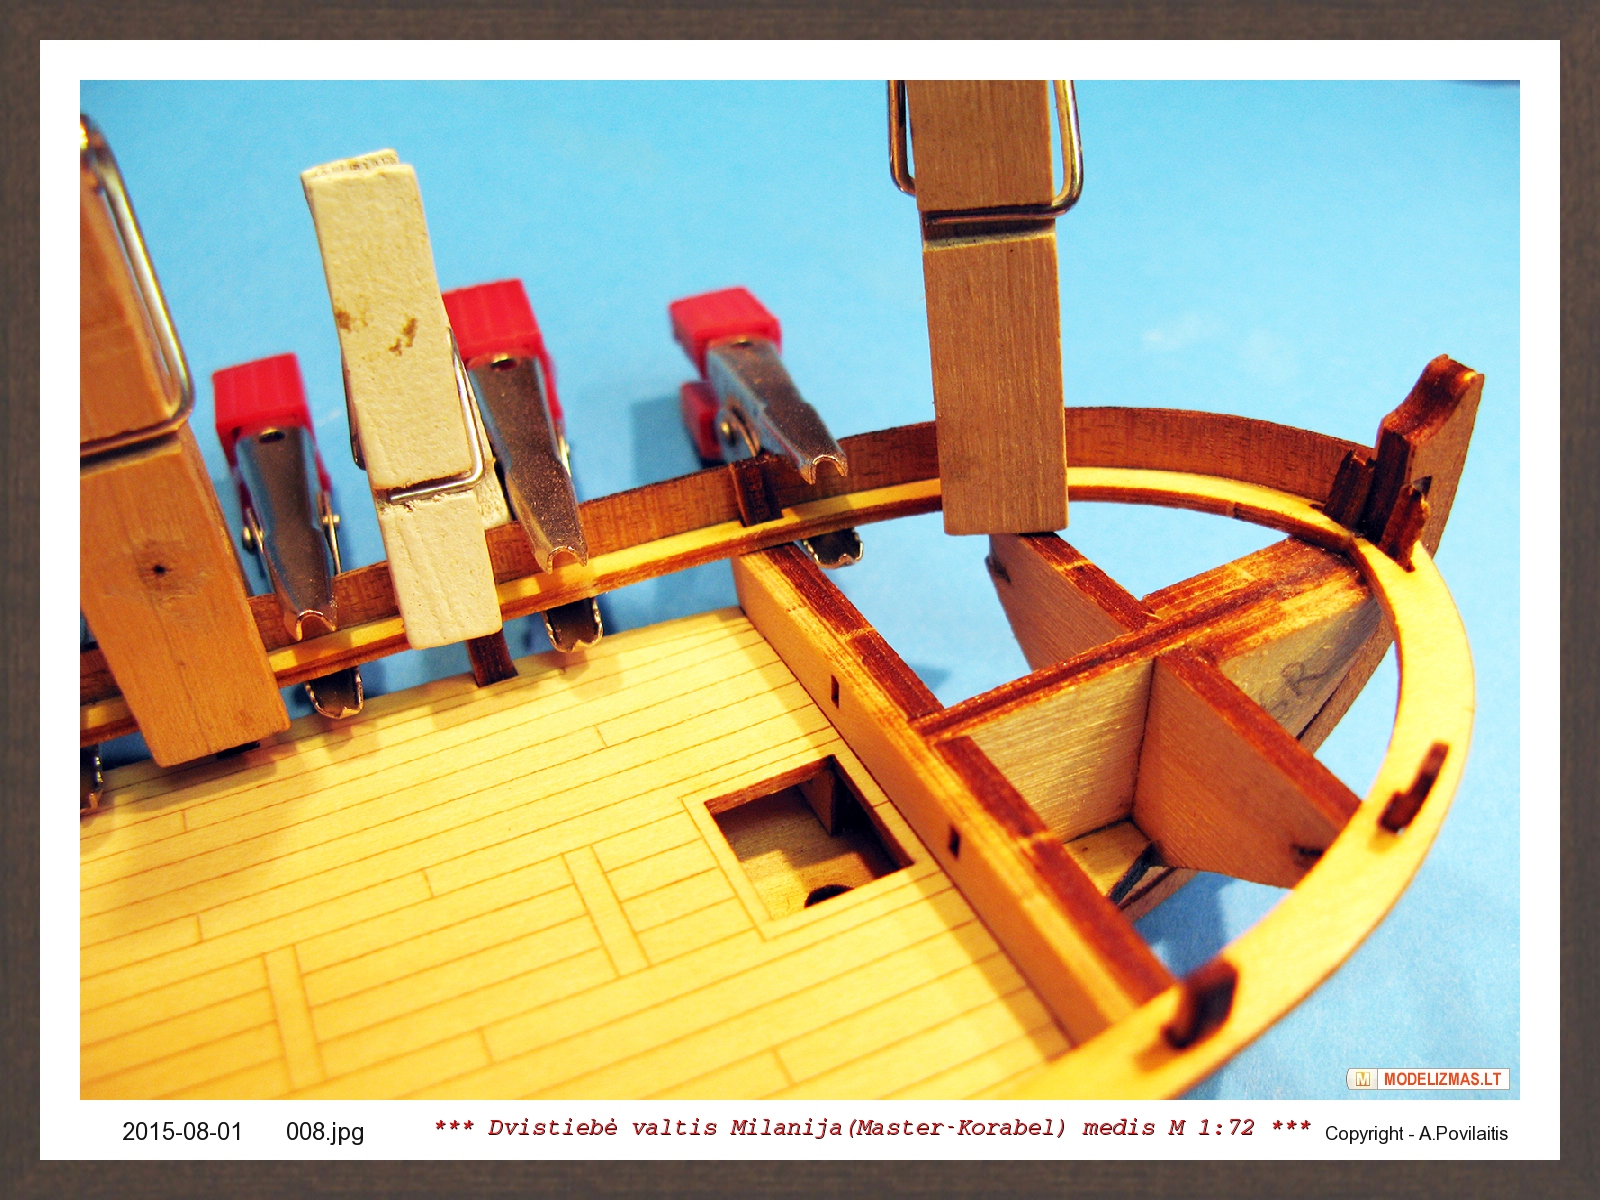
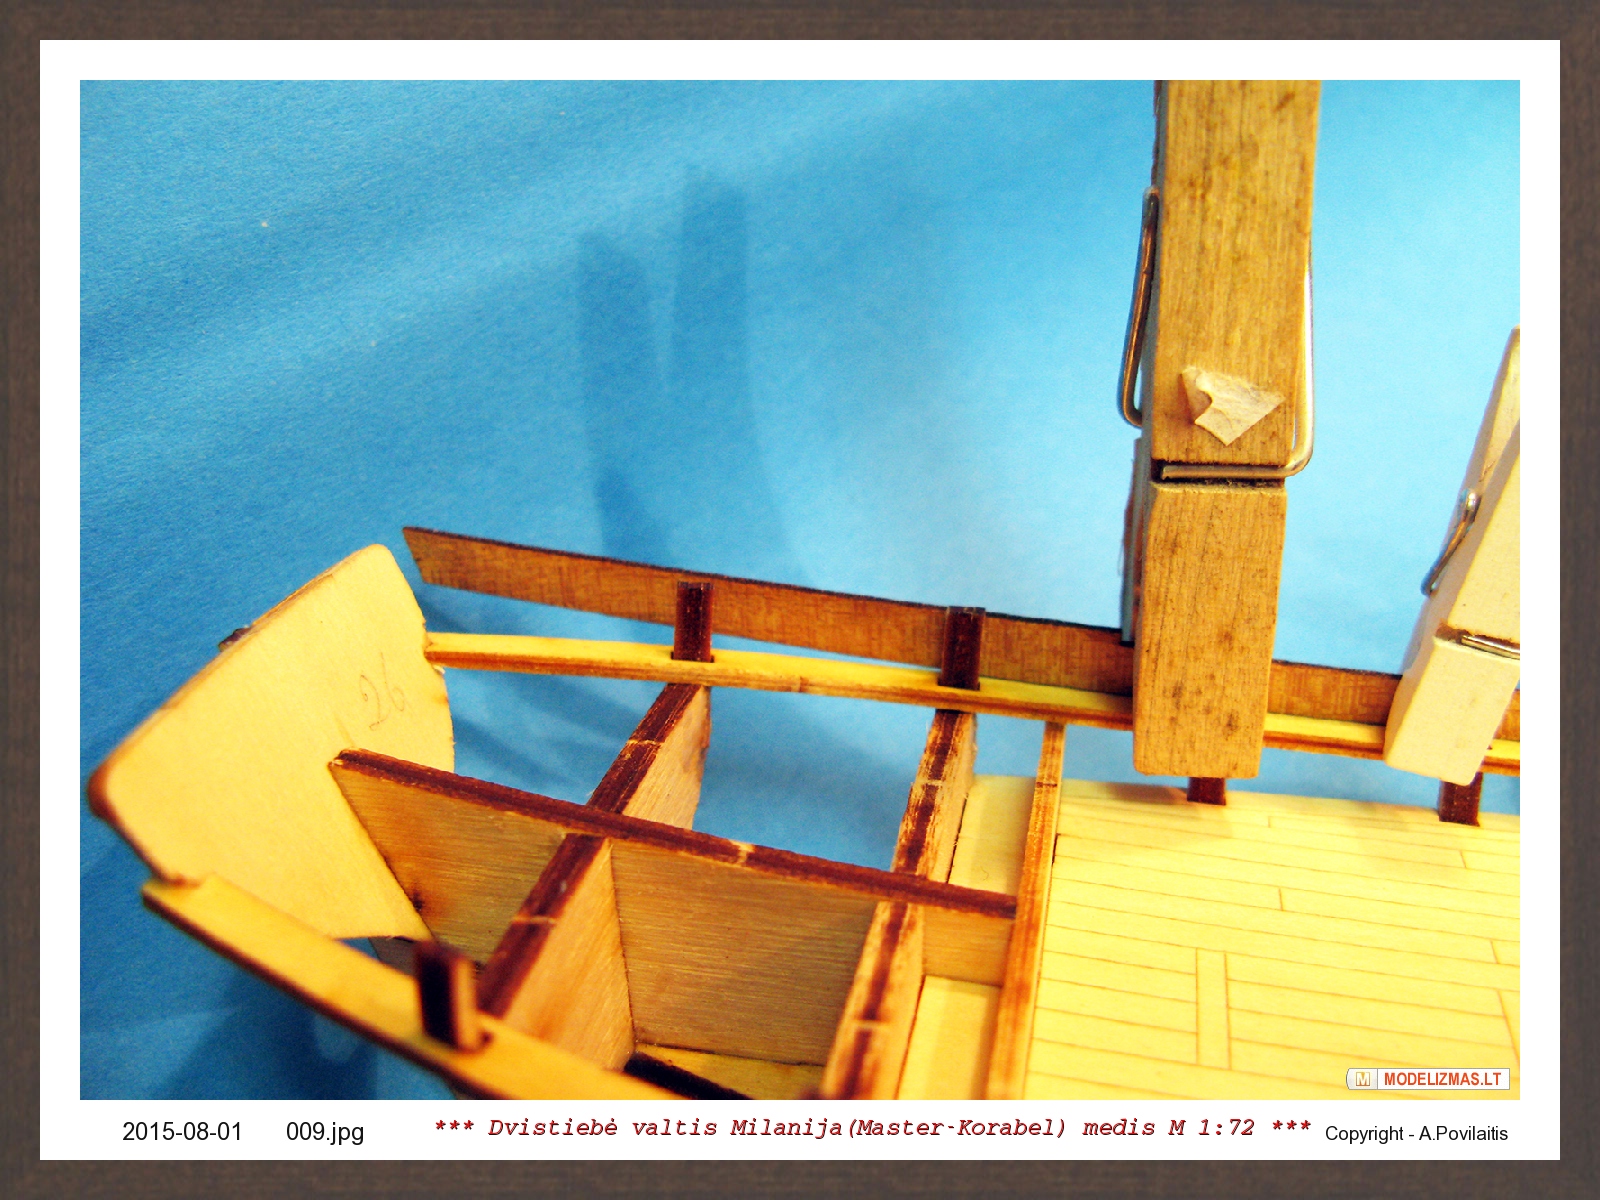
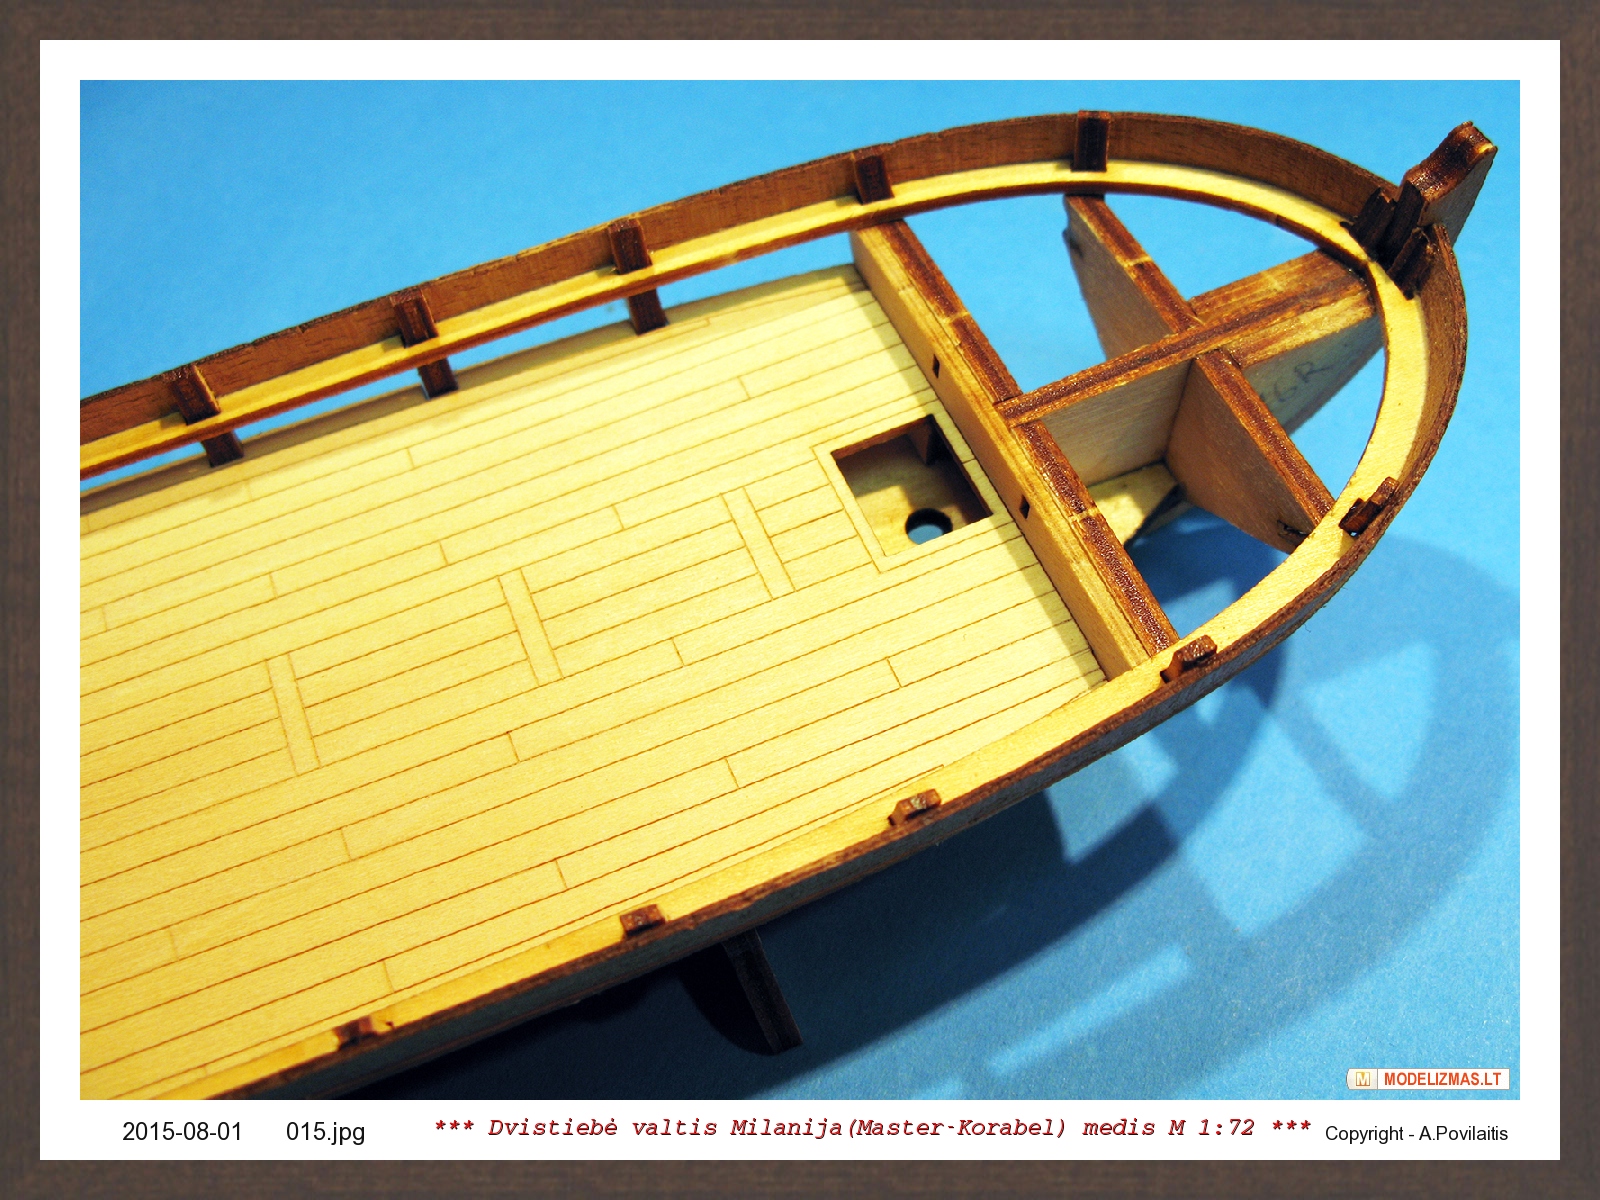
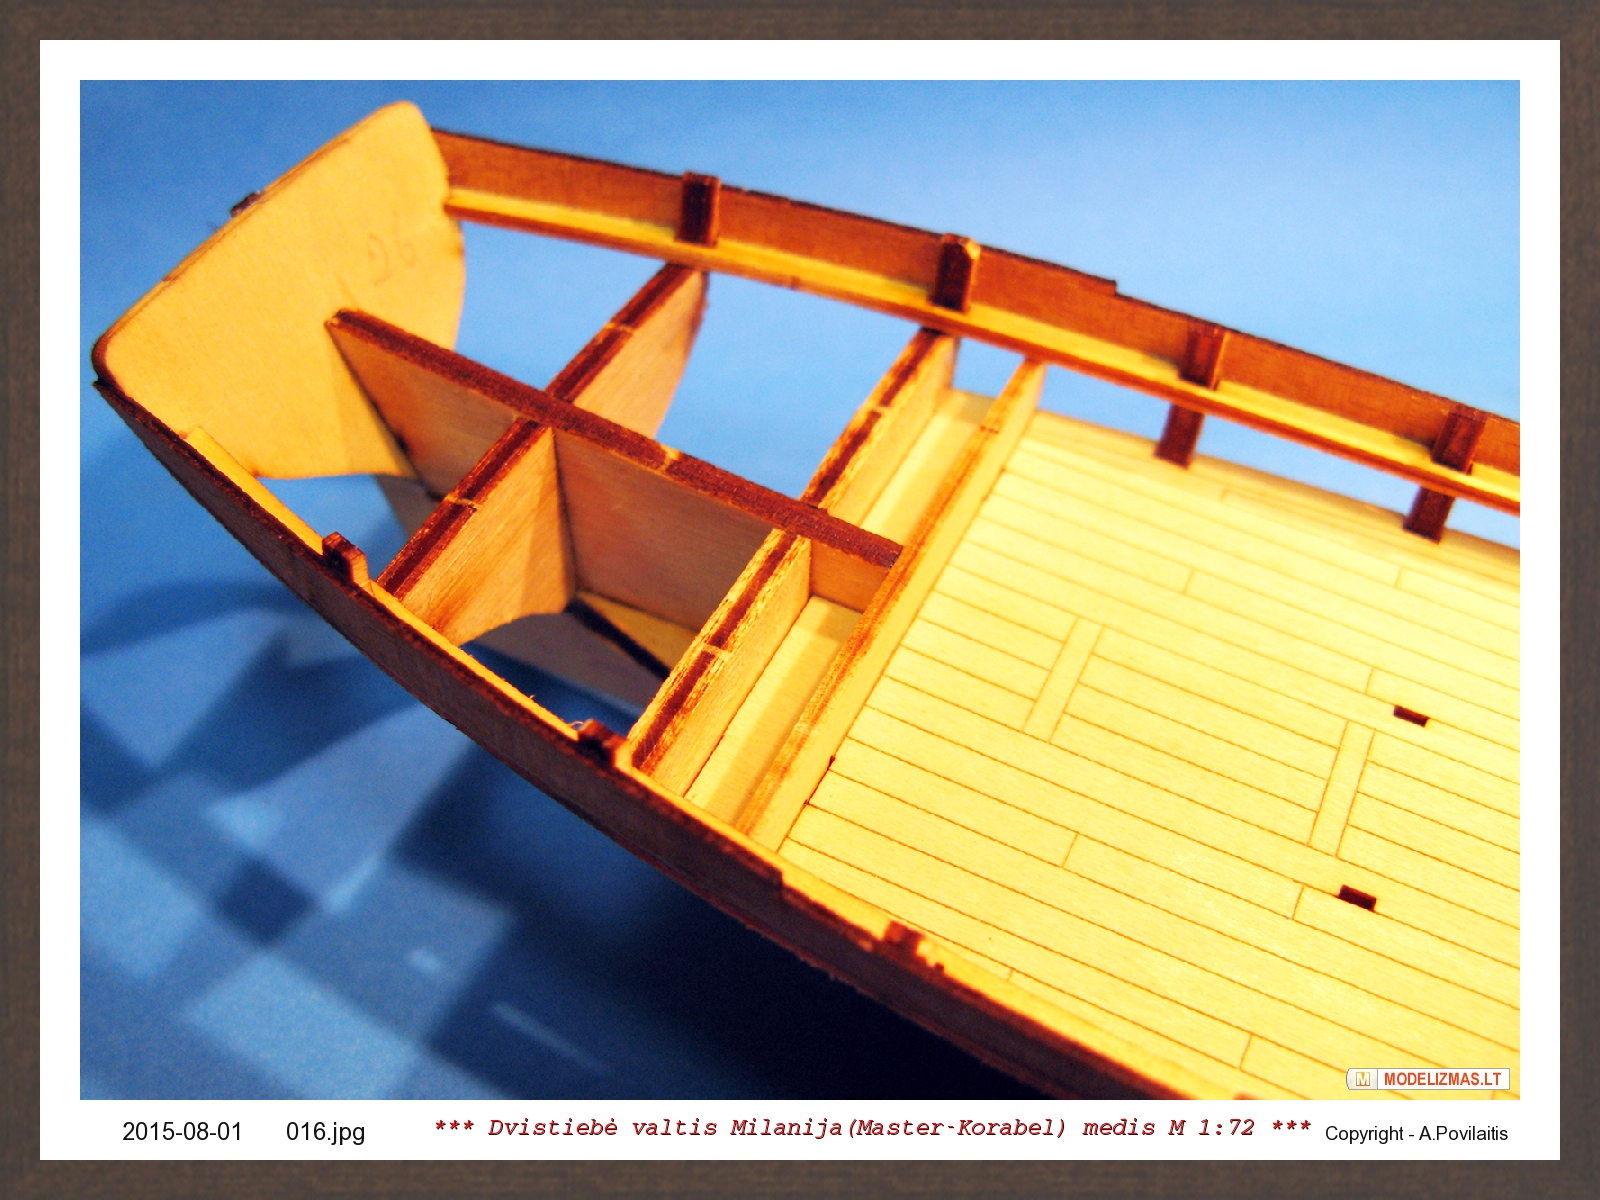
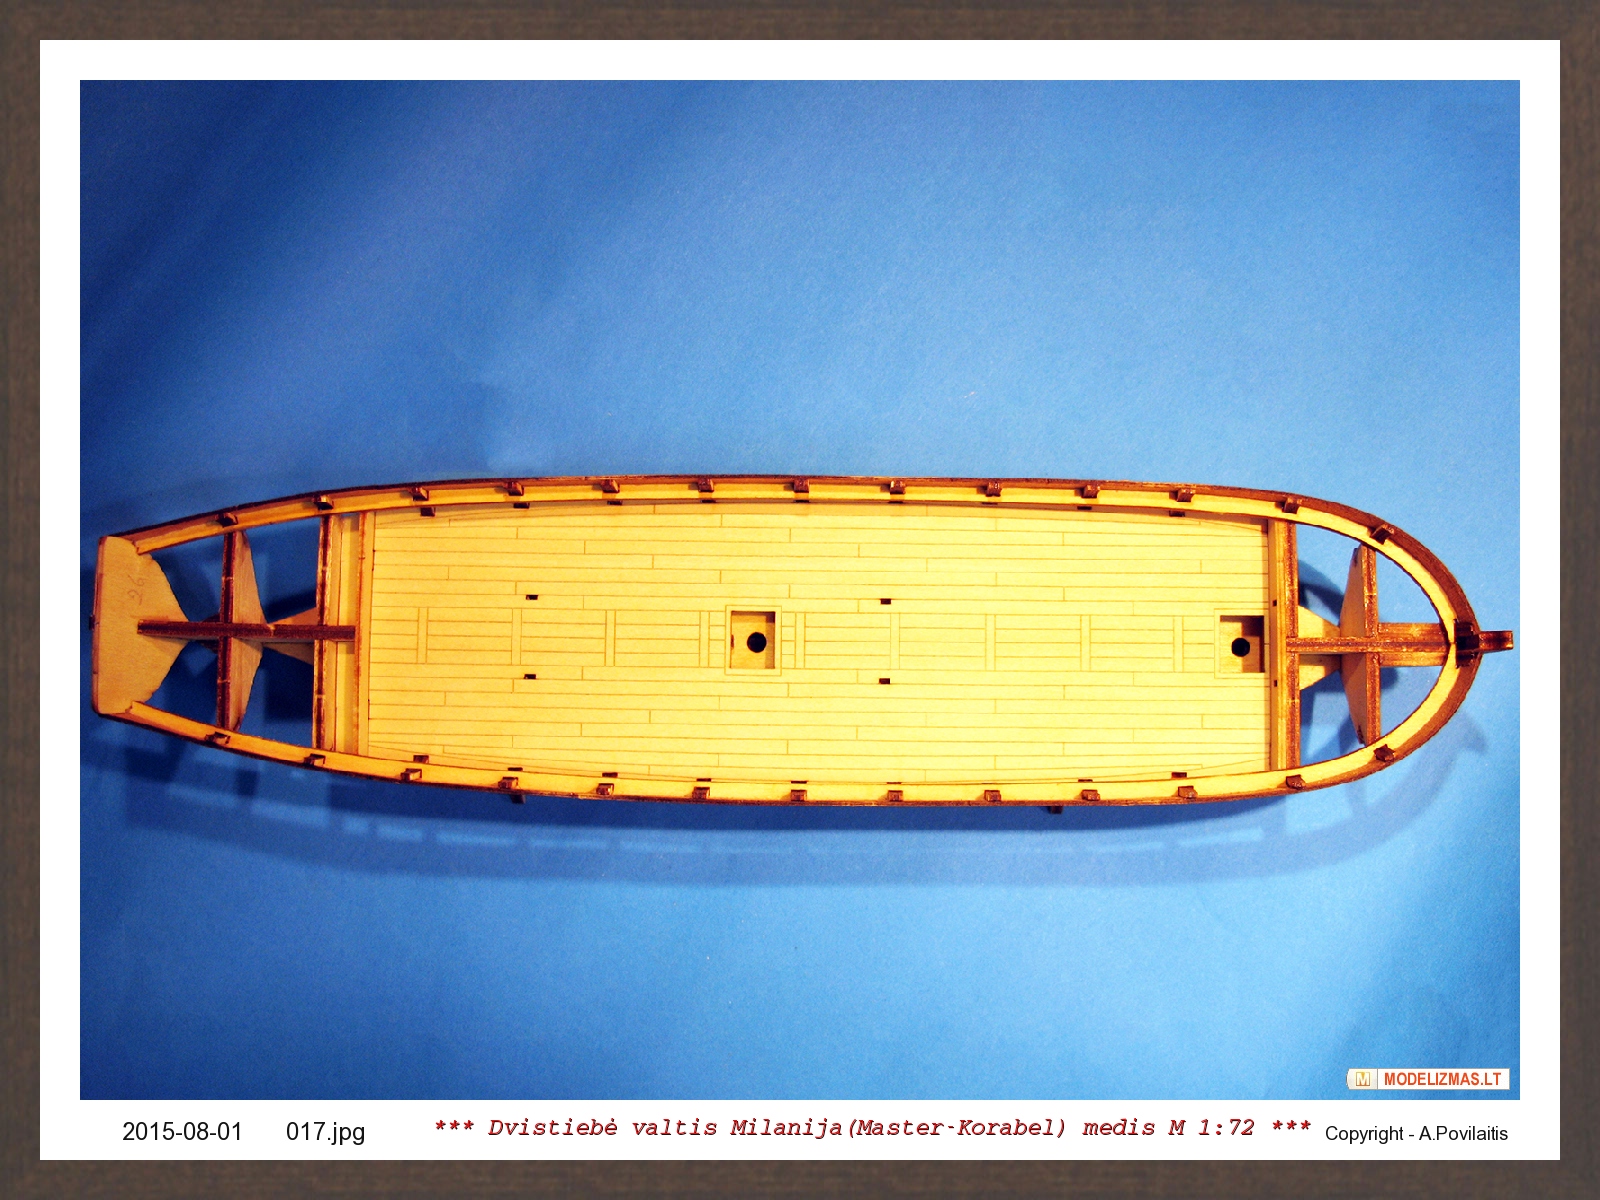
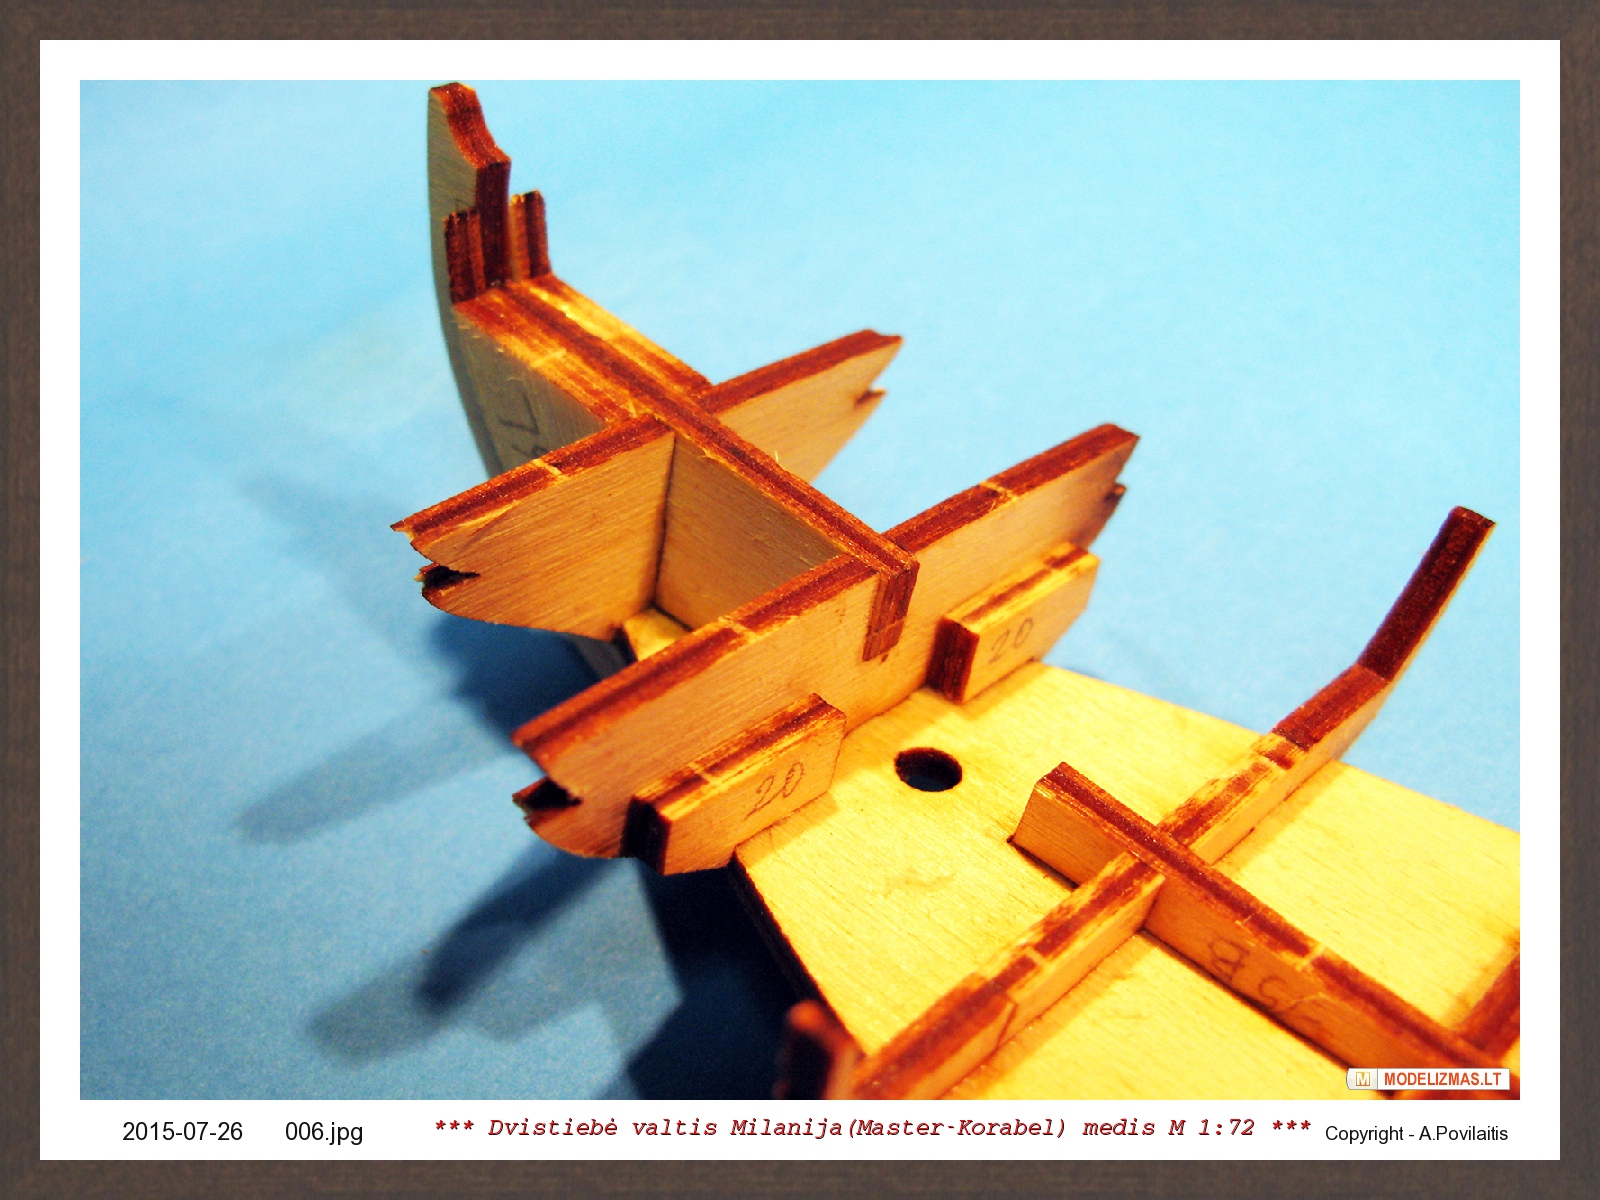
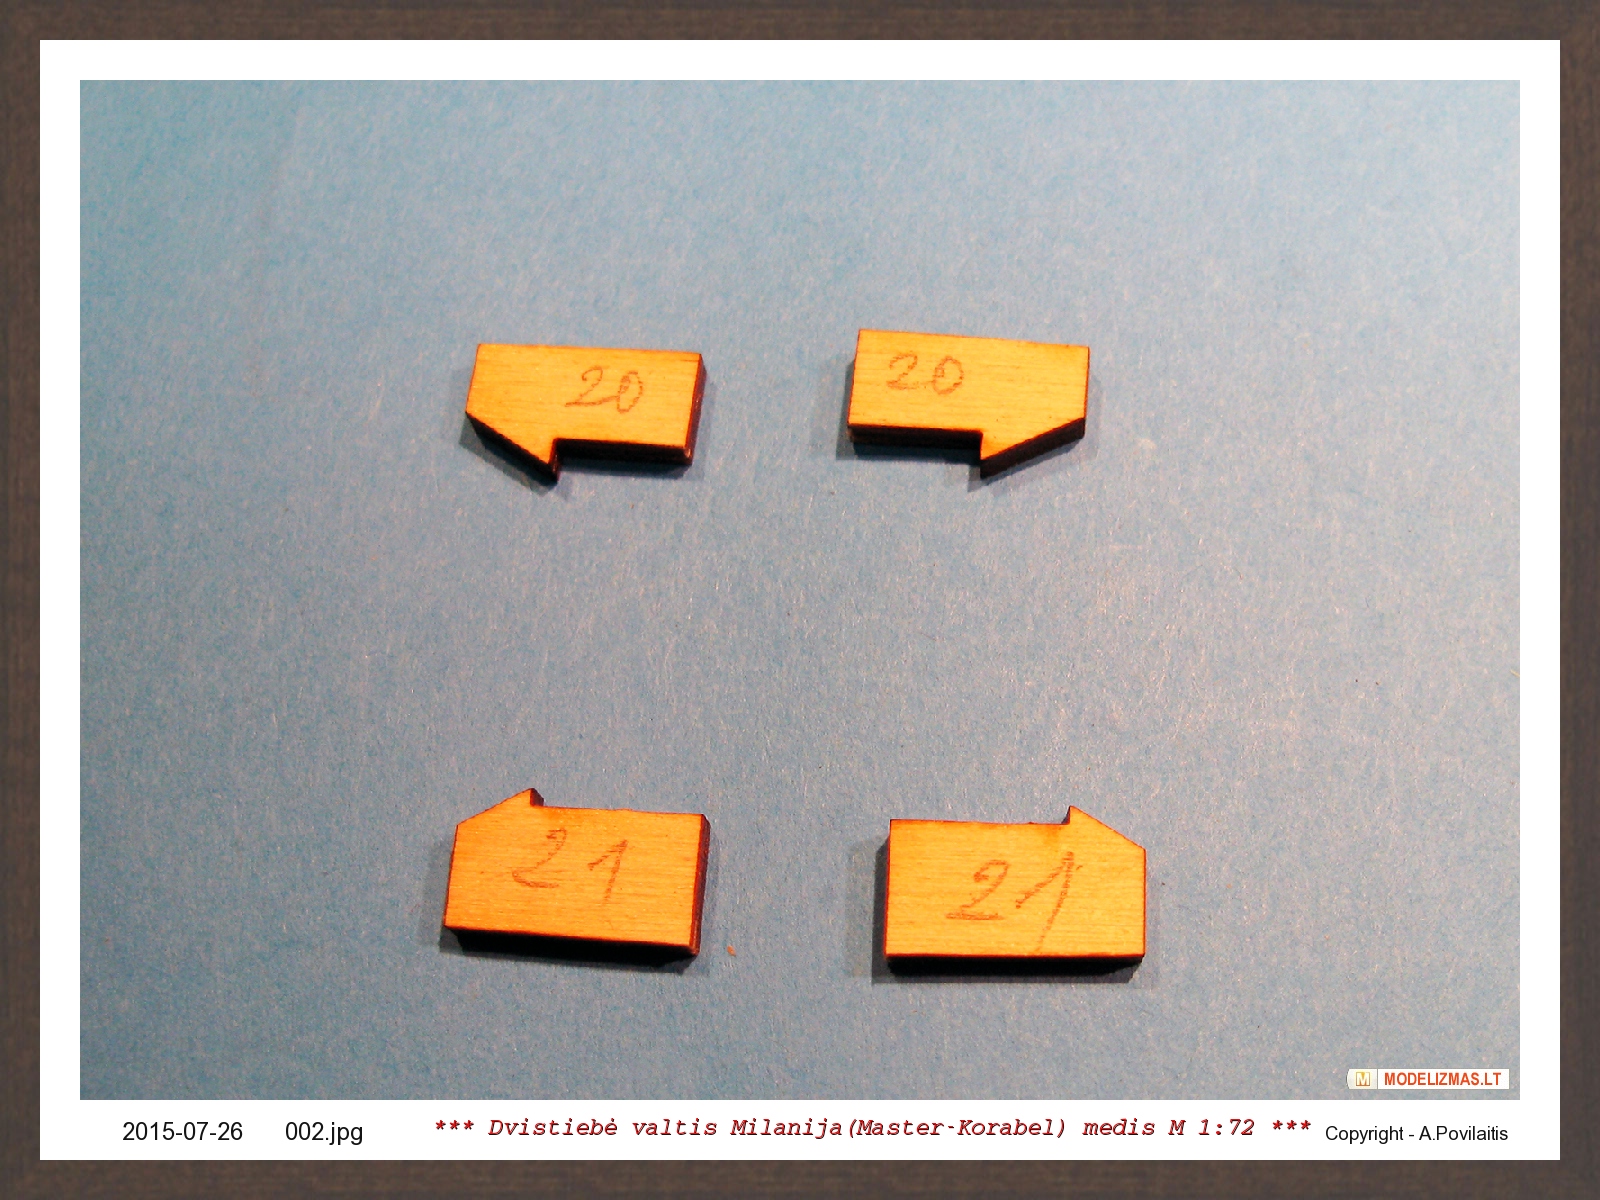
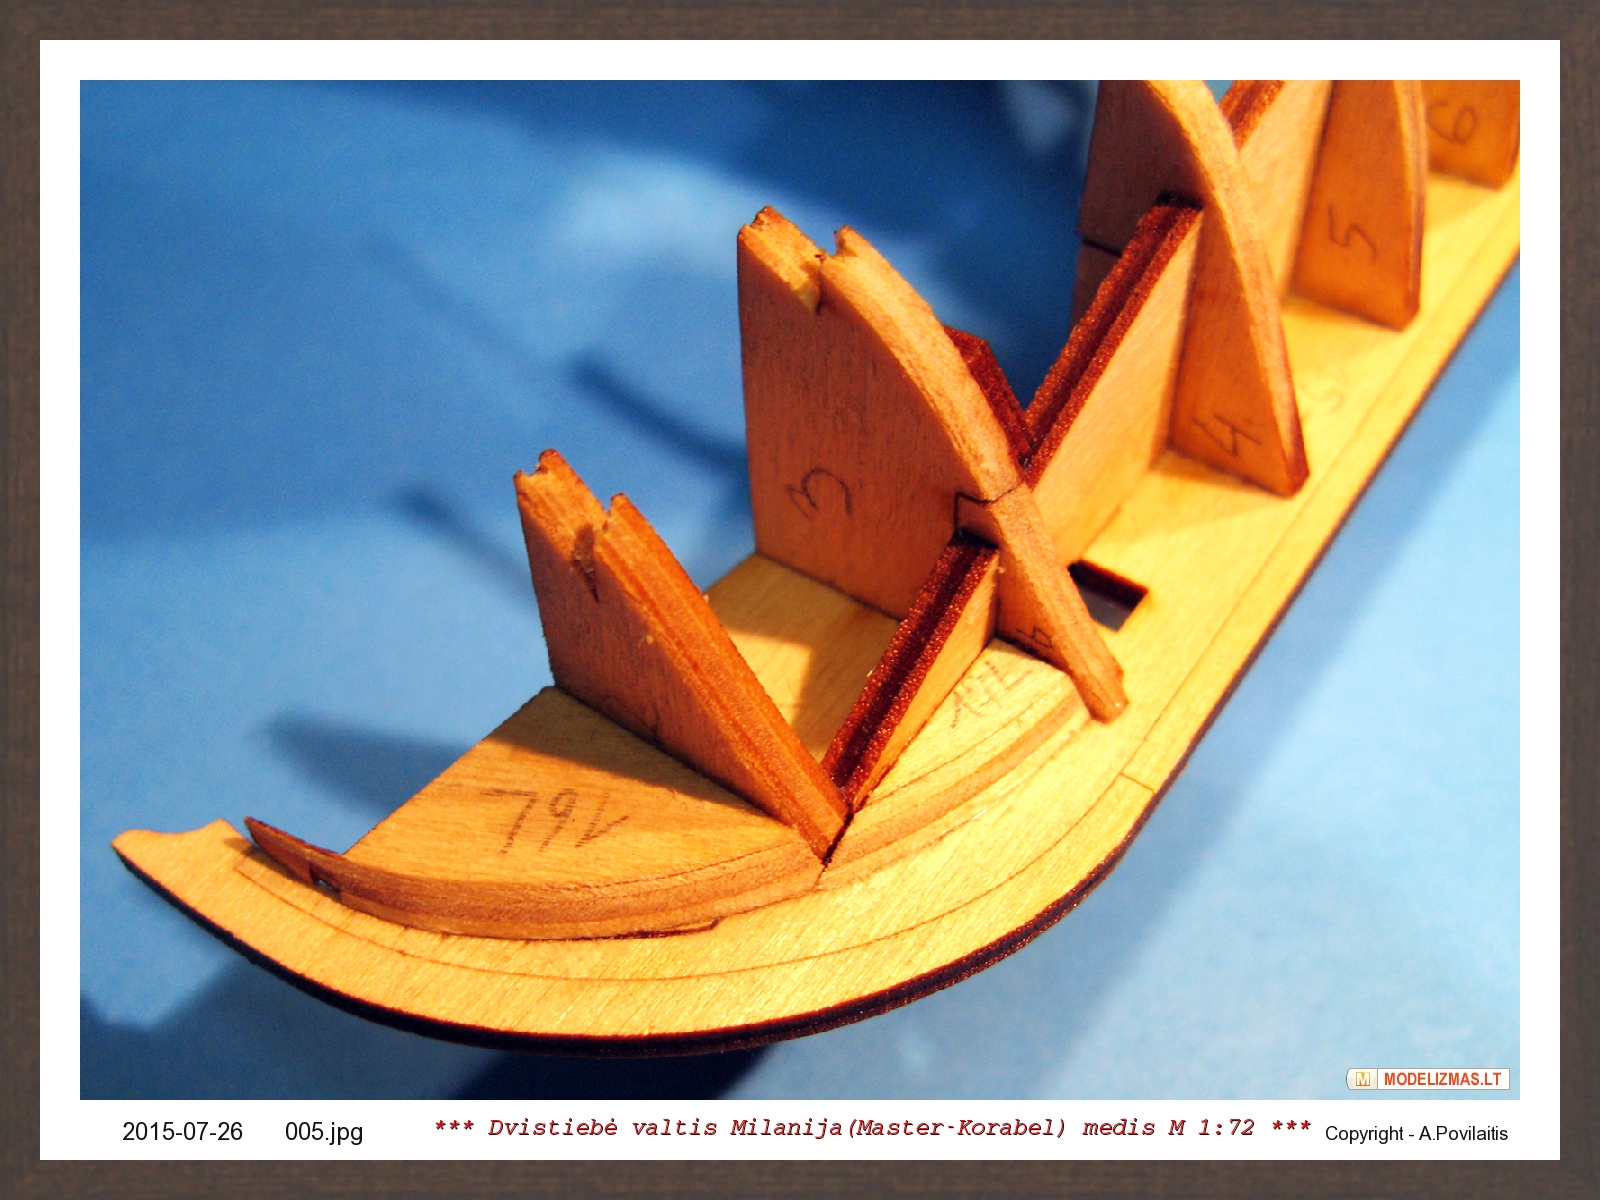
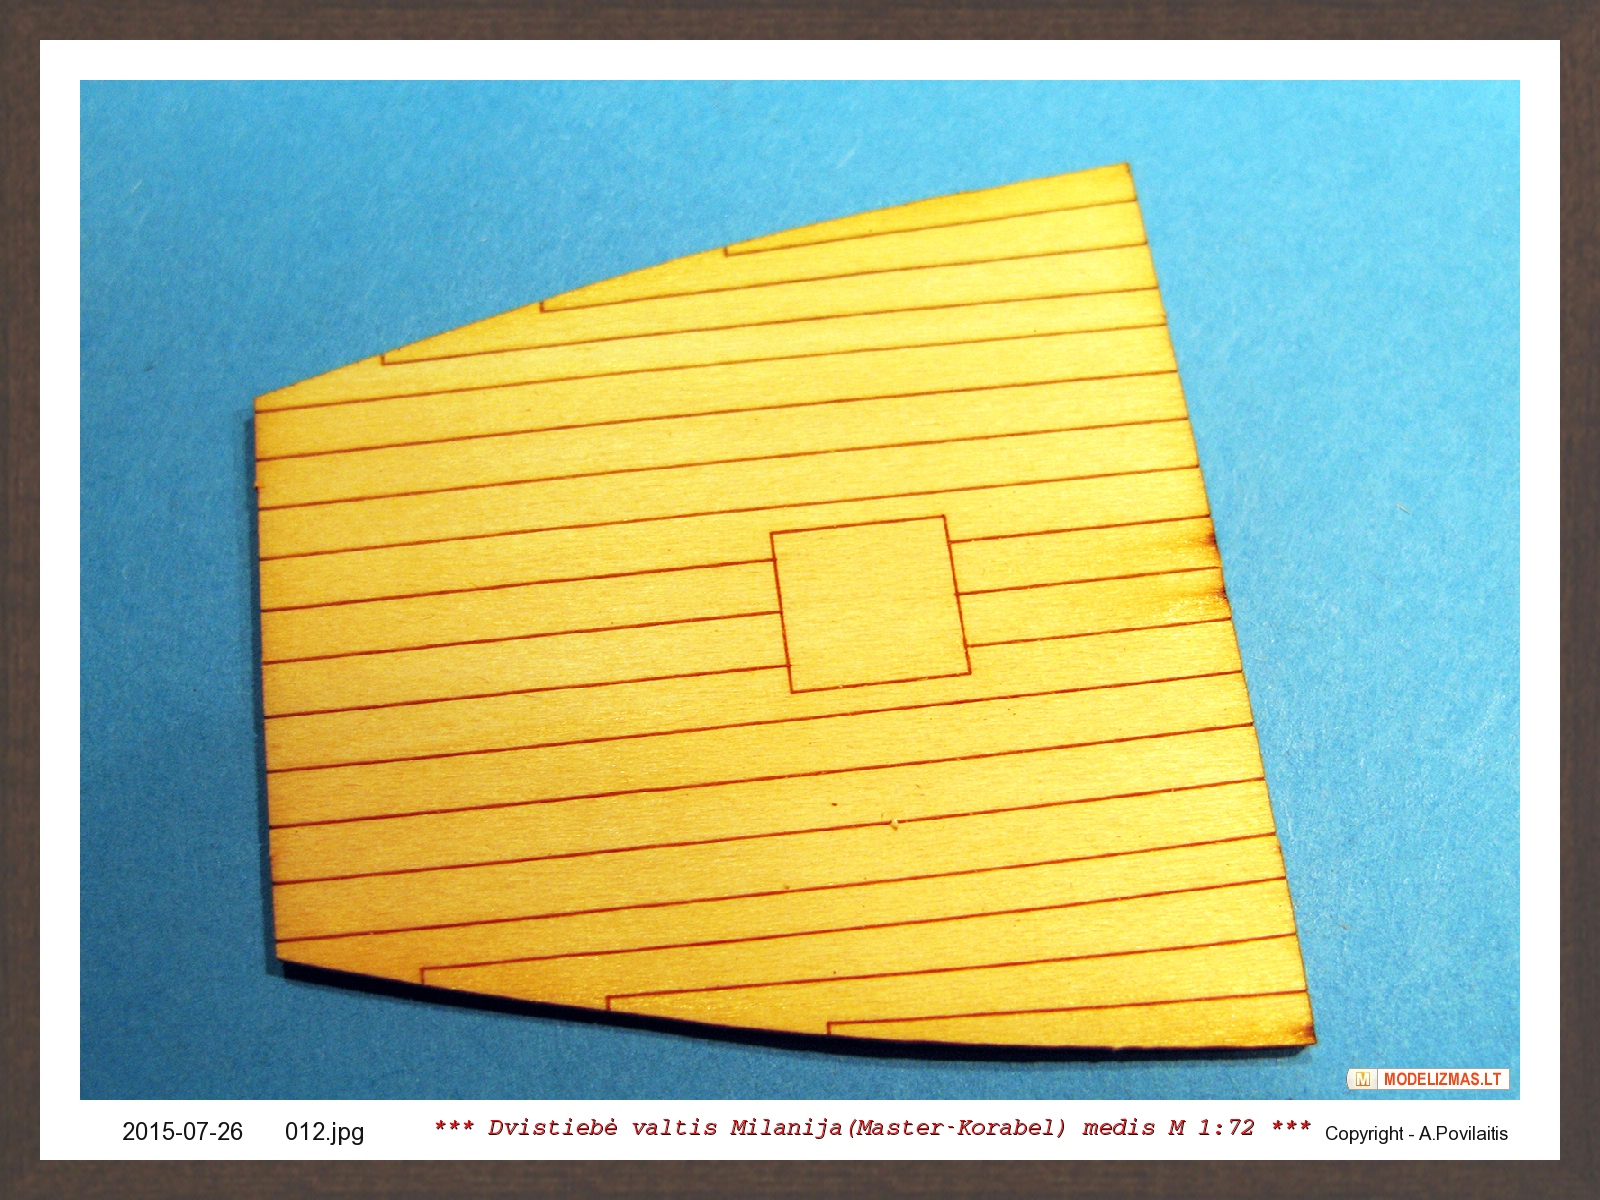
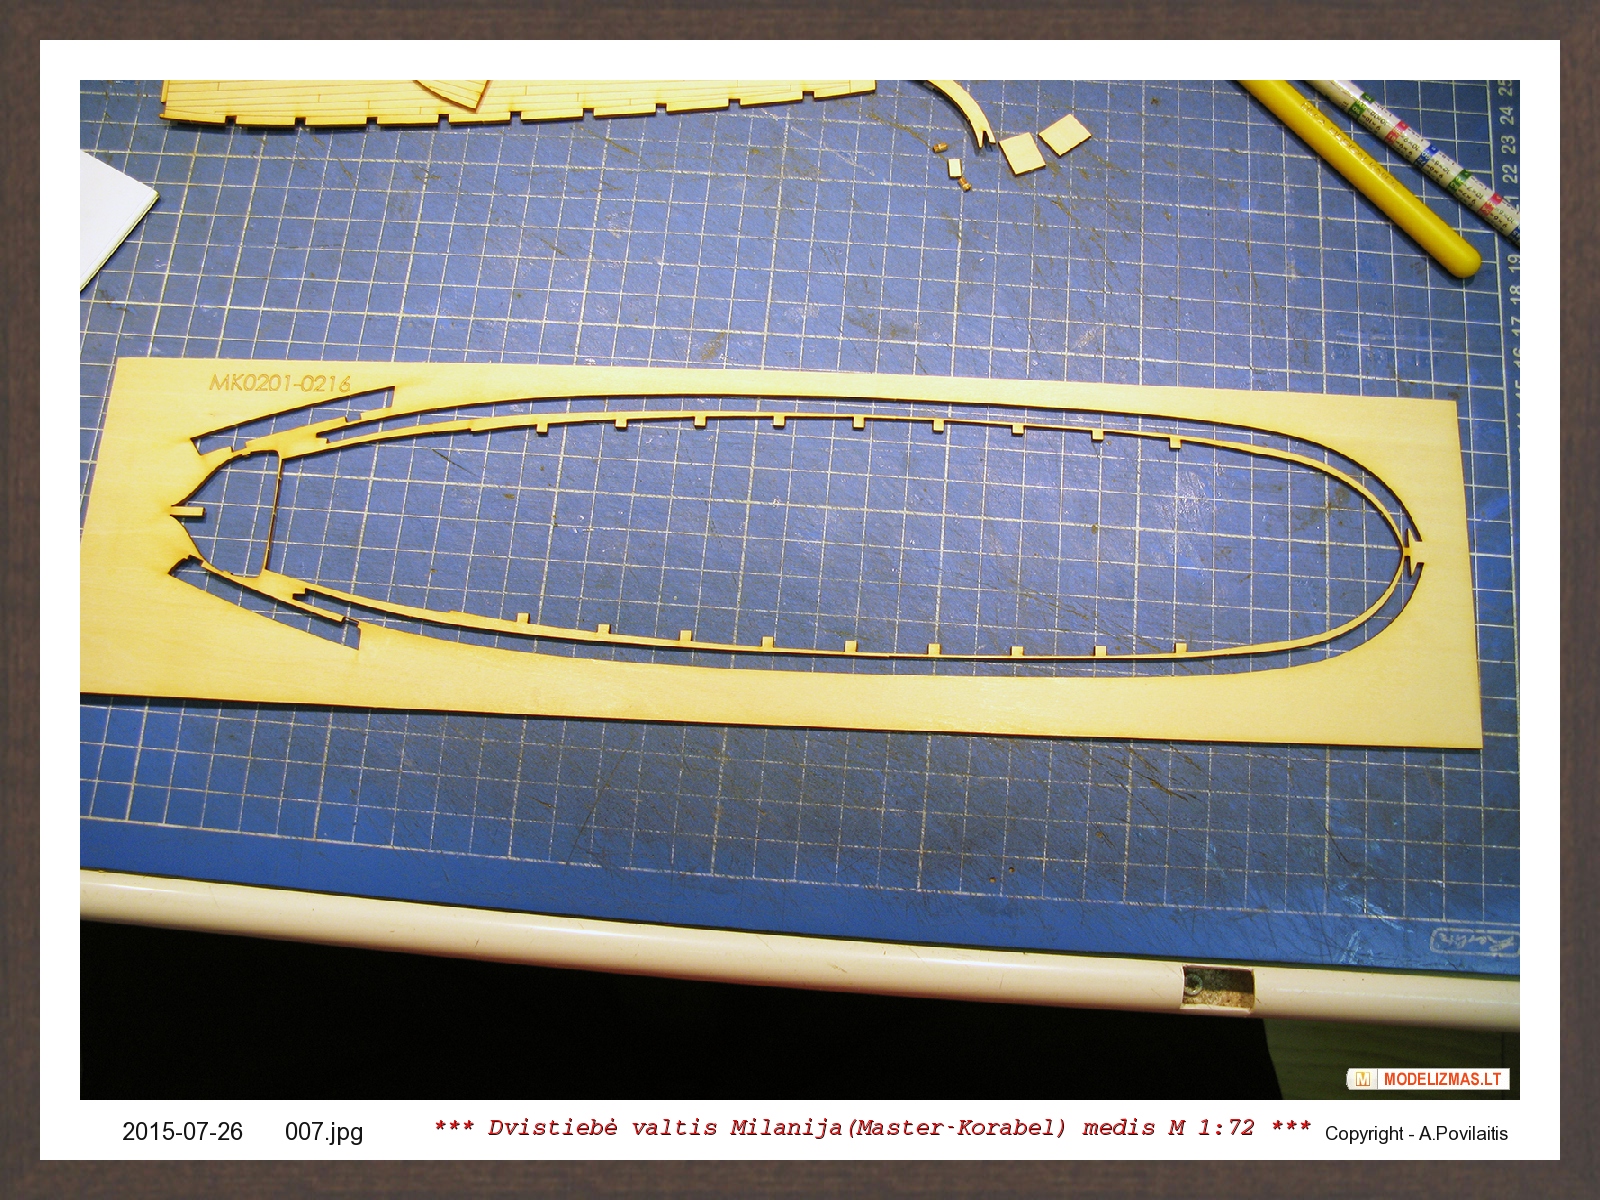
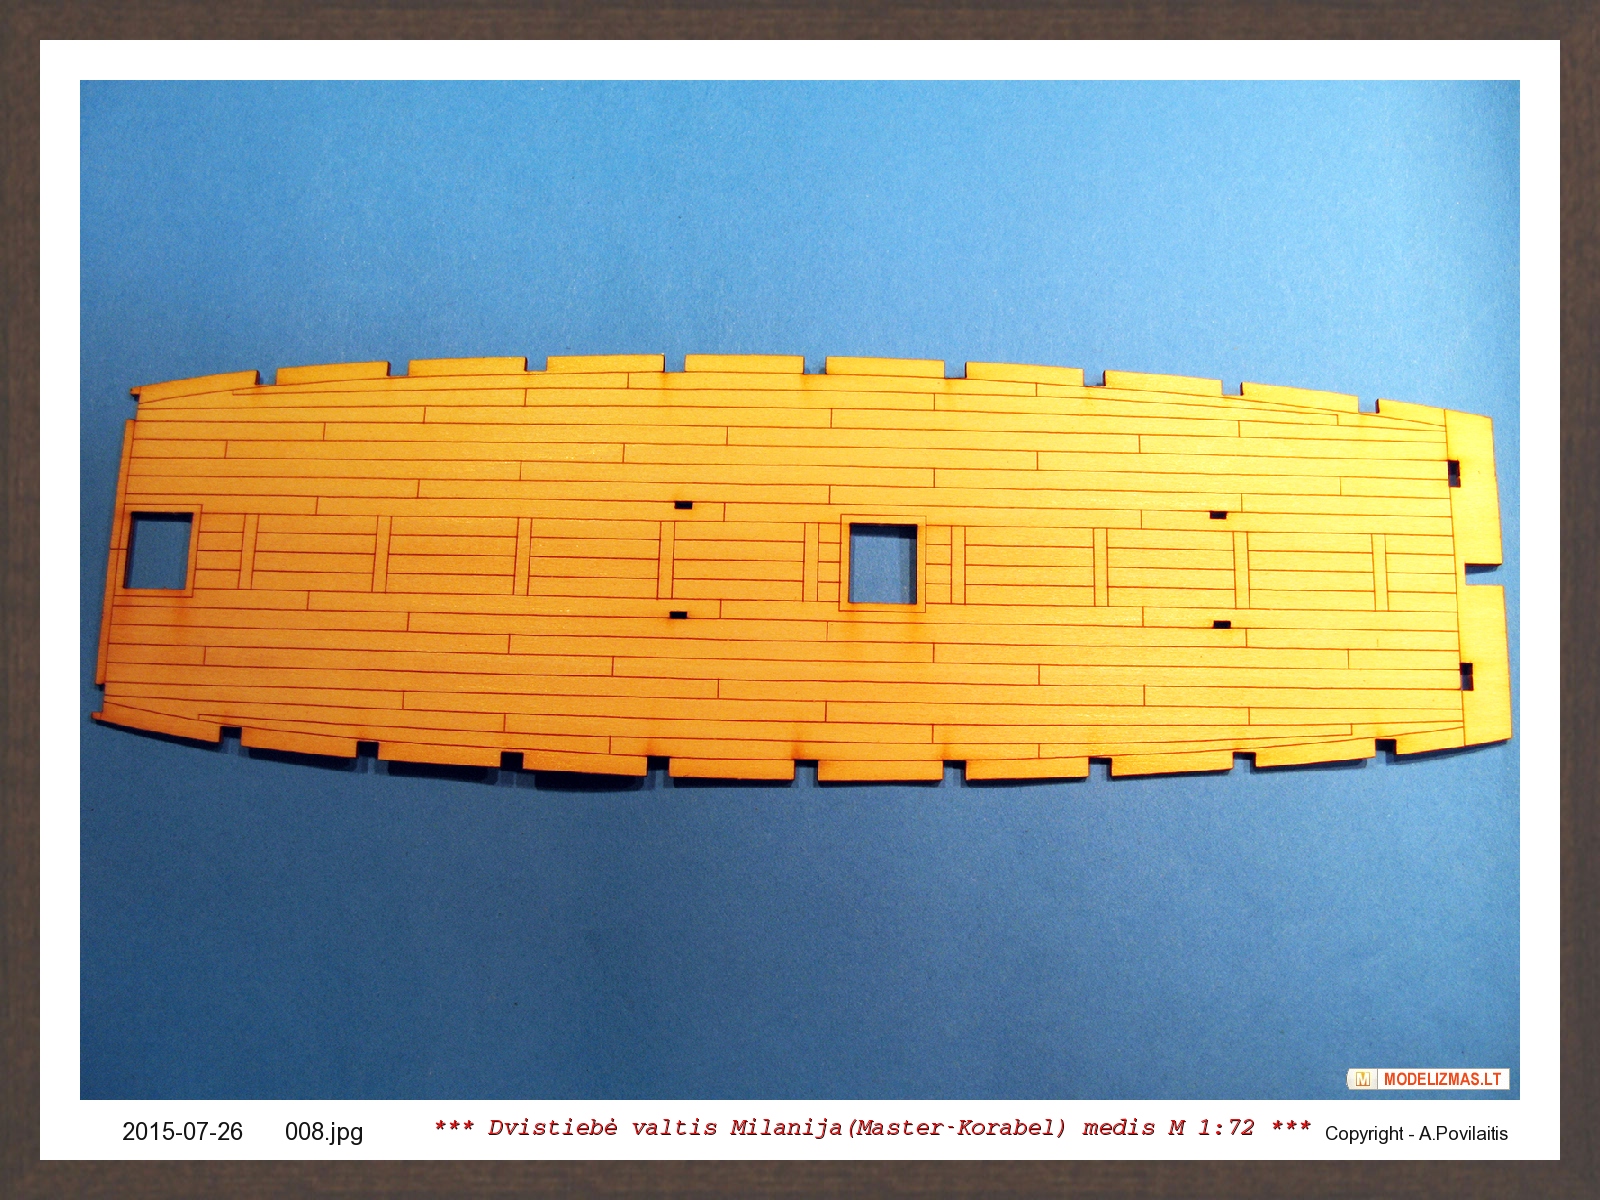
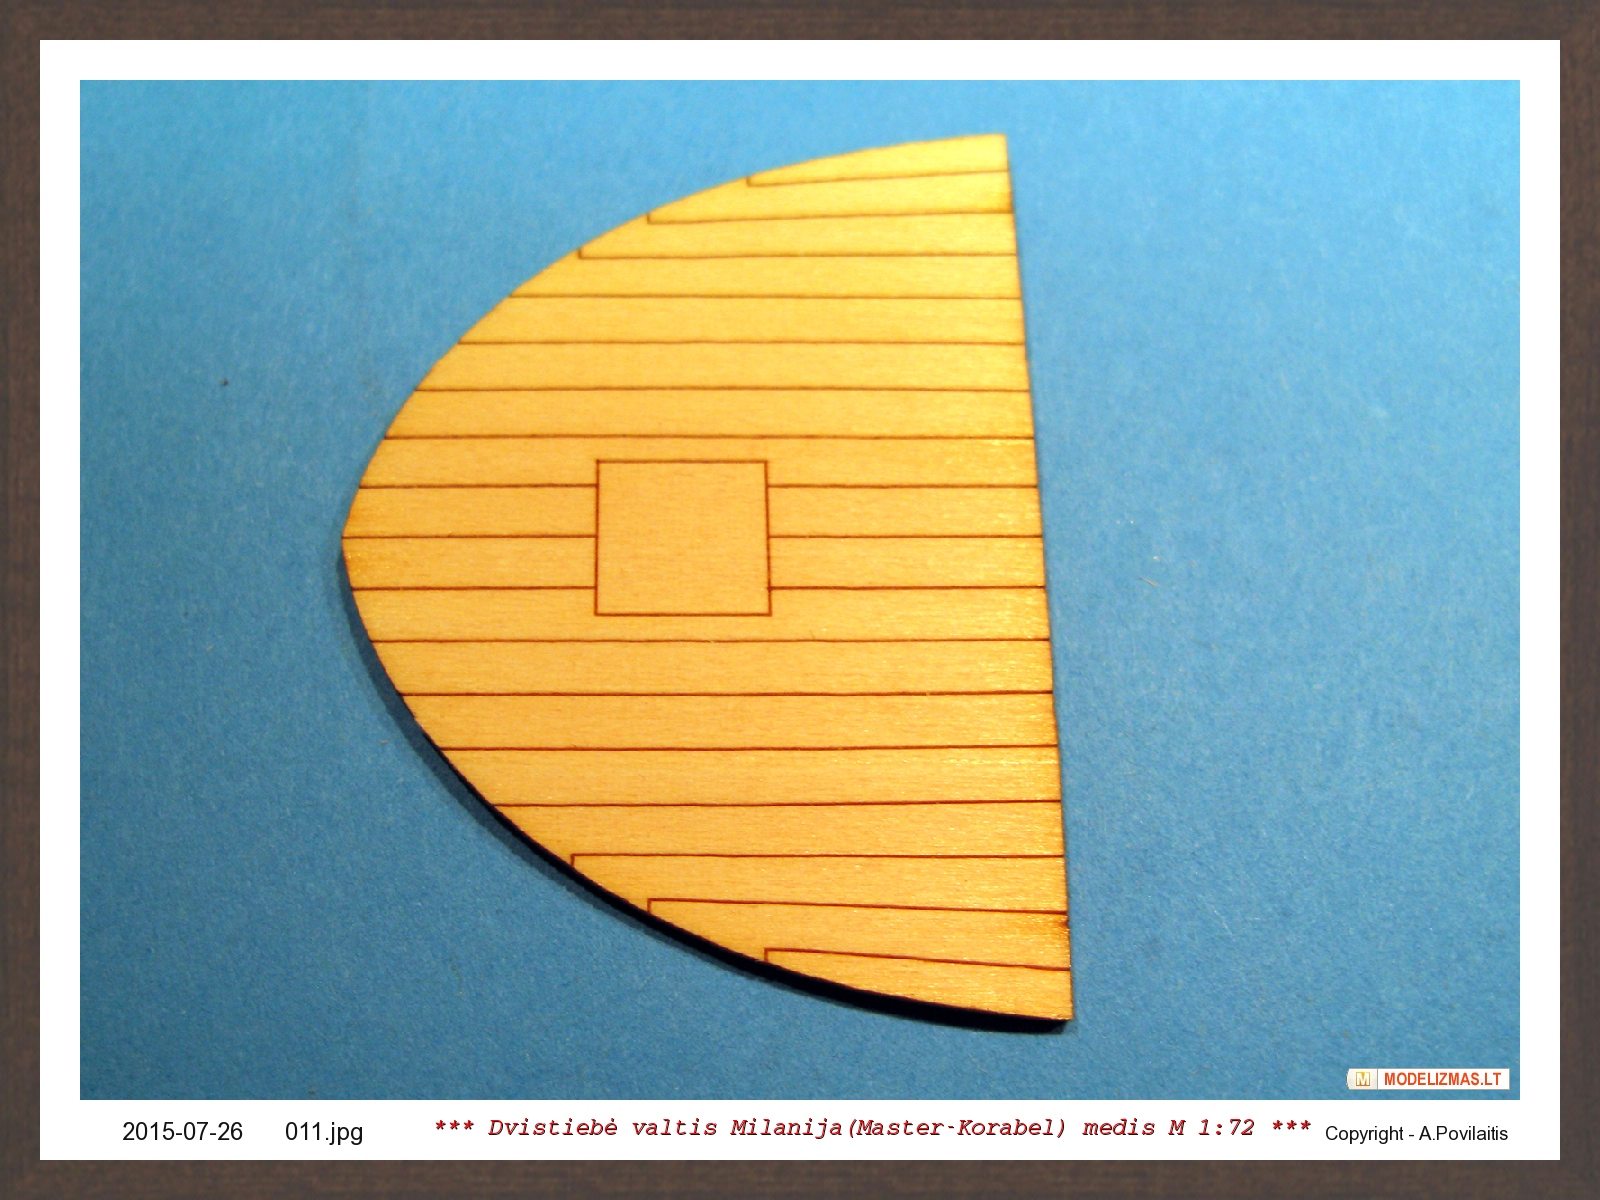
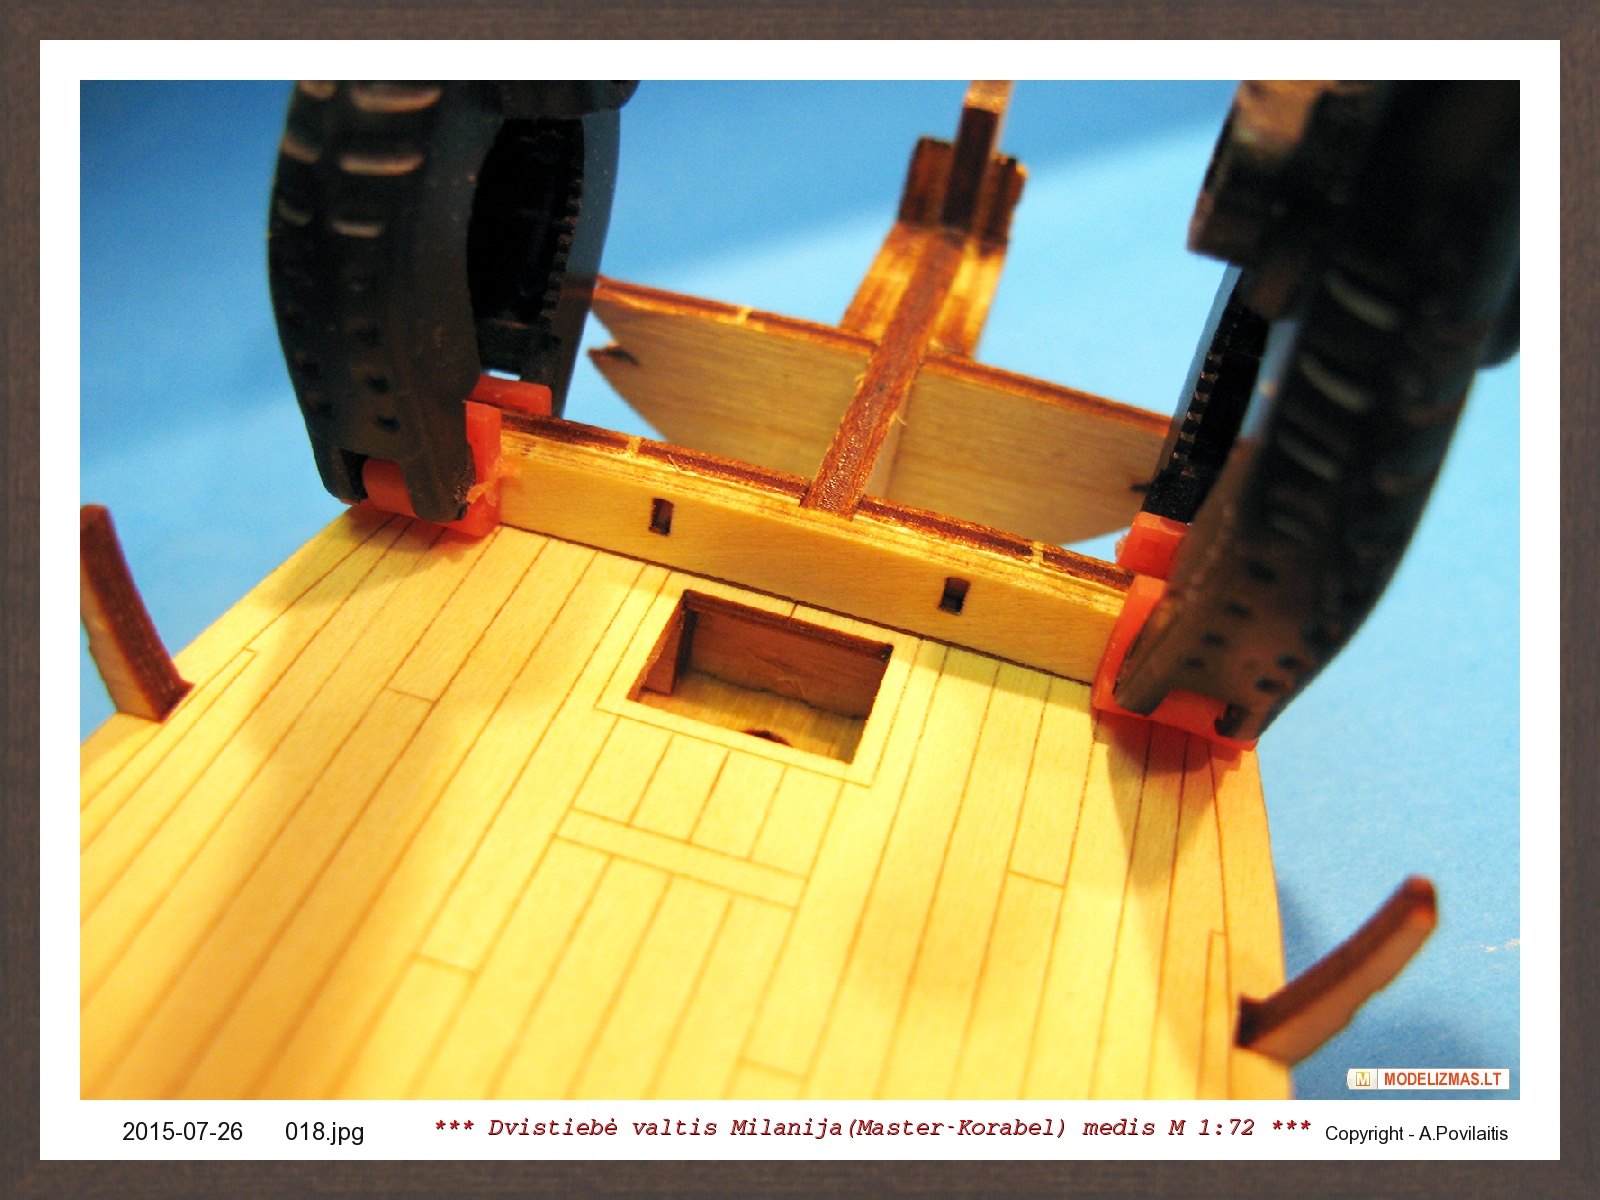
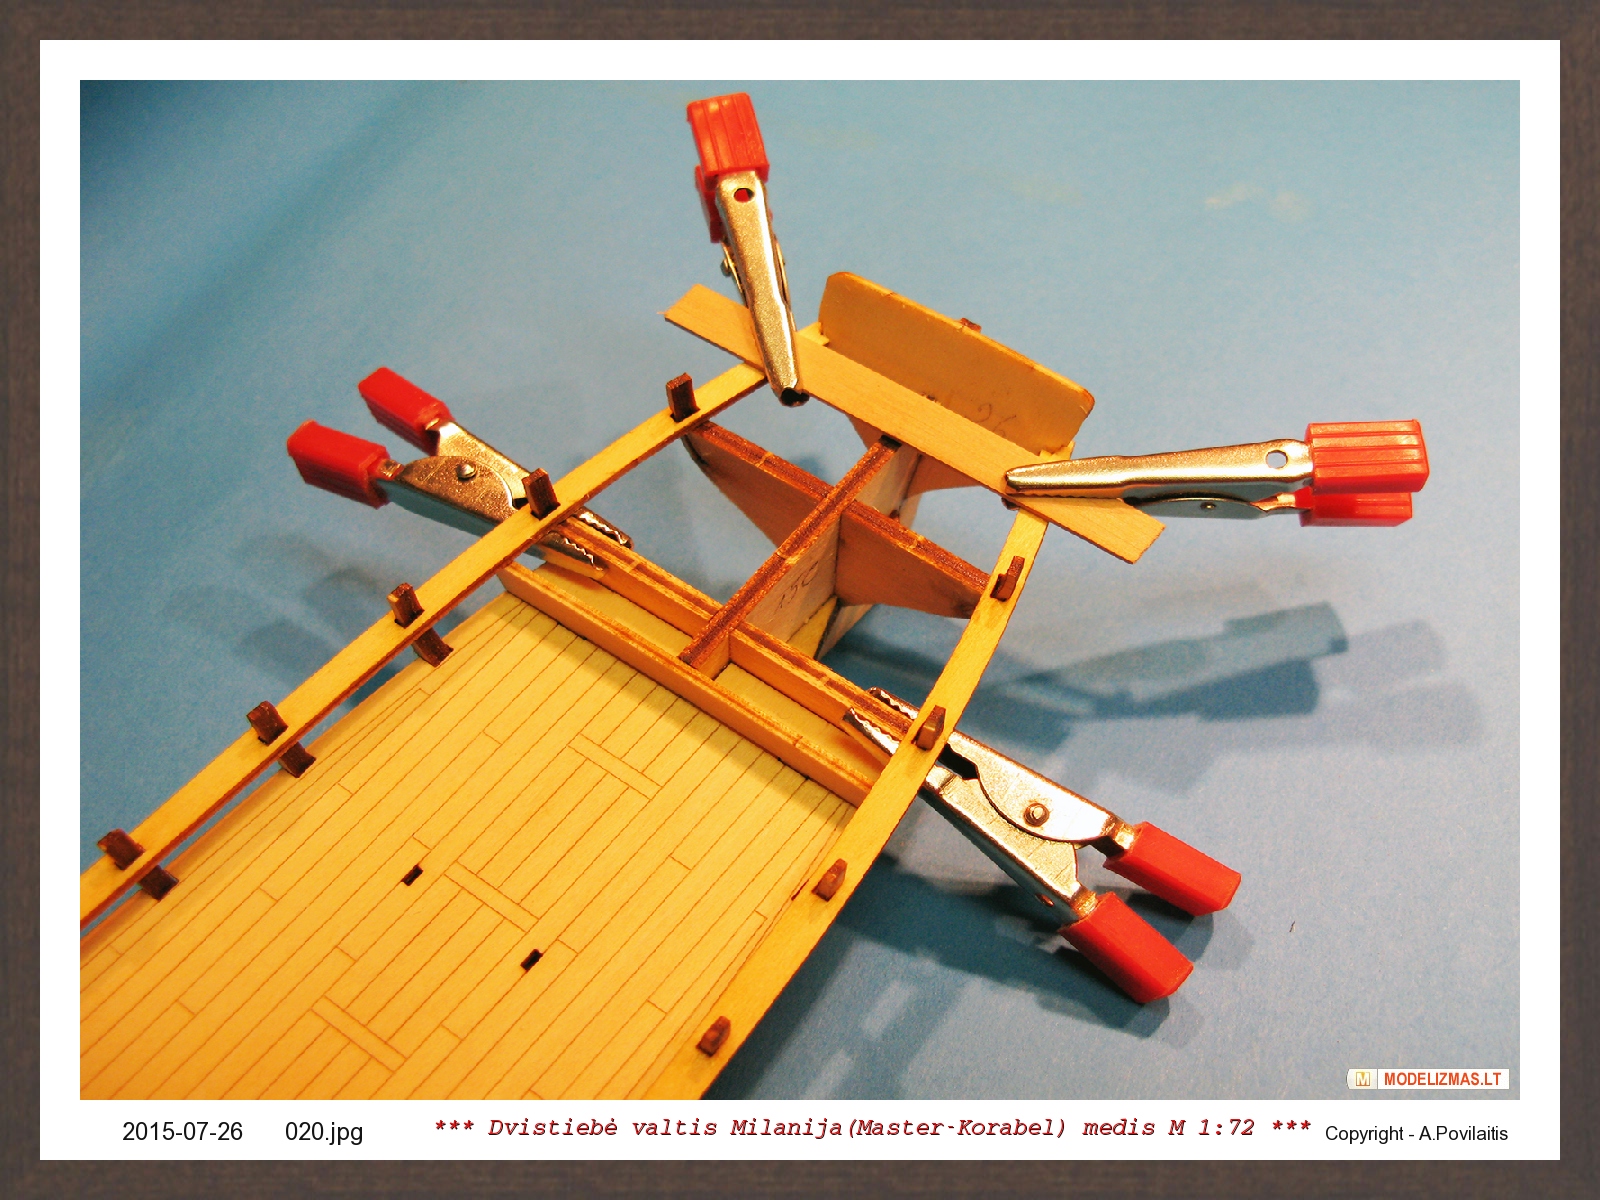
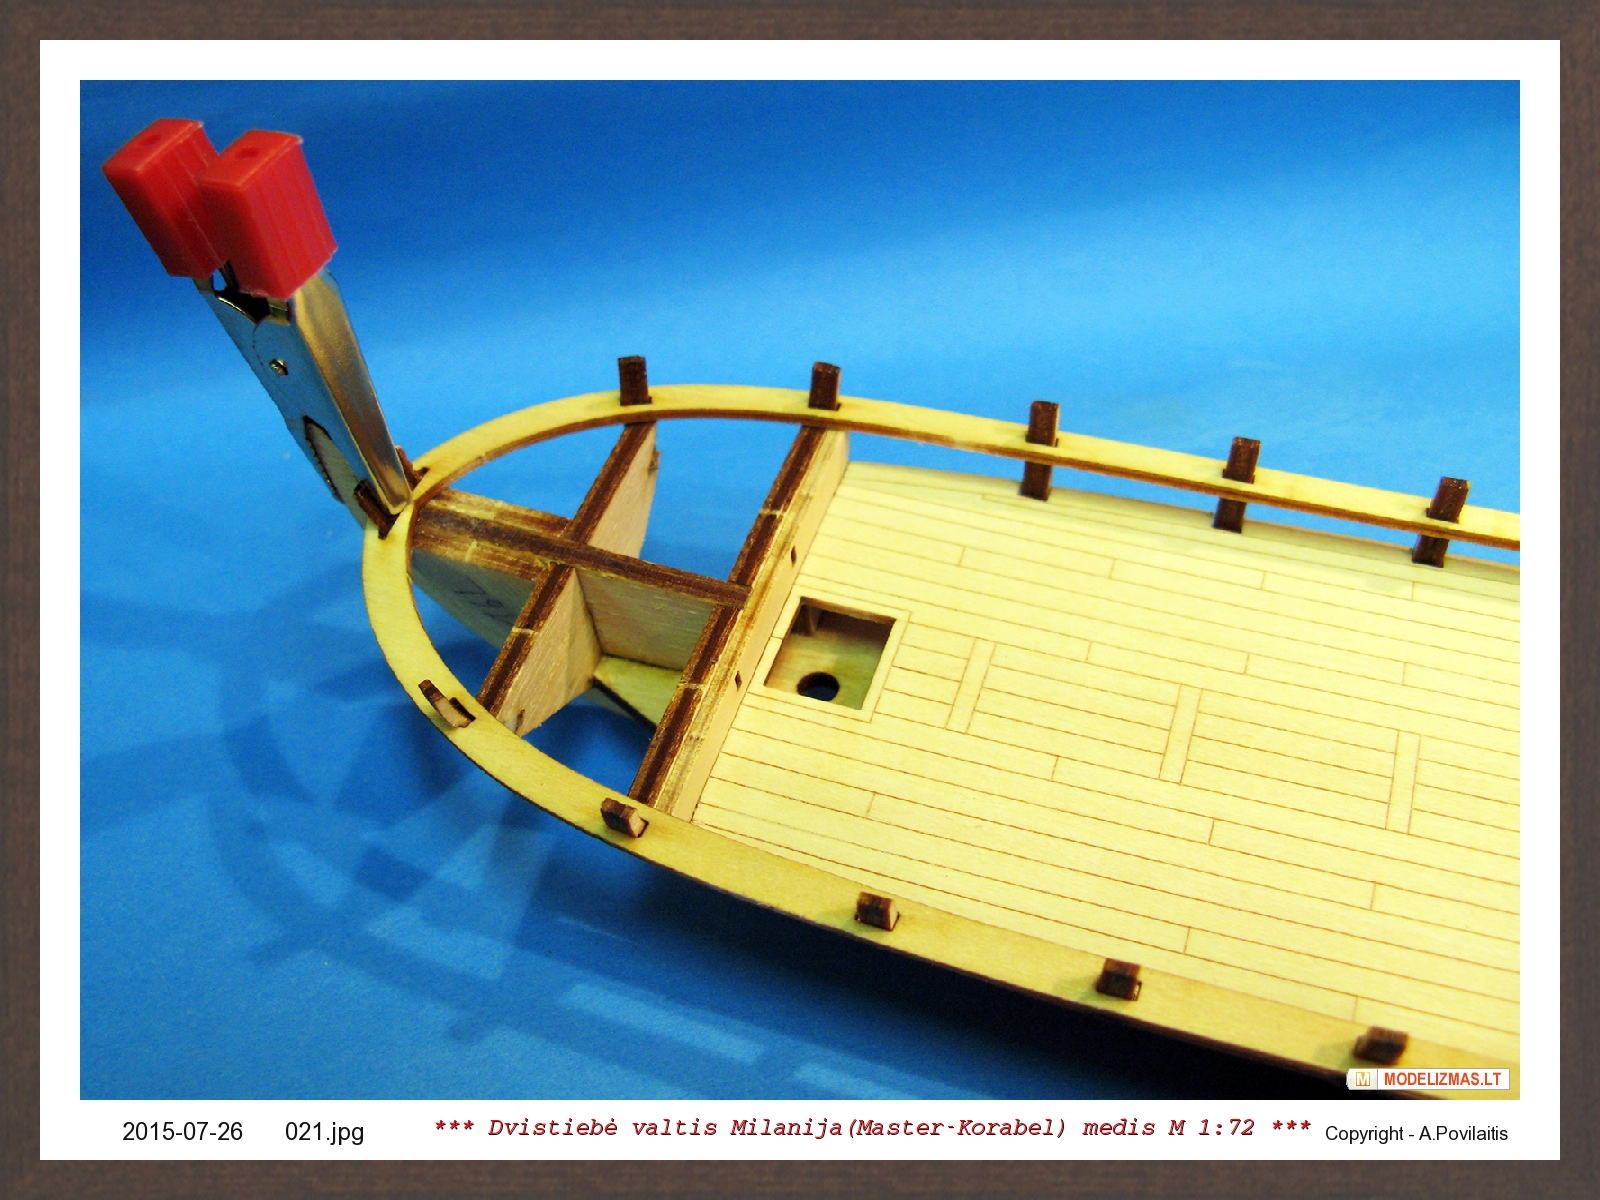
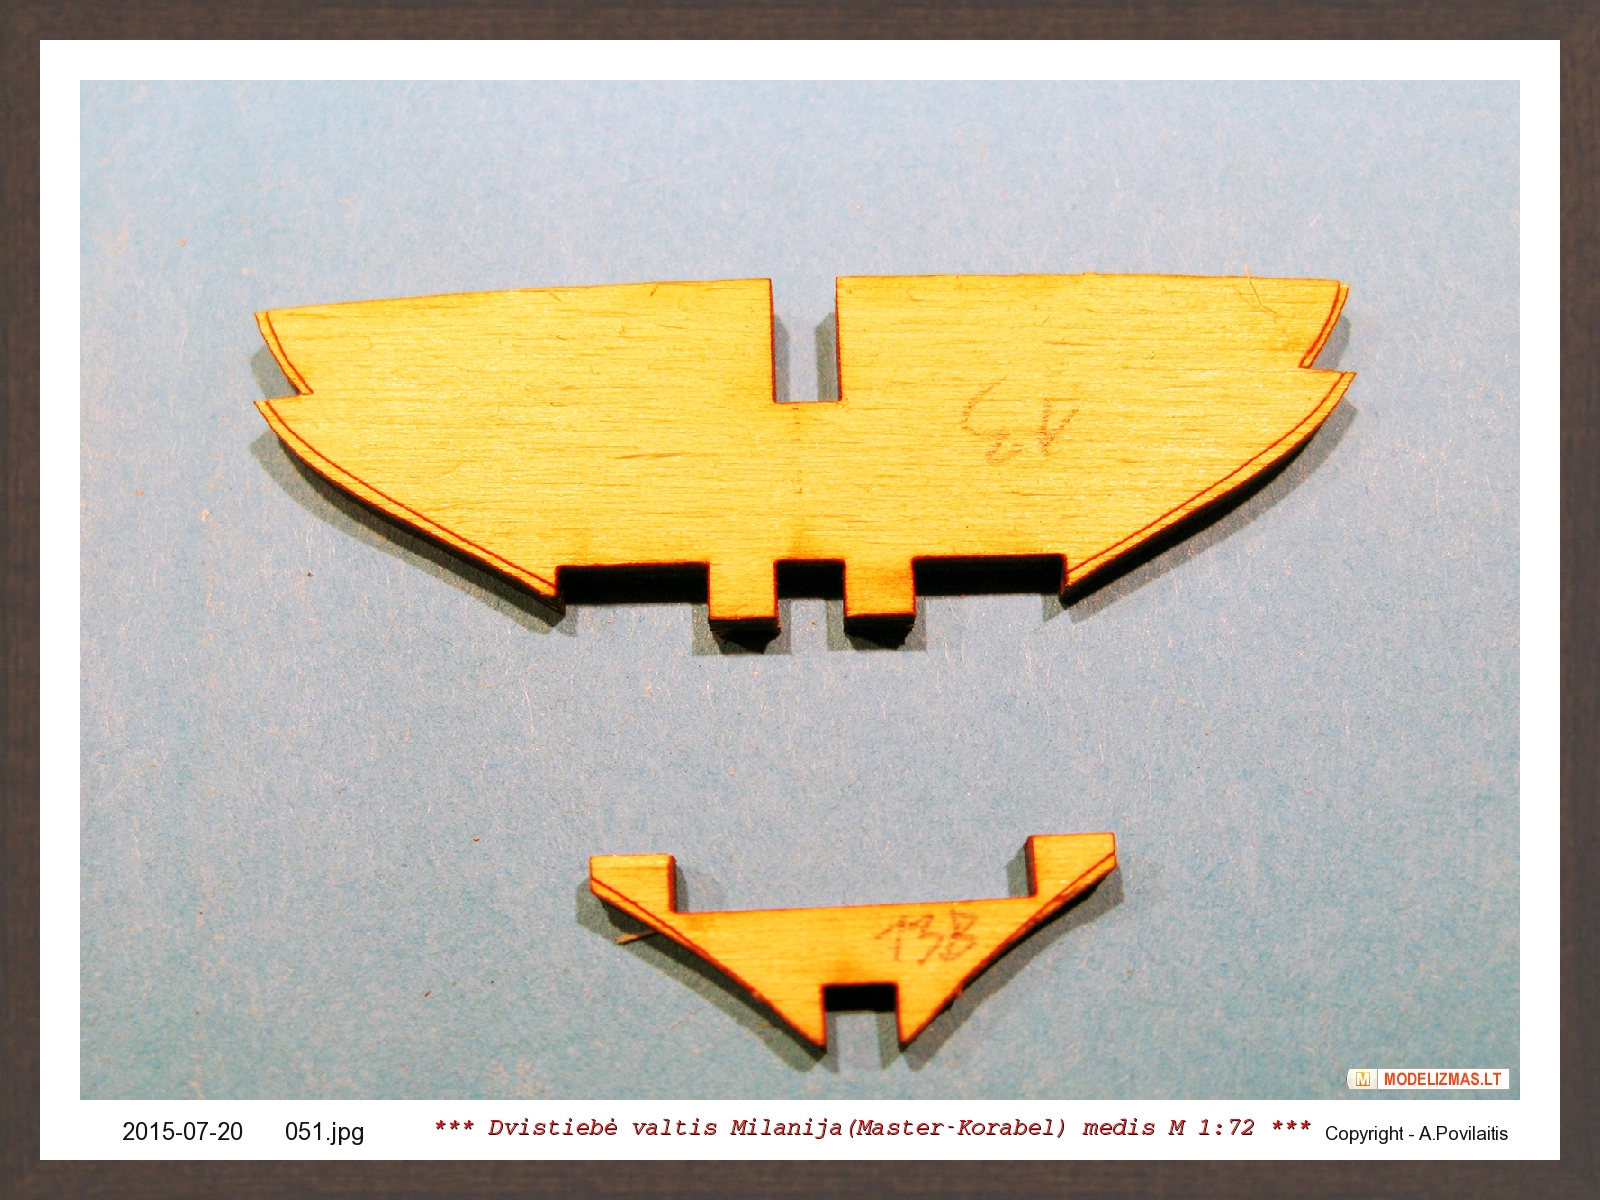
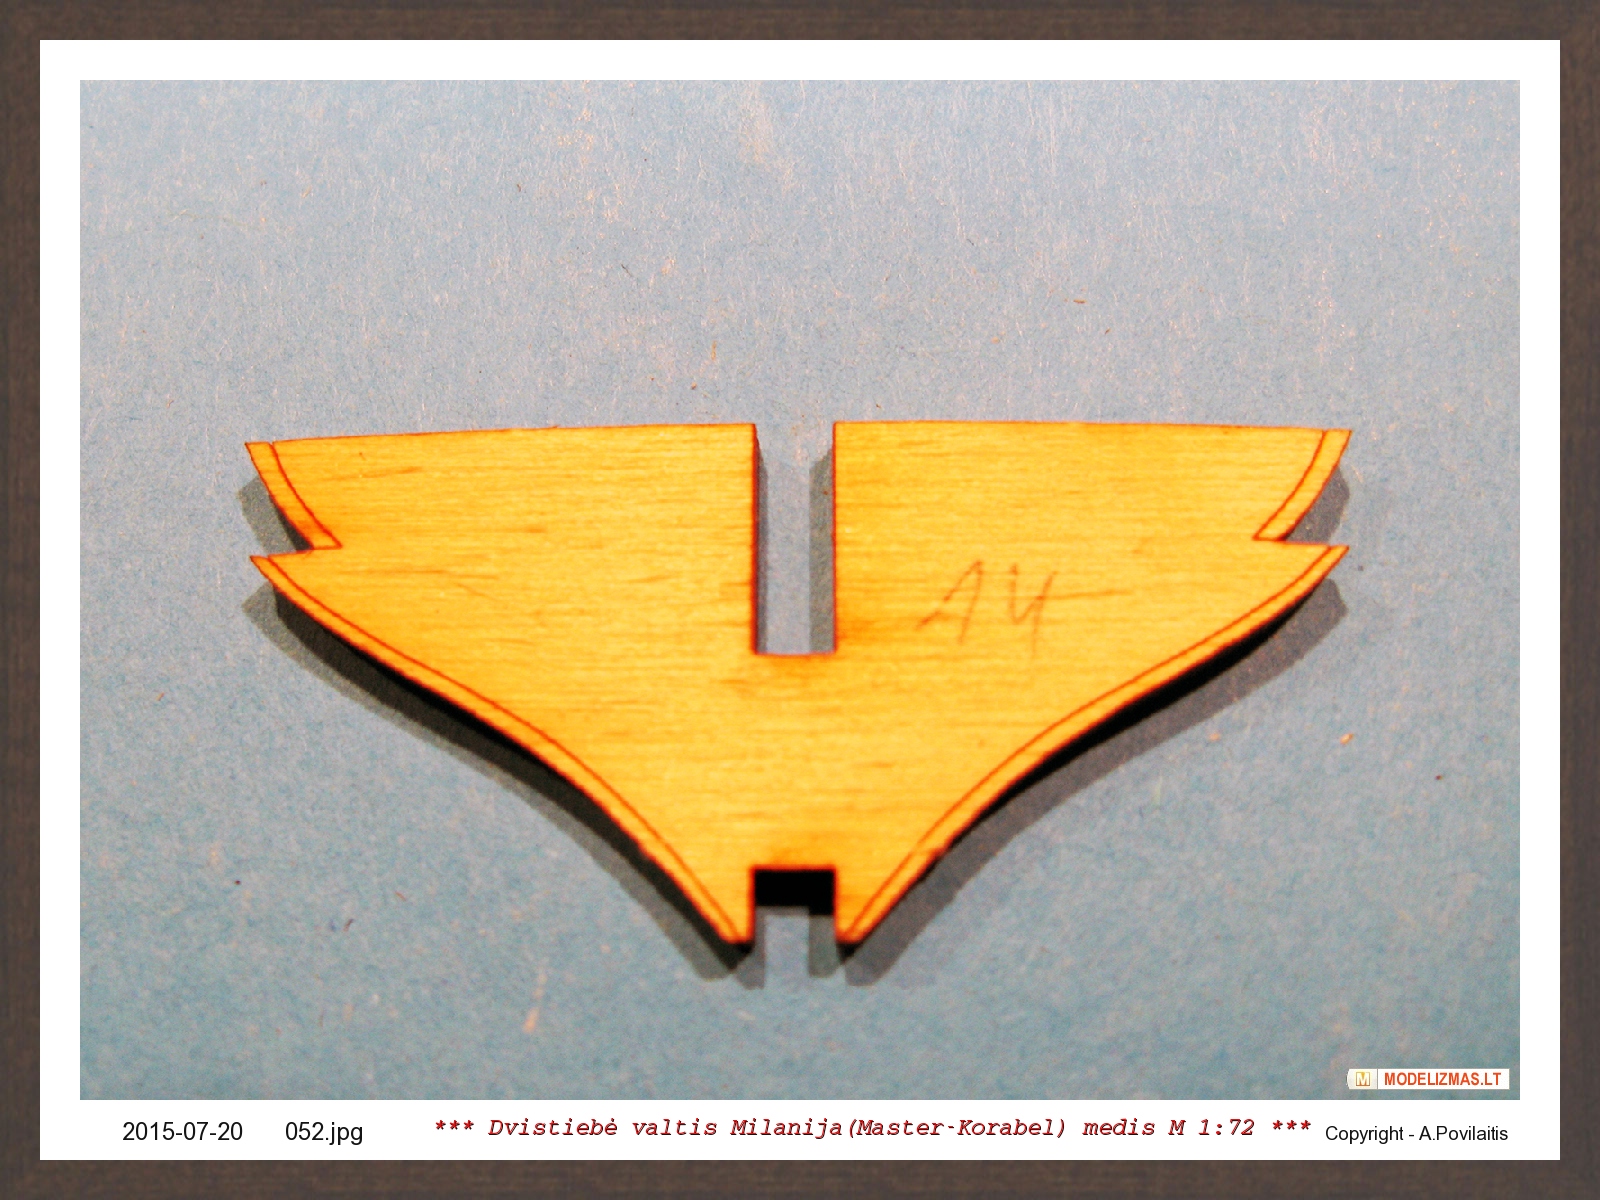
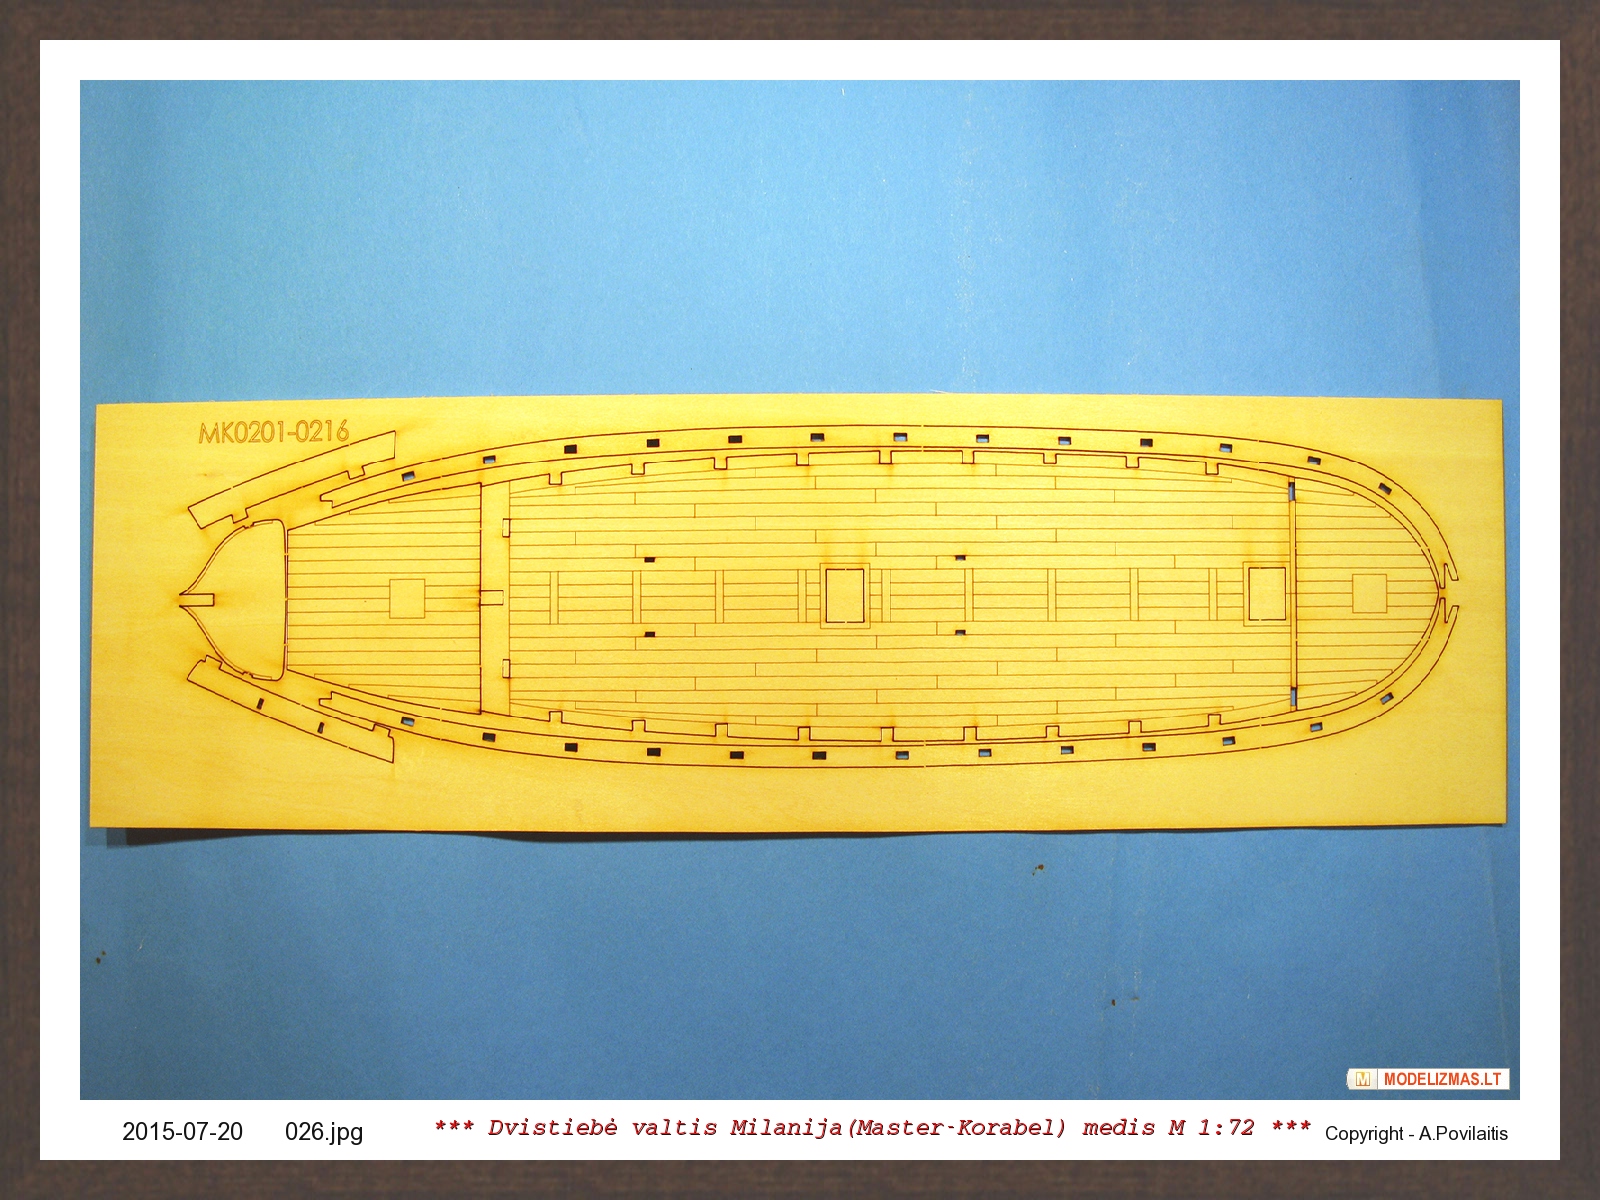
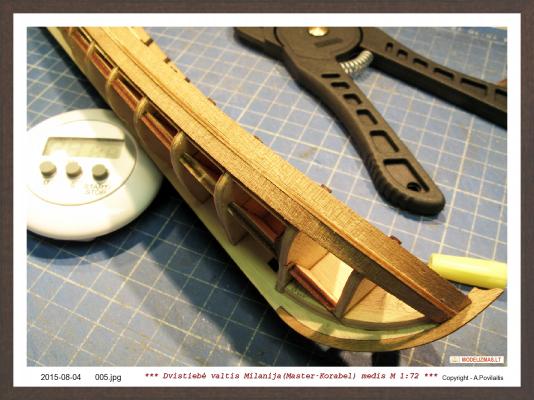
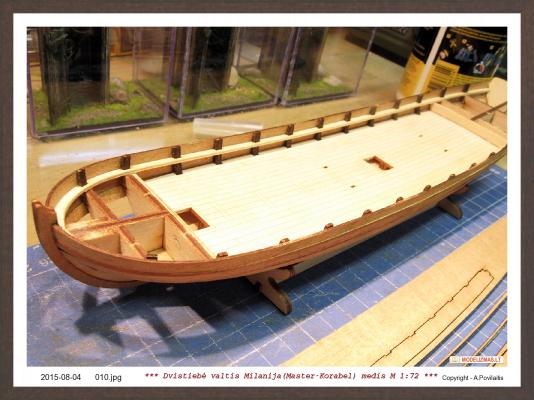
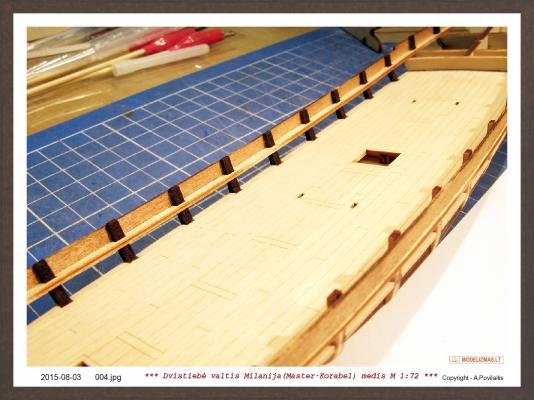
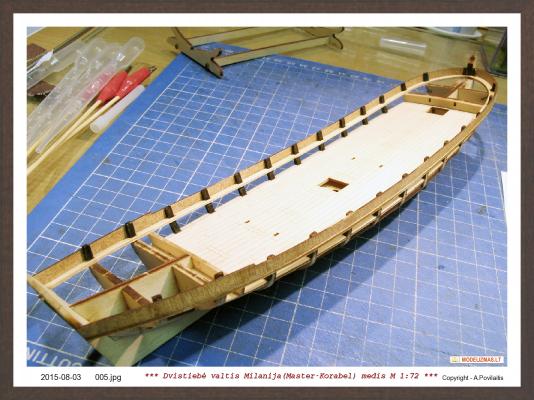
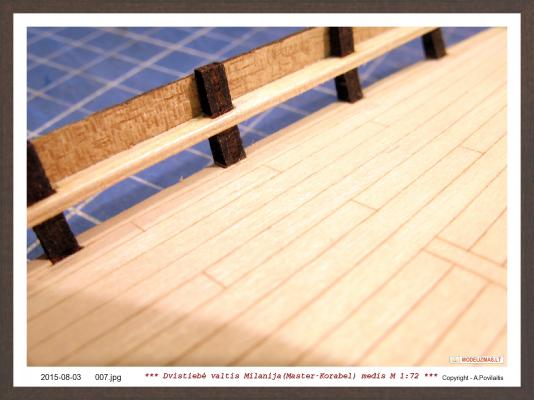
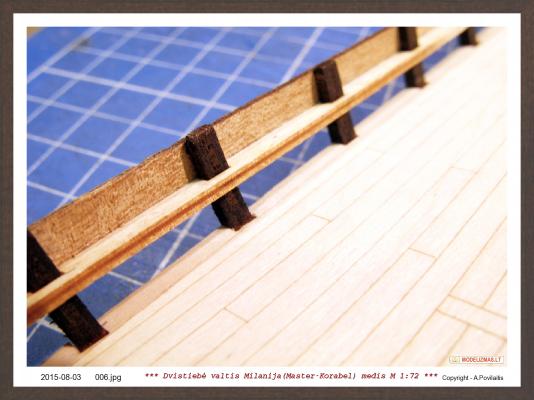
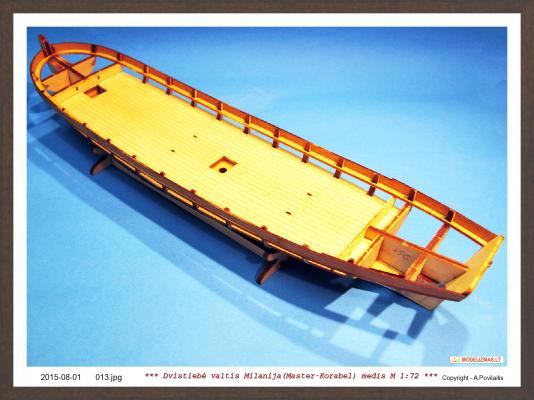
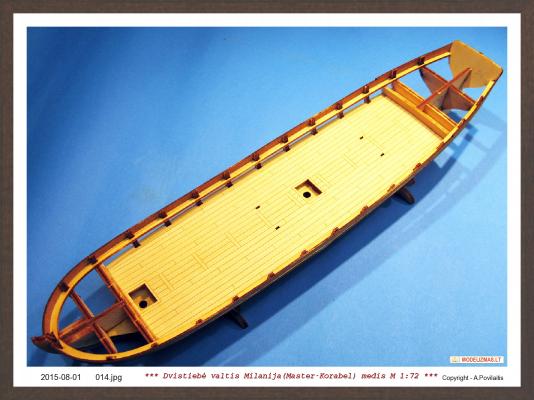
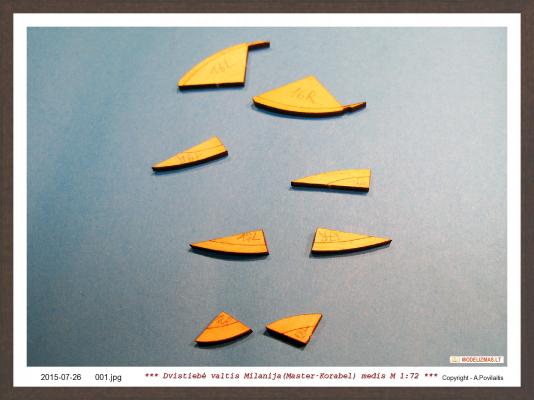
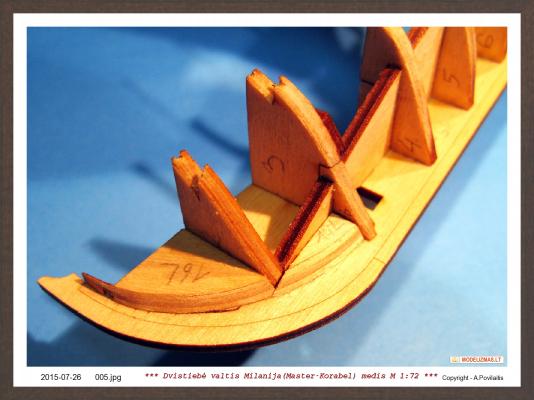
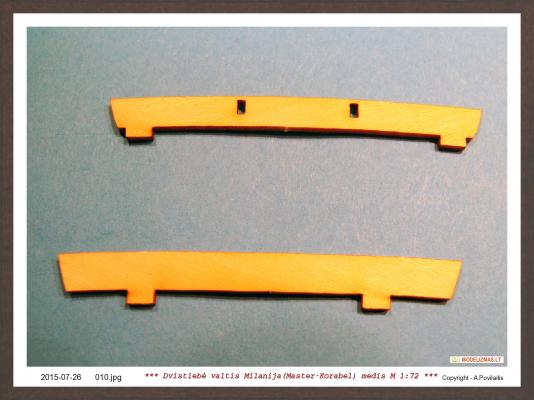
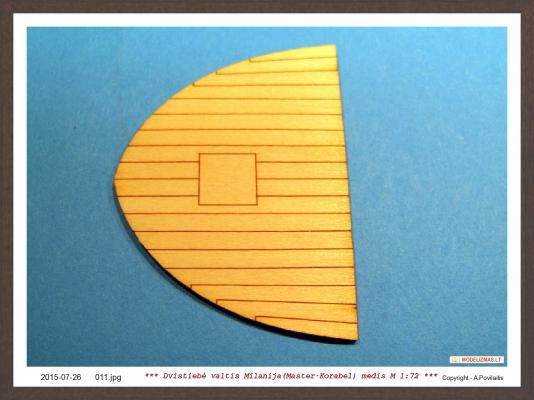
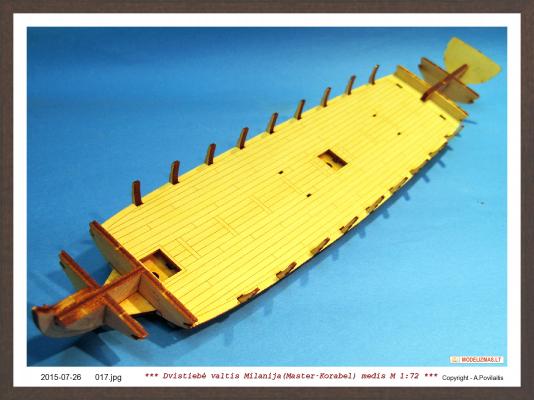
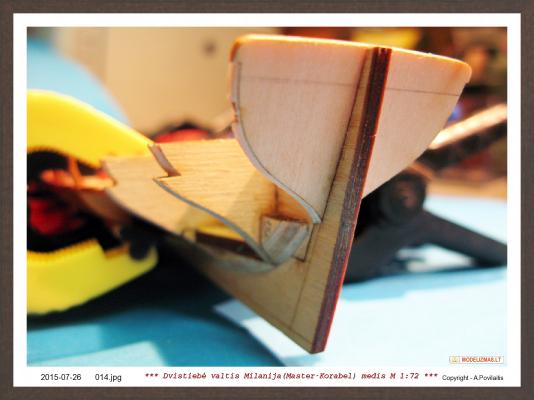
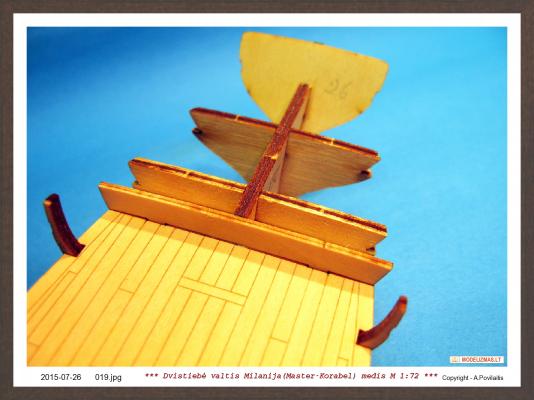
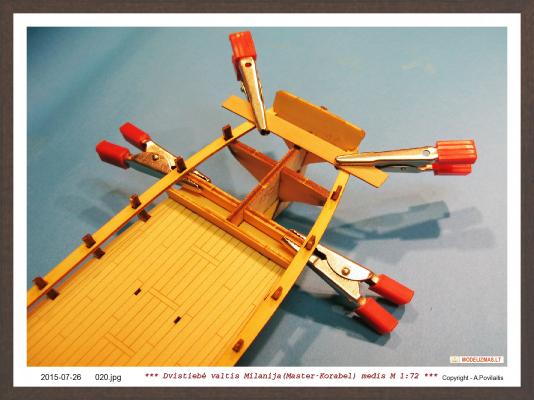
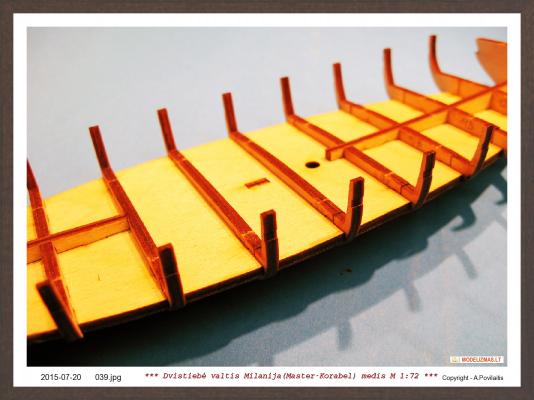
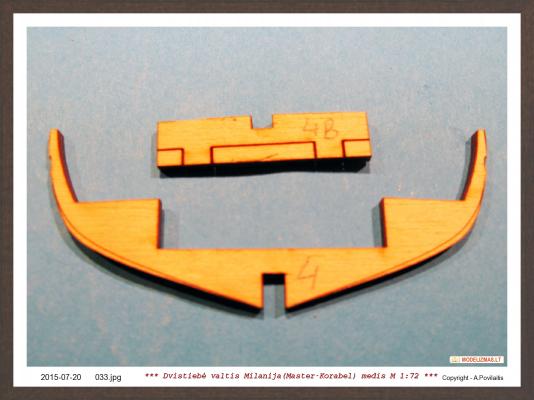
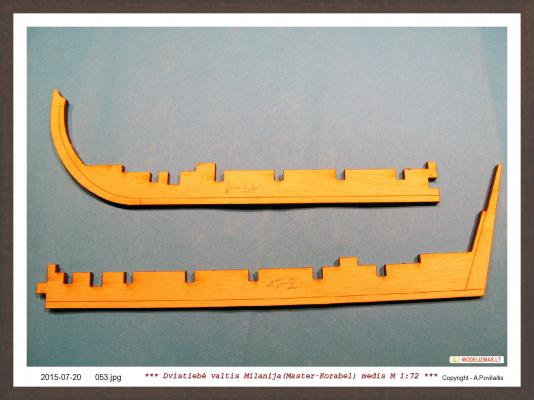
Today continue working on the hull. At the first sanding the parts 16L,16R,17L,17R,18L,18R,19L and 19R. How many to sand show the laser marks on the parts. For this I use my homemade disk sander. The parts 20 and 21 not nedeed to sand. The parts 16,17 and 20 are glued at the bow, parts 18, 19 and 21 at the aft. Then this parts is drying, I removed parts from the plate MK0201-0216. This is deck (3 parts), transom frame and some other. The deck parts has the planking imitation. The marking is maded using laser and look good. I not now the english name of this part . Glued transom and main deck. The deck fits very well. I must very fine sand only in to places. Bow and aft of the deck. After 4 hours remowed clamps from the deck. Glued bow and aft bulkheads. And at least this side parts. This parts are glued only in 2 places. At the keel in the bow and to transom frame. To the other frames they are not glued. So. The week is very short, but I am satisfied. The hull is partialy glued. Maybe the next week I'll do the planking...


-
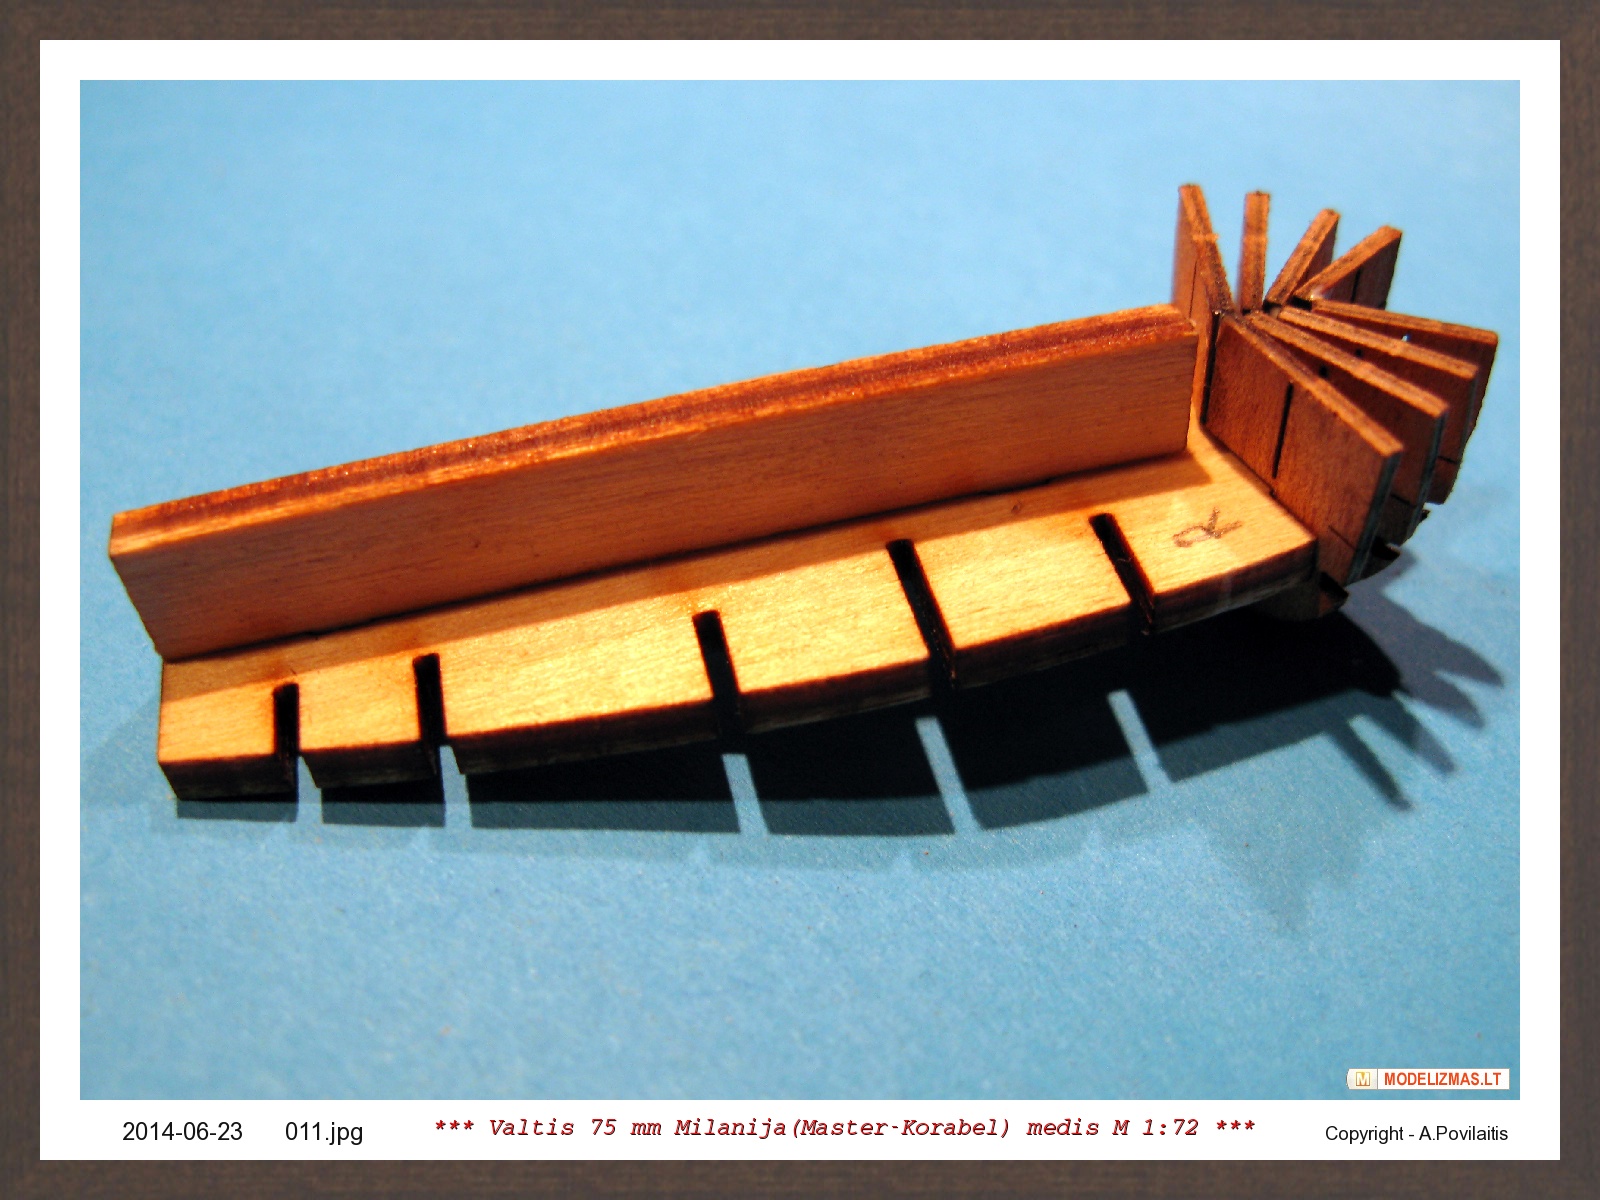
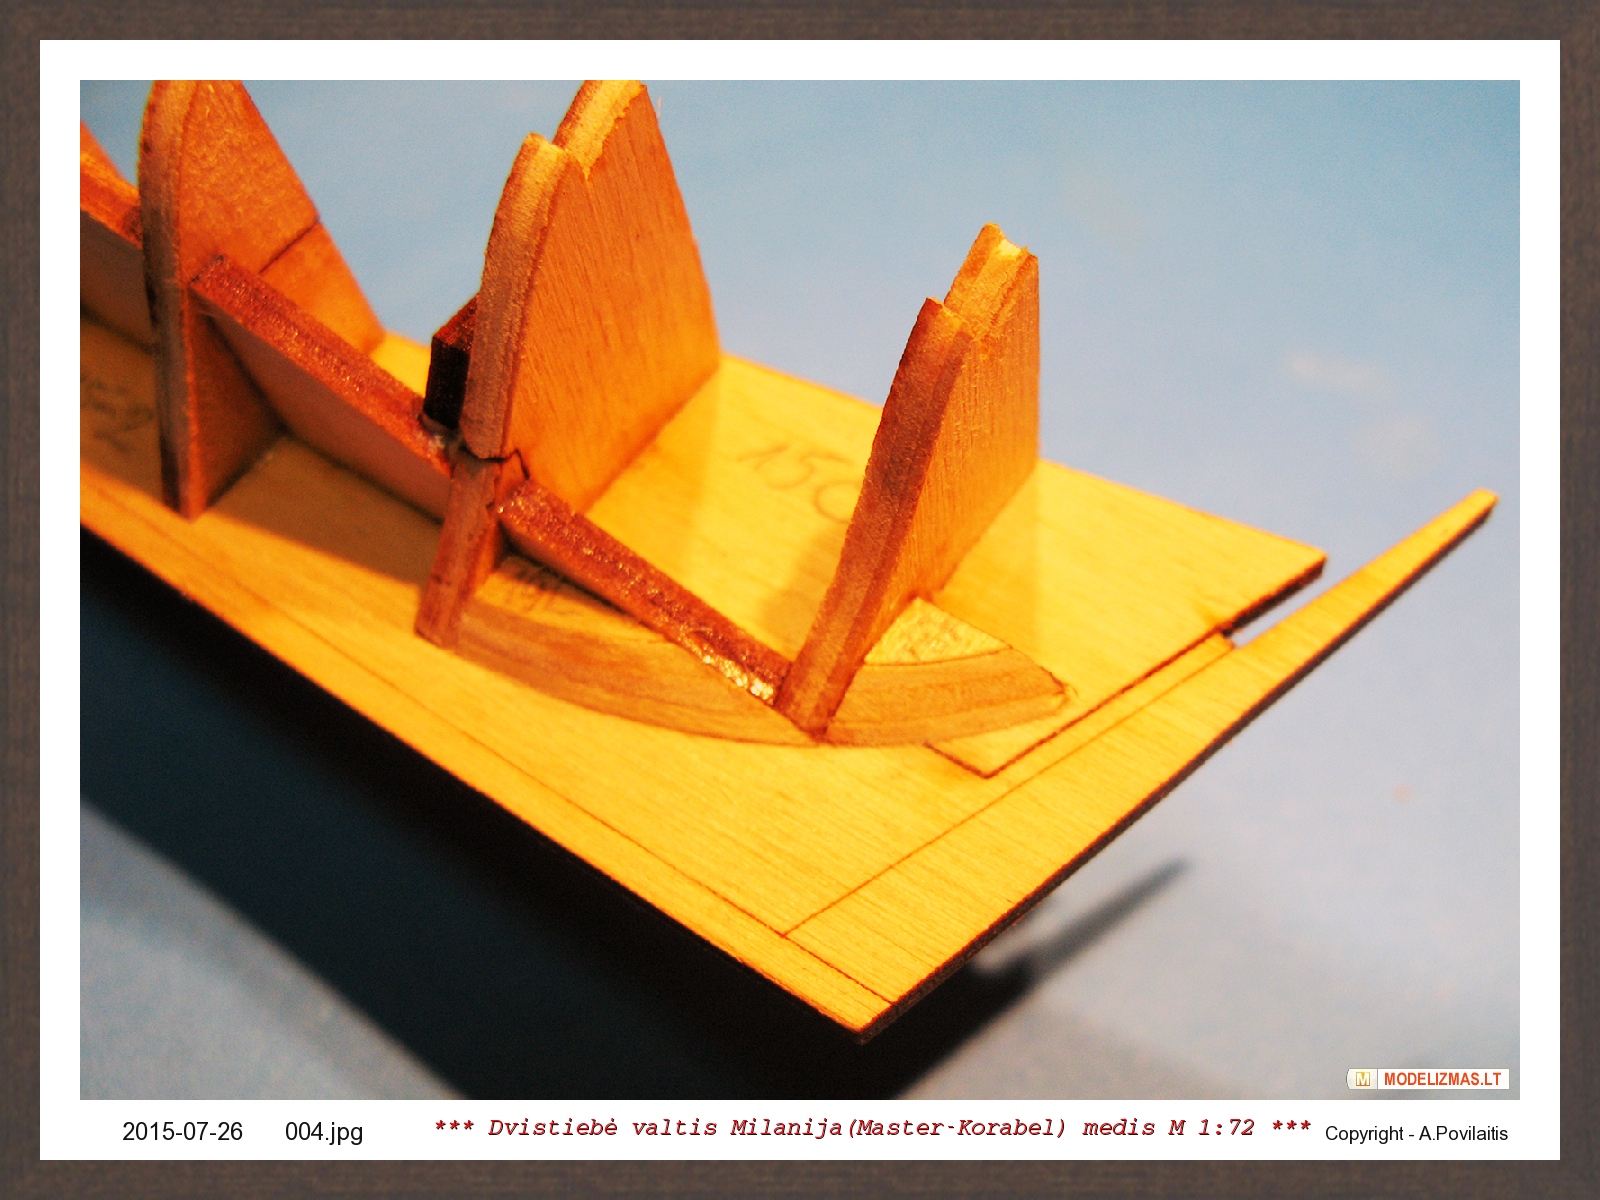
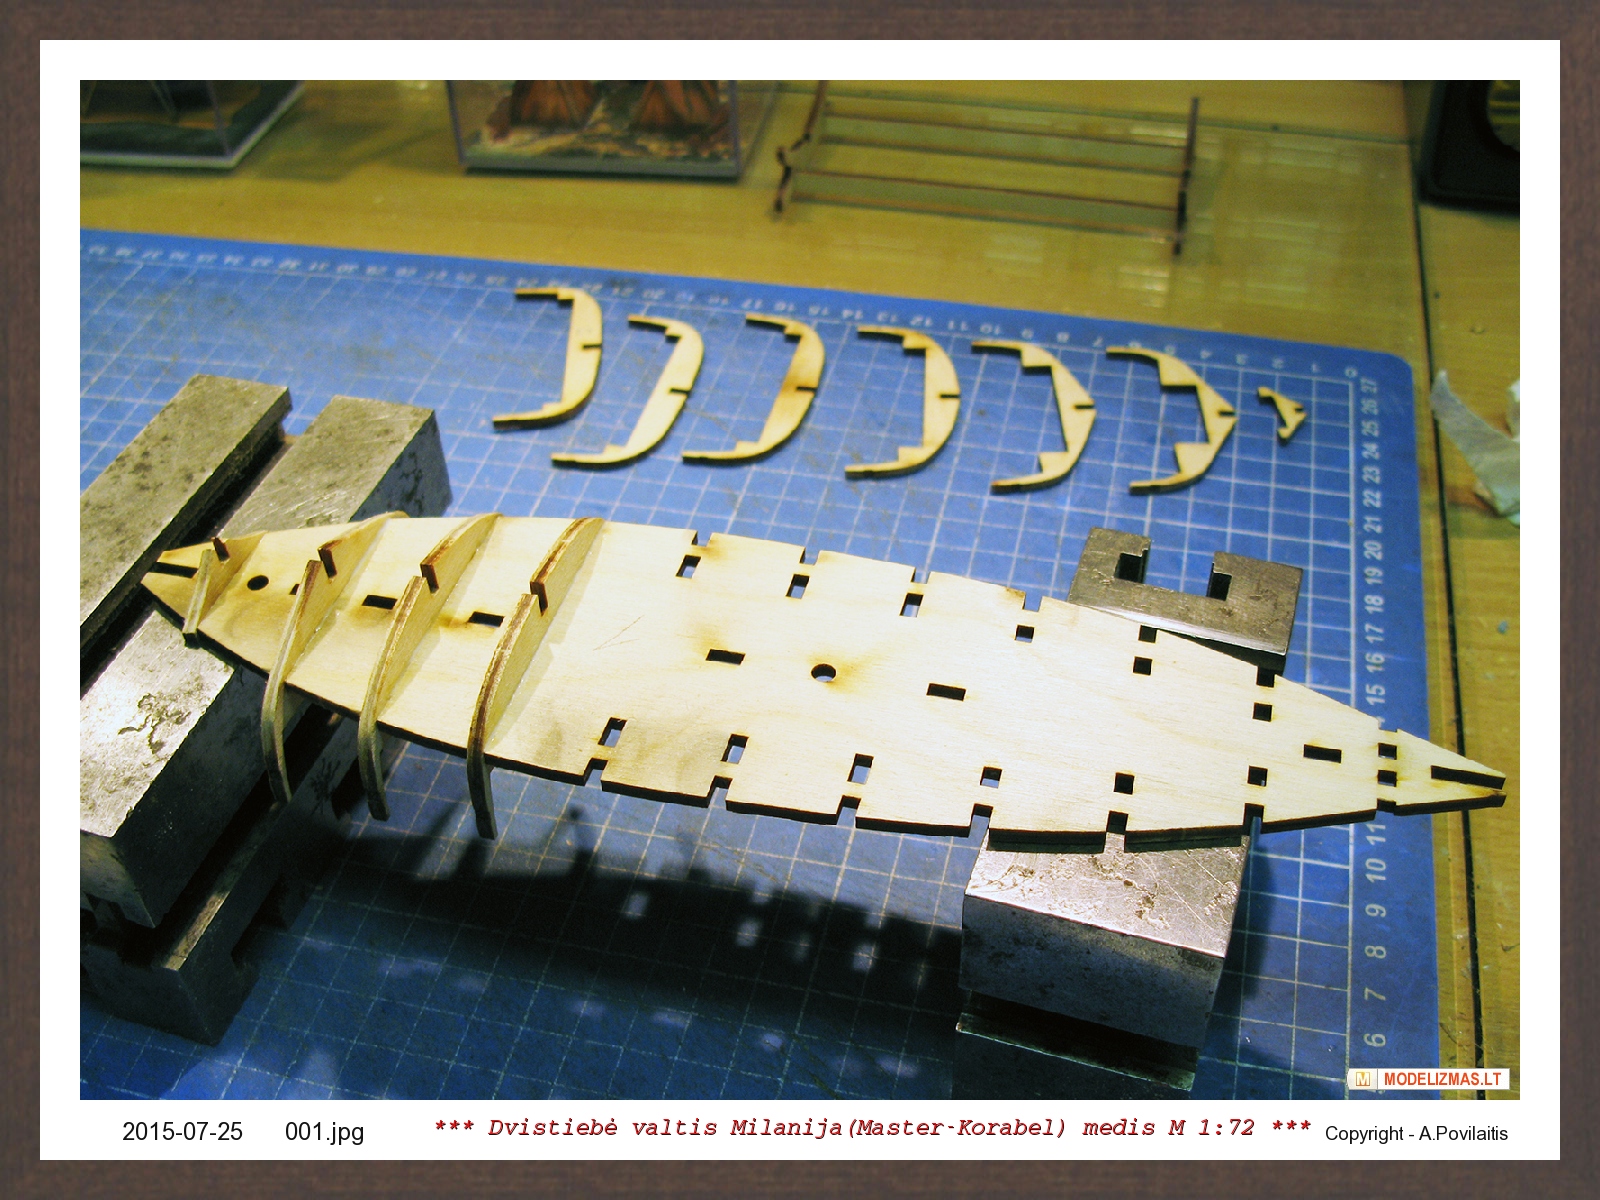
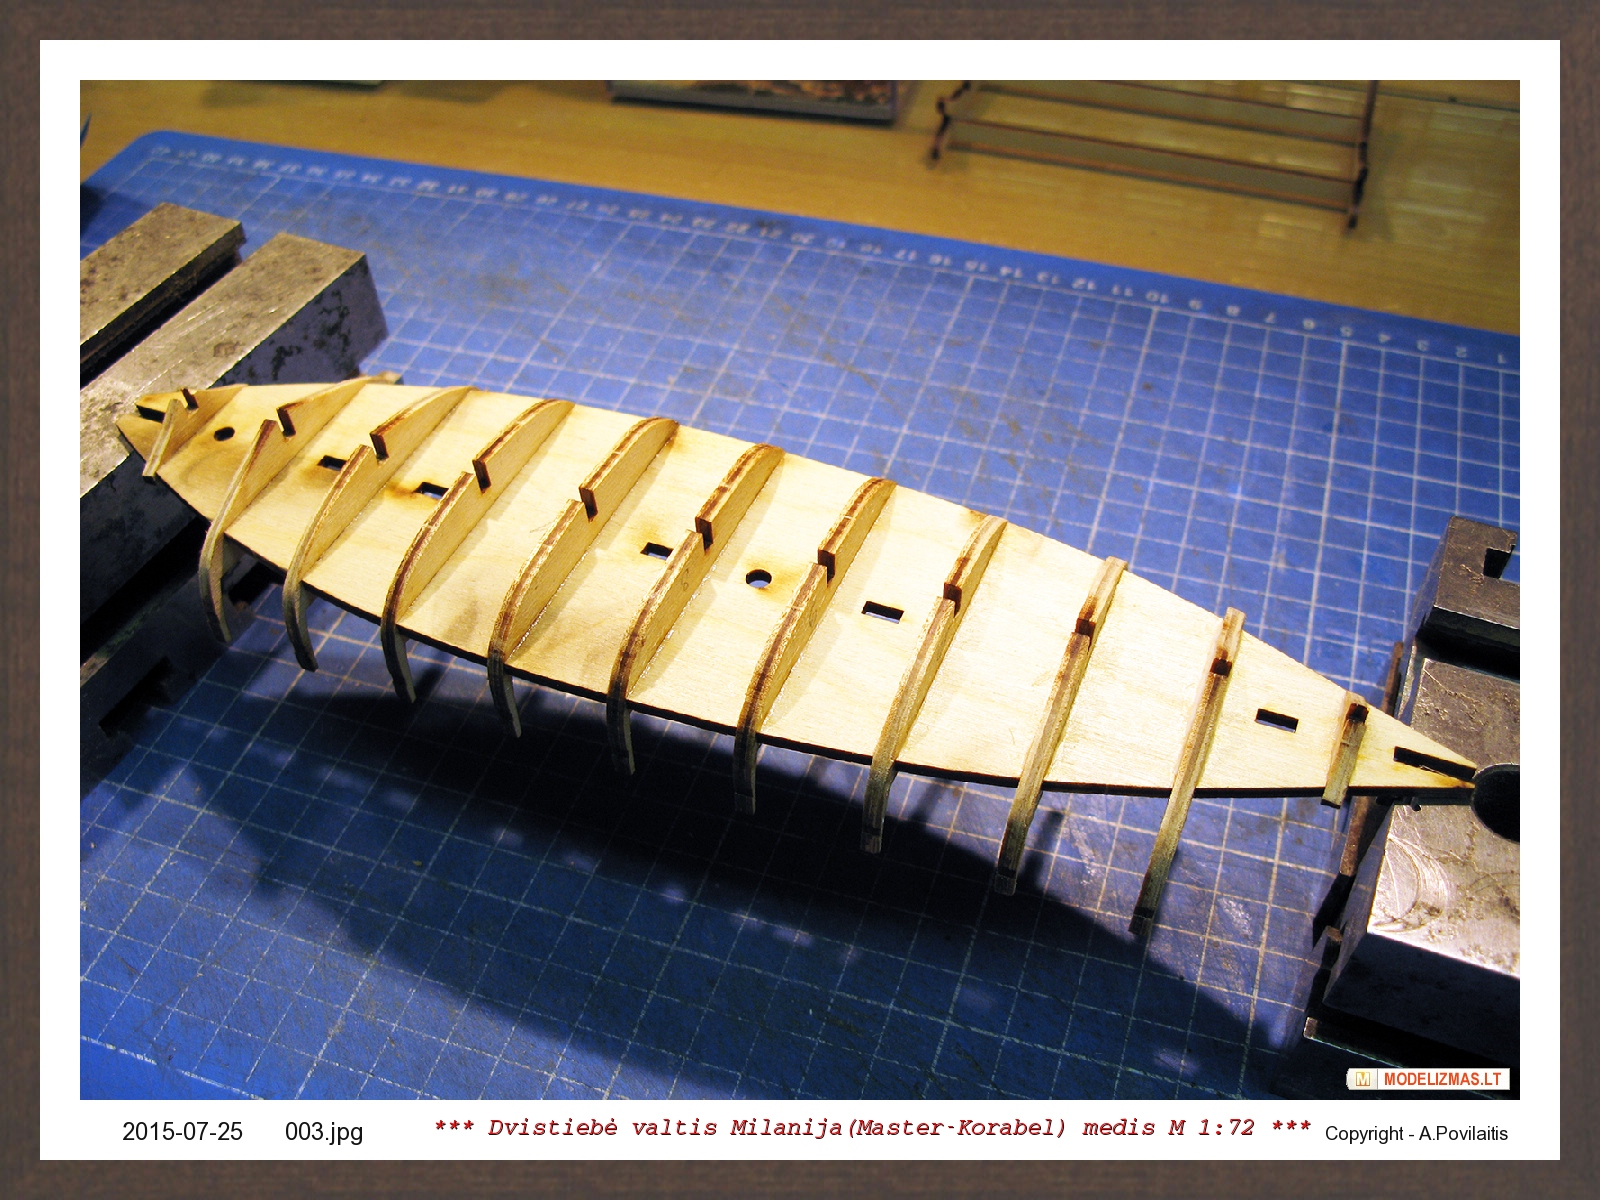
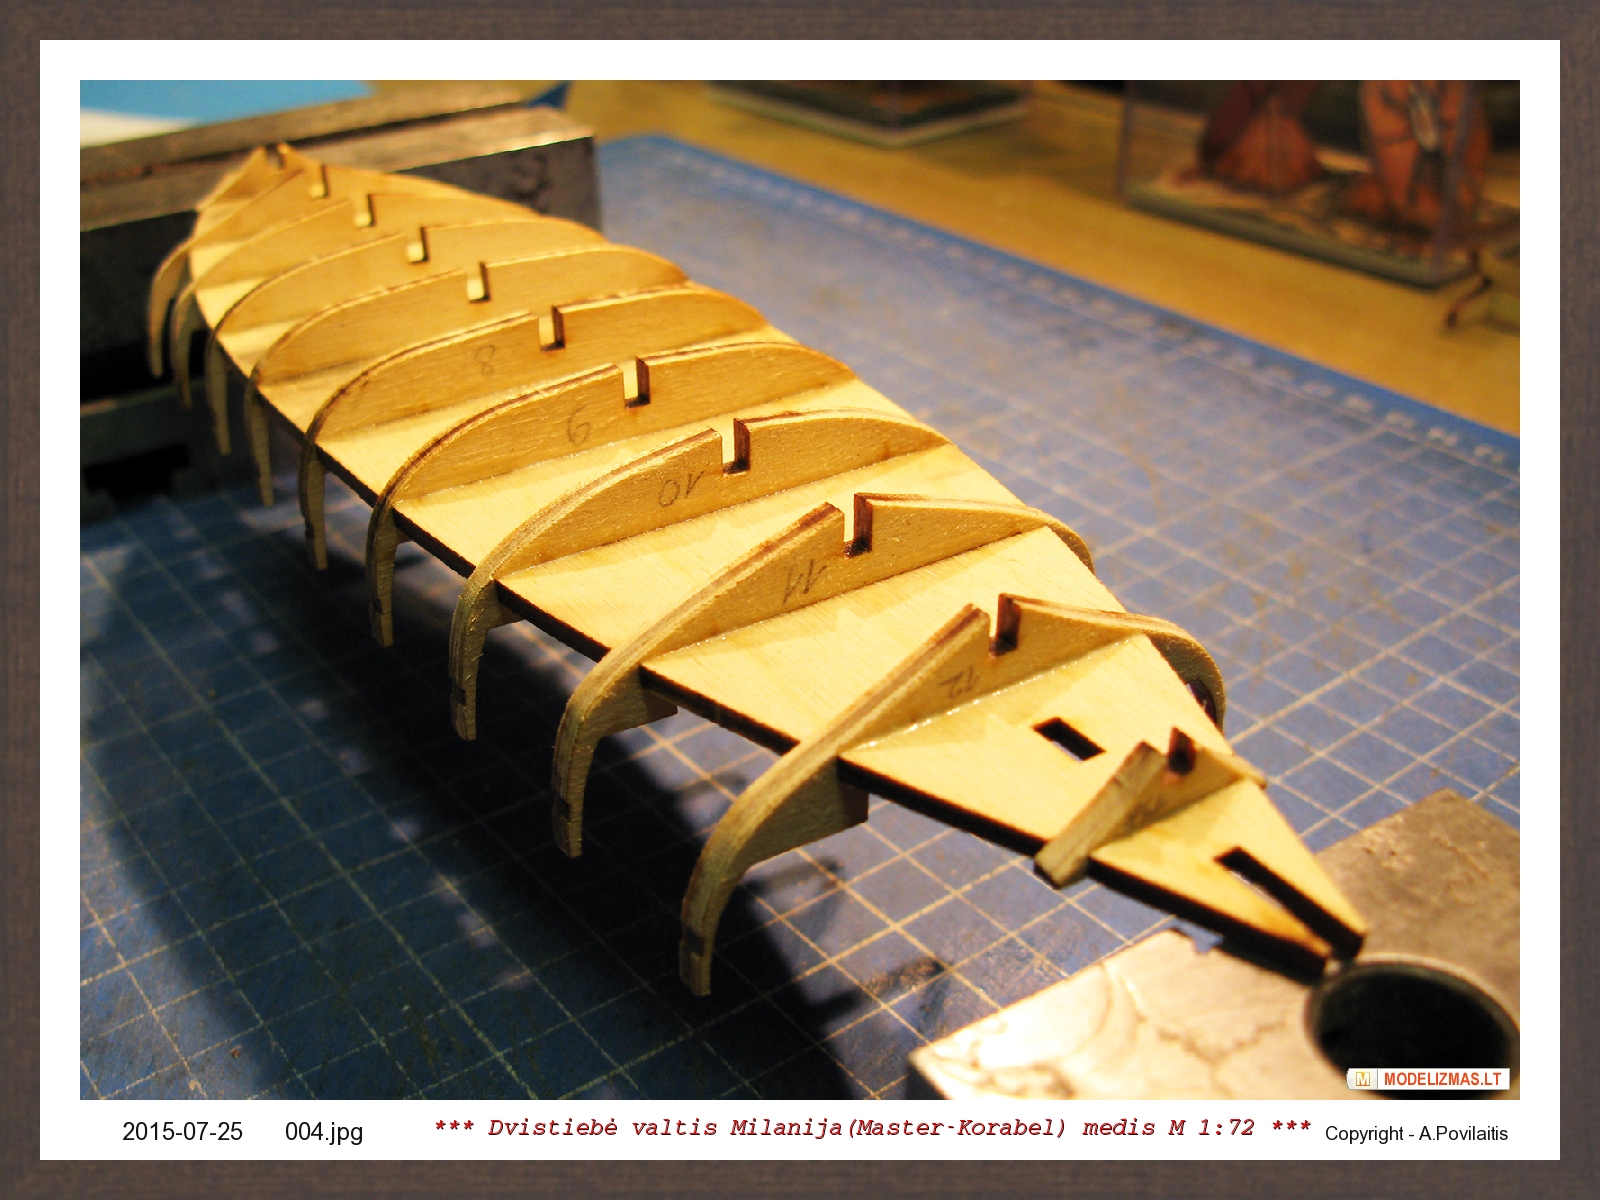
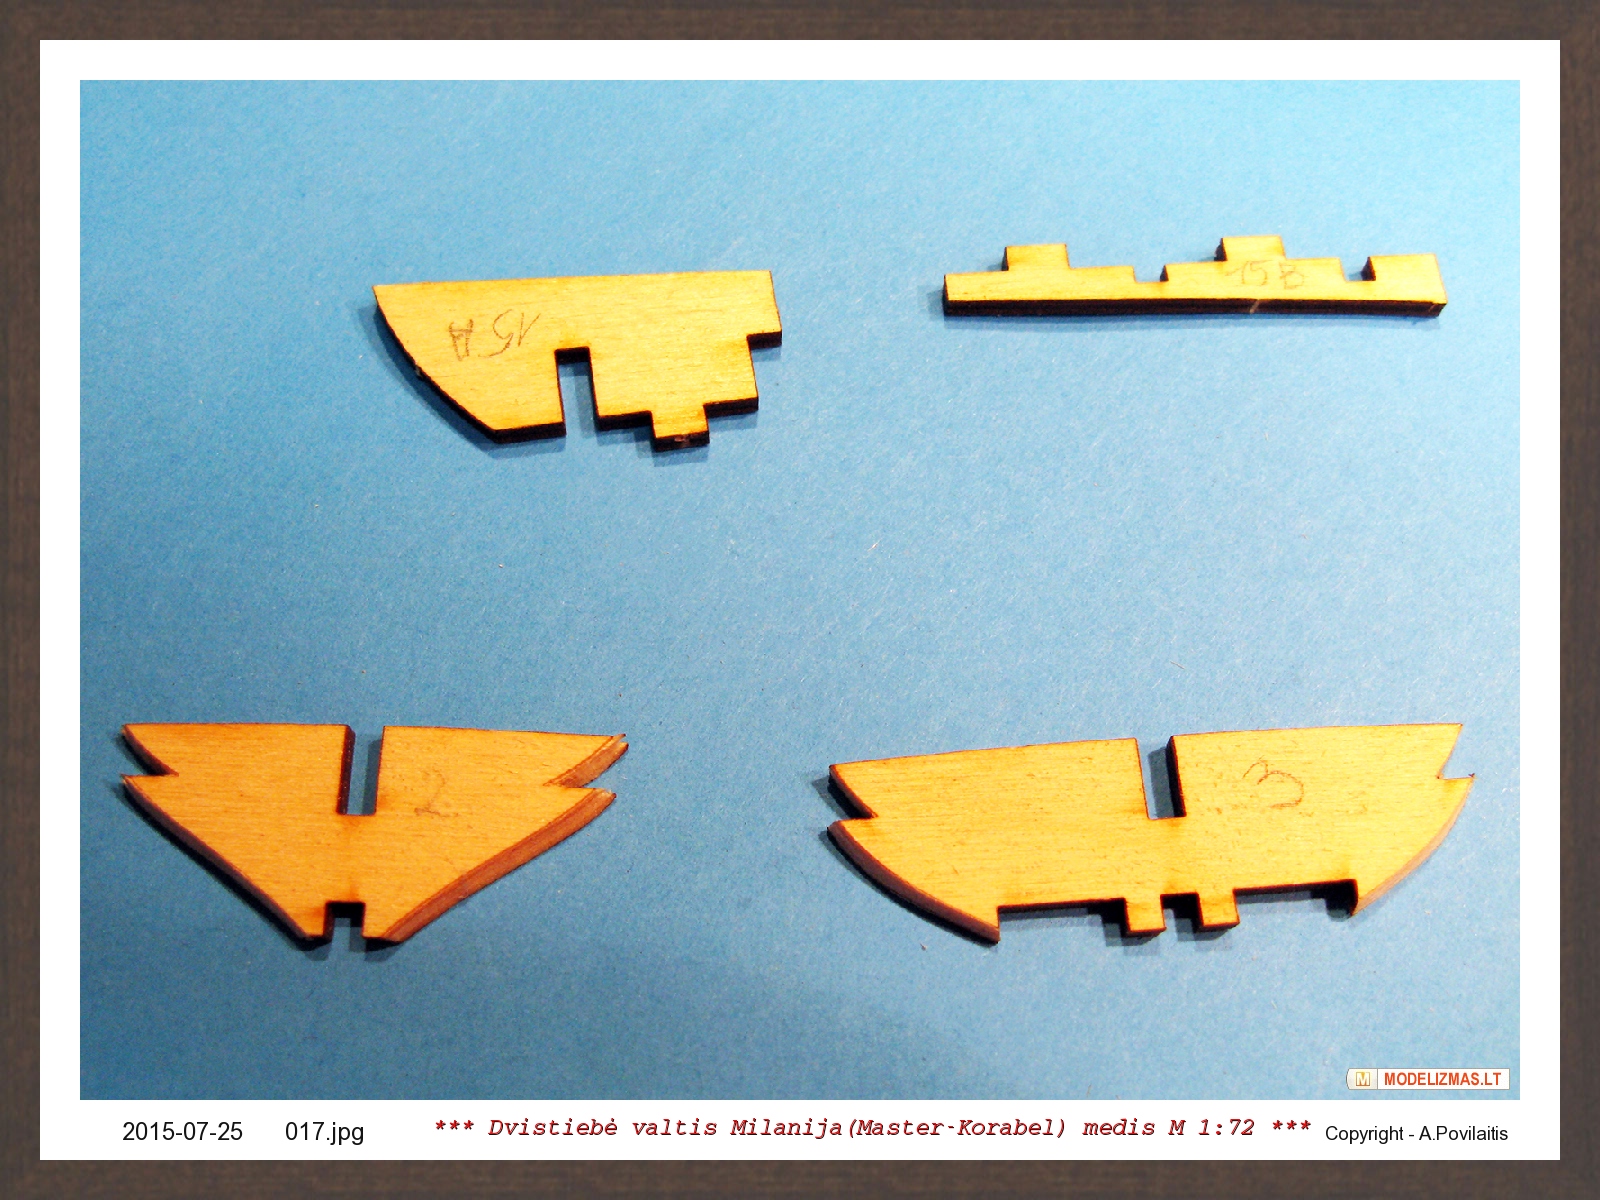
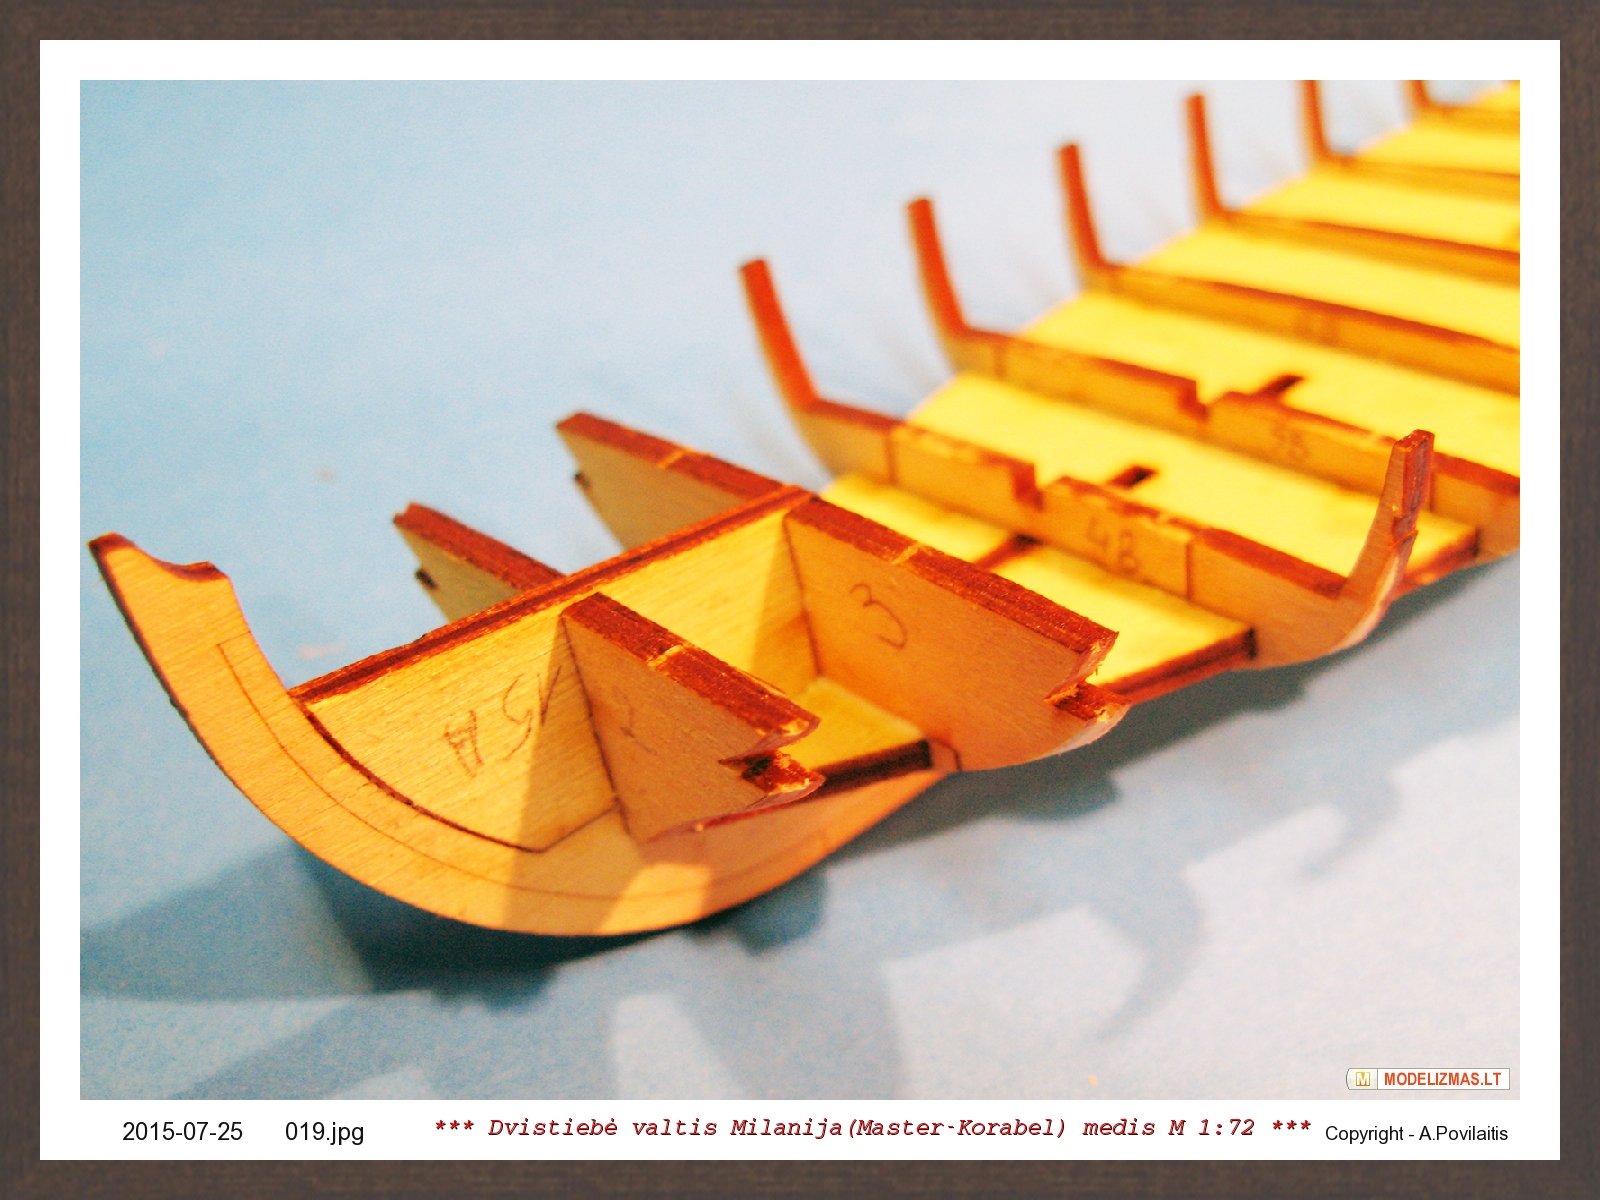
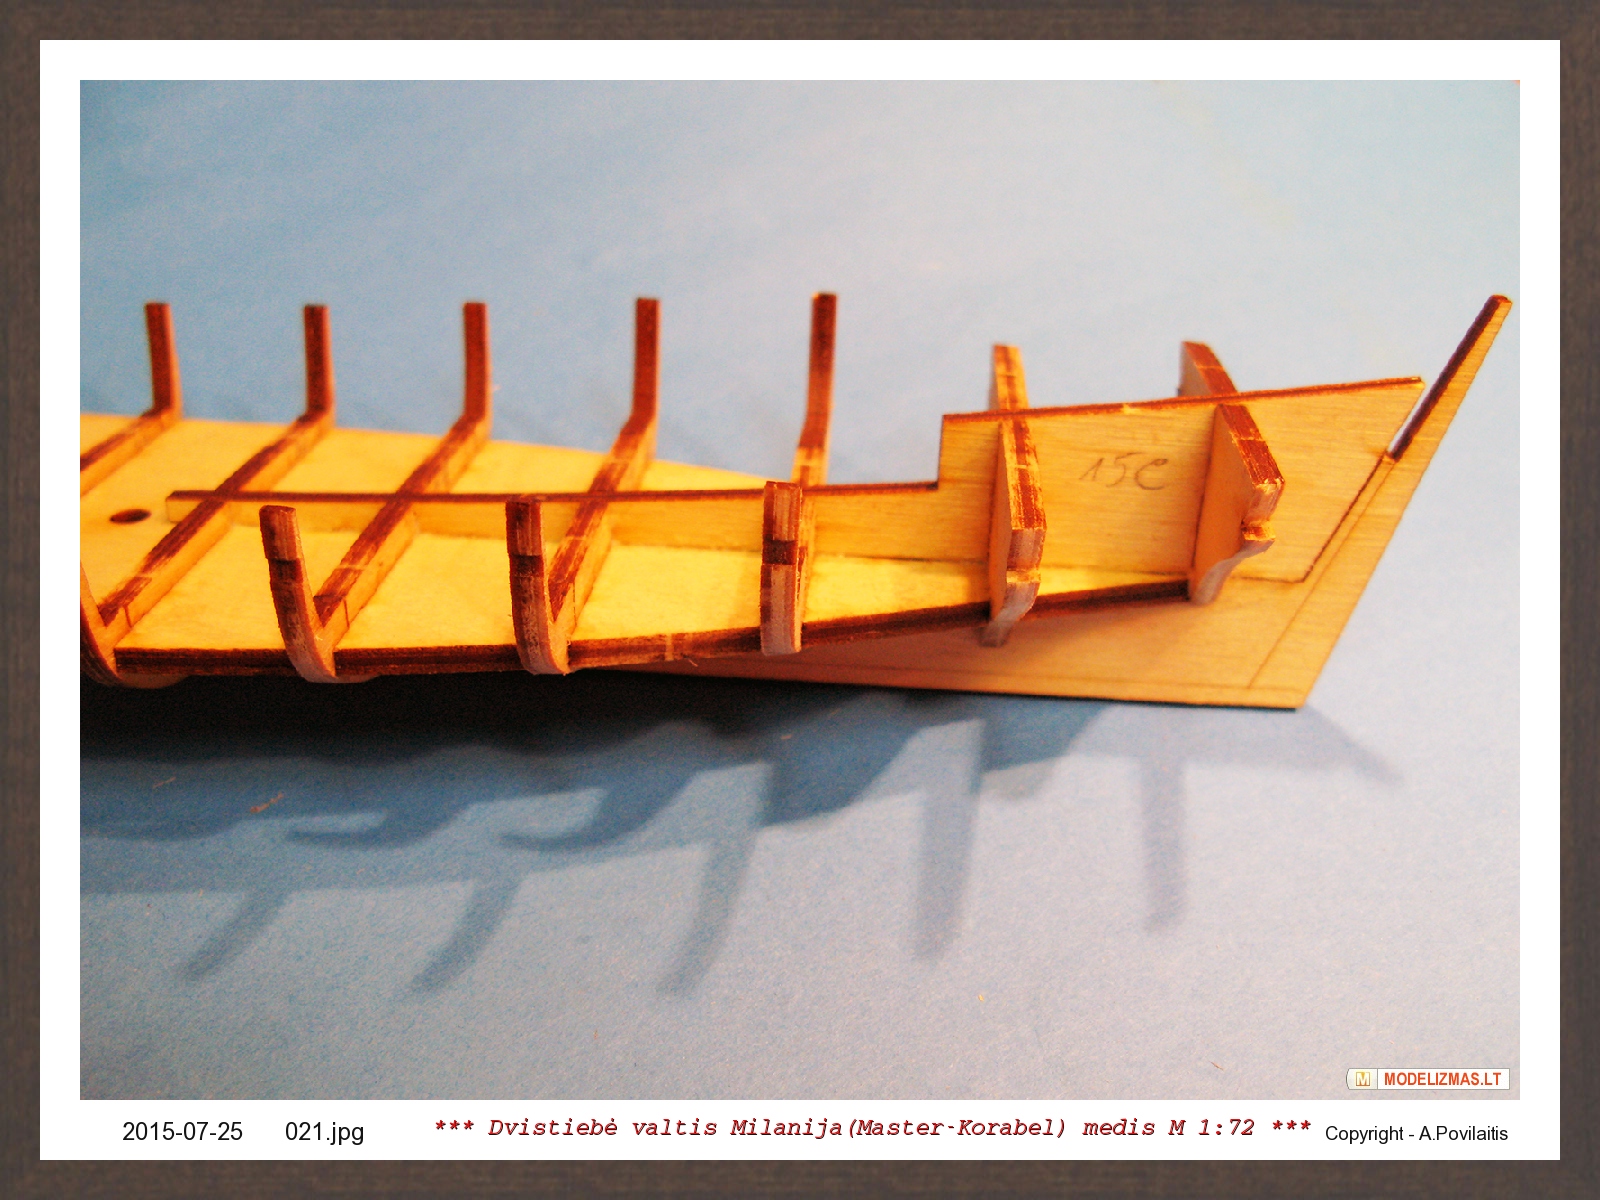
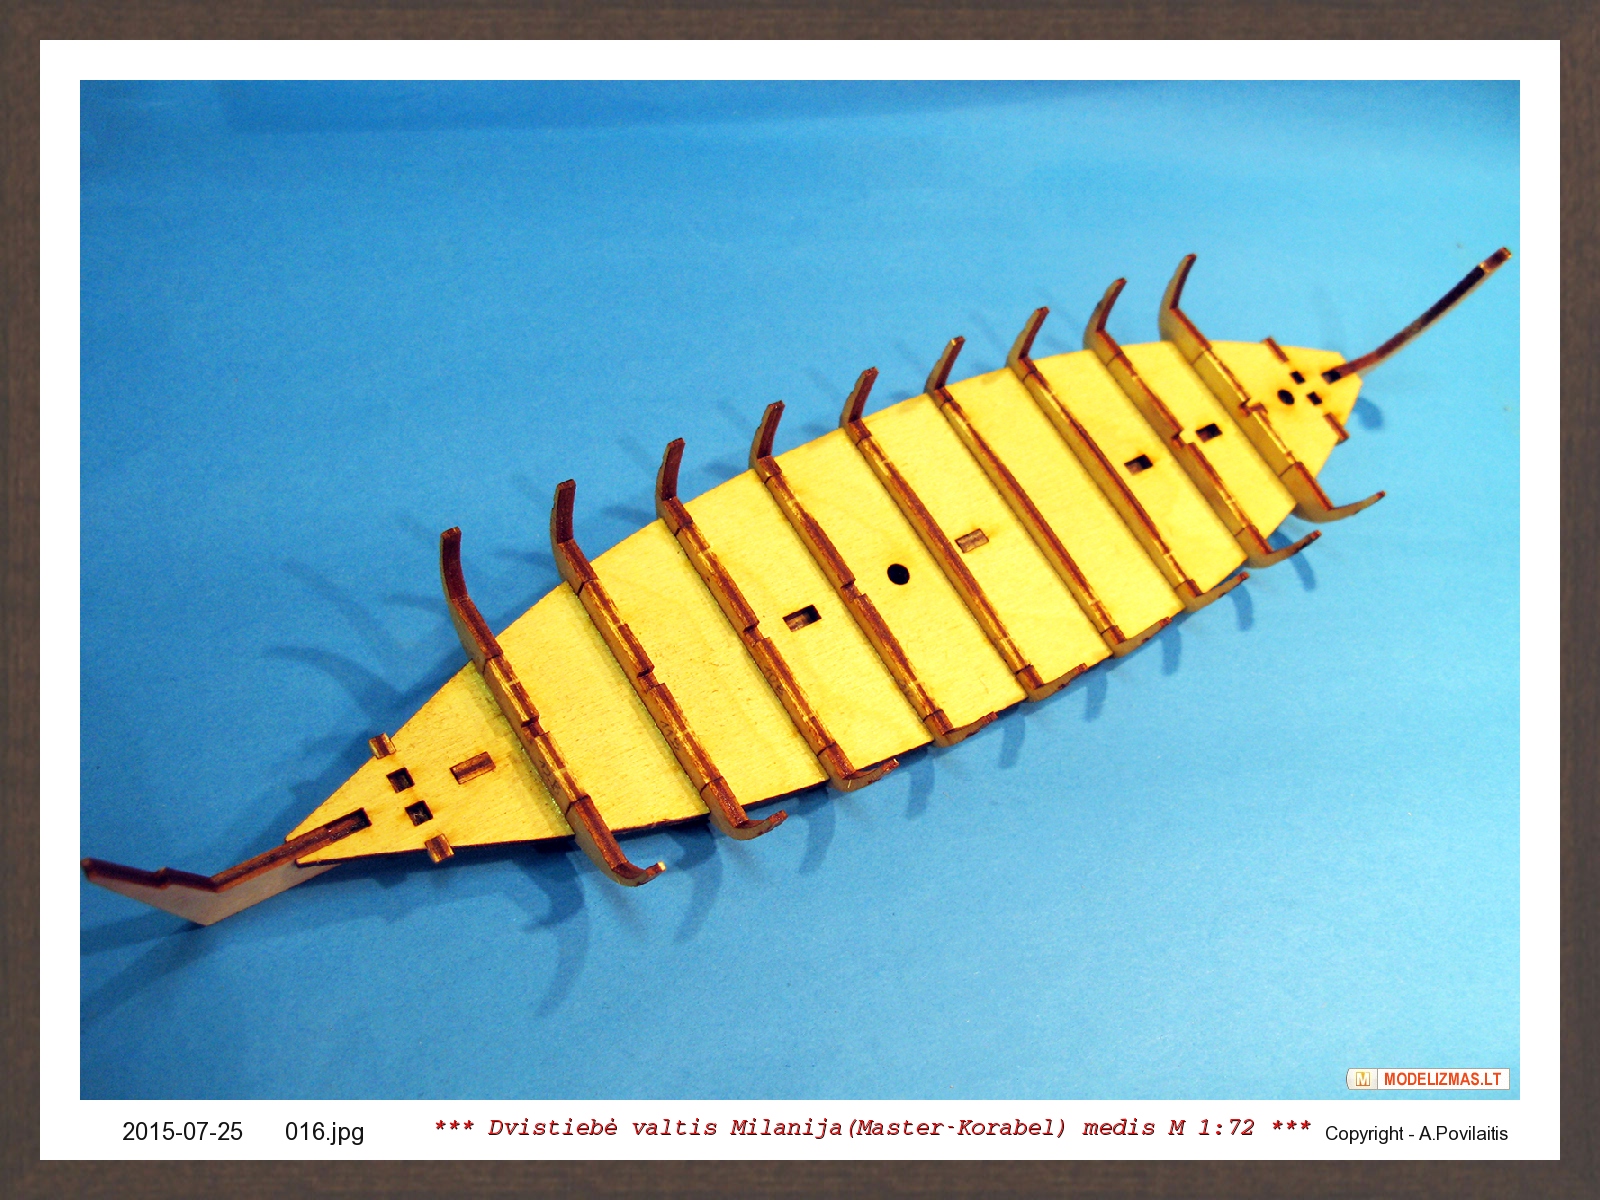
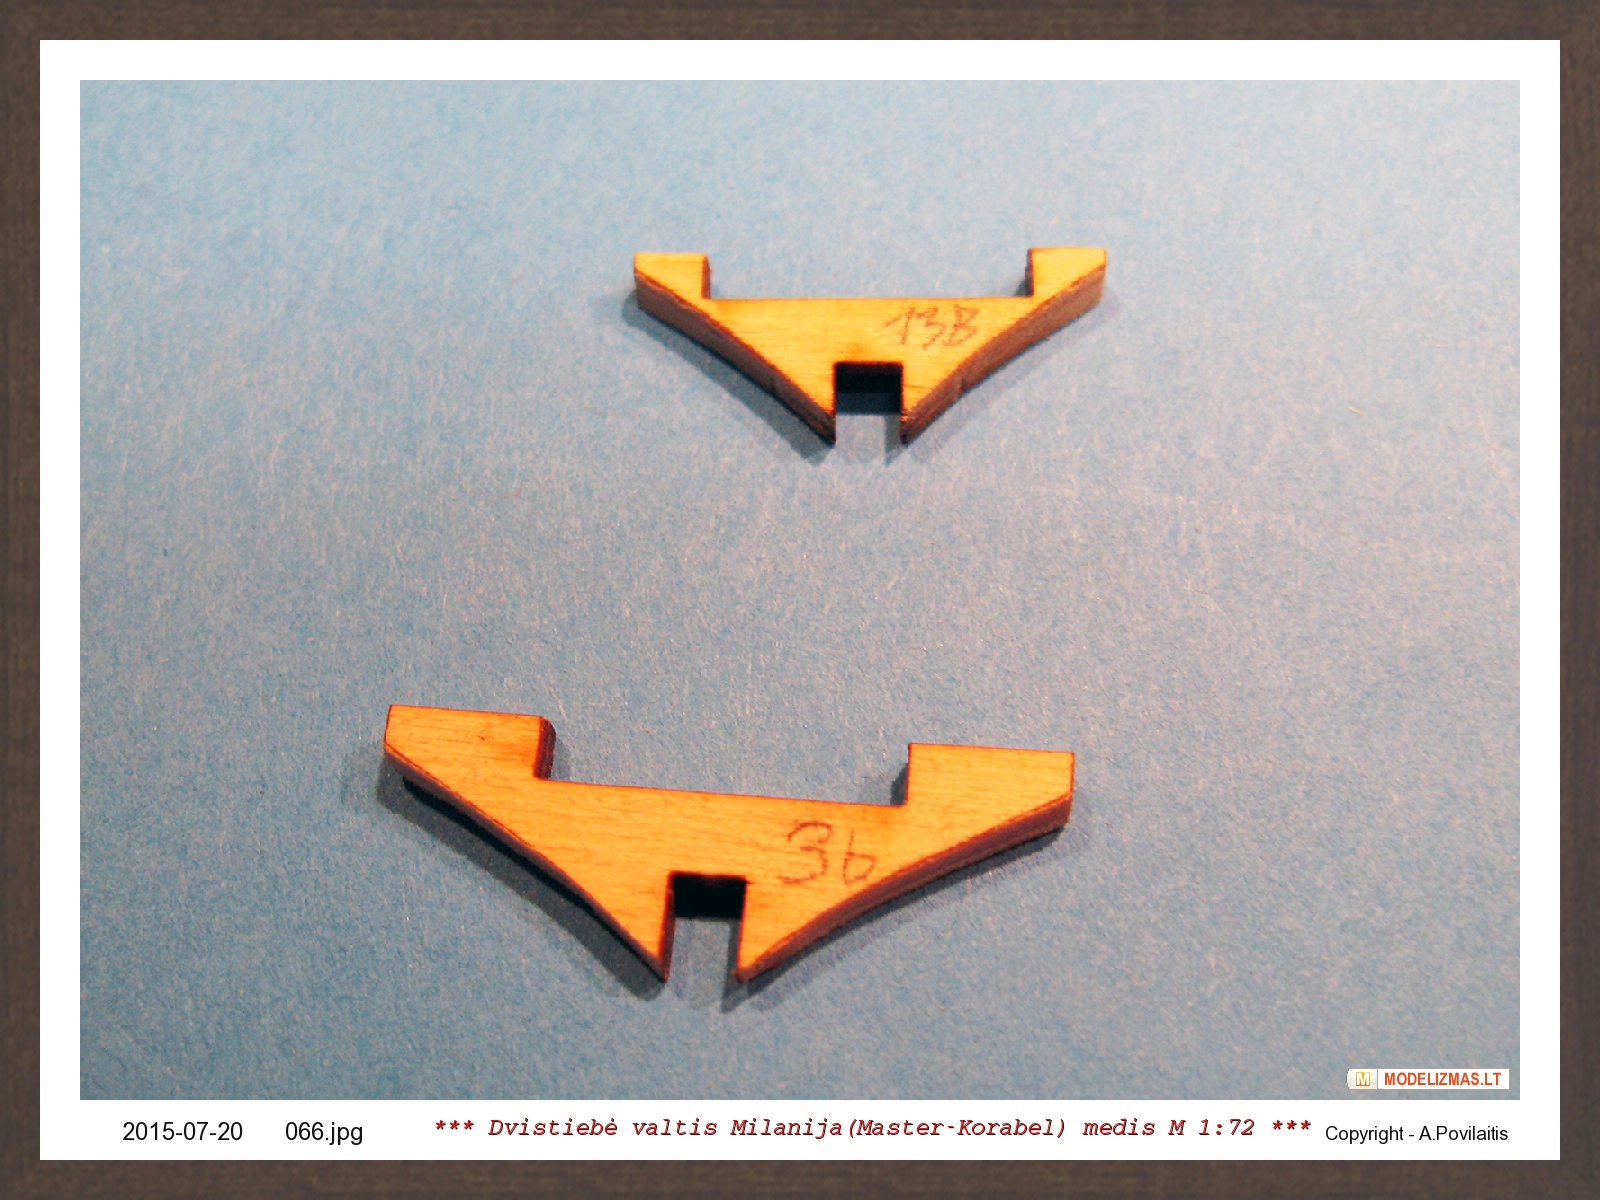
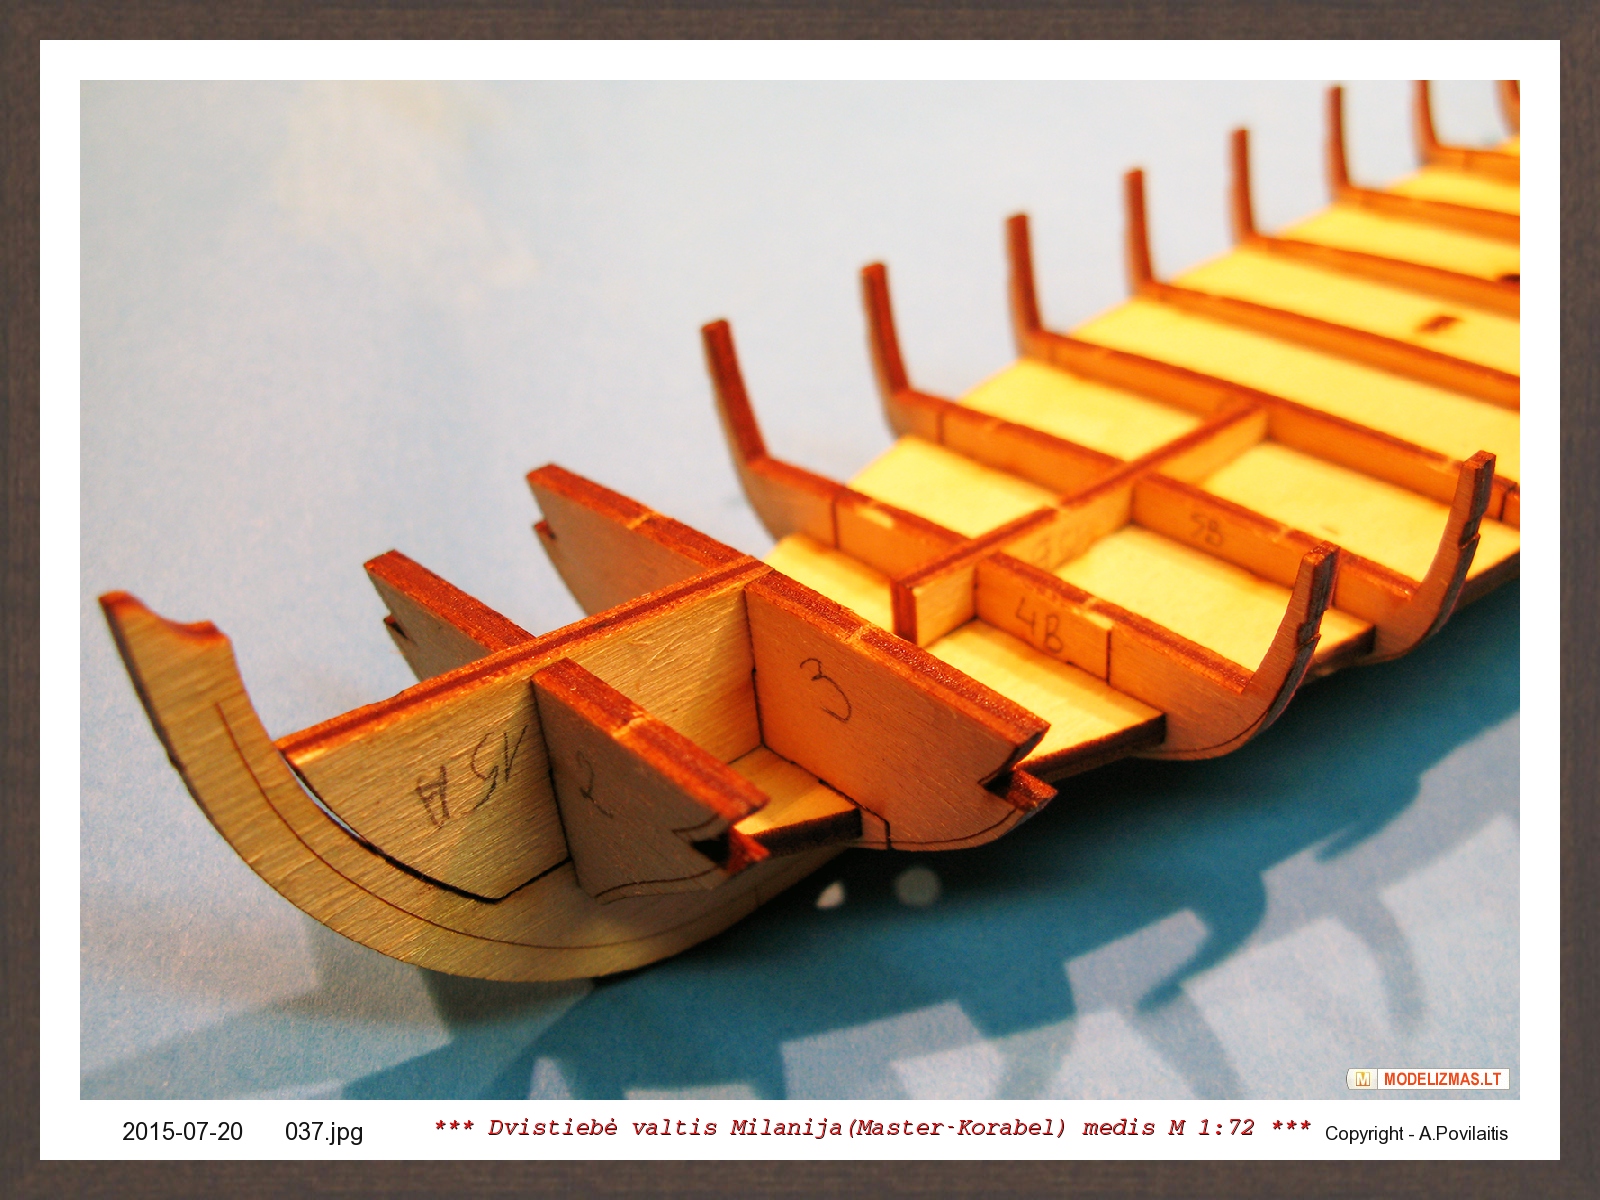
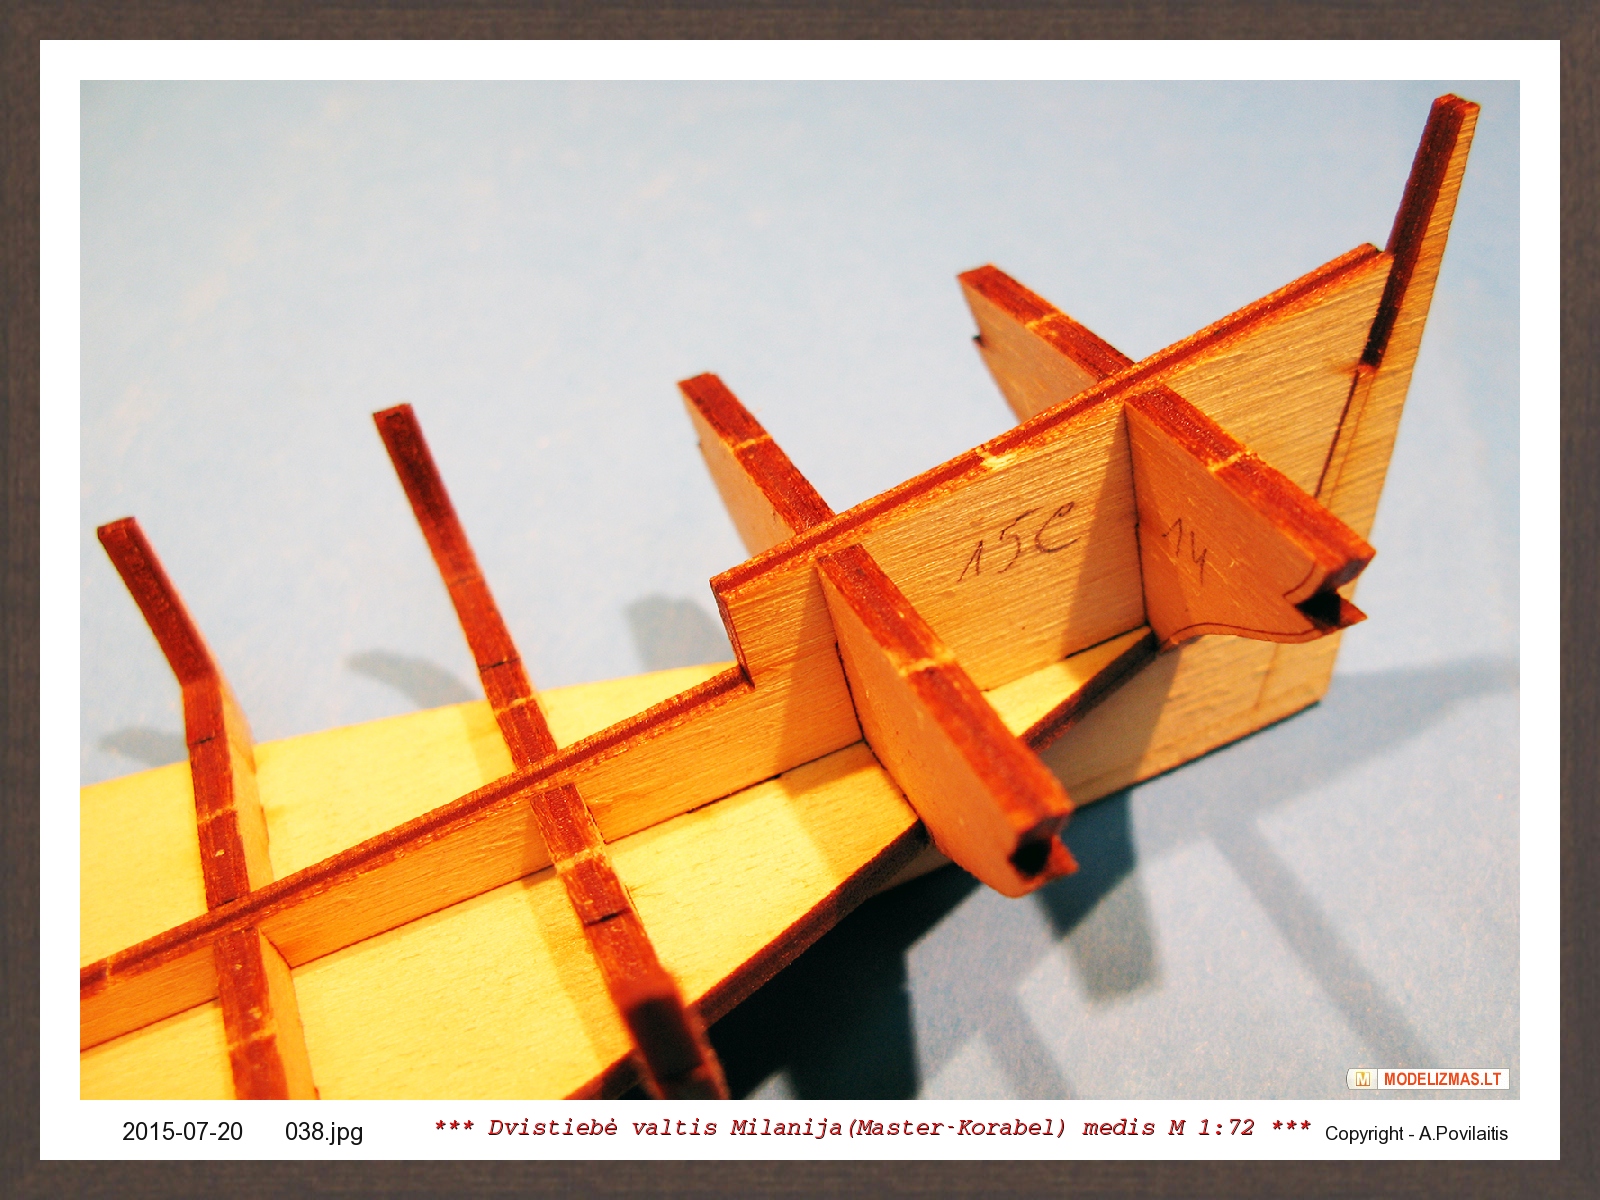
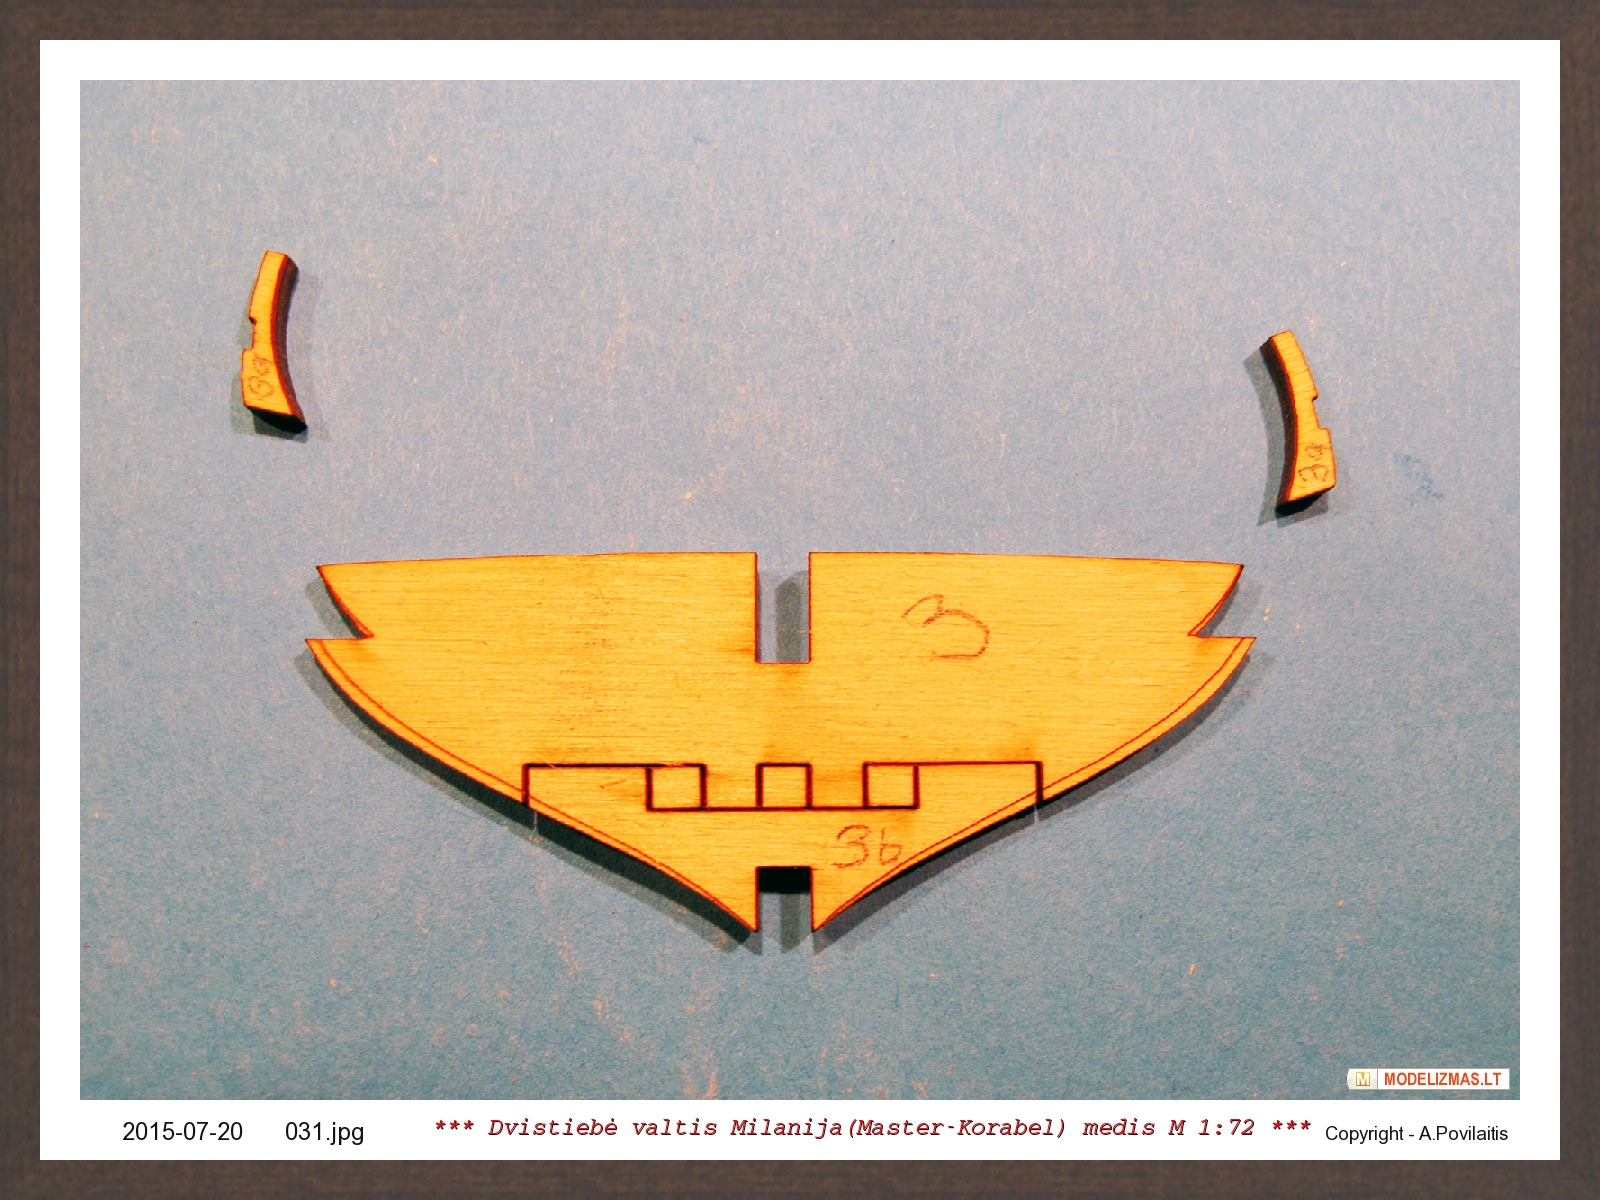
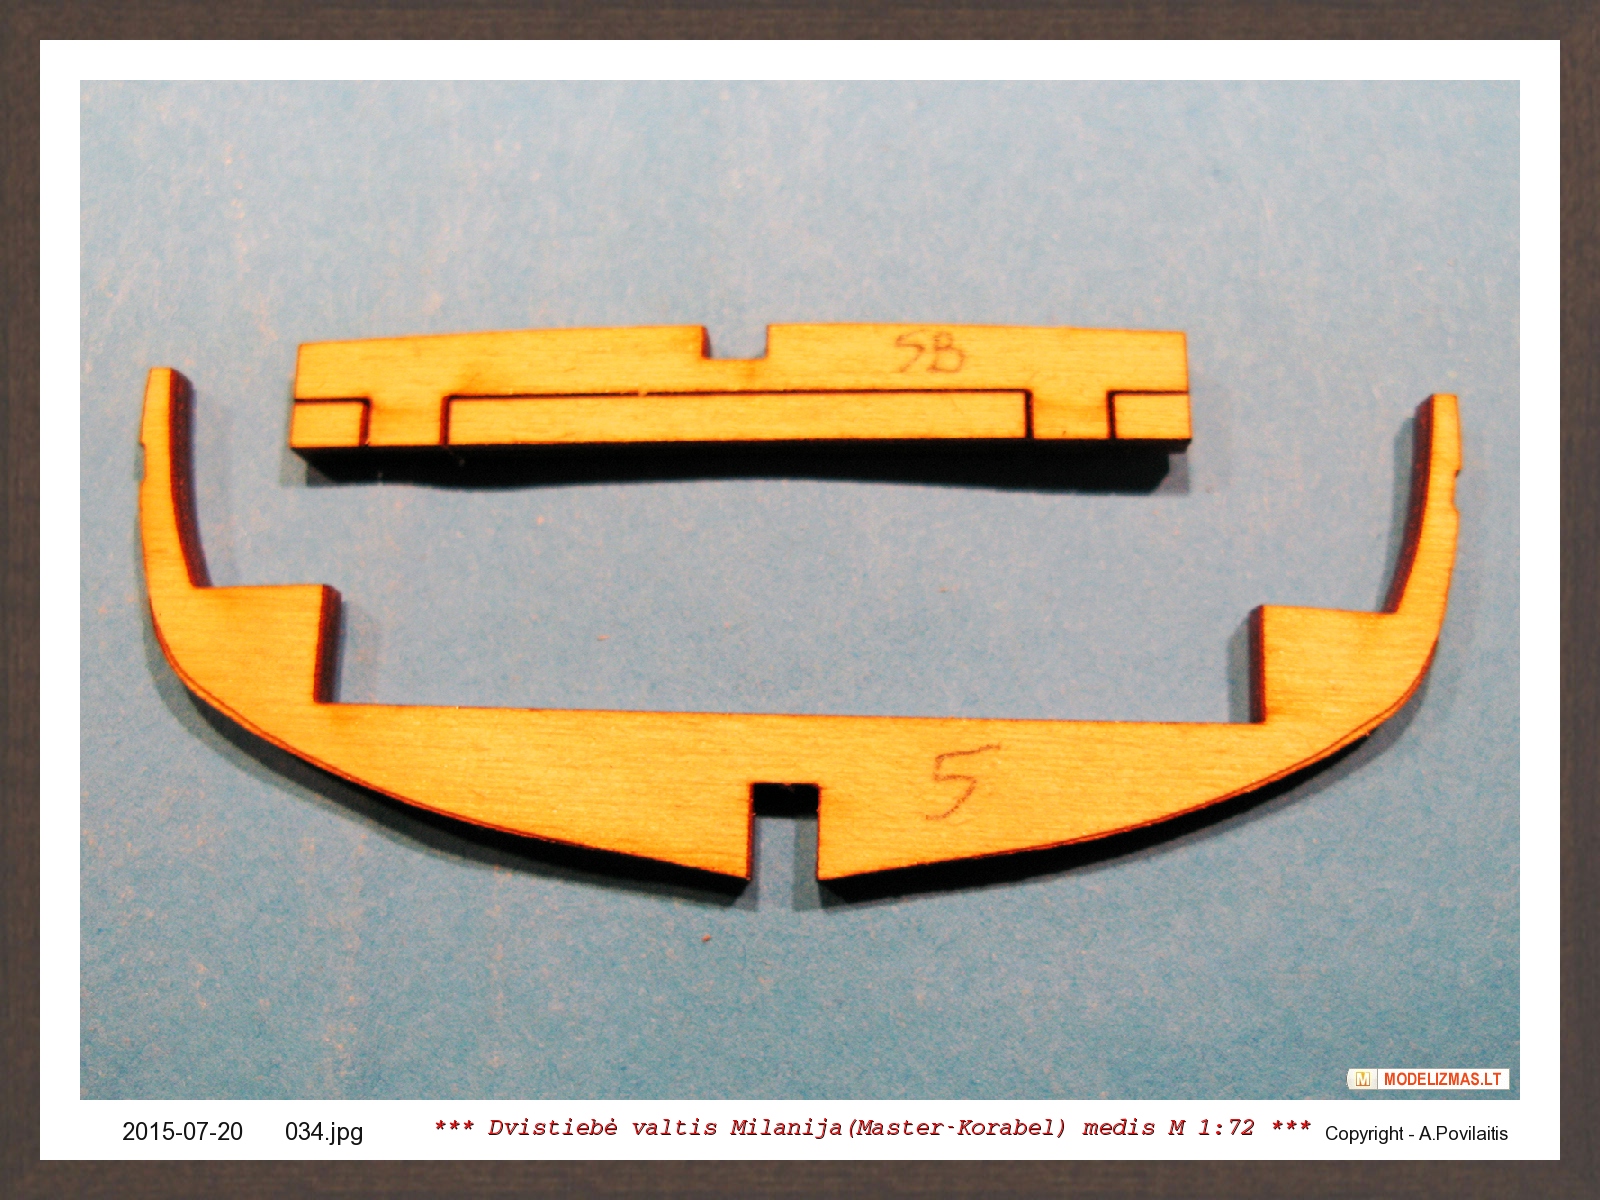
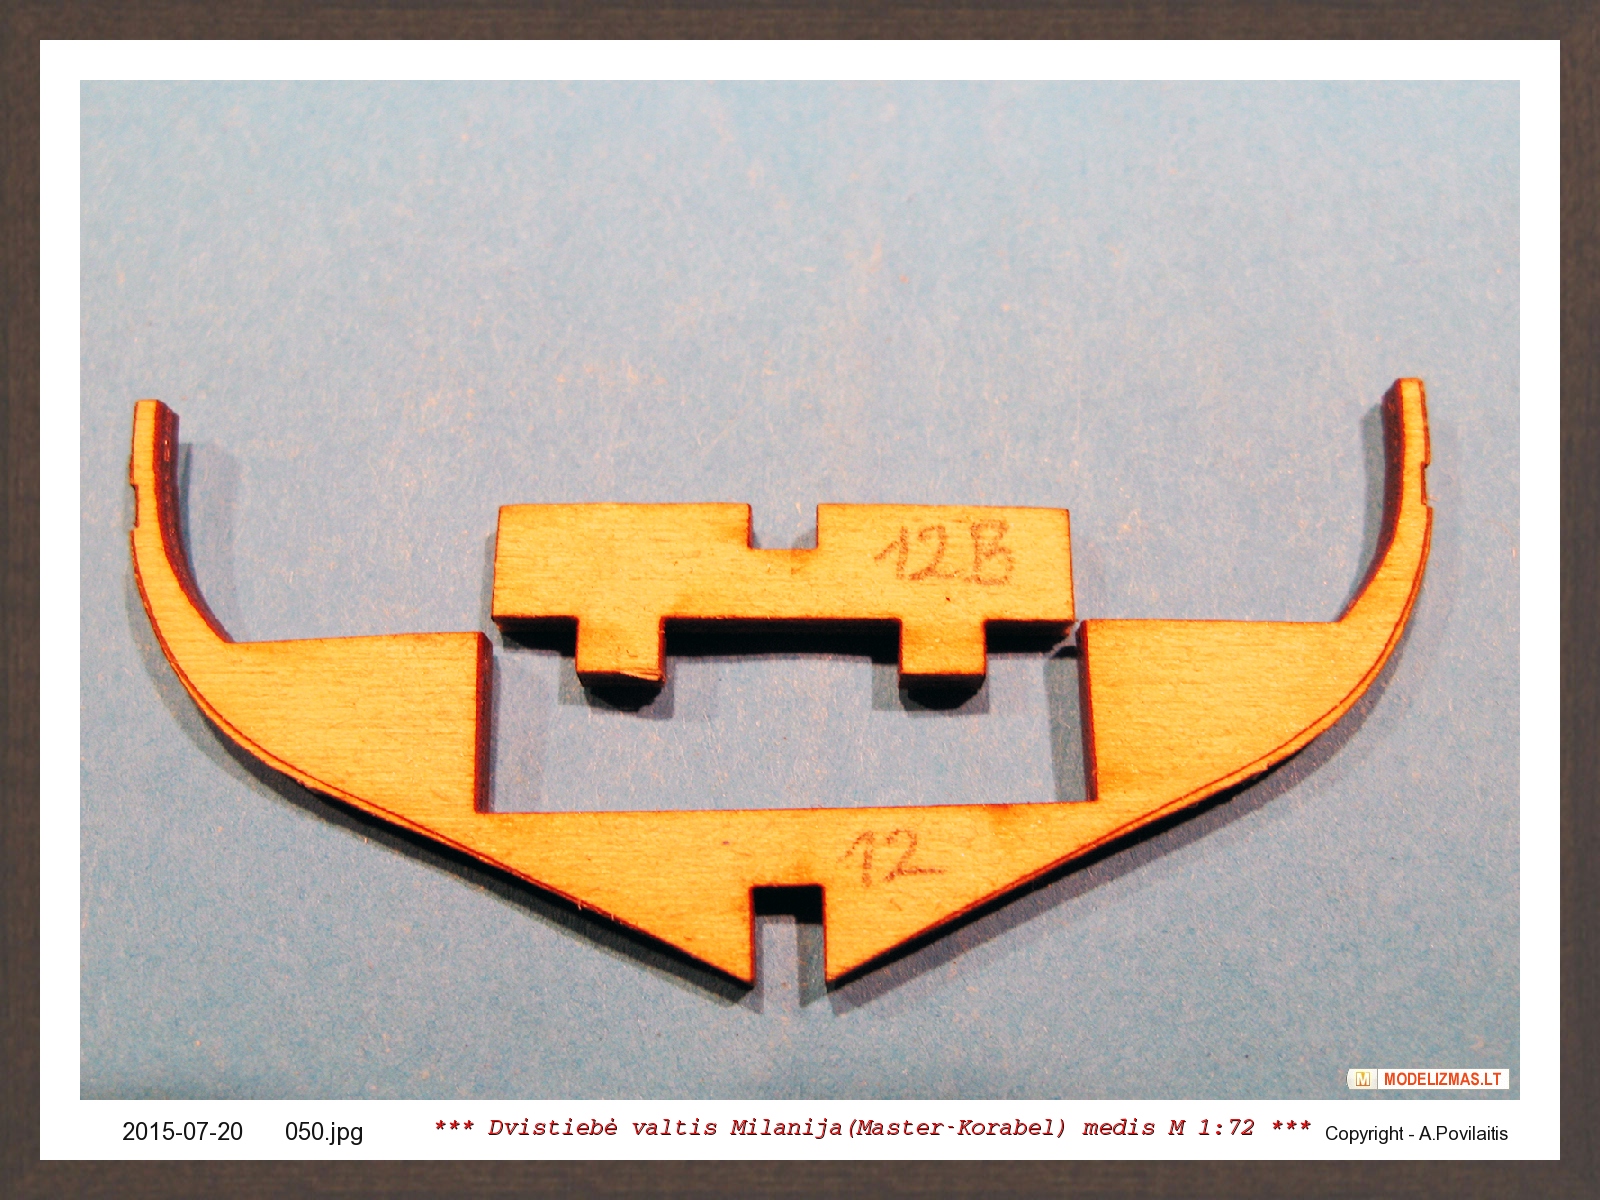
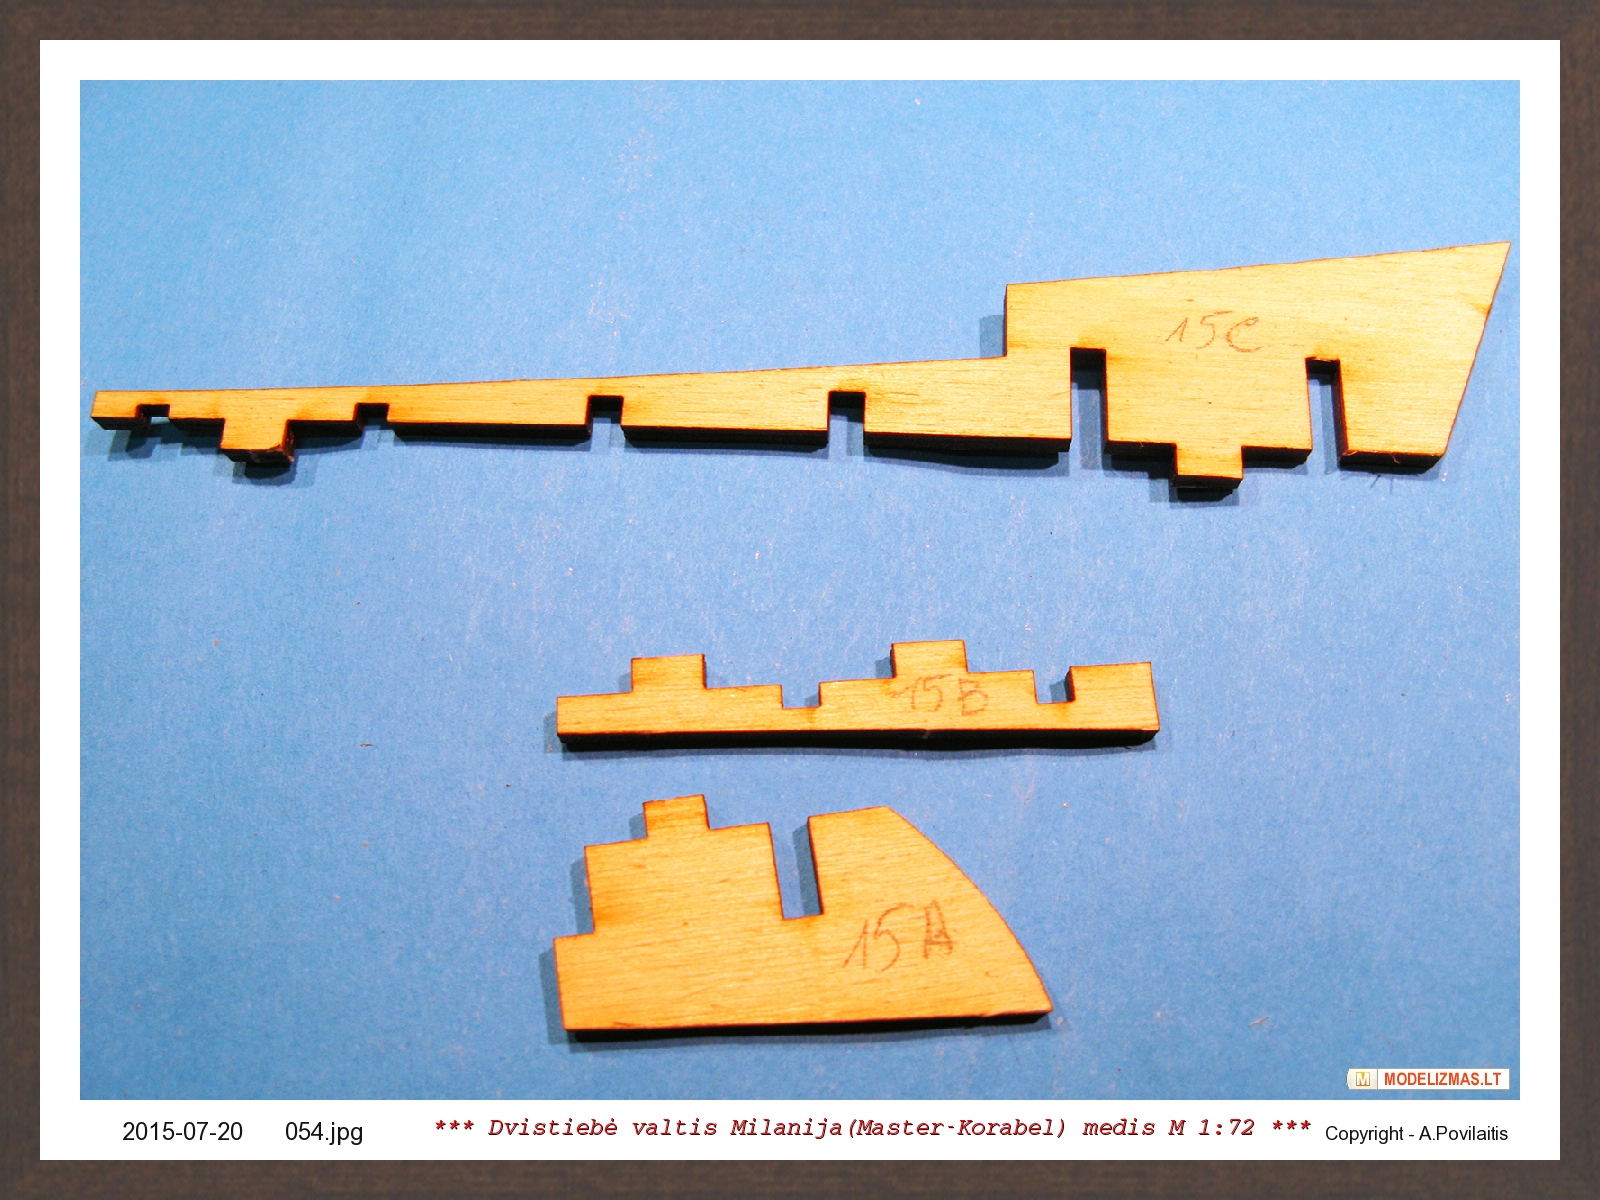
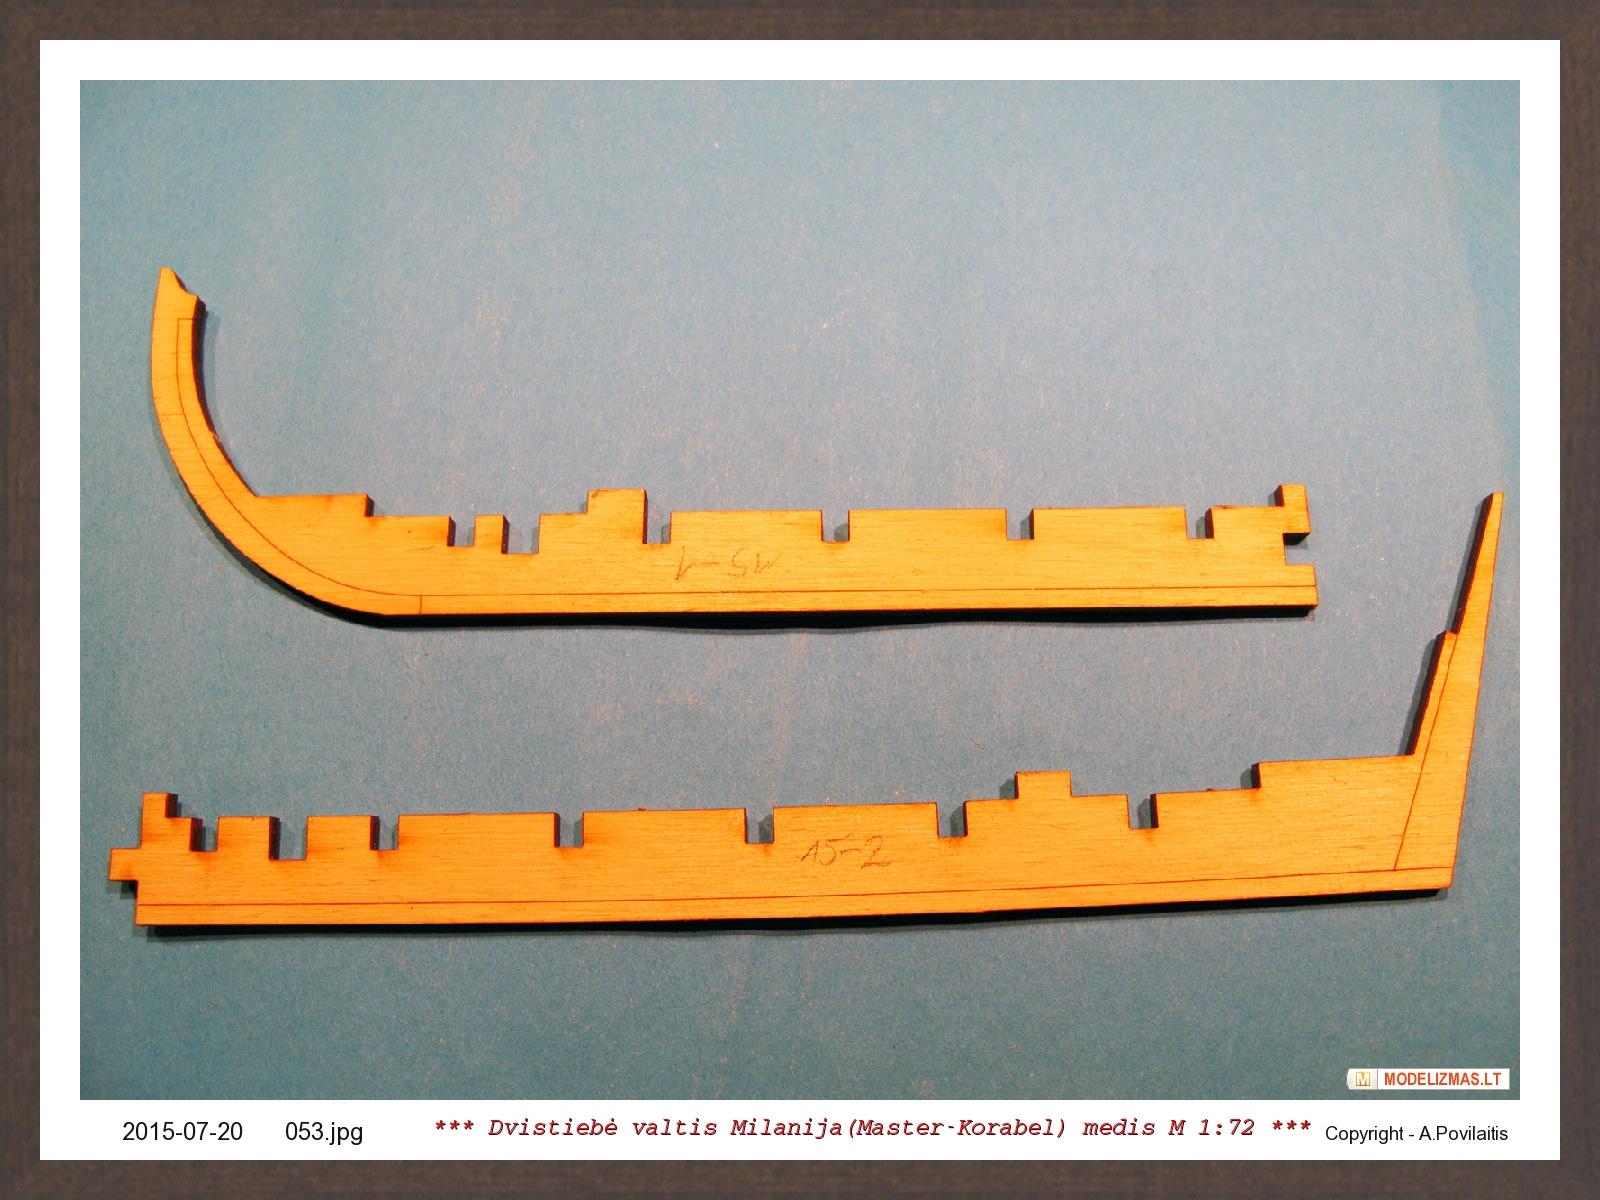
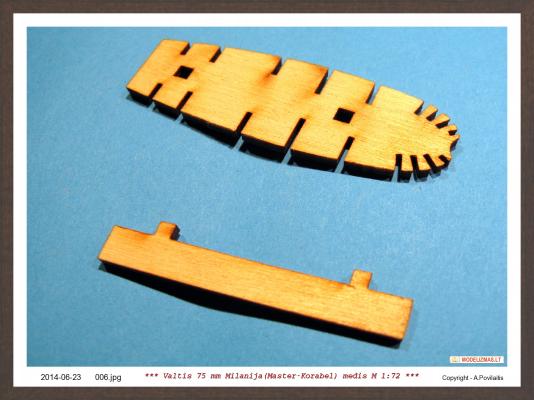
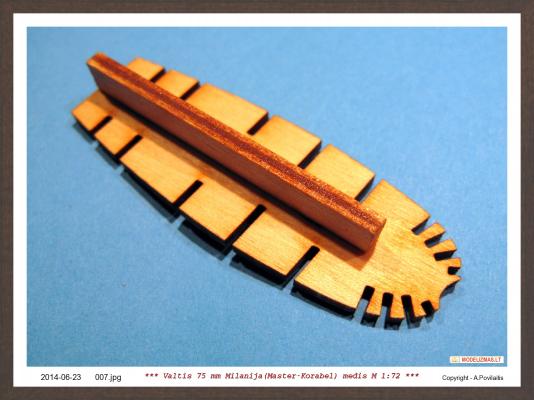
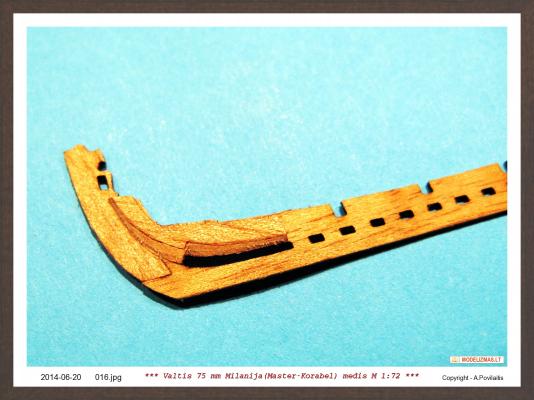
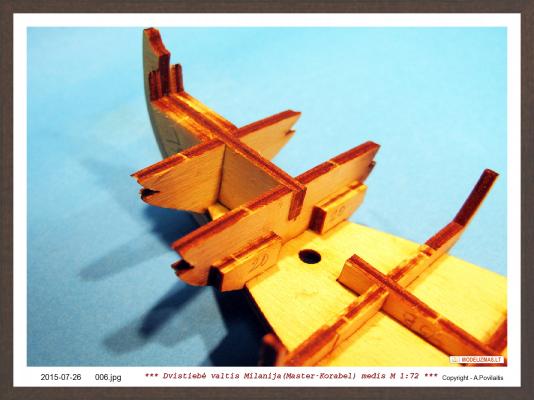
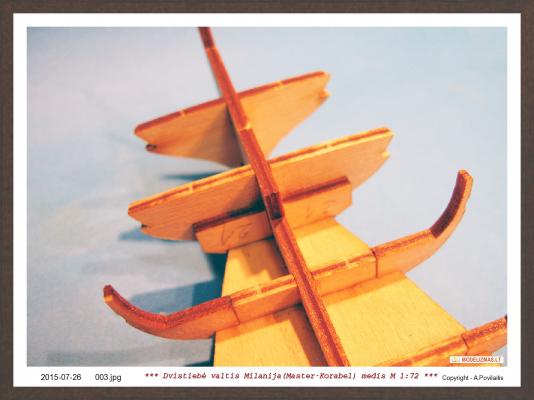
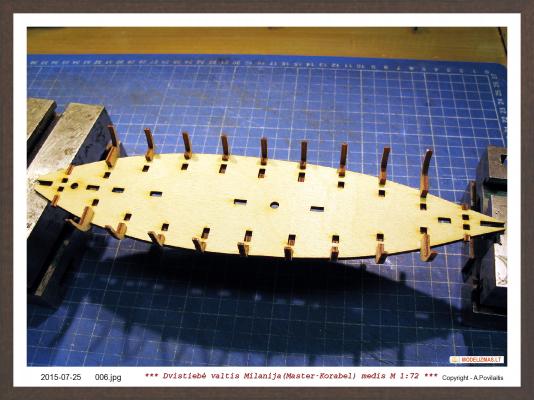
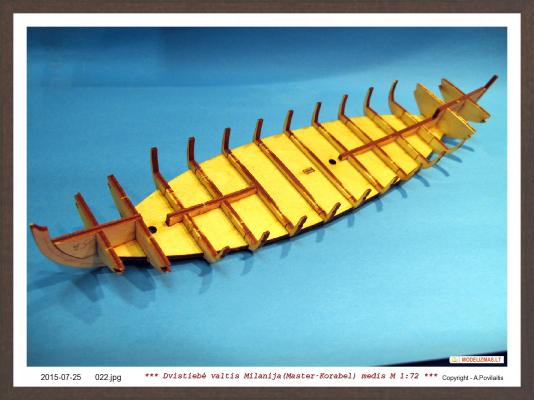
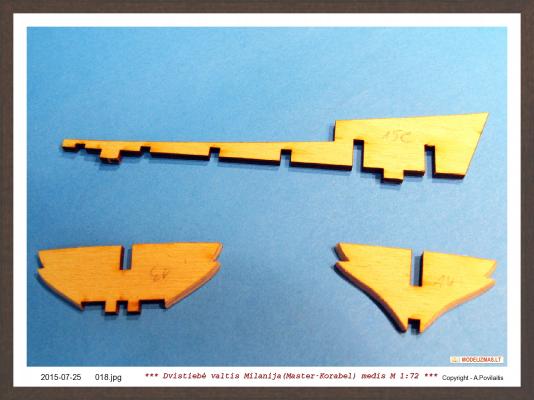
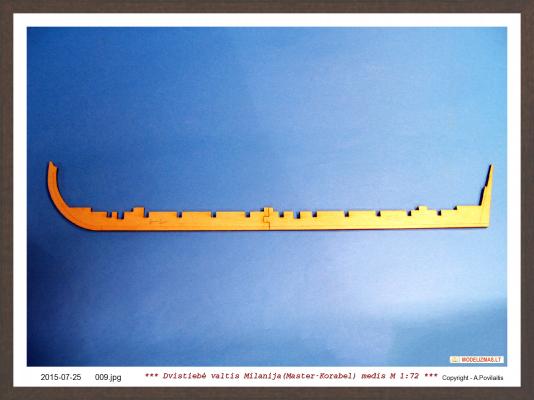
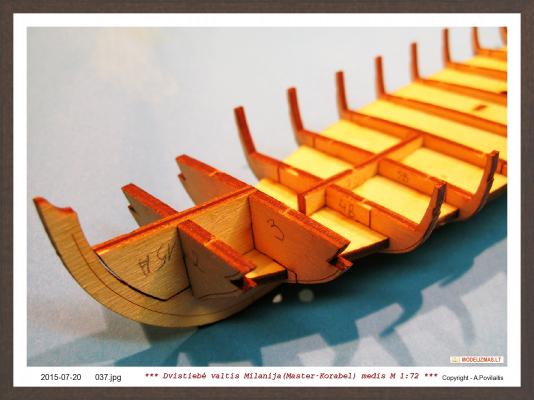
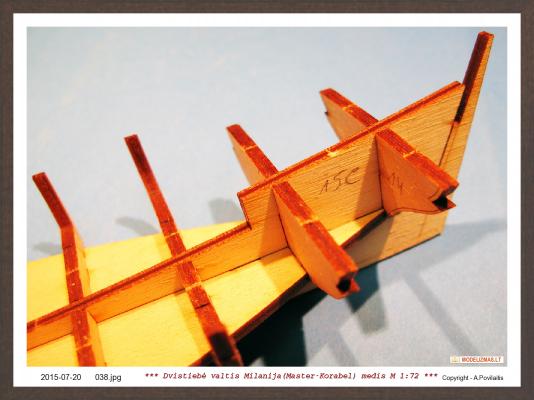
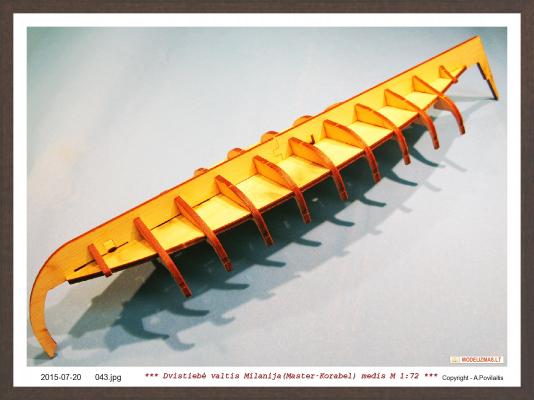
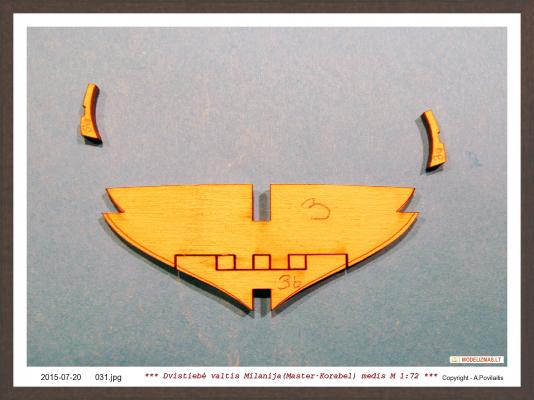
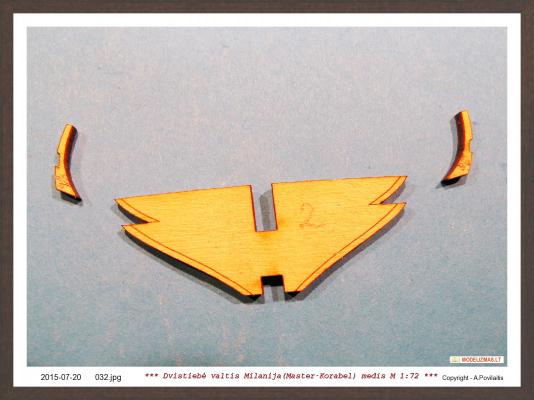
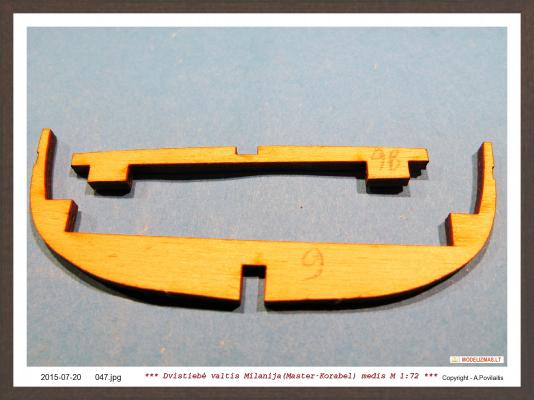
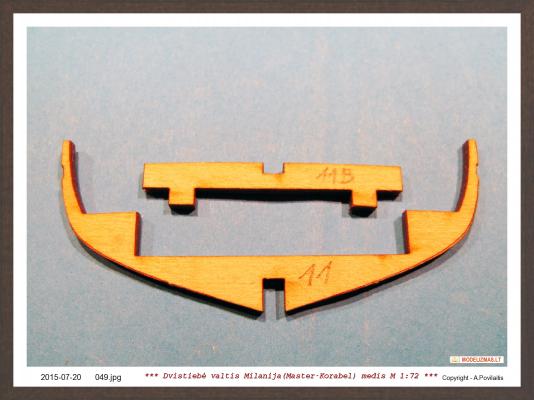
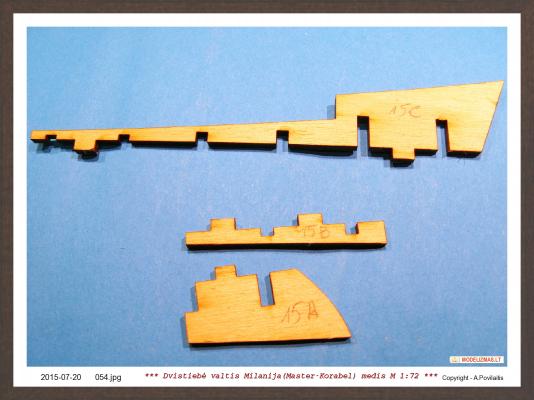
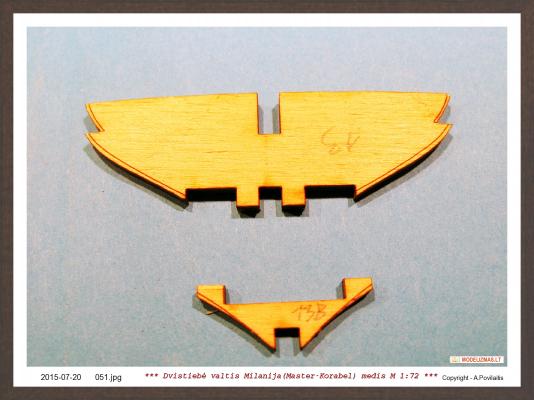
Now the time to begin gluing. At first I try some frames. All go very well. And in a short time I has the result. Next glue parts 15-1 and 15-2 together. This is the keel. It fit in the plase very well, without any sanding. And glued top parts of the frames. It fits without any problems too. Now the time to plase frames 2 and 3. And keel parts 15A, 15B. Later frames 13, 14 and keel part 15C. That's all today .


-
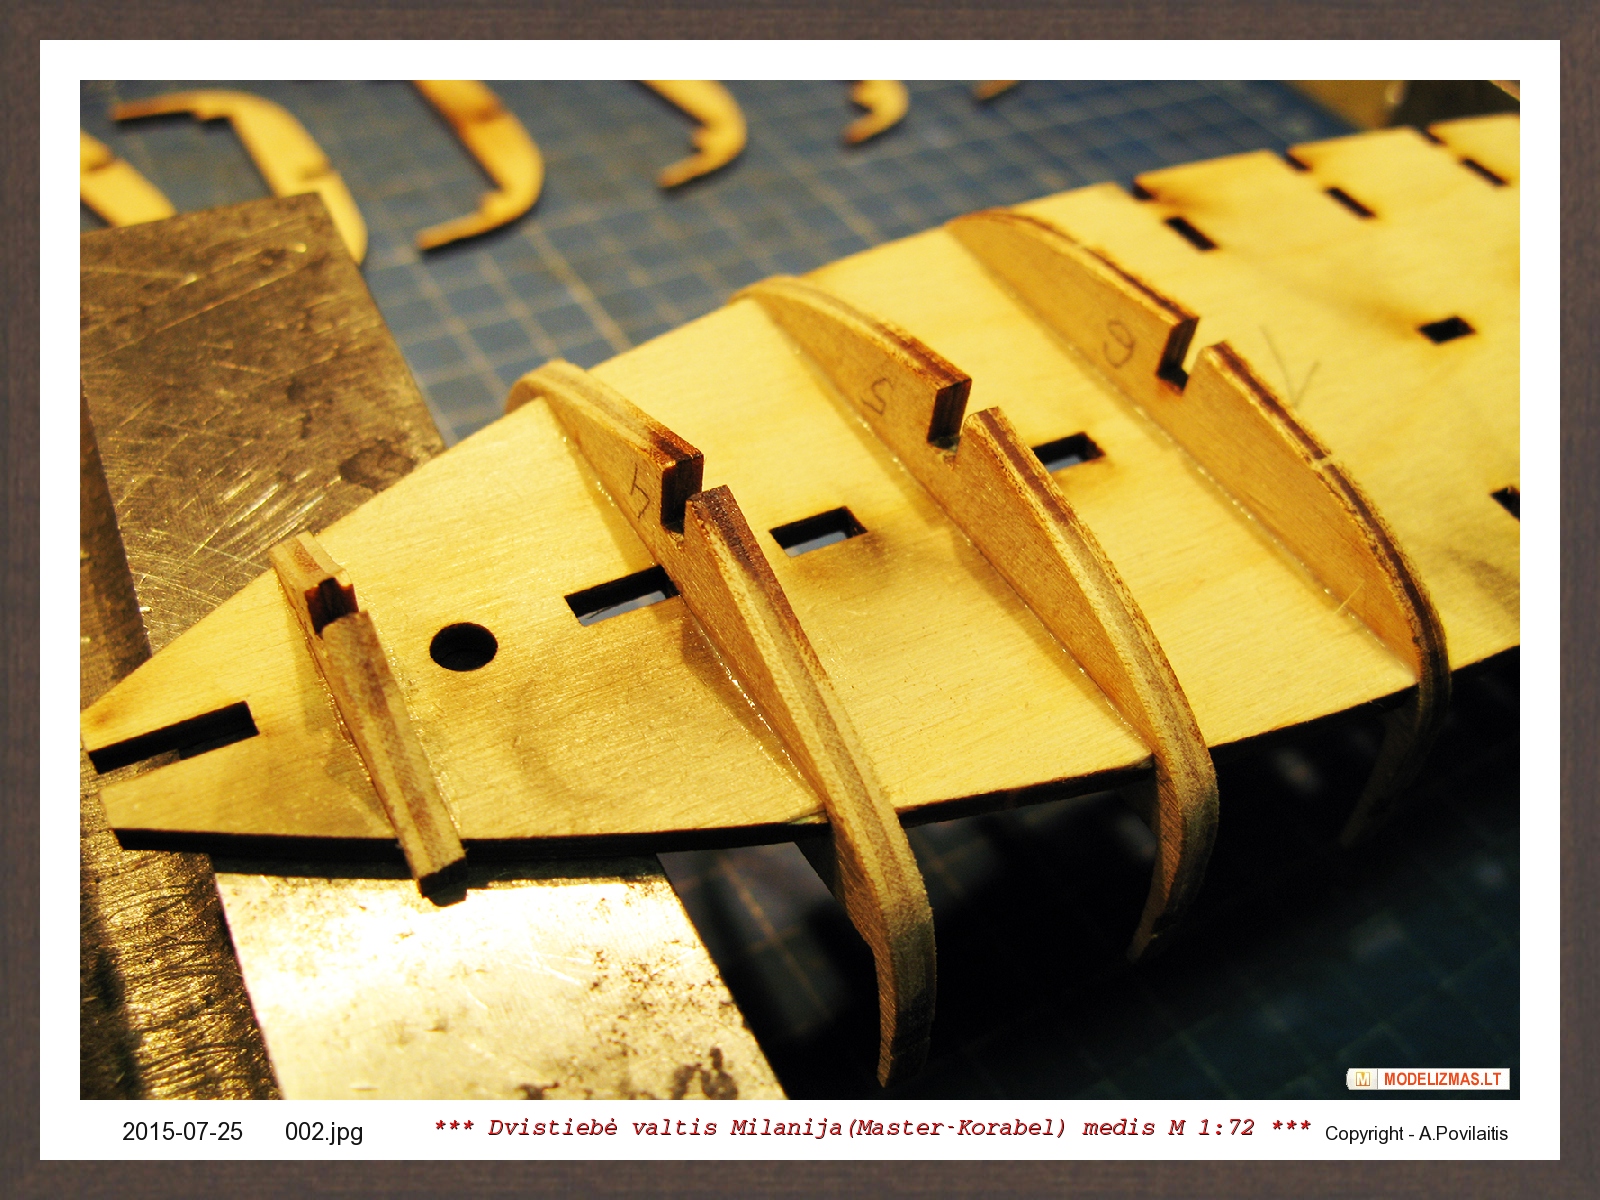
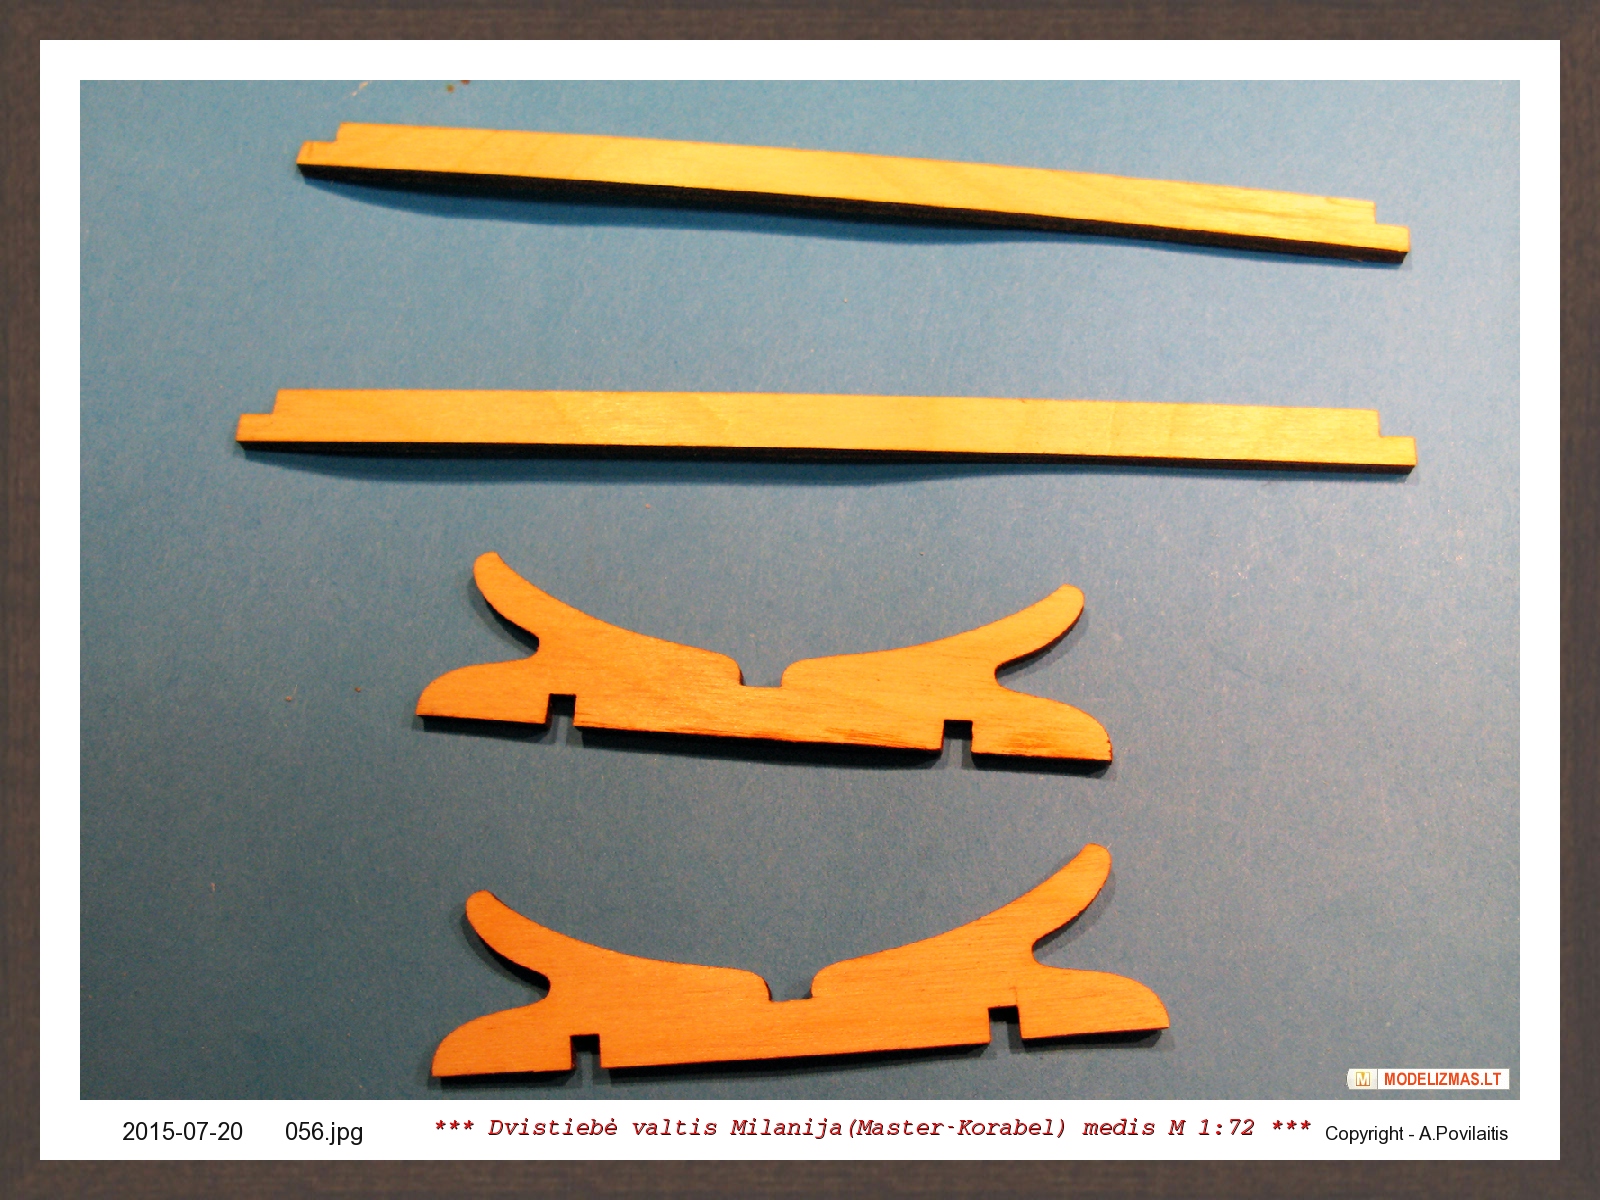
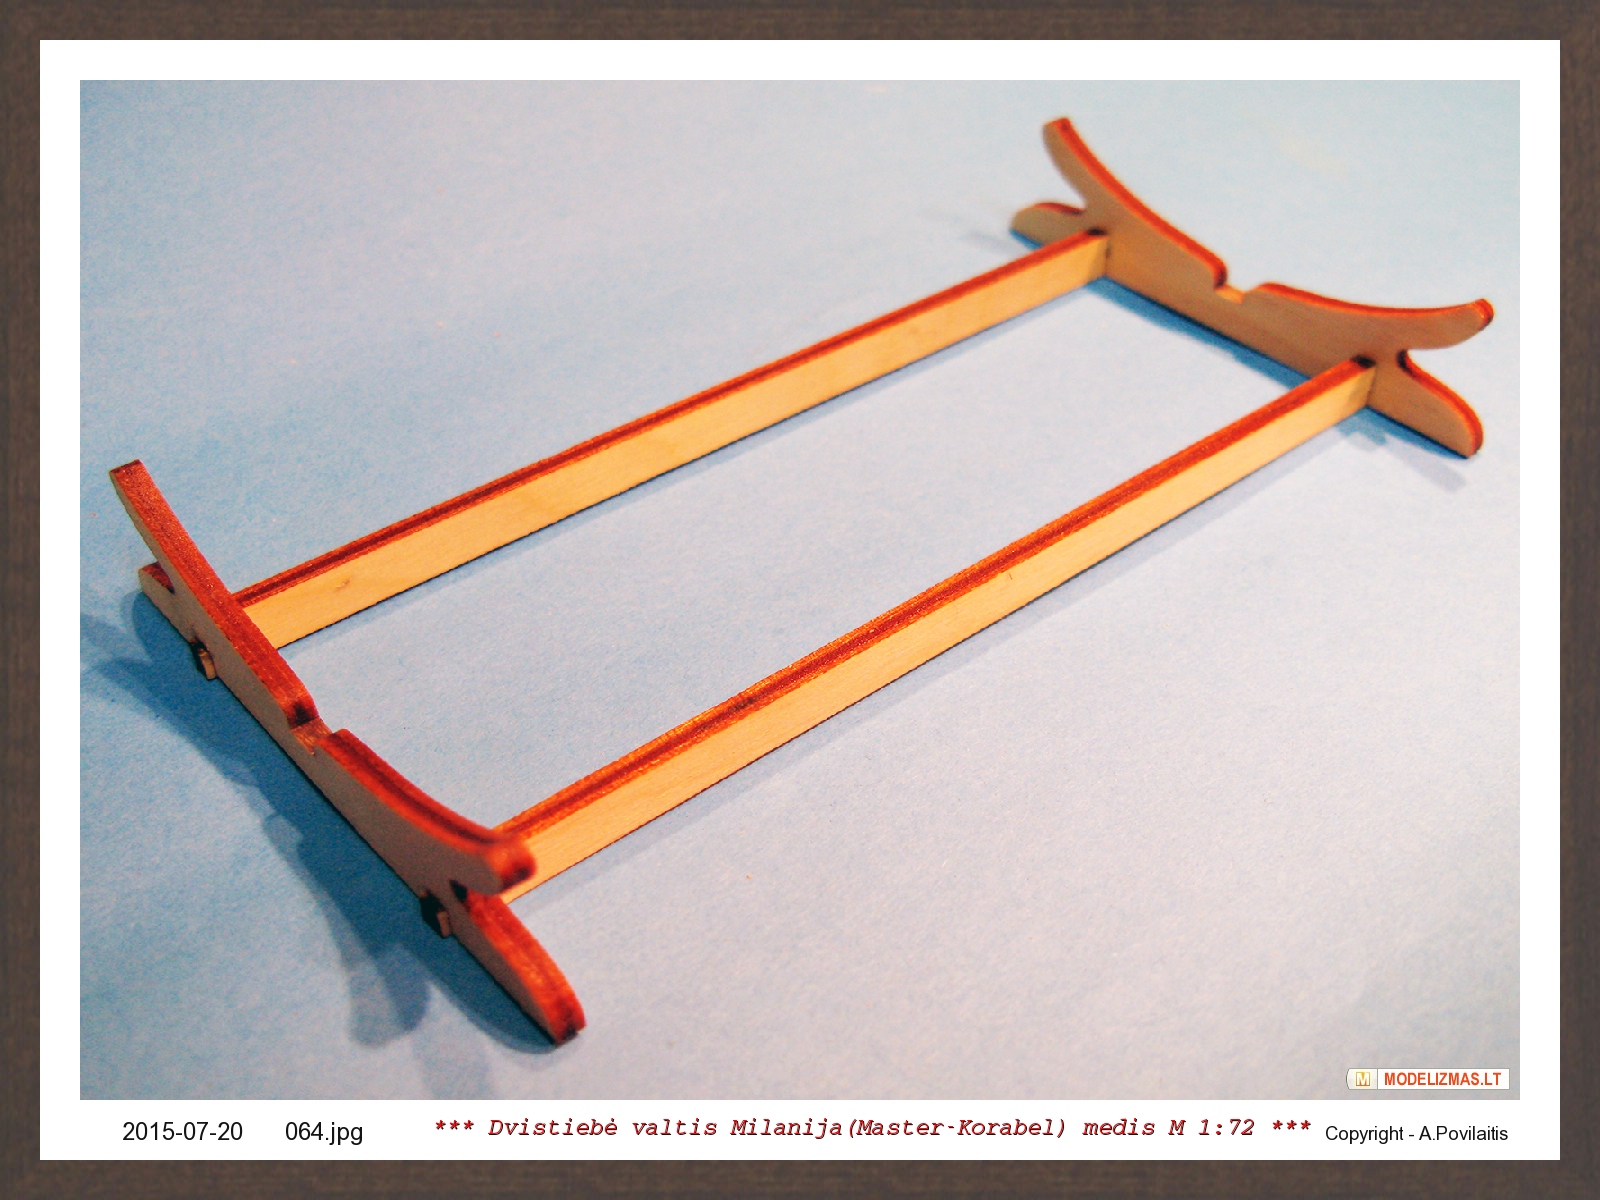
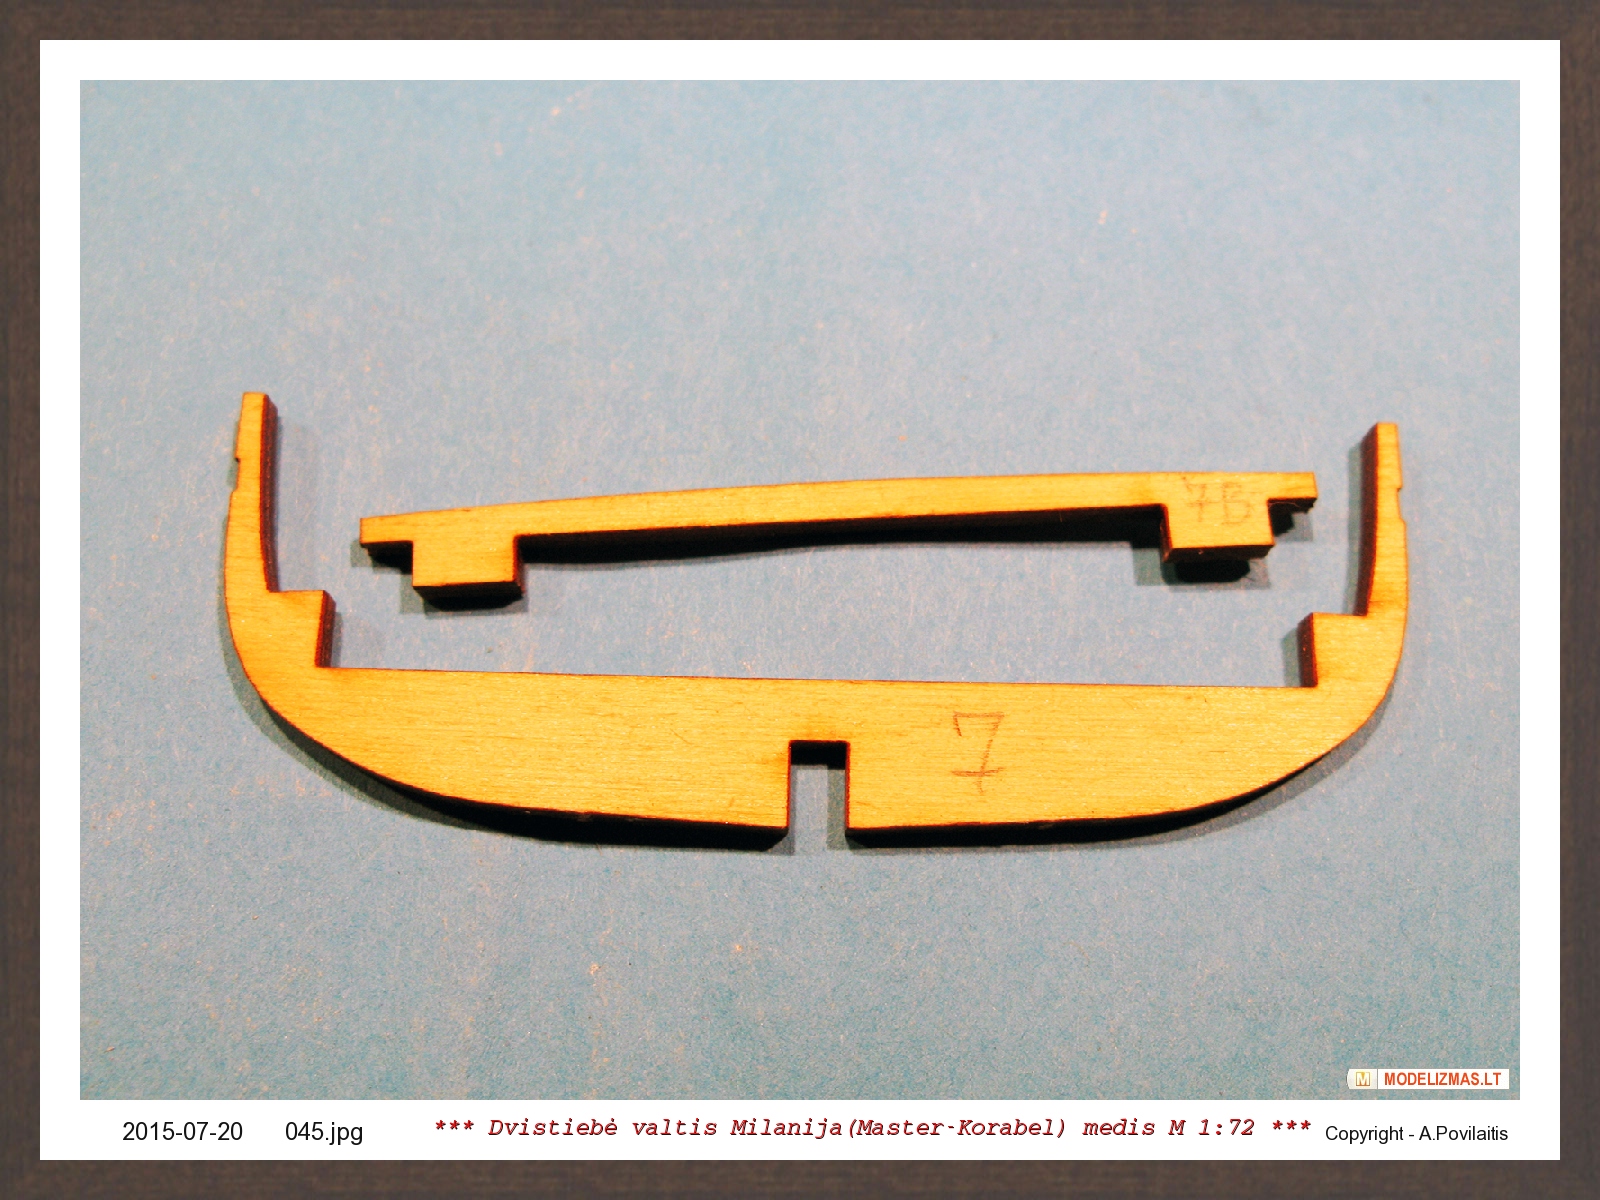
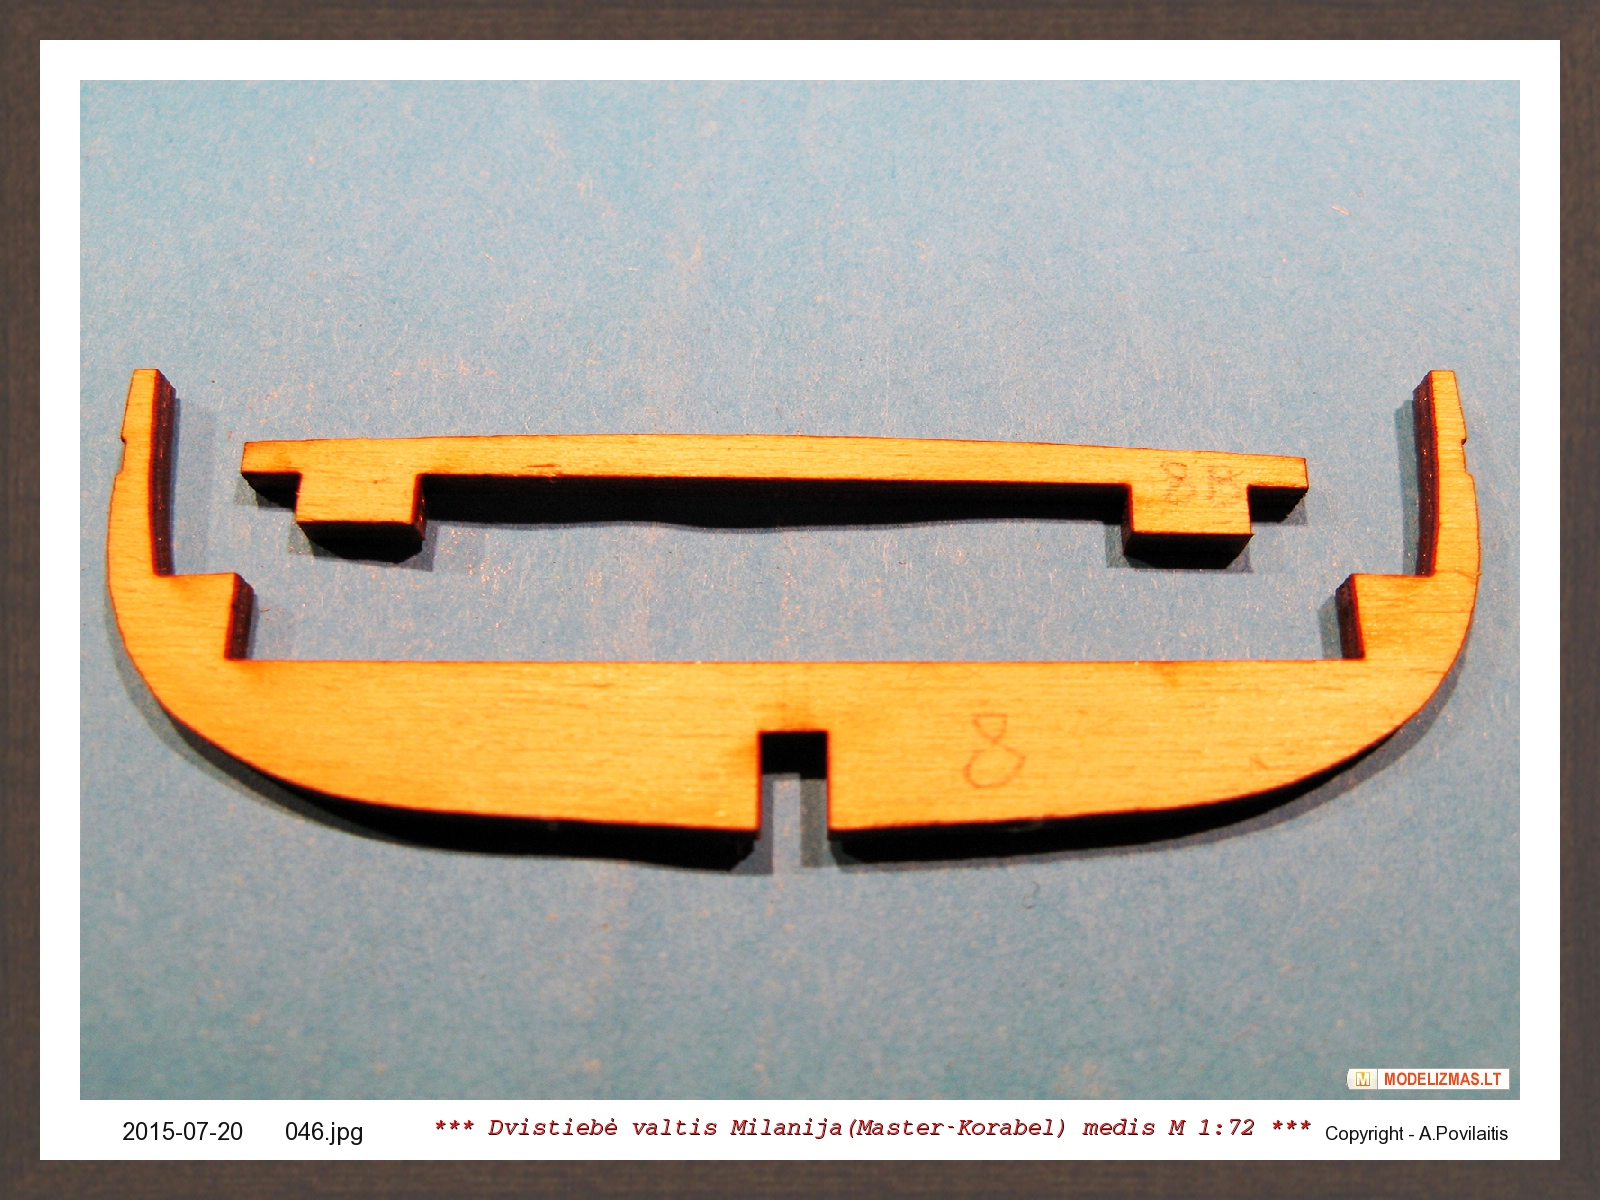
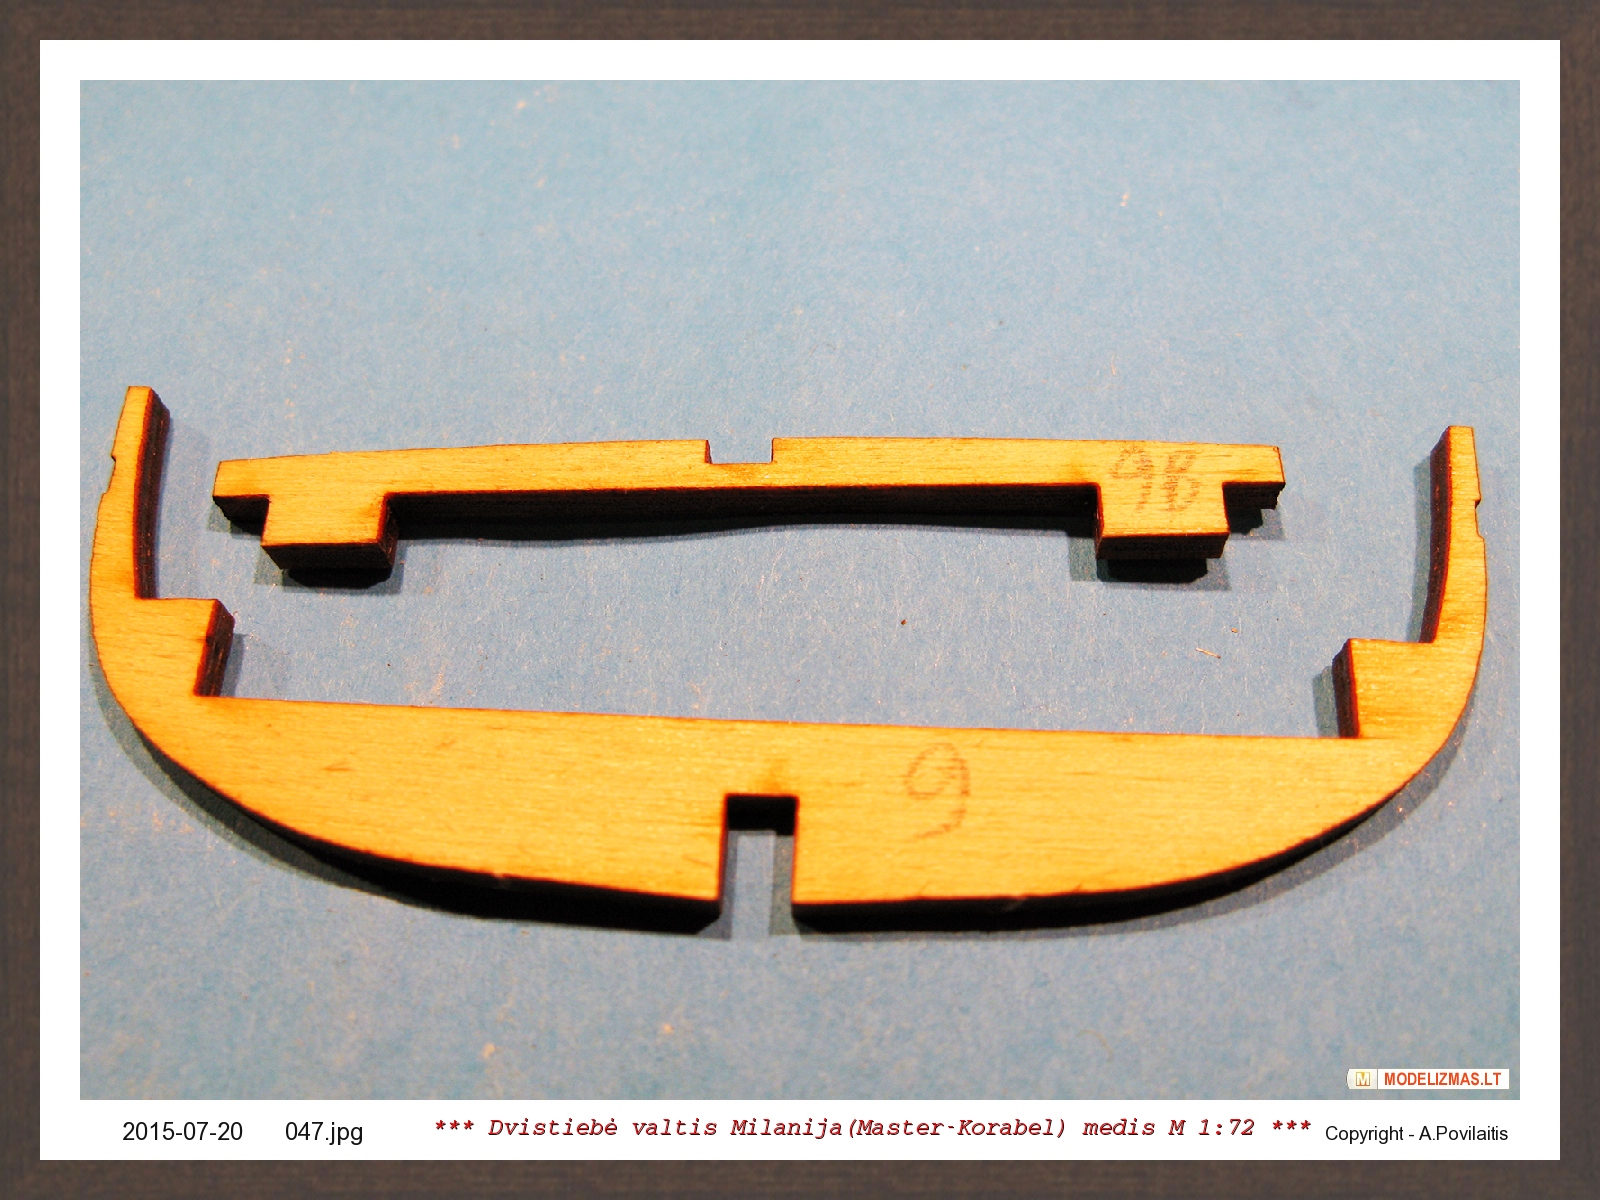
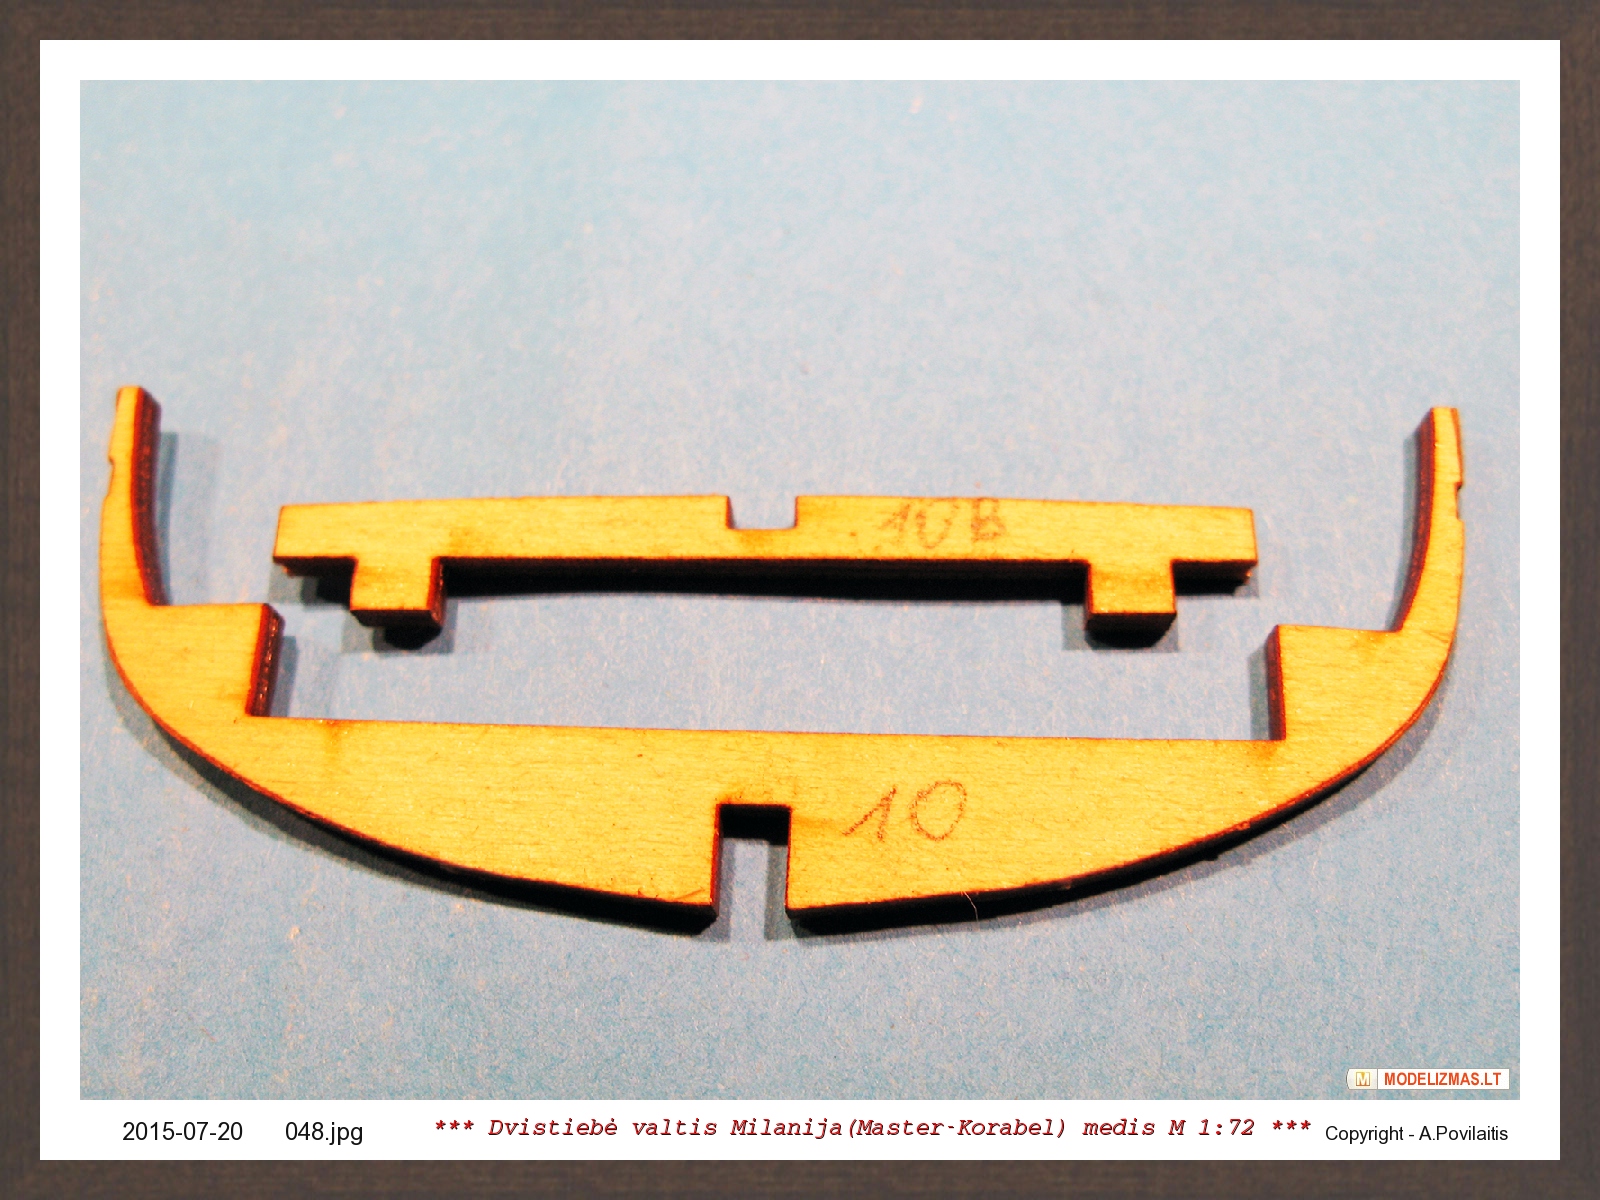
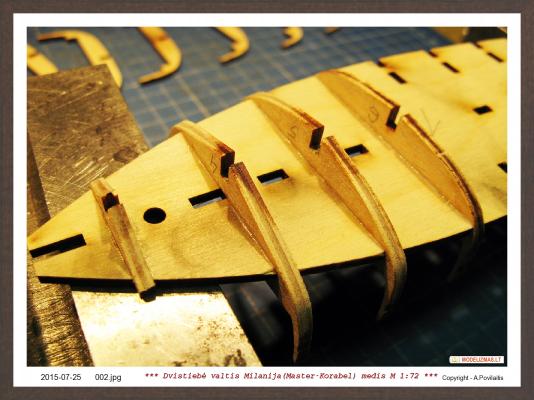
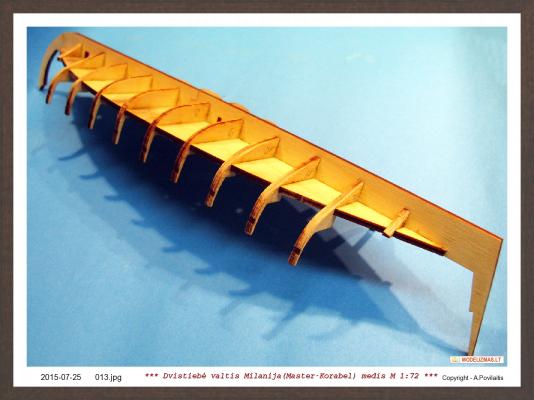
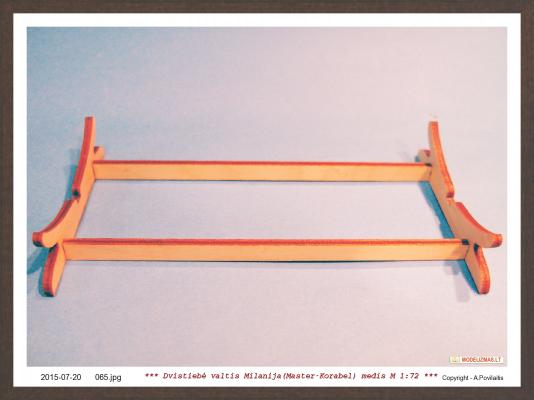
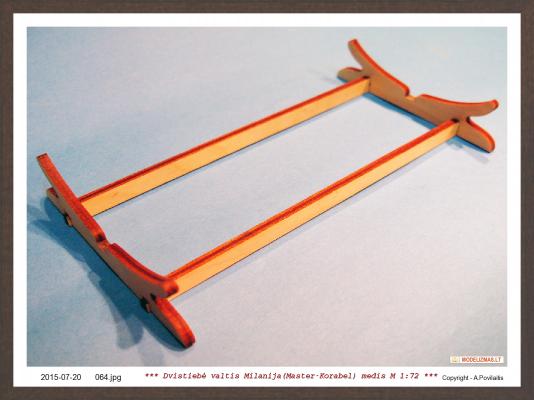
All are checked and let's begin. At the first glue the stand. It's very simple. But later I'll change it to something else. Now wery important step. Some frames has engraved lines an must be very carefuly sanded. I did it, but leave about 0,1 mm not sanded. I'll do it before planking, if it will be needed. And this is the sanded frames:


-
SpyGlass, I like shaped planking idea too . Next will be St.Gabriel and Jolie. Later Polock and Phoenix... But, the life is very interesting...
-
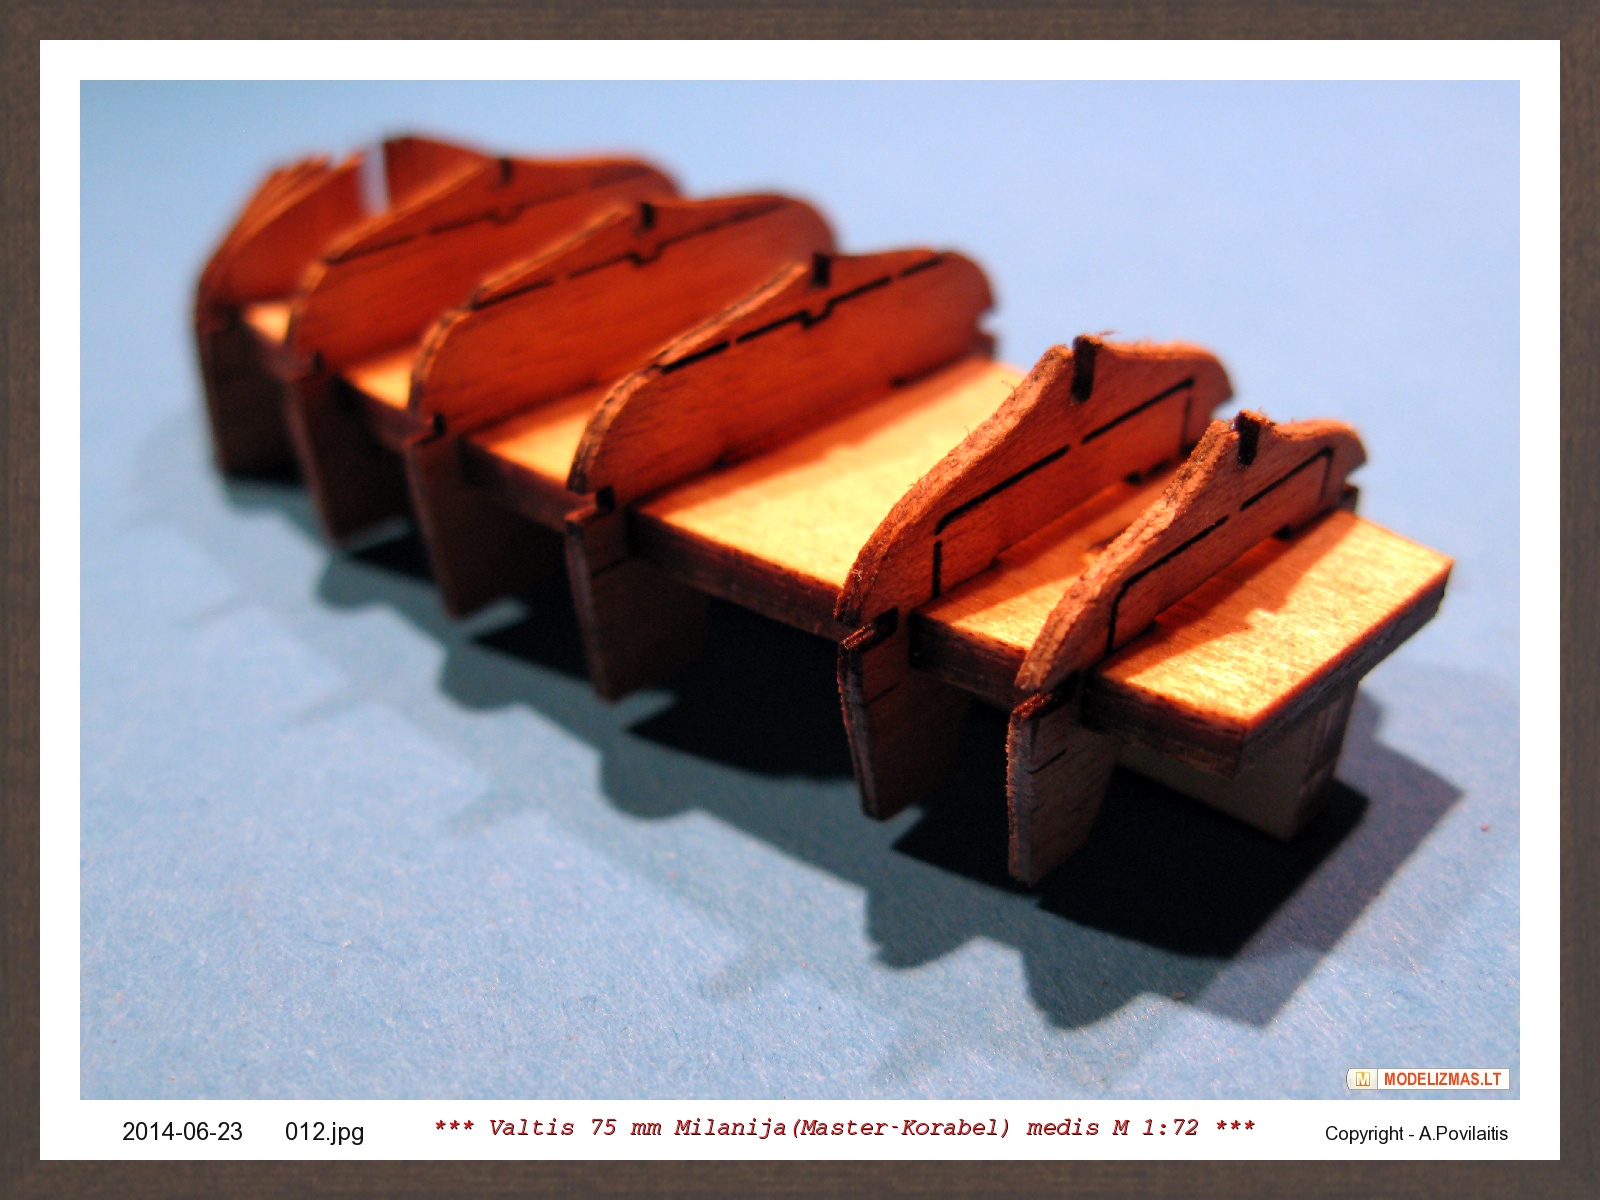
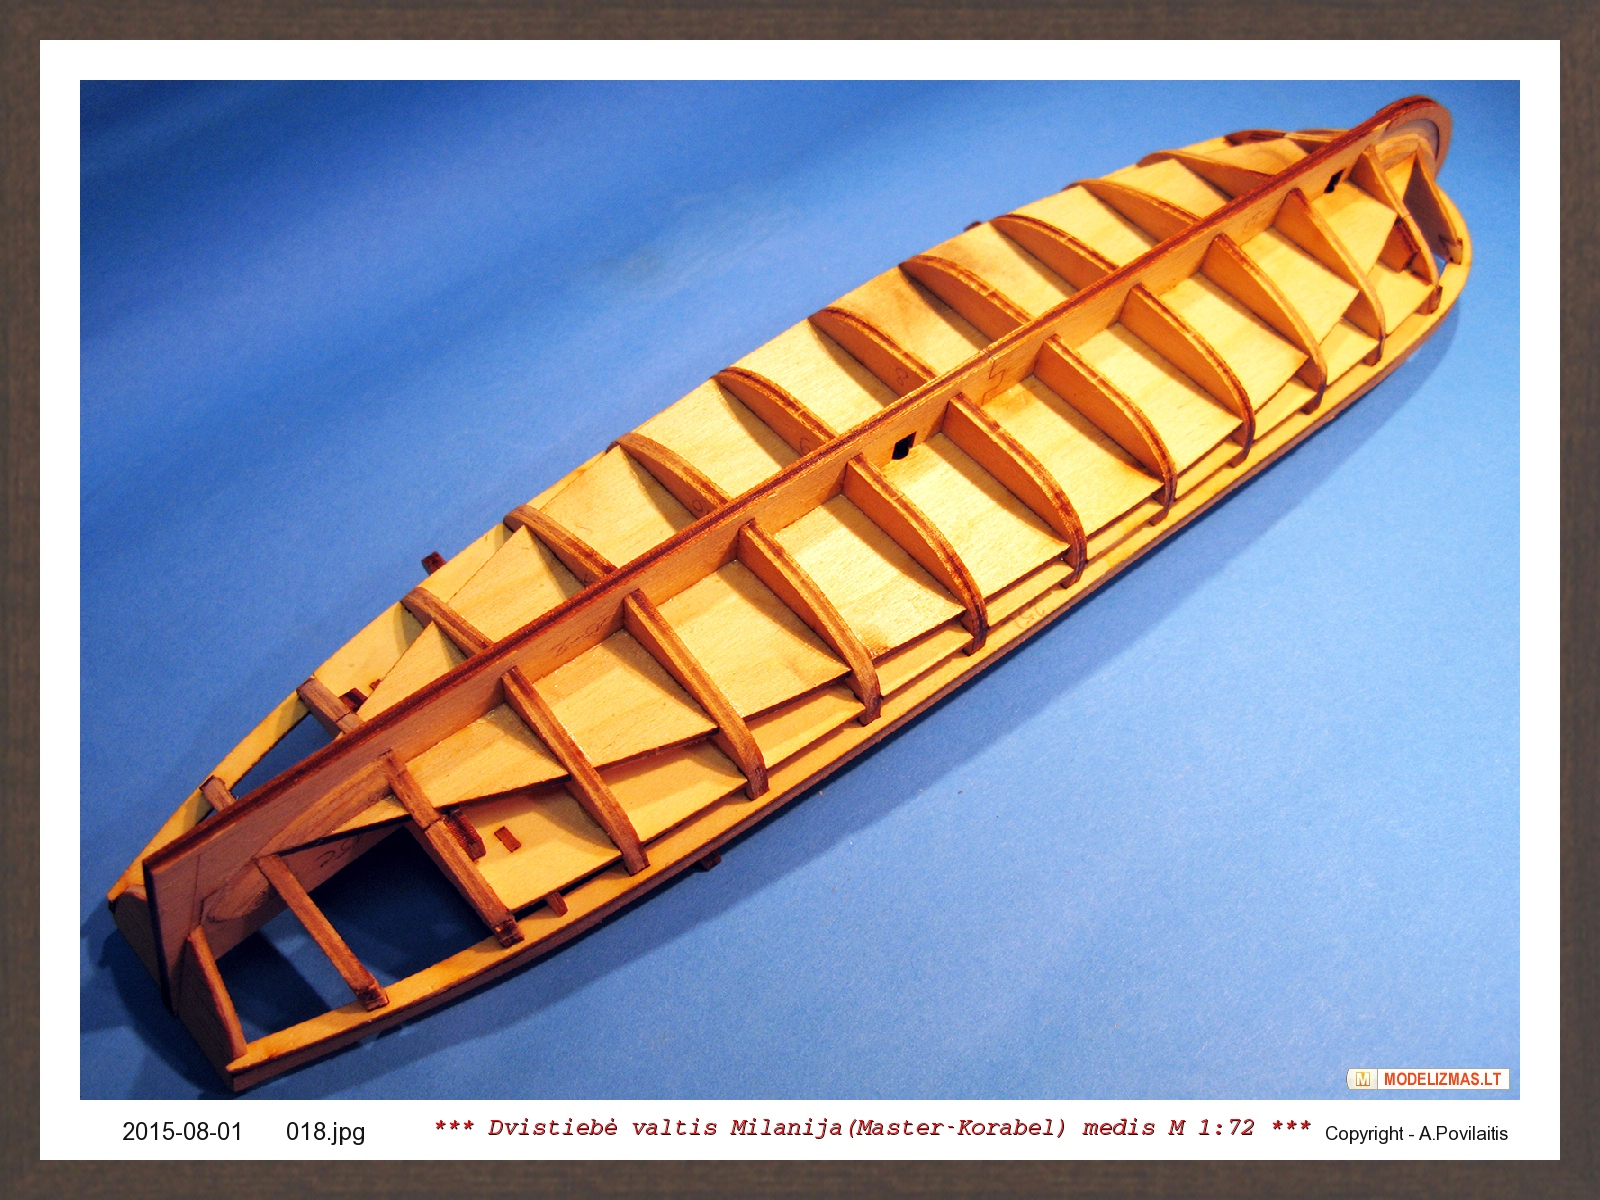
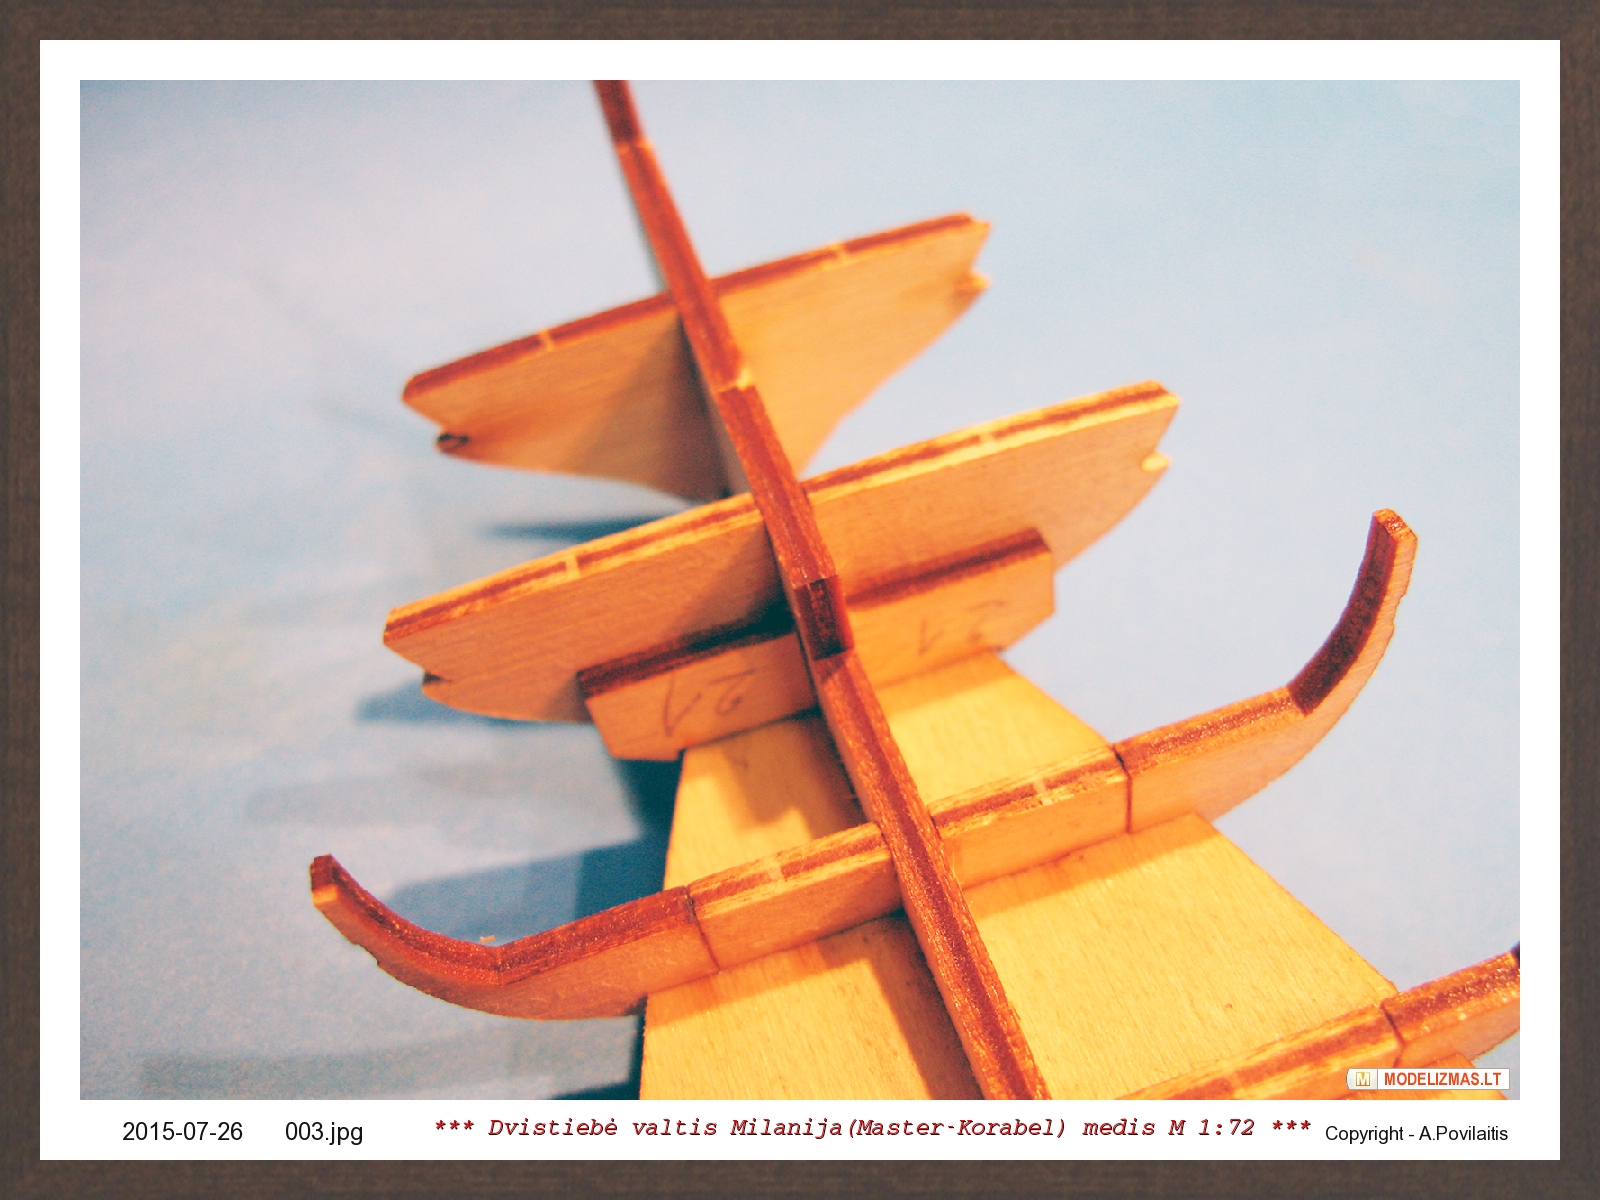
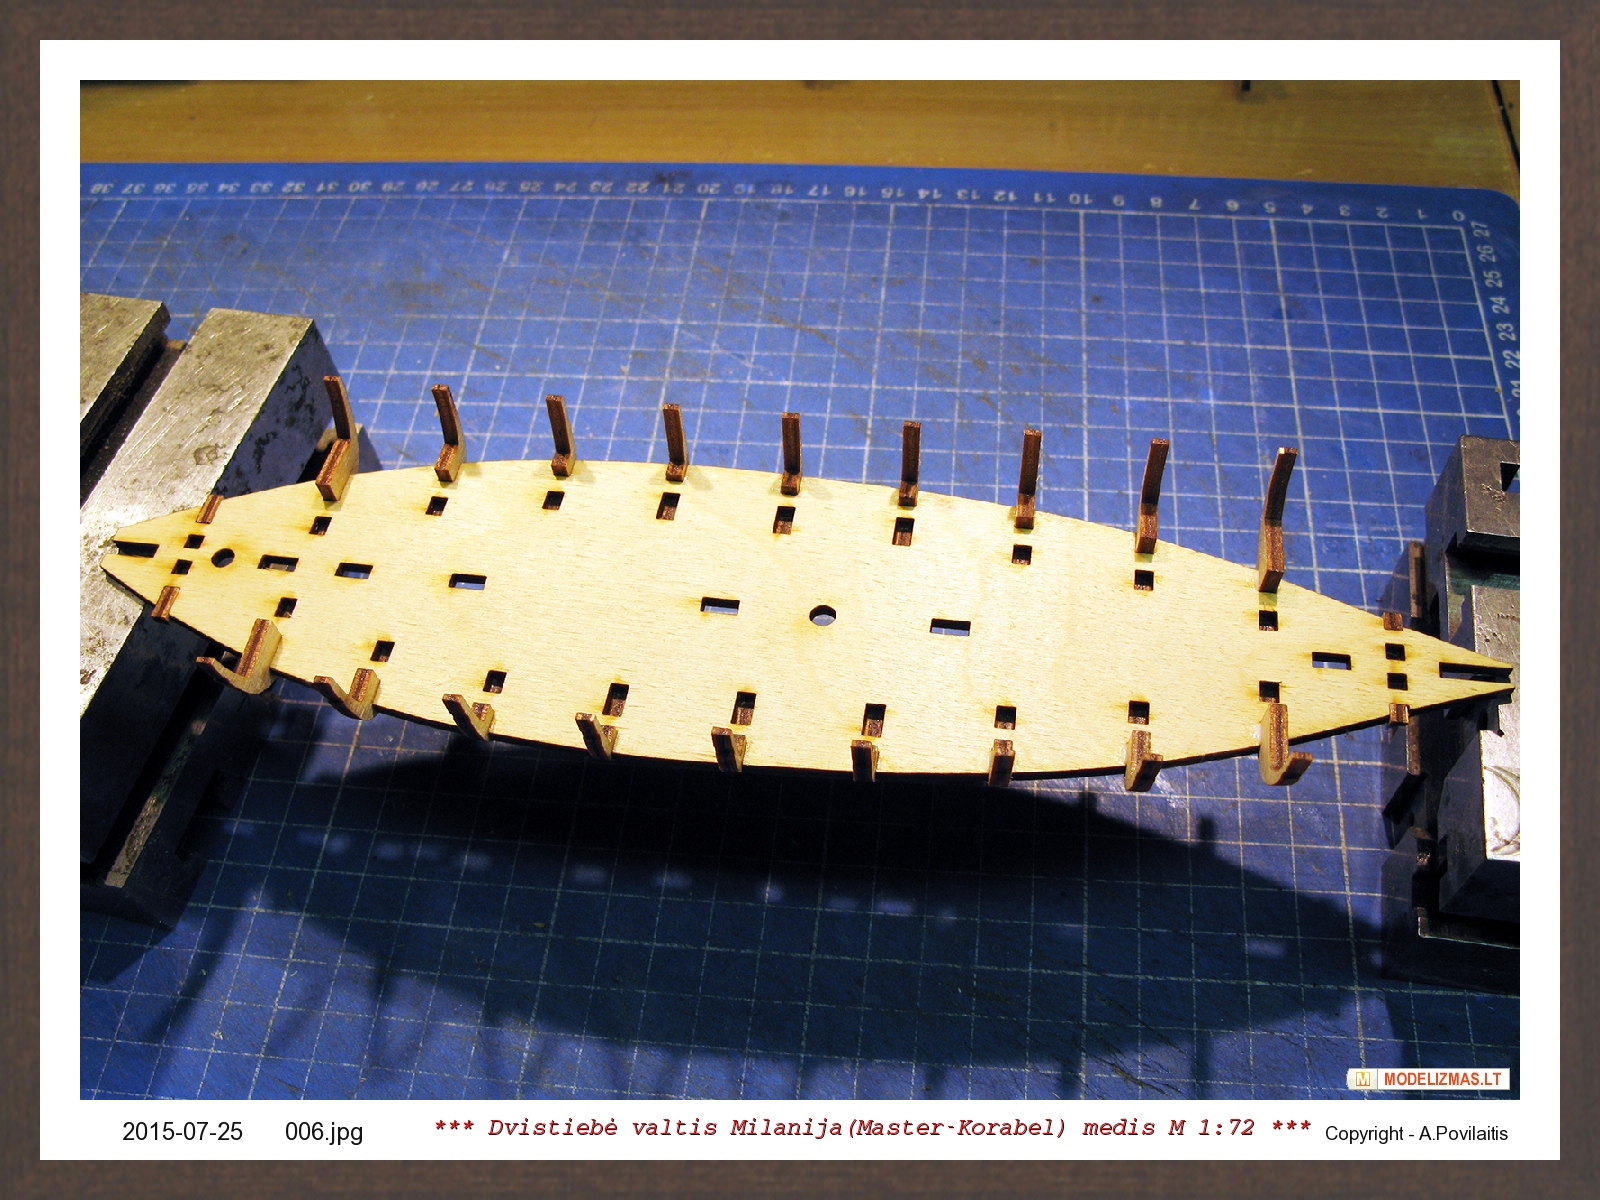
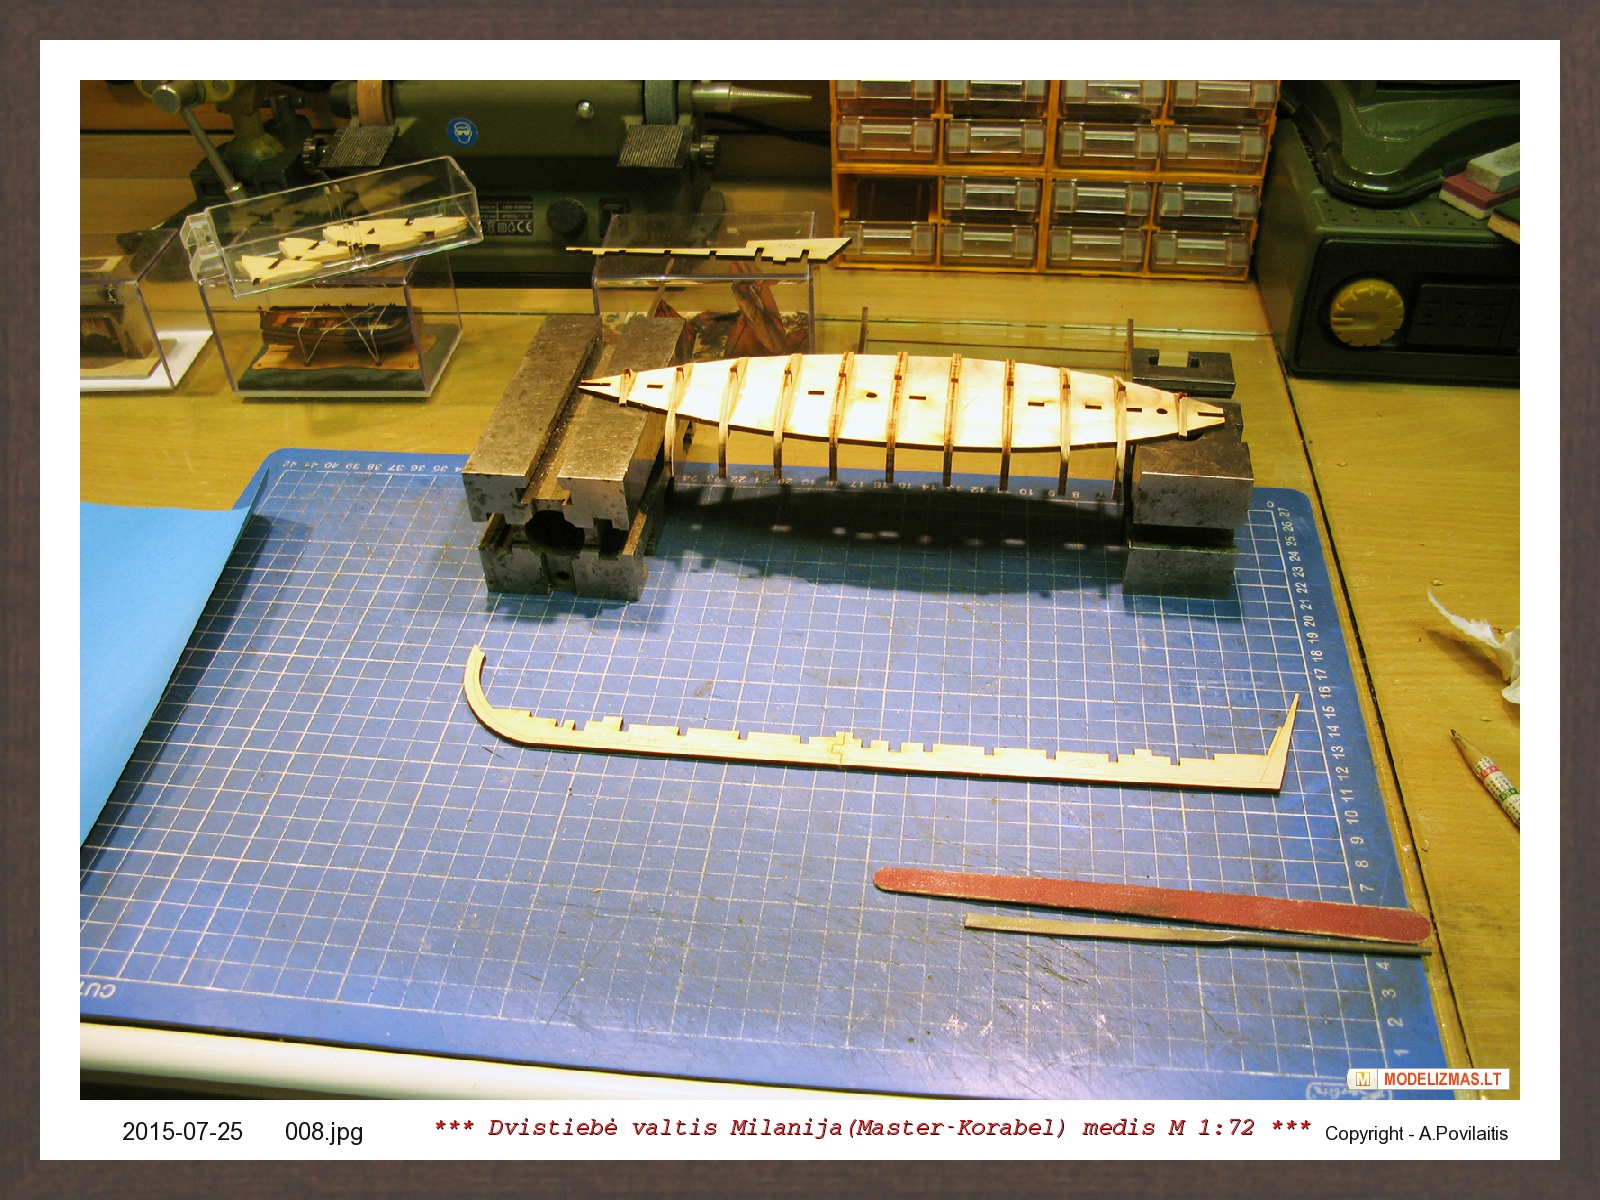
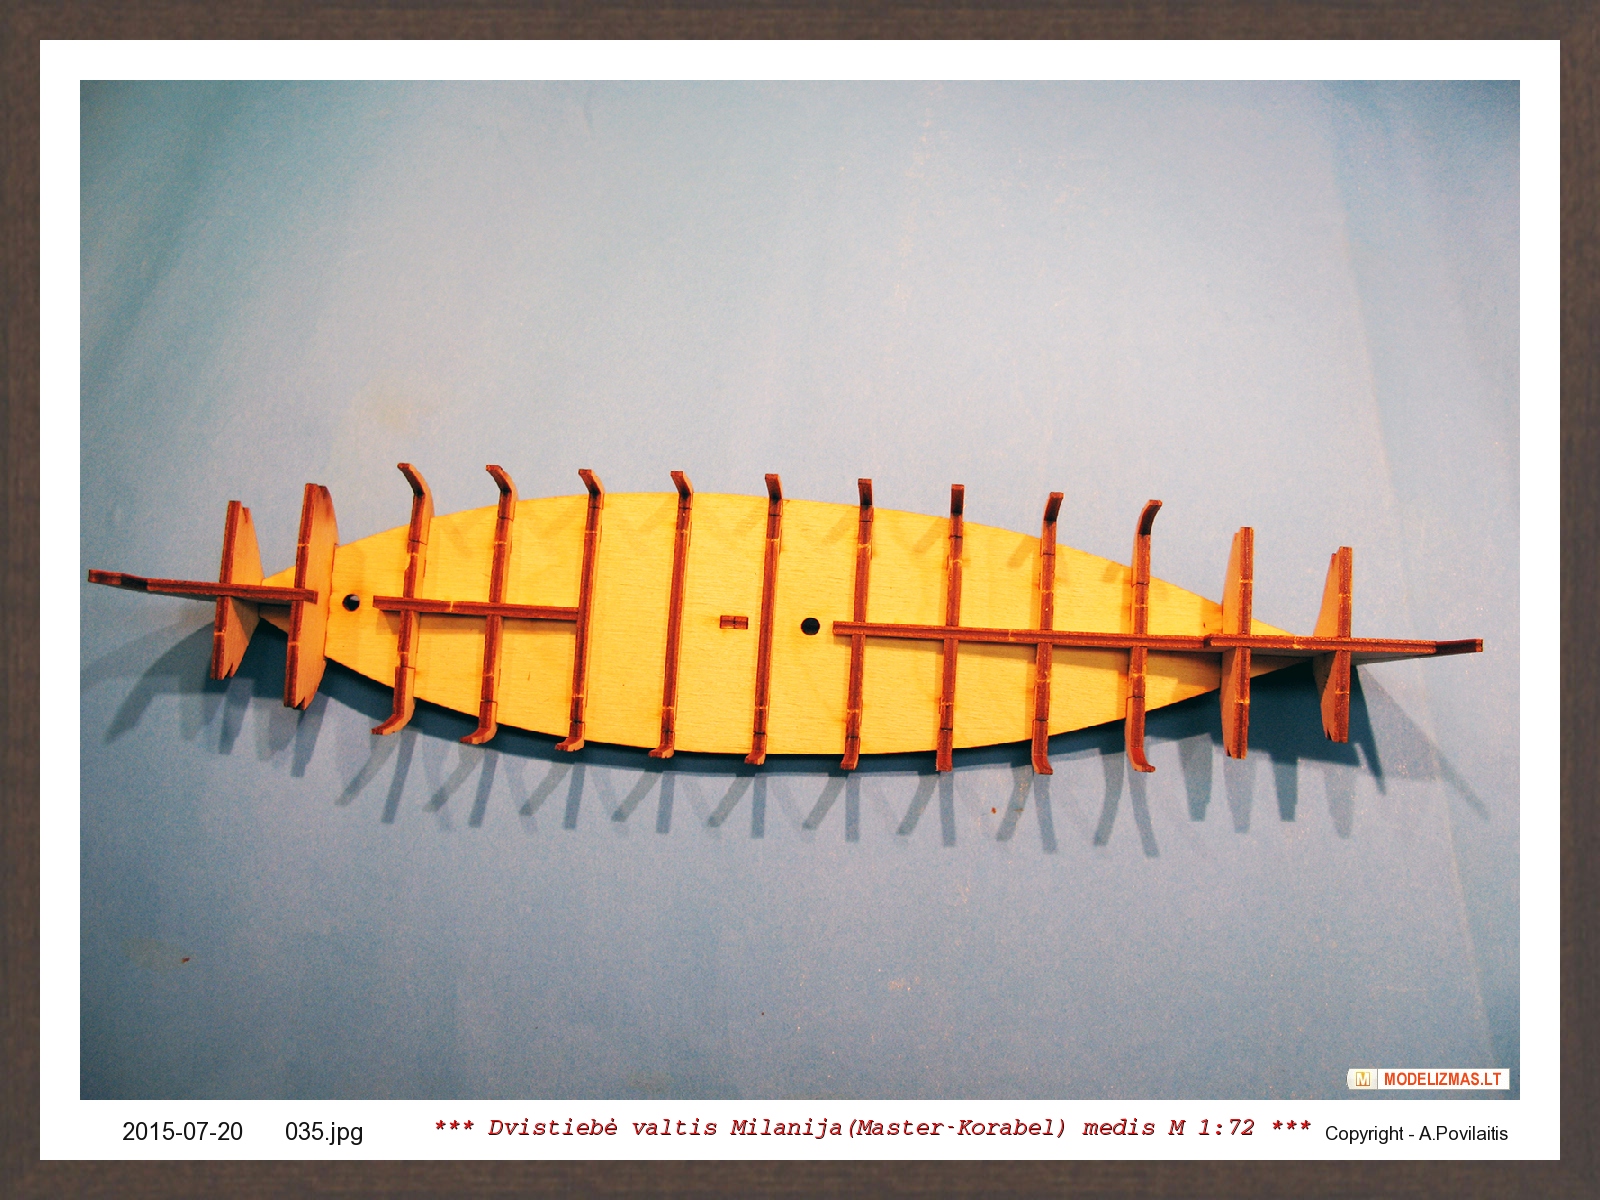
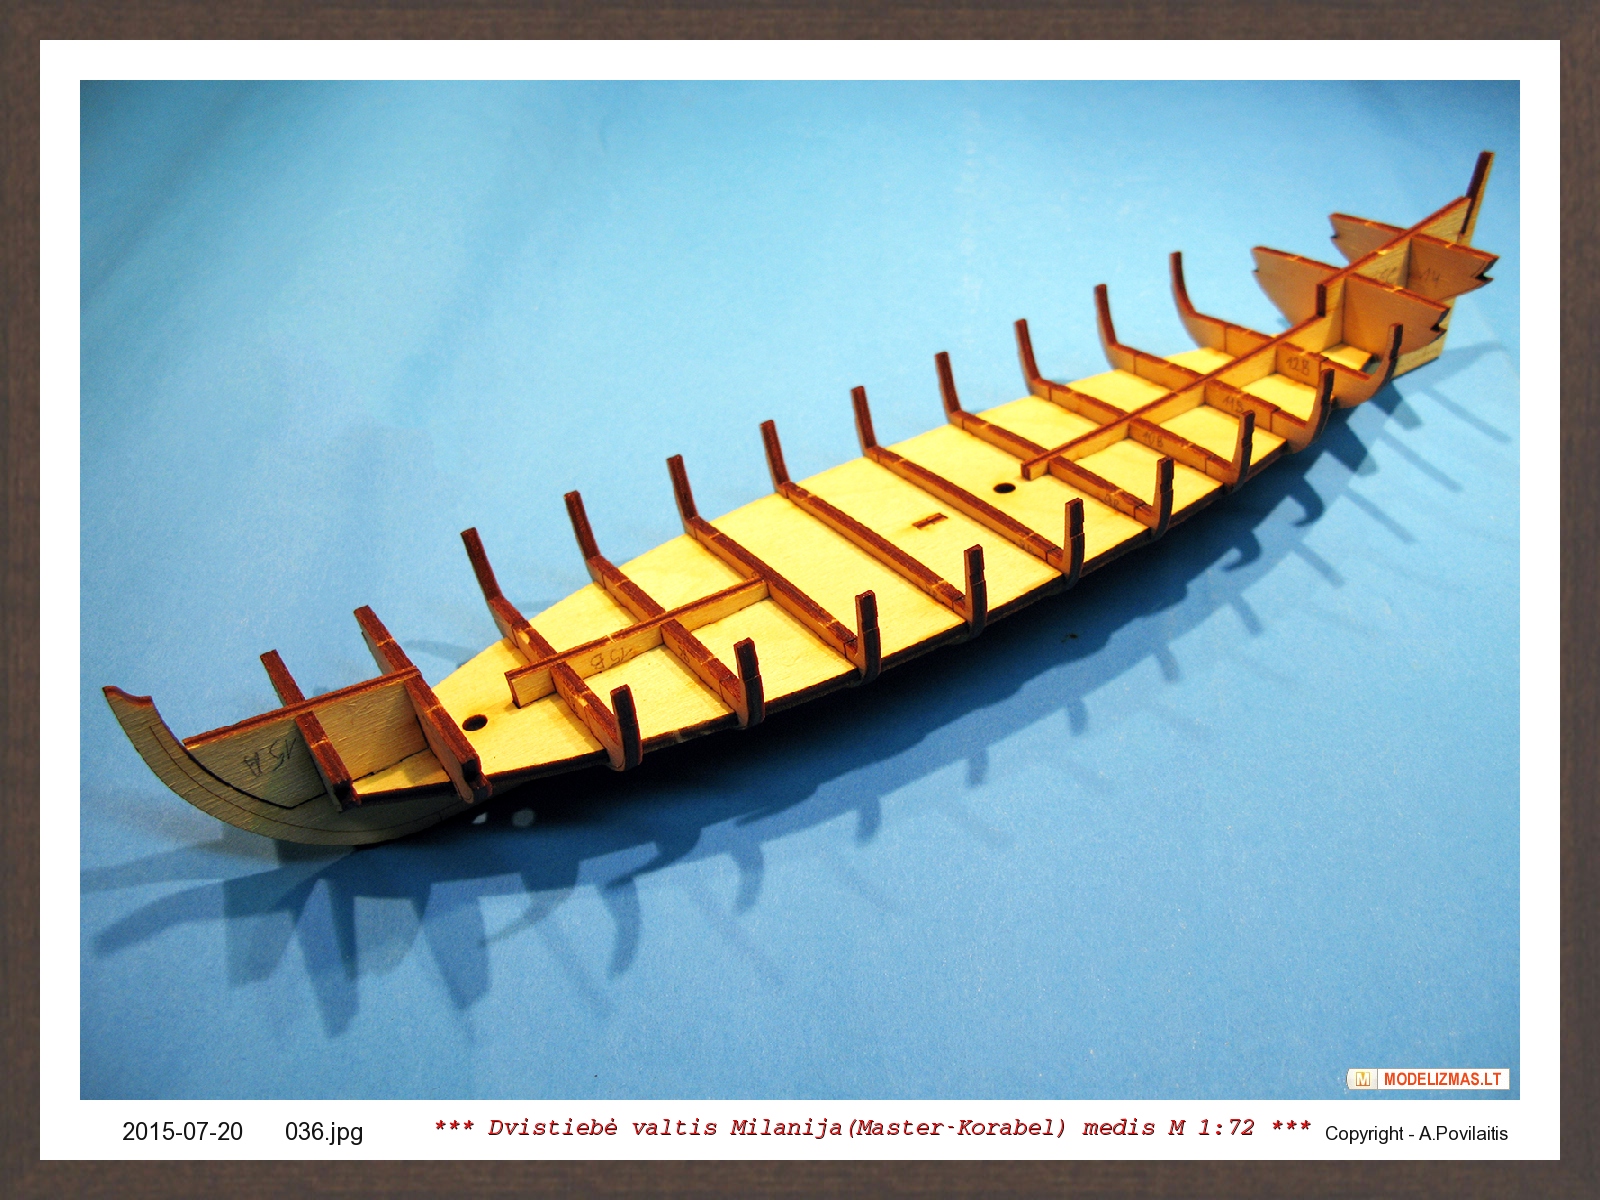
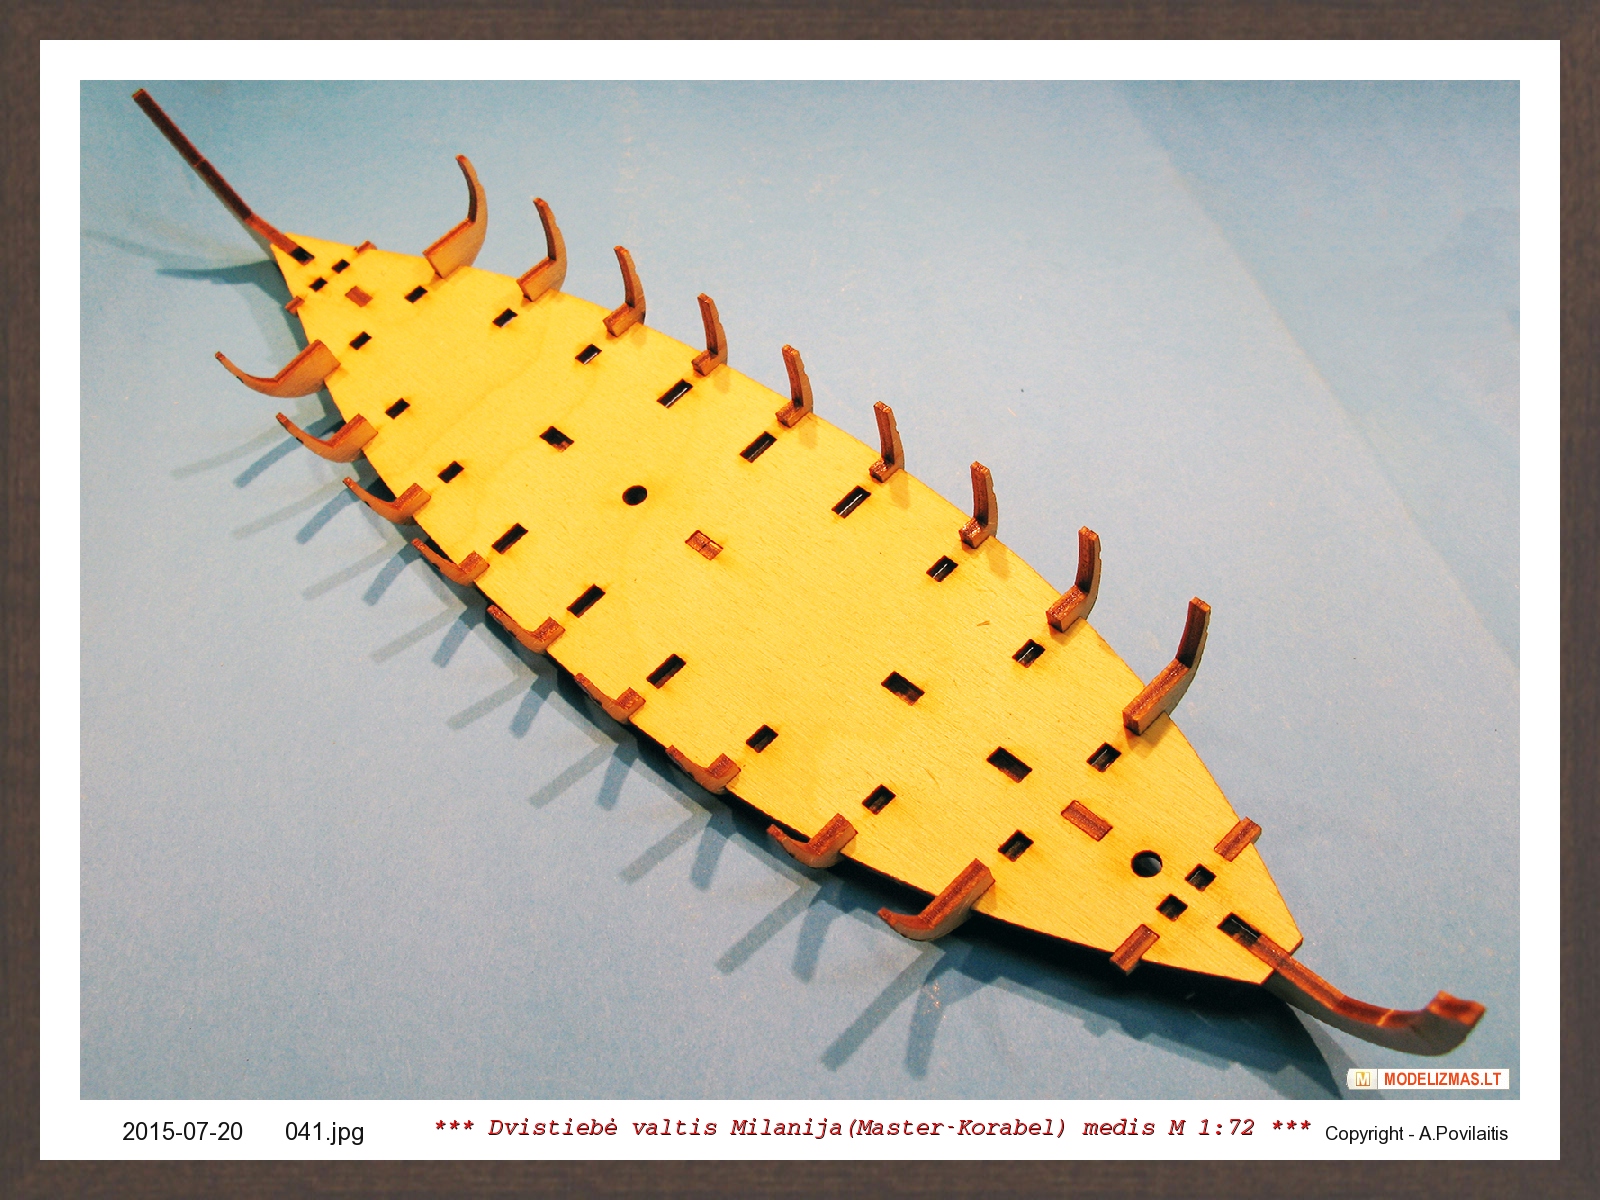
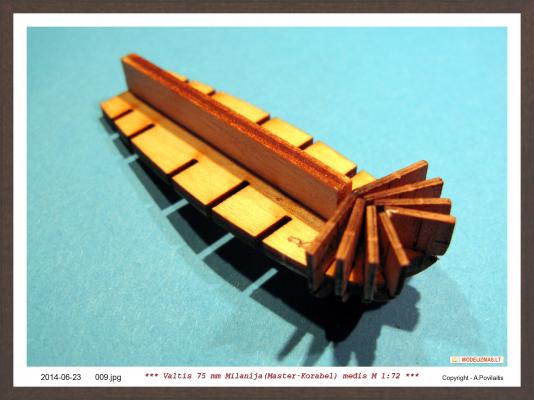
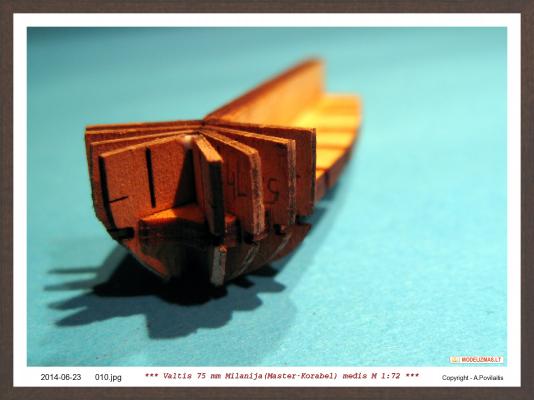
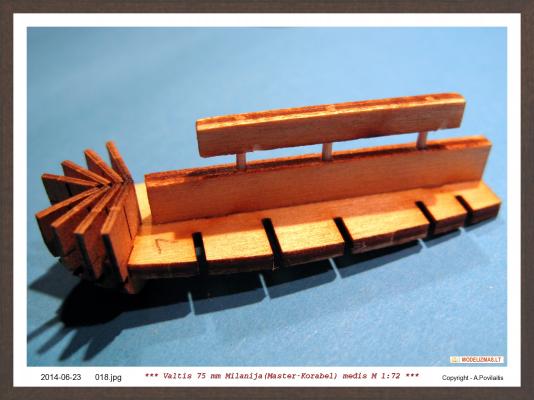
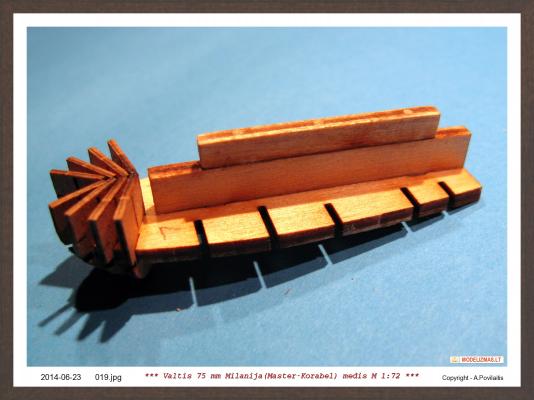
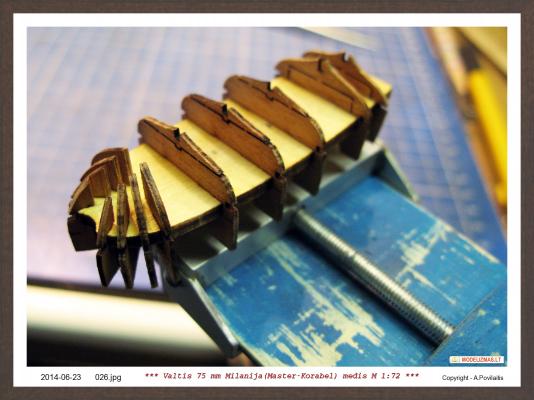
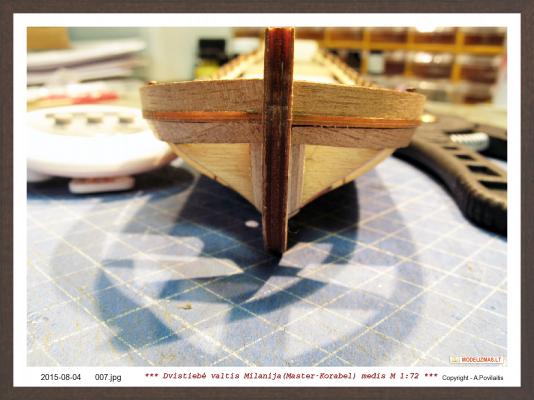
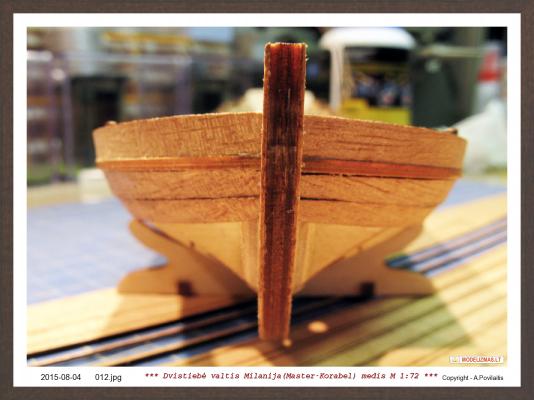
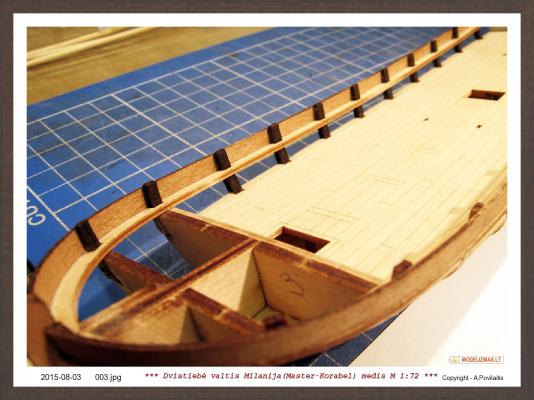
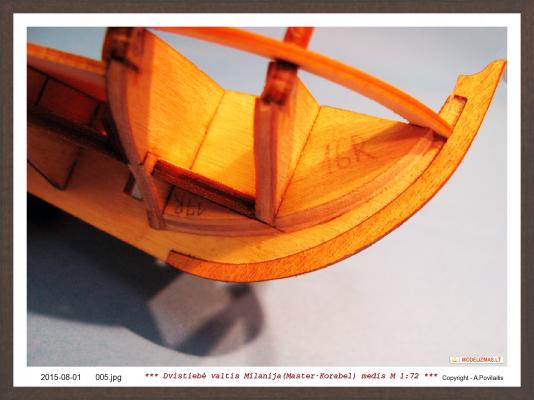
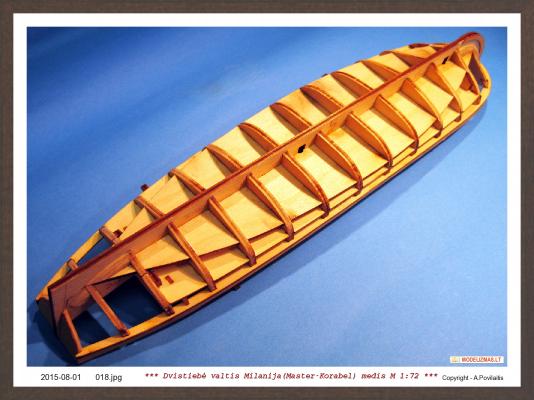
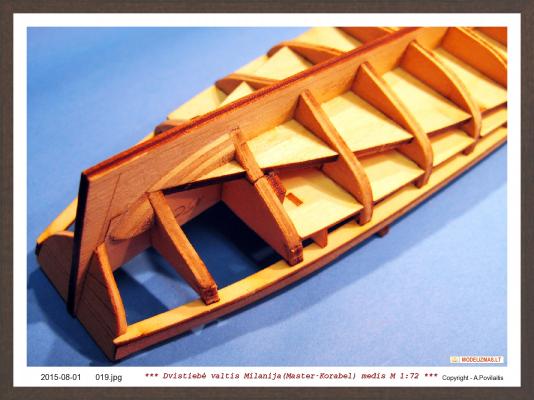
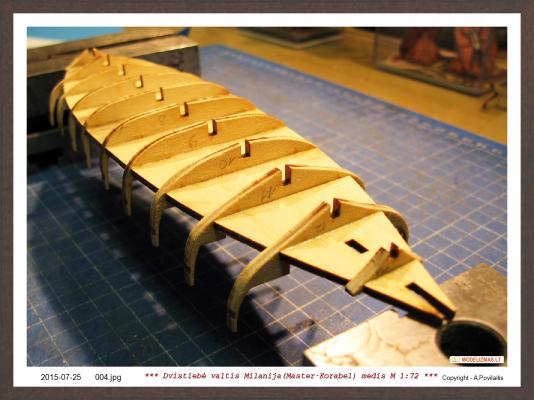
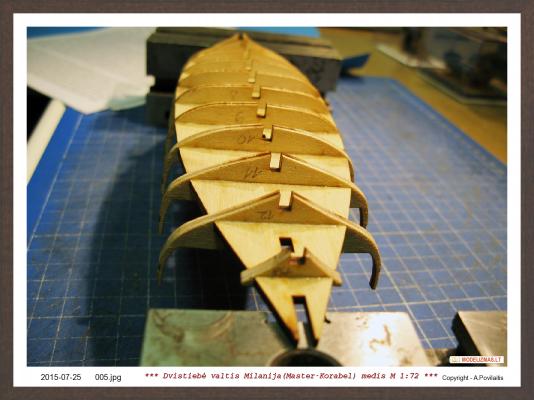
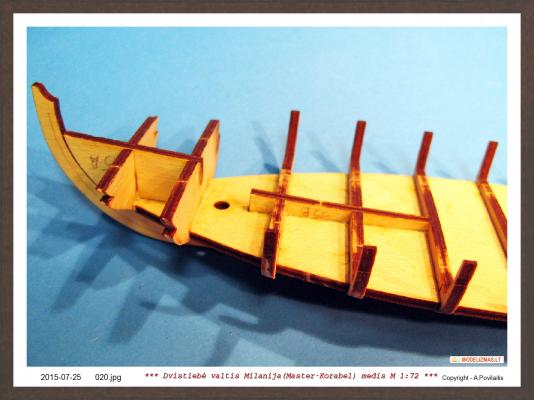
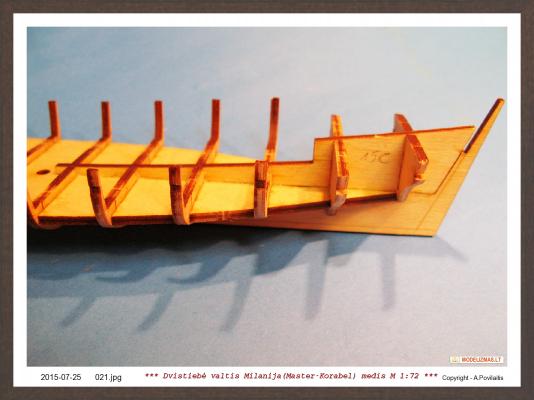
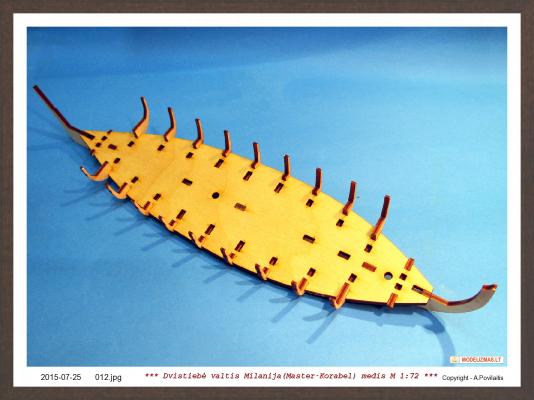
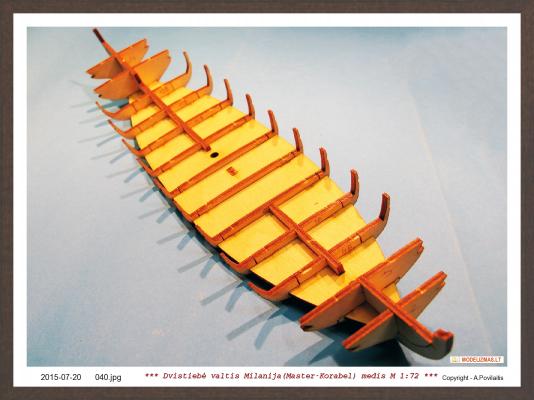
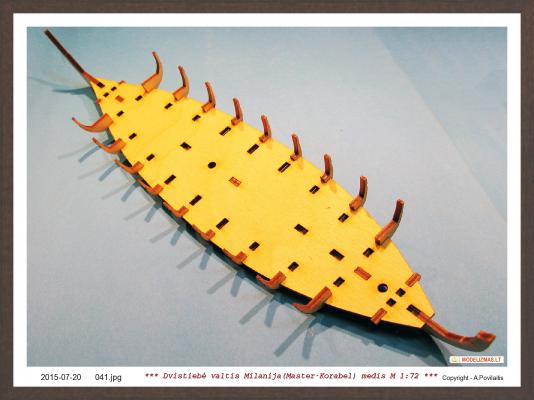
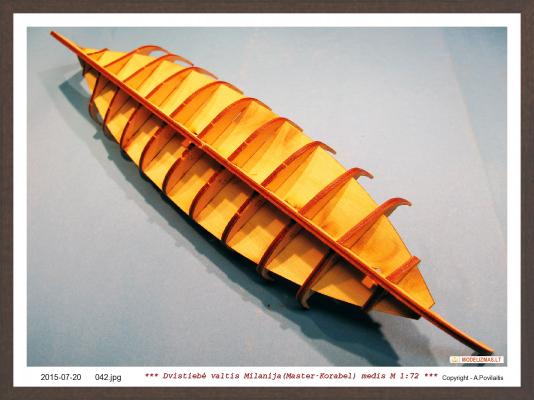
In the next step I checked the hull construction. I attached all parts together and get the hull. Any glue at this step not used. All fit very well, not needed any sanding to connect parts together. The hull geometry seems are good too. I am very satisfied... And the result photos:


-
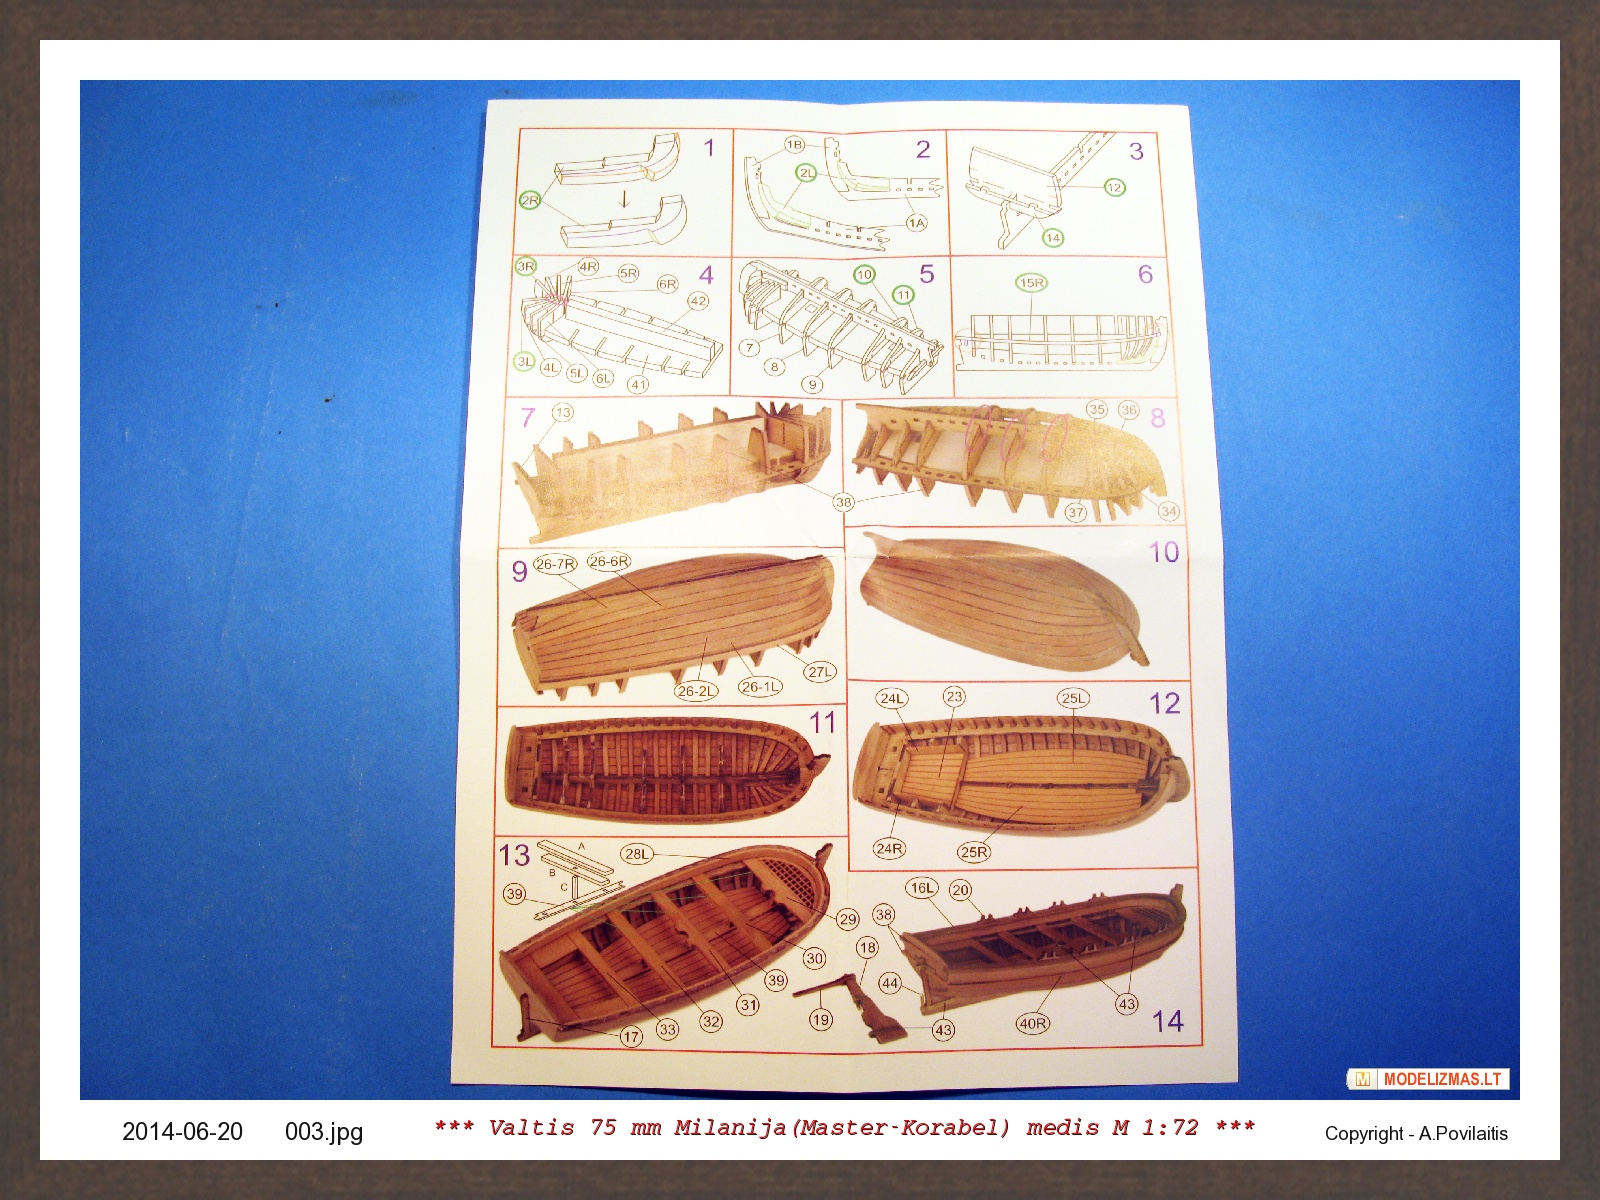
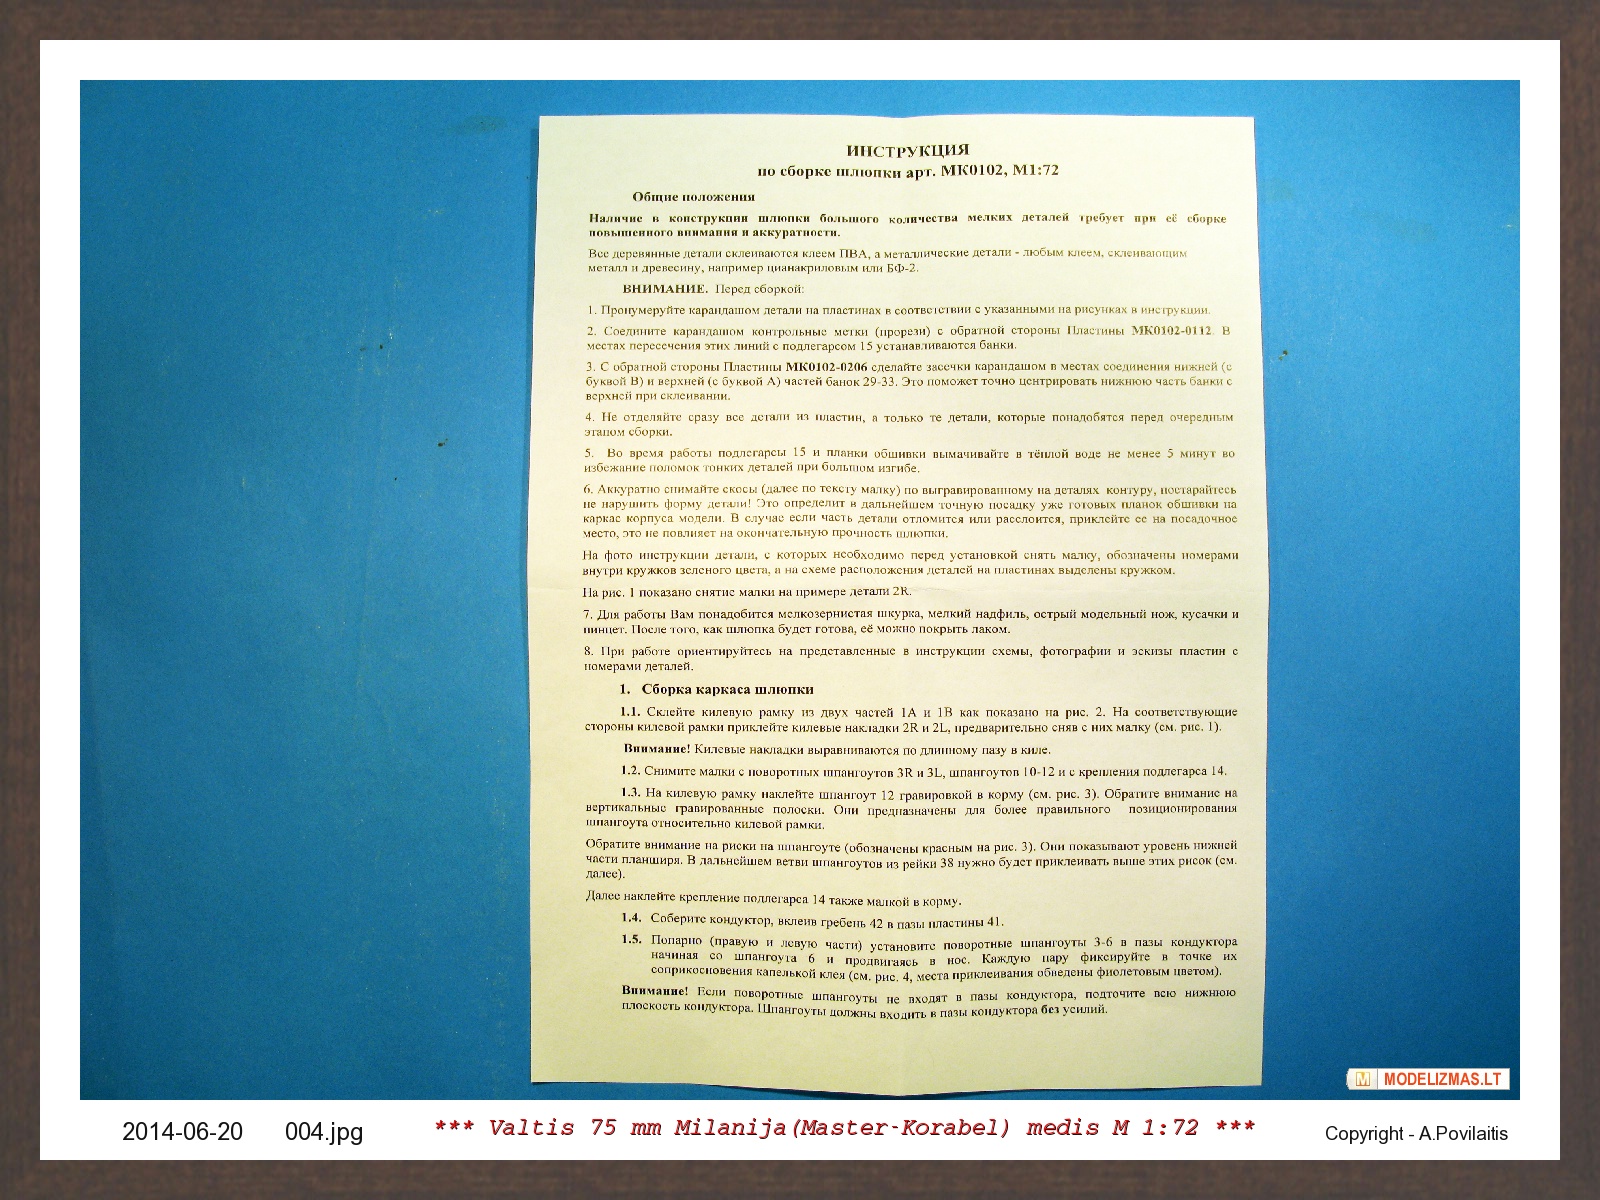
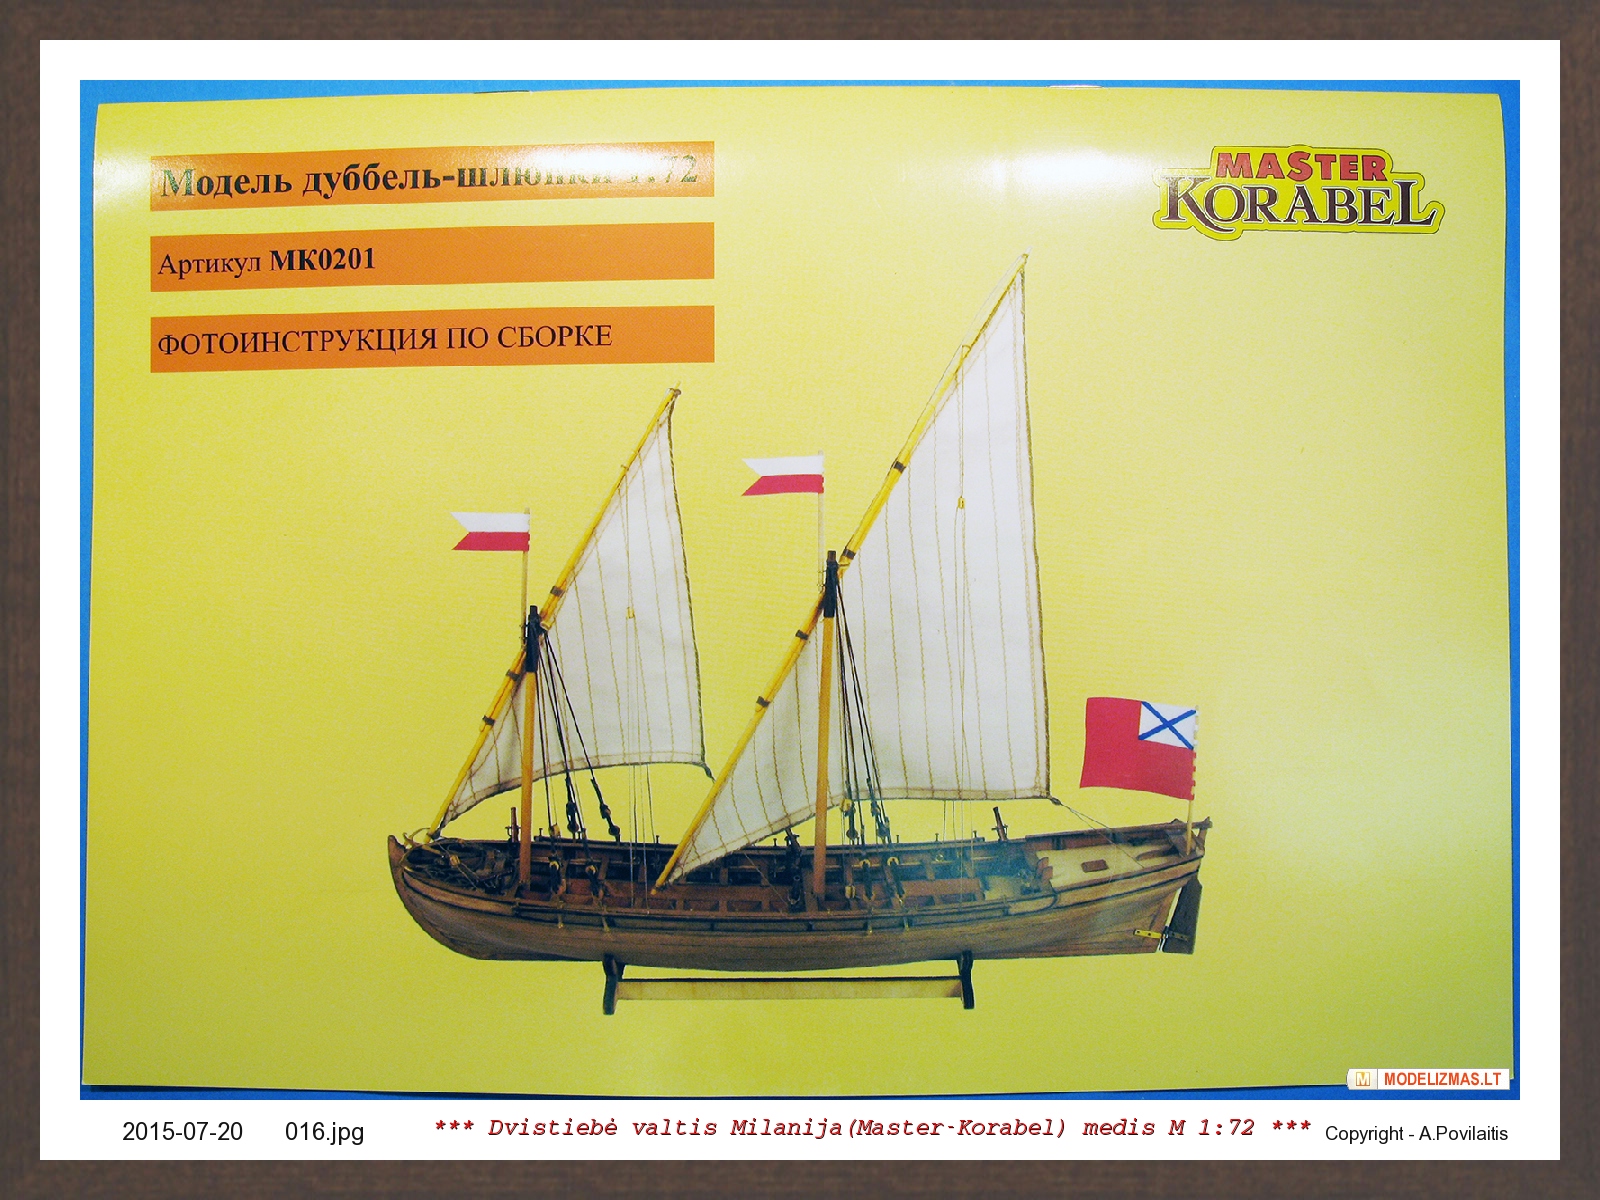
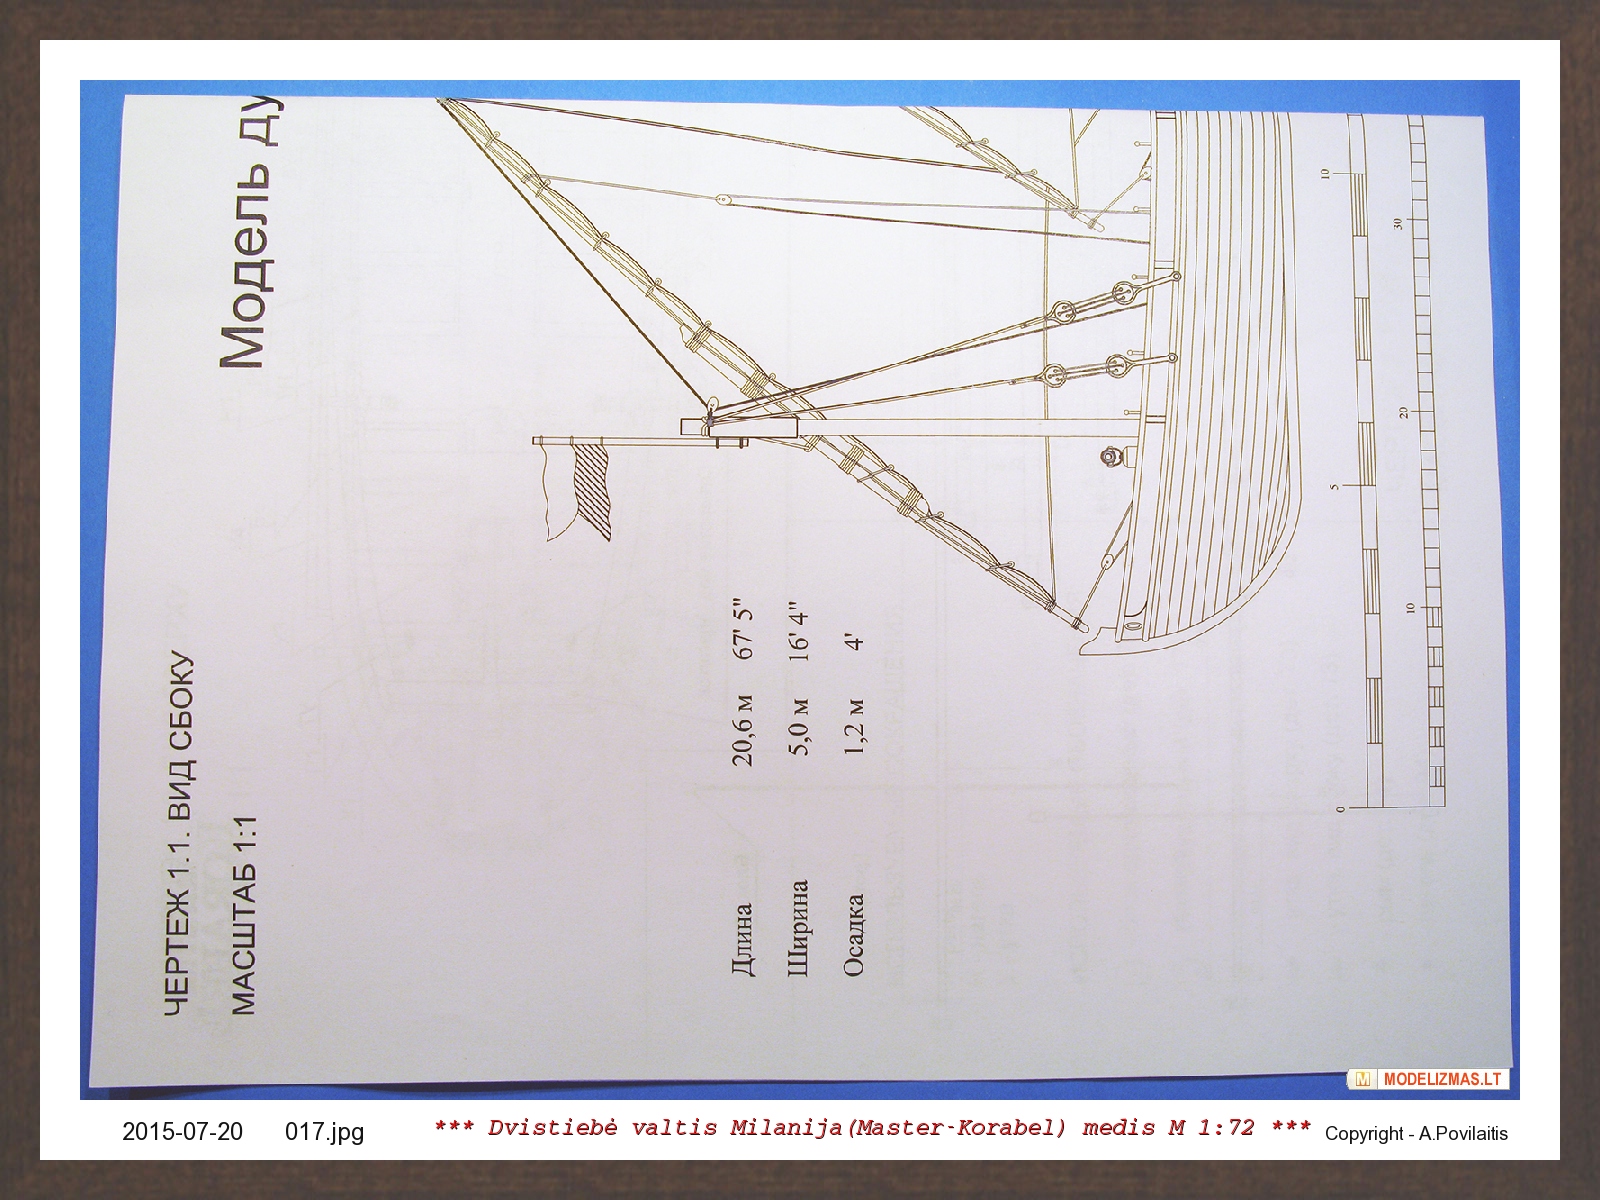
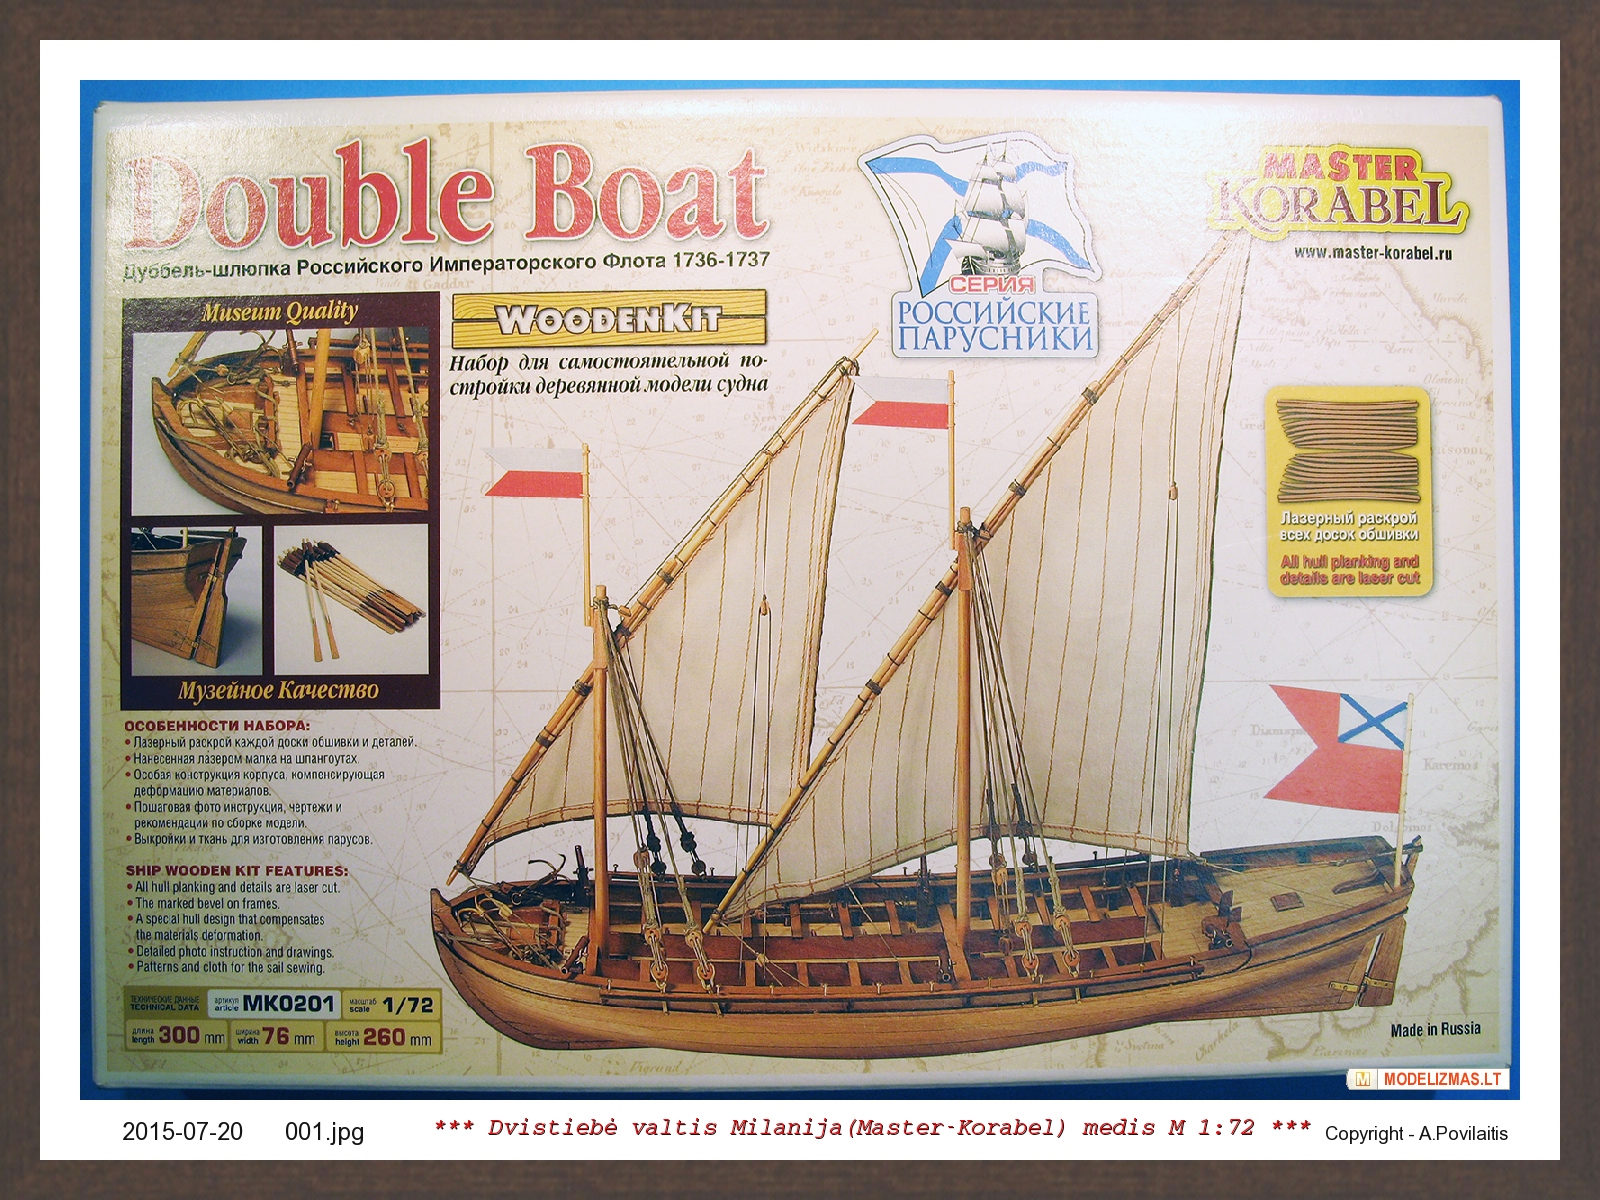
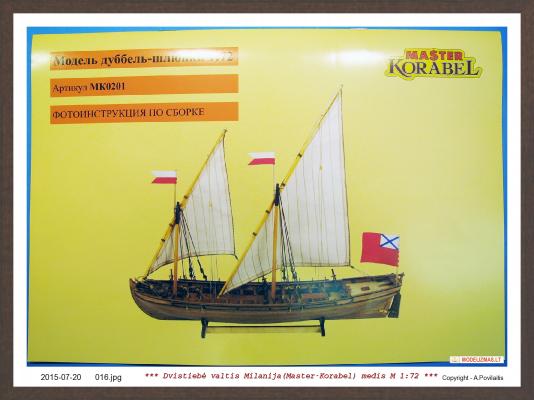
Thank's thibaultron . Instructions are available: photomanual - Russian and Lithuanian; instrukcions - Russian come with kit and Lithuanian, English or France are available for downloading. Later will be added Germany and Poland. Maybe more... Brief historical note. Double boat –in archive documents was named as double boat. It’s a small sail and raw war ship designed for operations in the rivers, coastal lakes and near the coast line. Double boats appeared in 30th of the XVIII century and were predecessors of gunboats, besides their principal “battling” function they also served as advice boats and ran a mission of landing forces and transportation. Particularly outstanding event was connected with large-scale construction of such class of ships for developing the Dnepr Fleet at time of the war between Russia and Turkey in 1735—1739. The reports from Collegium Admiralties to the Senate of Sept.06, 1736 inform: “...named as double boats are made like standard boats for war ships but as compared to the last have double size”. Drawing for the new ship was made by Oberin intendant R. Broun. Based on those drawings a sample half-model was constructed which is now stored in the Central Naval Museum. Double boats under this project were lateen rigged on two masts. Artillery armament included six 2 pound falconets mounted onto wrought cradles. Double boats were aimed for support of the Russian military forces operating along the Dnepr and its coastal lake coast lines. In case of necessity theycould transport up to fifty armed people and two regimental cannons. On June 19, 1736 the Senate ordered to build 500 double boats in Bryansk dockyards. As far as the boats were constructed the same were driven down the Dnepr to the military operations area and were actively involved in operations: gunned enemy lines, transported forces. During navigation in 1737-1739 double boats actively participated in military operations conducted by Field Marshall Minich. On July 02, 1737 Russian forces took by storm Ochakov fortress which should become the Dnepr Fleet harbor. On Sept. 3, 1737 Naum Akimovich Senyavin was appointed as the Fleet Commander. Toward June 1737 in Bryansk there were built 202 double boats. As early as on October 30, 1737 the Dnepr Fleet ships participated in holding off an attack of 40 thousands’ Turkish army on Ochakov supported by twelve galleys. Later double boats constantly fired on Turkish army lines near Ochakov, one of them under the command of warrant officer Chikhachiov attacked by fire during the whole day so intensively that its falconet cradles broke to pieces. As far as summer of year 1738 near Ochakov and Kinburn there were already 254 double boats. Plague epidemic broken out in May 1738 overset plans of belligerent parties and on the 2nd of September the Russian army command decided to evacuate military reservations of Ochakov and Kinburn fortresses and to destroy fortification works of the same. In the middle of September the Dnepr fleet of 347 ships with Russian army onboard arrived to Khortitsa island and the Samara river estuary. Here the ships were stationed until conclusion of peace between Turkey and Russia on September 18, 1739. In Russia there were several occasions when similar kind of boats was constructed. Three double boats were built in 1733—1737 for the Second Kamchatka Expedition led by Vitus Bering. In Tobolsk the boat named “Tobol” was built in 1733 for the team of D. Ovtsyn lieutenant which aimed to reach the Ob river estuary and arrive to the Yenisei river estuary. In Yakutsk the boat named «Yakutsk» was constructed (it was laid down in spring of 1734 and set afloat in spring of 1735) for the team of V. Pronchischev lieutenant for study of the Lena river and preparing description of Siberia coastline up to the Yenisei estuary. In Okhotsk the boat named «Nadezhda» (set afloat in 1737) was build for the team of V. Walton lieutenant dealing with search of pathways to Japan. The first two boats were build based on the drawings sent from Saint-Petersburg, had 24 oars, the hull length of 21.48 m and the width of 5.48 m. The third one was three-masts double boat with gaff rig, had the length of 24.5 m, the width of about 6 m, the depth of hold of 1.8 m and was built by foremen Rogachov and Kuzmin A.
-
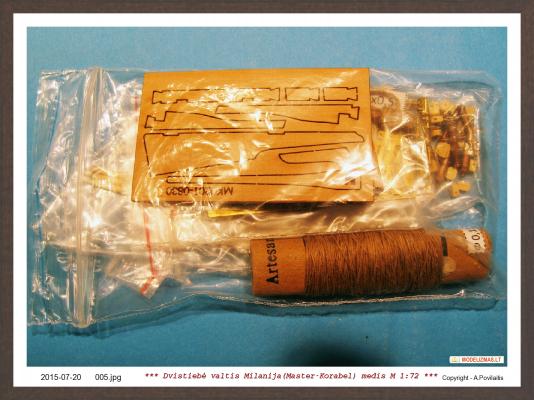
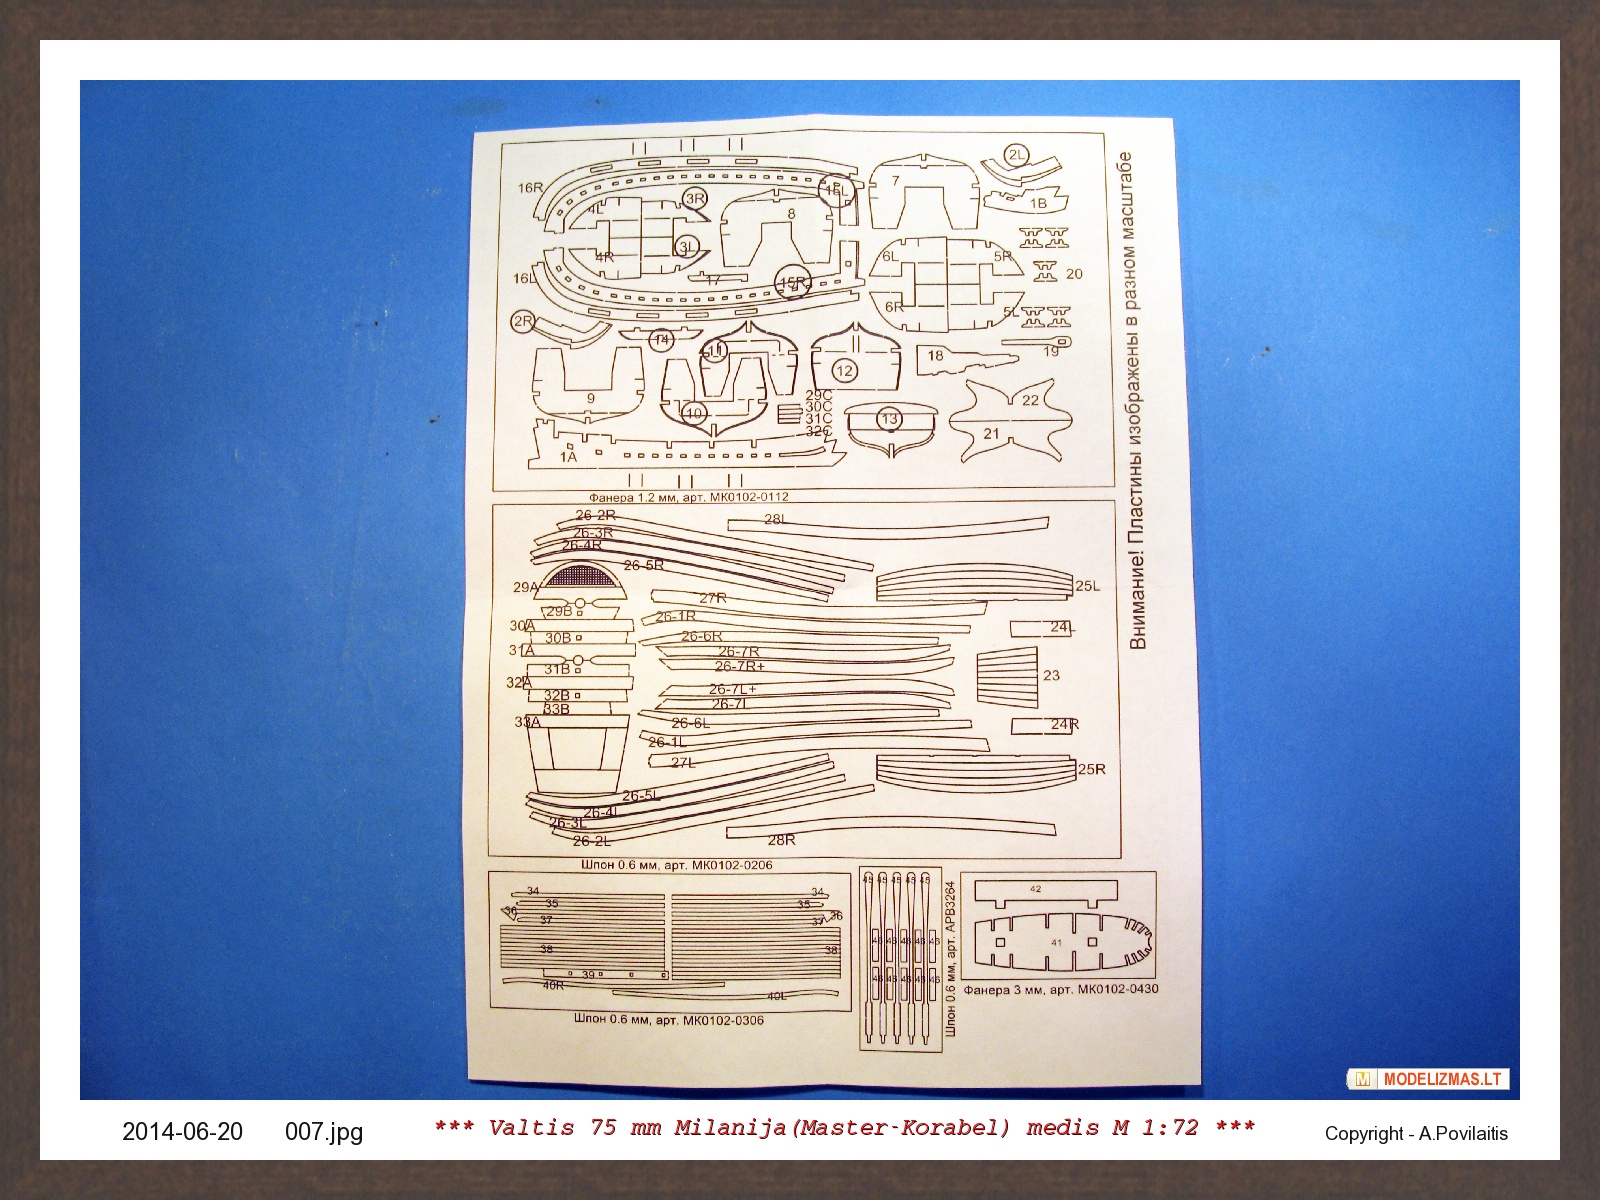
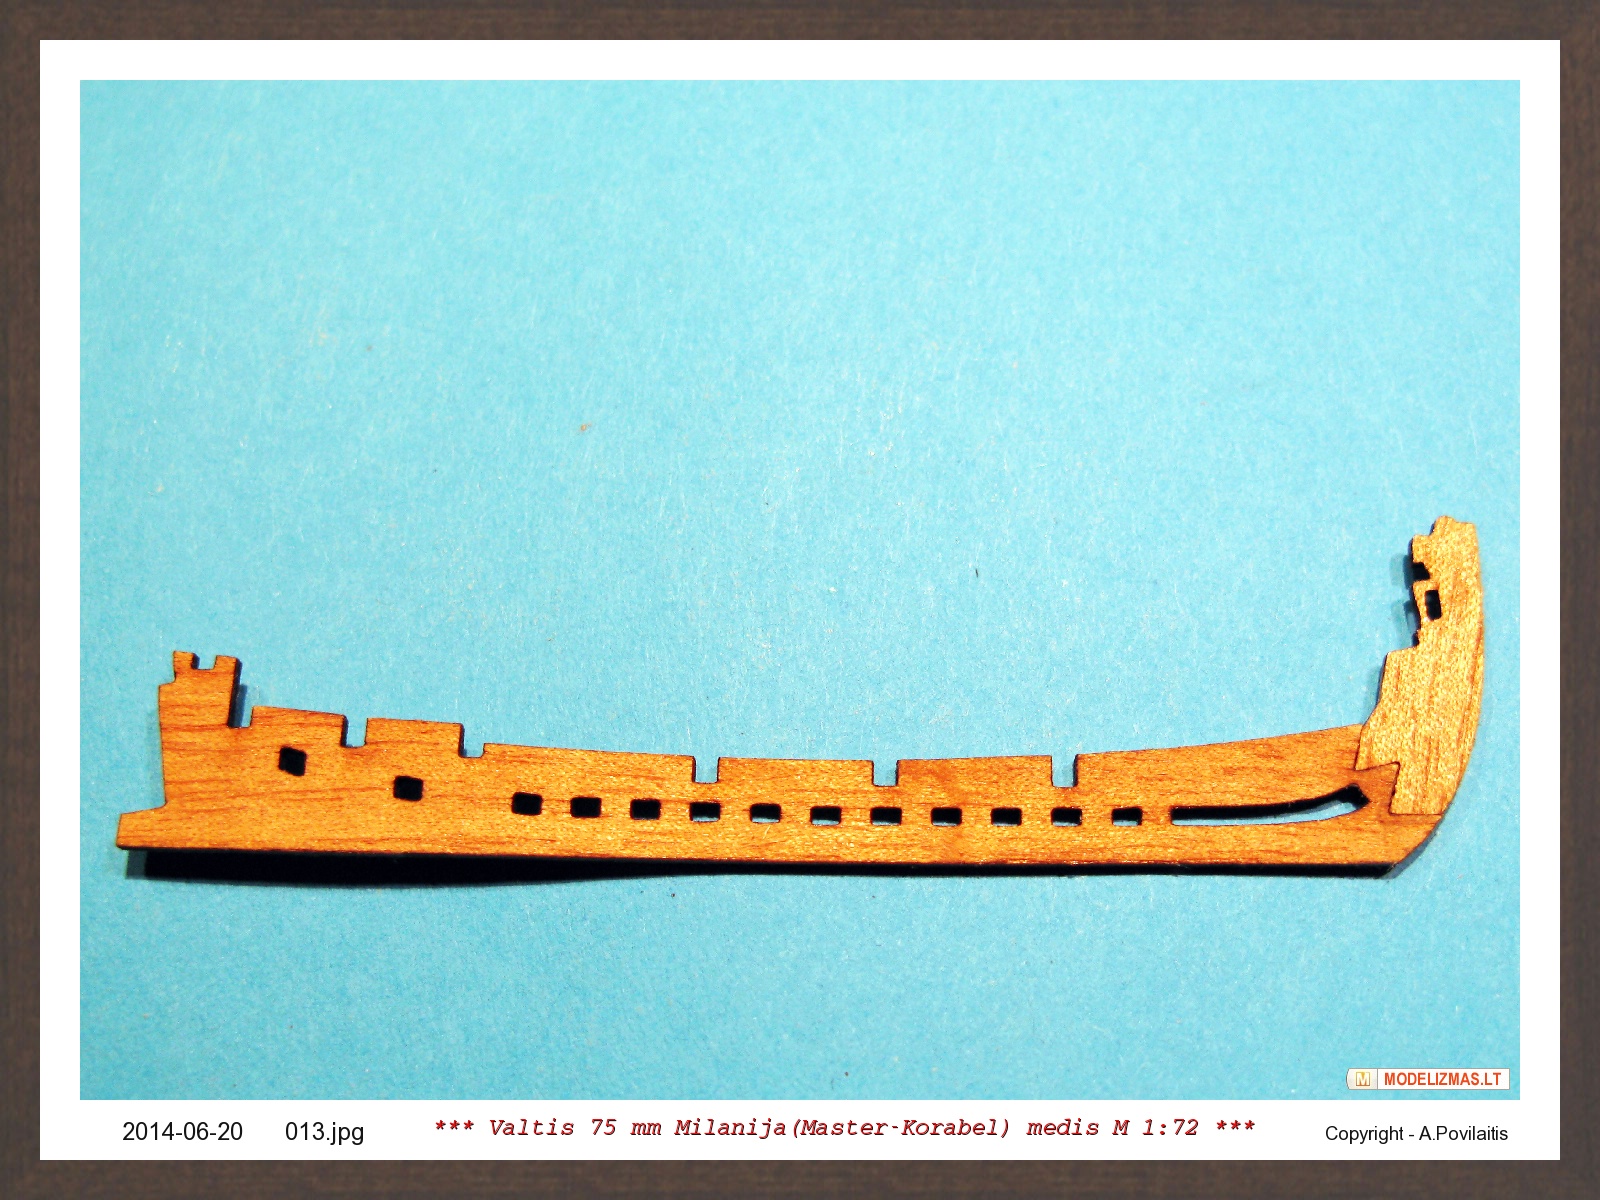
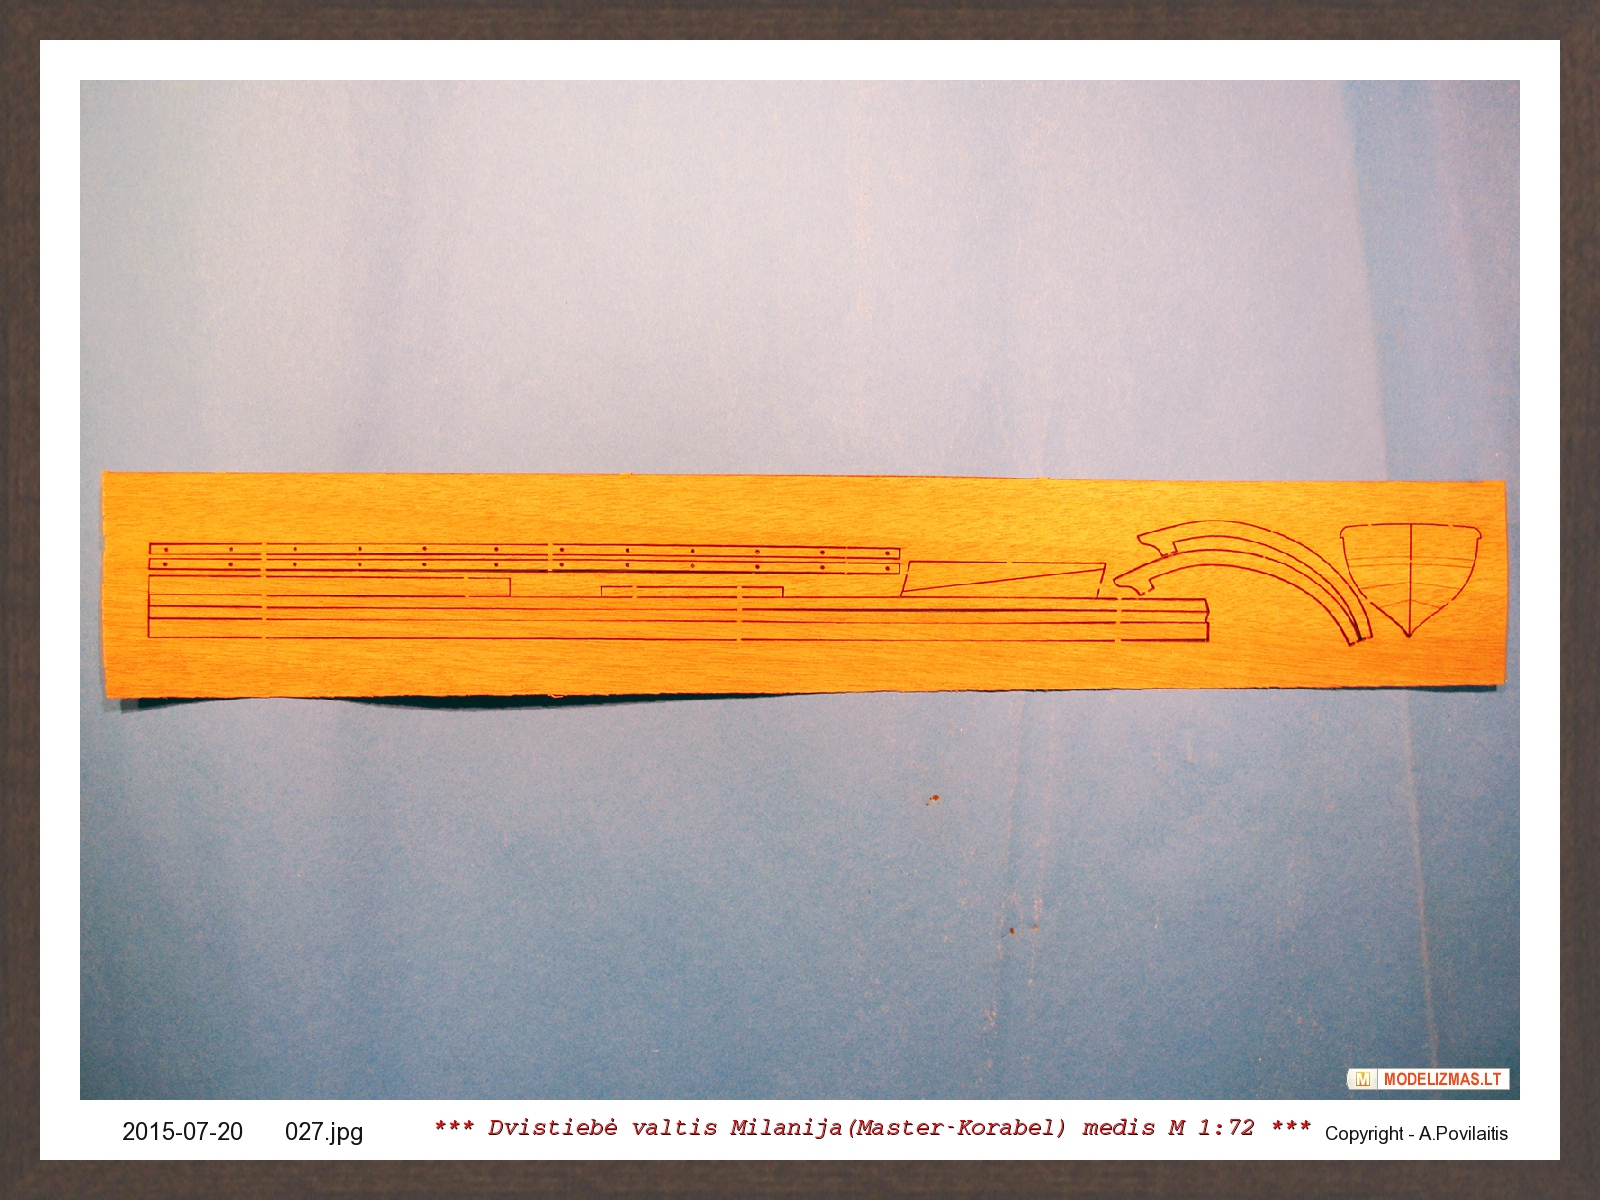
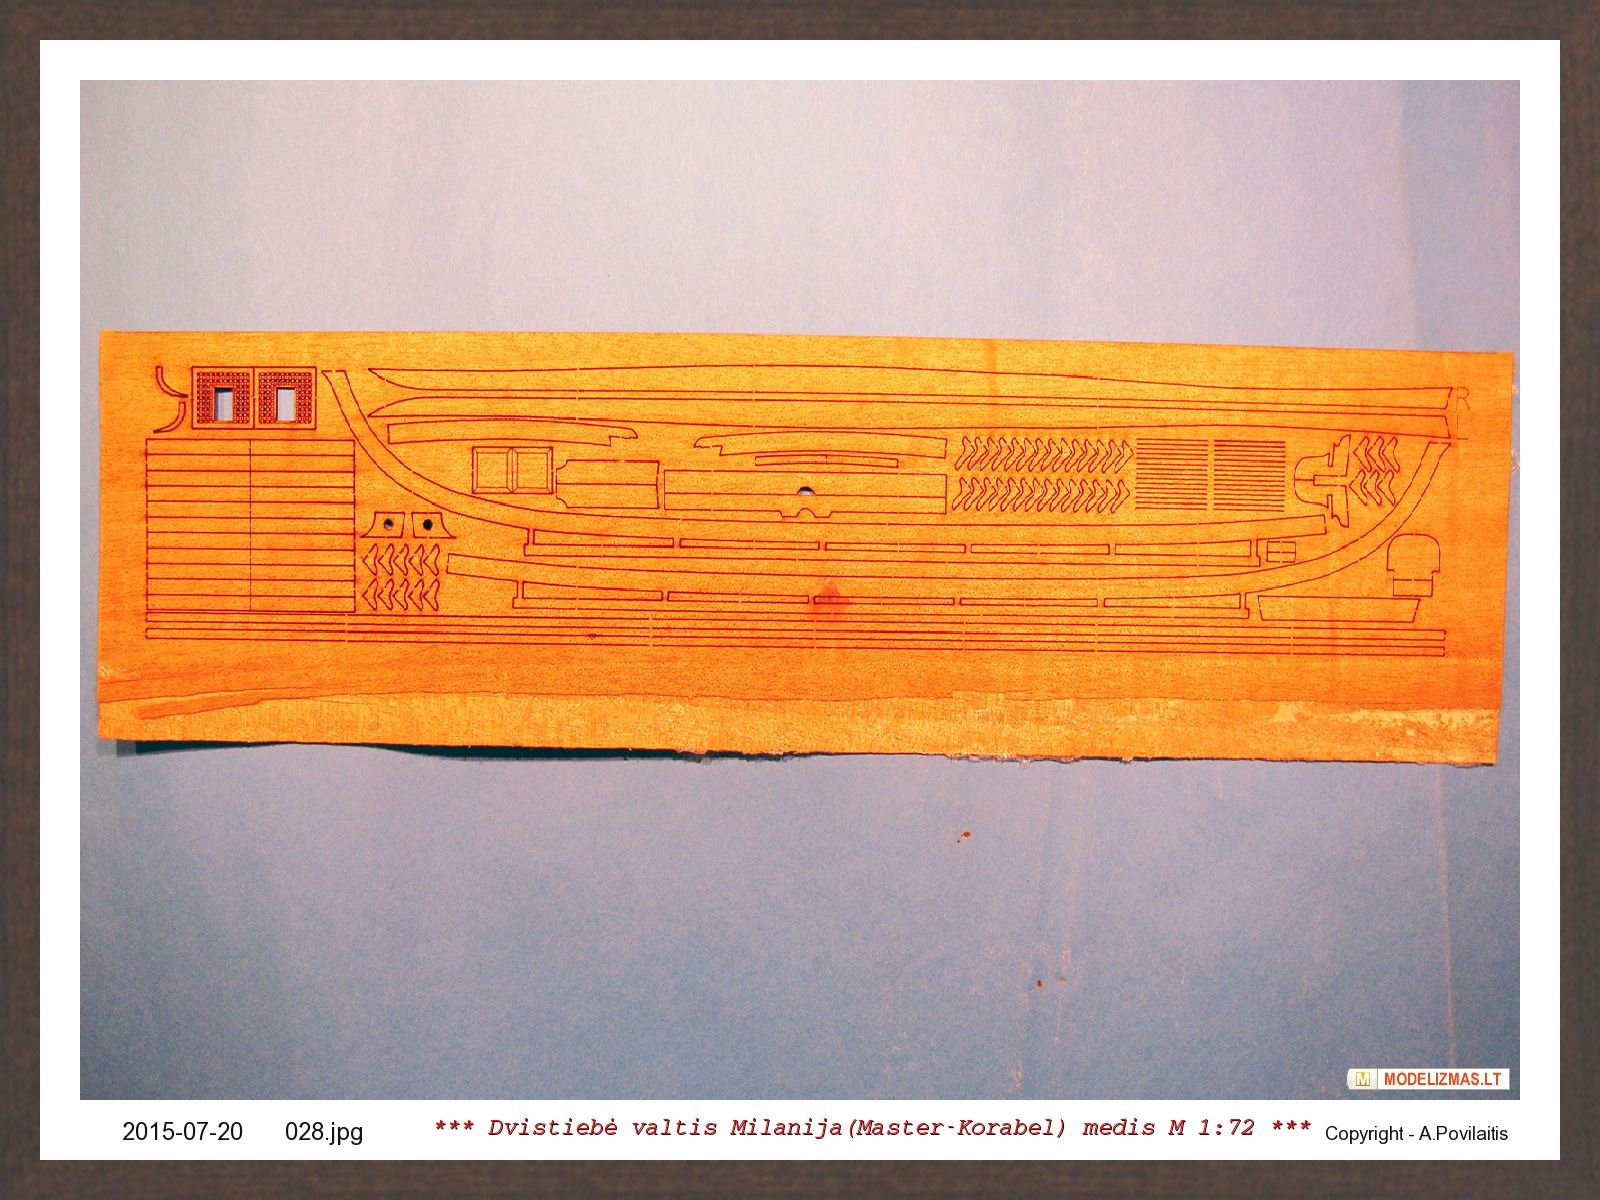
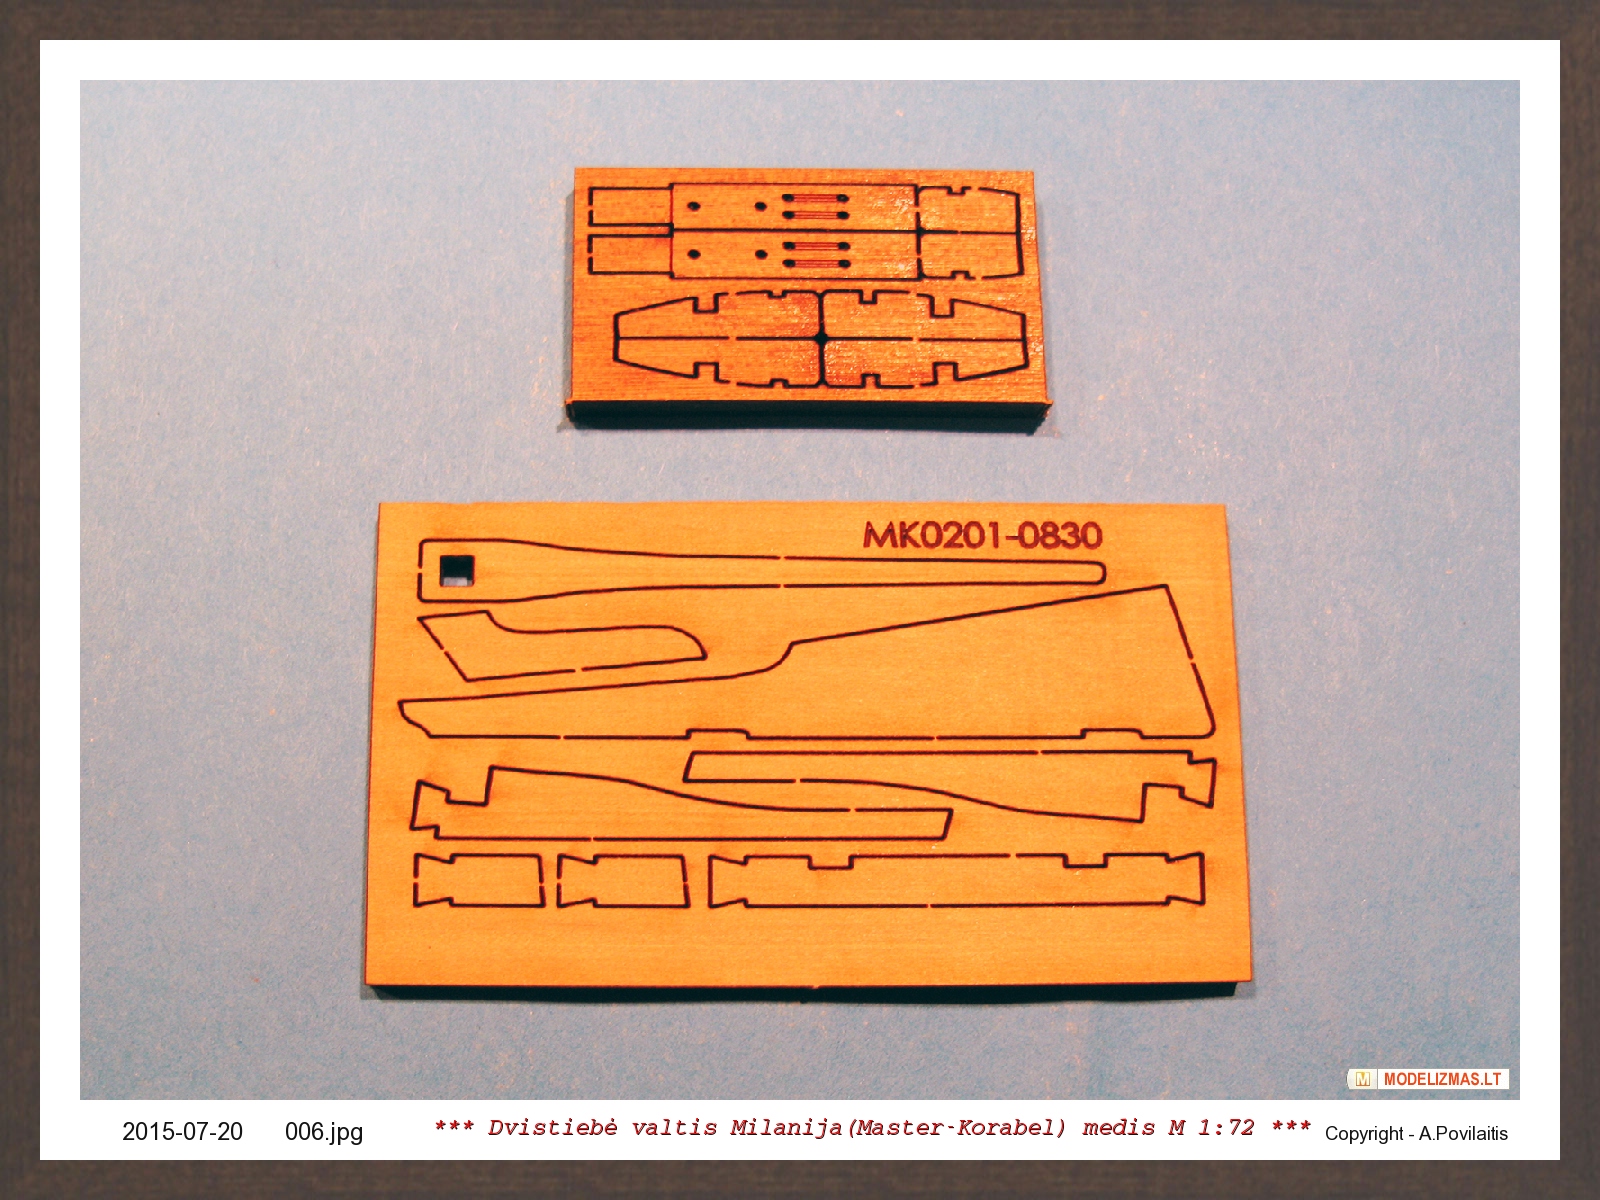
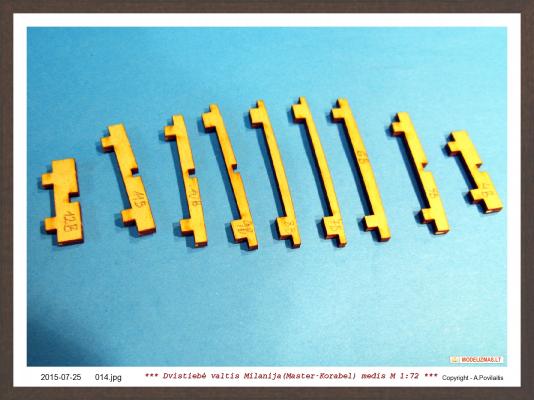
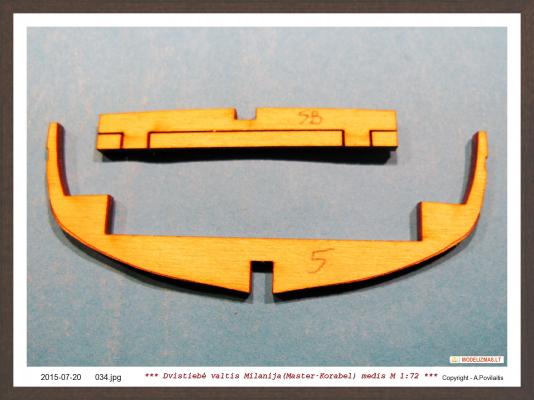
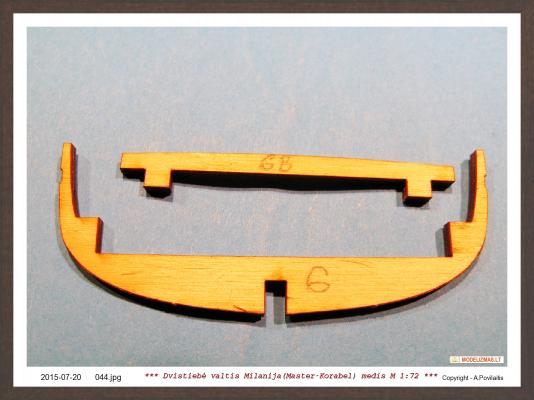
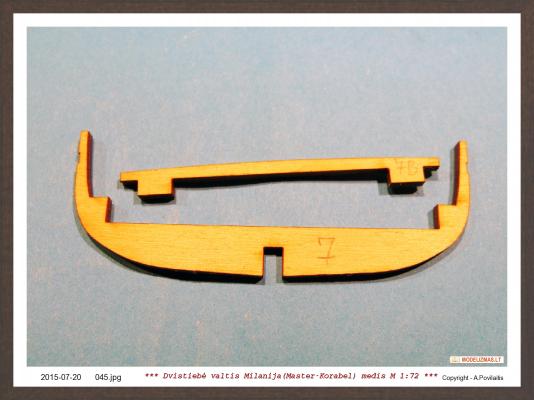
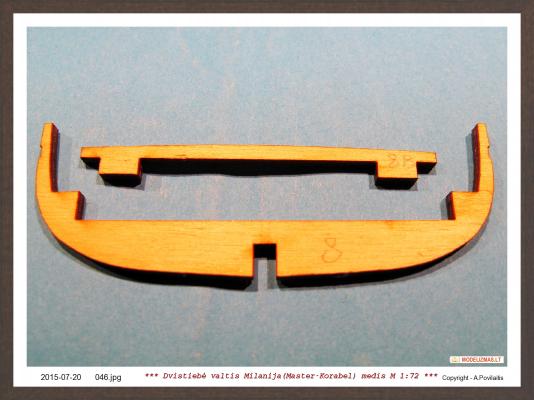
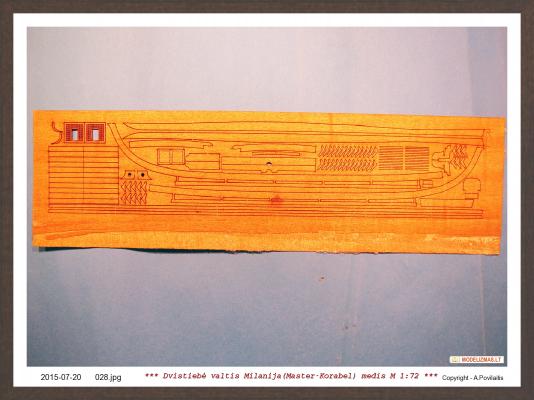
Thank's Ian B . The kit I build "as is" with now improvements. Maybe add or change a little the colors in some places. At the first removed all the hull parts from plates and marked them. Of course the building instrukcion has all plates drawings with marks, but its better for me mark byself. Kits from Master Korabel not need many instruments, but need to work slowly, precizical and as described in manual. Very helpfull are the photomanual. The hull has very interesting construction and the some frames contains 4 parts. This is the hull parts:


-
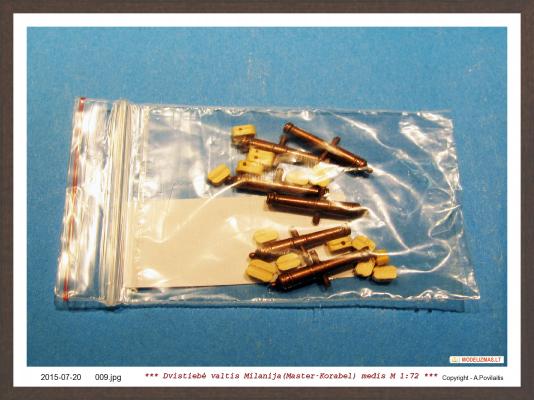
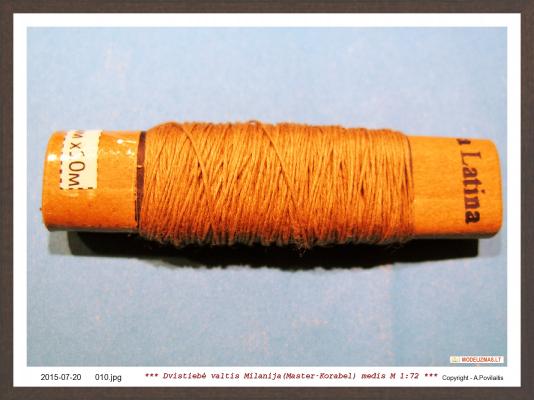
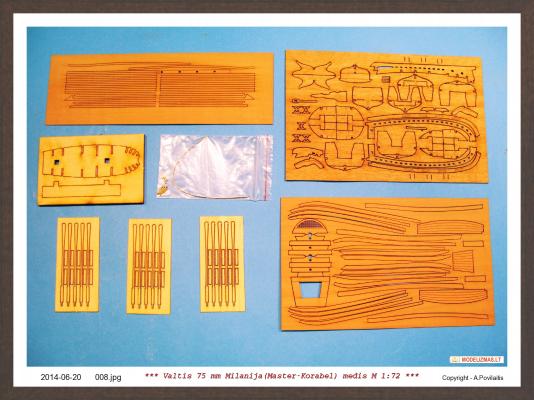
Continue: This is all that are included in the kit. Sorry for my english.


-
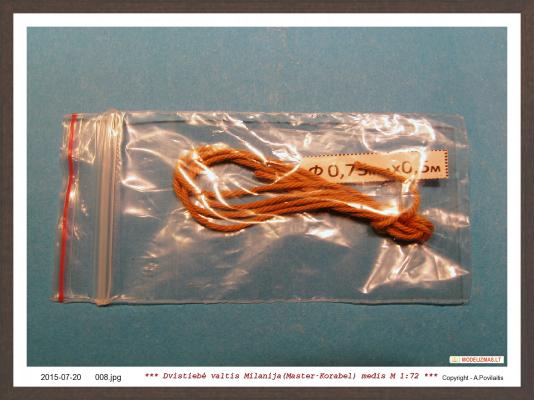
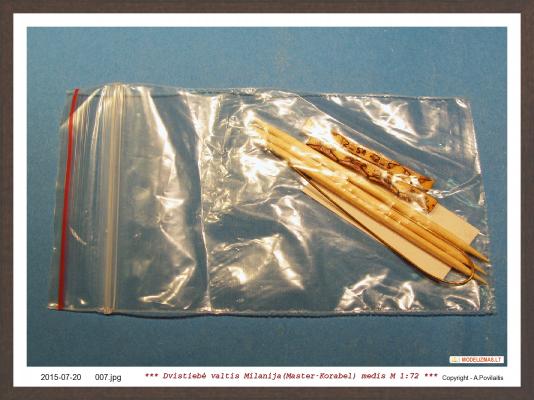
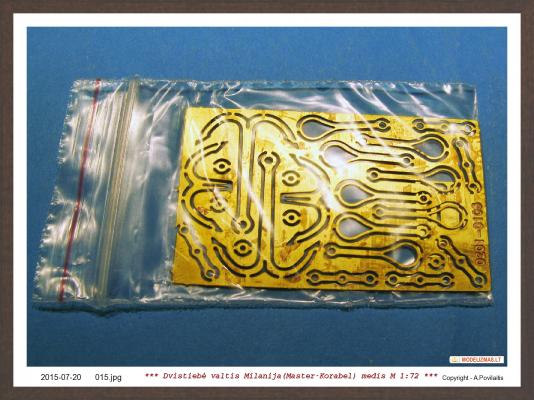
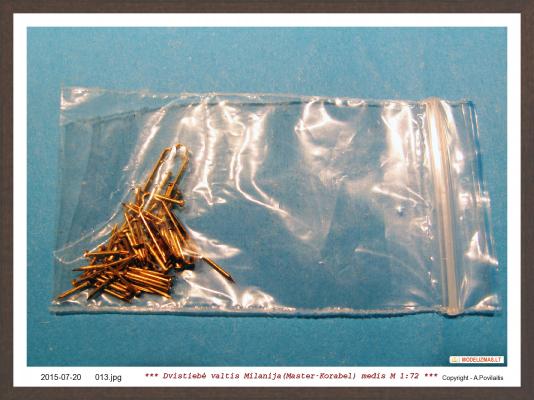
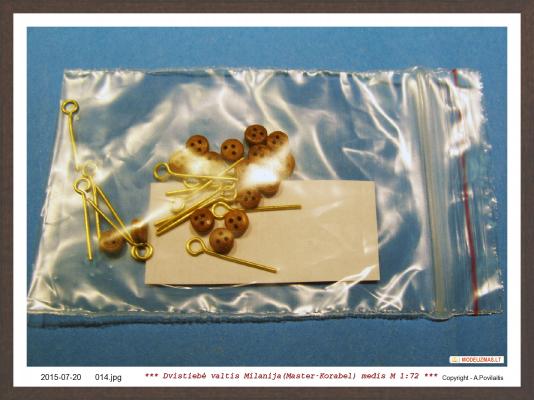
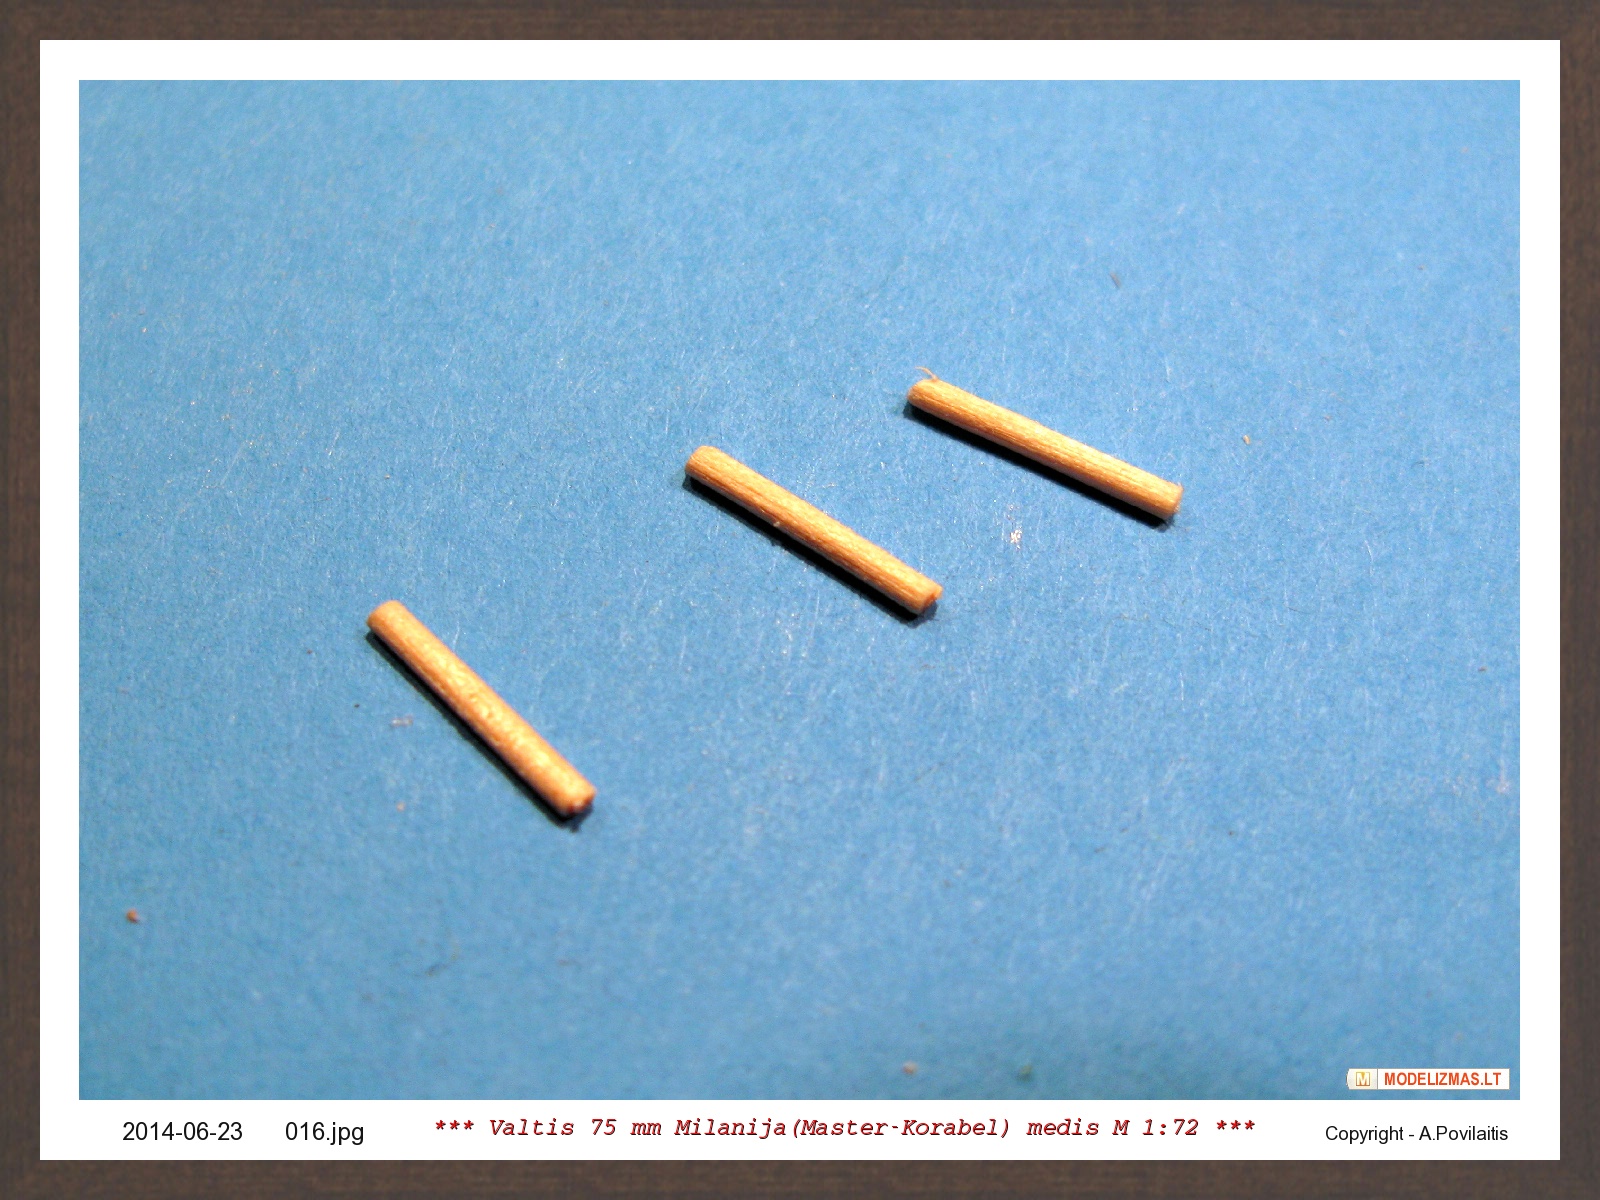
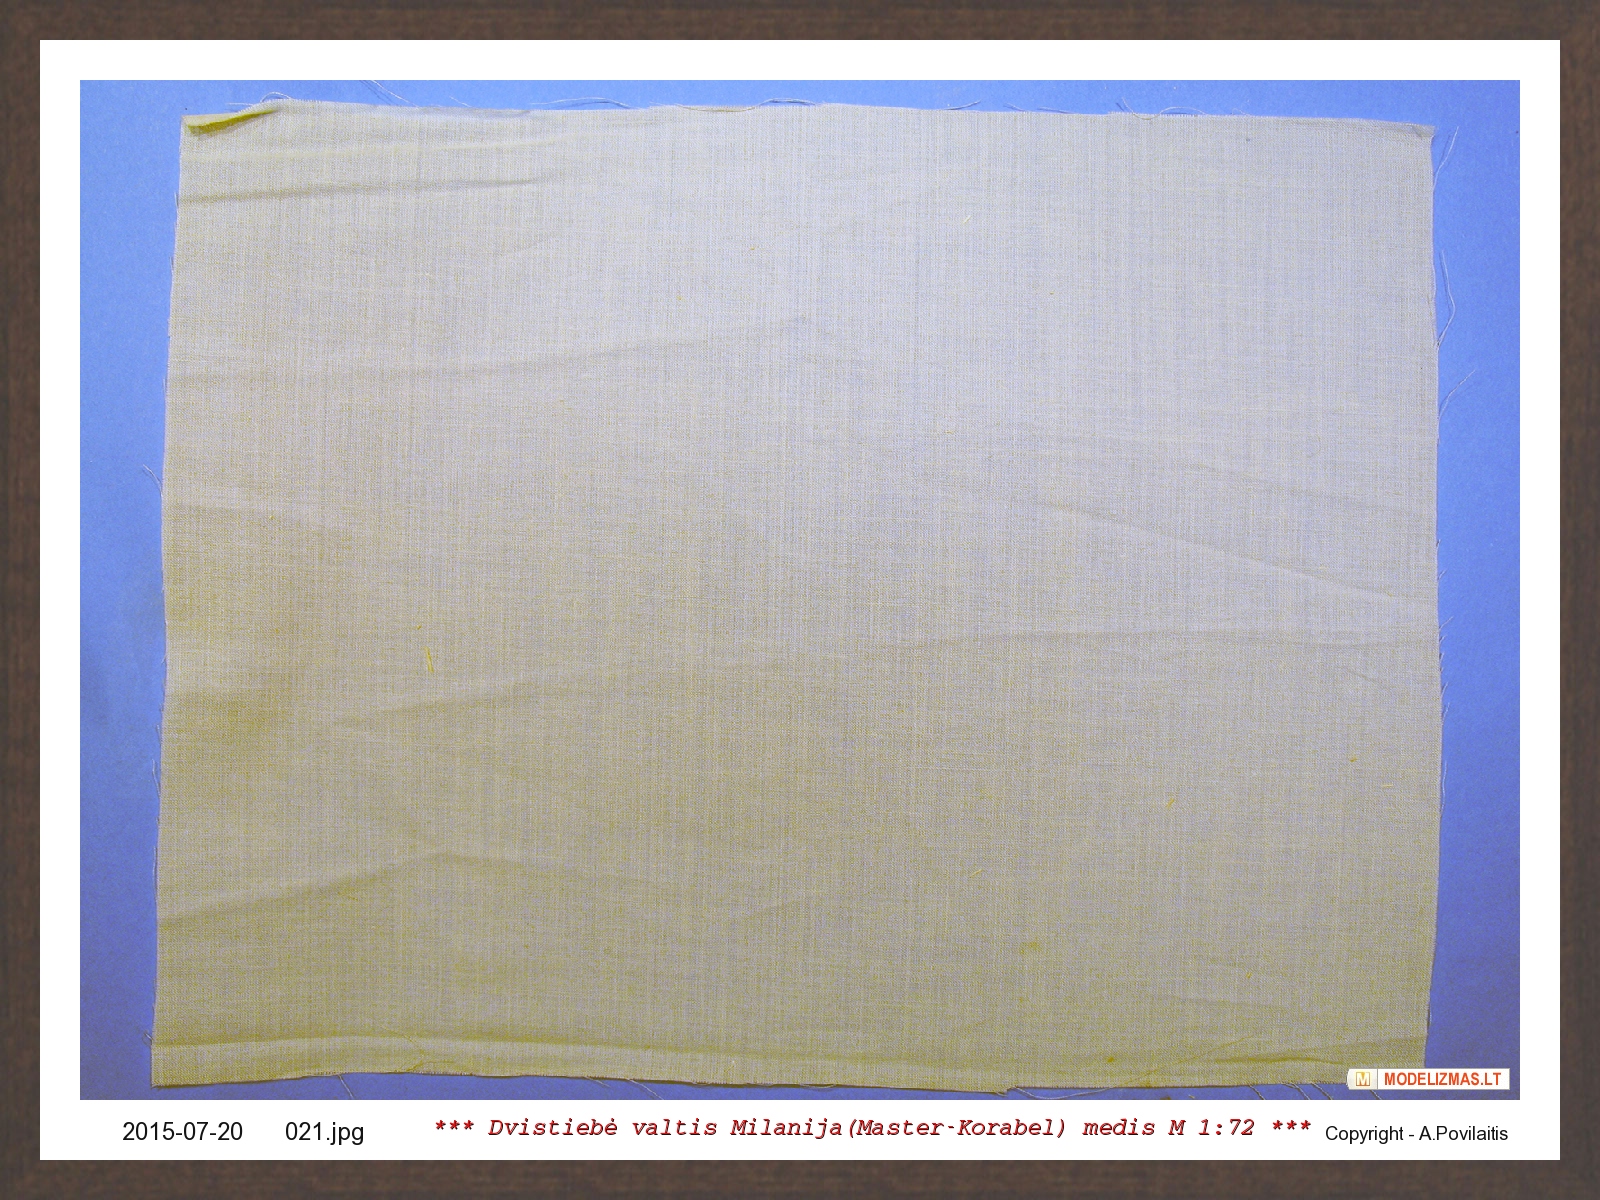
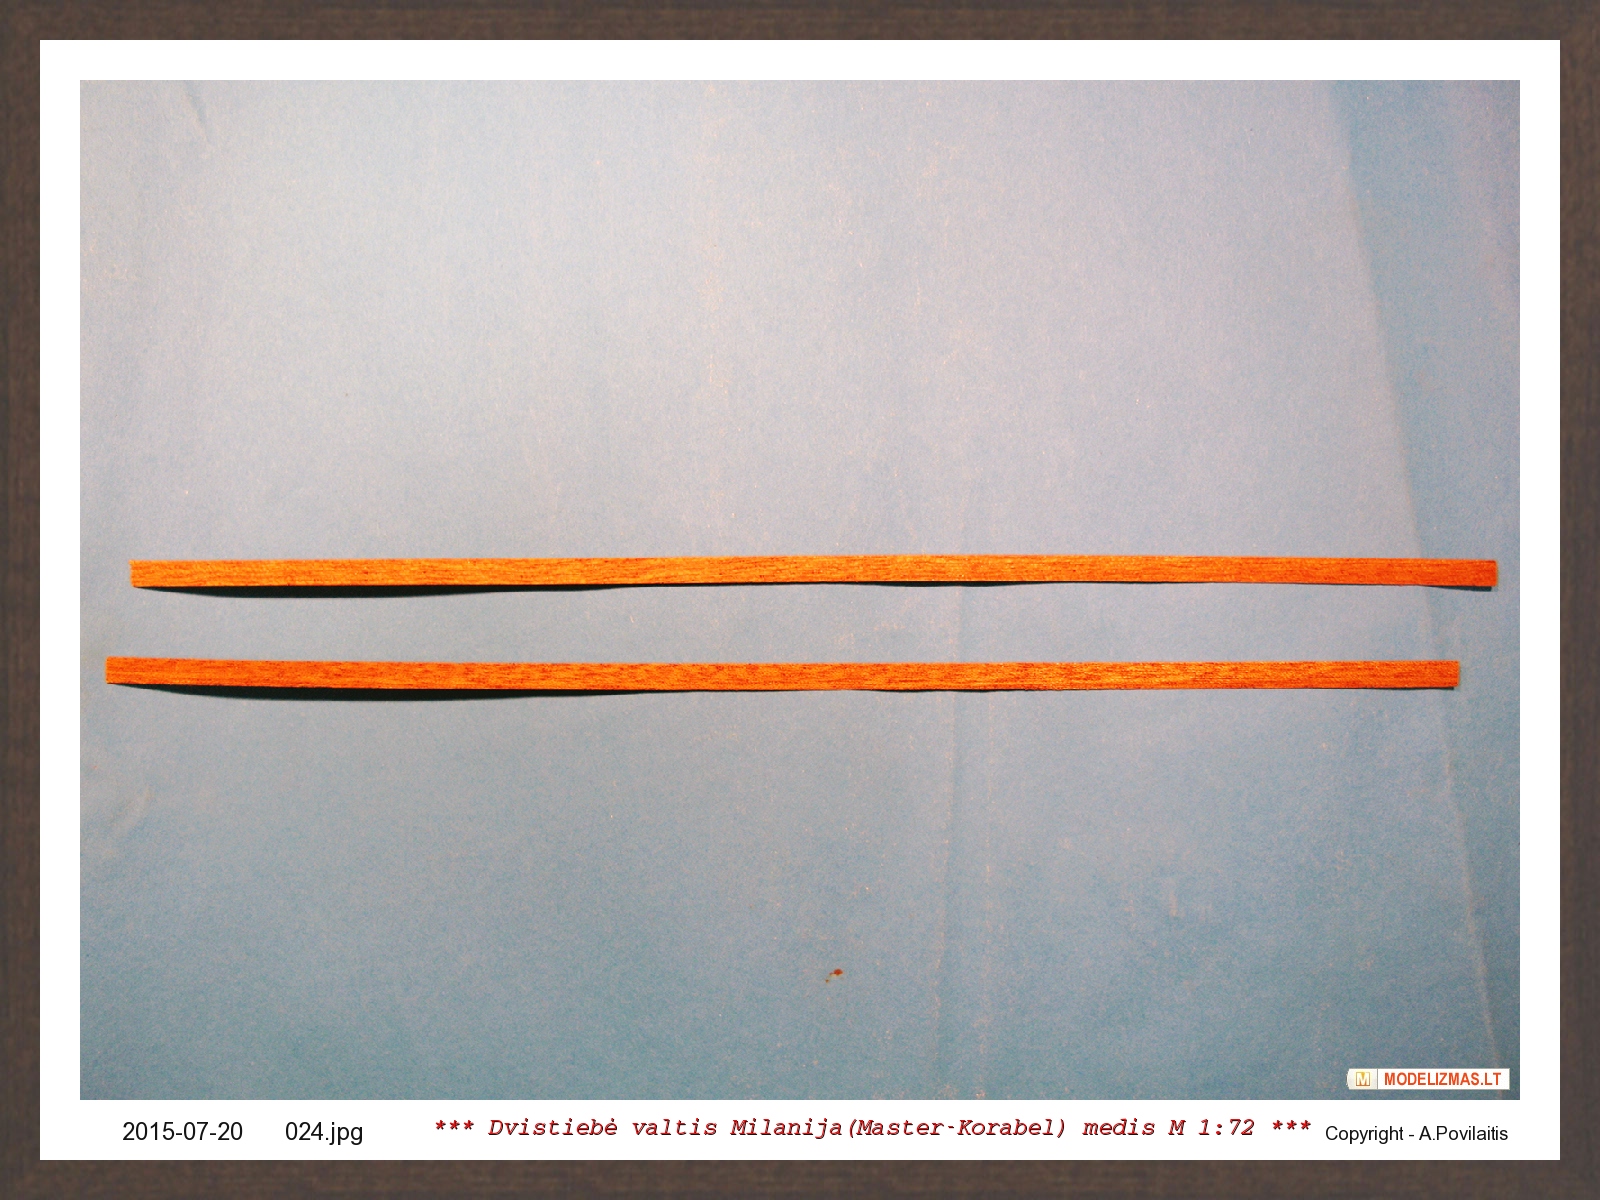
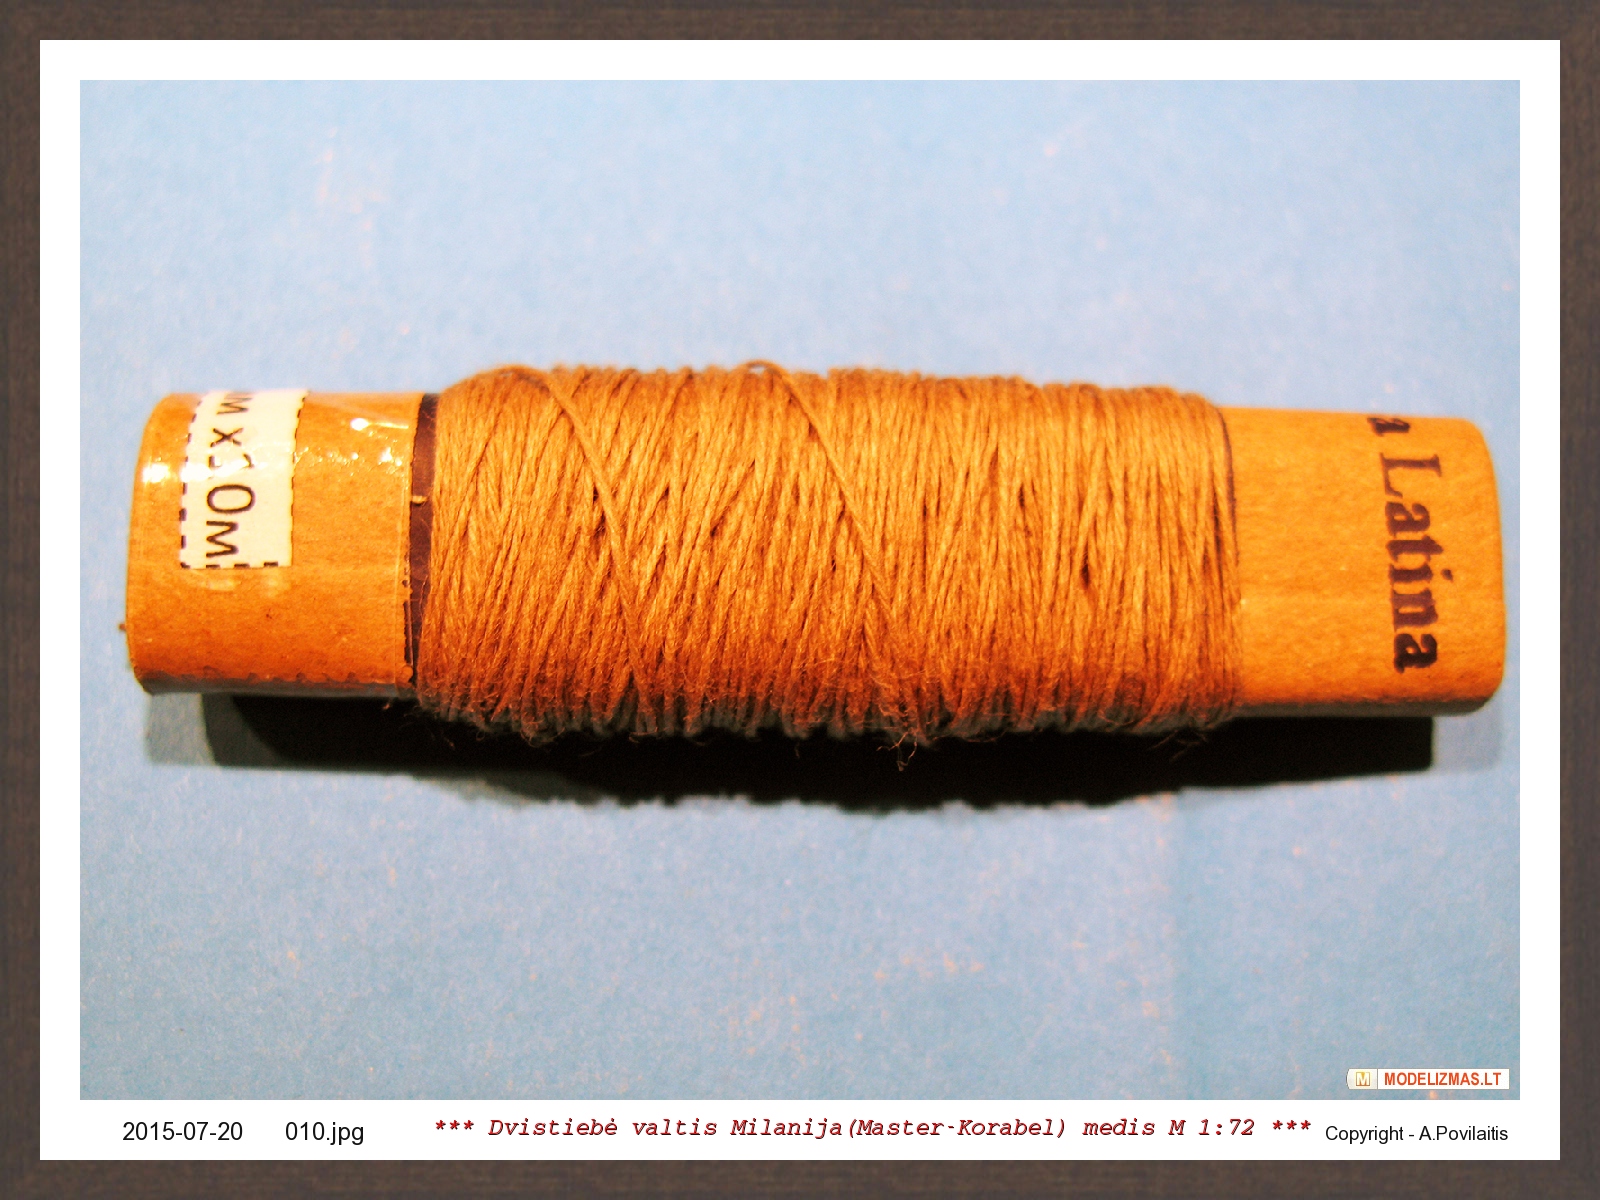
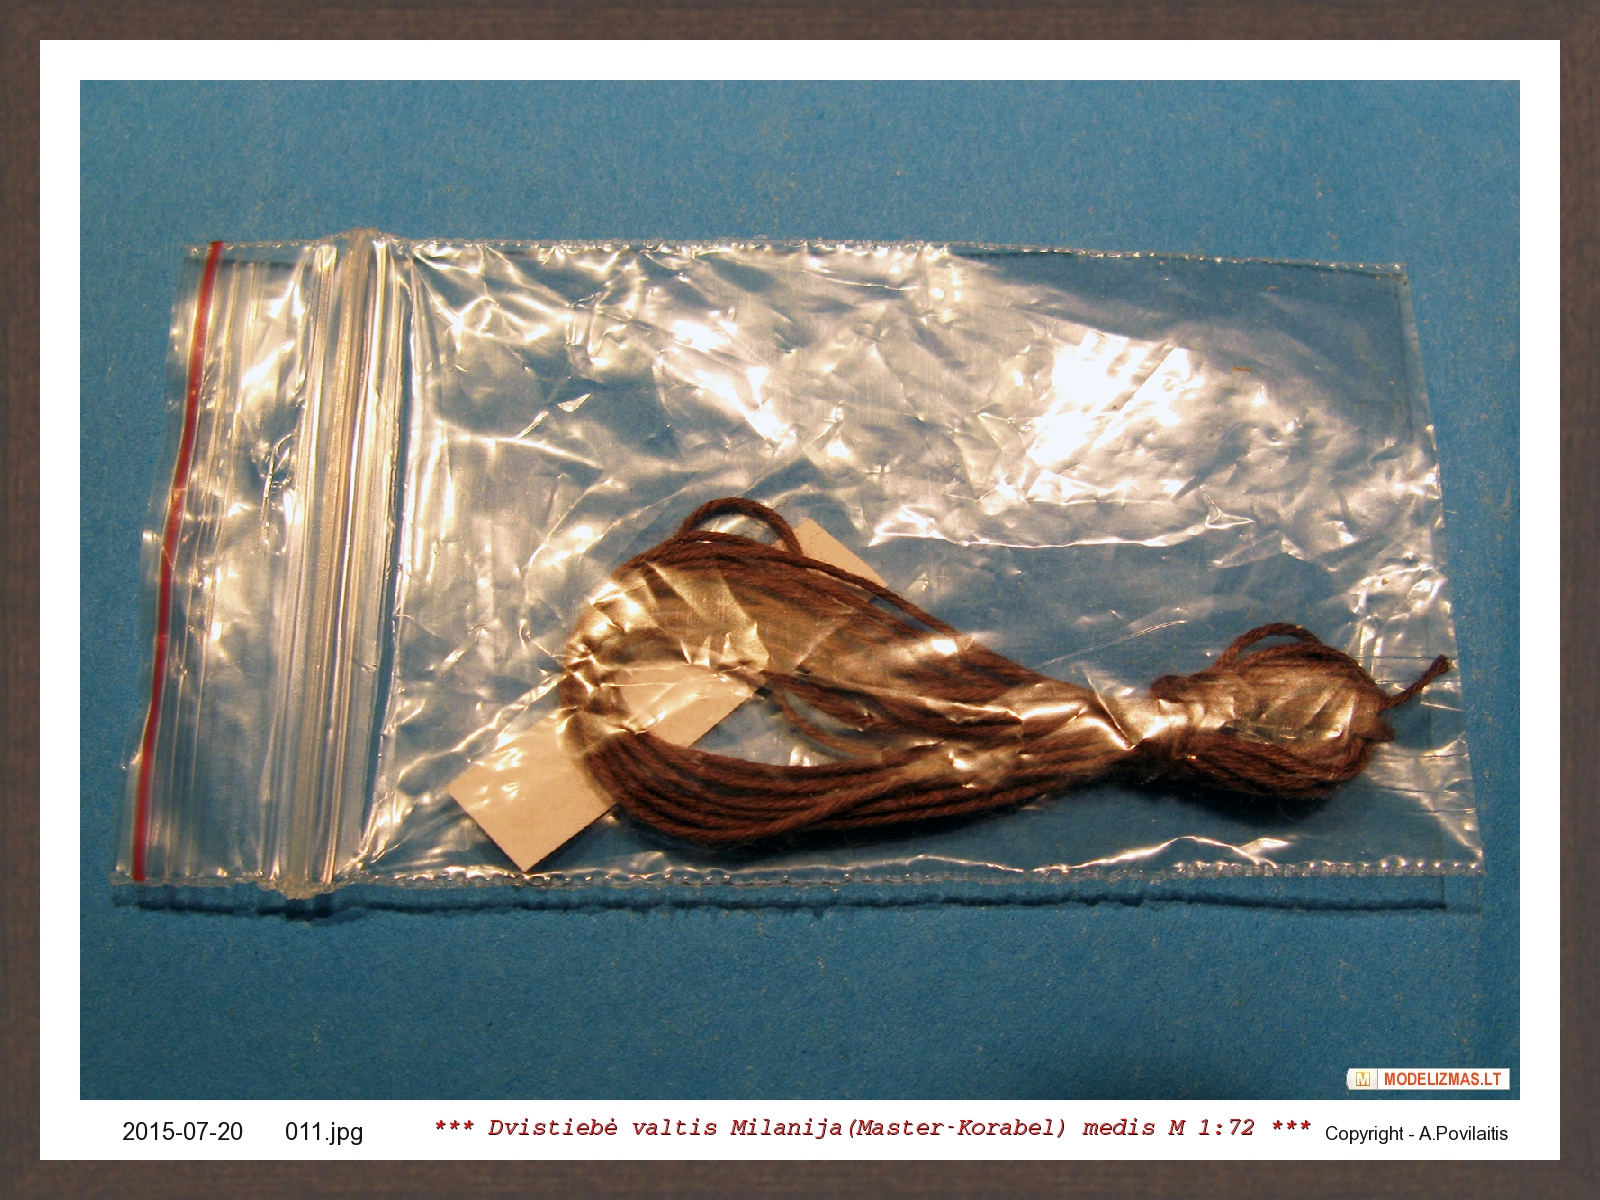
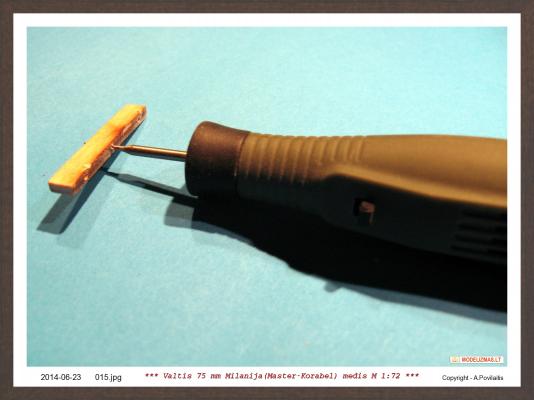
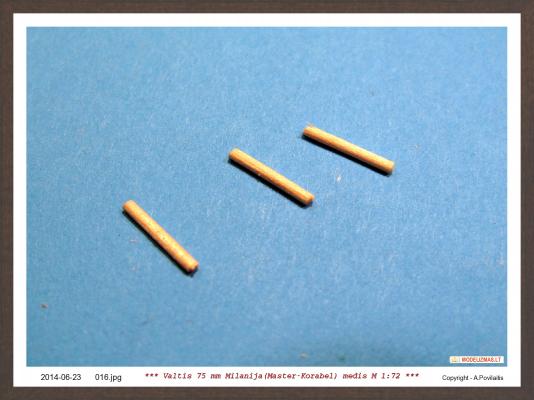
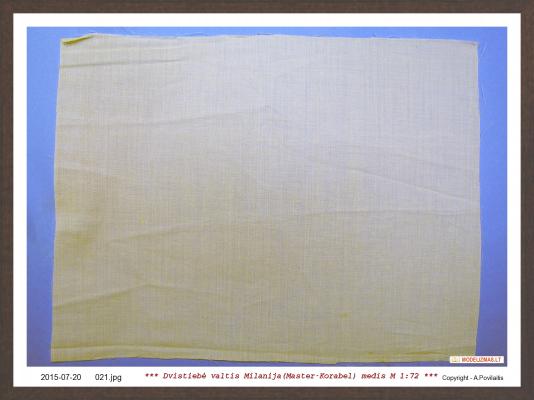
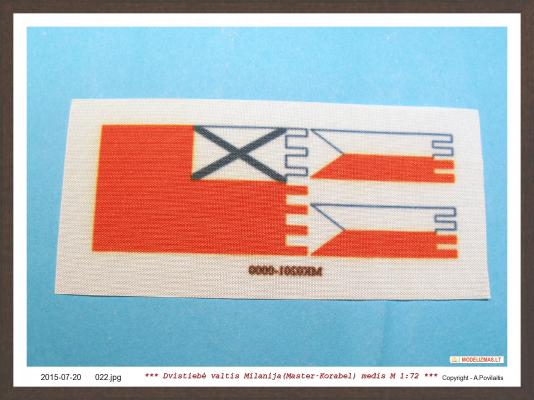
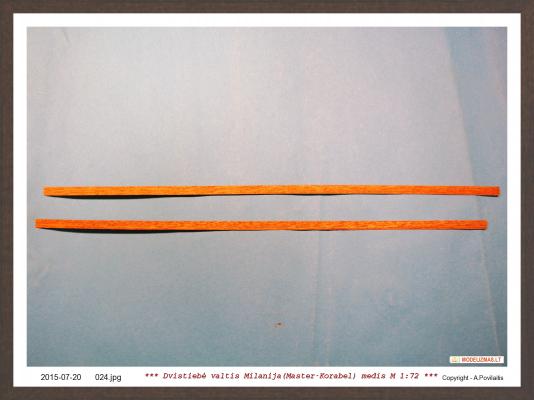
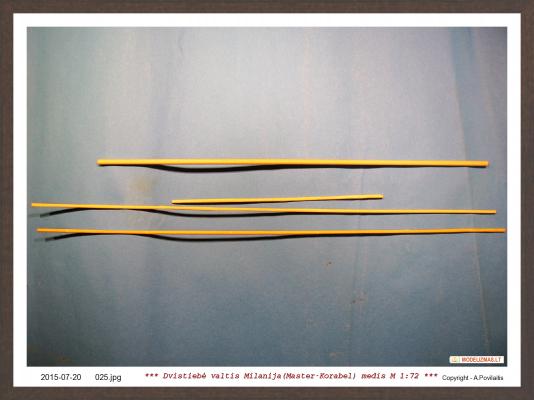
Hello. This is my first post on MSW. Thank's for You comments, understunding and help. The DB kit is maded in Russia by company Master Korabel(Milanija). They have a line of 7 kits and in this year will appear 2 new kits. This is the 3-rd kit that I build from this company. I dont now if show 2 other builds? If it is interesting, I can open new build logs. Now some words about the kit and content. Kit features: All hull planking and details are laser cut, the marked bevels on frame, a special hull design that compensates the material deformation, detailed photo instruction and drawings, patterns and cloth for the sail sewing and many others. The Master Korabel make a big research work for this model. The model will be 300 mm lenght, 76 mm width and 260 mm height. And now the kit content: Oars Other elements