antanasp
-
Posts
66 -
Joined
-
Last visited
Content Type
Profiles
Forums
Gallery
Events
Everything posted by antanasp
-
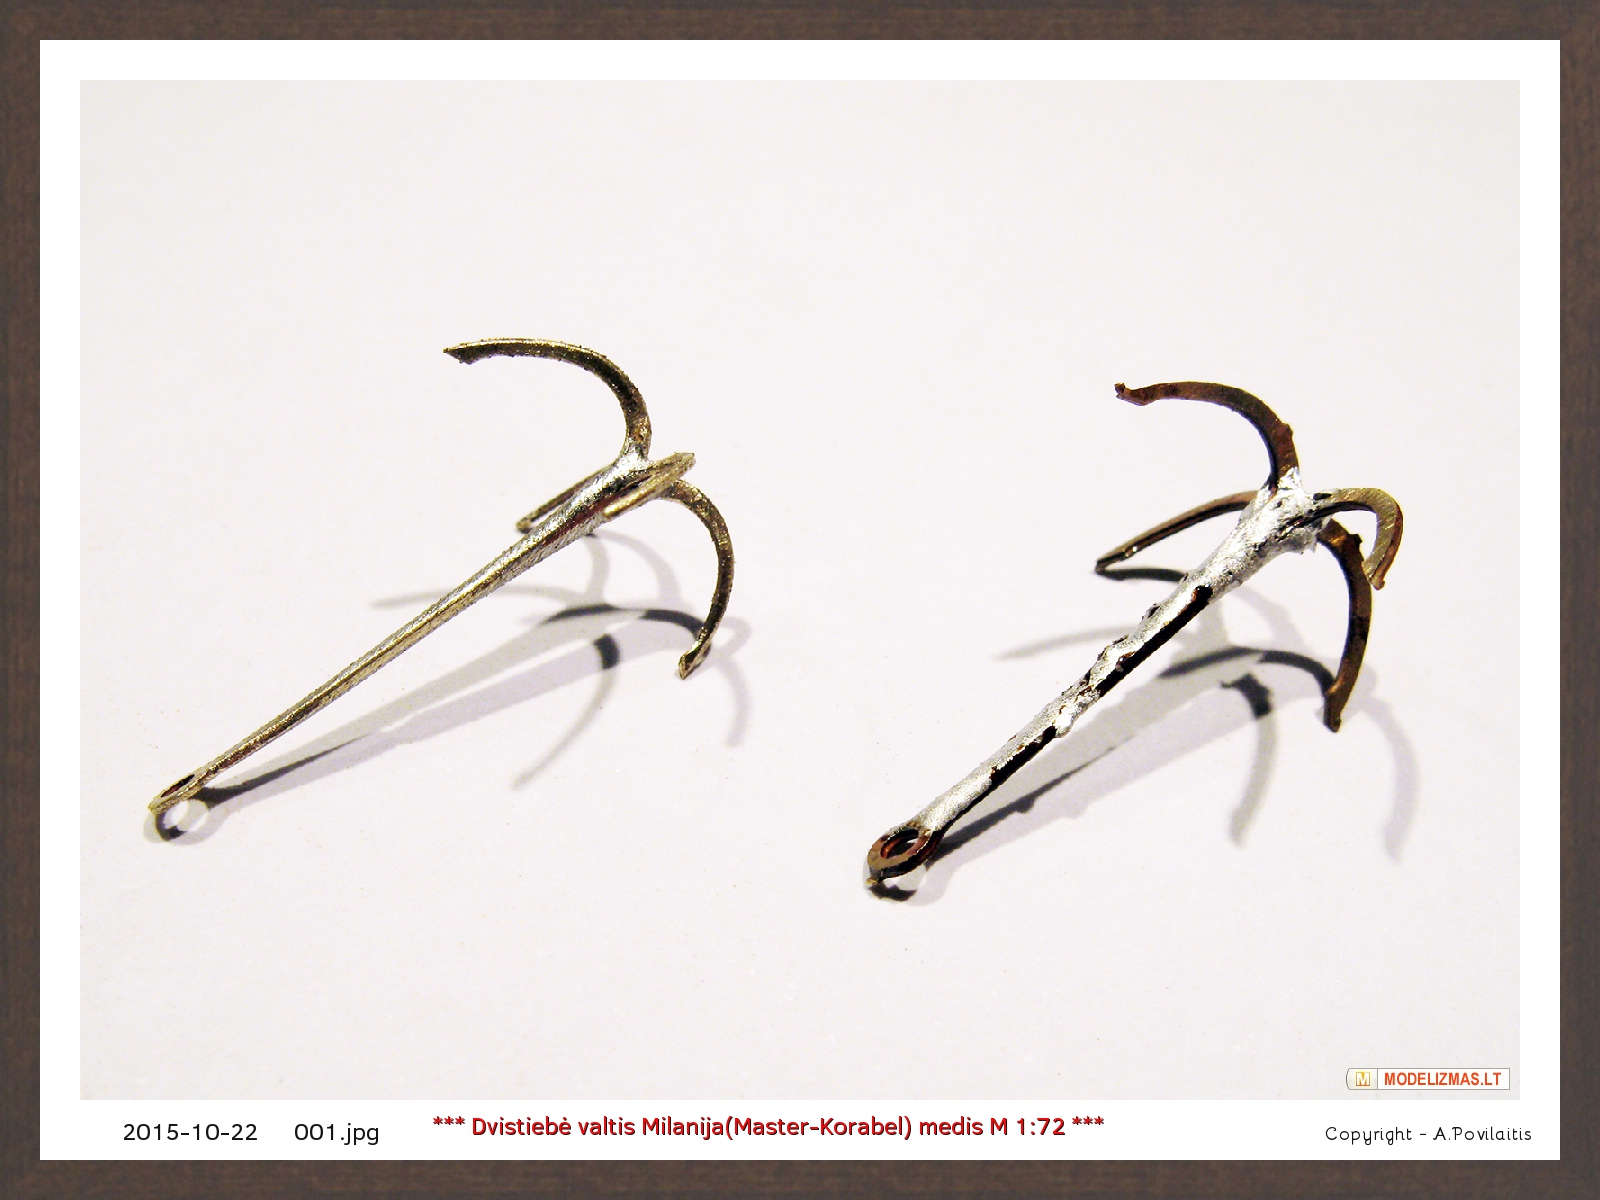
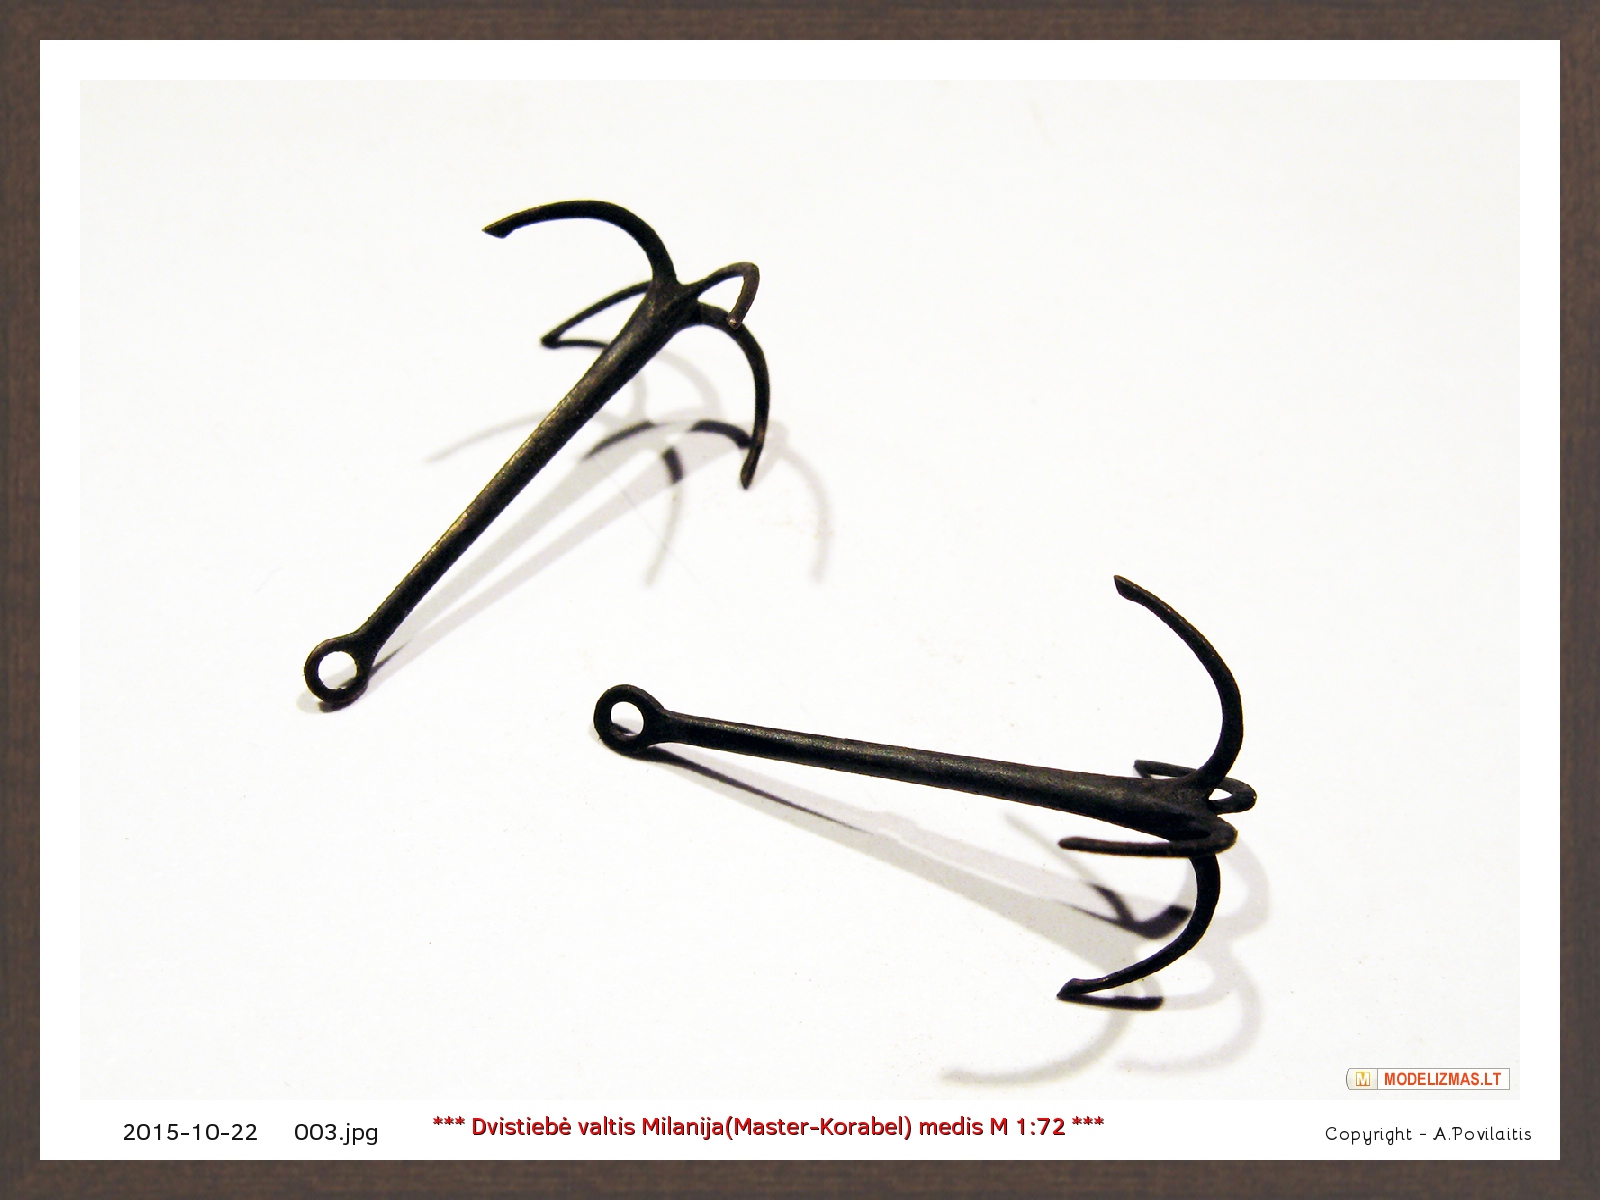
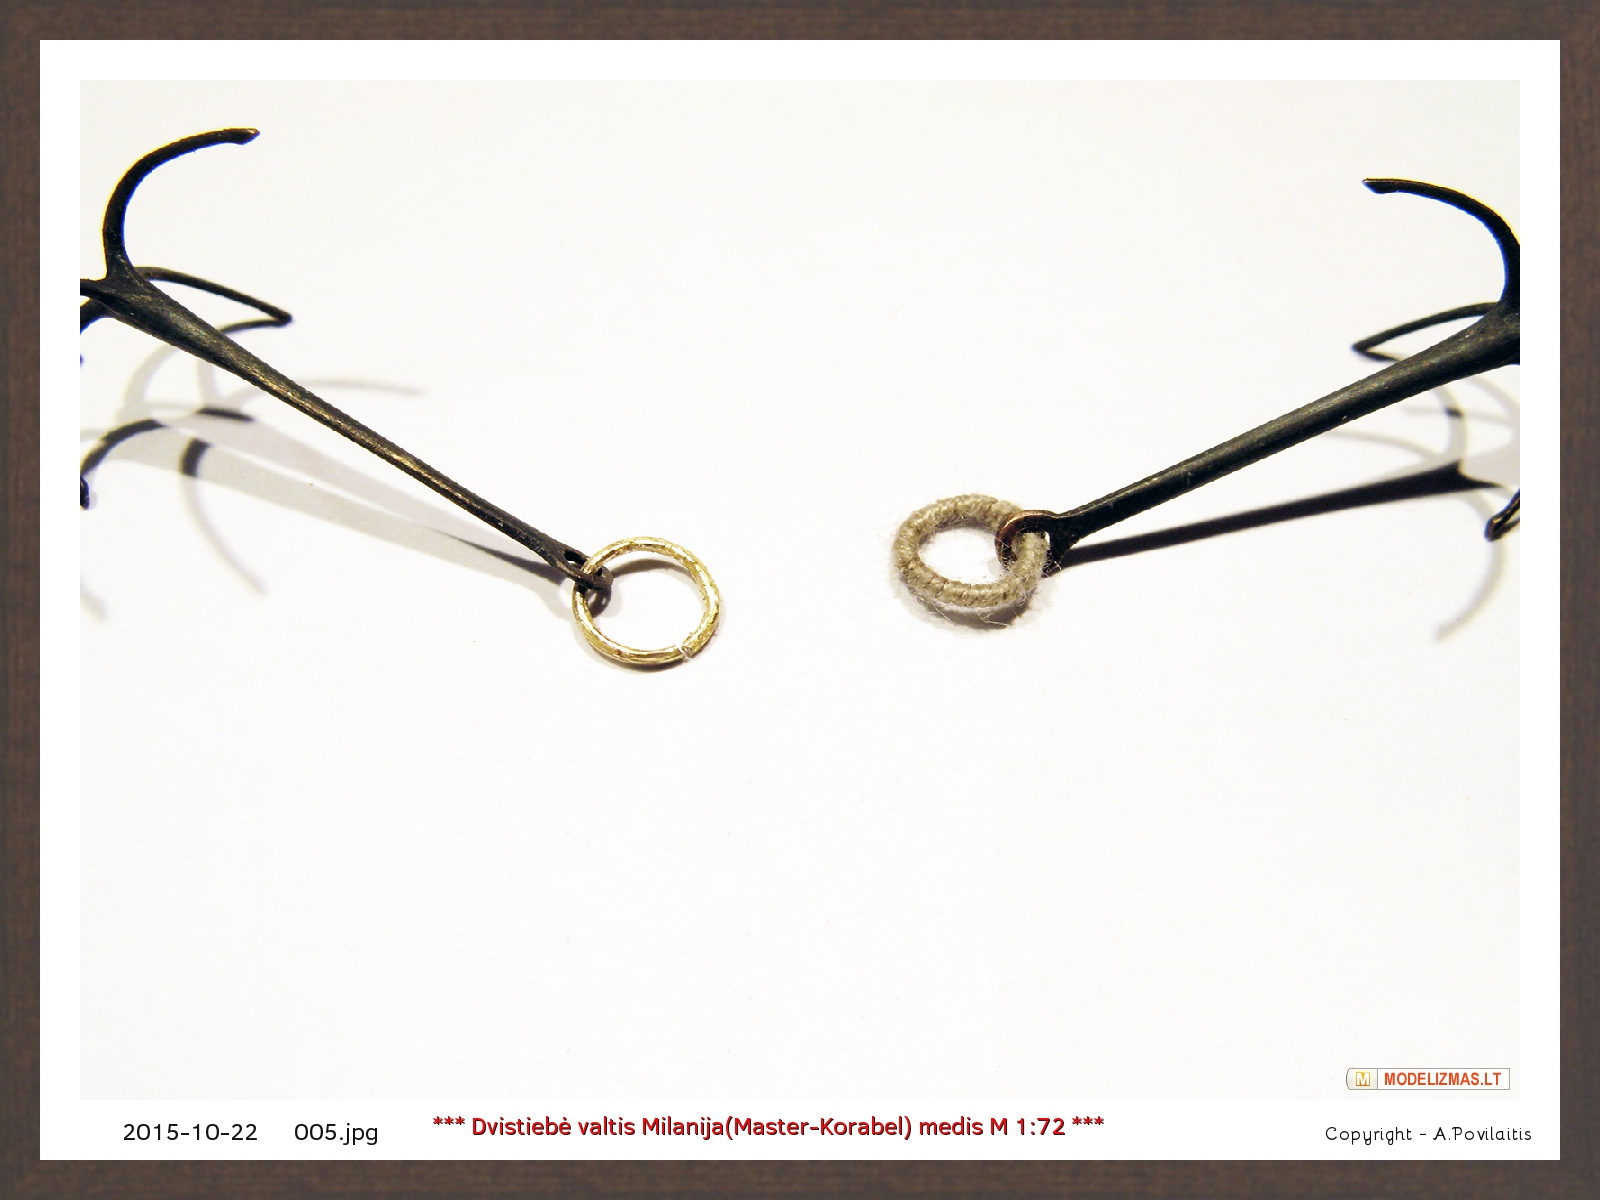
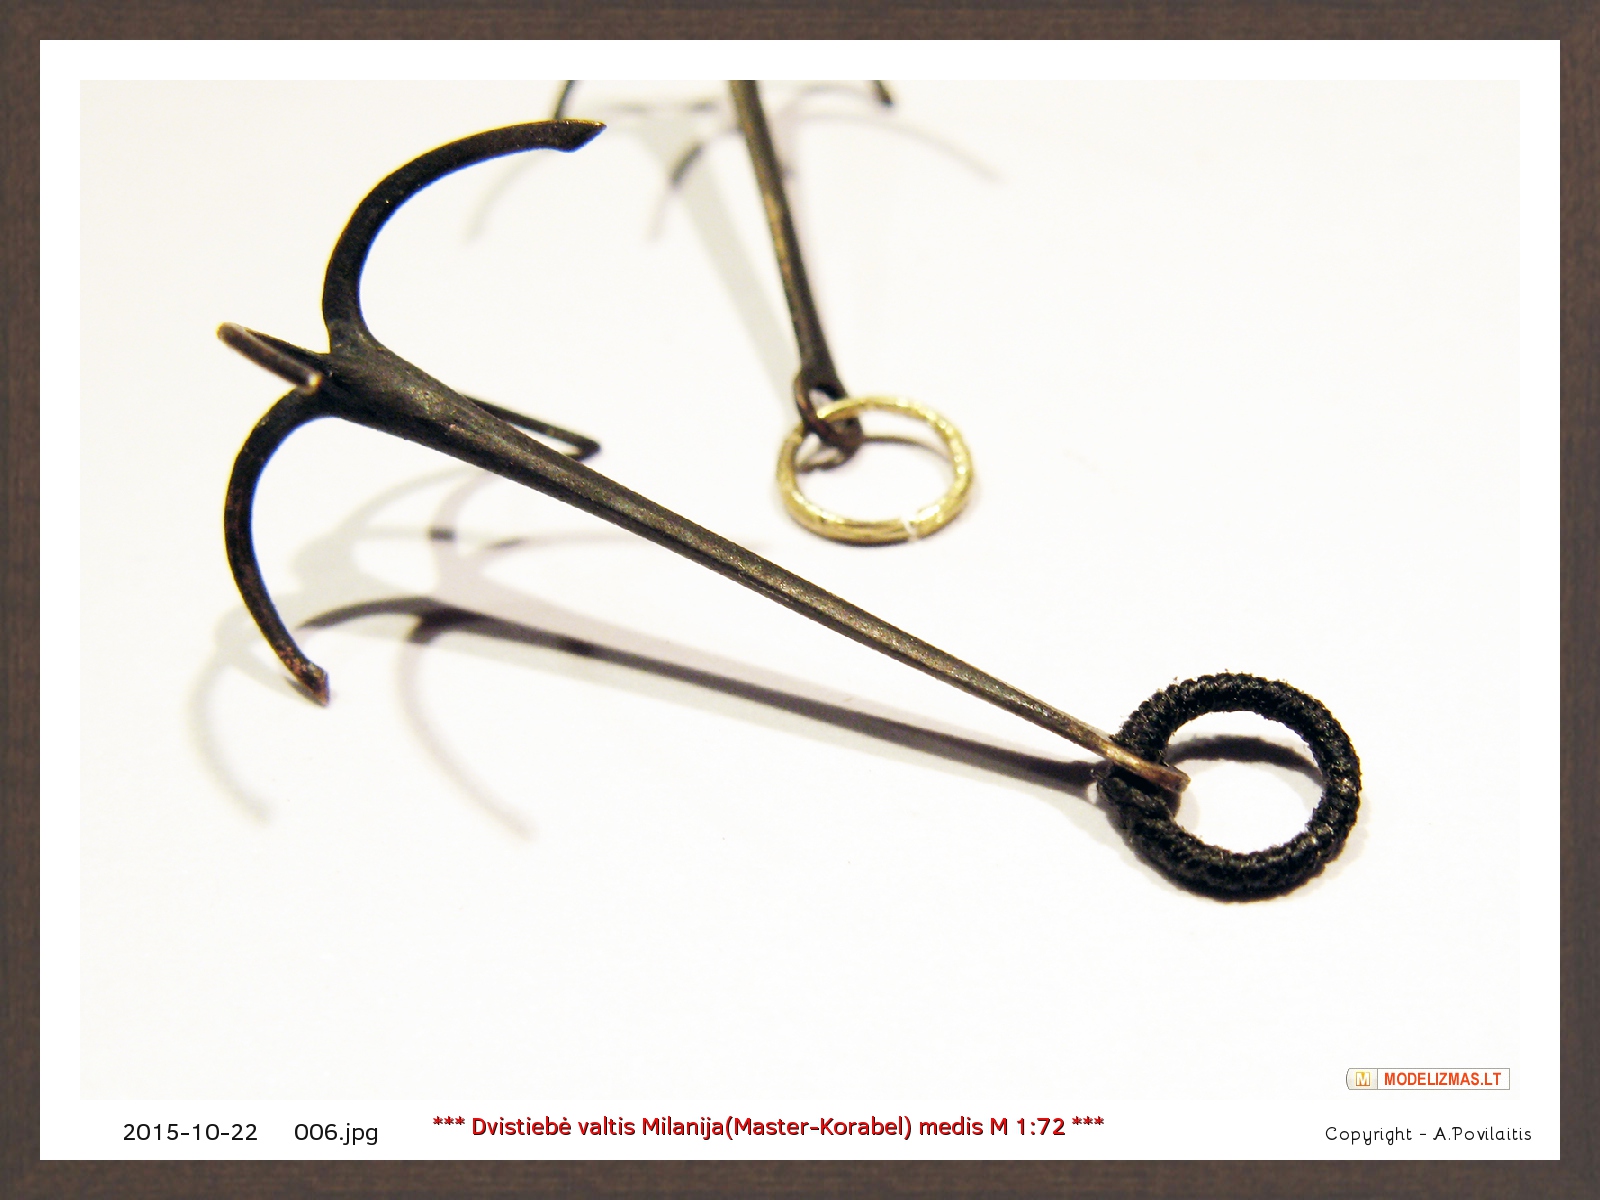
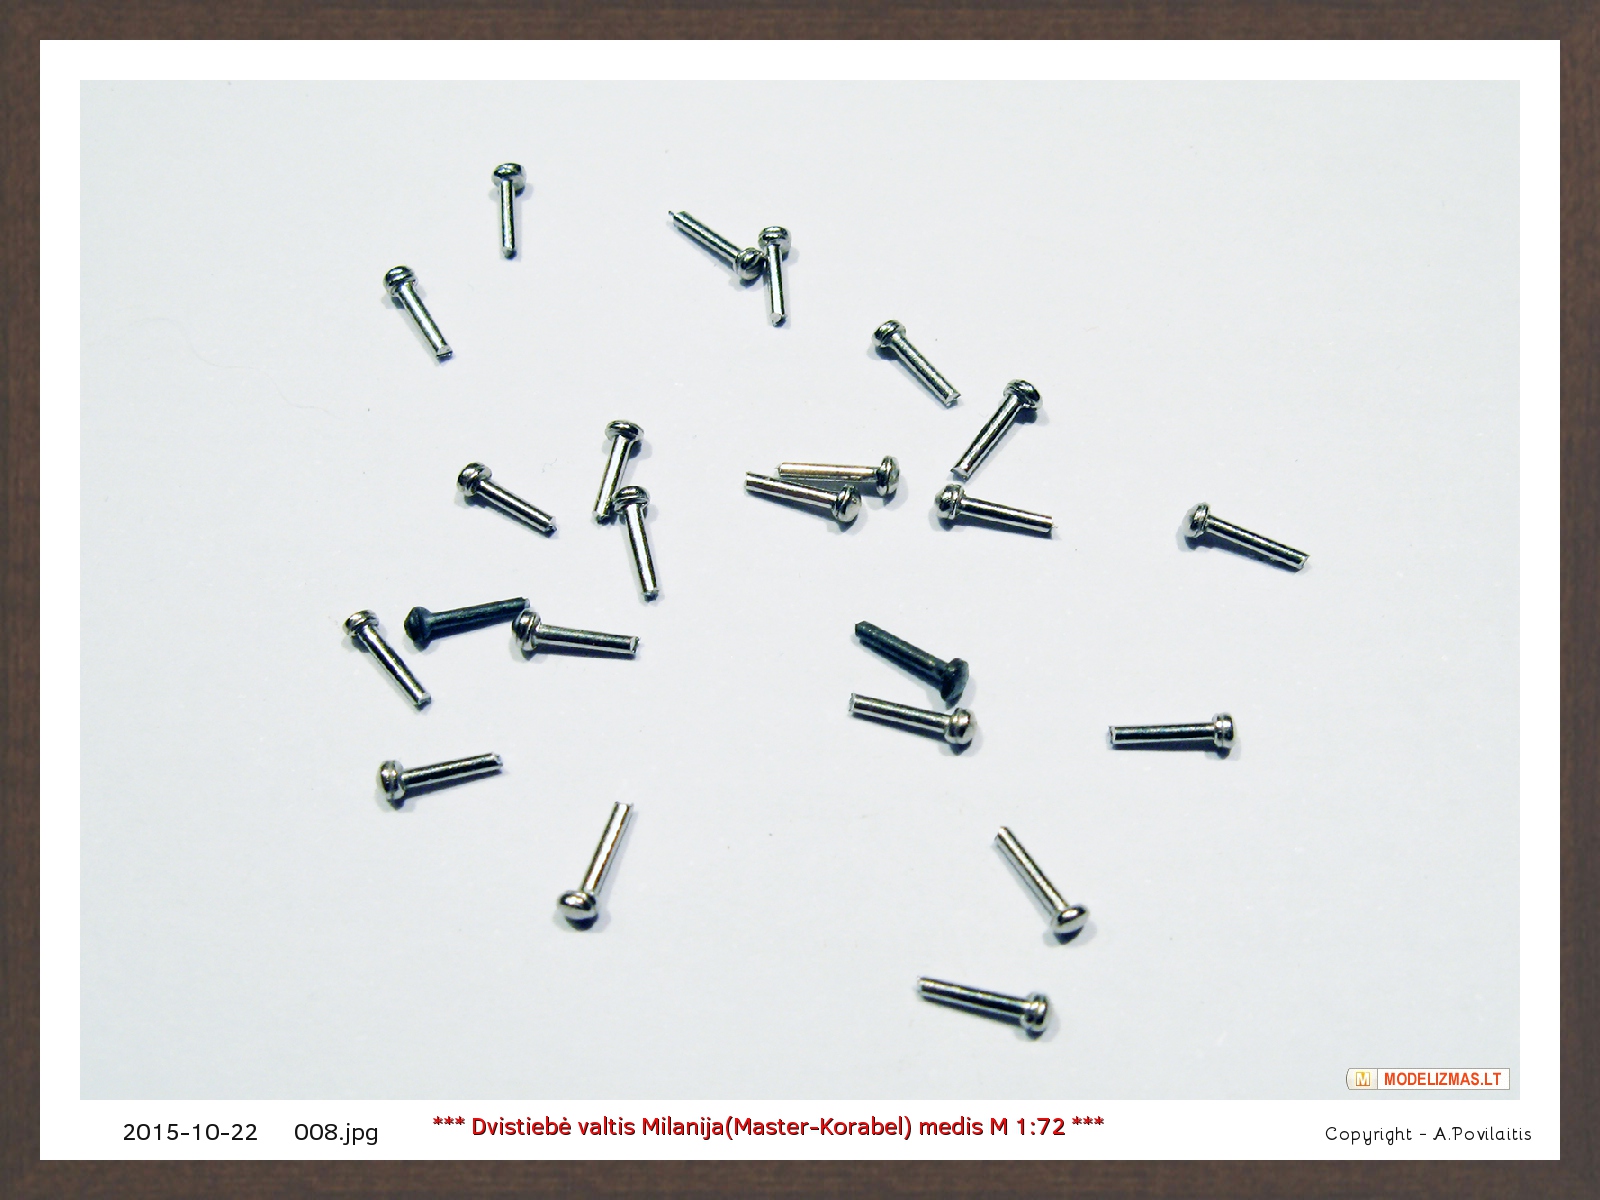
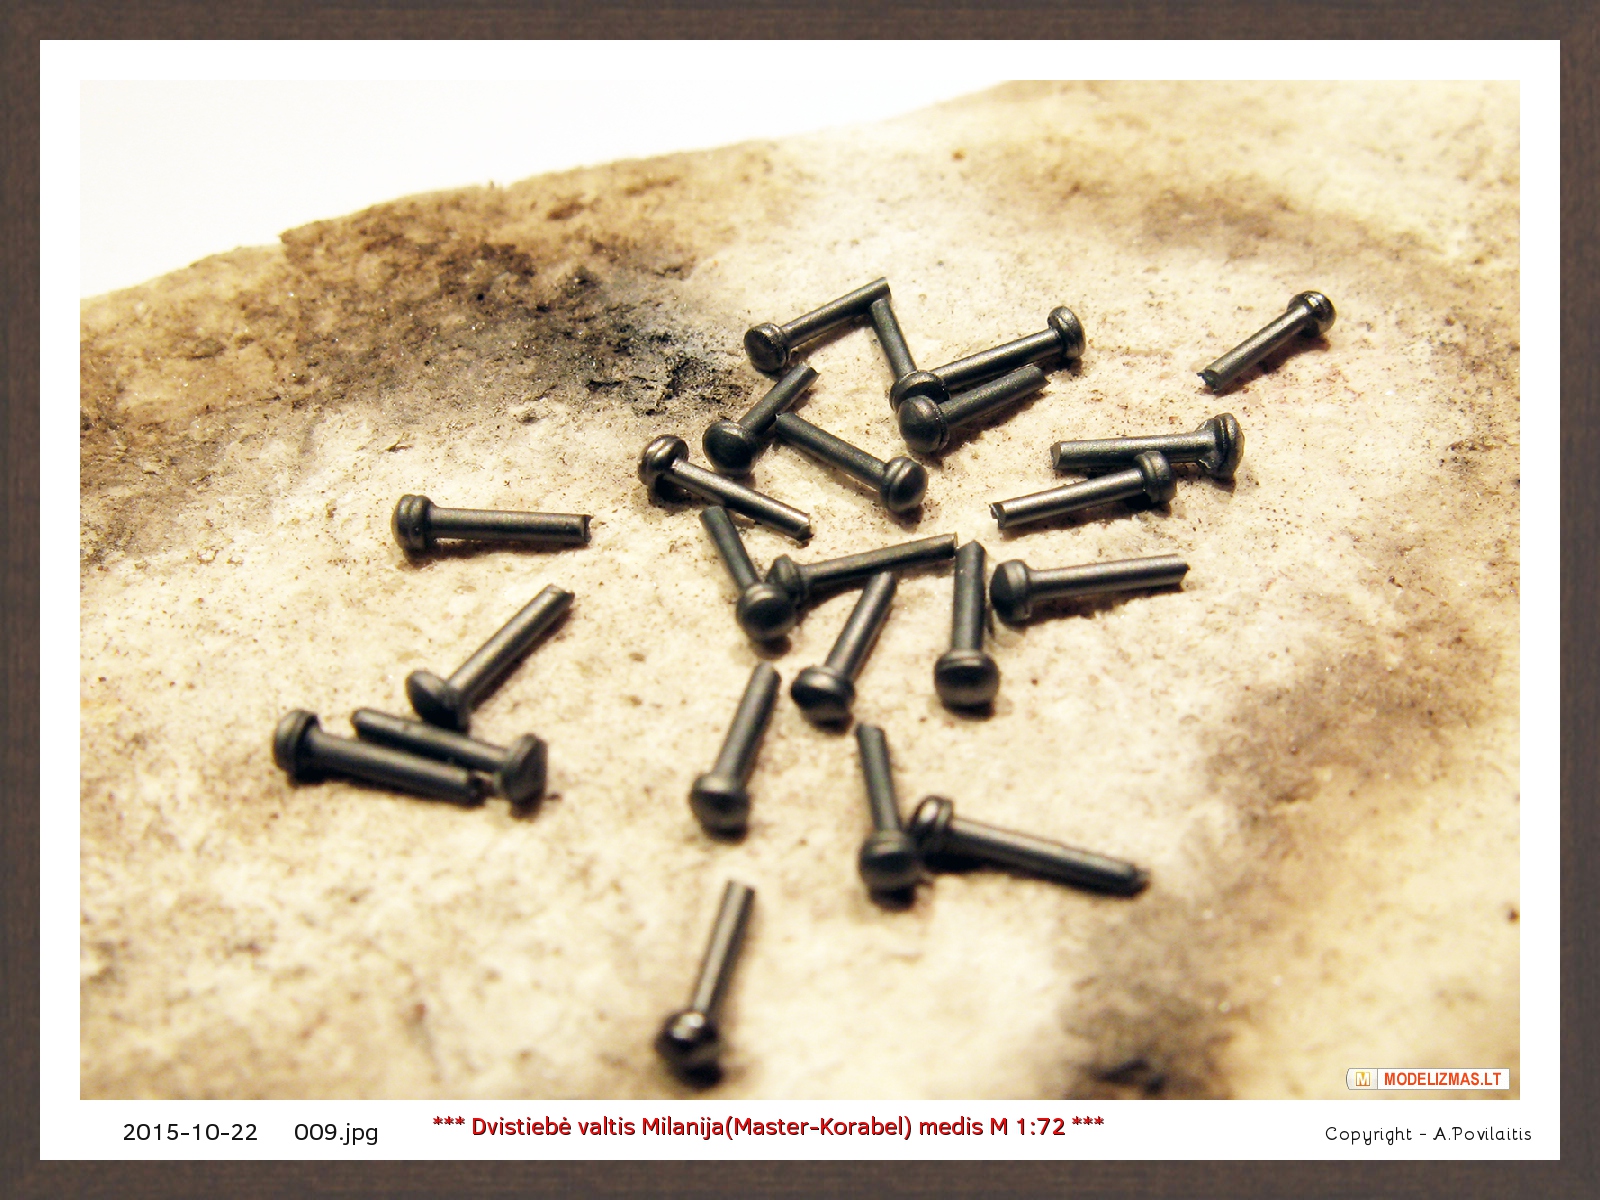
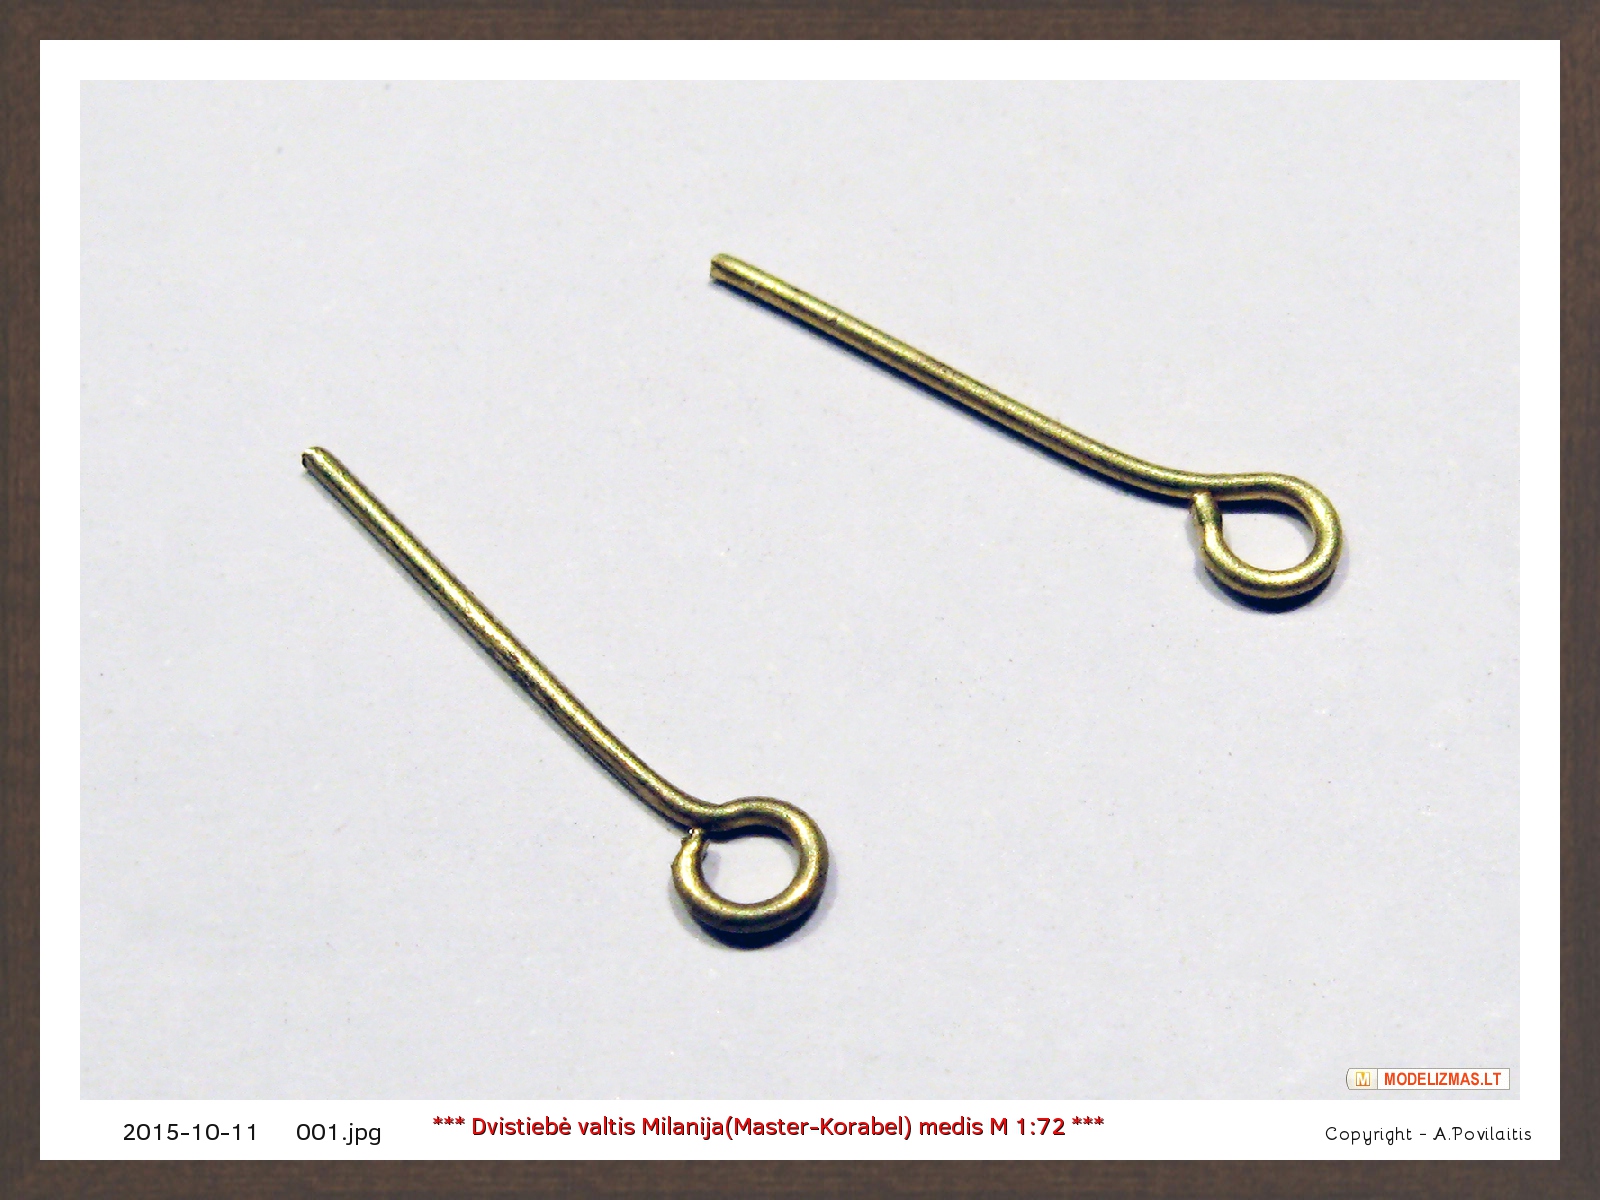
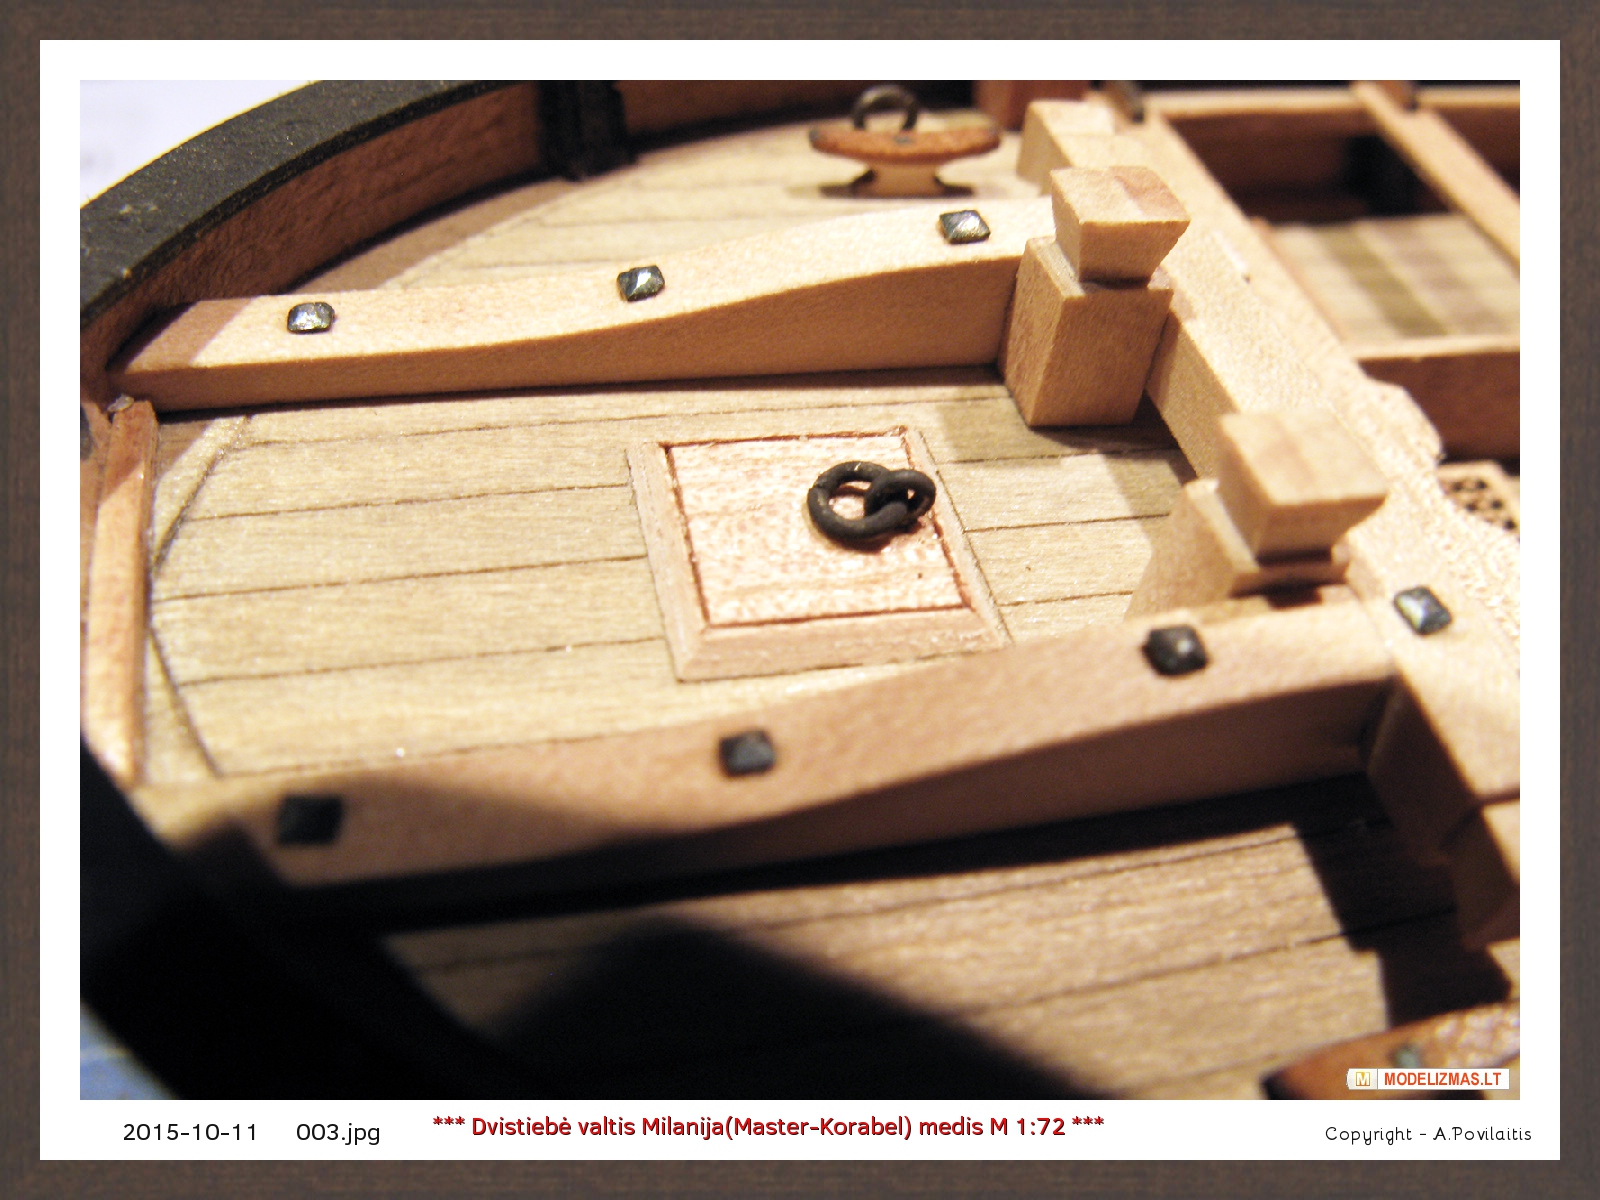
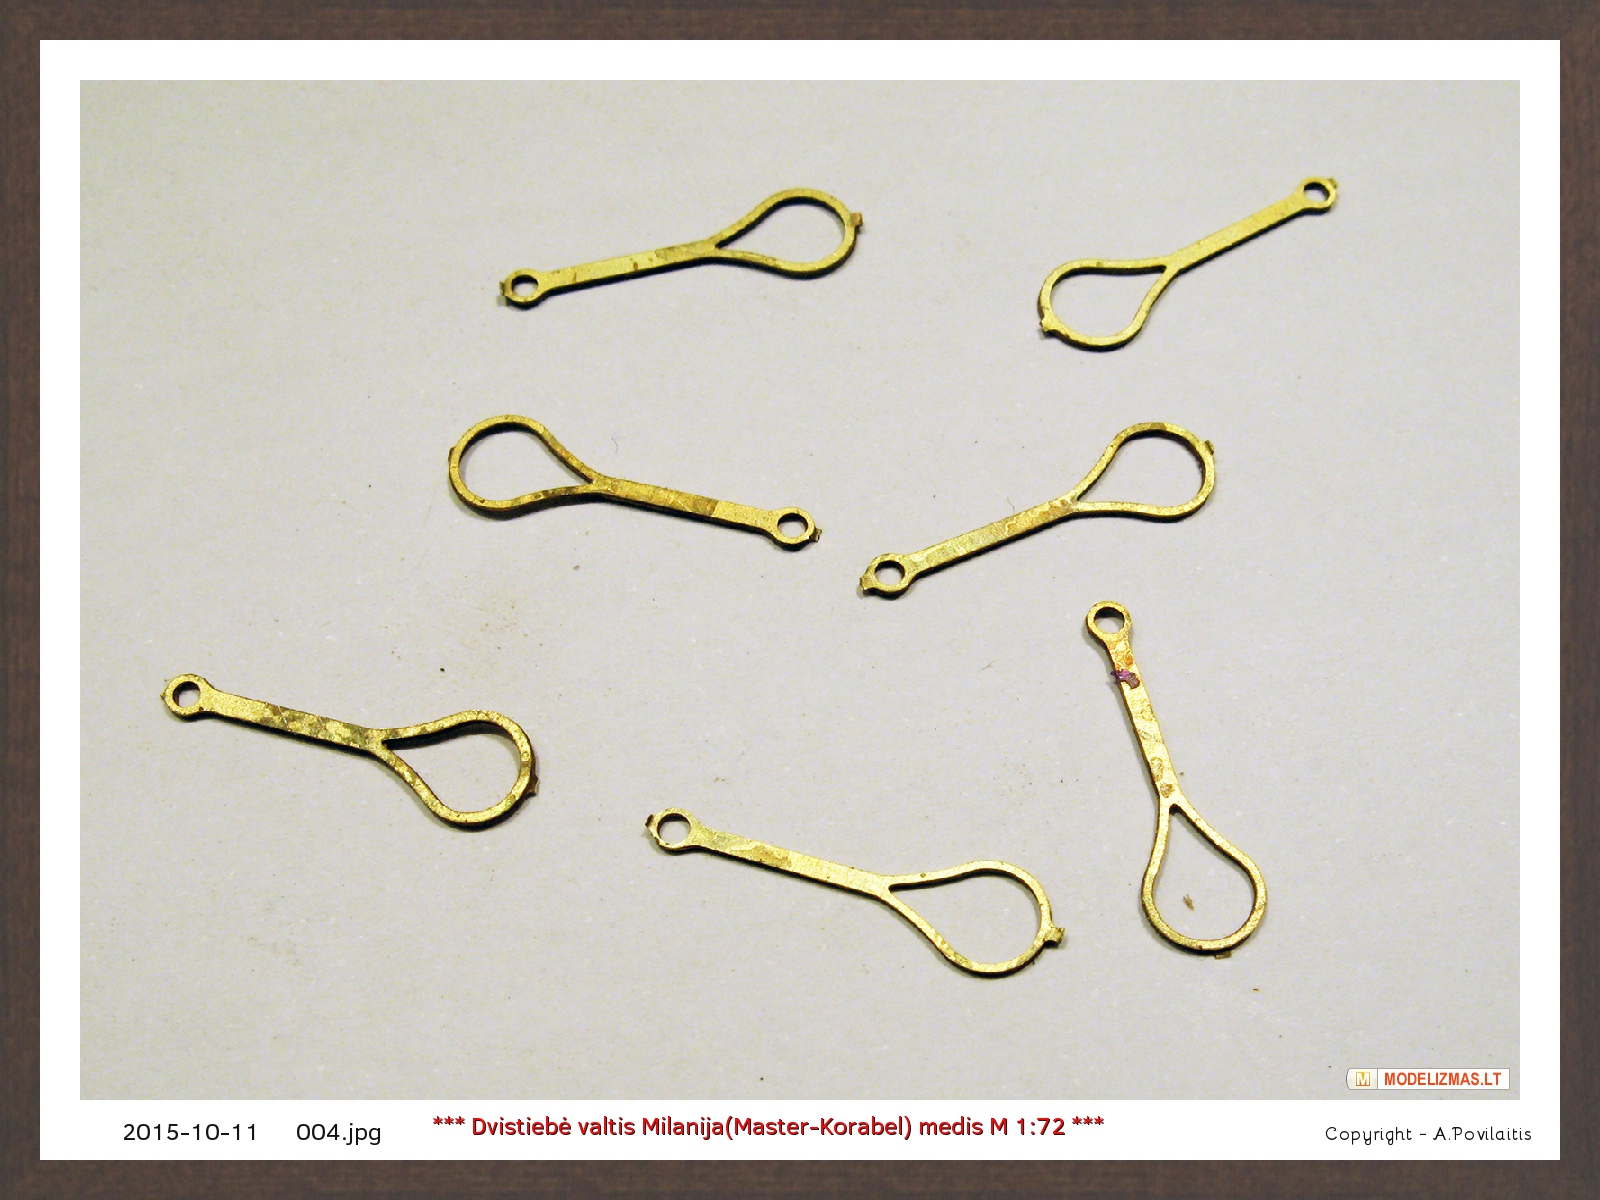
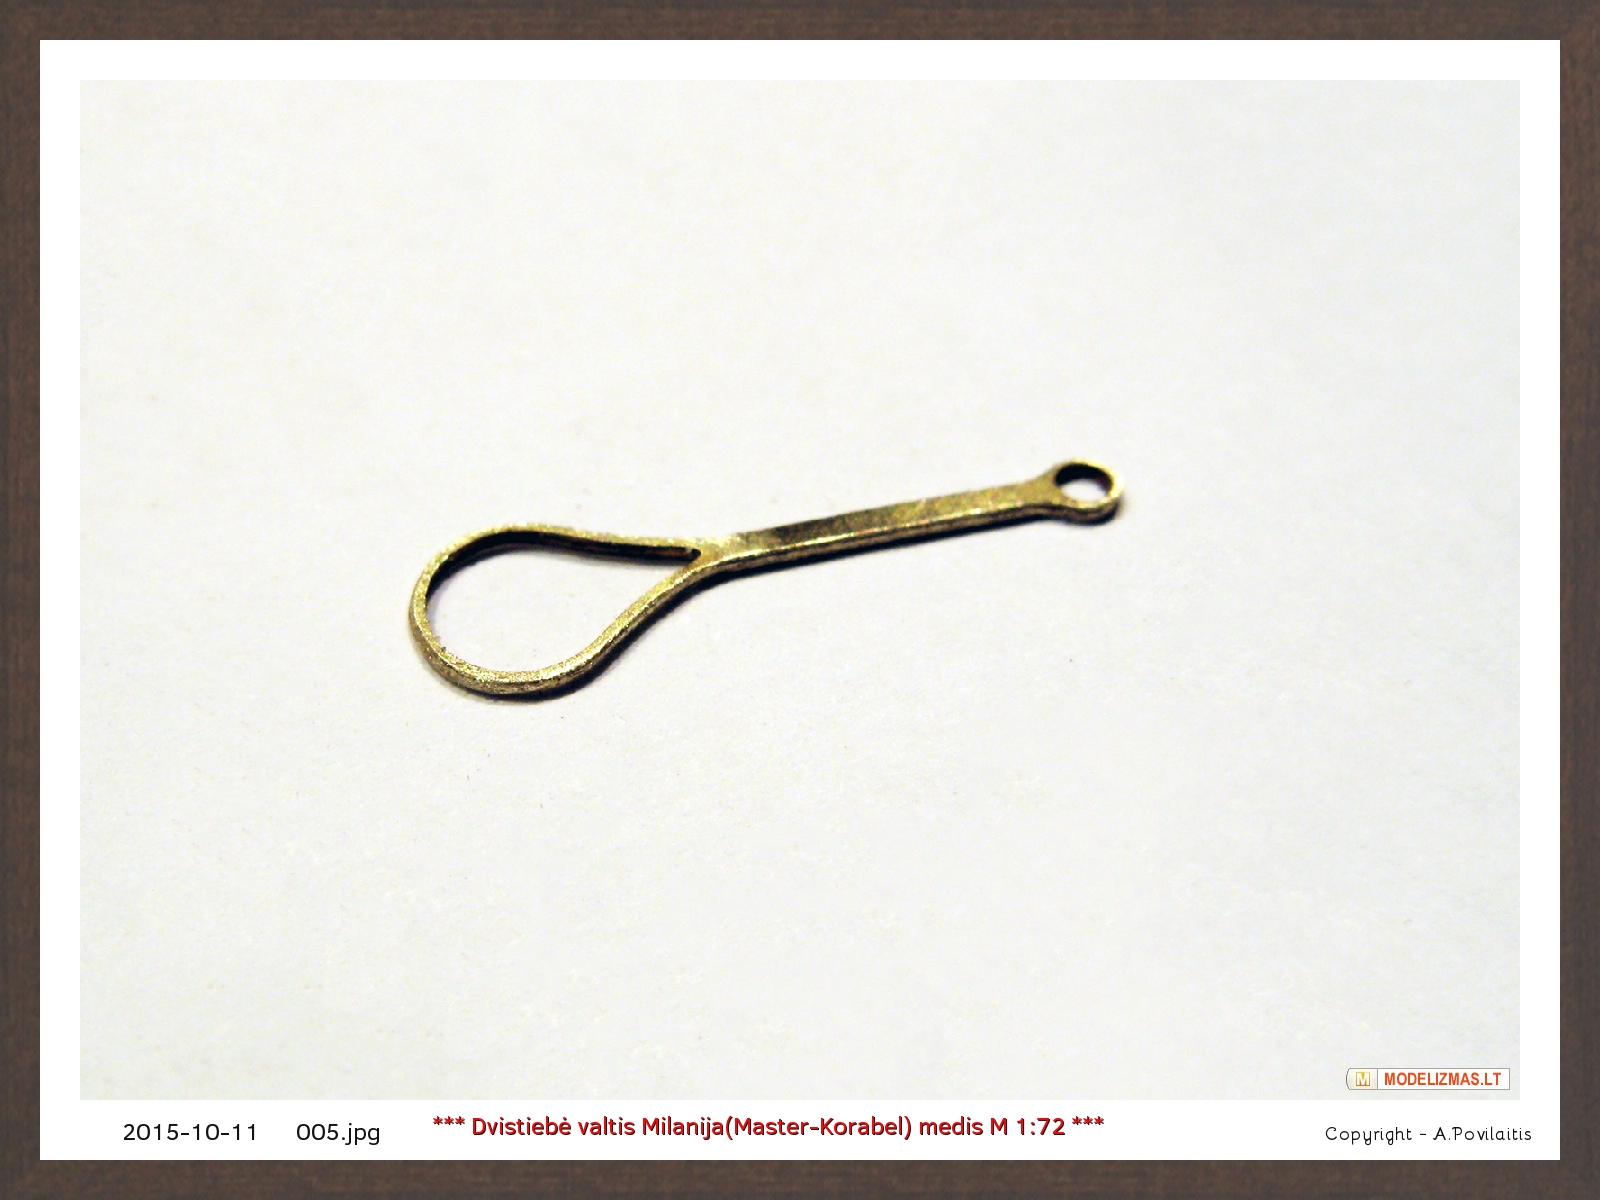
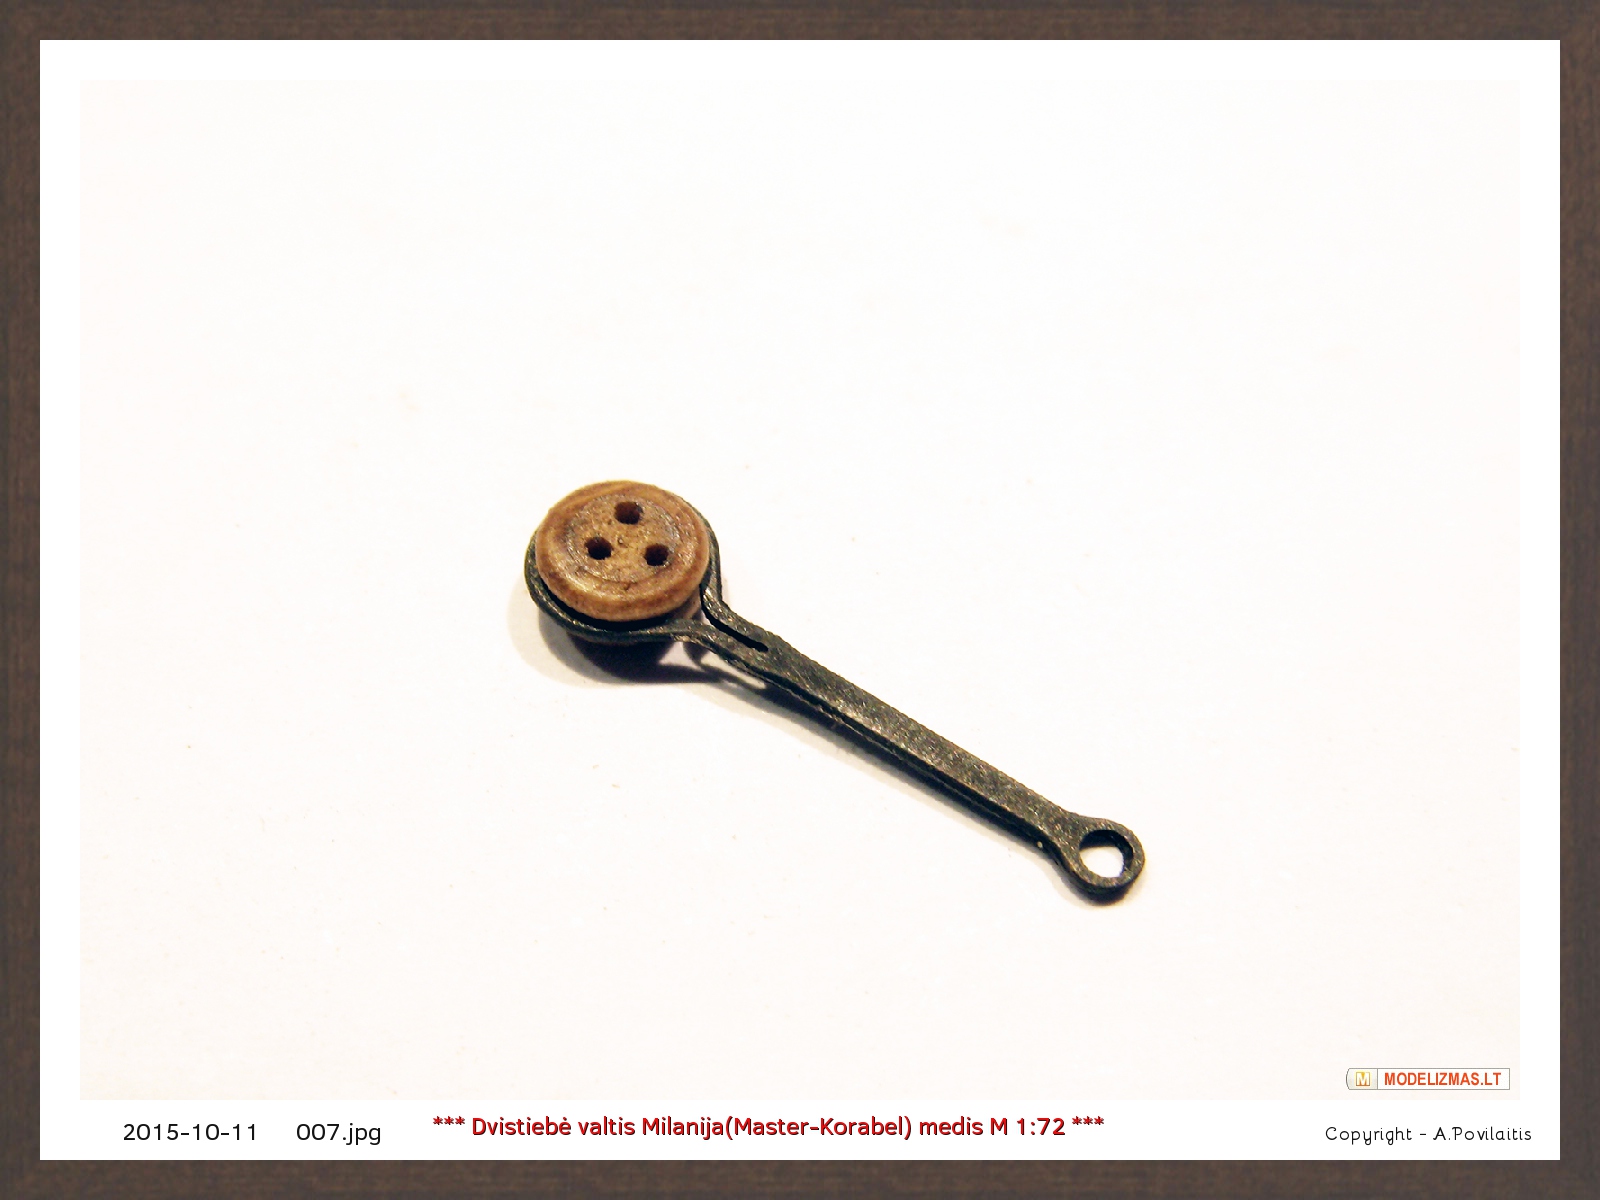
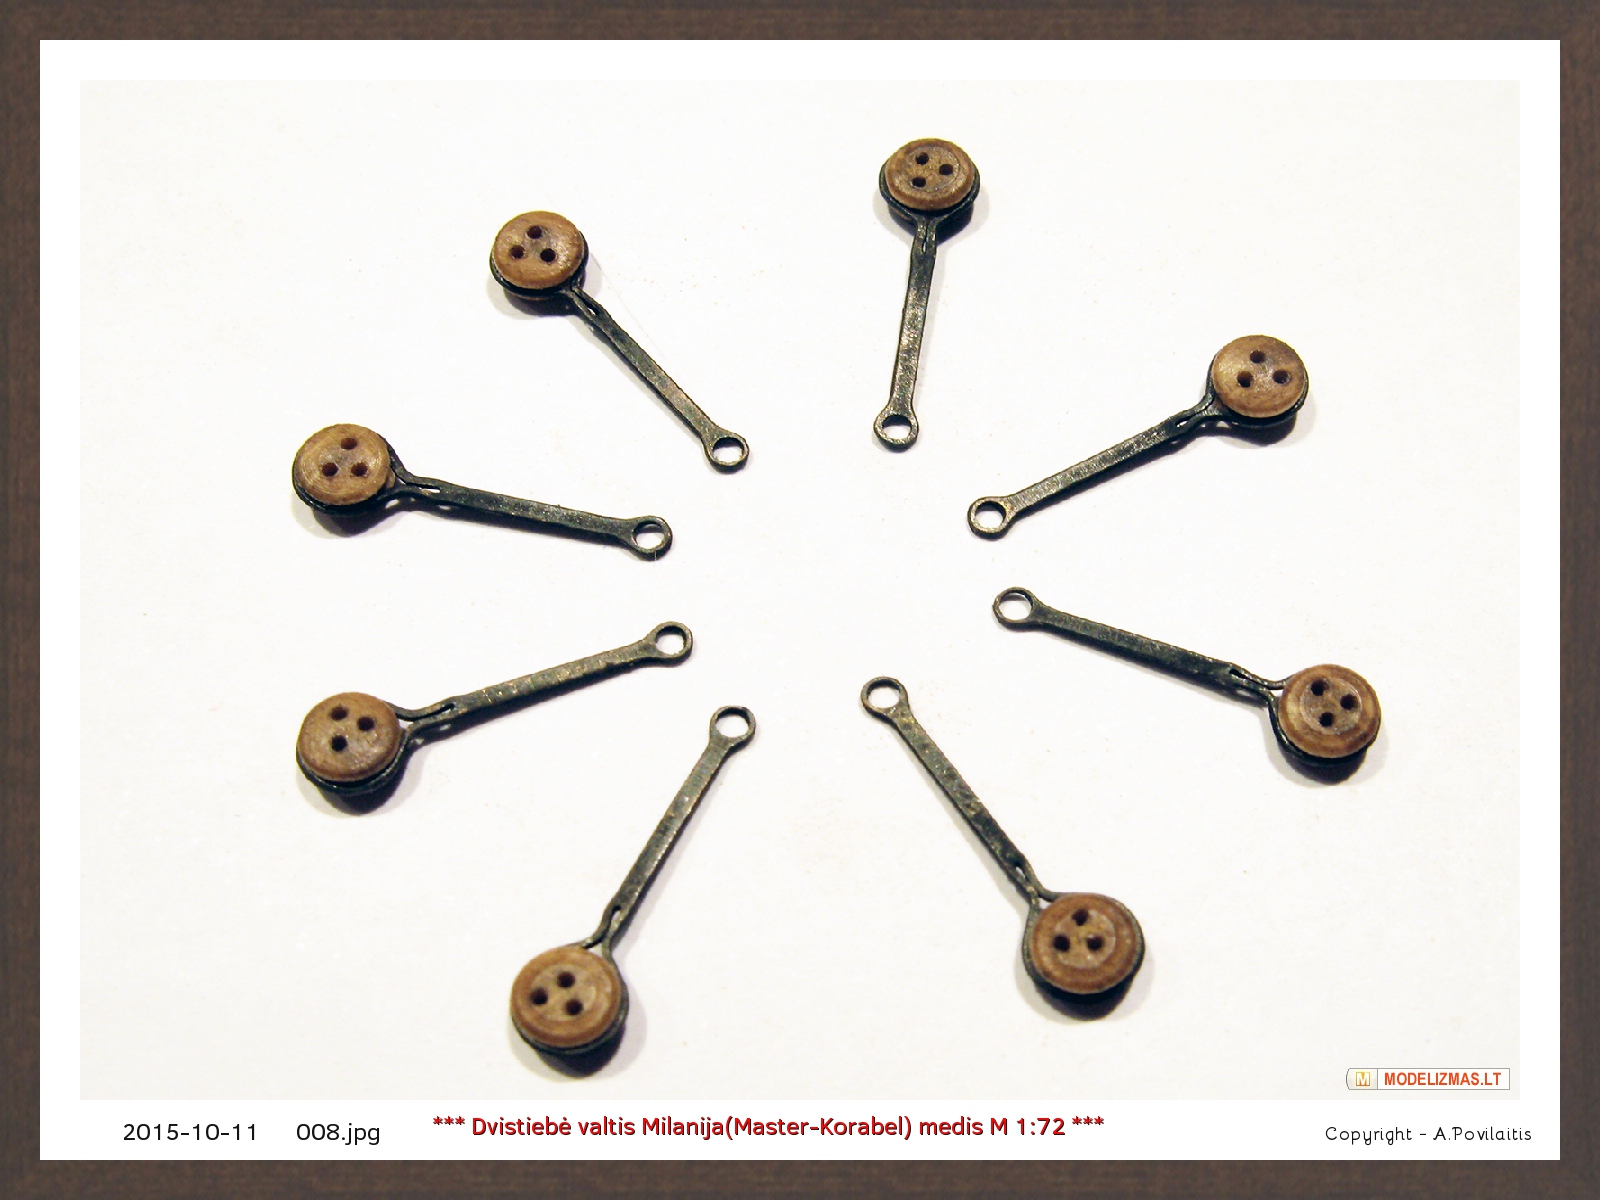
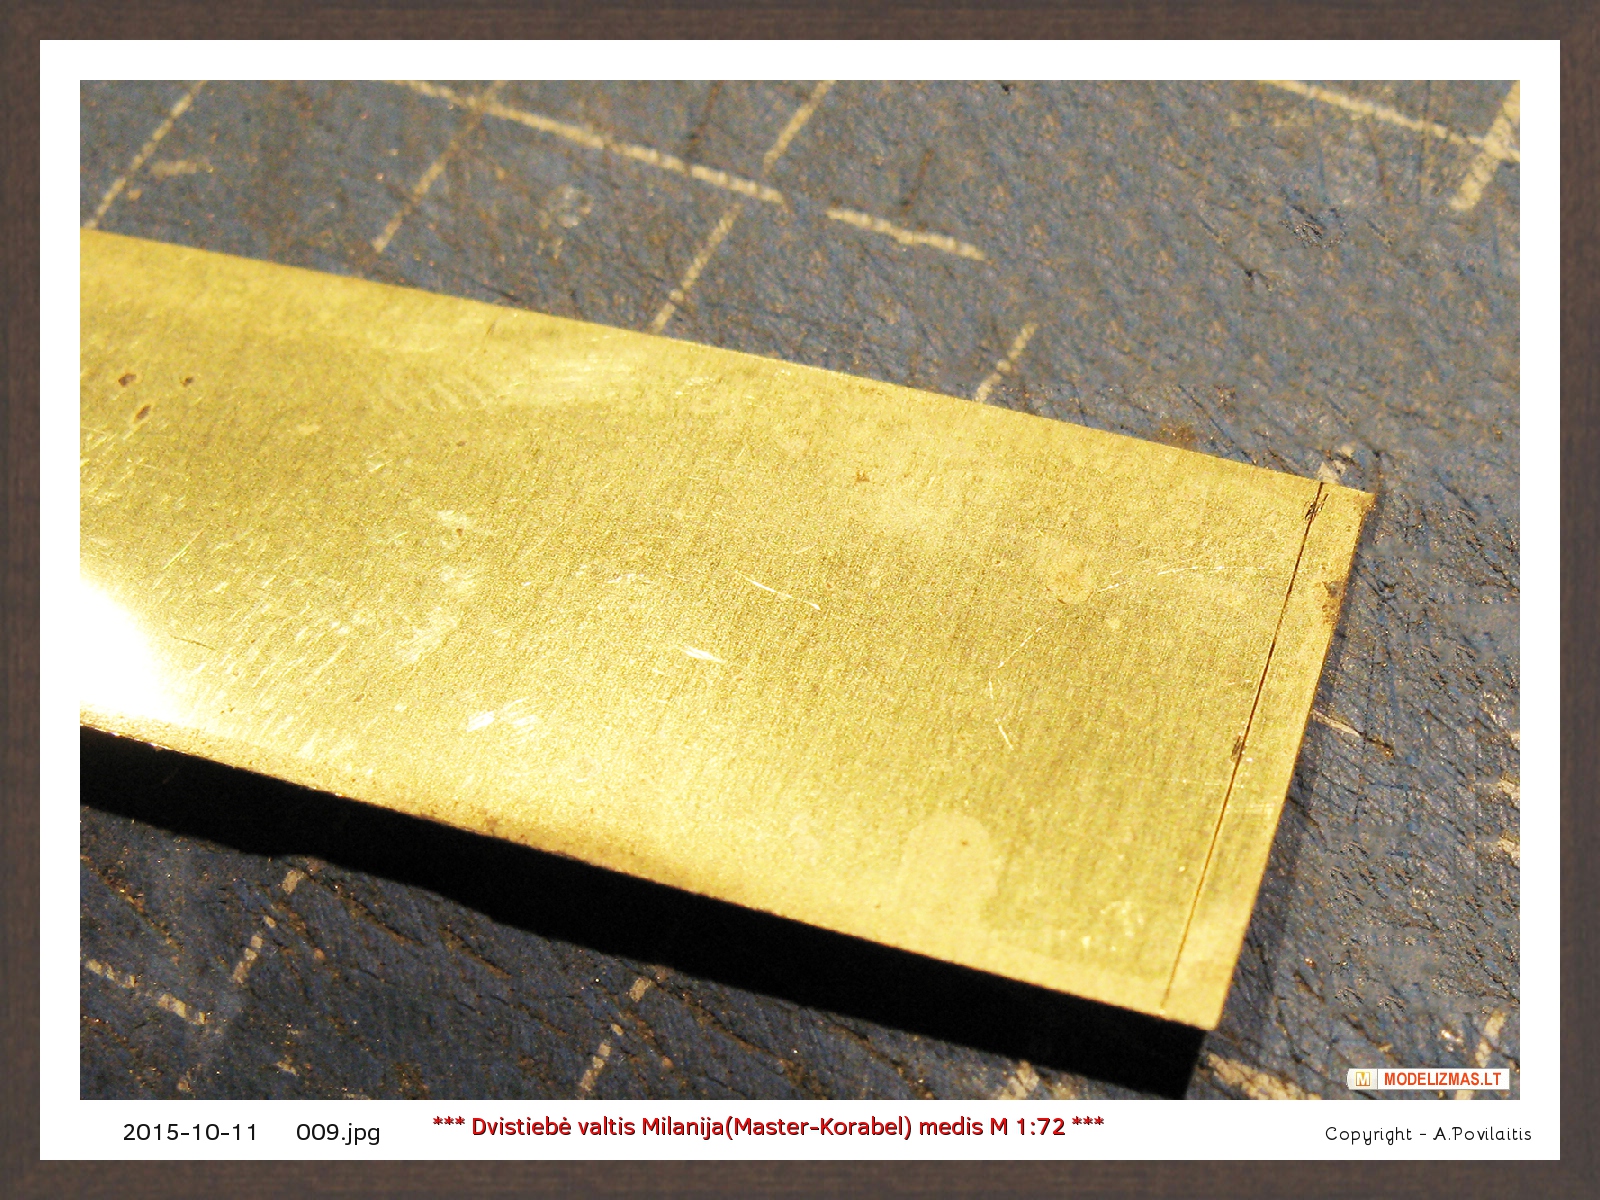
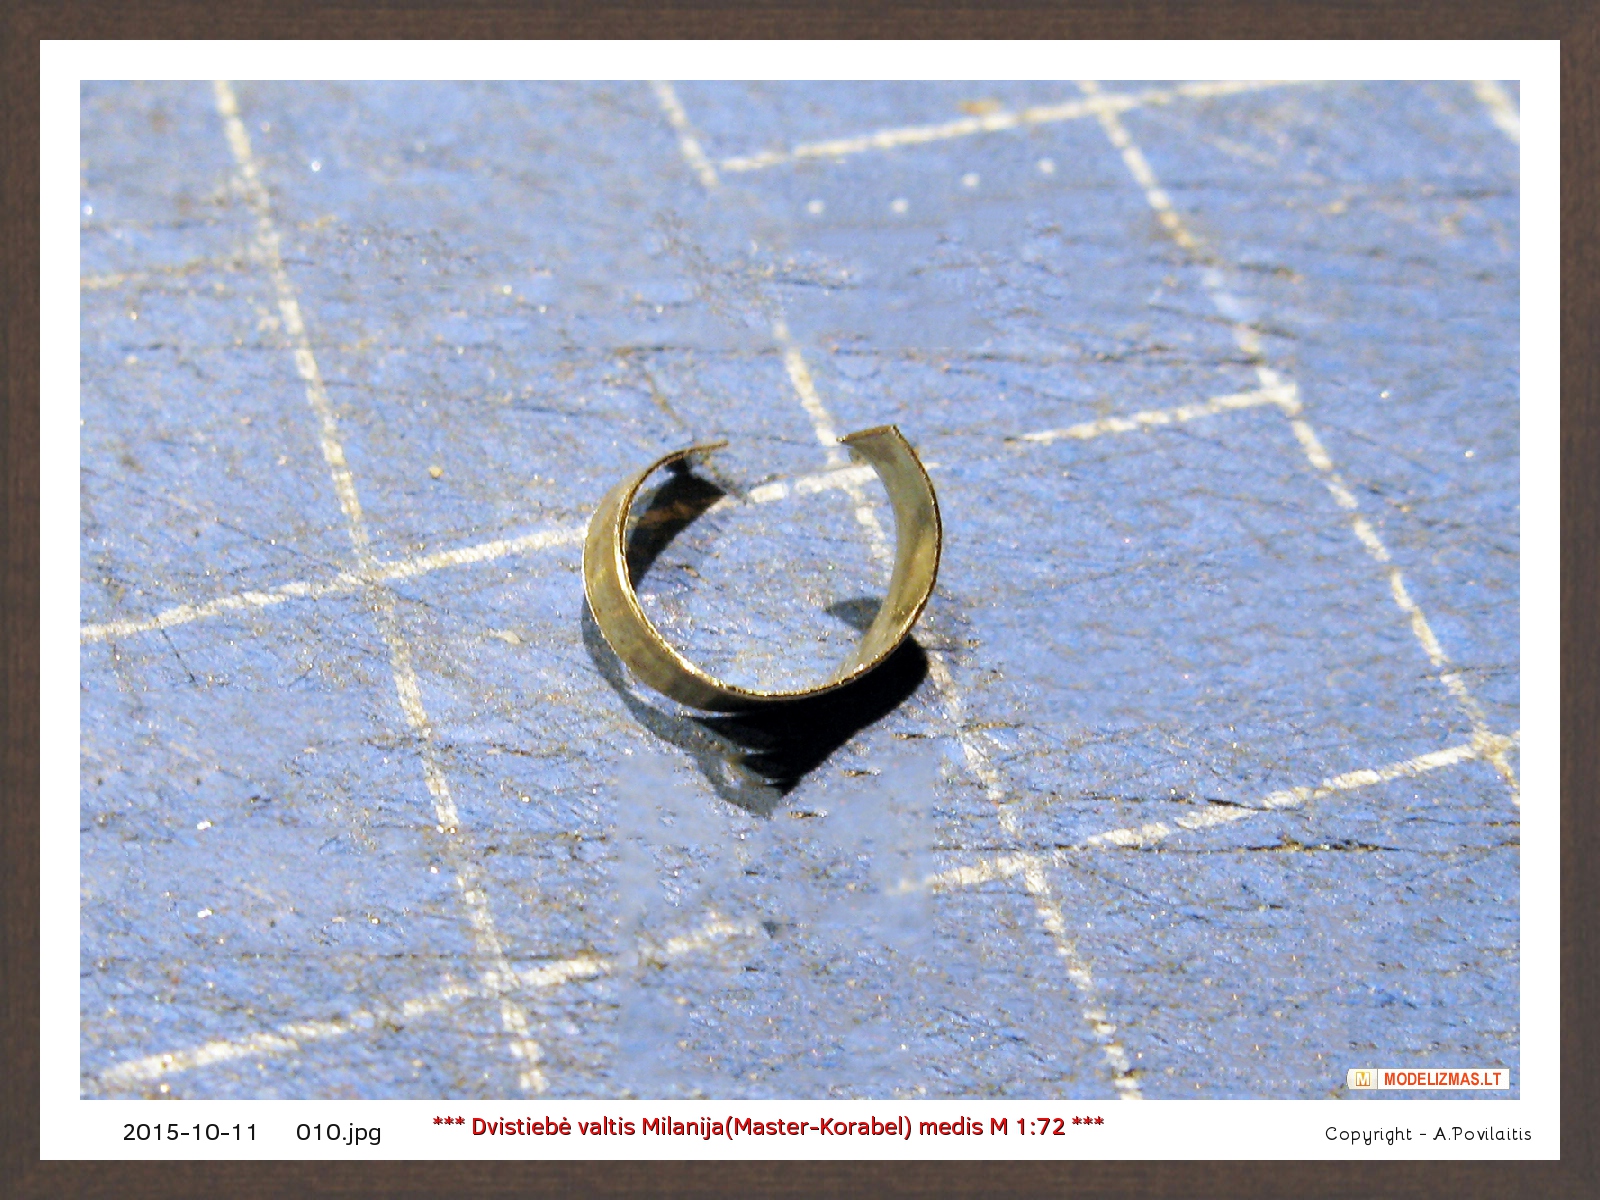
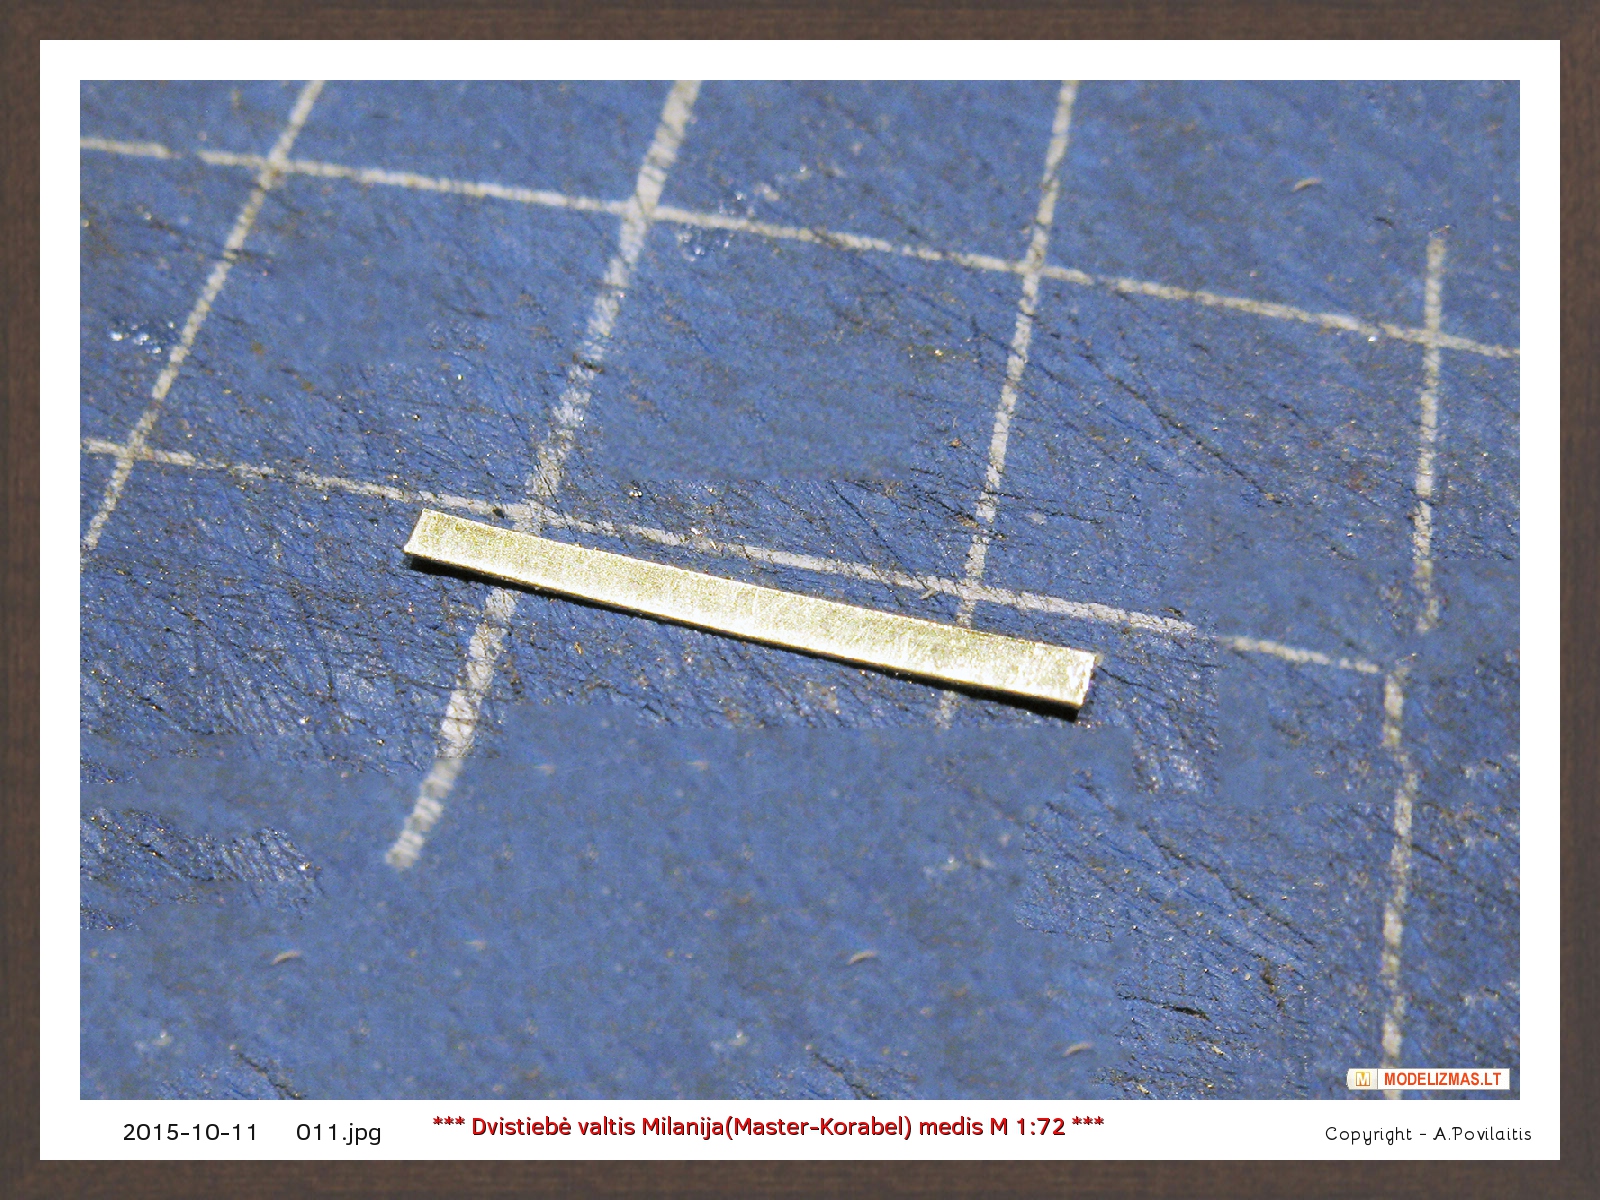
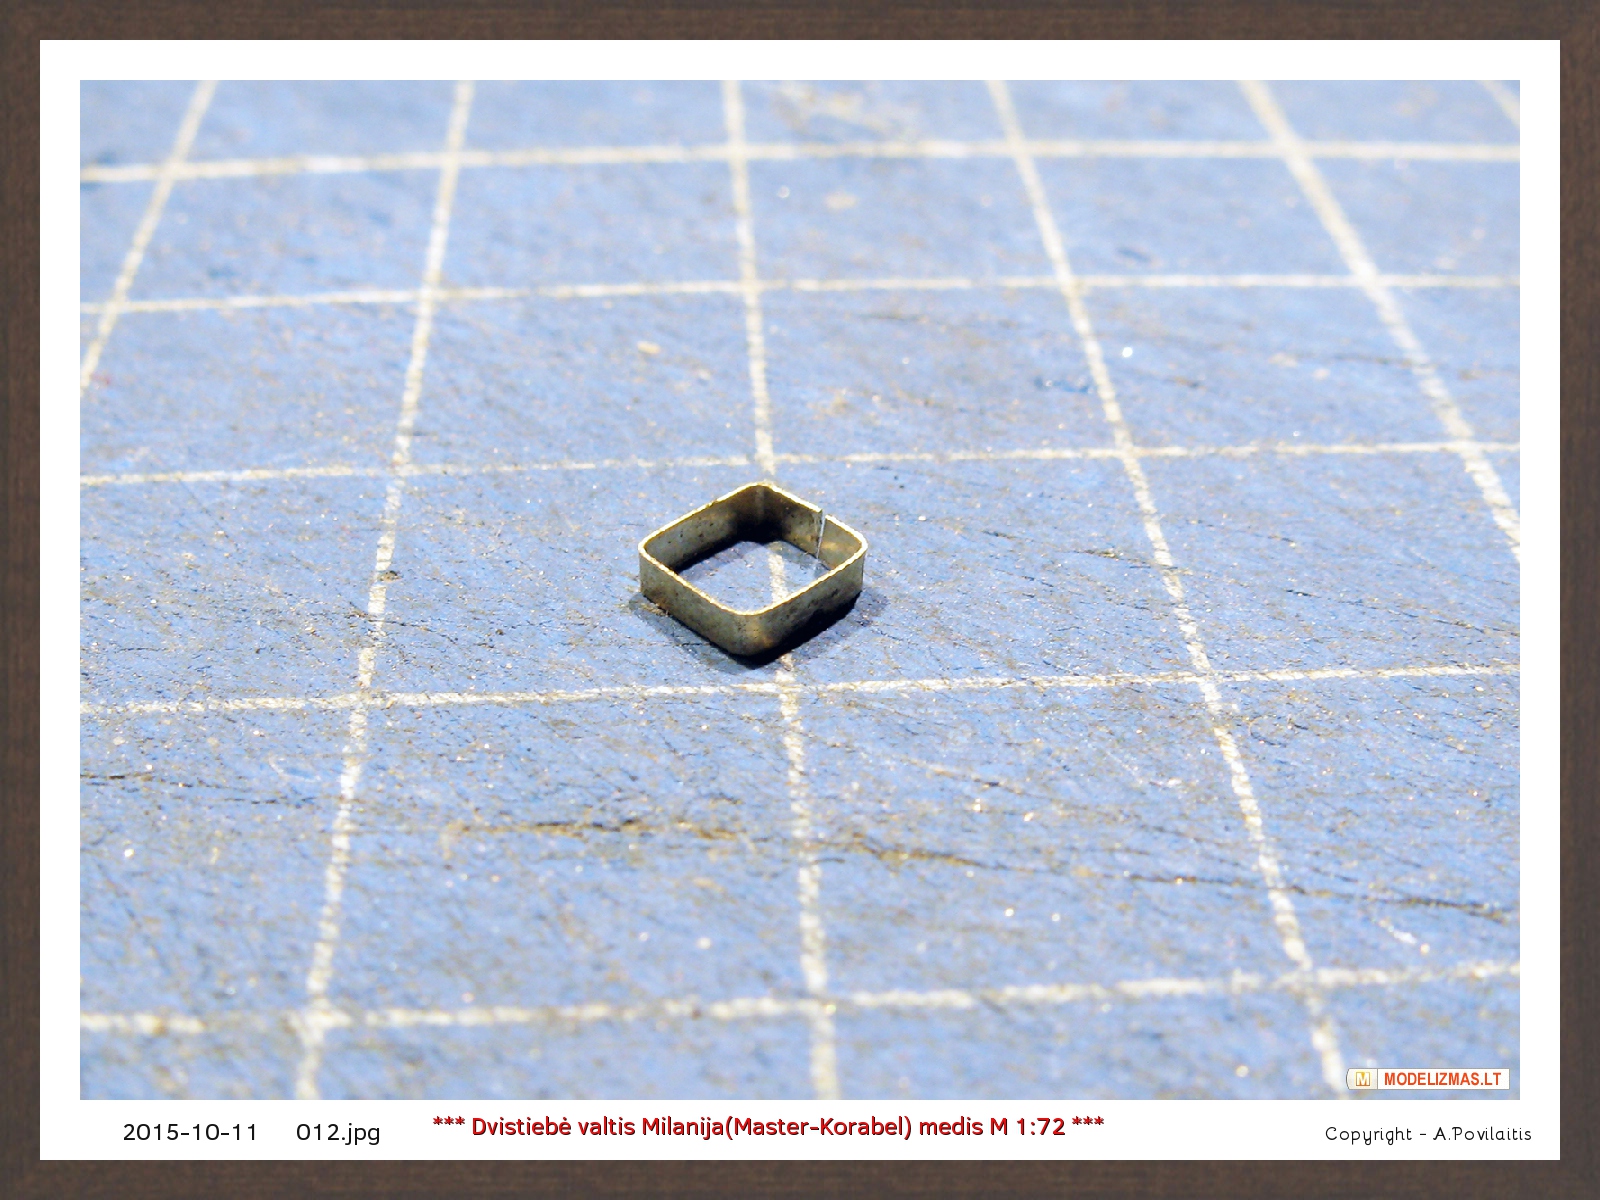
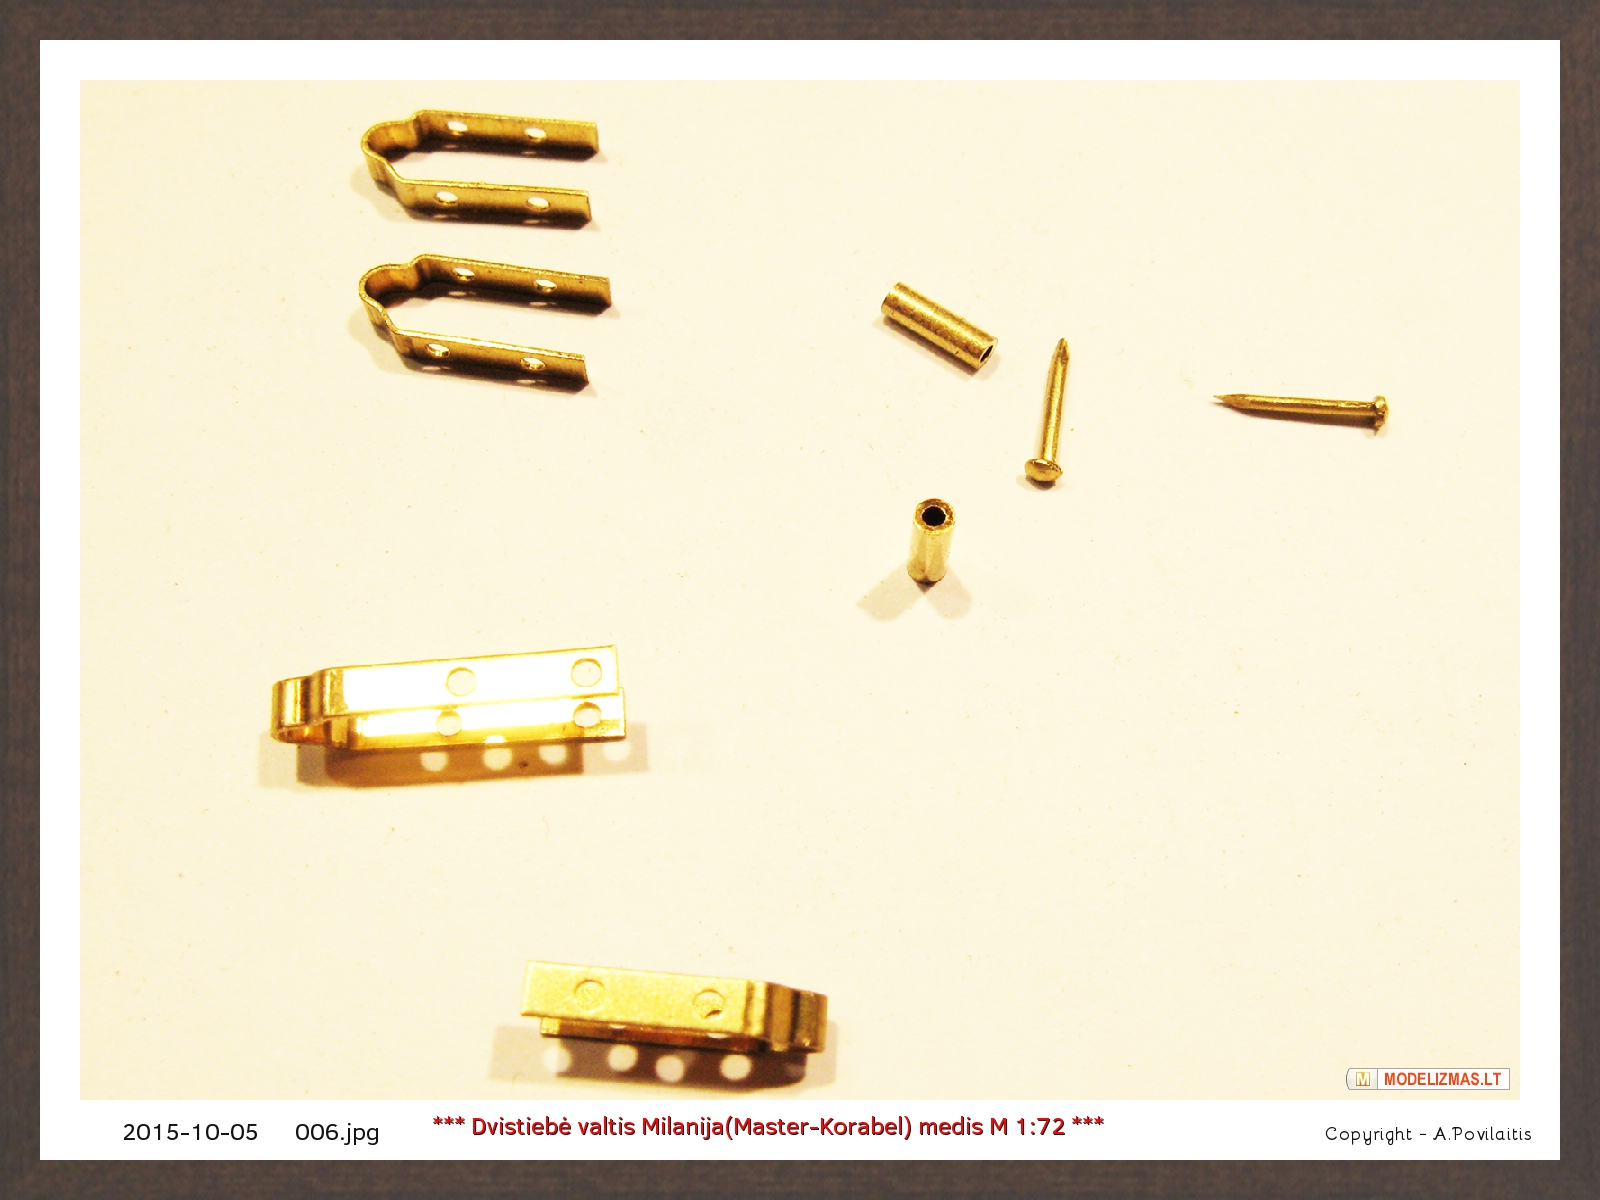
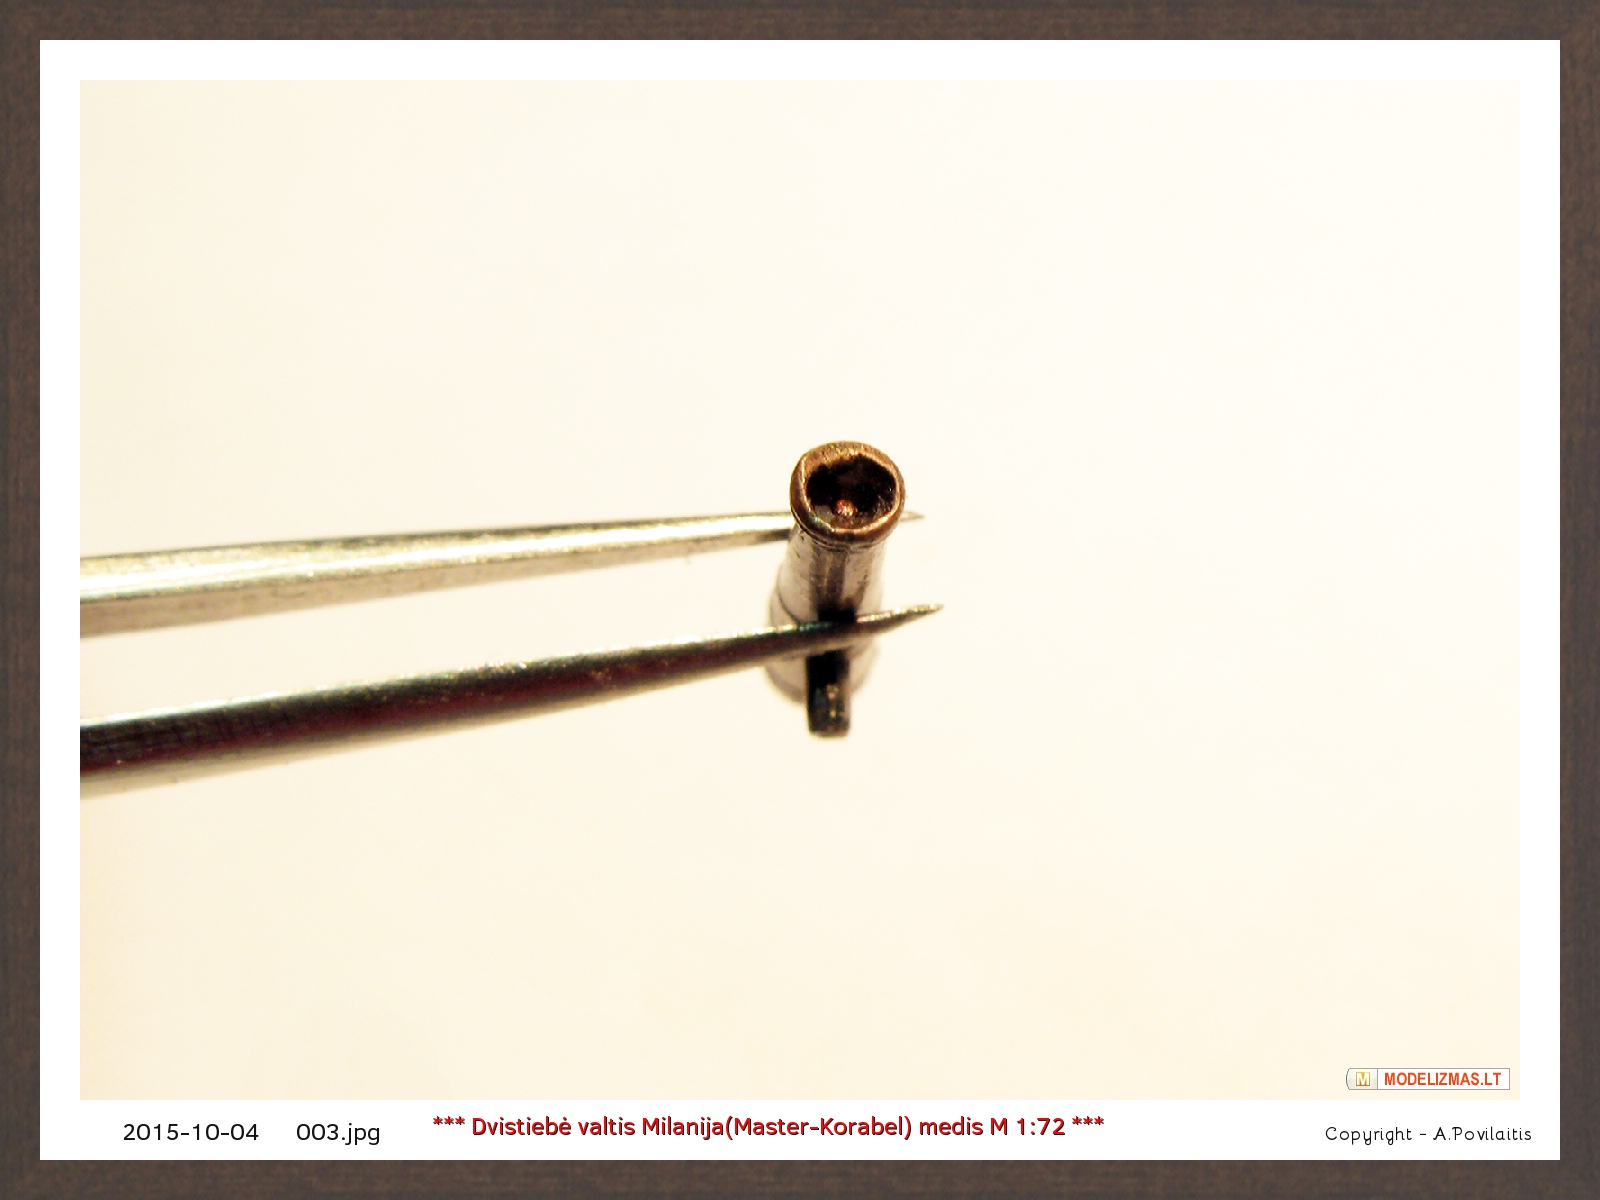
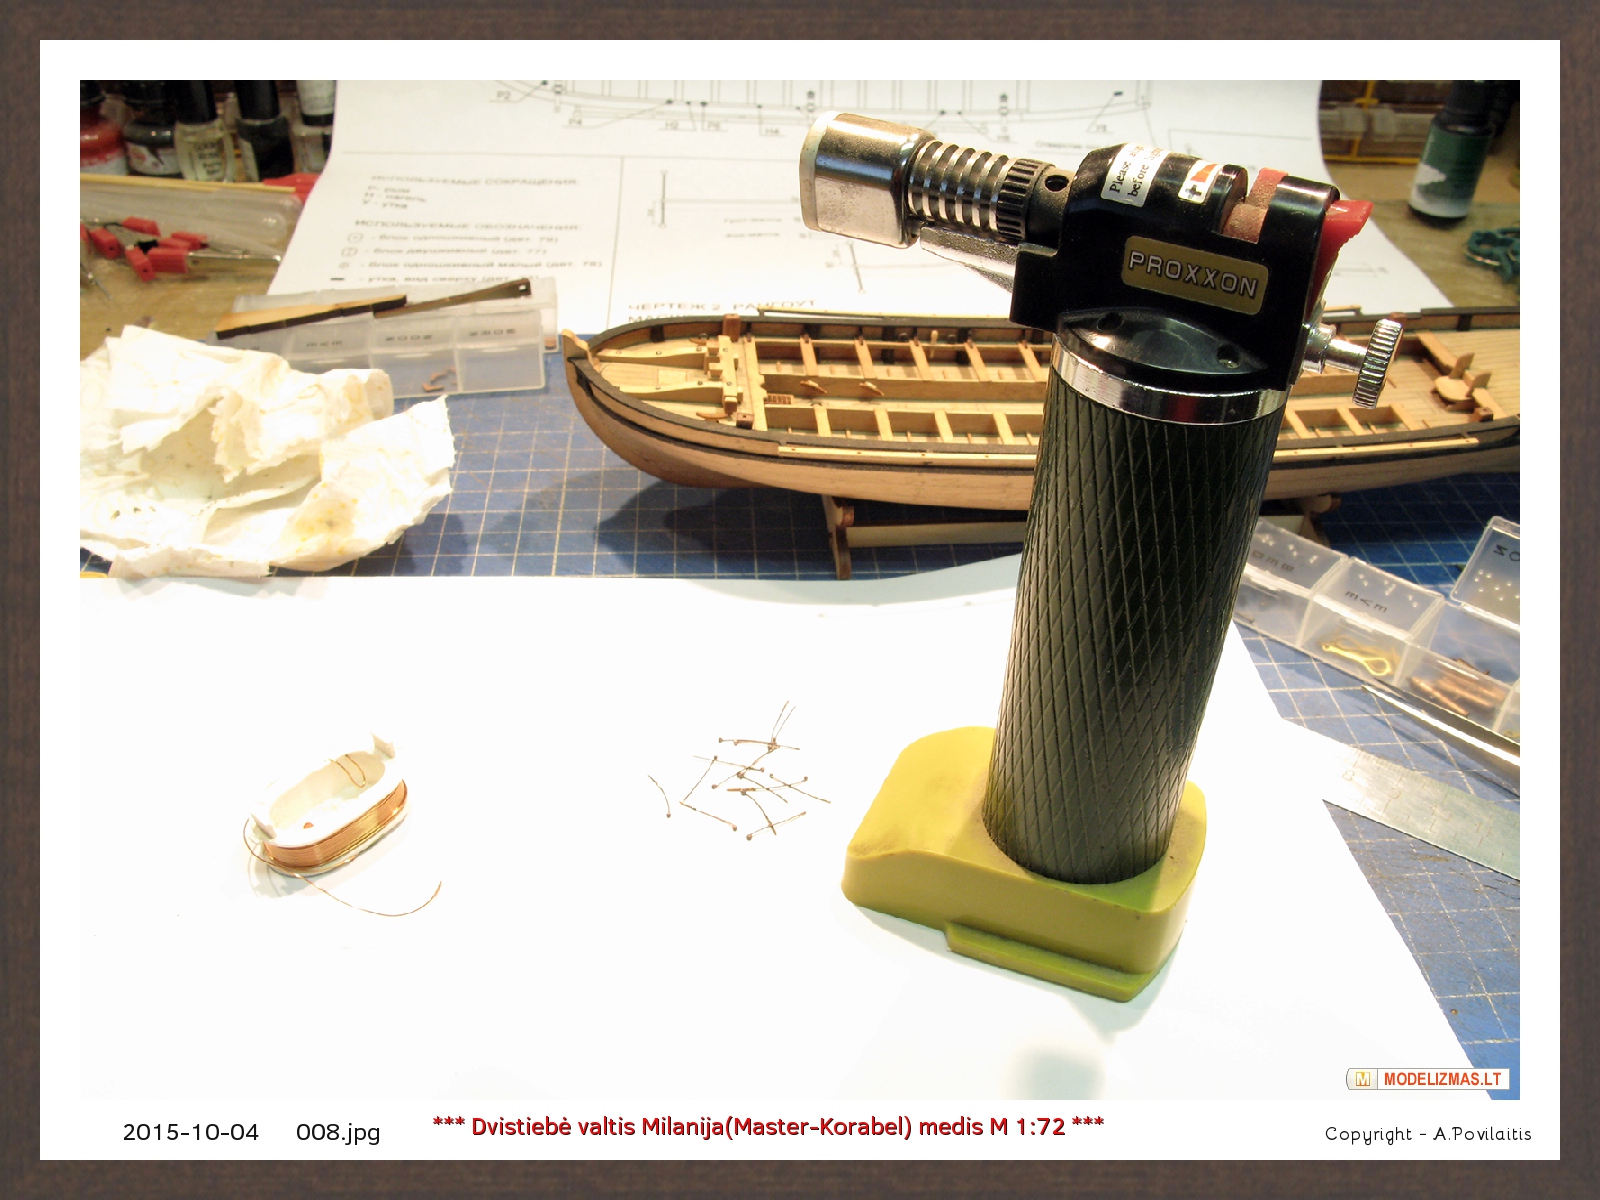
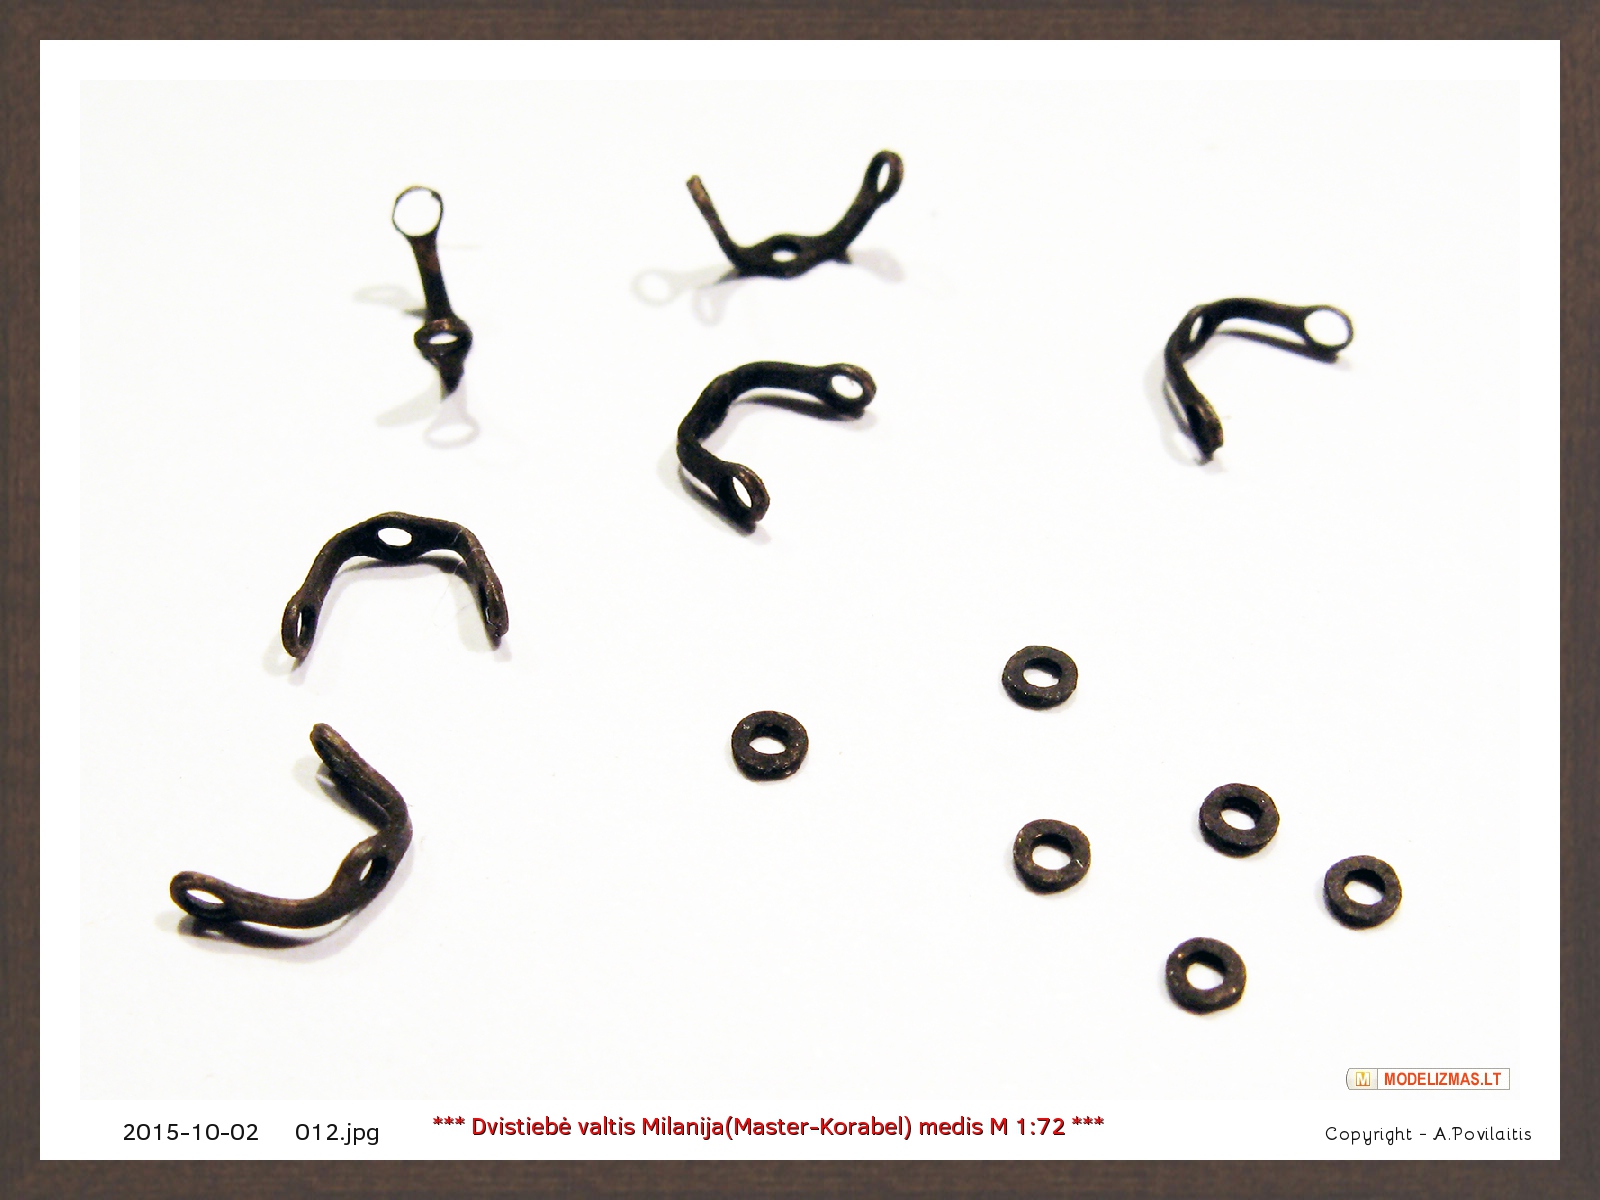
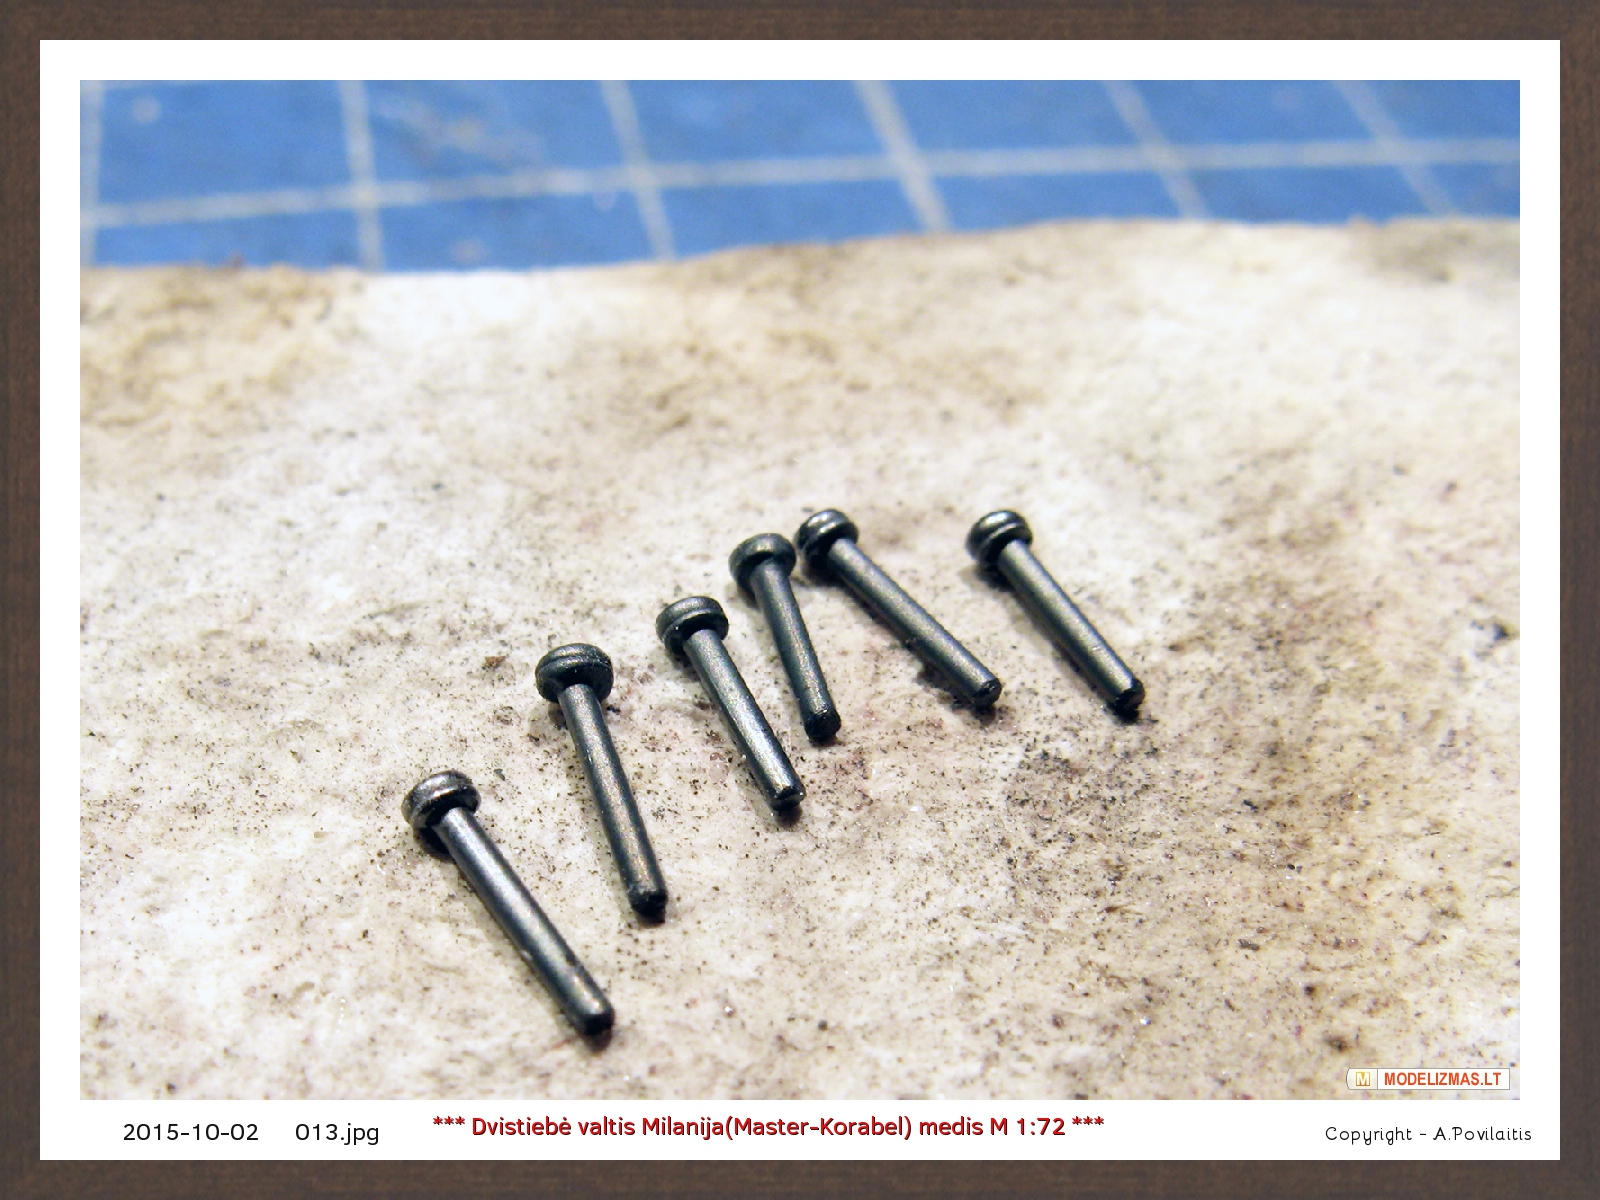
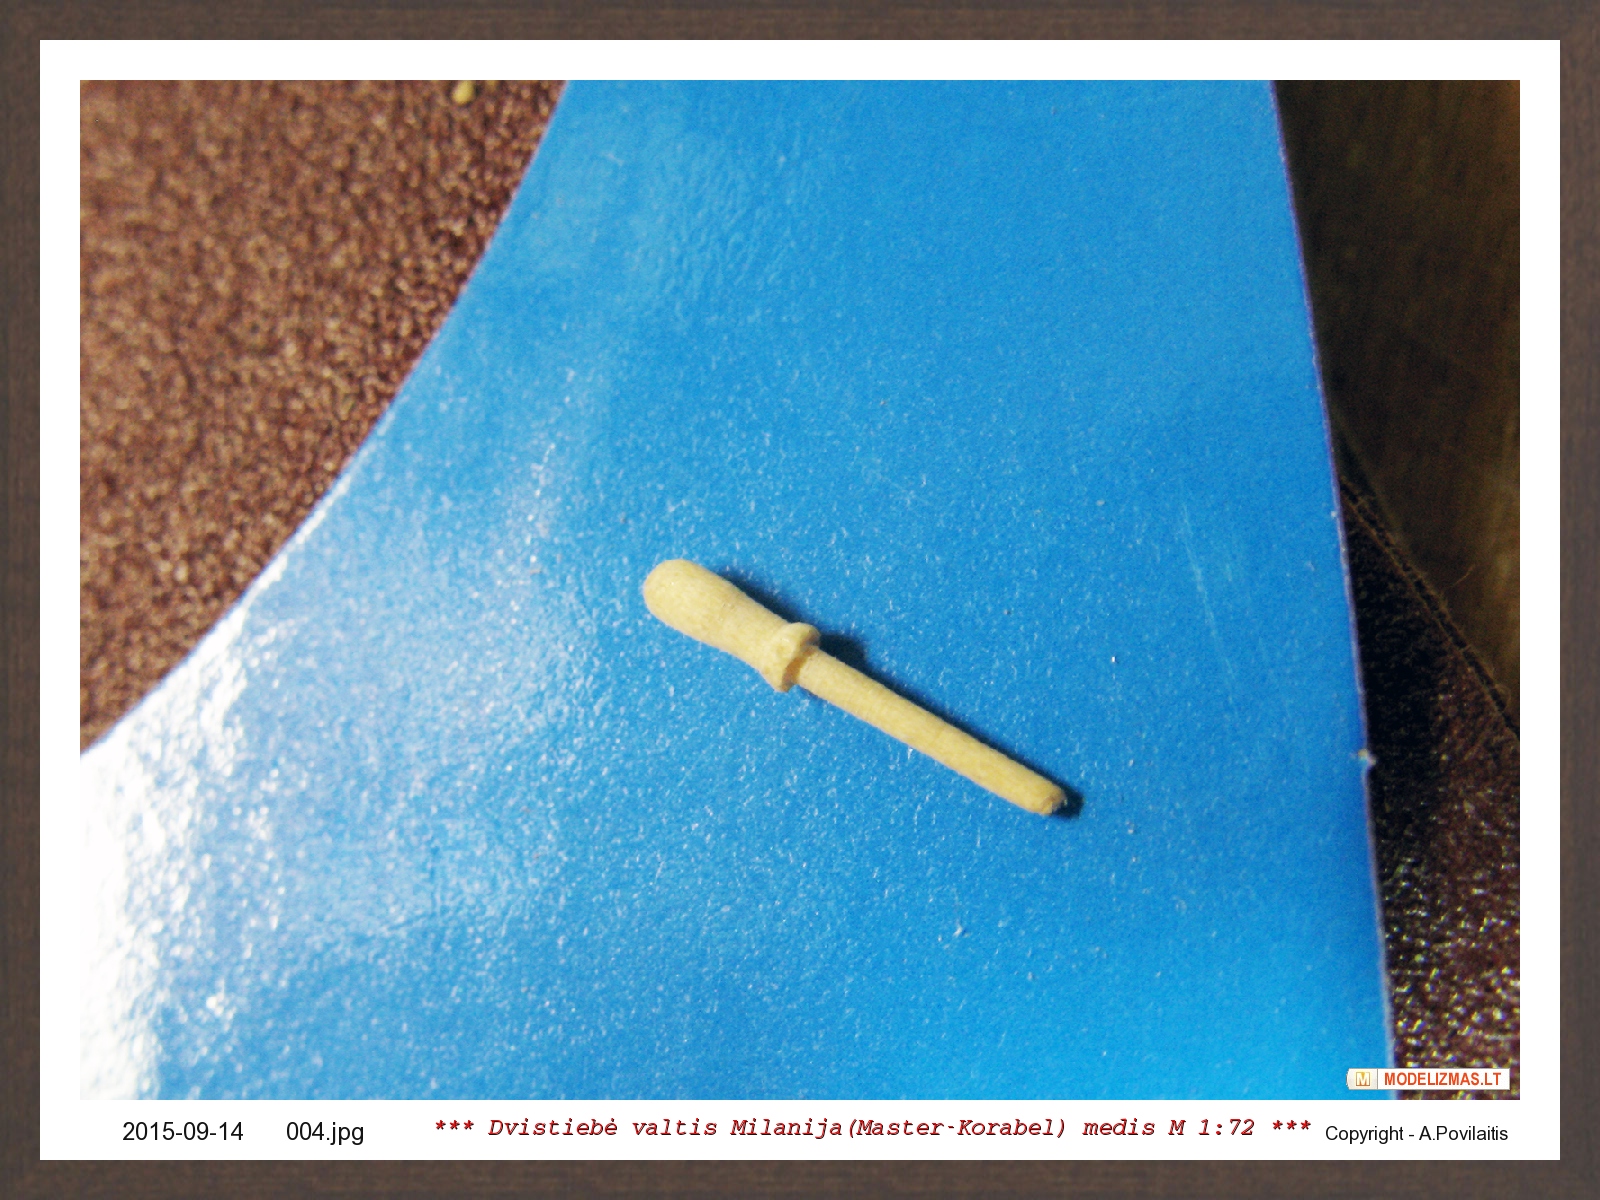
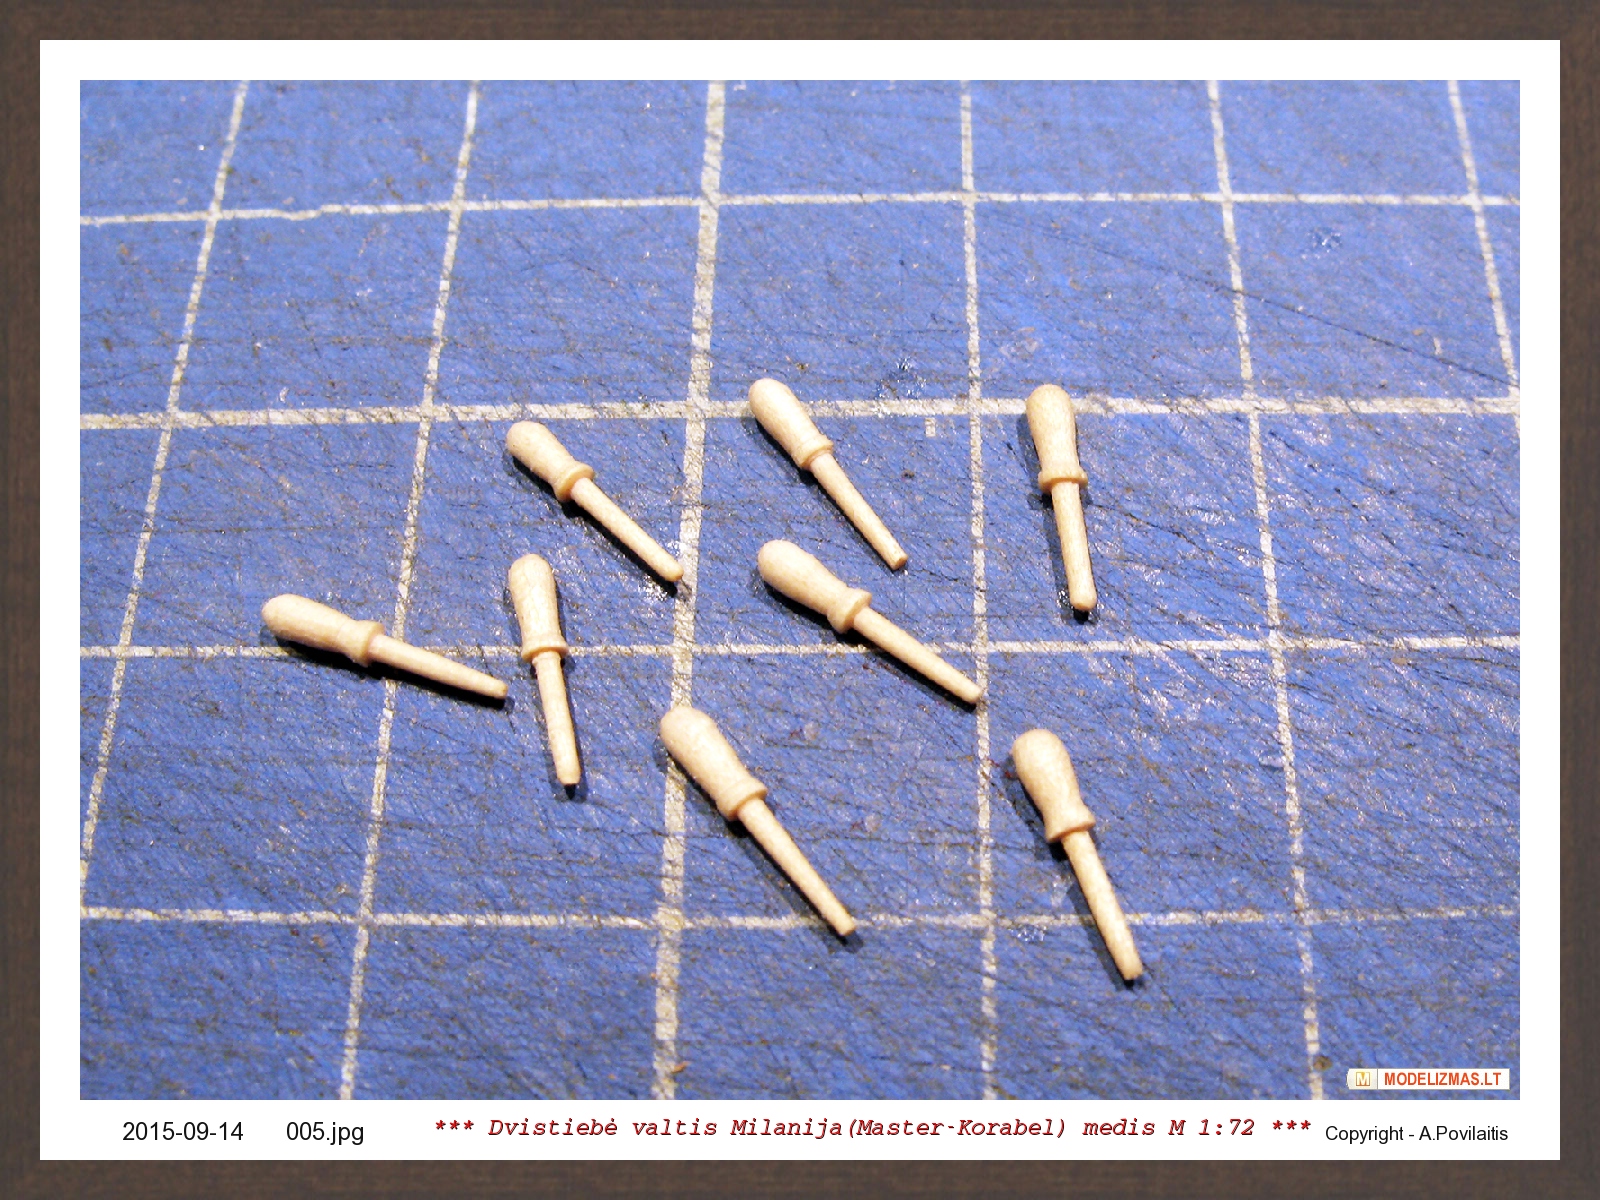
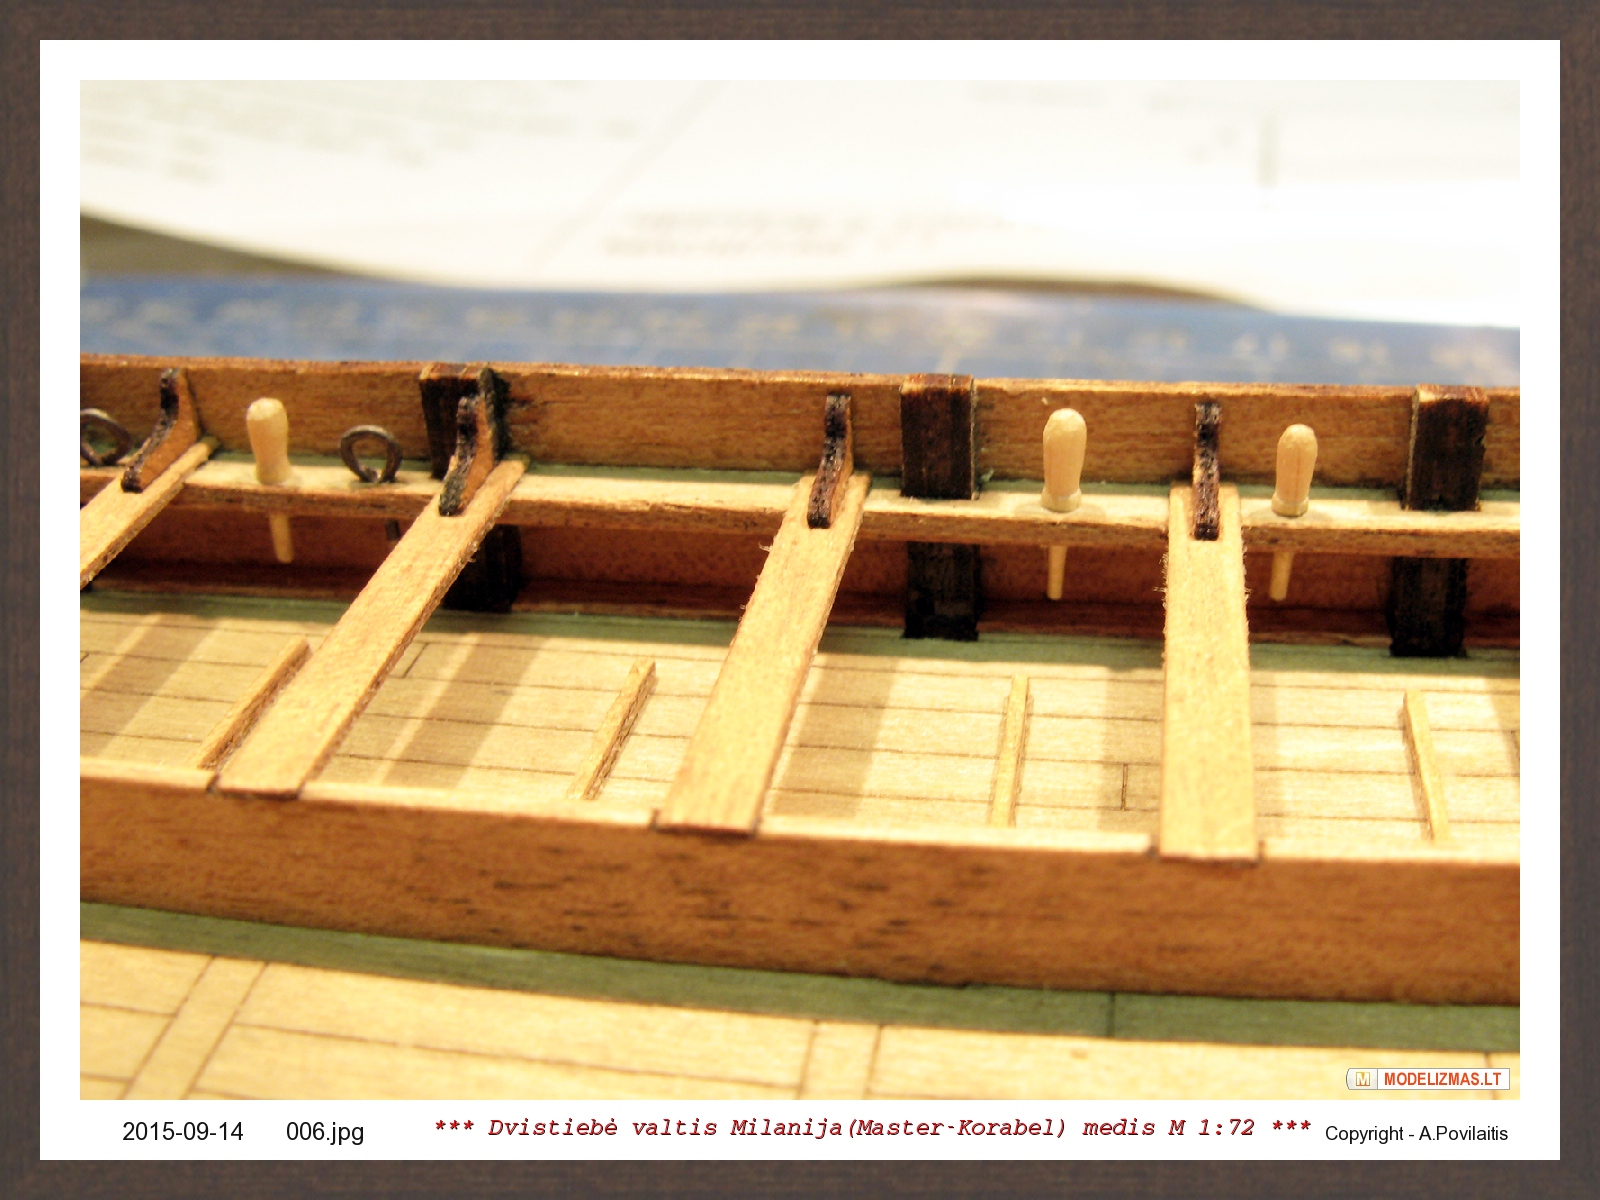
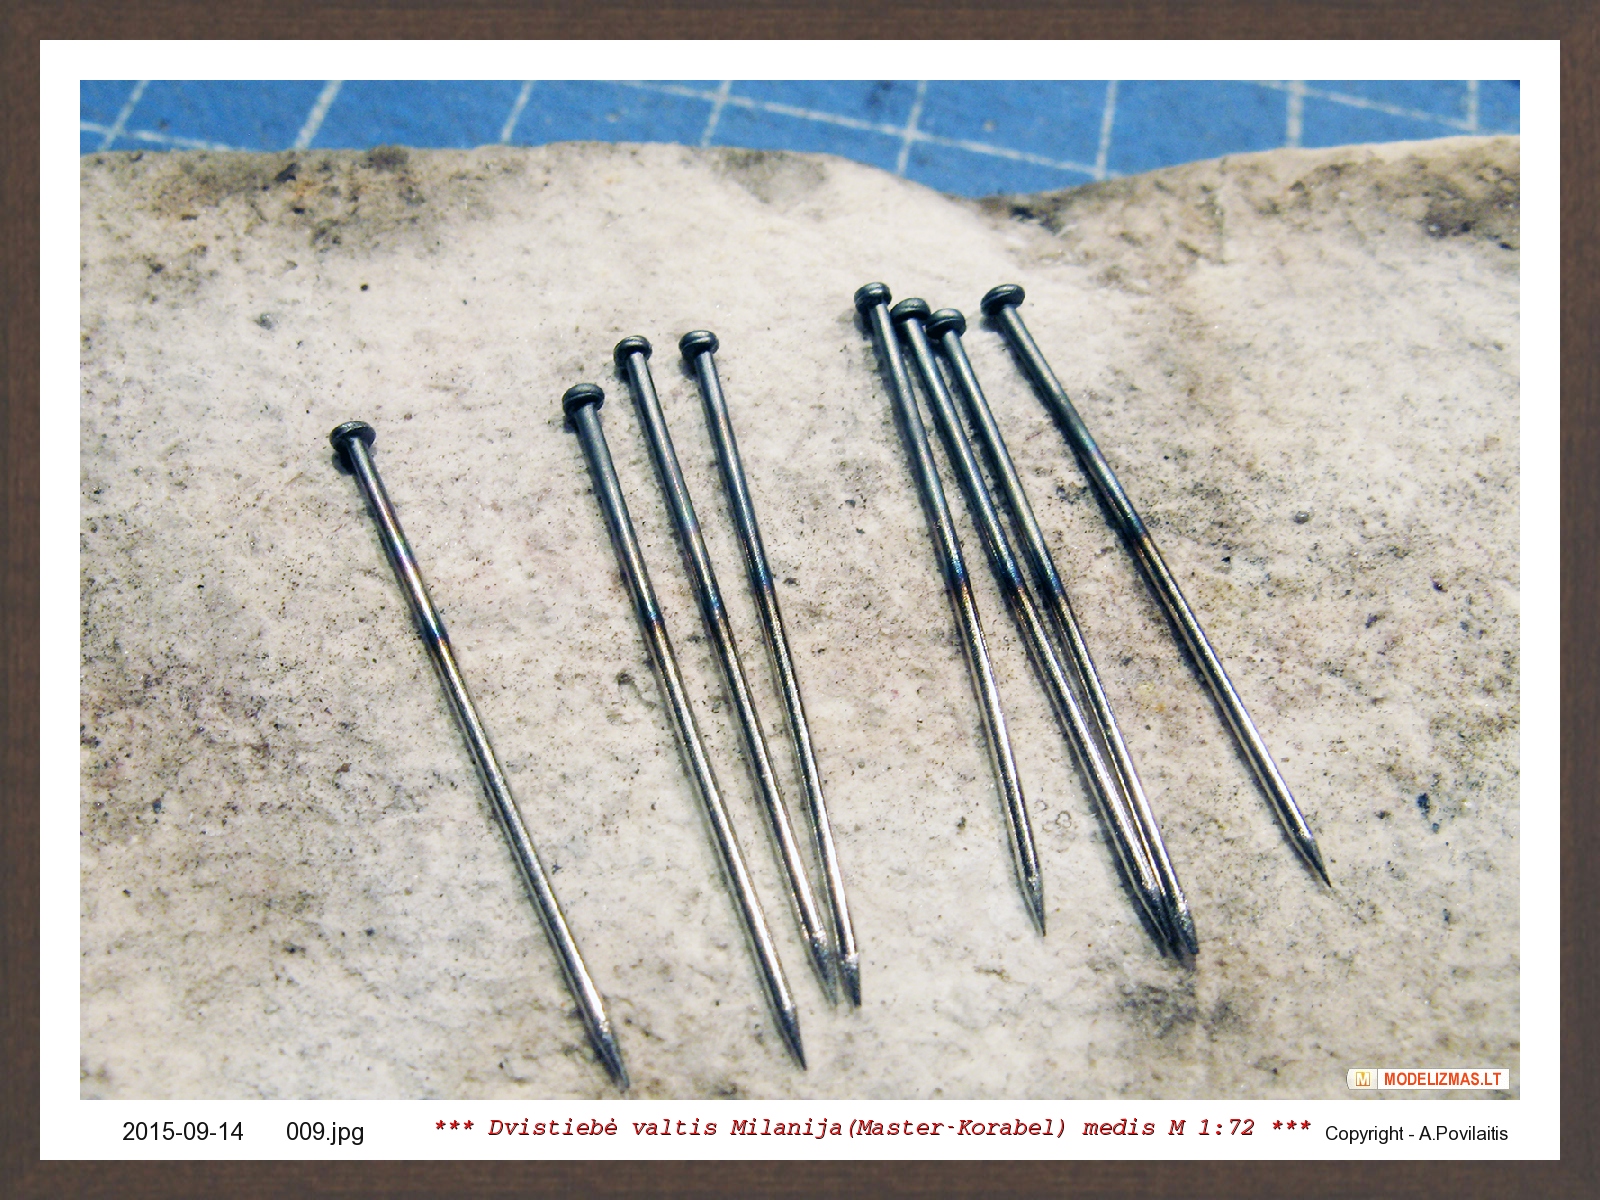
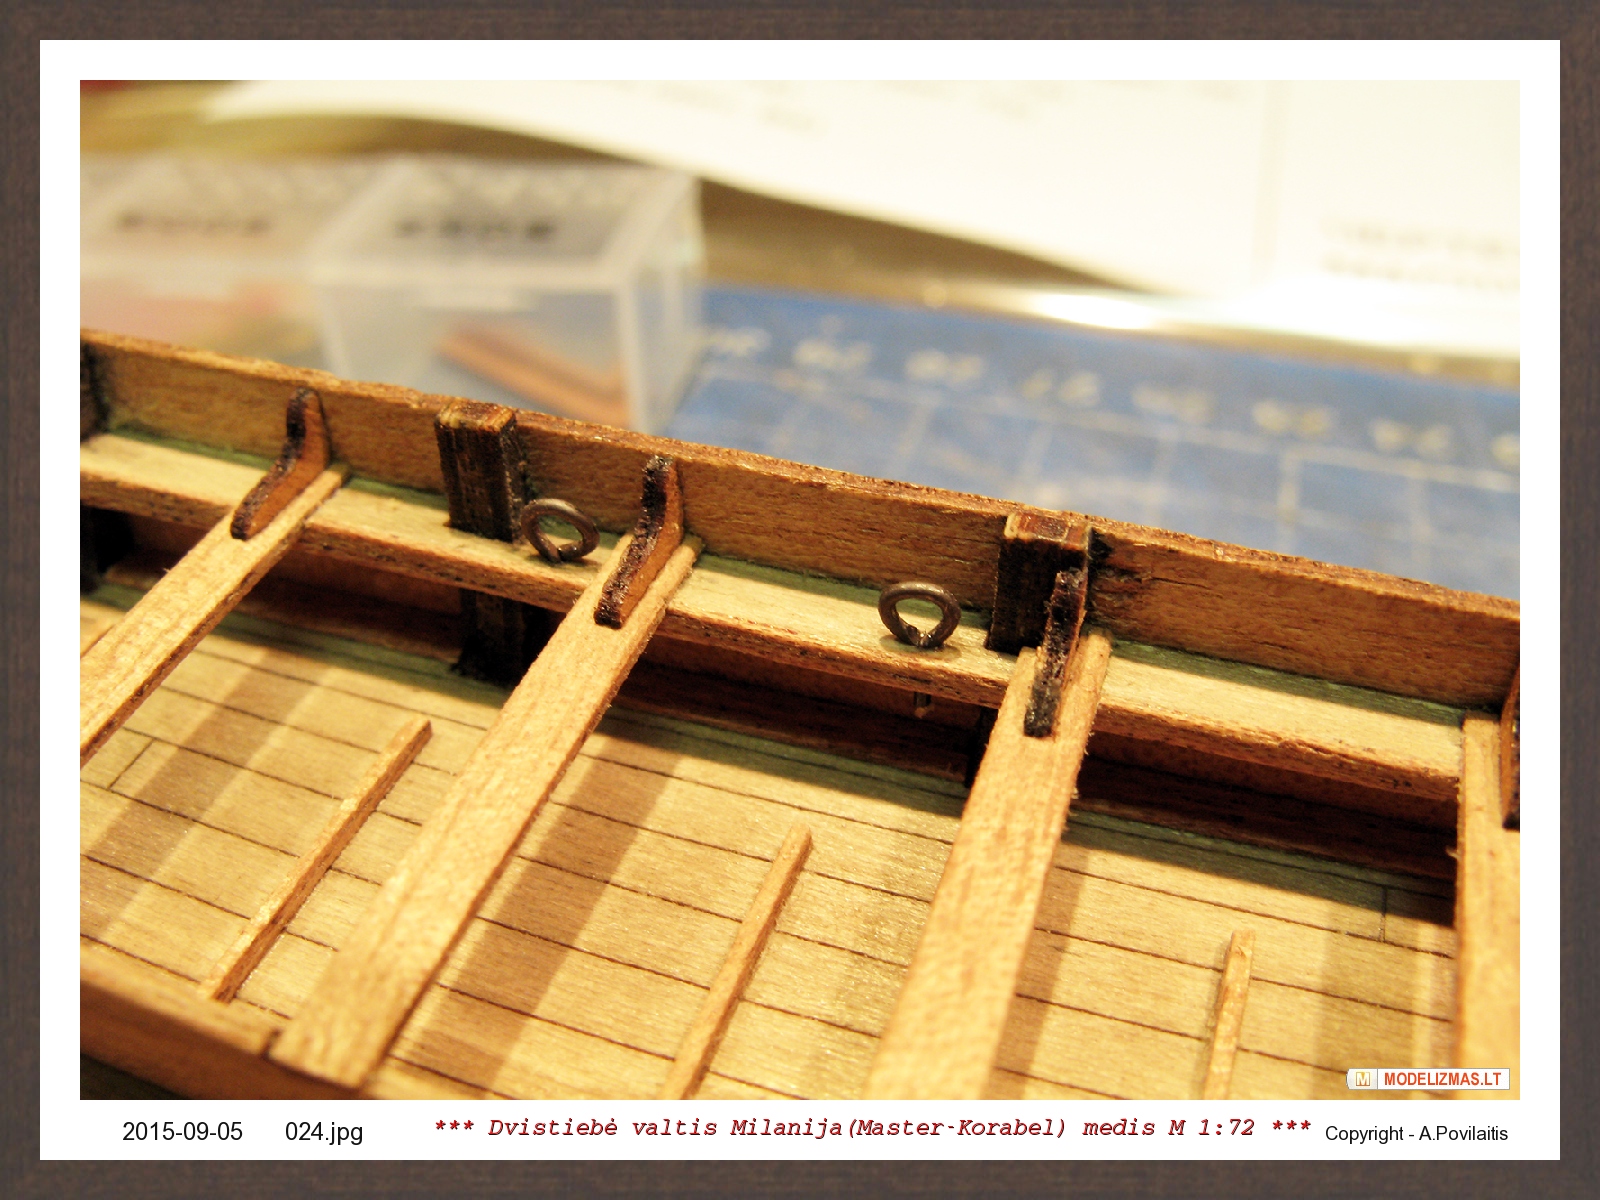
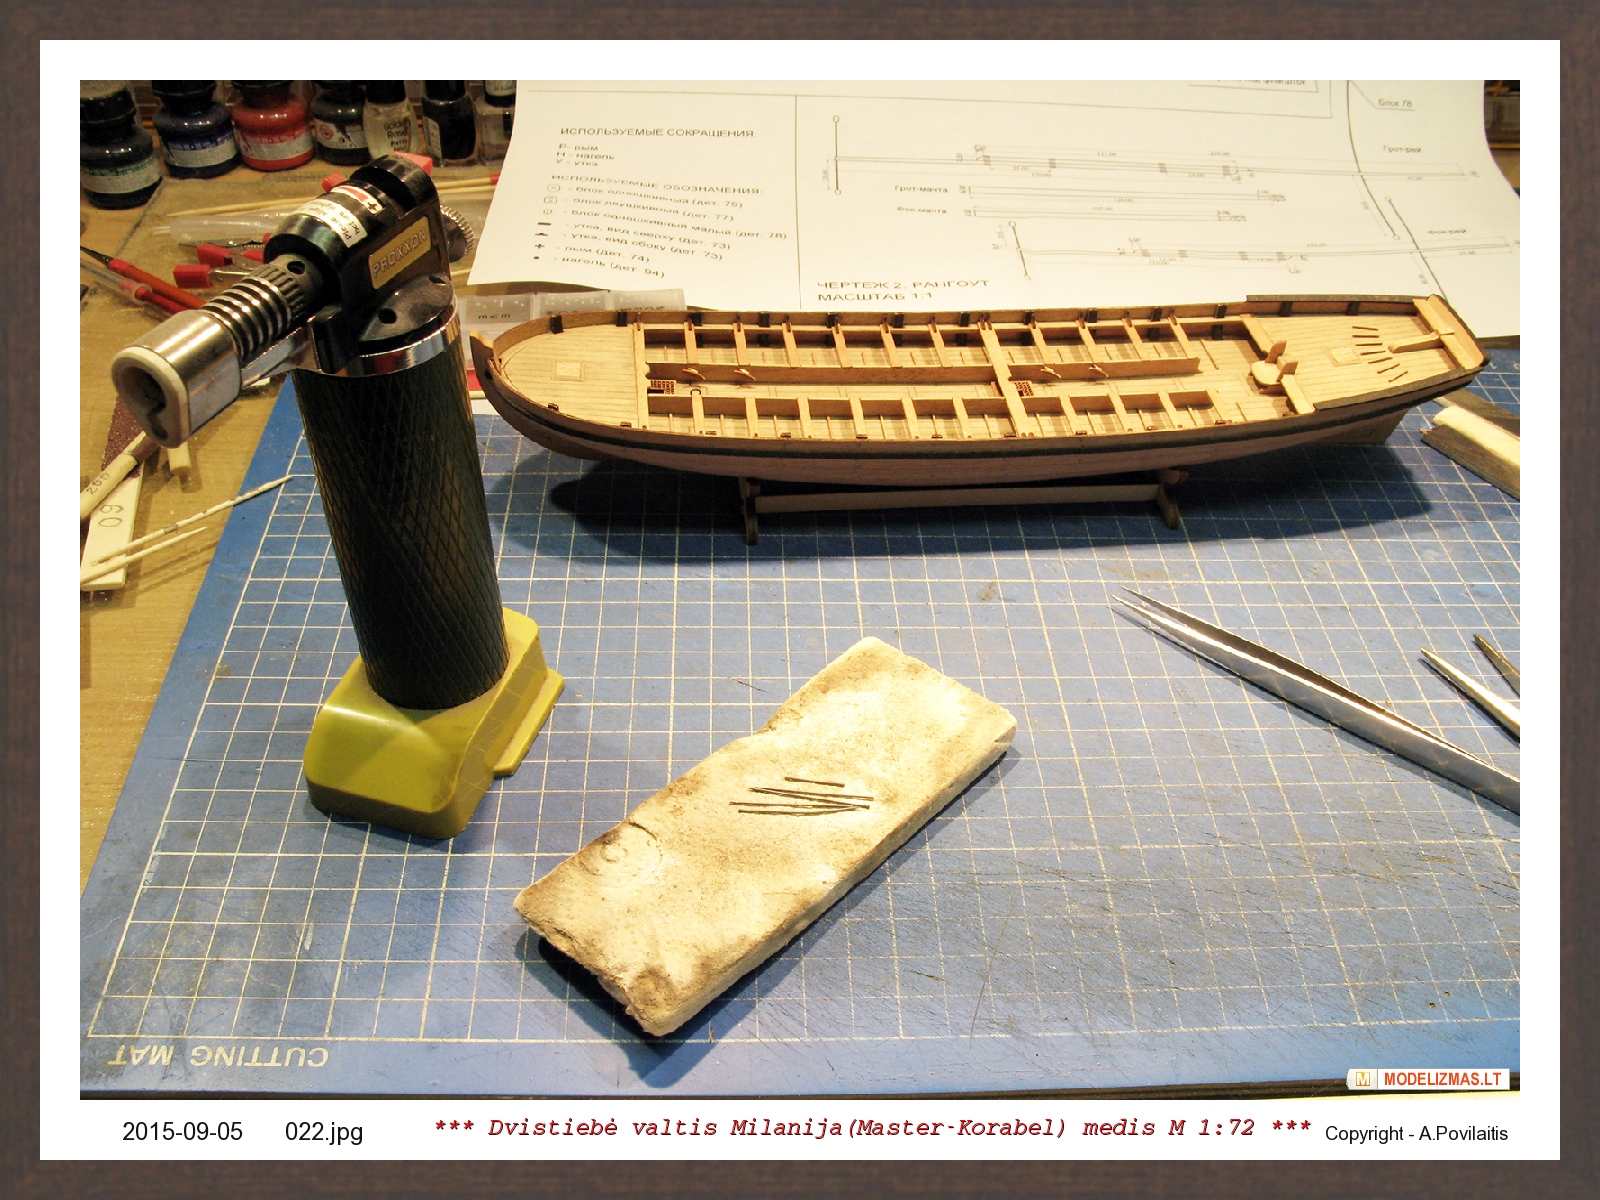
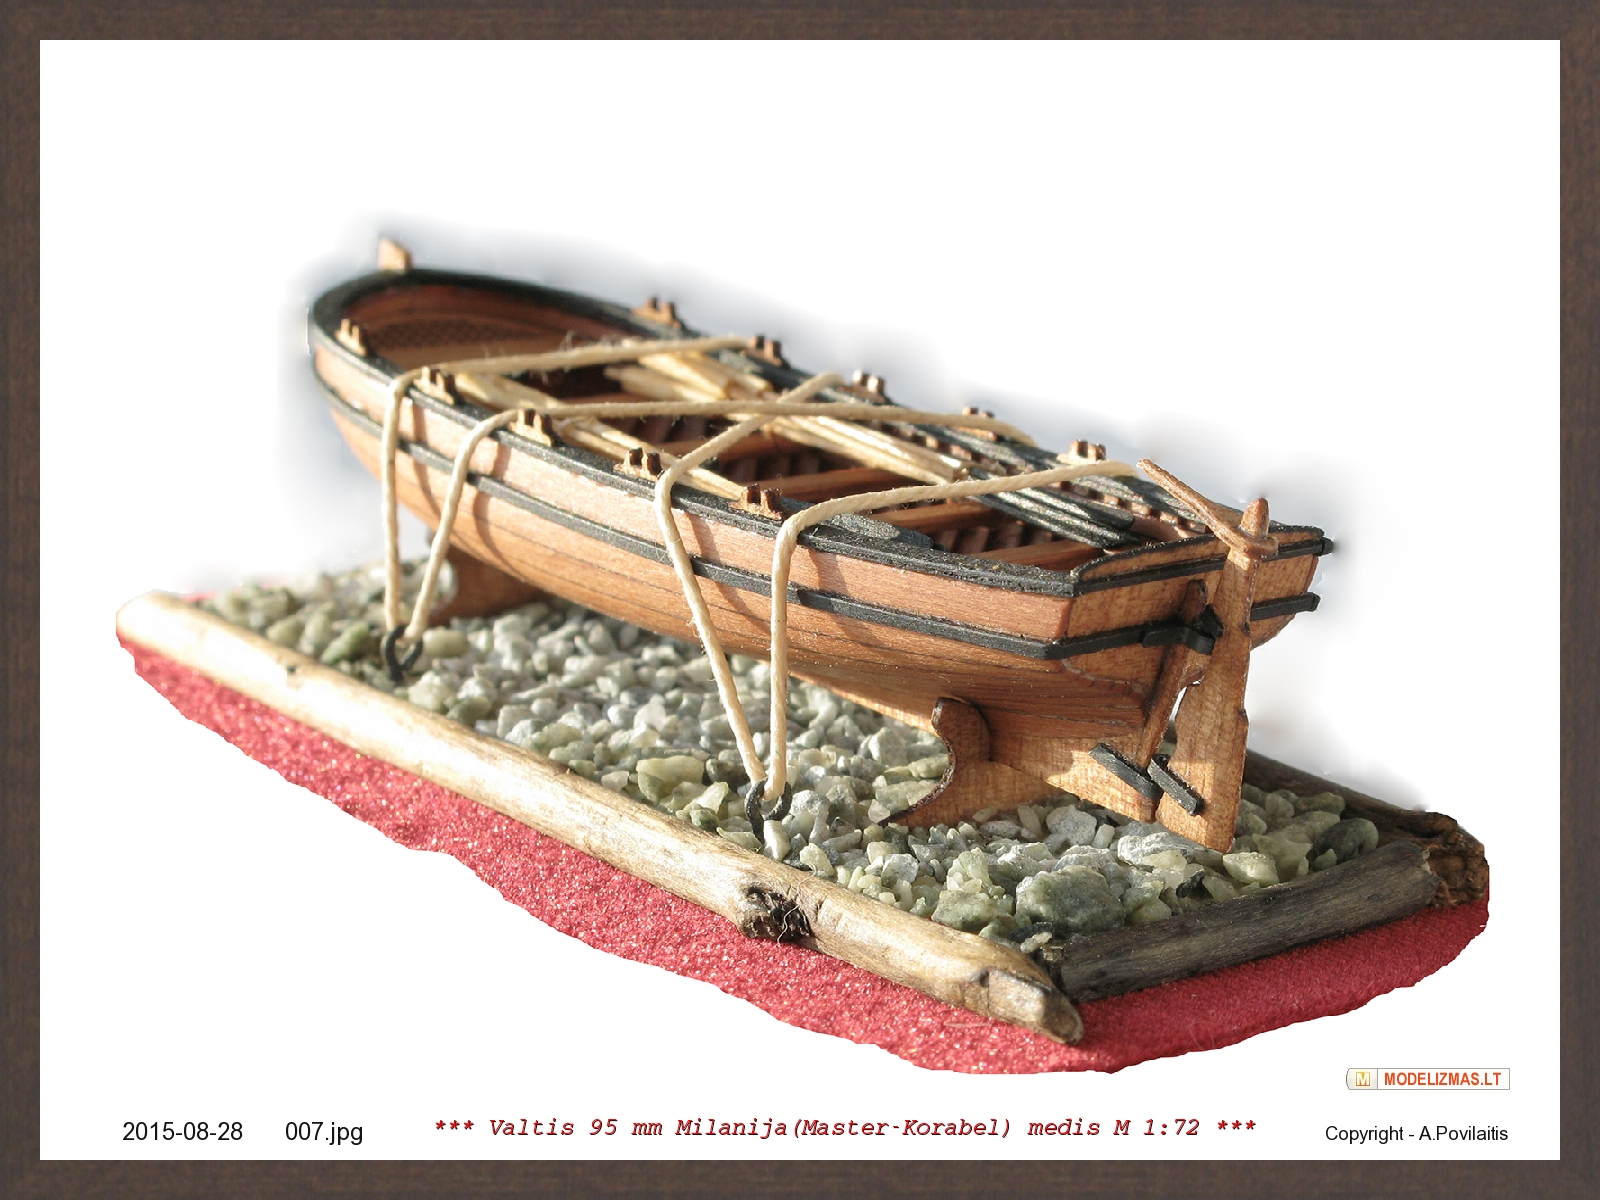
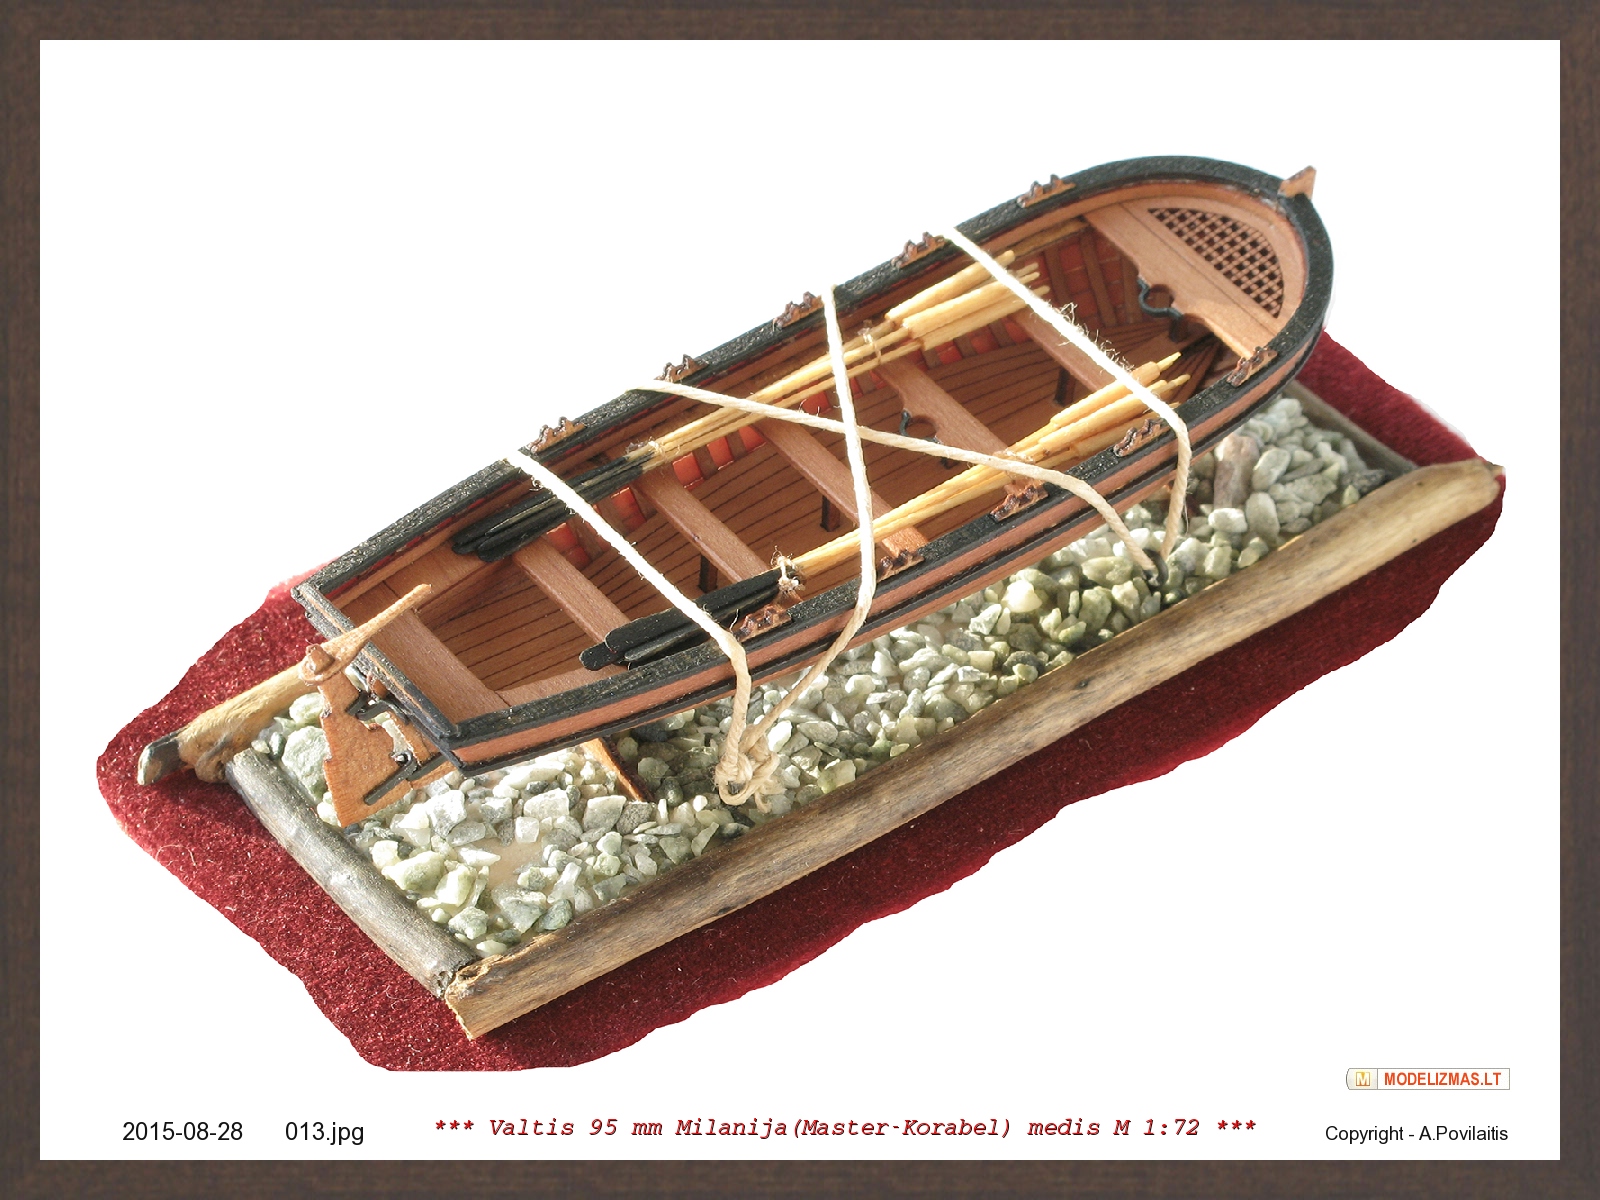
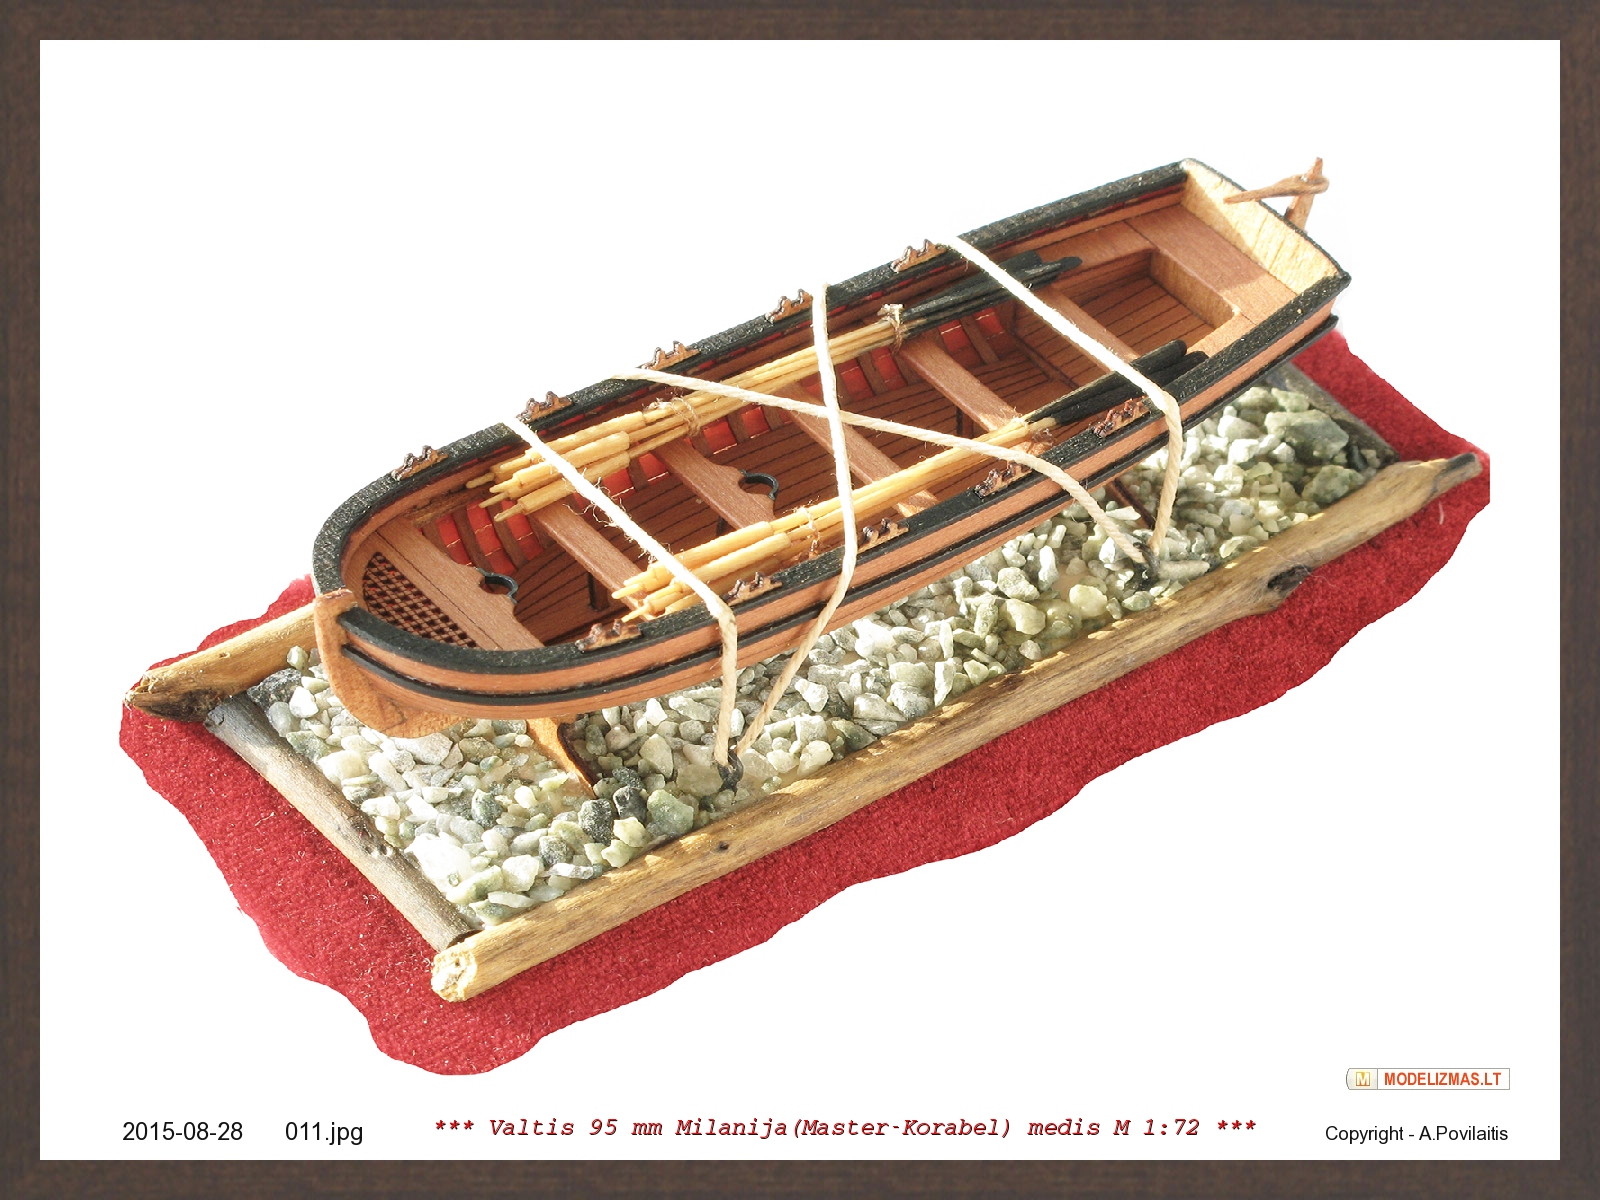
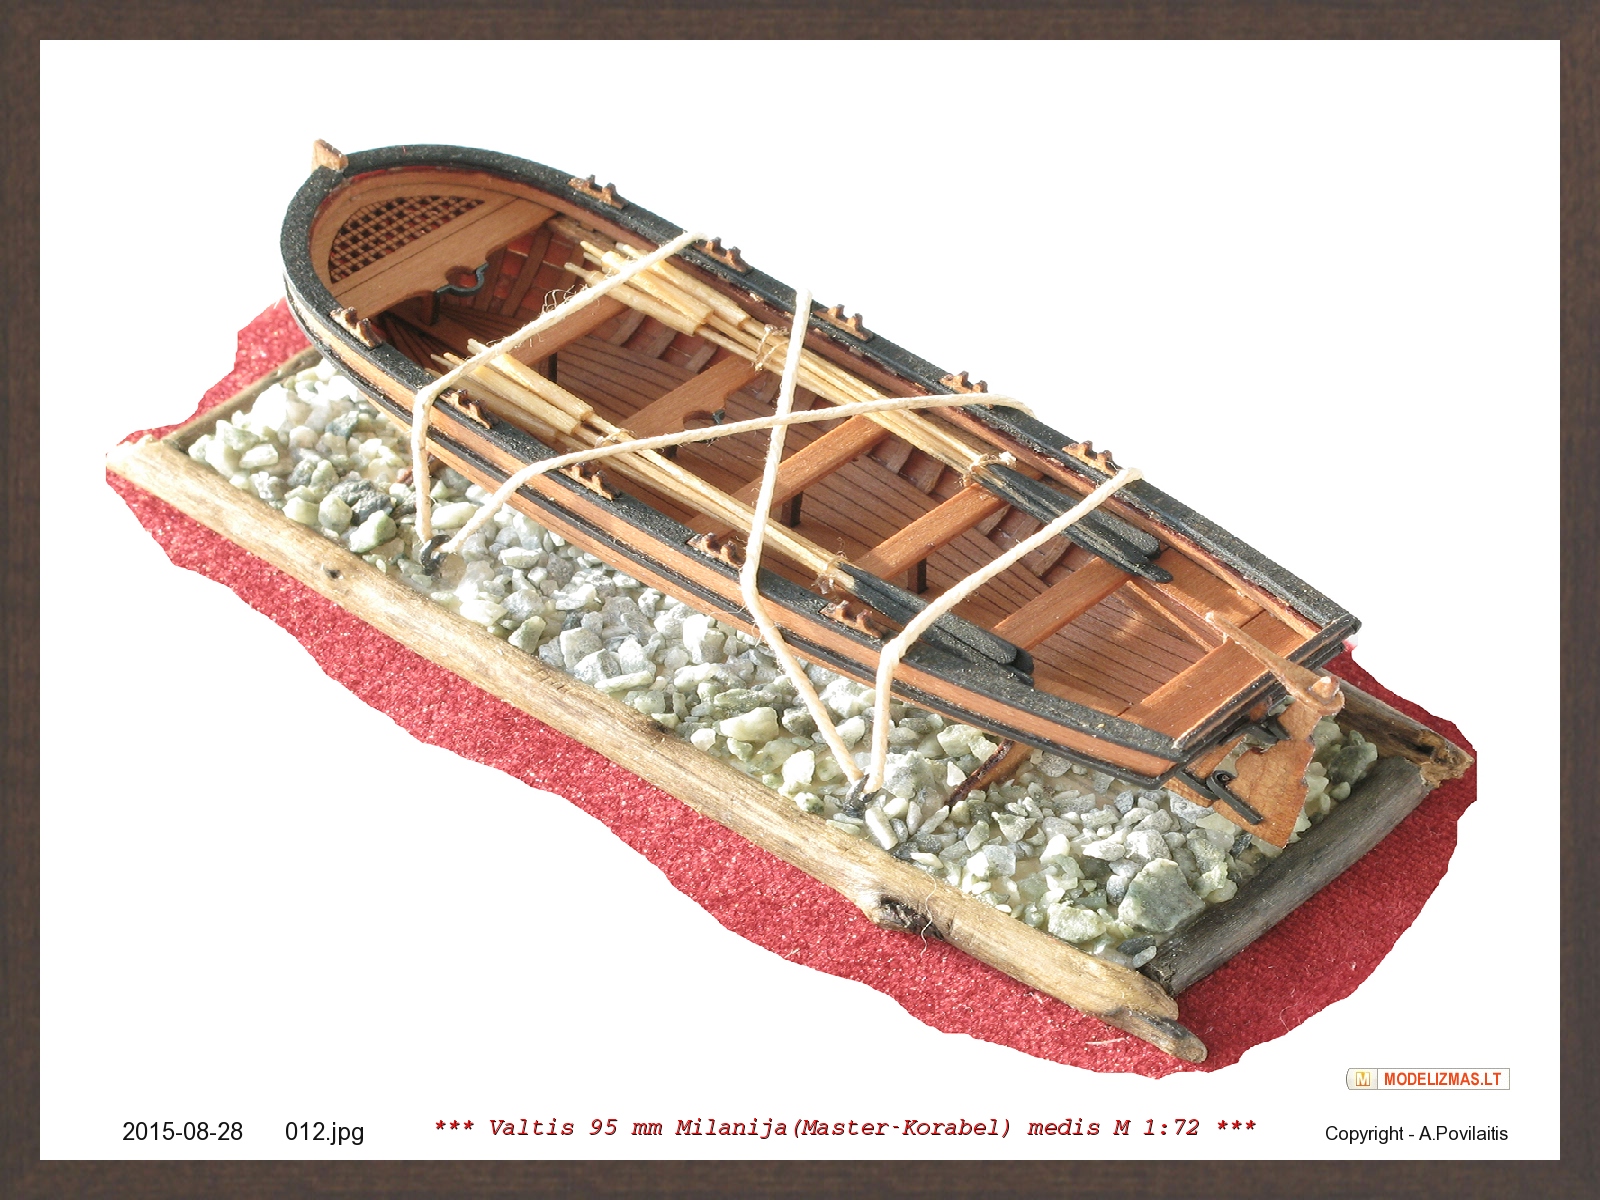
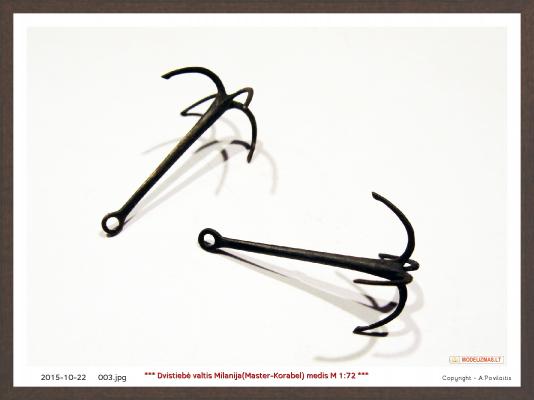
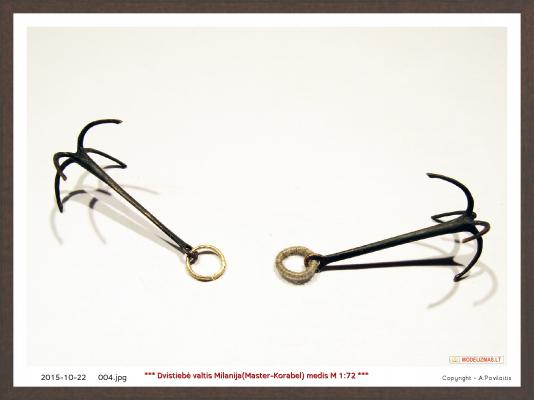
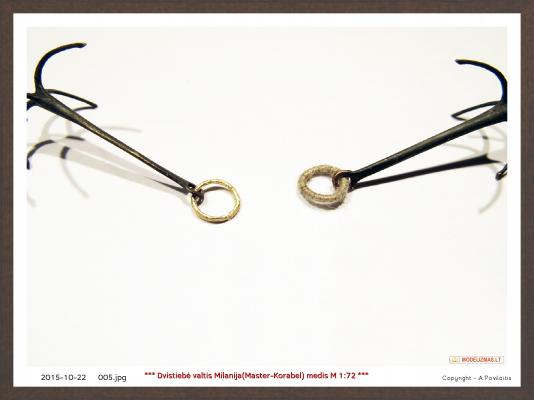
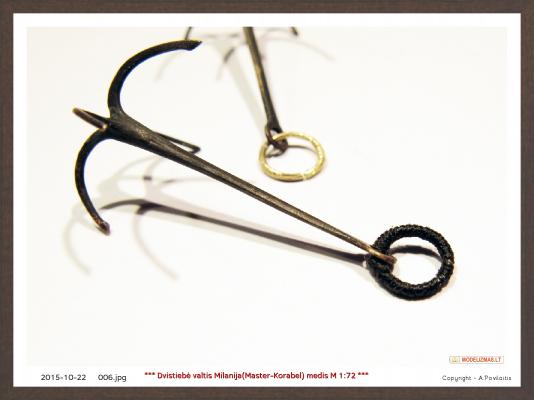
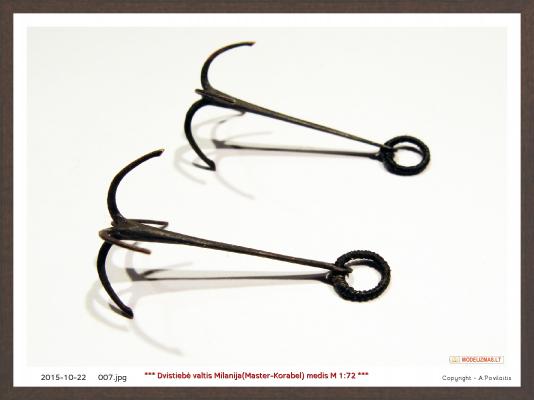
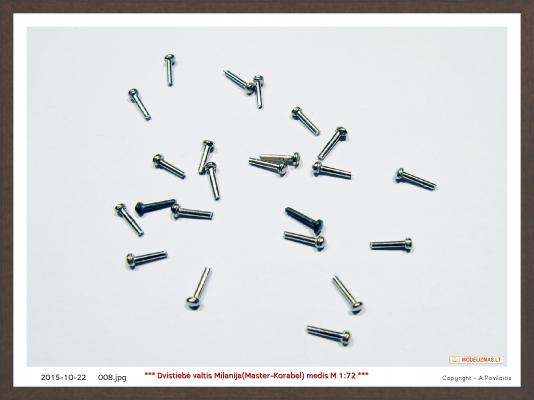
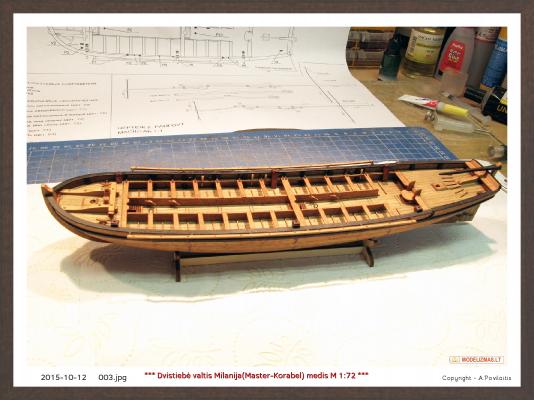
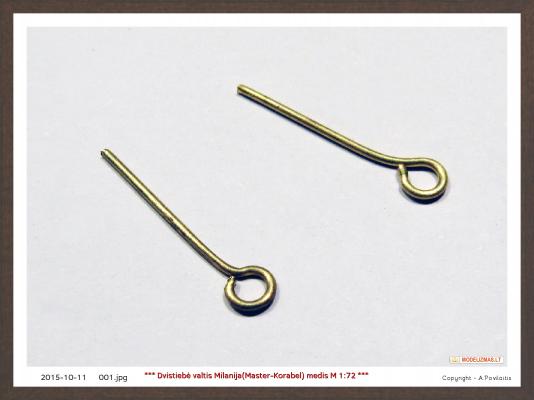
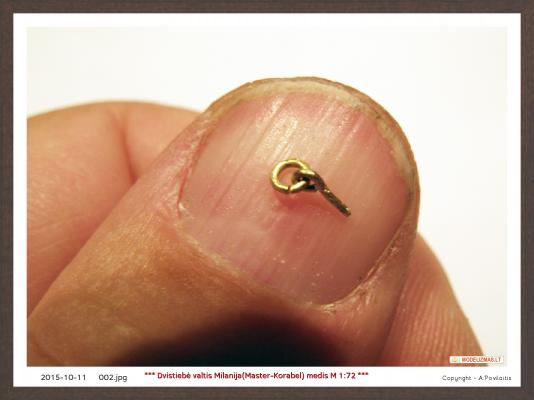
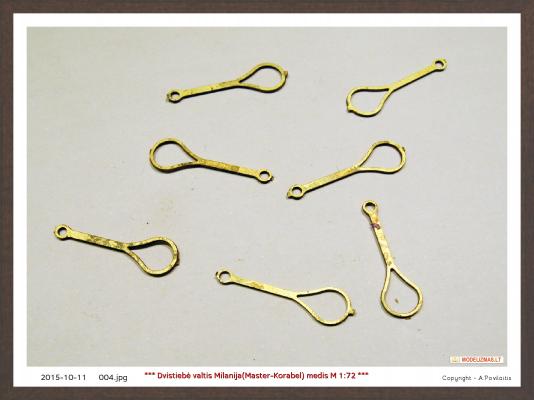
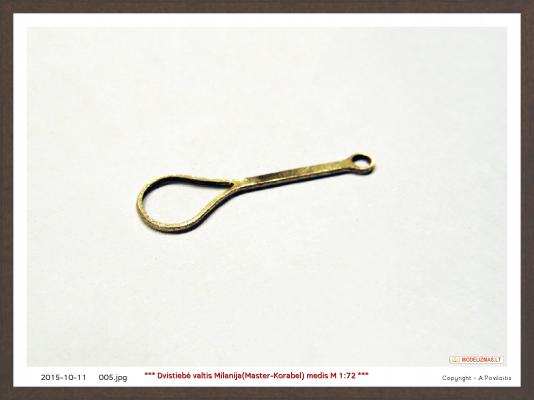
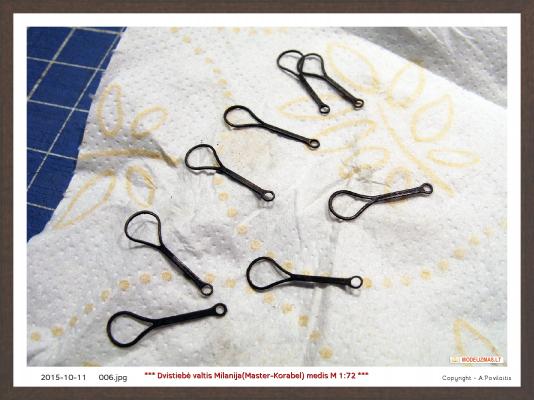
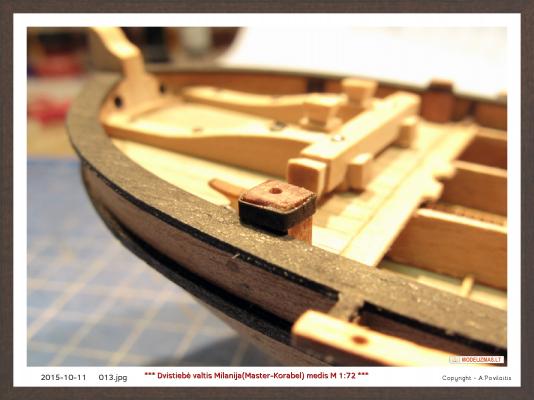
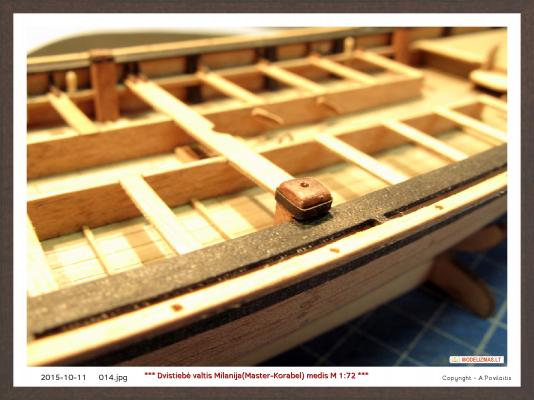
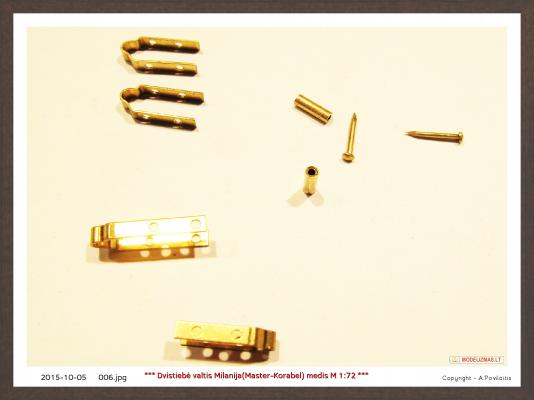
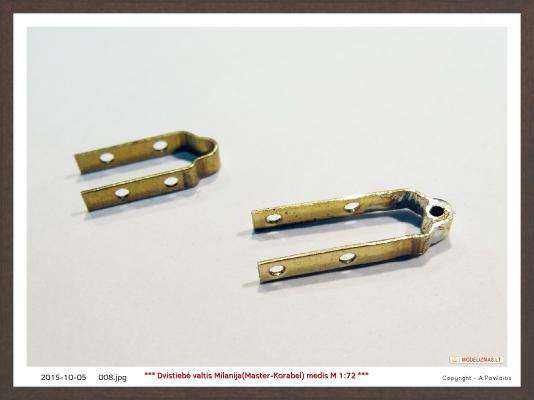
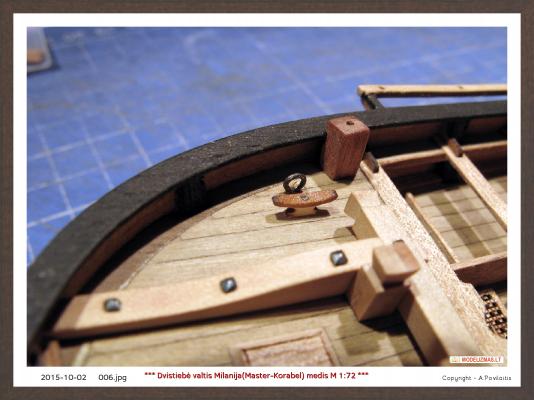
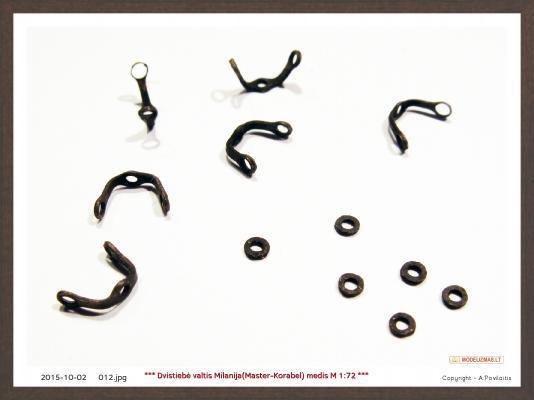
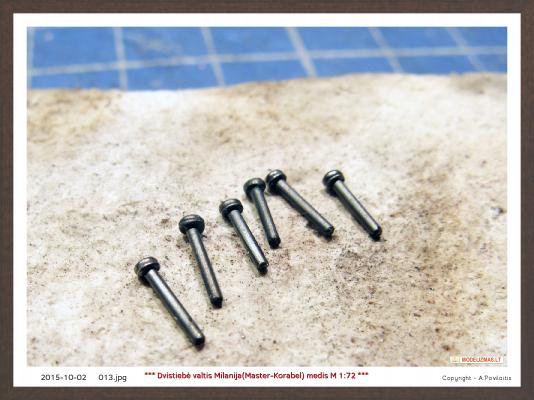
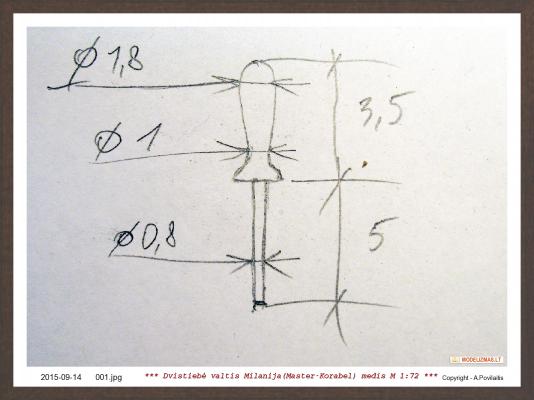
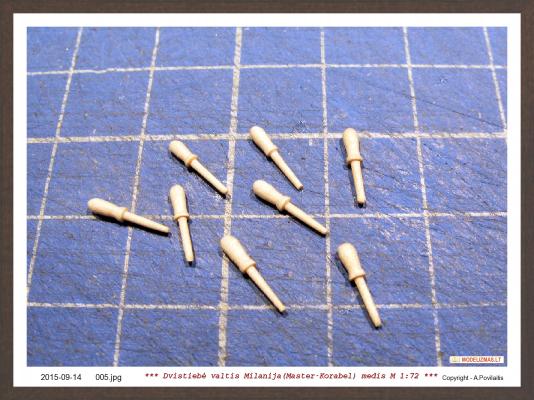
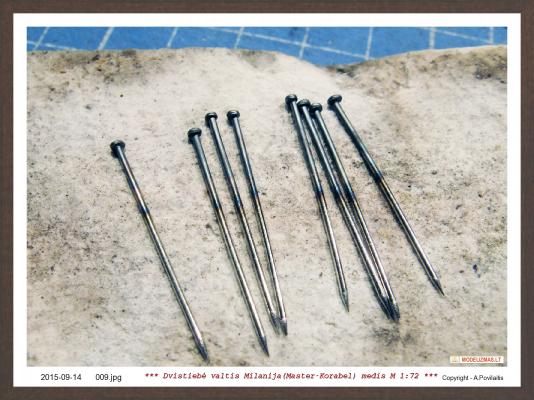
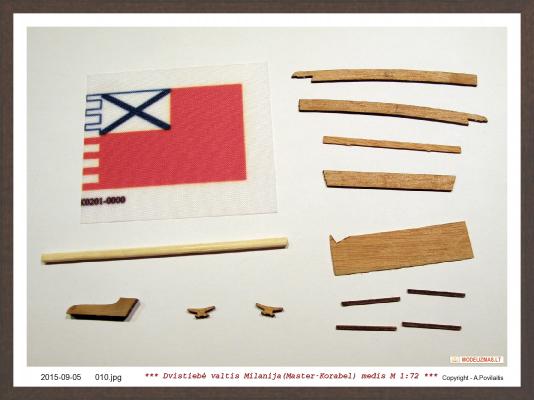
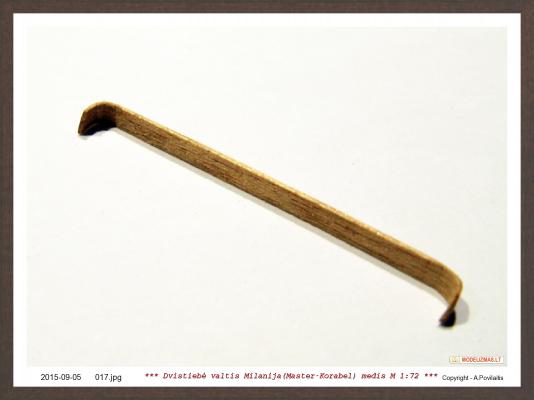
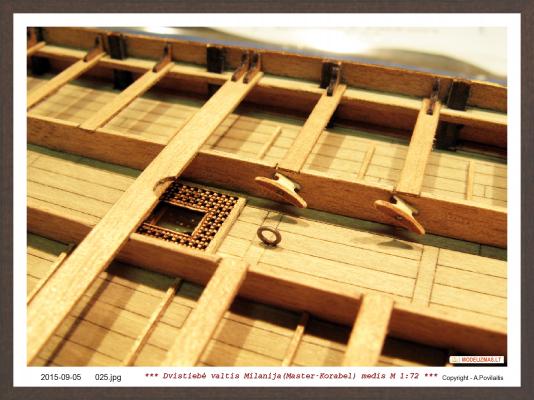
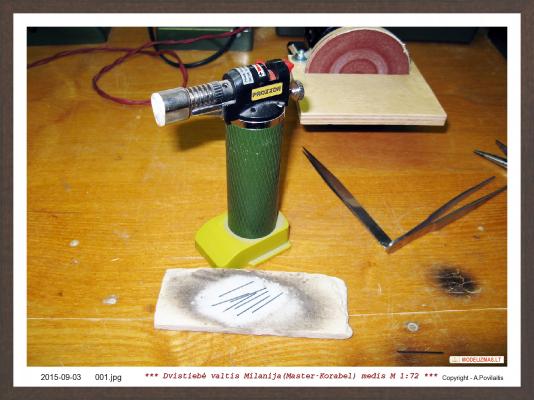
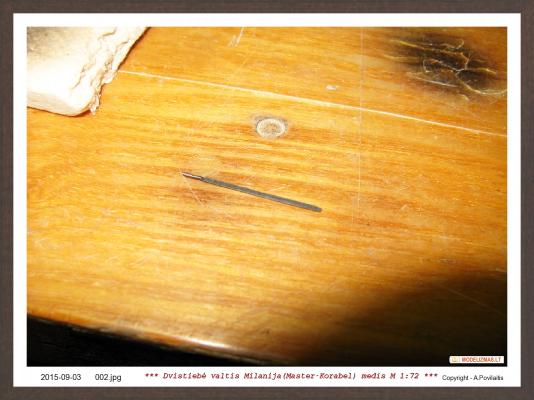
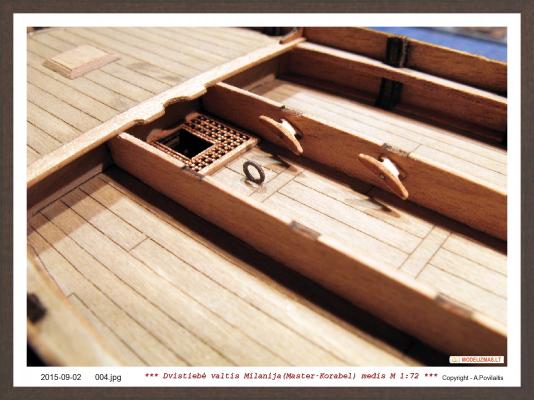
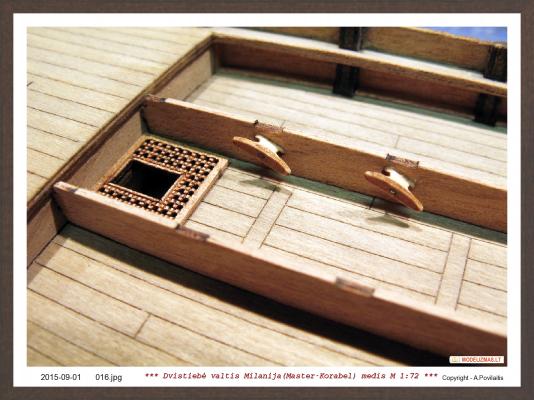
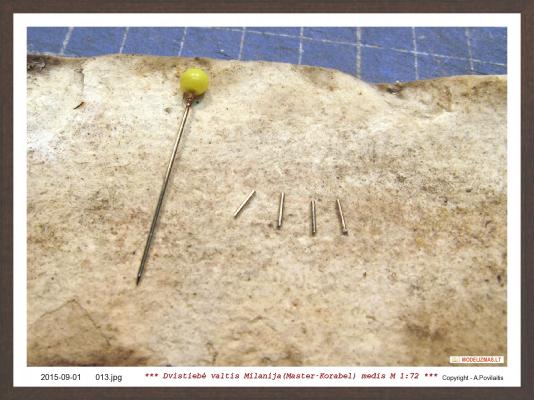
 Small update. The anchors and oars holders. The each anchor are soldered from two photo etched parts. The material is brass. Chemically blackened. Rings coiled rope, then painted in black. Stubble removed using a burner. The oars holders from steel pins. Regards Antanas
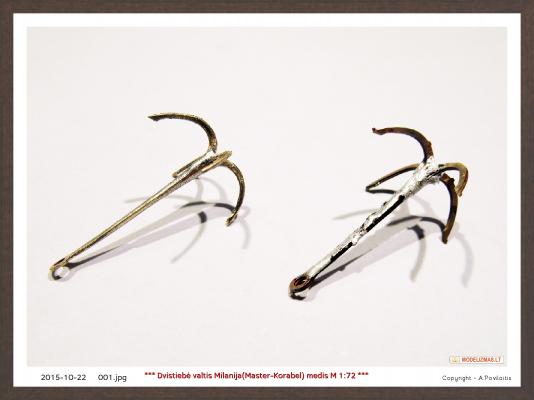


-
Brian,coils look absolutely real! Very good job. Congratulations! Except one first on the left side. To many glue. But maybe it must dry? I use the similar technology, but diluted the white glue with water. Proportion about 1: 3. The glue then is not visible. If I need to change the shape of the coil, used the hot air gun. The coil become more soft and are easy to change it shape. The model looks very well. Nice and clean. Many details as in real ship! I impatiently look forward to the next model. Regards Antanas
- 831 replies
-
- 4
-

-
- Armed Virginia Sloop
- Model Shipways
- (and 1 more)
-
Thank You Fam. I add only minimum improvements. And this can do any builder, I'll think. Master Korabel recommended this kit as the first model for beginners. Regards Antanas
-
Thank You once more, Fam. Regards Antanas
-
Thank You Fam. Regards Antanas
-
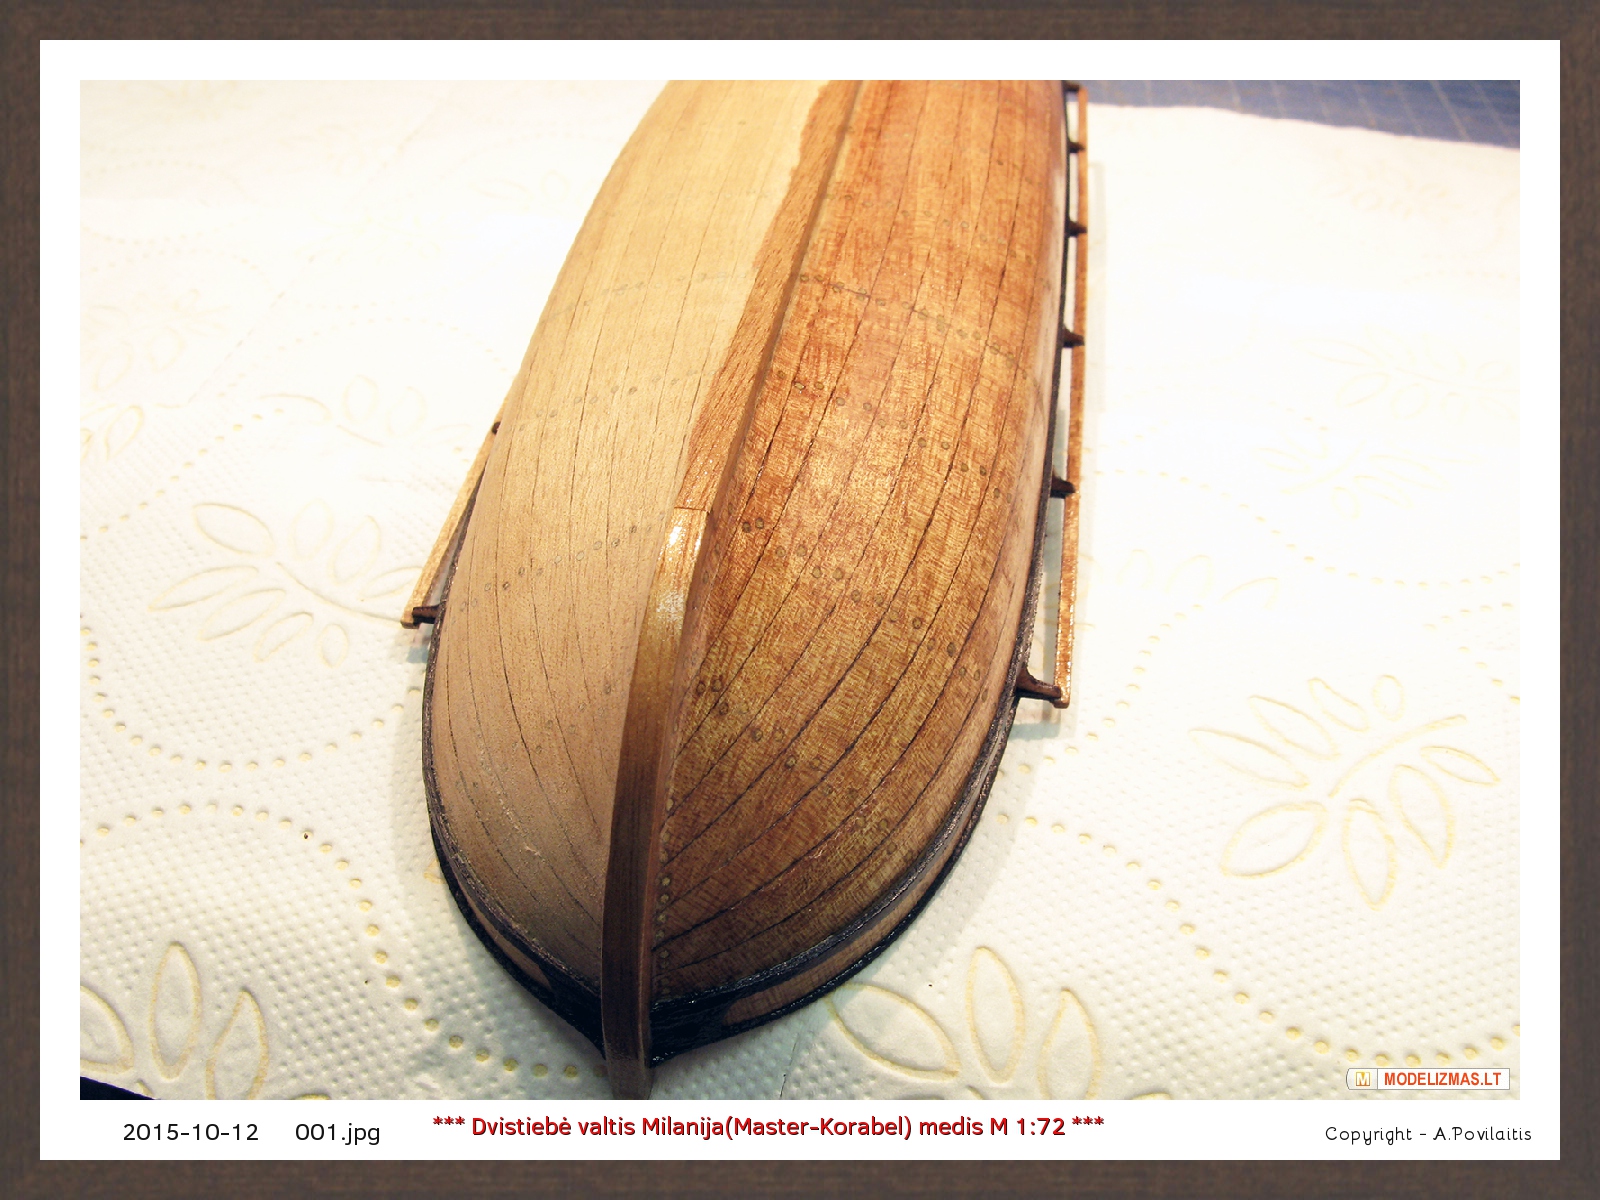
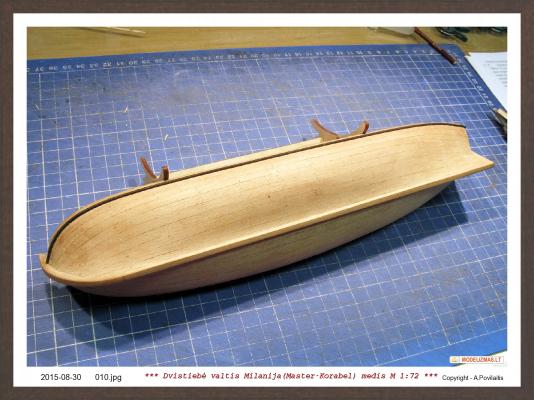
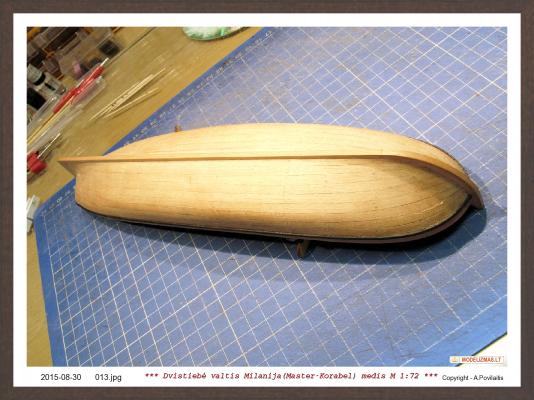
All jobs on the hull are done and now time to oil. I use the carnauba and candelilla wax based breathable tung oil. It dries within 24 hours, full polymerization time about 6 month. I place 2 layers of the oil. Now leave to dry for a week. Regards Antanas

-
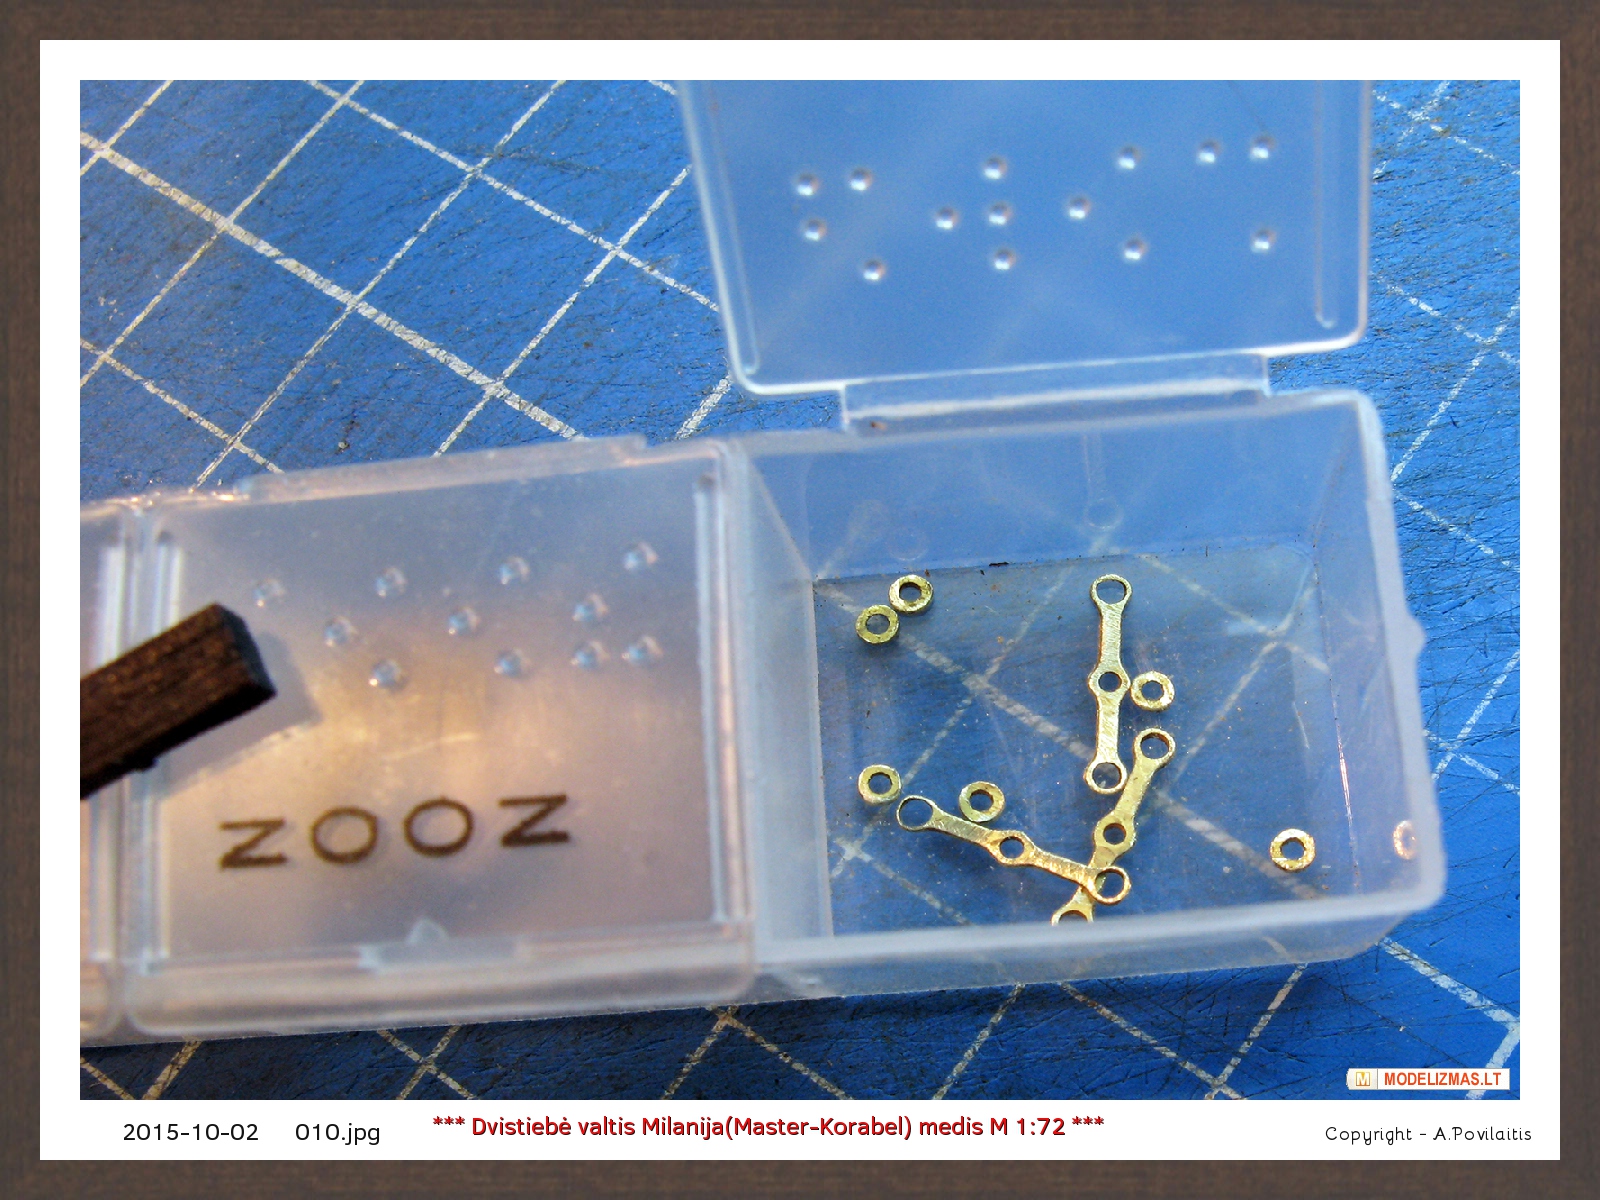
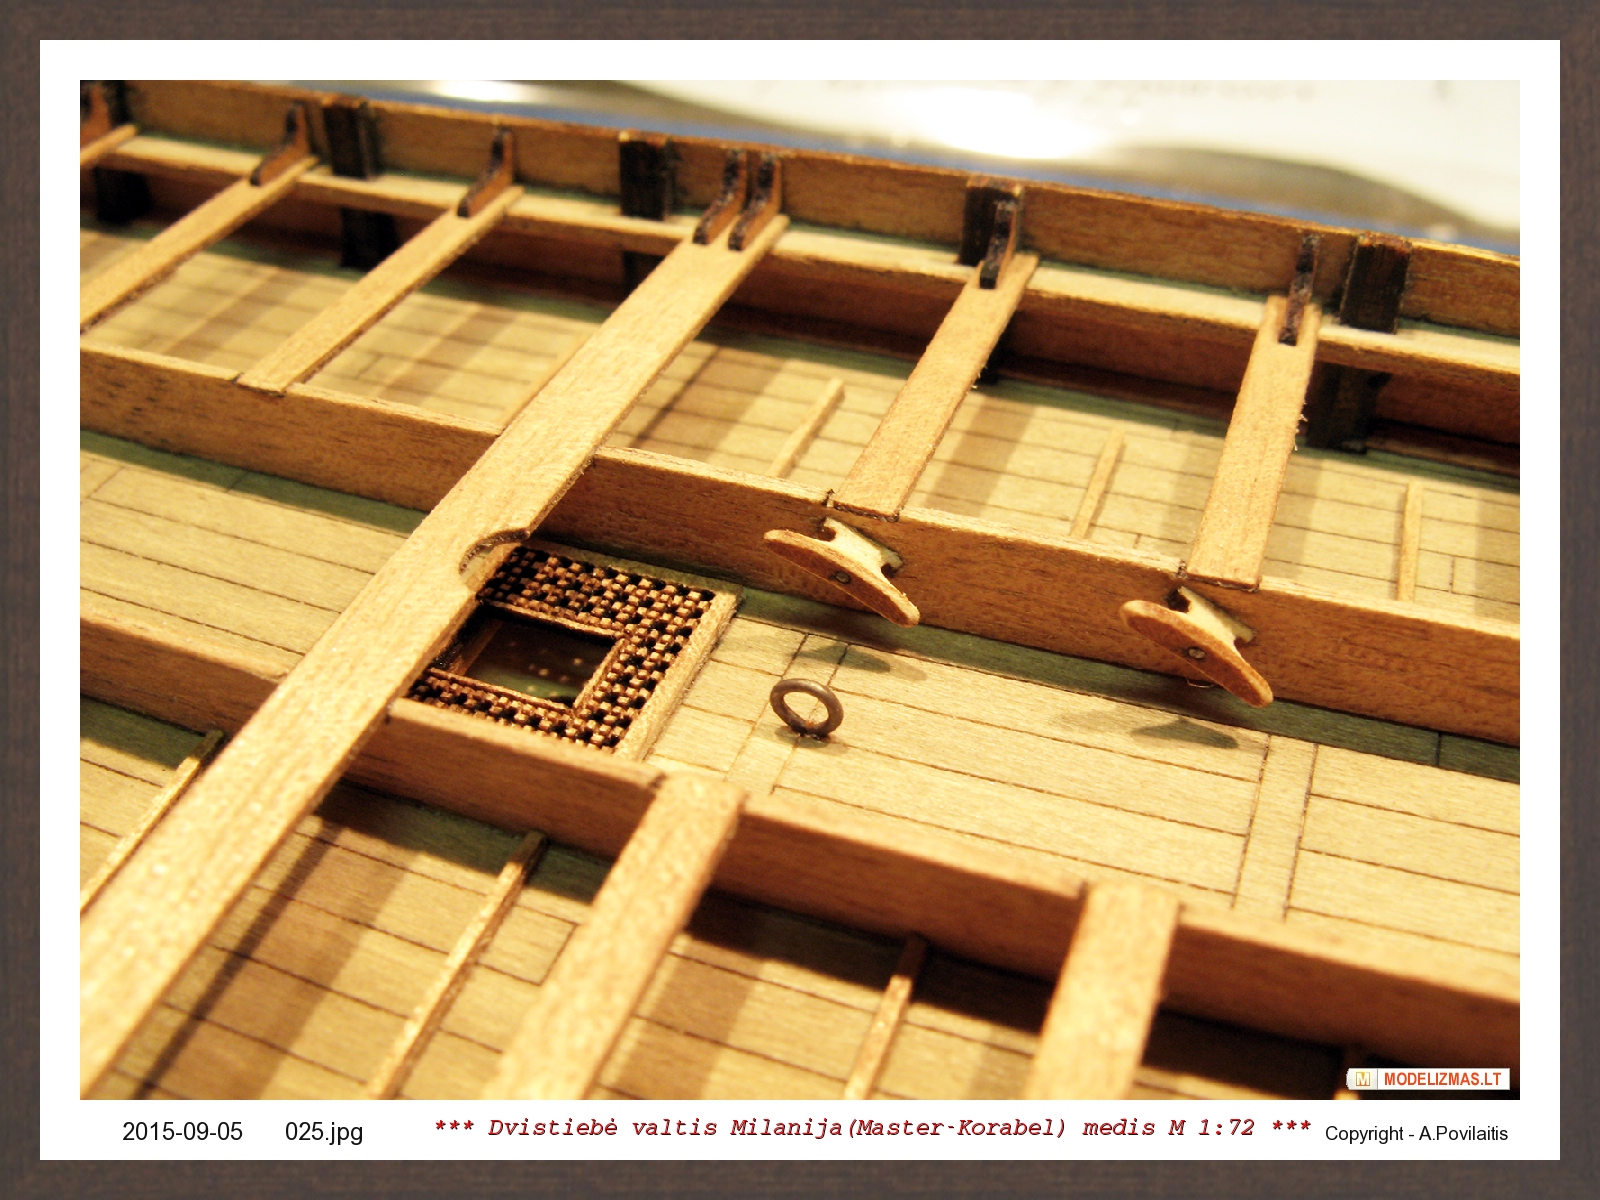
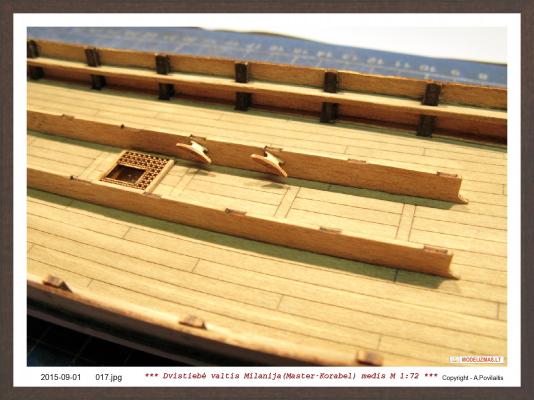
Small update. The hatches looks not very well. So, I added the rings. Now they looks better. Improved the look of the chain plates. They are made from brass. But photo etched parts are not have very hight quality. The files and sandpaper help me. And mounted deadeyes. From brass sheet made the swivel gun pedestals fittings. Regards Antanas


-
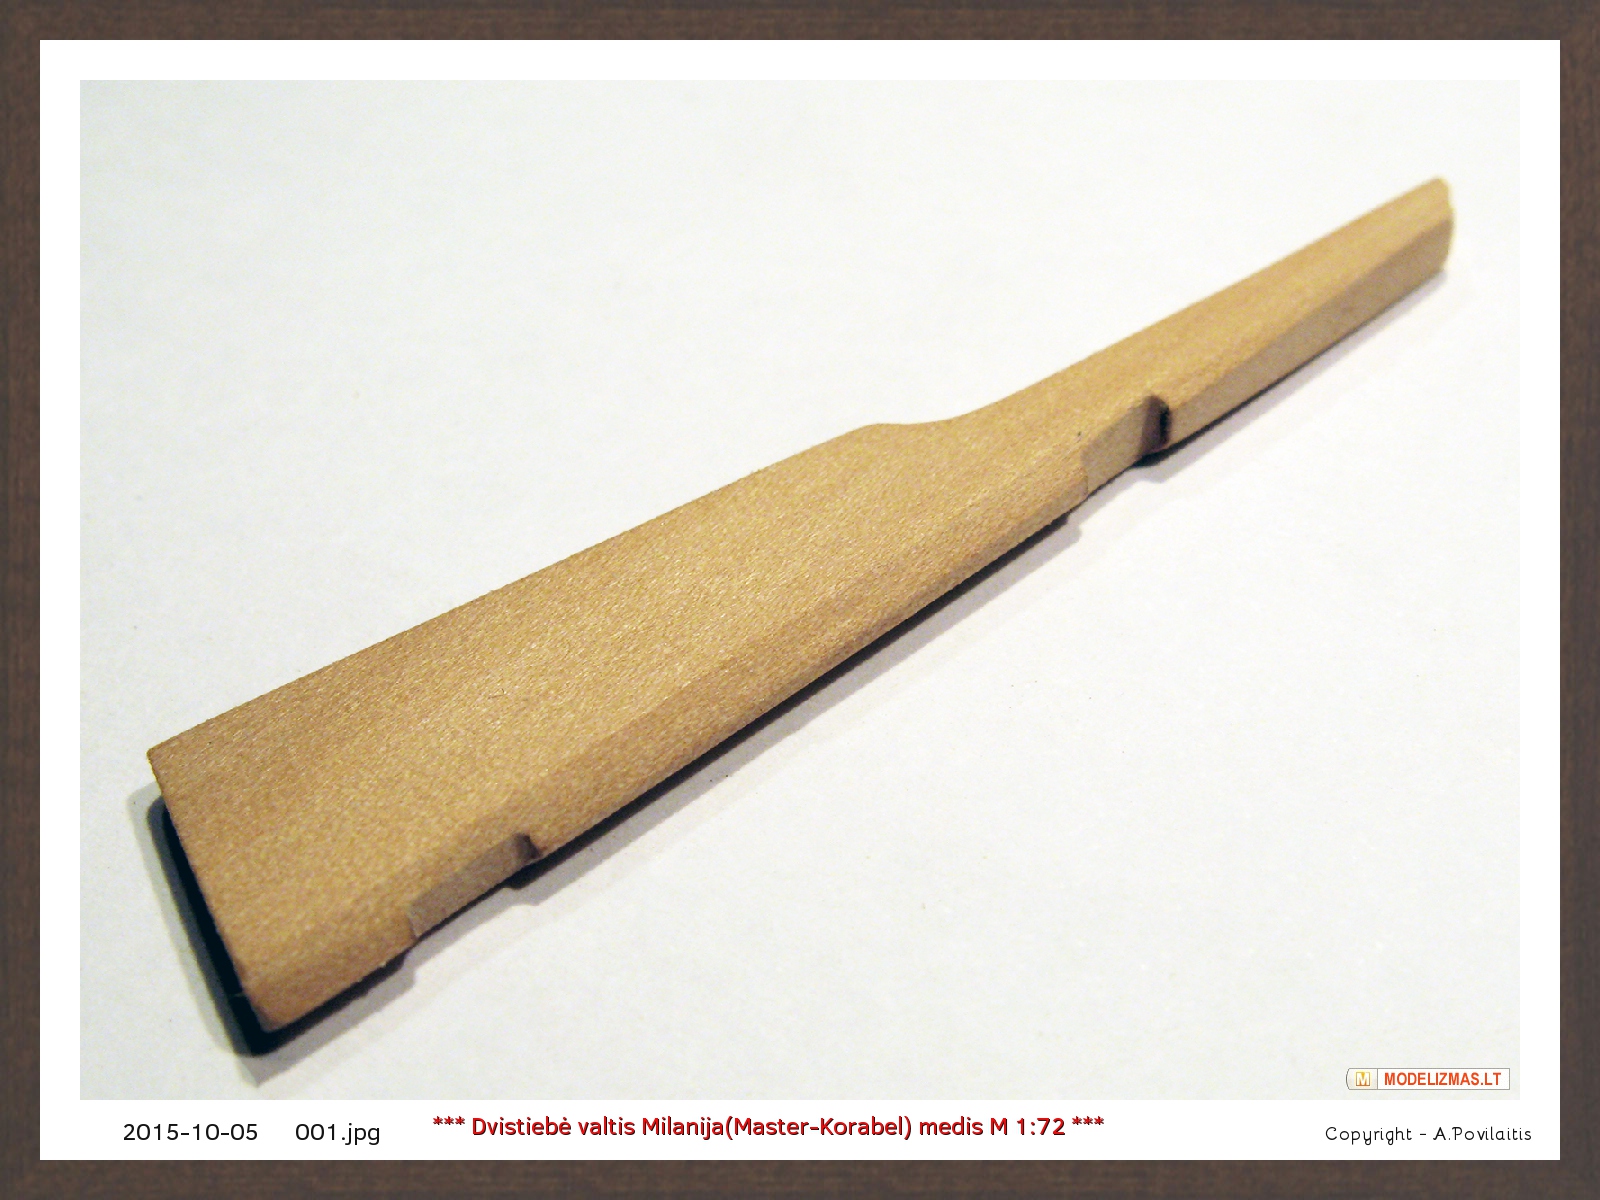
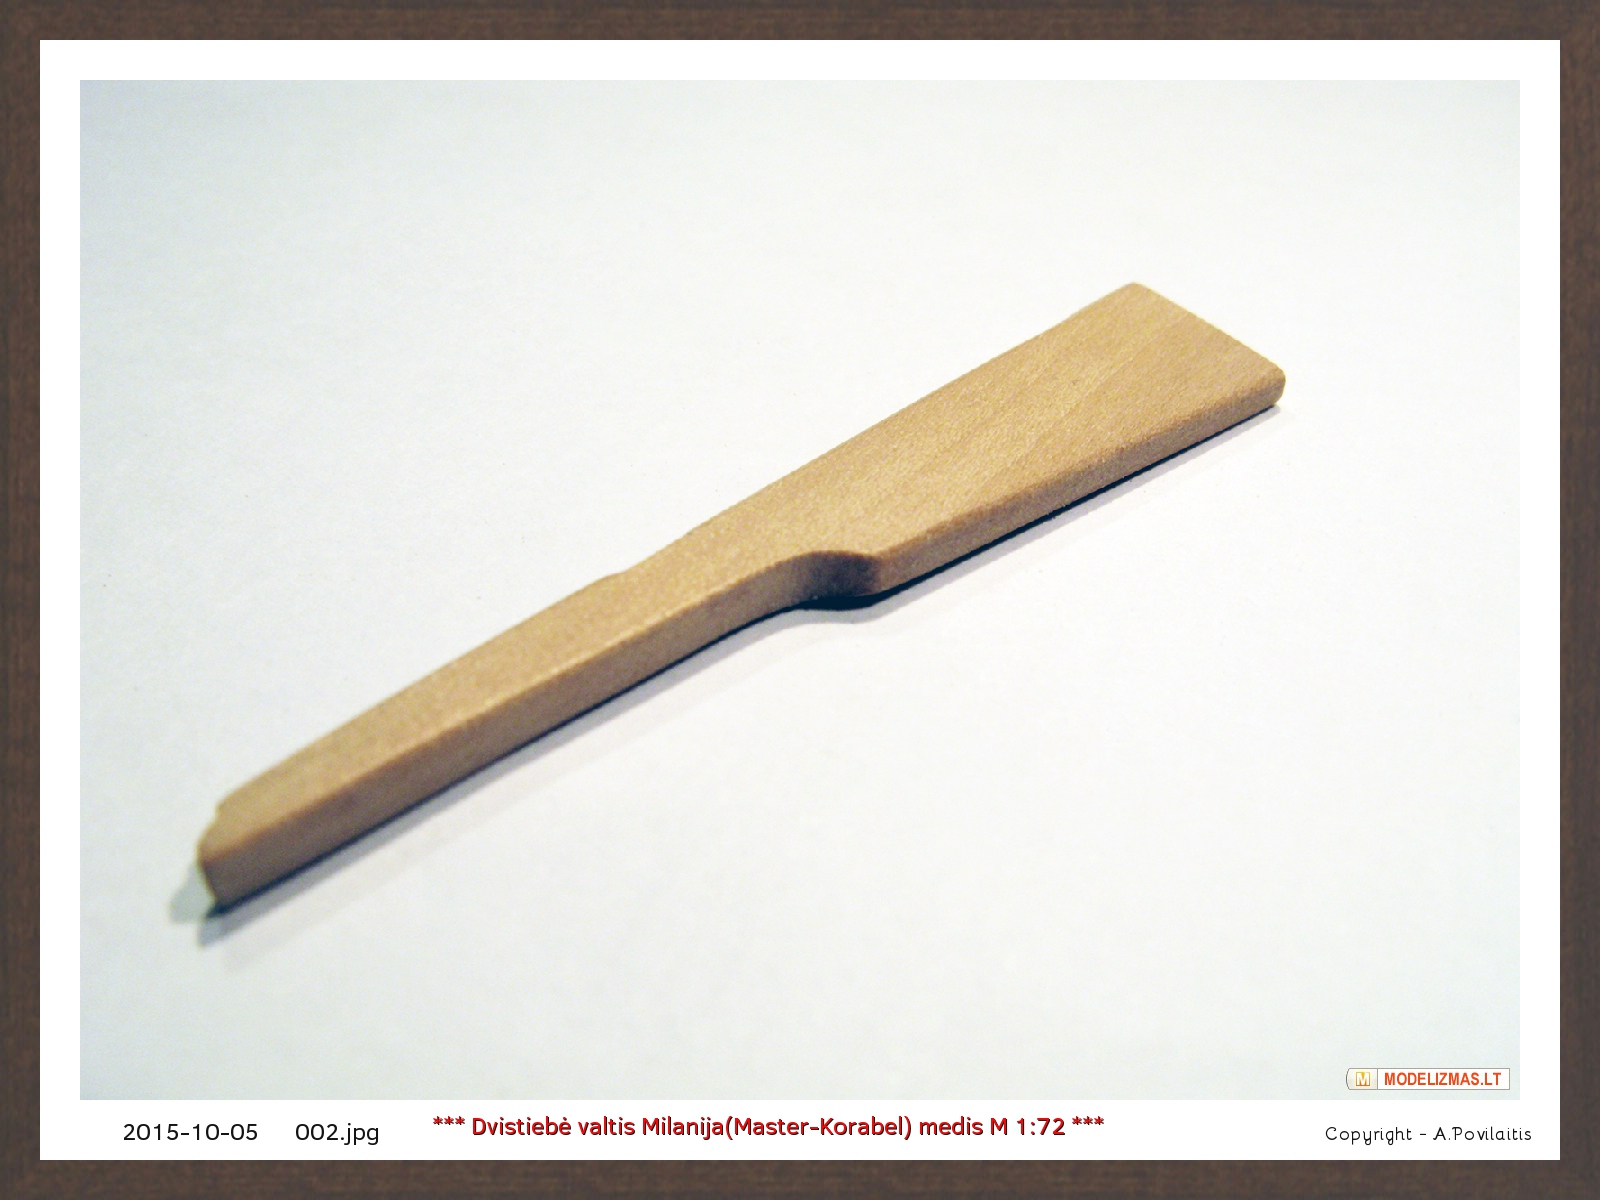
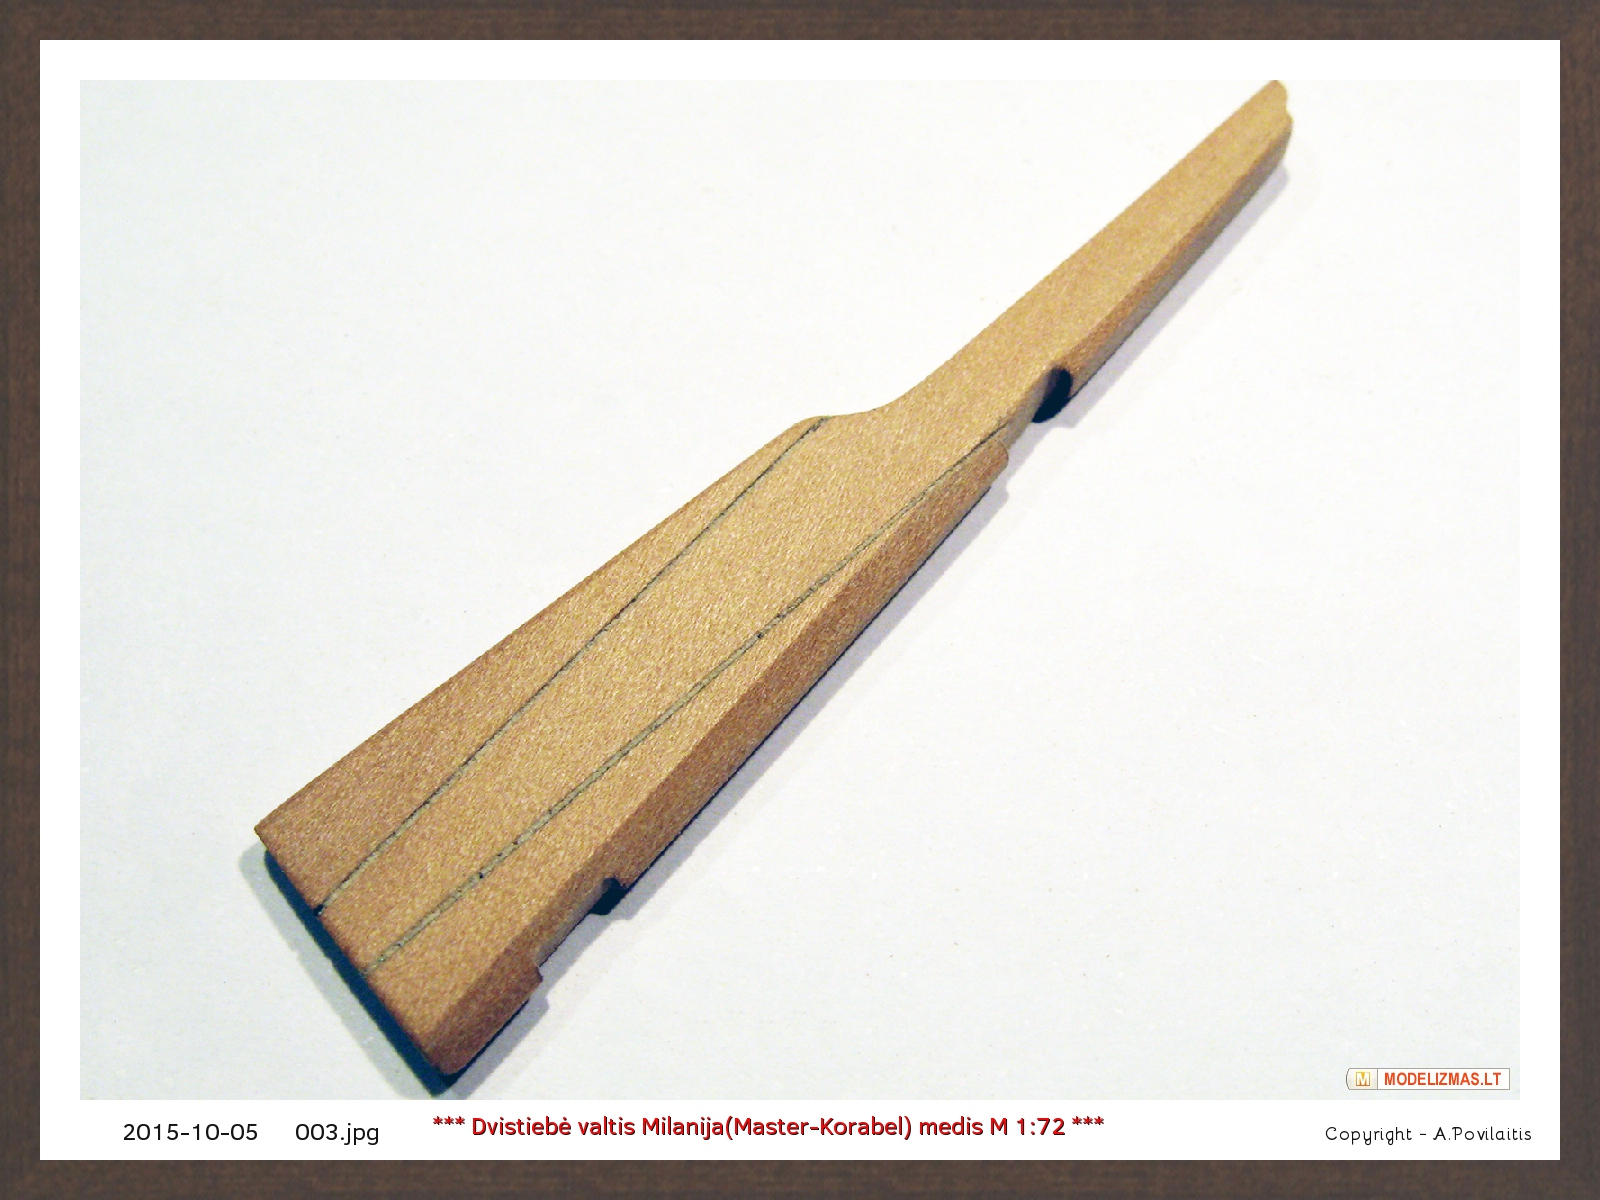
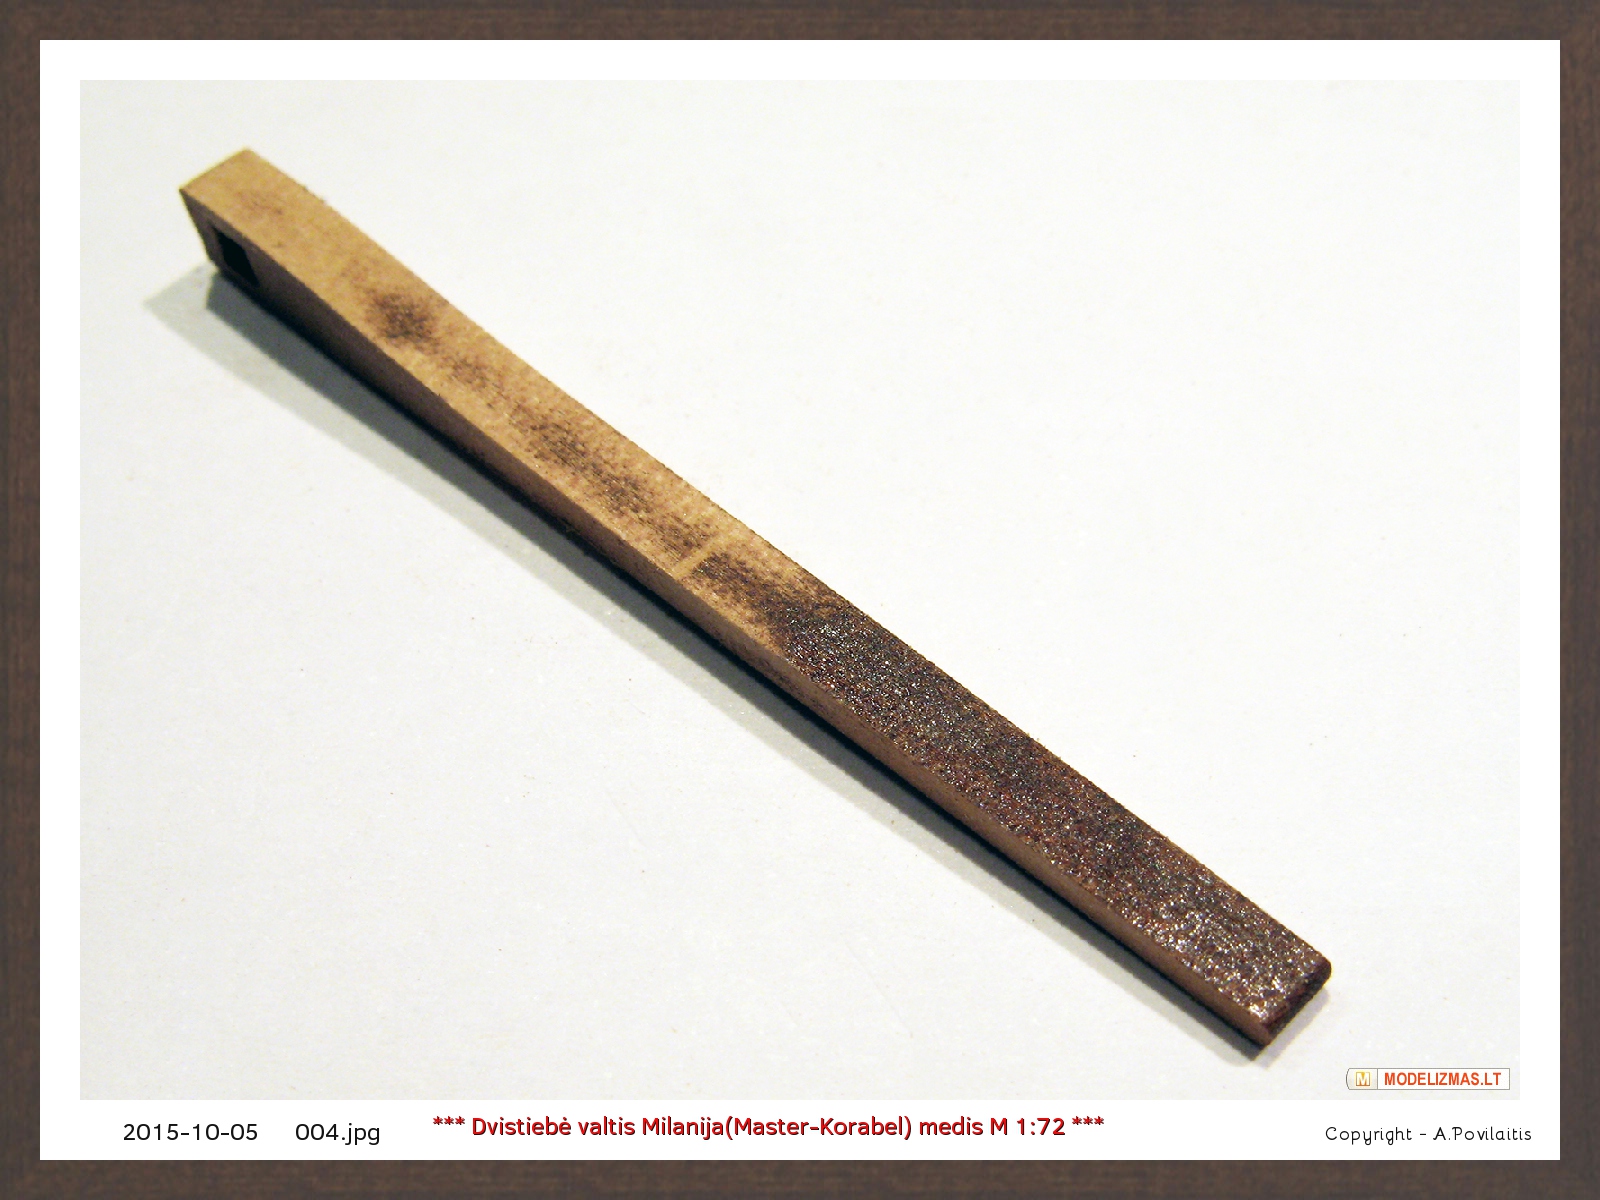
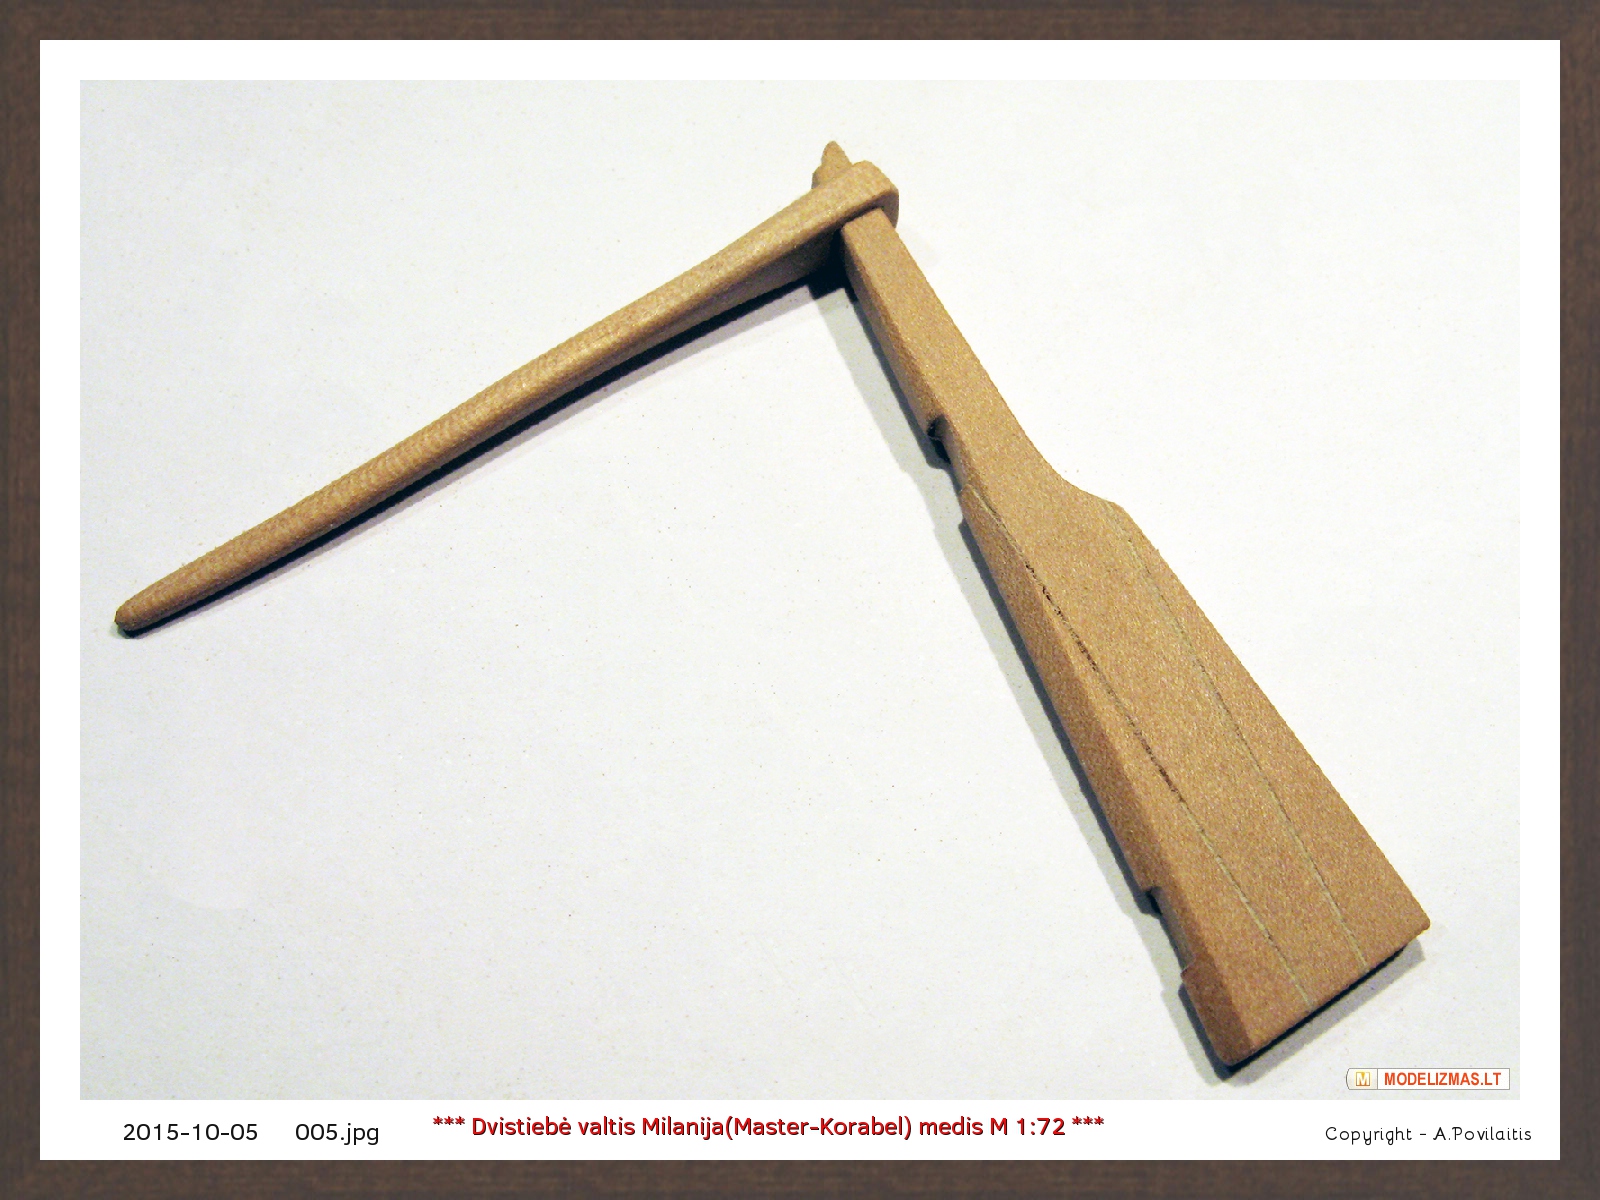
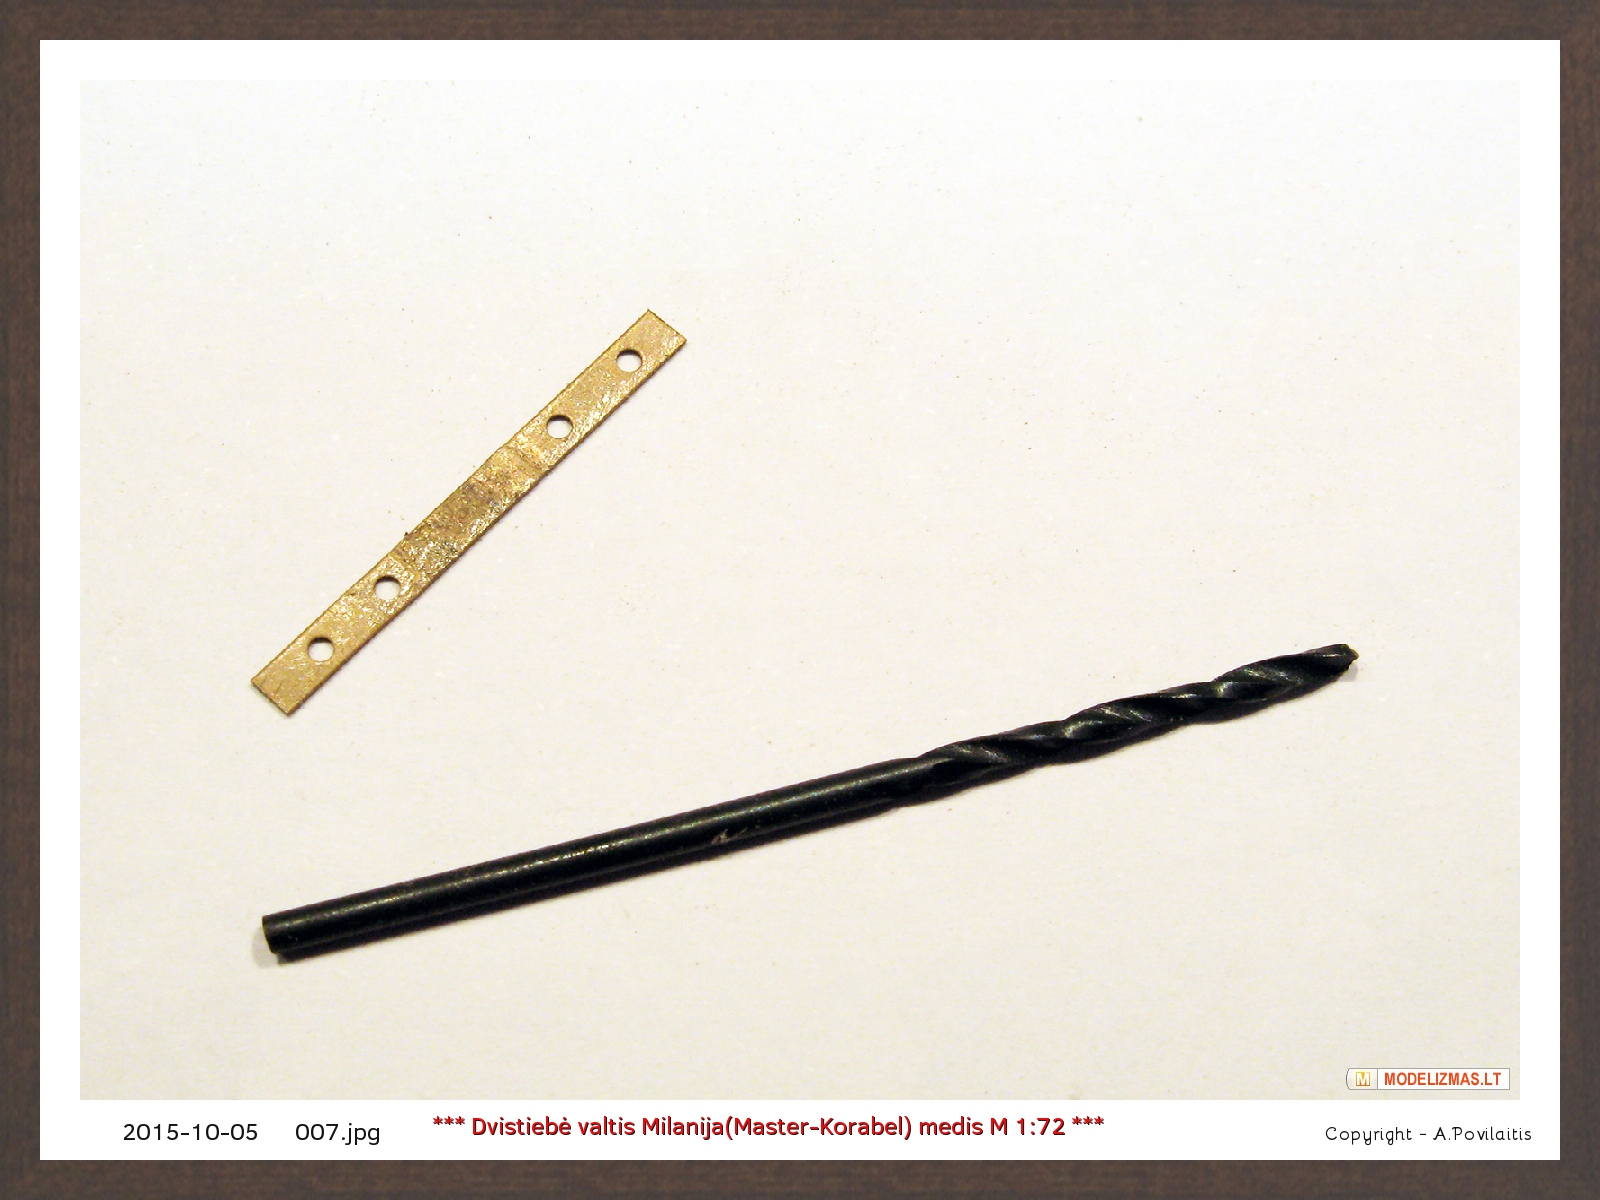
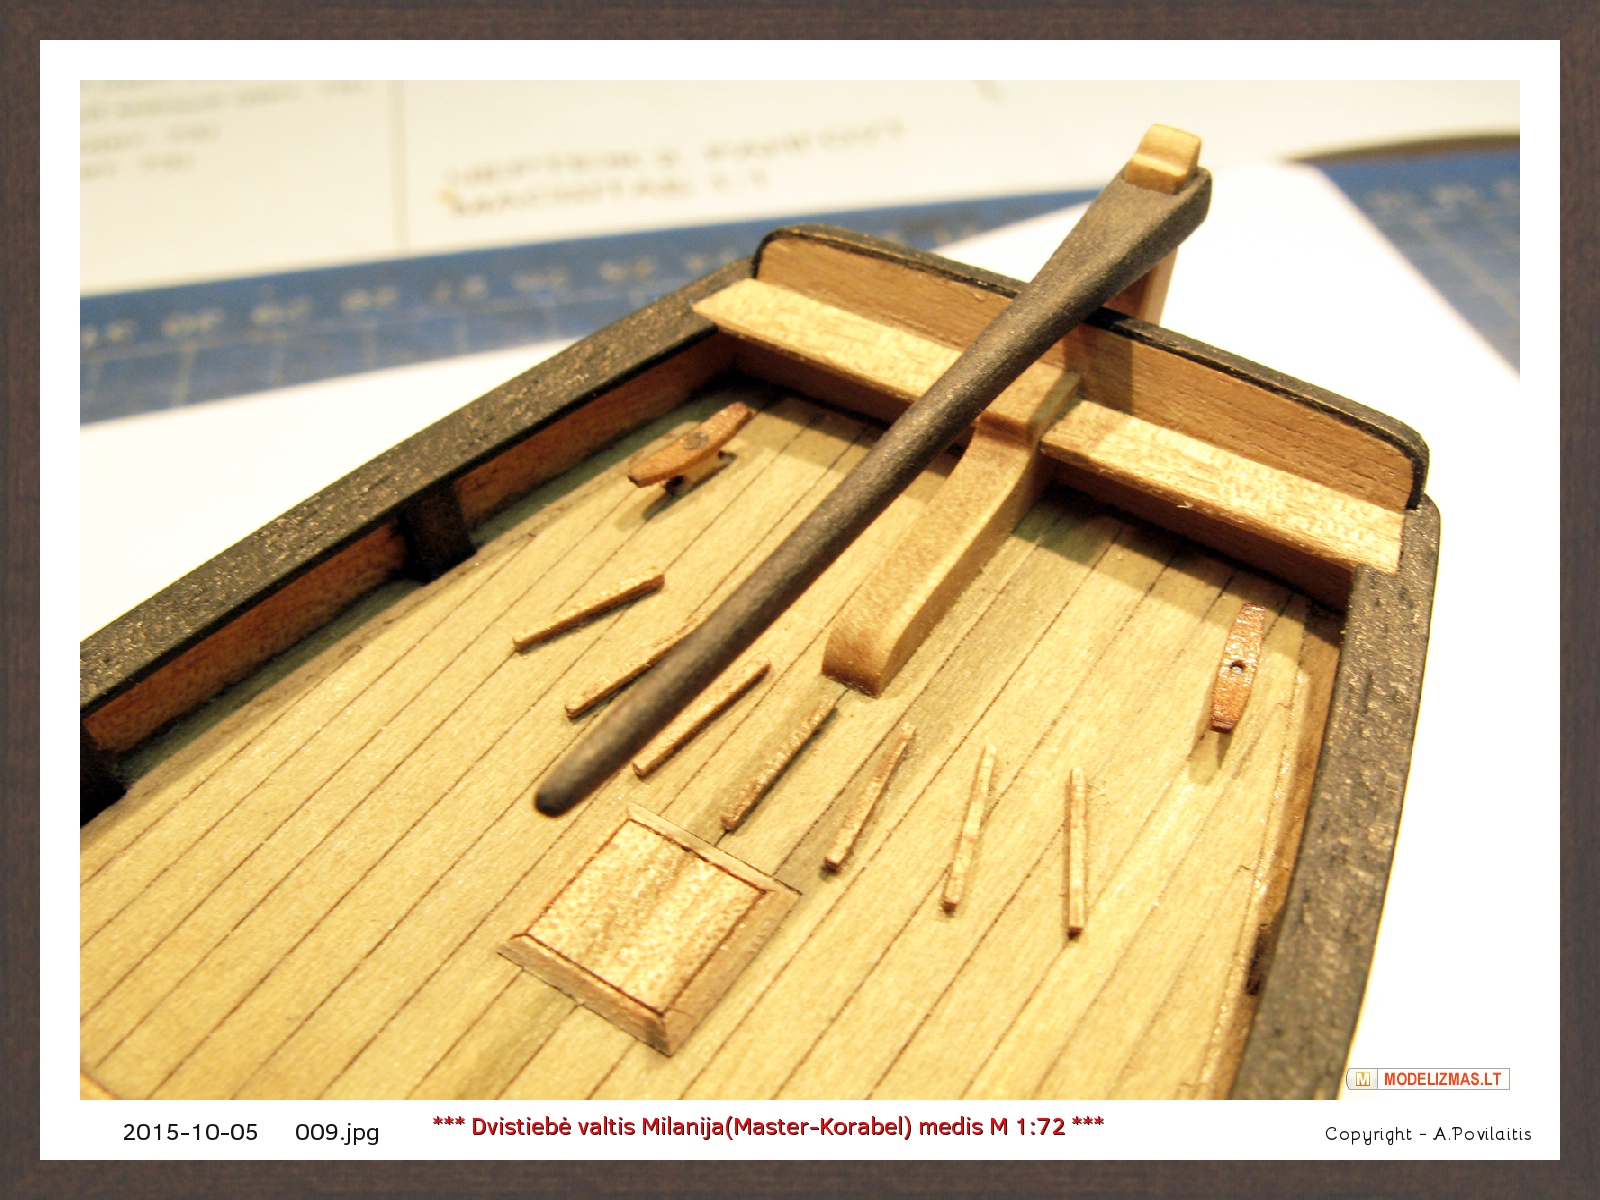
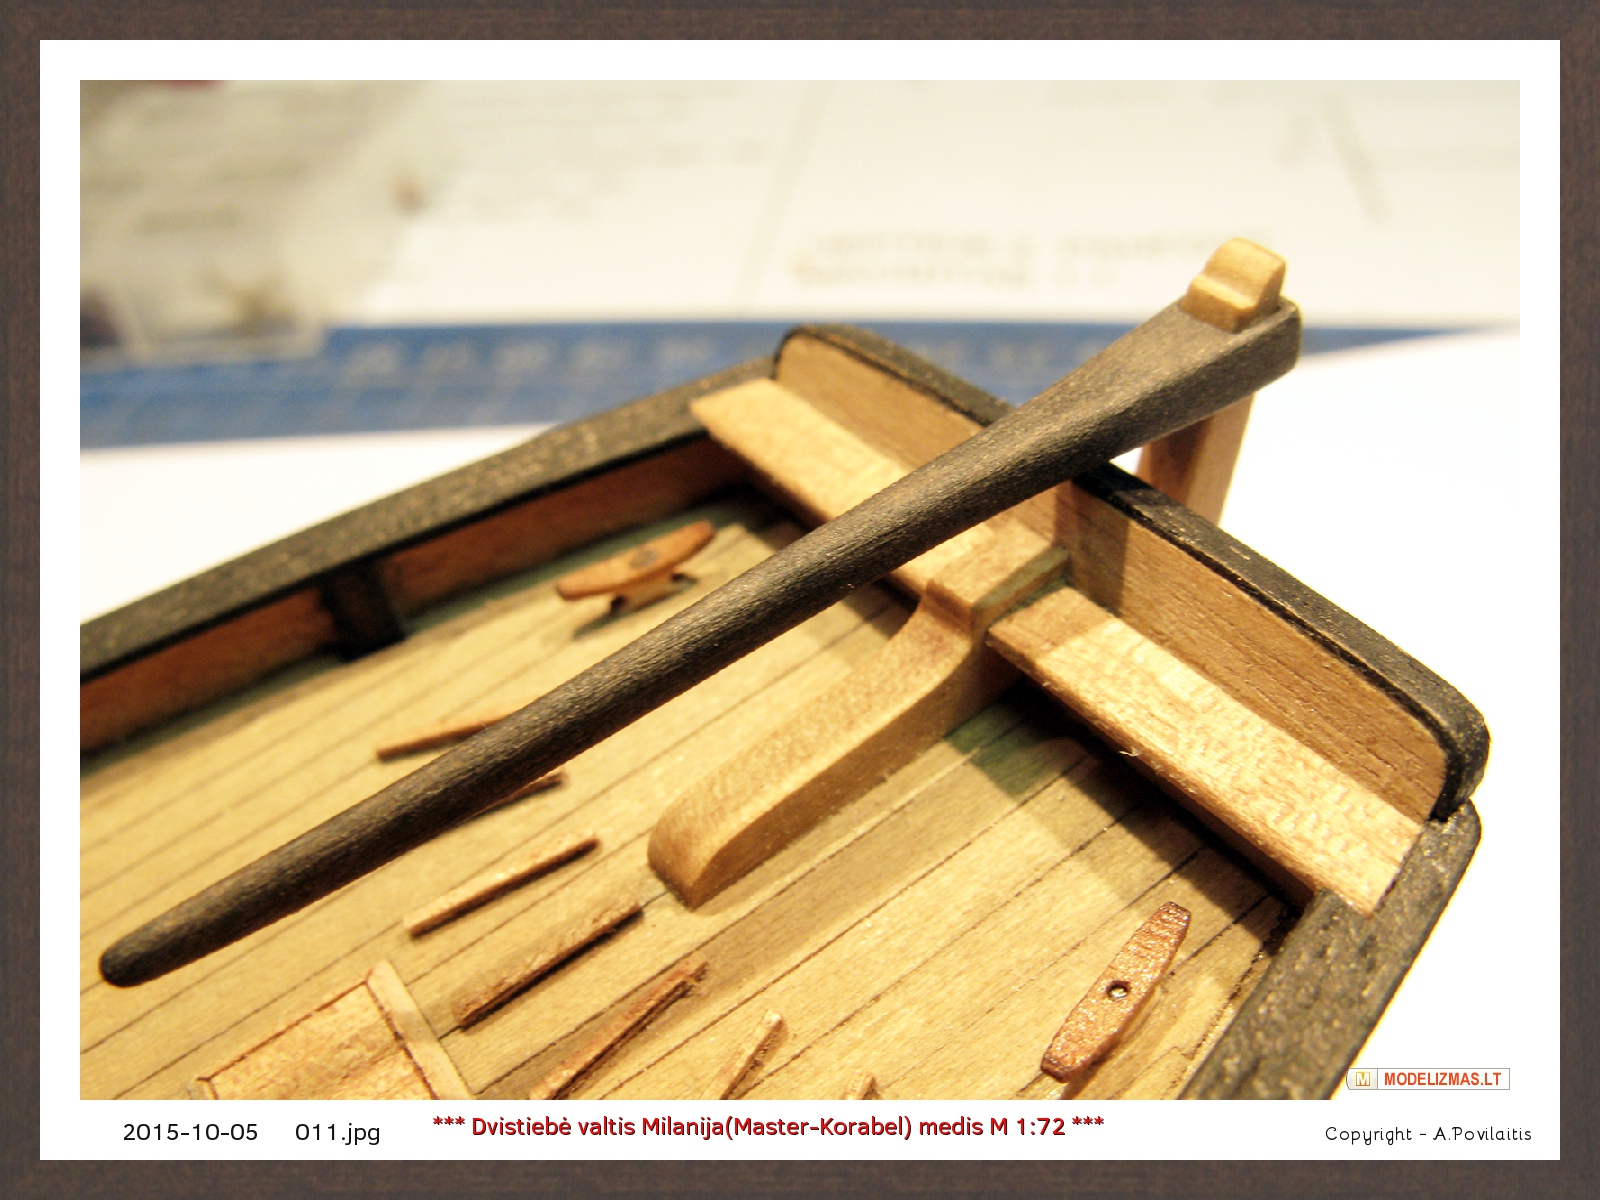
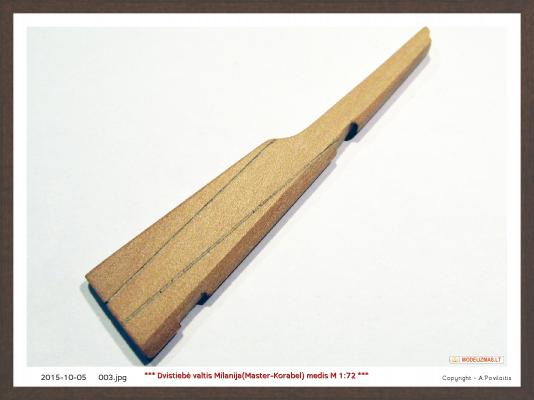
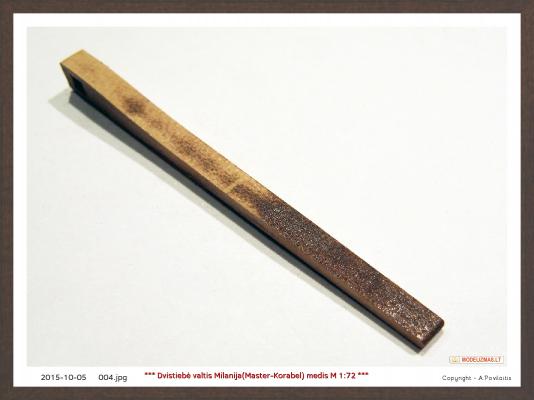
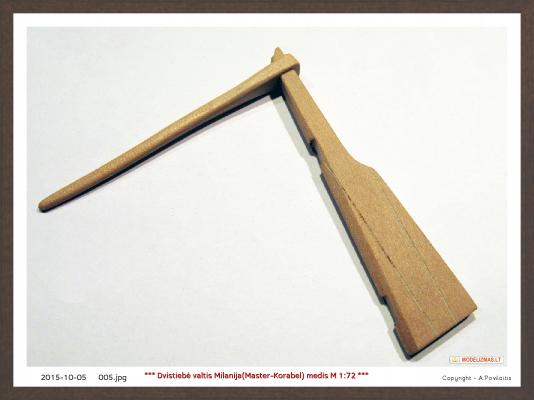
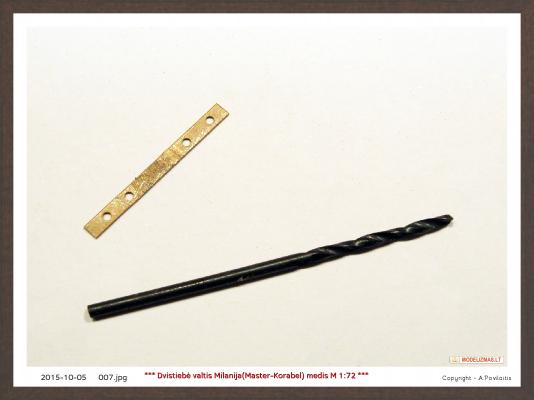
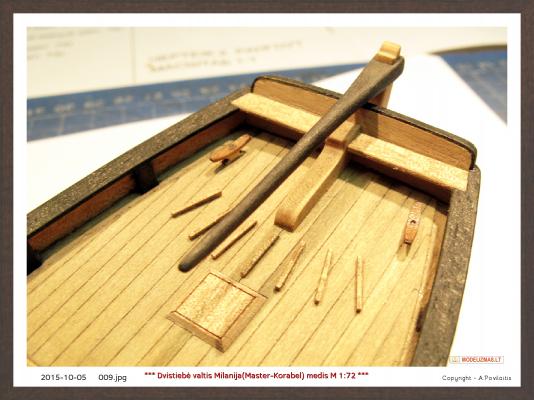
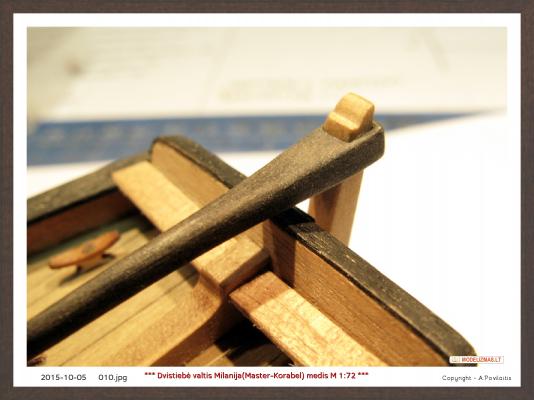
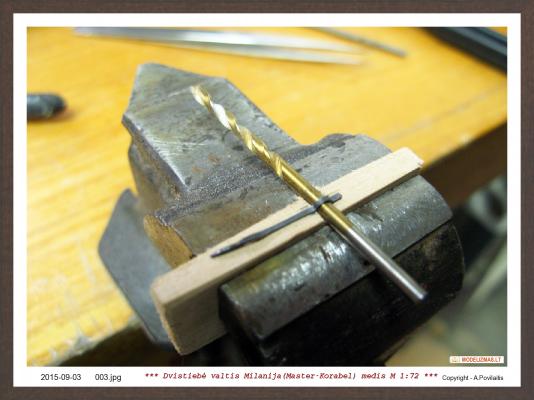
The next - the rudder. Sanding the details to remove the dark surface. The rudder blank has been processed so as to more correspond to the actual rudder. To the kit brass parts added 4 brass tubes.Tubes soldered to brass parts. But before the brass strips shape are changed. For this I use the 1,8 mm diameter drill. The bras parts are chemically blackened. The tiller painted using the black ink. And everything installed into place. Regards Antanas


-
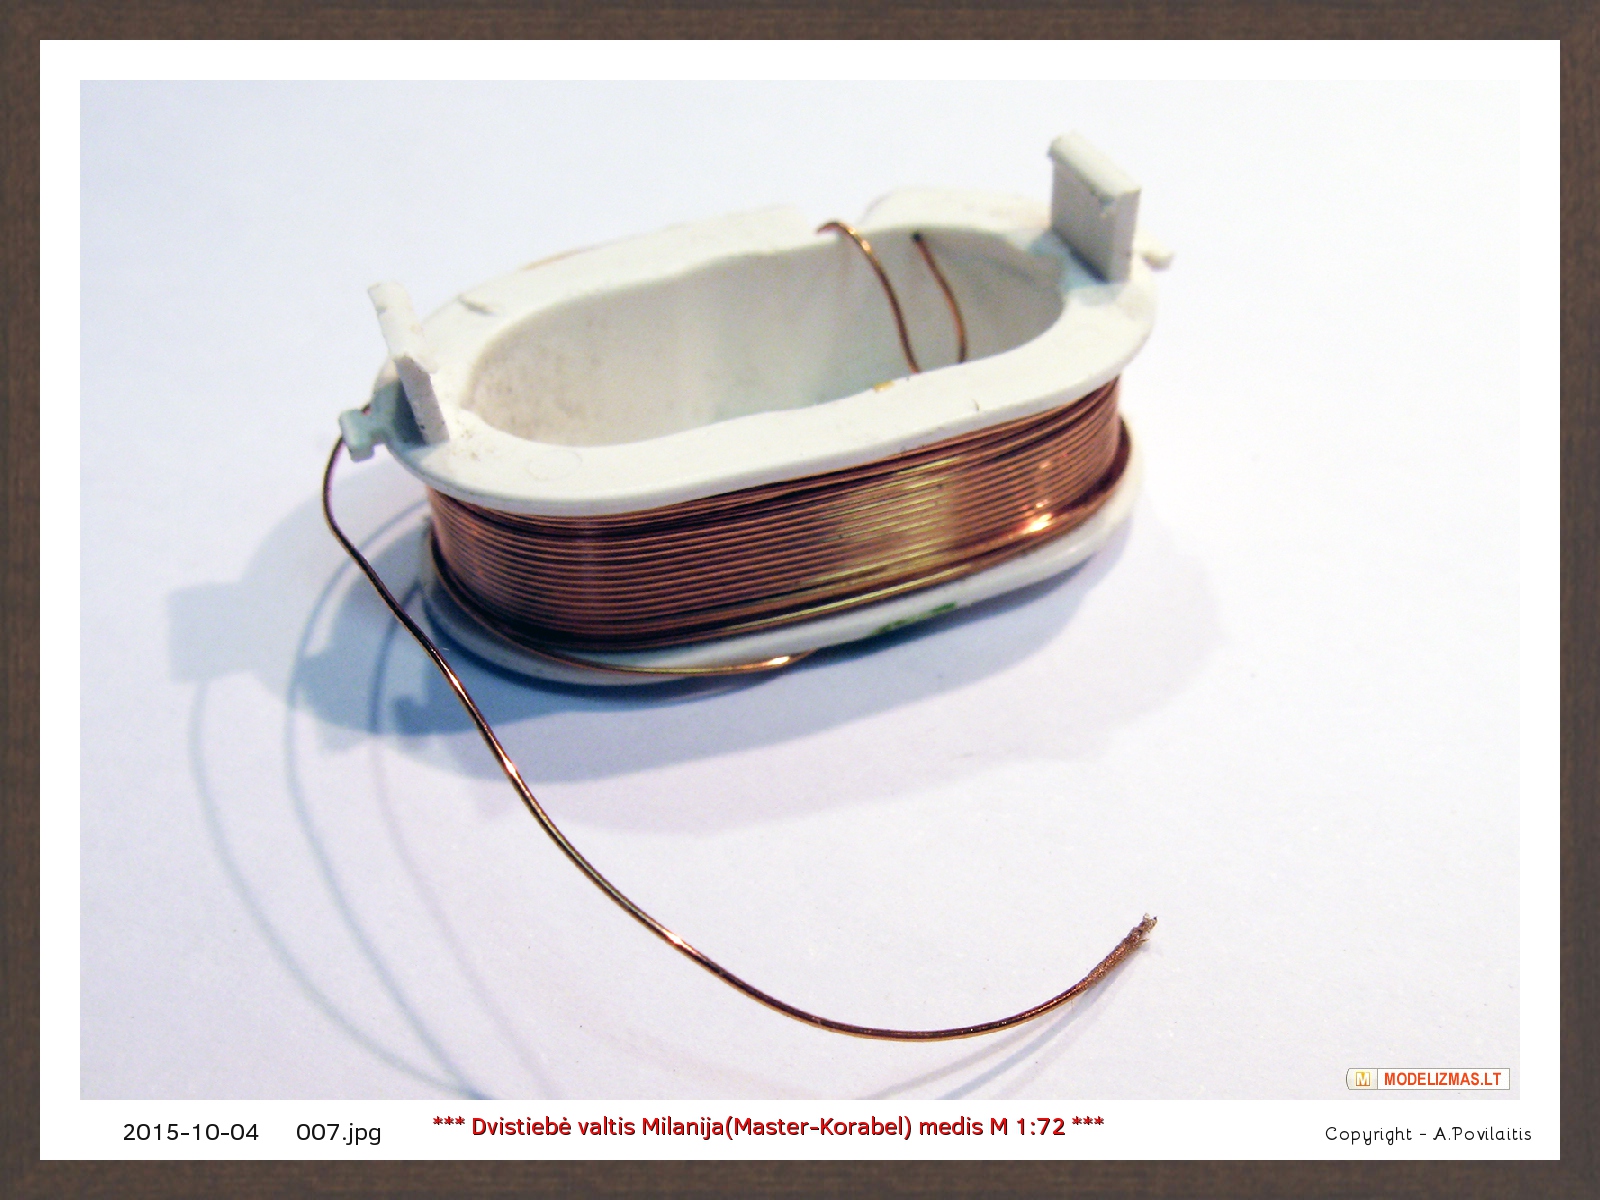
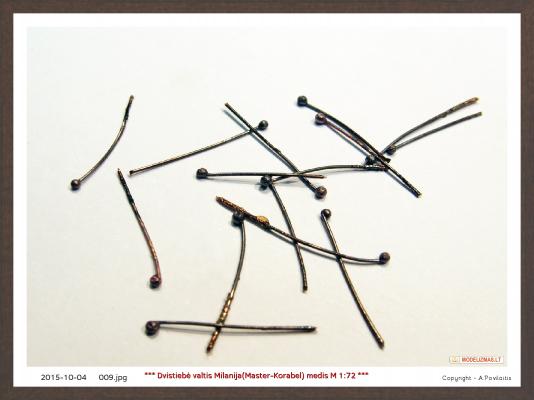
Carl, please the one end of the copper wire near the torch flame. The copper will begin to melt and will go to a ball. The diameter of the ball will depend on the storage time in the flame and wire thickness. Regards Antanas
-
Hi Carl. The molten copper. Some years ago I try to make from the solder, but the result not satisfied me. Regards Antanas
-
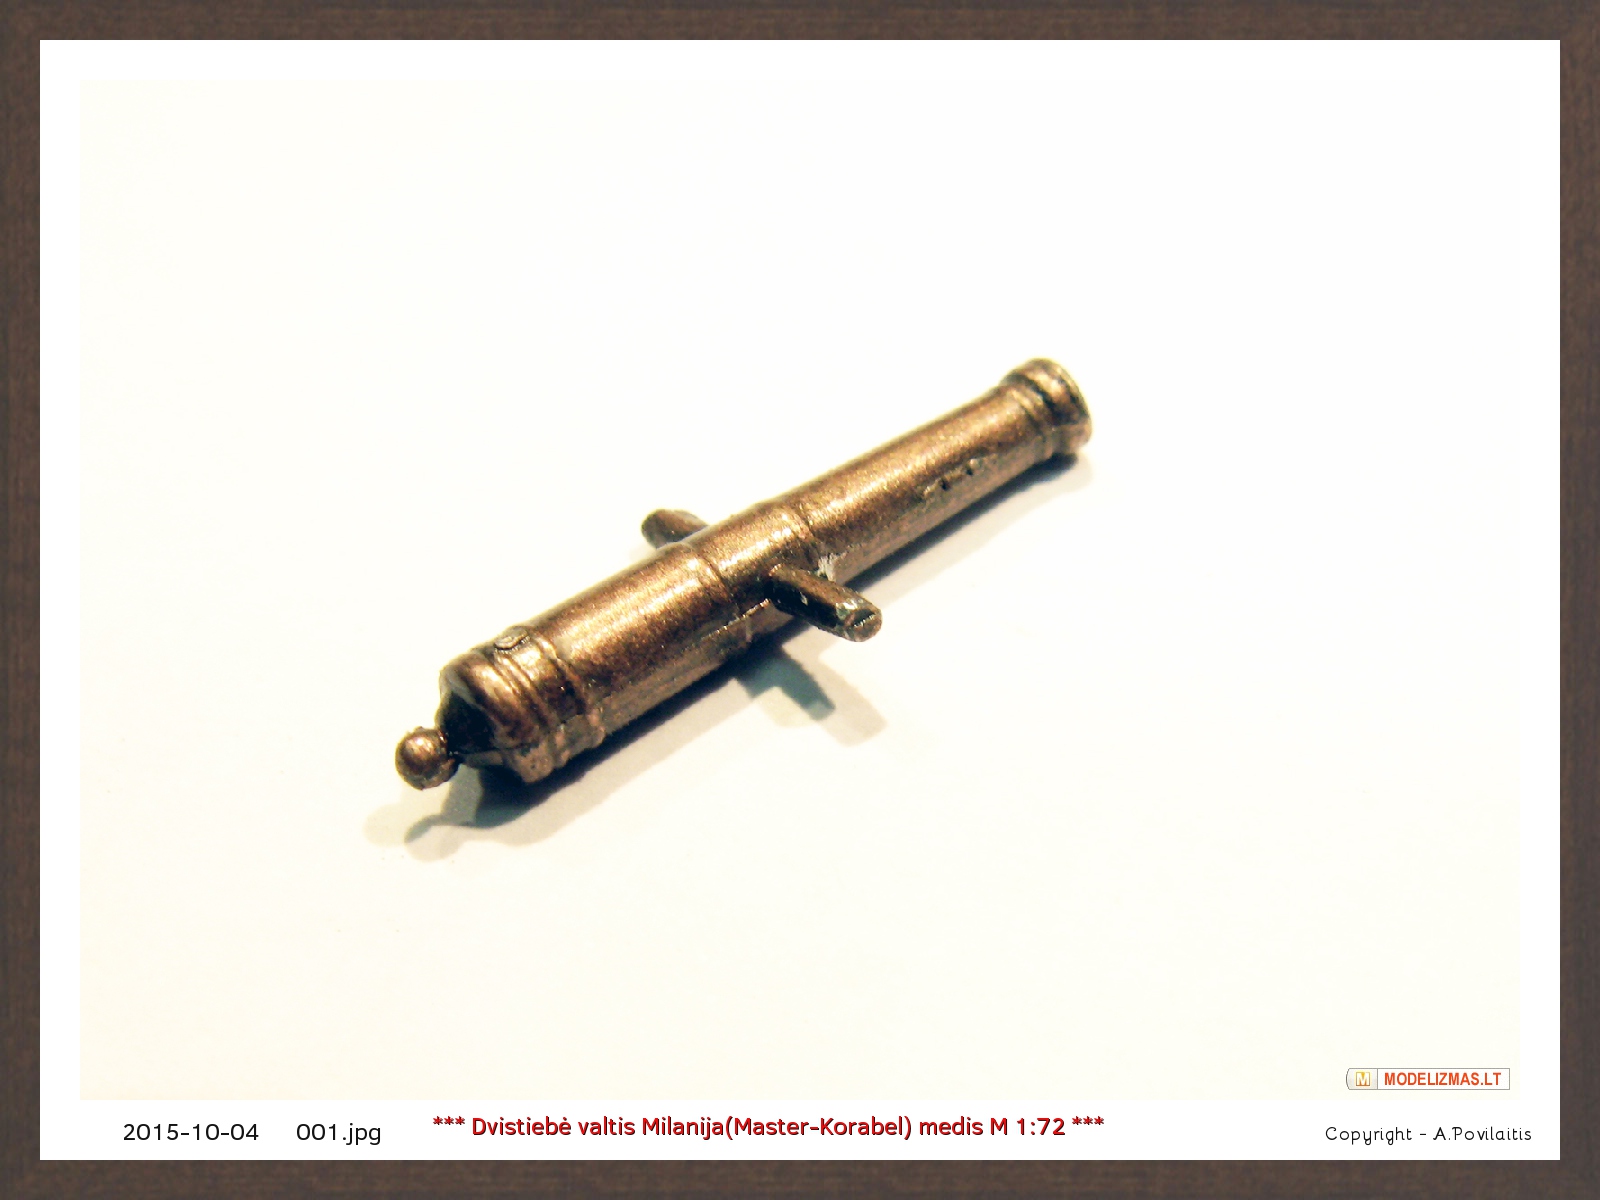
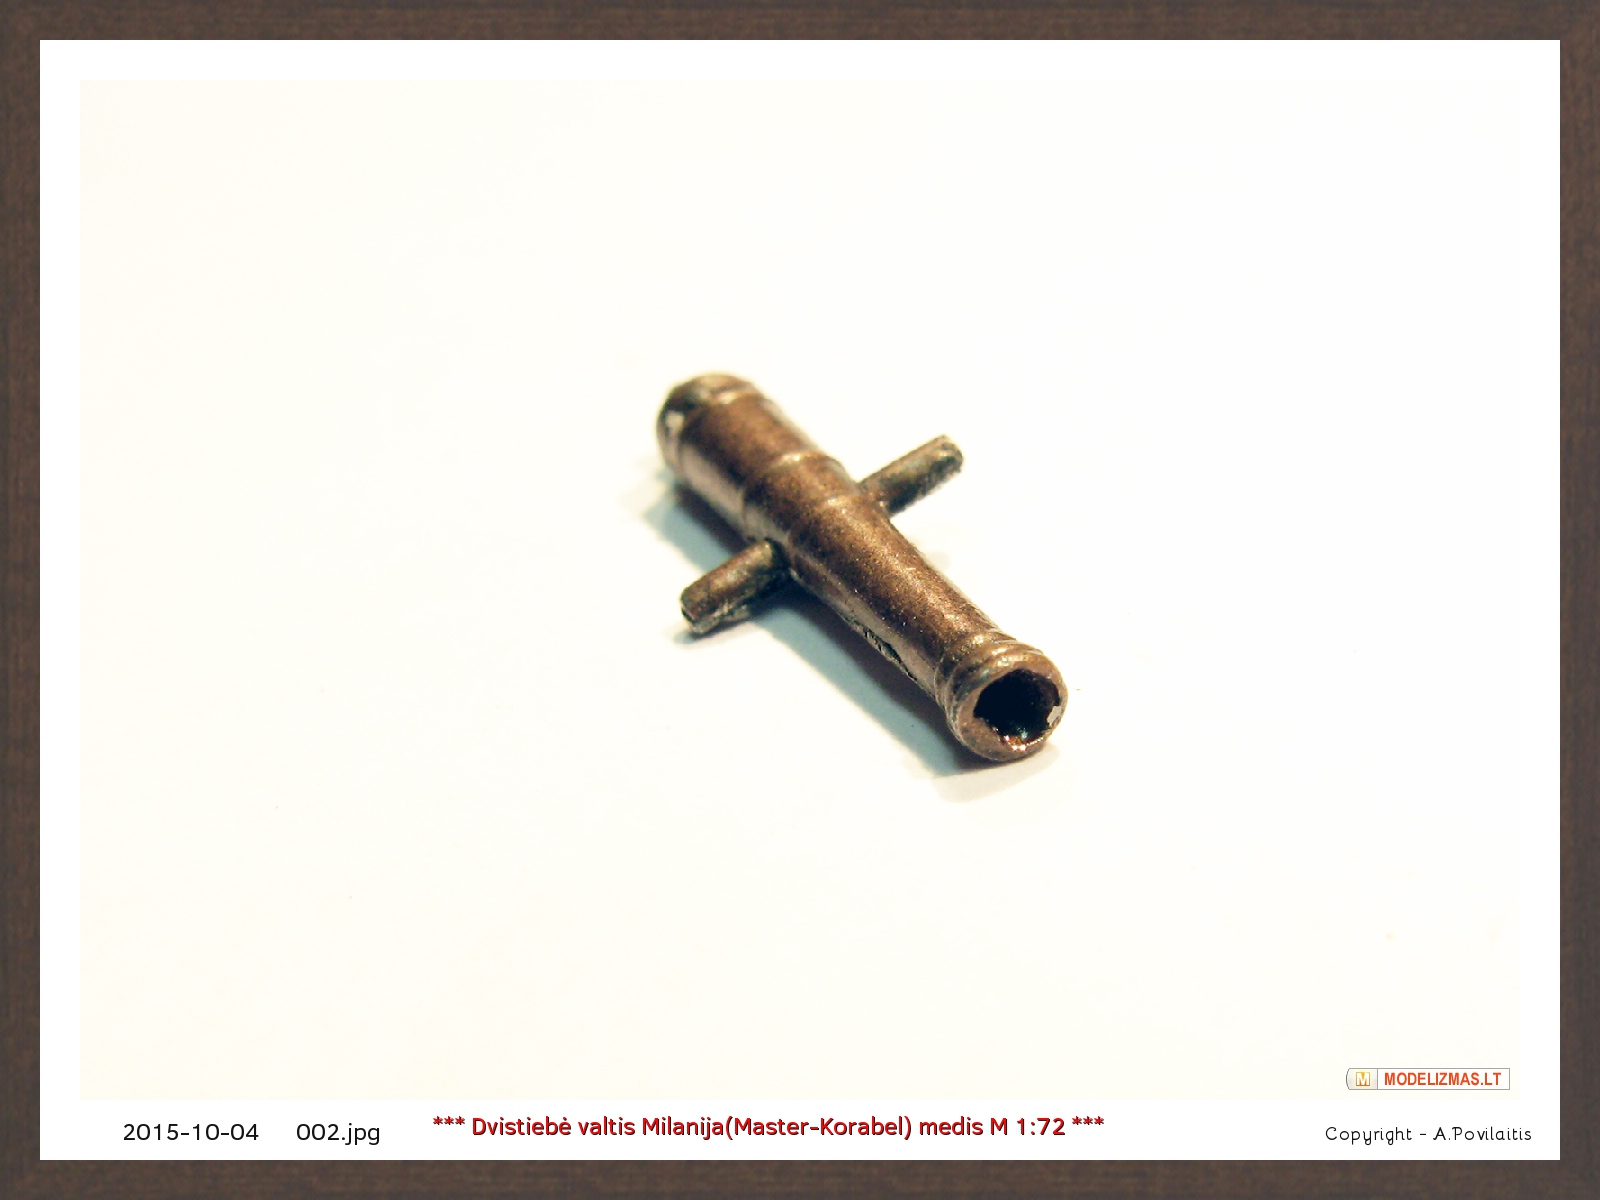
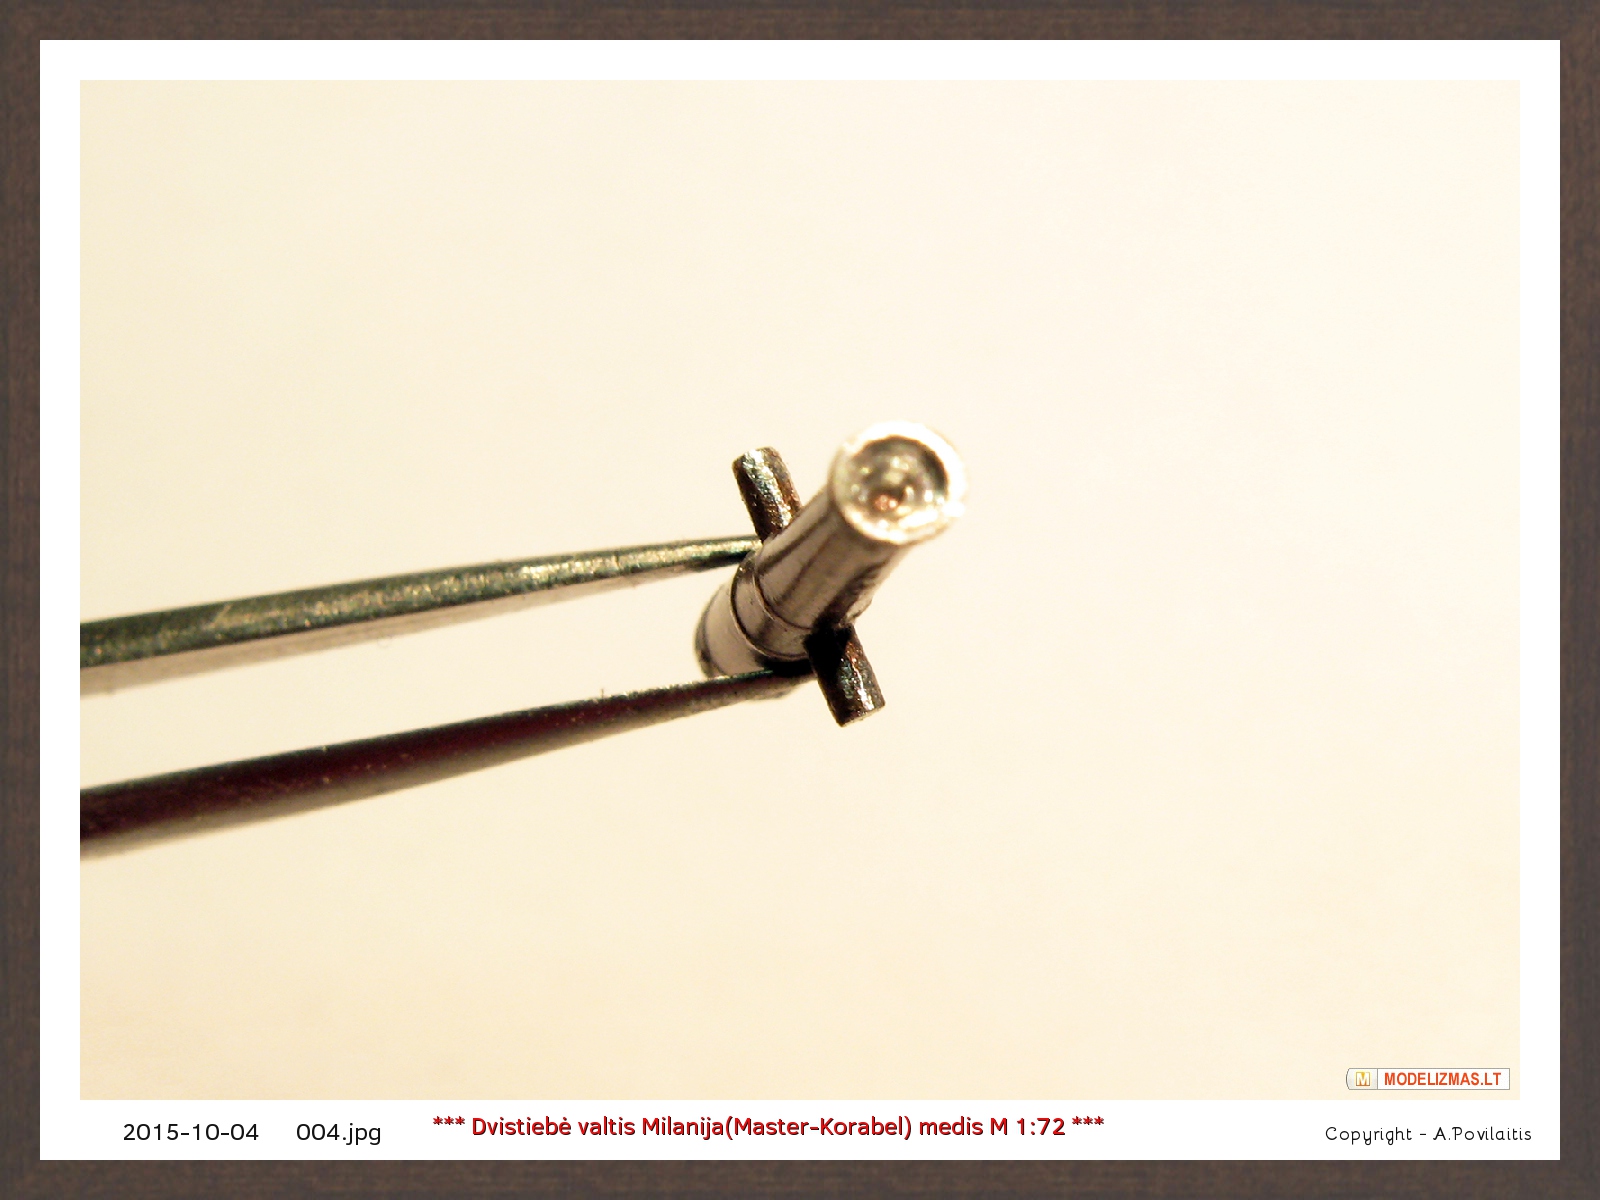
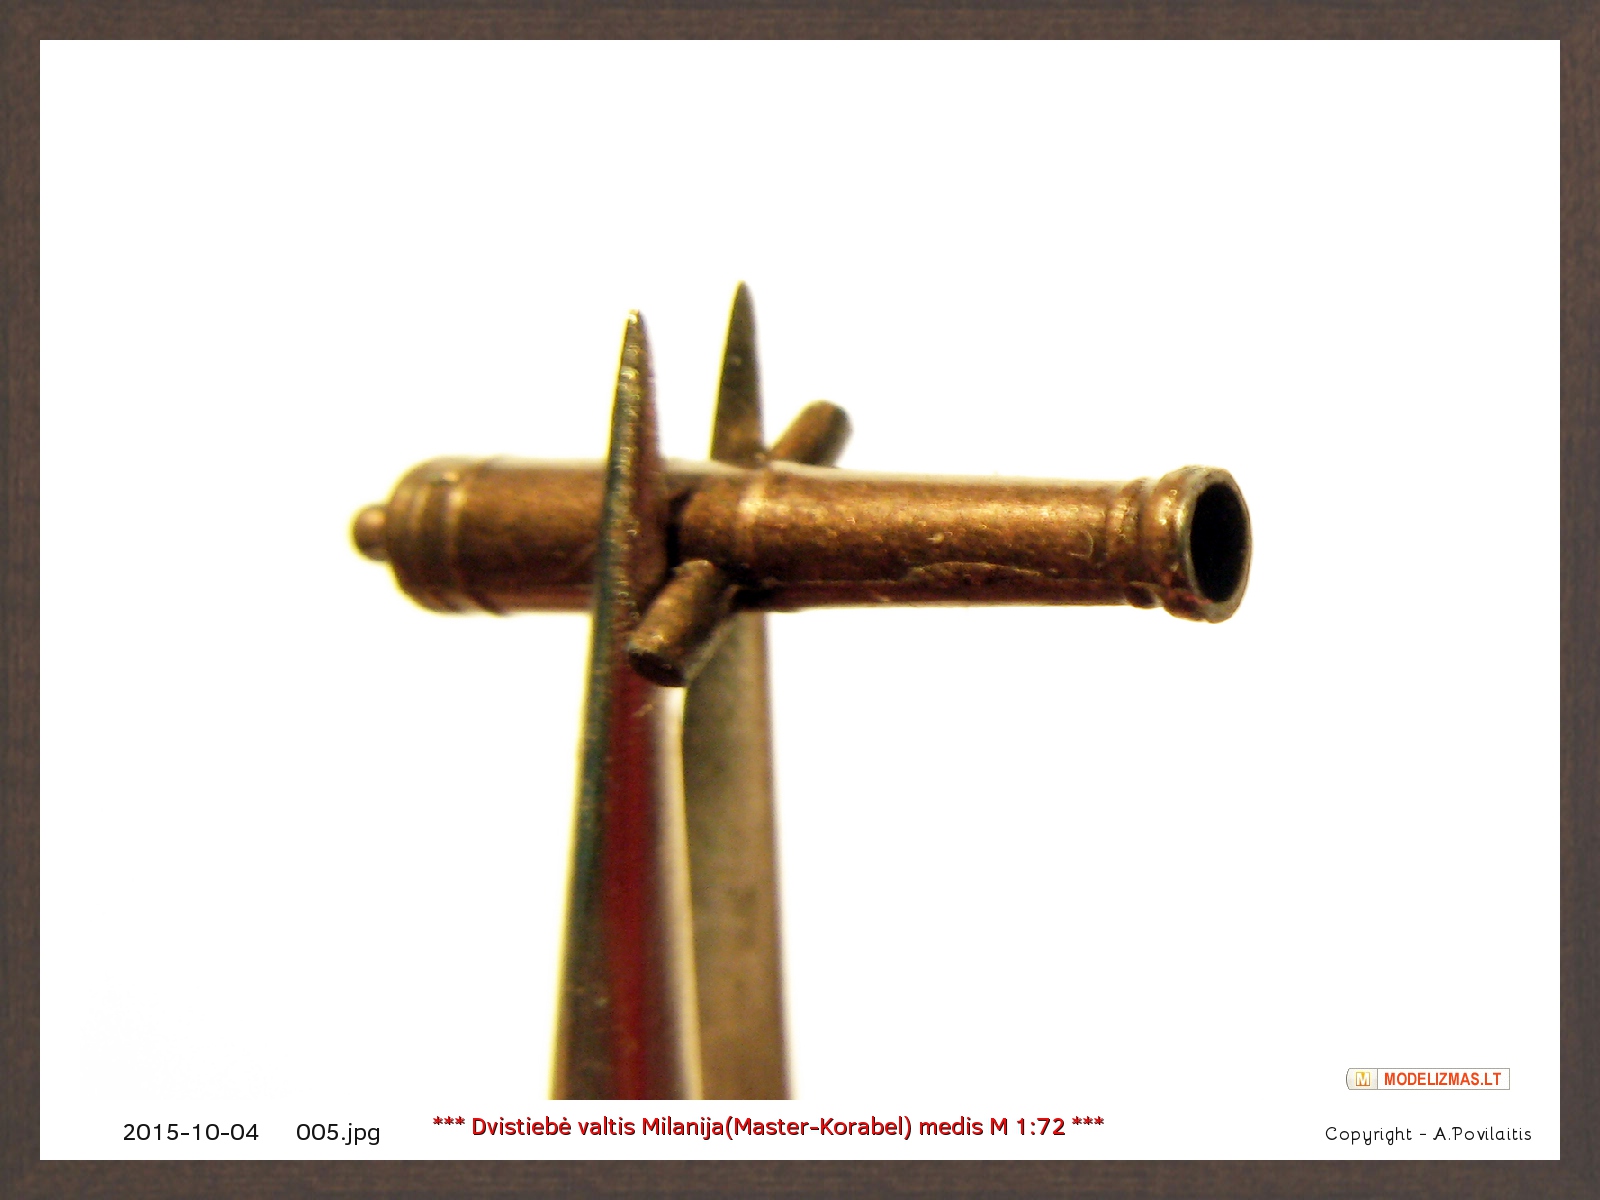
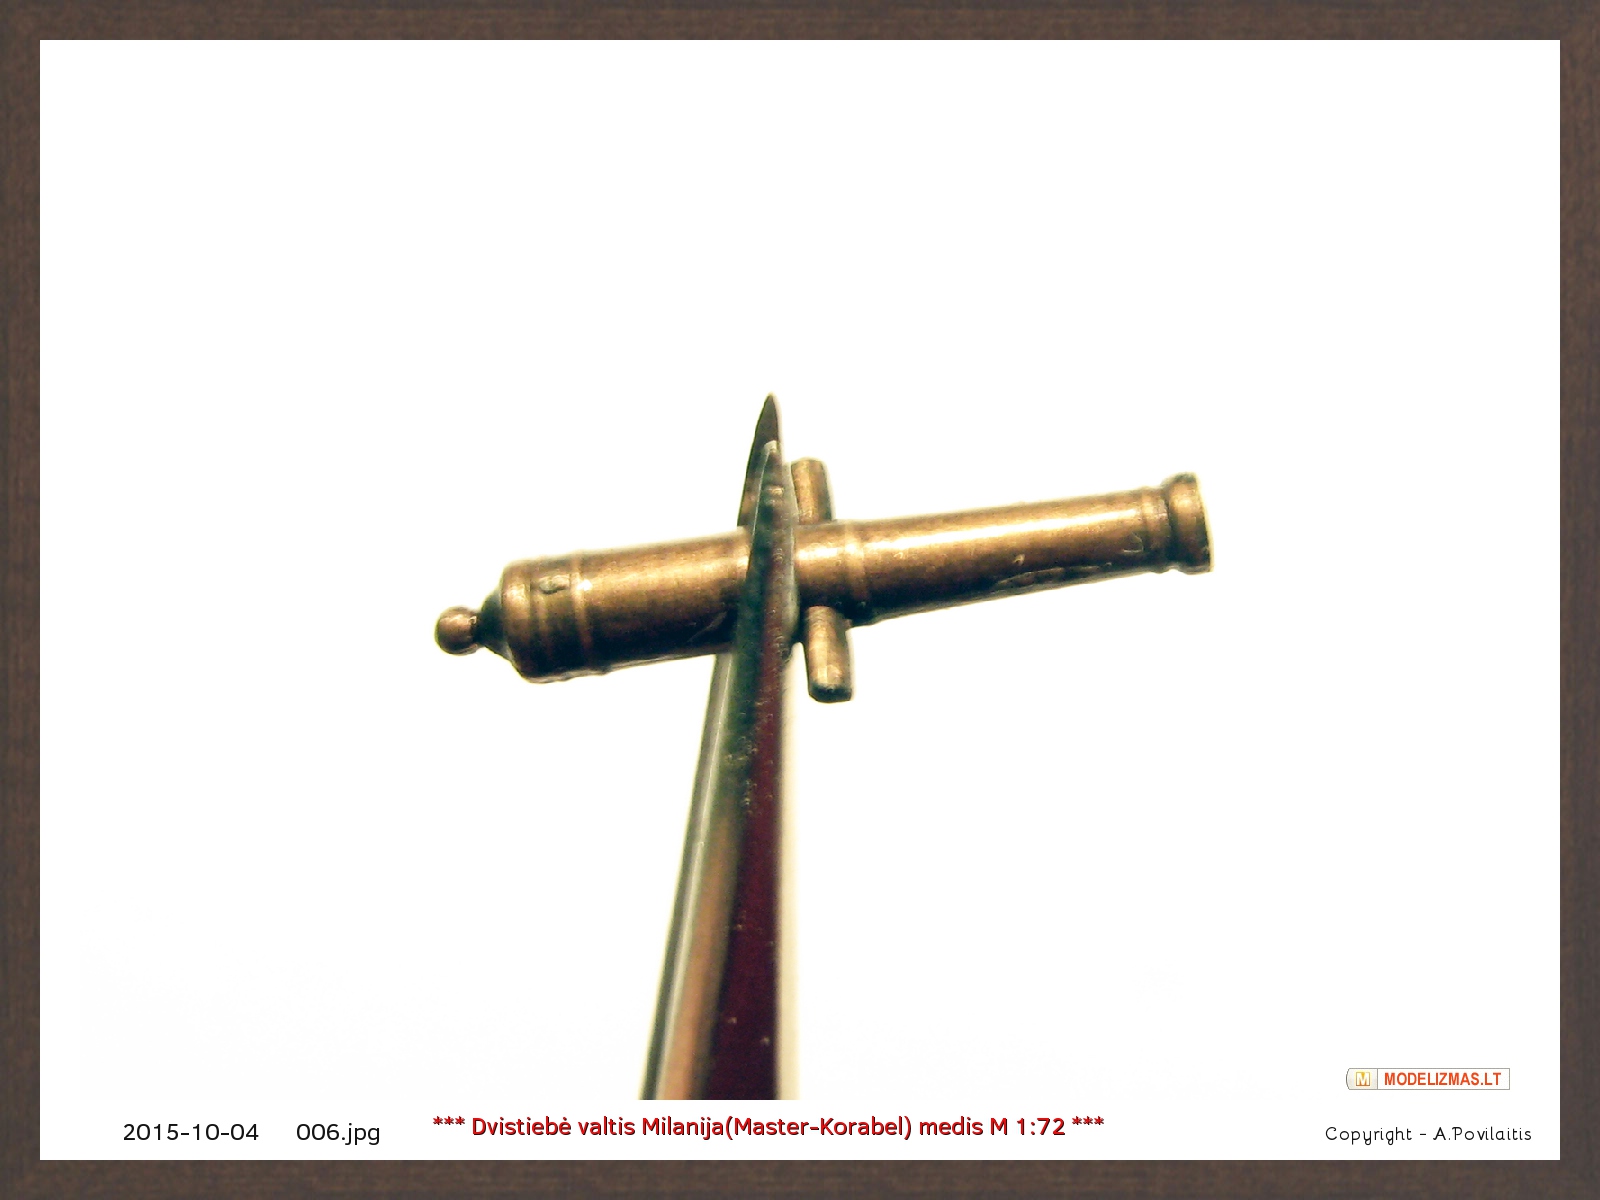
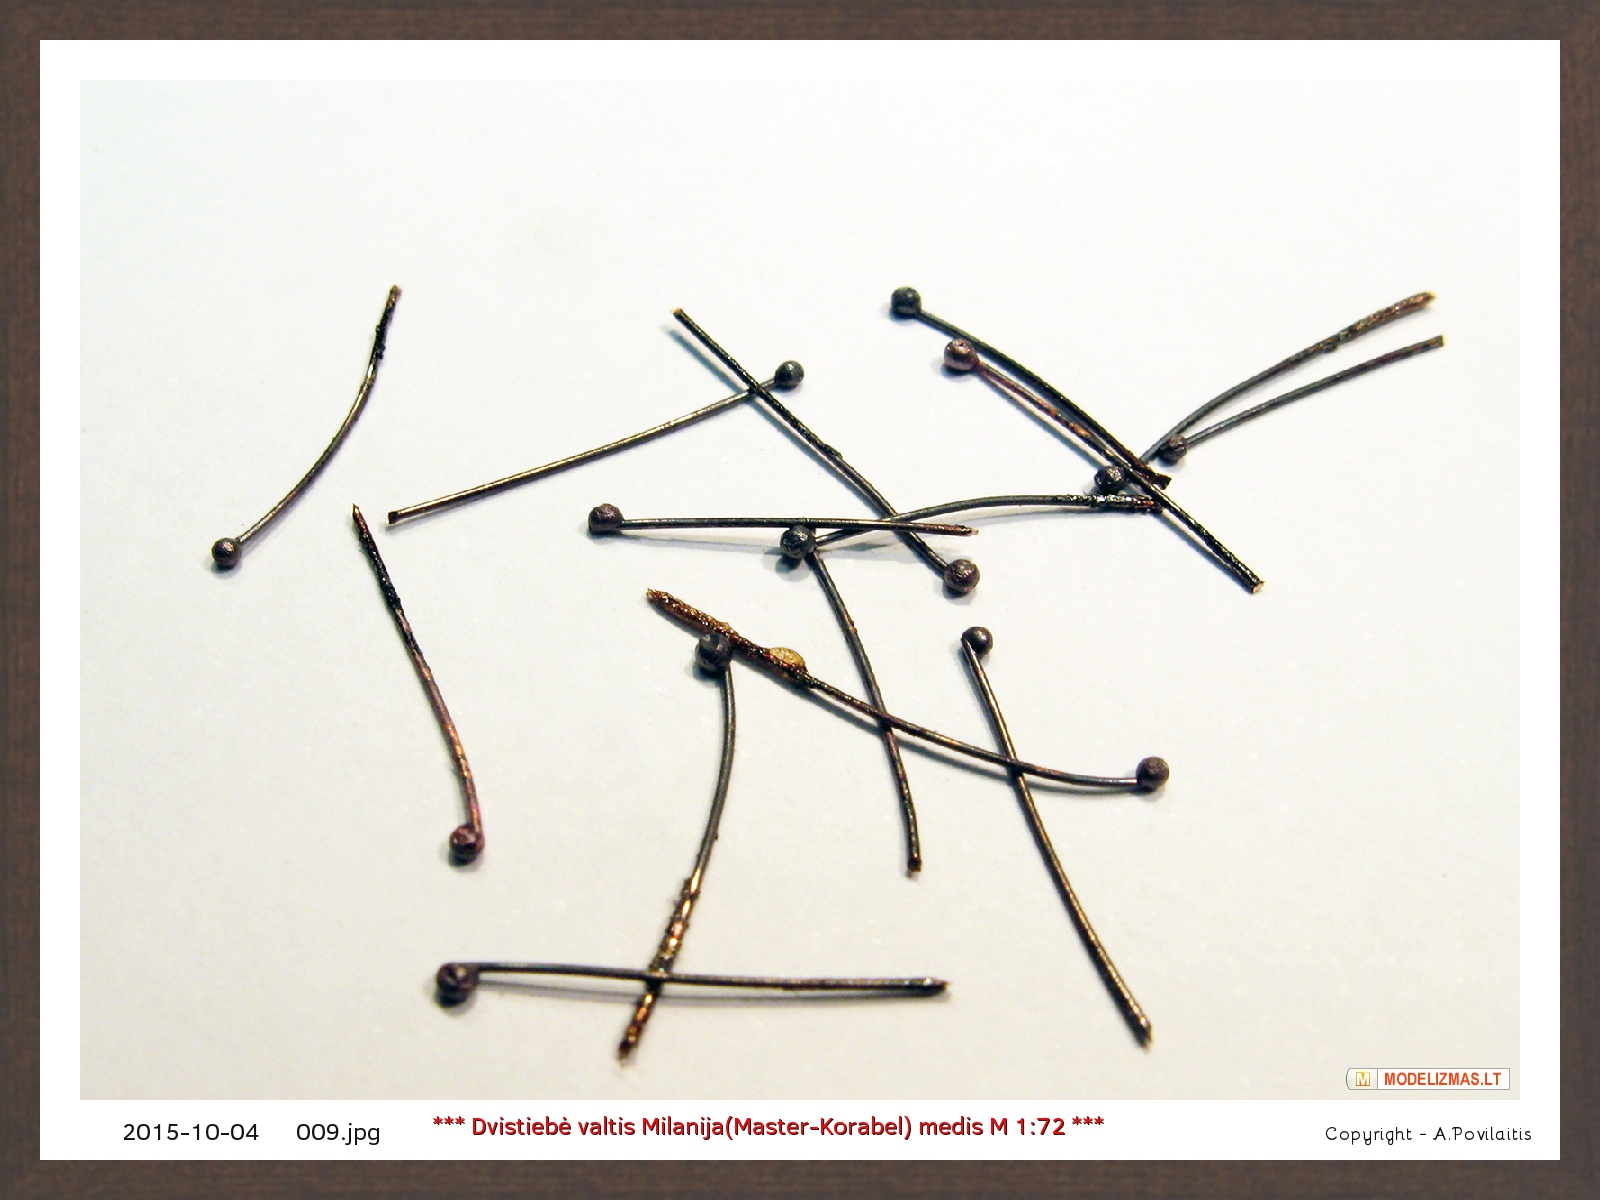
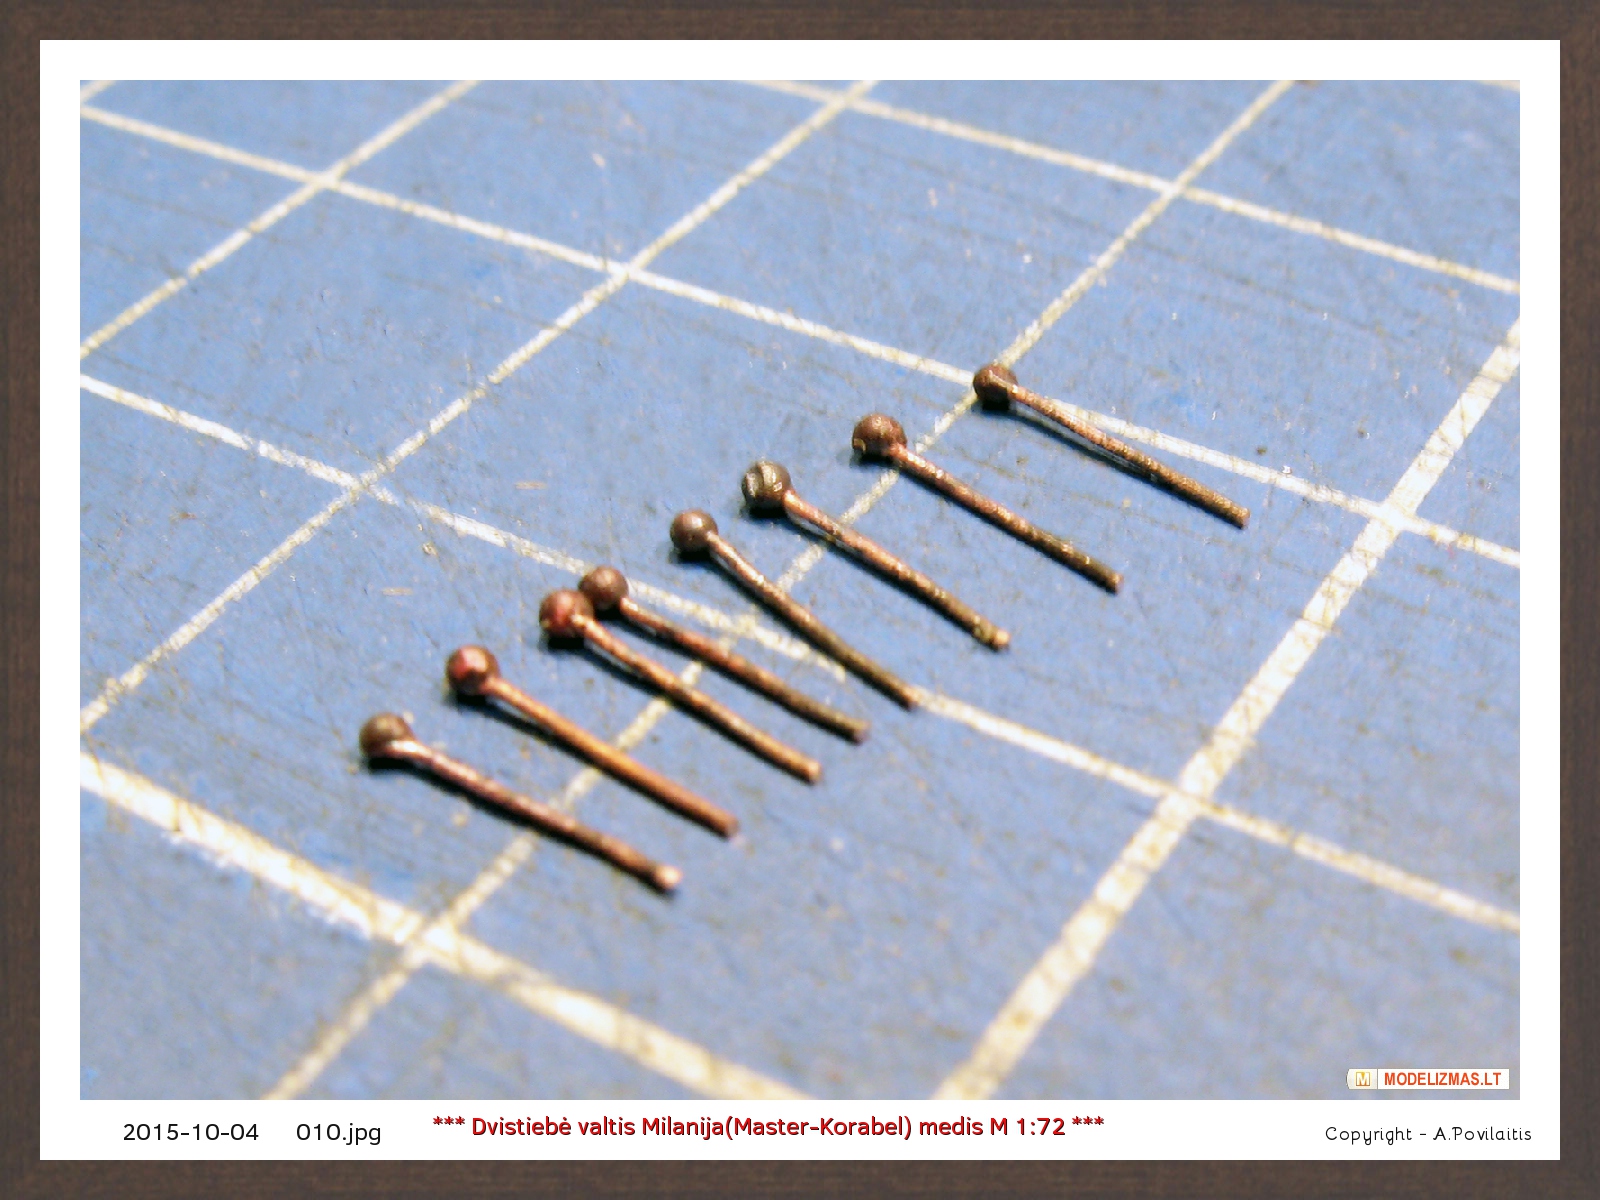
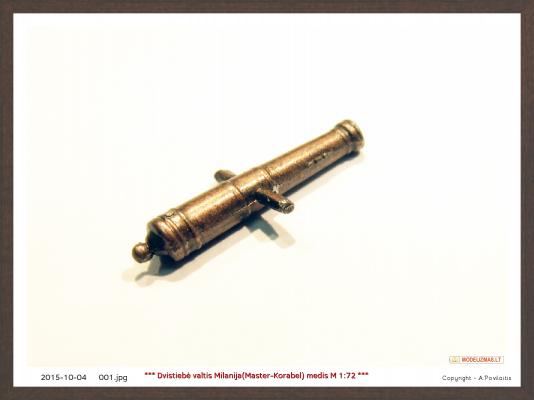
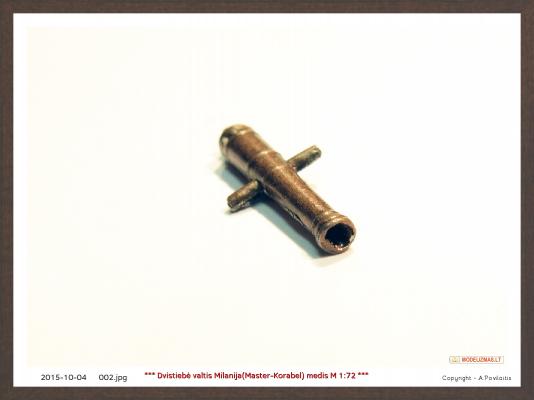
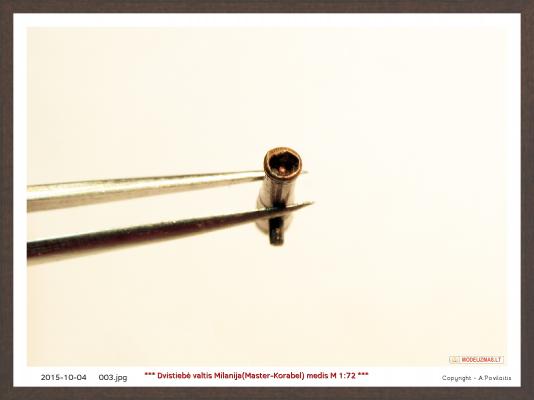
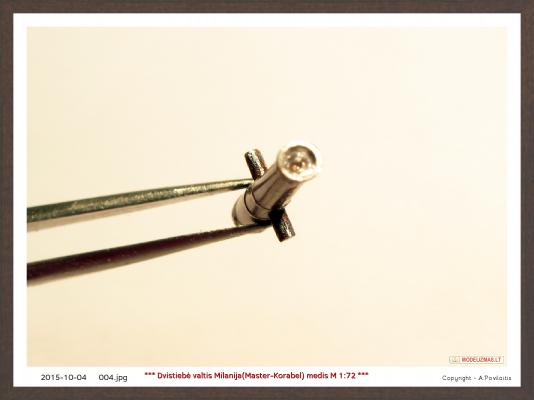
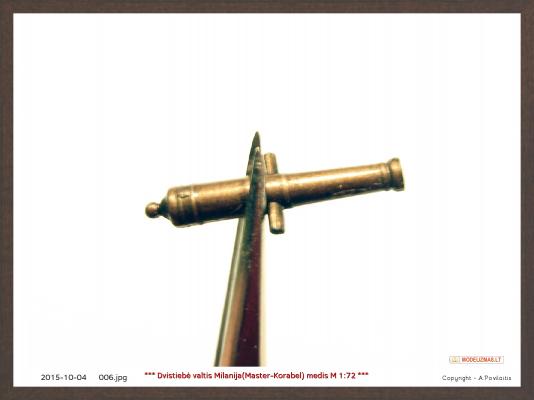
The double boat was the first kit of the Master Korabel. And they use the Amati swivel guns. The quality of the swivel guns are bad. The bores seems very bad. But I do not want to change them. I think that this should be done only at the last resort. Otherwise, it would then model from a kit? I'll try to change the look of the swivel guns. At the first make the barrels more short. About 0,3 mm. Then repair the bore using the conical mill. Now the bore have correct shape. And corrected the trunnion shape. Rounded them and reduced the length. And blackening bores and trunnions. Now they looks much better. The next step is to add the handles to the swivel guns. I make them from the copper wire using the gas torch. Make the beads at the wire ends. Regards Antanas


-
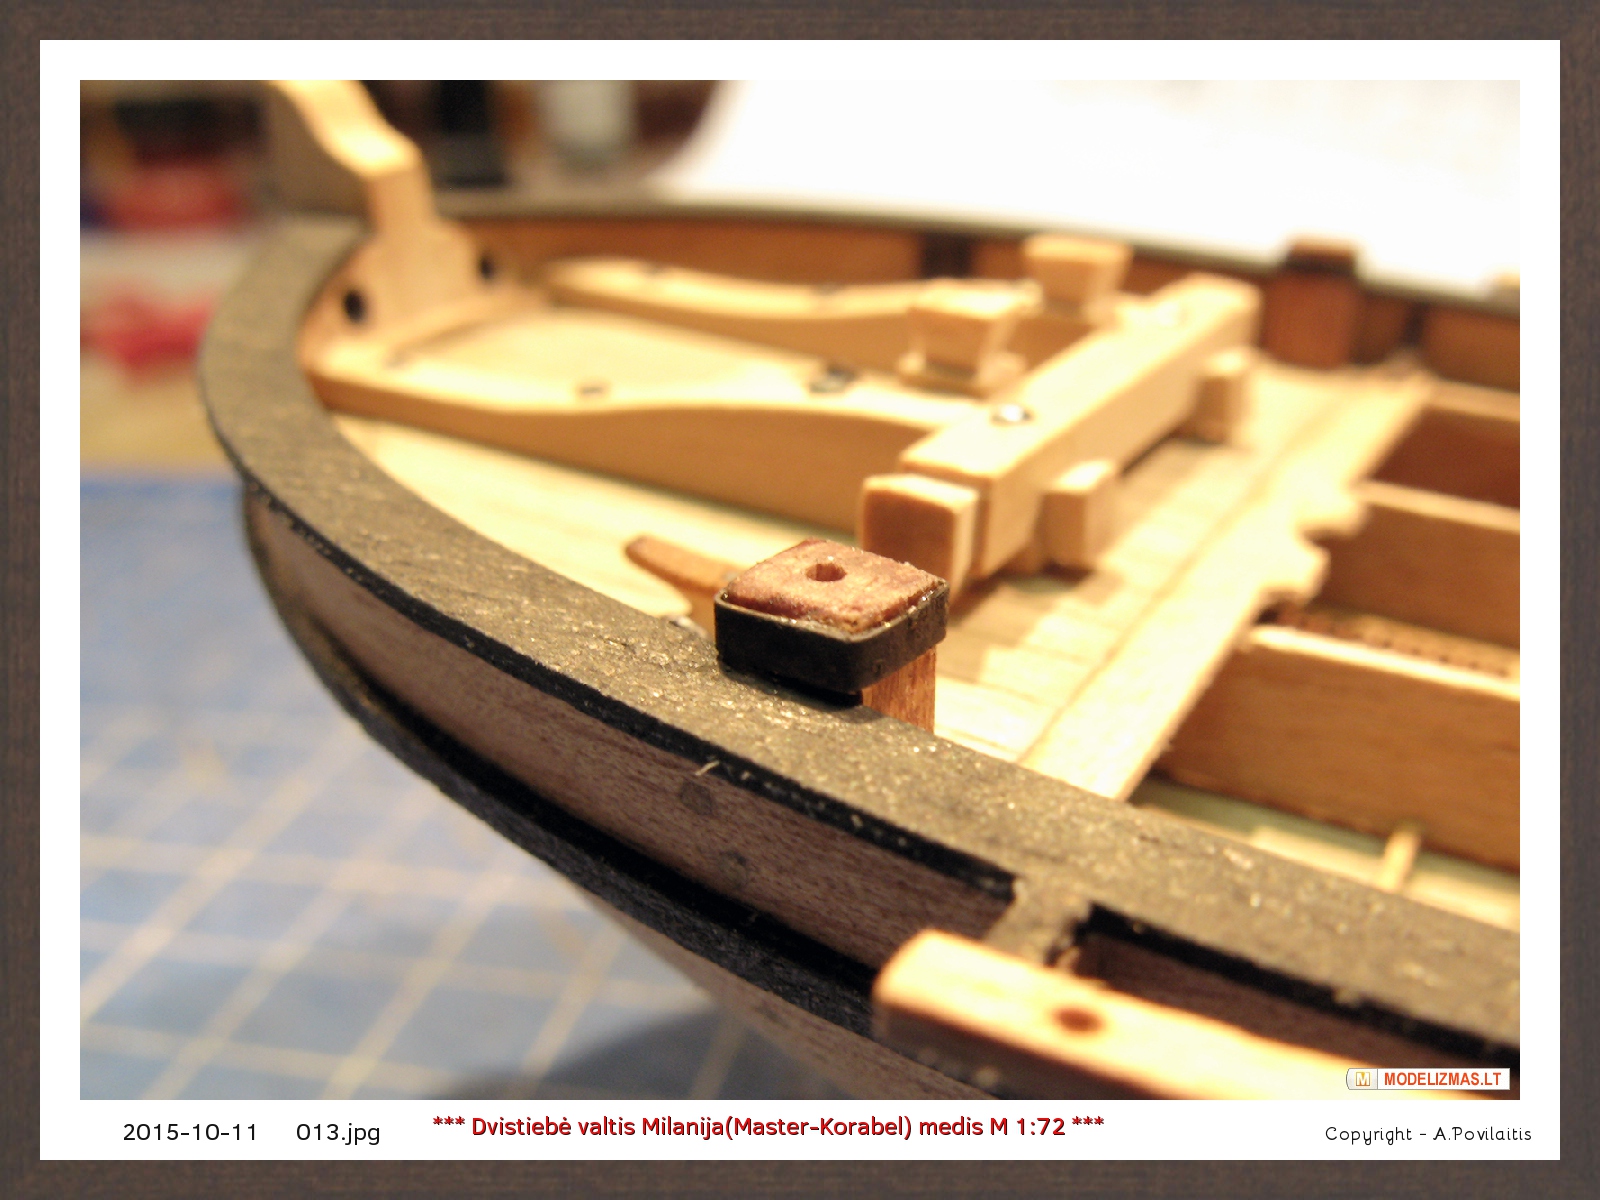
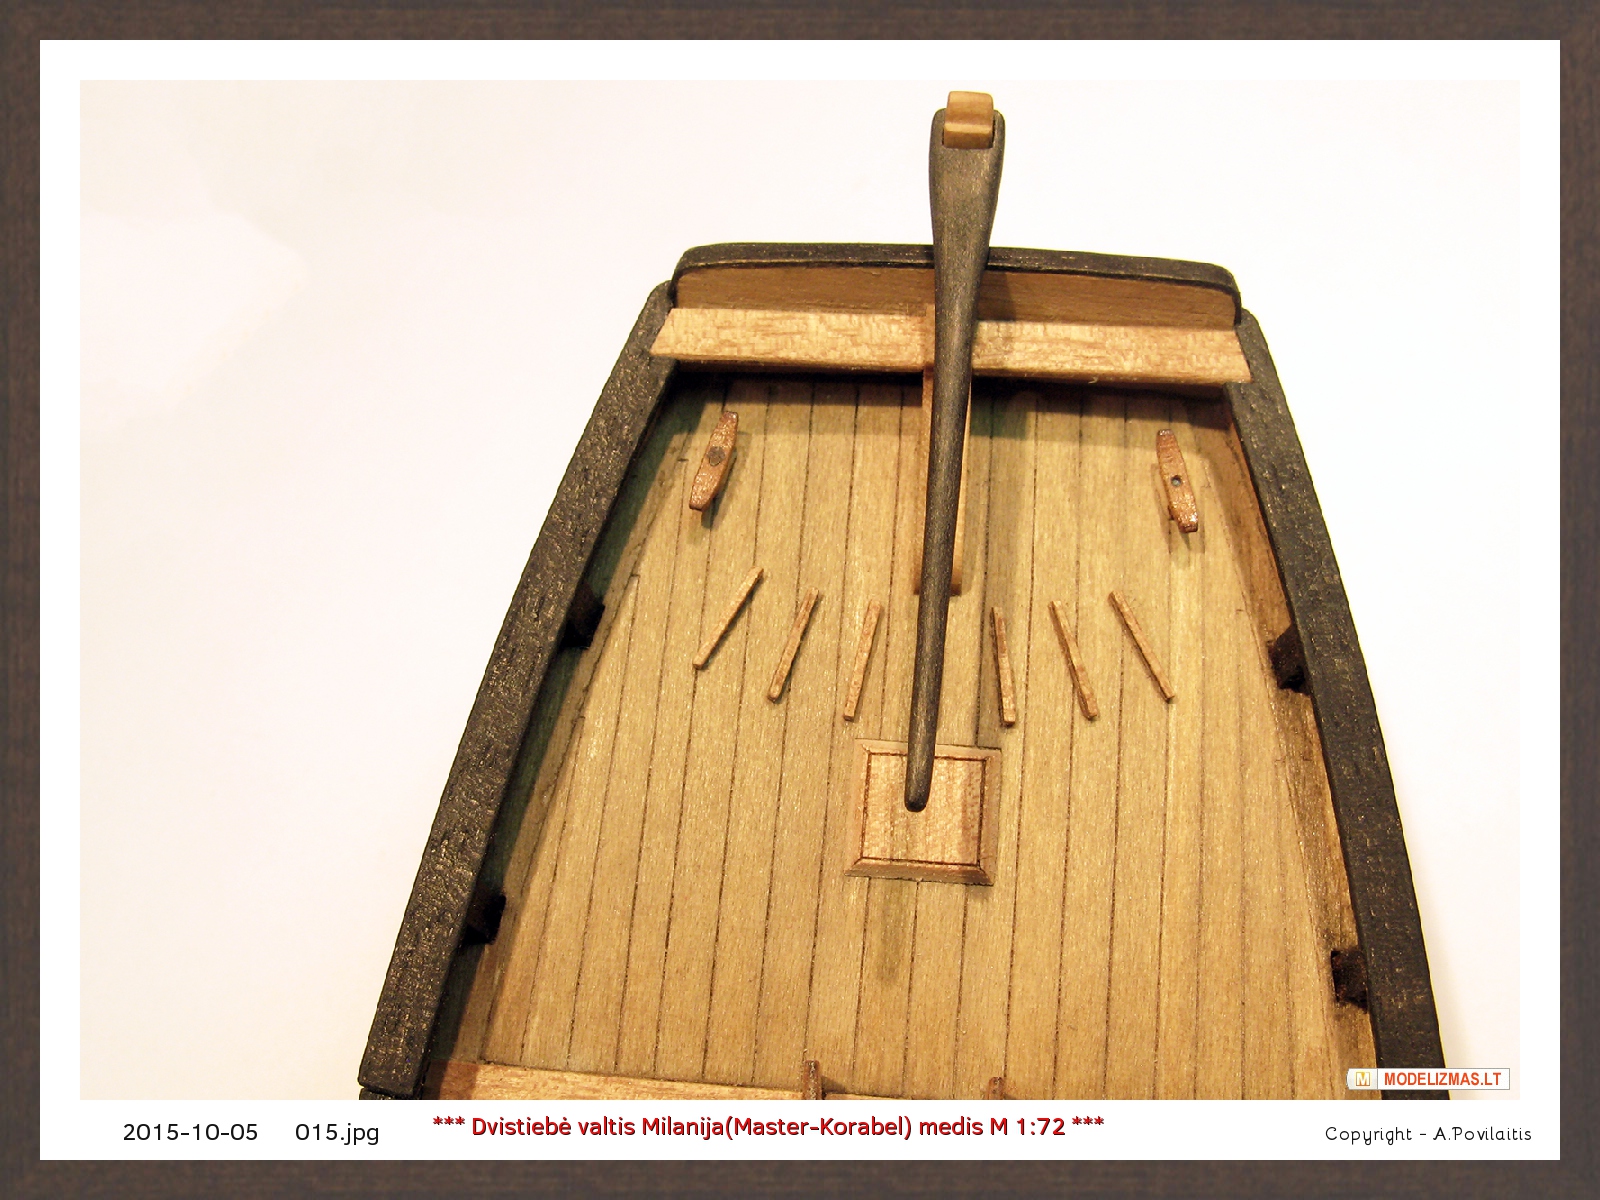
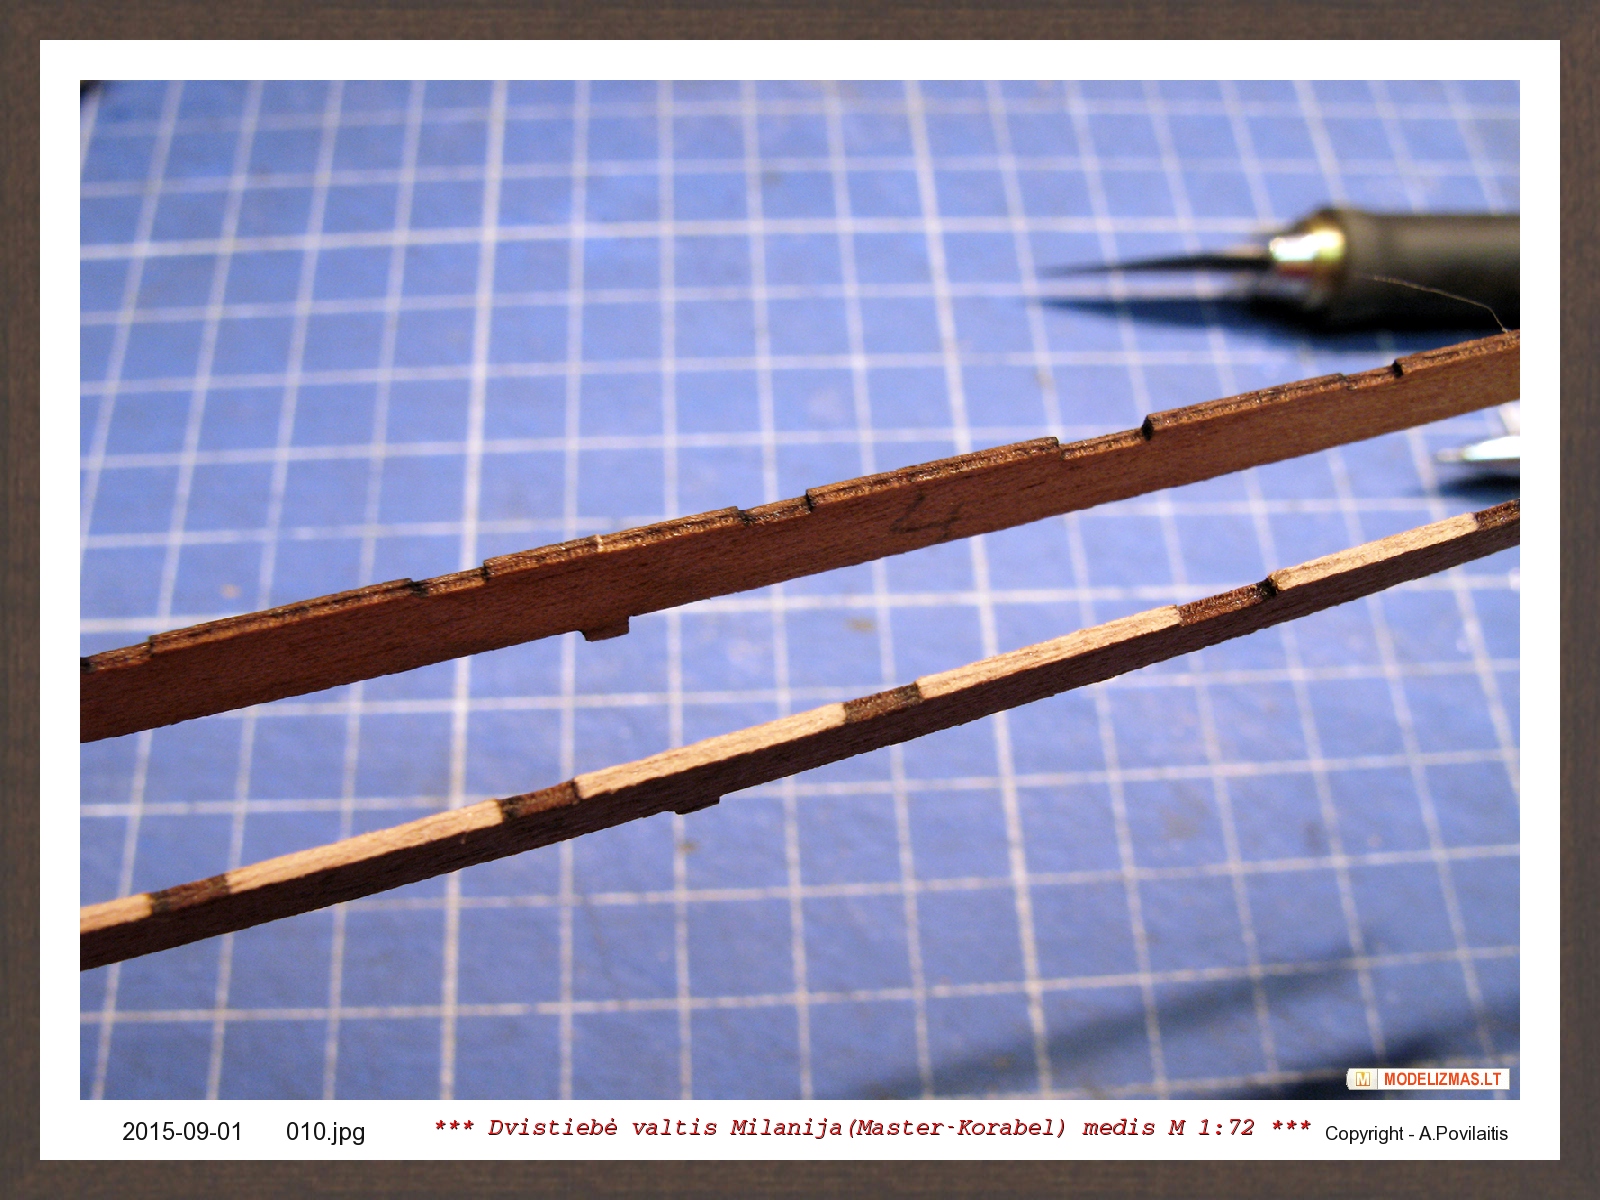
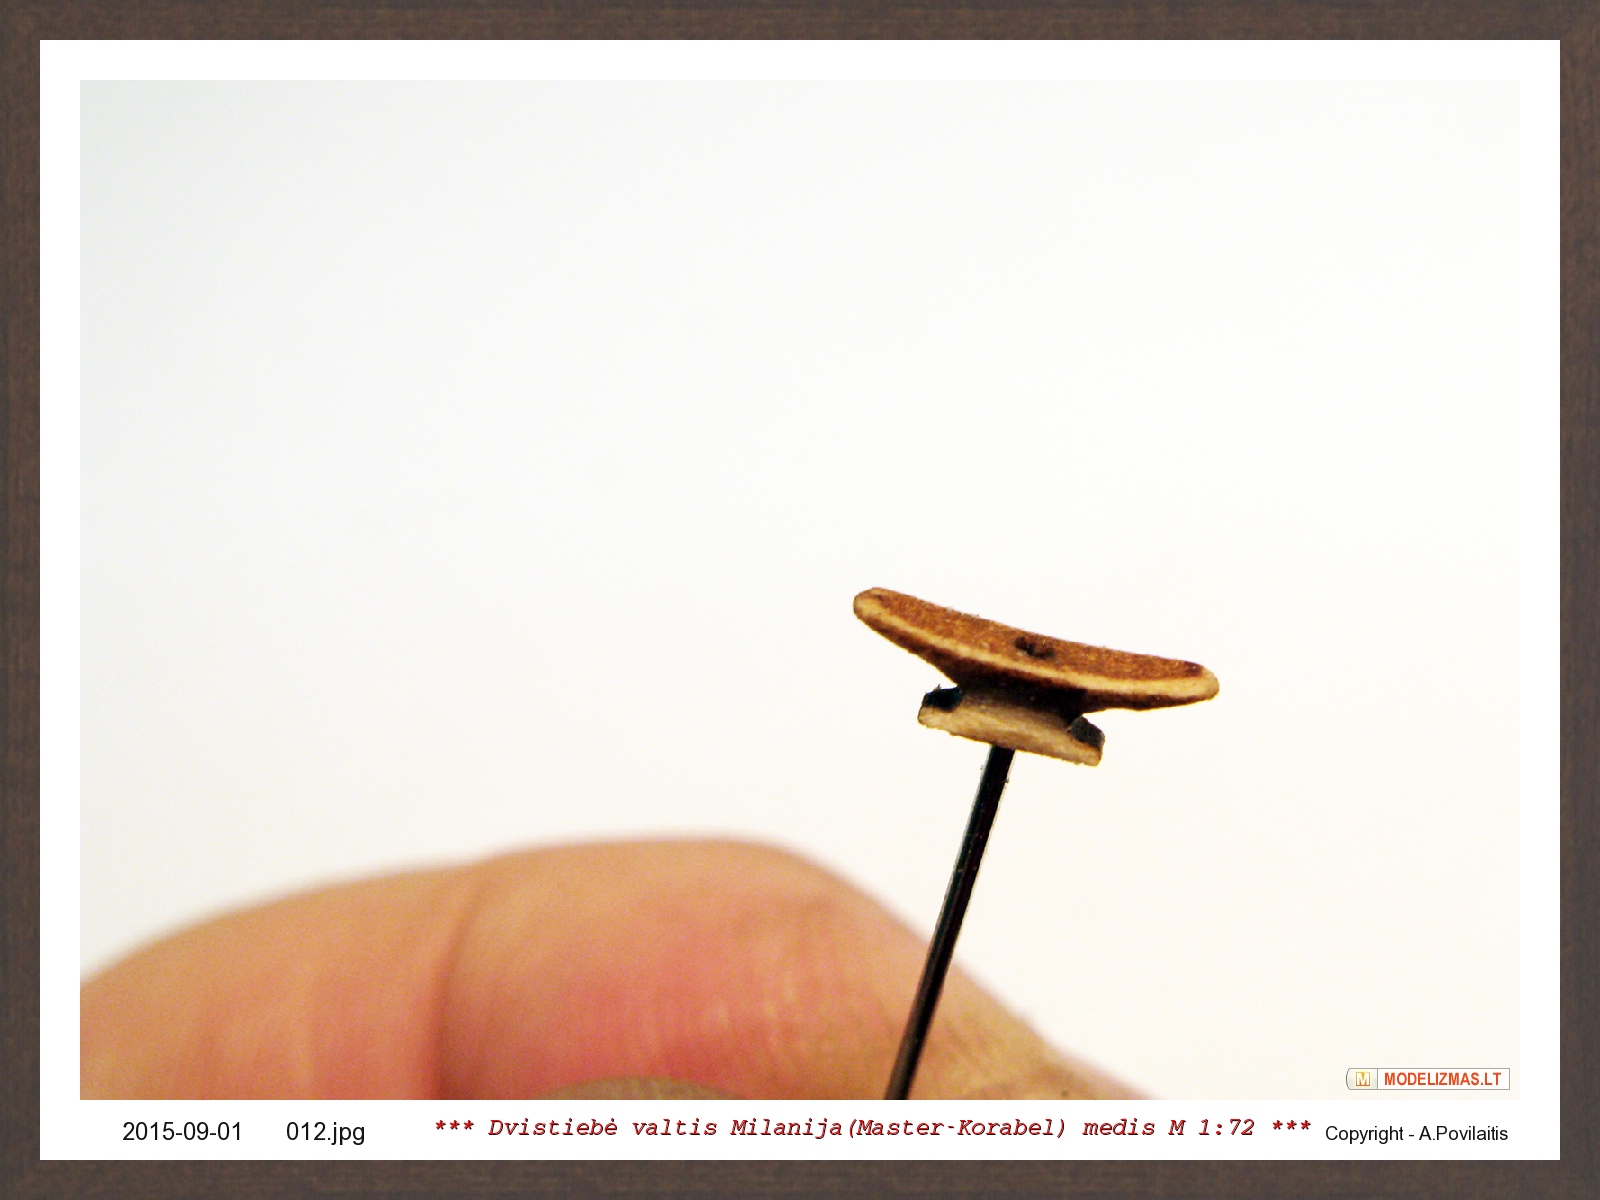
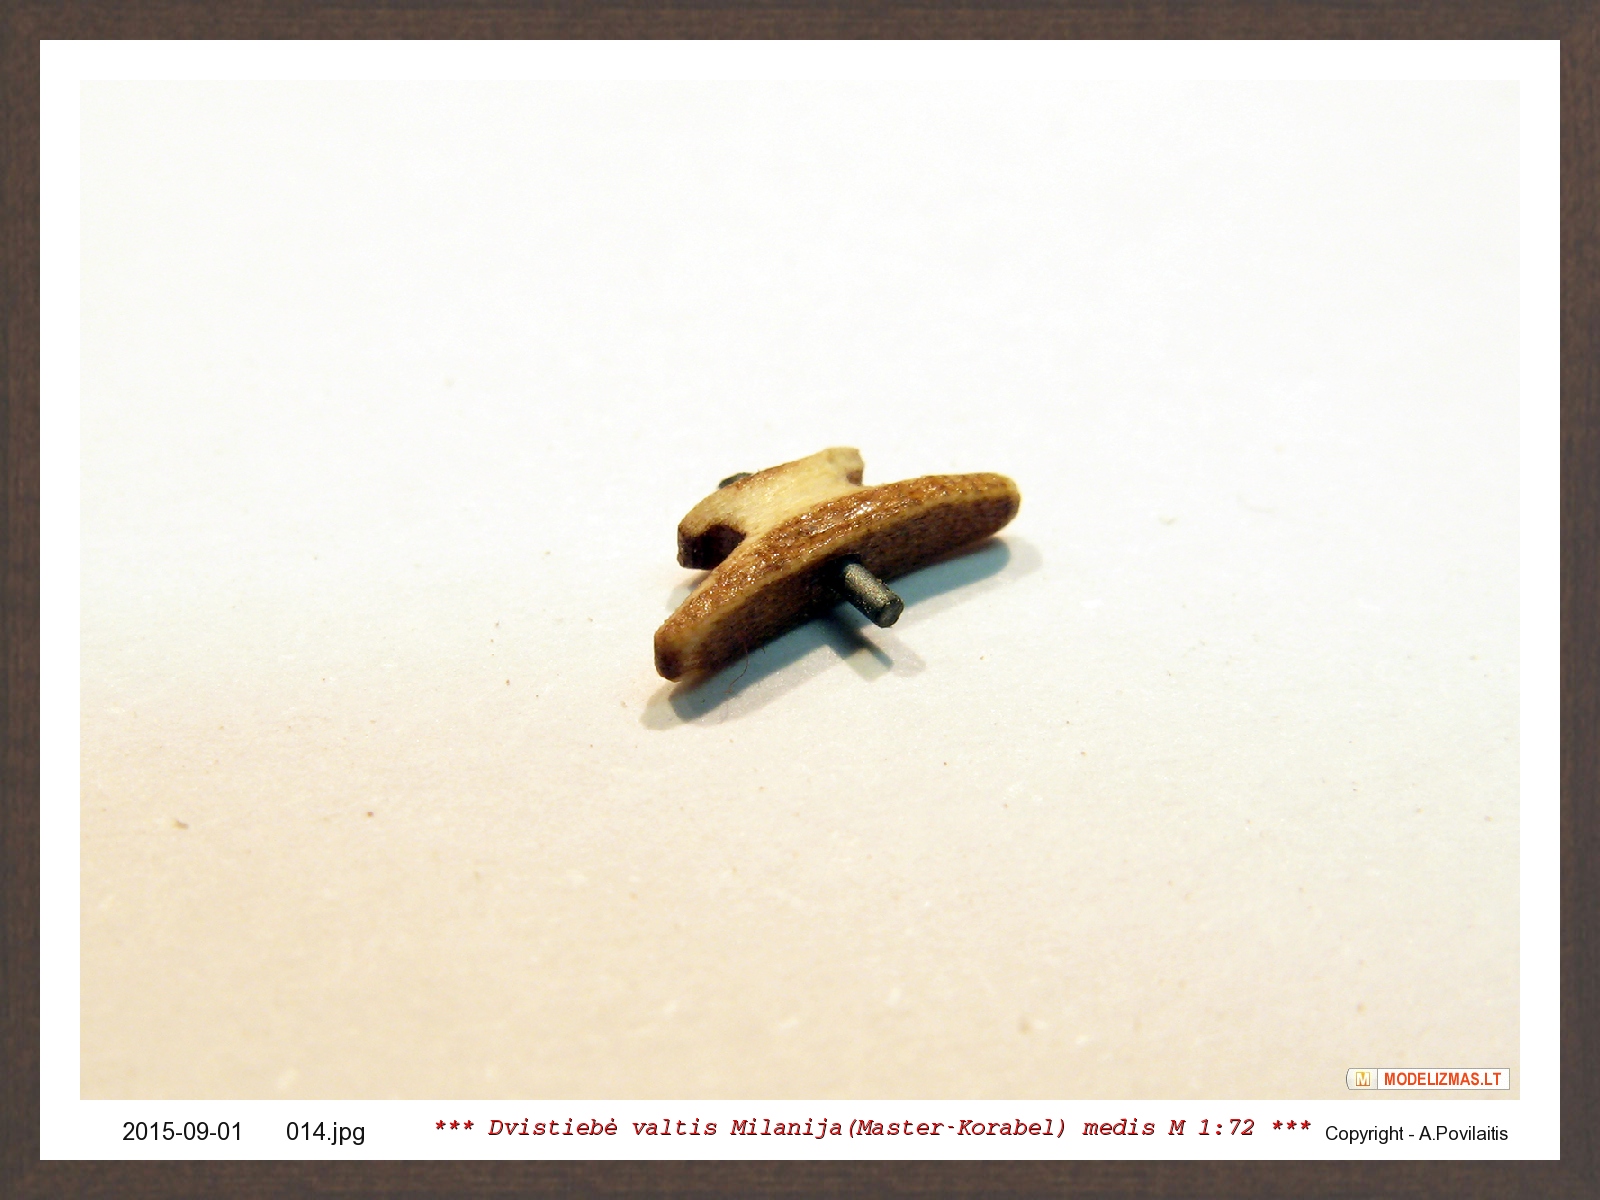
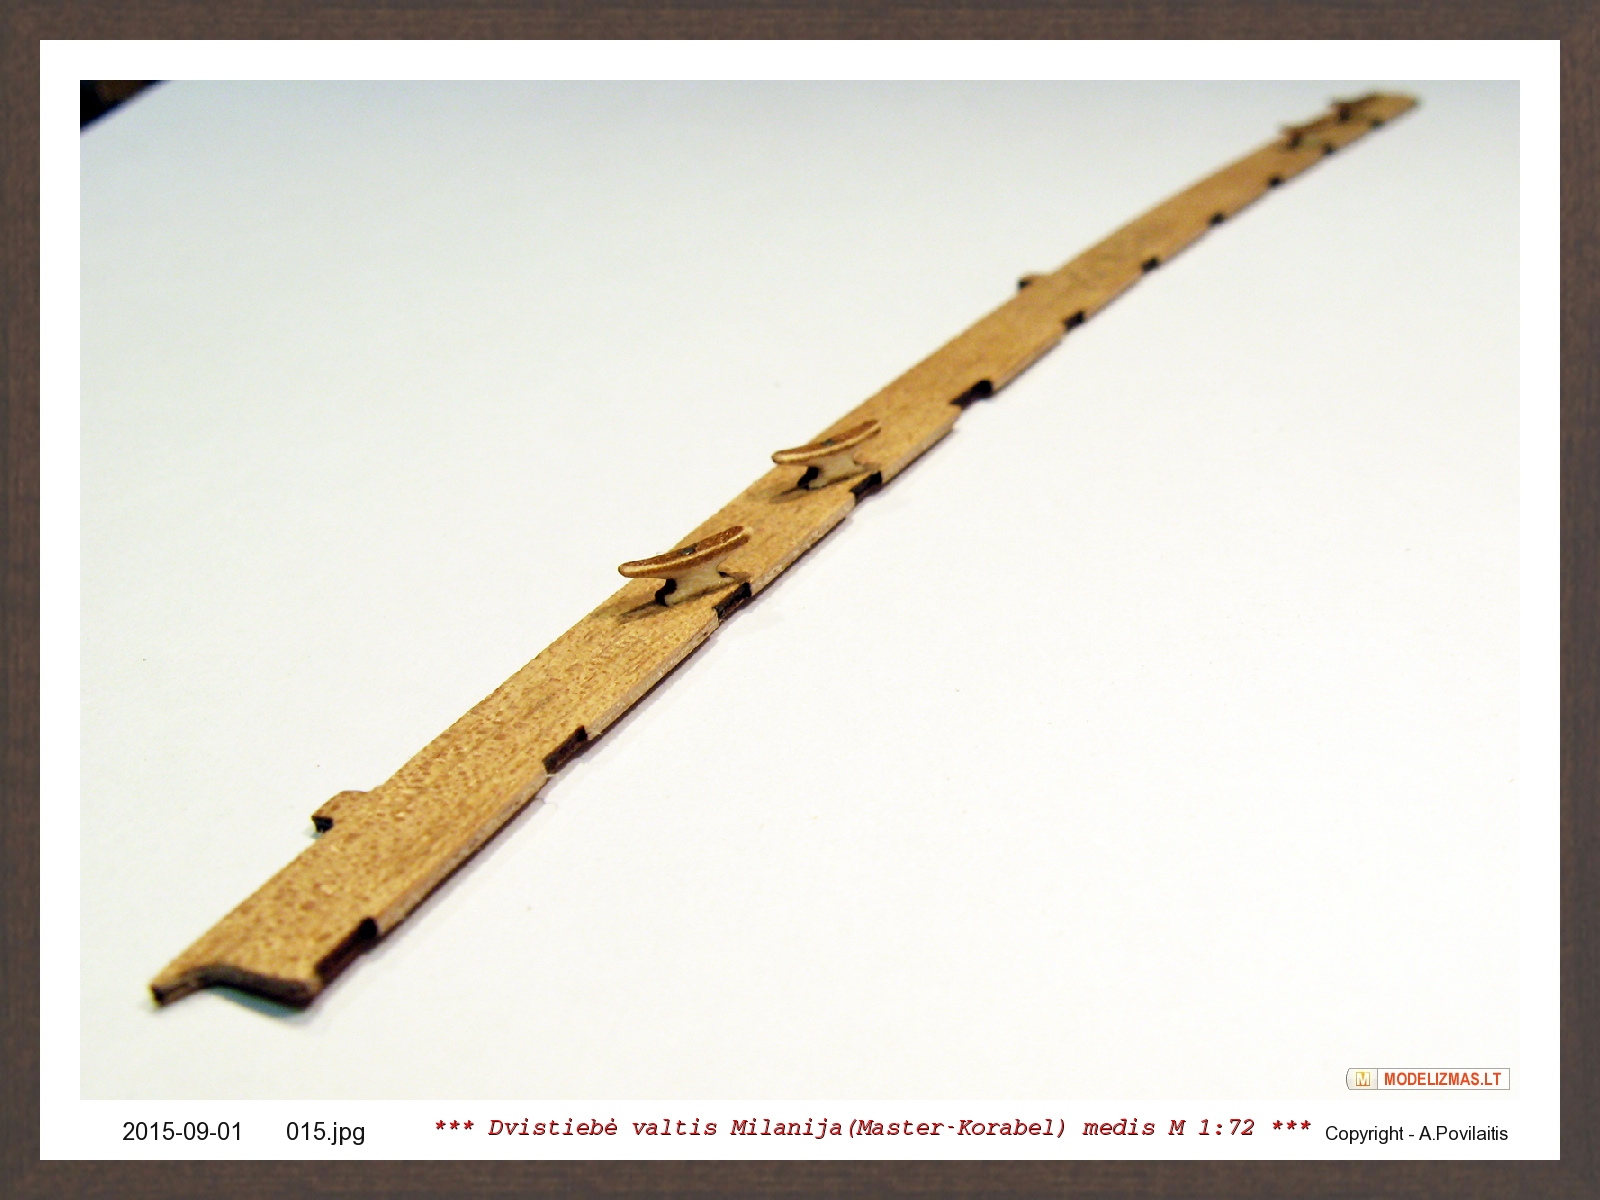
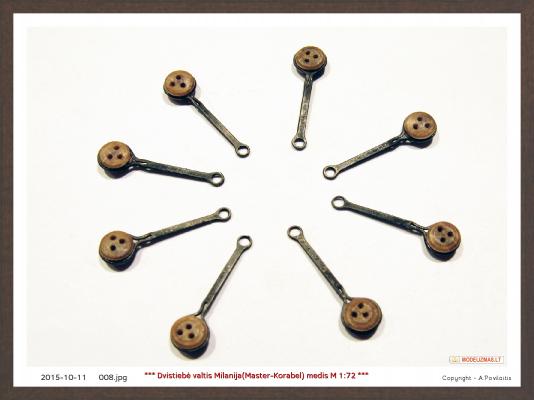
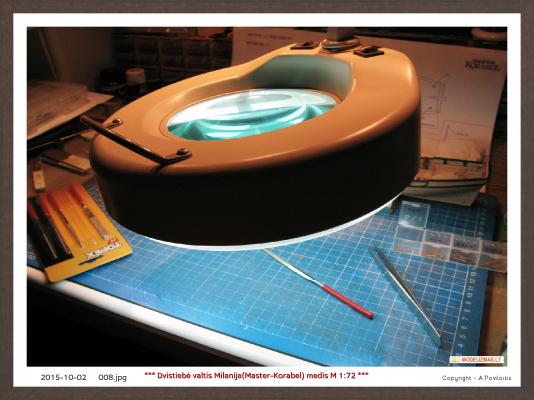
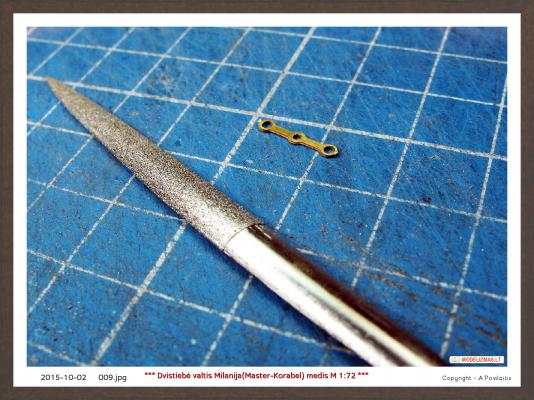
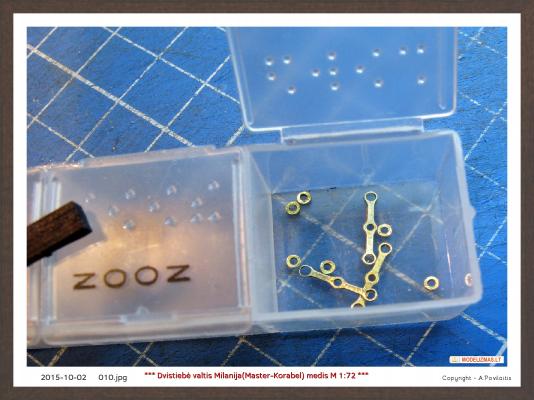
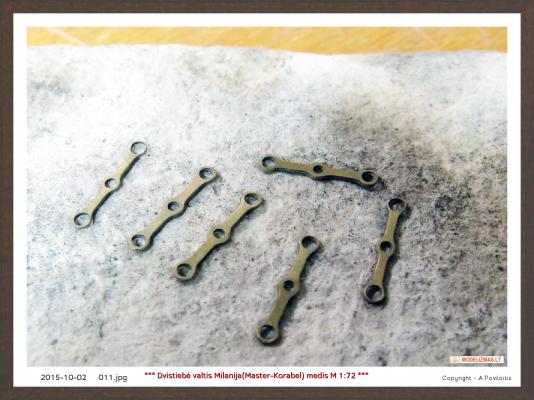
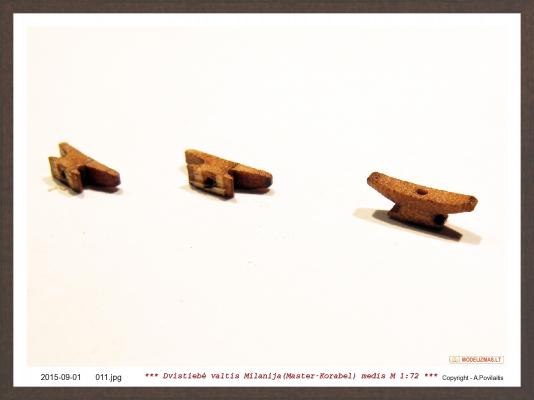
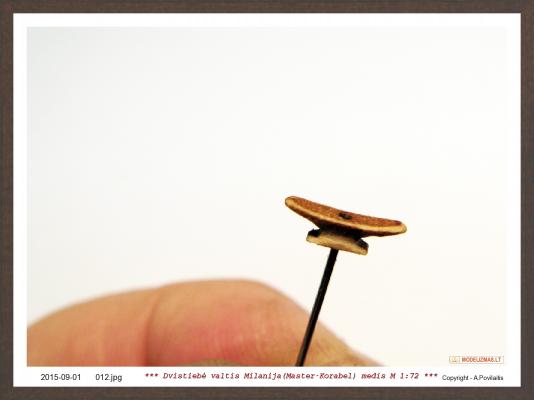
Now time for the swivel guns pedestals. Sanded to get the normal wood look. Every pedestal are individually adapted to its place. Then drilled the holes in the pedestals ends and glued to its places. Add the last two cleats and steel rings. The U shape mounts for the swivel guns are made from brass. They are simple photo etched parts and need the some sanding too. The details are small and I used the my magnifying glass. Before bending I anneal the brass parts, because during the bending process they can break. Then the parts are chemically blackening. And finally from steel pins made the U shaped mounts axis. That's all at this time. Regards Antanas


-
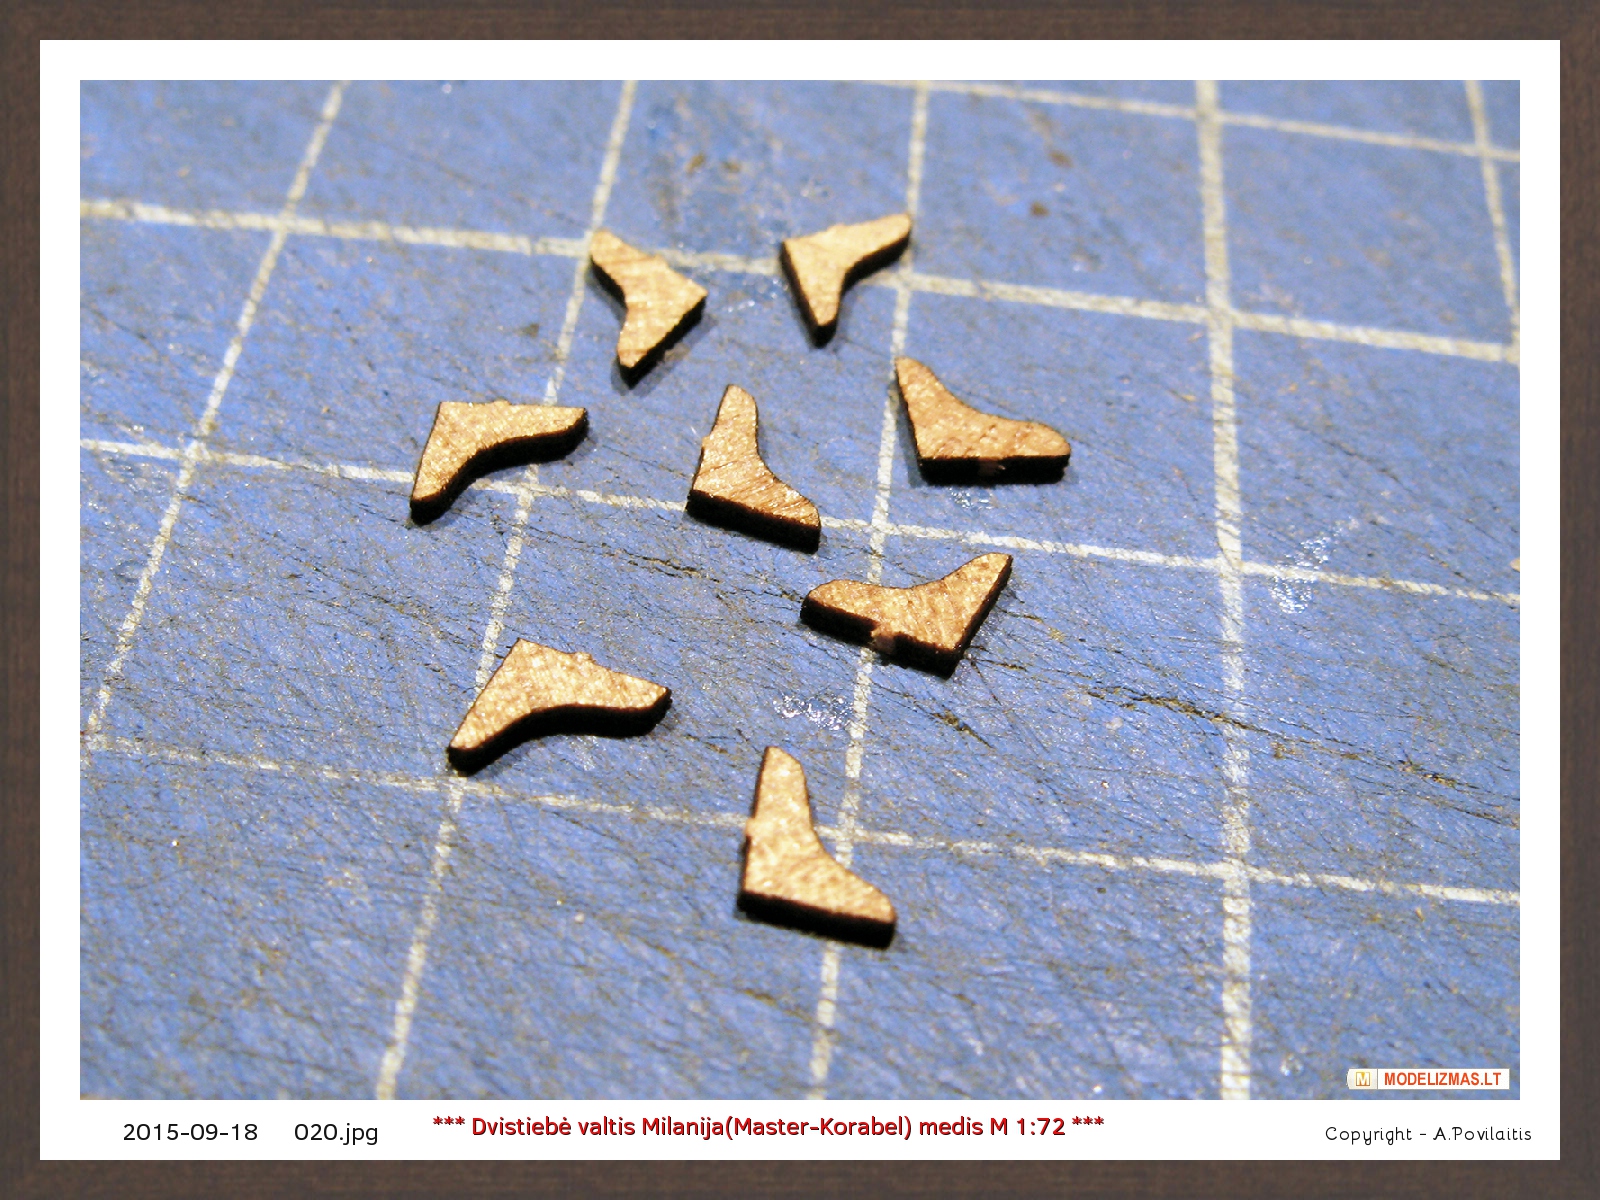
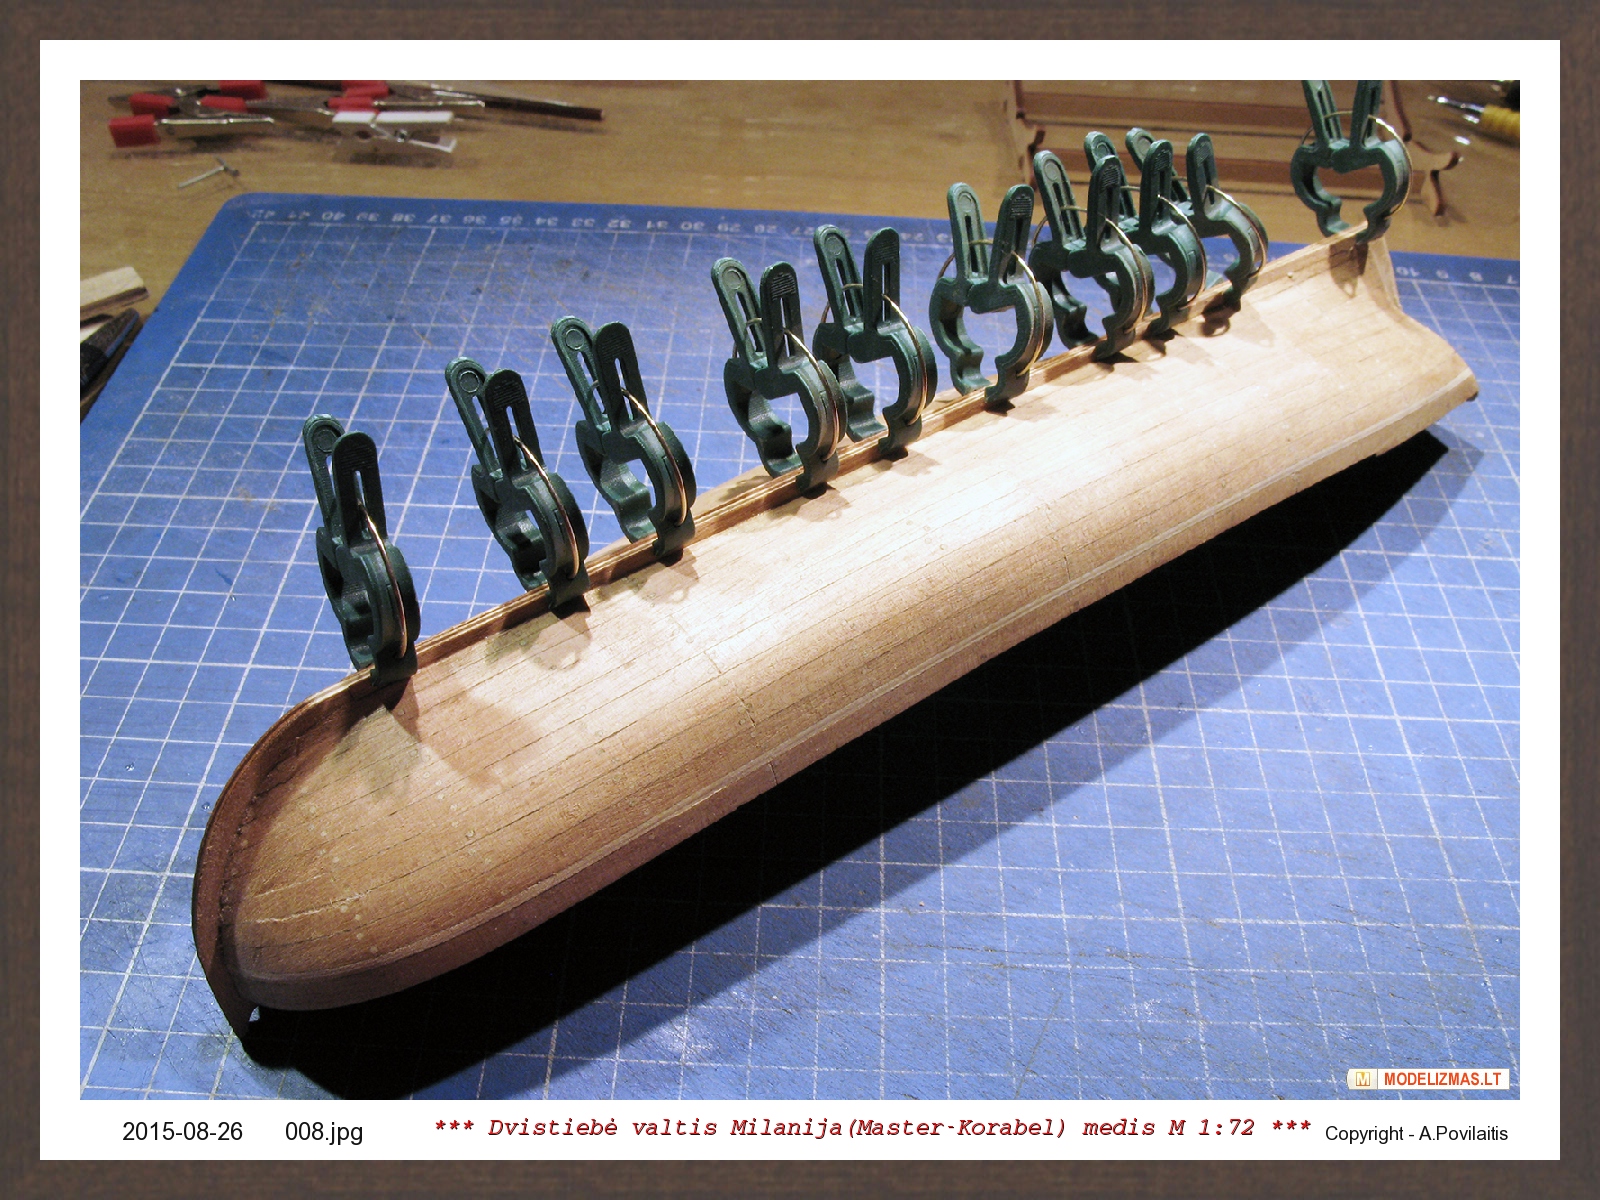
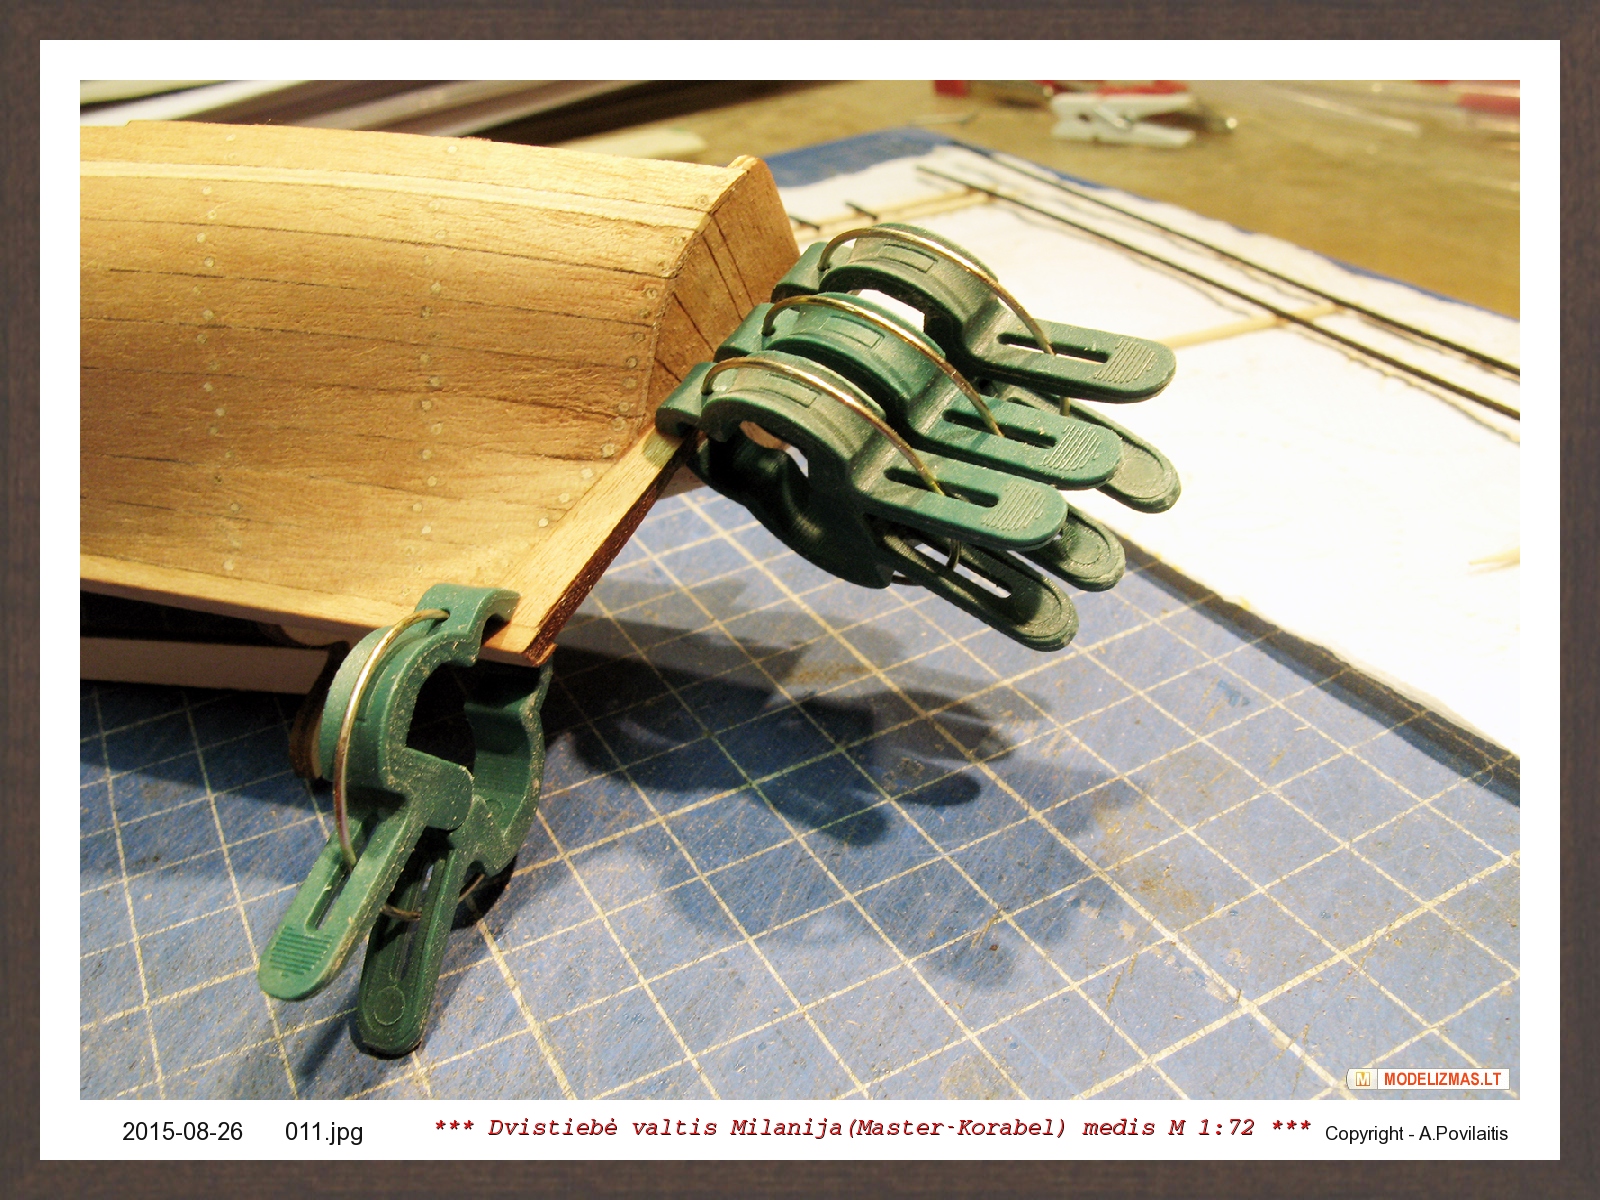
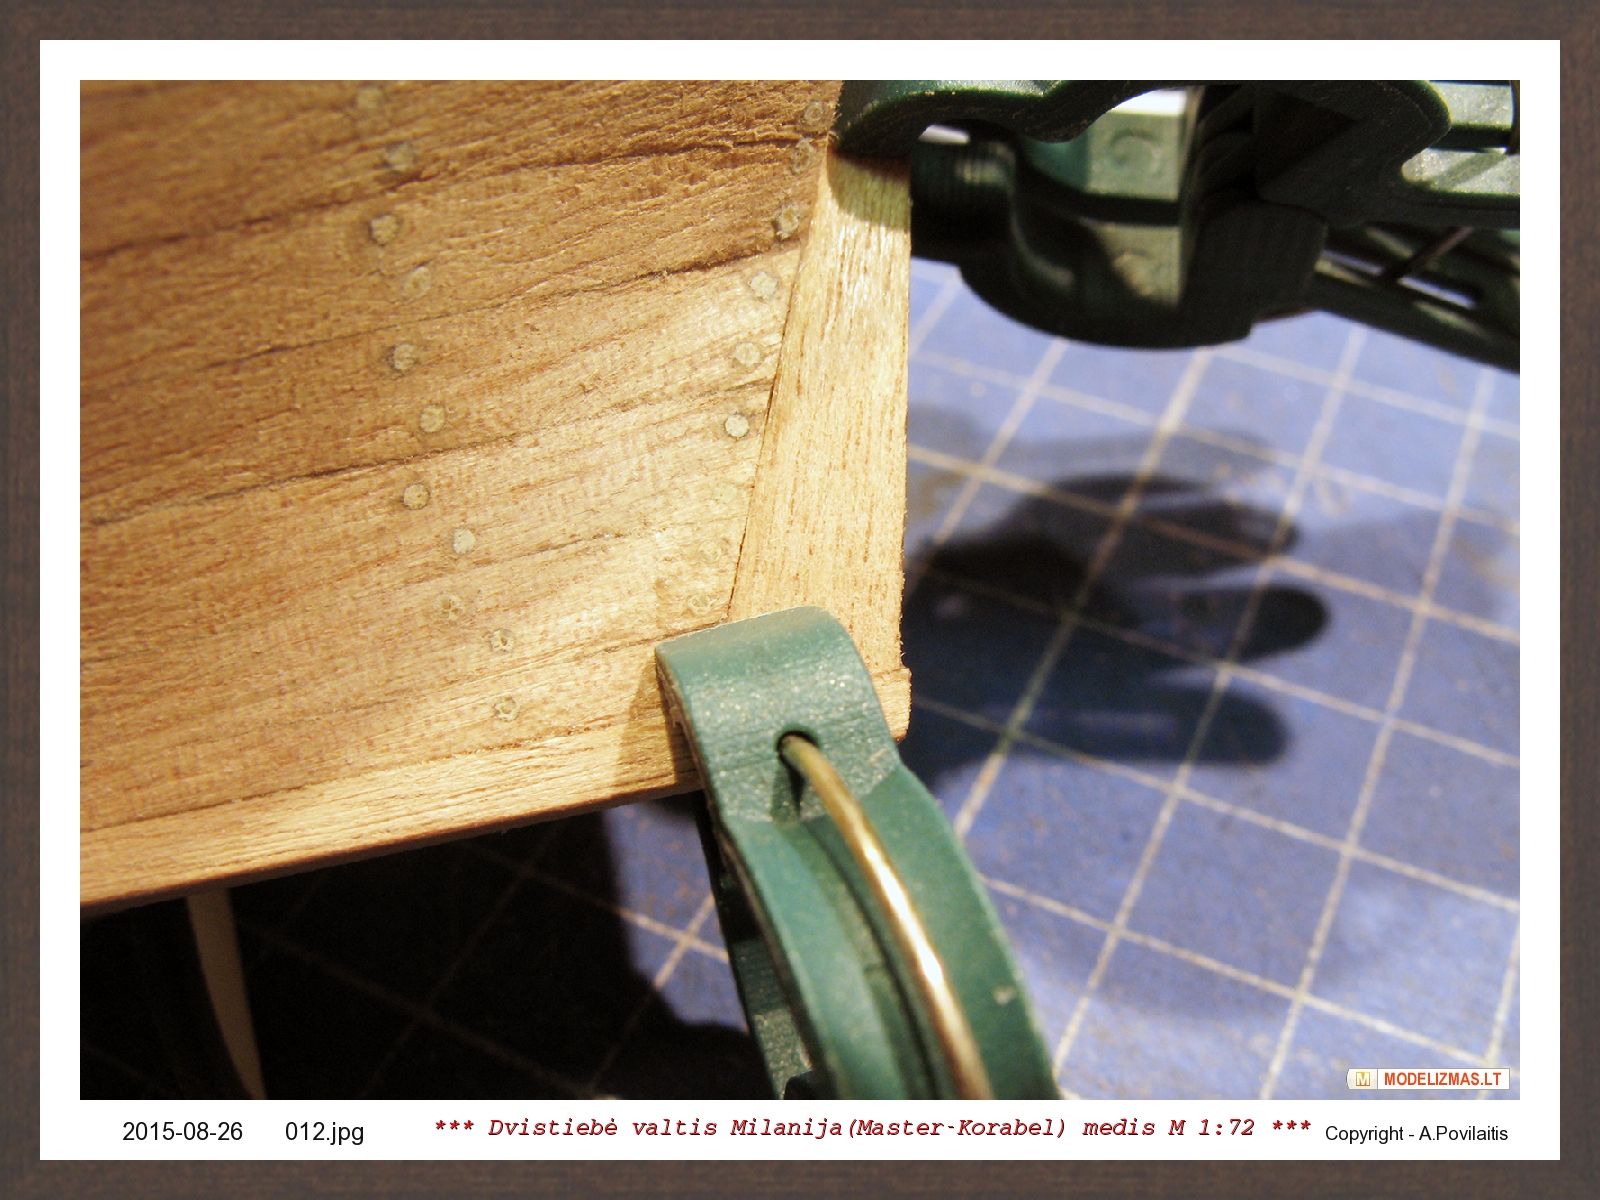
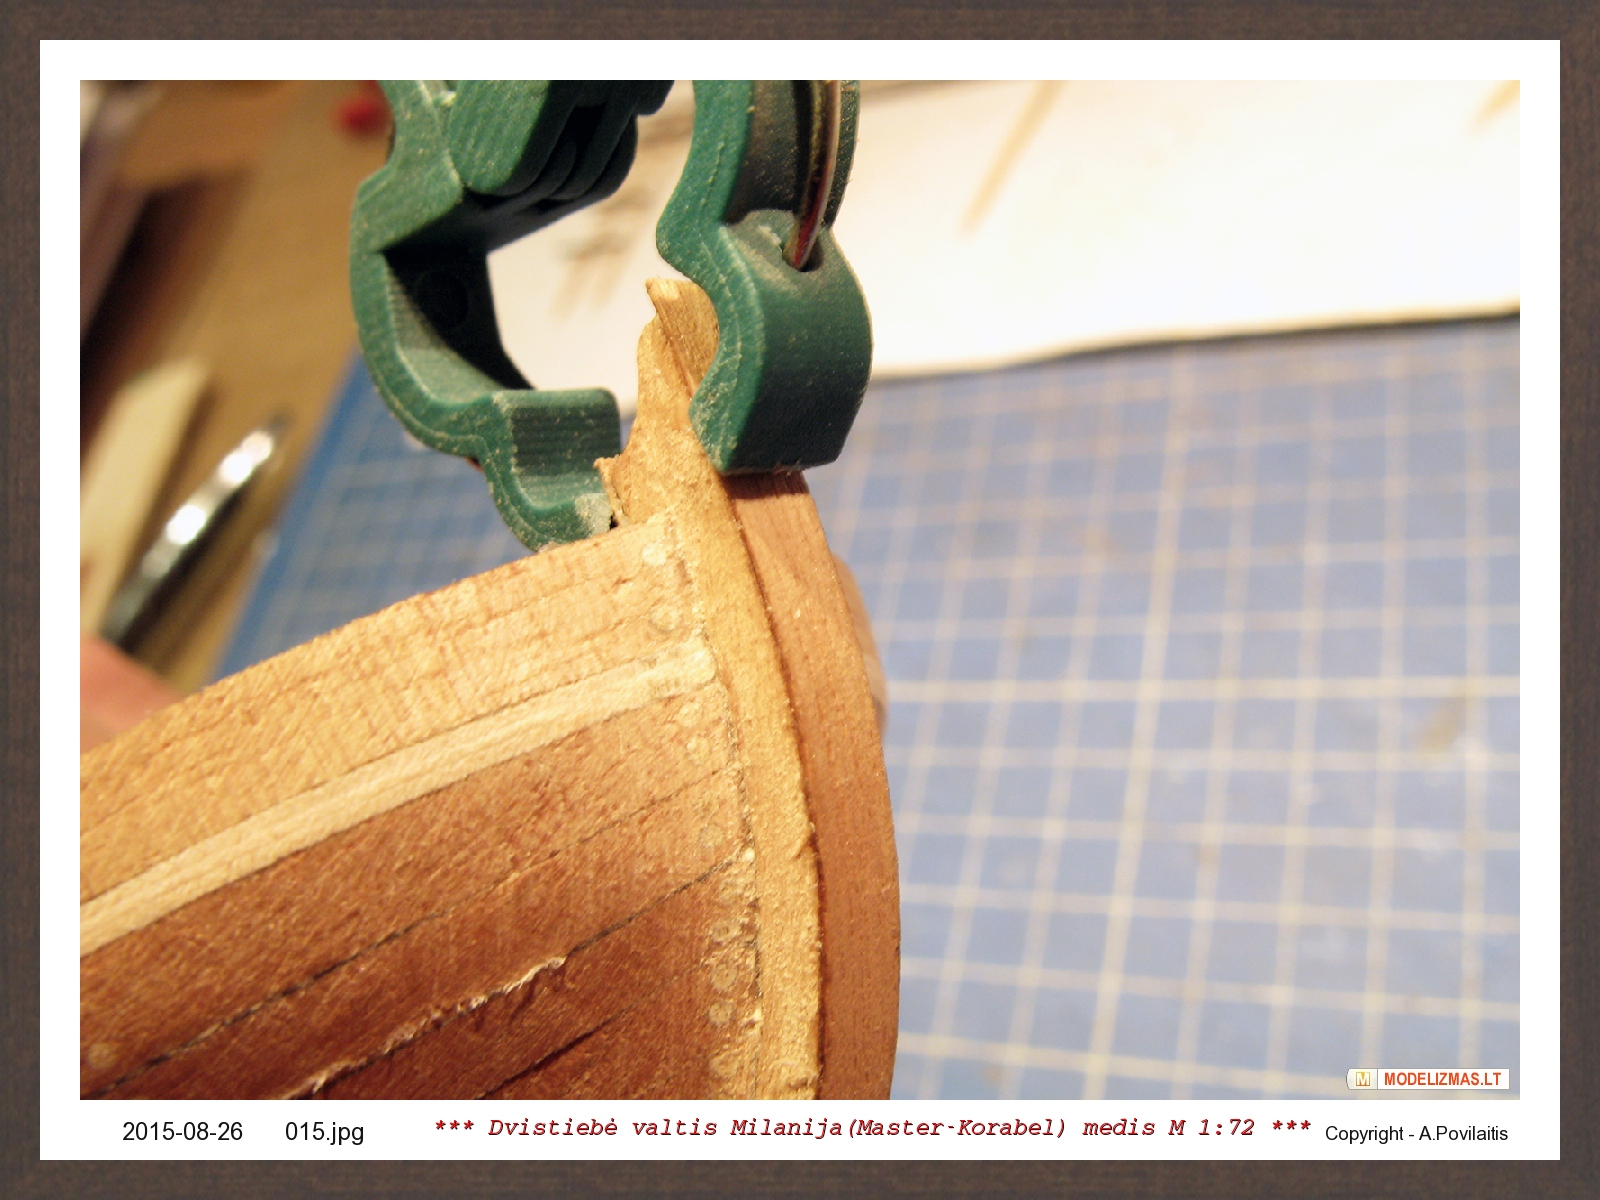
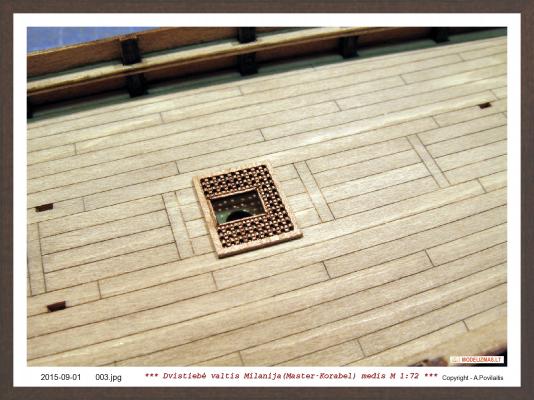
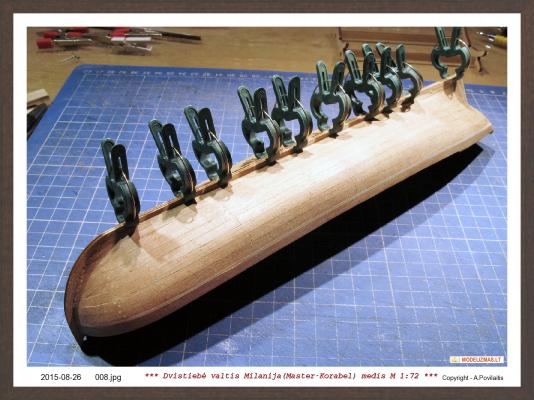
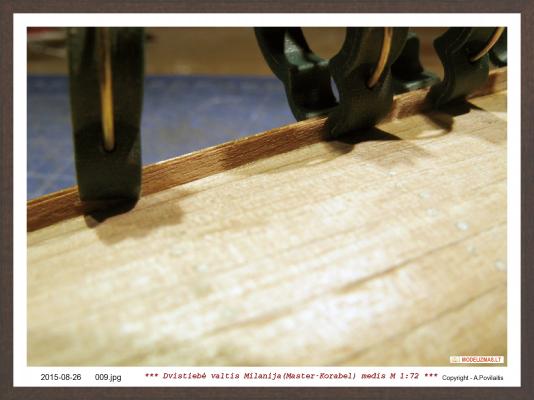
Hello all! Some weeks I not worked on my model. Migrated from my old Windows XP notebook to iMac. It was not easy... But I do it and have some free time for my models! At first make the holes for anchors rope. Painted the hole in black. But the most difficult place was the main plank-sheer. He was broken four o six times. But successfully glued in the place... When added the knees the situation will become much better. Part of the plank-sheer painted in black using the ink. Regards Antanas


-
Hi Nils! Very nice model. I not like the shining brass. But there it looks very good. Bravo! Best regards Antanas
-
Hello Nils! Great project and very nice job. I will be happy to can read this very interesting build log all! Thanks for sharing! Best regards Antanas
- 2,625 replies
-
- 2
-
-
- kaiser wilhelm der grosse
- passenger steamer
- (and 1 more)
-
Carl, You are right. But this is a big secret... Thank You Nils. Laser pre cut planks are good. You are right. But my hands not so good. I make too many mistakes. But I believe the next time will be better. Best regards Antanas
-
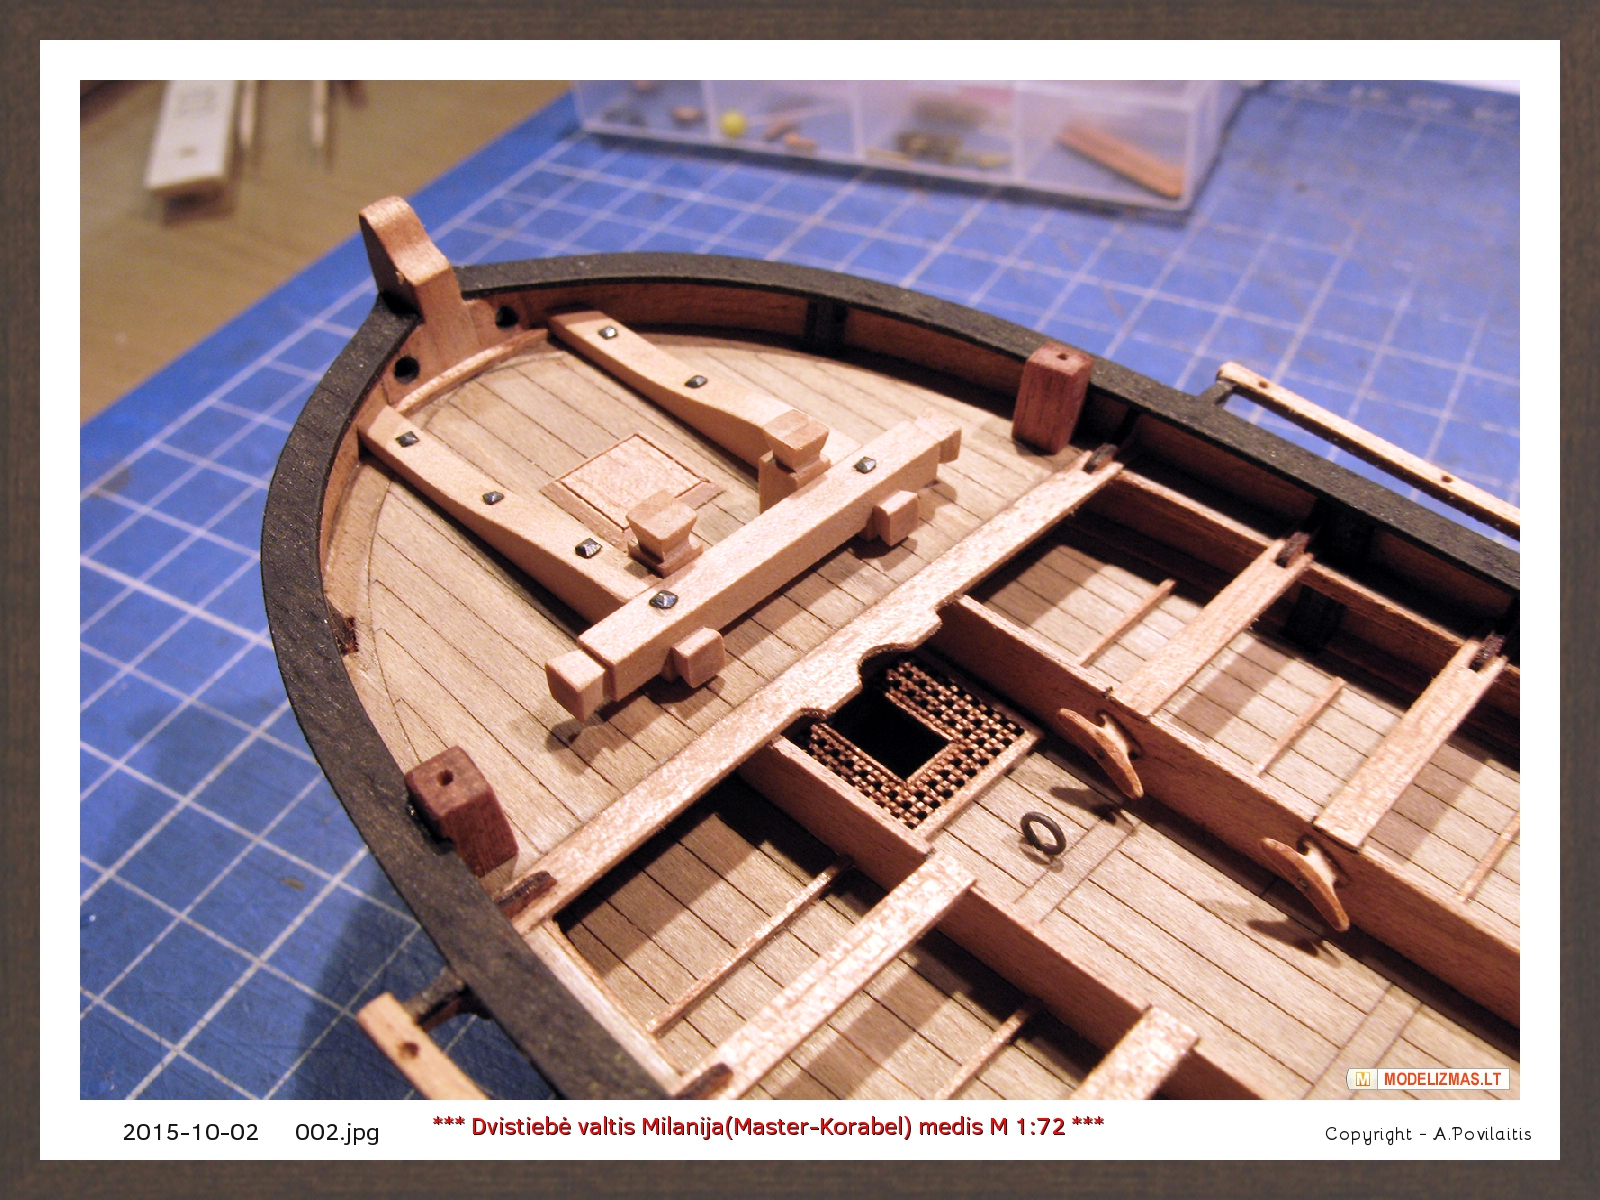
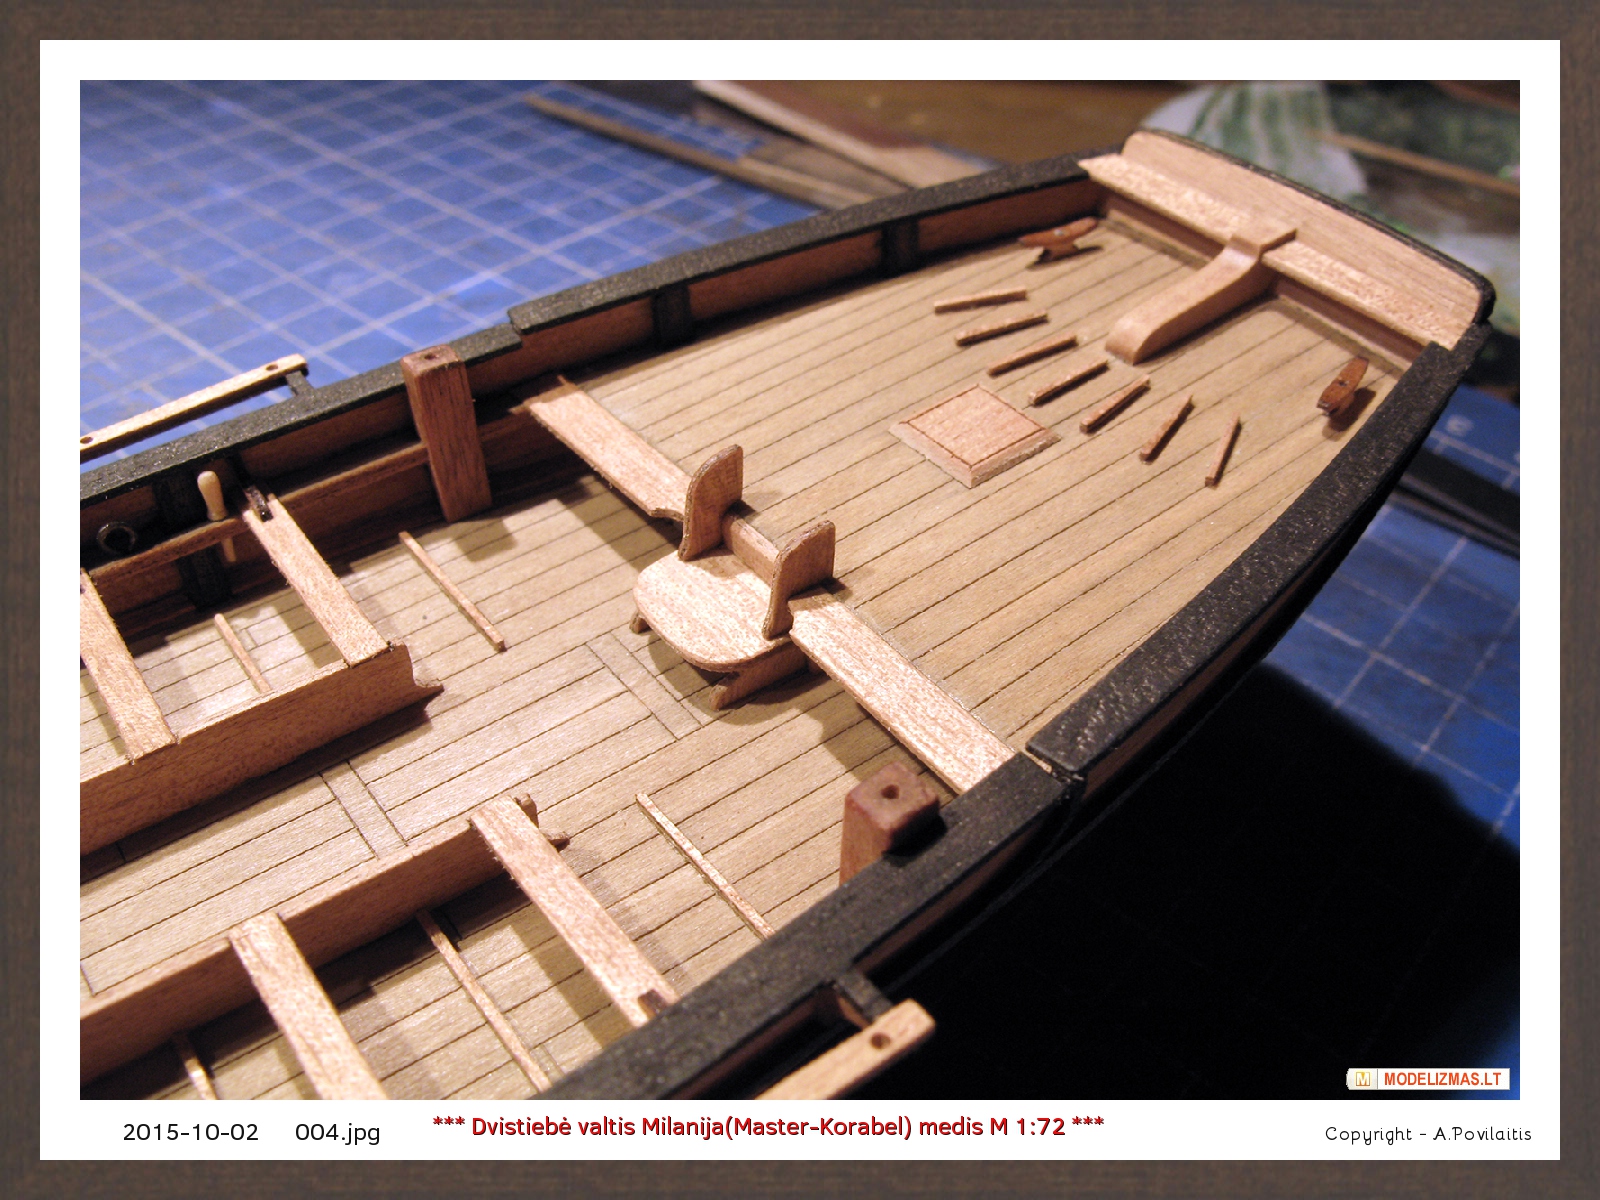
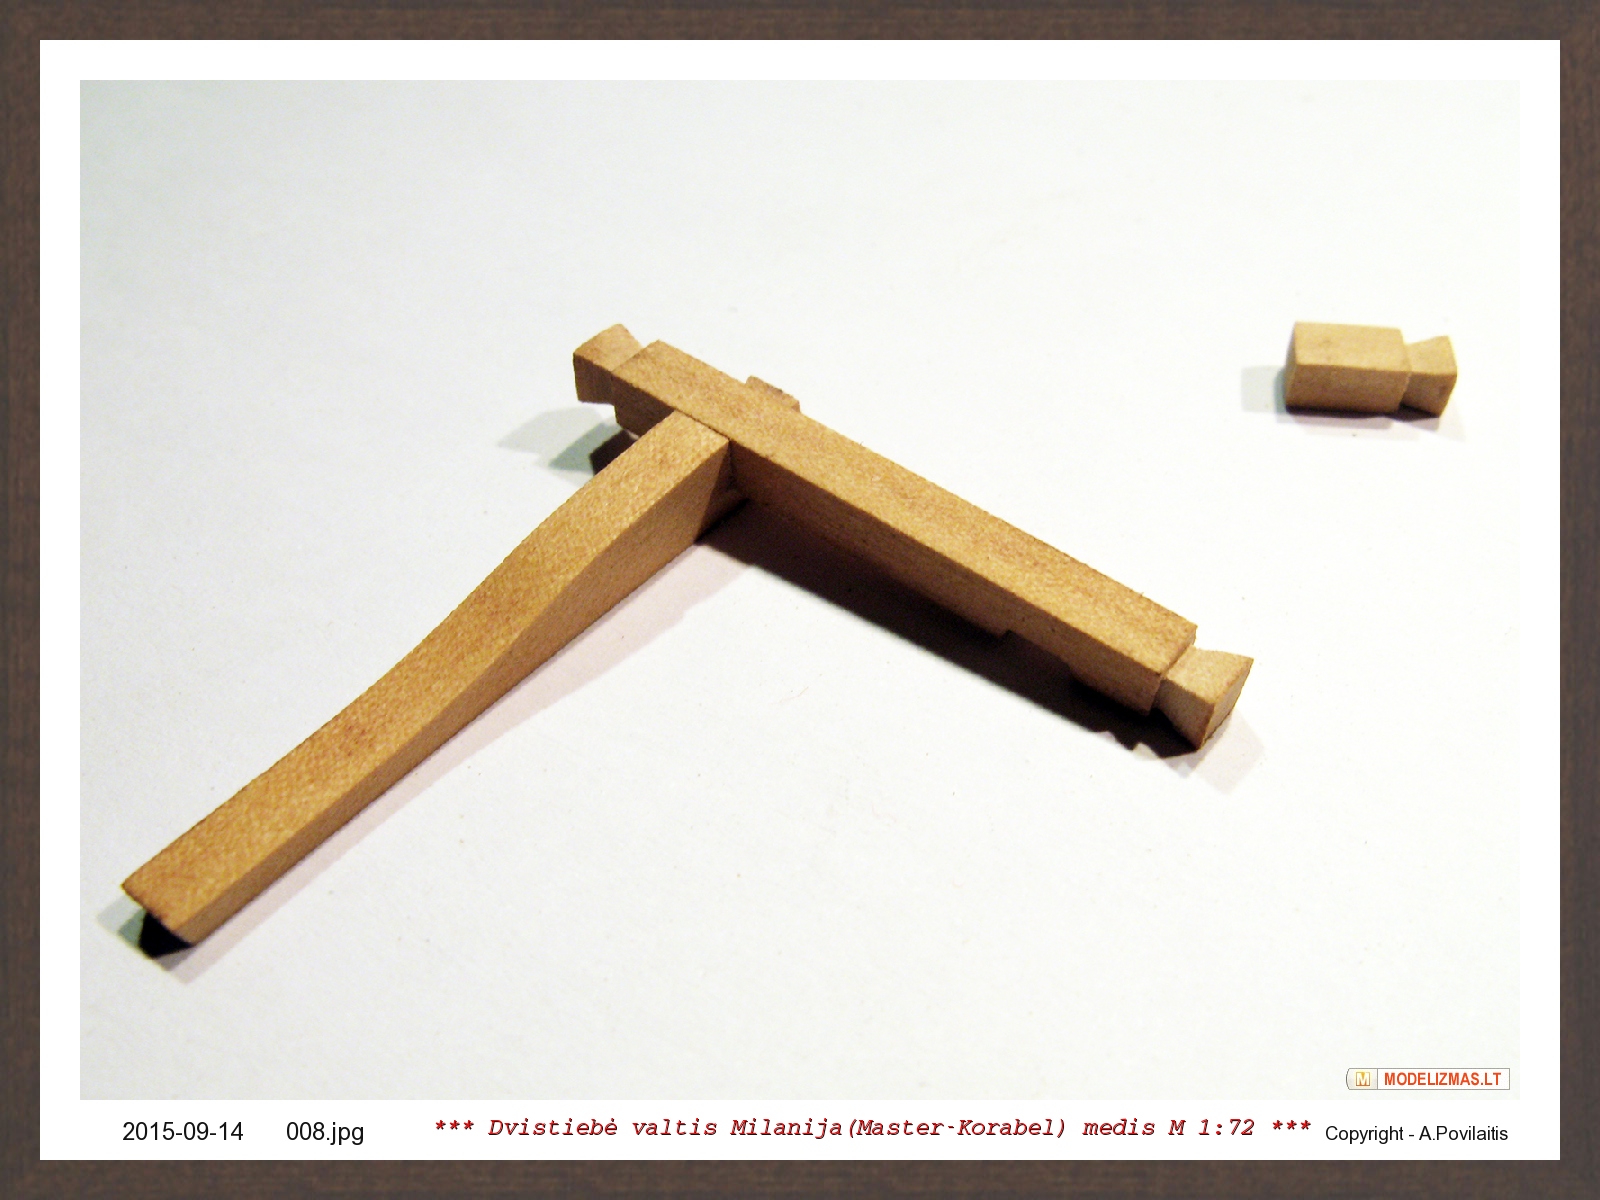
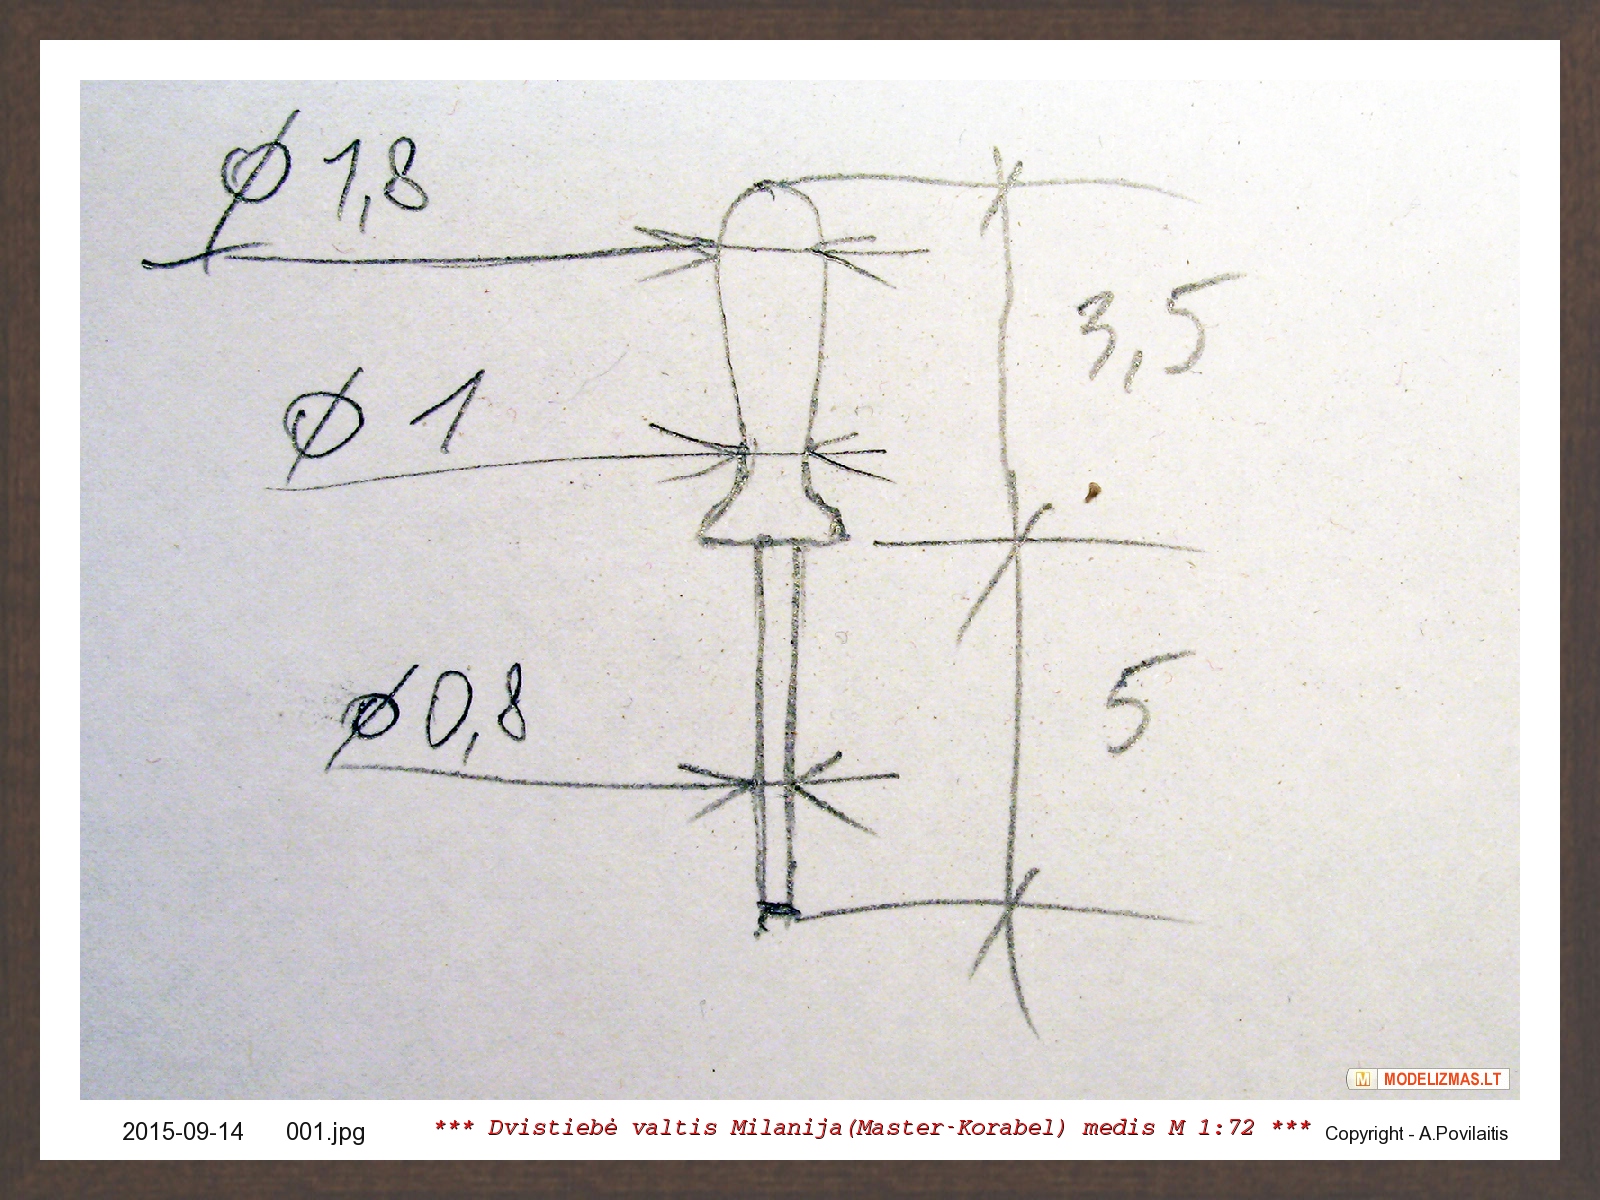
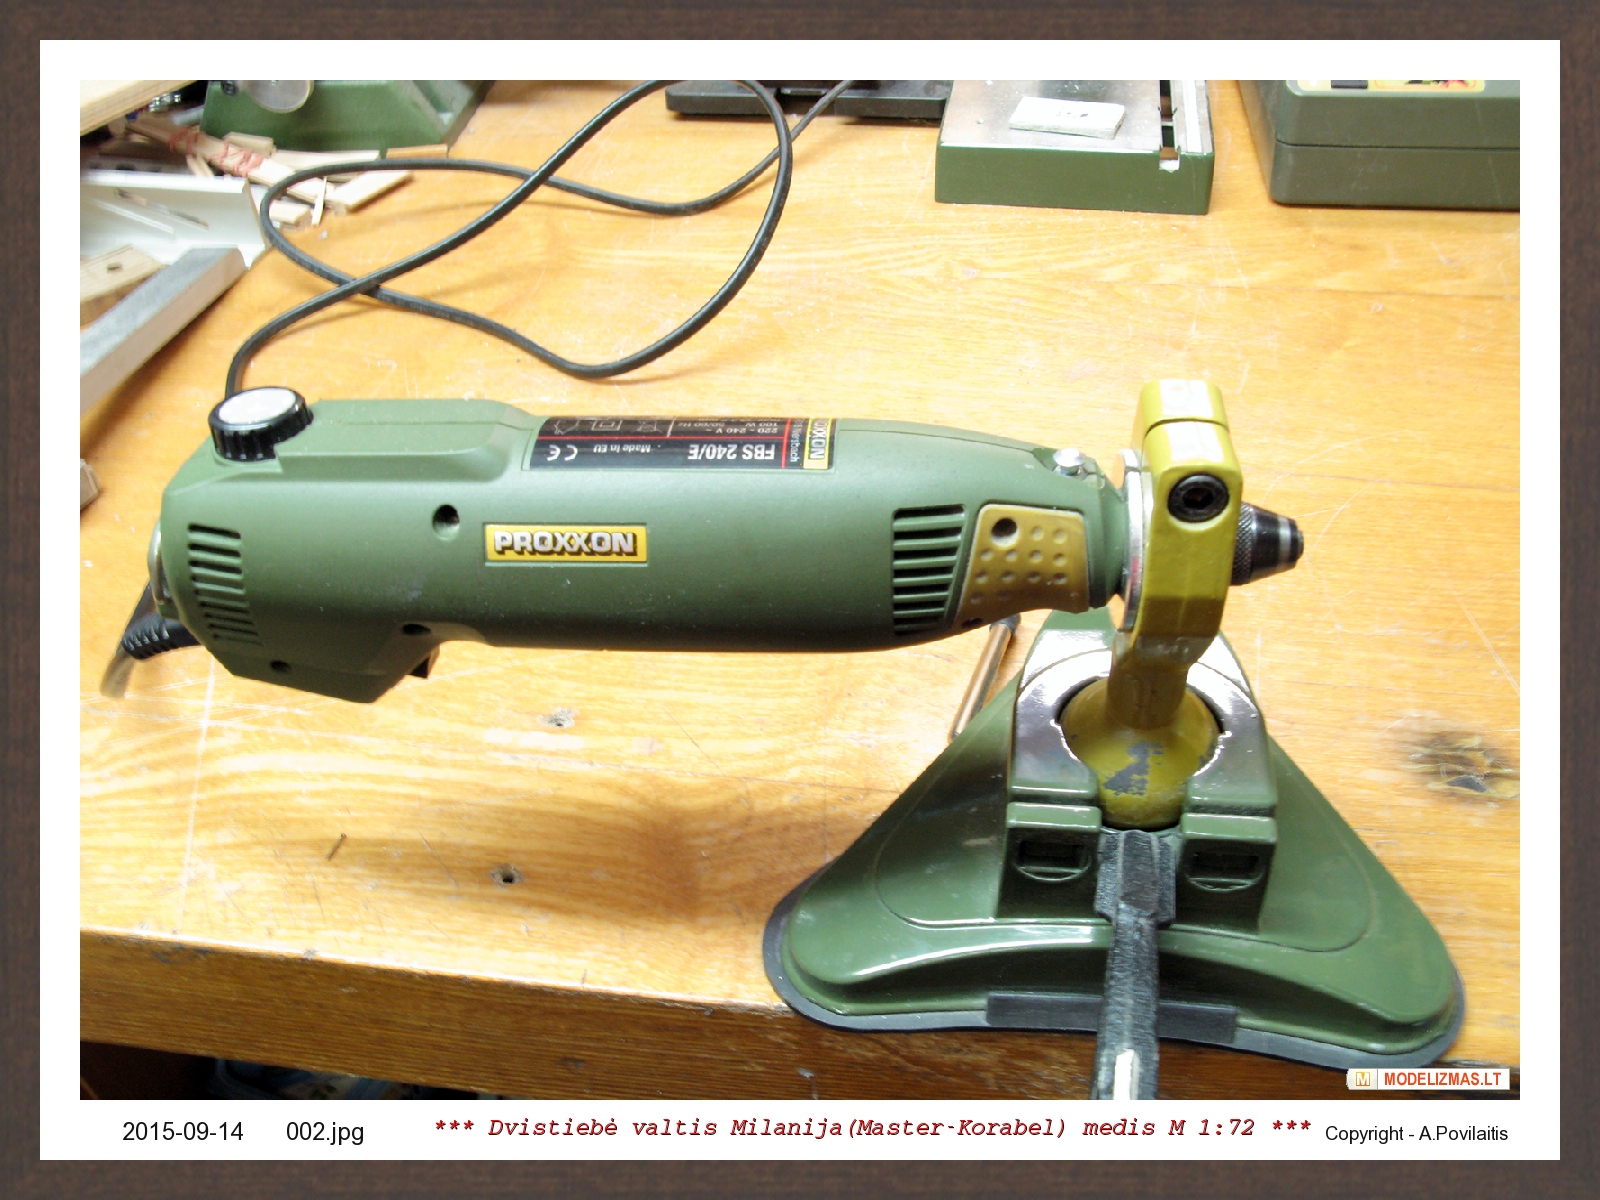
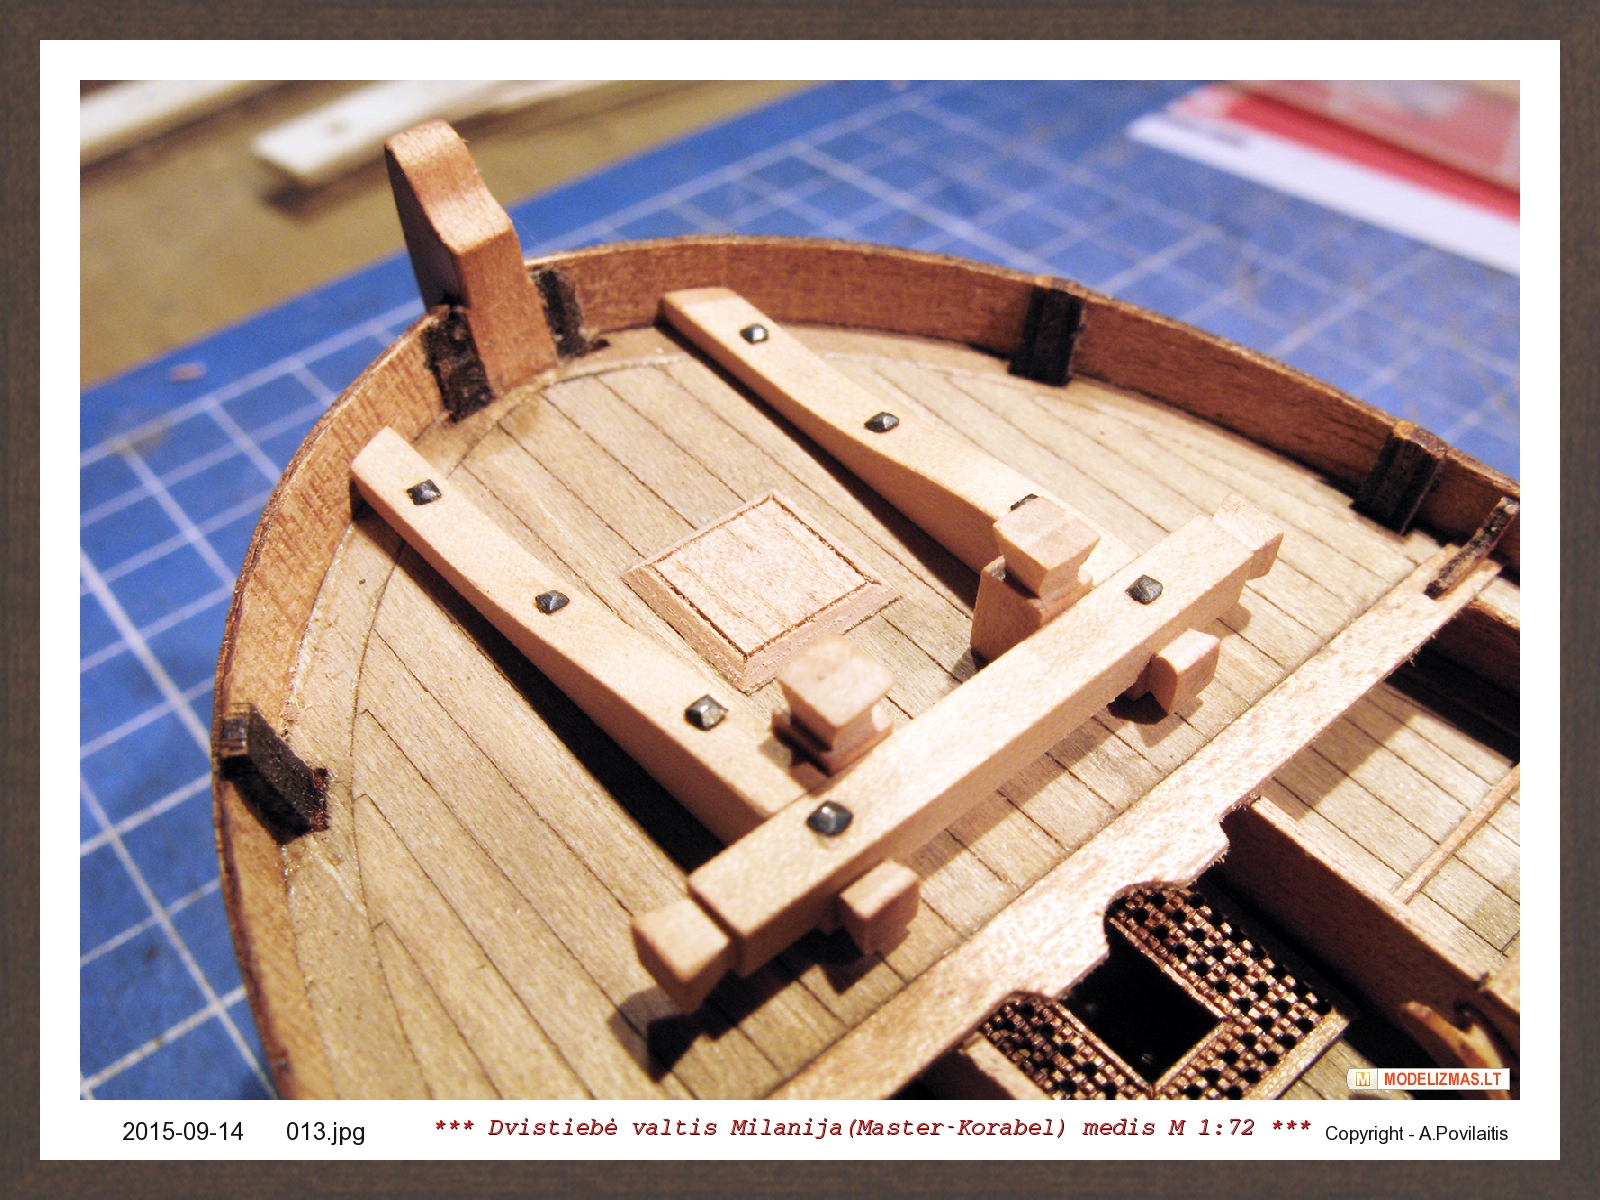
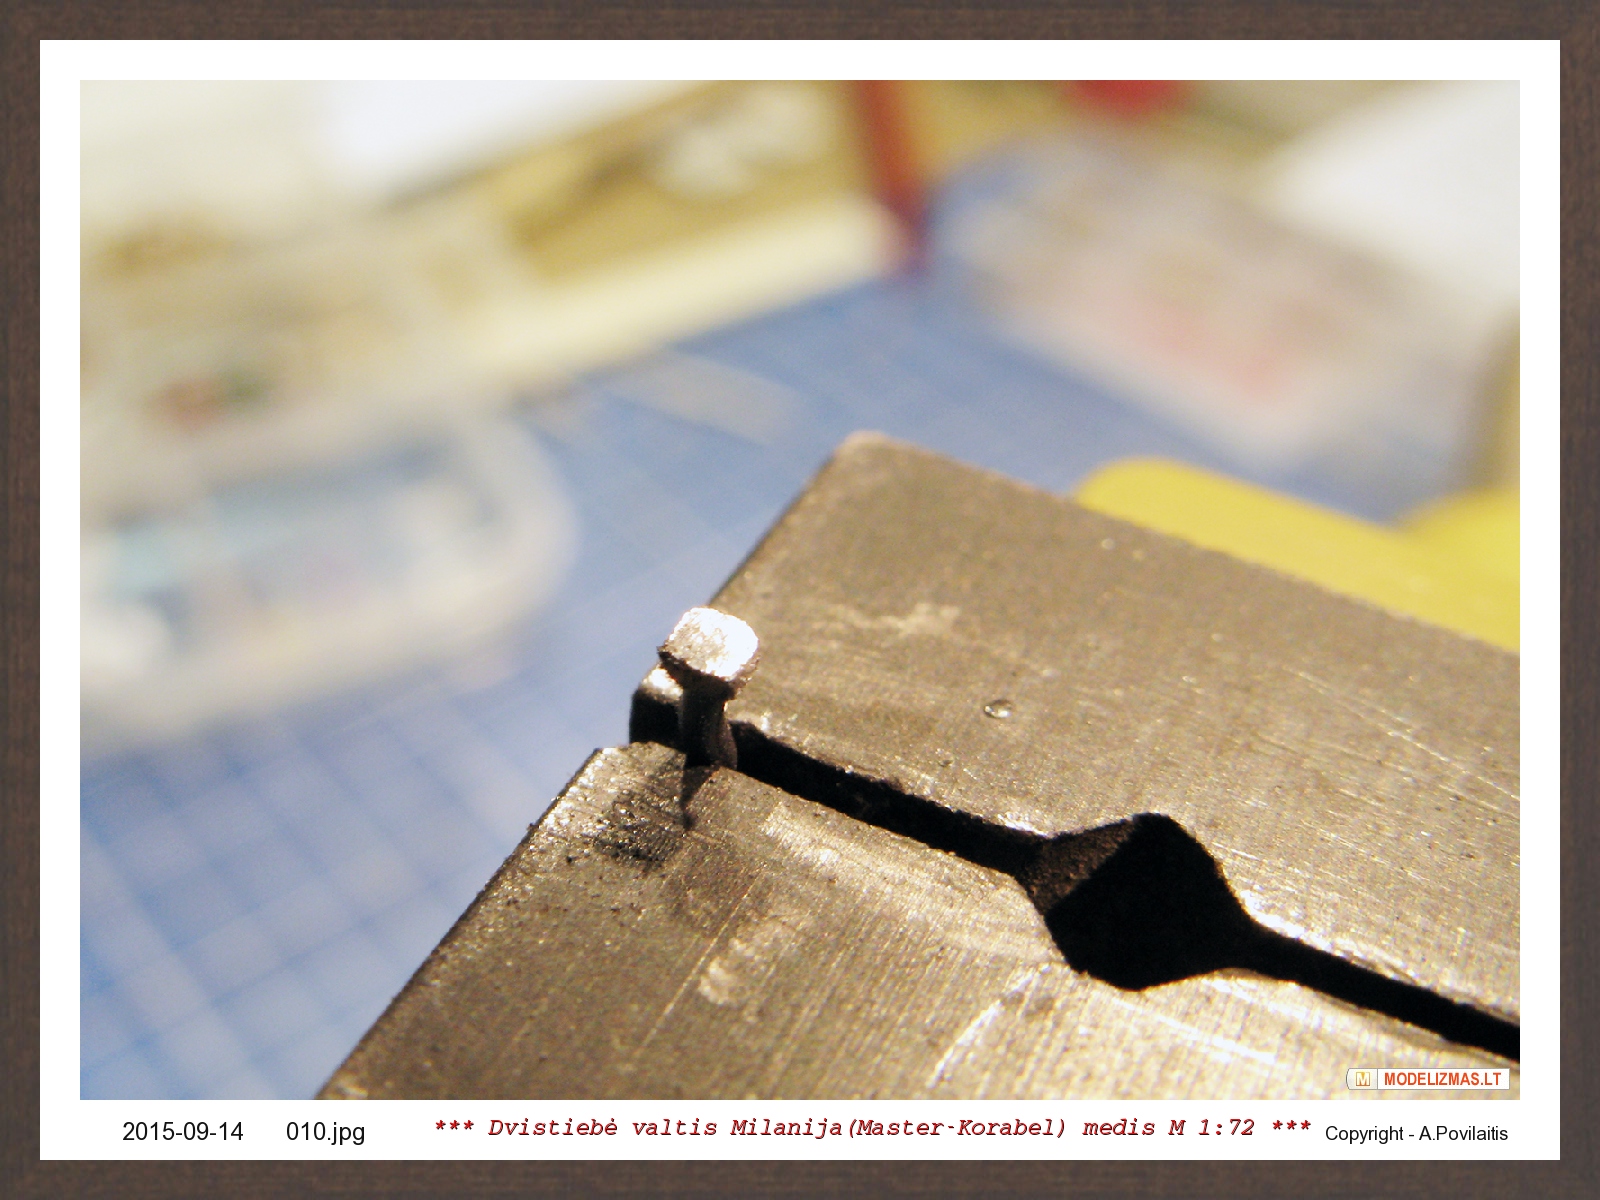
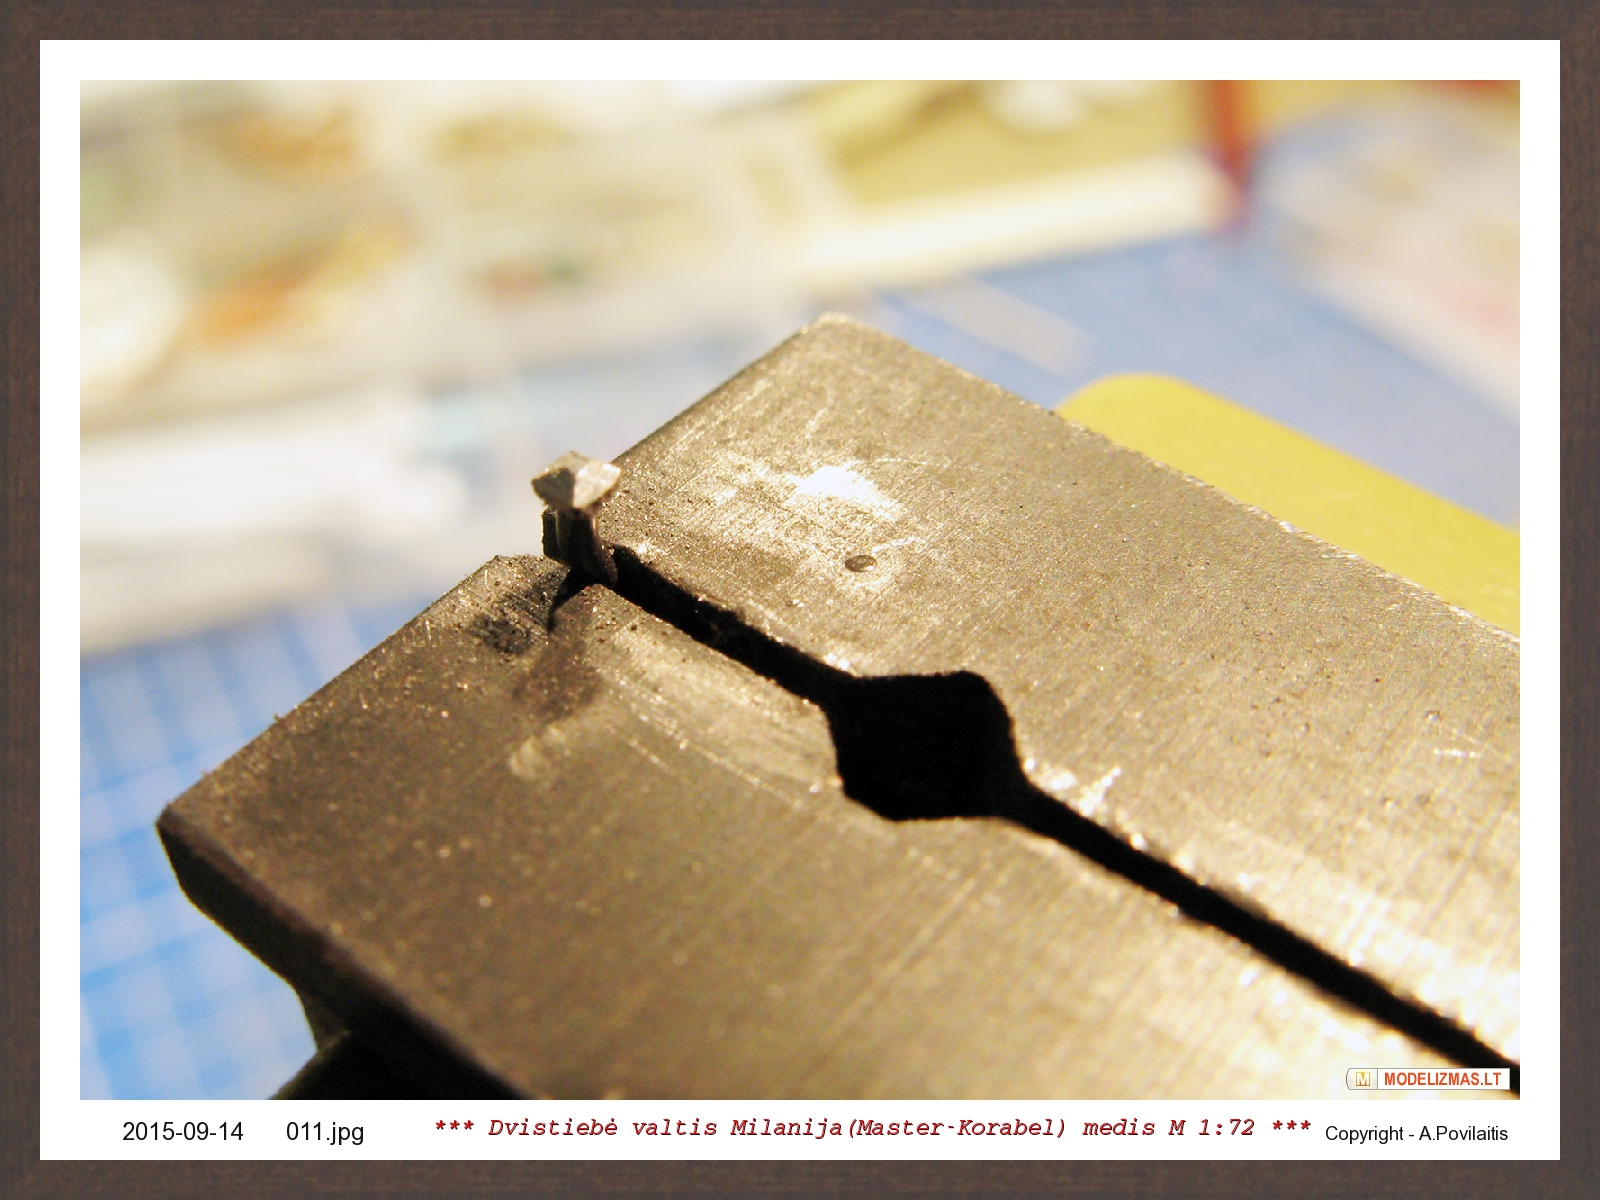
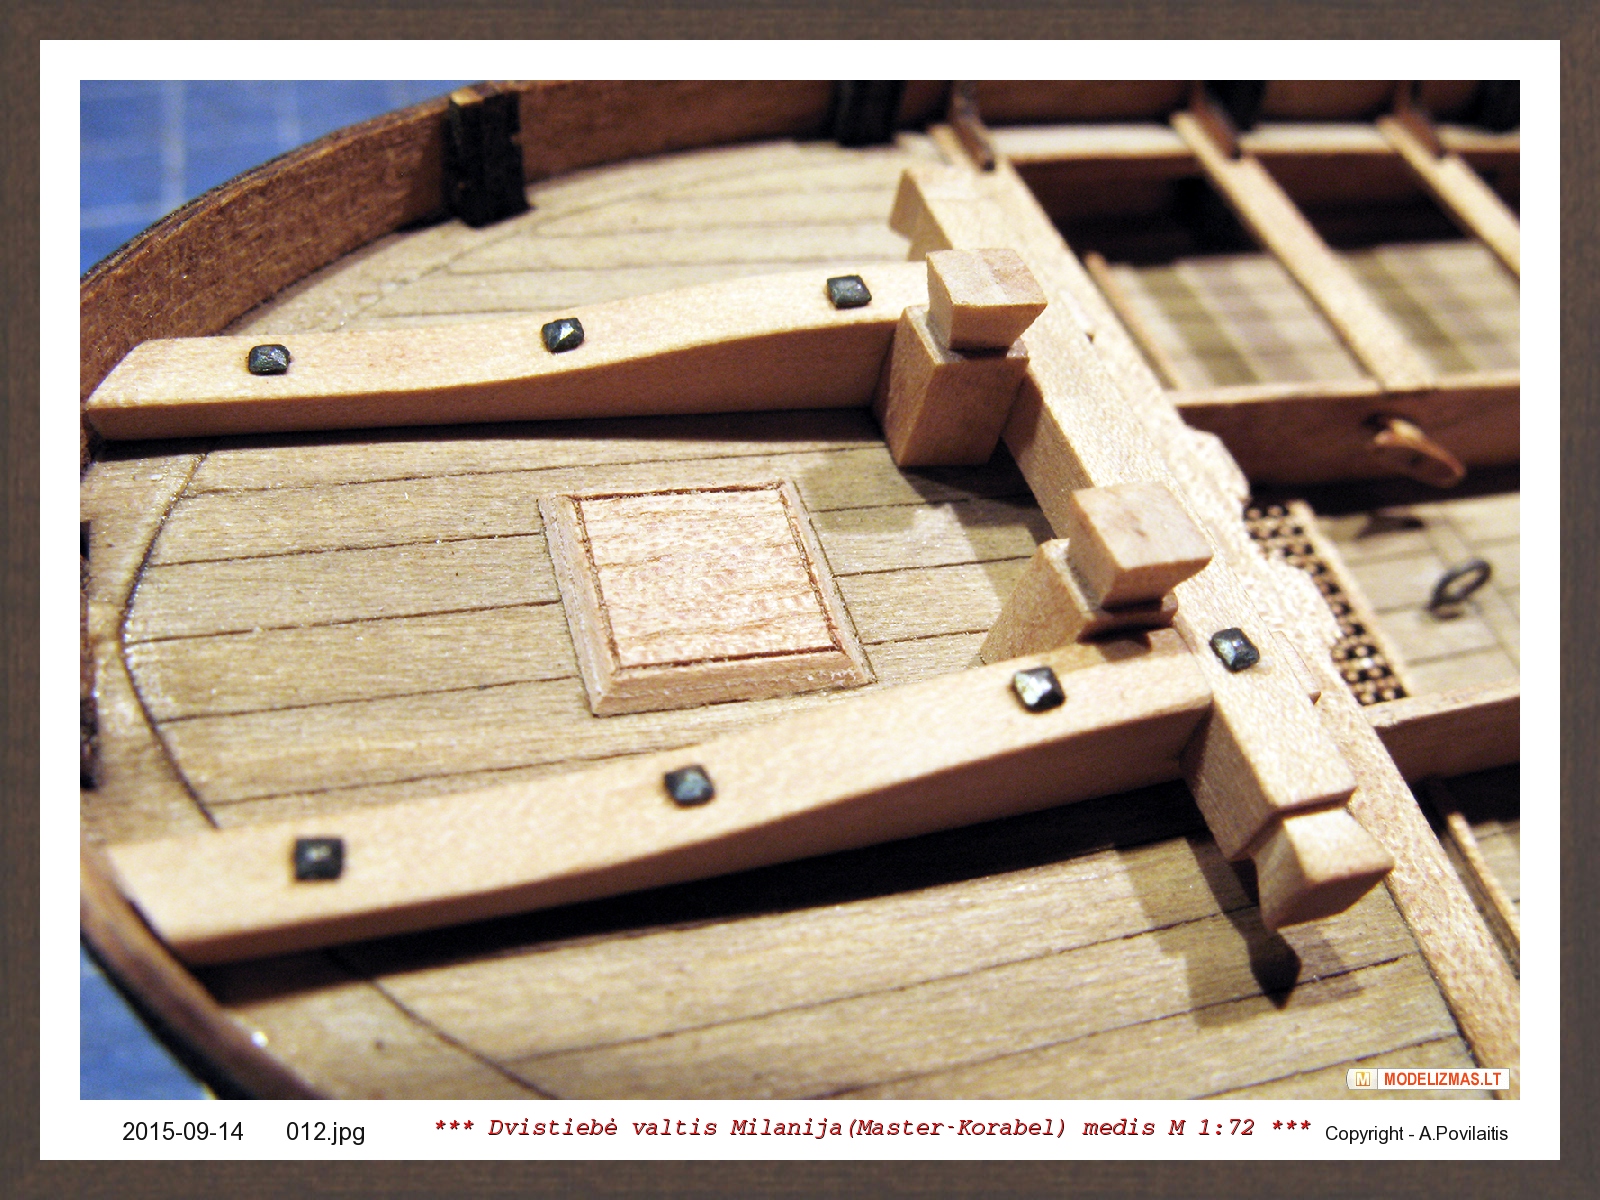
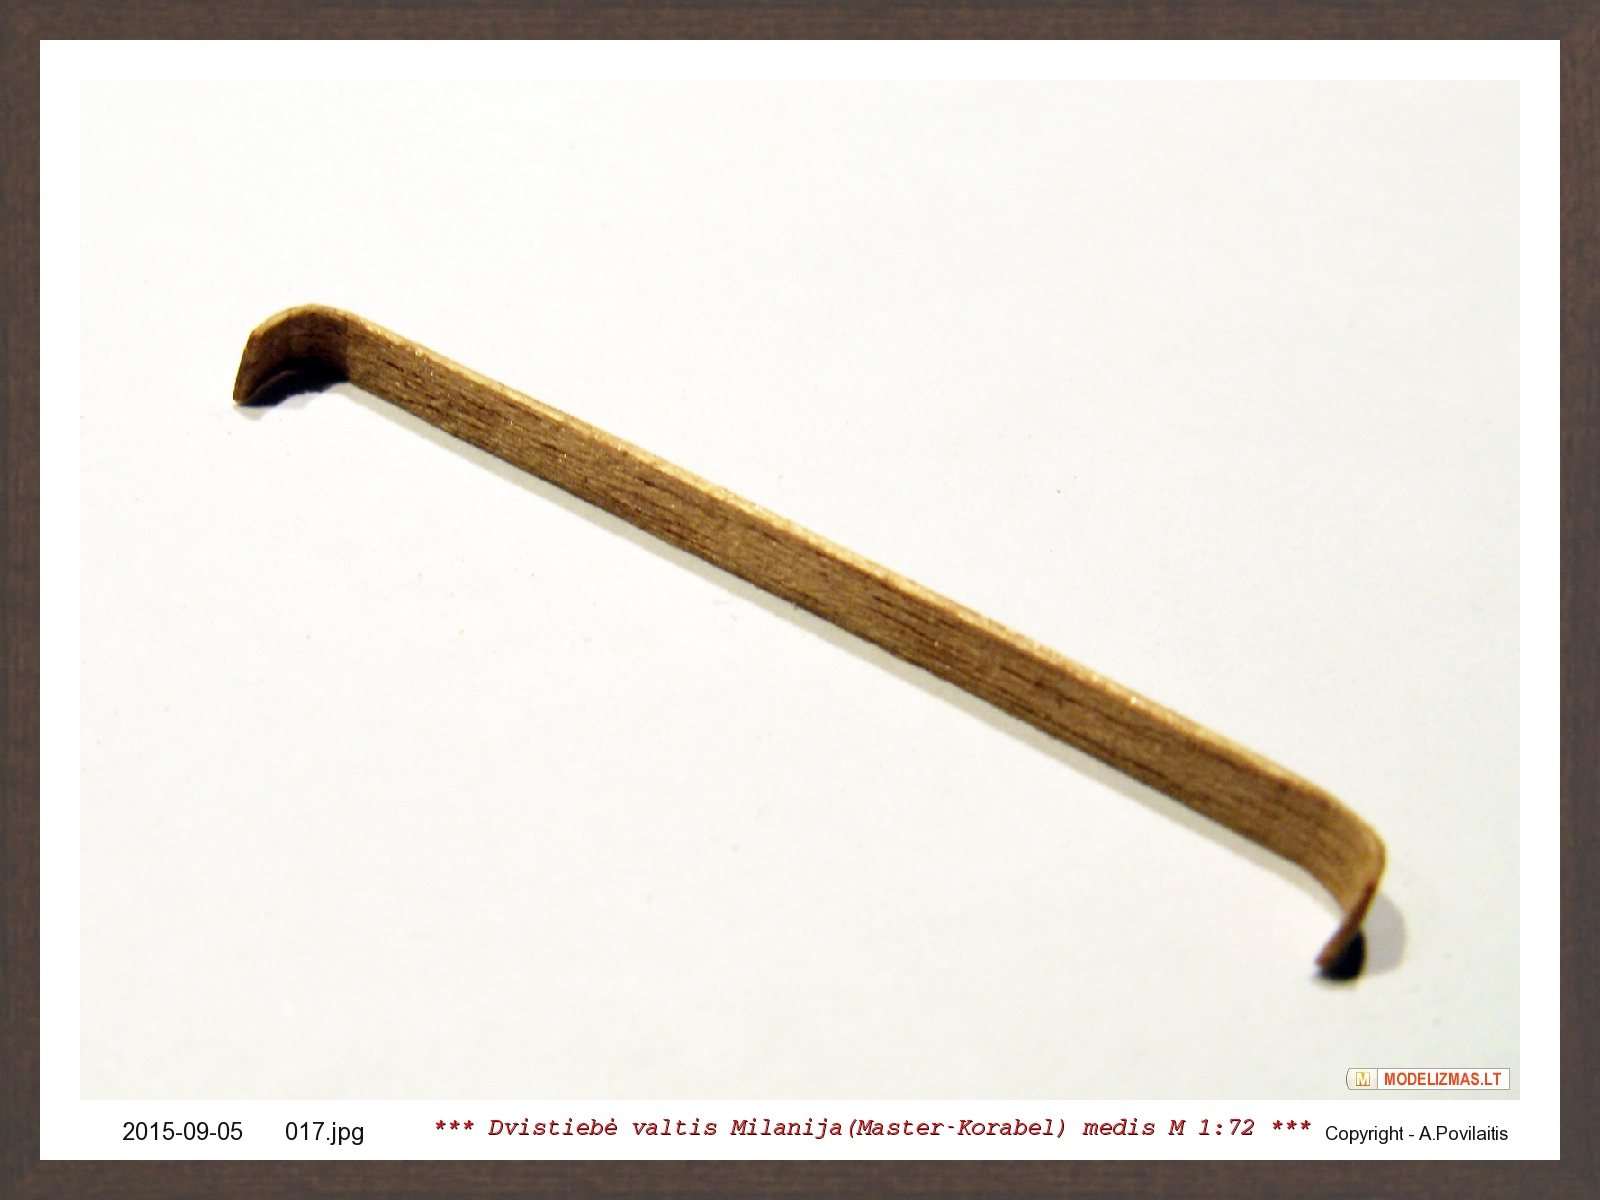
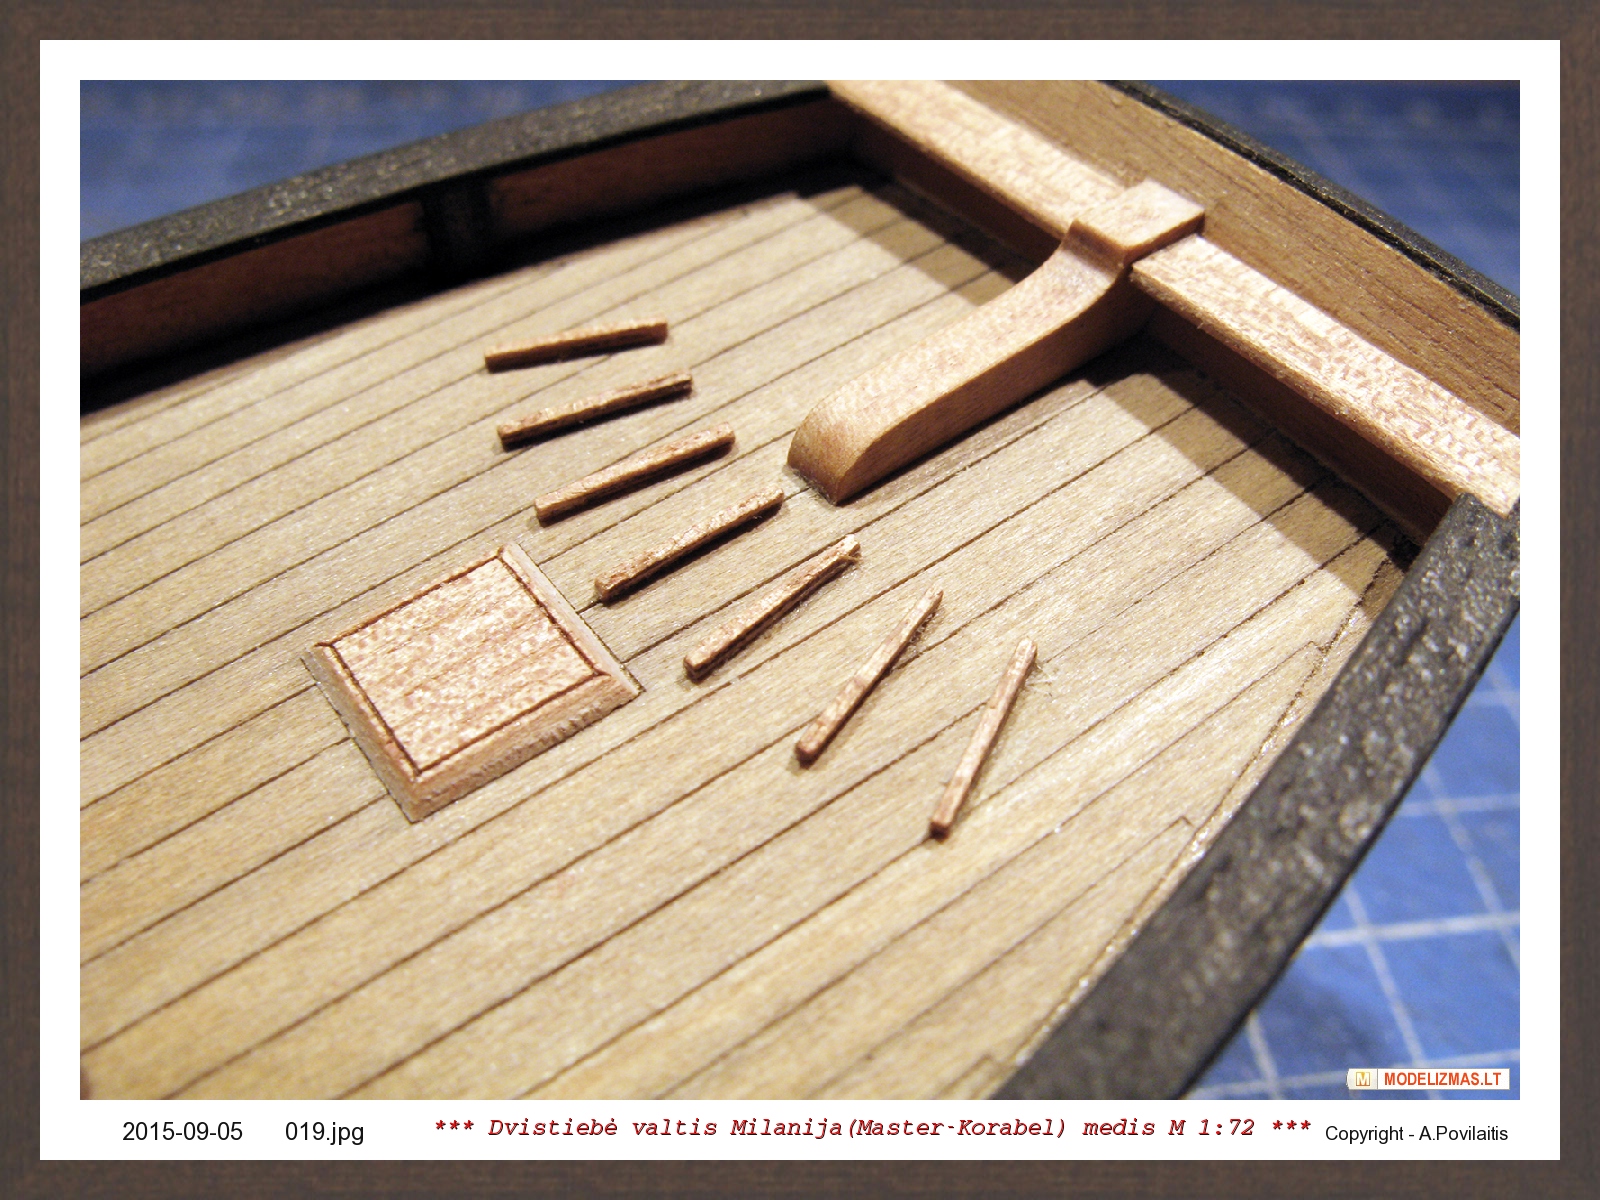
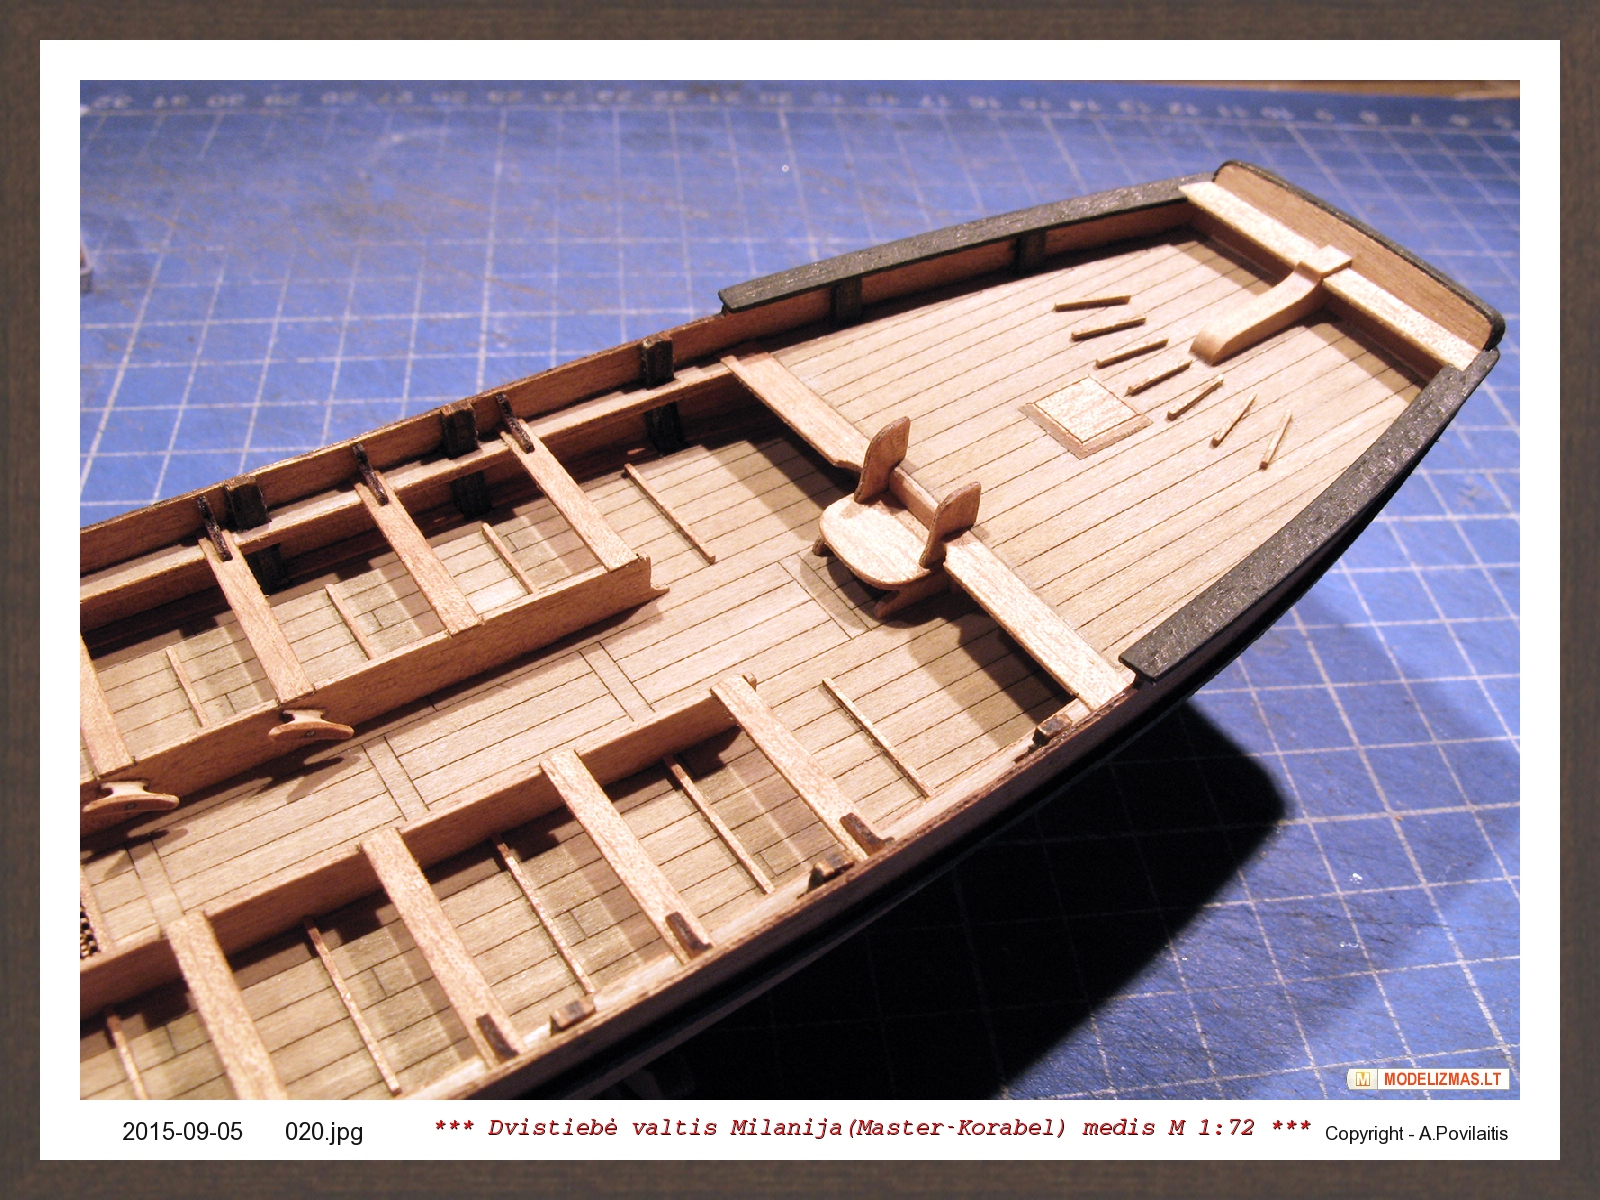
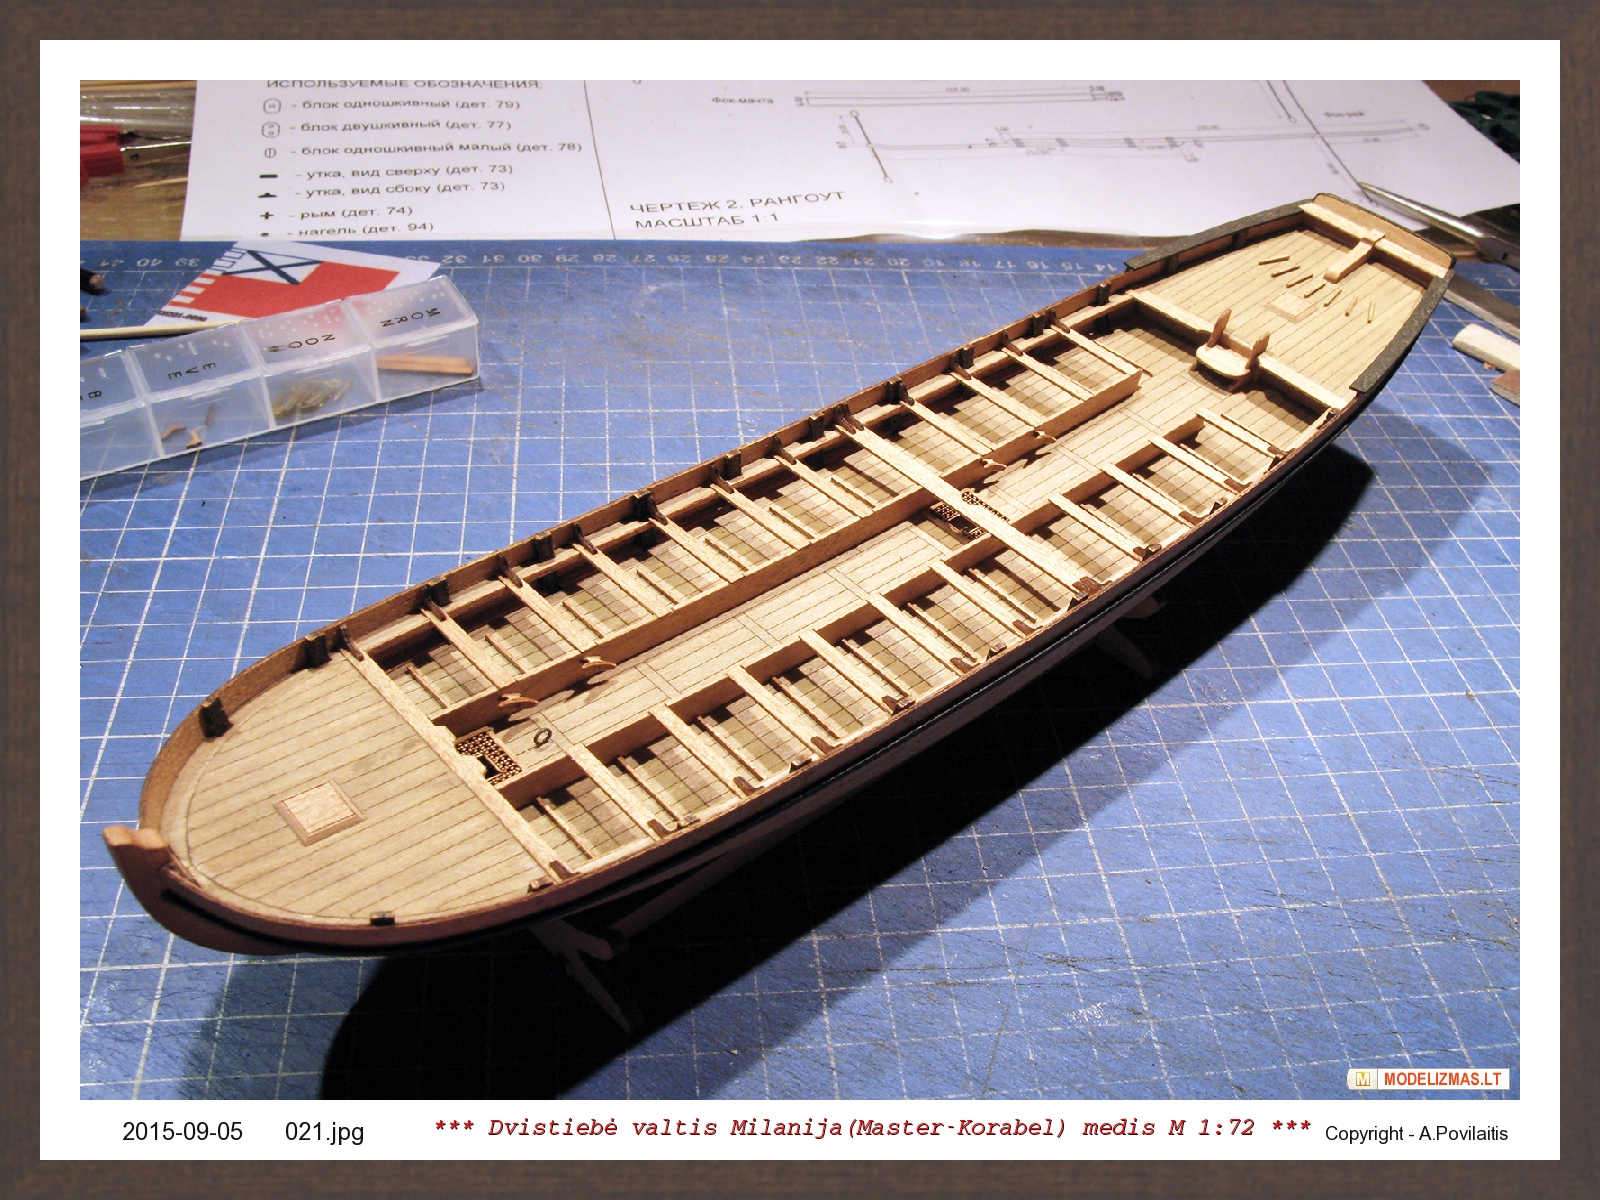
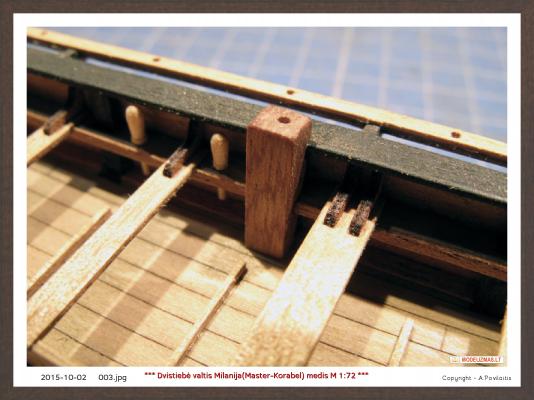
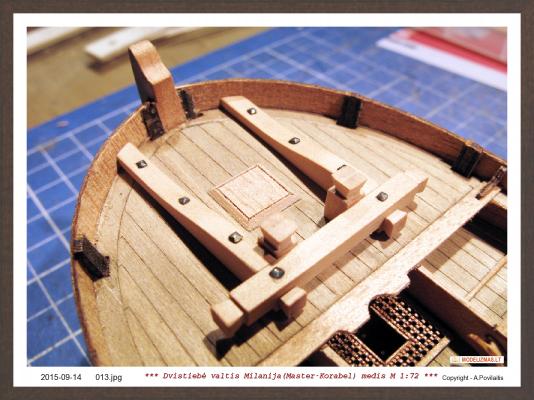
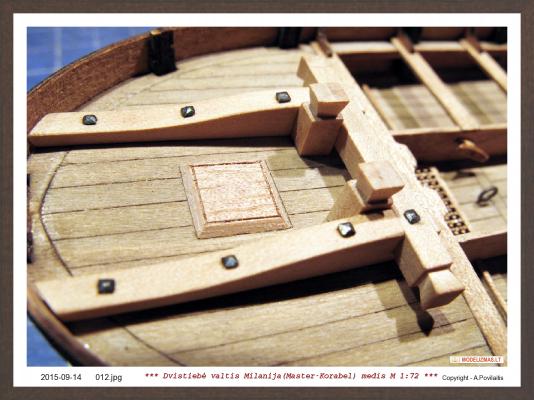
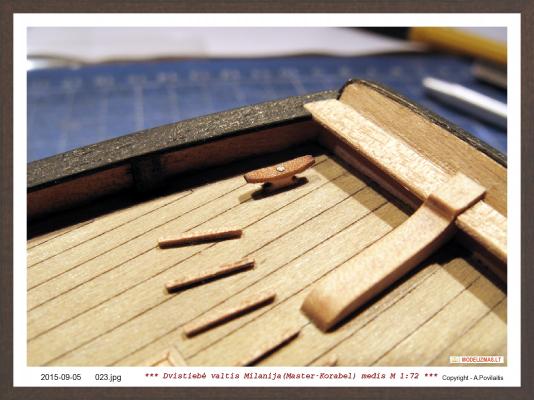
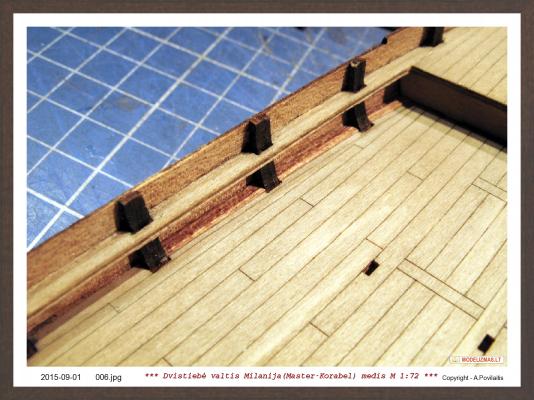
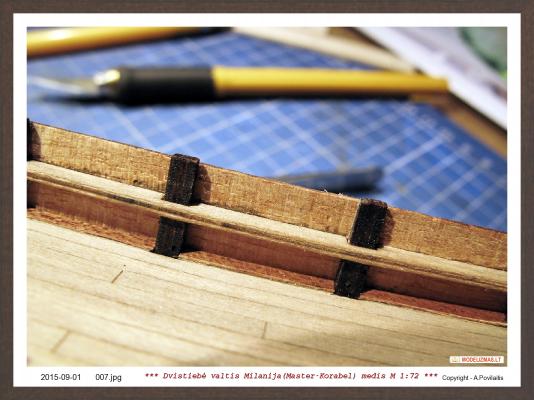
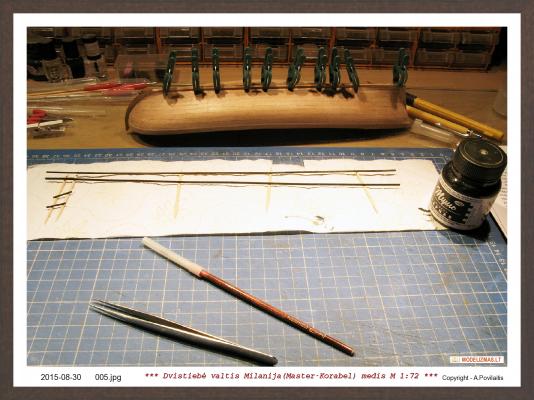
Thanks Carl. After the some delay the build is continued. The Master Korabel recommended for the pins use the brass wire. But I decided to make the wood pins. Used the toothpicks and drawings from my another model. But slightly reduce the size. As lathe used the Proxxon drill and stand. The file was turning tool. Turned, sanded and placed in the pin rails holes. The next step - anchor riding bitts. At the first sanded and slightly improved the look. And from steel pins made the square-head nails. Placed the nails on the standard and cross beams. Regards, Antanas


-
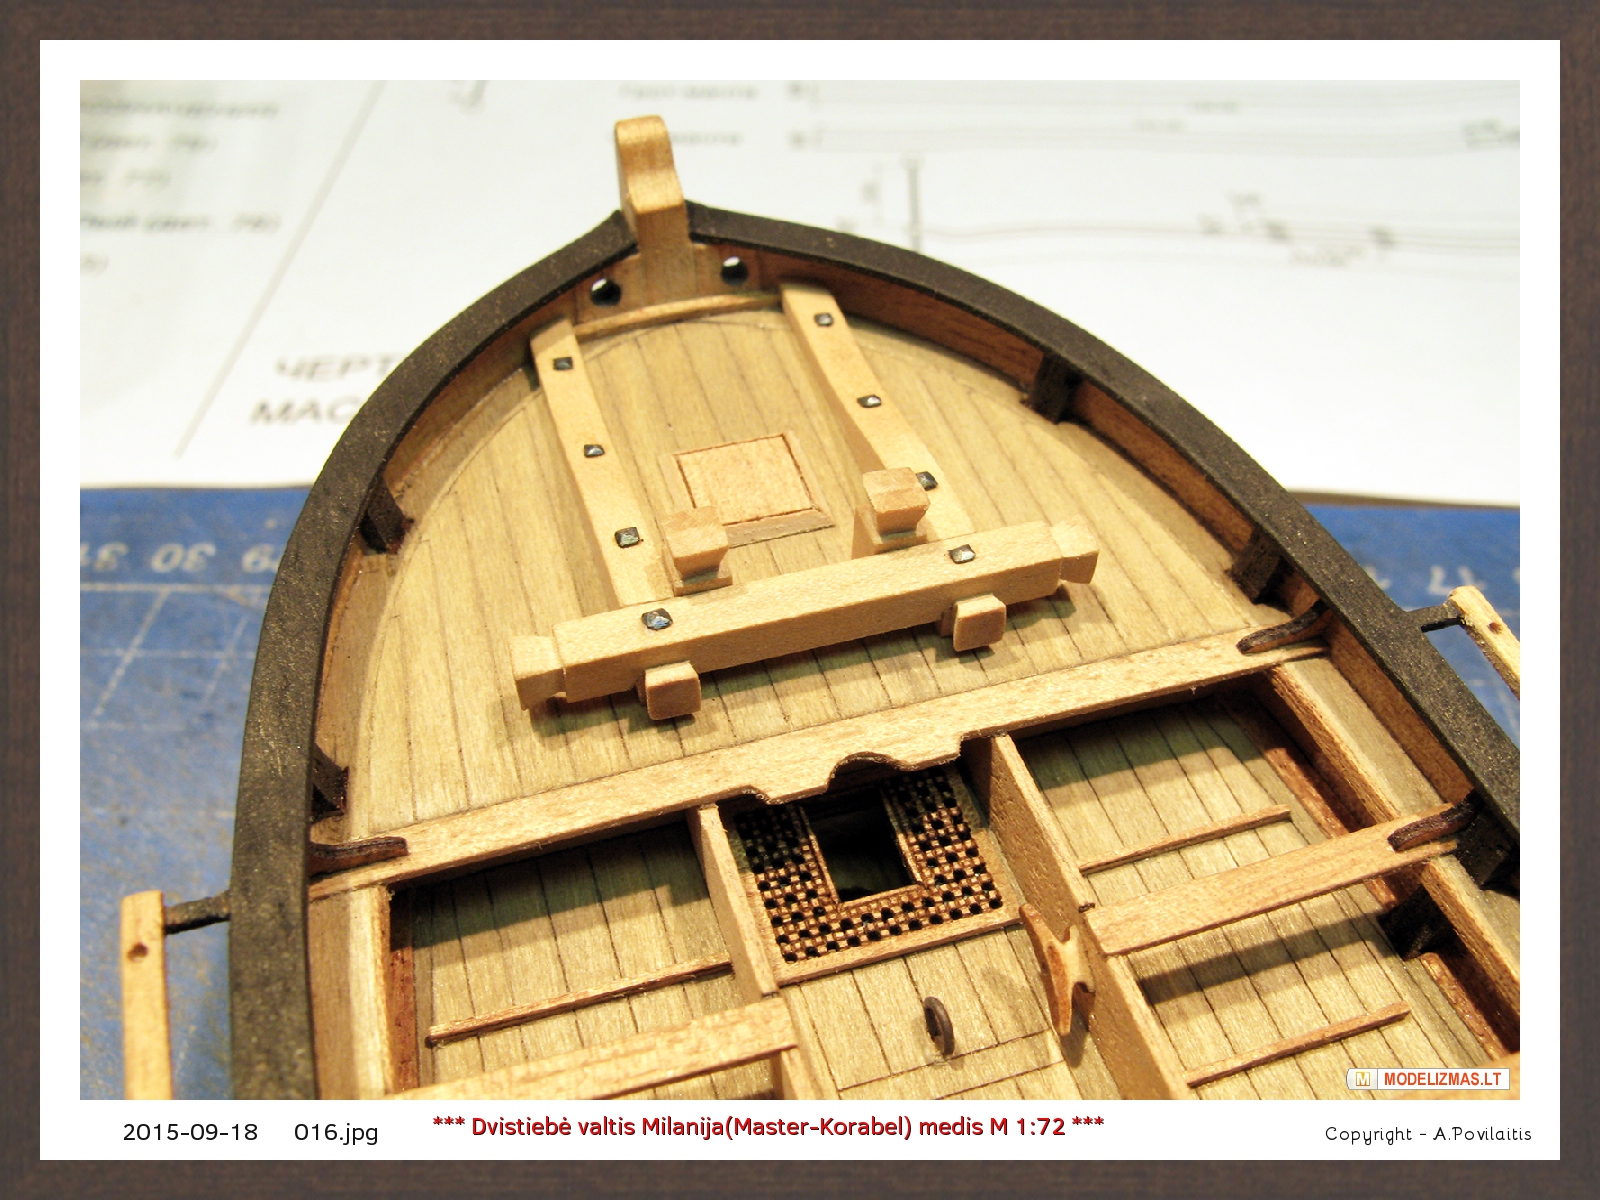
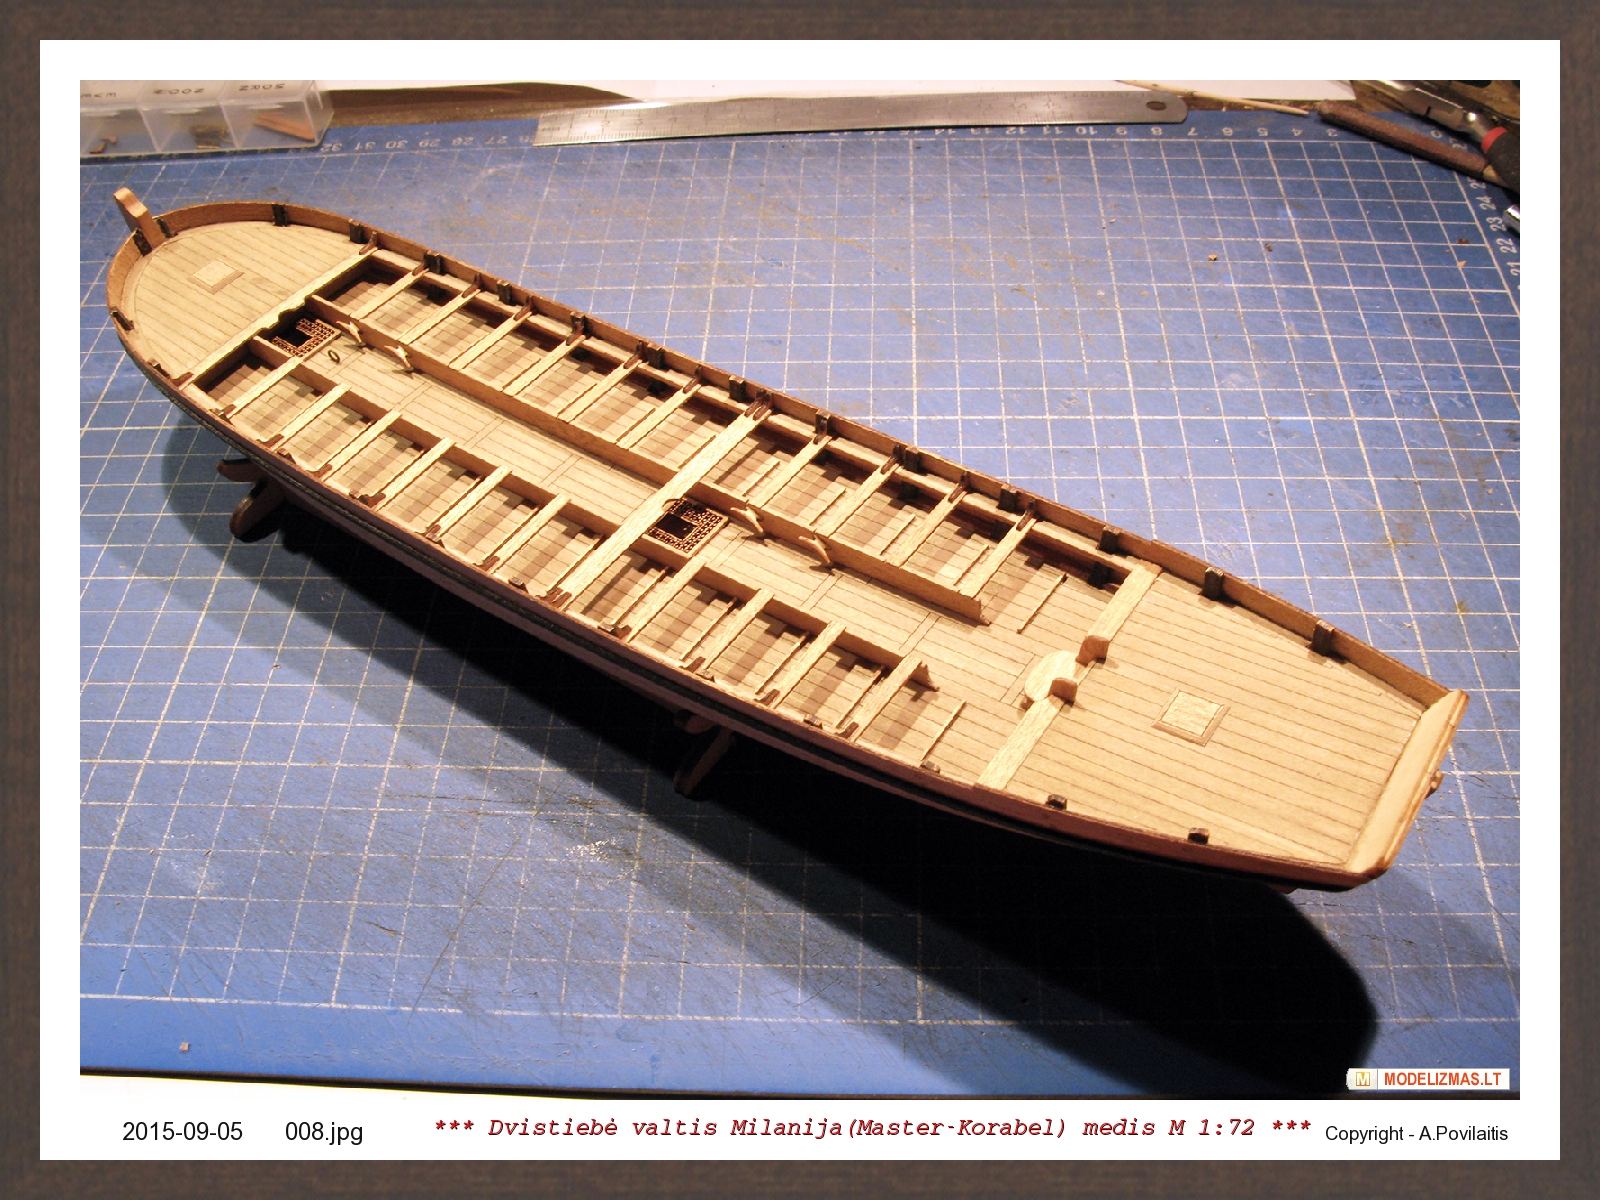
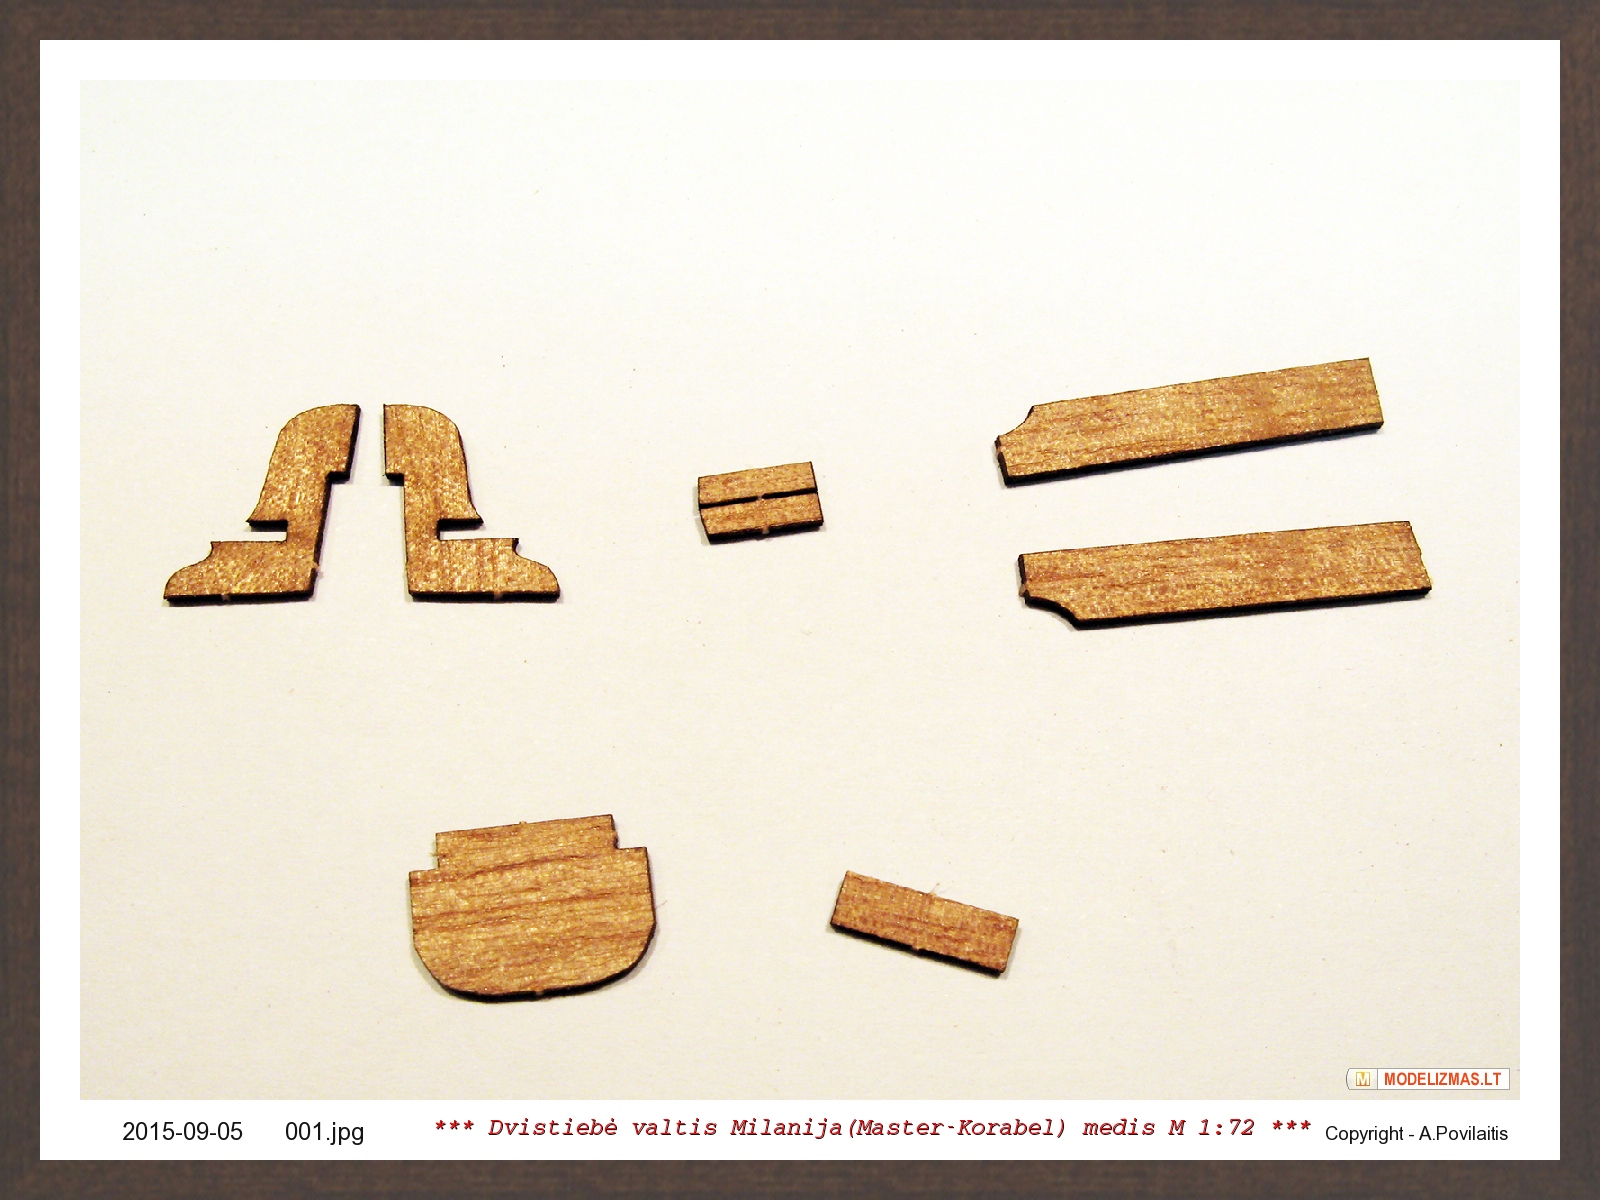
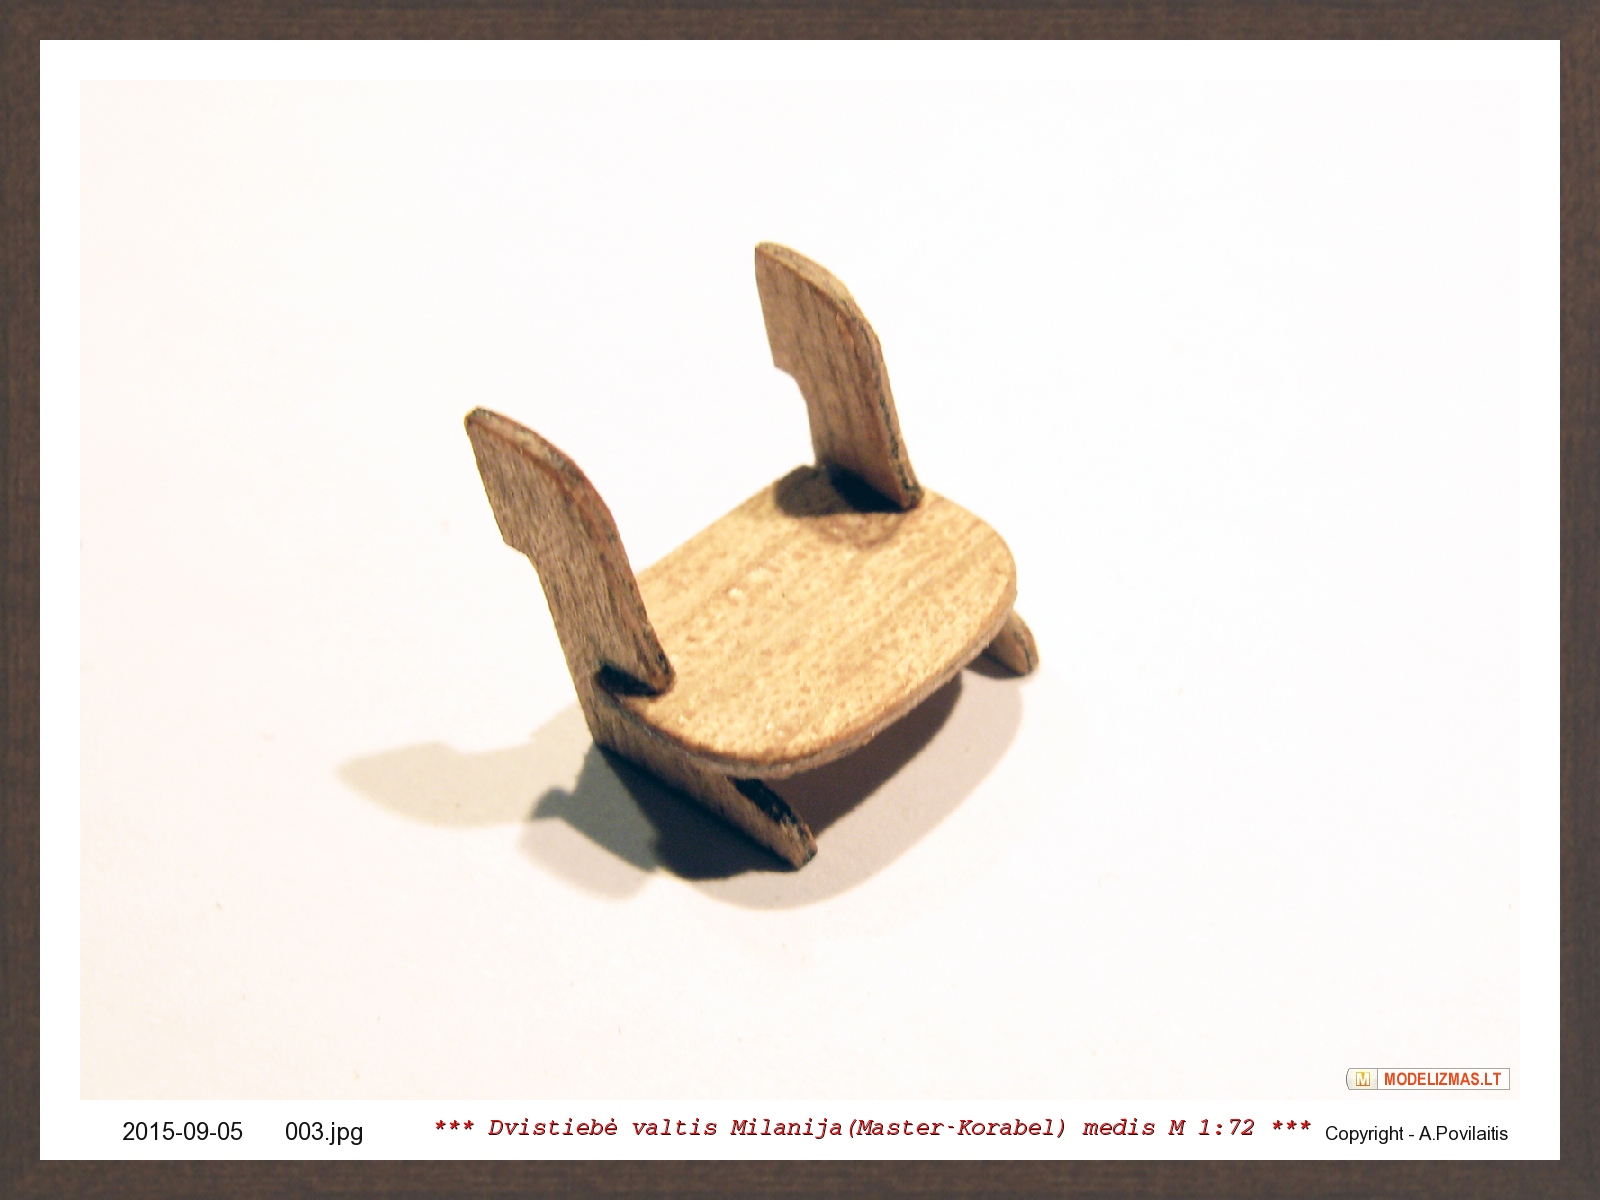
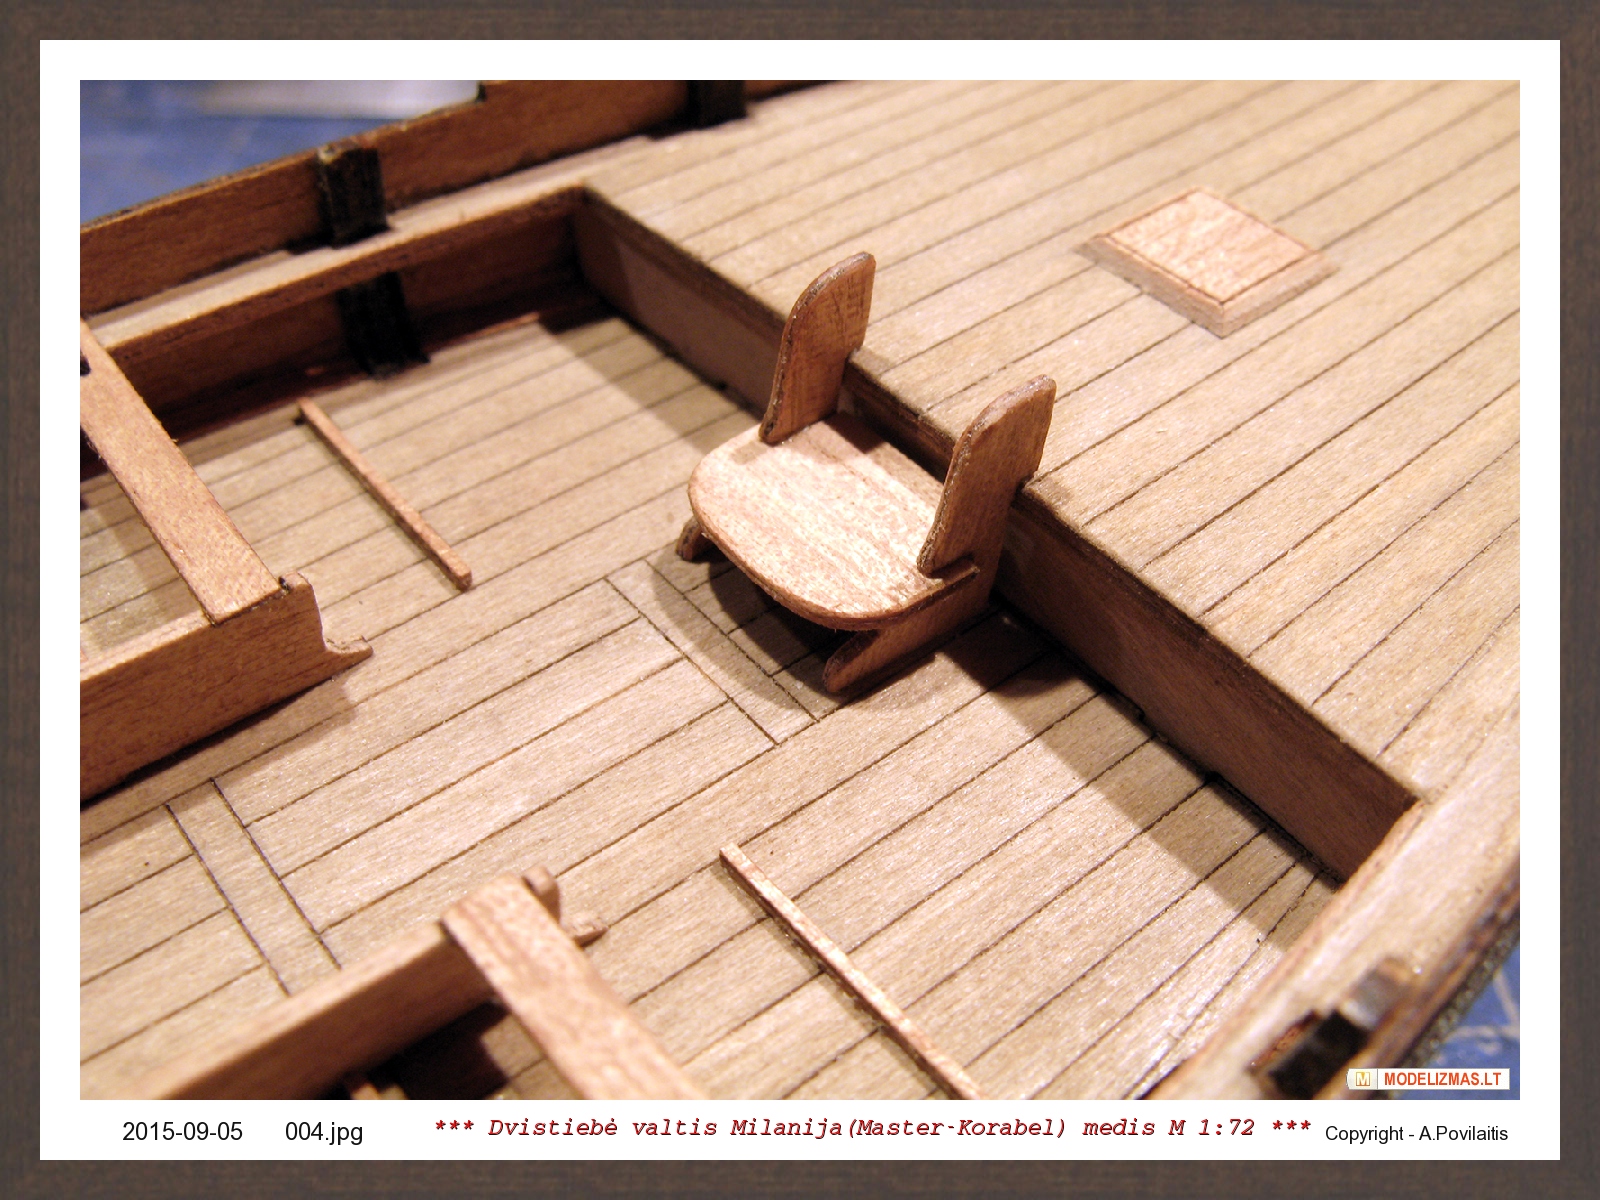
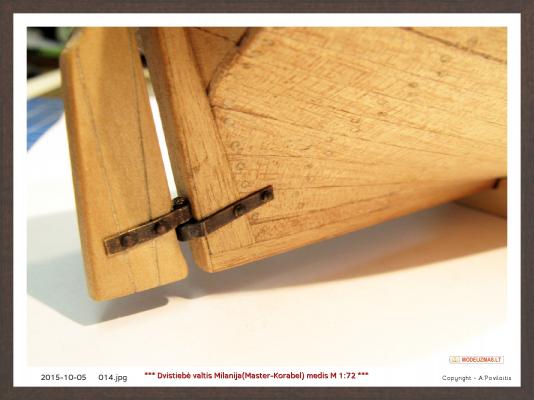
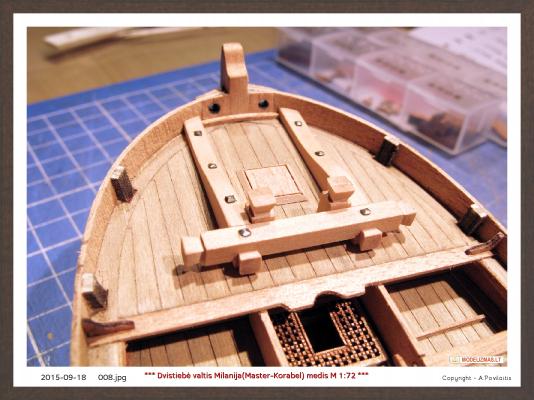
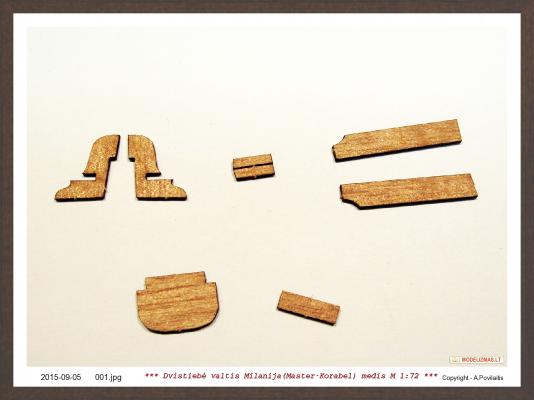
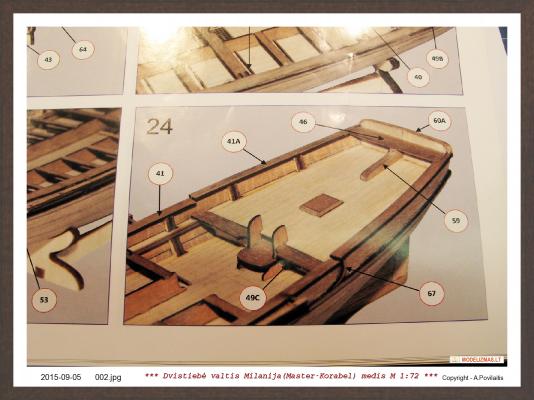
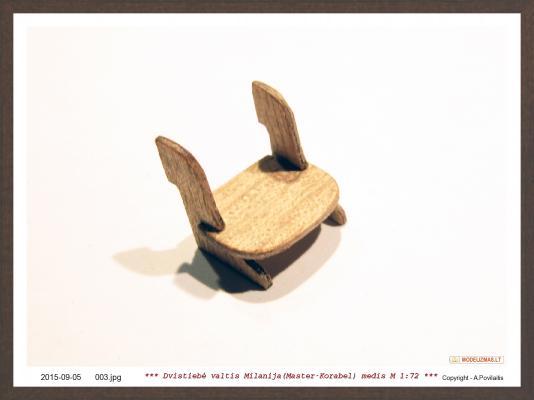
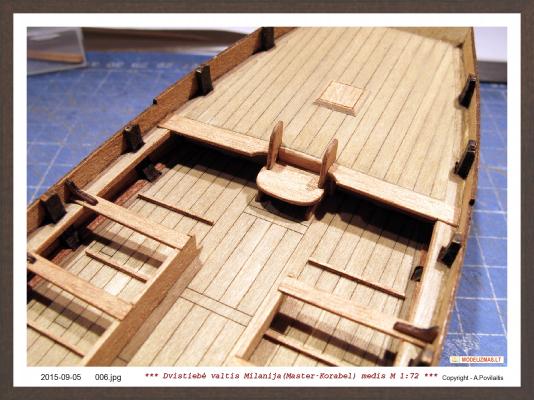
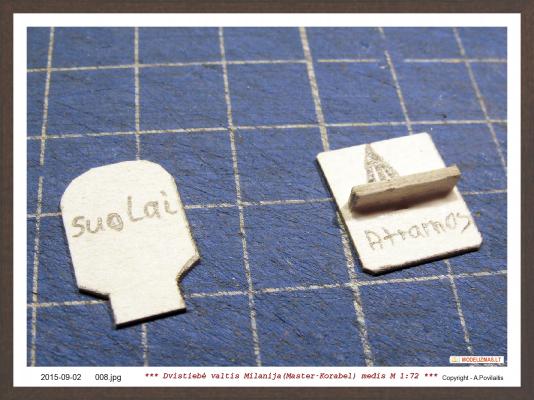
Thanks Steve. So, the next step. Make the stairs. Not found there must glue one part. Photo instruction also did not help. I had myself to think logically where it should be. And to the stairs add the seat. Prepared the next group of details. And not found one part needed for the transom. Hmm... Guys from Master Korabel leave the plywood opened too. So, I have material and made this part from veneer. No problems. Made and glued. Delete not needed top parts of top timbers. Then prepared and glued to the transom standard and seat. Also painted using the black ink the aft planksheer and glued too. And the difficult place. Must glue the detail on the transom edge to hide the plywood. It is from veneer. I'll have to bent it at the very big angle. Of course - curved. Painted using the black ink and glued. Add the helmsman's feet supports. From the pins made the steel sticks for cleats. Blackening them using the gas torch. And attached the cleats to the aft deck. Also made rings and this is all at this step. Regards, Antanas


-
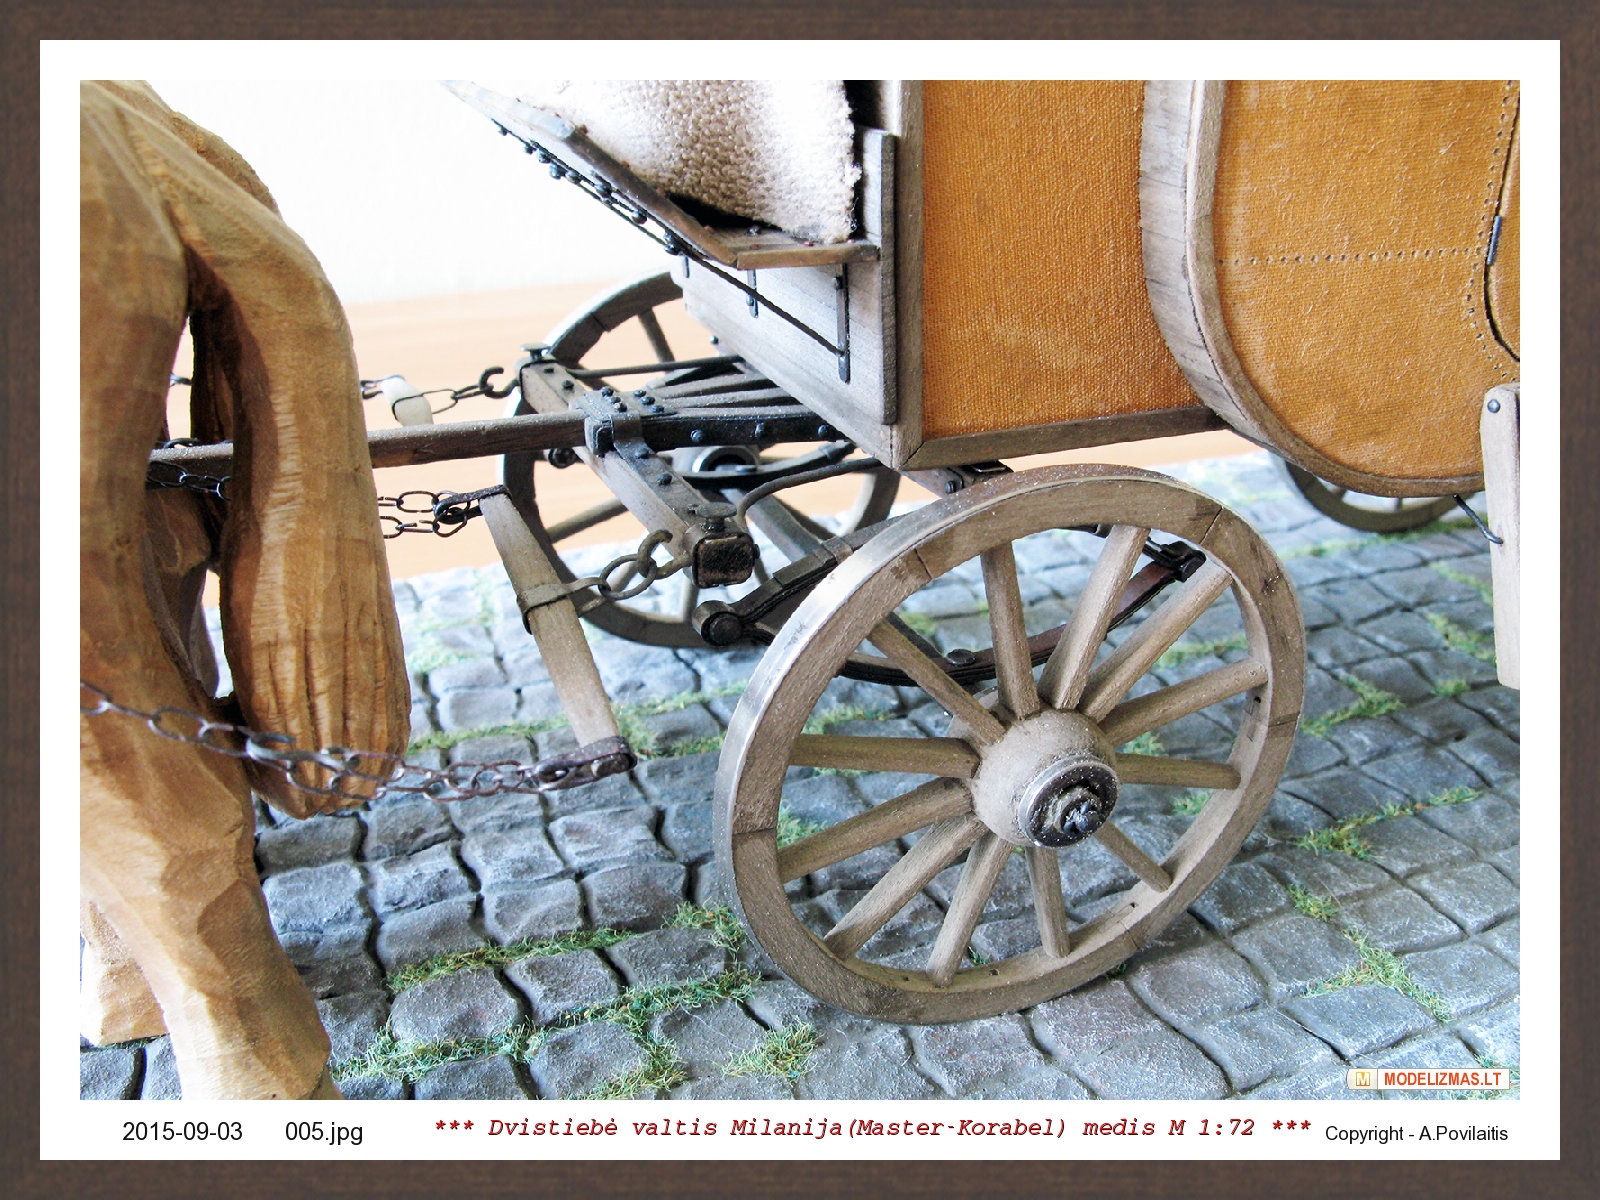
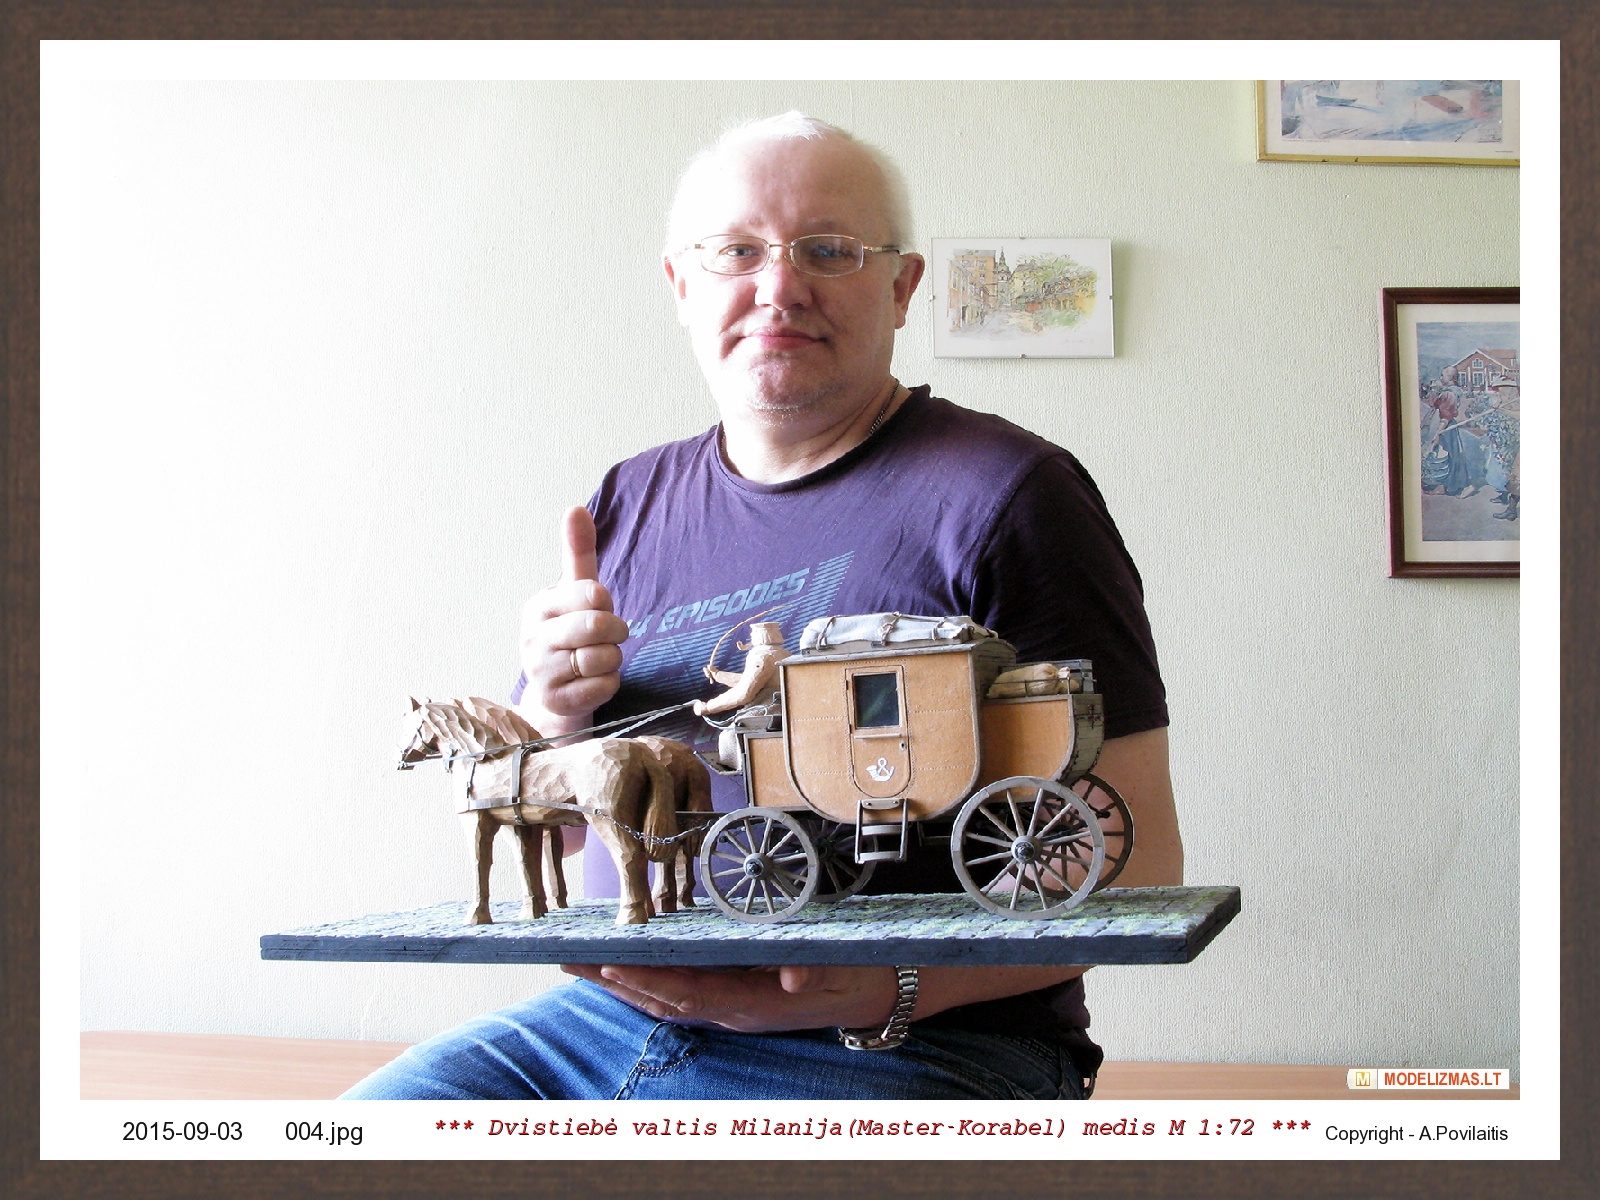
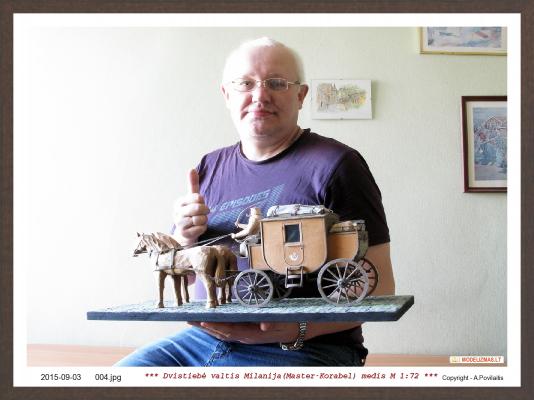
Thanks Steve. I use for my models not only steel pins. Nails, wire, tin and etc.. It is especially well are the nails. The technology is very simple. Initially, annealed metal using a gas burner. I use Proxxon gas burner. This is a very good tool. Continue to produce the required details. Just as a blacksmith. Only I use small tools. Then parts again annealed using a gas burner. They look very well. They do not need any chemical blackening. I don't have any problems with rust. After annealing of metal, details become sufficiently resistant. In the photo You can see the my post carriage model. You can see many steel parts. And after 3 years no any rust. But models must always be kept in display cases. They protect against dust and moisture. I always do it. Otherwise, kills the model himself. Regards, Antanas

-
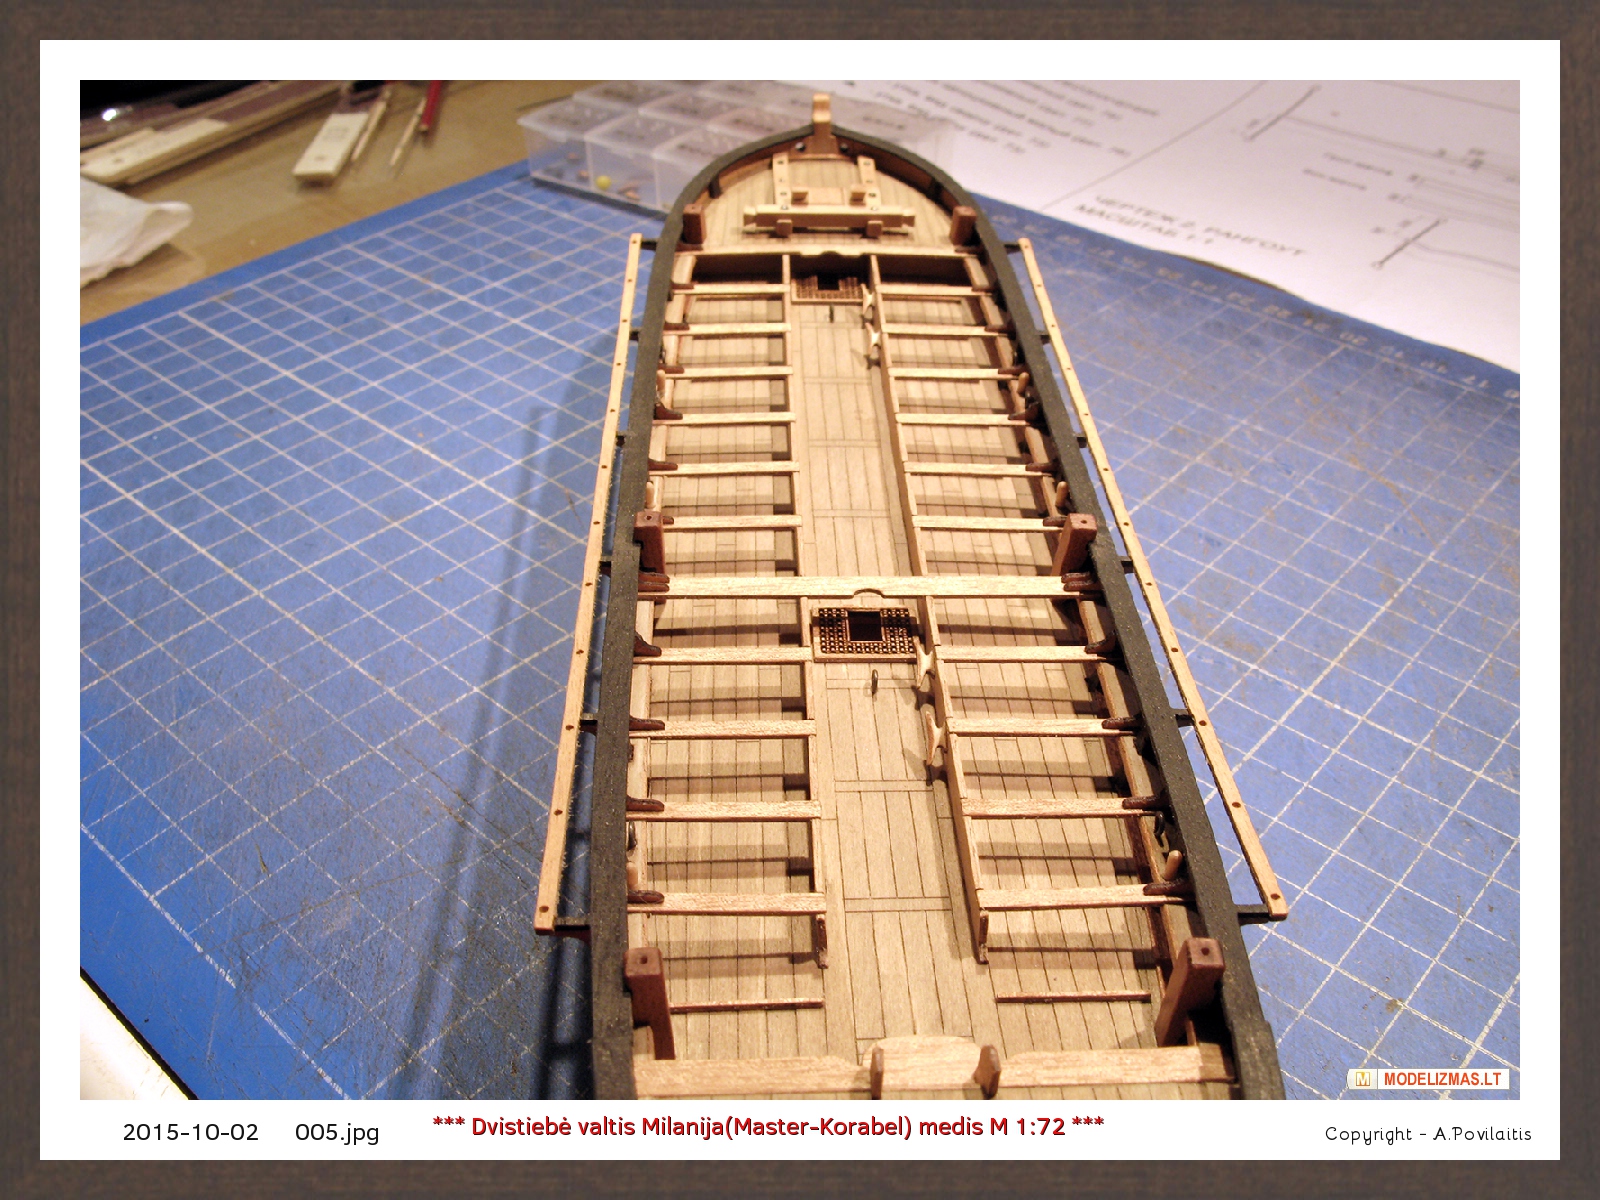
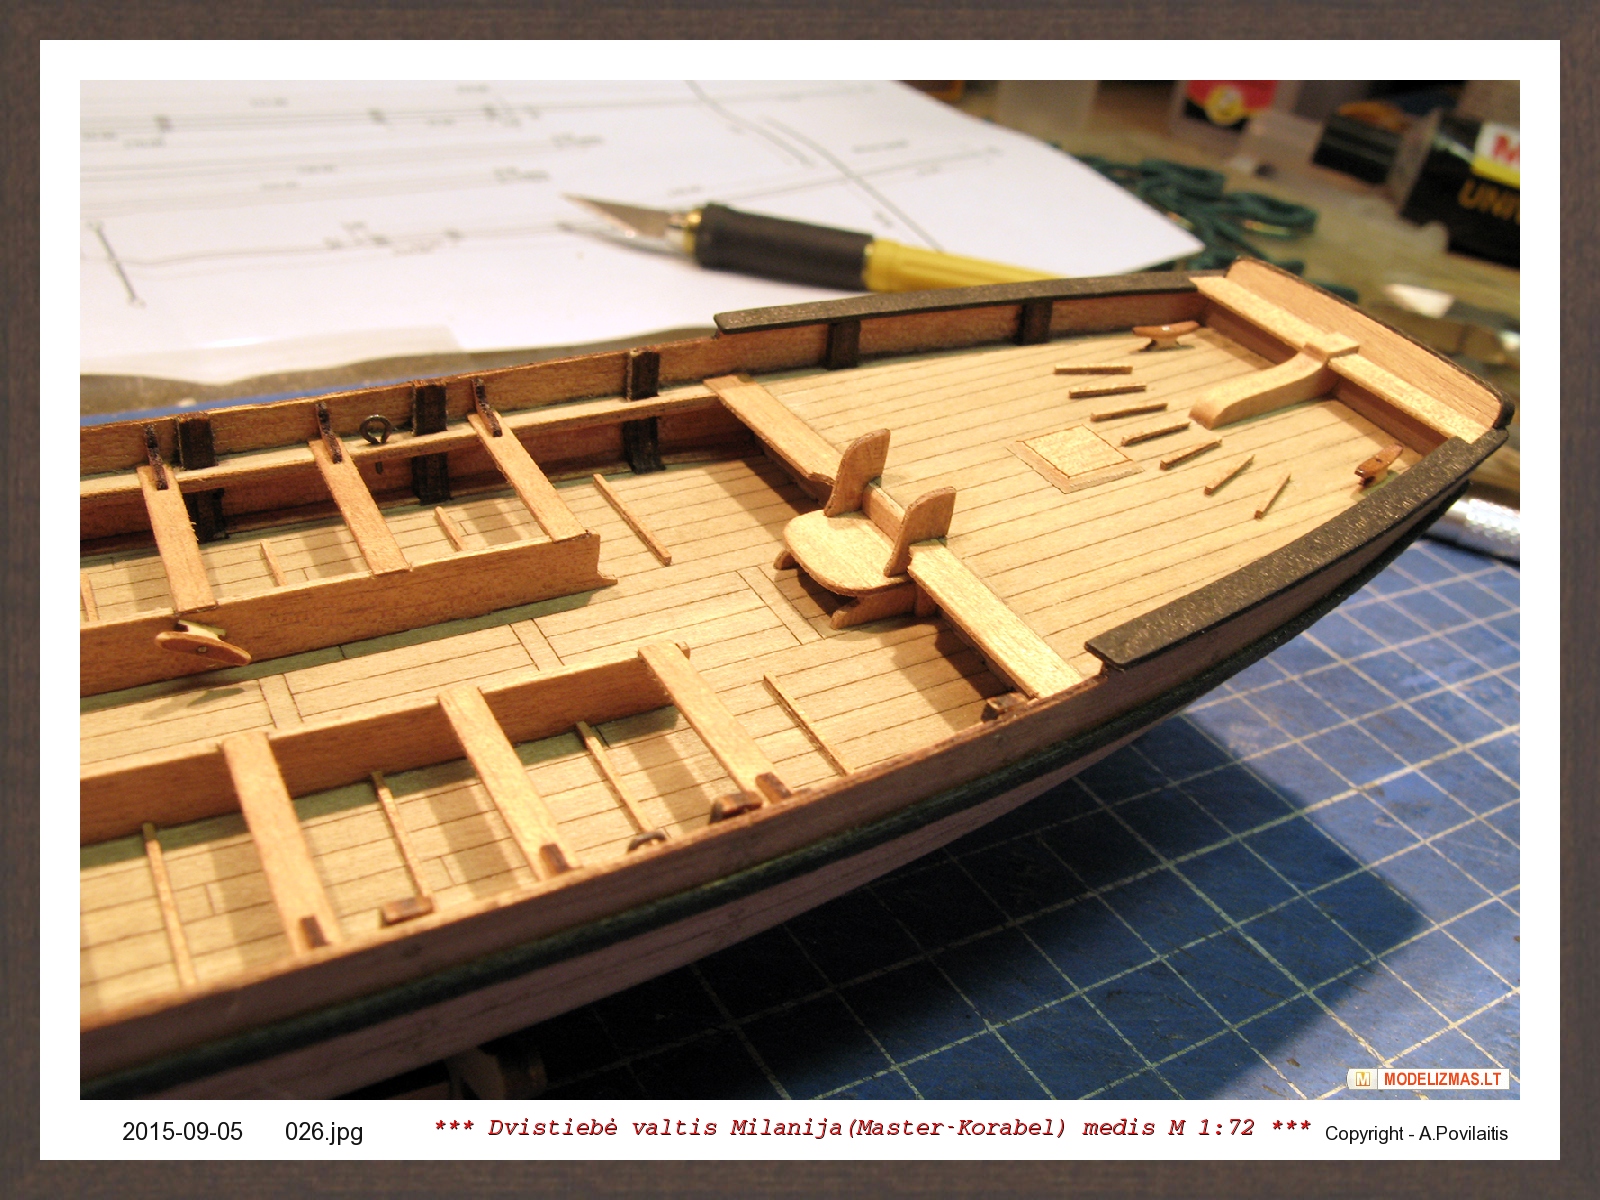
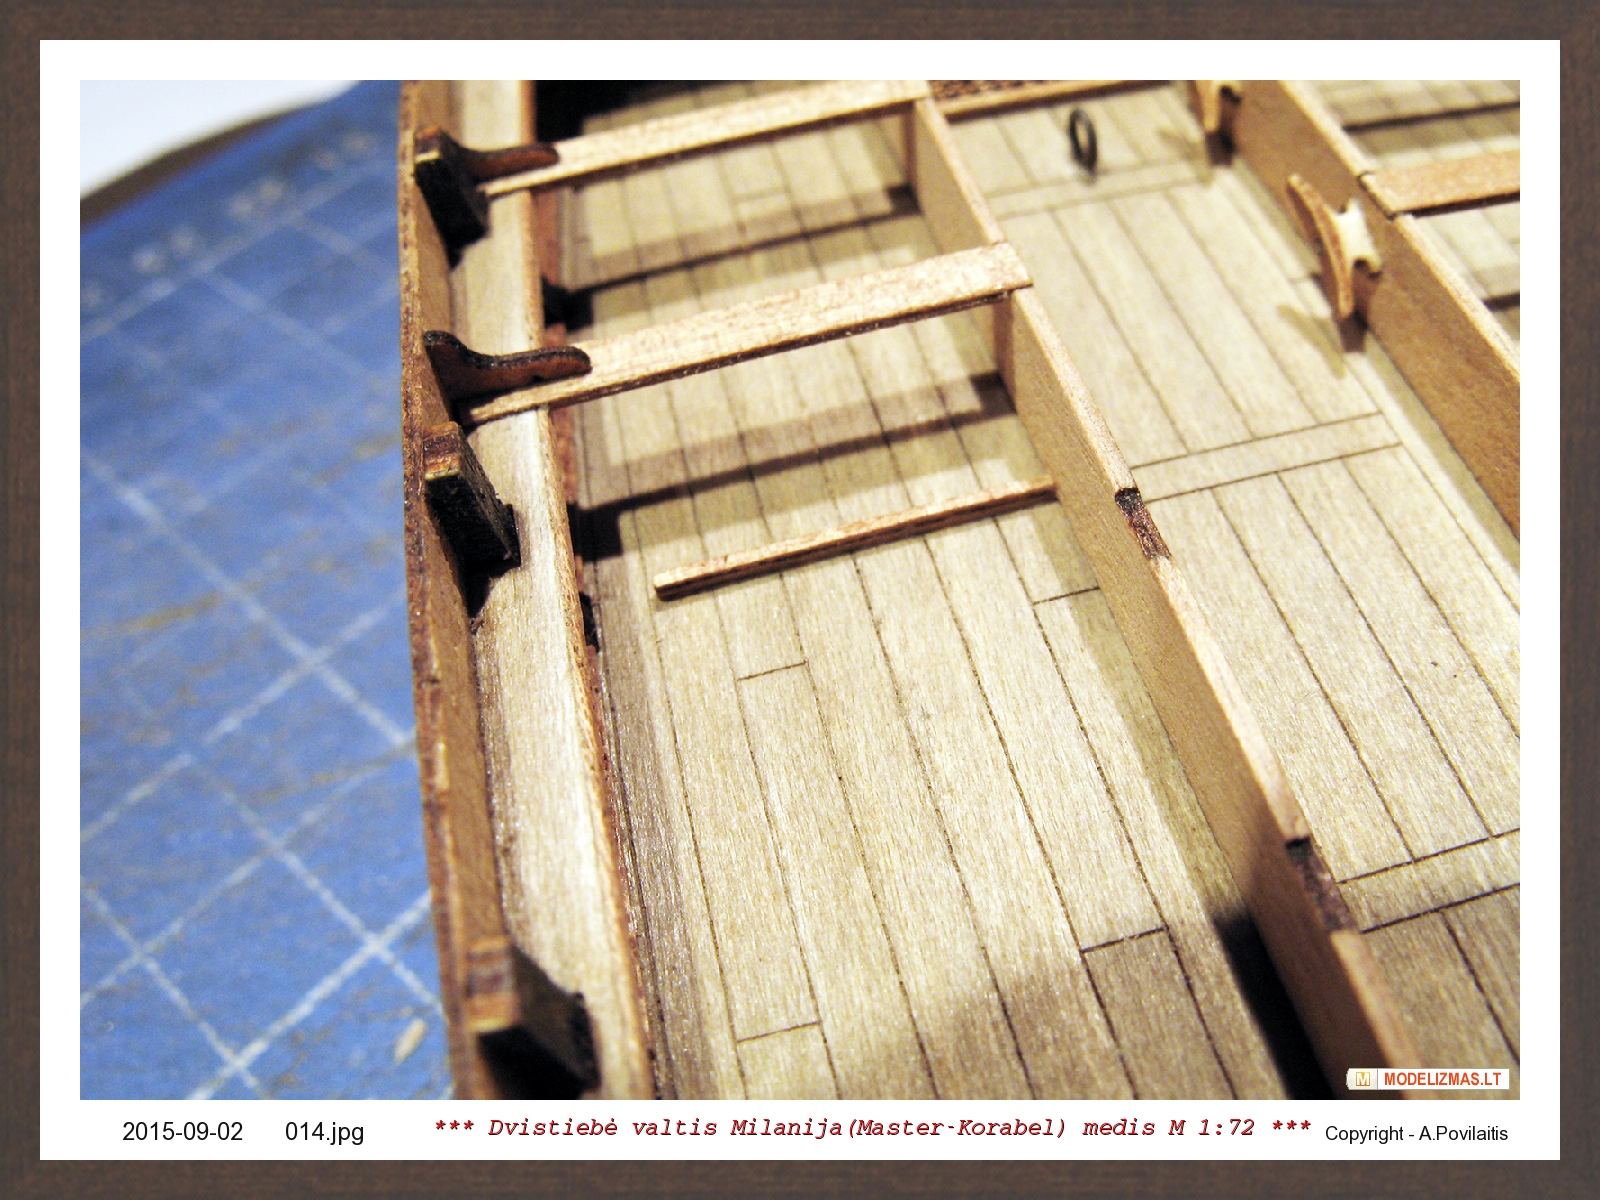
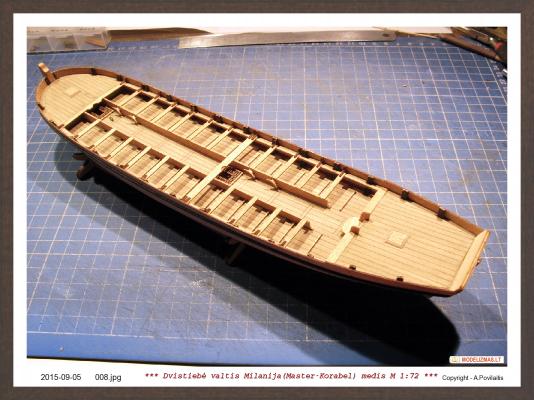
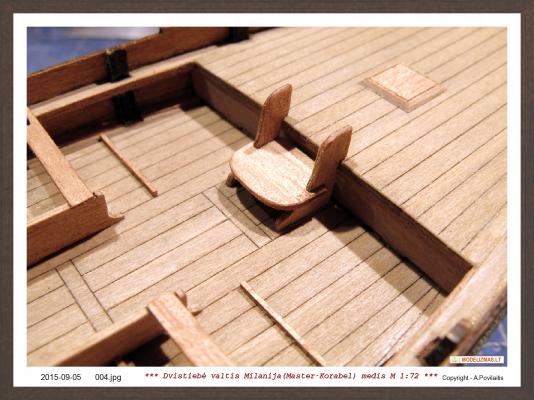
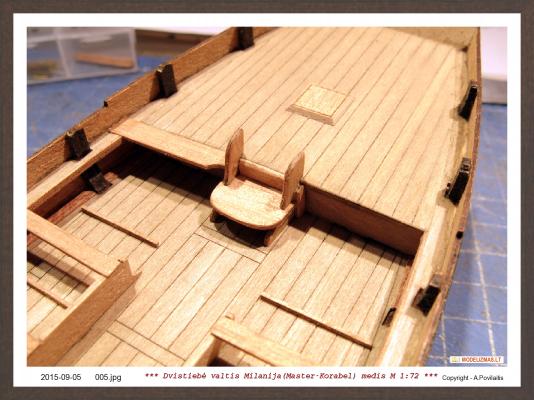
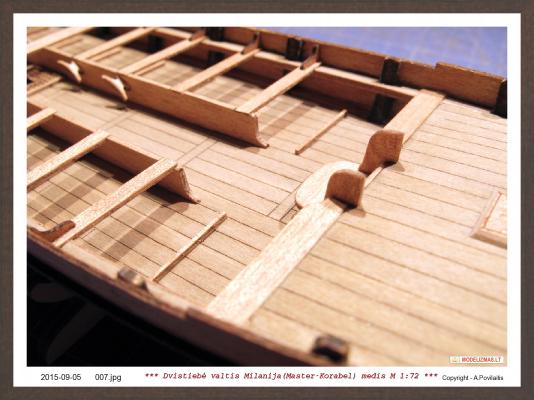
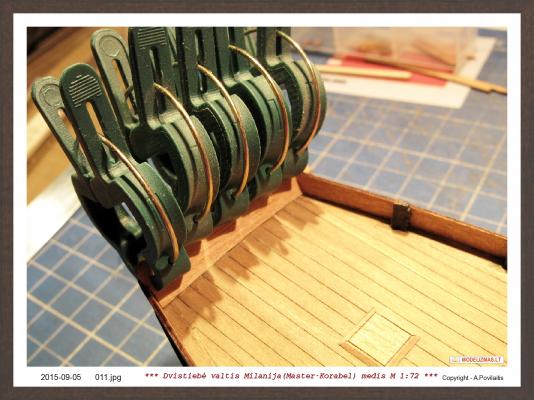
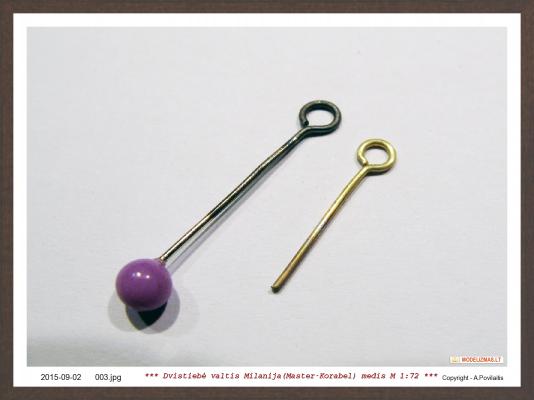
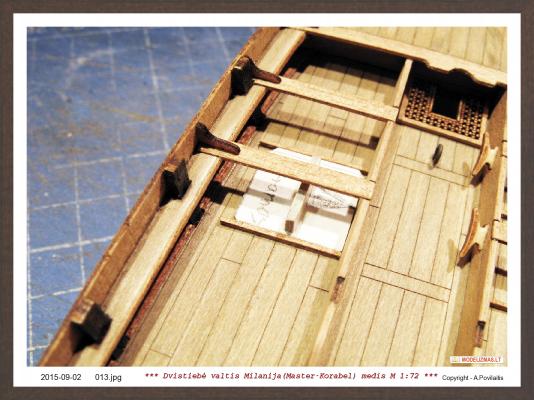
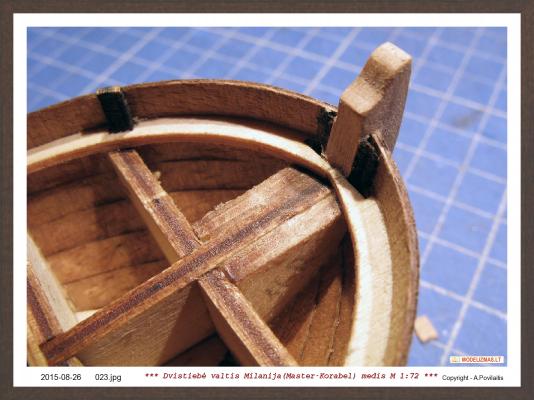
Beginning mounting the seats. The first seat is from one piece but have some curvature. The stringers are not strong horizontal and I have a little trouble. It solves. Glued knees. From steel pins made the rings. In the photo You can see original from brass and my from steel. At this time I not have the blackening liquid and must made this parts from steel. But I like the parts from steel more then from brass. For me they looks better... Sanded the seats and footrests. And glued the first couple in to the place. Make the simple templates from the cardboard. One for seats and one for footrests. The seat ends are cut halfway. Every couple of them need to be adapted because of differences in their lengths. Glued the middle seat. She are made from one part and have four knees. Continue using templates for other seats. And result. Regards, Antanas


-
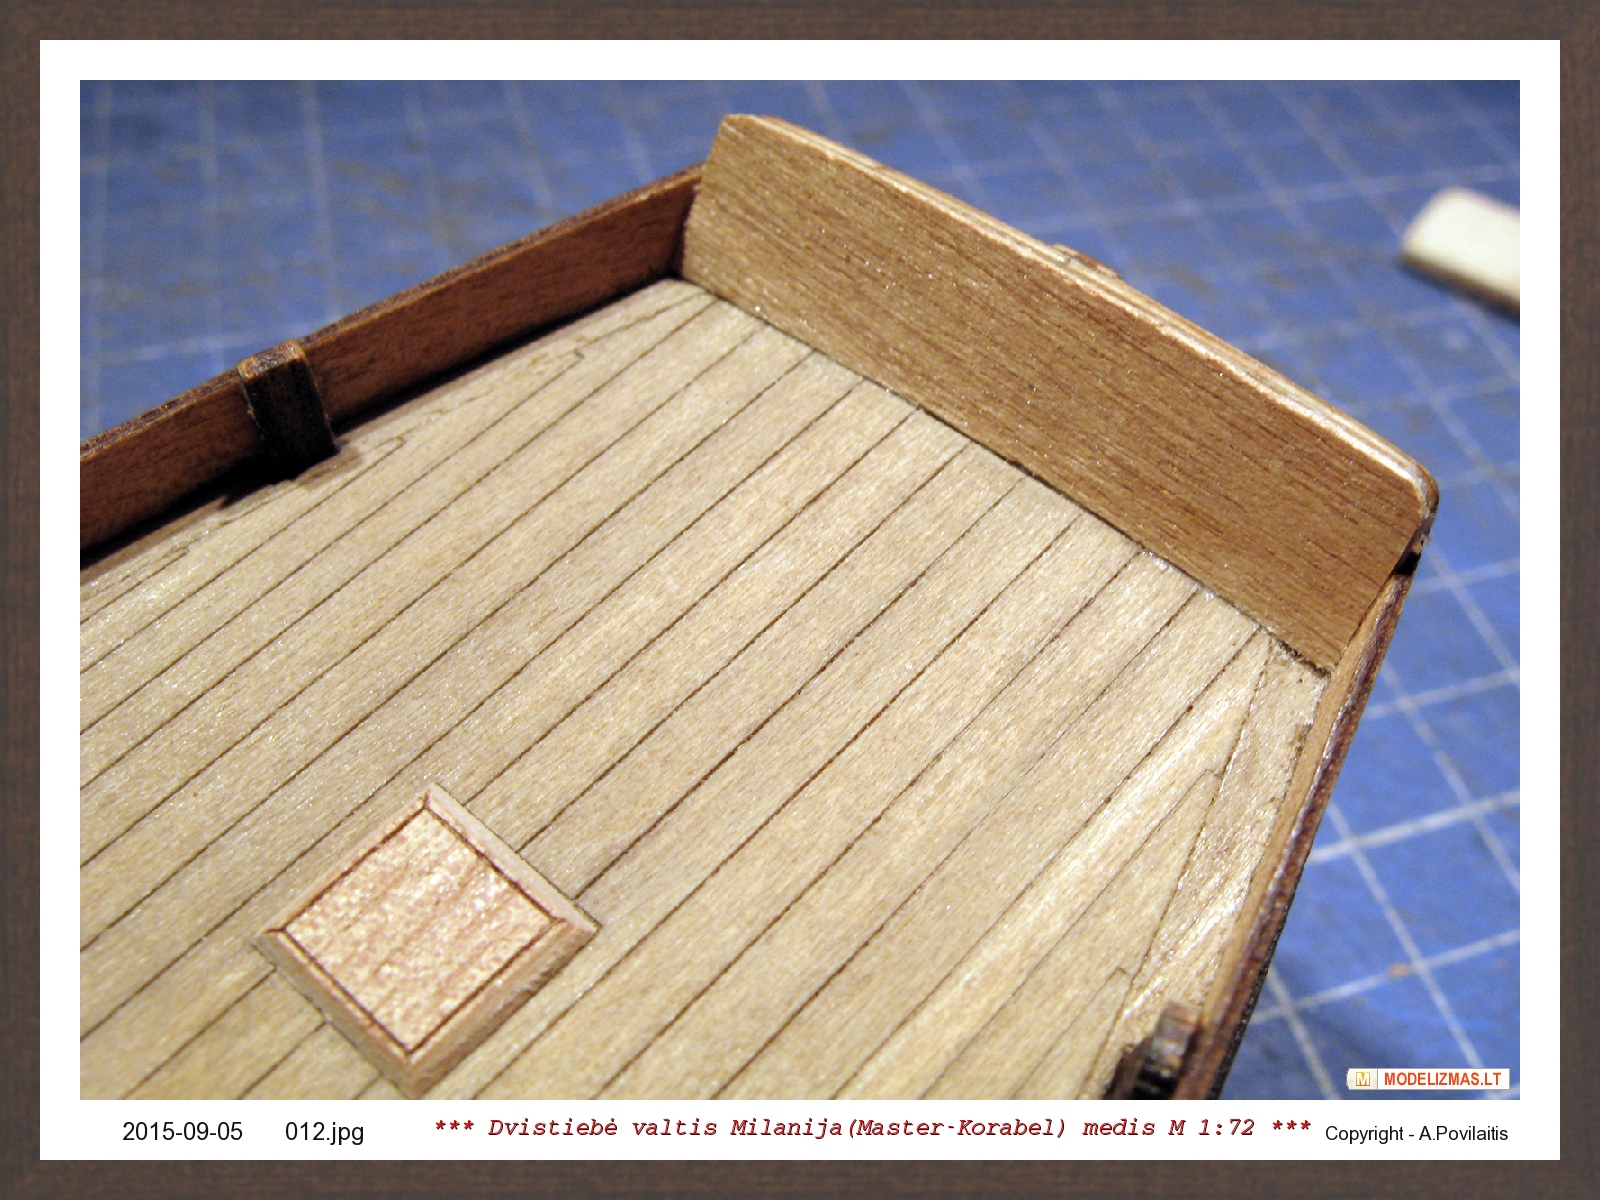
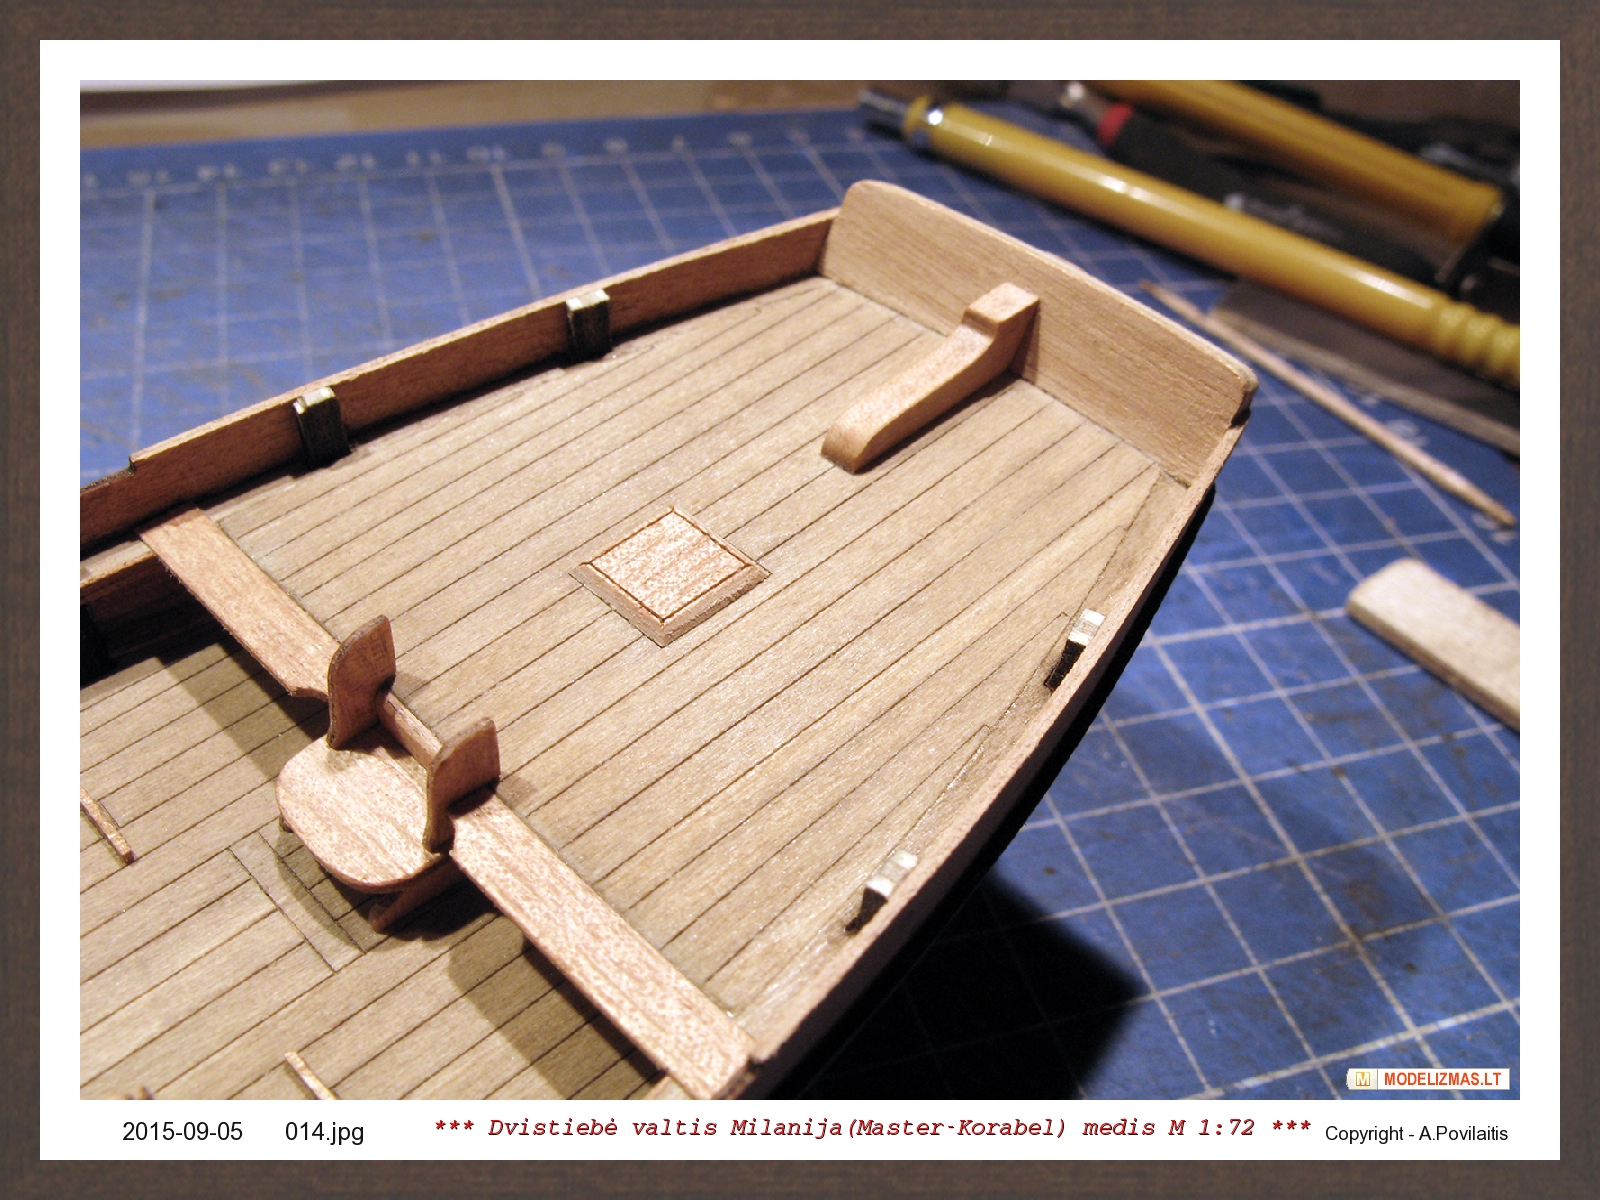
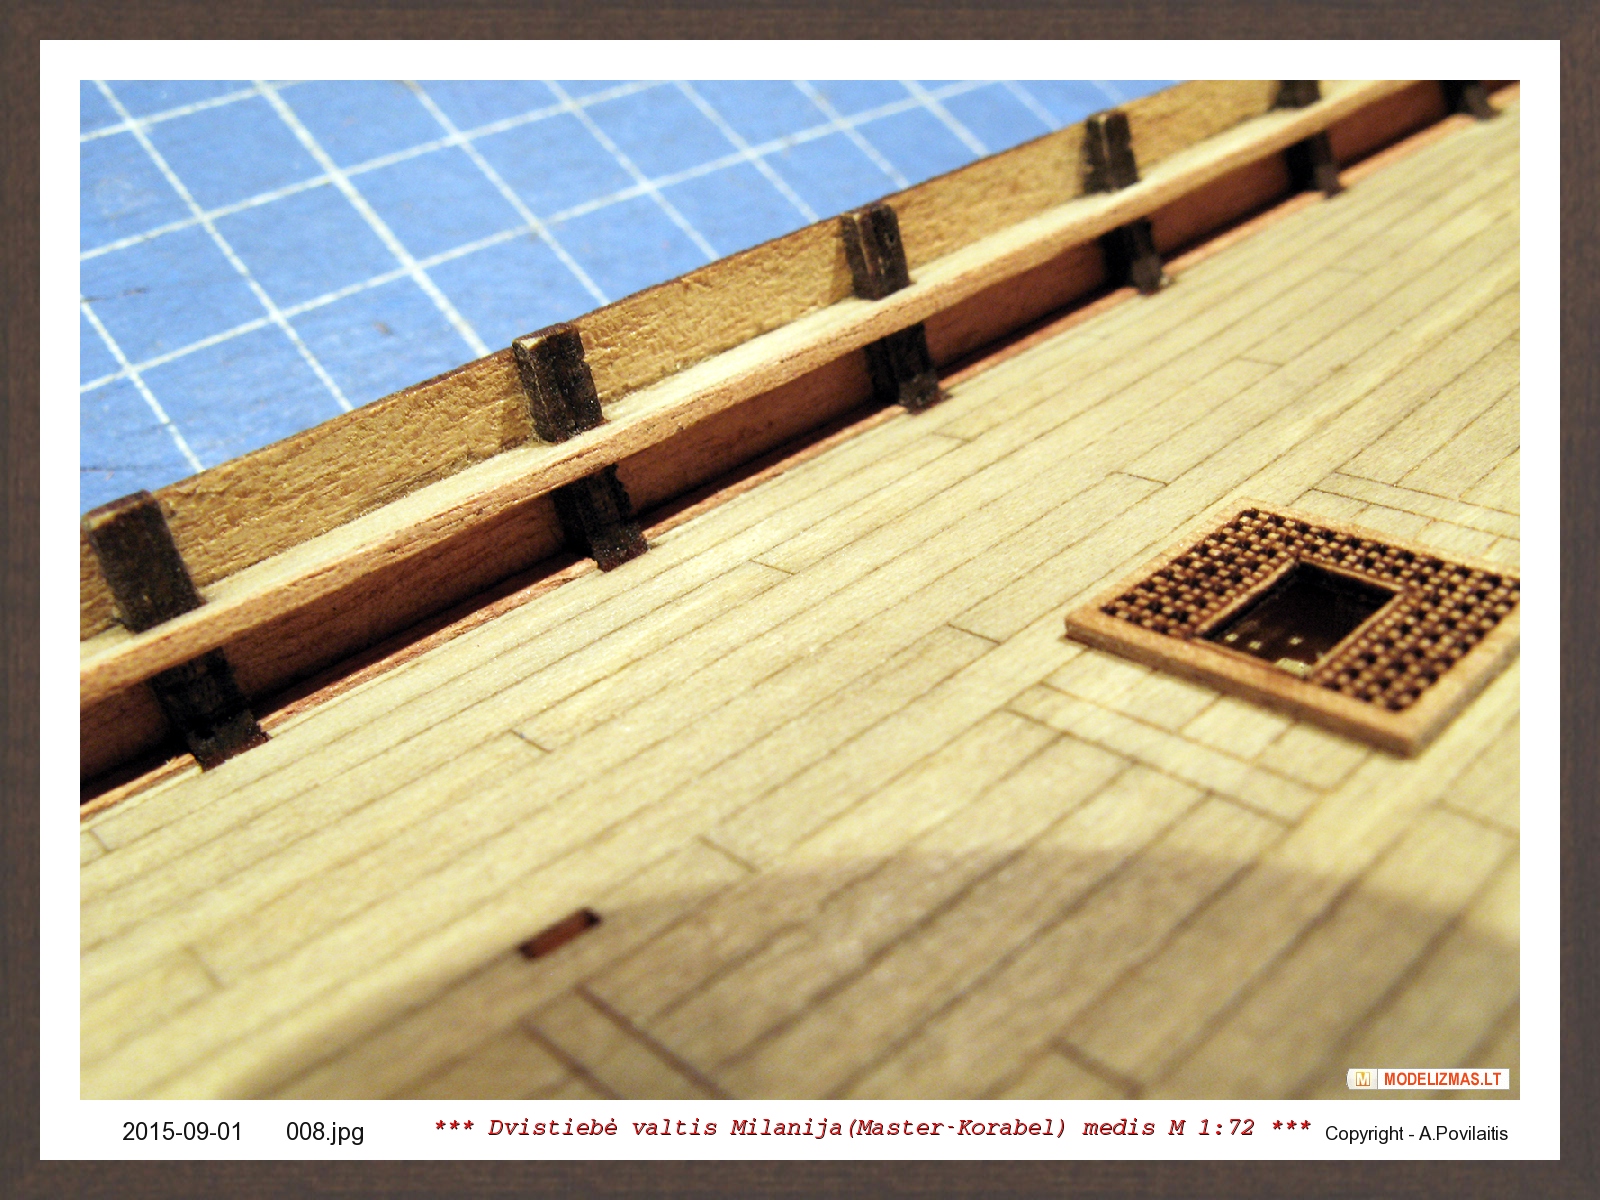
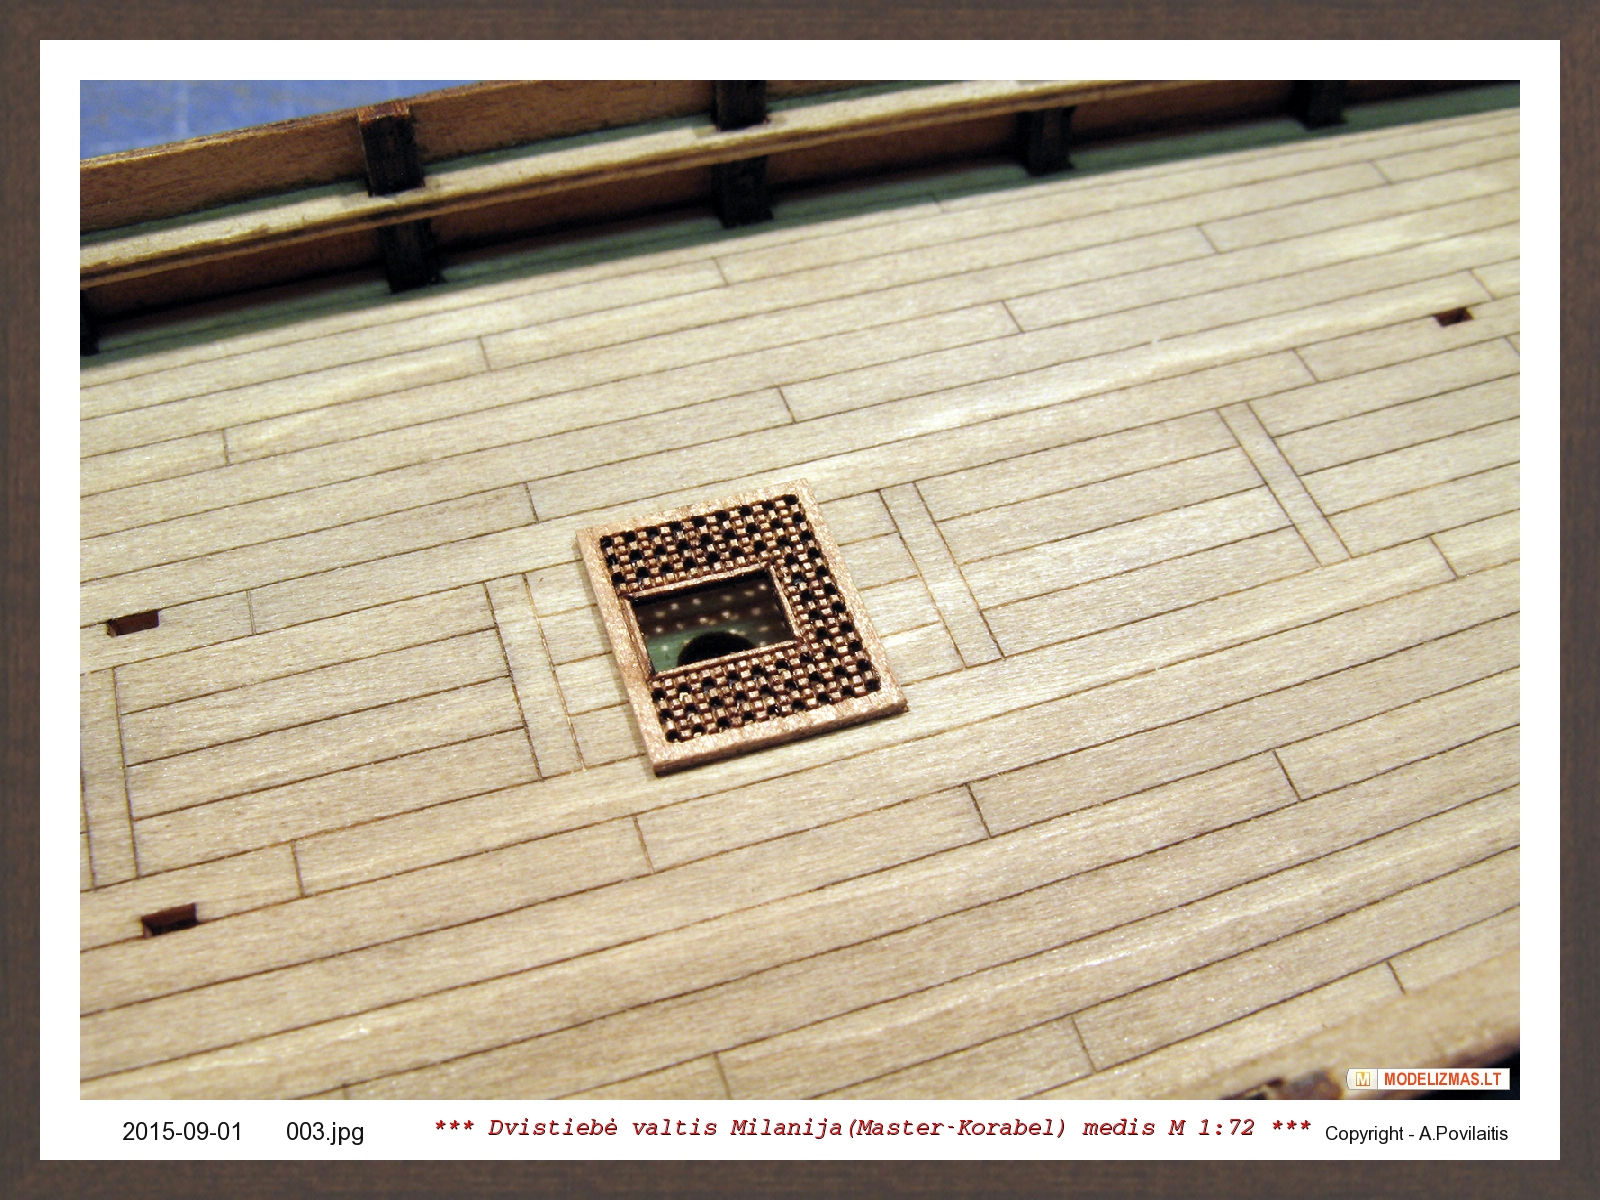
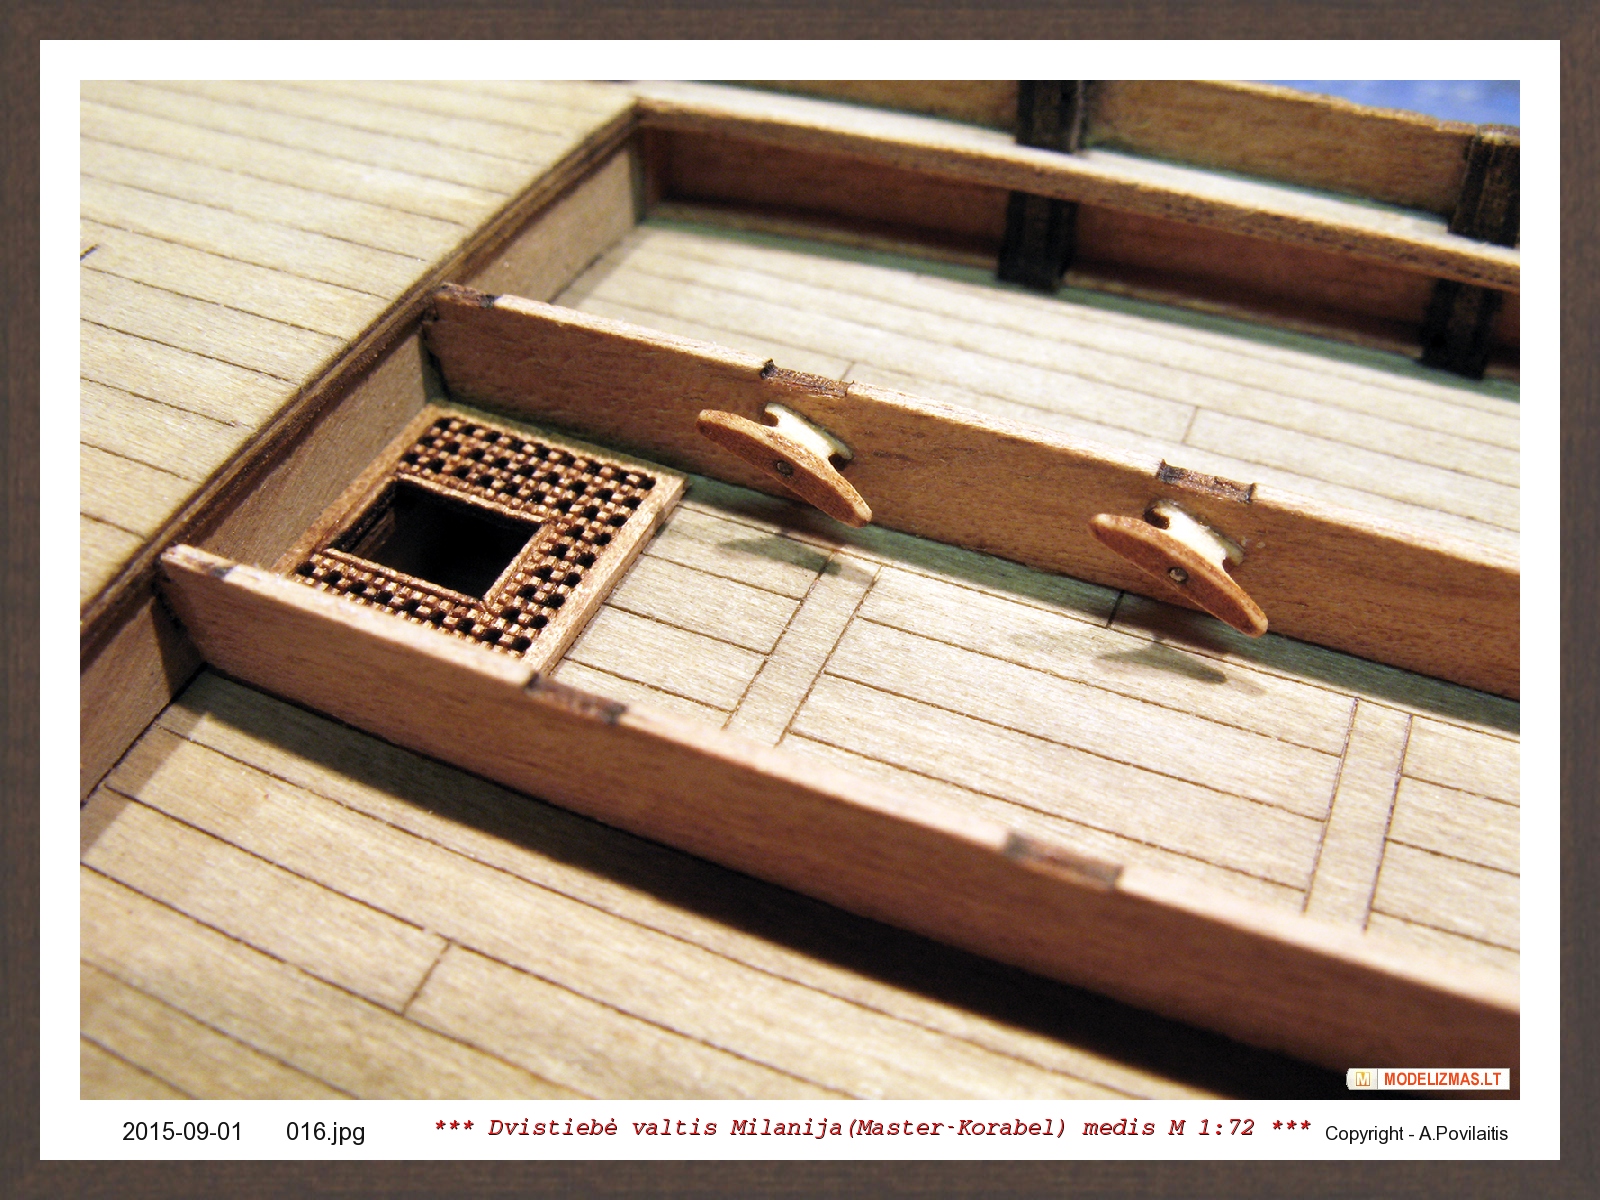
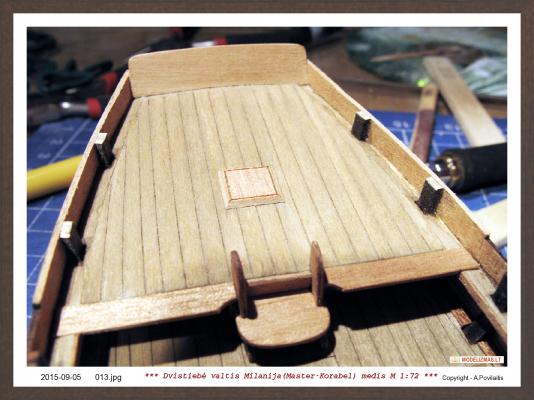
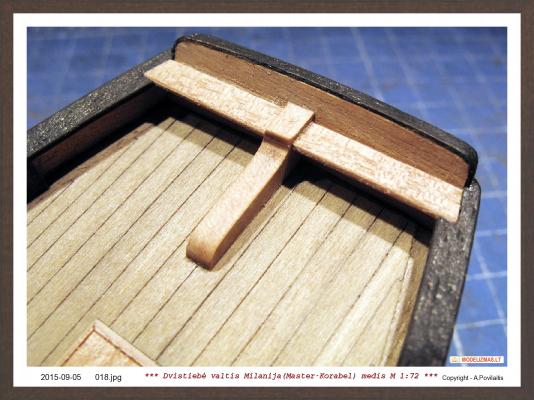
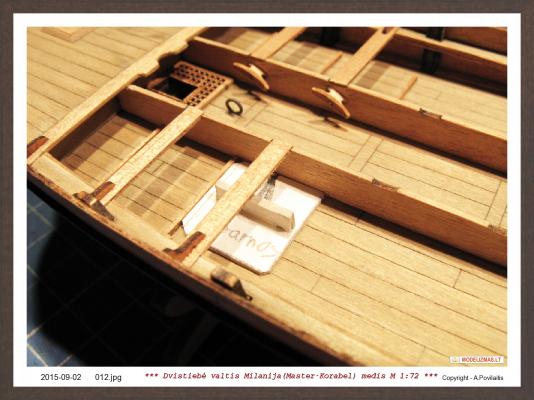
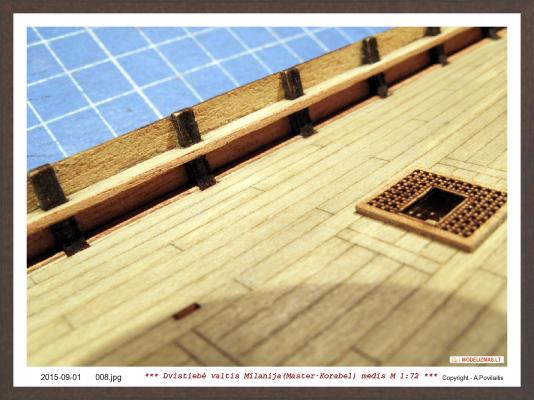
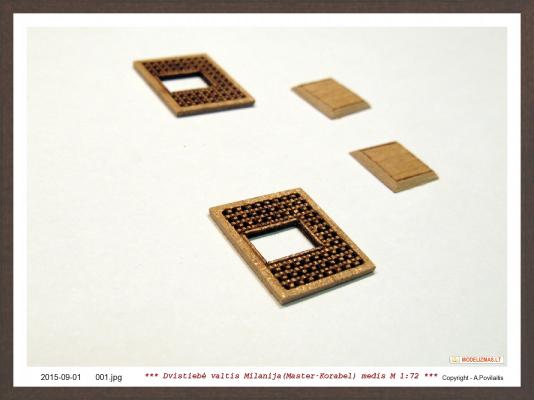
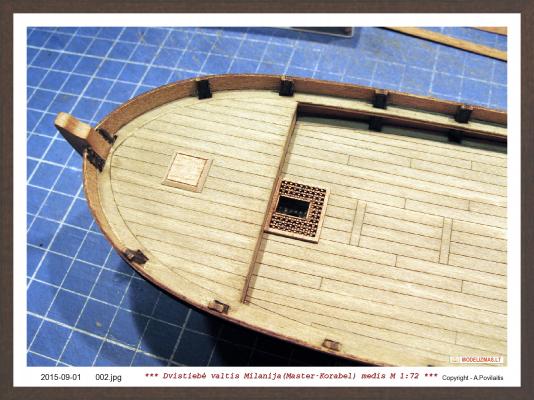
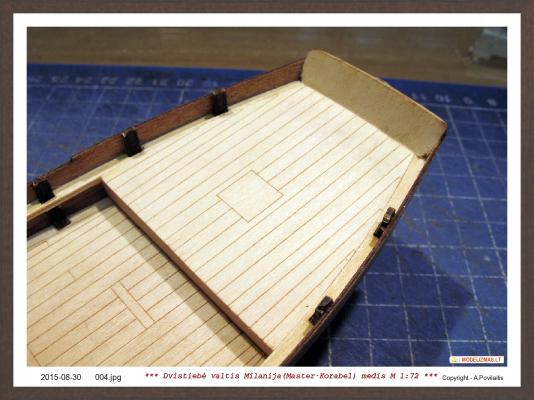
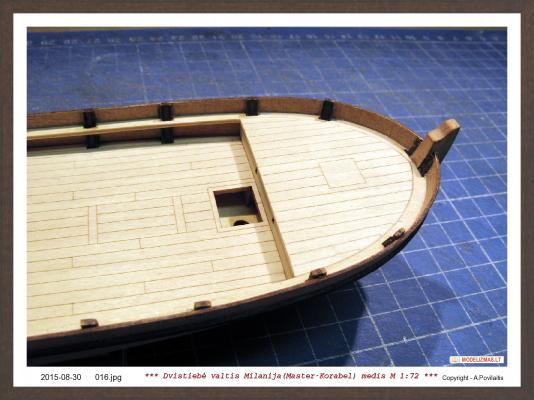
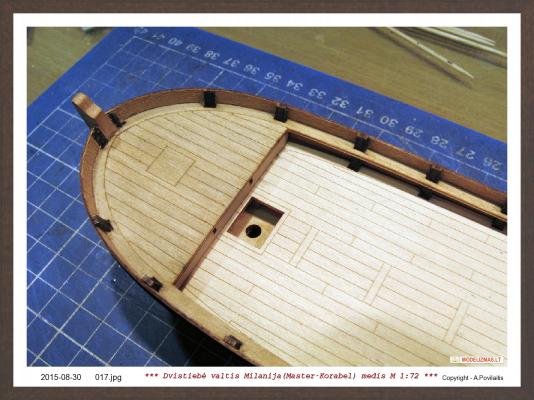
I have a lot of tools, but You are right Carl. In this build i don't need most of them. Only some Proxxon drill machine. So, continued. First sanded greetings and hatches. This very easy. And glued in to the places. And the veneer strip. This is material for waterway. Cut and glued. The stringer plywood edge looks terrible. Cut the two strips from veneer and glued on the edge. Now it looks better. Now the time to place on the deck the vertical planks for seats. But at first must attach to them the cleats. Later it will be very difficult. Sanded the planks and cleats. From the pins made the steel sticks for cleats. Blackening them using the gas torch. And attach to the plank. Then glued both planks to the deck. Regards, Antanas


-
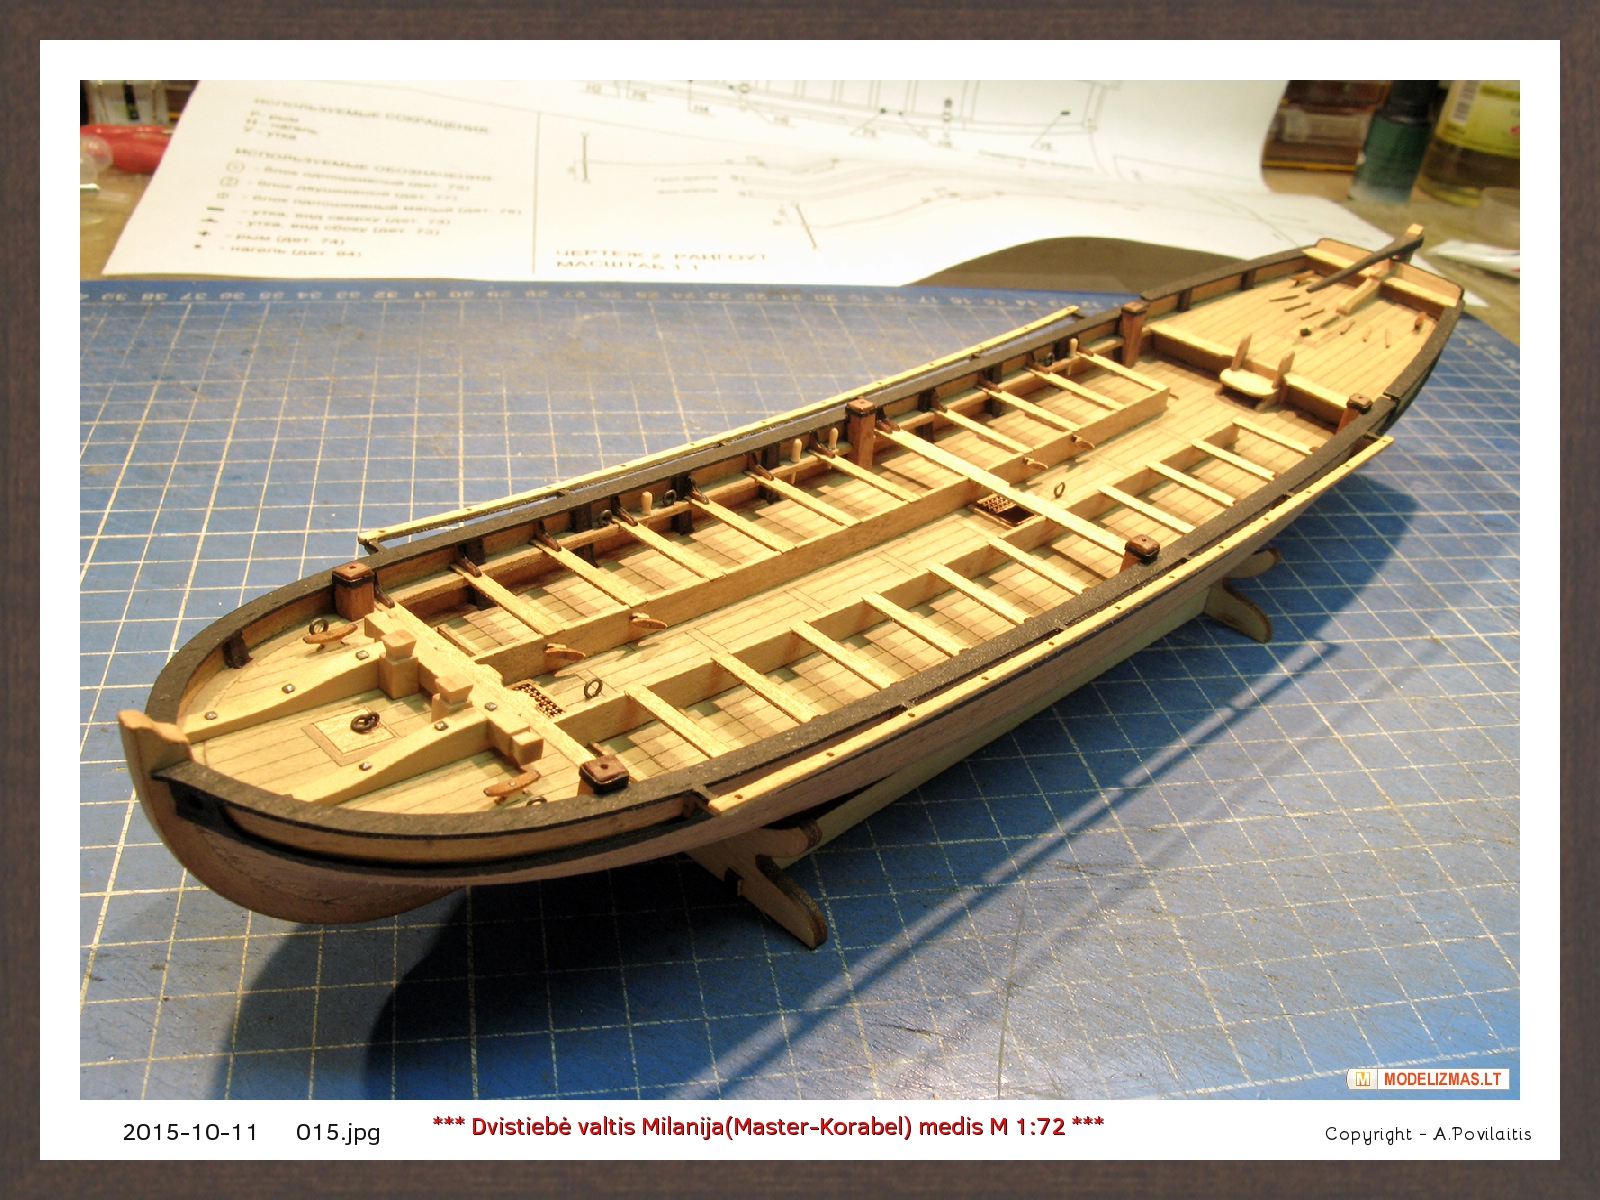
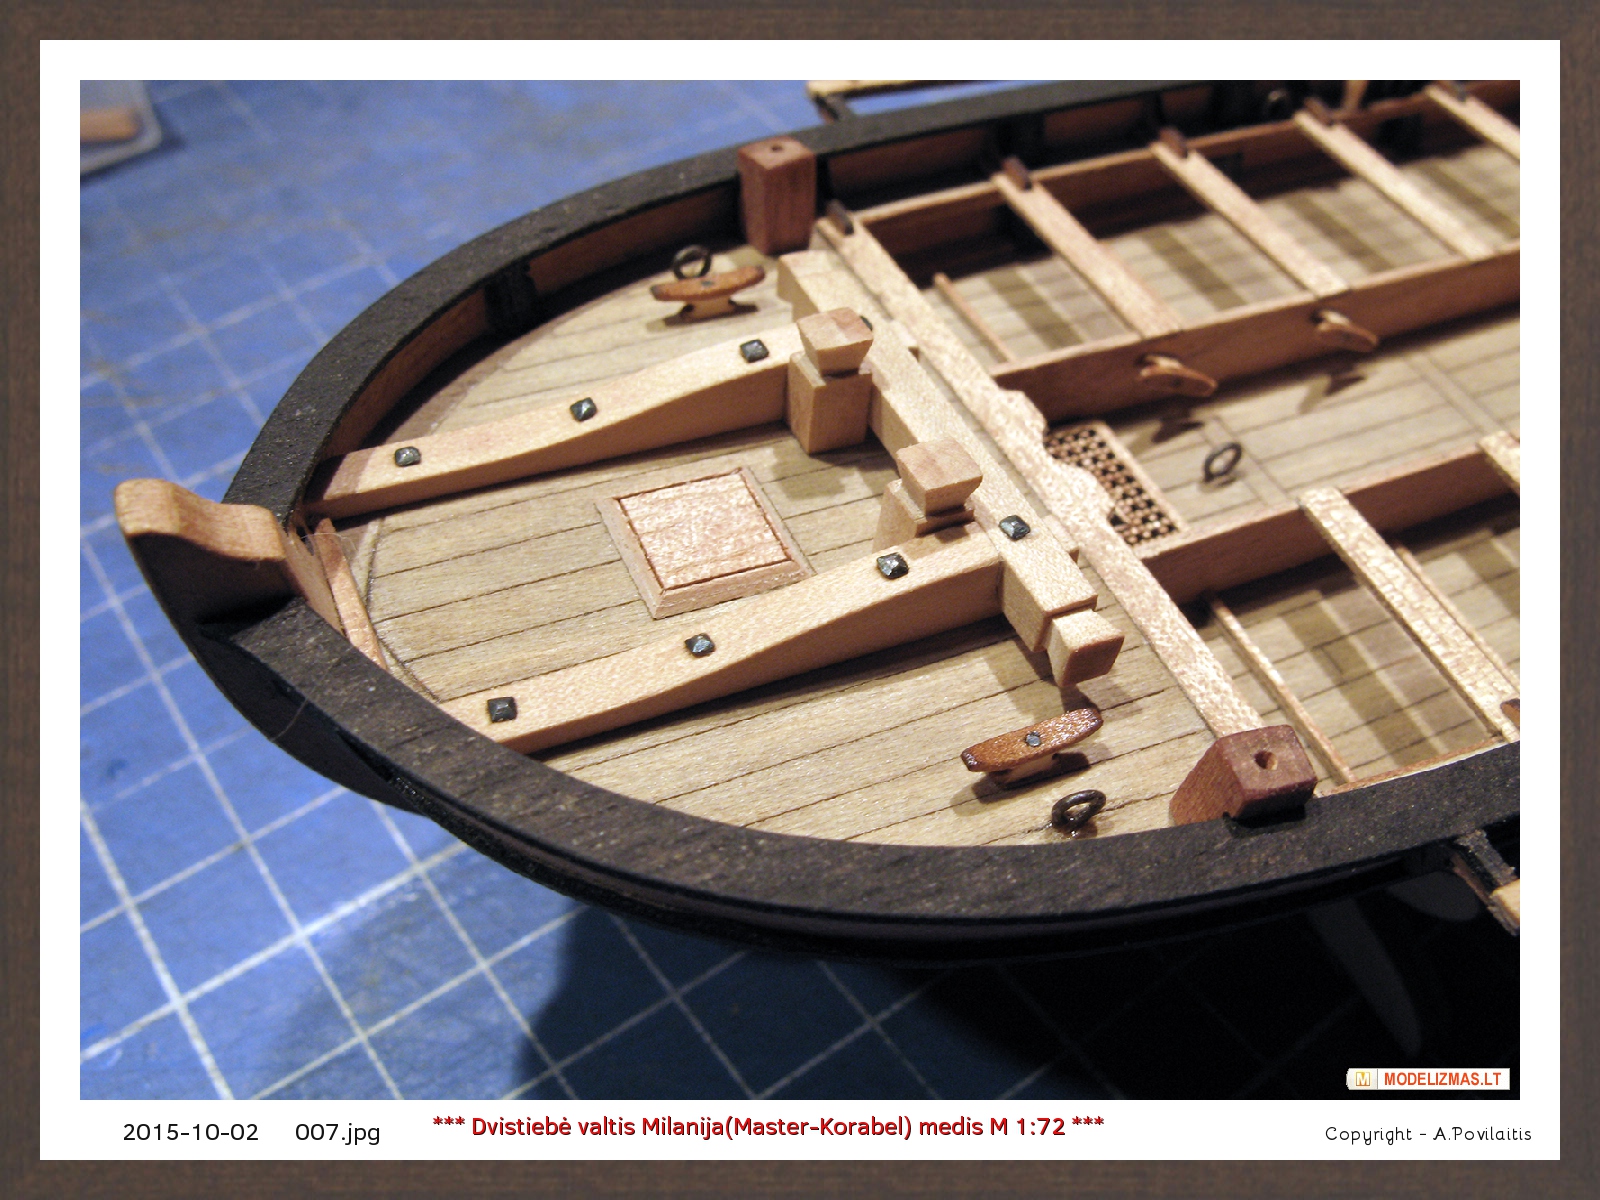
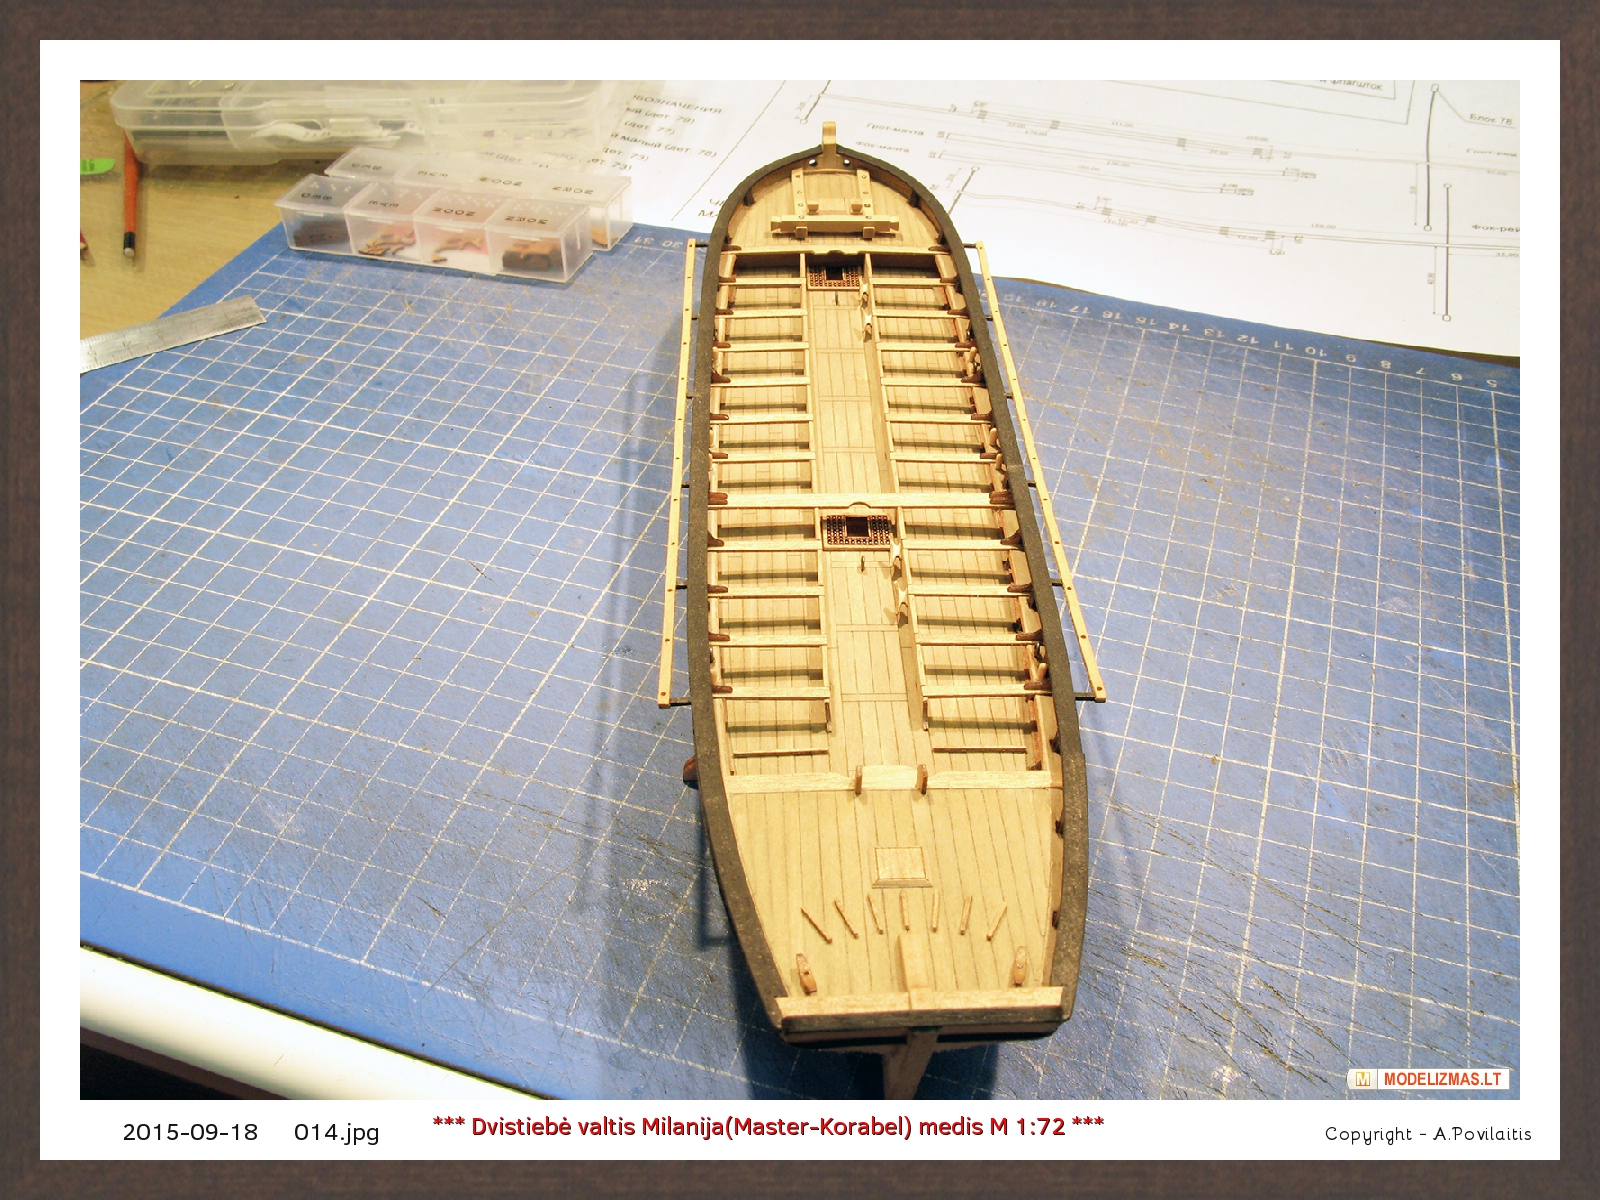
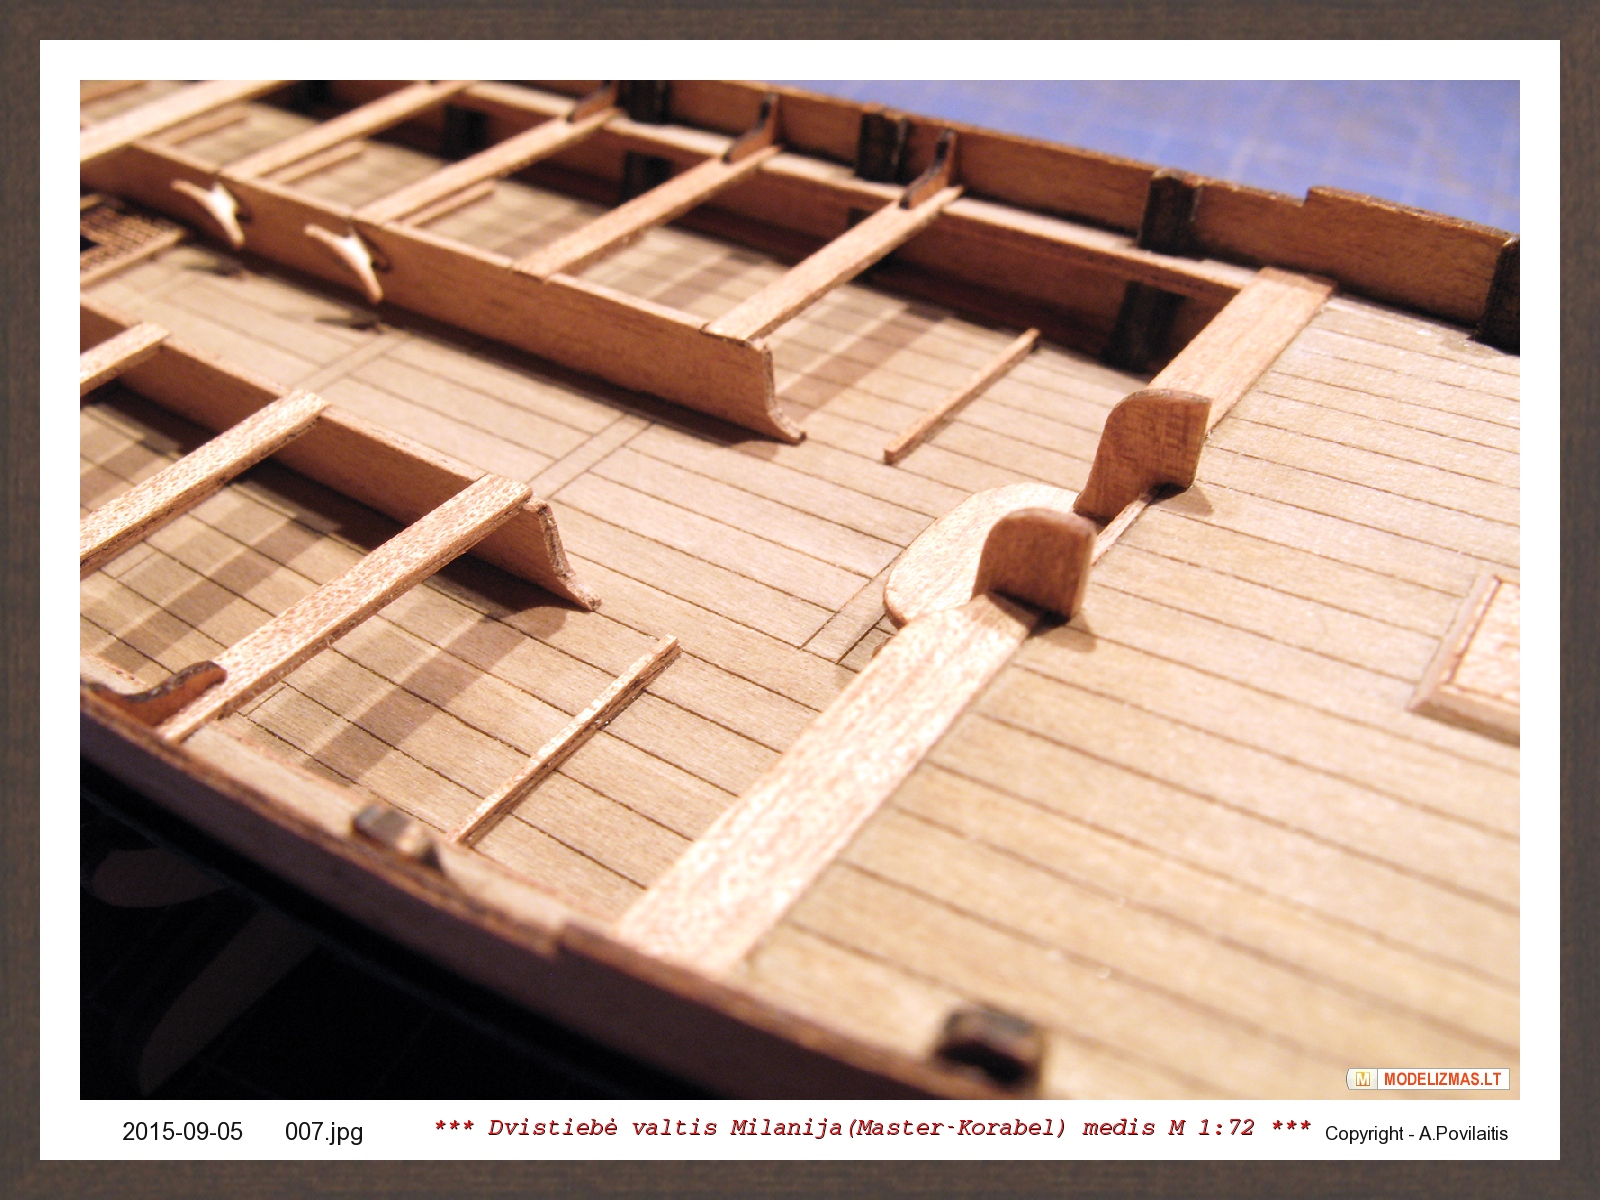
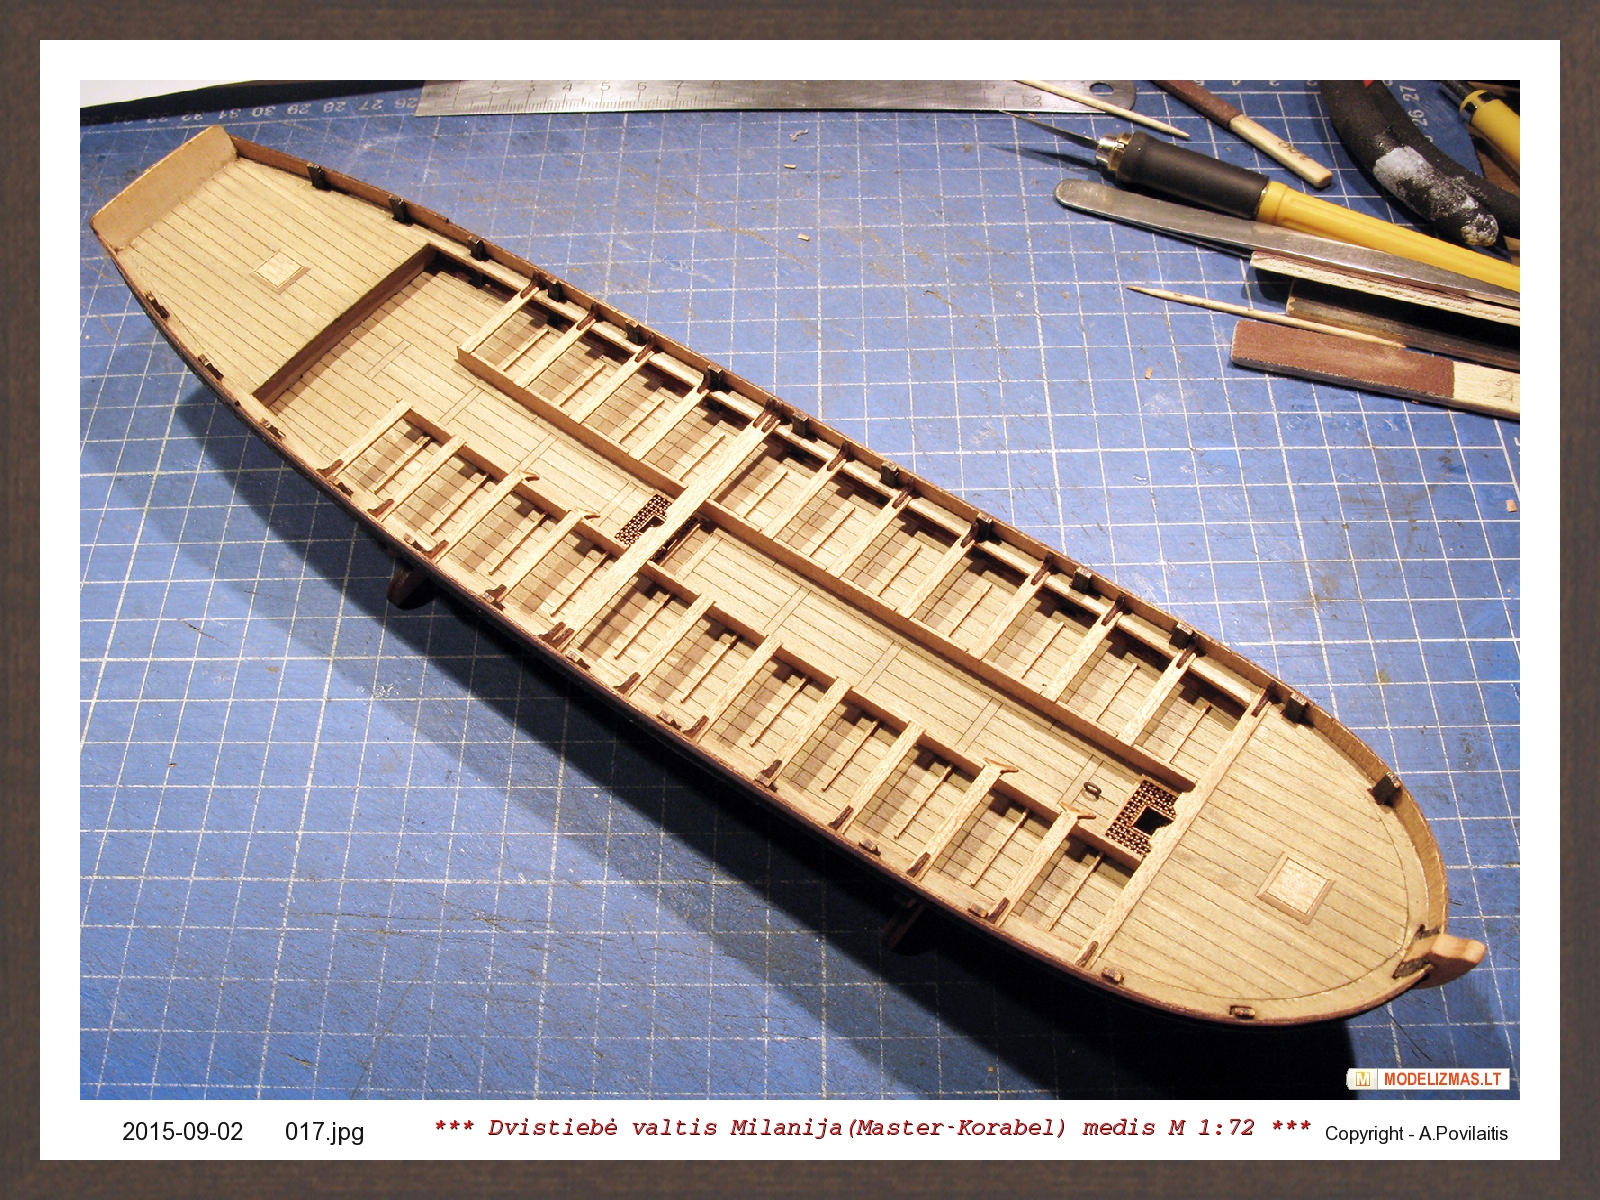
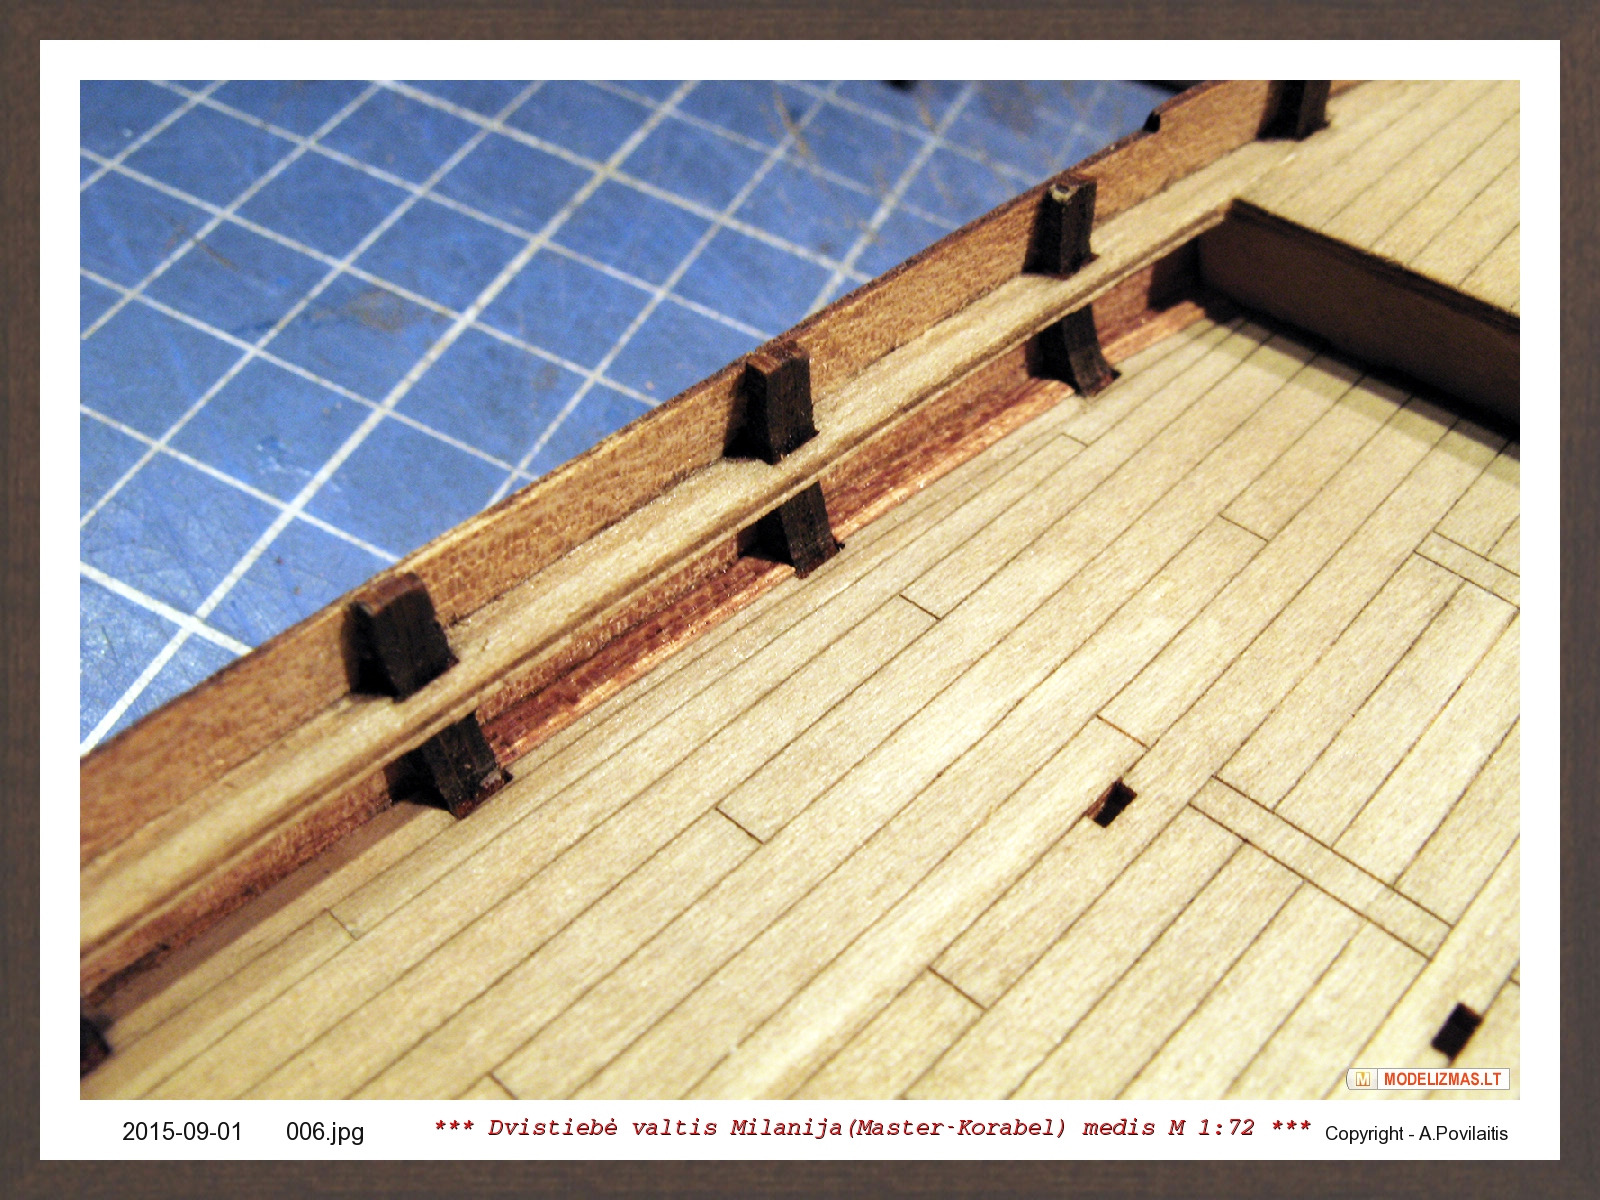
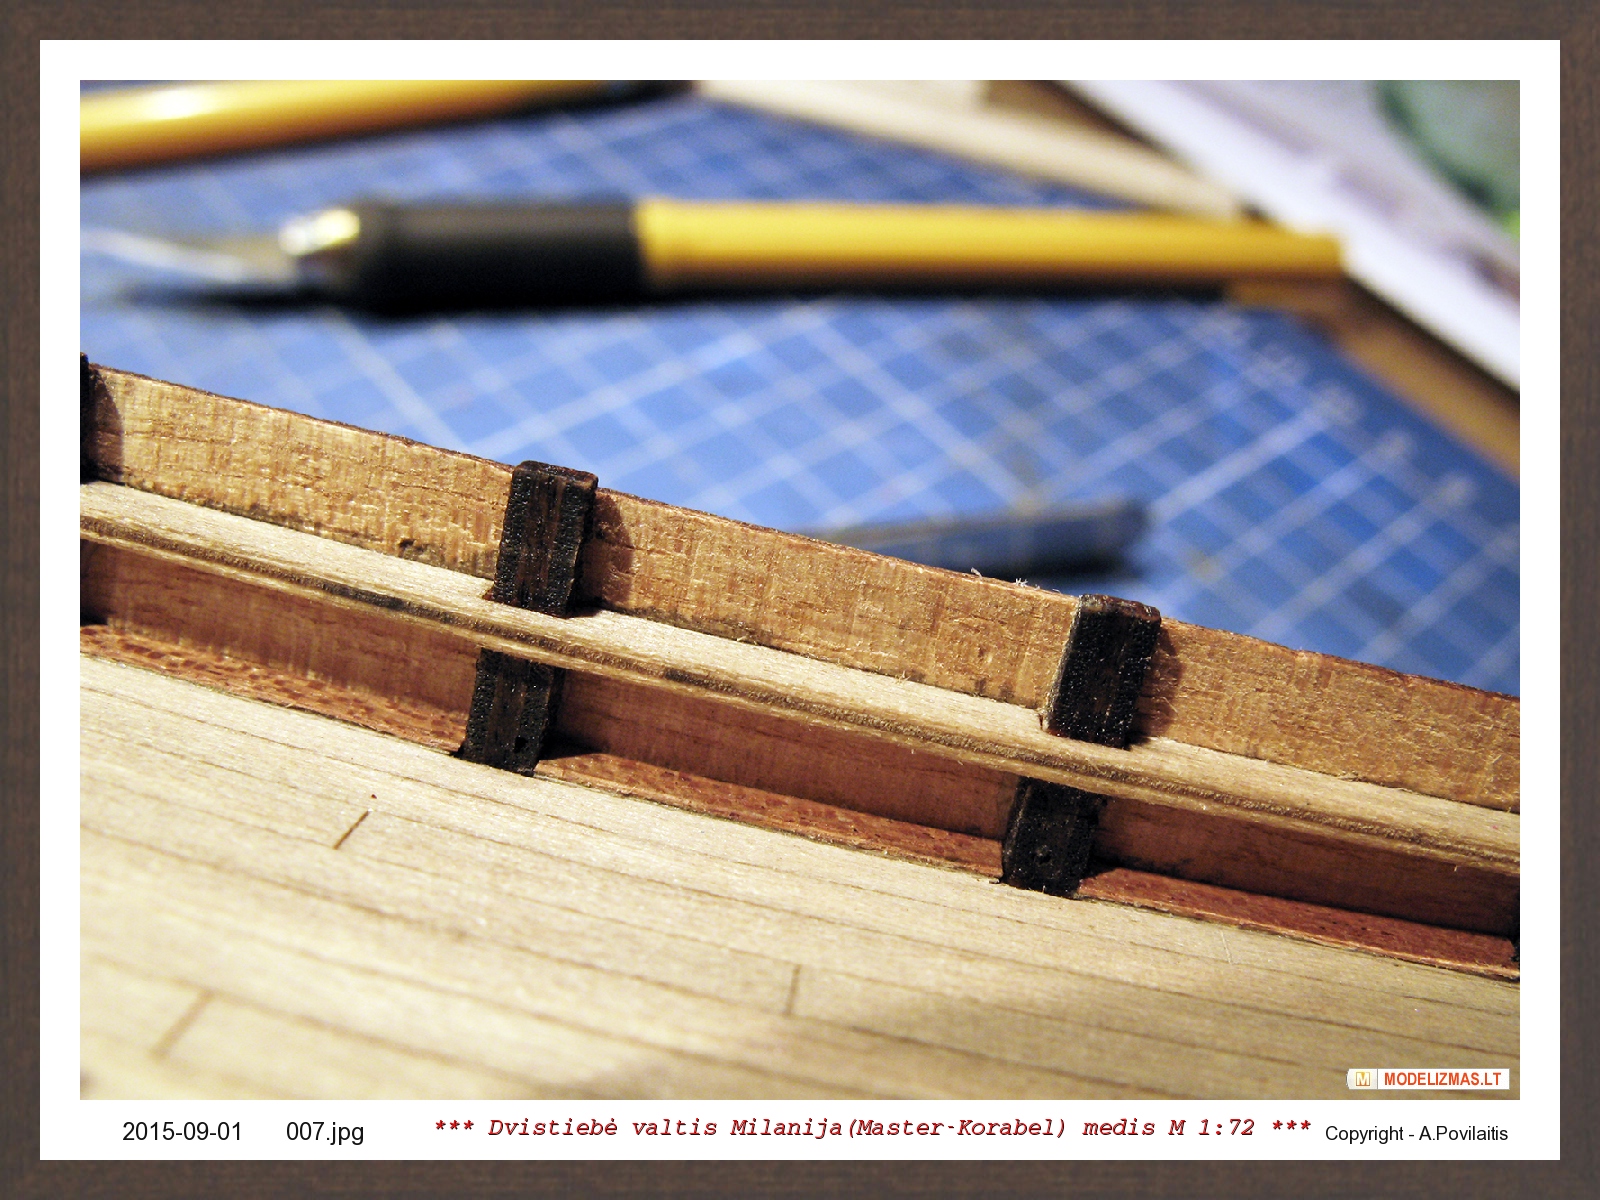
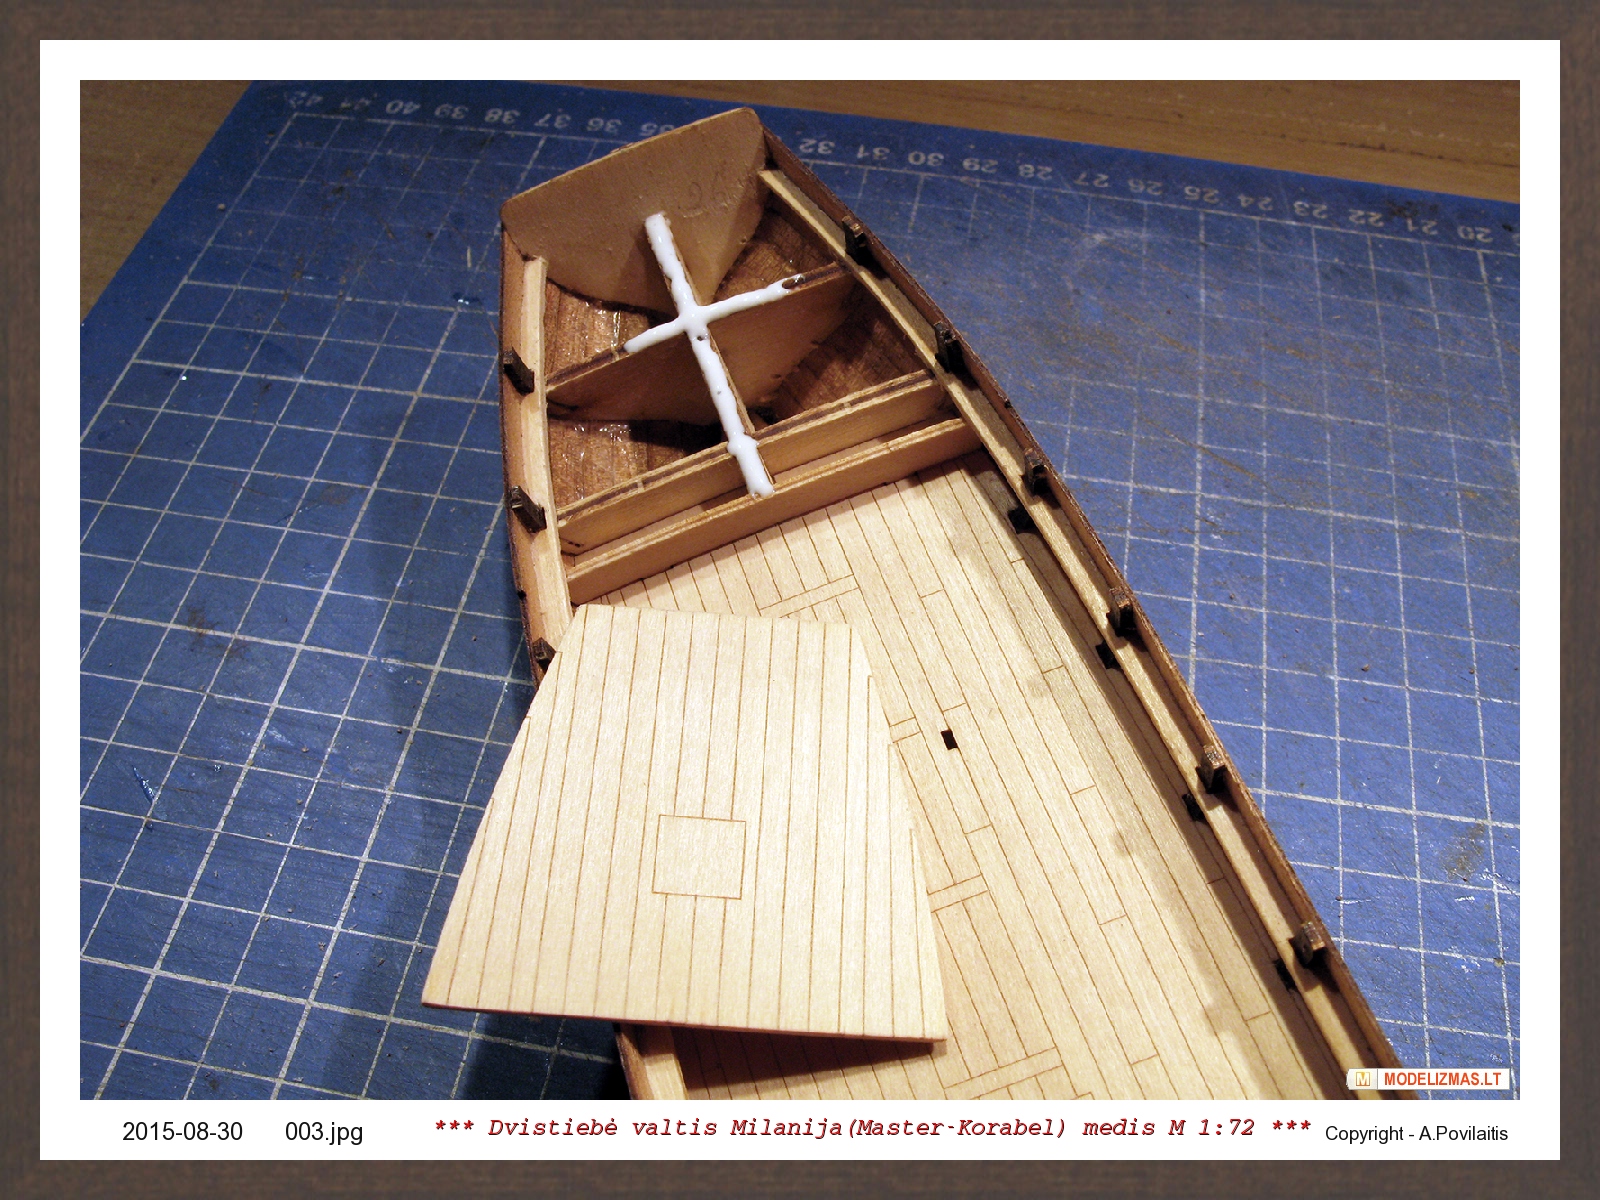
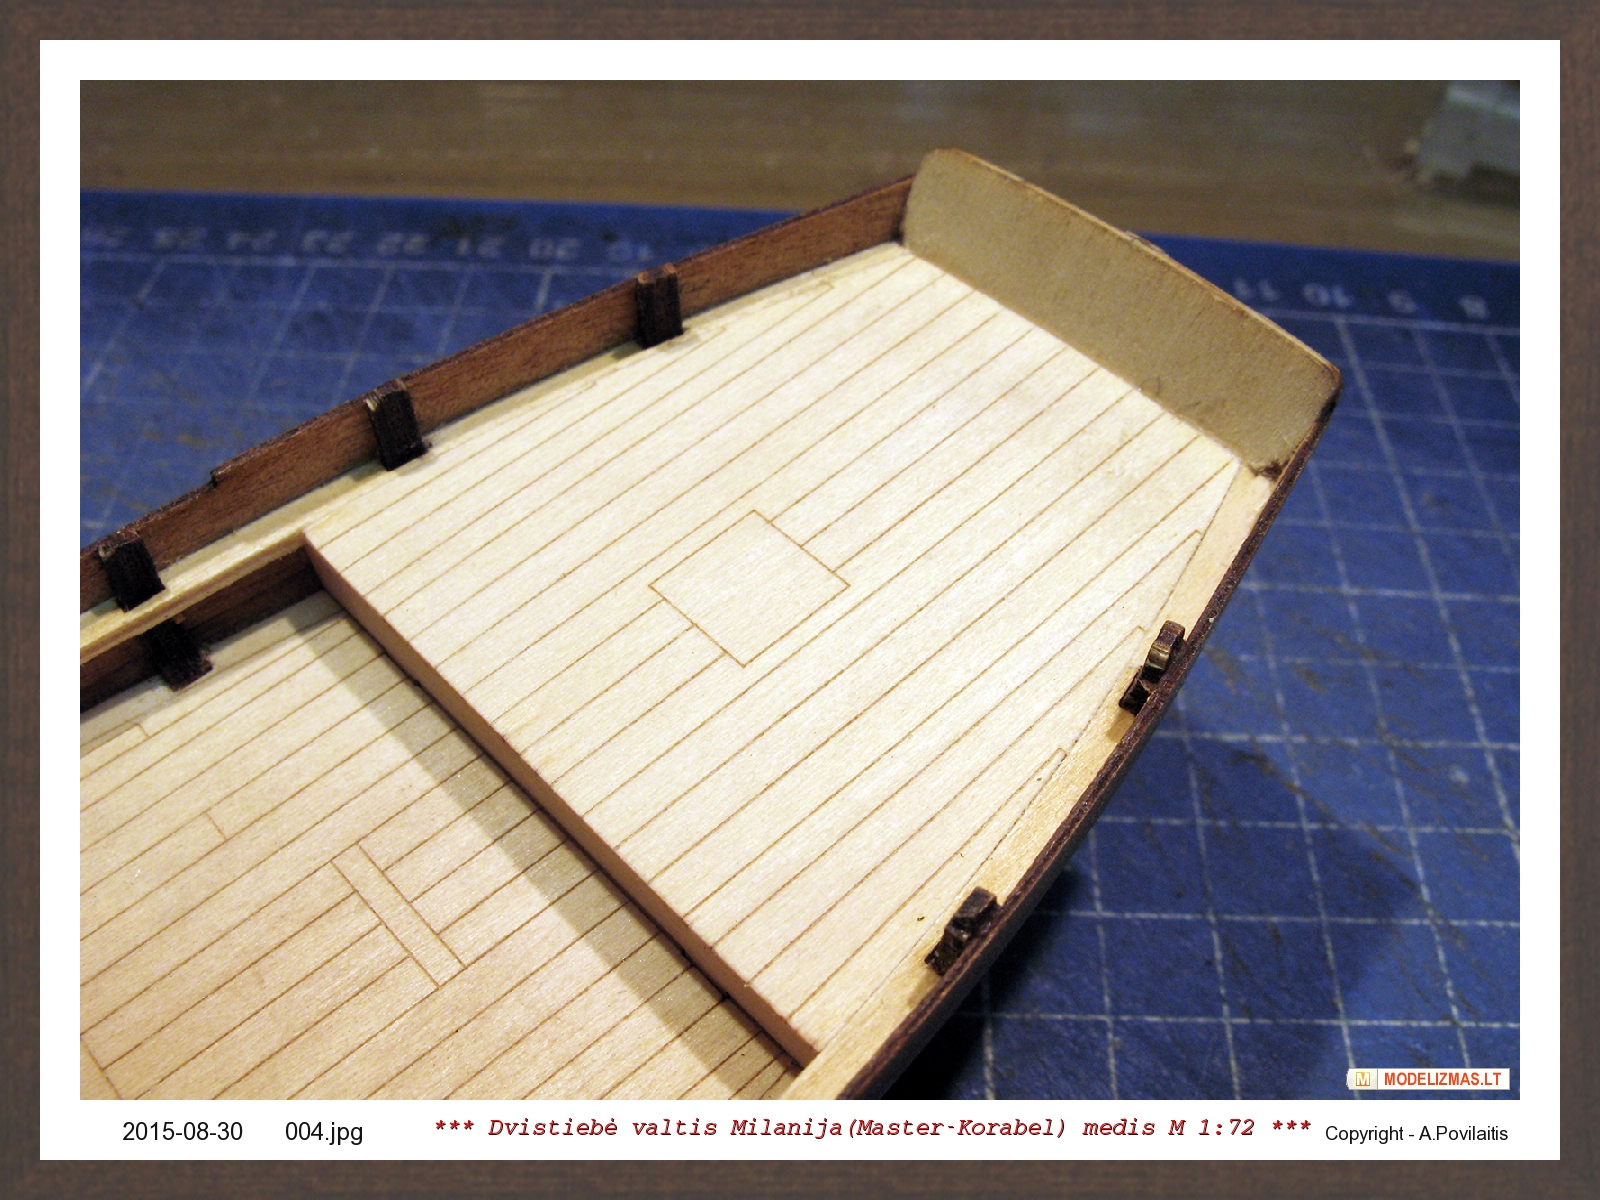
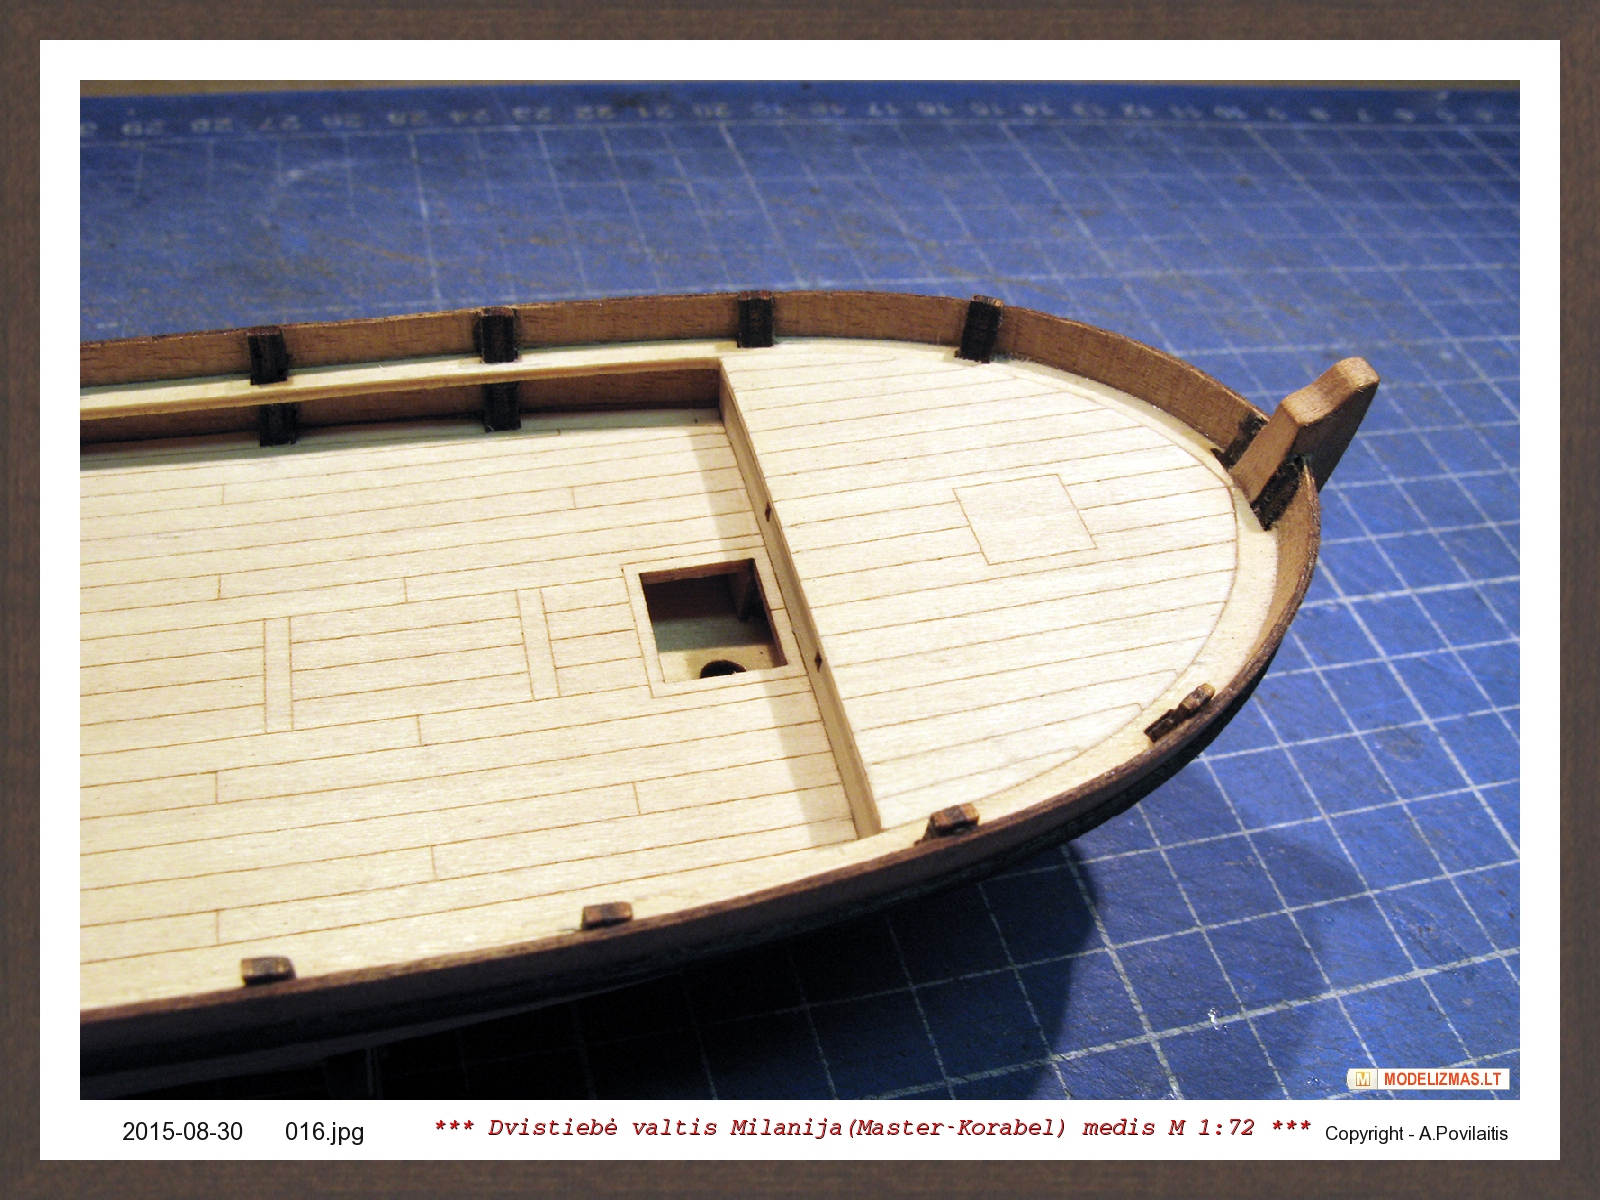
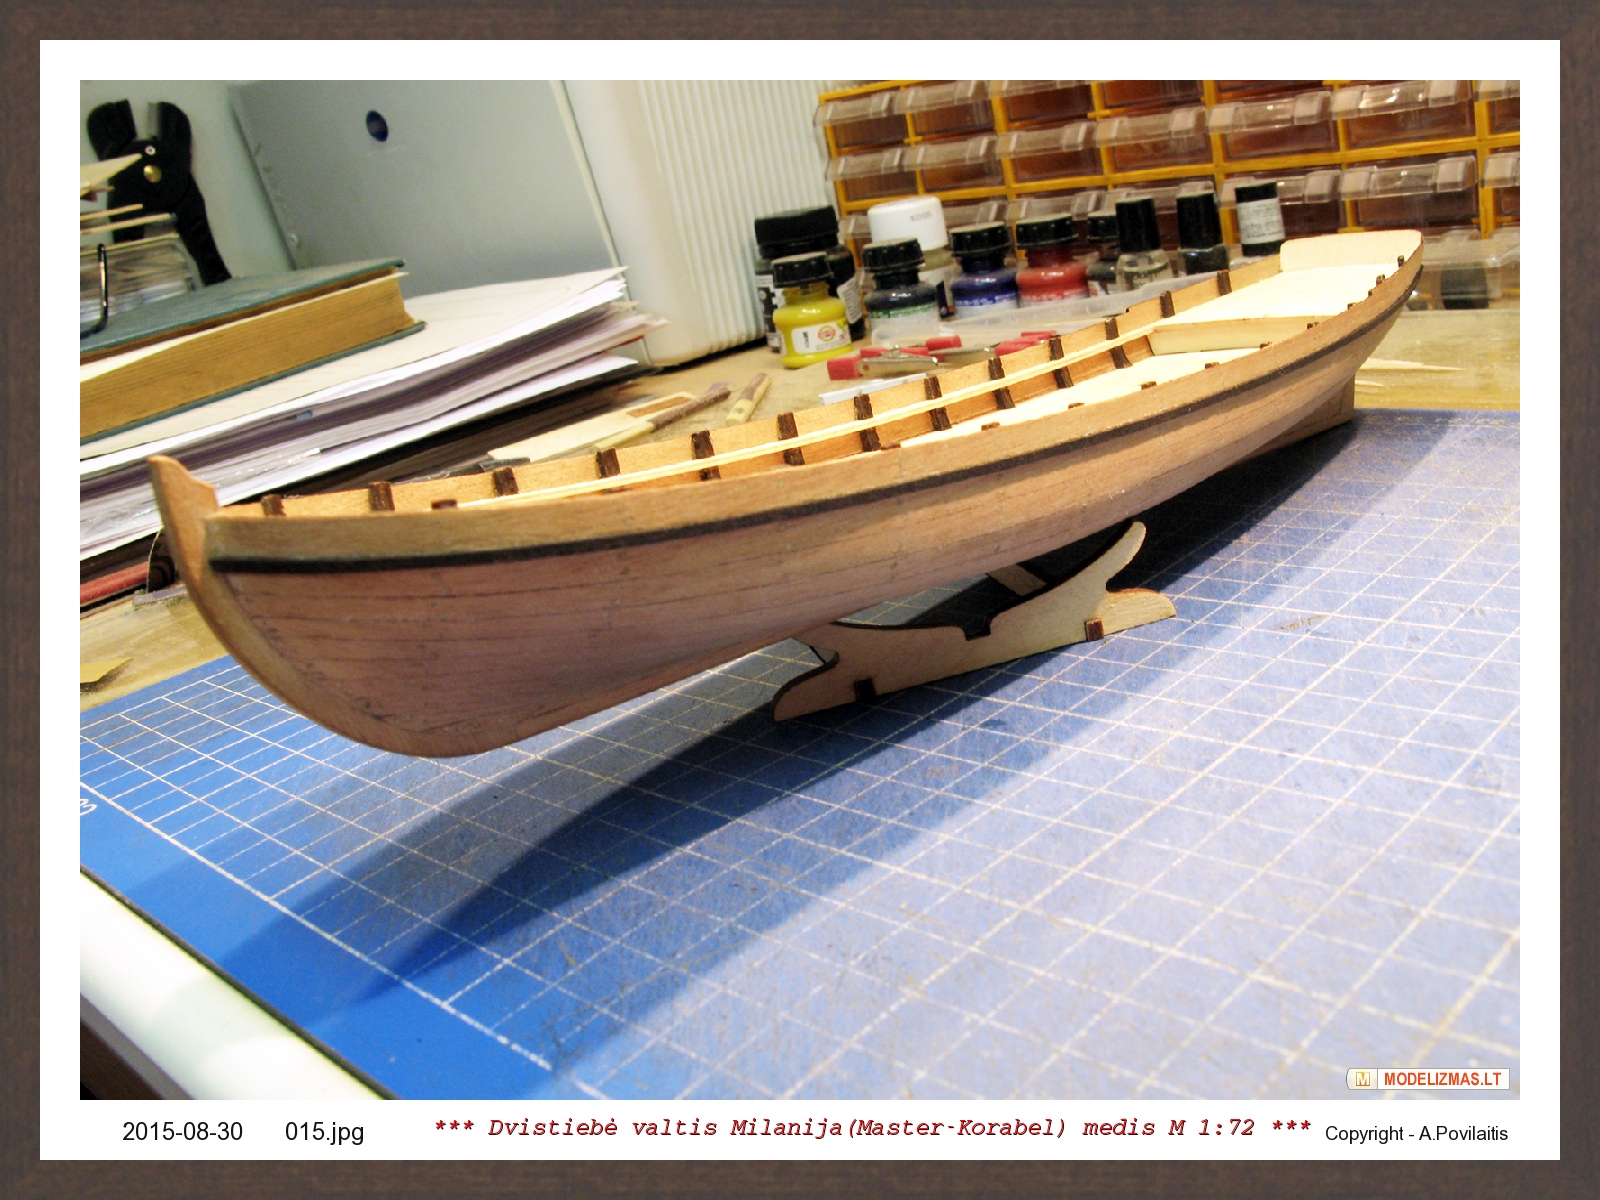
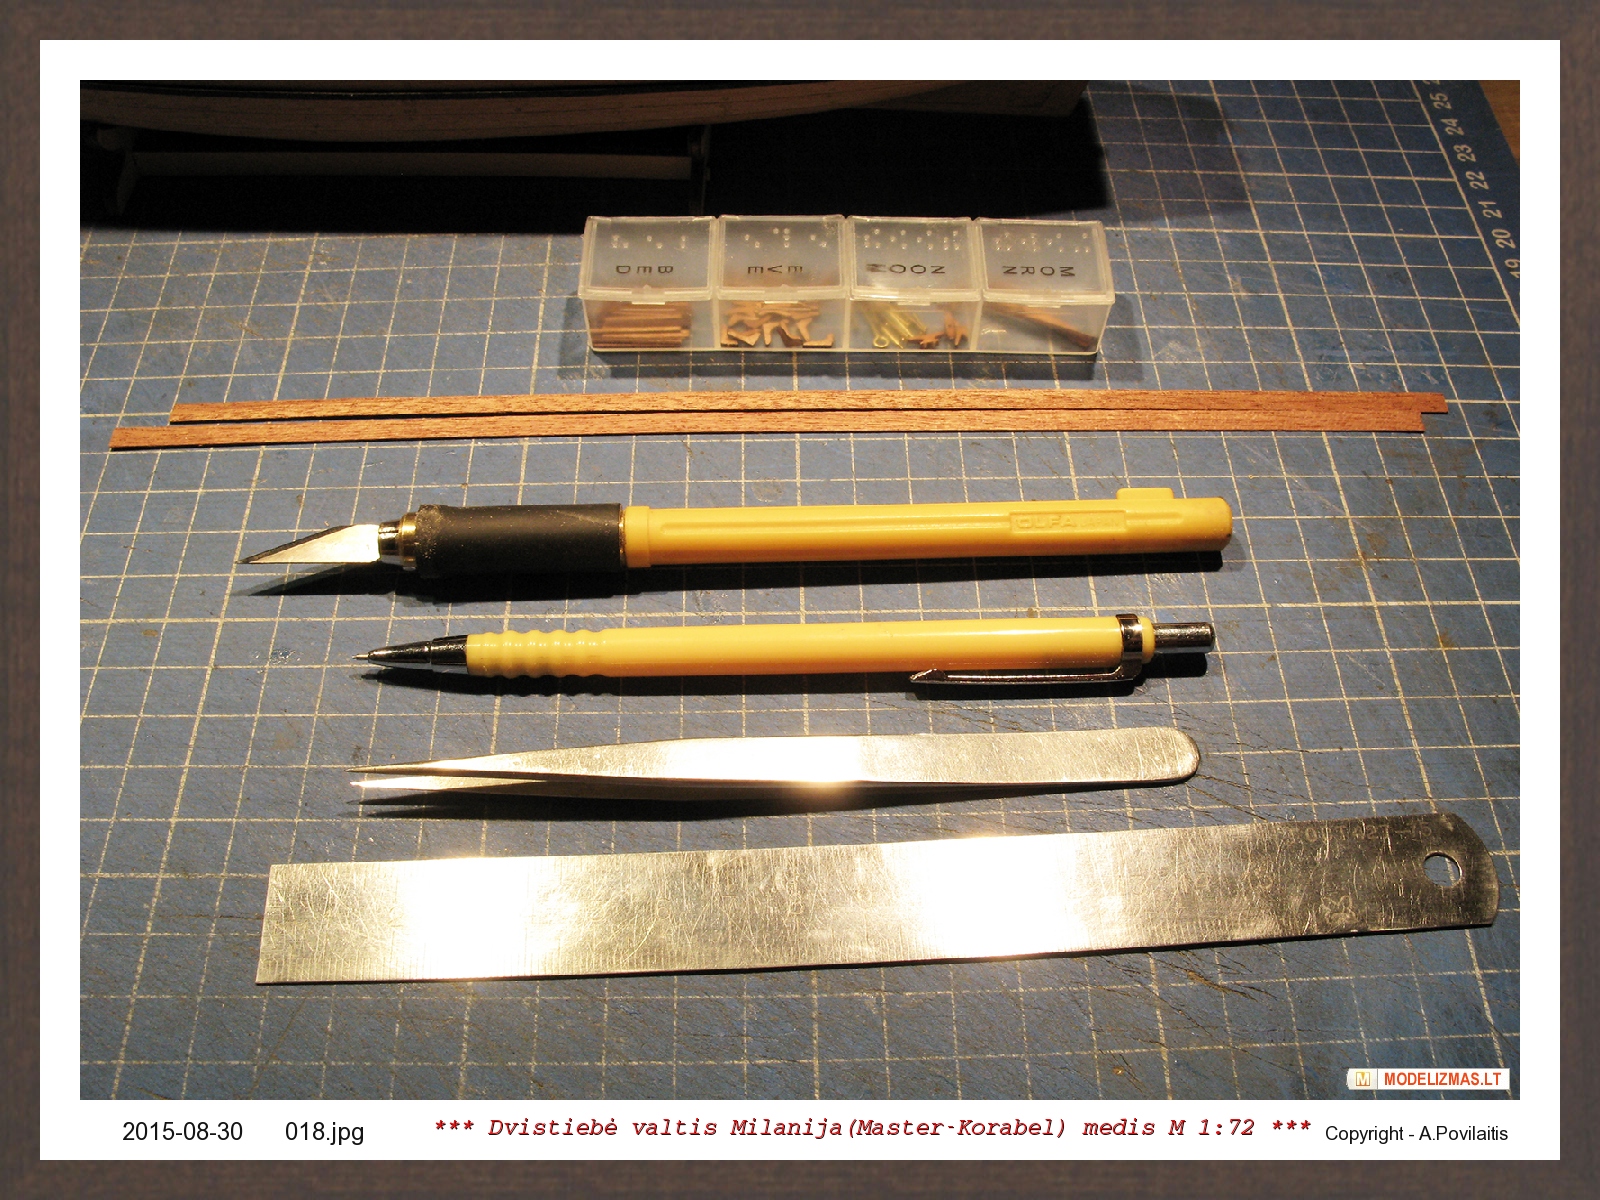
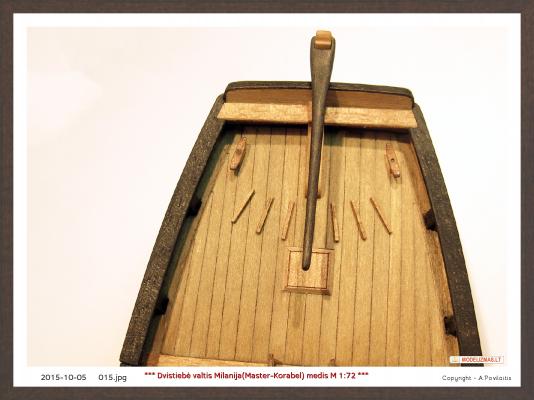
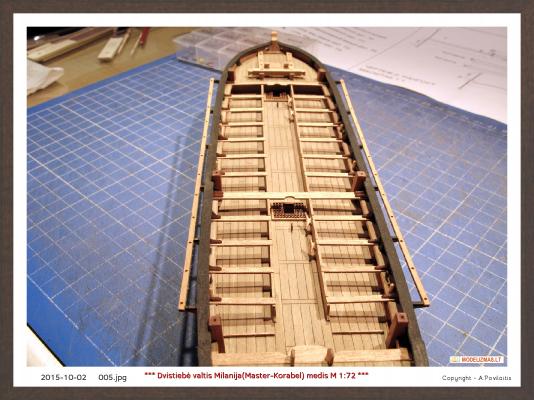
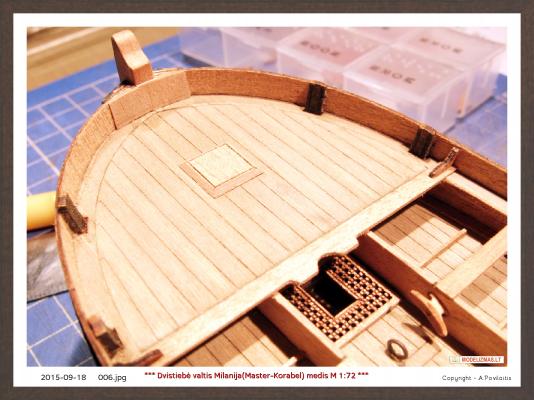
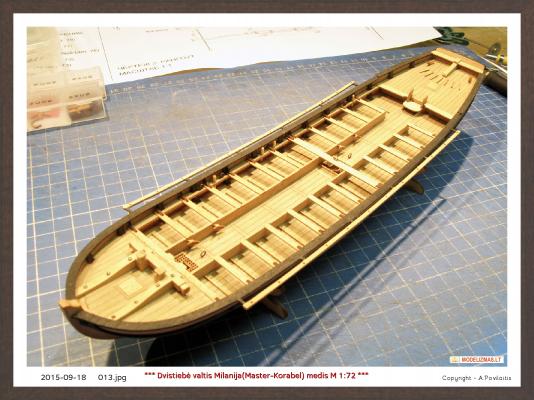
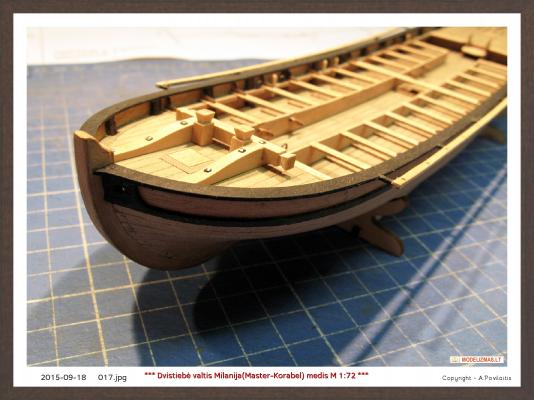
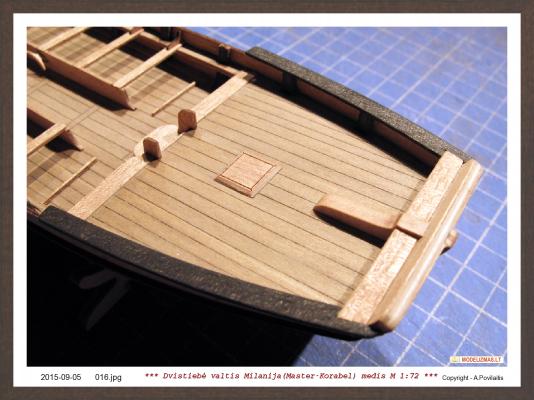
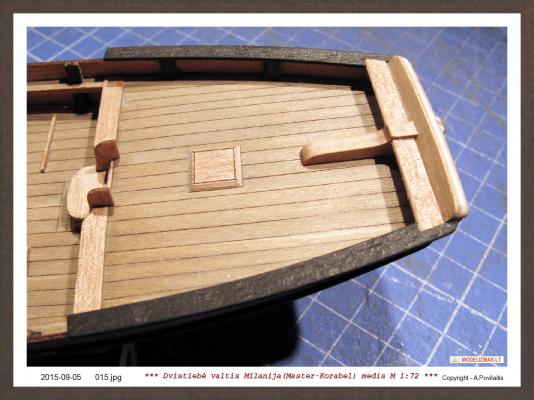
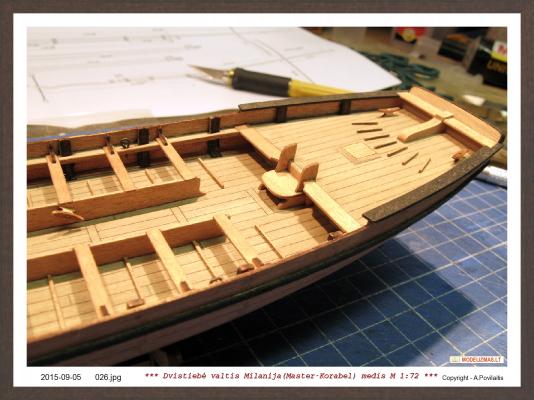
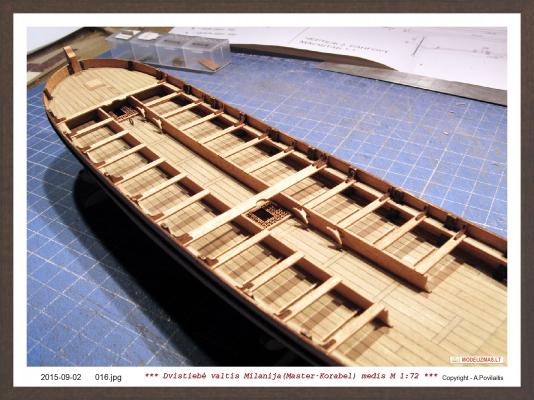
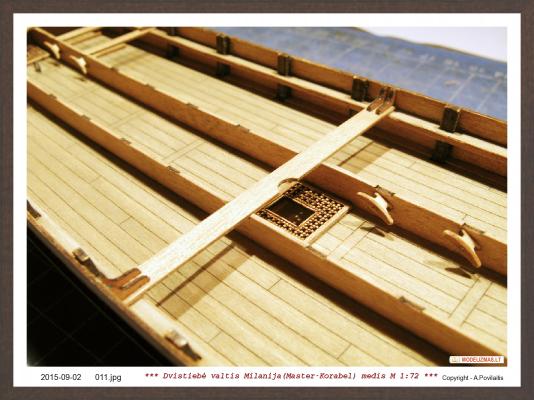
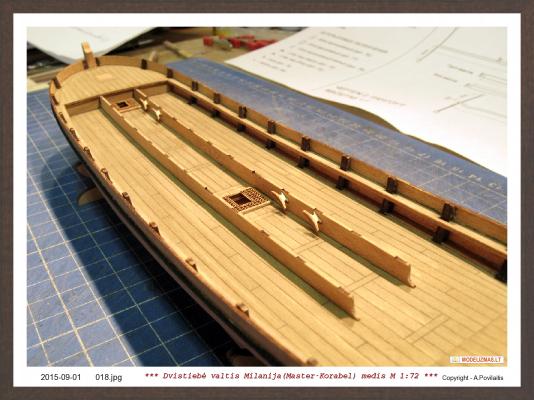
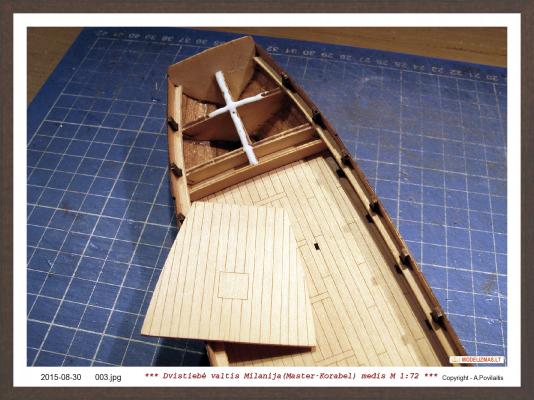
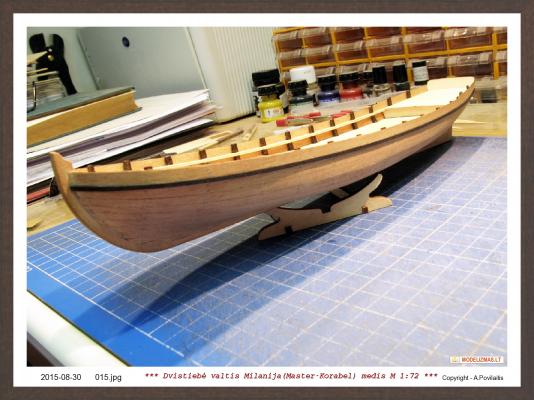
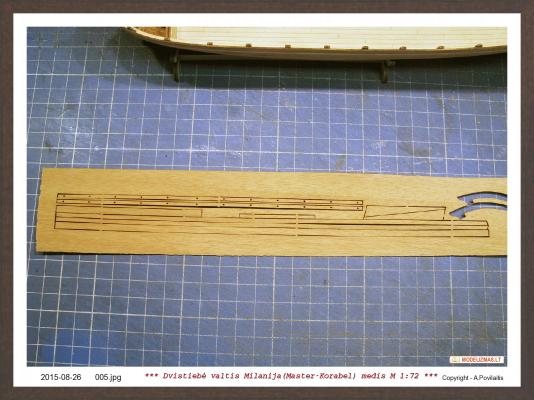
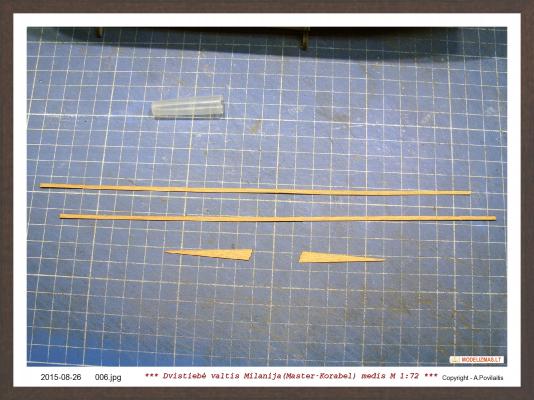
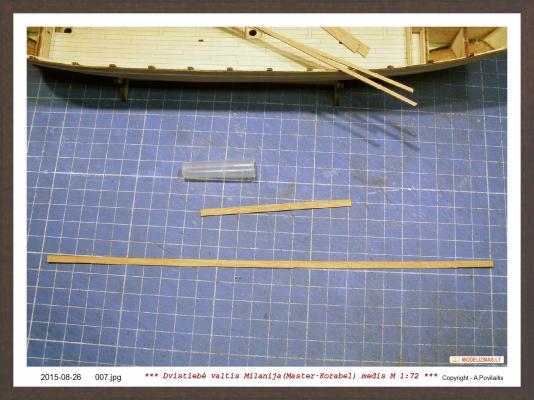
Now he time to glue the bow and aft decks. I make a small mistake. Stringers have some small angle. It is not very good. But sandpaper help me... But in future I will have more problems with this I'll think. The decks fit very well. Early I was painted the planks. This planks will be placed on the stringer at the hull outside. The short planks are placed in the aft of the hull. For painting, as usually, used the black ink. Bend and glued. For this I spent a lot of time. This is not very easy. The plank are very narrow and must be placed very precise. Chm... Maybe will be good... Now very difficult moment... The decks color not satisfied me. They looks very bright and the shine as the sun. After covered by the oil, they will become more yellow. And it is not very good. I doubt very much, but decided to make the easy aging. Maybe it will be very good, but maybe very bad! I not know... There You can see the difference. In reality seems be good, but in photos... And the main tools used in this build. Other show later. Regards, Antanas


-
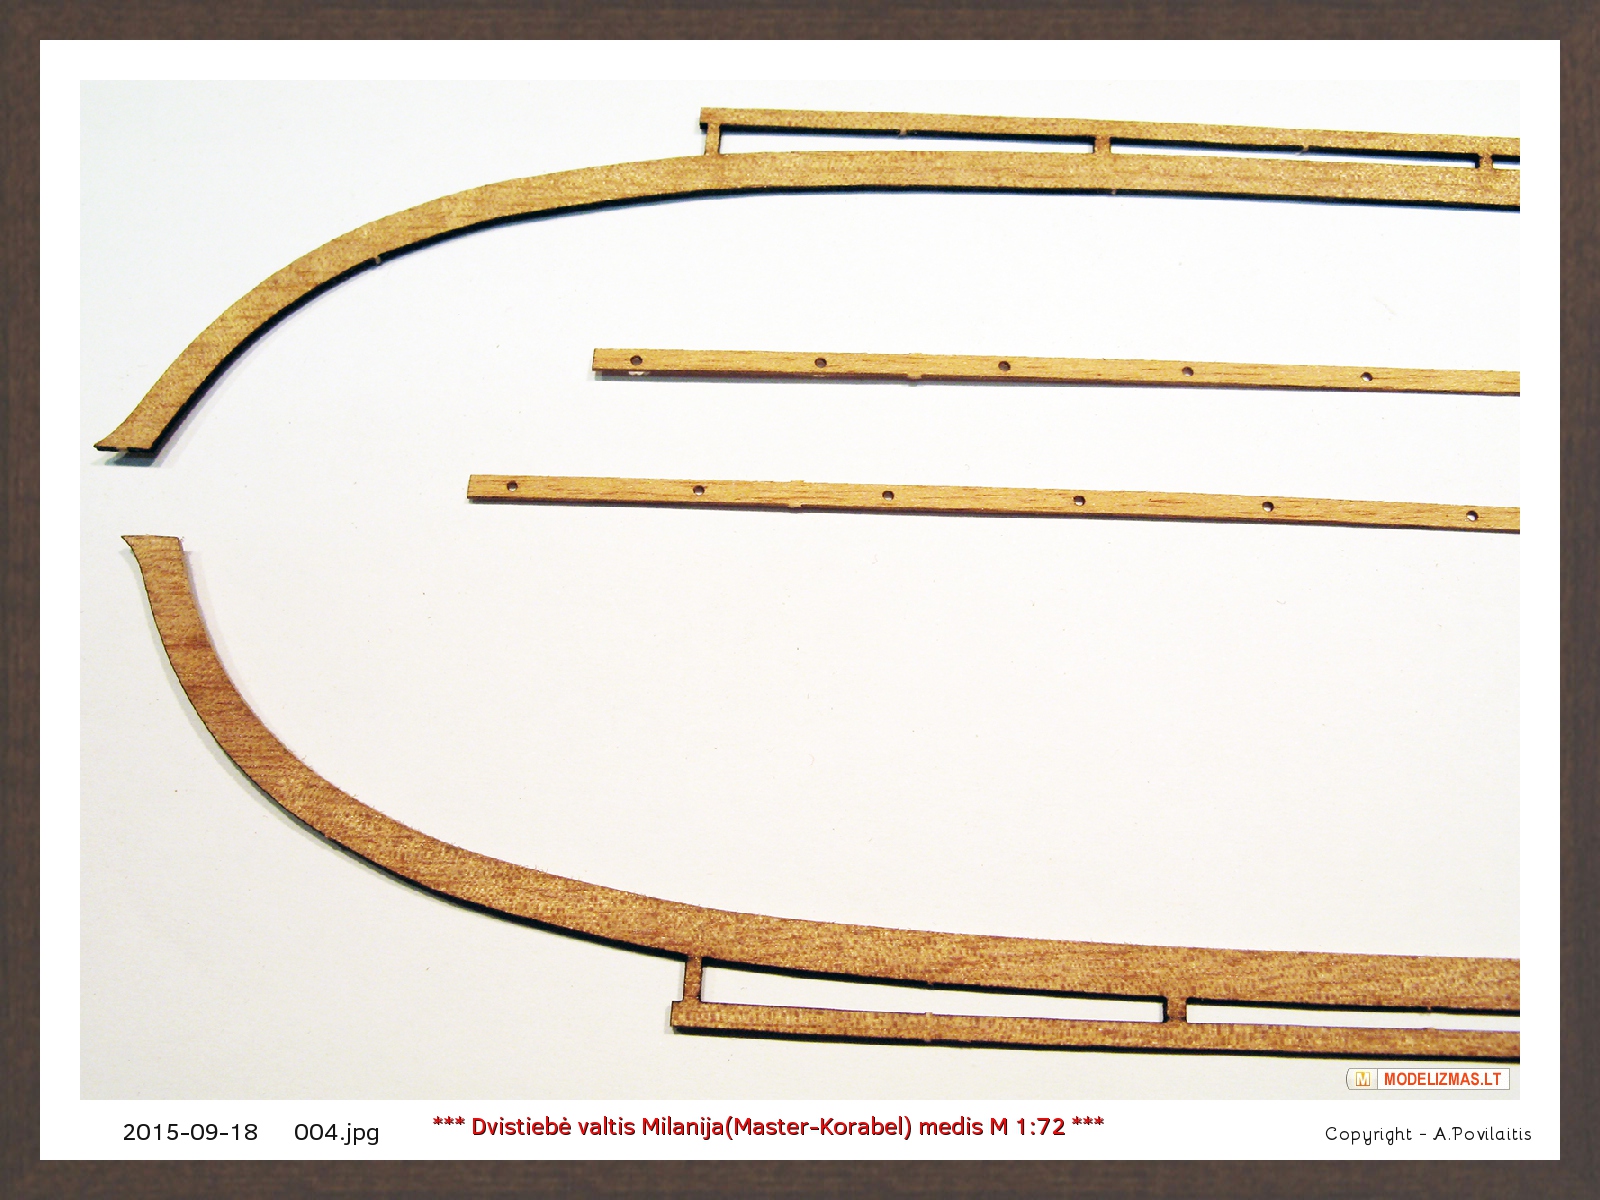
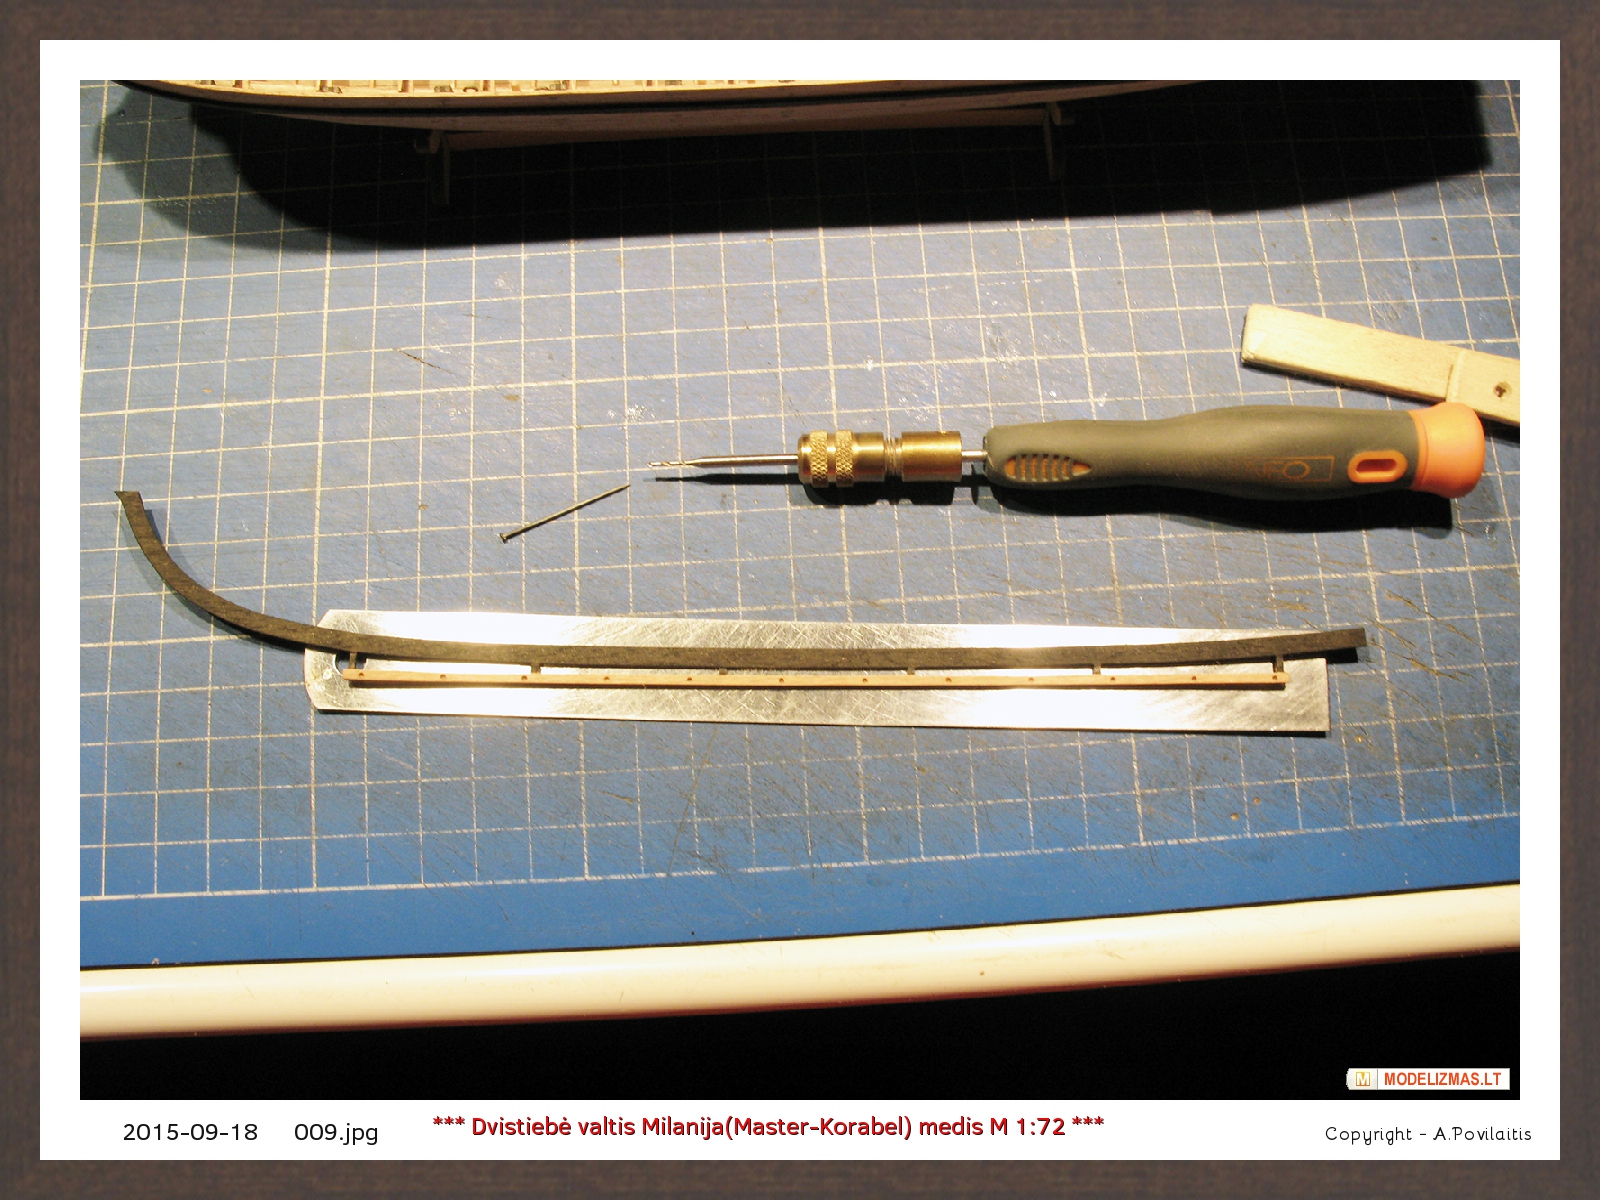
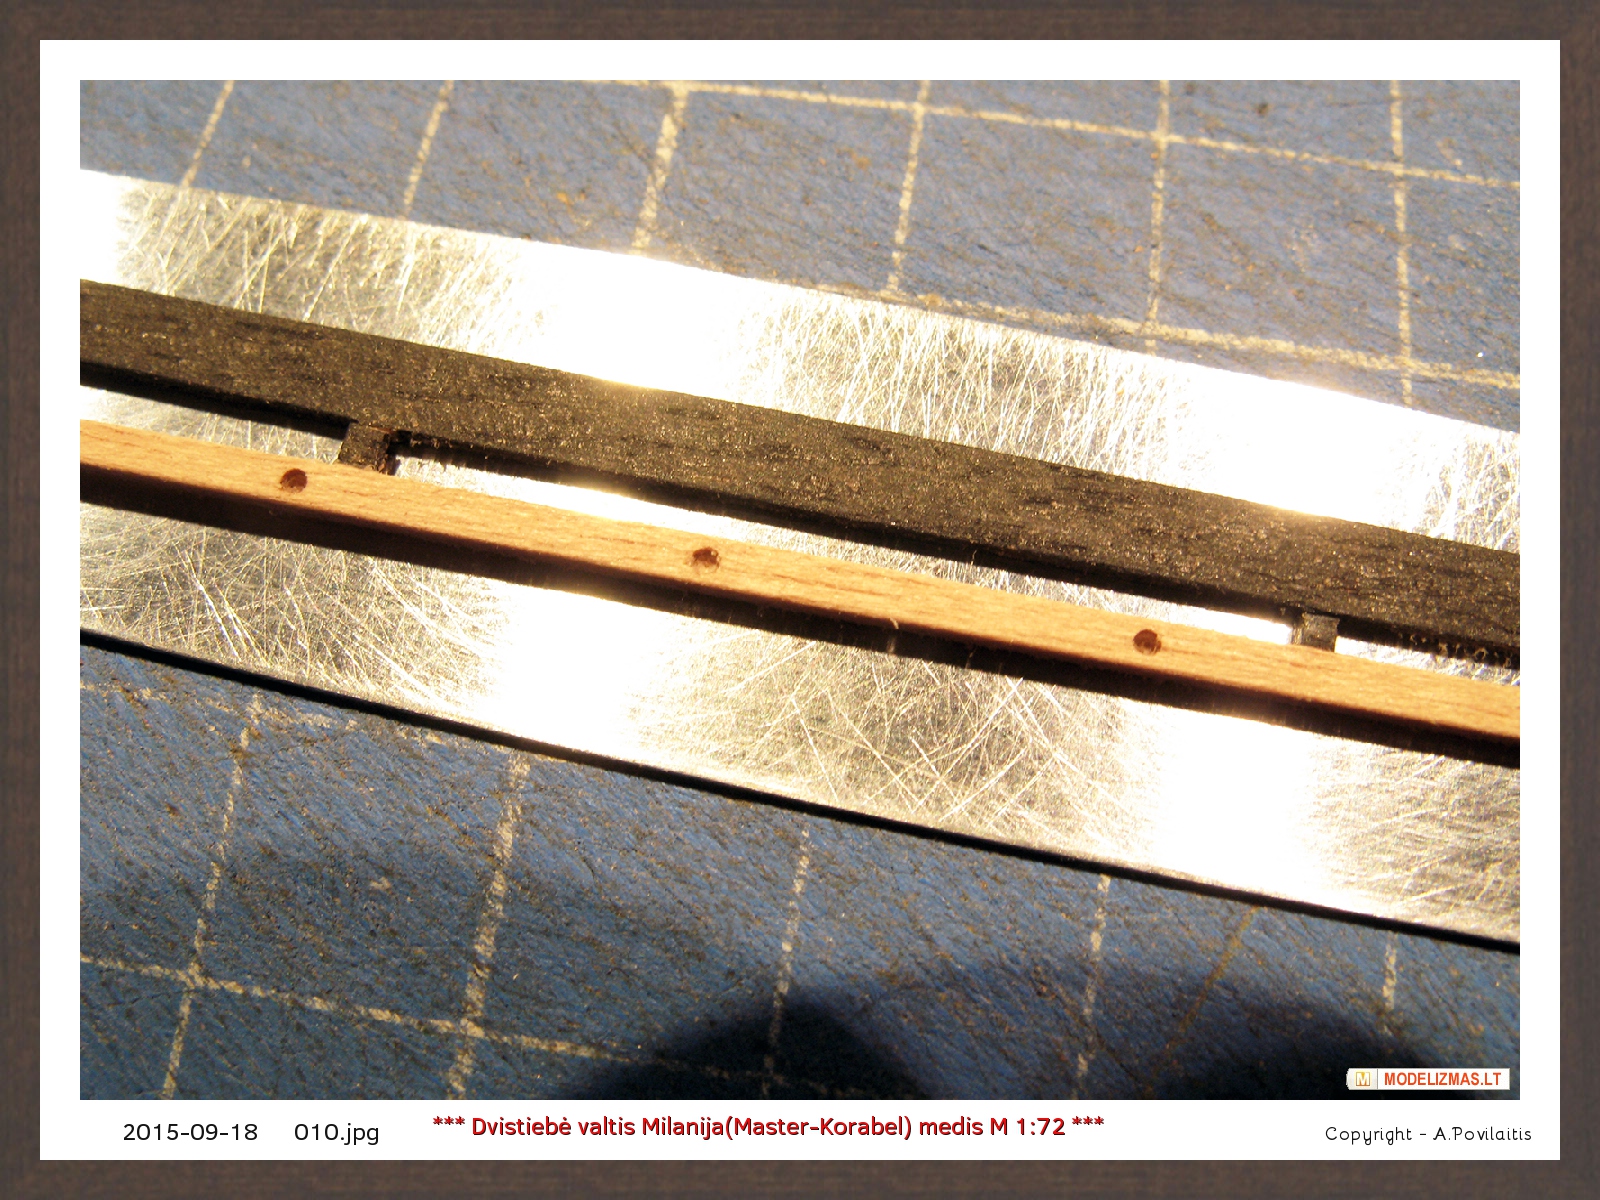
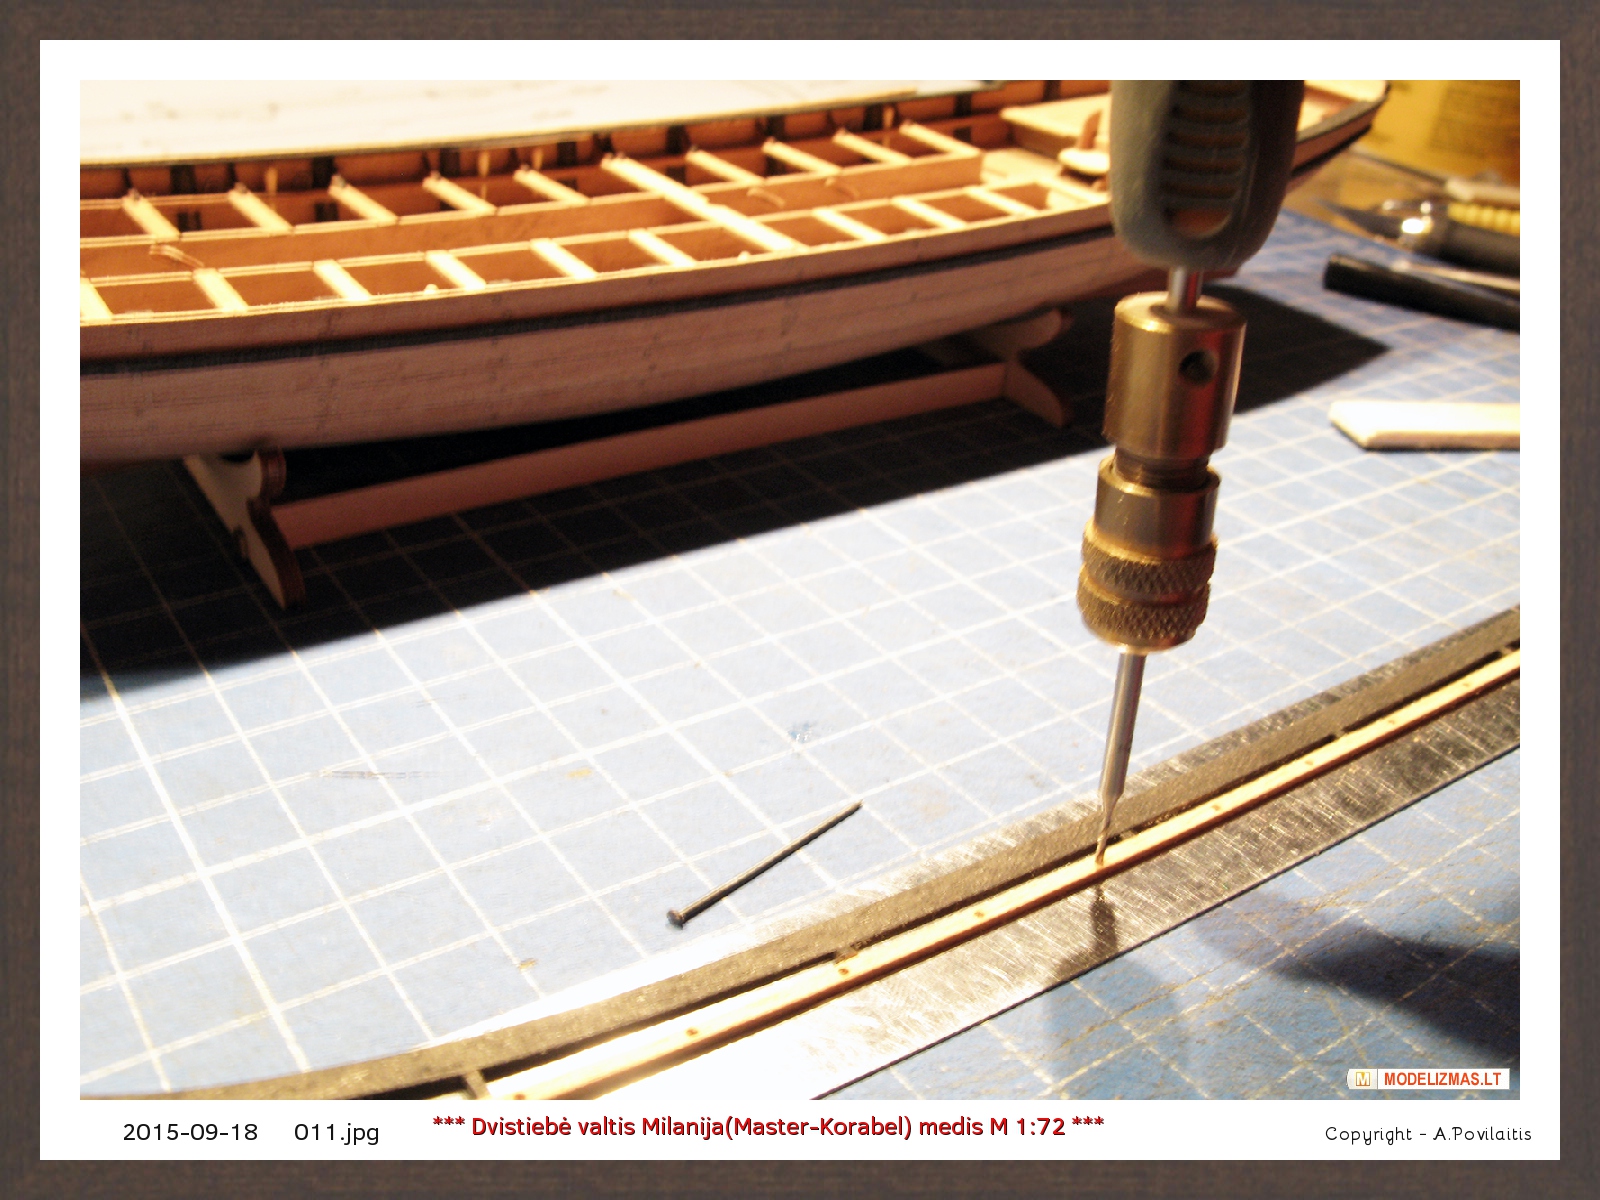
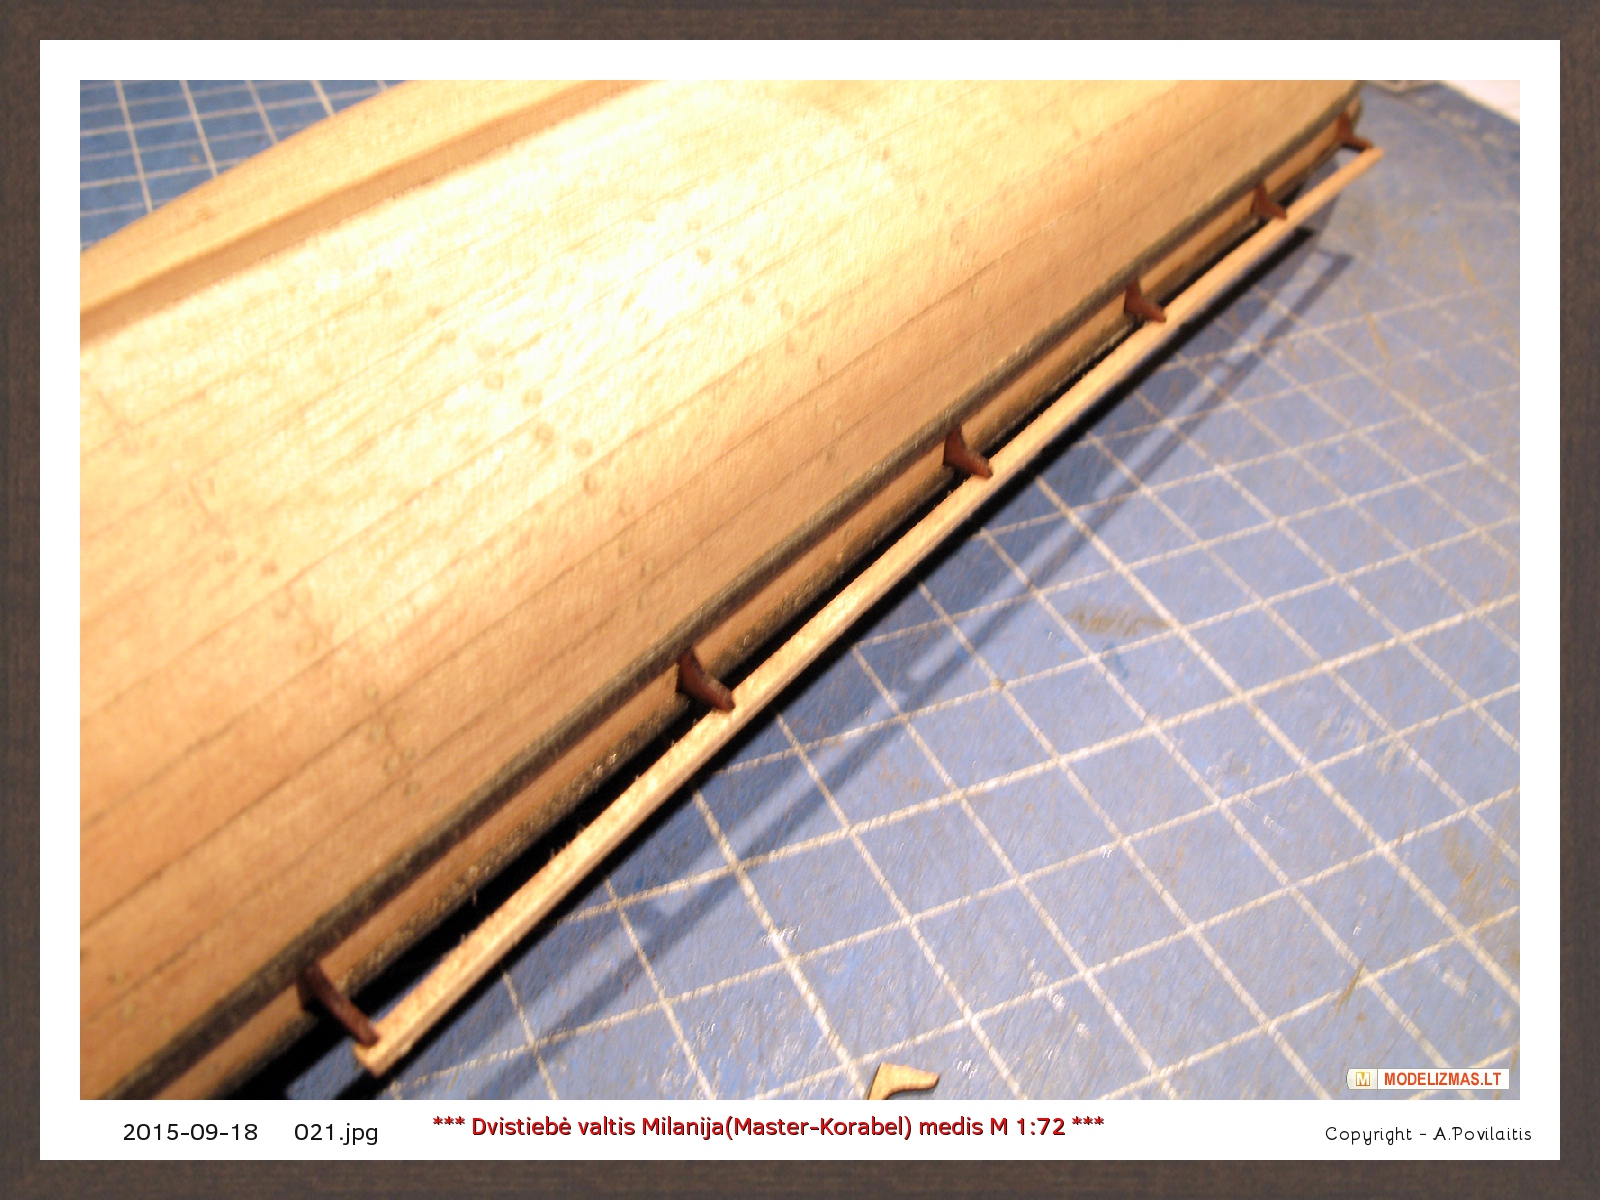
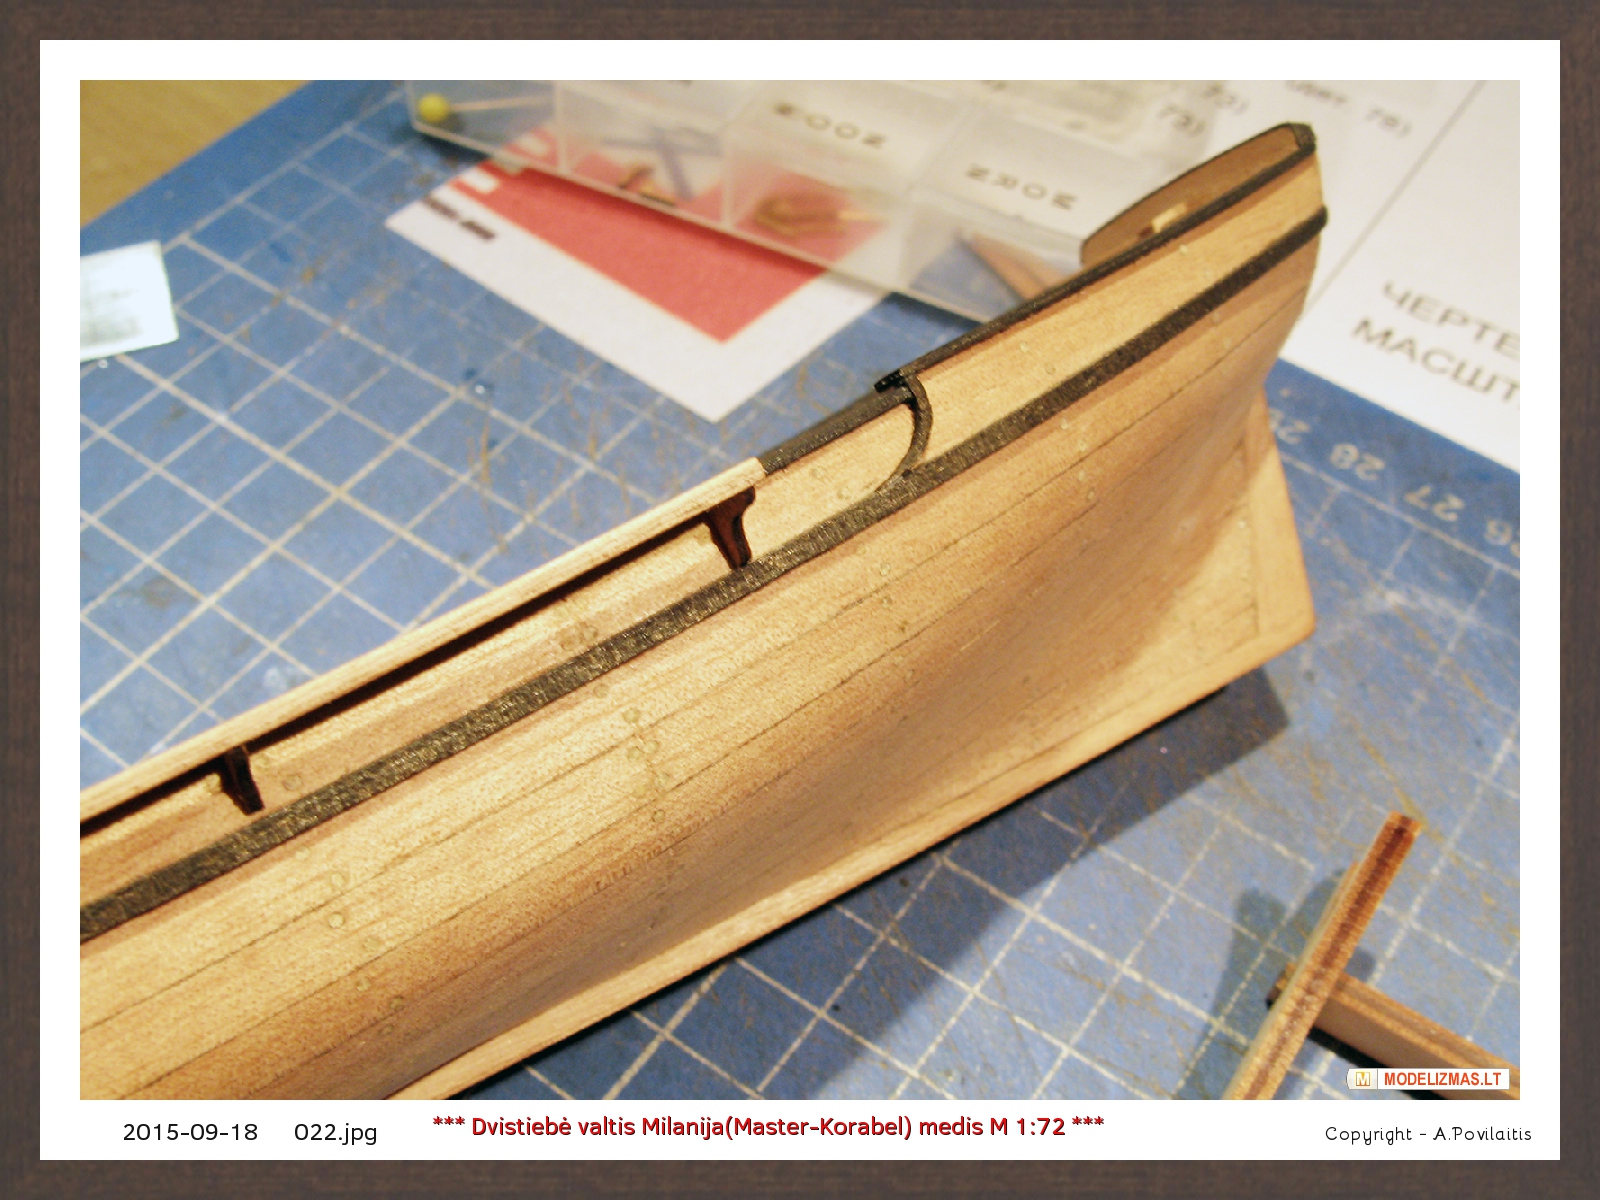
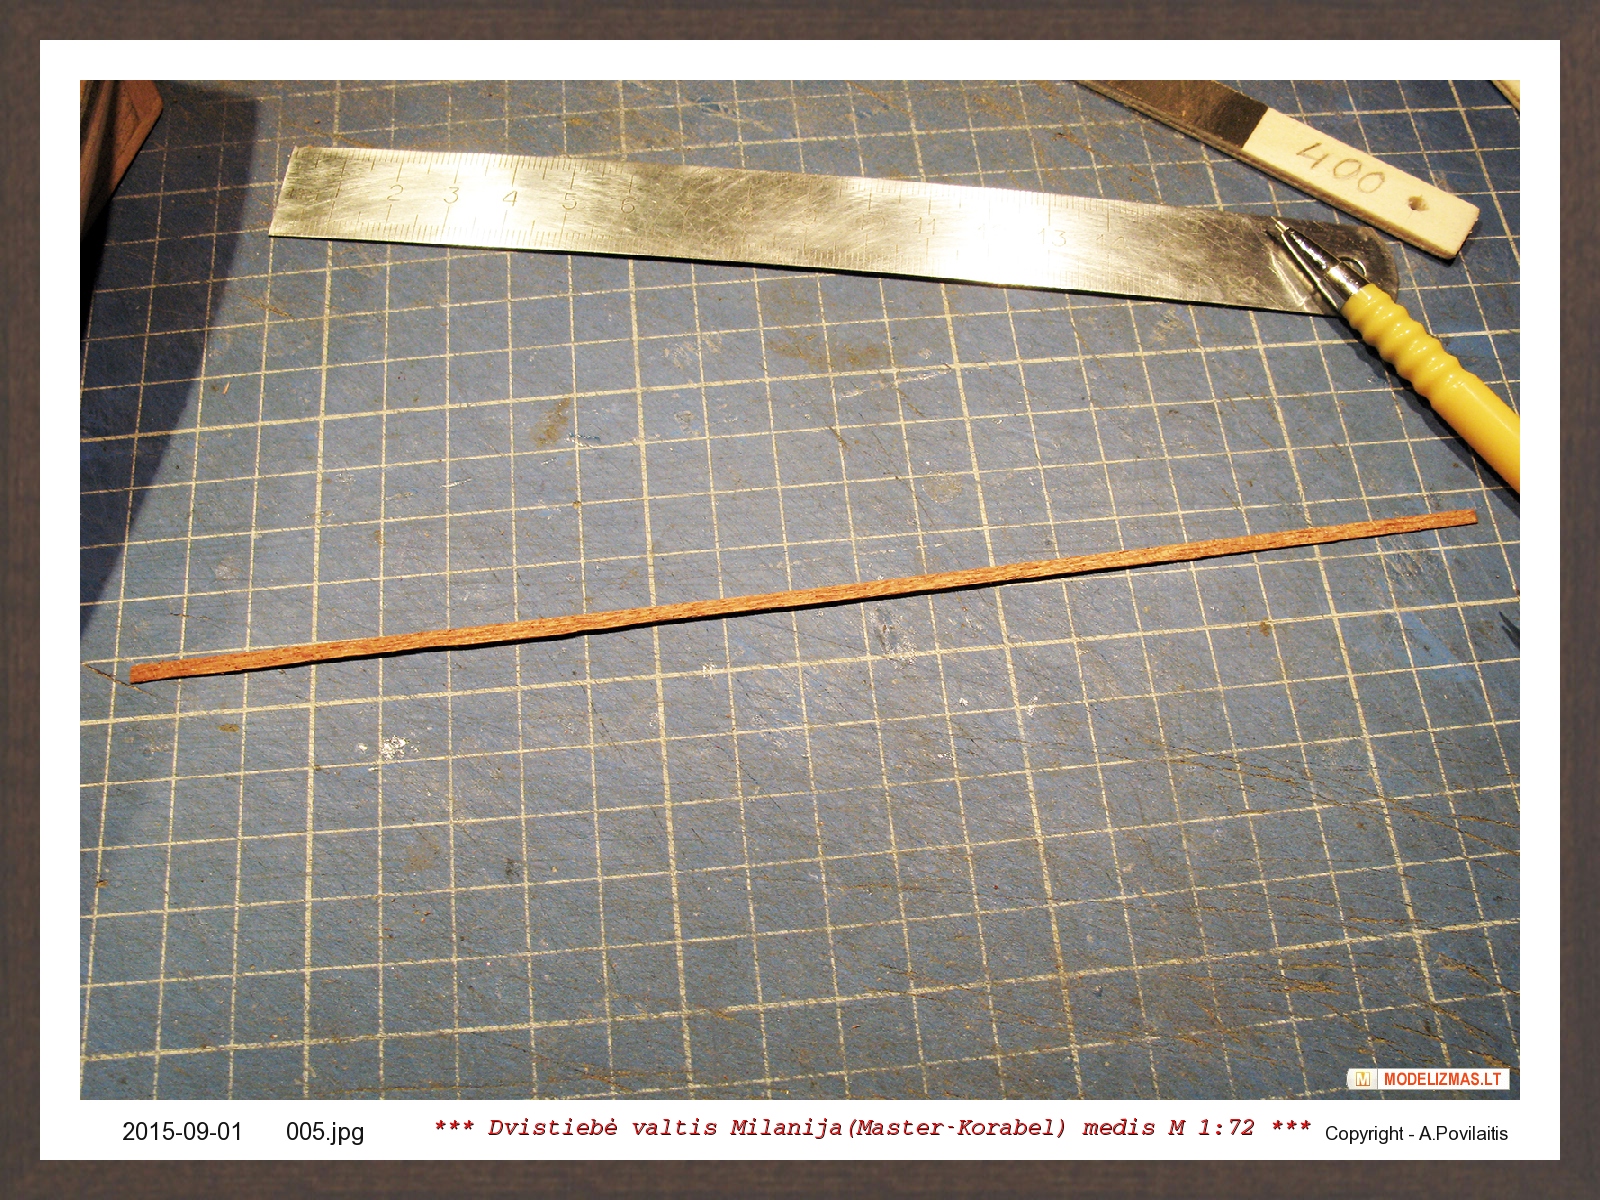
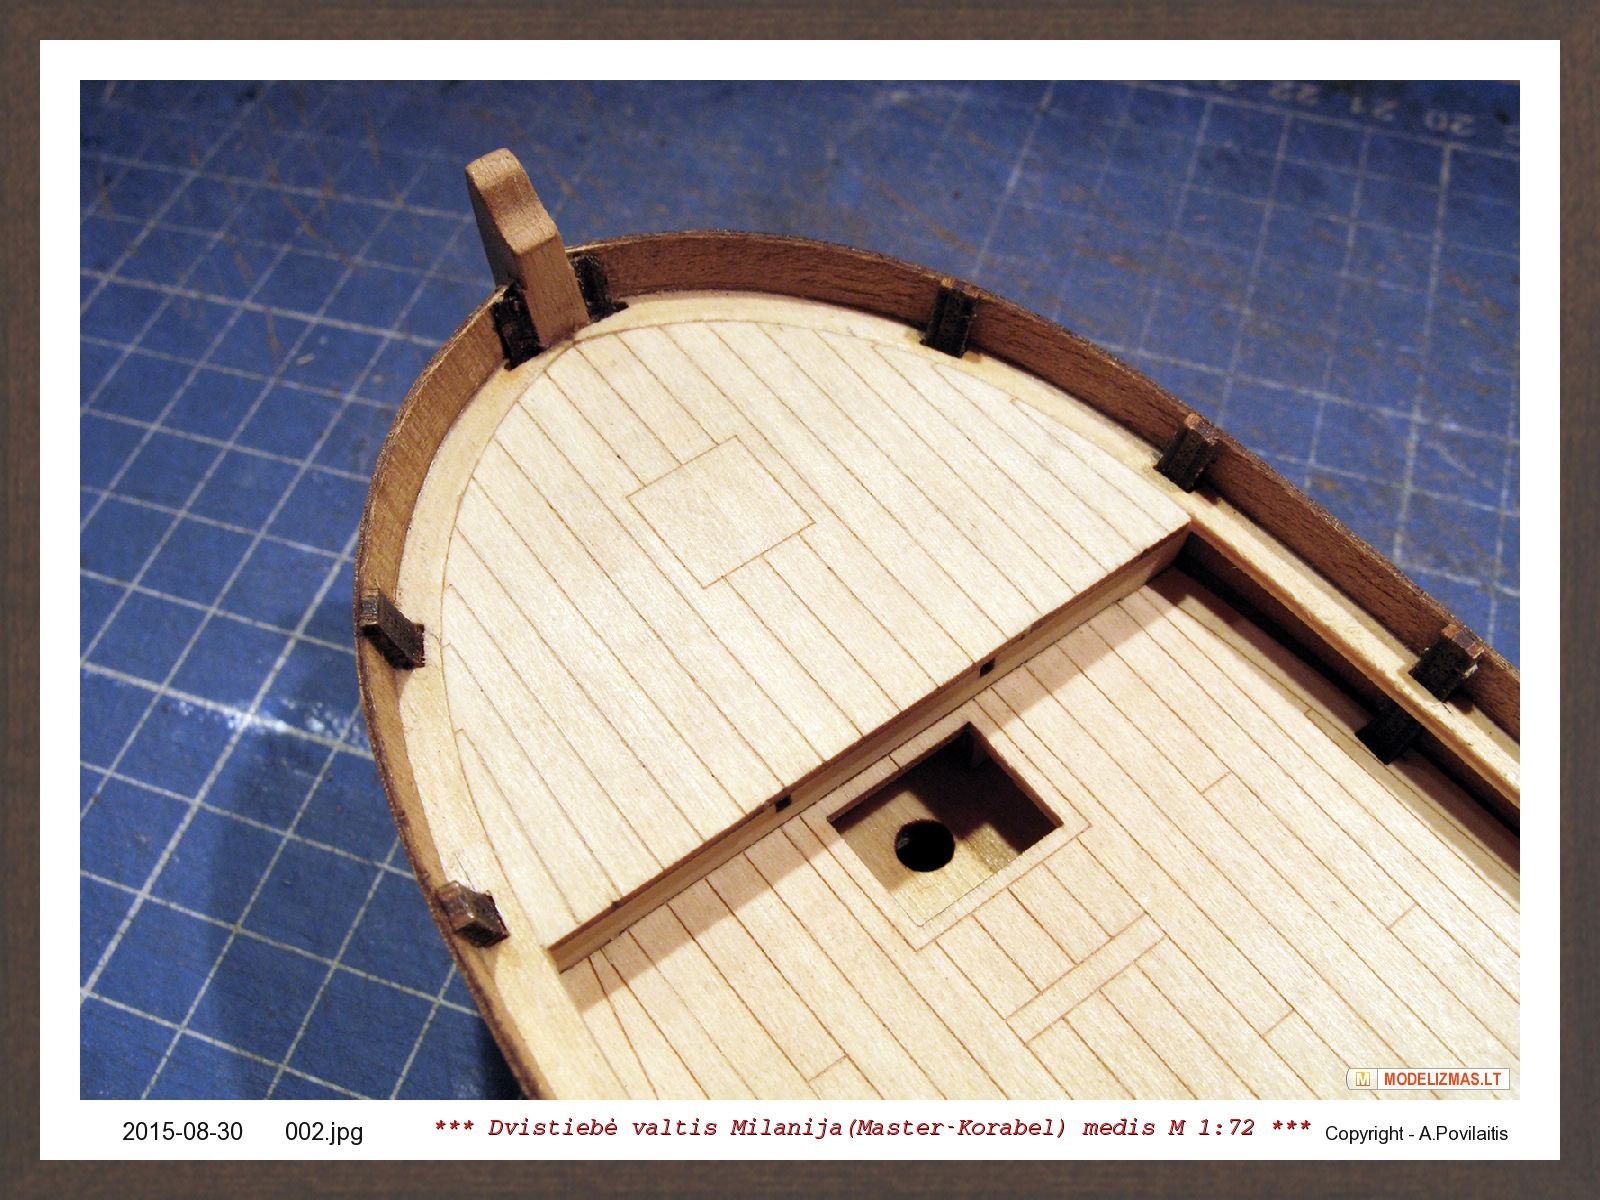
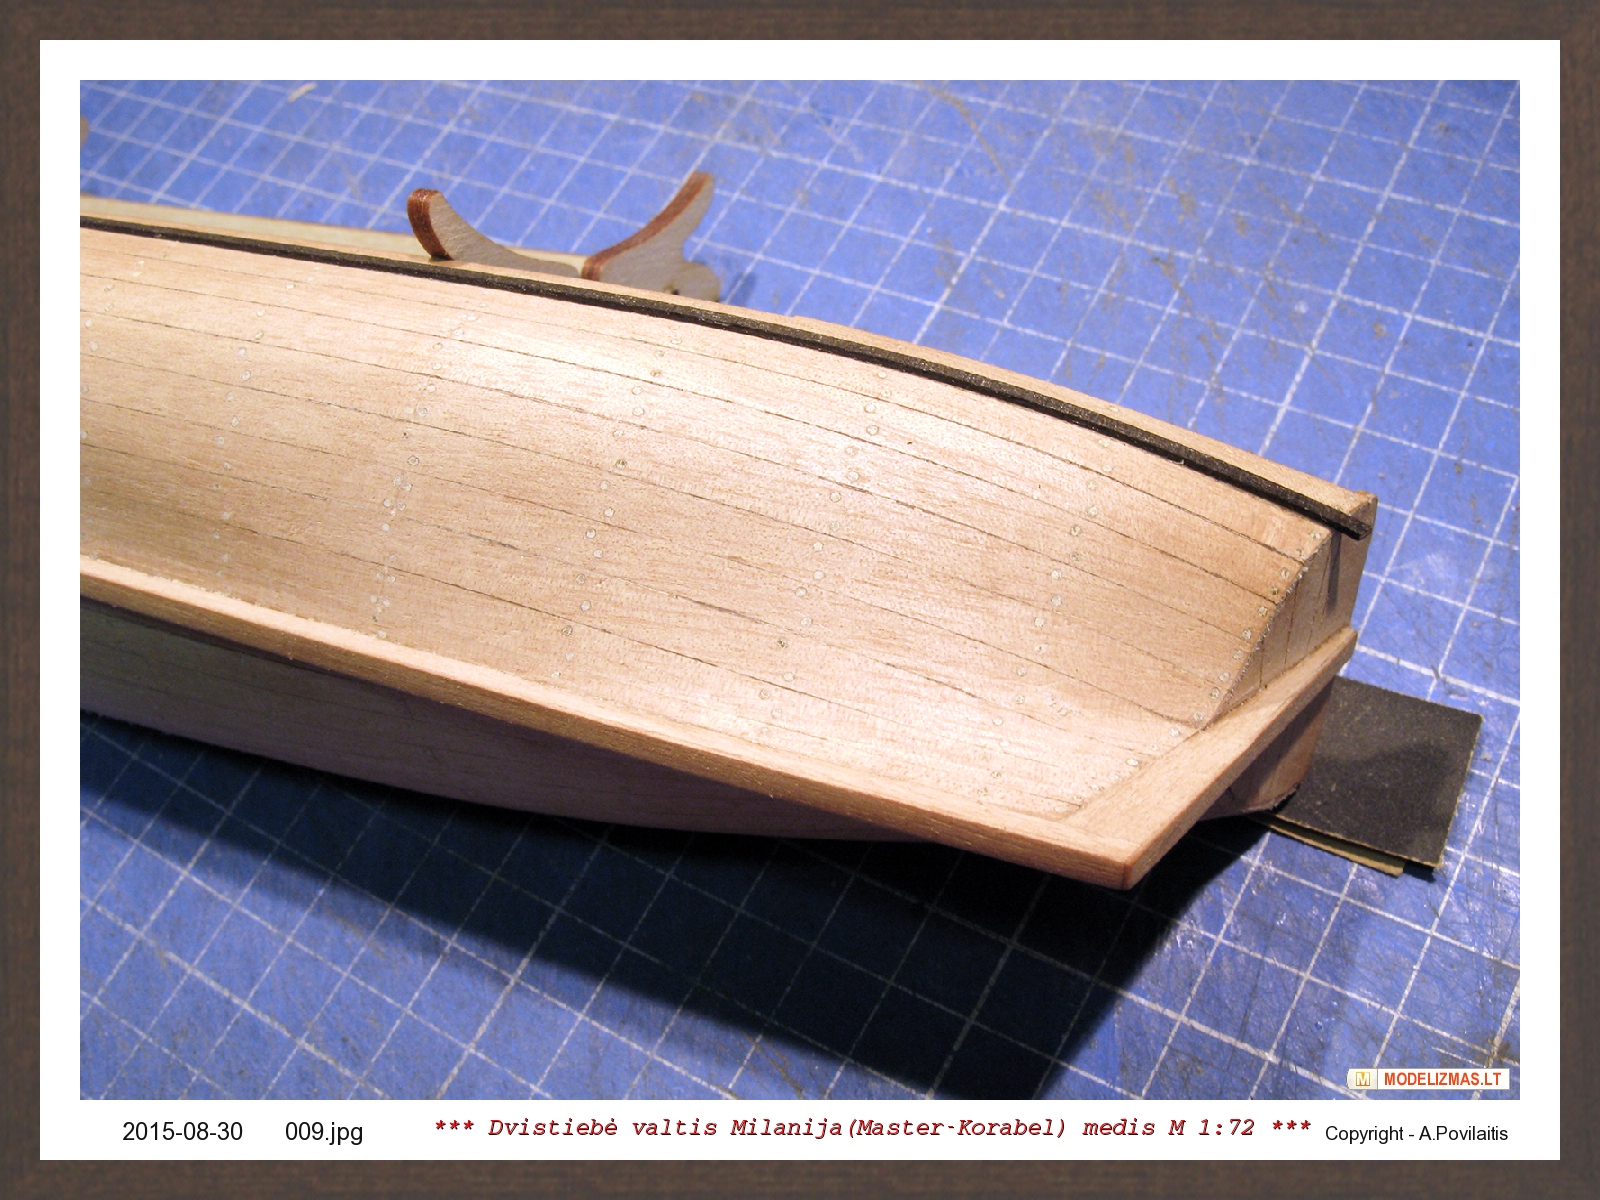
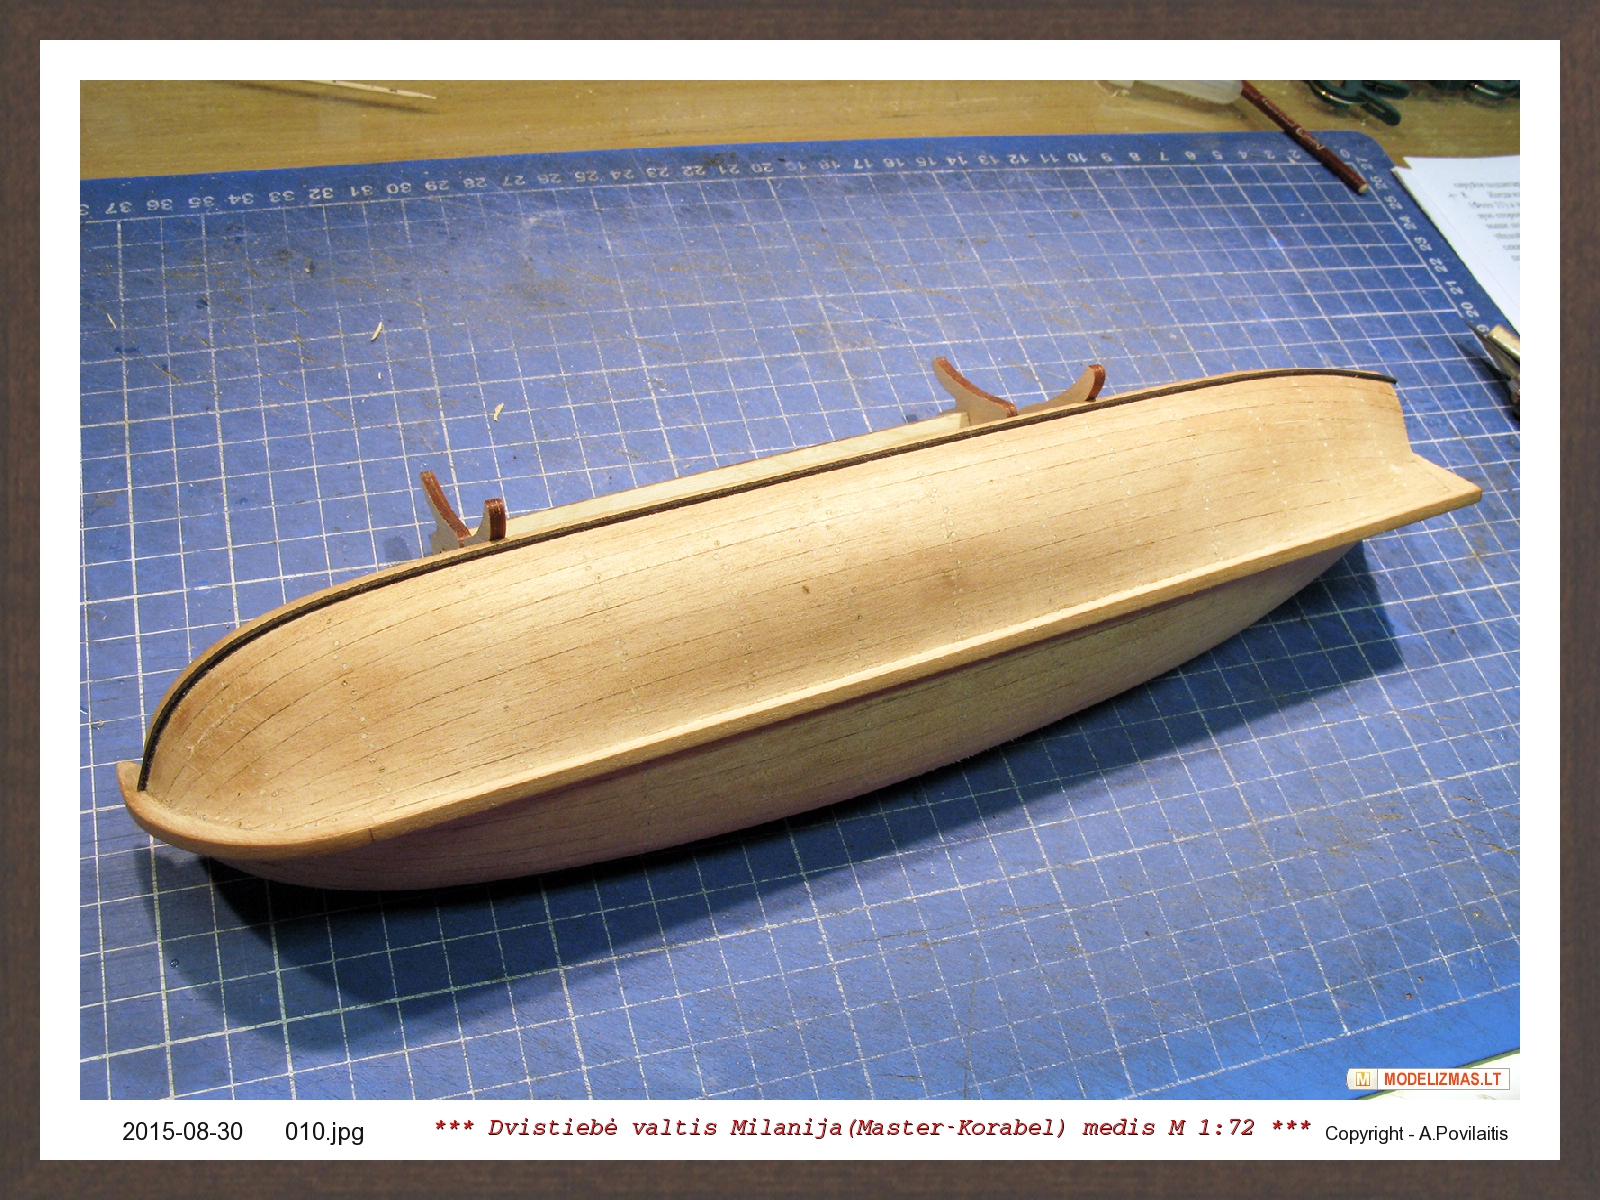
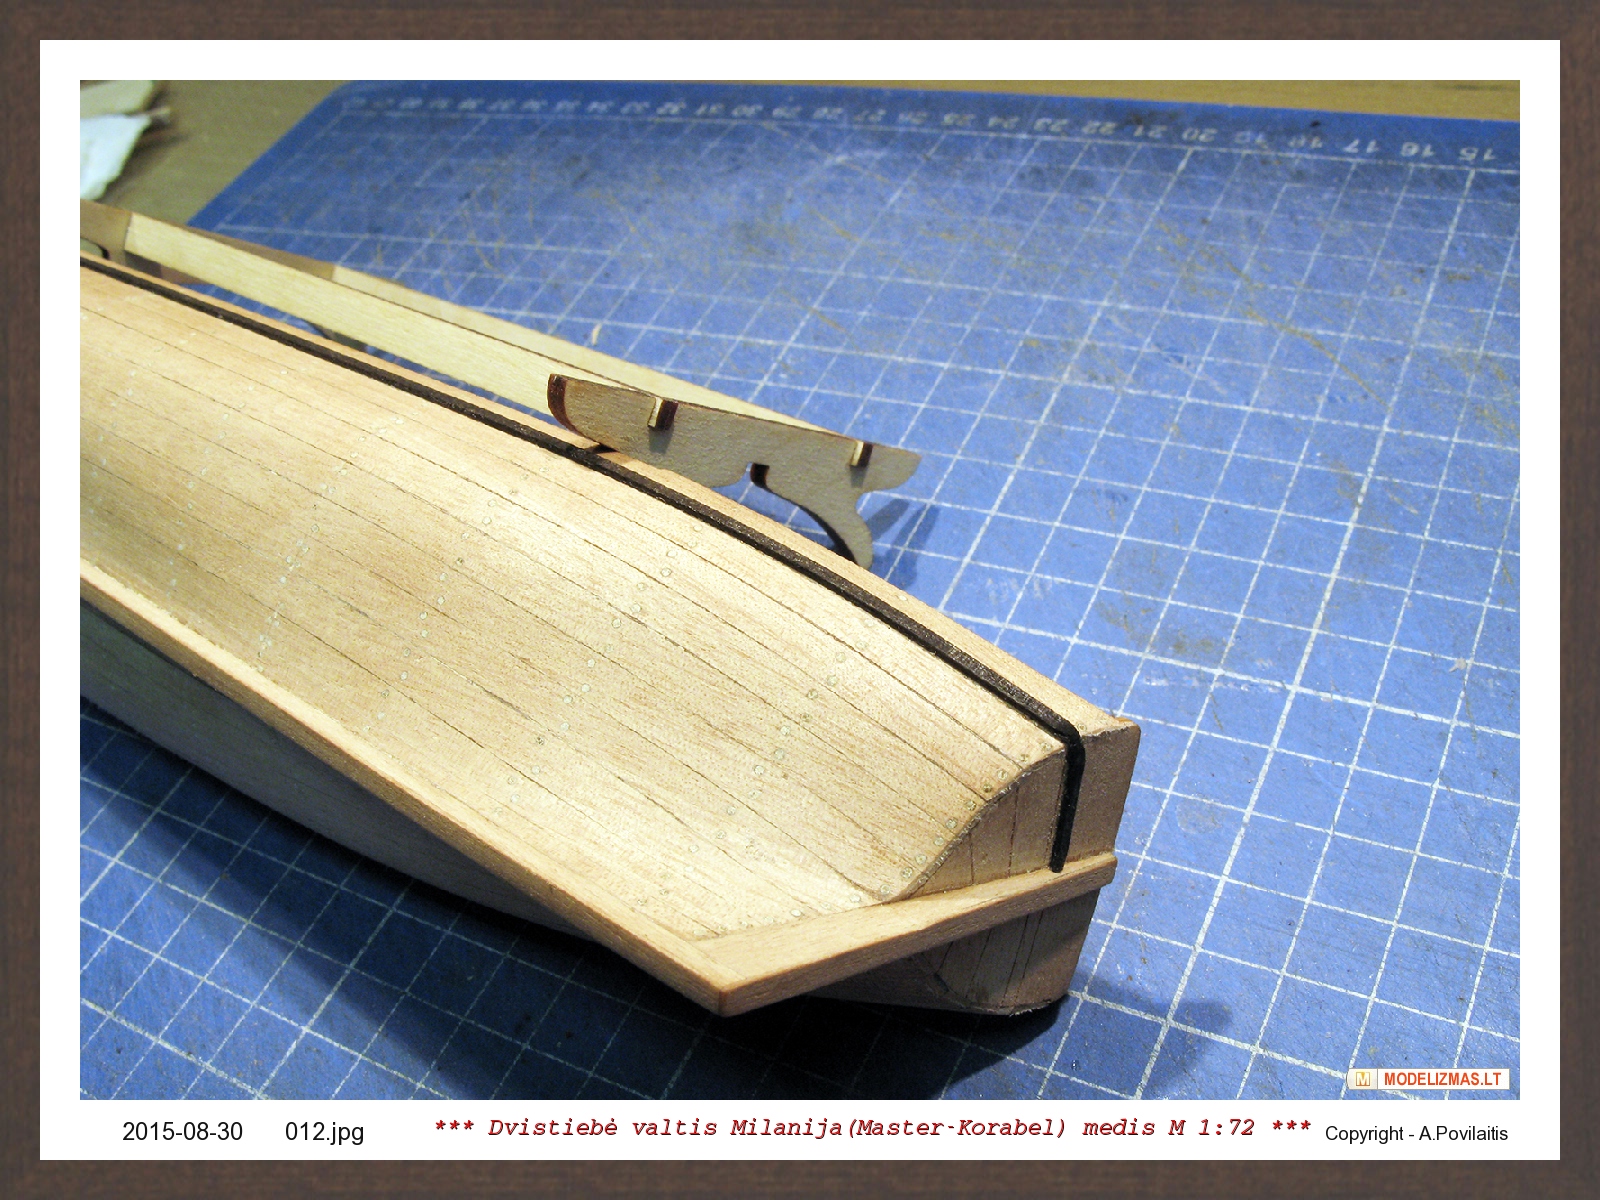
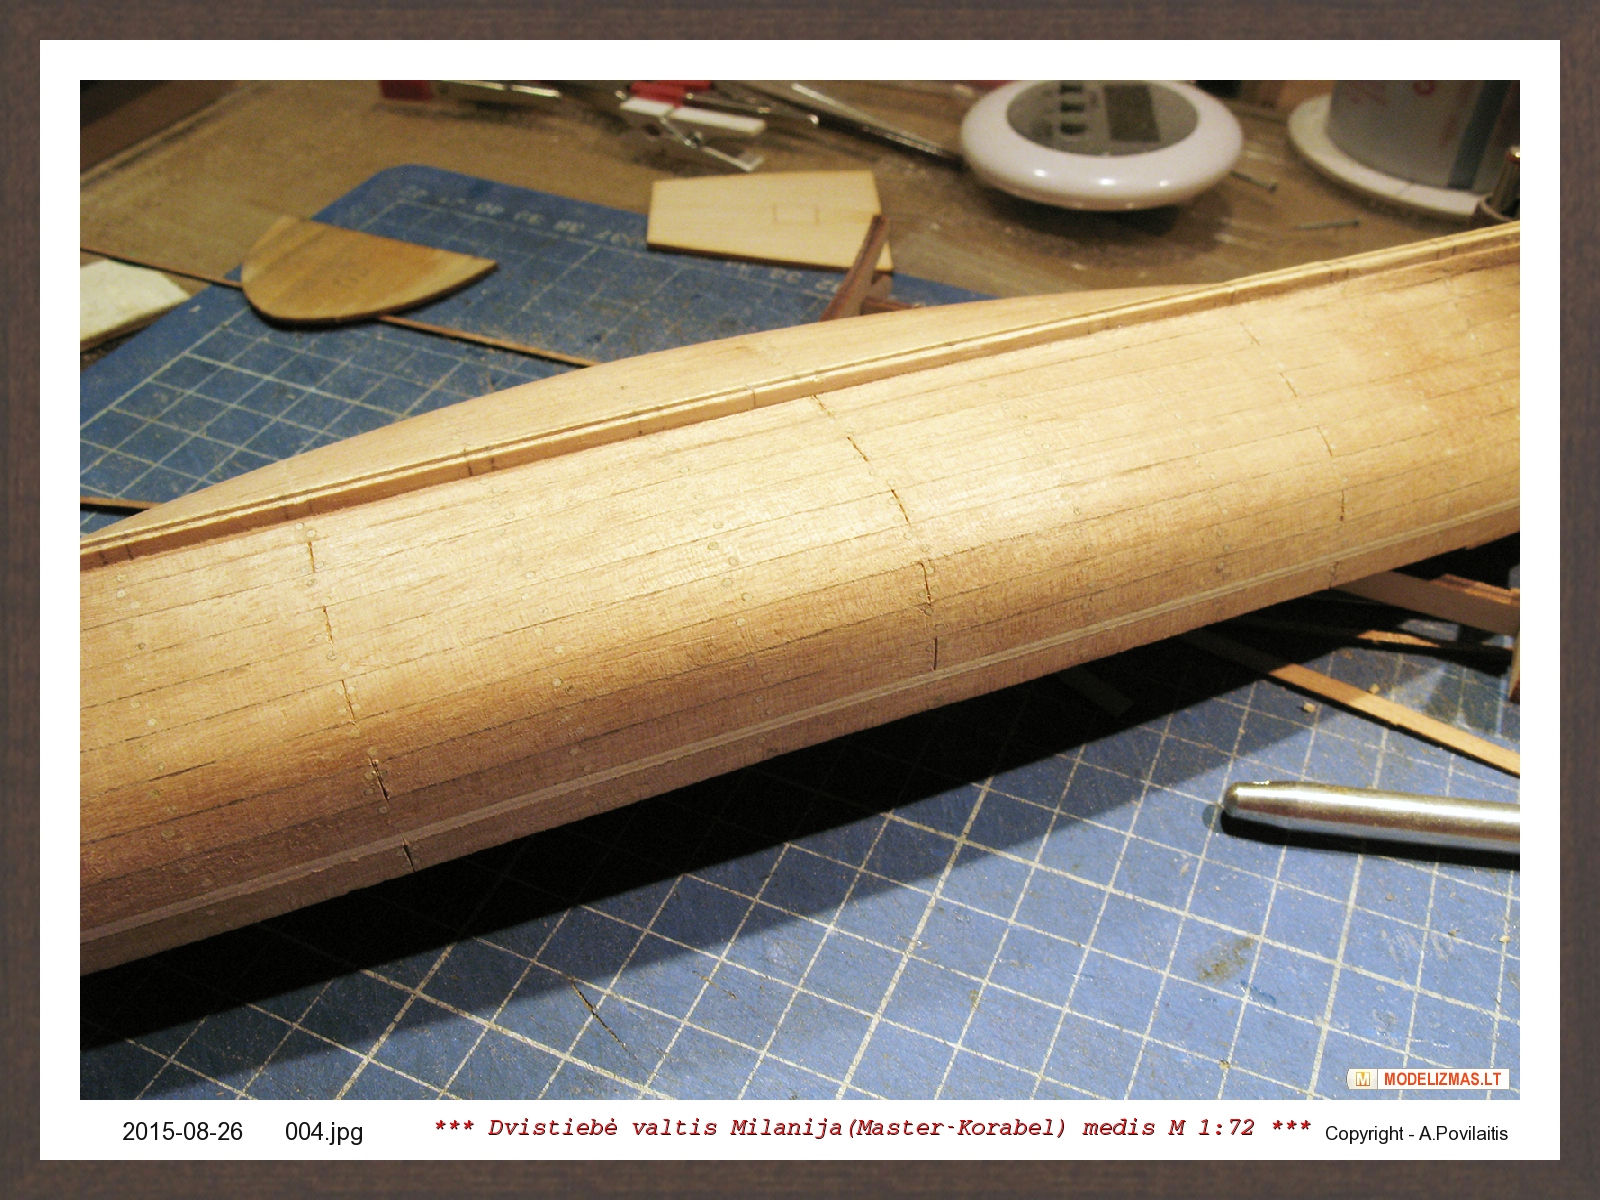
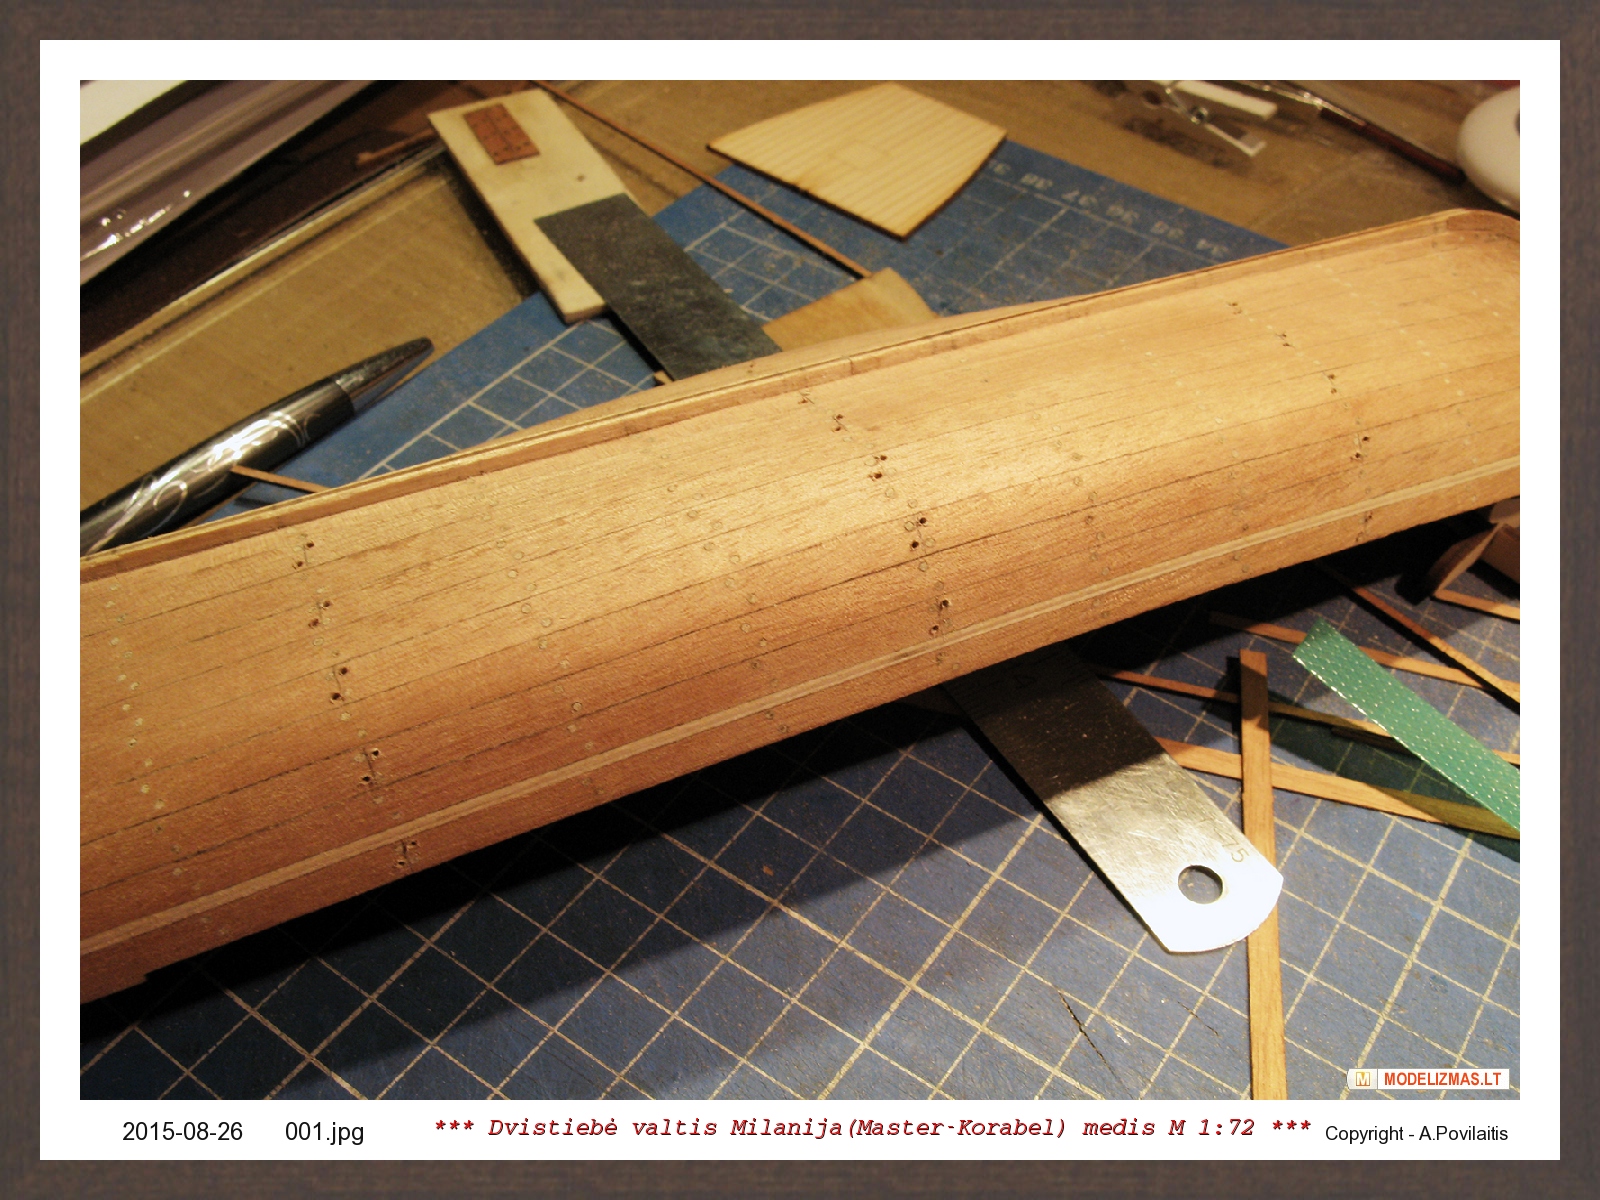
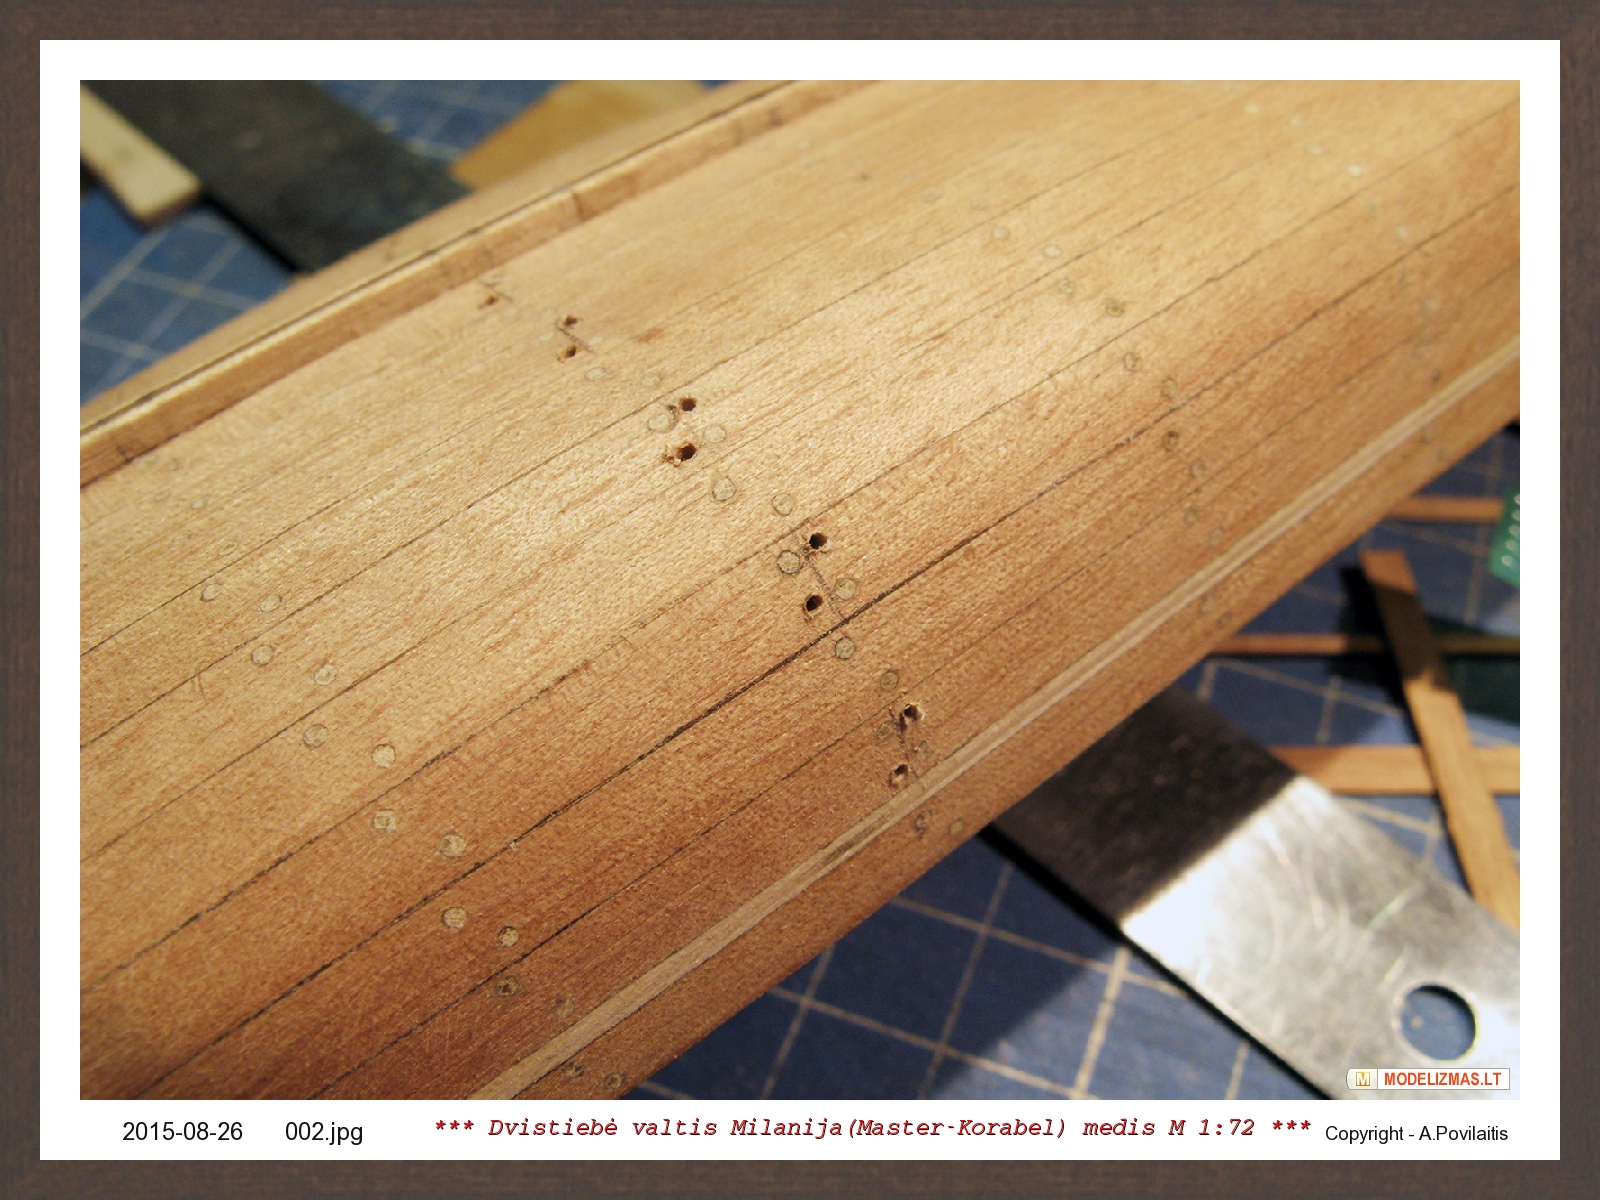
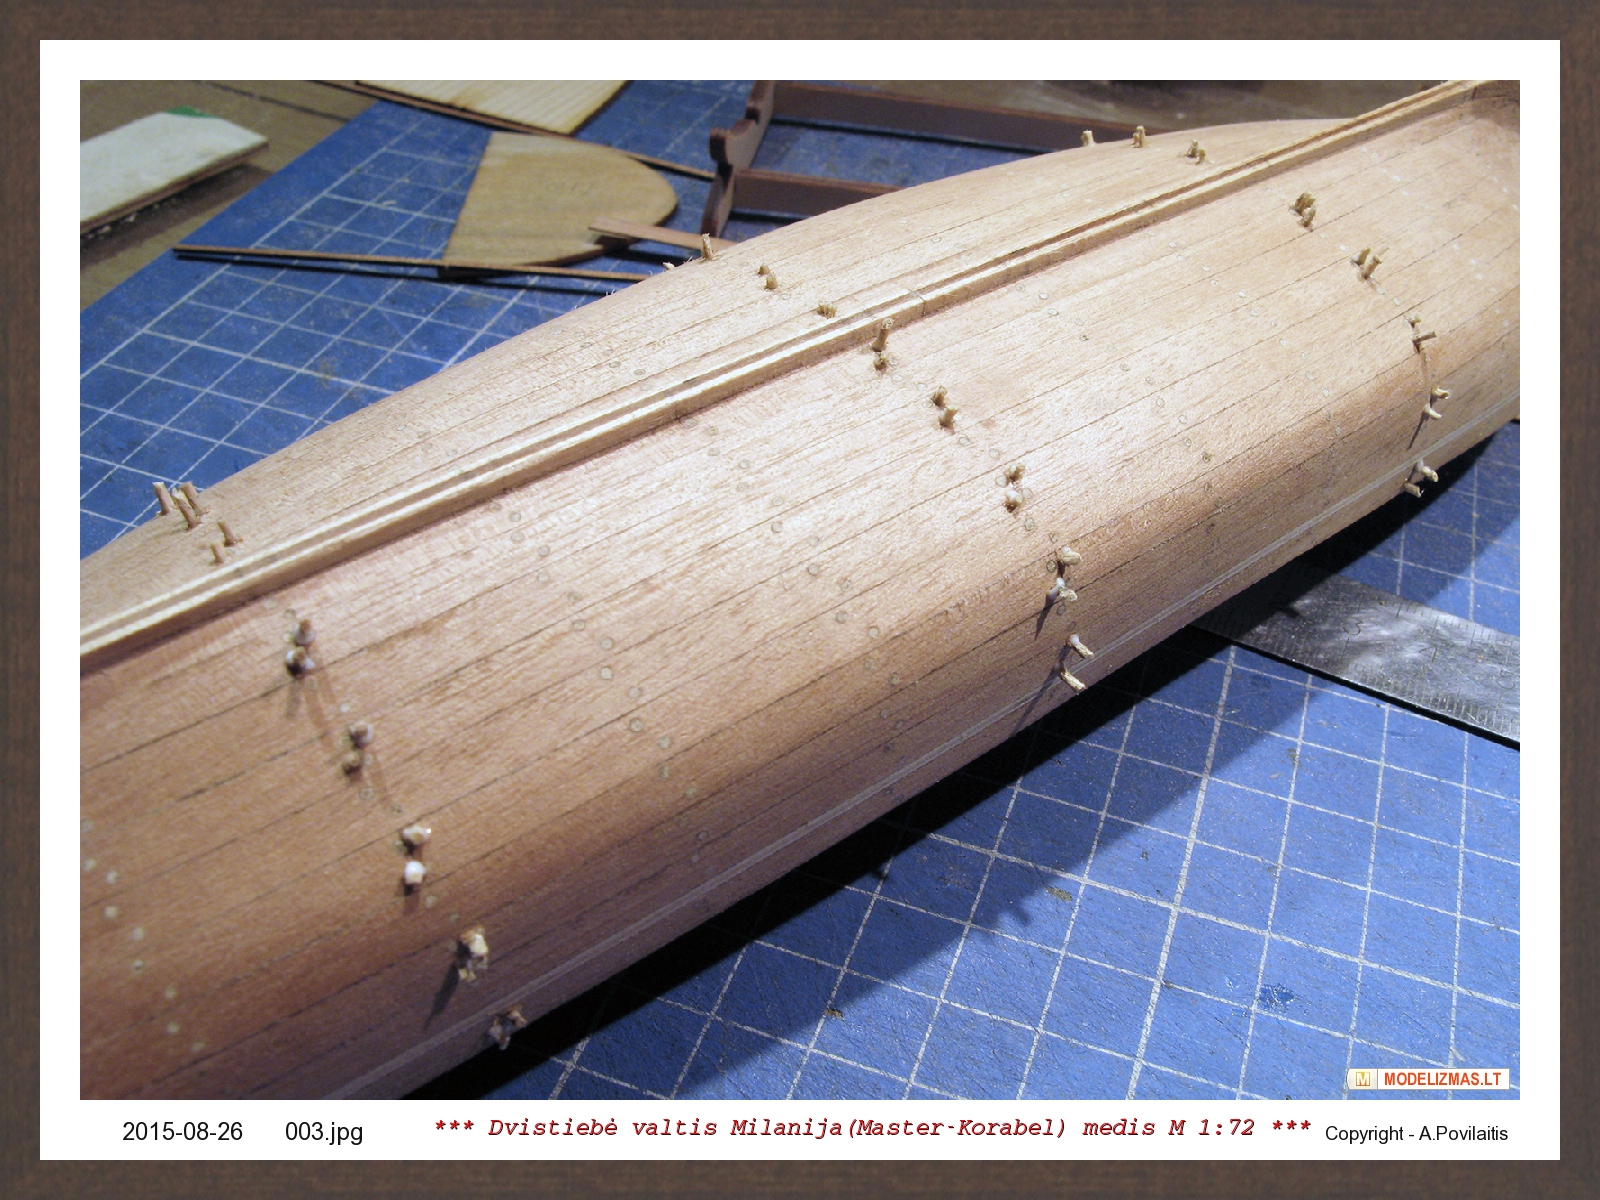
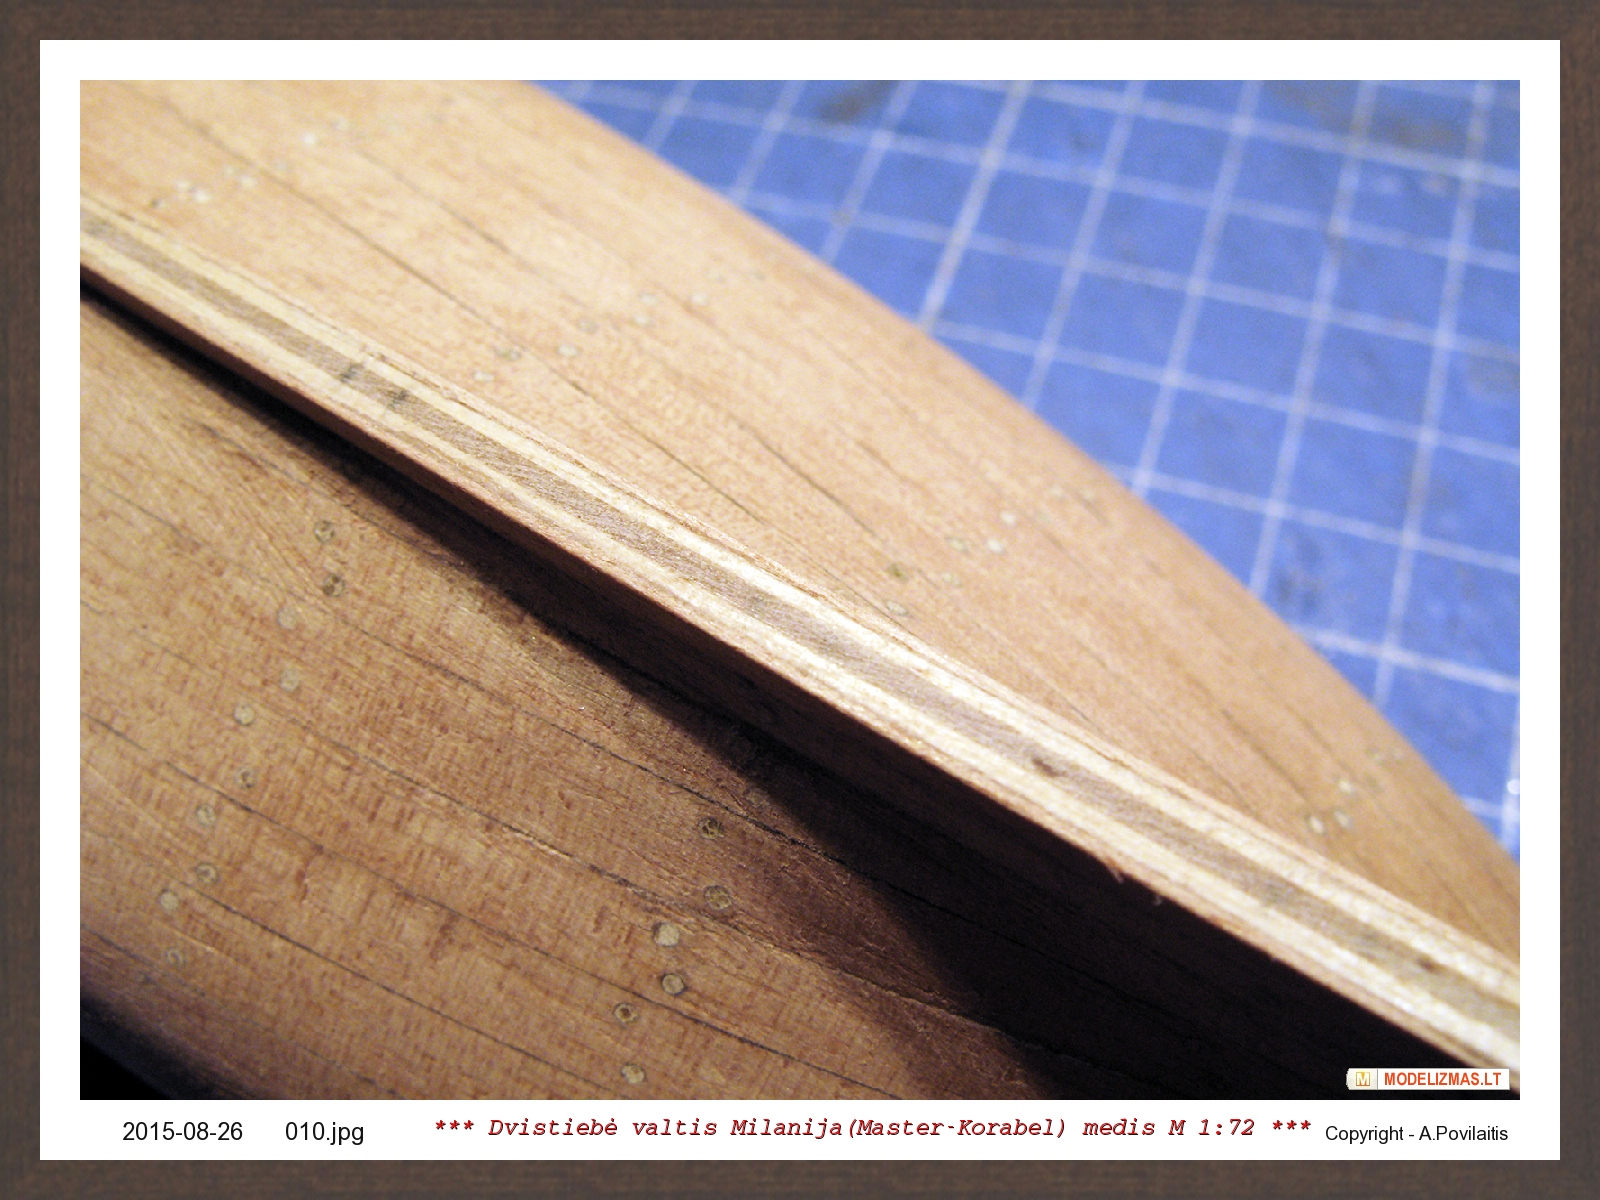
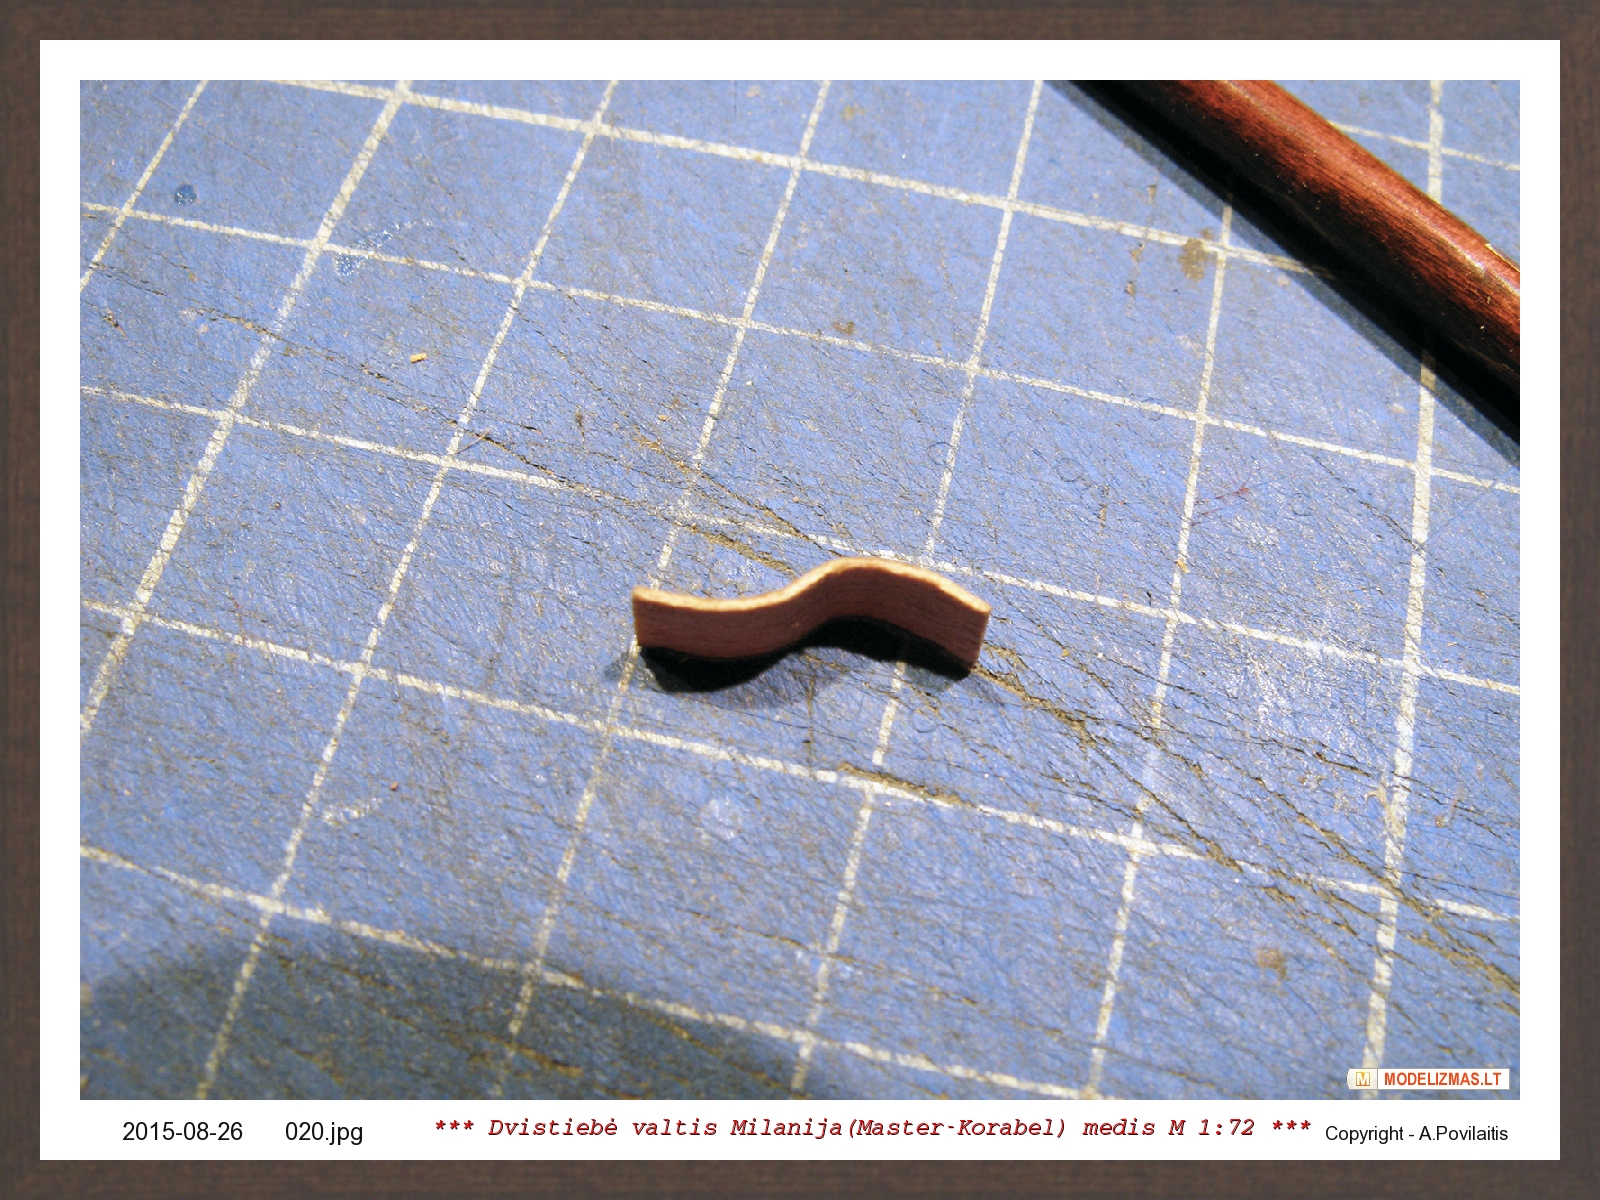
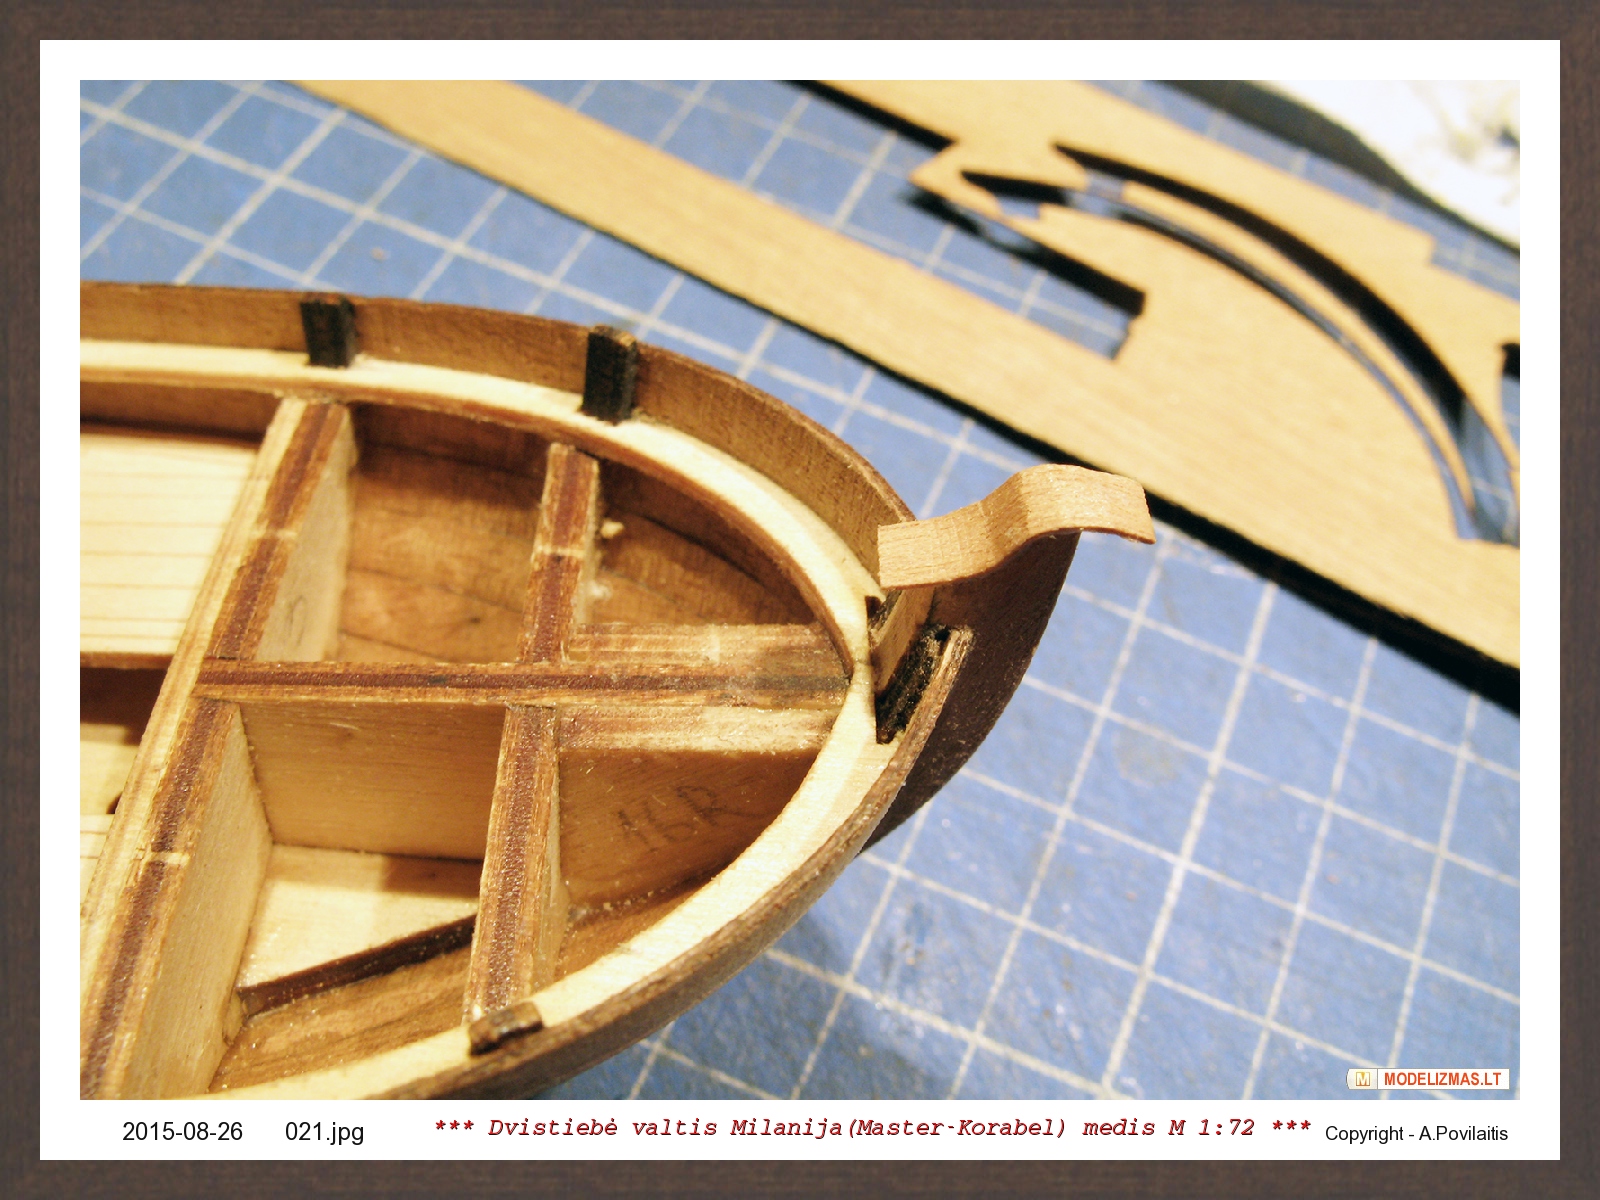
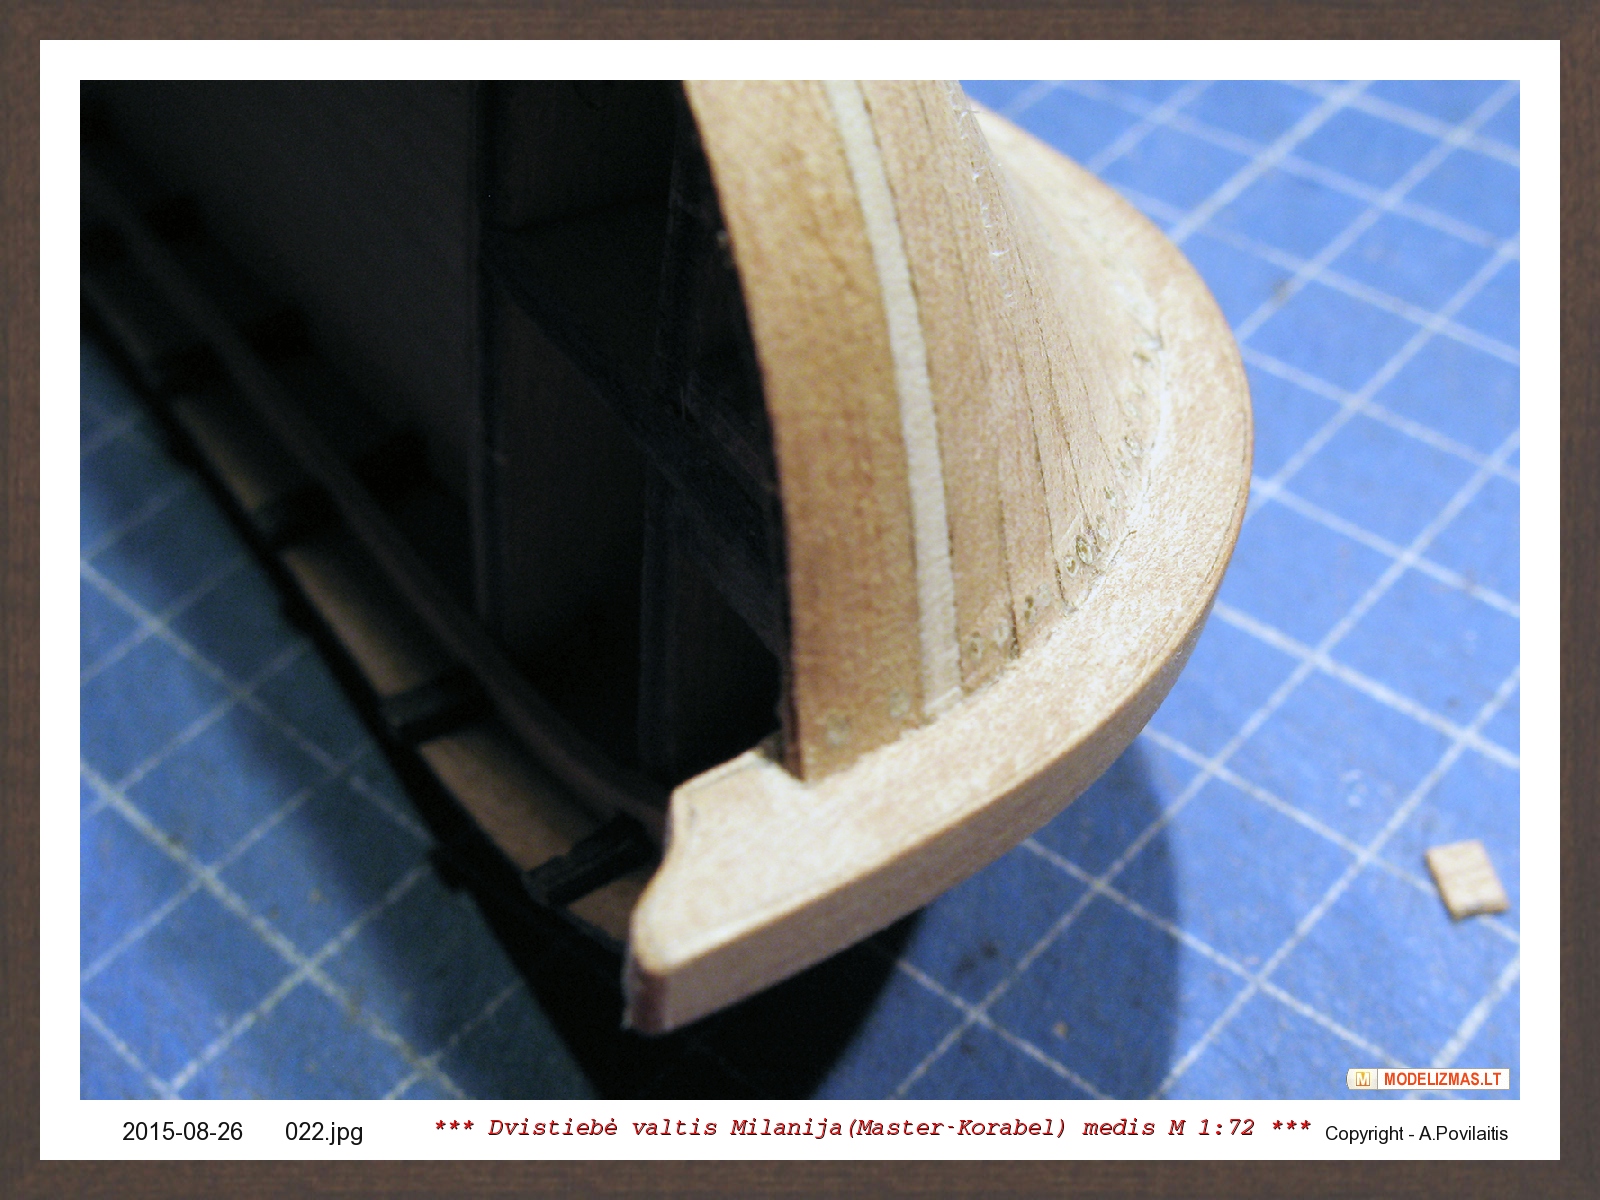
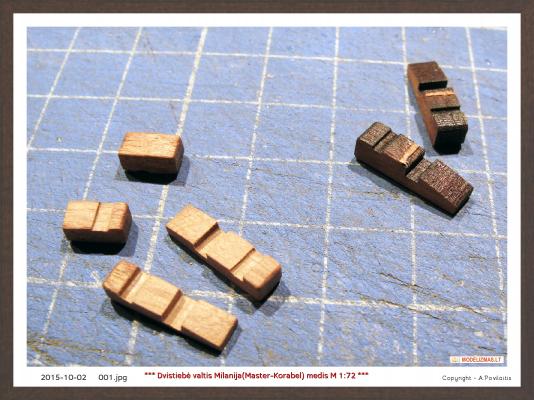
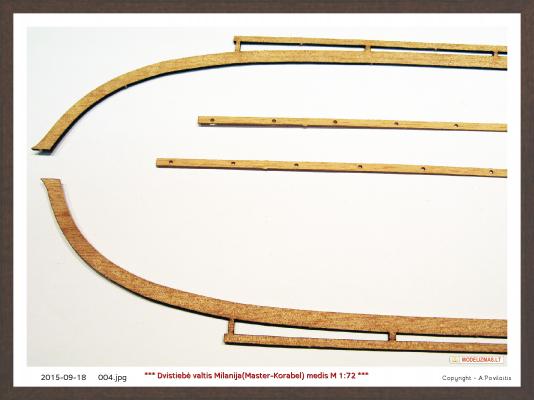
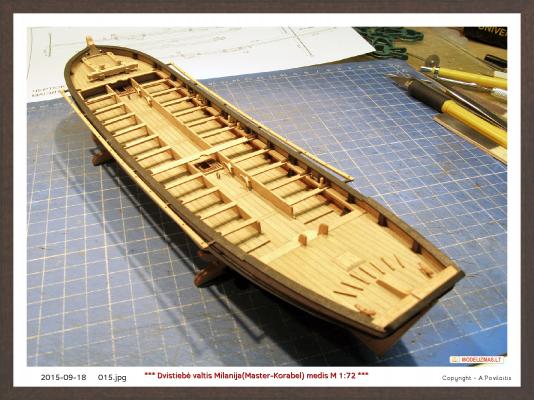
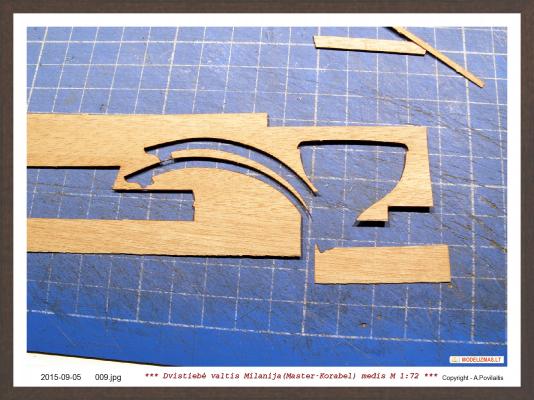
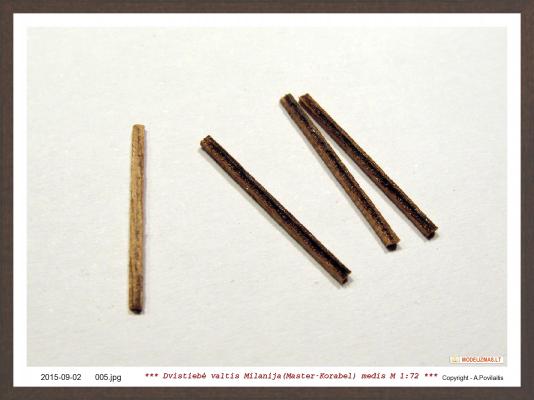
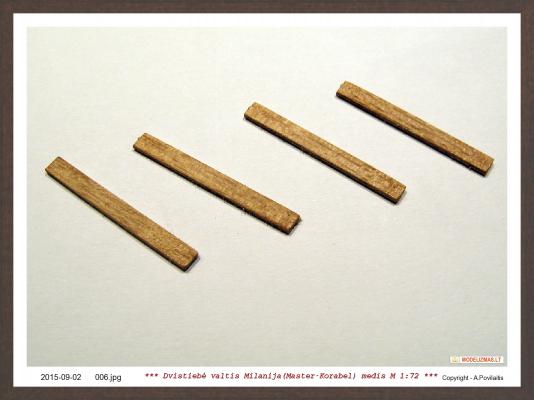
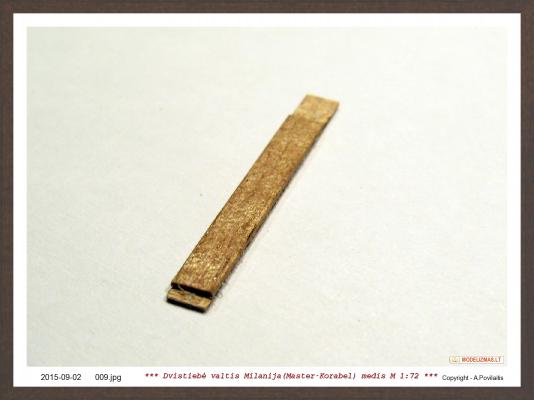
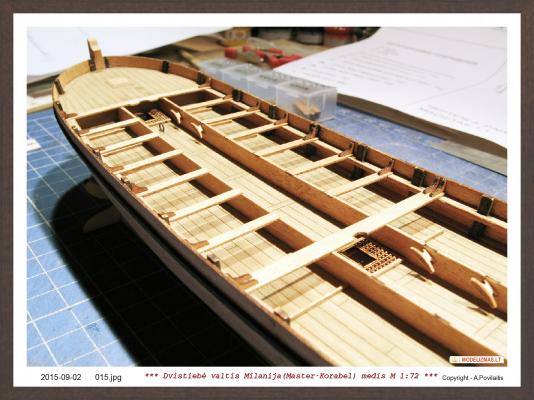
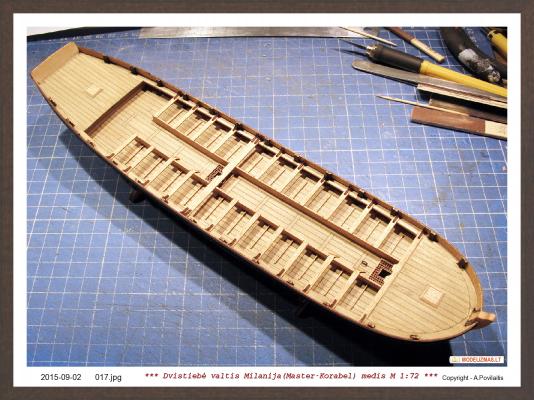
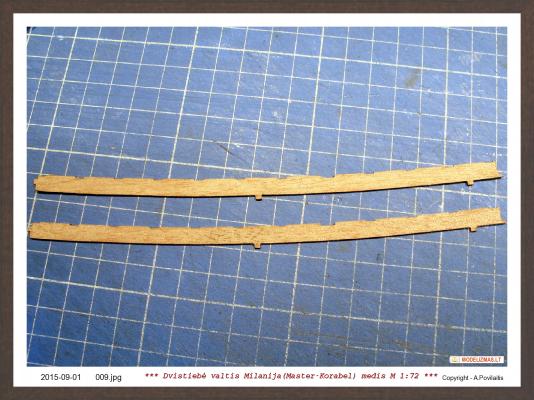
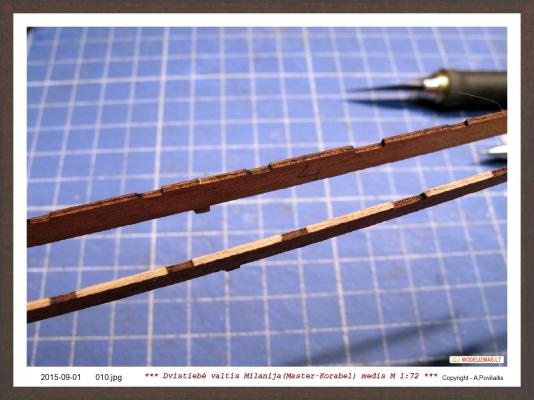
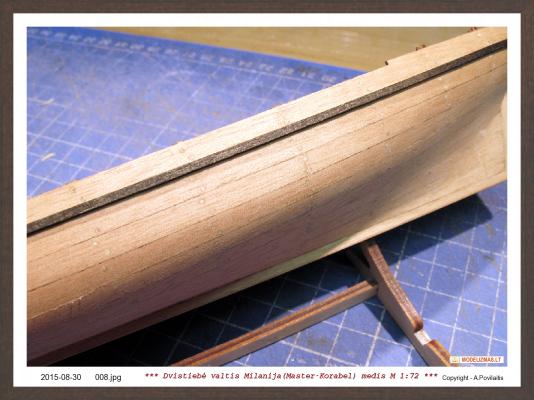
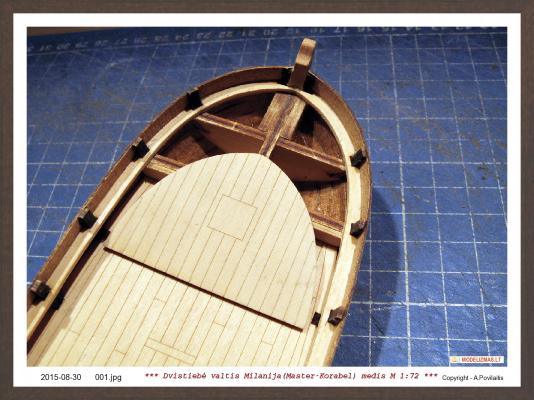
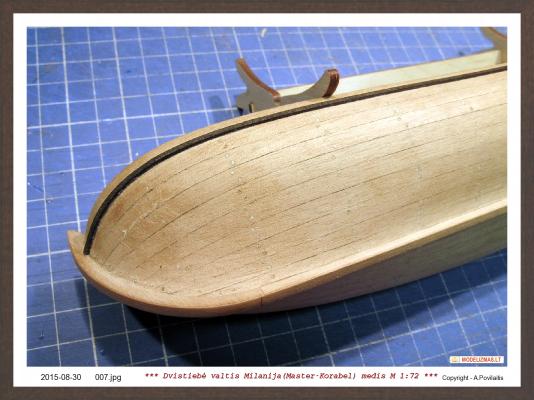
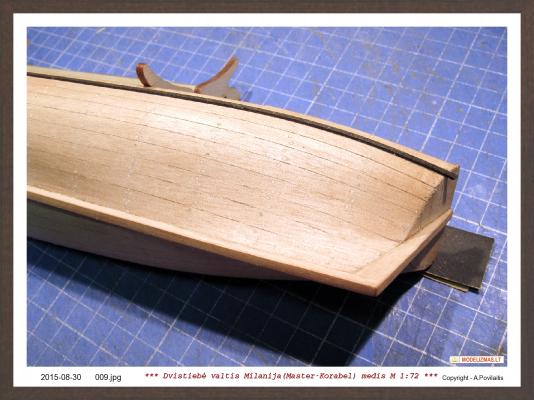
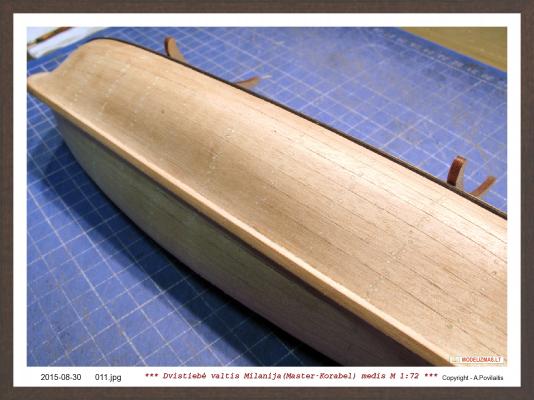
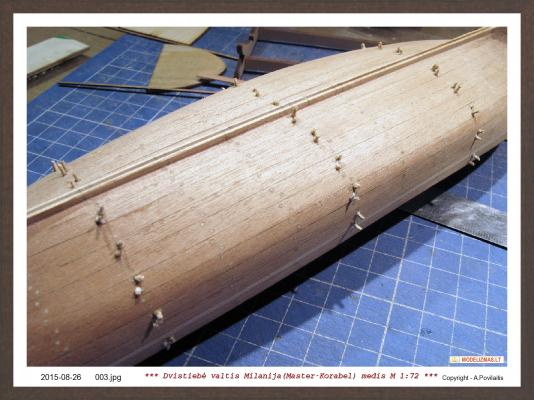
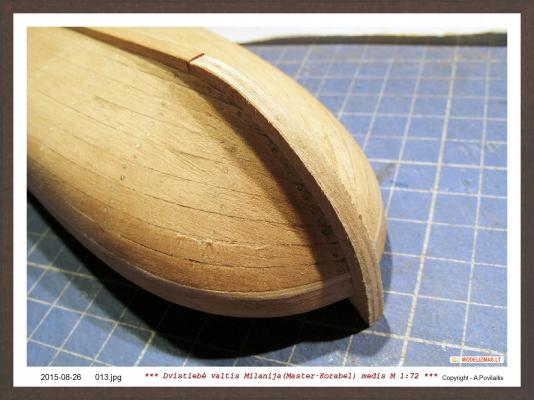
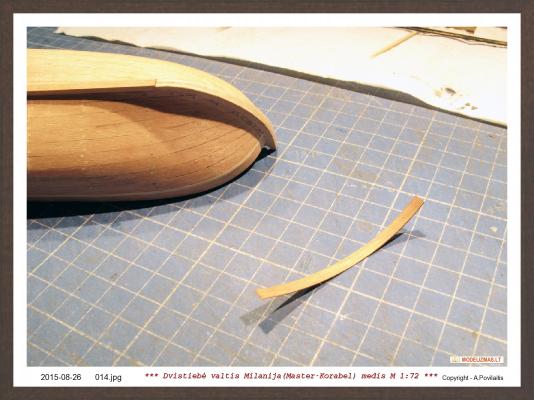
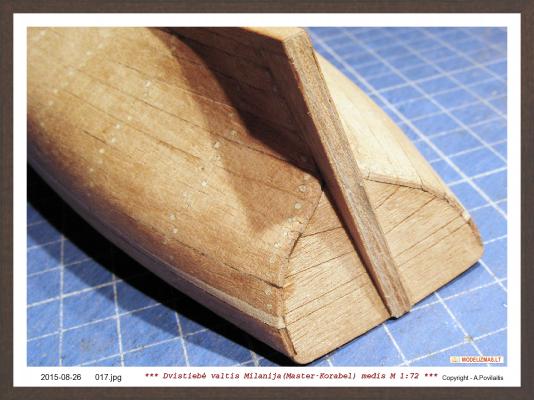
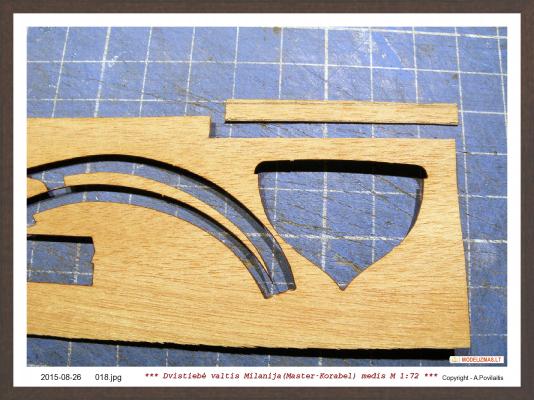
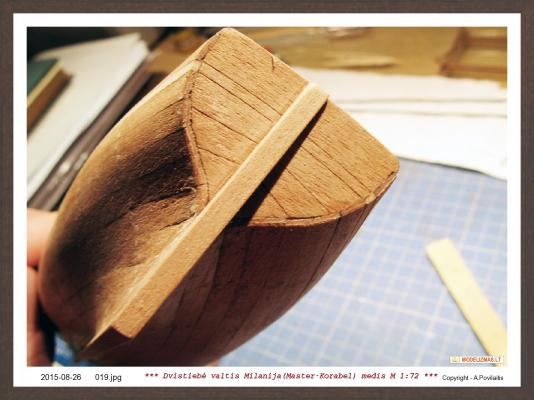
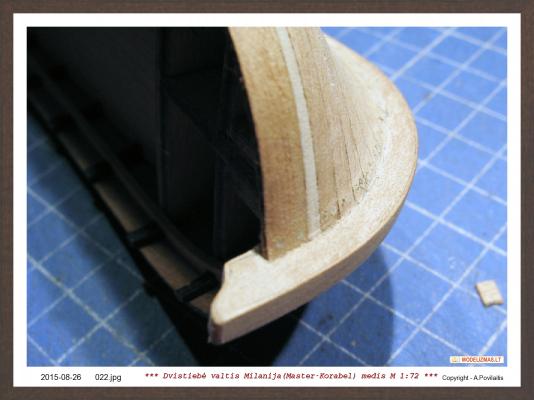
Thanks cog. Now I want to do the planks connecting imitation. I think that the 9 meter (30') planks fully correspond to reality. After marking, ad to some places tree nails. Then I made the cuts. Not very deep. After planks sanding the cuts practically are not visible. Everything will be seen when the hull will be covered by oil. And removed from the veneer plate keel details. They hide plywood. Affix them. Since this is the first boat Master Korabel set, there are still minor incompleteness, or not quite logical solutions. For example the keel at the bow not have some of this parts. Also in the stern. Where fixed rudder. But this very easy to cut it from the veneer plate himself. And I did it. Regards, Antanas


-
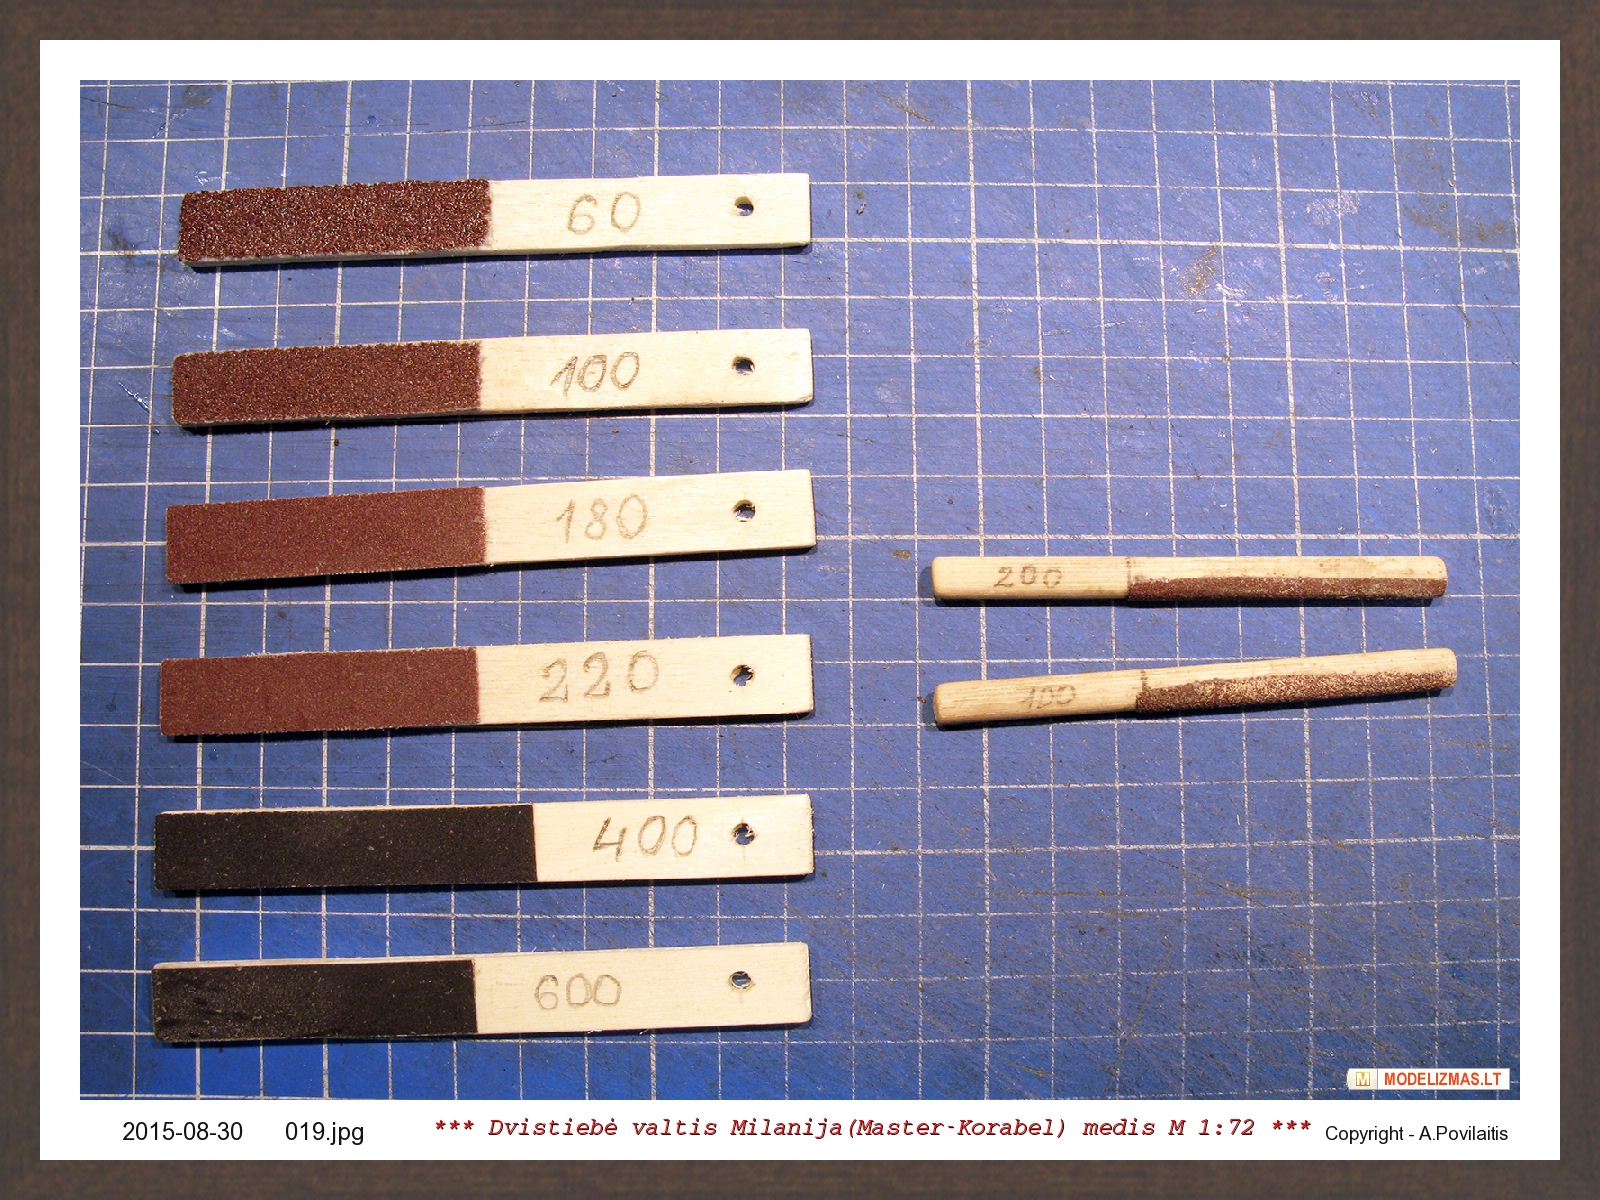
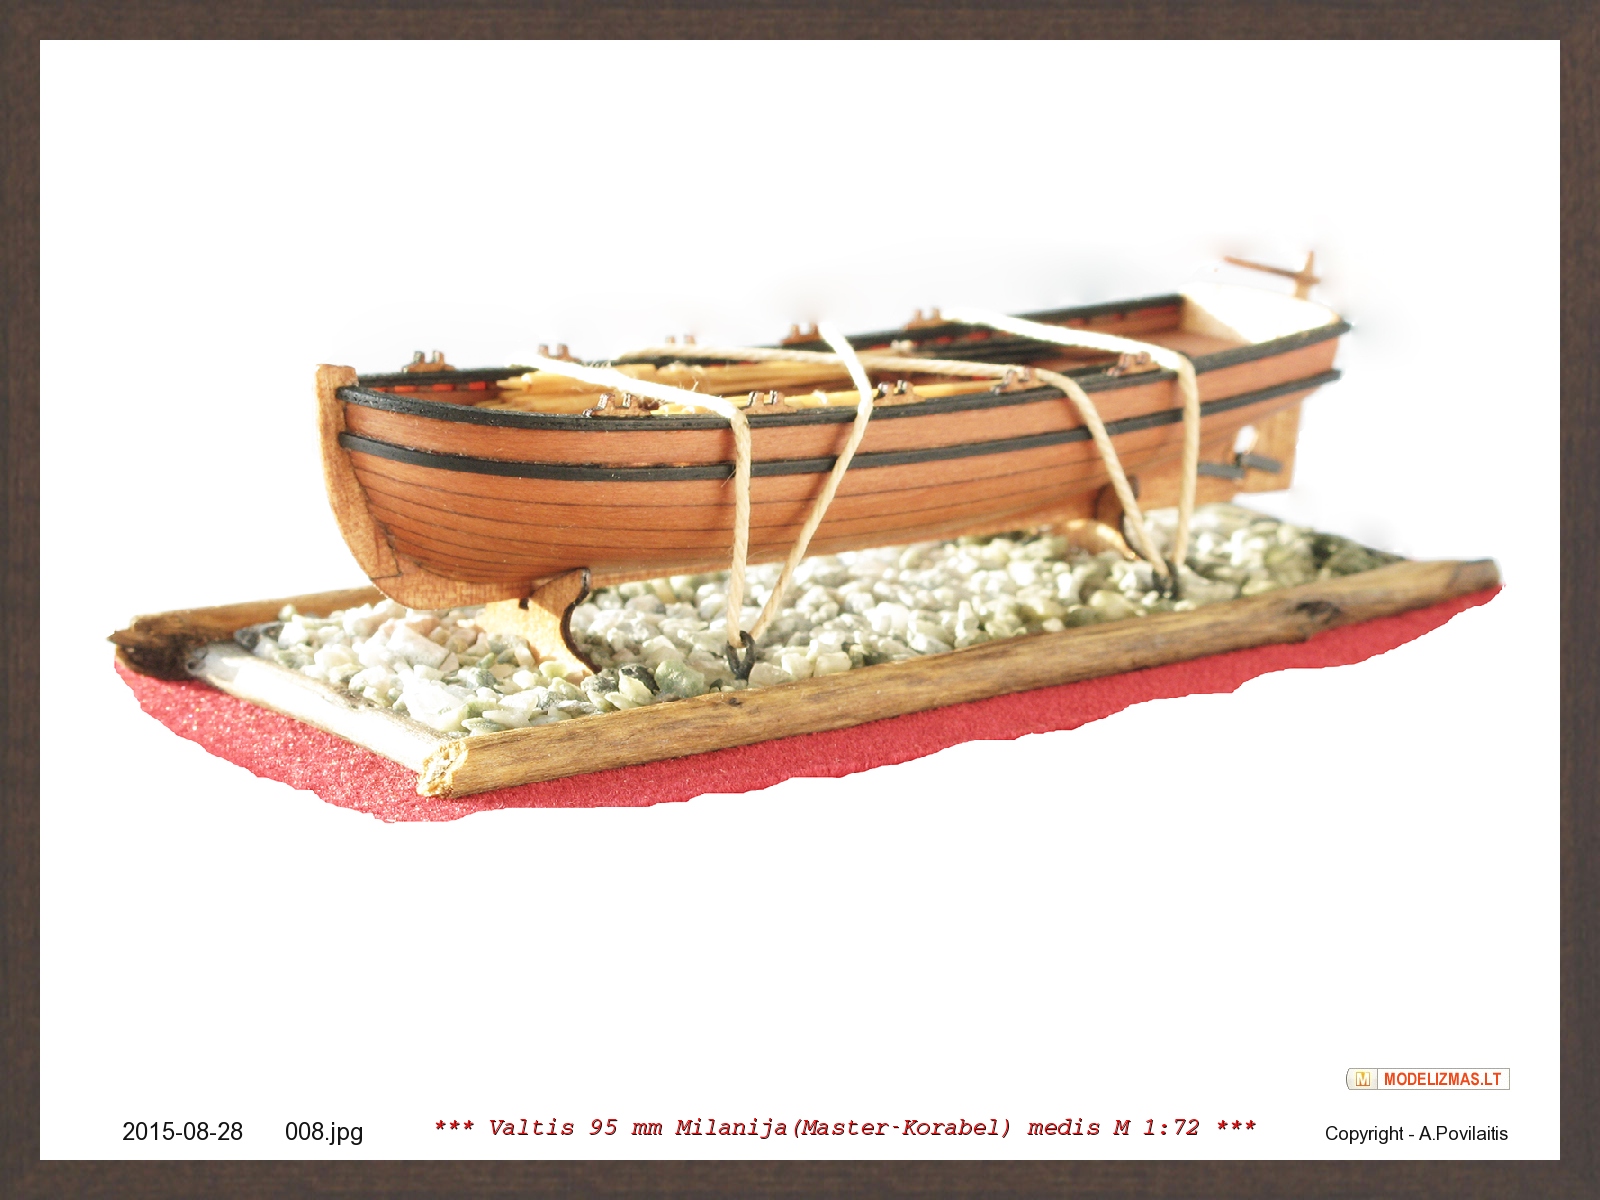
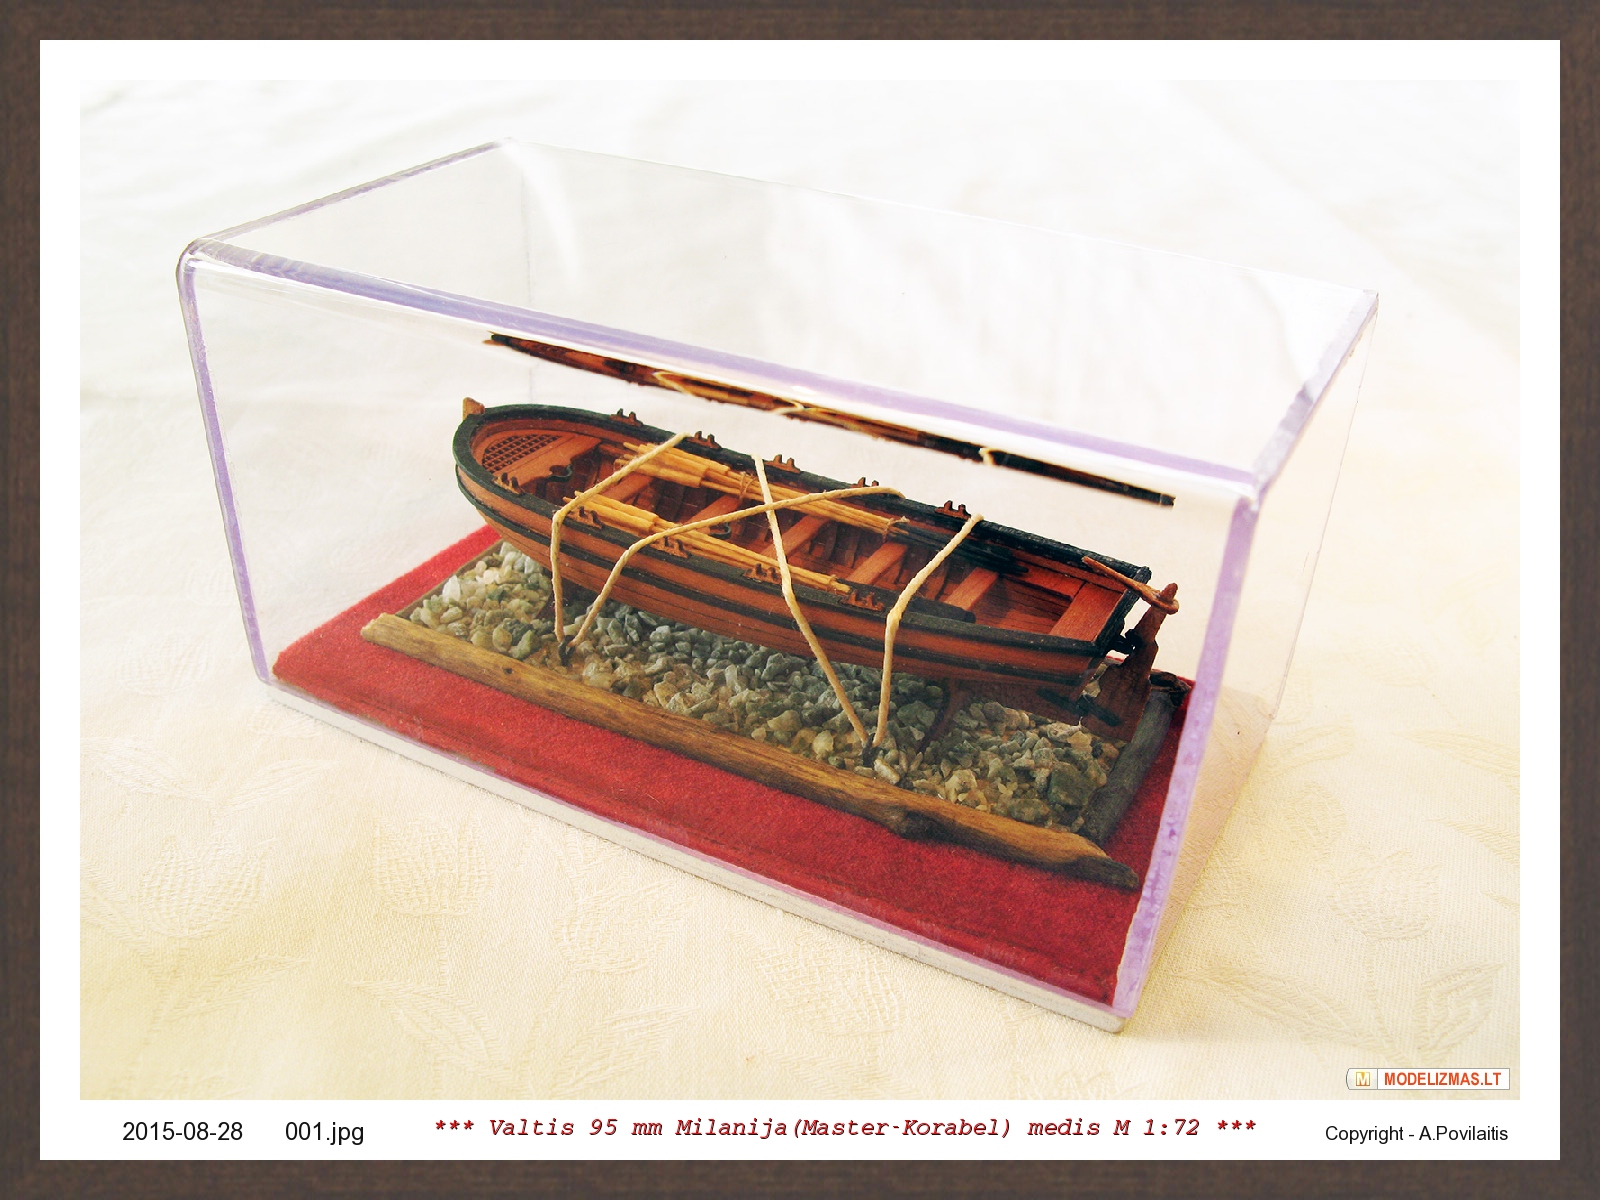
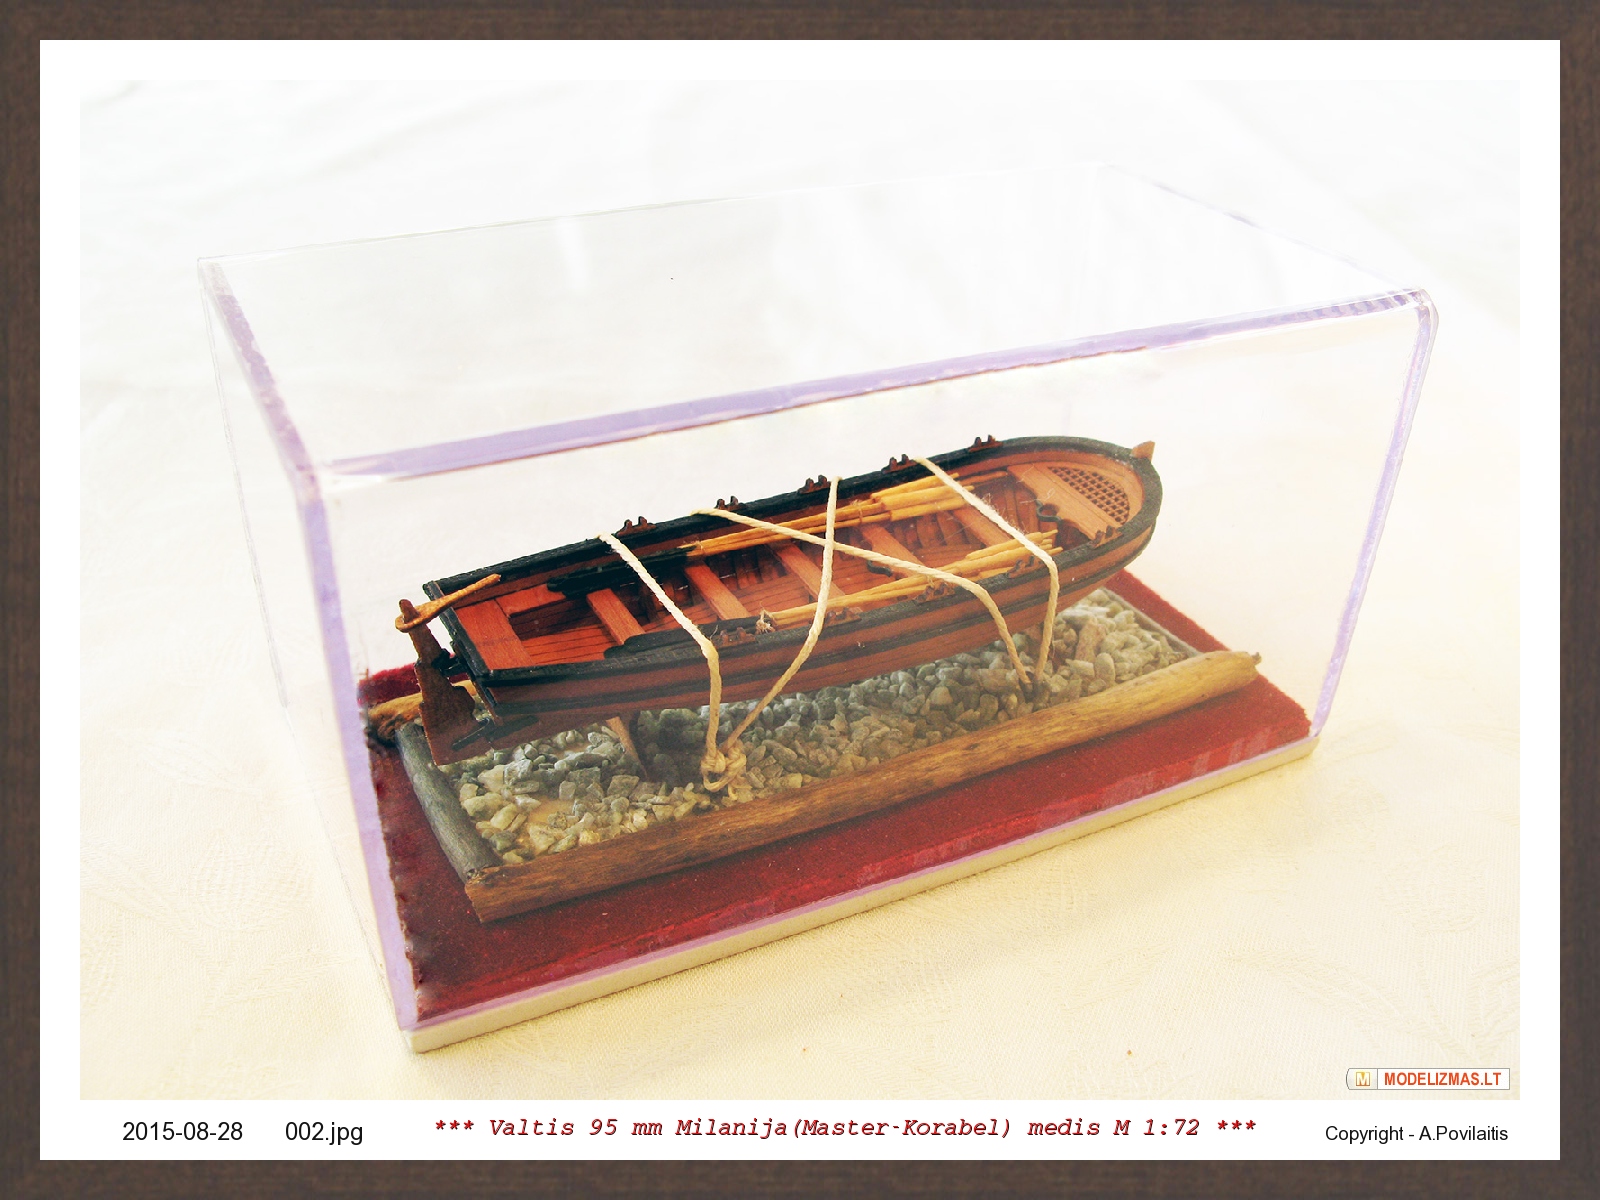
Thanks Nirvana. But now I see a lot of my mistakes. Scrub had to be done using 400 or even 600 grit paper. This is the first. Secondly, I had to impregnate the rope. Metal parts should be considerably thinner. And more things... But the build was very fun. Of course, the set have minor flaws. But this is not some defect. Just some things can be done better. Very consistent with my motto: "Always can be done better, always can be done more!" Regards, Antanas