HOLIDAY DONATION DRIVE - SUPPORT MSW - DO YOUR PART TO KEEP THIS GREAT FORUM GOING! (89 donations so far out of 49,000 members - C'mon guys!)
×


MikeR
-
Posts
149 -
Joined
-
Last visited
Content Type
Profiles
Forums
Gallery
Events
Everything posted by MikeR
-
Thanks for the comments Vladimir, I have been watching your Glory of the Seas and it is outstanding. I have been working on a few more deck fittings.

-
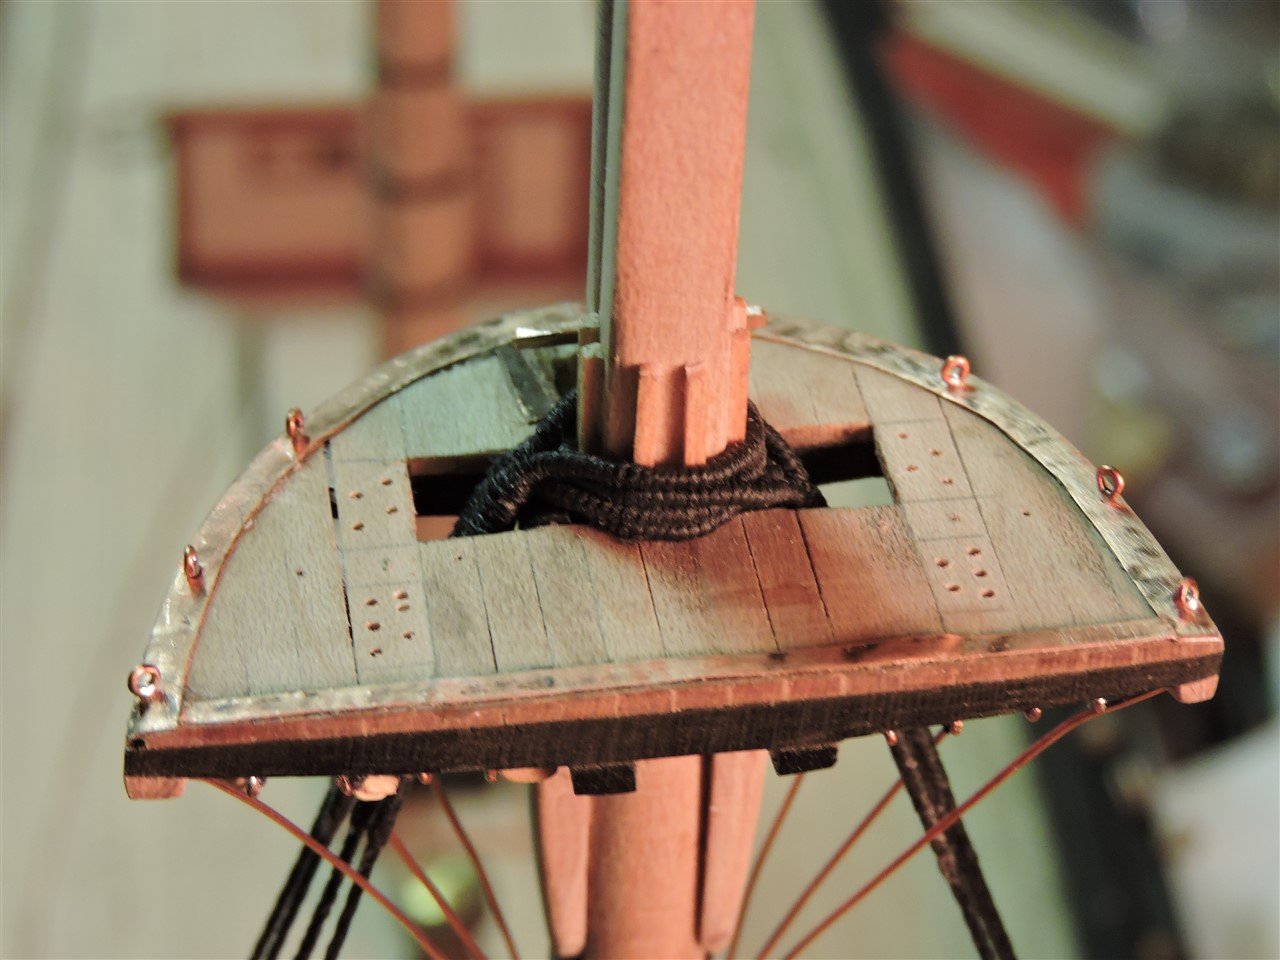
I started rigging the mizzen mast.

-
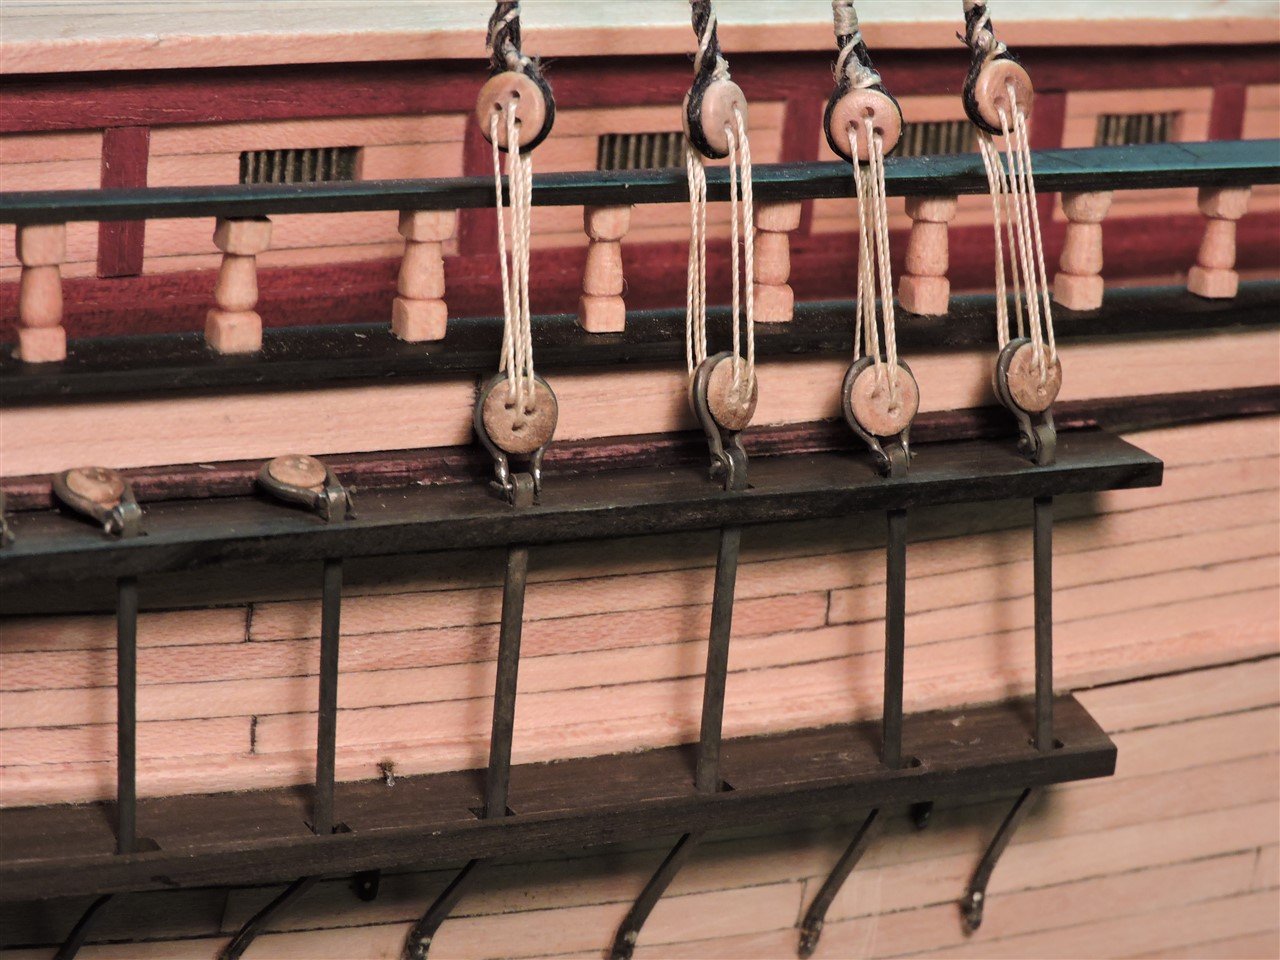
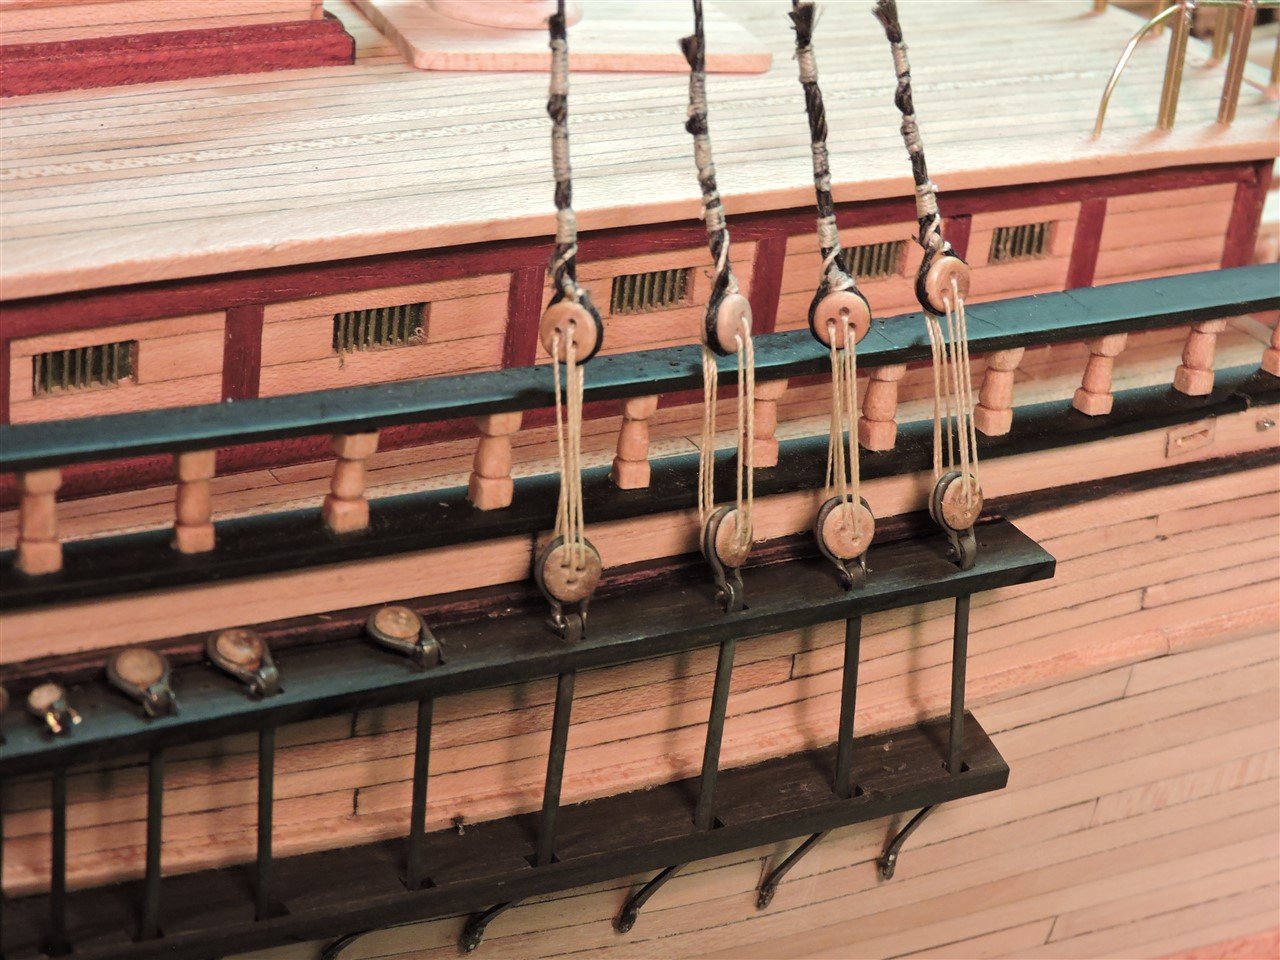
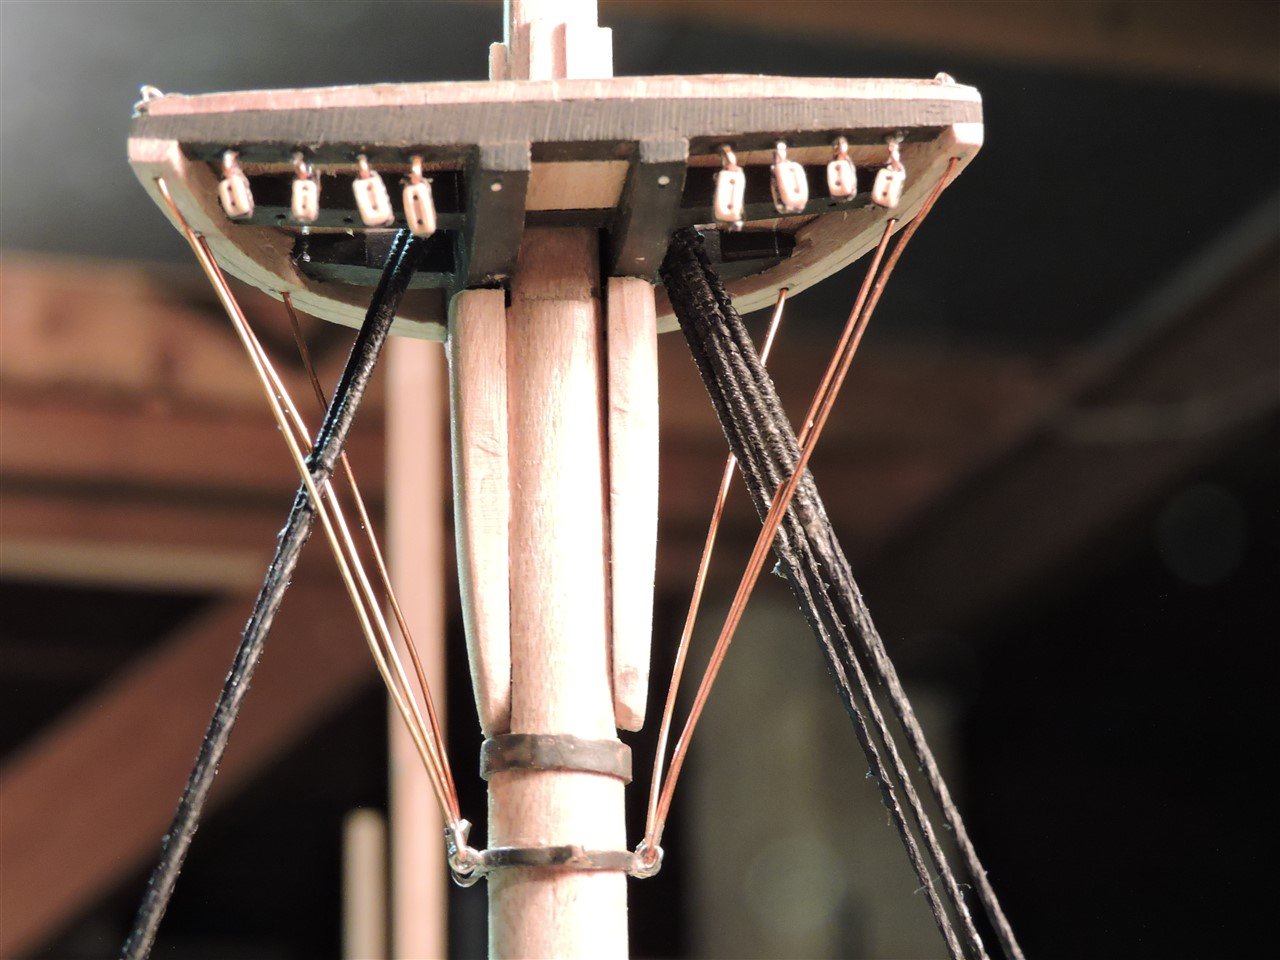
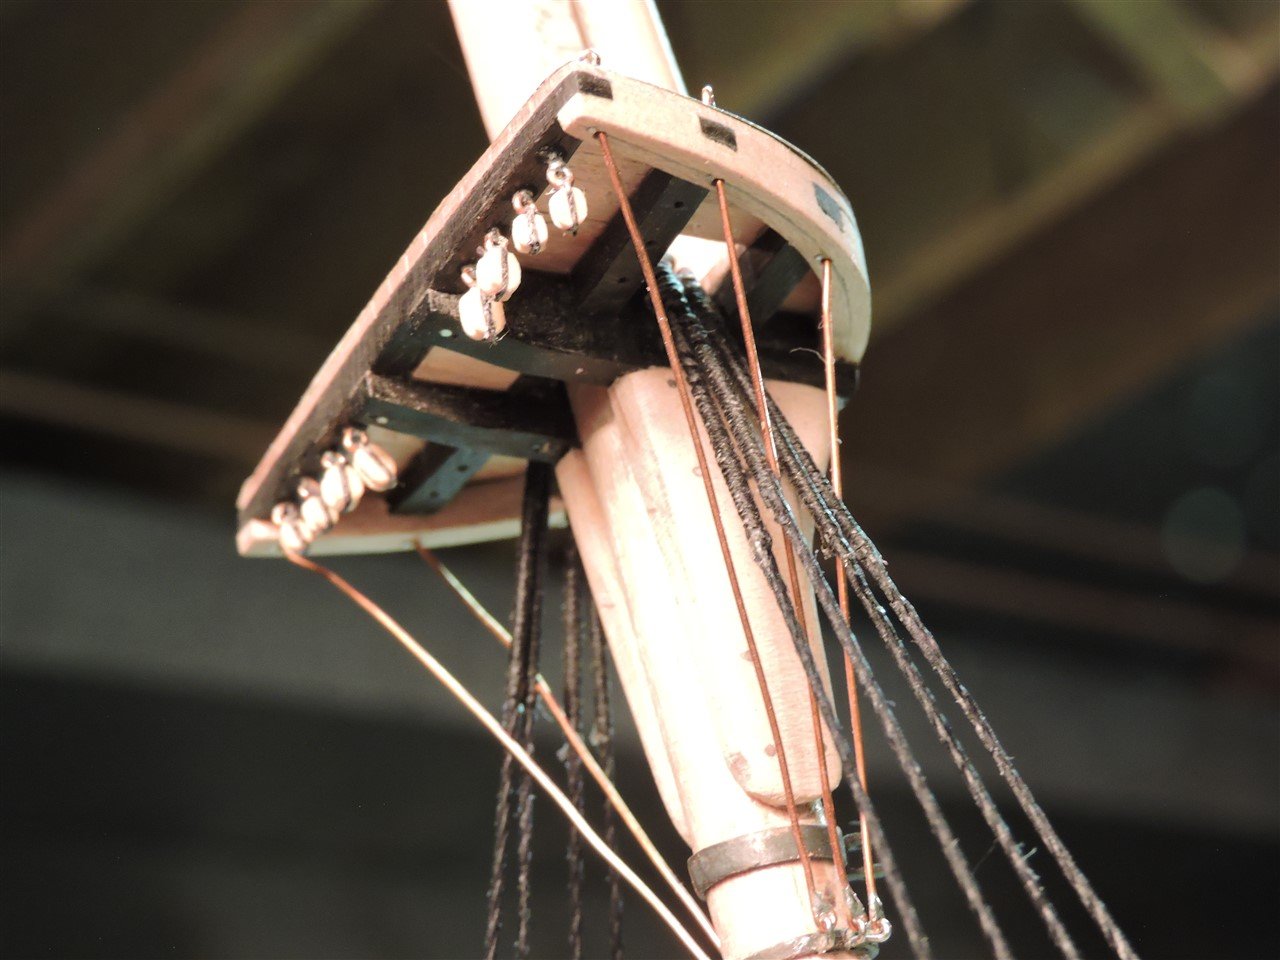
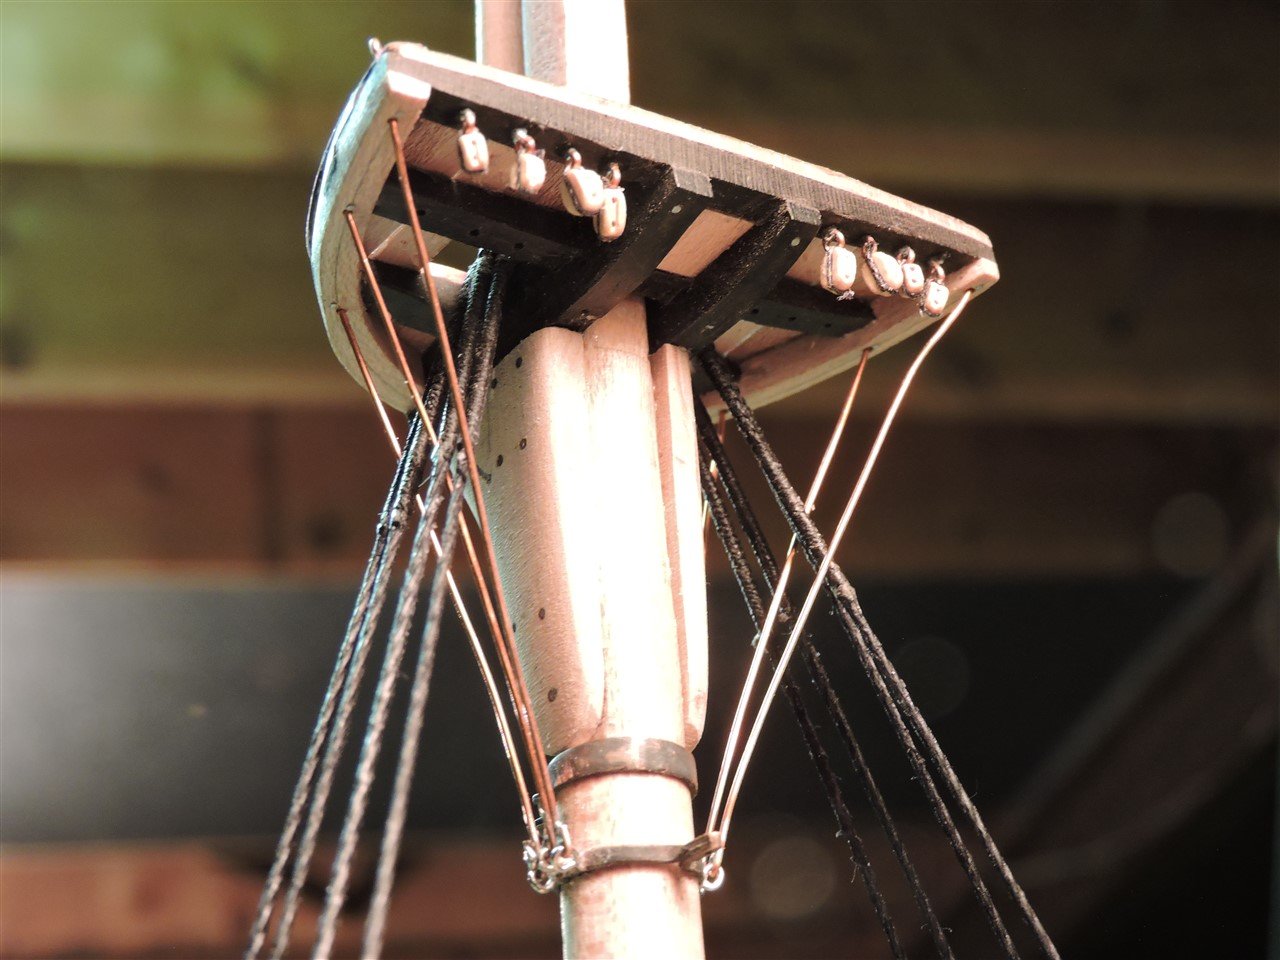
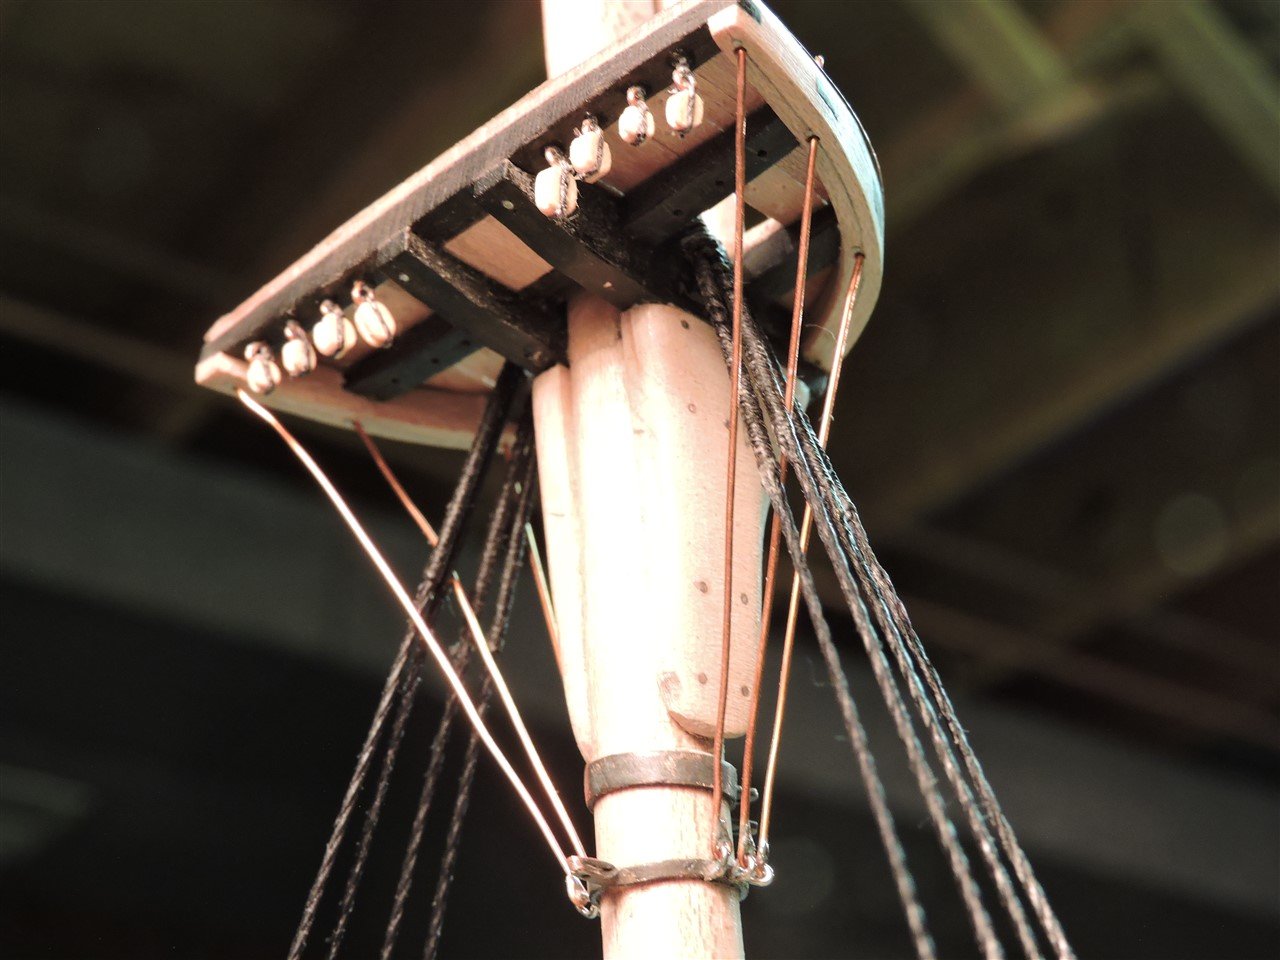
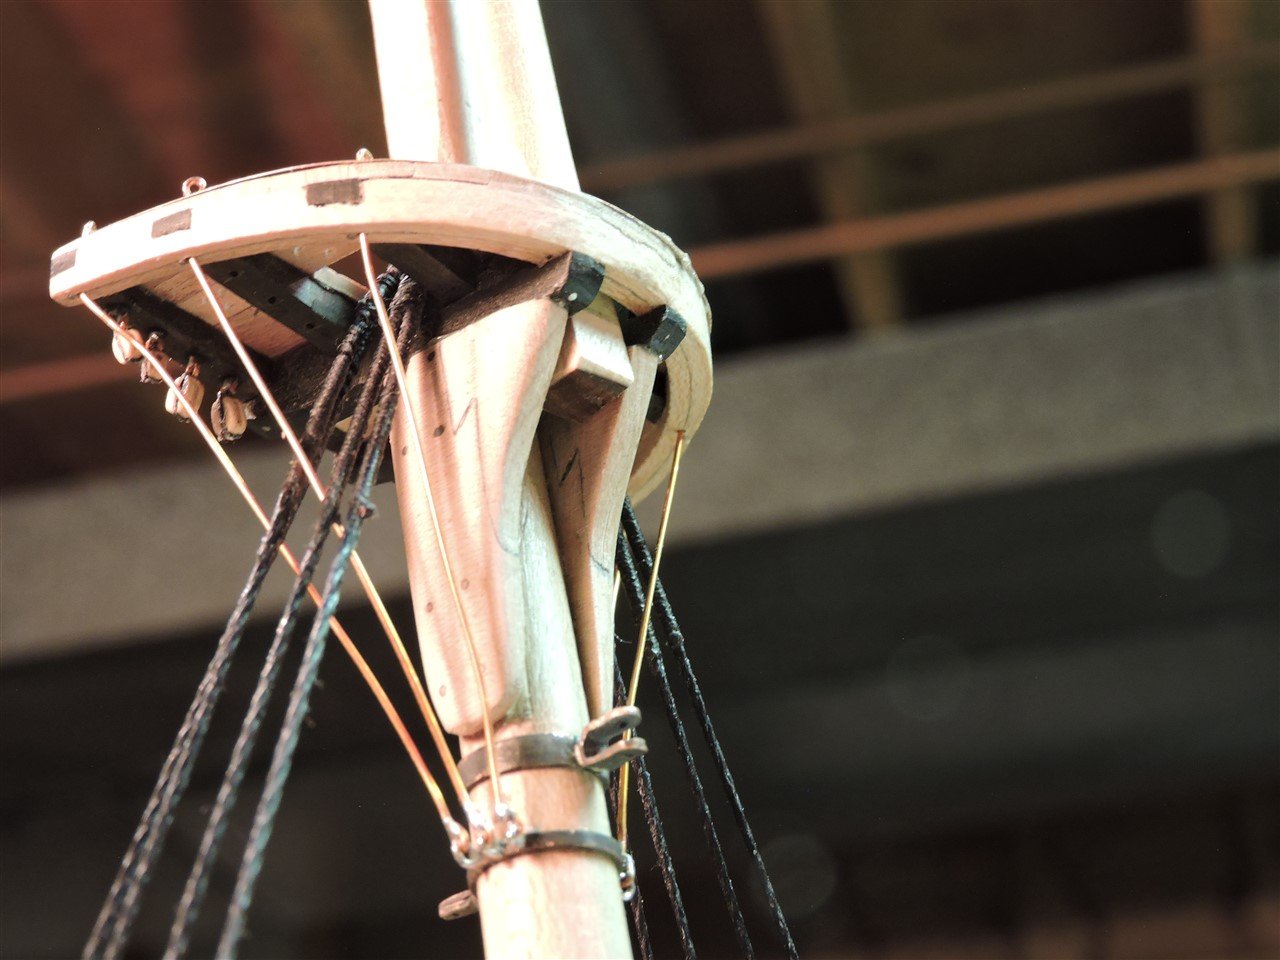
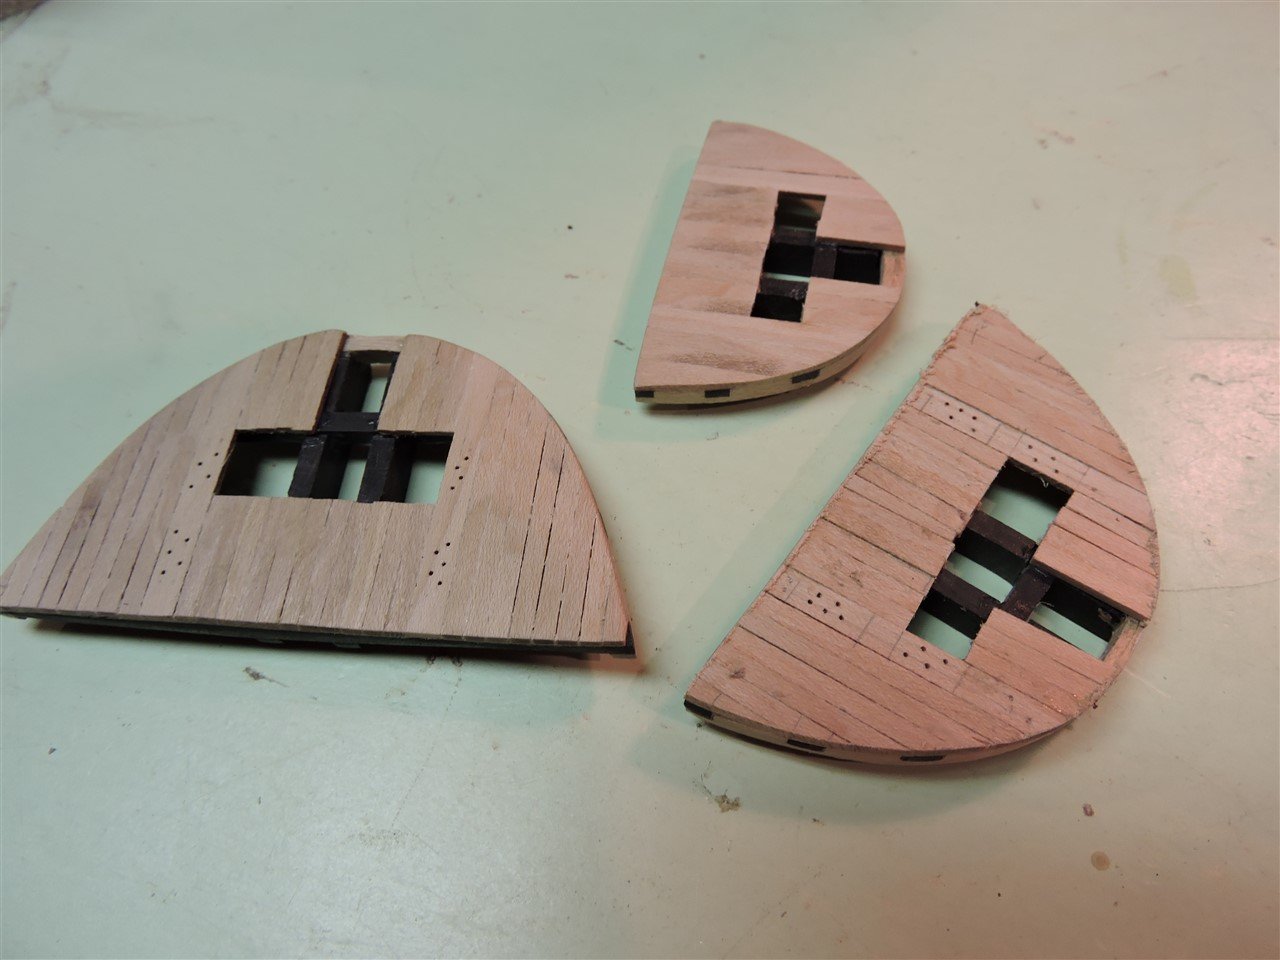
I have been working on the tops for the lower masts, chain plates and dead eyes,

-
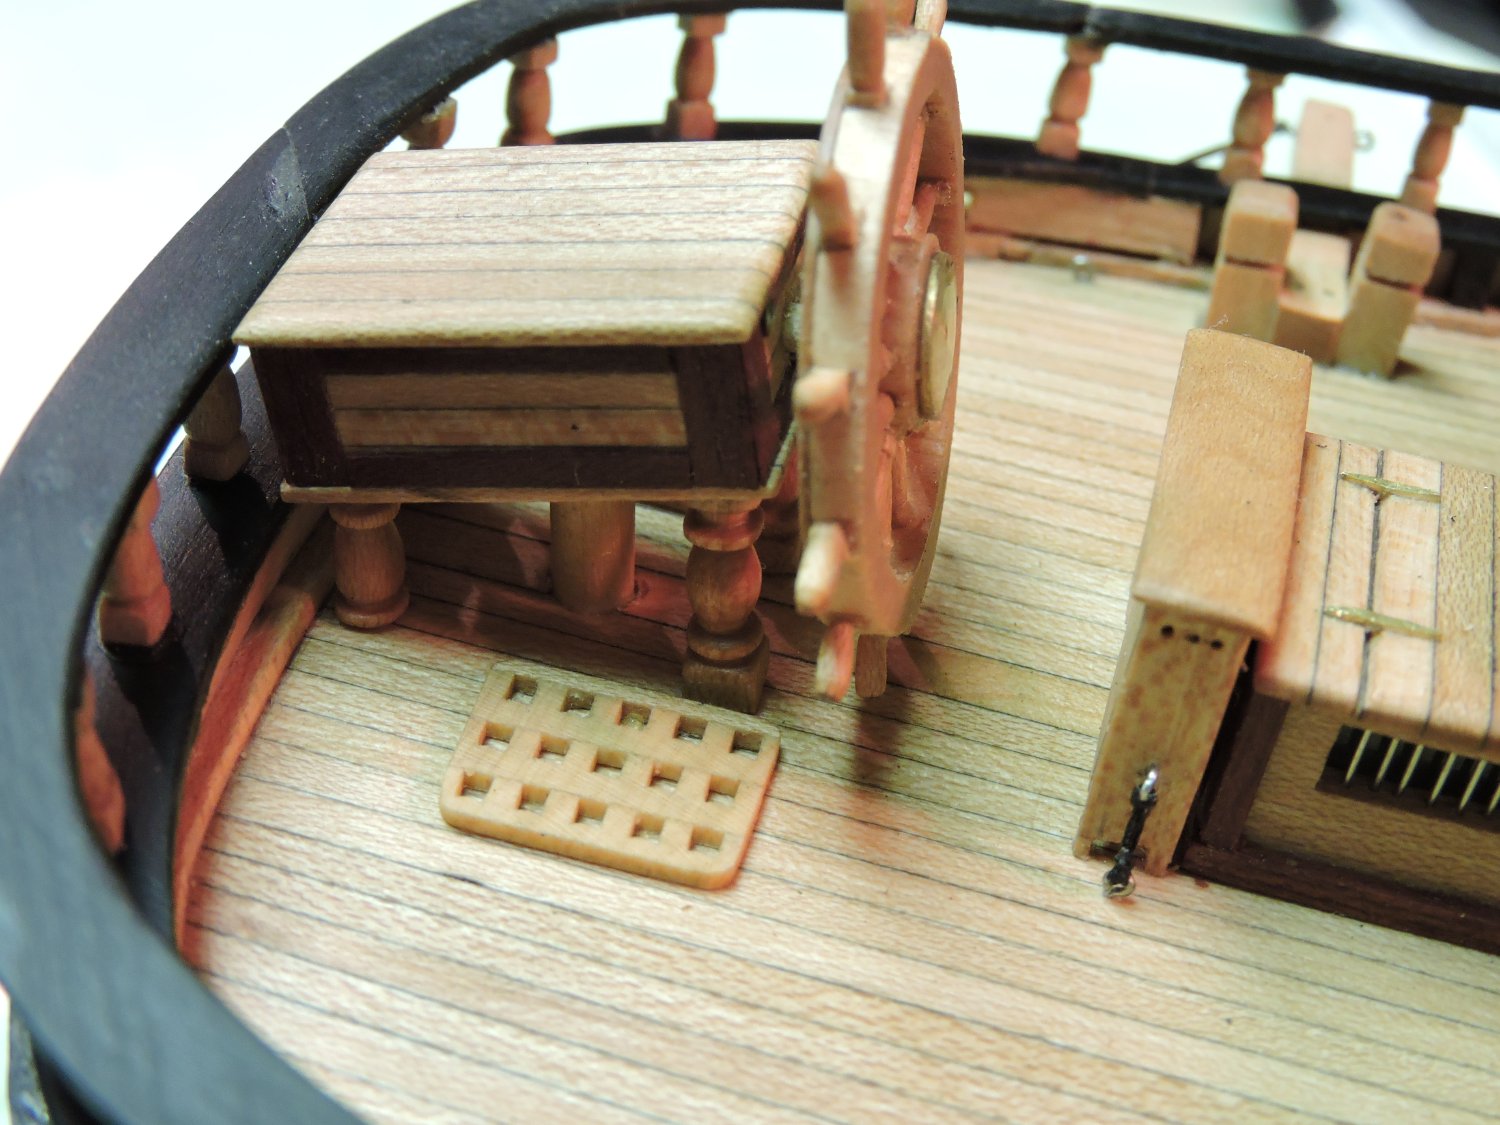
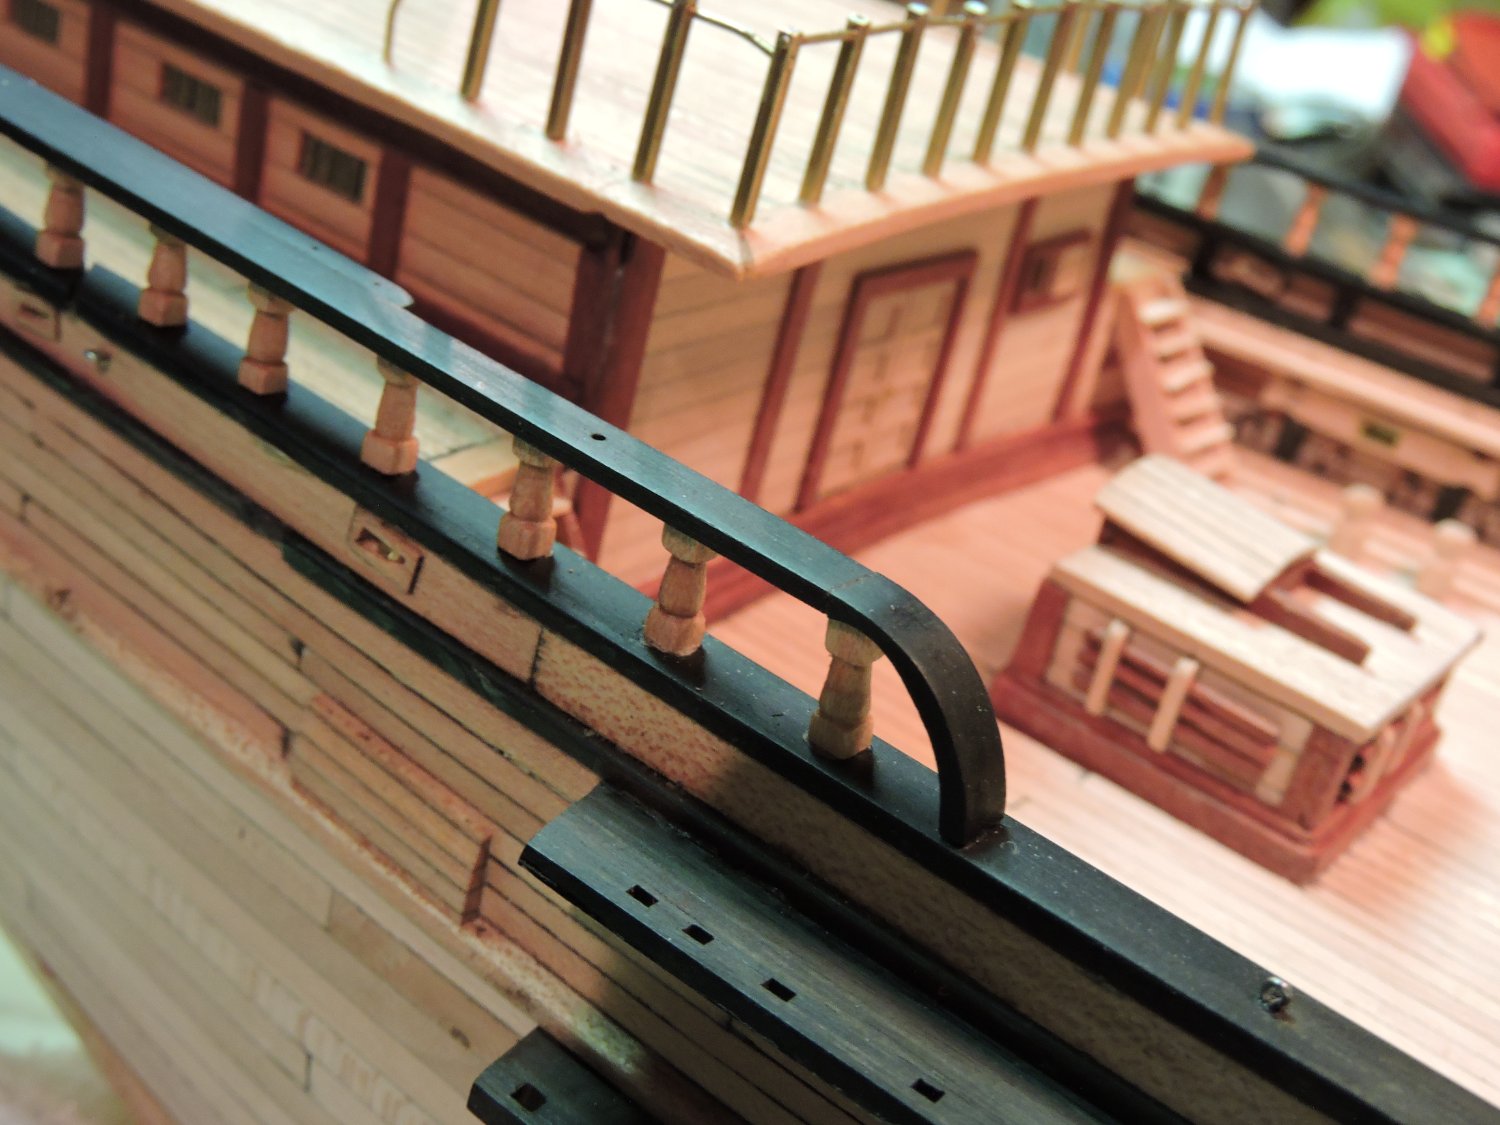
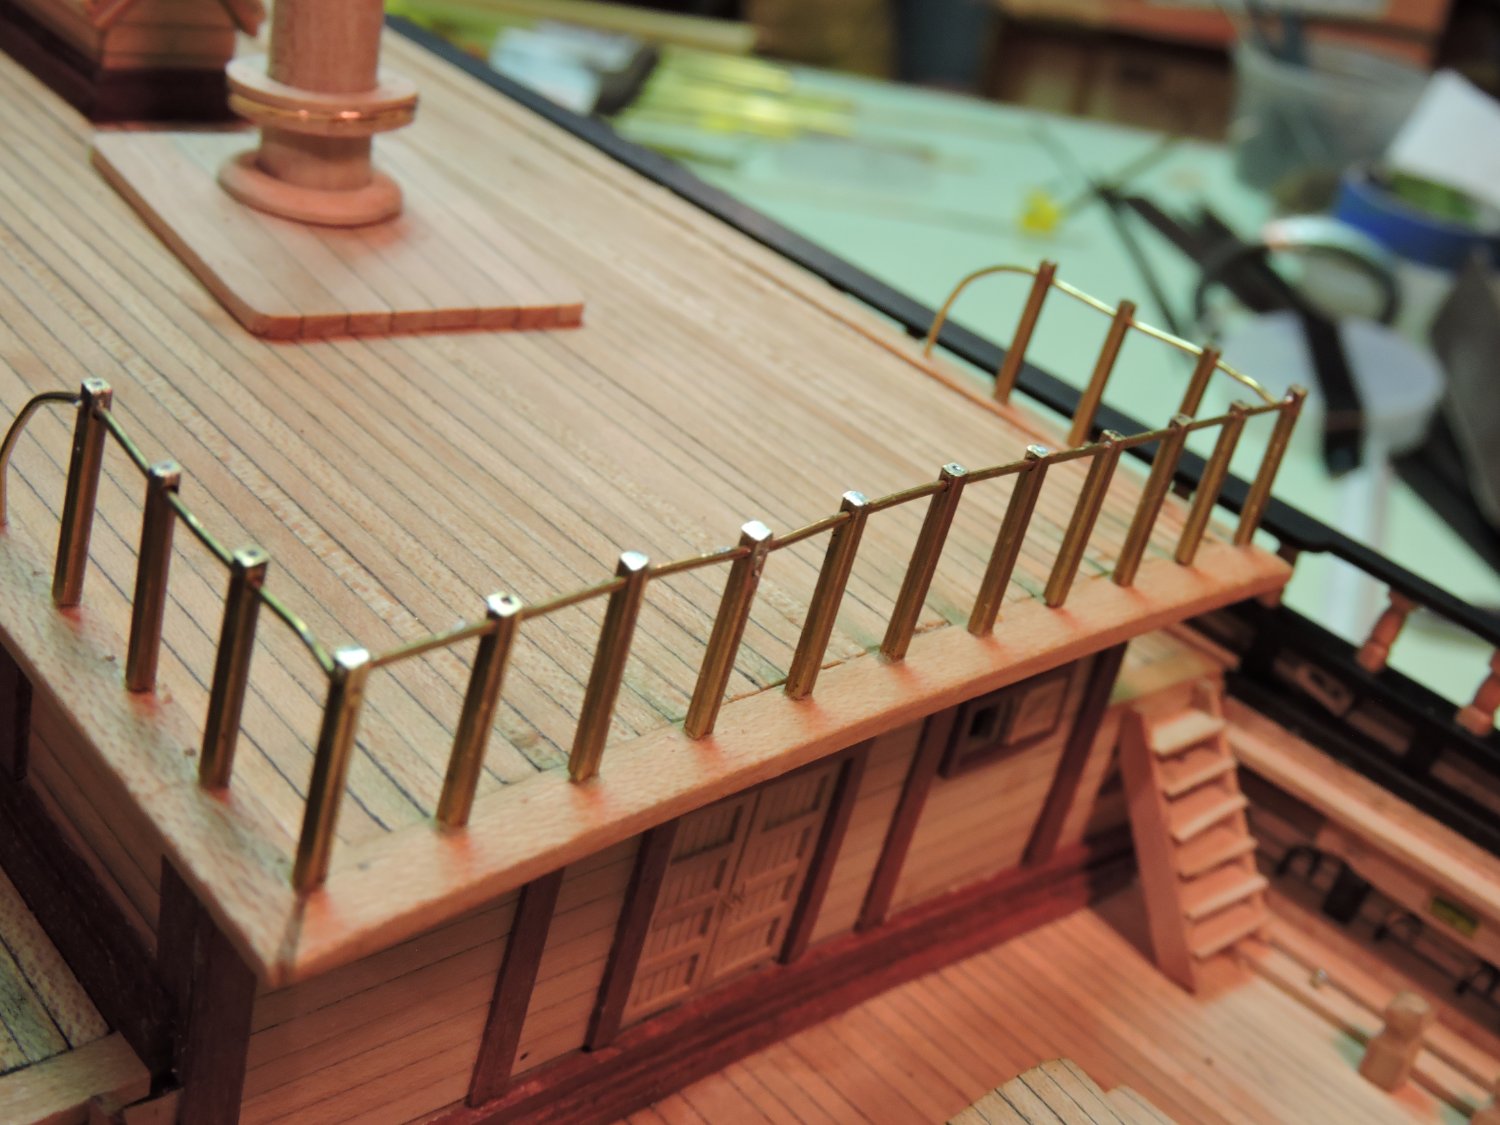
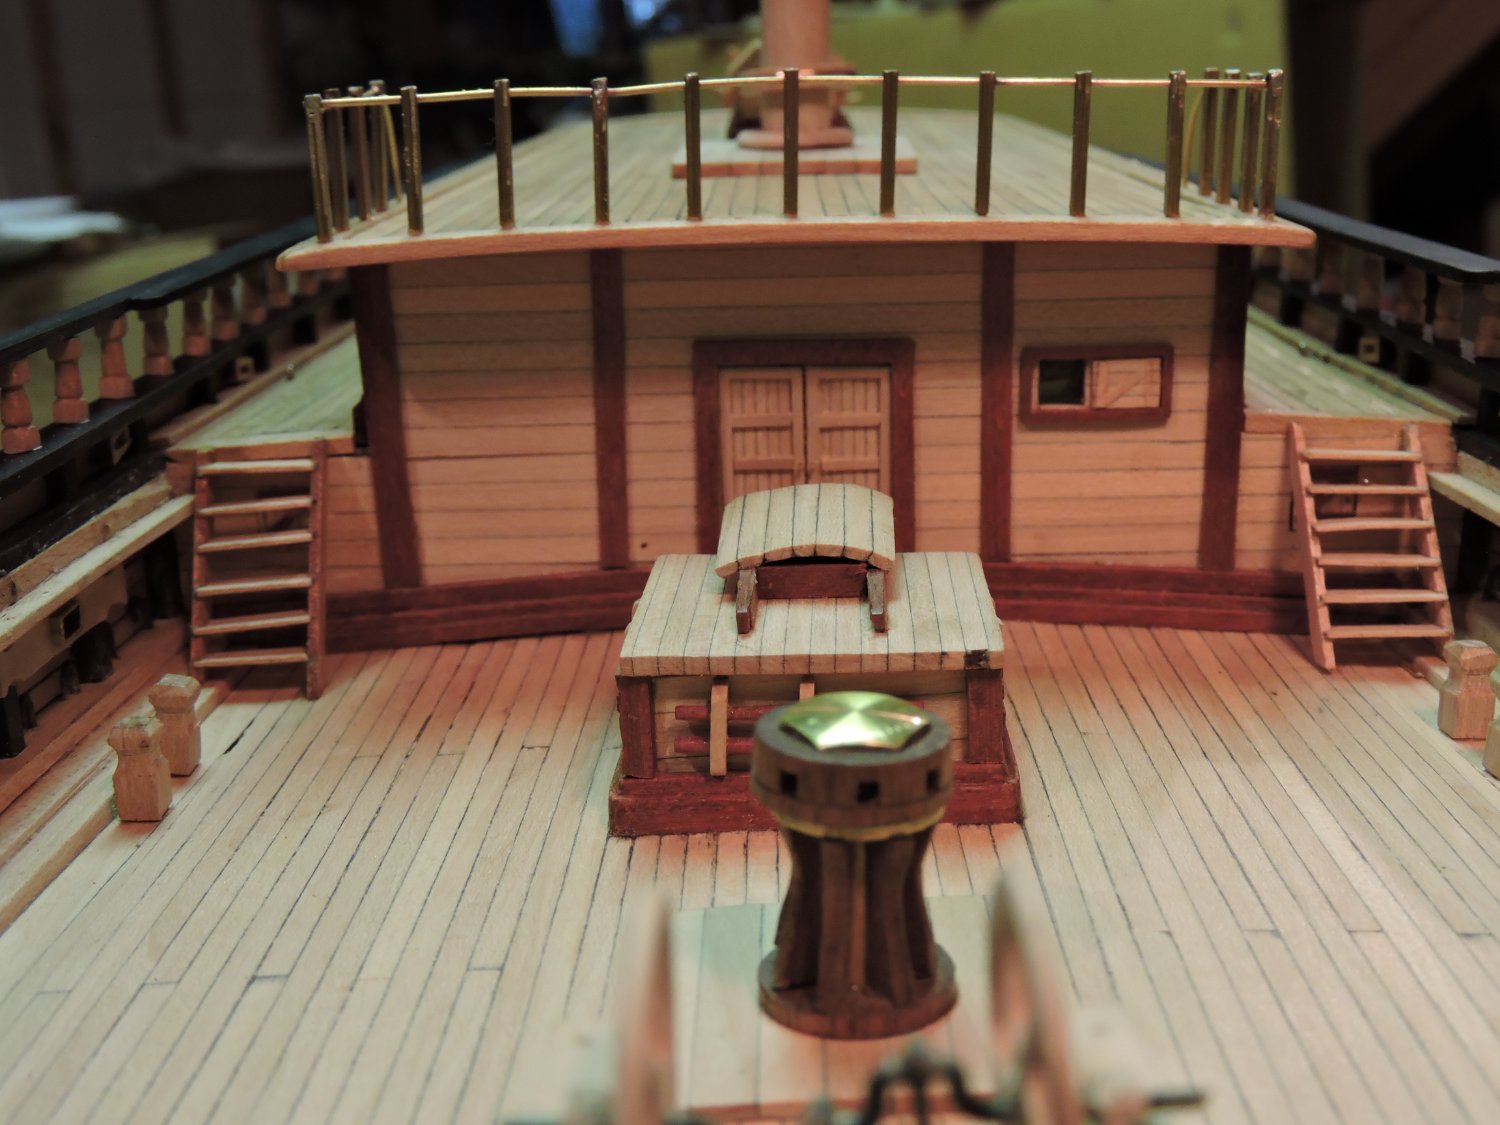
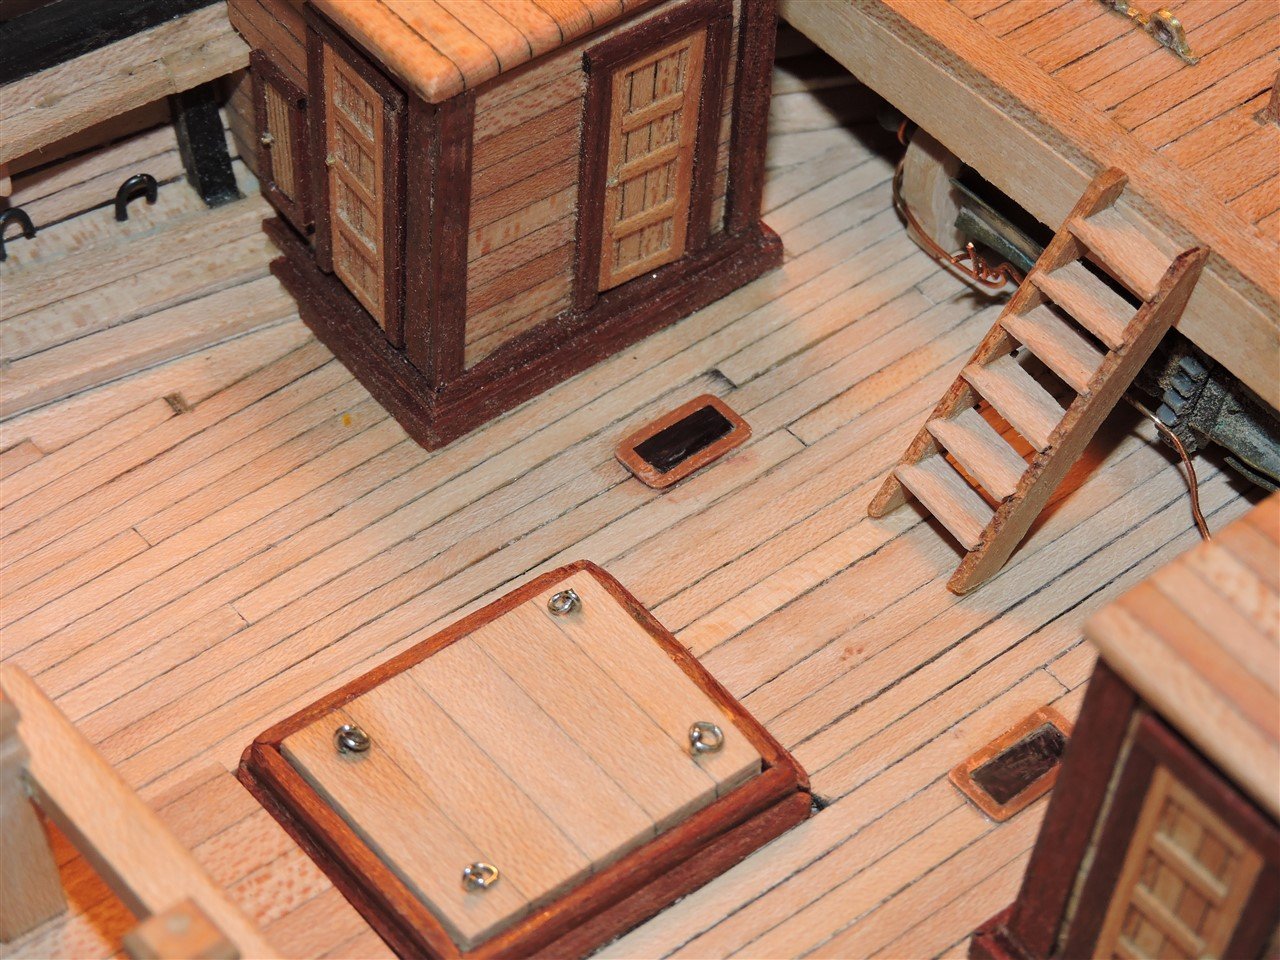
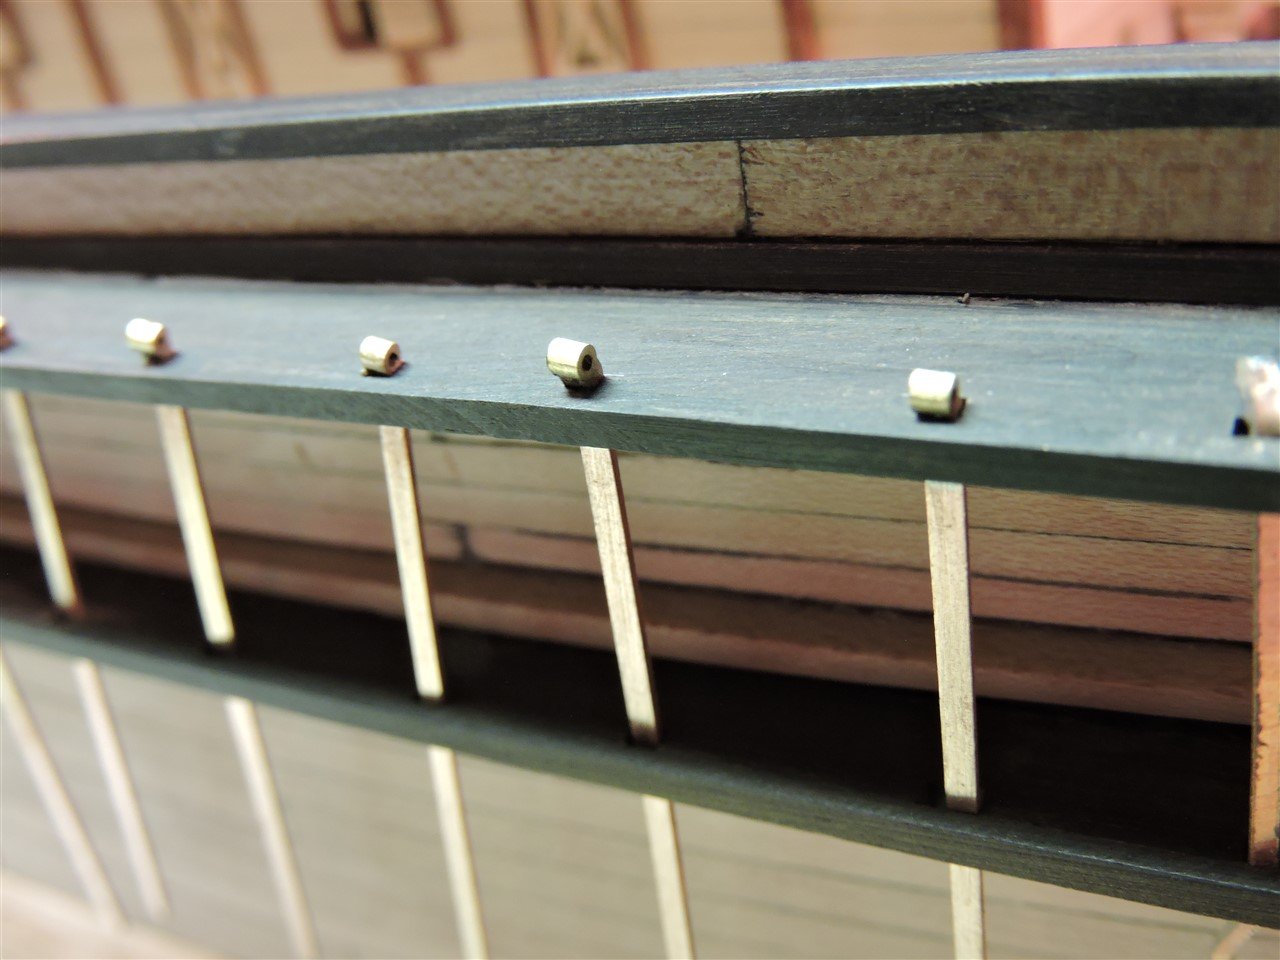
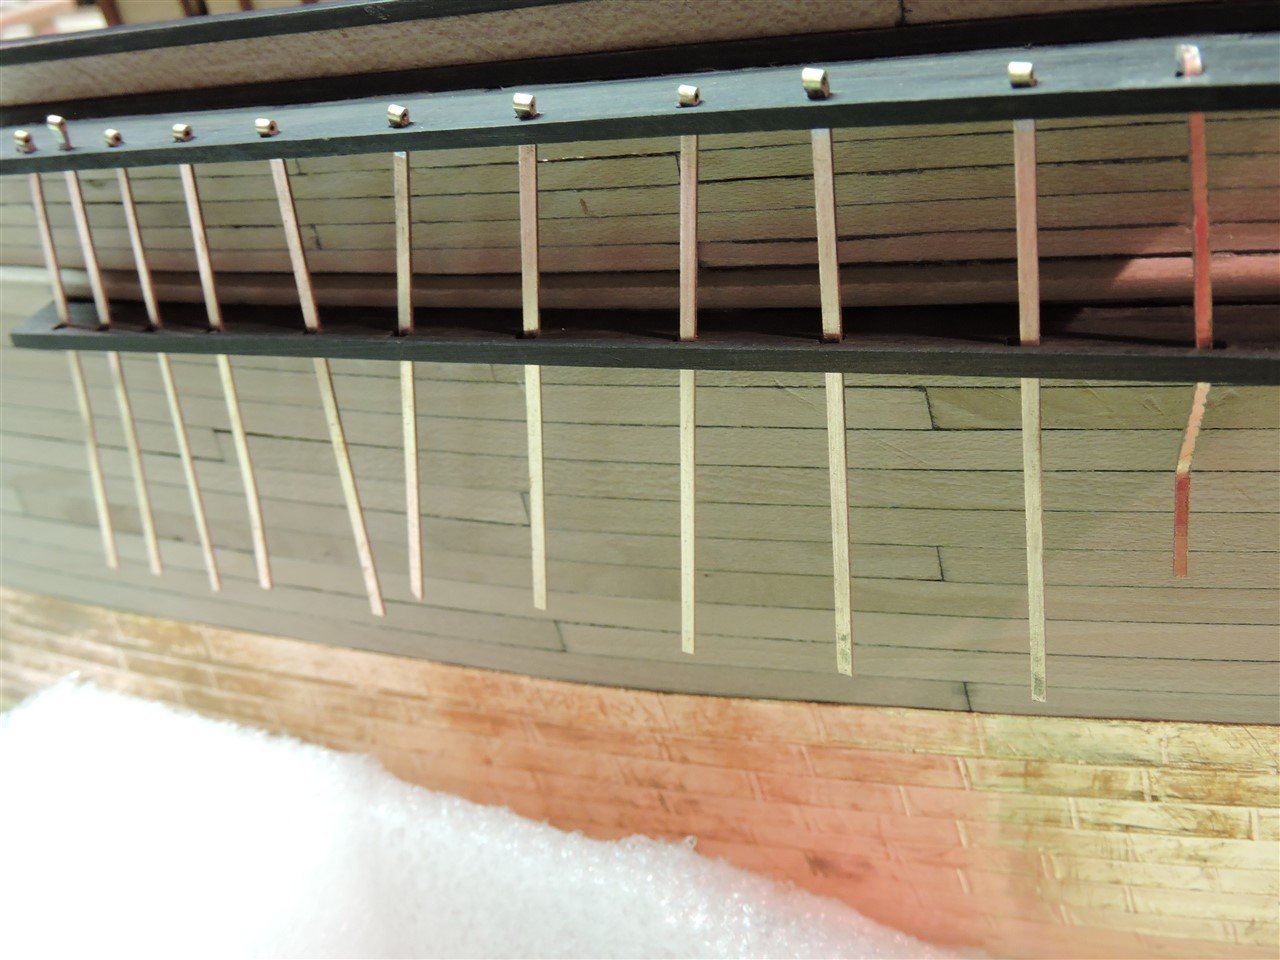
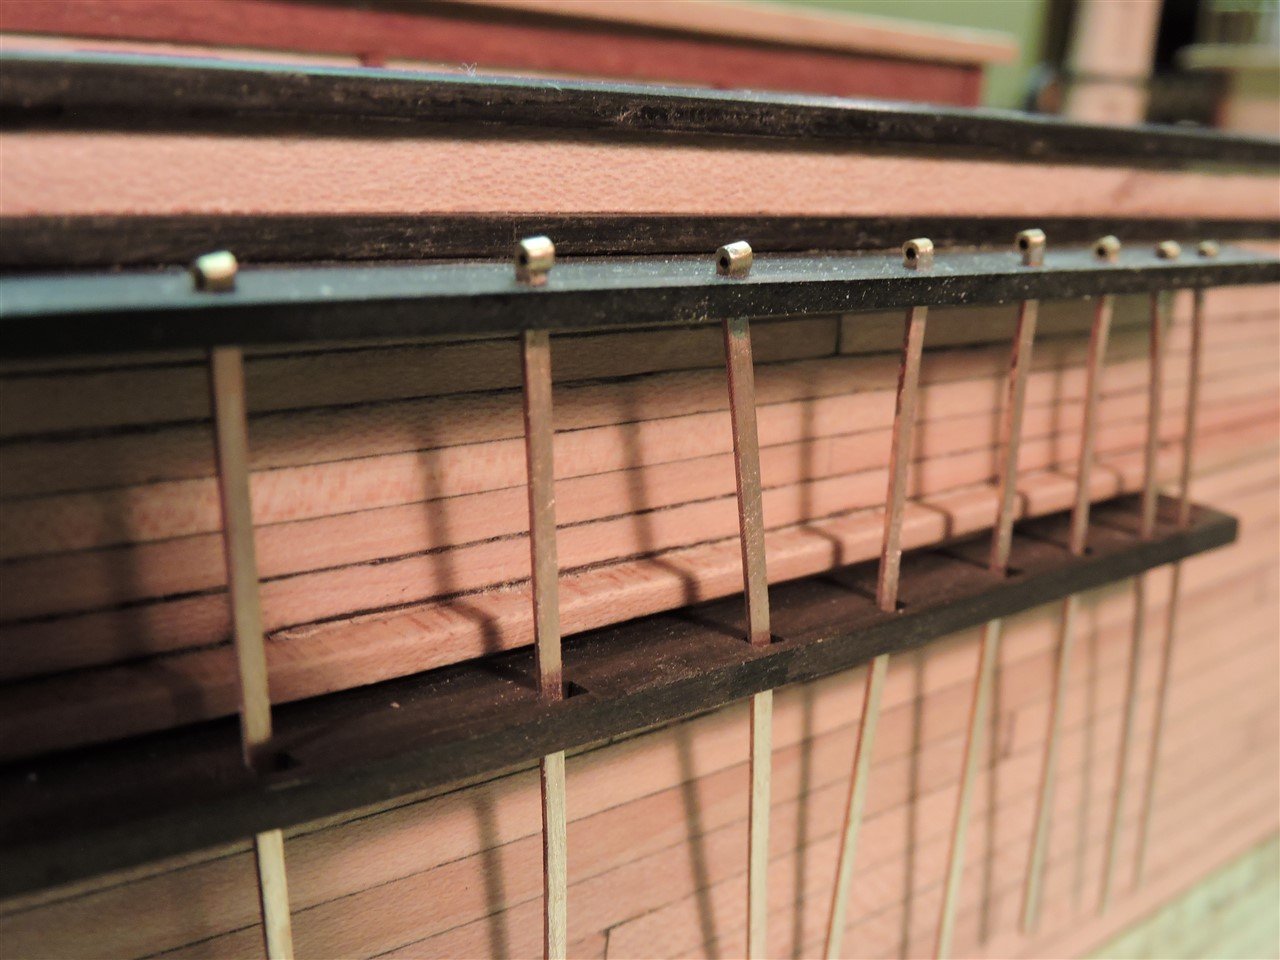
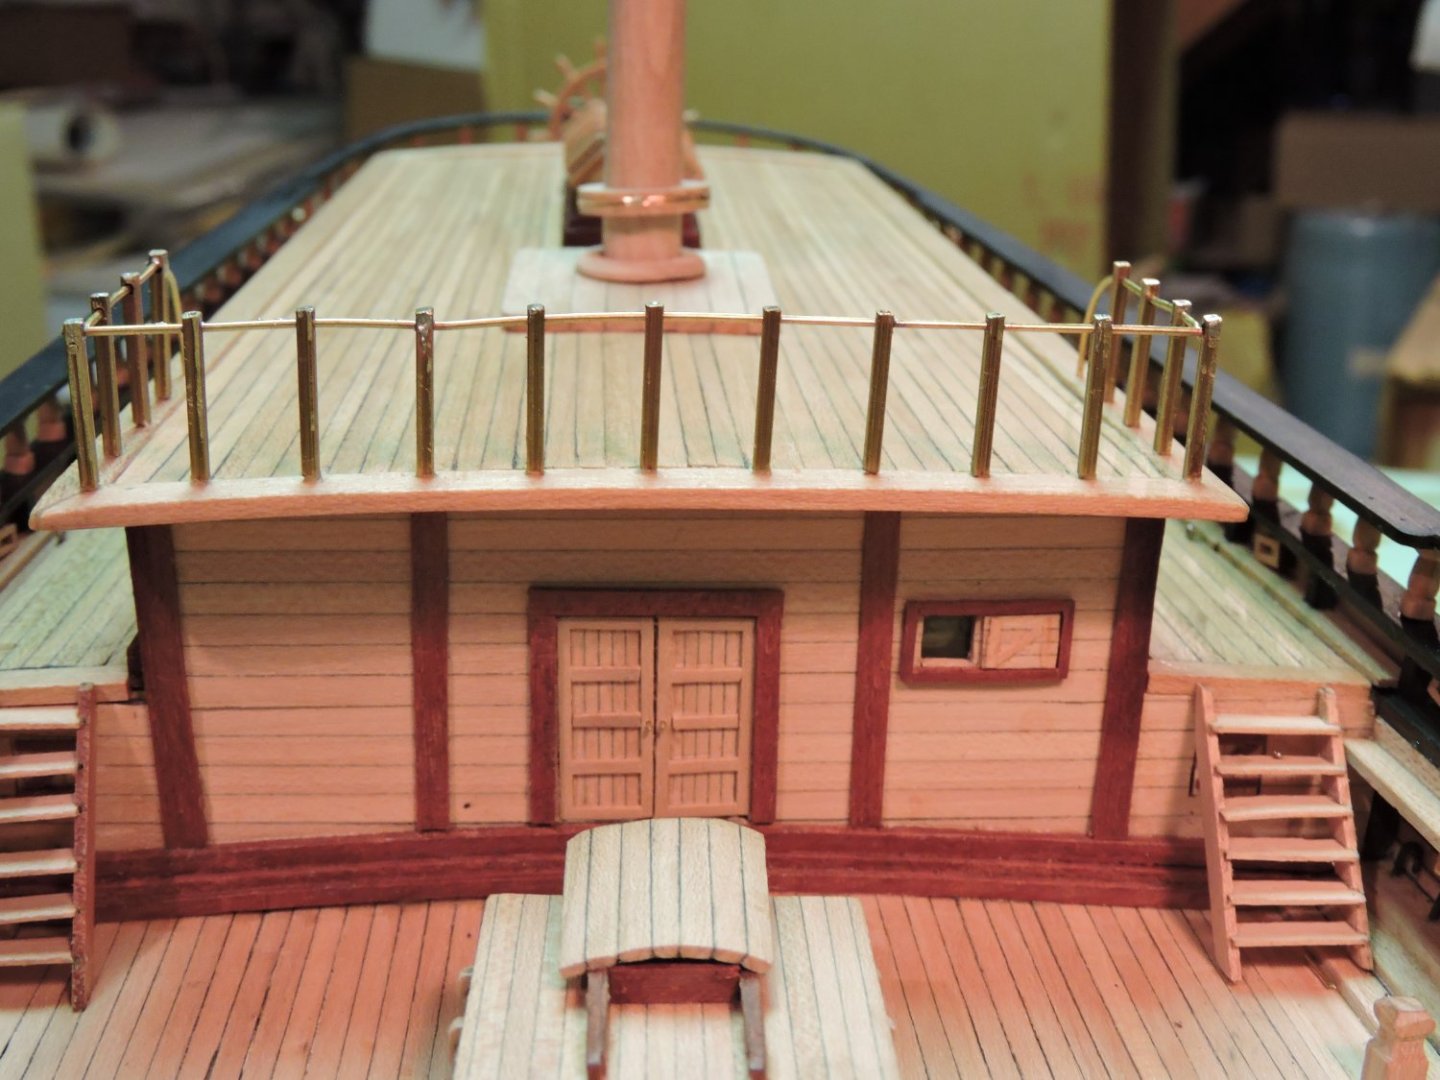
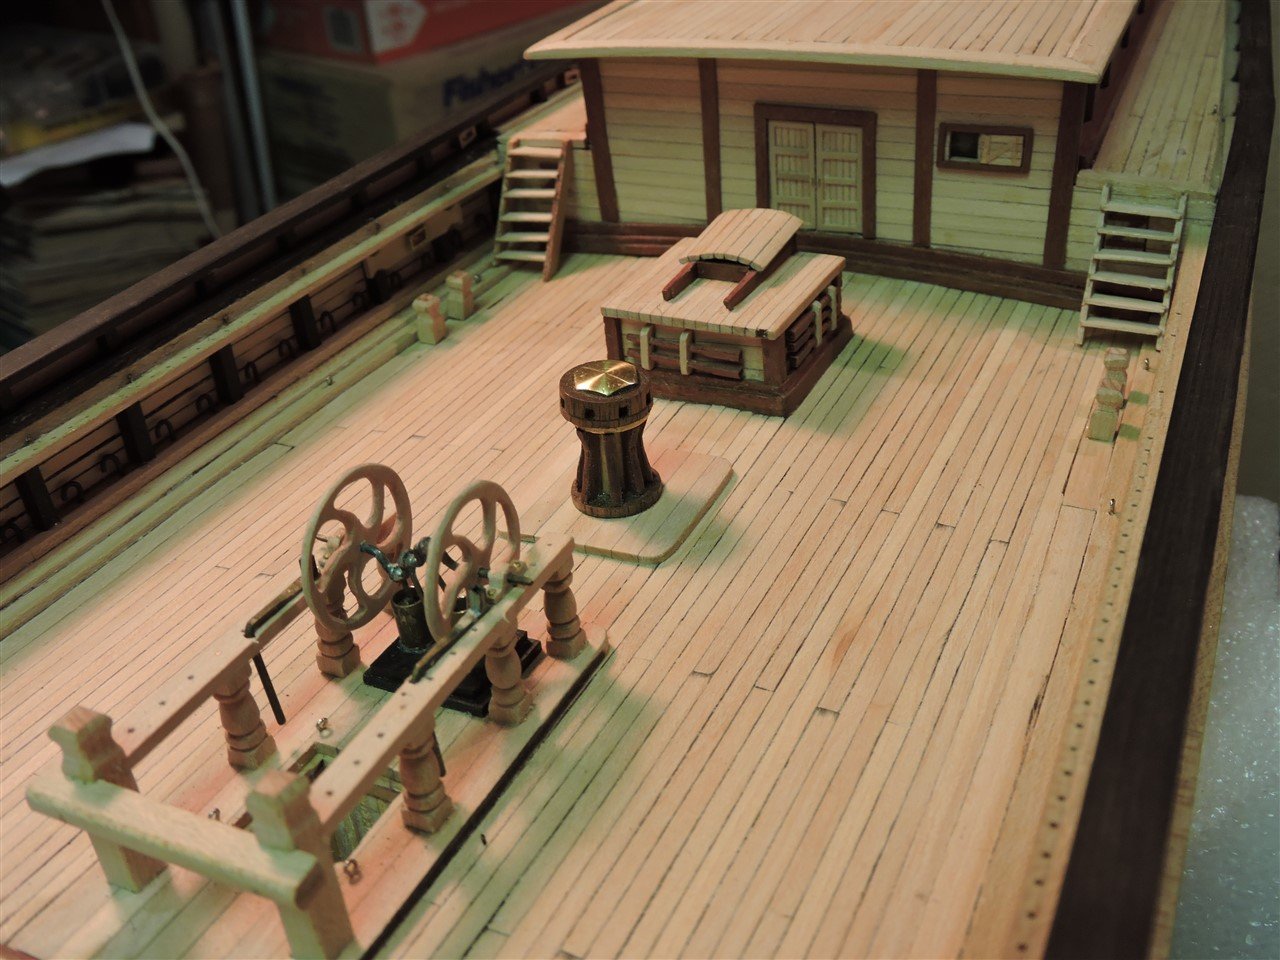
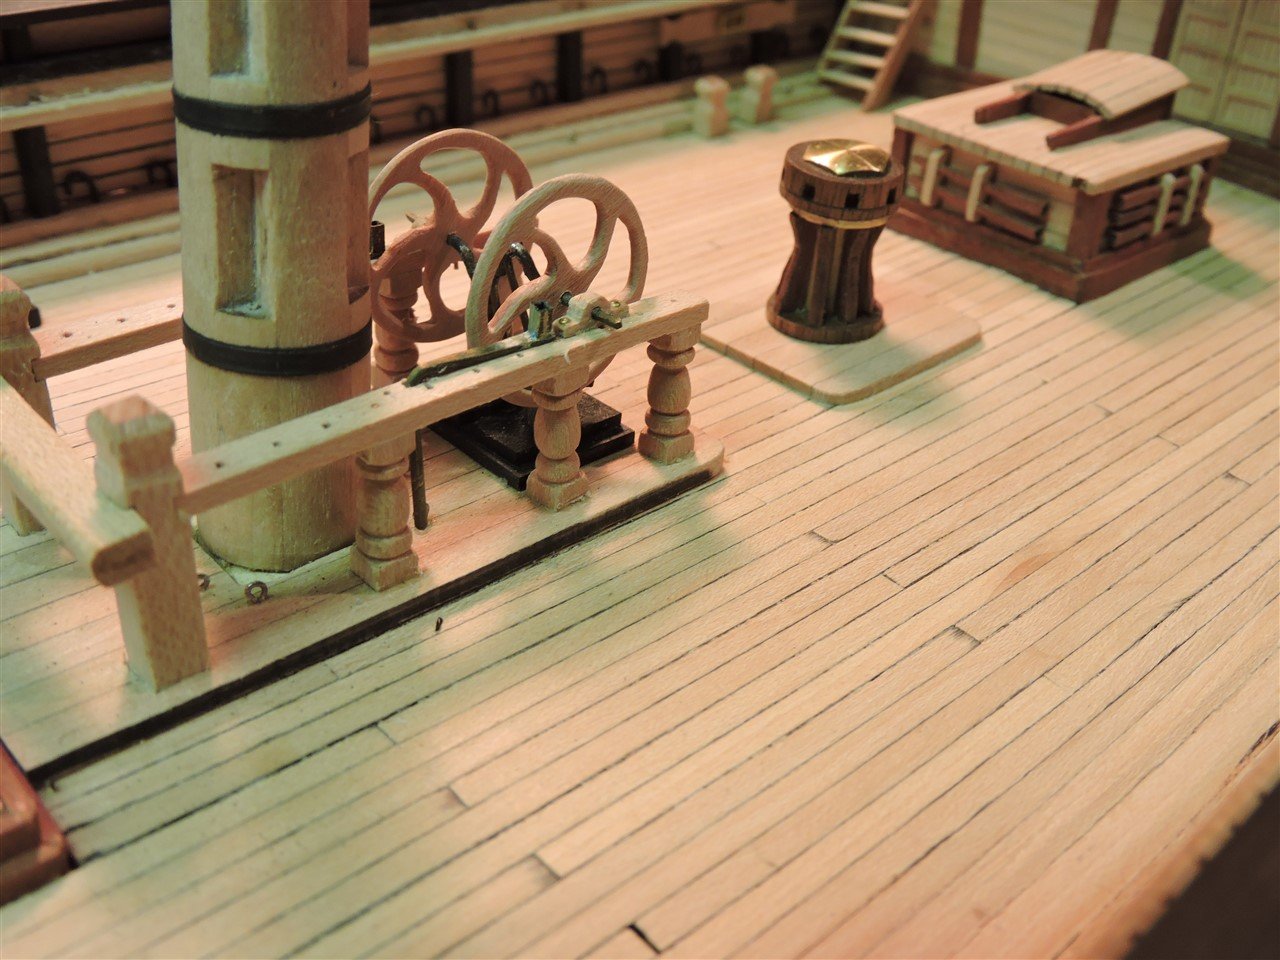
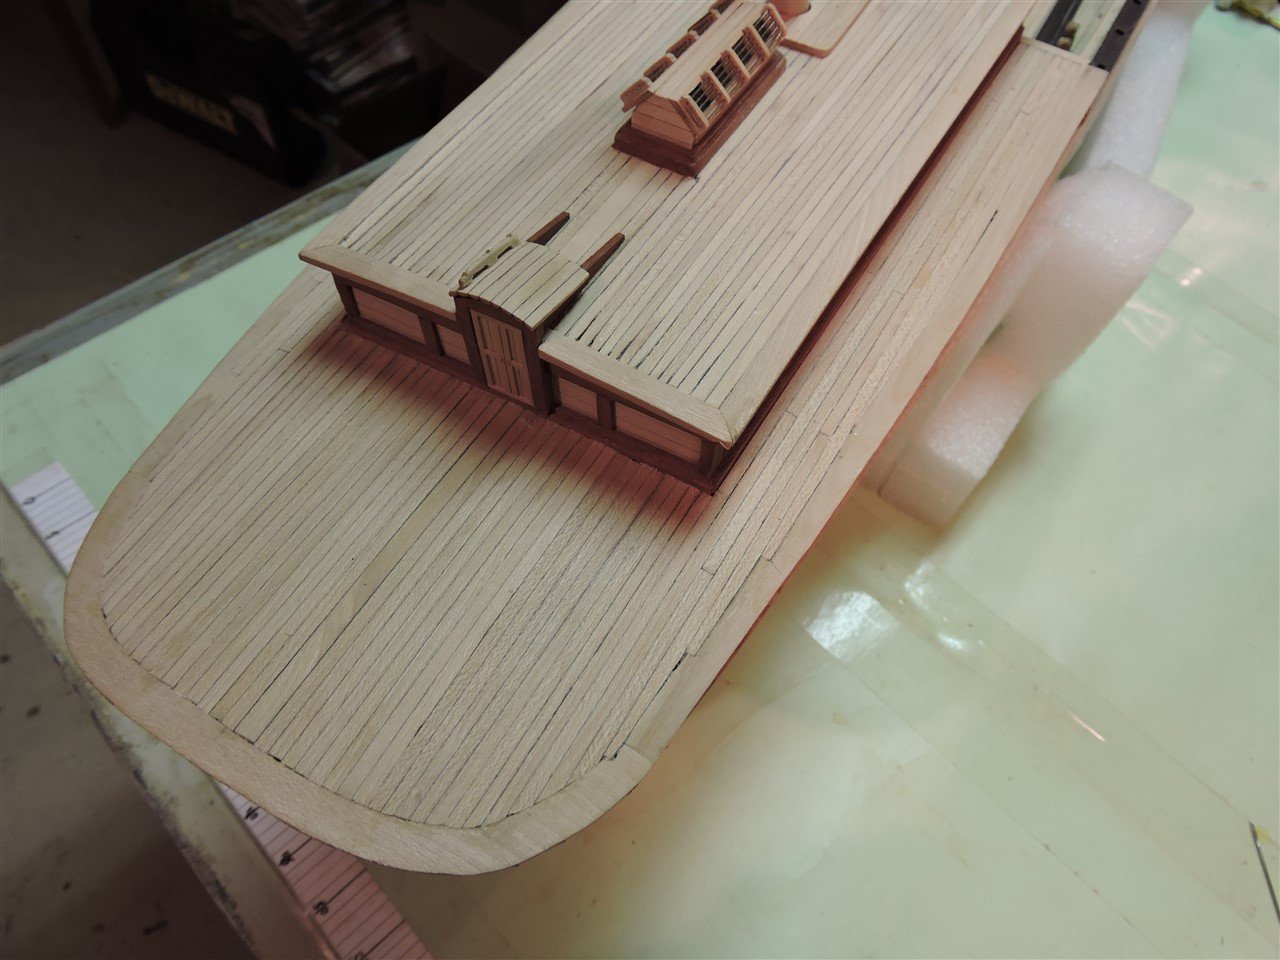
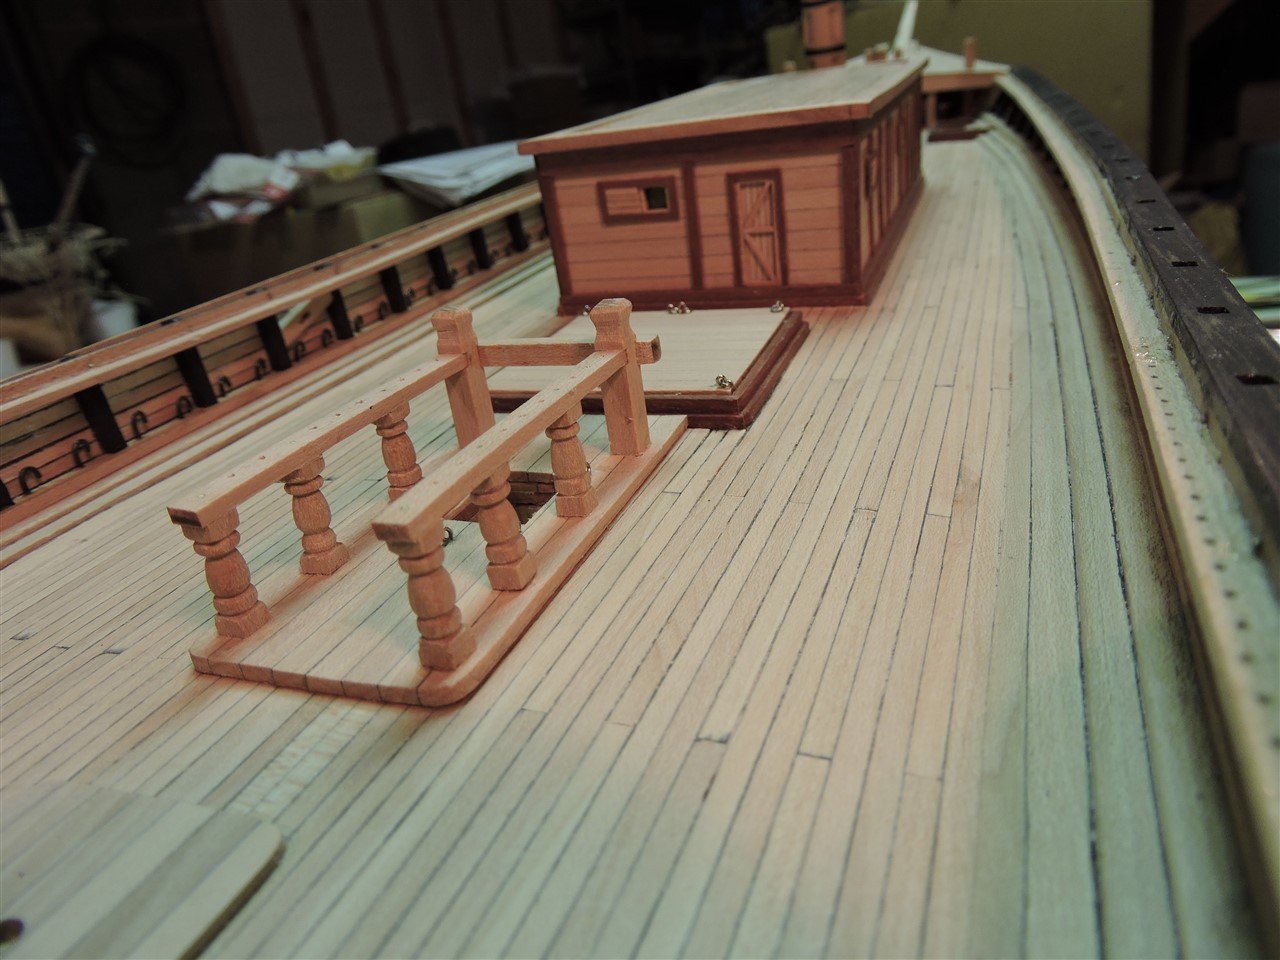
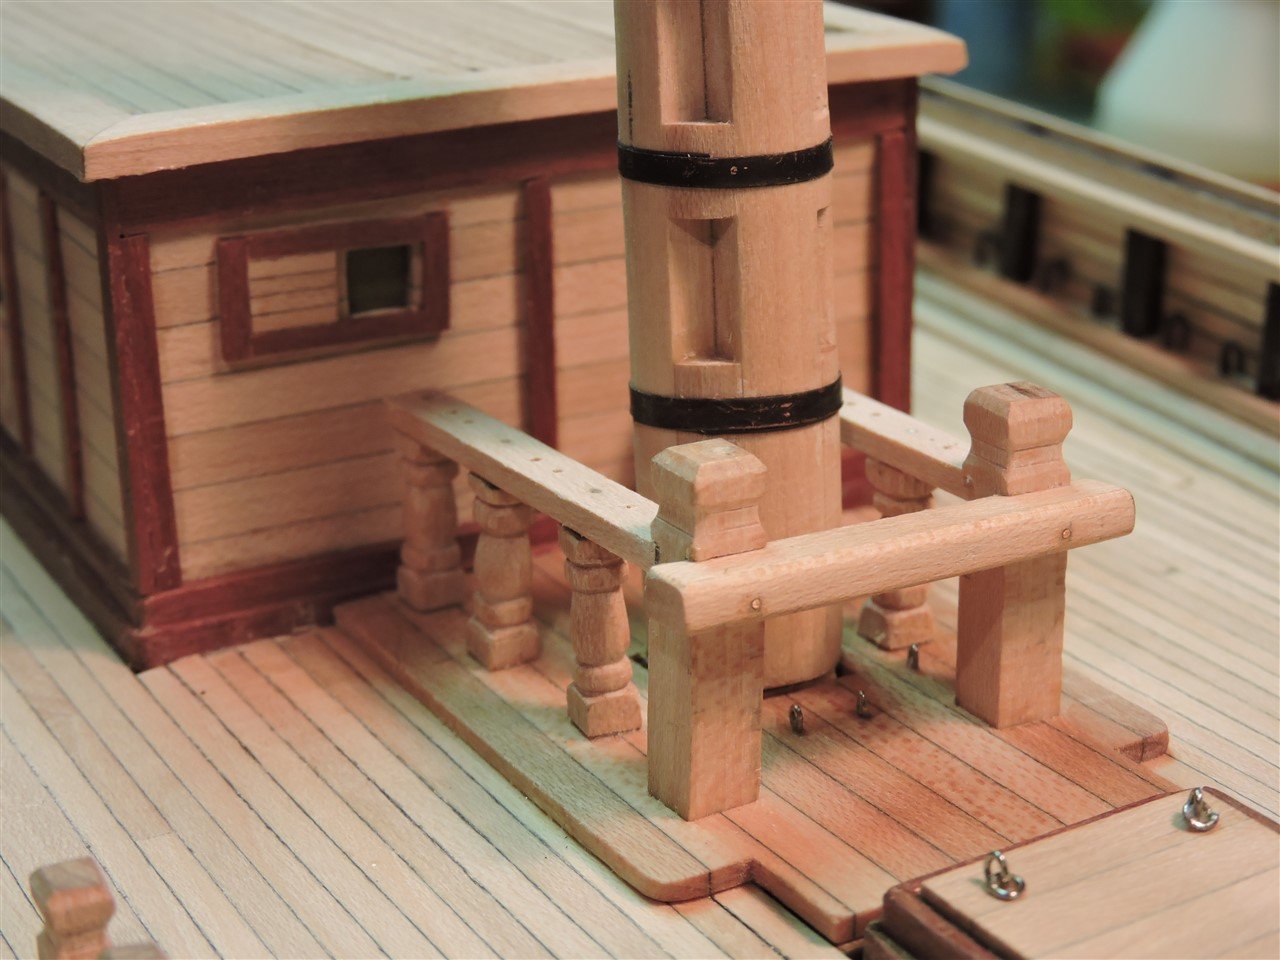
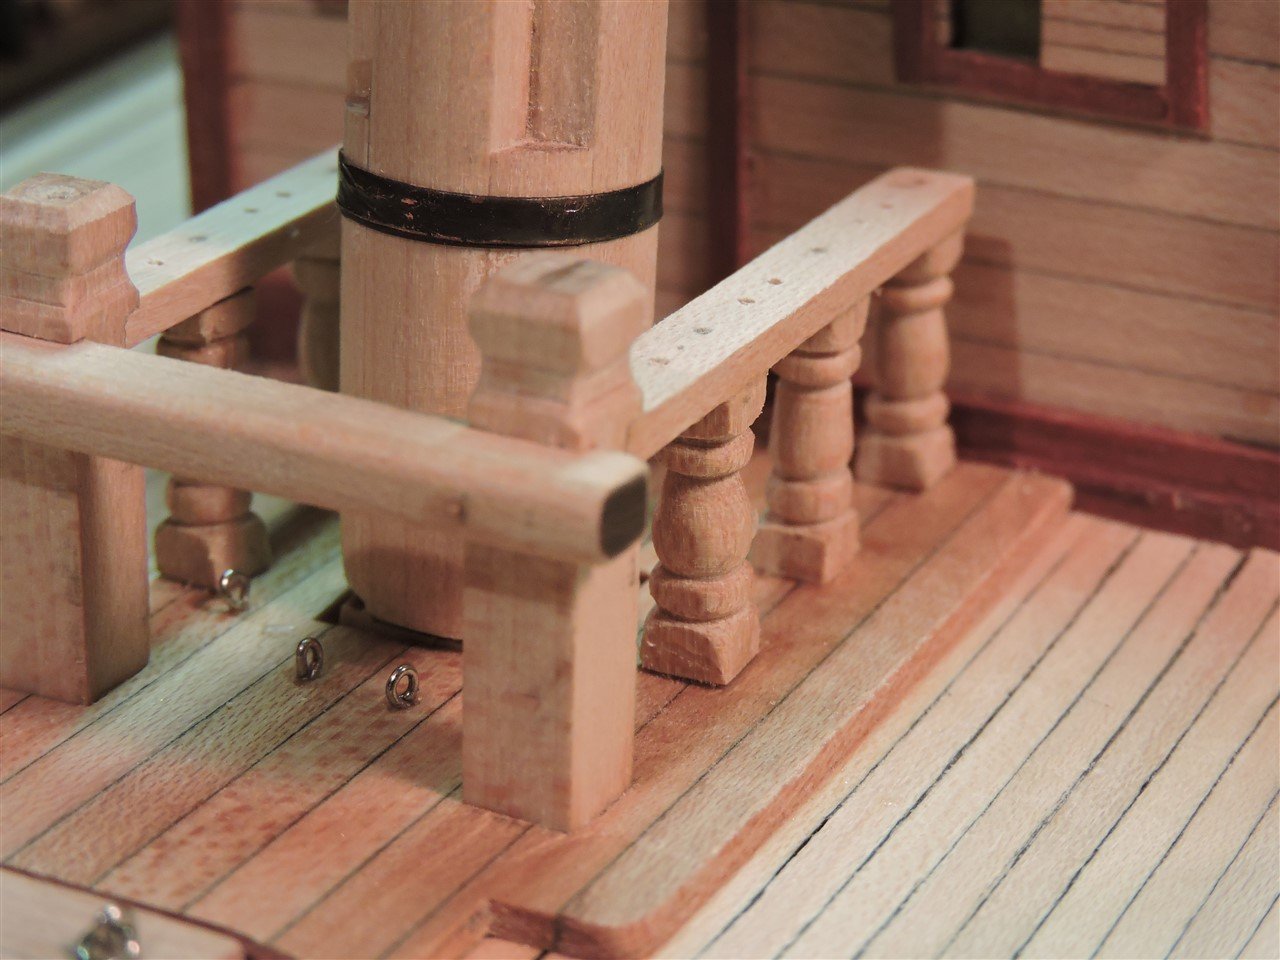
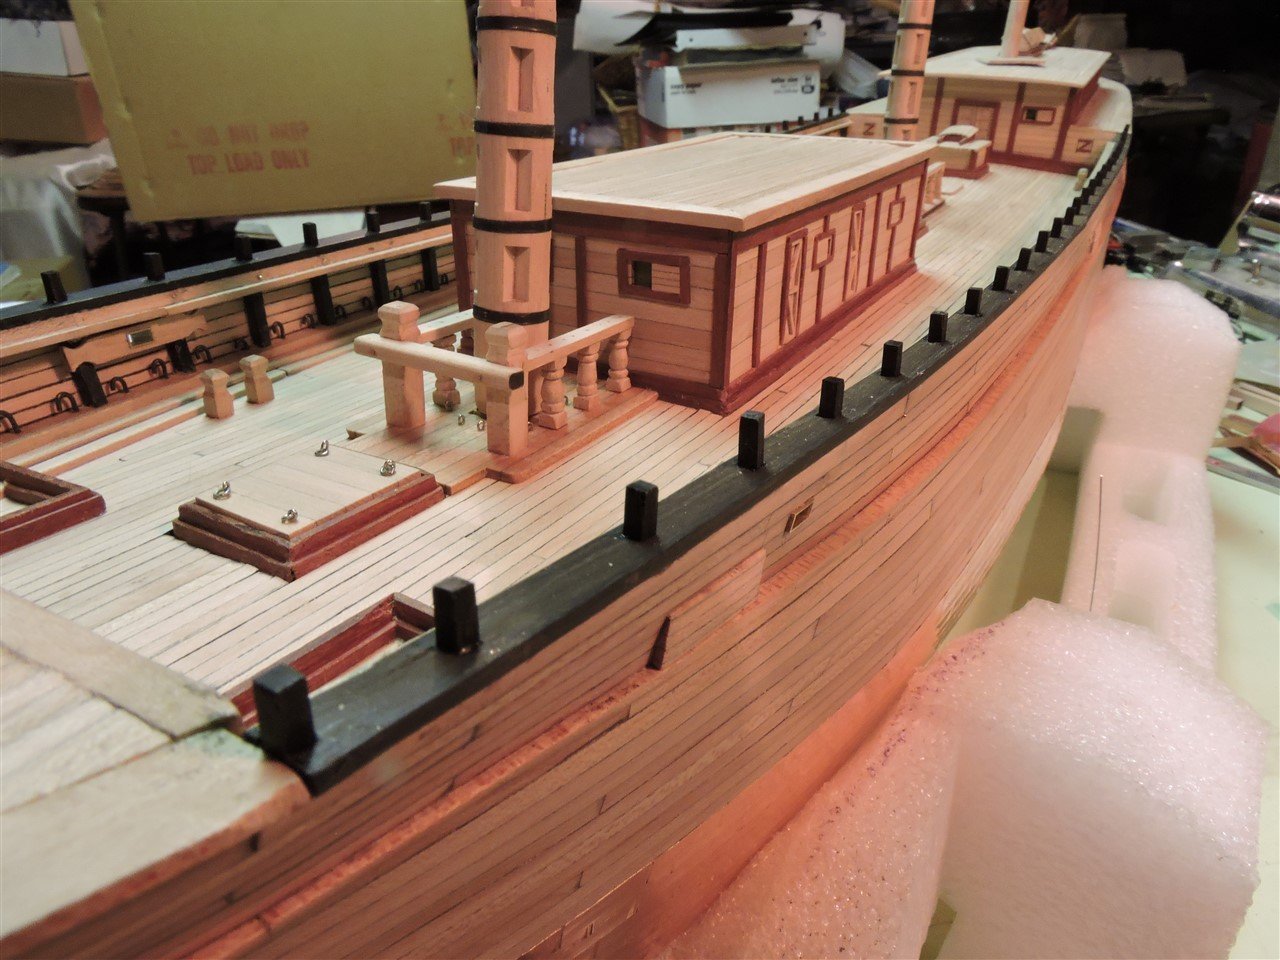
Thanks everyone, I appreciate all of the comments. On my wood lathe I turned 56 small stanchions plus a few extras for the taffrail, and installed them and the railing along with the steering box, binnacle and the storeroom hatch. On the aft cabin the iron railing was installed, well brass in this case. I did not like the way the plans show the aft pin rails in the actual taffrail. I added the pin rails to the sides of the taffrail. .


-
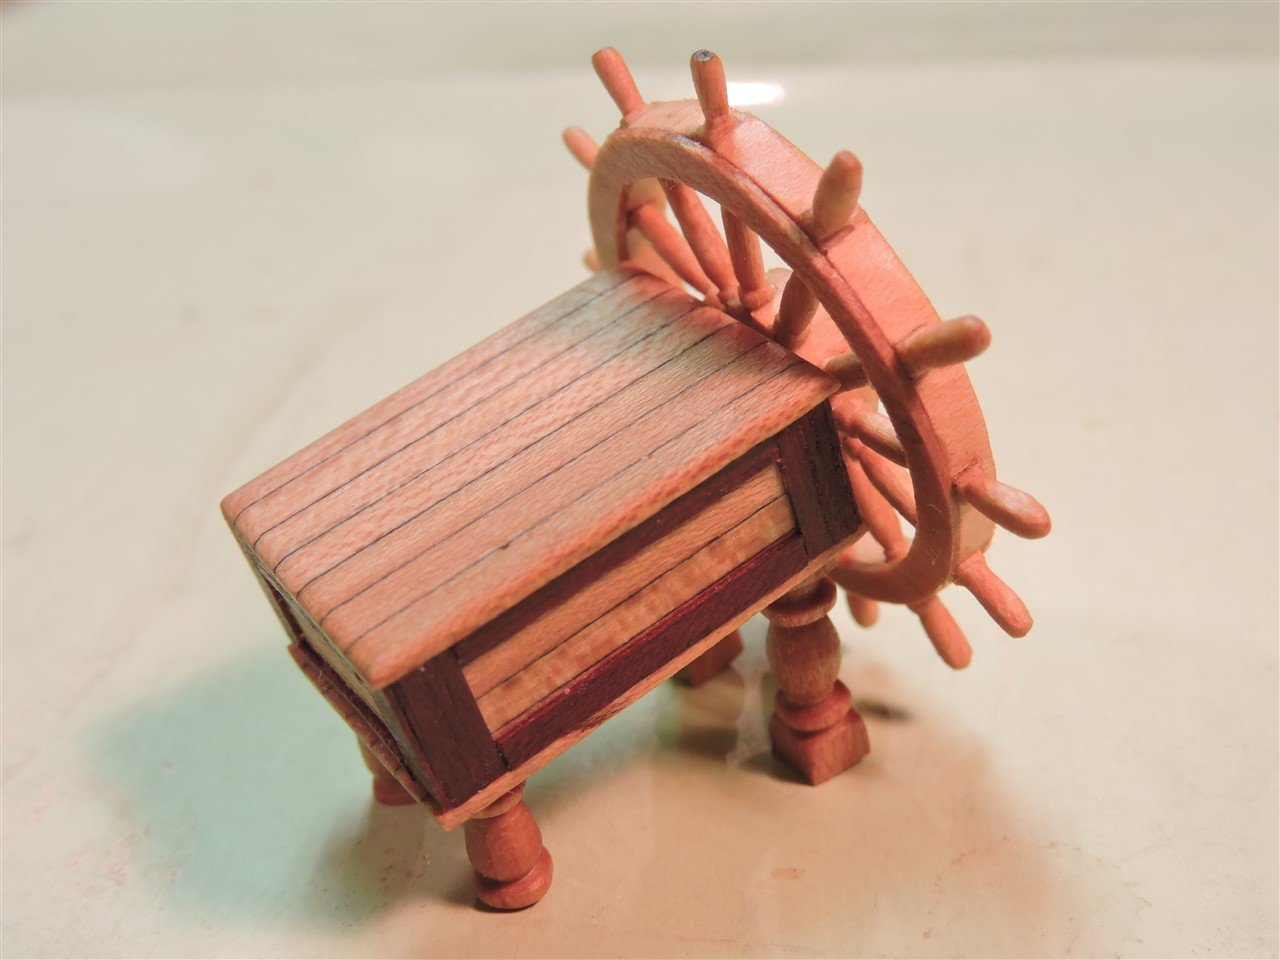
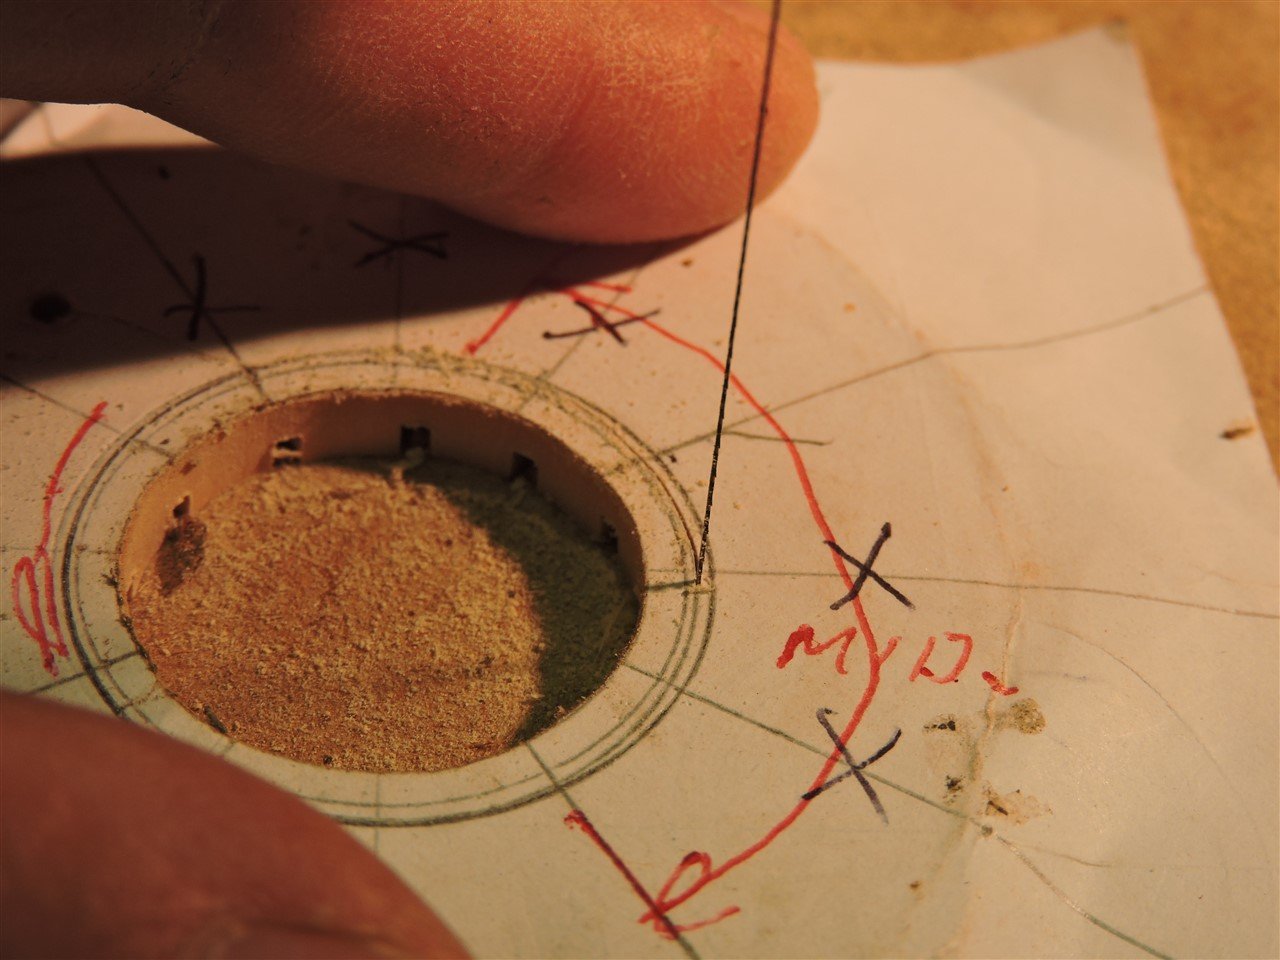
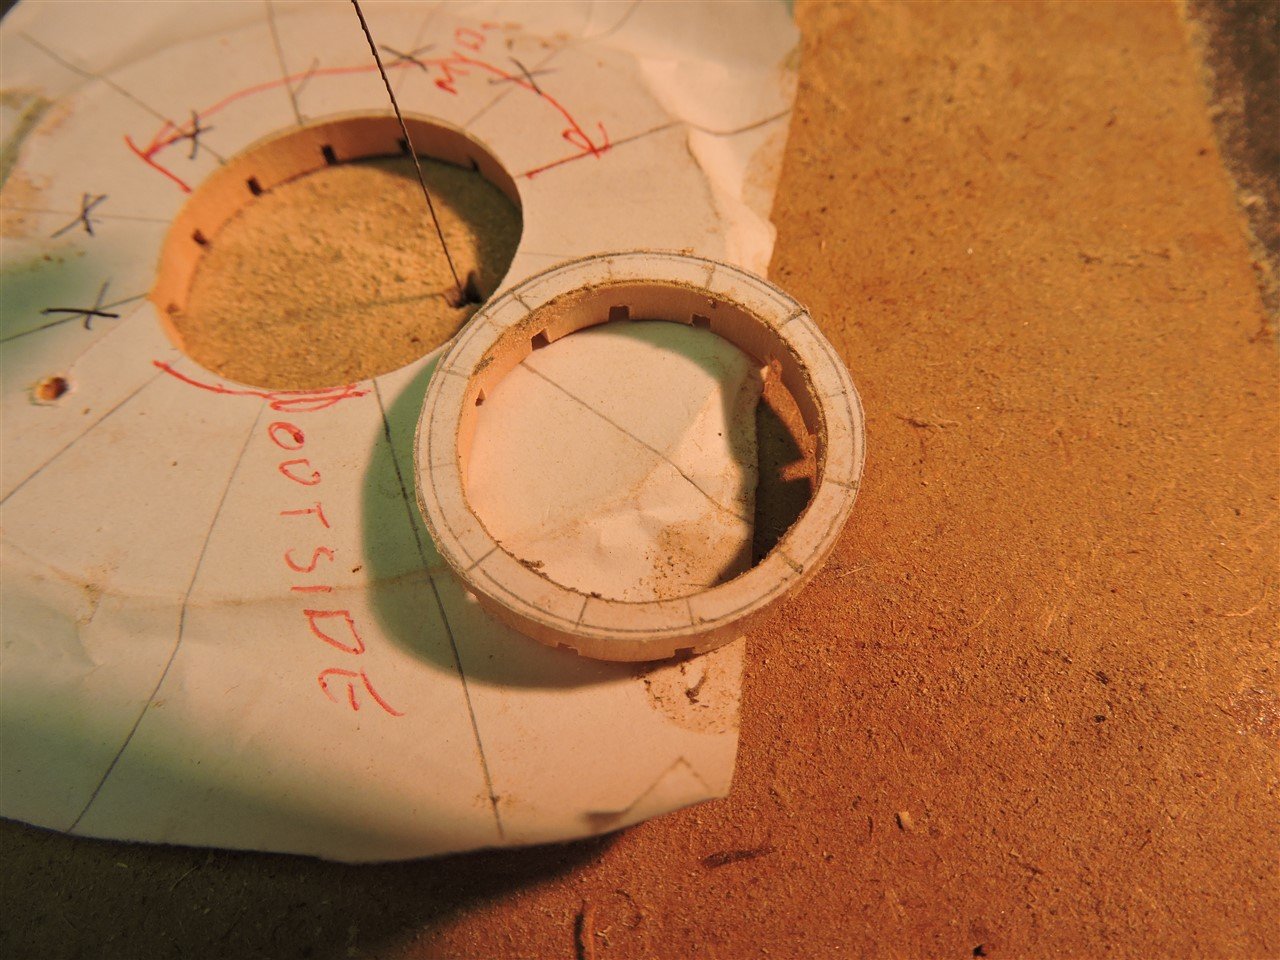
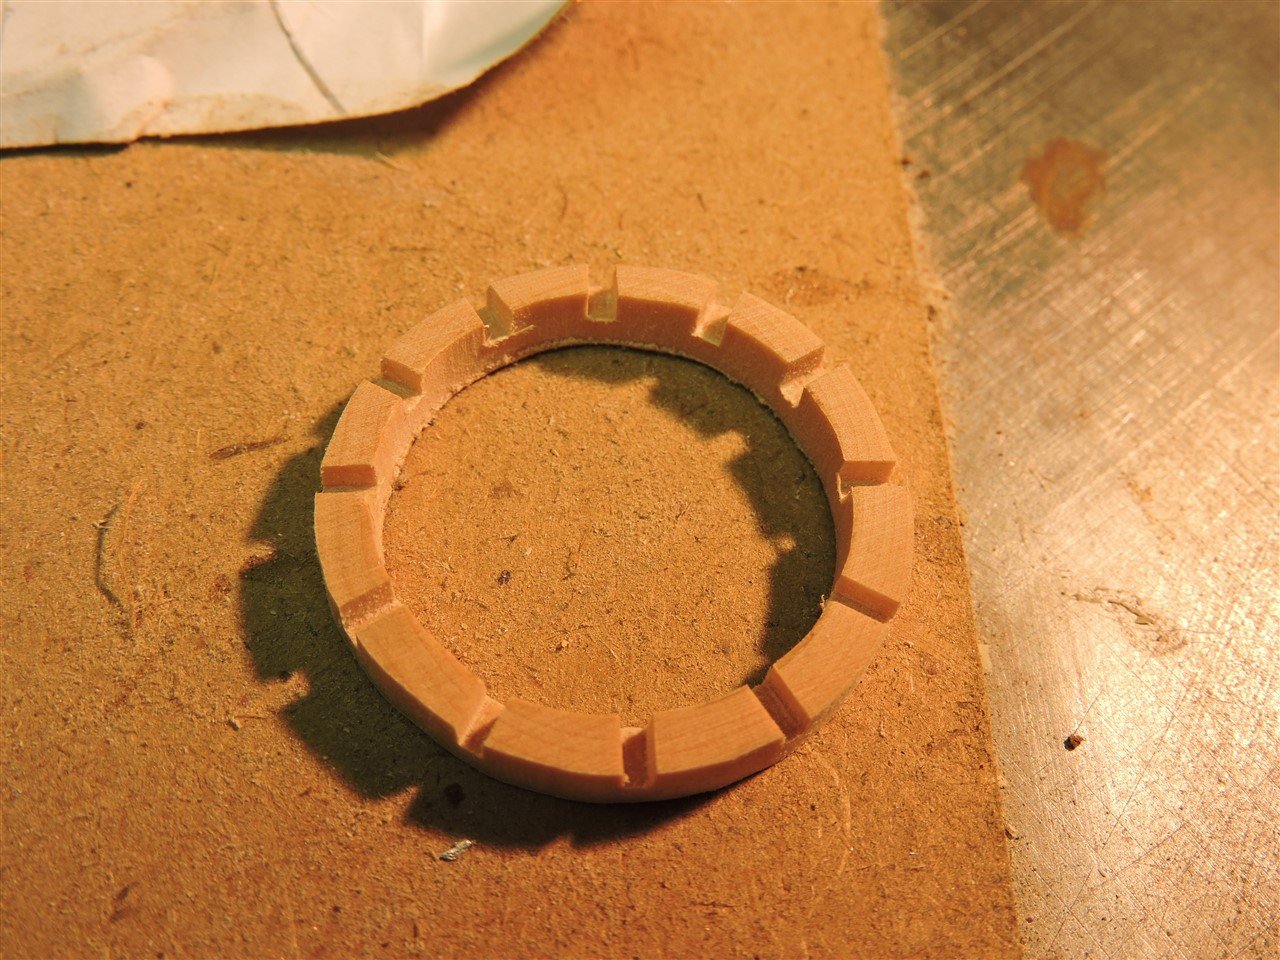
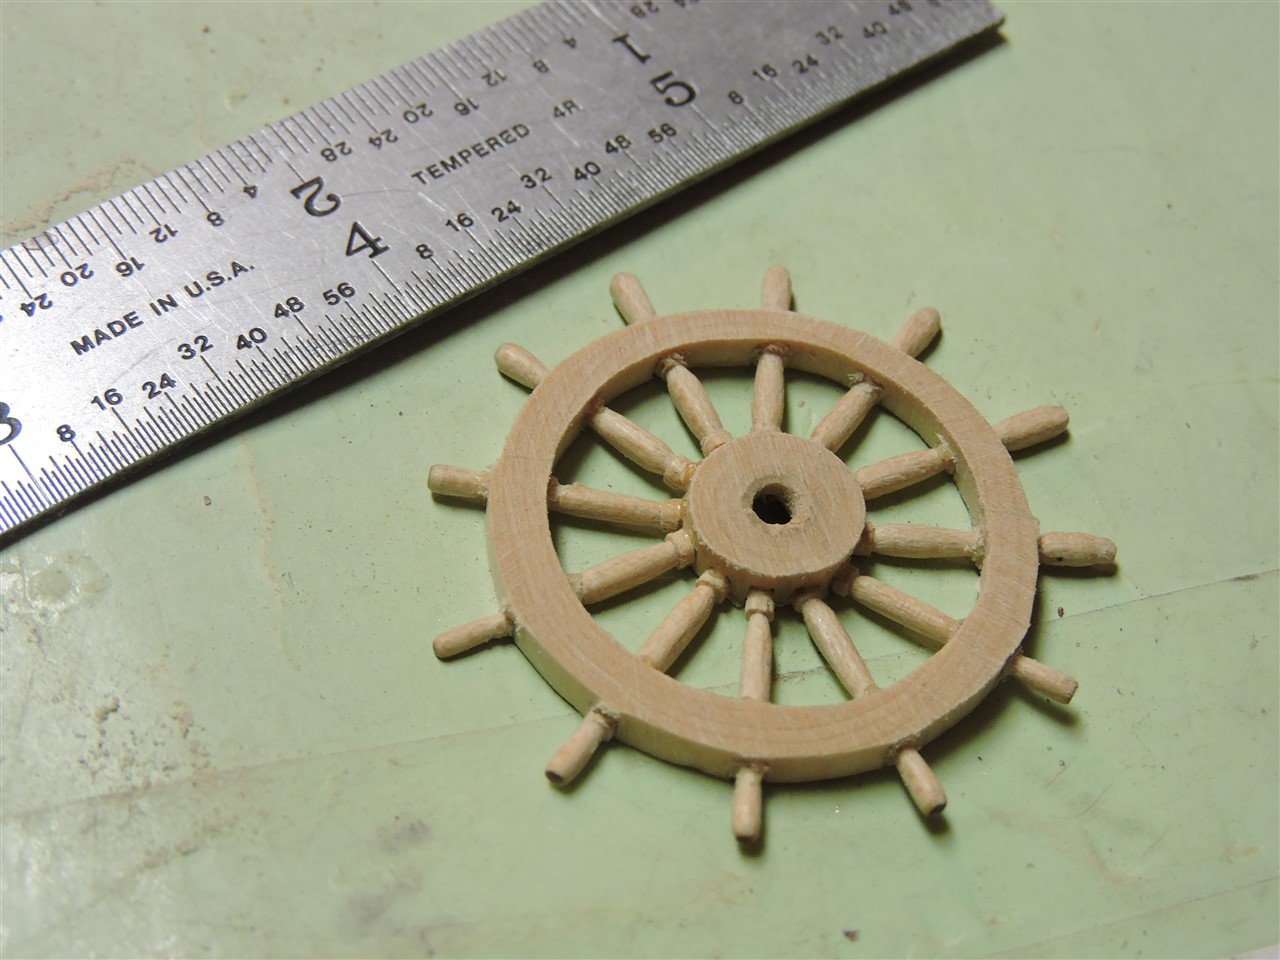
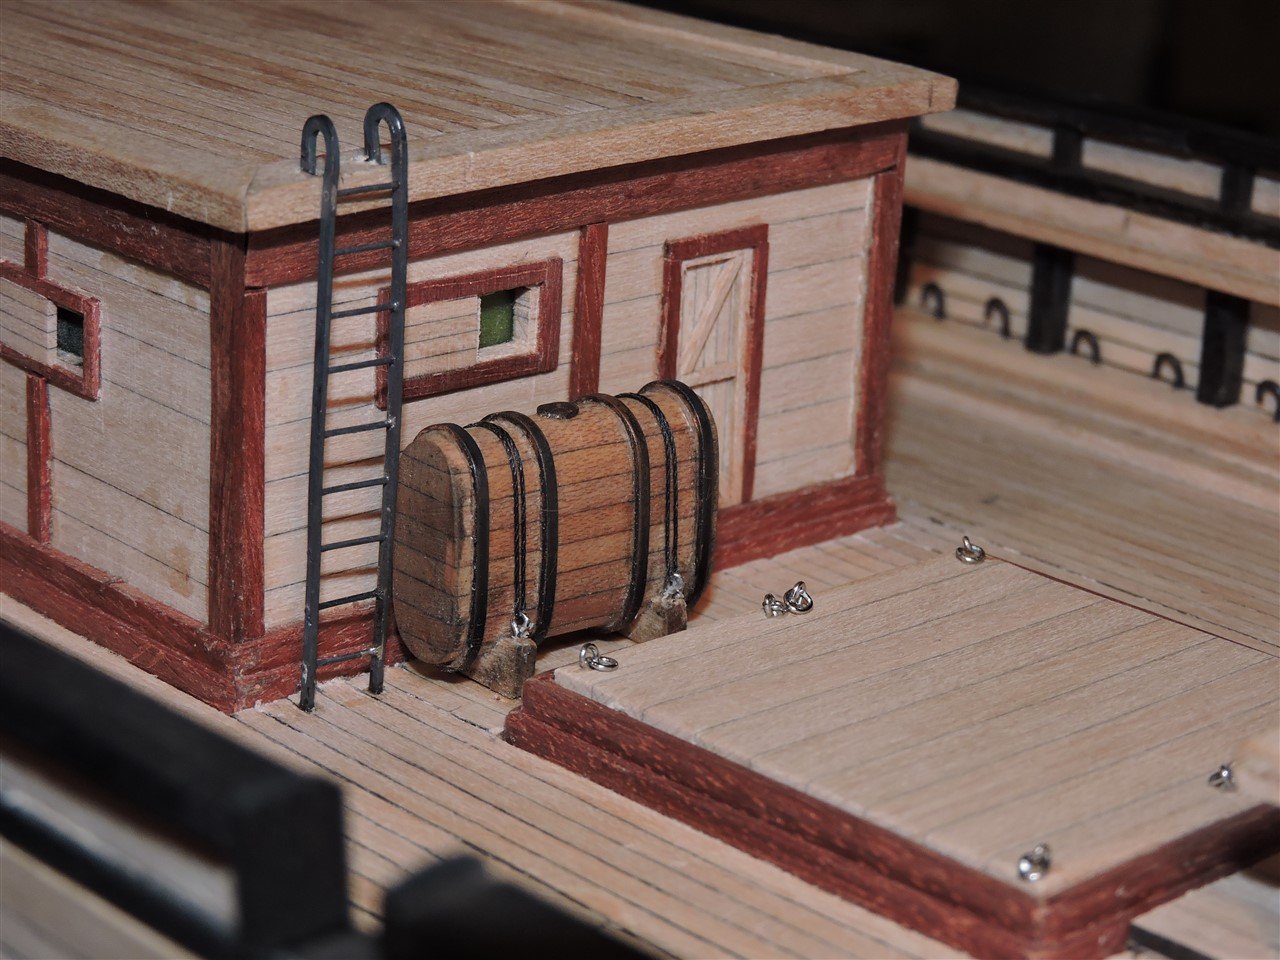
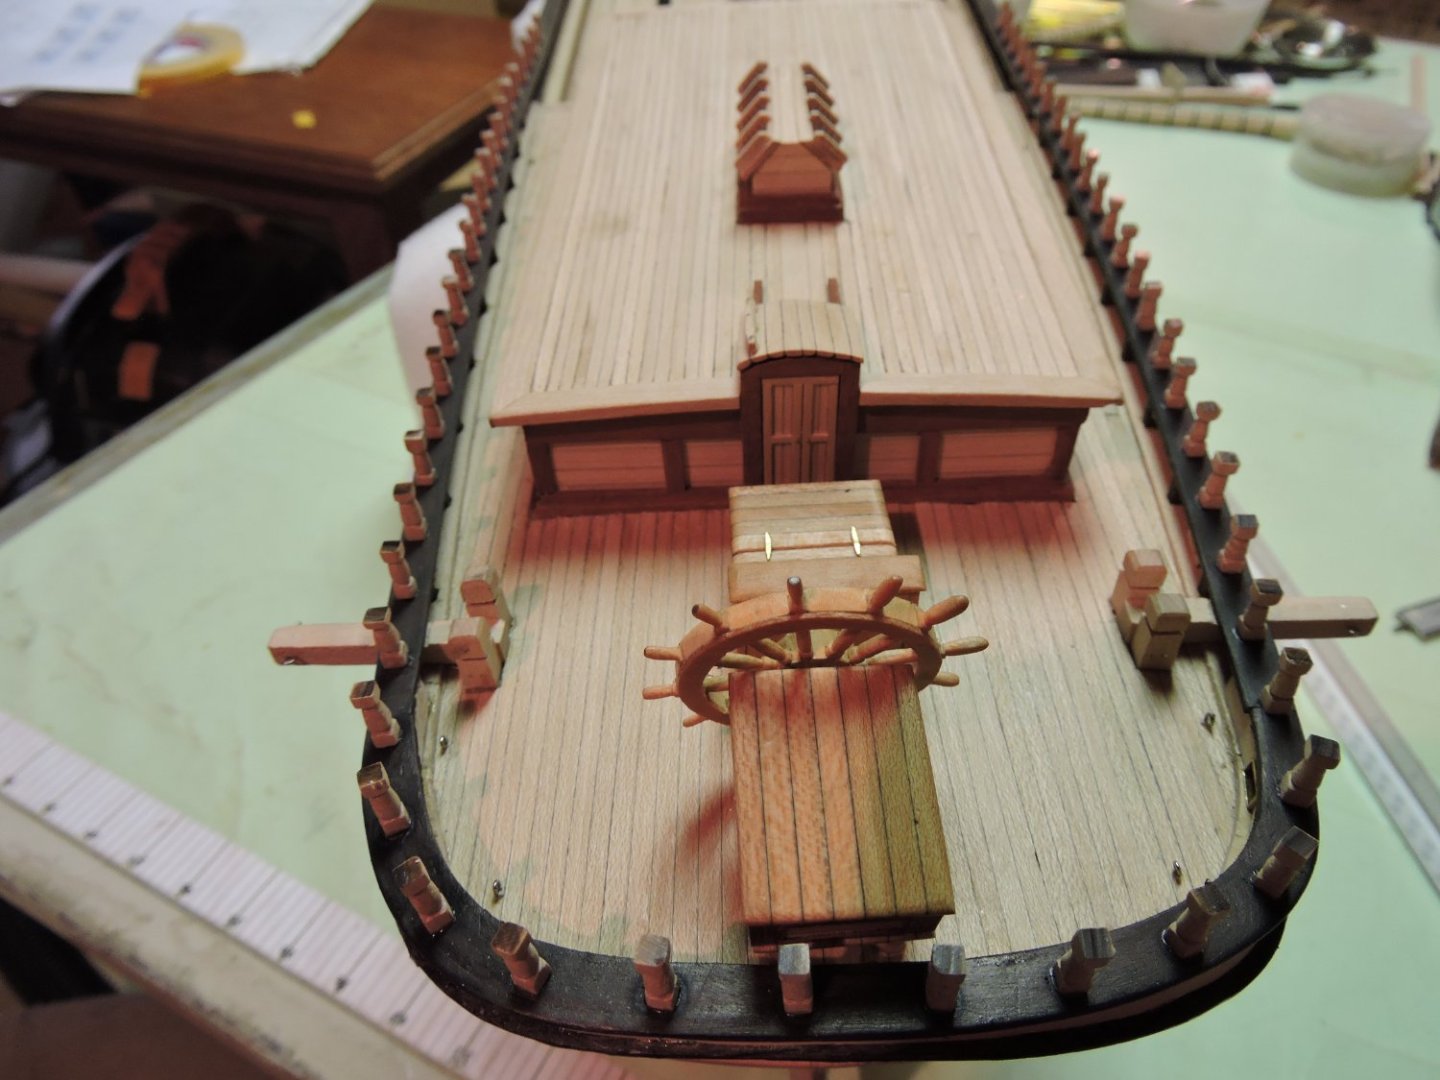
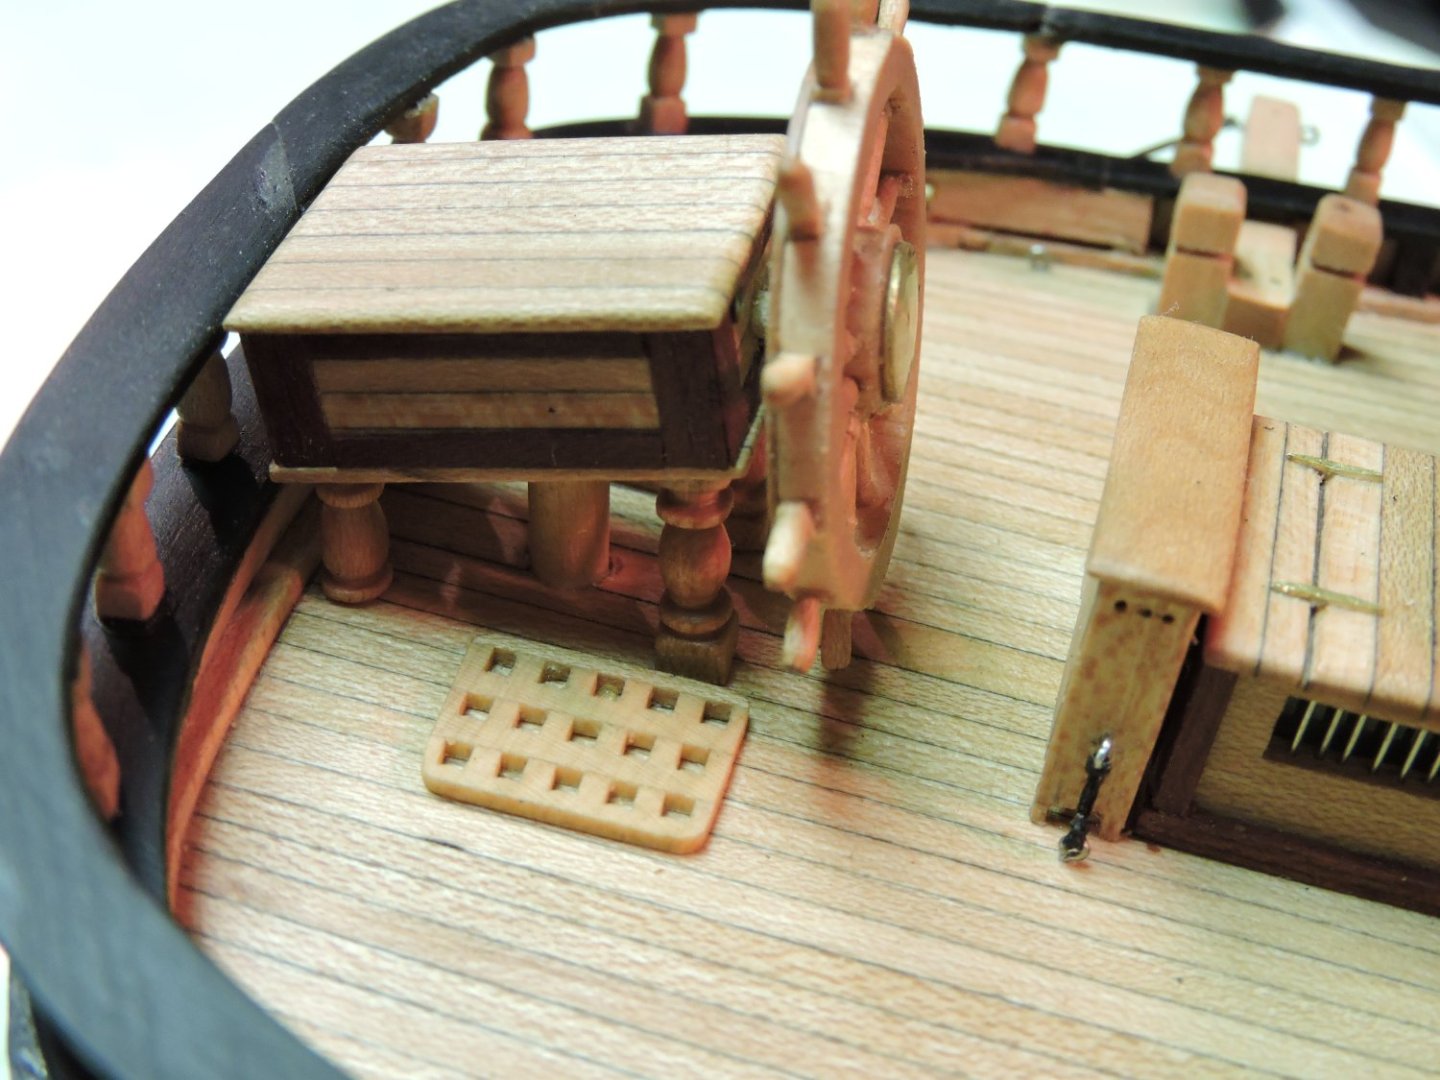
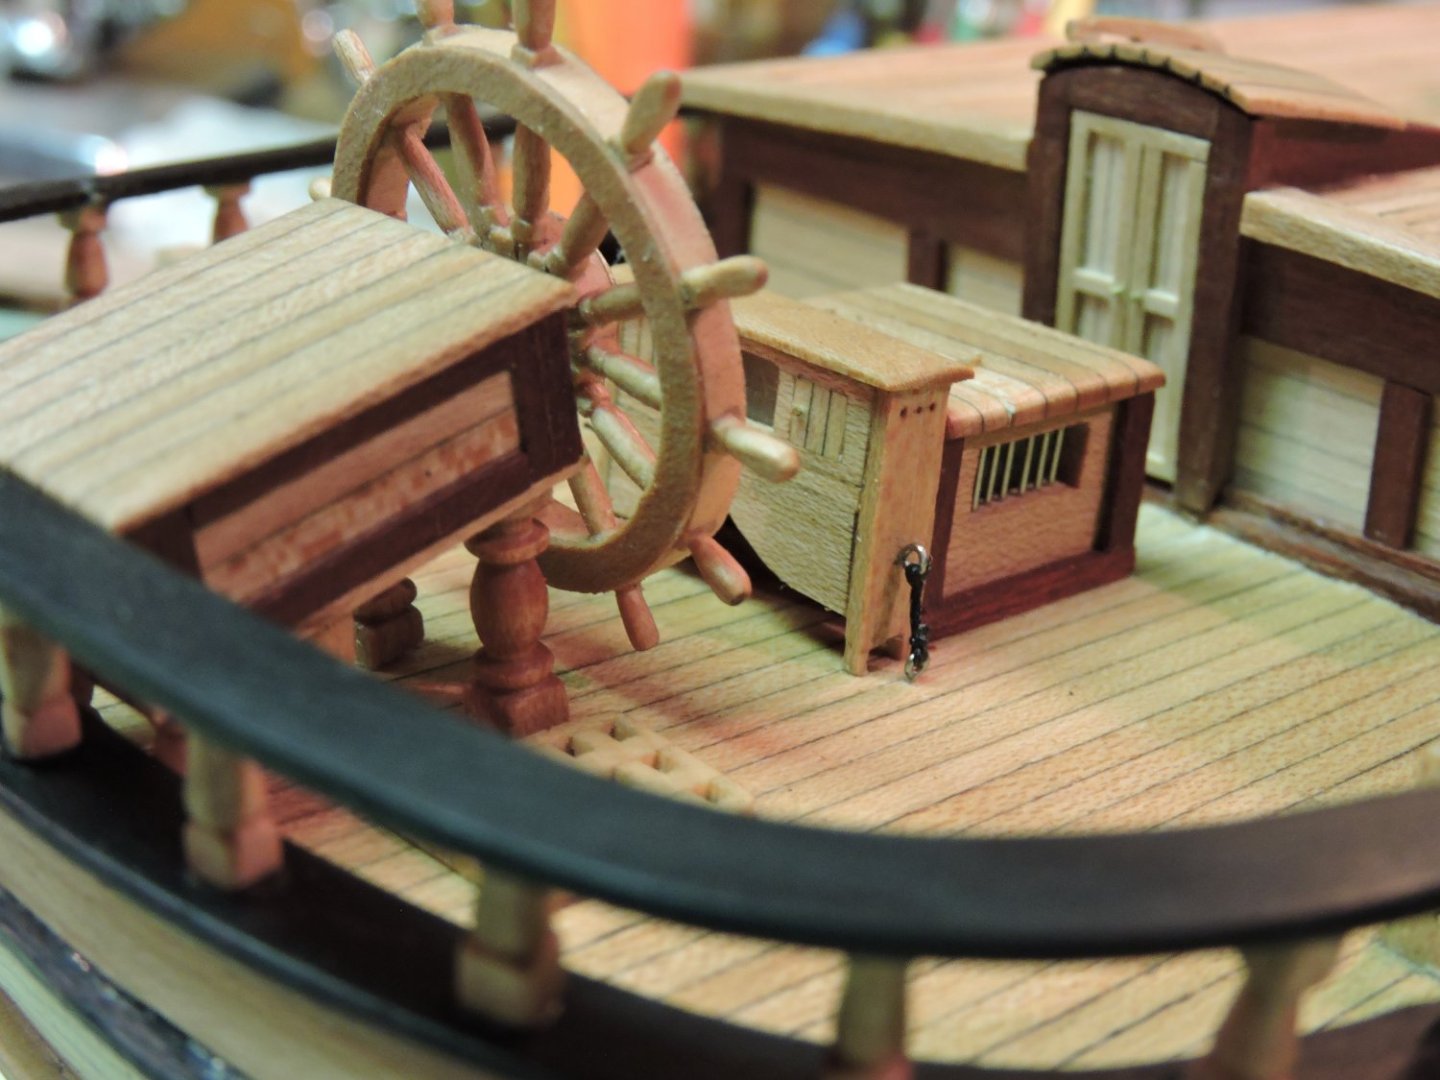
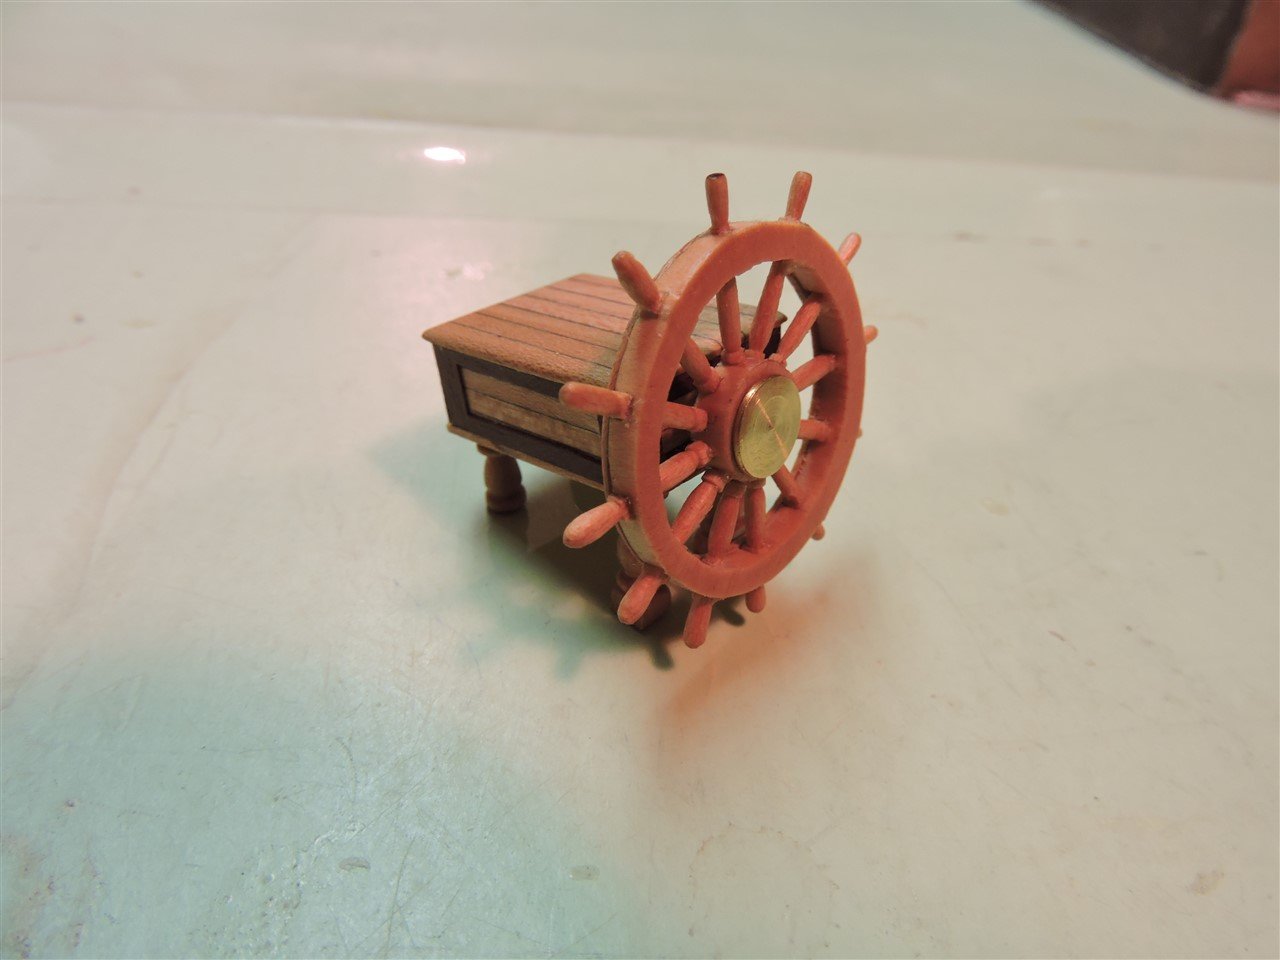
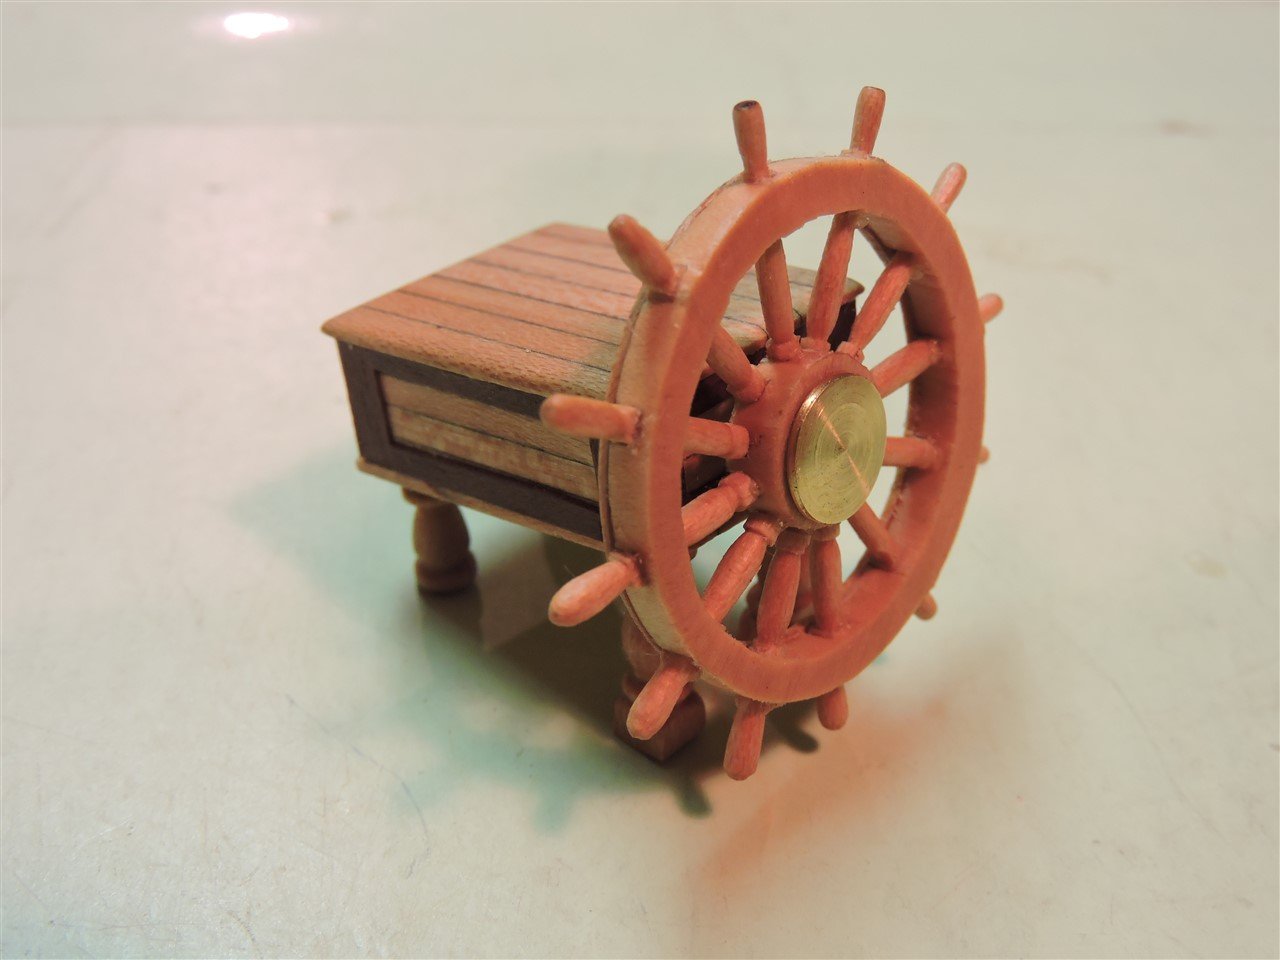
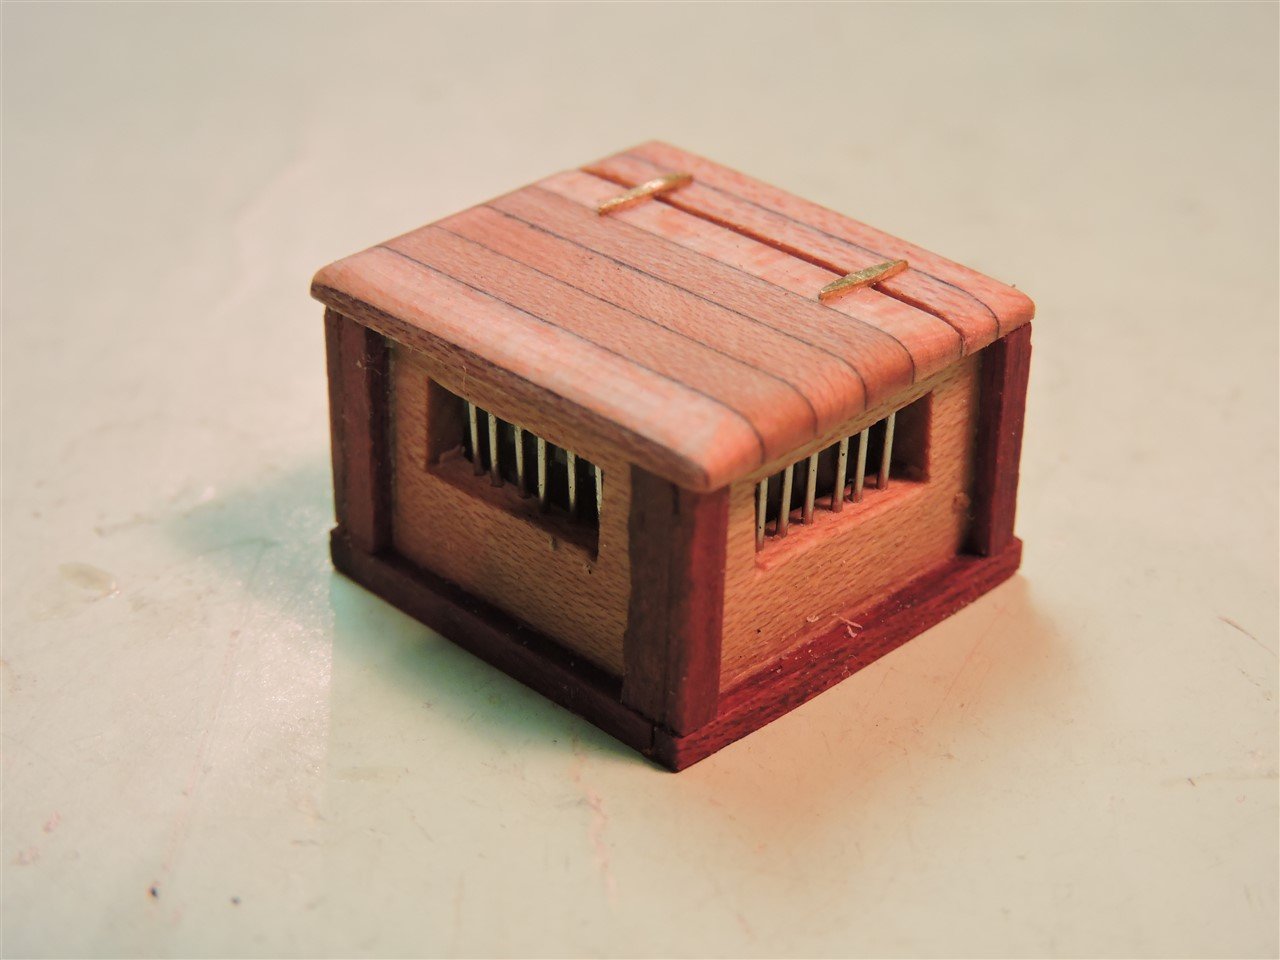
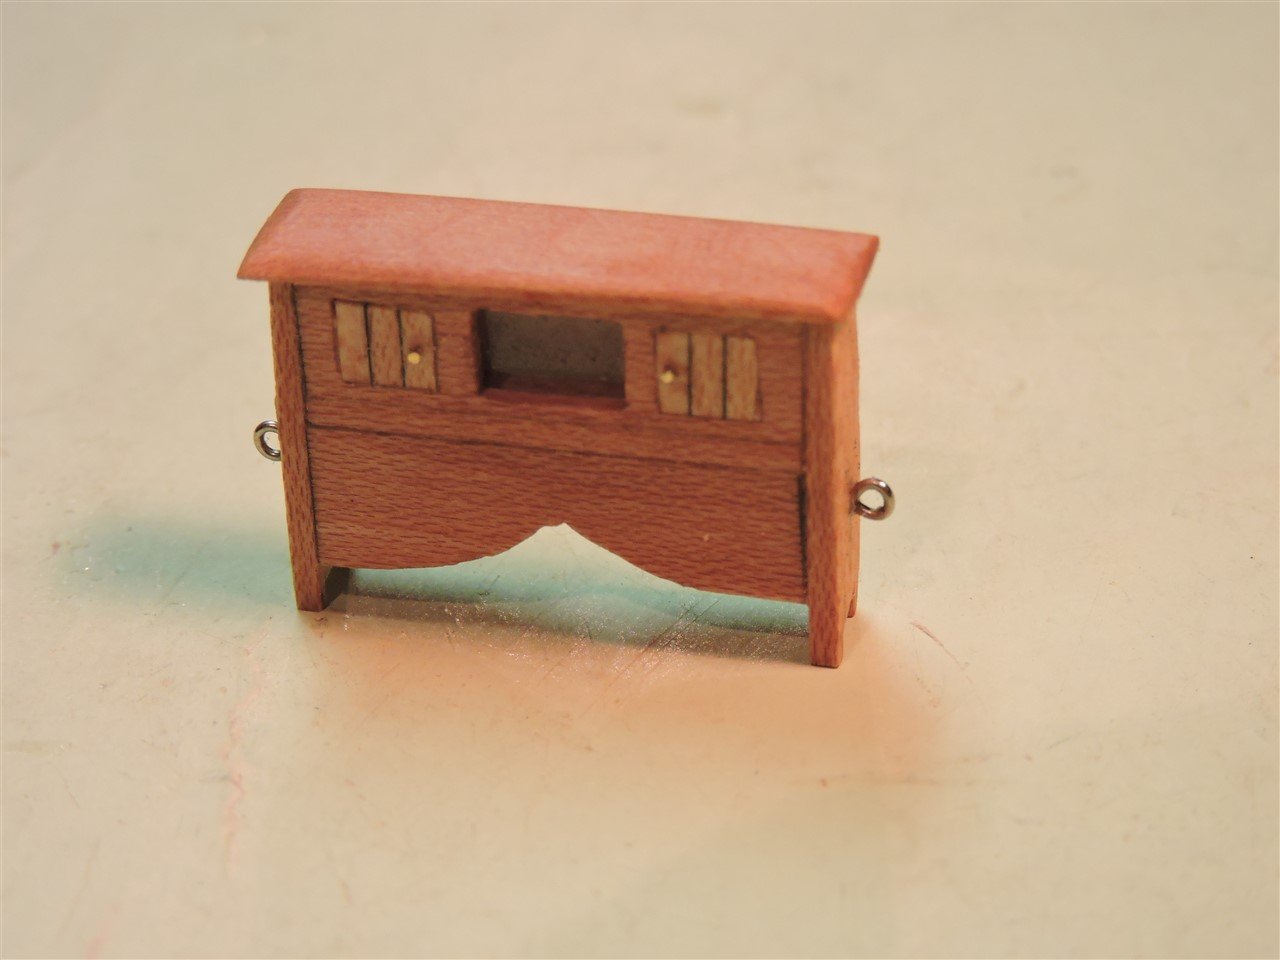
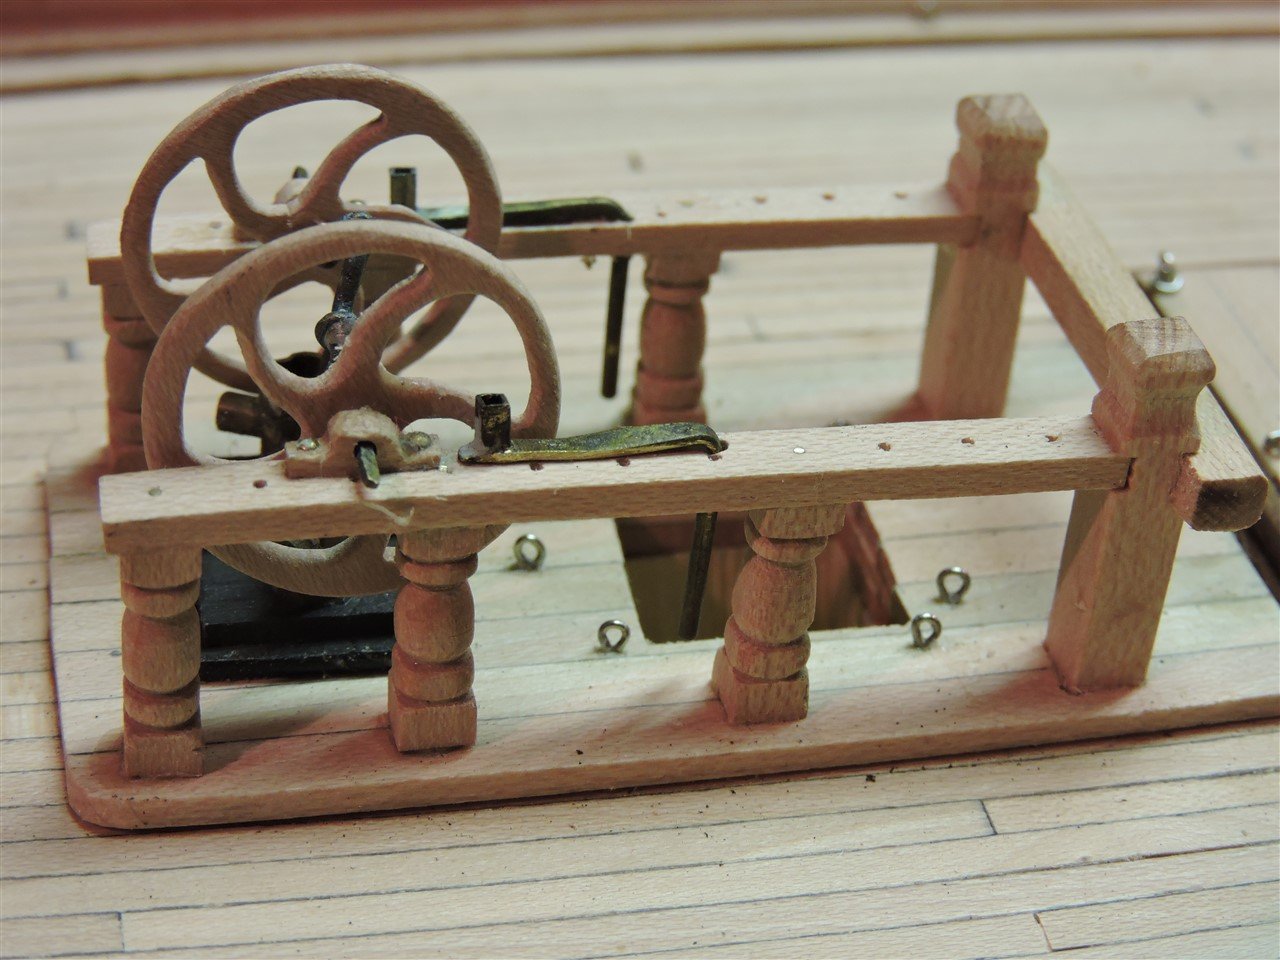
Vladimir and Jared thanks for your comments. I have been working on some of the deck furniture, the steering wheel and wheel box, the storage room hatch / skylight, and binnacle.

-
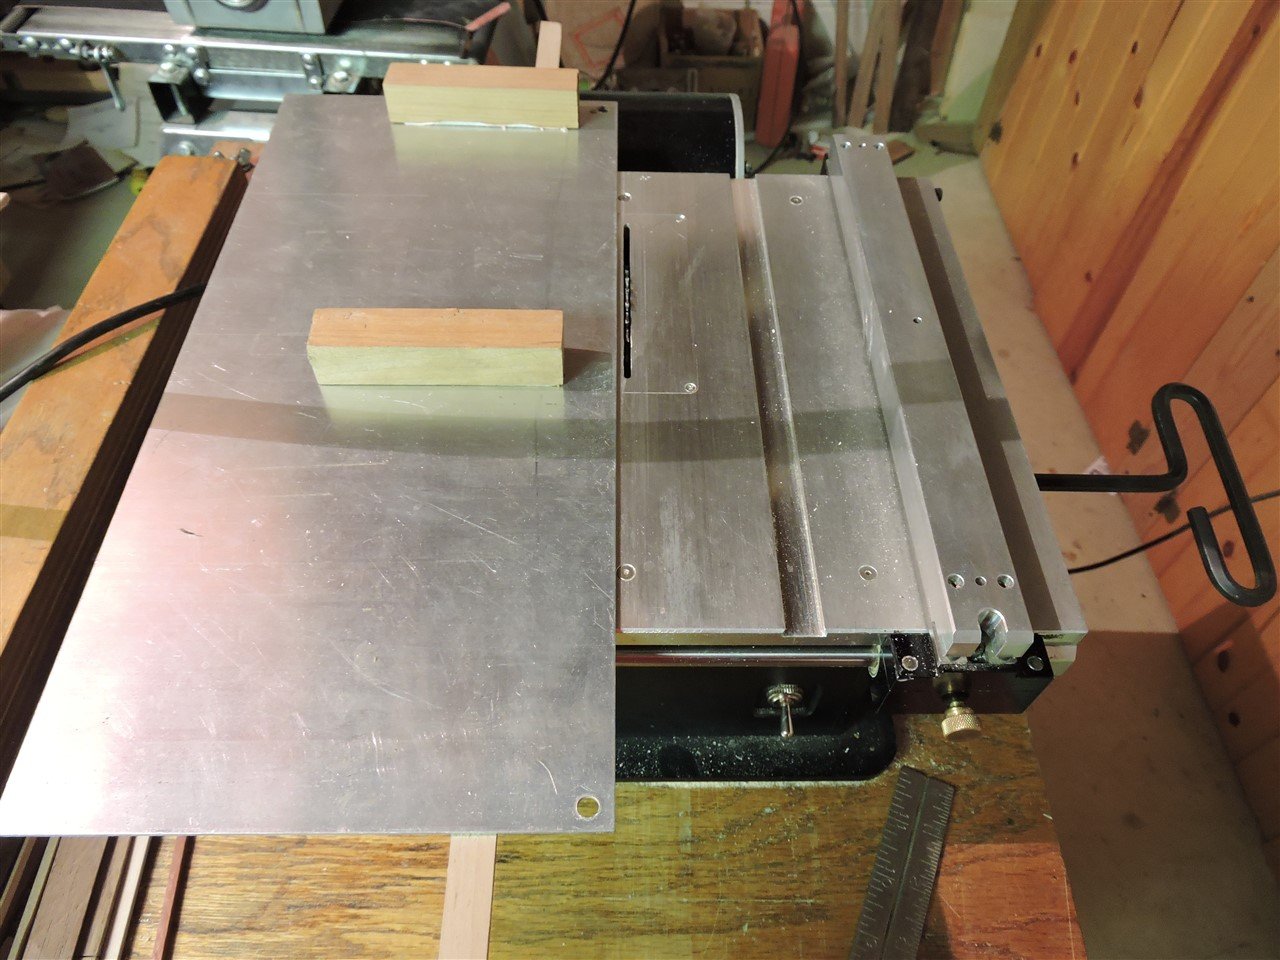
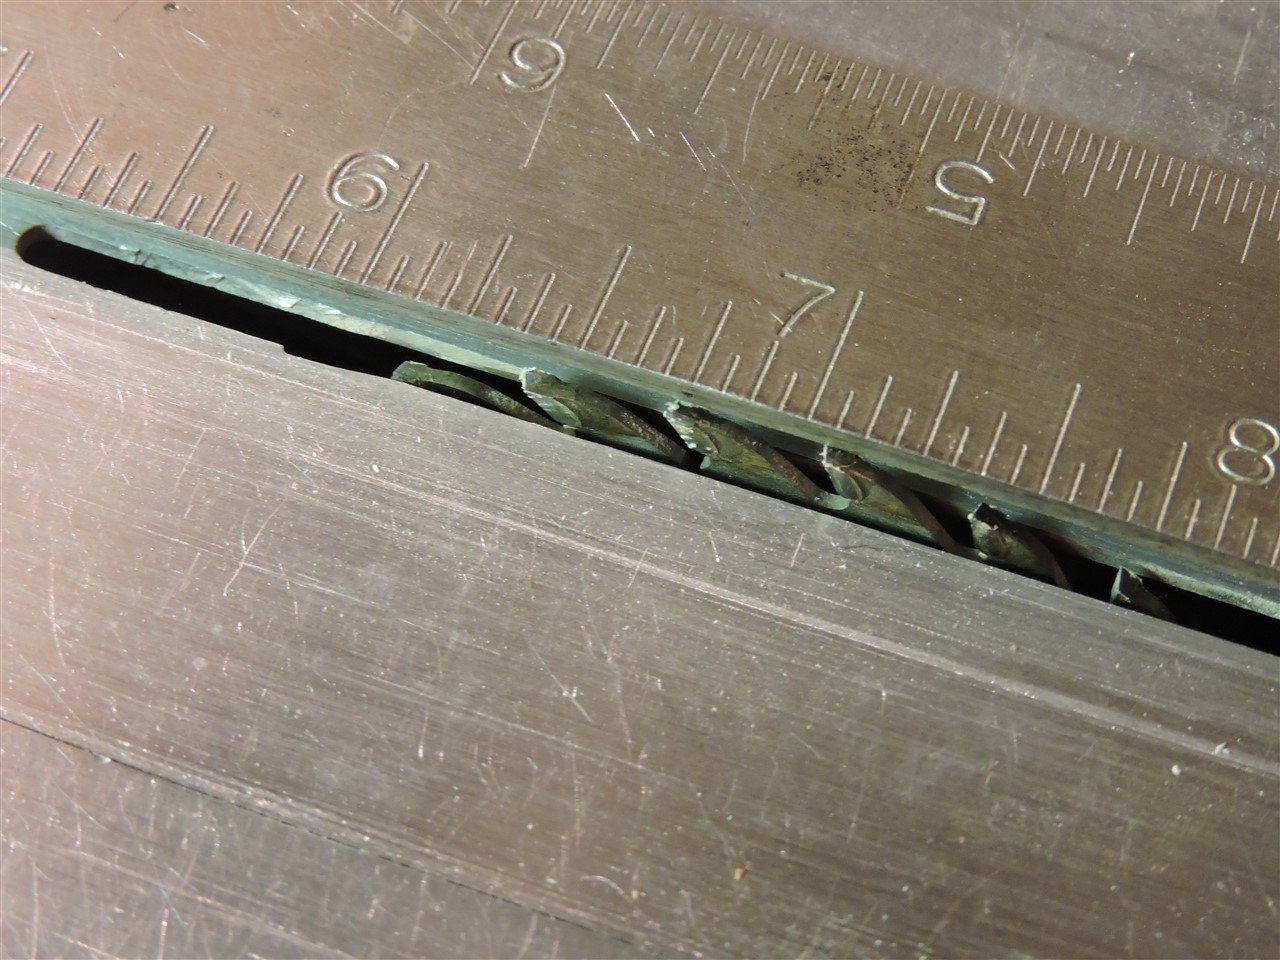
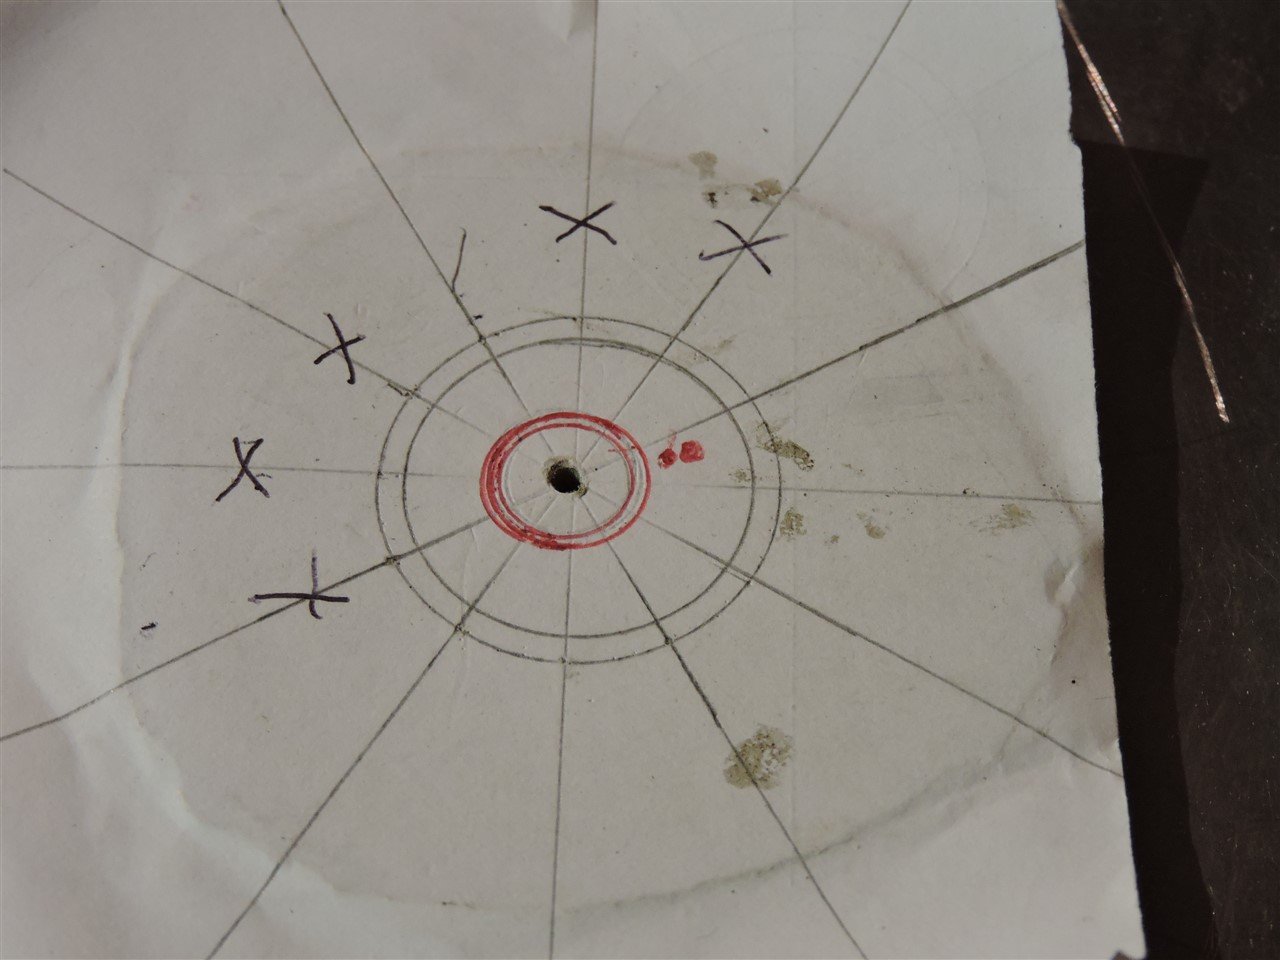
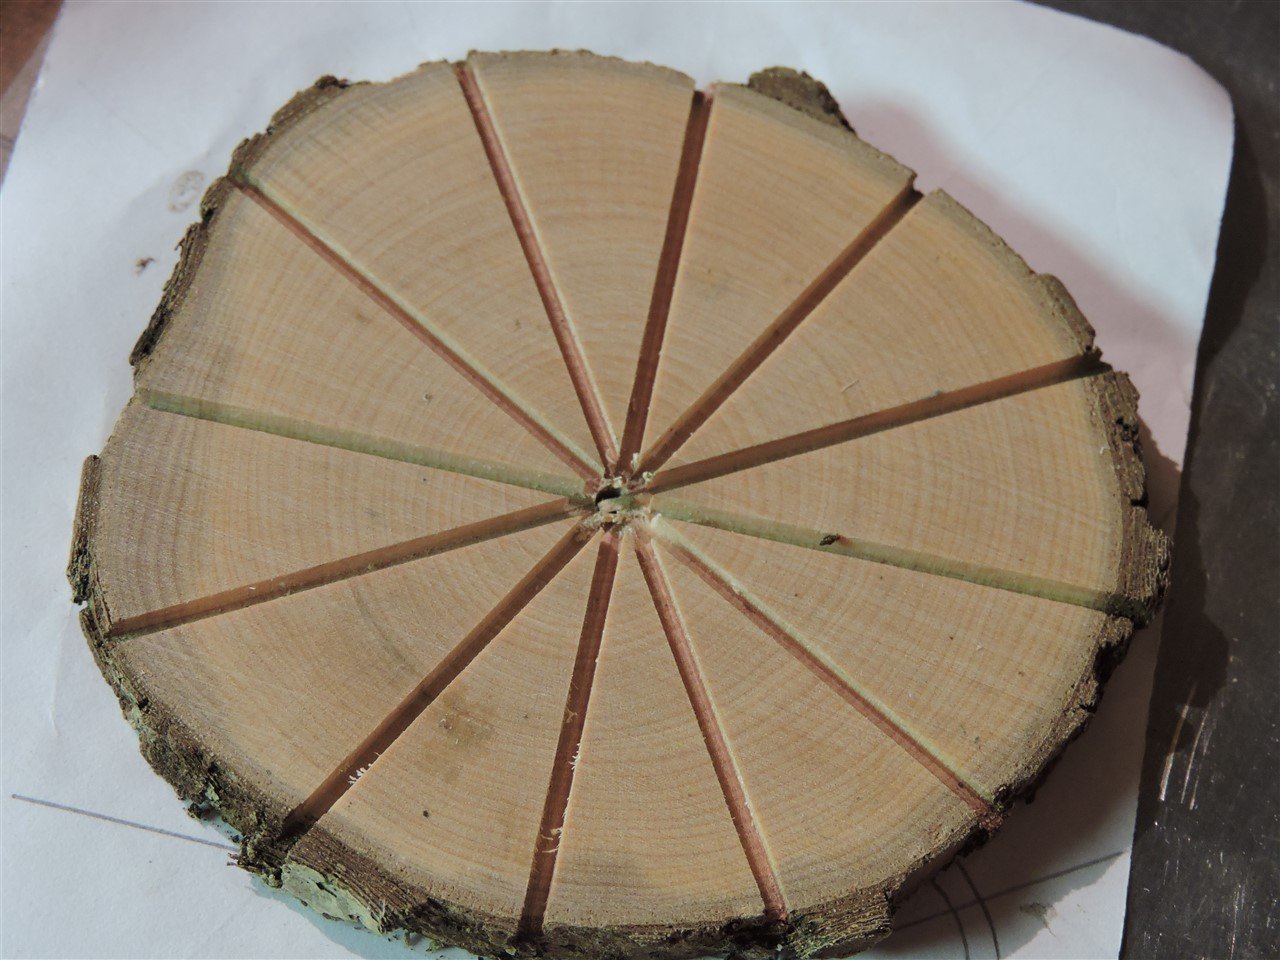
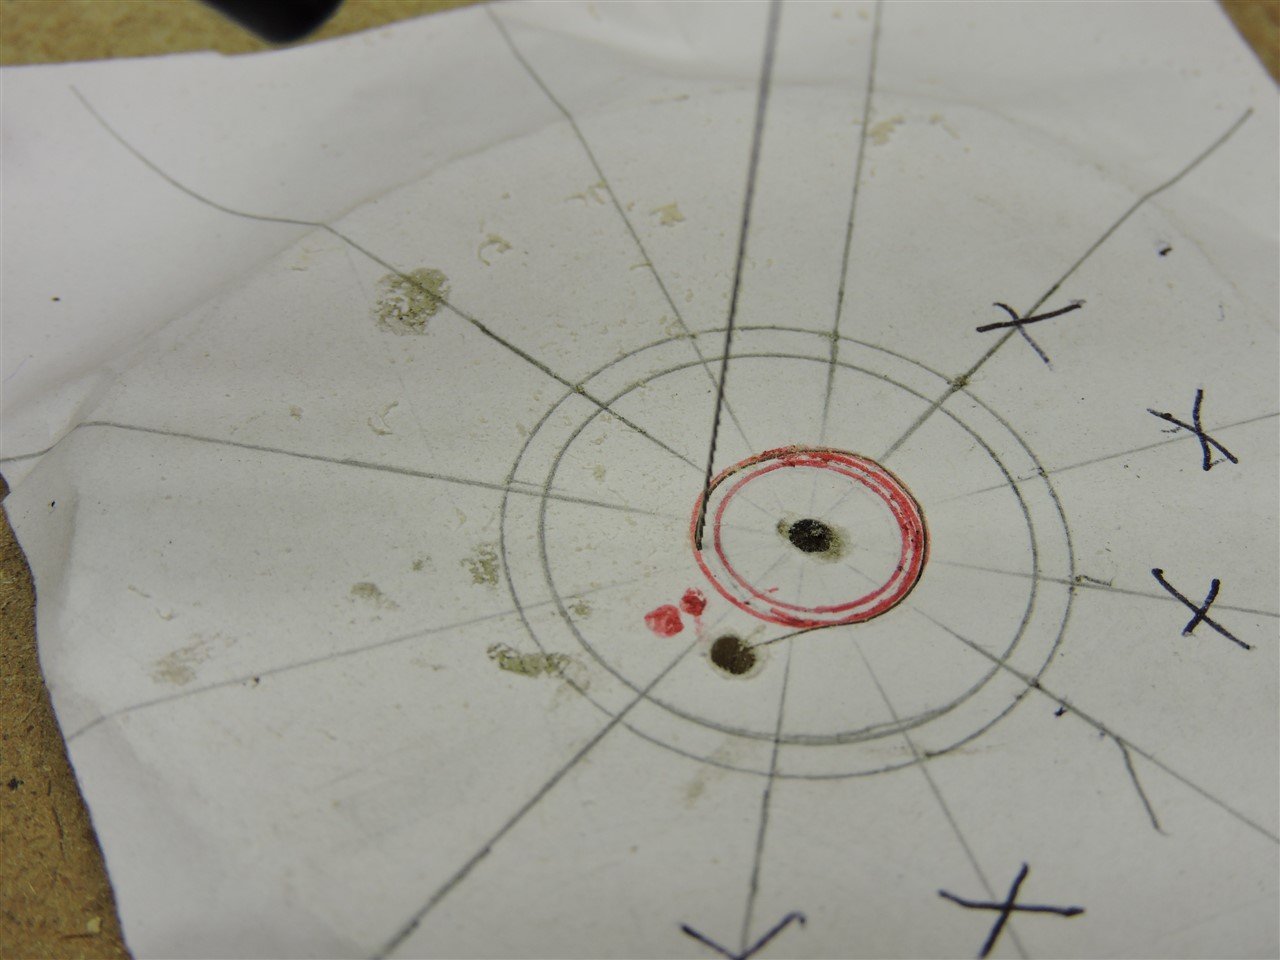
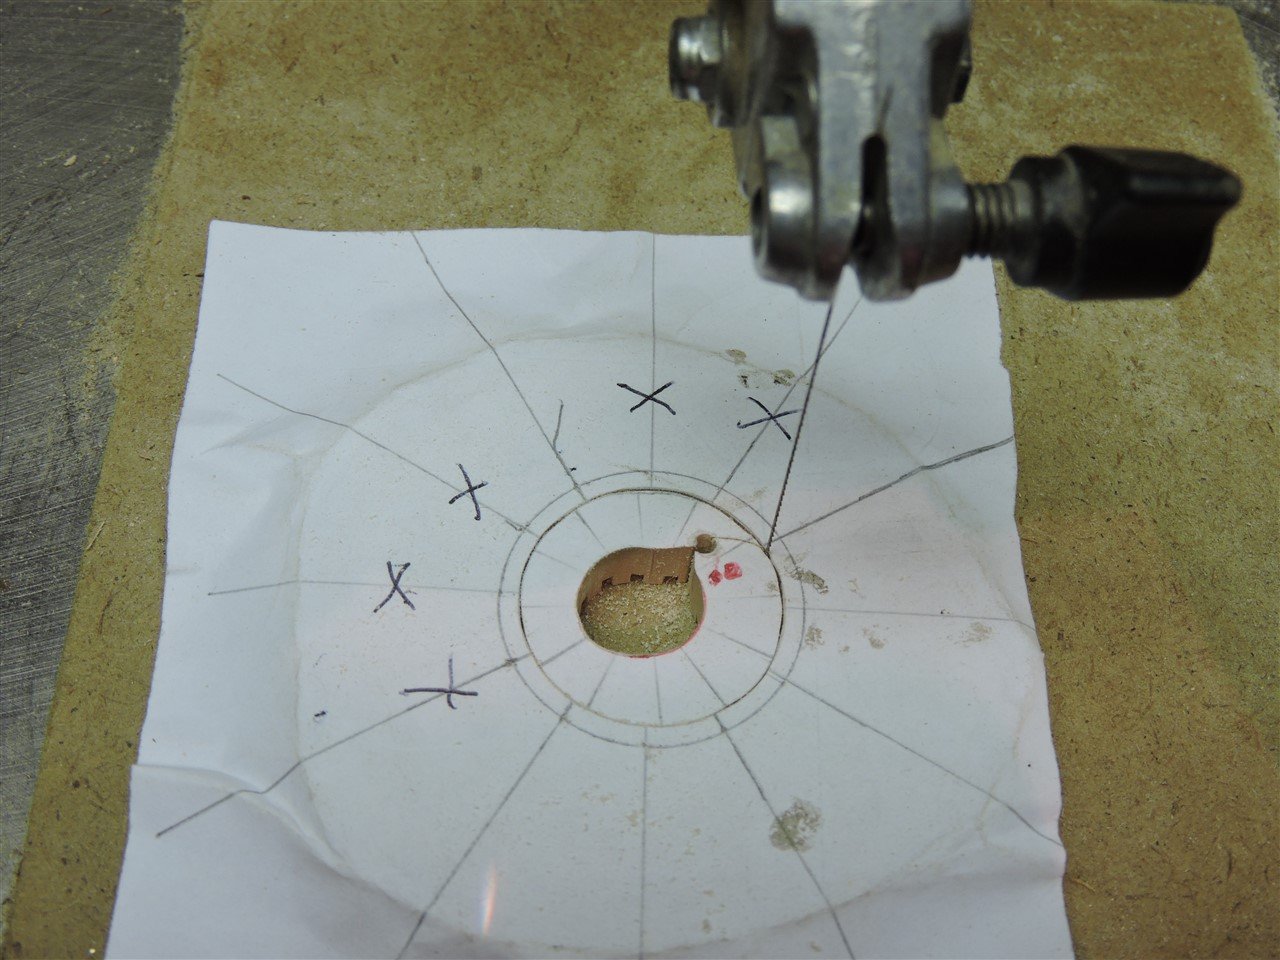
This is how I made the steering wheel. I do not have an index table, so this is what I came up with. I made a slide table for my Brynes table saw and mounted 2 wooden blocks 1 inch away from the center of the saw blade. I then made a drawing of the steering wheel and extended the centerline of each spoke, and used rubber cement to glue it to a block of wood. I then attached the wood and pattern to the slide table with double sided tape making sure the centerline was lined up to the edge of the ruler. With the blade set to the proper height I made the cut. I did this for the next 5 cuts. I then cut out the center hub and ring with my scroll saw. Then I added the spokes. Using an index table would have been a little more accurate but this worked all right for me.


-
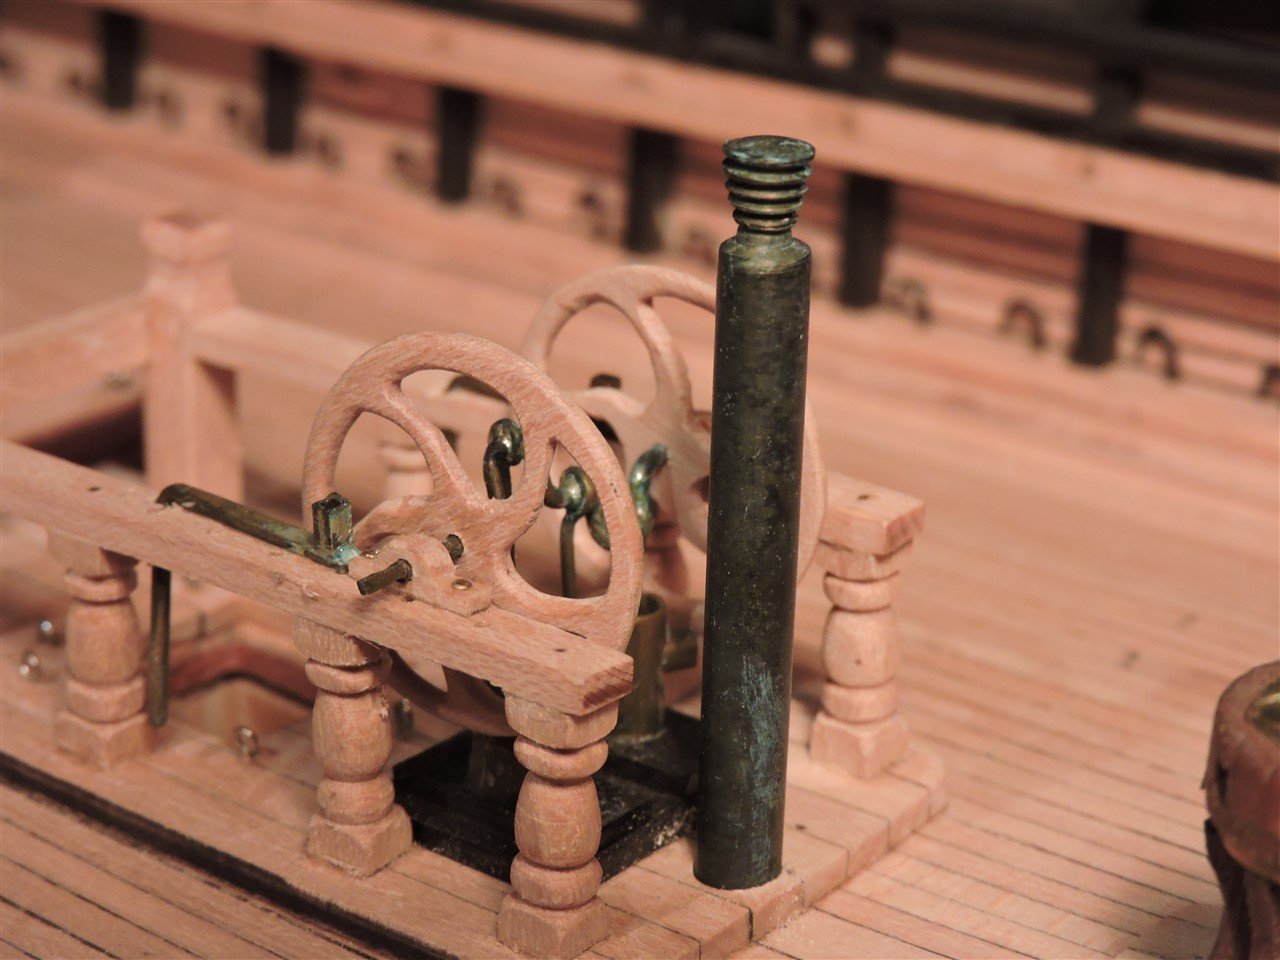
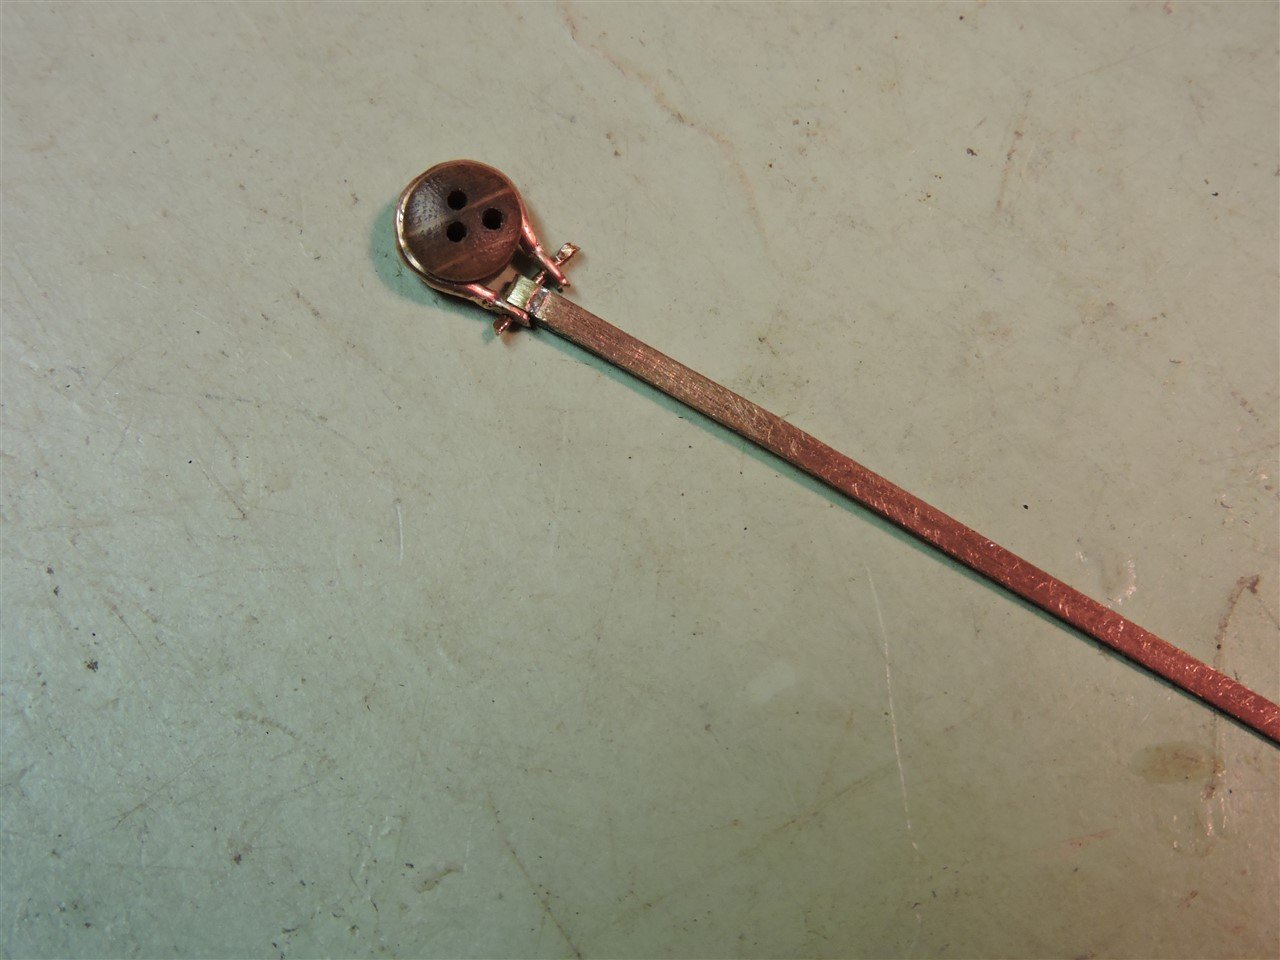
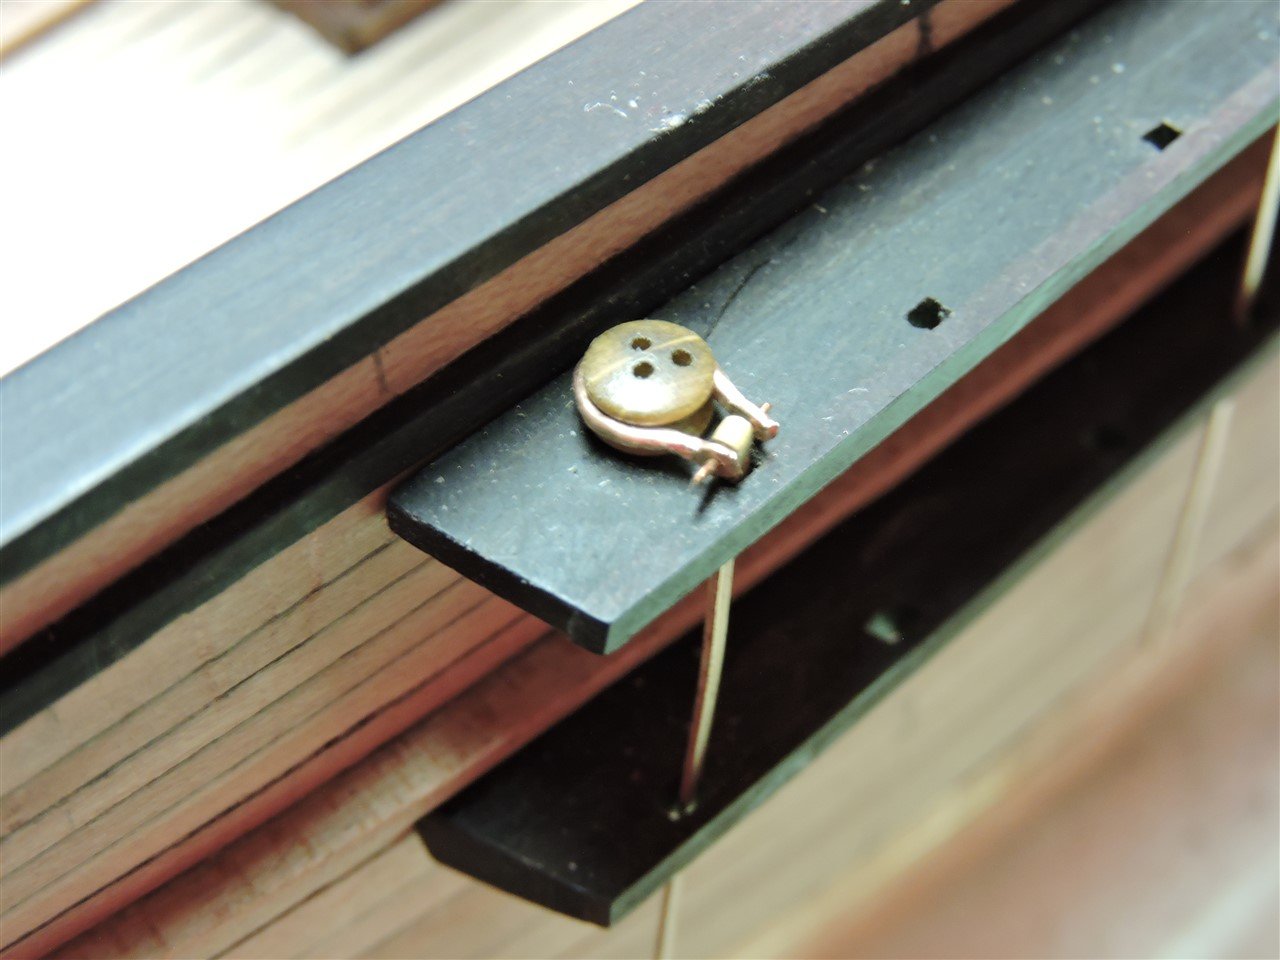
And I had fun making the bilge pump.
-
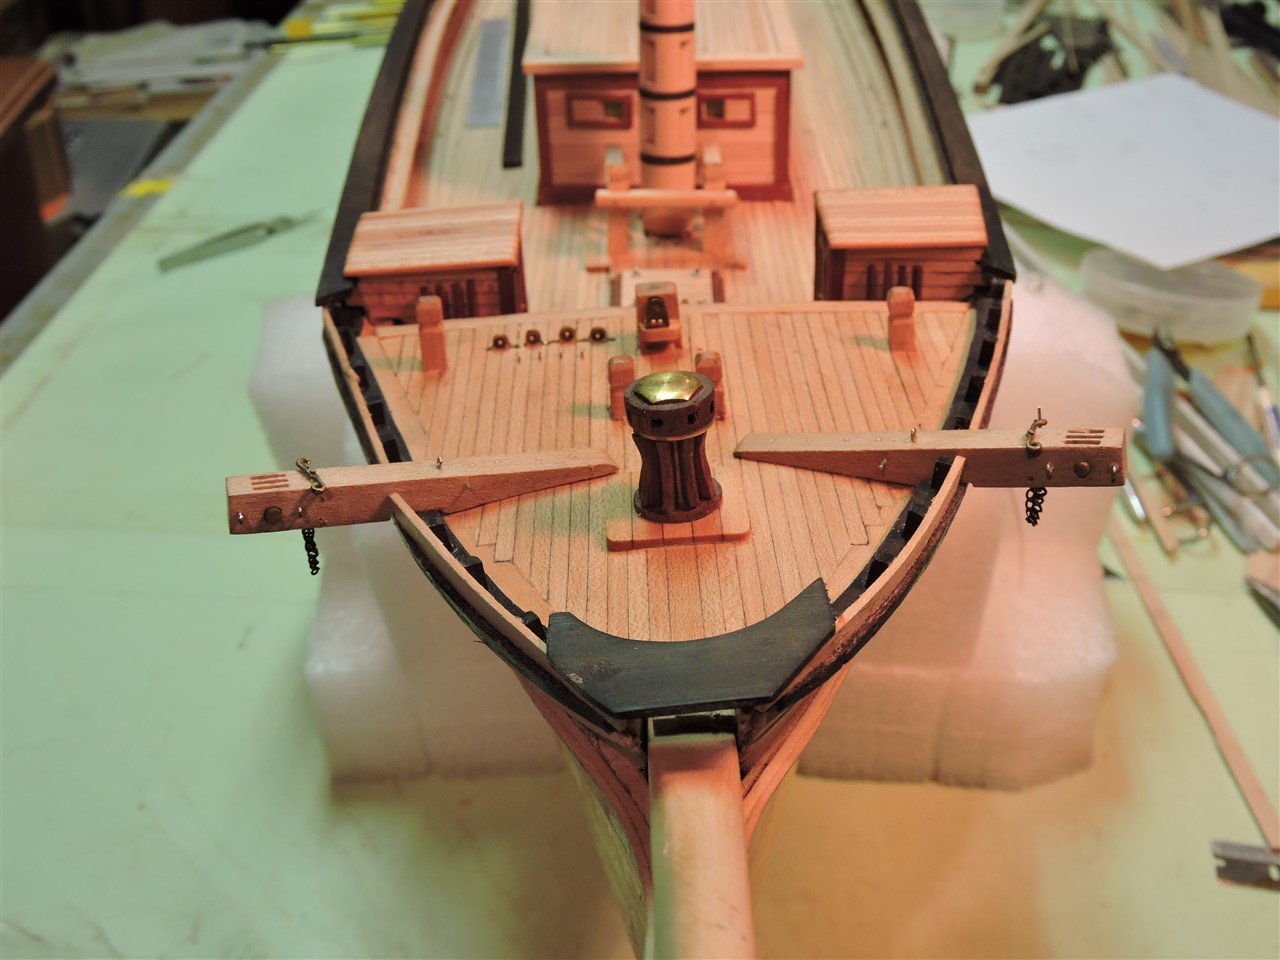
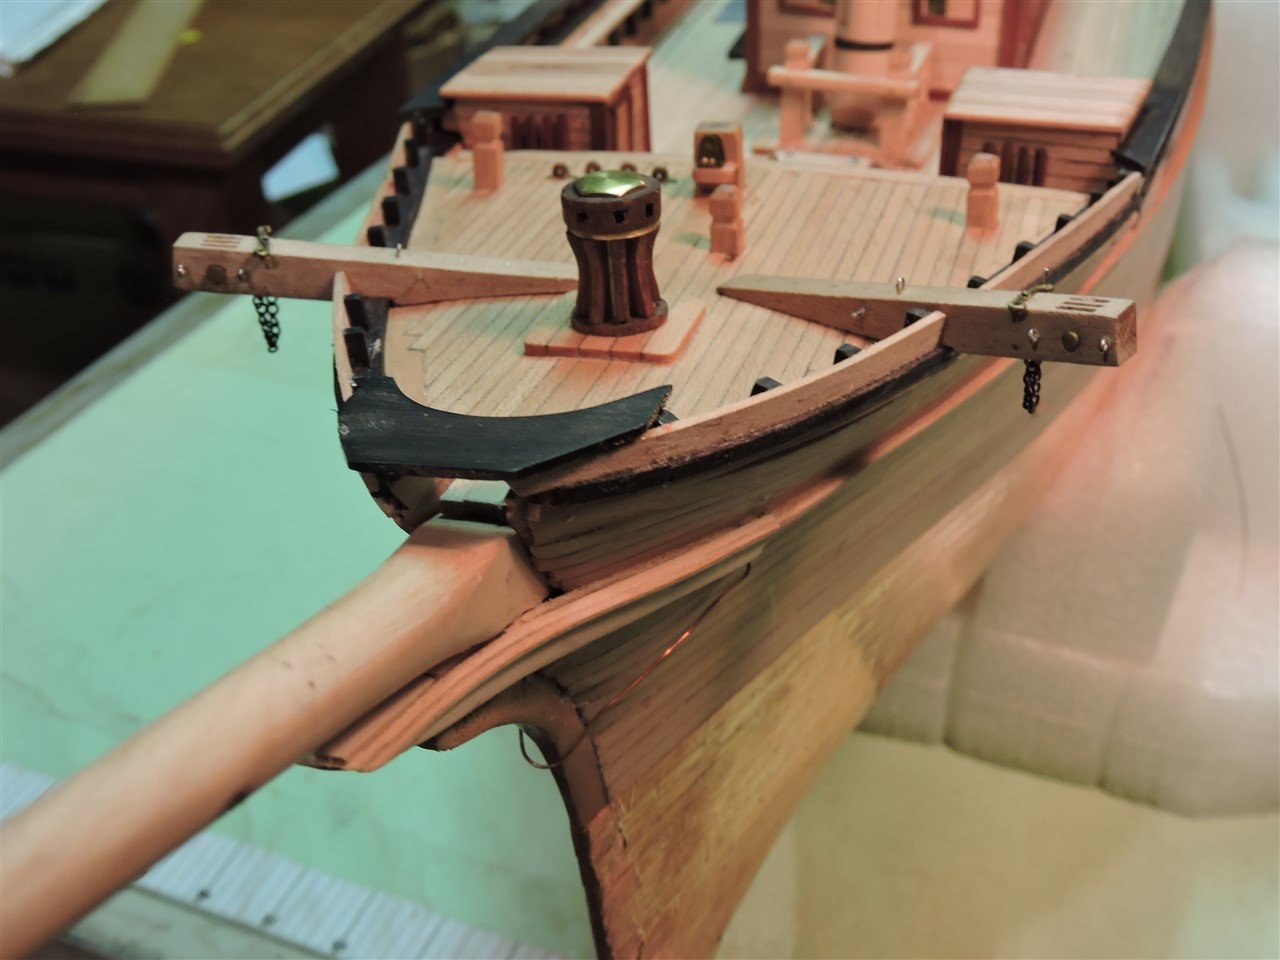
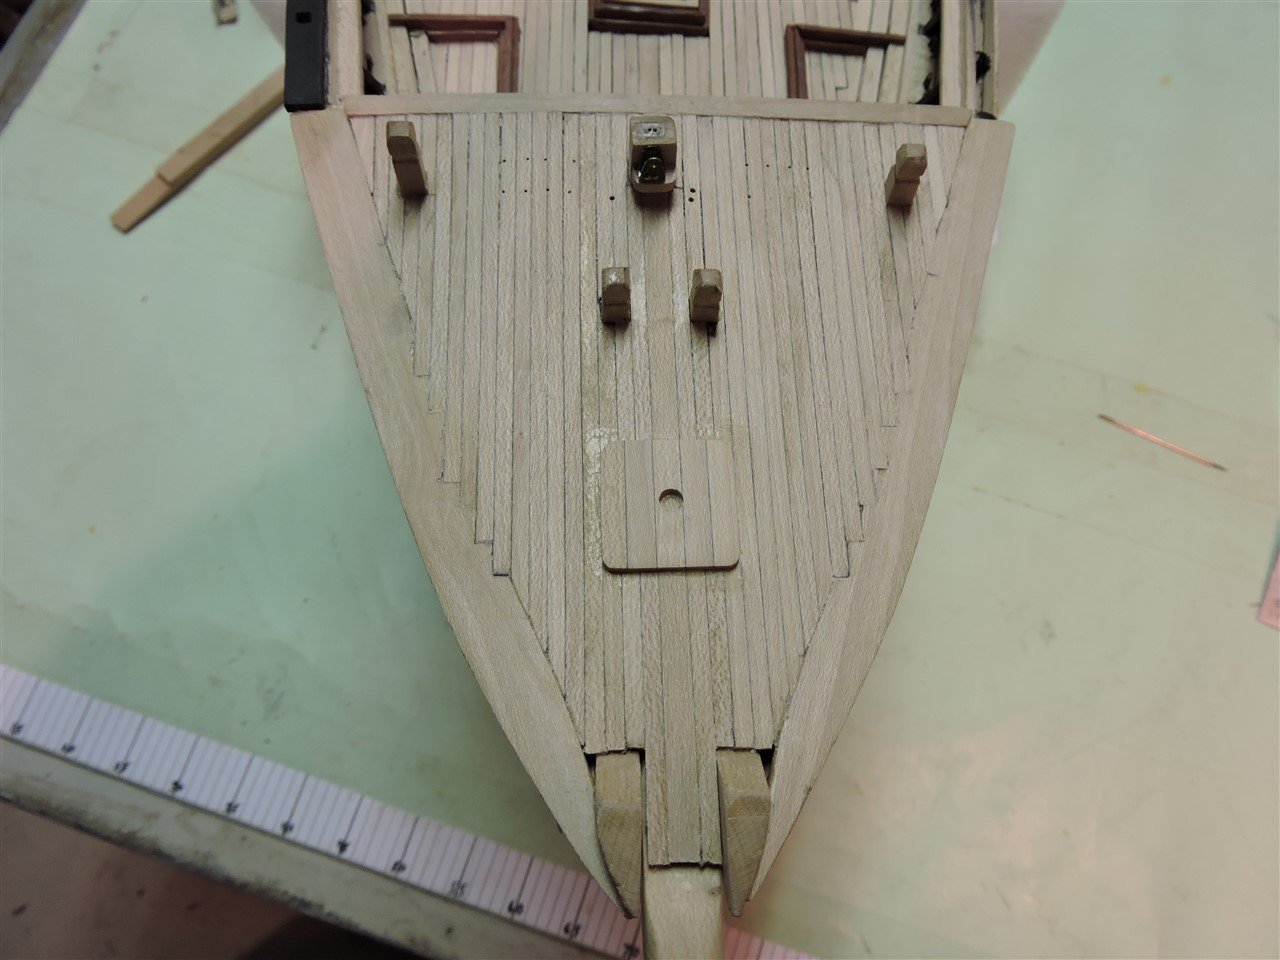
I made and installed the capstans, cat heads and anchor release, and half of the forecastle deck fairleads.
-
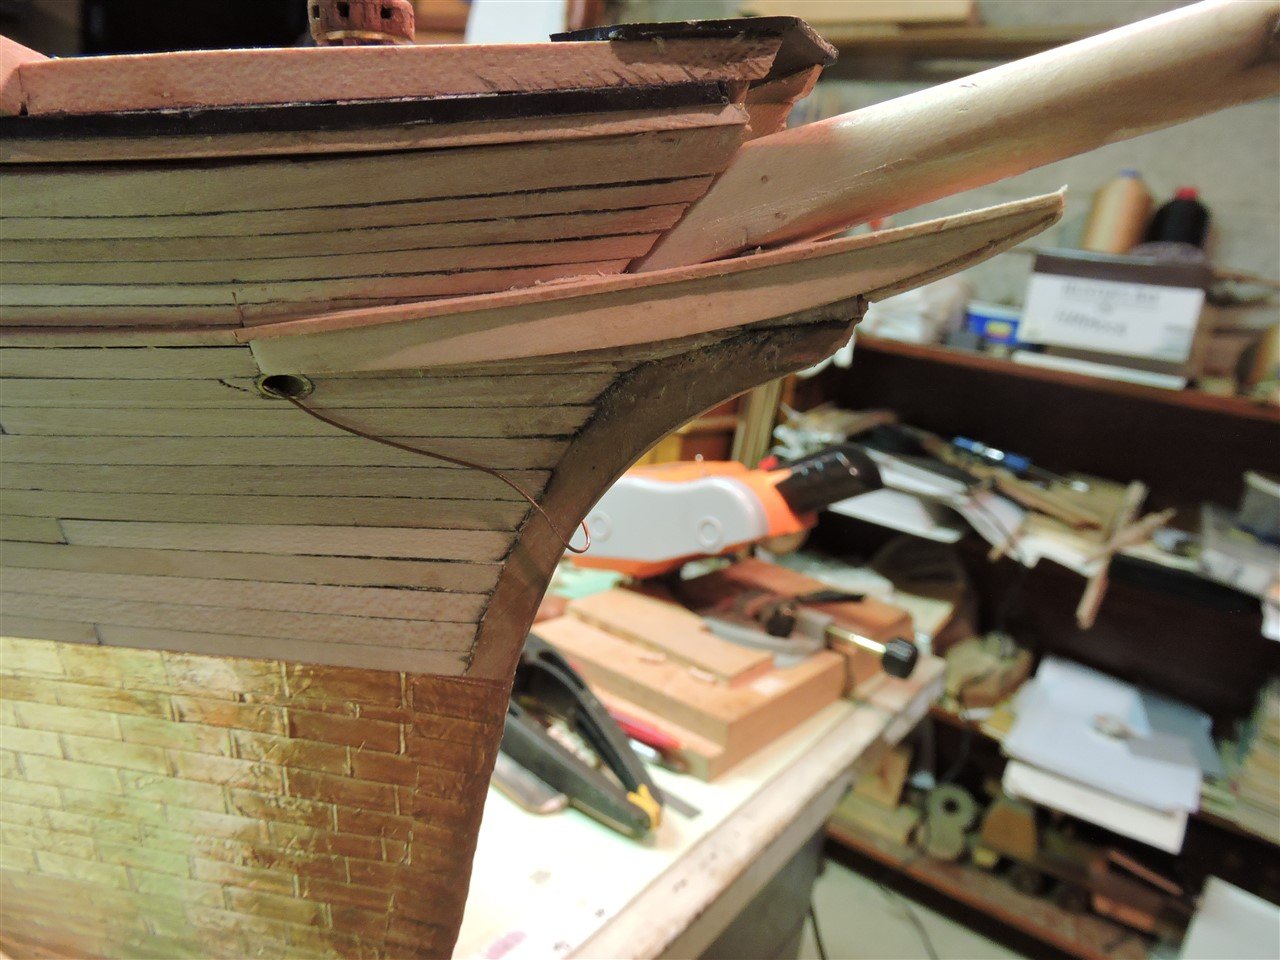
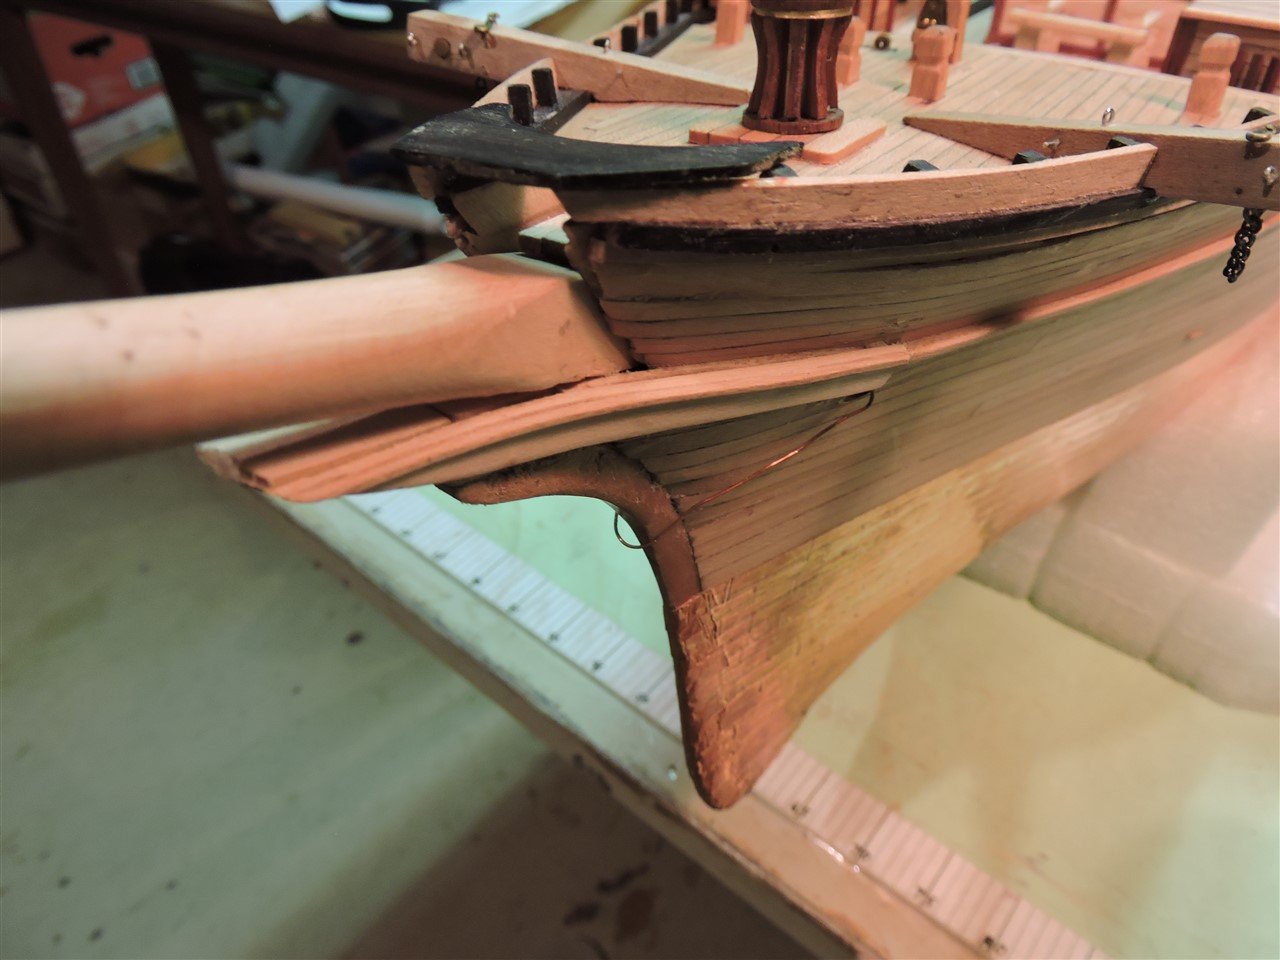
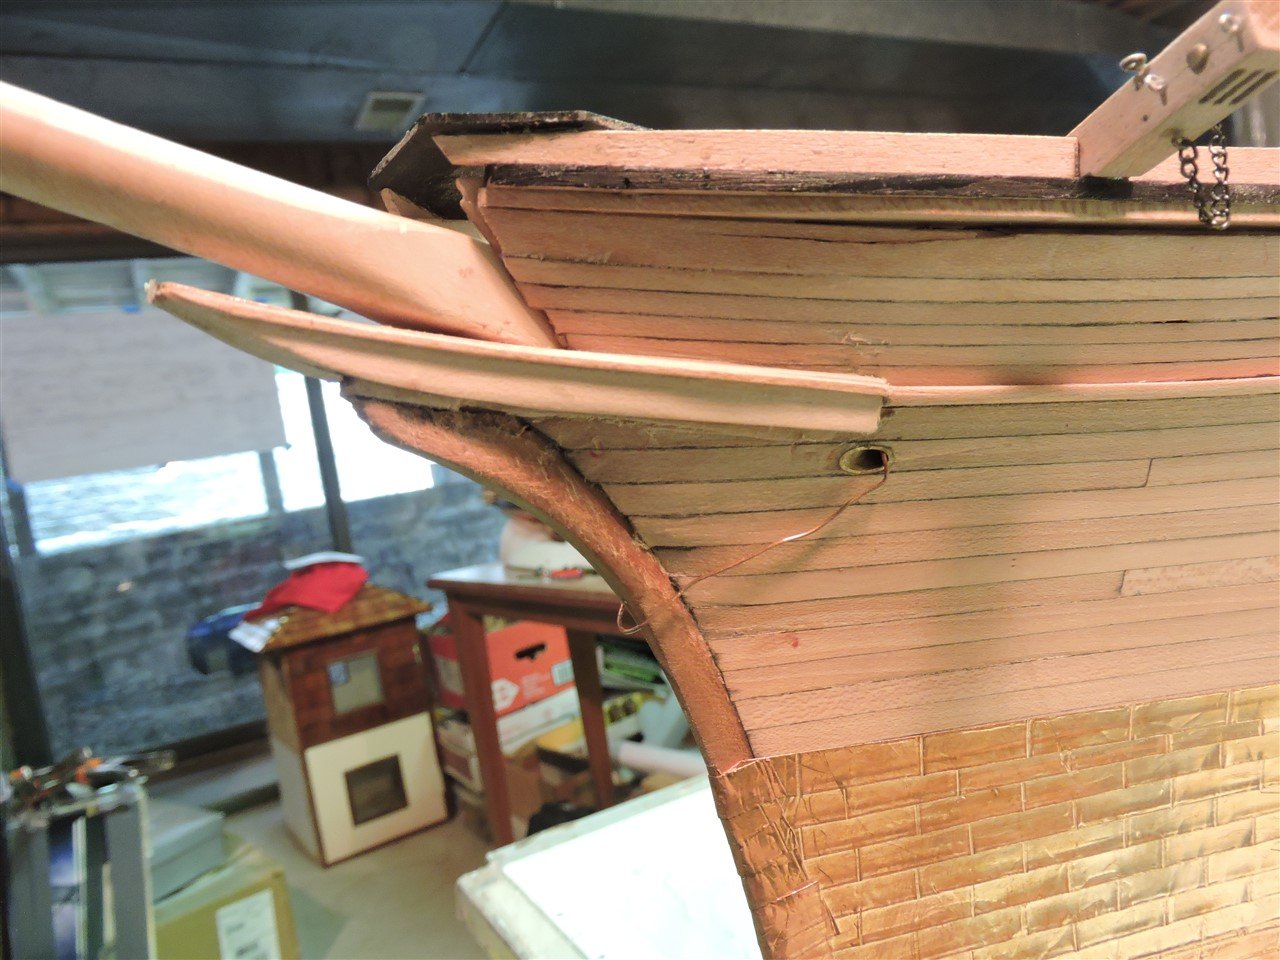
Clipper Fan Thanks for the information on the navalhoods and the Flying Fish fiqurehead. I installed the navalhoods, I think I got it right. In the near future I am going to have to try carving my first fiqurehead.
-
Allan The head diameter of the screw is 1.75 mm, the threaded diameter is .95mm, and the diameter of the nut (flat to flat)is 2.4mm MikeR
-
Mark I recently purchased 1mm brass nuts, 50 for under $2.00 and 1mm machine screws, 50 for under $1.00 from AliExpress.com The only problem was the delivery time. It took about 8 or 9 weeks to arrive from China. MikeR
-
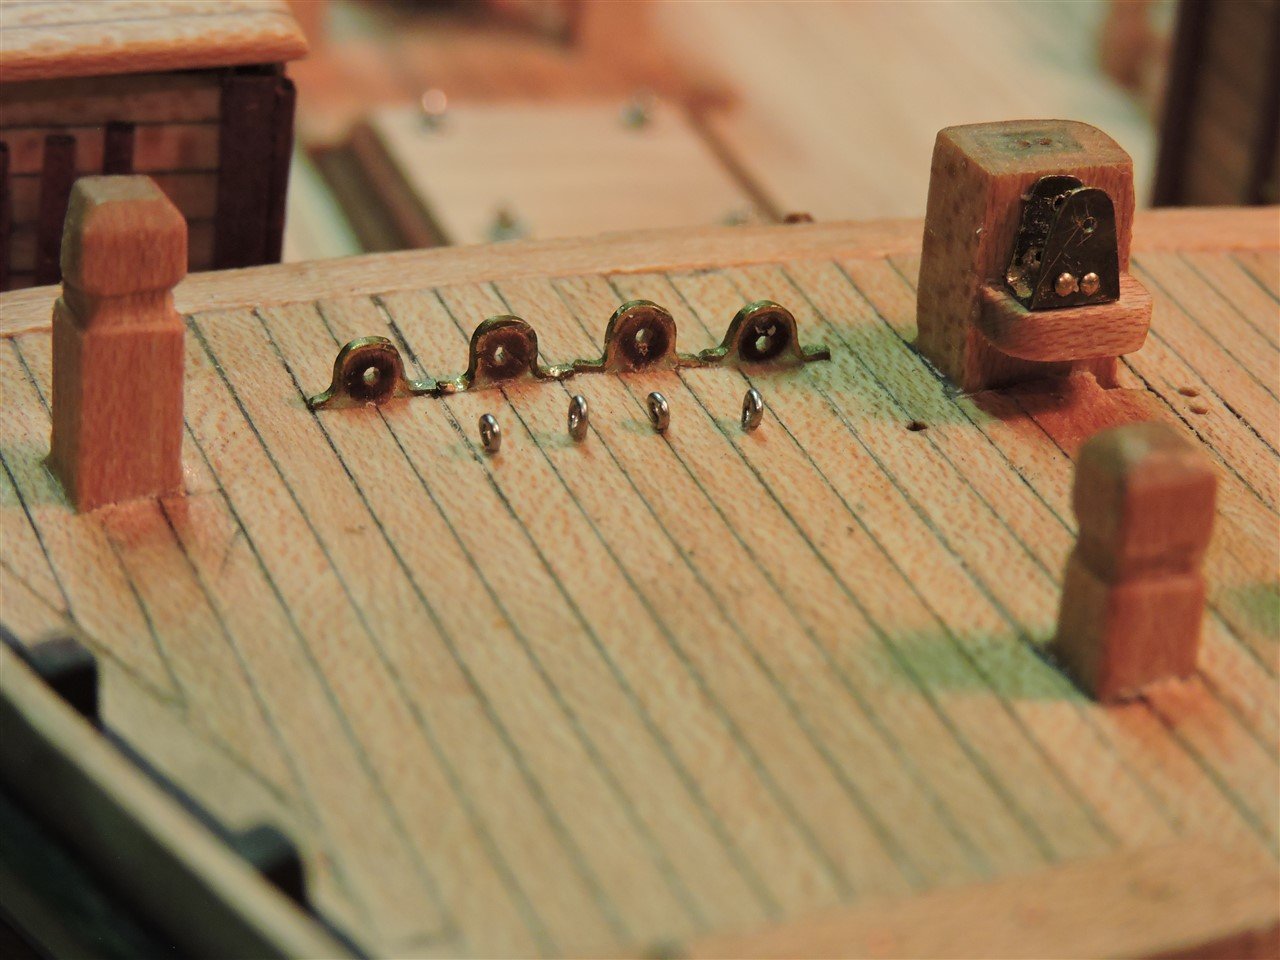
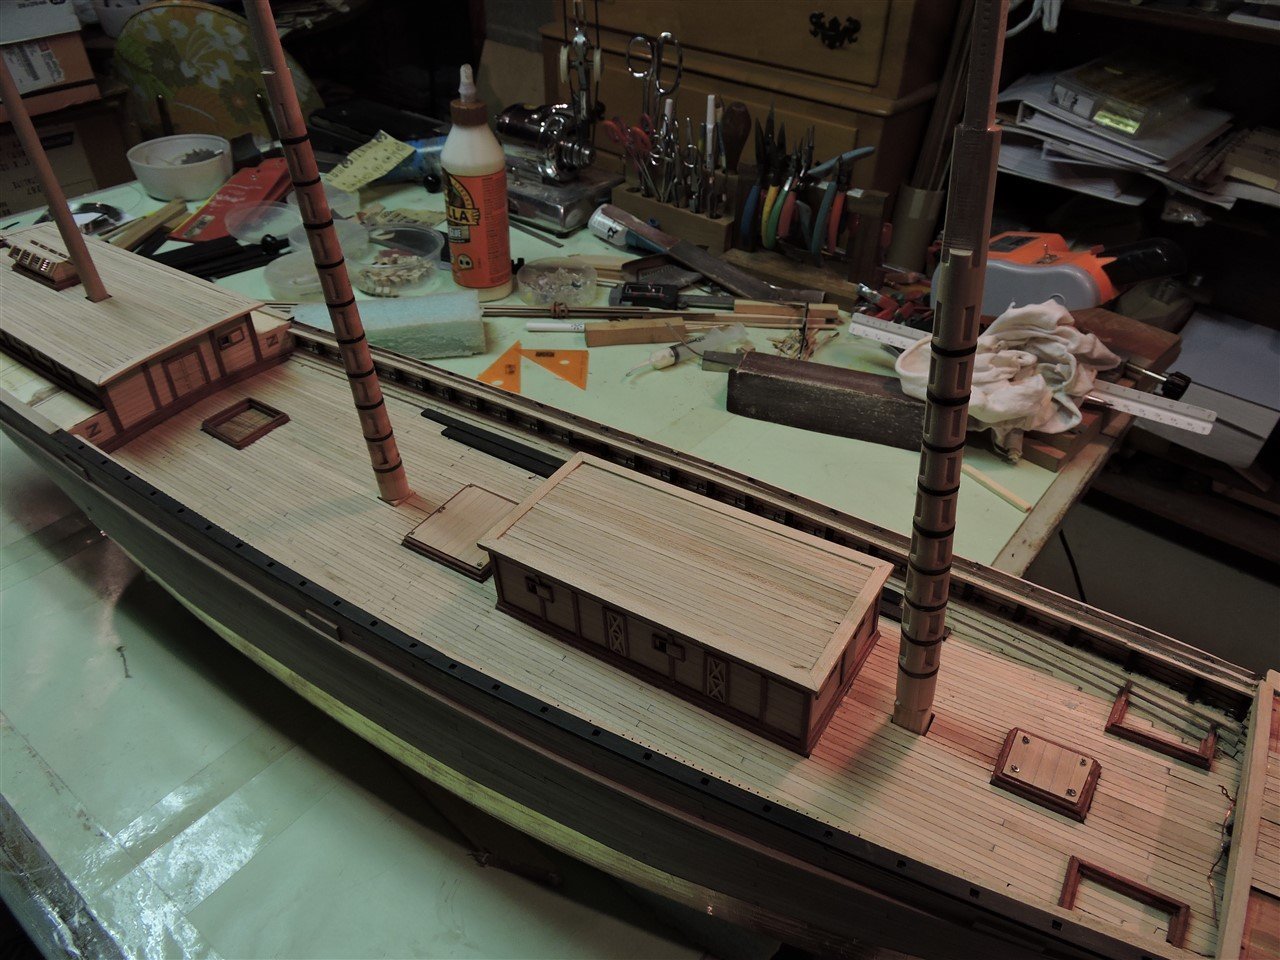
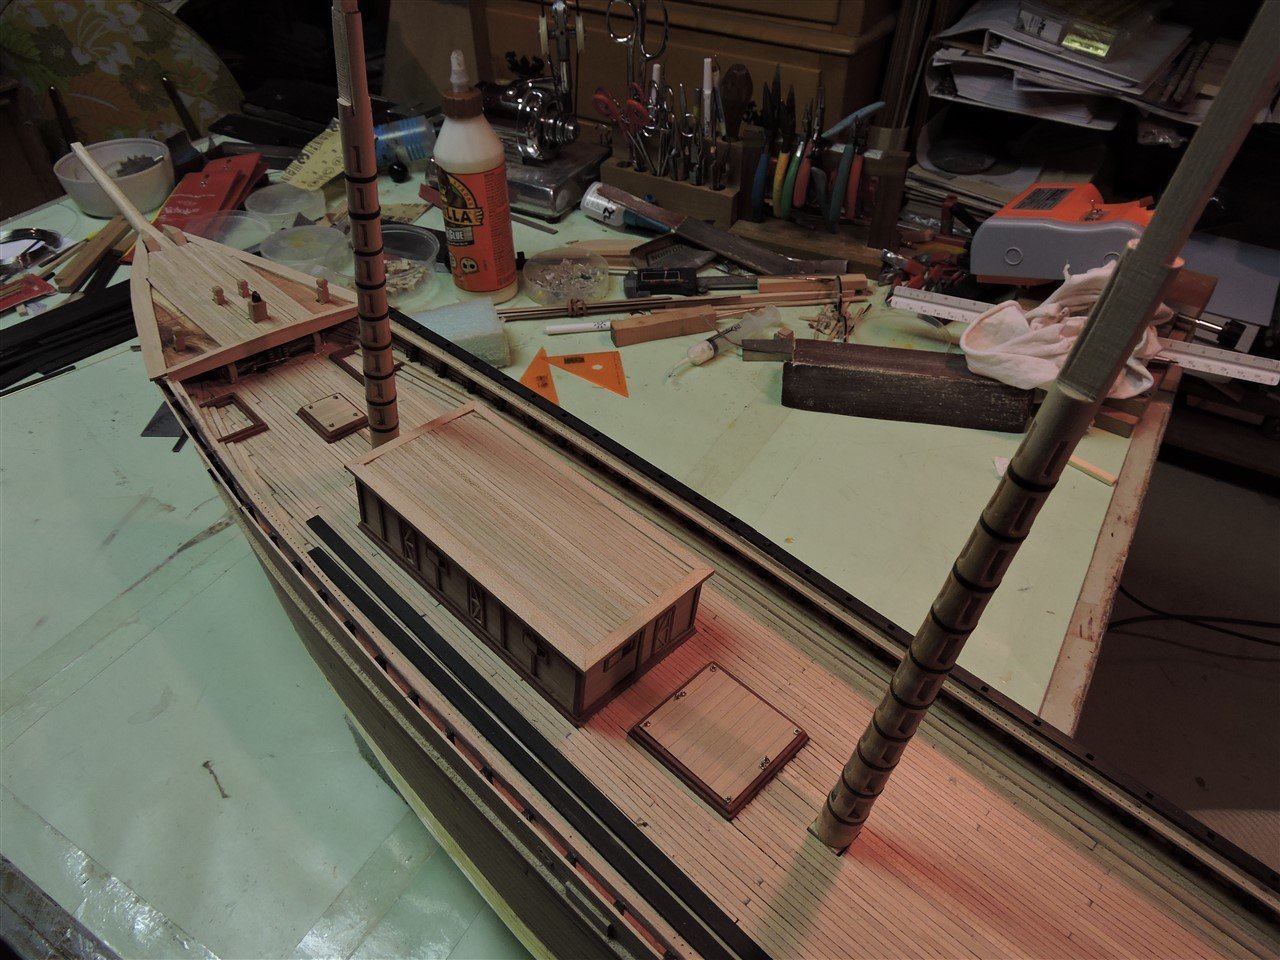
I have finished planking the decks, installed the main and foremast fife rails, the mooring bits, and the cavils and mooring chocks.

-
Keith I turned 5 mast and was satisfied with the last 2 which I used the chuck at the dead end. Of the 3 that were rejects one was ok but not great and the other 2 were bad. The mast core is 1/4" square, I used diagonal lines to find the center, then center punched it and fit the to the live center. after they were turned I noticed the center mark was enlarged and moved slightly off center. I do not have any problems like this when I turn larger stock. Keith I am following your Schooner Germania build and wish I had some of your talent in wood and metal work. Mike
-
DN Iceboat by MikeR - FINISHED
MikeR replied to MikeR's topic in - Build logs for subjects built 1901 - Present Day
Greg Thank you for the offer Greg, but I am not ready to sale any of my models just yet. Mike -
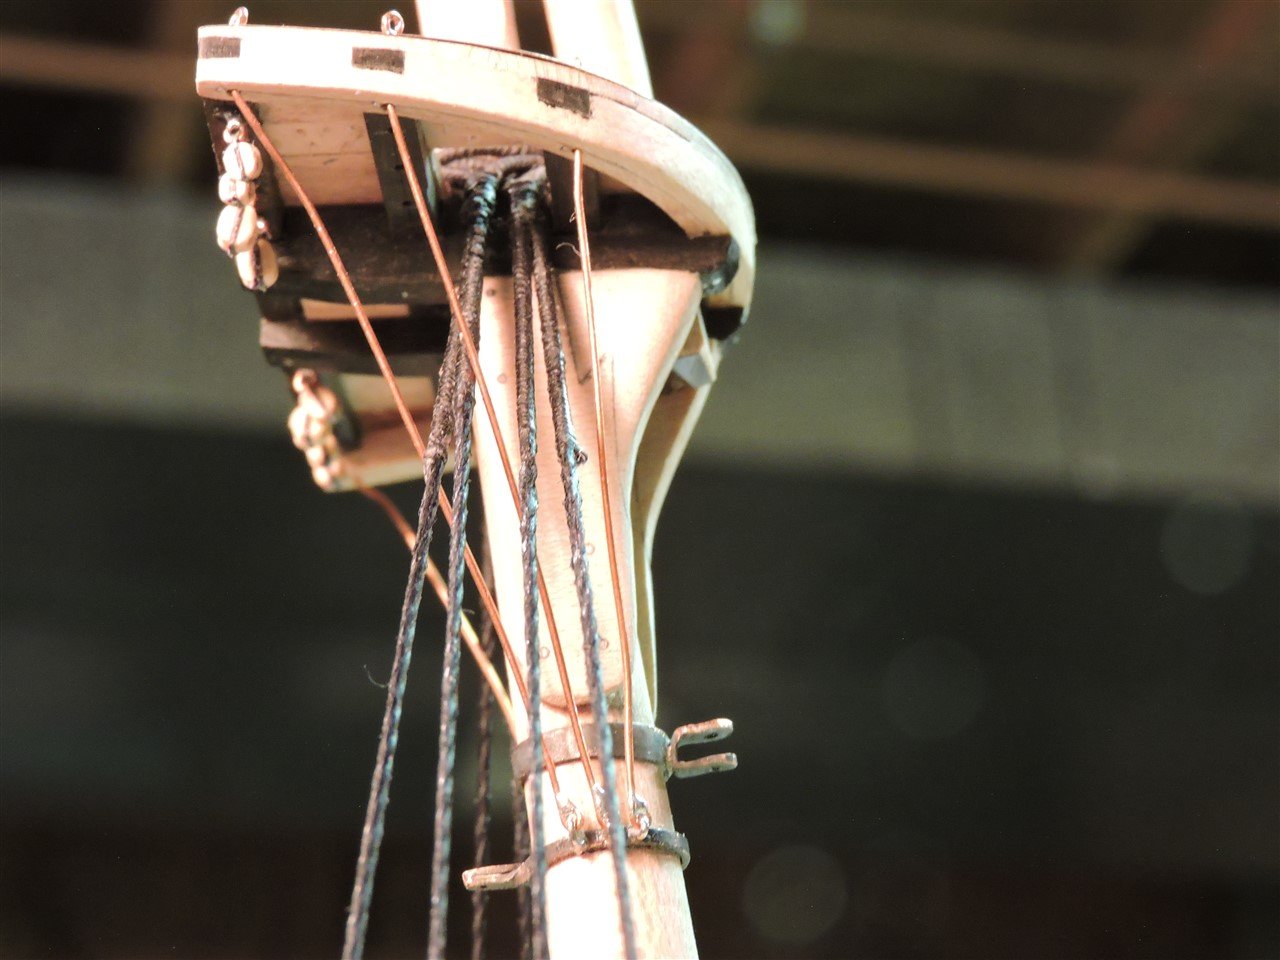
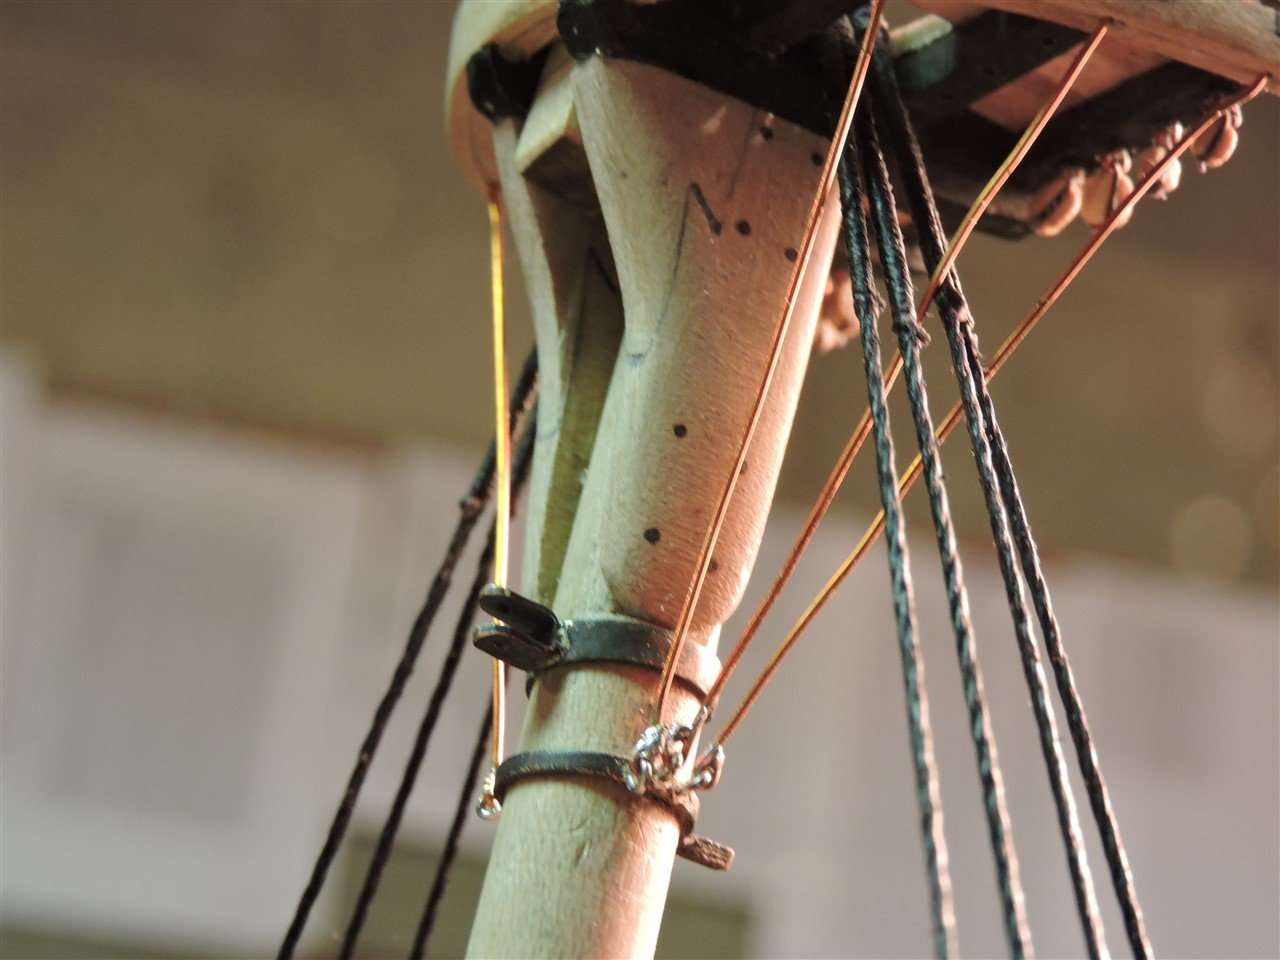
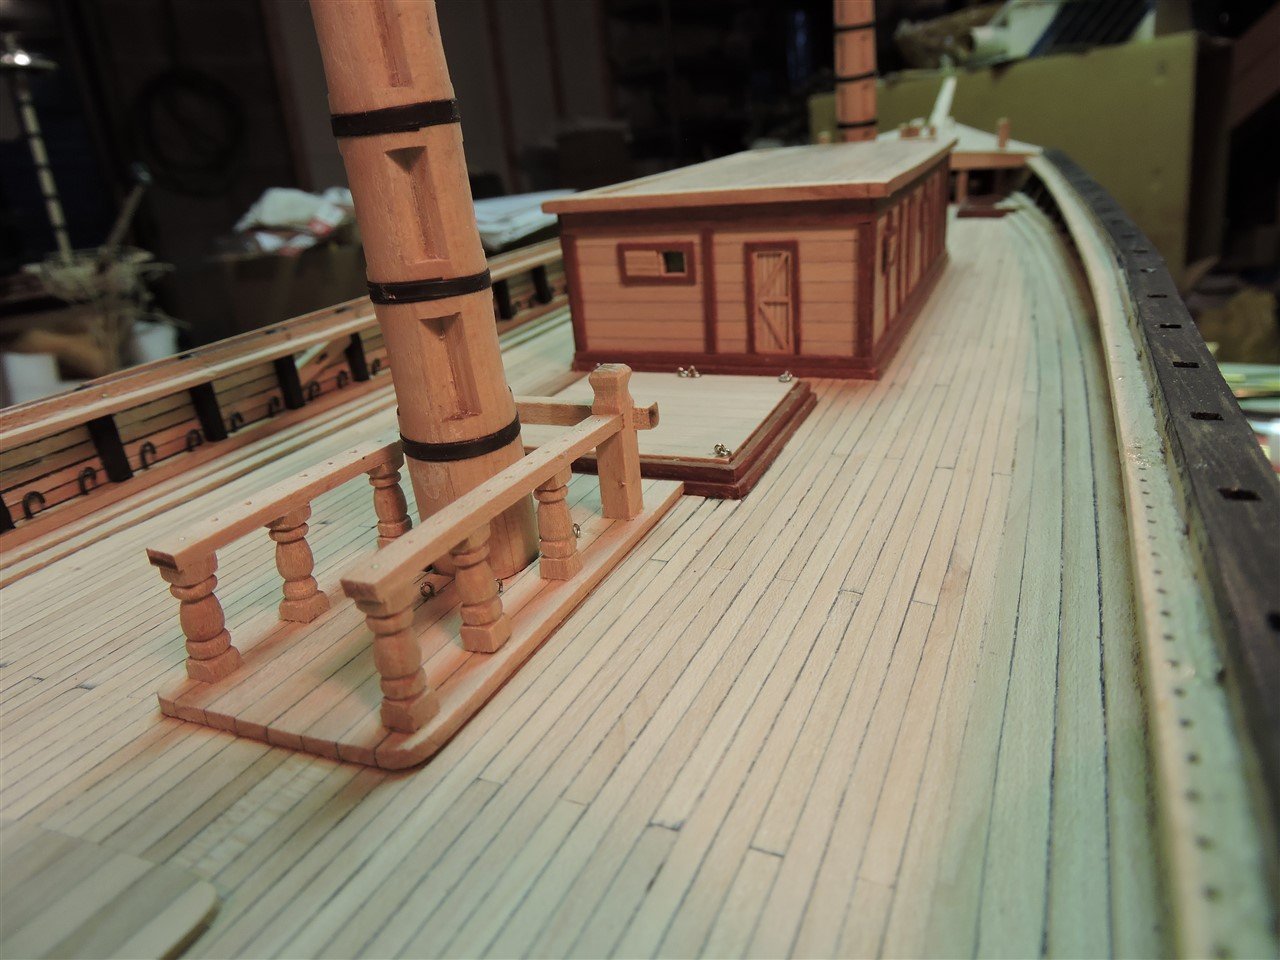
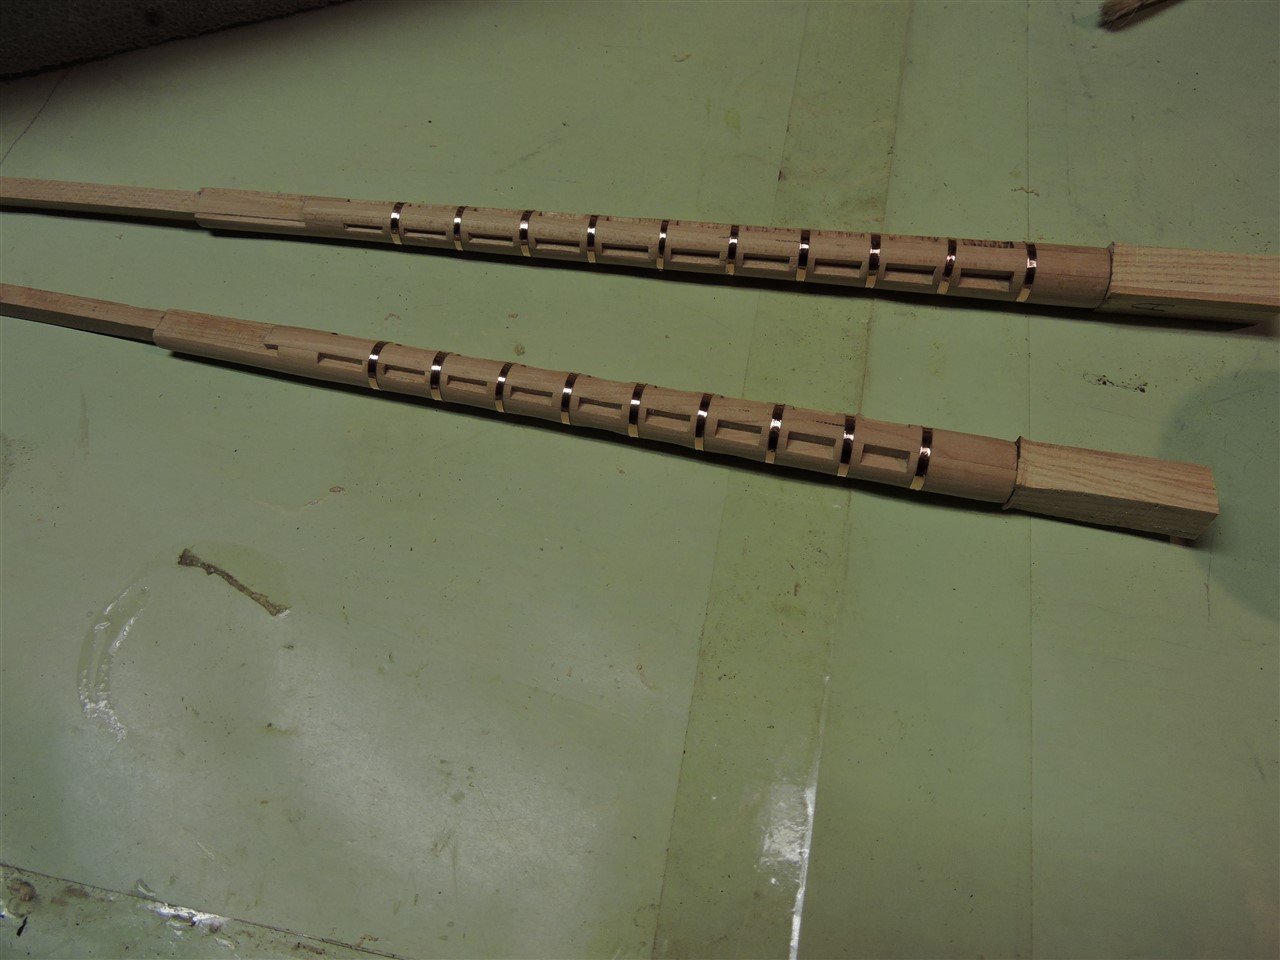
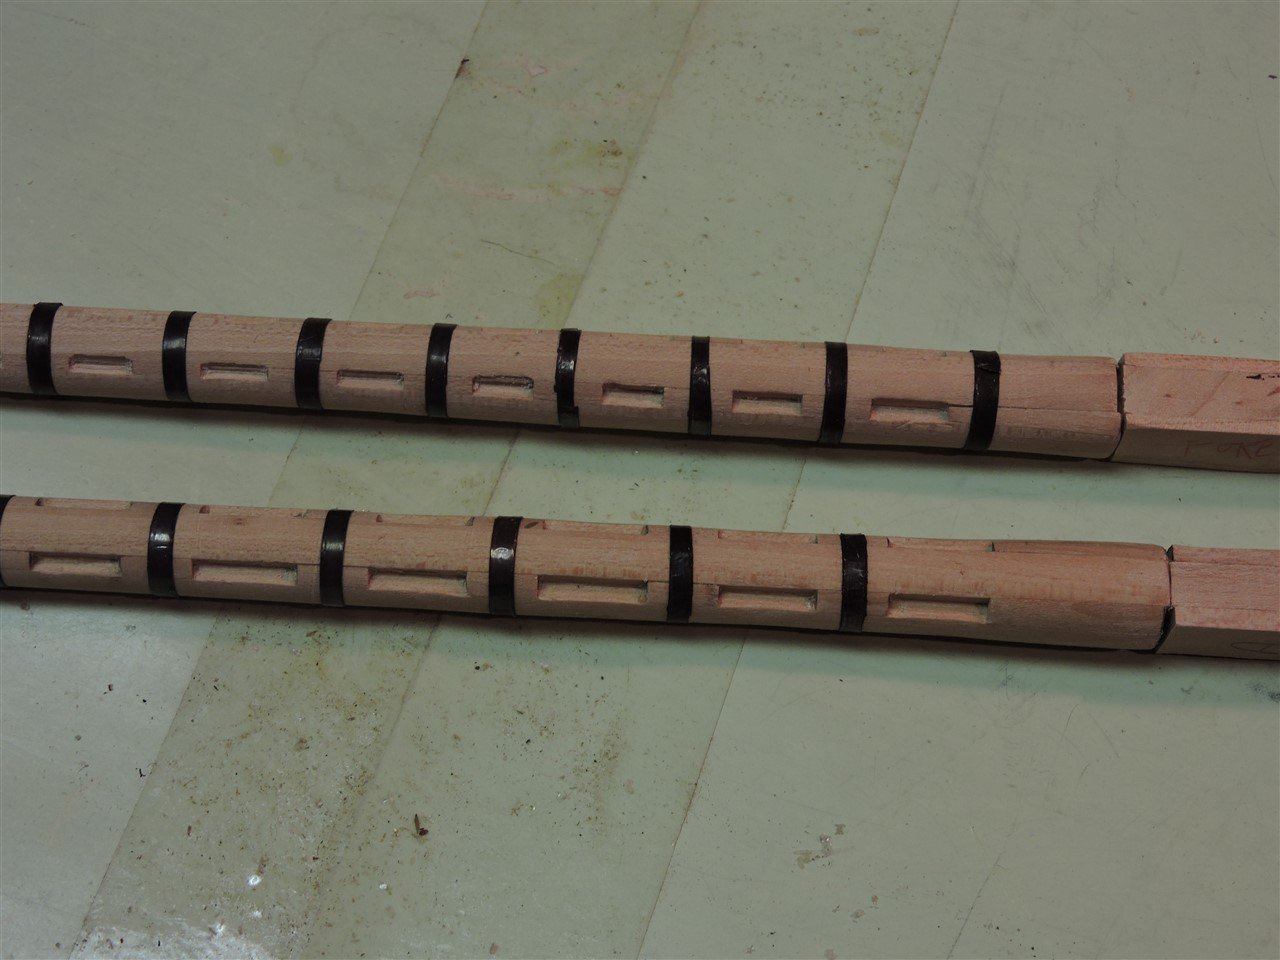
I installed the iron bands (copper tape) on the masts and blacked them with liver of sulfur.
-
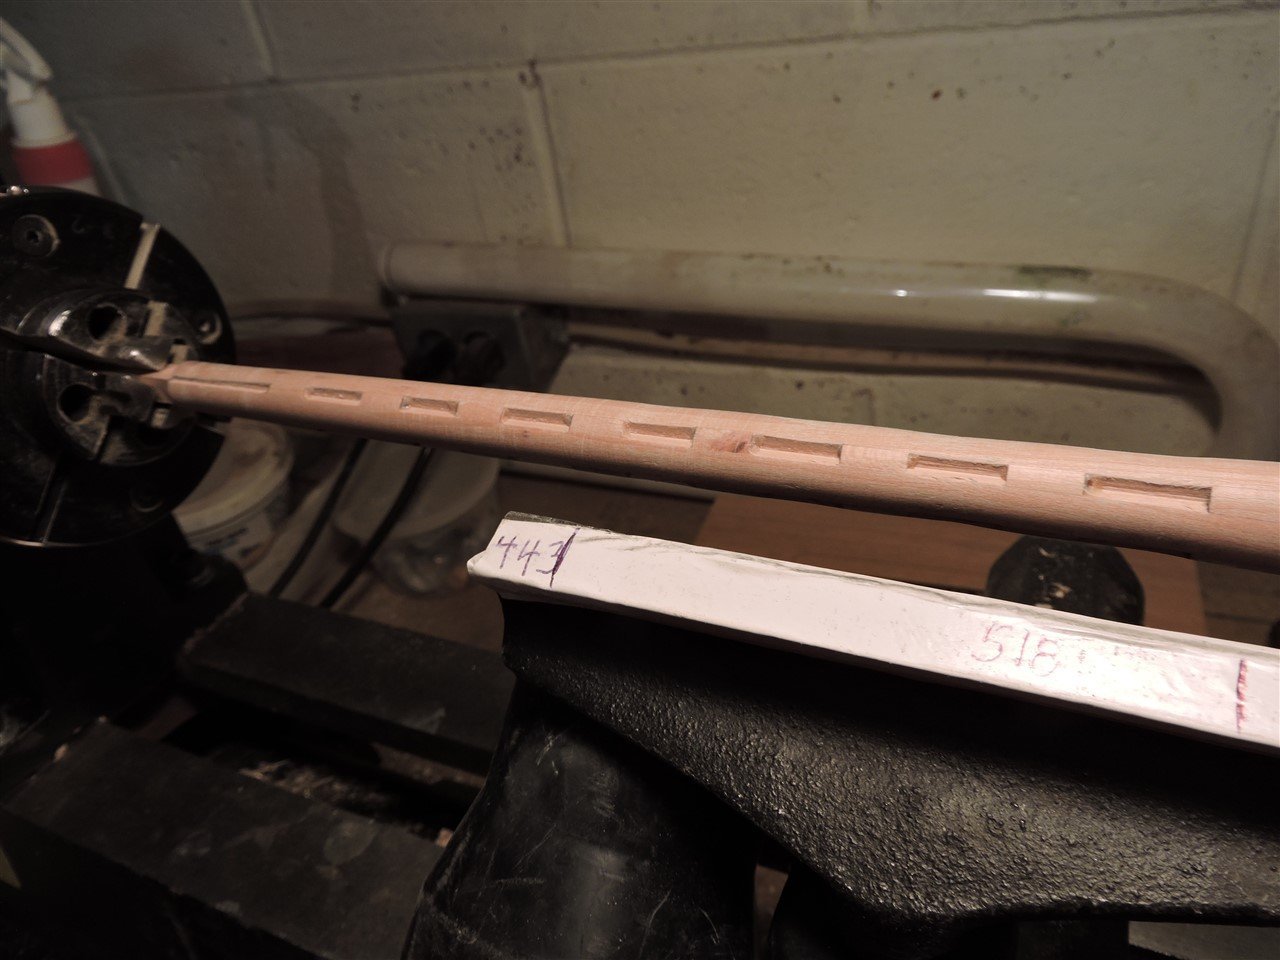
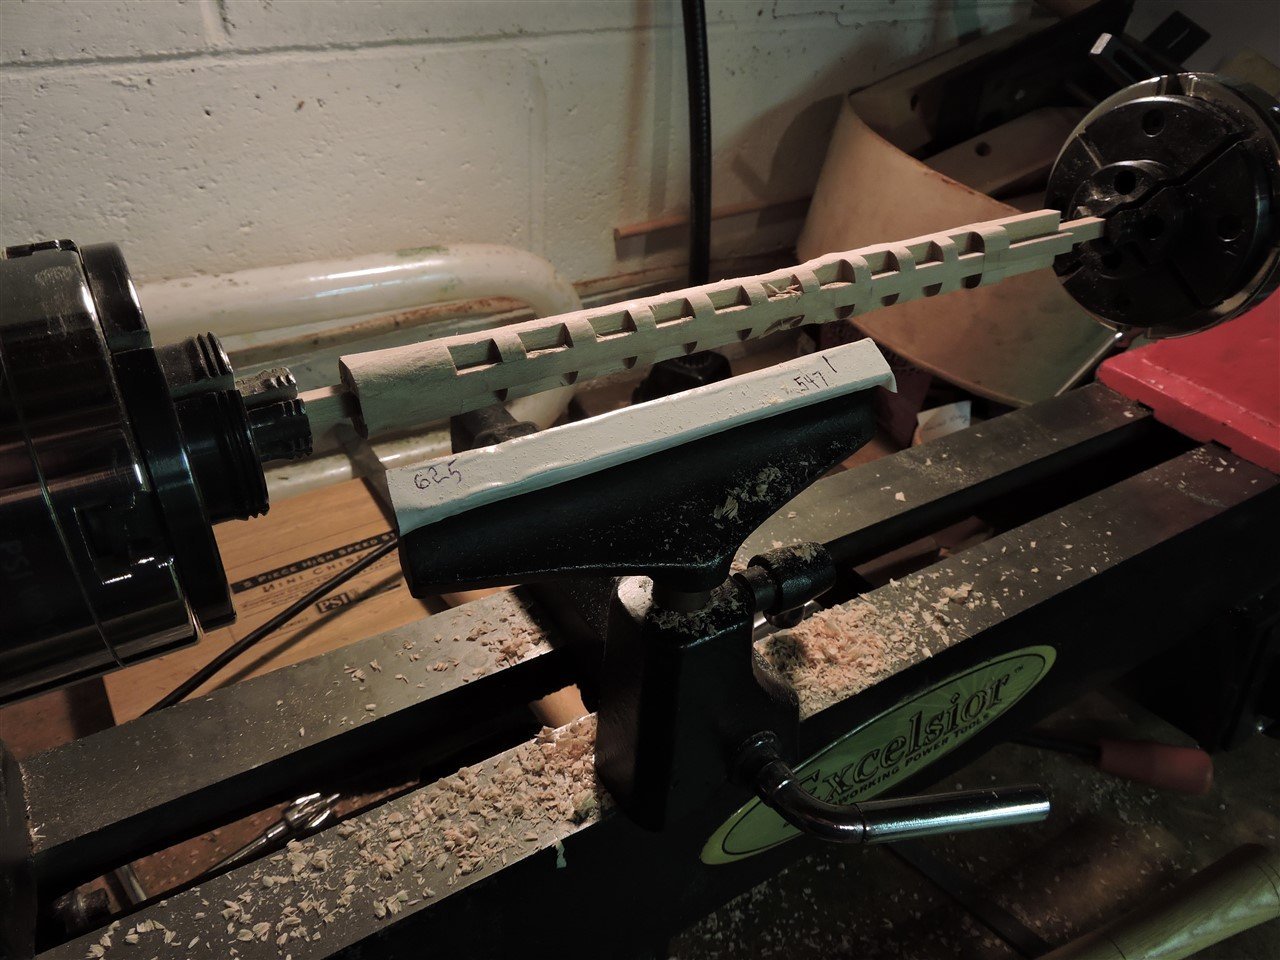
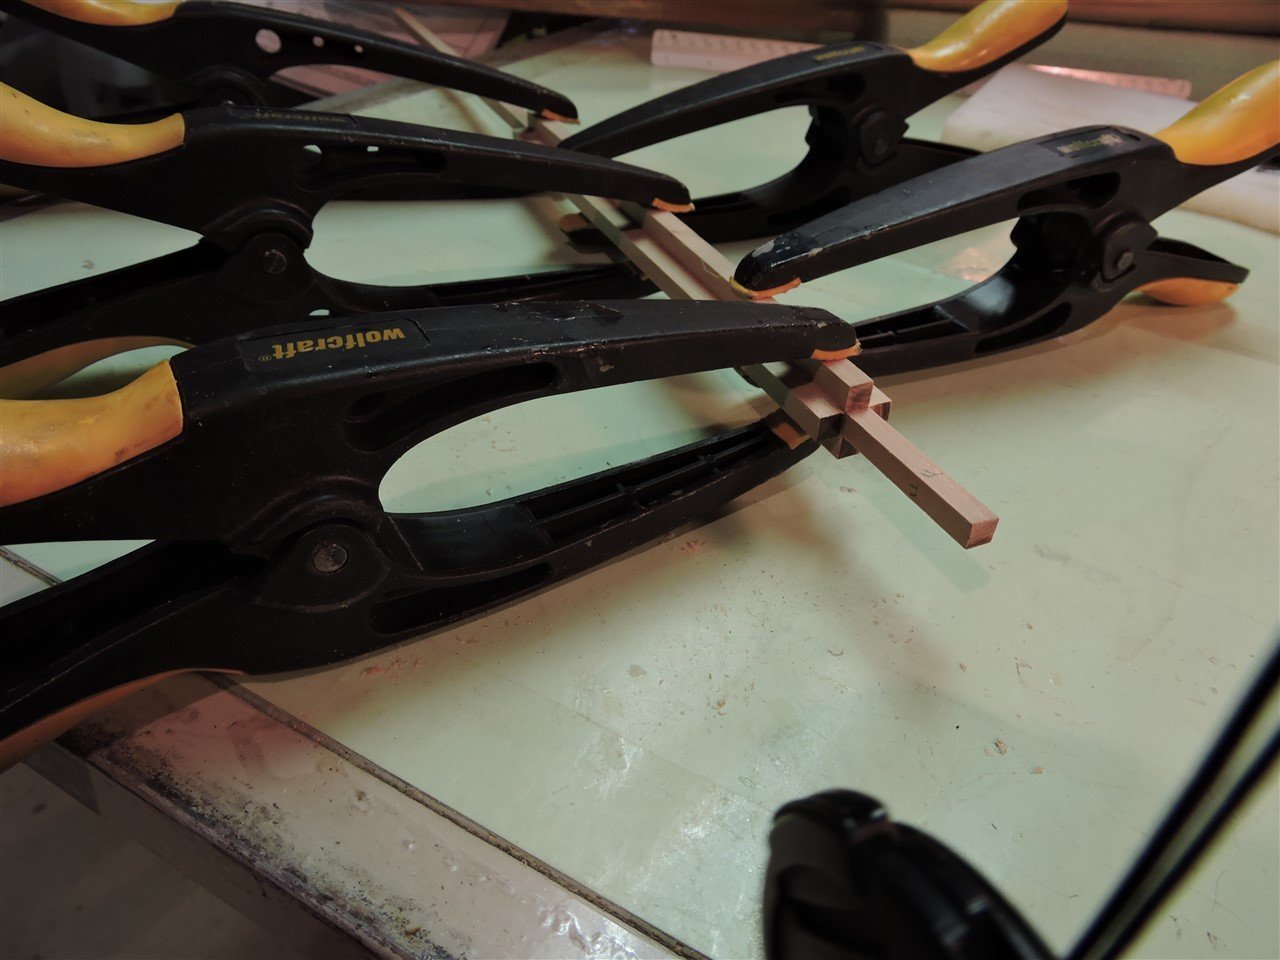
I sanded the square edges off the wedges before putting it in the lathe Using the live tailstock chuck which held my work true , I am satisfied with the results.
-
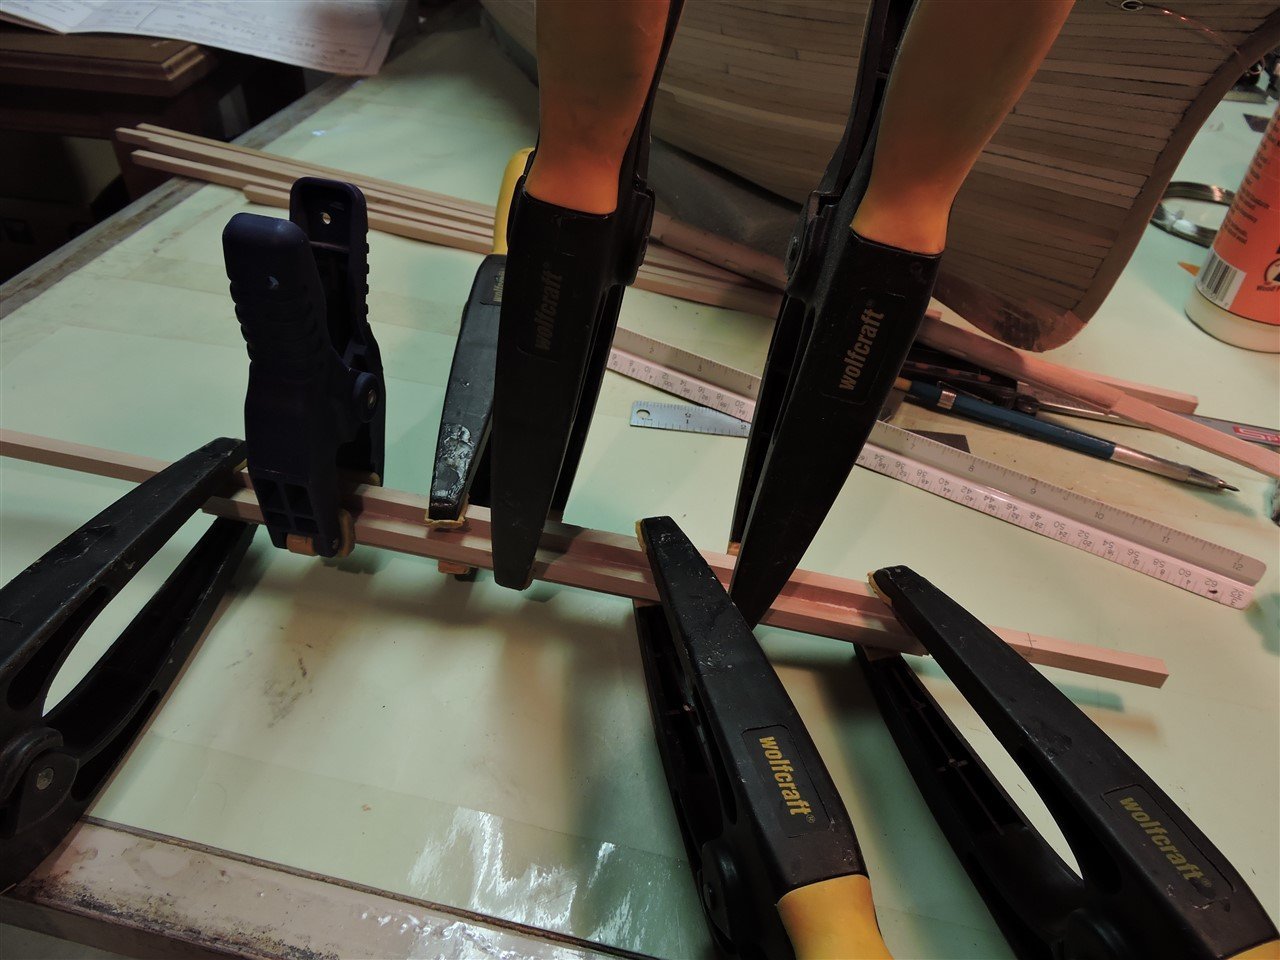
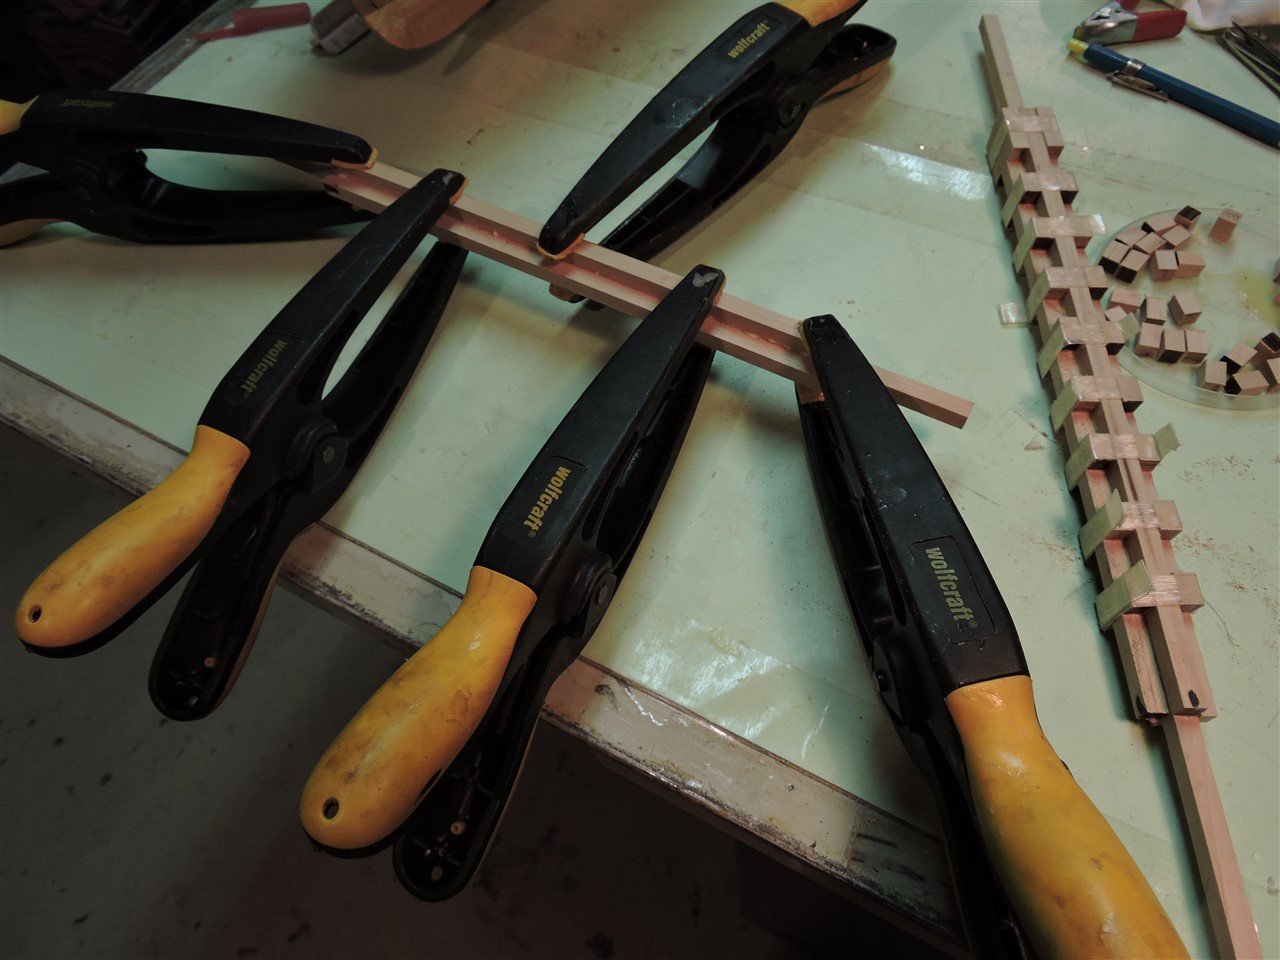
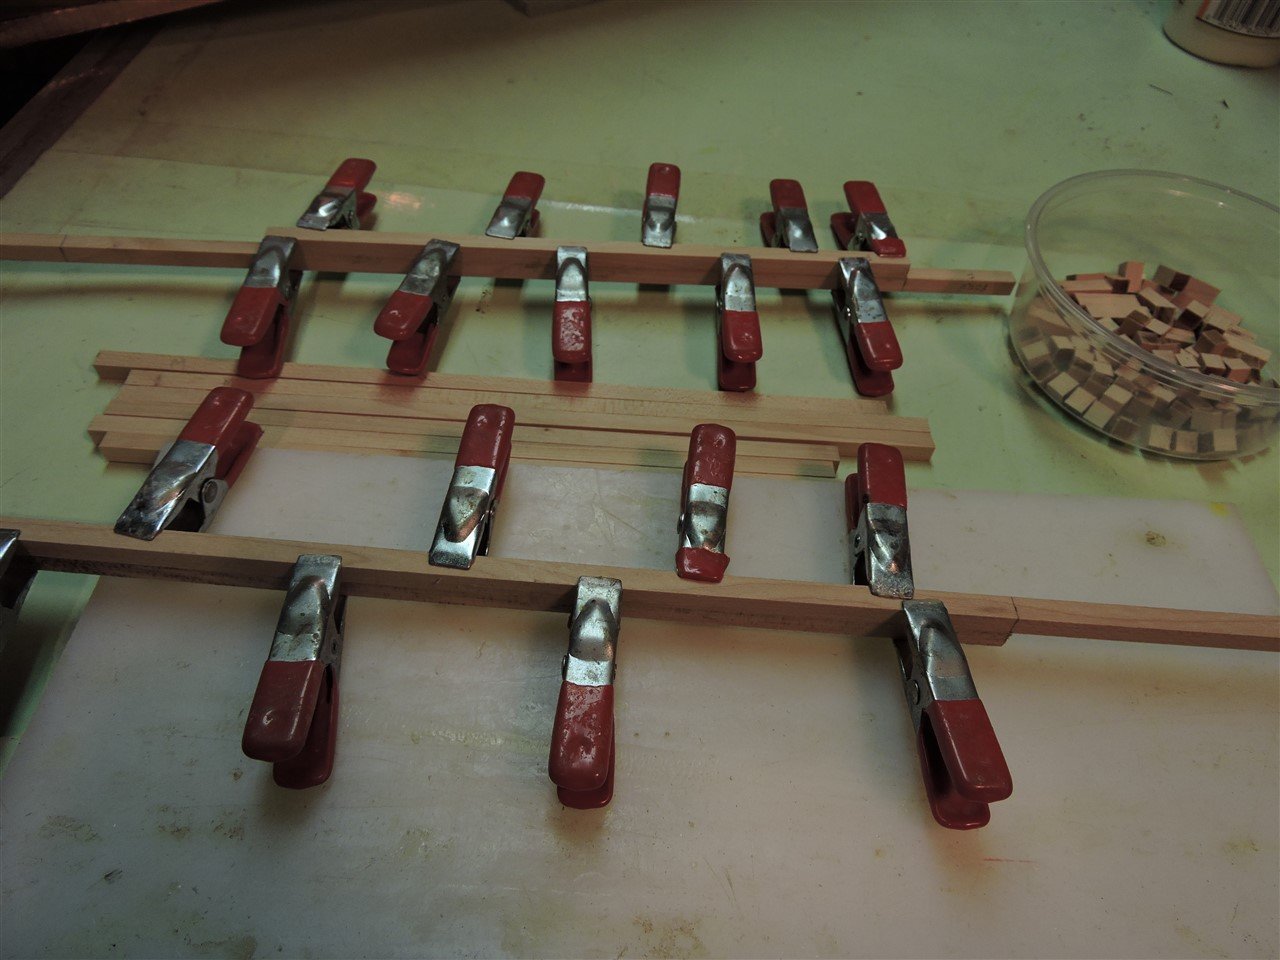
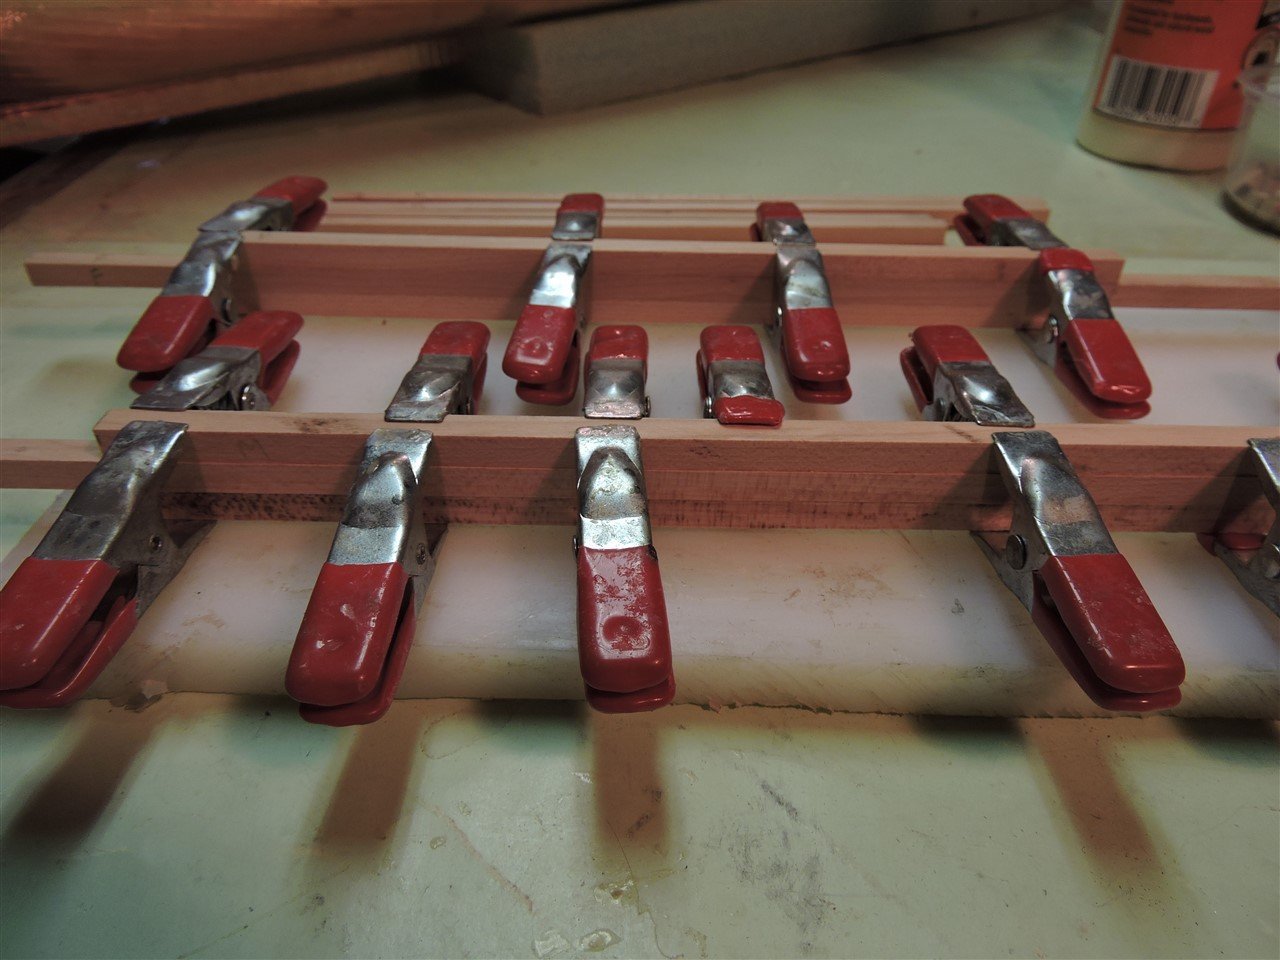
Gluing up the masts
-
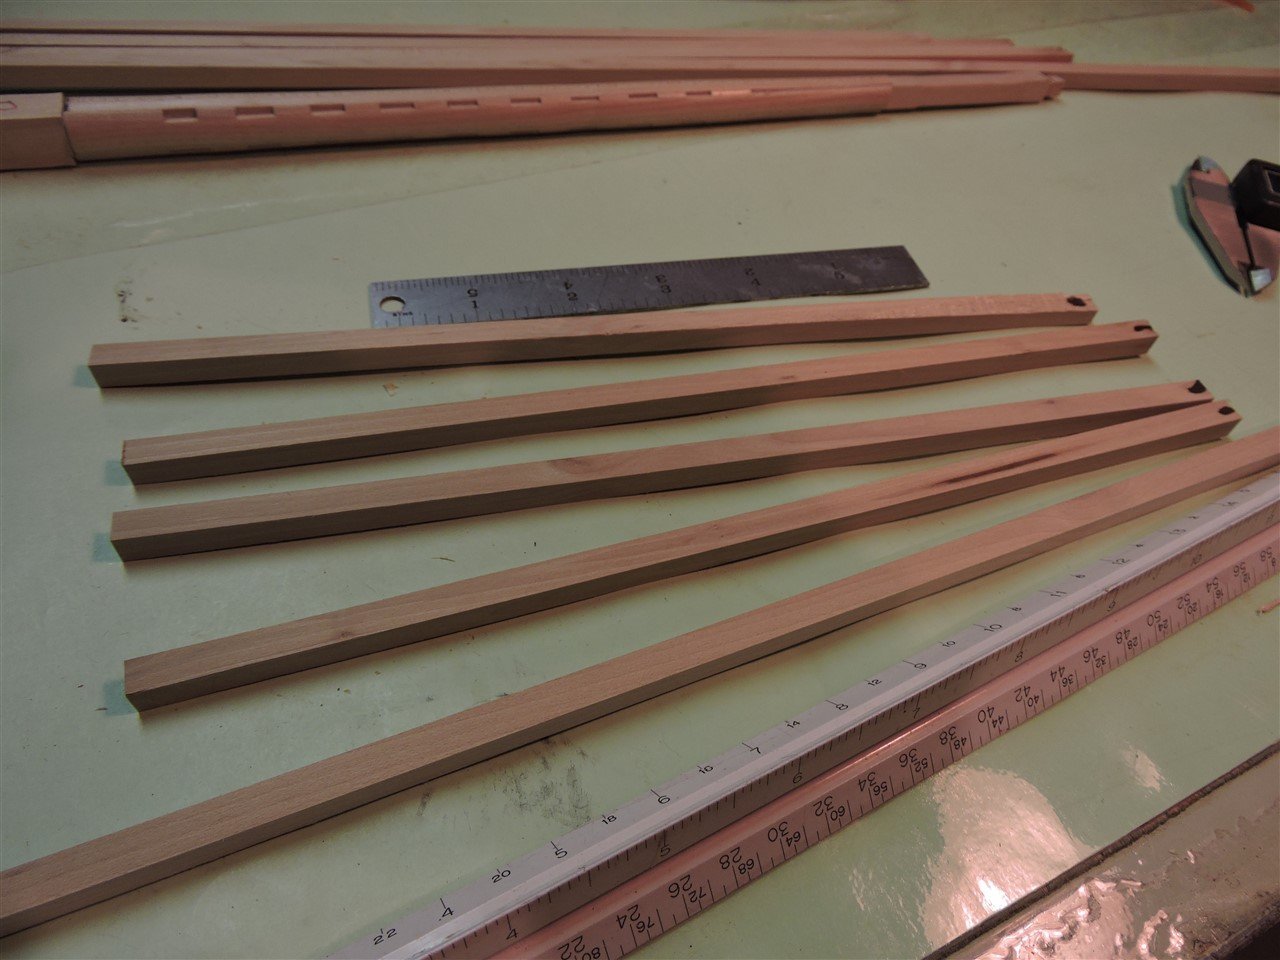
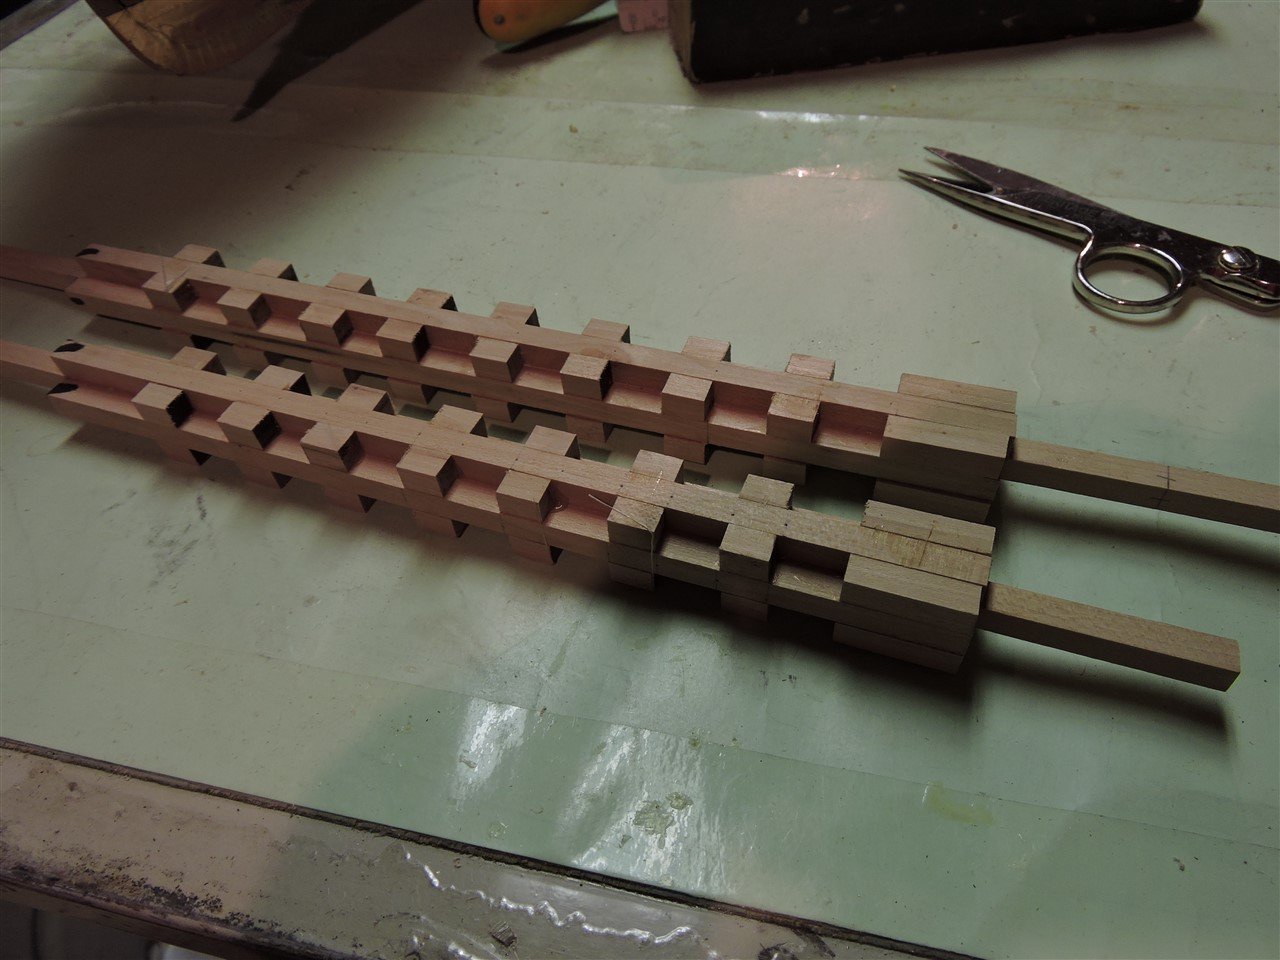
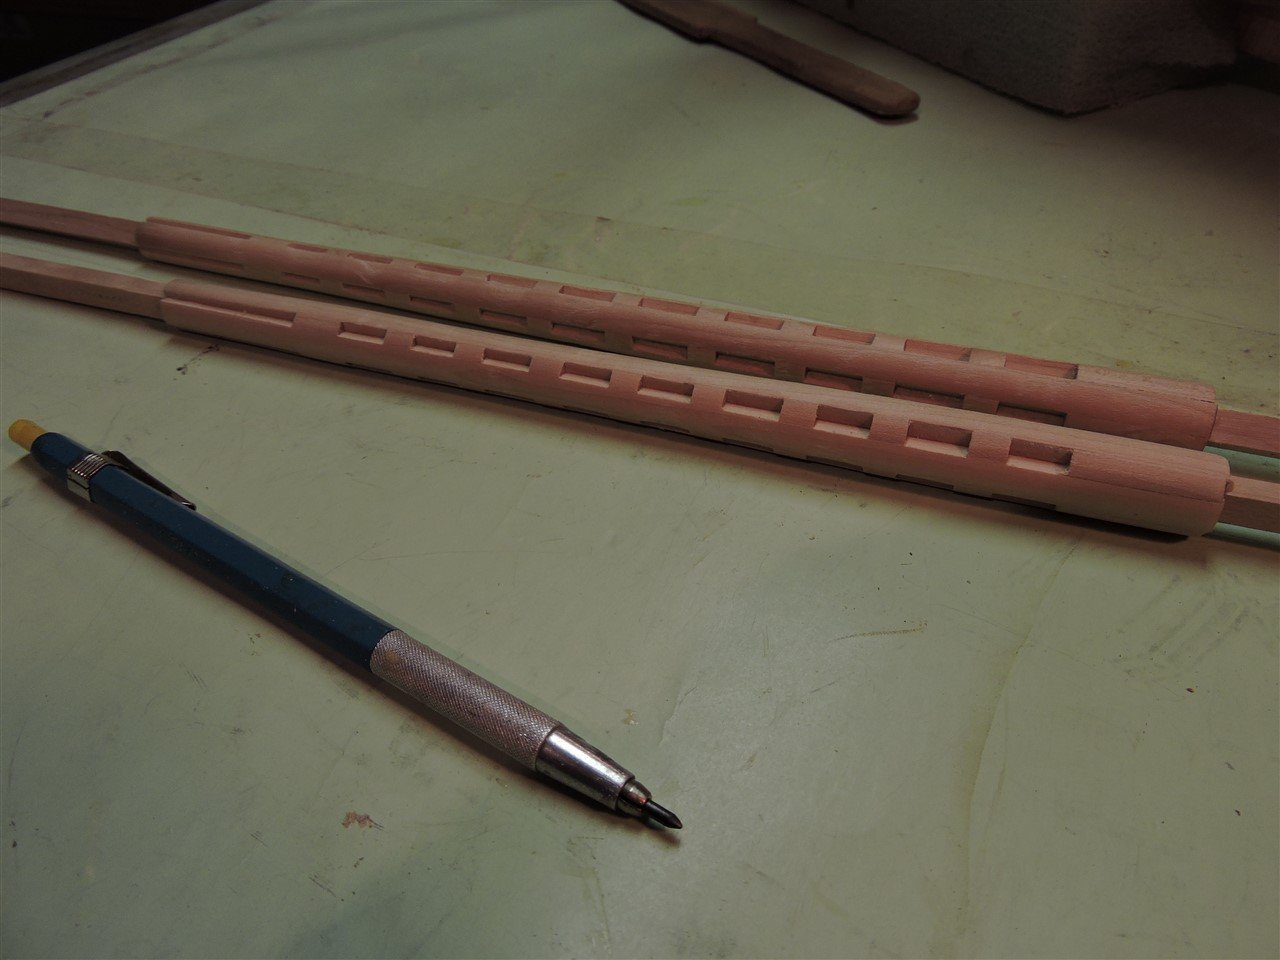
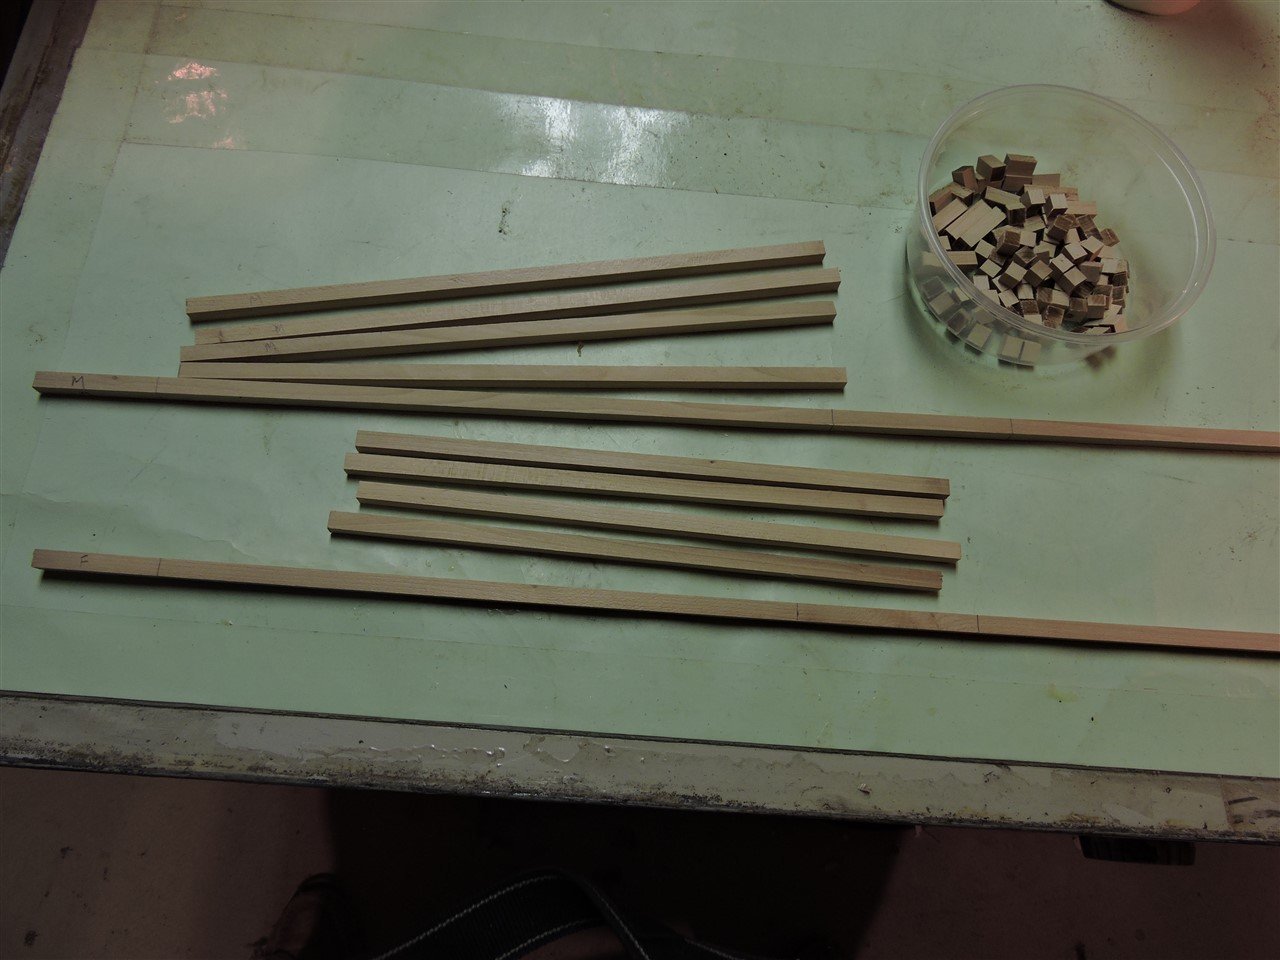
Today I received and installed a live tailstock chuck adapter for my lathe. That should eliminate the problems I had when my work shifted in the lathe. The pieces of wood required to build the main mast and foremast.
-
Rob Thanks you were right, I rechecked the drawings and I am missing 1 band and 1 wedge. After I finish the decking I will Glue up both masts and try again. I hope third time is a charm. Mike
-
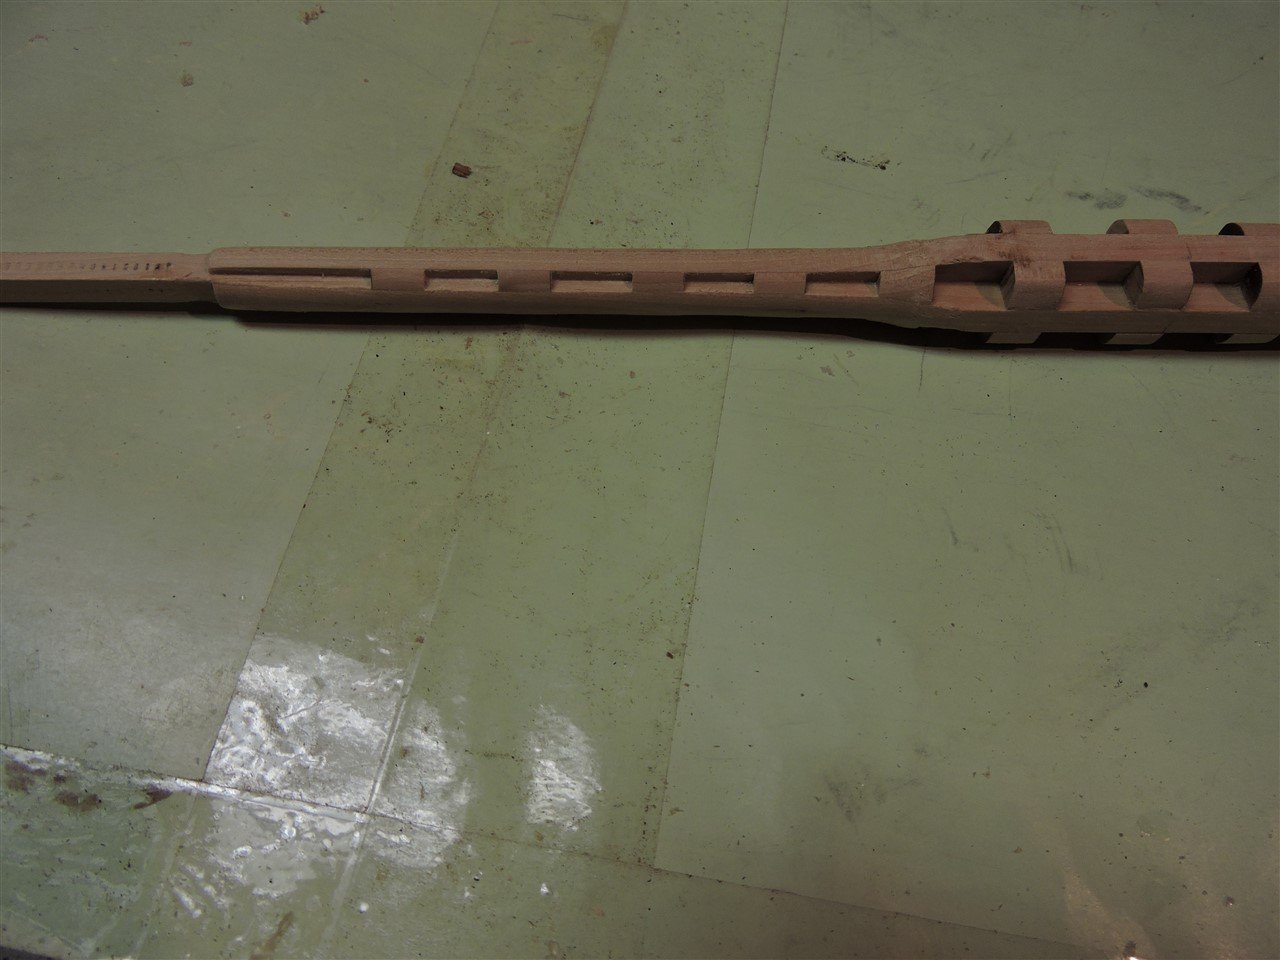
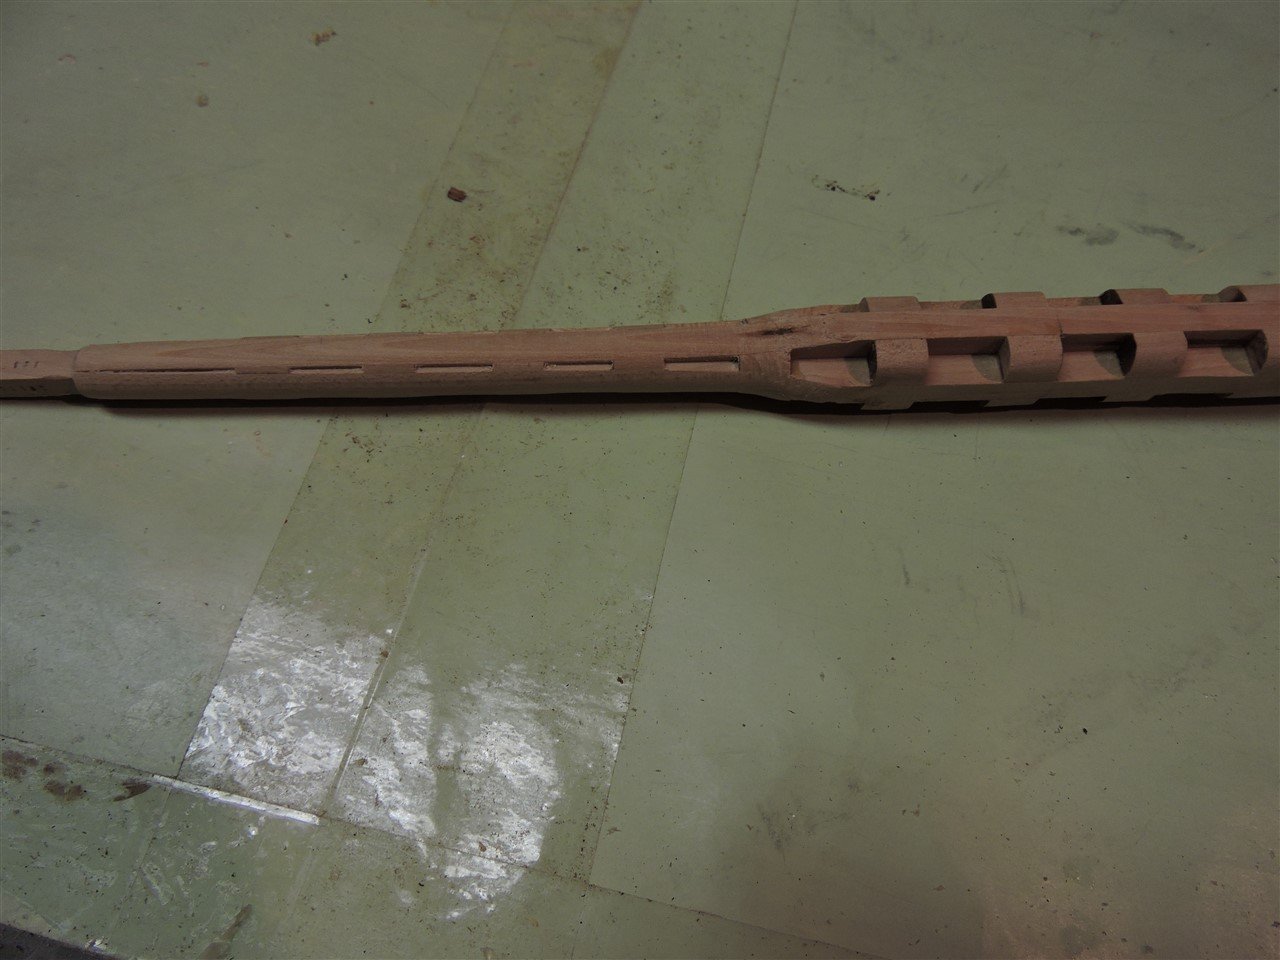
Rob I am building the Fly Fish at 3/16" scale. I am using the top mast in the picture. The bands and the wedge spacing is right on with the drawings I have. I guess I wasn't paying attention when I glued up the bottom mast.
-
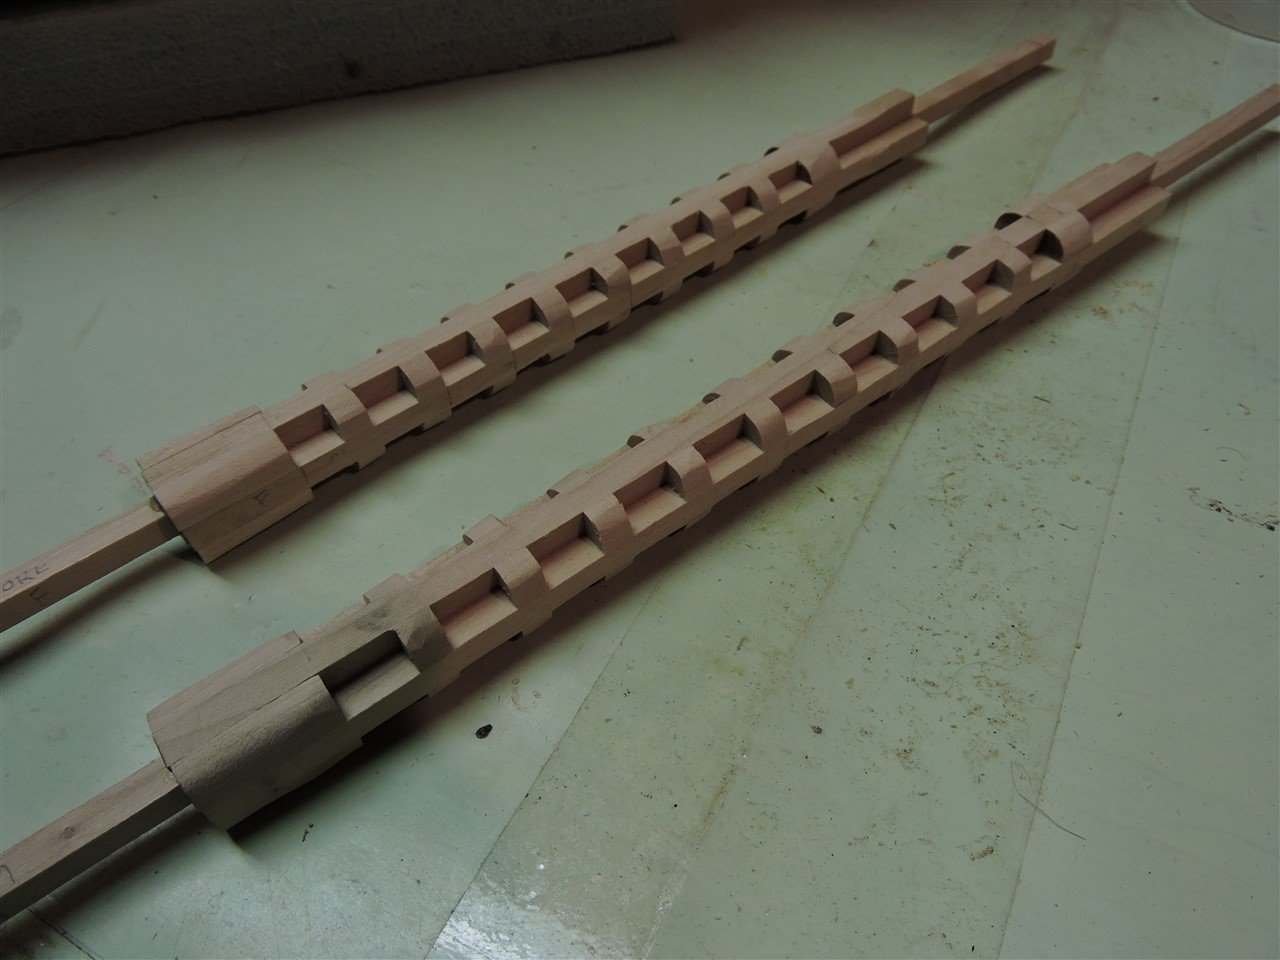
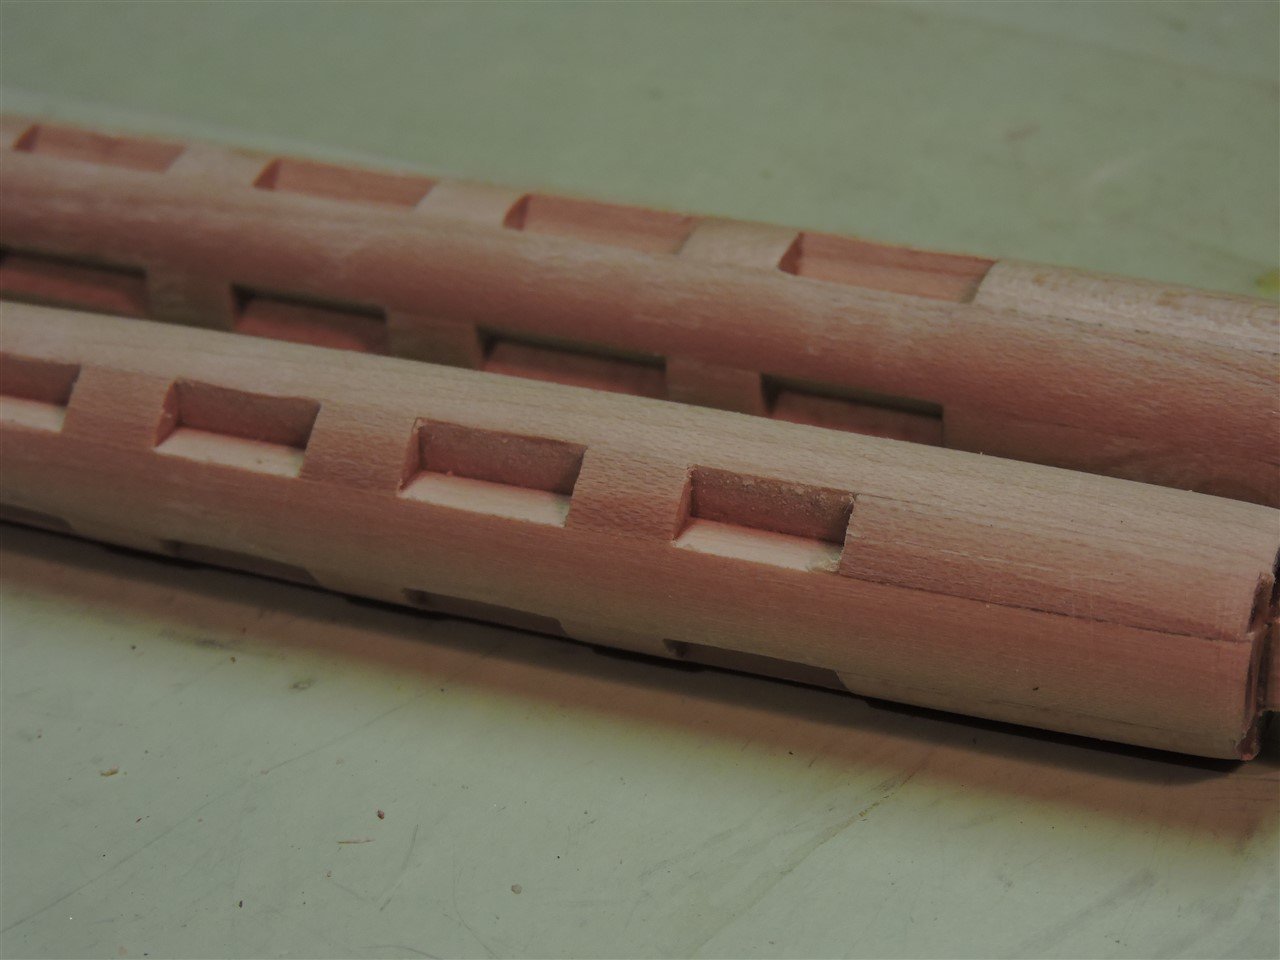
I took the first set of masts that I made and scraped out the chapeling (a new word for me) and then added the iron bands to the masts. I used thin strips of copper tape and liver of sulfur to blacken them. The top mast is my first attempt, the lower the second.
-
Then I turned the main mast and when it was clamped in the lathe the end on the dead side moved slightly off center, which I did not realize until it was too late.
-
Rob & George This is my second attempt to make the main and foremast. I used 1/4" stock to glue up the masts and I will add thin pieces of wood to the head and base to bring them to the proper size. I turned the foremast first and it turned out OK.