HOLIDAY DONATION DRIVE - SUPPORT MSW - DO YOUR PART TO KEEP THIS GREAT FORUM GOING! (Only 24 donations so far out of 49,000 members - C'mon guys!)
×


MikeR
-
Posts
149 -
Joined
-
Last visited
Content Type
Profiles
Forums
Gallery
Events
Everything posted by MikeR
-
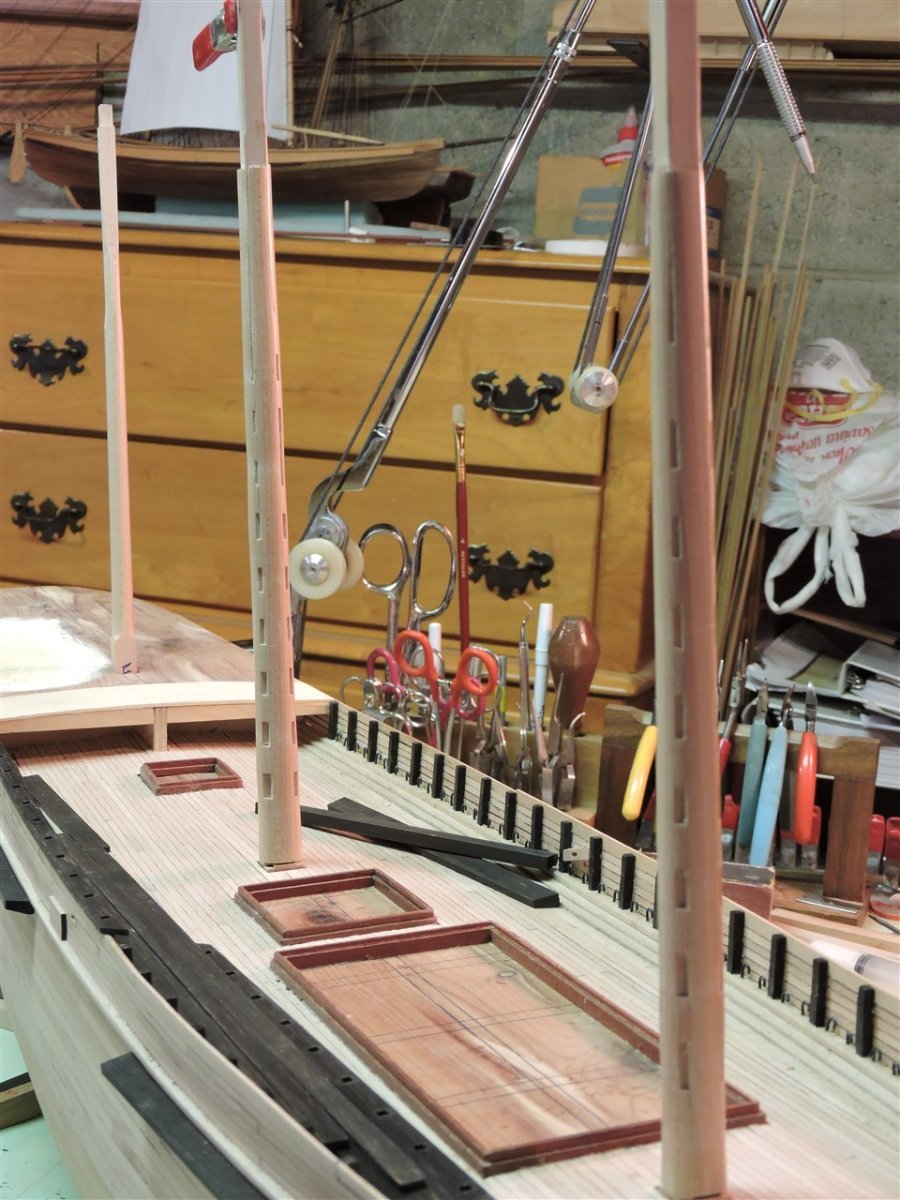
During the last month I started to install the main rail which I am making out of ebony. While the glue was drying I started on the masts. After they were glued up I turned them on a lathe. I'm not sure if I like the finished masts. I will decide after I install the iron bands on them.


-
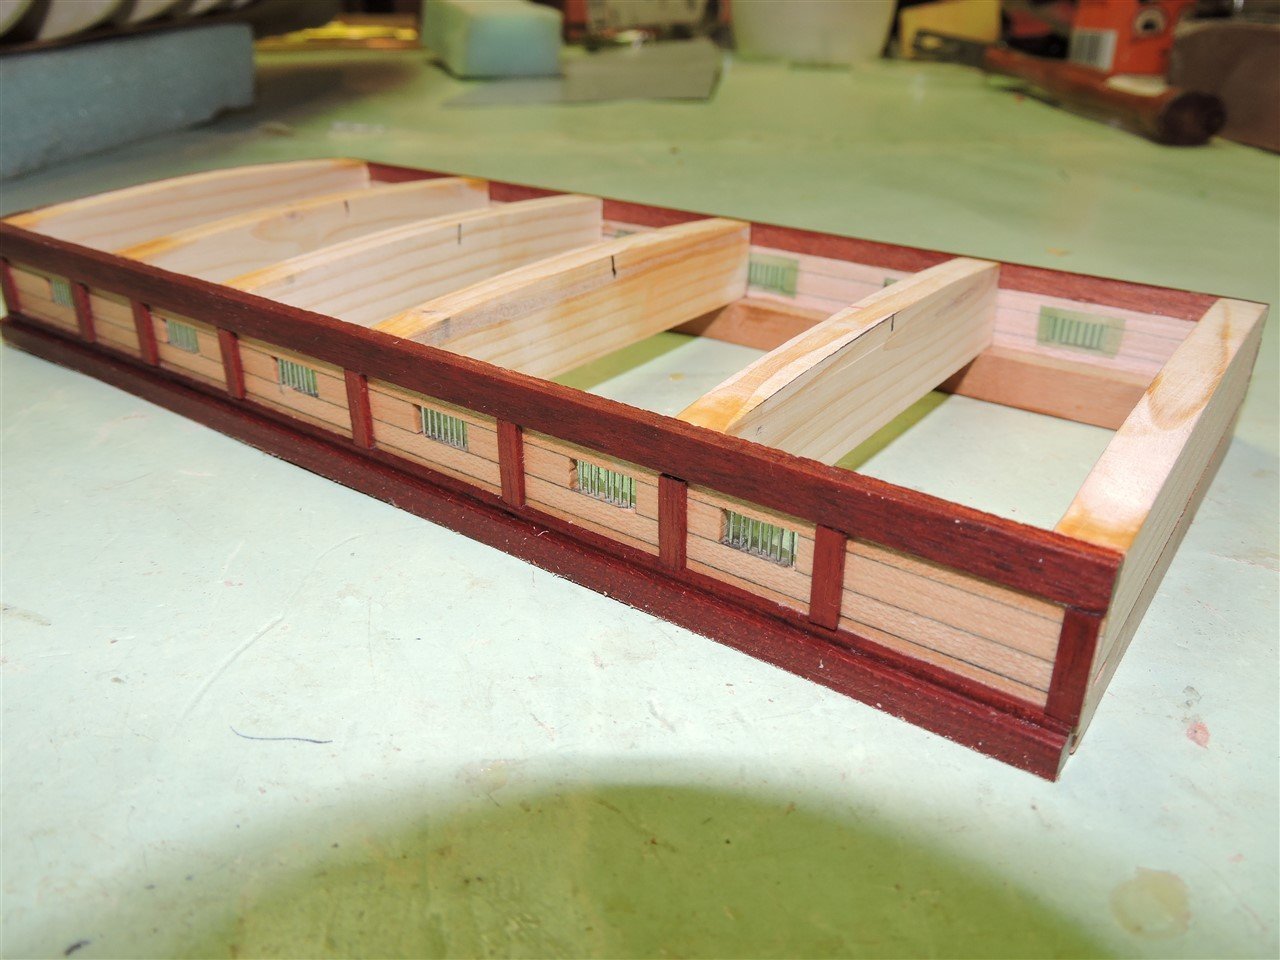
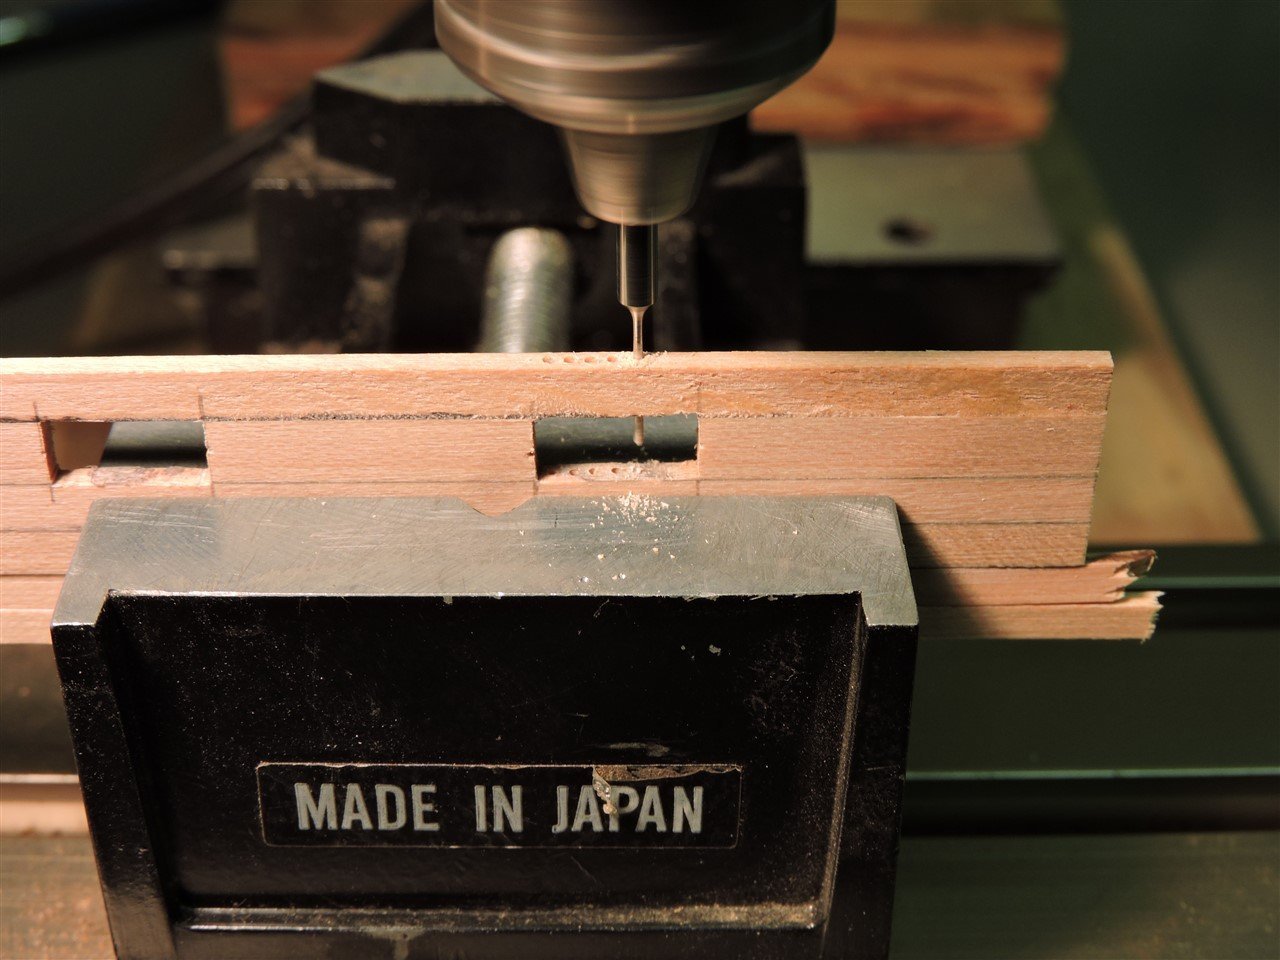
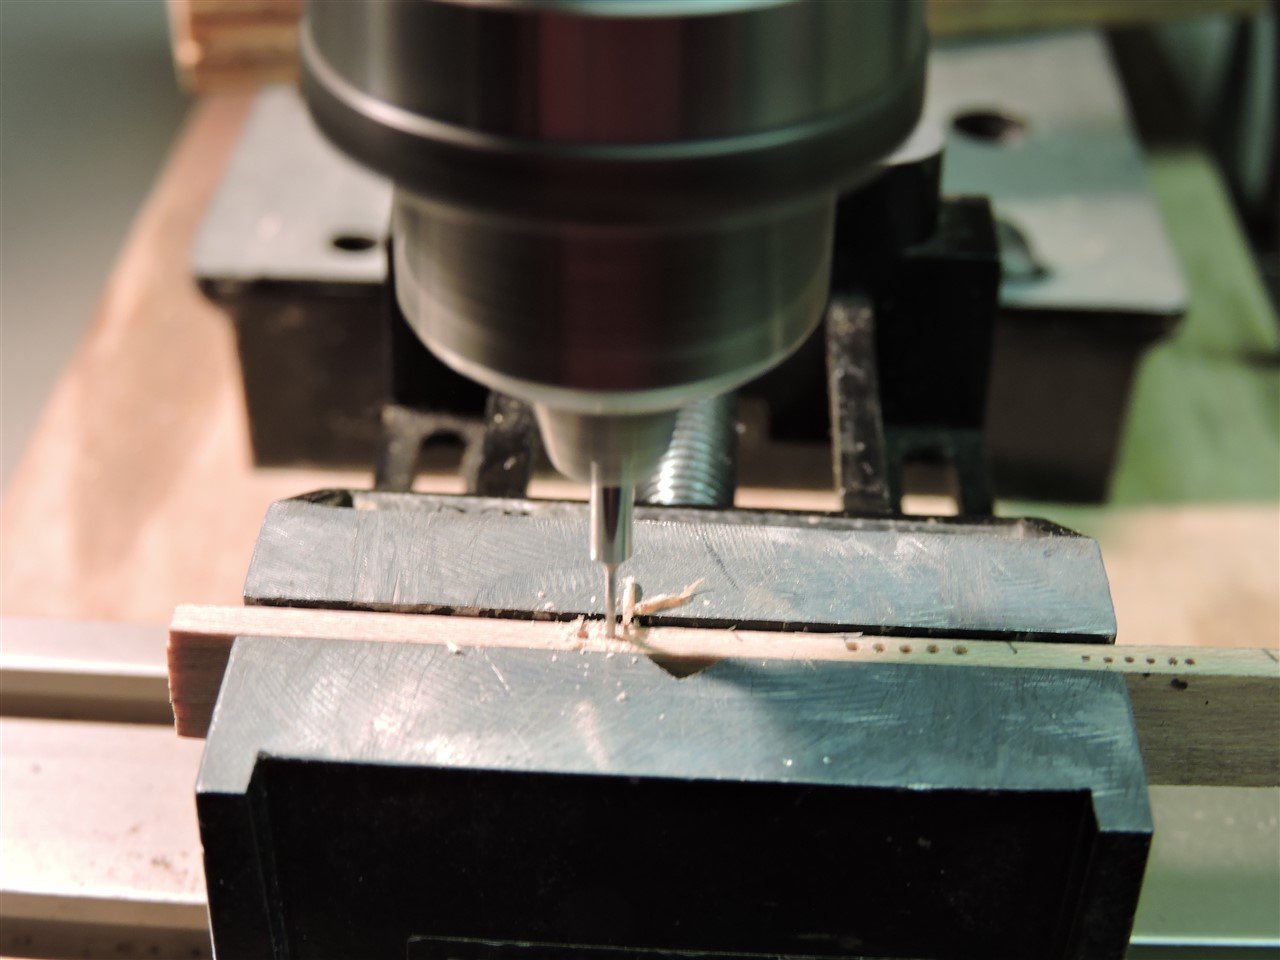
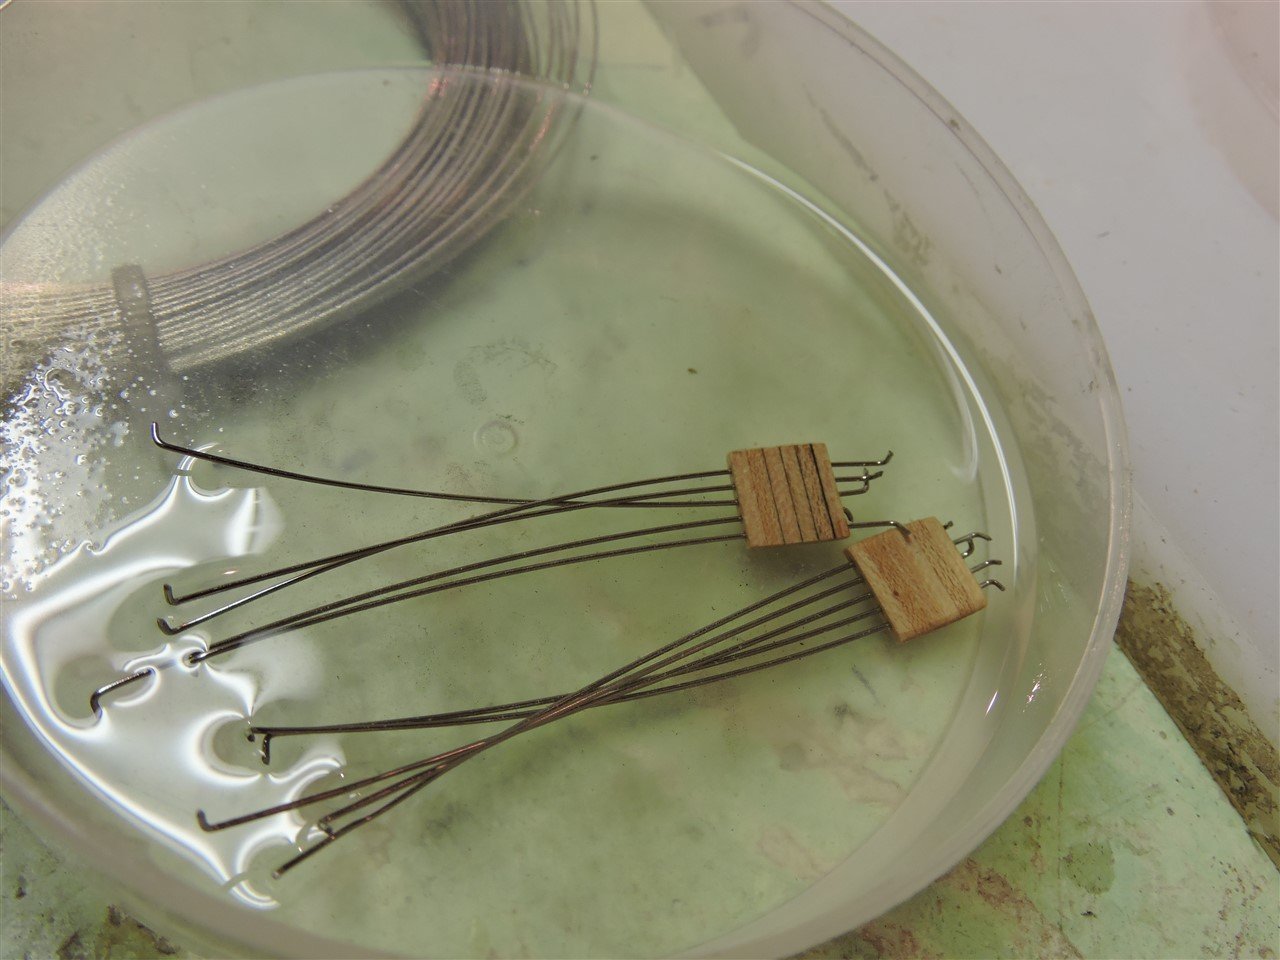
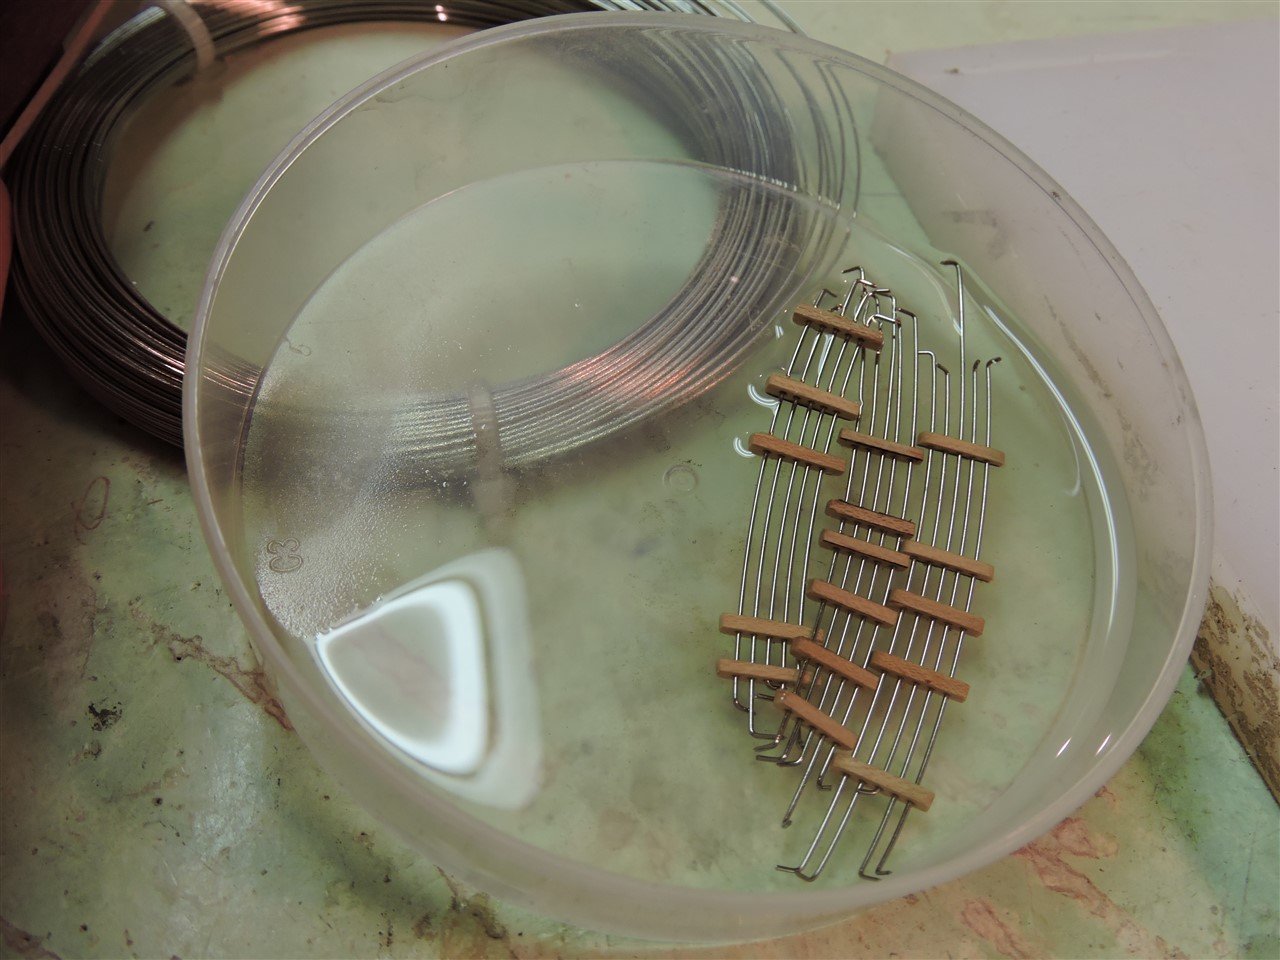
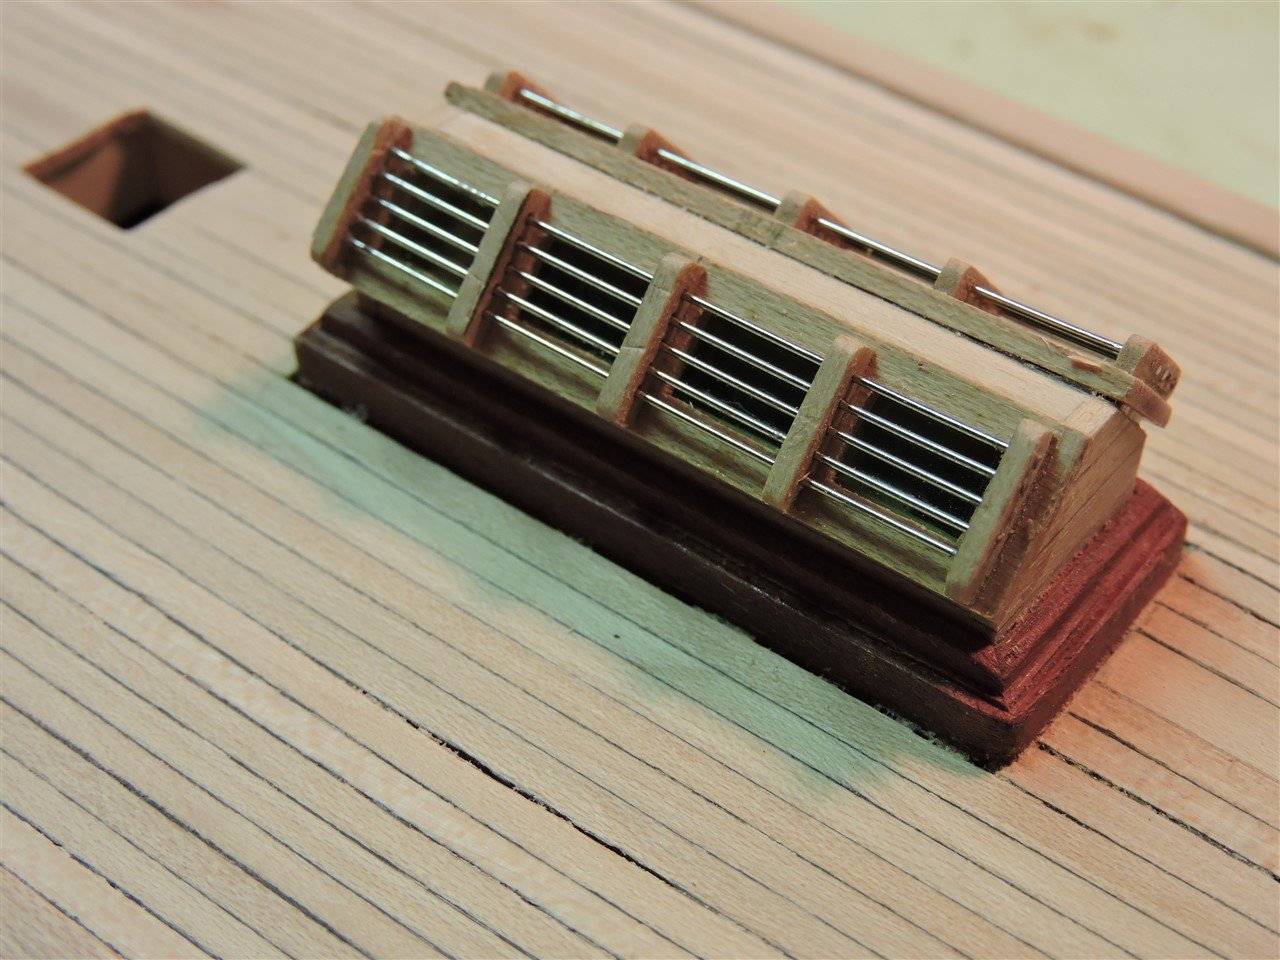
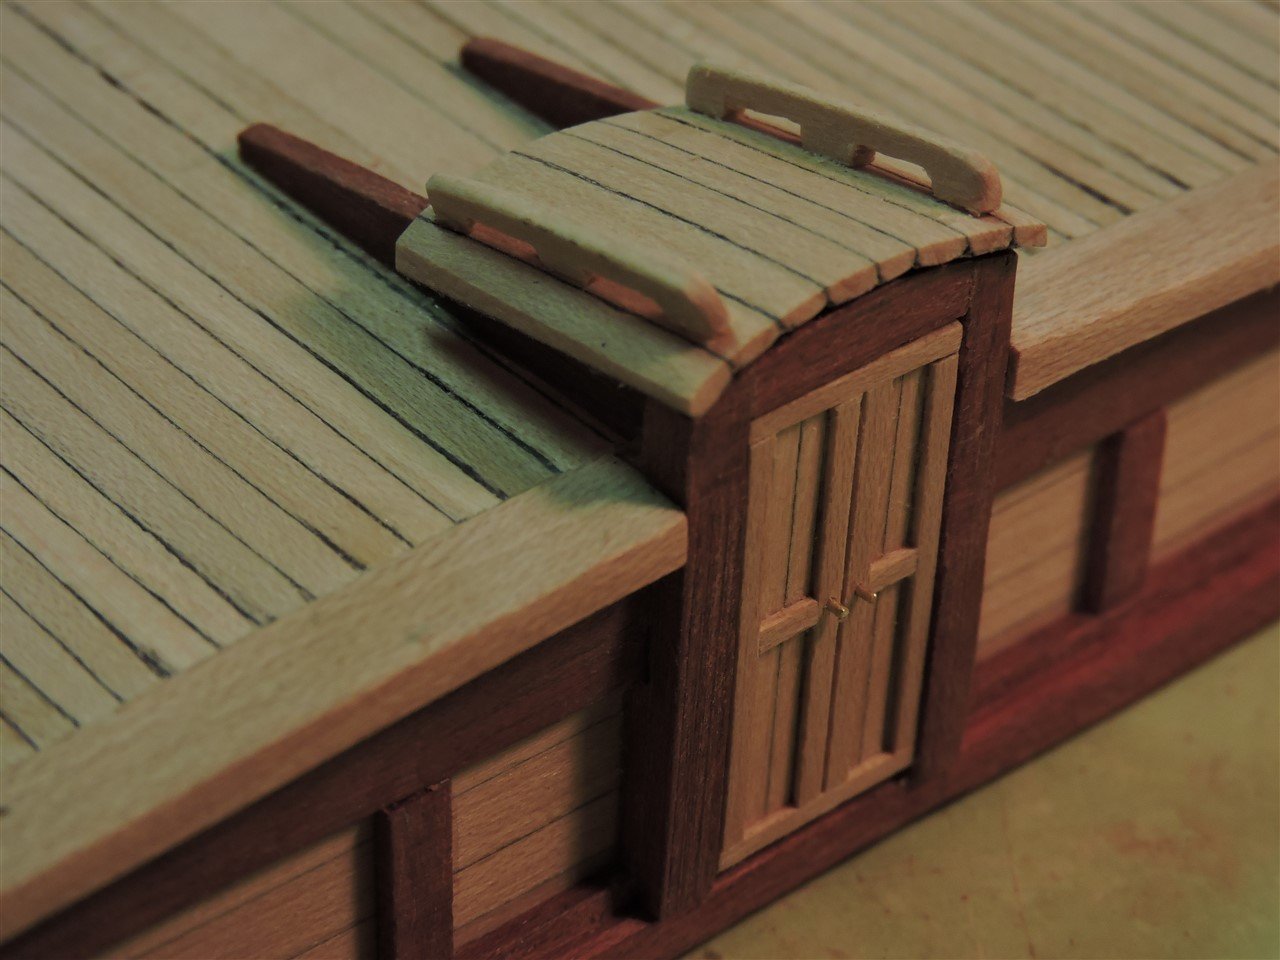
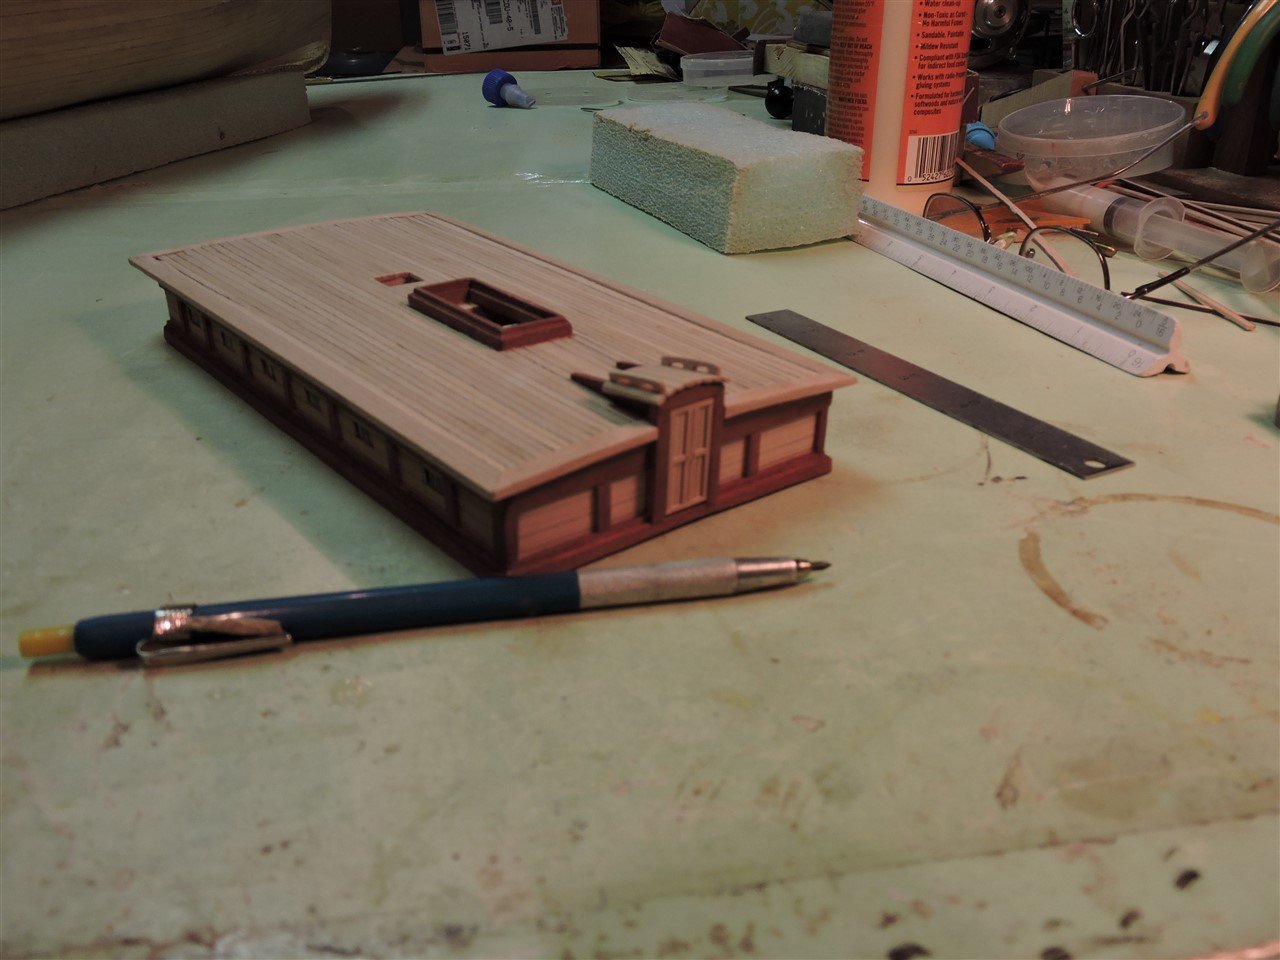
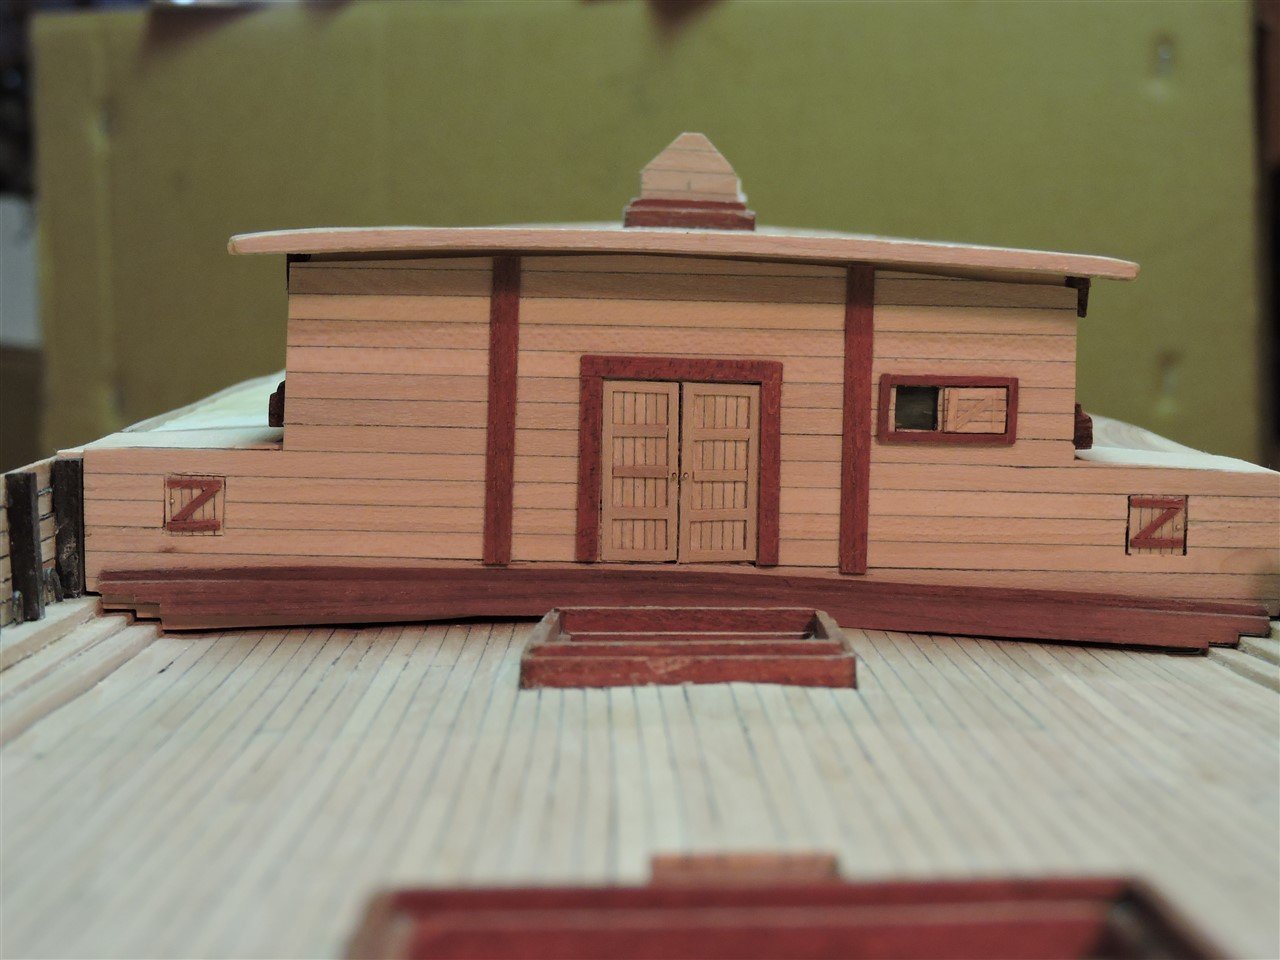
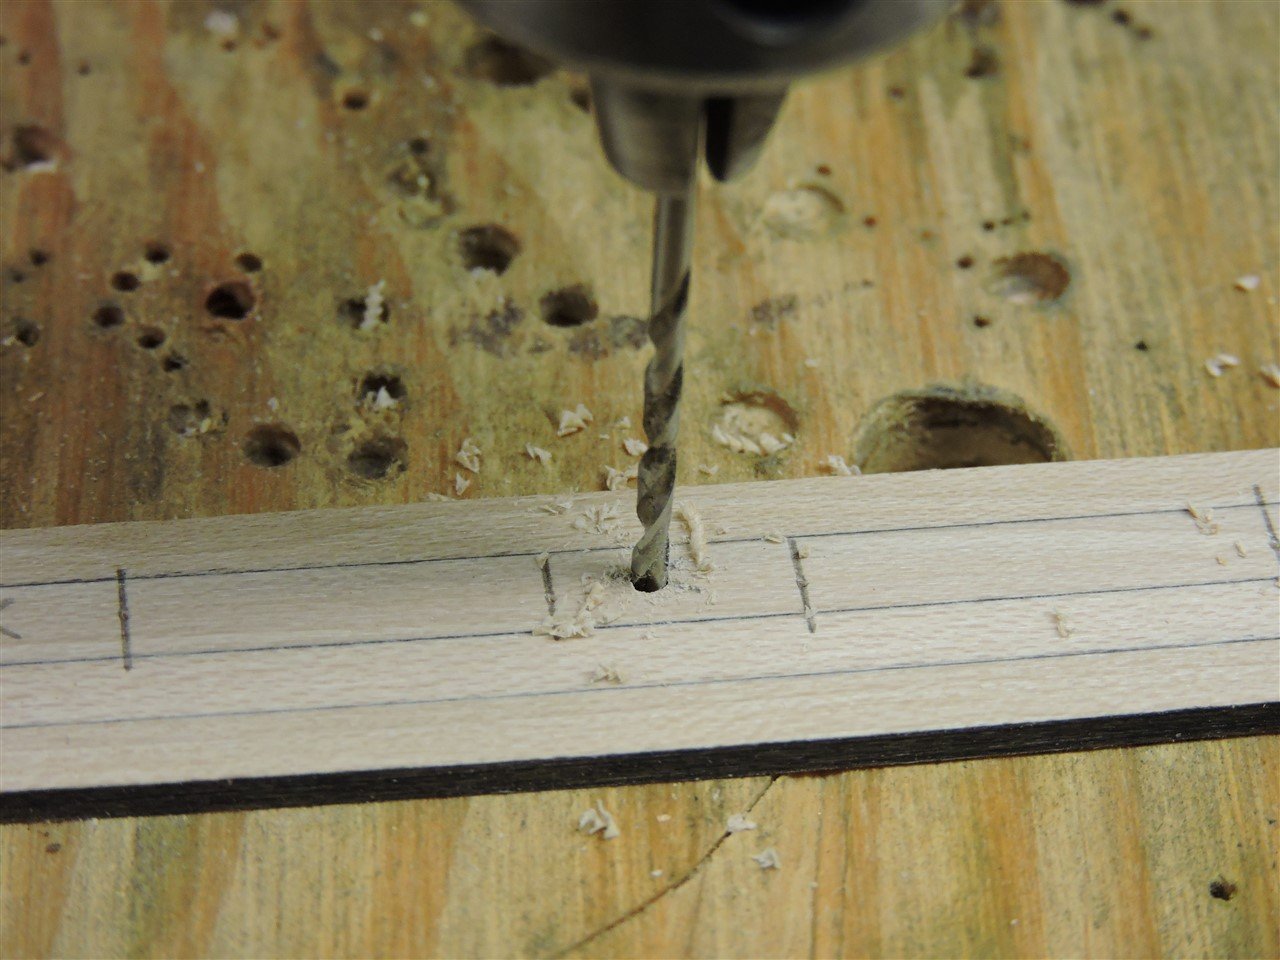
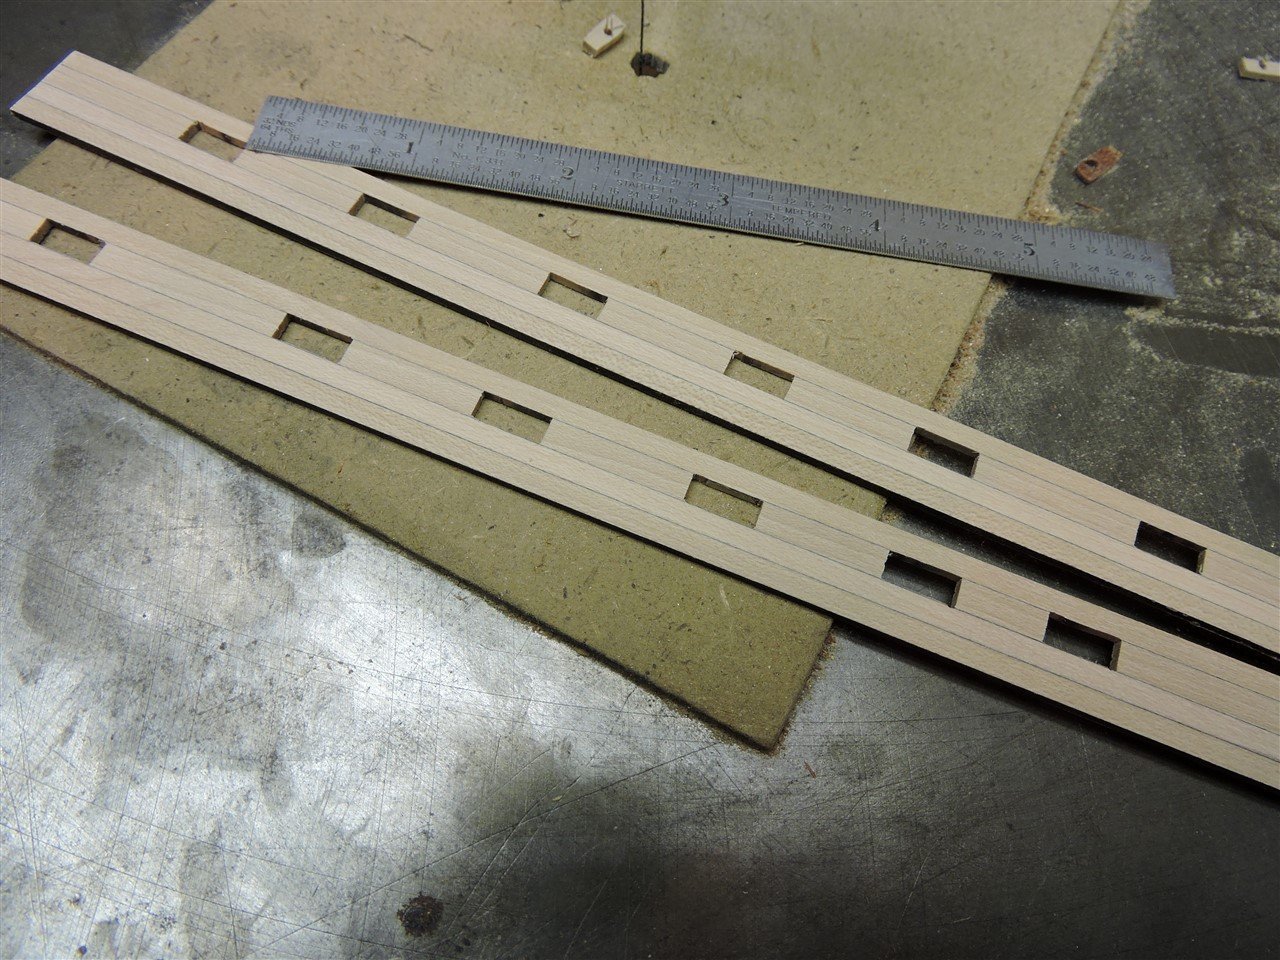
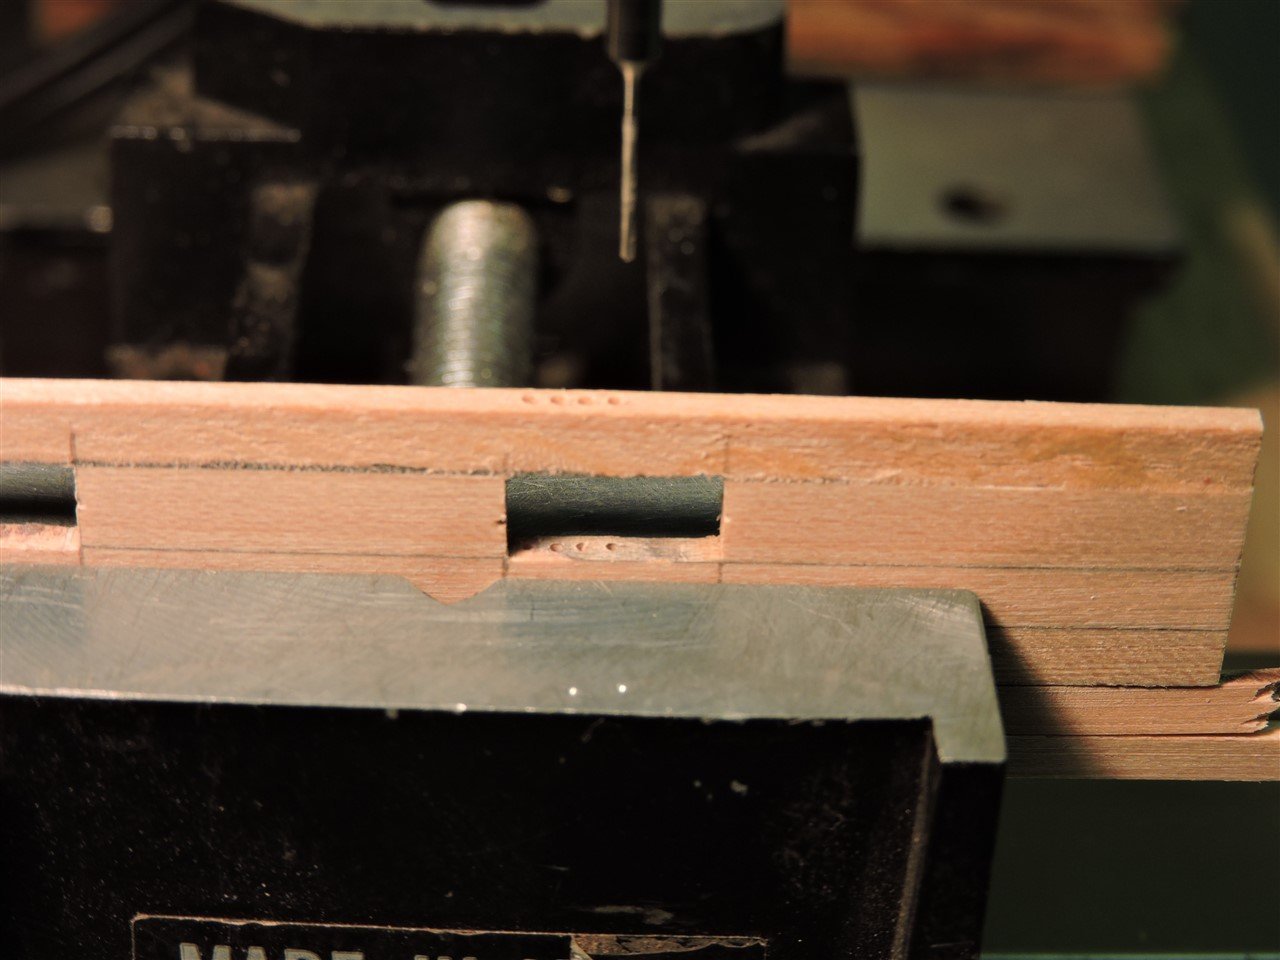
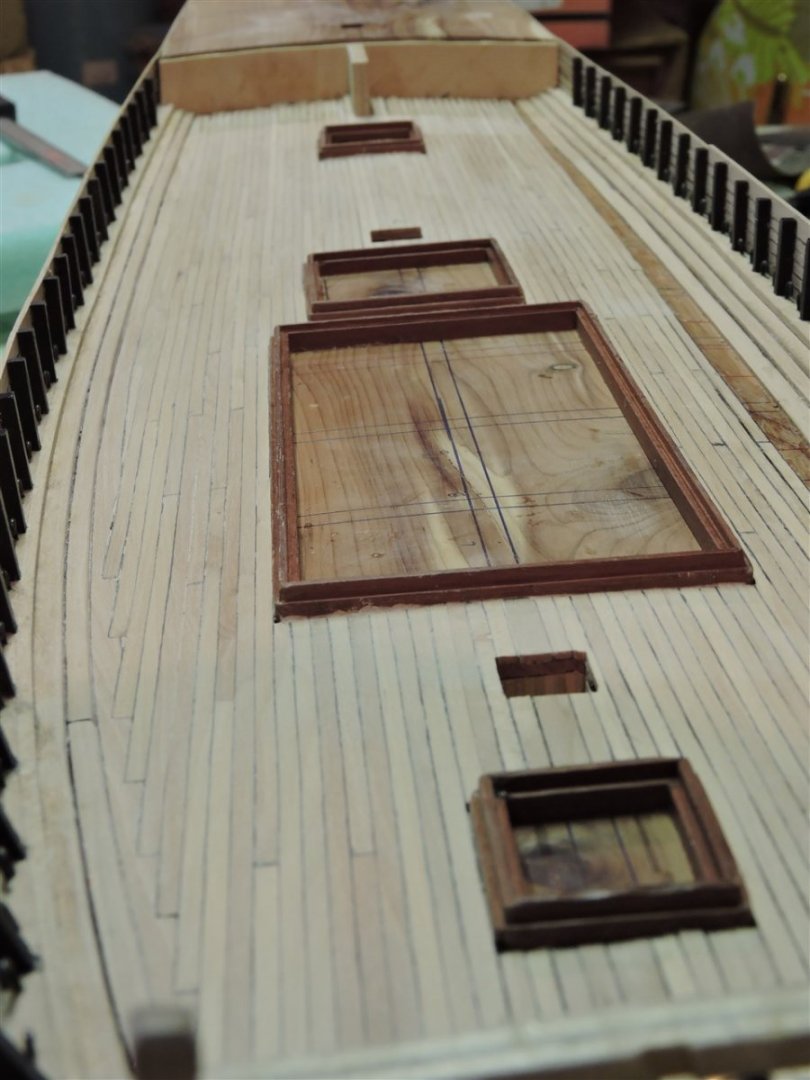
I started to work on the skylights for the aft cabin. I was thinking how am I going to drill the 10 boards that hold the bars so that the holes all line up. So this is what I came up with. I glued 6 boards together and after they were dry, I used an indexing table to drill even spaced holes. I made a few extra in case of mistakes. They were then cut apart, sanded, and wire passed through the holes while the boards were still glued together. Then I soaked them in alcohol for 10 to 15 minutes. They came apart without much trouble. I inspected the boards and removed one since I only needed 5 boards per side for the skylight.
-
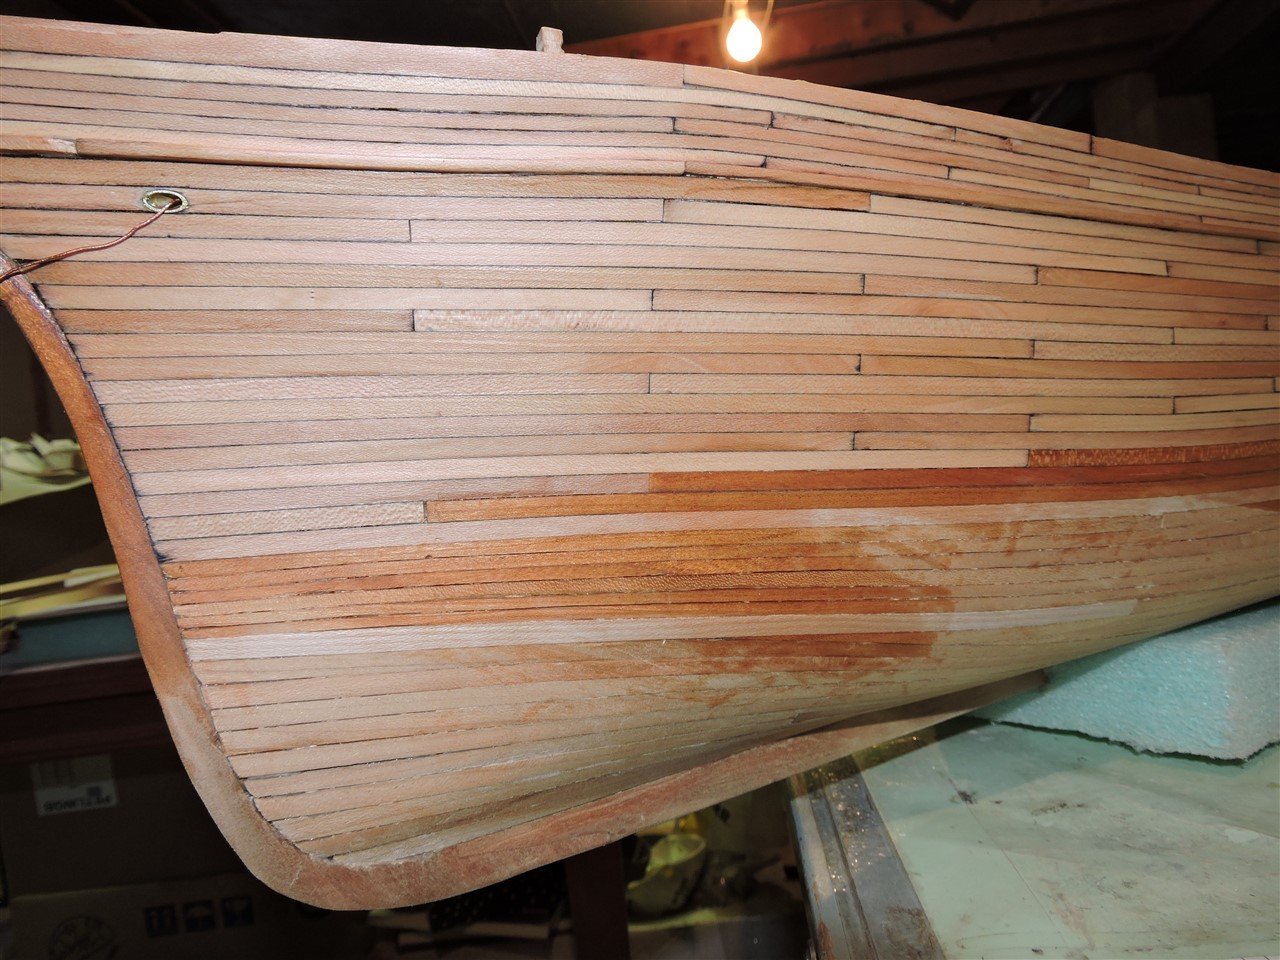
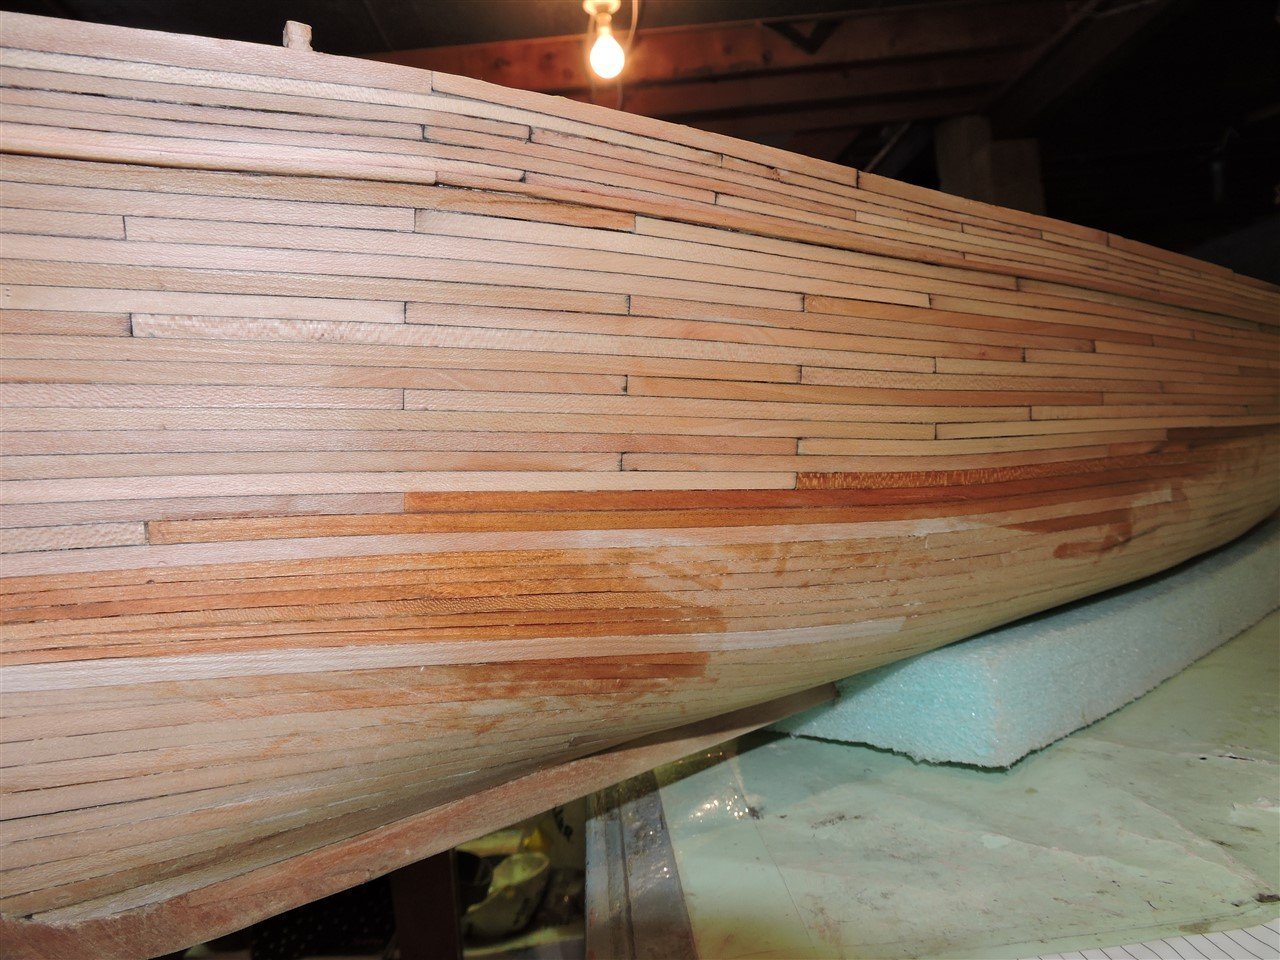
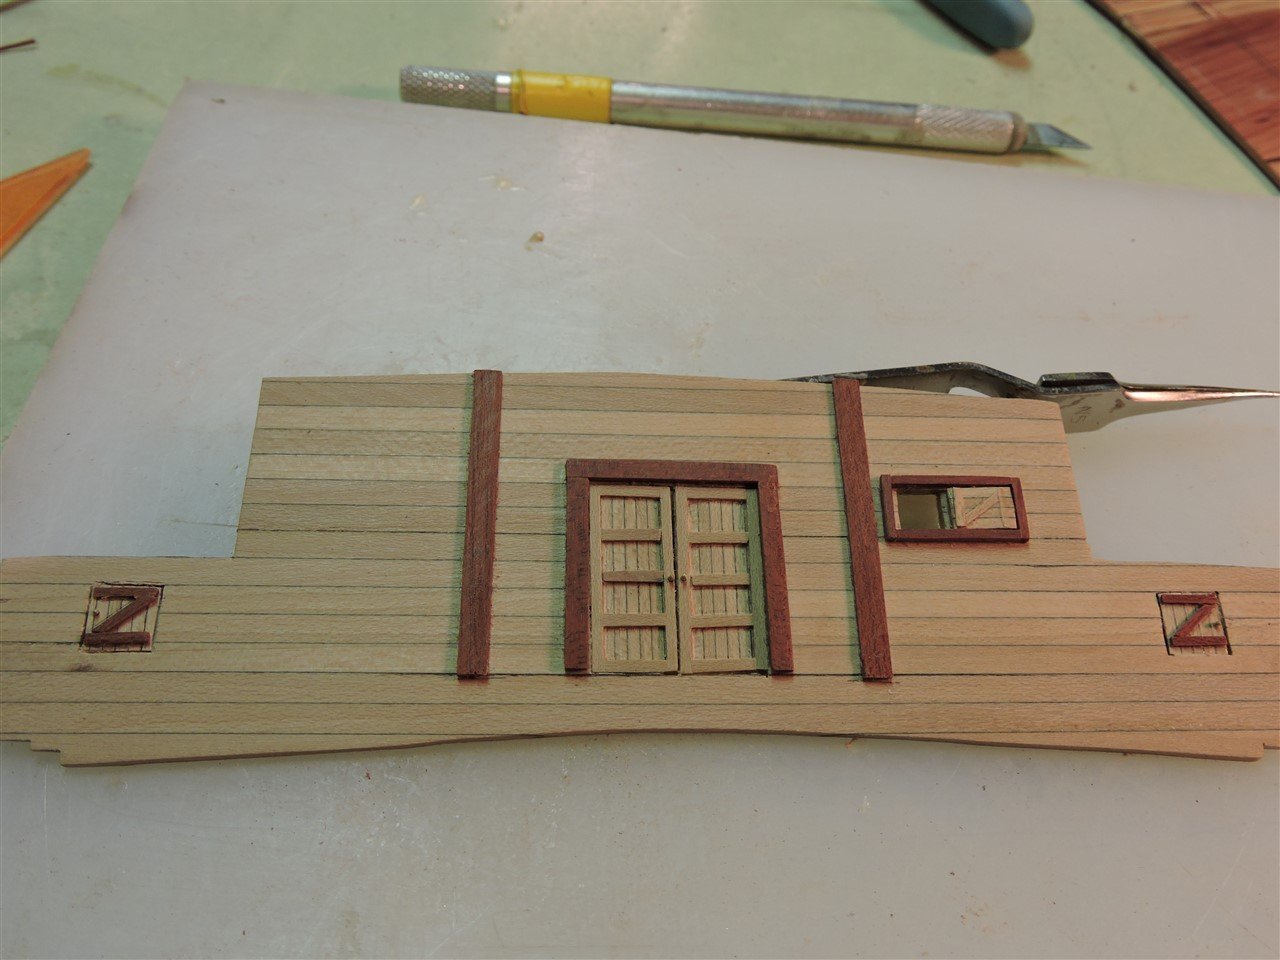
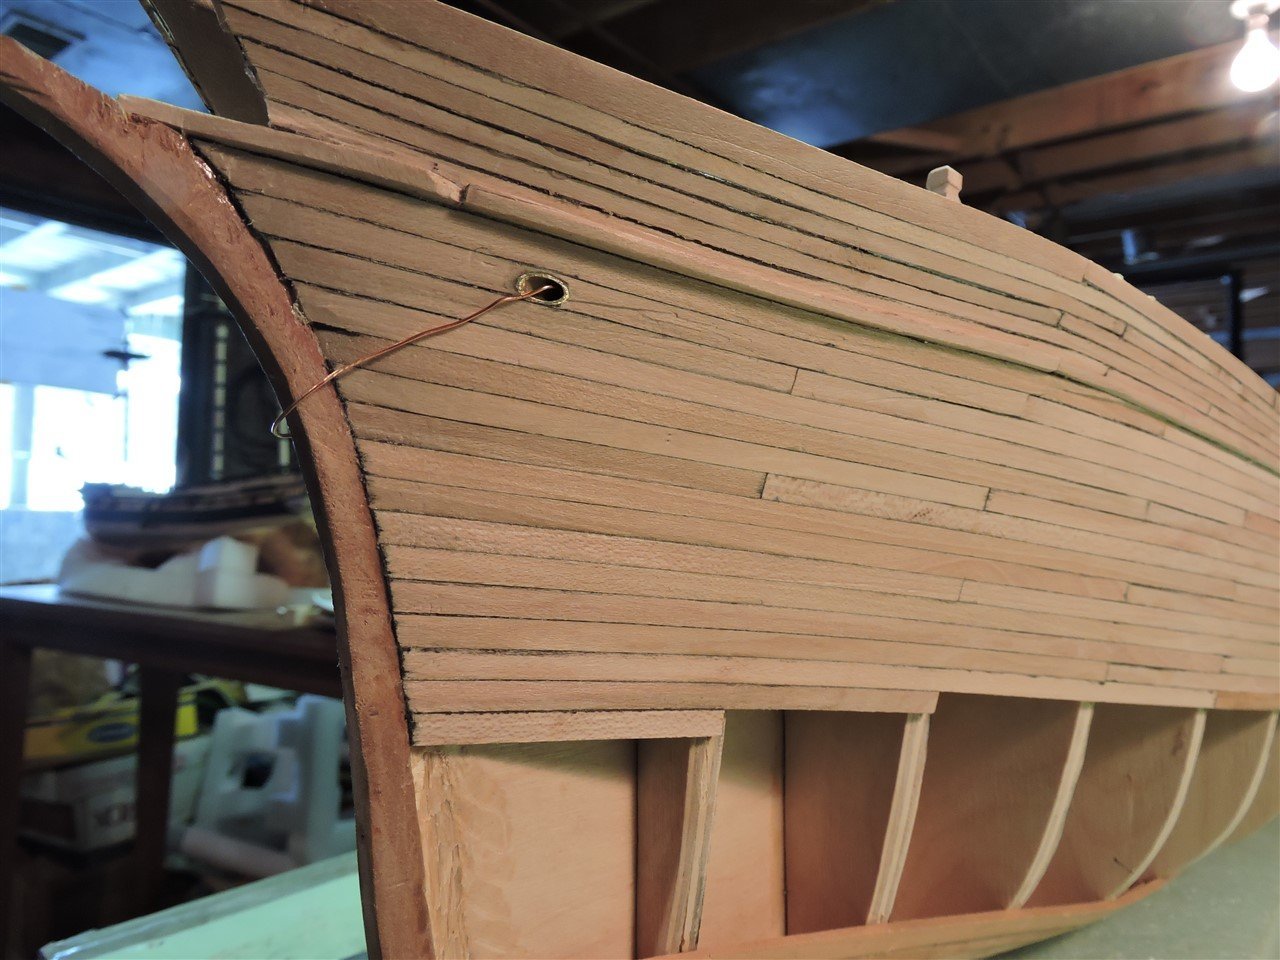
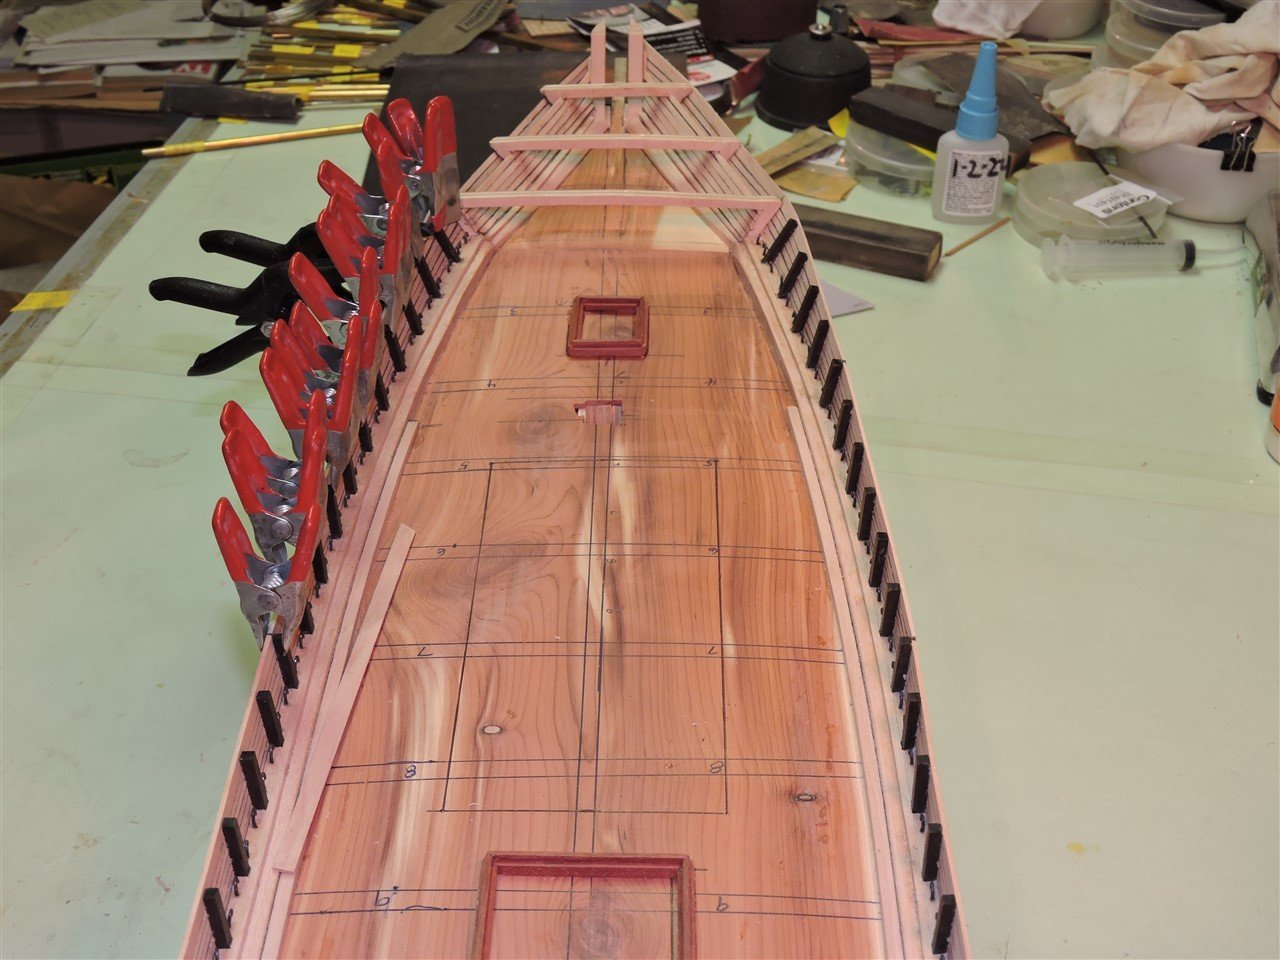
I am still working on the aft cabin and I finished planking the hull. I added a few rows of copper plates well copper tape really, until I ran out. I tried to find brass tape and the suppliers that handled it were out of stock, so I ordered copper. The Flying Fish had yellow metal plated instead of copper.


-
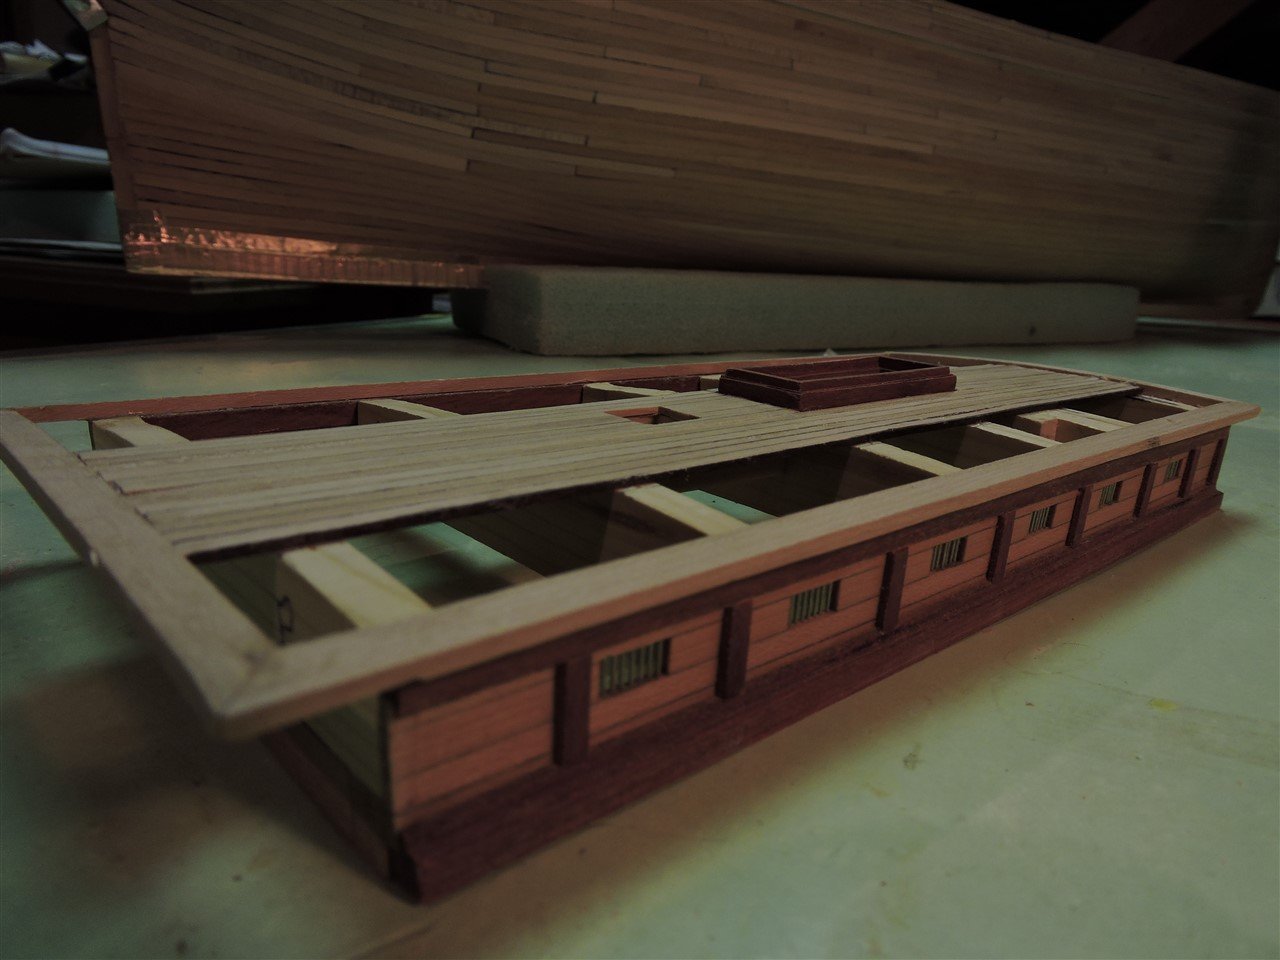
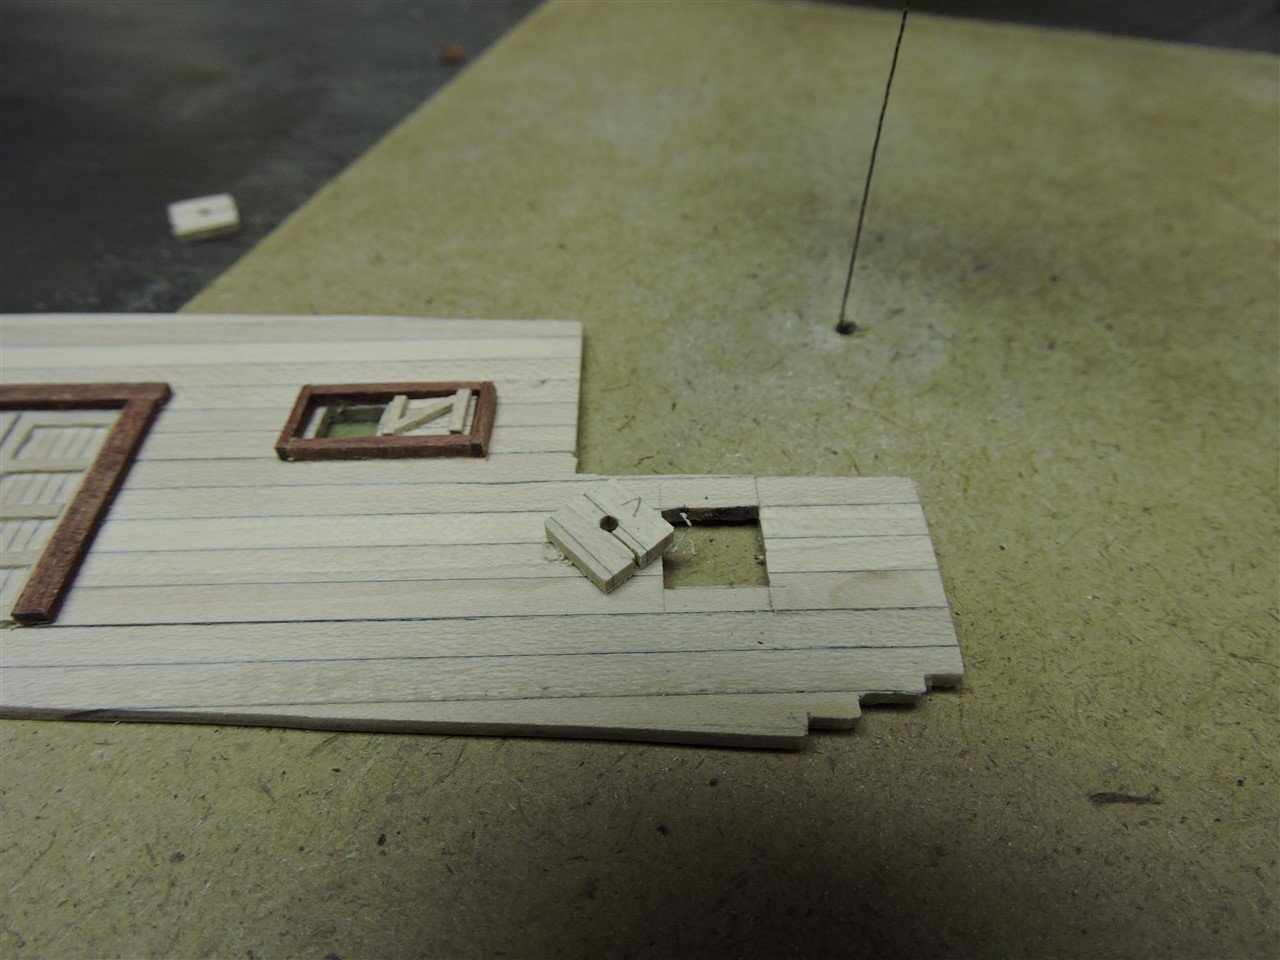
Here I'm starting to drill the holes for the windows in the aft cabin. Then I'm using my scroll saw to cut them out. The next step was to drill the holes for the window bars, and install them.

-
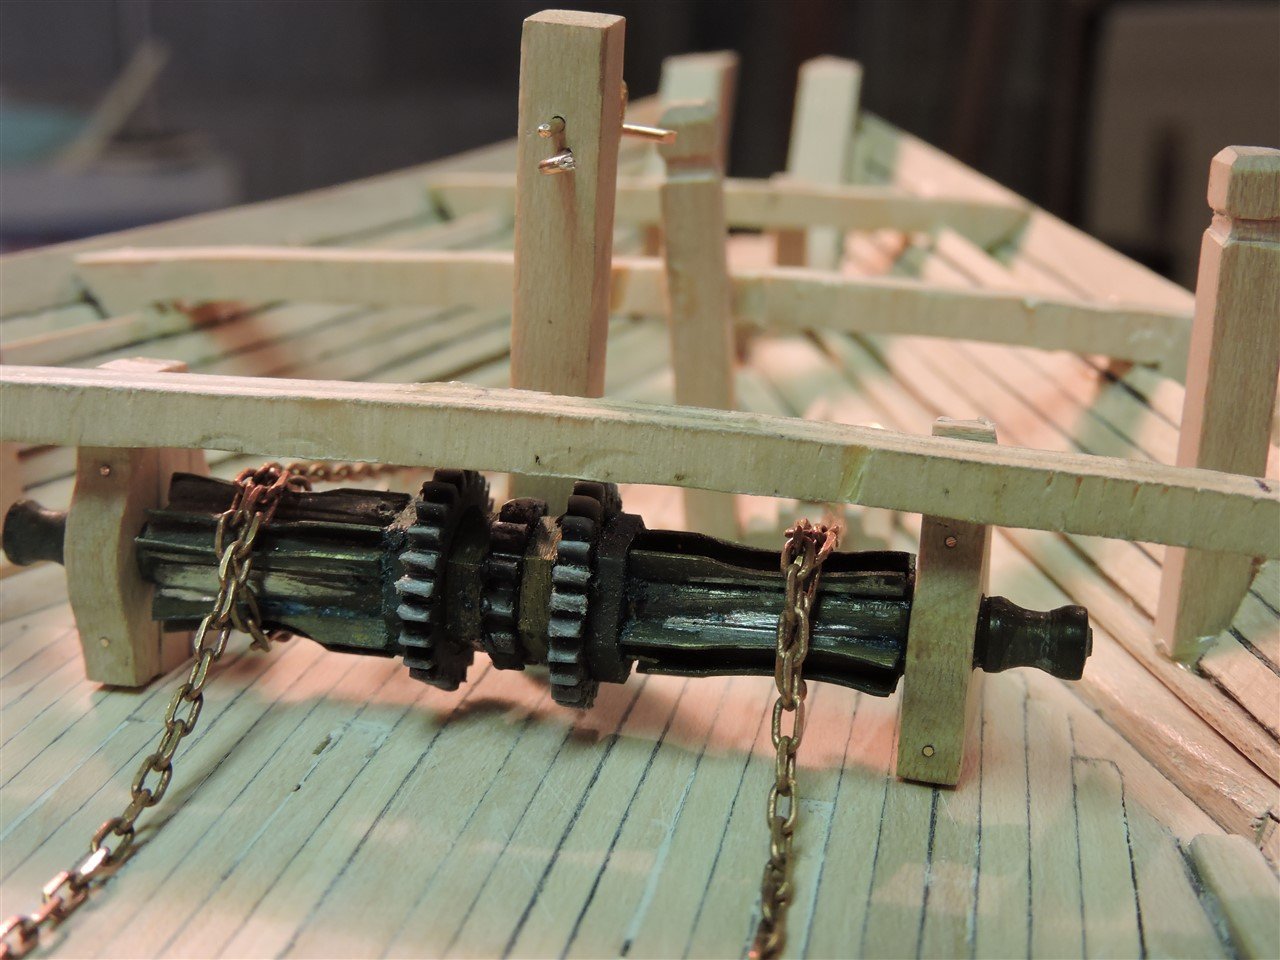
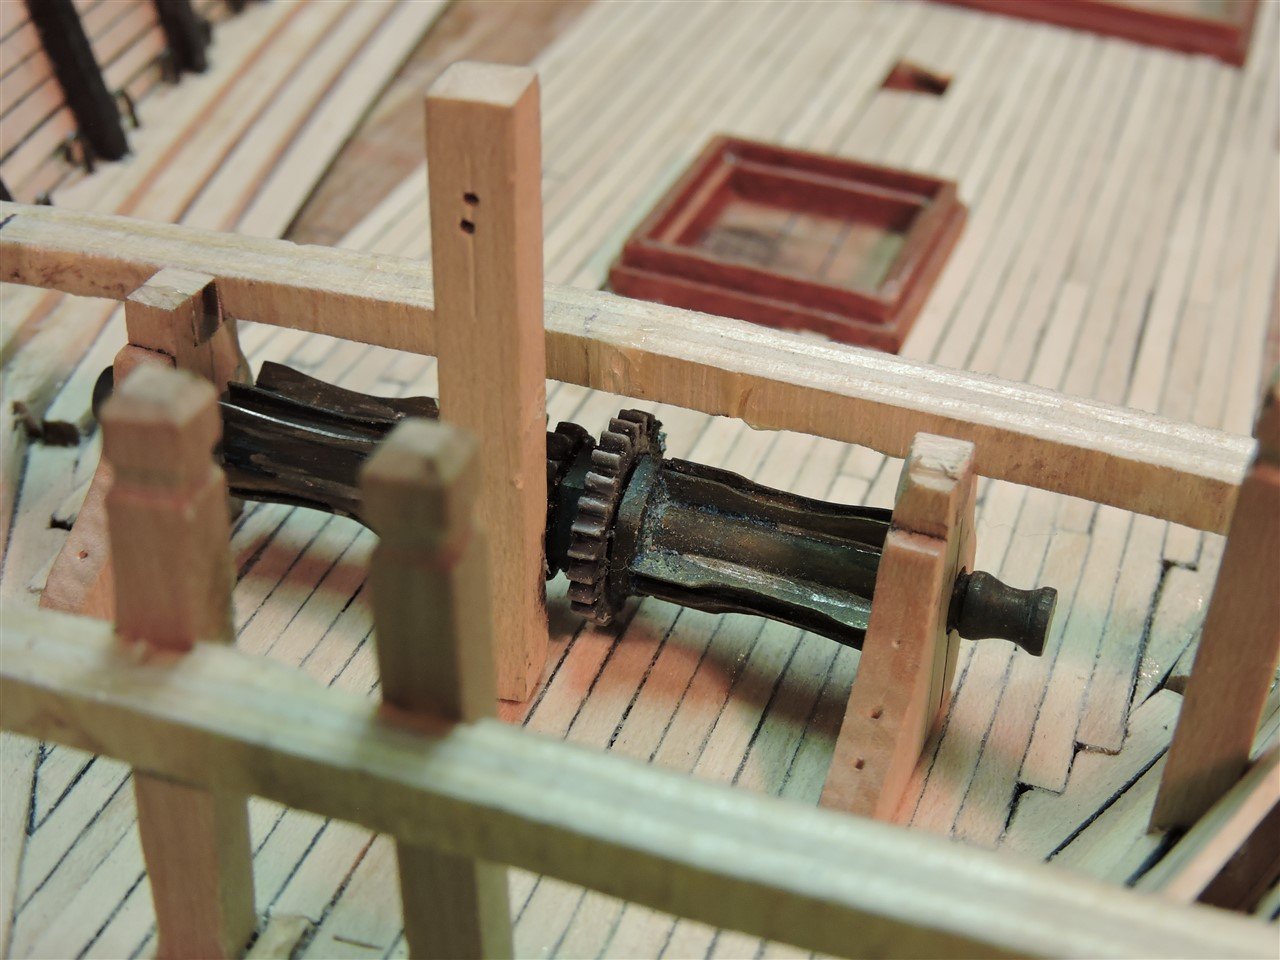
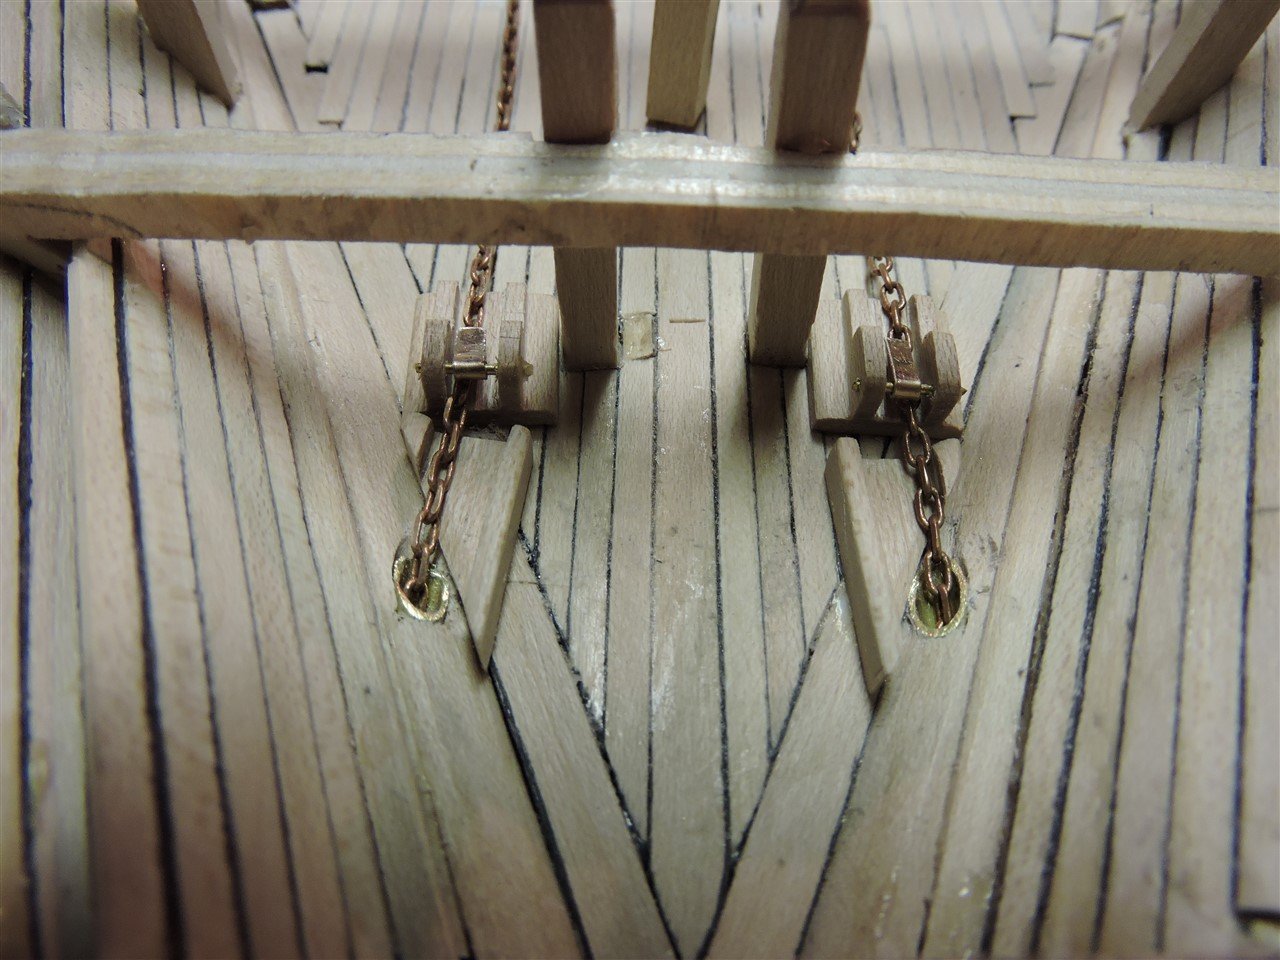
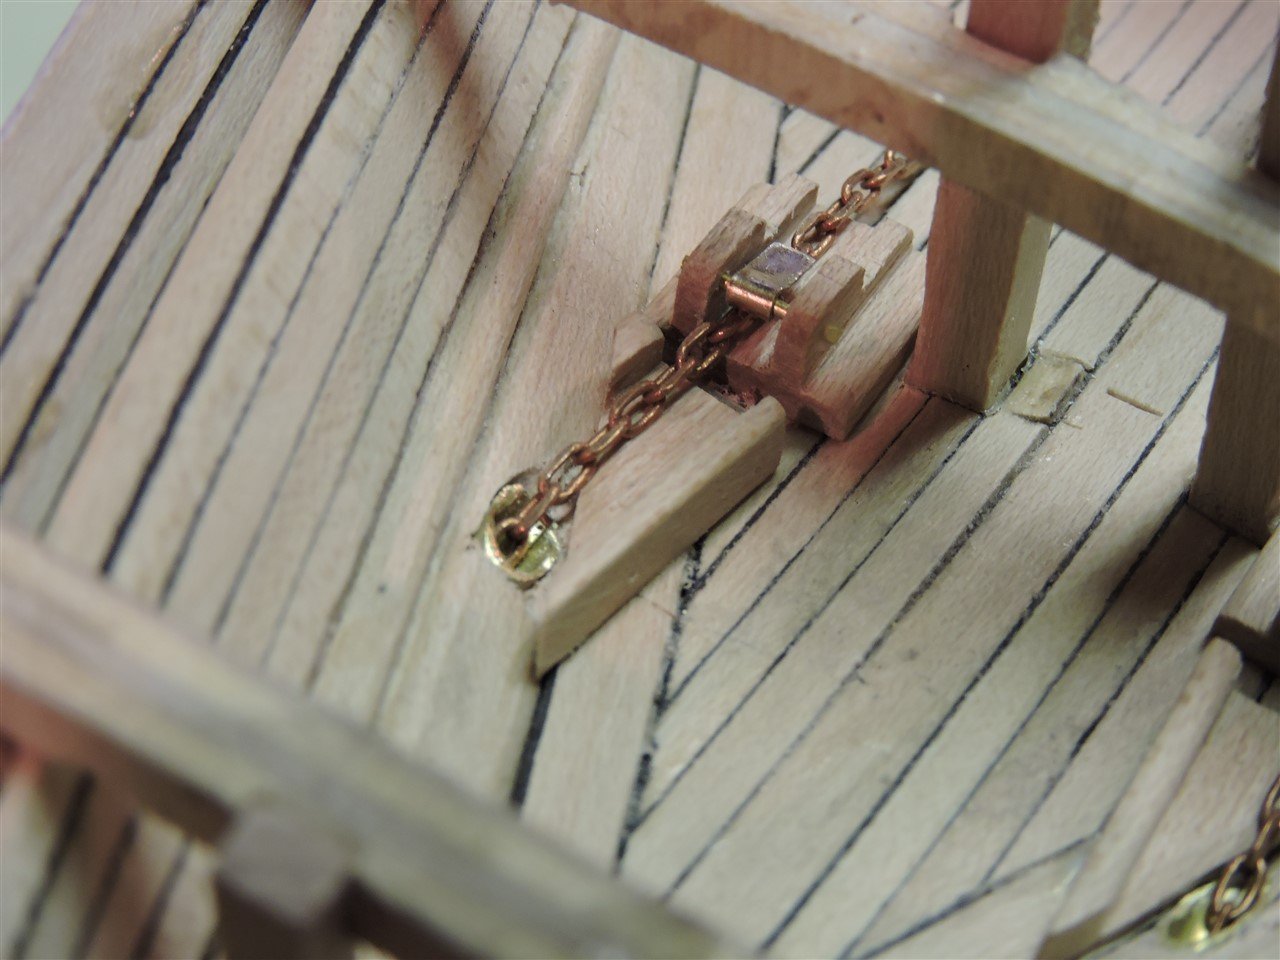
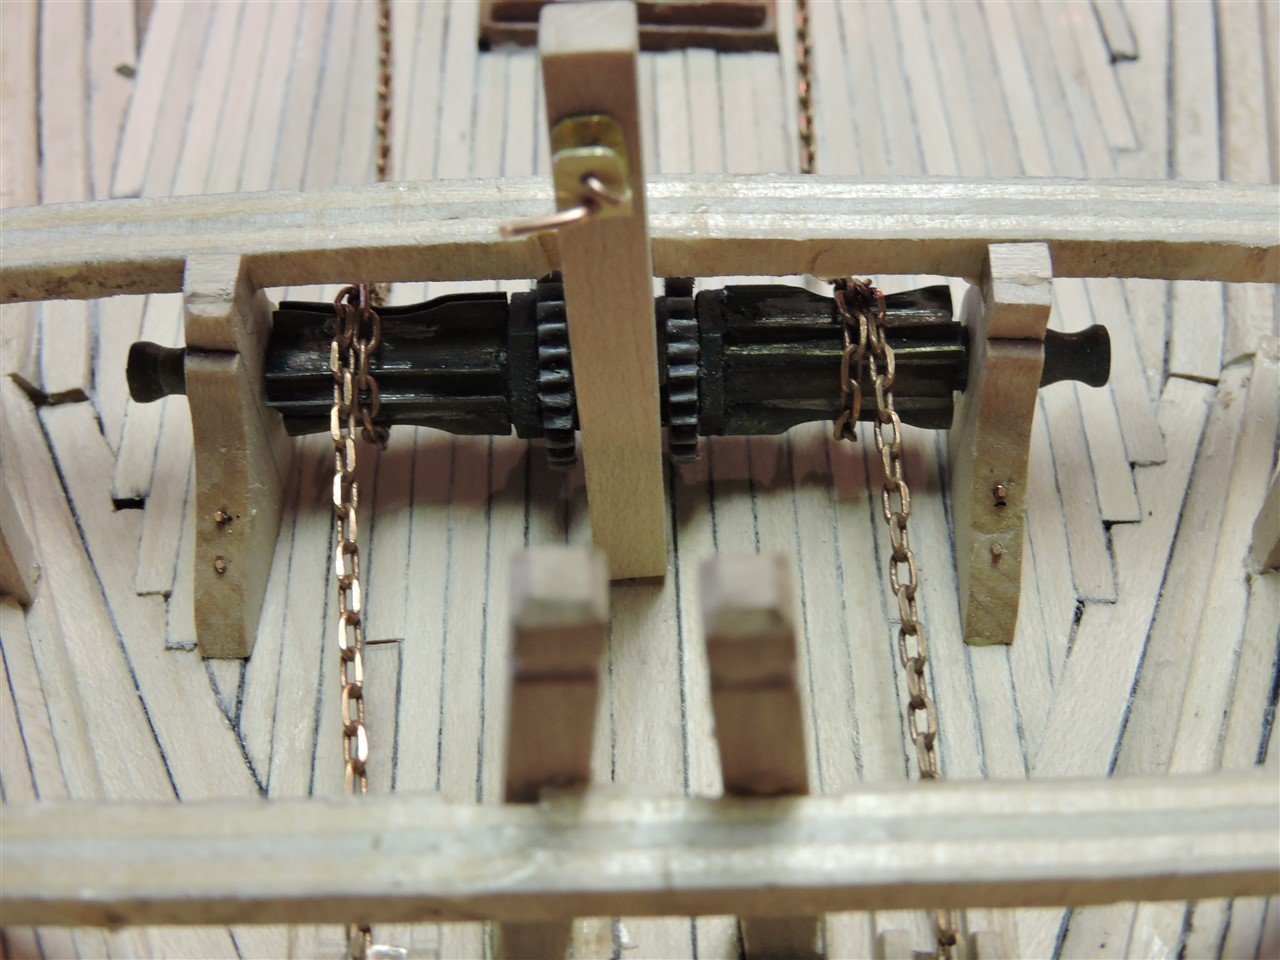
While waiting for the glue to dry for the planking, I have been working on the windlass, chain stoppers and mangers
-
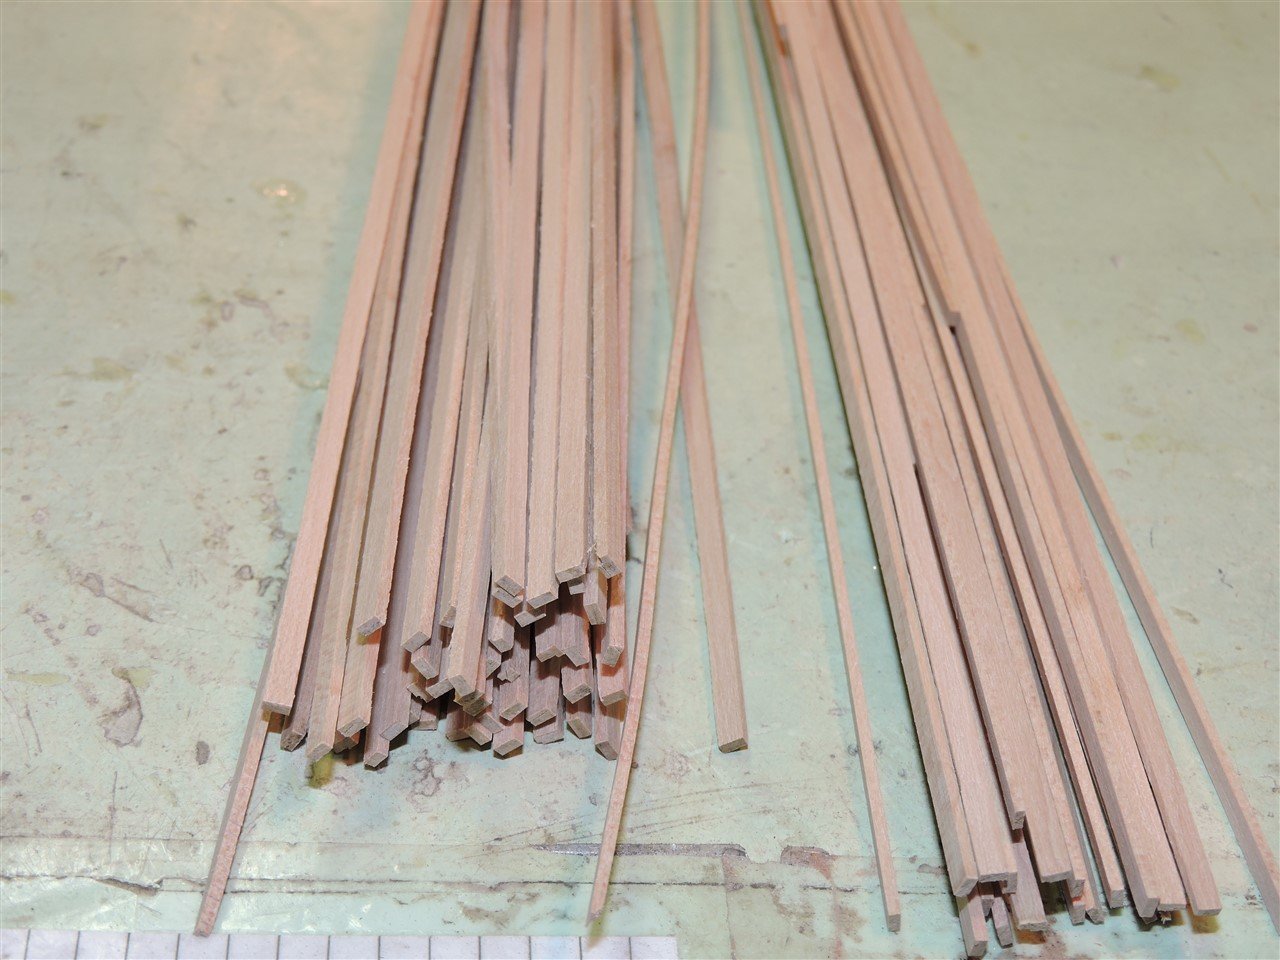
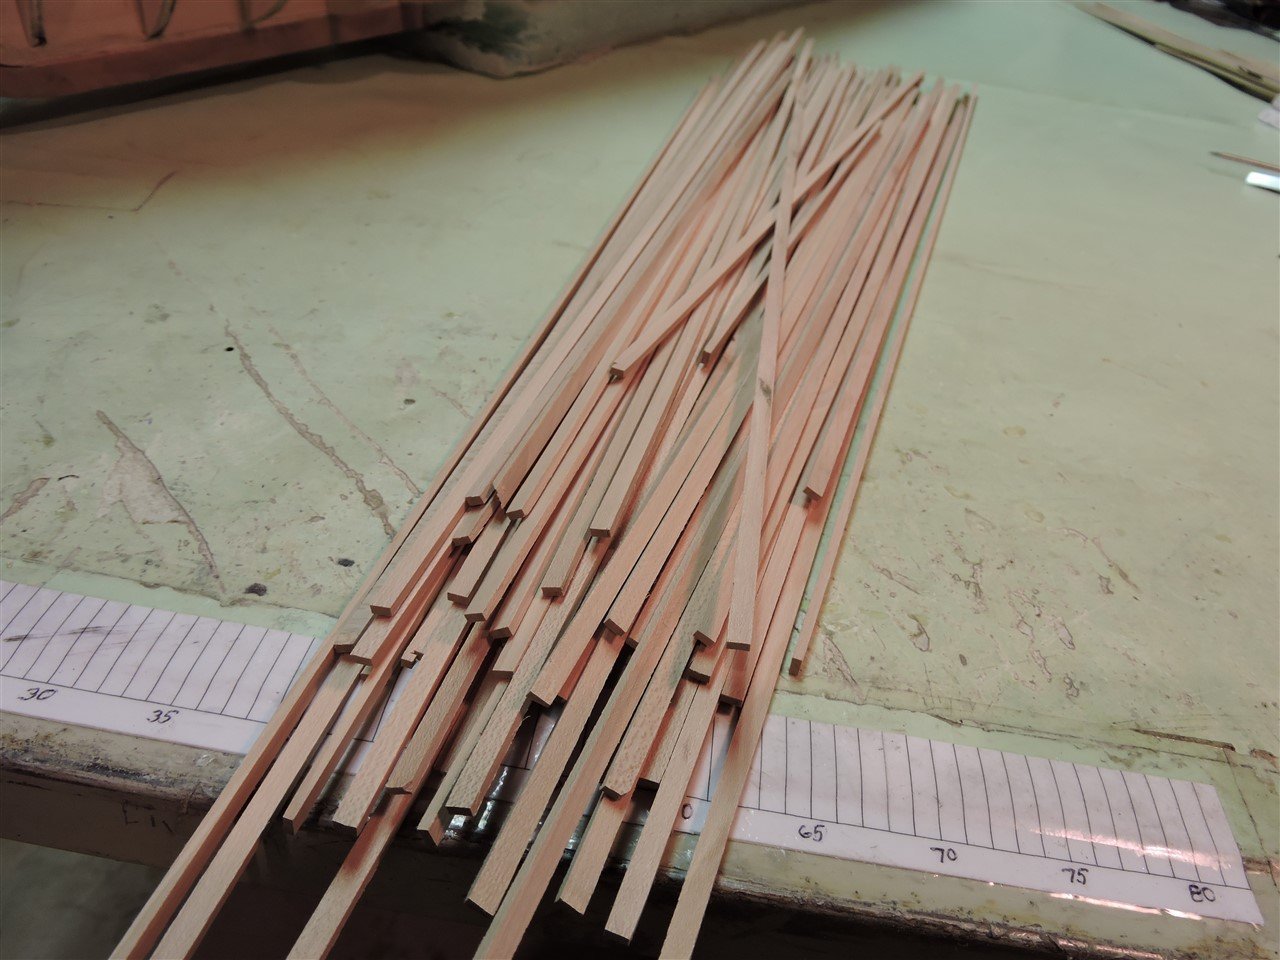
Rob, I really like working with dogwood, it is a hardwood with a very fine grain. It cuts and sands well and produces very sharp edges. It is also great for turning on a lathe. I have been planking both the deck and hull.
-
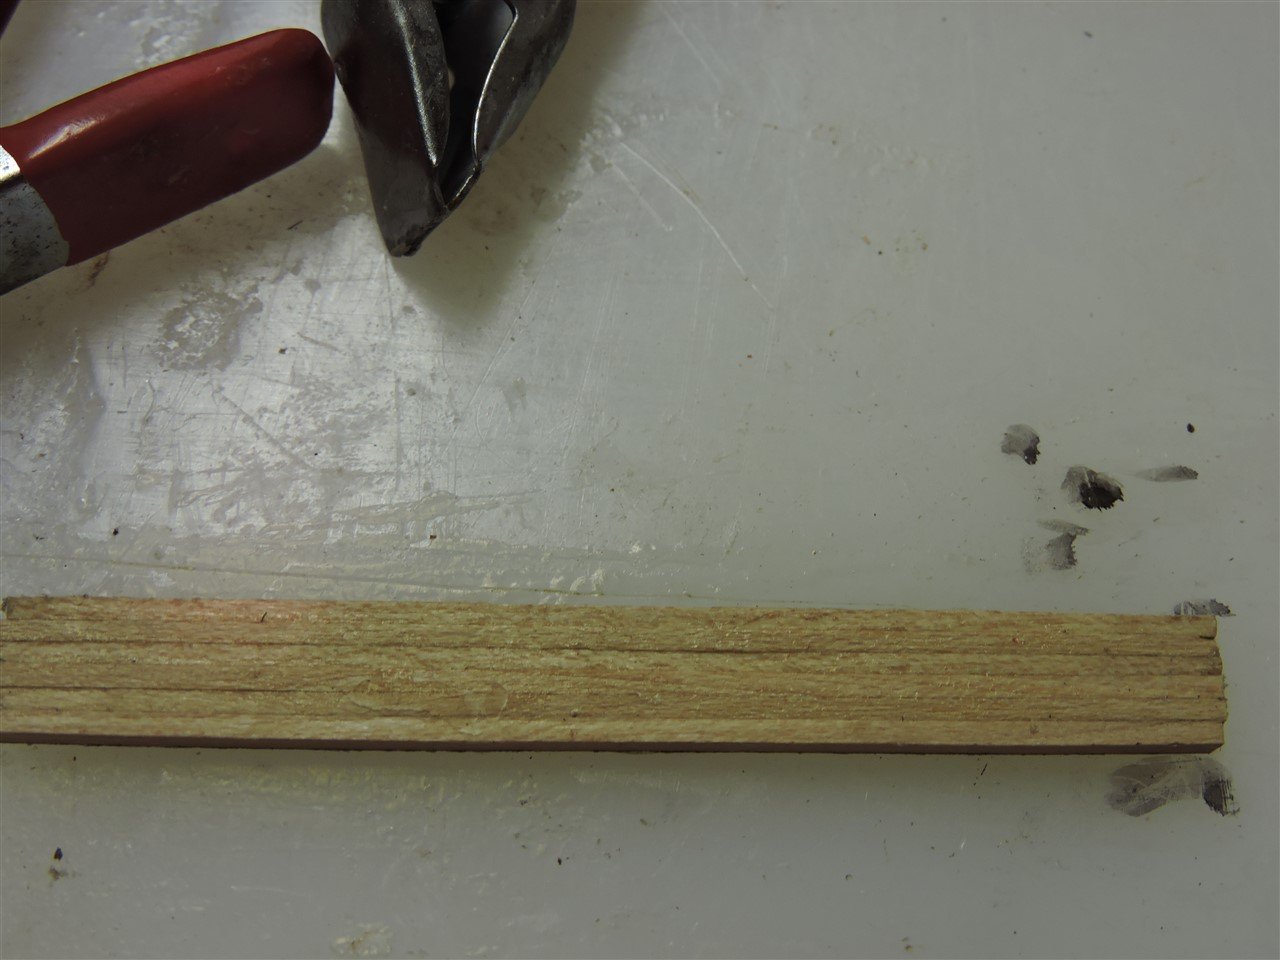
The planks I am using for the upper hull are dogwood. They started out as a 6" X 24" log cut many years ago. I cut the logs into 1" boards with a band saw, then ran them through a planer. Using a Byrnes table saw I cut the boards into slightly over sized planks and then ran them through a drum sander.
-
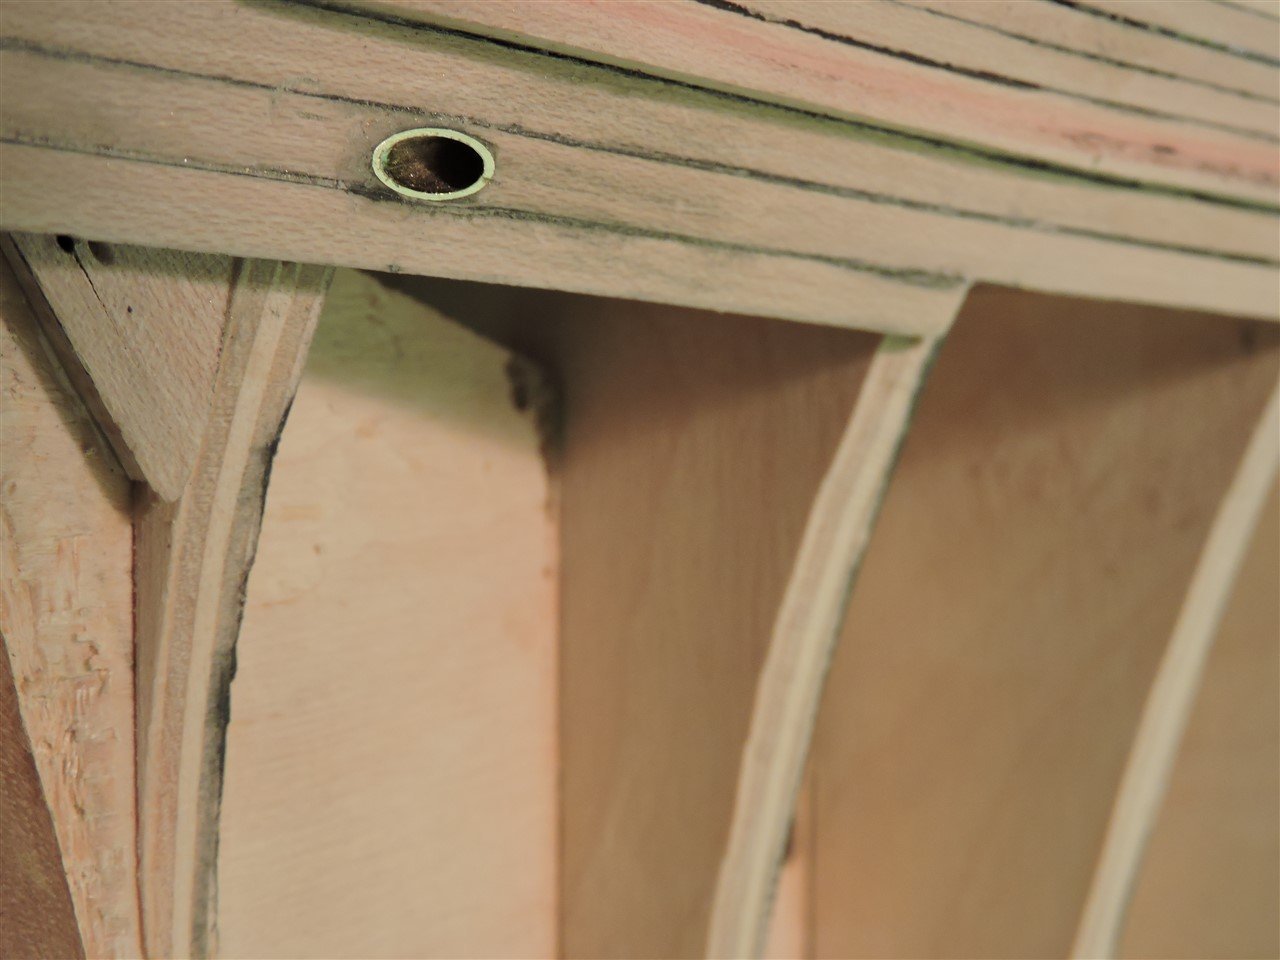
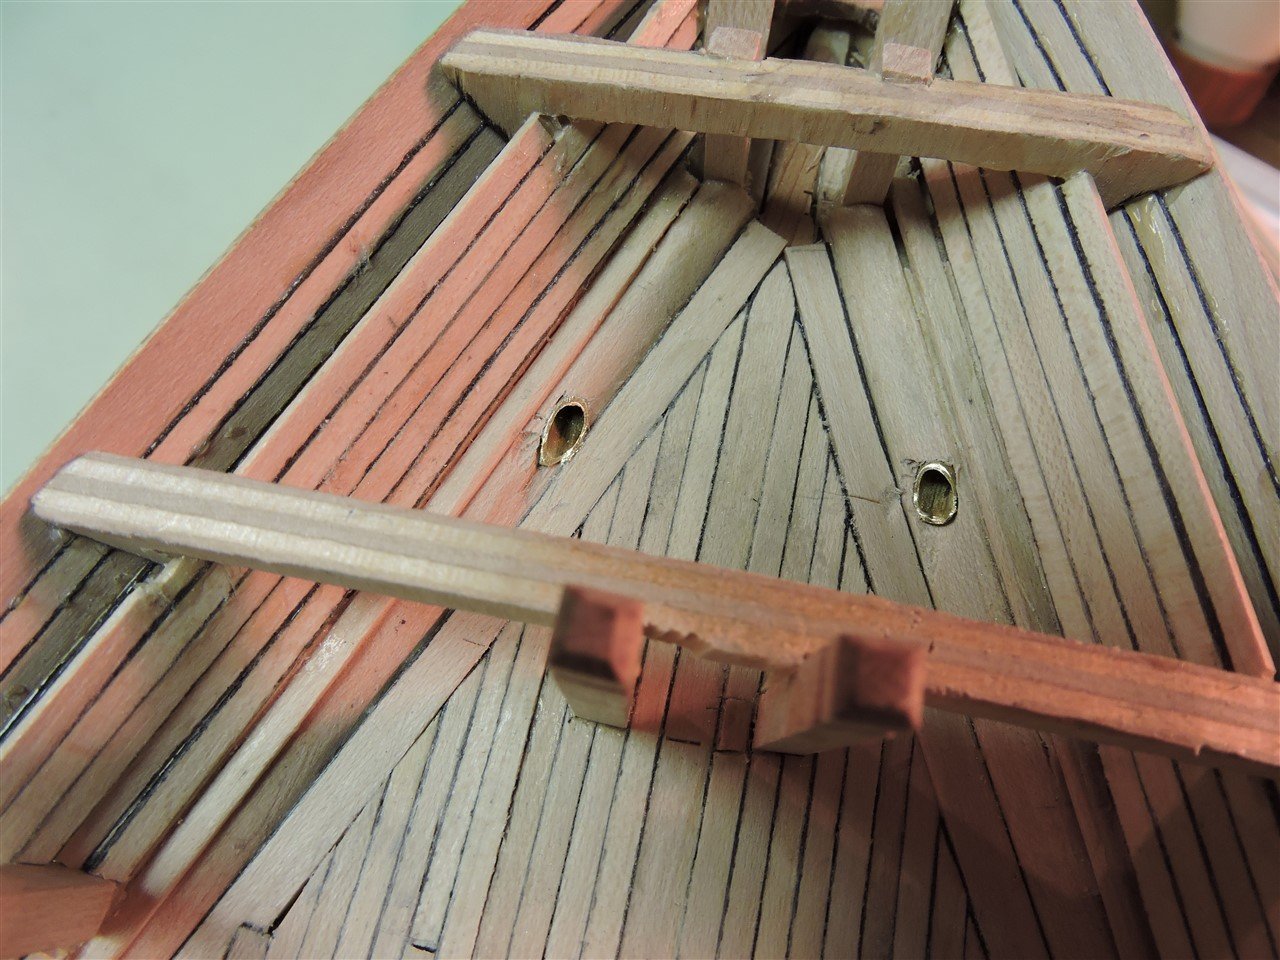
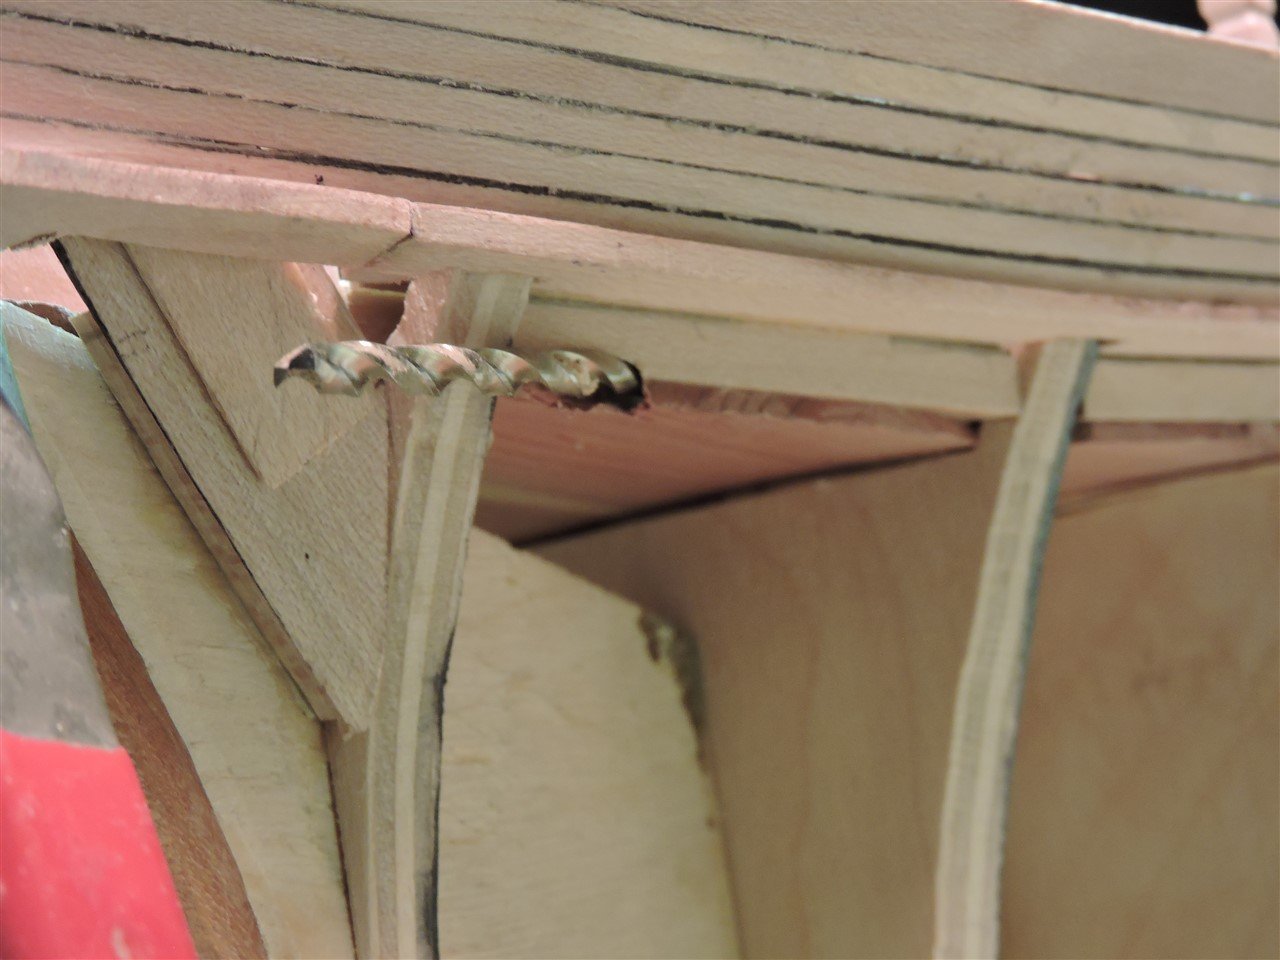
After adding a few planks to the bow I used the 3/16" bit to finish the hawse hole. Then I used 3/16" tubing for the hawse pipe.
-
Very carefully I drilled the hawse holes, first with a 1/16" bit, then a 1/8" bit and finished up with a 1/8"bit.

-
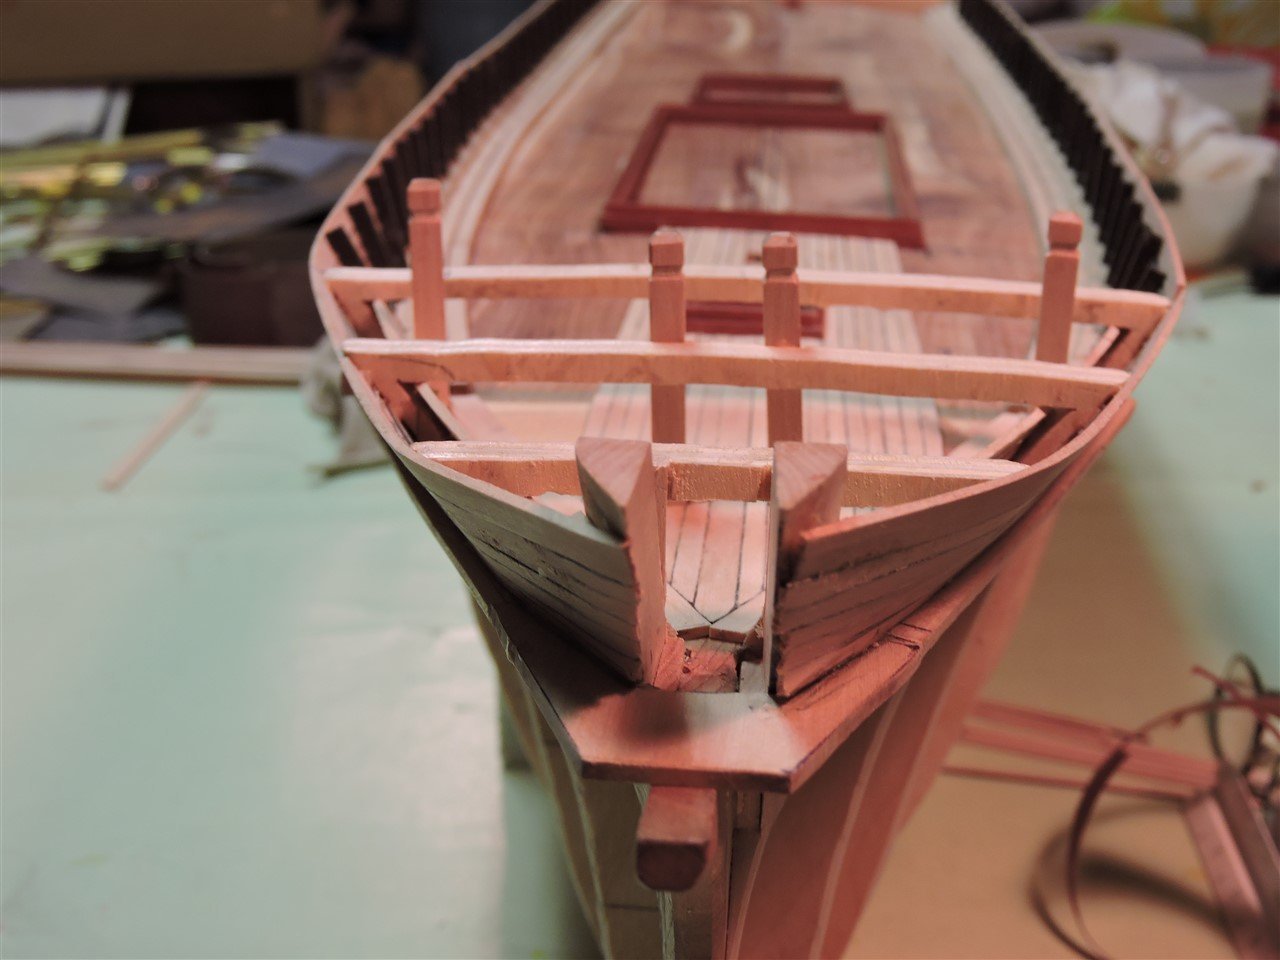
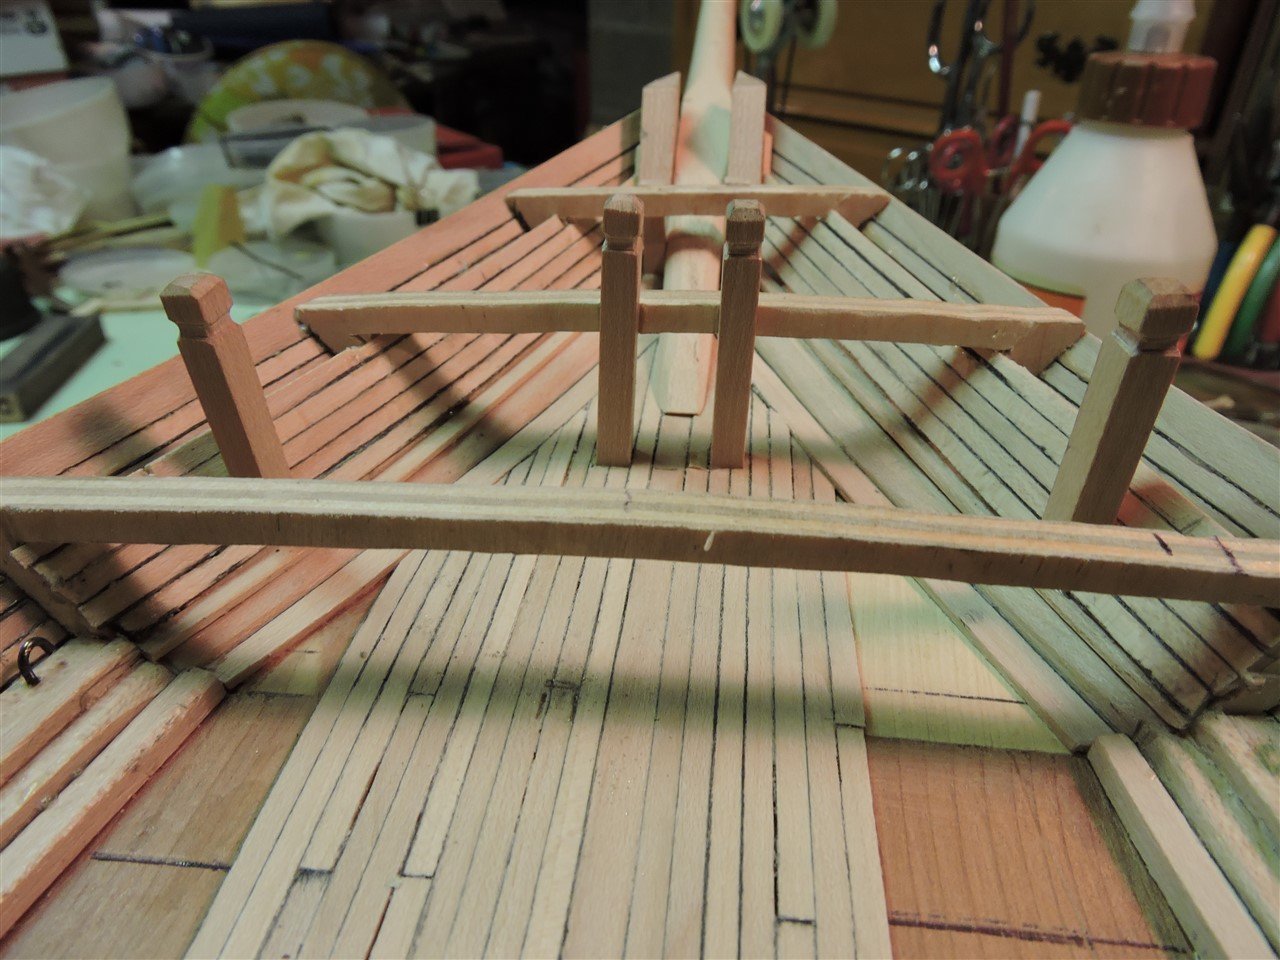
I started laying the deck planking under the forecastle and temporarily added the forecastle bitts.
-
I have finished installing the bulwarks, bulwark ceilings, and the knightheads. I started to install the hatch and deckhouse coamings.
-
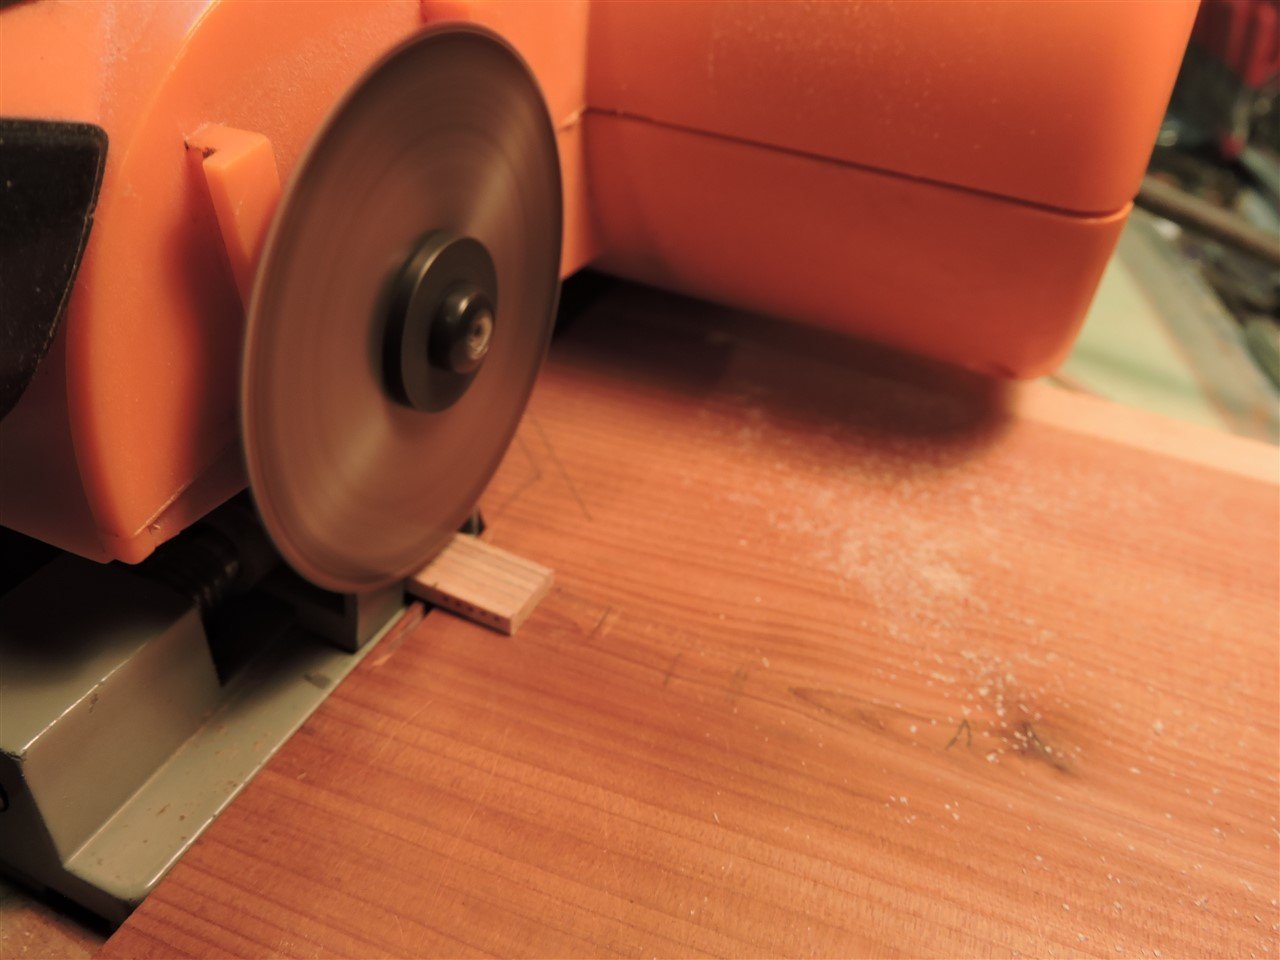
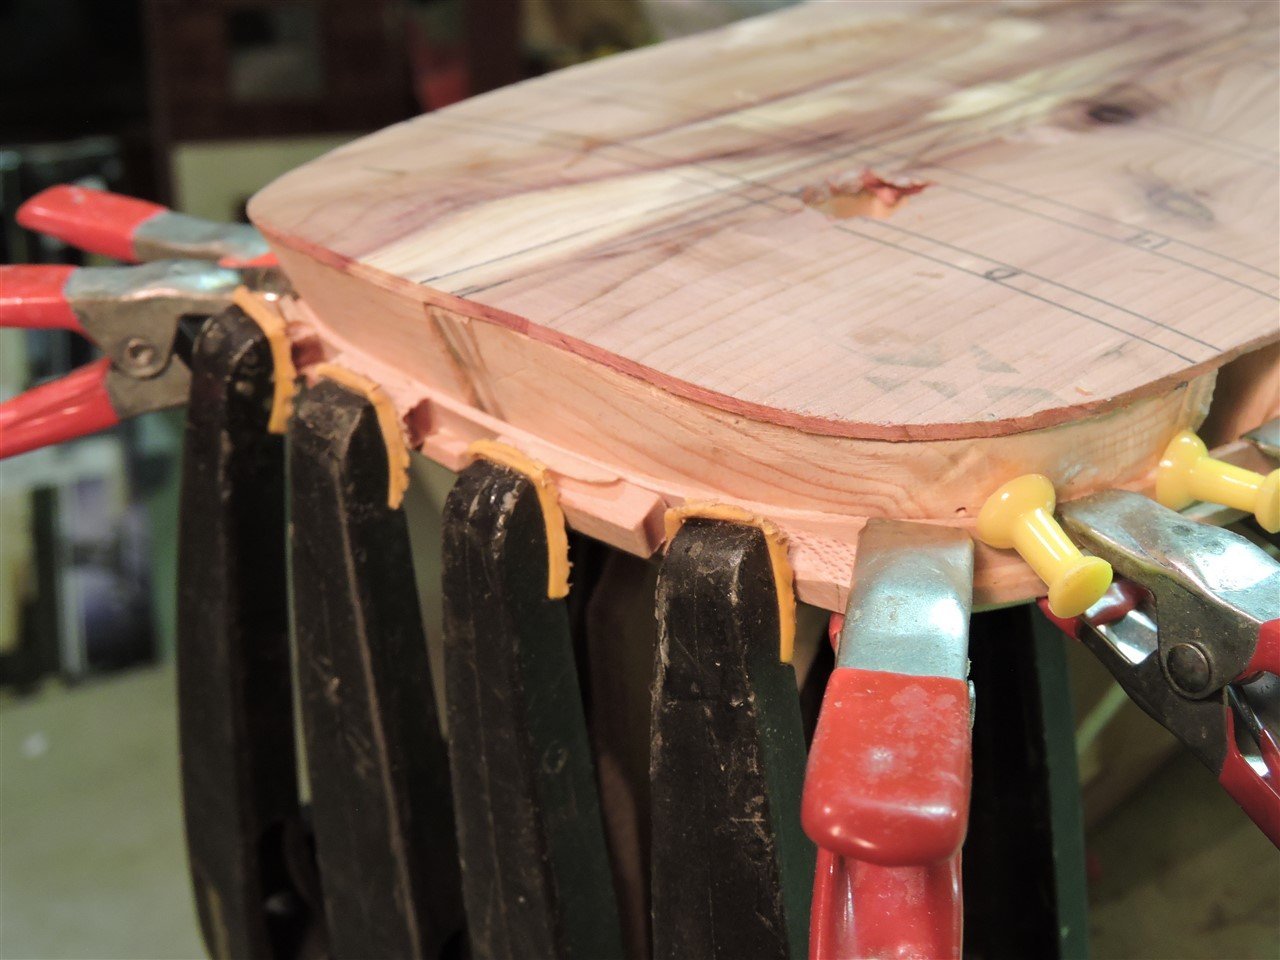
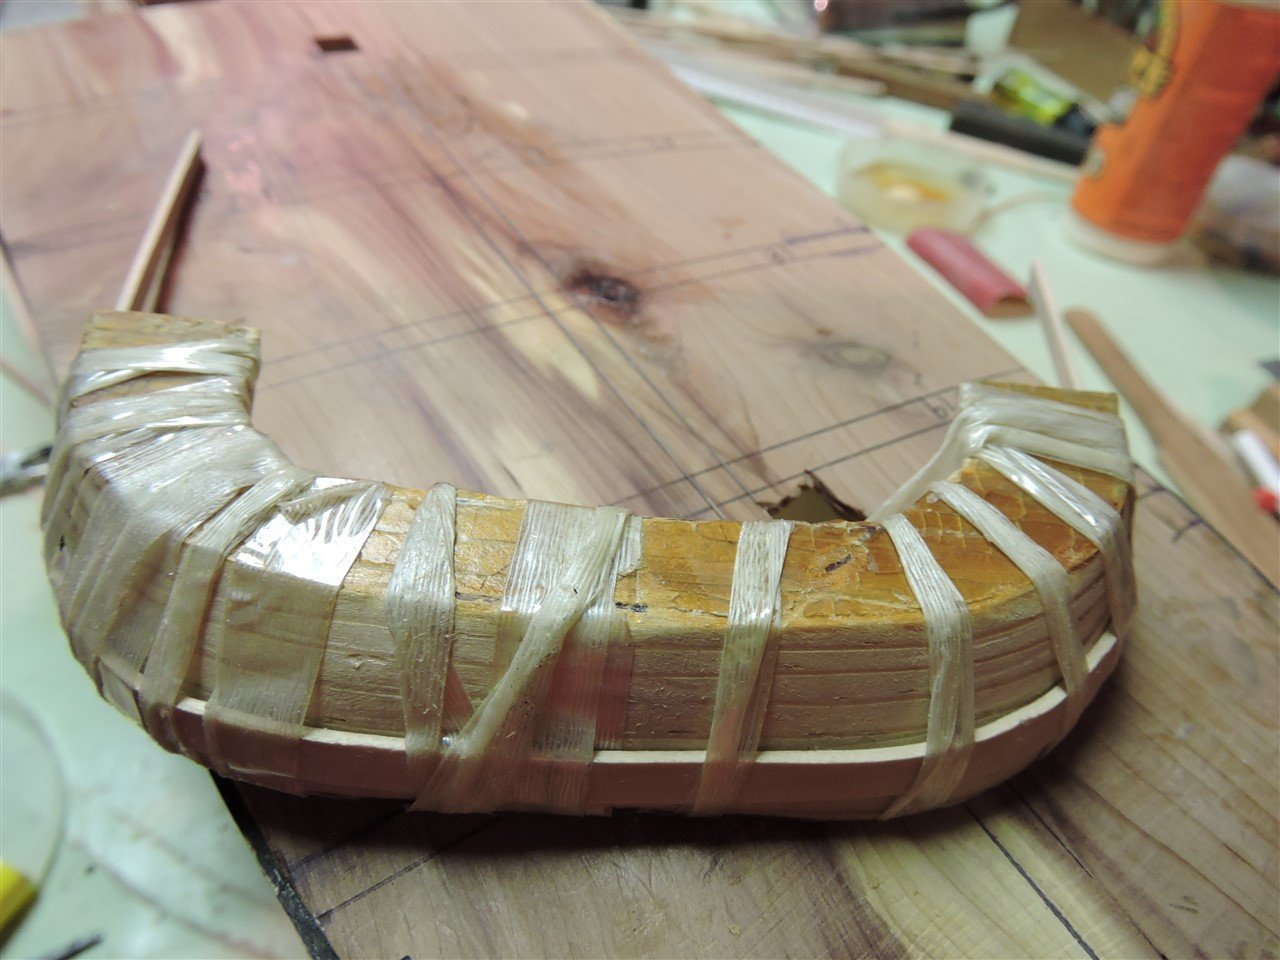
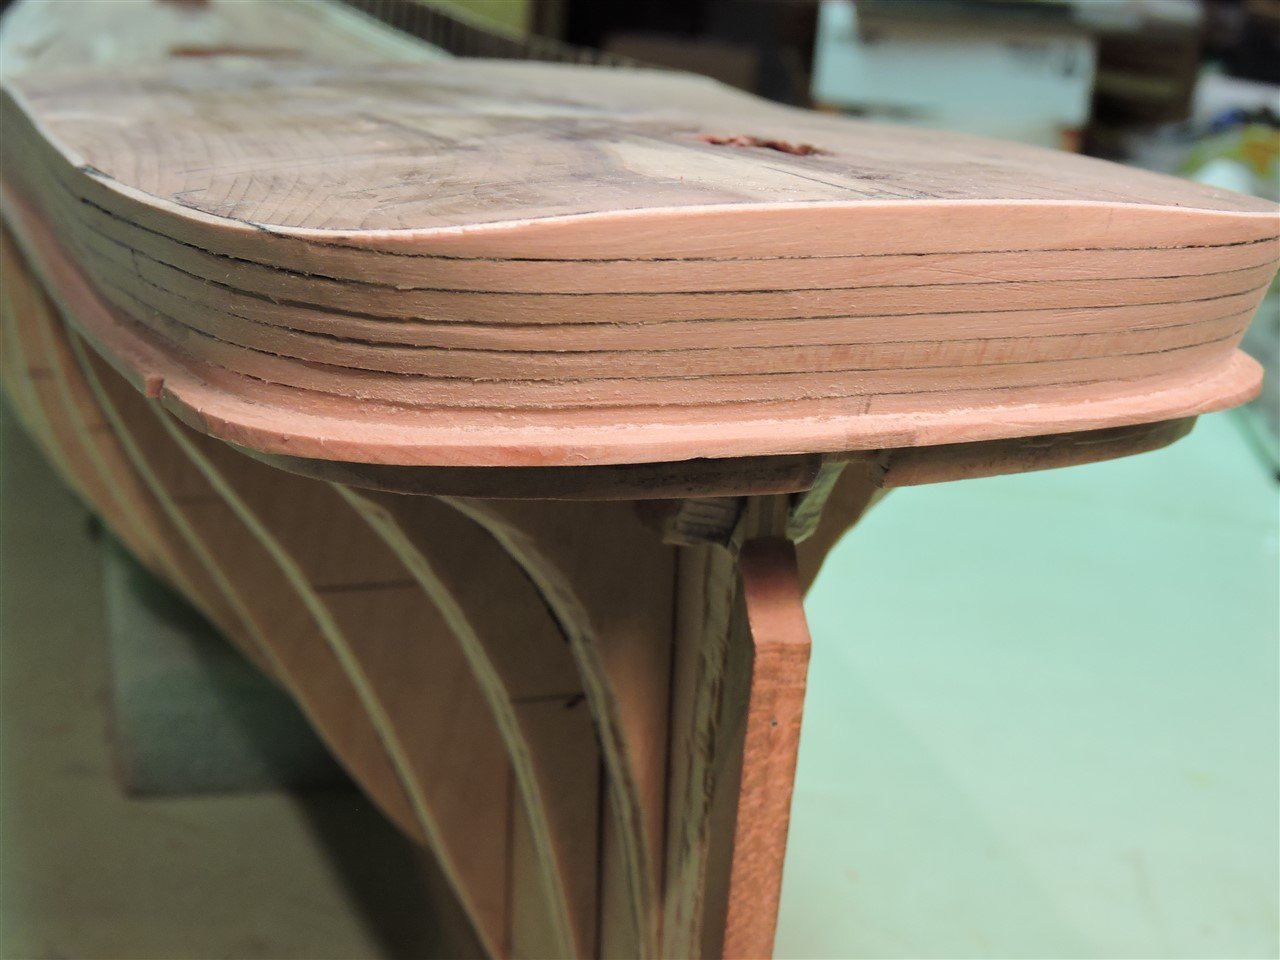
I started to run planks around the stern and did not like the way they went on. I removed them and made a form to shape the 1/16" thick planks, I liked the way they turned out.
-
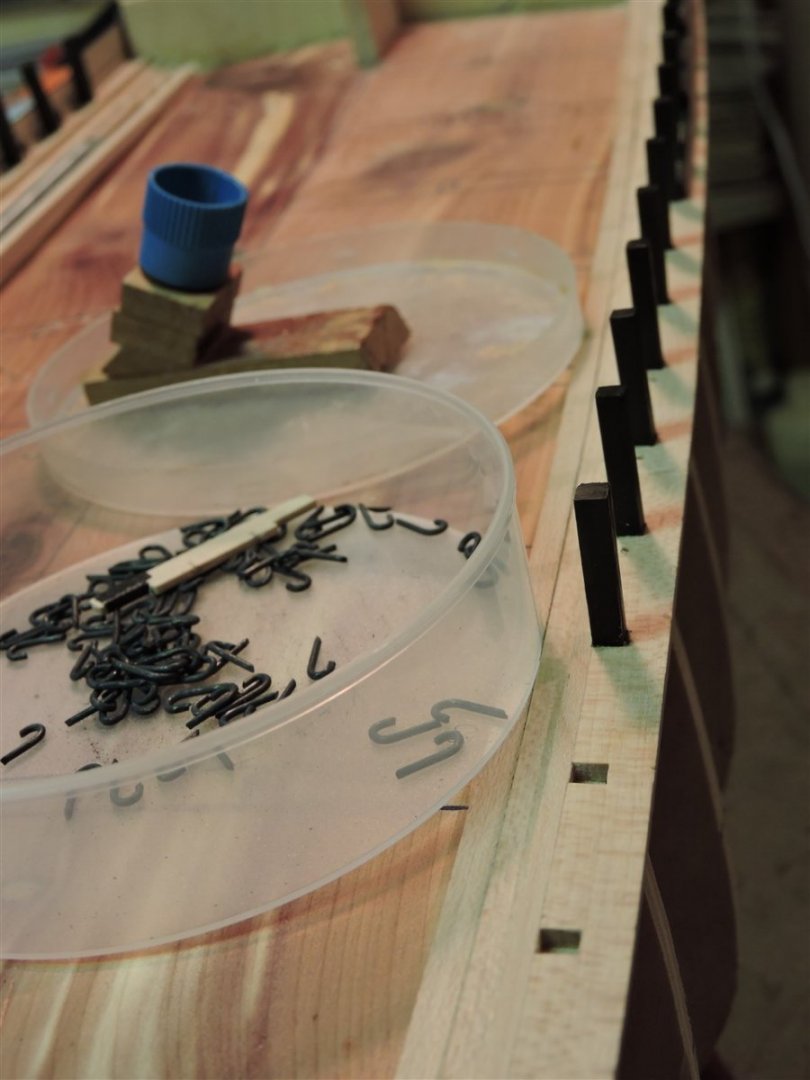
I'm getting close to the end installing the timber heads, and I started planking the bulwarks.
-
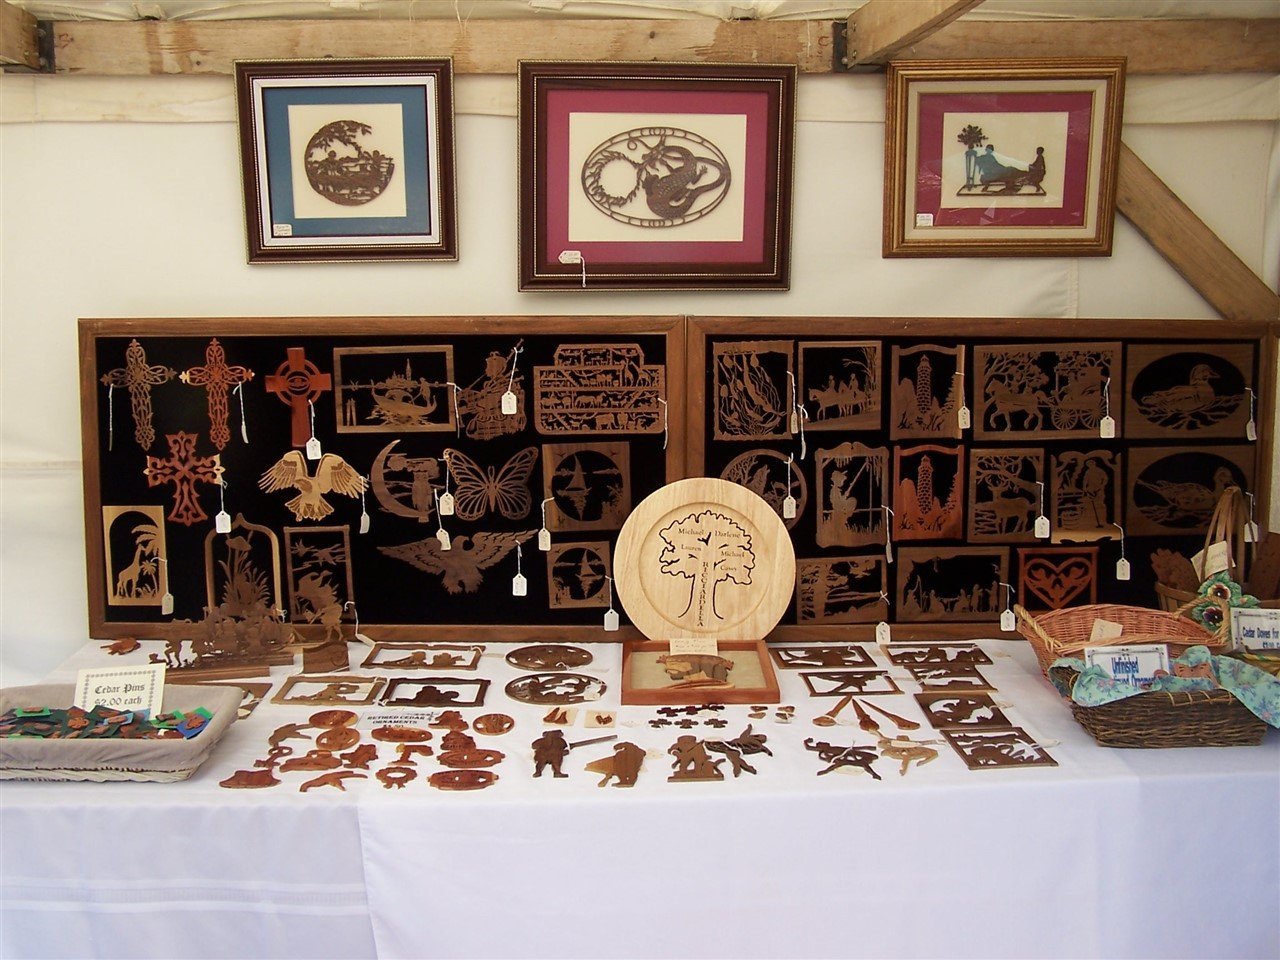
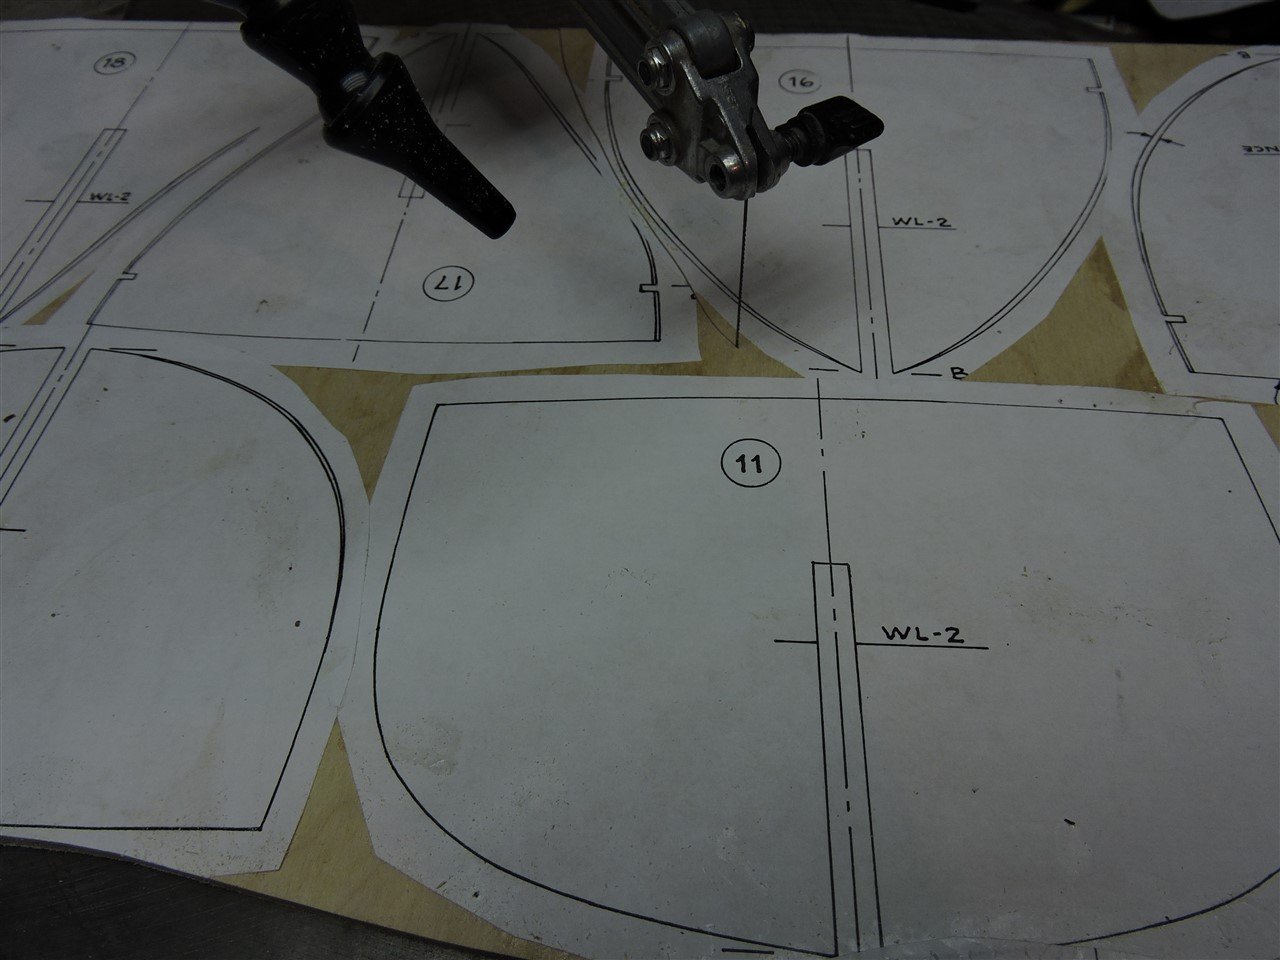
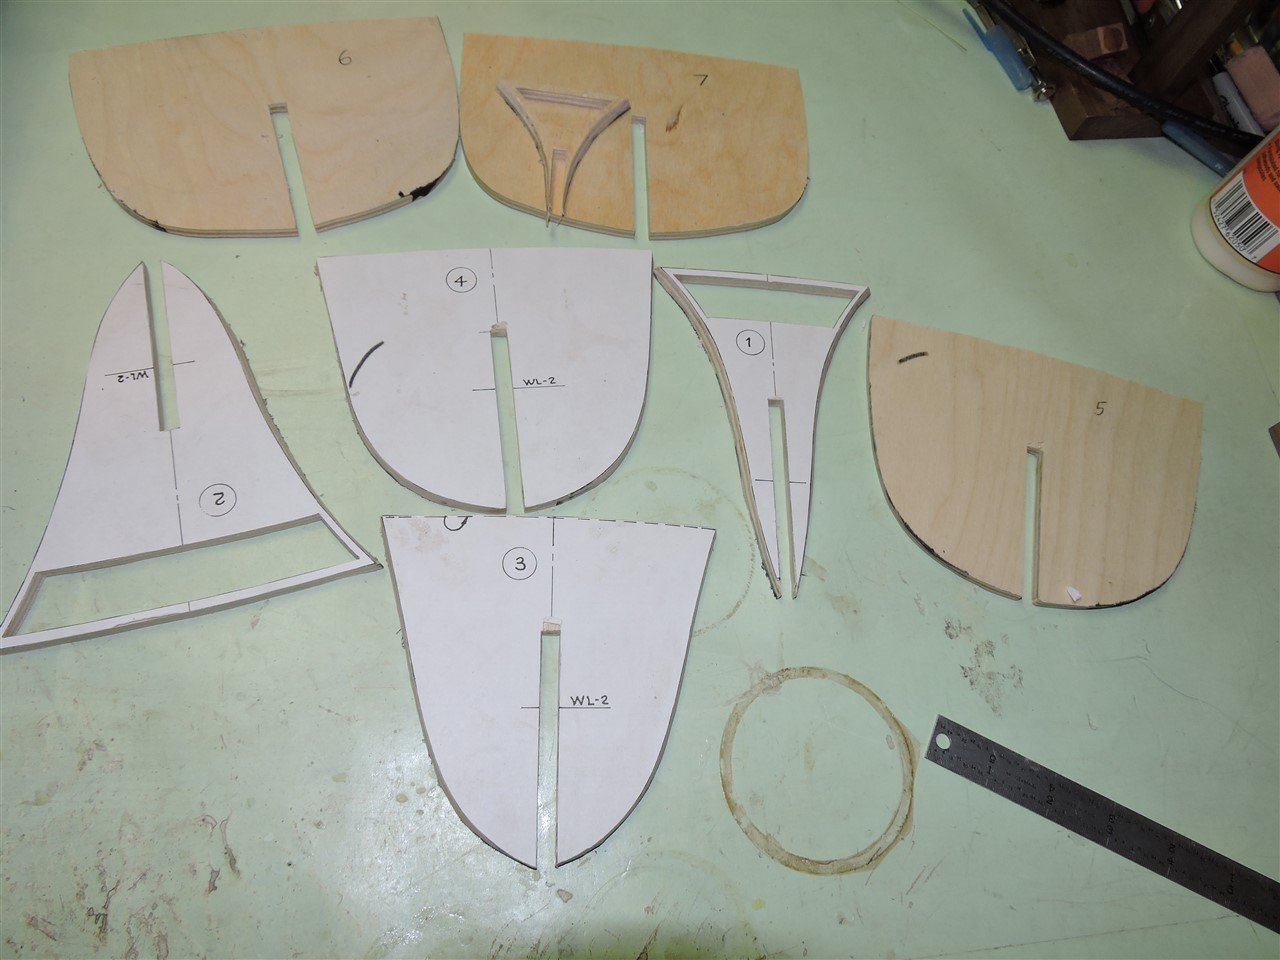
Rob, the picture of the cut out bulkheads have all ready been tapered. I used 1/4 plywood and the taper needed very little sanding before planking the hull. Tom, I have been using a scroll saw for many years, I use to do arts and crafts shows.
-
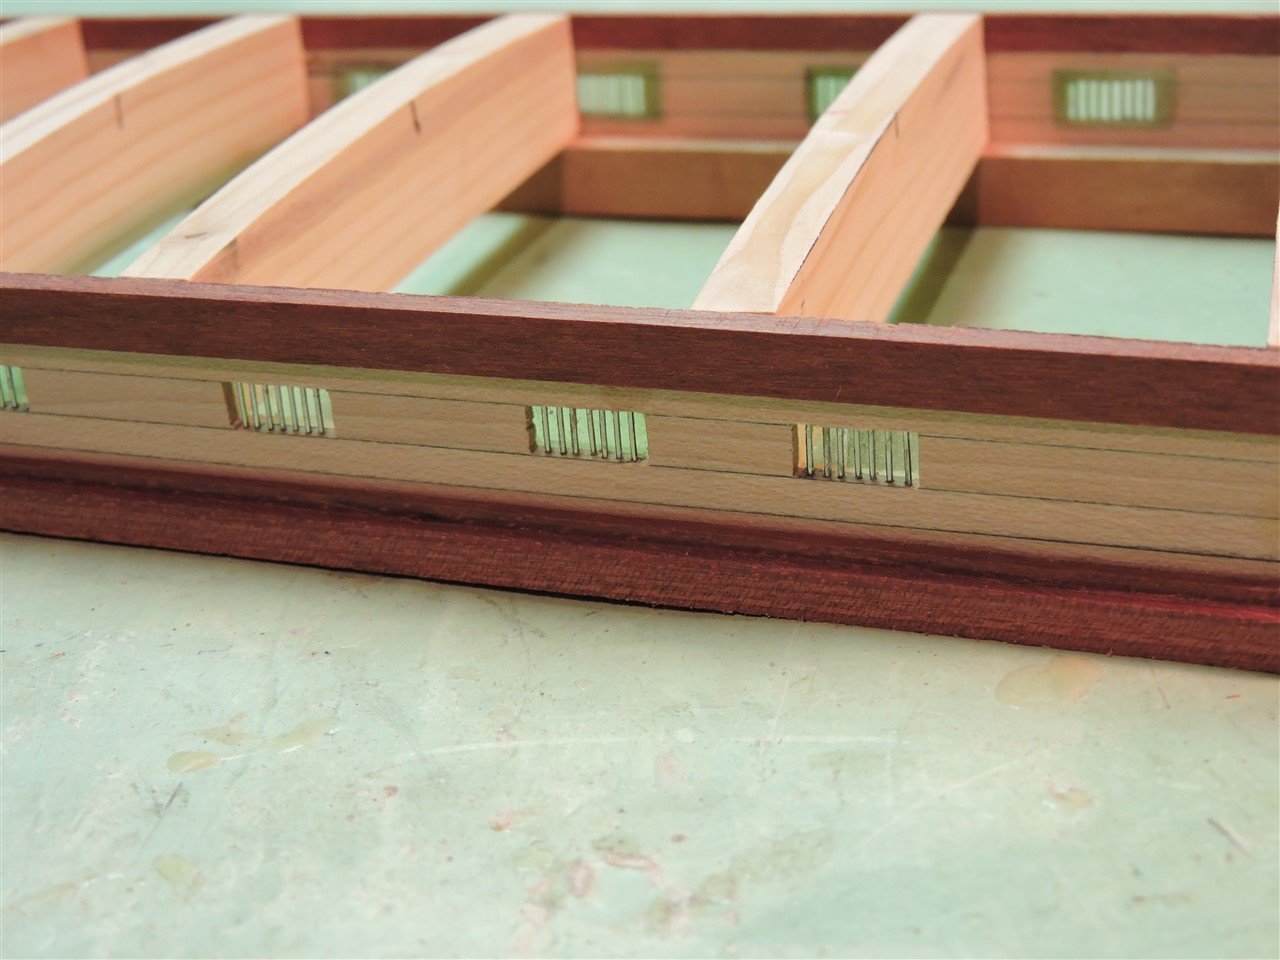
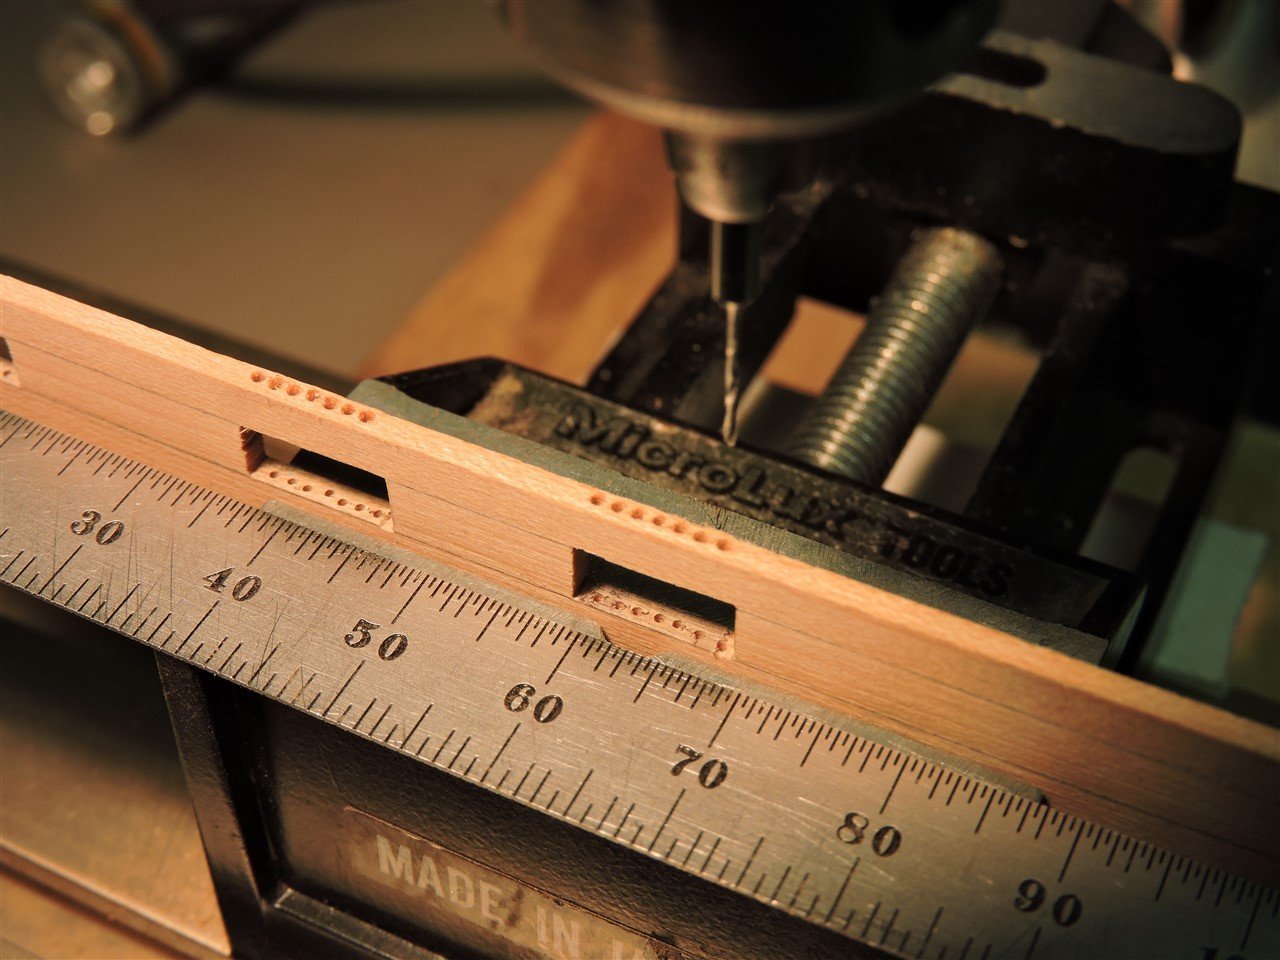
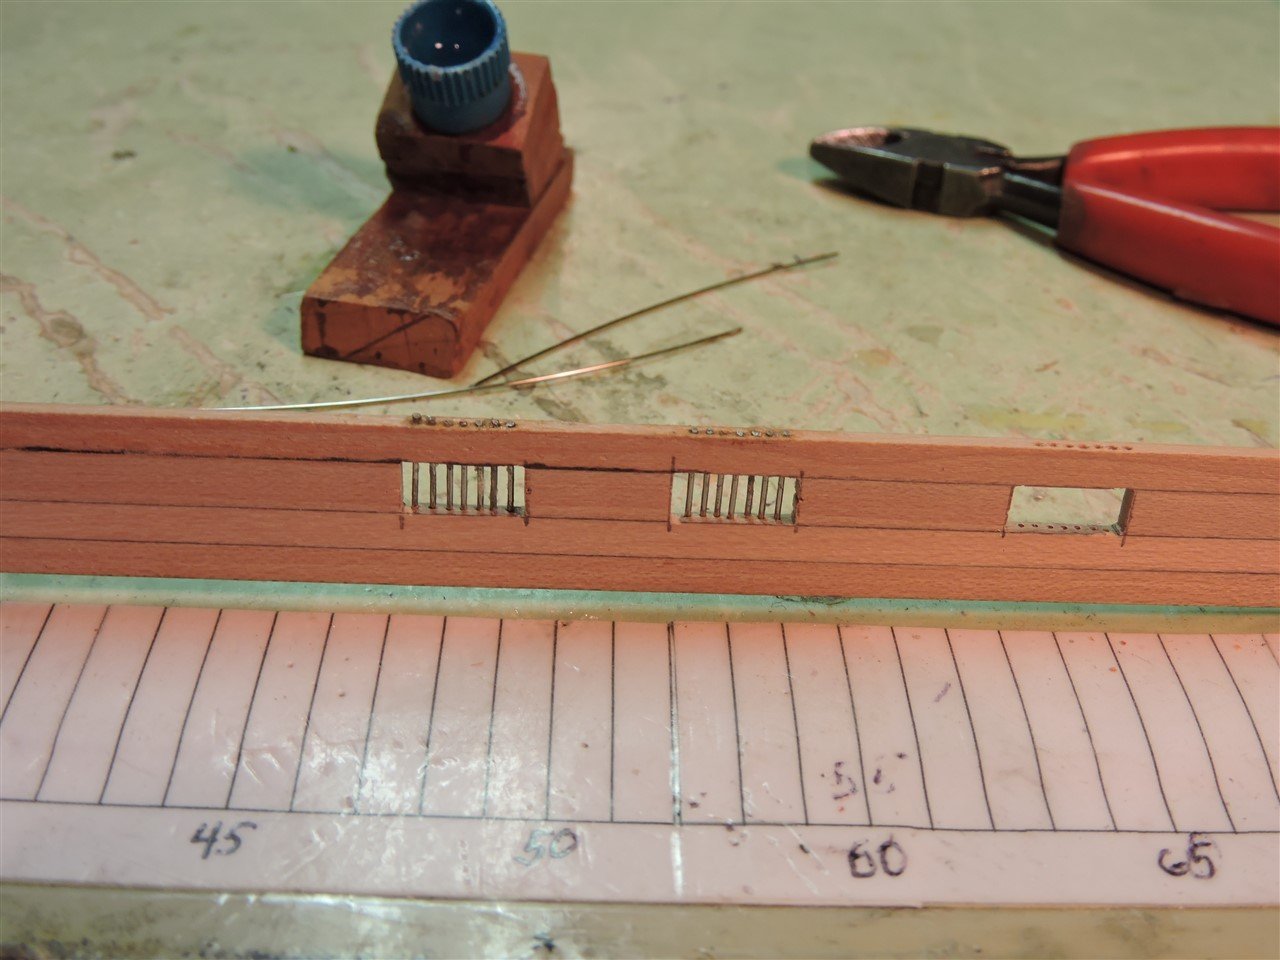
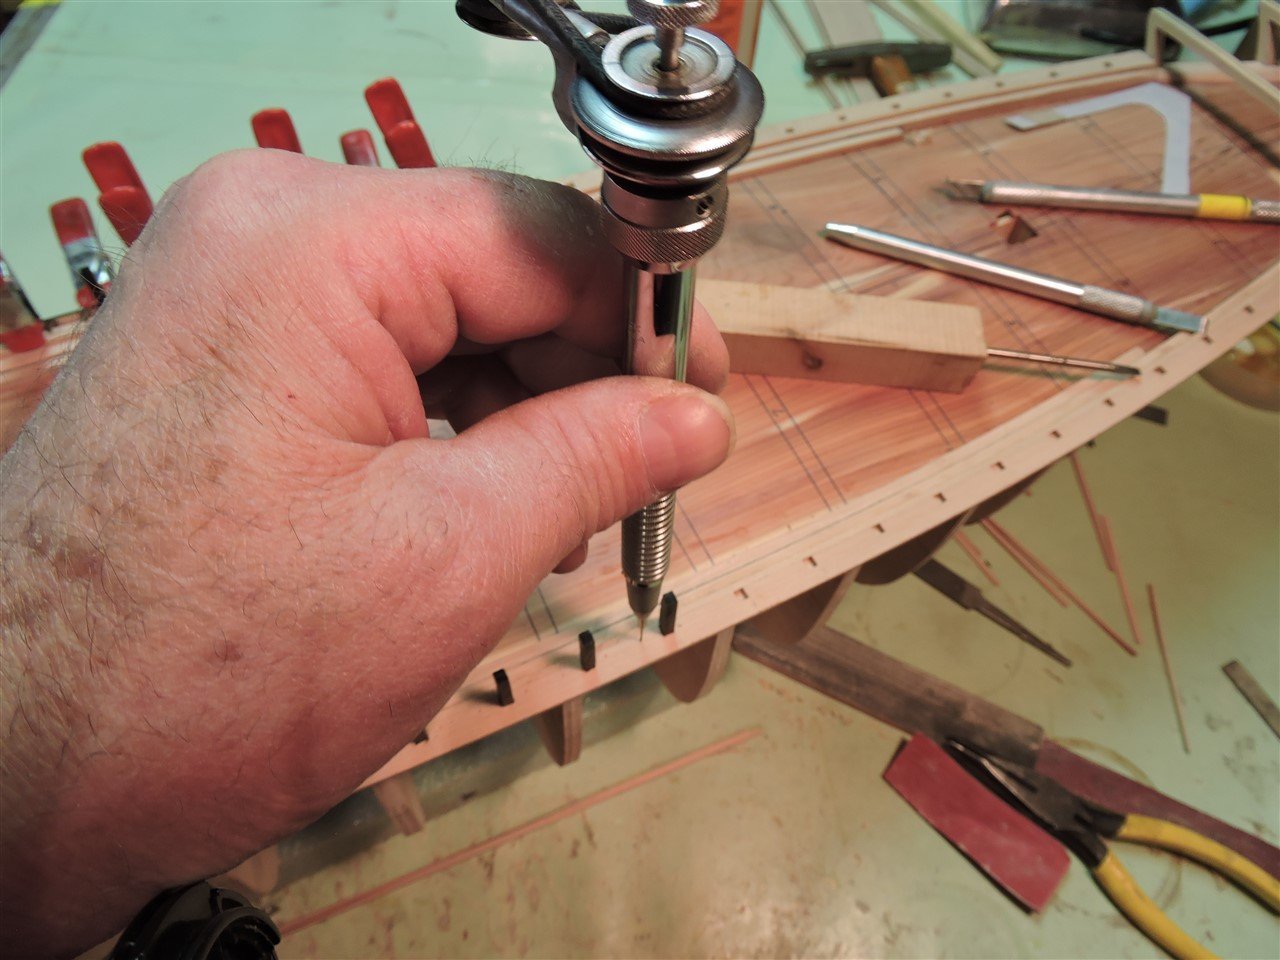
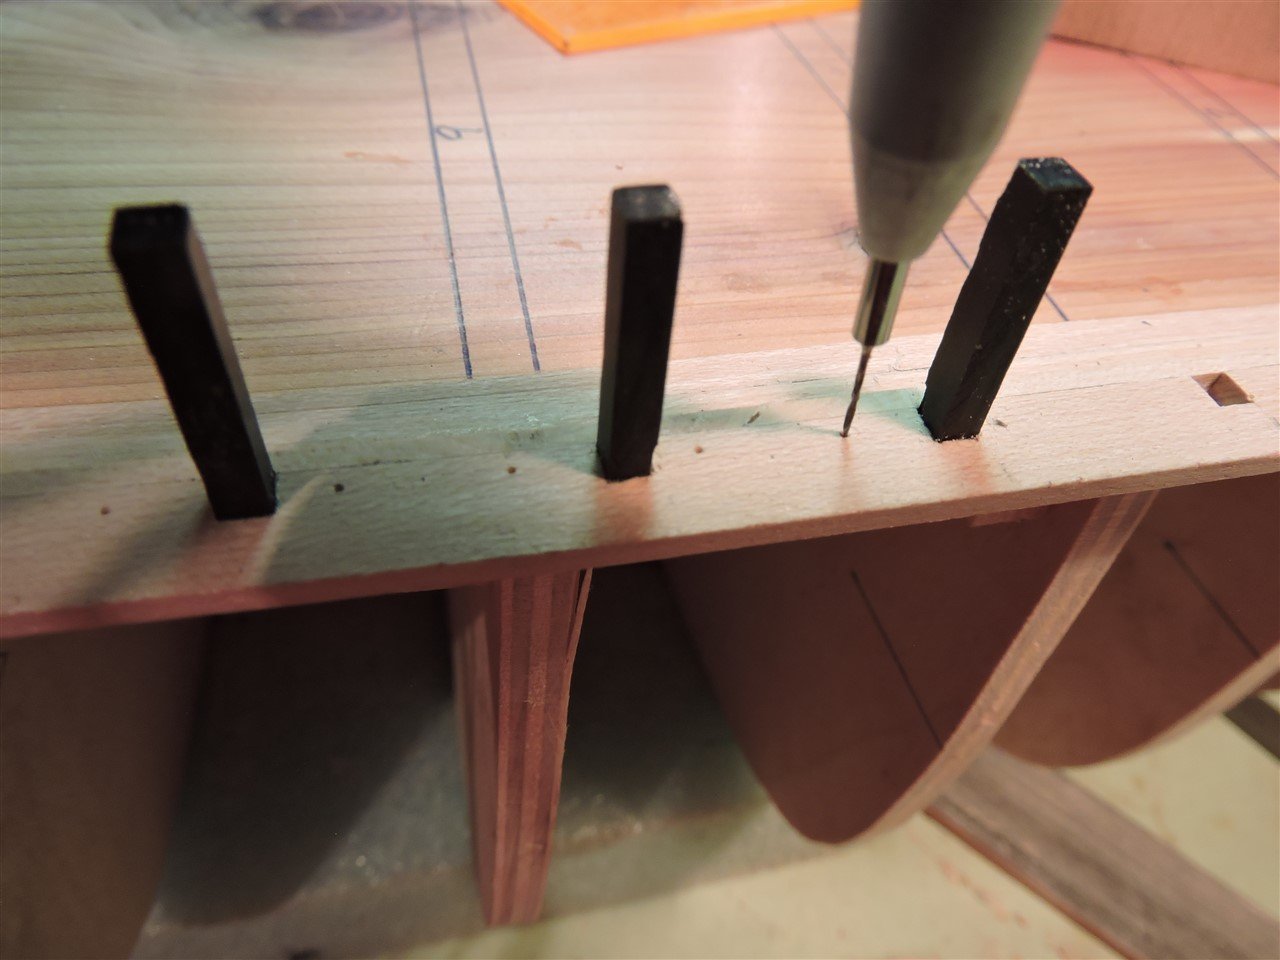
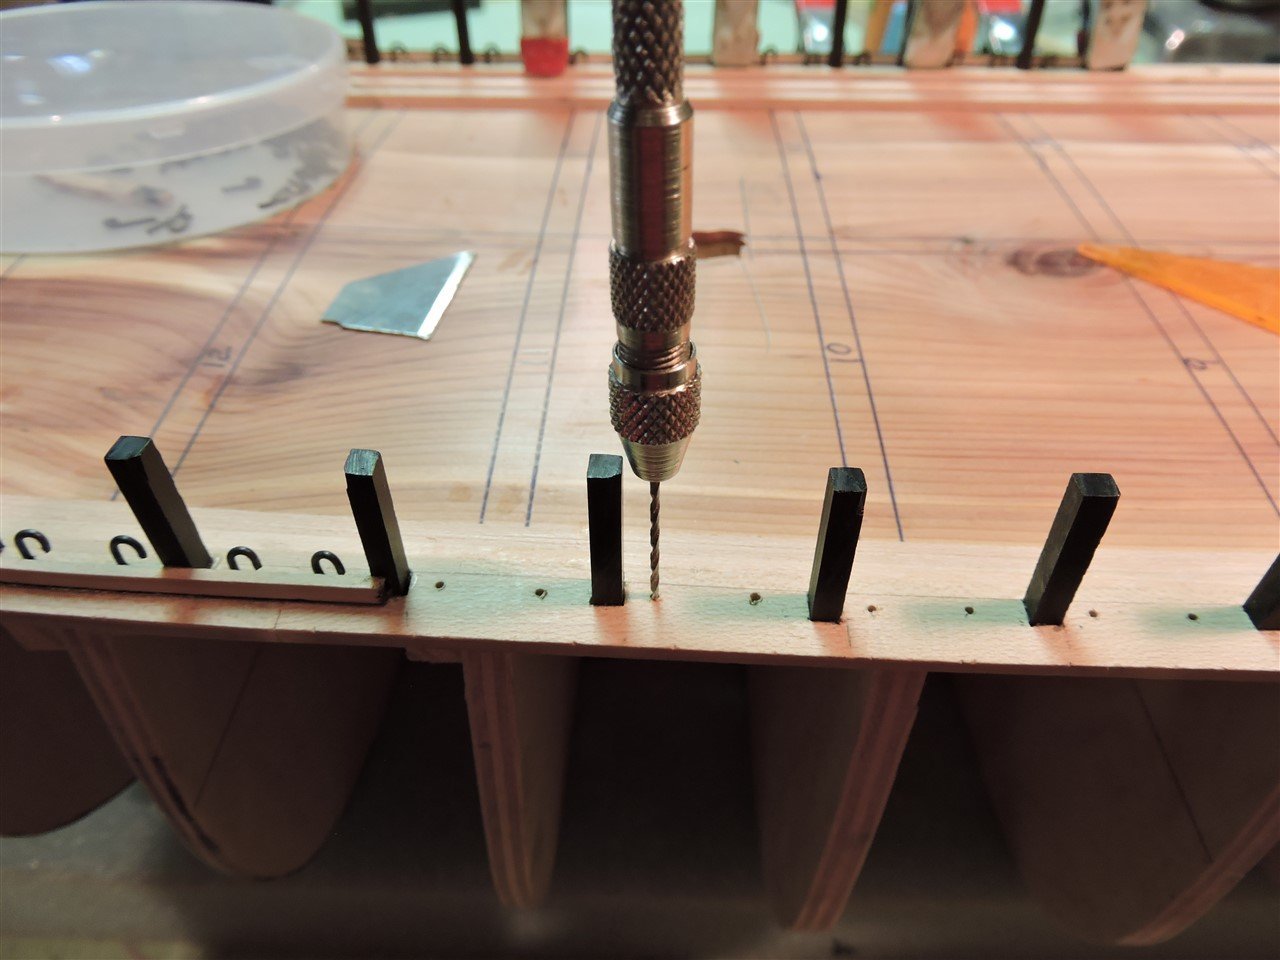
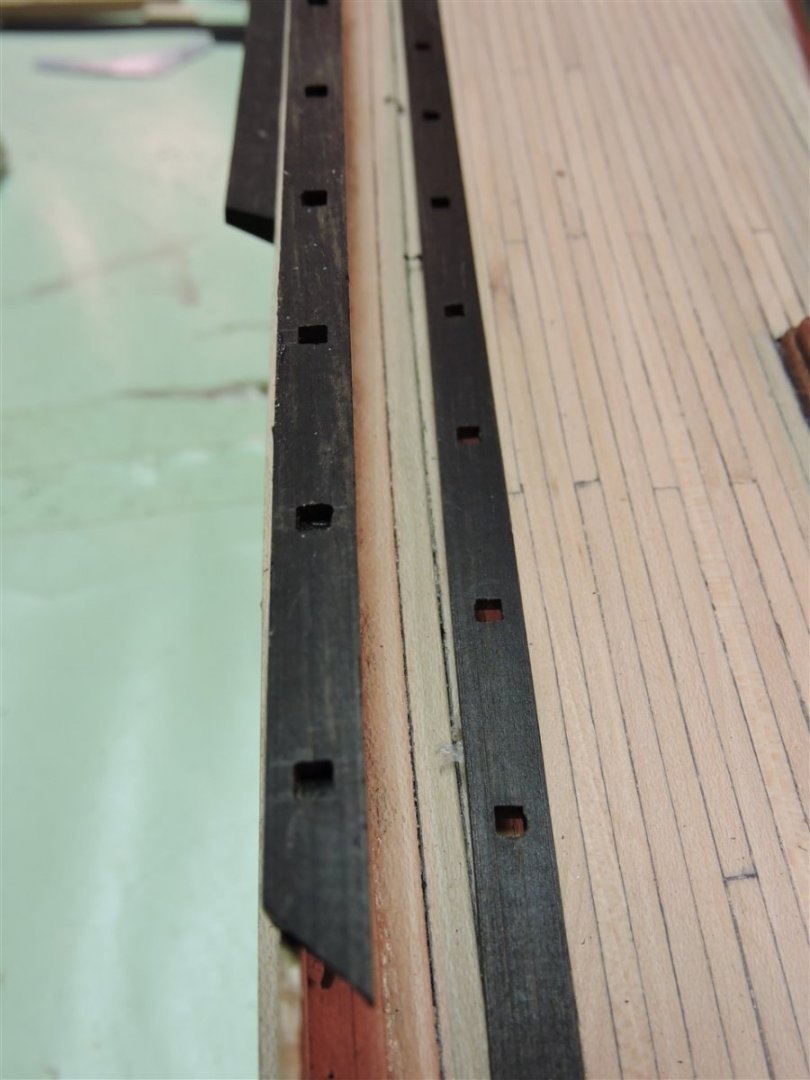
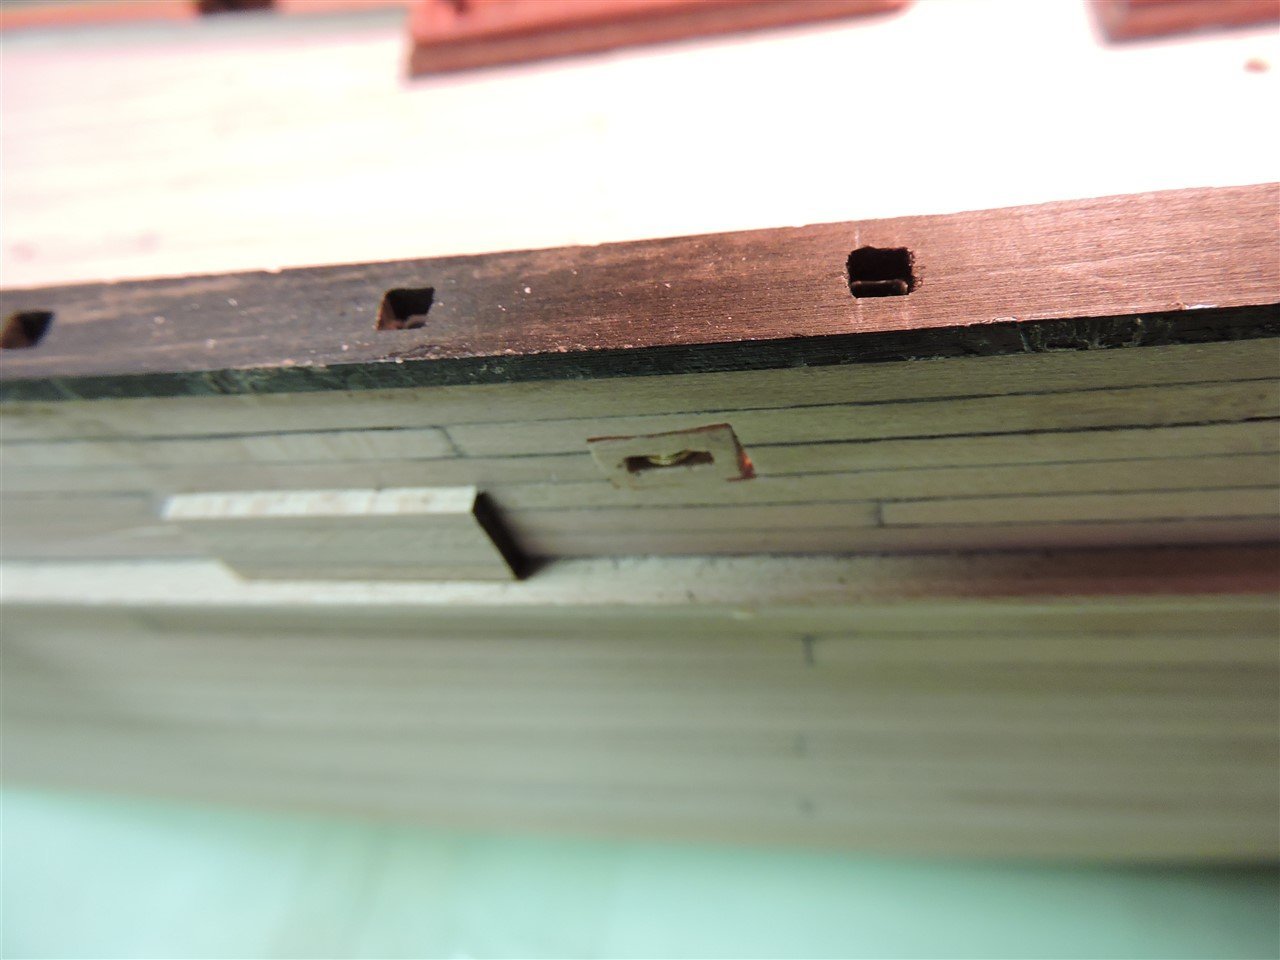
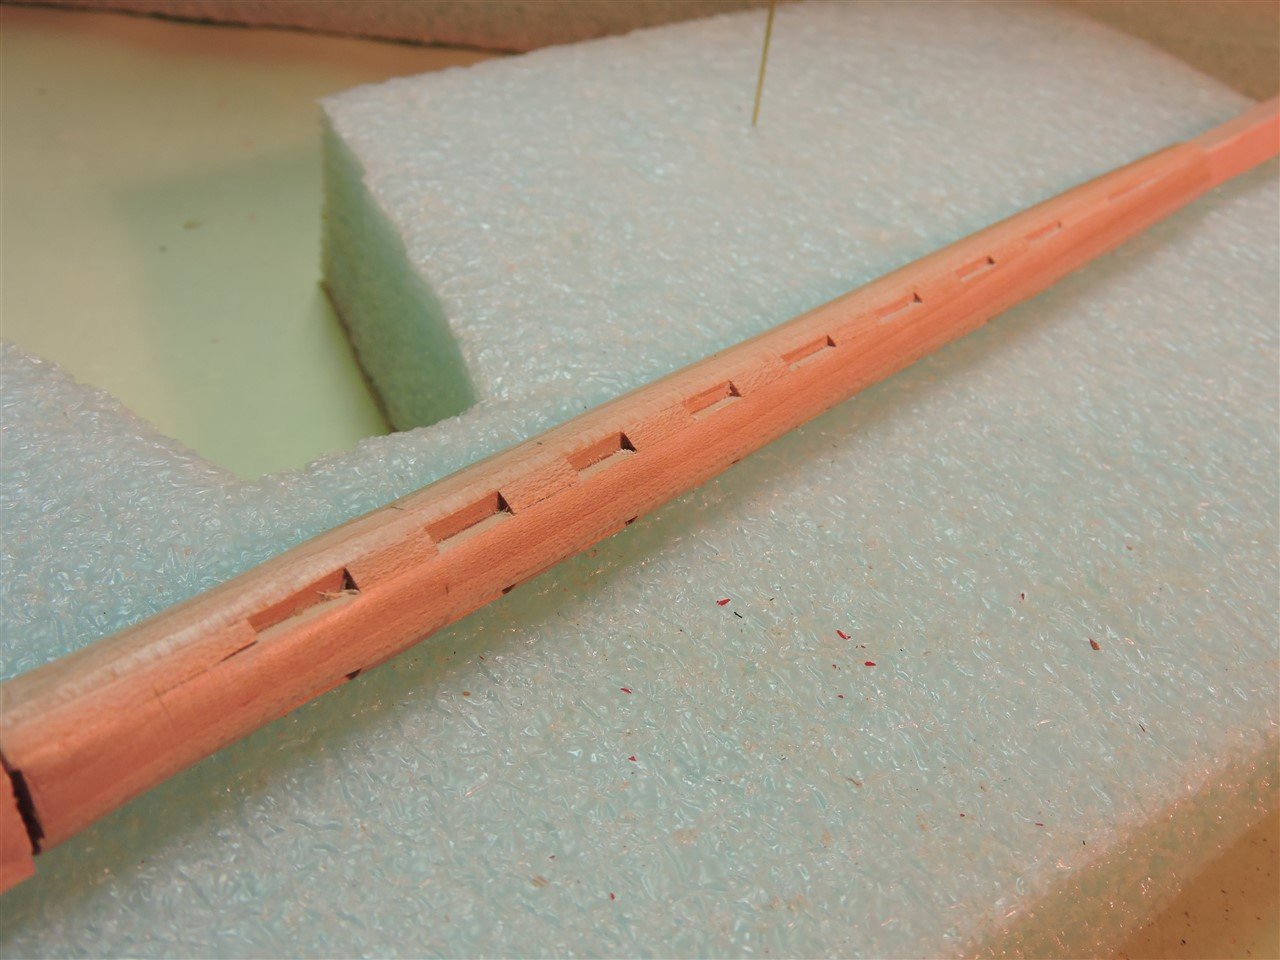
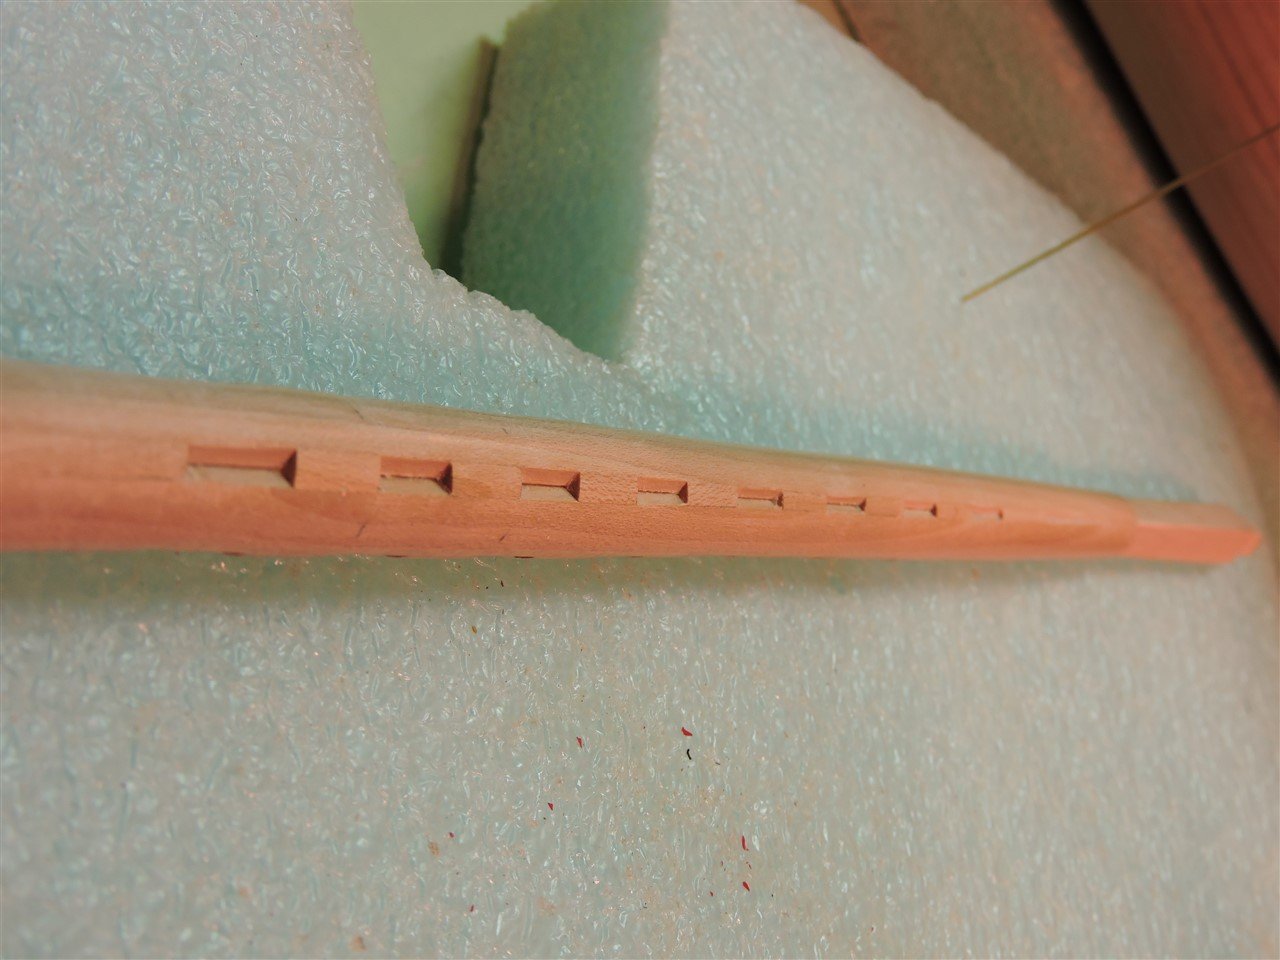
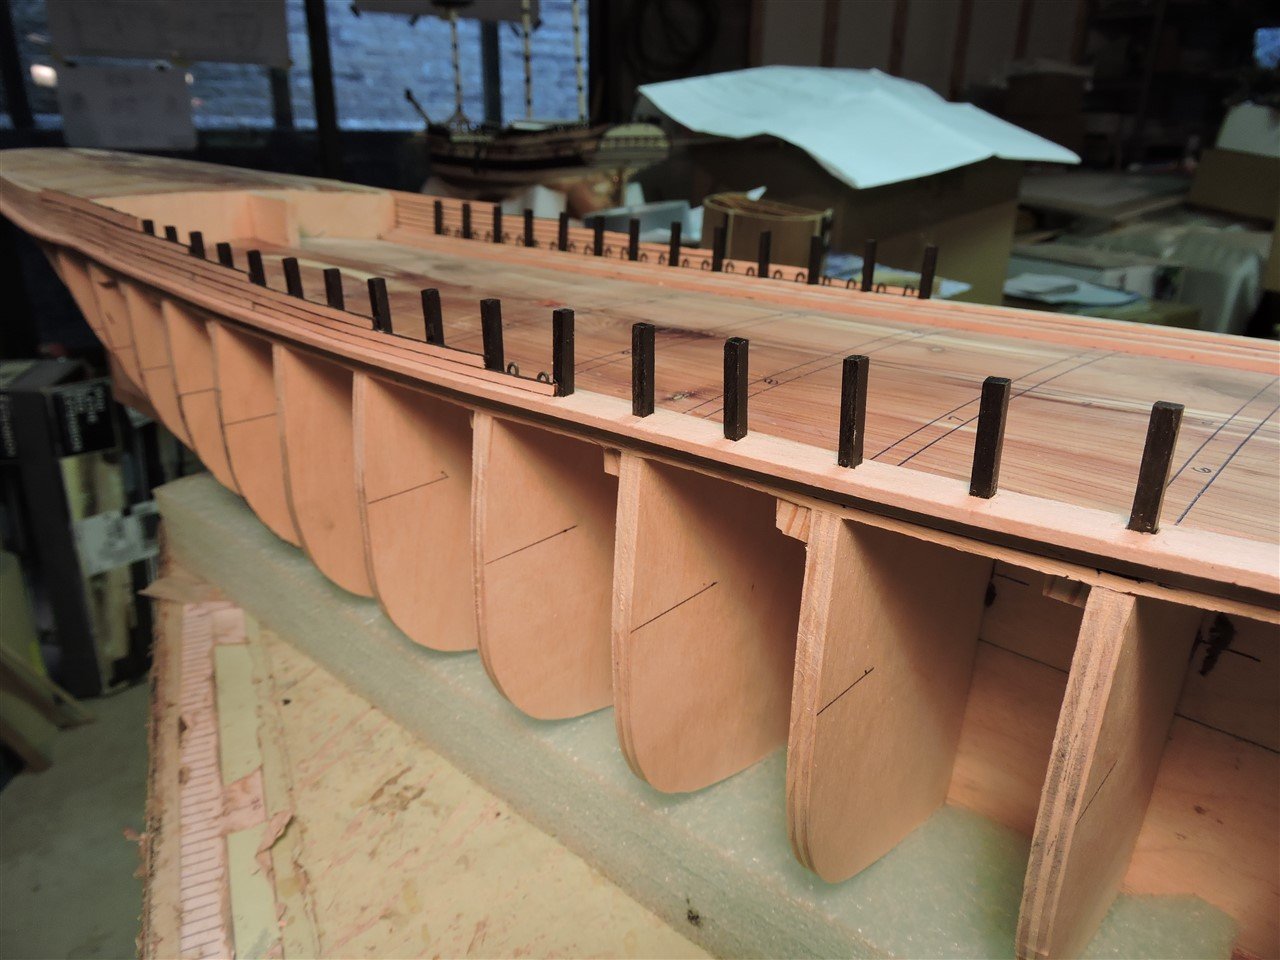
To keep the vent pipe spacing even I made a simple jig for the hole positions. Push the jig to the right and mark the hole then push to the left and mark that hole. I then drilled the holes and enlarged them to .032" for the vent pipes.
-
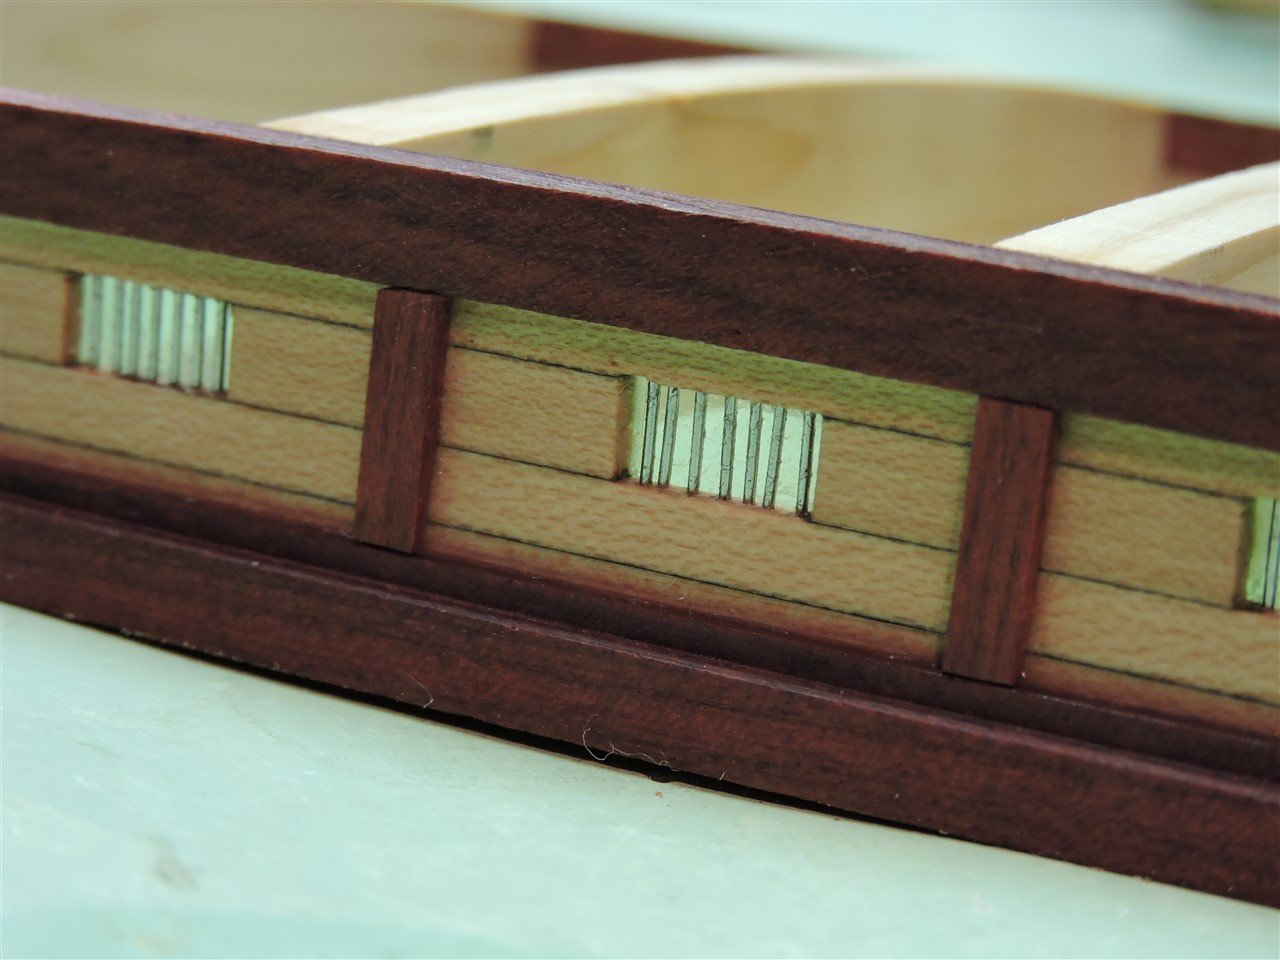
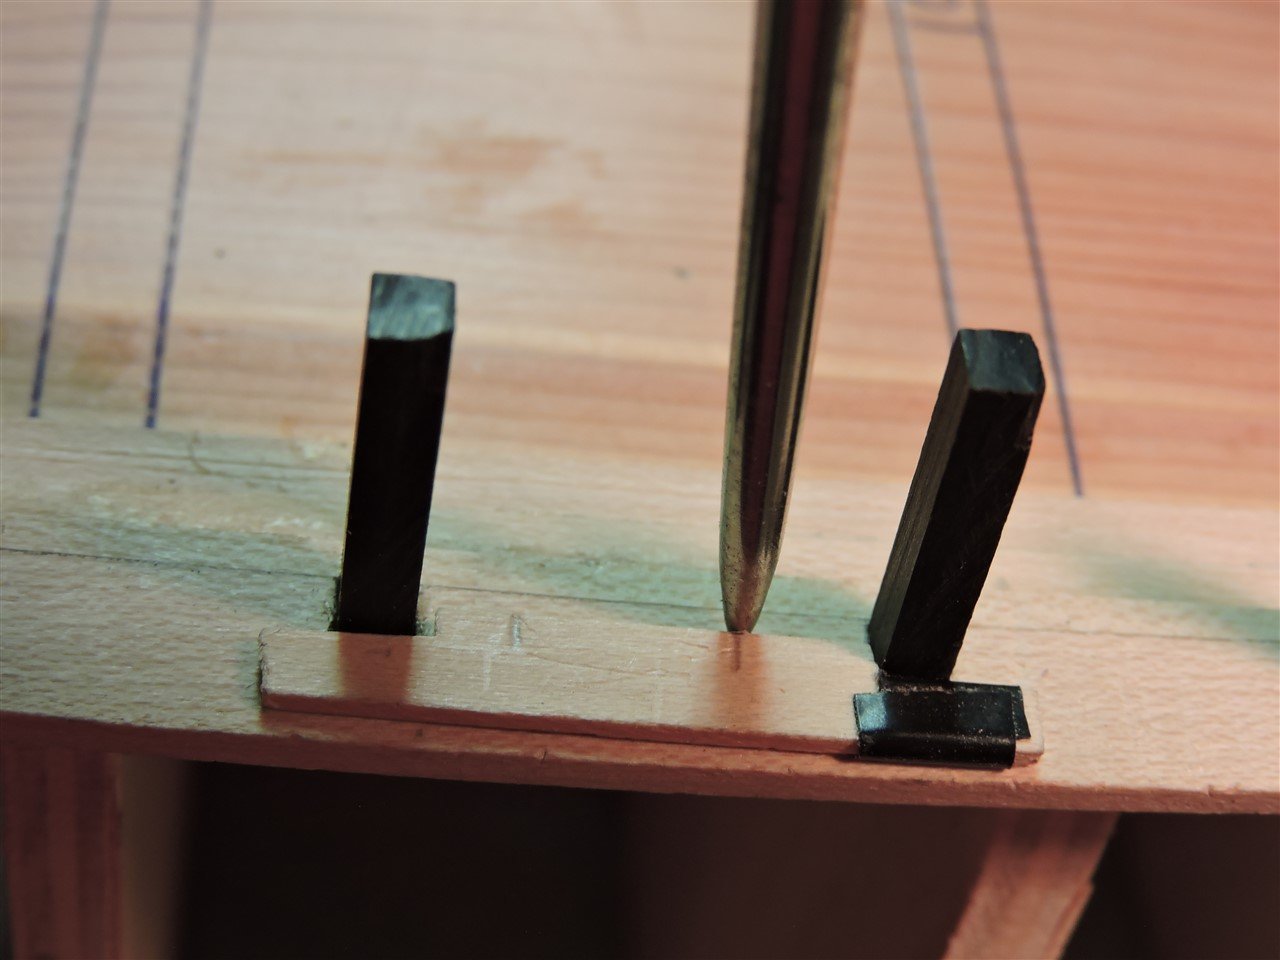
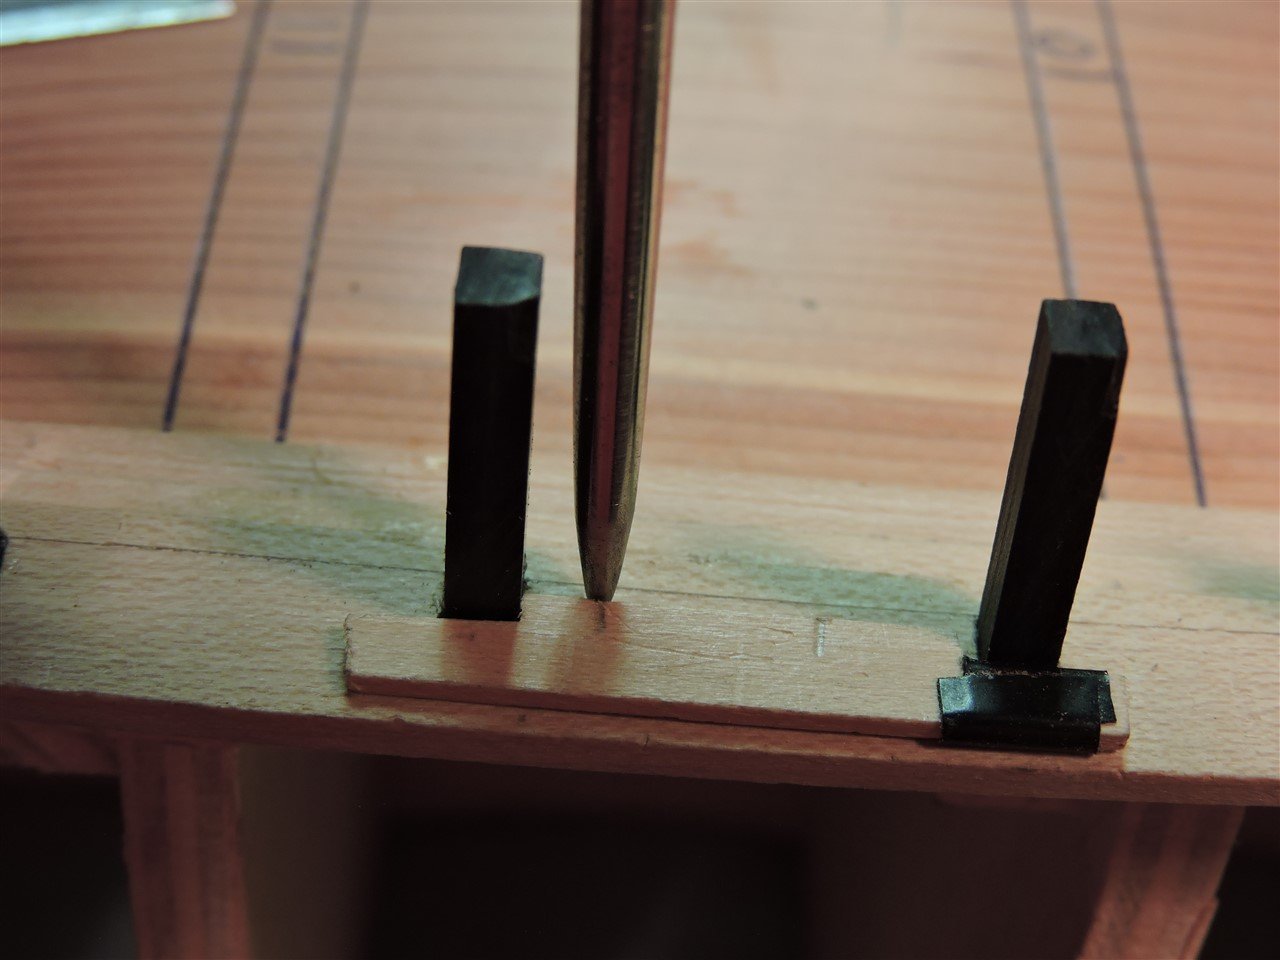
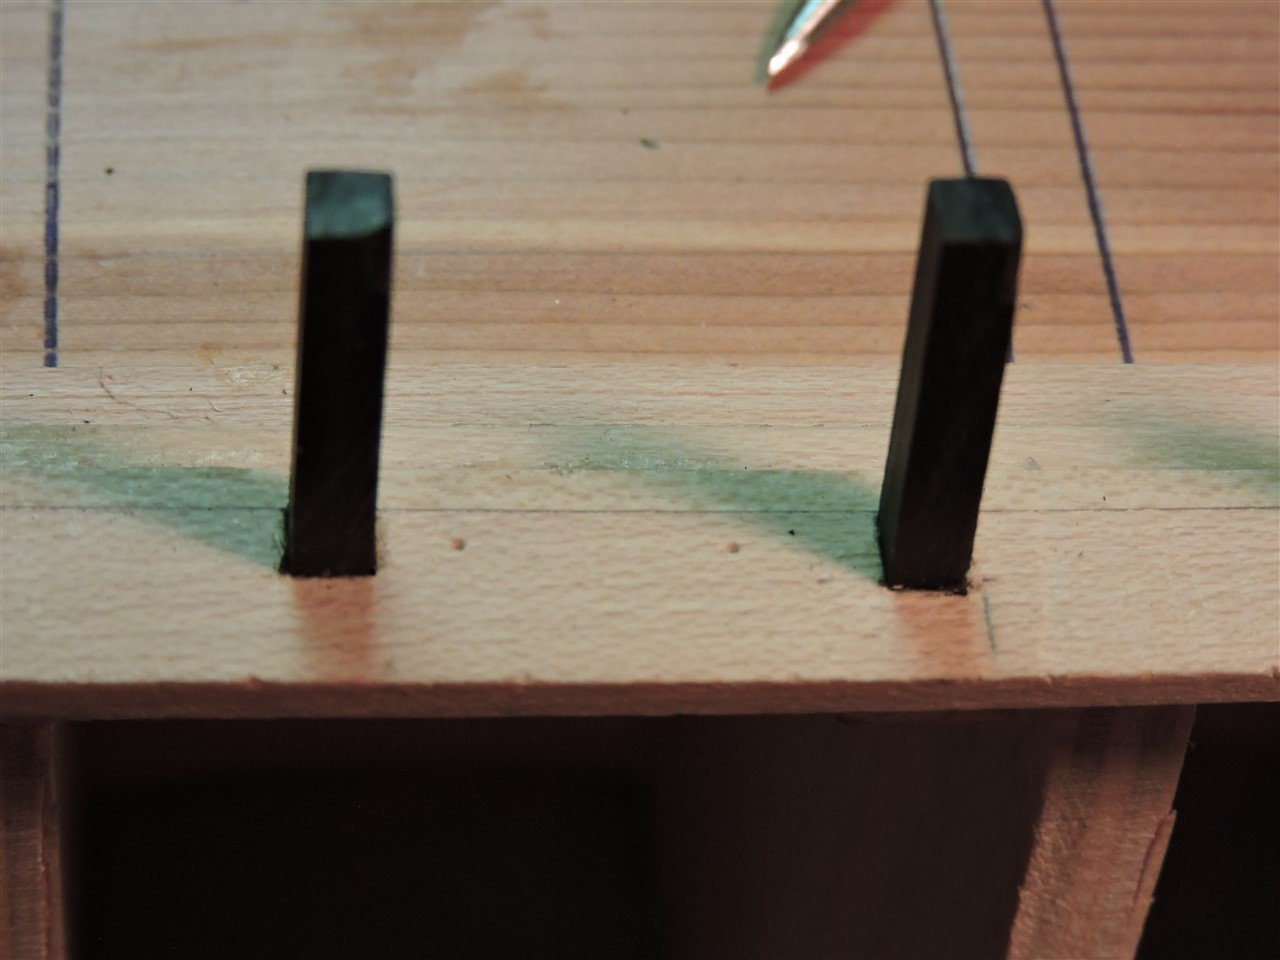
My next step was to install the timberheads and vent pipes.
-
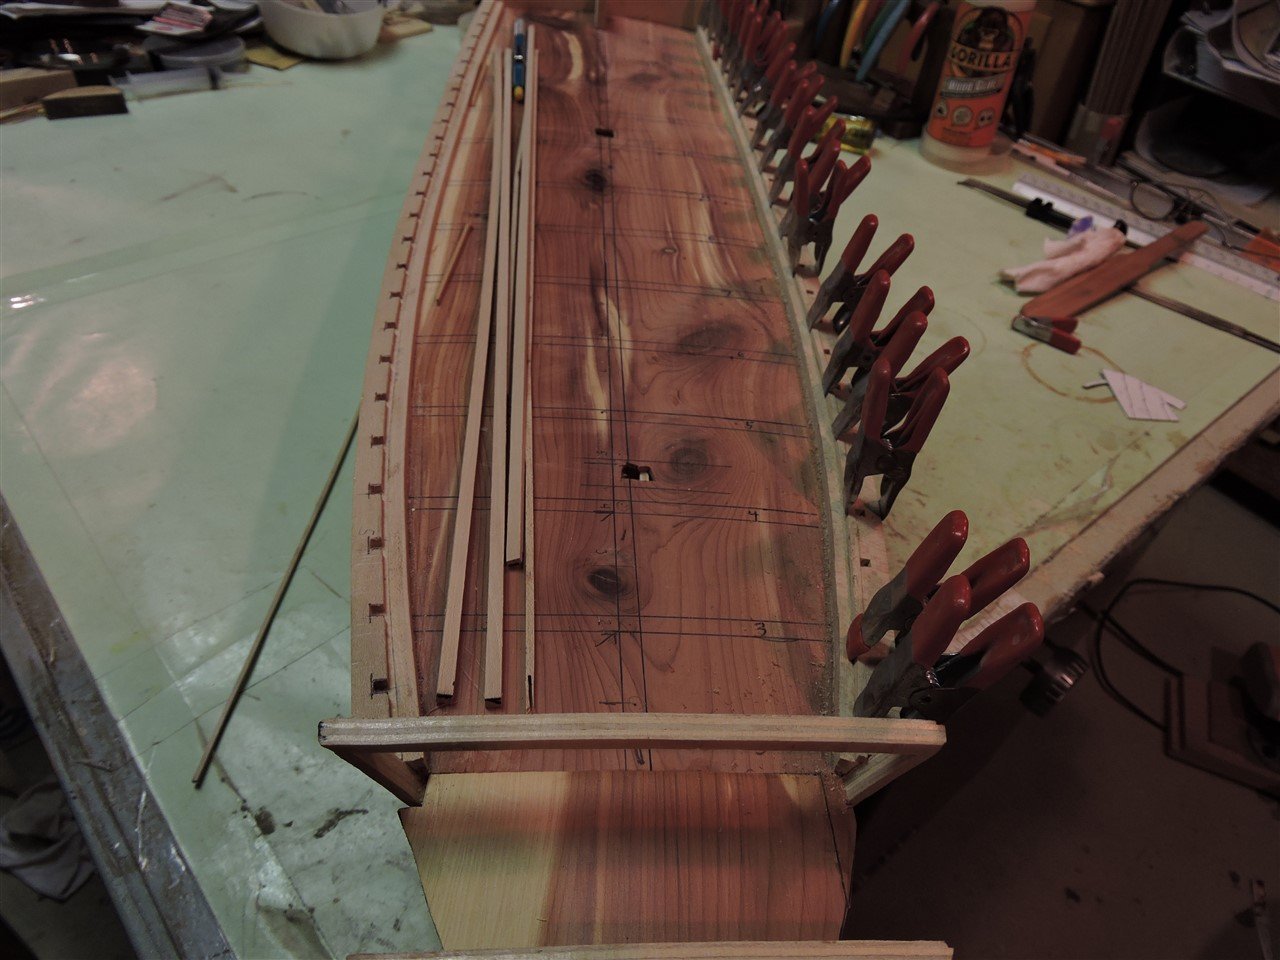
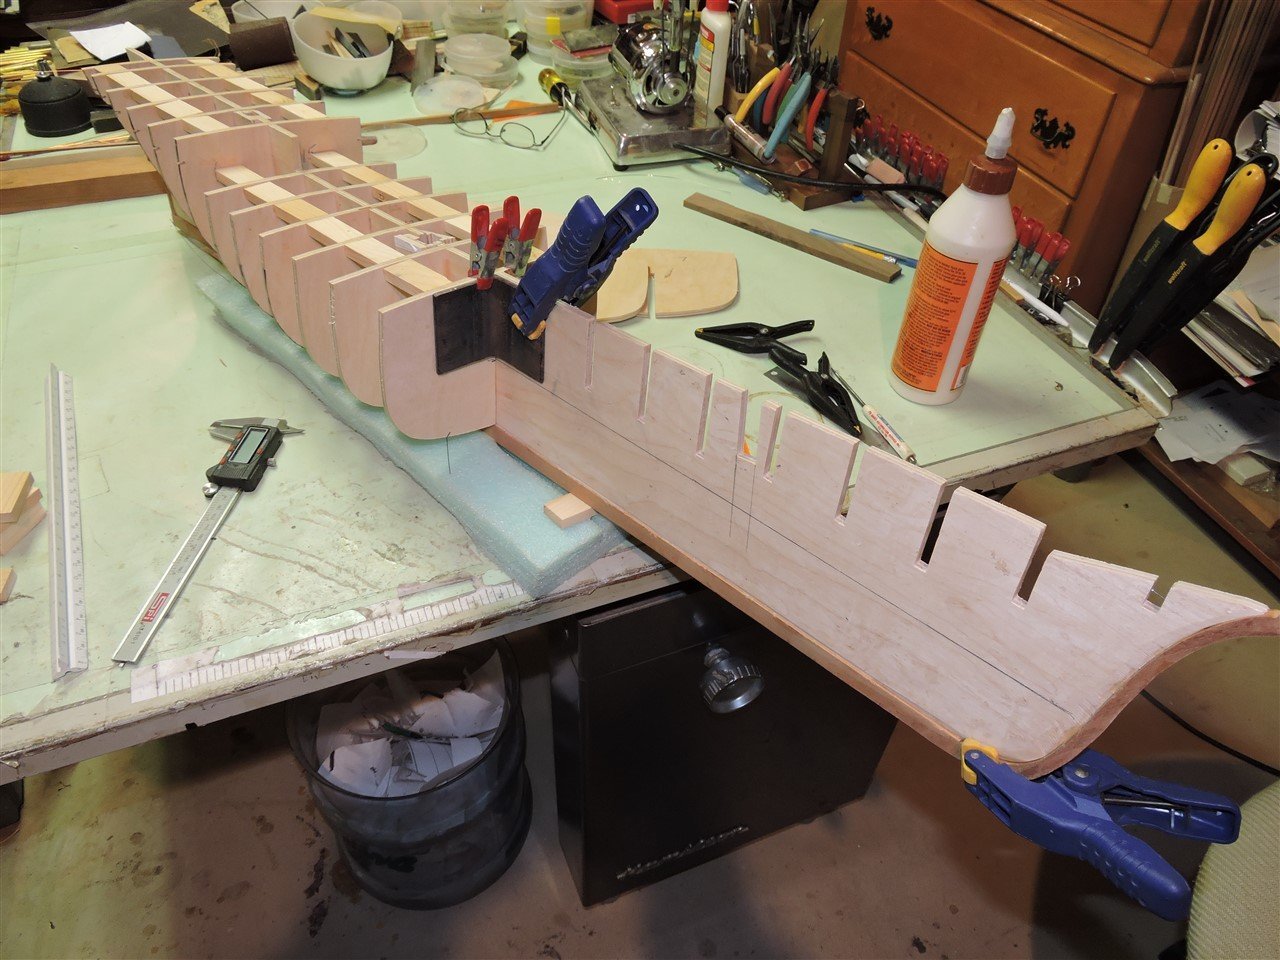
After the bulkheads, bracing and support pieces for the bits were installed I covered the deck area with a thin layer of wood, to make it a lot easier to install the deck planking. Then I added the waterways and planksheers. The types of wood that I will be using are cherry for the hull planking under the copper plates. Dogwood for the rest of the hull , deck planking, and the masts, from trees that died in my yard from a disease that went through our area years ago. Bloodwood for the structure trim and ebony for the timberheads and railings. For the yards I will be using cocobolo.
-
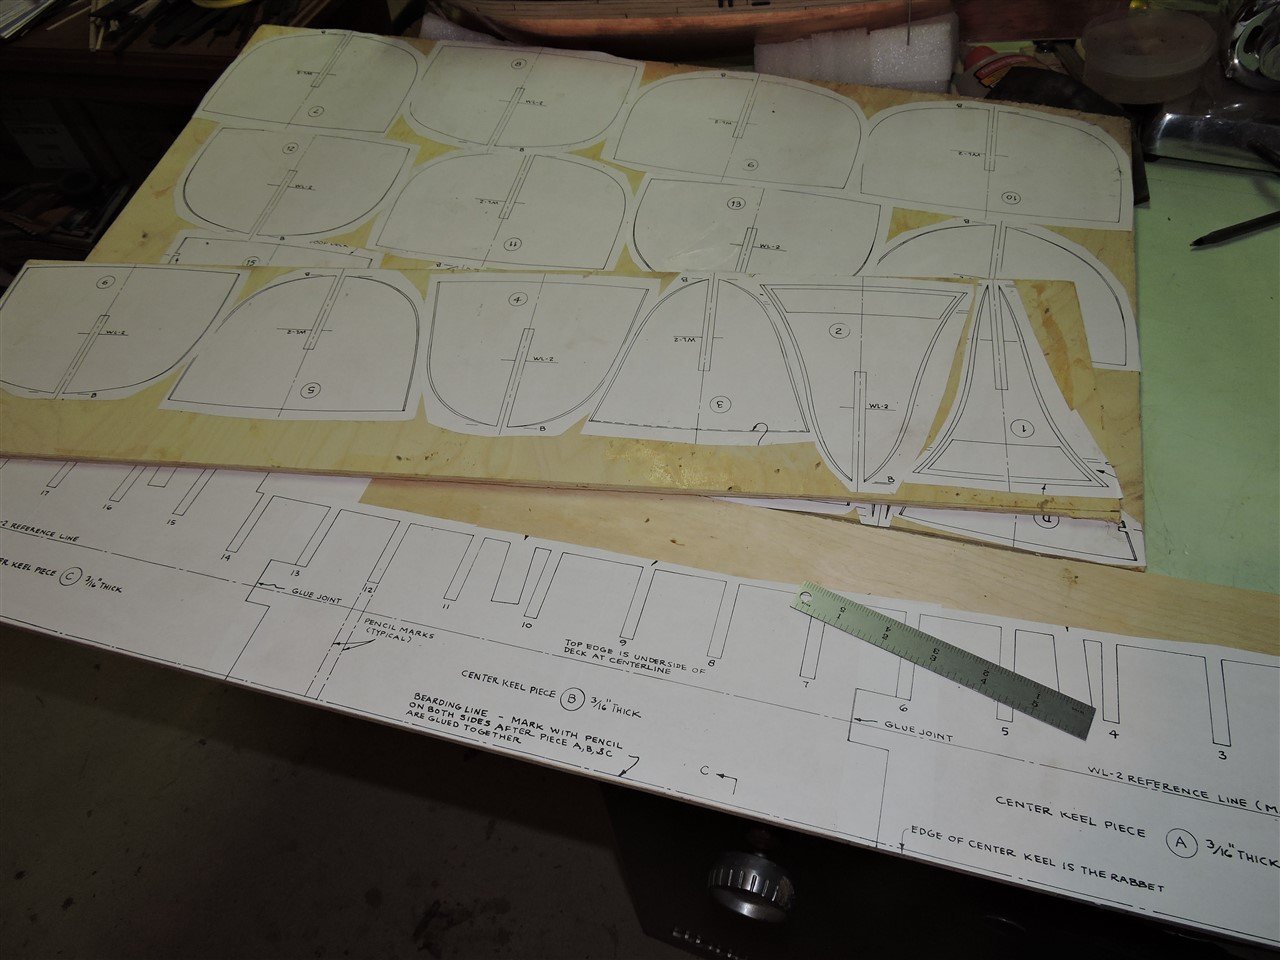
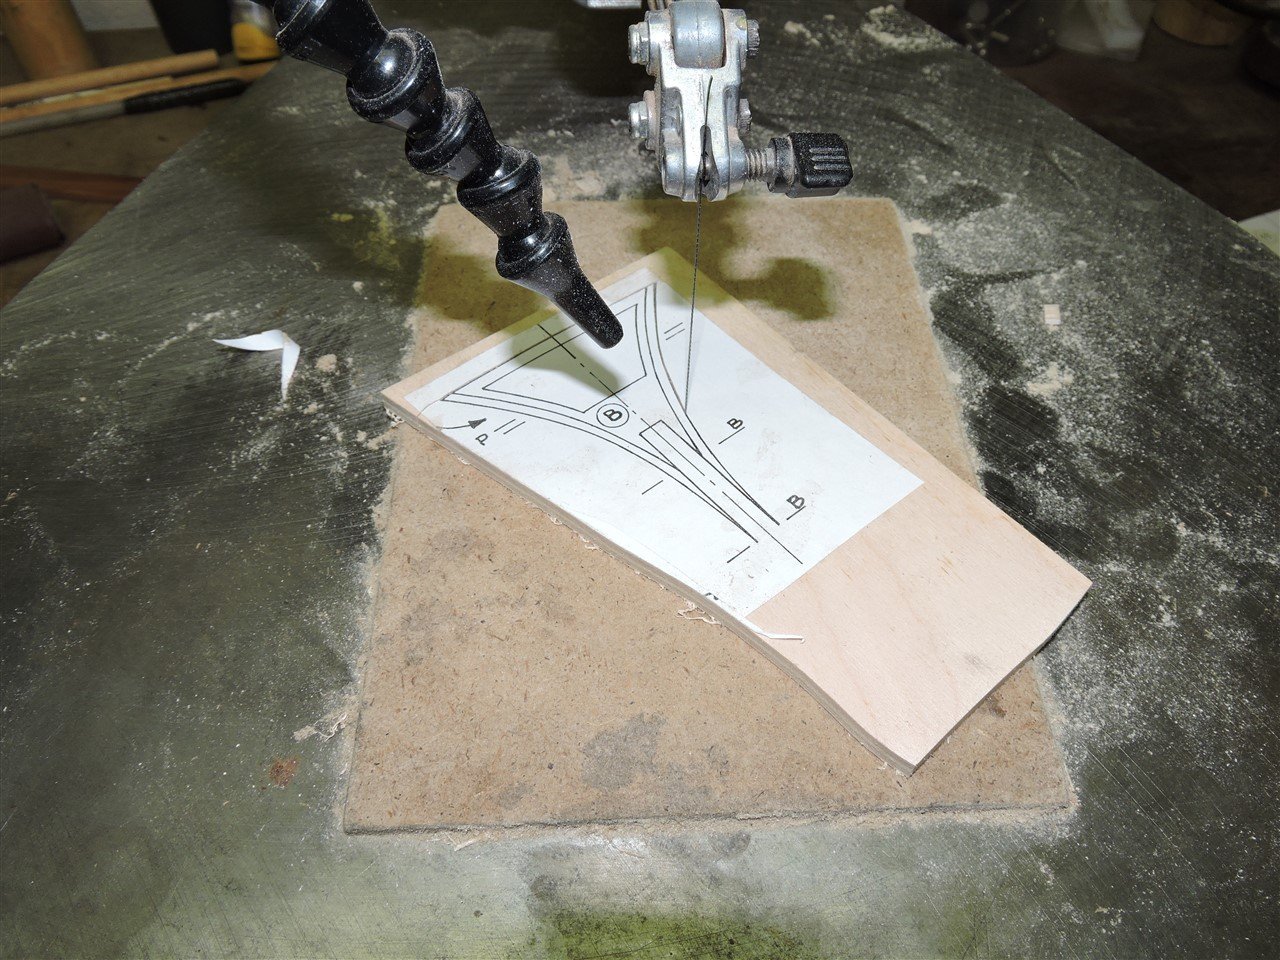
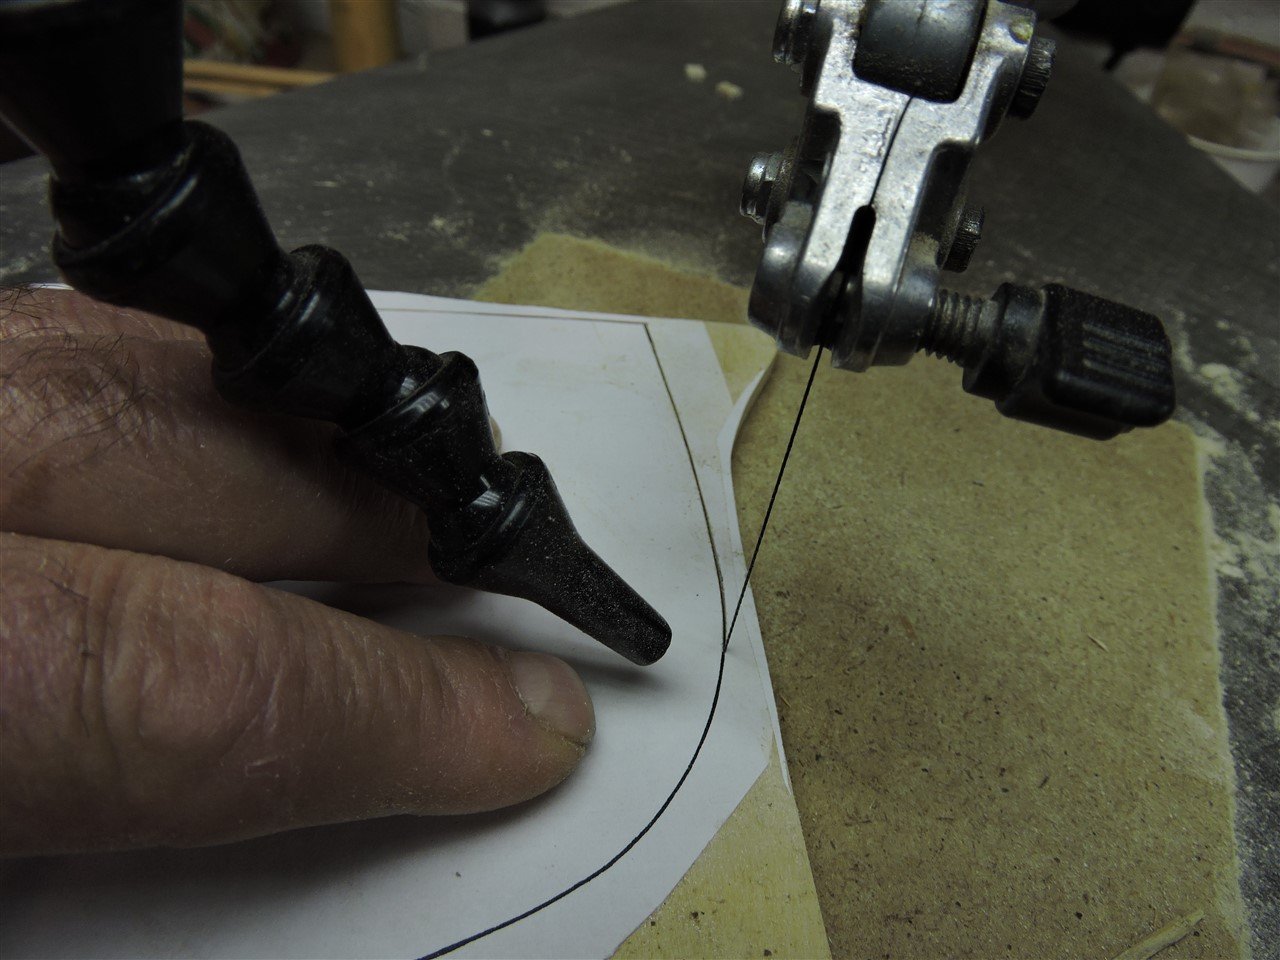
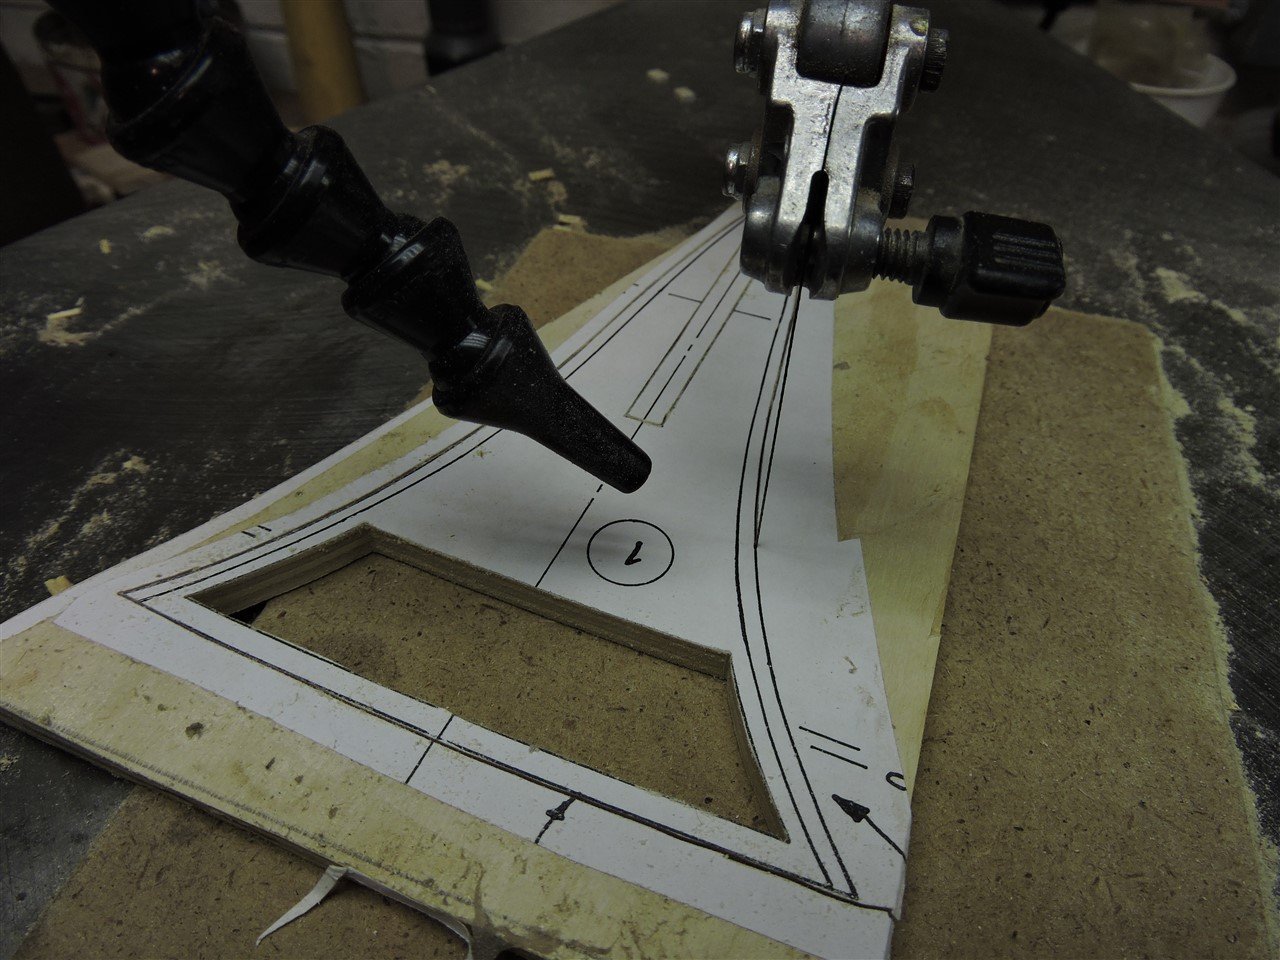
Hello all In the early 2000's, I got the model Flying Fish and last December 13, 2021 I started the build. I enlarged the plans 50% to 1:64 (3/16 scale ) to keep it the same scale as my other models. I used rubber cement to glue the patterns to 1/4" plywood. I then separated them with a scroll saw and proceeded to cut them out. I tapered the bulkheads and then attached them to the center keel piece.
-
Tally Ho by jwpage - Scale 1:16
MikeR replied to jwpage's topic in - Build logs for subjects built 1901 - Present Day
If you are still looking for a supplier for micro nut, screws, taps, and drills check out Tabco Optical. ( tabcooptical.com ) I purchased 100 M1.4/1.4mm nuts for $5.95 I made eye bolts out of 3/64 rod and used these nuts. I retapped these nuts with a 1.7mm tap for use with 1/16 rod. I enjoy following your build and the purple heart looks great. -
source for steel bar stock?
MikeR replied to Griphos's topic in Modeling tools and Workshop Equipment
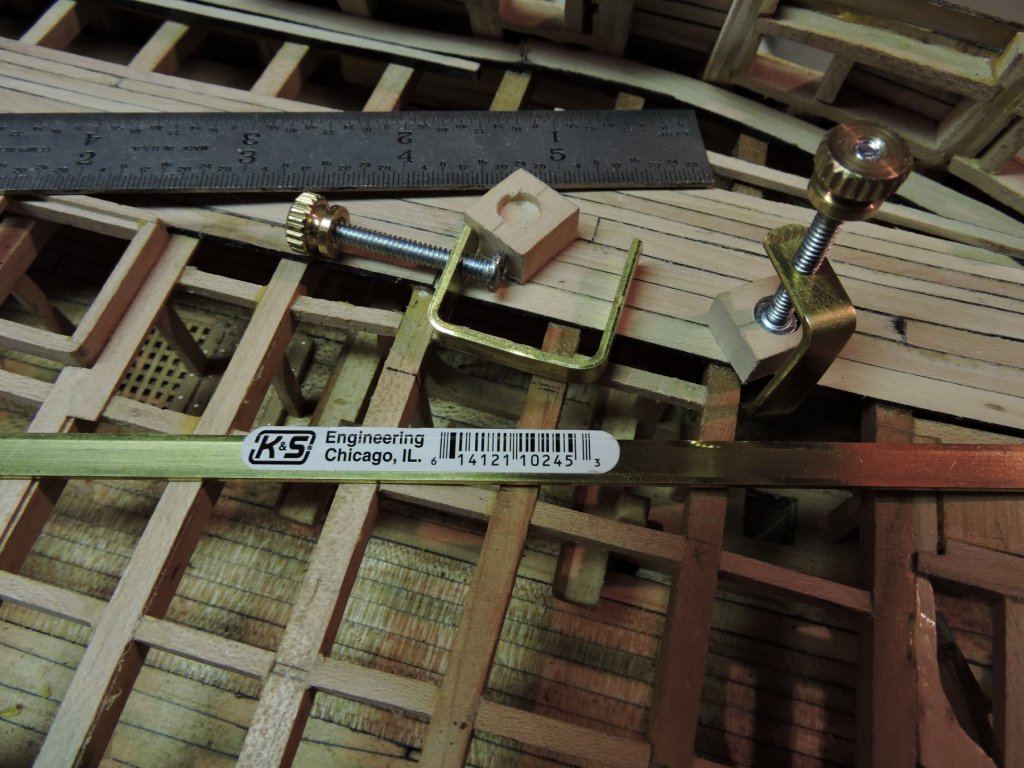
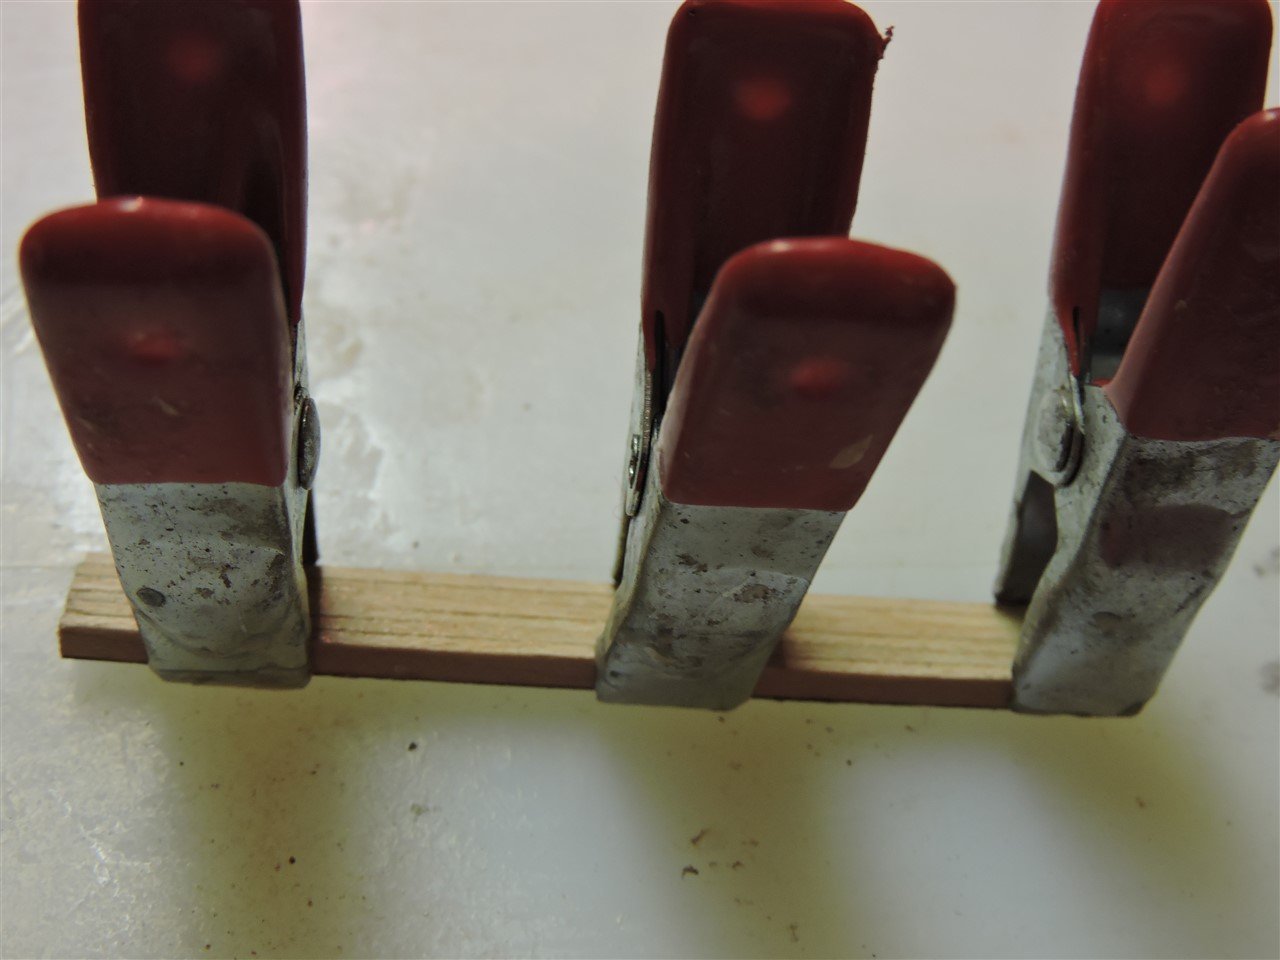
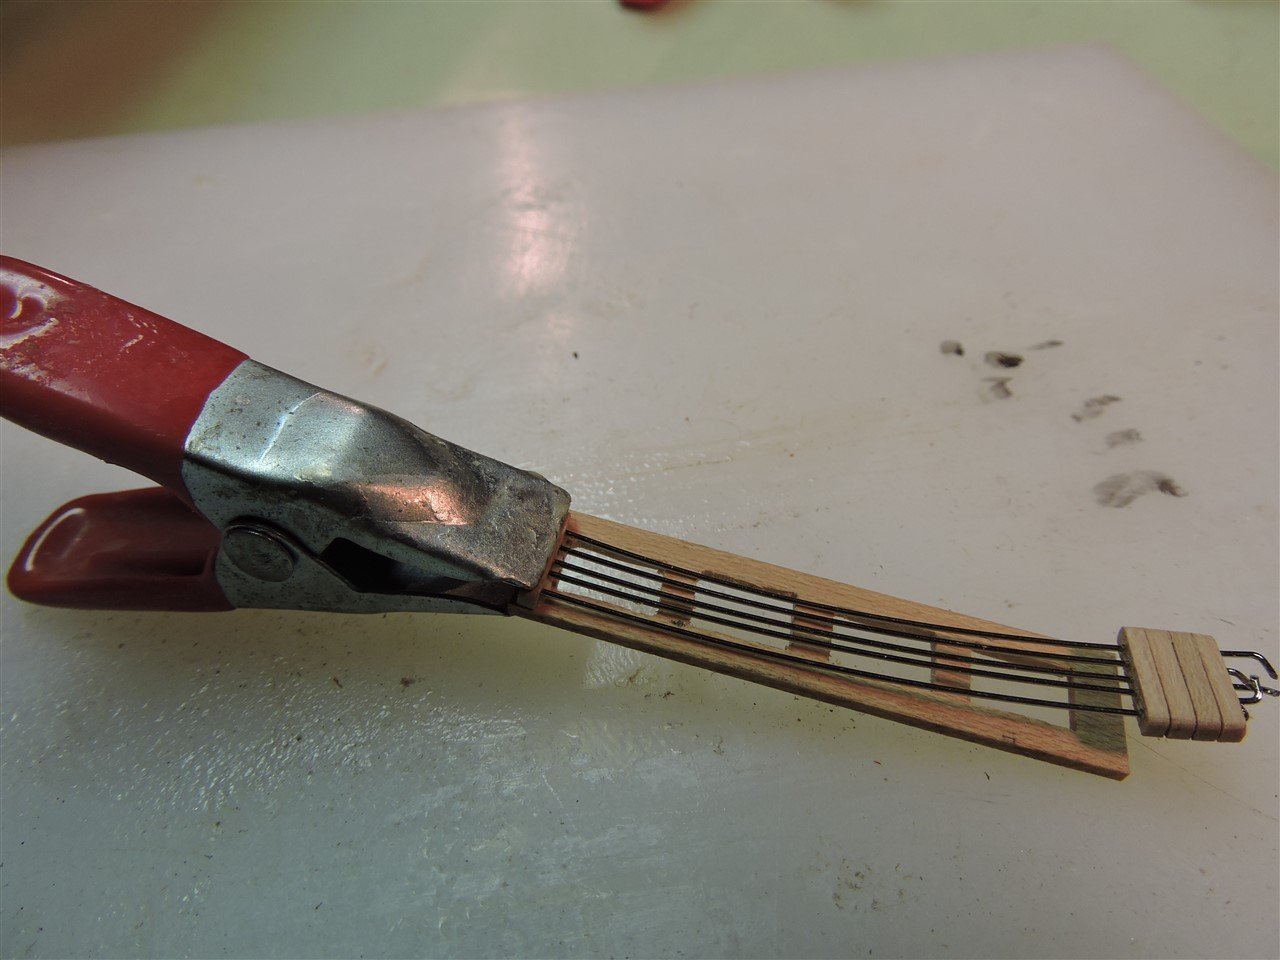
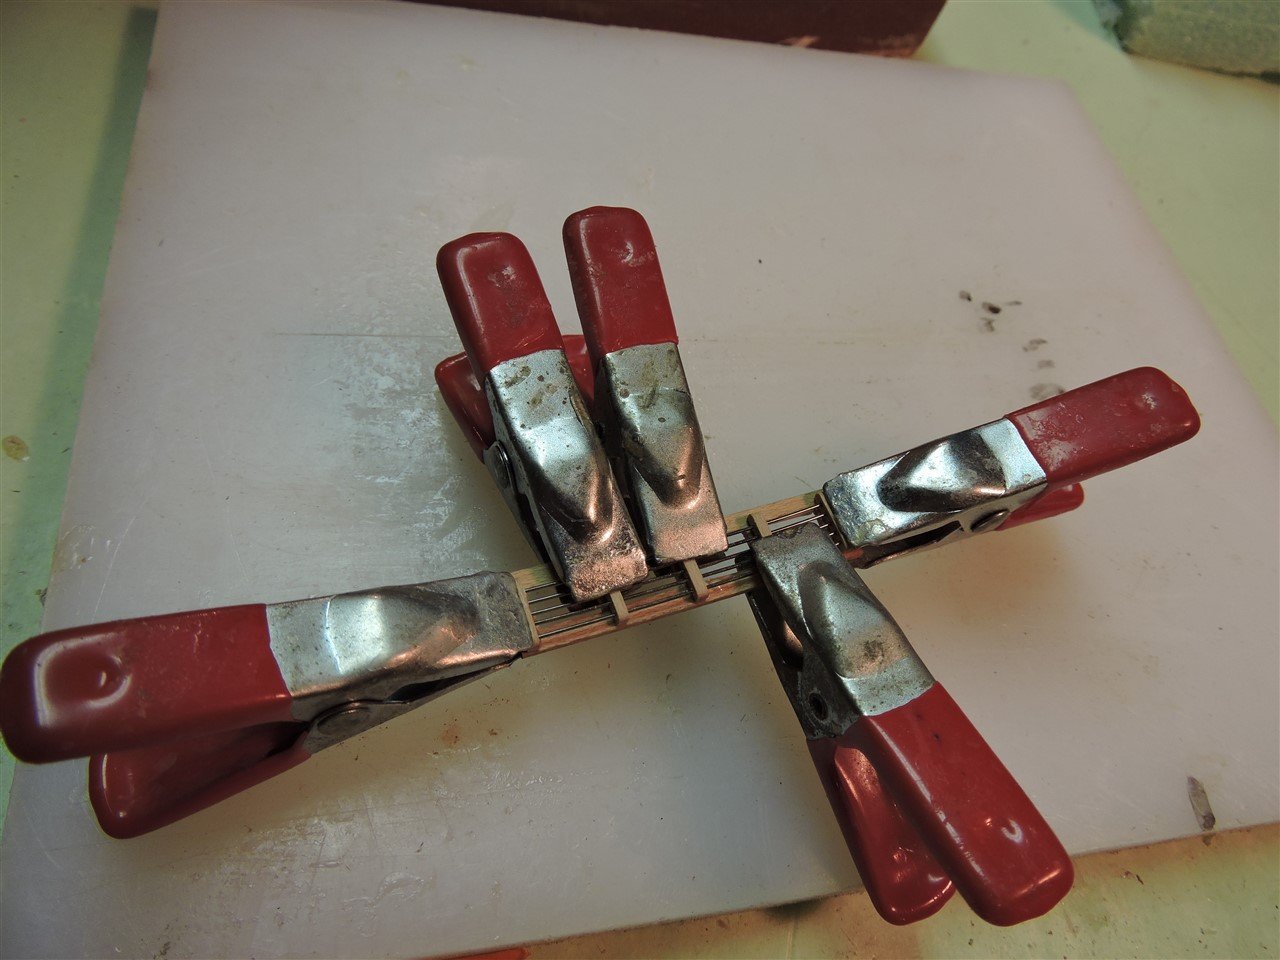
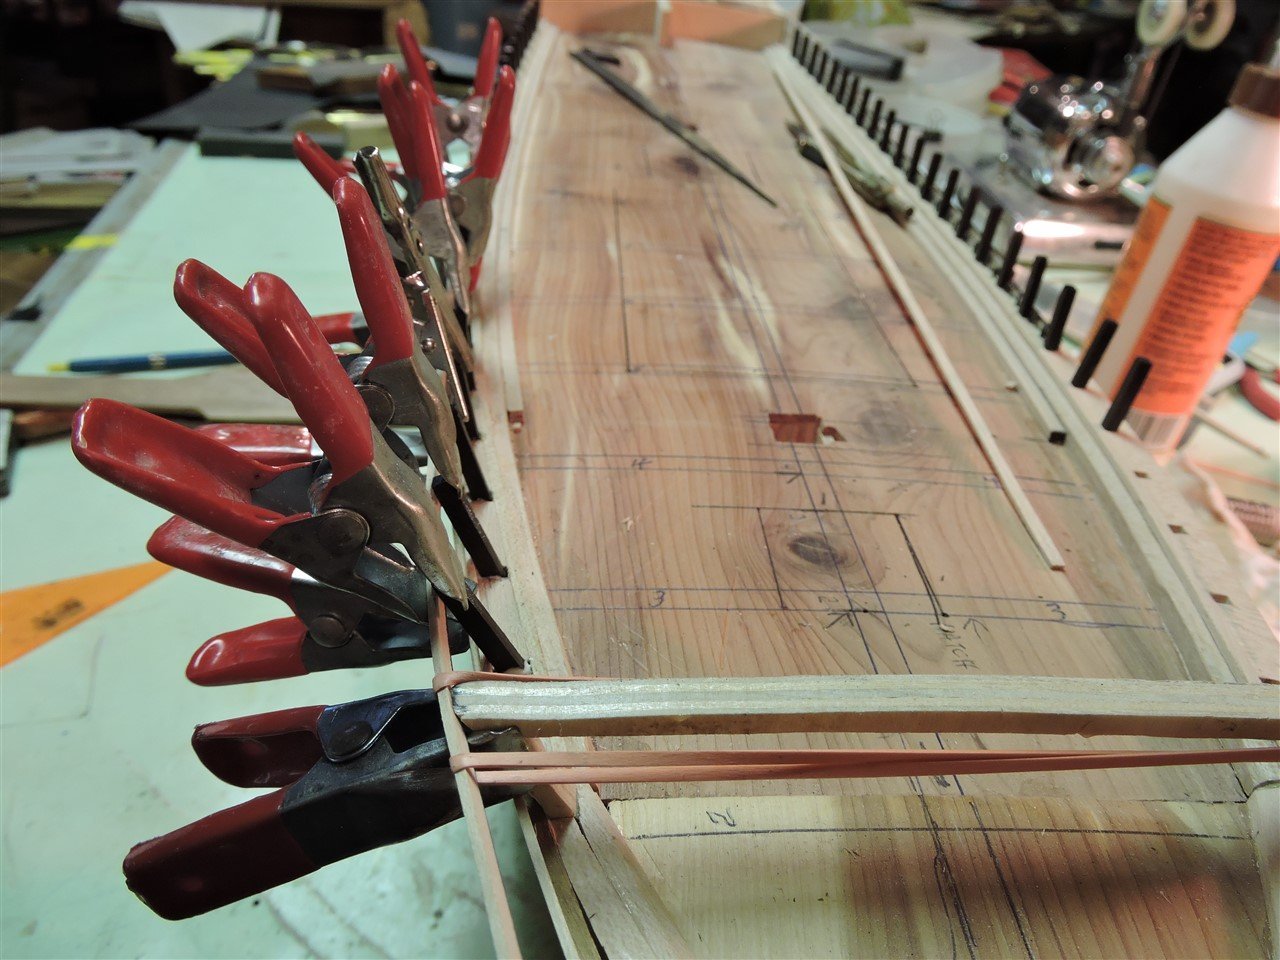
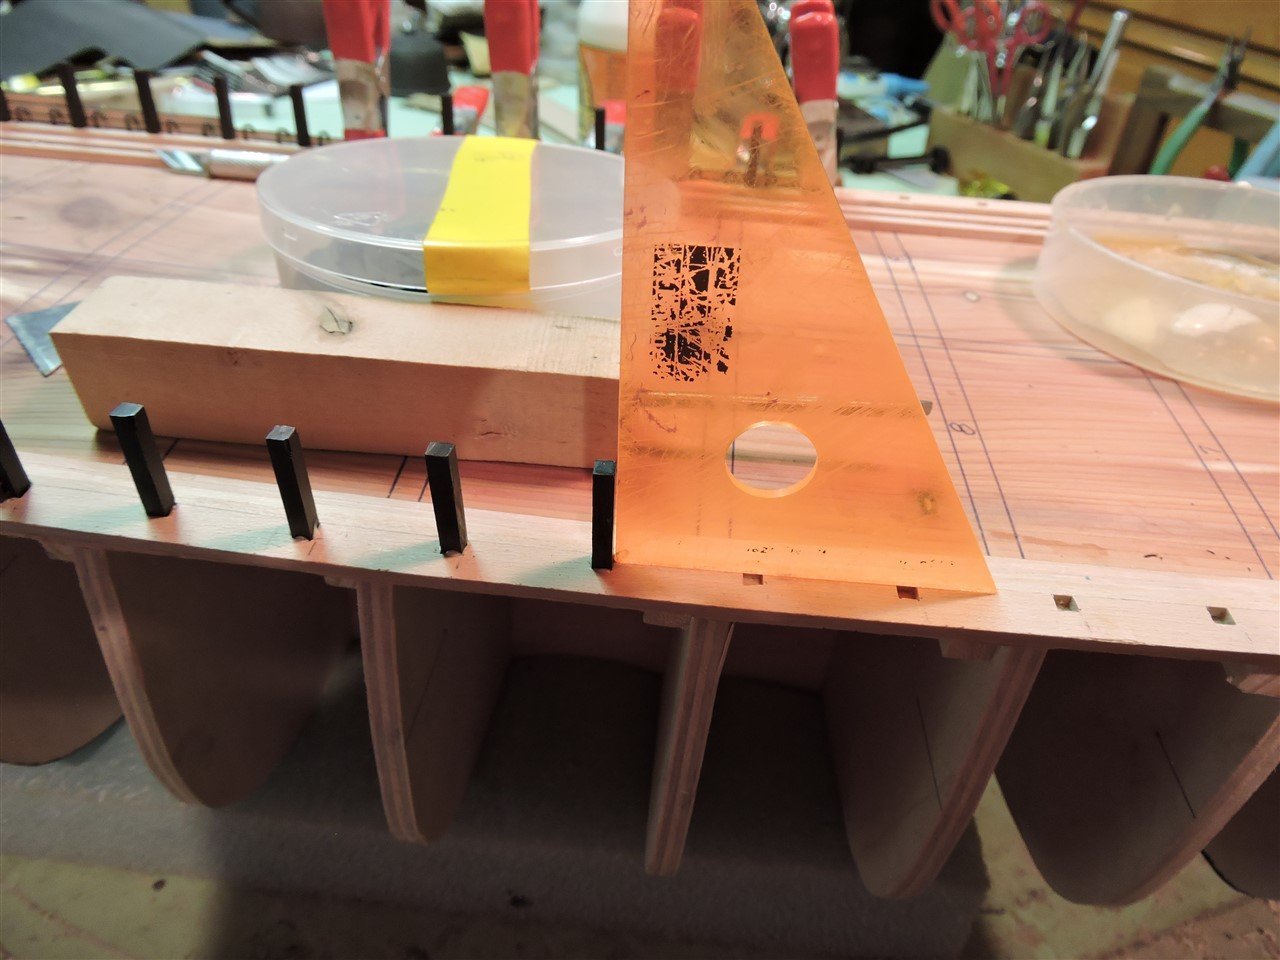
Griphos I have been using these clamps and I have had no problems with them flexing. I tighten them as much as I can turn the knurled nut by hand and they hold the deck planks to the beams with no flex. Mike -
source for steel bar stock?
MikeR replied to Griphos's topic in Modeling tools and Workshop Equipment
These are the clamps