HOLIDAY DONATION DRIVE - SUPPORT MSW - DO YOUR PART TO KEEP THIS GREAT FORUM GOING! (89 donations so far out of 49,000 members - C'mon guys!)
×


Jackson7
-
Posts
186 -
Joined
-
Last visited
Content Type
Profiles
Forums
Gallery
Events
Everything posted by Jackson7
-
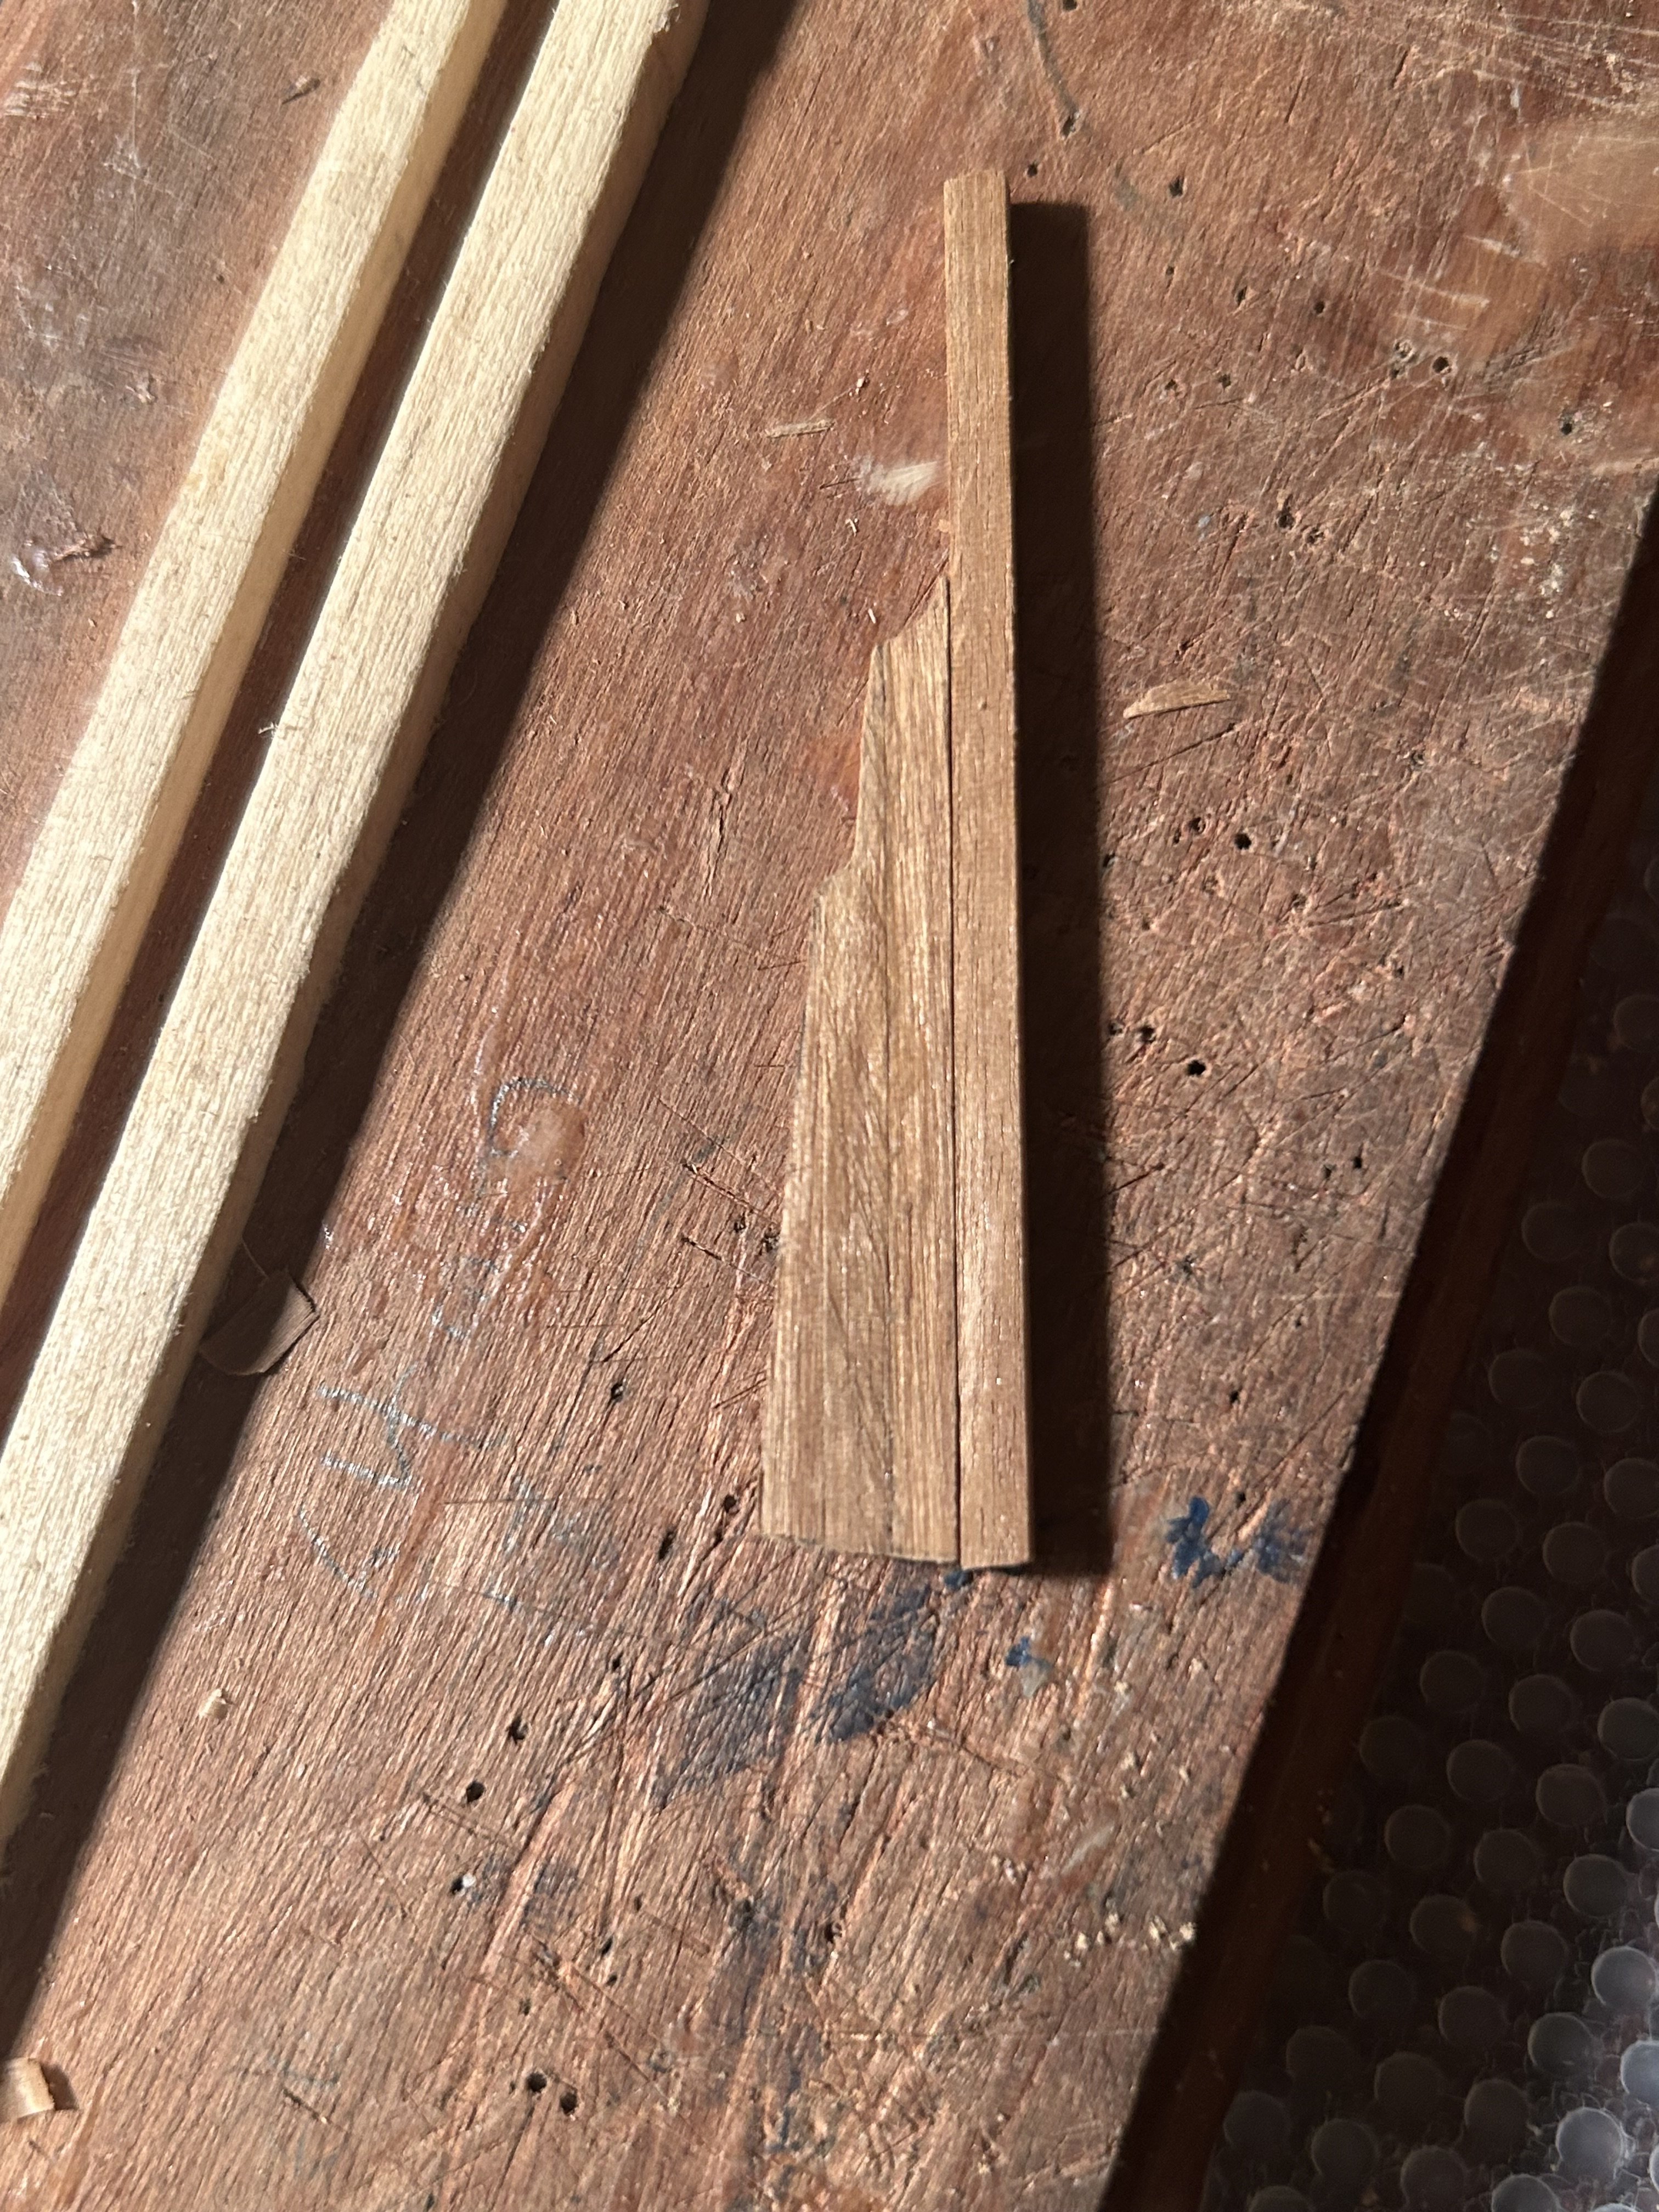
Still waiting on the remaining pieces. Today, I finished everything about the rudder that I can do without hinges. It was a pretty simple matter to clamp and glue it all together, and use a mix of knife work, sanding, and a circular file to round it into the right shape. It all went well. It's nice to have an easy step that feels very satisfying to complete, once in a while.
-
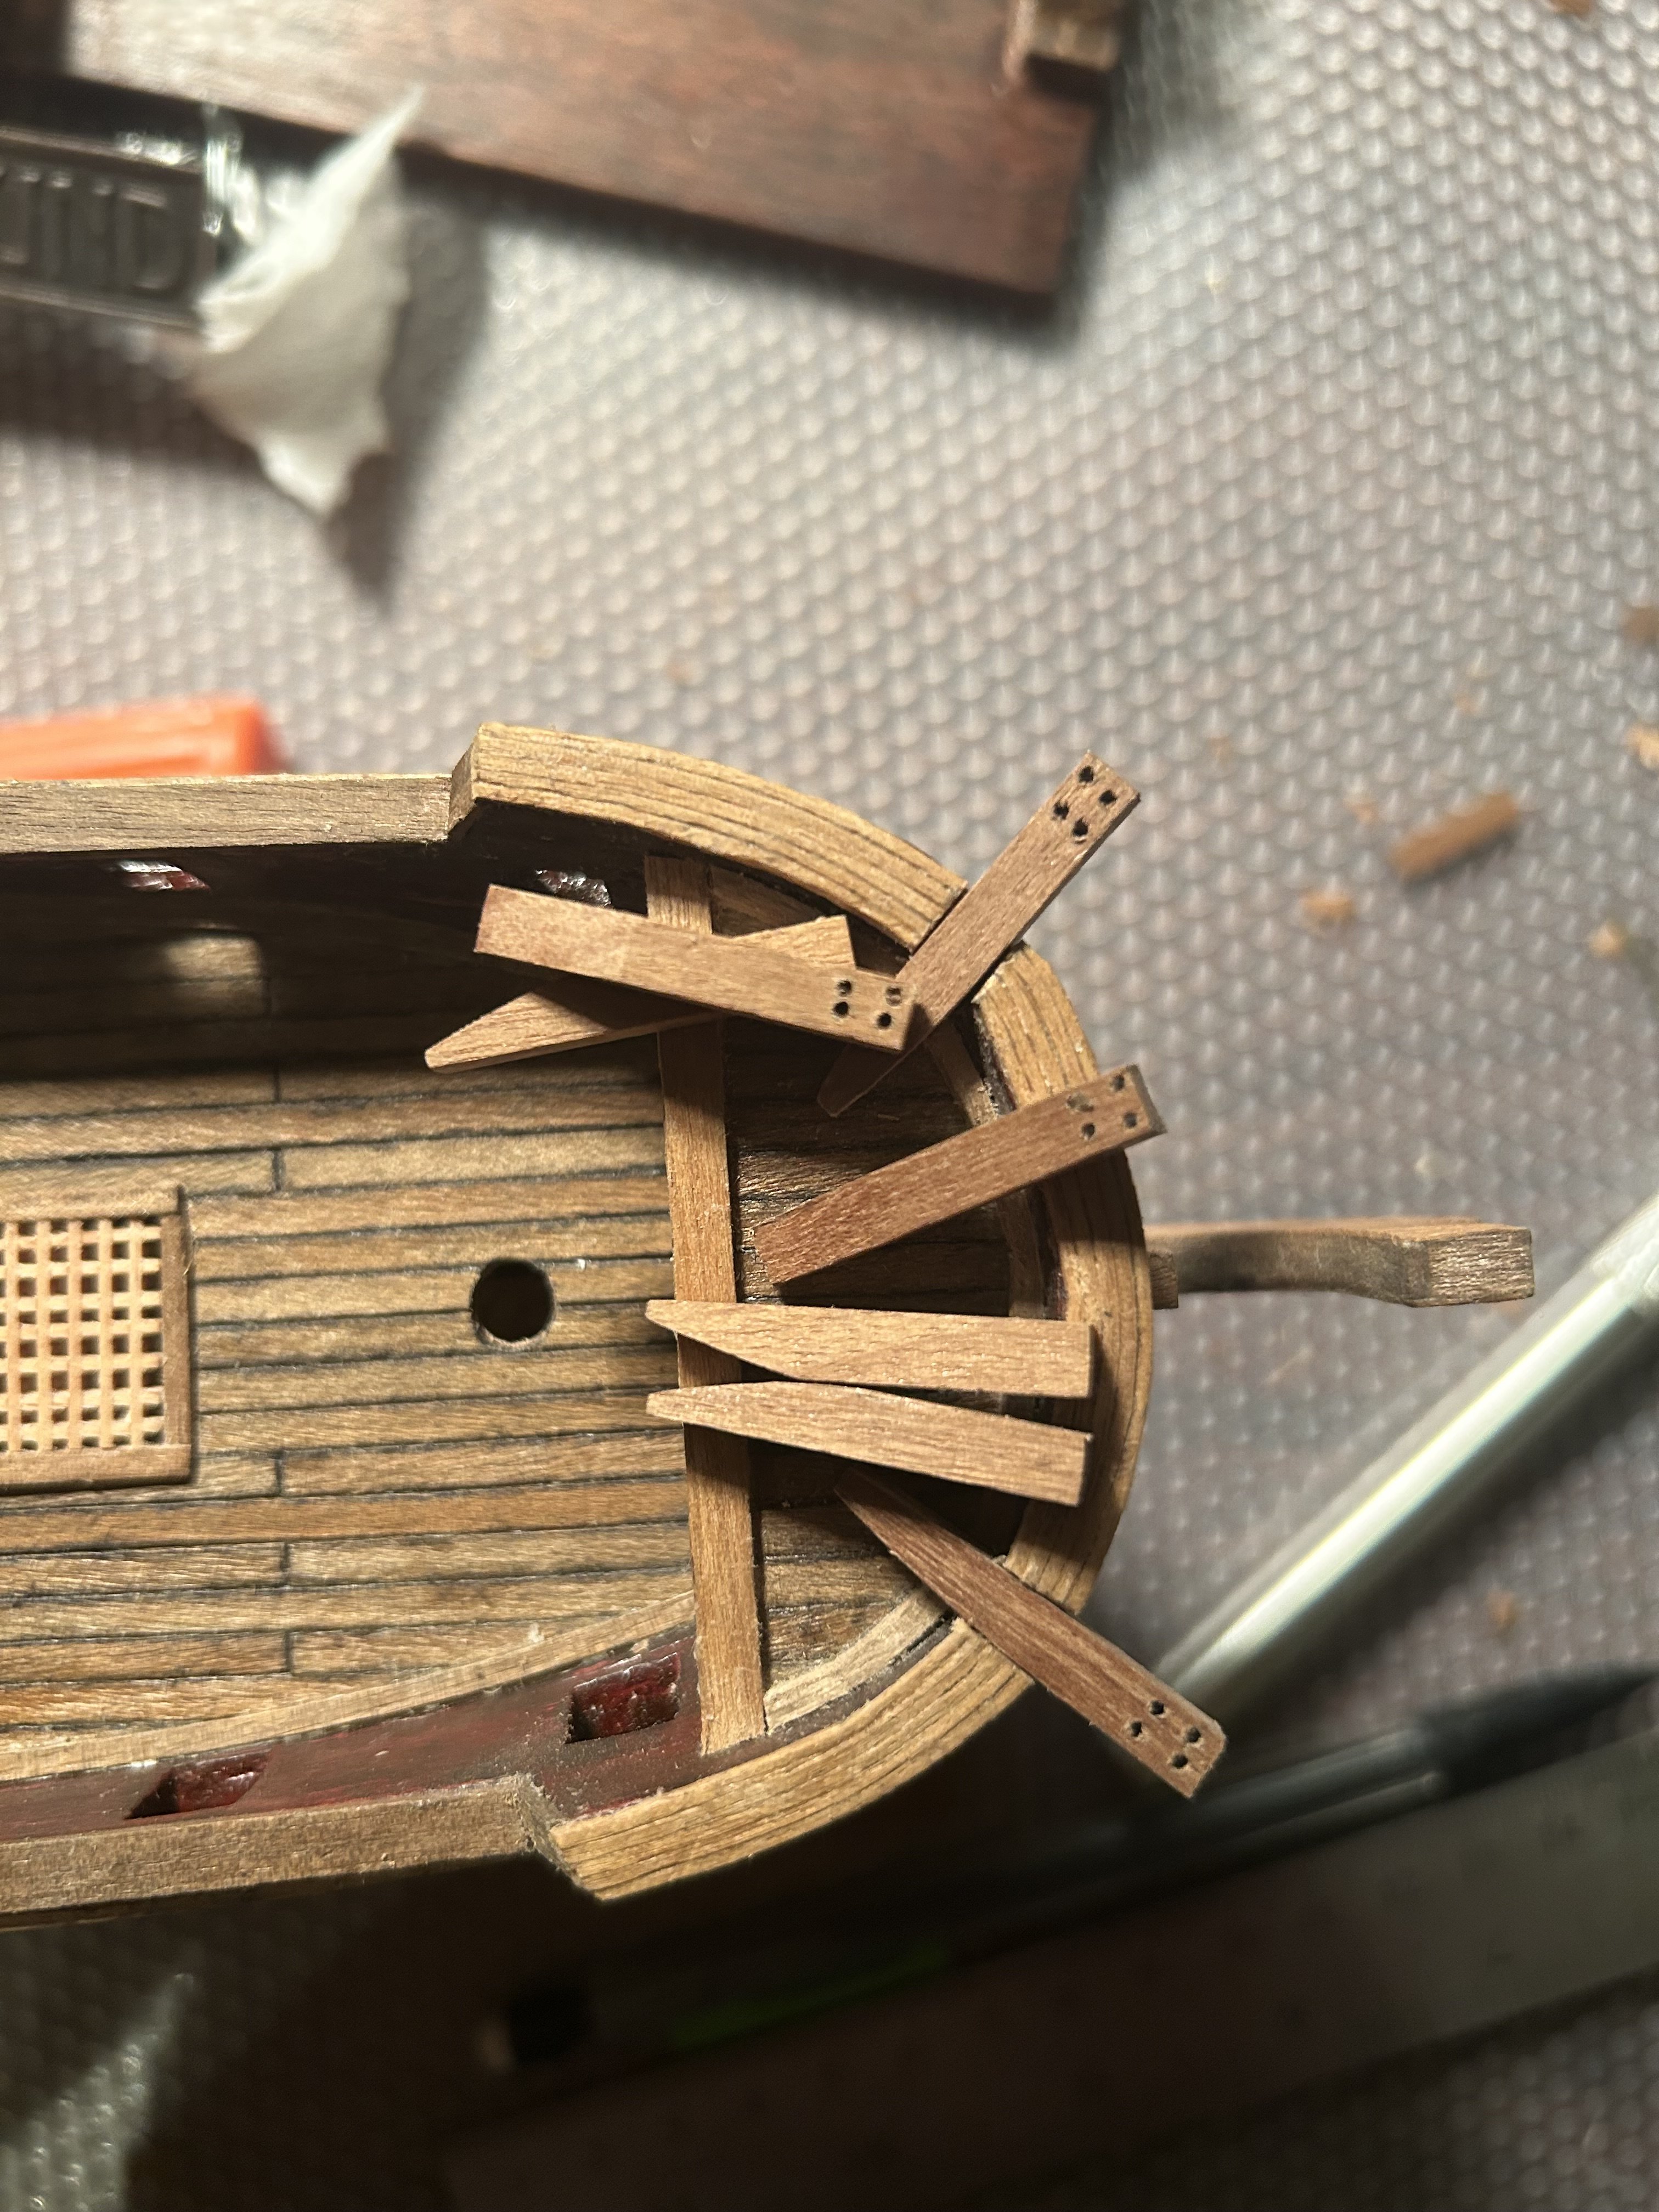
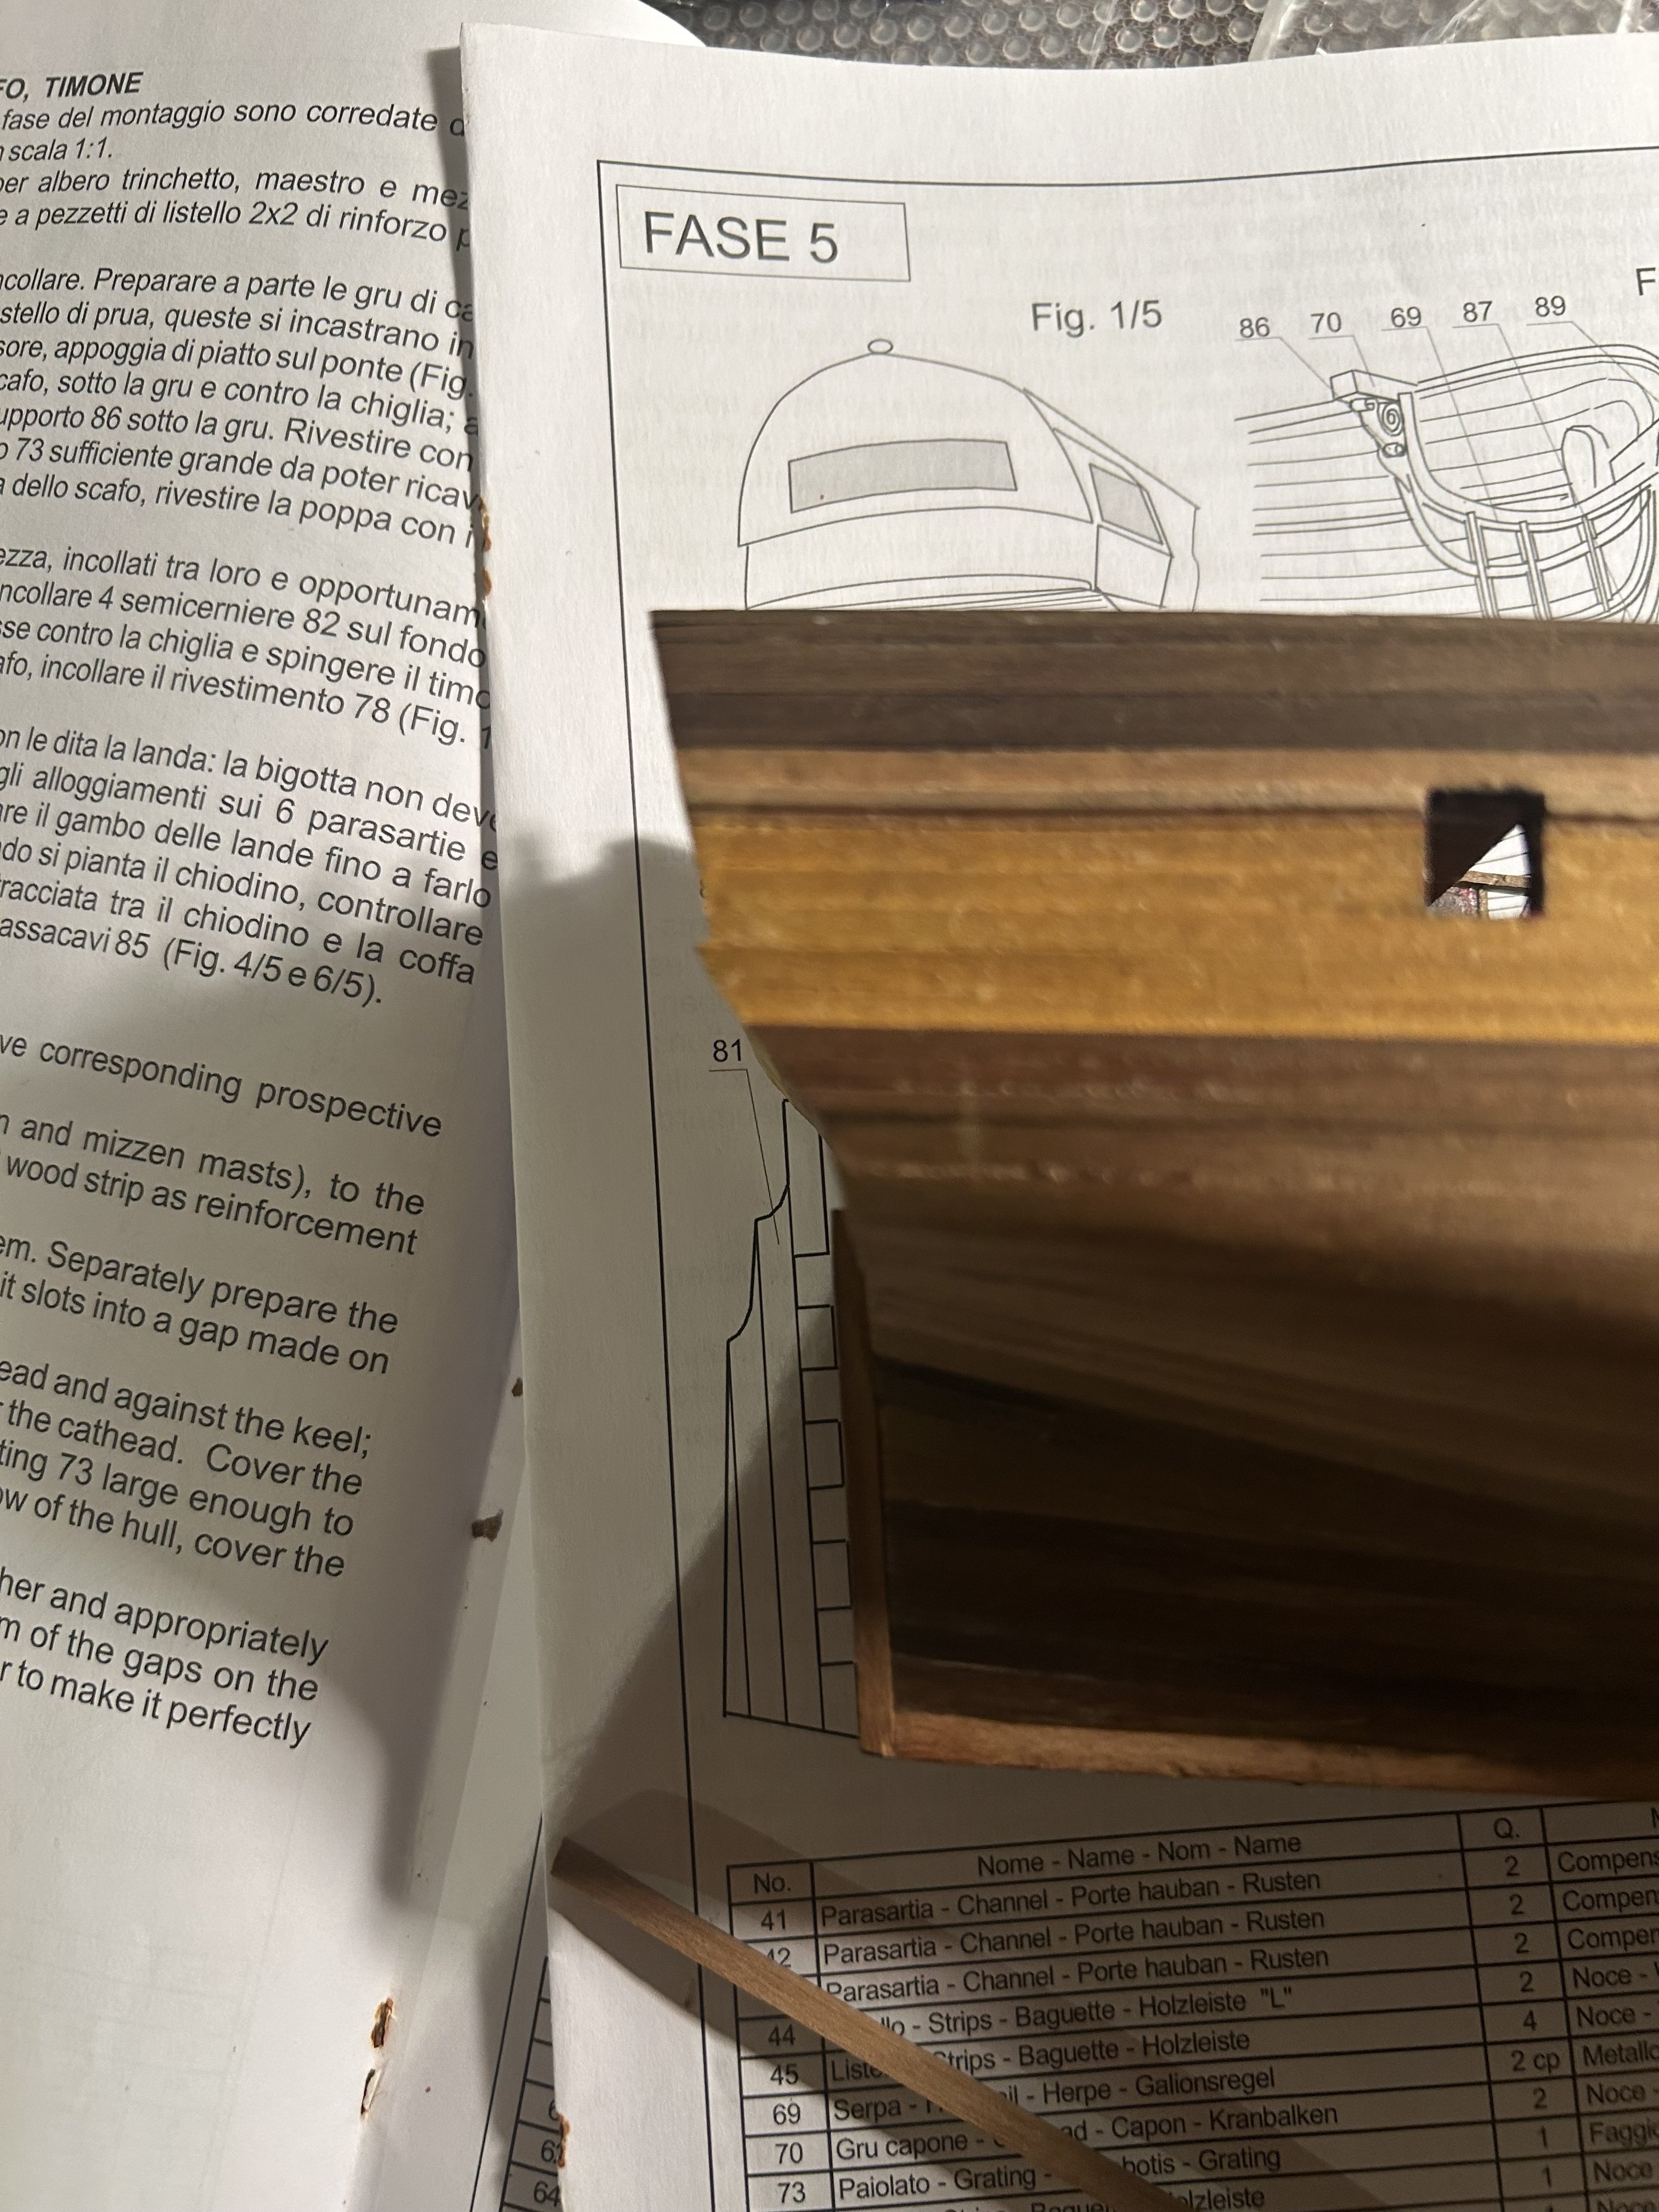
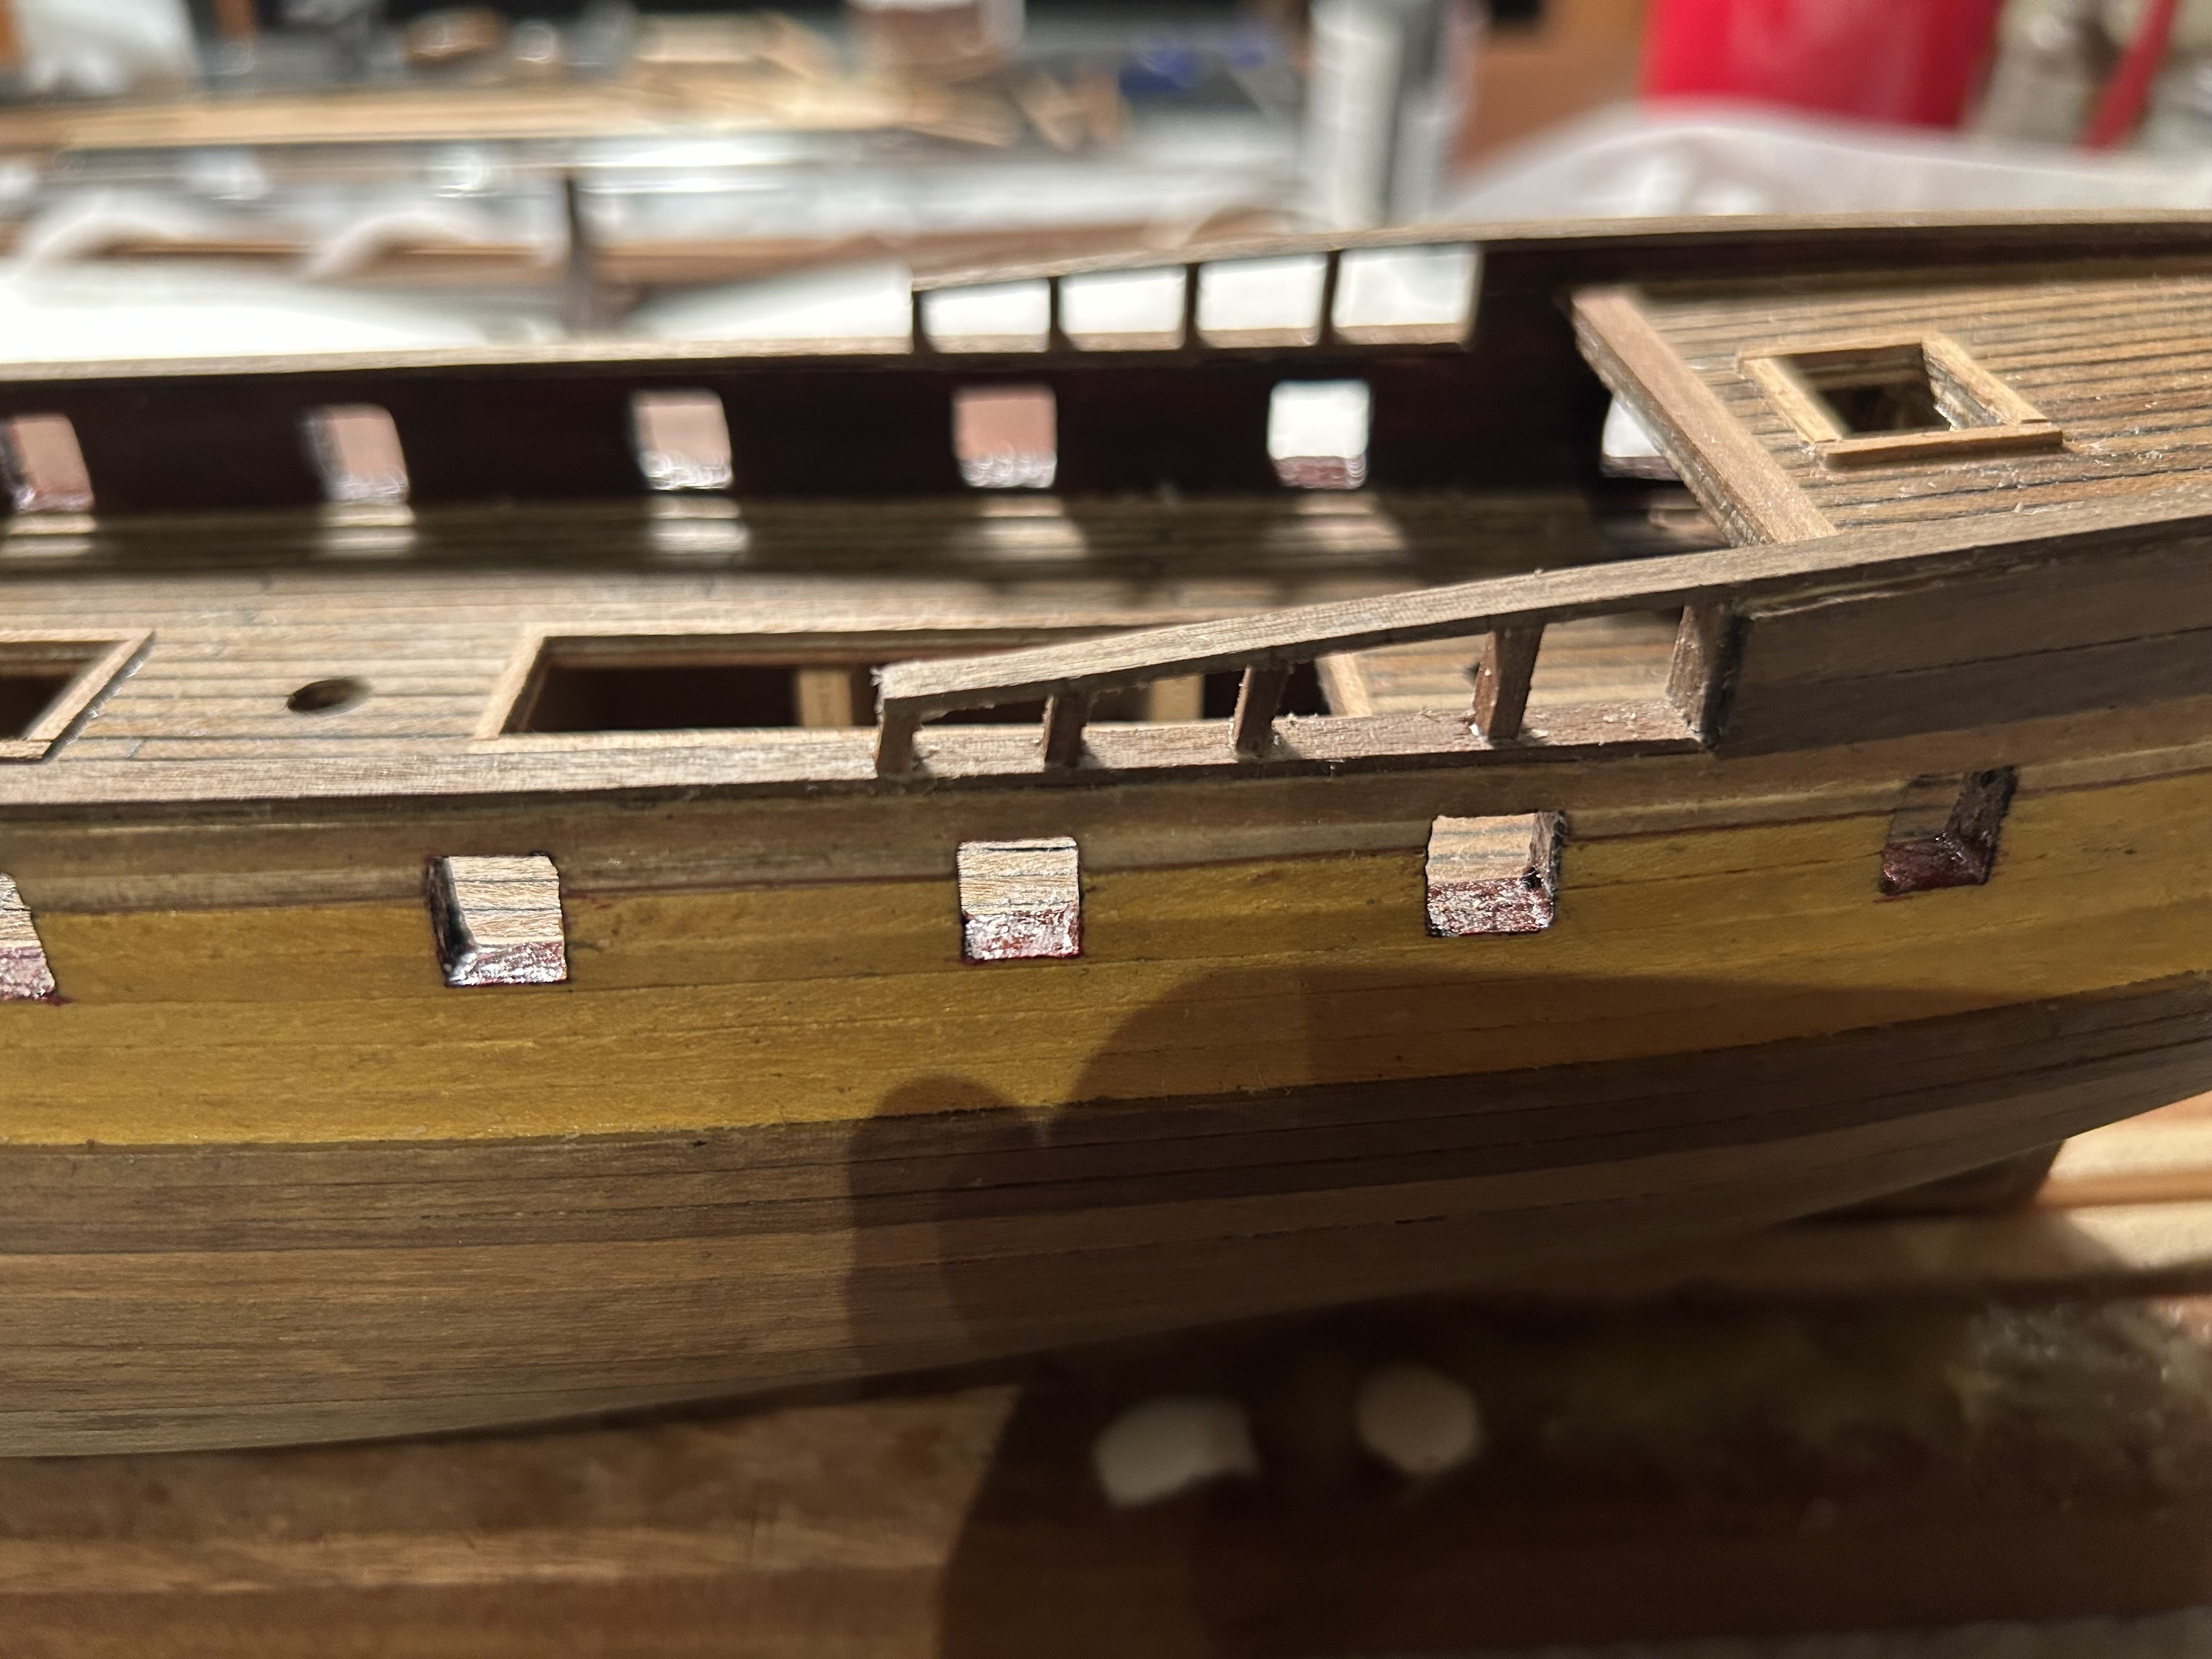
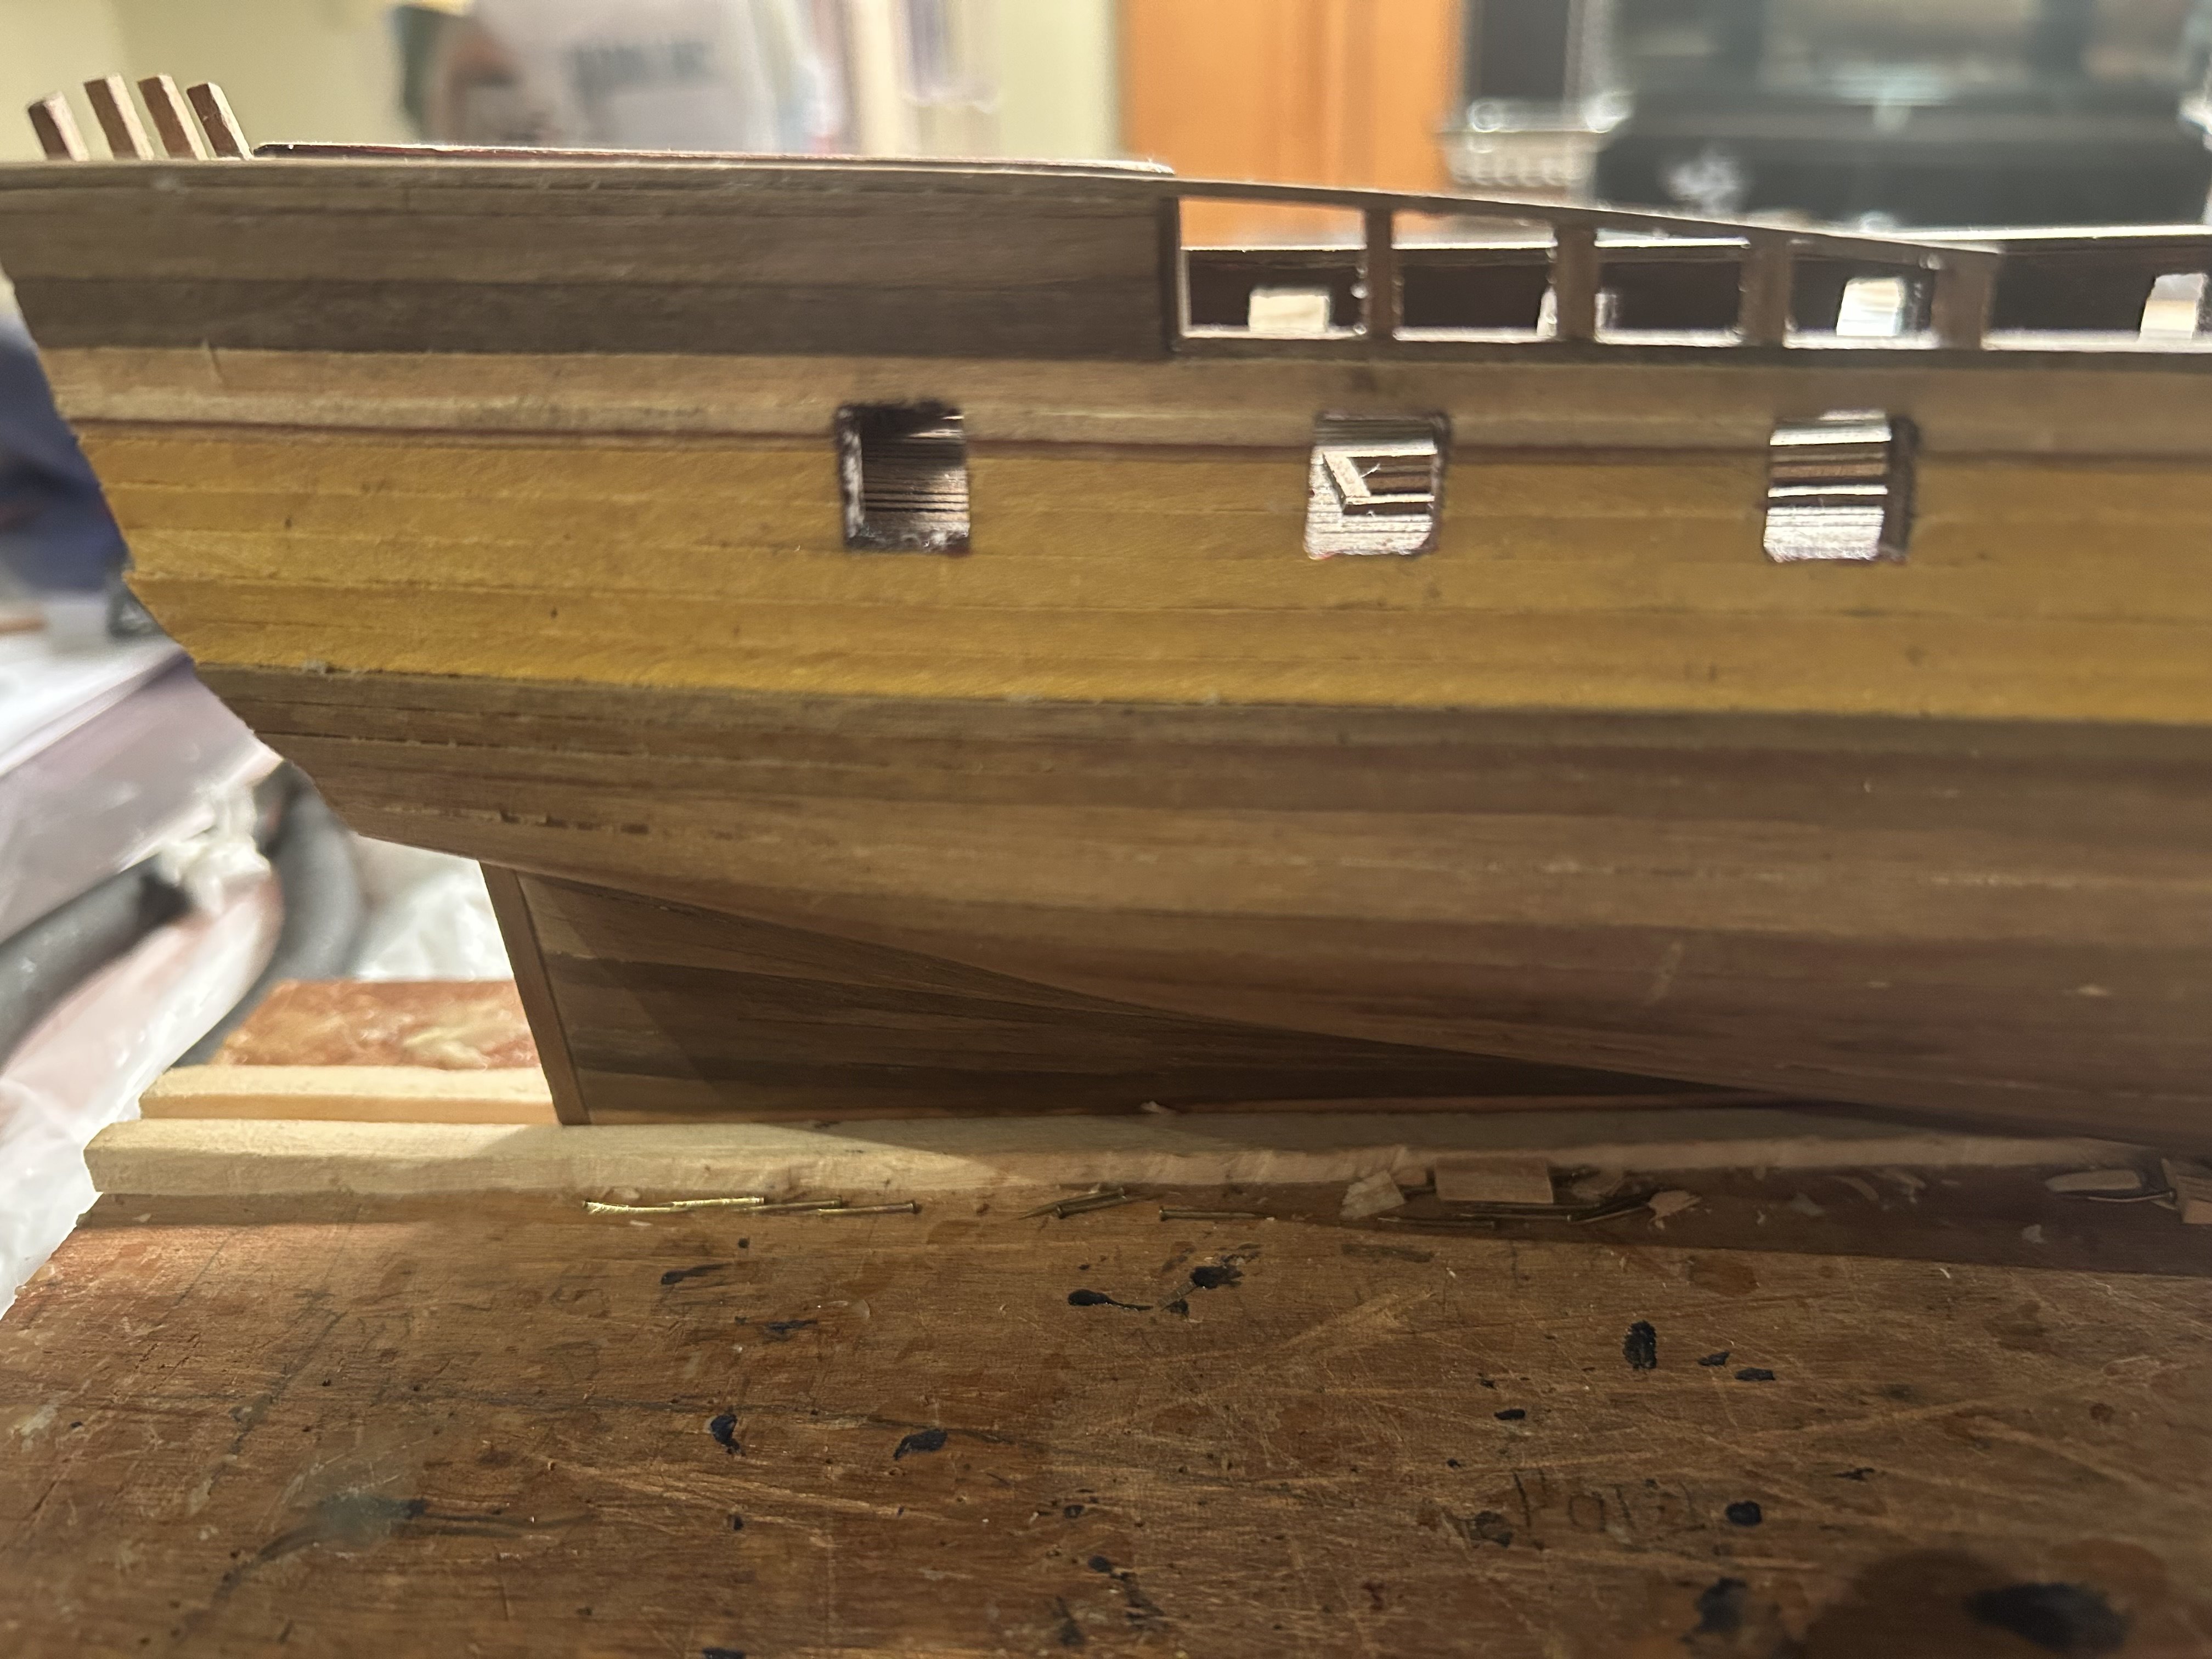
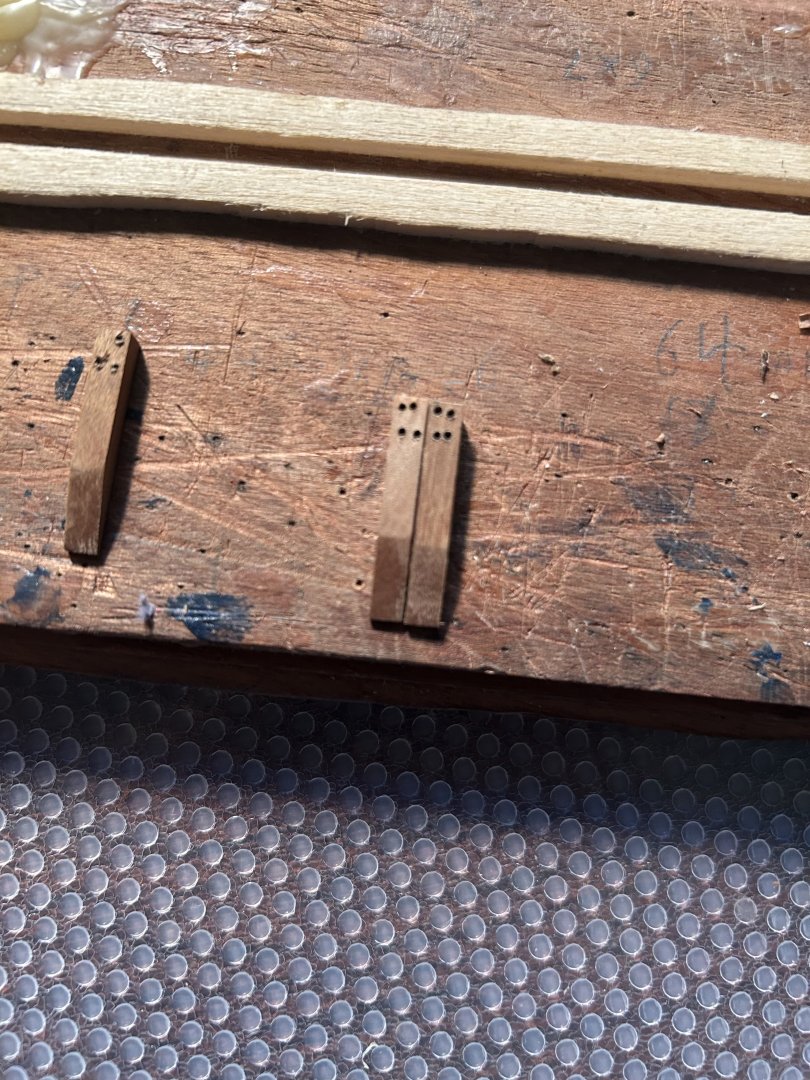
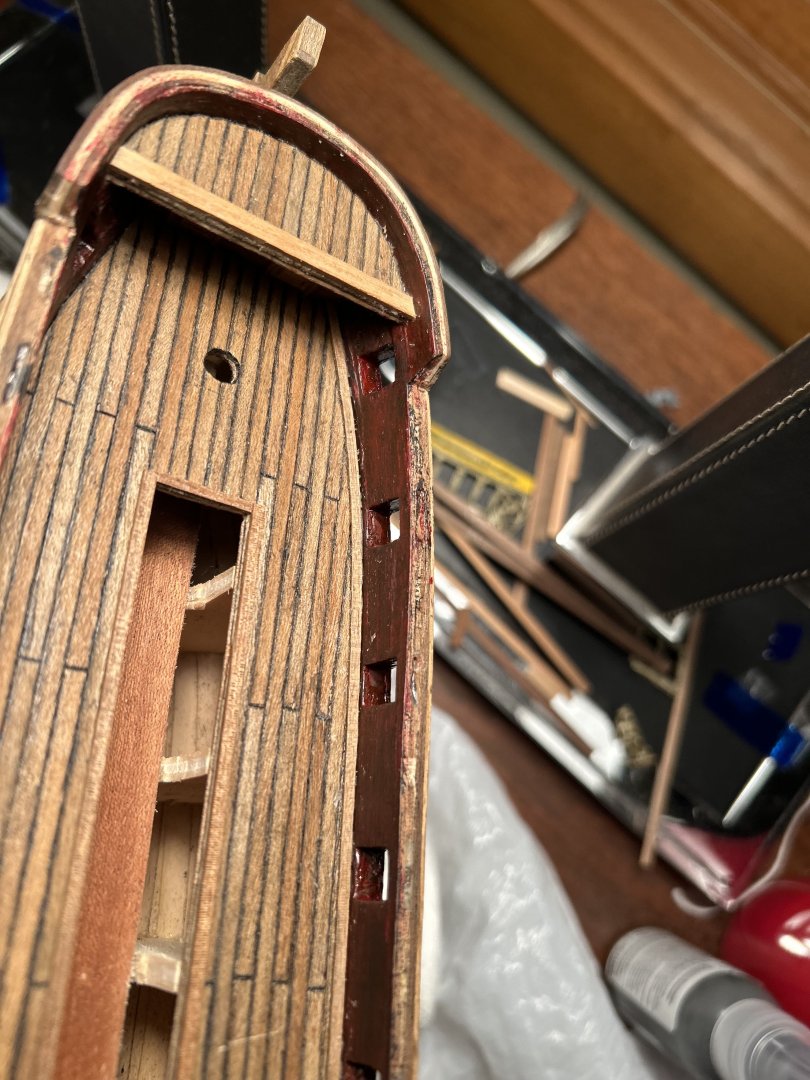
I discovered last night while installing the catheads that I had angled mine way too much, even if they did look roughly like the ones in the instructions. Believing the instructions on this was simply a mistake. After cutting out the slots in the bow for them, I had to make new catheads. Unlike the old ones, the new ones were vere slightly sanded to an angle. Cutting out the slots was relatively easy. After measuring and cutting with an X-Acto knife, I used a file to sand the final bit to shape. I was worried about the potential to cut the slots too wide, but I was careful, and it worked. It's fortunate I had extra wood to make a full seven catheads. Here's the finished product.

-
To the surprise of perhaps no one, a day of reflection led me to re-drill the holes on the catheads. The new ones are to the left. And to my surprise, it worked! Now for the next step.
-
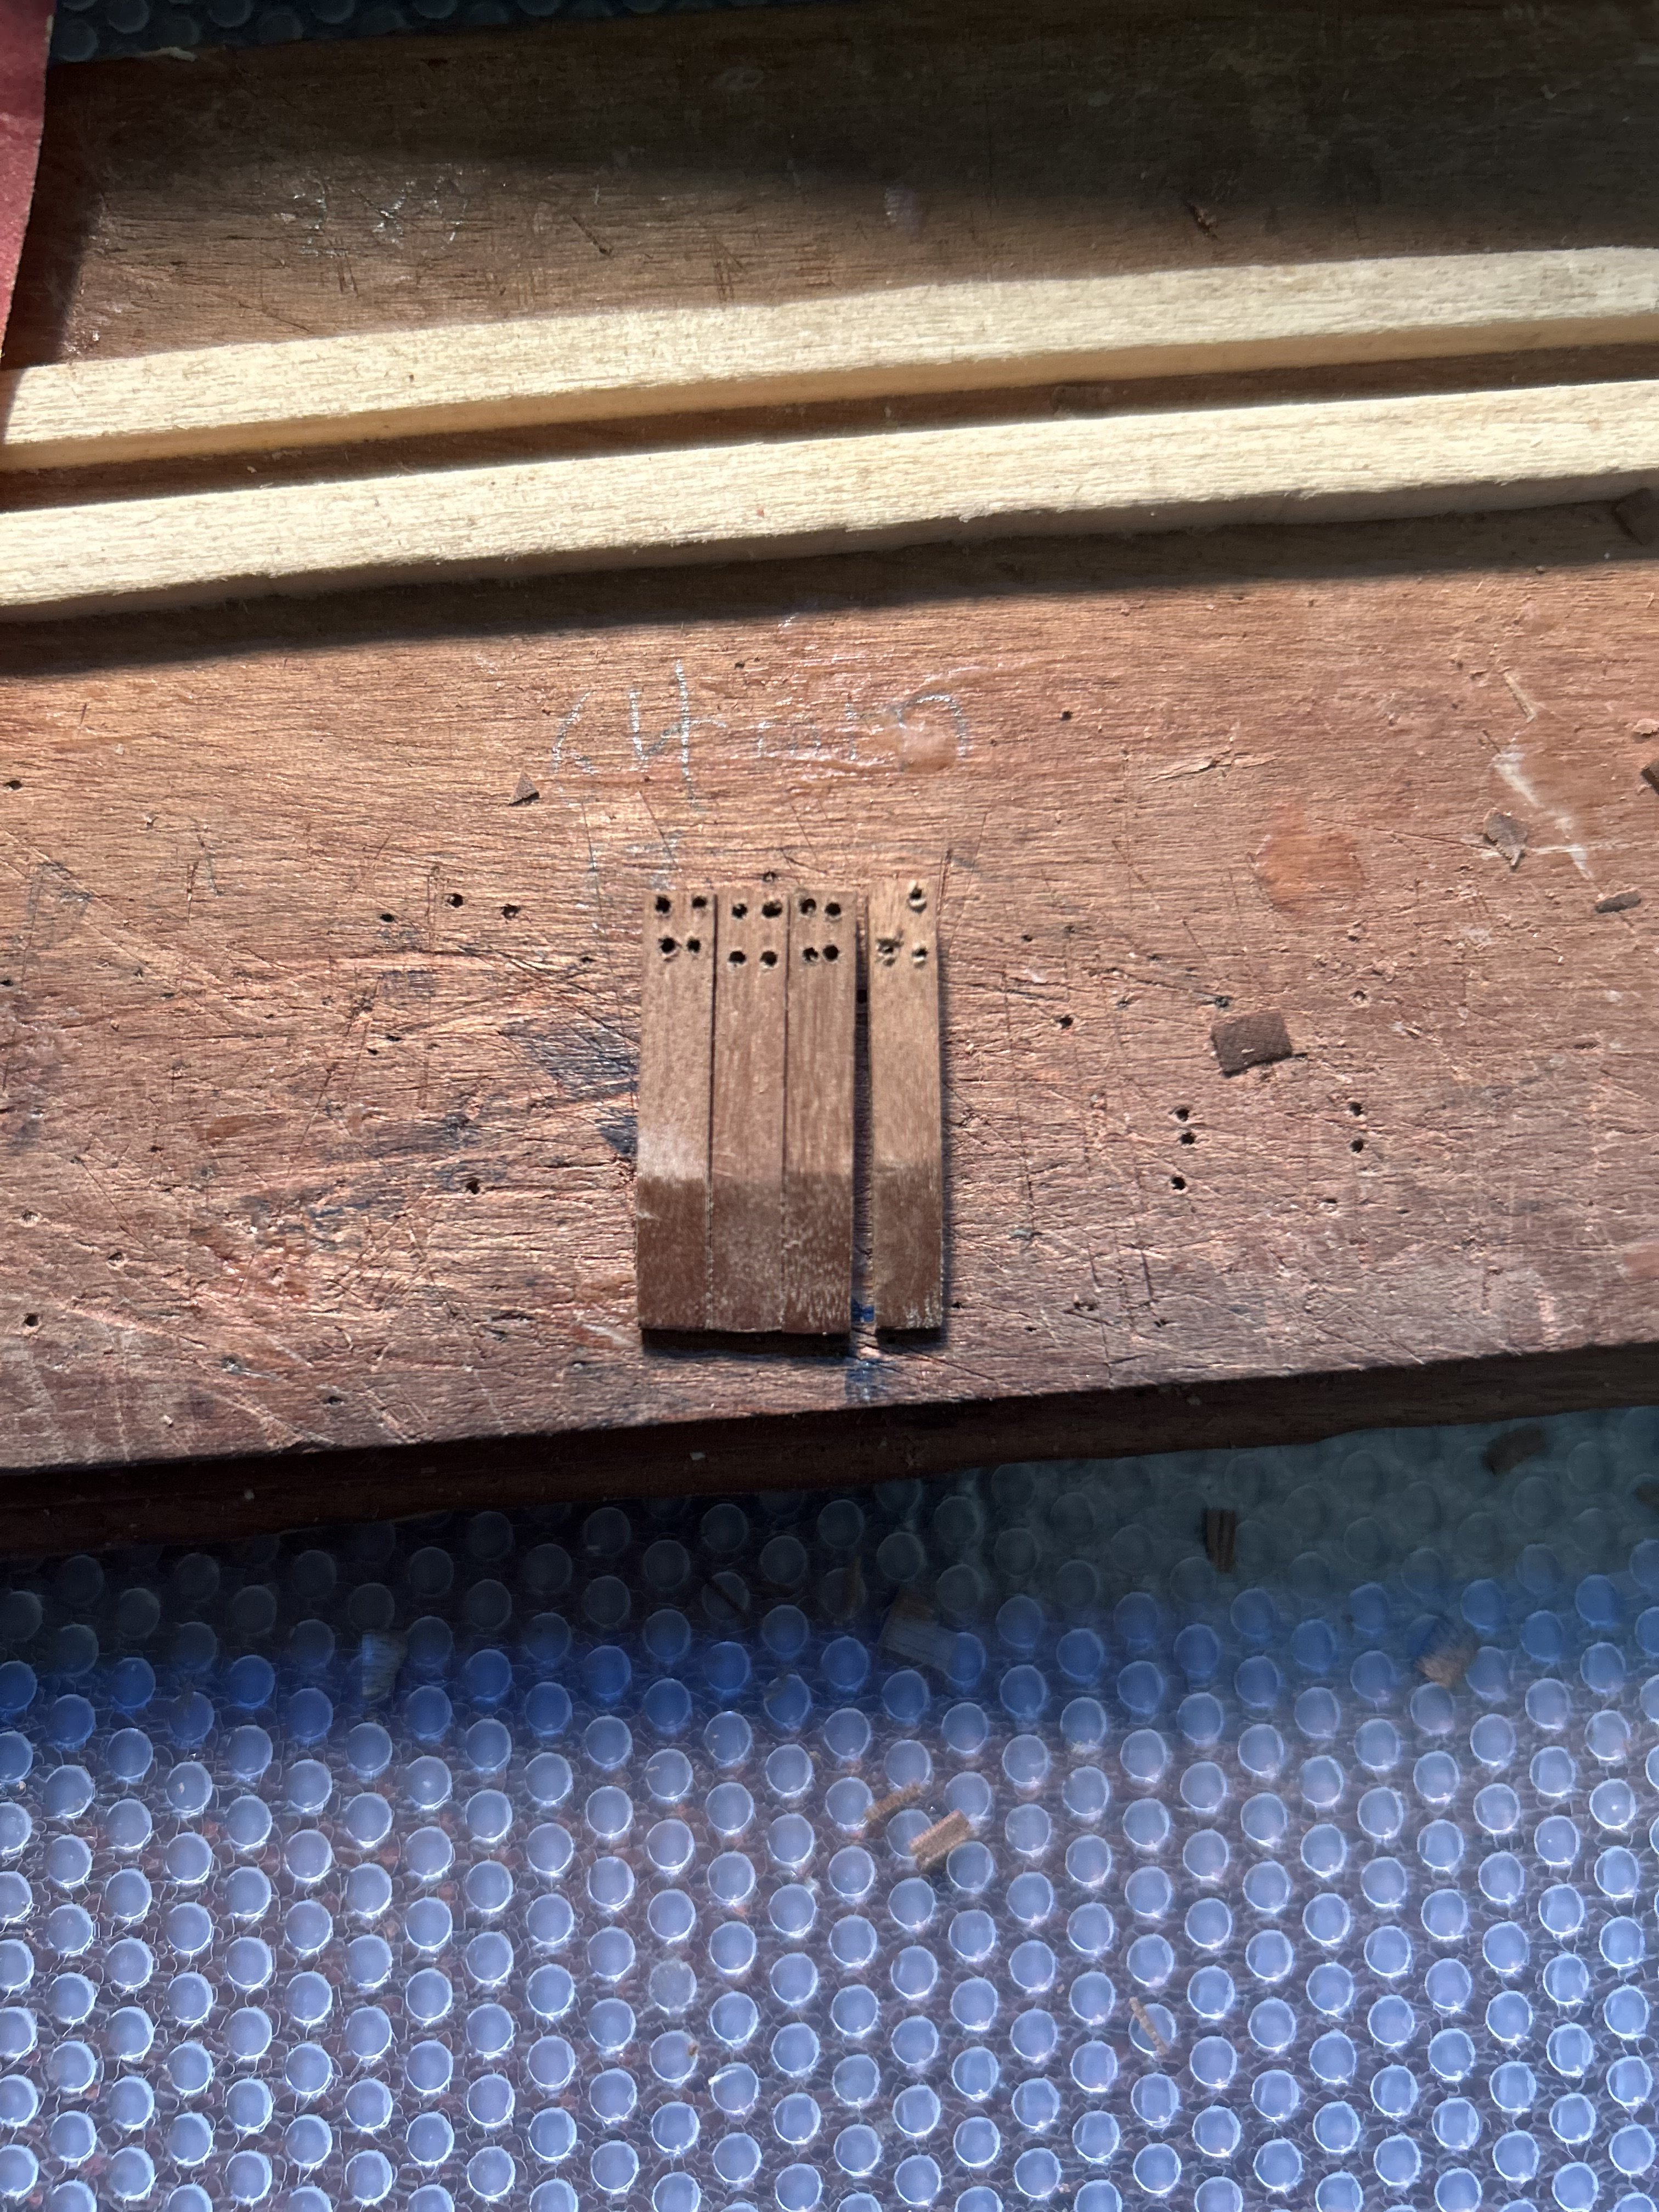
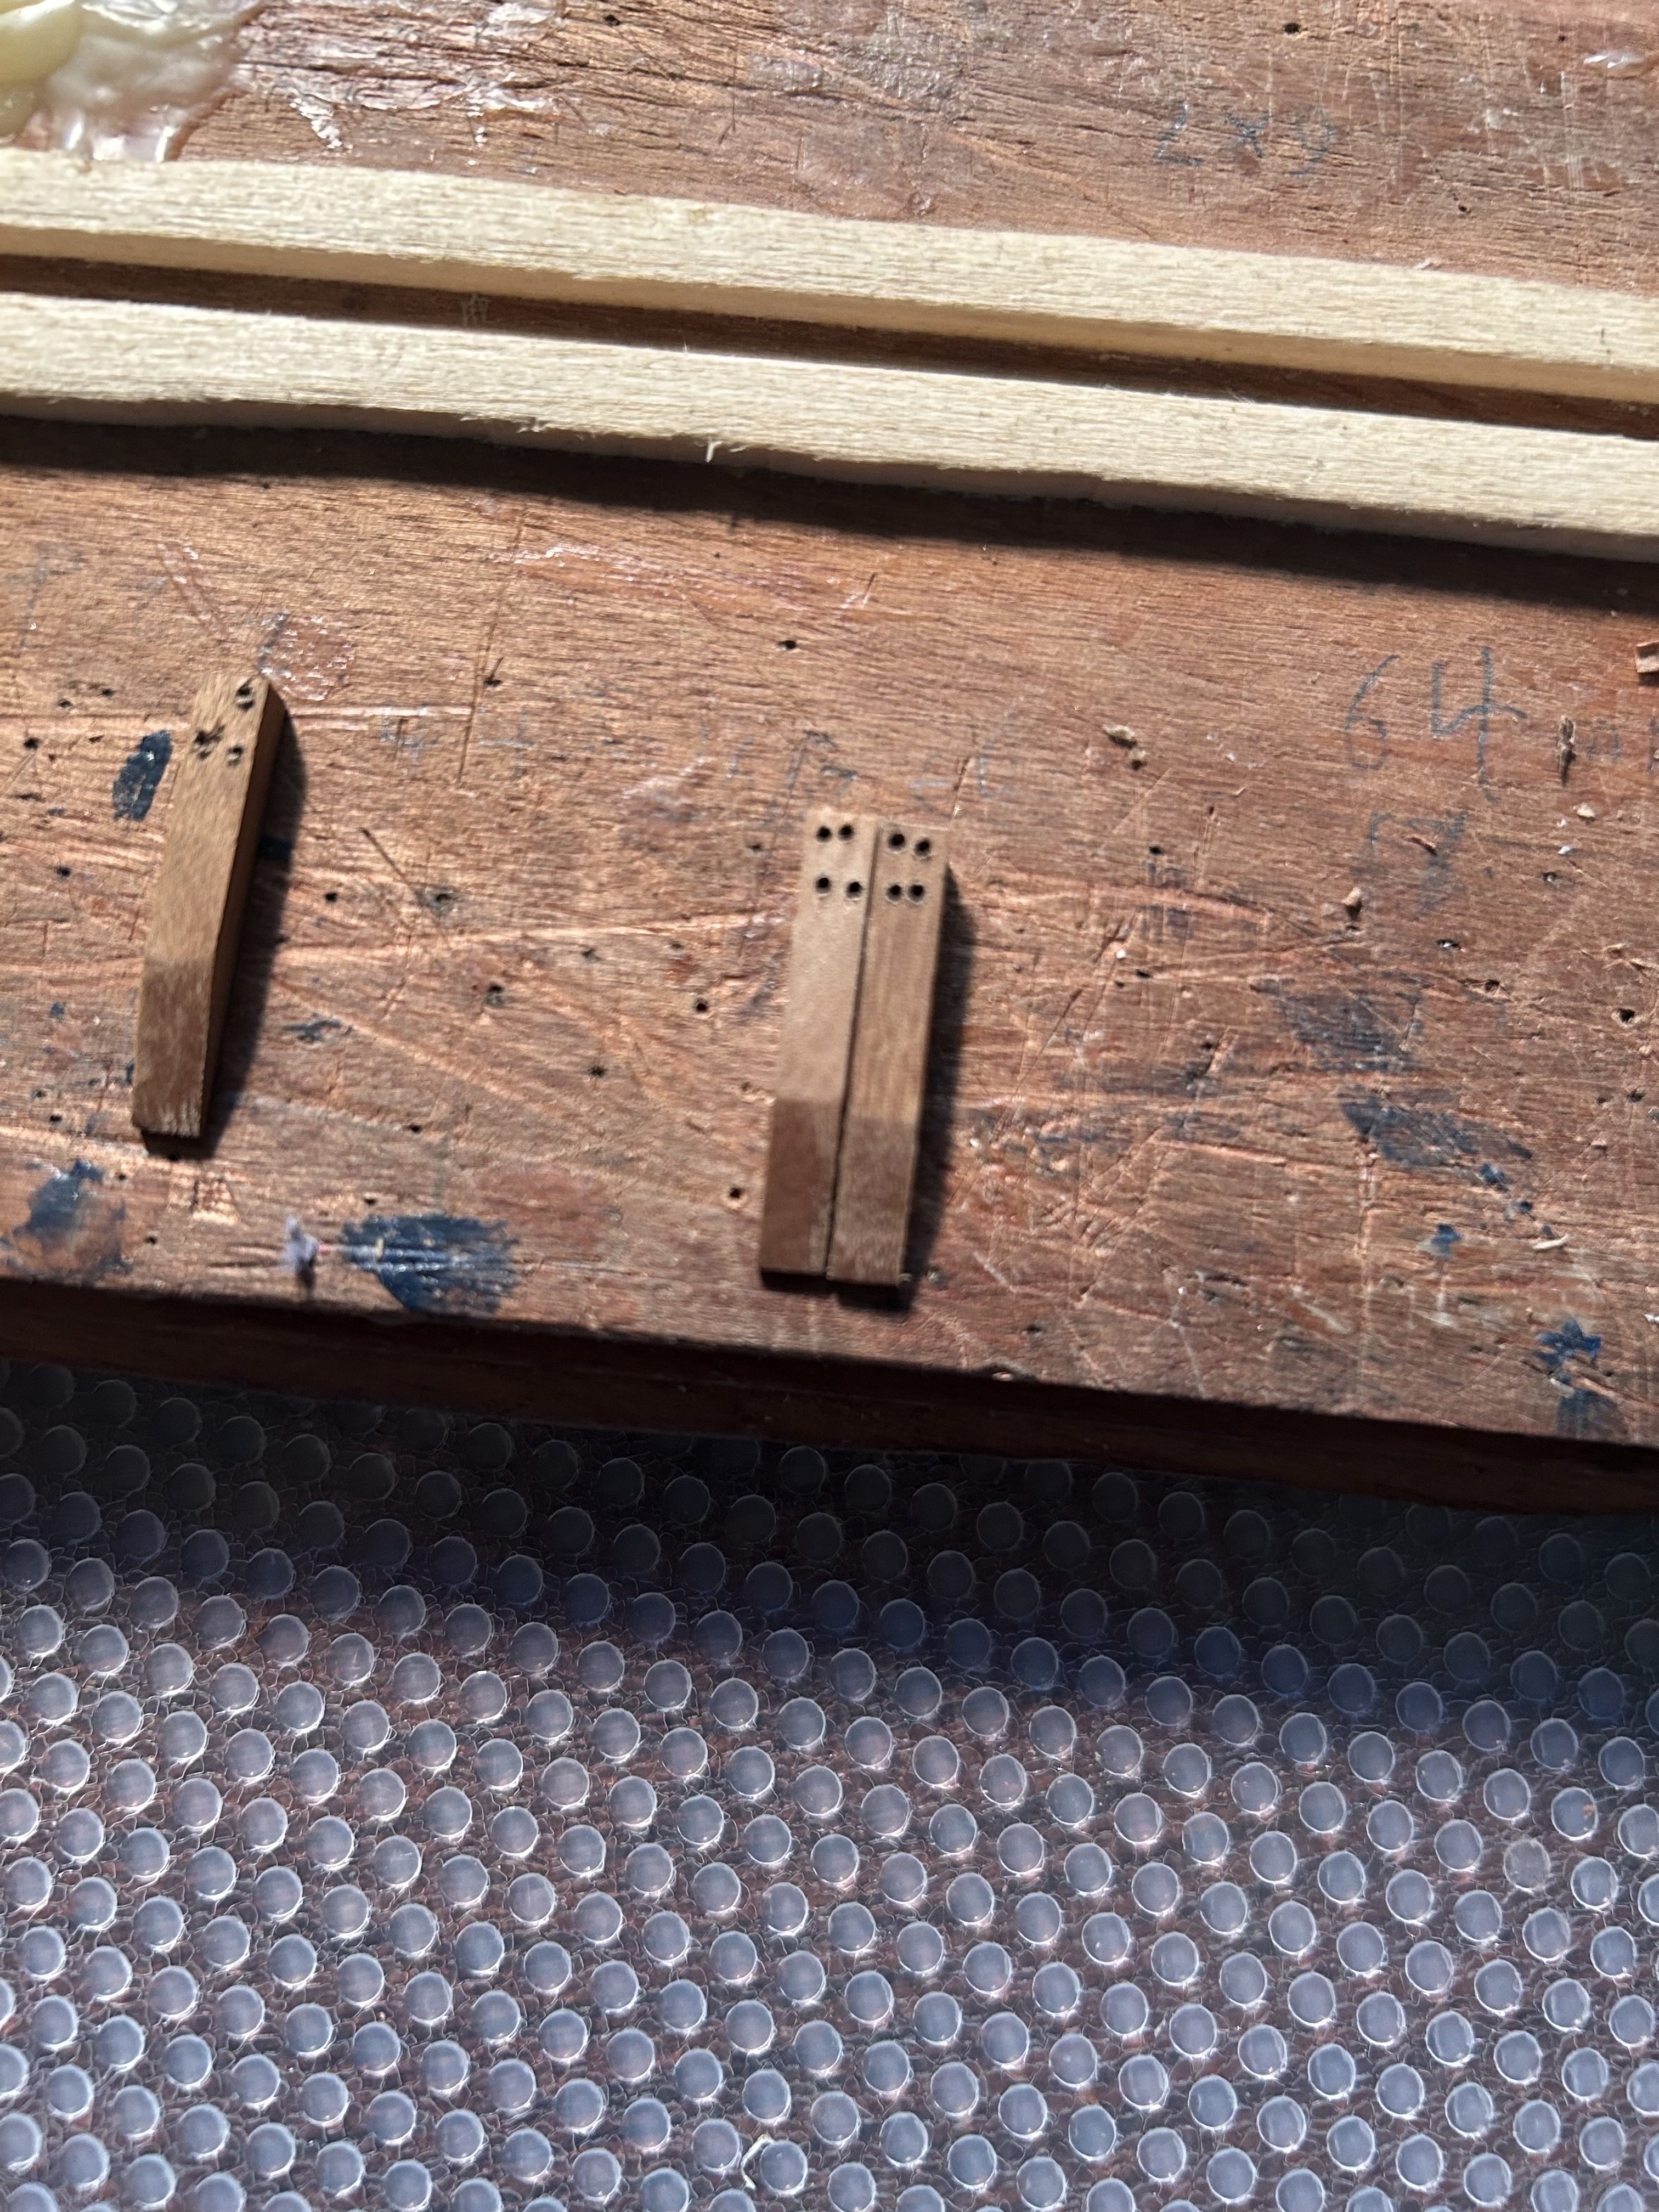
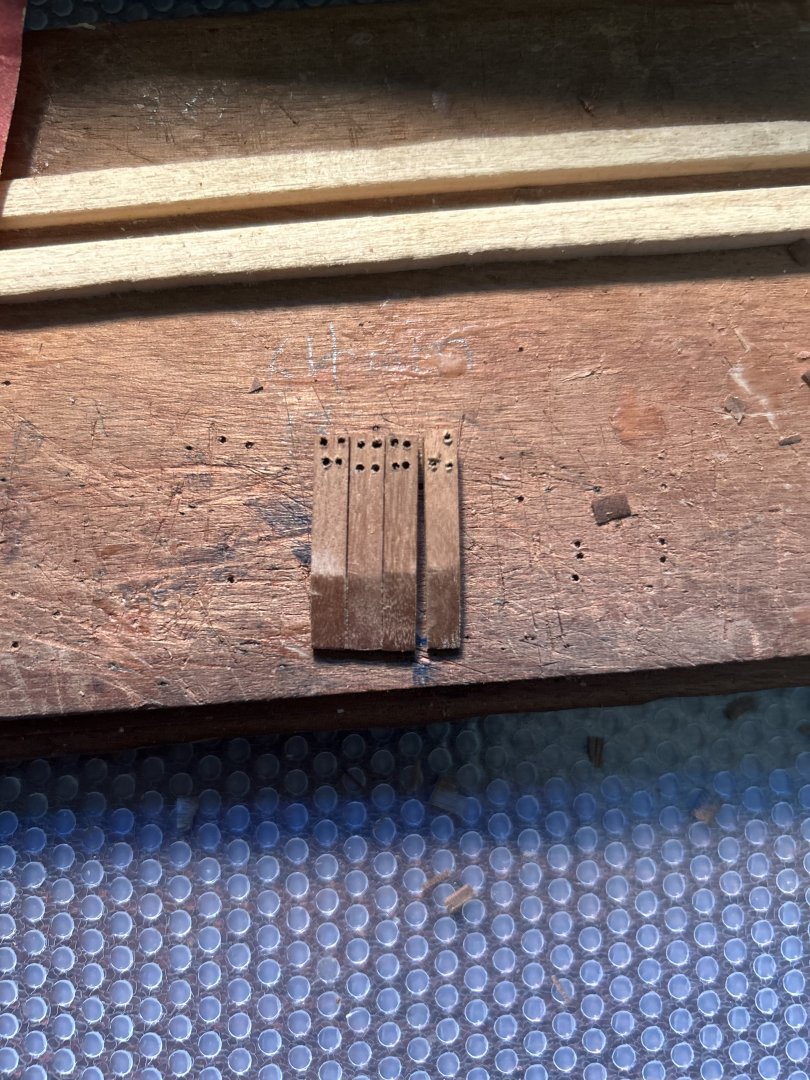
I've ordered the parts I need for my next few steps. But while they are waiting, I'm skipping ahead to keep working on other parts of the ship. This morning, I finished the cathead beams. No matter what the instructions say, the correct size for them should be 4mm by 4mm. I looked ahead in the kit, so I knew I had to drill holes in them for some rope to pass through. This task would have been almost impossible if I had mounted them on the bow where they go first. As it was, drilling the holes out took three pieces to do. They are quite good enough for my standards at this point, and I think if I tried four or five more times, I'd just have the holes slightly off in a different way. Drilling stuff is so finnicky. Now all that remains is to cut out a slot for them and glue them on.
-
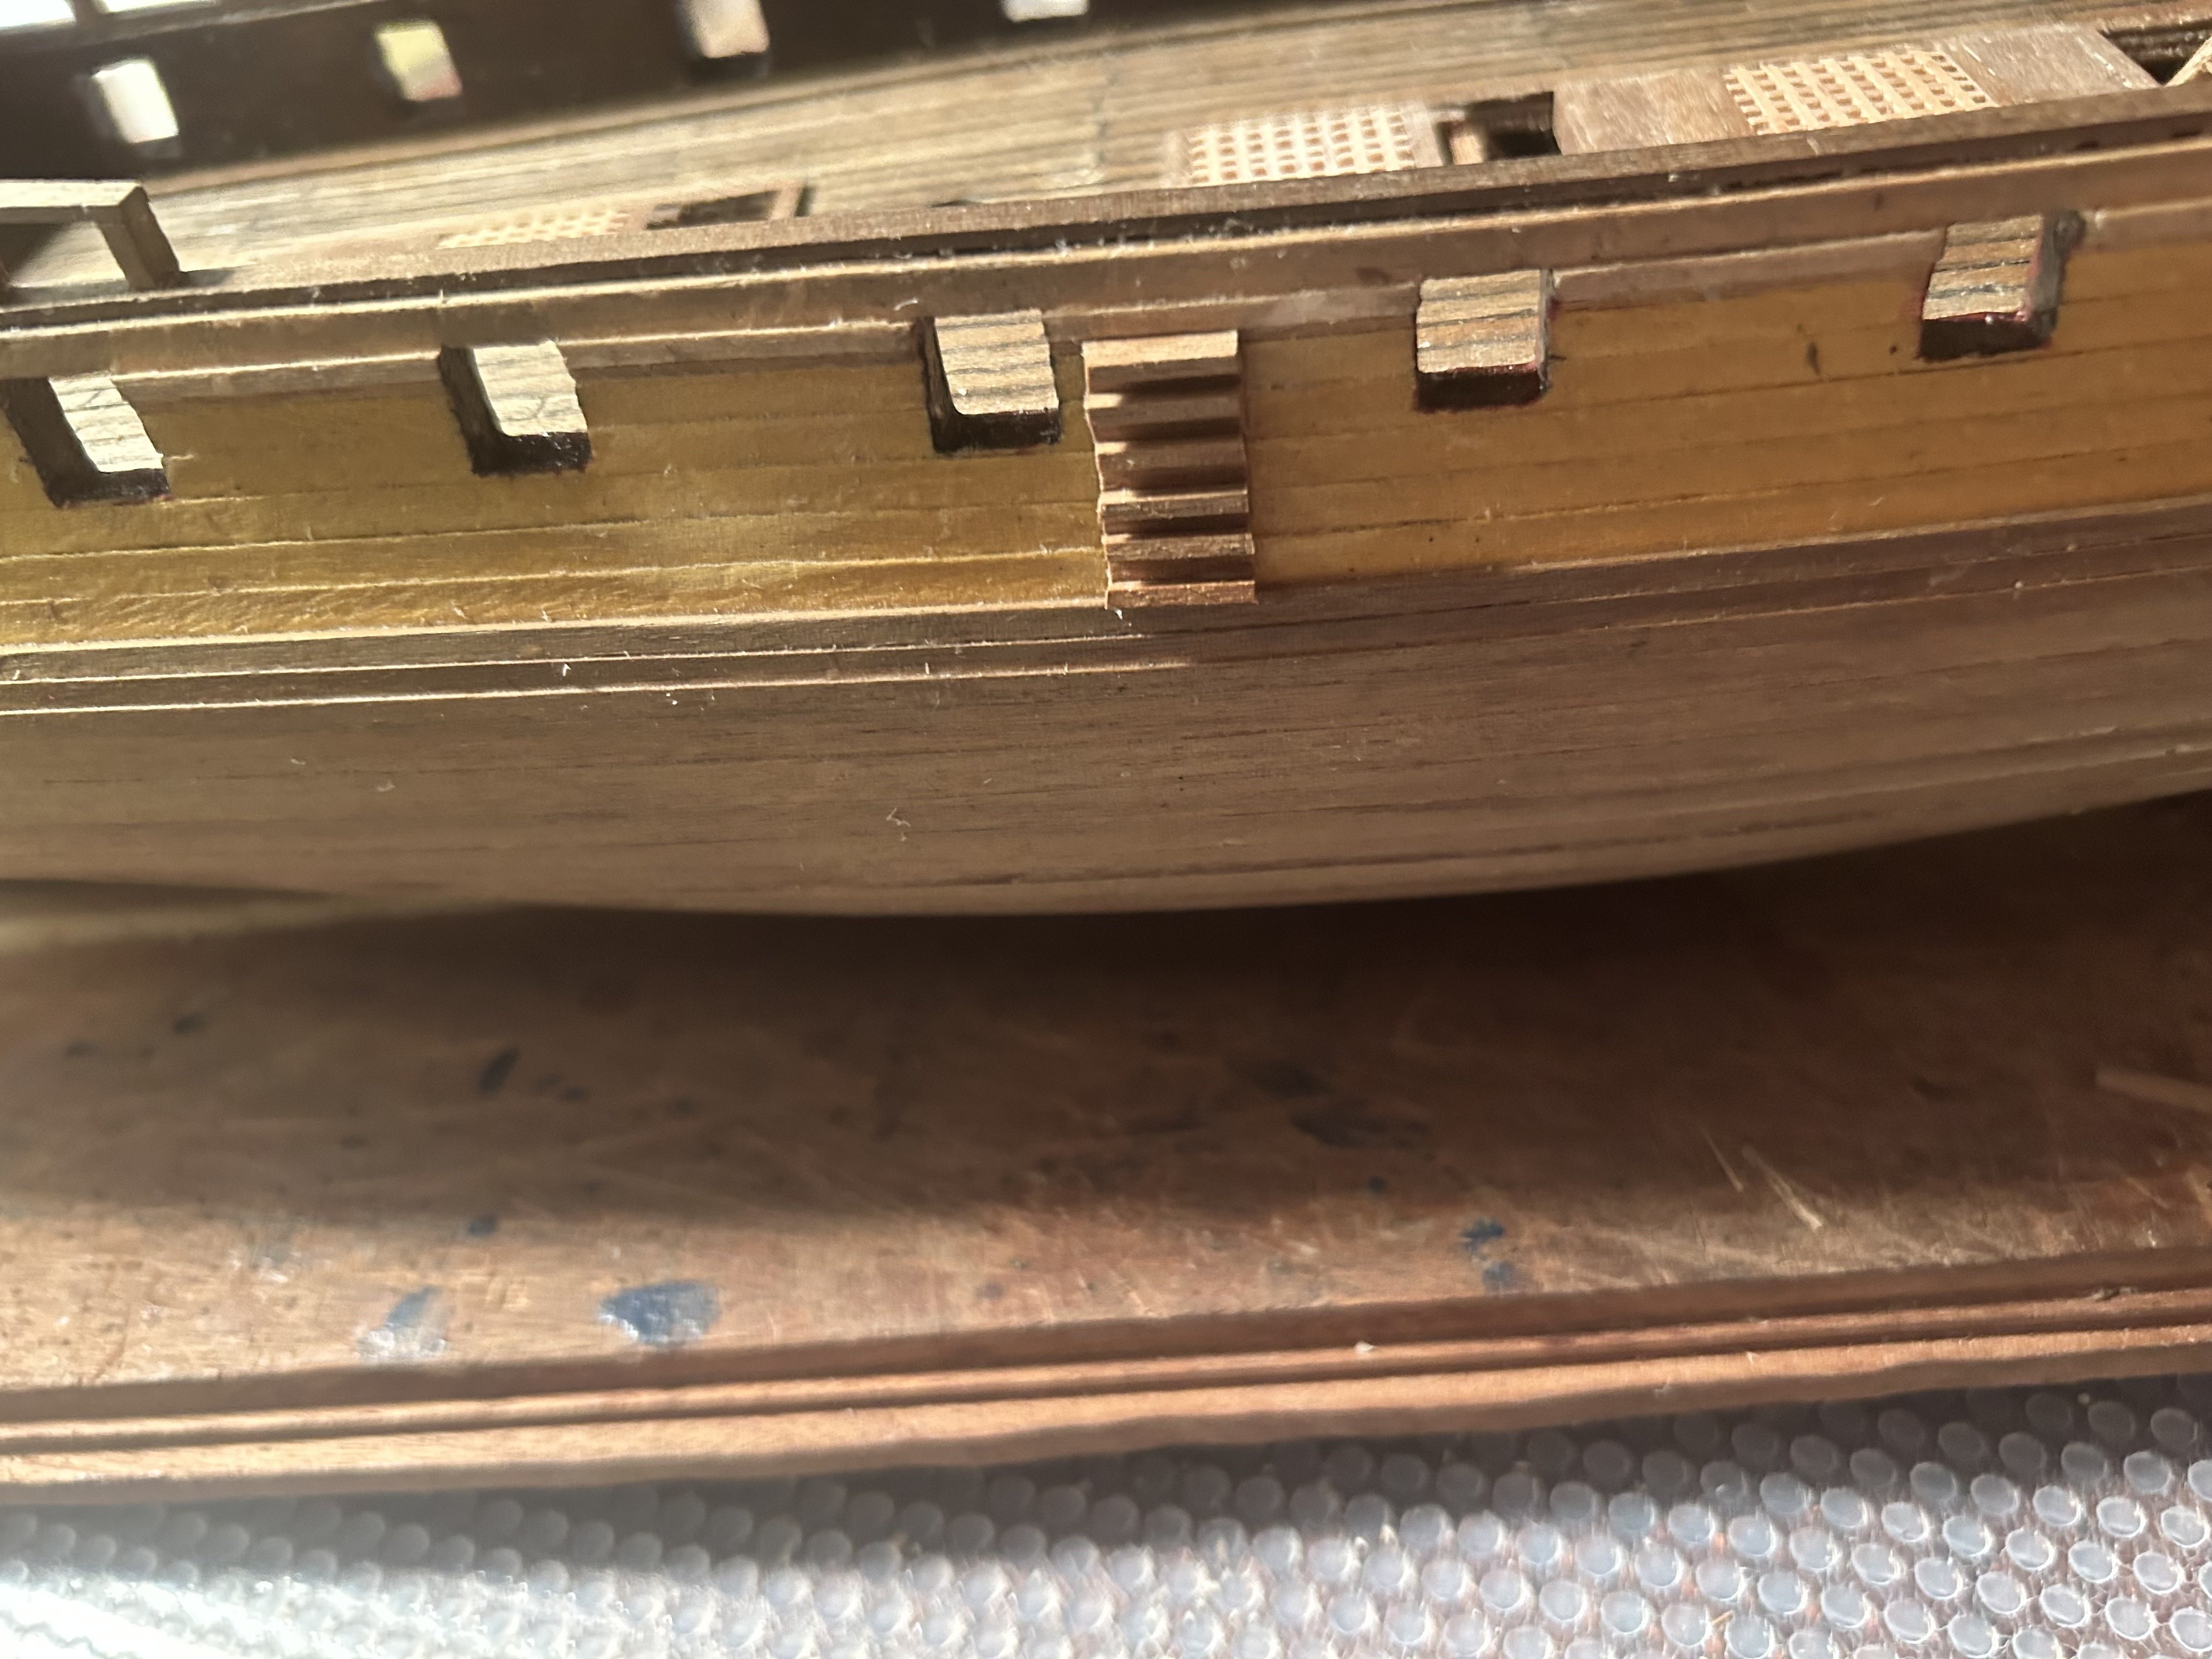
I've attached the side ladder. It's pretty much exactly what it looks like. L-shaped wood pieces glued to the side., After I smoothed the side with a little knifework and sandpaper, it went on fairly easily. I only had to bevel the L-shapes a couple times.

-
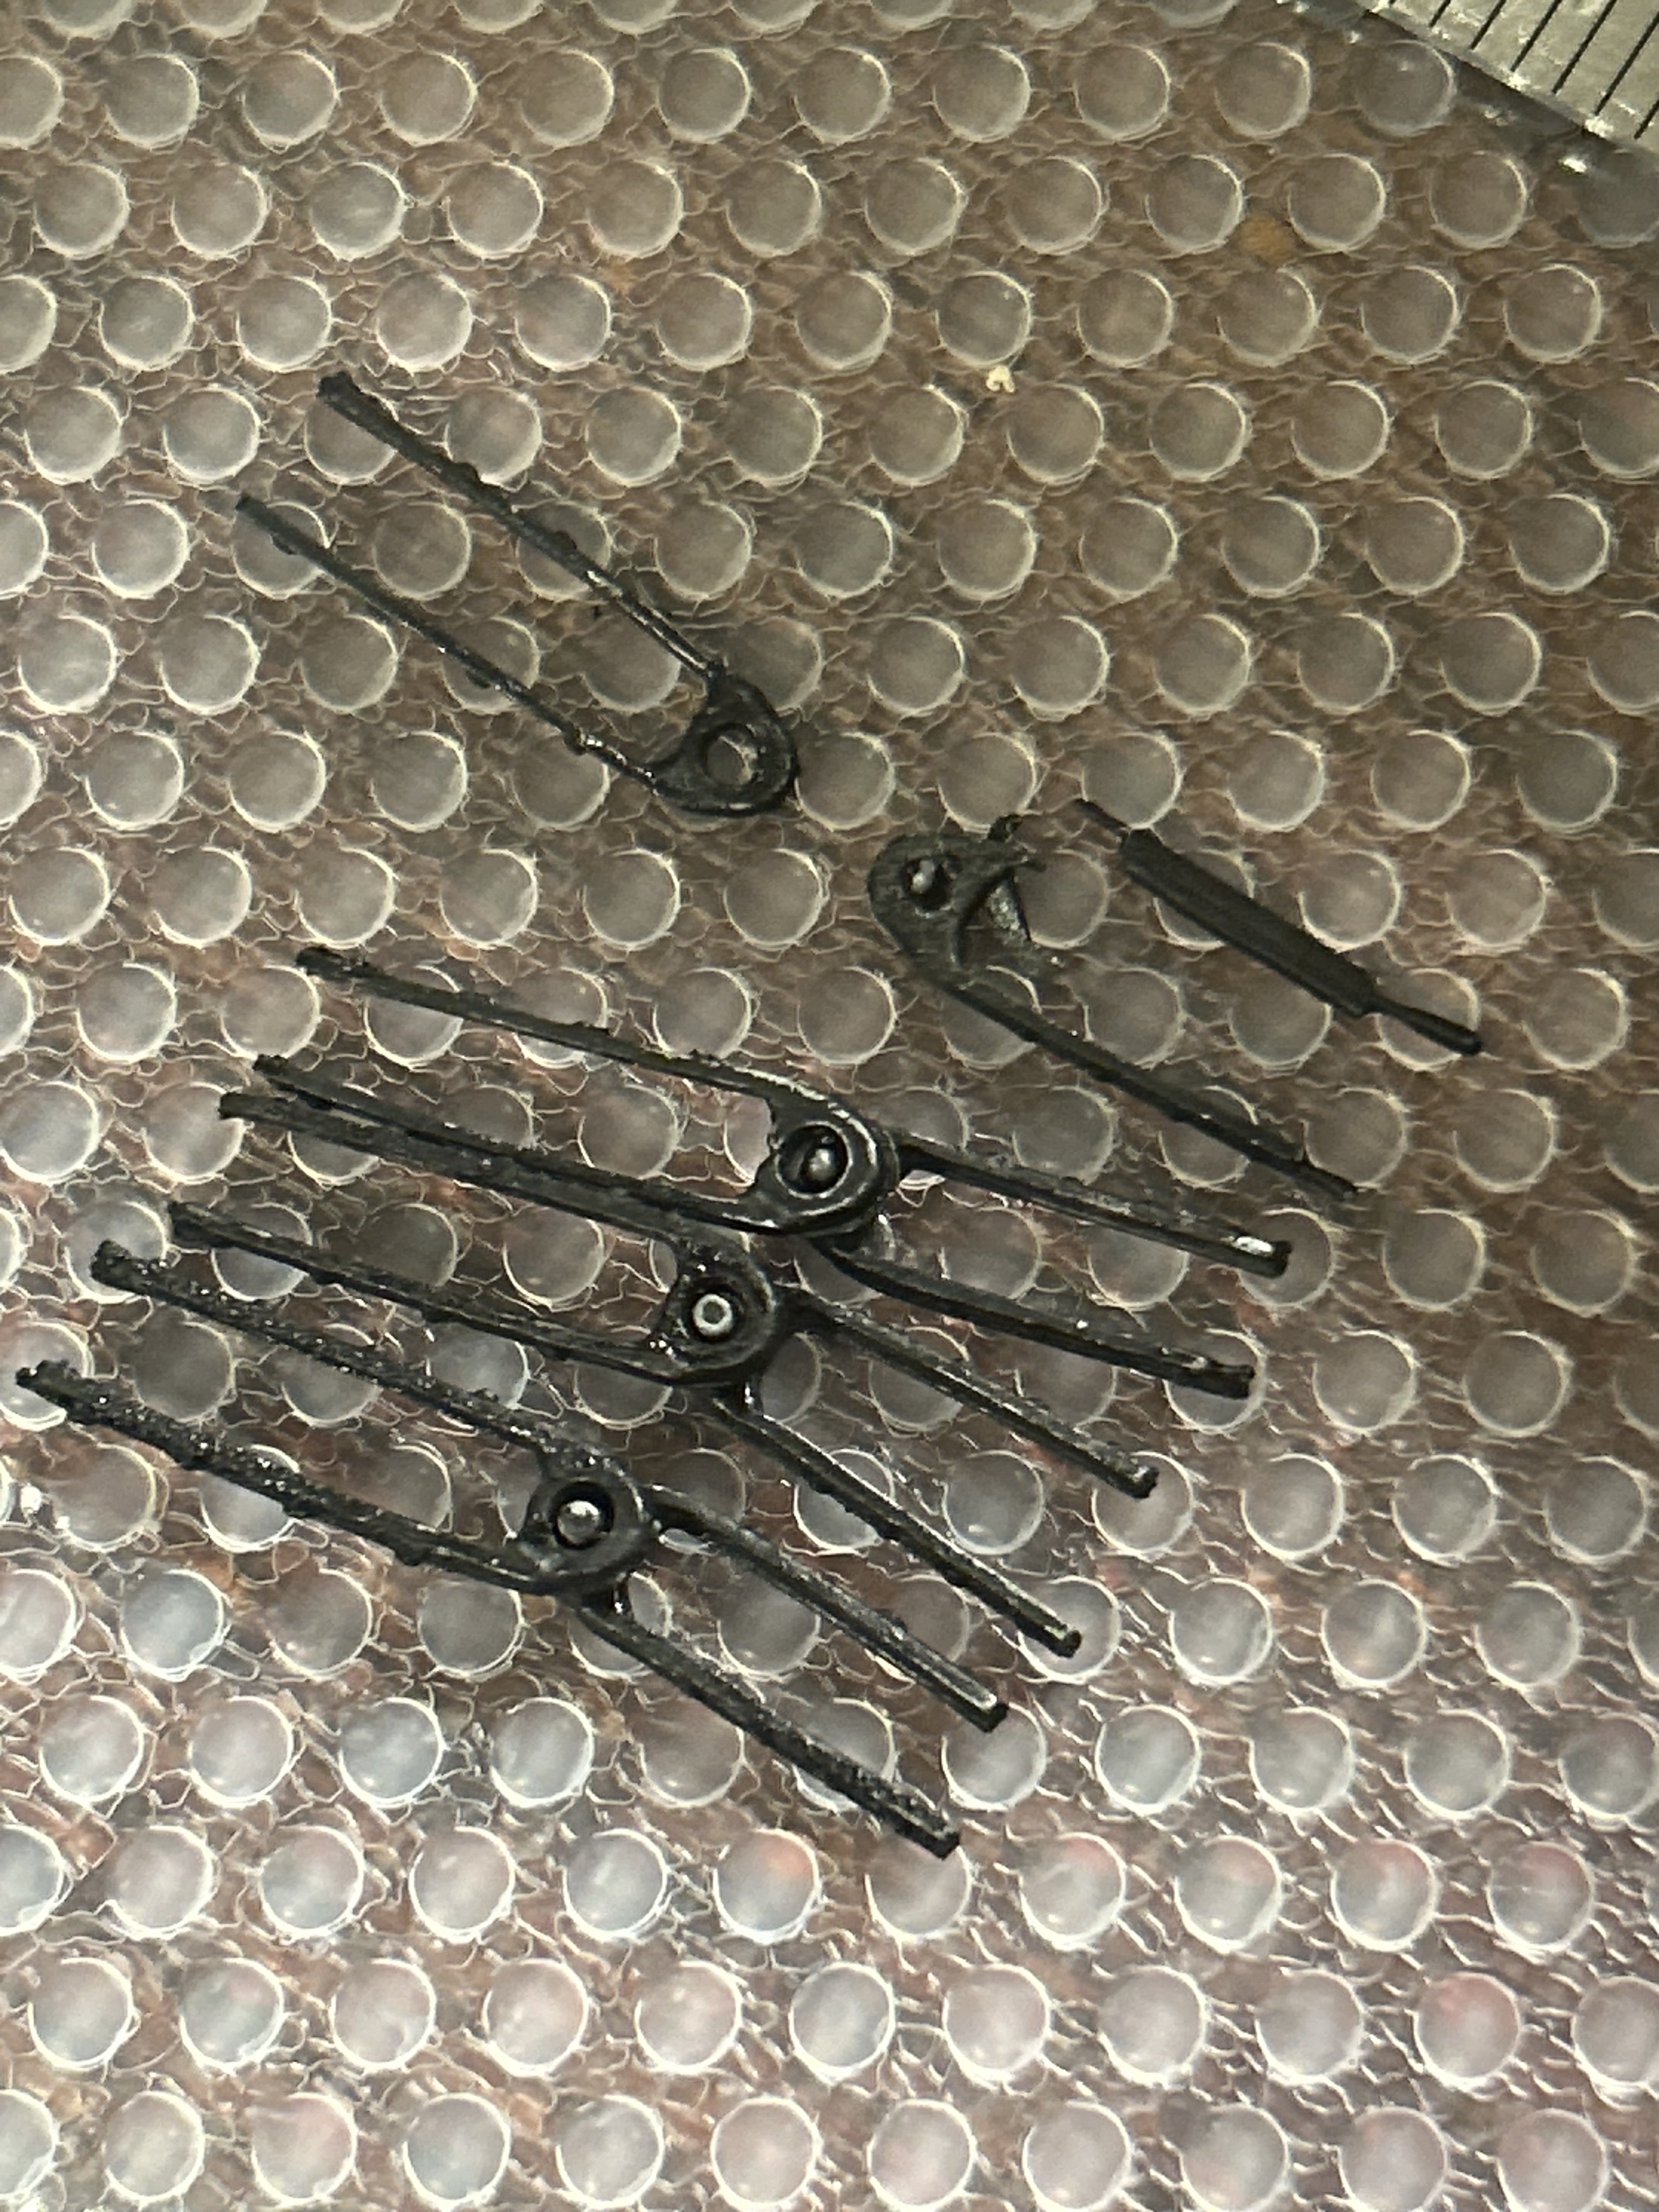
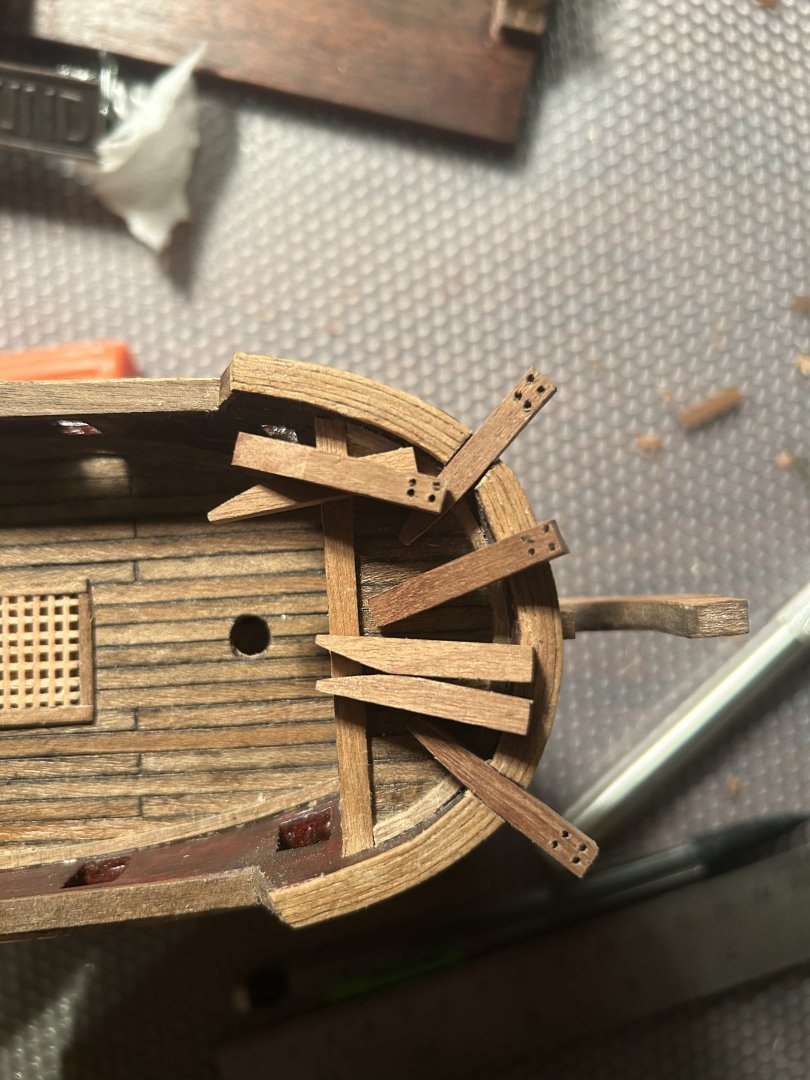
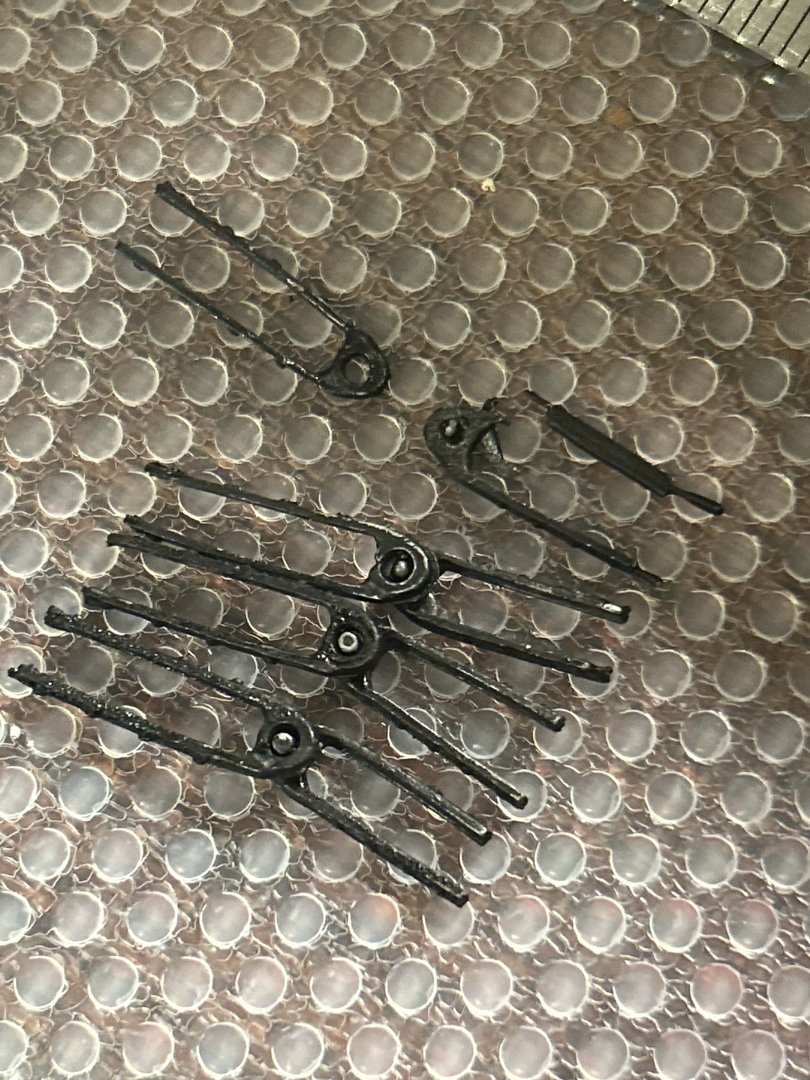
The clown show continues. I decided I might as well get the rudder done tonight so I can be certain that all the stern pieces I plan to use are safe to build with and not reserved for some other, more important role later. It turns out the rudder directions are total nonsense. The 1-to-1 scale pieces are nowhere near 1-to-1. The kit calls for a 4x4mm piece when the three is the only one that fits. And to top it off, one of the hinges is broken. I'm thinking of buying more hinges from Amati or some other place. I'll need more 1mm x 1mm wood anyway, as mine is basically all used up.

-
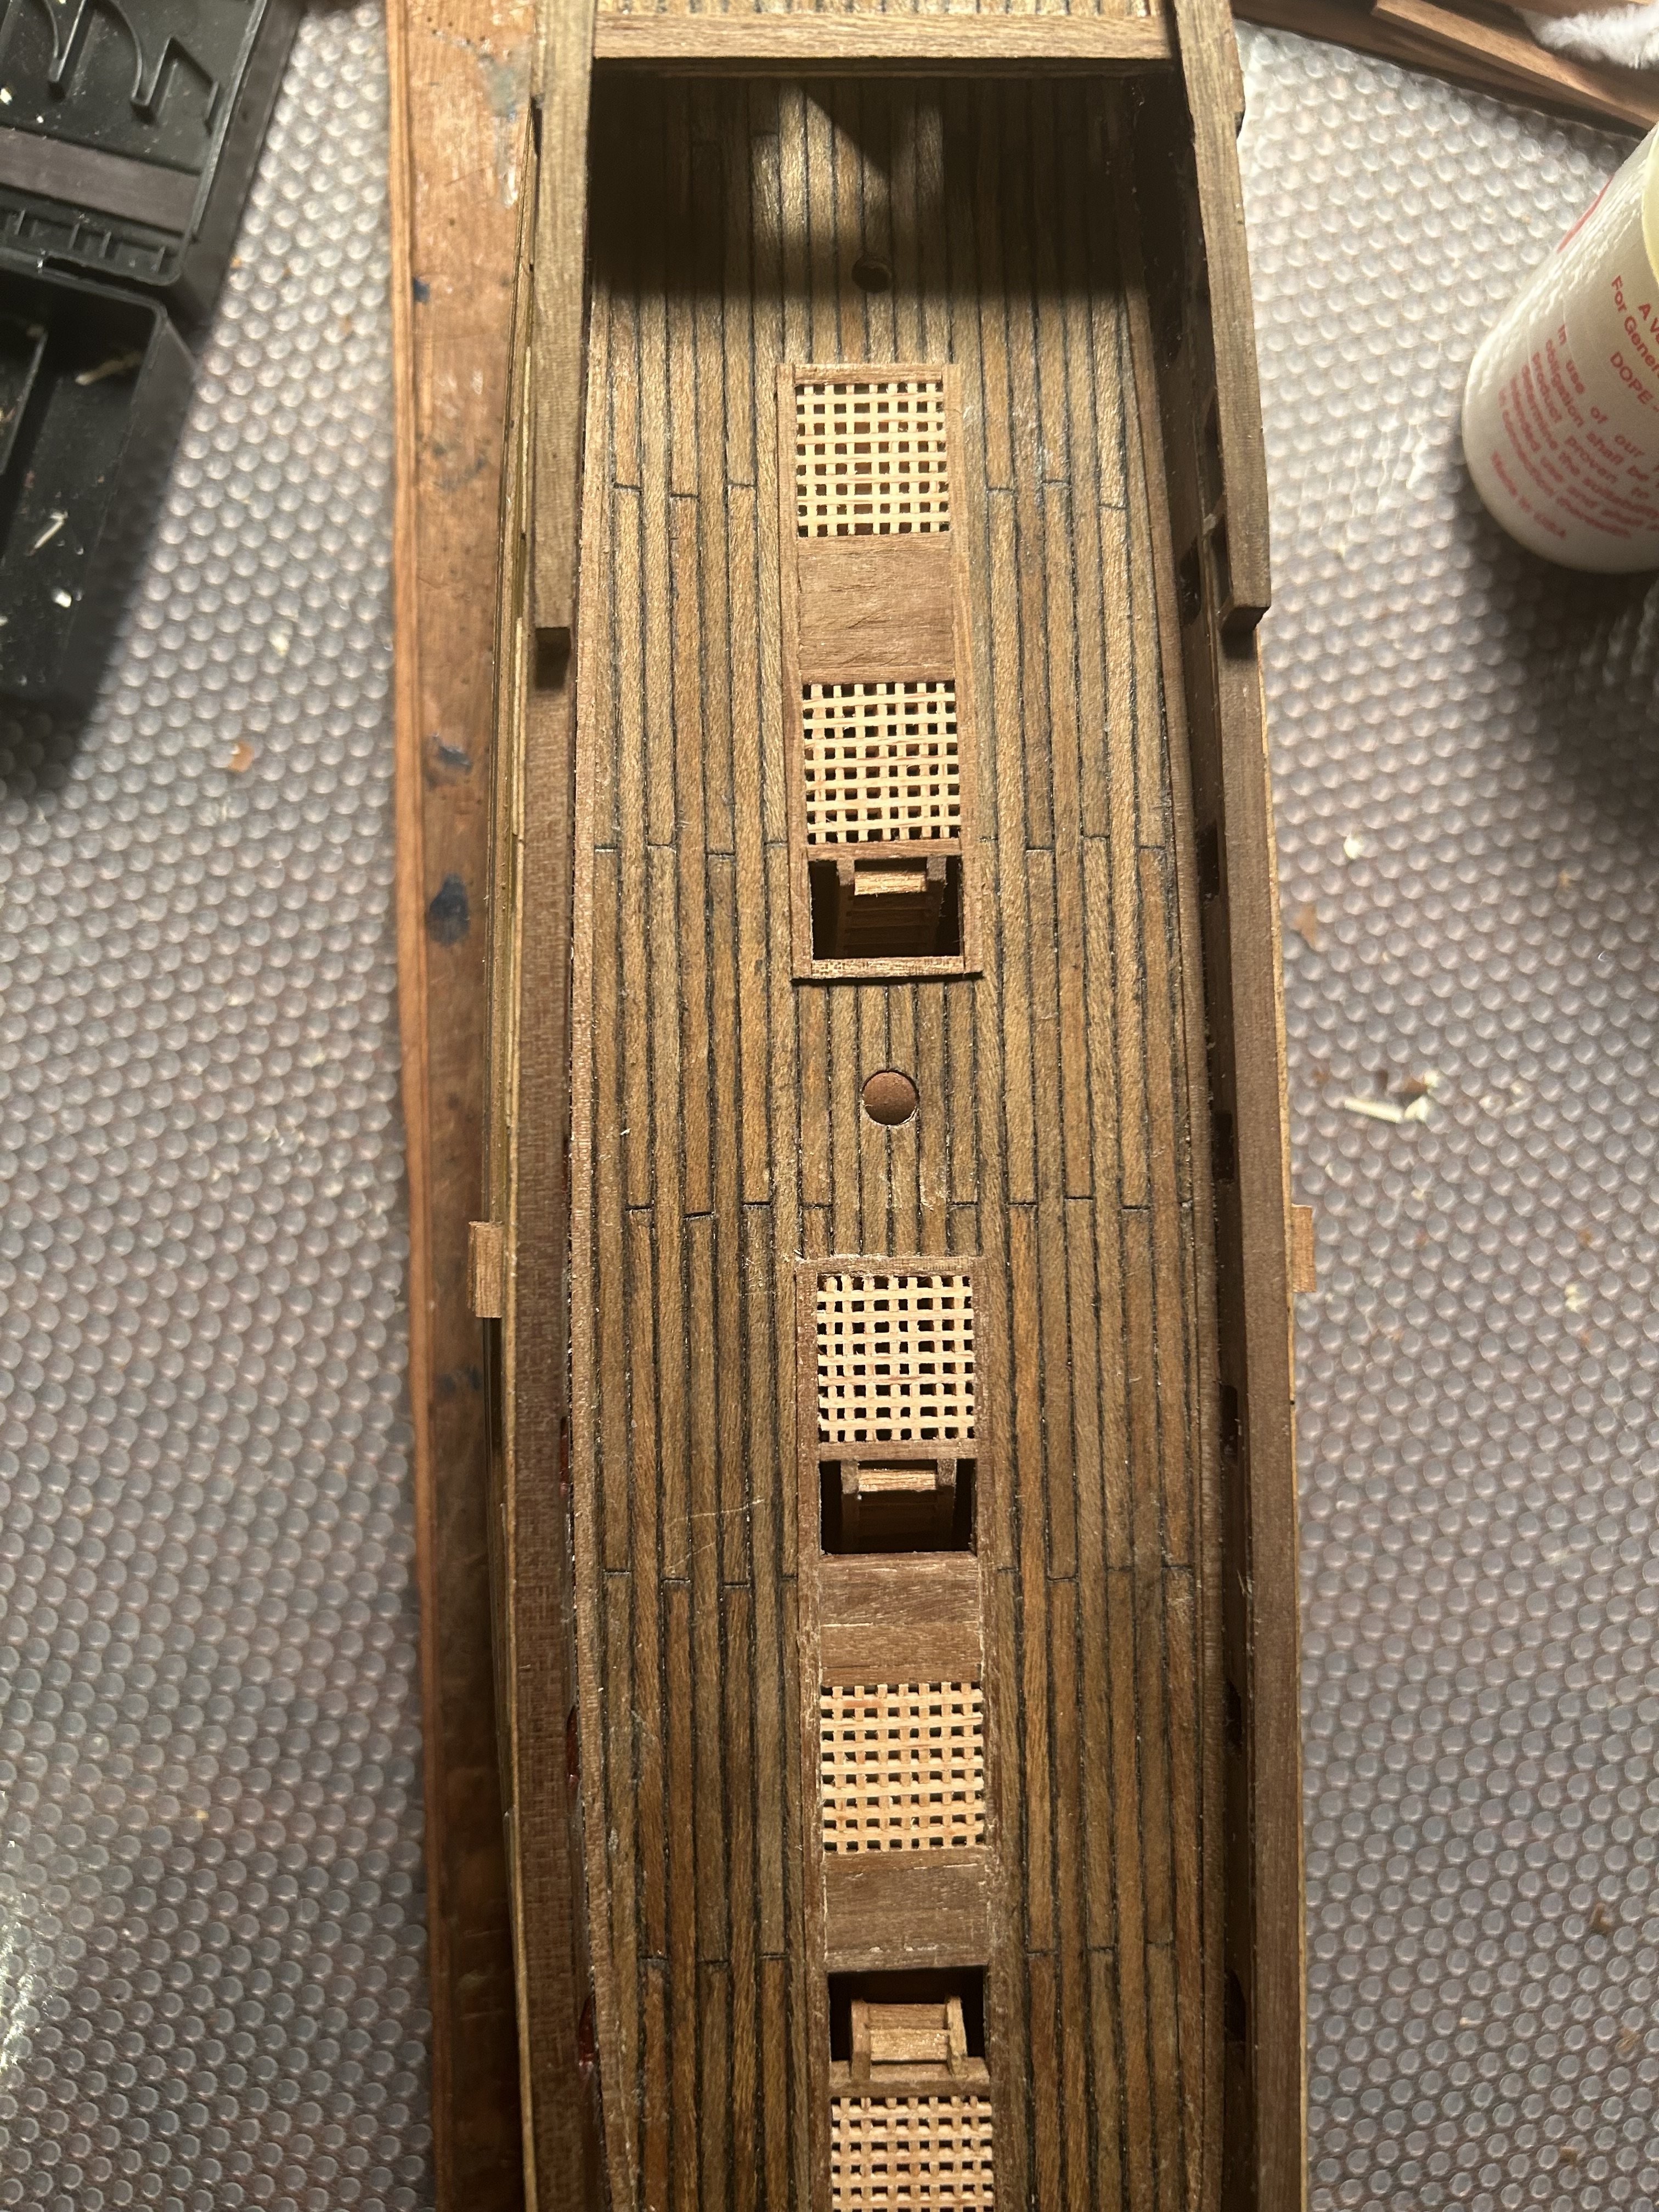
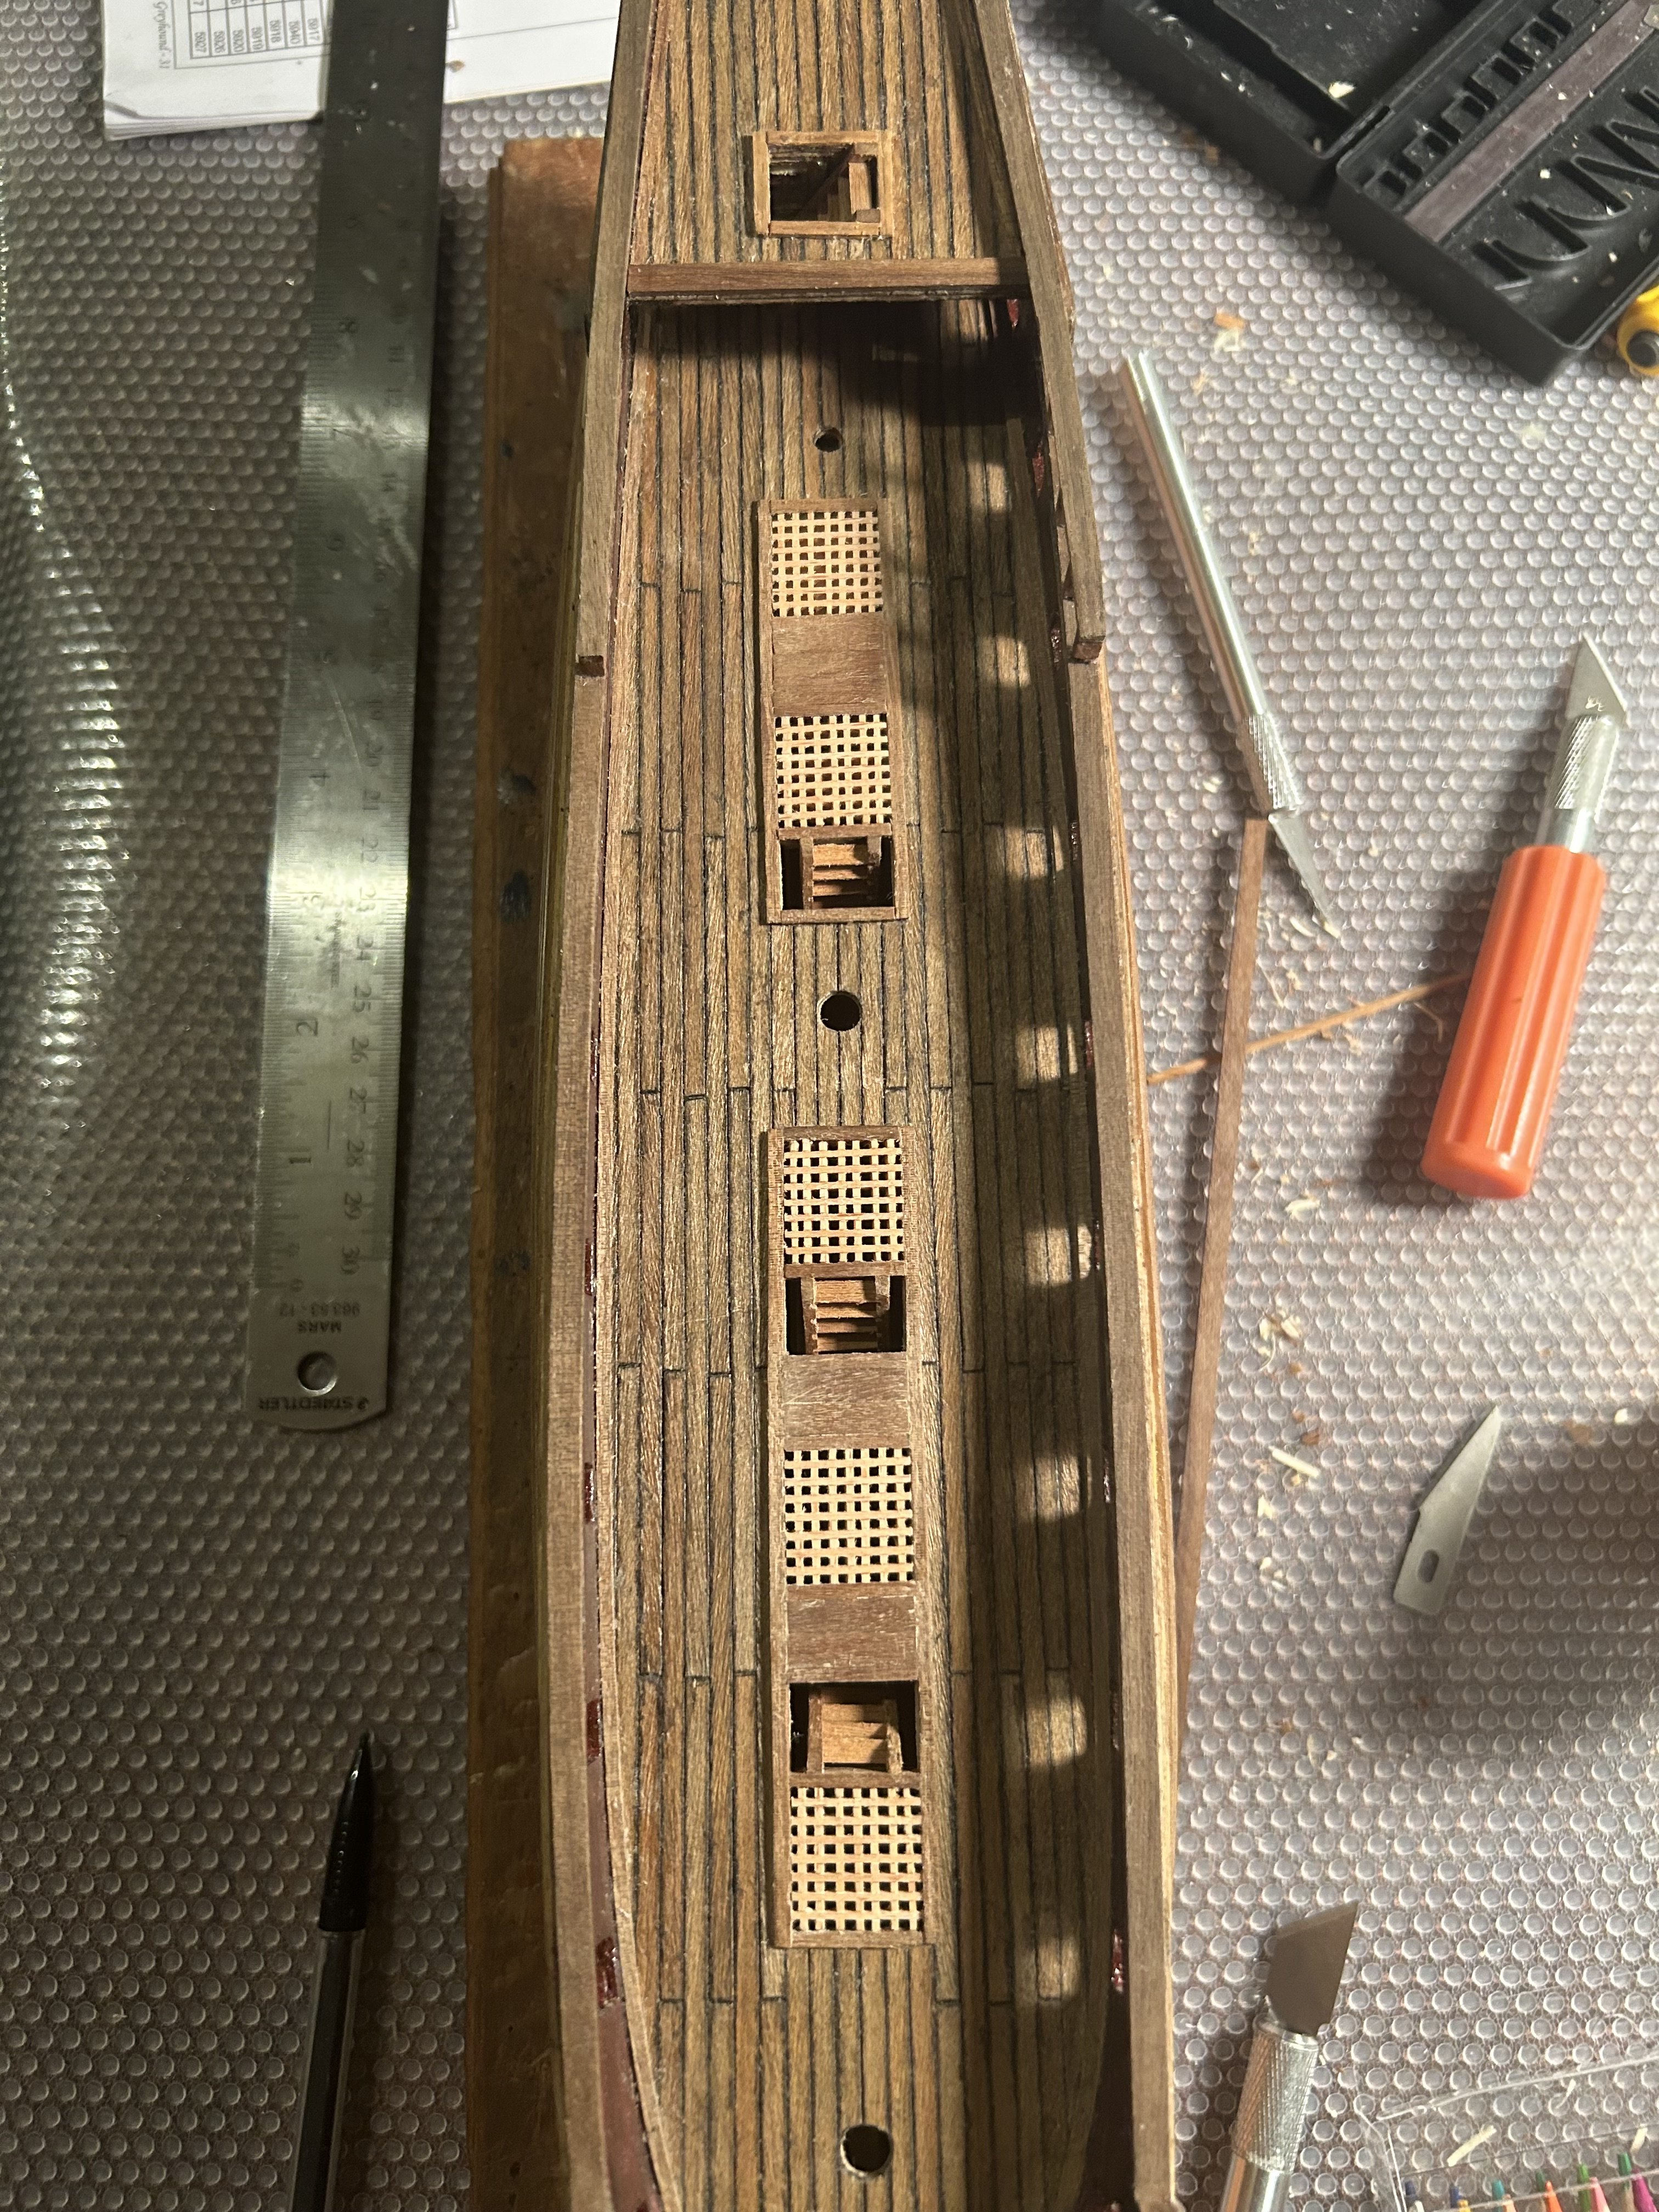
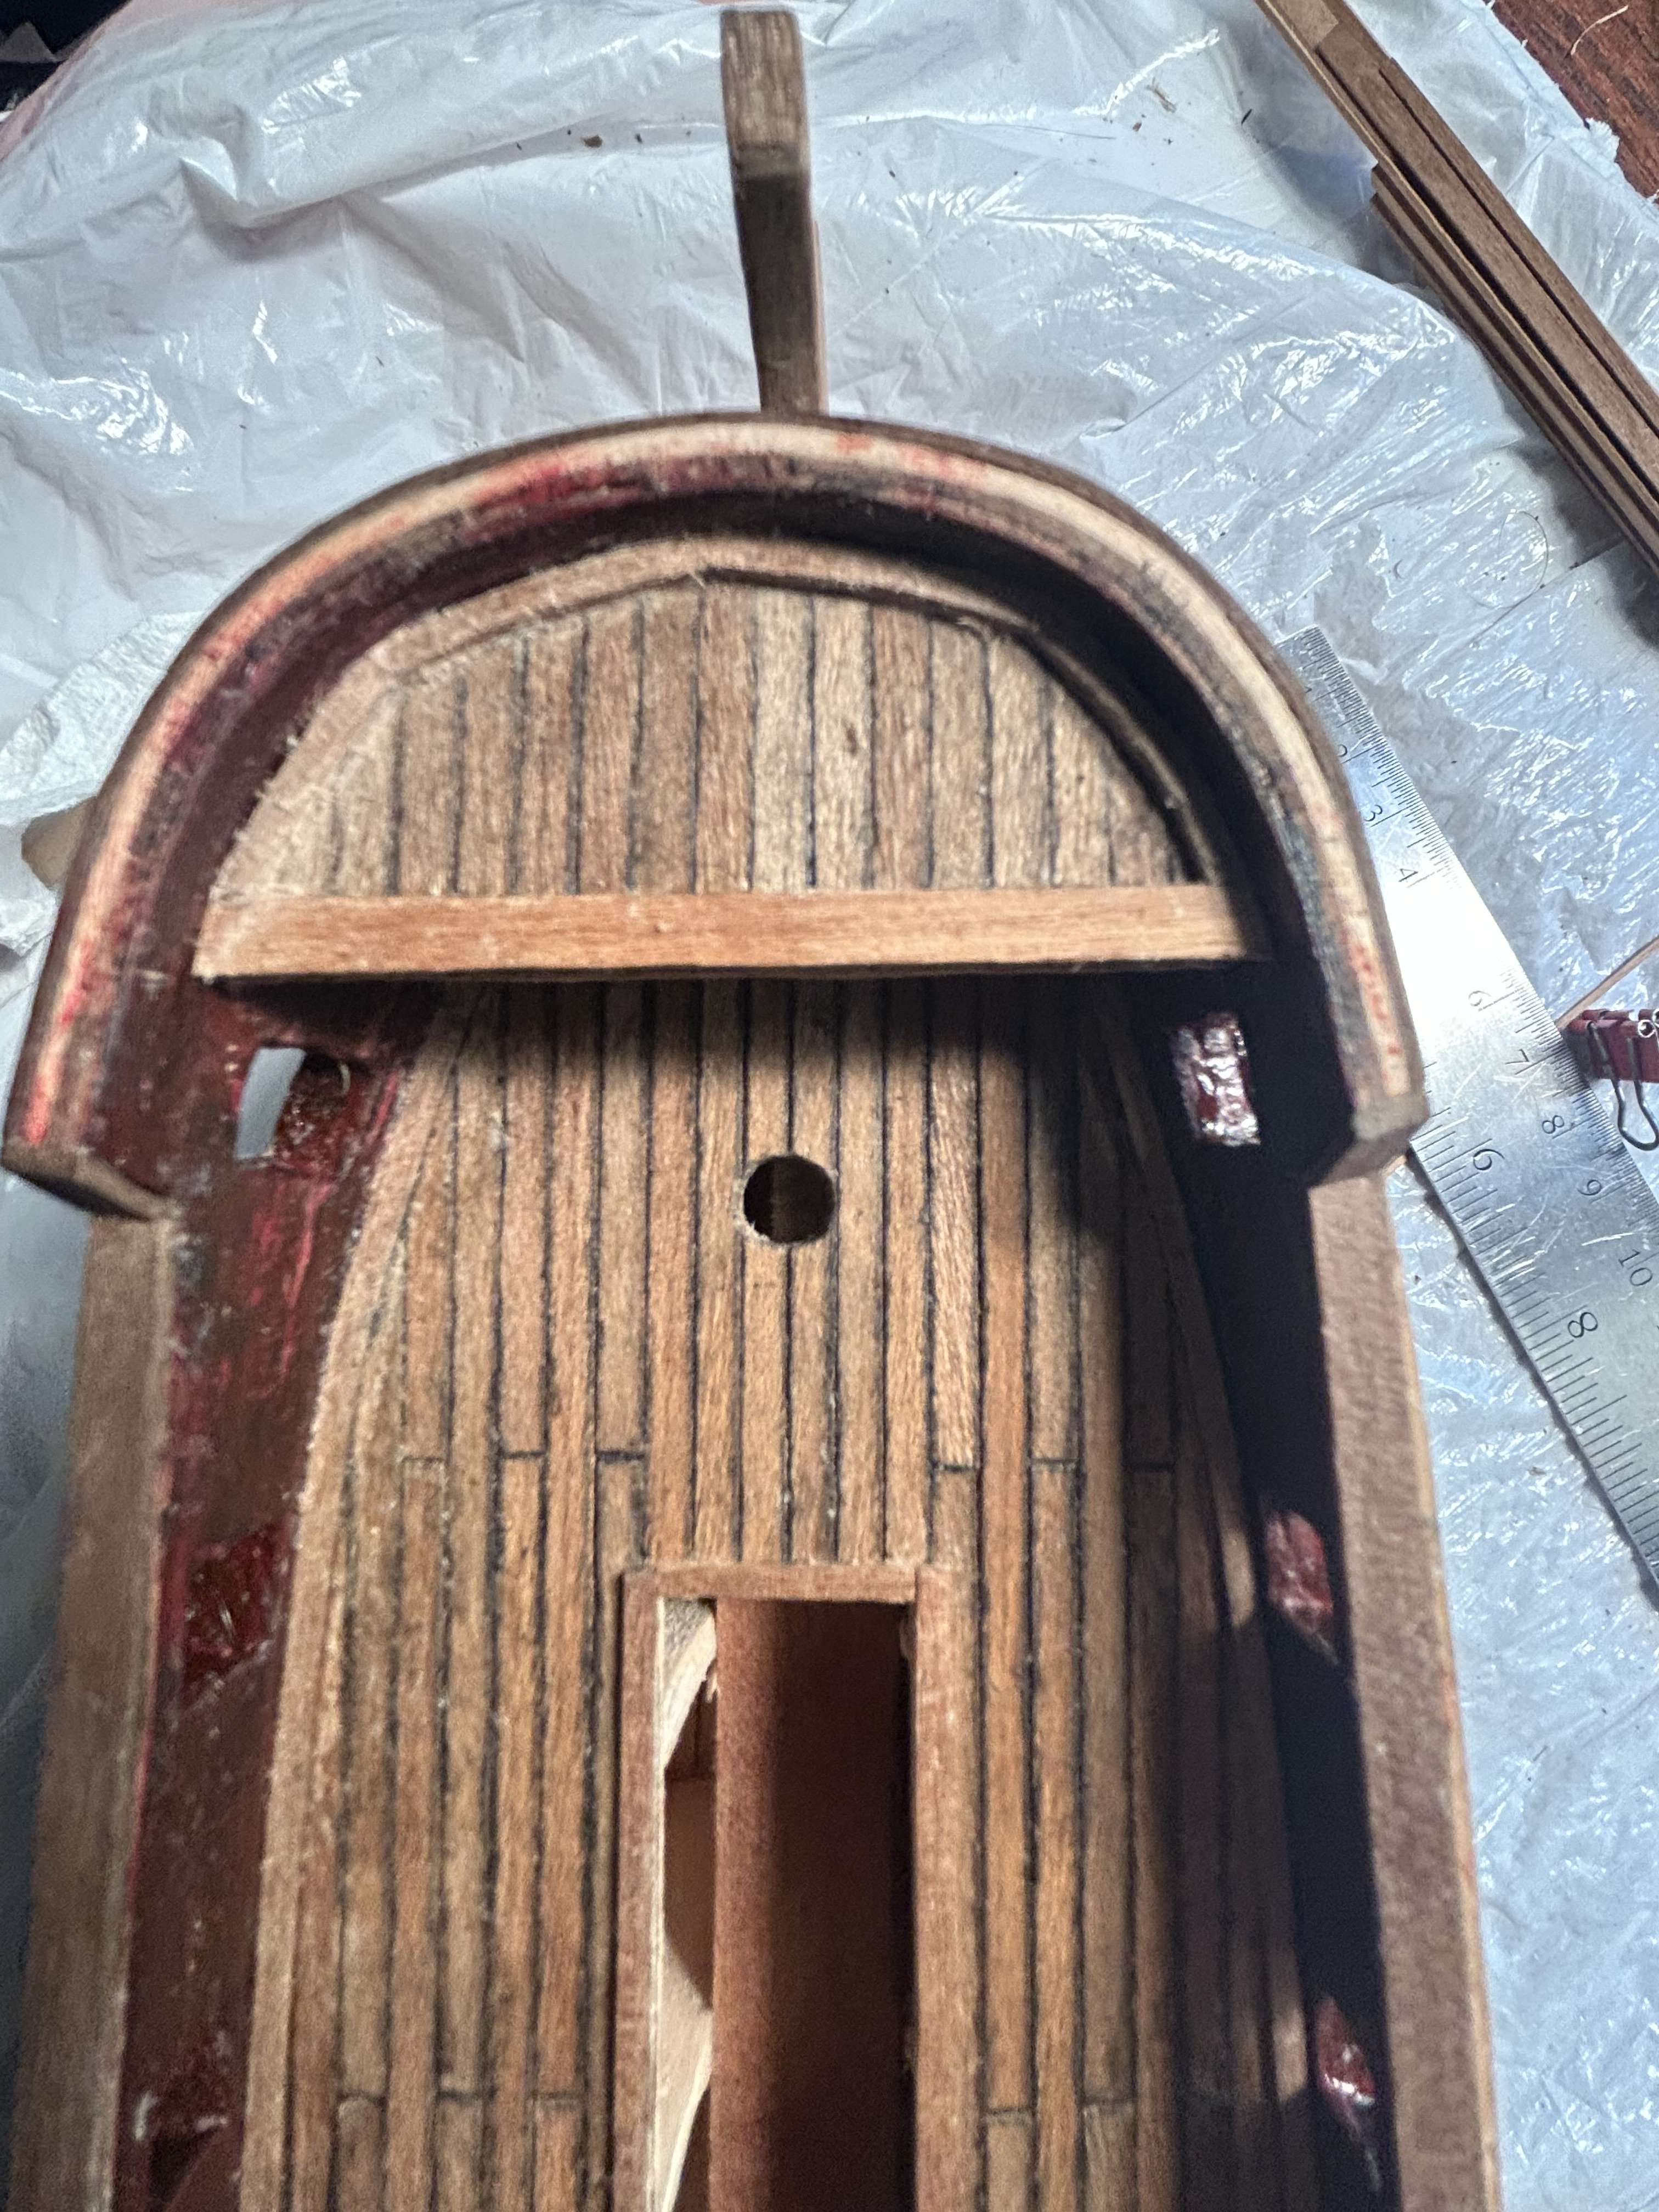
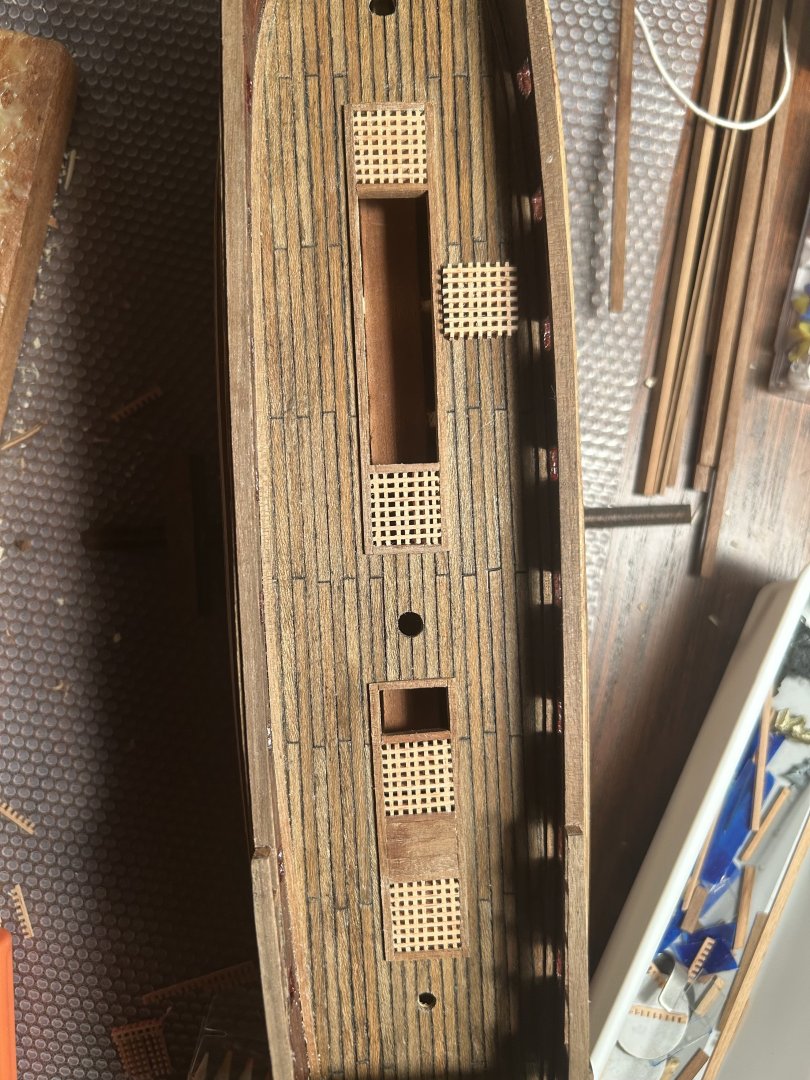
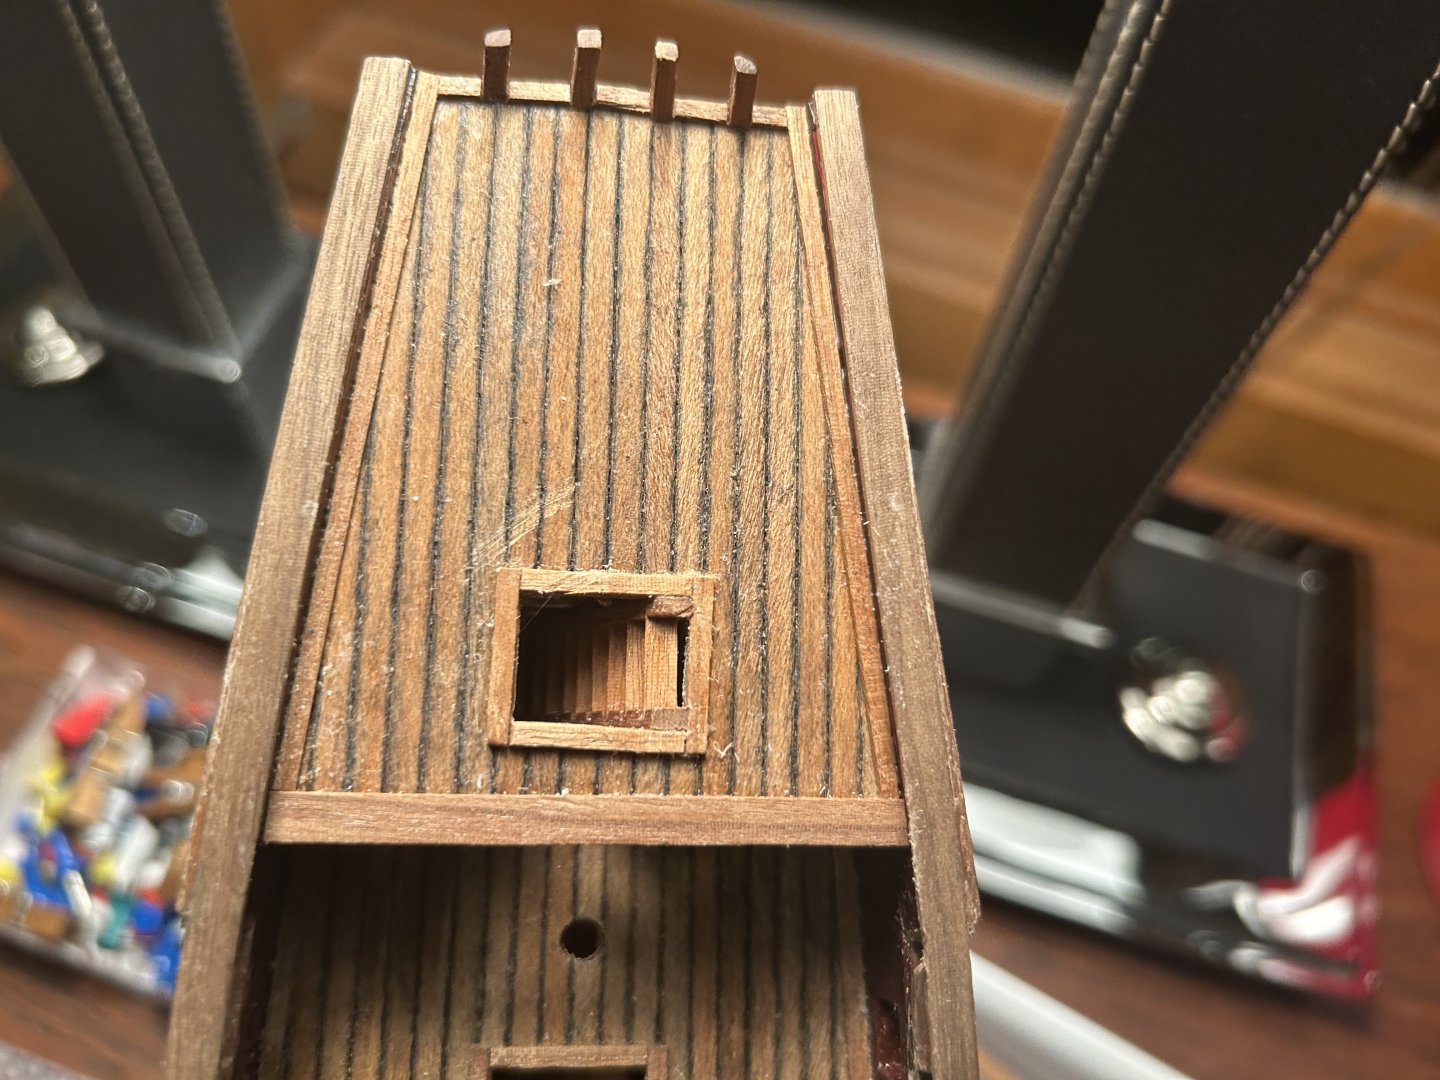
This step is fairly self-explanatory. I put the ladders, final gratings, and planks around the gratings on. It's probably pretty obvious that as much as possible, I put the ladders in first. Then I cut them to be relatively flush to the deck. This step was difficult, and I had to make a correction with glue at one point. But overall, it went well. Finally, I put on the gratings. When I was done, I sanded the gratings, planks, and ladders until they were level with each other. Here's a picture. With this step, I've come to a point where I must decide: build my own stern out of wood pieces, or use the kit? Predictably, I've decided on building my own. But I won't make a final commitment until I know the 3D pieces my friend is printing for me work and look good. Of course, that means progress will prove slow and sporadic.

-
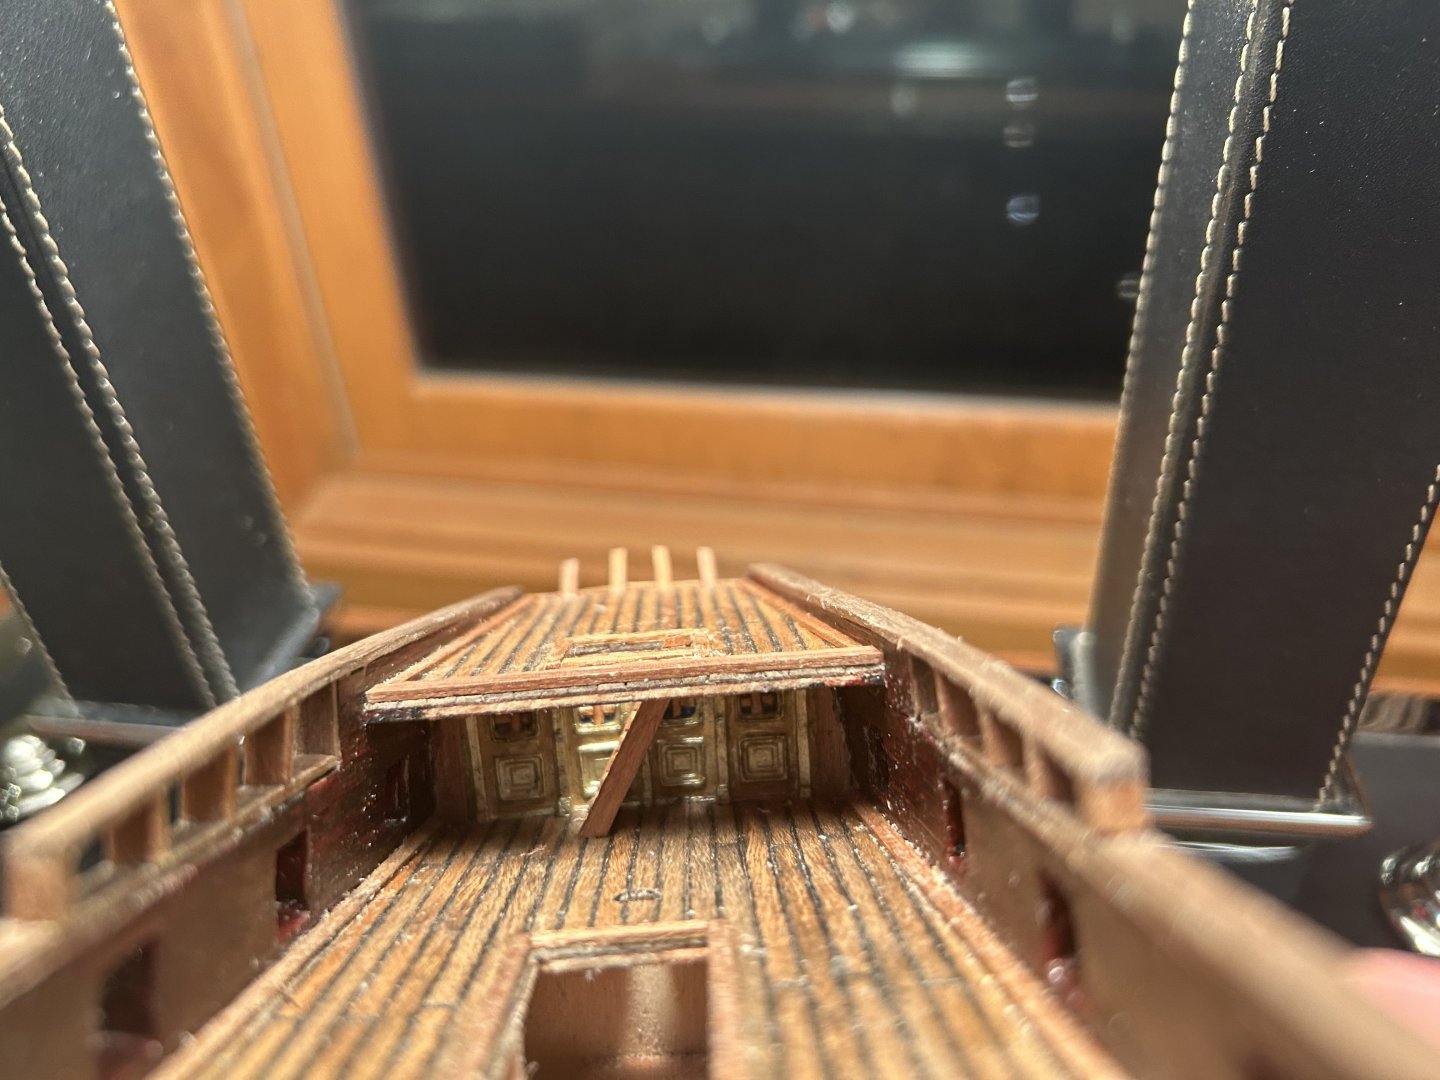
Yesterday, I finished the grates on the stern. As Corel's instructions have no comprehensive and clear pictures on how they should look, I copied from the work of @hamilton and @harlequin. Thanks guys, your pics of the Greyhound have been extremely useful to me. I couldn't have done it without y'all.
-
Thanks so much! I'll take a look sometime!
-
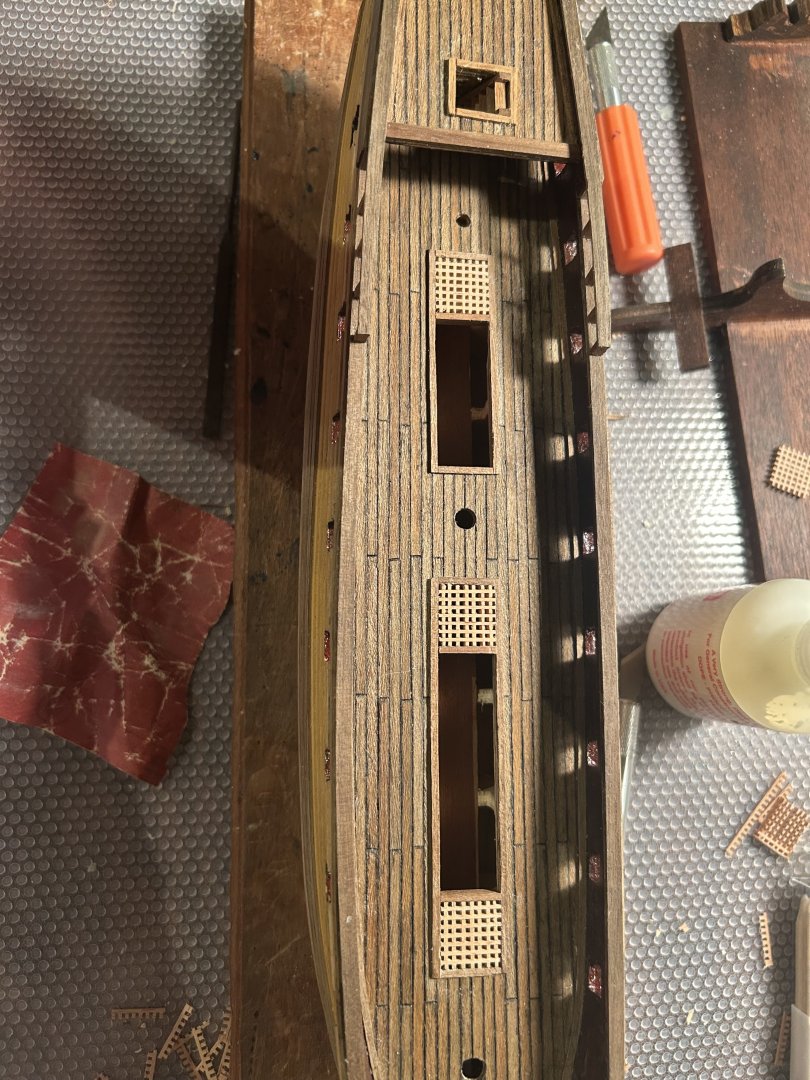
These last few steps have been so finnicky and small that they have hardly felt worth photographing. For the stair to the poop deck, I measured and cut a set of stairs, glued the ladder together seperately, then glued it in. I've left some stairs measured to its length over so that all the ladders can be the same consistent size. For the gratings, I glued and assembled them, then sanded them with 800 grain sandpaper until they were smooth. So far, I've attached three. I've been framing them with leftover 2x4mm wood. I have a lot of it. Each time, I sand the gratings on the left and right sides with about 20 strokes, then check if they fit. By "fit," I mean "can be just barely jammed in without making me afraid they will break." If not, I repeat the process. I've decided to kitbash a stern with the help of a good friend of mine who owns a 3D printer. But I'll only take action on that once he visits me with his completed prints. I need to see that it works before committing to a course of action.
-
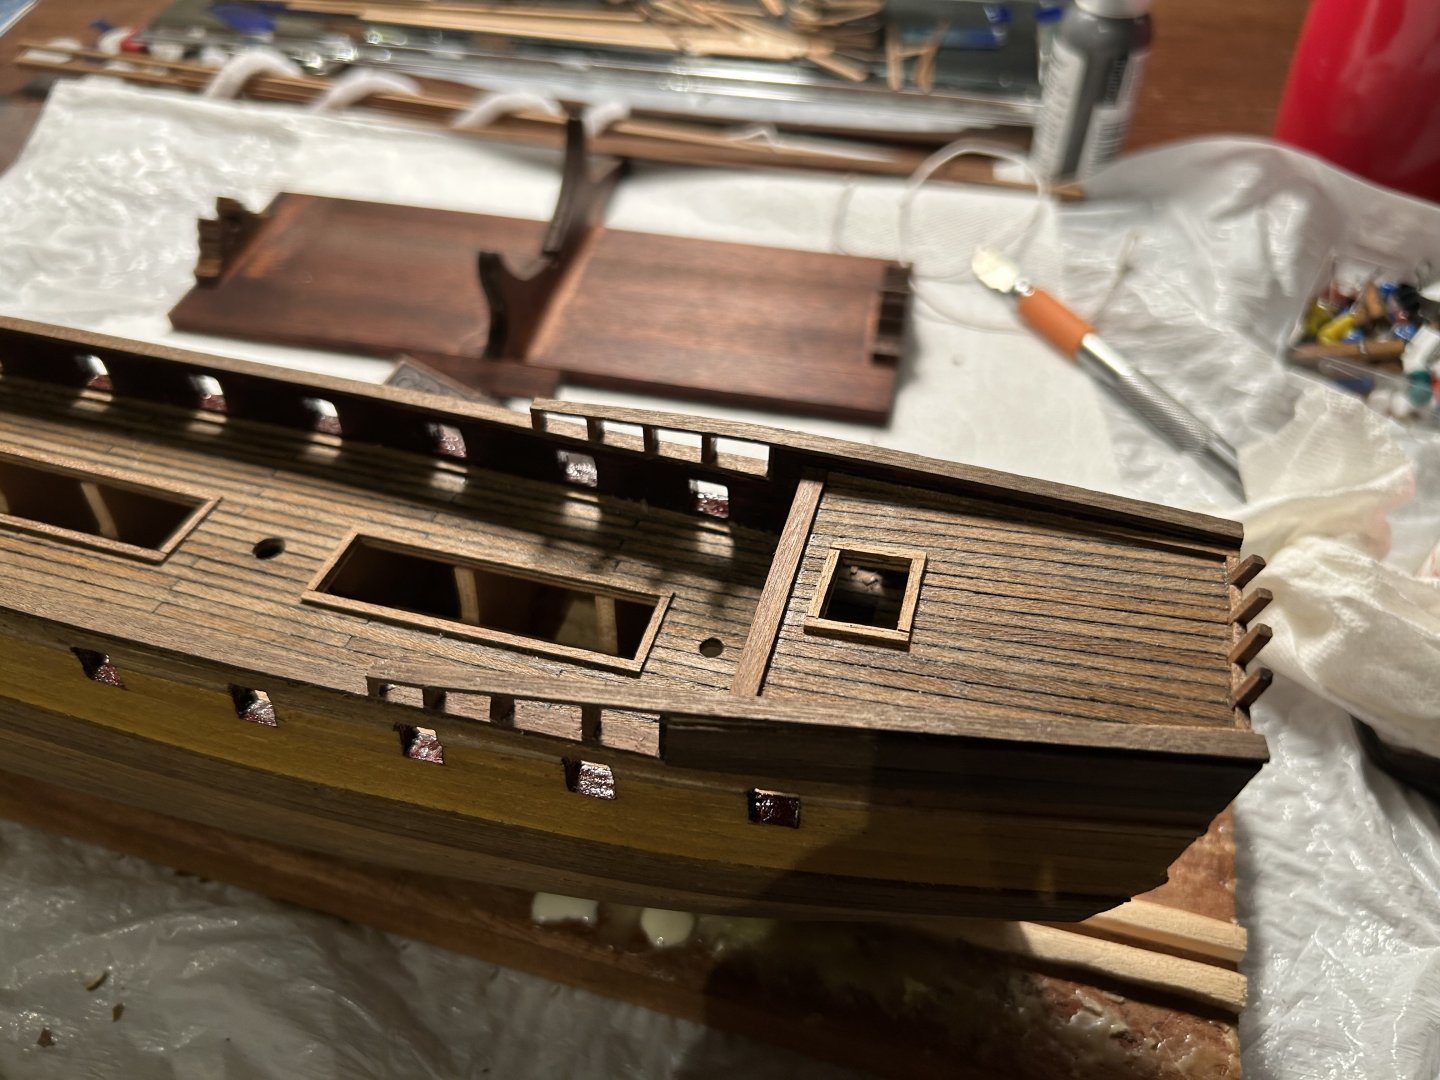
At last! The final plank has been bent onto the ship! It's far from perfect, but like most parts of the Greyhound, it's good enough to look mostly right from a distance. After the glue has a chance to dry a little overnight, it should be all good. Here's the result. In the background, you can see I have glued together and stained my stand.

-
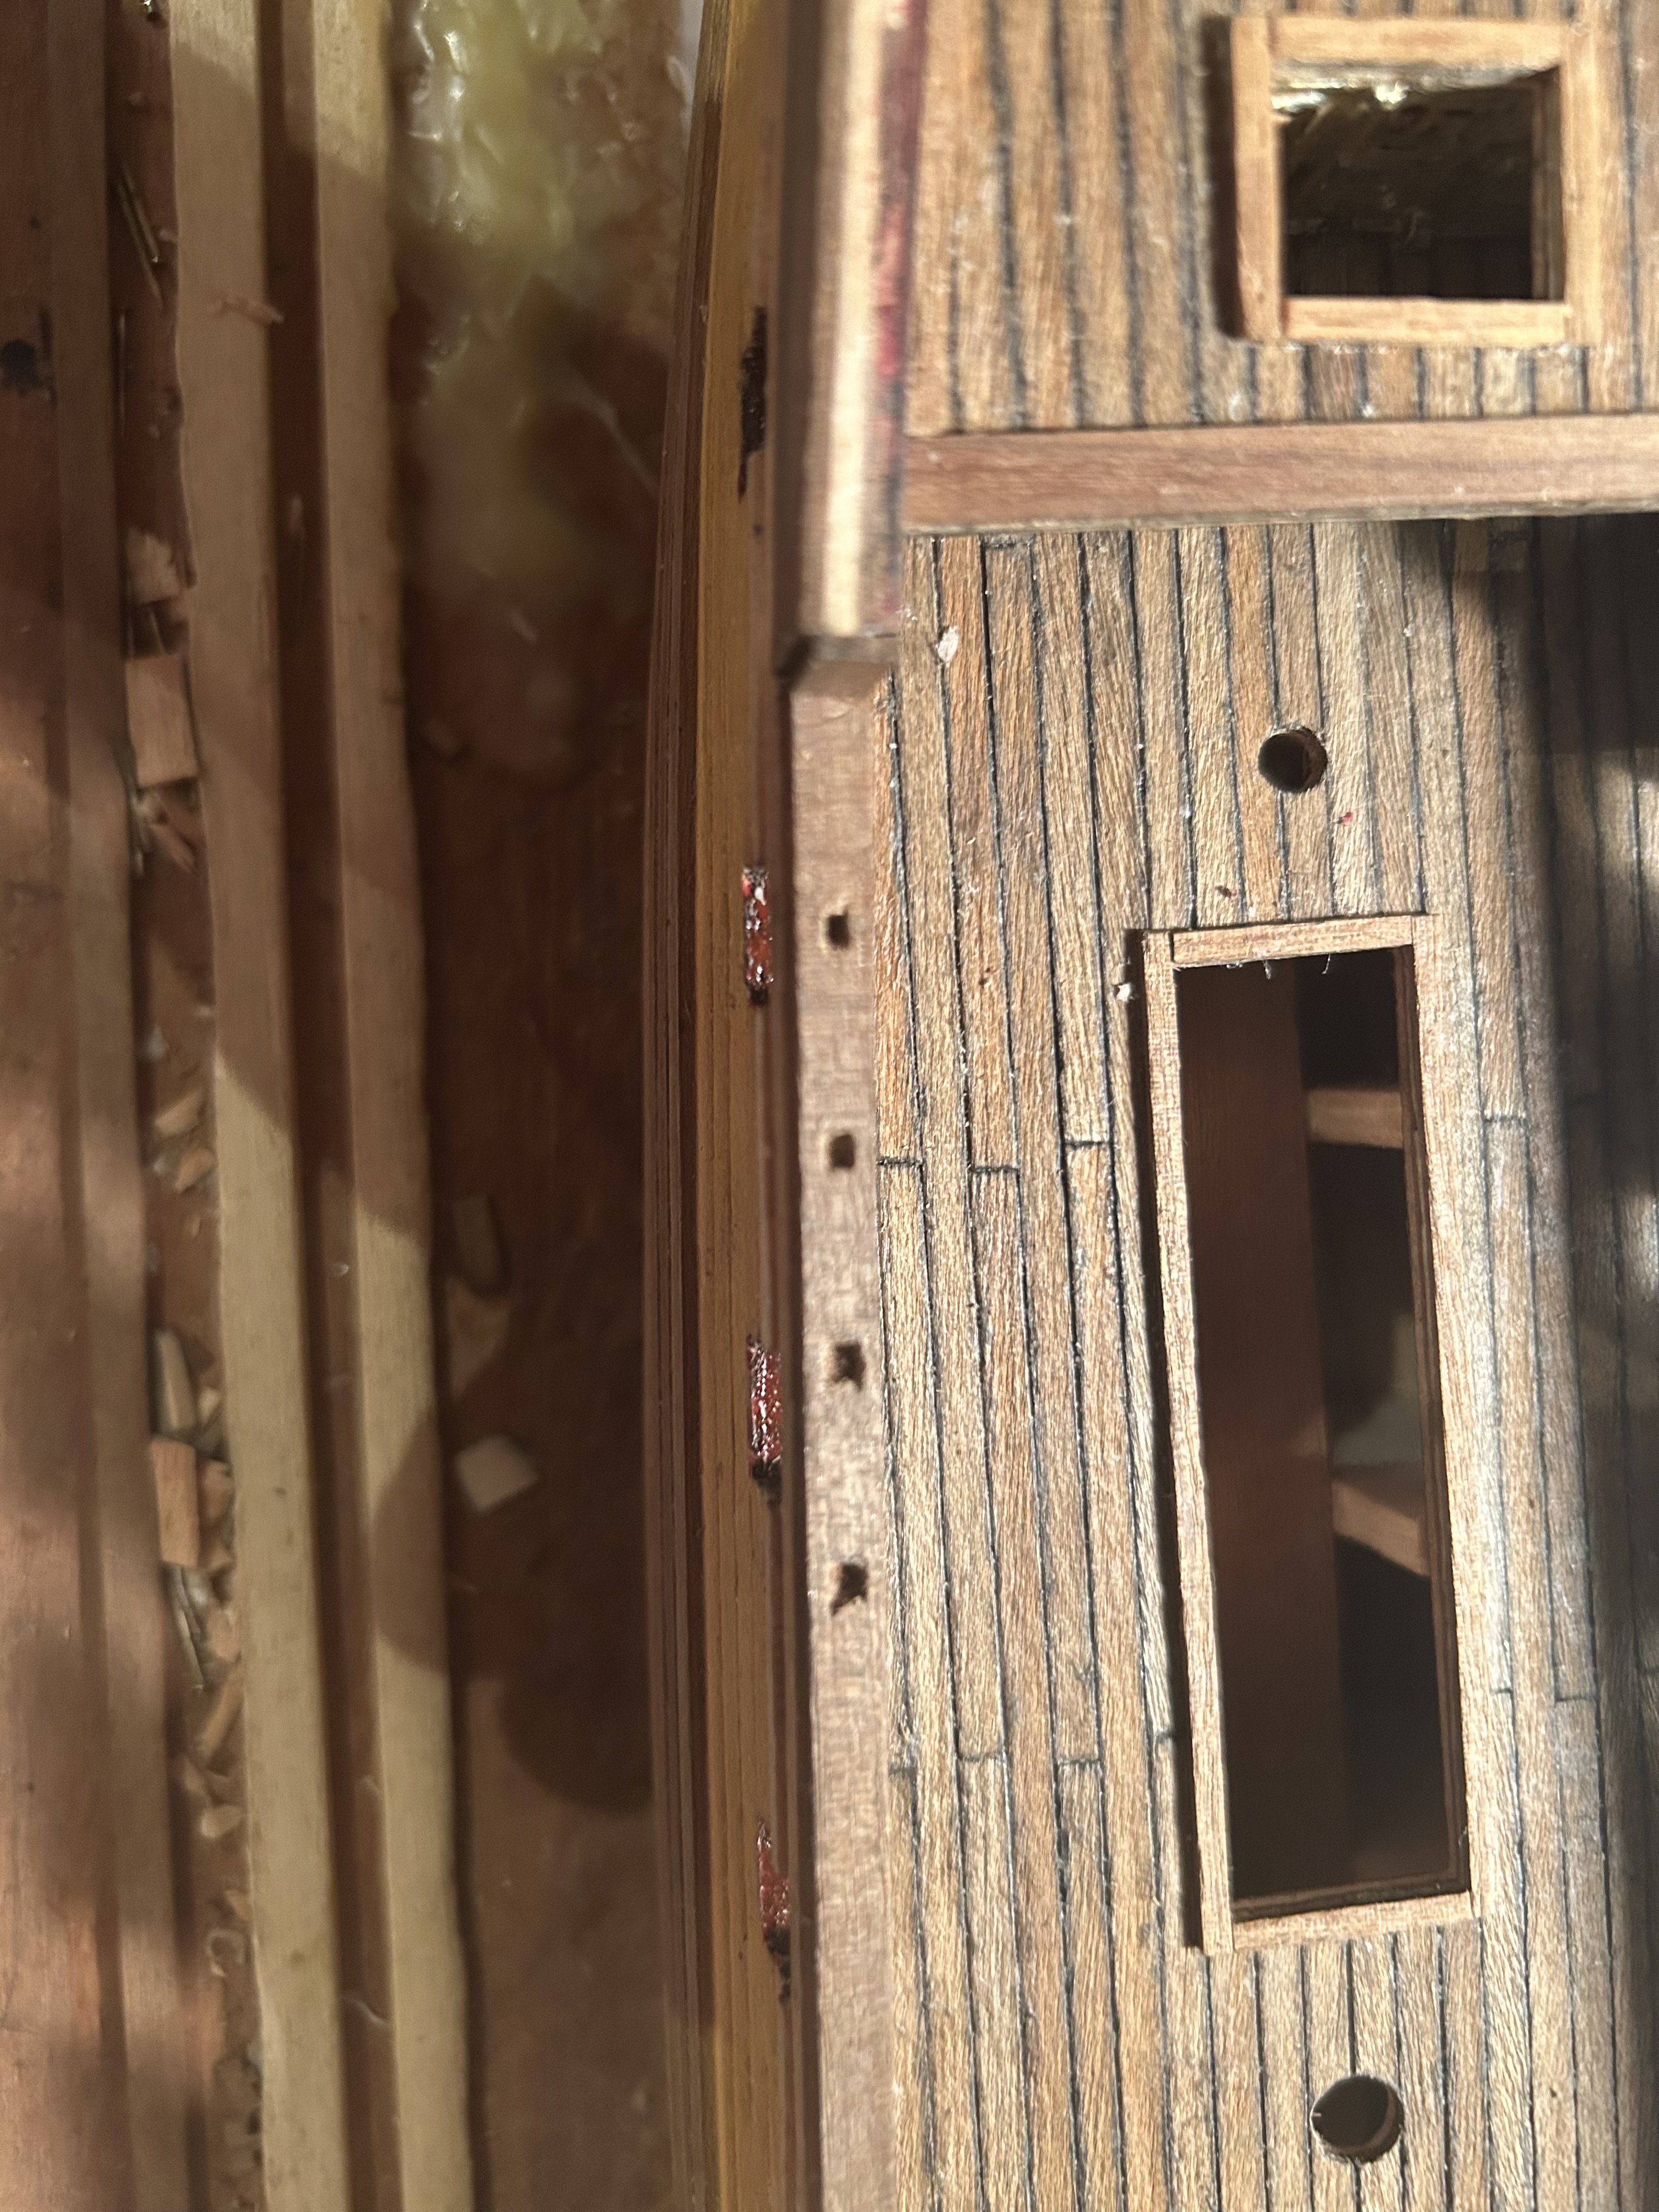
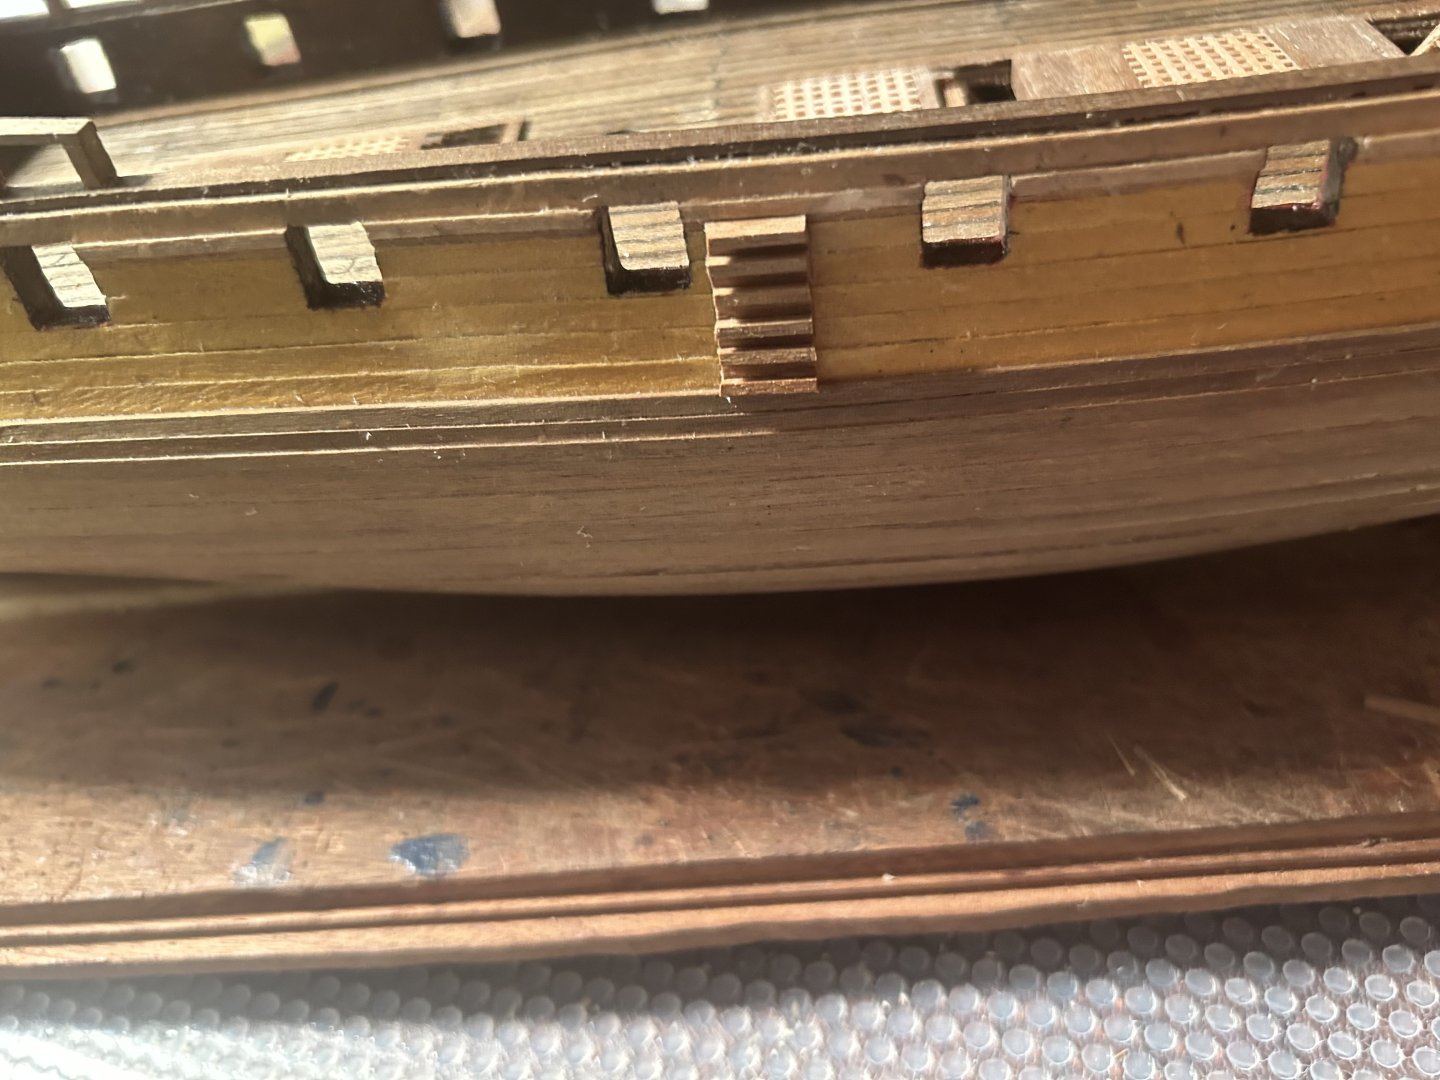
Putting on the port railing was a doozy. I'm not sure how much that was because I'm making it hard for myself versus the nature of the work. Here's the process. First, I put the 1x4mm walnut piece in boiling water for about two hours. I then bent it sideways to the shape of the edge overnight. After that, I cut the railing supports. Rather than just gluing them to the side and the railings, I cut the bottom of them into wood joints that inserted into corresponding holes I carved into the rail. I put each of them 12 mm apart, after I figured out that was about how much rail I had. The final part of the process was cutting them top a smooth height on top so the railing could naturally curve downward. I had to measure and recut many times on each one. The trick was to only slice a tiny bit off at once. The result wasn't quite what I expected, but there's solid contact between each post, the bottom rail, and the top rail. If anyone else wants to take this approach, I advise them to measure everything multiple times. If the starboard side goes just as well, I will be very pleased.


-
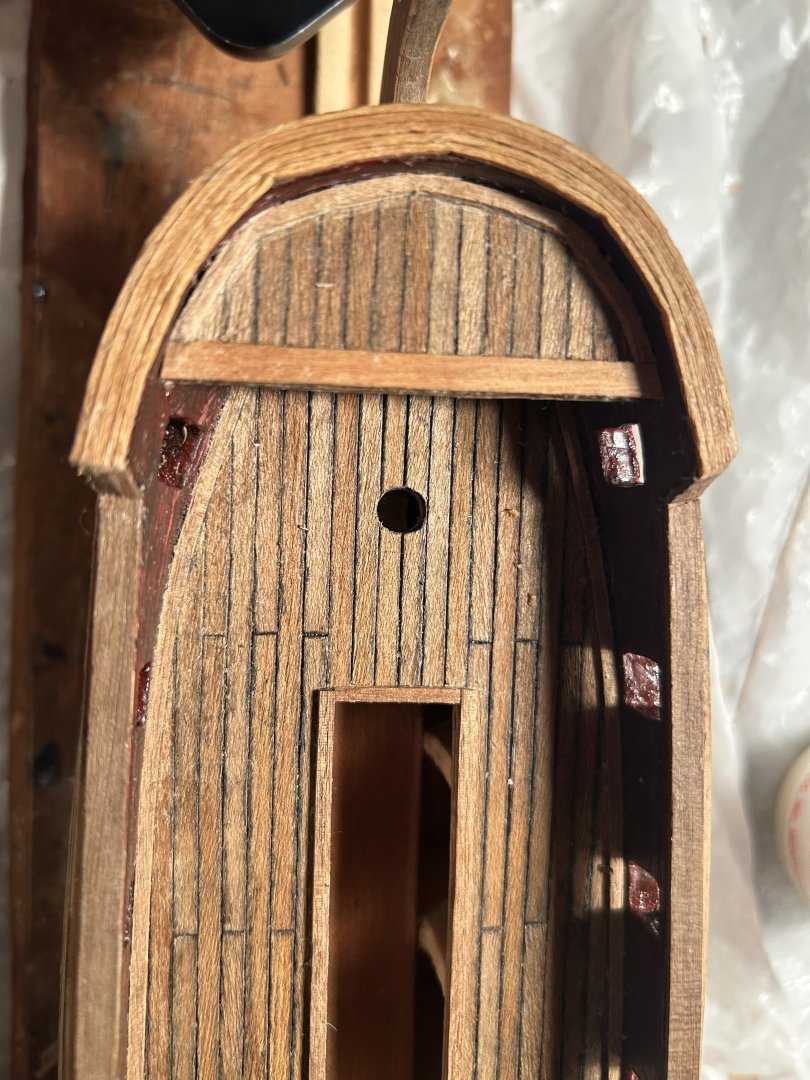
This step went on less horribly than I first imagined. The bow railing of the Greyhound consists of five 1mm strips, all bent to shape and glued side by side to form what will appear to be one plank. 1mm wood bends sideways much easier than 4mm wood, thankfully. I used the same jig I used for the rest of the hull and bent all five pieces to shape at once. After a good 2 hours of boiling, a bend on the jig, and 24 hours to learn its new shape, the wood went on perfectly. After the glue has several hours and I sand the wood a little for smoothness, it should make a nice, clean railing.
-
Welcome! I'm in North Georgia as well and working on an HMS Greyhound with awful instructions too. I'd be glad to talk with you sometime!
-
I got on the last main deck railing, as well as the bulwark lining. A word to all those doing something like this in the future: It's good to make sure the surface you're gluing the railing to is absolutely flat before making a start of it. I had to cut it smooth at the last minute. The lining went on well, but bending a piece of wood against the grain like that just doesn't work well. I certainly won't use the same method on the final bow railing.

-
Thanks for posting this! I'm building the Greyhound, and given the dubious instructions this will prove inestimably helpful!
-
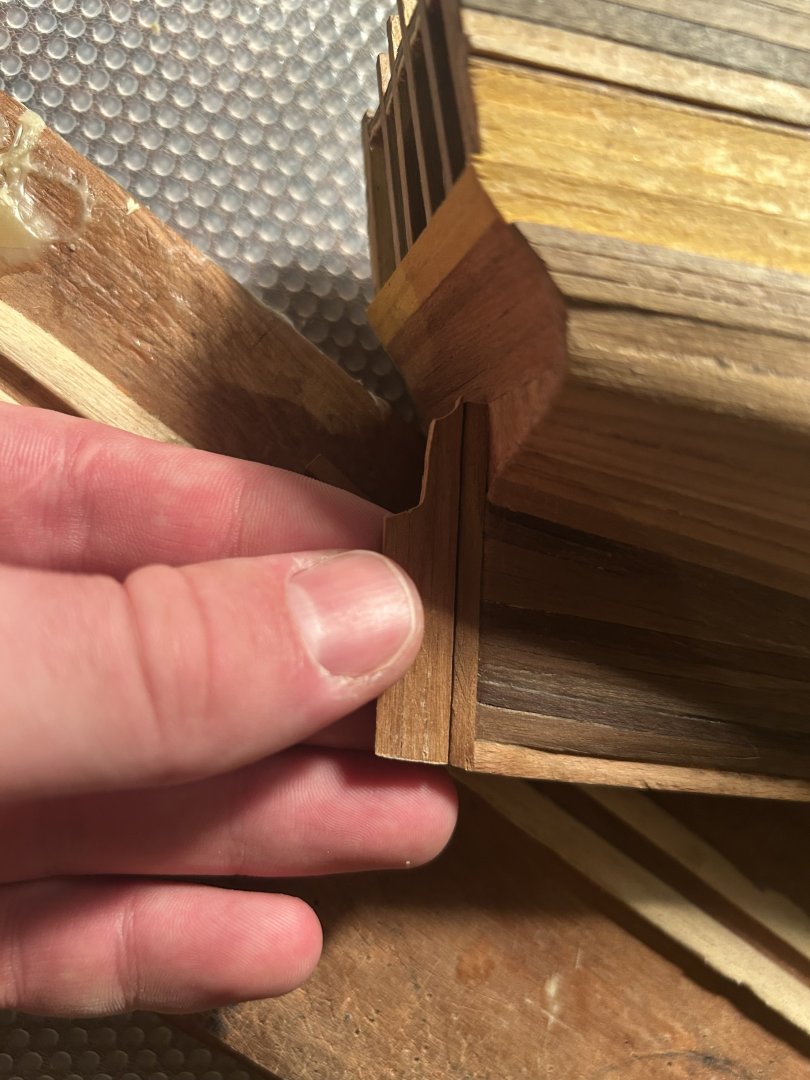
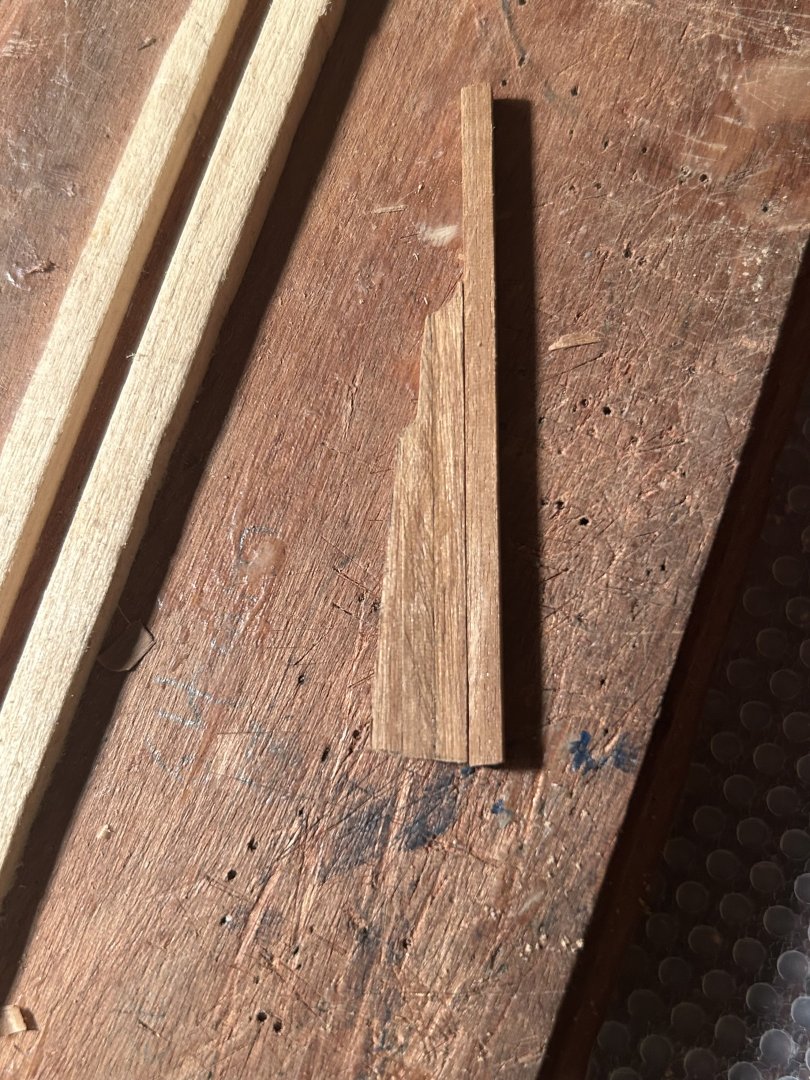
The deck framings are all done, except for the one on the bow, which I will have to shape out of scrap wood. While I'm on a bending long pieces spree, I put on the starboard railing. The trick to cutting a straight piece of wood to an irregularly curved surface was actually fairly simple. First, I measured the distance by bending some scrap wood into the same general area. Then, I cut the finishing plank to length by taking a tiny bit off at a time, then seeing if it fit. If you are very cautious, this method can get you a near-perfect fit. I held it in place while the glue dried by hand and with a set of clips. It worked in the end. I'm very thankful for podcasts and movies that can keep my mind occupied while trying to hold finnicky pieces in place. I don't know what I would do without them...

-
I've saved these last pics for a bit, just because the next few steps have been so simple. These are all the framings for the deck, and they've been going on fairly easily. I have one more long piece to cover the port gunwale line, and one more to cover the gunwale line on the quarterdeck. The one big complication was that Corel didn't give me enough wood, and I had to cut scrap wood to shape on some of the pieces. Bonus points to you if you can guess which.
-
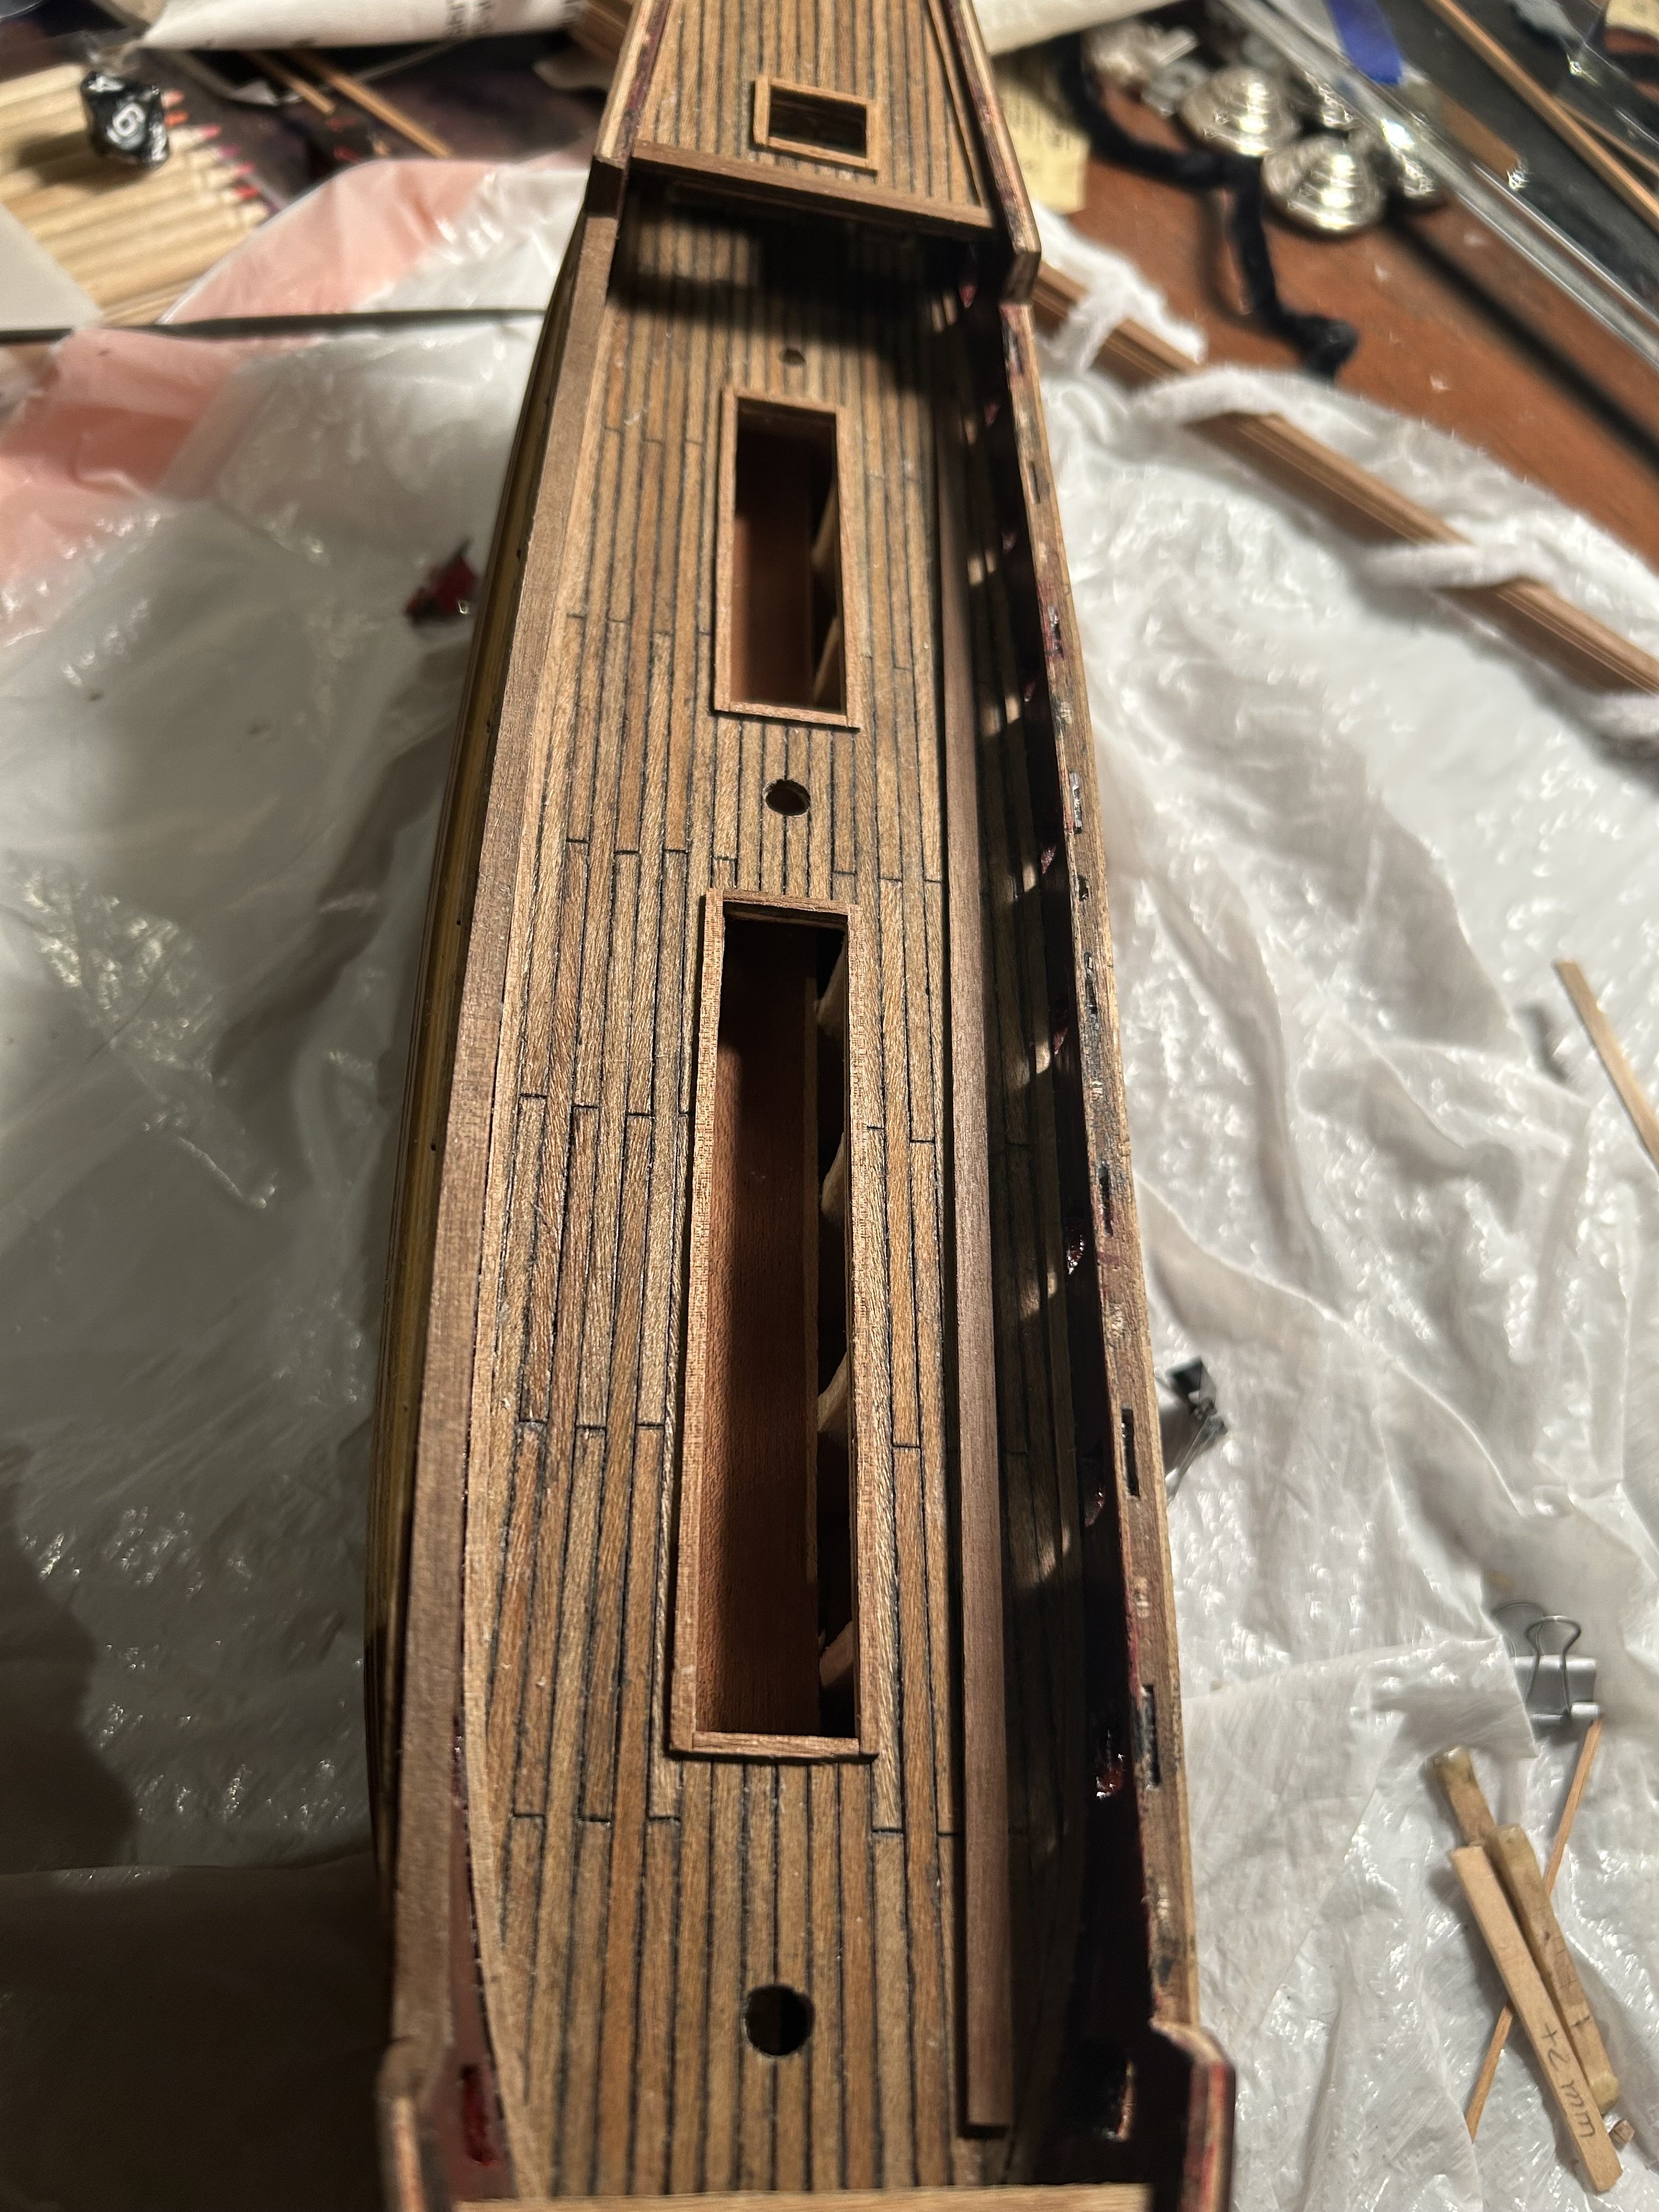
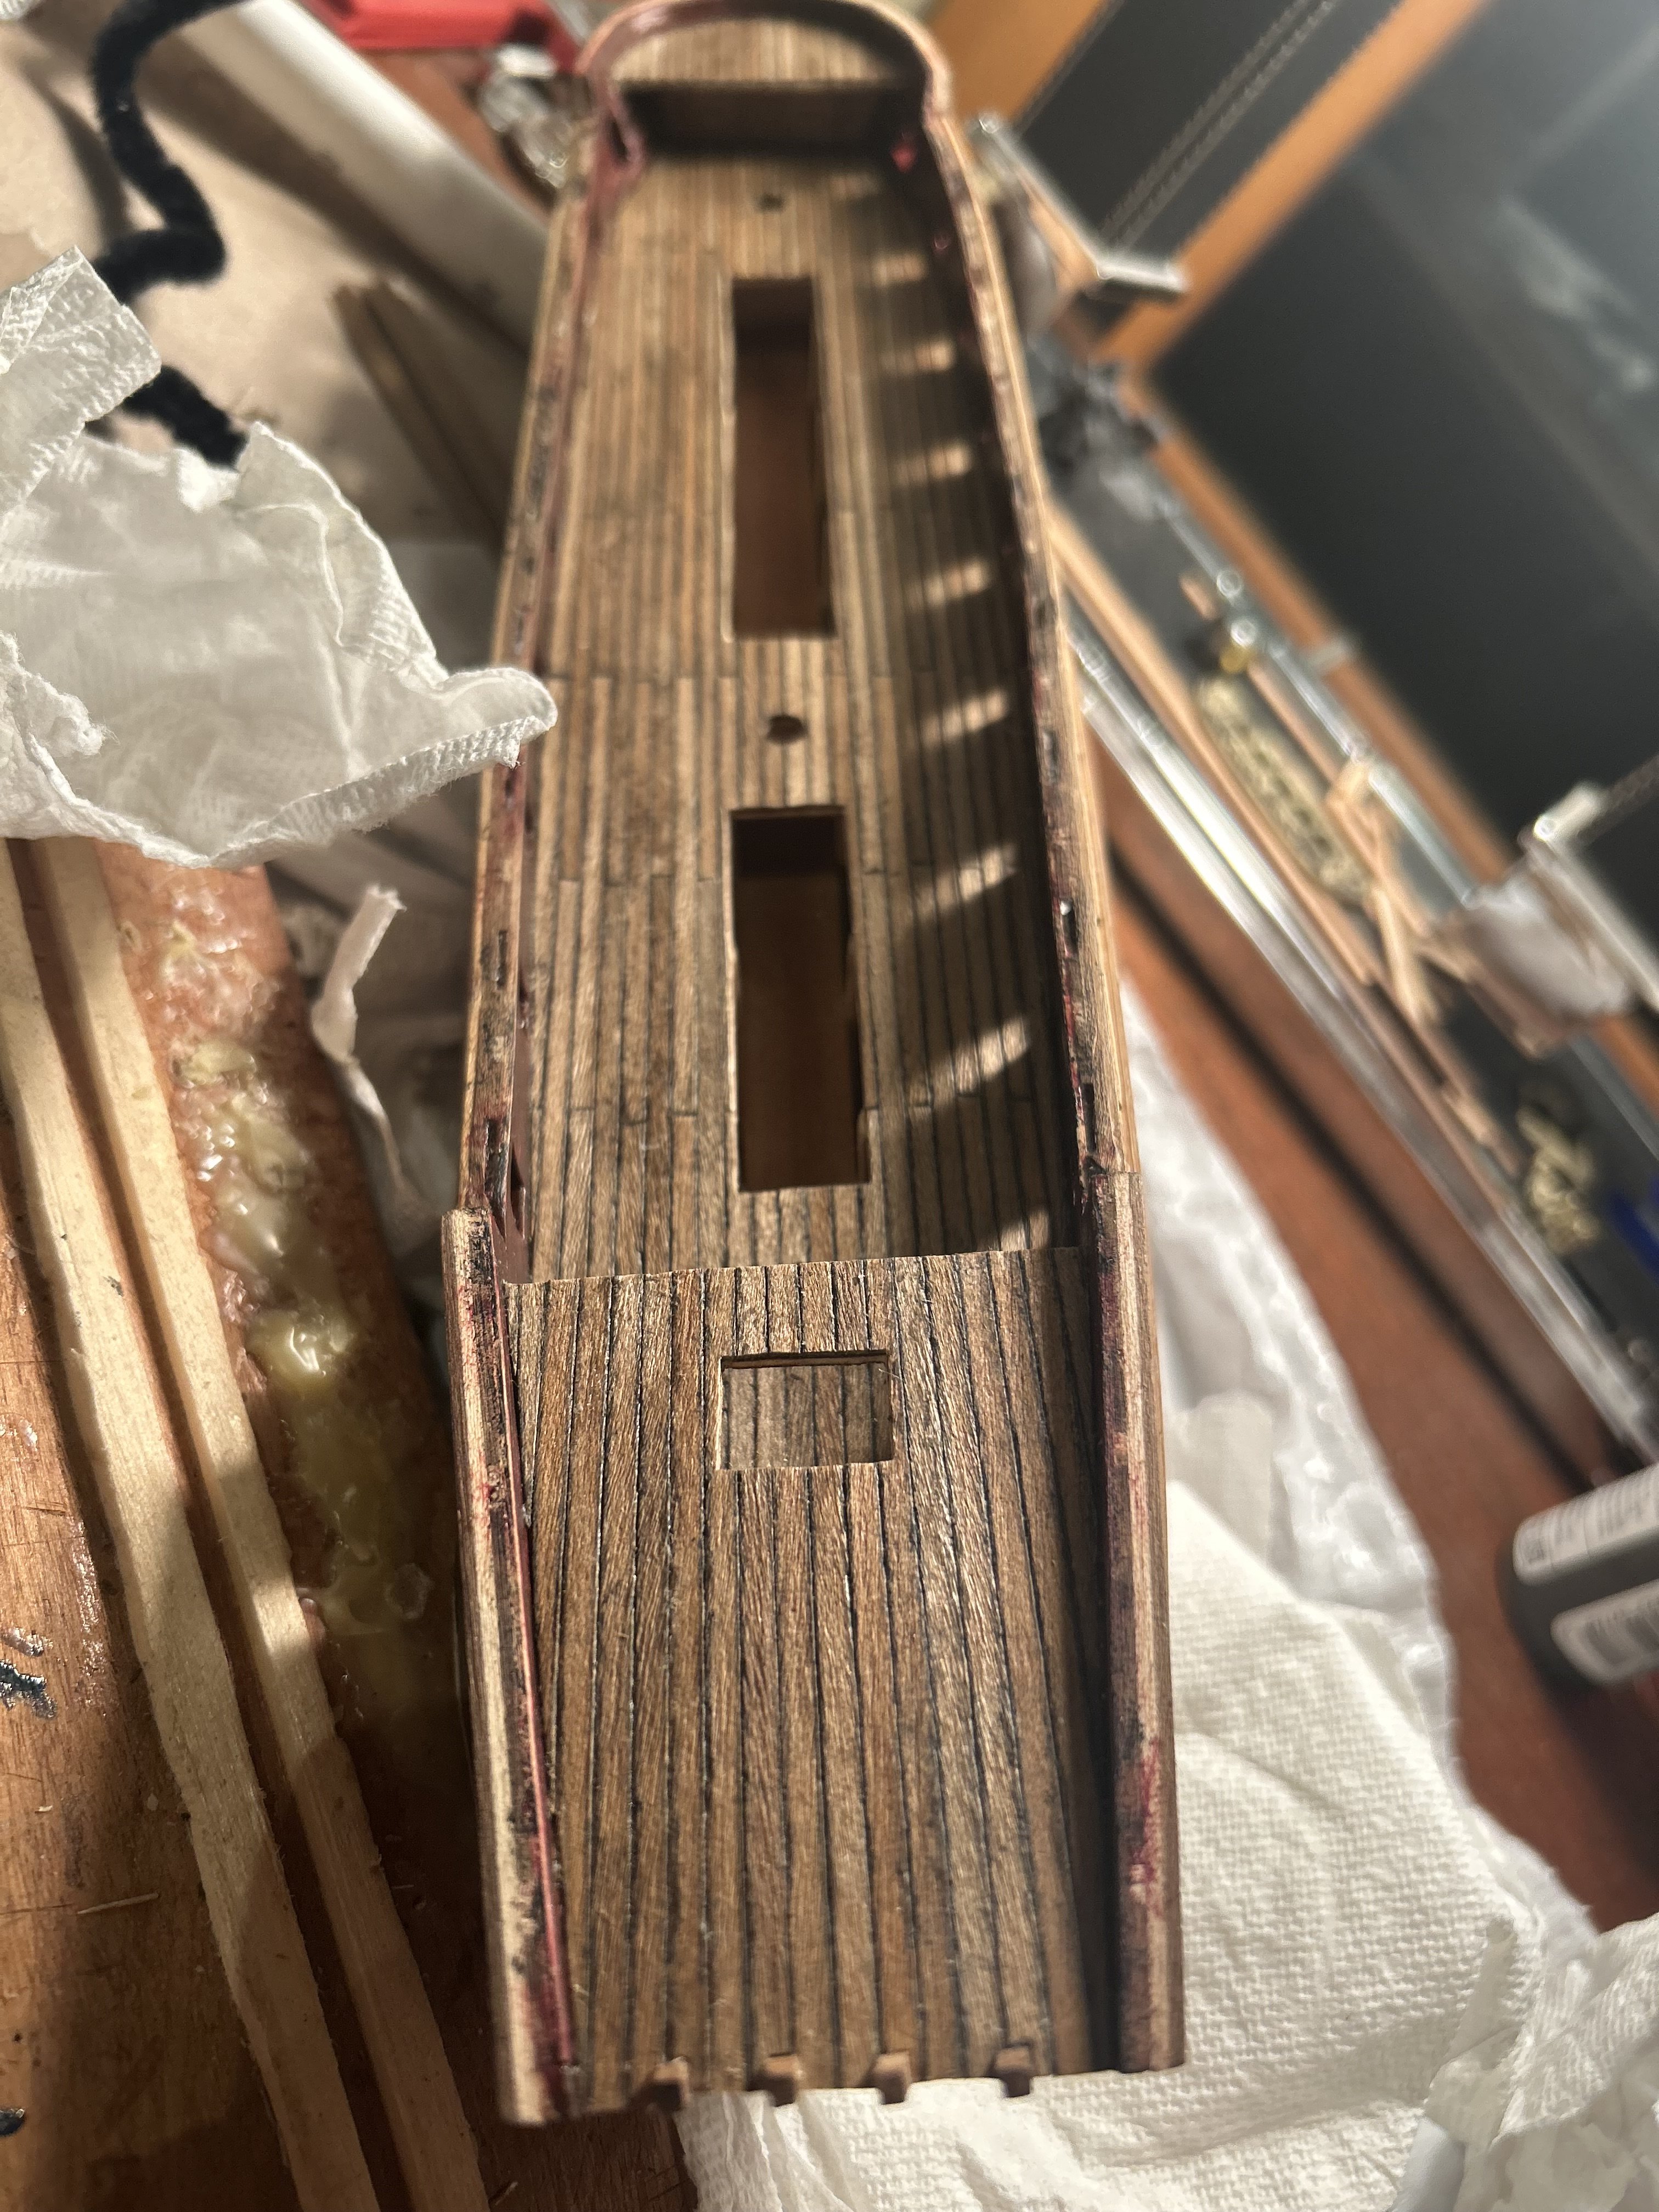
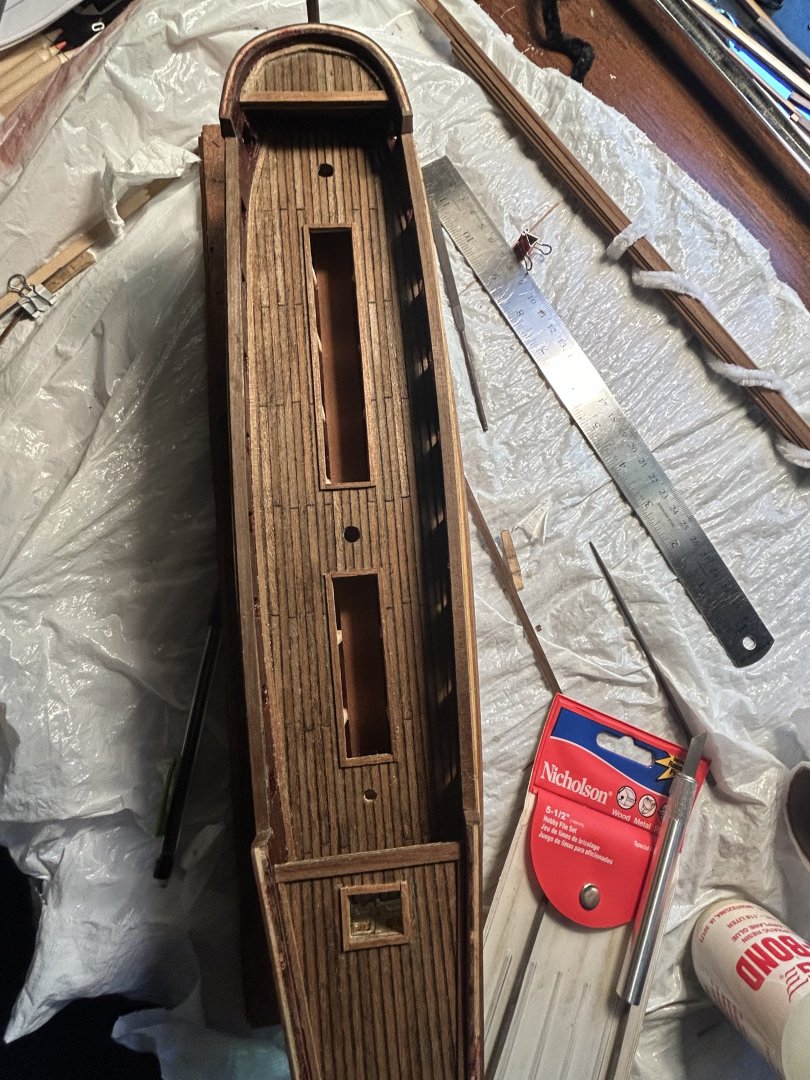
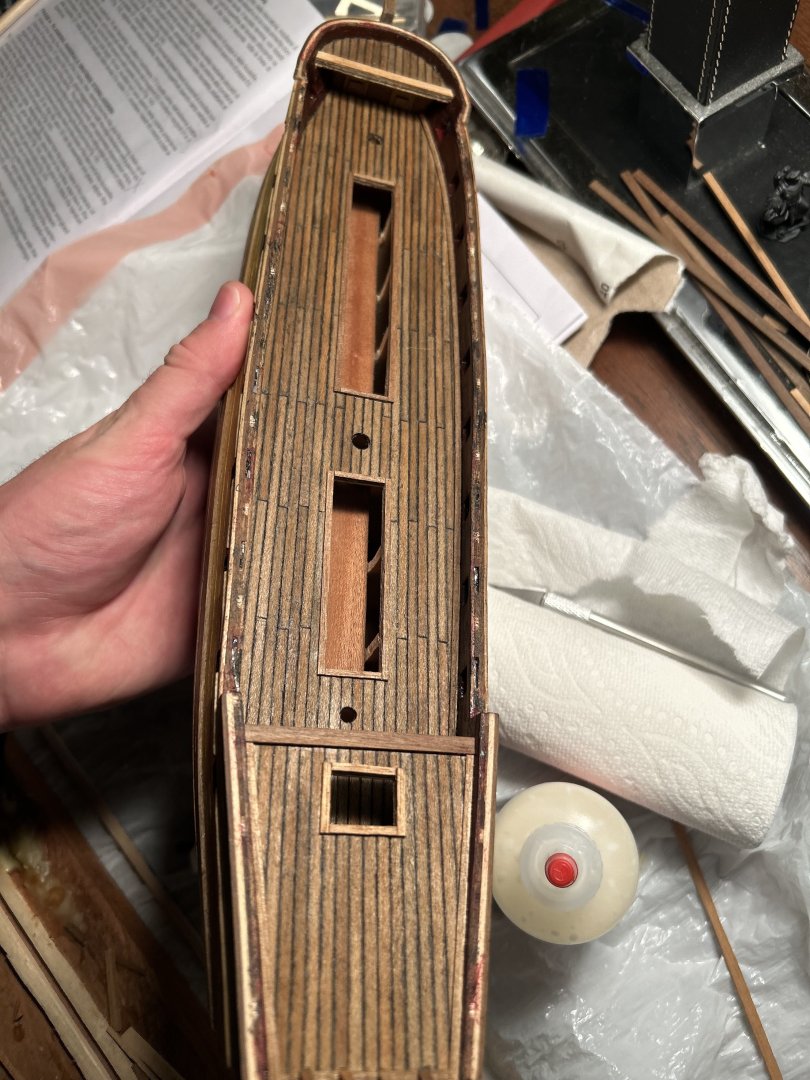
Done with the deck planking. Now, I just need to do the structural details on the deck. If there was one lesson I learned from this step, it was to measure the deck and draw a line down its center before attaching it to the ship. It would have been far easier to get a clean center line that way. As it is though, I'm only 1 mm off at worst.

-
The main deck is now finished, and I've started on the poop deck. In fact, I'm slightly ahead of the pictures at present. This is probably one of the more monotomous parts of the process, but nevertheless has a degree of satisfaction. Soon there won't be a scrap of plywood showing on the model.
-
I have roughly 6 mm on either side left to go. Of course, cutting the planks to a nice irregular curve will be a challenge. Otherwise though, things have mostly gone well.
-
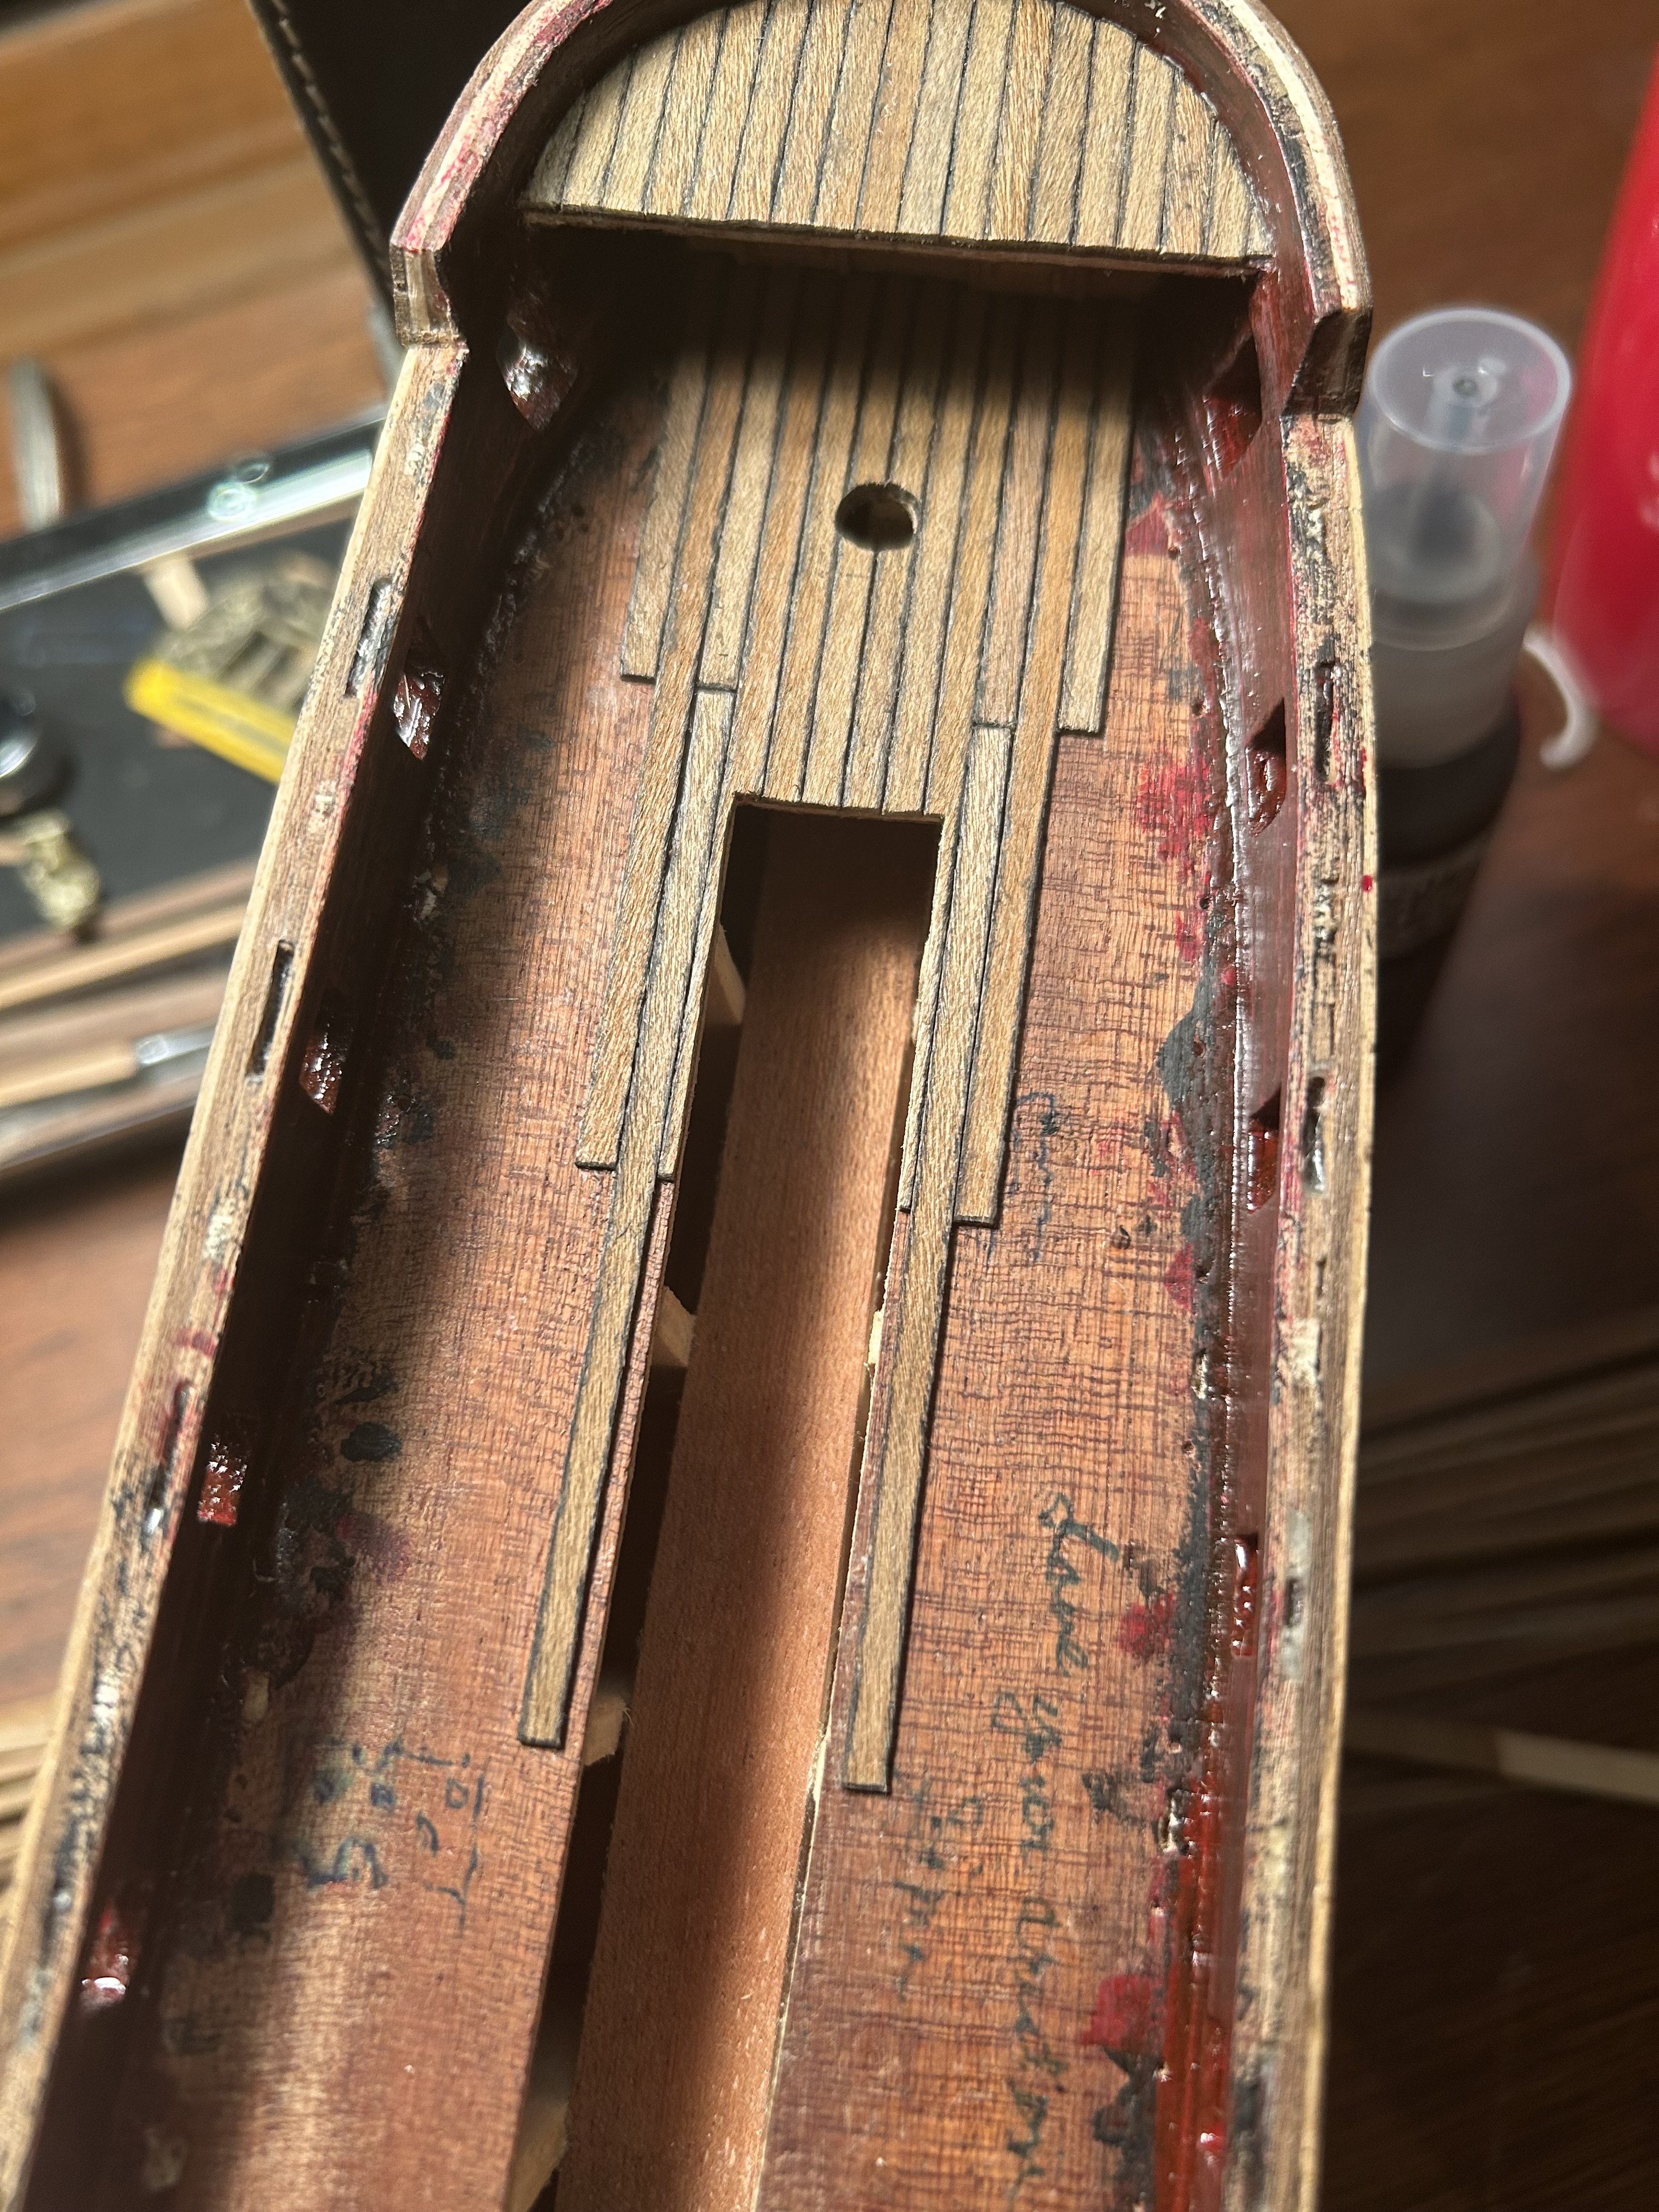
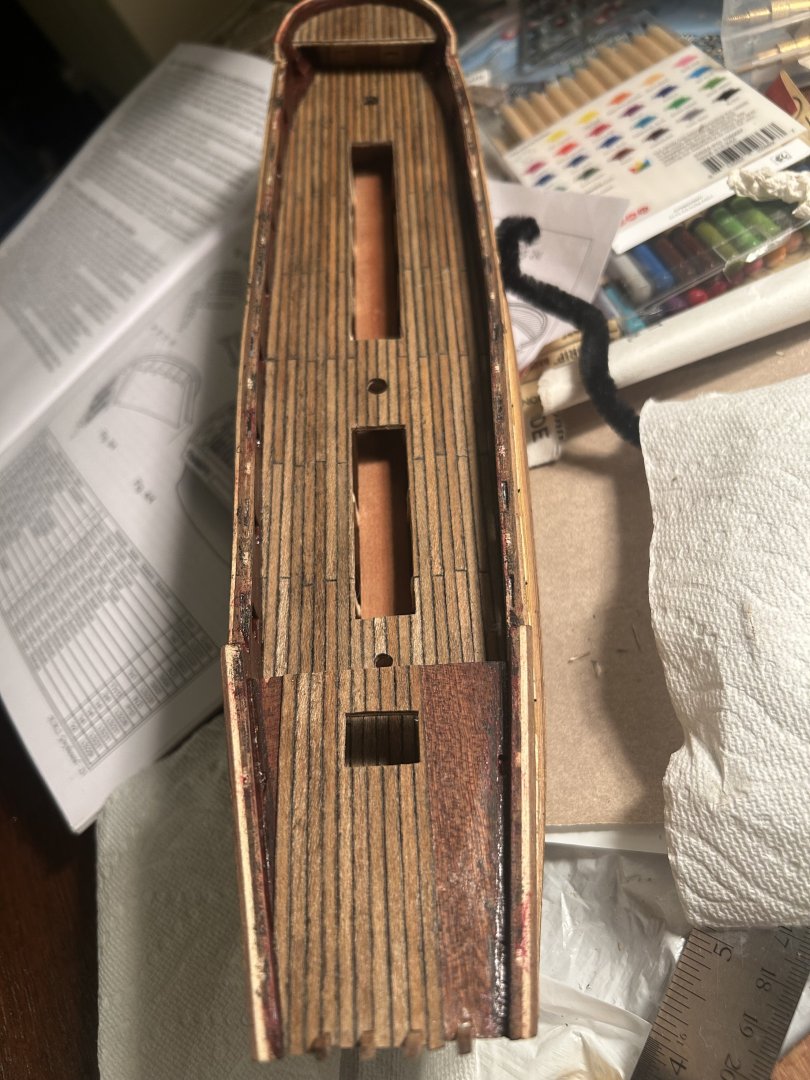
Despite the fact that I no longer have to go to the lengths of boiling and bending planks, I still find my max pace per day is about two uncut planks worth of wood. It looks like things are going in the right direction, however. I have finished the center, and it is maybe 1 mm off toward the stern. But I don't think it's a big deal because it's not that visible.

-
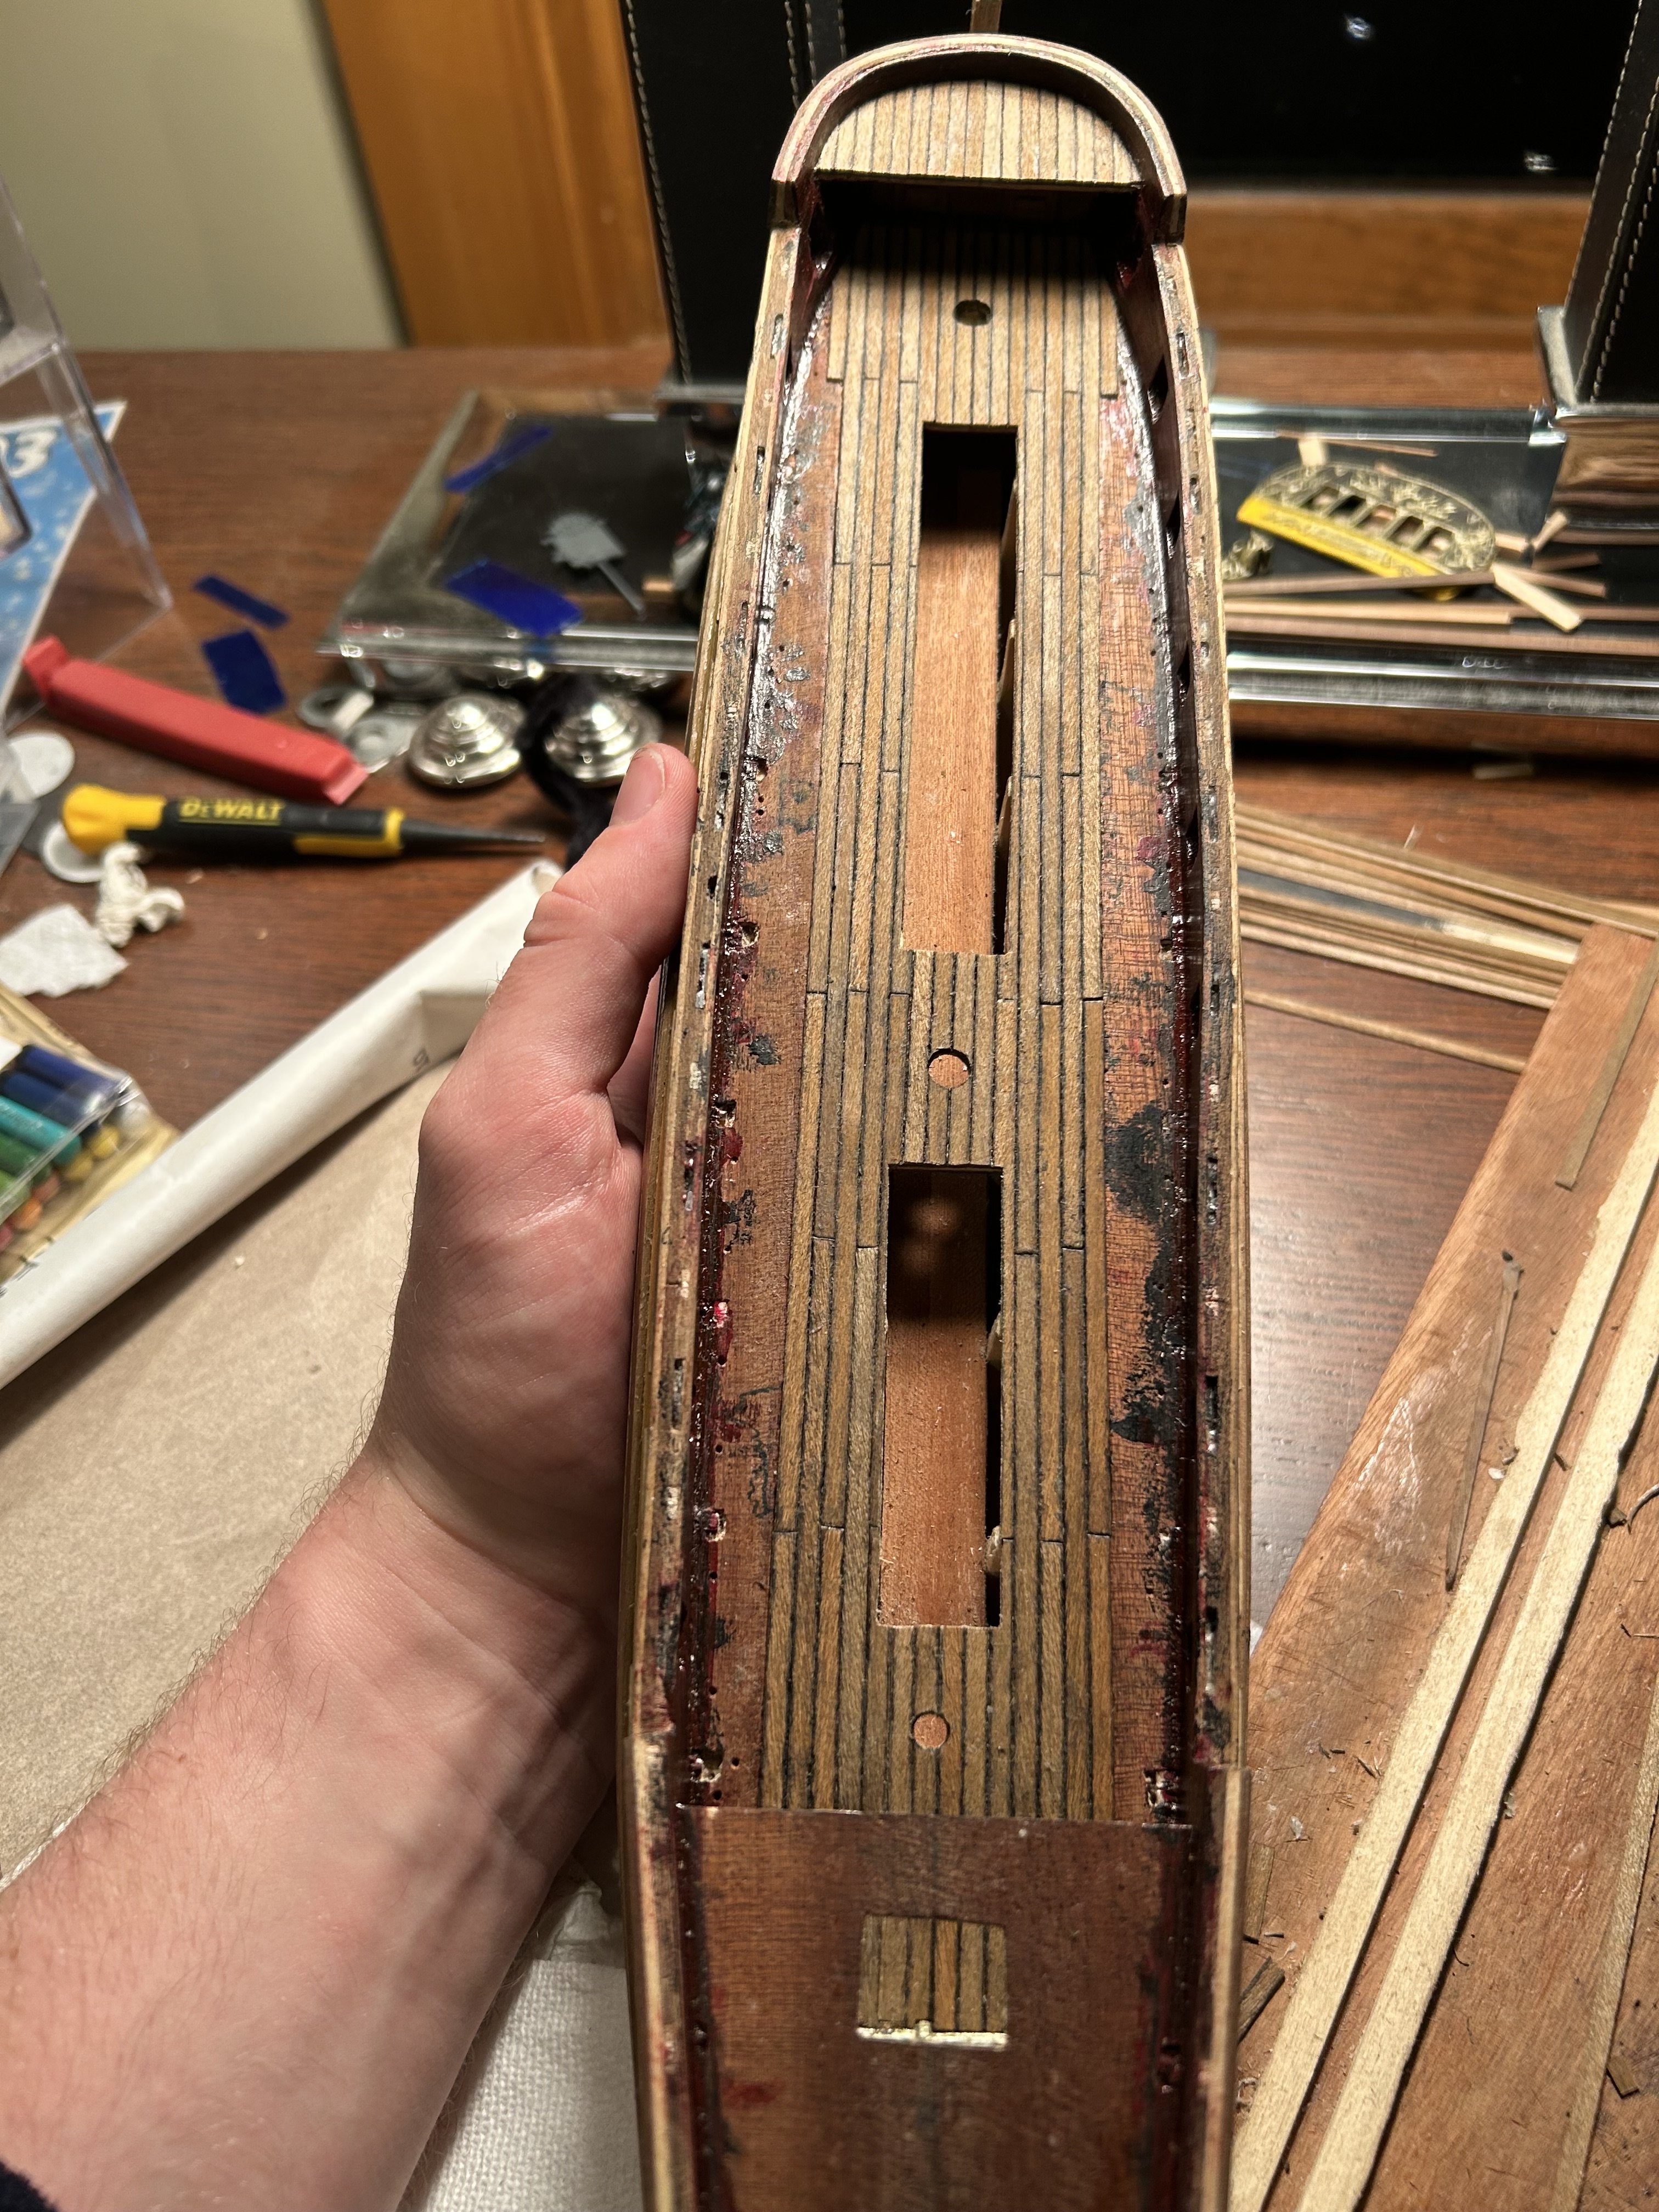
The advance slowly continues. As of now, the plan is to plank along the middle, then build outward from the sides and deal with all the fiddly bits that have to fit the ship's curves last. By doing it this way, I should leave myself a solid base to build out from. Of course, given that the ship supplies pieces that frame the deck against the sides, I most likely don't need to be too worried about getting the space between the two absolutely perfect. With luck, I should be able to plank all the way to the cabin doors in three or four days. After that, I think I'll build to the sides of the main deck.

-
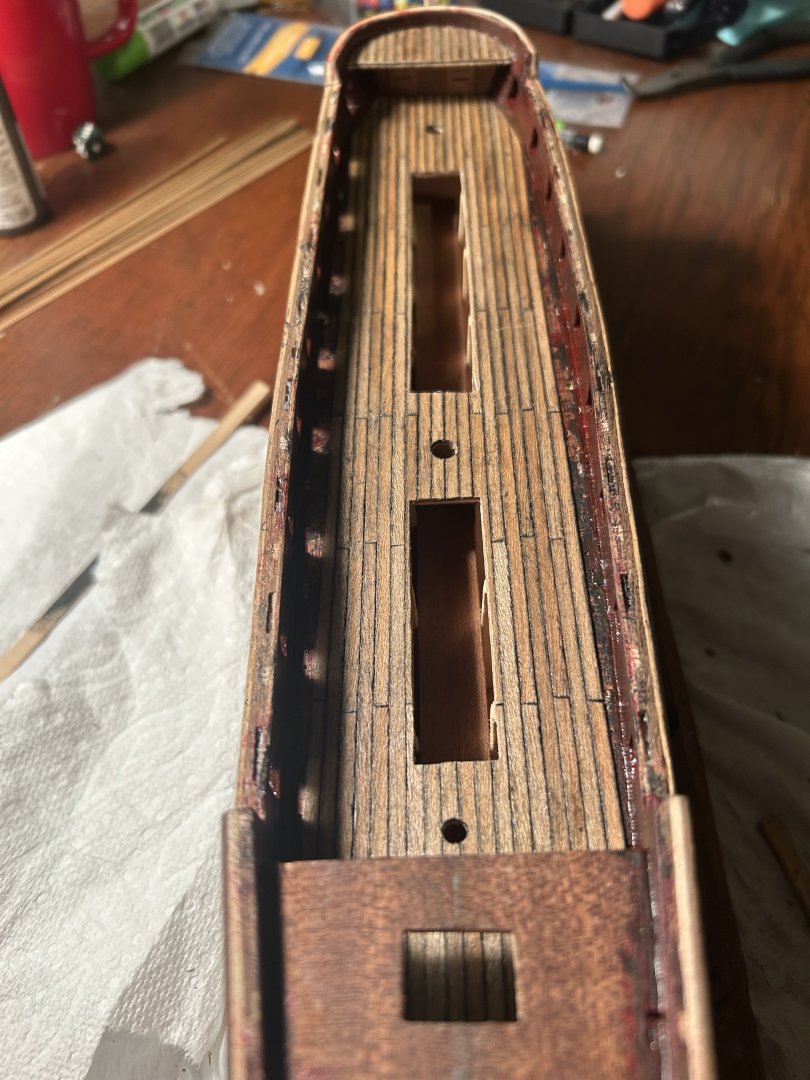
Good news! I've put planks over the entire beginning of the ship, and it's perfectly centered for certain. Now I just need to countinue going down toward the stern.