HOLIDAY DONATION DRIVE - SUPPORT MSW - DO YOUR PART TO KEEP THIS GREAT FORUM GOING! (89 donations so far out of 49,000 members - C'mon guys!)
×


Jackson7
-
Posts
186 -
Joined
-
Last visited
Content Type
Profiles
Forums
Gallery
Events
Everything posted by Jackson7
-
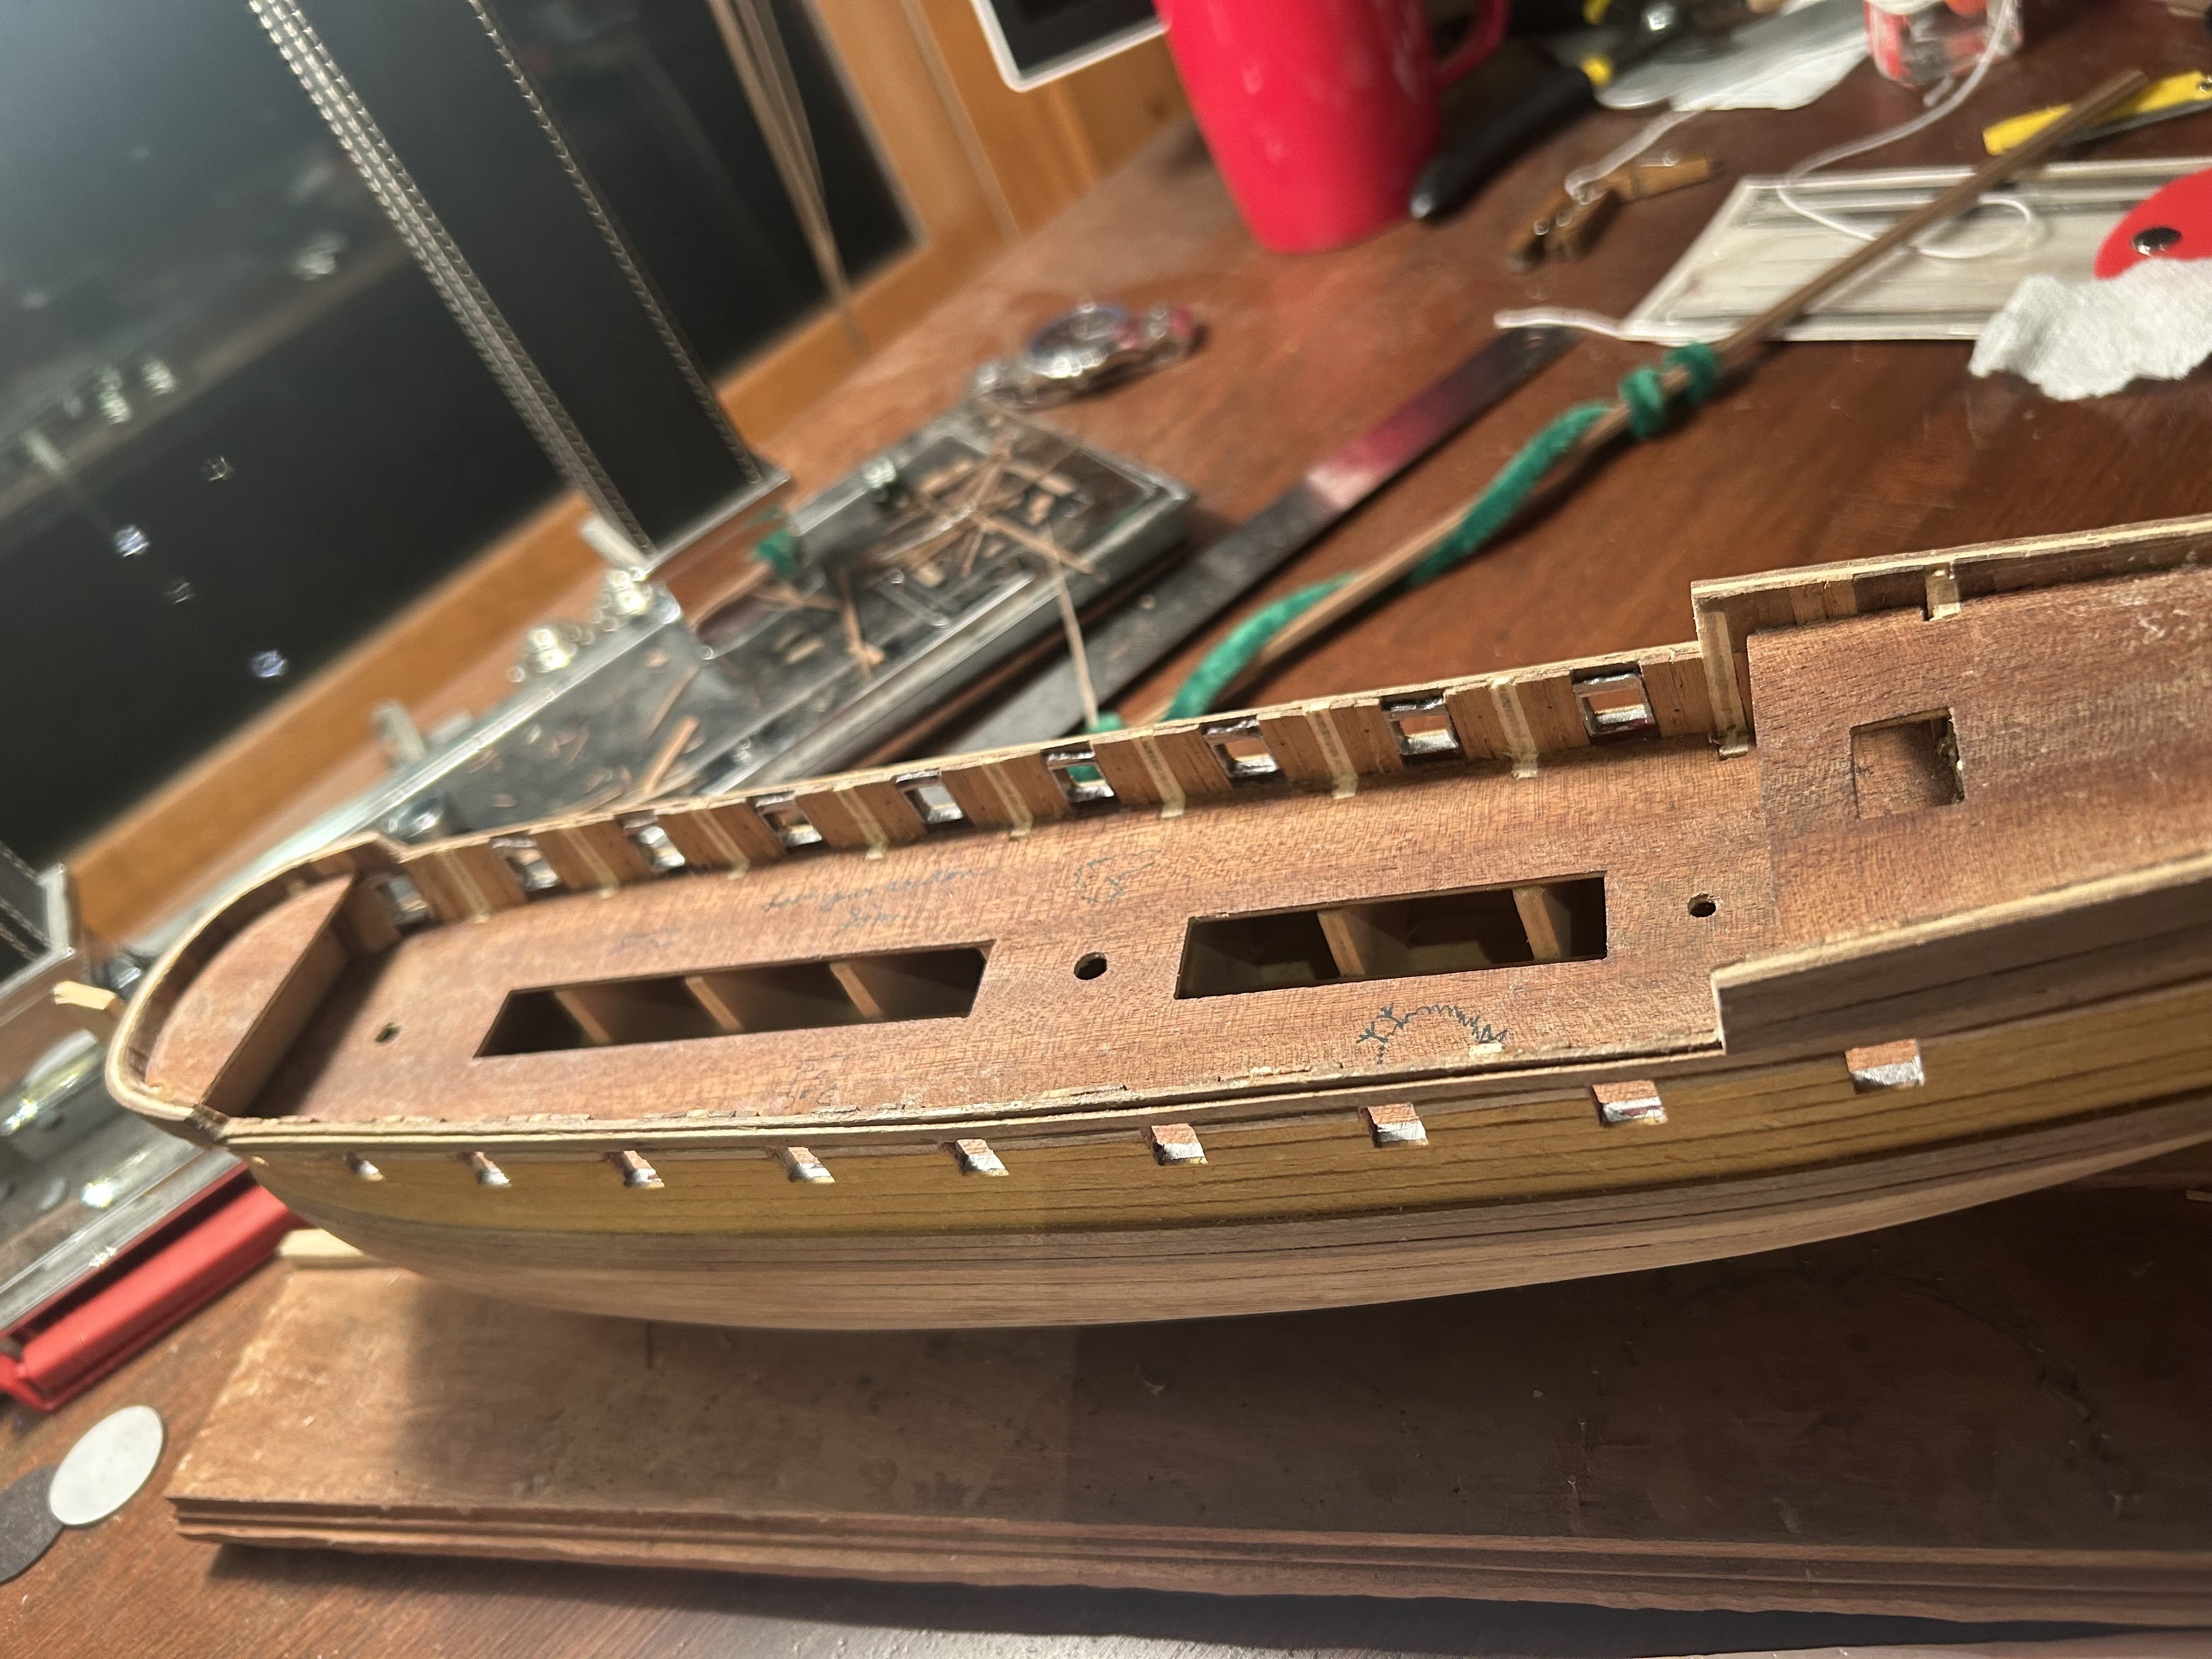
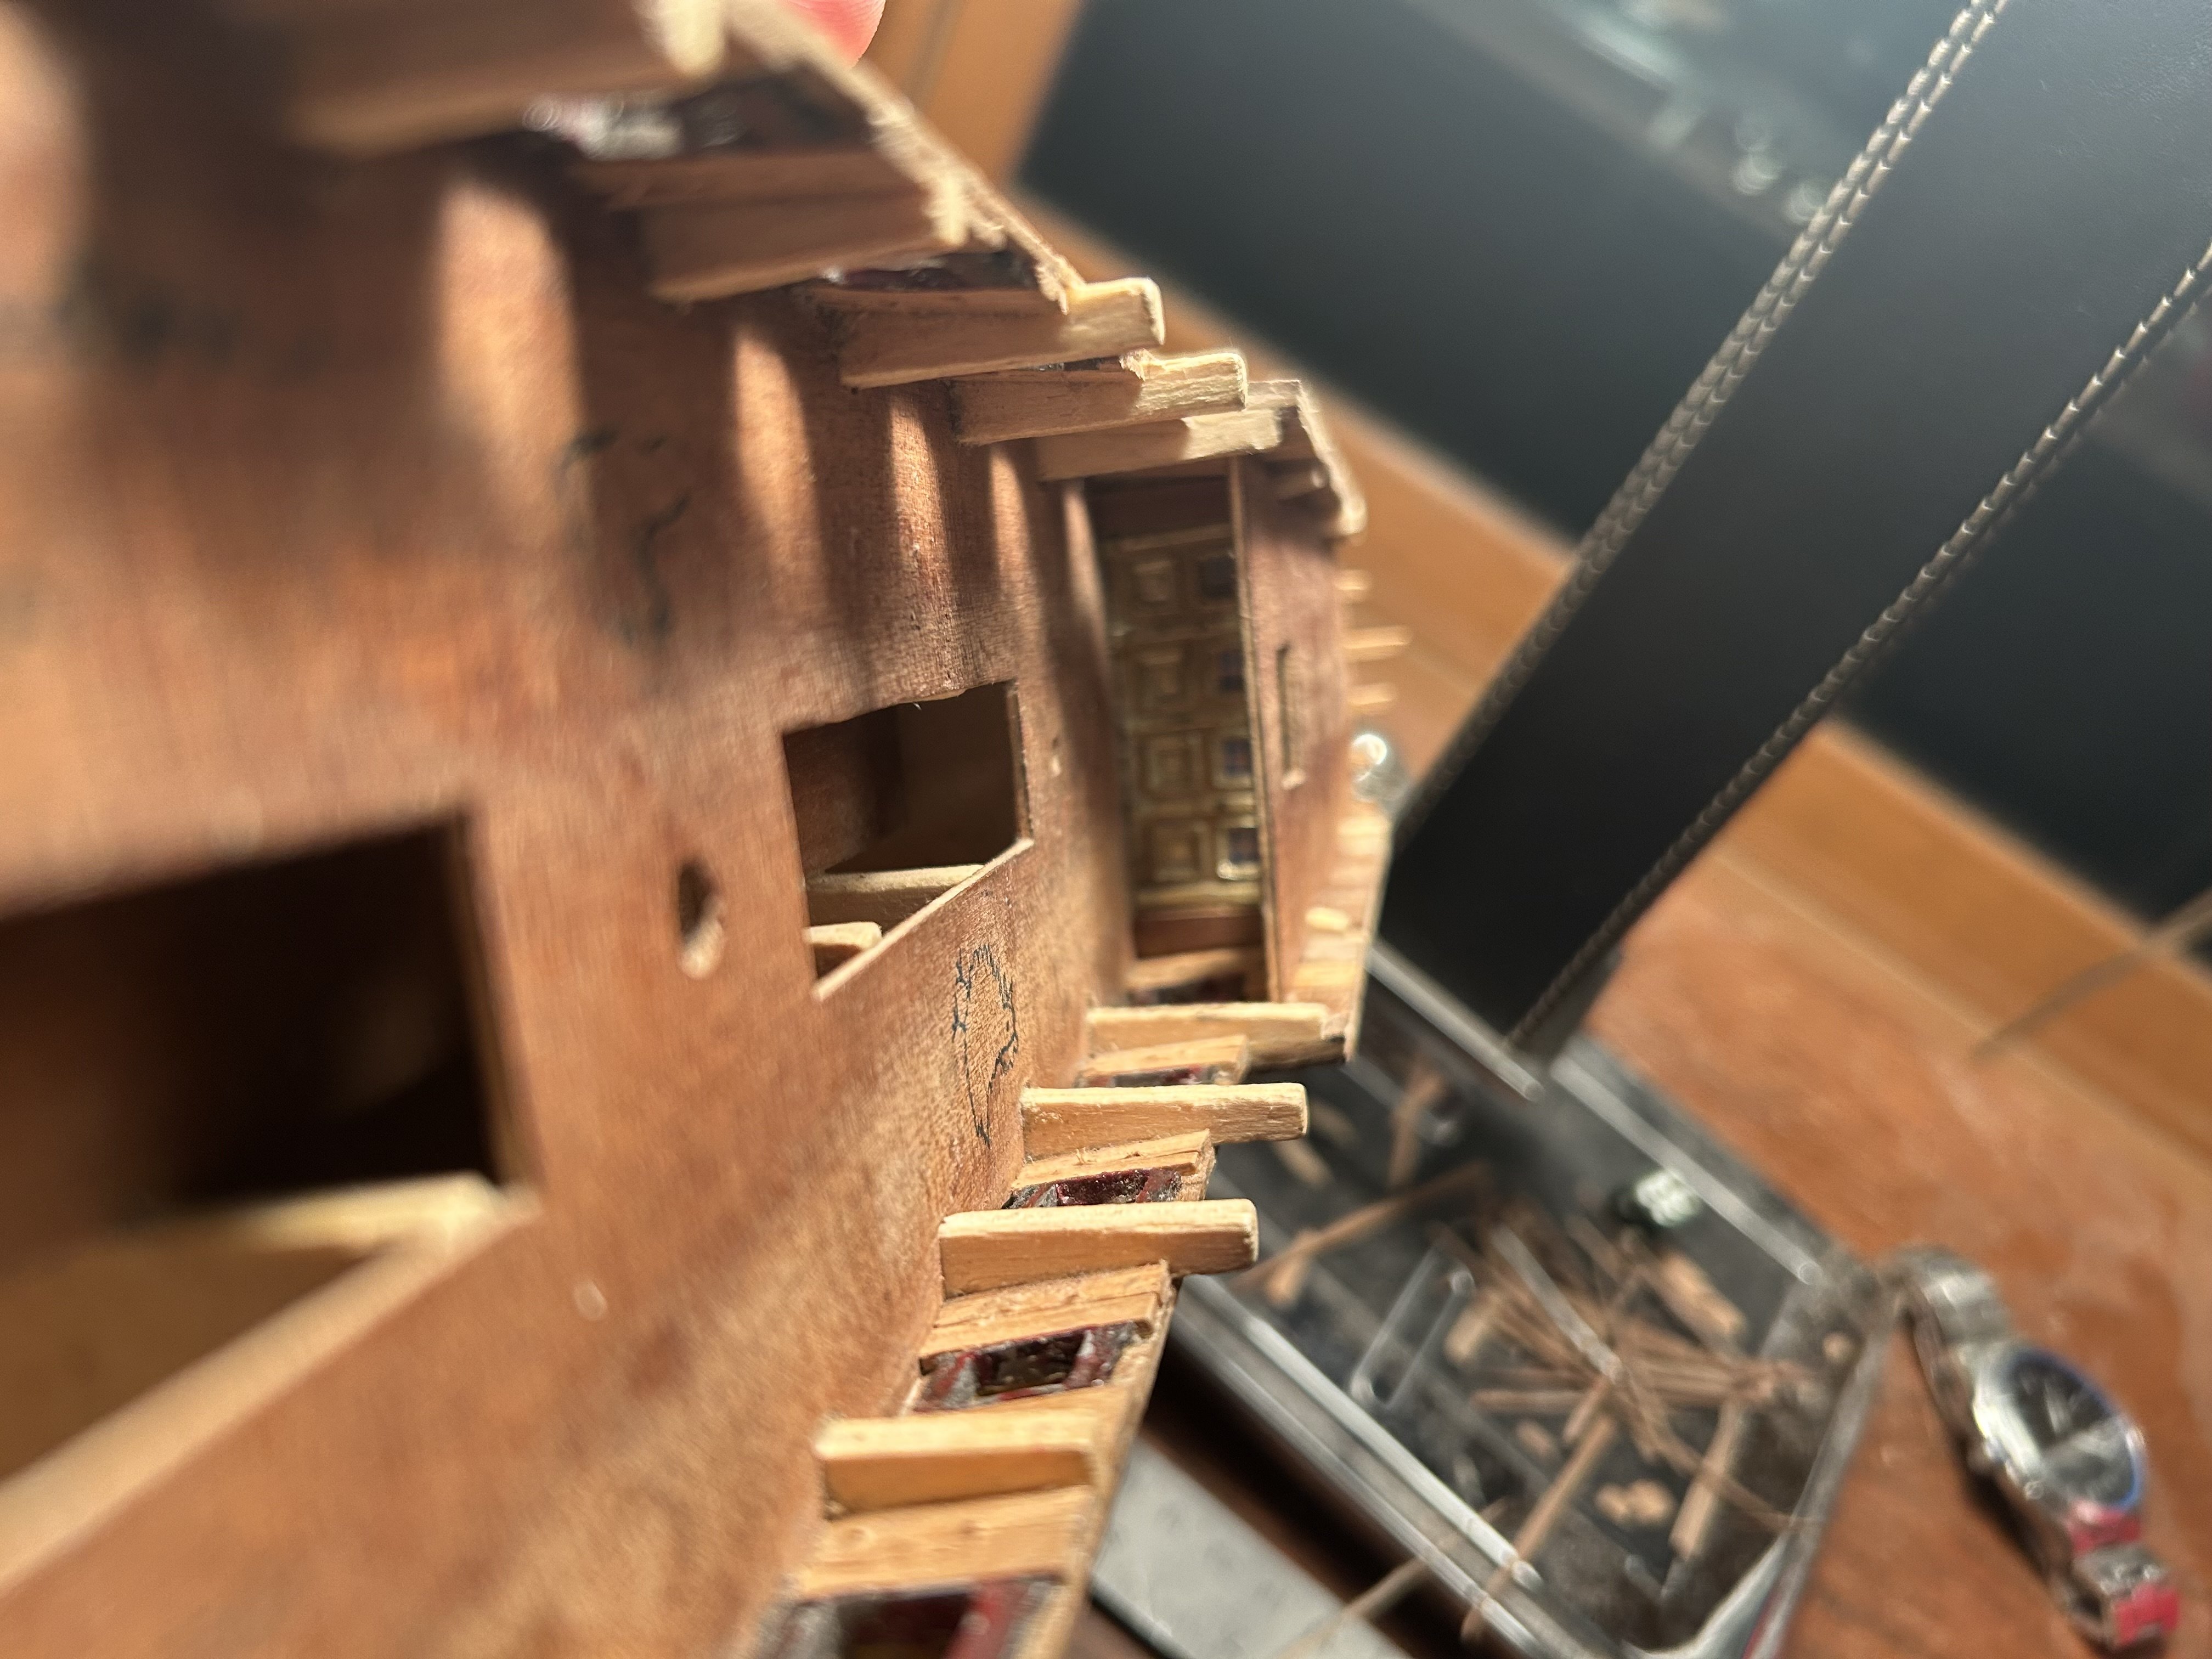
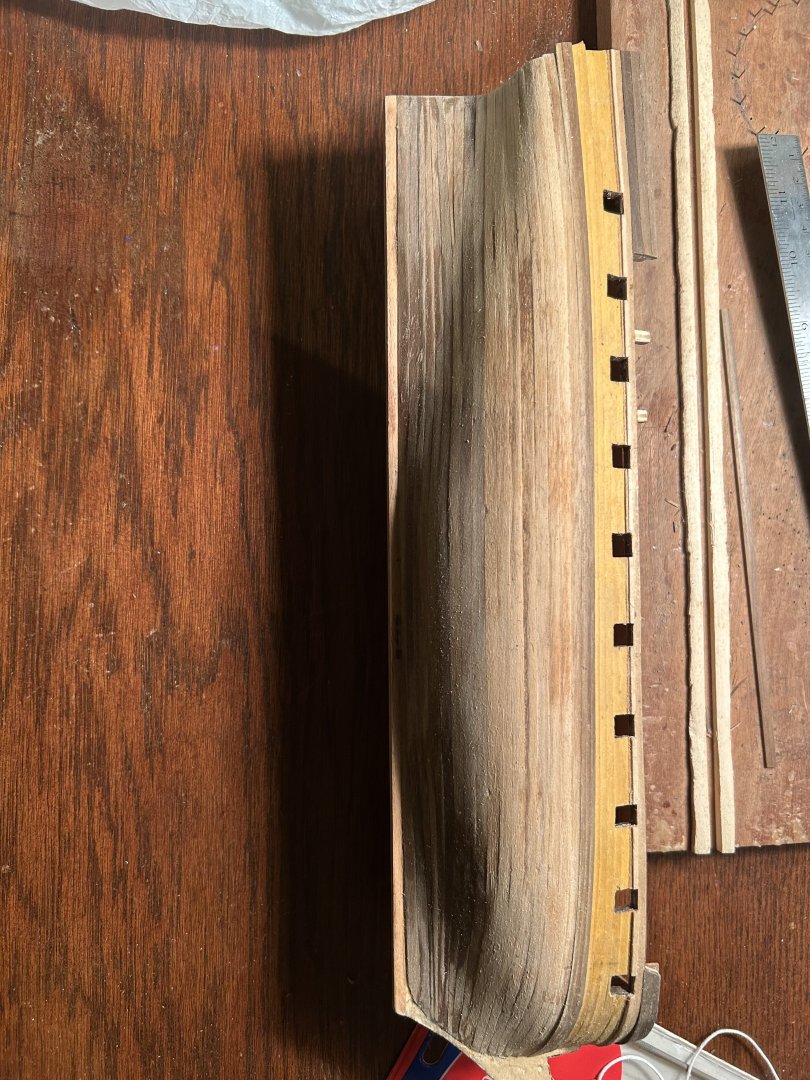
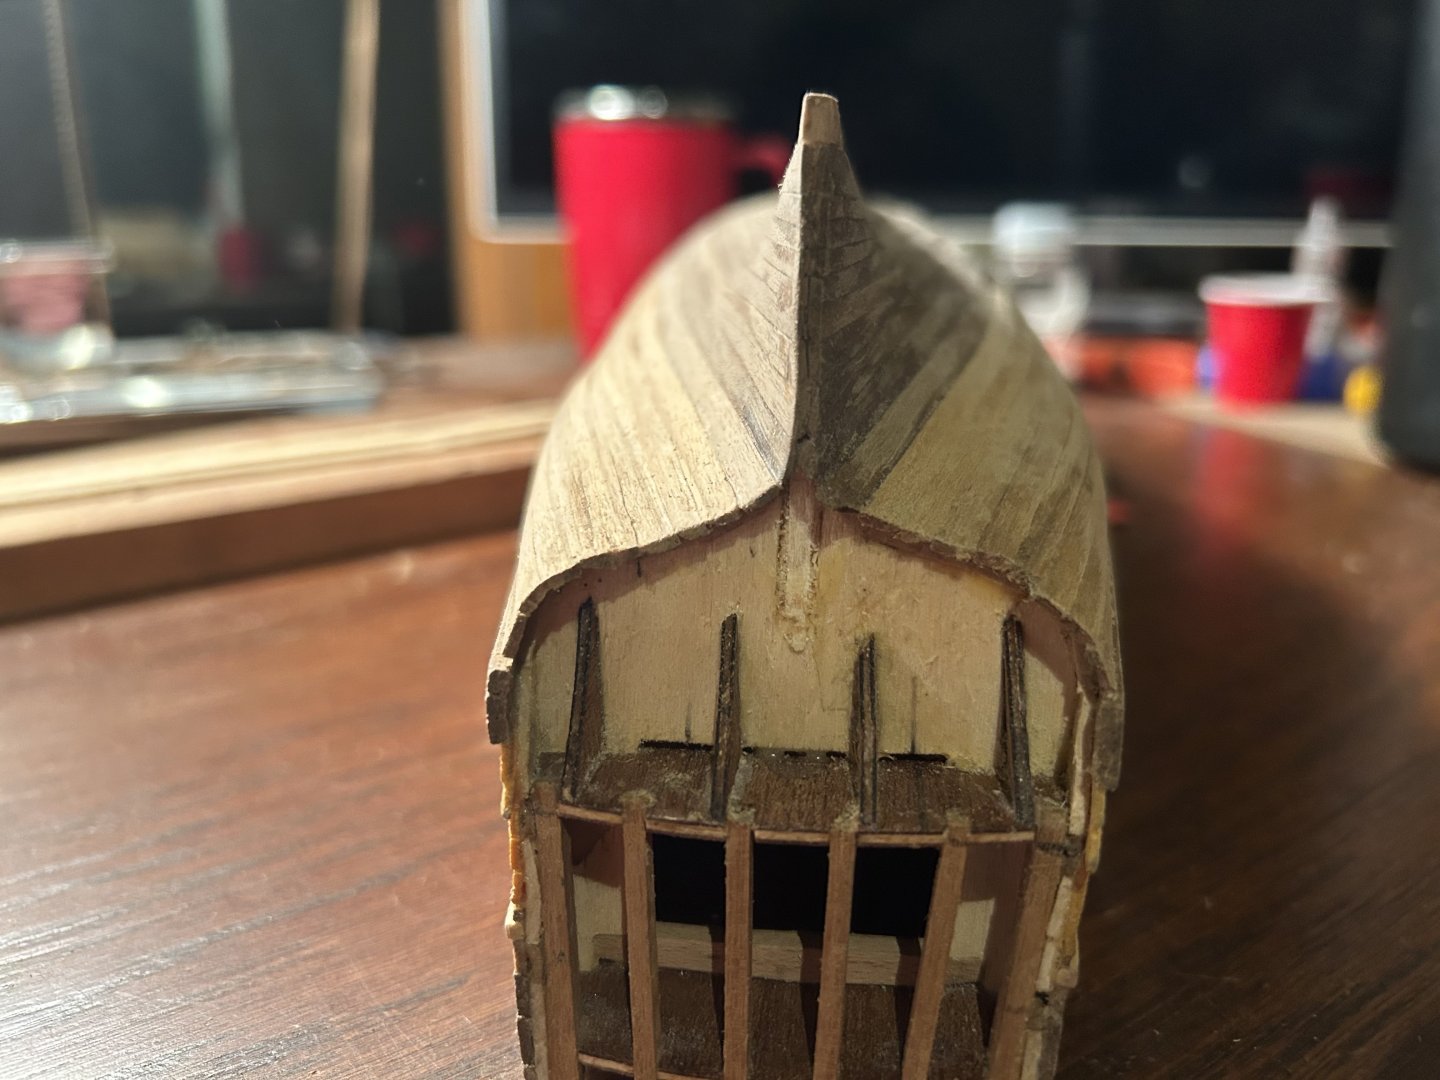
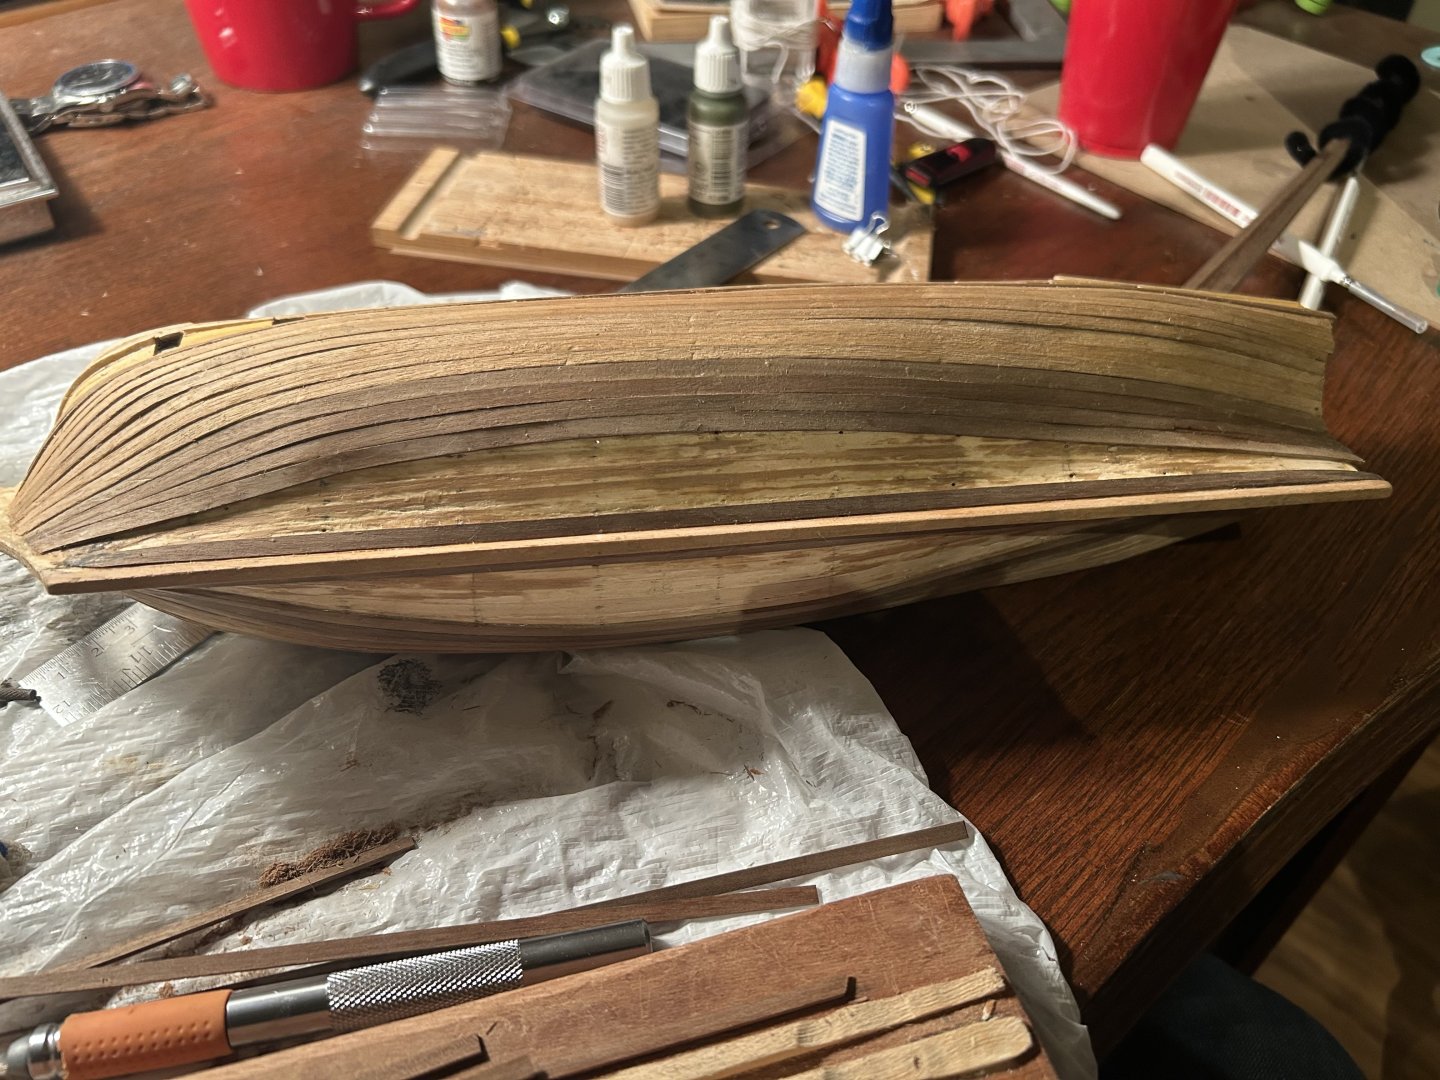
Life has been busy and progress has been slow. I covered the bow and stern with perpendicular planks for structural strength and aesthetic quality. Next step is to shave all the unnecessary frames and plank the inside rail.


-
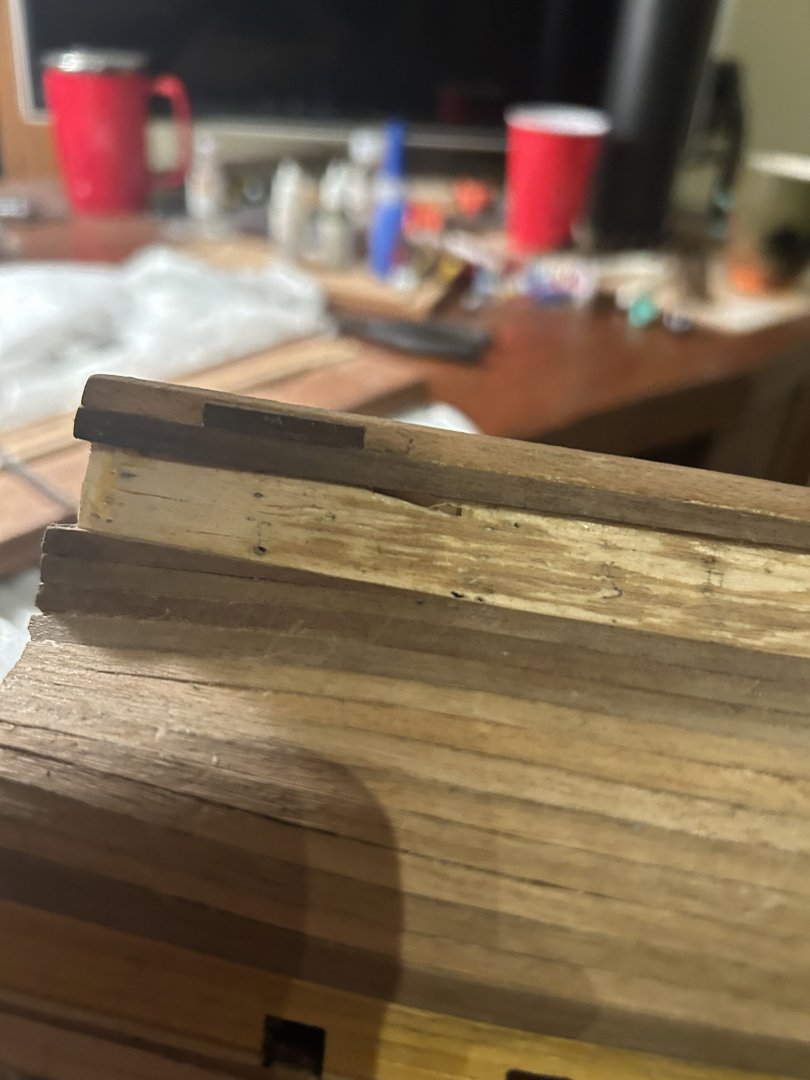
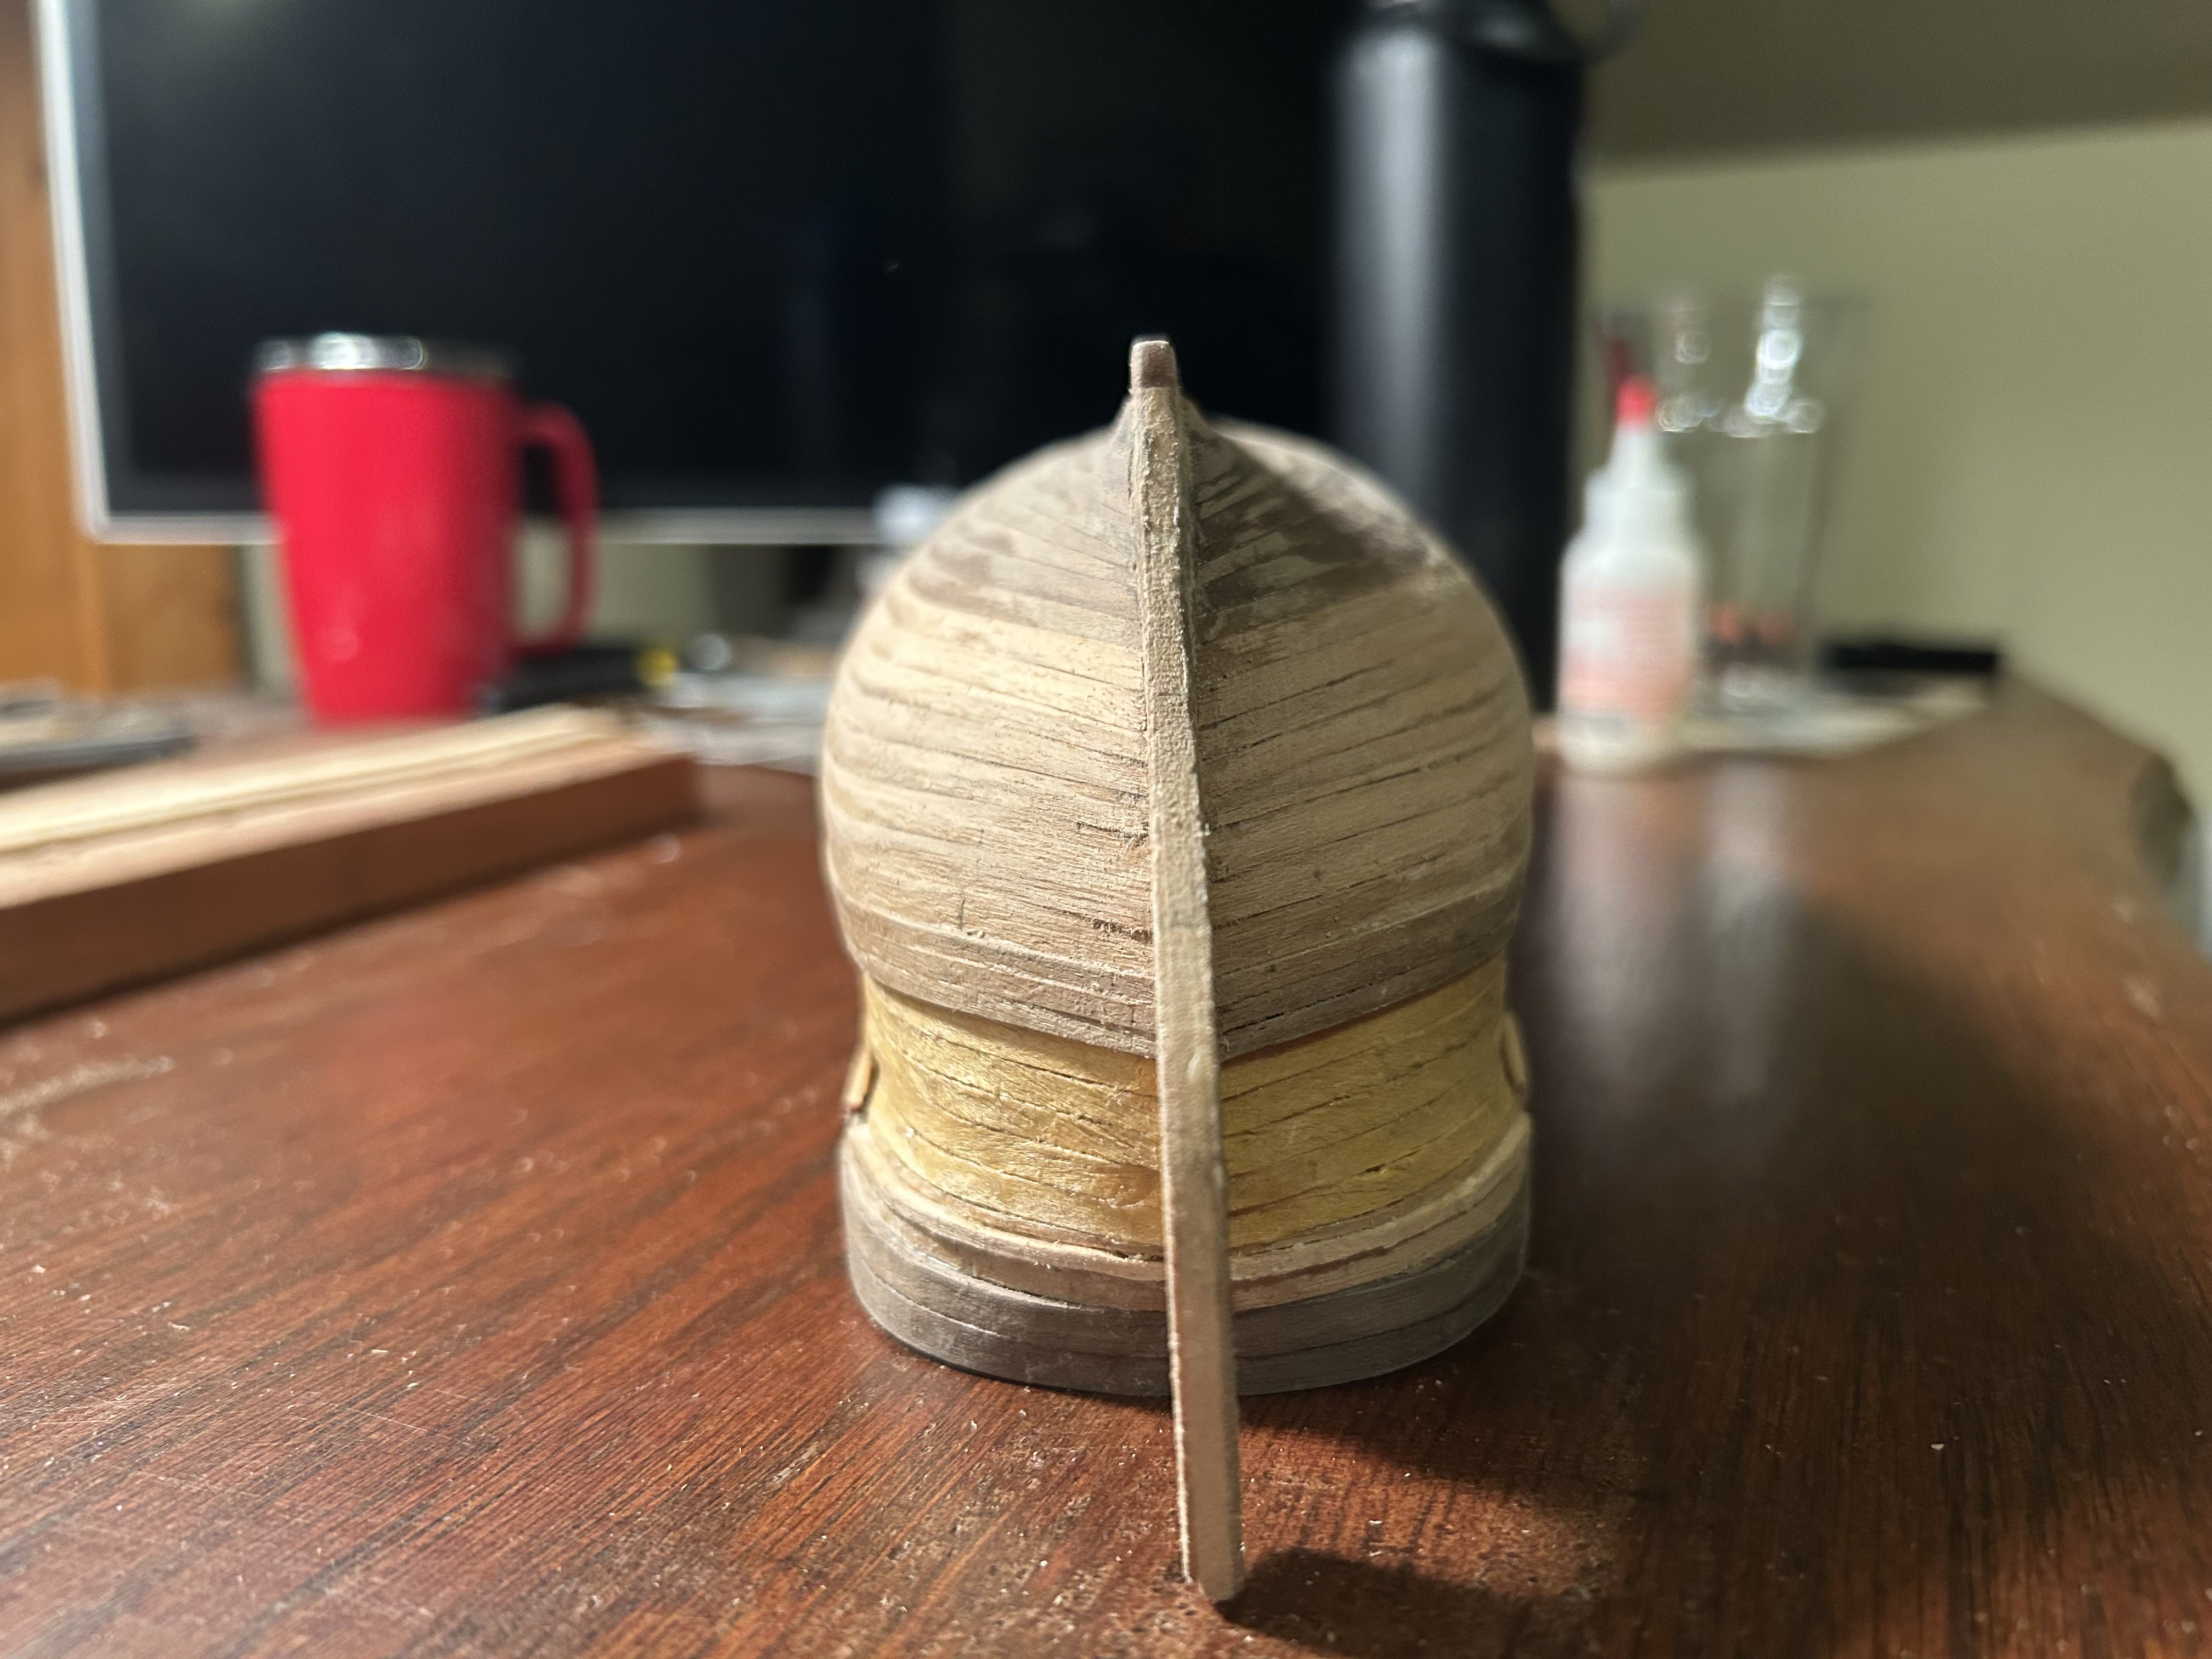
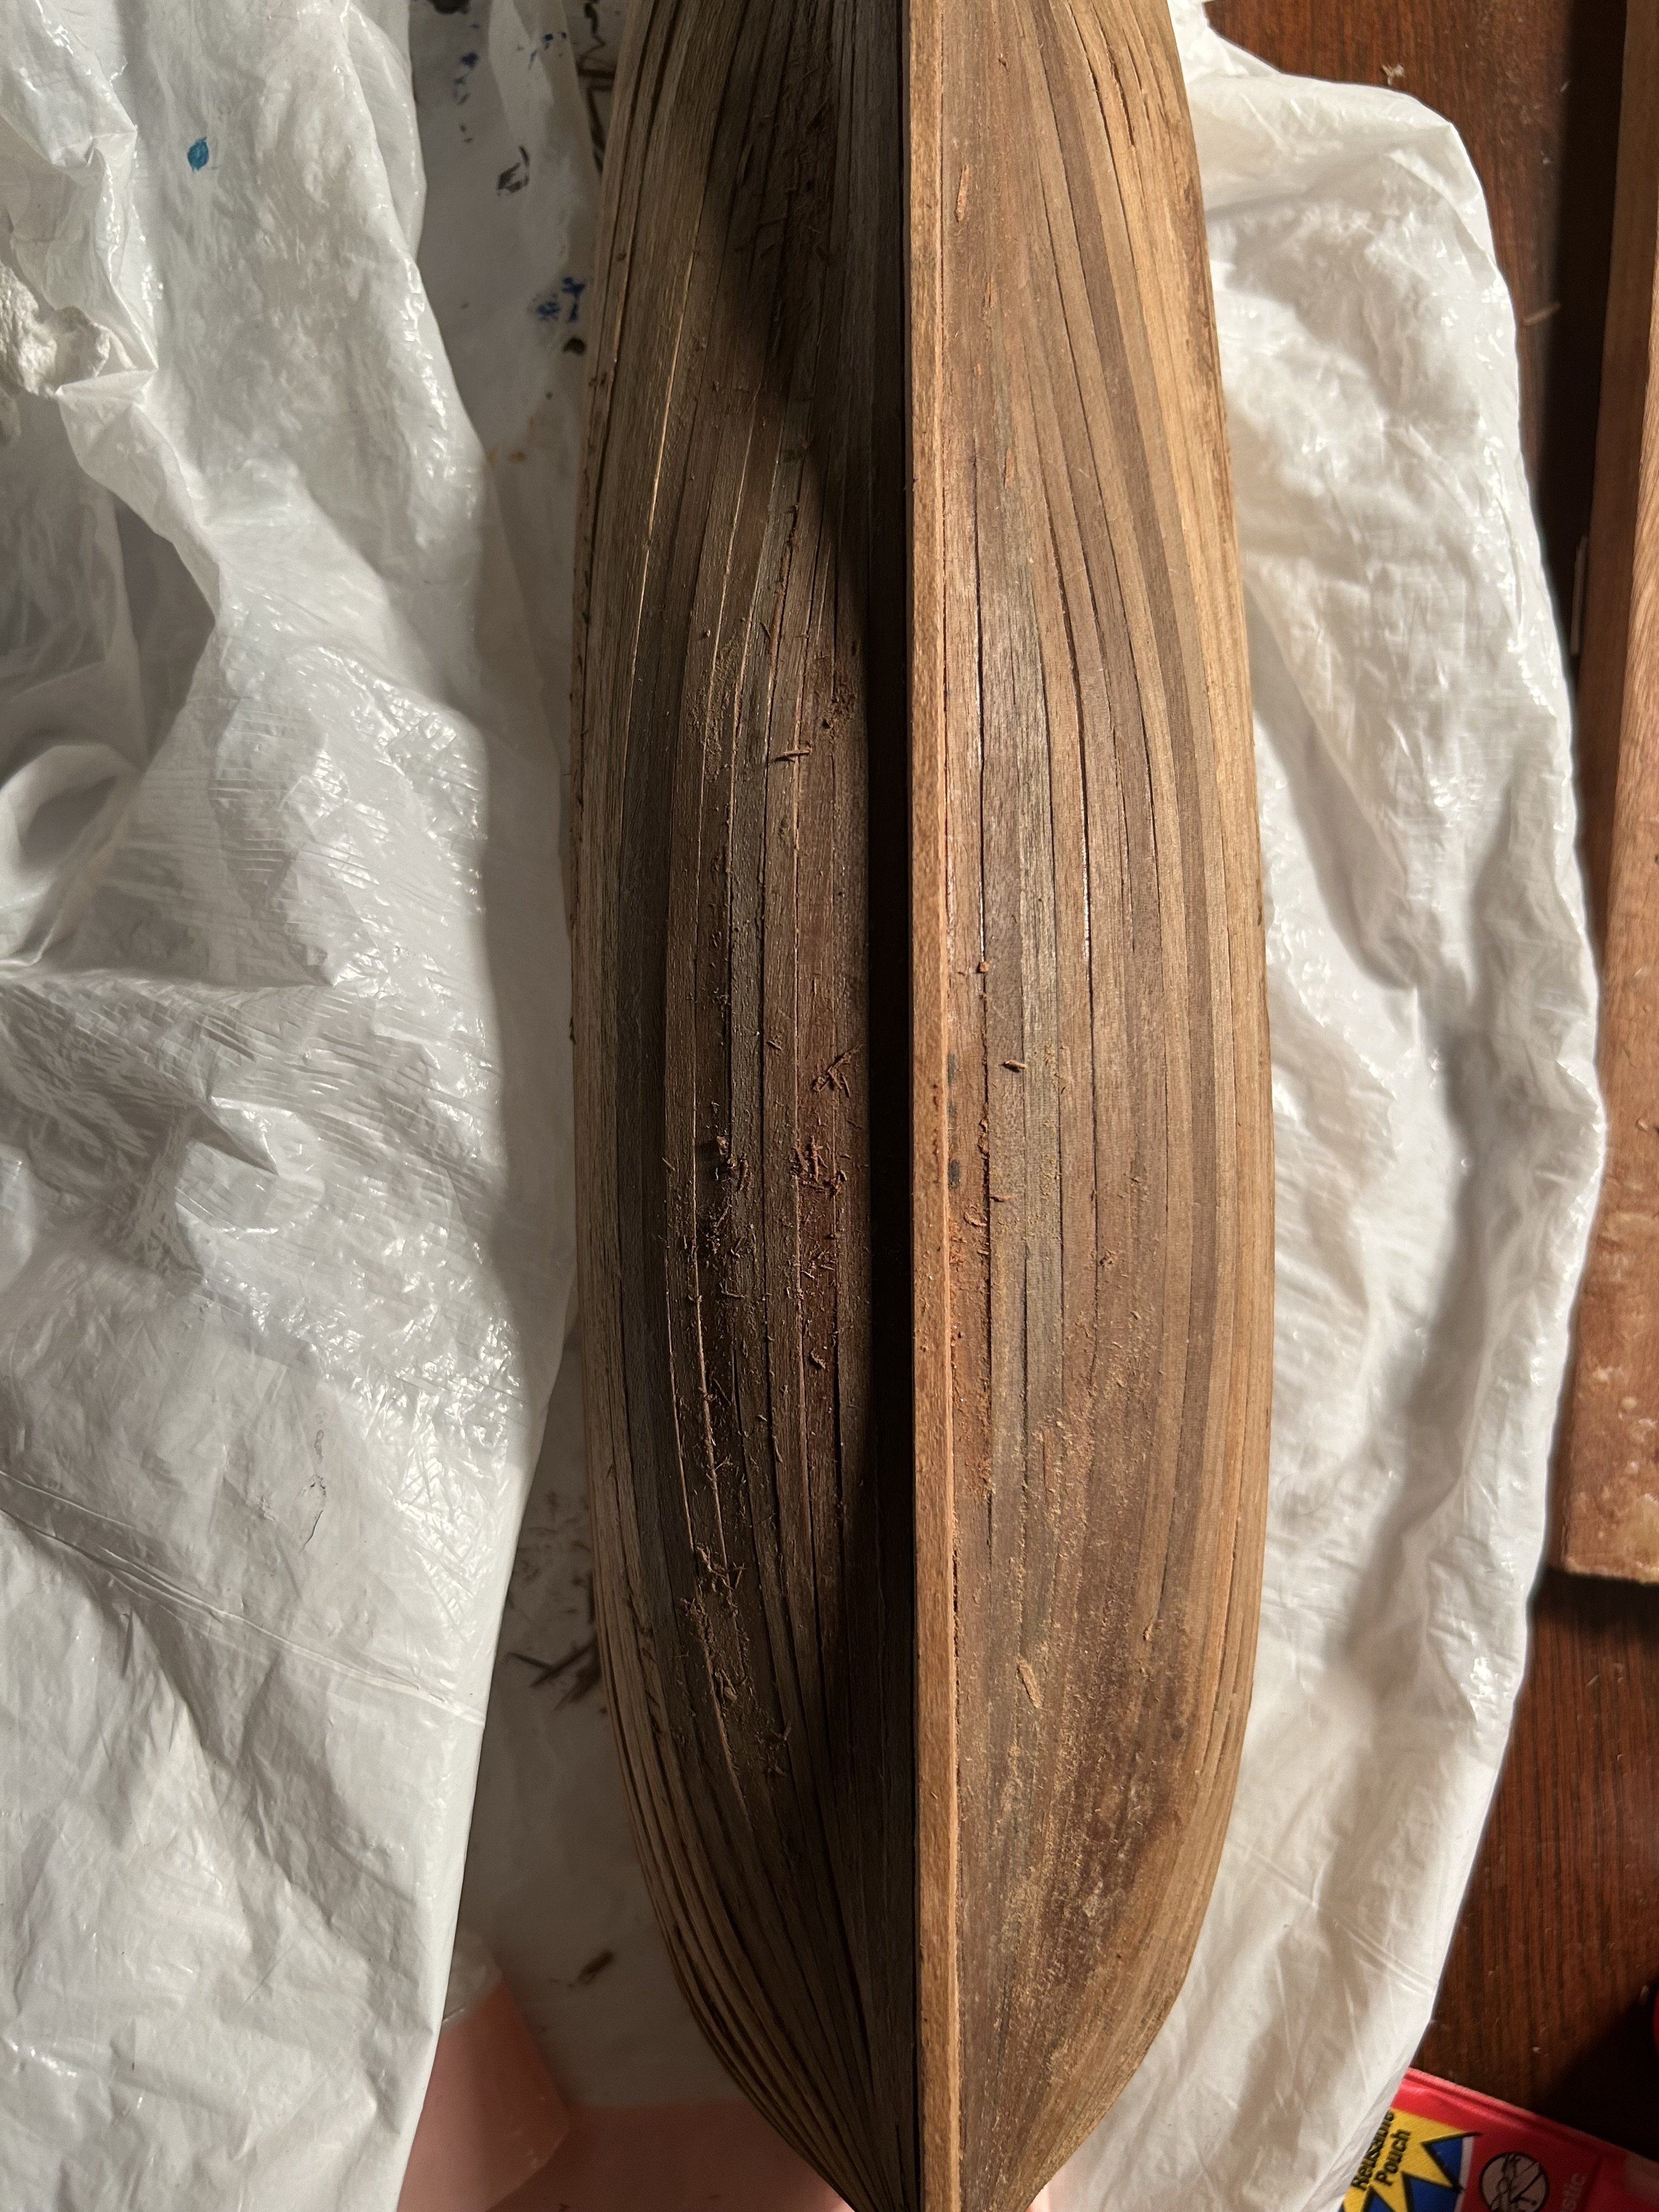
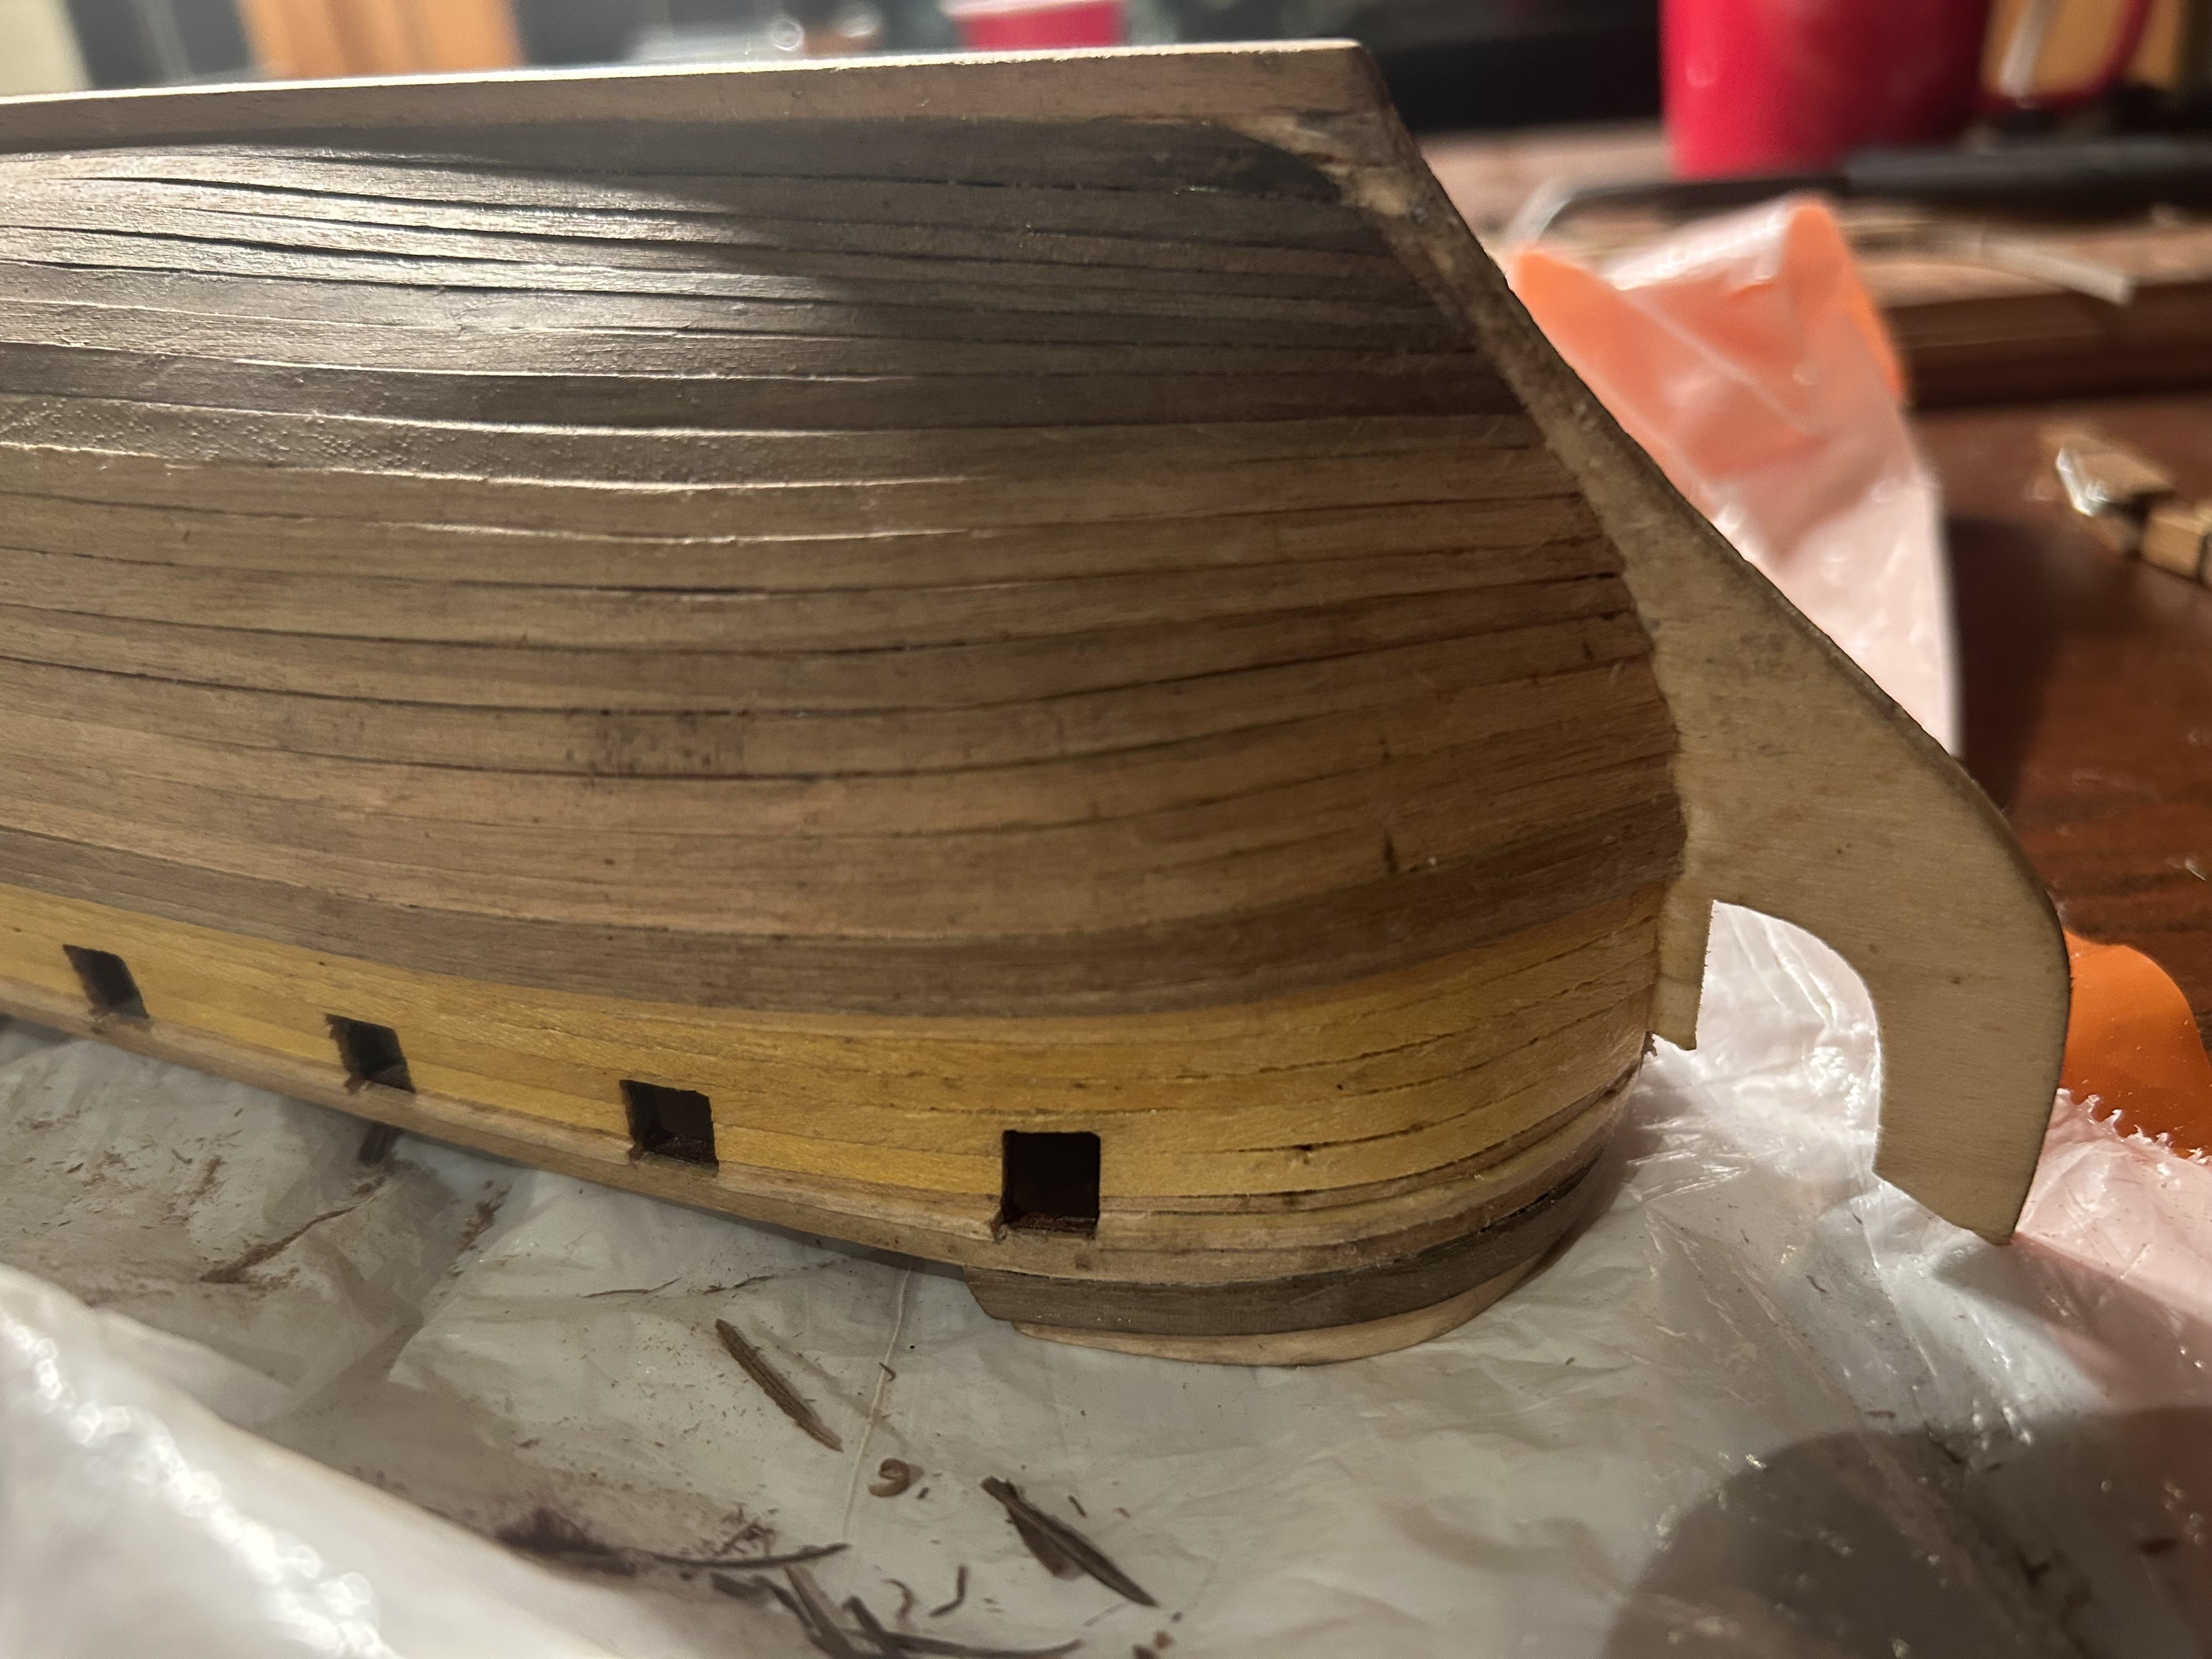
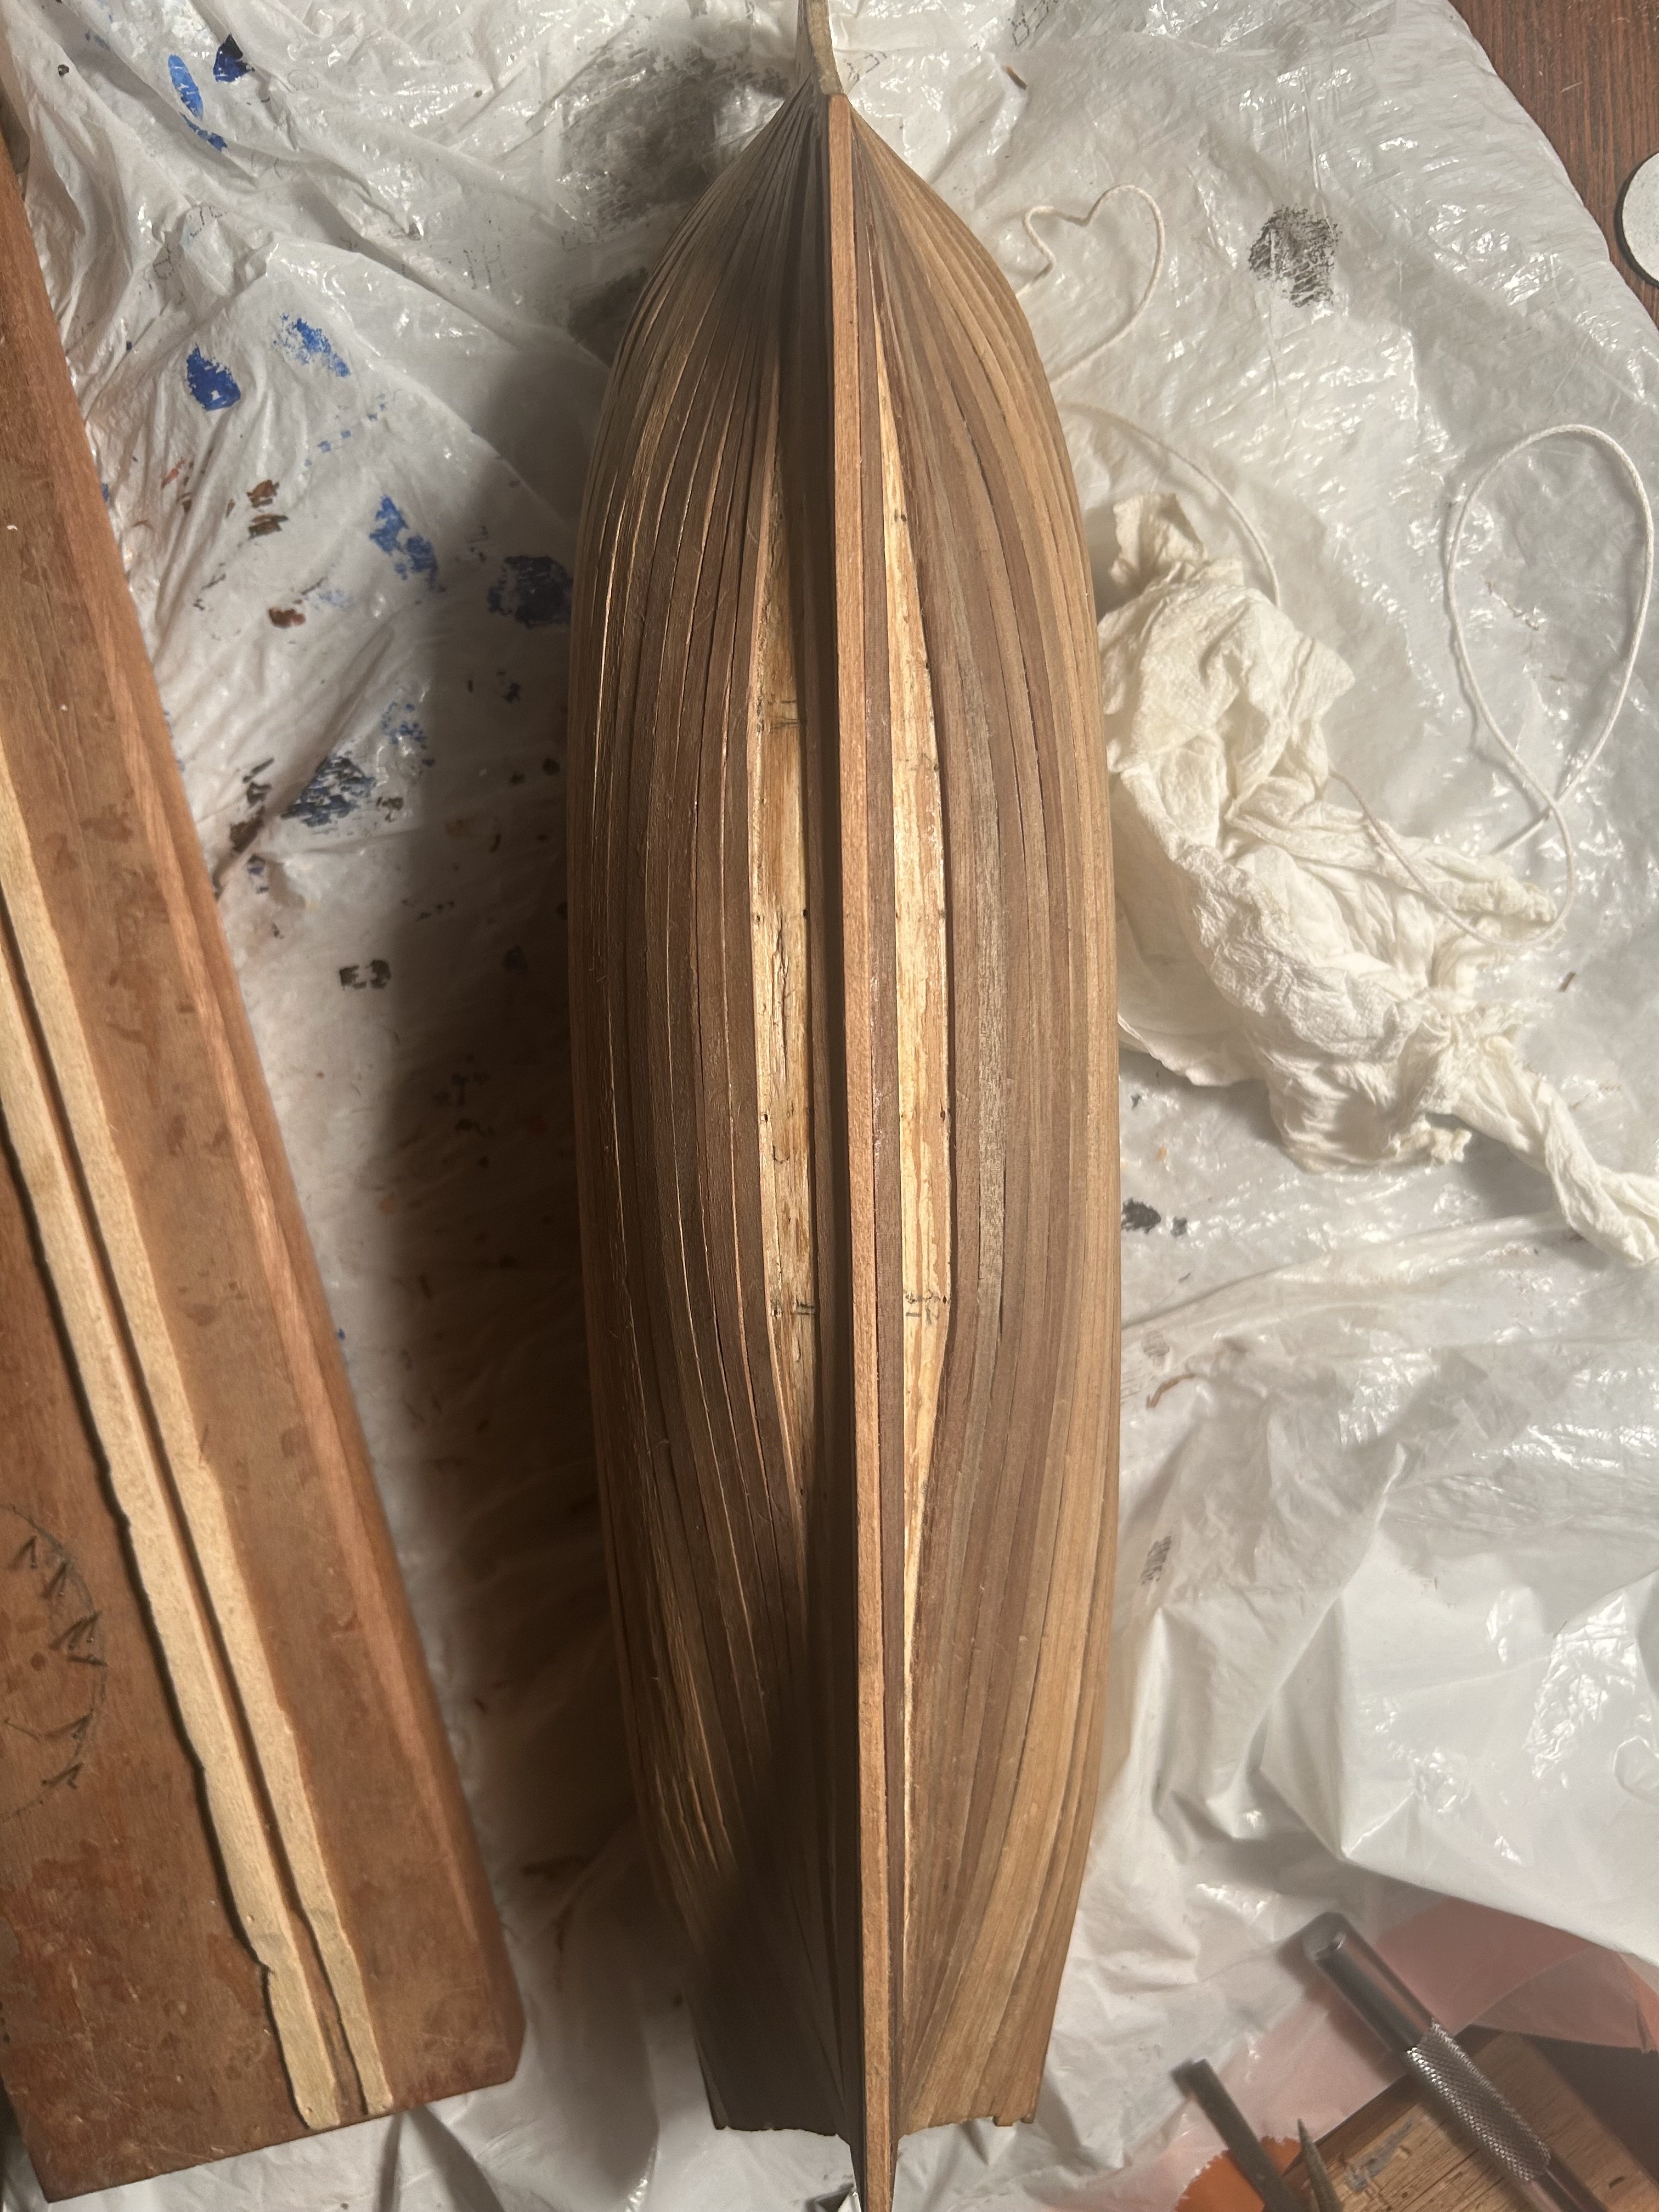
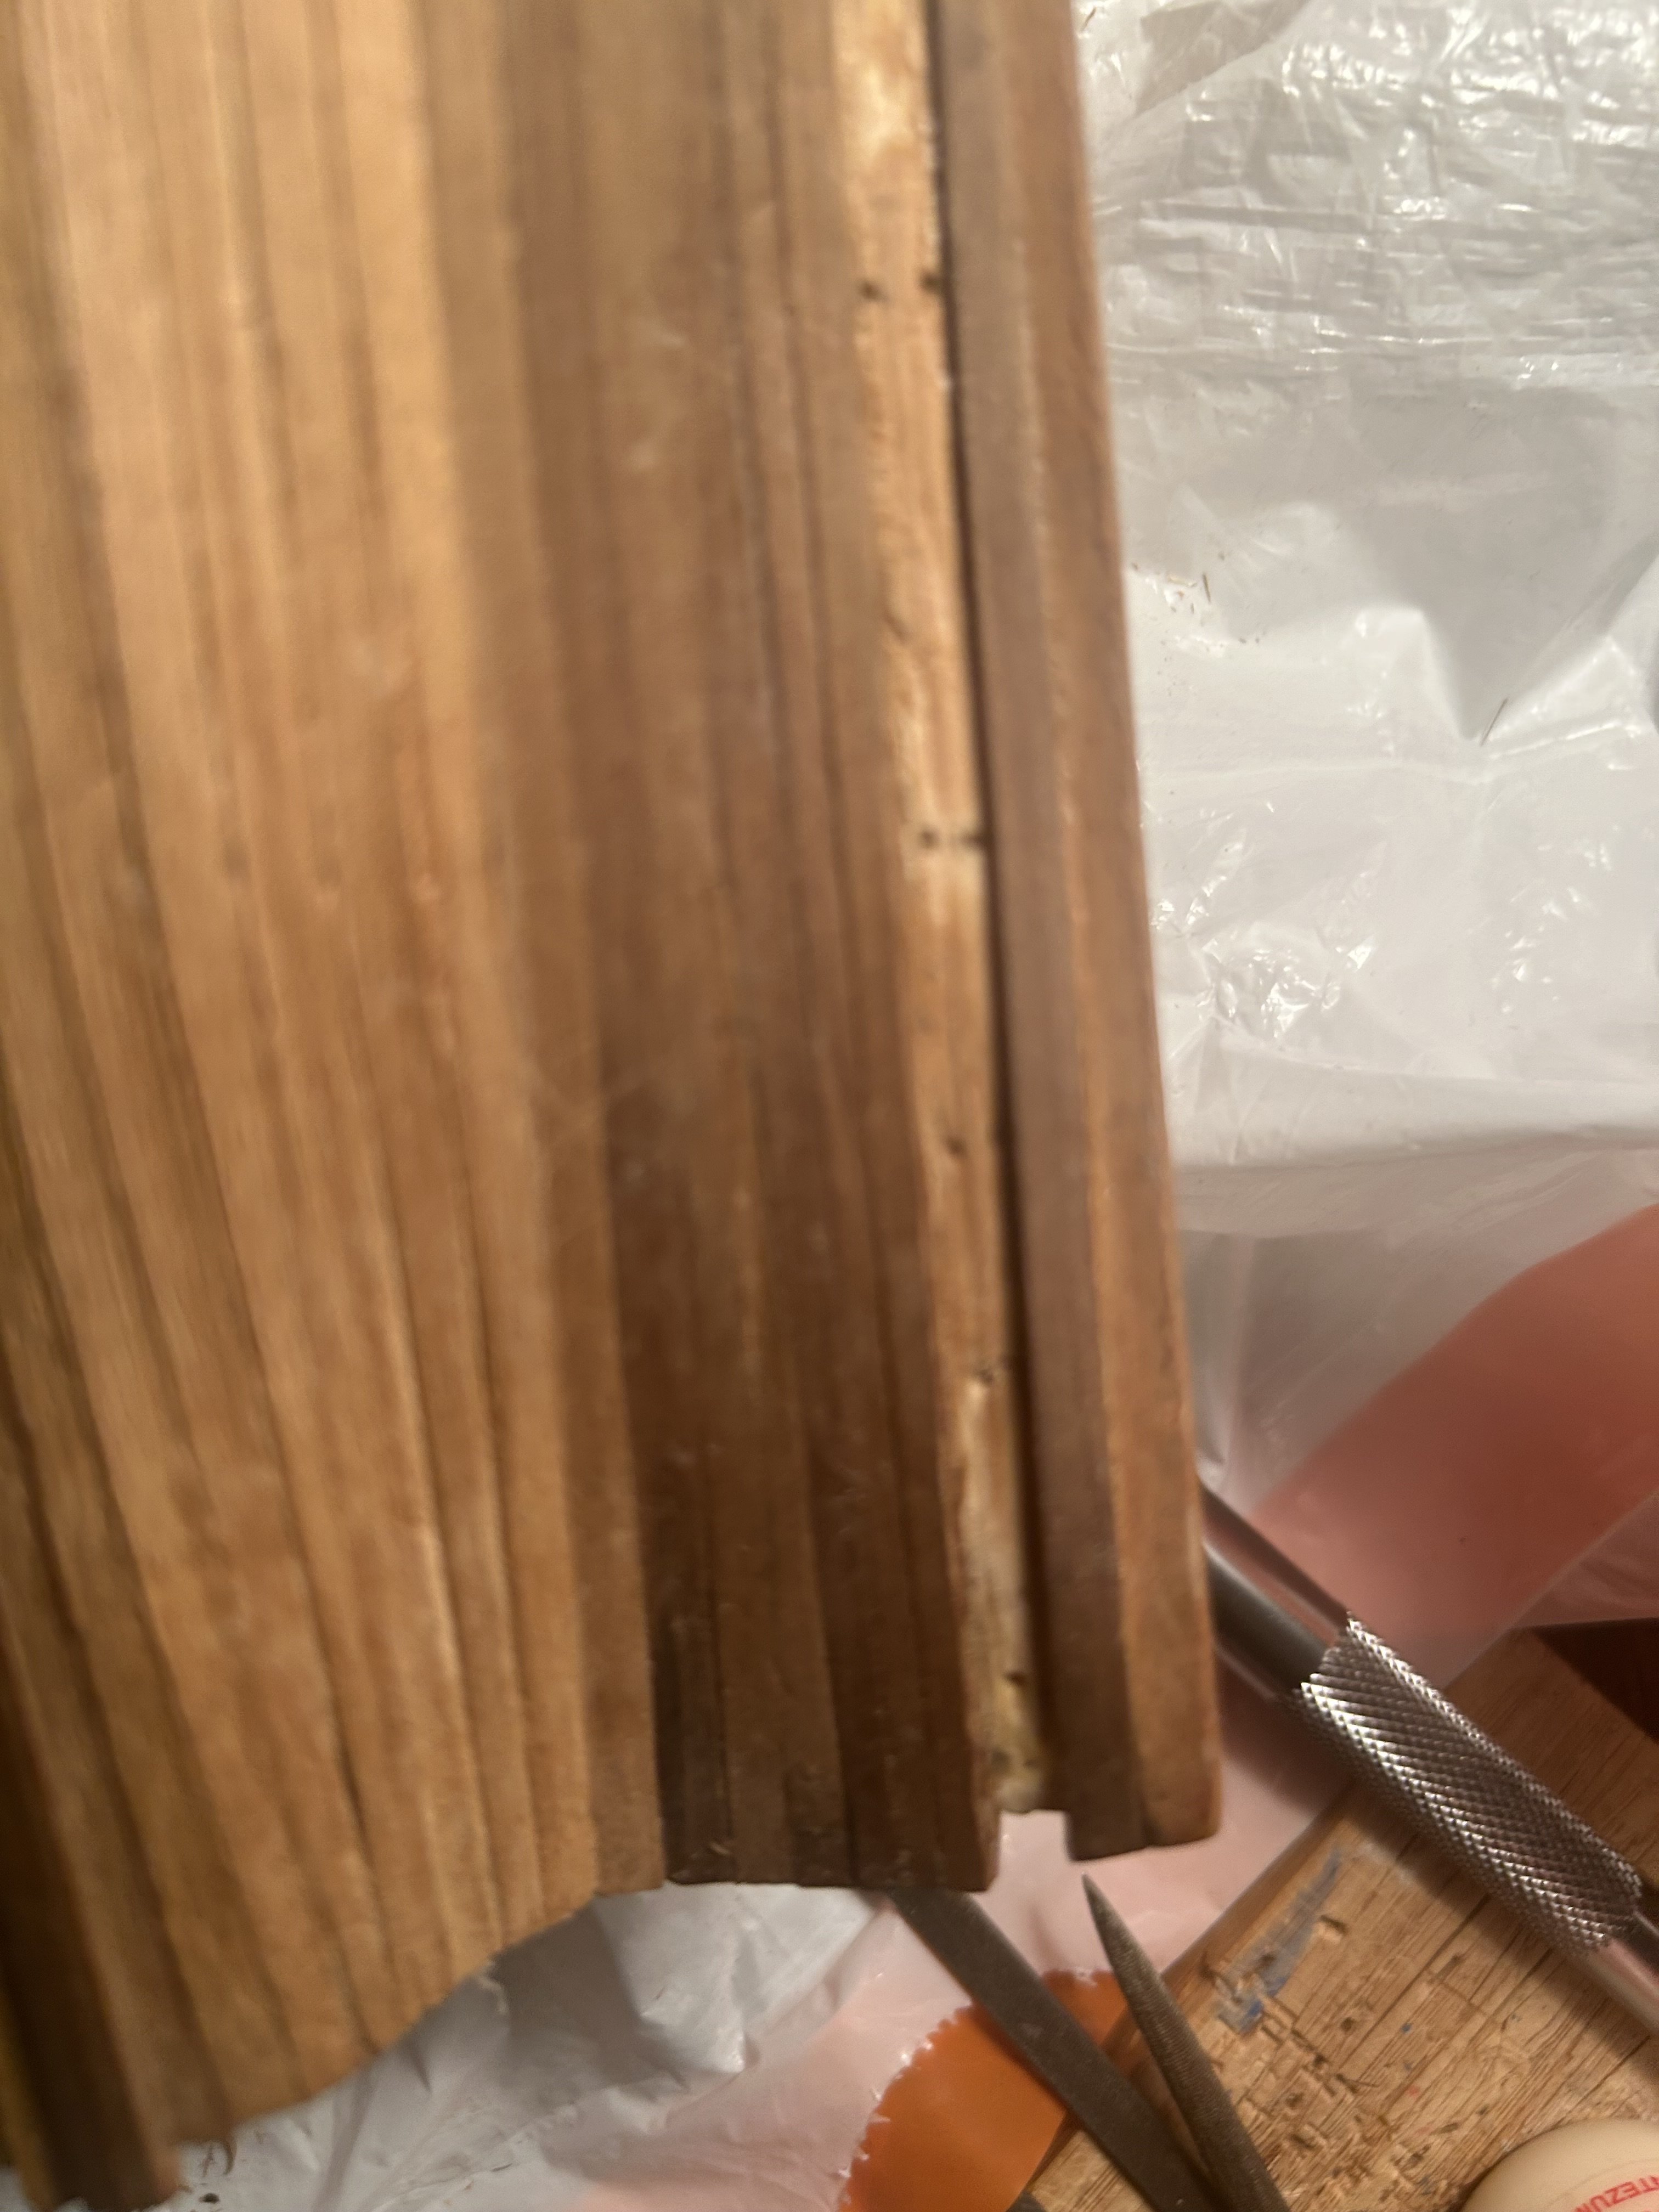
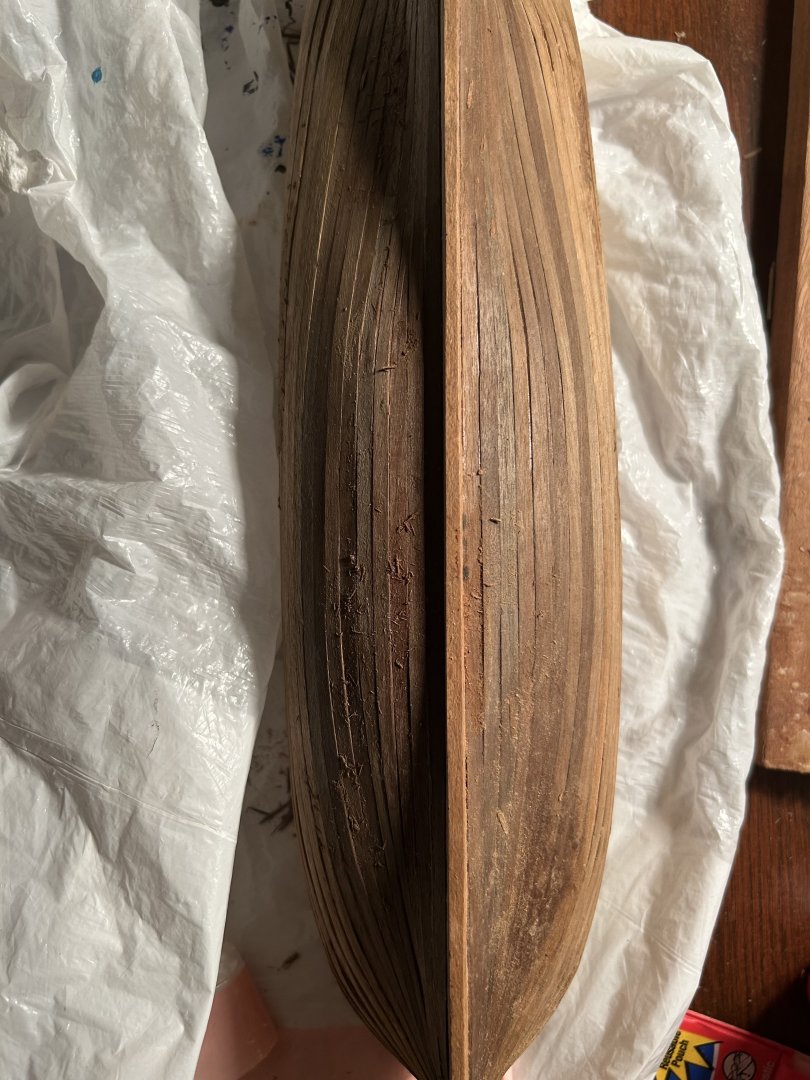
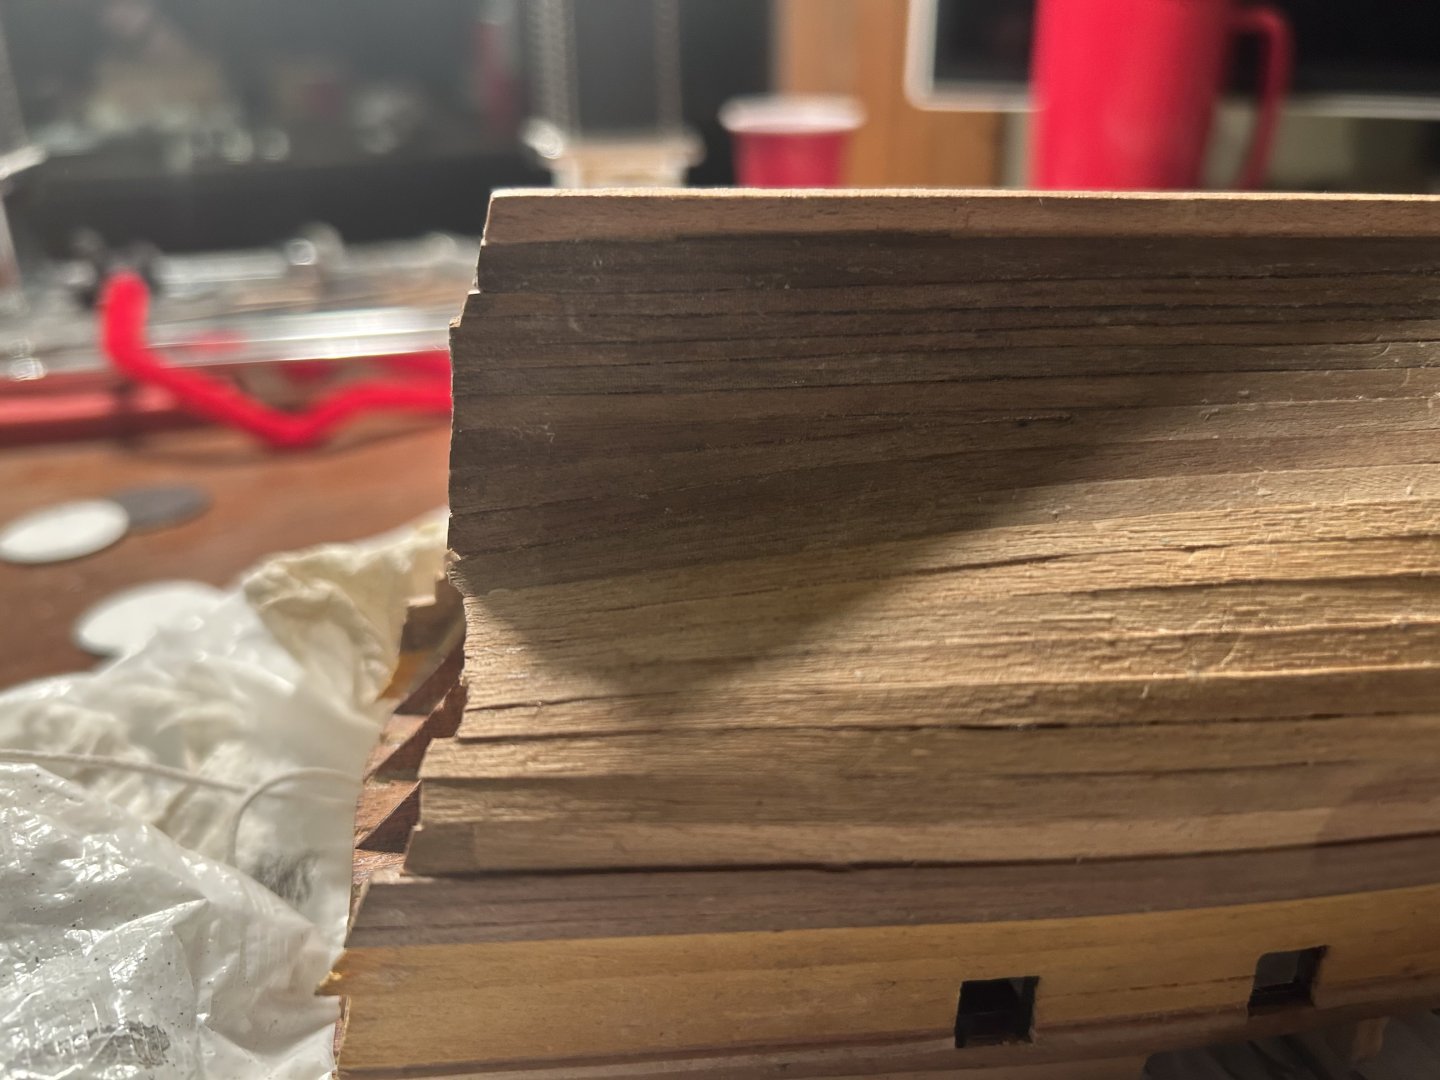
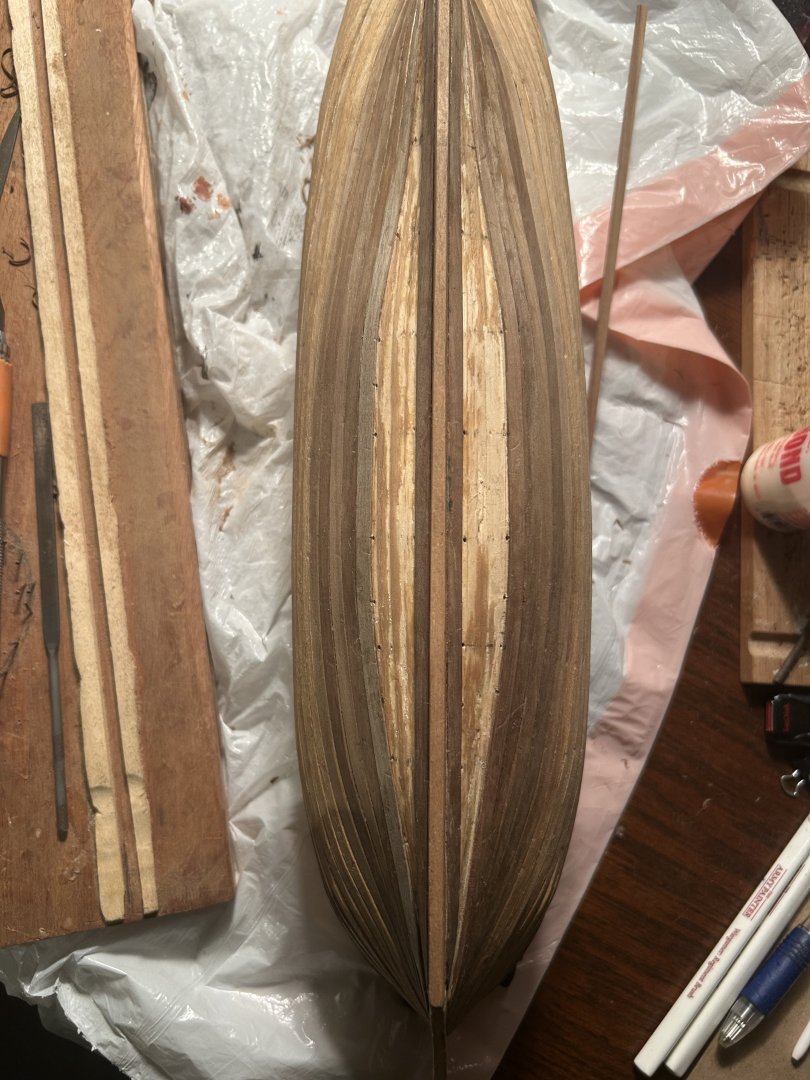
When I tried to fix the first planking with patching and sanding, it was extremely difficult. But this one took just a couple hours. First, I stuck small chips of wood into the widest gaps in the second layer. After that, I rubbed sawdust mixed with glue into the smaller cracks in the hull. After that, I waited for the glue to dry. Finally, I ran over the hull with sandpaper, going from 80 grit to 400 grit. Here's the result. I think now that it's enought to look smooth, but not so much that the planks lose their individuality. However, in the course of the work I may have worsened a problem. The knee of the head is very mildly damaged, and I glued it a while ago to hold it steady. While sanding, I bumped it again and felt it bend a tiny bit. This problem gives me two options. The first is to plank over it with the veneer and hope the glue and additional structure will prove to be enough. The second is to buy more wood, then try to use an X-Acto knife or something to cut it to shape. I'll have to think about it...

-
Hey there, good luck on the Greyhound. As someone who started doing it as my first build, I understand just how challenging it can be. From what you've done so far, it seems like you have a far better handle on it than I do. If you have any questions, I'll try to be helpful.
-
Great build! I'm drawing inspiration from you for my own Greyhound.
-
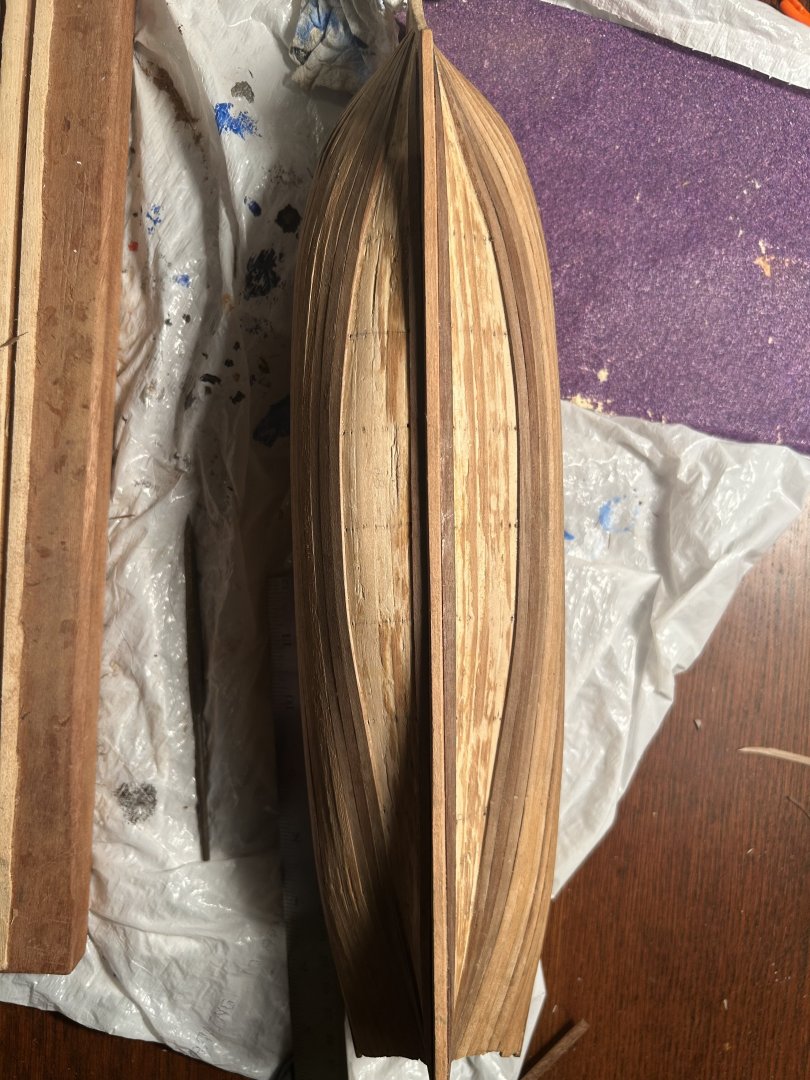
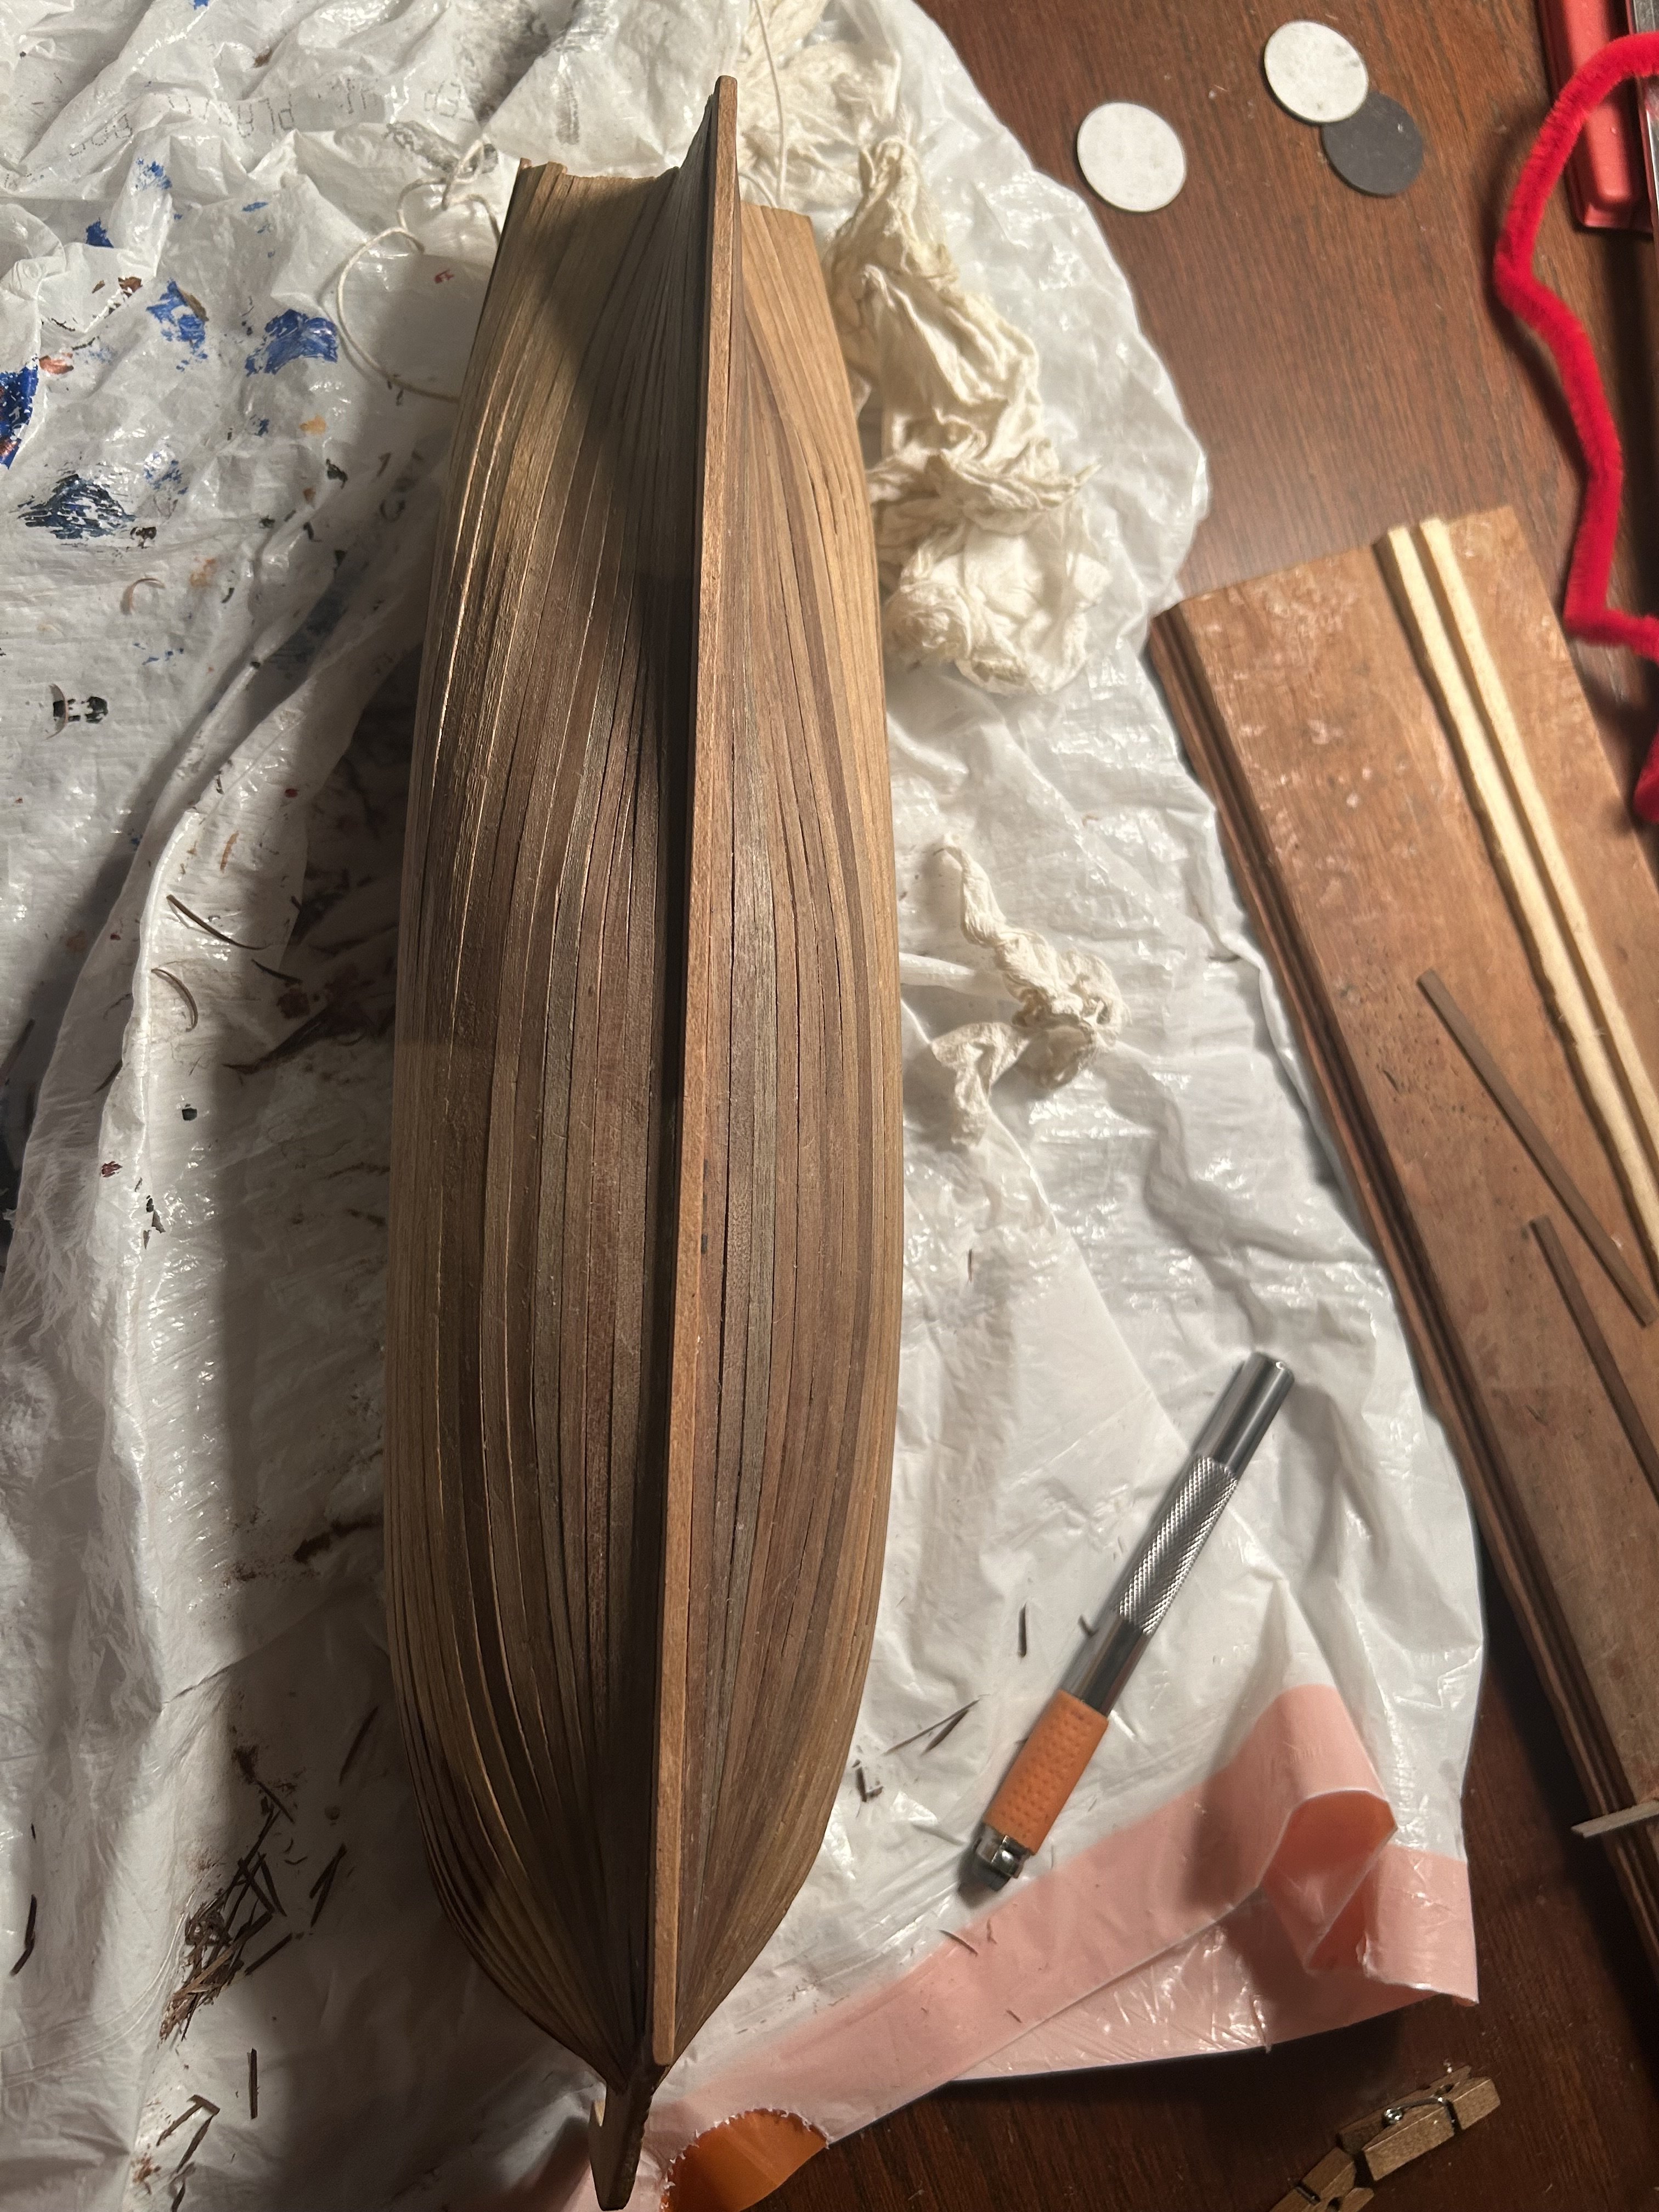
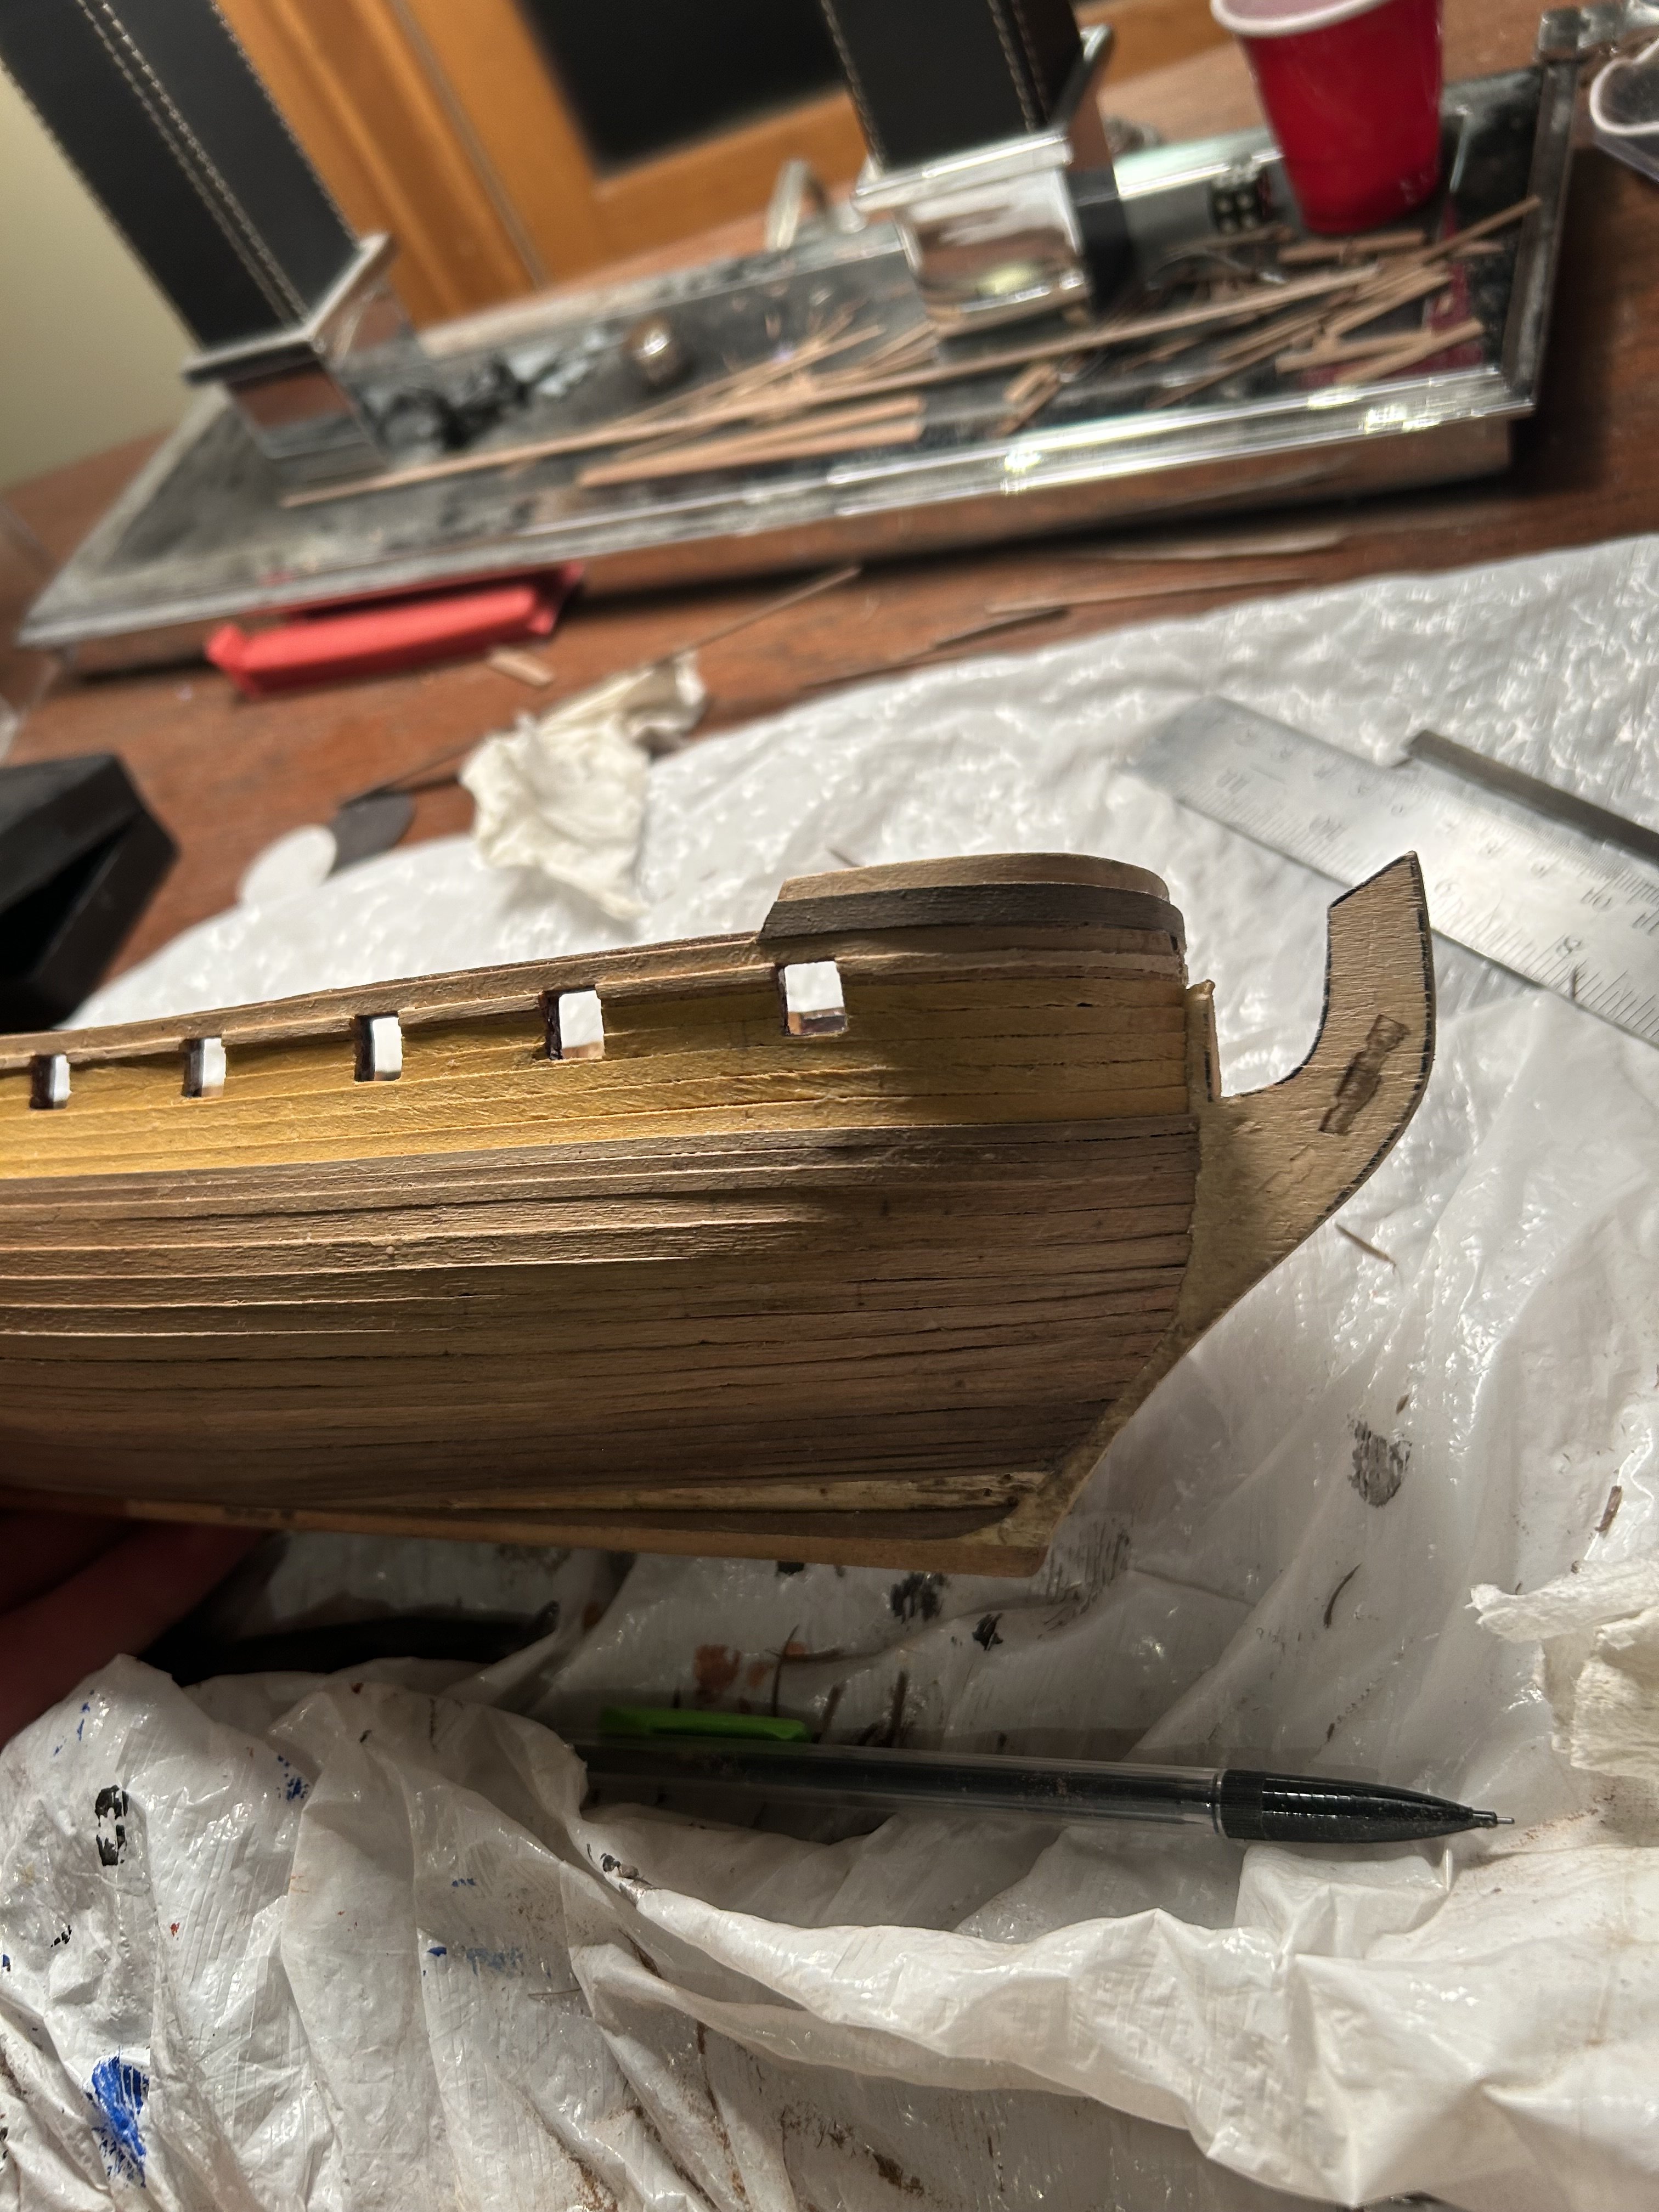
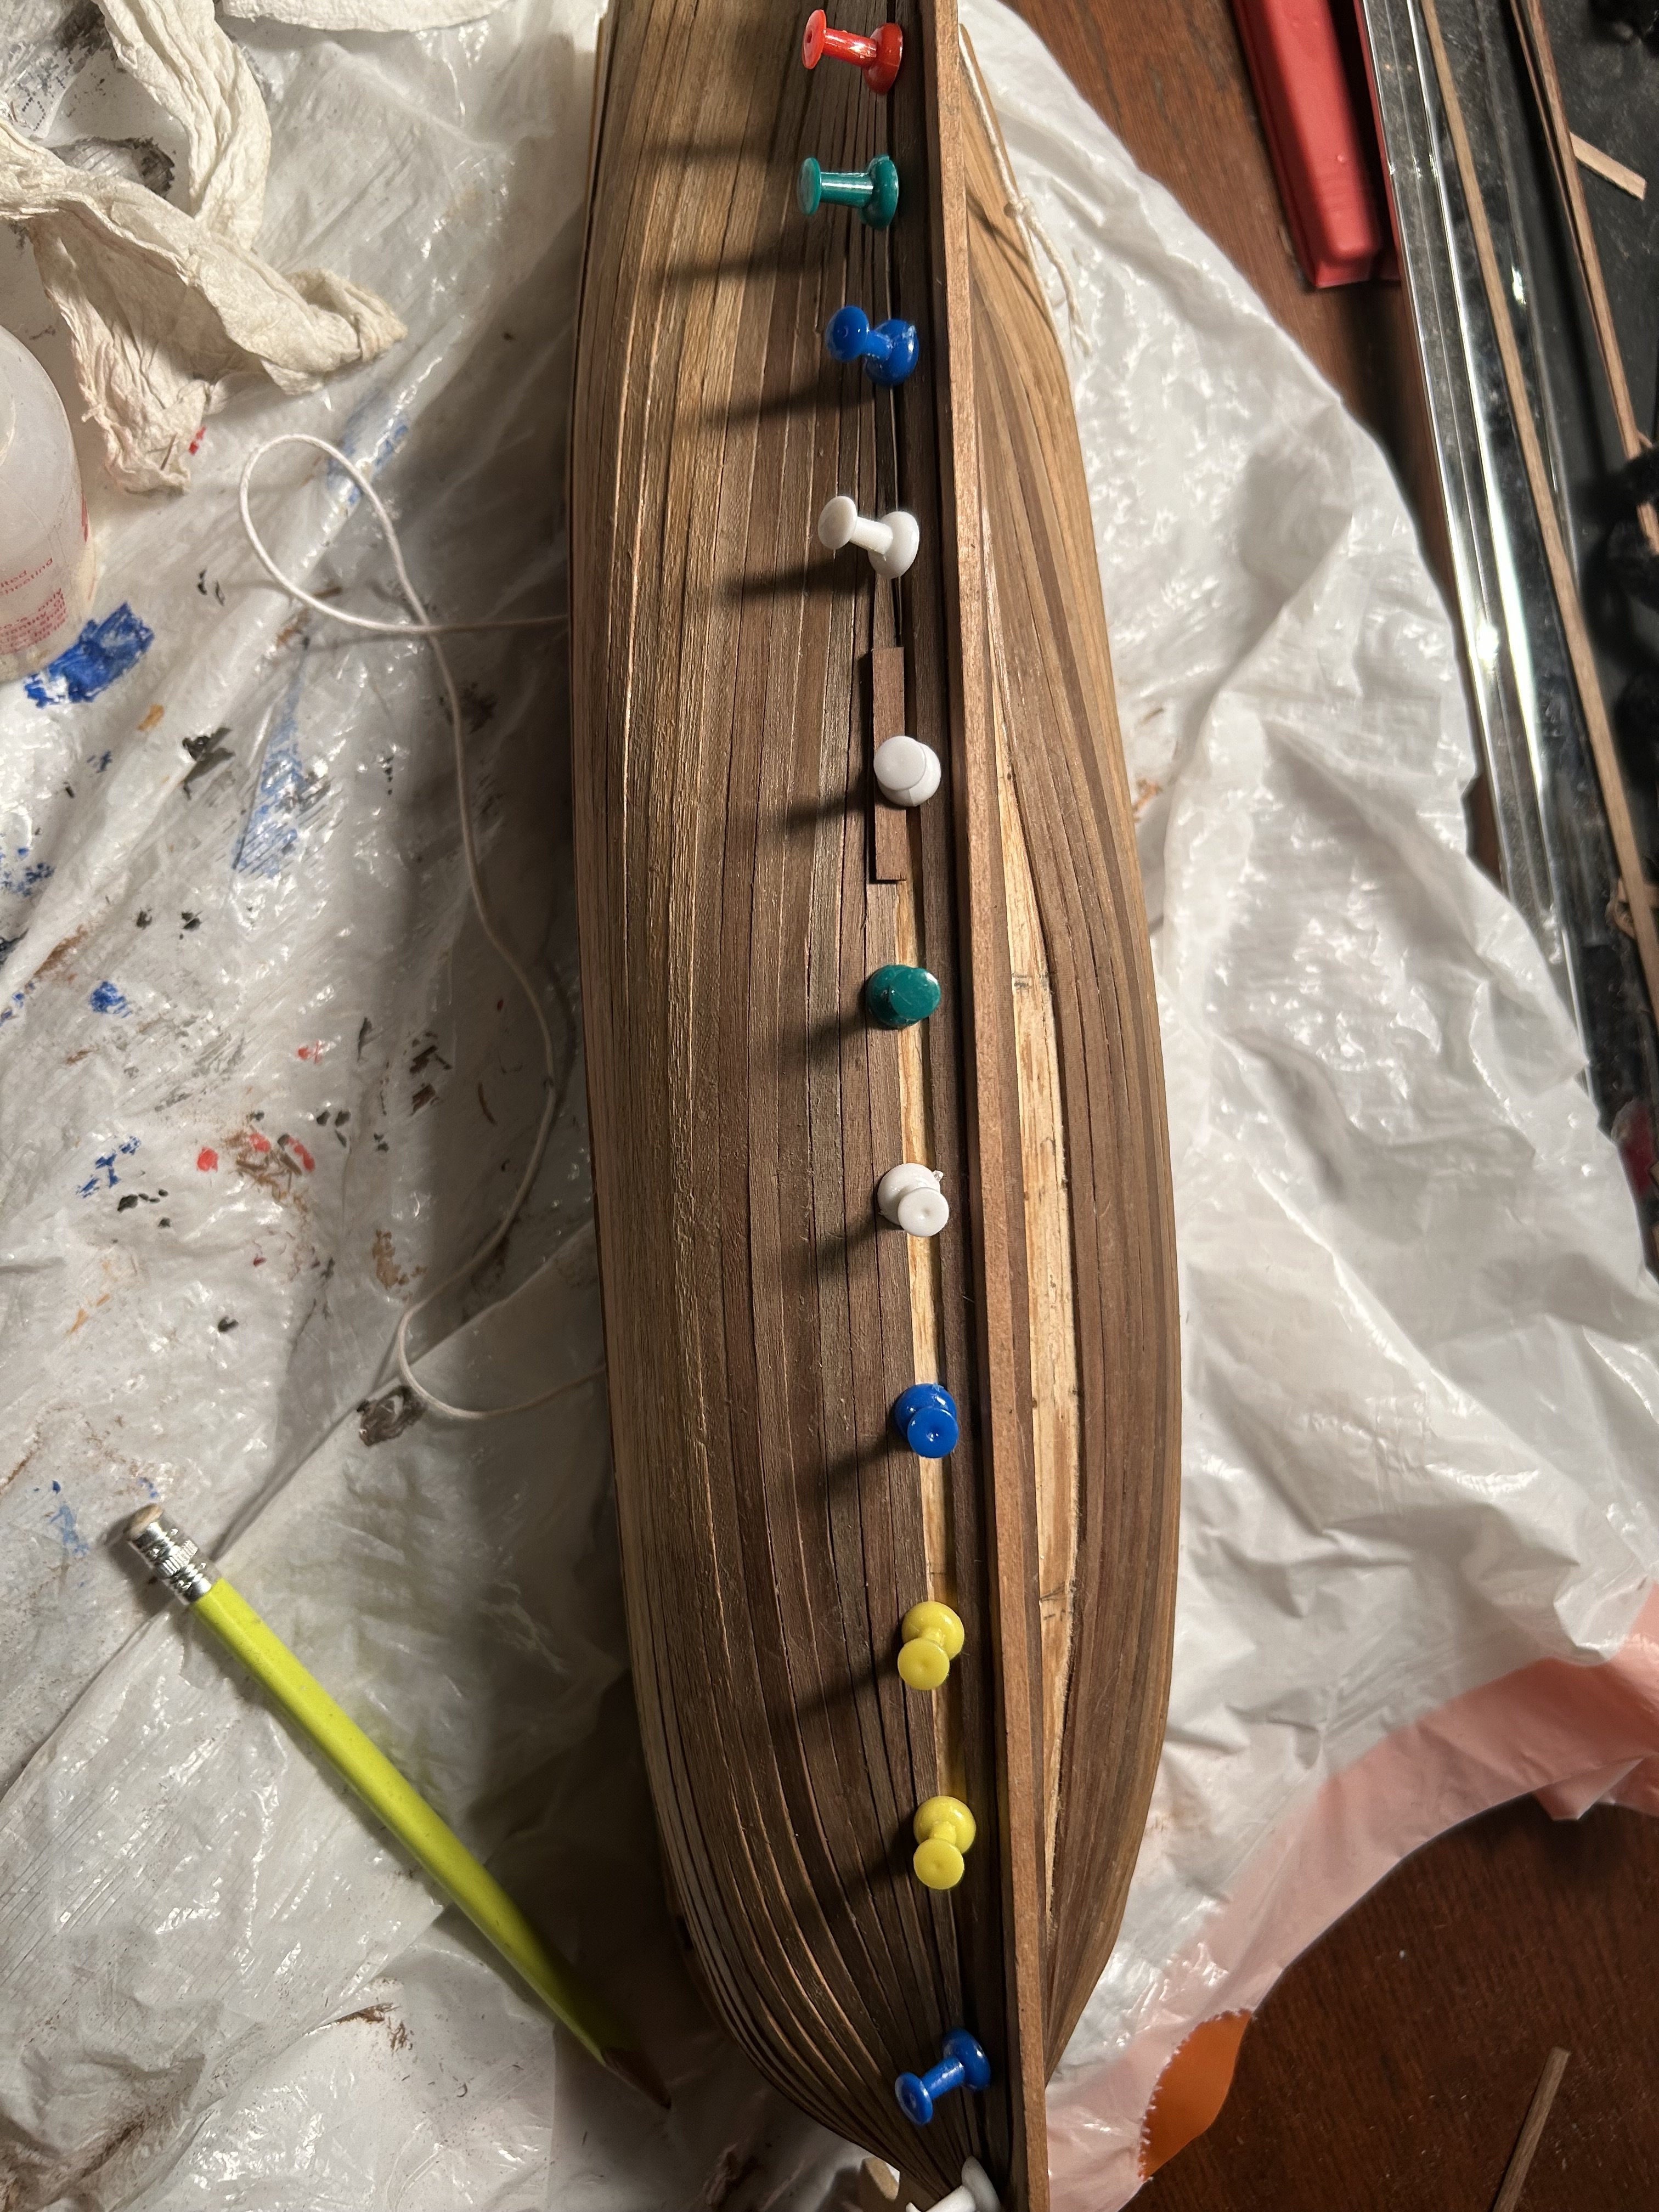
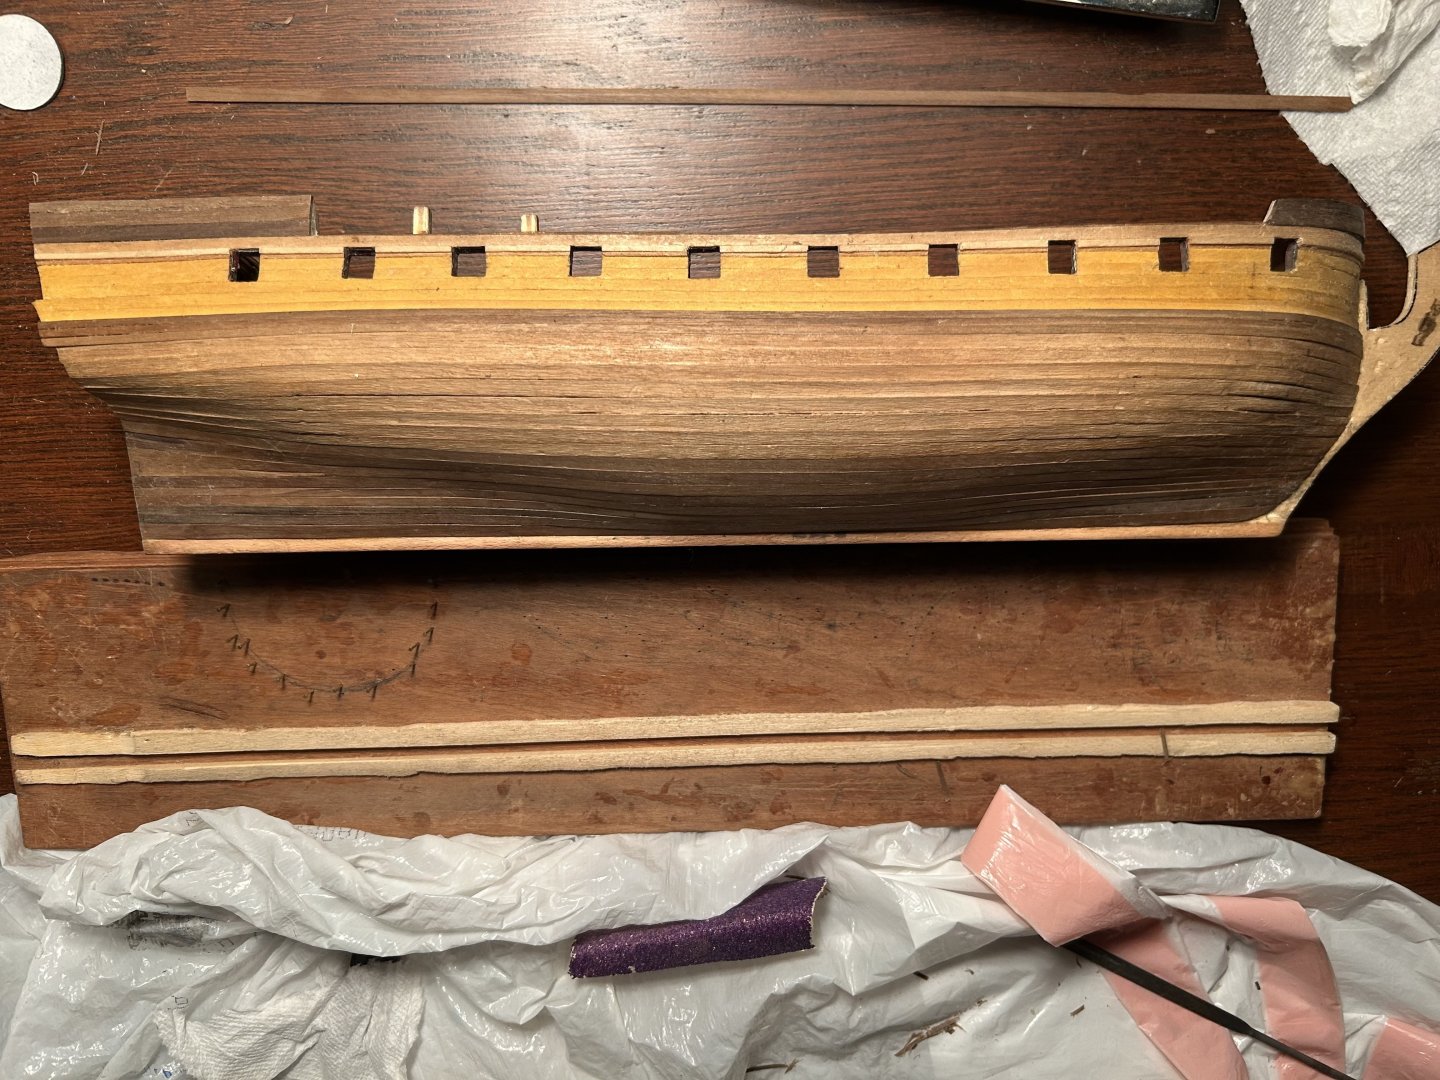
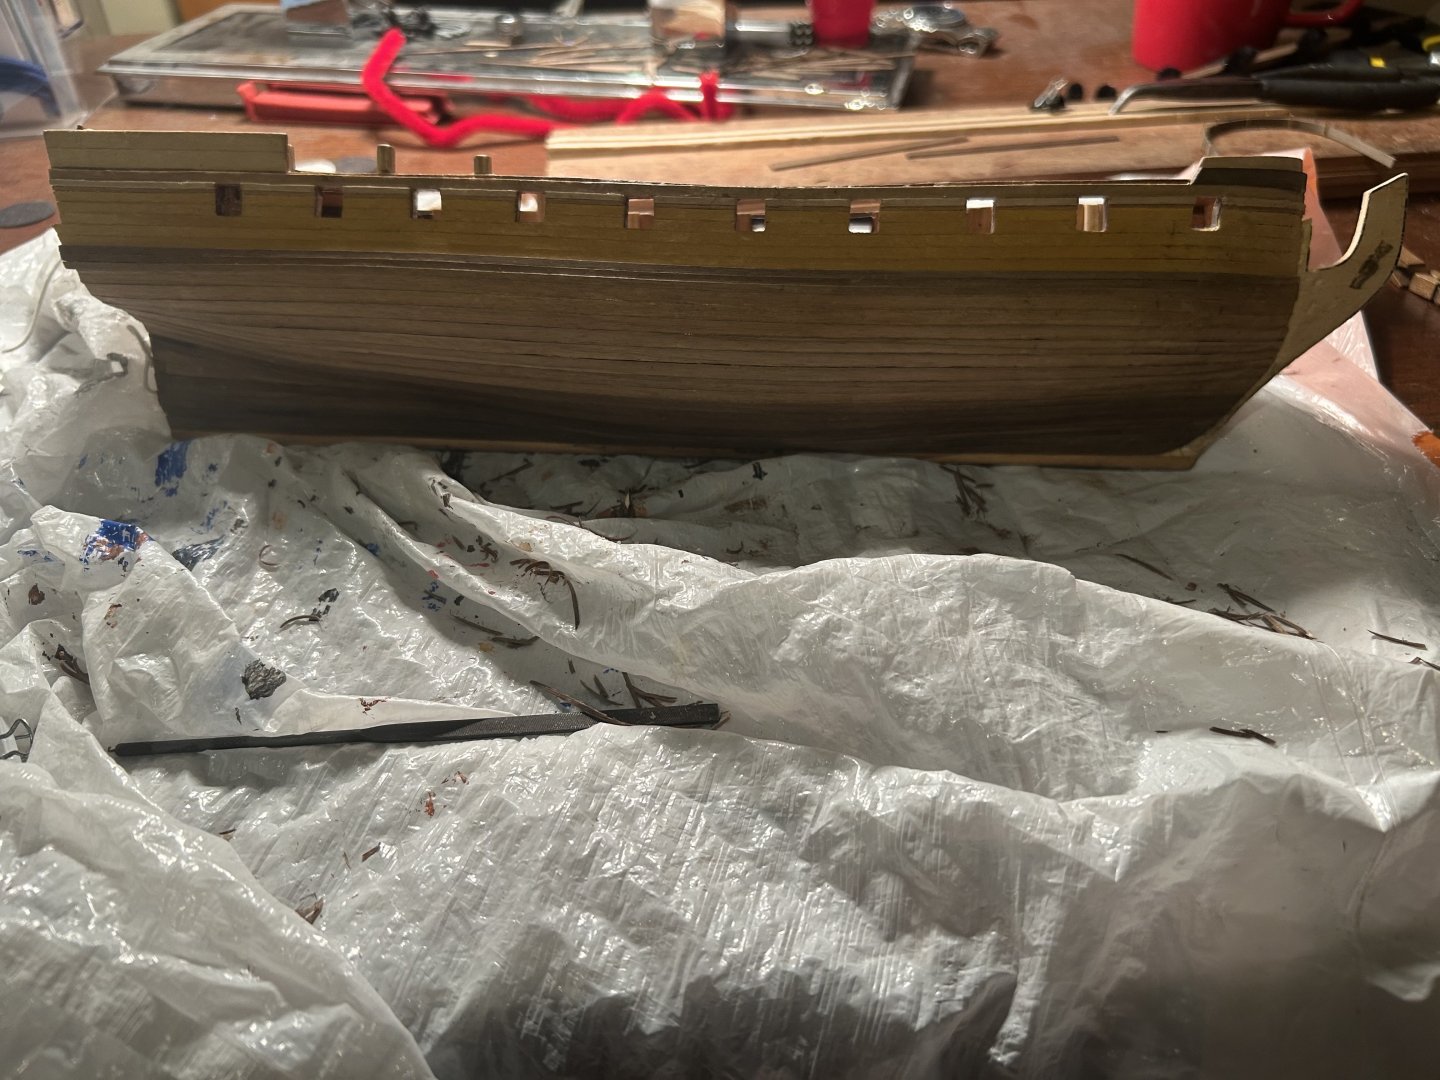
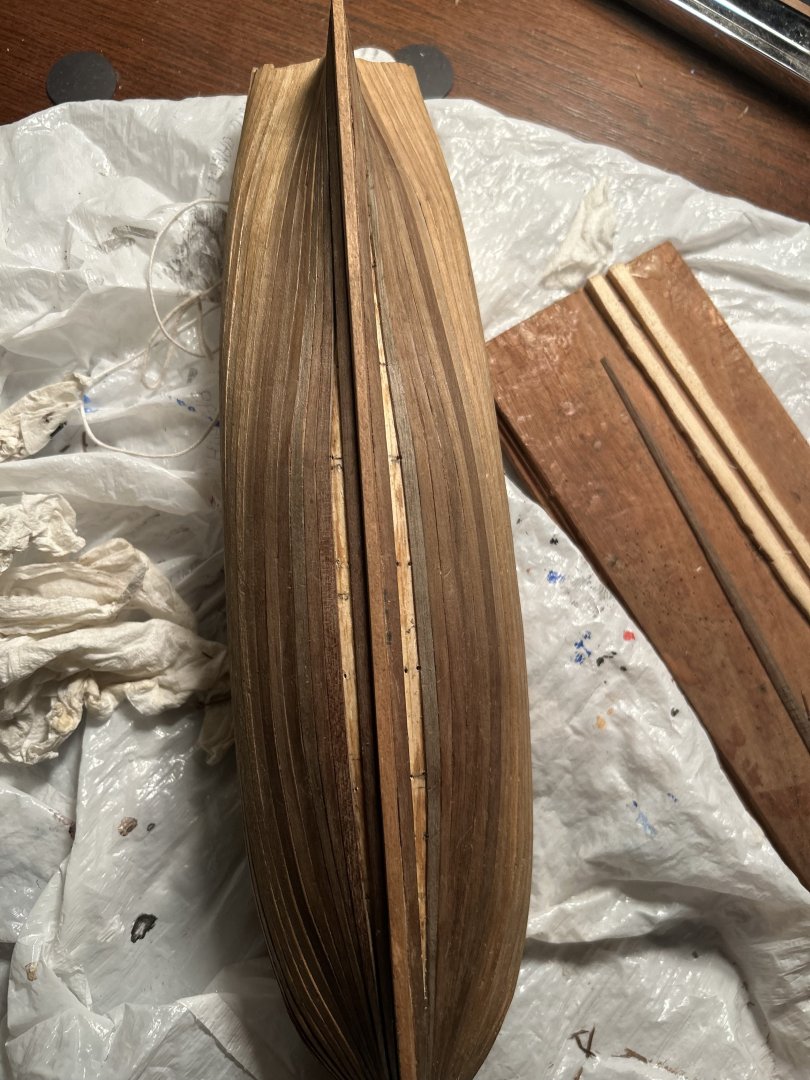
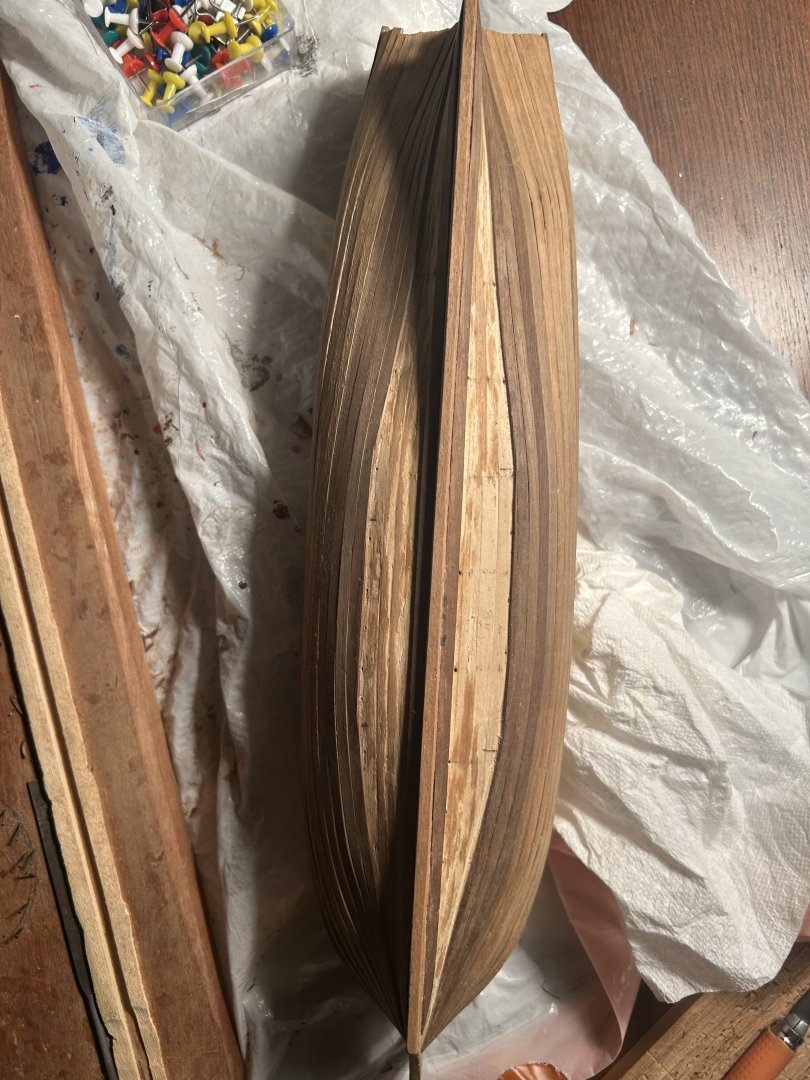
It's official. I'm now done with the outer planking entirely. The next step is patching cracks and sanding the hull below the gunwale. For this task, I've saved a bunch of shavings and sawdust from the last several steps. If I can go through and patch the worst cracks, a final sanding should make these problems hardly noticeable.
-
Putting on the last two planks went better than expected. I trimmed the plank above them on the hull to shape until they fit smoothly, then attached them with glue and held them in place by hand for about 20 minutes. In the end, the bending did most of the work. Here are the pics. I still need to attach some walnut planks on the upper hull to go over the lime wood from the first planking. I'm bending the bow plank to shape right now, and the stern ones should be far easier than the hull planks. After that, I'll sand and cut at the worst parts of the hull until they look a bit more even.


-
Thanks for the tip, I'll keep it in mind.
-
The countdown continues. Two left. I will have to sand the planks currently on the hull to make the last two fit at the bow and stern. But that should be relatively easy. Out of an abundance of caution, I will leave that task for tomorrow when I am certain the glue has had a day to set.
-
At last, I've started putting planks on again. Cutting the final one to shape went perfectly. The trick was not to cut it with the X-Acto knife, but to whittle it up to the line. Cutting it in one stroke has a tendency to split the plank. Everything else should be a matter of gluing and minor sanding to get everything to shape. Hopefully my preparations will be enough to make the process smooth.

-
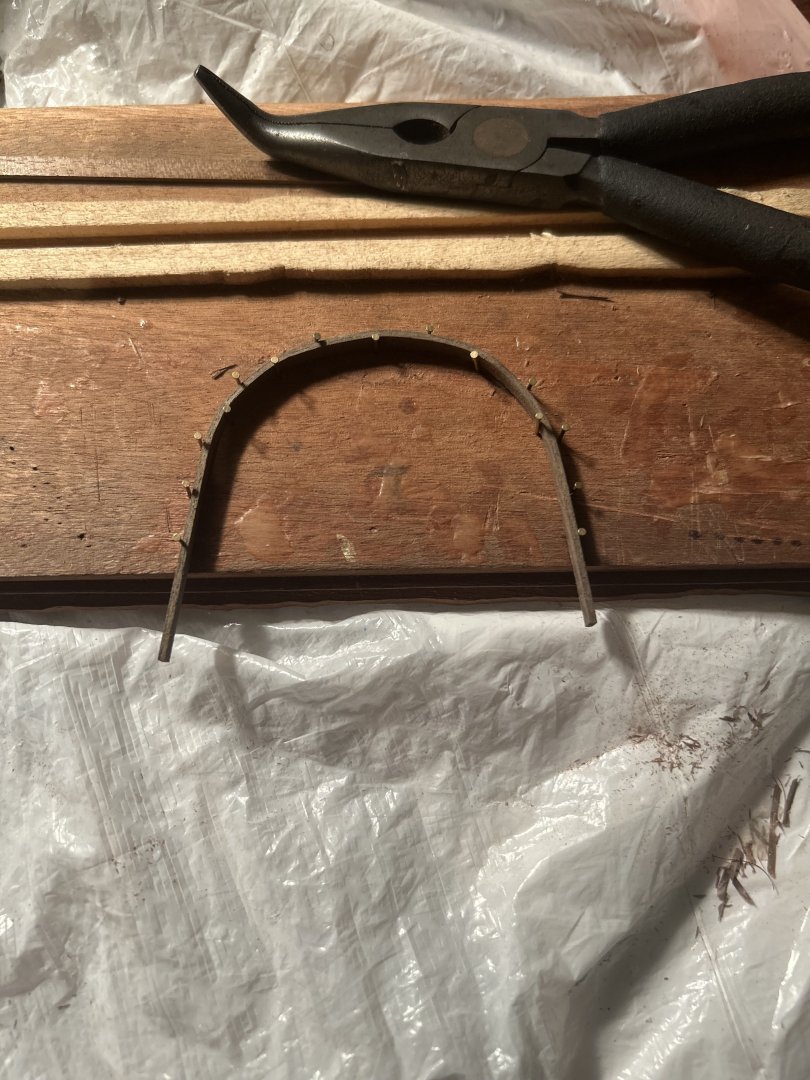
I have finished sanding my final spare hull plank to form. If all goes well, I can attach it today, then put on its counterpart on the opposite side. The process over the last few days has been slow, but I think it gives me the best chance of making the bottom hull perfect. In the meantime, I left the plank for the front forecastle in a thermos of boiling water for about two hours, then removed it, bent it, let it dry for a day, then glued it on. It worked very well. It's always tricky to bend that ultra-dramatic curve.

-
Three of my last four hull planks are now bent to shape. I might have to do one, however. The X-Acto knife slipped, and I've cut a small crack into it. However, I plan to hold back on making that call because I only have one spare plank. If nothing worse happens in my one remaining plank that needs planing into shape, I should be right on track.

-
I'm starting to wonder if the Greyhound is an intentional attempt to combine the convenience of a kit with the difficulty of a scratch build. Could Corel really have made such a bad instruction book by accident?
-
This isn't what it looks like. Although I've tacked the plank in the picture to the side of the ship, I haven't glued it on. The plan is to measure what I need to measure while it's on the ship and the proper shape, then use that knowledge to cut my final plank on the port side into the proper shape. After that, I will do the same thing on the other side. Hopefully, that will give me a good fit.

-
In the last day or so, I've only been sanding. I'm attempting to fit the last 4 planks perfectly to the hull as much as I can before attaching them. This plan will help me glue them without much need for pressure, making it possible for me to do these planks without leaving nail marks. As of now, two seem about right. Of the final two, both are still in need of much more shaping. With a little more work, everything should come together beautifully.
-
Thanks! That sounds very helpful too.
-
Thanks, the videos answered my problem. A bunch of the links on planking on the database are defective.
-
I'm working on the Corel HMS Greyhound. It's also my first real build. At this point, I have done every plank except the two between the garboard and the rest of my work. I've attached pictures below. How do I get the last two on without leaving unsightly nail marks? Is it about making them perfect beforehand? Just using nails and covering up the evidence? Or is there some other way? I have a few theories of my own, but it would be far from wise to take this final leap without expert advice. Thank you all!


-
Almost done with the hull. Four planks to go. Everything seems to be fitting together well, but the last four will likely be very challenging to put on without inflicting damage. If anyone has some advice on how to attach them without leaving a bunch of nail holes in the second planking, I'd be grateful to hear it.


-
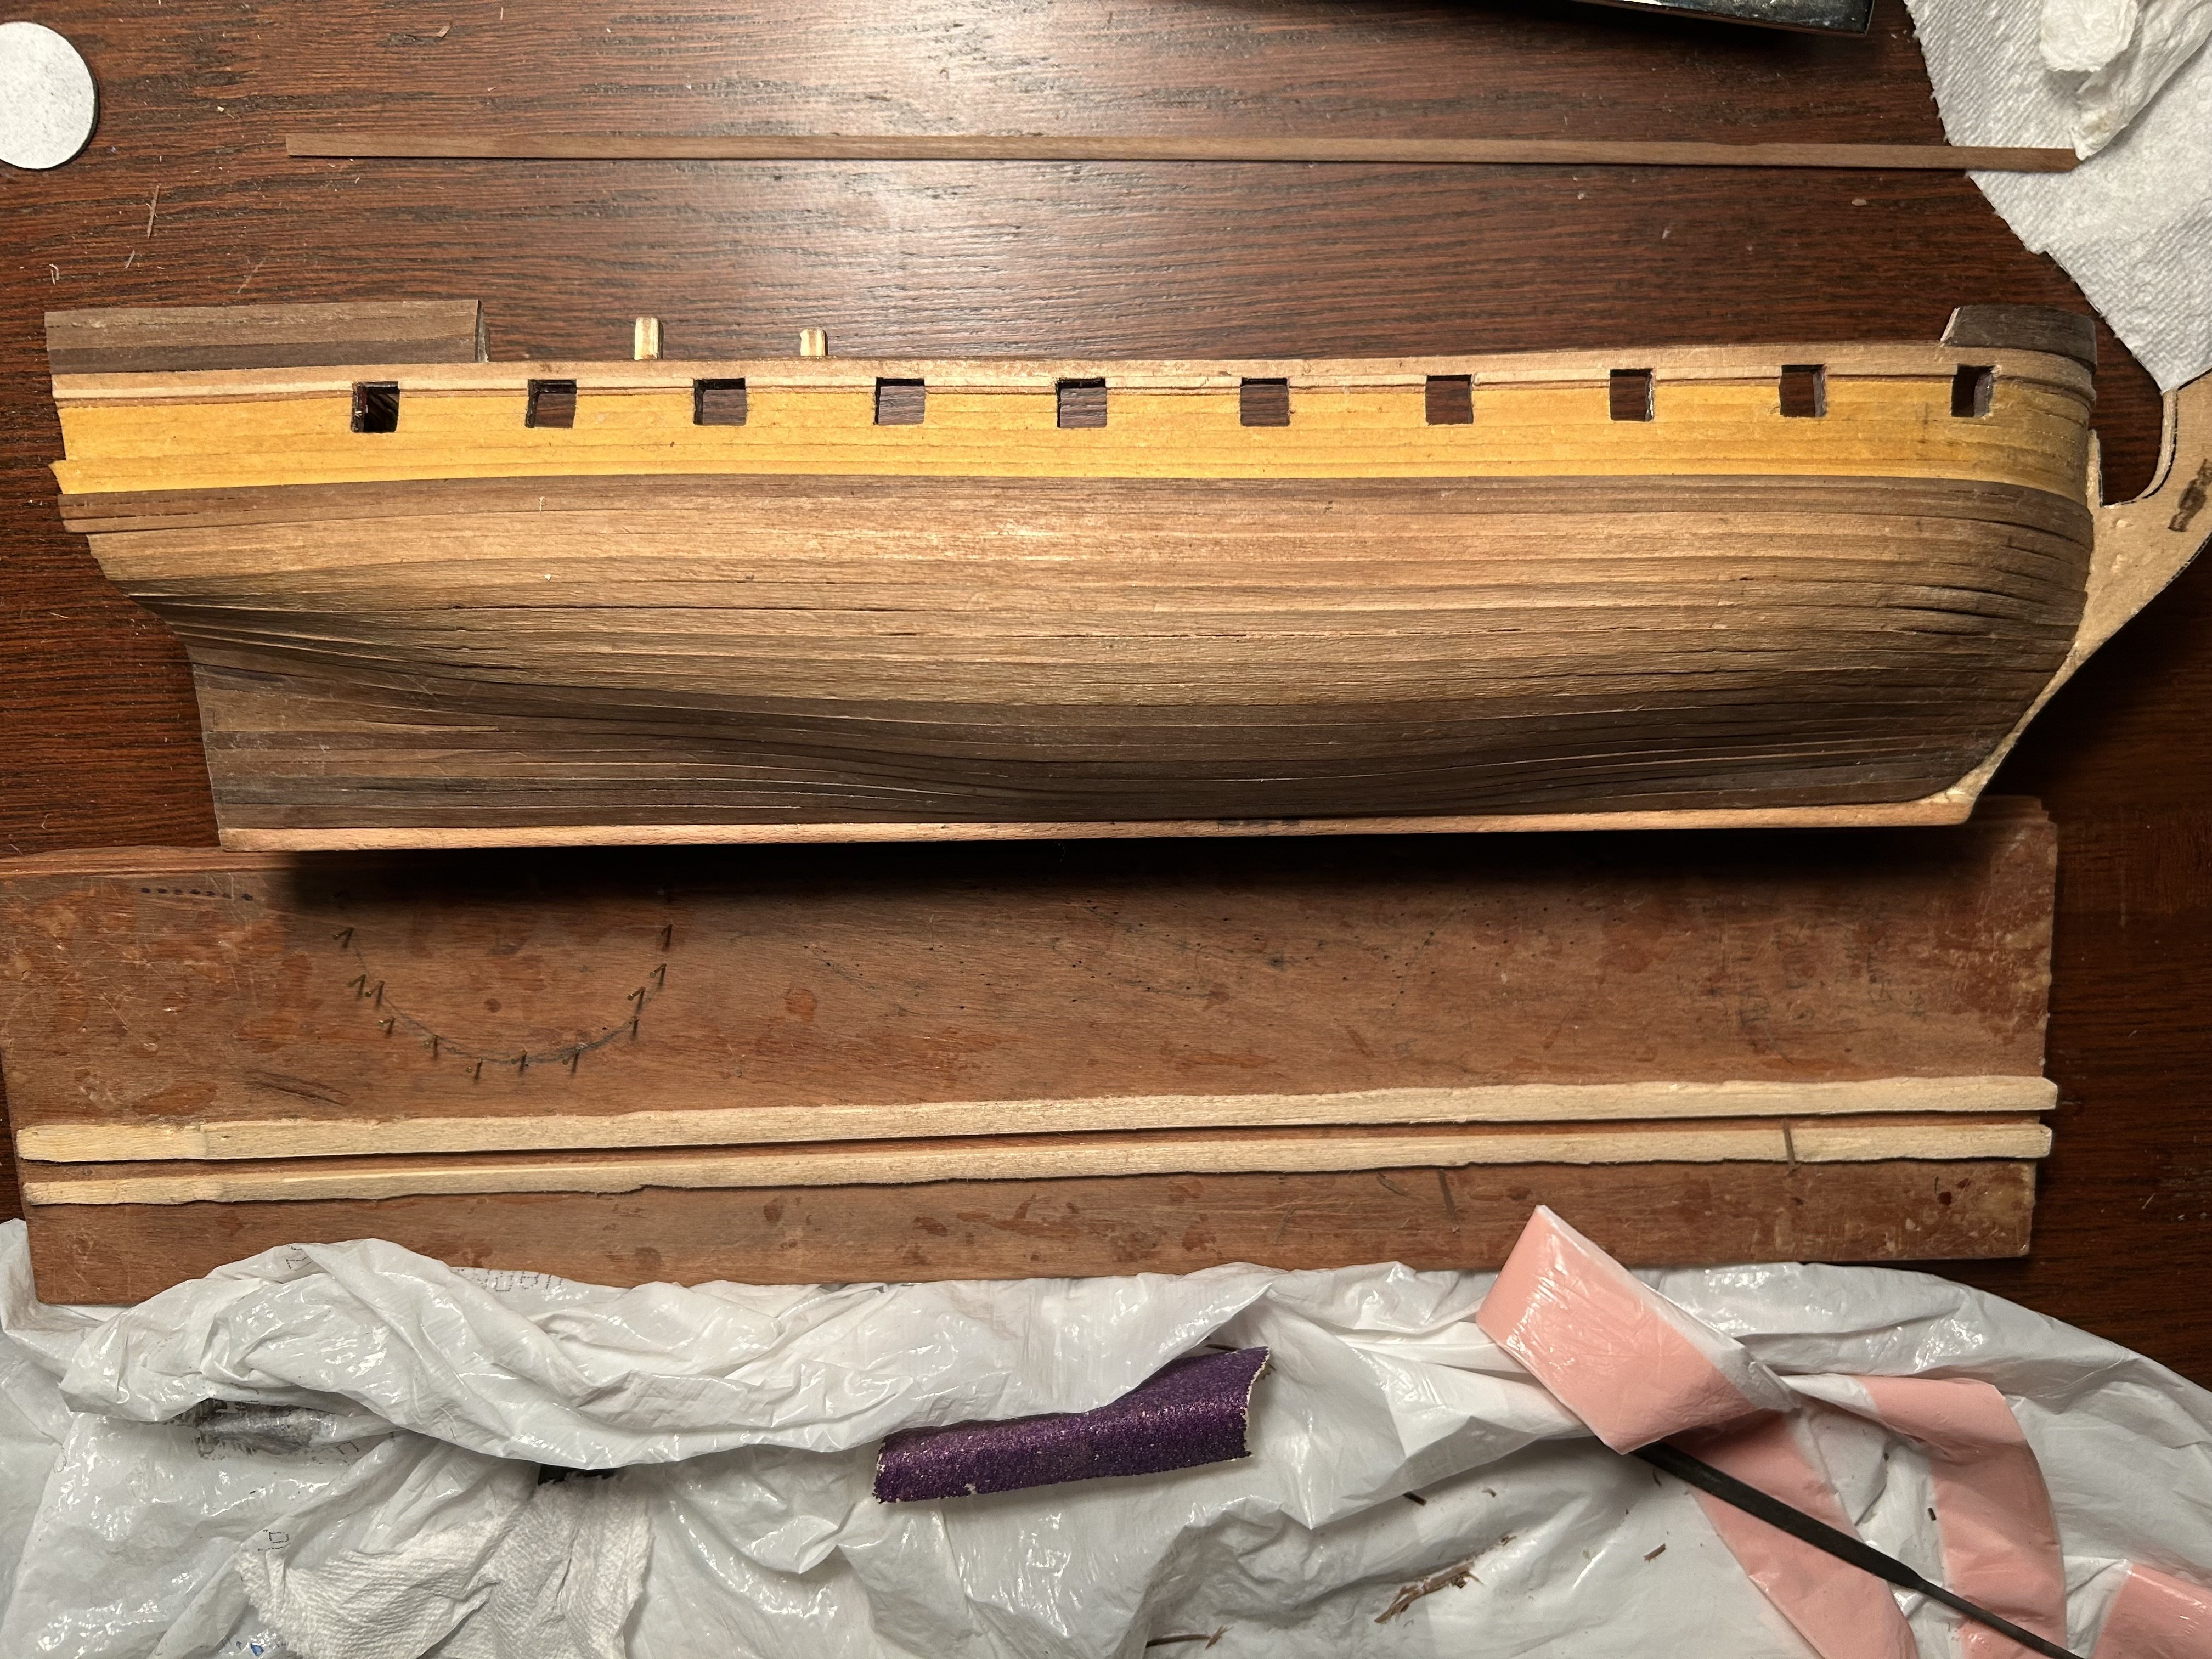
Today was just a lot of sanding. I didn't get the chance to attach another plank. But I'll go into my sanding process so people can know about it. Before I put on each plank, I sand the facing toward the deck to be thinner. I don't sand it to a point, but rather just enough that it begins to resemble something approximating a blunt chisel. This surface will allow it to fit more closely to the plank immediately above it. After that, I cut the bow tip of the plank to fit smoothly into the main curve of the bow planking. After I get the right angle, I sand the front plank as thin as I can get it so it can fit down onto the bow. While I'm doing these things, I brace the plank against a solid wood surface. After attaching the plank to the ship, I make a mark on the outermost edge of the plank using a ruler to indicate how thin I want it to be. I use an X-Acto knife to carve away wood until it's approximately the right shape there. Then, I use the same knife to cut a smooth line that tapers off roughly four frames along the hull (But this is a very inexact measure. Right now, I'm cutting up to the place where all remaining planks can fit together onto the ship. Finally, I use a thin metal file to sand the plank for precision and smoothness. This method is slow, especially when sanding planks that are already on the ship. But so far it has worked fairly well.
-
Six more planks to go. I'm so close! The plank I just put on will be my second-to-last 2mm plank in the bow. The next will be 1mm. The final pair will require great care and creativity, however. I shall have to hope I can pull it off.
-
Today brings with it new choices. At its thickest point, the Greyhound's hull needs 4 planks and about 1 mm on both sides. That 1 mm is a very rough estimate, given that one side is slightly different from the other. To fix the gap, I fitted a pair of shims, glued them on, then sanded them to a perfect fit. The plan had a few hitches, but nothing a little sanding and shimming couldn't fix. Here's the end result. I am now eight planks from completion. Here's the plan. I will sand all four remaining planks into shape to fit the hull and stern perfectly. In the bow, that will require one 1 mm plank, two 2 mm planks, and one carefully sanded plank to try and perfectly fit the last 2ish mm. In the stern, it will require one 3 mm plank, two 2mm planks, and one plank sanded to fit. The middle will either work perfectly or require sanding on the last plank.

-
Well, at long last misfortune struck. The plank I just put on slightly snapped near the bow. Thankfully, the issue is small enough that no one will be the wiser. At any rate, the speed at which I can put on new planks has much decreased. The sanding and adjustment they require has made things far more difficult.
-
After considerable thought, I've figured out I need to add in another shim in the middle of the ship after the next pair of planks. All measurements seem to confirm this fact, and it's clear from looking at my previous work that I had to do the same thing in roughly the same spot. I'm very confident in my ability to do so, however, so matters should be straightforward. I'm very confident about the next bit.
-
Progress continues apace on what is arguably the hardest plank on the ship. The first garboard went on badly in the front and well in the back. The second did quite the reverse. Thankfully, I had a solution. I shaved down a tiny section of plank to be thin on one side. Then, I wedged the thin side into the crack between the keel and the garboard along with a judiciously applied bit of glue. When the glue dried, I shaved off the excess, leaving the crack patched. It worked perfectly. At this point, both garboards are done, and I'm ready to put on the next pair of planks. The end of planking is in sight.