campbewj
Members-
Posts
59 -
Joined
-
Last visited
Profile Information
-
Gender
Male
-
Location
Chicago, IL
Contact Methods
-
Yahoo
campbewj@yahoo.com
Recent Profile Visitors
-
 tmj reacted to a post in a topic:
Flying Fish by campbewj - Model Shipways - 1:96
-
 Jared reacted to a post in a topic:
Flying Fish by campbewj - Model Shipways - 1:96
-
 dvm27 reacted to a post in a topic:
Flying Fish by campbewj - Model Shipways - 1:96
-
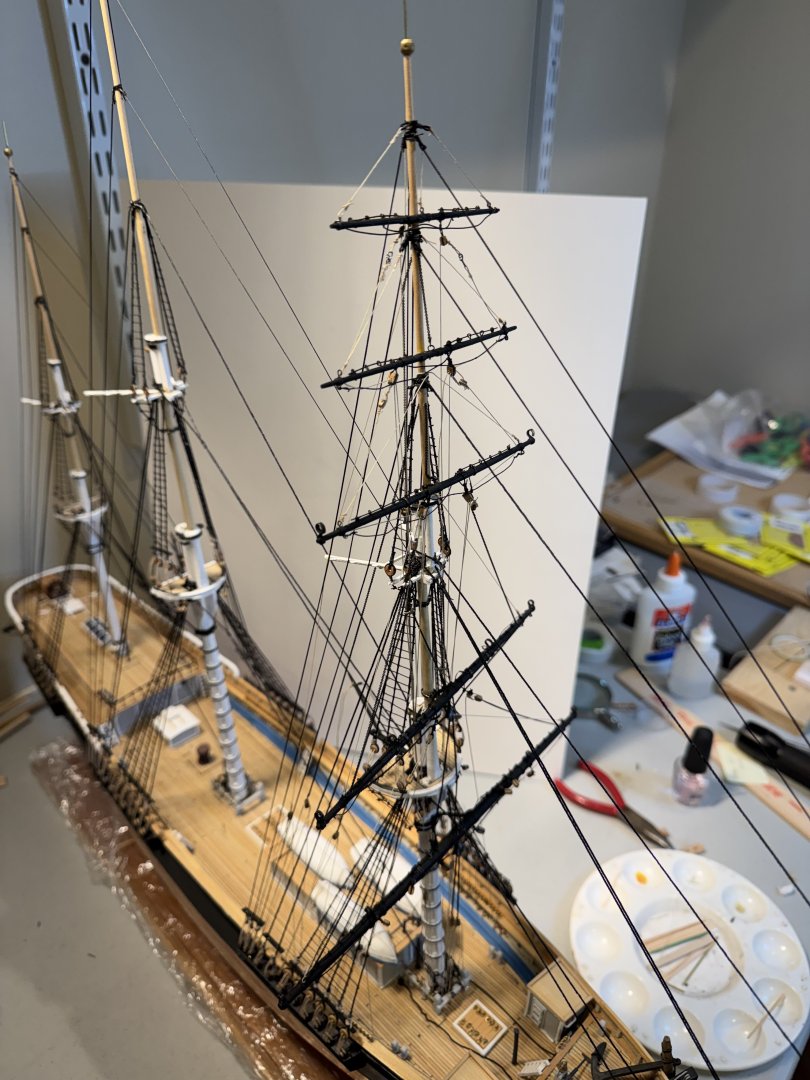
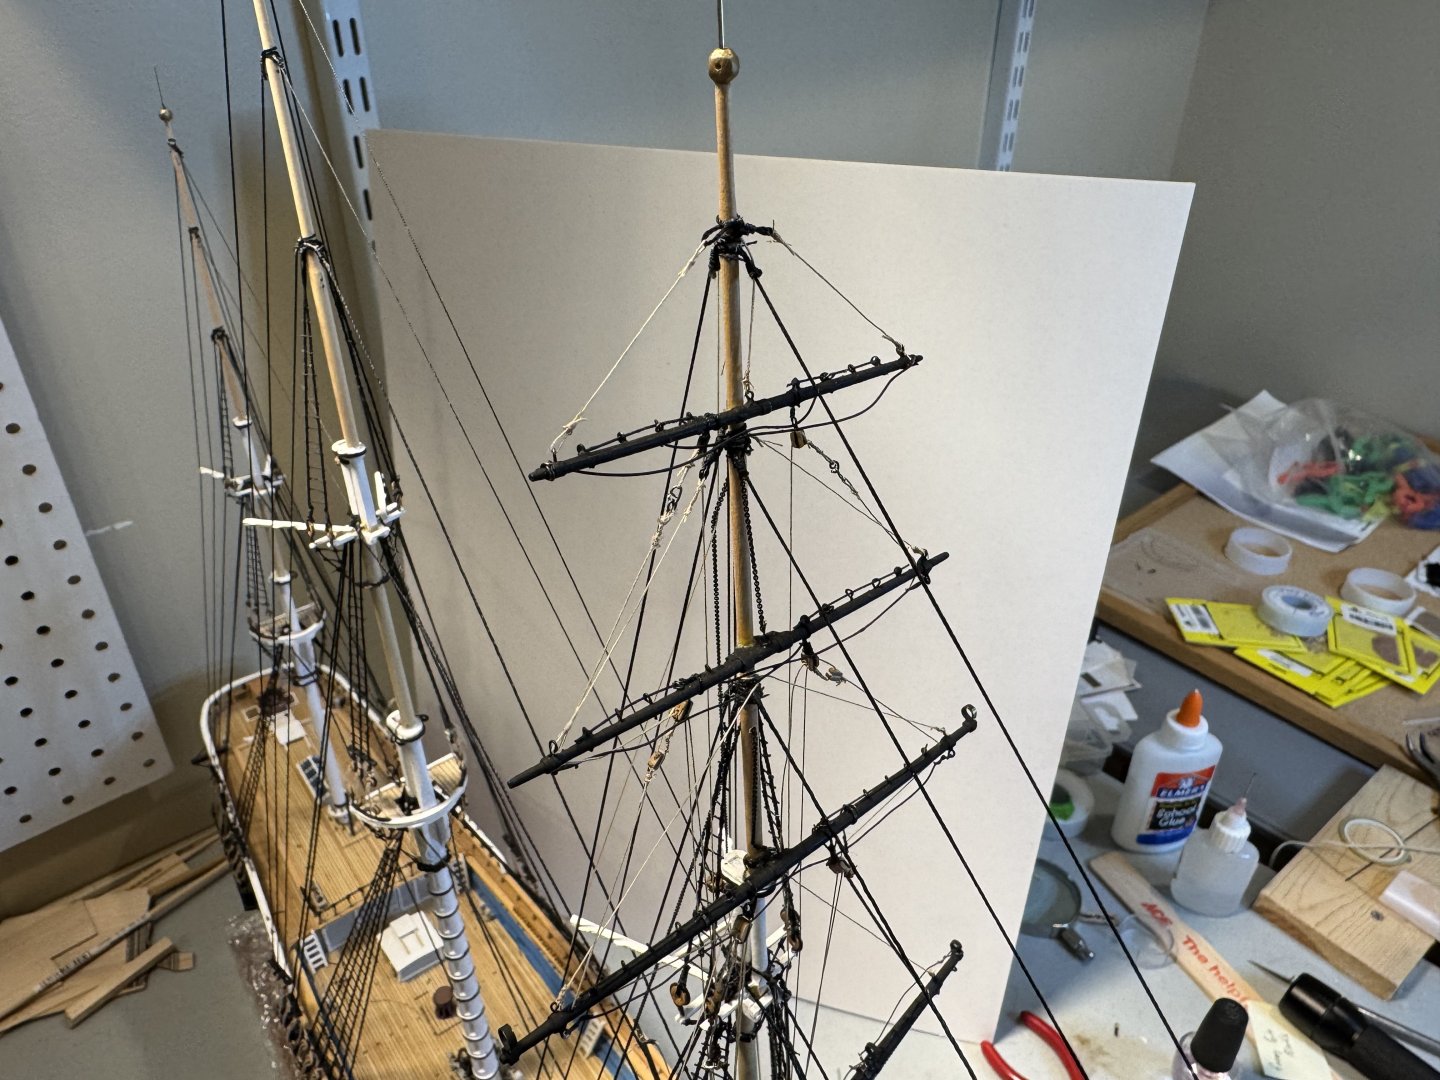
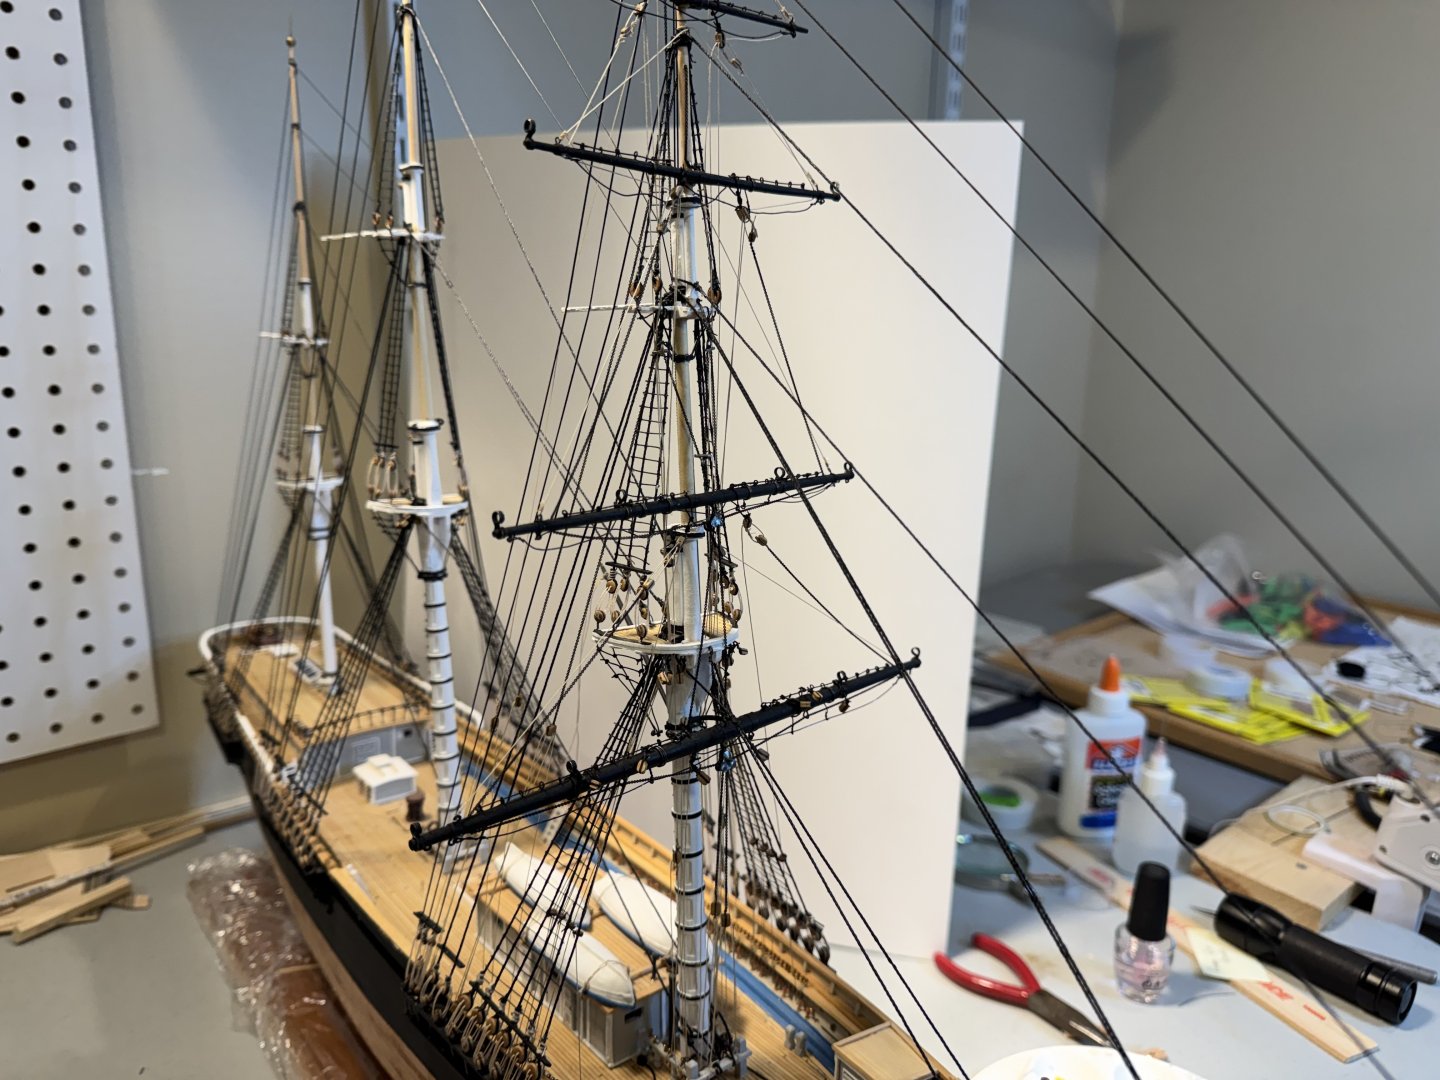
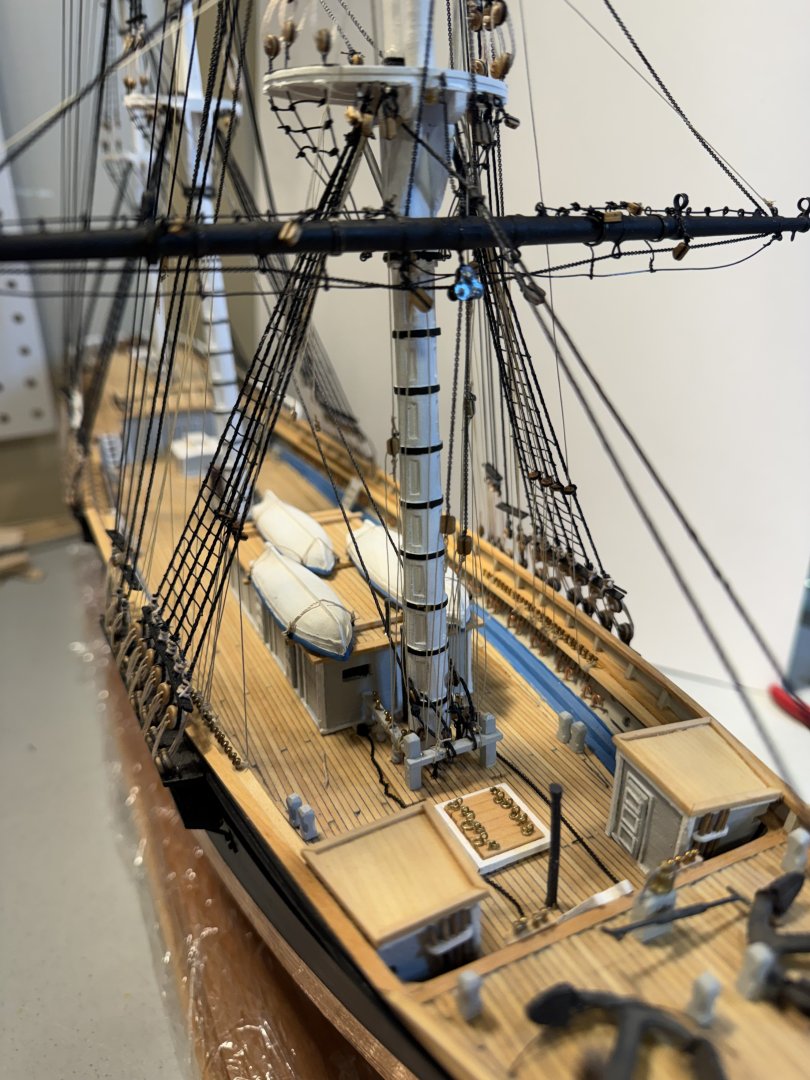
Almost New Years update. I've completed the addition of all the Foremast spars and the rigging that is associated with them. Pics follow: Please forgive my miserable photography. Bill
- 60 replies
-
- Flying Fish
- Model Shipways
-
(and 1 more)
Tagged with:
-
 Kauz reacted to a post in a topic:
Flying Fish by campbewj - Model Shipways - 1:96
-
 Scott Crouse reacted to a post in a topic:
Flying Fish by campbewj - Model Shipways - 1:96
-
 Jared reacted to a post in a topic:
Flying Fish by campbewj - Model Shipways - 1:96
-
 Snug Harbor Johnny reacted to a post in a topic:
Flying Fish by campbewj - Model Shipways - 1:96
-
 Kenchington reacted to a post in a topic:
Flying Fish by campbewj - Model Shipways - 1:96
-
 ccoyle reacted to a post in a topic:
Flying Fish by campbewj - Model Shipways - 1:96
-
Been way to long since I've posted anything and as I have reached a milestone I have paused to take a few pics and get them into my log. At this point the standing rigging is "complete" I'm holding off on the trucks as it seems it may be easier to put those in on an as needed basis when the lines that go through them are put in place. So now it on to constructing the spars and the hardware to attach them to the ship.
- 60 replies
-
- Flying Fish
- Model Shipways
-
(and 1 more)
Tagged with:
-
 uscharin reacted to a post in a topic:
Flying Fish by campbewj - Model Shipways - 1:96
-
Thank you for the ideas on the lightning rods and nice comments.
- 60 replies
-
- Flying Fish
- Model Shipways
-
(and 1 more)
Tagged with:
-
One item I'm struggling with is the balls at the top of the mast. As I'm working on it, the needs to be some hole in the top of the ball to support the lightning rod which I envision being a small brass rod. There also needs to be two small holes to act as the flag halyard. Using a Dremel drill press on basswood I end up either destroying the piece or making it grossly out of scale. How have others made these pieces? looking at the other builds these parts must be done much later in the build. I'd like to try while everything is still in hand on not on the ship, but could wait as well. thoughts? thank you
- 60 replies
-
- Flying Fish
- Model Shipways
-
(and 1 more)
Tagged with:
-
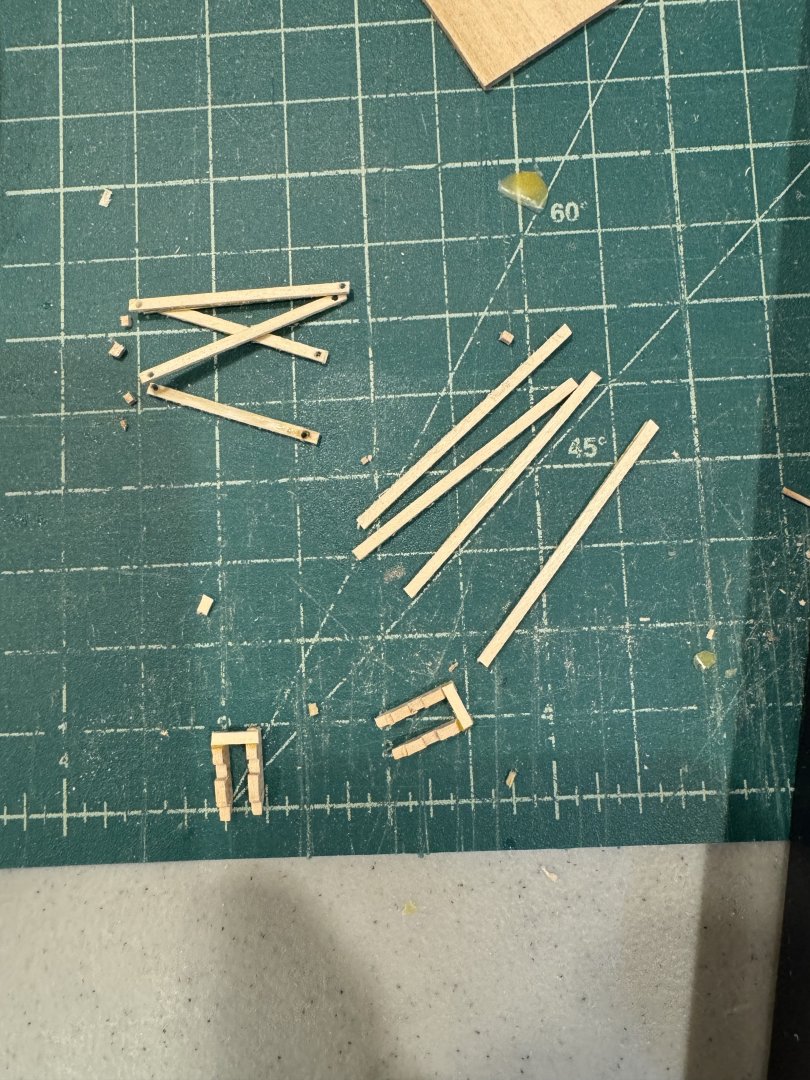
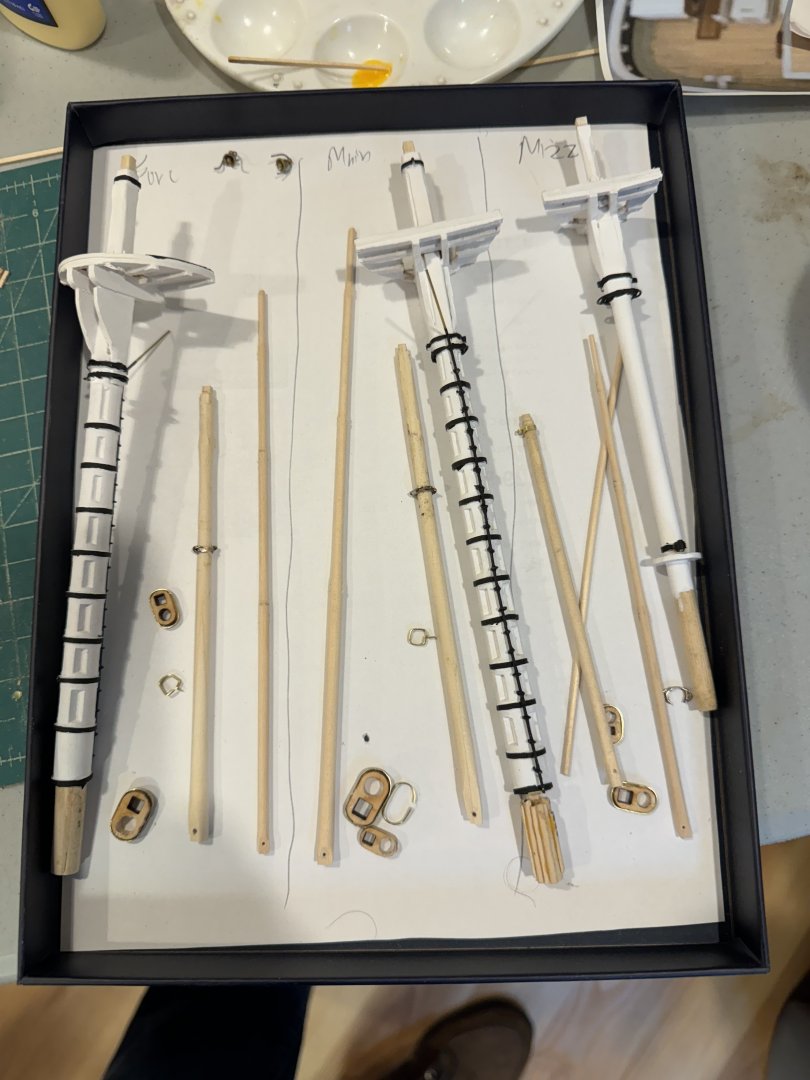
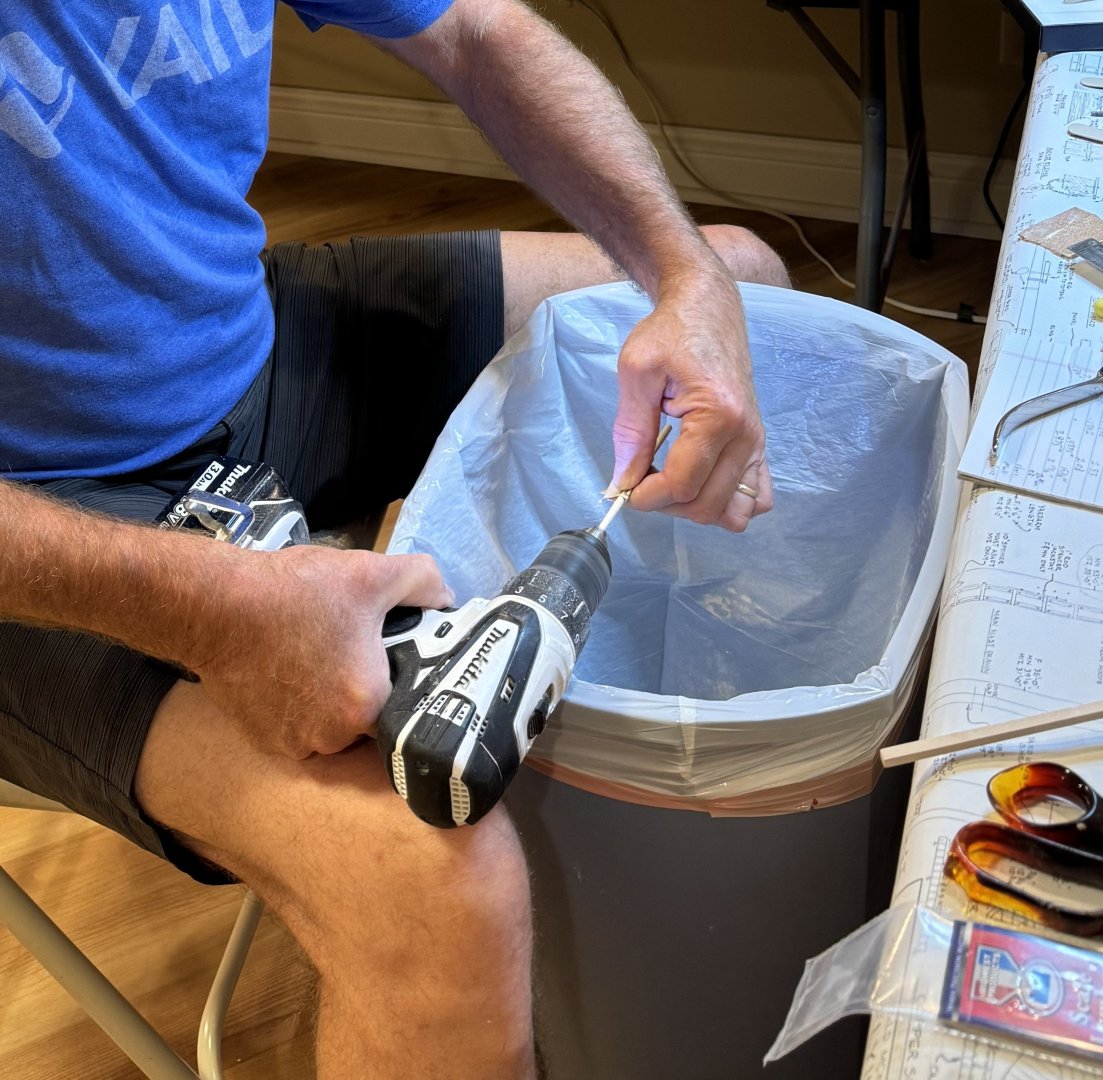
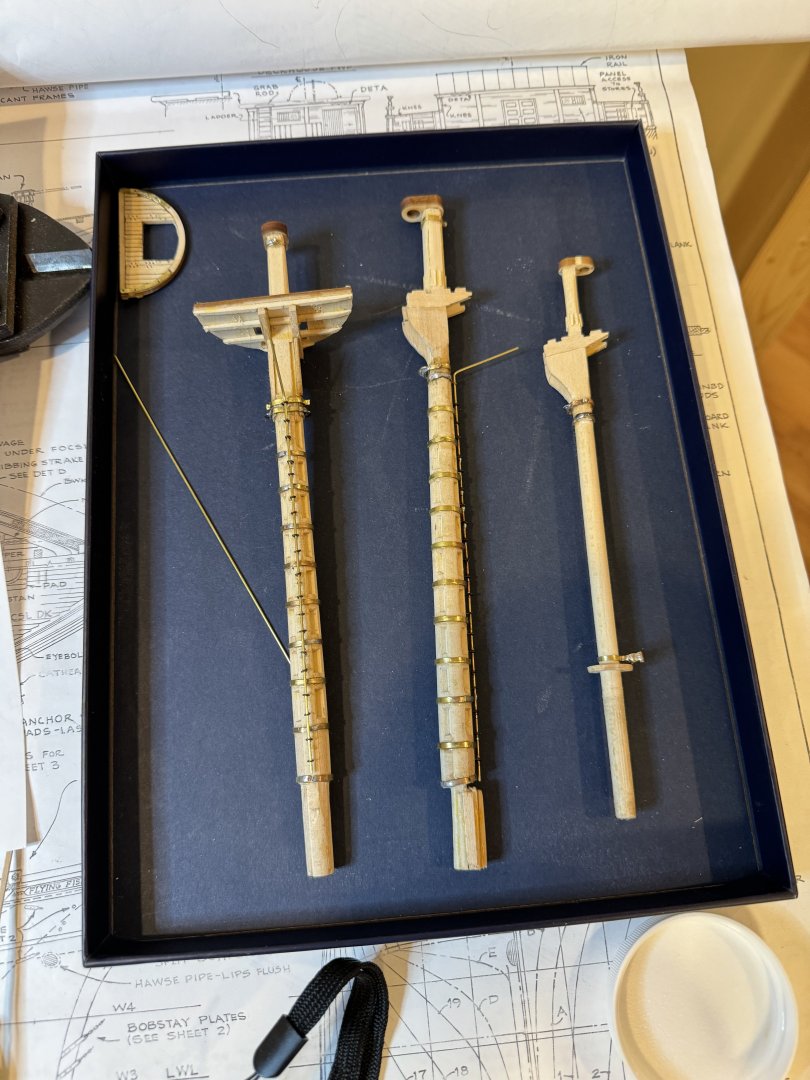
Still working on various pieces of the masts. I've painted the lower masts as I believe these are completed. I've formed the masts, drilled holes and made a number of brass fittings. Still working on the upper cross trees. I've used the suggestion to glue some brass on the bottom of the pieces to add some strength. Shown below is my Makita "lathe". Spinning with sandpaper to take round out the square basswood and remove material.
- 60 replies
-
- Flying Fish
- Model Shipways
-
(and 1 more)
Tagged with:
-
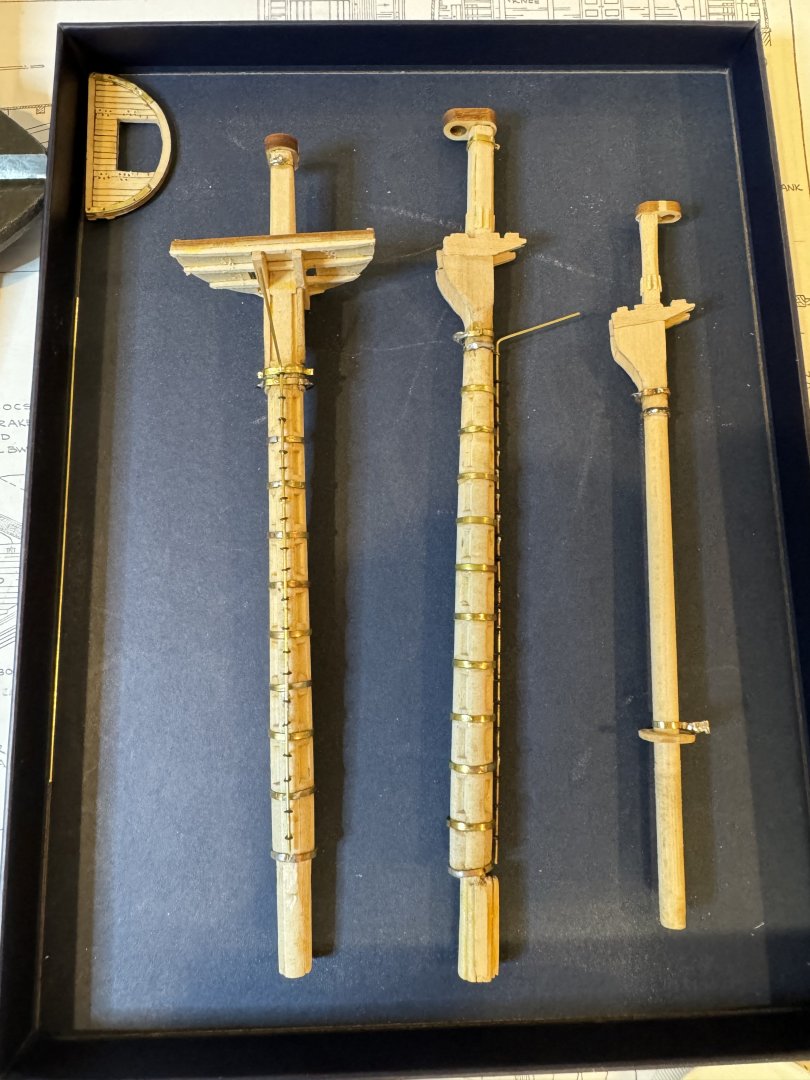
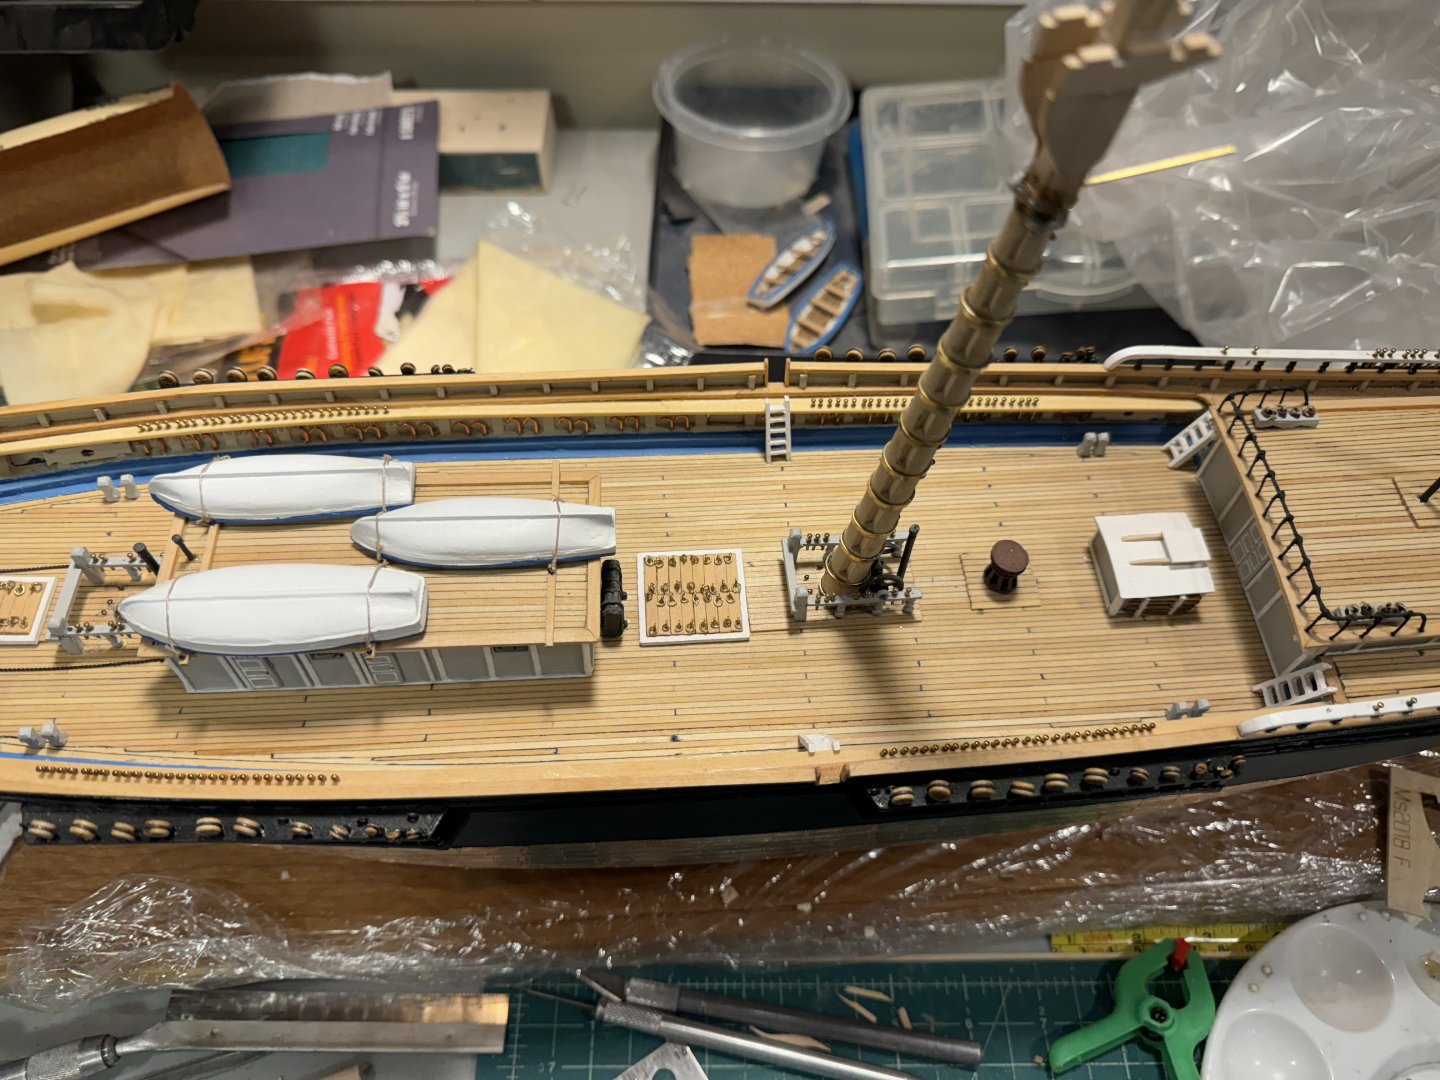
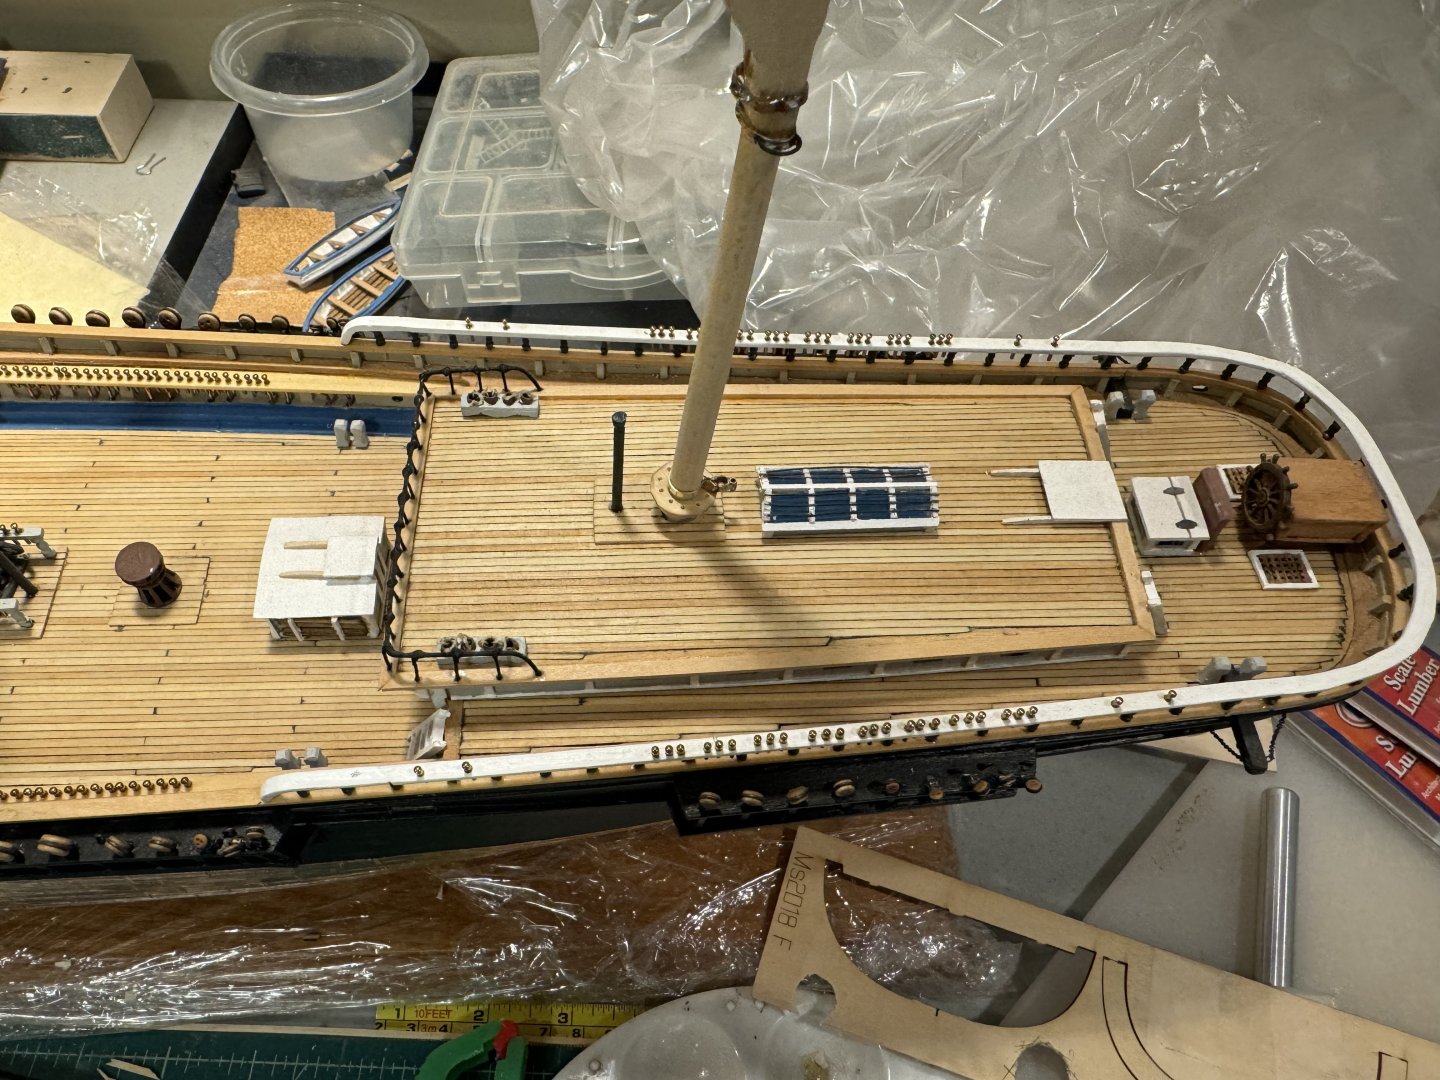
Where I am today after picking this up after a summer away. I believe the deck structures are complete. I have started the masts and I'm nearing completion of the lower sections of all three masts. I need to re-orient myself to where I am and what's next. hopefully my next post will be in a week or two and not months.
- 60 replies
-
- Flying Fish
- Model Shipways
-
(and 1 more)
Tagged with:
-
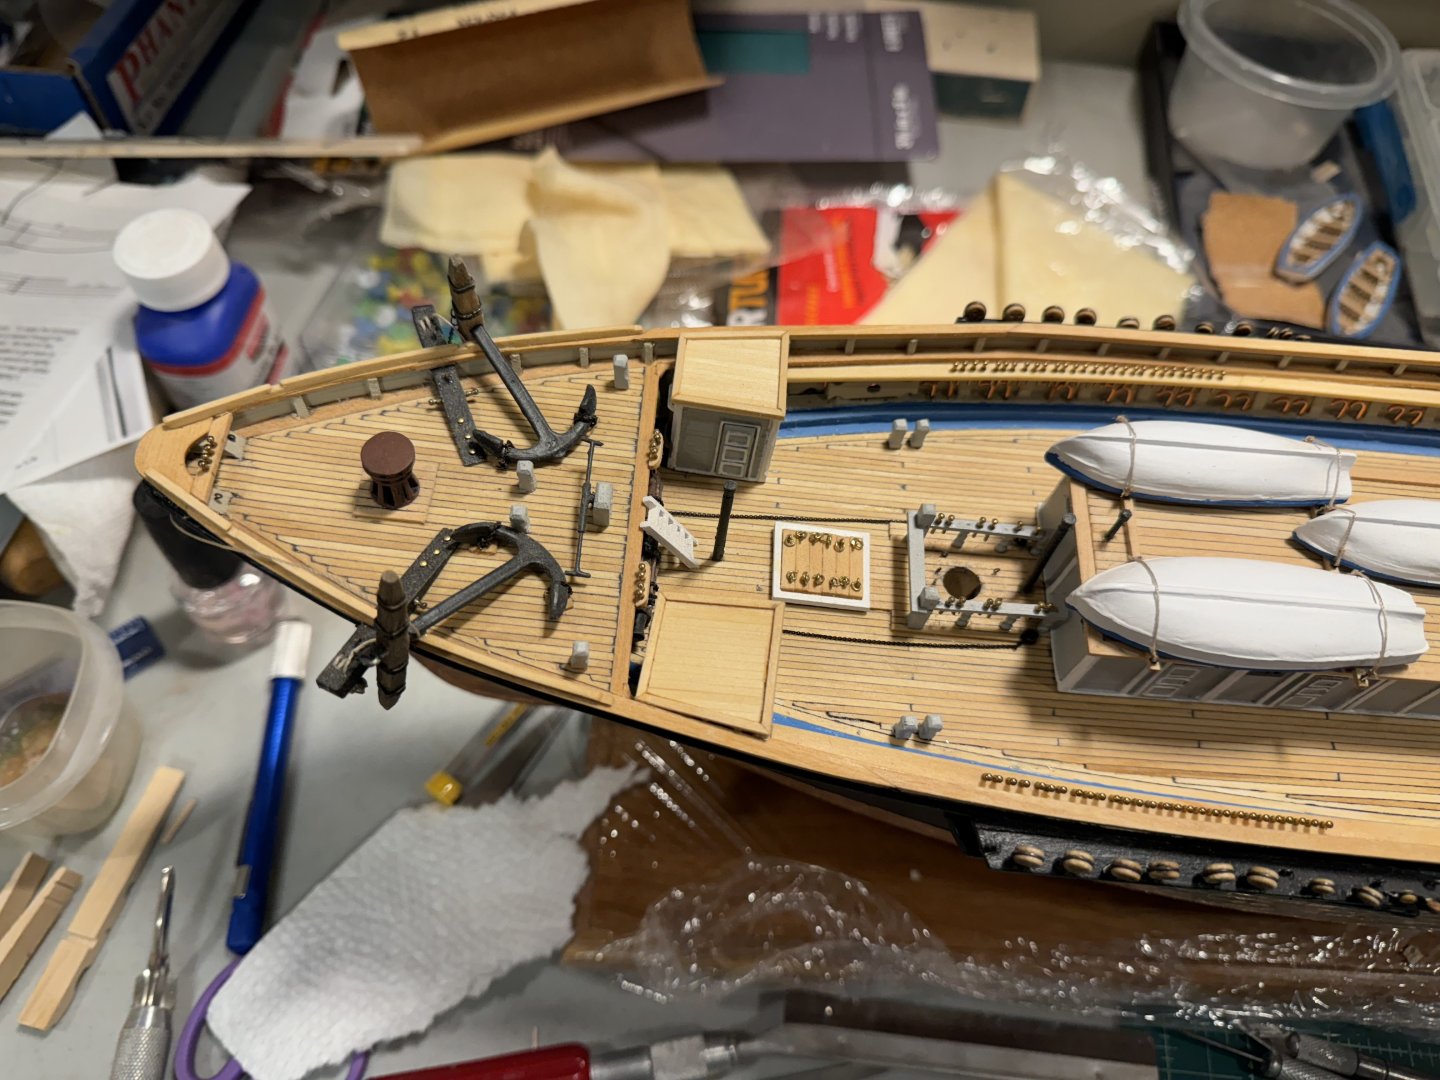
Working on the deck structures my general take on the use of the cast items is that I will attempt to build one from scratch and if I like it better than the one provided I will use it. If not, just part of the learning curve.
- 60 replies
-
- Flying Fish
- Model Shipways
-
(and 1 more)
Tagged with:
-
- 60 replies
-
- Flying Fish
- Model Shipways
-
(and 1 more)
Tagged with:
-
Well its been a very long time since I last posted, about 18 months if my quick look is correct. A lot of work has been done over that time and I documented it with a few pictures along the way. Clearly posting is not my long suit but I'm going to try to do better this winter. For now, I'm just going to dump the pictures in and if anyone has a question on how I did things, please respond and I'll do my best to remember how I did it. I don't believe I'm one of the more accomplished modelers here, but I did think it is important to let folks know that work was continuing and I'm enjoying it at the pace I'm going.
- 60 replies
-
- Flying Fish
- Model Shipways
-
(and 1 more)
Tagged with:
-
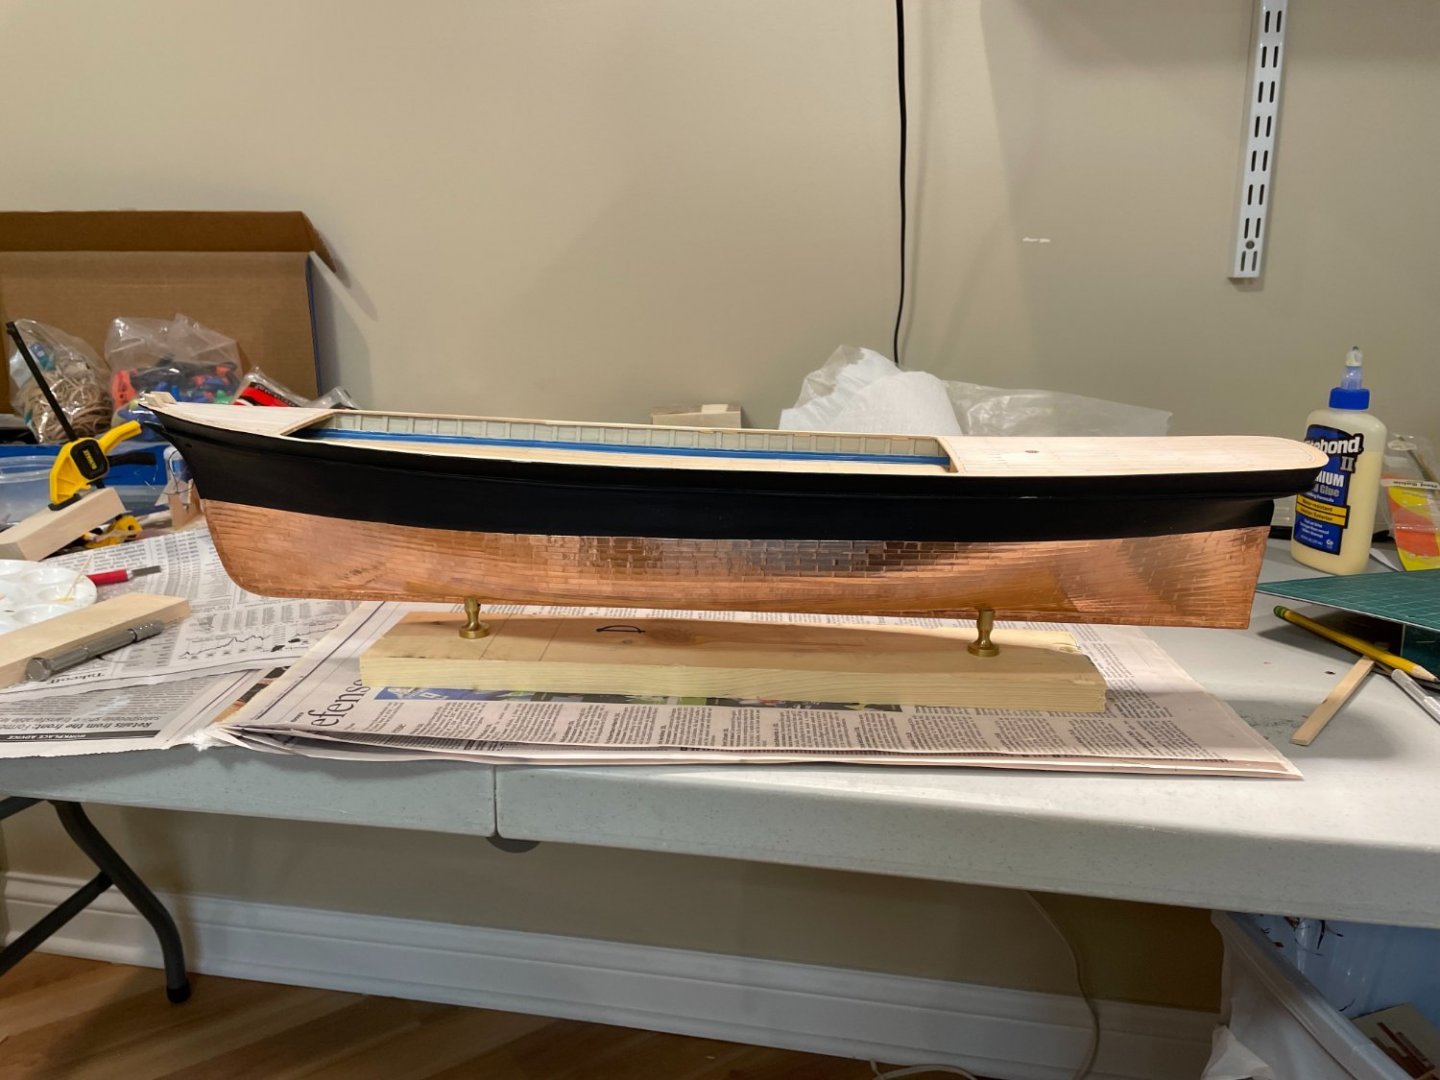
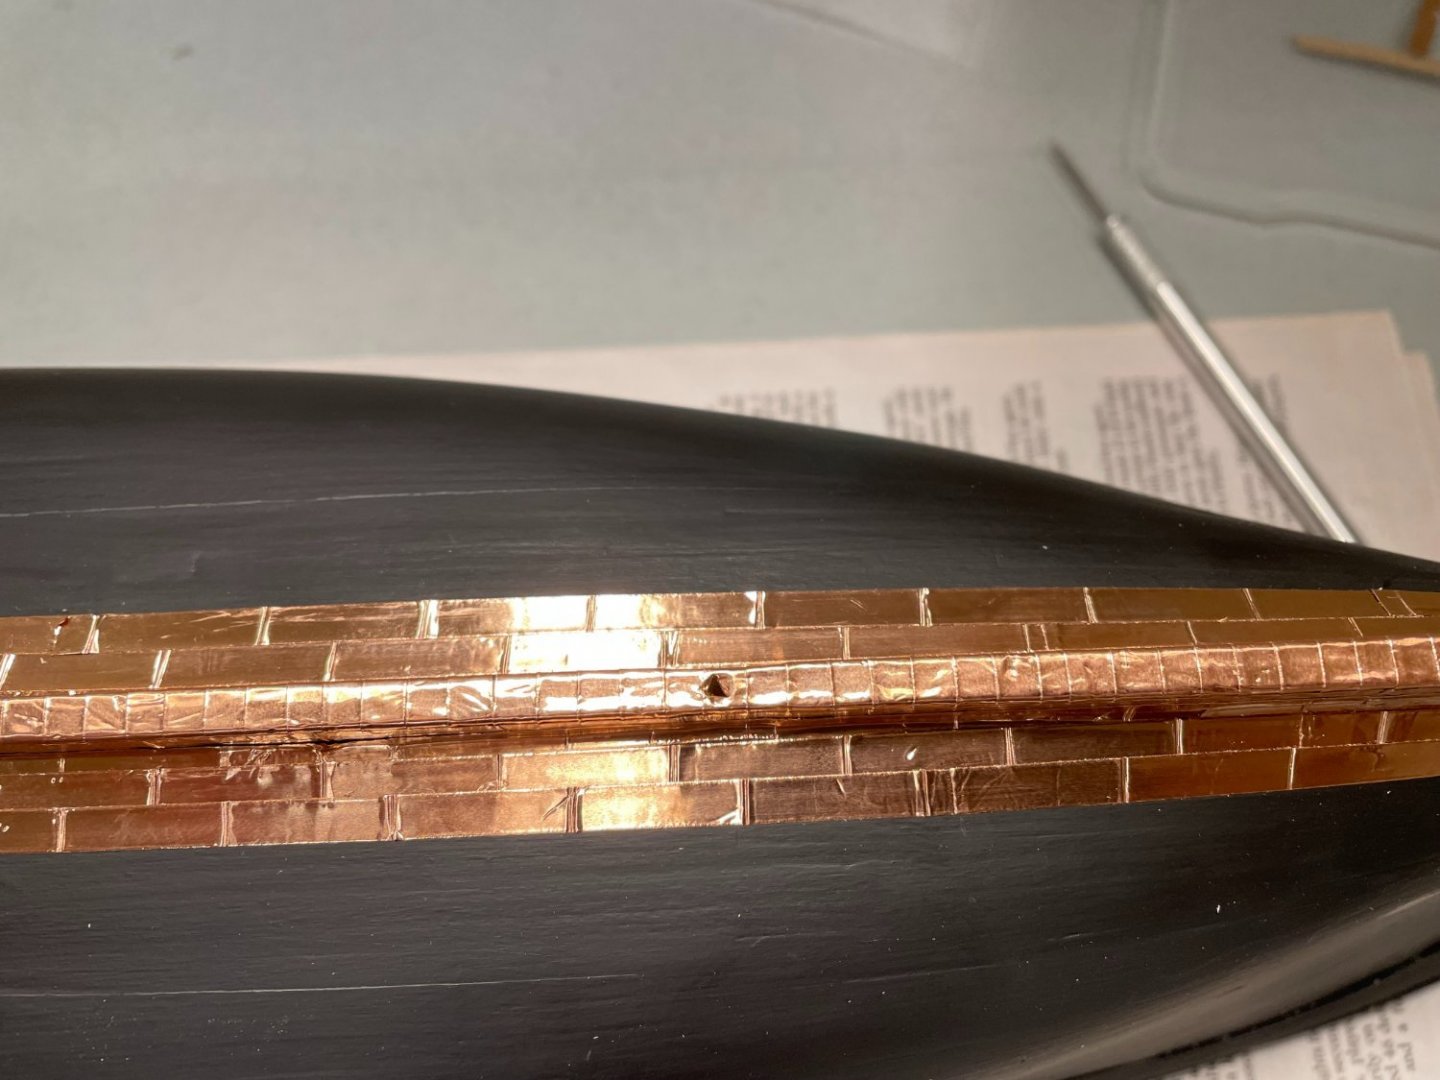
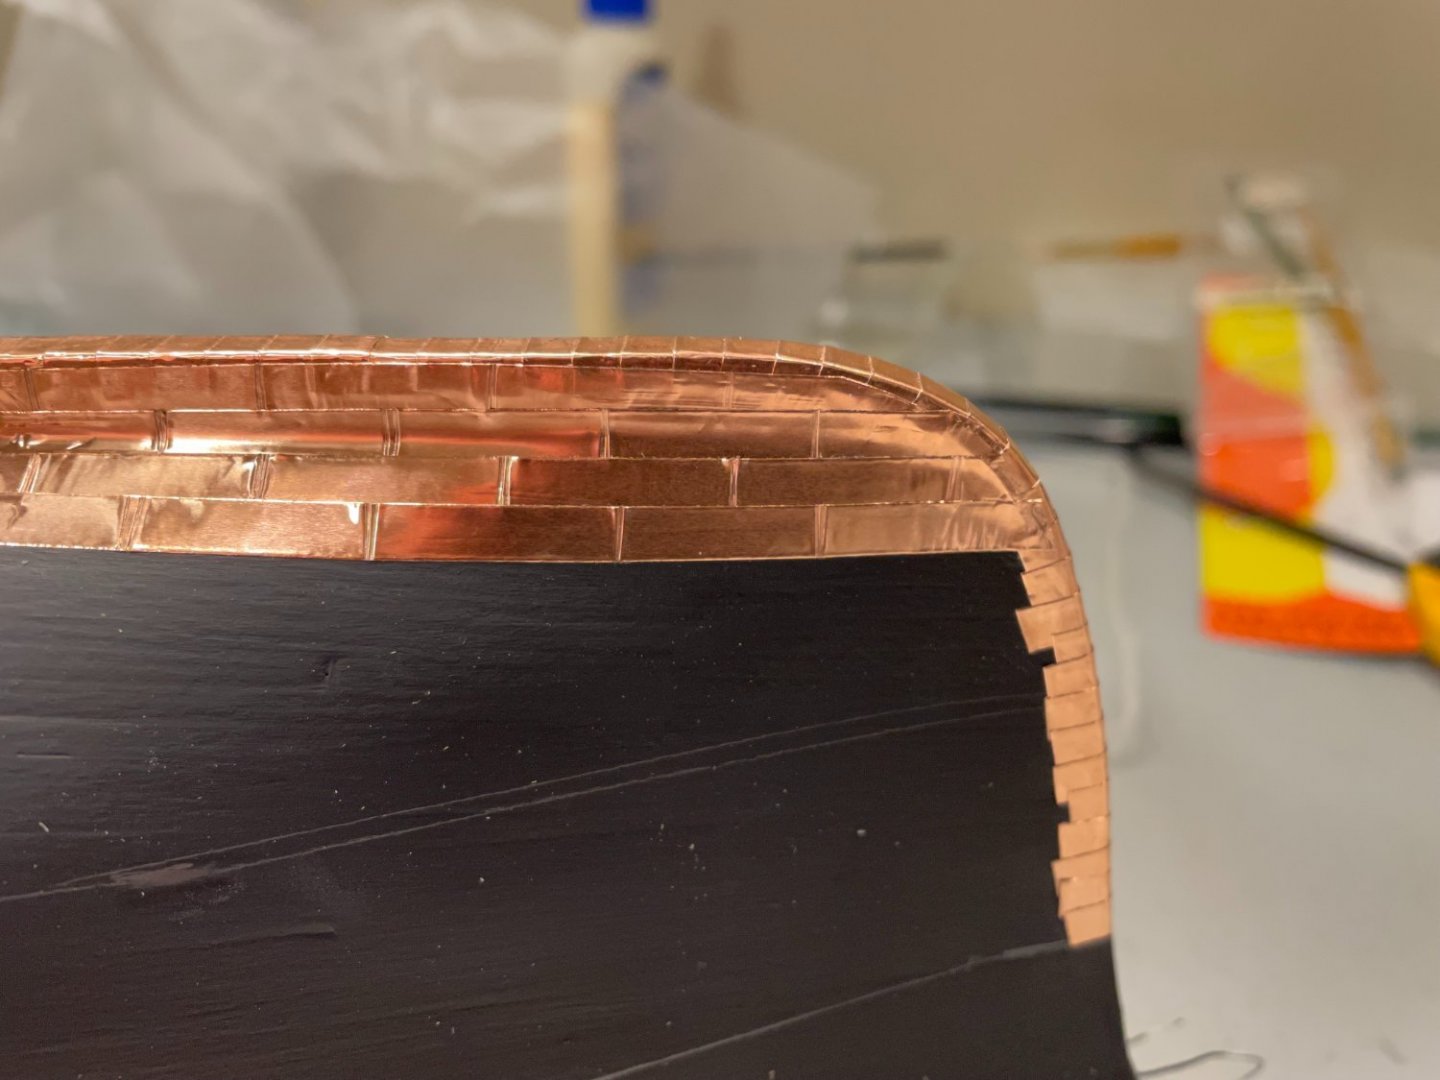
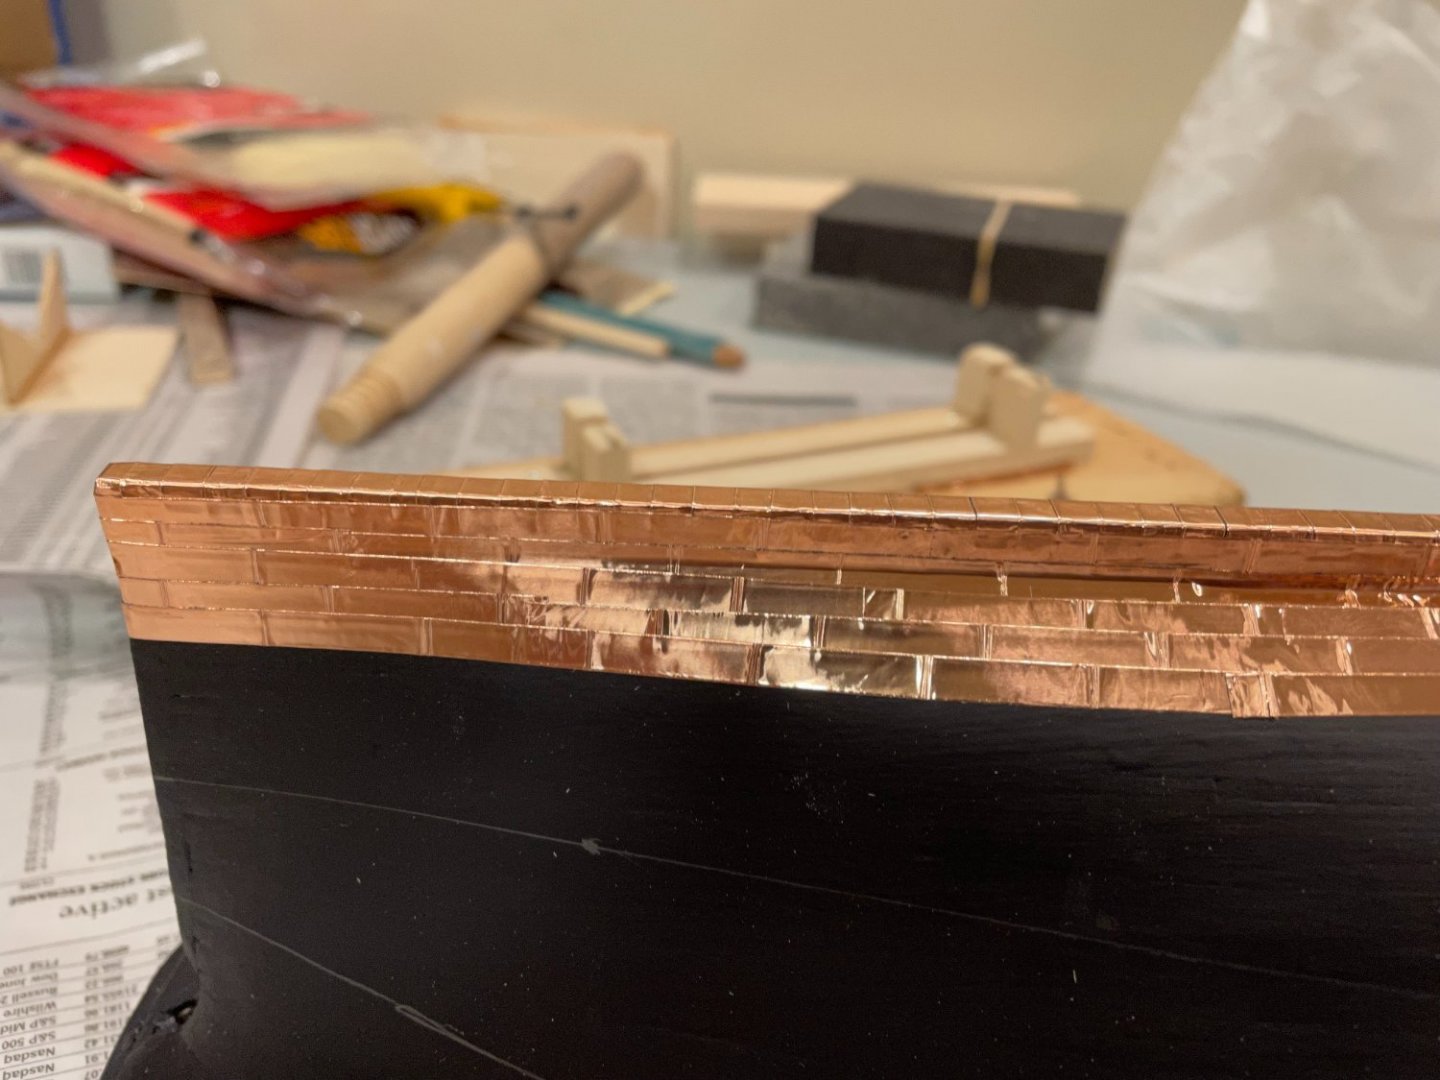
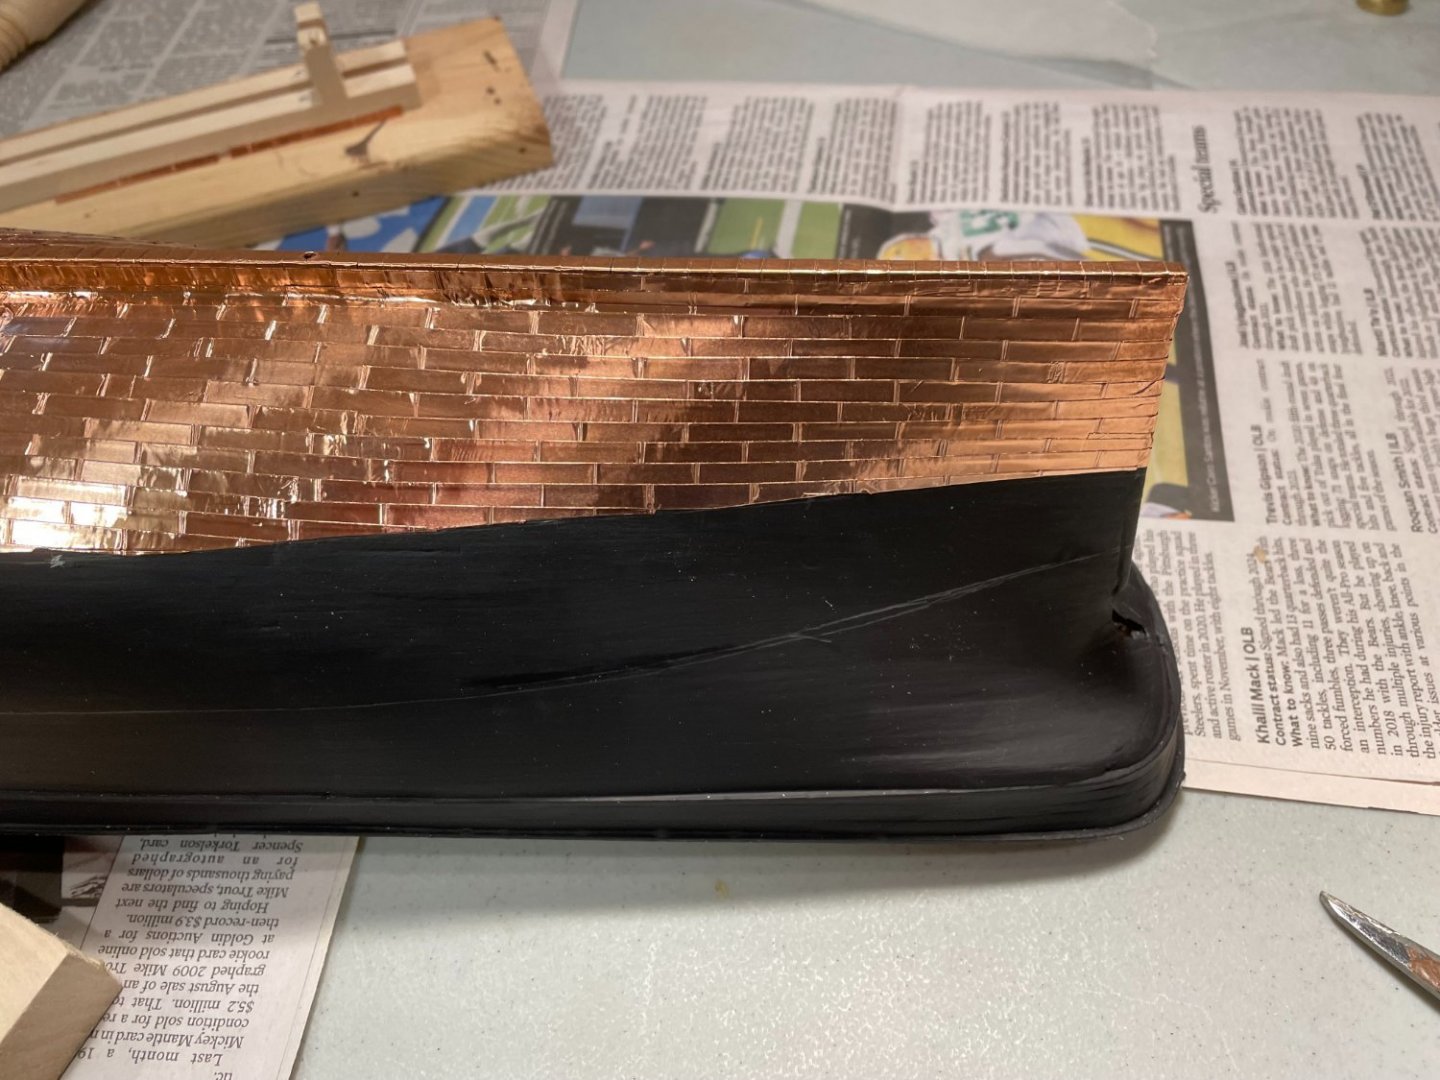
Coppering is now completed and I've mounted the ship on a scrap piece of wood. I'll replace this with something nice before I get into masts etc. that will make it difficult to turn up side down later on. I haven't decided if I'm going to make some nice wood mounting board or just buy one. On to the next level of stanchions and planking.
- 60 replies
-
- Flying Fish
- Model Shipways
-
(and 1 more)
Tagged with:
-
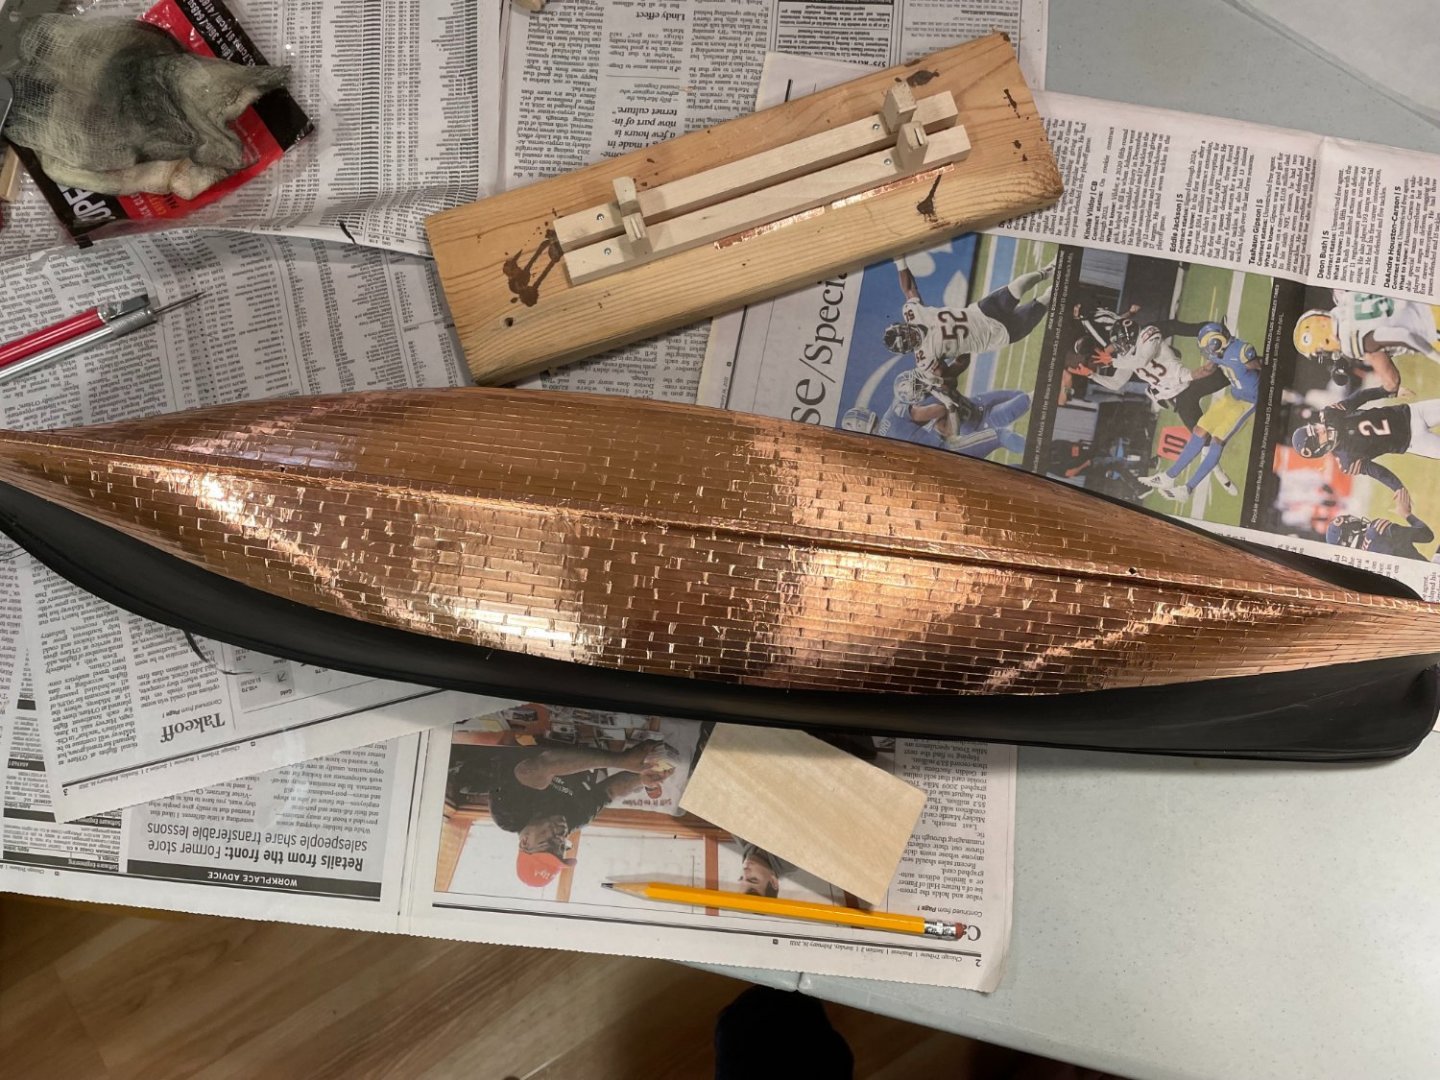
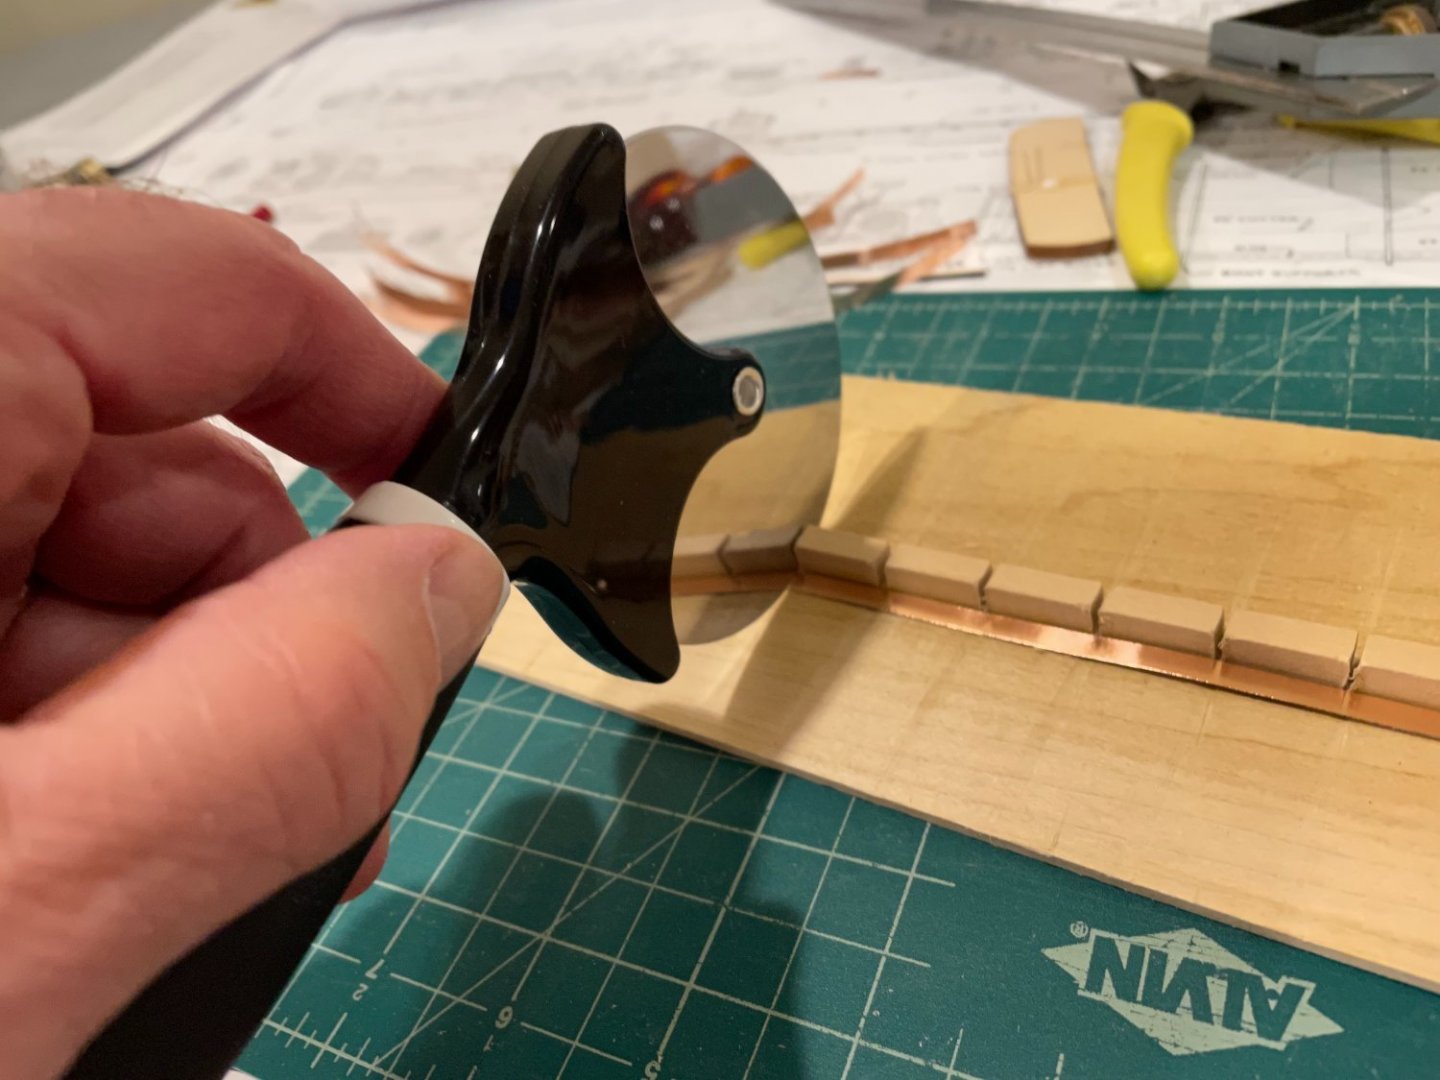
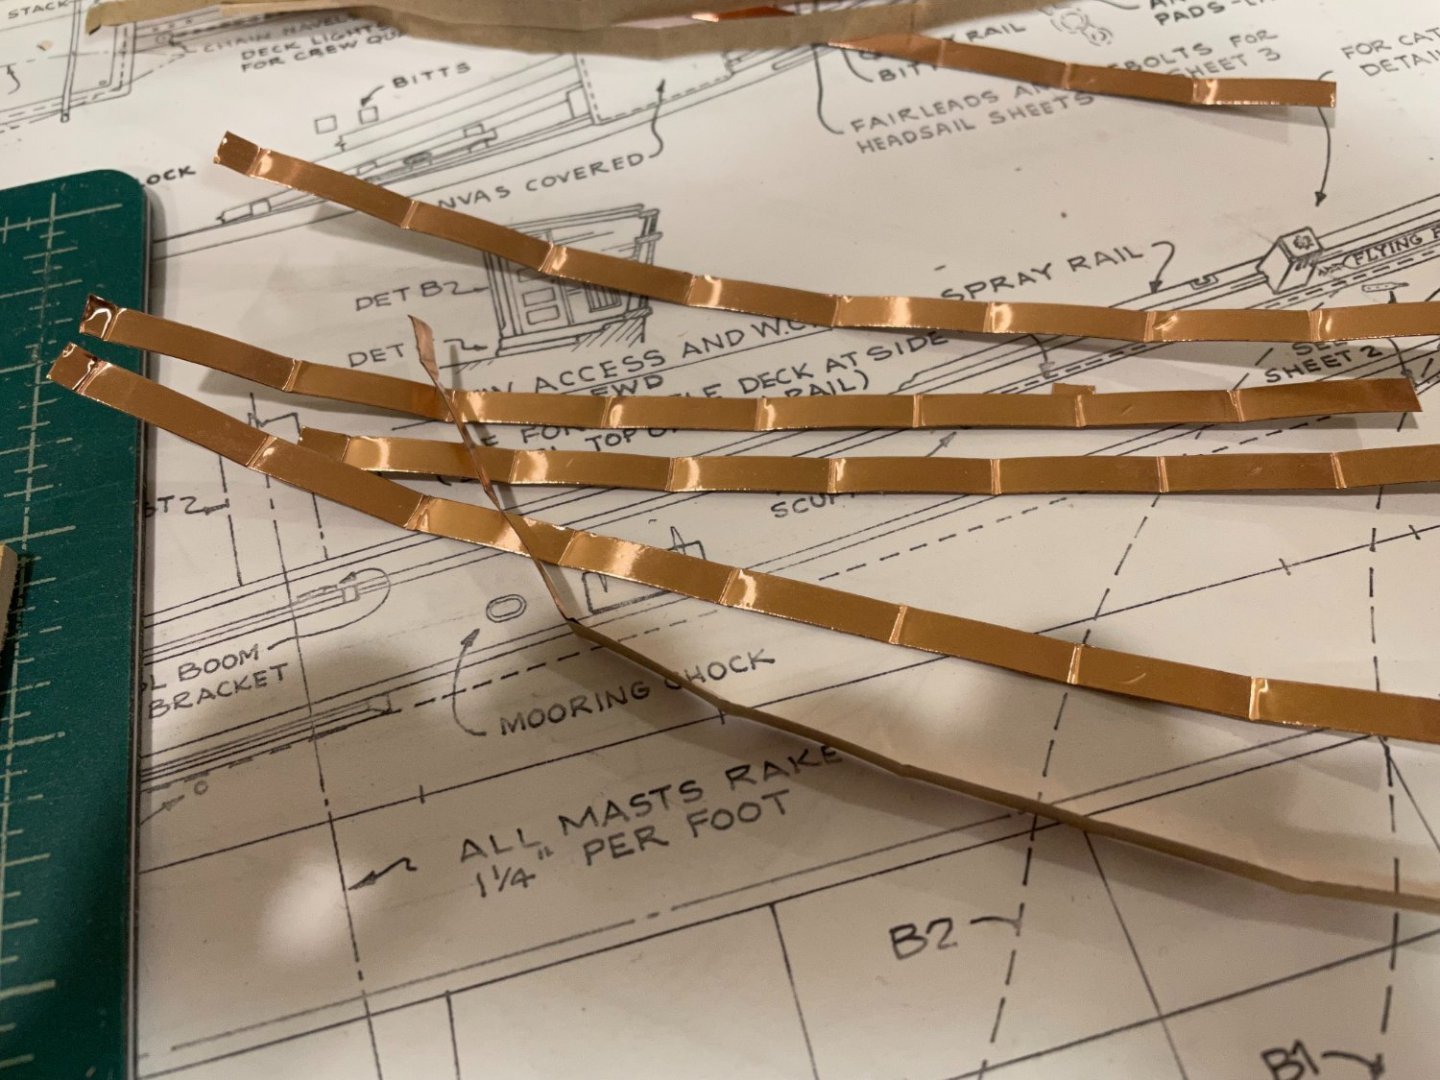
Over the past couple of days I've cut enough strips and applied them to cover the first belt between the keel and the goring line. As with the practice strips, any movement of the tape while working with it shows up on the final product. Peeling the backing off, if you don't keep the foil side straight, makes little marks across the foil. While I've become better and limiting this, some is inevitable and I've simply accepted that. The markings from the Pizza cutter look good, better in some places than others but so far I'm happy with the outcome. Most of these strips will be under the boat and not seen often so hopefully I will continue to get better at this.
- 60 replies
-
- Flying Fish
- Model Shipways
-
(and 1 more)
Tagged with:
-
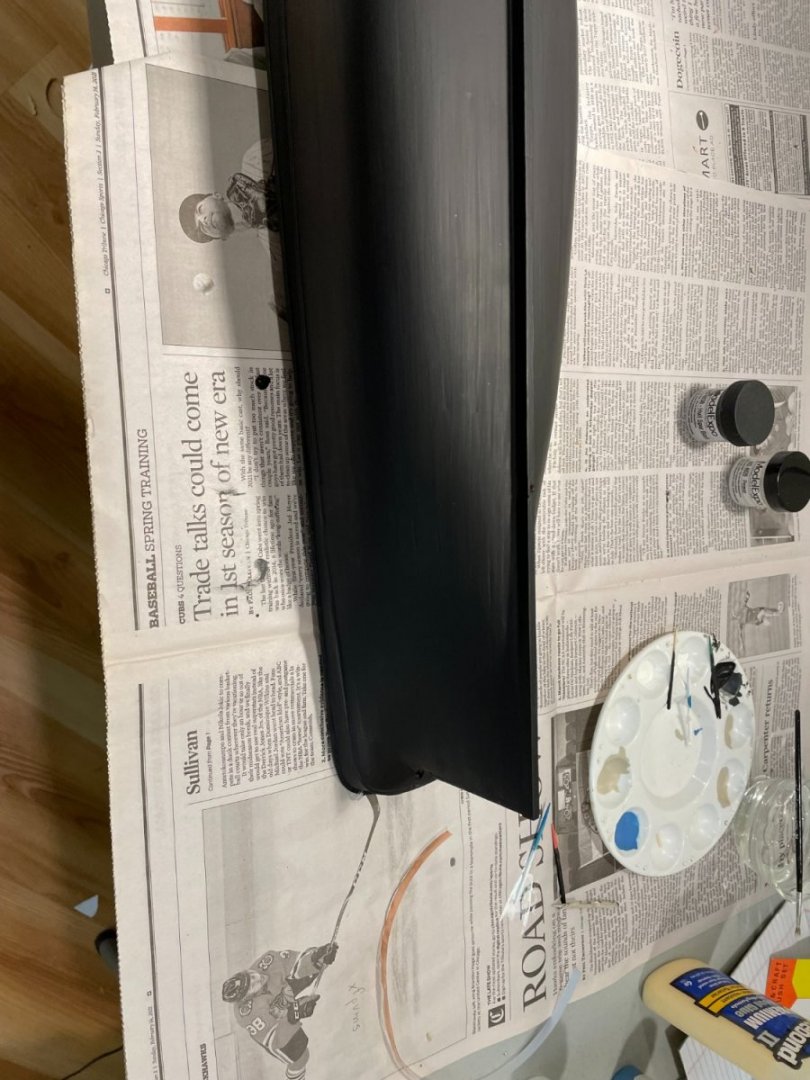
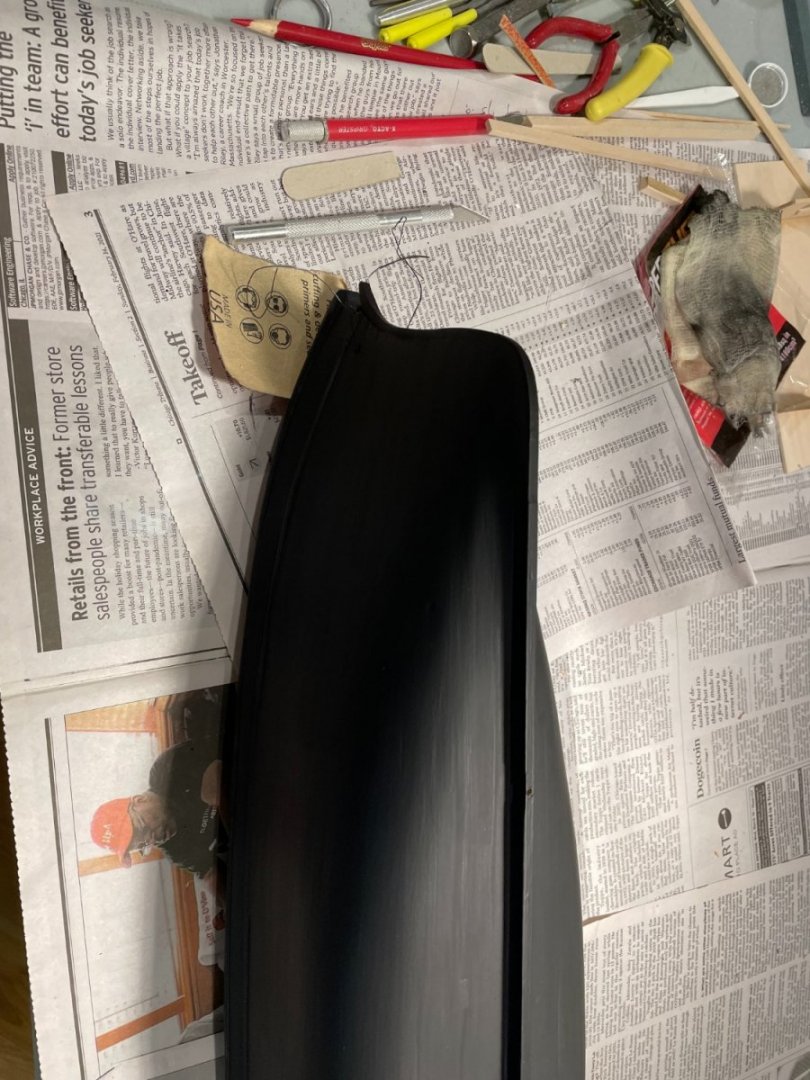
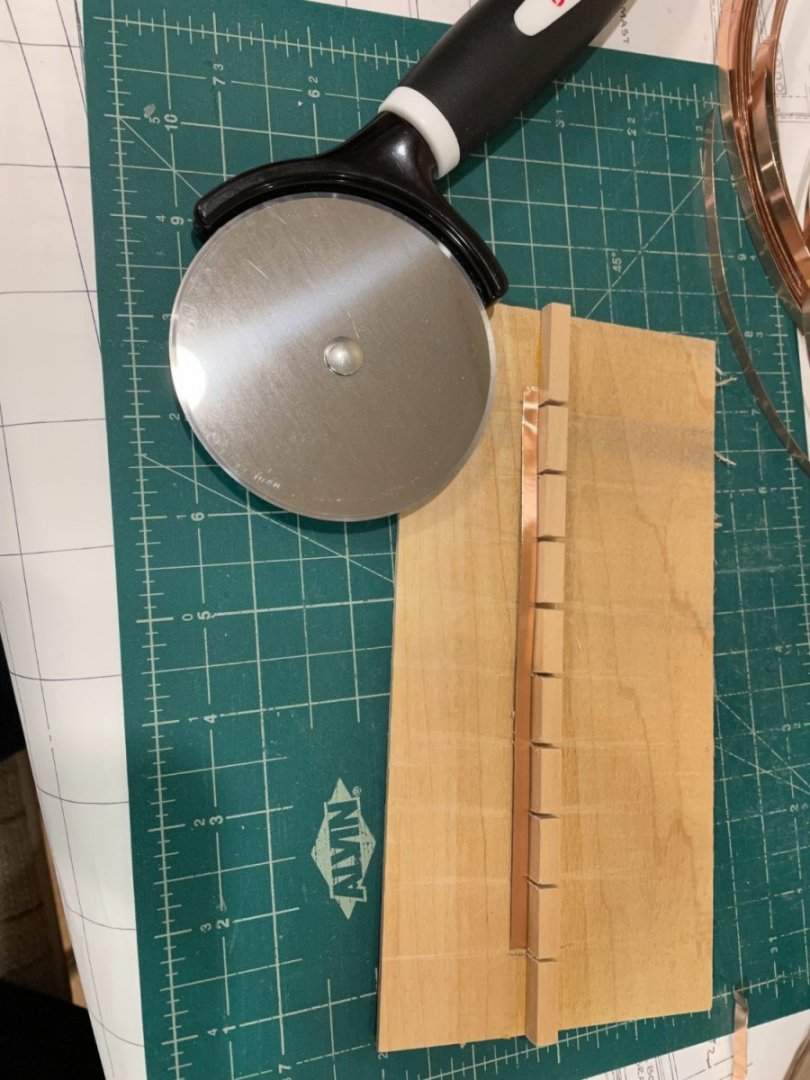
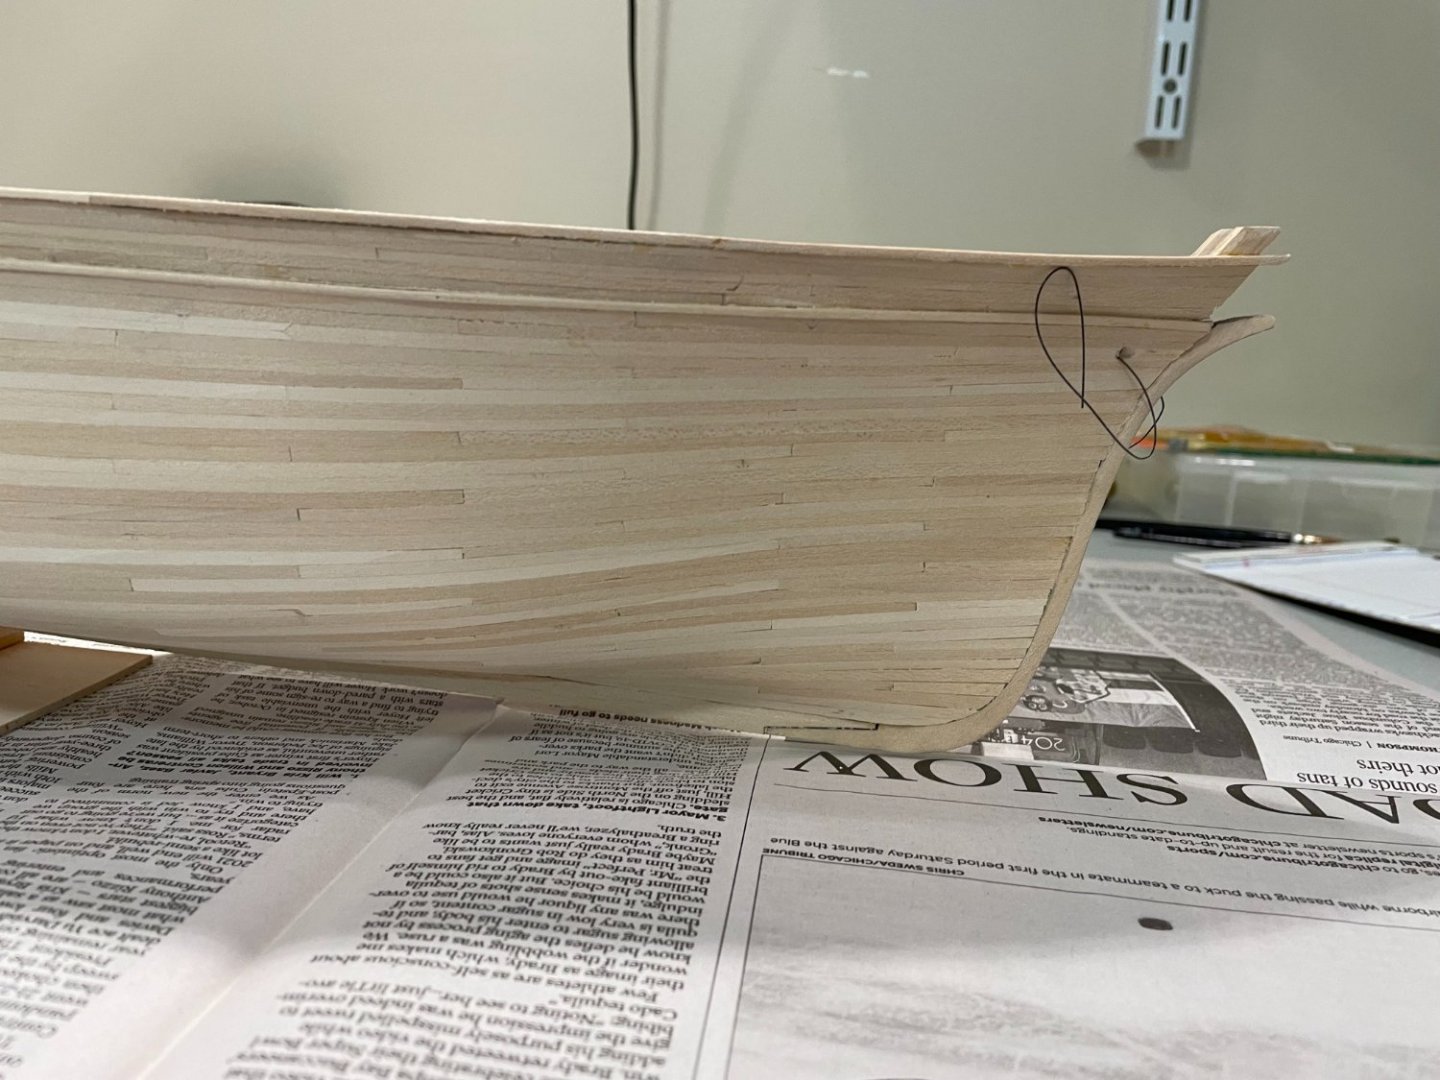
I primed and painted the hull, I believe I stopped at 4 coats of the black to get good coverage. I was looking for more of base to set the copper tape than necessarily a finish coat. As the paint was drying a I spent some time looking at the work of Keithbrad80 and GAK1965. (which I do a lot). I tested out the pizza cutter to make the joint marks as well as a pounce wheel to add additional details. Ultimately I dropped the pounce wheel and simply went with the lines to outline the individual copper sheets. This simplified the jig such that I only needed slots to make consistent strips.
- 60 replies
-
- Flying Fish
- Model Shipways
-
(and 1 more)
Tagged with:
-
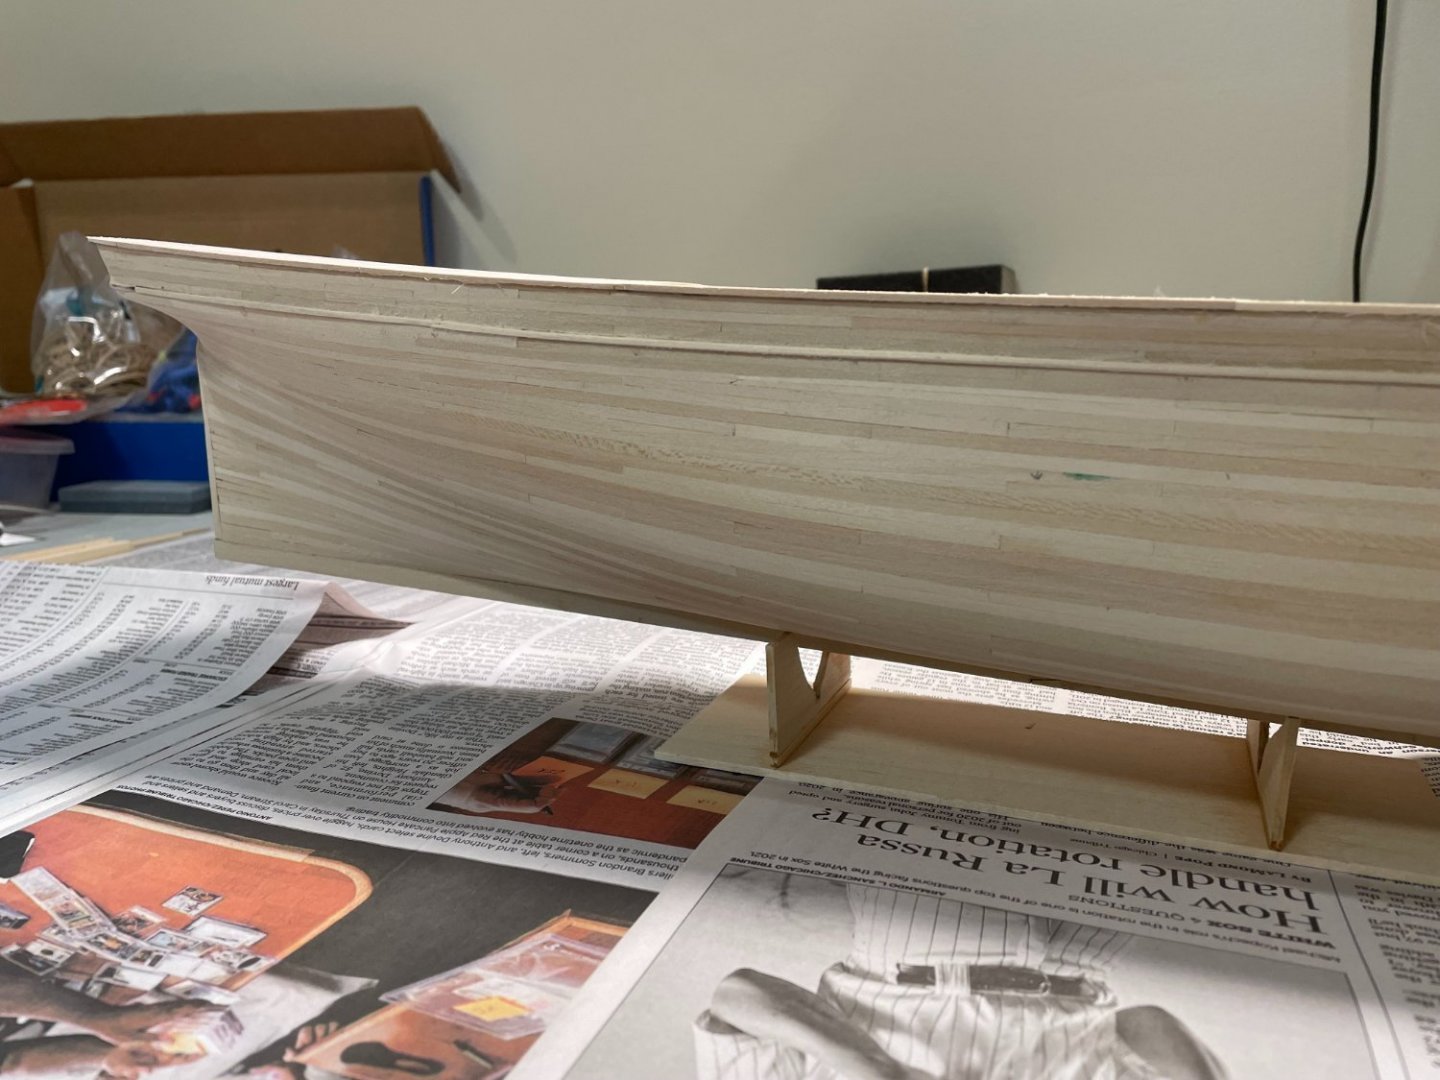
Two final pictures before the primer hits the planks. Then it will be paint, and coppering for a while.
- 60 replies
-
- Flying Fish
- Model Shipways
-
(and 1 more)
Tagged with:
-
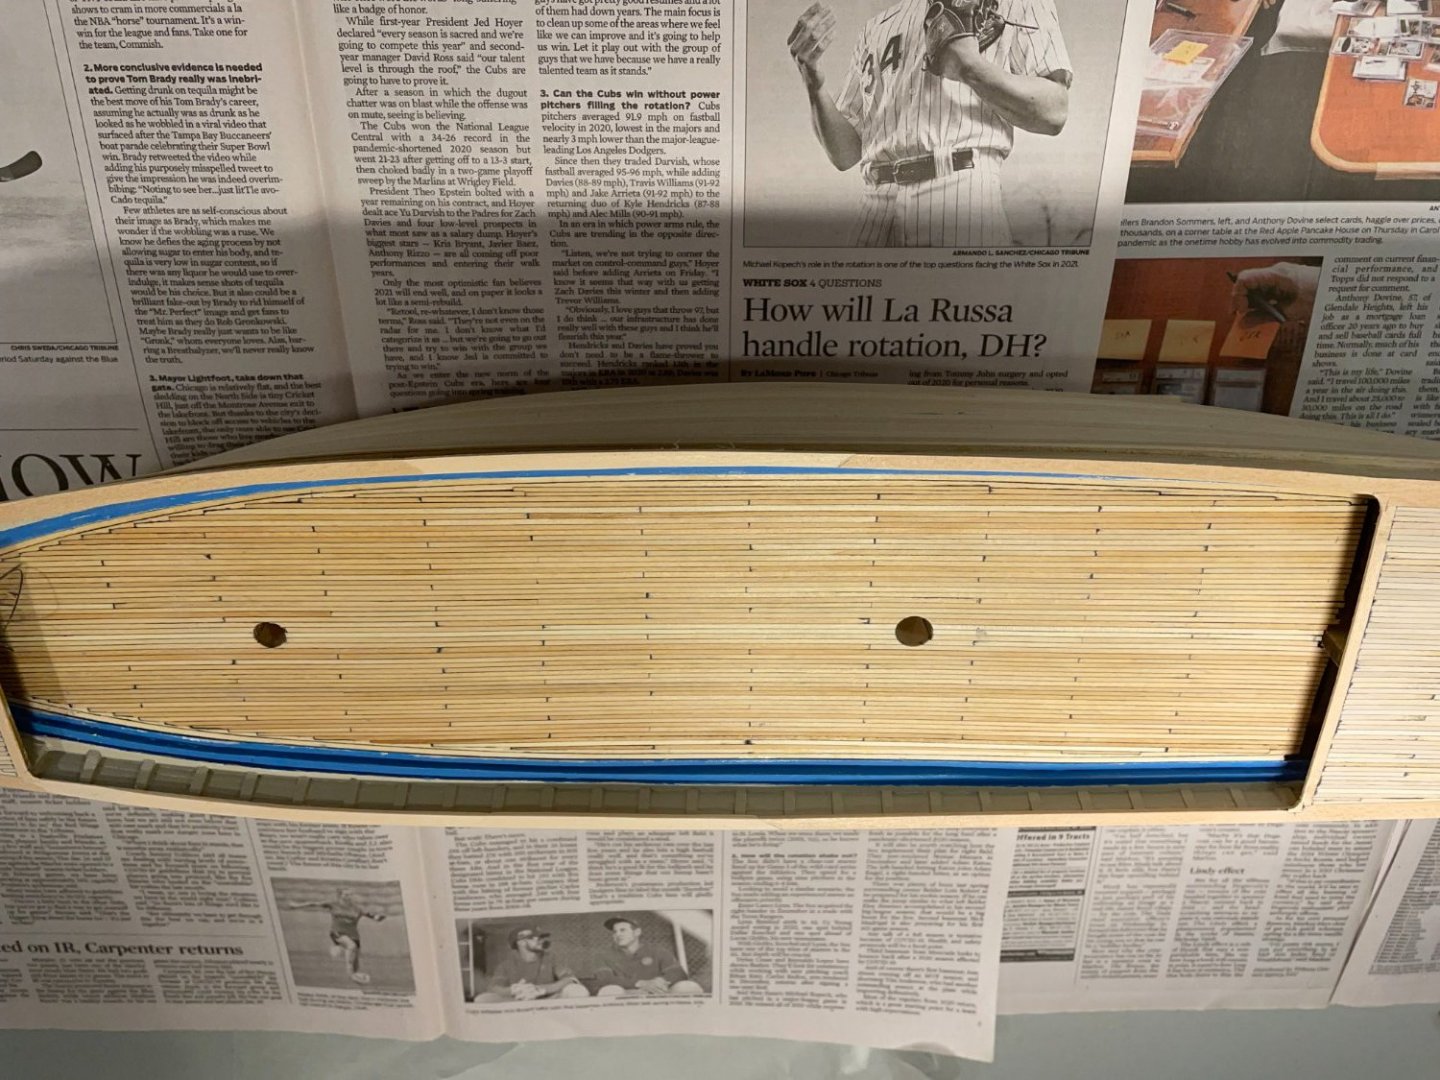
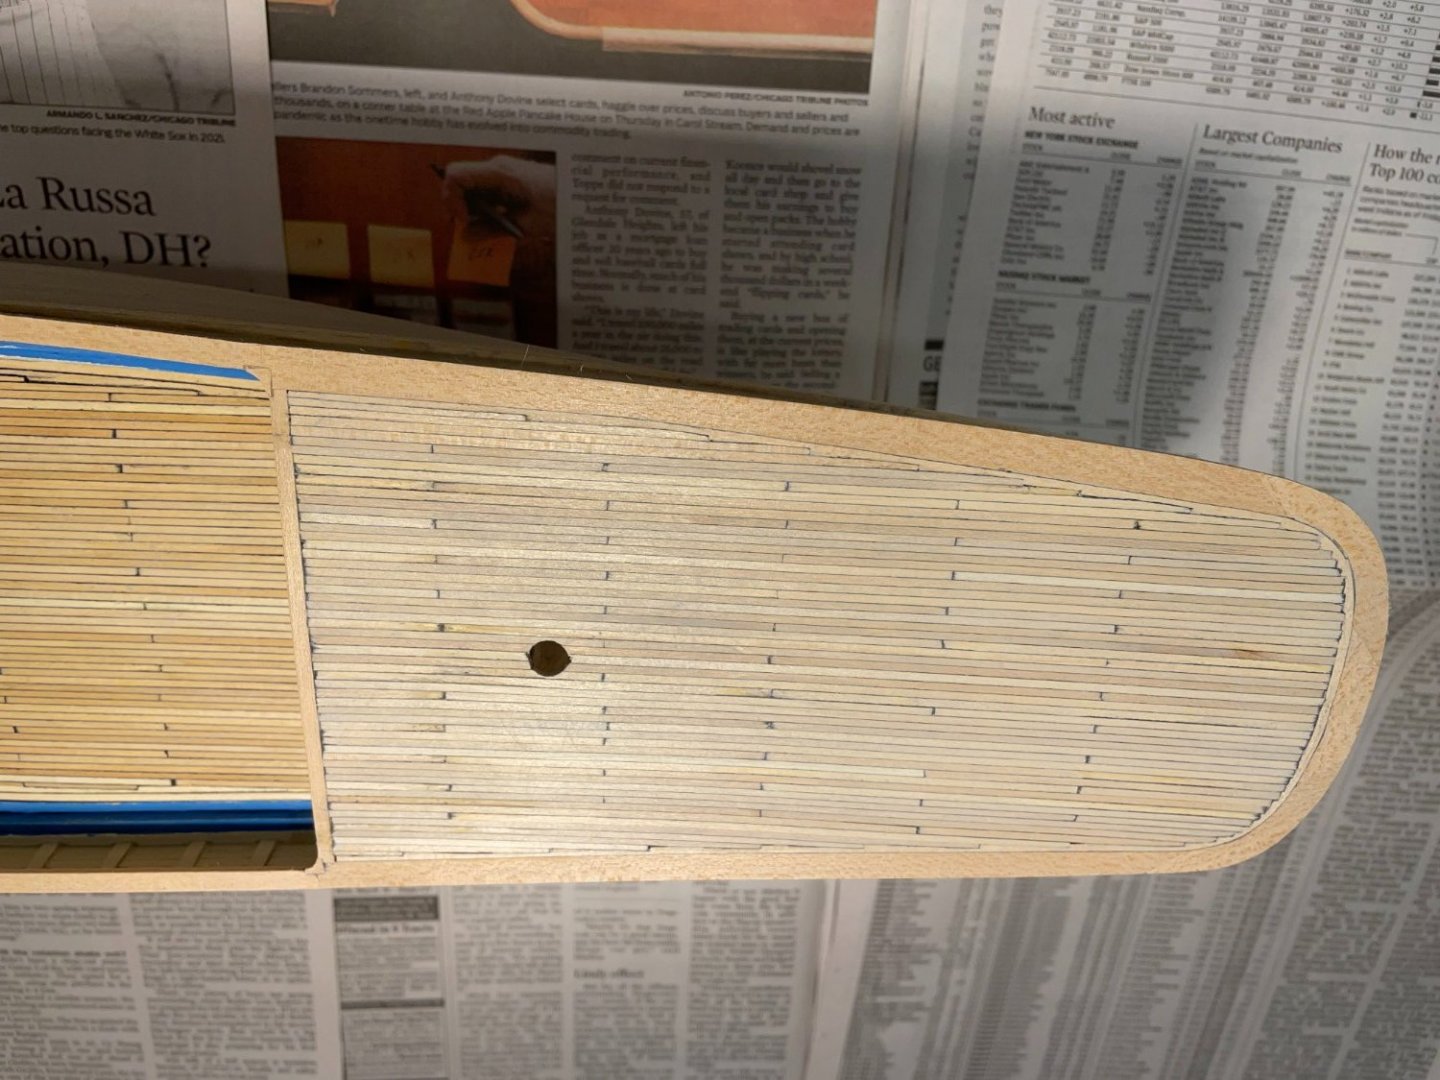
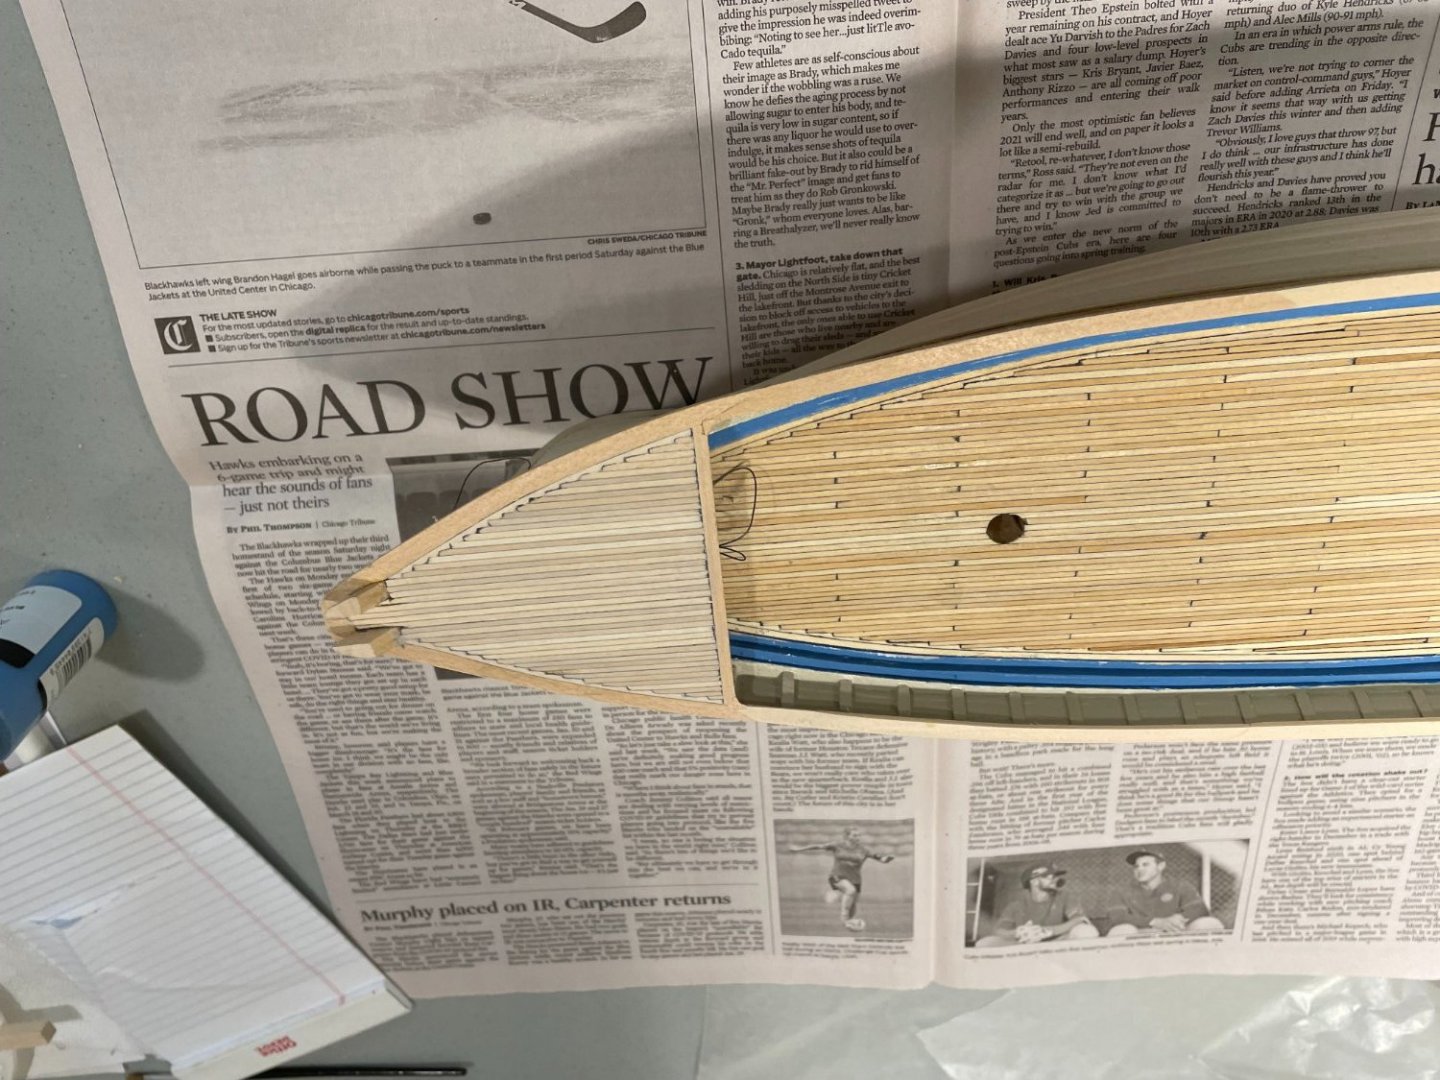
At this point I've completed planking the decks. The main deck has been sanded, stained and a coat of varnish applied. The poop and fore decks have been sanded but not finishing yet. I'm holding off until I work on the railing a bit. Once I see how that goes together, I'll think about finishing before / after adding those details. I am concerned about adding the rails before I flip the boat and finish the hull. I've been procrastinating on putting primer over the all the planking work as I really love the look of wood. The next build might be one with a wood finish.
- 60 replies
-
- Flying Fish
- Model Shipways
-
(and 1 more)
Tagged with:
About us
Modelshipworld - Advancing Ship Modeling through Research
SSL Secured
Your security is important for us so this Website is SSL-Secured
NRG Mailing Address
Nautical Research Guild
237 South Lincoln Street
Westmont IL, 60559-1917
Model Ship World ® and the MSW logo are Registered Trademarks, and belong to the Nautical Research Guild (United States Patent and Trademark Office: No. 6,929,264 & No. 6,929,274, registered Dec. 20, 2022)
Helpful Links
About the NRG
If you enjoy building ship models that are historically accurate as well as beautiful, then The Nautical Research Guild (NRG) is just right for you.
The Guild is a non-profit educational organization whose mission is to “Advance Ship Modeling Through Research”. We provide support to our members in their efforts to raise the quality of their model ships.
The Nautical Research Guild has published our world-renowned quarterly magazine, The Nautical Research Journal, since 1955. The pages of the Journal are full of articles by accomplished ship modelers who show you how they create those exquisite details on their models, and by maritime historians who show you the correct details to build. The Journal is available in both print and digital editions. Go to the NRG web site (www.thenrg.org) to download a complimentary digital copy of the Journal. The NRG also publishes plan sets, books and compilations of back issues of the Journal and the former Ships in Scale and Model Ship Builder magazines.

