Bulwark
-
Posts
101 -
Joined
-
Last visited
Content Type
Profiles
Forums
Gallery
Events
Everything posted by Bulwark
-
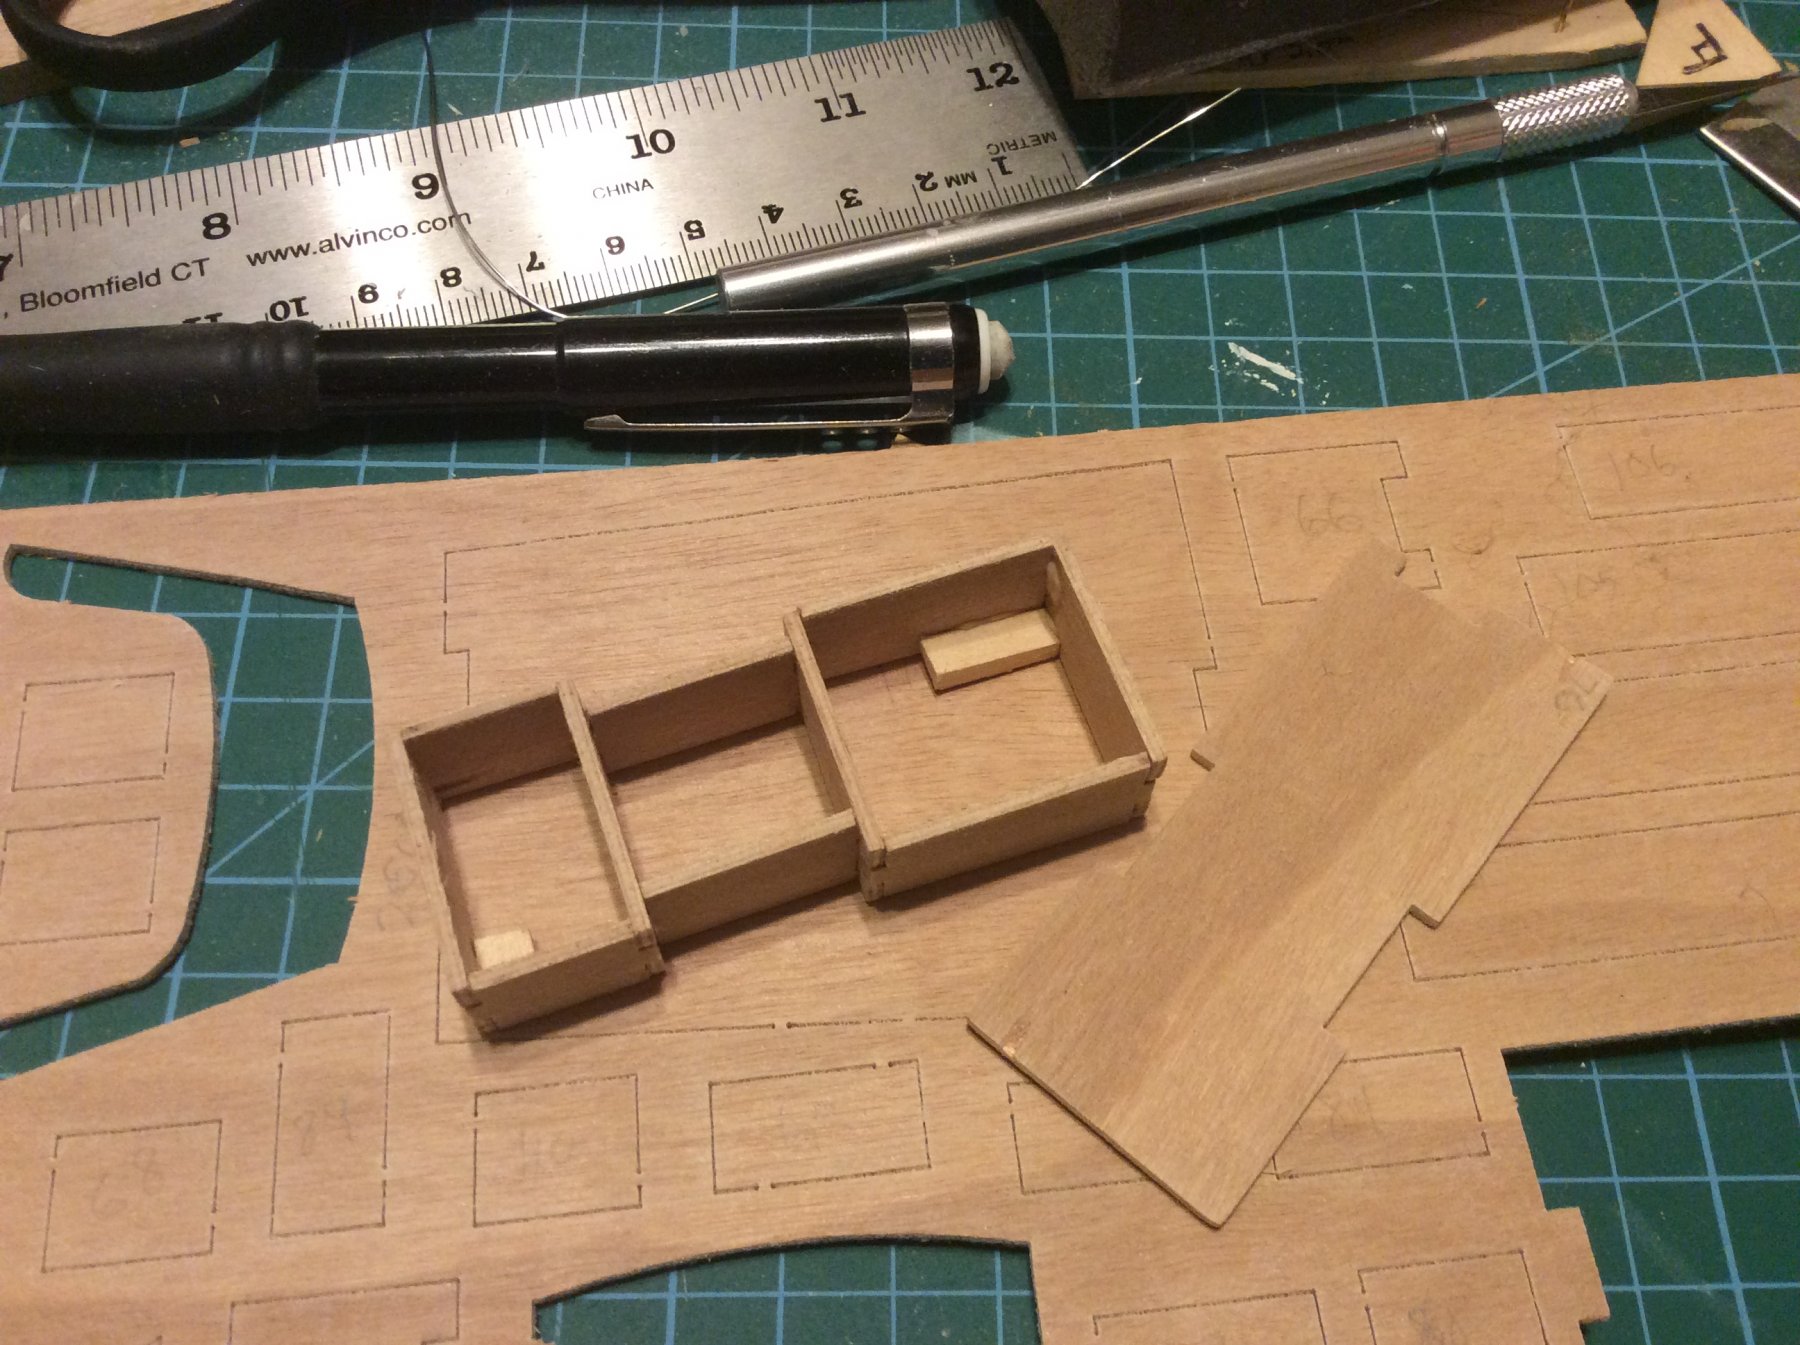
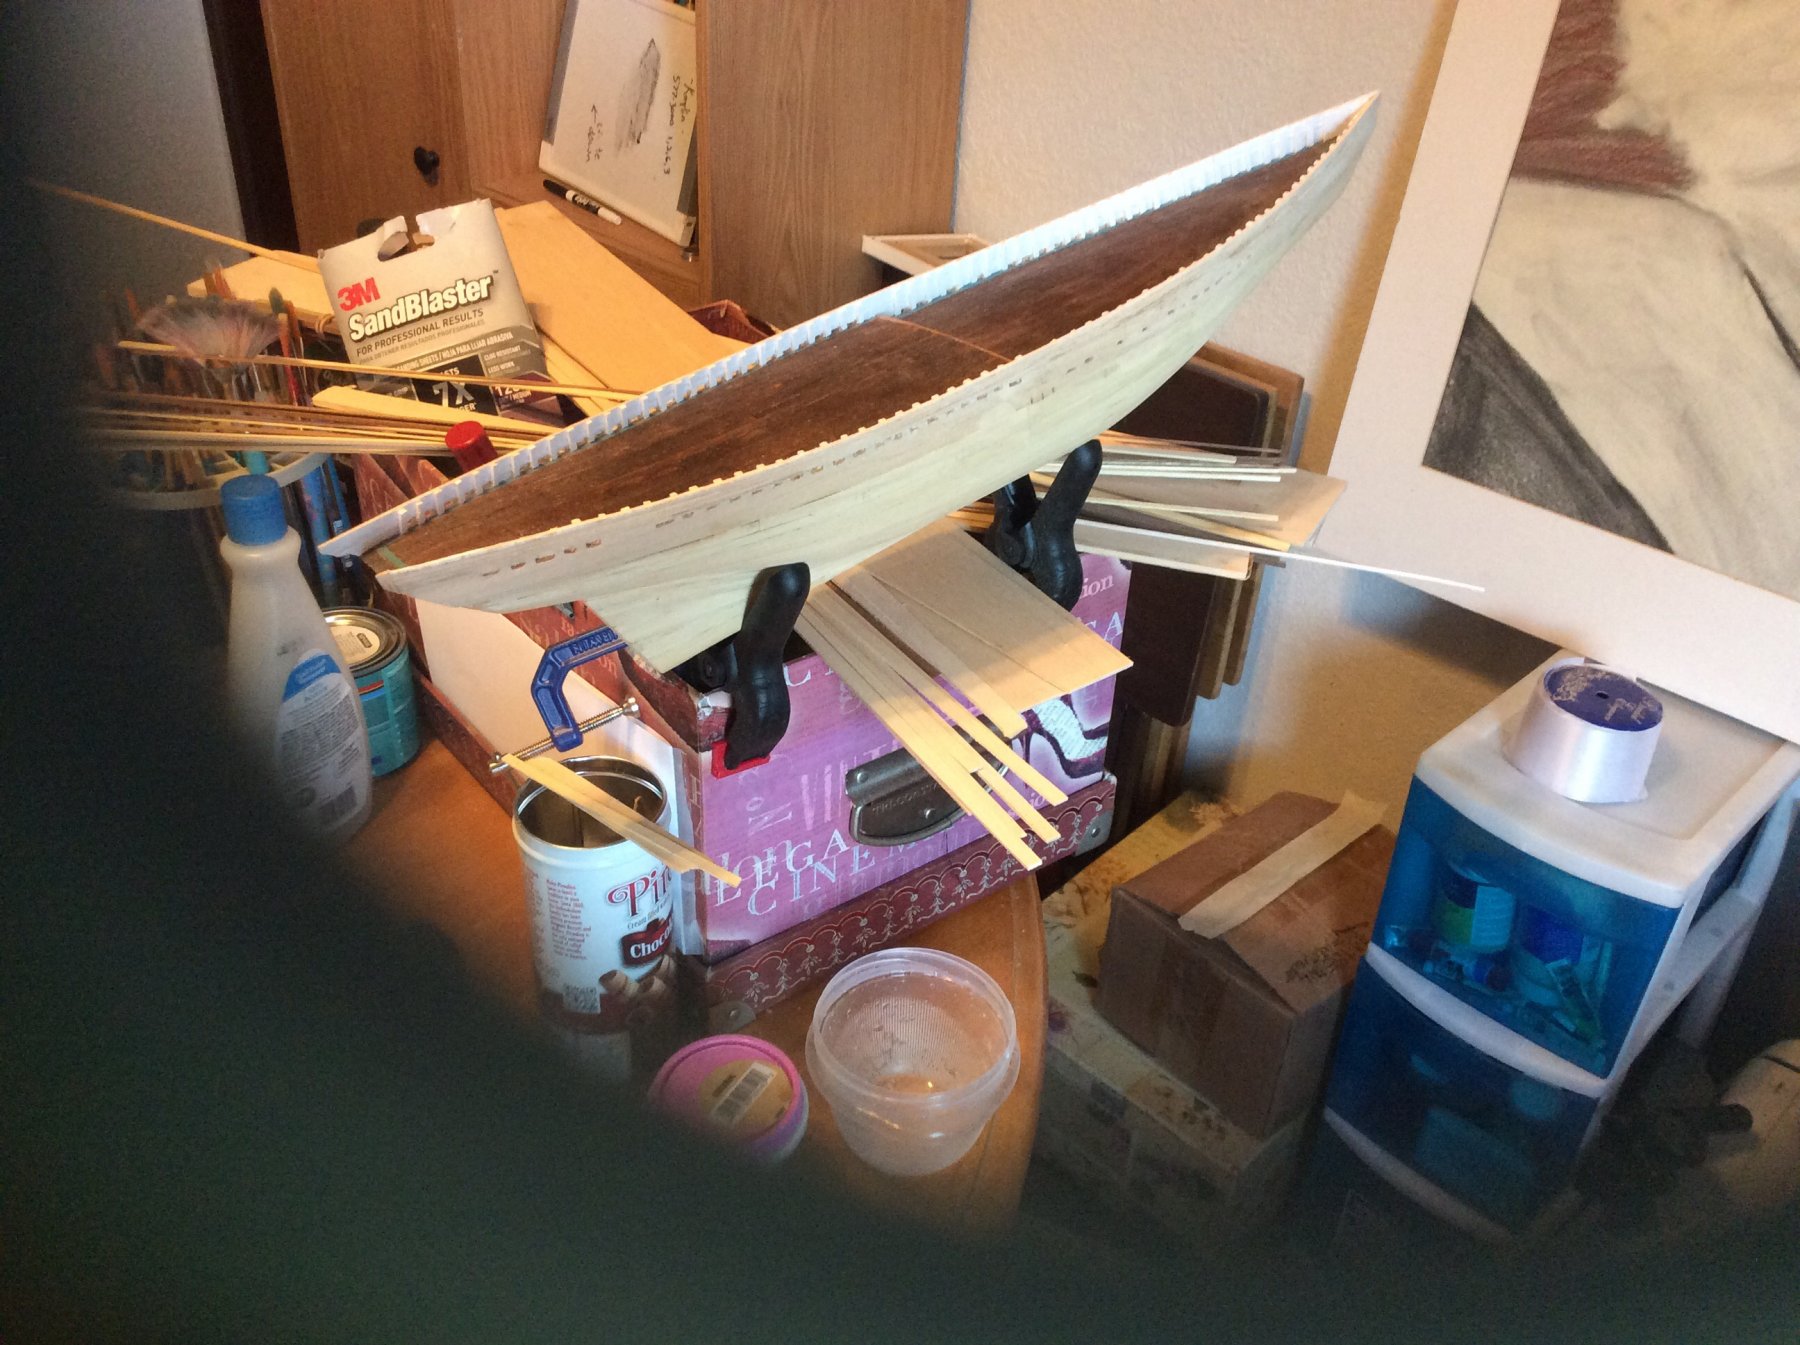
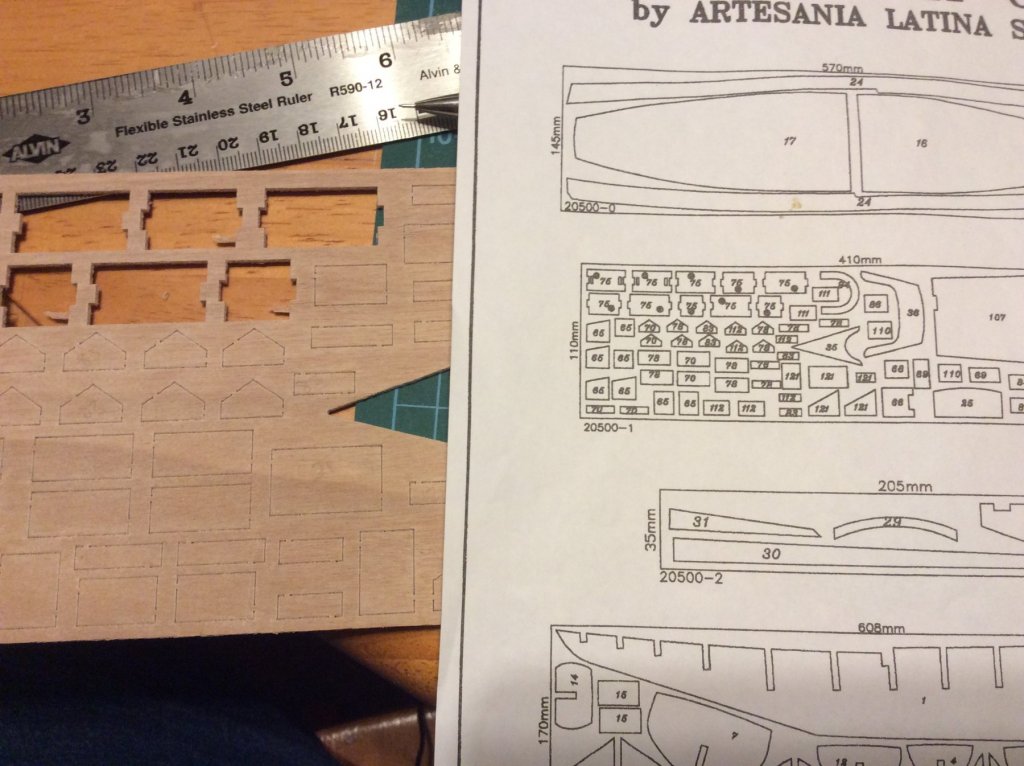
 Wow, the AL instructions are horrible. The parts list doesn't quite match the part sheet. Not to mention the part list is almost illegible with its numbering. Can barely tell 8 from 6. Arrgh. Ahem. Pirate arrgh. working on the "citadel" and having a bit of trouble finding some of the parts. I put blocks inside the structure to hold pins. The pins will go into the deck to hokd it firmly. The citadel. Heh. And take a look at this. Weird.
-
Was following John Earls practicum... it is more than possible i misunderstood the scupper instructions. I'll double check, and compare with pics of the BN2. edit: these are consistent with the practicum. Whew. Guess the BN2 shipwrights are scupper stingy.
-
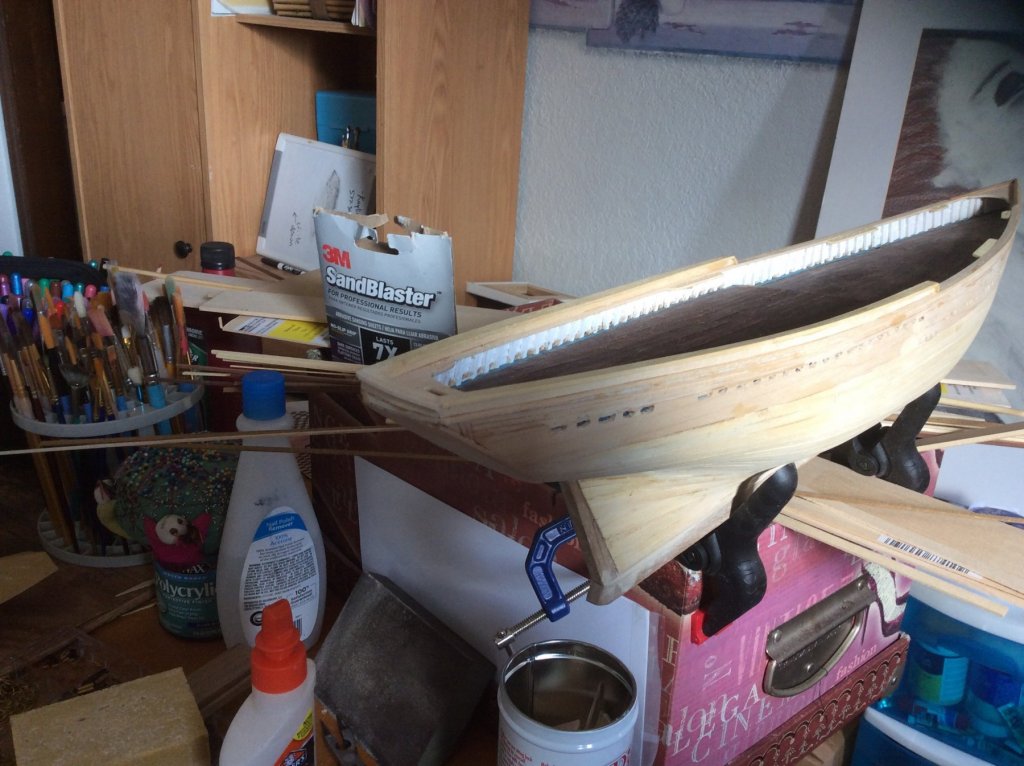
Completed the taffrail! take a gander... or a goose. This picture is good enough for either.
-
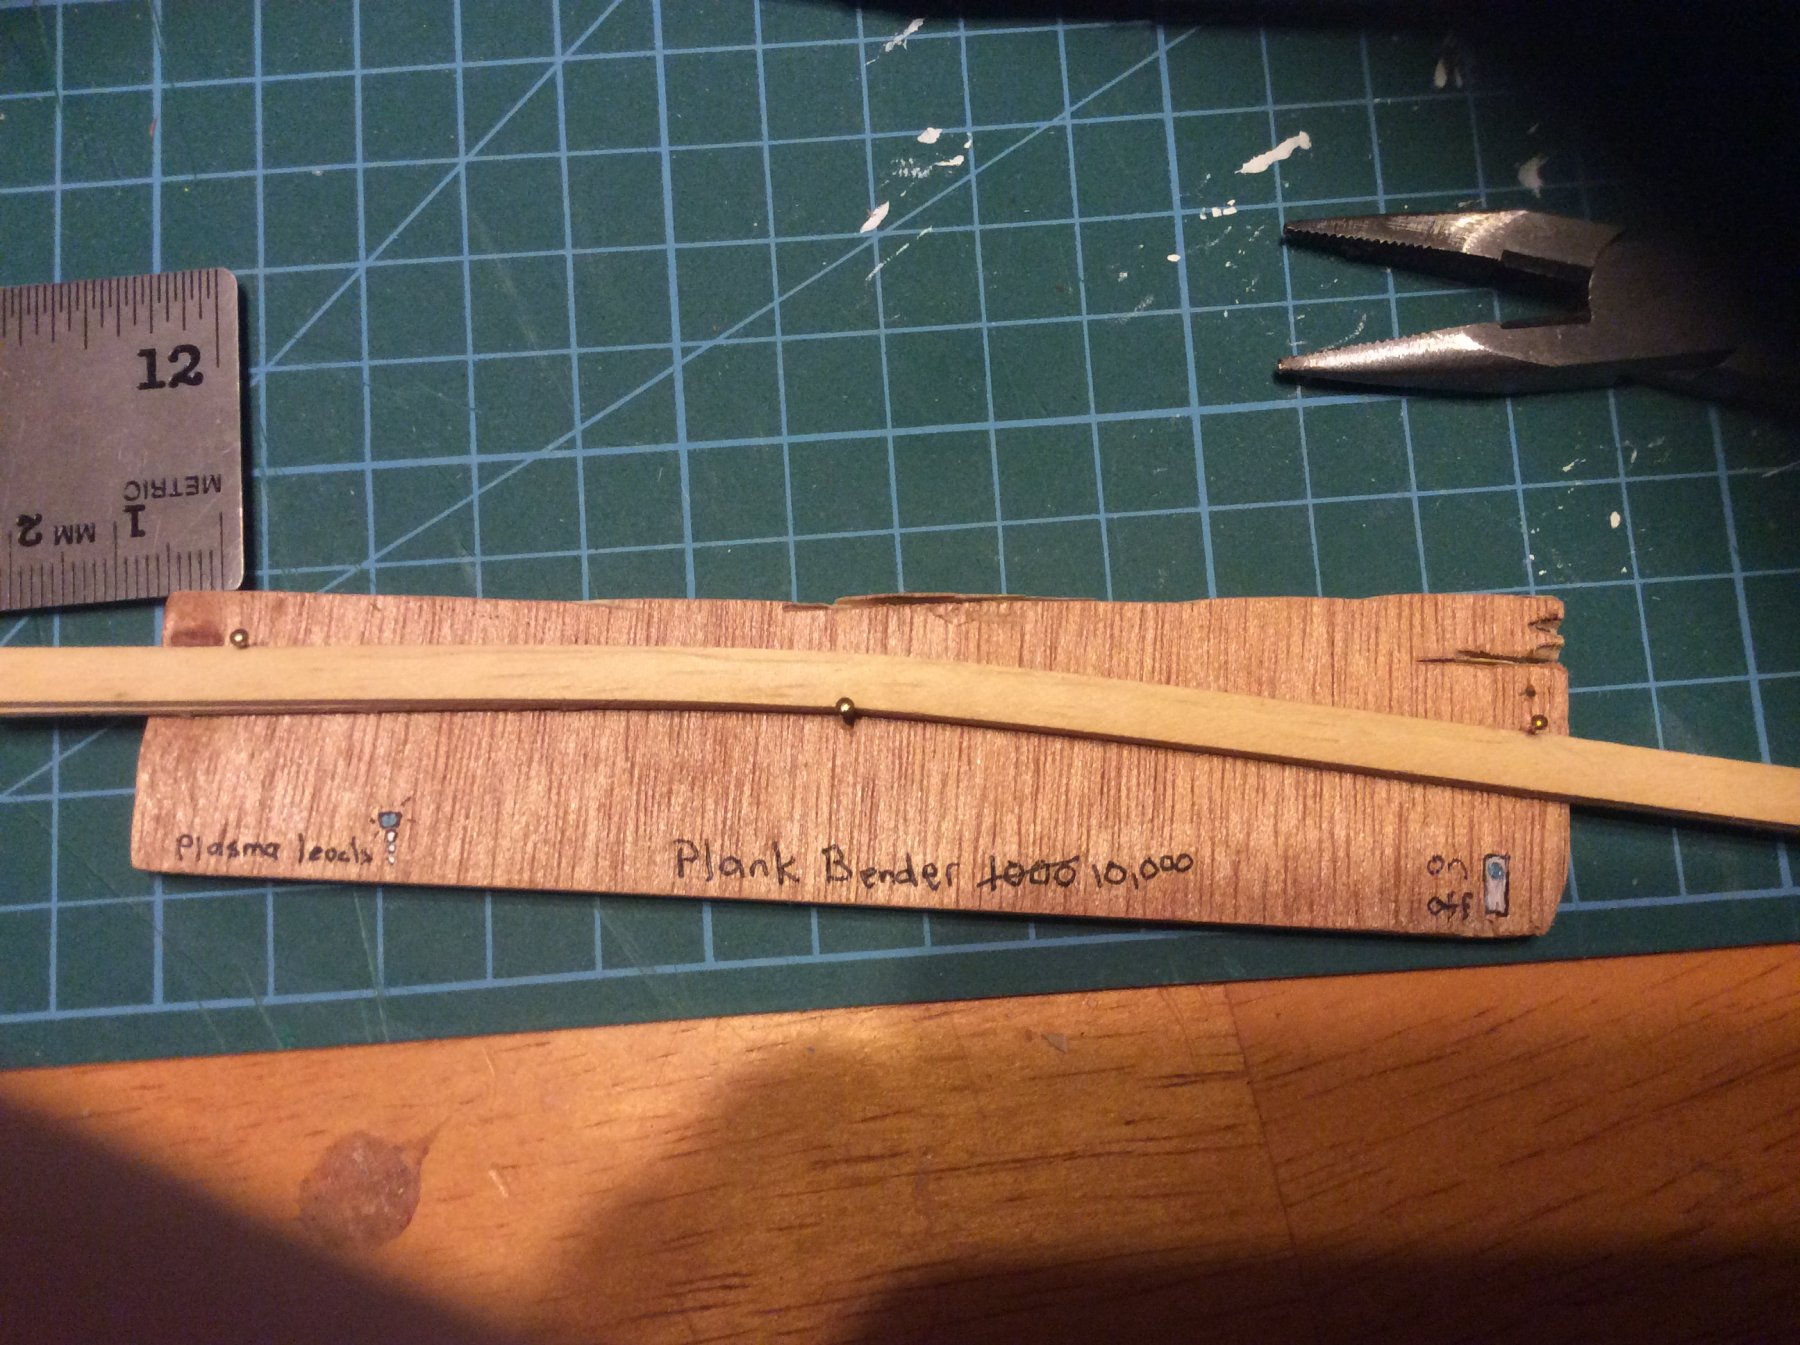
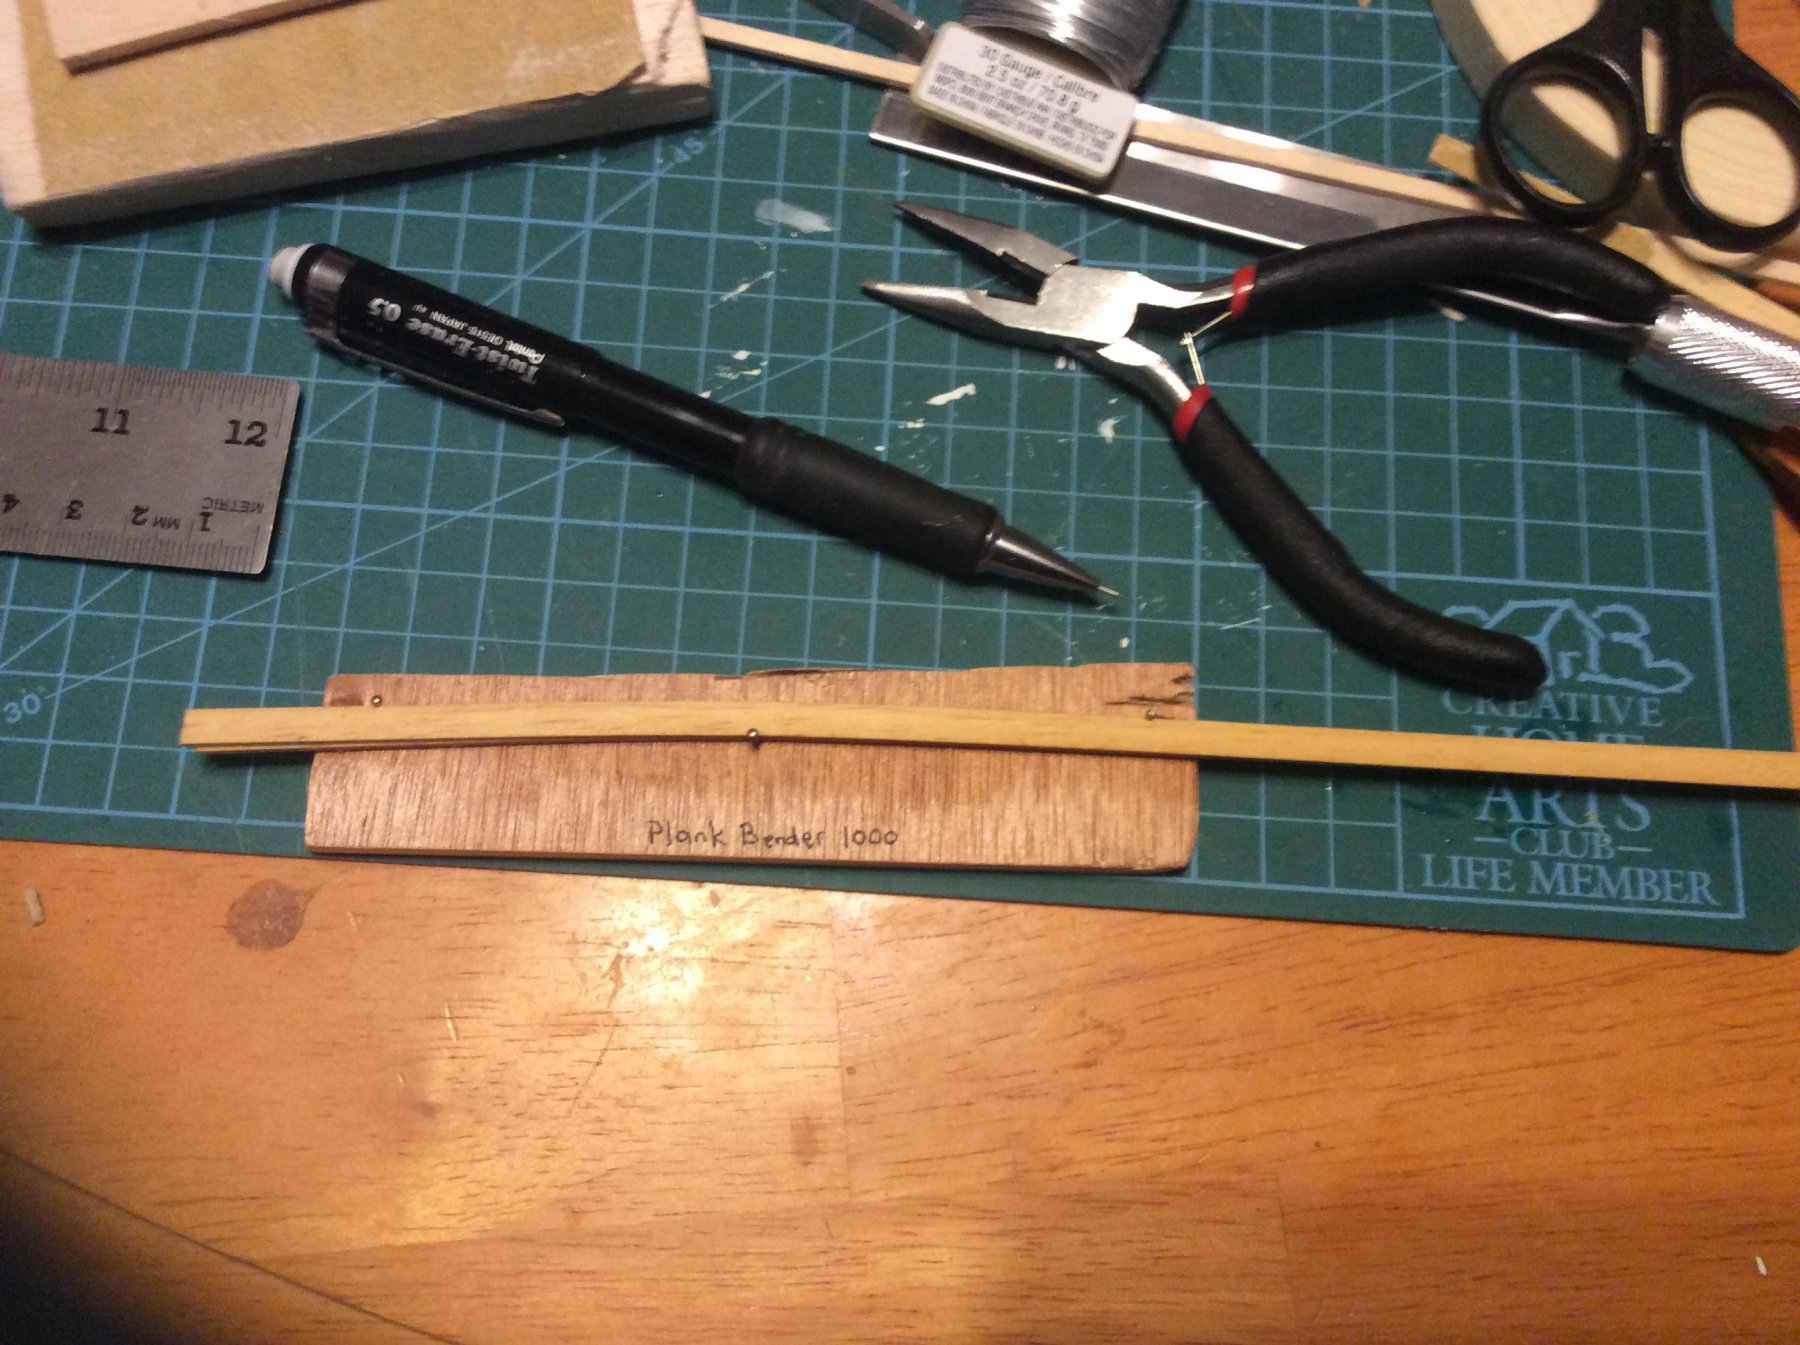
Upgraded the Plank Bender 1000(tm)... (waiting for planks to dry... lol) And the monkey (ook) rails progress...

-
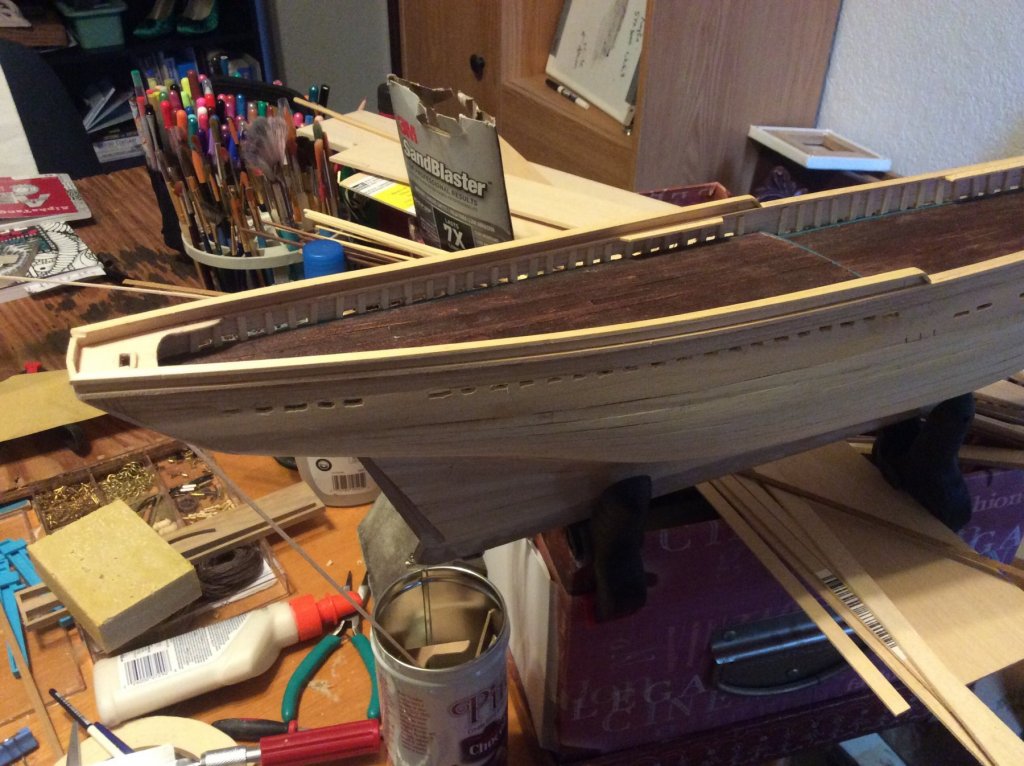
Here are the monkey rails in progress. Along with a simple jig to bend the cap rails for them! Really high tech if i do say so myself!

-
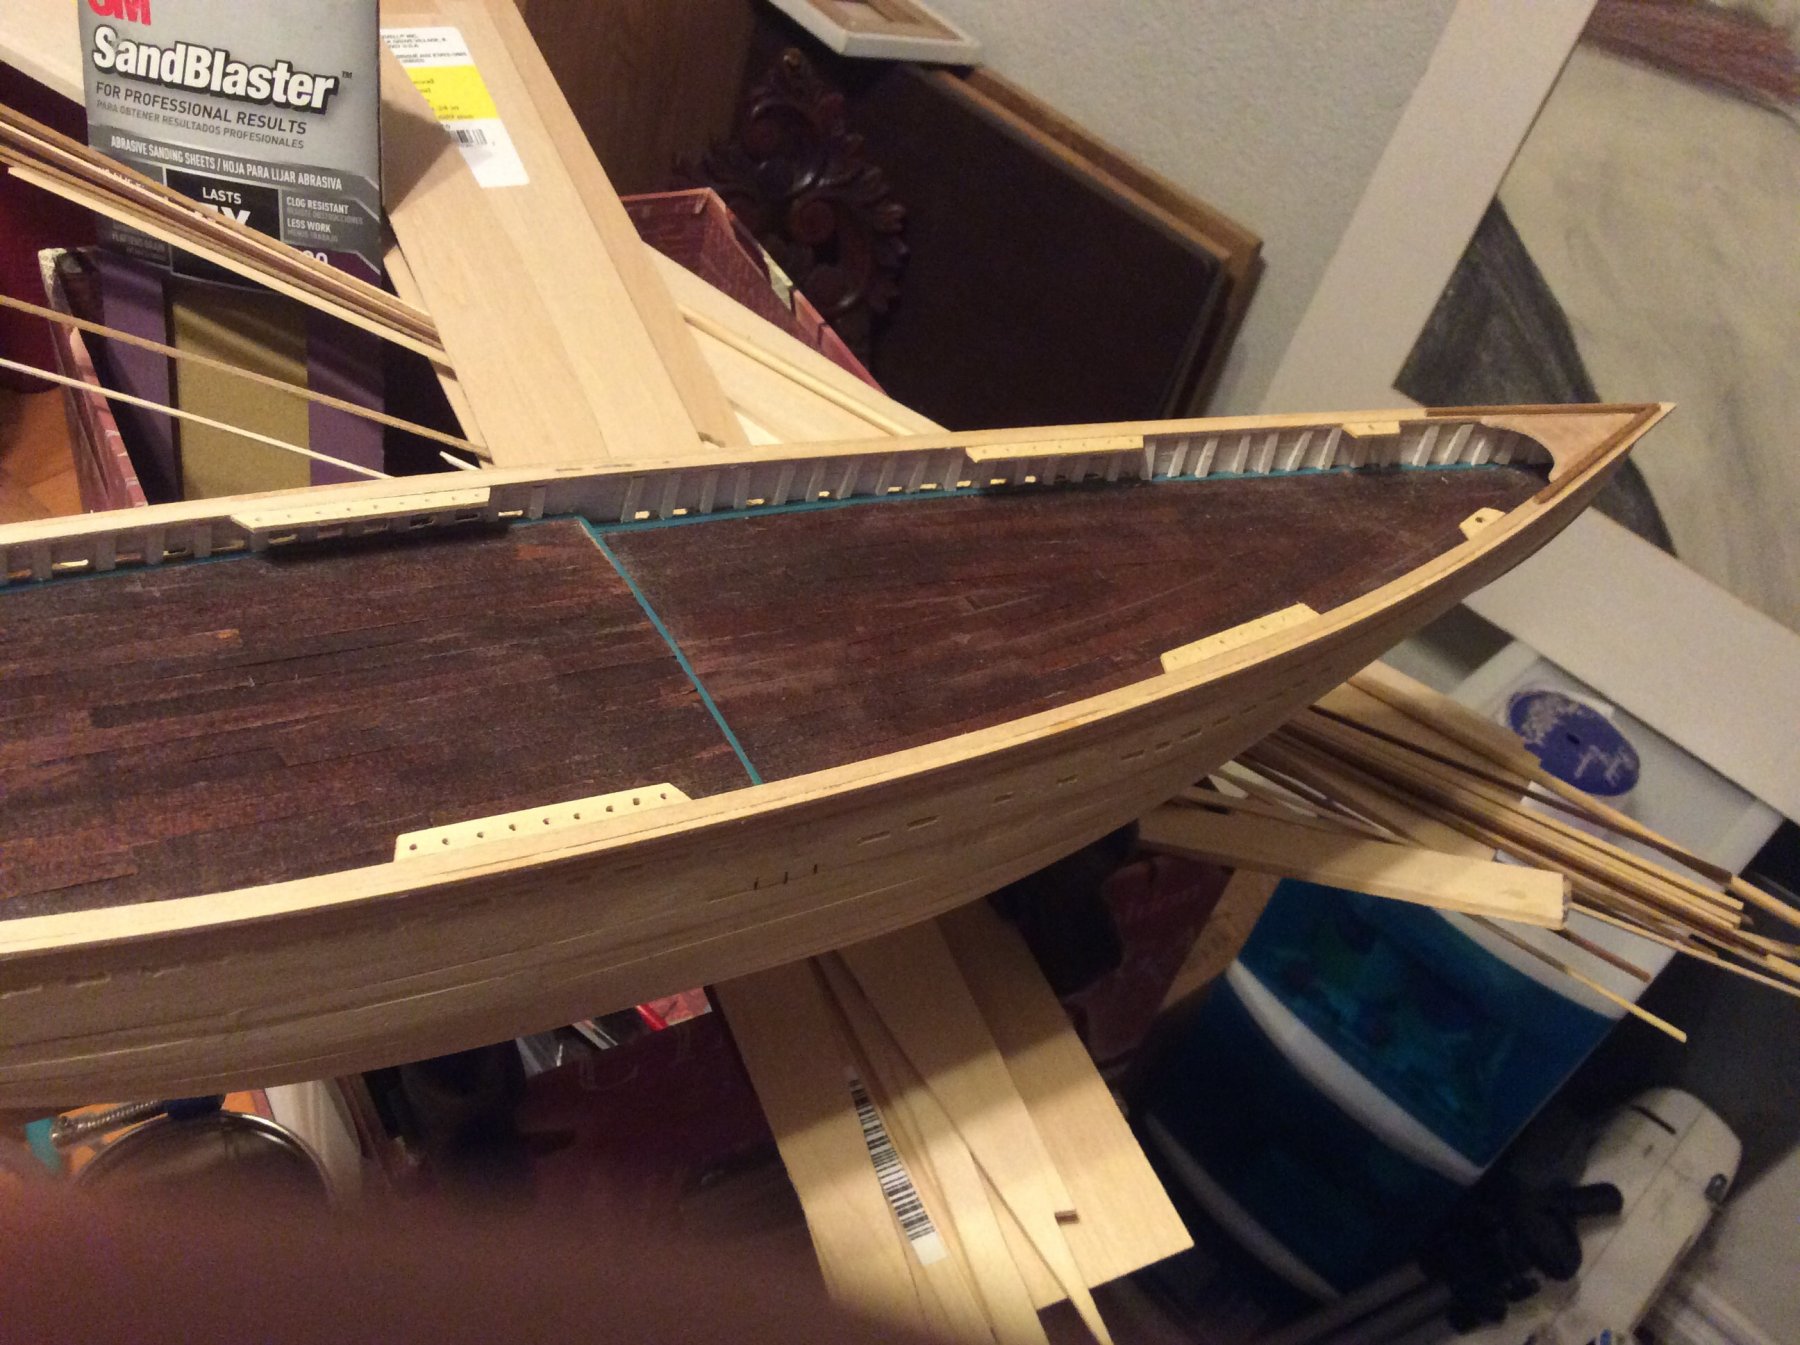
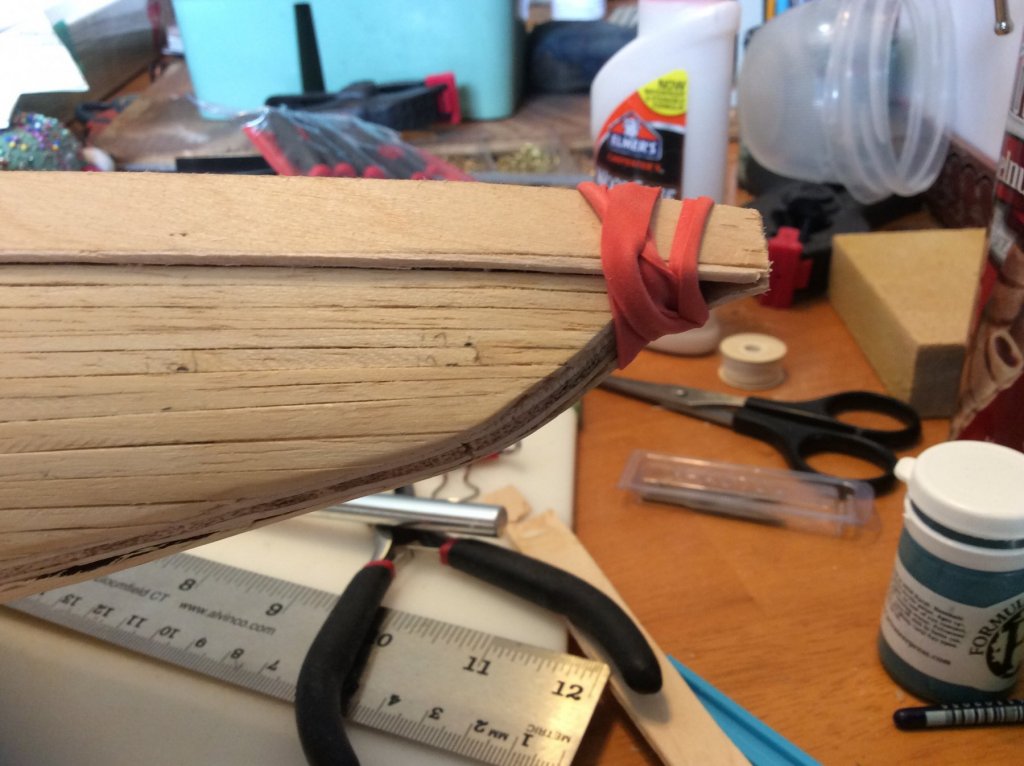
Pinvise. I tried hardware stores, can't find them. Online time. Will likely need one soon. I hold my dremel like a large pencil, and get as vertical as possible. Plus i drilled the holes before installing, which helped. The bow pin rack i did not drill before installing, because i needed a hole in the deck below the rack. I had an issue, notice the hole is larger, with the bit. I figured i needed length to get to the deck but that length led to the tipmof the bit wobbling...so larger hole than the bit. Pinvise. Yep. Working on the monkeyrails. (Taffrails, sure, but how mch more fun to say monkeyrails?)
-
Pinrails. Kept ruining them trying to pin them in place, got two working okay, but the others i compromised and placed a small wood block underneath out of the way if any holes. This might work. Wood kept splitting or the pin would shove through the top or bottom of the rail. Had fun drilling the holes. Got this tiny little bit, well under 1/16". Luckily my dremel can hold it, but just barely. i widened the holes with another go with the same bit.

-
Thanks for your help, Doug, it is much appreciated. Progress thus far. Widened to rail cap easily with the addition of a thin strip of basswood. Added keel bits. Started pin rails.


-
Thanks, Doug. I'll check to see if my local nameless hobby store has 1/16" sq strips of basswood. Balsa is too weak for the job. I'm having trouble figuring out where the pin rails go. I don't have the Jenson book and all i have to go by is the AL blueprint. I can't find pics that show exactly what stanchions the rails go. I mean i have an idea from the practicum but I'm just not sure and these are really important.
-
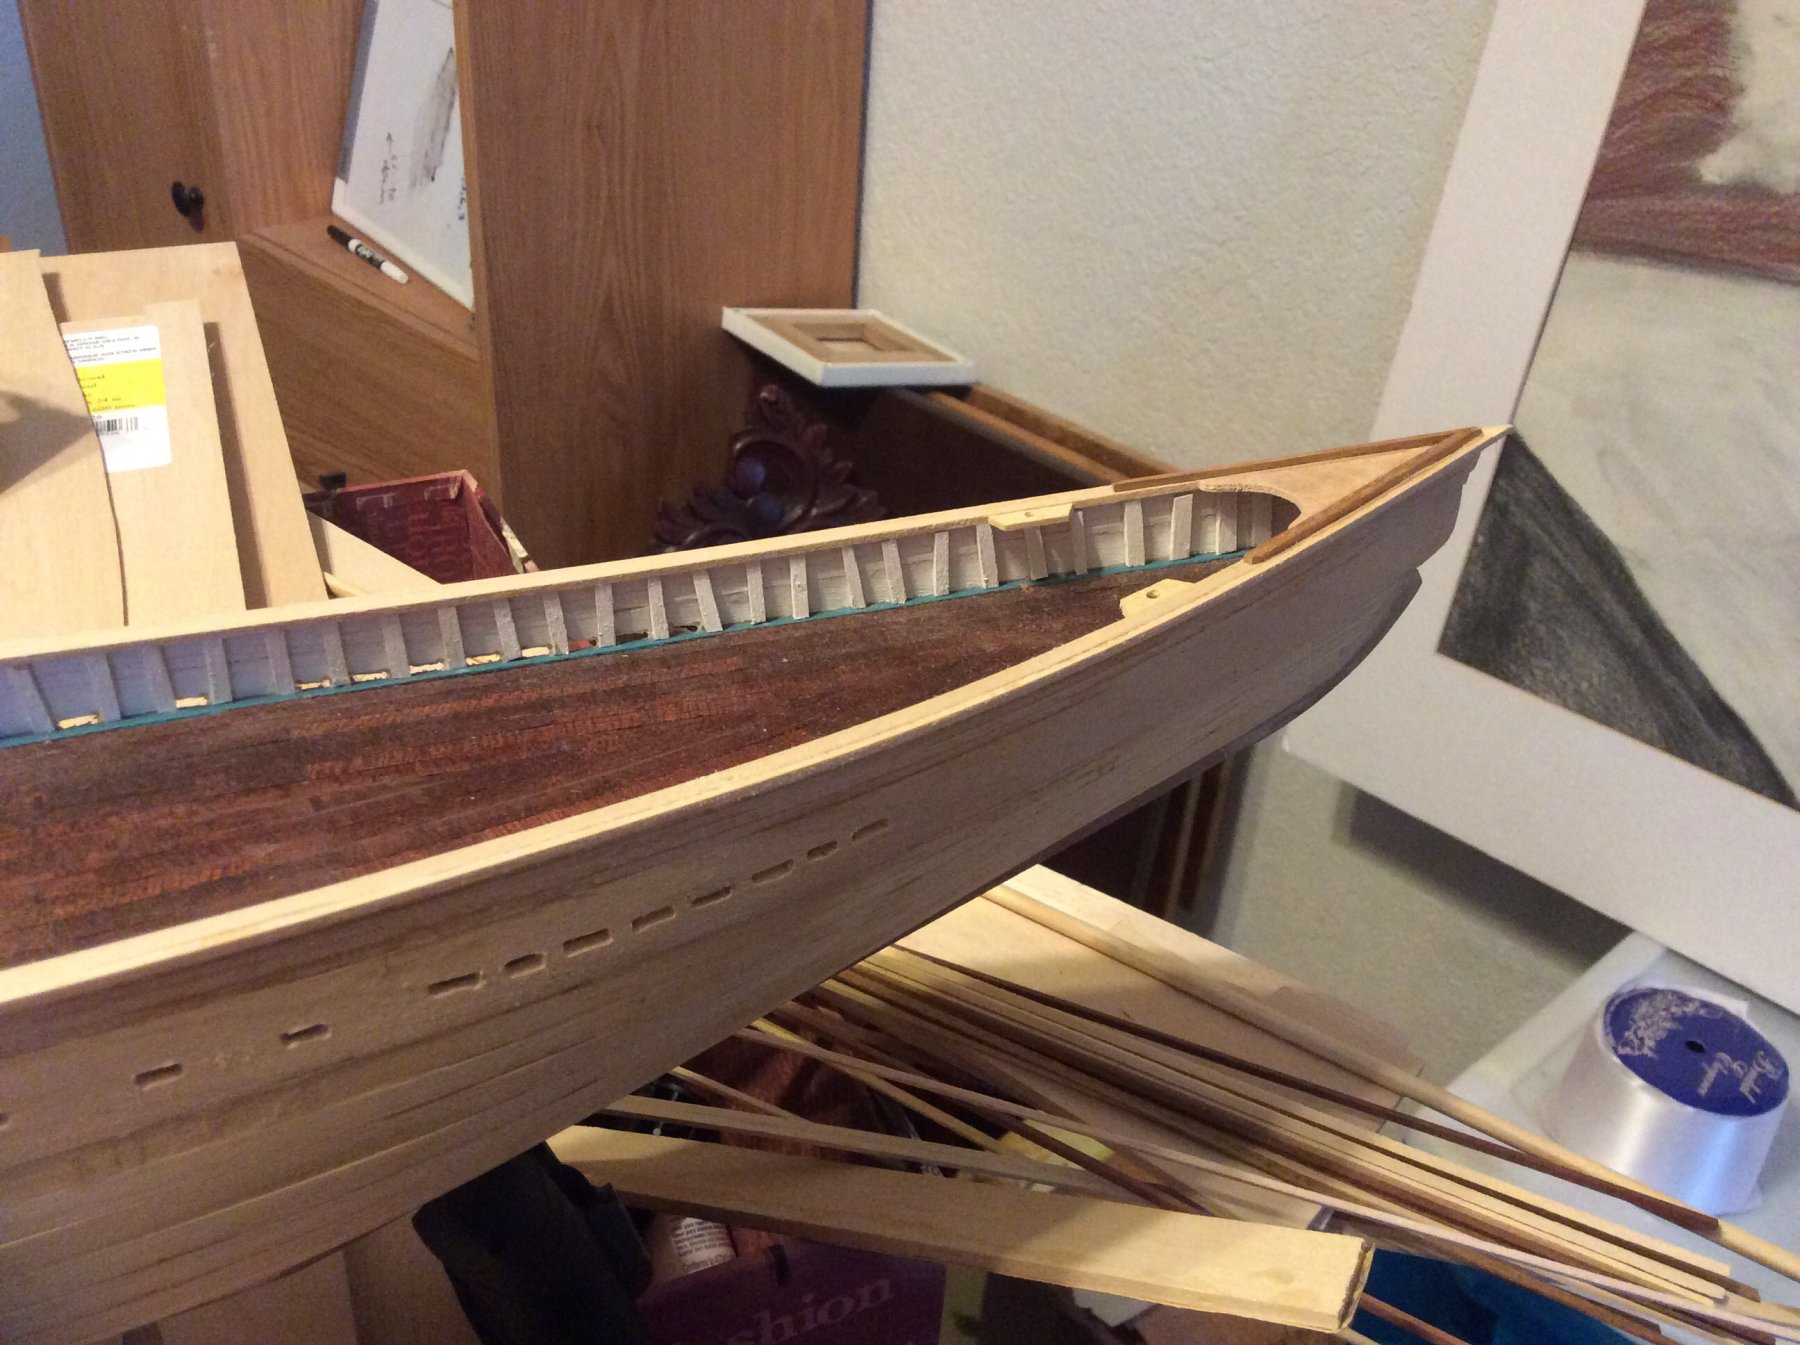
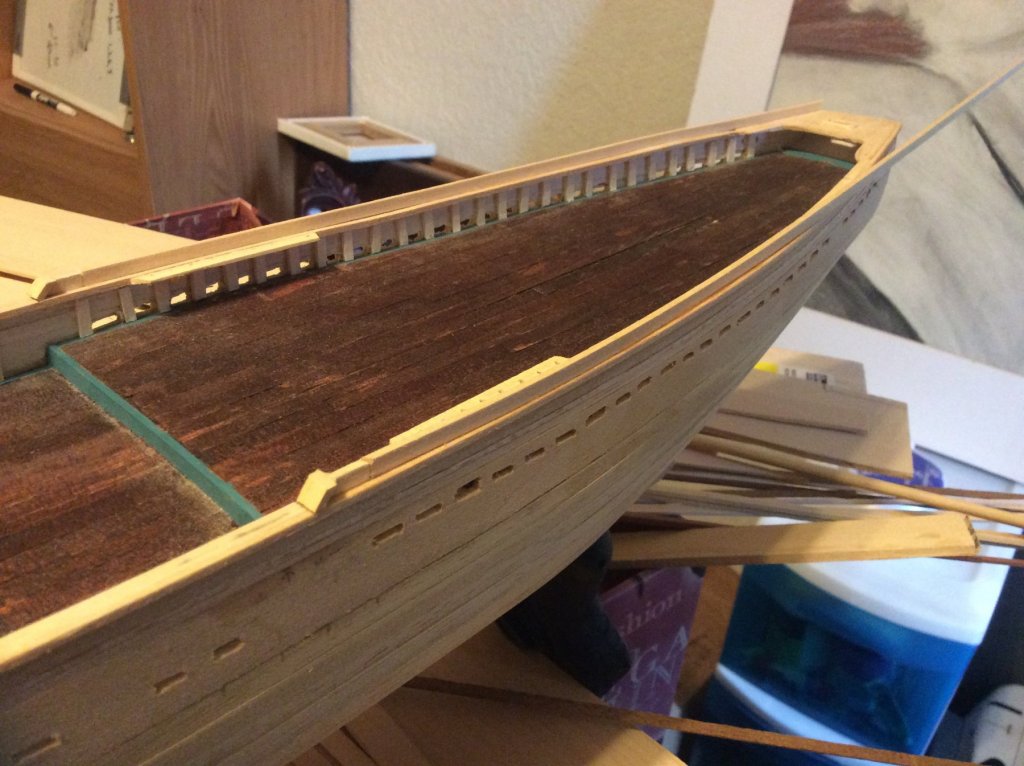
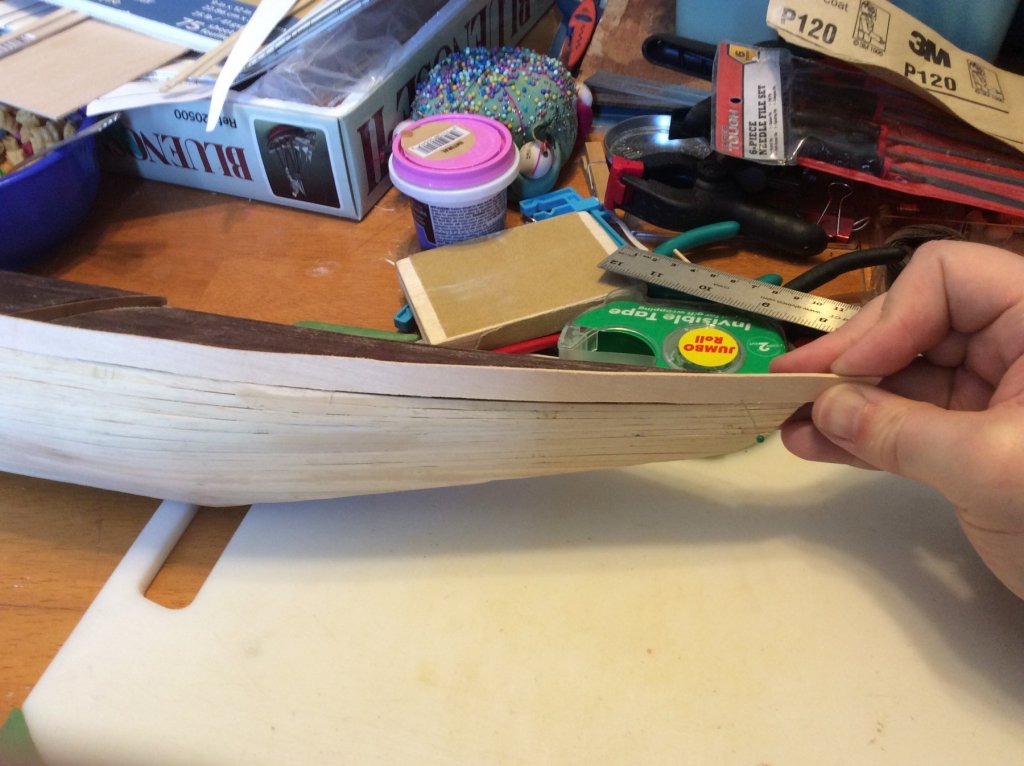
Added top rails and made them flush to the outboard side! Miss one sentence when following a practicum and you foul up! No worries, I'm an old hand and repairing such blunders now. Planning on adding a 1/16" bit of wood to the rail on the OB side both port and starboard. Going to have to find some basswood for this, since it looks like later on there will need to be holes drilled to let some 'rope' pass through it. I think. Doug, do you know if the extra mm of rail has a functional use? I can't quite figure it out by scanning the AL instructions or John's practicum. Hmm. lazy me. got the poop cover (snicker, sorry) and chock rails on. As well as the breast hook (ouch... such language!). Need to trim that down after looking again at some finished versions. I used the AL piece. I swear you'd think they barely looked at pictures of the real deal! I don't mind making stuff out of raw sheet wood, but this is getting silly. Pictures to follow after I correct the cap rails, or bulwark rails, or whatever they're called.
-
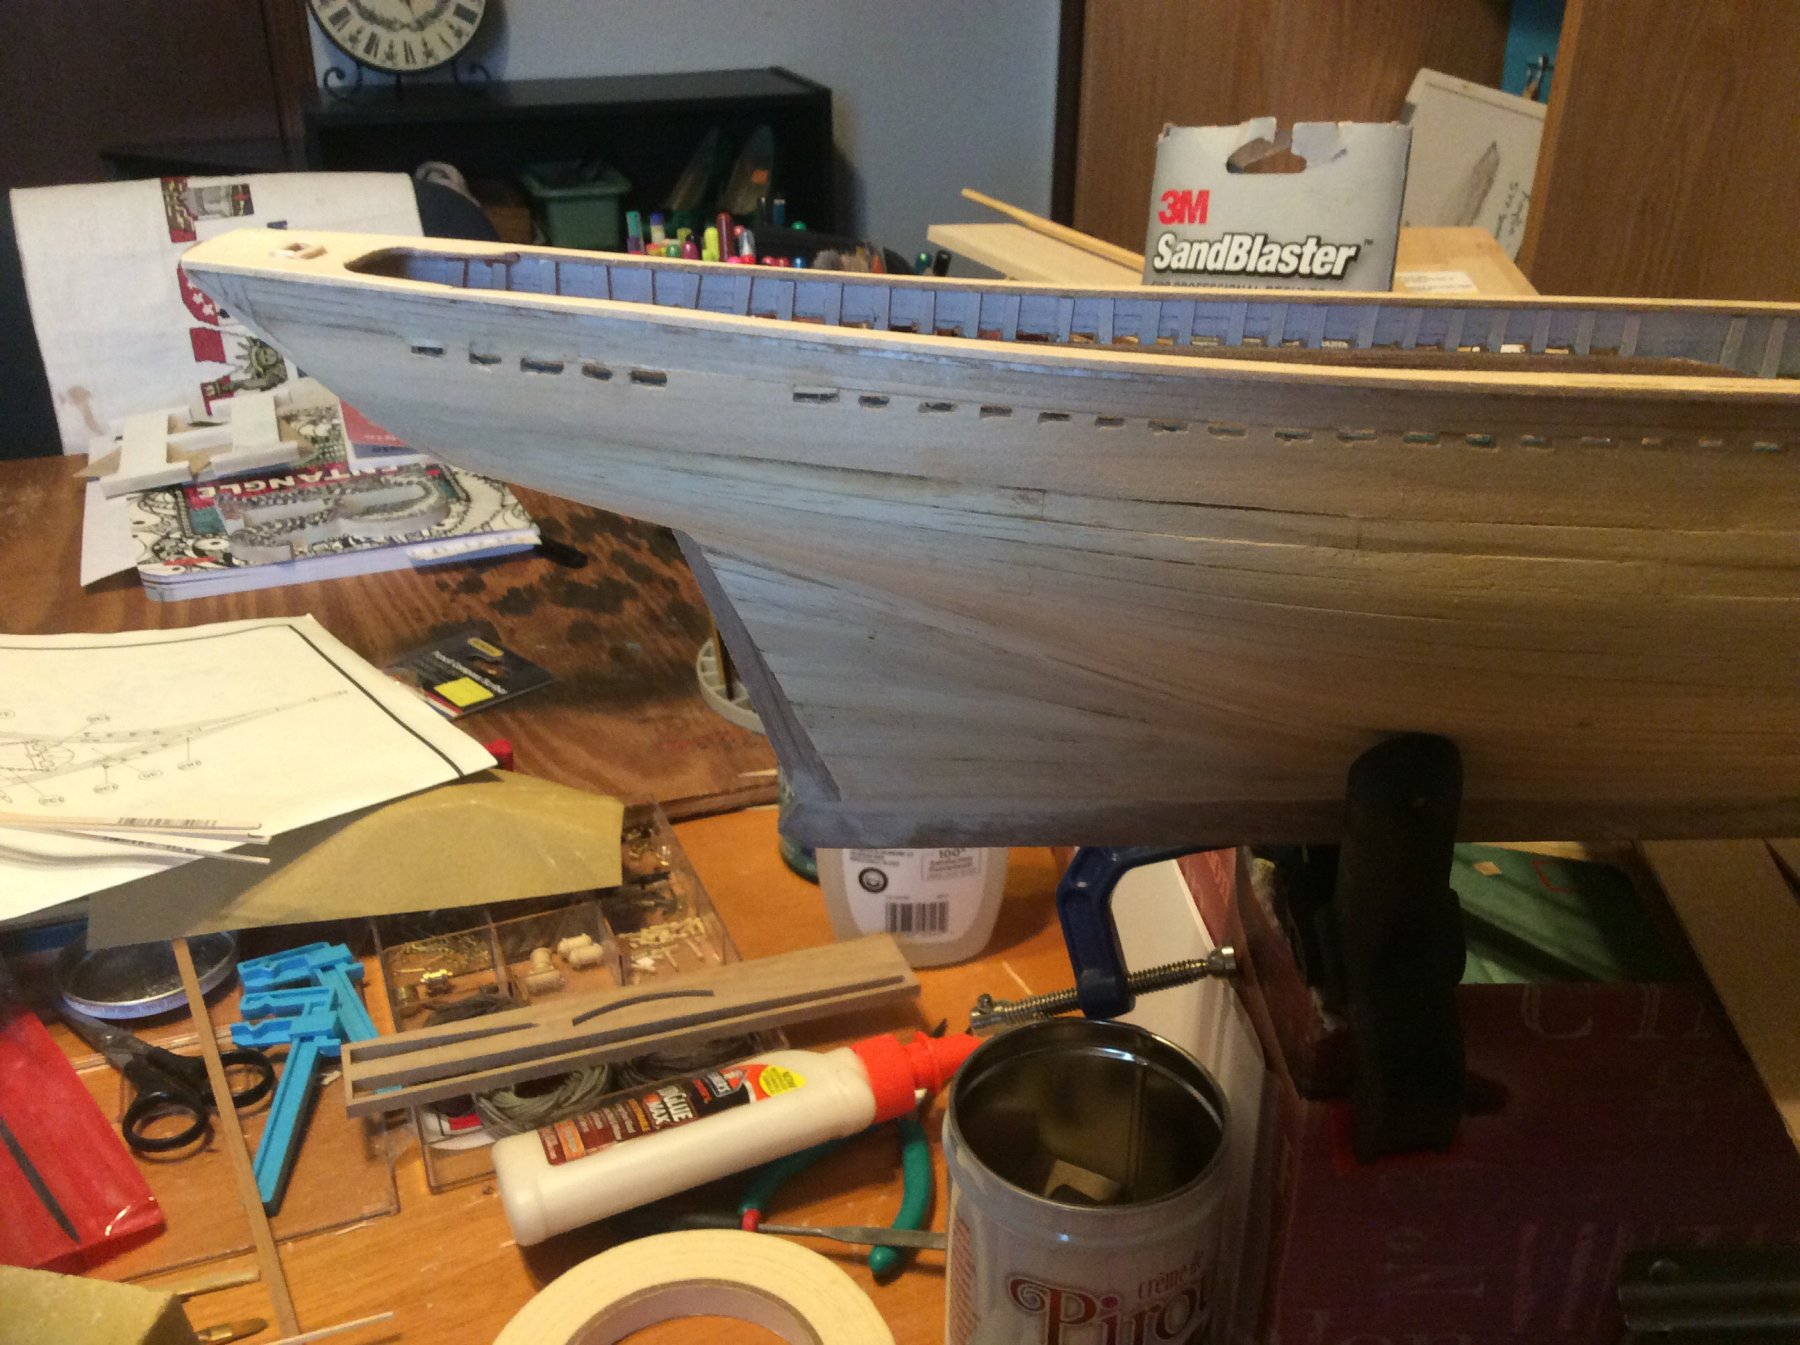
Ck, cool! Hope the pics help. There is a picture of the finished bulwarks in Johns's practicum a section away or a few pages down. That's how i realized my first bulwarks were wrong. Just know the bukwarks are level relative to the curve ofvtge ship but don't dip down at the front. The taffrail gives that impression of the bulwarks dropping down. That messed me up. Oh, and when placing stanchions... harder than it looks to keep them even, even with marks...lol. Yikes. Plus even stanchions mean even scuppers.......but thus ain't your first boat so I'll shut it. okay transom in place and sanded to shape.

-
1/16th drill bit. Drilled into the space next to each stanchion. Drove the bit into the wood from the stanchion side. Cleared out the material in between with an xacto from the outside. It made a kind of ()=() shape on the inside so had to open up the = part with an xacto. Trying to file it out to make it more rectangular but my needle files are too big. Argh. The technique was from John's practicum. I at first made the scuppers too wide open vertically and had to patch them up with 1/16" bit of basswood, which worked great. What's annoying when you're a novice is seeing mistakes you can't correct. The stanchions were not spaced perfectly, so some scuppers are too thin. Not a huge margin but noticeable. I am, however, getting better at patching things up! live and learn... I just hate to make mistakes on such a nice boat. I hope that the paint job and other details will obscure the scupper problems if I can't spiff them up with a smaller file. Heading to a specialty hardware store tomorrow. YAY! TOOL STORE!!
-
Stanchions in place. Wow was that tedious. Lol. But i got into a zen place after a while. I keep reciting, "it's not a hobby if you hurry" over and over. Not the most even job, but if i redid one I'd wind up redoing them all. Safer this way. okay, scuppers are a bit rough. Took time to figure out the best way to make them.
-
Thanks, Derek. I credit John Earl for that, though. lol. Stanchions are going well, thankfully. Time something did. Having to trim them to 3/16" width, though. Stupid hobby store didn't have any that width! The humanity! But it's all looking good now and I am enjoying myself again, instead of fretting and pulling out my hair (which I need!).
-
Redid the bulwarks entirely. Some advice... read several sections ahead in the practicum to see how the bulwarks ought to look. I trued ti mimic the shape of the improperly made bukwark that comes with the kit. Had to break down the blasted thing. Lol. doing the stancions next.
-
looking better!

-
Well as usual, the 'crisis' has passed. lol. Judicious sanding has fixed many of the issues and some filler putty fixed the others. If I decide (grudingly) to double plank this boat that will probably fix every other issue with the bulwarks. Not sure I want to do another planking job so soon, but it would help. Definitely going to sleep on it. Until then I've got some more building up of the bulwarks using those 1/16"x1/16" strips I bought. Will post pics of the sanded bulwarks after the putty dries tonight, but wanted to post an update on the build.
-
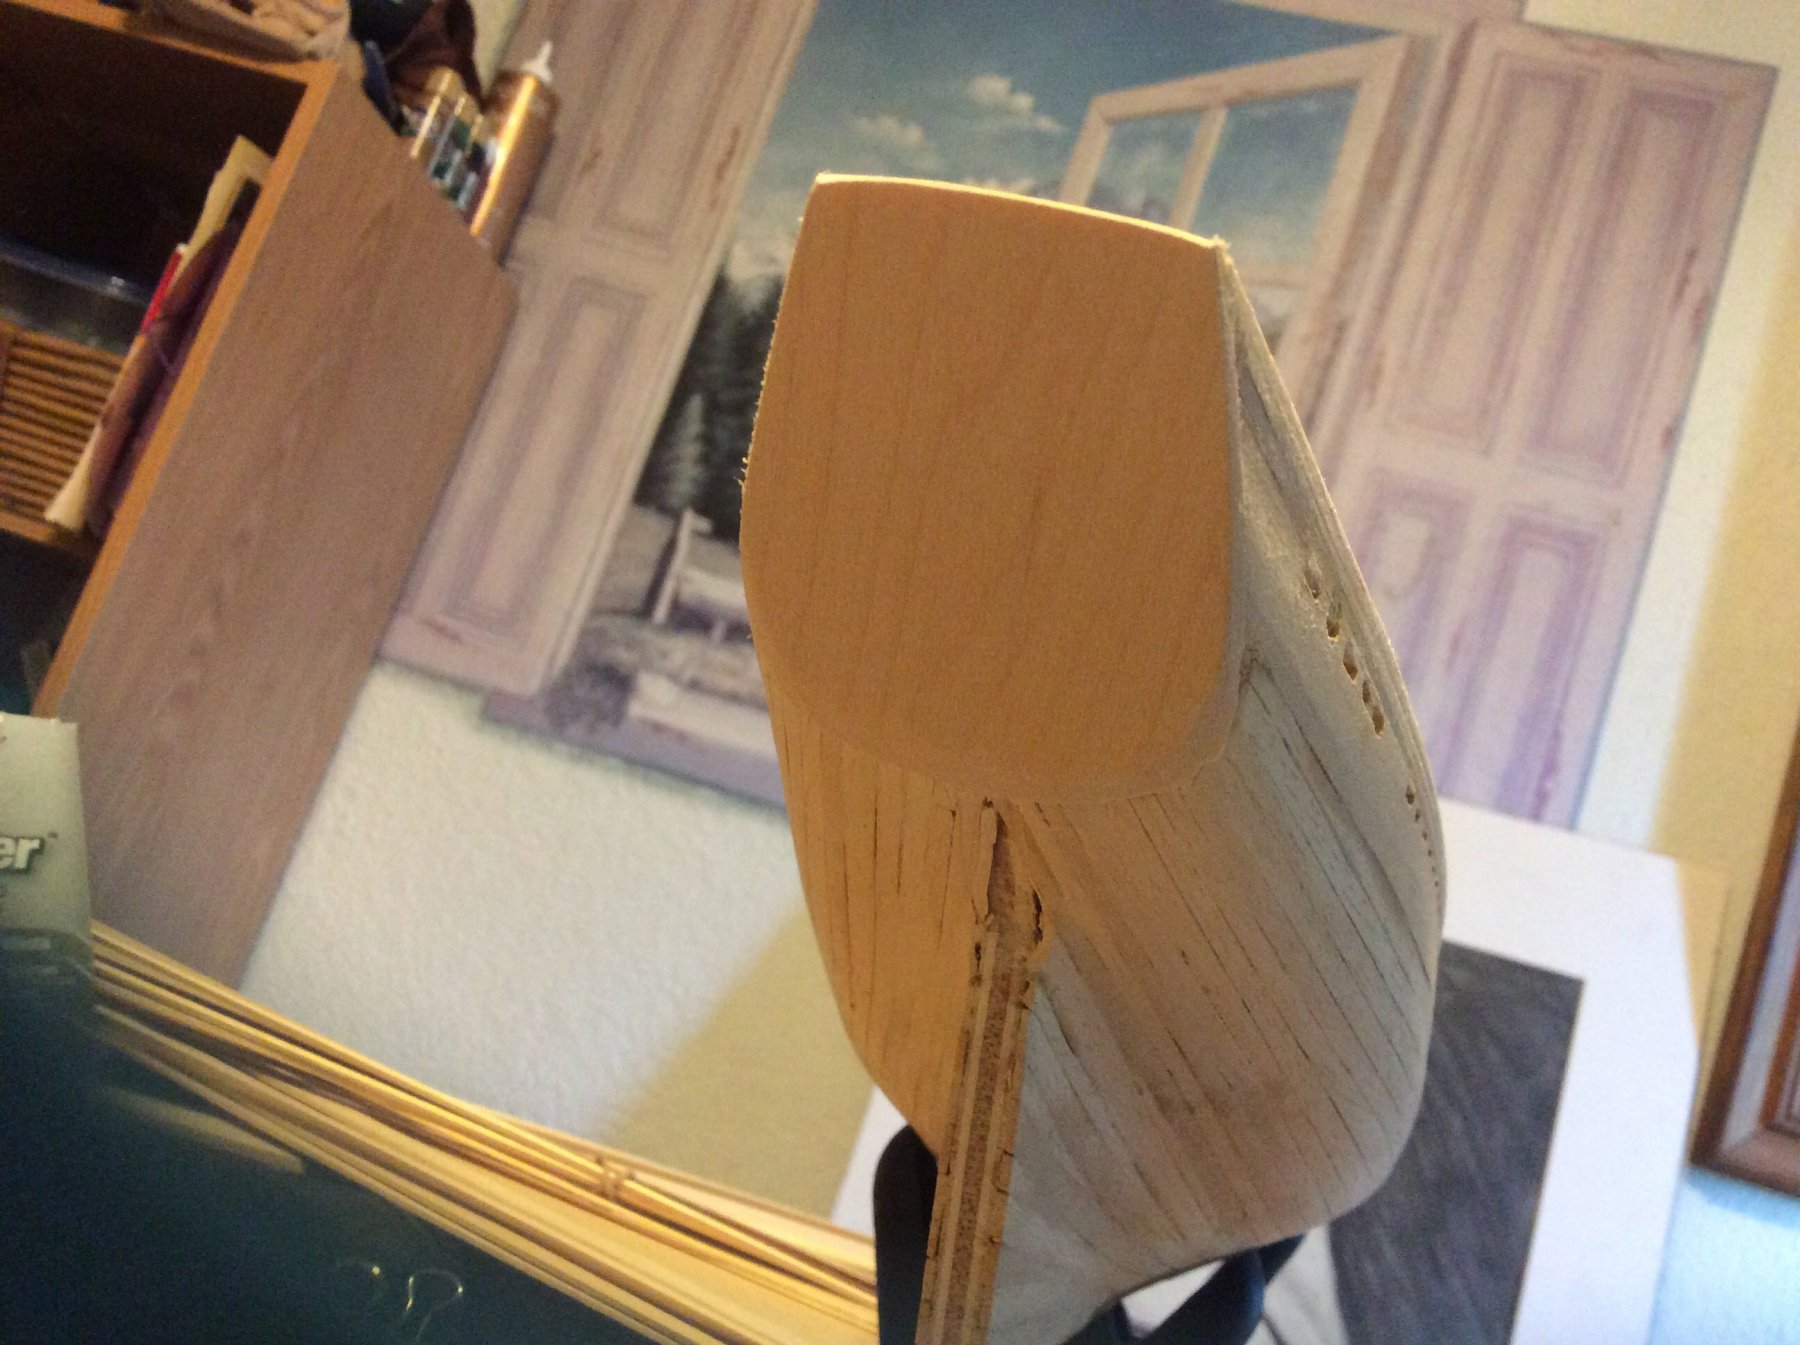
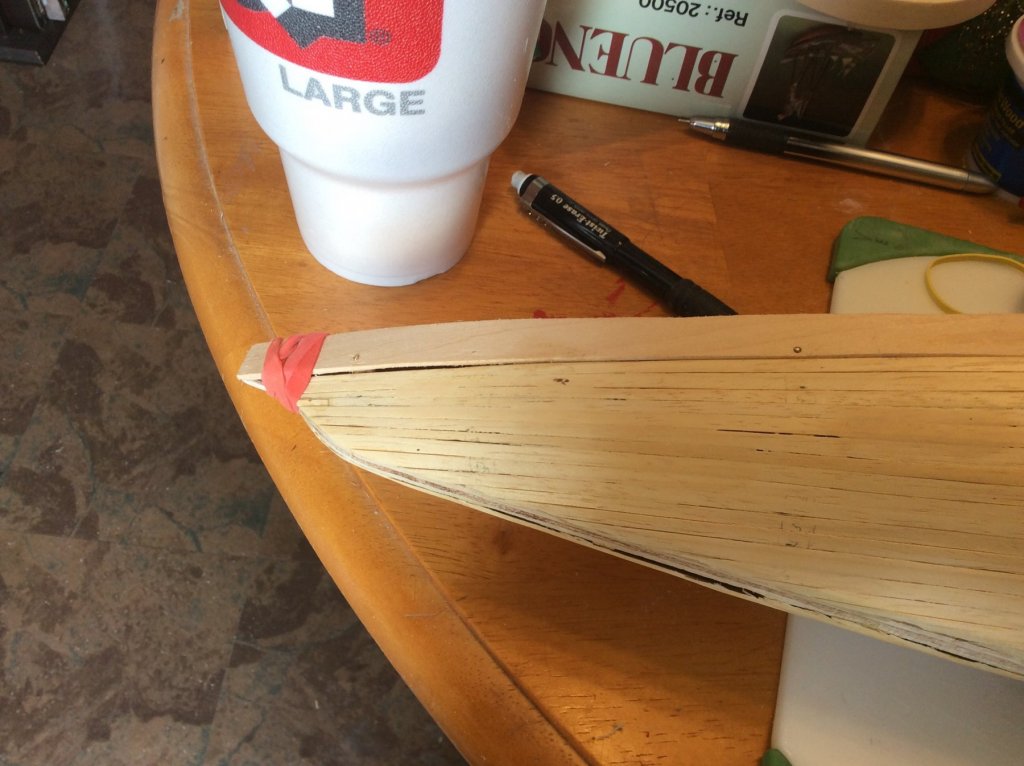
This has been an adventure. Making my own bulwarks. Tough work and frustrating at times. Not sure how the bow got so messed up. The bulwark i fabricated doesn't want to play nice. So i bullied it into shape. Still rough, and the bottom of the first part of the bulwark sits ourwardly from the top plank. This was caused by the deck itself. I hope sanding will make it flush but I'm not sure. The sternward bits fit like a glove, though. Advice? Suggestions?

-
I would say that yeah... there should be some space between the false deck and the top plank. The situation is likely salvageable. For one thing, according to John Earl in his practicum on this very model the AL bulwarks don't fit anyway (and thye don't, i'm doing the bulwarks now). You'll need to make your own. I forget where it is housed but a google search for bluenose II and John Earl will return the pdfs. Just start with the bit on the bulwarks and modify it a bit. You're going to have to wing it some, but I think you'll do fine. I wouldn't start ripping planks yet.
-
Anyone know about how high the bukwarks should be above the deck? Following the practicum thus is the template i have right now.

-
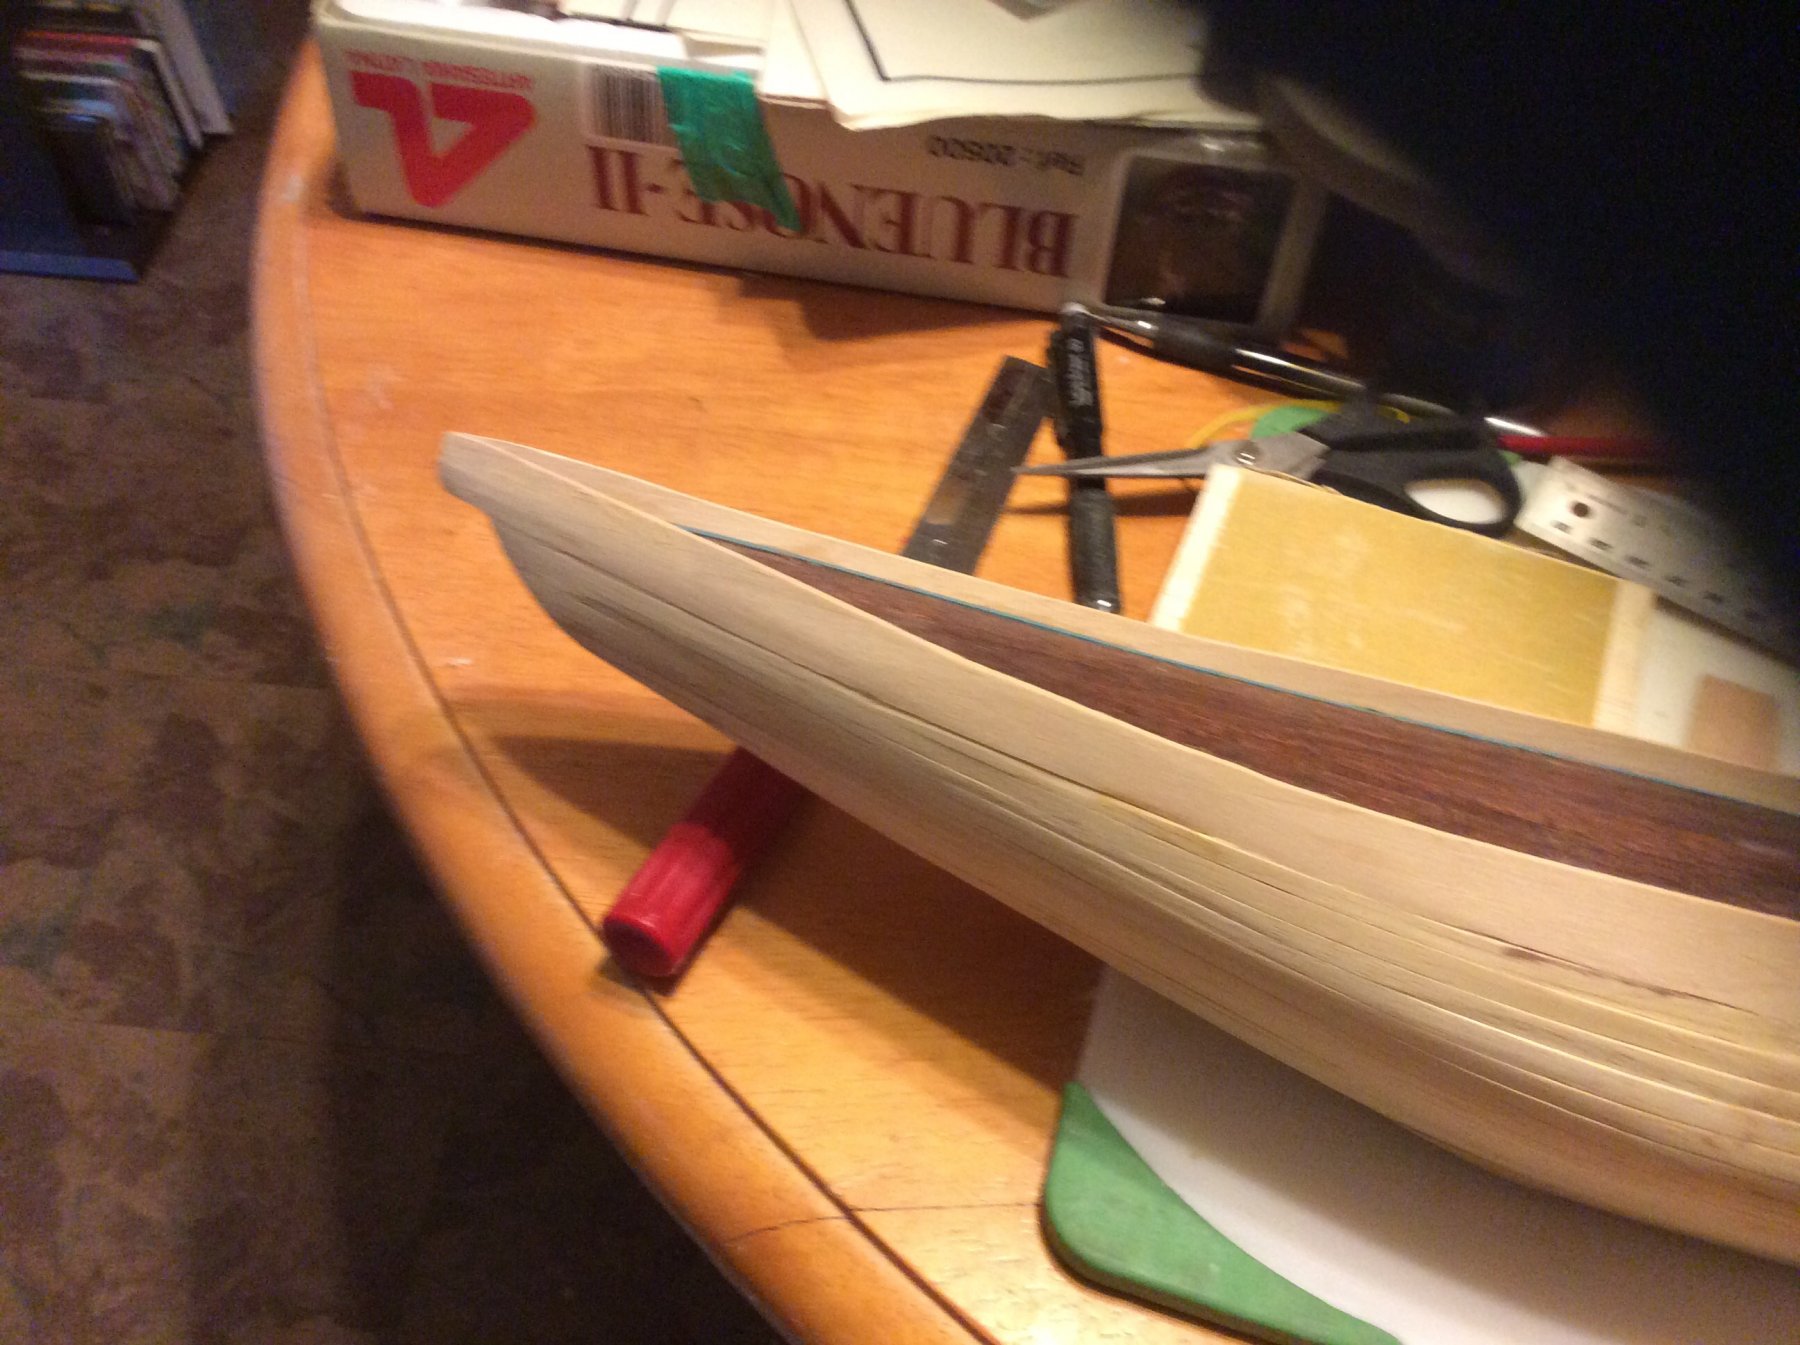
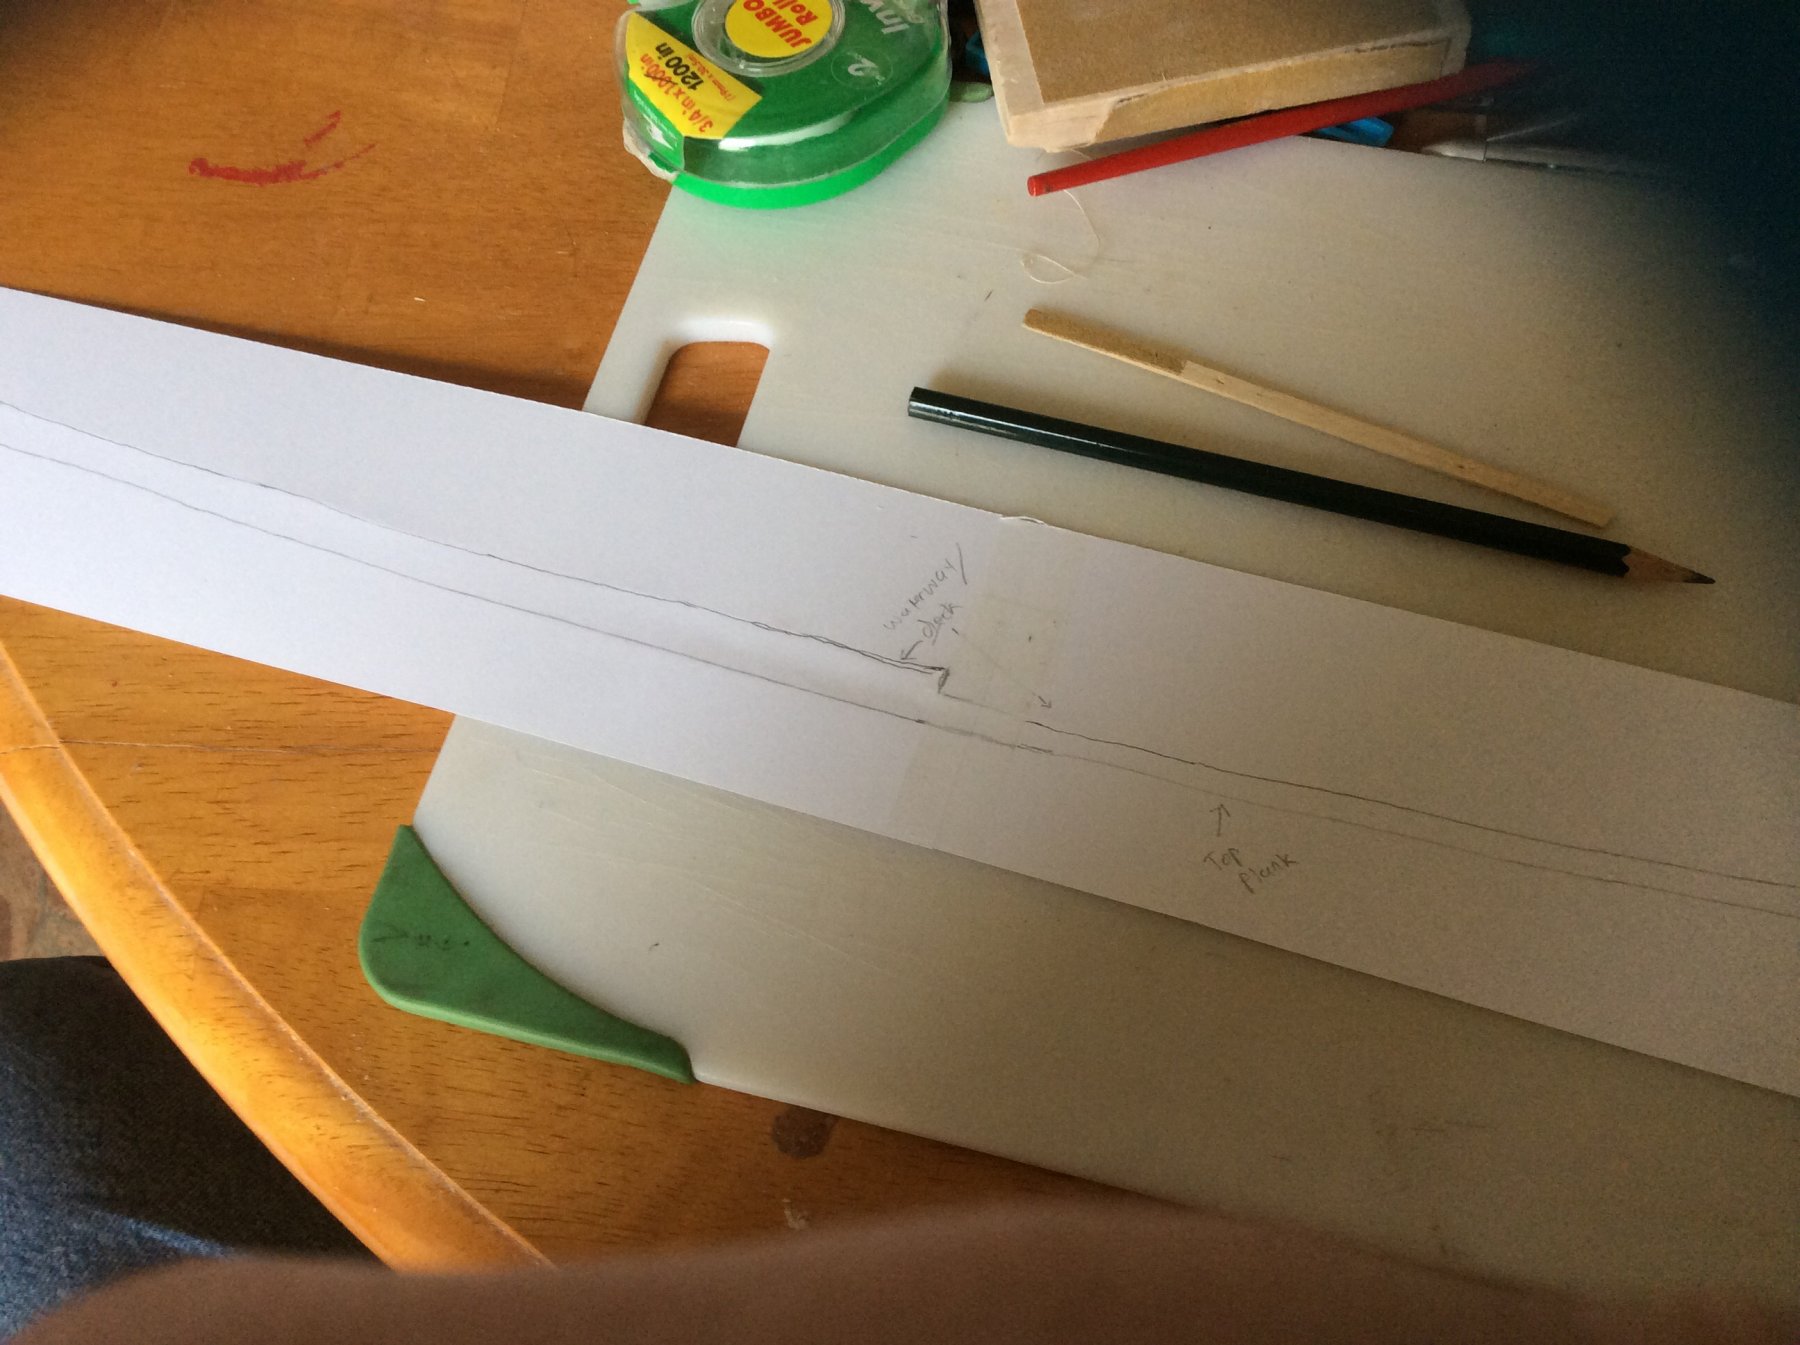
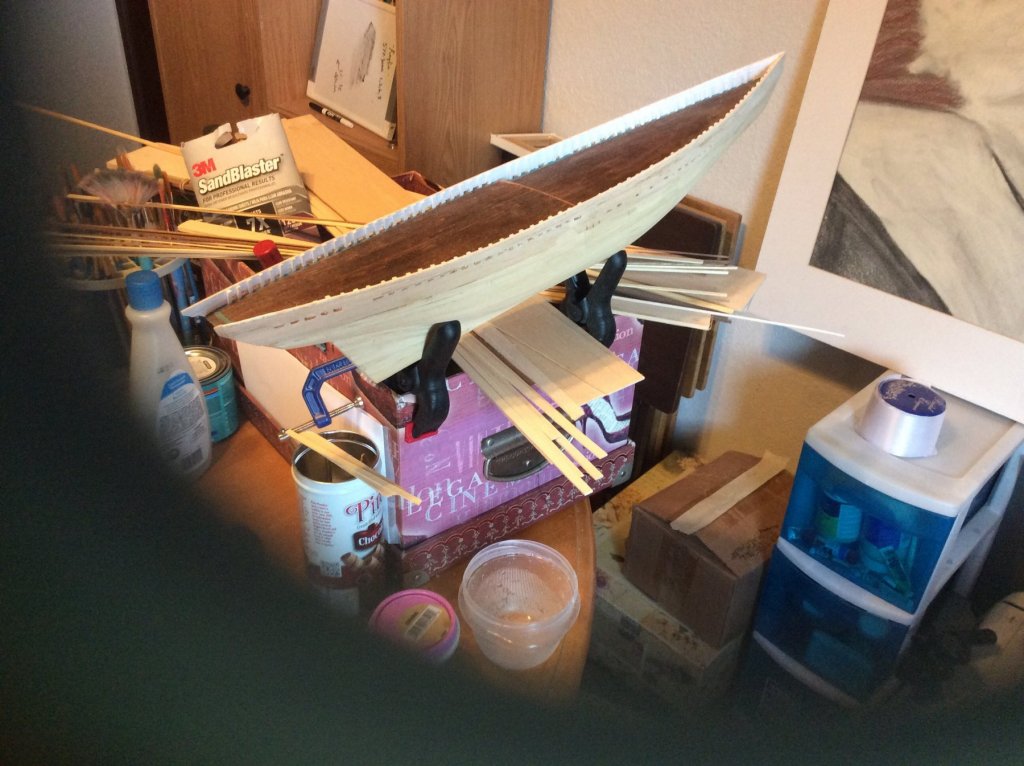
Having trouble with the bulwarks of the Bluenose II. I have a template made by taking a rubbing of the top plank through a sheet of cardstock (thin). by pressing againsi the top plank i got an impression and was able to draw a line over it. Yet after i cut it out it still seems a bit wrong. I managed to fit the template onto a bit of basswood that was expendable. Am I right that this piece should be 10mm wide? I think so. My main problem is that i have the curve right but at the prow the bulwark wants to twist out away from the ship. The deck overhangs the top plank a bit and causes this twist. So is this the way it ought to be? Picture is worth a thousand words and all that.
-
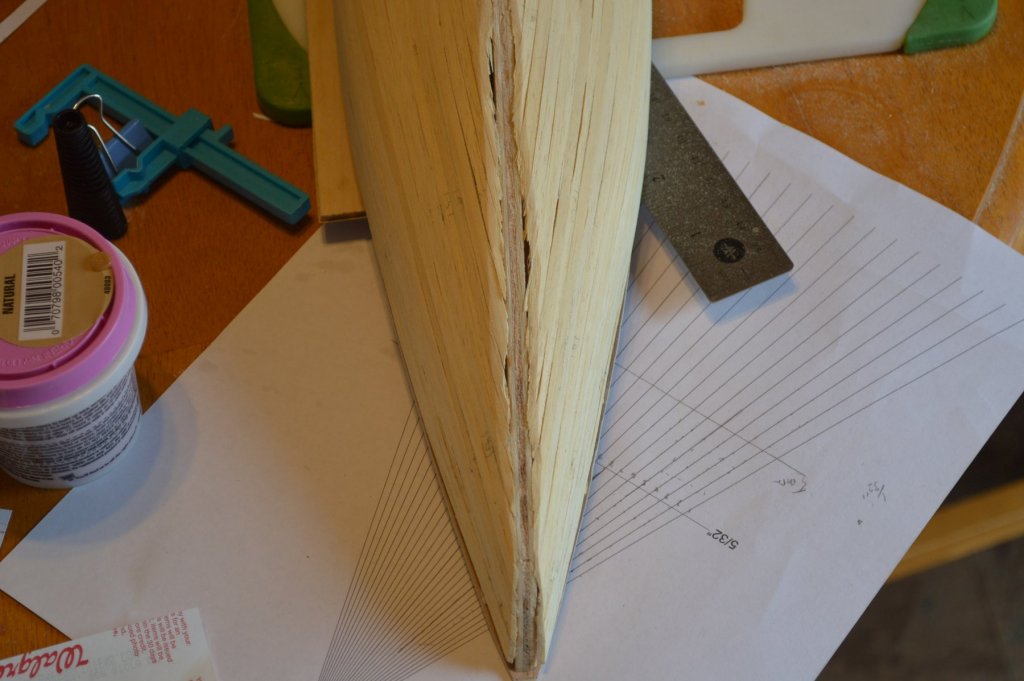
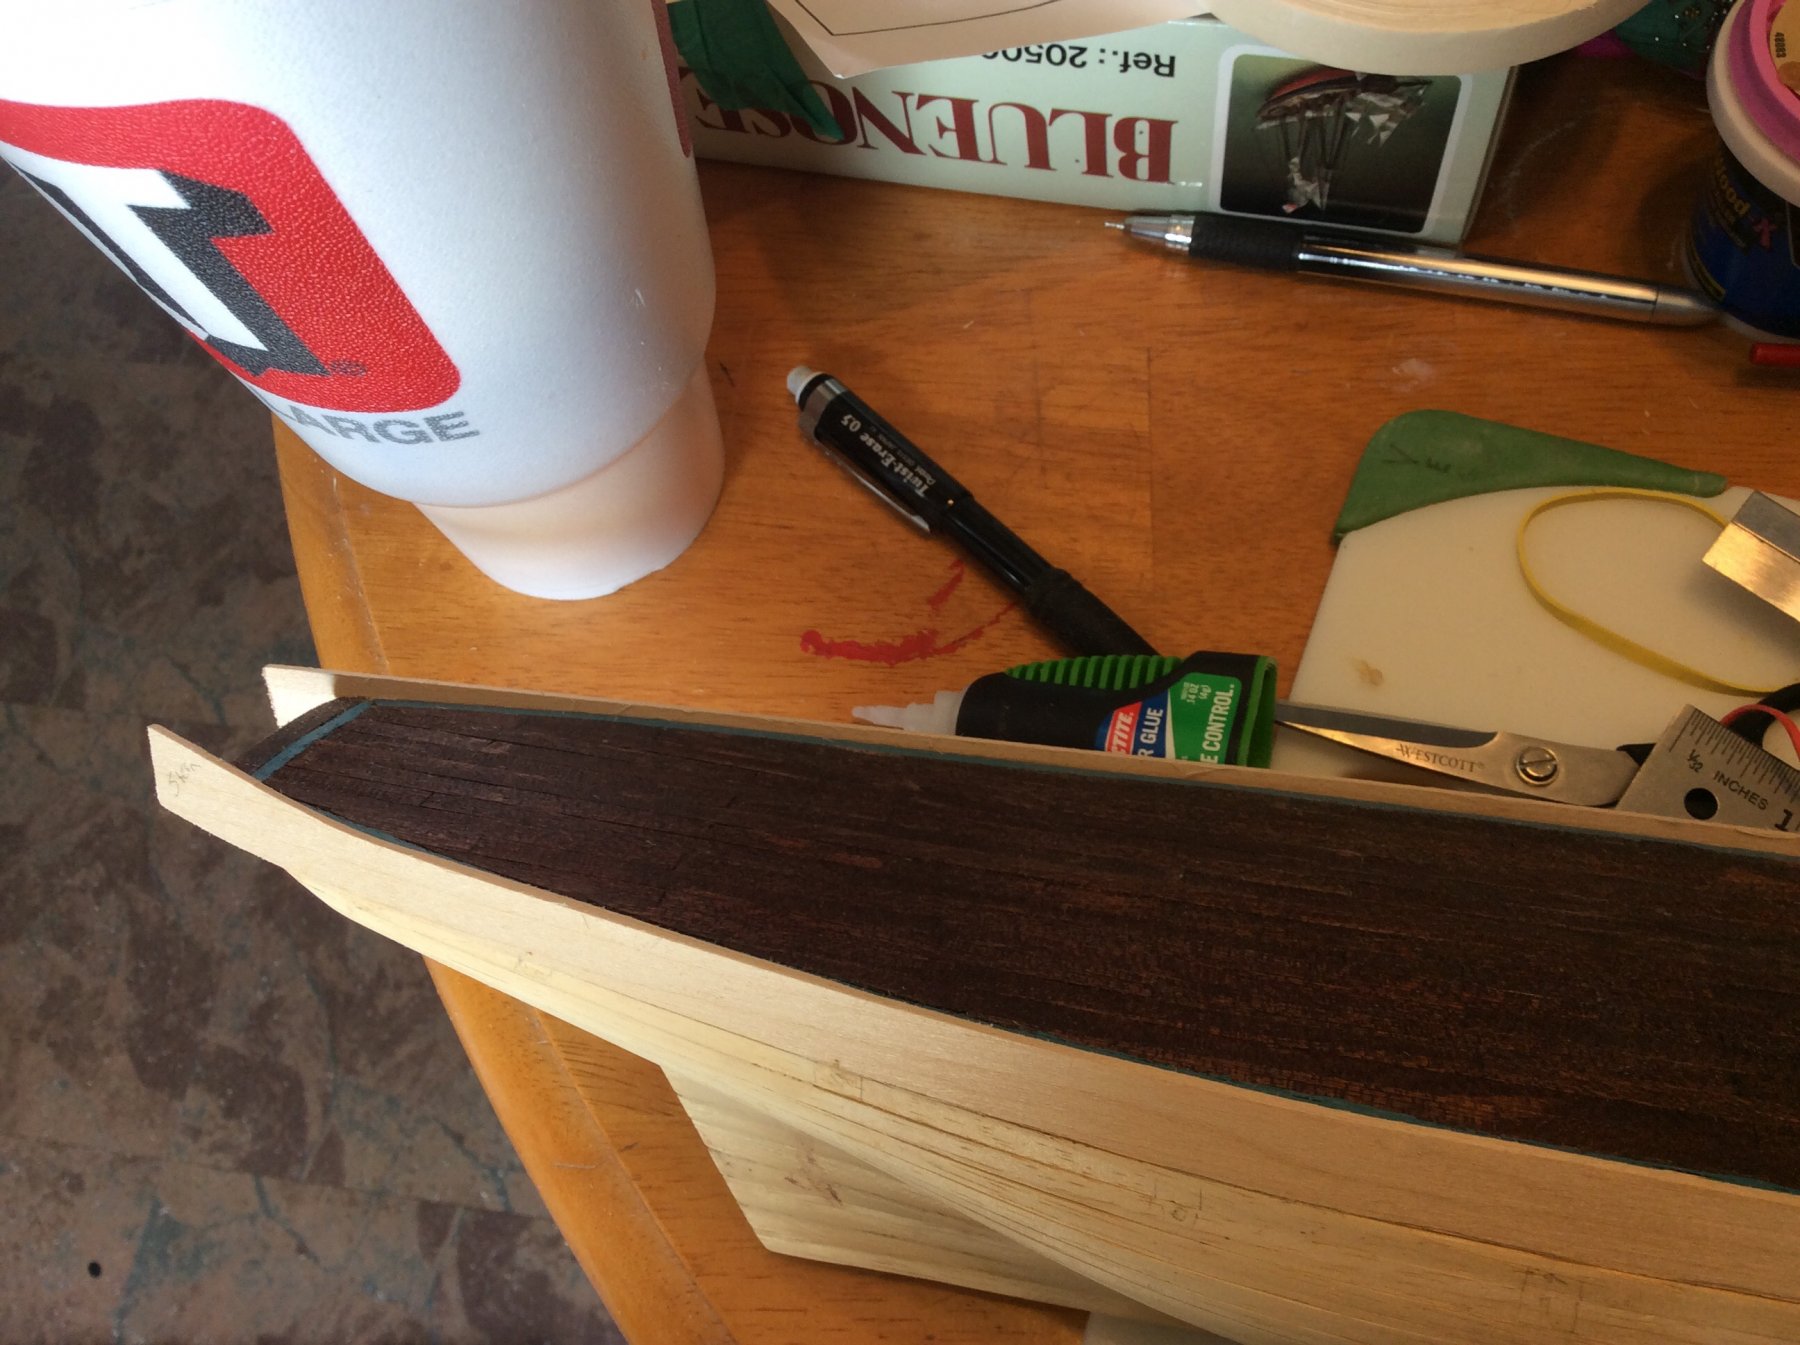
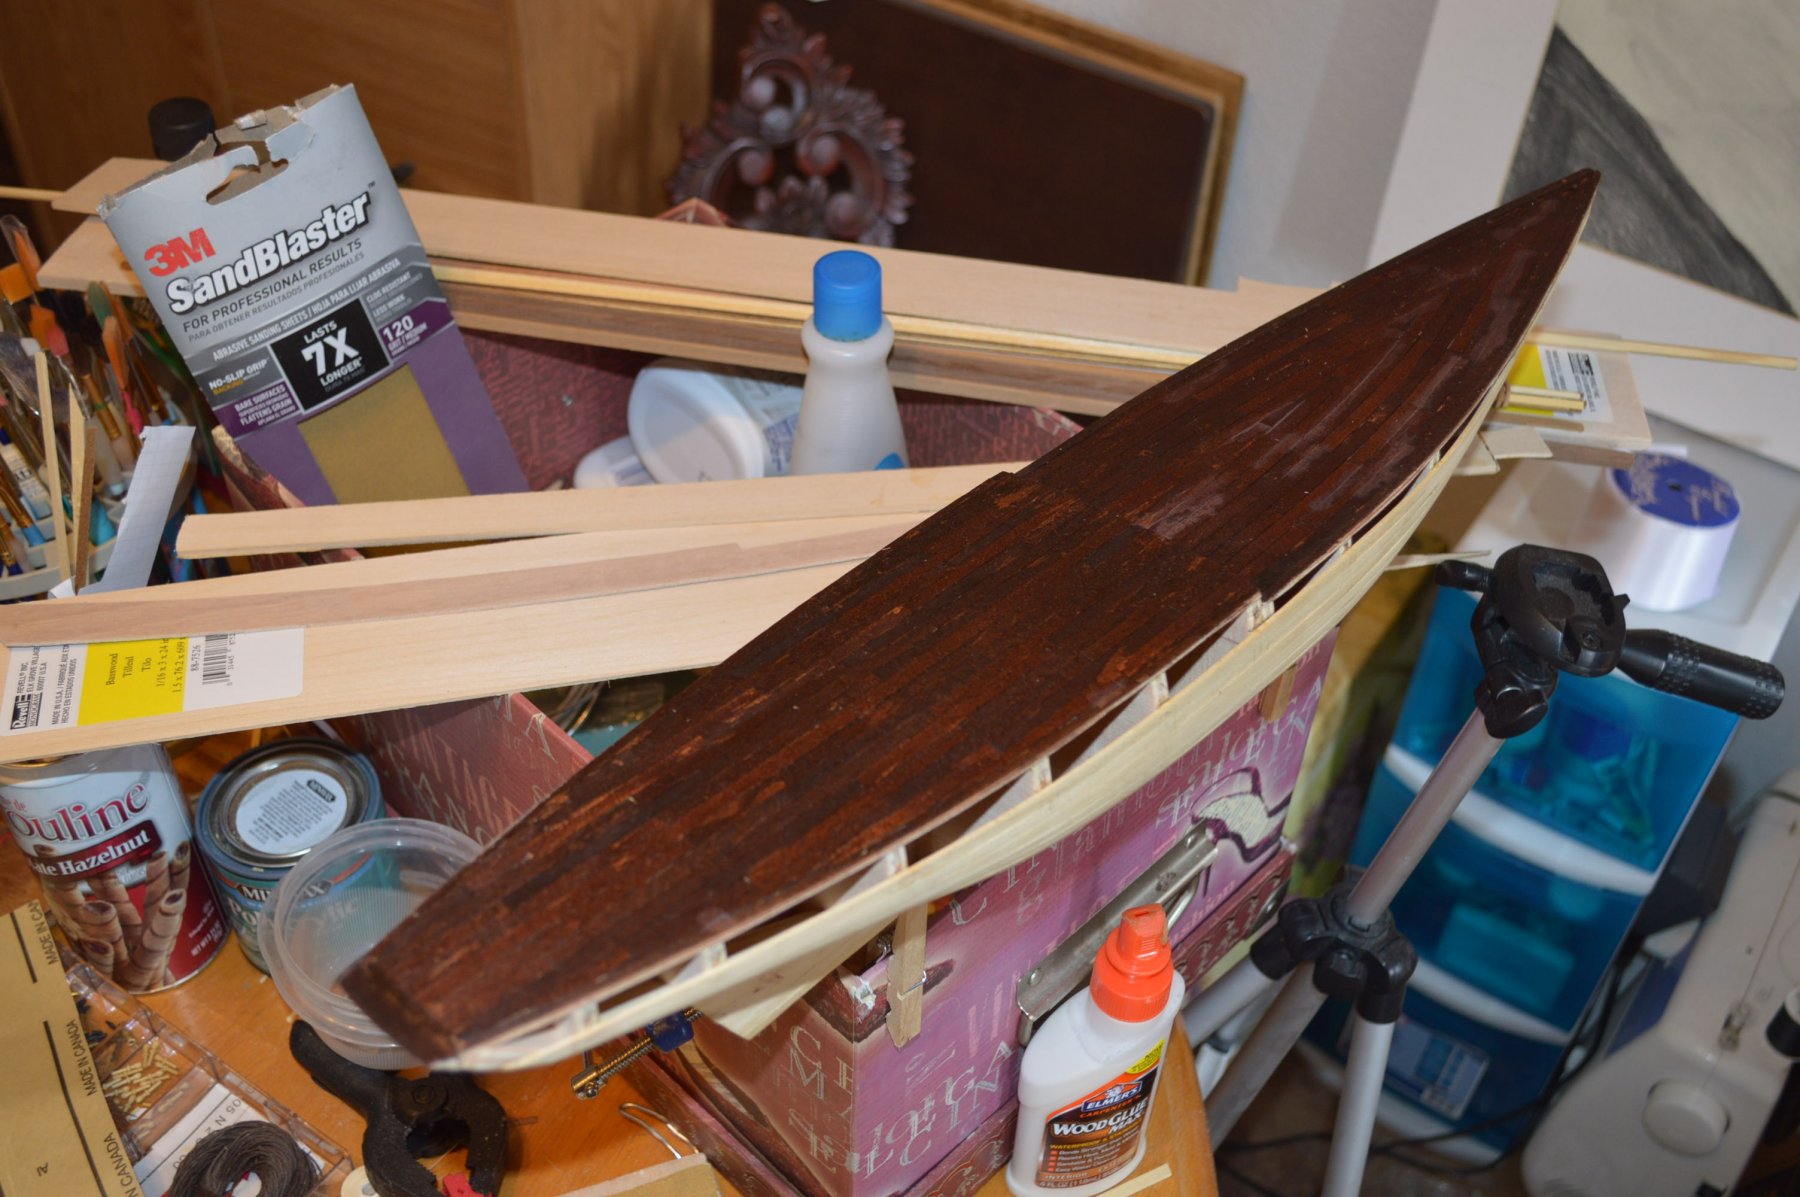
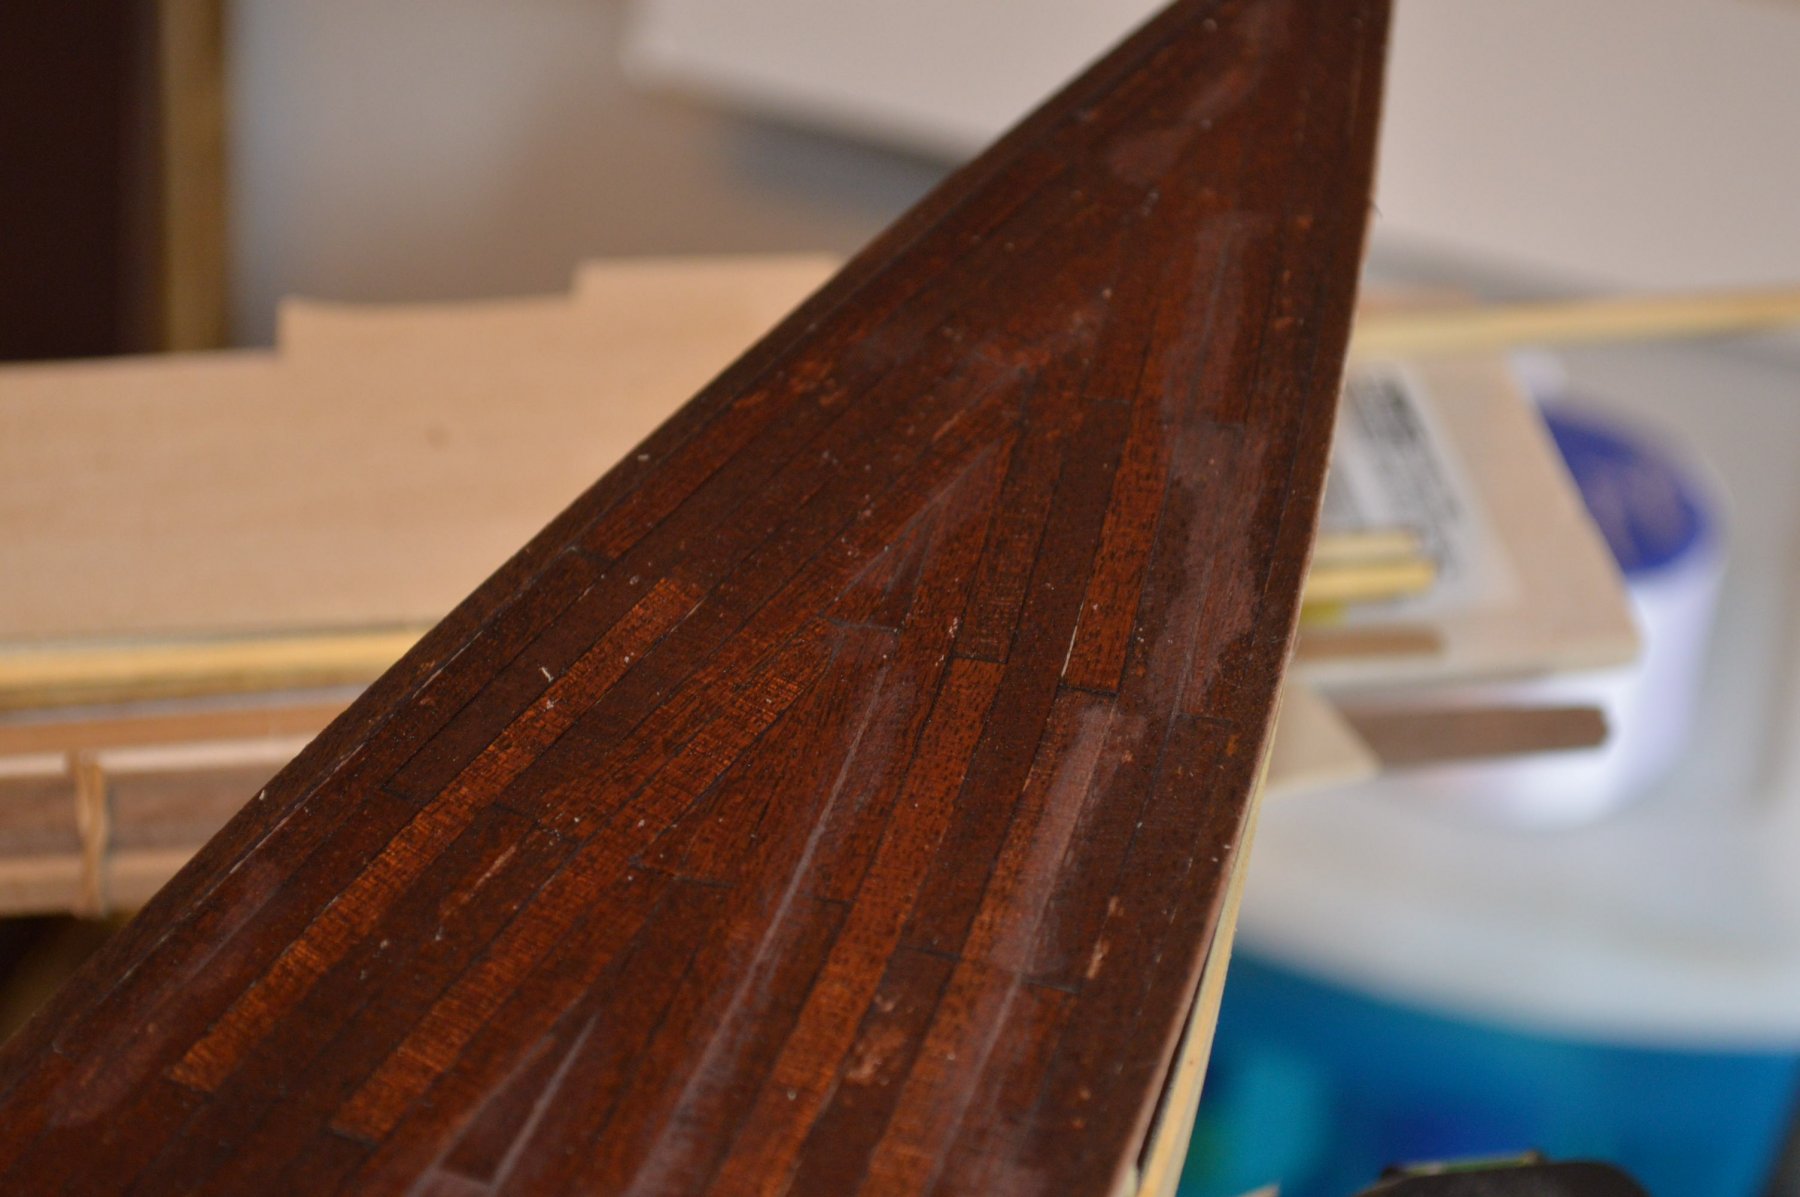
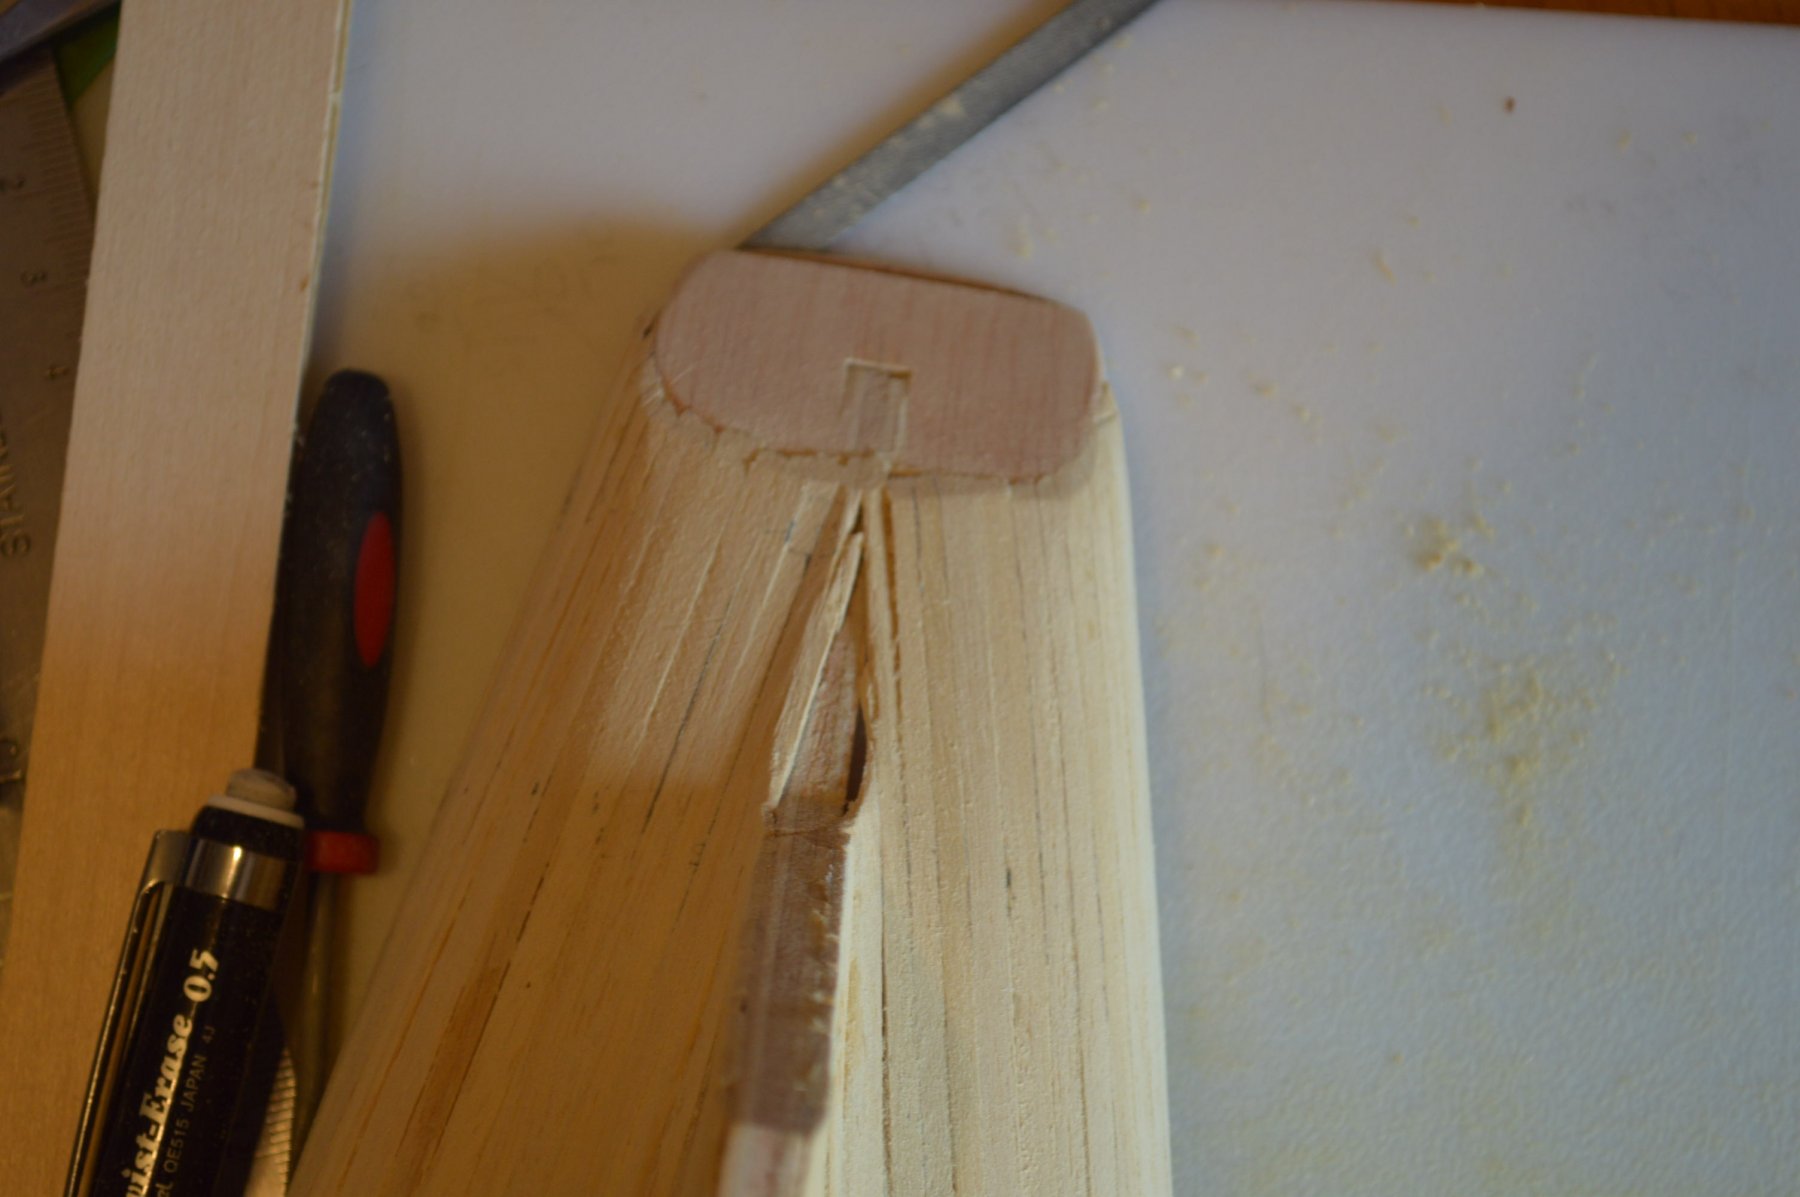
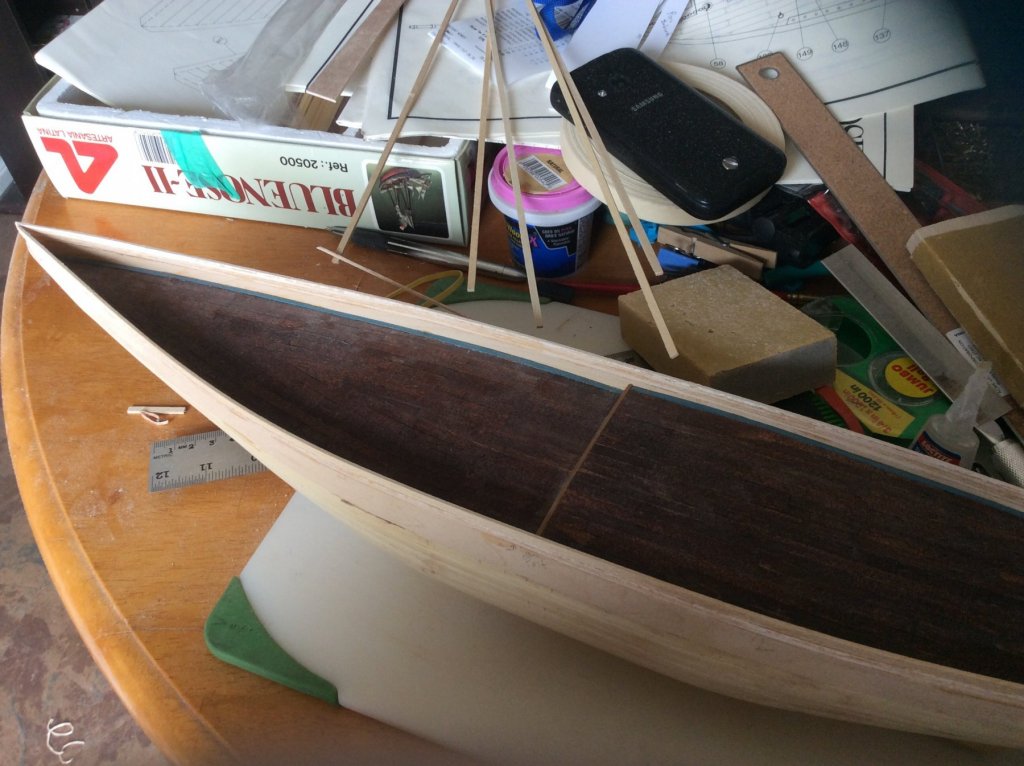
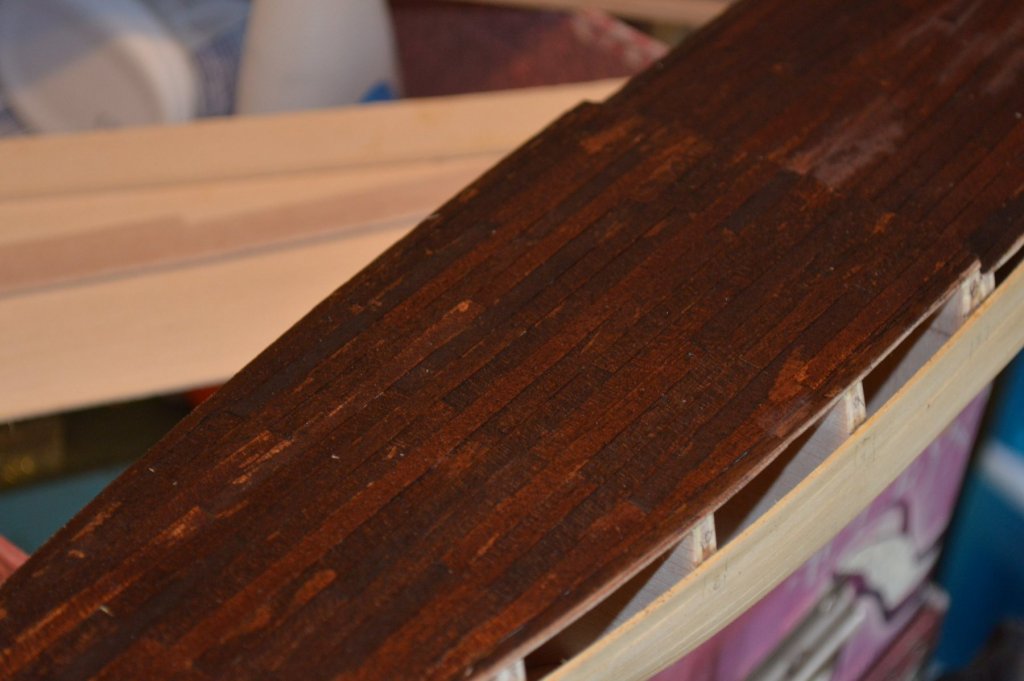
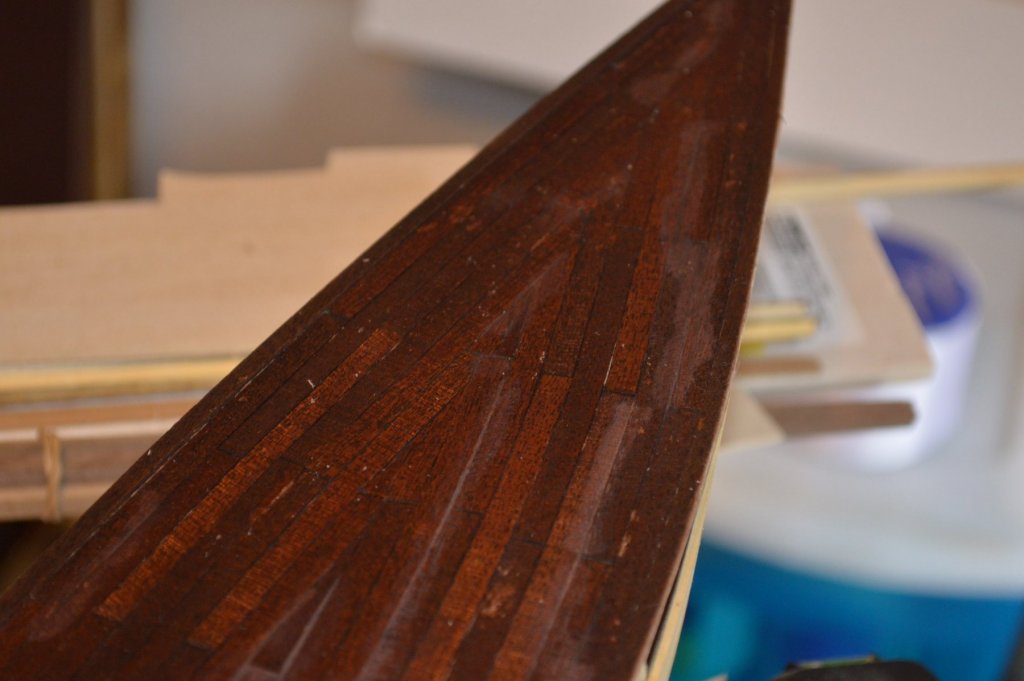
Okay, the double planking made little difference. But it looked better. I went with the mahogany strips and they looked decent after I applied Red Mahogany stain. It might be darker than the actual boat, but the reddish hue is nice. sadly the afterdeck has some glue stains. After staining I rubbed teak oil. The stains are less apparent. I modified the transom per the practicum. Now I'm about to do the bulwarks (hey... that's a familiar word...). Going to research this process a bit before I start cutting wood. I've got the material to make my own, and I did dry fit the AL bulwarks, and John's right, they don't fit. Another issue regarding said bulwarks is that the deck overhangs the top plank a bit (a mm abouts). I'm hesitant to do surgery but this calls for some sanding correction. This will change the width of my waterways, though, but it can't be helped. the waterways will be slightly skinnier at the bow, but in the end I don't think this will be easily noticed (i'll notice... every day... lol). Amazing what tiny little mistakes can do later to you. This is definitely a learning experience and one learns from one's mistakes... and I'm learning a lot! Pictures of the deck: Hmm.. looking in close I can see the filler putty. Is it true that the caulking between decks is black? If so I might go into that filler with a thin brush and some black ink. I just wish I could have found a way to get rid of the glue stains. I tried sanding them. Didn't help much. Oh if only I had... etc. etc.* *(for posterity: if only I had used carpenter's glue and just held the planks in place for a minute or two; they were wet with water in order to allow them to bend at the angles in the picture; holding that bend was a pain even with super glue)

-
Any possible issues if i double planked the deck? Had a rough time with the afterdeck. I'm trying split the 5mm planks in half but it is a devil of task getting an even cut. The grain often works against the blade despite the straightedge. I may have to rig up a device to solve this. Are the deck planks made from the darker wood or is that stain what makes the pale planks dark?
-
Going to start planking the deck. A bit confused about what to do with the waterways. Am i Laying them prior to the deck then planking along it?
-
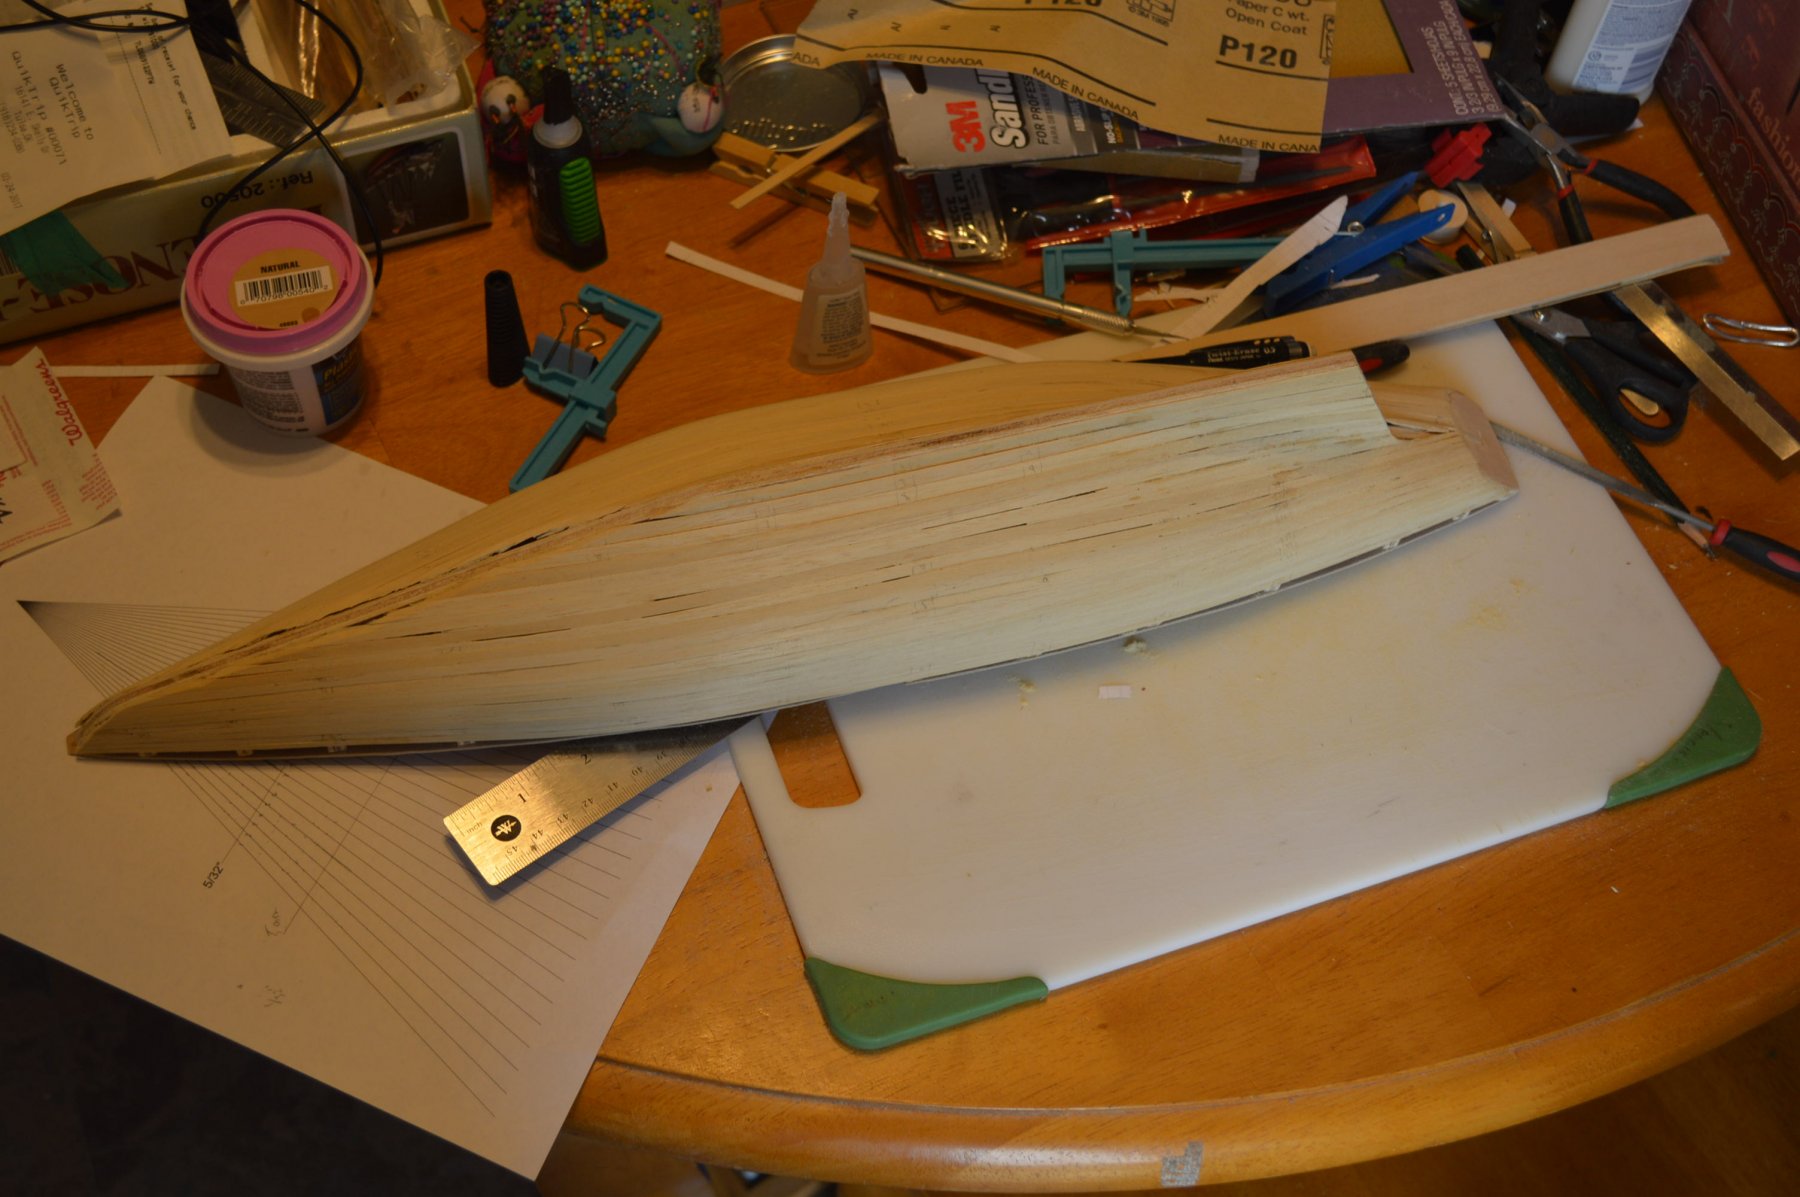
Had some rough bits but after sanding the hull they laid down and behaved. The hard curve at the stern where it meets the keel was the worst offender (I'm scapegoating the boat, how sad) but even my fillers looked okay afterwards. I still need to putty the gaps, but this is the sanded hull. Any other issues I can see where the keel and hull meet near are probably going to 'go away' when I add the rest of the keel. If not, I'll figure it out then. Maybe some gaps will be able to be fixed with putty or a filler piece. I've gotten a lot better at making those! A trick I never got to try out was using a kneaded eraser (or comparable material: silly putty) to take the shape of a gap and then use the raised area as a stamp. Apply a bit of paint to it and pressed it gently against the wood. Then cut it out, or sand it out with a dremel. Wish I had access to the stuff dentists use to make tooth impressions. Hopefully the next model won't present with so many newbie issues. On with the pictures: