Bulwark
-
Posts
101 -
Joined
-
Last visited
Content Type
Profiles
Forums
Gallery
Events
Everything posted by Bulwark
-
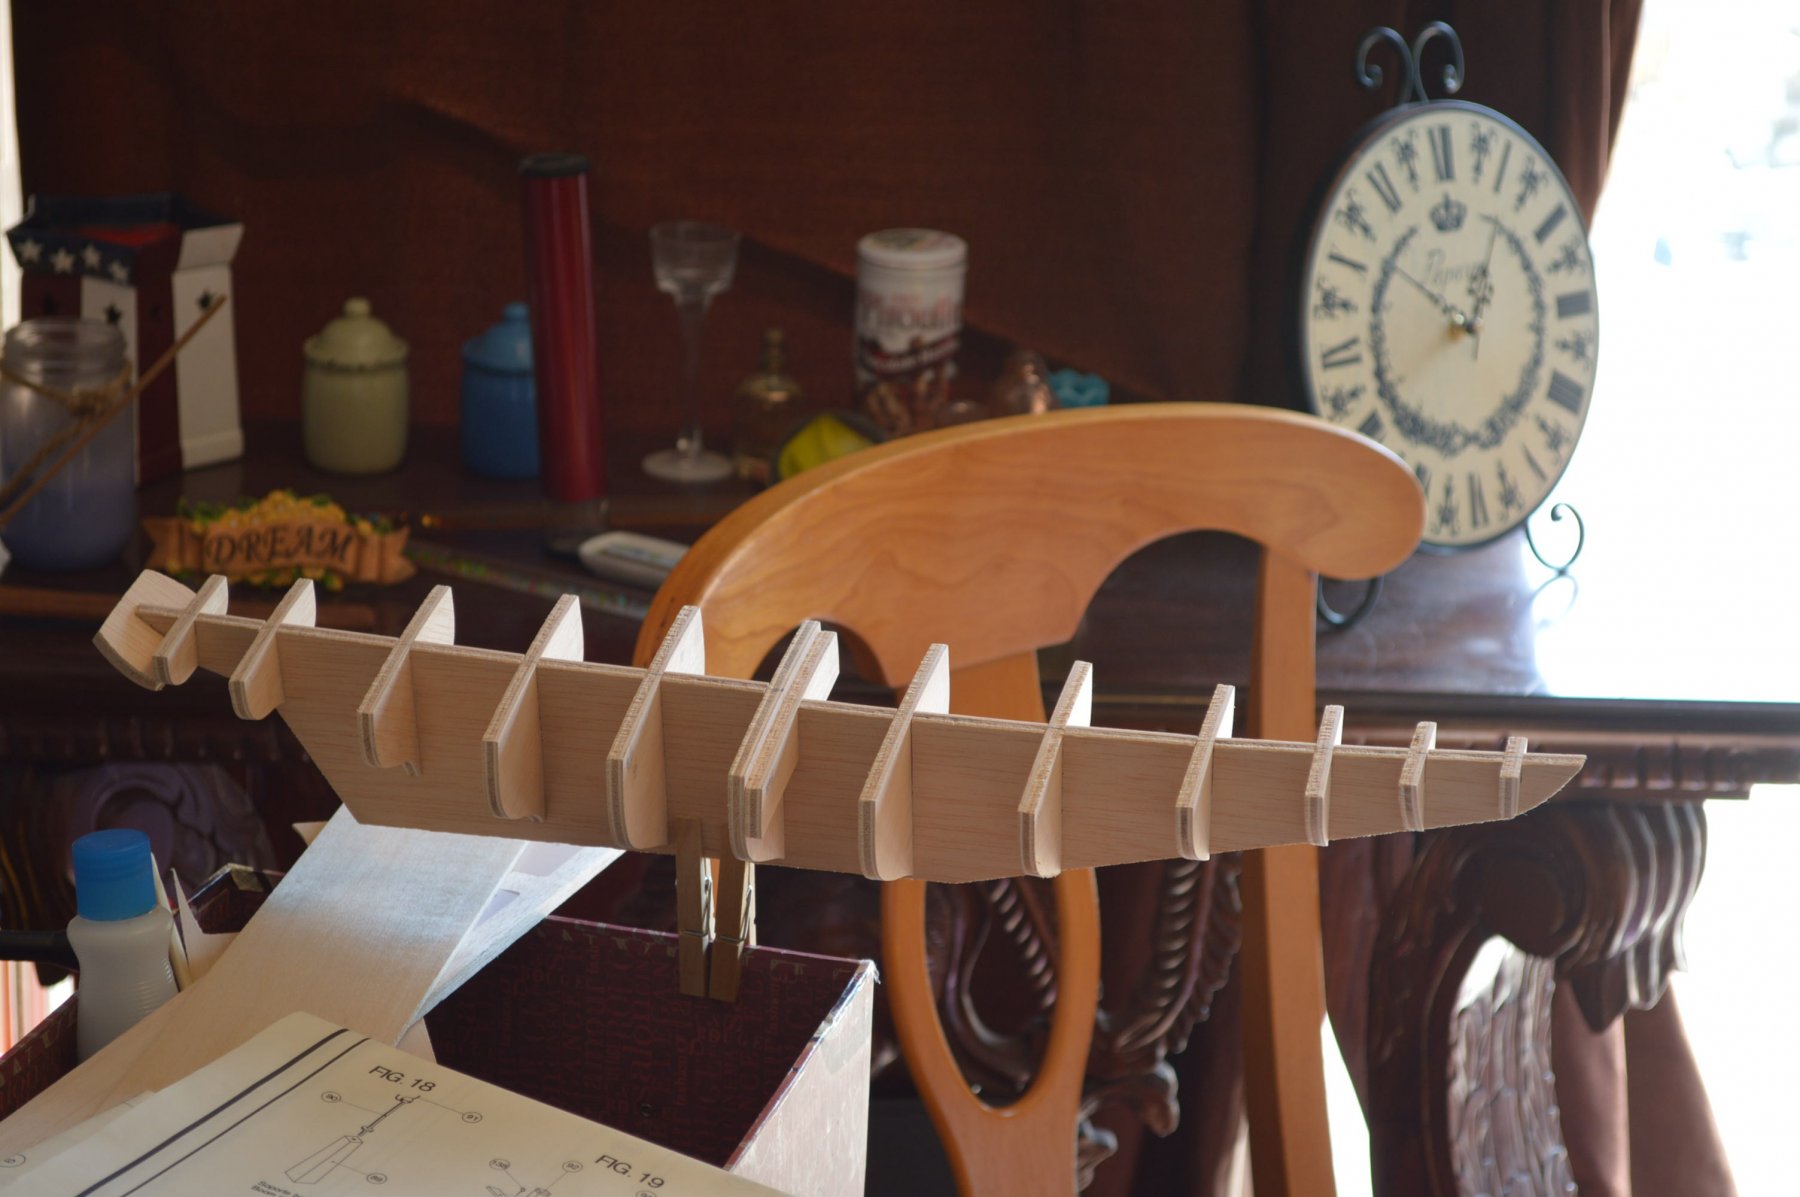
 Okay today the work began in earnest. Prepared my bulkheads for the keel. Got everything nice and hopefully straight. right angles all around. ^ My work space. Such as it is.^ Struggled with the glue here. A lot. I got the false decks on evenly but the bulkheads struck out slightly on either side. Not much, but a couple mm. I may have to compensate for this later. We'll just see. Chamfering went well. Is that a verb? Chamfering? ^ Glue problems were resolved when I read a bit more (yes yes, I know, rtfm first). Nails. Tiny nails. Used a pair of needle nose to push them in. Worked a lot better than CA that's for sure! No more false deck sitting three millimeters above the bulkhead. Okay, they weren't that far off, but the nails shoved them down properly. Okay, some glue applied to the joints of the bulkheads for extra stability and I put her up for the night. Whee, this was a fun day! Good music, a great sammich halfway through, and lots of learning. Read the section of the instruction you are on fully before following along. If I had I would have use the nails before any attempts at clamping the false deck down for the couple of minutes the CA needed to set completely and hold down the wood to the bulkheads. It was annoying.
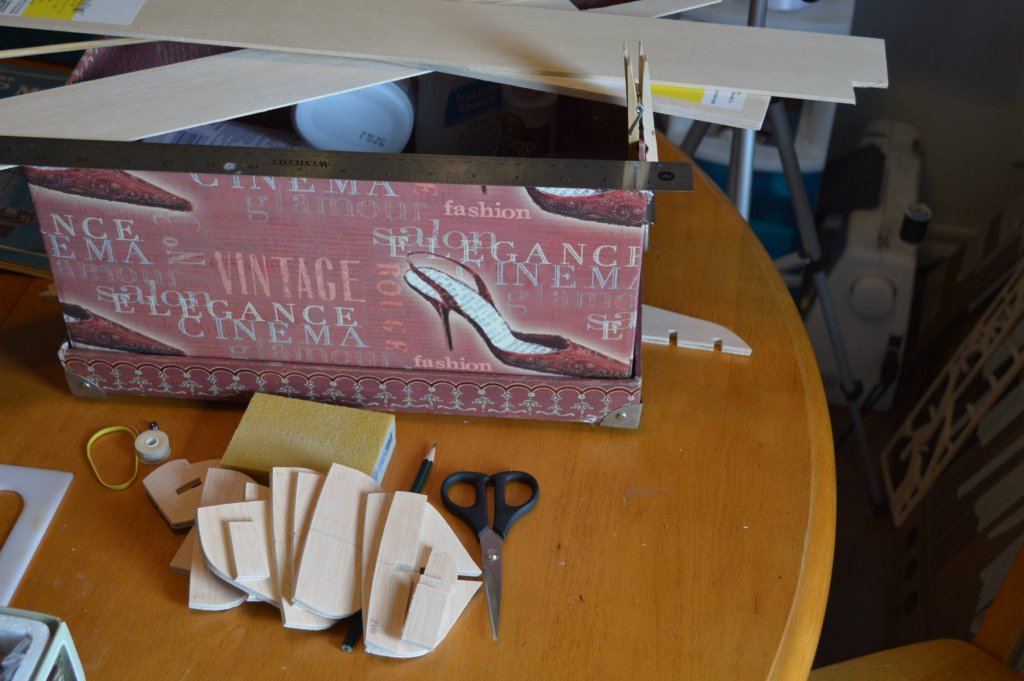


-
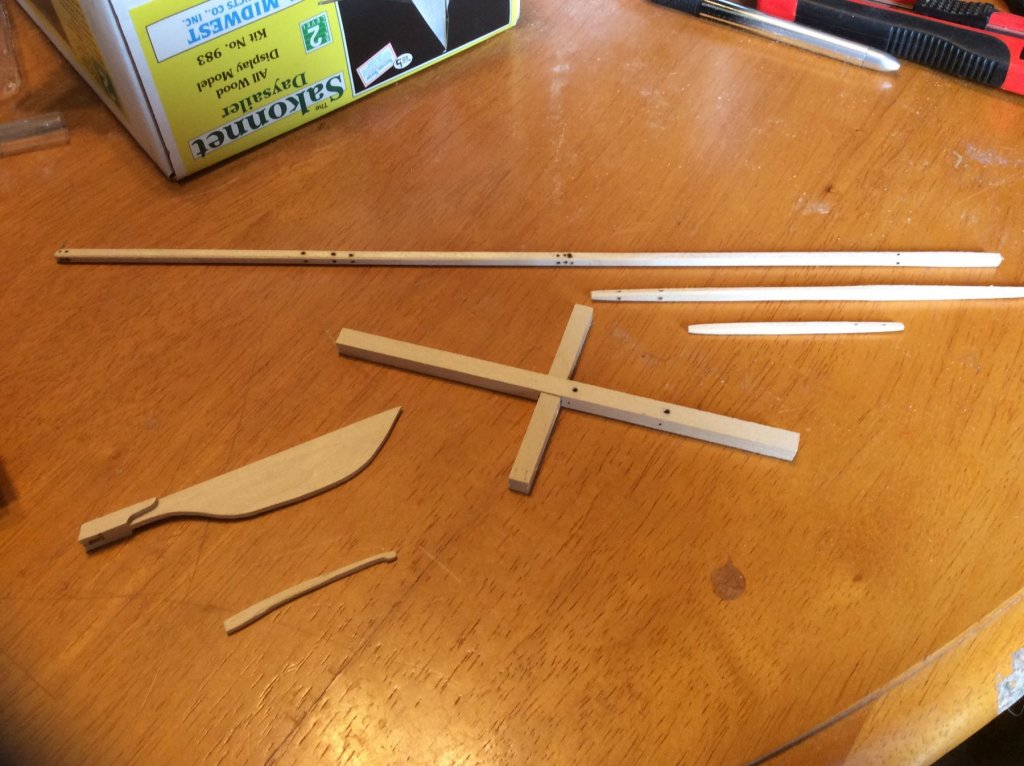
I went shoppin'! Got a small plane (the shaving wood king, not the flying kind, but if I threw it...). A T/L/level square thing (small as I could). Needle files. I can't find any 1/32" drill bits. Plan to use the Dremel for drilling but, man, I was eyeing a smallish drill press at Sutherland's. Fun hobby. Got new needlenose pliers (very small). various clamps. I need a 'third hand' device, but I can improvise one easily with clamps and something sturdy. John Earl had a bit more on his list as far as extra wood and wire goes. I'll have to figure out a good place to get that stuff. Unless I hear otherwise that I don't need as much as he says I need. Still waiting for the keel to straighten! Argh.. patience...
-
Well the keel is slighty warped so I applied water to the warped side and shoved it under something heavy. lol. It'll straighten out by tomorrow. Per Mr. Earl's instructions I marked the centerline of each bulkhead. Each bulkhead seems symmetrical. I need to get a needle file. Guess I've got a shopping list to make. Mainly stuff that let's me make very minor changes in the wood. Like a micro-planer. Will check local hardware store for it. Hope it isn't too pricey! The keel is making like the Wicked With of the West. Hey, there's even a ruby slipper! (High heel, slipper...whatever)

-
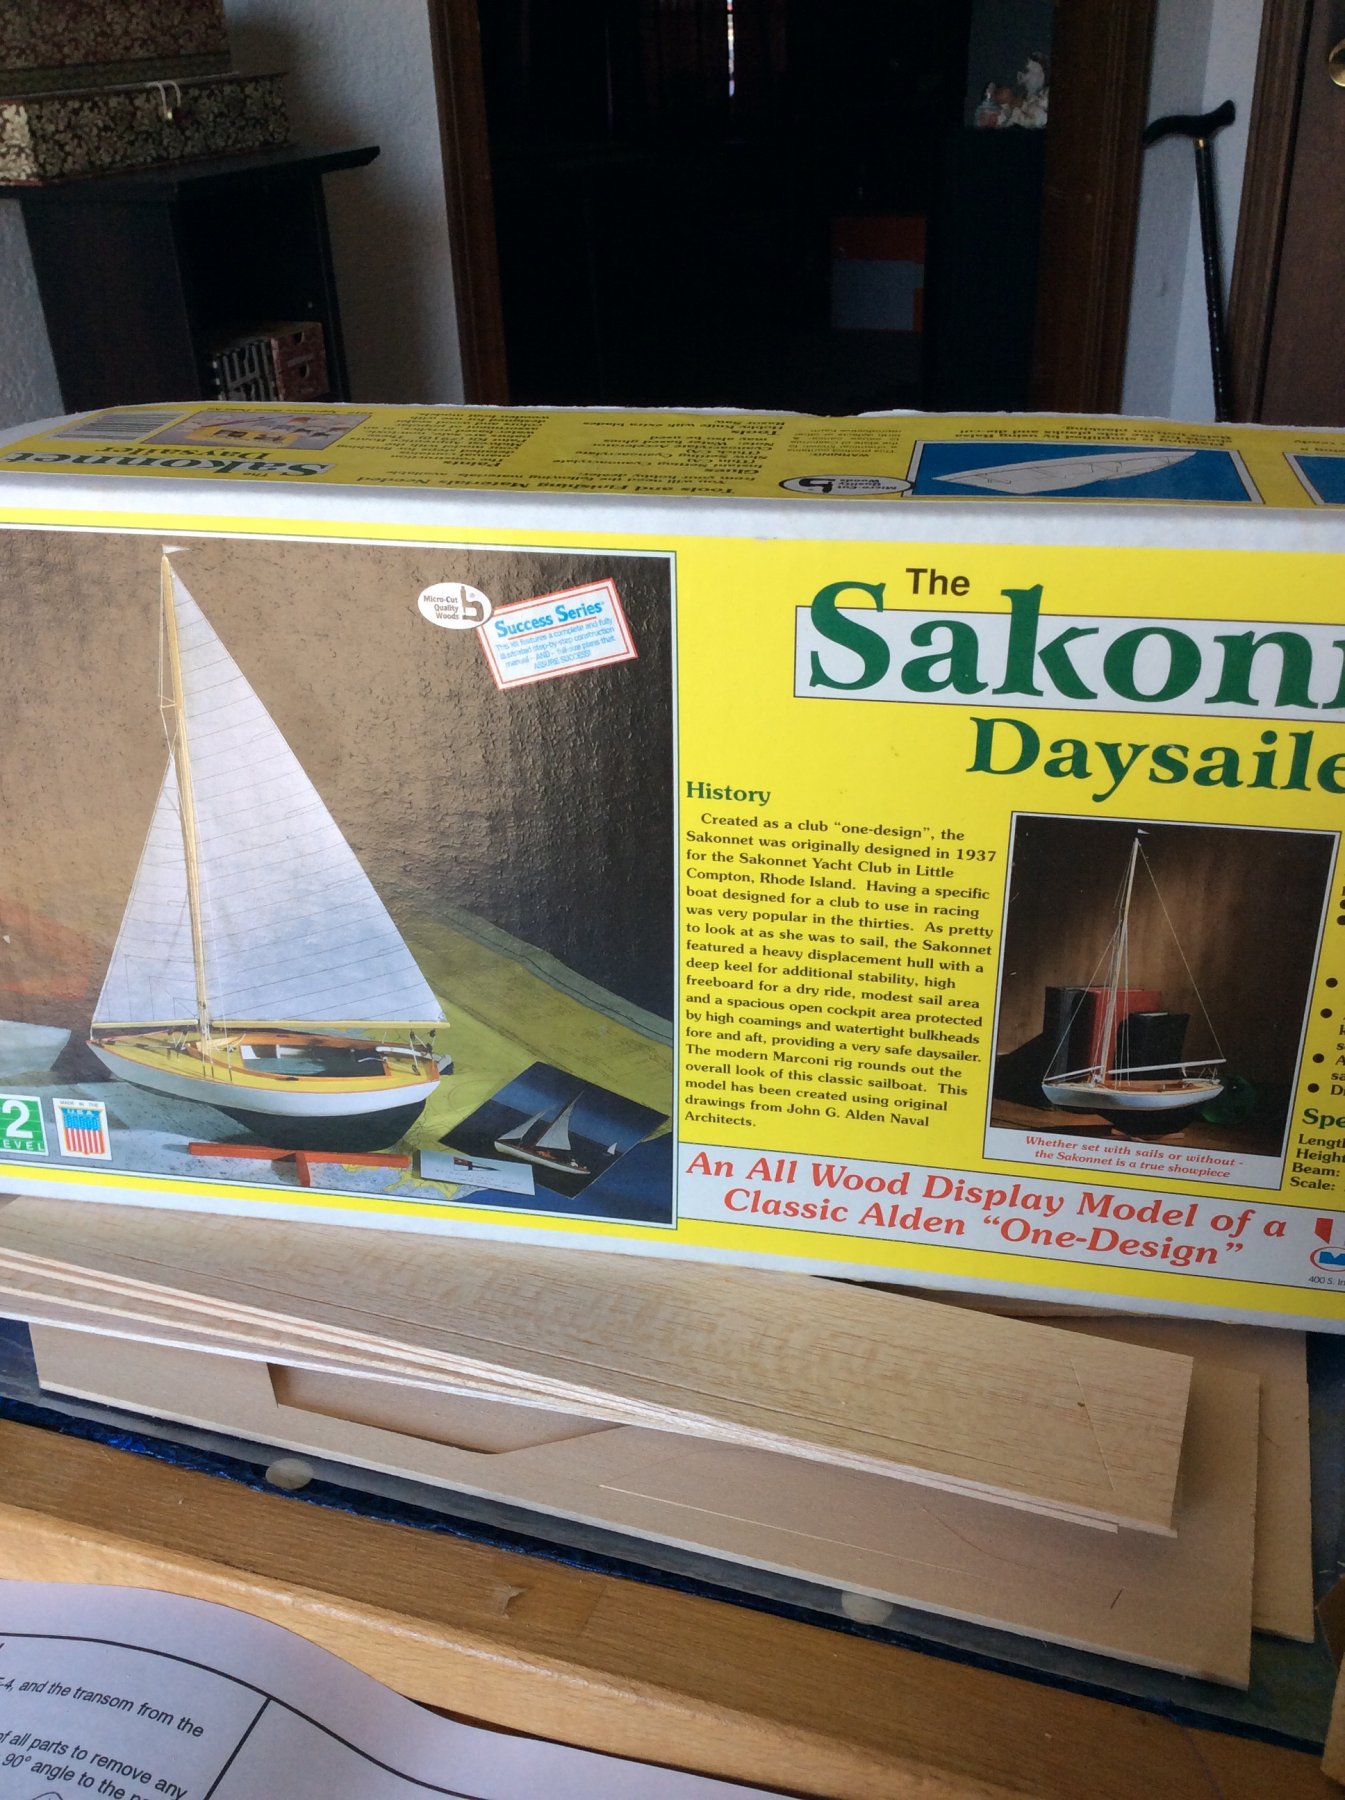
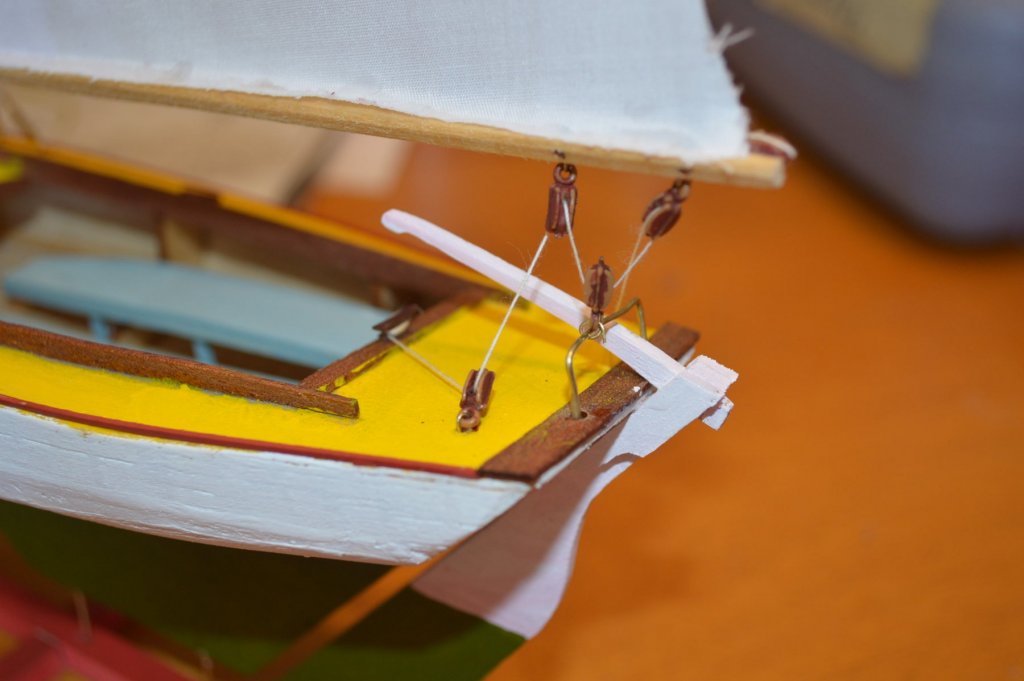
Okay, here we go with a full on proper model ship from a kit. I've got all the instructions, both AL's (thanks to Heronguy for providing those pdfs!) and John Earl's articles about its construction. I'm setting up my workspace and waiting for file to be uploaded to icloud so I can reference them on my ipad. I wanted to just print them out but these stupid refabricated print cartridges aren't being recognized by my printer so gotta go get new cartridges. Won't let that stop me from getting started. I was going to wait on this until I finished the Red Dragon but it has been mentioned that the BN2 is a pretty good starter build. Not easy, but the hull is more straightforward than others. Which is good because I've never done actual planking before. I had some intro with the Sakkonett but that was just four pieces of wood soaked in ammonia solution then shaped. Easily managed pieces. No calculations. No marking plank space. Etc. But I've got good resources and am ready to get a move on. I cope with depression in various ways, and this is one of them that has helped the most. No photos yet.
-
Hey all, Bulwark here from Oklahoma, watching the twisters go by and oblivious to them because my mind is on this hobby now. I have had a great experience here so far. Lots of great encouragement and advice. This helps more than anything to make me want to build things. I've seen some amazing, and mind blowing work here. There is such talent gathered in this site. I am glad to be a part of it. My humble beginnings are in the gallery now and although it is some rough work, I am proud of it. I finished it, and I have two ships waiting to be build: the Bluenose II (AL) and the Red Dragon (AL). I know that I will get all the help I need to make these models come alive. I'm taking a particular interest in fabrication of small ship furniture, such as I saw done by Ms. Galad from Brazil who modded her Red Dragon to have a furnished cabin complete with LED whale oil lamp to illuminate the tiny room, and transparent windows to allow the viewer to see inside. That is the kind of modeler I aspire to be. But it is a long road to such a thing. I don't know if I can manage to get there, but the journey is thing. Couldn't ask for better fellow travelers.
-
I started on something else... naturally tacking ahead. I will post that in another ship building log! Thanks for the guidance, mateys!
- 12 replies
-
- 3
-

-
- sakonnet daysailer
- Midwest Products
- (and 1 more)
-
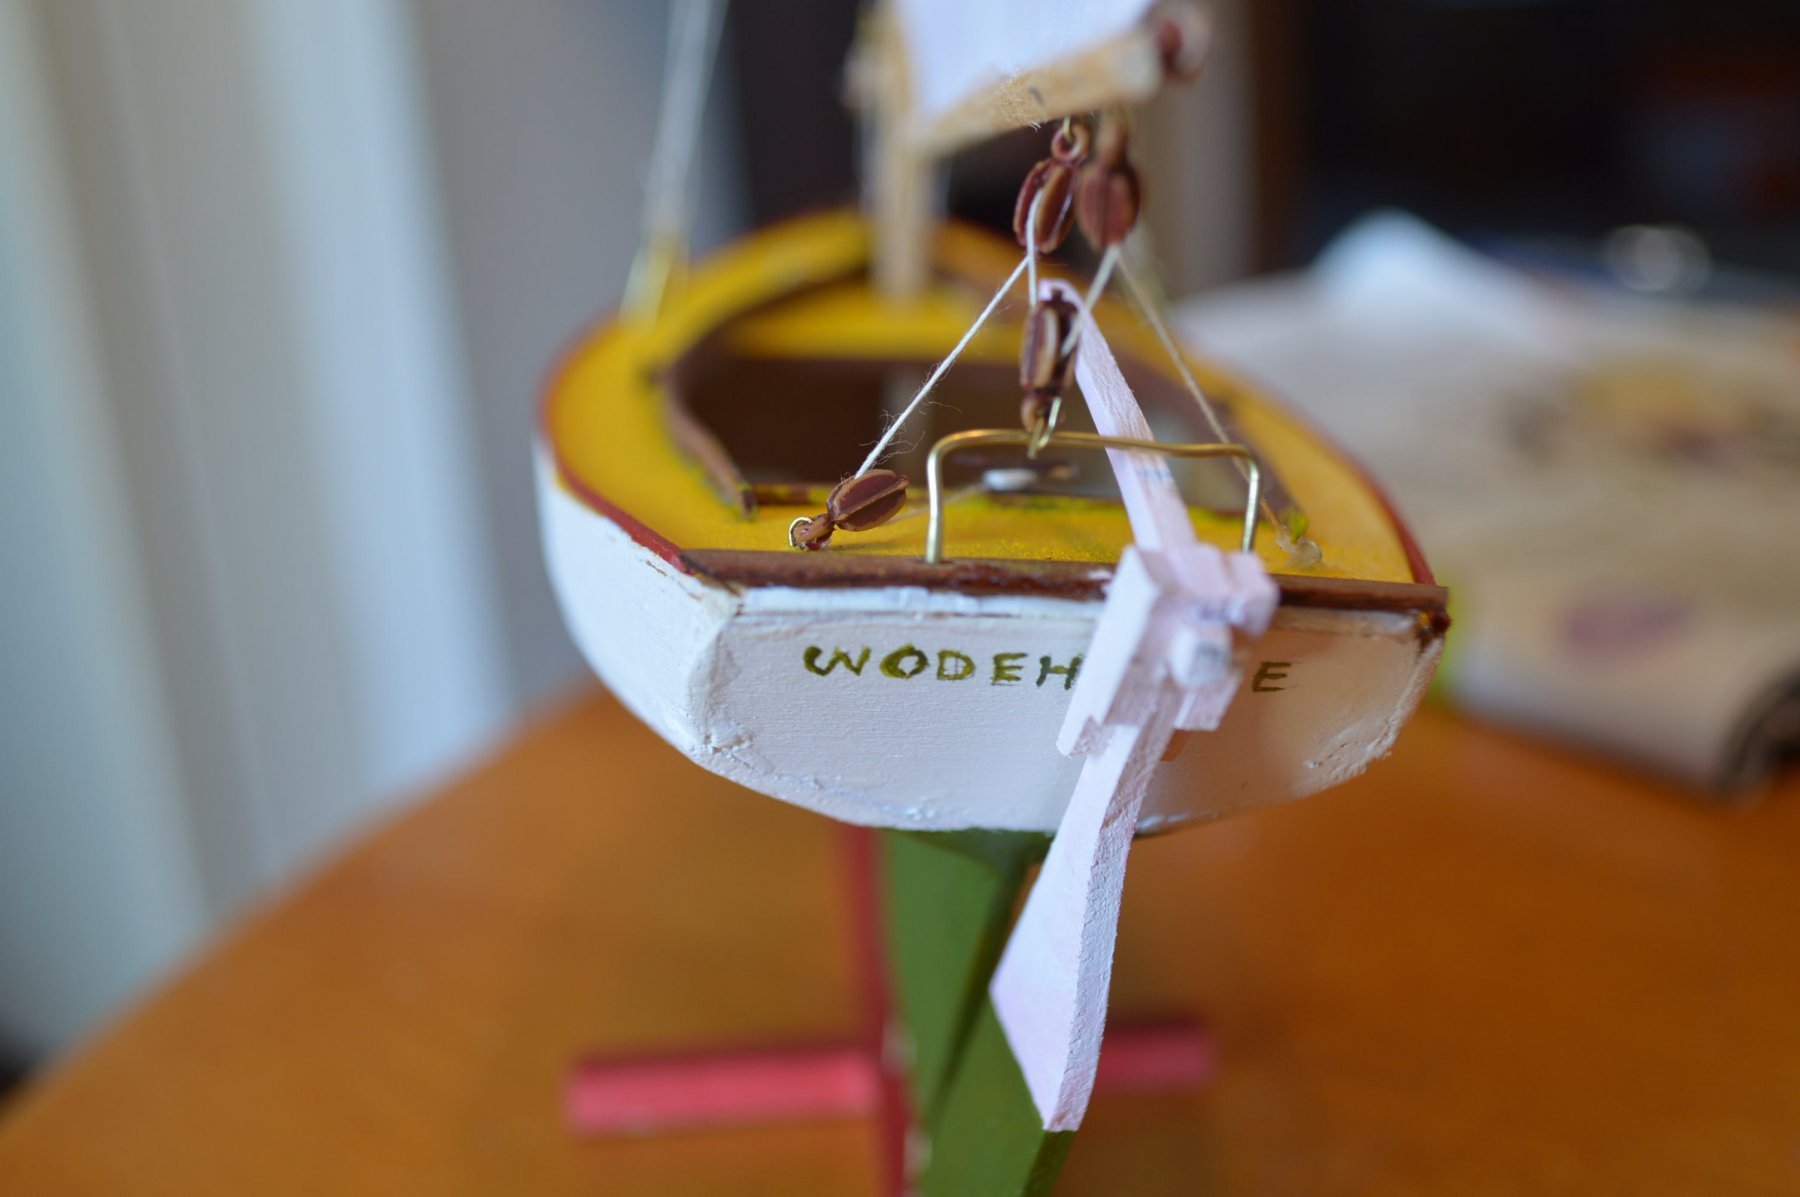
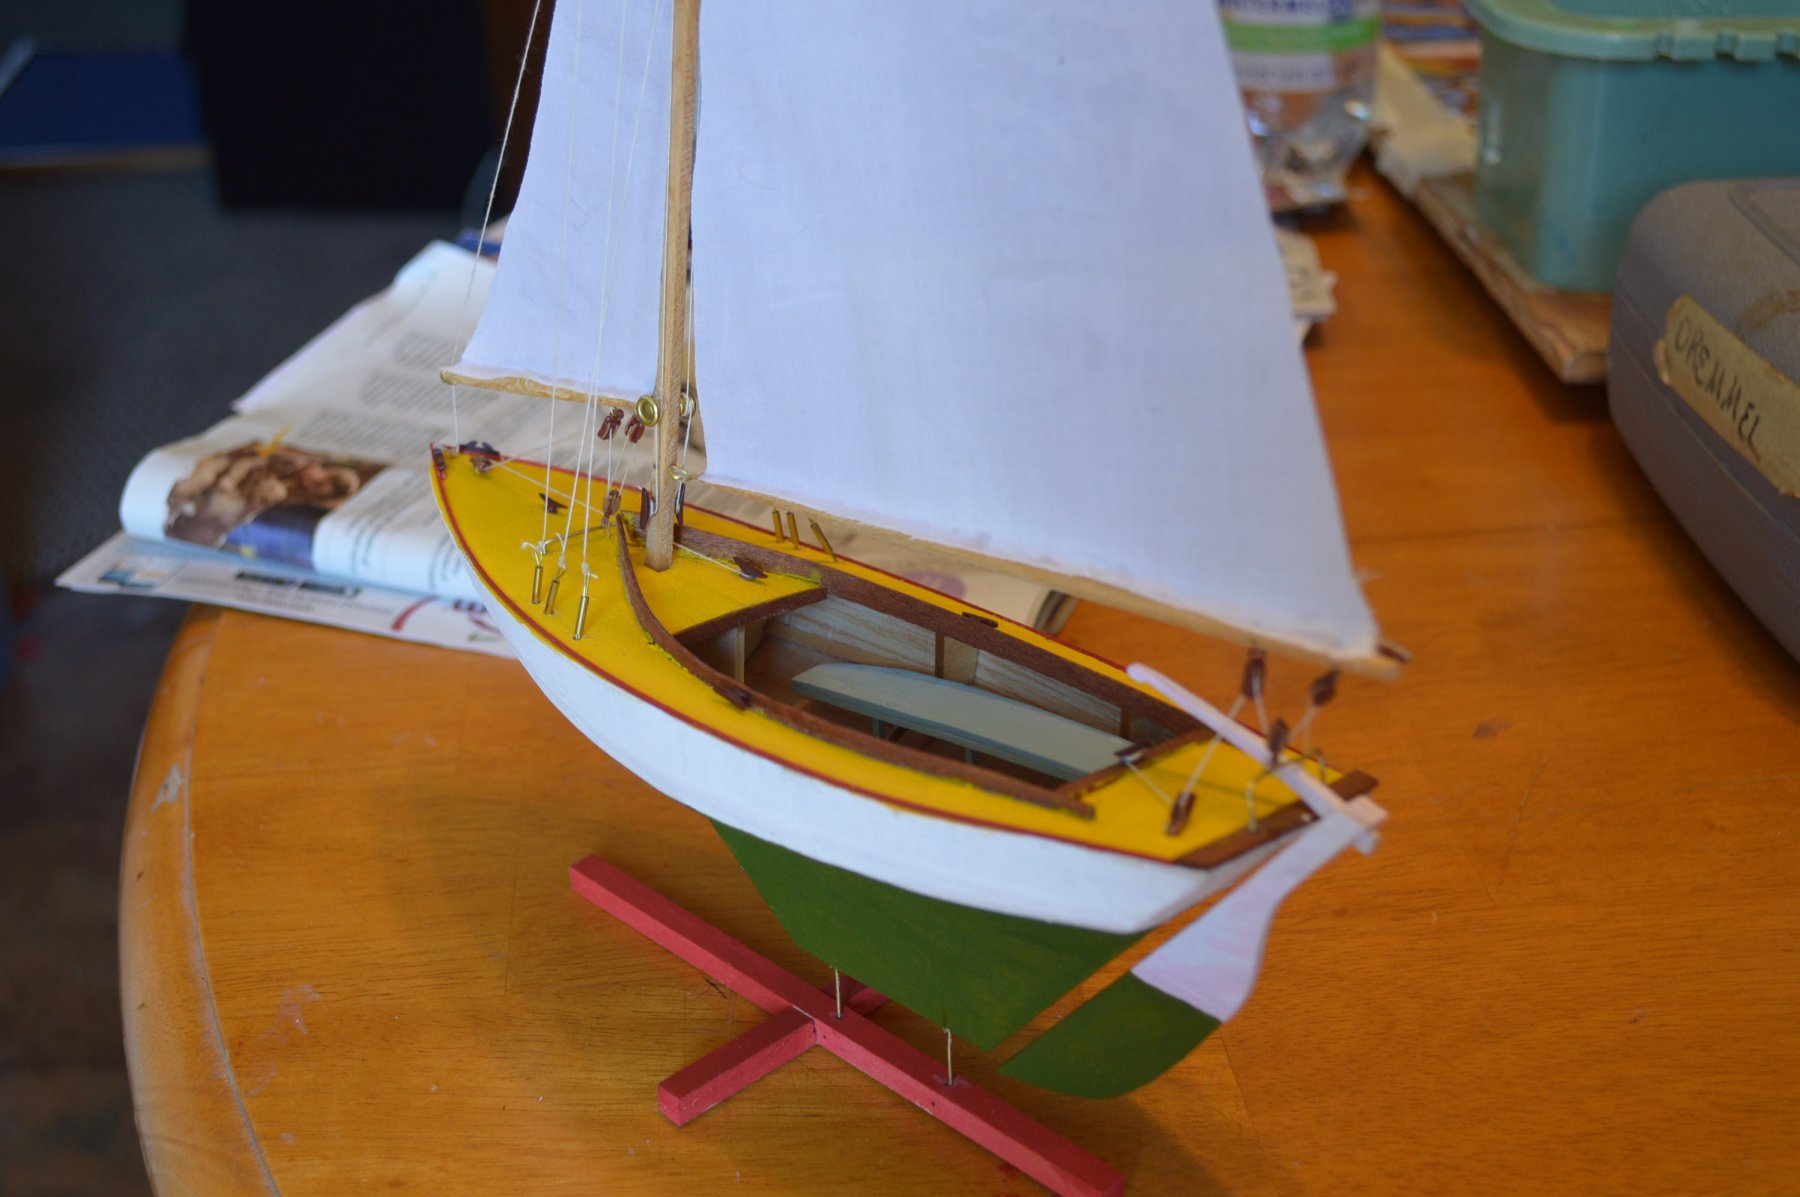
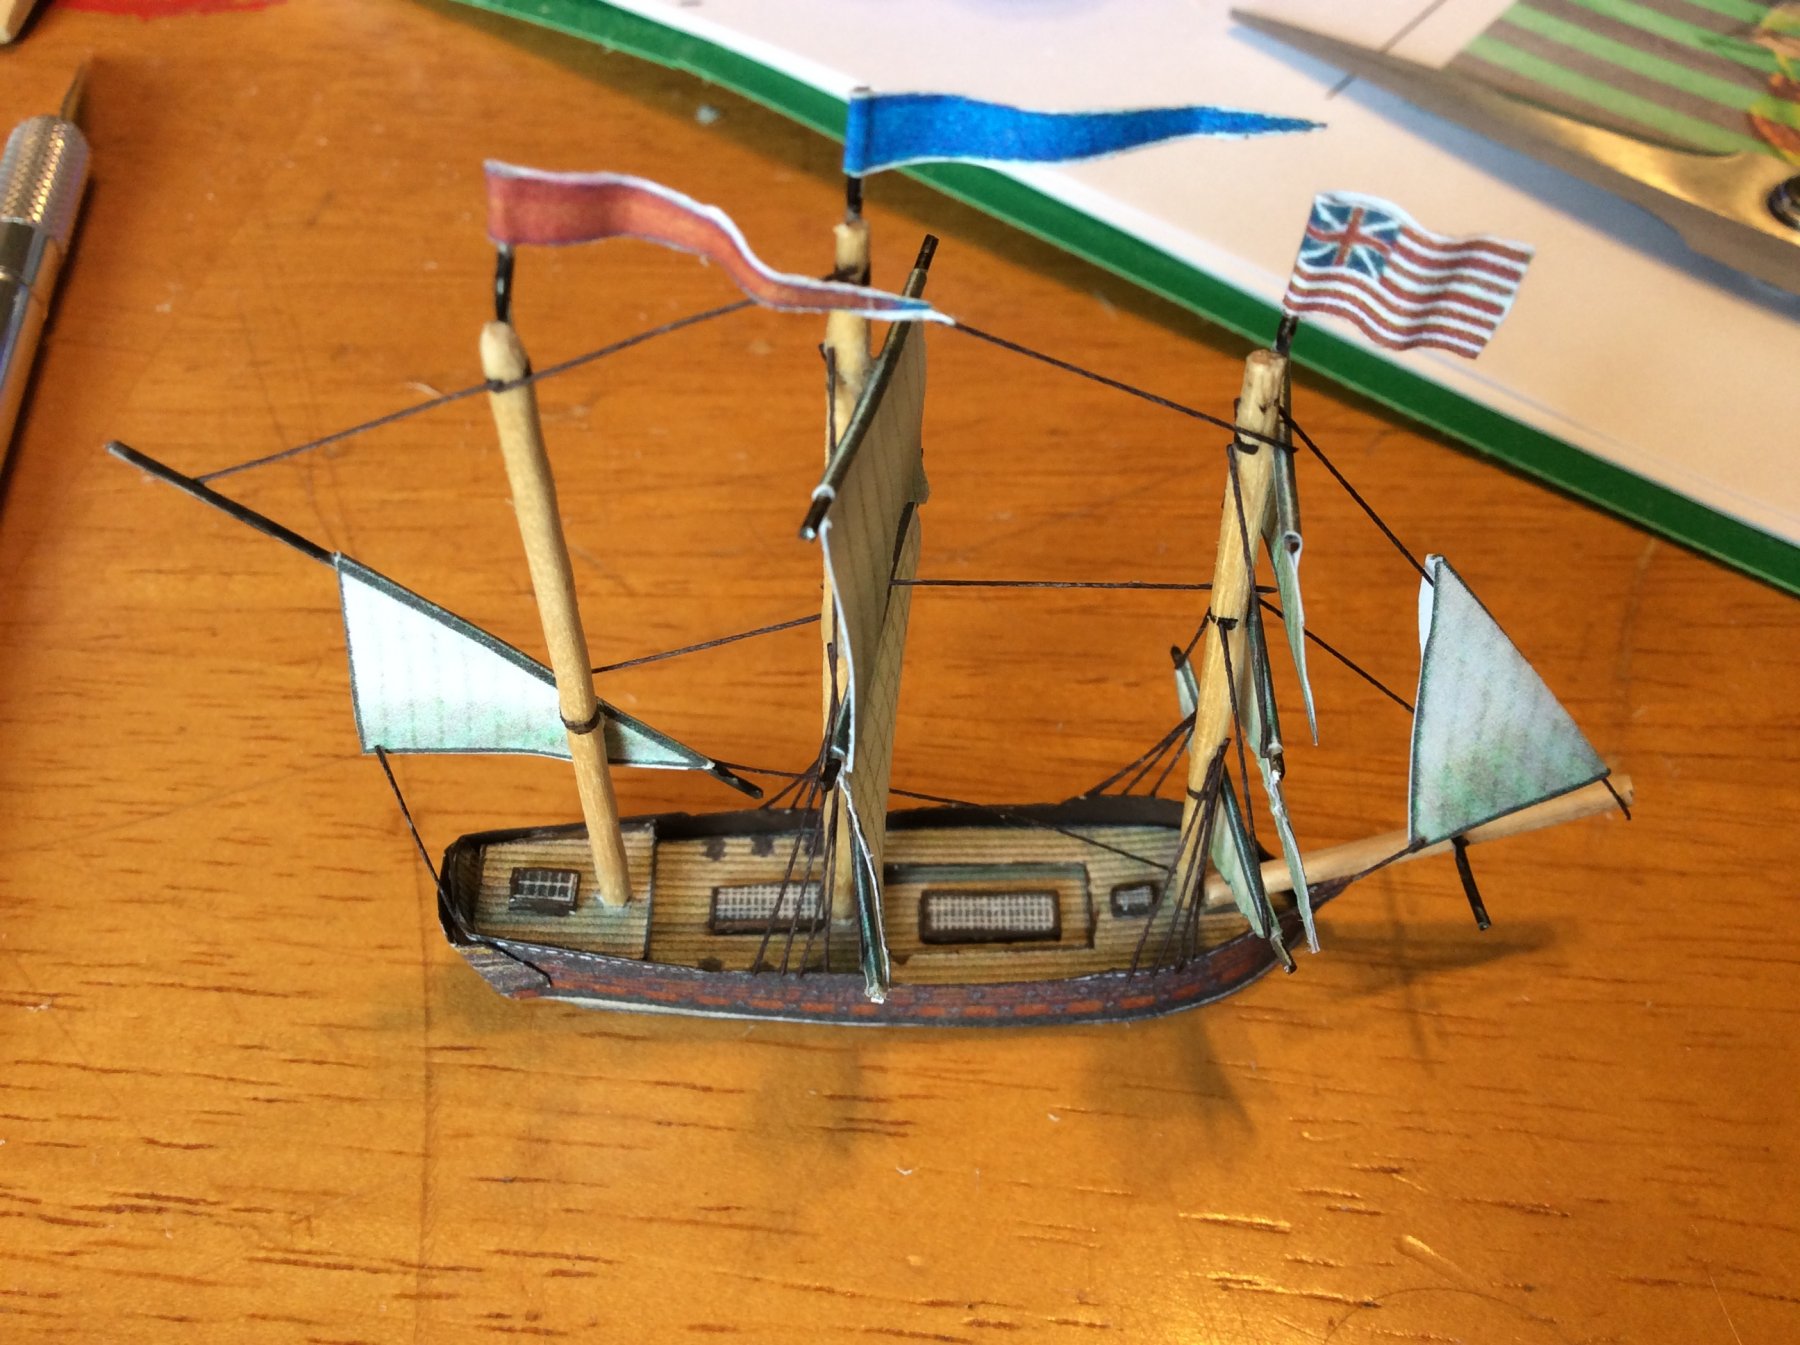
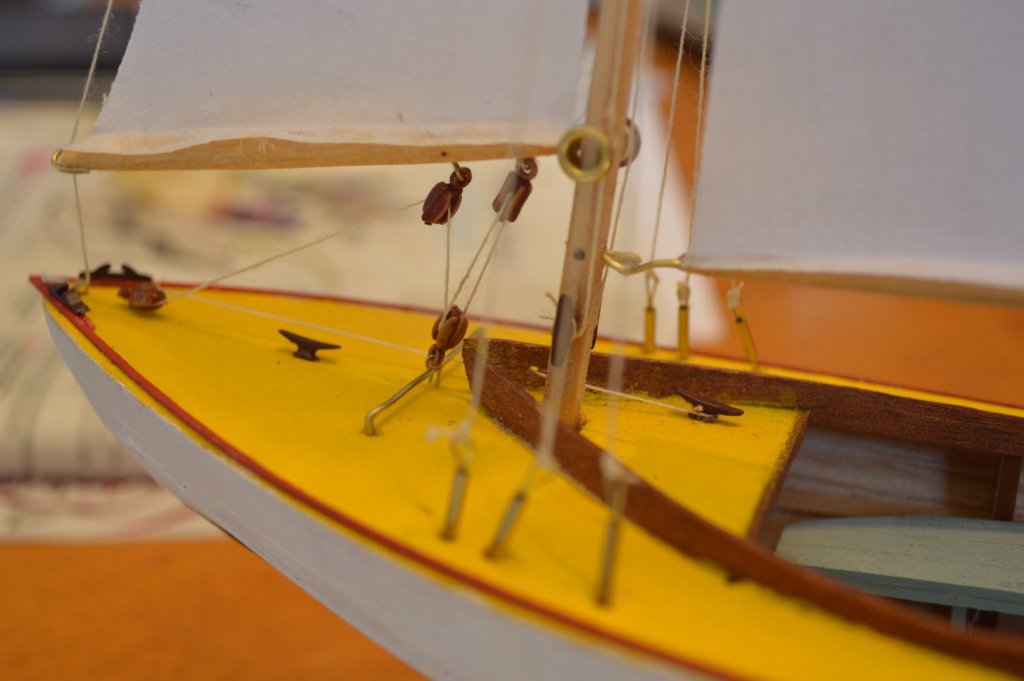
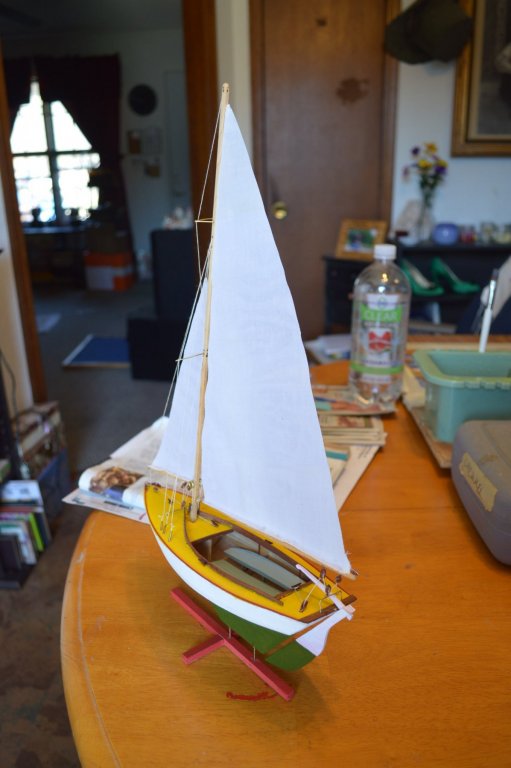
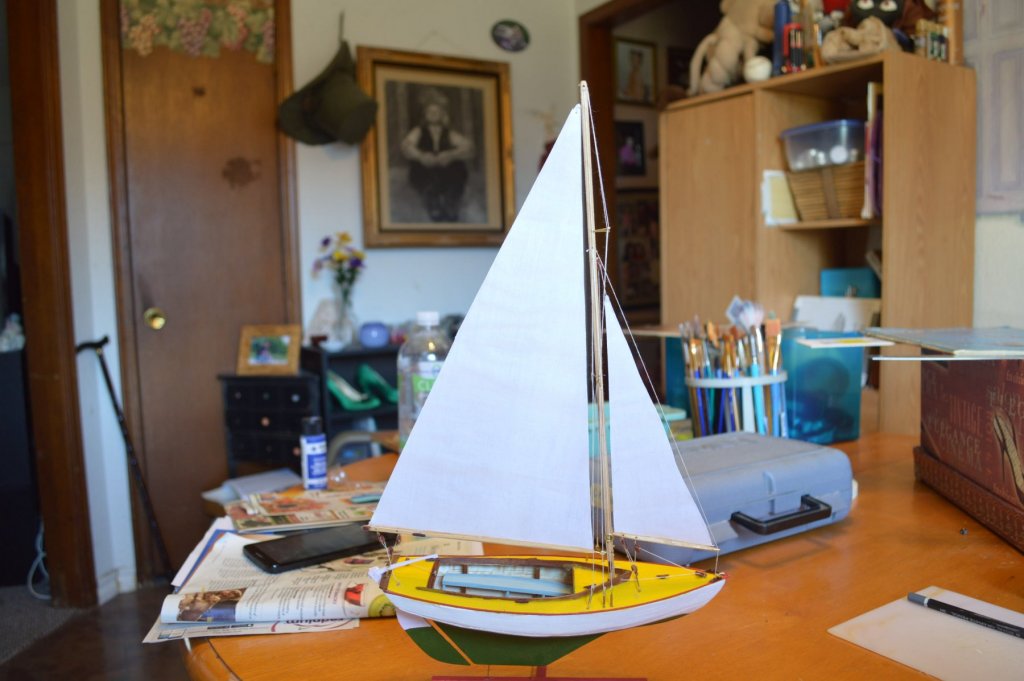
Well I lost internet for a few days. Without such distractions I was able to finish the Sakkonet! I'm not too happy with the paint job, but hey first timer here... lol. I'm happy with most of the details. It was challenging and quite fun to rig the ship. I put sails on it and am glad I did. The ship (christened the "Wodehouse" which is shakily lettered on the transom) looks like it is well underway and a few ghosts are having a good time. Here are the finished bits and a few "in progress" pics I couldn't upload during the outage.


- 12 replies
-
- 6
-
-
- sakonnet daysailer
- Midwest Products
- (and 1 more)
-
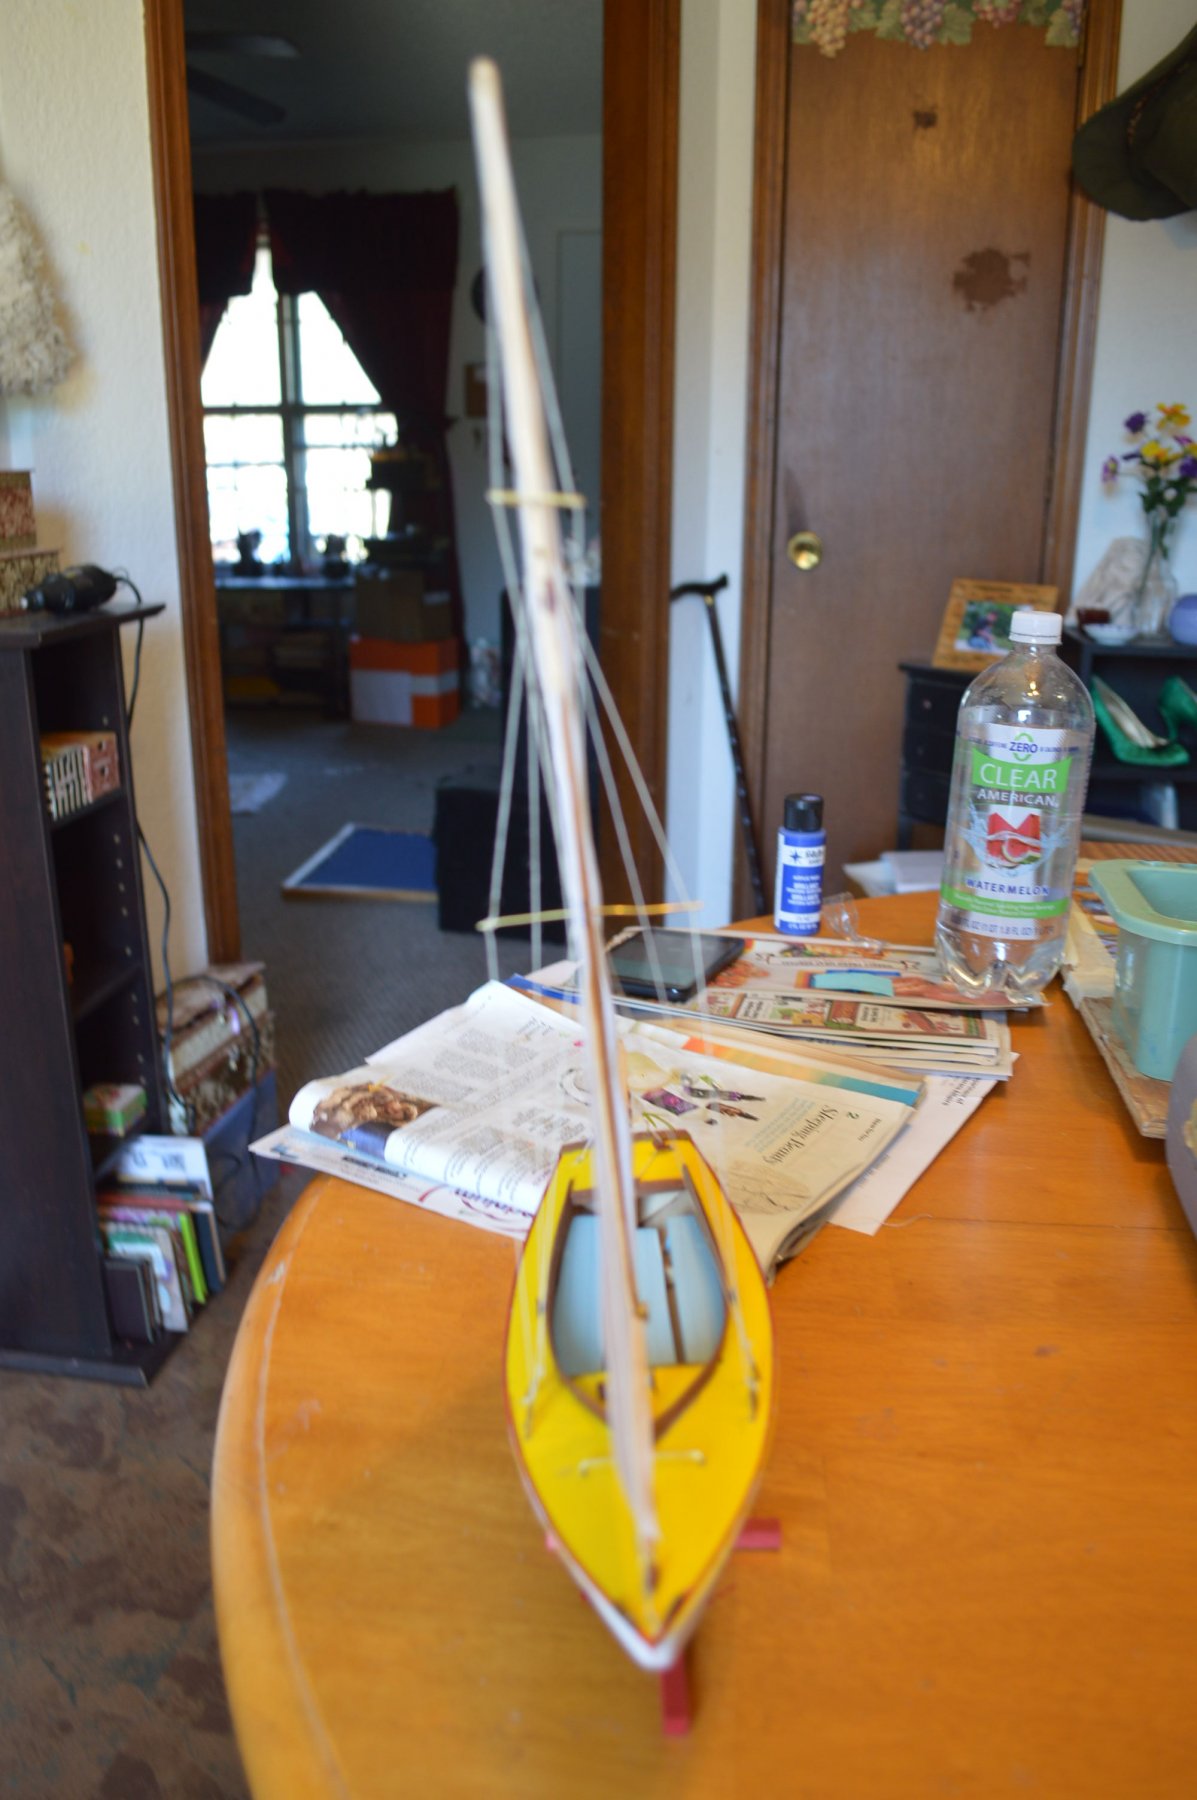
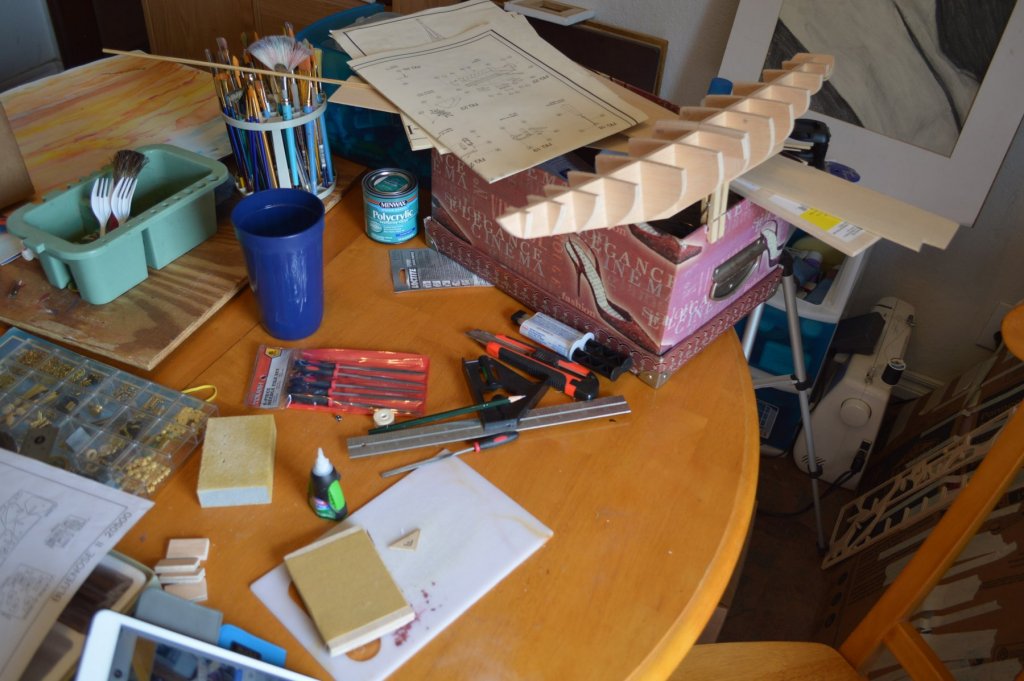
Using a dremel and a really steadt hand i drilled the holes in the mast as directed in the plans. I did the jib boom and jib club as well. Sanded them and then lost my head and sanded the wrong way. My jib boom has a very narrow end ( goose neck attaches here). Well live and learn. Never let your assumptions drag you off the plans. The tiller came out nice. Other goodies were created. Next comes wood sealants and paint! Yep, that's what the instructions call for.
- 12 replies
-
- 4
-
-
- sakonnet daysailer
- Midwest Products
- (and 1 more)
-
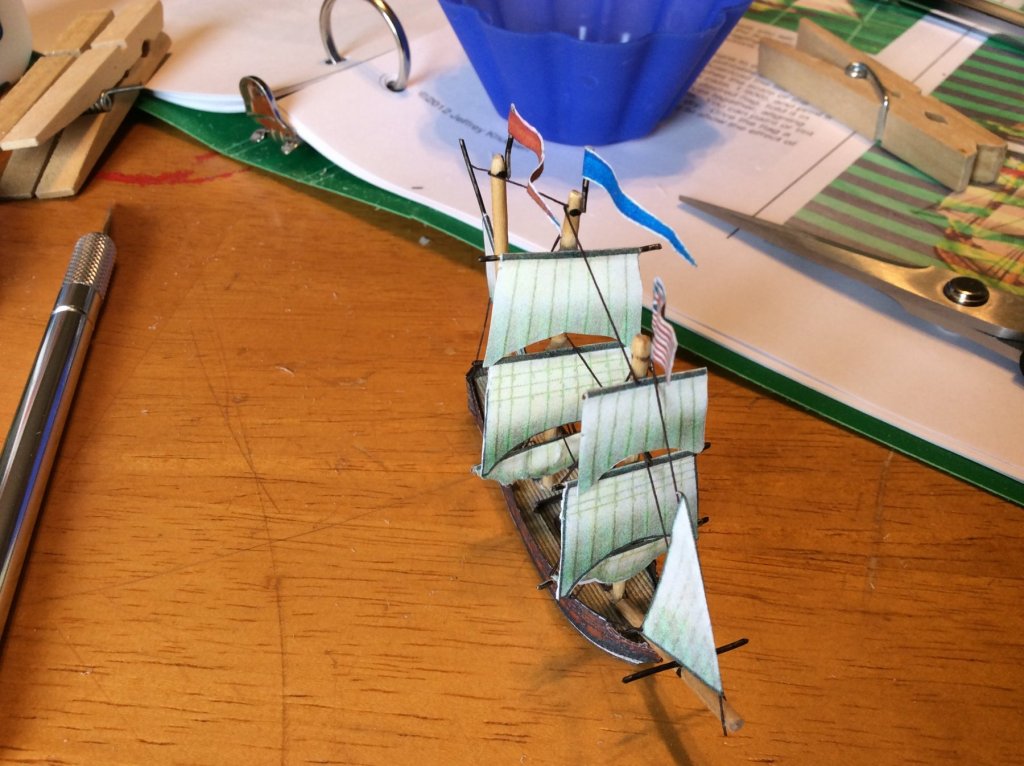
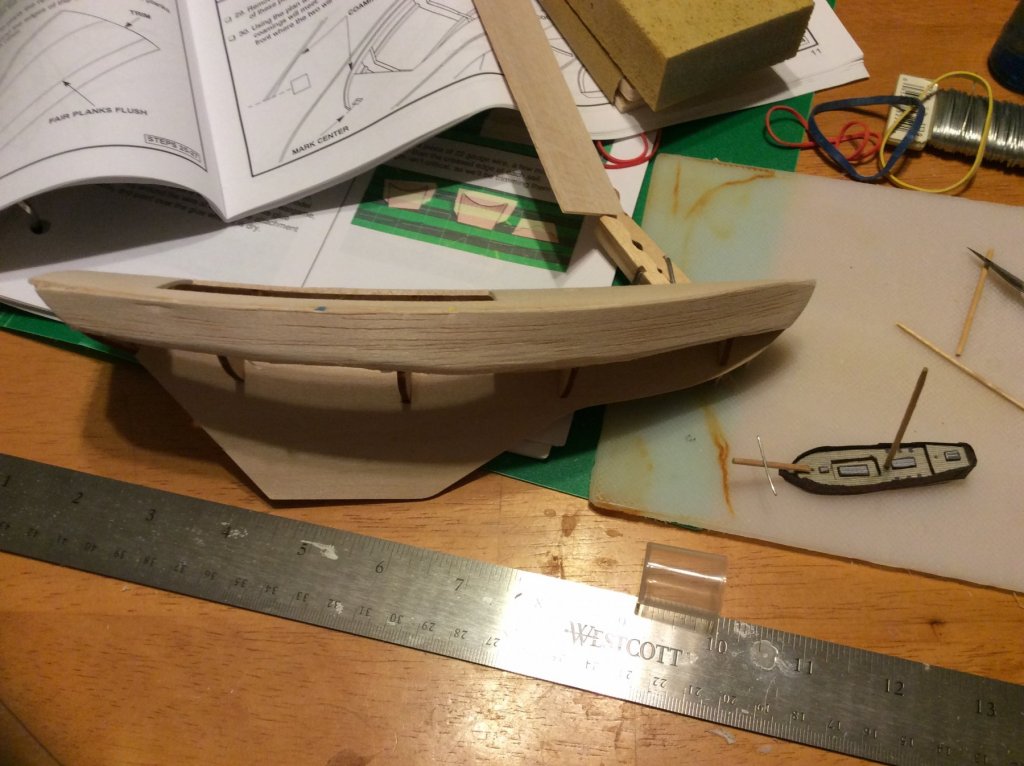
Okay, I broke somethin'. The coamings were a bit stiff and I had to bring two of them to meet at a single point. I ought to have used ammonia to soften it up but it wasn't called for in the instructions. Suffice to say I had a problem. I couldn't think of any way to make the broken piece look passable. So I took the die cut sheet and seperated the empty coaming bit from it. I found that there was enough blank space for another one and used the empty as a template. I made a new coaming, by golly and it worked. This time I used ammonia and while I couldn't figure out exactly how to get the two bits to meet (see the picture) I did my best. I wasn't about to risk breaking it again. Secondly the bottom planks: I trimmed them too short at the top. Wound up with a groove in the side of the ship showing the chine in a few place. So I got some plastic wood and applied. After it dried (the color was nearly a match, but this boat calls for painting) I sanded it smooth. During wait/dry times I worked on this tiny ship of the line miniature. UP NEXT! The mast! I am intimidated to all heck.


- 12 replies
-
- 3
-
-
- sakonnet daysailer
- Midwest Products
- (and 1 more)
-
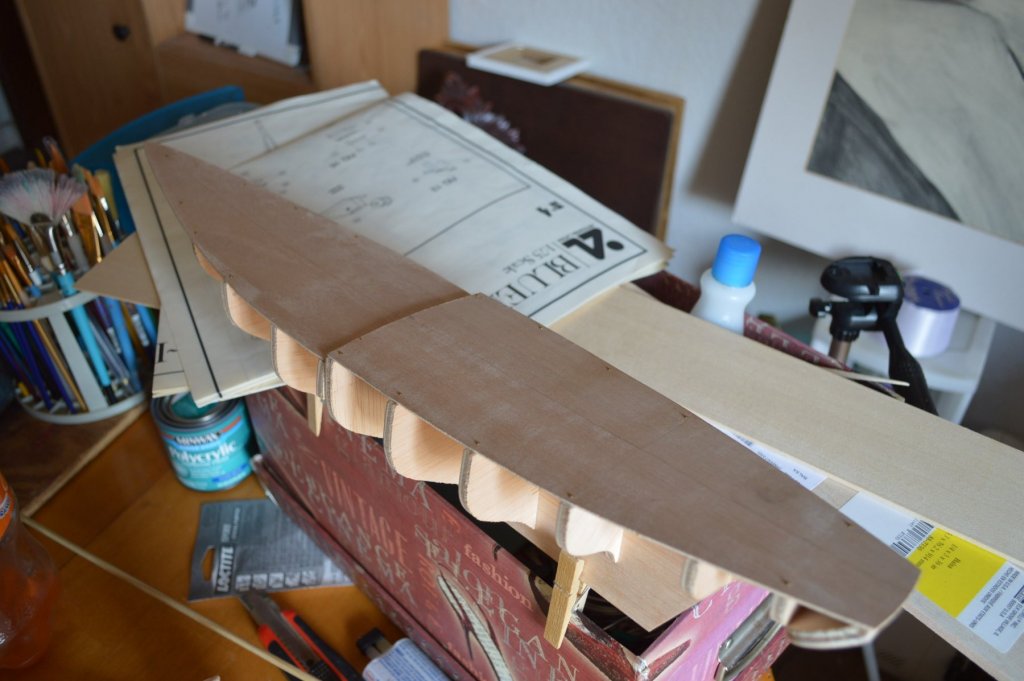
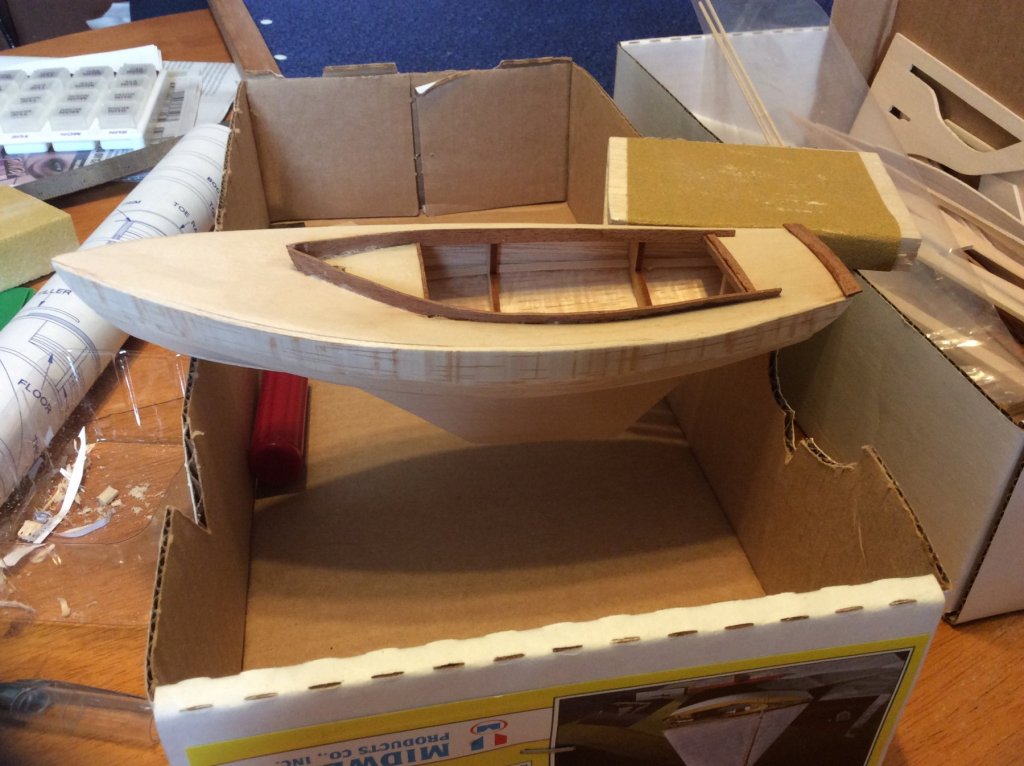
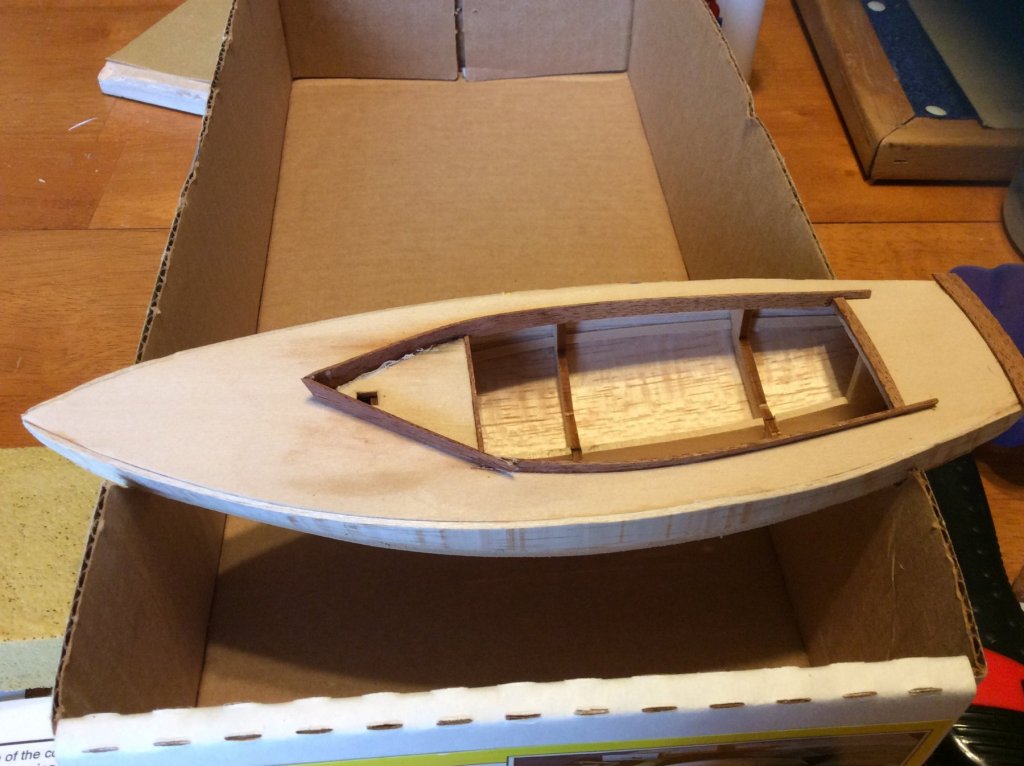
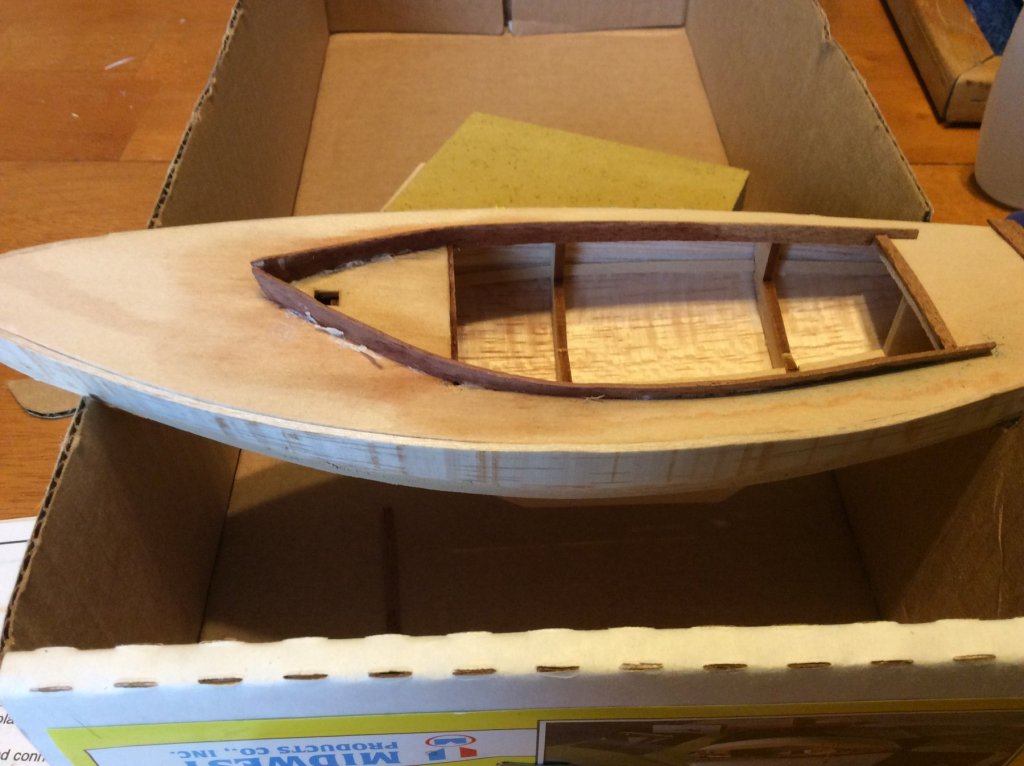
I read that a beginners who lose interest in making ships do it after finishing the hull. I honestly can't imagine myself not wanting to continue. Once the hull is done then the real fun begins: details. I like little details. Going to get some wood putty today. I think there's a few places that might need it.
- 12 replies
-
- 4
-
-
- sakonnet daysailer
- Midwest Products
- (and 1 more)
-
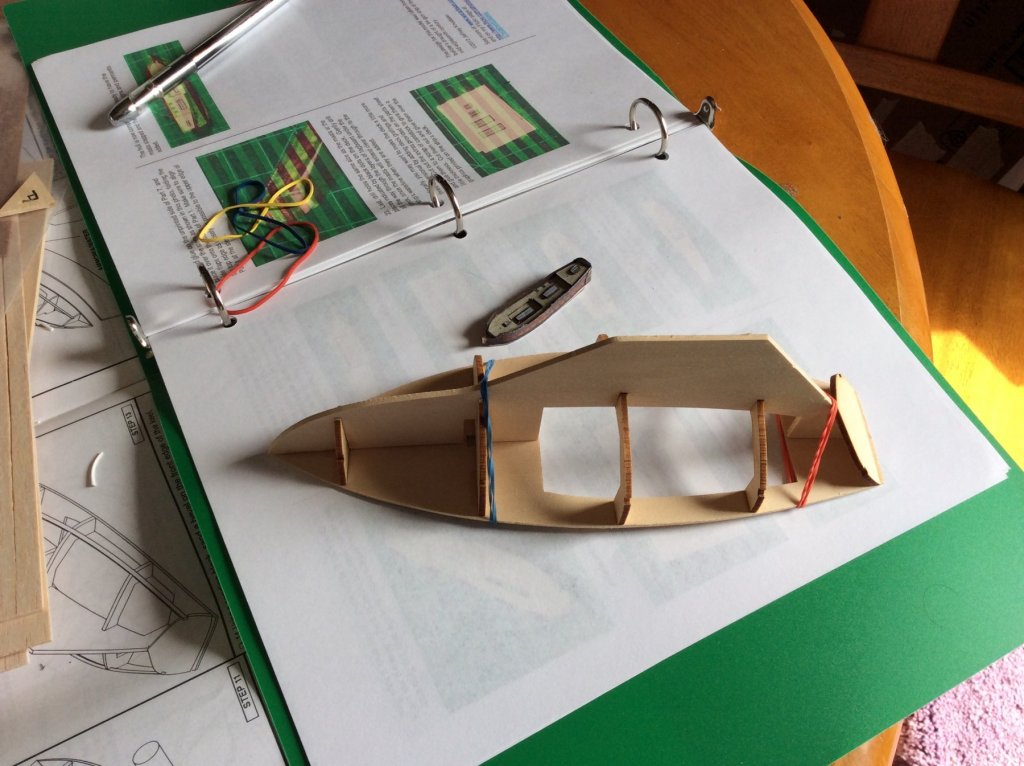
Okay, the other side is done. Had a lot more trouble as I mentioned. Finally got everything to stick properly and trimmed the excess. Did some sanding to prepare it for the next plank.
- 12 replies
-
- 4
-
-
- sakonnet daysailer
- Midwest Products
- (and 1 more)
-
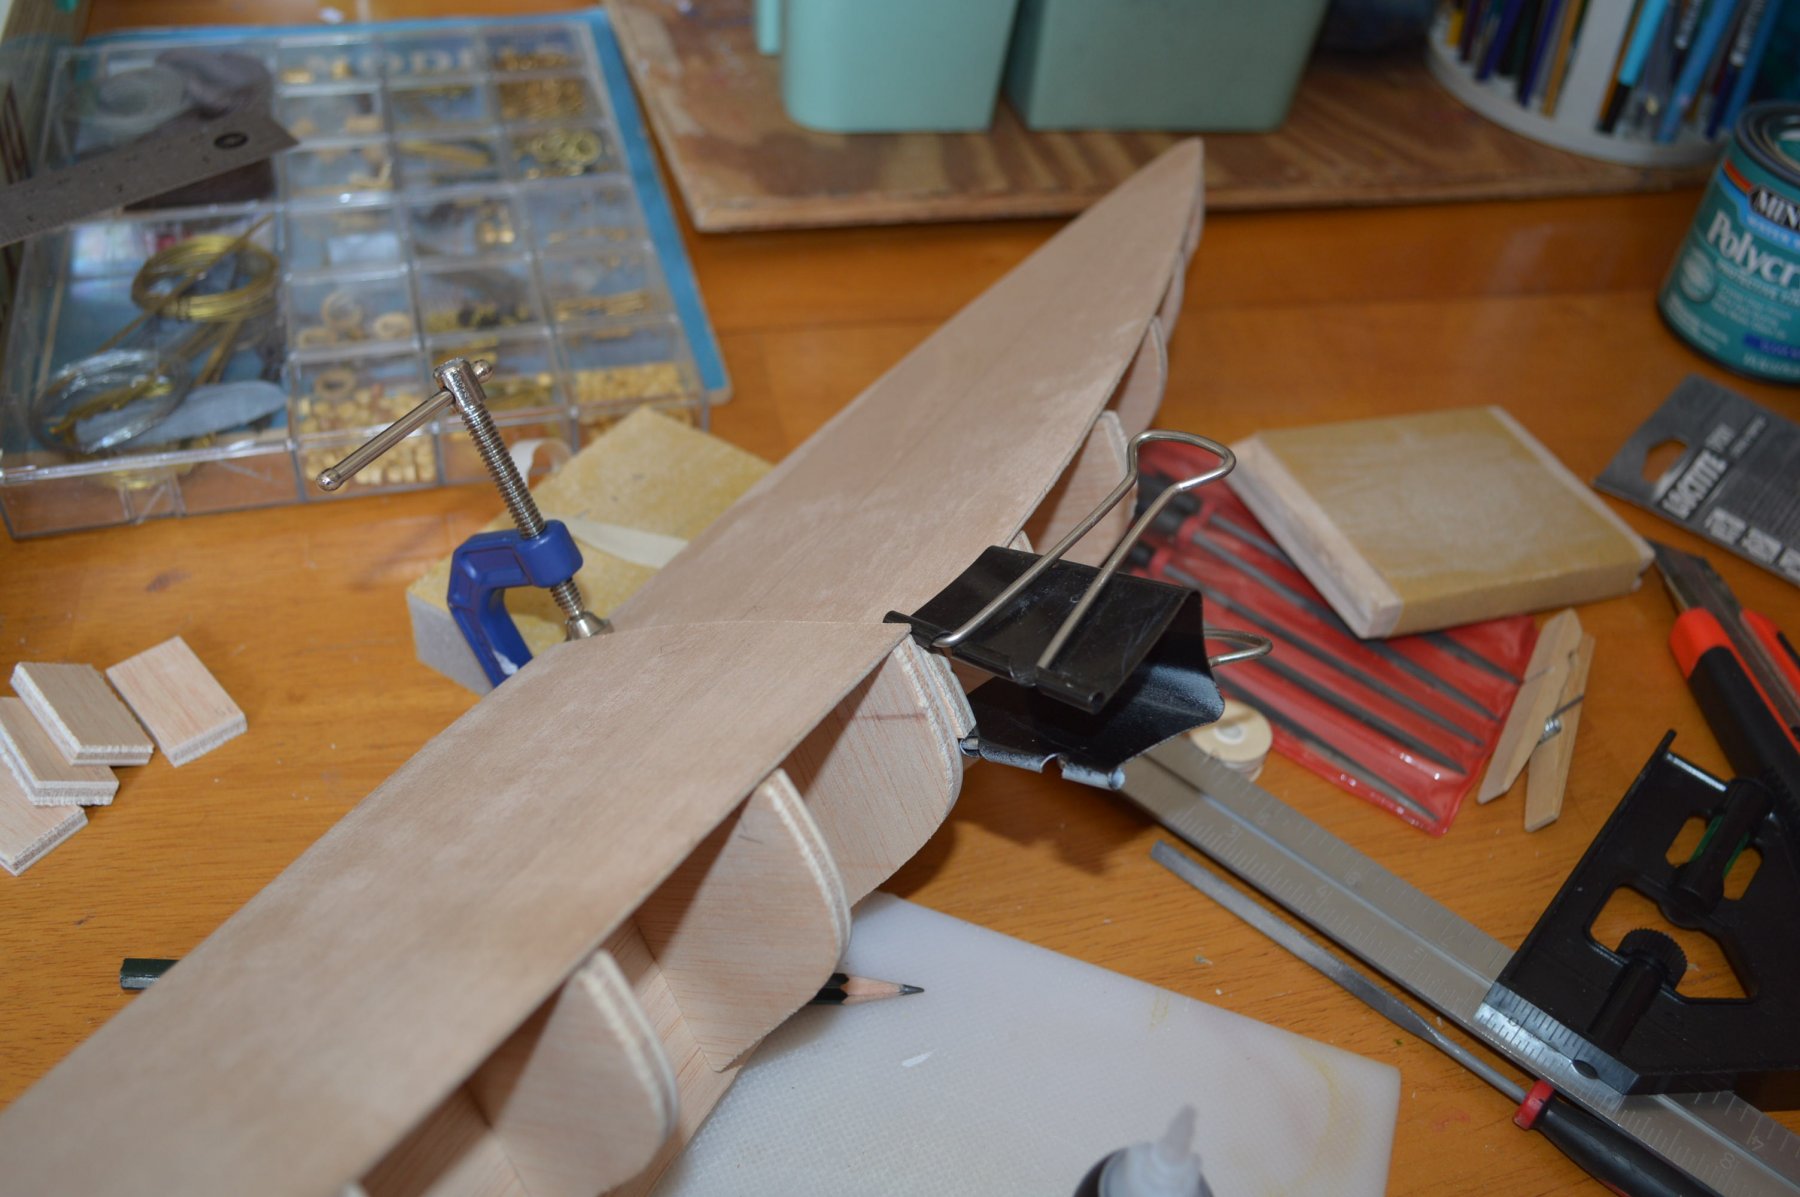
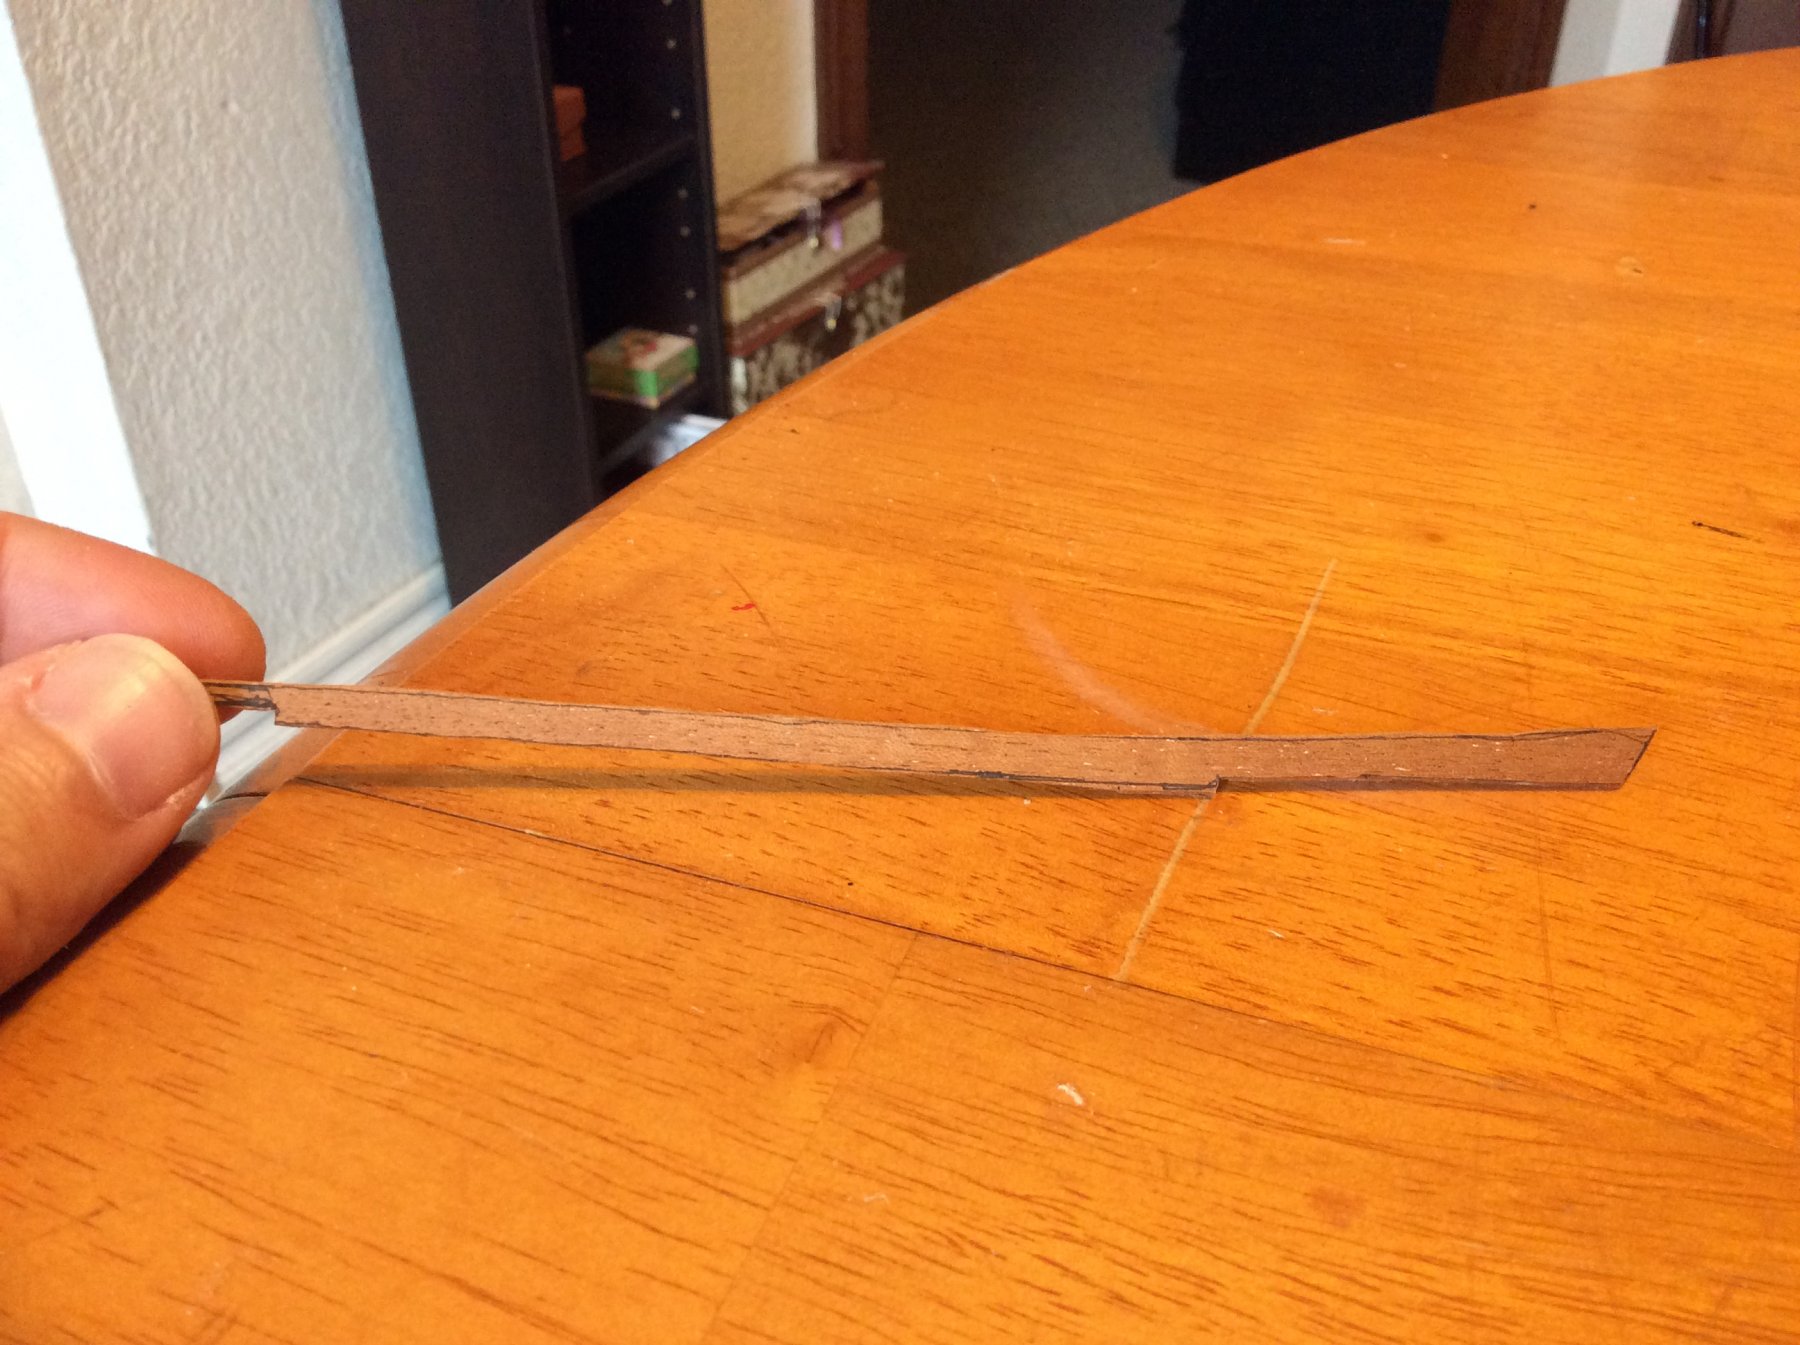
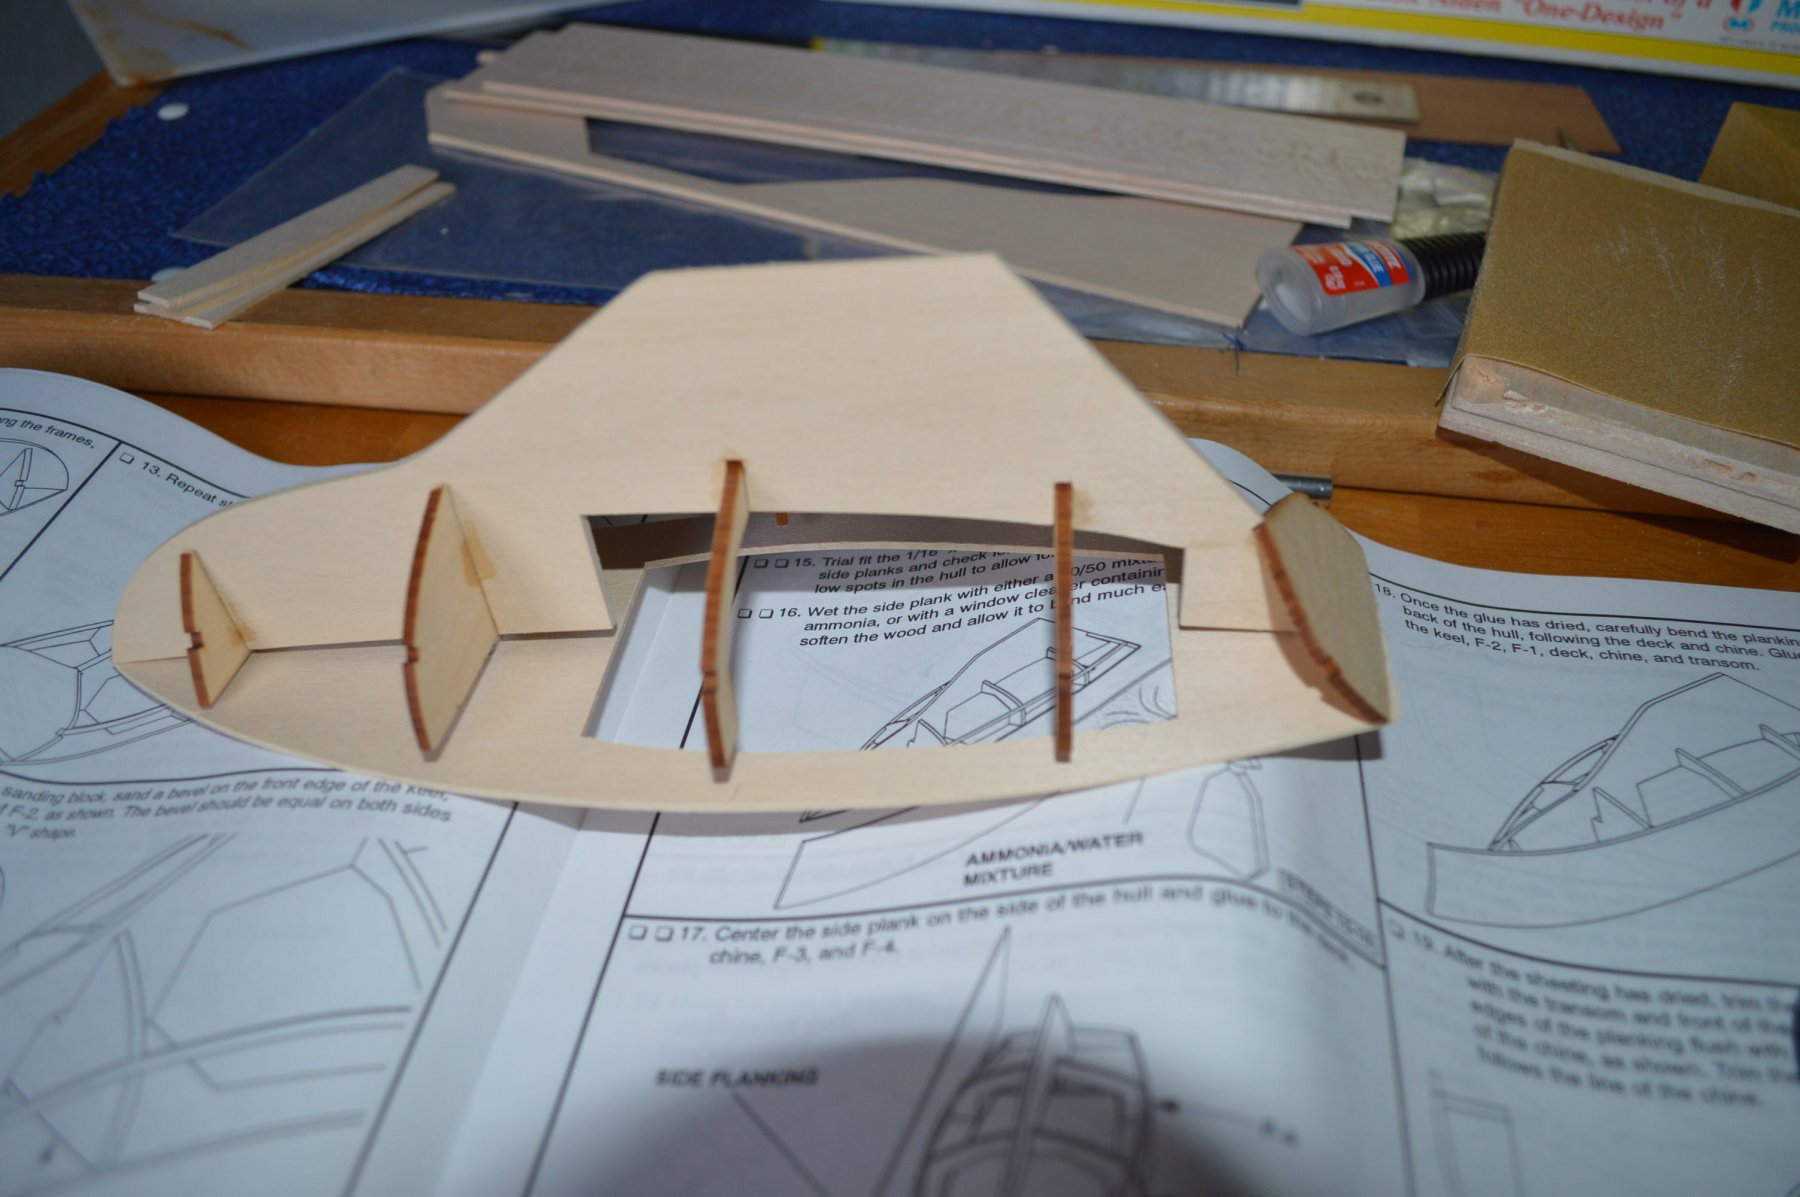
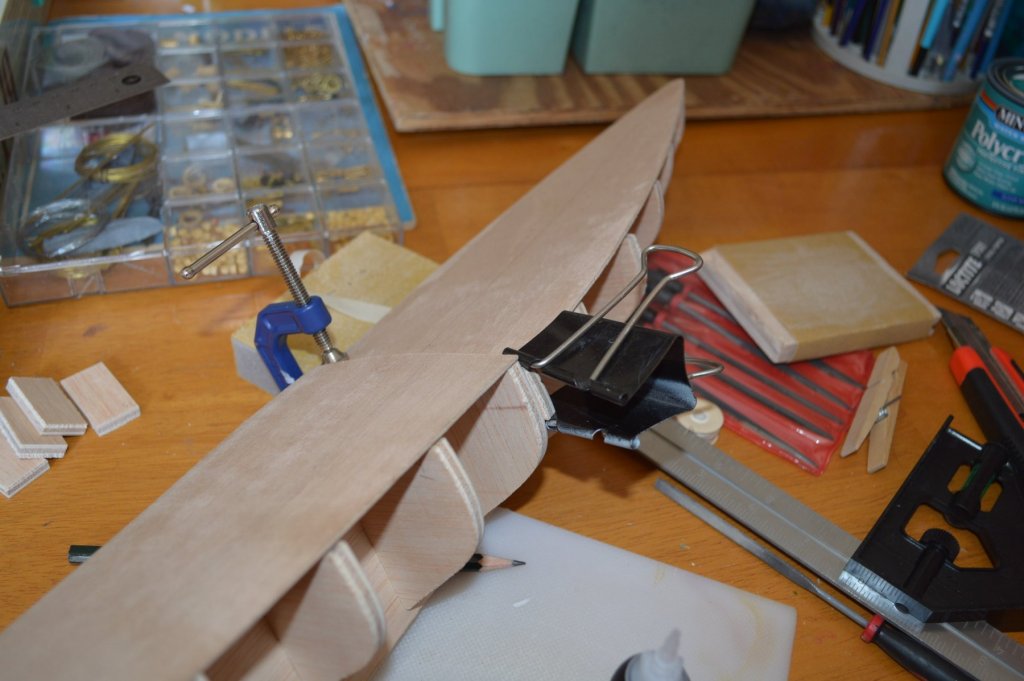
Planking is hard. Used a 50/50 Ammonia-Water spray to make the plank bend without cracking. Then I had to 'trim' the excess. There was a lot of excess. Used a razor saw after puzzling things over. Worked well. Beveled the edge to make it flush with the ribs (what ARE those called?). The other half is not wanting to behave. Can't get the glue to dry. I should be using thick CA, but I'm not. I'm using thin CA. So far it has worked. I need something to really hold those bit at the bow and stern in place. Mainly right at the point of the bow (prow? I need to brush up on my nautical terms).


- 12 replies
-
- 4
-
-
- sakonnet daysailer
- Midwest Products
- (and 1 more)
-
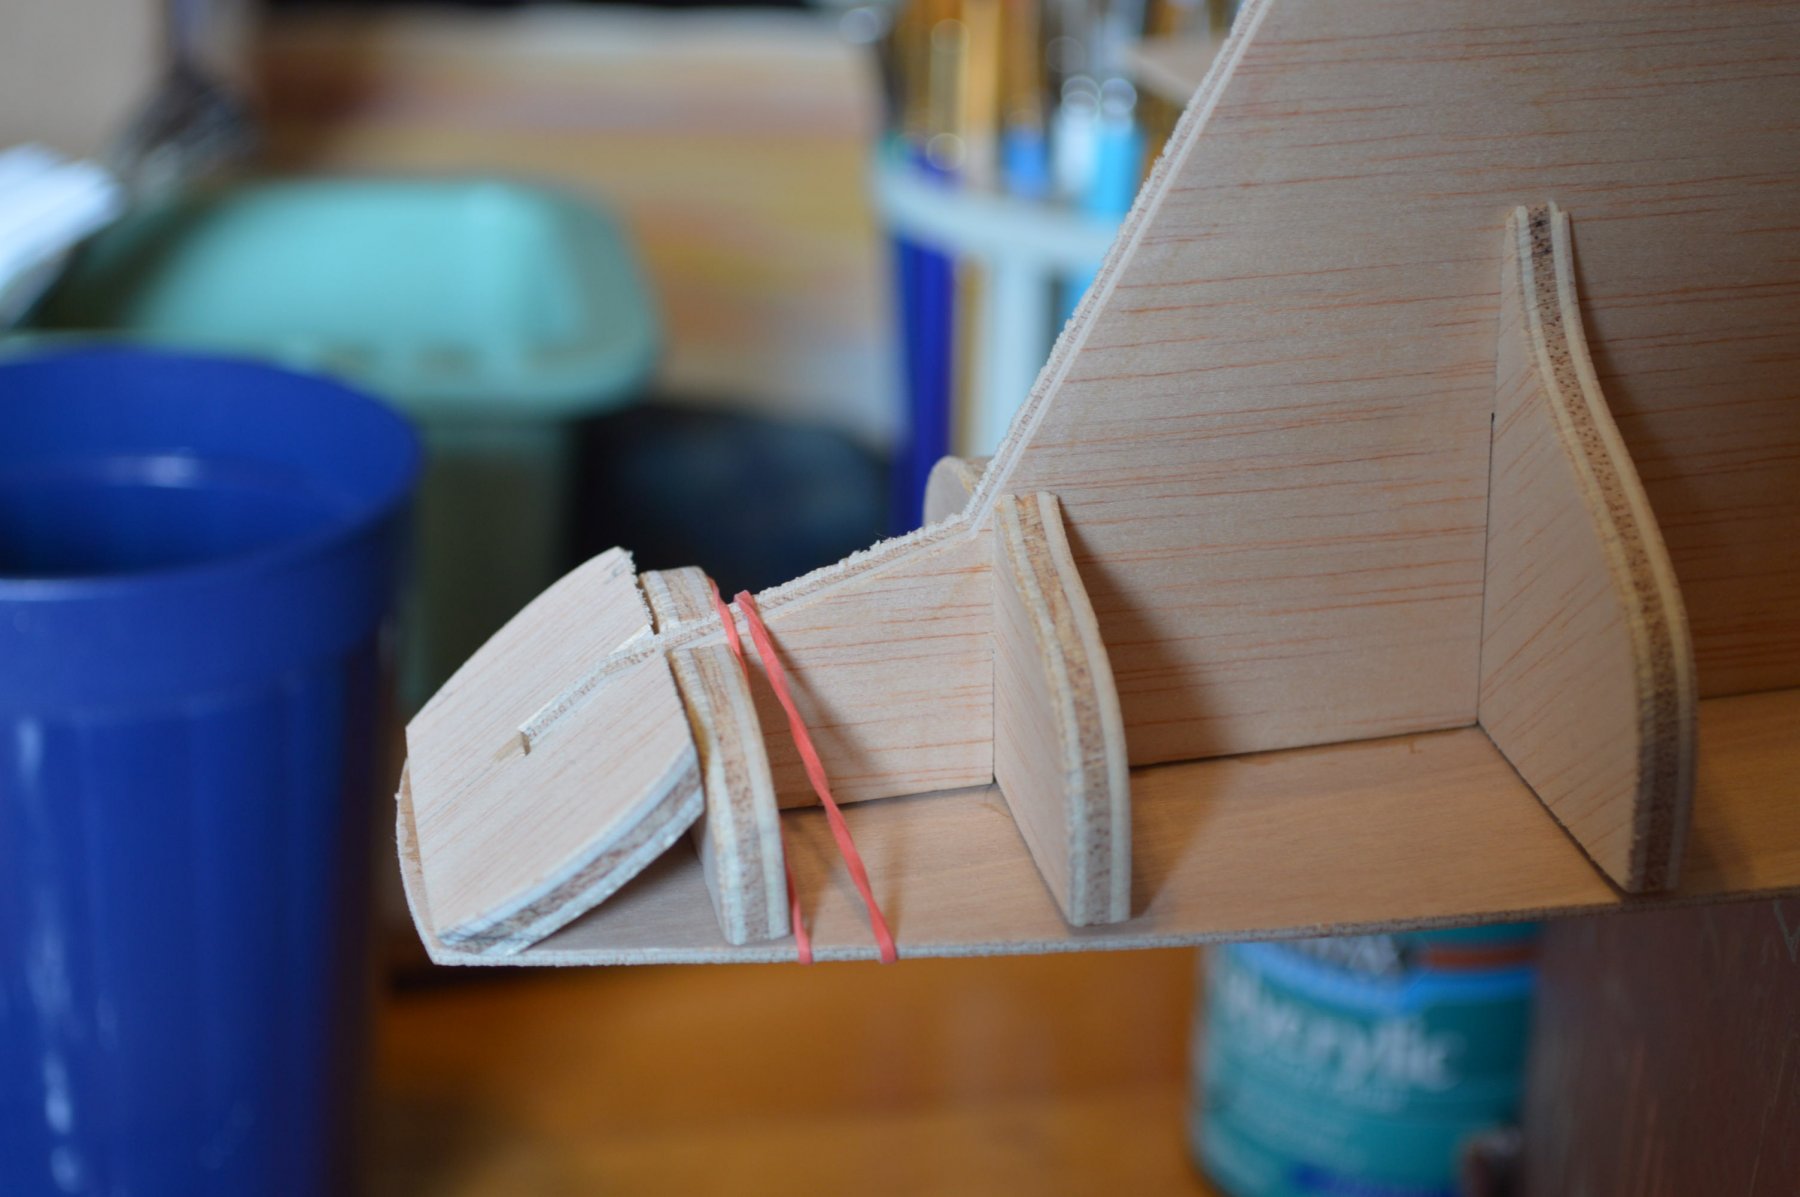
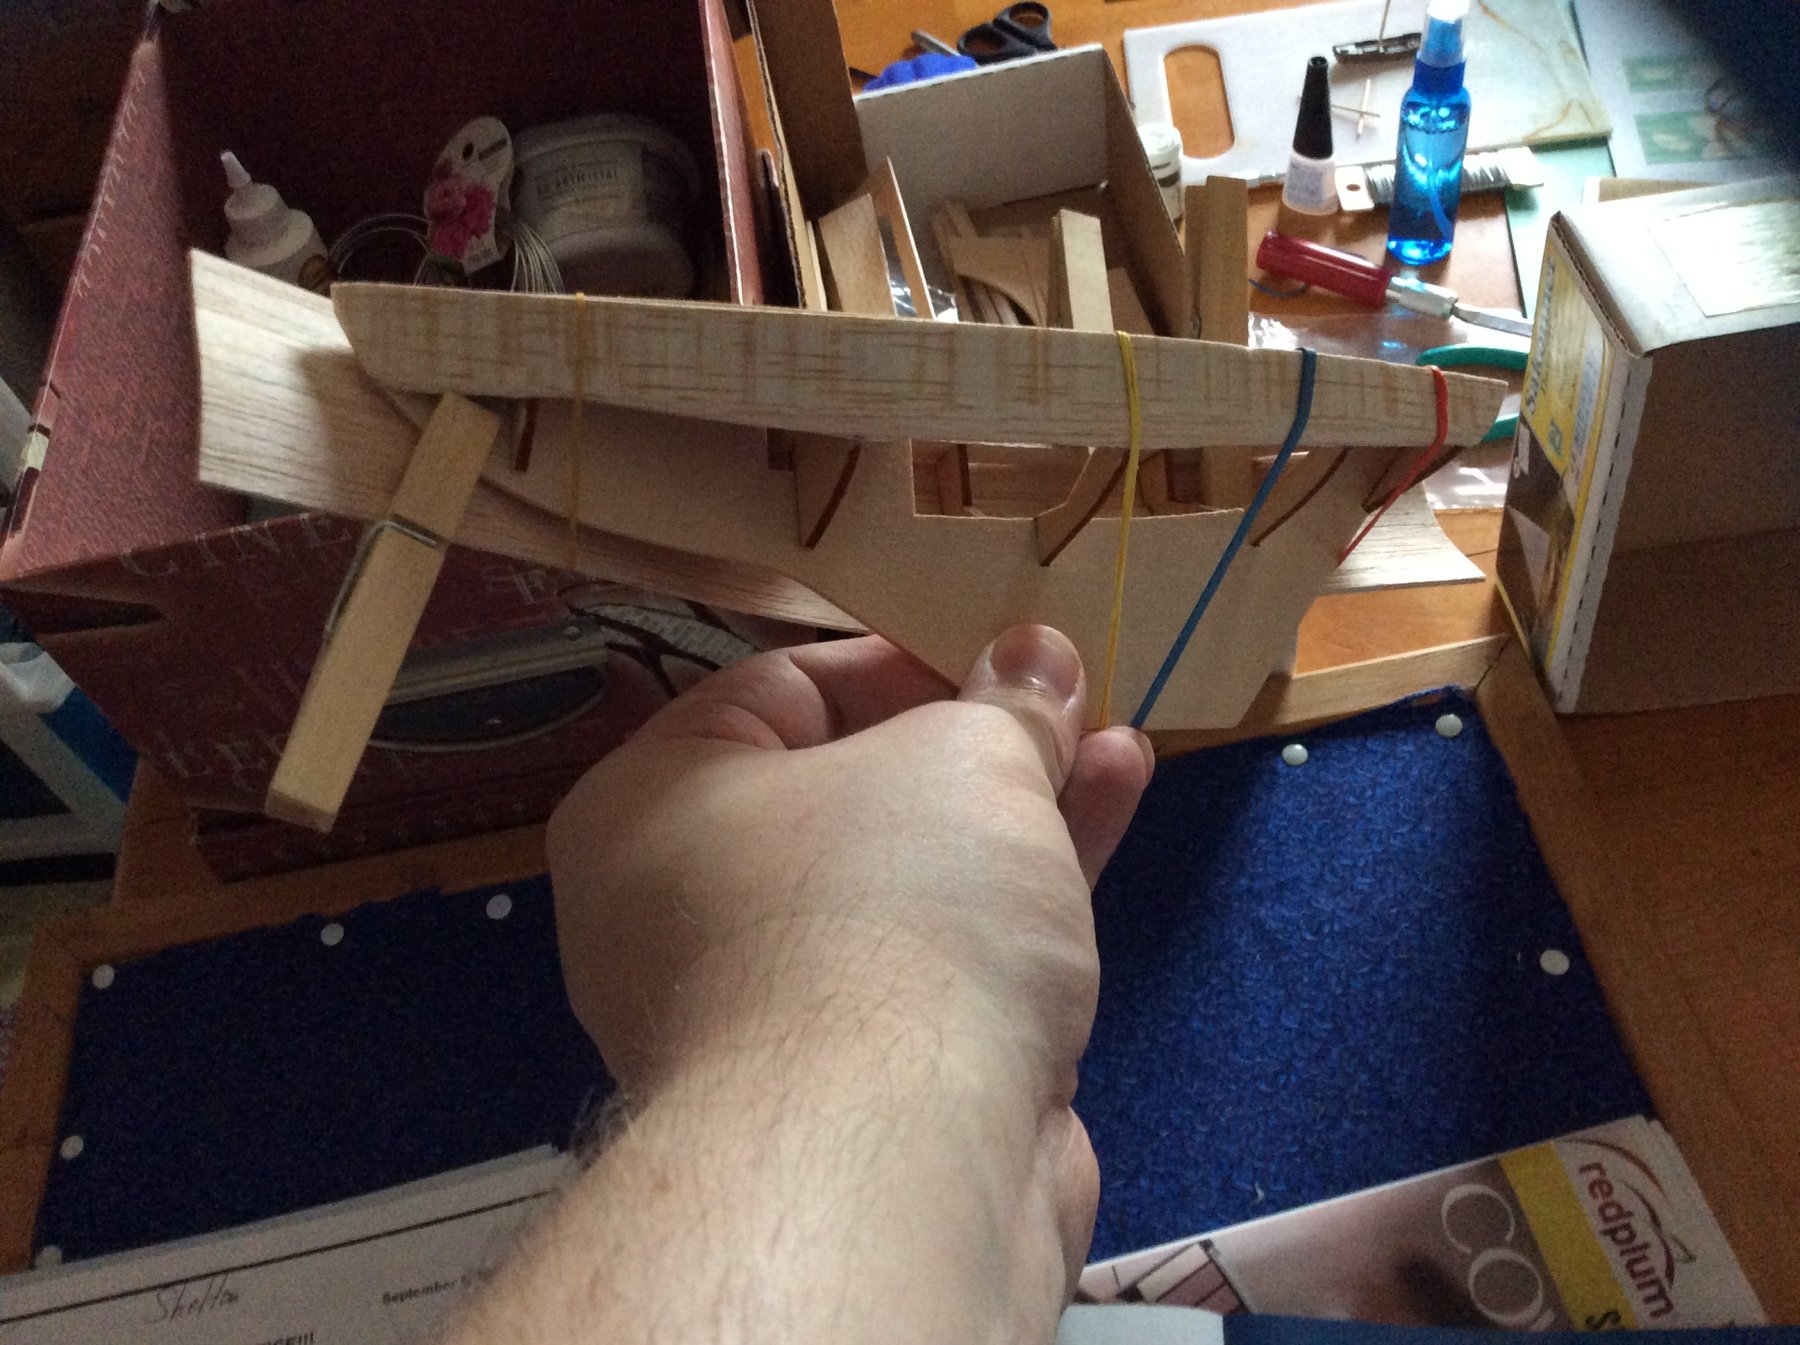
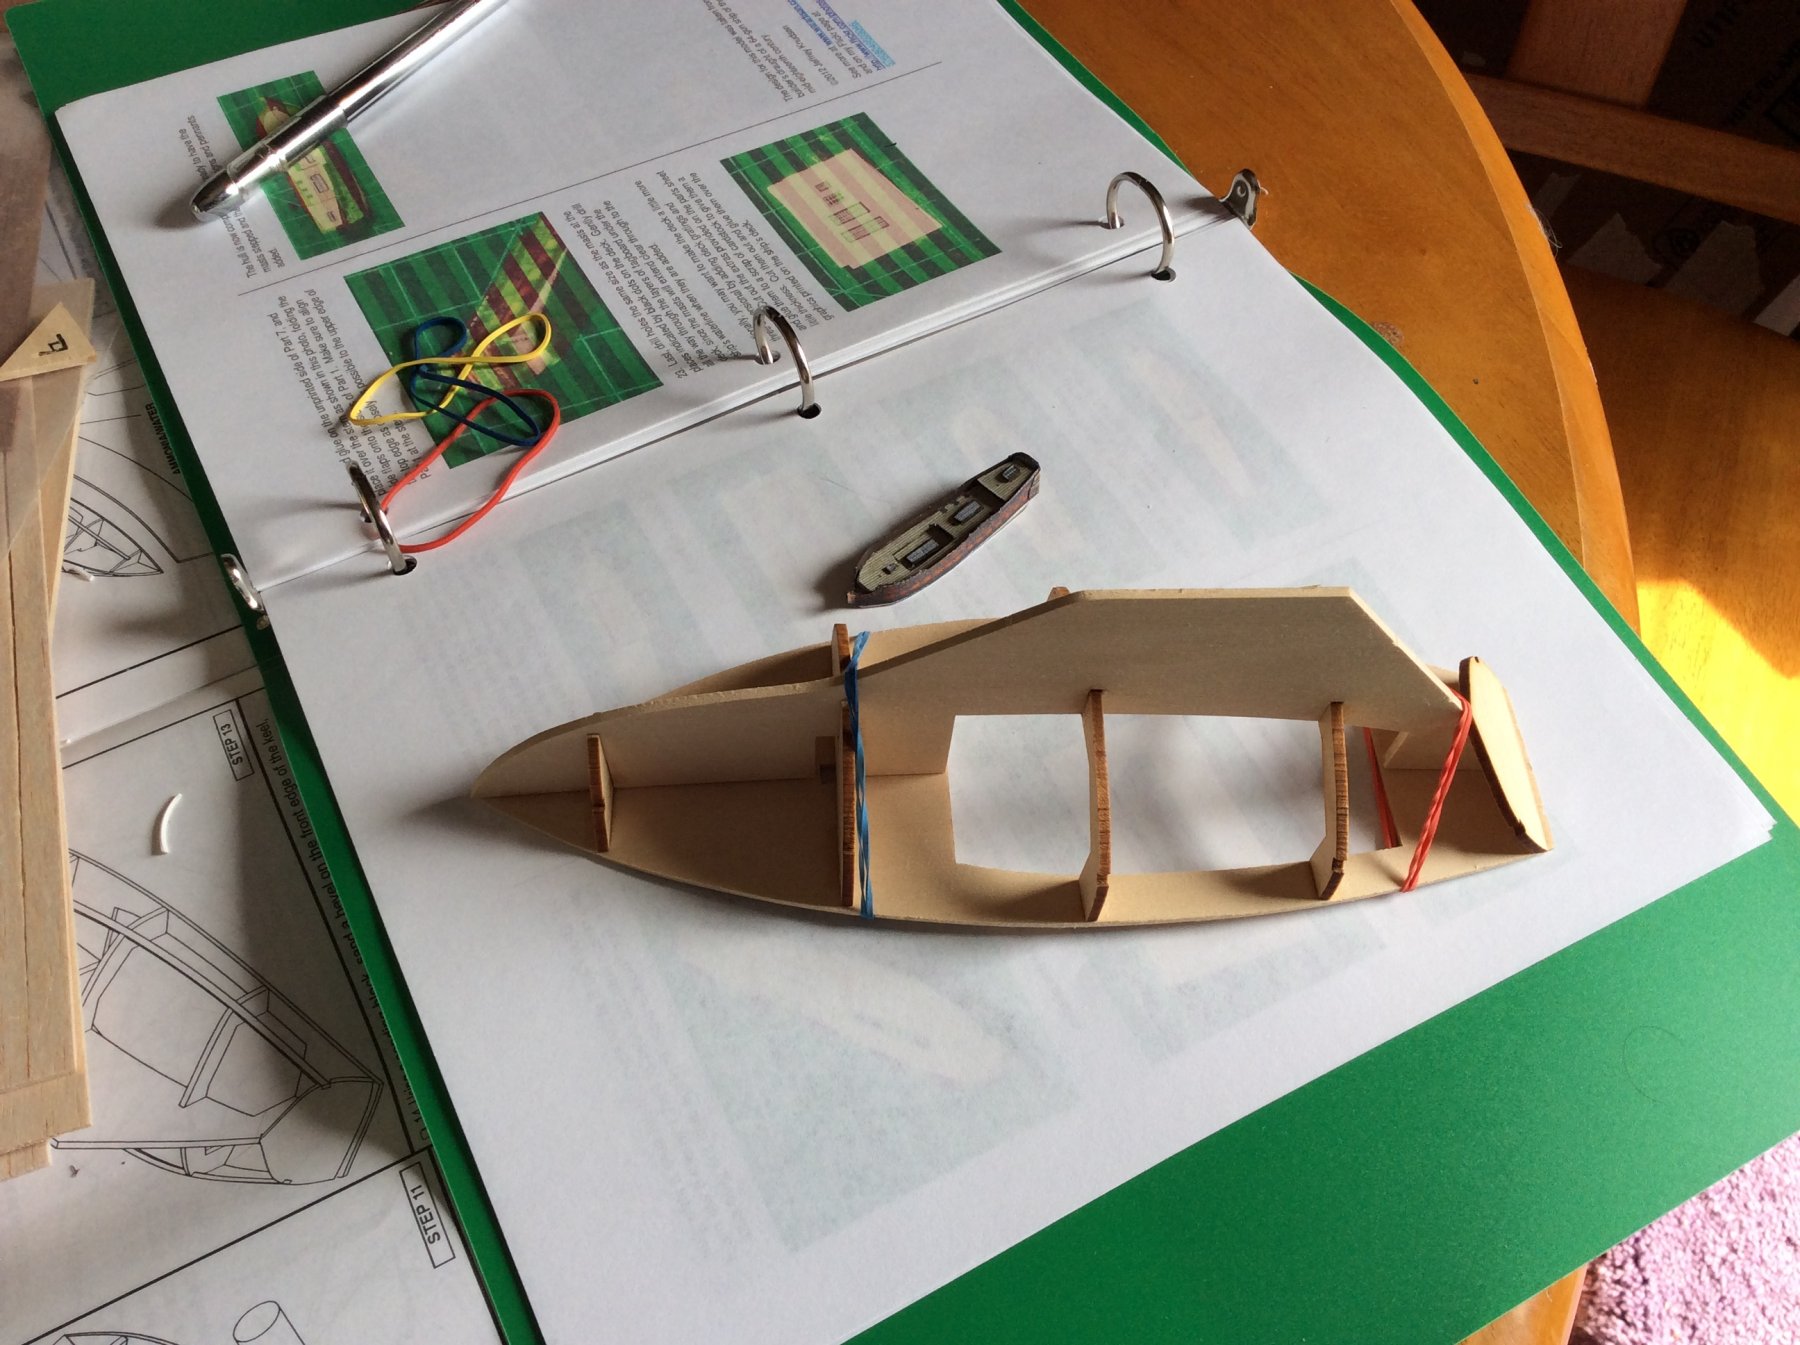
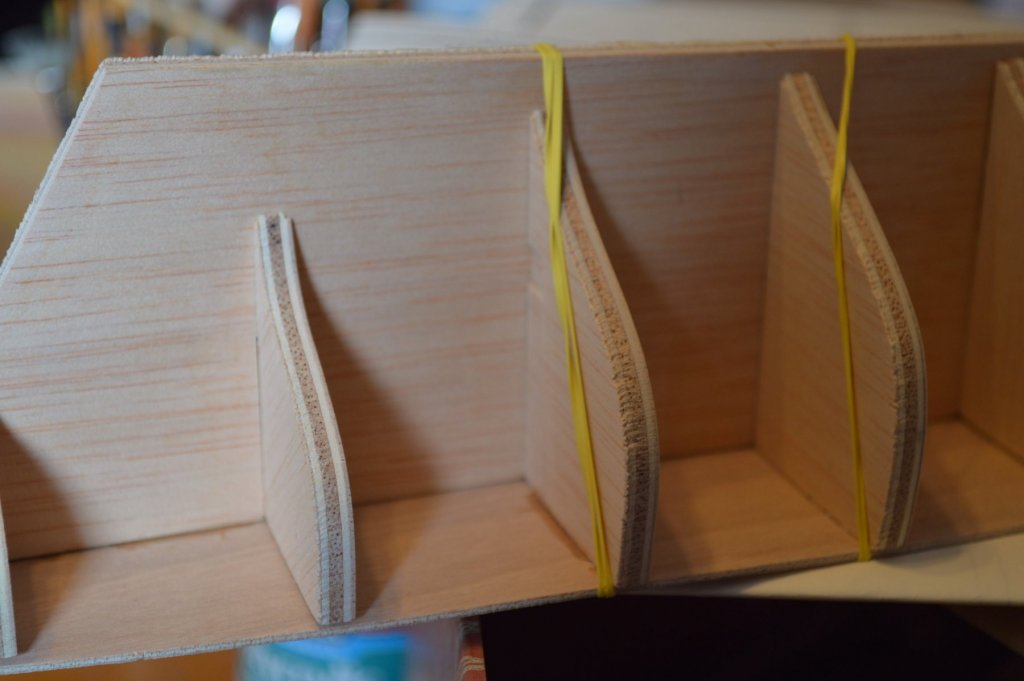
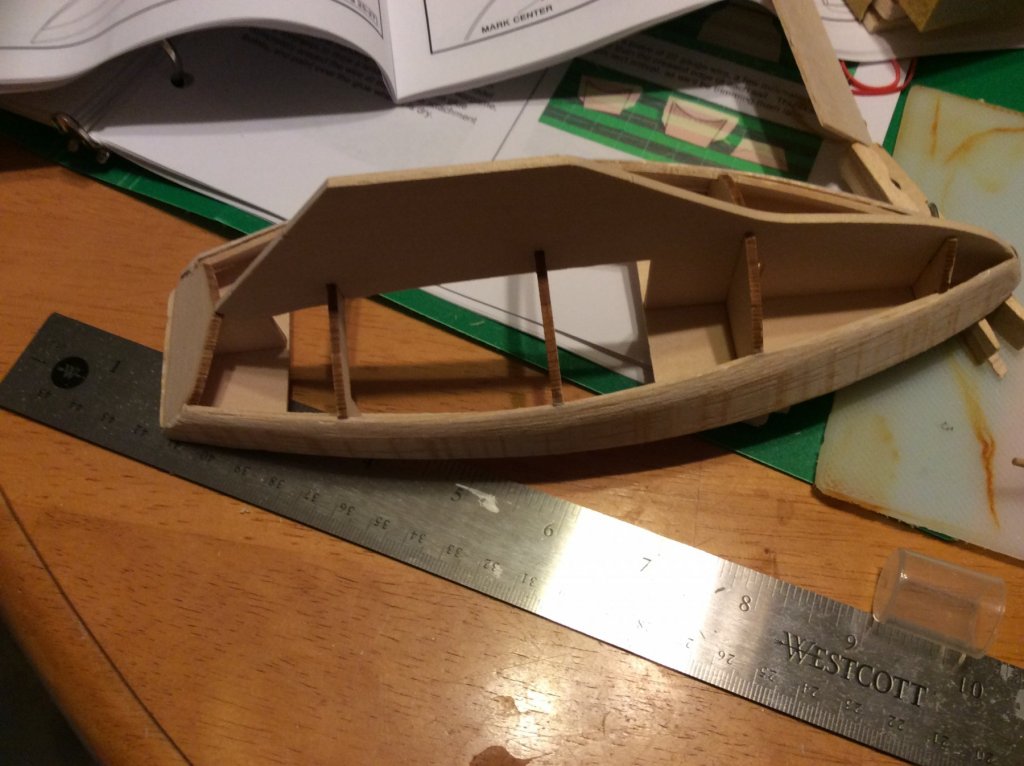
After realigning the transom (the first bolt to be shook loose it seems but not the last) it was time to glue the deck to the keel and those other bits. I had a problem which was I only had two hands (allegedly). I couldn't hold the keel assembly and the deck and glue every down. The deck conforms to a curved shape once fitted. I used rubber bands to hold and shape the deck so that it was easy to apply glue. This worked really well. Amazing how when deprived of tools a person can come up with little improvisations. Now at six pm I have a visit from my five year old nephew... The other boat? That's my other hobby. Papercraft ships. It is a work in progress.
- 12 replies
-
- 4
-
-
- sakonnet daysailer
- Midwest Products
- (and 1 more)
-
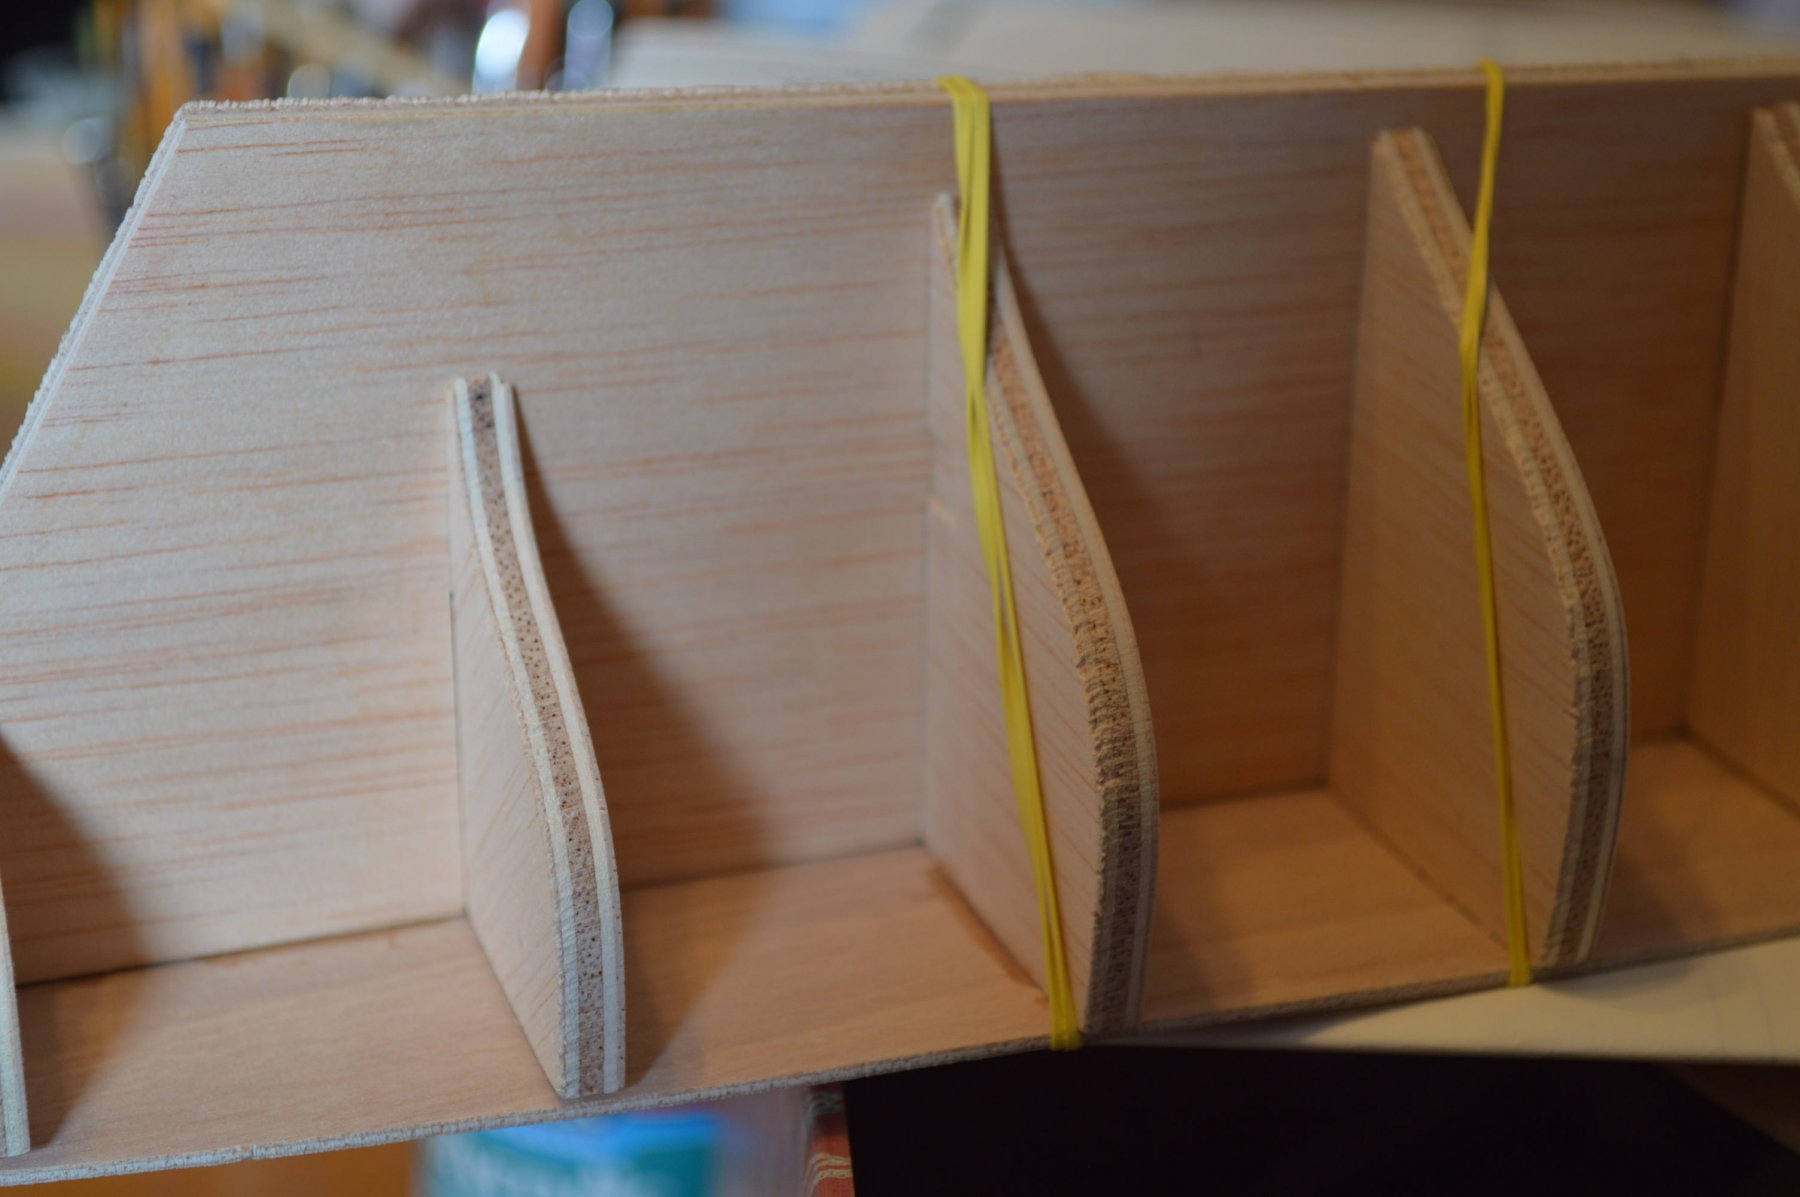
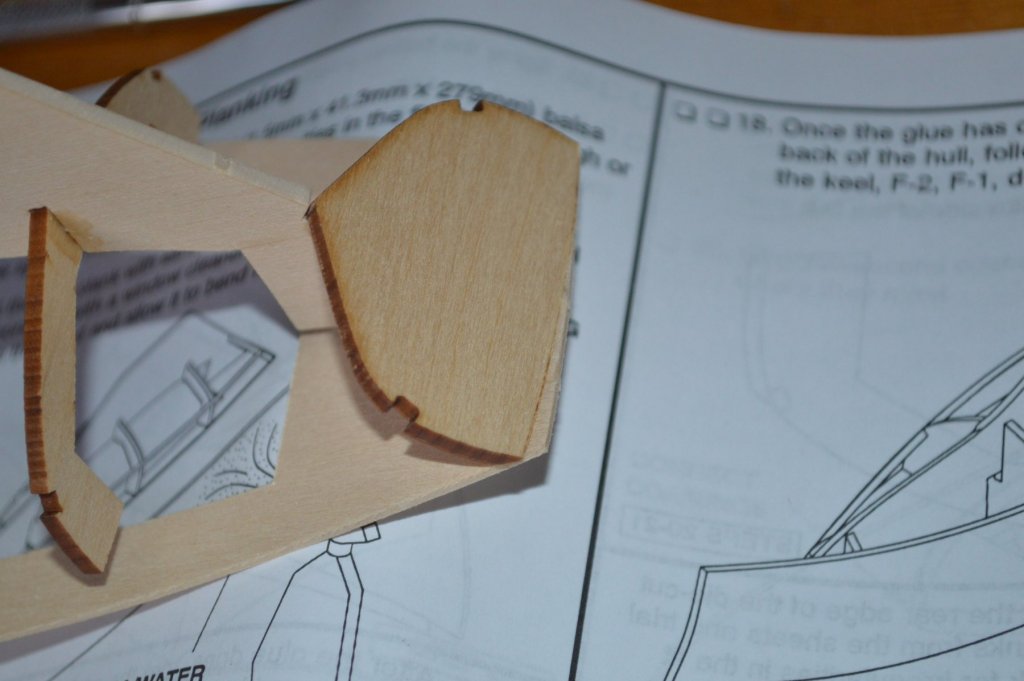
Keel is ready for the deck... sort of. I was pretty diligent with the use of the square to make sure the transom was perfect but alas it isn't. I committed to the bonding of it to the keel and am now going to pay for that. It isn't off a LOT, but it is off. in the close up the transom's misalignment is noticeable. The deck is not glued to the keel yet. Should I grab the acetone and try to reapply the piece? Or move on and do a bit of corrective sanding. I'm leaning toward a redo, but there is the danger of damaging the wood of the keel.

- 12 replies
-
- 5
-
-
- sakonnet daysailer
- Midwest Products
- (and 1 more)
-
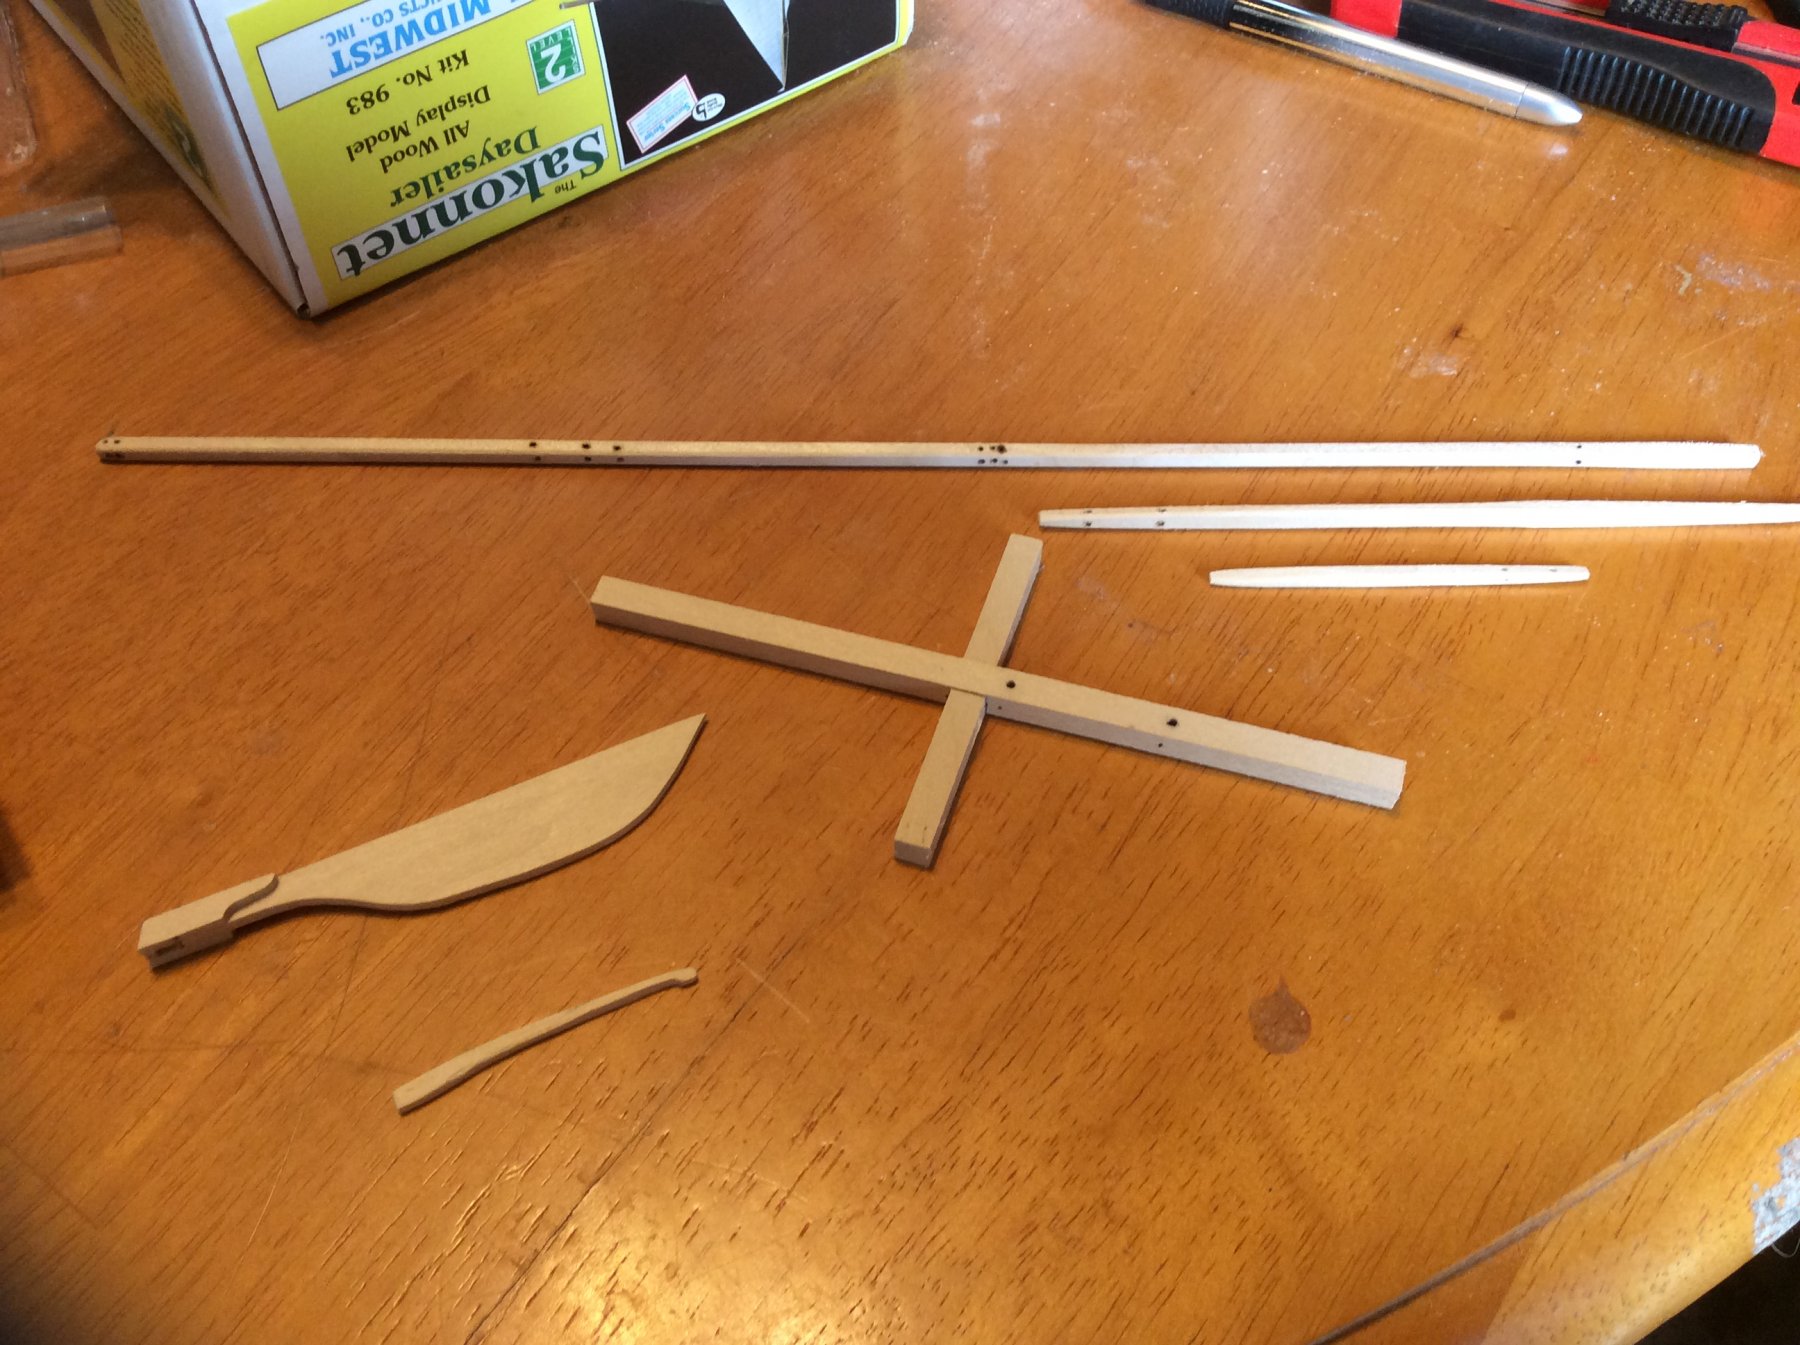
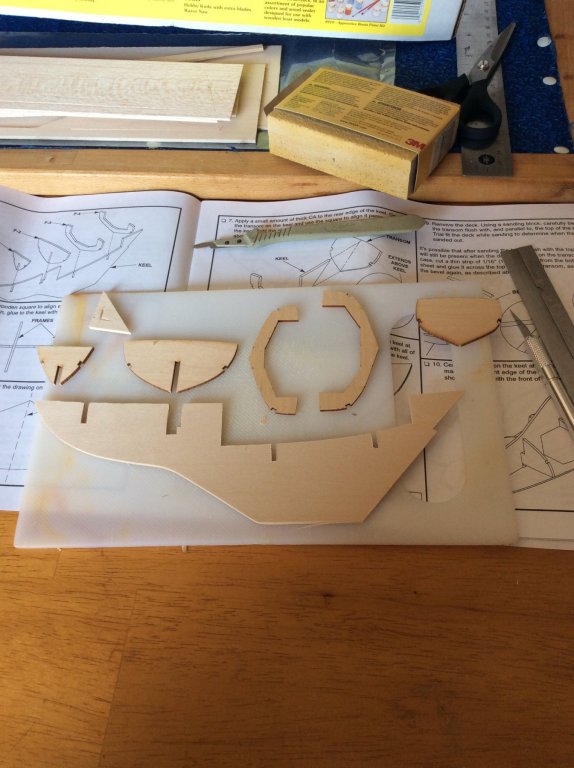
Starting with the instructions. Gave them a good read through. Had trouble with seperating the keel from the sprue and, snap. Elmers to the rescue. Letting that cure before forging ahead. This is my first wooden ship model. I'm no stranger to modeling, or miniature painting so i hope my skills at figure painting will do me service here. I may or may not be verbose in my descriptions. This is less a how to and more of a document of what i did right and wrong. Suggestions are welcome, naturally.

- 12 replies
-
- 6
-
-
- sakonnet daysailer
- Midwest Products
- (and 1 more)