Bulwark
-
Posts
101 -
Joined
-
Last visited
Content Type
Profiles
Forums
Gallery
Events
Everything posted by Bulwark
-
Dave, I have the practicum as well as some more direct help from John Earl himself! I know about where Ft. Sill is. Yeah, it would be prone to tornadoes. I've been through too many to count. lol. Thanks for the warm welcome, gang!
-
 Making progress. Have a couple more planks to lay on either side. At this point I am looking at needing stealers. Love that word.

-
Okay let's hope this is how it is supposed to look. Haven't trimmed the bow-ward part of the starboard plank.


-
Thanks, Glenn, that helps a lot. Clears up some cobwebs in my brain!
-
Oooooh... okay. Yeah I see that now. Thanks very much, Doug. I did try to read other build logs, but never saw a pic that really illustrated that particular point. So I'll be sure mine has it documented. Gotta think of the other people building this particular kit.
-
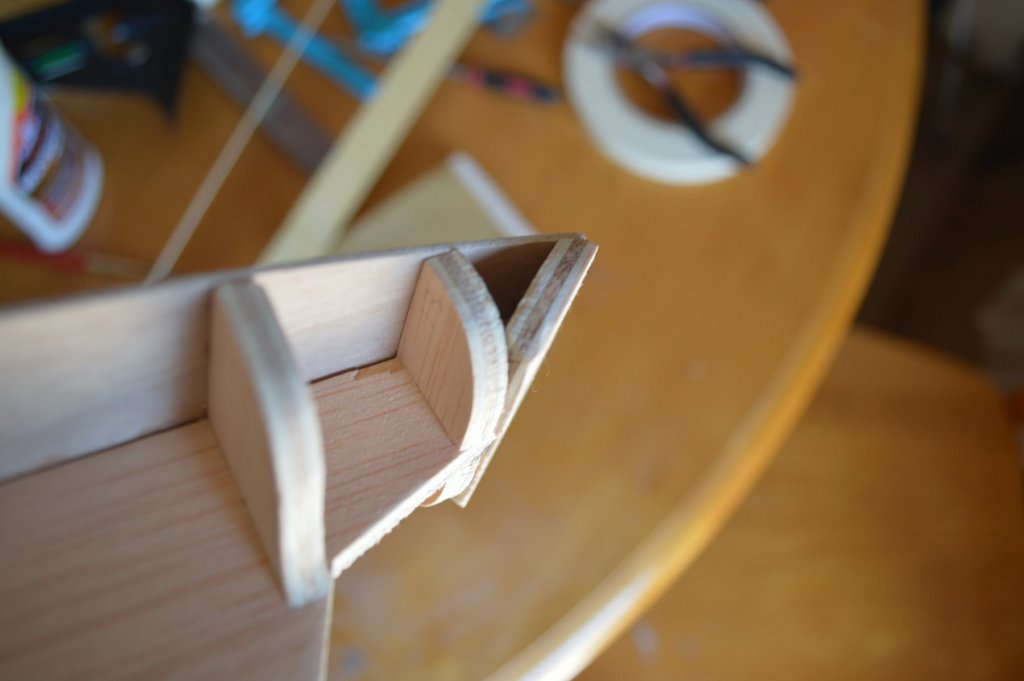
Okay here is wht I'm confused about. These pics are two ways to place it... which, if any, is correct? against a bulkhead... flat against the keel... this is the goal?

-
I'm a bit unclear on how the next plank should be placed. The practicum reads "...place a full-width plank all along the edge of the keel." The arrow is where the first plank is laid, yes? Seems obvious now that I've drawn it out. Call it a map. lol. Onward and upward! Hmm. Yeah, i need some help here. Looking at it and placing a plank dry against the bulkheads by the keel isn't looking good. If inplace it right against the keel it poke over the edge.

-
Belated pics of finishing the second belt.
-
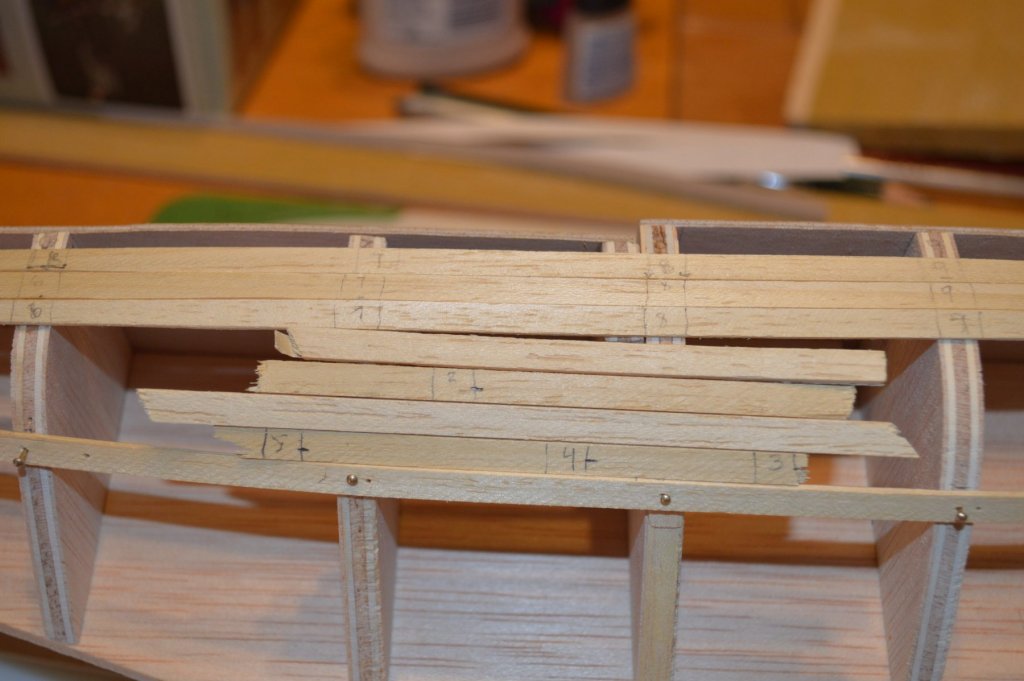
In my defense i was a bit sleep deprived. But i figured it out, read and reread. Looks like five planks will reach the batten. A bit shy of it on 7 but, i hope, close enough. I'm getting better at trimming planks. Will post a pic soon. planking is a fairly meticulous process. I find i lose myself in it. Except when I m muttering under my breath after breaking a plank. I tend to double and triple check my measurements, but am trying to not go so far as descent into second guessing every move. great advice all around, folks. Much appreciated!
-
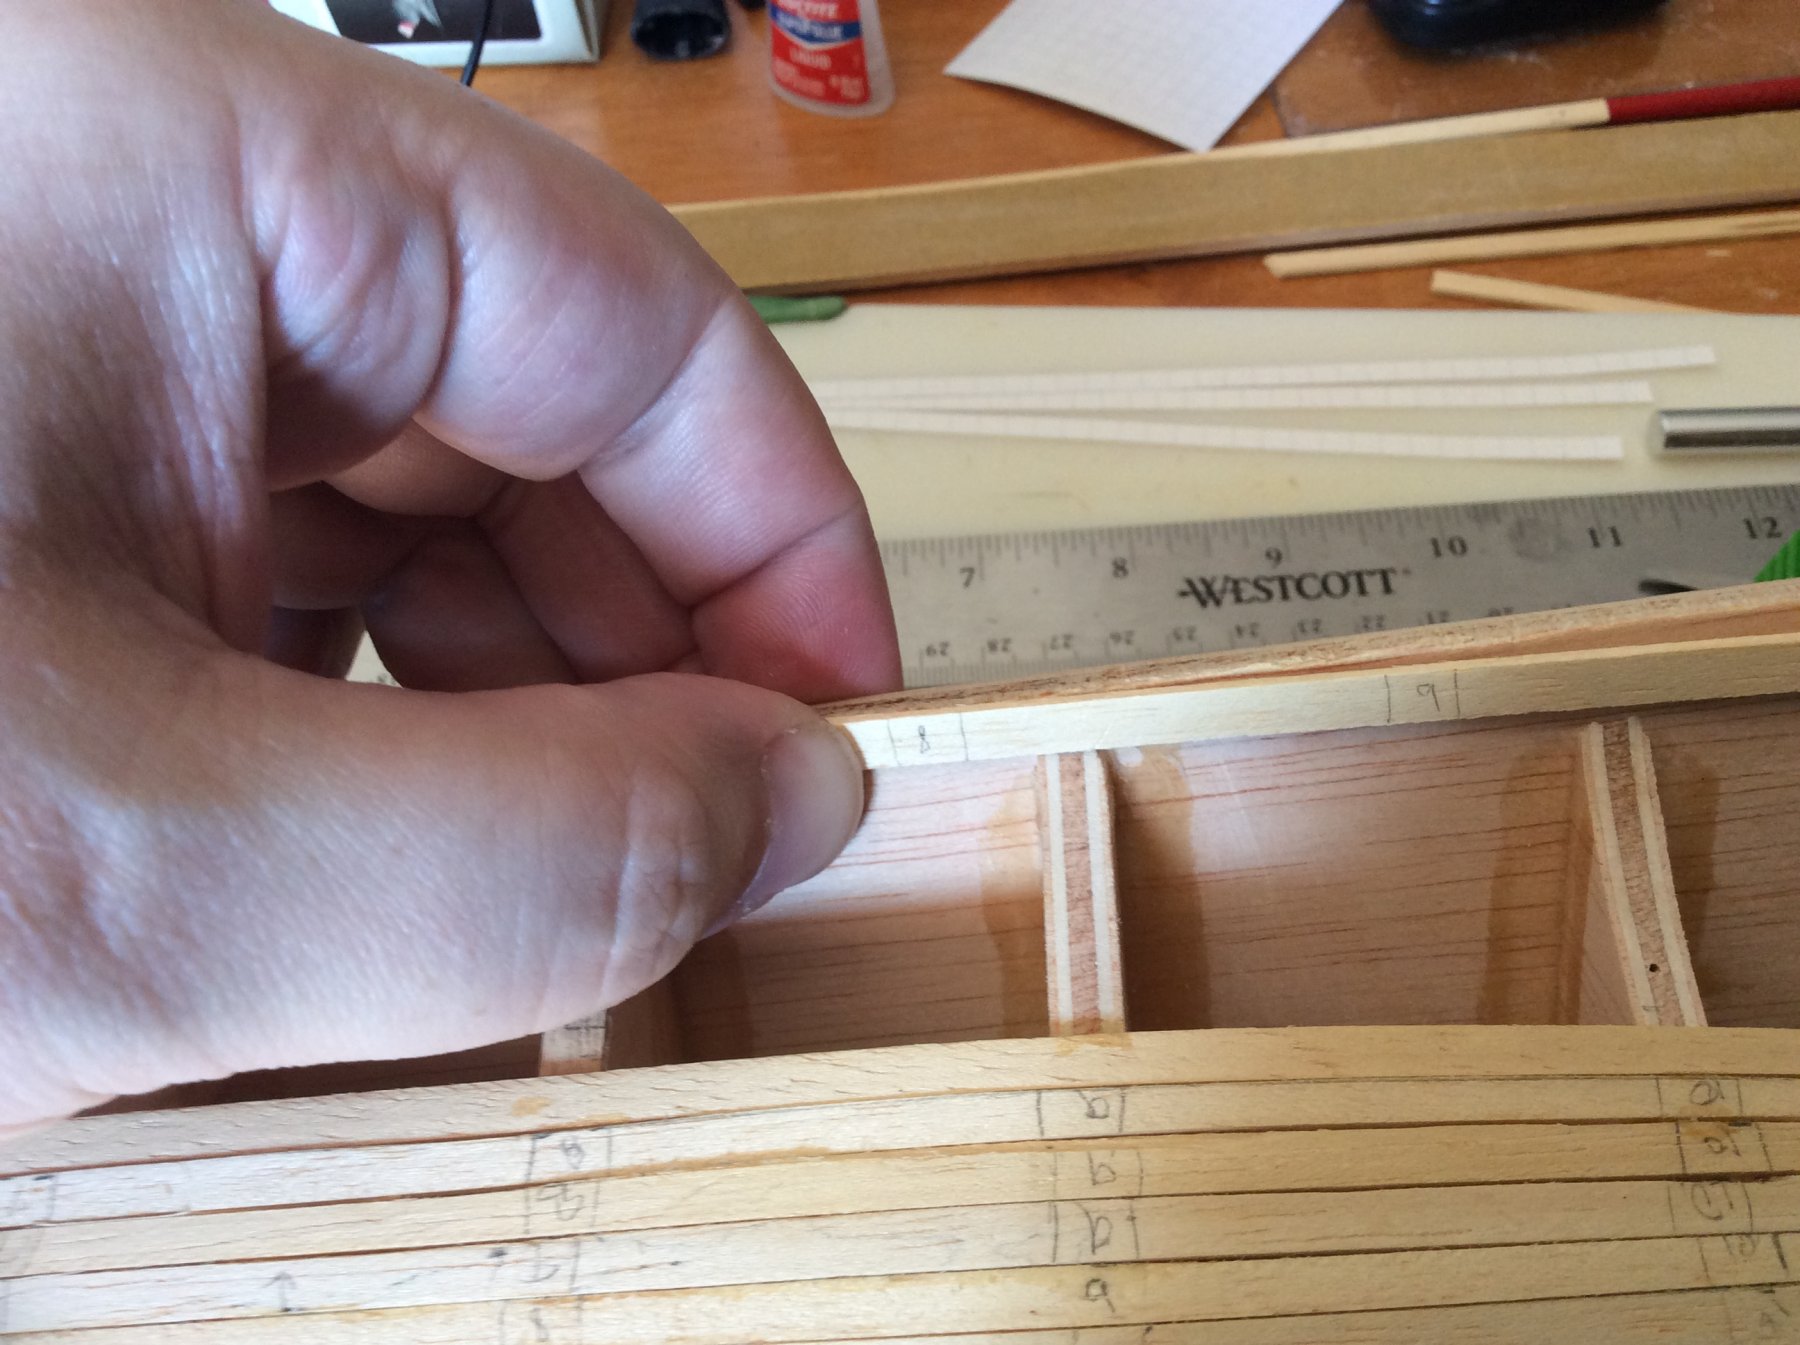
Am right In thinking the planks going to the second batten are all about 4mm wide at the 7-13? I did the calculations but i don't trust my brain tight now. I am seeing that some planks near the bow are basically going to be sheared as they run out of room... hitting the keel. That plank you were talkng about, John, is relatively the same size as the others. There are discrepancies but they seemed to even out.. lol.
-
Okay, that worked. Still a bit of discrepancy at the batten on both sides. We'll see how it goes.

-
Okay. Great idea! I shall check those and reposition the batten if the measure is wrong.
-
I wasn't going to double plank, but I'm seriously considering it now.
-
Planks aren't filling the space to the batten. This is the weird thing. If I measure from the lowest existing plank (as if it were the 4mm/8mm mark from the deck) to the batten then the tic marks show too big at the 8, as if expecting me to widen the plank, lol. I tried using John's method with 1/4" squares but that gave me weird issues with bulkhead 8 (tic marks being wider than the plank). I then used the planking triangle pdf from the site. That worked, but only for 35mm width from the deck tick mark to the batten. Any smaller widths and it doesn't seem to work (again, the 8 bulkhead plank width is wider than the planks themselves). Maybe I missed something in my reasoning.
-
Luckily there is a wood that might fit the bill. Sadly it is a touch pricey. European boxwood. Good bending properties, etc. 20qty 1.5mmx5mmx600mm runs $25. $32 after shipping. Going to have a big THINK on this before I move ahead. Ah, I do love problem solving hobbies (Semi-sarcastic tone here... lol). CKNavy, good luck on your build! I do have some small gaps in the planking, but every plank I make I learn a bit and the gaps get smaller. I try to learn fast.
-
ve been doing one bulkhead at a time and switched to thin CA because my thicker CA doesn't work well. May be a brand issue, or just the formulation, or I don't have actual 'thick' CA... it's the Gel CA 'extra time' stuff by Loctite. That solved some issues with planks at the end not bending well. Plus there was some hull shape issue that I had to sand out. Today I've realized that the sins of the father plank is revisited upon the child planks tenfold. Or the sins of the first measurements. I've gotten way more cautious with plank measuring and cutting, but my earlier stuff was done in relative haste (slowly, but not slow enough). Anyway, pictures worth a thousand words and all that. ARRRGH! That sums up my feelings a bit. So does a string of curses that would put Yosemite Sam to blushing. Should I strip it all and start over? I've got six planks (3 on either side) but naturally I don't want to mess up the build (TOO LATE!) completely, or is there something along the way that I can use to insert a correction into the planking, especially below the batten... guess I could read ahead and see what the fate of the batten is (glued or eschewed). Pardon the bad jokes, it's early and the caffeine isn't working. Also, after looking around I can't find planking in 1.5mm thick sheets of the same wood (Oregon Pine) used by the kit. Oh dear.
-
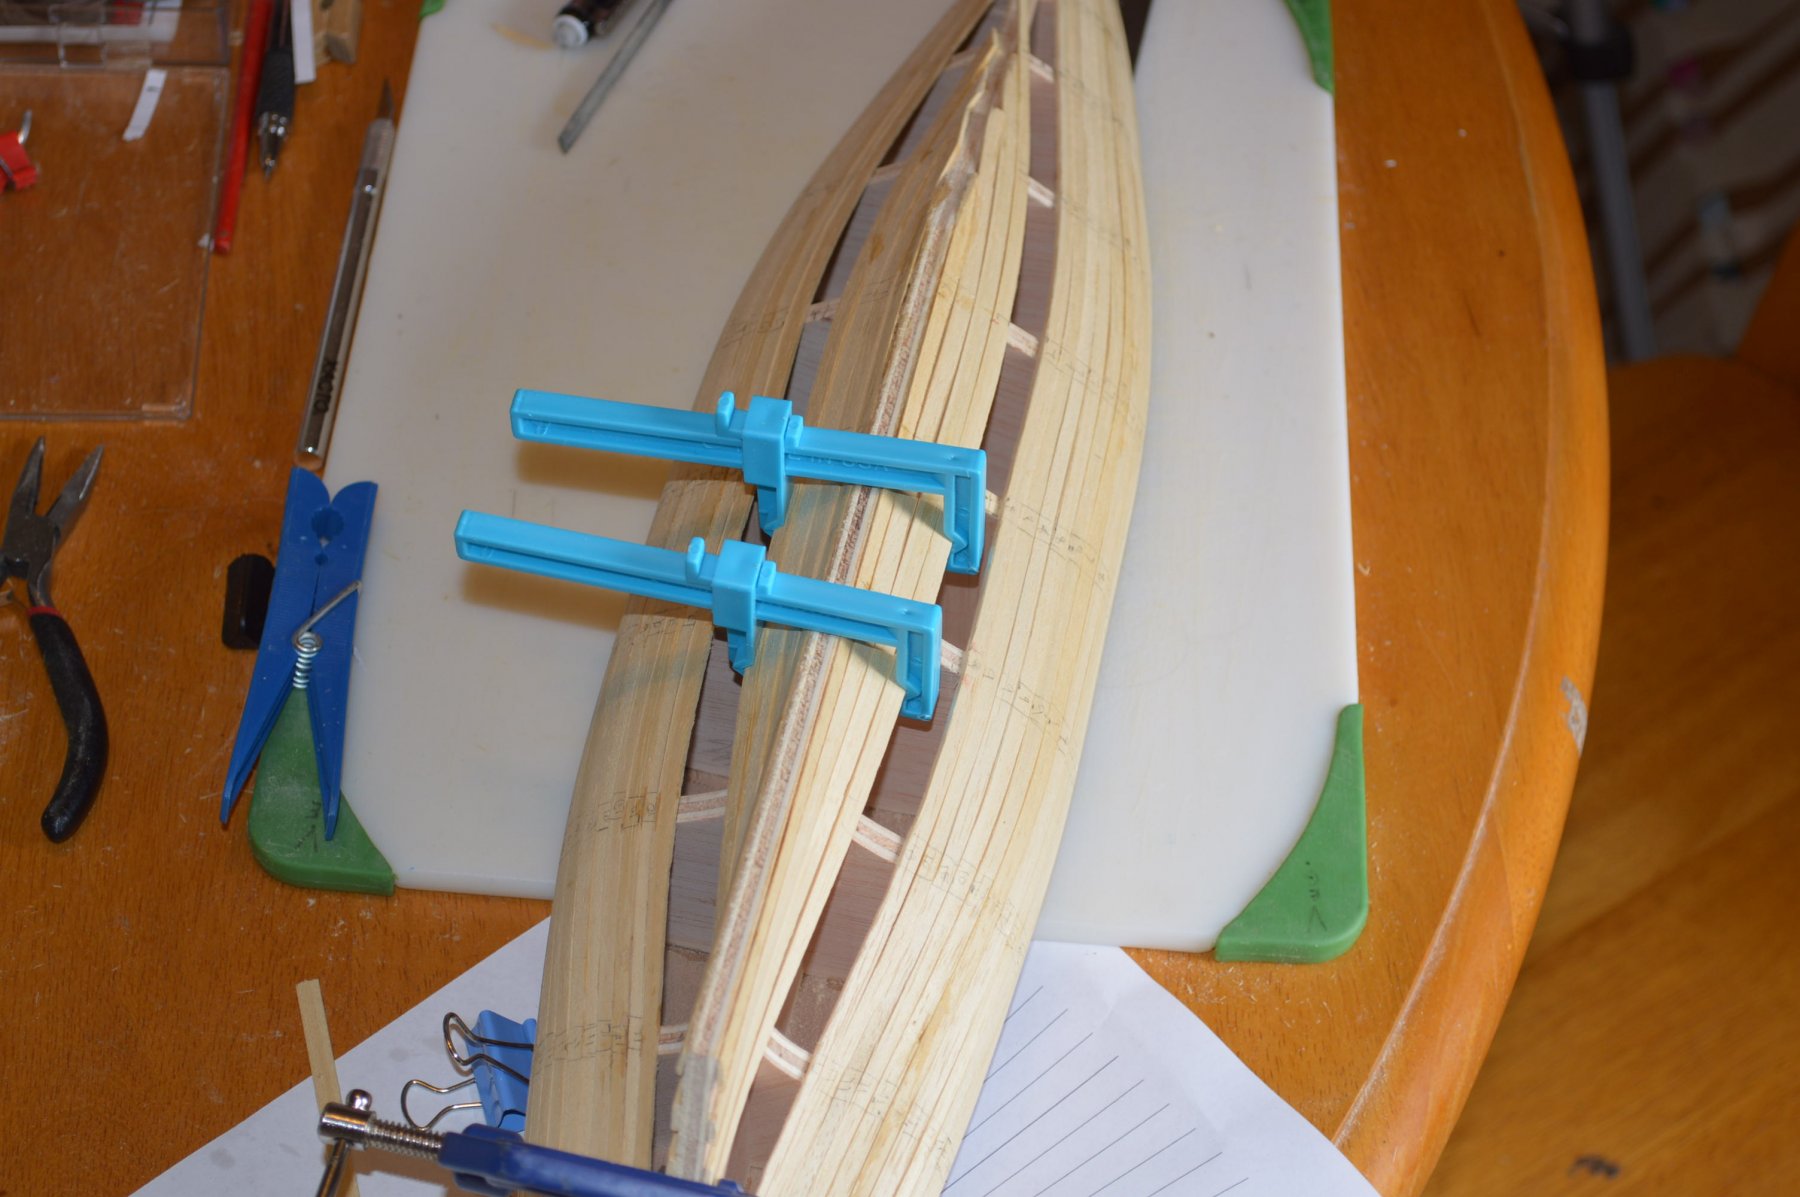
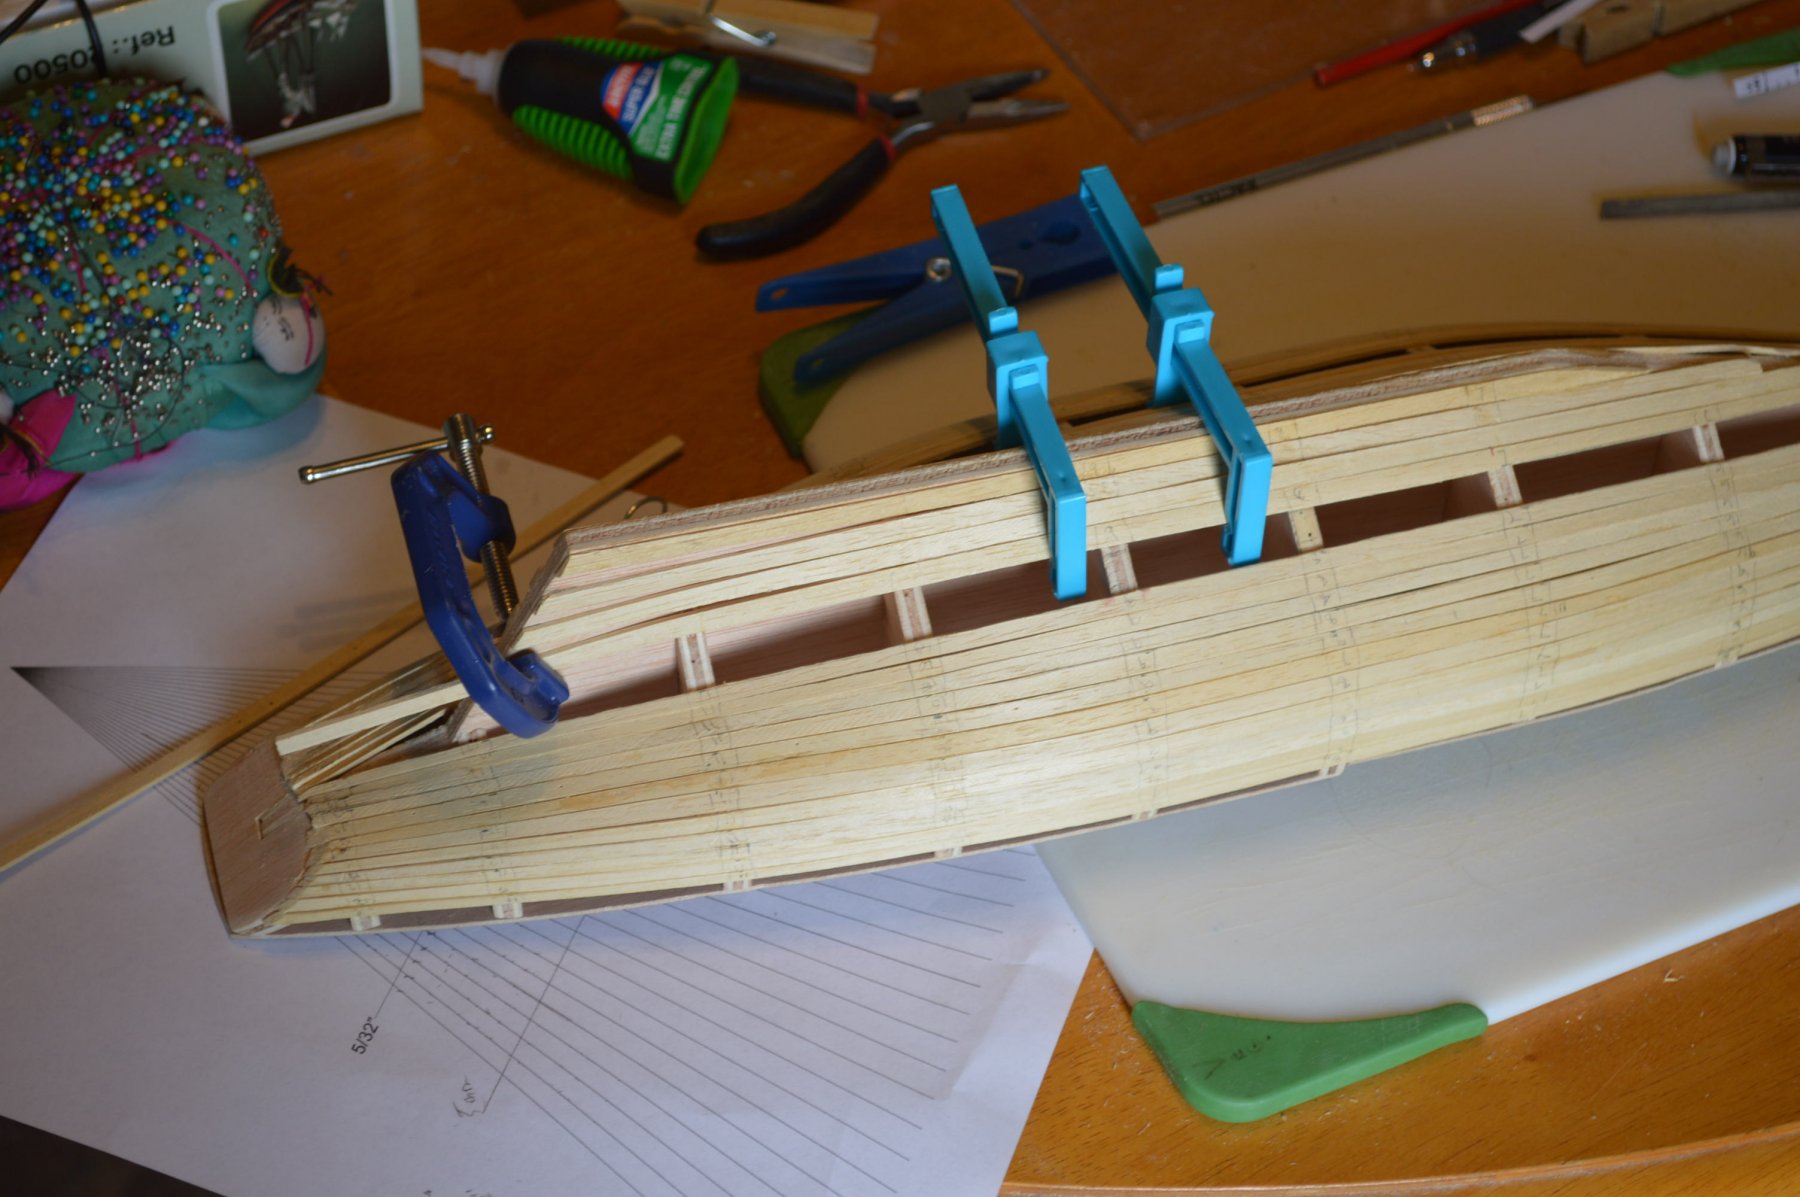
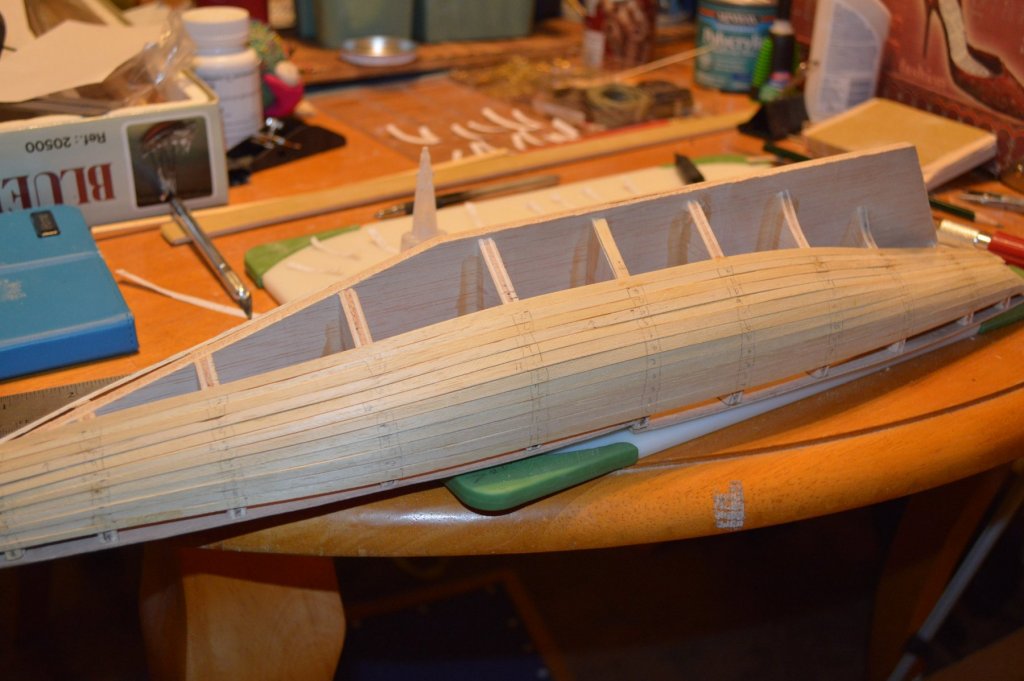
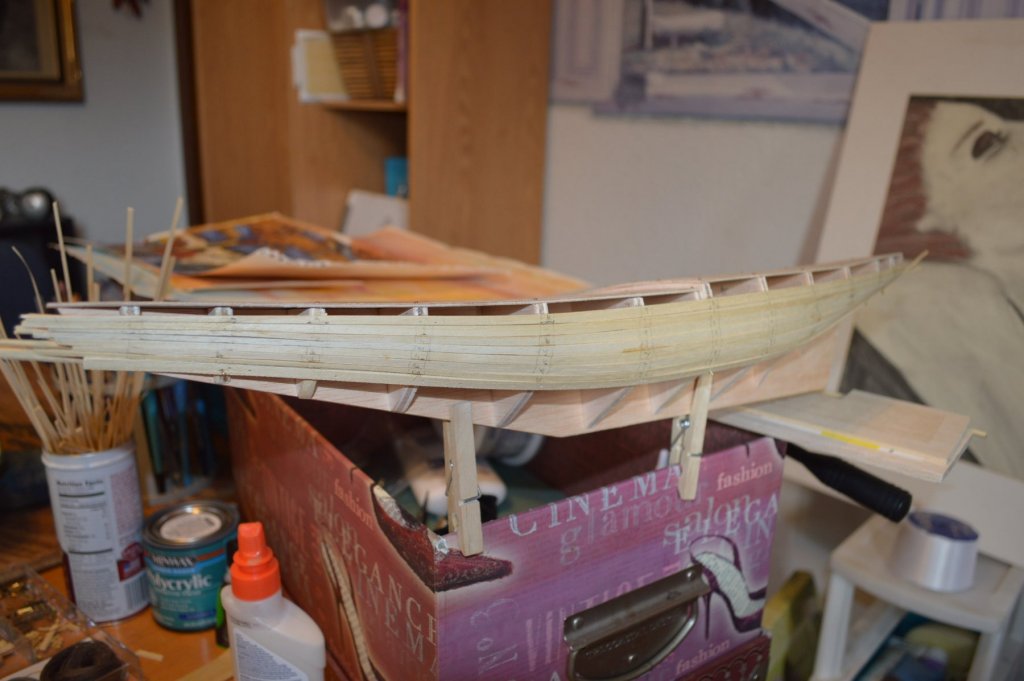
Four planks down... 30 to go? About that yeah. Wow... this is more time consuming than I thought. But I'm getting into the zen of it. Time passes quickly in the build zone. Here are pics of the planking so far. Had some issues. Tiny gaps. But not tiny enough. Plus some difficulty with the CA when gluing down the plank near the transom, especially #13 which twists slightly. the glue doesn't like to hold that twist. Might brush on some ammonia and twist it a bit. If that works I'll add it to my growing list of techniques. Hope the pins don't cause an issue with the appearance. Honestly considering doing a double plank. Depends on how the first layer goes. It's not much, but it's a start. Visible progress is a Good Thing(tm)!


-
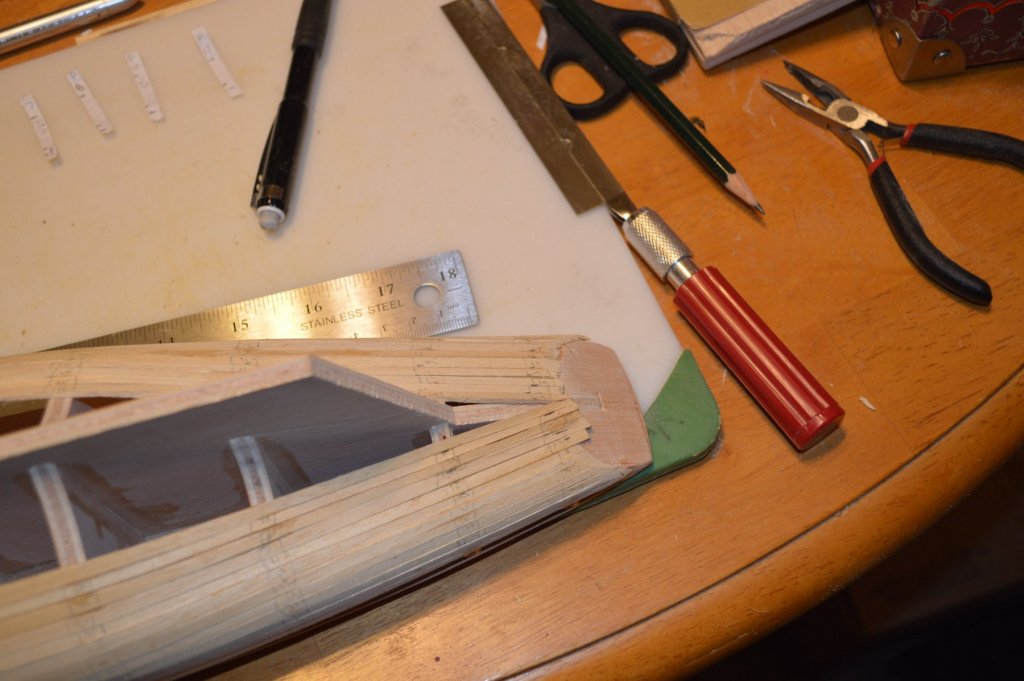
Much better. I spent way too long creating that pile of sawdust...
-
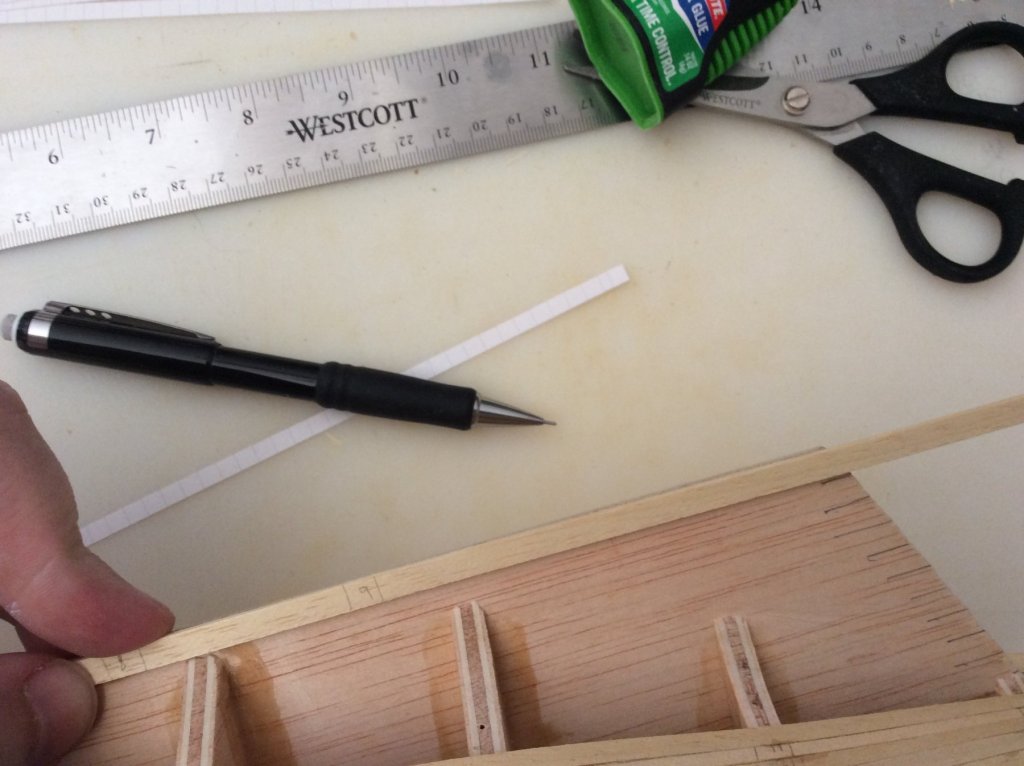
Once the plank is marked for shaping what do you guys use to shape the plank? I sanded the 1.5mm thick plank. Lol. I have a feeling this might not be the best way, but it tapered well. Use a small plane? Xacto? Other? Alchemy?
-
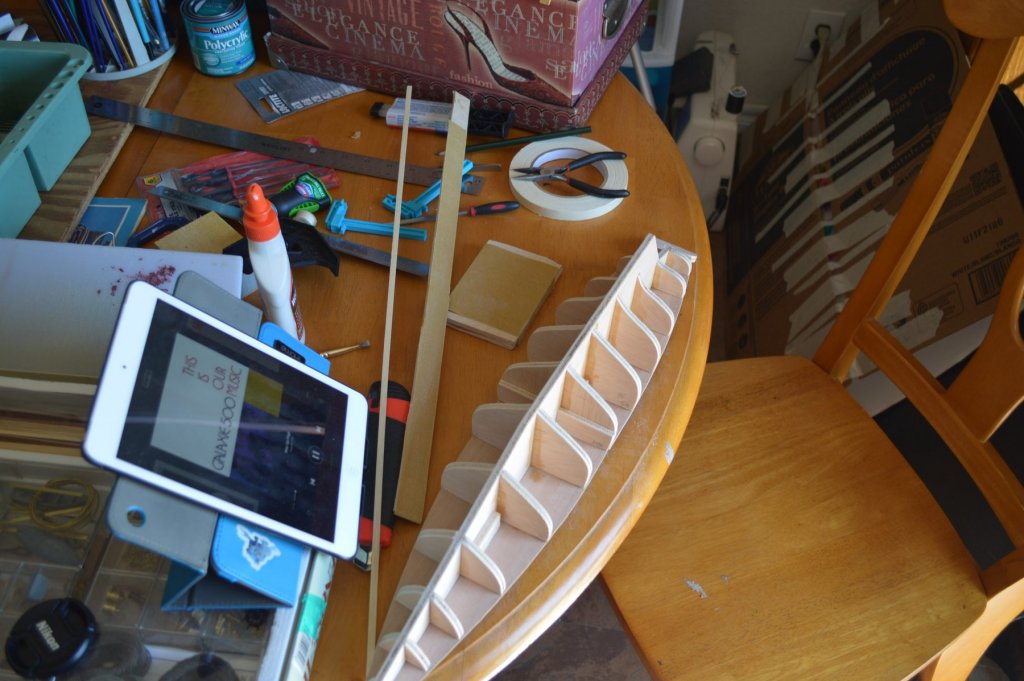
John, you did write a REALLY good building guide for that model, and the methods used in it are going to be invaluable to me when I do my next model. You have a fan base. Ship modeling seems to be a very deliberate and thoughtful hobby. One I am glad to be a part of. The community here is wonderful. Thank you for your advice, I will definitely utilize it as I begin the planking process. Measuring planks right now, in fact. Have your guide on my iPad as well as the AL instructions.
-
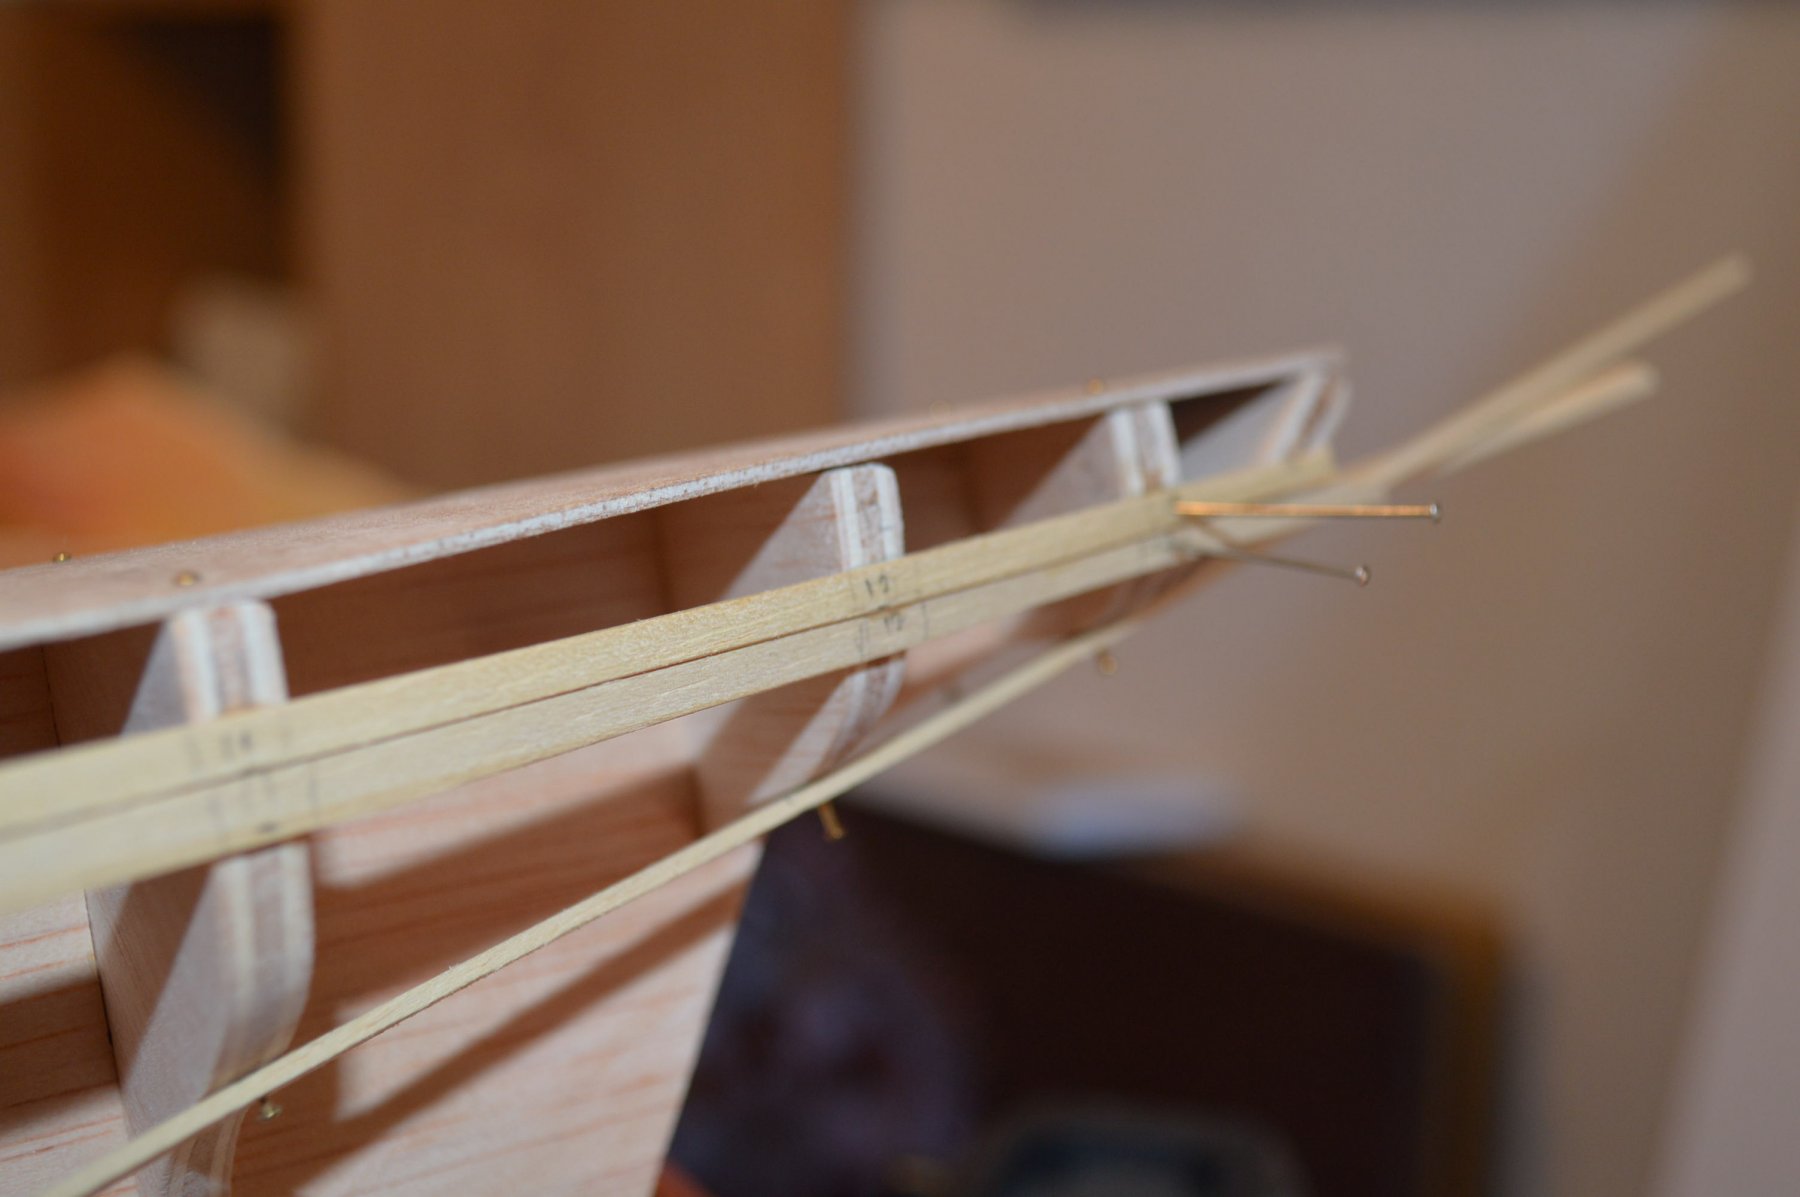
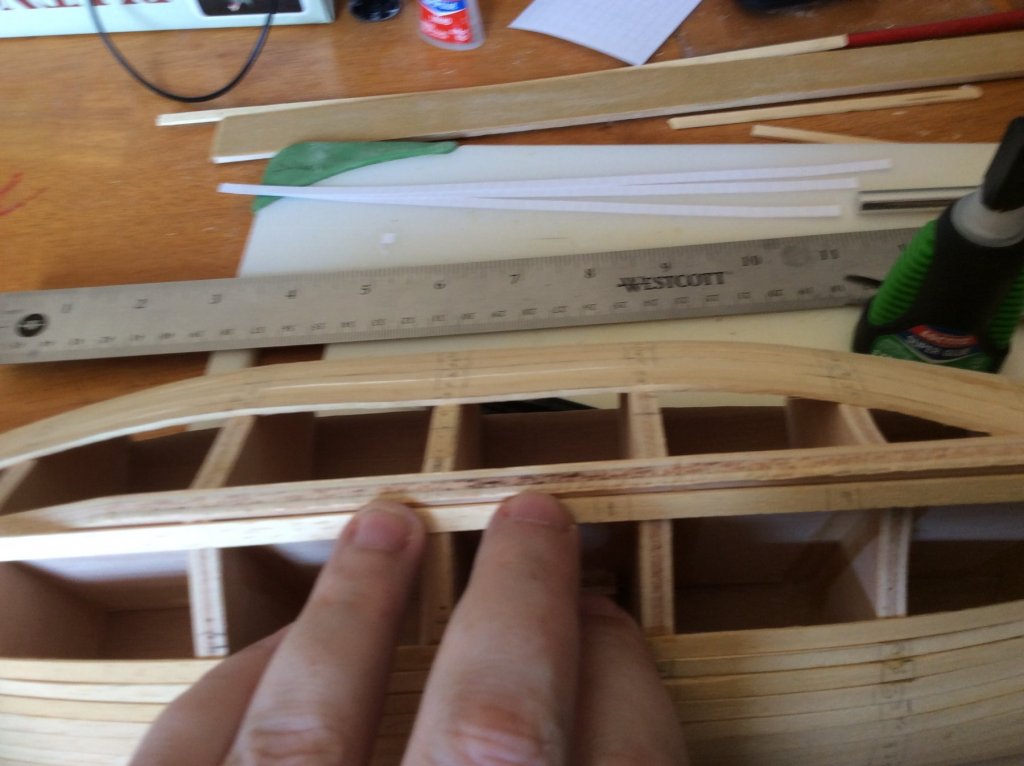
Okay, planking is involved. More involved than I thought. lol. It's still all good. I'm workng on plank marking. I have the battens placed. Turned out I had some more bulkhead work to do. The batten reveals some dips and it got ugly. Shims. Sandpaper. Messy. Eventually the buklheads were tamed and the batten lays in smooth curves. Marked one plank then decided it was time for a break. Until tomorrow!
-
Derek, that's great to know! Thank you for that. Glad to get feedback, especially positive feedback. Thanks guys!
-
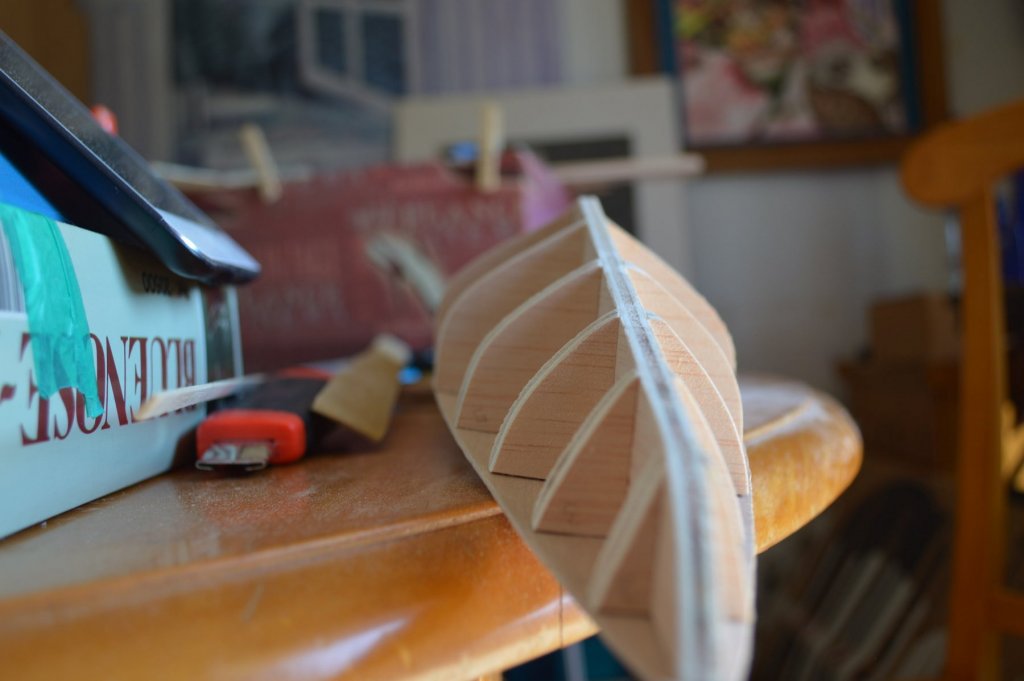
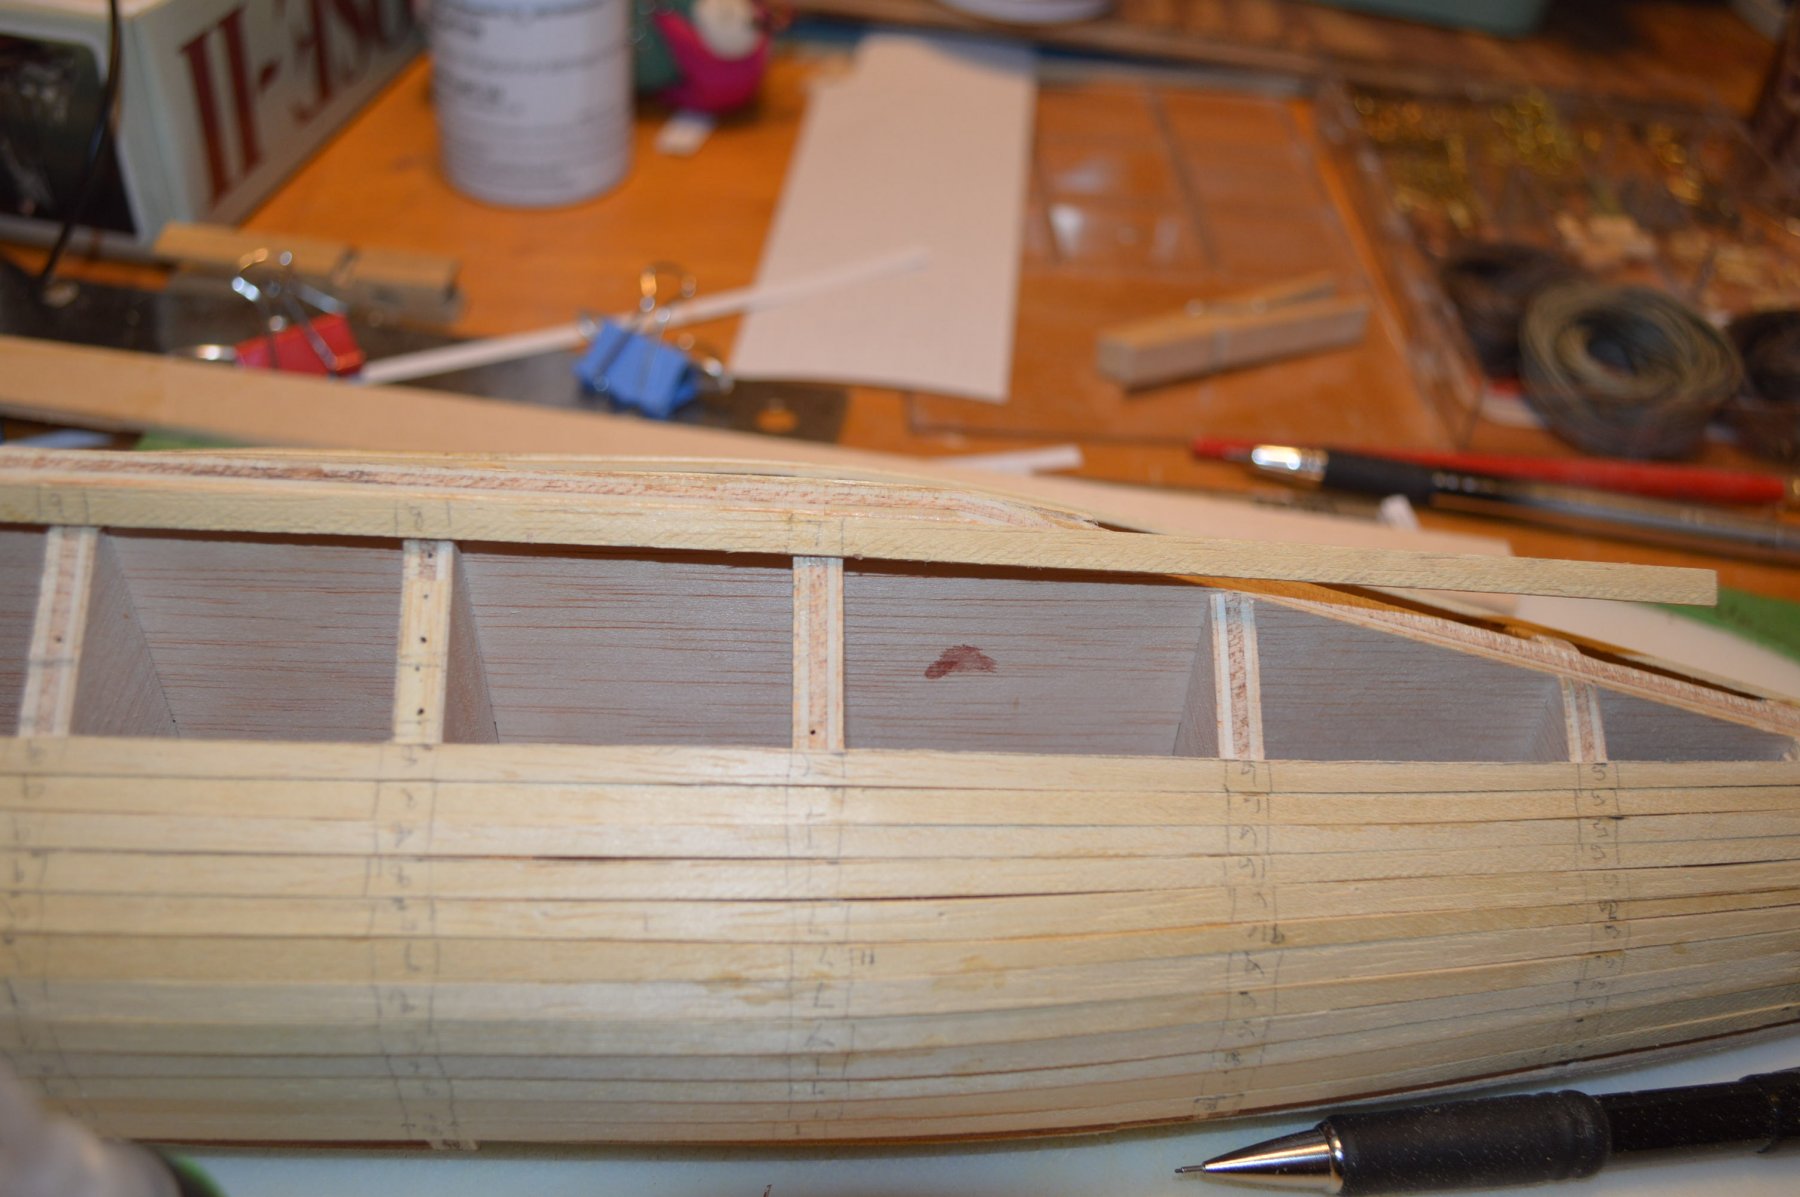
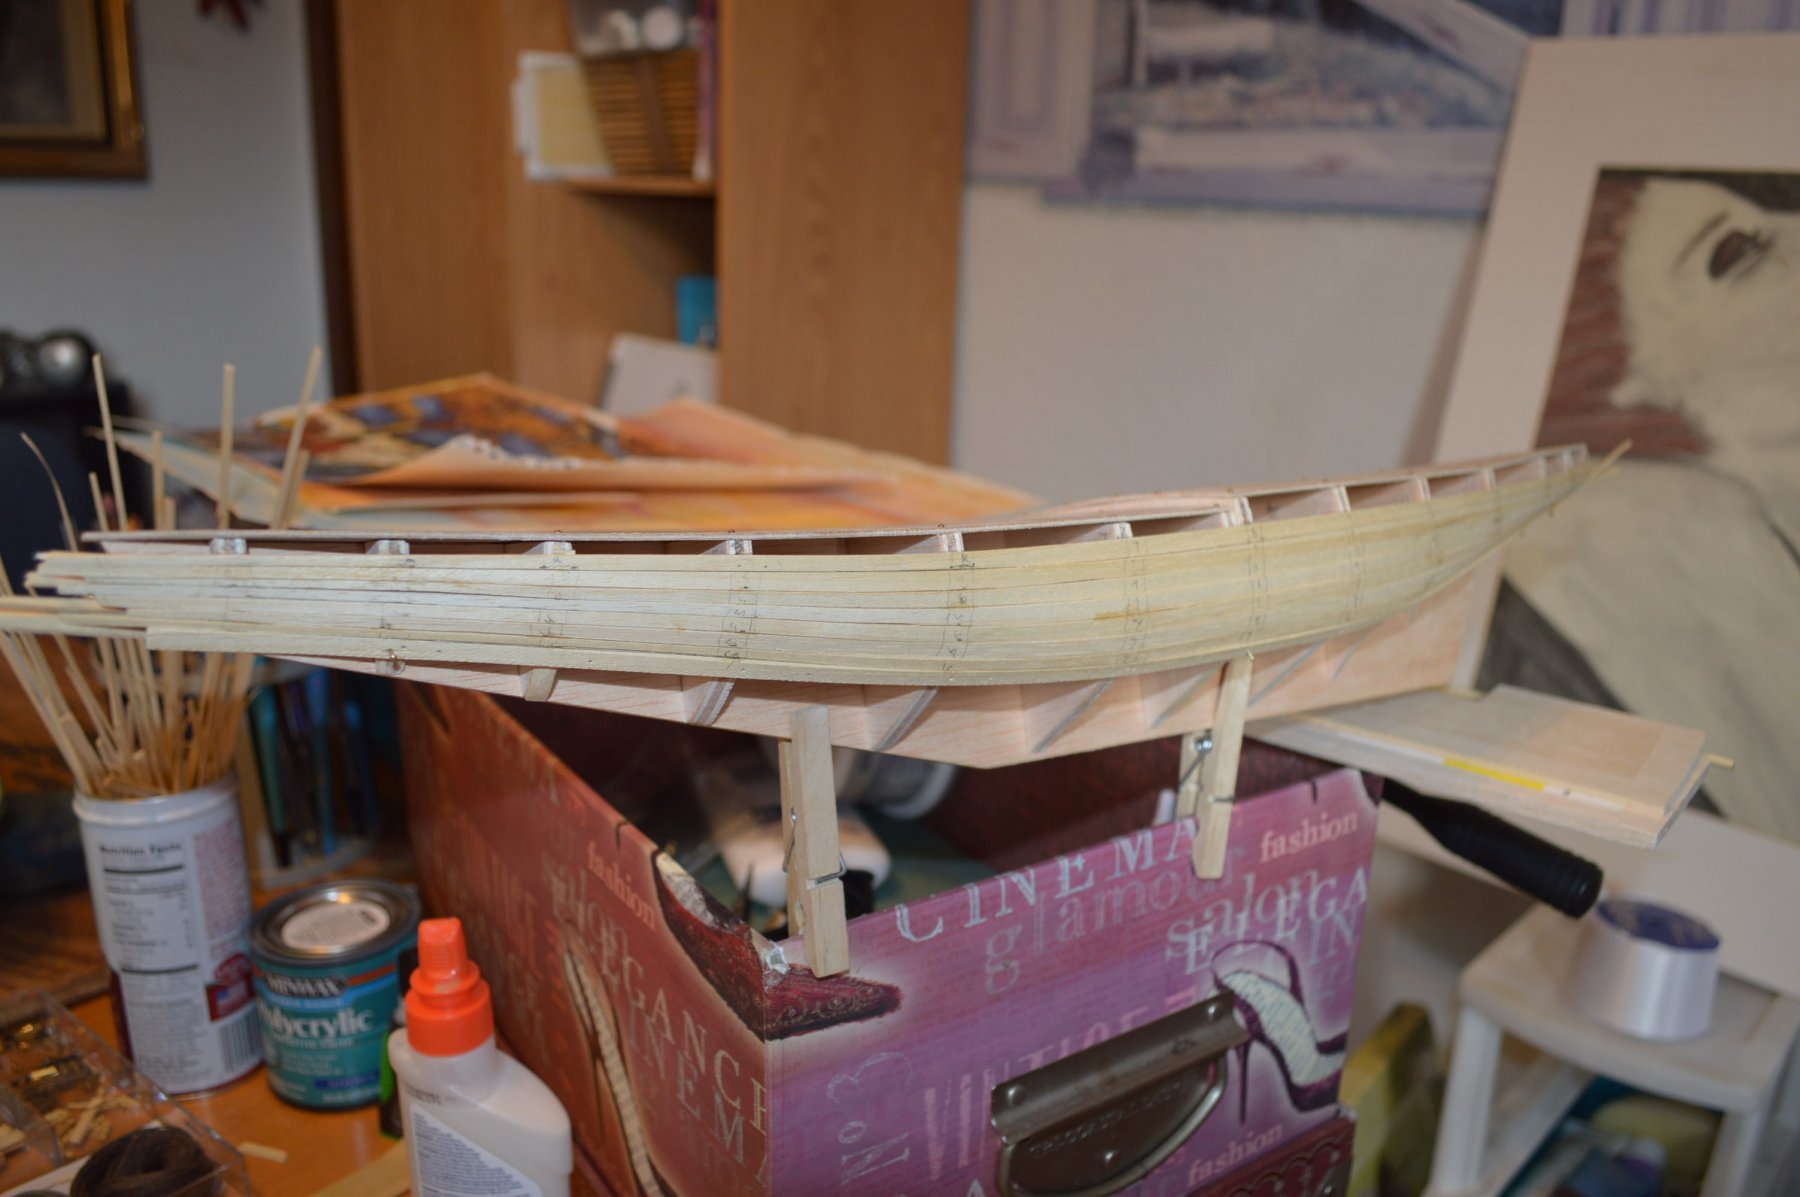
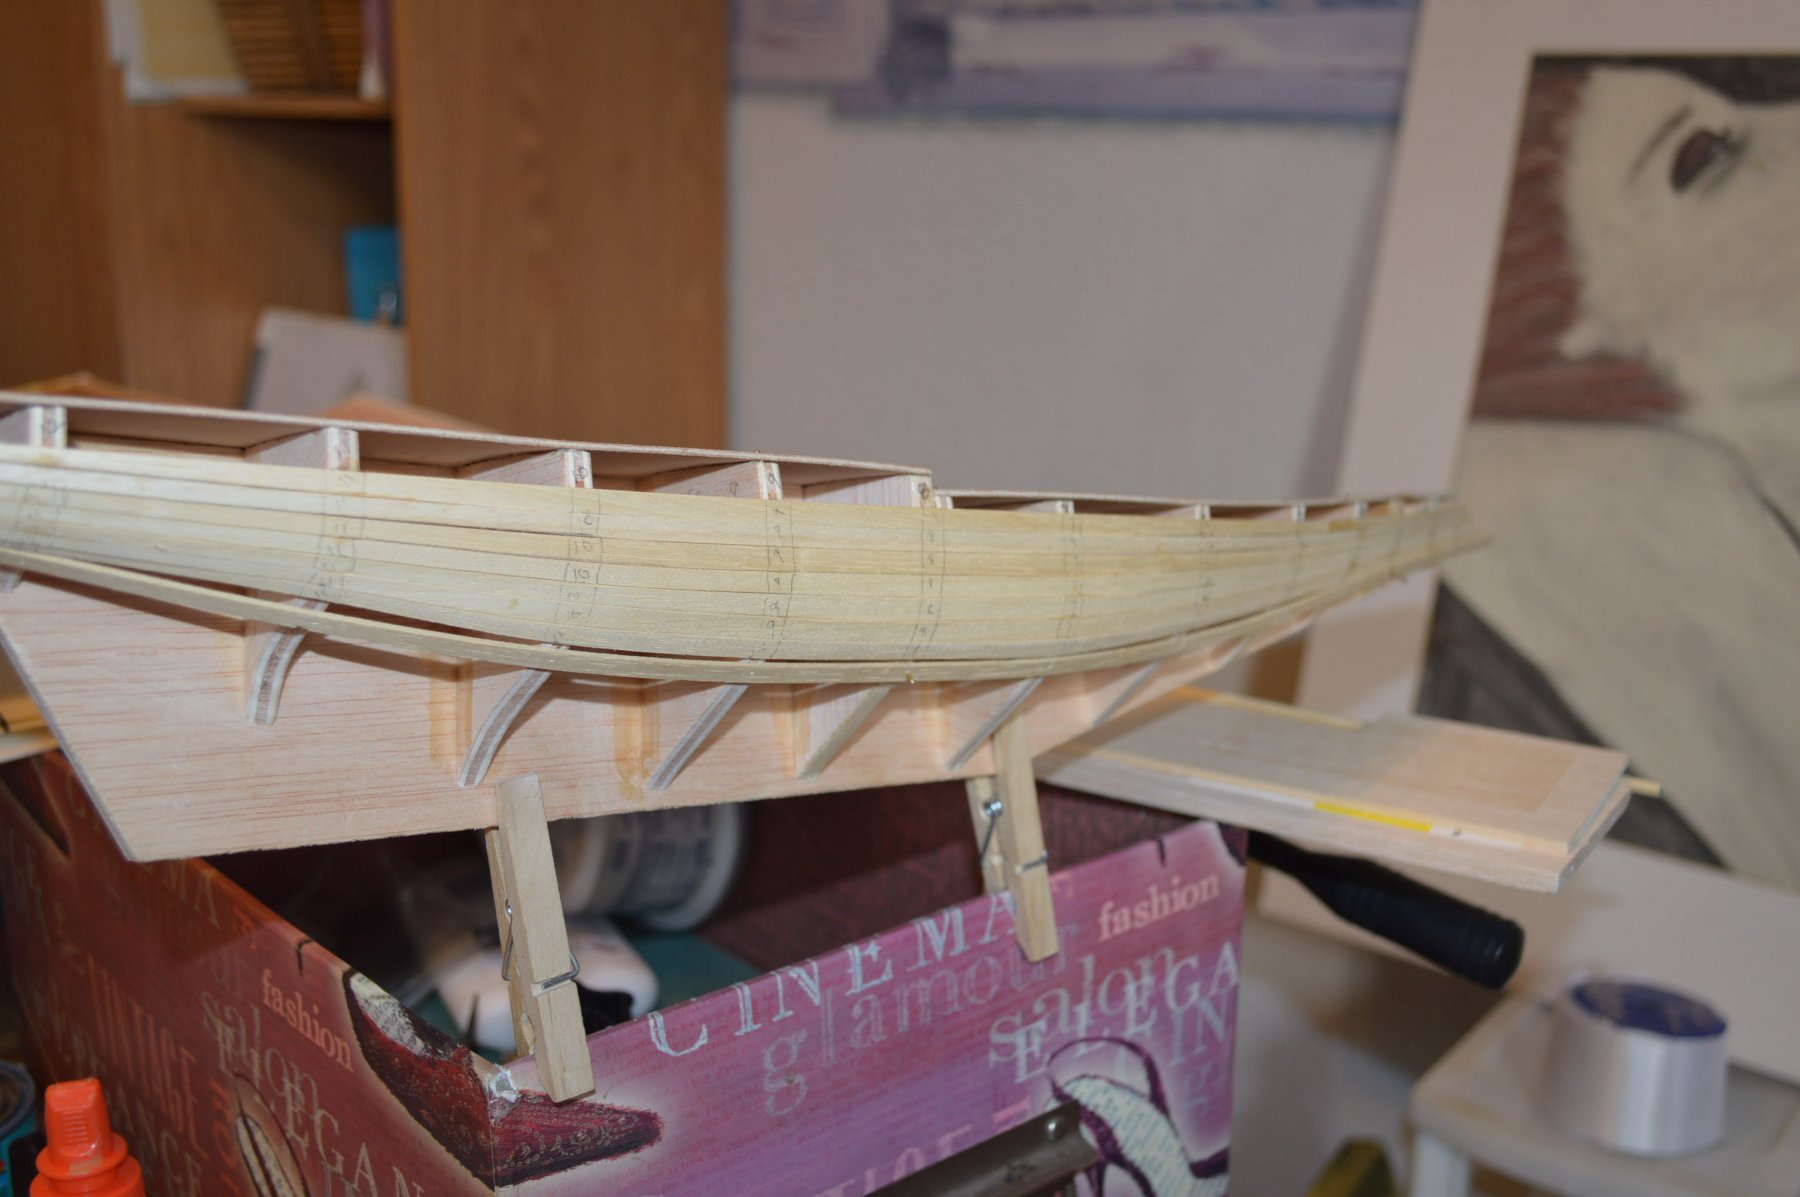
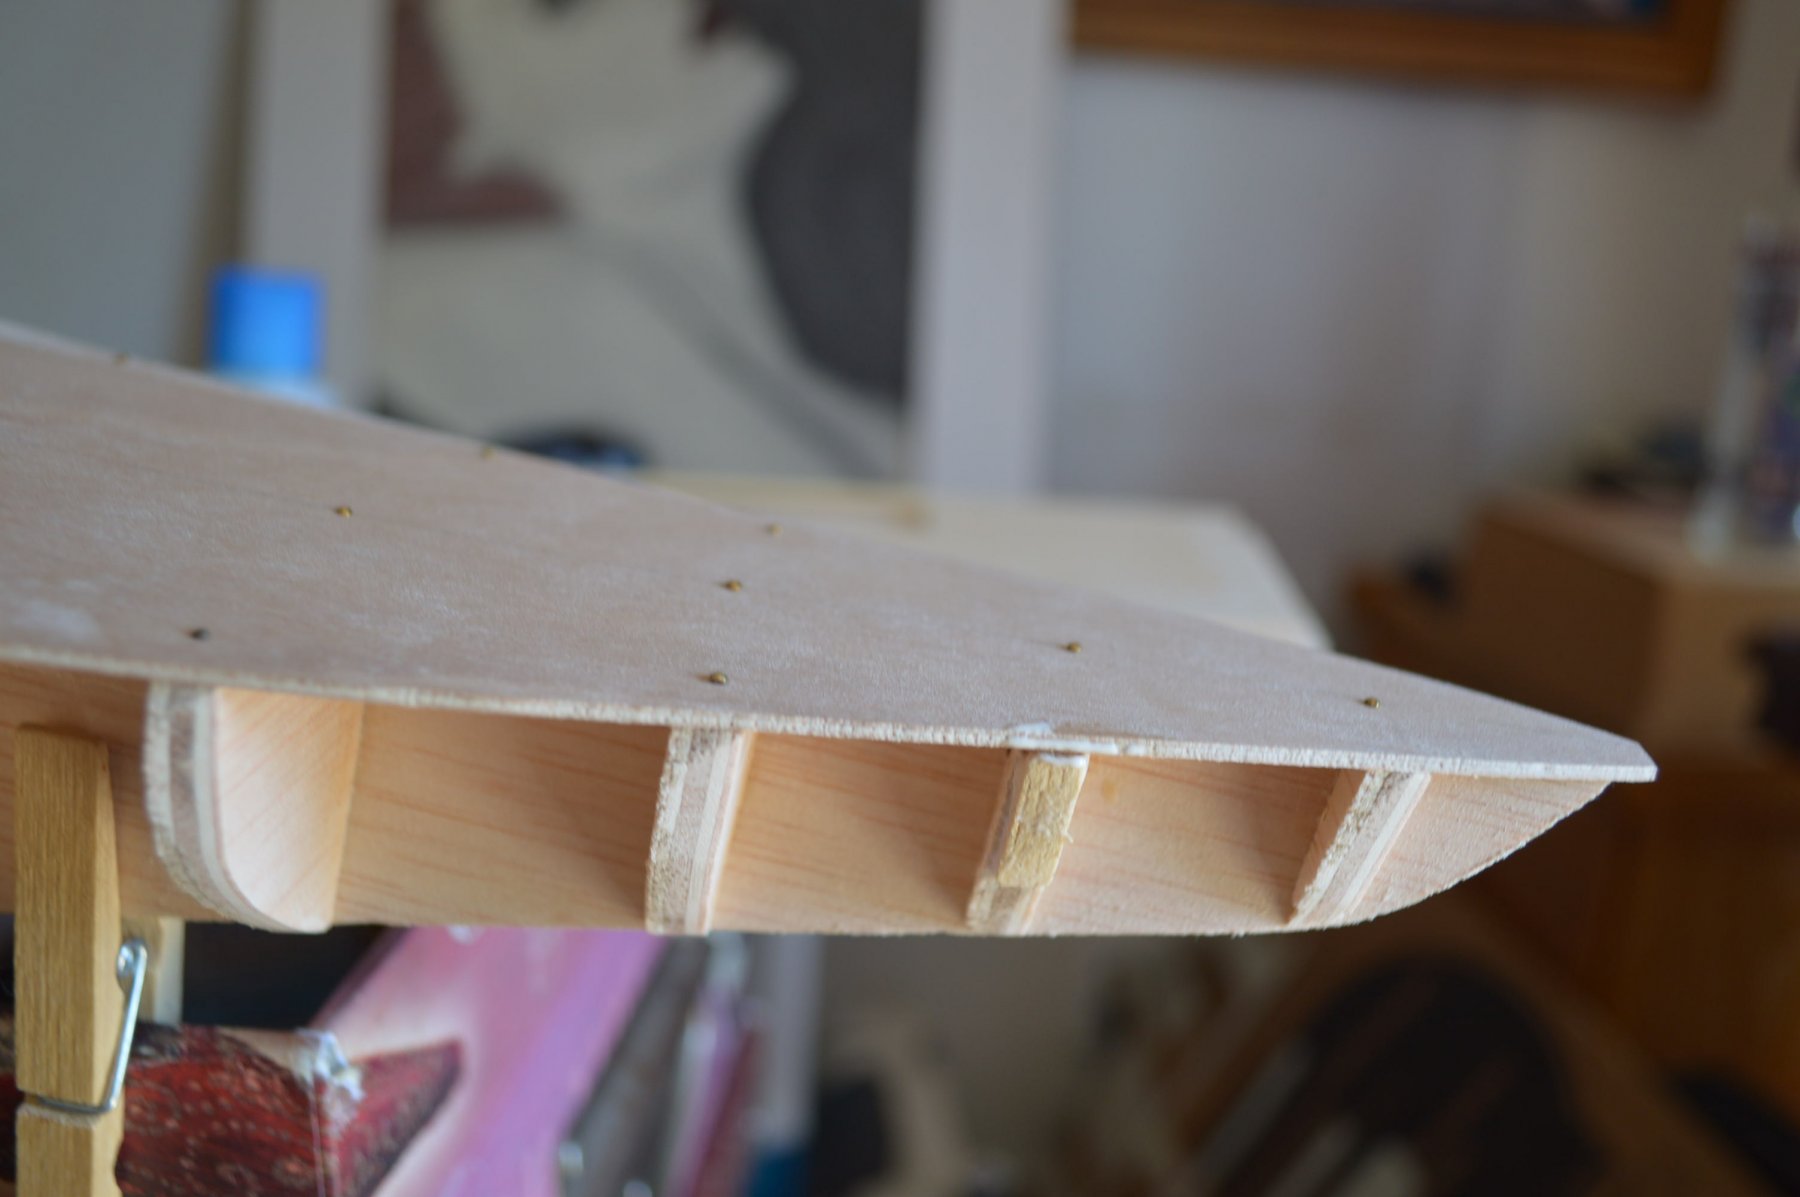
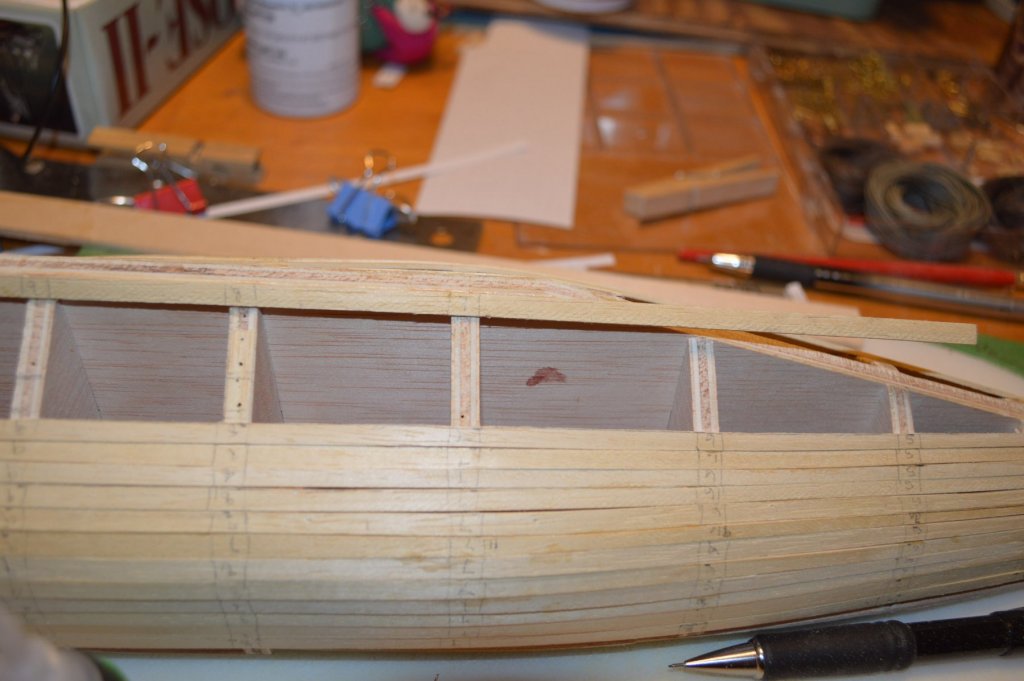
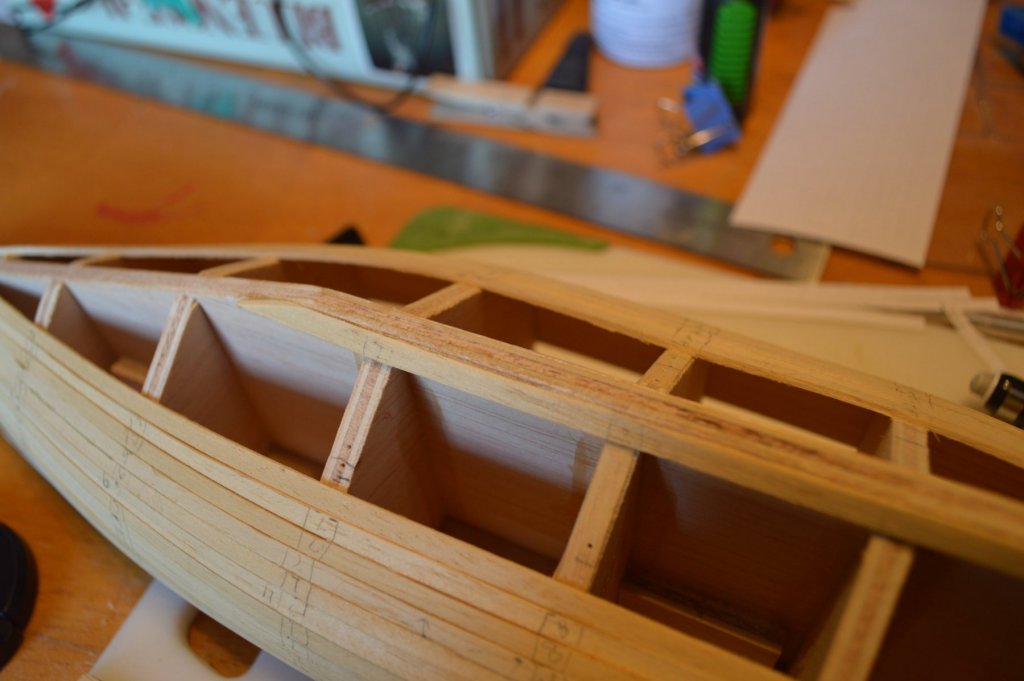
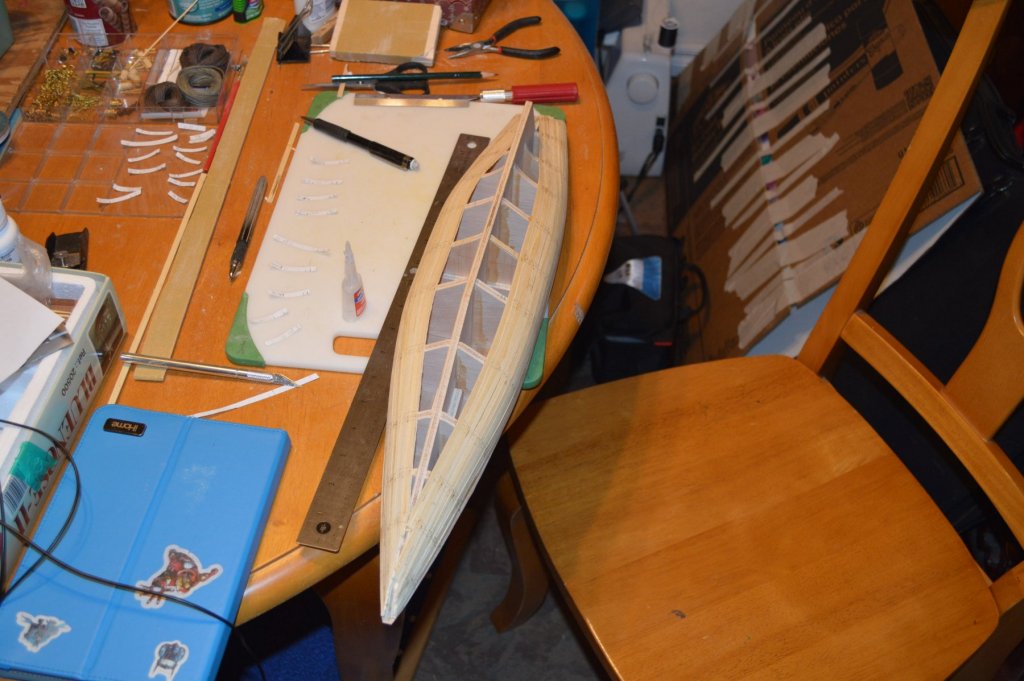
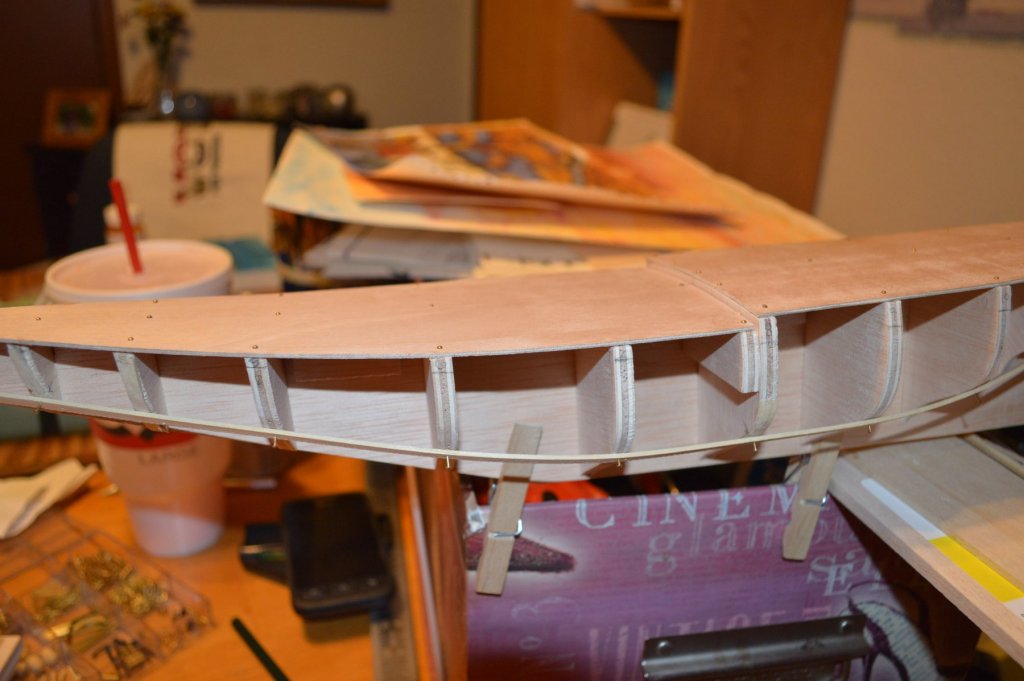
Thank hof, that makes my decision easier to live with. Doug, I think I'm going to follow John Earl's line of reasoning... since he is modifying for the sake of more accuracy. Plus it's a talking point. The transom got faired and looks smooth and nice (to my untrained eye!). Here are pics. I know it's hard to tell how the fairing looks from pictures, but here are three after I faired the hull. Note that the planks are laying pretty well on them. I still have a bit of sanding to do on the bulkhead with the shims. But after some feedback here (if positive!) I'm going to continue to the next bit of instructions. As far as the modifications, another reason for following John Earl on this is it gives me some experience with modifications. Since I want to follow a certain Brazilian modeler's wonderful lead on the Red Dragon (not completely, but I do want to do a ship's cabin intereior) this will help give me the confidence I need to made additions to the next ship. I'm not toying with the Bluenose since it needs to be a model of the actual ship. Anyways, on with the pictures!


-
Okay, thanks, Doug! I'll go back to it some more. I'm actually getting a decent contact surface with the planks right now. The aft bit is not quite finished, true, but that was because I wanted to wait until I figured out what to do with the transom. The bow seems okay but I'll double check. Keep the input coming! Last thing I want to do is make something I'm not happy with.
-
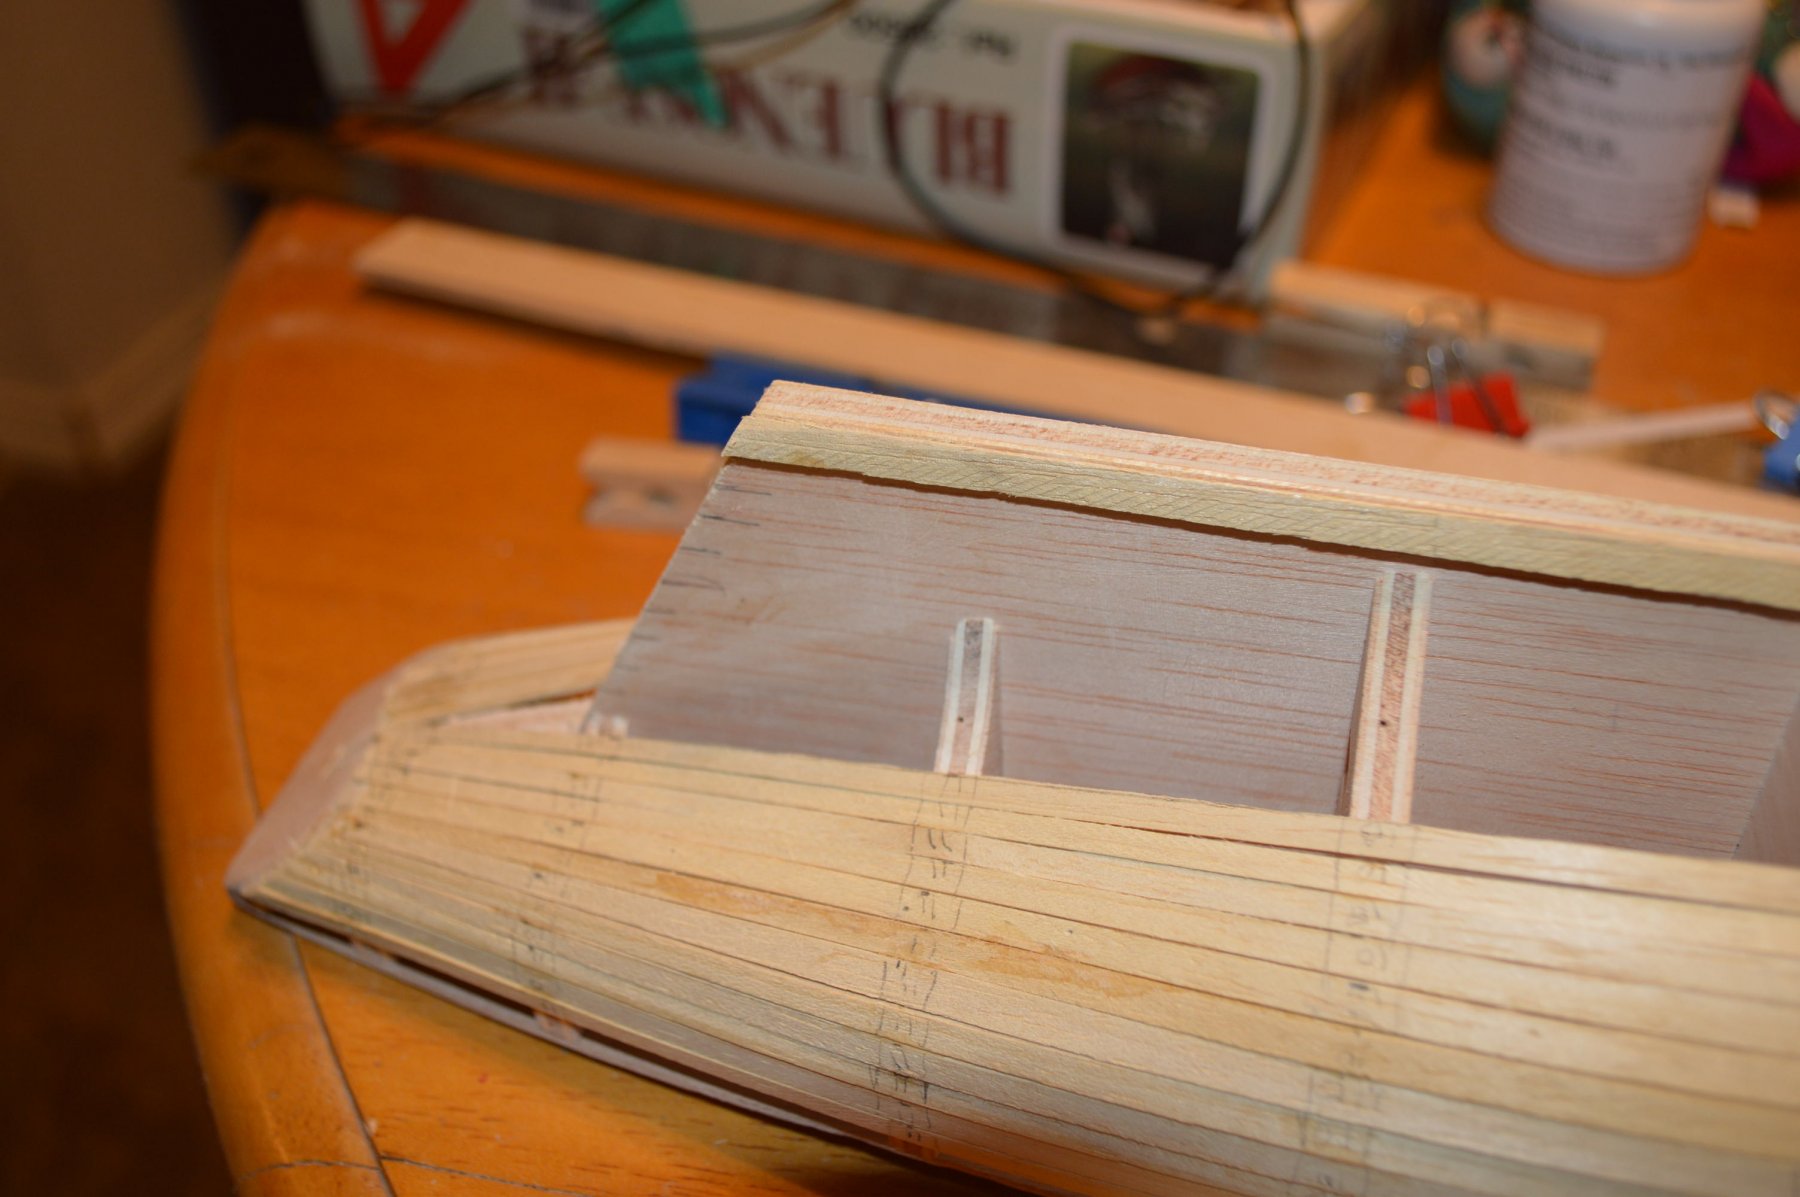
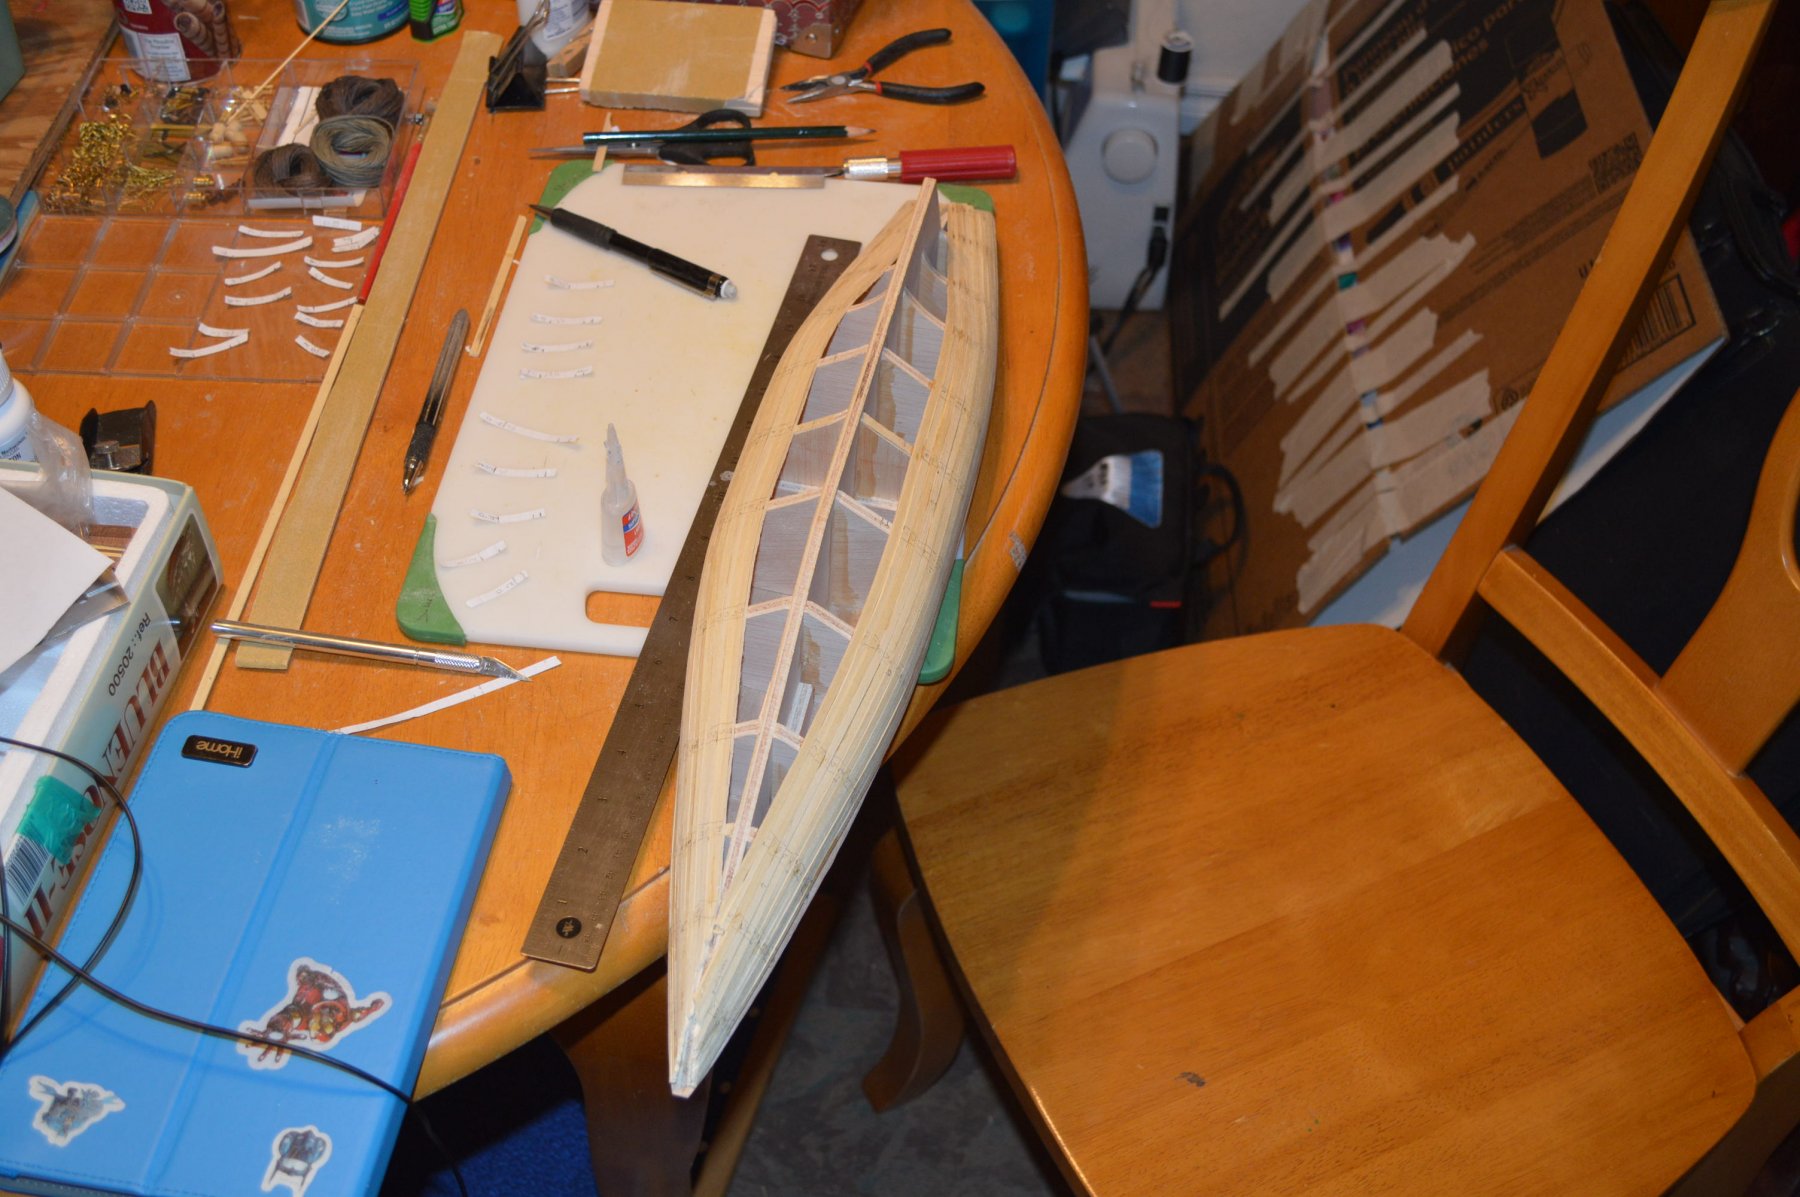
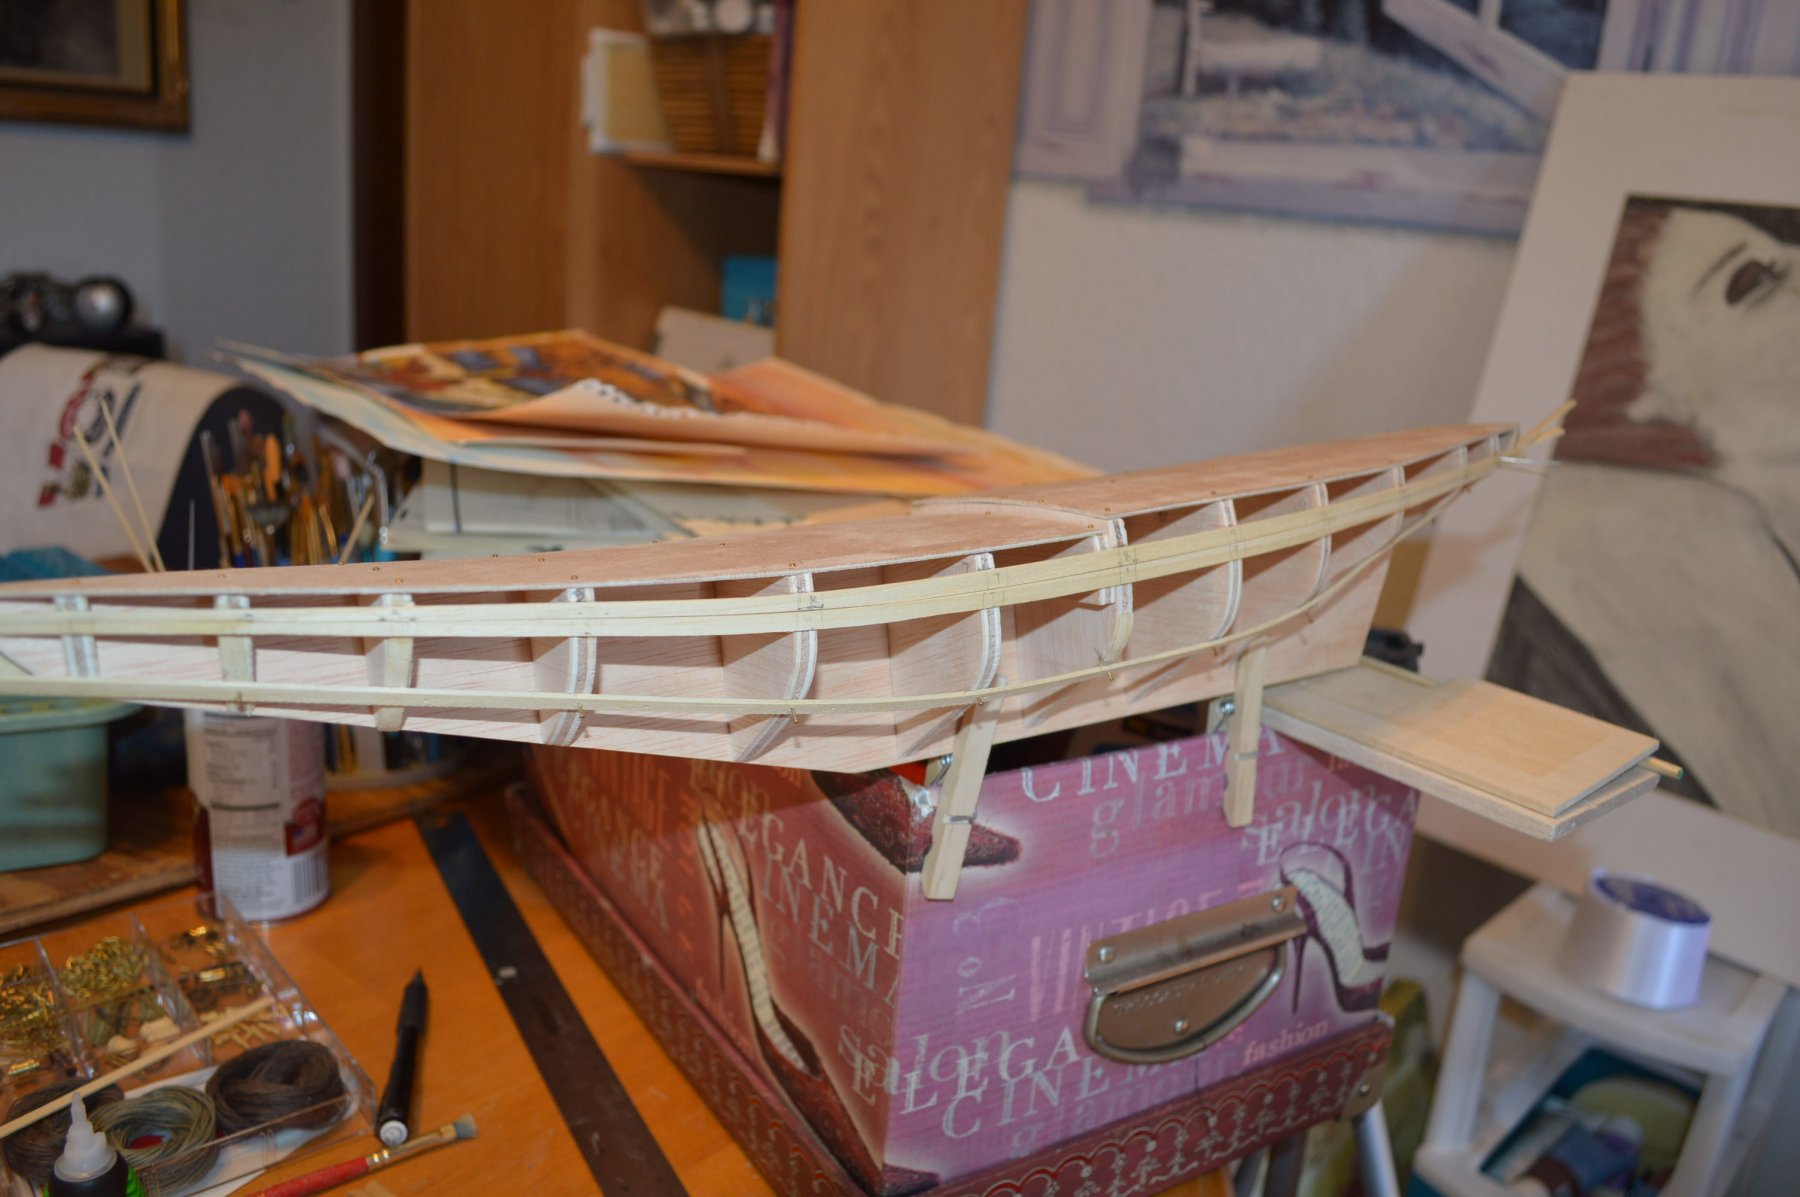
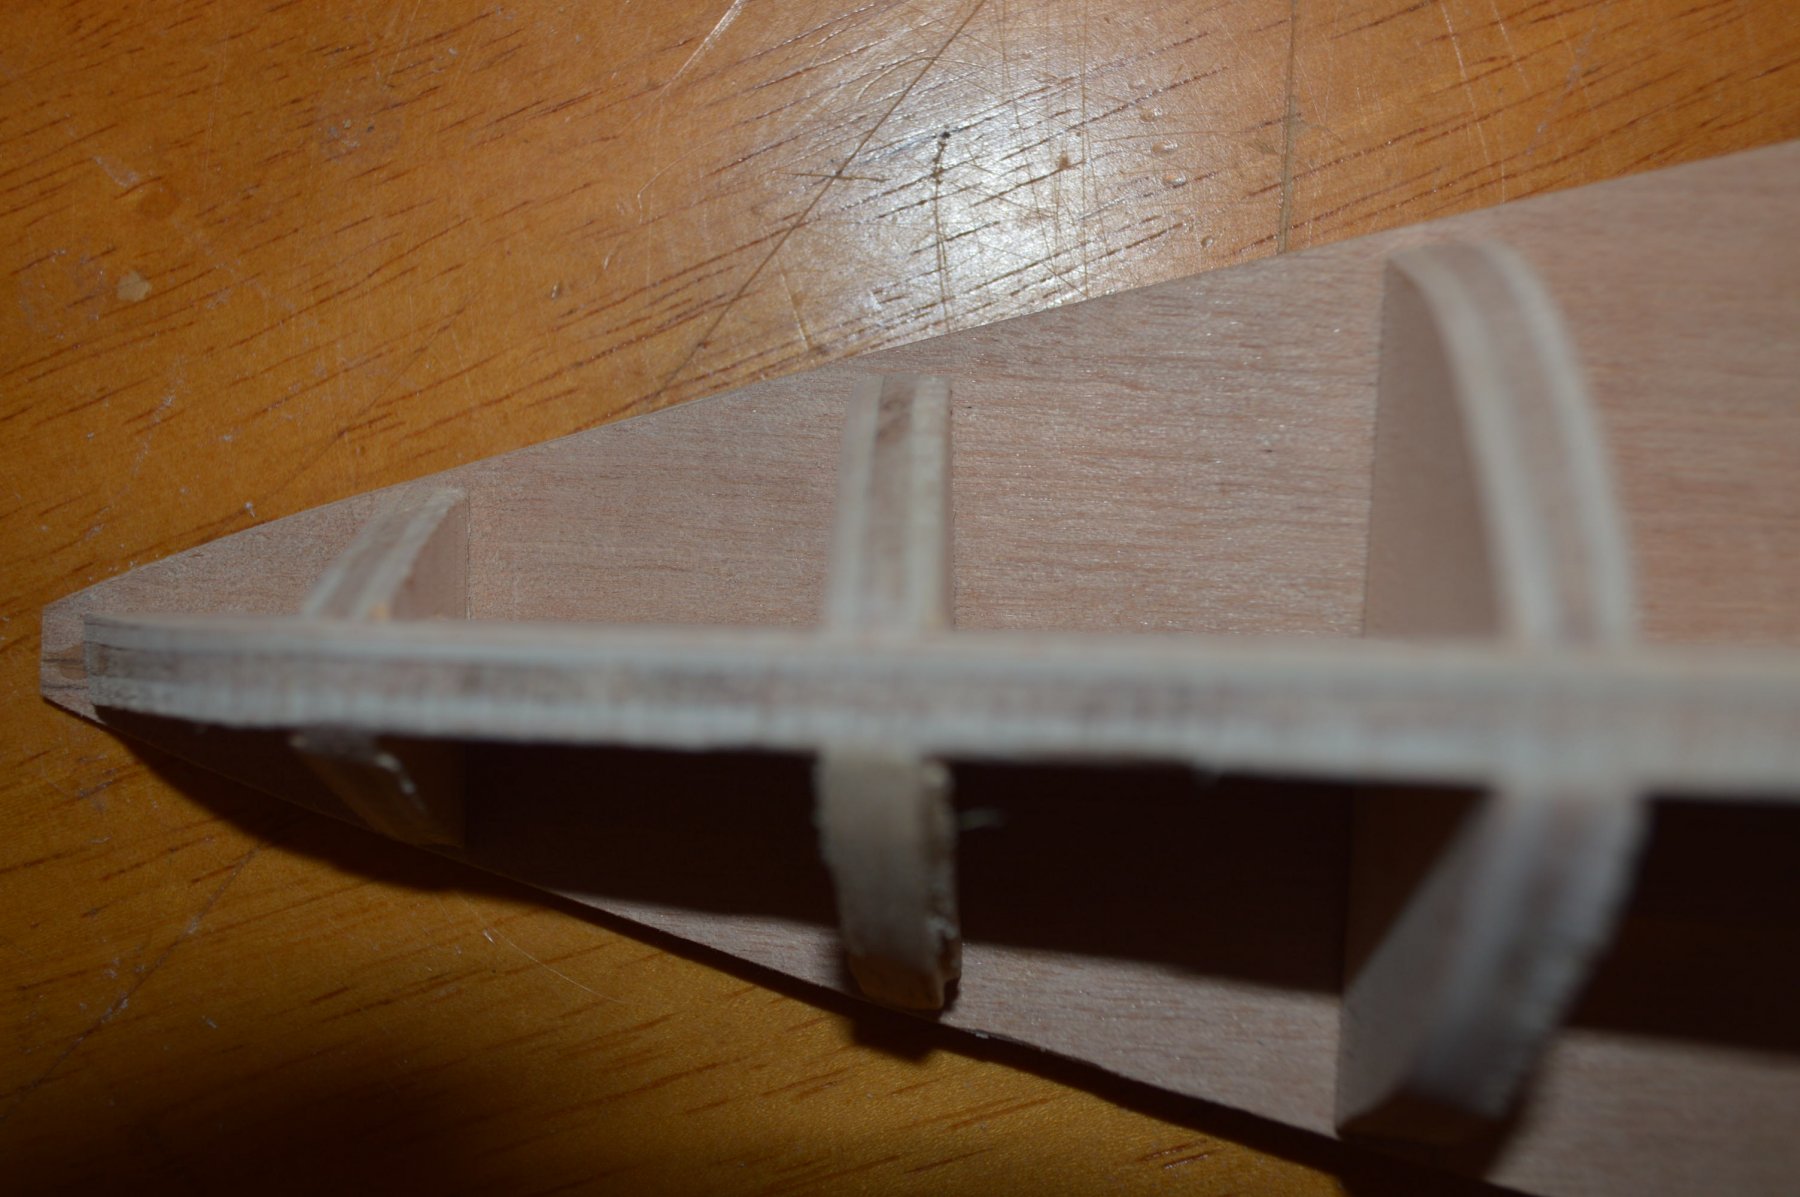
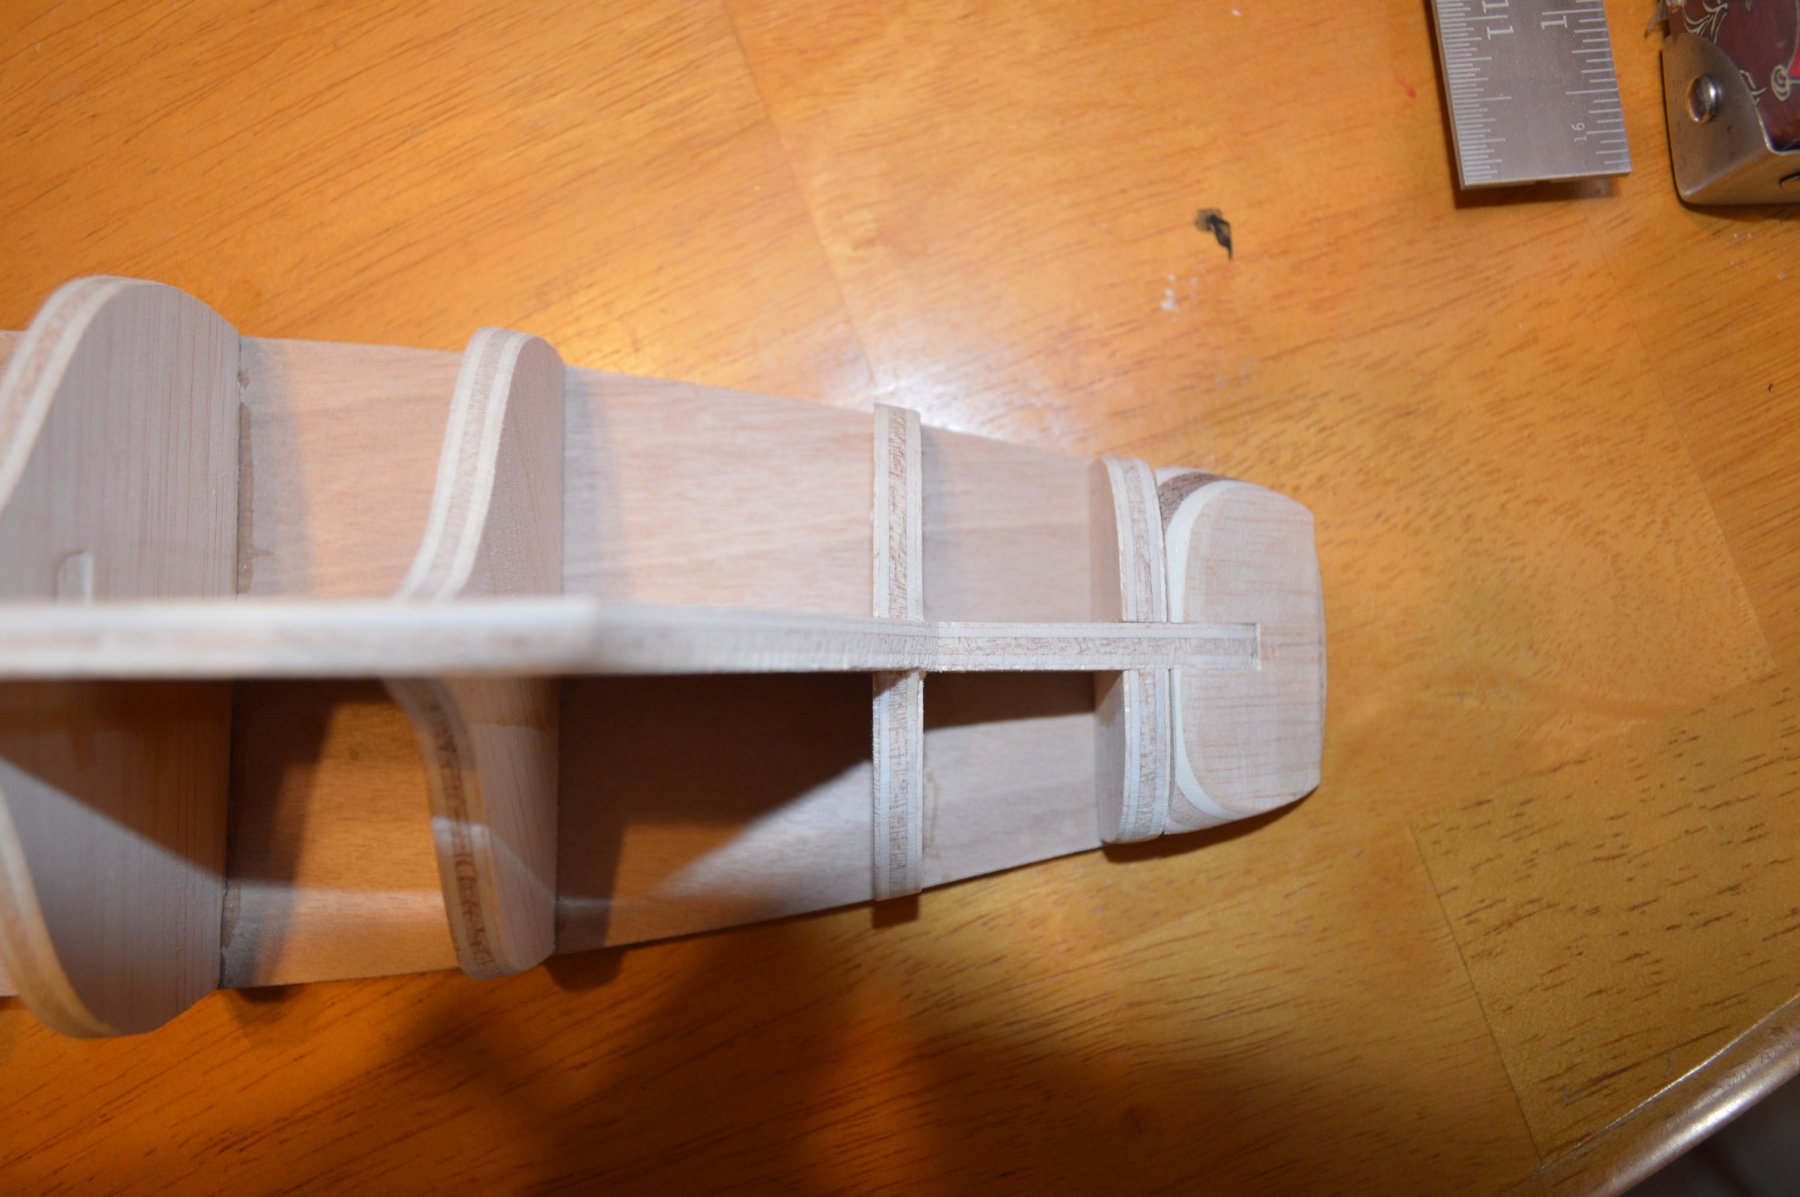
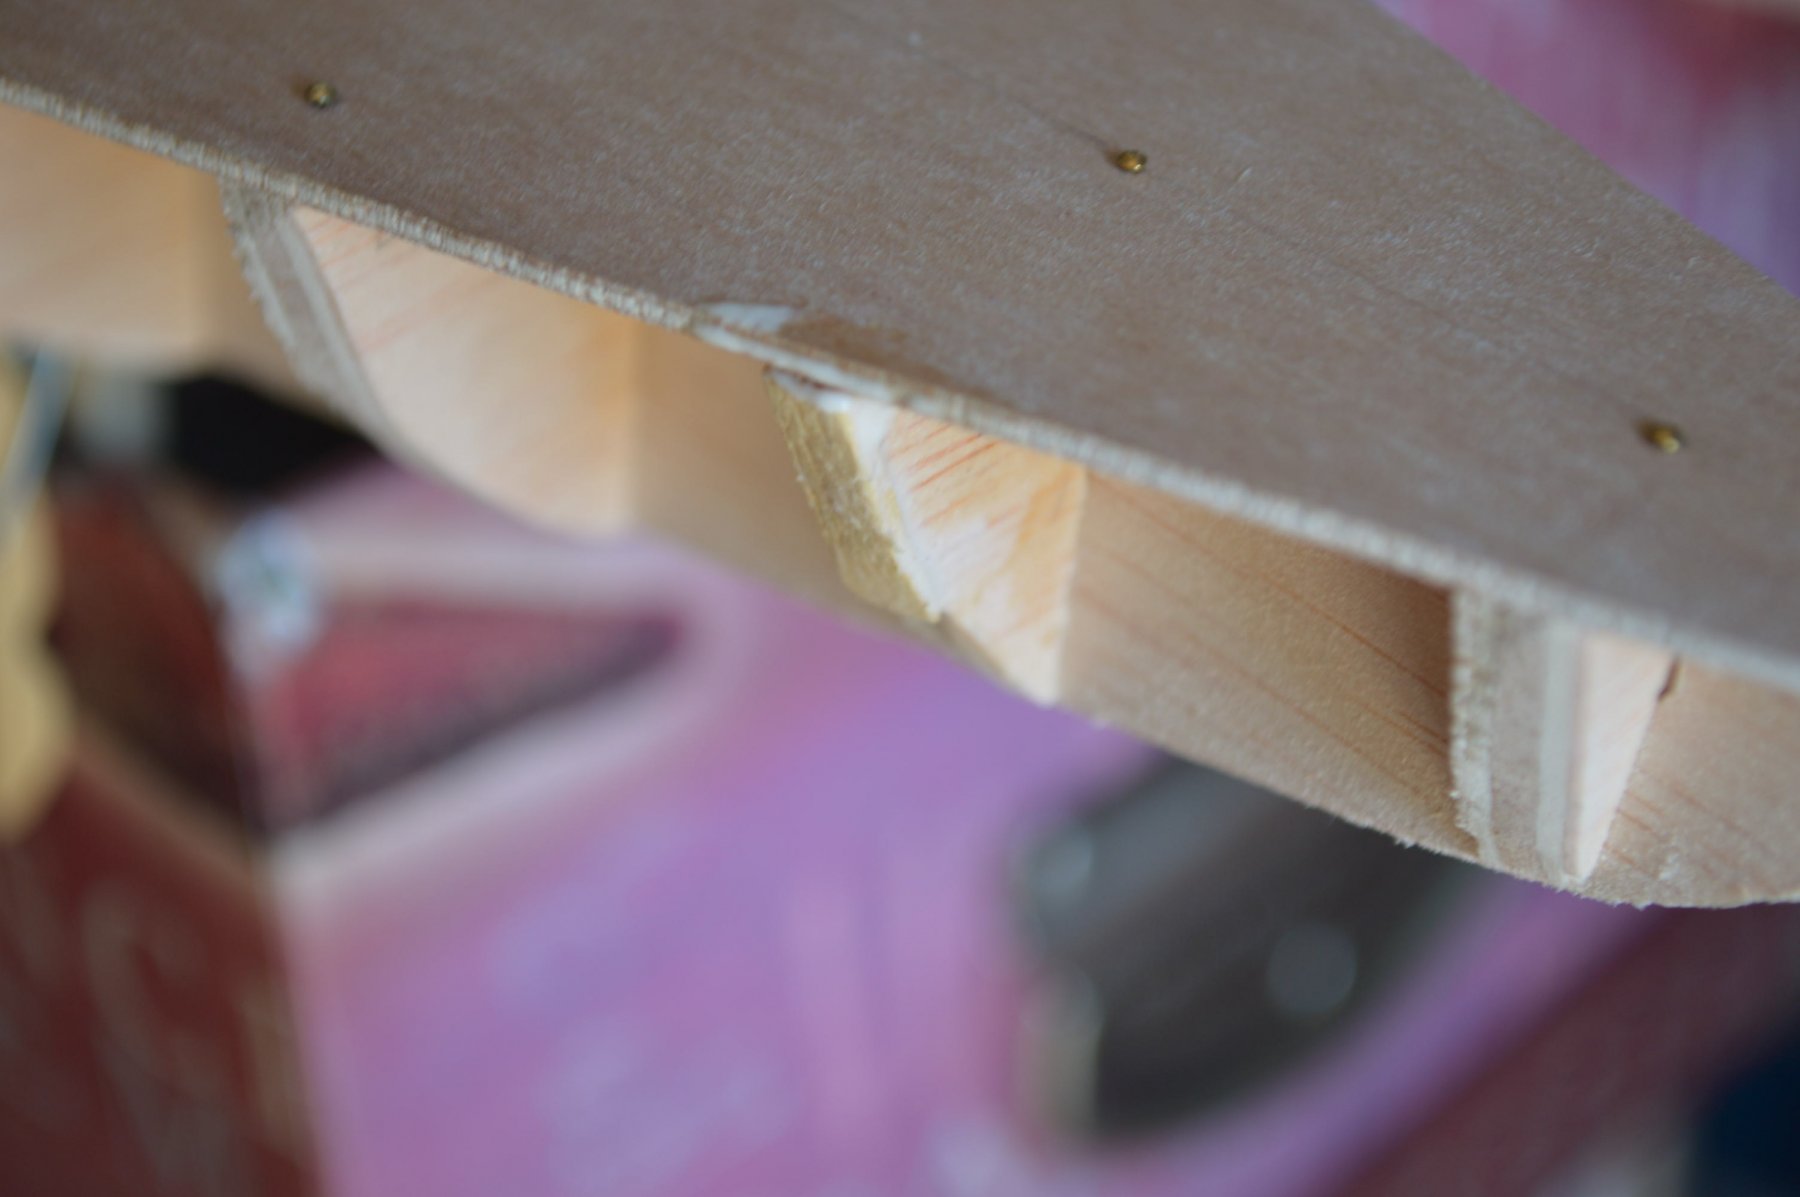
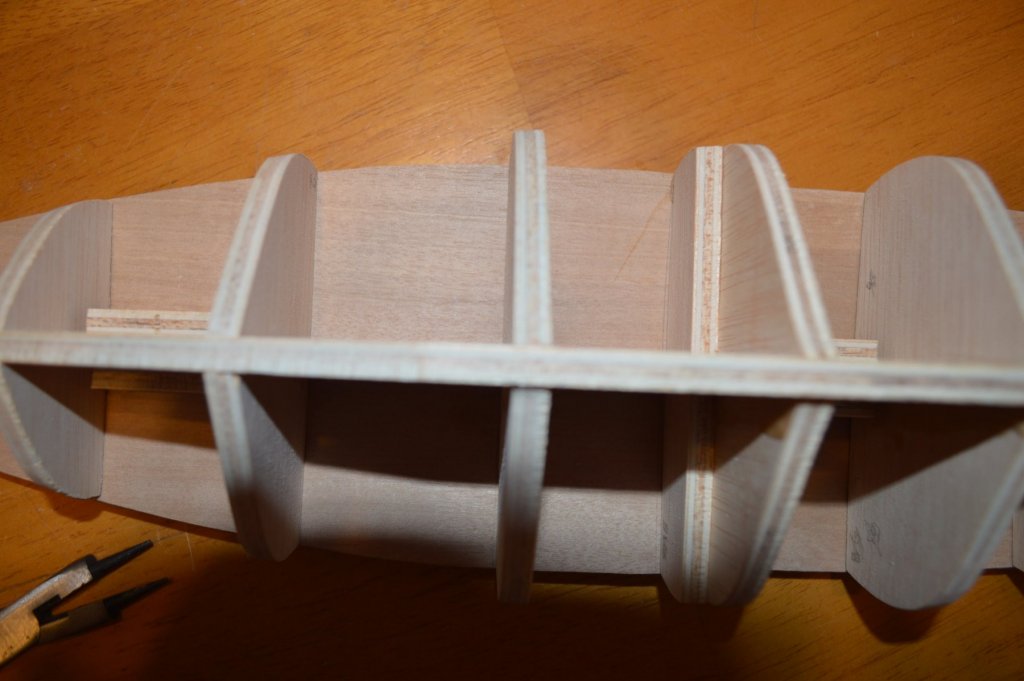
Okie dokie, fellow sailors of the workbench, finished sanding the hull to prep for planking. At first it was daunting, but then I started laying the test plank against the bulkheads and saw that my handy dandy (AL suggested) flat sander (40cm long, about 3cm wide with 120 grit sandpaper) worked great to sand down the edge and get the test plank flowing nicely. I'm seeing how this might work in the planking phase. Had to place a bit of wood here on the second bulkhead (starboard side, arrr!) since there was a nice gap under the planking. Didn't want to sand down the first bulkhead to accommodate since it seems to be that size for a reason. More views of the curve that shaped under my careful (lol) sanding technique. Leaving this large to make sure the detail shows. I'm a bit puzzled about what I should do here.The transom (?) would need a ton of sanding to meet the planks properly. I don't recall reading anything about this part of the boat in the instructions (at least as far as sanding to prep for planking). I likely overlooked something. But speculative advice is welcome. With all due respect to my fellow modeler, Worldway, I actually like sanding. My cat hates its (sneeze!!) but I like seeing the wood shaped as I sand. It's a very zen process, but I always have music going anyway. Music does wonders for more tedious work. It's all coming together slowly but surely. This is definitely a hobby I'm glad I started! No way am I giving up after planking, or halfway through!