HOLIDAY DONATION DRIVE - SUPPORT MSW - DO YOUR PART TO KEEP THIS GREAT FORUM GOING! (Only 20 donations so far - C'mon guys!)
×


rshousha
-
Posts
431 -
Joined
-
Last visited
Content Type
Profiles
Forums
Gallery
Events
Everything posted by rshousha
-
 Really?? And here I thought I was missing the package with the edge pieces. Cheers, Rick
 -
A little forward motion on one side.
-
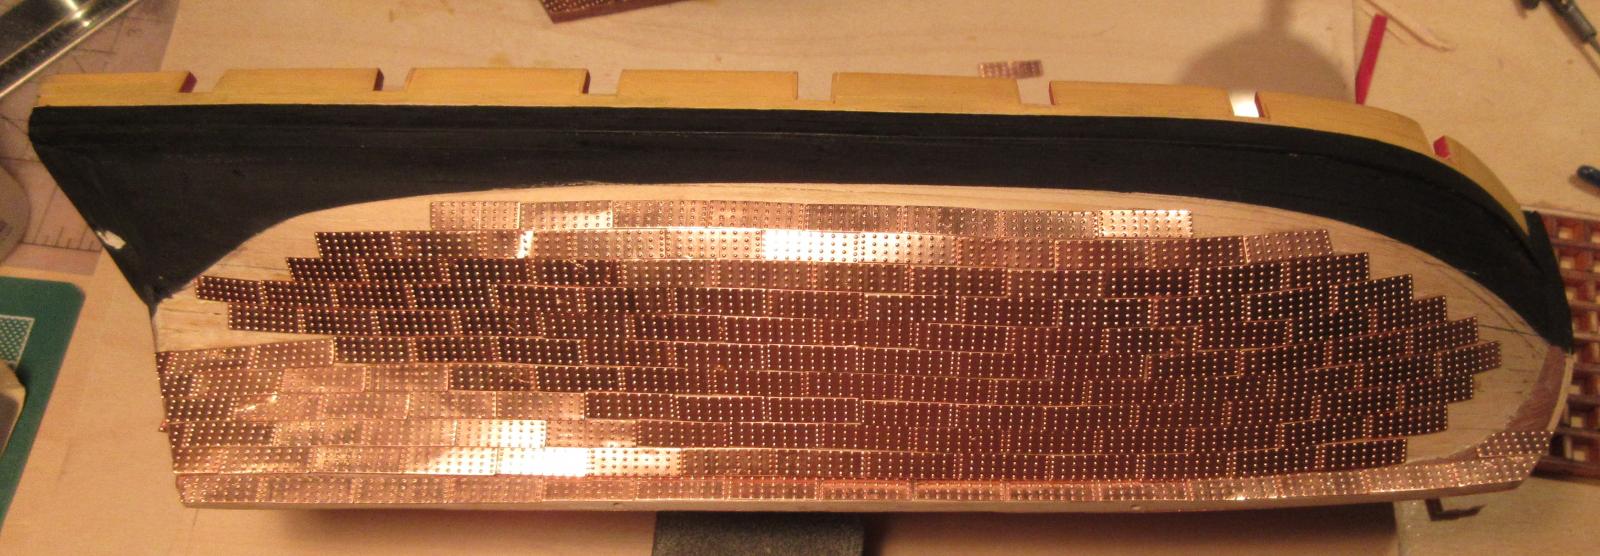
Hi John, I'm certainly with you on this one. The only reason I brought up the subject is because one of Murphy's Laws took over. You know the one; anything you drop will be run over by your chair as you look for it. Once I saw that, it gave me the idea to make "lemonade from lemons" and see if this could lead to a learning opportunity. So I learned what copper-metal alloys are available in the Solidworks material tables and I learned all about the various copper alloys that were used in the copper-plating of ships through the ages. I've also learned that the poisoning of our environment is, sadly, nothing new. Regards, Rick
-
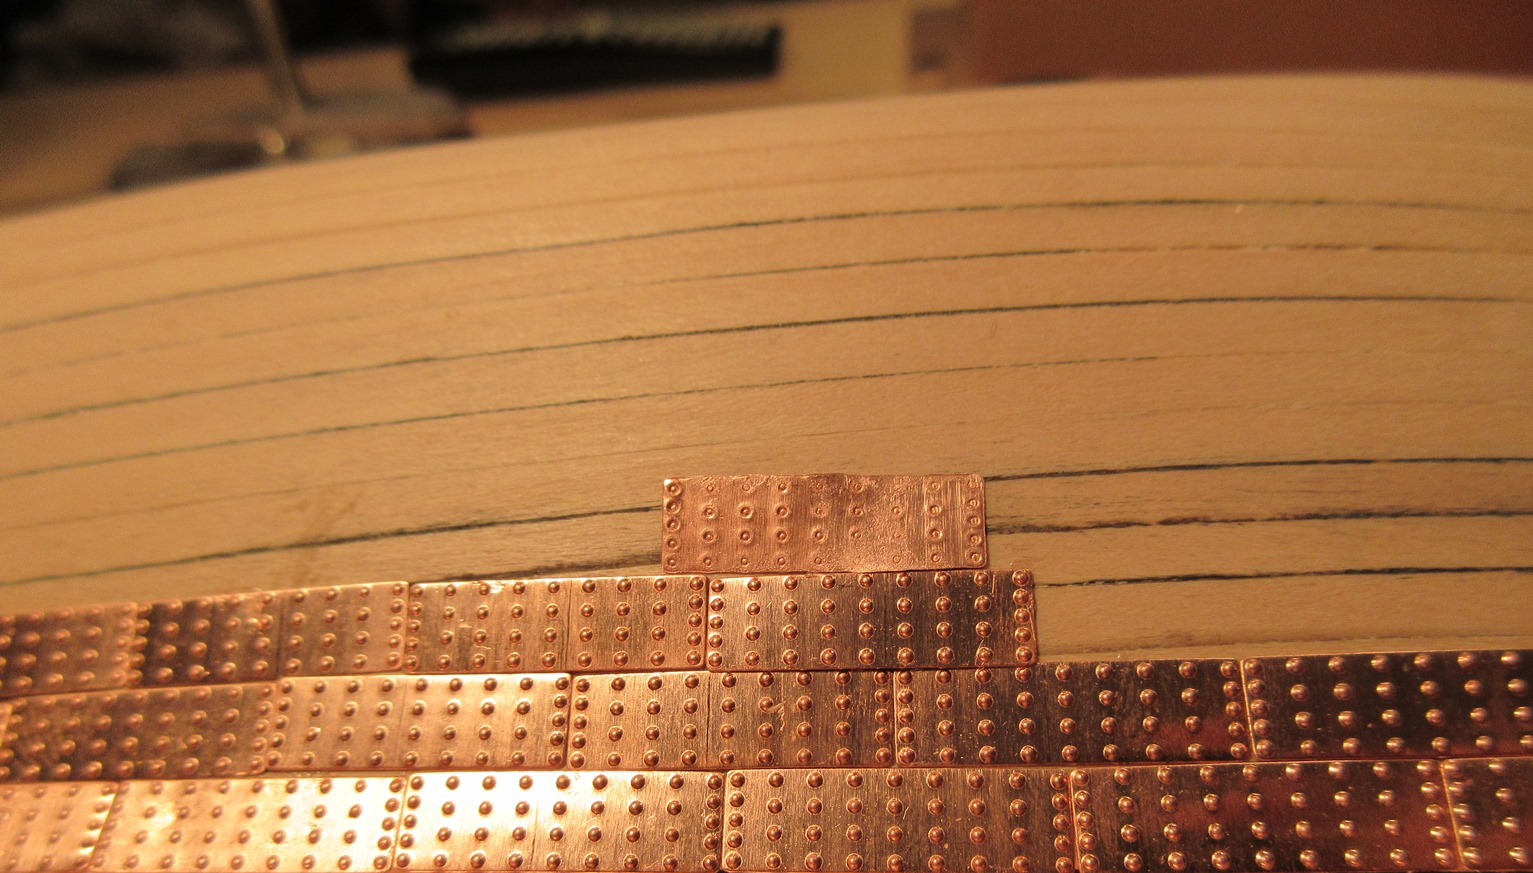
So I went ahead and squished one to make the dimples appear a little more in scale. What do you think? Should i squish them all? It sure would be a fun way to beat up on something. Cheers, Rick

-
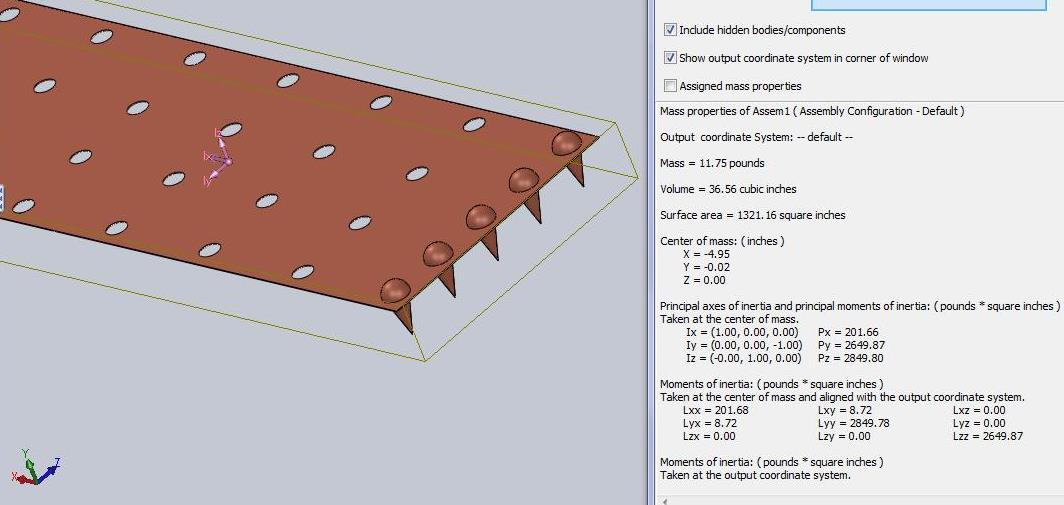
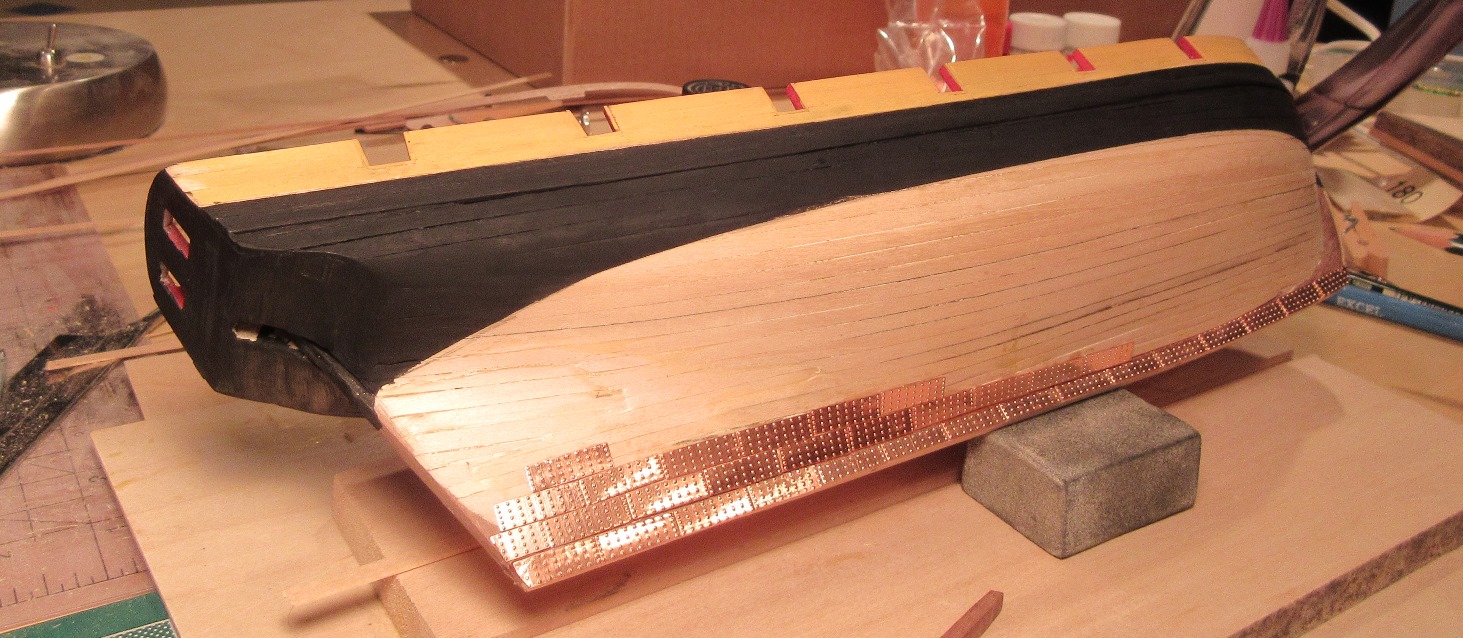
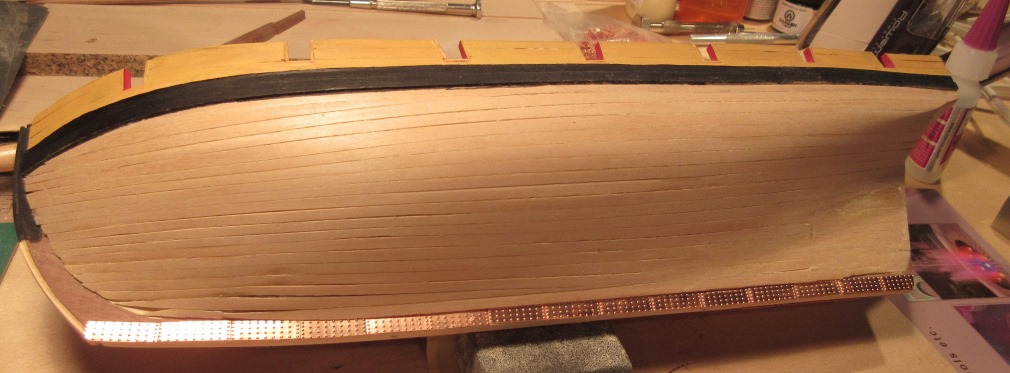
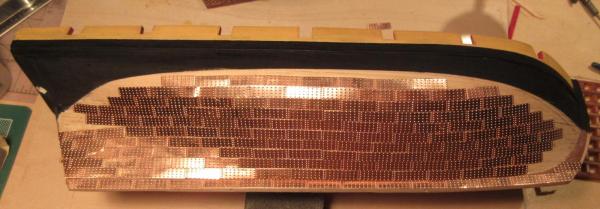
Fun with copper plates simulation. Greetings, I carefully measured the copper plates that came with the Pickle kit and I worked out the scale weight of the copper plates to a total of 13,500 pounds or something less than seven tons of metal. Considering the ship weighed some 127 tons altogether, it seems unlikely these plates are quite made to a scale of 1/64. My measurements show that each plate would be approximately 47" x 14" and would weigh something like 9.5 pounds. The nails, according to the measurements I took, should have weighed around a half a pound each, which seems rather unlikely. The 11.75 pounds you see in the picture is for the plate and the first five nails. I used a fine Starrett micrometer to make my measurements and used the Solidworks features to give the mass of the copper. So, my question, then is: are the new plates in the Amati kits more to scale? Regards, Rick

-
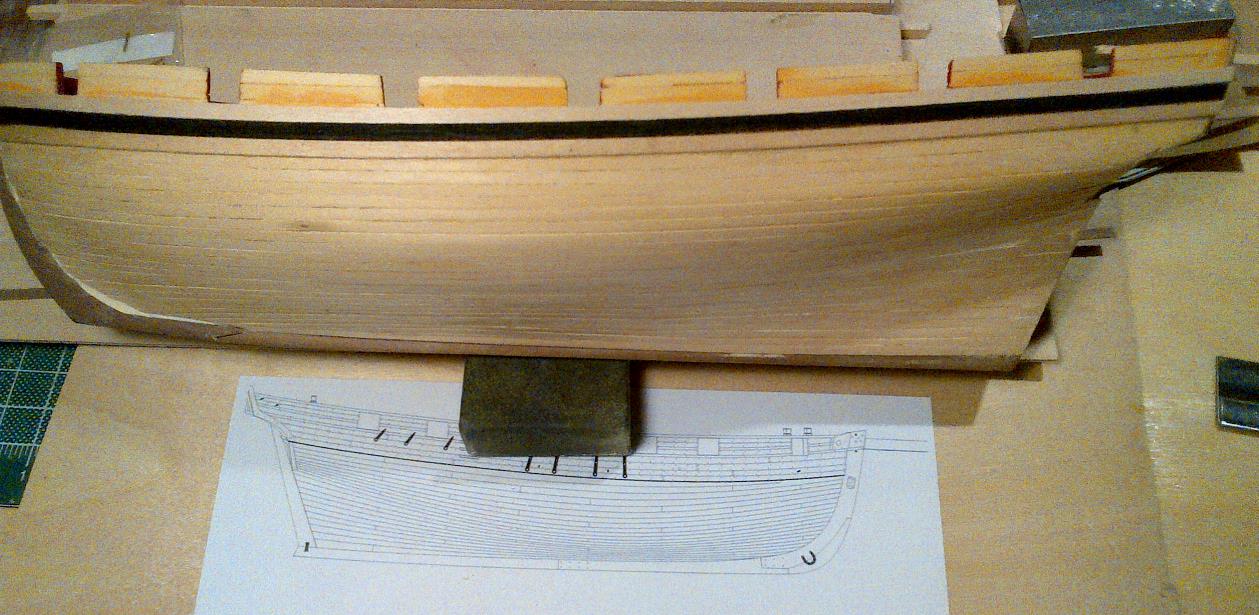
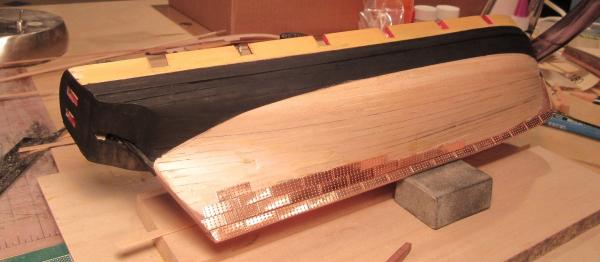
Greetings, Well, I managed to squeeze out of a little jam with the transom and the keel and things are starting to straighten themselves out. The paint needs a little touch-up here and there and it's going to be slow going with the copper as I am using two-part epoxy to glue the plates in place as I am allergic to CA glue (too many Pocher builds over the years). I find the epoxy is a bit slippery so this is not helping get those lines straight either. I'm getting really excited about getting to the rigging! Cheers, Rick
-
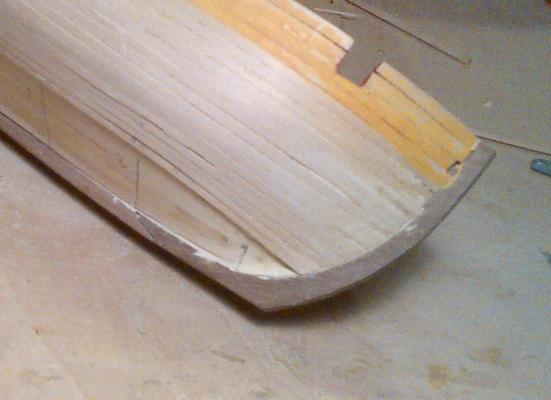
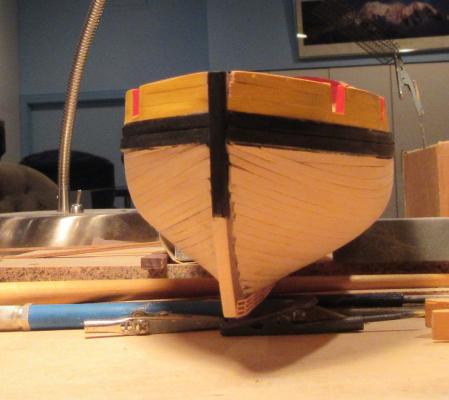
Hi John, Indeed, you are right. Jotika has that walnut for the planking. I decided to use limewood instead as I found the walnut difficult to bend. I think the walnut might hold an edge better but for this planking, it seems the limewood was a better way to go. It bends very easily and accepts paint quite nicely. Since the model is to be completely painted, it seemed easier to use the limewood instead of the walnut. I'm sure I'll find a use for it in another model. I do see from your pictures that my transom planking is completely wrong. I planked right to the end of the keel and so now have to sand back the planking down to the keel. I'm having a lot of trouble fixing that up. Cheers, Rick
-
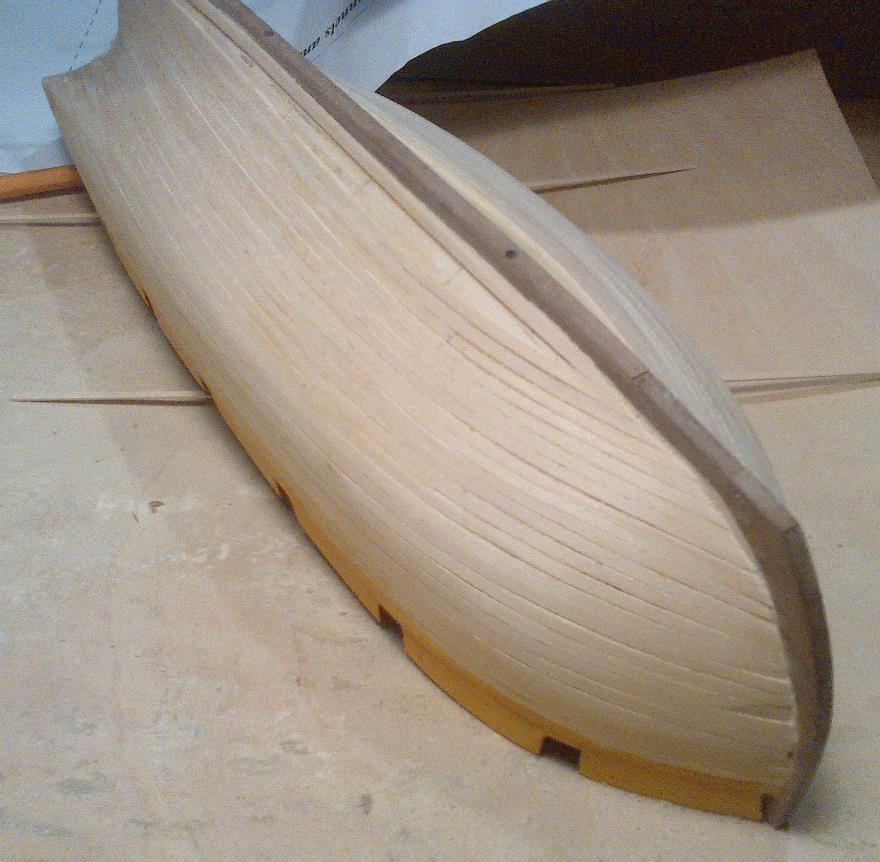
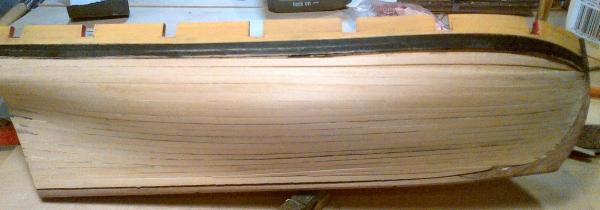
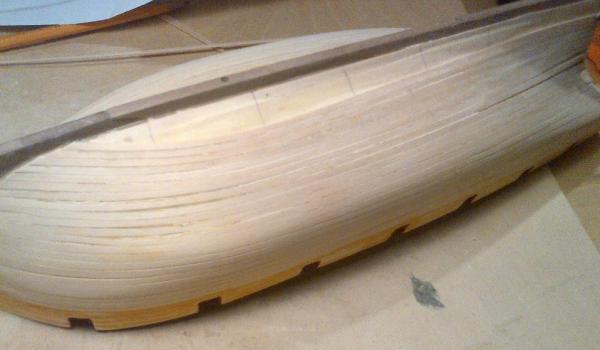
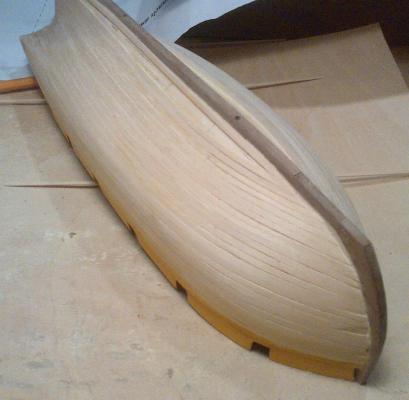
Happy New Year, Well, I did get a fancy camera for Christmas and I'm pretty excited about one feature. It has a Bluetooth connection so I can upload directly to my computer with no wires. I can also upload directly to a phone, as well which means I should be able to connect directly to my BB. The problem, though, which such a good camera is that is shows the flaws in my modelling much better than my eyes can see as I build. The resolution is so much higher than my BB that I can see stuff I've never seen before. I guess this will up the ante for my building. So, having said all that, here are a couple of pictures of the second planking. I like the way the planks sweep up in the bow. However, you can see that the tapering starts about one-third of the way along the planks. This is what created the gaps that needed to be filled in, both in the bow and the stern. Next time, I'll be more careful measuring every plank at various distances along the hull and I should be able to reduce these to almost nothing. Now, on to the stern. Cheers, Rick
-
Greetings, I have no pictures today but I did learn something new as I am finishing up the second planking. Each plank should, indeed, be planned out for the entire hull. It's something to look forward to in the next build. Pictures coming soon. Cheers, Rick
-
Who's talking about a movie? The Force is real. Jedis are among us. I can think of a few right off the top of my head: Churchill, Darwin, Newton, QE1, Mandela, Nelson, Jagger, Boudicea. The list is long, the Apprenticeship is hard. Regards, Rick
-
Greetings, Ian, you are right about the banding you mentioned above but I think it even goes beyond that. There is a Force that needs to be Awakened. All the tips and tricks that are published are not enough. There is some unique method that each of the Masters uses to create the planking we admire. There is a Yoda out there for each of us to learn from and we will get the bits and pieces only as we improve our own skills. It is only by taking the steps that we will walk the path. The dark lines in the picture are from a wash I put over the planks to show the lines more easily. It is acceptably smooth now. There are two little spaces that still need to be filled towards the top near the bow, under the wale. So far, I have learned: Spiling is an interesting but unnecessary technique. Real ships could not have been built that way. There's something to be improved here. Spiling can be reduced by laying the planks in bands The ultimate number of bands is the number of planks itself There is a magical relationship between the number of planks and the shape of the hull. I doubt that the shape of the hull was designed without the plank dimension considered Obviously, this is a tiny, tiny, list but I can now converse with Yoda. It is the start of my Training. Cheers, Rick
-
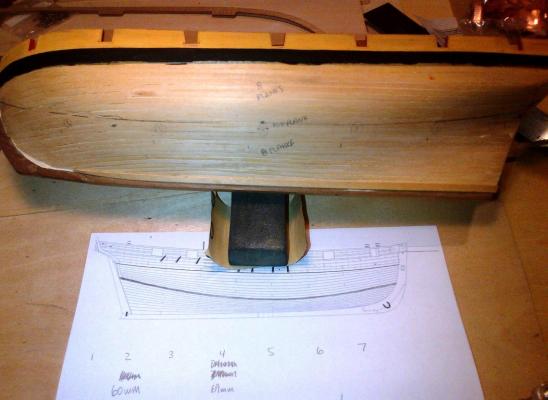
Hi Ian, I'm not sure what you mean by banding. Can you explain? I divided the hull lengthwise into seven sections. It was an interesting exercise because it showed me that there is really very little difference in the surface area of the hull from about 25% from the bow all the way to the stern. The shape of the hull sure gives one the impression that there's quite a bit of difference from bow to stern but it isn't like that. So I don't think I need to keep to any plan. Considering the boat is so small, the eight planks above and below that middle plank should follow nicely. We'll see. As for the lengths of the planks, I am using full-length planks. Since this is the first period ship model I have committed to complete, I am using as many shortcuts as I dare. I don't want to worry about techniques I have already figured out in previous models. I just want to be able to get this model in a display case, looking acceptable. Cheers, Rick
-
Hi Ian, I noticed that, as well, after I posted the note. it's amazing what pictures do for modelling. I am now going to spile that first plank a little in order to have it follow the curve in the drawing a little more. The line on the hull allows the plank to sit flat but I think I'll add a bit of curve. Thanks for noticing! Regards, Rick
-
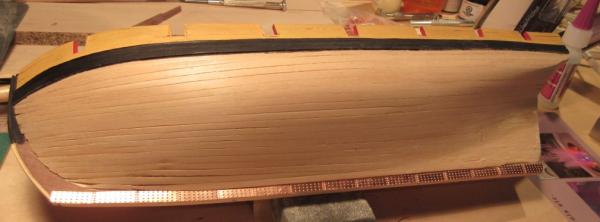
Finally, some forward motion on Pickle. I've added the garboard strakes. I'm not sure if they were done right, but it's about the best position I could come up with. We'll see how that works out as the second planking progresses. I added frames around the gun ports. That was tedious. I can only imagine doing this on a hundred-gun ship. I guess imagination will turn to reality one of these days. I can't wait. I added the wale. I measured the remaining area between the garboard strake and the wale and it turns out there is space for 17 and a quarter planks in the middle. This would mean I need to taper the planks by 50% at the end, starting with a gently taper about 30% of the way forward. Also, this means there should be one stealer width missing at the stern. OK, so I'm going to try something fun and risky with the planking. We'll see if this works. I am going to lay a plank in the middle of the hull and work my way up and also down from there. If my calculations are good, there should be almost nothing to fiddle with as I get to the ends. Thoughts? And now for some action. Cheers, Rick
-
Hi Spy, Actually, you have a good eye. I have added one plank above the black strake. That one is in the area that will be painted yellow. The gun port openings need to be adjusted a little to get the dimensions you mentioned. The order was this: first I put the black strake on, then I added the first layer of the wale below that, then I added one strip at the bottom of the gun port template (above the black strake). There will be two more planks above that one. Those will be cut to fit the gun ports, as well. Once the gun ports are framed (not in the instructions, but I think it might be fun to do) it should look alright. Cheers, Rick
-
OK, the next step starts. I've added the black strake and the first layer of the wale. Next, I'm adding the garboard strake and then I'll measure the hull and do all the steps I learned earlier. Since I will be starting with no wrong planks, it should start to look like the drawing of the Cheerful below the Pickle. And now let's see if the reality looks like the theory. Cheers, Rick

-
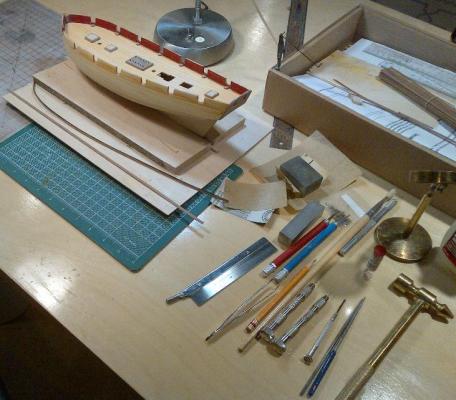
Greetings, With the beginning of the next step (installing the wales) and the second planking, it was time to clean up the shipyard. Now I can see why it could be interesting to get that three-roller plank bender. It sure is hard to get a nice shape from the travel iron I'm using. Regards, Rick
-
Greetings, Well, the little travel iron I bought to steam the planks sure has done it. I'd say that's one most useful tool. So, here are the steps I've used: 1-Divide the hull lengthwise 2-Measure the length of the divisions 3-calculate the number of planks that will be needed 4-calculate the width of the planks at each of the vertical lines 5-taper two planks at a time to fit the estimated measurements 5-Spline the planks. OK, this needs a bit of explanation. At first I just curved the planks into a kind of banana shape. That didn't work too well. Then I started noting where the curve had to be along the plank. That was better. Then I realized the plank goes easily one way and not the other. So, that means the plank needs to be bent first where it wants to go not where you want it to go. THEN, you fit the plank to the curve in the hull and then you cut off the ends. 5-Curve and twist the planks to fit the hull Once you get the method, it's really not so hard. I did miss dividing the hull into sections to get a more historically accurate shape but, hey, there are still many boats to do! I'm pretty happy with this. Regards, Rick
-
Nicely done, Don! I'm looking forward to seeing your next build. Best Regards, Rick
- 49 replies
-
- 2
-

-
- trabaccolo
- amati
- (and 1 more)
-
Happy Thanksgiving to all my American friends. Best Regards, Rick
-
Ian, I did buy the lovely little travel iron with the intention of spiling the planks. Perhaps I'm not doing it right. What I have been doing is bending the planks across the grain. In other words, the plank, before I bend it to conform to the hull, is first made to look like a squashed banana. is that right? I think the question here is how to get that banana shape right. I'll do one this evening and post it. Then we'll have something to discuss. I am getting some great help from another builder, Bear, who has been a great help, and has sent a really good explanation of the spiling method, using a larger plank to start. I will have a close look at his notes this evening. I have to say this is most enlightening. Plastic is so last year. Best Regards, Rick
-
Don, Indeed, you are right about forgetting. Now, we have all these nice blogs to refer to. We just need to remember to look. I think starting sooner would help. All that twisting and spleing (spiling???) makes me use the cool travel iron I bought. Why do things easy when you can complicate the hell out of them? Adrian, Your explanation is exactly what I am going to do in the second planking. Spyglass, I went from .14 to .095 inches in the tapering but only started the tapering on the last four planks. I'm pretty sure that's part of the problem. Gentlemen, The excitement is building for the second planking. Regards, Rick
-
John, I had a look at BlueEnsign's log and I am trying to avoid the look he has of two sections of planking. I think dividing into more than two sections would give a smoother look. I have the second planking to try it....and the next boat, and the next boat, and the next boat.... Cheers, Rick
-
Hi John, Thanks for the note. Yes, I think you hit the nail on the head . In such a small hull, working as you say should work but I think dividing the hull in sections is even better. I put those lines vertically, then I divided the lines to give myself the number of planks I would need, how much to taper, and how many stealers I would need at the stern. Although the theory may be right, the hull is a complex 3-dimensional shape and you need to be able to lay the planks as close to their natural curve as possible. By dividing the hull along these natural curves, using a piece of tape, say, or a plank, to draw the lines, you can then set a number of planks for each of those sections. So, instead of starting from the whale down and then from the keel up, you would start from the whale down, then from the next line up, then from that line down, then from the next line up, and so on. I think that would even more easily and keep the lay of the planks in a more natural condition. What do you think? Good theory??? Cheers, Rick
-
So I measured the space I have left and started tapering the planks at the bow and the stern. However, as I get down the hull, I'm having more and more difficulty getting the planks to lay against the hull. That clinker effect near the bow is getting more and more pronounced and I don't see how one can lay the planks "in their natural run" as I've seen in so many instructions. I am now twisting the planks in all kinds of directions to get them to lay against the hull. This can't be right. Where did I go wrong? Cheers, Rick