

Kenneth Powell
-
Posts
241 -
Joined
-
Last visited
Content Type
Profiles
Forums
Gallery
Events
Posts posted by Kenneth Powell
-
-
Thanks Russ for loking in and the kind words
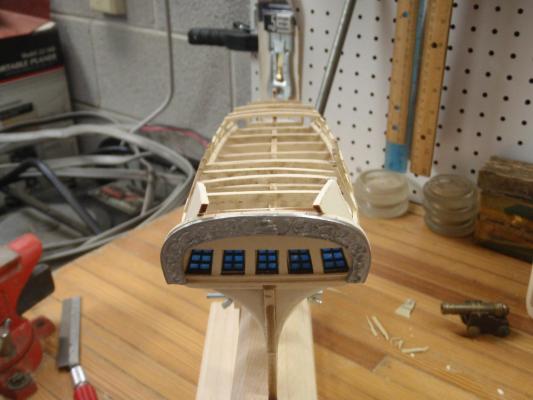
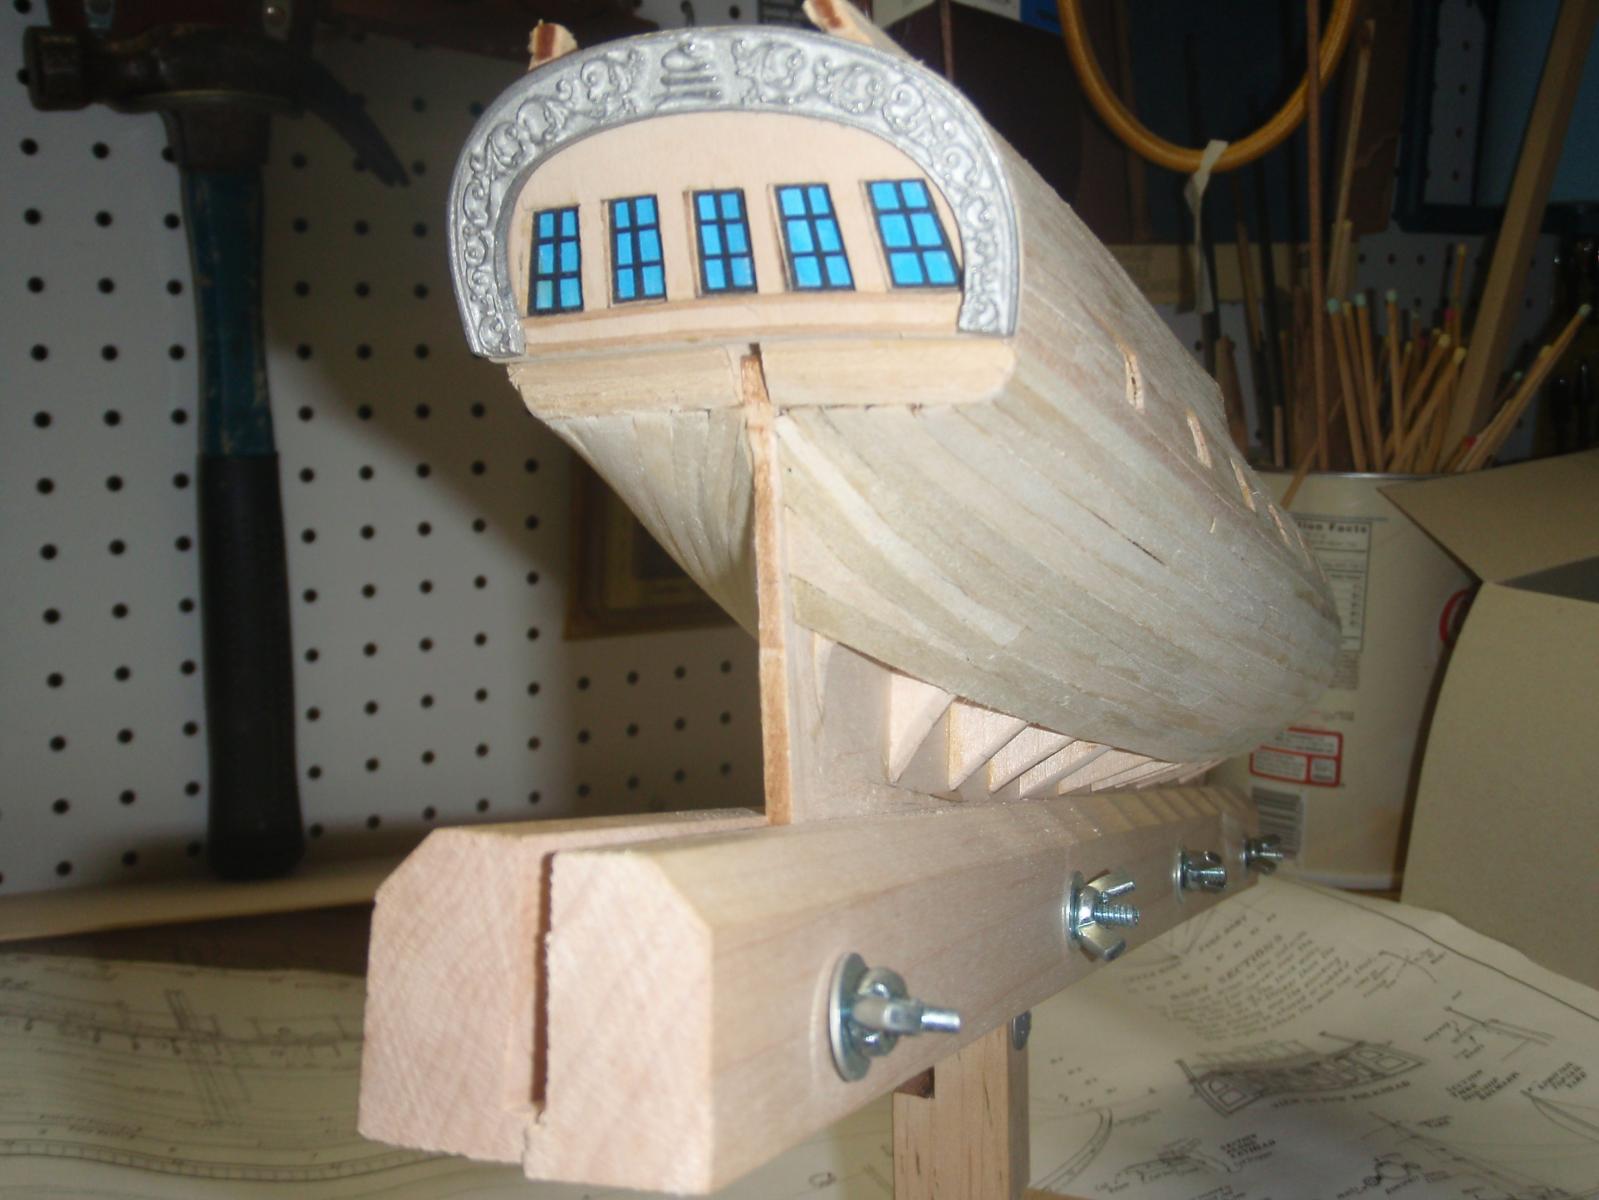
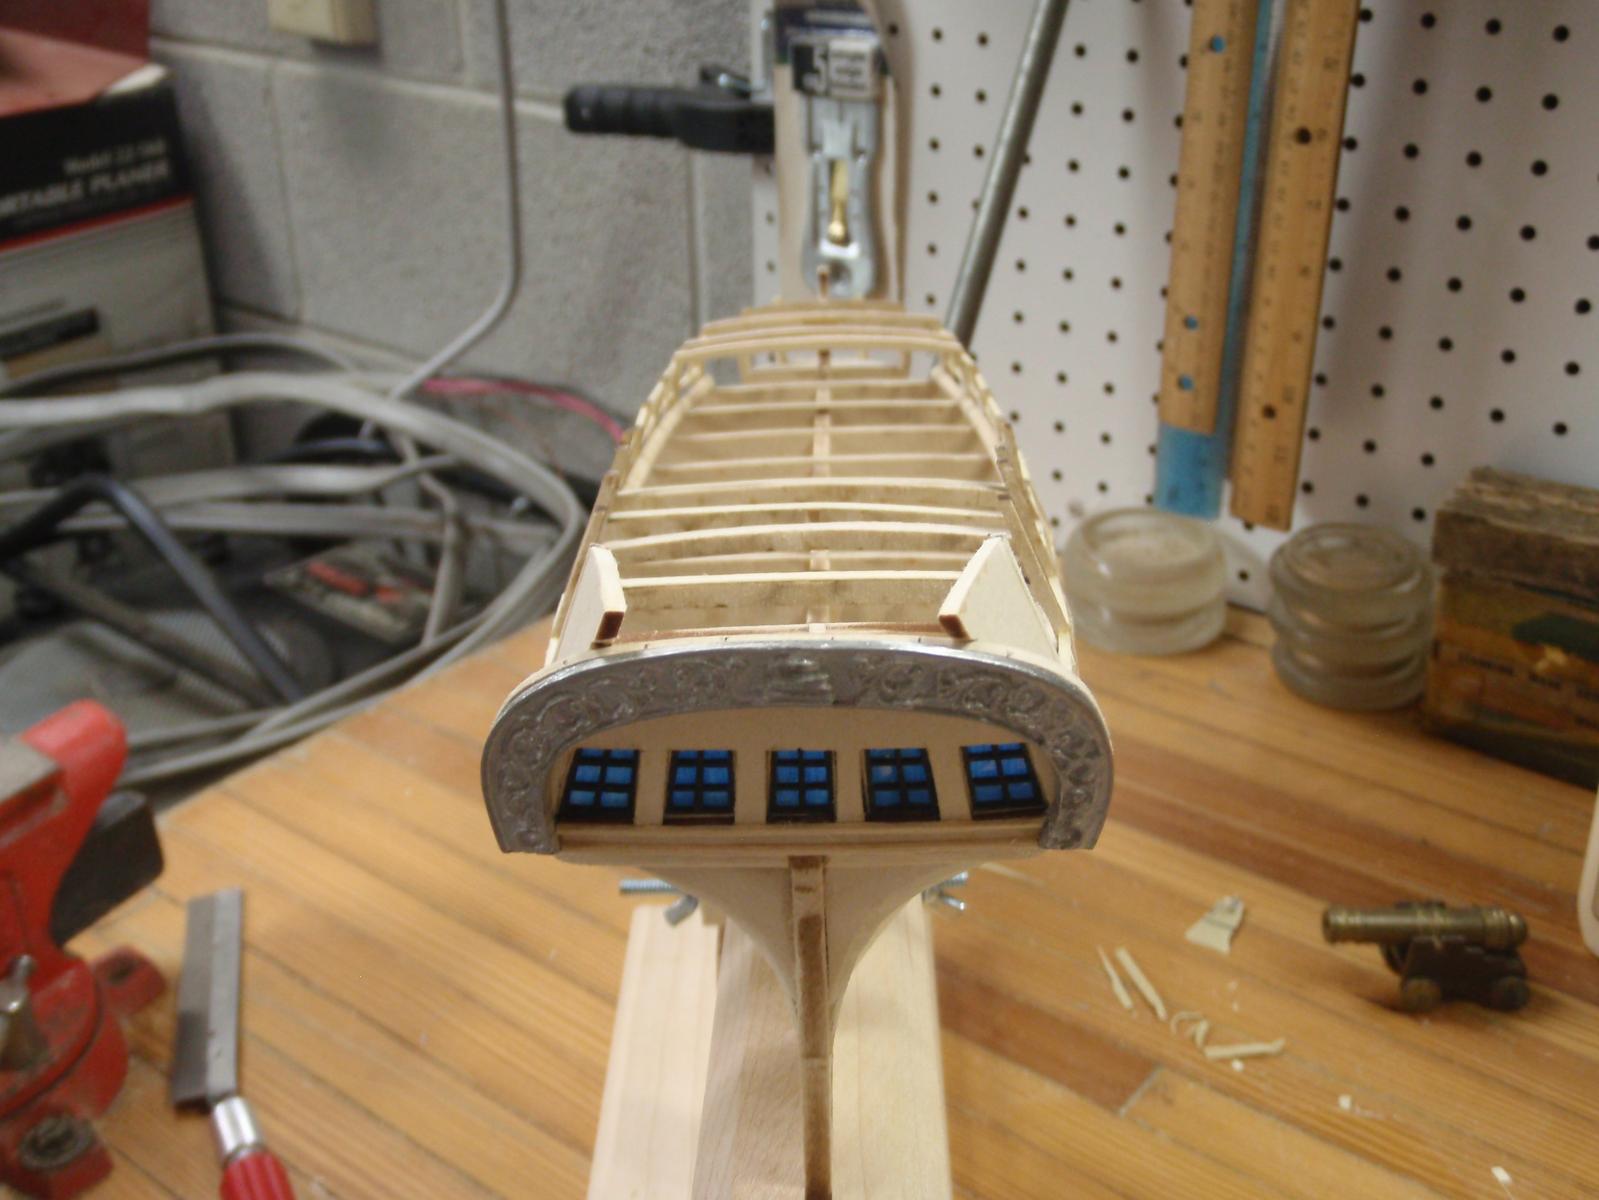
This is the photo of the cabin bulkhead
 sorry blurry
Time for sanding

and more sanding
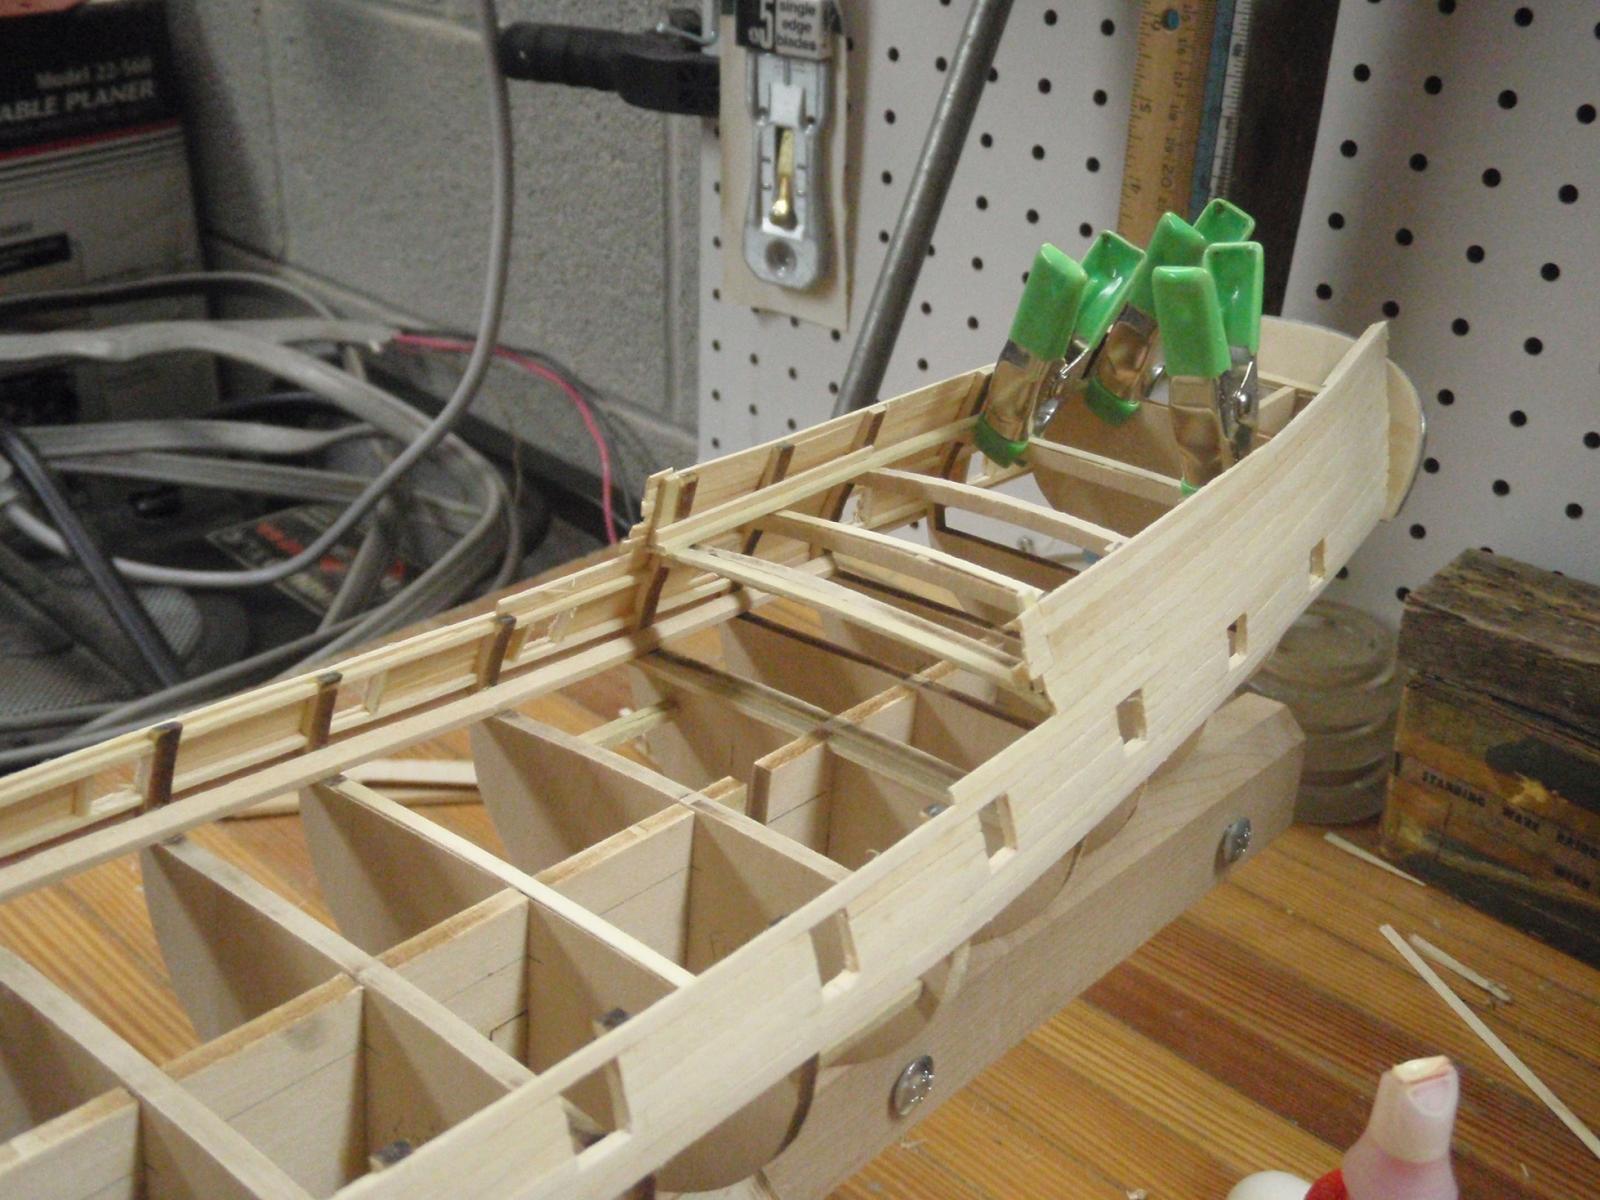
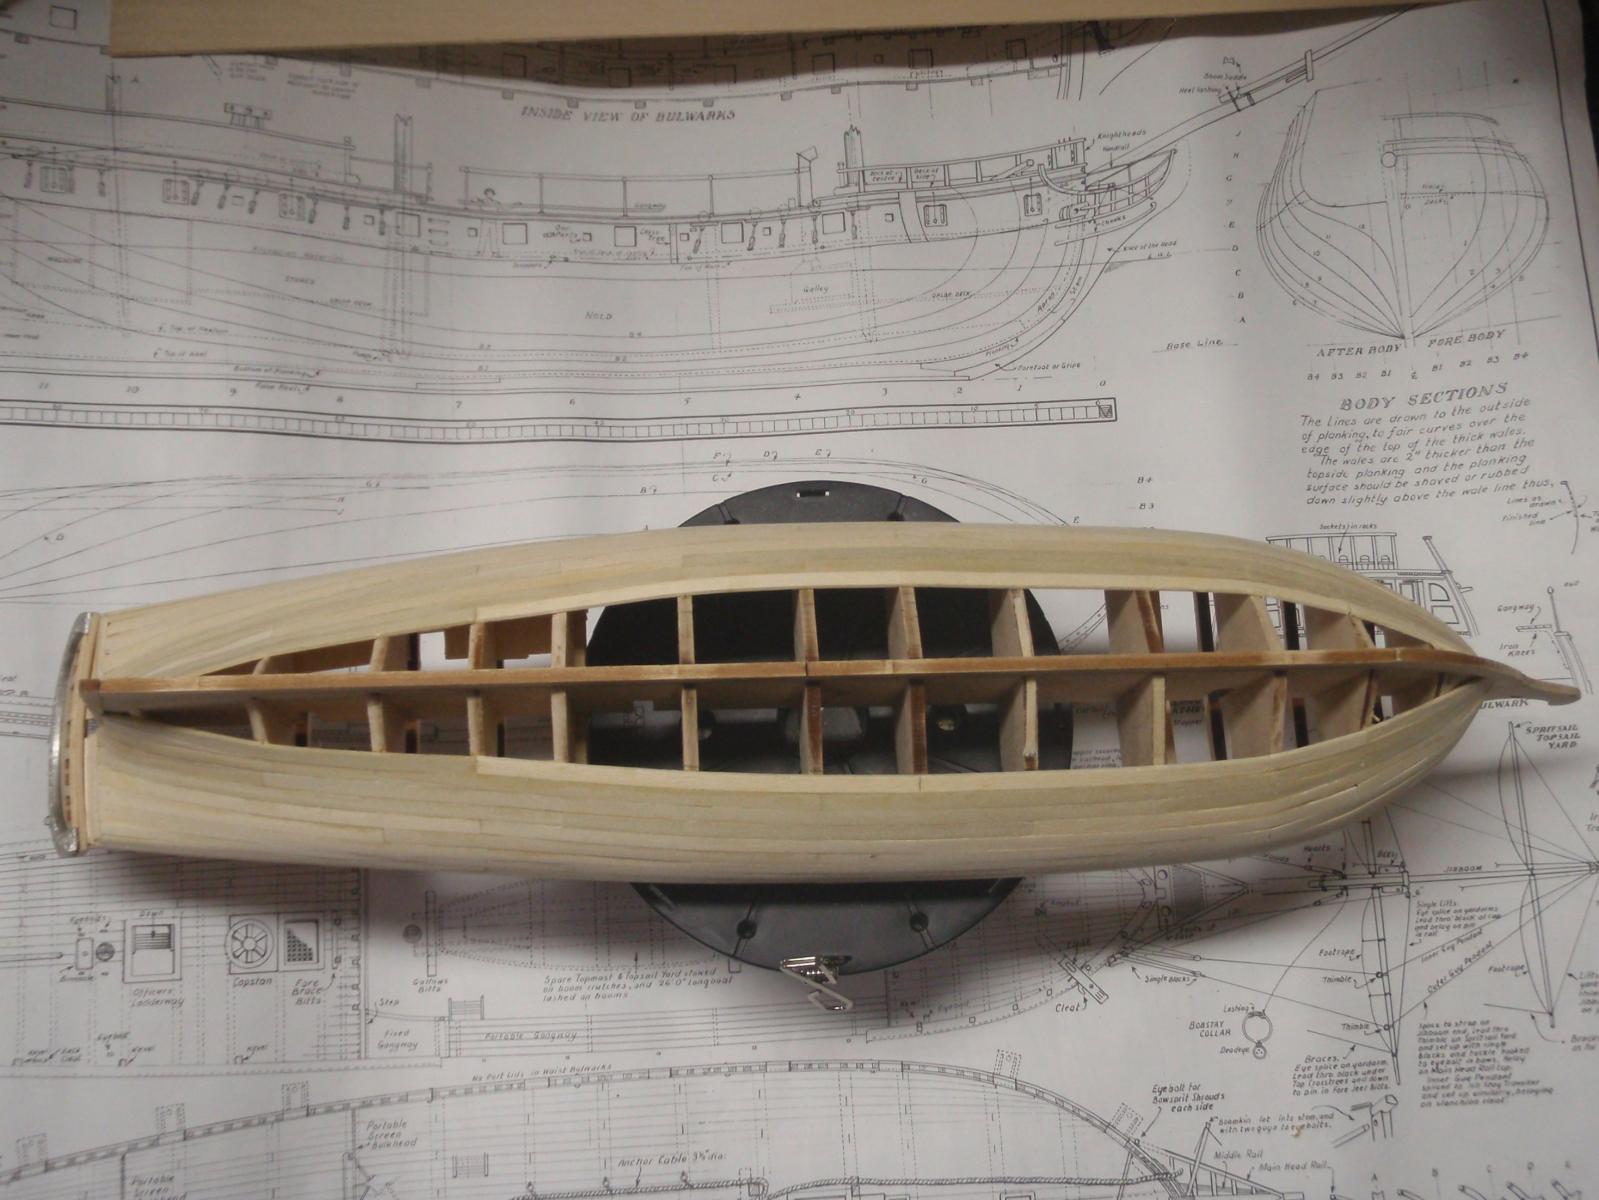
Notice the broken deck beams in the photos above. They just popped right off. I would glue them on with Titebond and move on.
More photos after the weekend. Carry on good people.
-
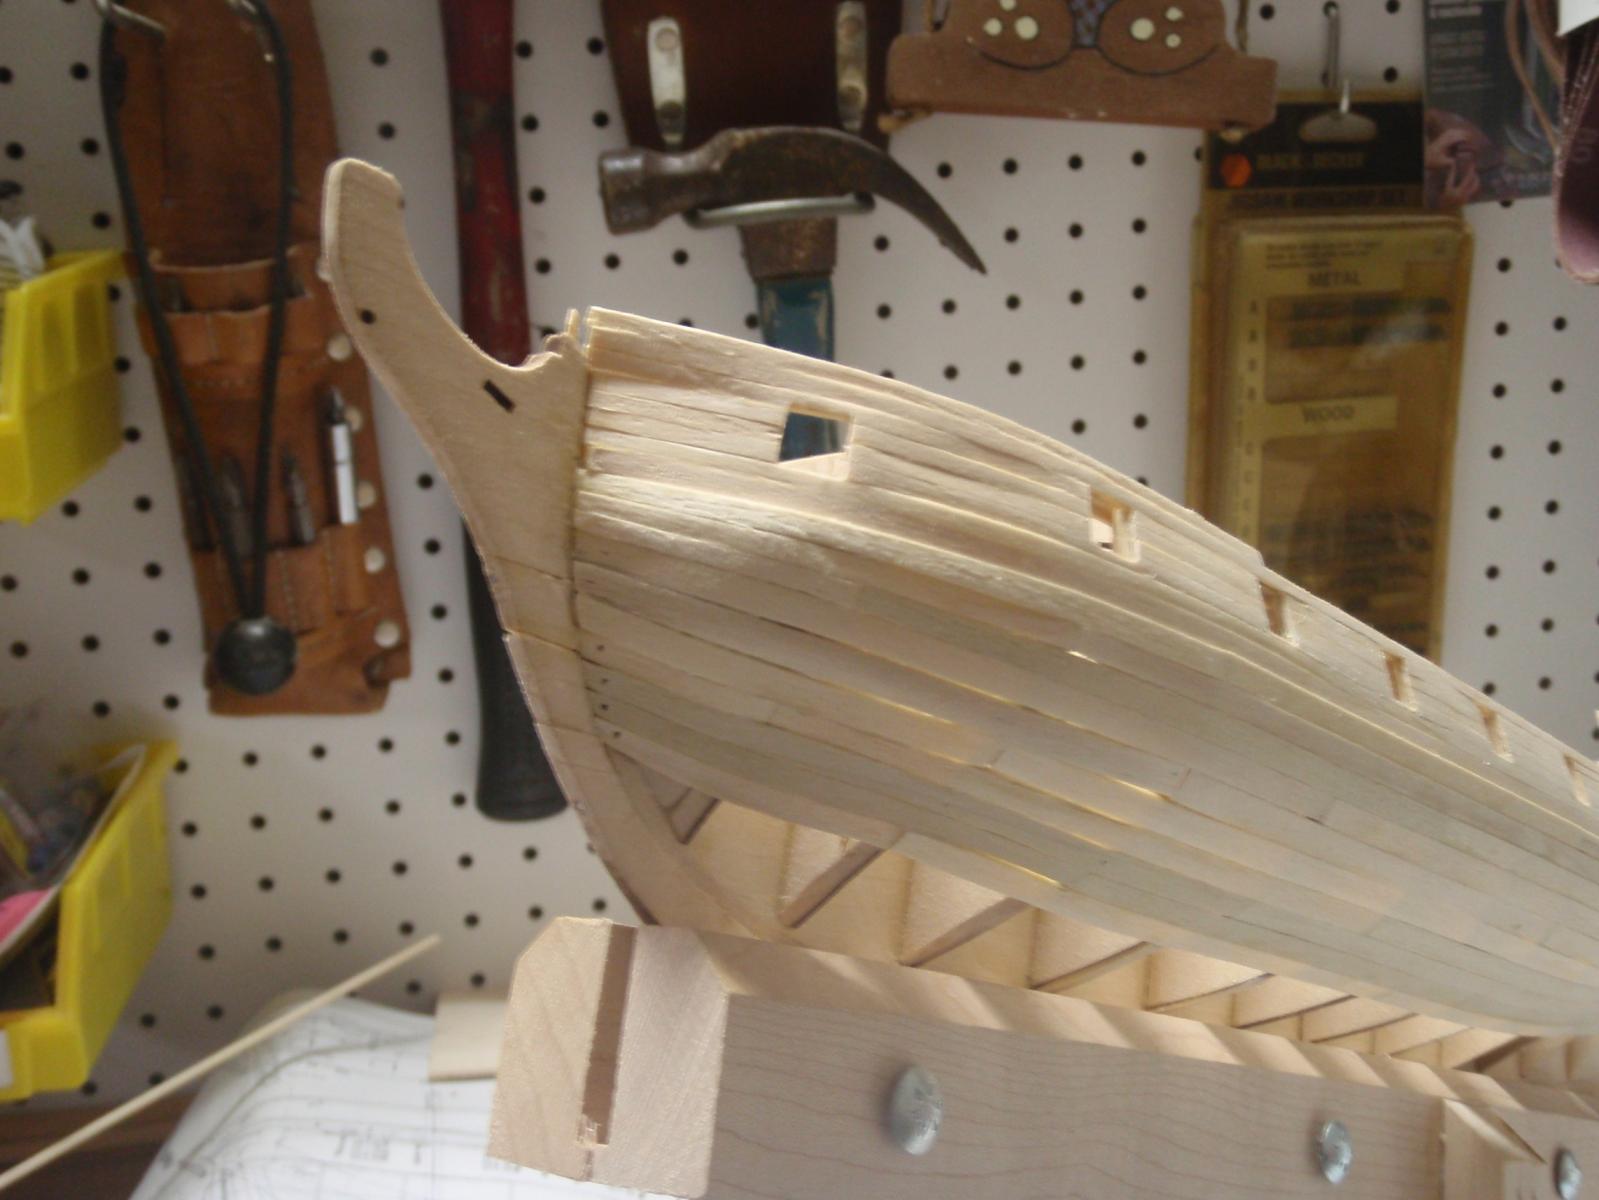
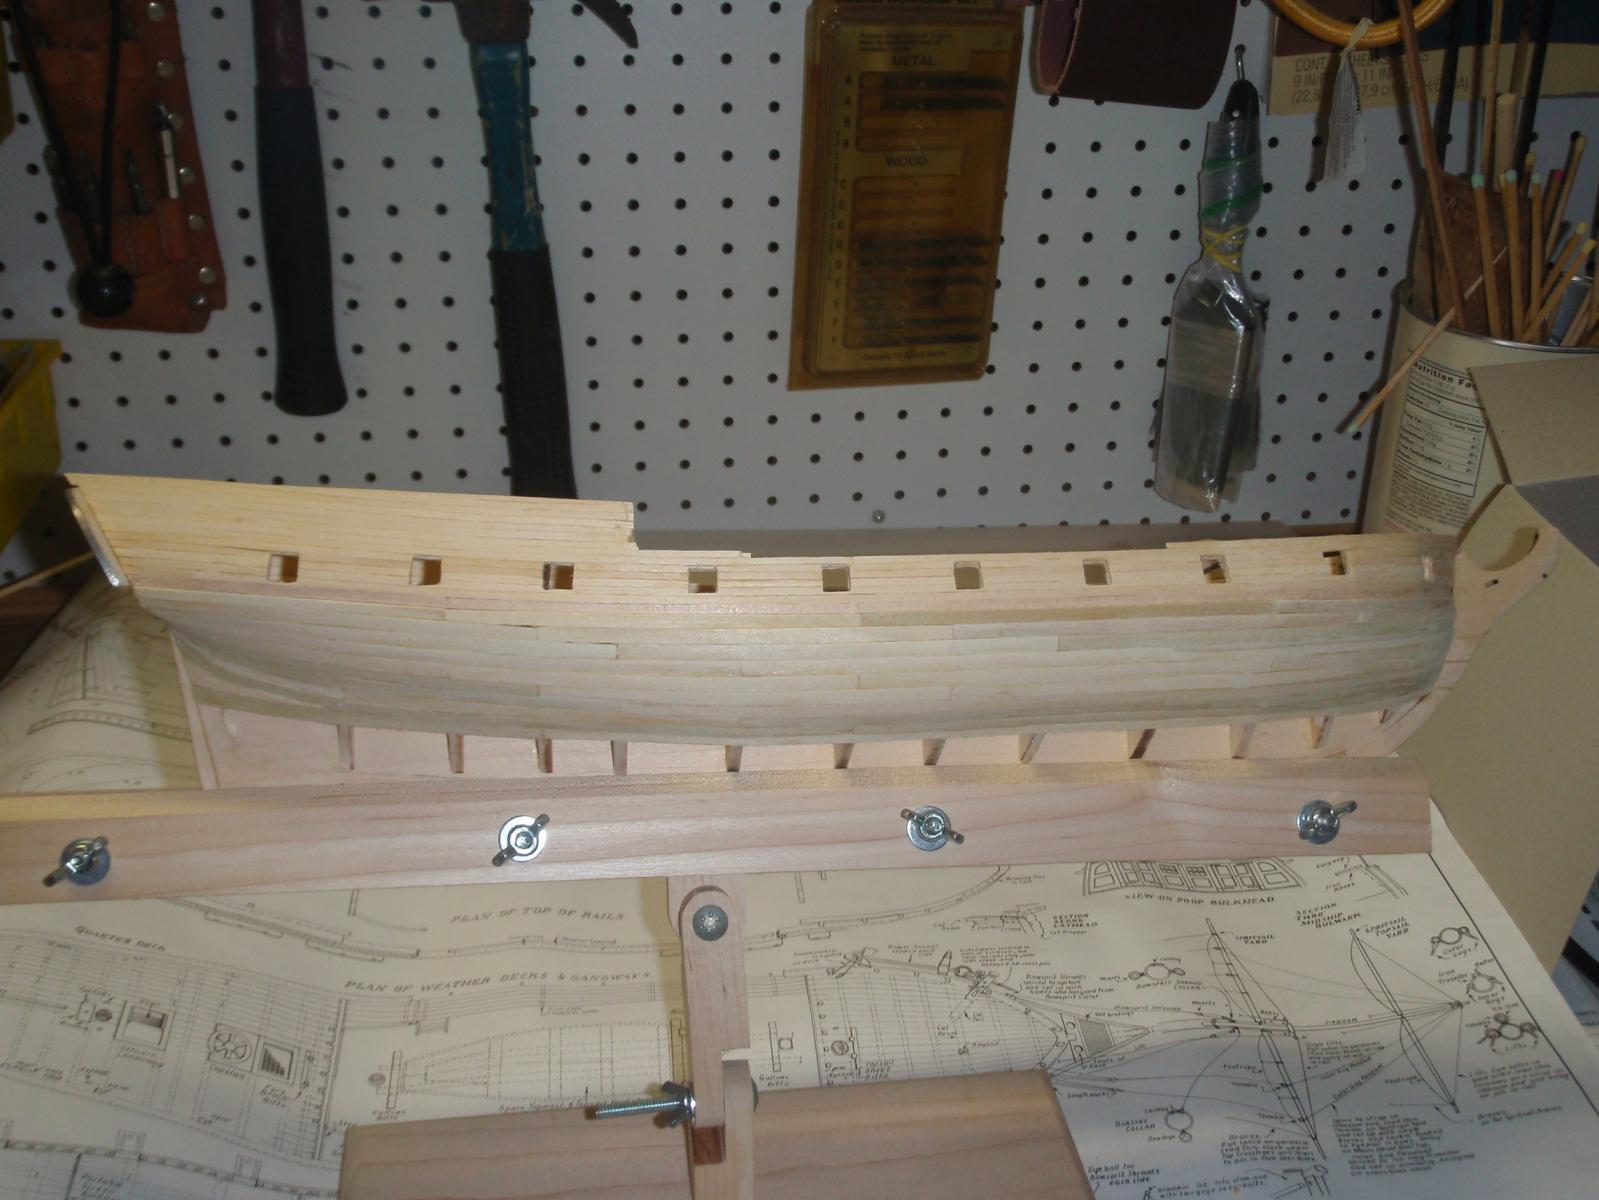
On to planking:
I decided to go above the wale first. I wanted to shore-up the fragile areas of the bulkheads and the deck beams. Too many got broken!

Above the wale went straight with no trimming except at the gun ports. The planking plans in the instructions lay out where to start below the wale and how many bulkheads to cover. It worked out well and gave 2 planks between seams on every run. WOW I actually followed directions and it worked!
 repair broken deck beam
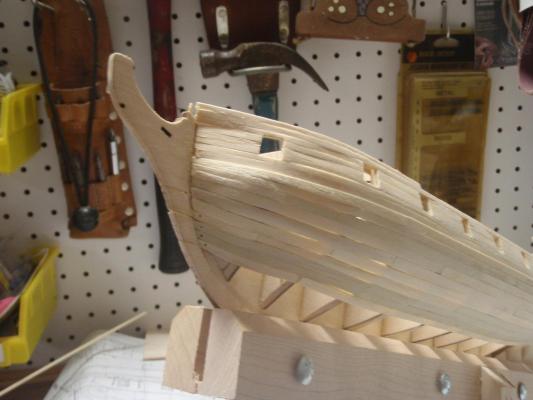

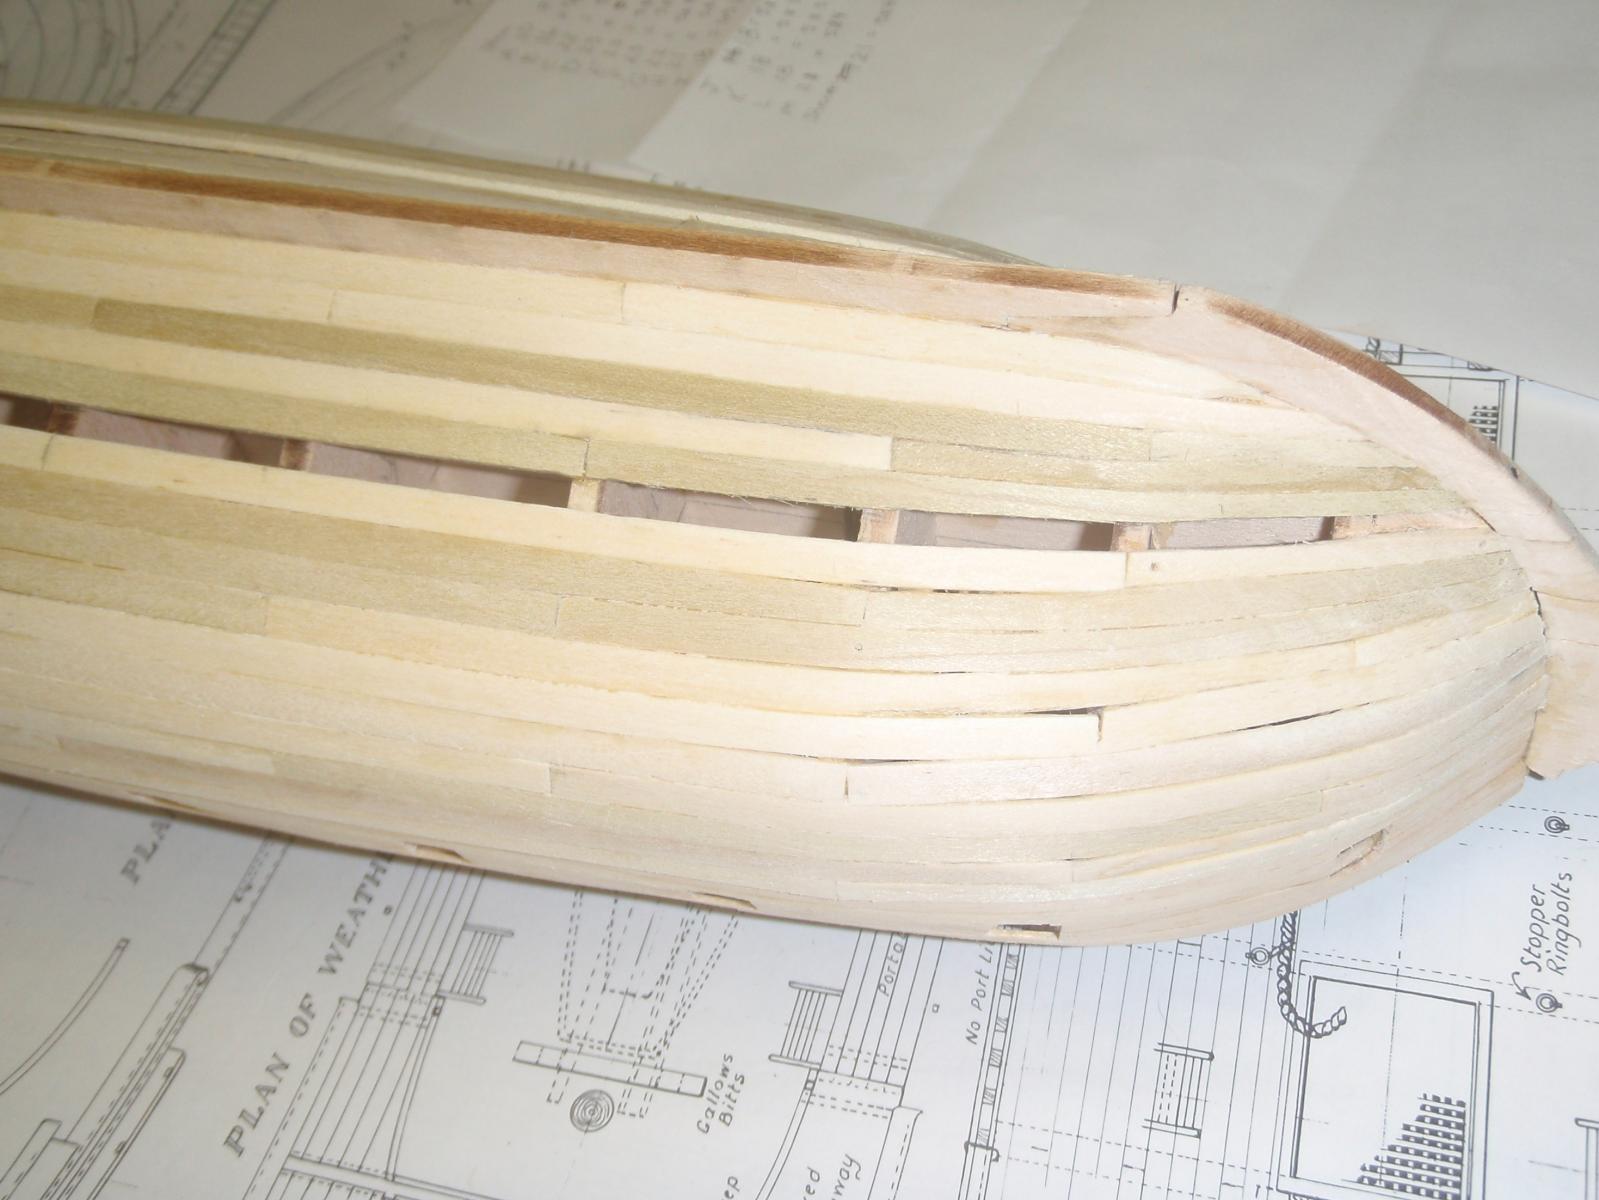
 I did add a wider section of plank here. I got worried, but the number of runs did work out.
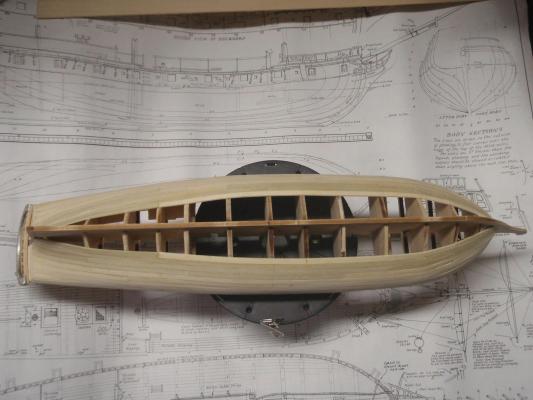
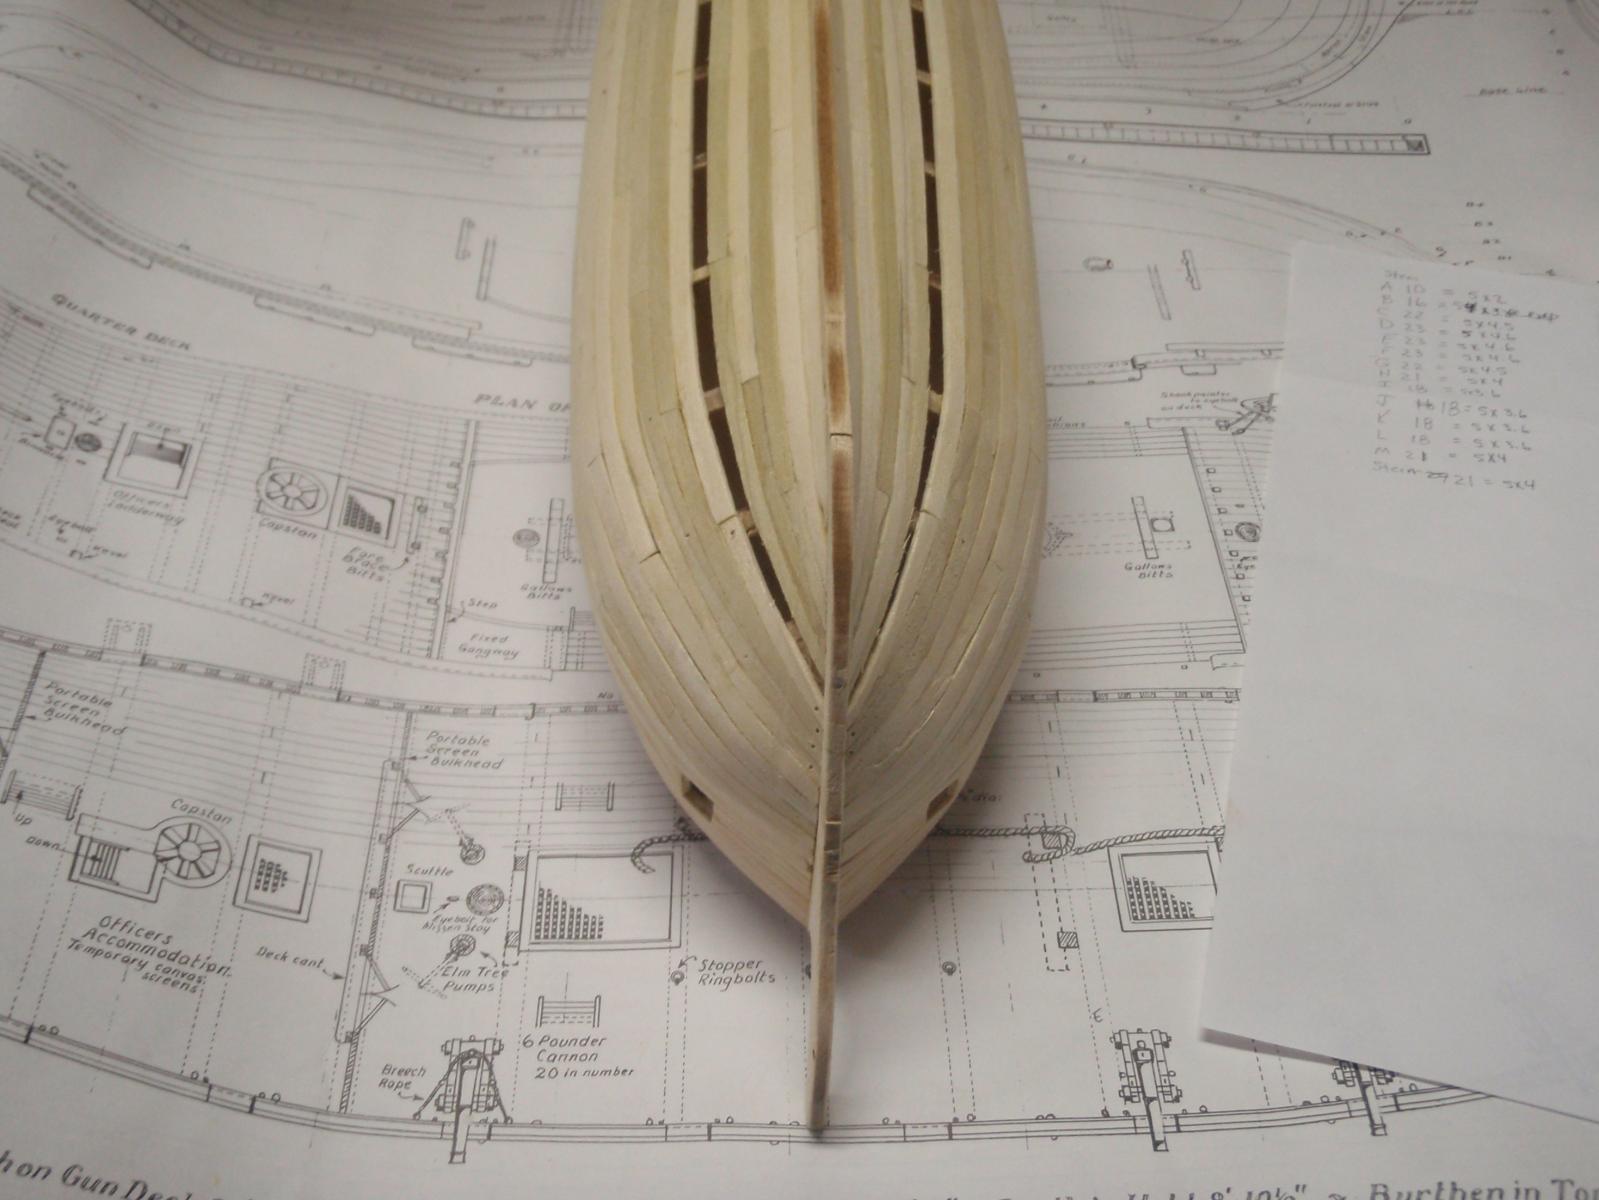
Now from the garboard up
Punch Planks

This section took longer of course with tedious sanding and placing and correcting and replacing and checking and .......
Anyway, The length of planks the kit calls for made this run easier because they are short enough to work with yet cover a good distance.
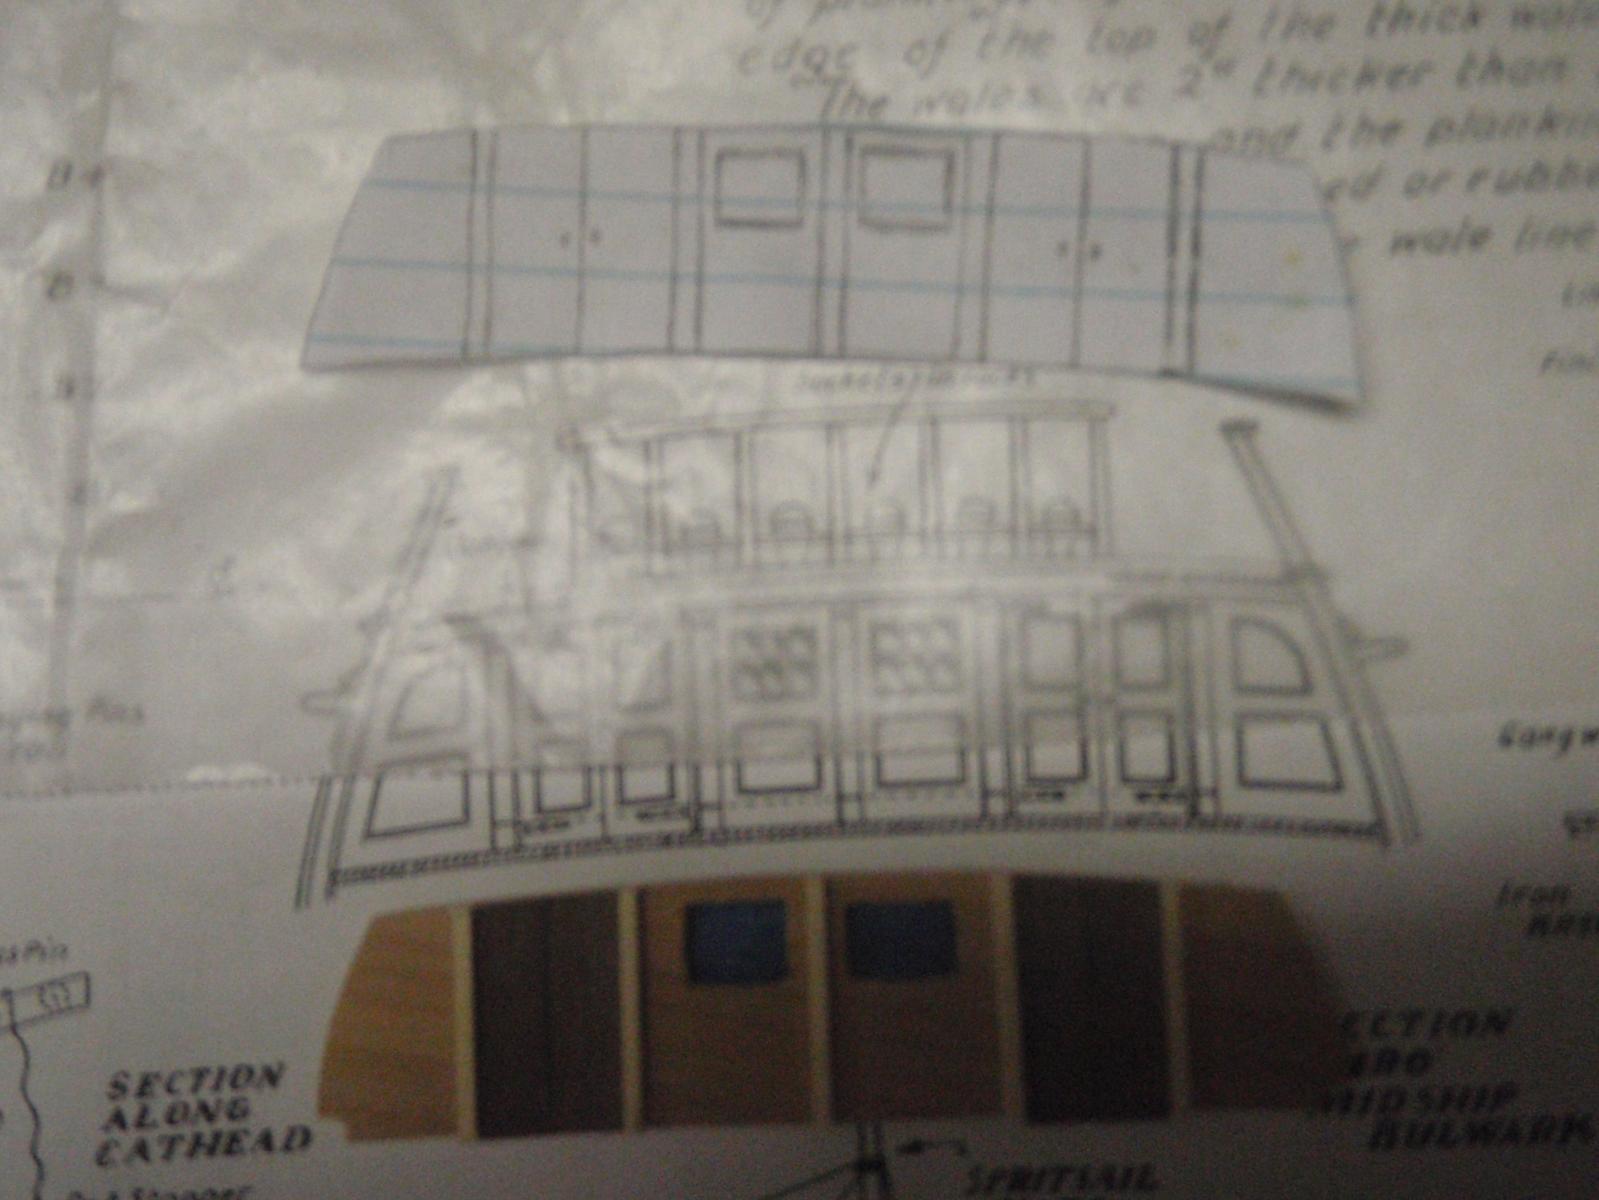
The kit doesn't have a cabin bulkhead and the instructions don't tell when to build it. I used the plans and made my own using a piece of juniper. The timing of this piece came from watching the scratch build by Pasi.
-
You can see a much better build of the boat by Torrens on this site. He put in great detail.
-
Awesome. That's what I'm going to do on mine. With your permission of course.
-
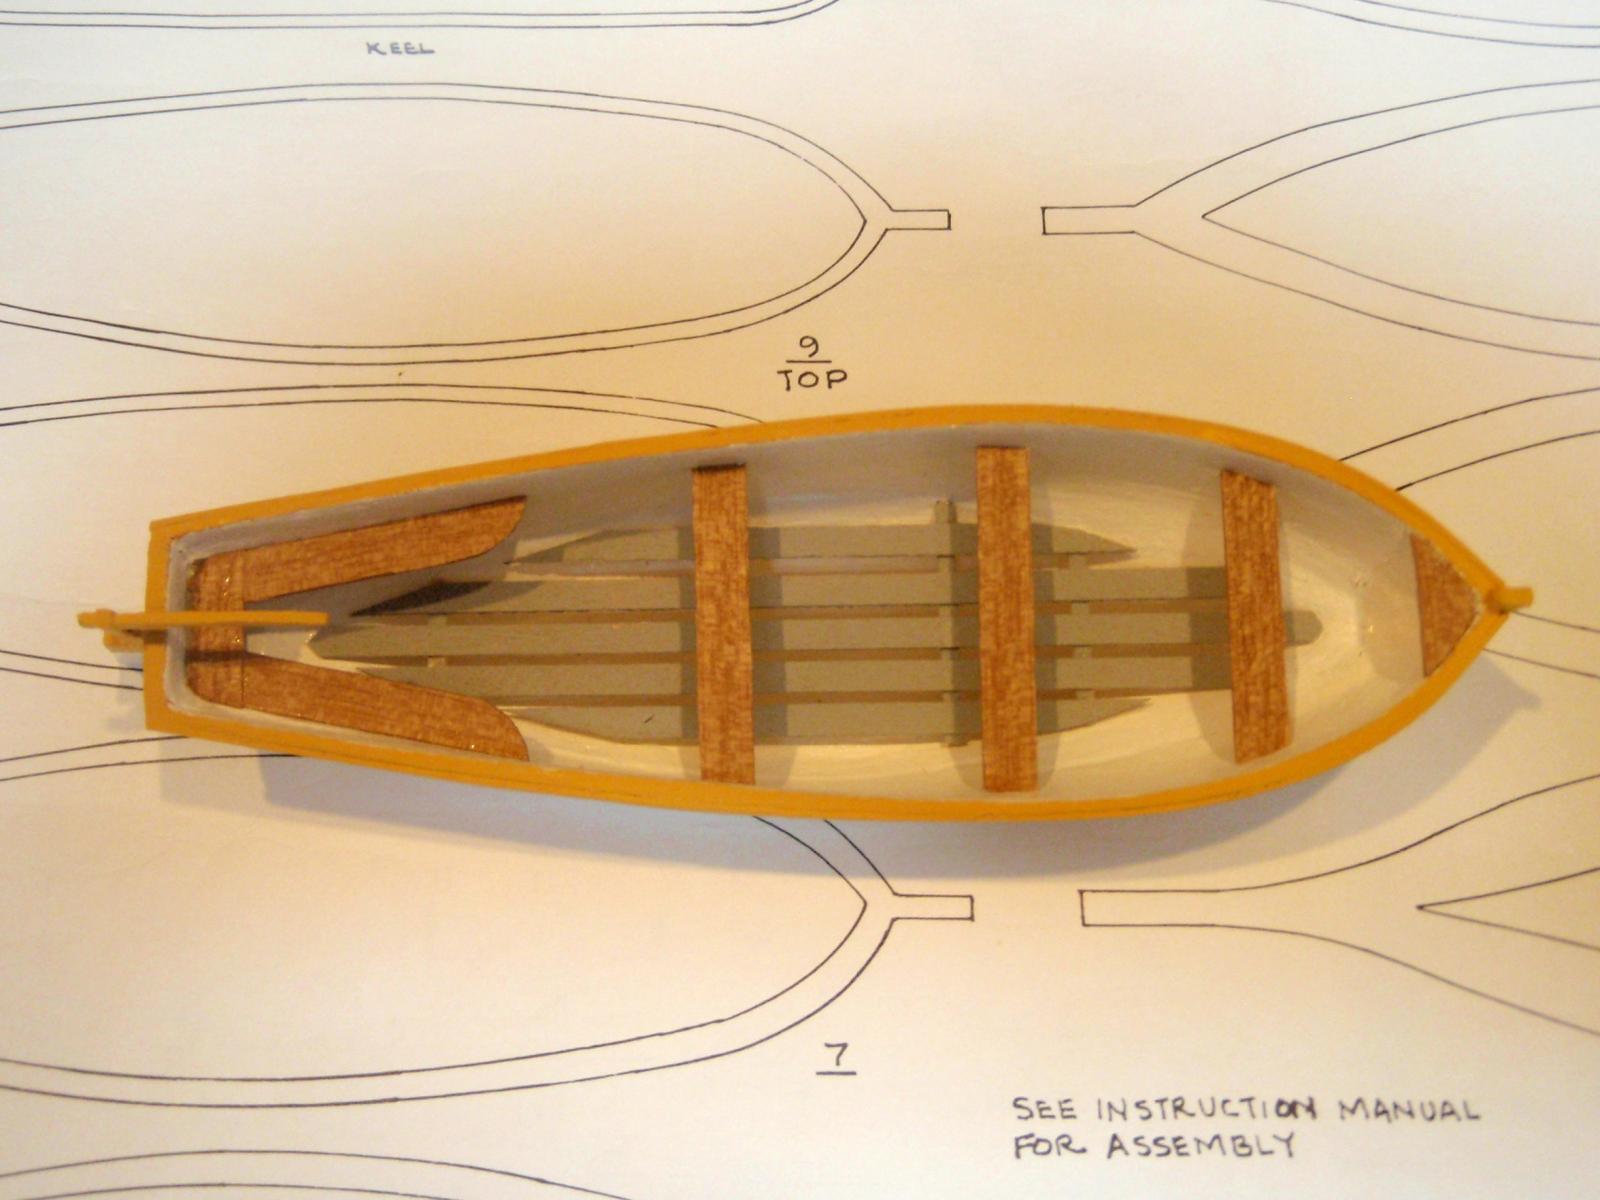
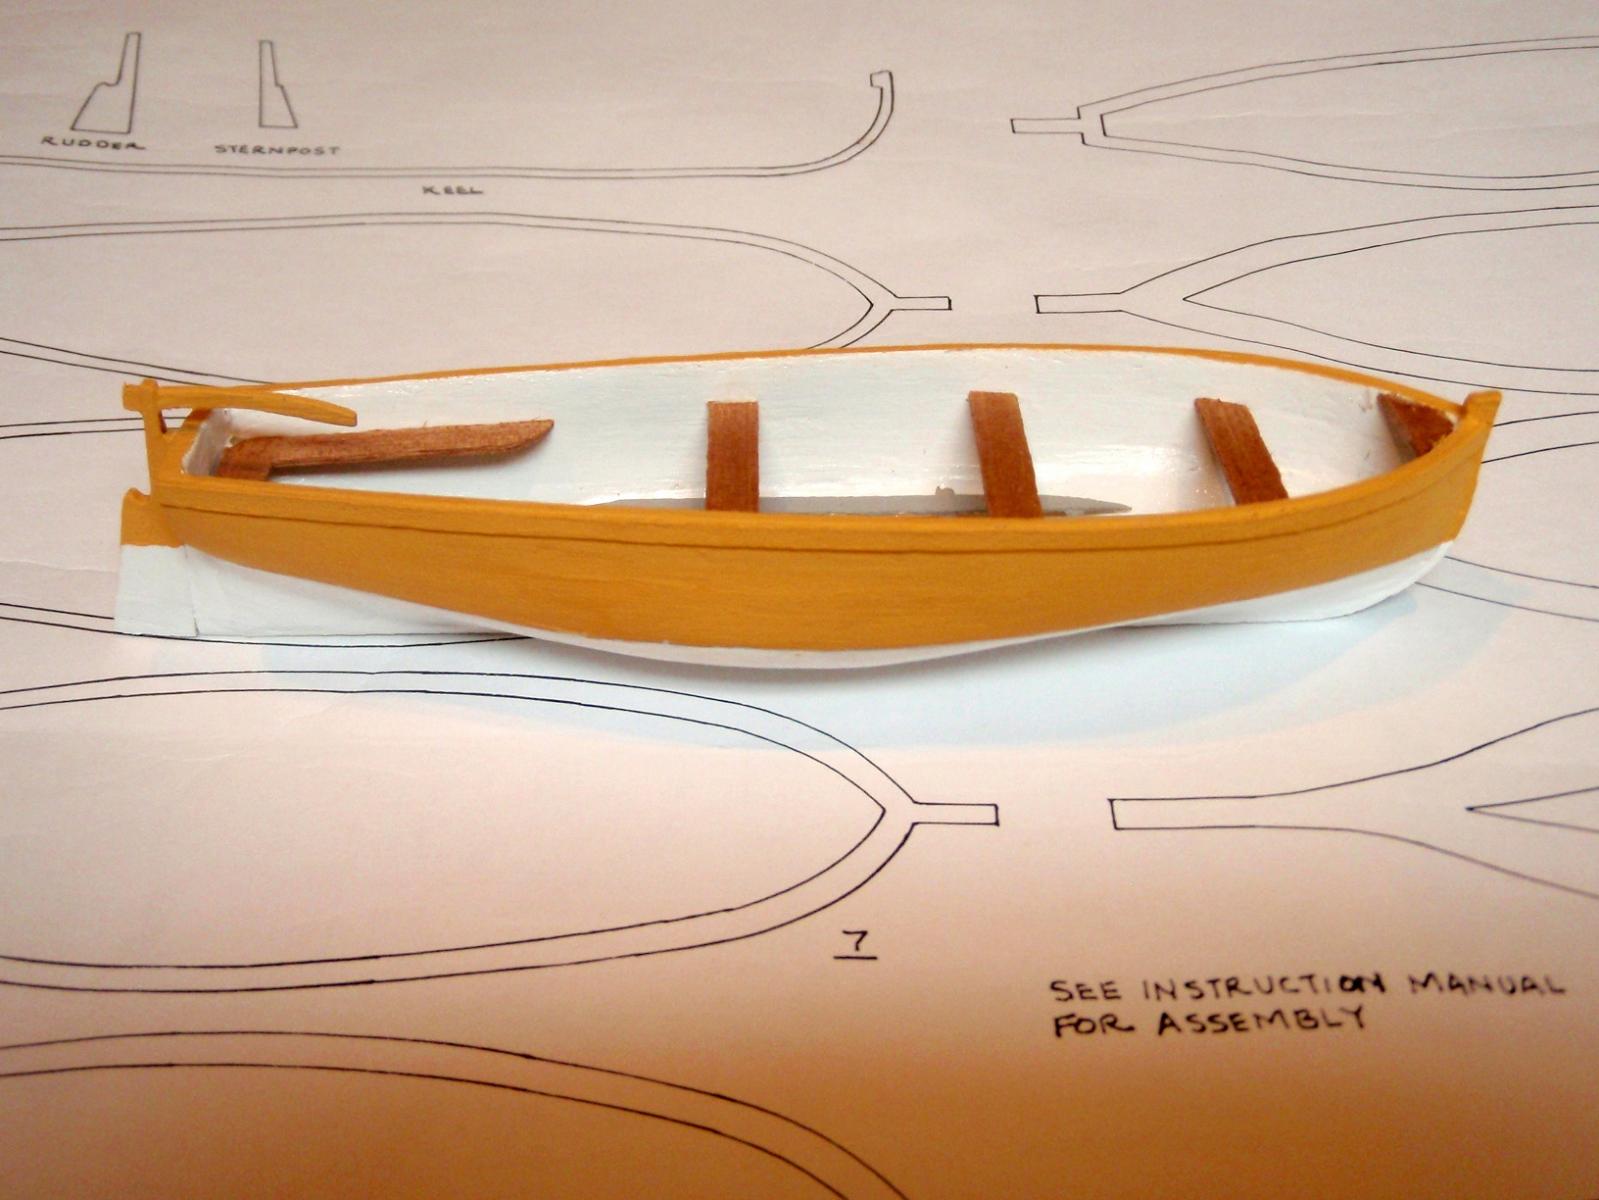
 I finished the boat a little plain. After all, they are poor pirates
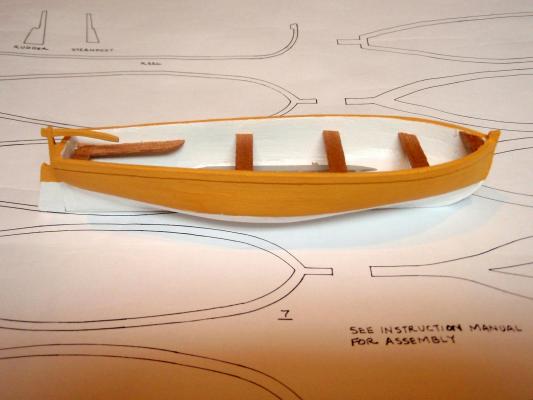
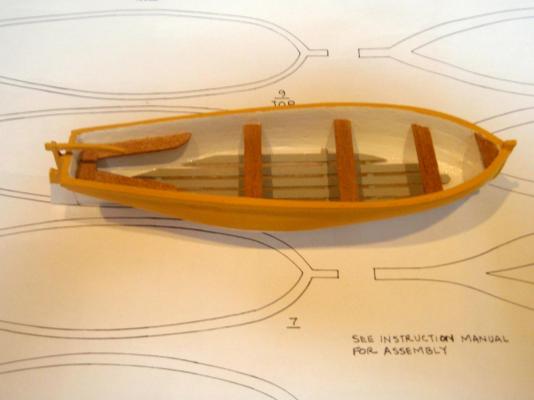
Once I was finished, I noticed that I hadn't taken into account the sheer line. oops.
-
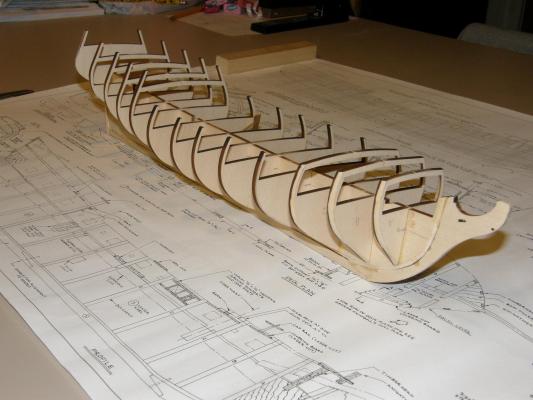
I started a log with a few photos of my build on this site before the great crash - then my own computer crashed and I lost some photos myself. I've been building so I decided to take the time (we can't wait until we have enough) to start the log again. Reading the logs and responses on this site and seeing the museum quality work, I know the kind words and encouragement you all give. I also know any criticisms or suggestions is entirely for the best. So I post this log to give and receive as much help as possible.
These are some of the original pics. My gosh this kit has some fragile parts!
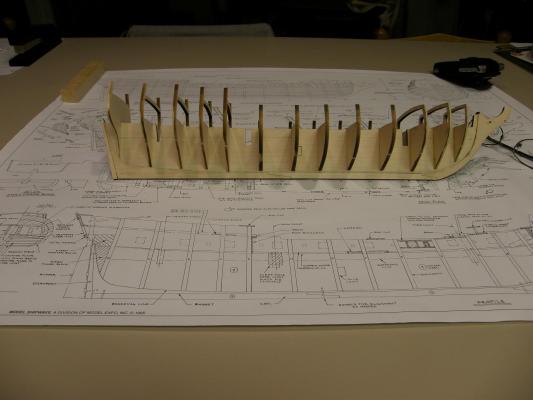

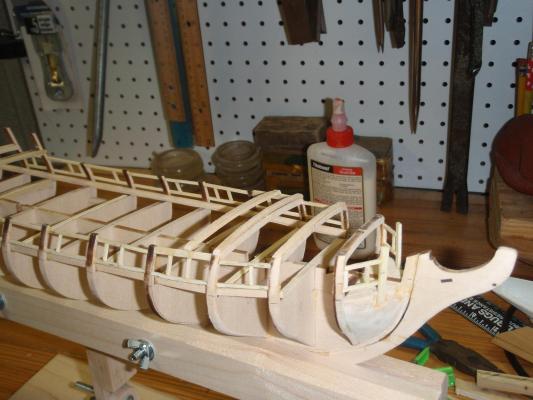
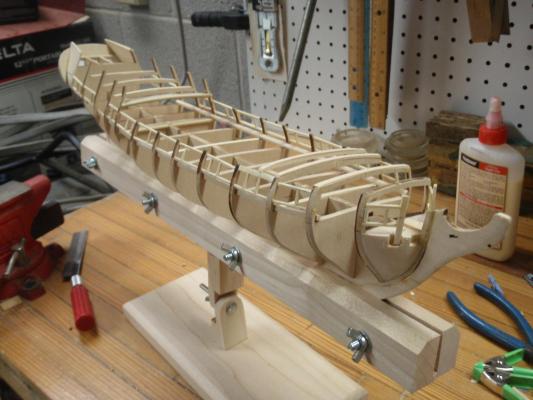
Now some of the gun port framing.
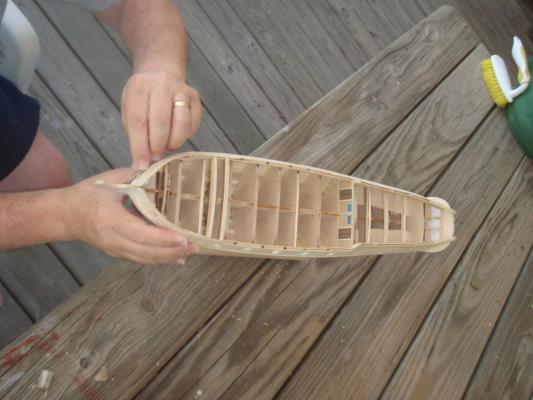
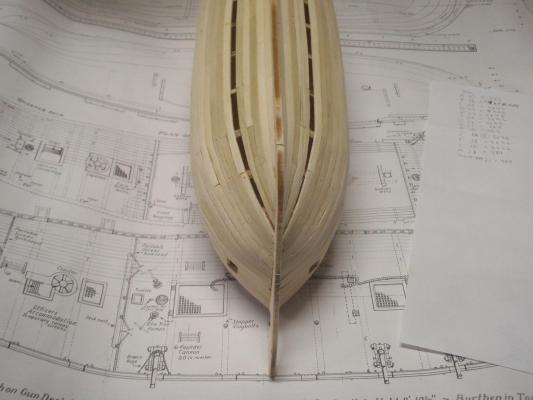
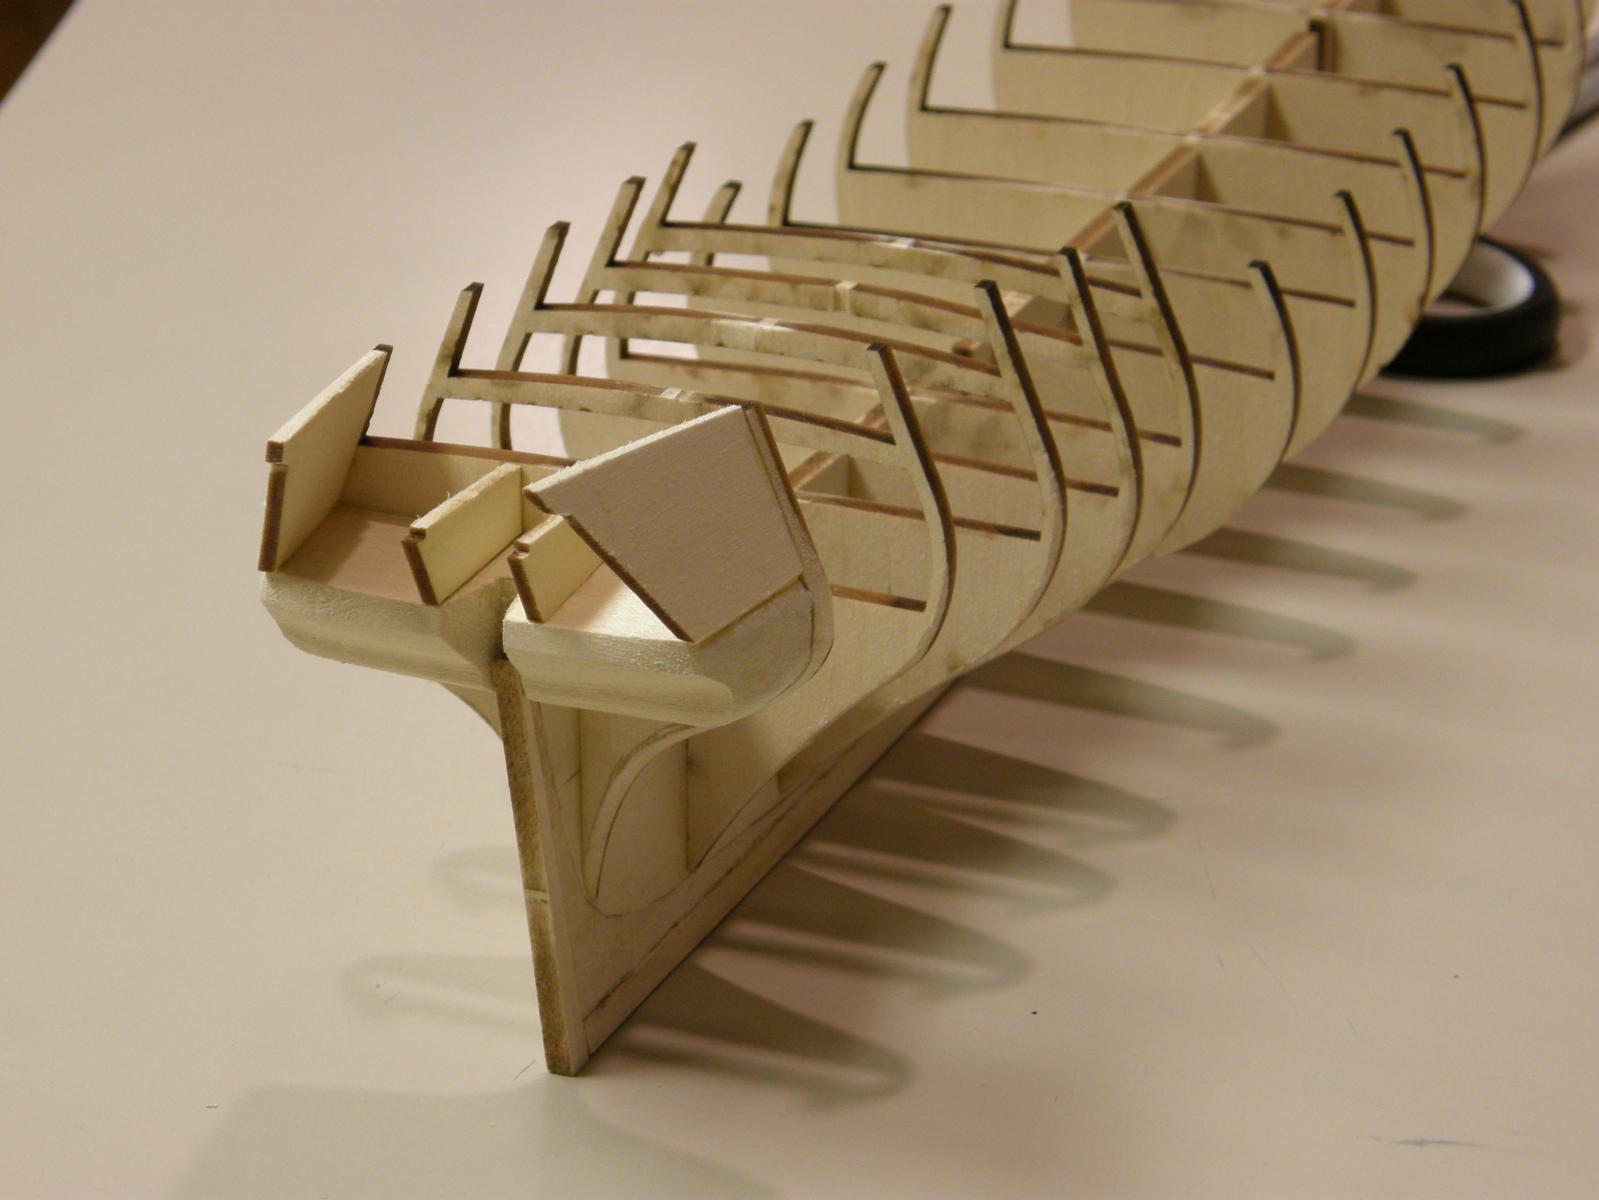
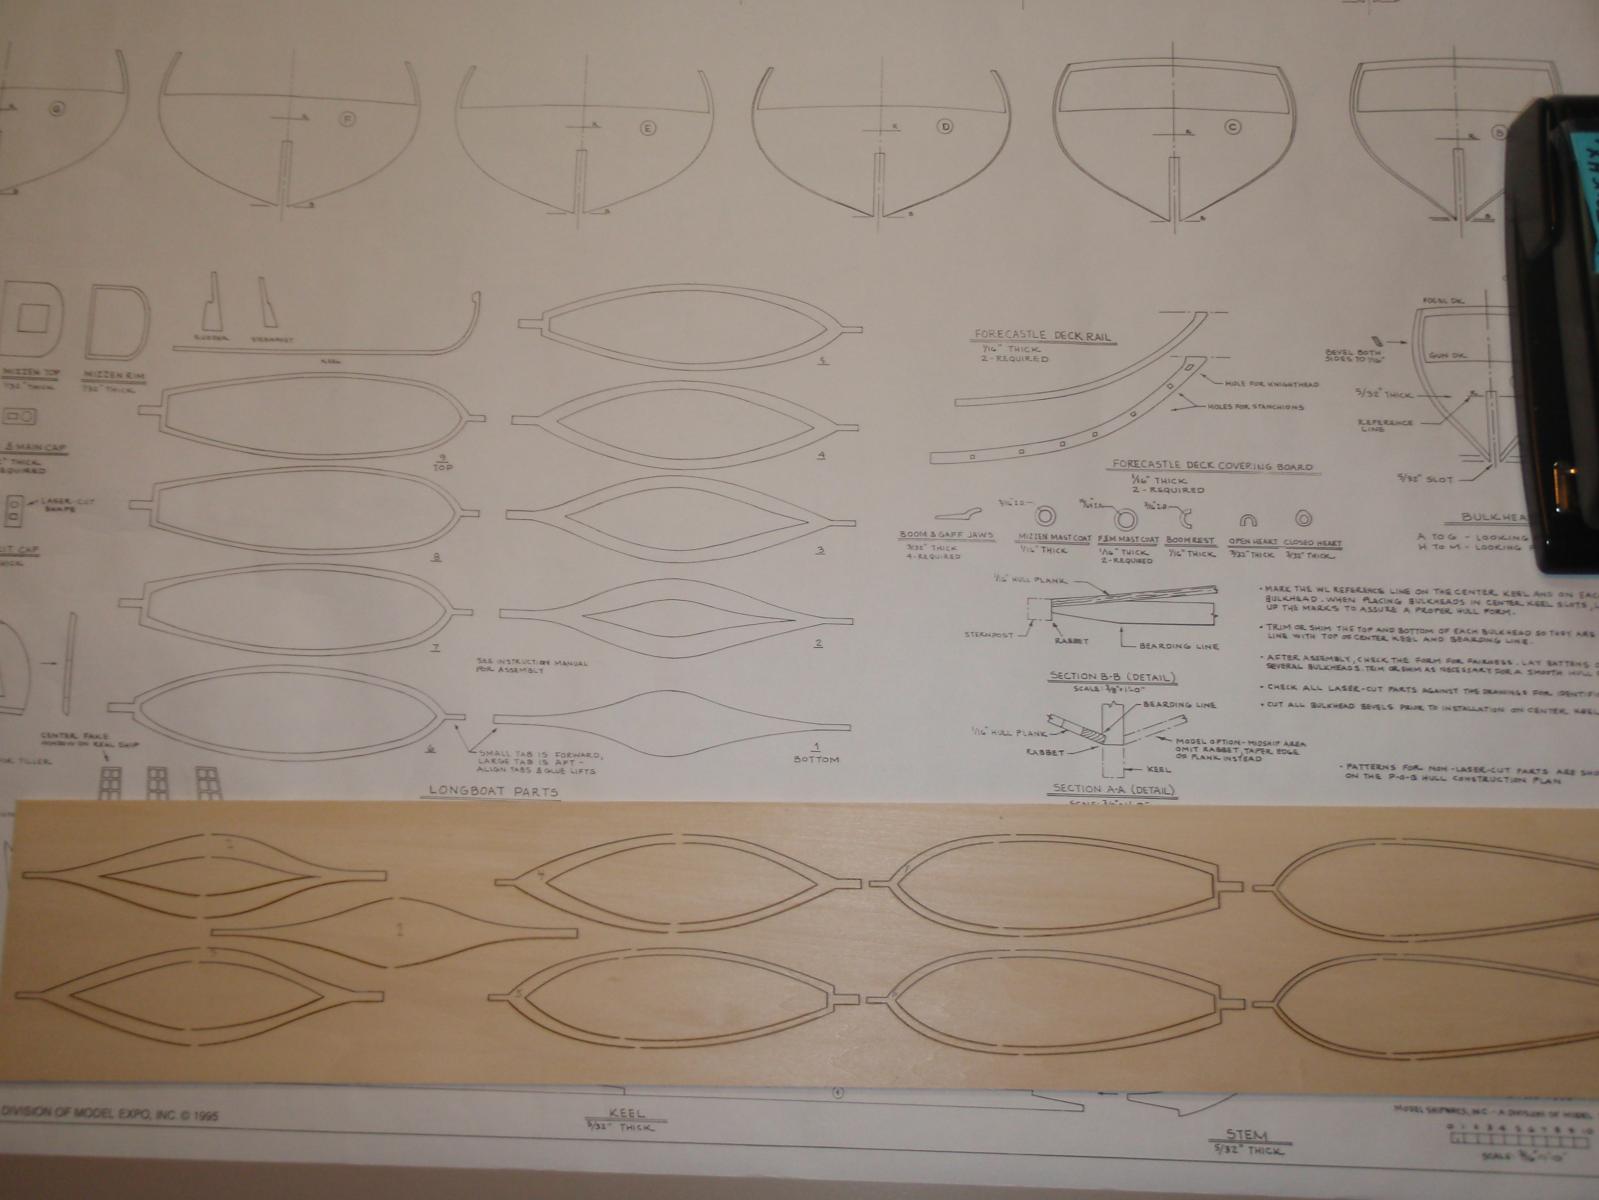
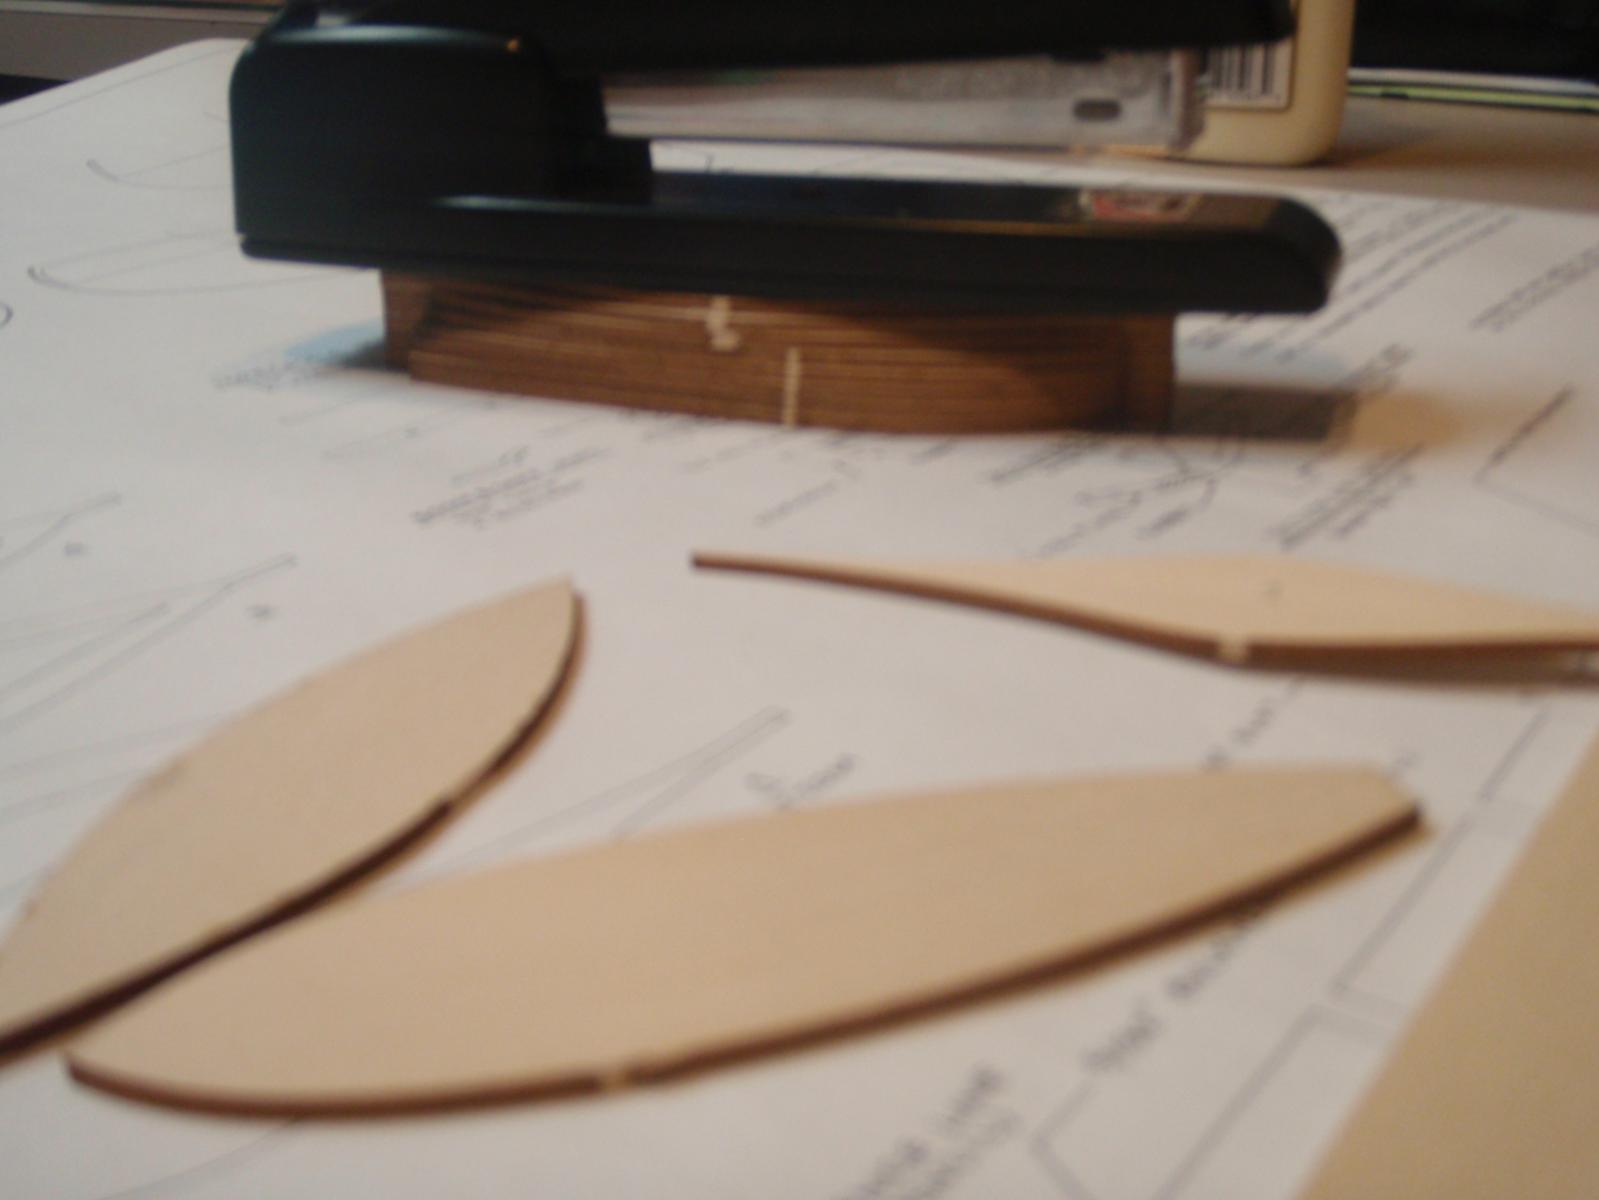
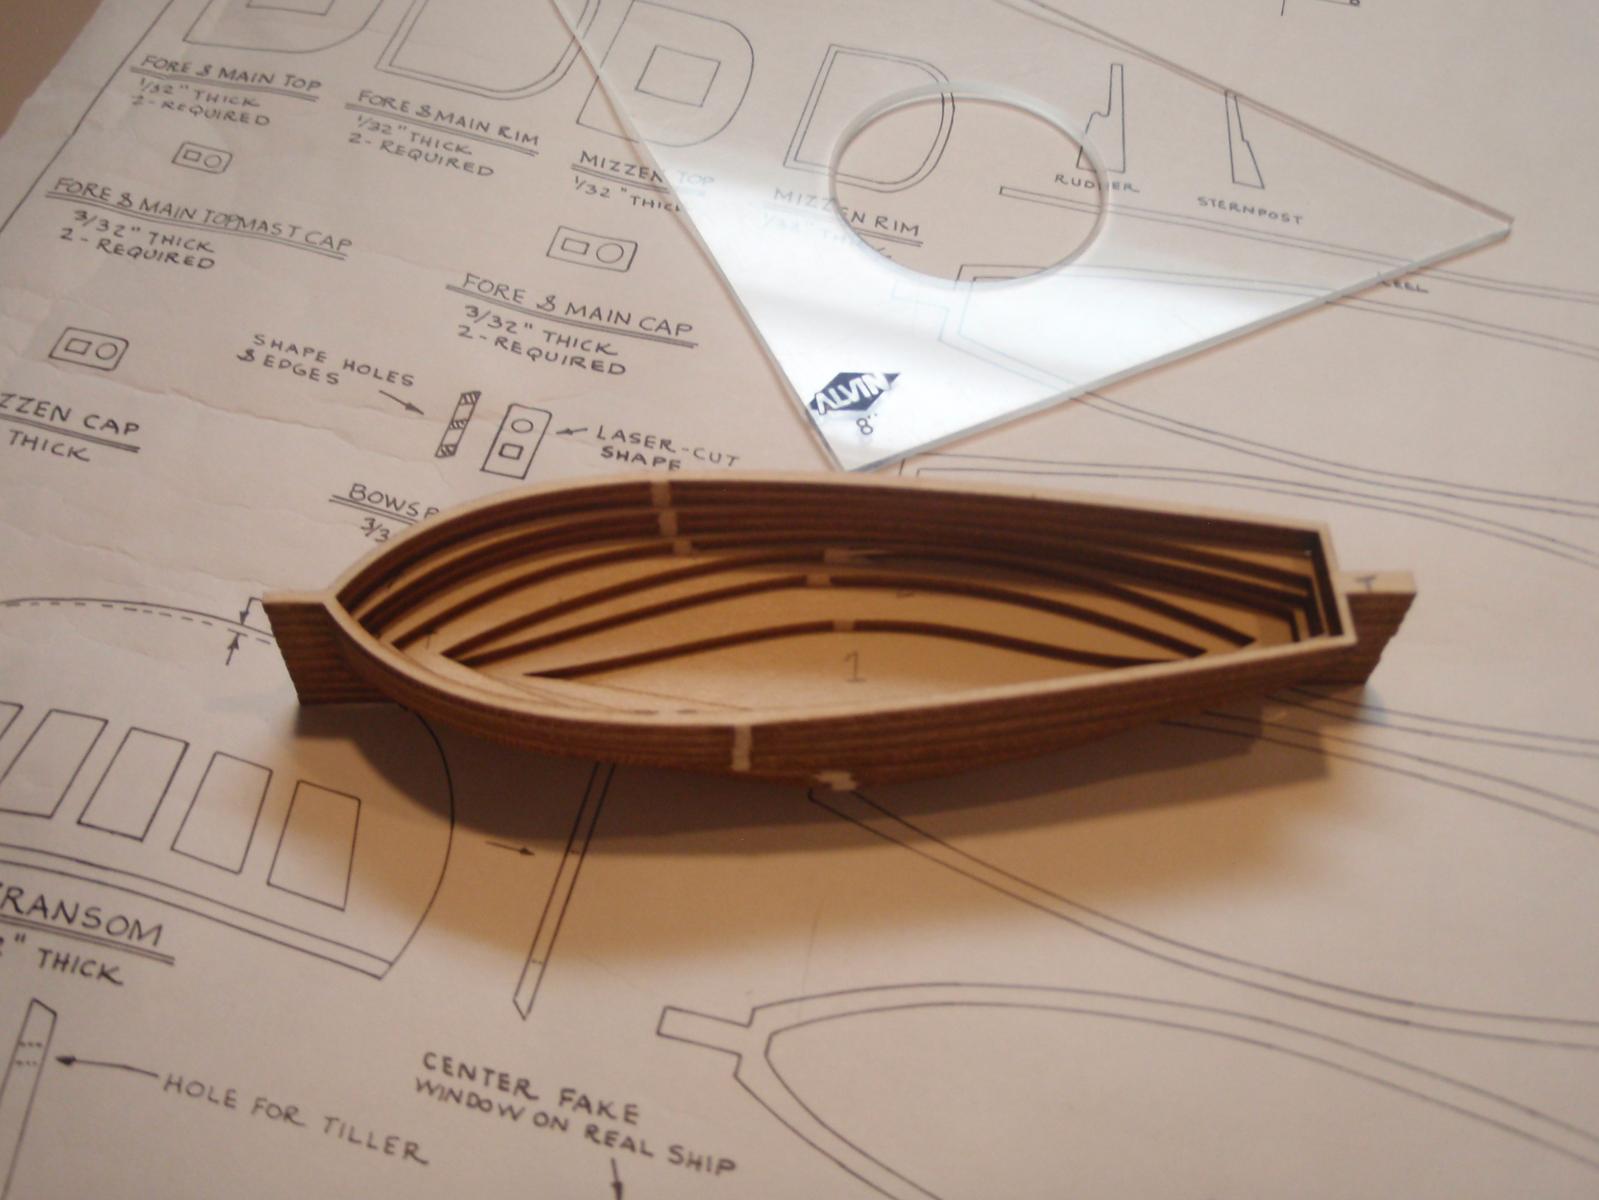
Ship's boat. I shifted to this to get up the nerve to start planking. Plus that, it just looked fun. This is a small 'bread and butter kit' inside the Rattlesnake kit. The instructions give a hint to glue all the layers together using the stem guides except the last one, that will make sanding the inside easier. I say stack them together, mark the lines and sand as much as you can separately, then glue them together. It's a very small space

Sorry blurry. Stapler holding down the layers


-
-
A J Fisher (ajfisher.com) has the plans for the Miss Lou. They even sell the solid hull to get started.
-
A little more sanding OK. But beauty marks are better.
-
She looks great. Keep up the good work and the posts with photos
-
I will follow your log with interest since I am from Mississippi and have read a bit on bb23.


Rattlesnake by Kenneth Powell - FINISHED - Model Shipways - American Privateer
in - Kit build logs for subjects built from 1751 - 1800
Posted
Thanks JPett for looking in. Your build has really inspired me.