MORE HANDBOOKS ARE ON THEIR WAY! We will let you know when they get here.
×


SIDEWAYS SAM
-
Posts
248 -
Joined
-
Last visited
Content Type
Profiles
Forums
Gallery
Events
Everything posted by SIDEWAYS SAM
-
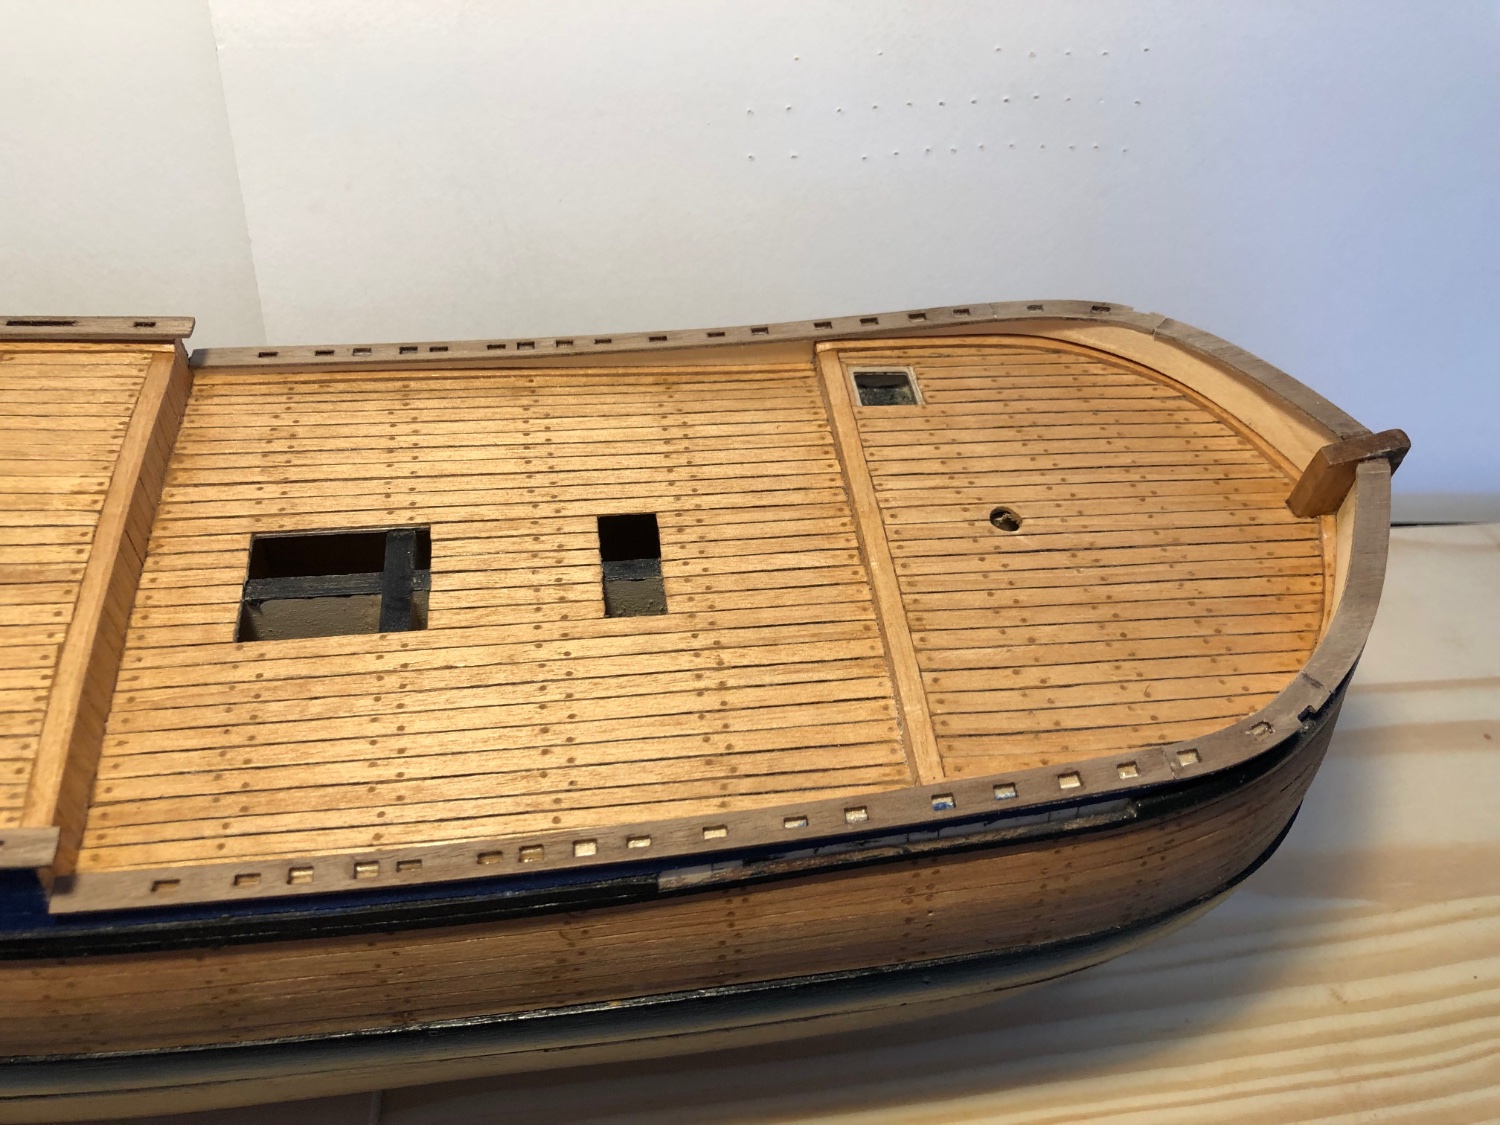
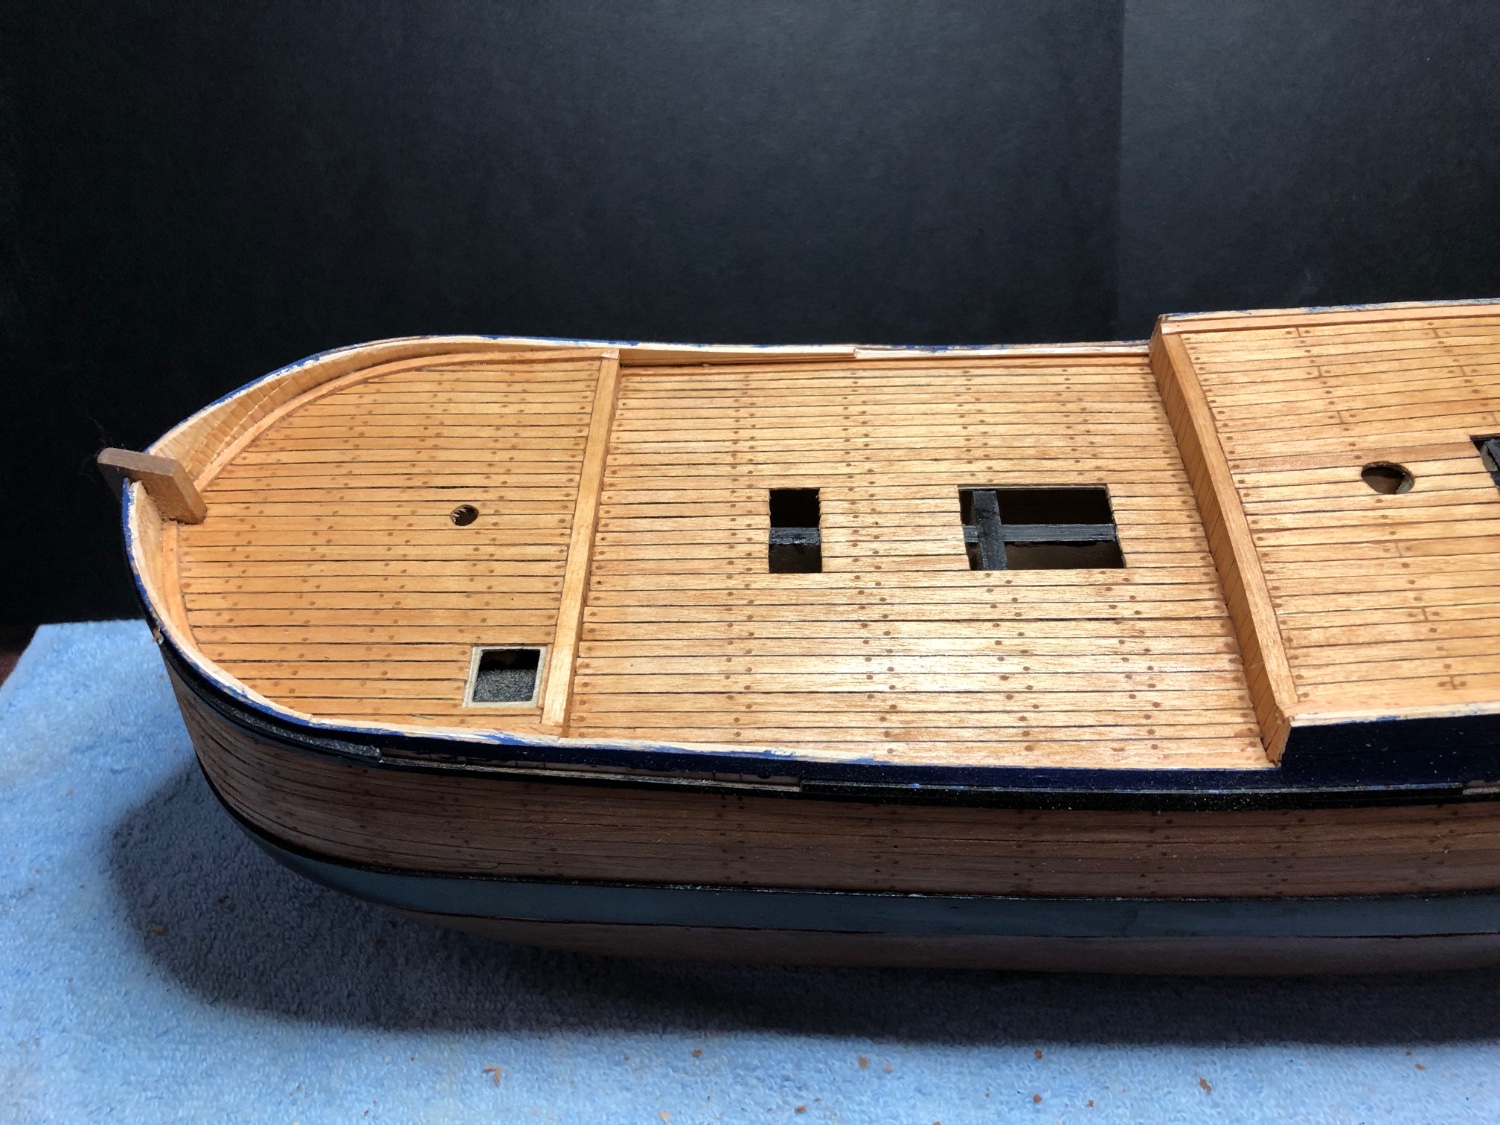
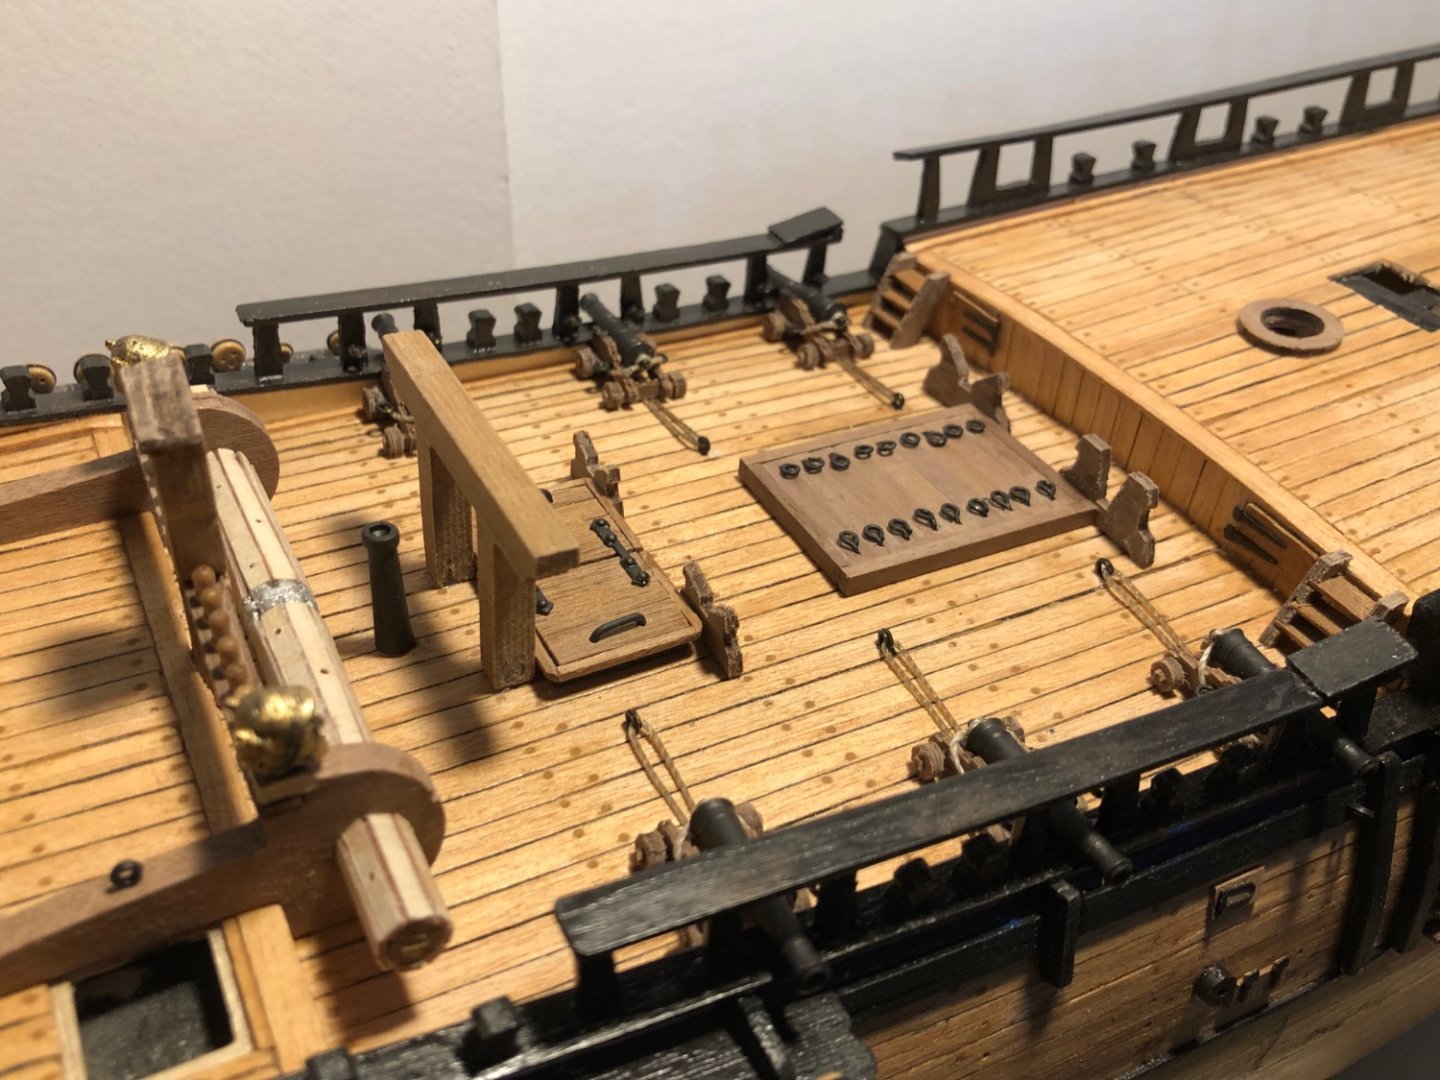
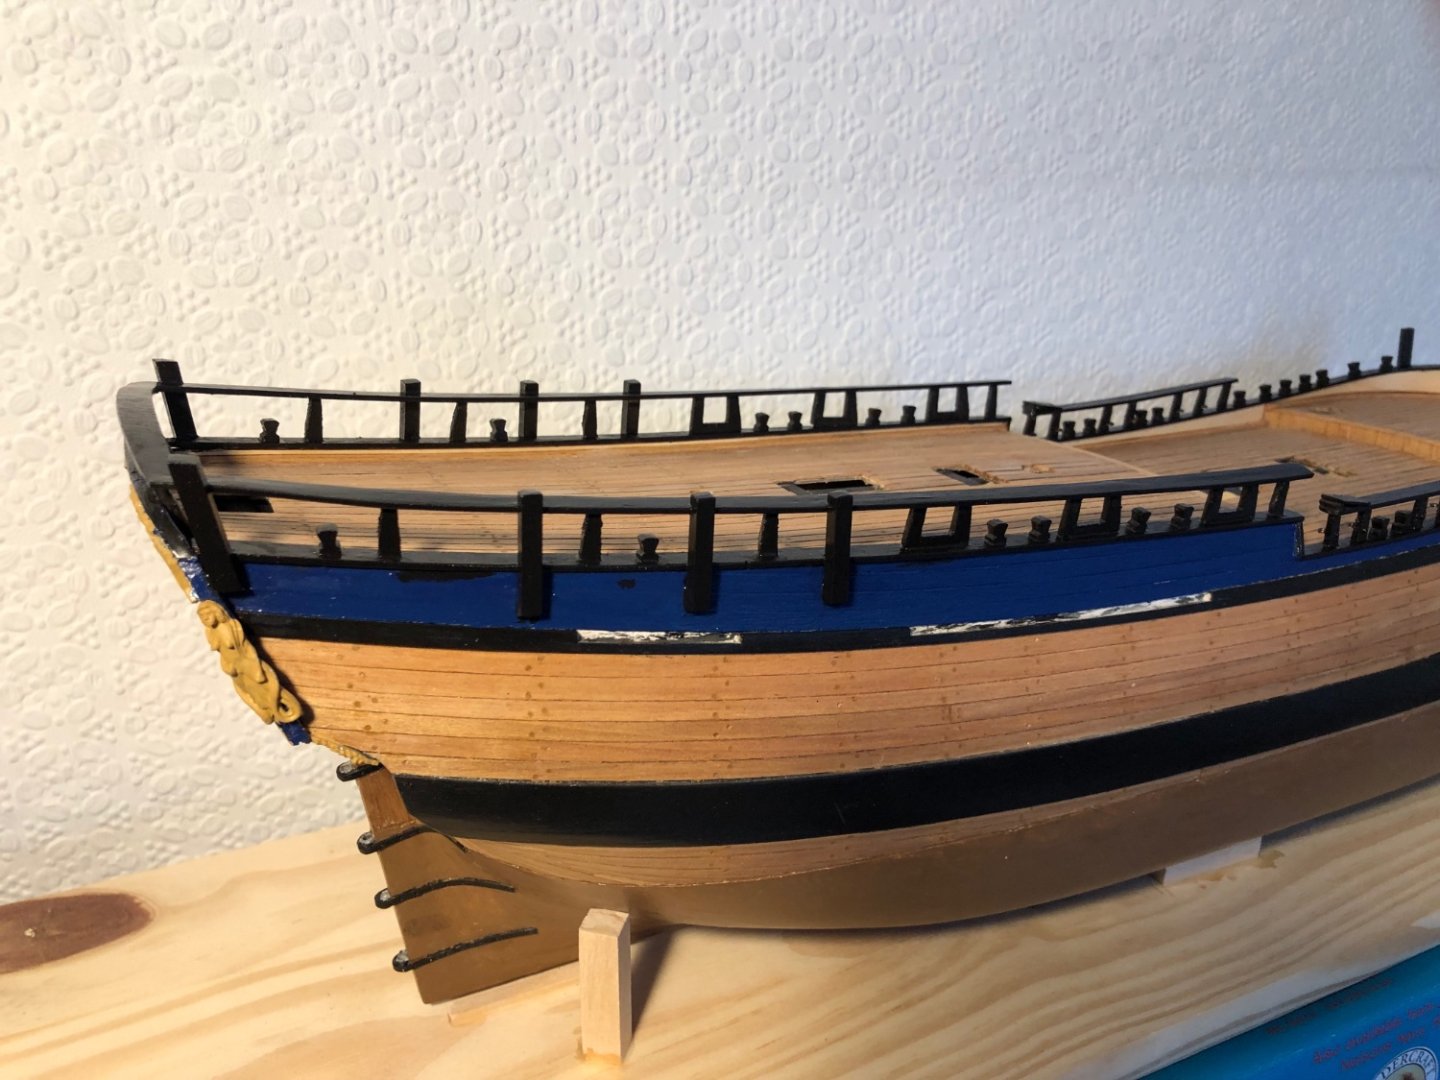
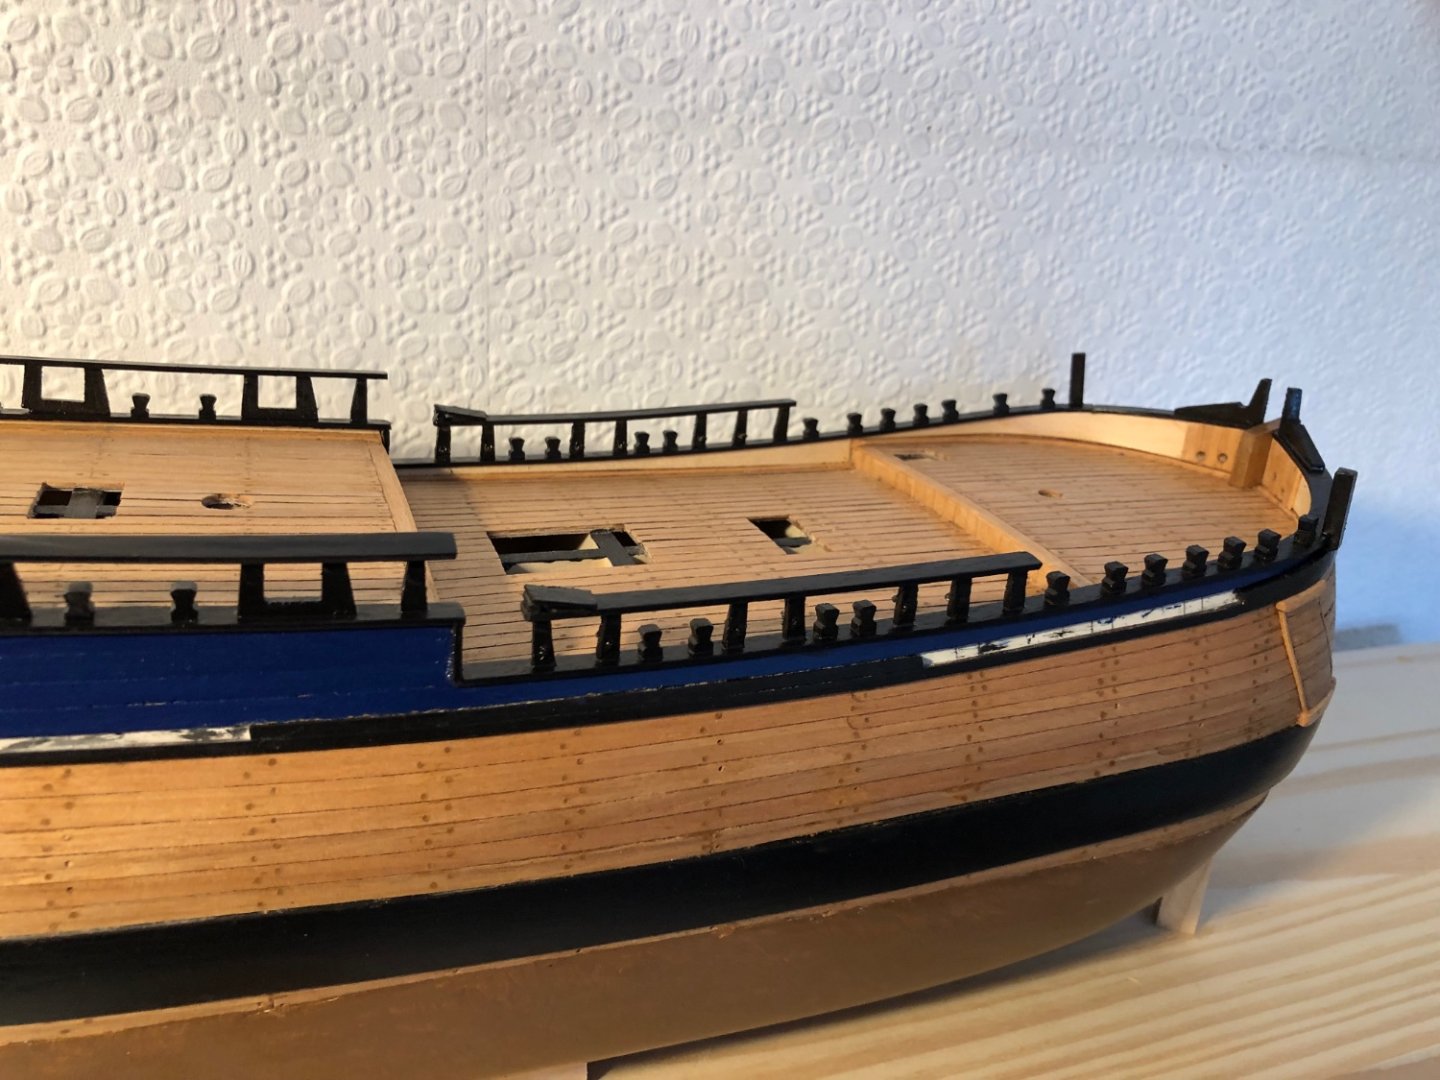
Hi, and thanks for the likes. Middle deck features added except for ships boats. Next will be the aft deck fittings. Best regards, Sam.
-
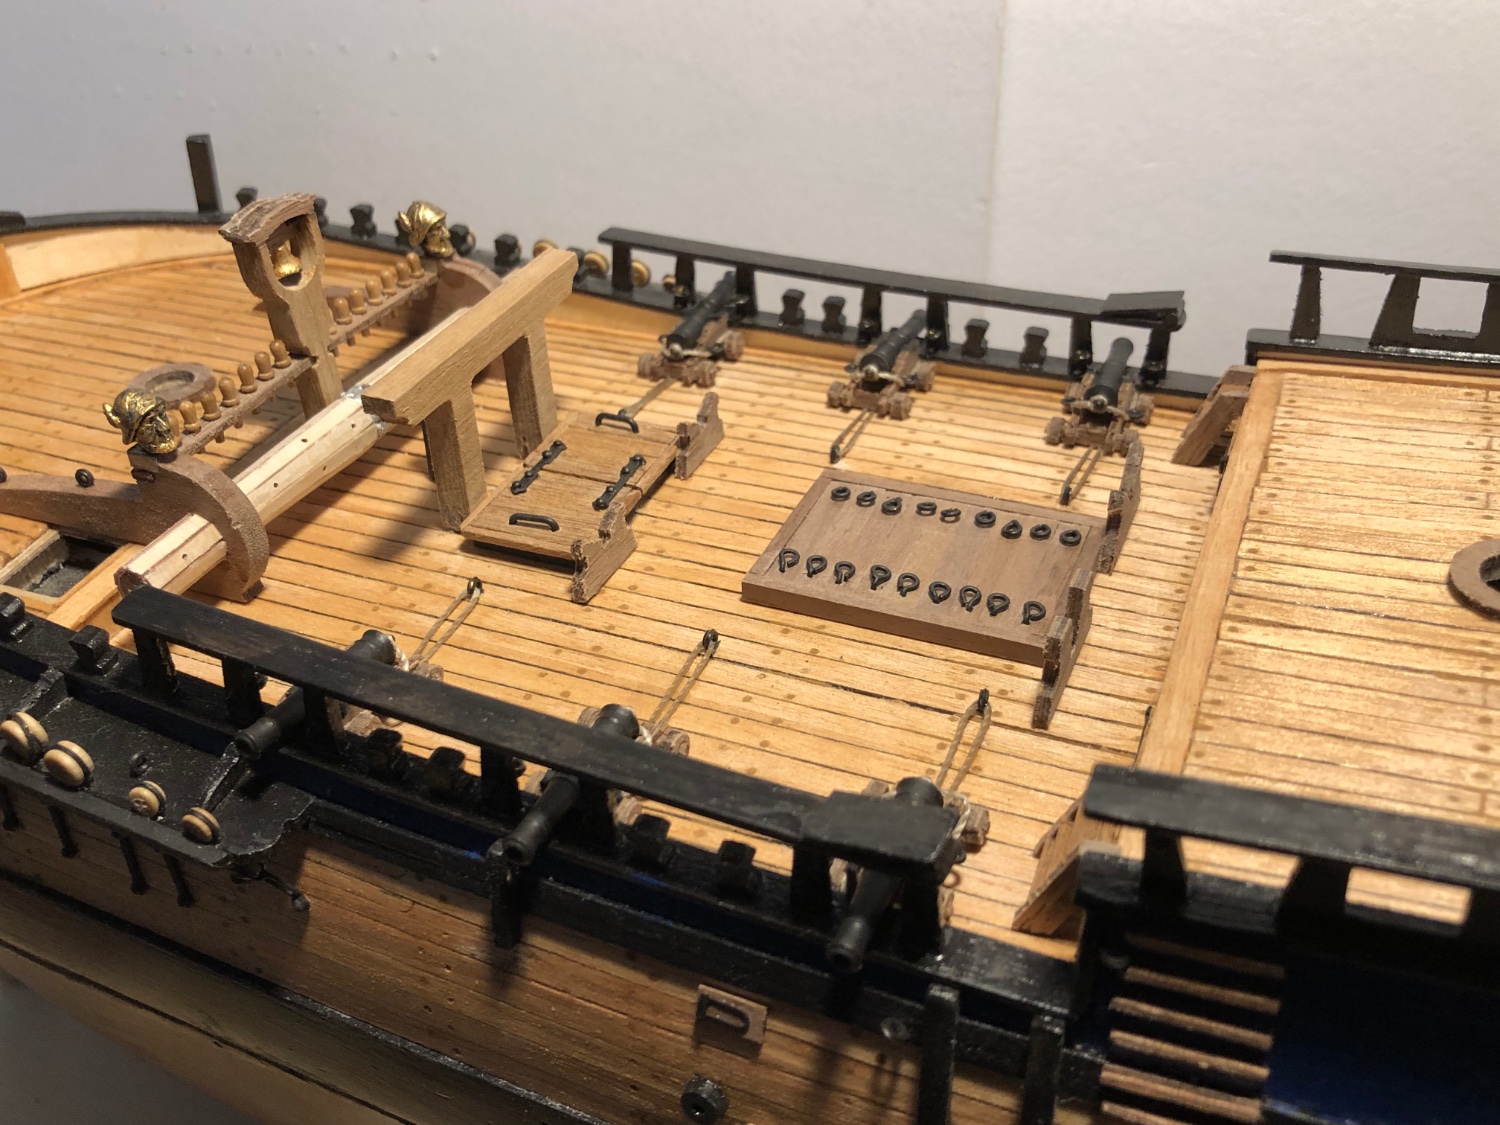
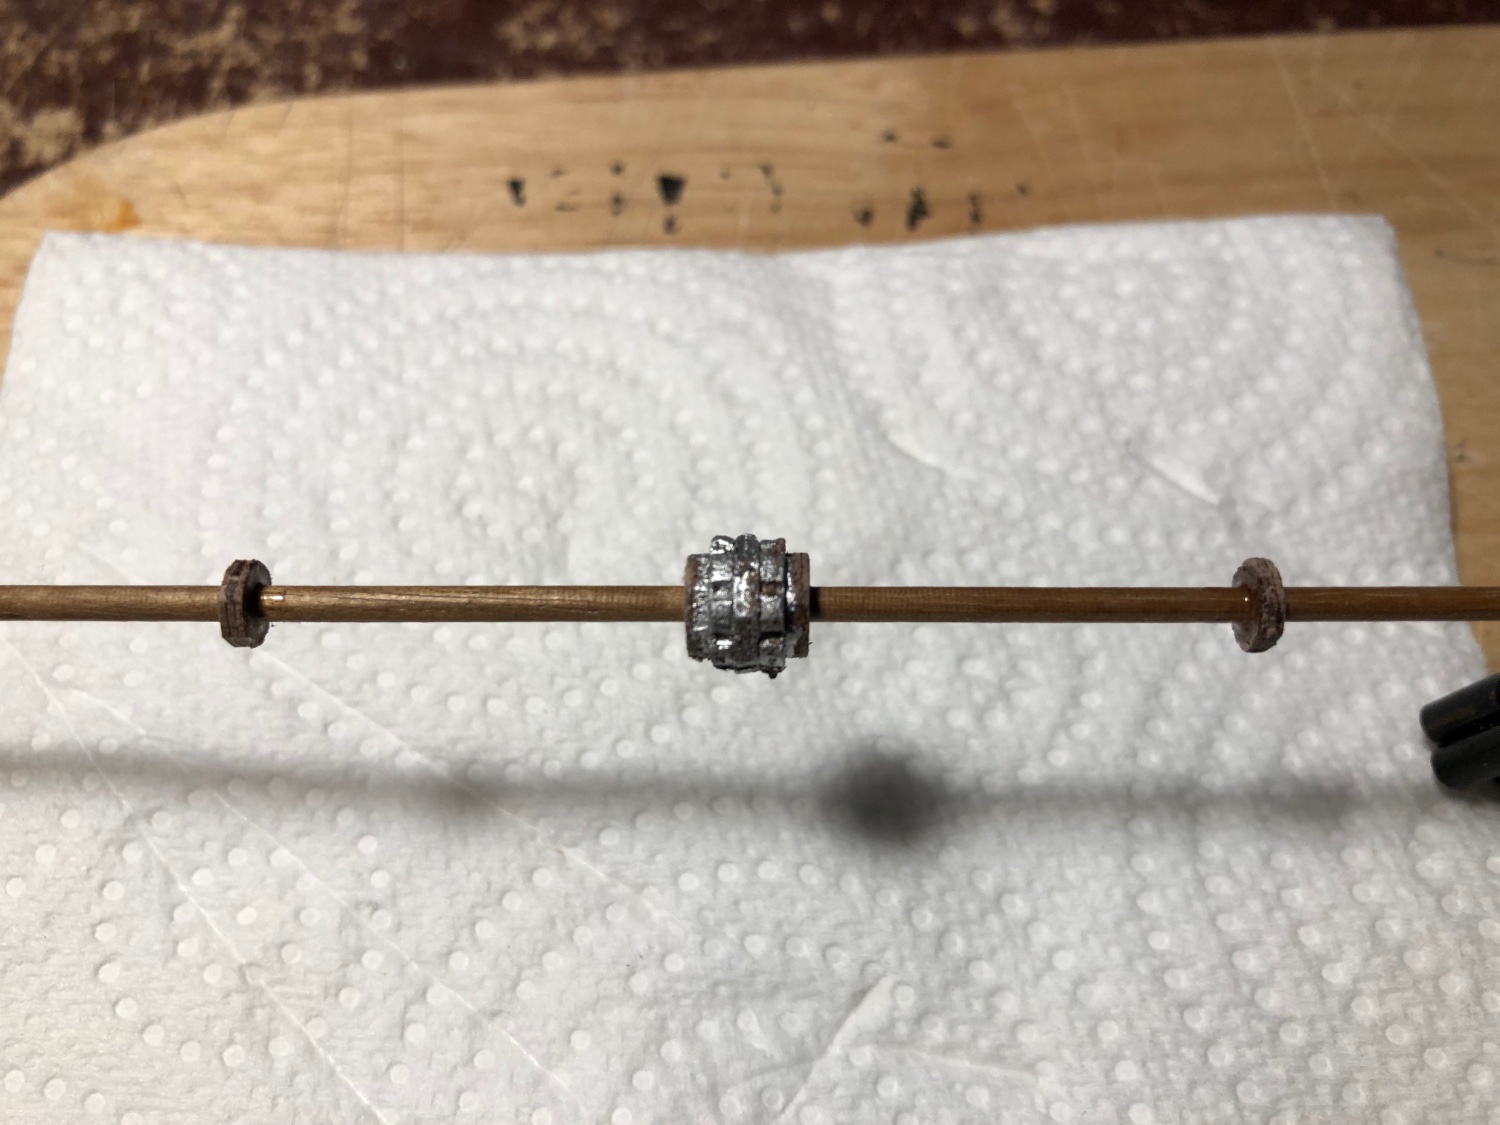
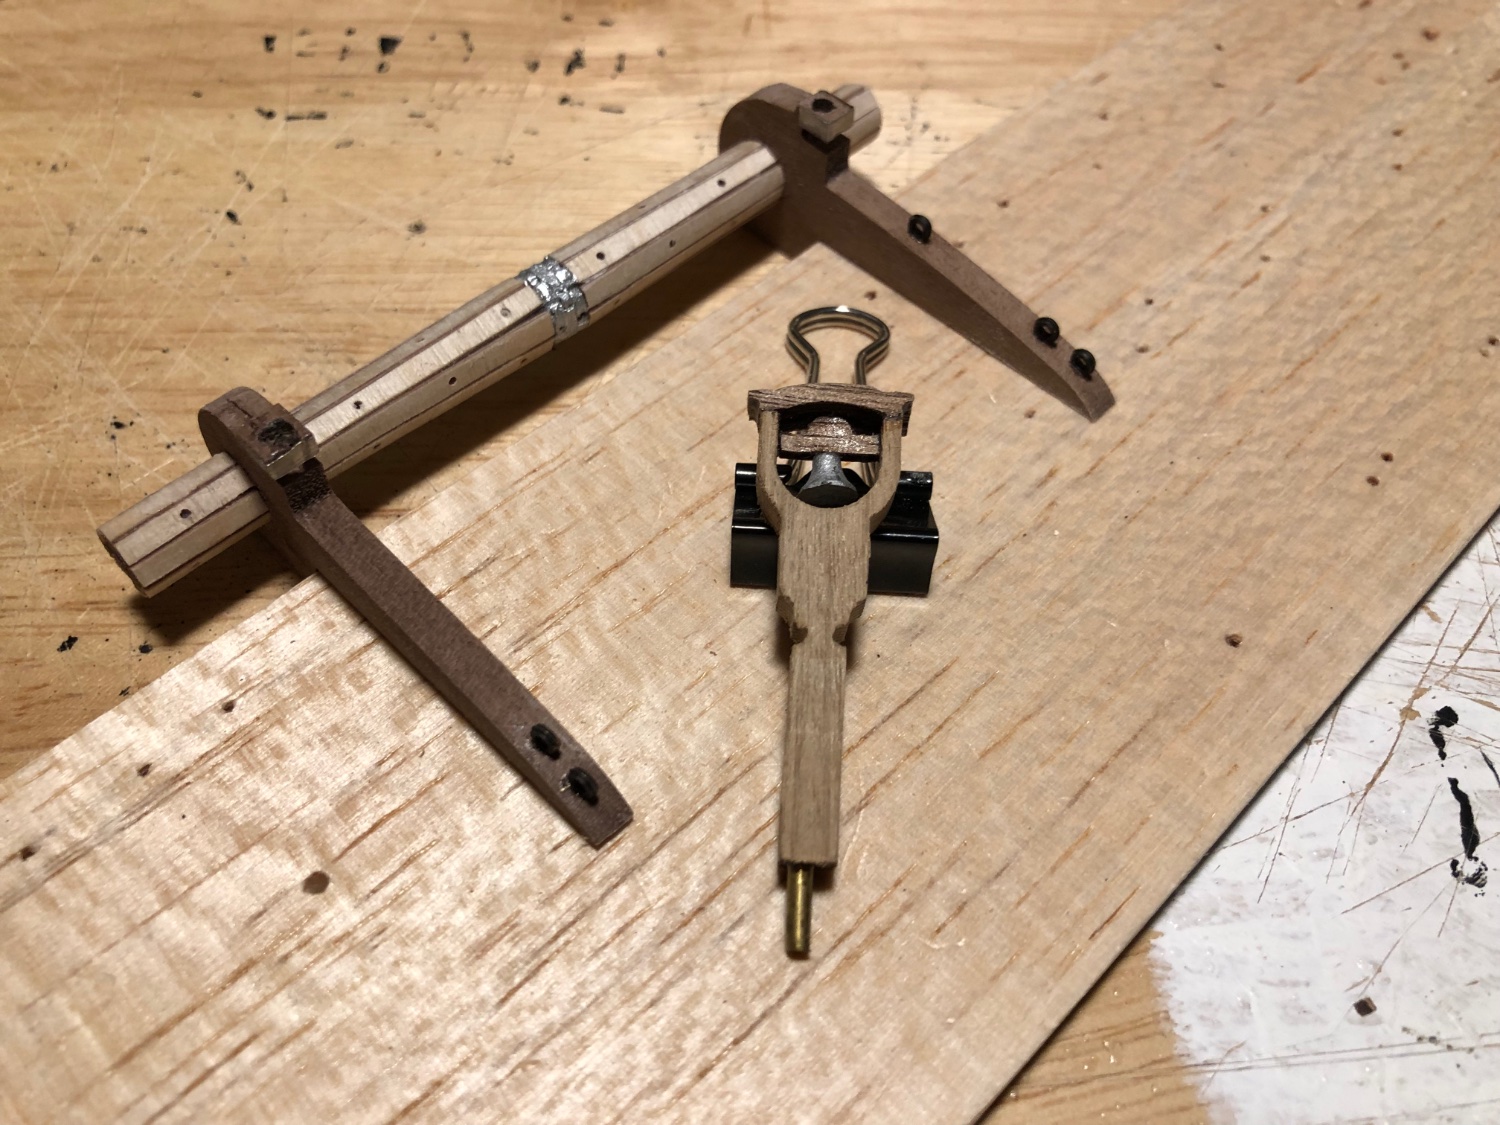
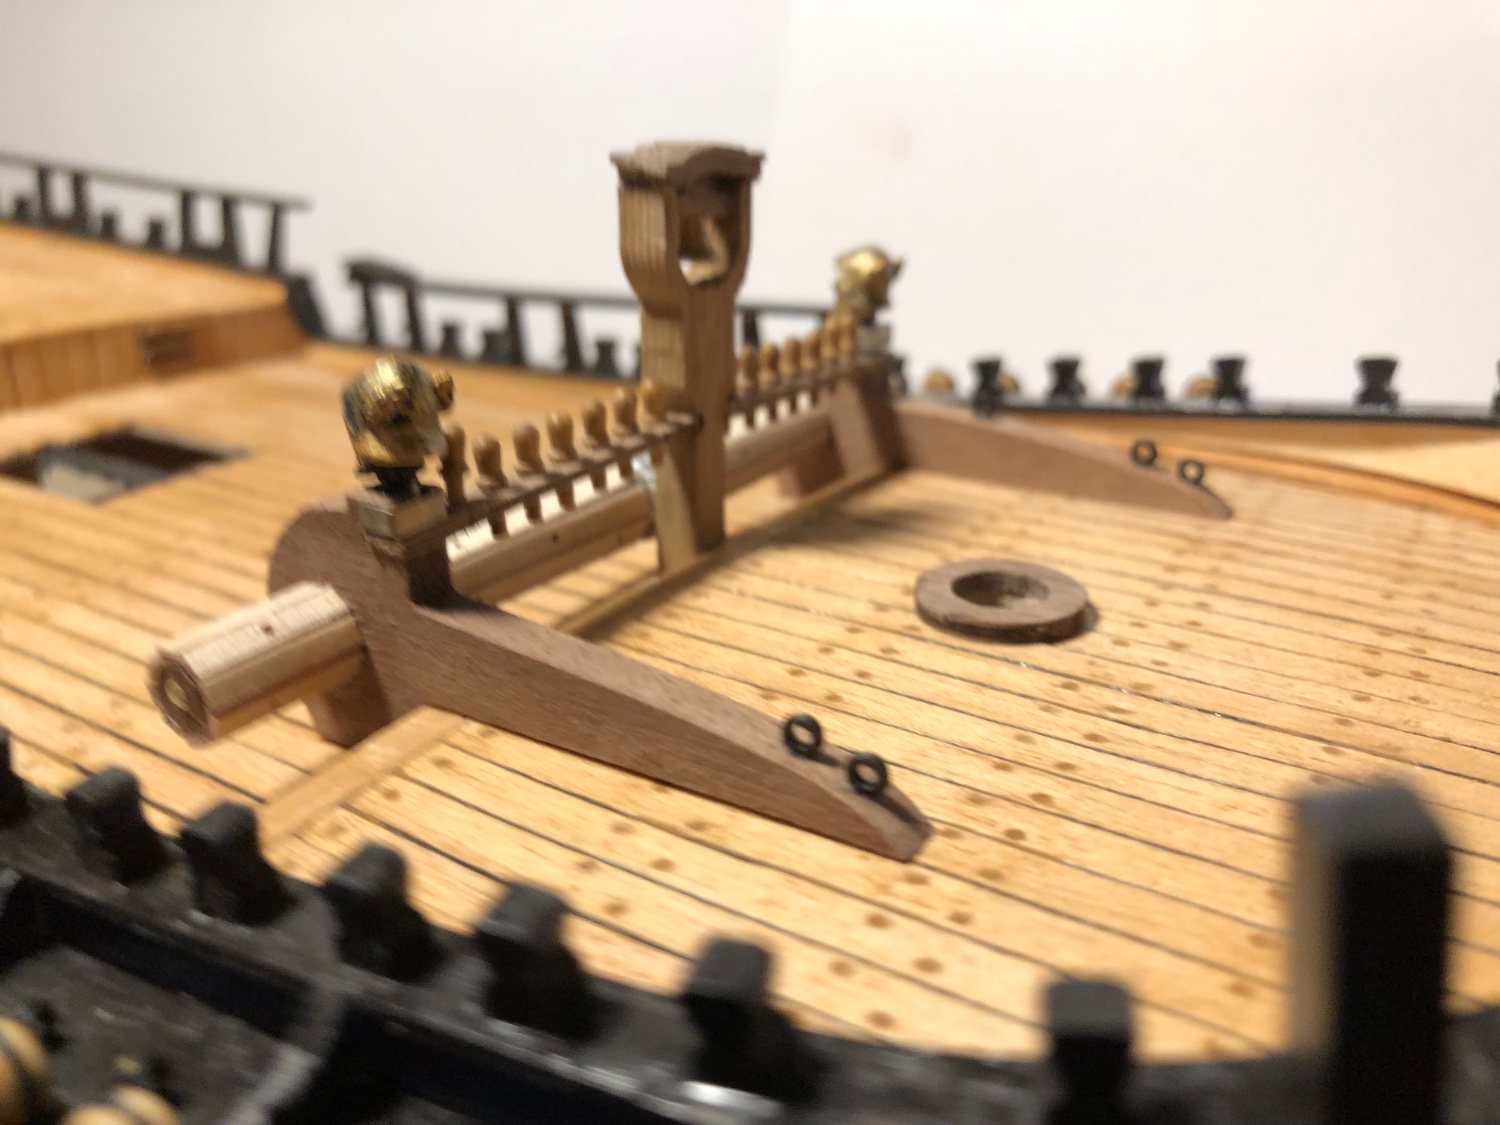
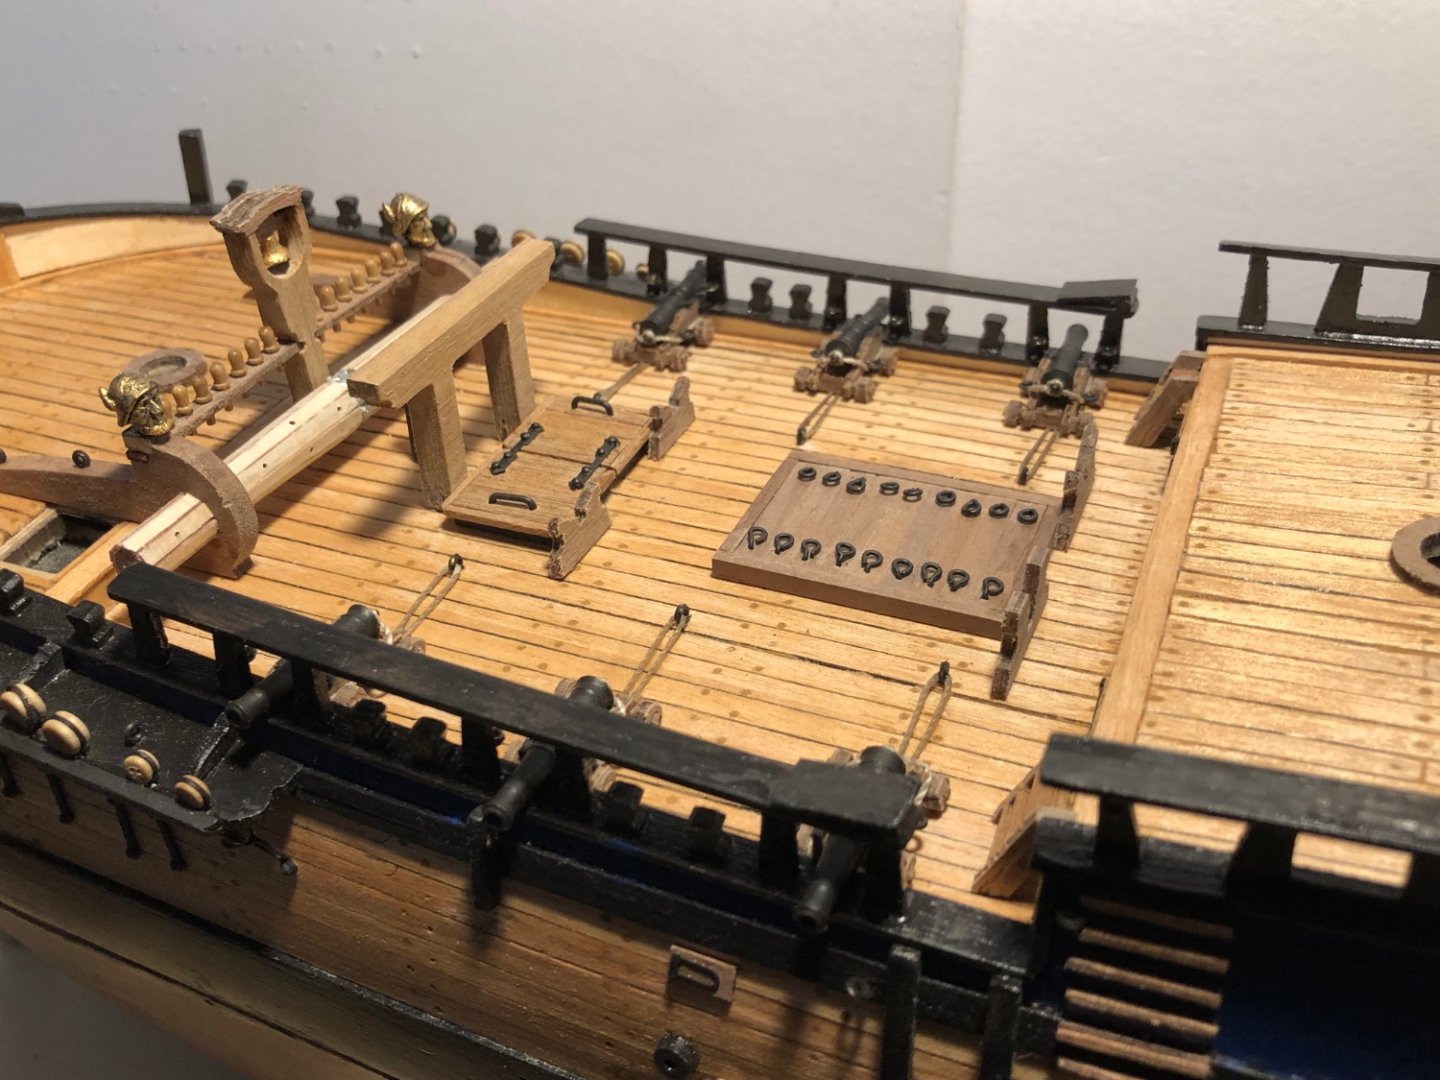
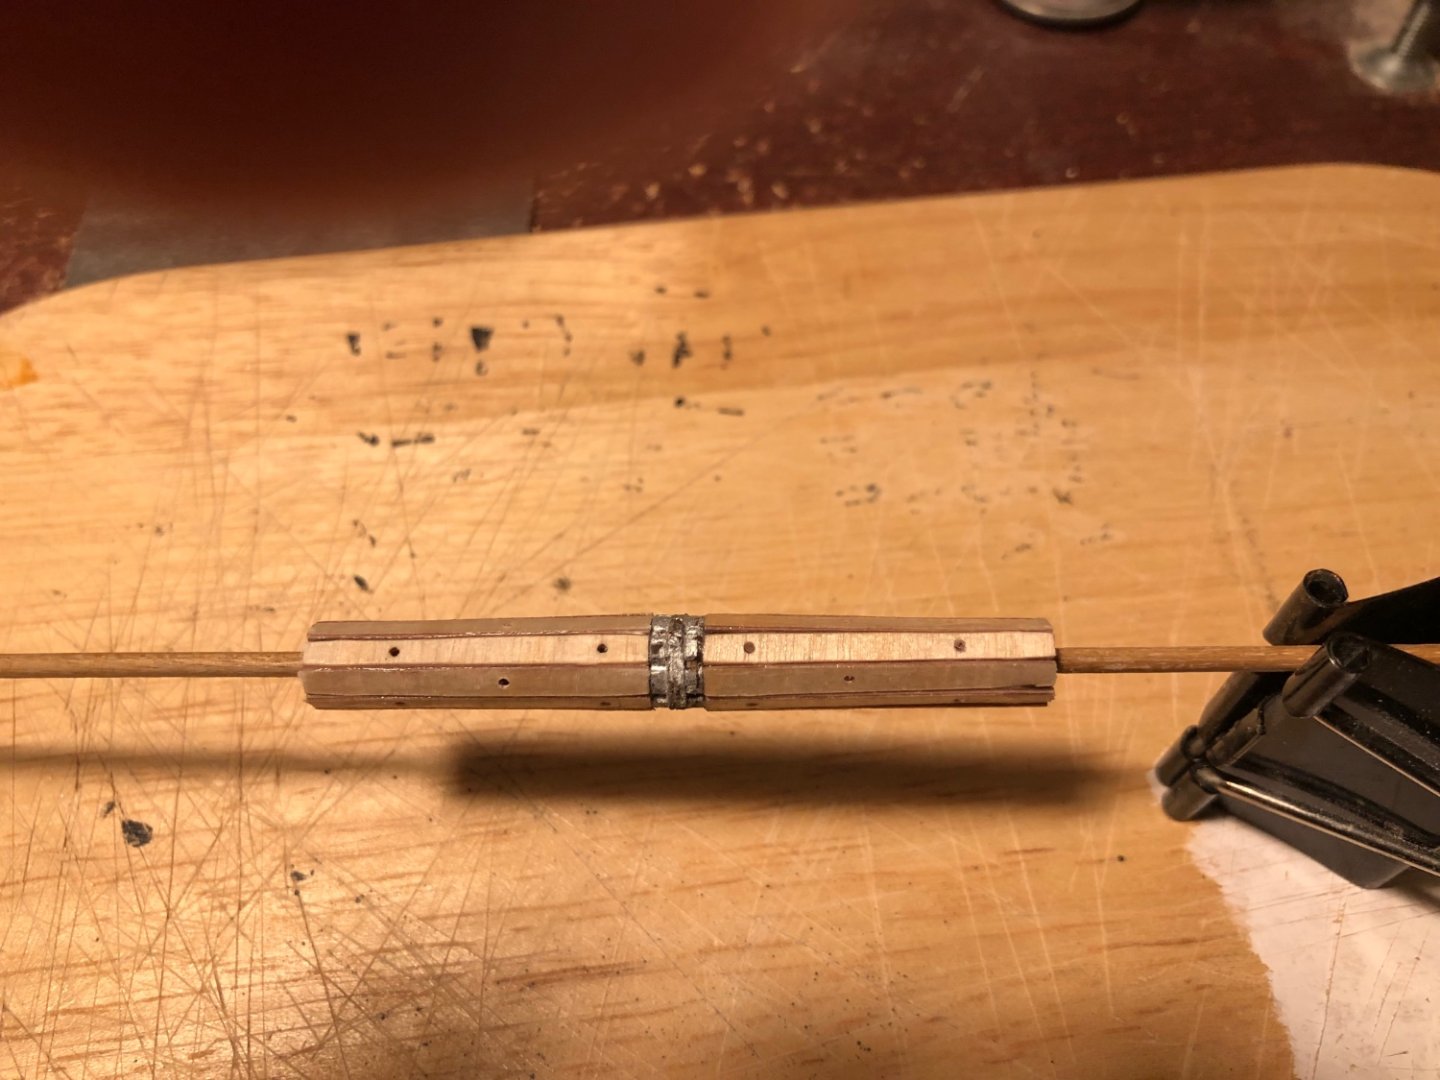
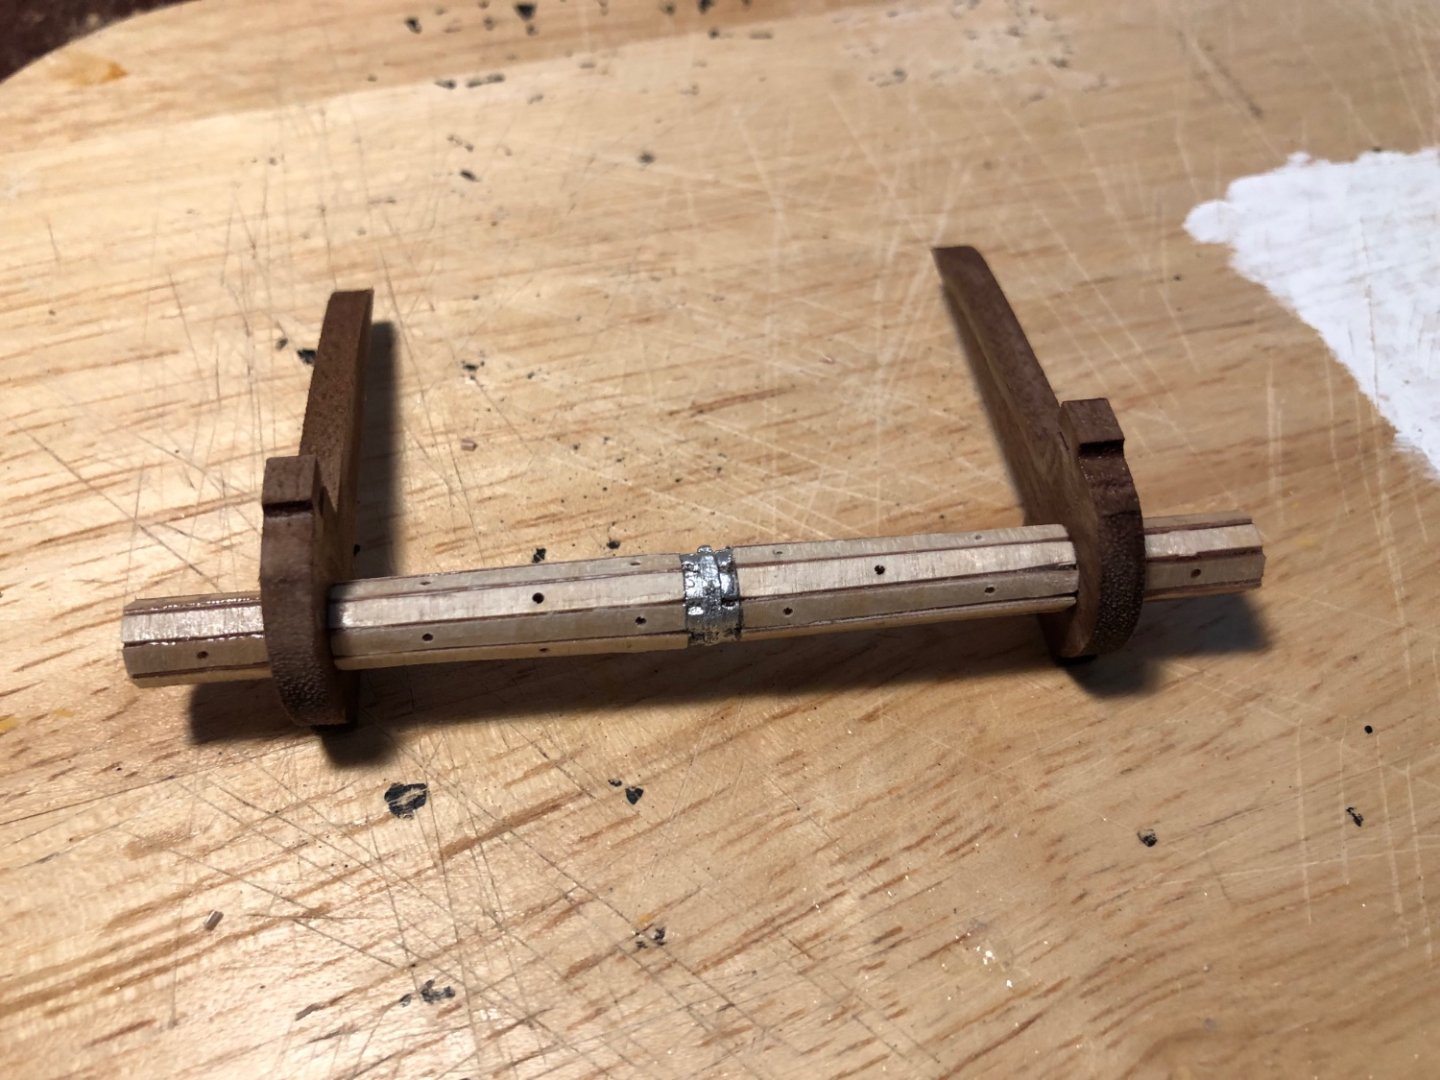
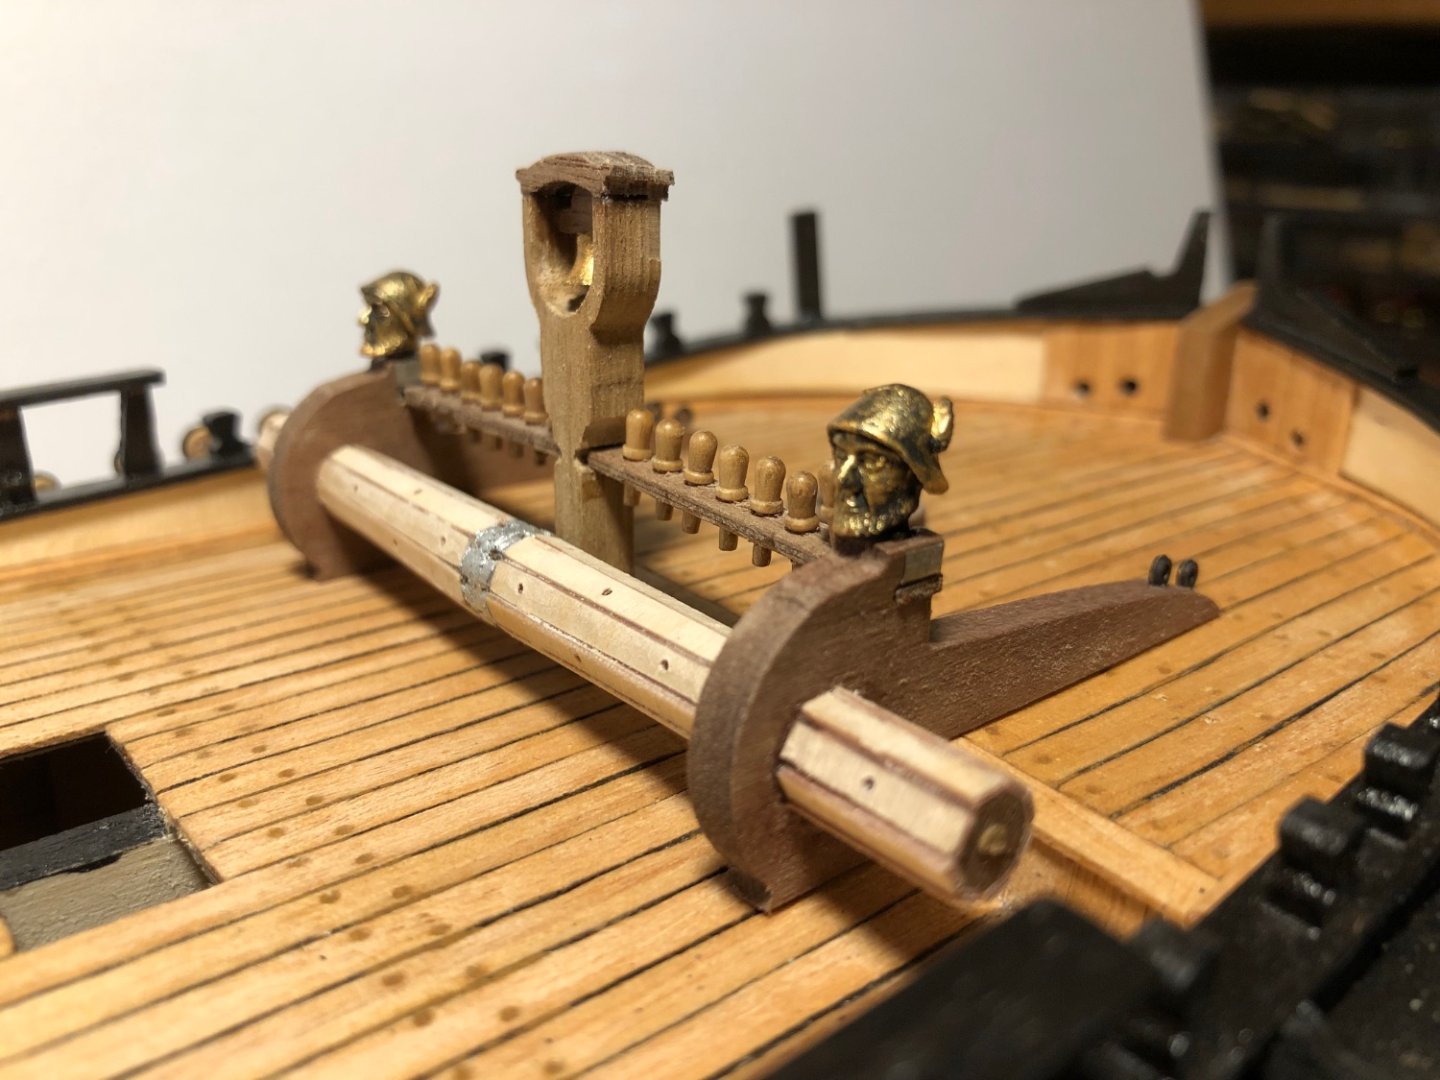
Hi and, thanks for the likes. Windlass and belfry assembled and fitted in position. Whole thing went together fairly easily . Parts are small and fragile but finished build quite robust. The more I build of this kit the more I like it. Best regards, Sam.


-
Welcome back Dave. Sam.
-
Hi and thanks for visiting. External hull fitted out as far as I want for now. Time to start on the deck fittings. Best wishes, Sam.
-
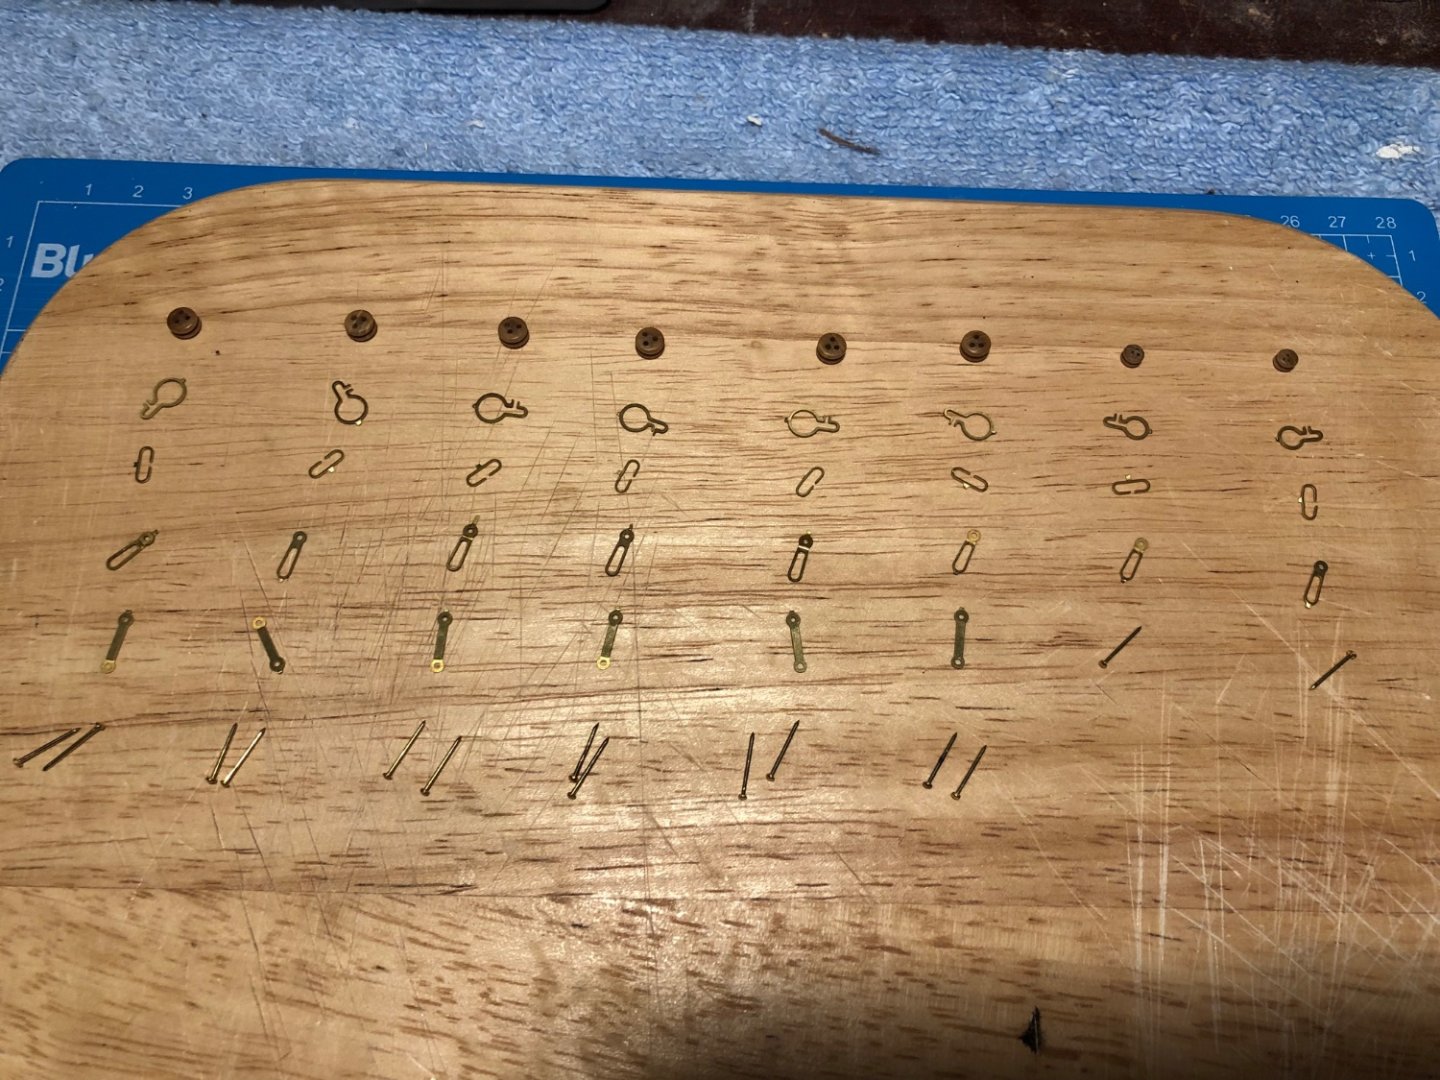
Hi and, thanks for visiting. Light port and airing port lids assembled ready for attaching to hull. The eight hinges are for the stem and stern ports which will be built in-situ. Best regards, Sam.

-
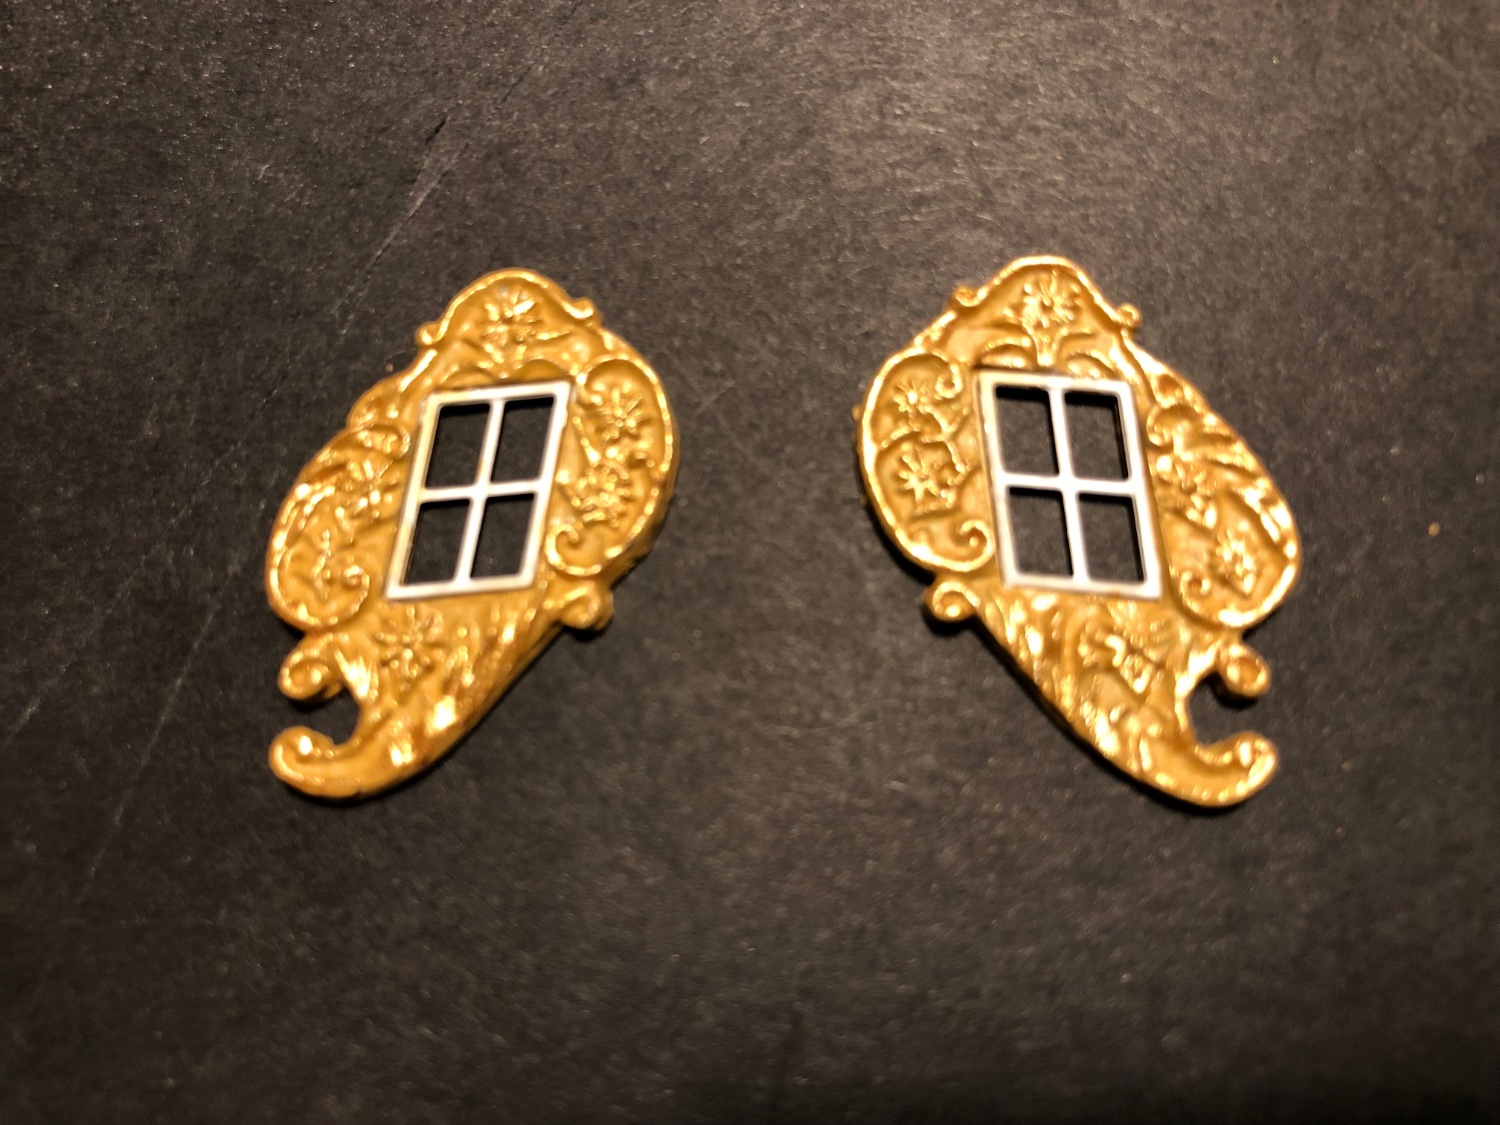
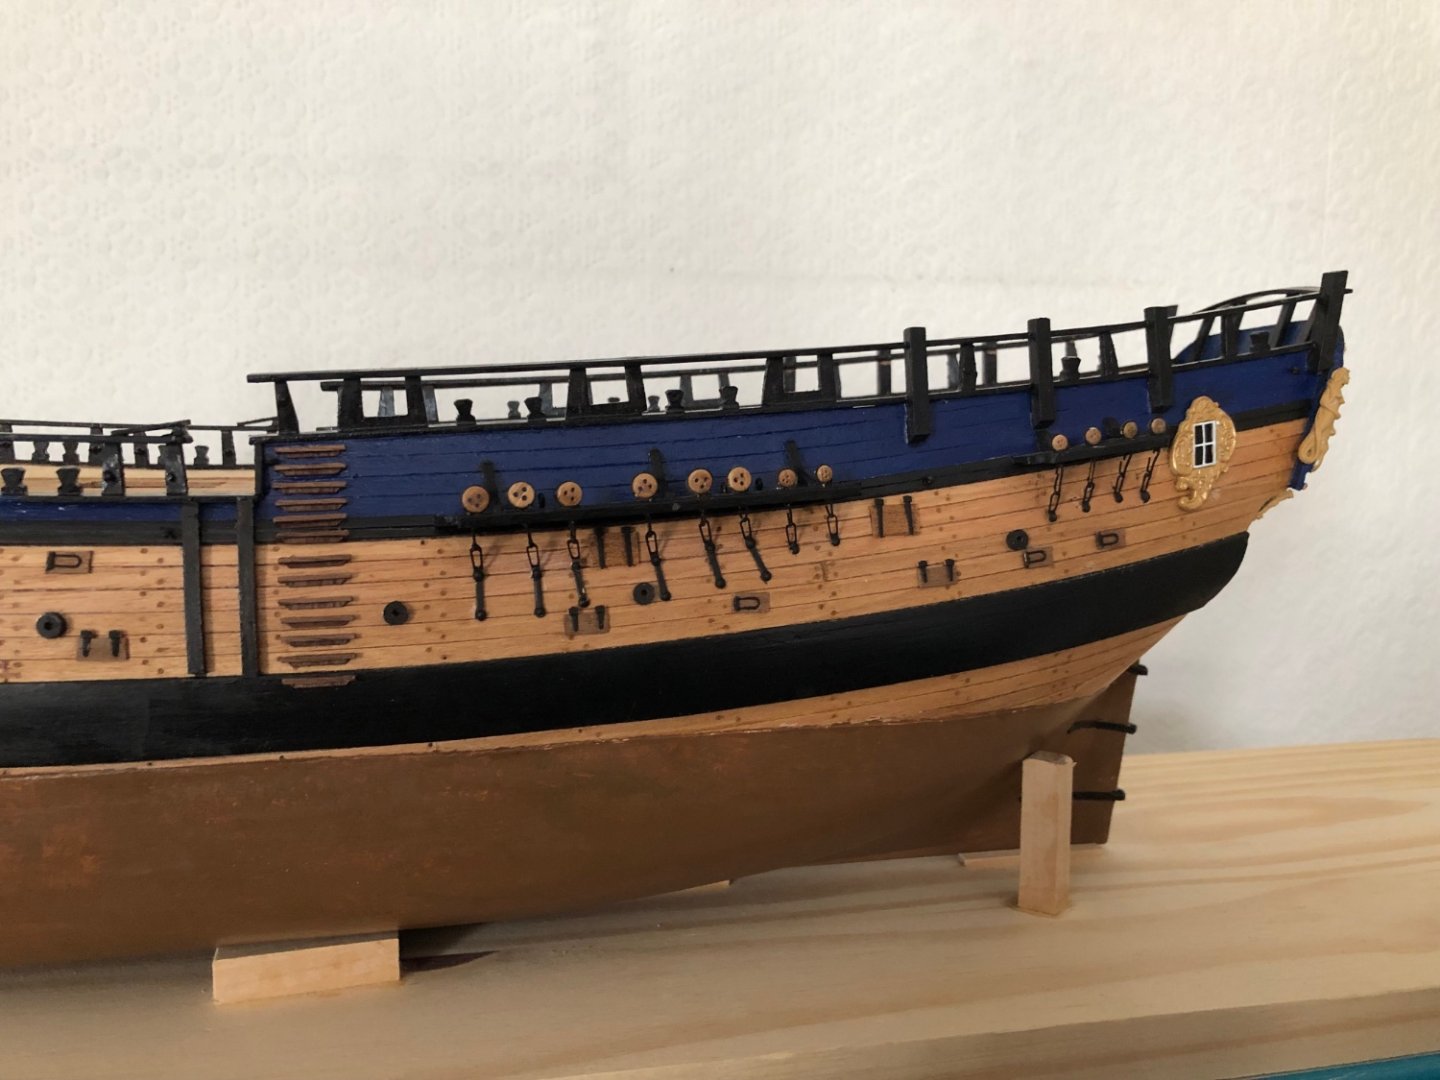
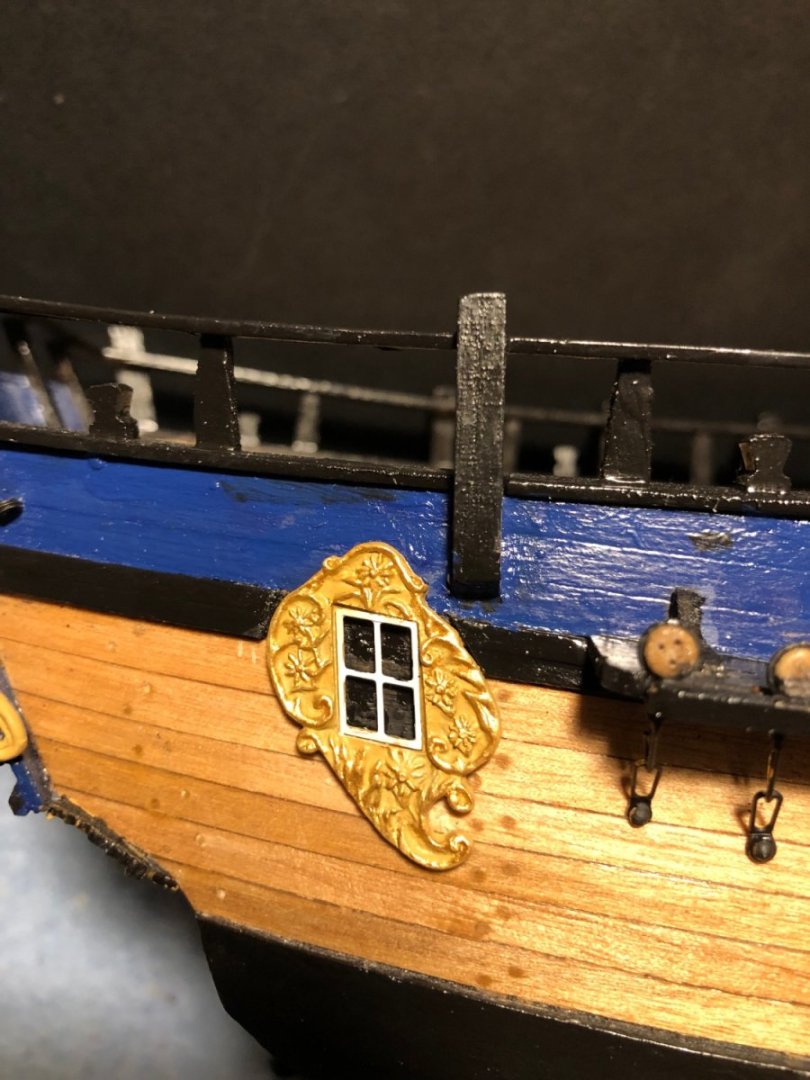
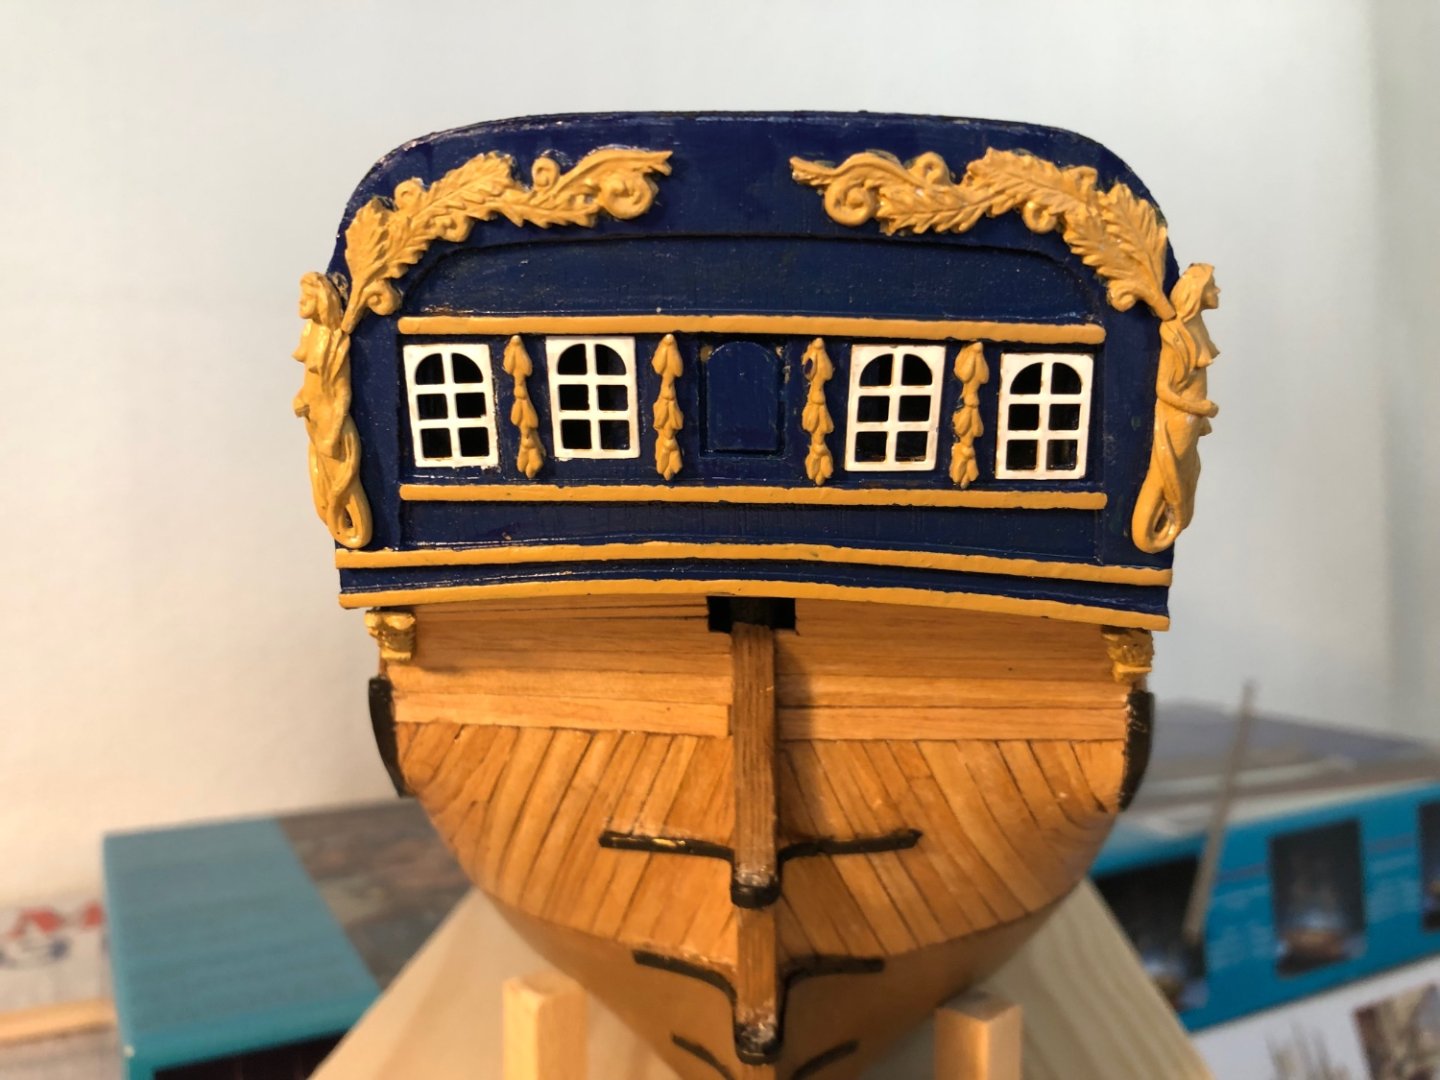
Quarterlights painted and fixed into position. Best regards, Sam.

-
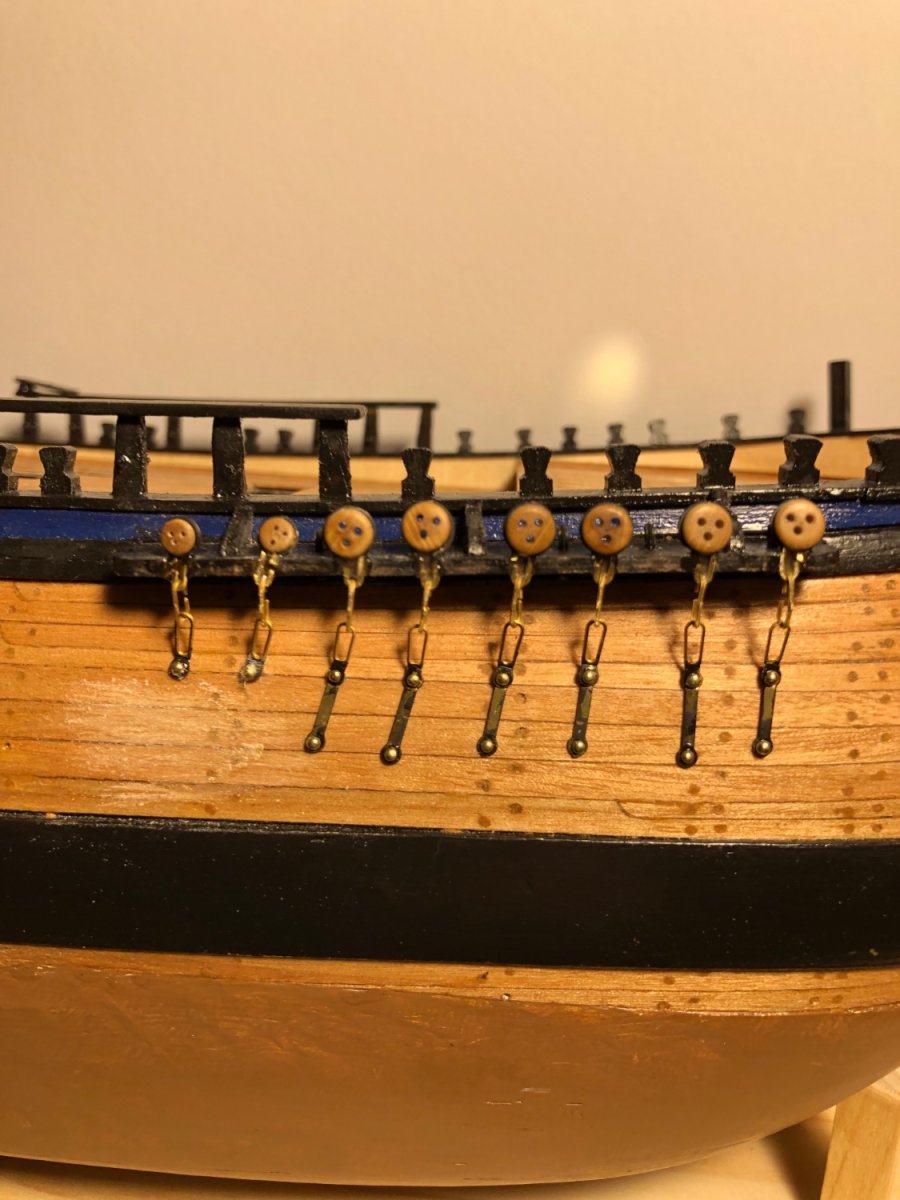
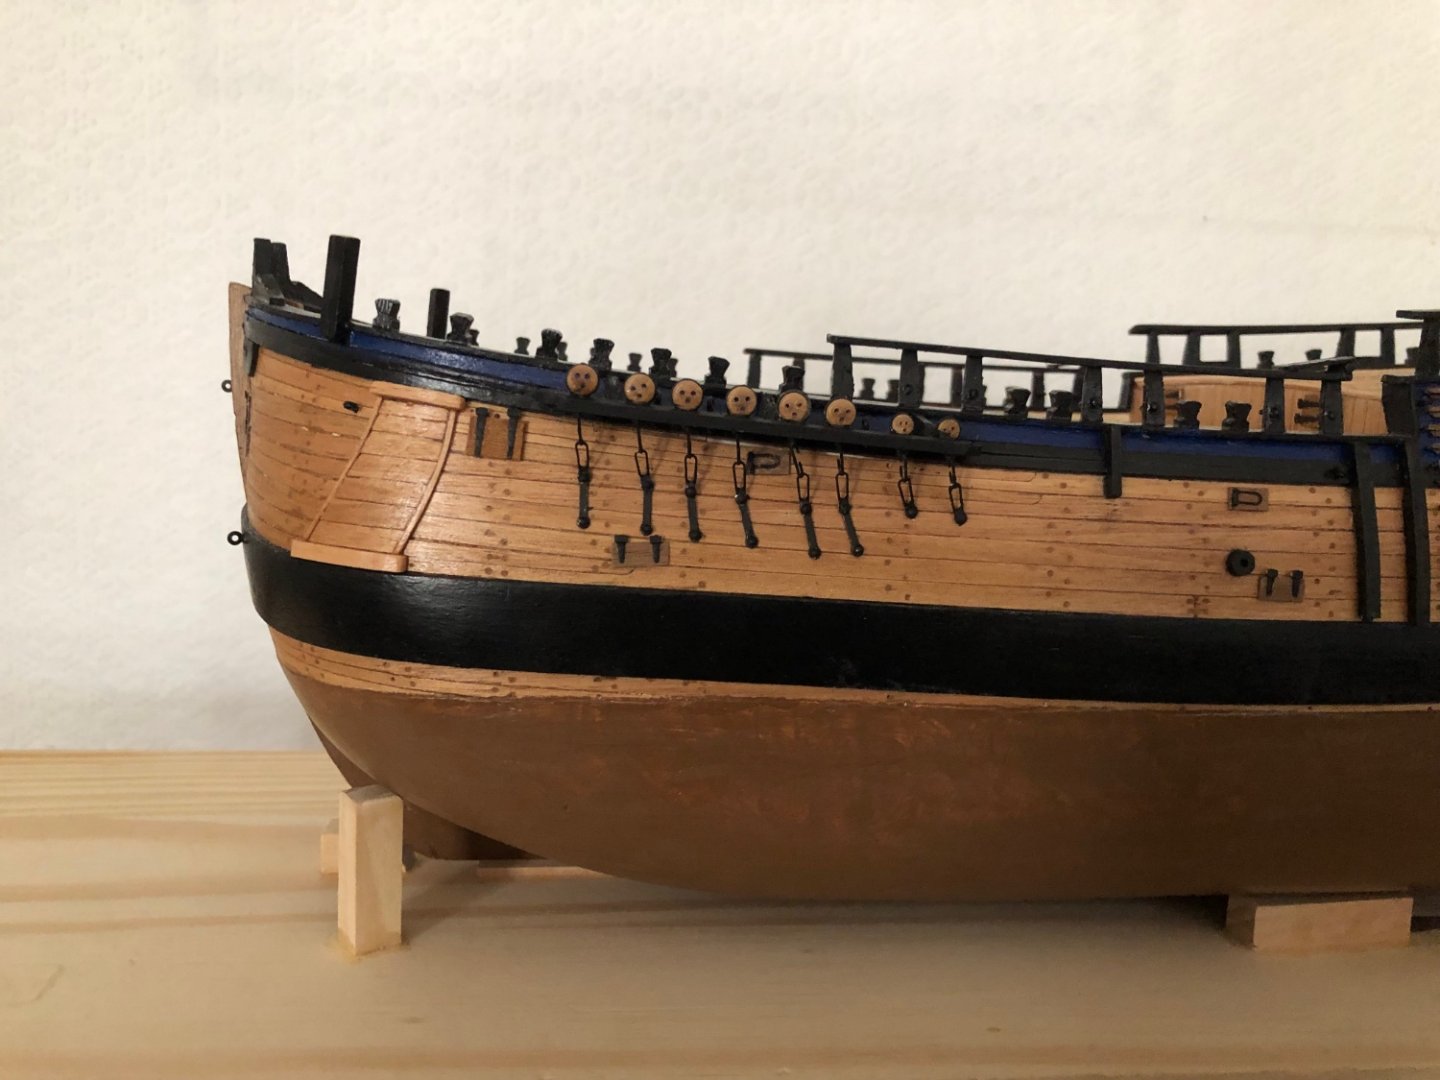
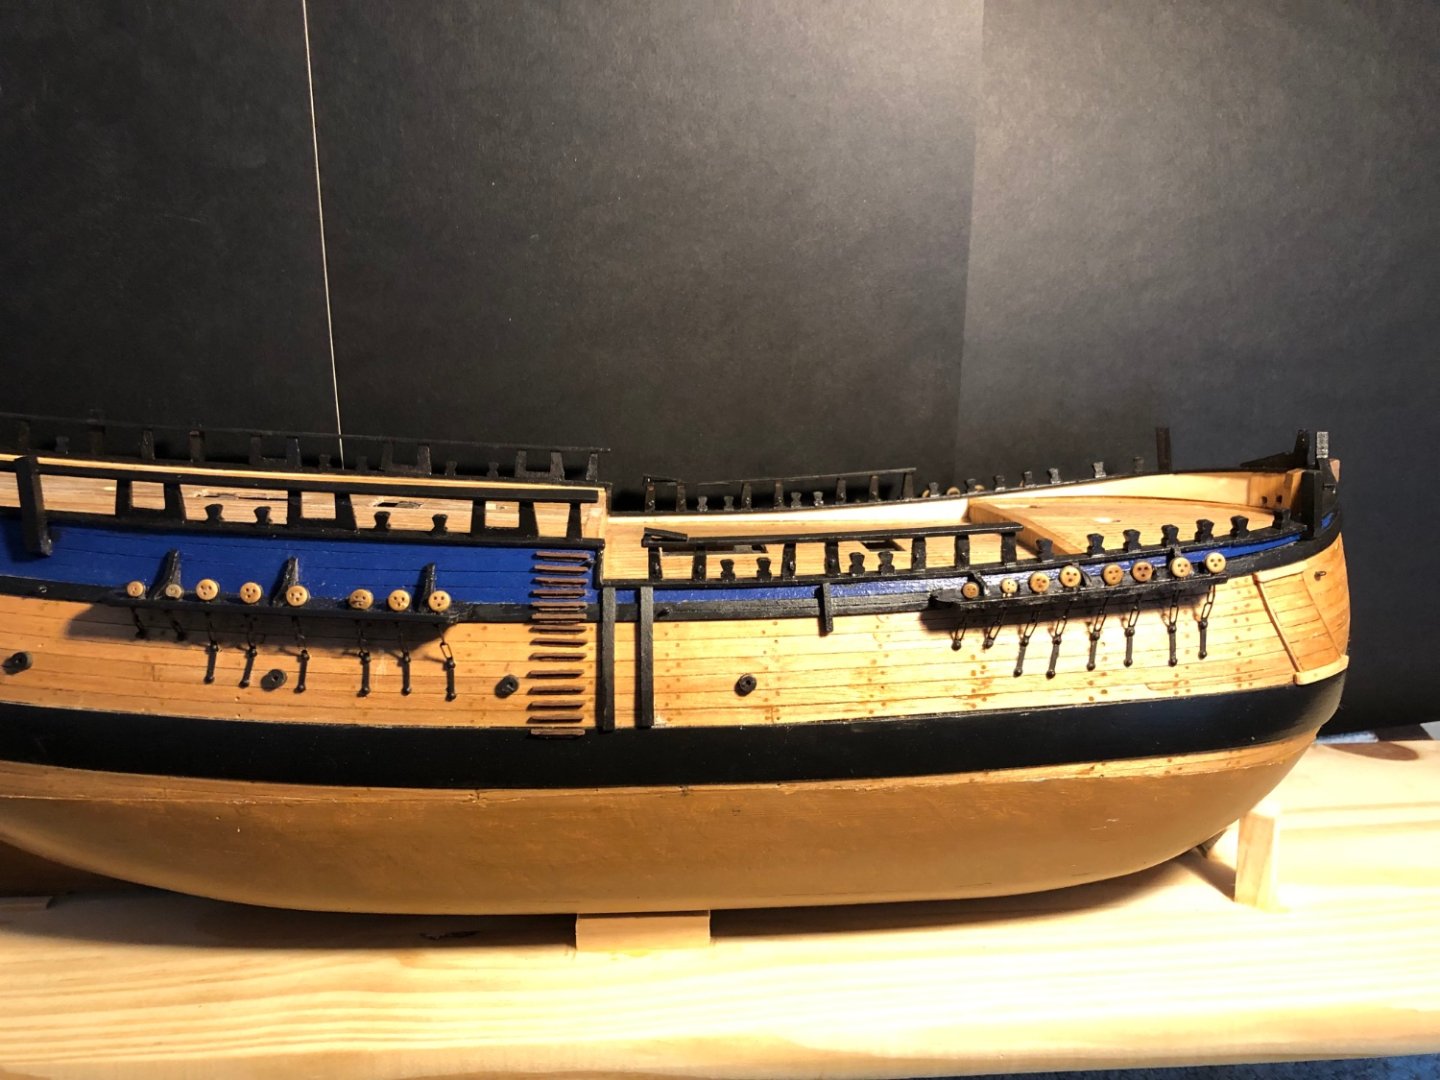
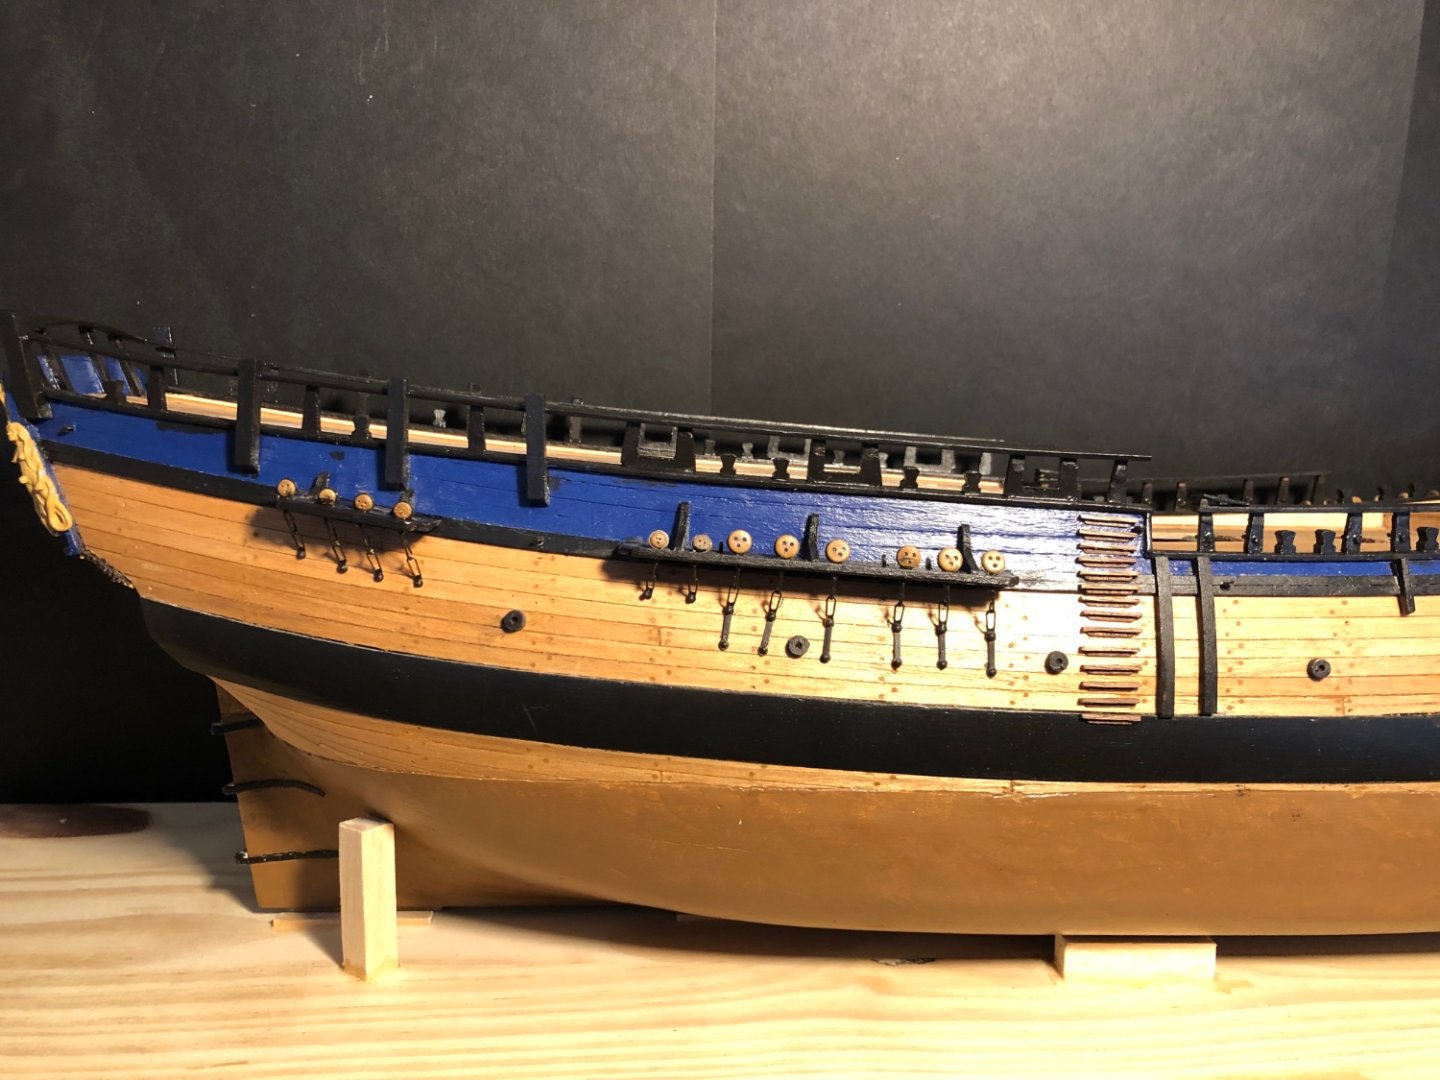
Hi and thanks for visiting, Lower deadeyes and chains finally fixed in position. This took a lot longer than I expected. Needed new links for the mizzen chains due to the wider channels. A combination of small pieces, fat fingers and old age. Next is to attach the external hull features before going on to the deck fittings. Best regards, Sam.

-
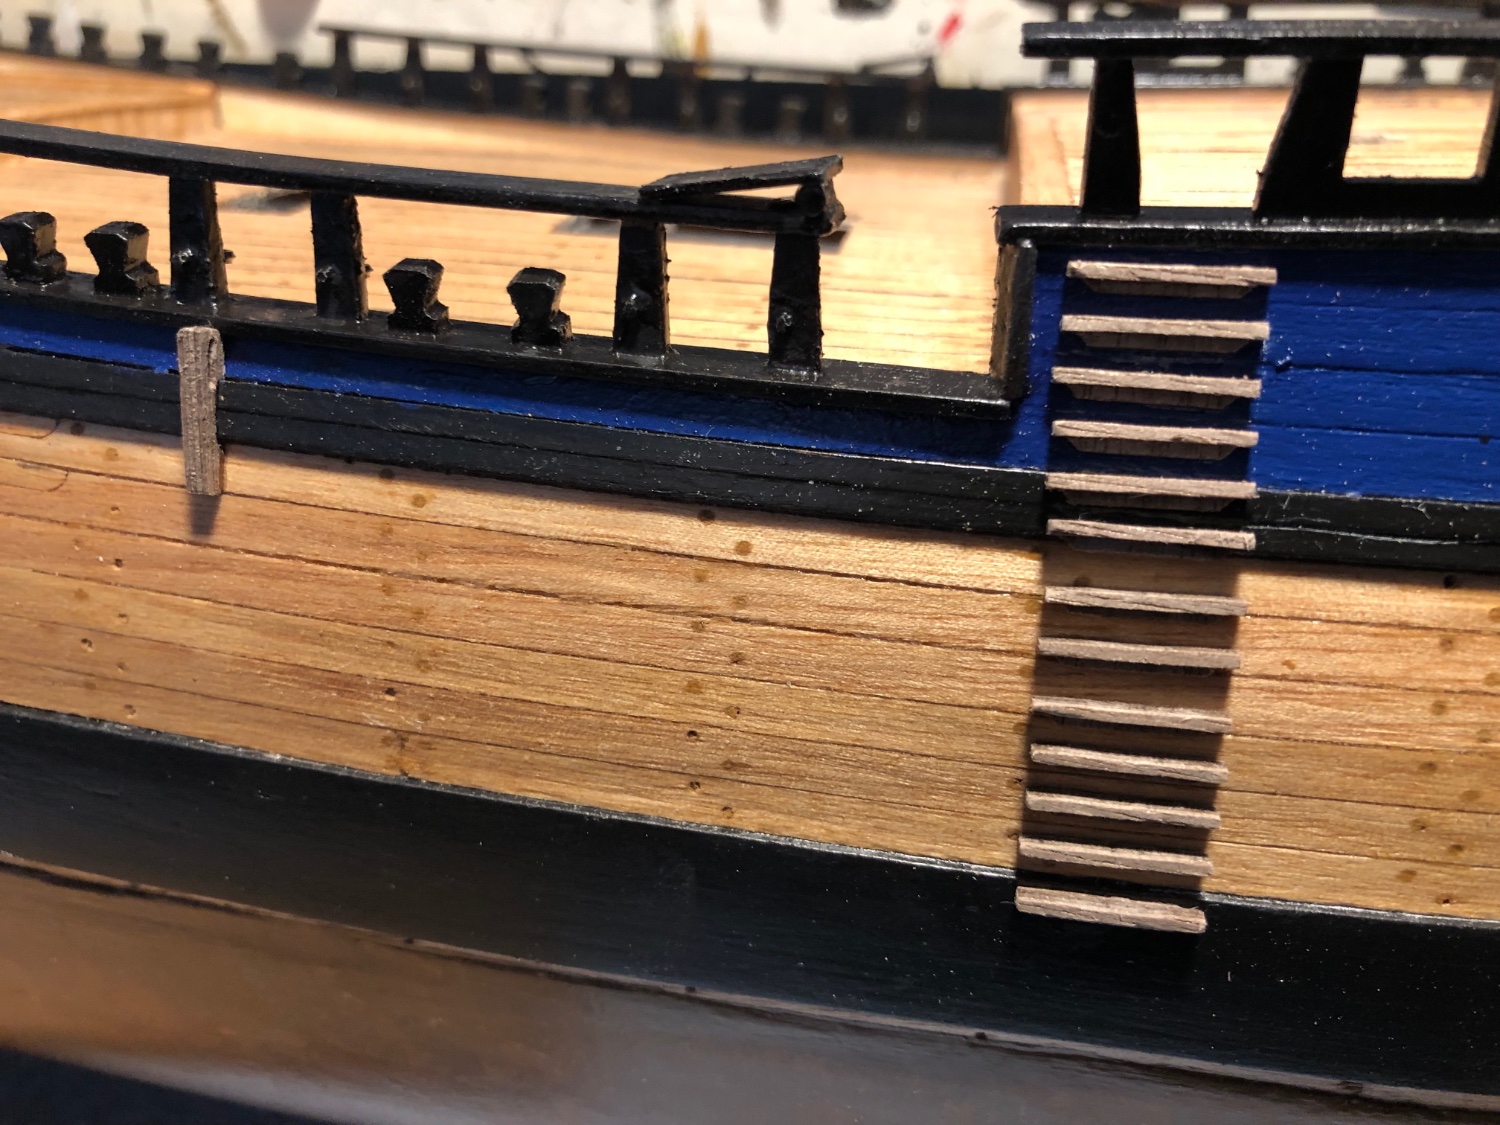
Hi and, thanks for visiting. Steps and skids fitted so now for the channels. Then will temporarily step the masts and precisely locate chains before adding the airing ports etc. Best regards, Sam.

-
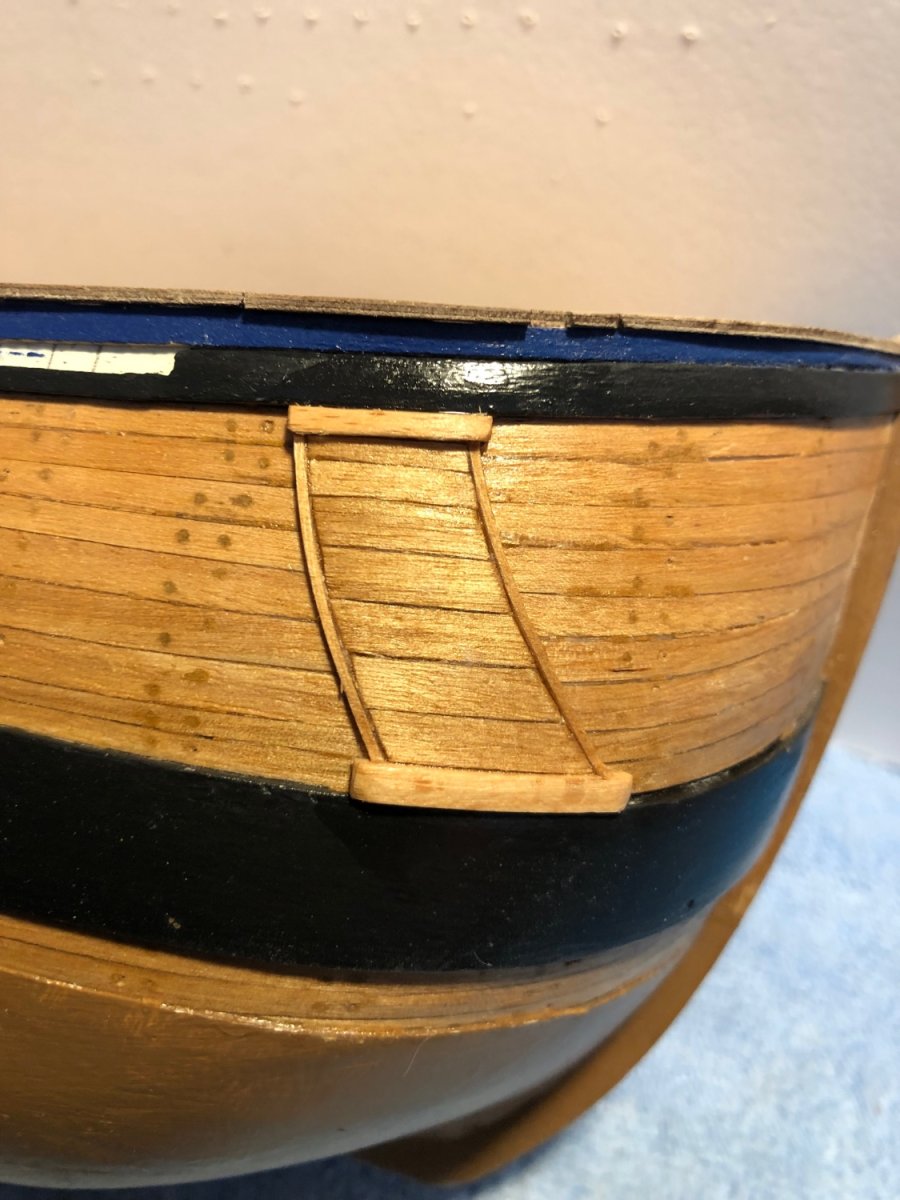
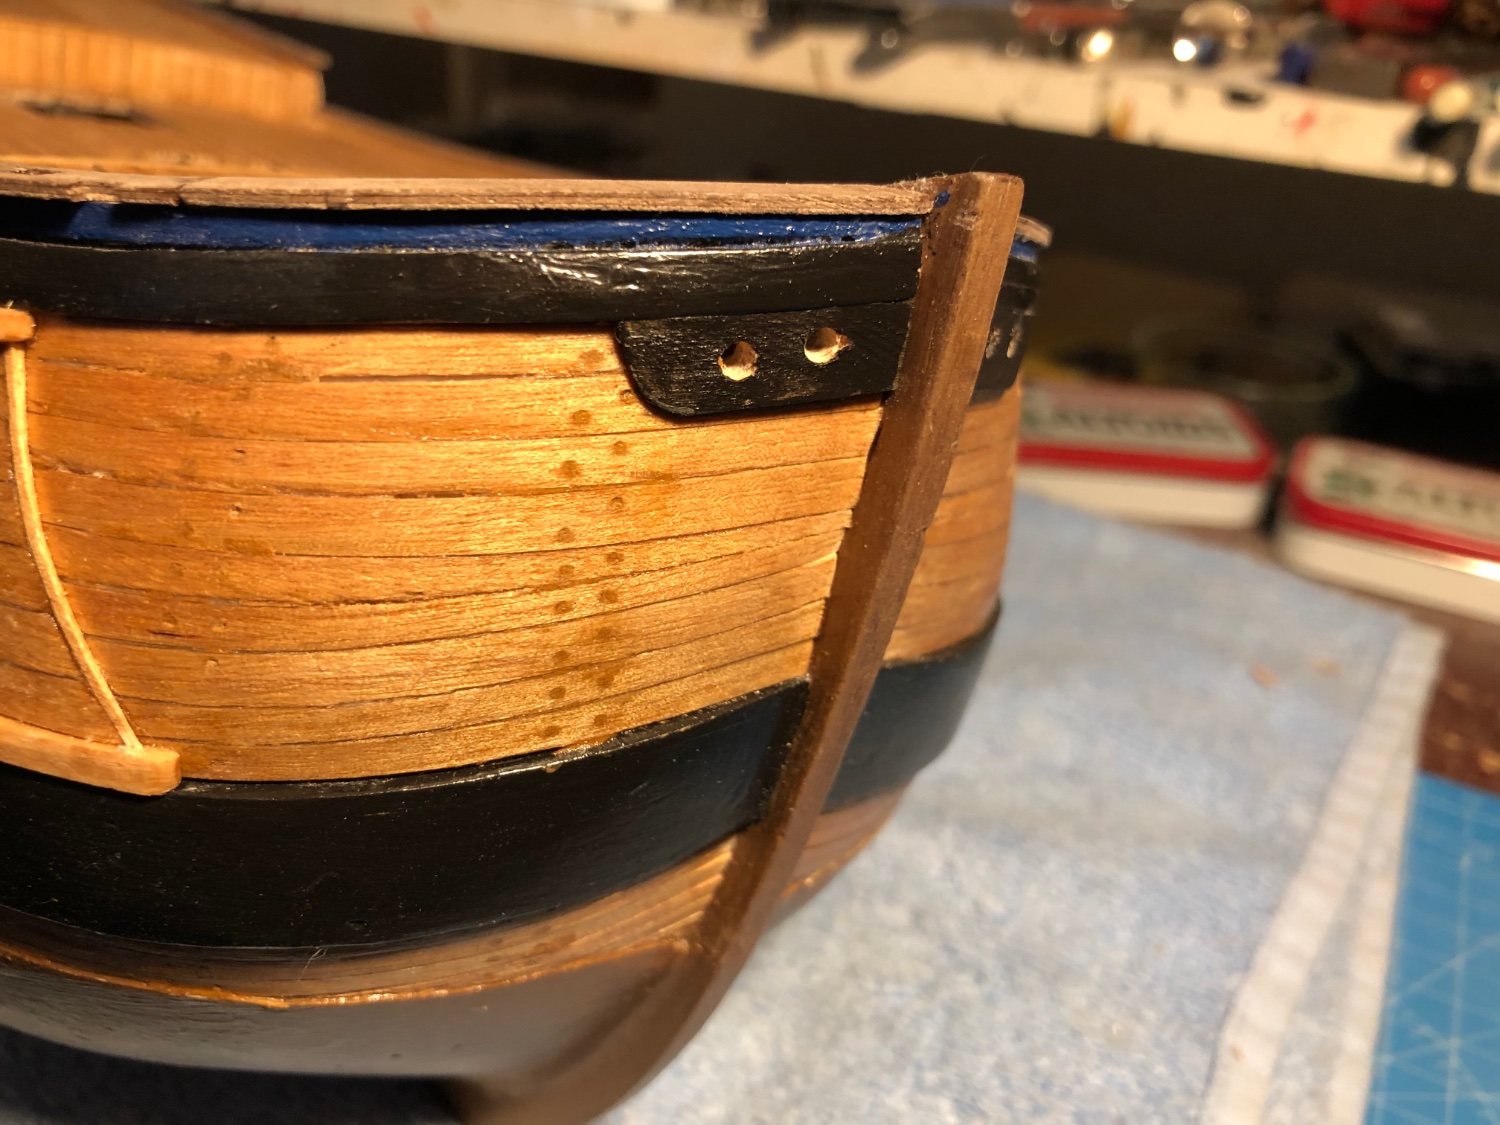
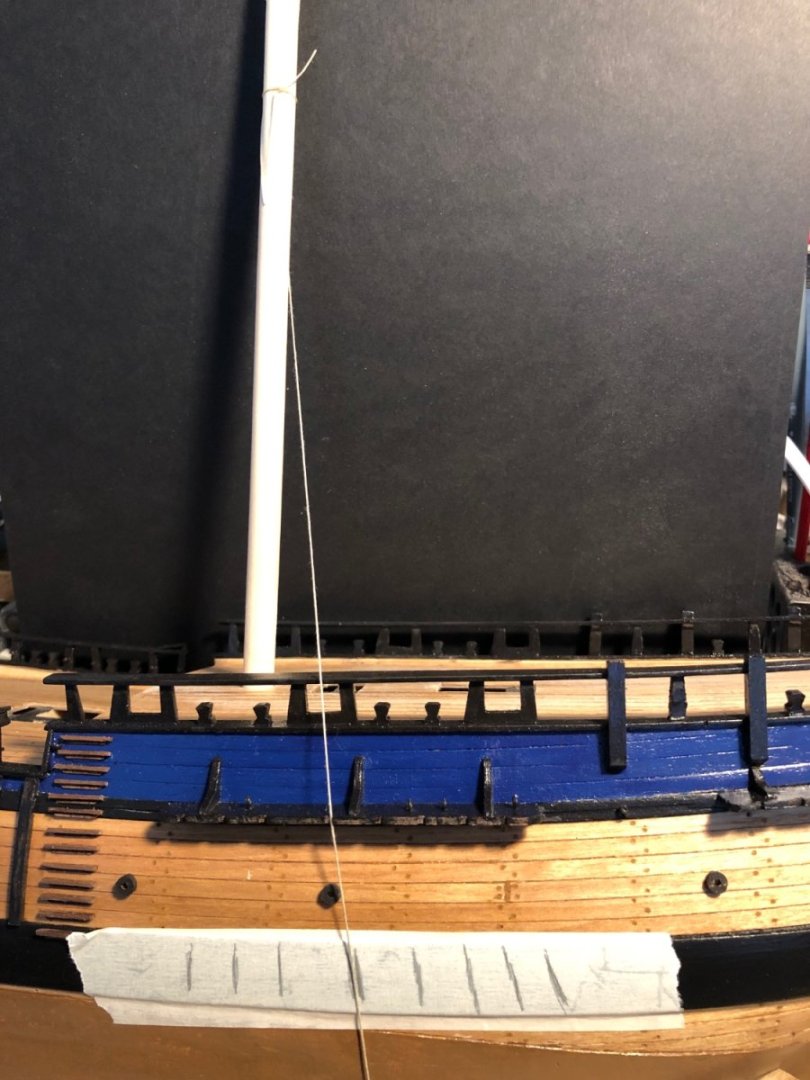
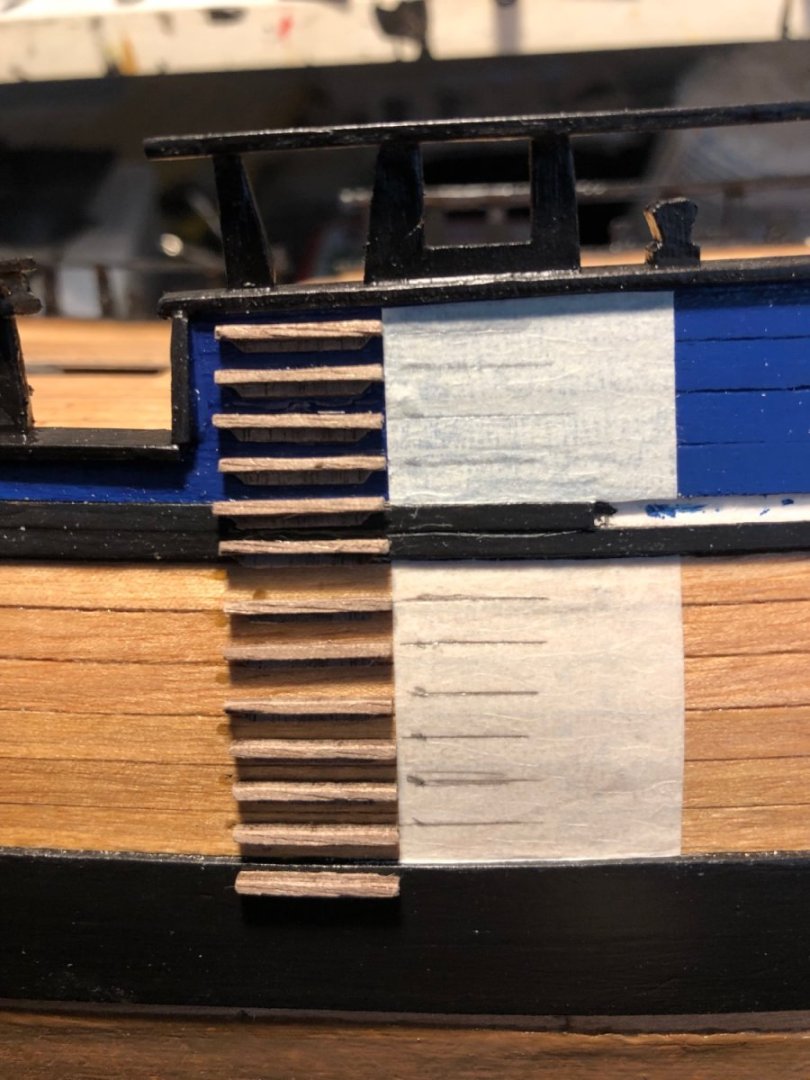
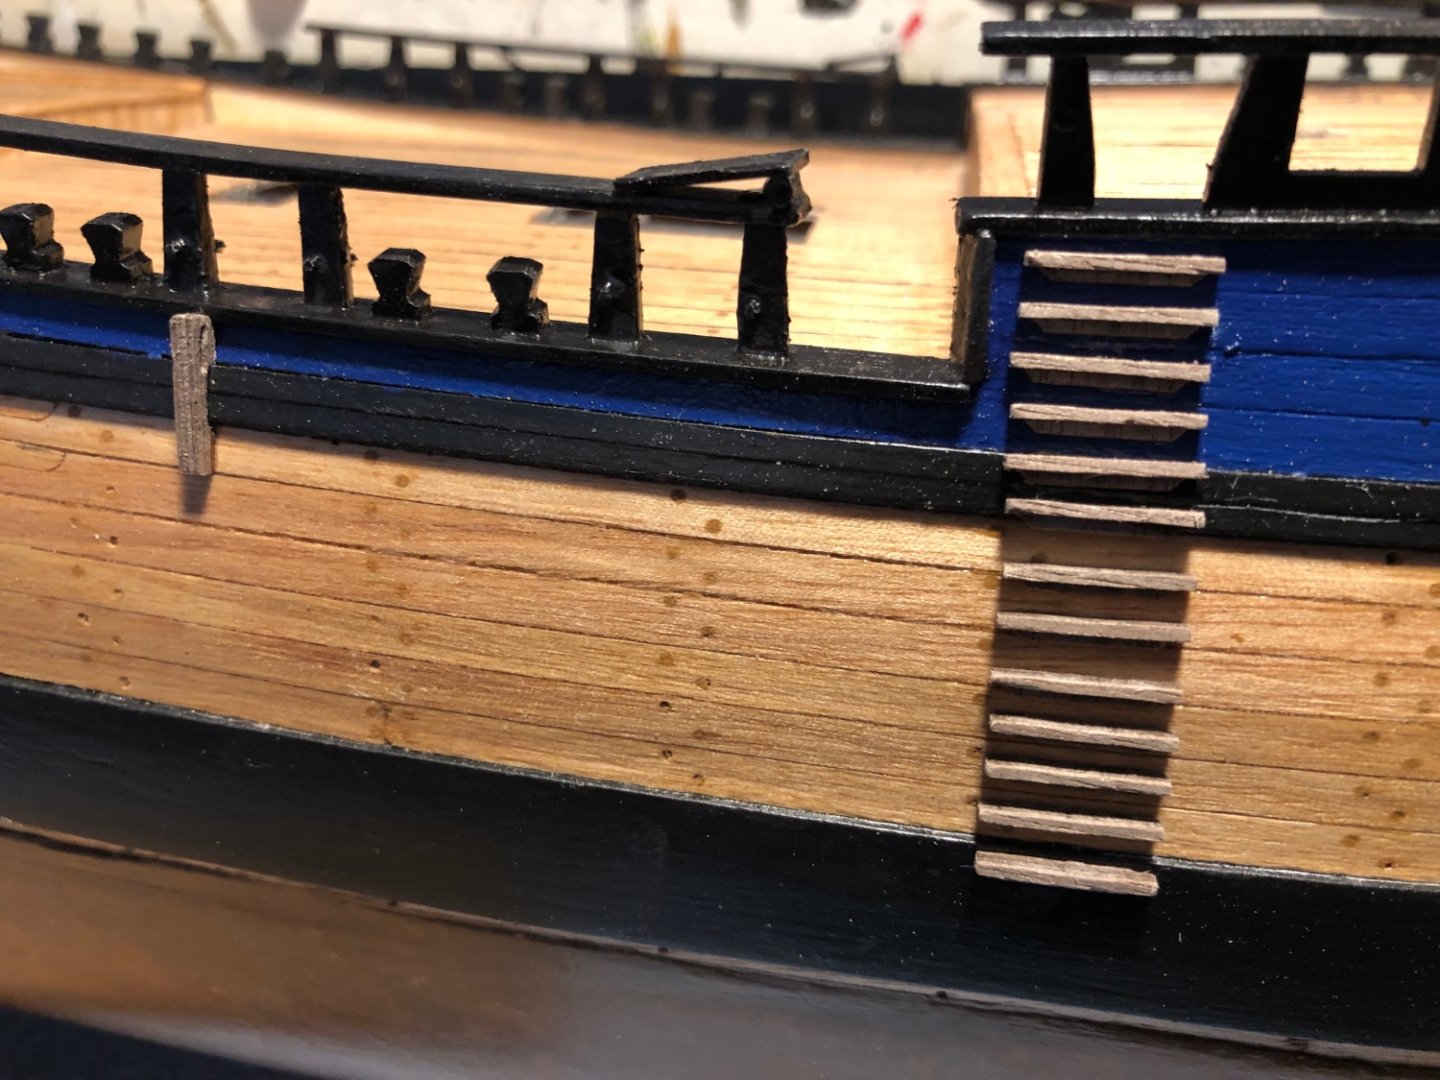
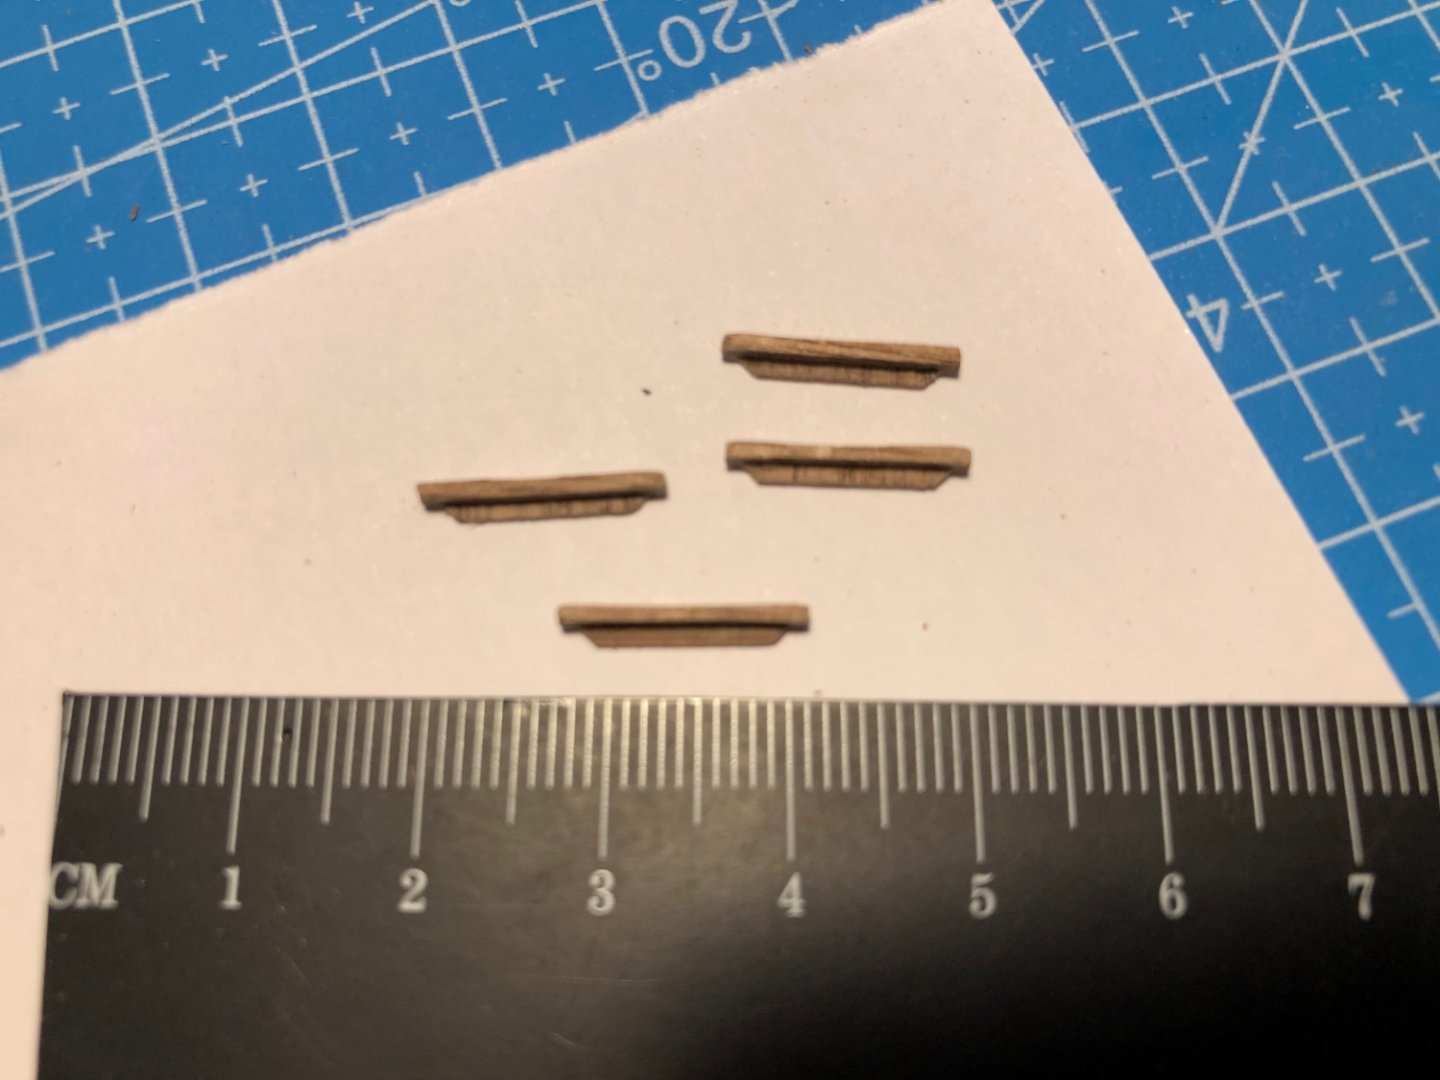
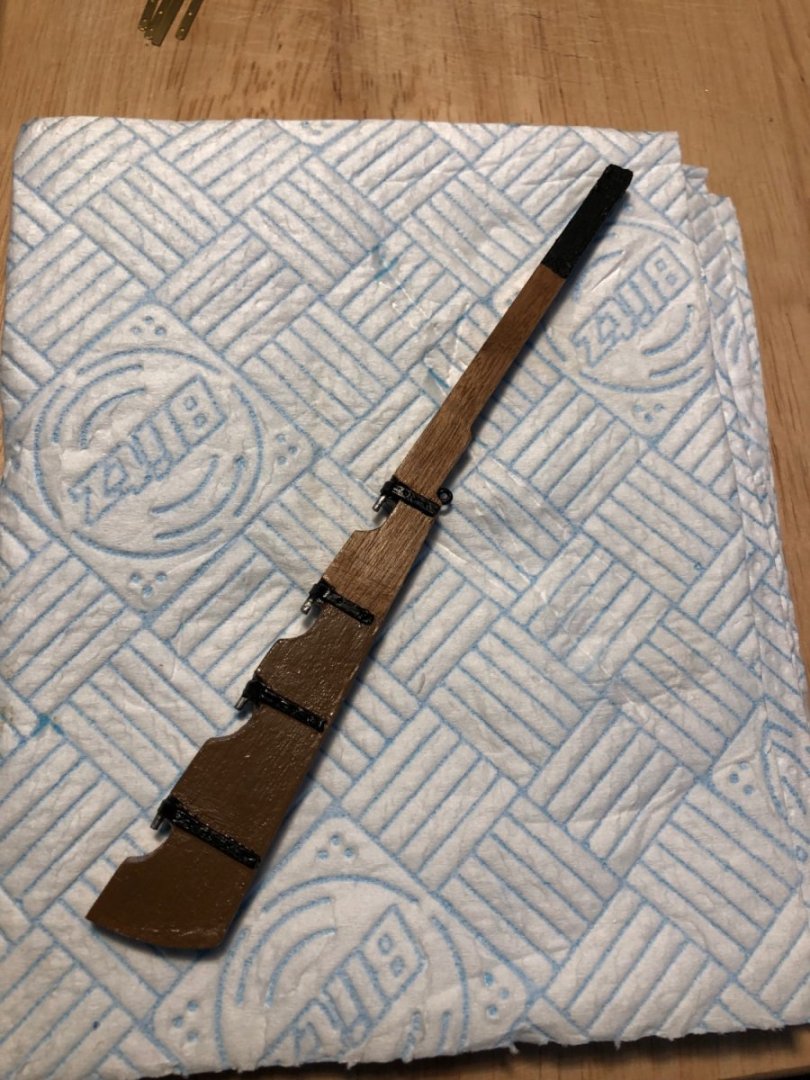
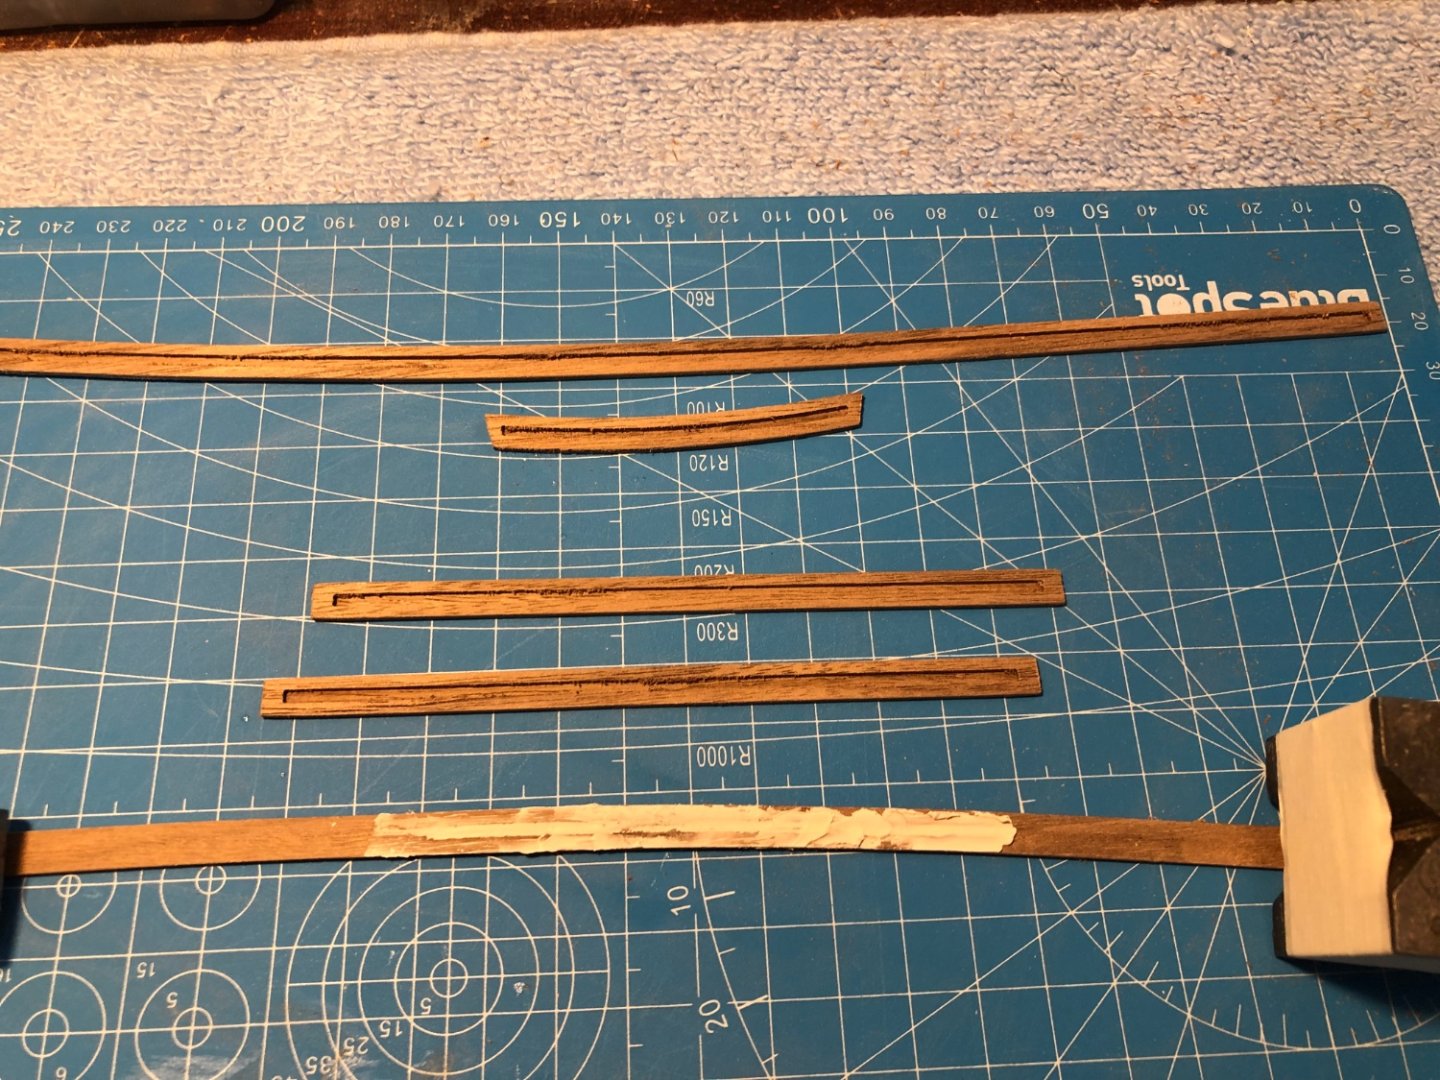
Steps, skids and chesstrees. Thought I would fix these before the channels. Will be using masking tape as a guide and for spacing. Steps need to be parallel to waterline and rear face will need to be chamfered so that the top face of each step is horizontal. The fewer pieces of kit fixed around this area the better when carrying out this operation. It took five hours to fettle and clean 28 steps, 4 skids and 2 chesstrees and I didn't drop a single piece on the carpet. Photo below shows the size of each step. When you have four thumbs and one finger on each hand you need to concentrate. Best regards, Sam.
-
Hi, and thanks for the likes. Channels ready for mounting except for eyebolts. Will fix these before fixing to hull. To be safe the mizzen channels are slightly wider than the fore and main channels Best regards, Sam.
-
Channel update ------ After a more accurate measuring of shroud location and top rail I can confirm the following --- Main mast channels are tight but OK. Fore mast channels are OK as supplied. Mizzen channels need to be as wide as fore and main which is slightly more than twice the channels supplied. I will be using a taller mizzen not, the one shown on the plans. One of the swivel gun posts is very tight to a shroud. Posts are already fitted so will let this one go. If I had spotted this earlier I would have relocated the post. It all fits together now. The proof will be when I start rigging. Best regards, Sam.
-
Hi Dave and, thanks for the comments. Been playing with the channel set up all afternoon. I think that the fore channels are OK but not sure about the main channels. The mizzen channels are hopelessly narrow and need to be at least twice as wide. Tomorrow I intend setting up the masts accurately including a taller mizzen. Measure twice, cut once. Noticed that the photograph of the finished article on the box shows quite a clash of the mizzen shrouds and the rails. Intend to wait for the replacement boats from CW. Already ordered pear wood cleats. Used his shot garlands on a previous build. Will post more photo's ref. the channels etc. These parts need to be right. Once again thanks for the input. Best regards, Sam.
-
Hi and, thanks for the likes. Capping rails and posts fitted. Next will be the channels and lower deadeyes. Will feel happier fitting the chains before the airing and light ports are located. First is to decide on lower mast heights (especially the mizzen mast) before making new wider mizzen channels. Main and foremast channels should be OK as supplied but will check these as well. Noticed a post on Dave Baxters log ref. replacement boats from Chris Watton. Will wait for these to be available instead of using the kit ones supplied. Best regards, Sam.

-
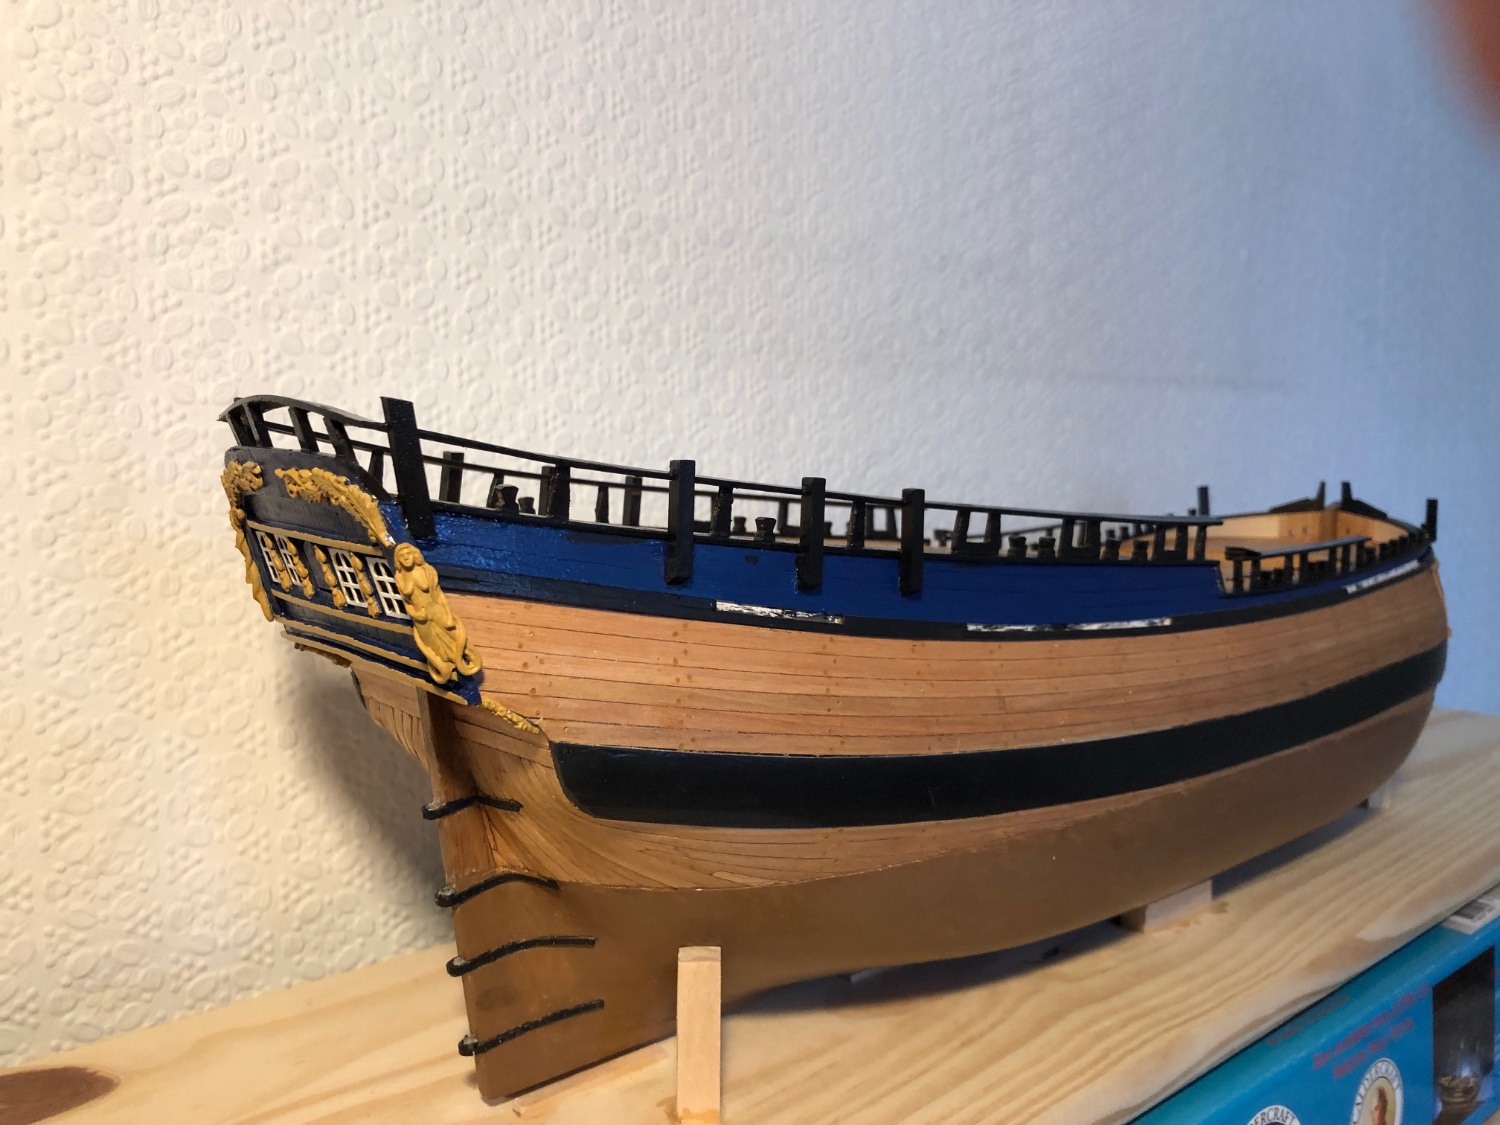
Hi and, thanks for the likes. Quick update ---- Windows and ornaments fitted to stern. Was going to fit the channels next but feel uneasy at this stage. Noticed problems with the mizzen channels on several postings on this forum also checking the kit box illustration it seems the mizzen shrouds clash with the top quarter deck capping rails. also some potential problems with the height of the mizzen mast. Plan of action ---- will fit the upper rails first then dry fit lower masts and run temporary shrouds down to clear the top rails and see how wide the channels need to be. Best regards, Sam.
-
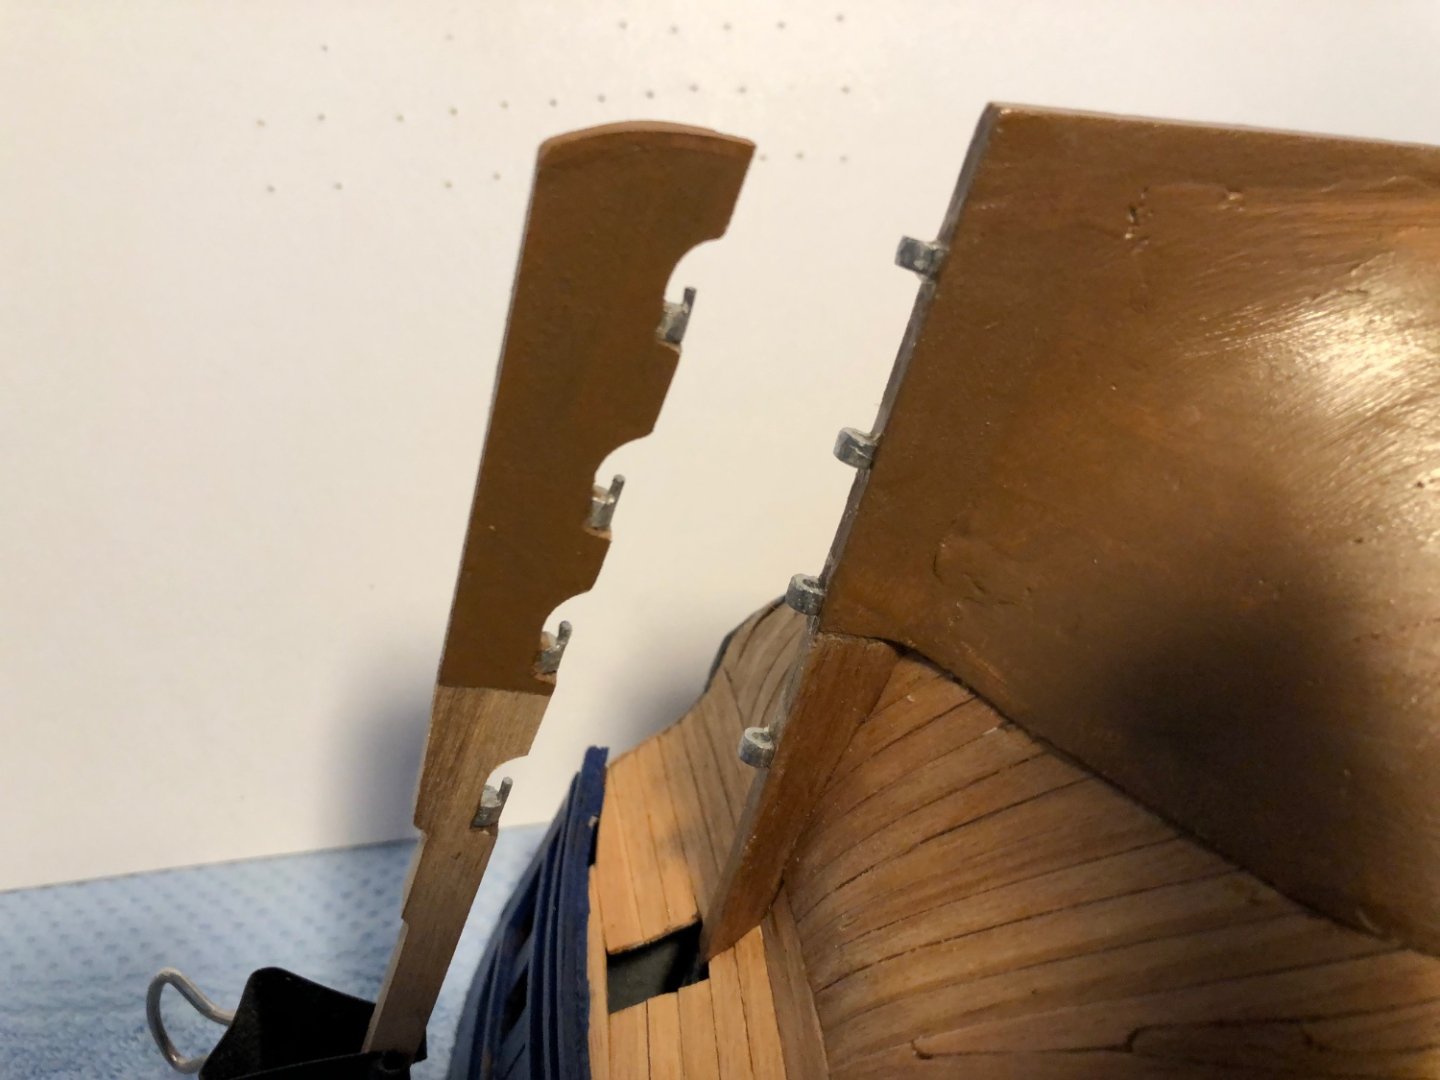
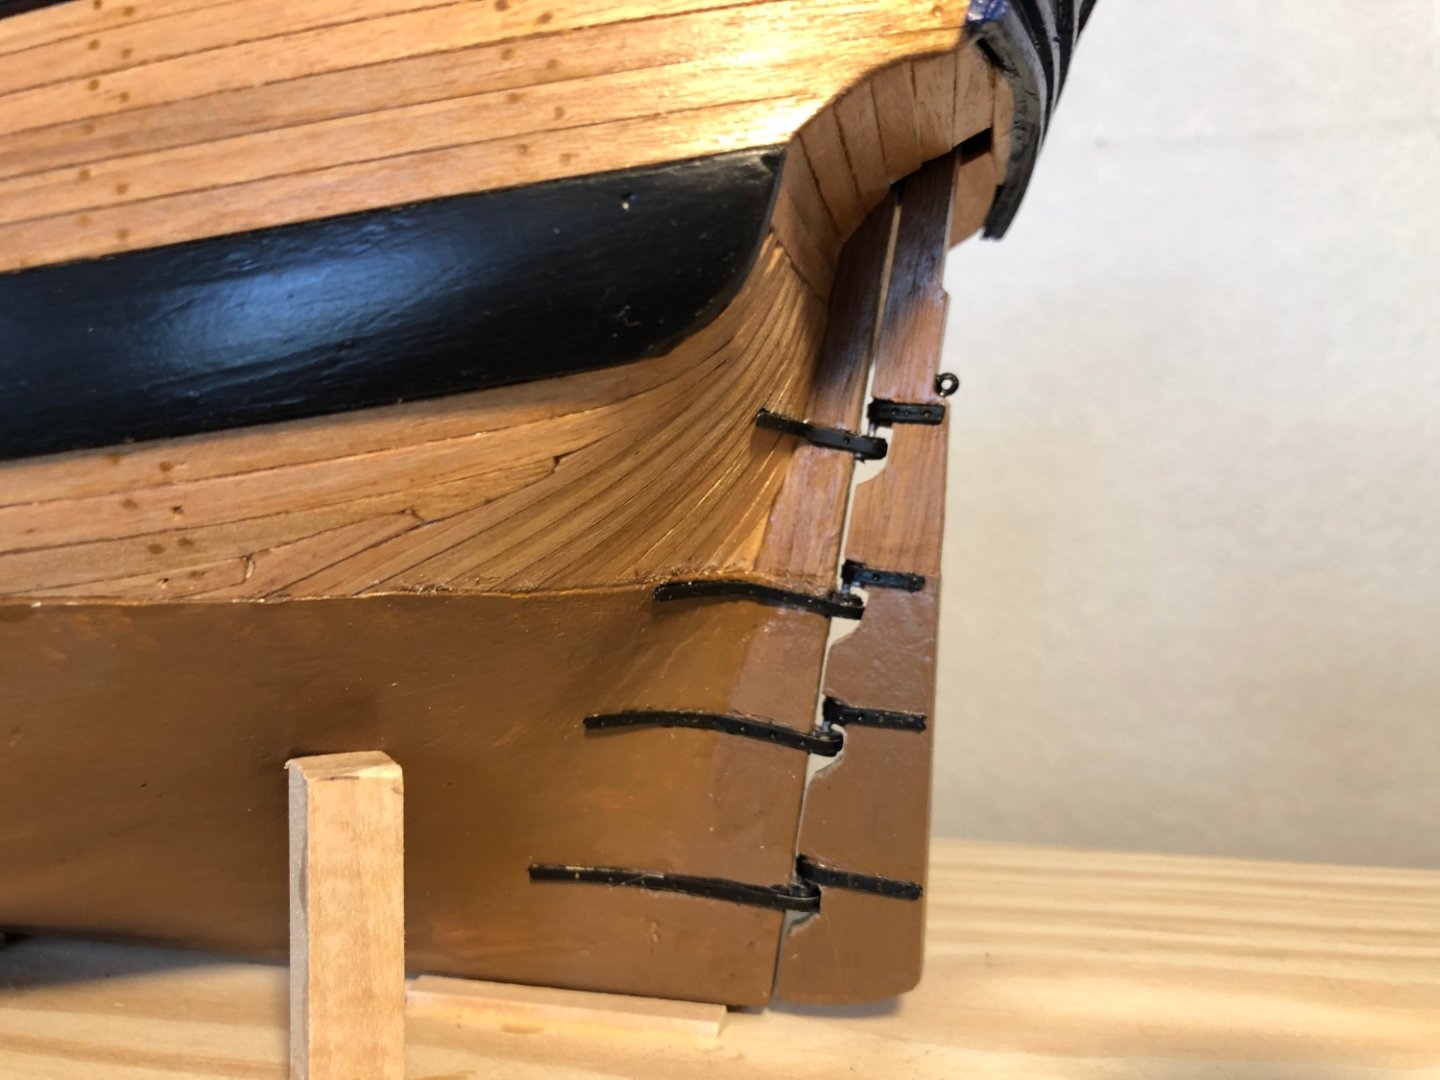
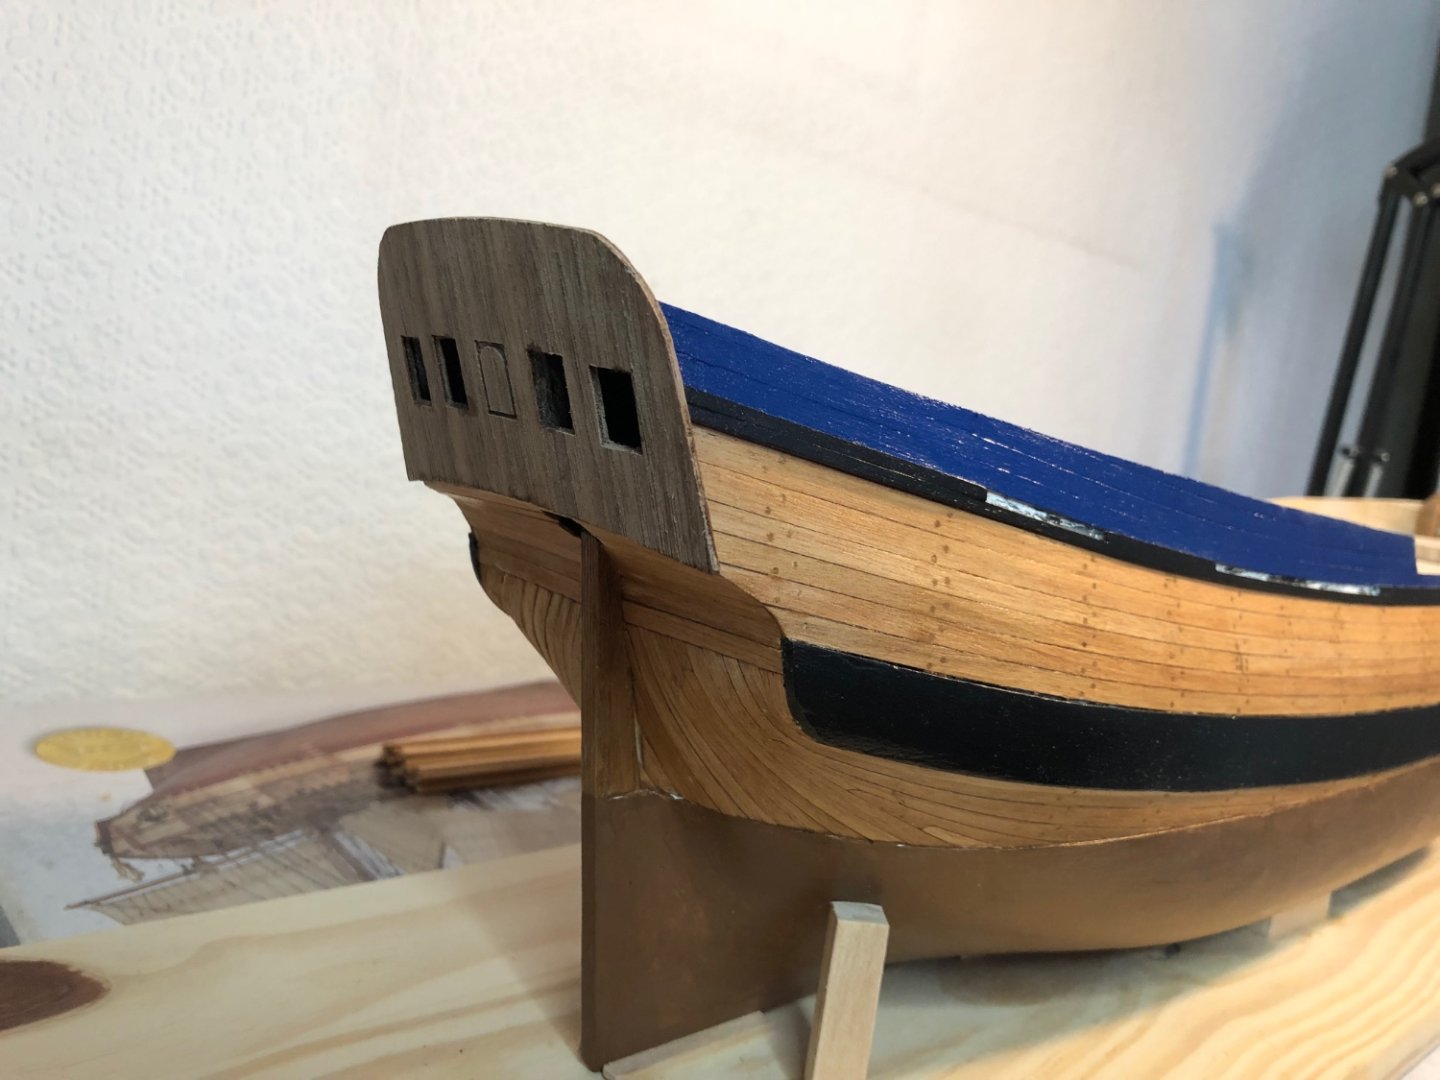
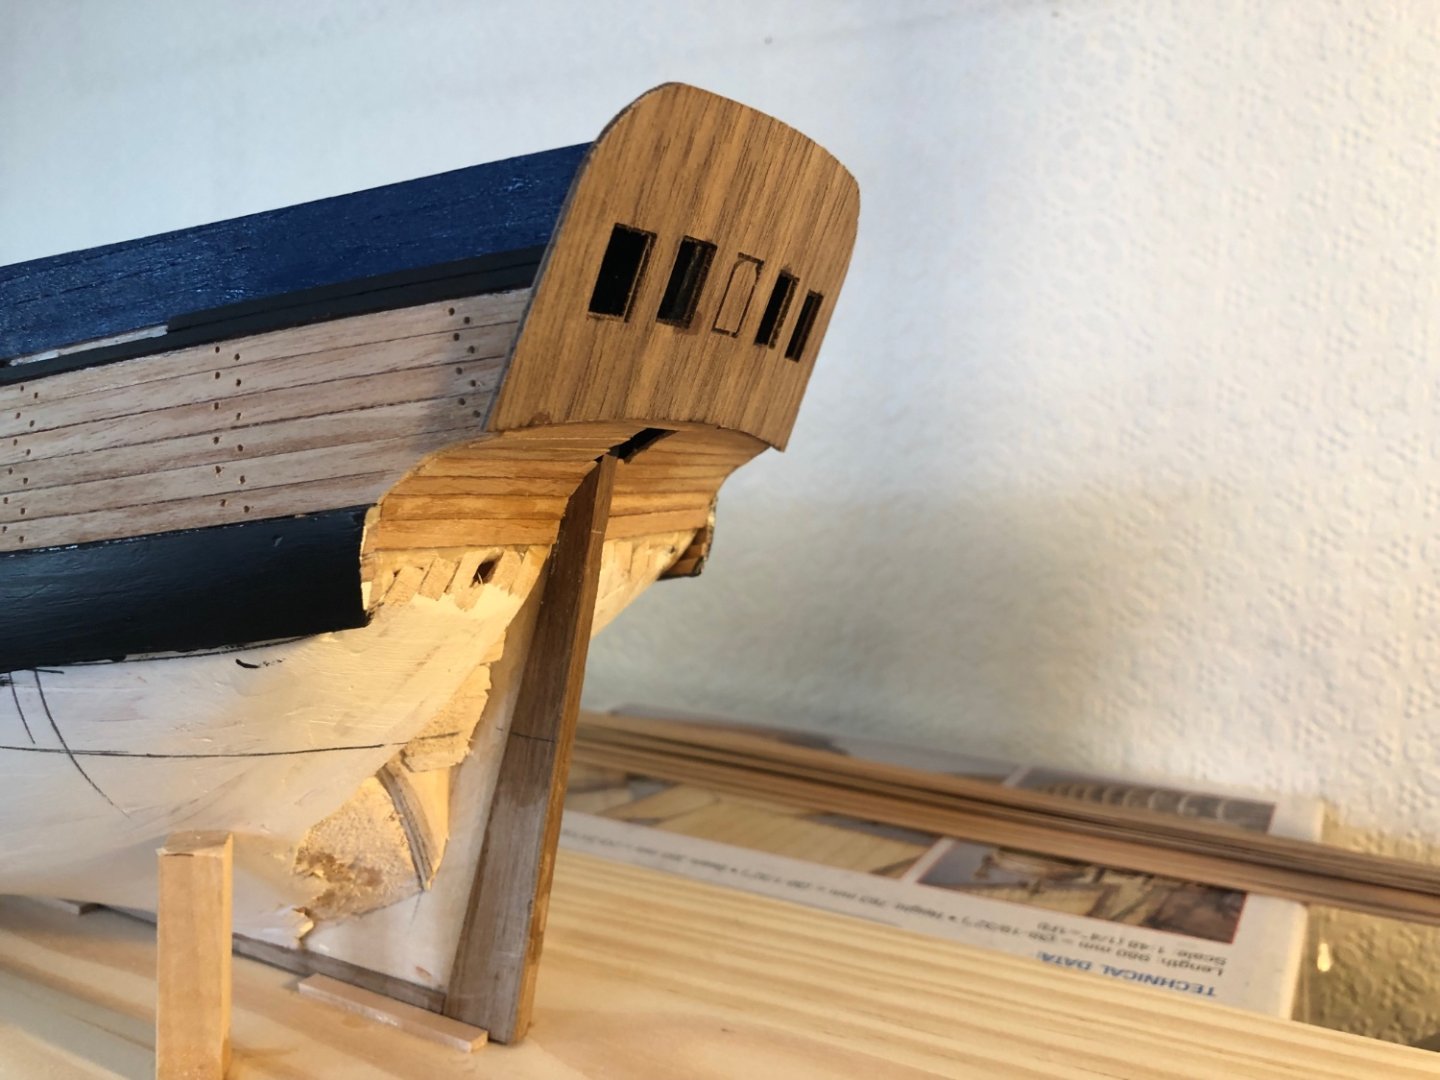
Hi, thanks for visiting and the likes. Rudder finished and temporarily mounted for photo's. First two show pintles and gudgeons fitted. Third shows straps fitted and rudder temporarily located. Fourth shows rudder head. The height is manageable but it needs to be fatter. Plus I will not be using the tiller provided in the kit but instead will be going with Dashi's superb Endevour postings which I think is more appropriate. Also intend supplying a coaming to trim the helm port plus rudder coats to close Once the rudder is finally fixed in position. Concentrating on the big and hard to access bits next before I tackle the fragile parts so, stern ornament and channels next. Best regards, Sam.

-
Added the anchor linings and naval hoods. Linings as per drawings in AOTS book. Need a final rub down and one more coat of varnish. Then it's onto the rudder and upper capping rails. Best regards, Sam.


-
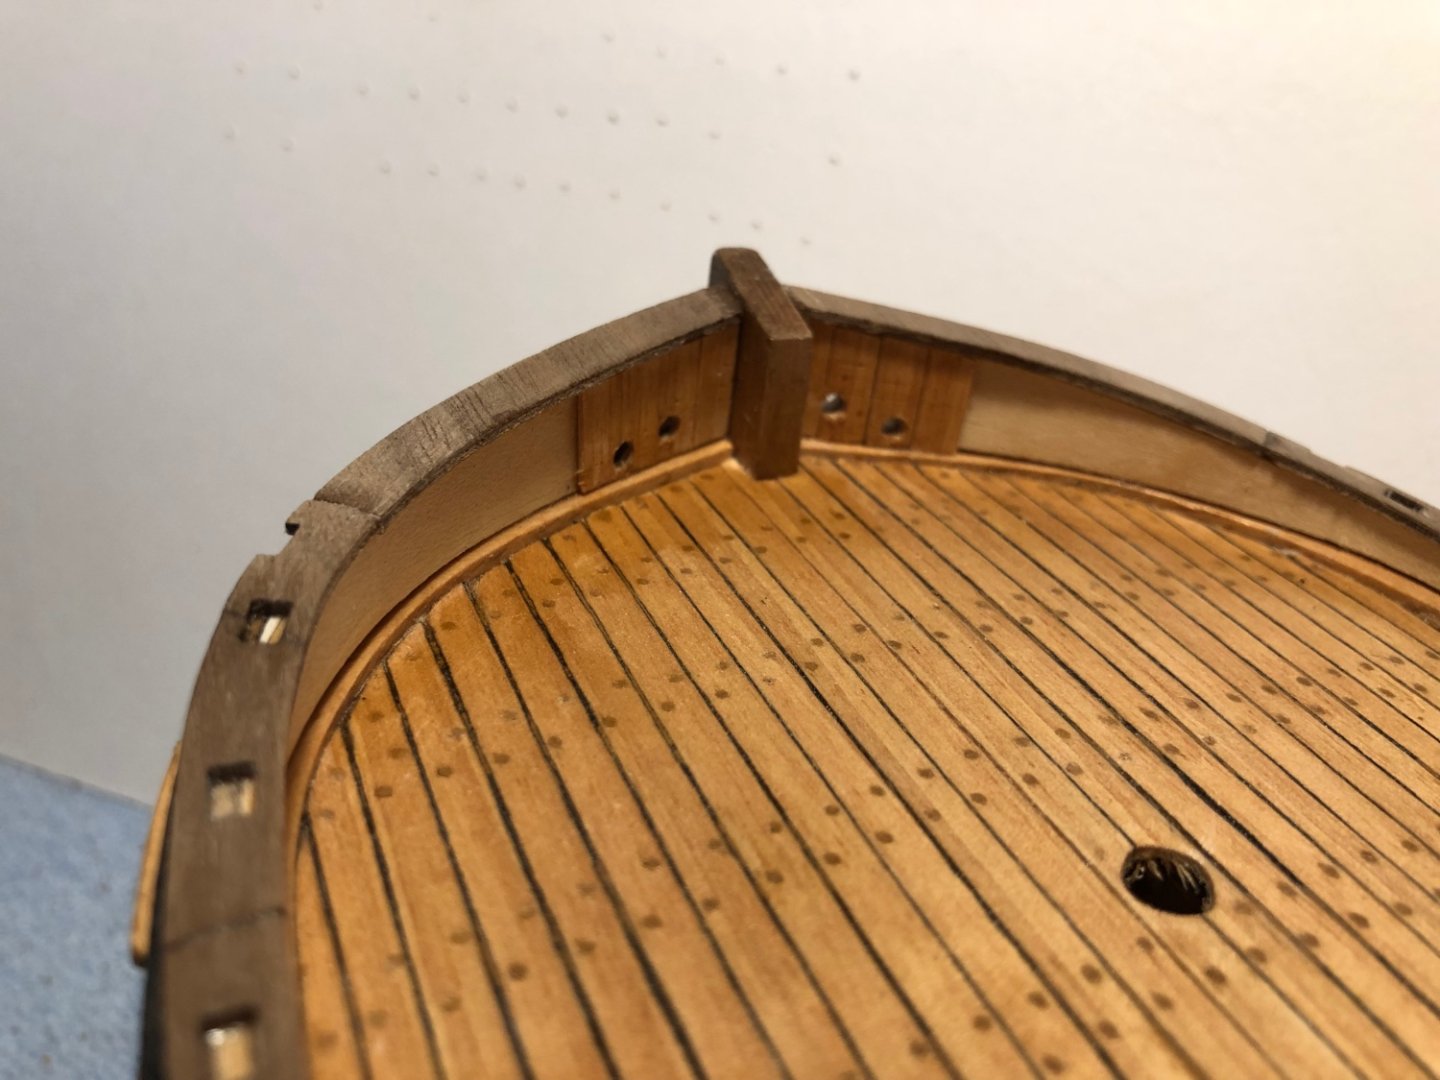
Hi, and thanks for visiting. Bulwark lower capping rails fitted. Will be faired in and painted black after the posts and upper rails have been fitted. Rails needed adjusting slightly at the bows to fit the curve of the bulwarks. These parts are fragile so didn't want to try to bend them into place. They are supplied over length so this was a fairly easy fix. I obviously allowed the bulwark planking to spread outwards and didn't check against the capping rails when fixing. Another one to remember for next time. Next will be the anchor linings and naval hoods. It looks like these are best scratch built so will be spares box diving later. Best regards, Sam.

-
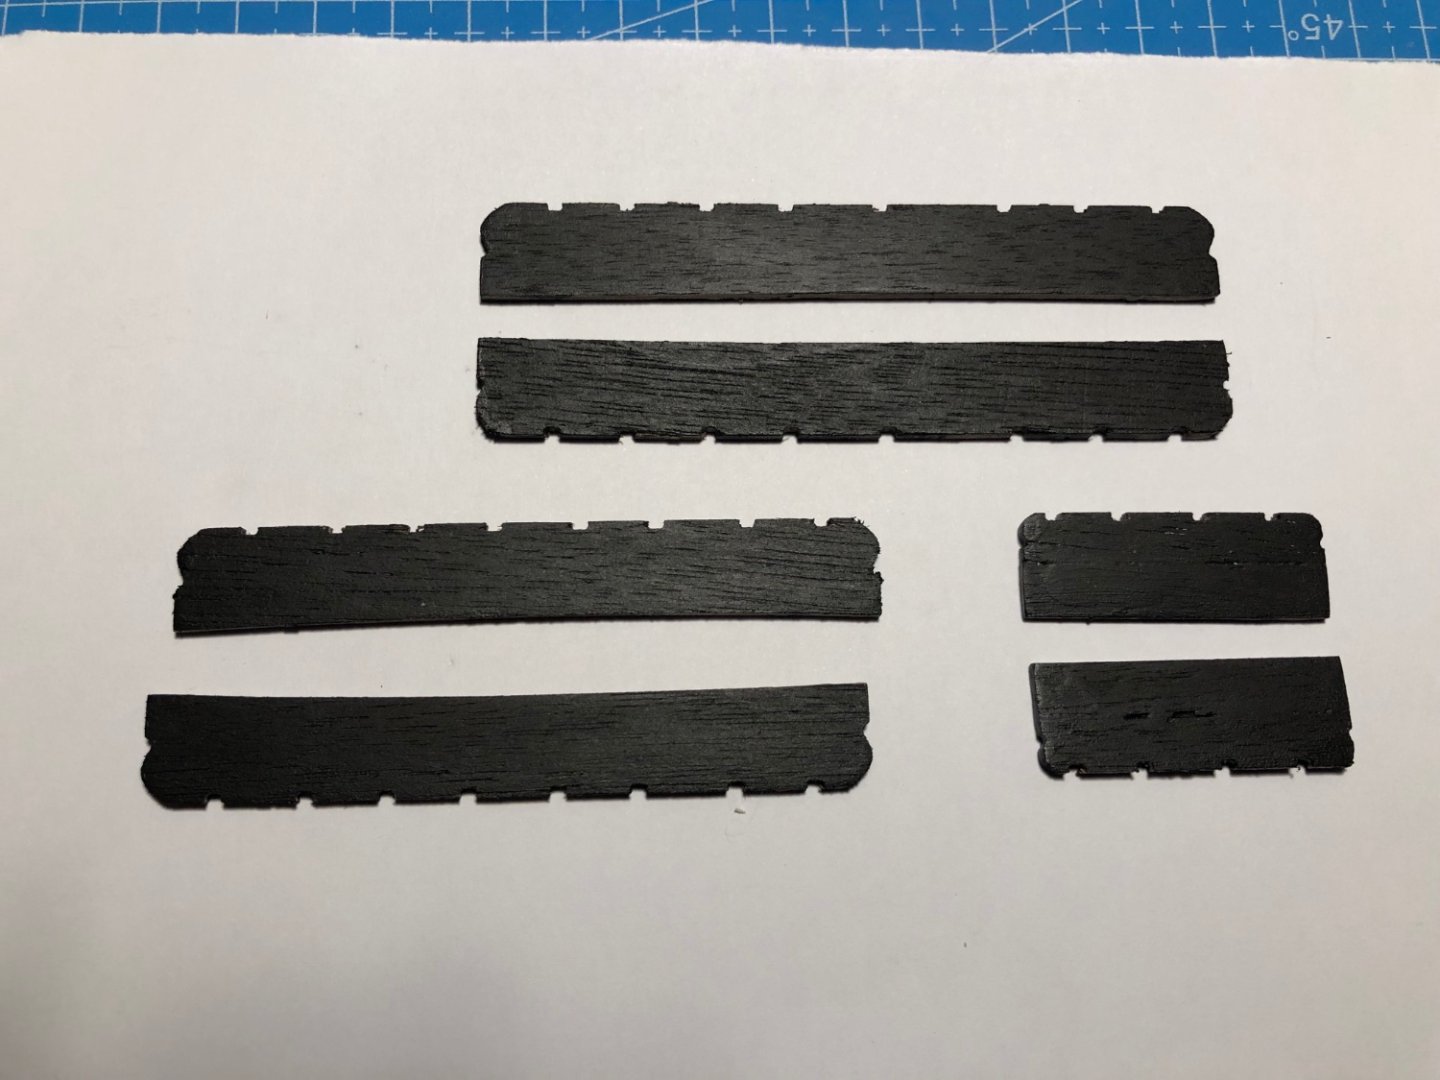
Hi and, thanks for the likes. Spent all morning chopping out the parts for the capping rails, upper rails and timber posts. Just one problem -----. The upper capping rails are grooved to the underside to accept the posts. On one of these rails, over the groove, the walnut has split along thr grain. Walnut tends to do this. I have filled the split with superglue and applied filler to the top surface. These rails will be painted black so with luck it won't be noticed. Also, the various posts are slightly too big for the cutouts in the rails. Saw this problem on Dave Baxters postings so was warned in advance. The rails are fragile to say the least so have decided to fix the rails securely then sand the posts to fit. the rails follow the curve of the bulwarks and the posts and timberheads need to be perpendicular to the waterline so individual fitting would be the best approach. Also the manufacturer suggests cutting slots for the boomkins prior to fixing the capping rails. Instead will cut these later with along with fixing the naval hoods since I noticed potential problems with locating these items on other postings. Back to the problem ---- In the box of bits I have found a piece of lime wood 20mm wide x 10mm high x 300mm long. I can't find this in the parts list or imagine where to stick it on the model. Any ideas ??? Best regards, Sam.
-
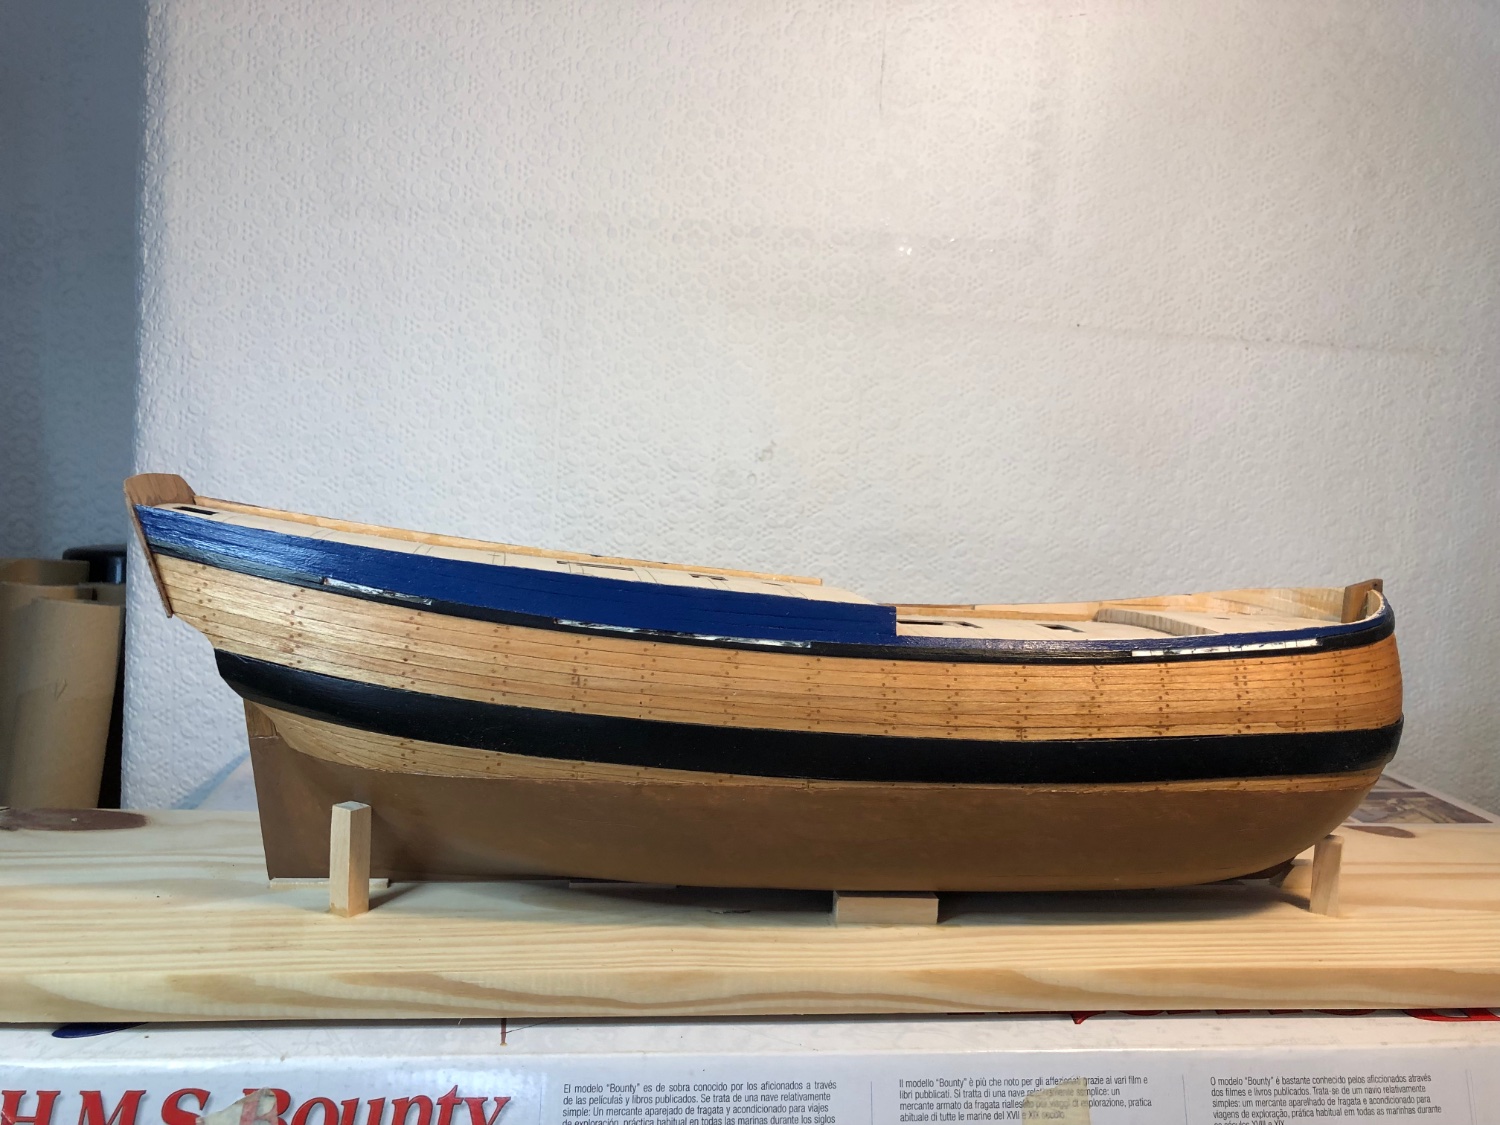
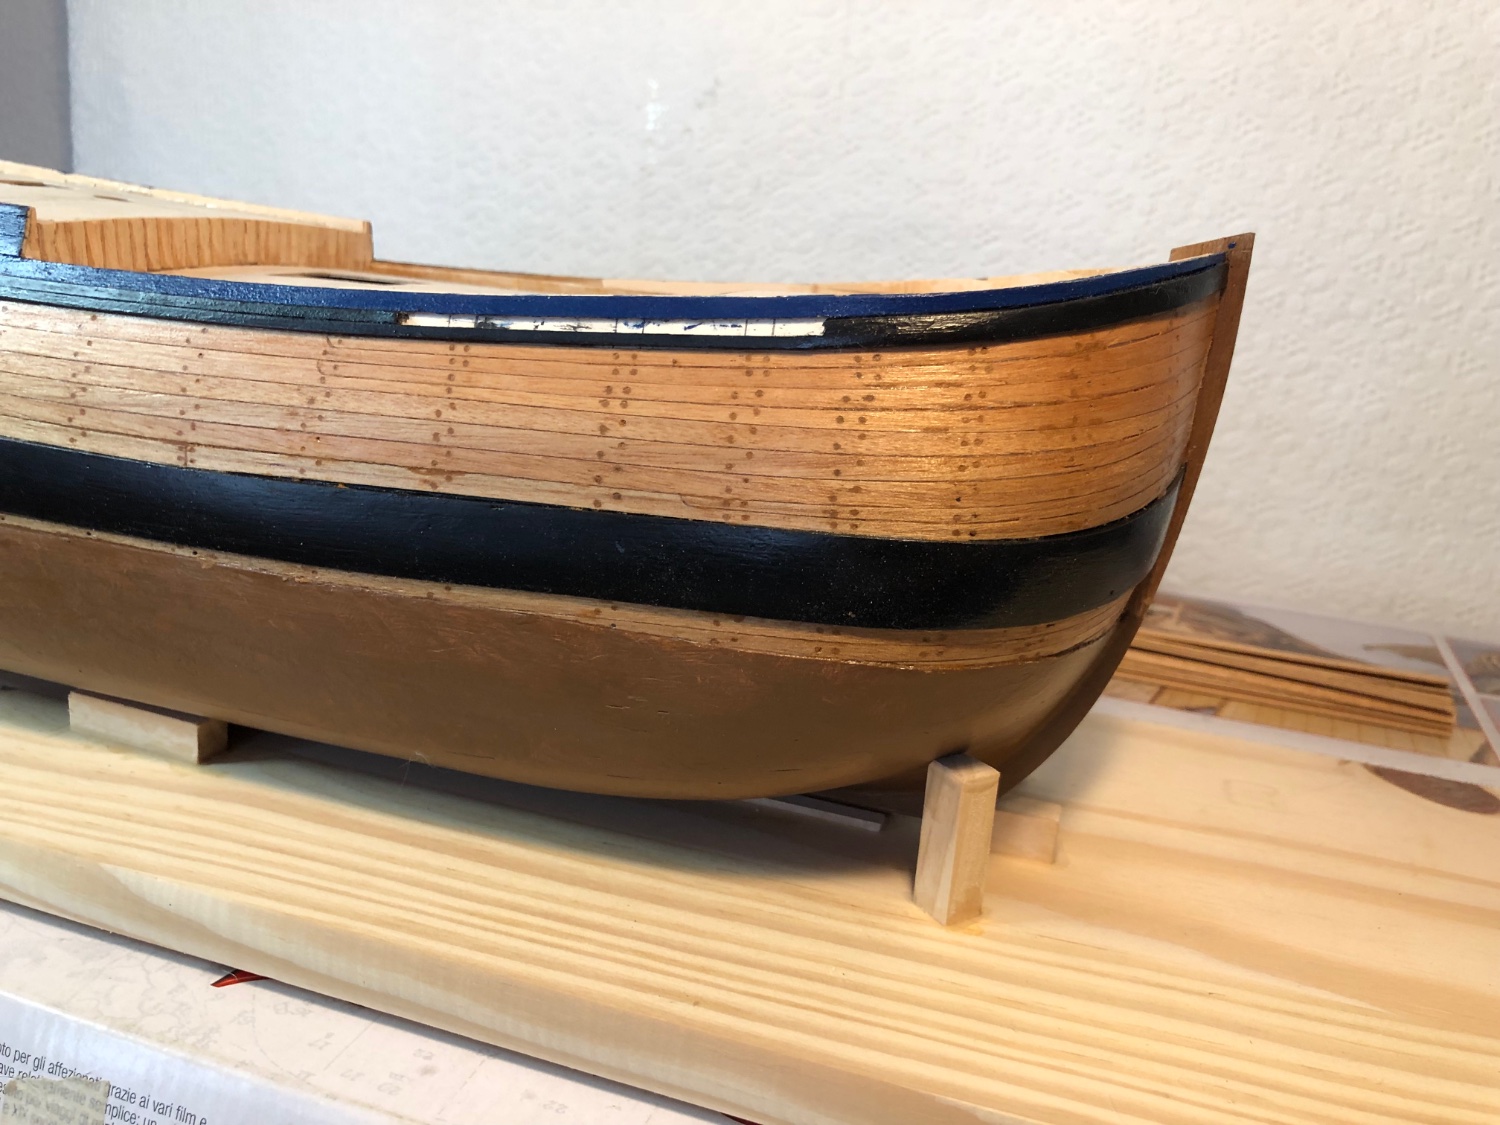
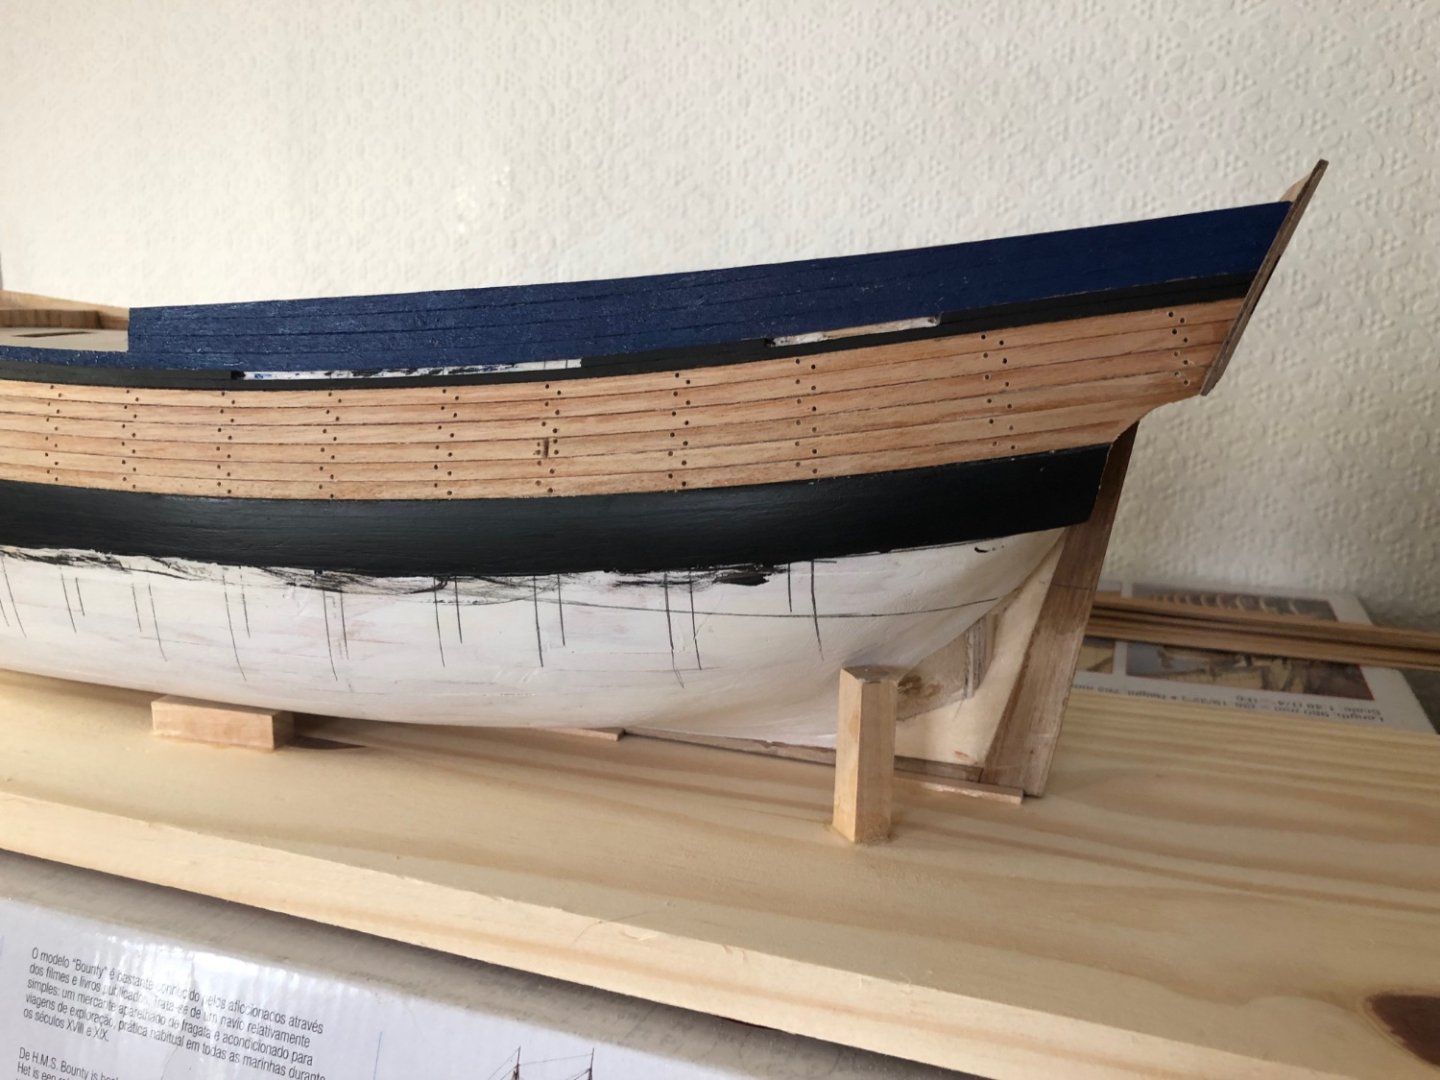
Hi Andrew, Thanks for visiting. For colouring below the waterline I have used Admiralty Paints AP9119W WOOD (WALNUT) BROWN an acrylic paint. WWW.JOTIKA-LTD.COM I get mine from Cornwall Model Boats (other suppliers available). They are just up the road from me and delivery is usually by return post. Two coats have been applied but I think she needs another one. According to one thread of research both Cook and Molyneux record boot topping using pitch and brimstone both ingredients of "brown stuff". Cook did suggest in his journal the new procedure of painting with white lead. Admiralty order of 6th October 1771 suggests that this was acted upon. Best regards, Sam.
-
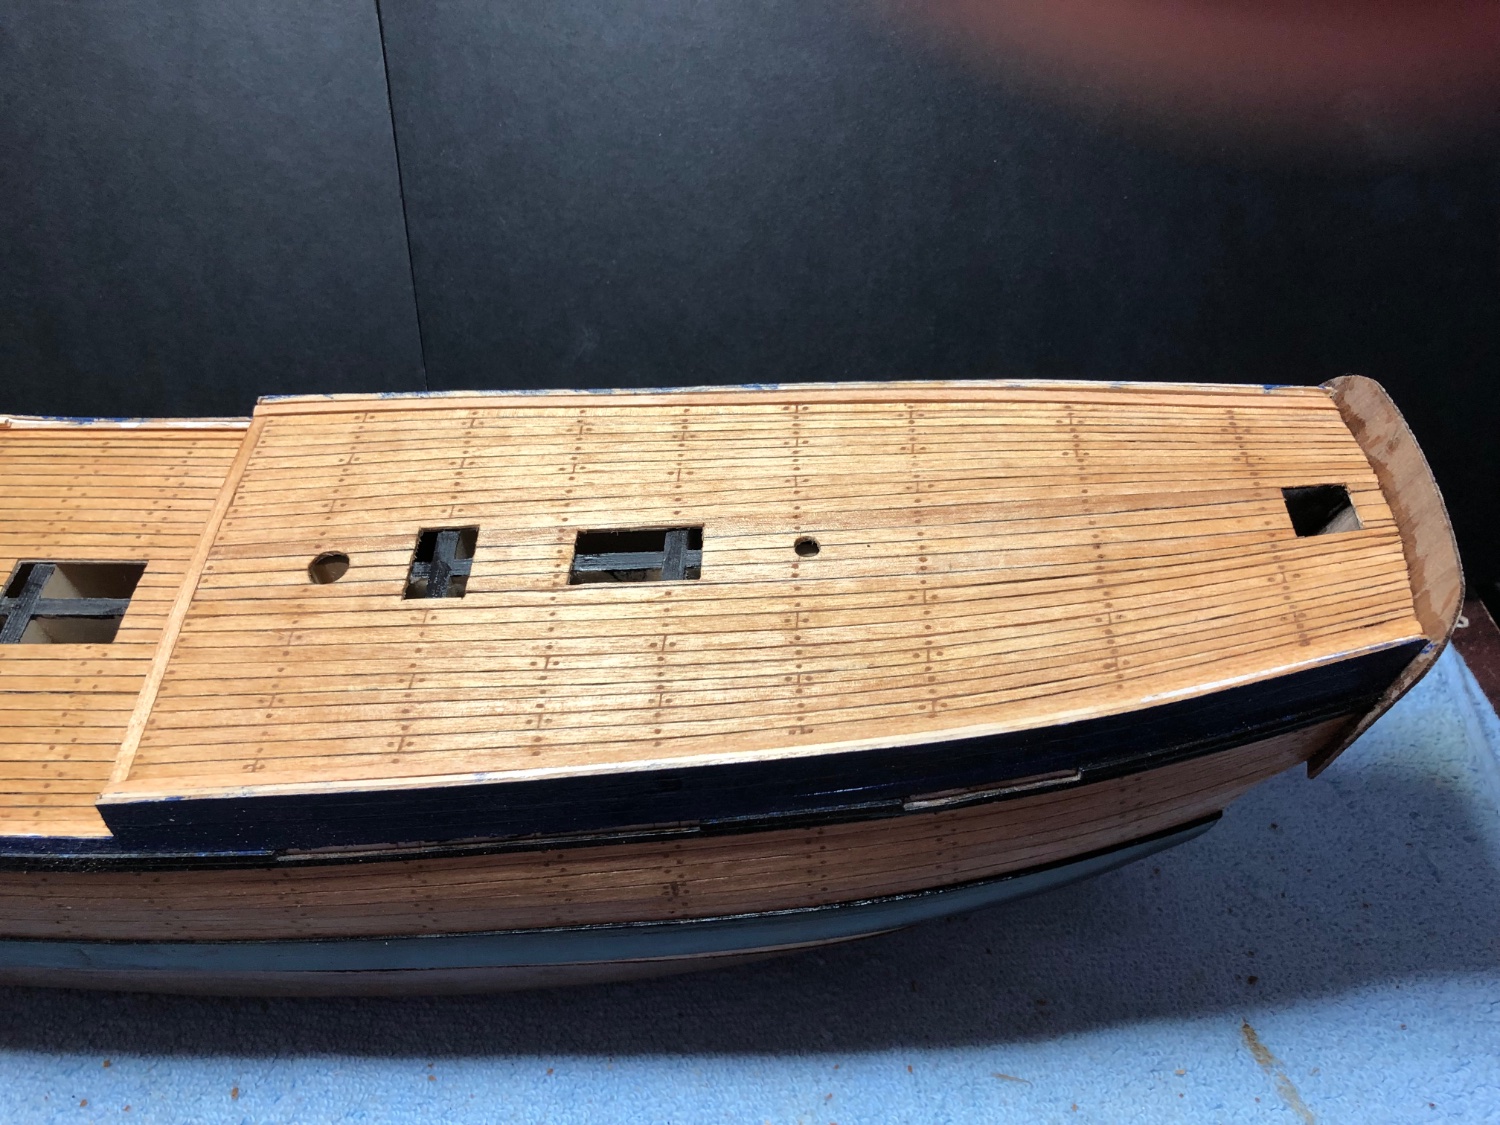
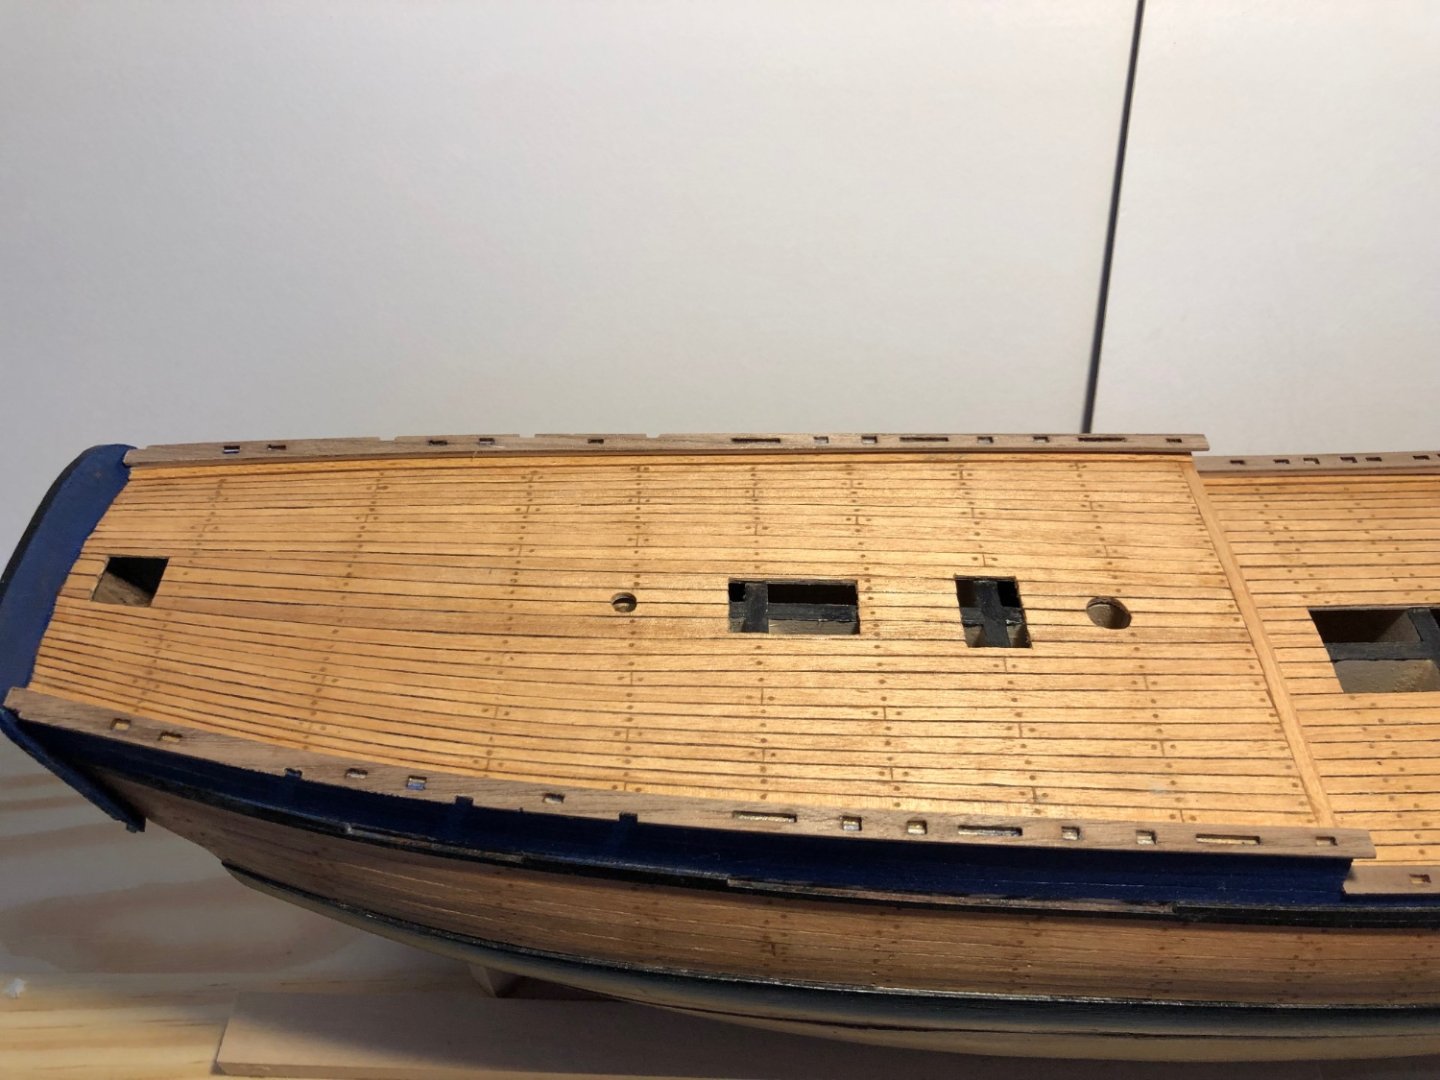
Hi and, thanks for stopping by and for the comments. Deck planking done and one coat of satin varnish. Got carried away a bit on the aft deck trying to follow the deck plan in Marquardt's book. Not 100% happy but it's done now. Next is bulwarks and stern piece. Best regards, Sam.


-
Hi shipaholic and thanks for the comments. I have been ploughing through your postings (all 19 pages) of your 1:51 build since last November. A real quality build with outstanding detail. Am picking up a lot of tips and inspiration so thank you. Best regards, Sam.
-
Hull second planking fixed and painted. This has taken a month, mainly due to too much good weather. No real problems --- this kit is easier to build than I expected. Next is deck planking and waterways. Best regards, Sam.


-
Thanks for the comments Andrew. And thanks everyone for the likes. There are some very good threads on this forum for Endeavour. I have replaced the walnut second planking with Tanganyika I had in stock. The walnut is very good quality but I prefer the replacement colour. Everything else in the kit is high quality and will be used. Not an easy build to plank but not as difficult as I expected. Good luck with your build, I will keep an eye out for your log. Best regards, Sam.
-
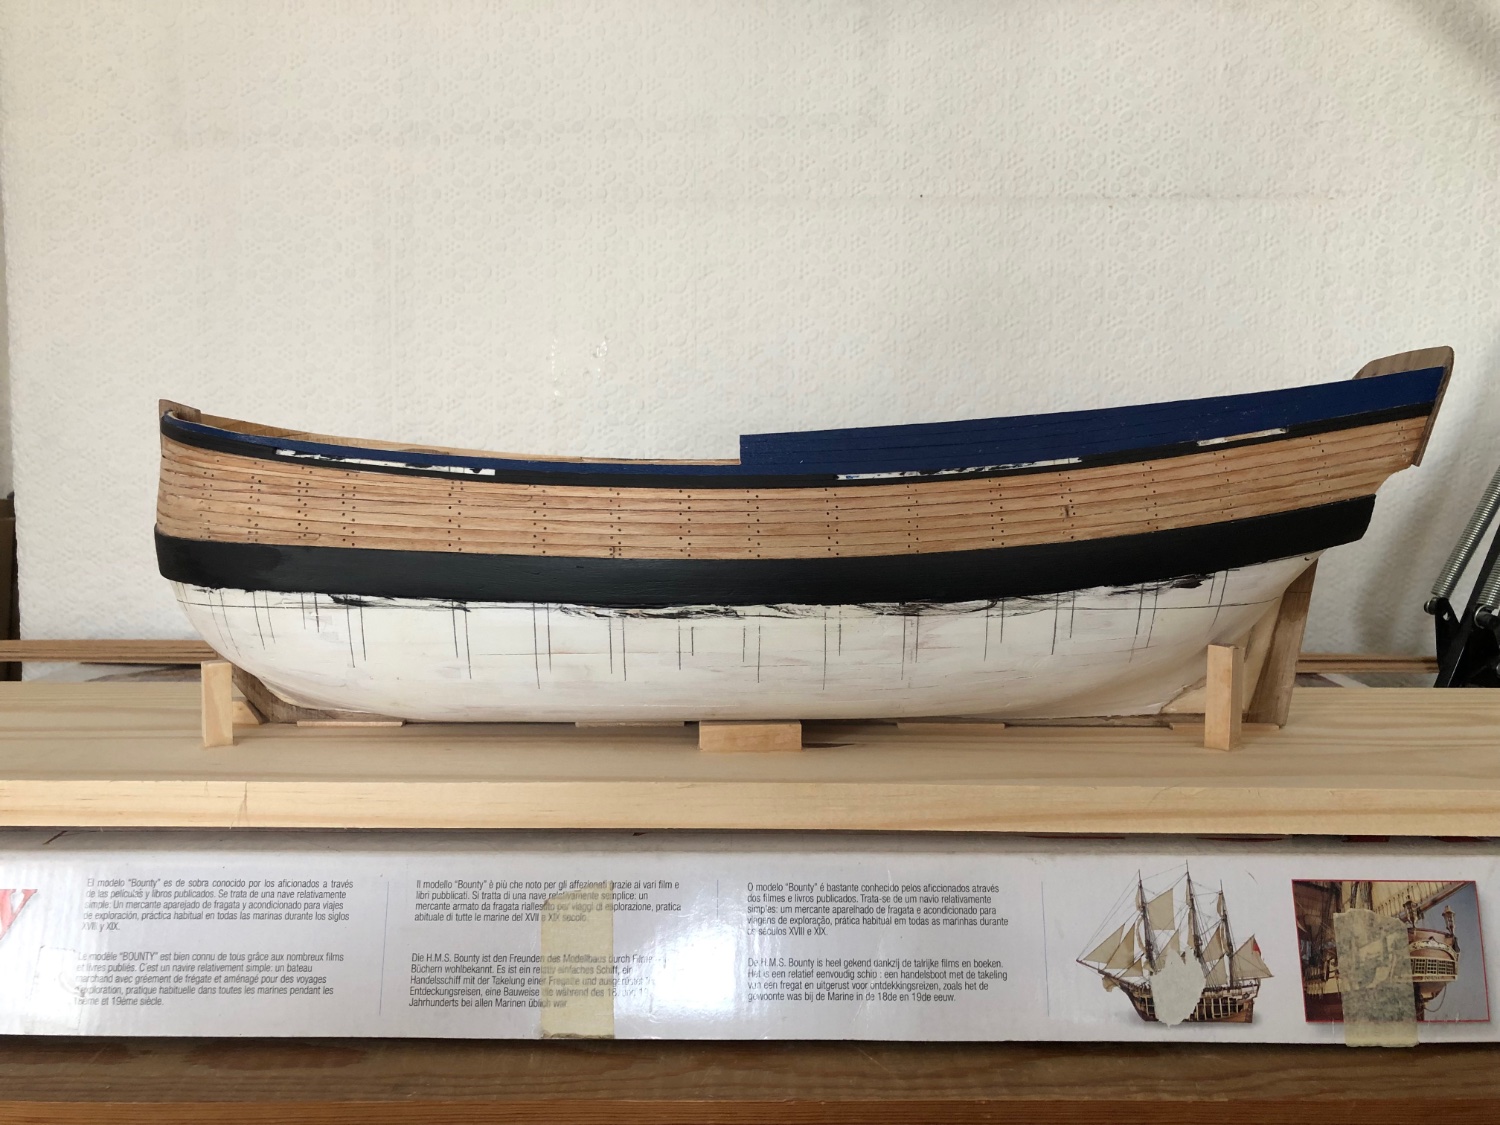
Second planking added above wale and counter planked. Next will be lower planking and brown stuff. Then final sand, add trennails and varnish. Will then move onto deck and stern. Rebates in sheer strake are of course for channels. This kit is going together well. Regards, Sam.

-
Alanyed, have finally had time to visit the Wiki site you gave a link to. This will be a valuable source of information, thanks very much. Regards, Sam.