MORE HANDBOOKS ARE ON THEIR WAY! We will let you know when they get here.
×


SIDEWAYS SAM
-
Posts
248 -
Joined
-
Last visited
Content Type
Profiles
Forums
Gallery
Events
Everything posted by SIDEWAYS SAM
-
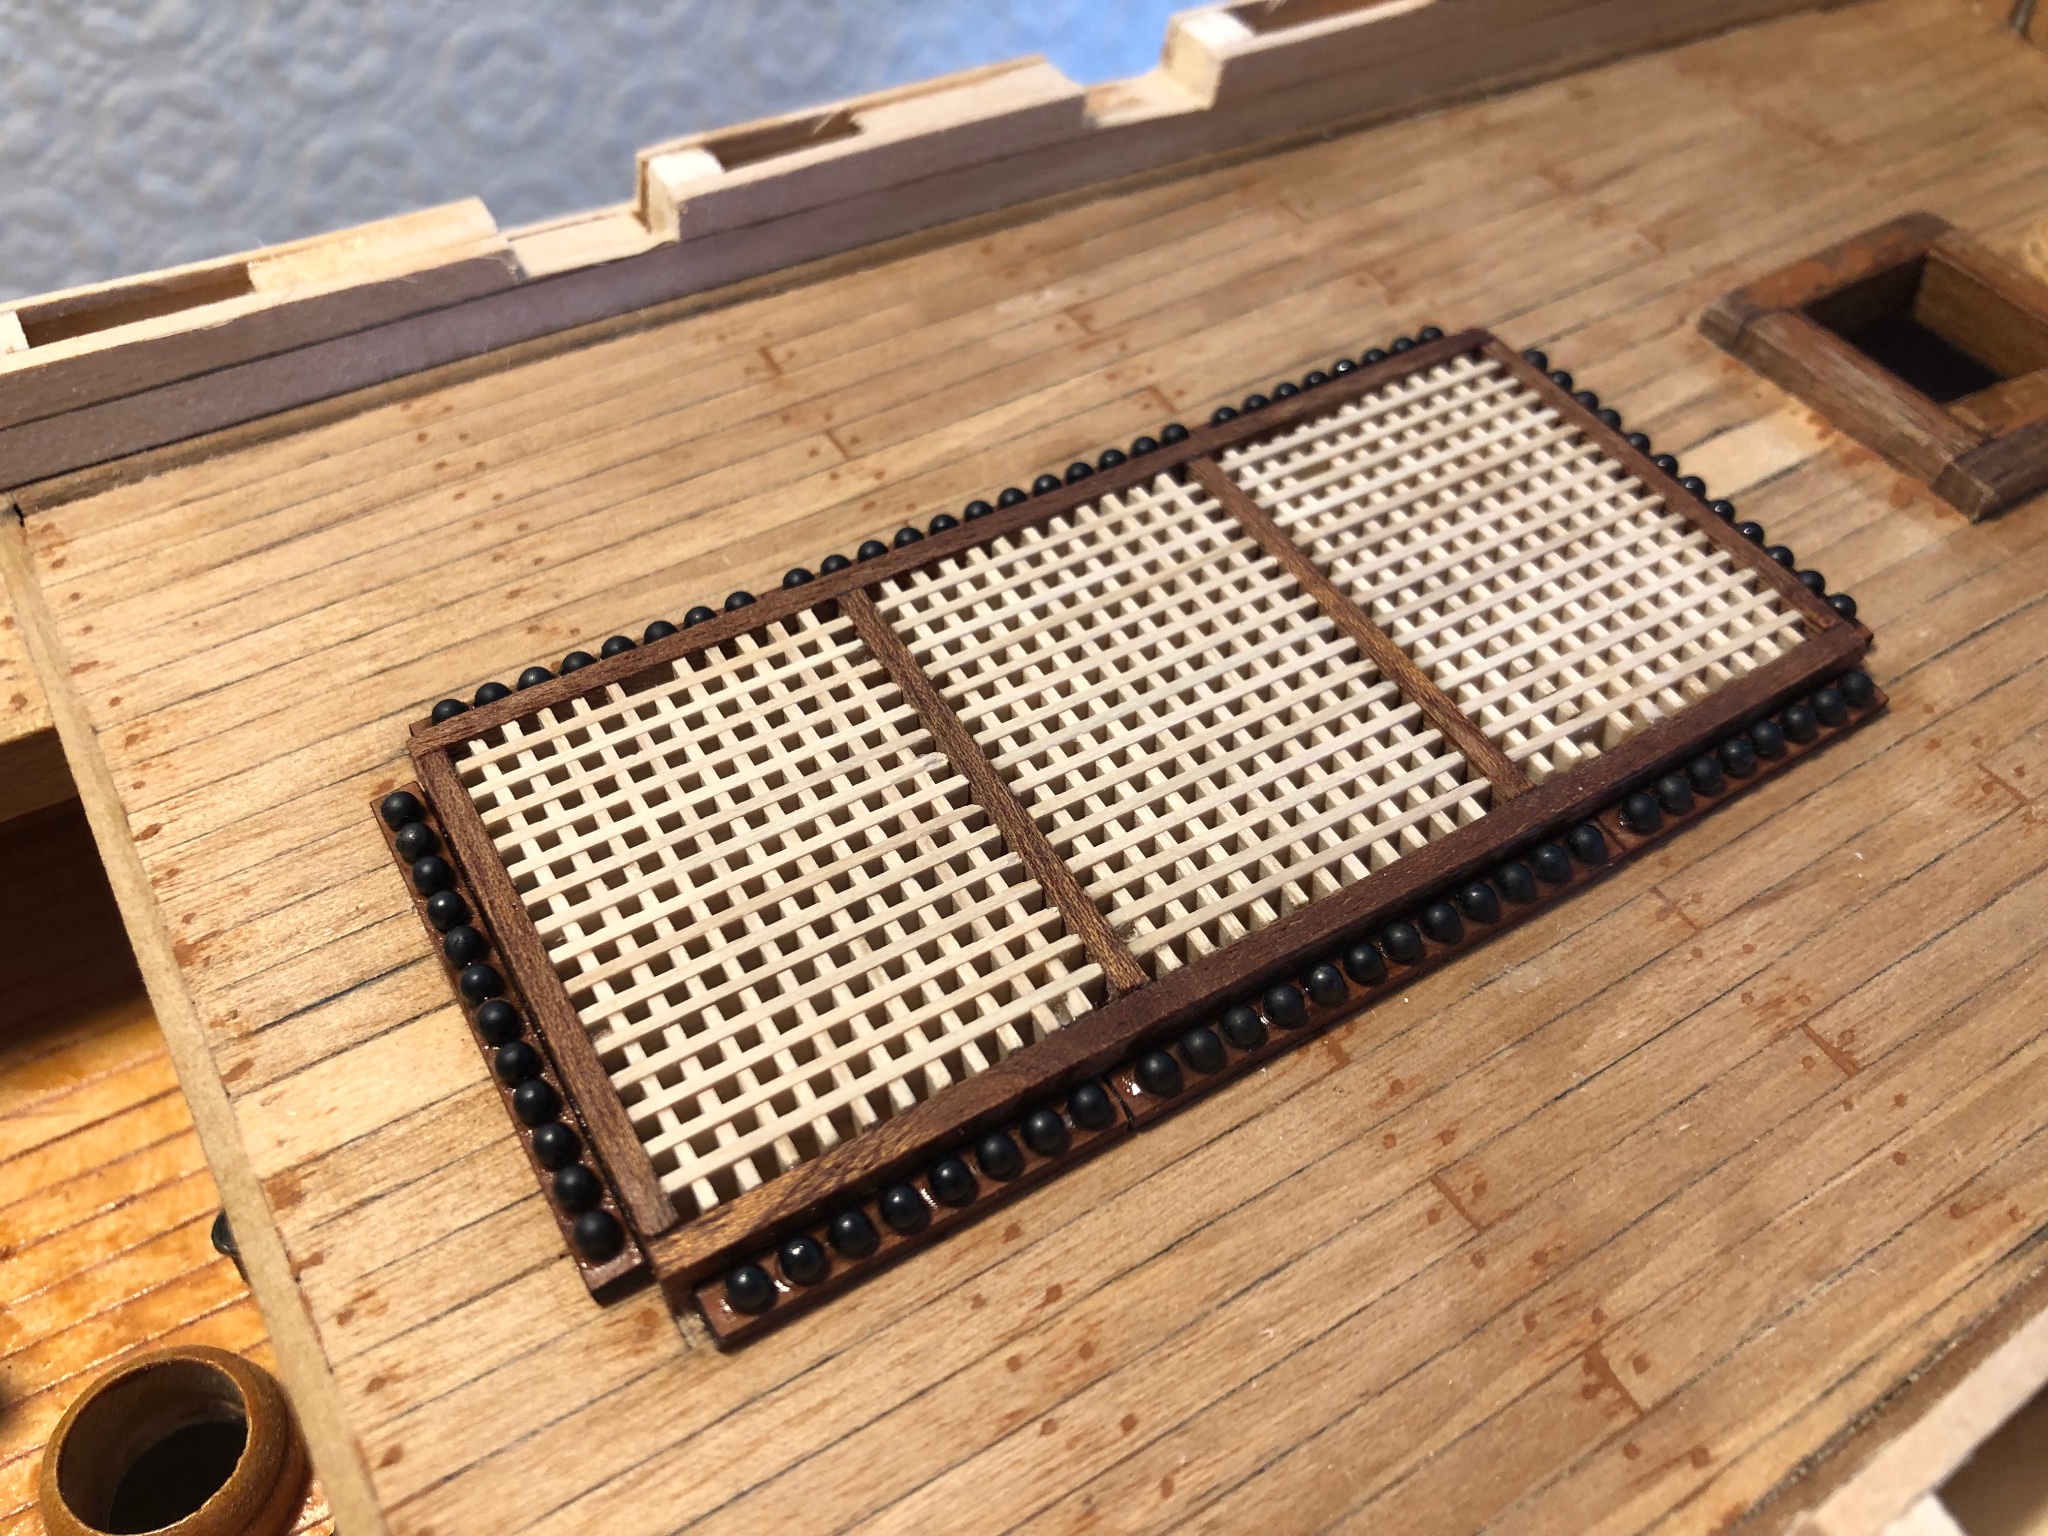
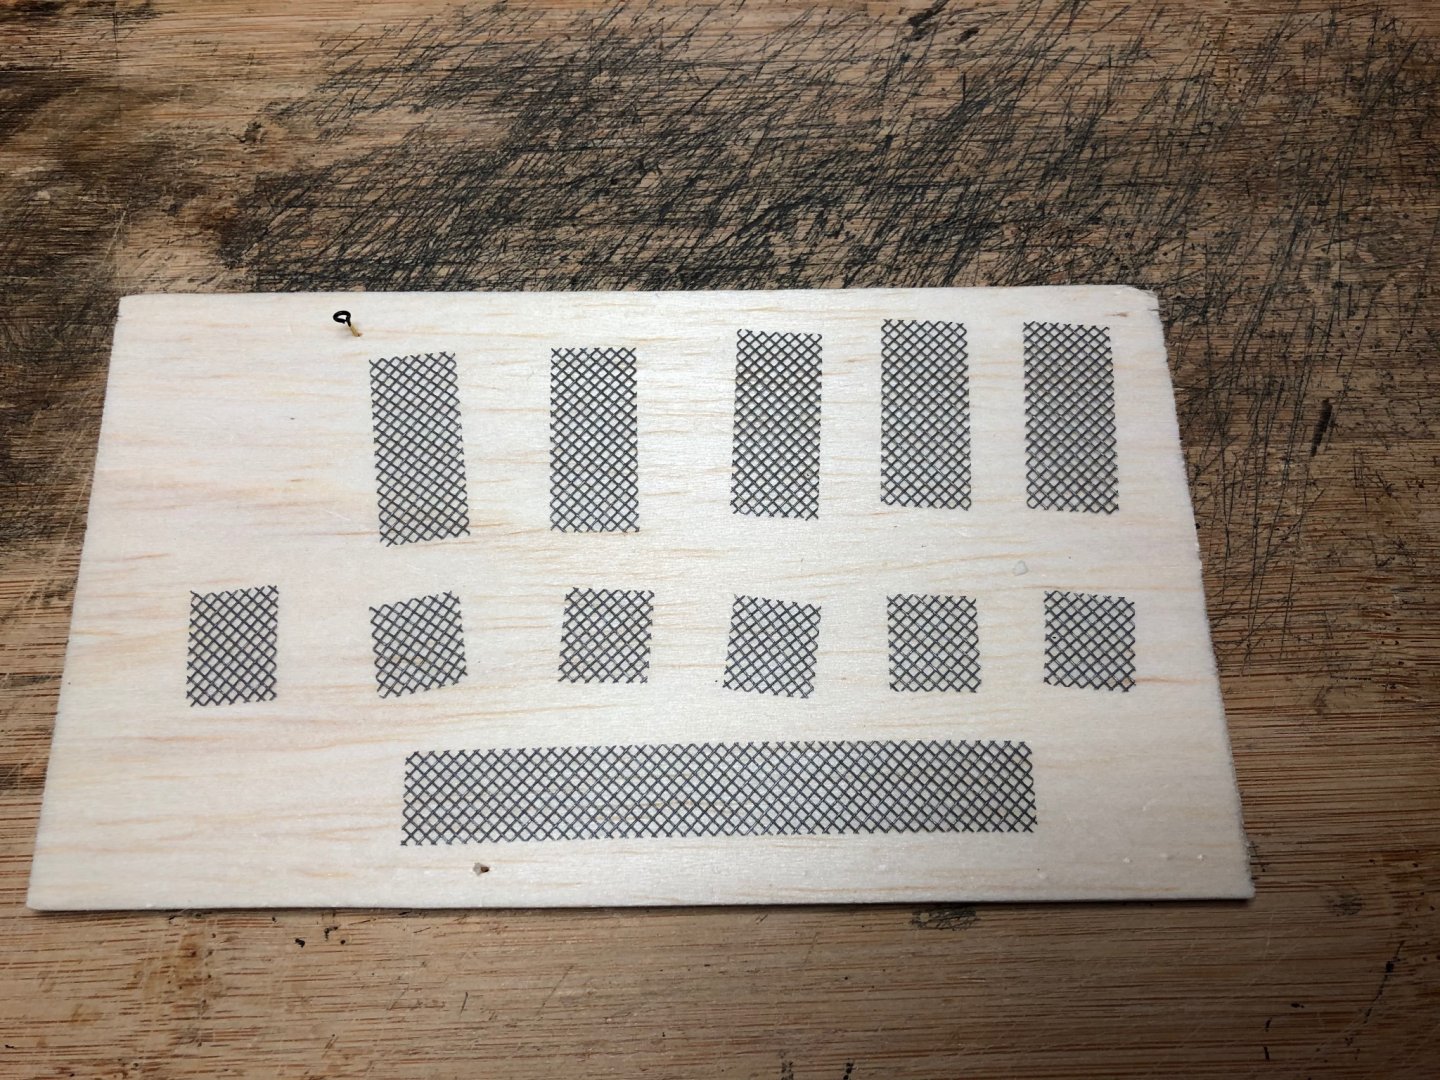
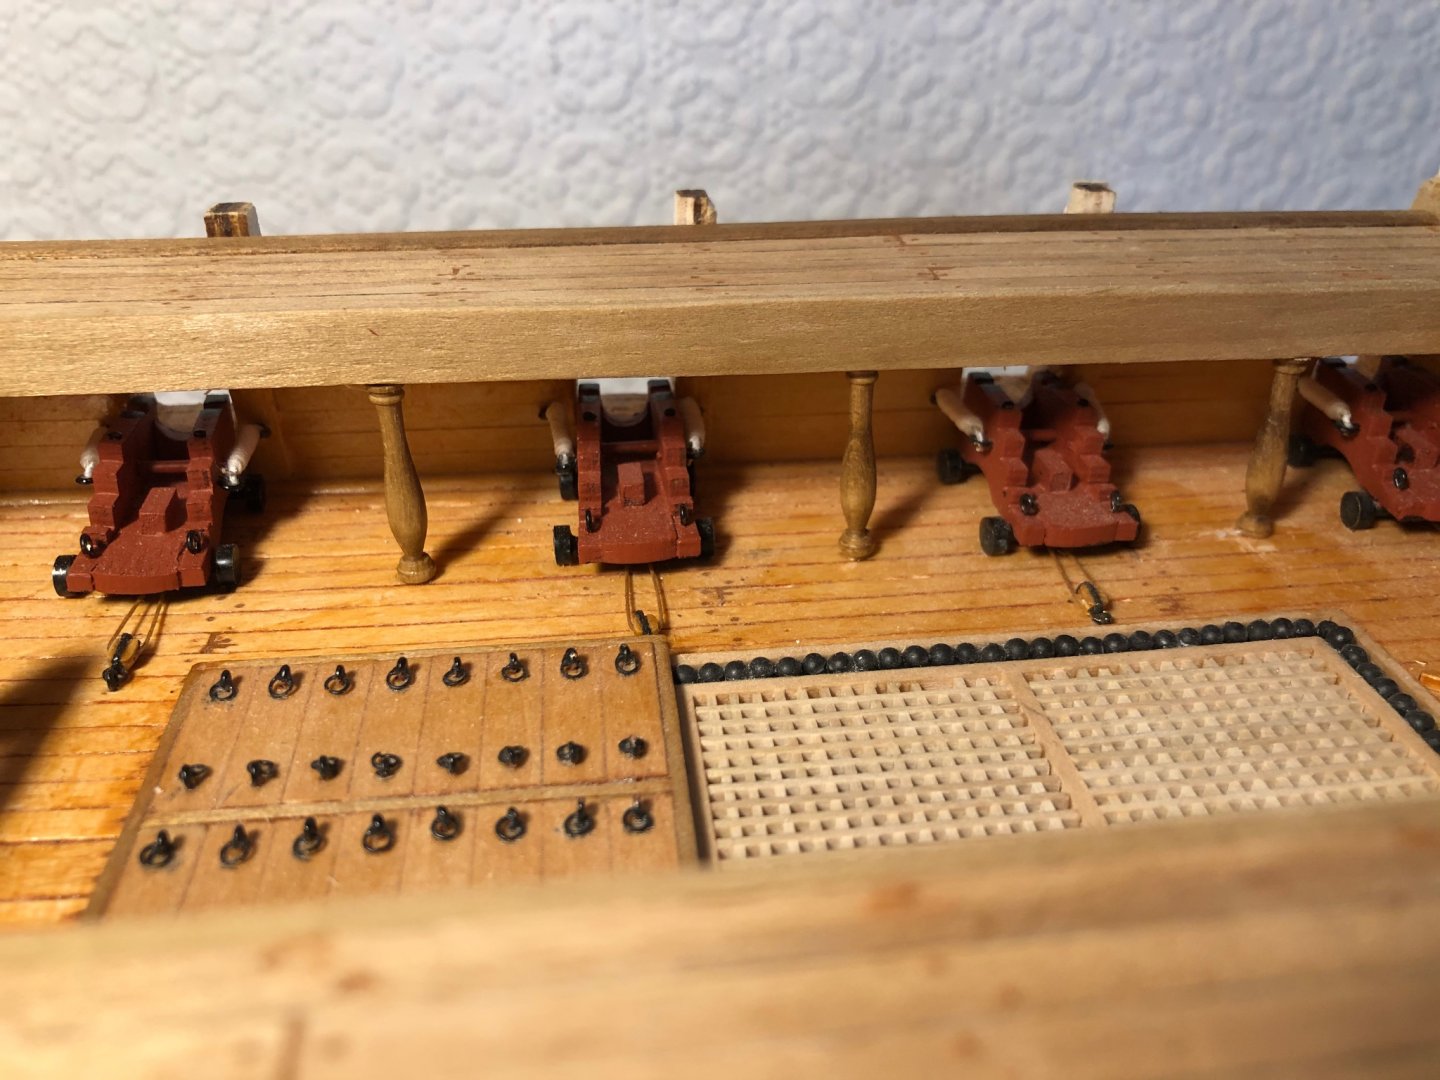
Thanks everyone for visiting and comments. Upper deck shot garlands fitted. Replaced instructions with something neater. Highlights will fade when the varnish dries. Sam.
-
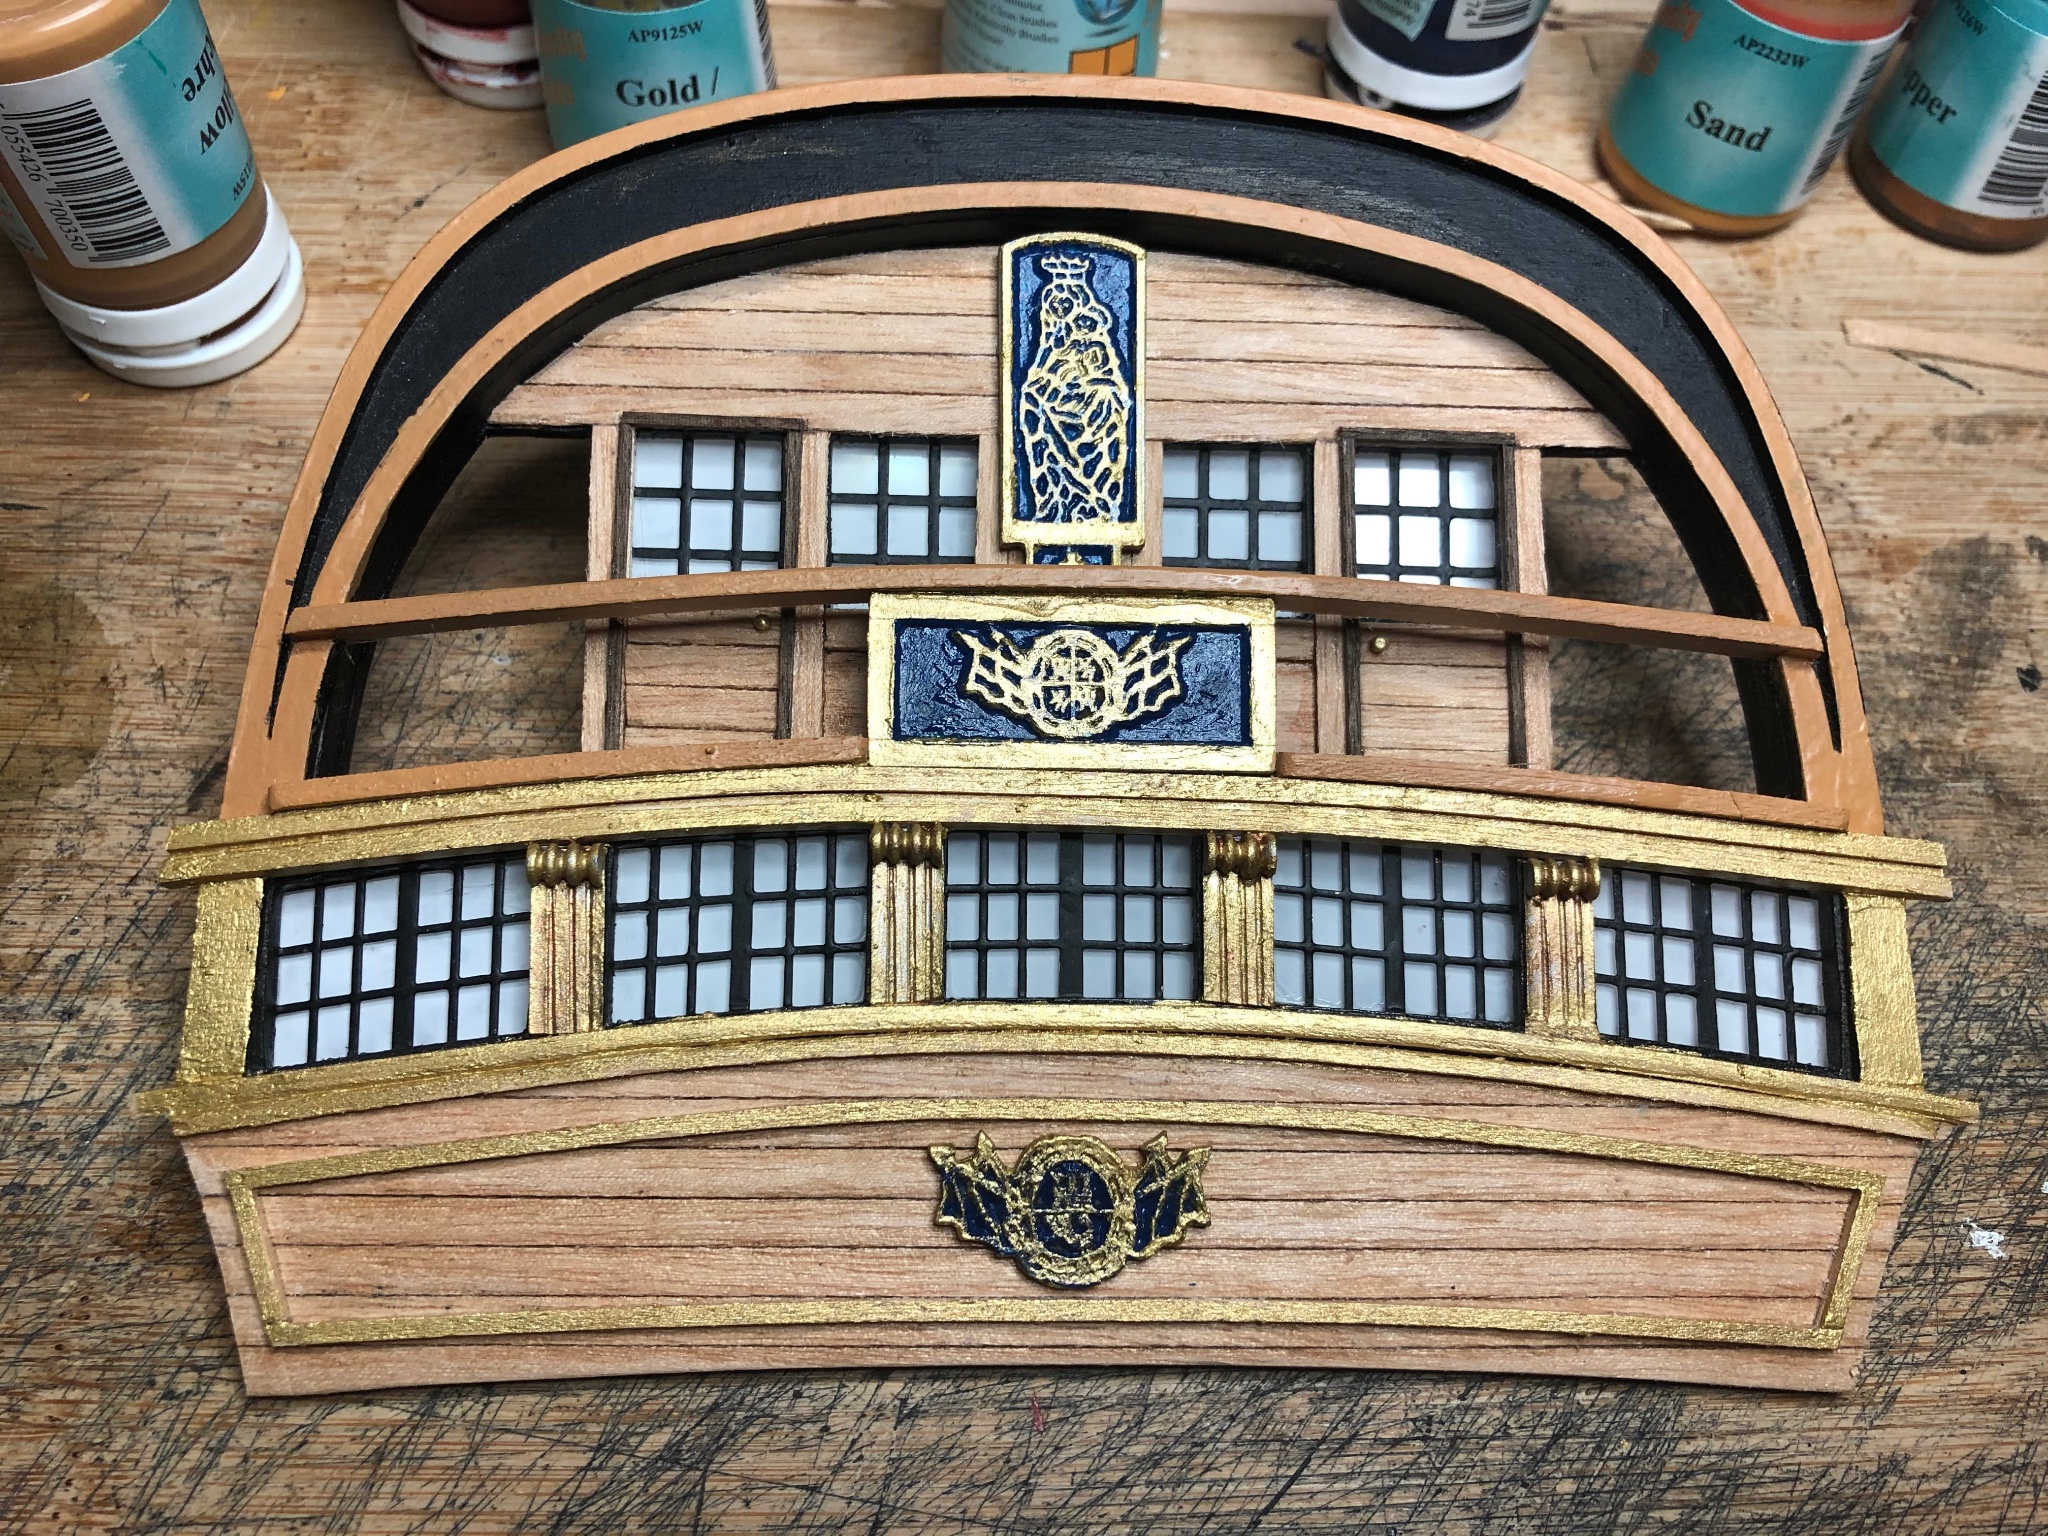
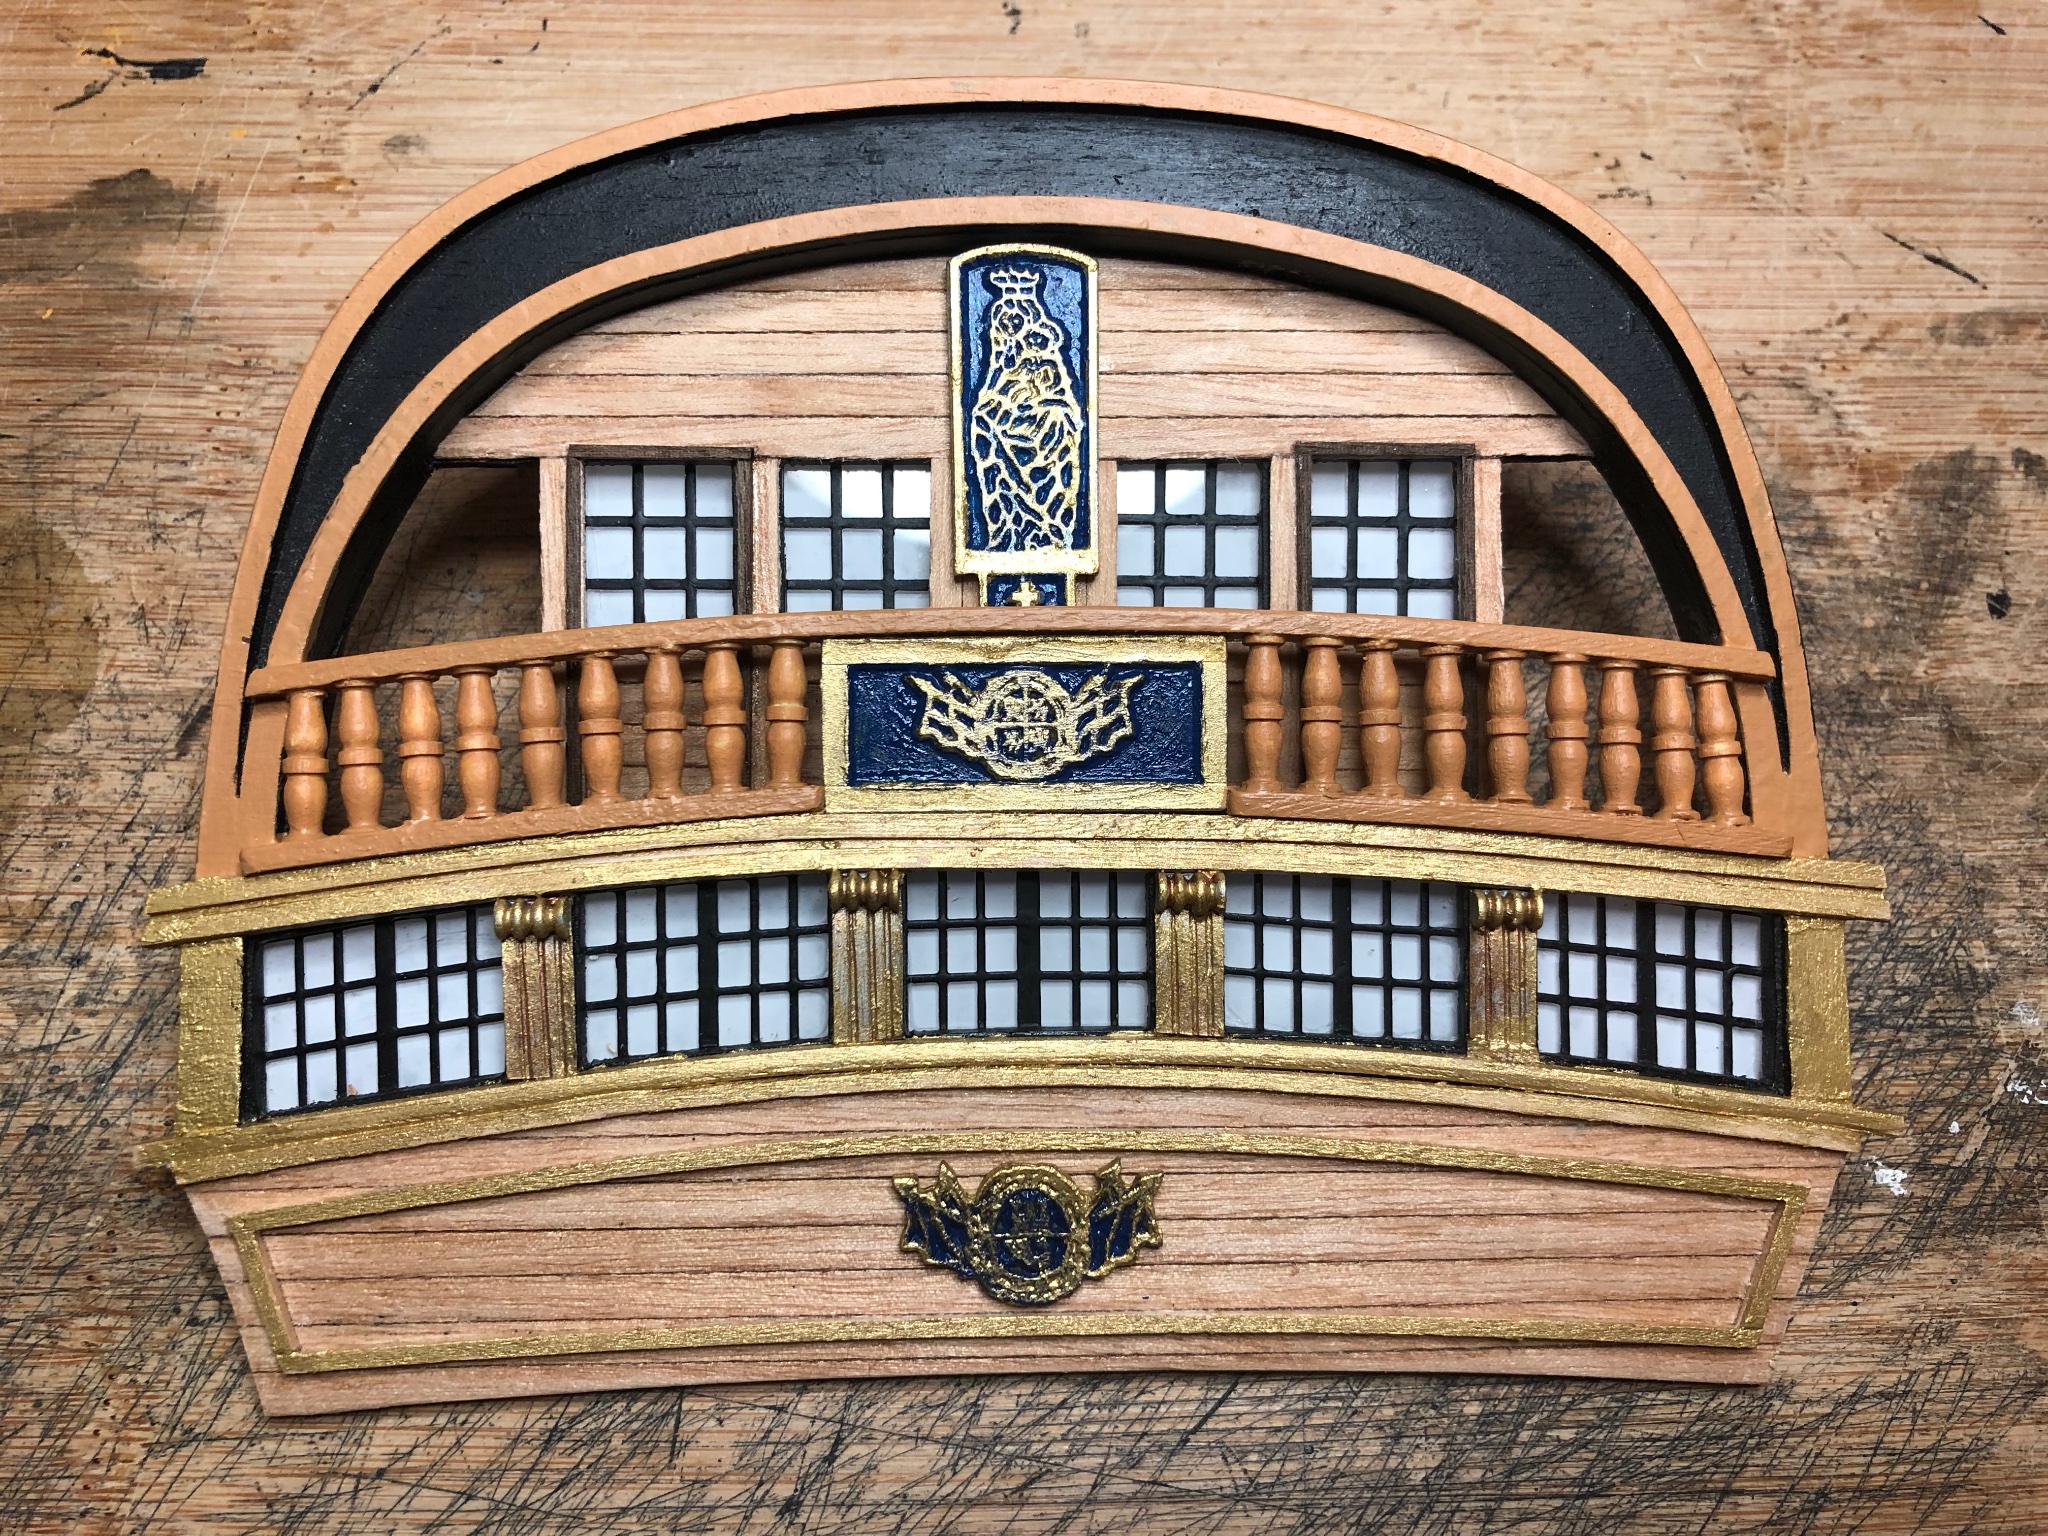
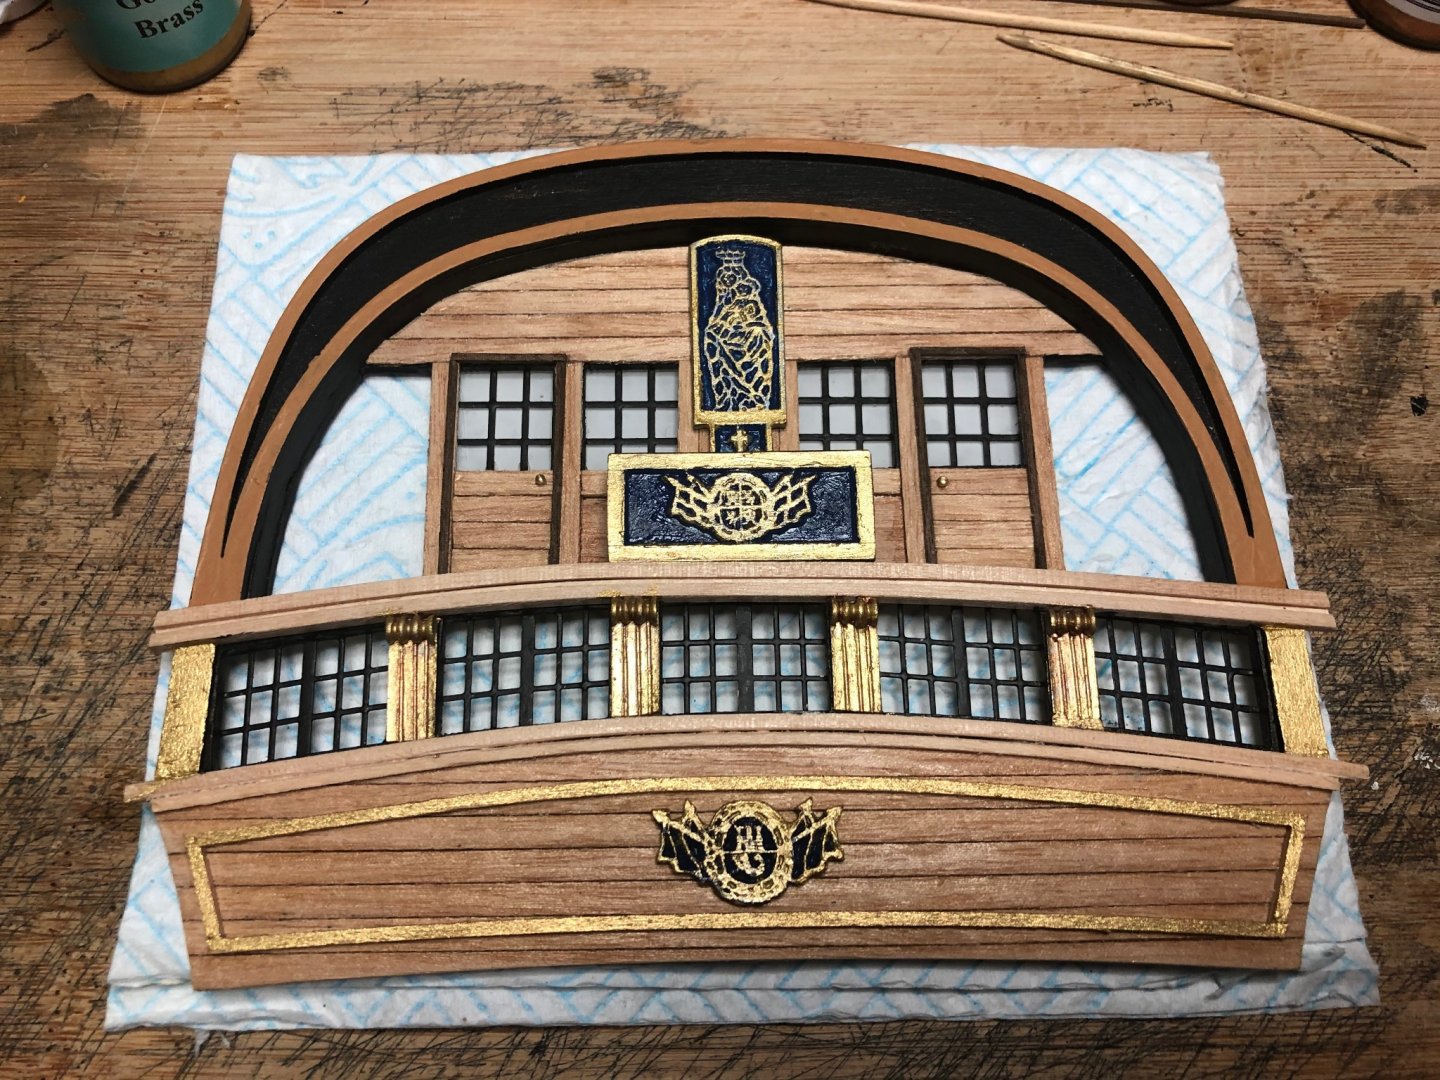
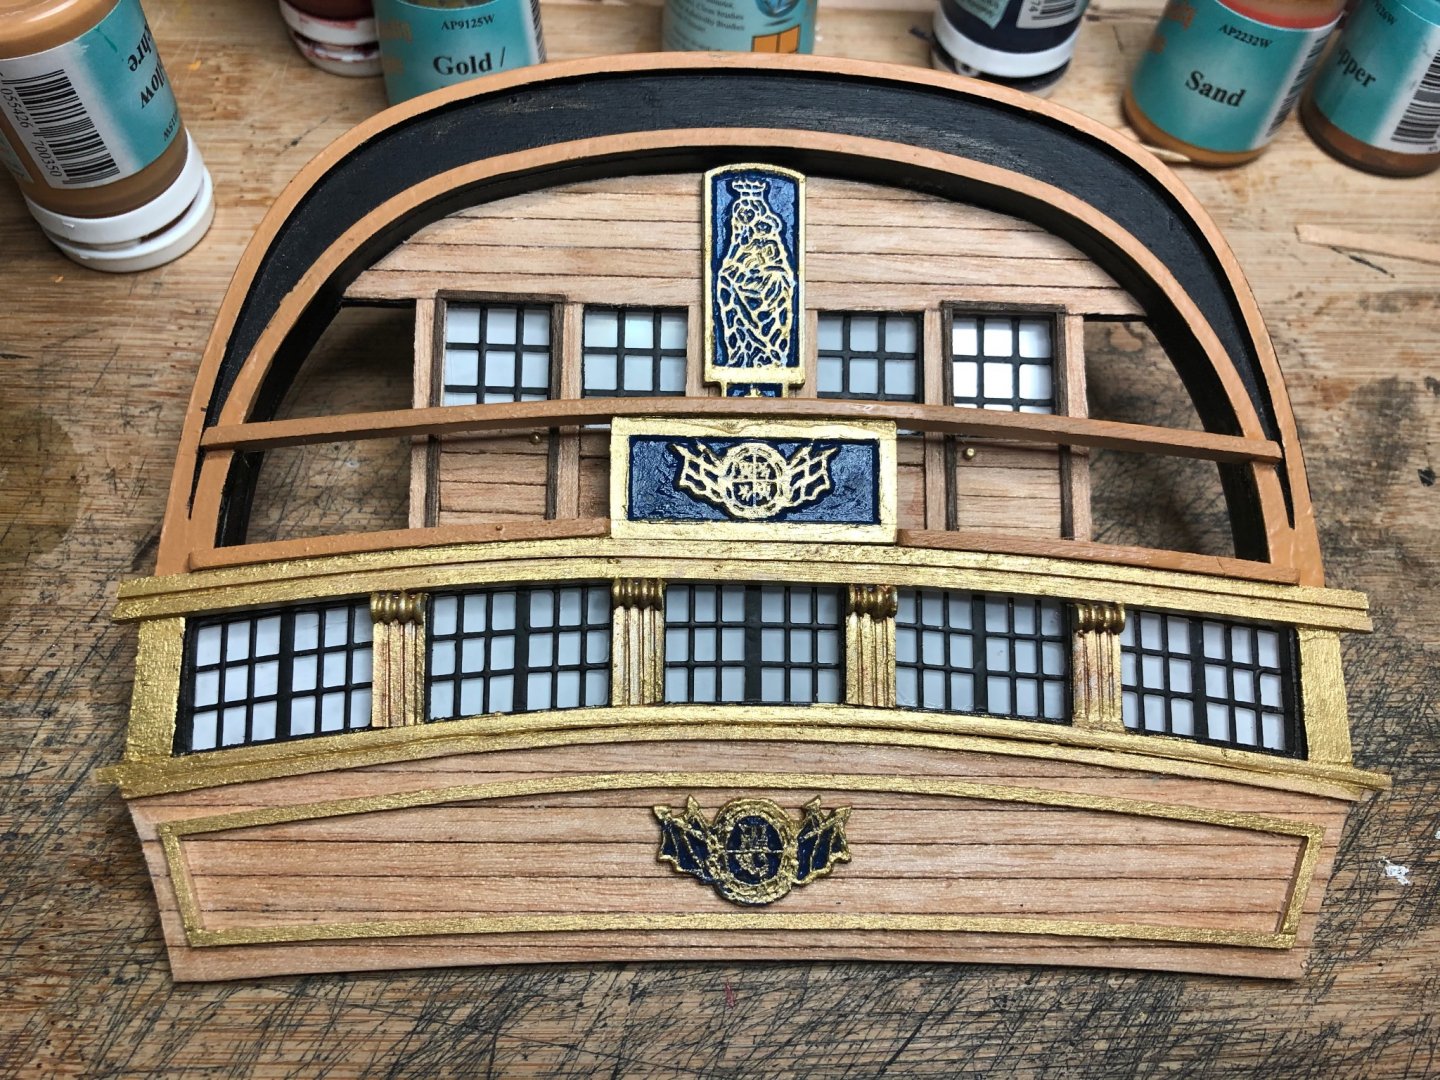
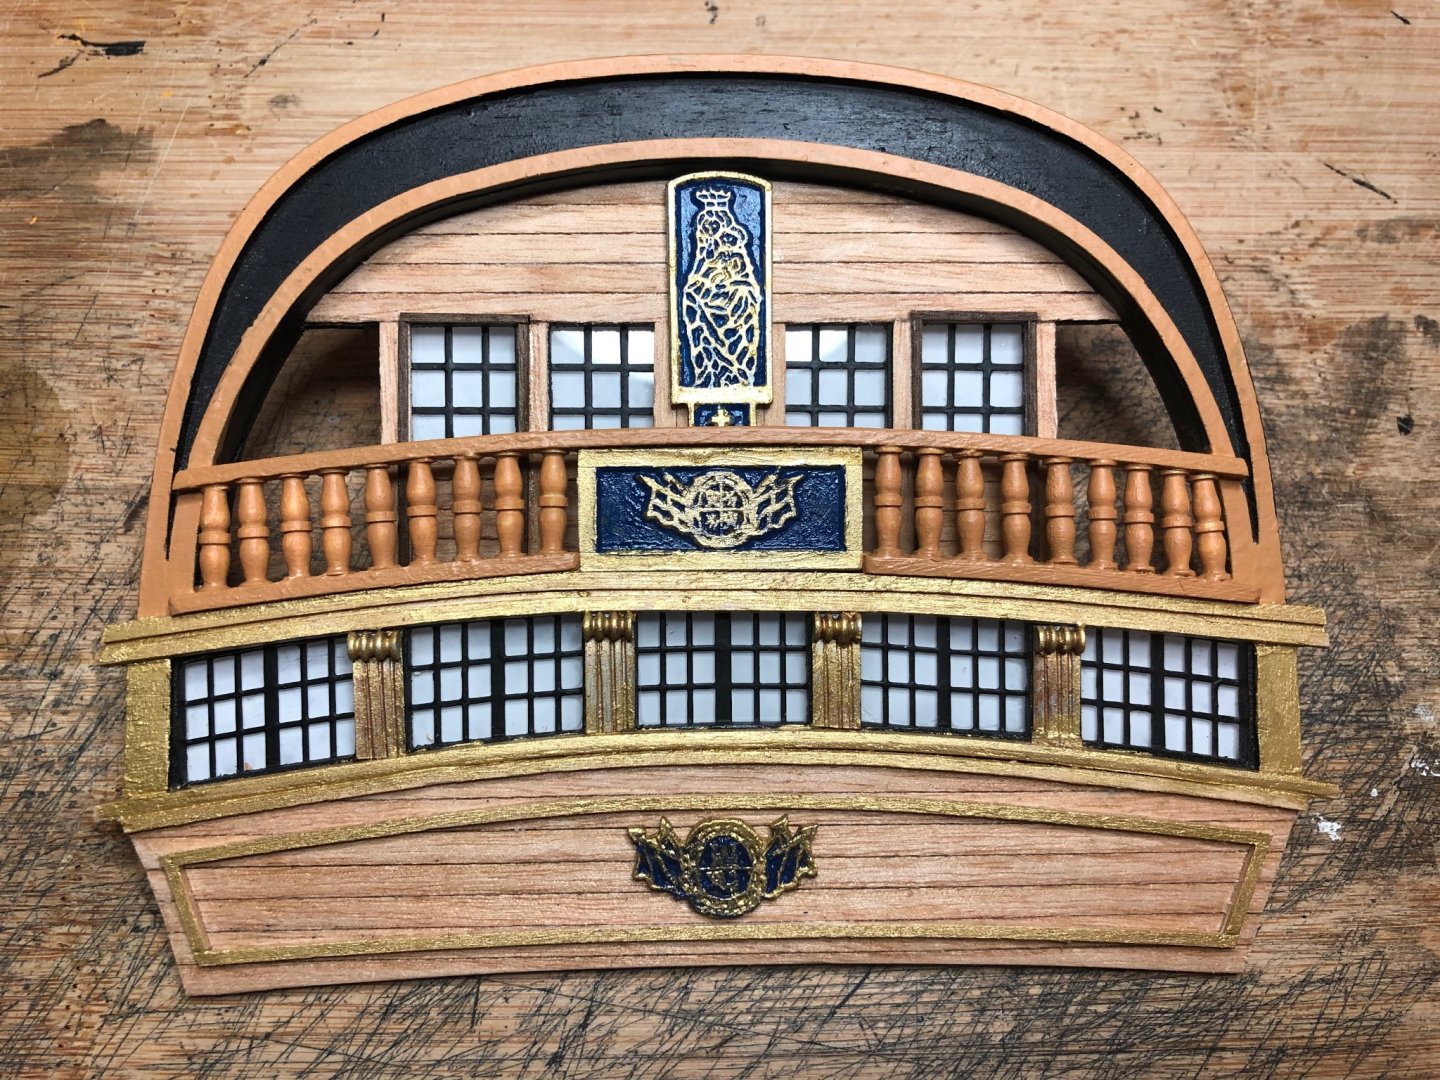
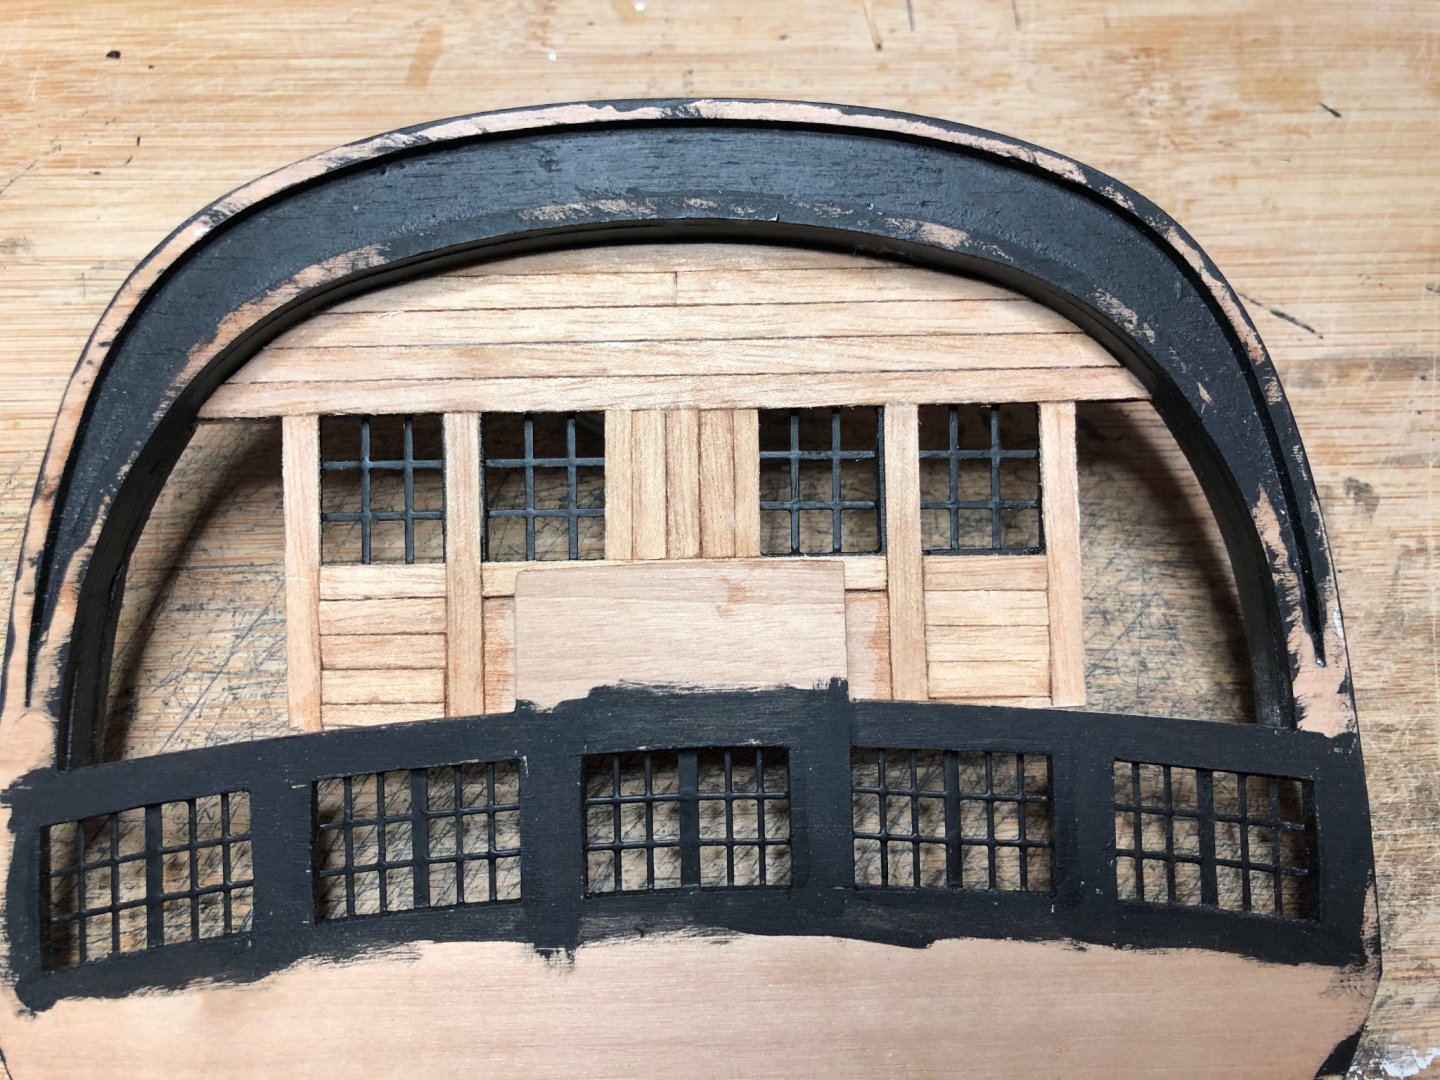
Hi, and thanks for visiting. Stern piece finished (for now). Might work on the gilding later. Now back to the dreaded planking. There is so much of it. Sam.
-
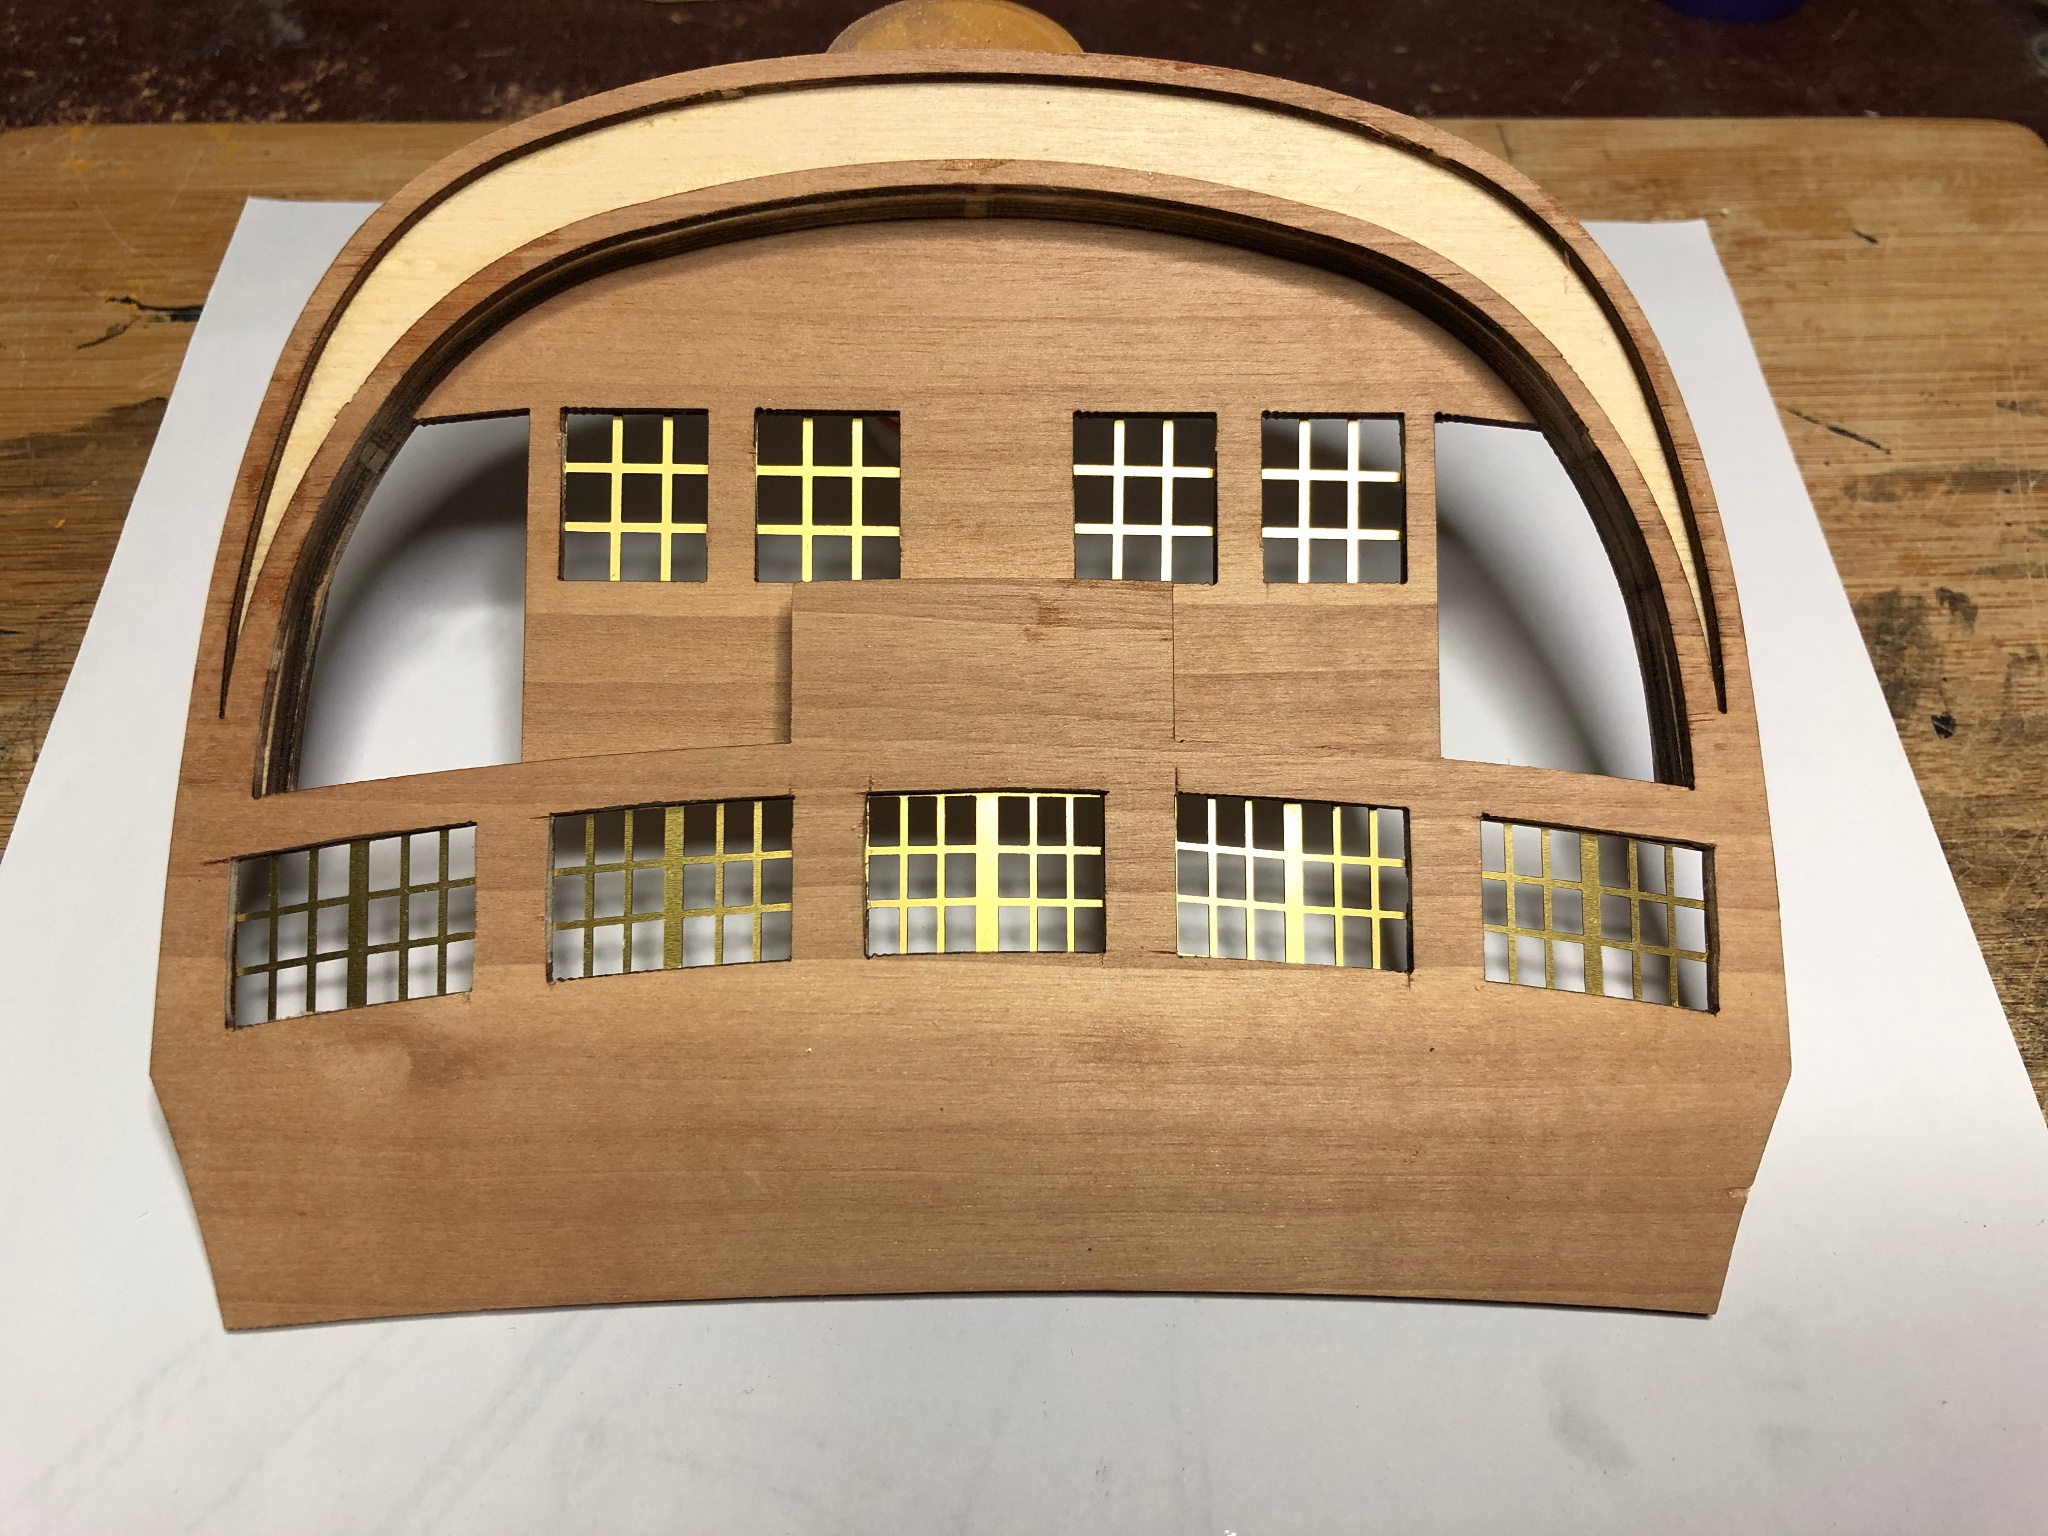
Haven't posted for a while - been fixing the first planking. There is a lot of it. For light relief have been working on the stern piece. Attached photo's show cabin rear walls. Extra coat of yellow ocre needed Next is the balustrading and lower stern piece. Also the hull planking. Starting to question the wisdom of double planking. There is so much of it. Sam.

-
Checking out your Post 14 before I start my stern build. Beautiful work Sferoida, just beautiful. Sam.
-
Impressive work Tim. The furled sails are superb. Overall a very high quality build. Sam.
- 171 replies
-
- 1
-

-
- artesania latina
- bounty
- (and 1 more)
-
Progress is progress. This is a complicated build. Keep up the good work. Sam.
-
Hi Tim, Looking forward to seeing Bounty finished. Will be watching for the start of your next build. Keep safe, Sam.
-
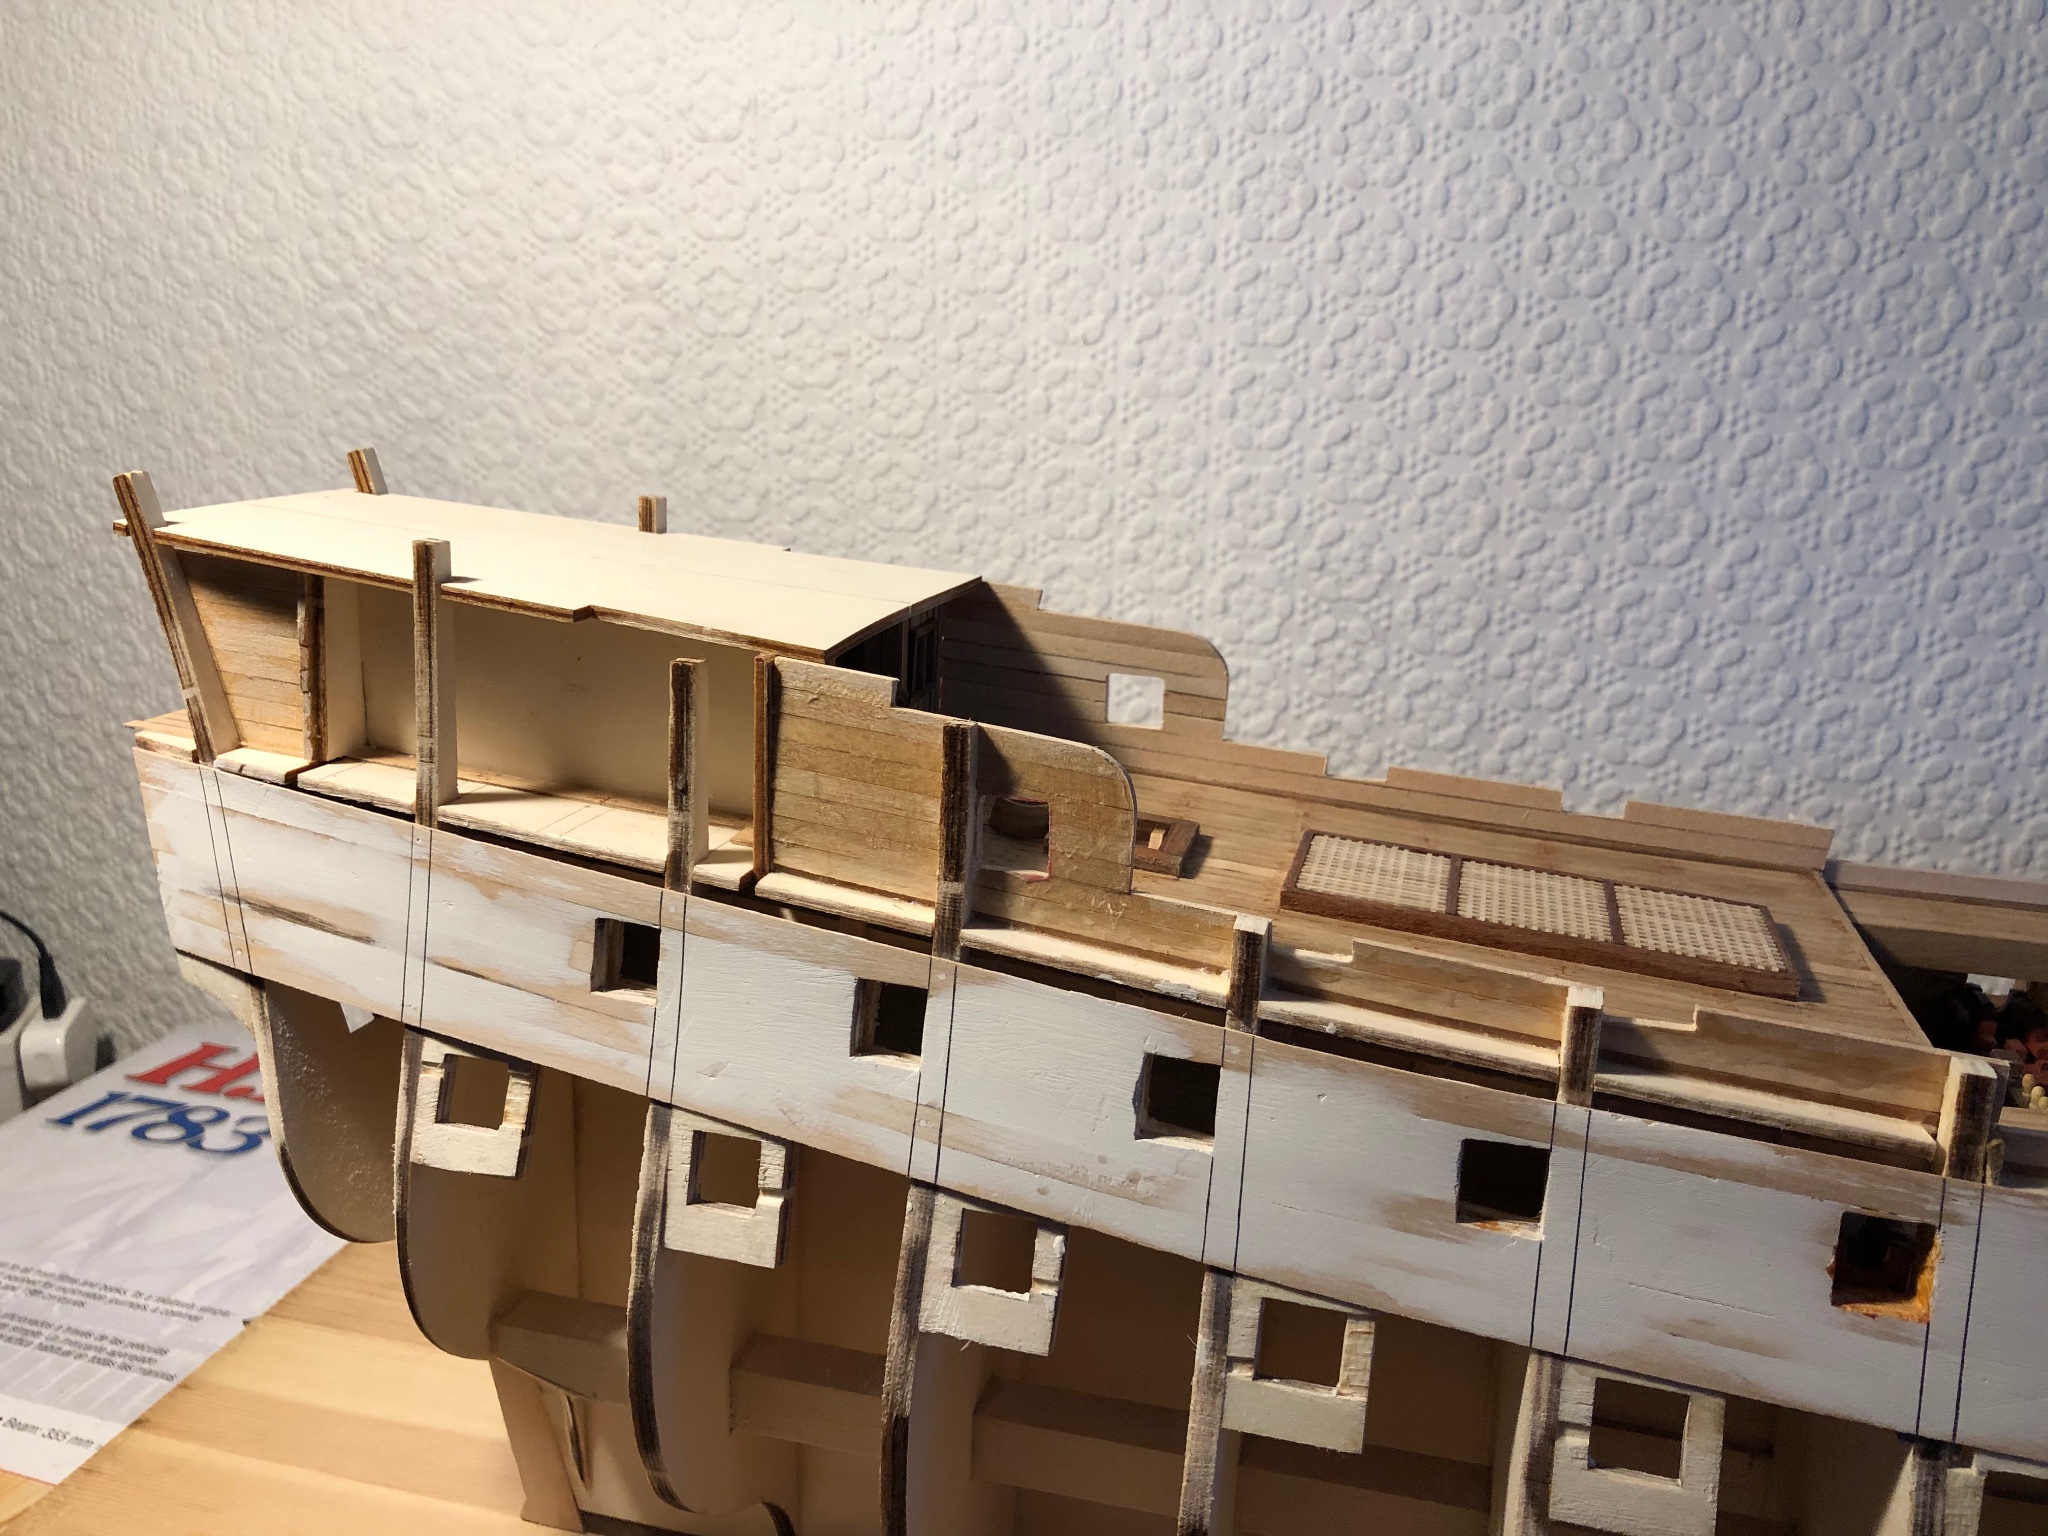
Poop deck planked. Varnish to be applied later. Inner bulwarks will be planked , won't be using the ply provided but not until after the stern piece is fixed. Next step is to finish the first planking so will post again in a few weeks time.

-
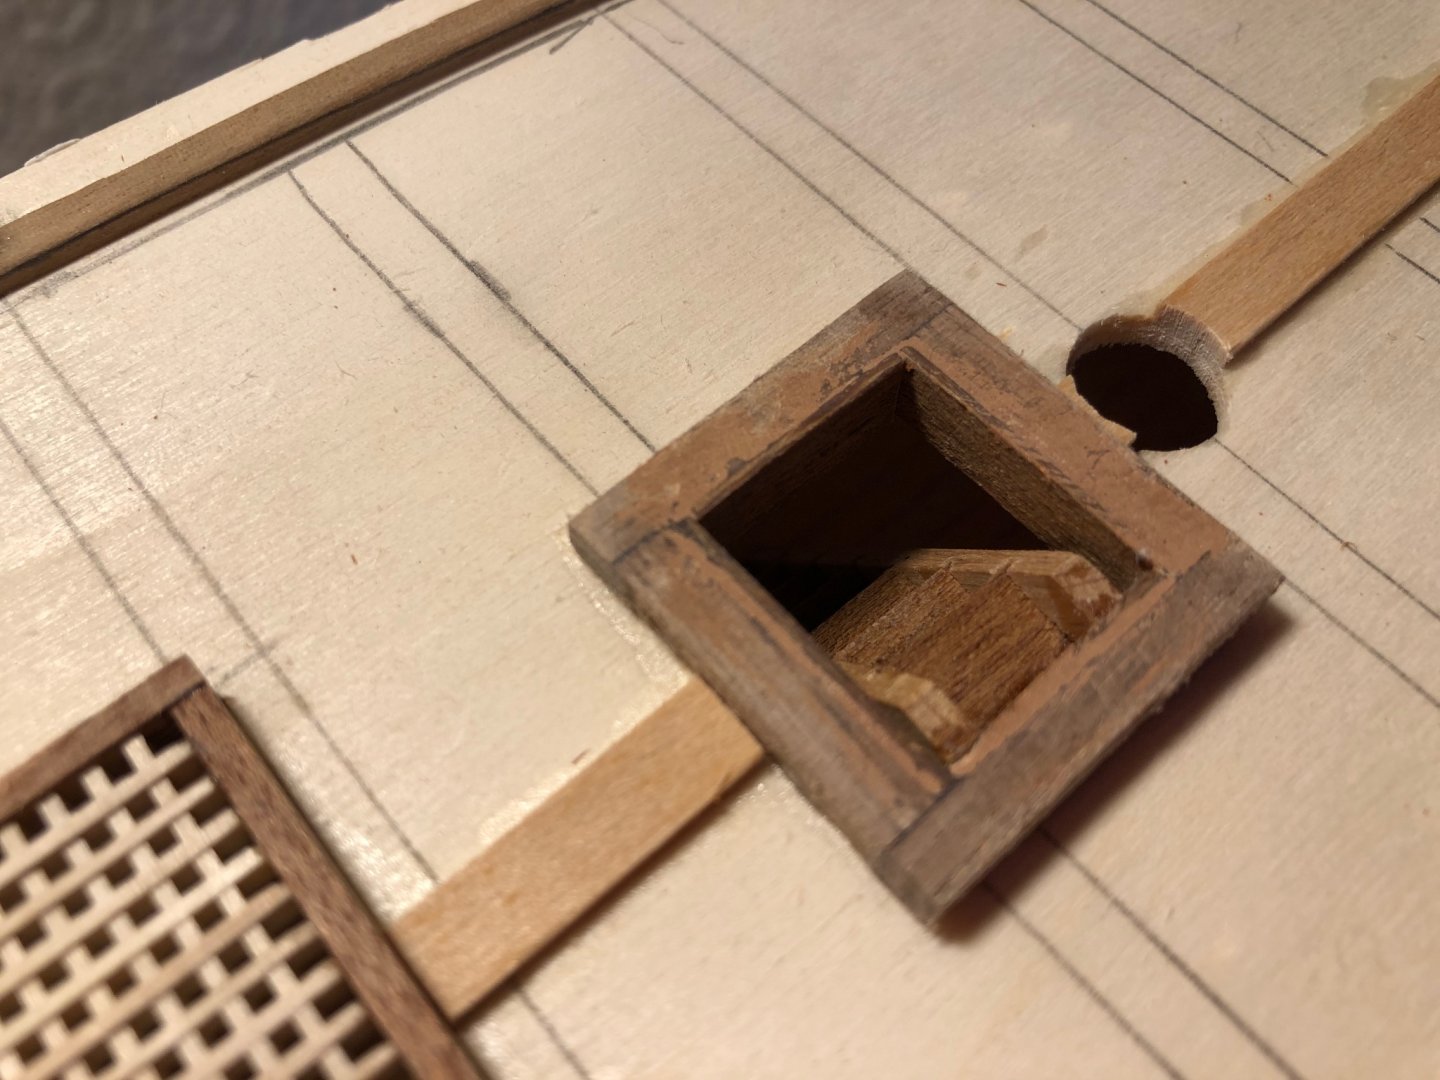
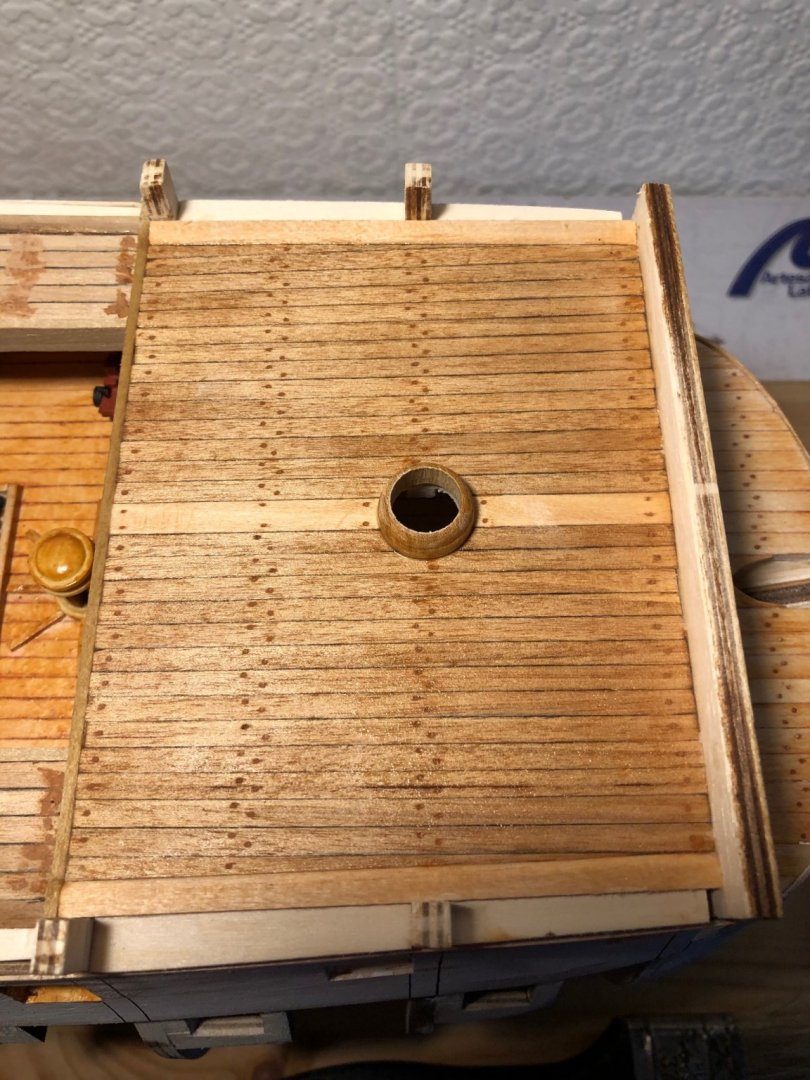
Hi Catopower, Thanks for the info and interest shown. Before starting this kit the earliest build I attempted was HMAT Bounty, 1783. Before this I kept to the 1790 - 1815 era. So I assumed the odd difference was due to advancements in building technique between 1733 and 1750 when she sank and later building practice and design. I have already deviated from the plans provided and intend to treat the poop deck very differently also. This build will end up as a generic model and will be un-named. Also, should you be on the poop deck puzzling over the weird arrangement and, someone shouts "dinners ready" don't rush down the ladders to the upper deck because someone left a cannon at the bottom of the stairs. Looking at the height of this cannon port above the deck it could only be used against low flying aircraft and would probably be stored elsewhere. I used the ply piece supplied in the kit to locate this port and now wish I hadn't. After all that, I am enjoying this build and it will end up an impressive piece. Regards, Sam.

-
Thanks for the likes and, your comments Catopower. Post one of this thread shows how the kit arrived. Six boxes of various sizes all assembled into a stout cardboard sleeve. This was plain, no markings. This was placed inside a thin highly decorated cardboard sleeve. You are right Catopower, I have found a website (D'Agostini) who sell all sorts of kits especially the full Occre range. You can buy these in stages or, as a full kit. I bought my kit from Cornwall model Boats (as a complete kit) during the pandemic. Now I realise that this can be bought in stages the instruction book makes more sense in it's layout. First thing I did on receipt was unpack to make sure it was all there and then stored it all in one box, AL's HMAT Bounty kit box (which luckily I didn't throw away). Thanks for the imput. Sam.
-
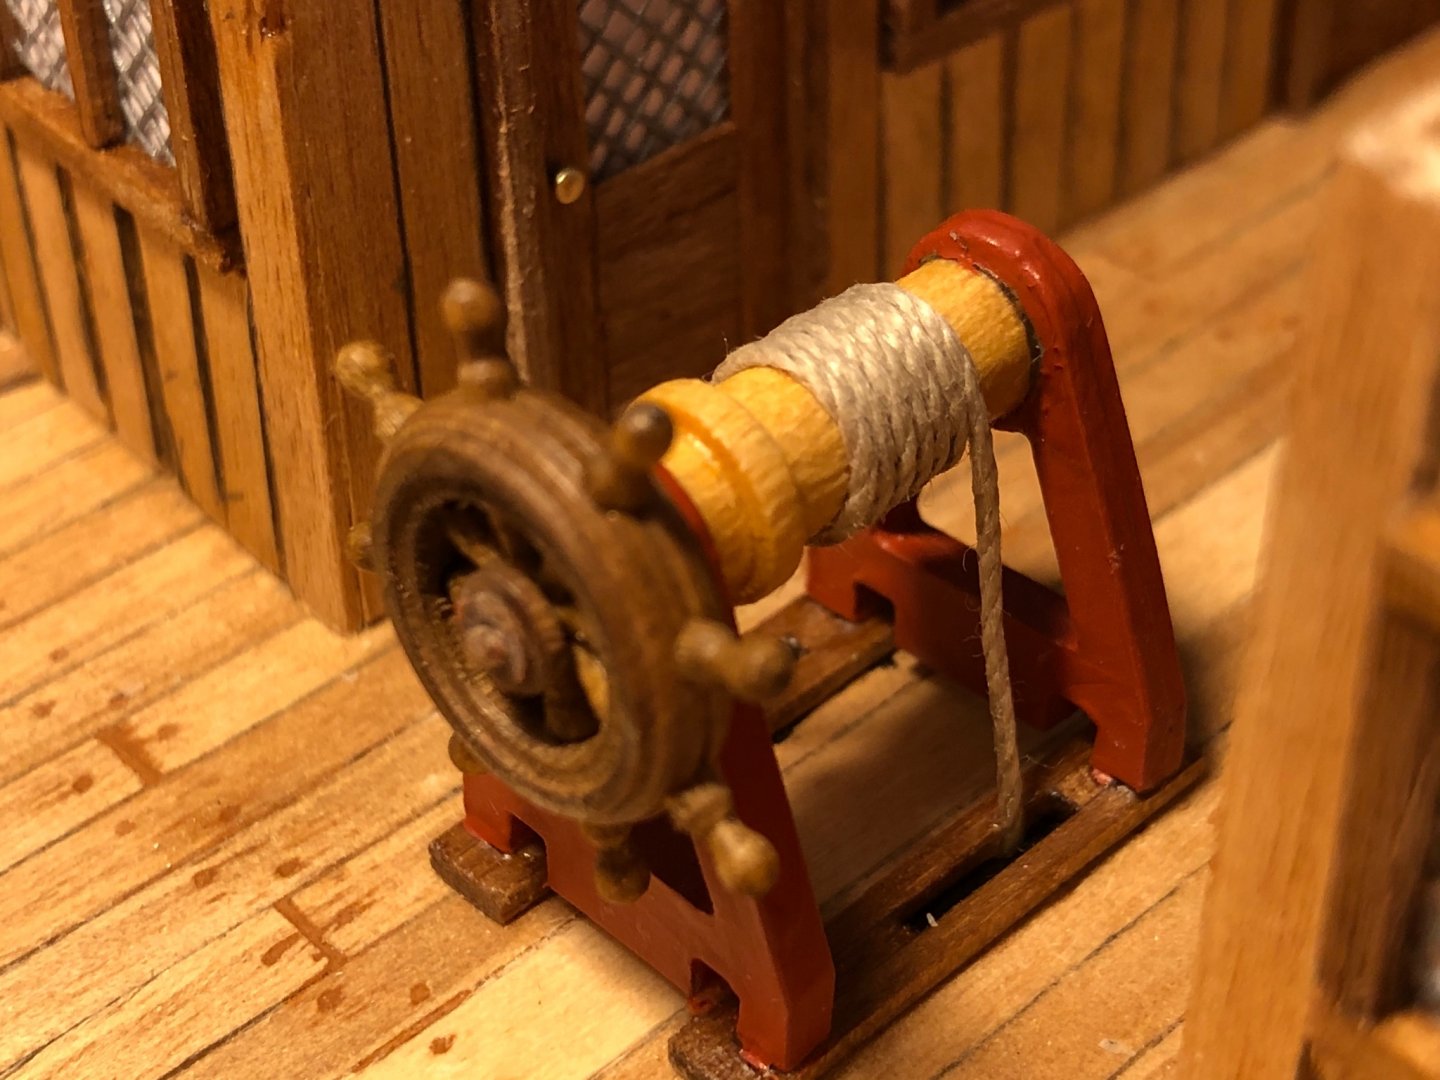
Steering gear assembled and rigged. Dry fitted for photo's. Permanent fix before poop deck fixed due to limited access. Instructions seem to be written to suit supply of parts in stages. Probably explains why the kit arrived in six boxes. Spending a fair amount of time moving back and forth through the instructions. Getting it correct most of the time. Sam.

-
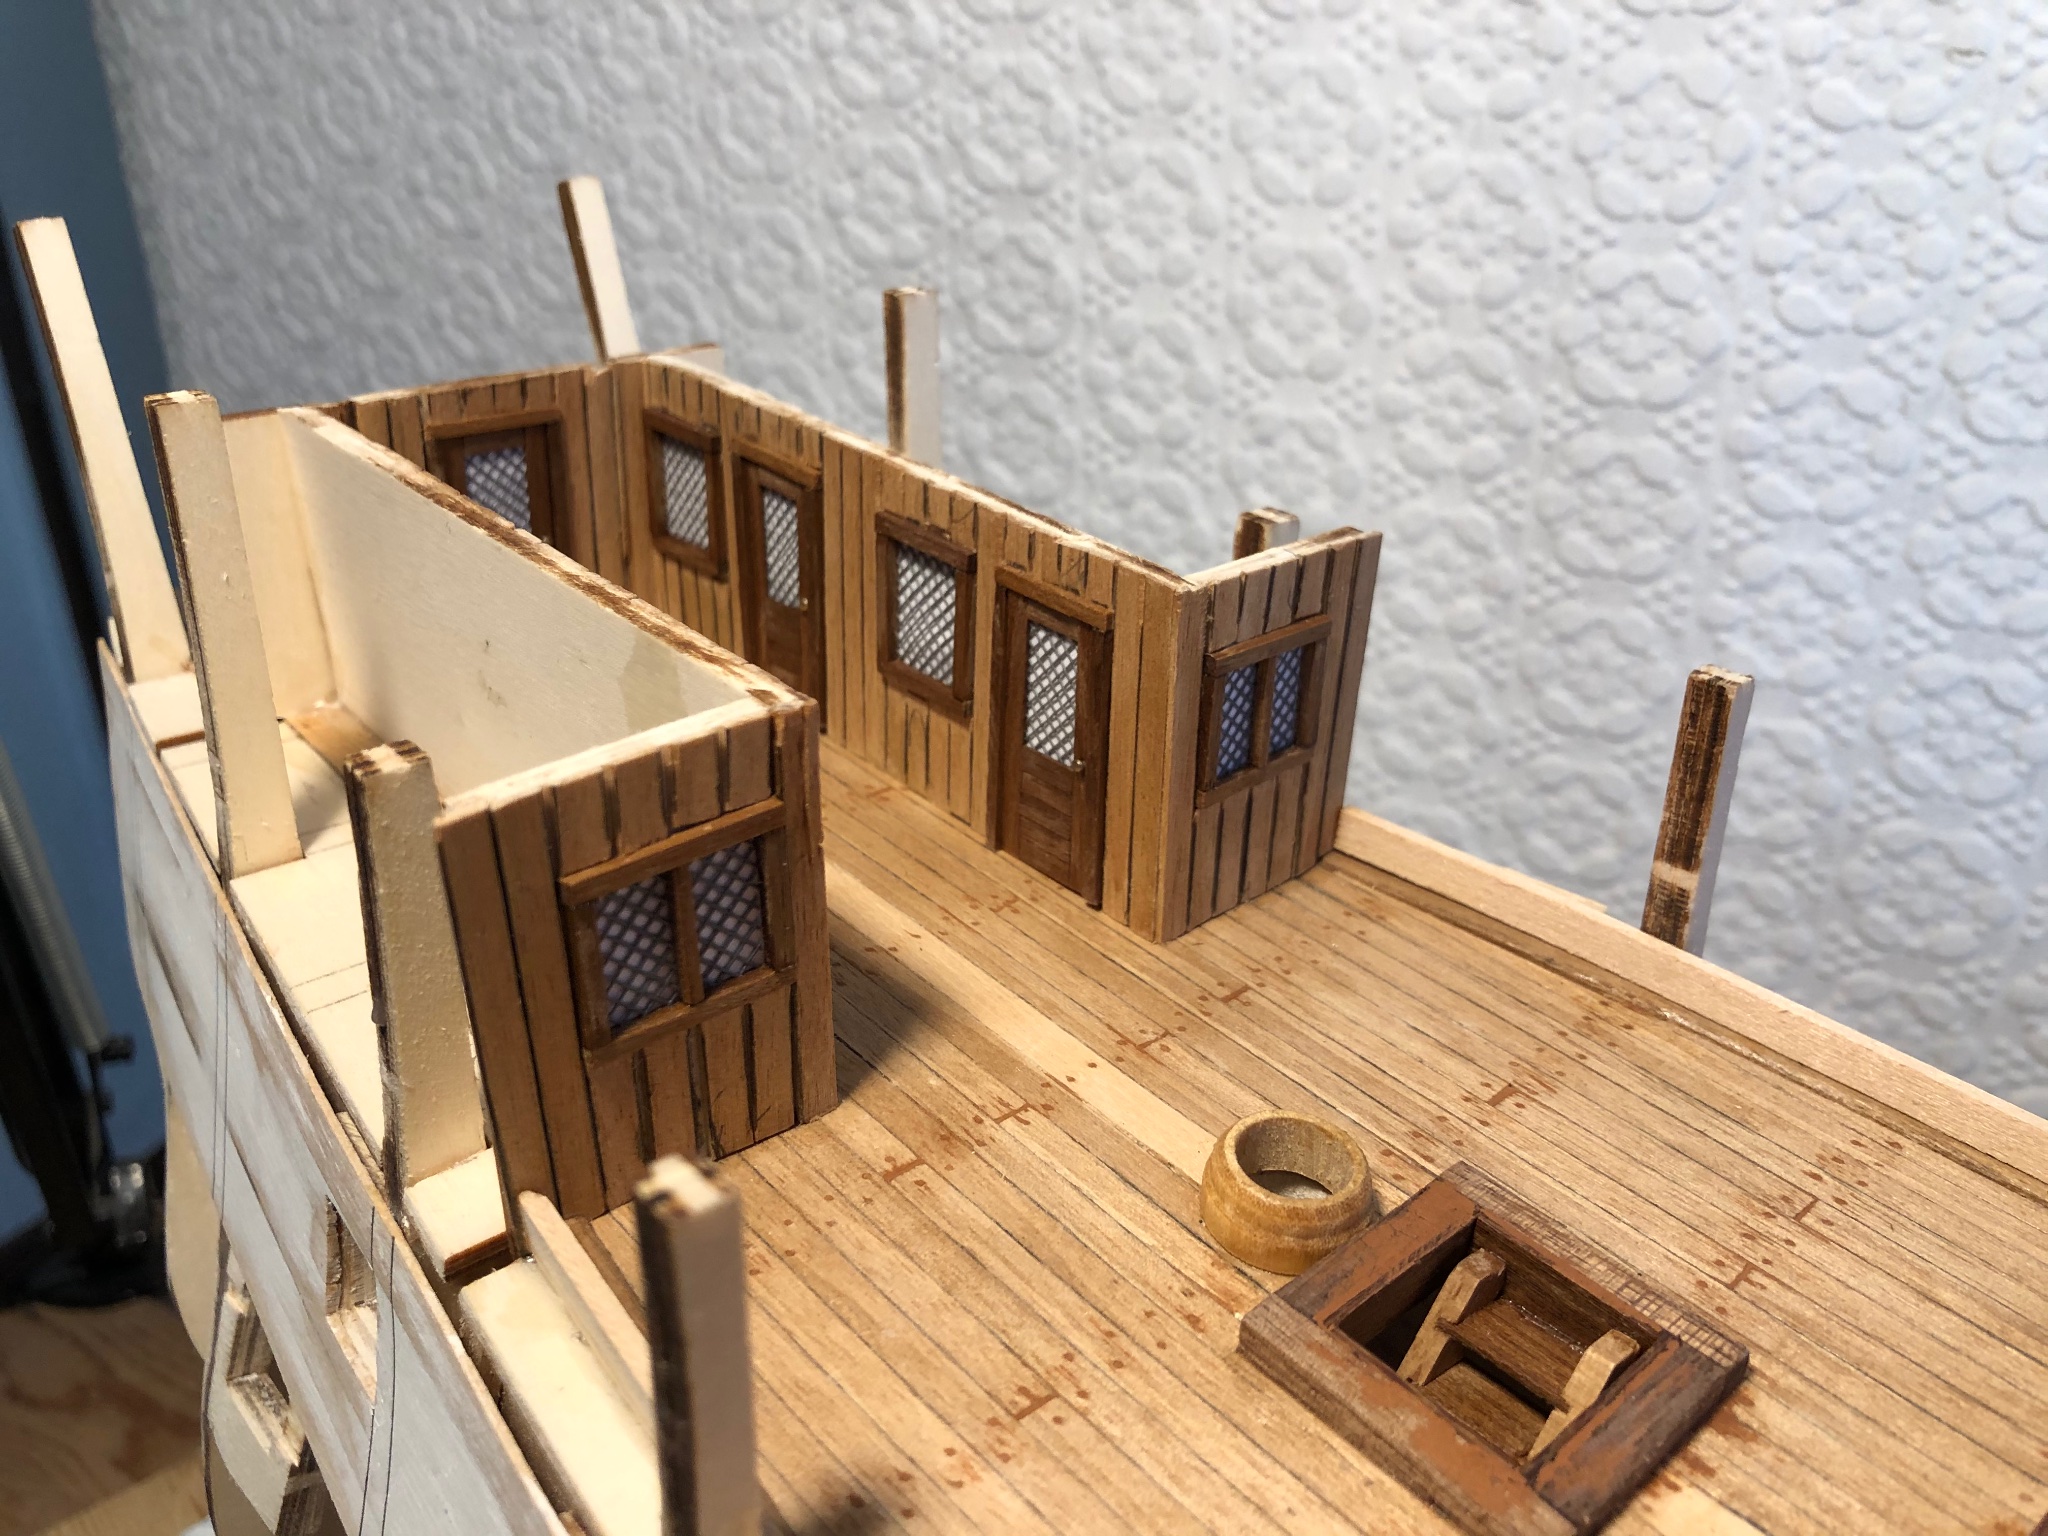
Thanks for the likes. Rear cabin screens fitted and inner bulwark planking commenced. Need to tone down the caulking though it looks a lot worst on the photo's than in real life. Sam.


-
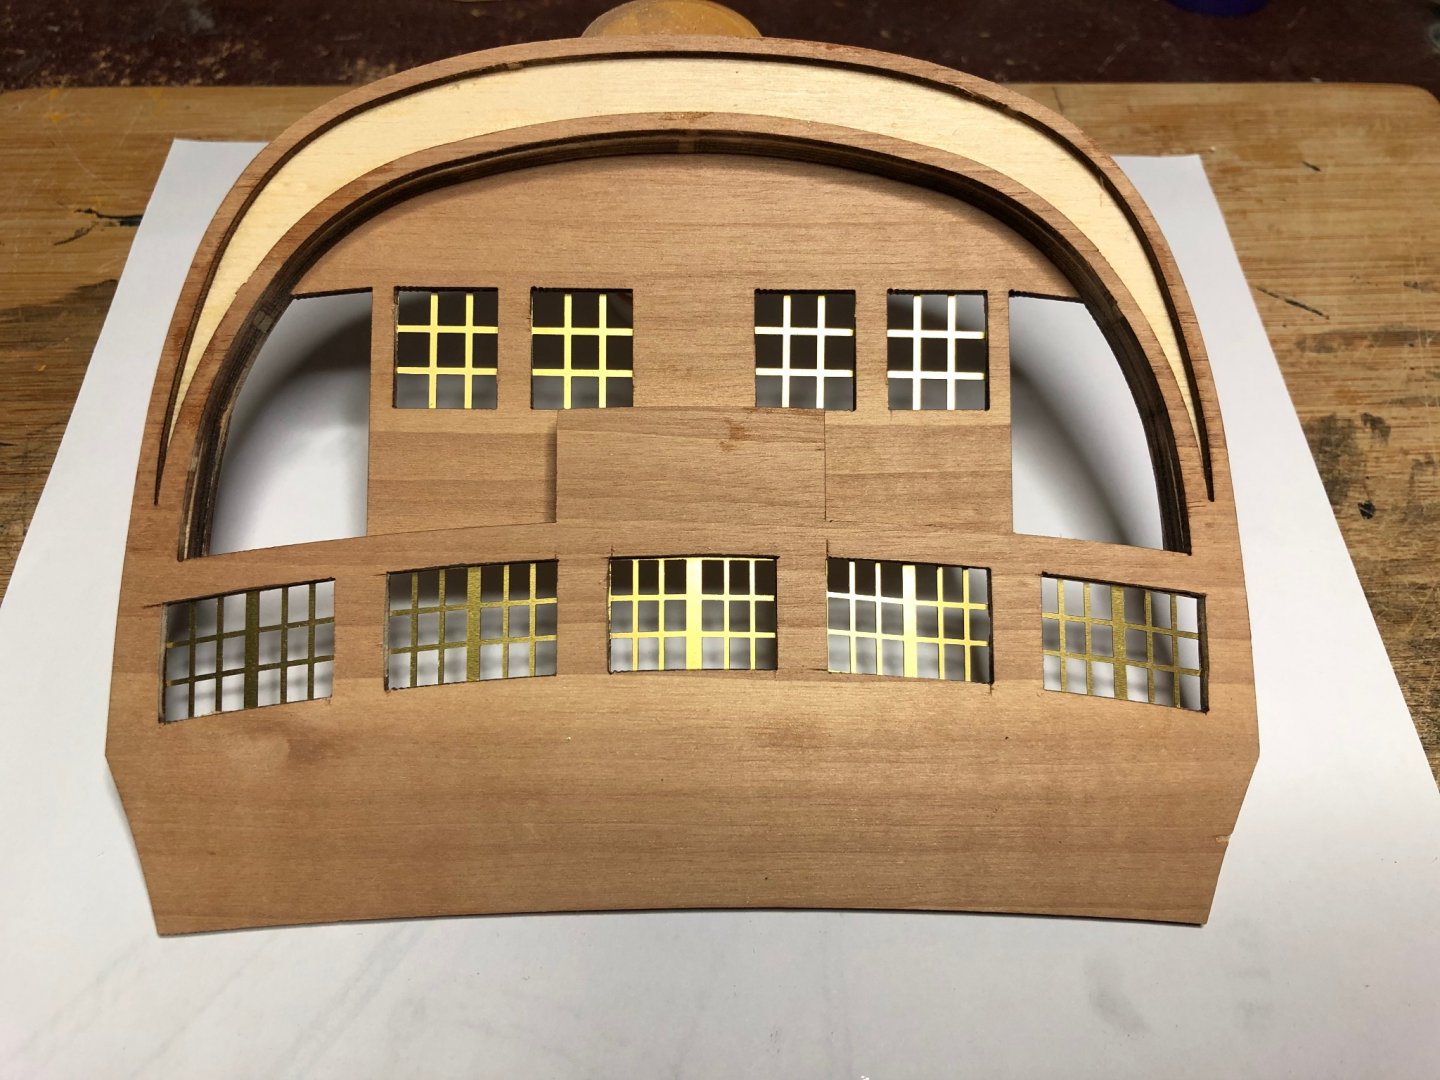
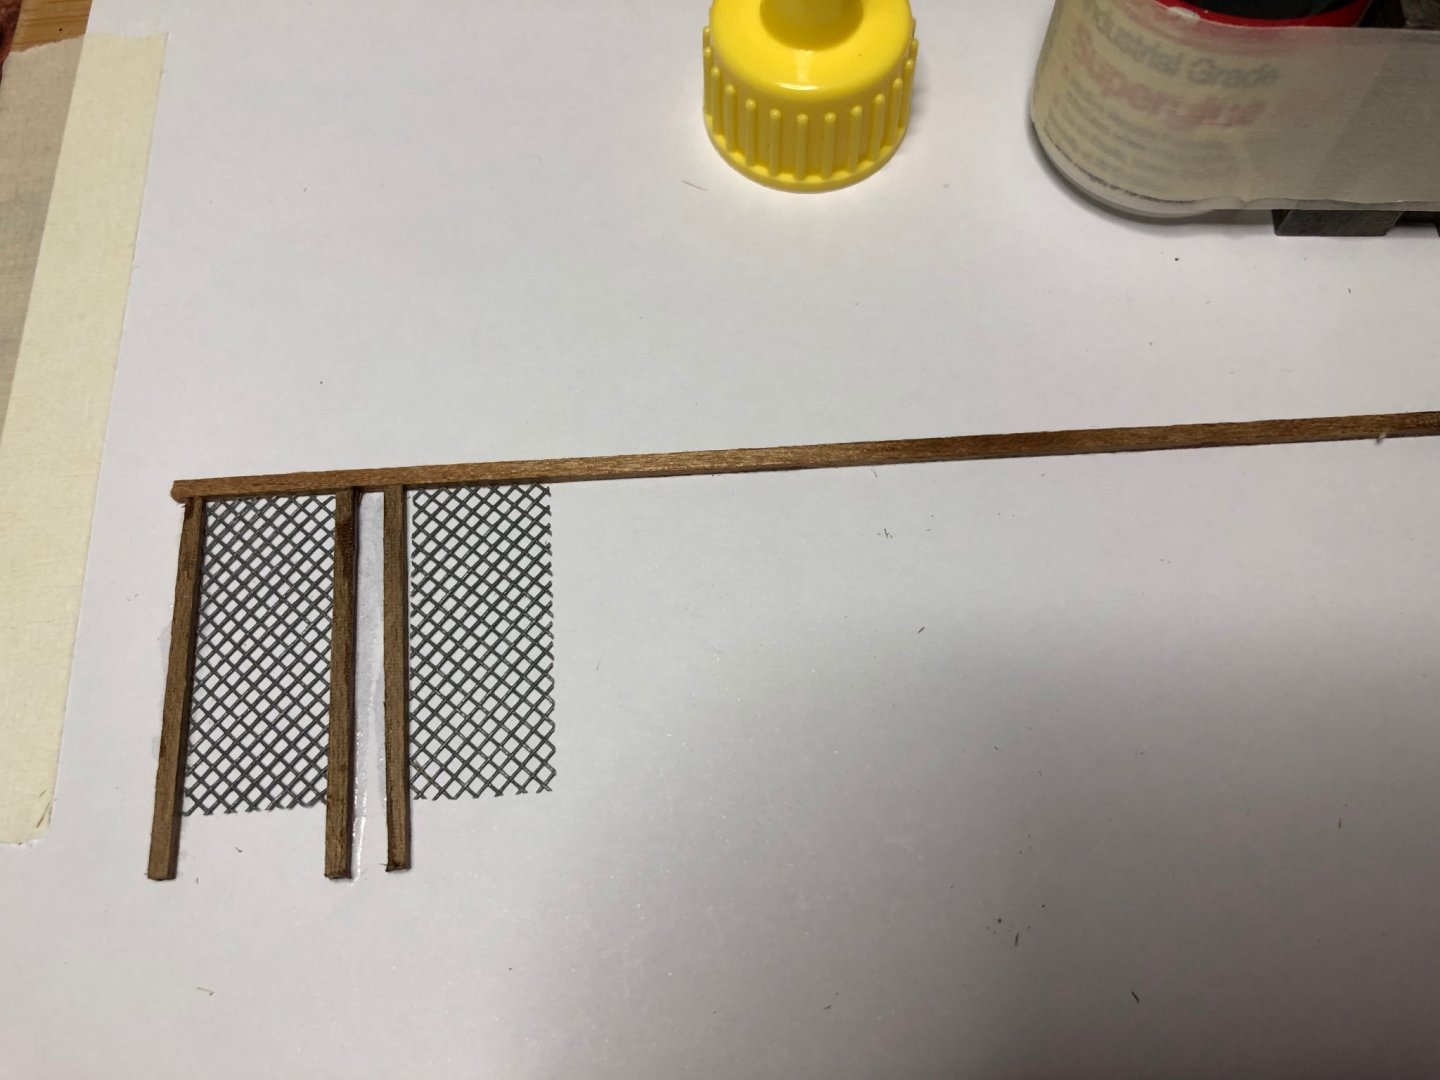
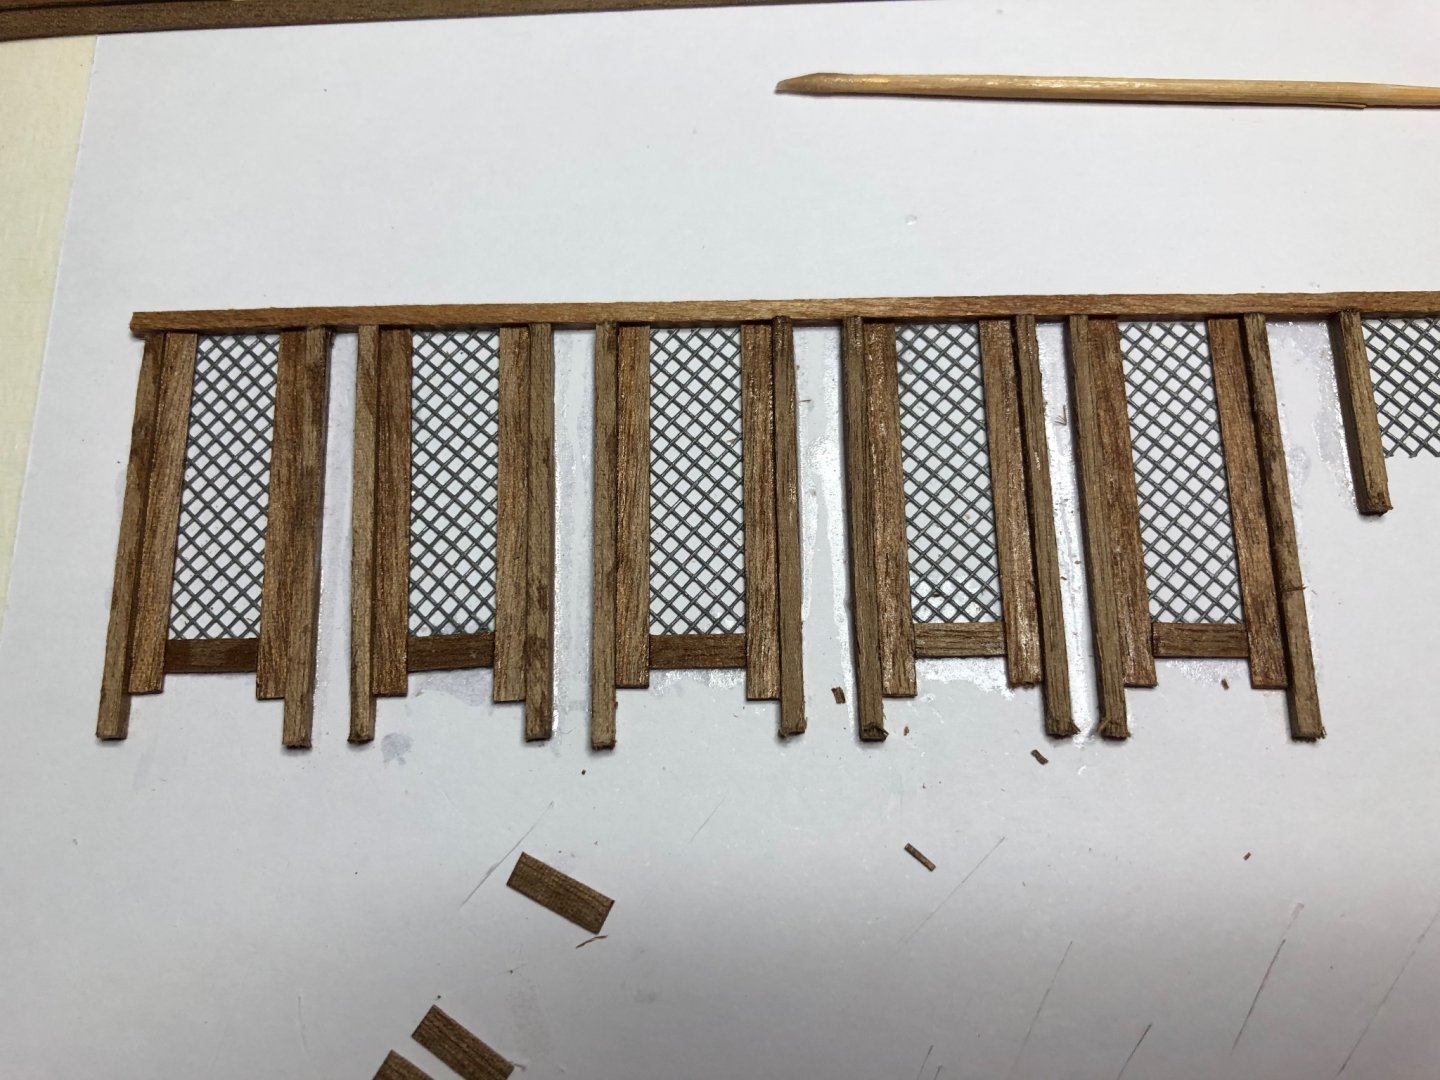
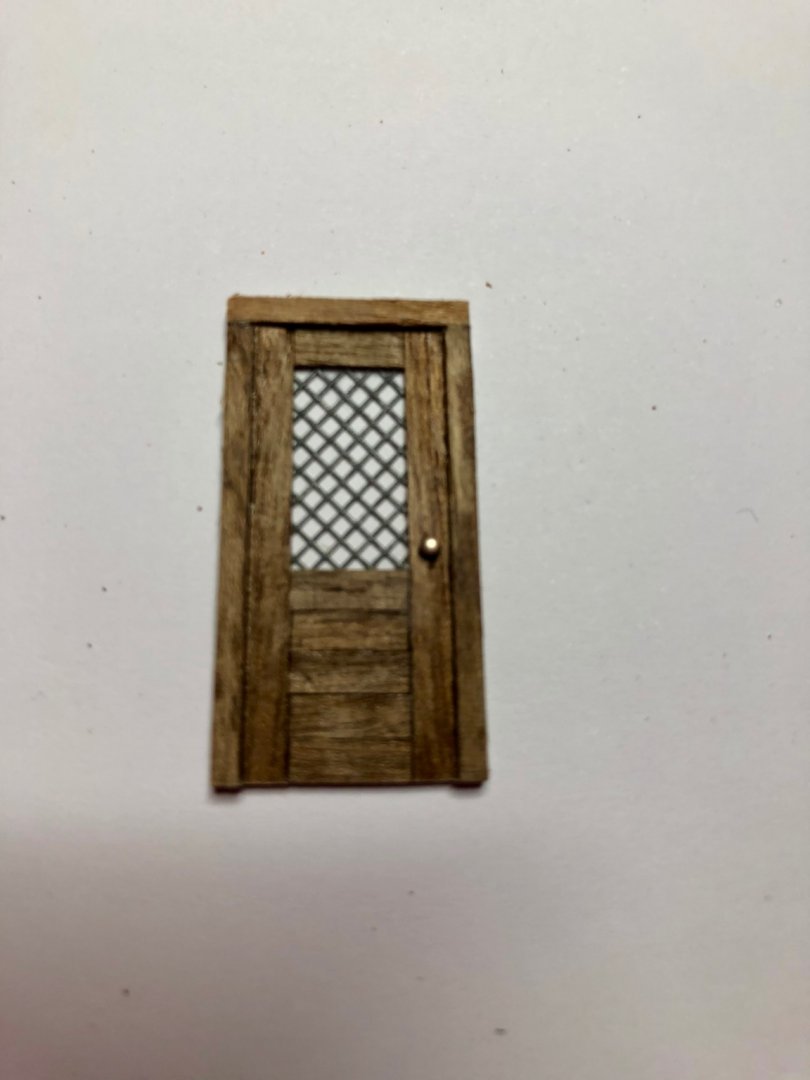
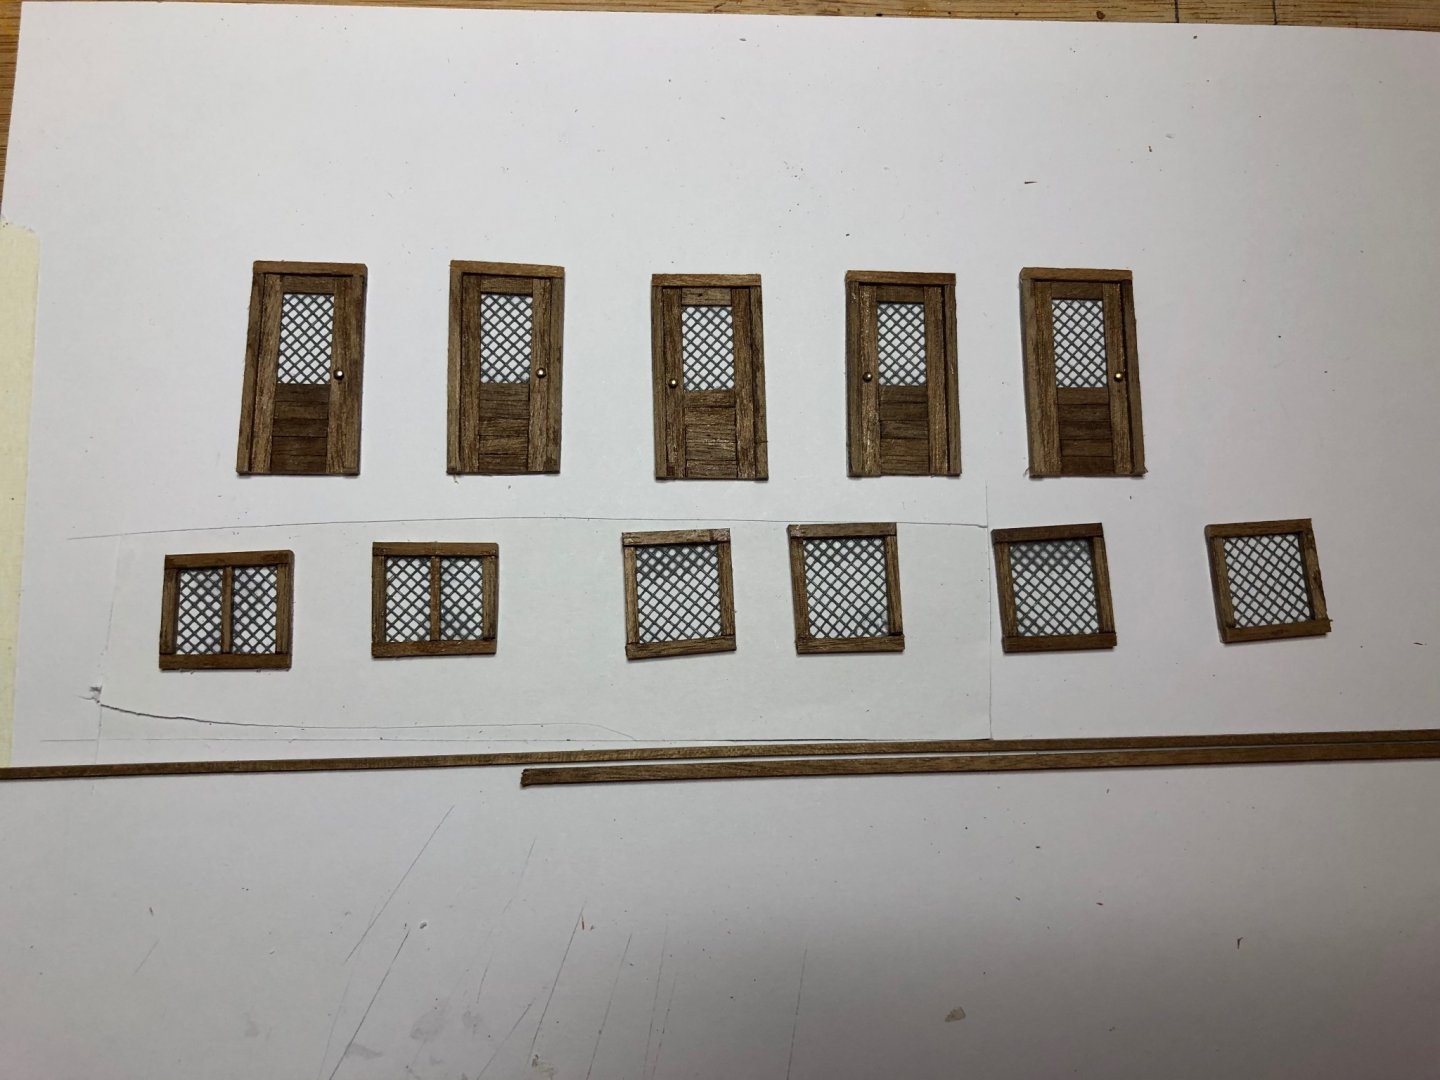
Happy New Year. Doors and windows to rear cabins made. Photo's should be self explanatory. Next step is to plank the cabin walls. Sam.
-
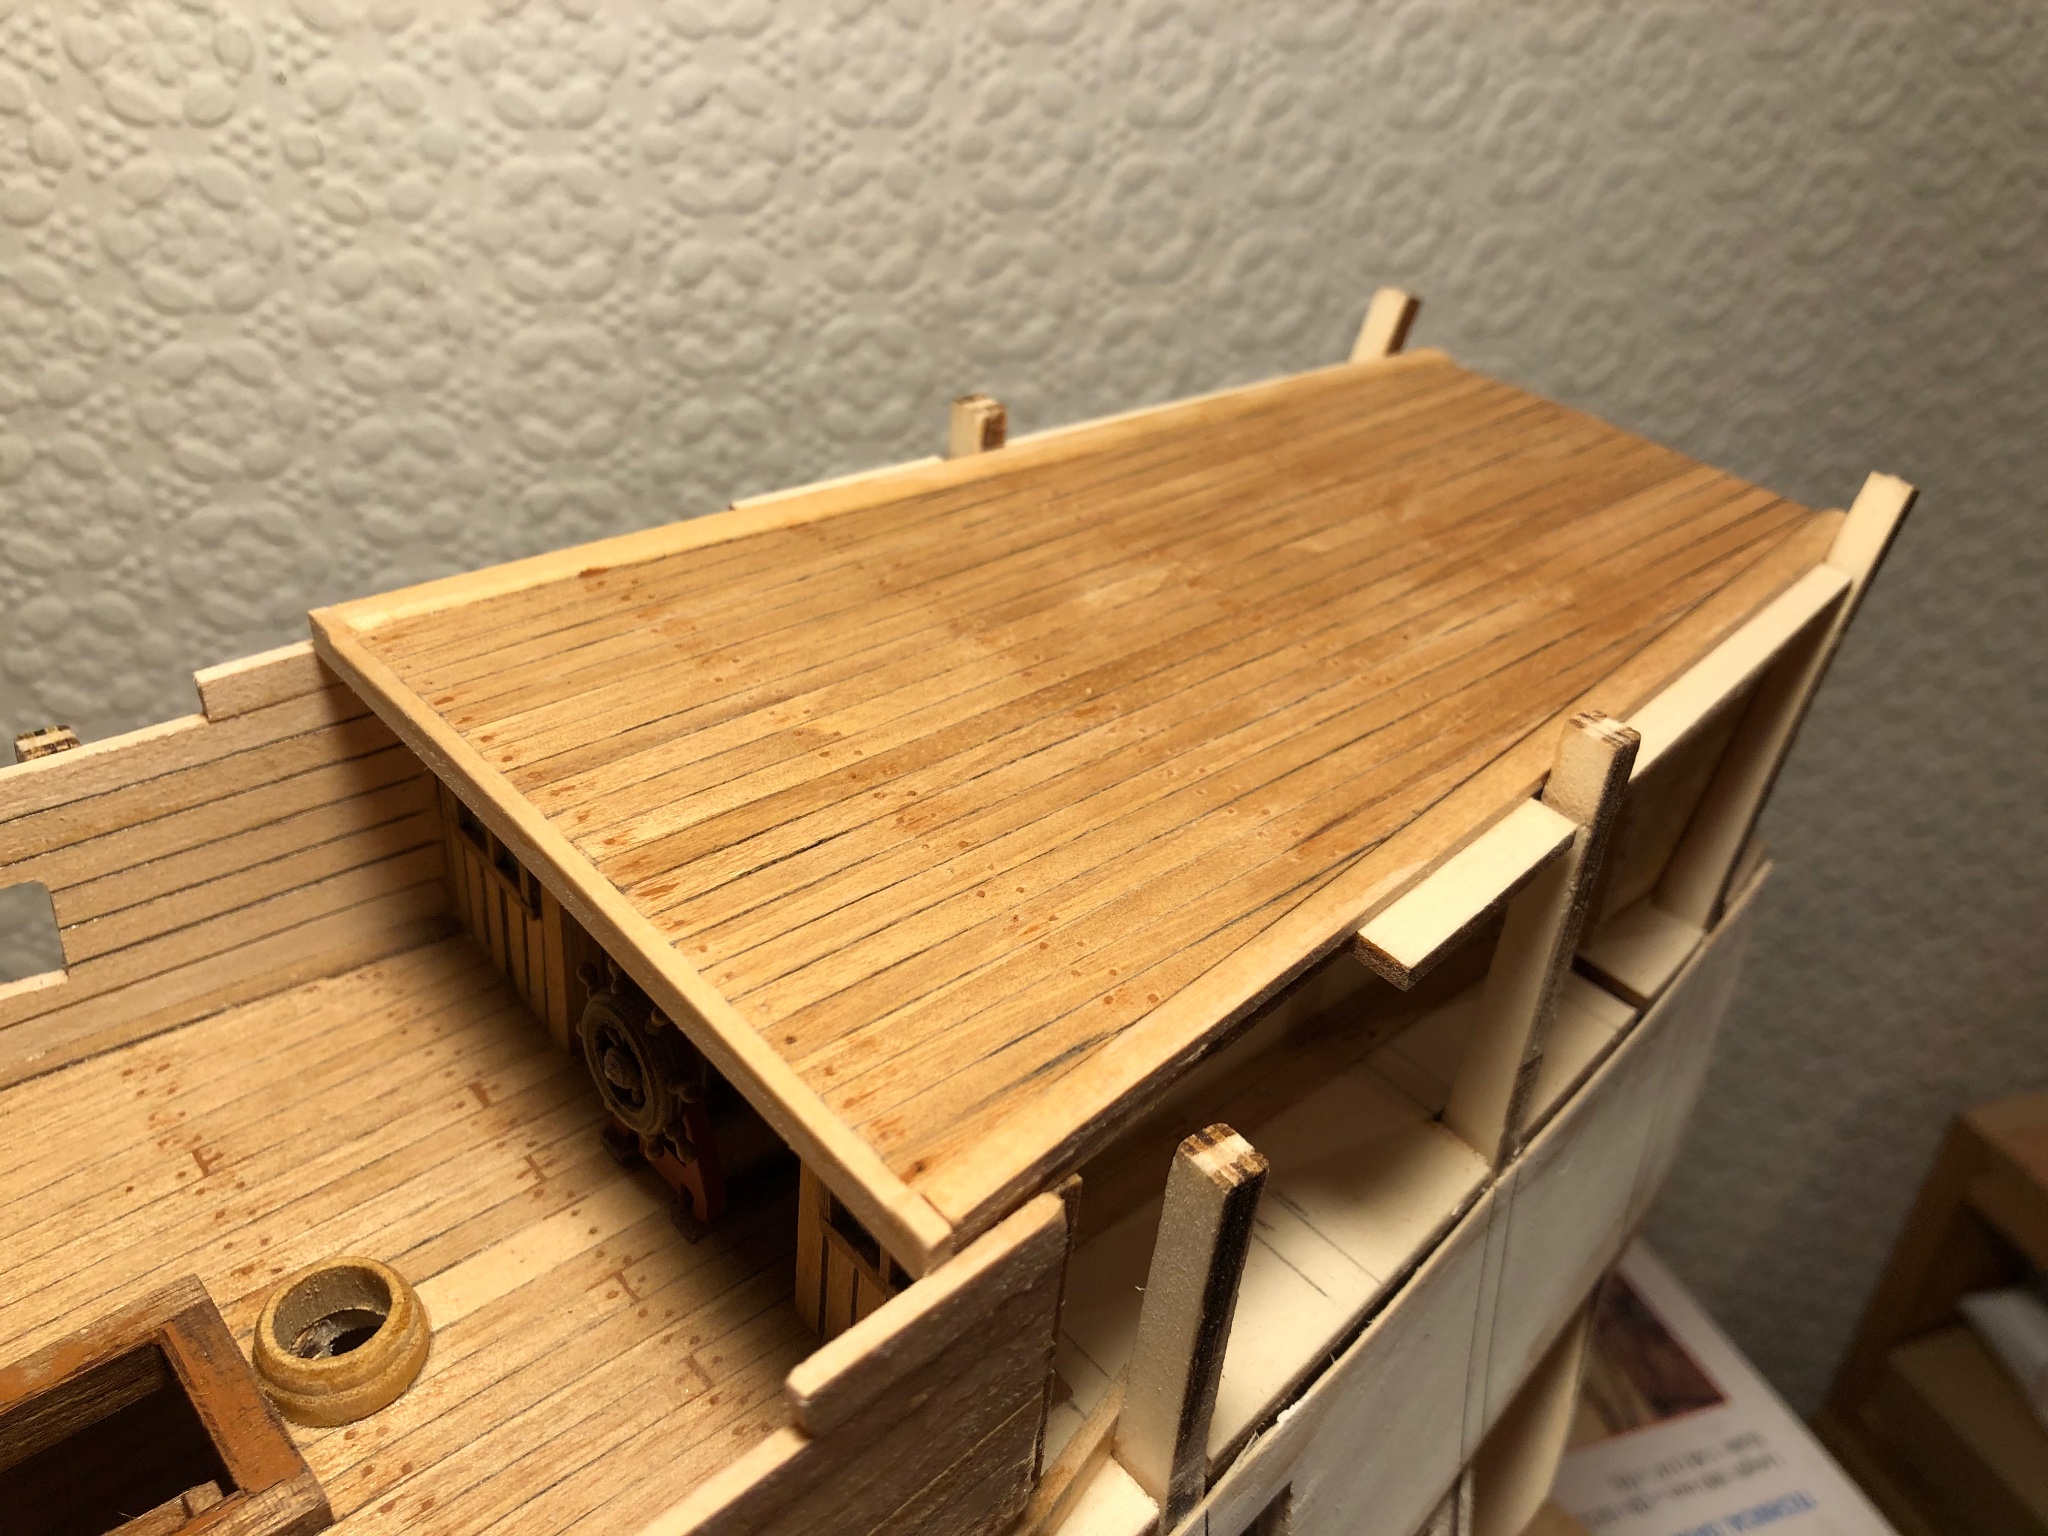
Thanks for the likes. Attached is progress on upper deck planking. Next will be the cabin walls. The dreaded ply again. I have already decided to plank them. Also to be planked will be the inner bulwarks but I will use the ply pieces supplied as templates. Happy New Year, Sam.

-
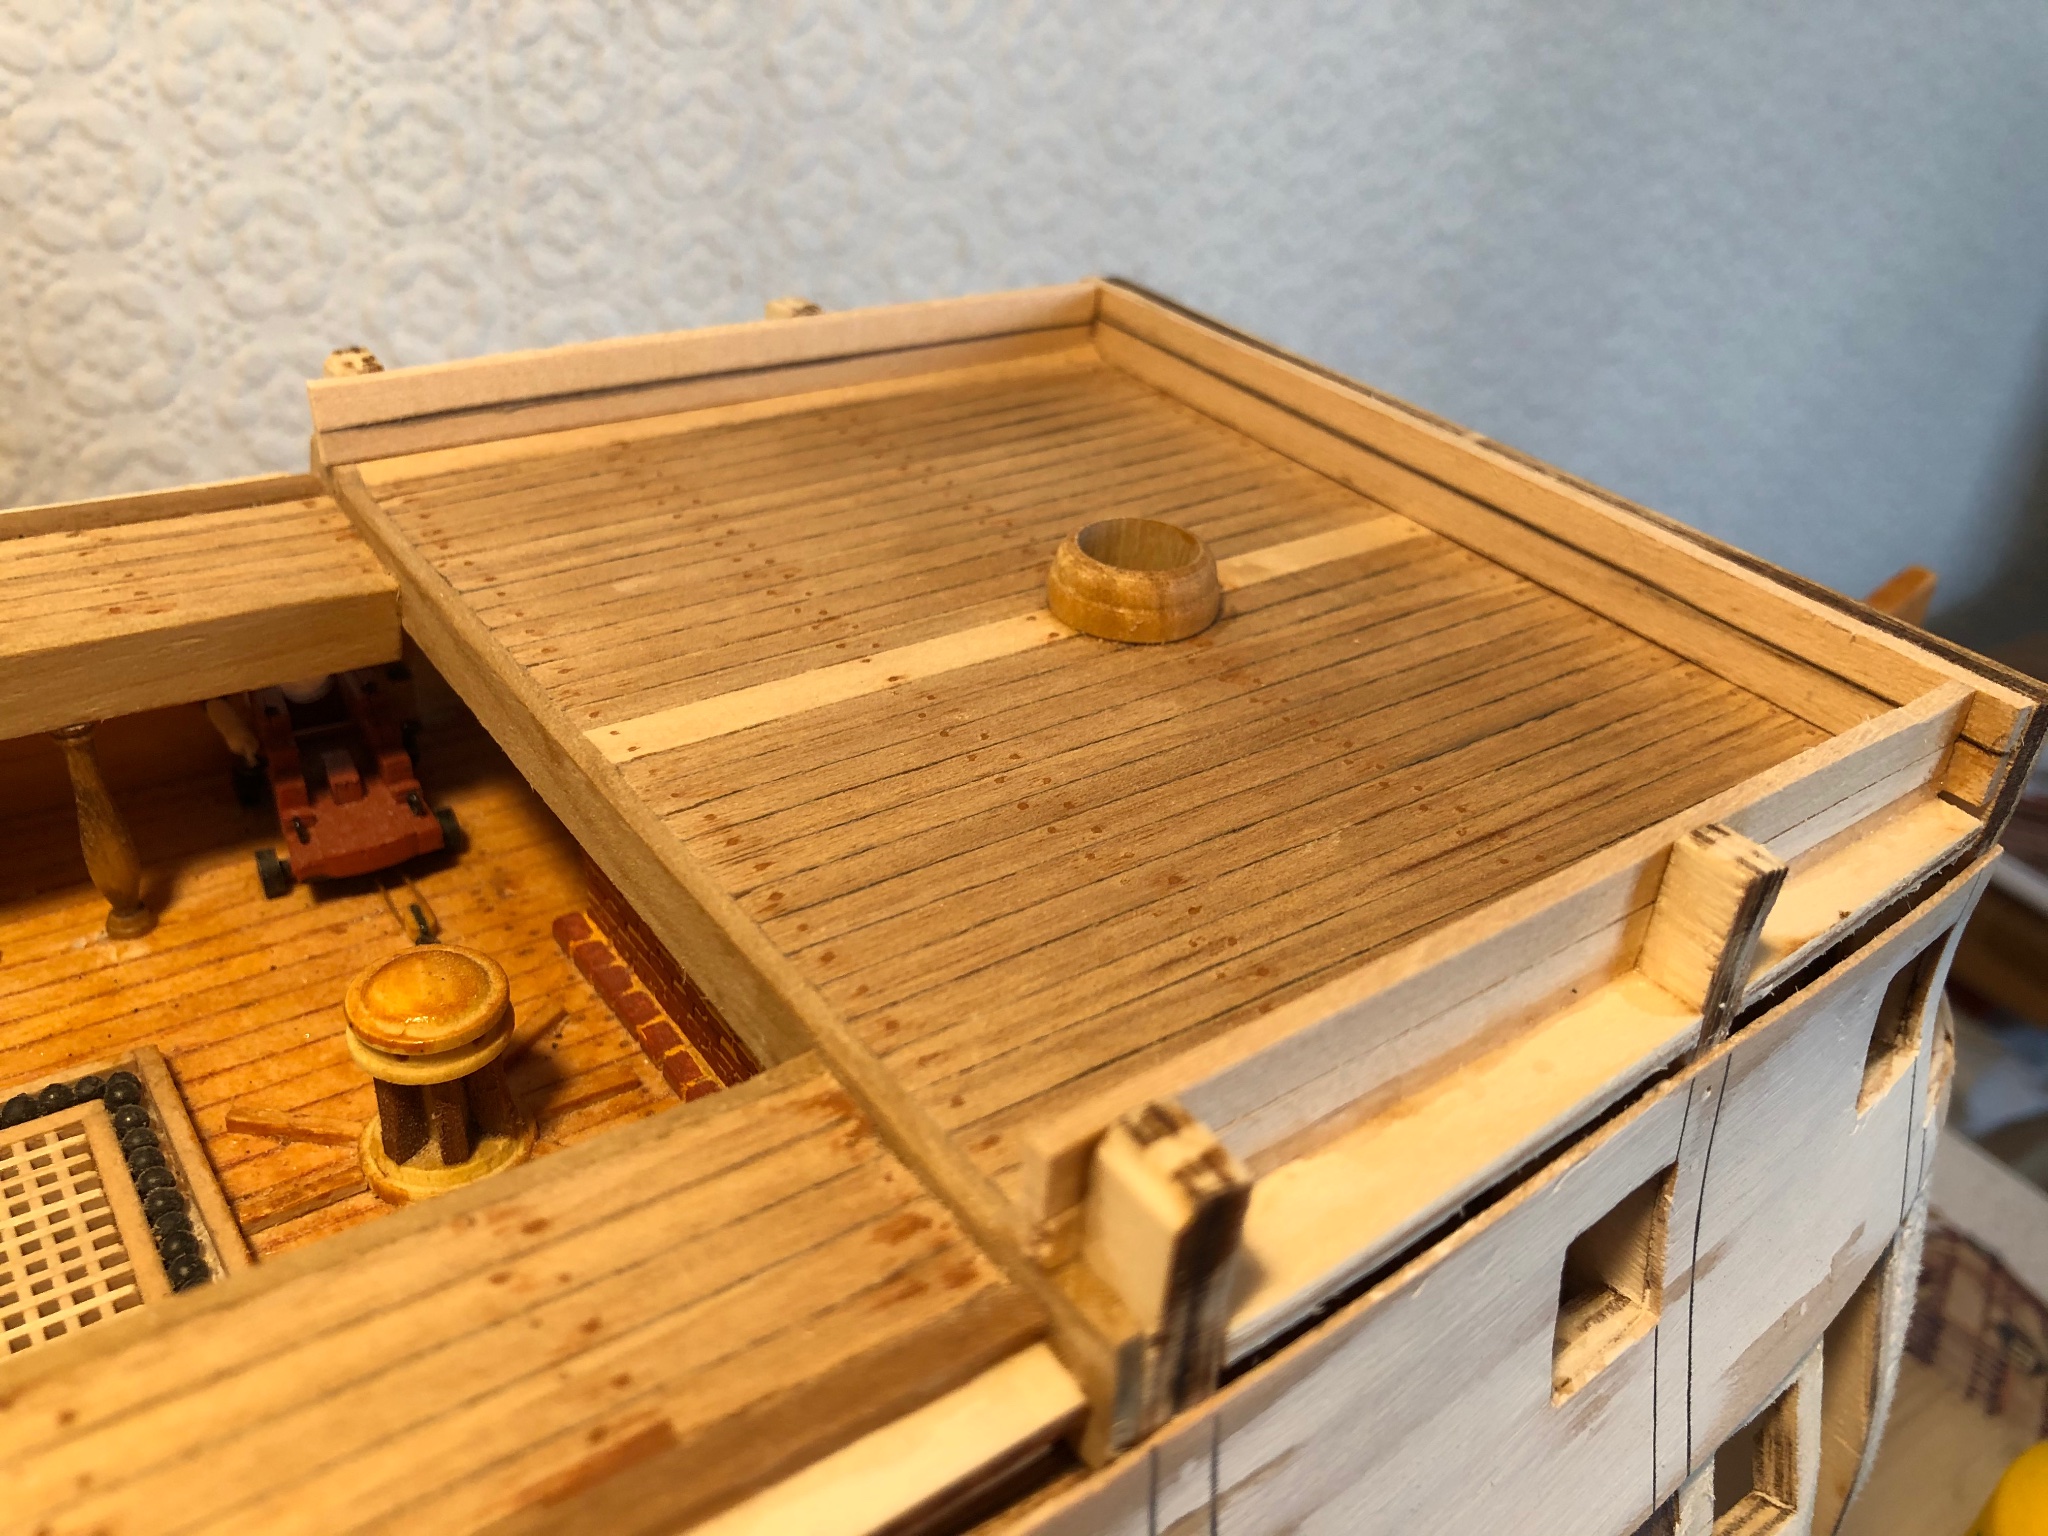
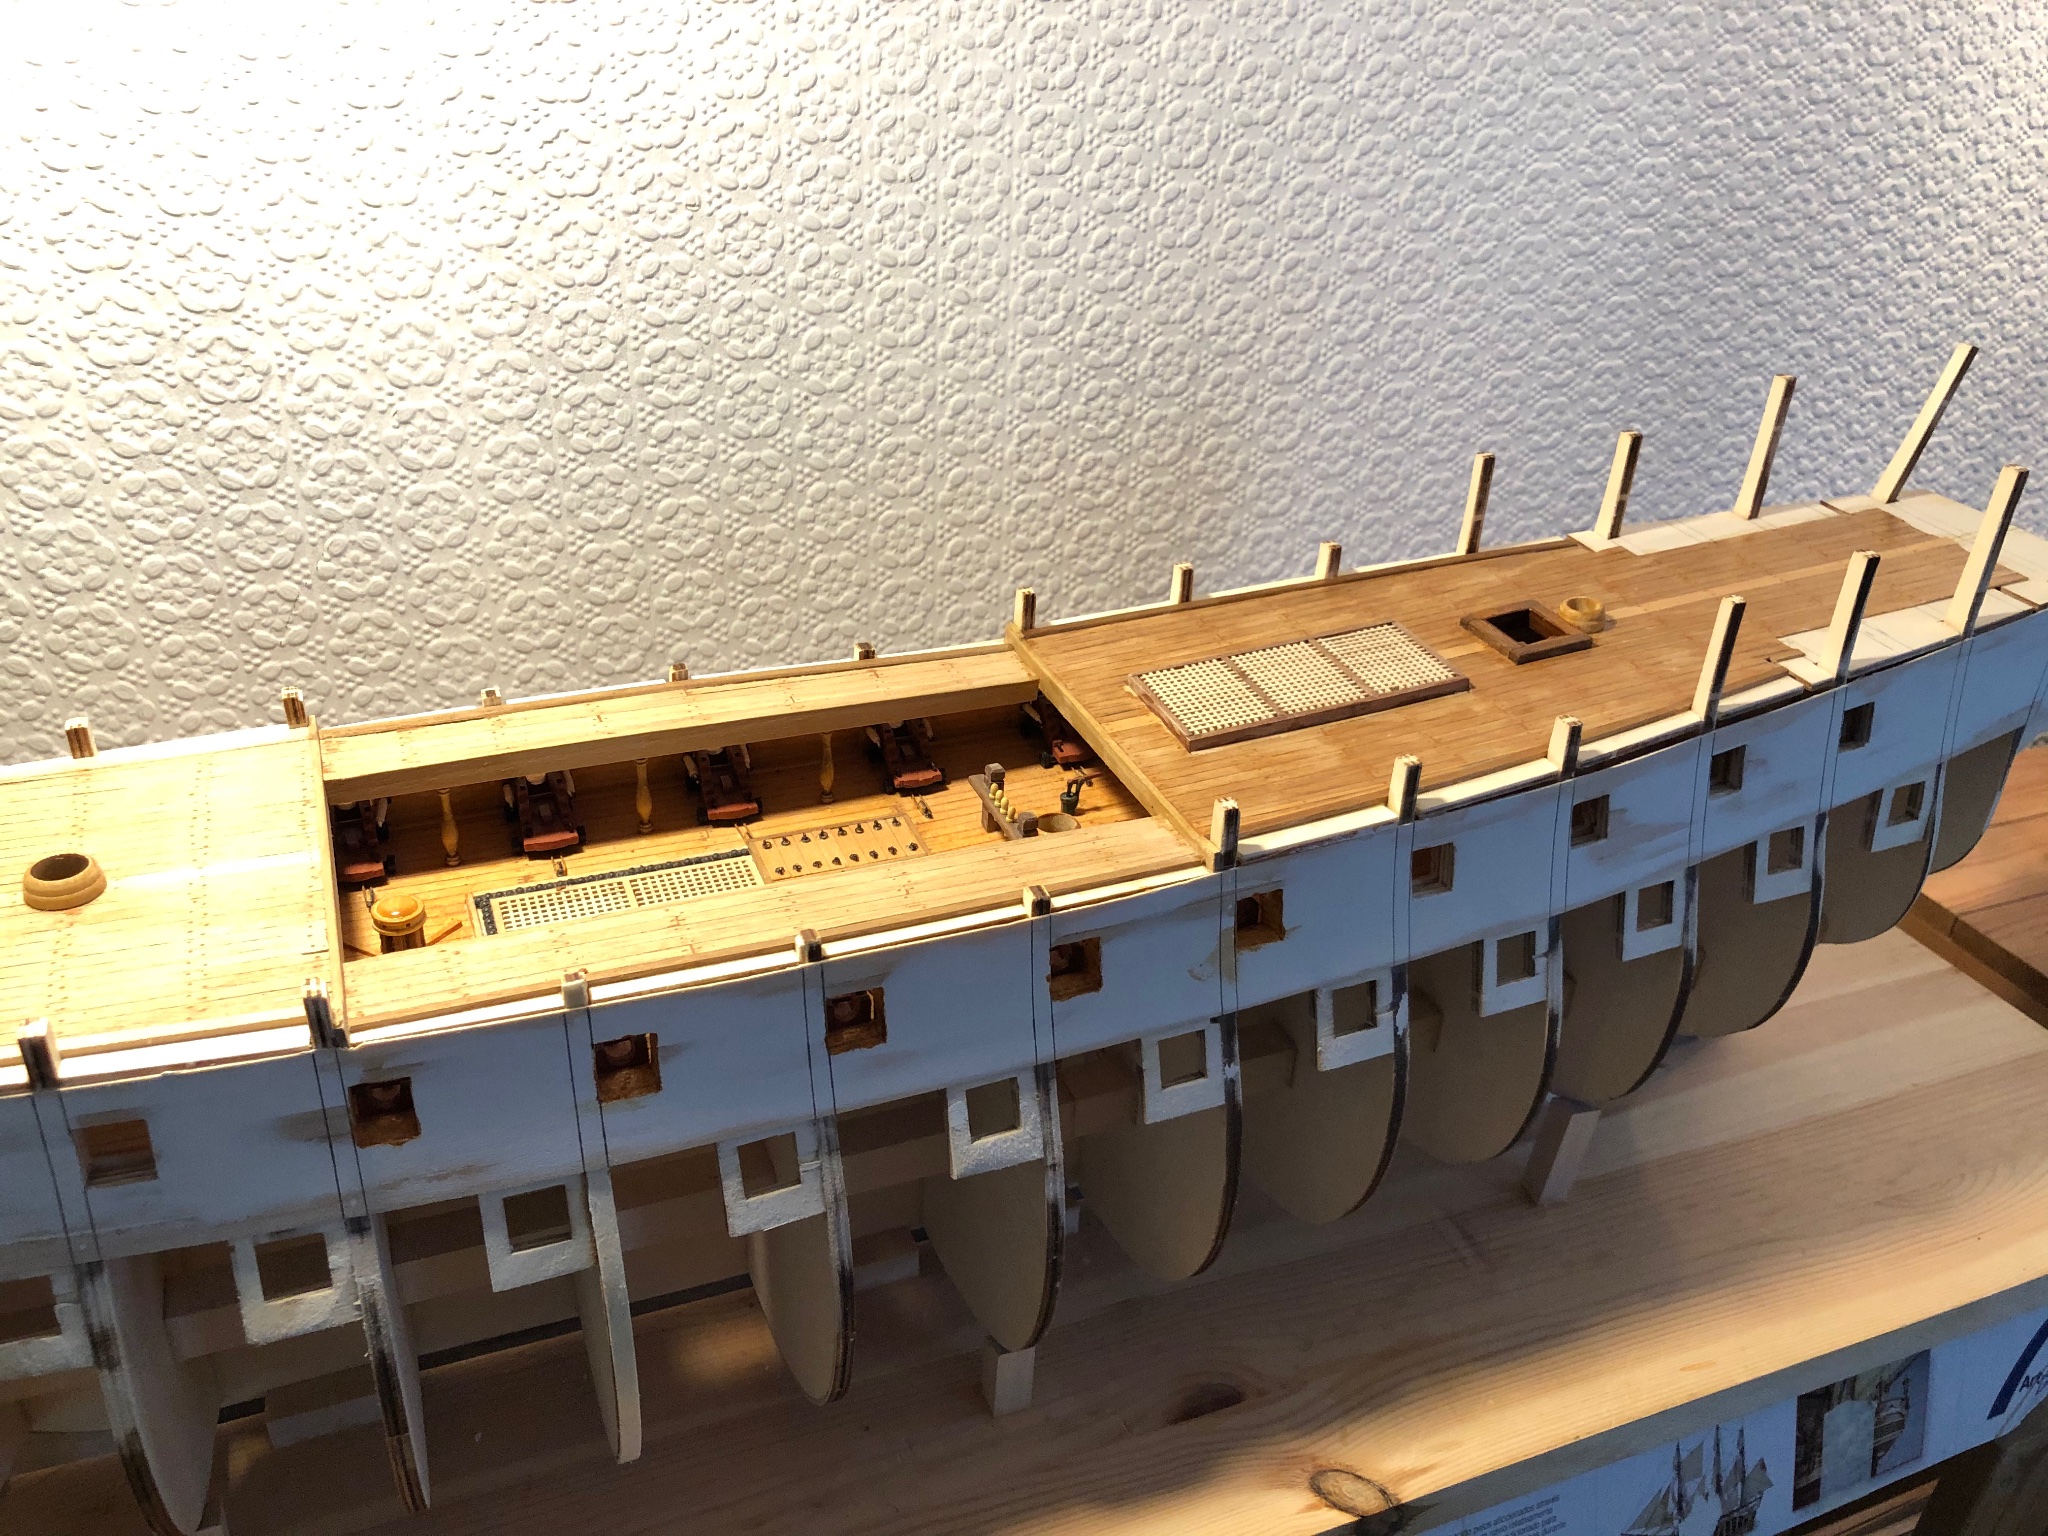
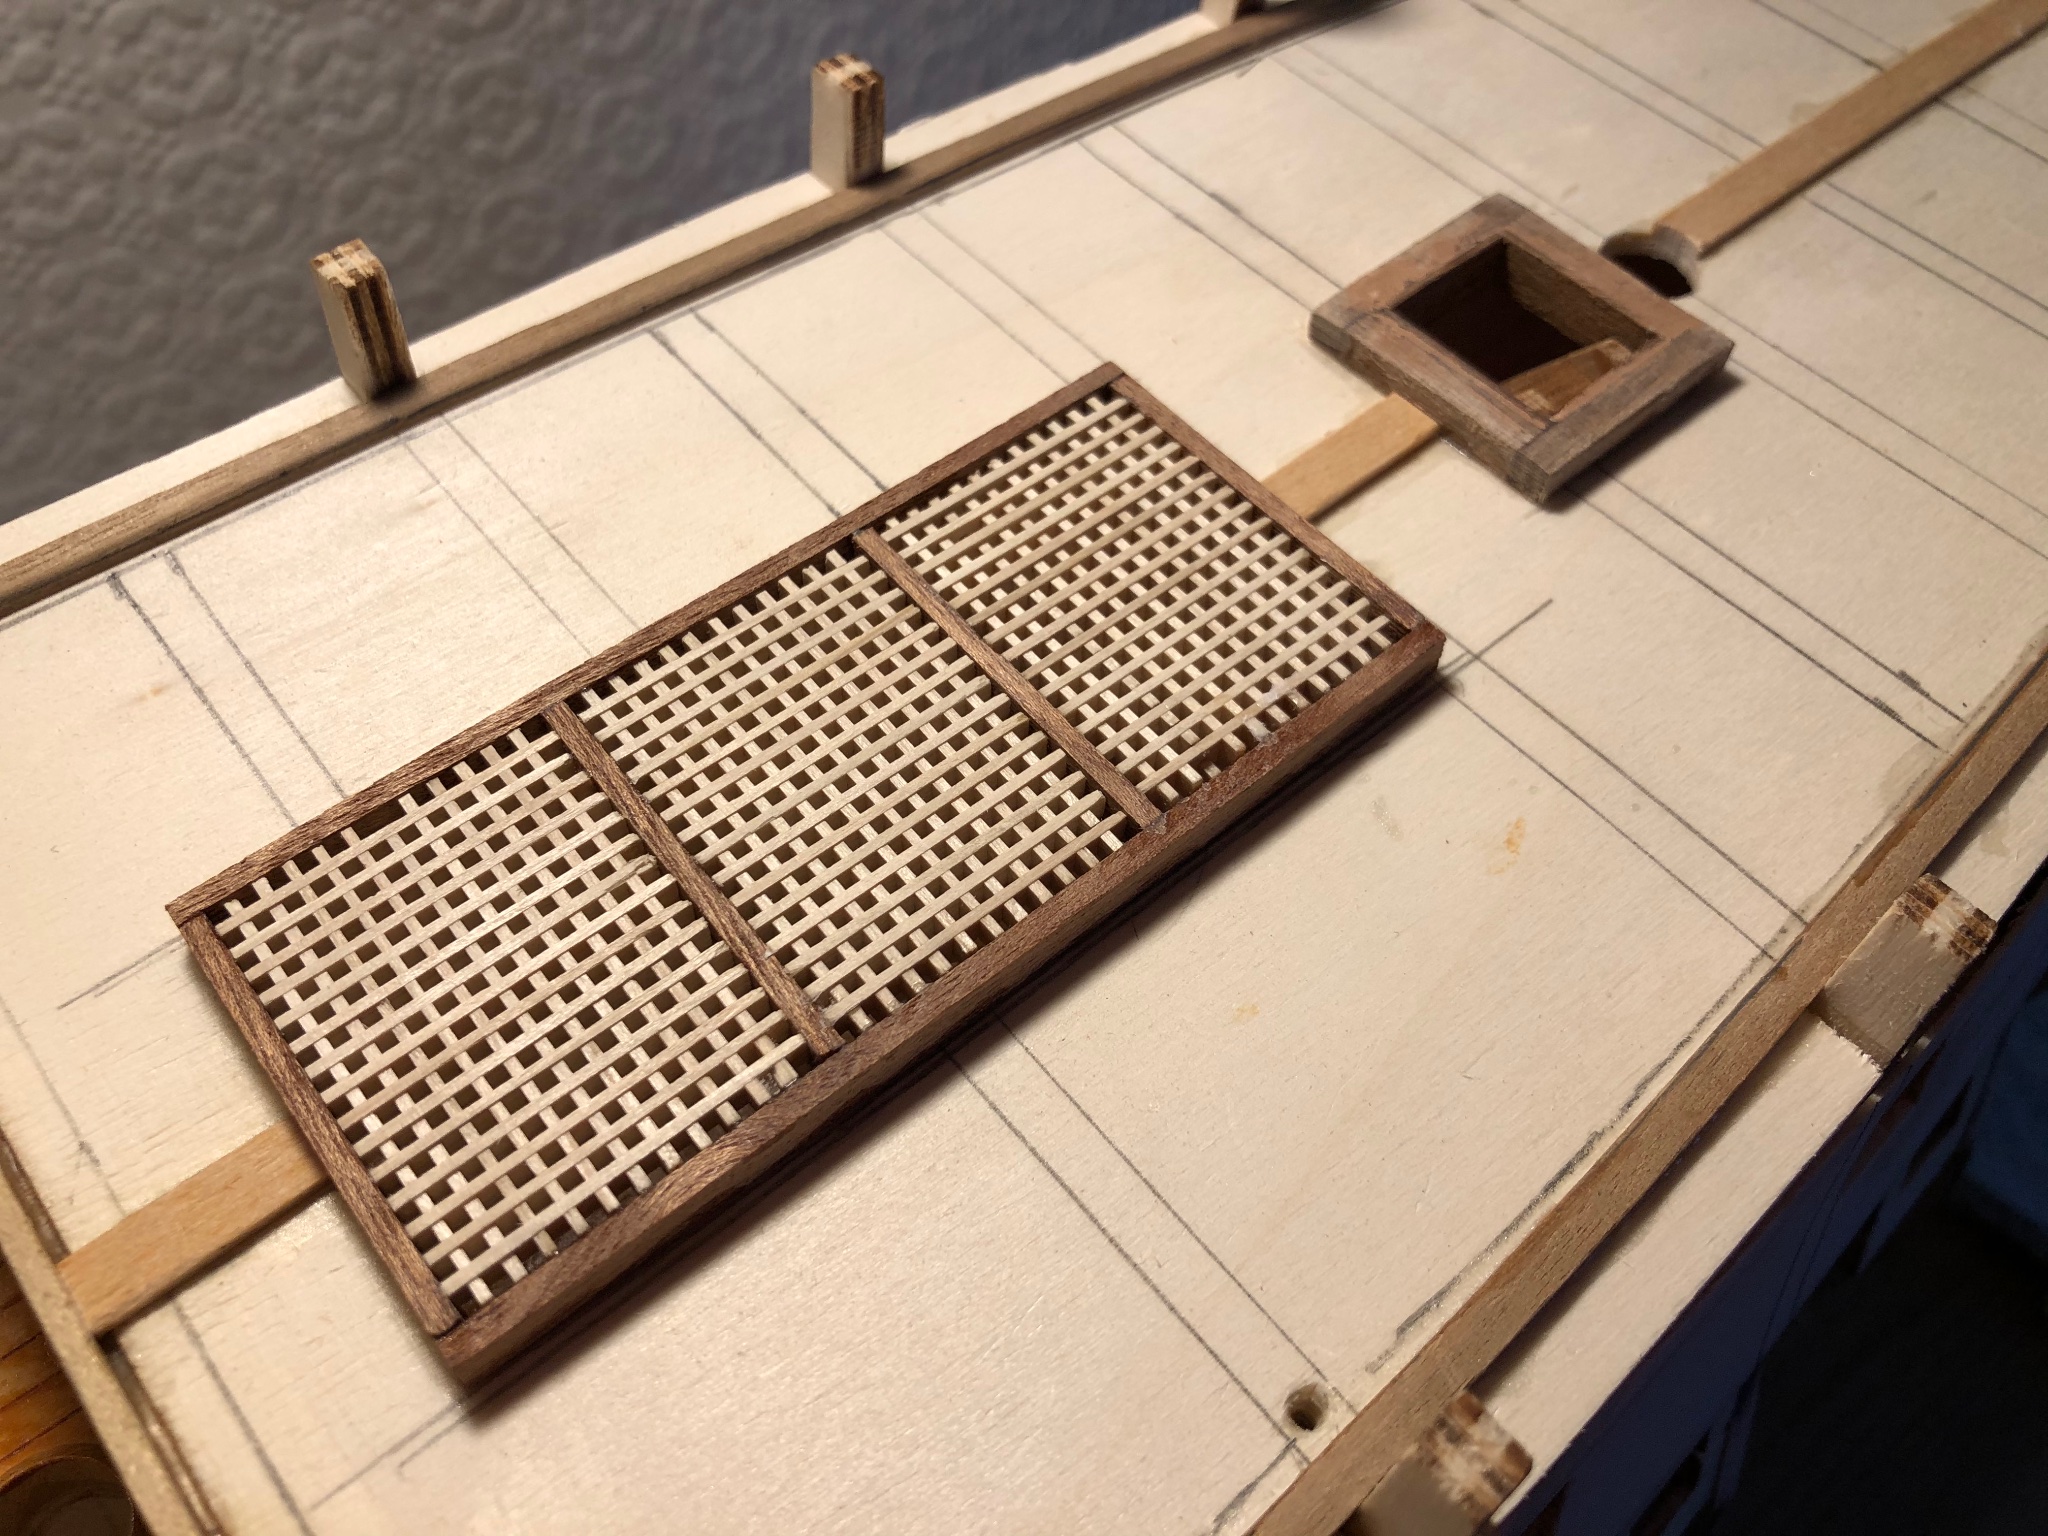
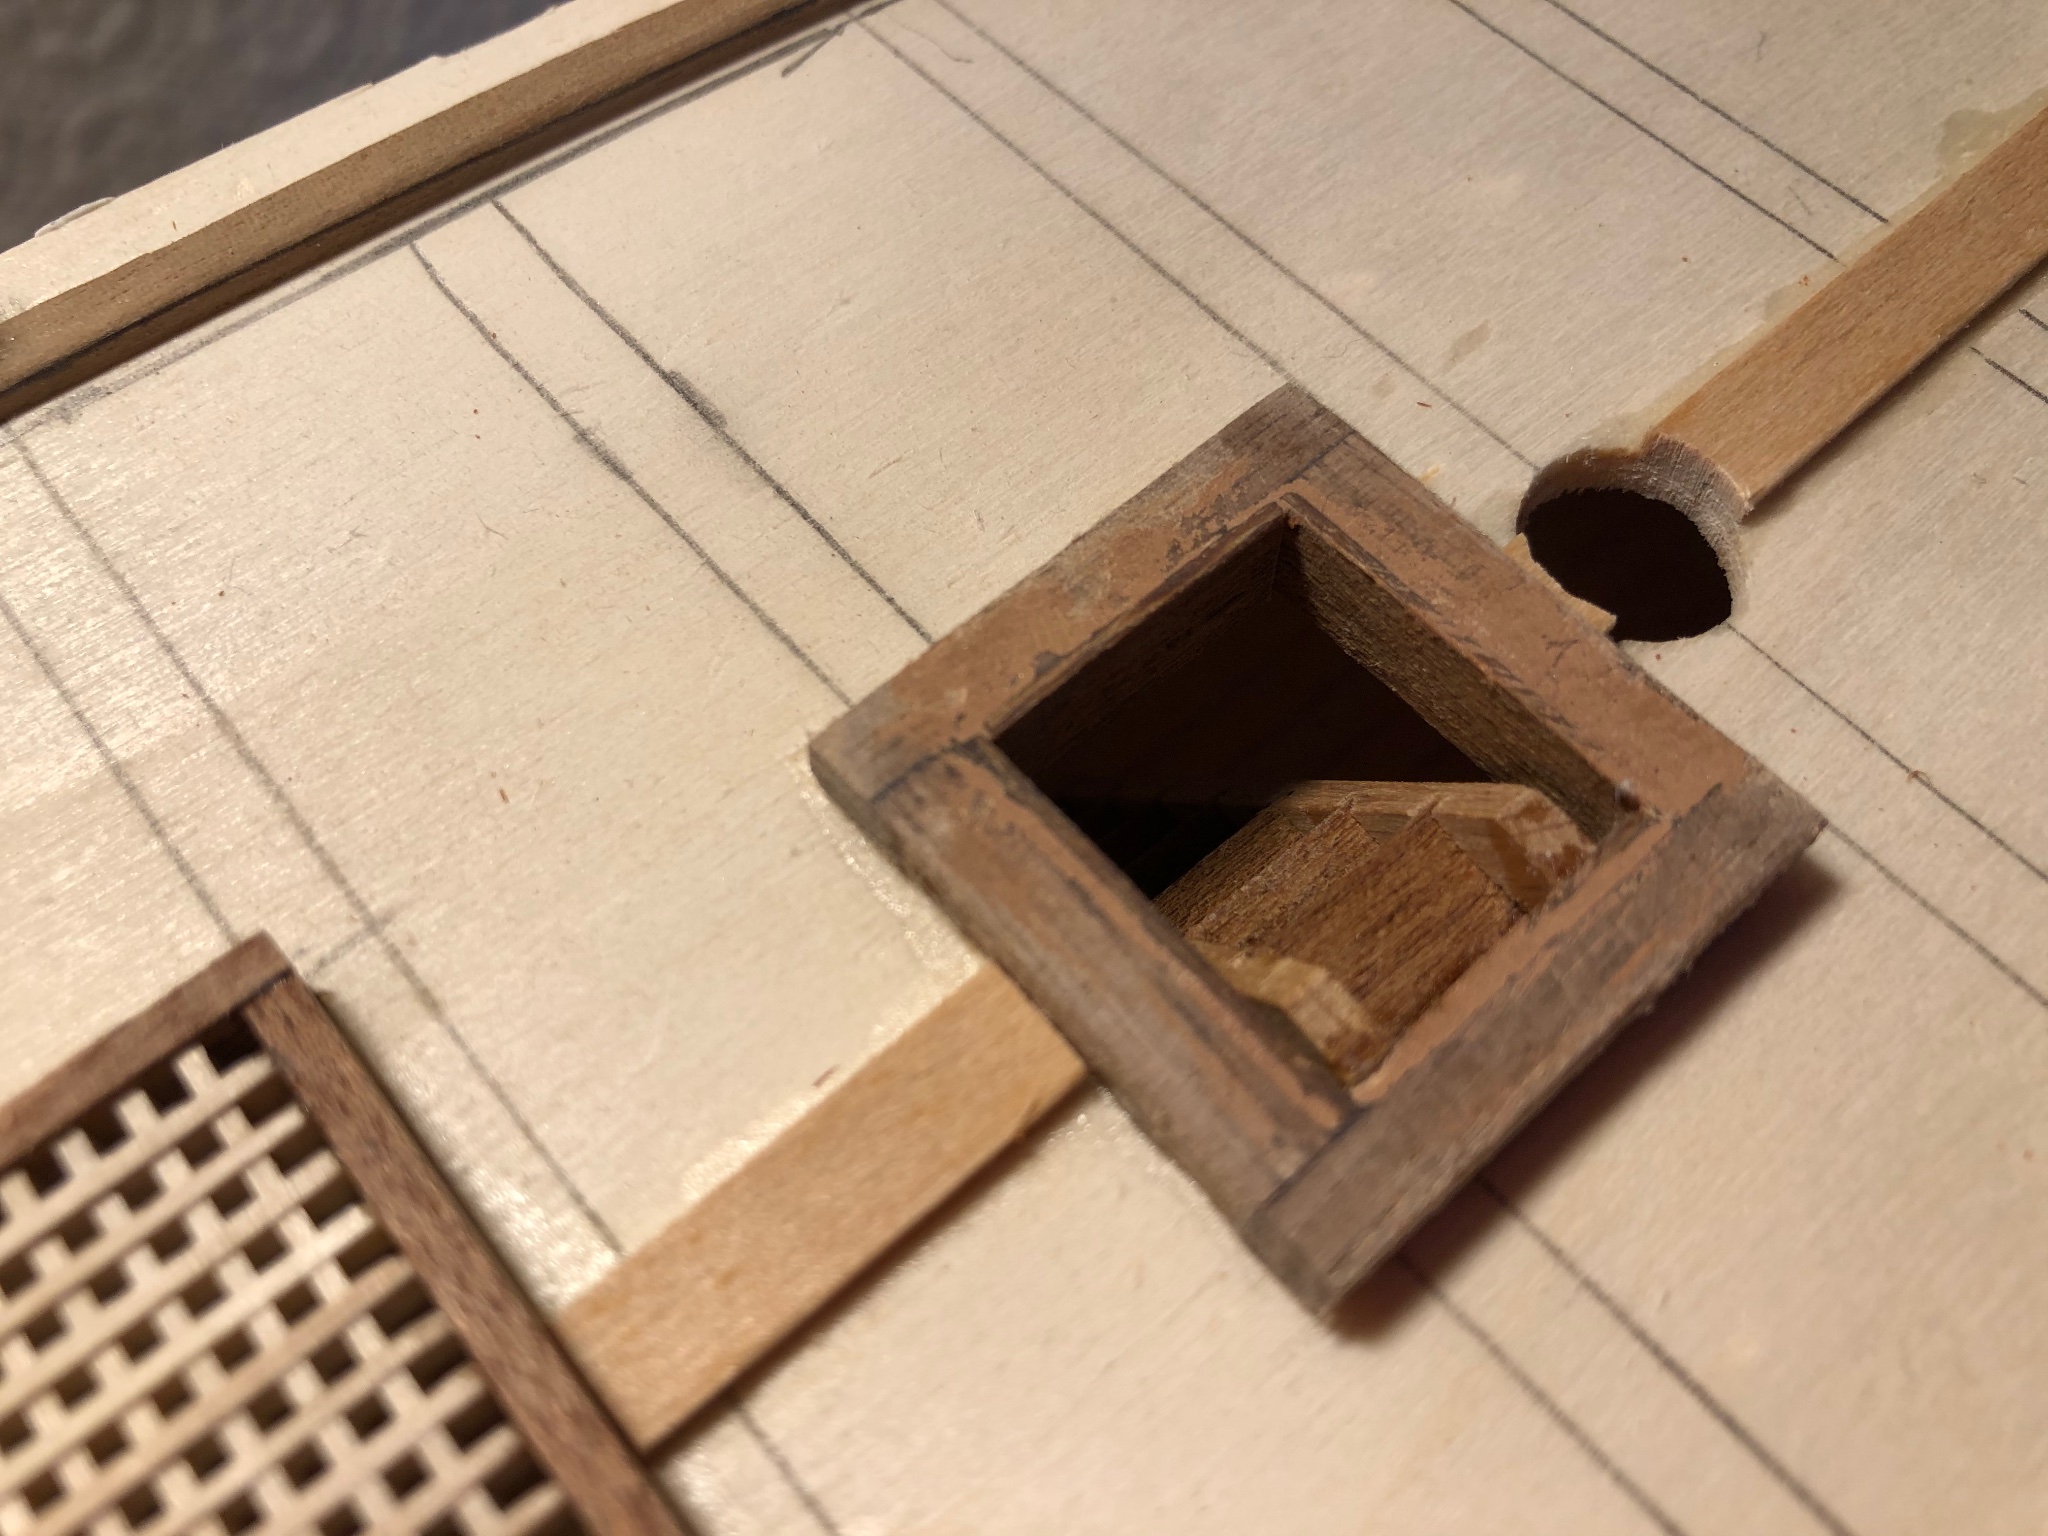
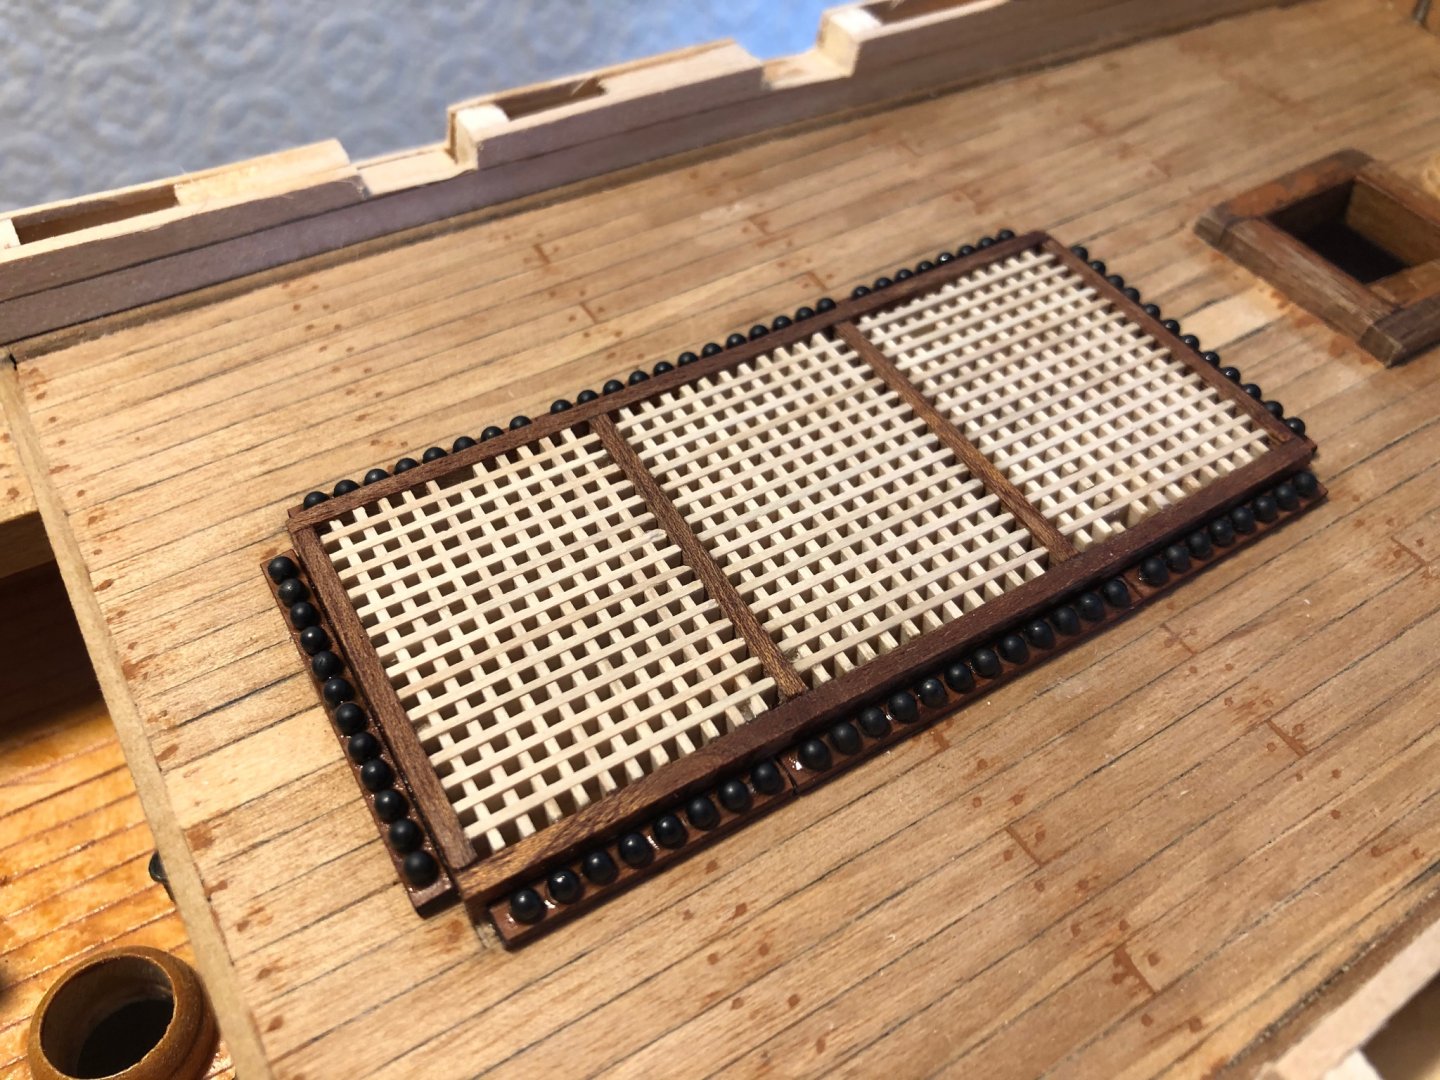
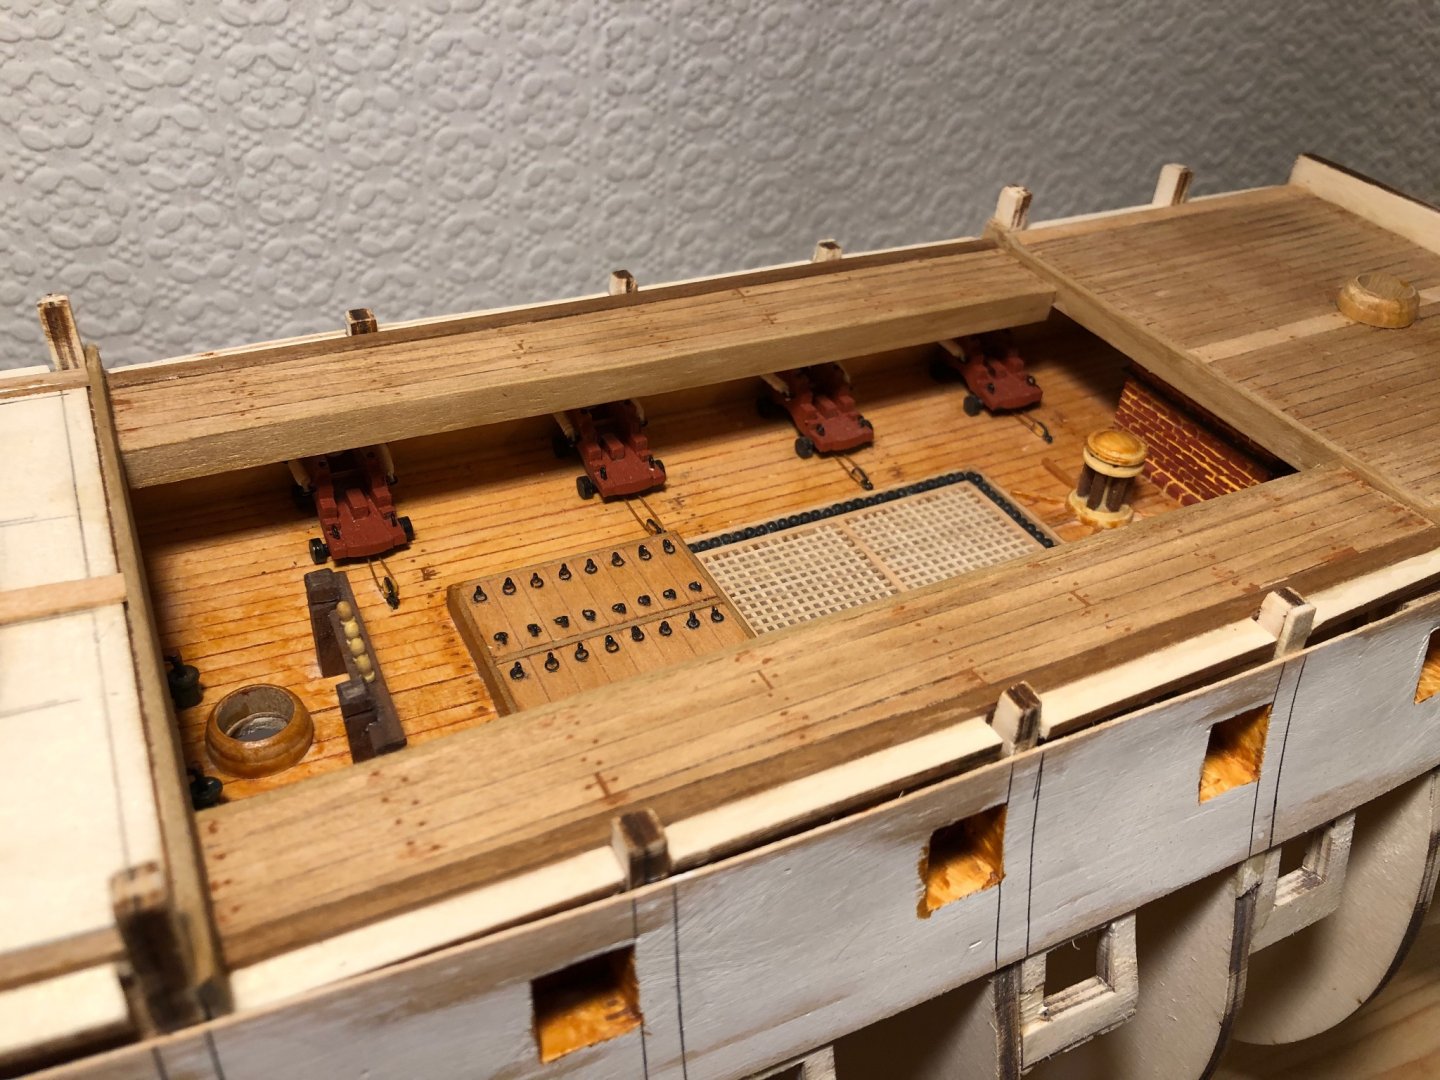
Gangway columns, grating and companionway fitted. Trim and varnish after deck planking fitted. Sam.

-
Gangways planked plus one coat of varnish. Sam
-
King and margin planks fitted. Forecastle deck planked and first coat of varnish applied. Sam.
-
Thanks for one of the best build tutorials on the forum. Best wishes for the holidays, Sam.
-
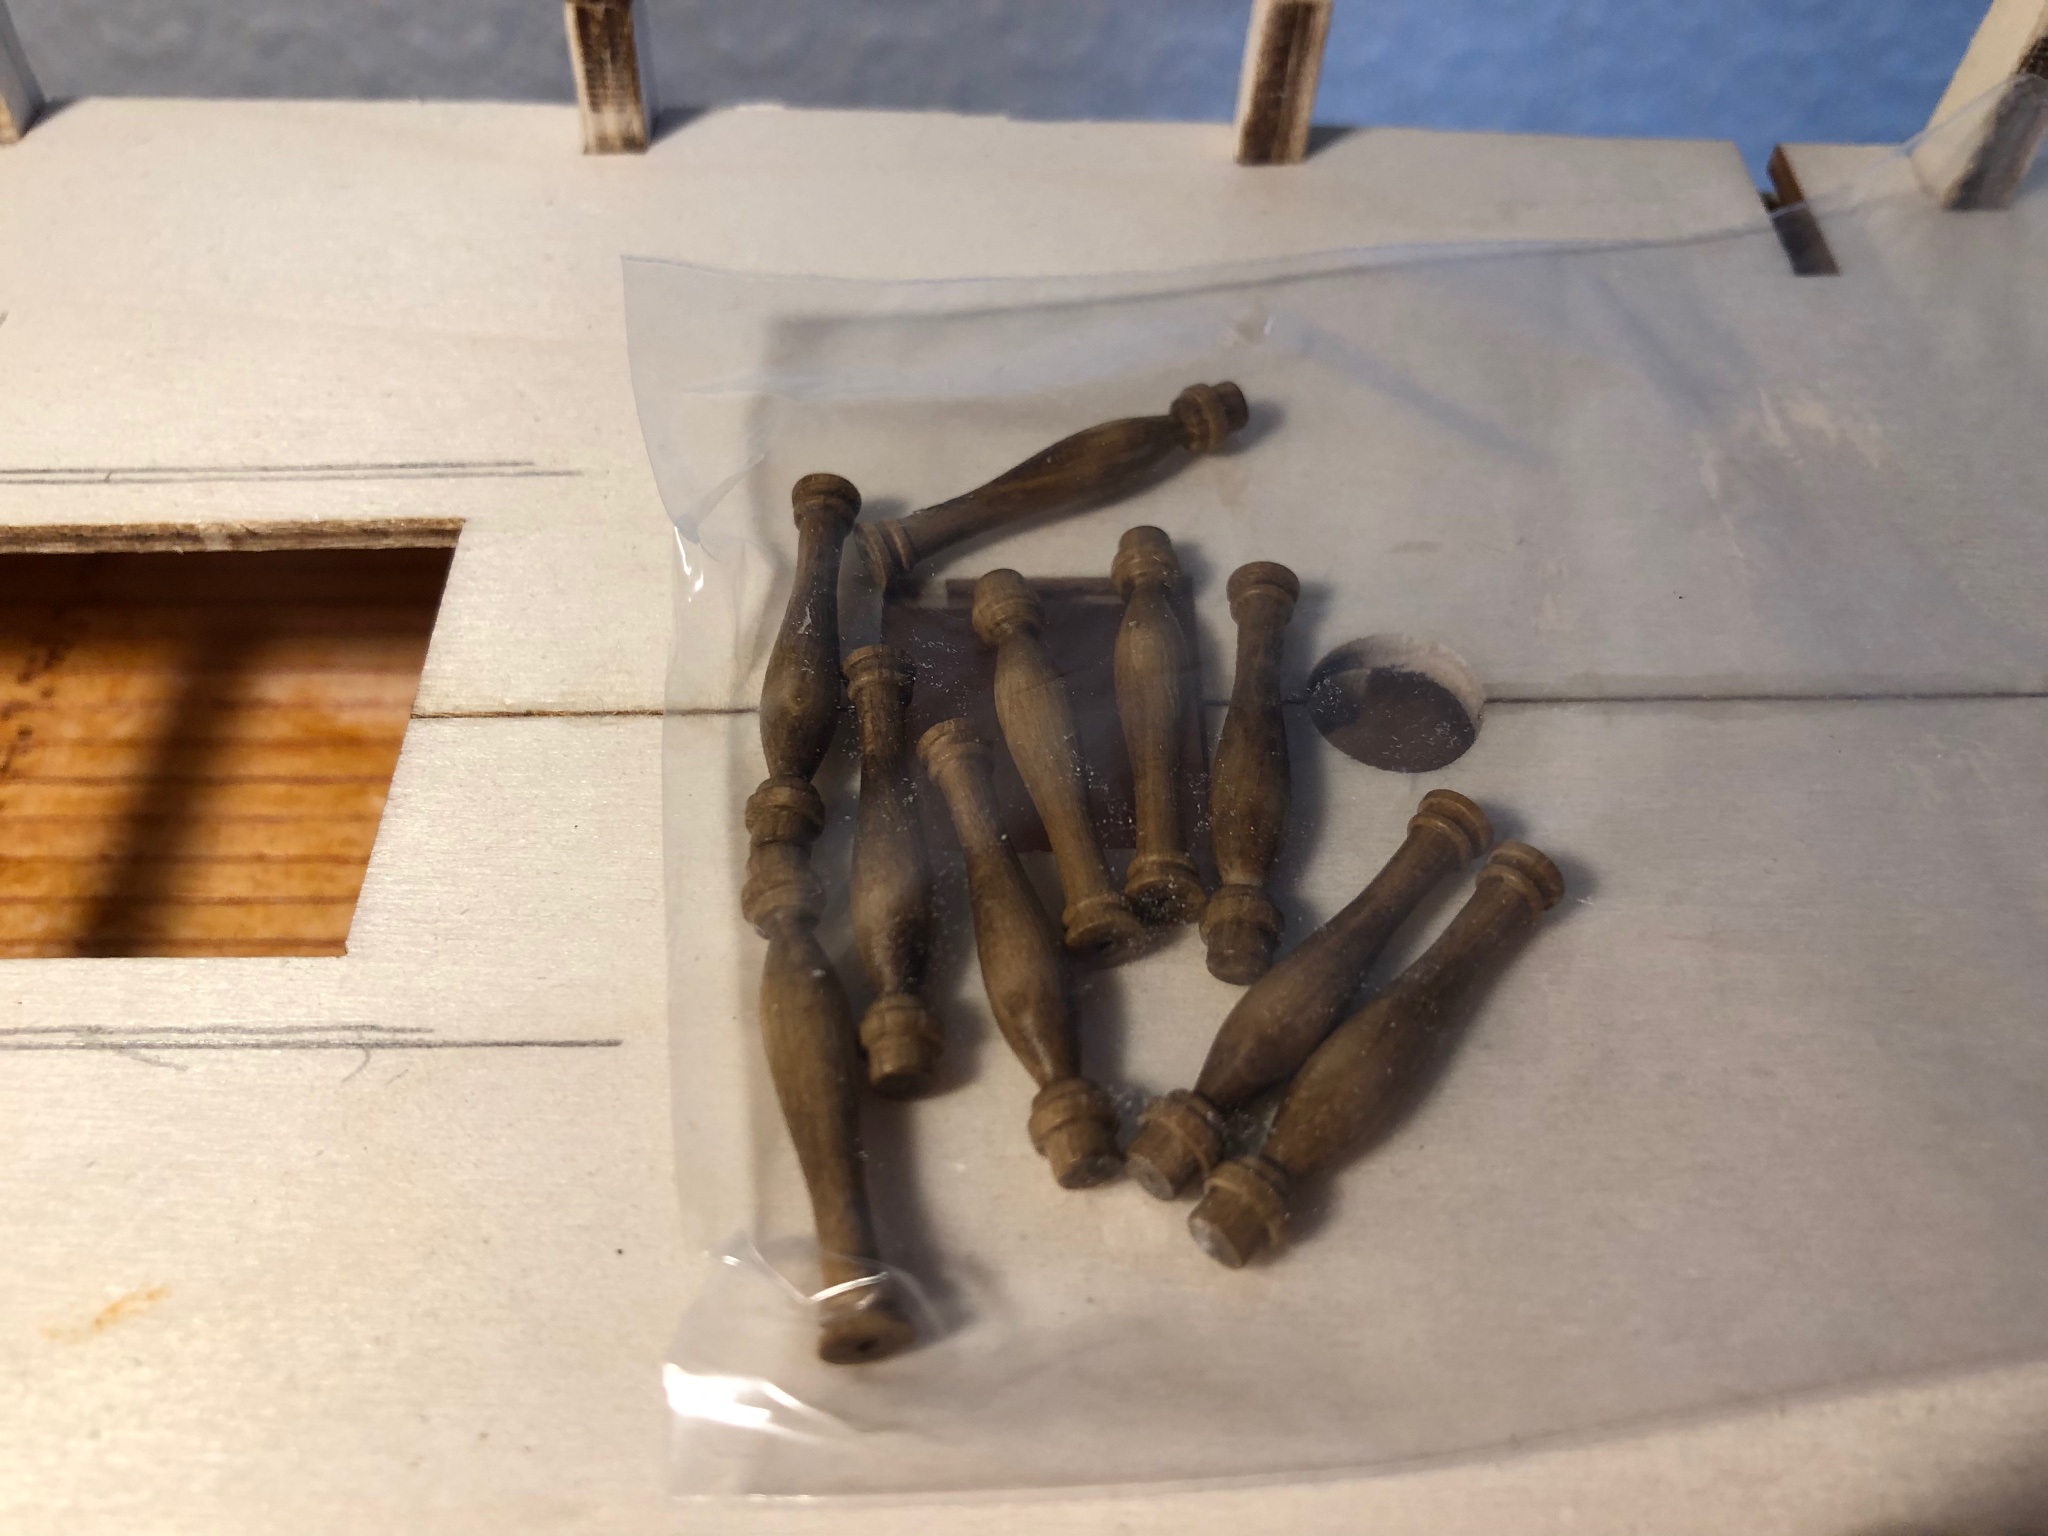
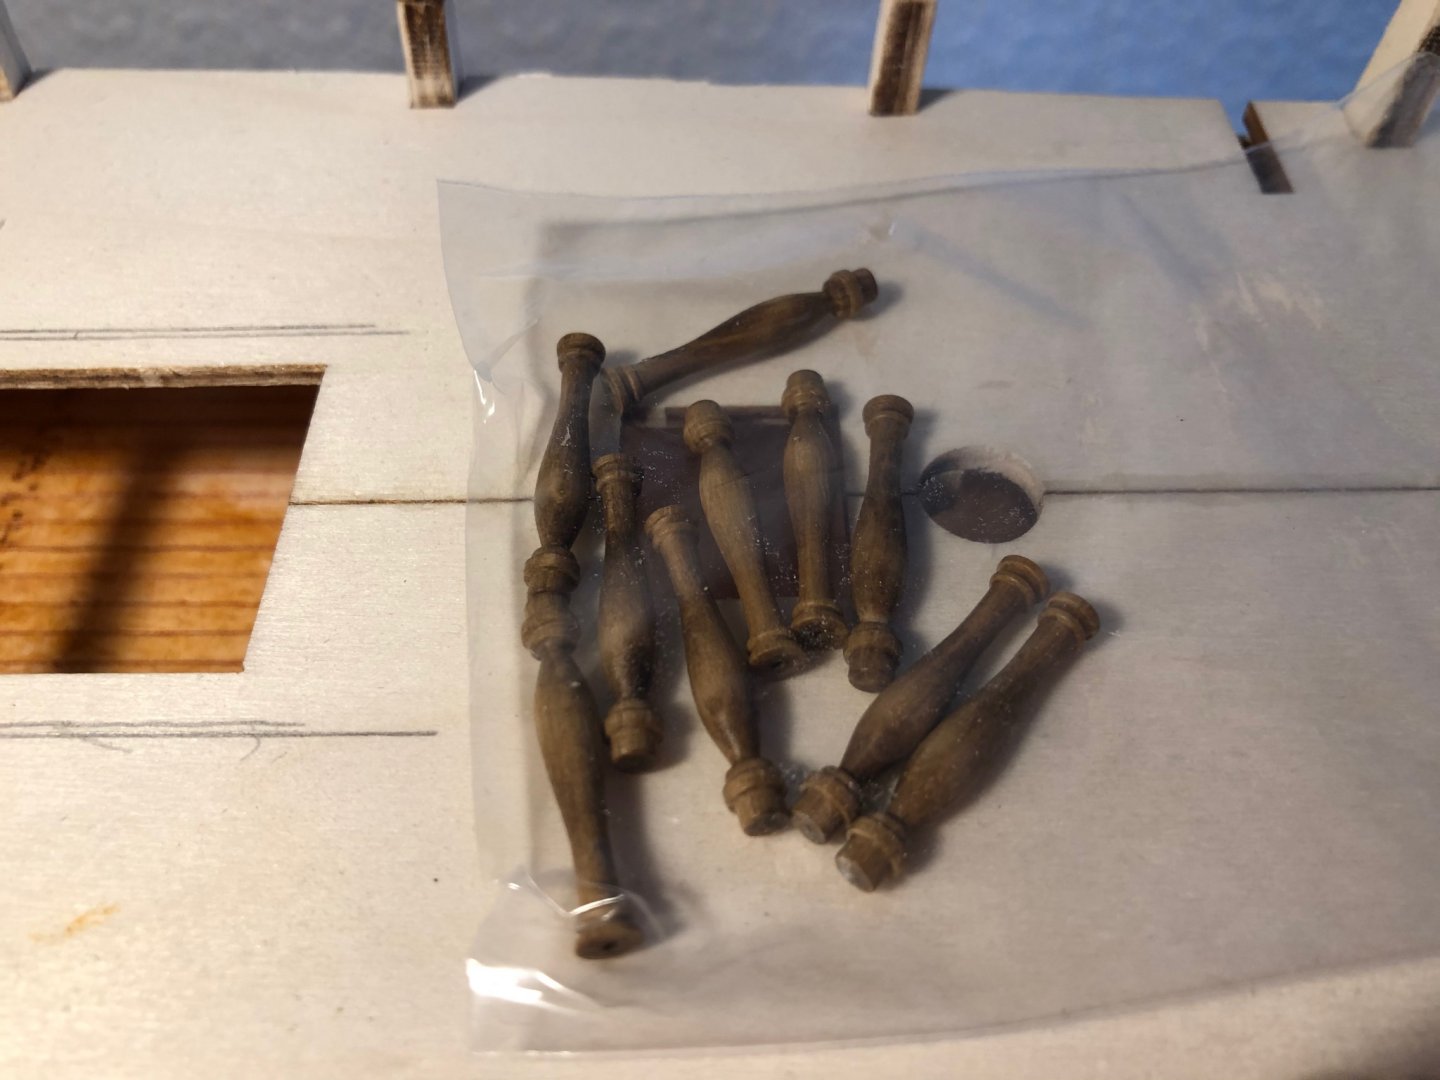
Gangway blanks fitted and edges trimmed. These will be reduced in height to suit the deck planking after planks are fixed. So lots of work over Christmas. Second photo shows replacement columns. Supplied by Cornwall Model Boats. Ordered on line early afternoon and delivered the following morning slightly more than 20 hours later. It helps that they are just up the road from me but still impressive. The next build stages should go more quickly, will be using kit parts and stock items. Sam.
-
Thanks RMC for an outstanding build. Been a pleasure watching this. Sam
-
Thanks for the comments Mark and, everyone for the likes. This kit is turning into a sturdy well designed build but treat the instructions as a guide only. Compared with some previous kits the main framing needed very little work but Oh, that plywood is still a problem with me. Your build and Sferoida's show the end result is worth the hassle and extra work. Sam
-
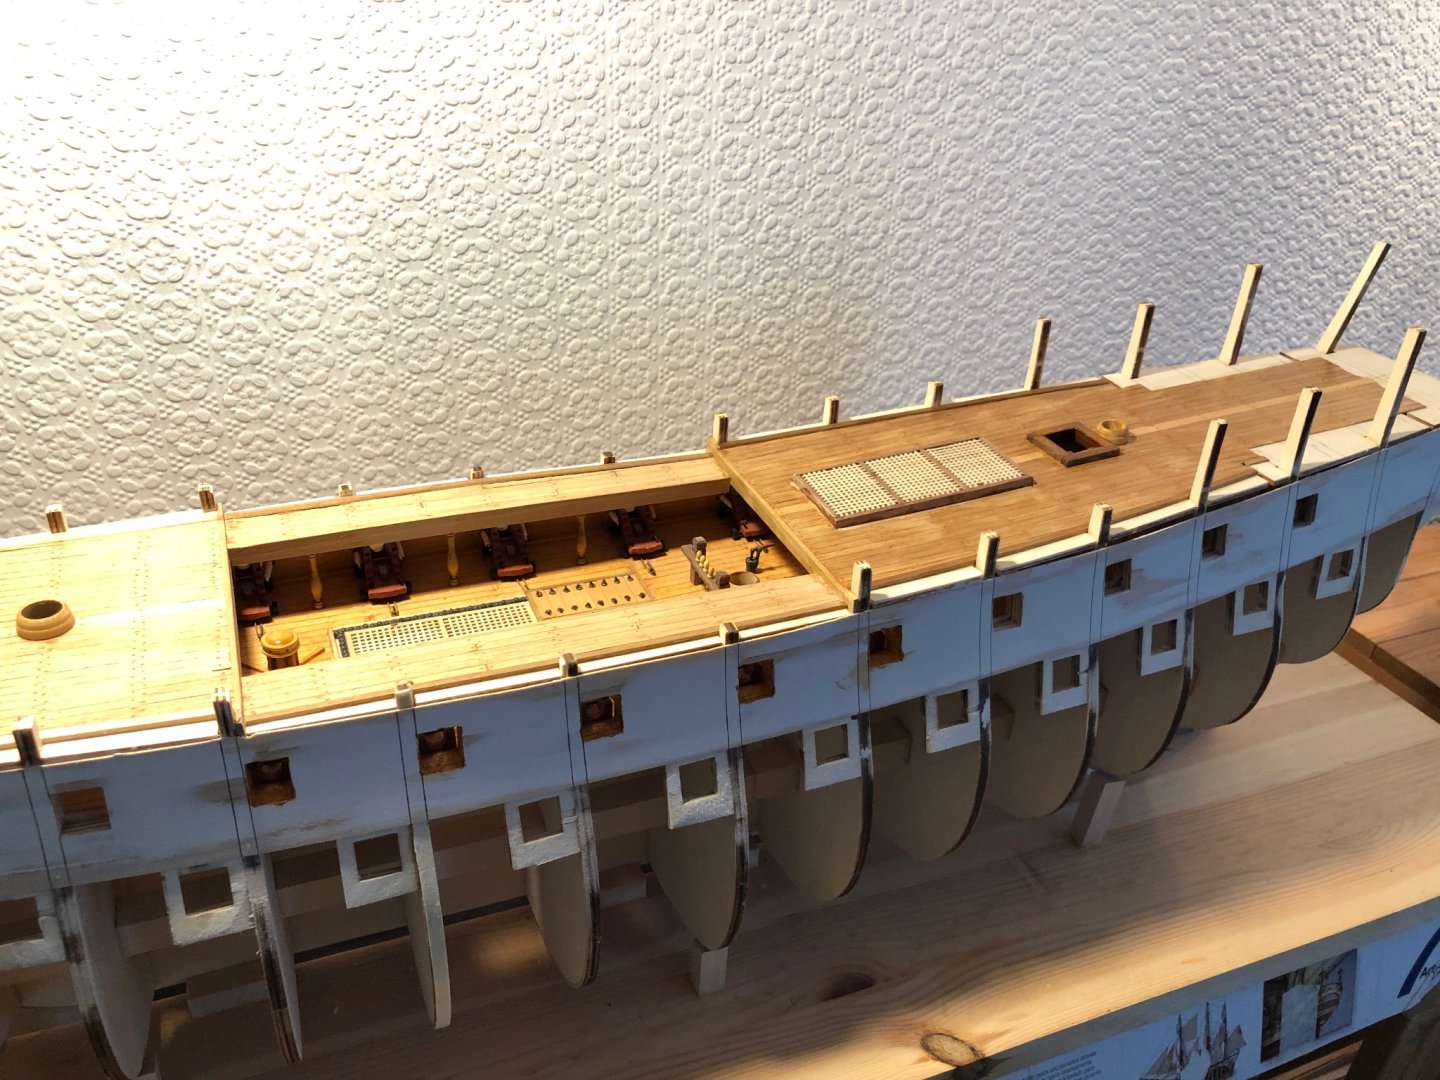
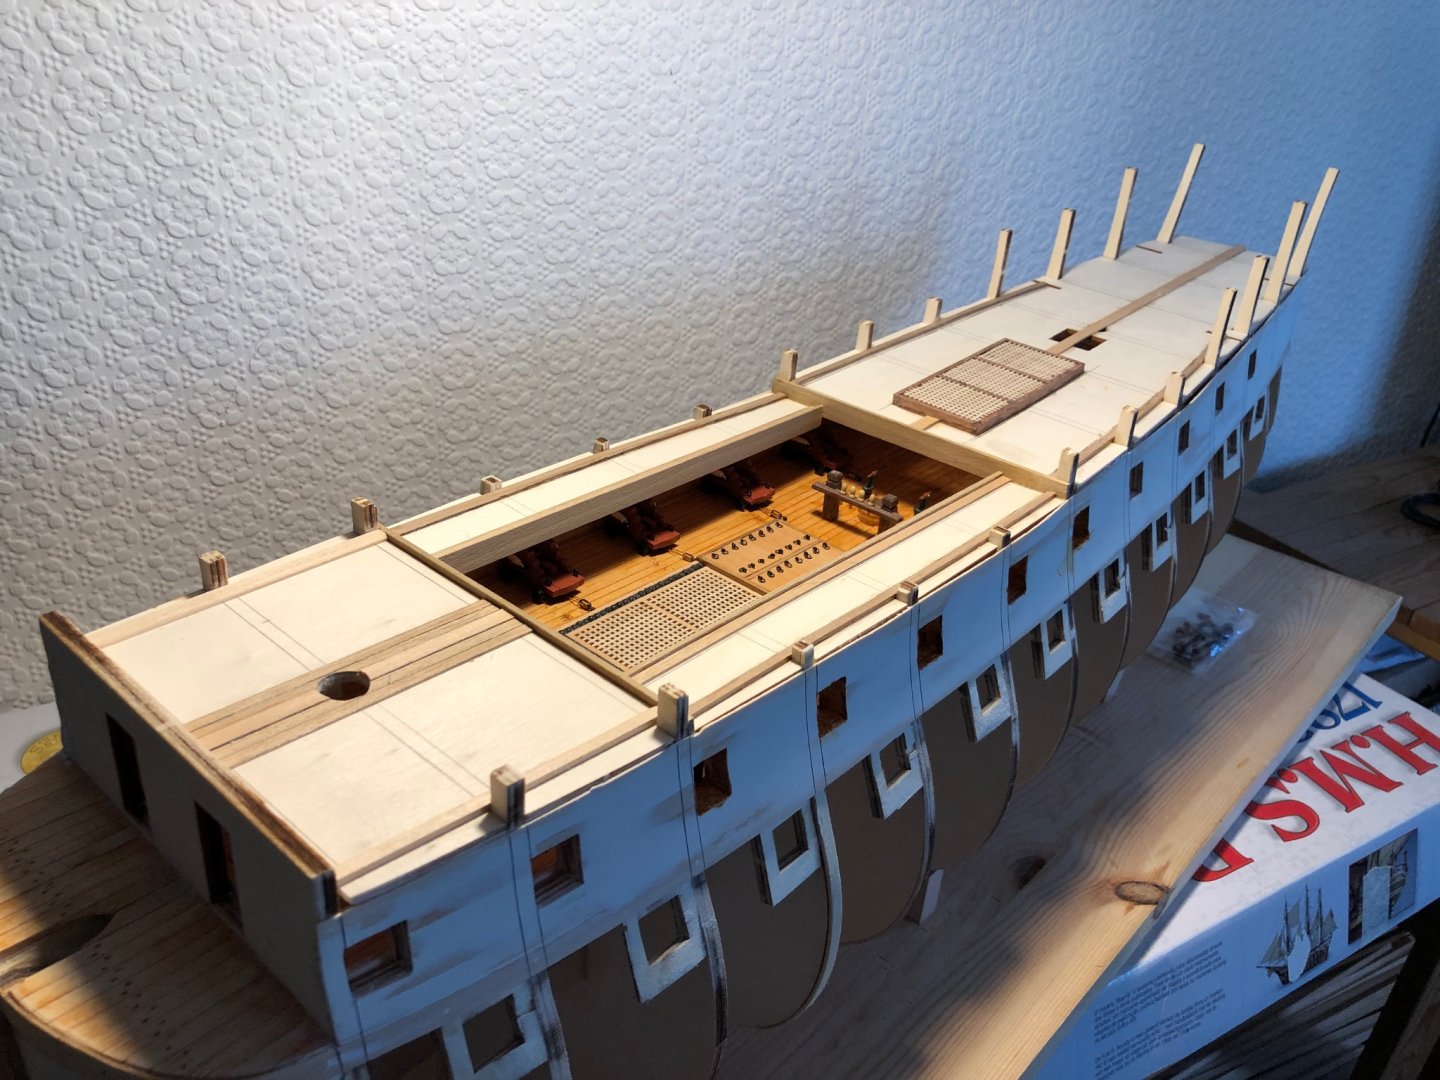
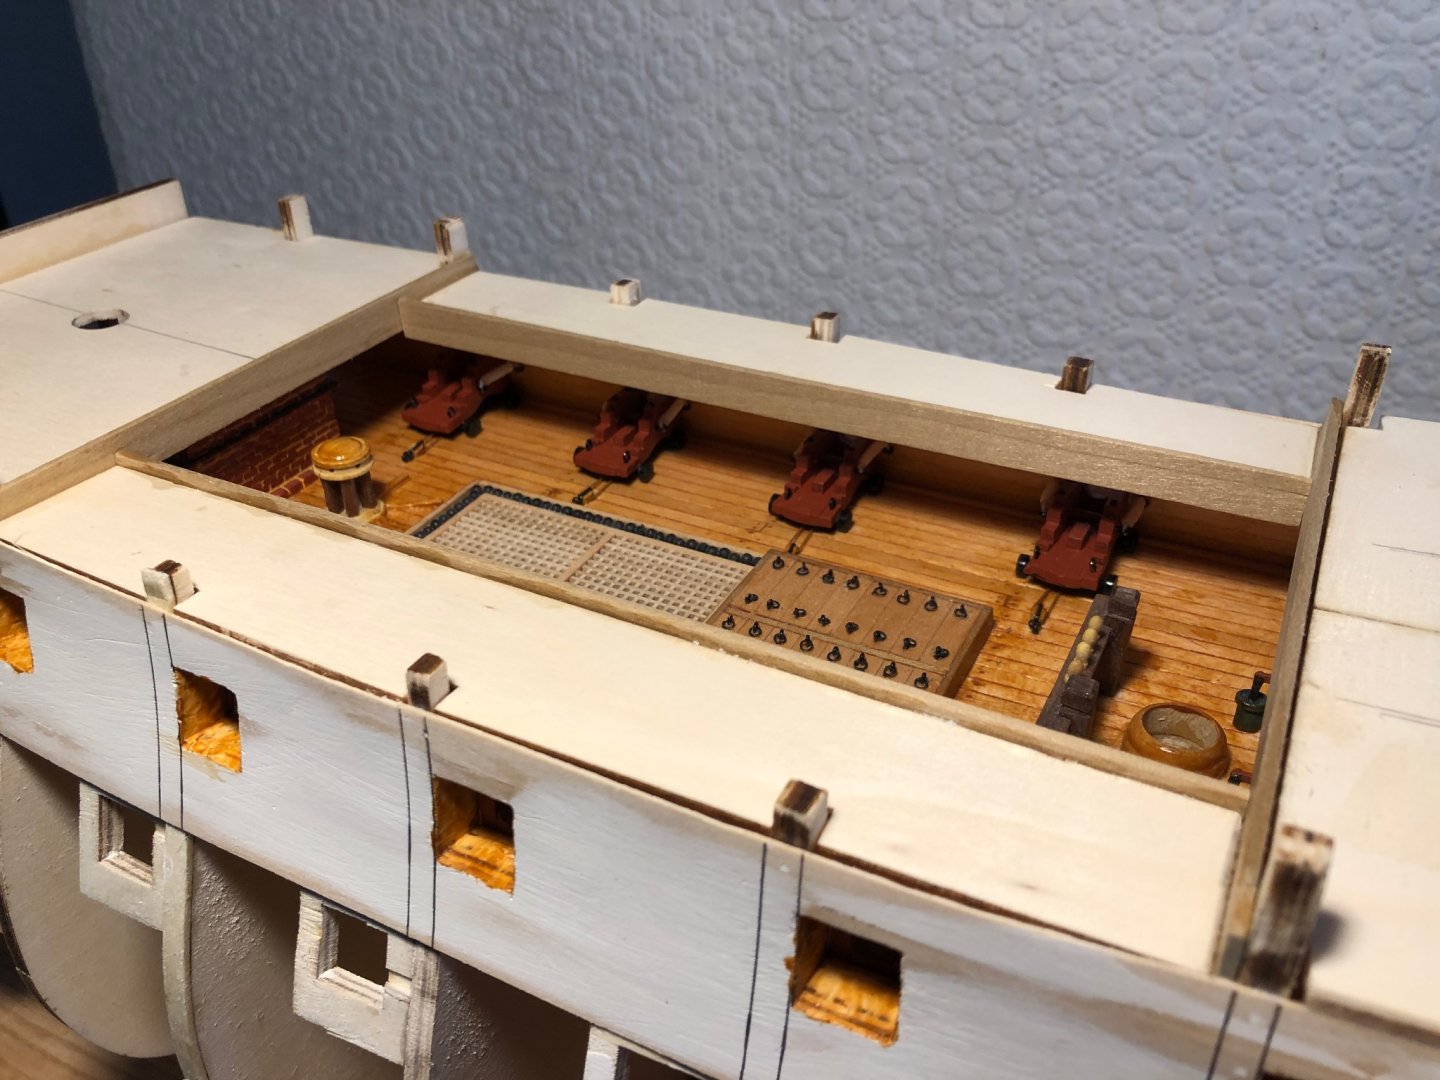
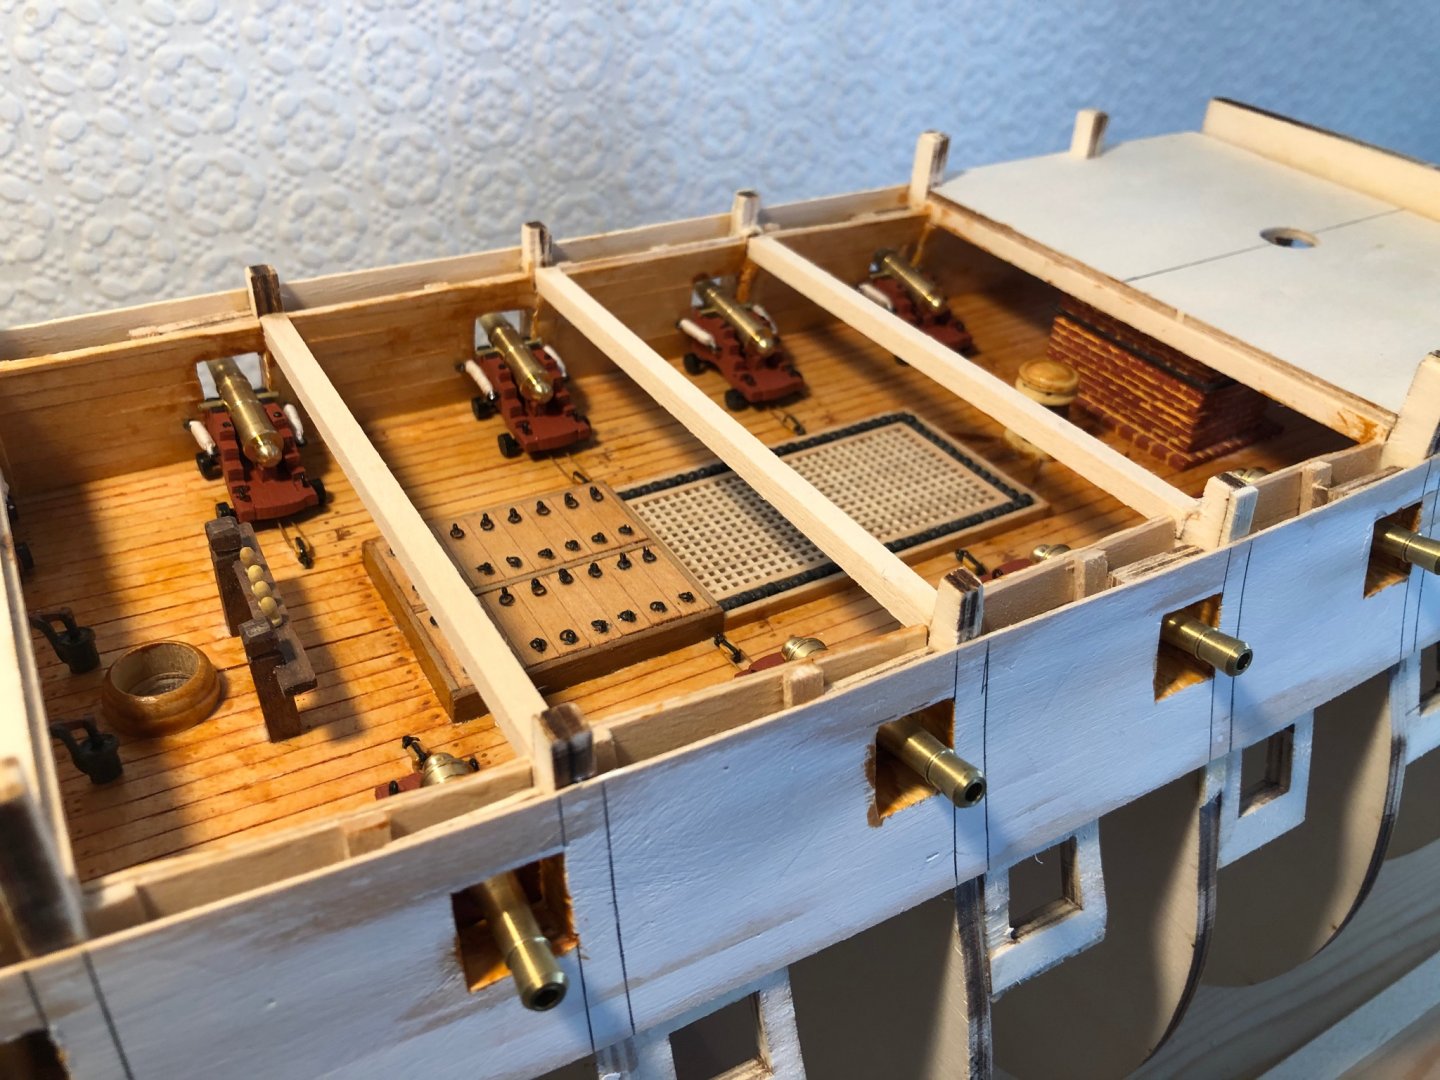
Upper gun deck finished for now and waist gangway beams fixed. Read Mark Tiedens post ref the gangway supports and, the instruction book supplied. Agree 100% on the columns. (Replacements on order). Will not be following the supplied instructions but will also go for one continuous beam which will also cover the edge of the false gangway and the edge plank. Occre's approach is to provide plywood where ever possible and, where seen - paint it red. I'm trying for a more natural look. Mark's paint job is superb but I can't re-create this quality hence my reliance on stain and varnish. Cannon barrels will be removed, blackened and stored for later. Sam.
-
Thanks BobG. A compromise caused by fat fingers and the eyesight of a mole. Sam.