Edwardkenway
-
Posts
3,047 -
Joined
-
Last visited
Content Type
Profiles
Forums
Gallery
Events
Everything posted by Edwardkenway
-
 A milestone reached, looking very neat and tidy. Great work!!
 -
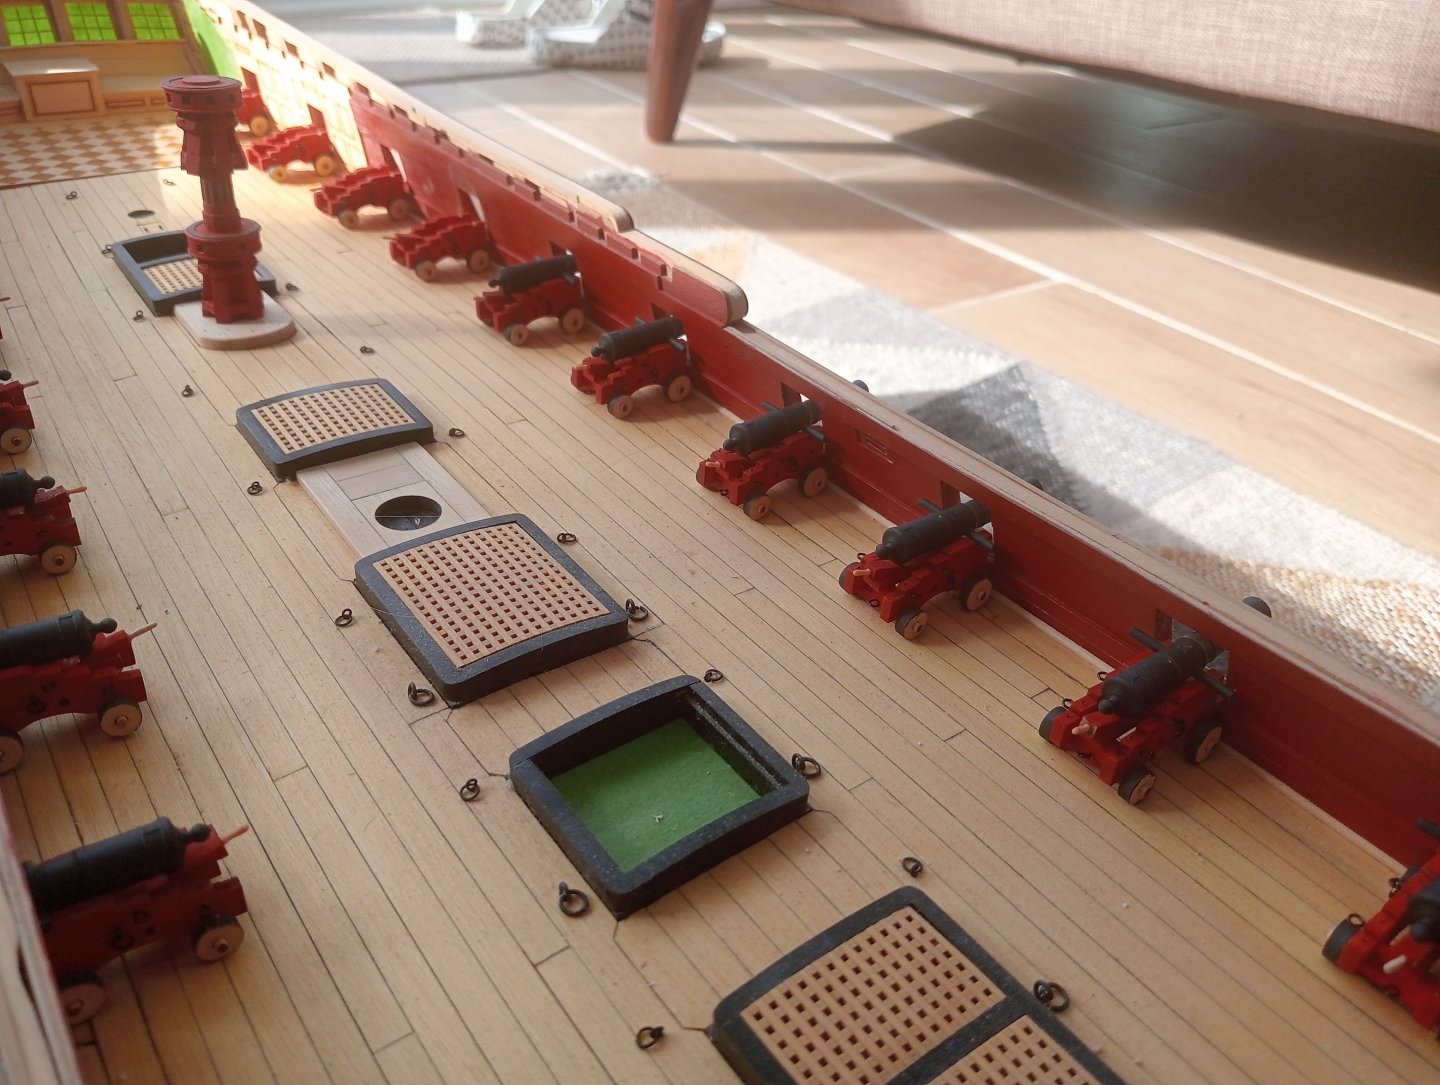
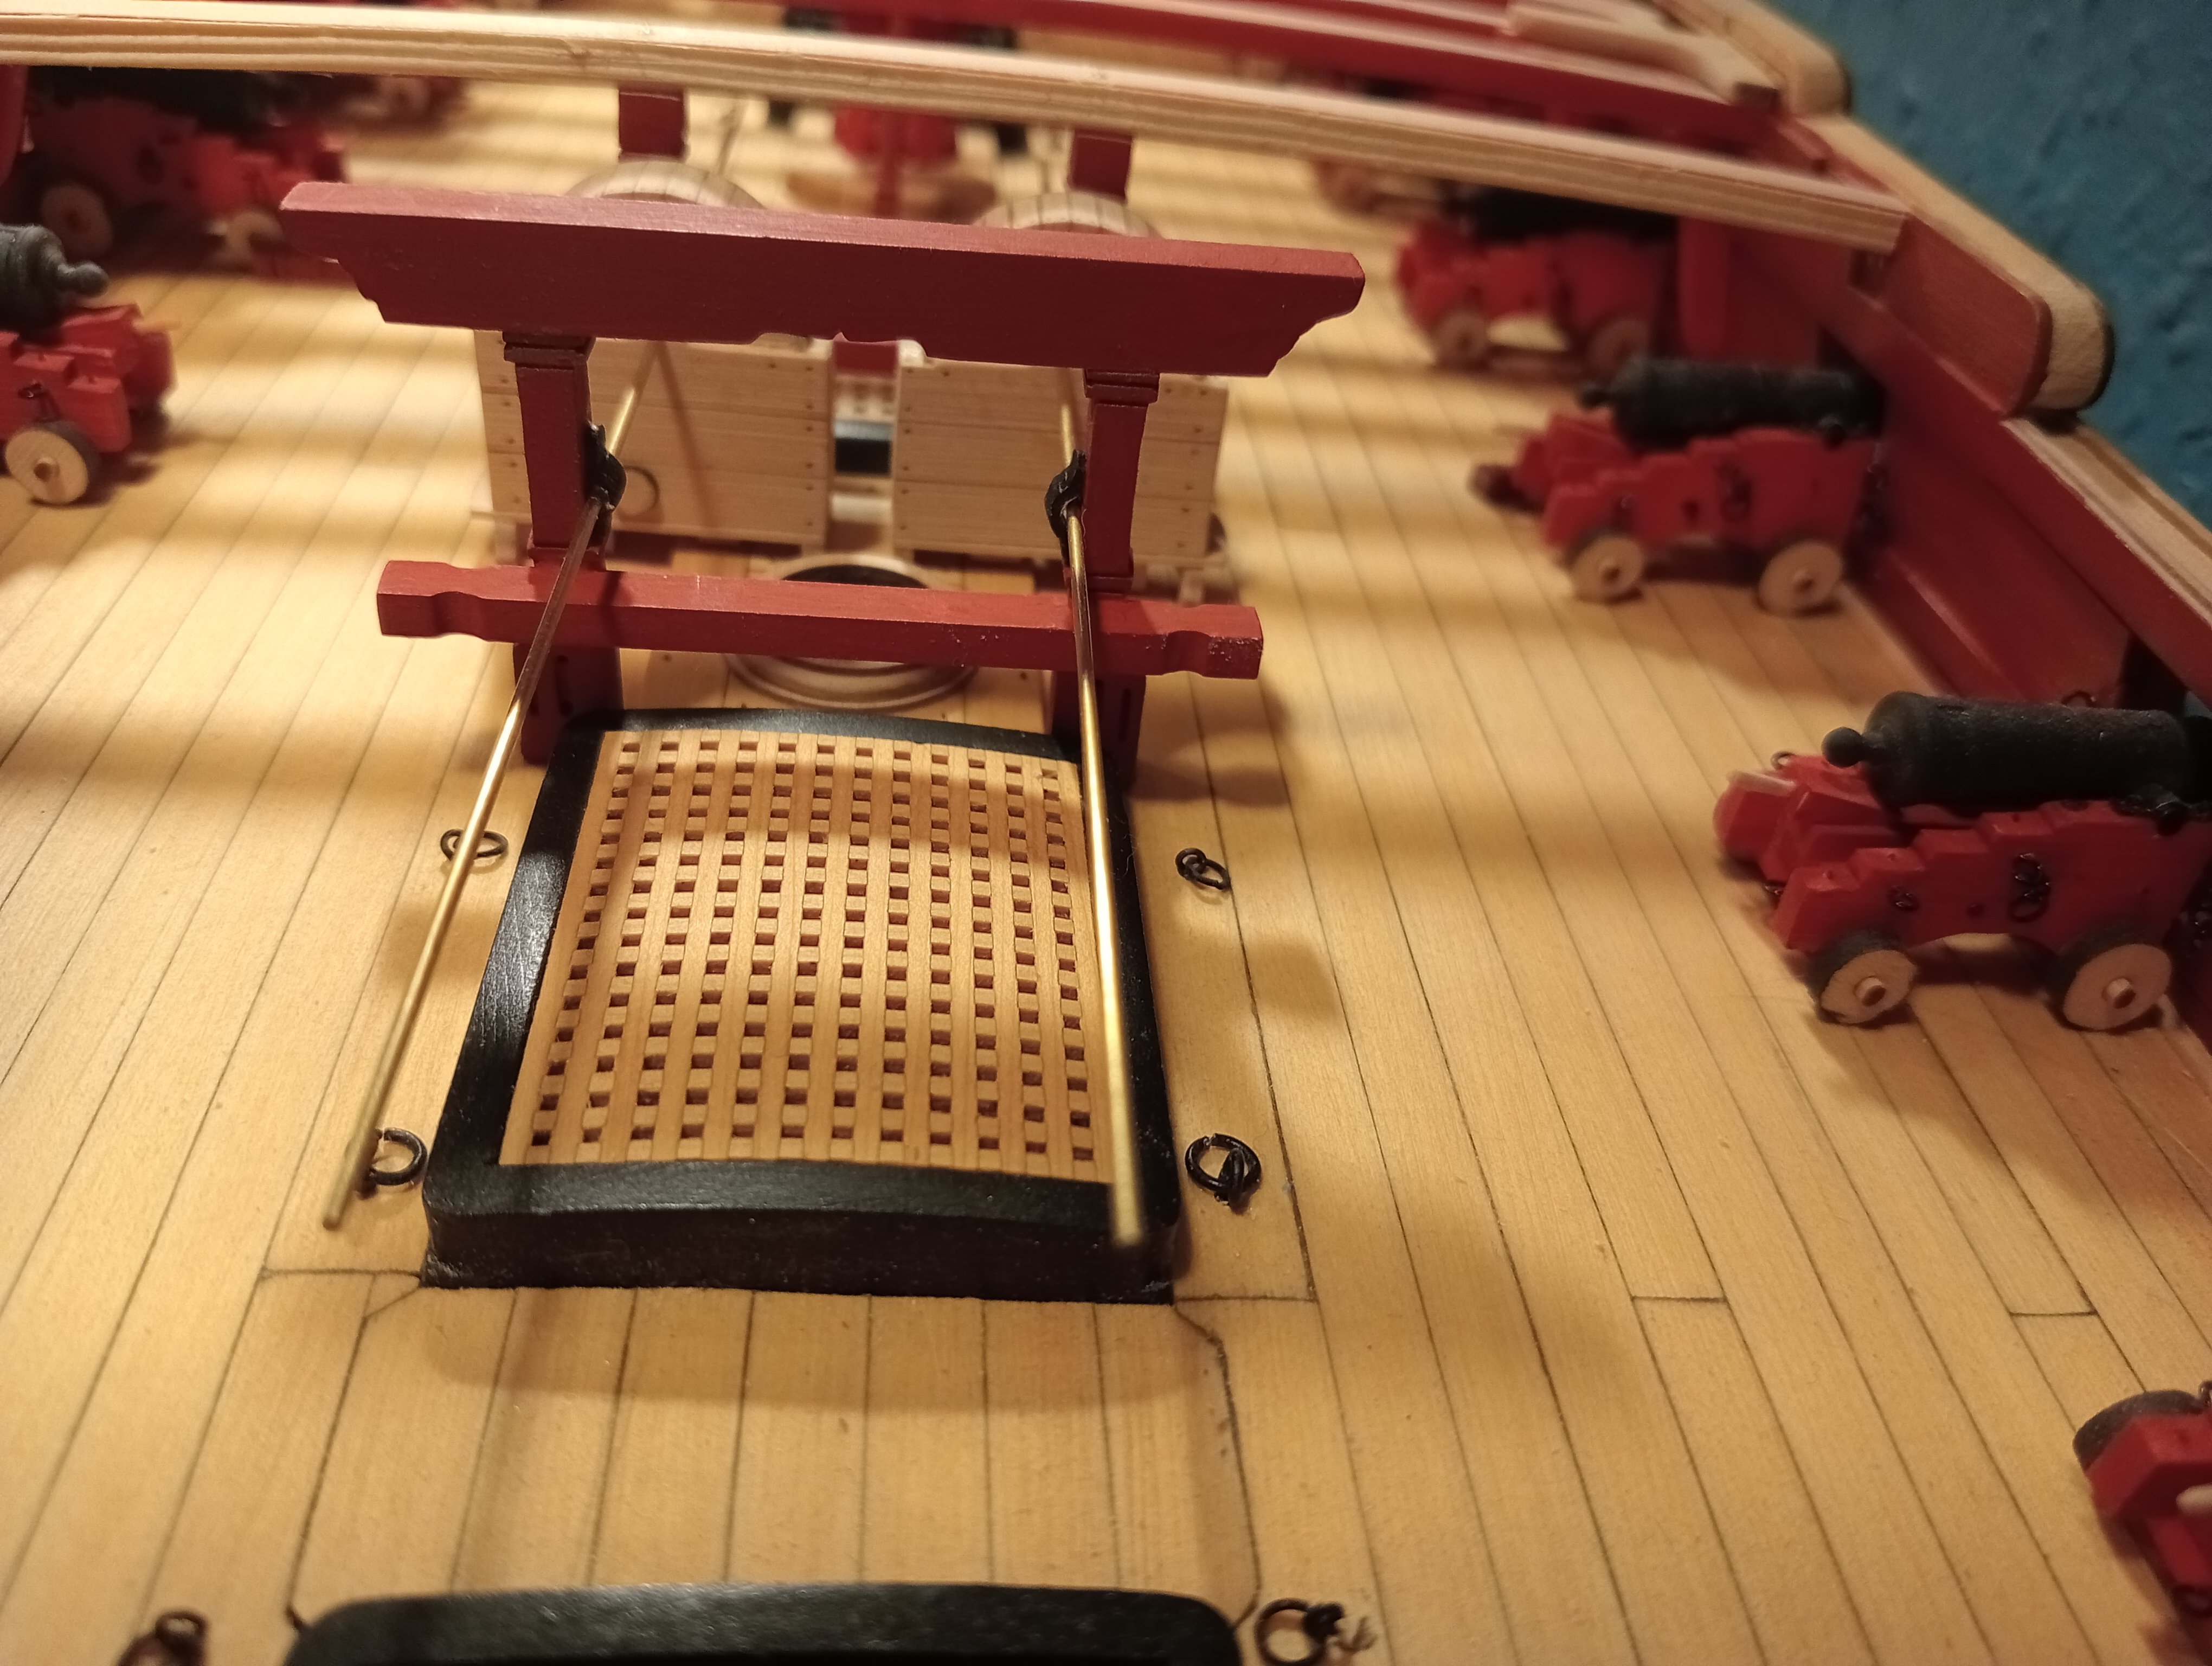
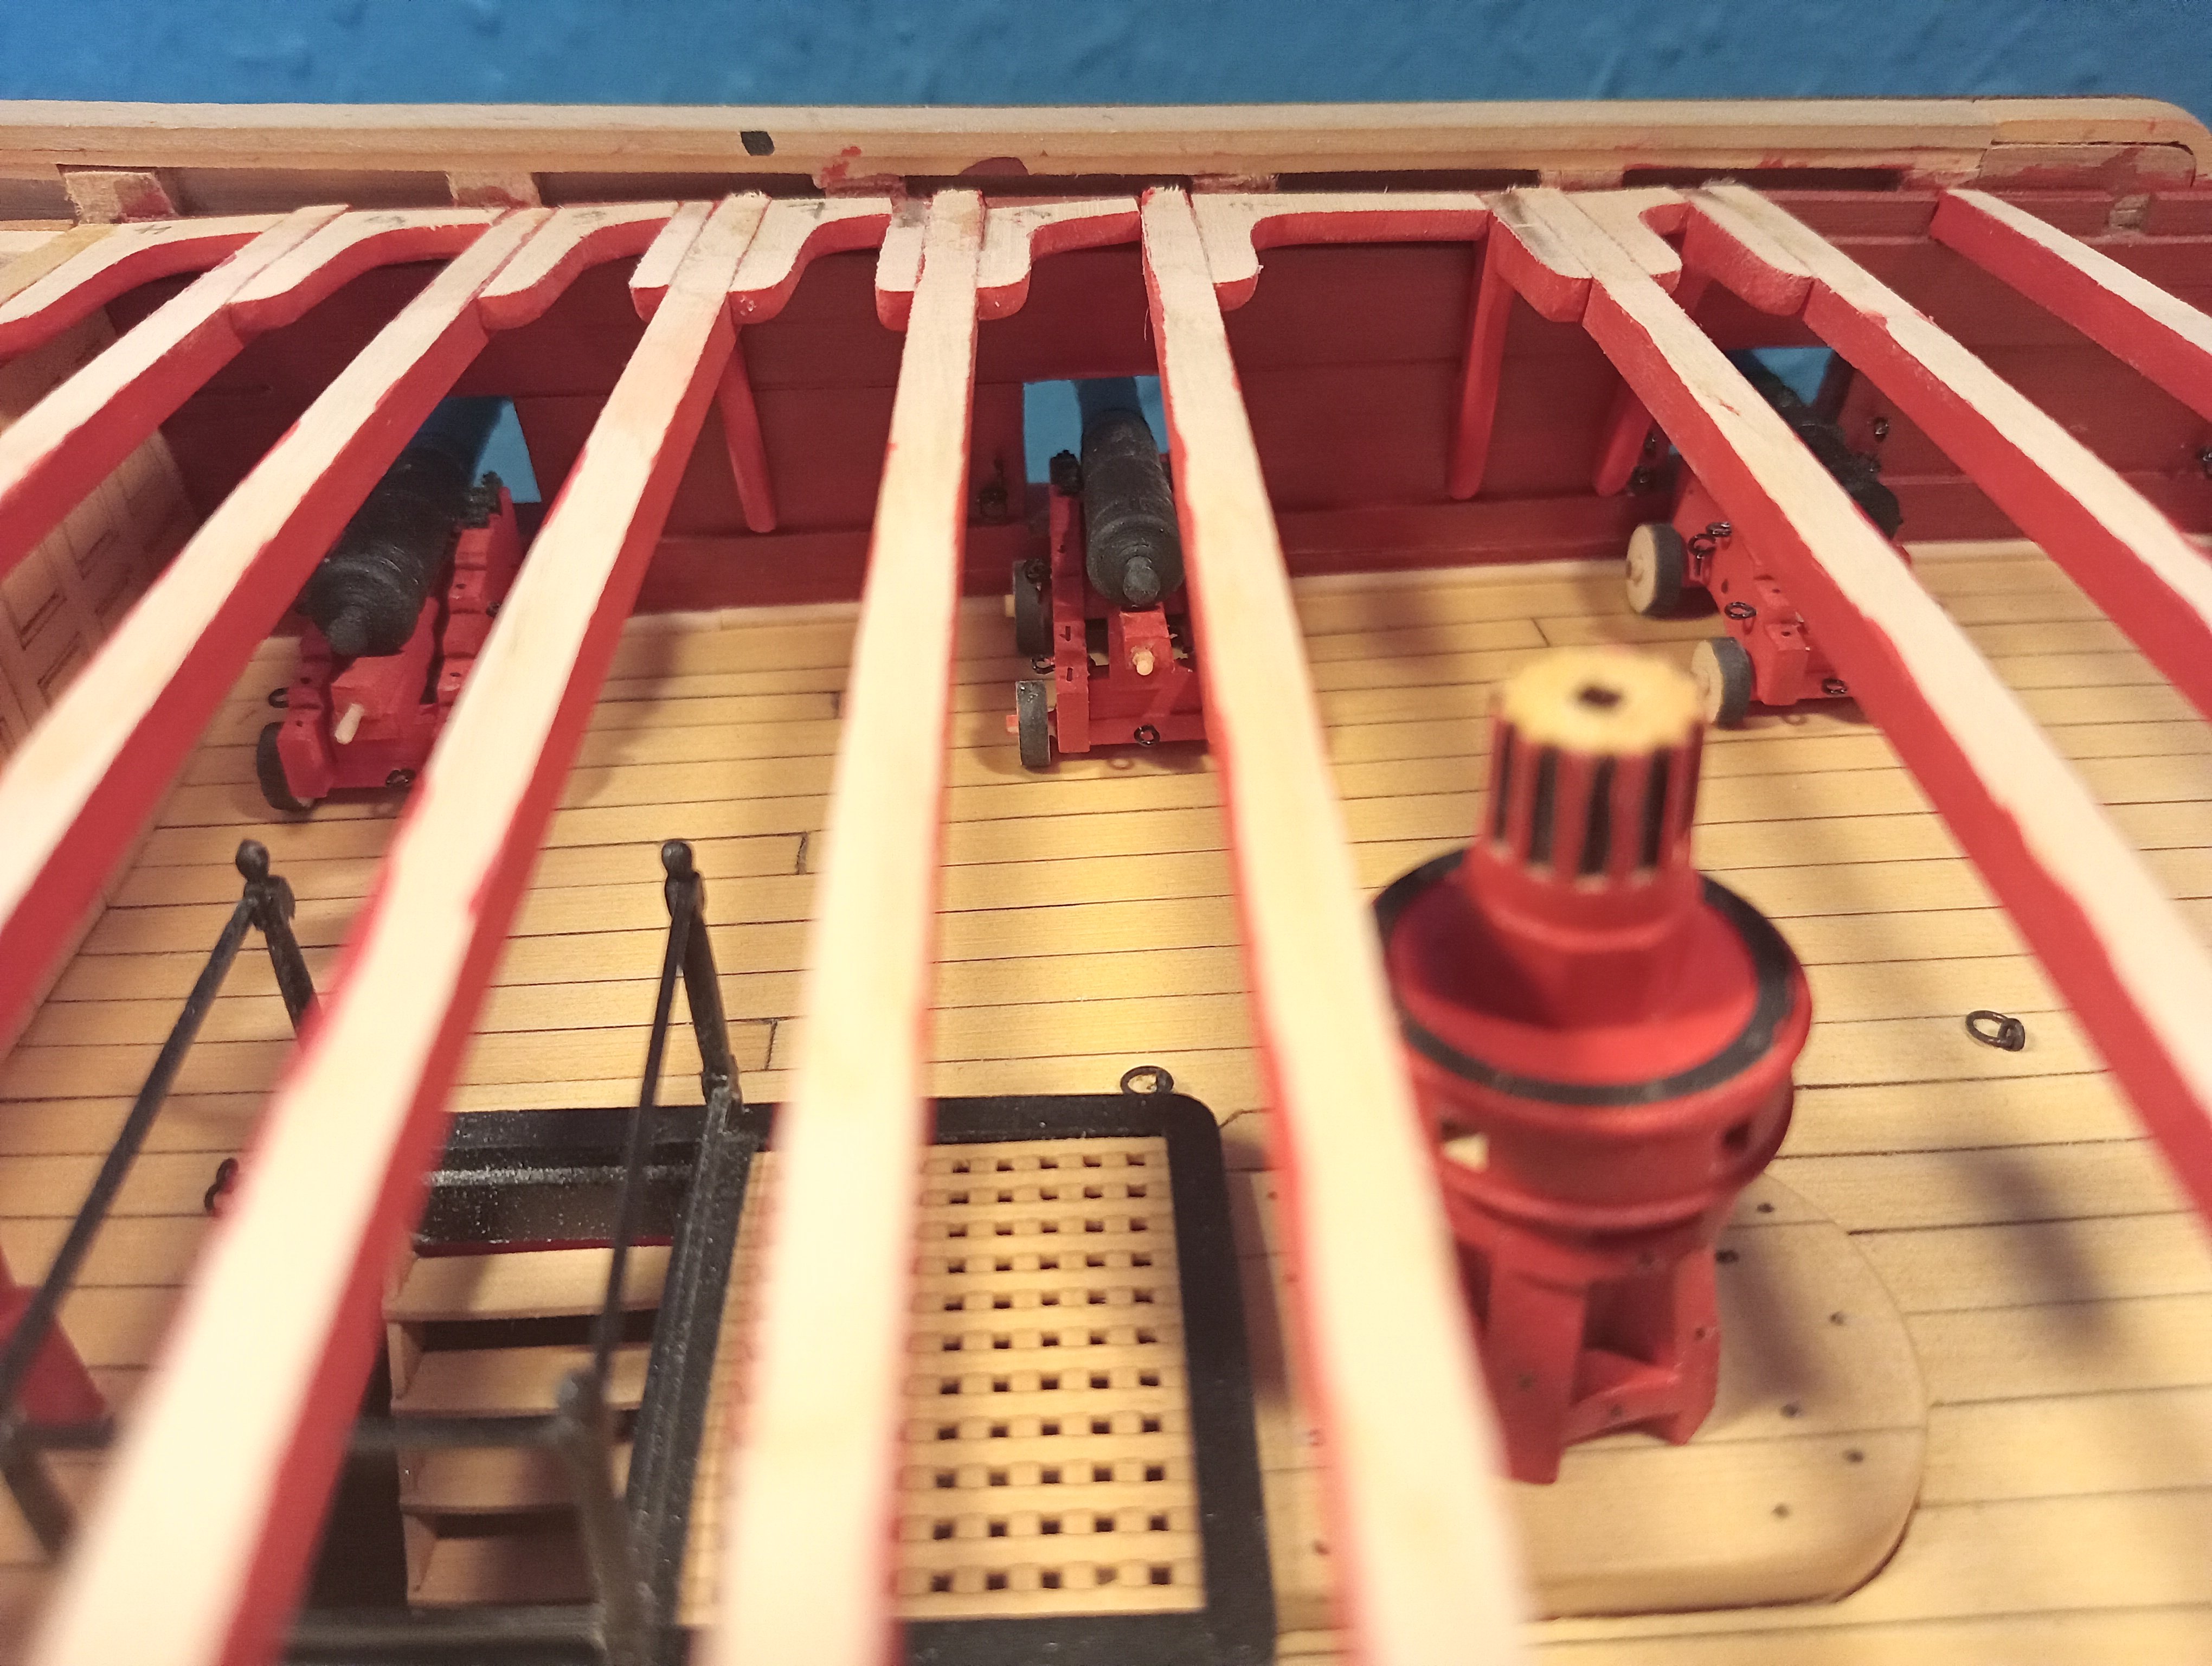
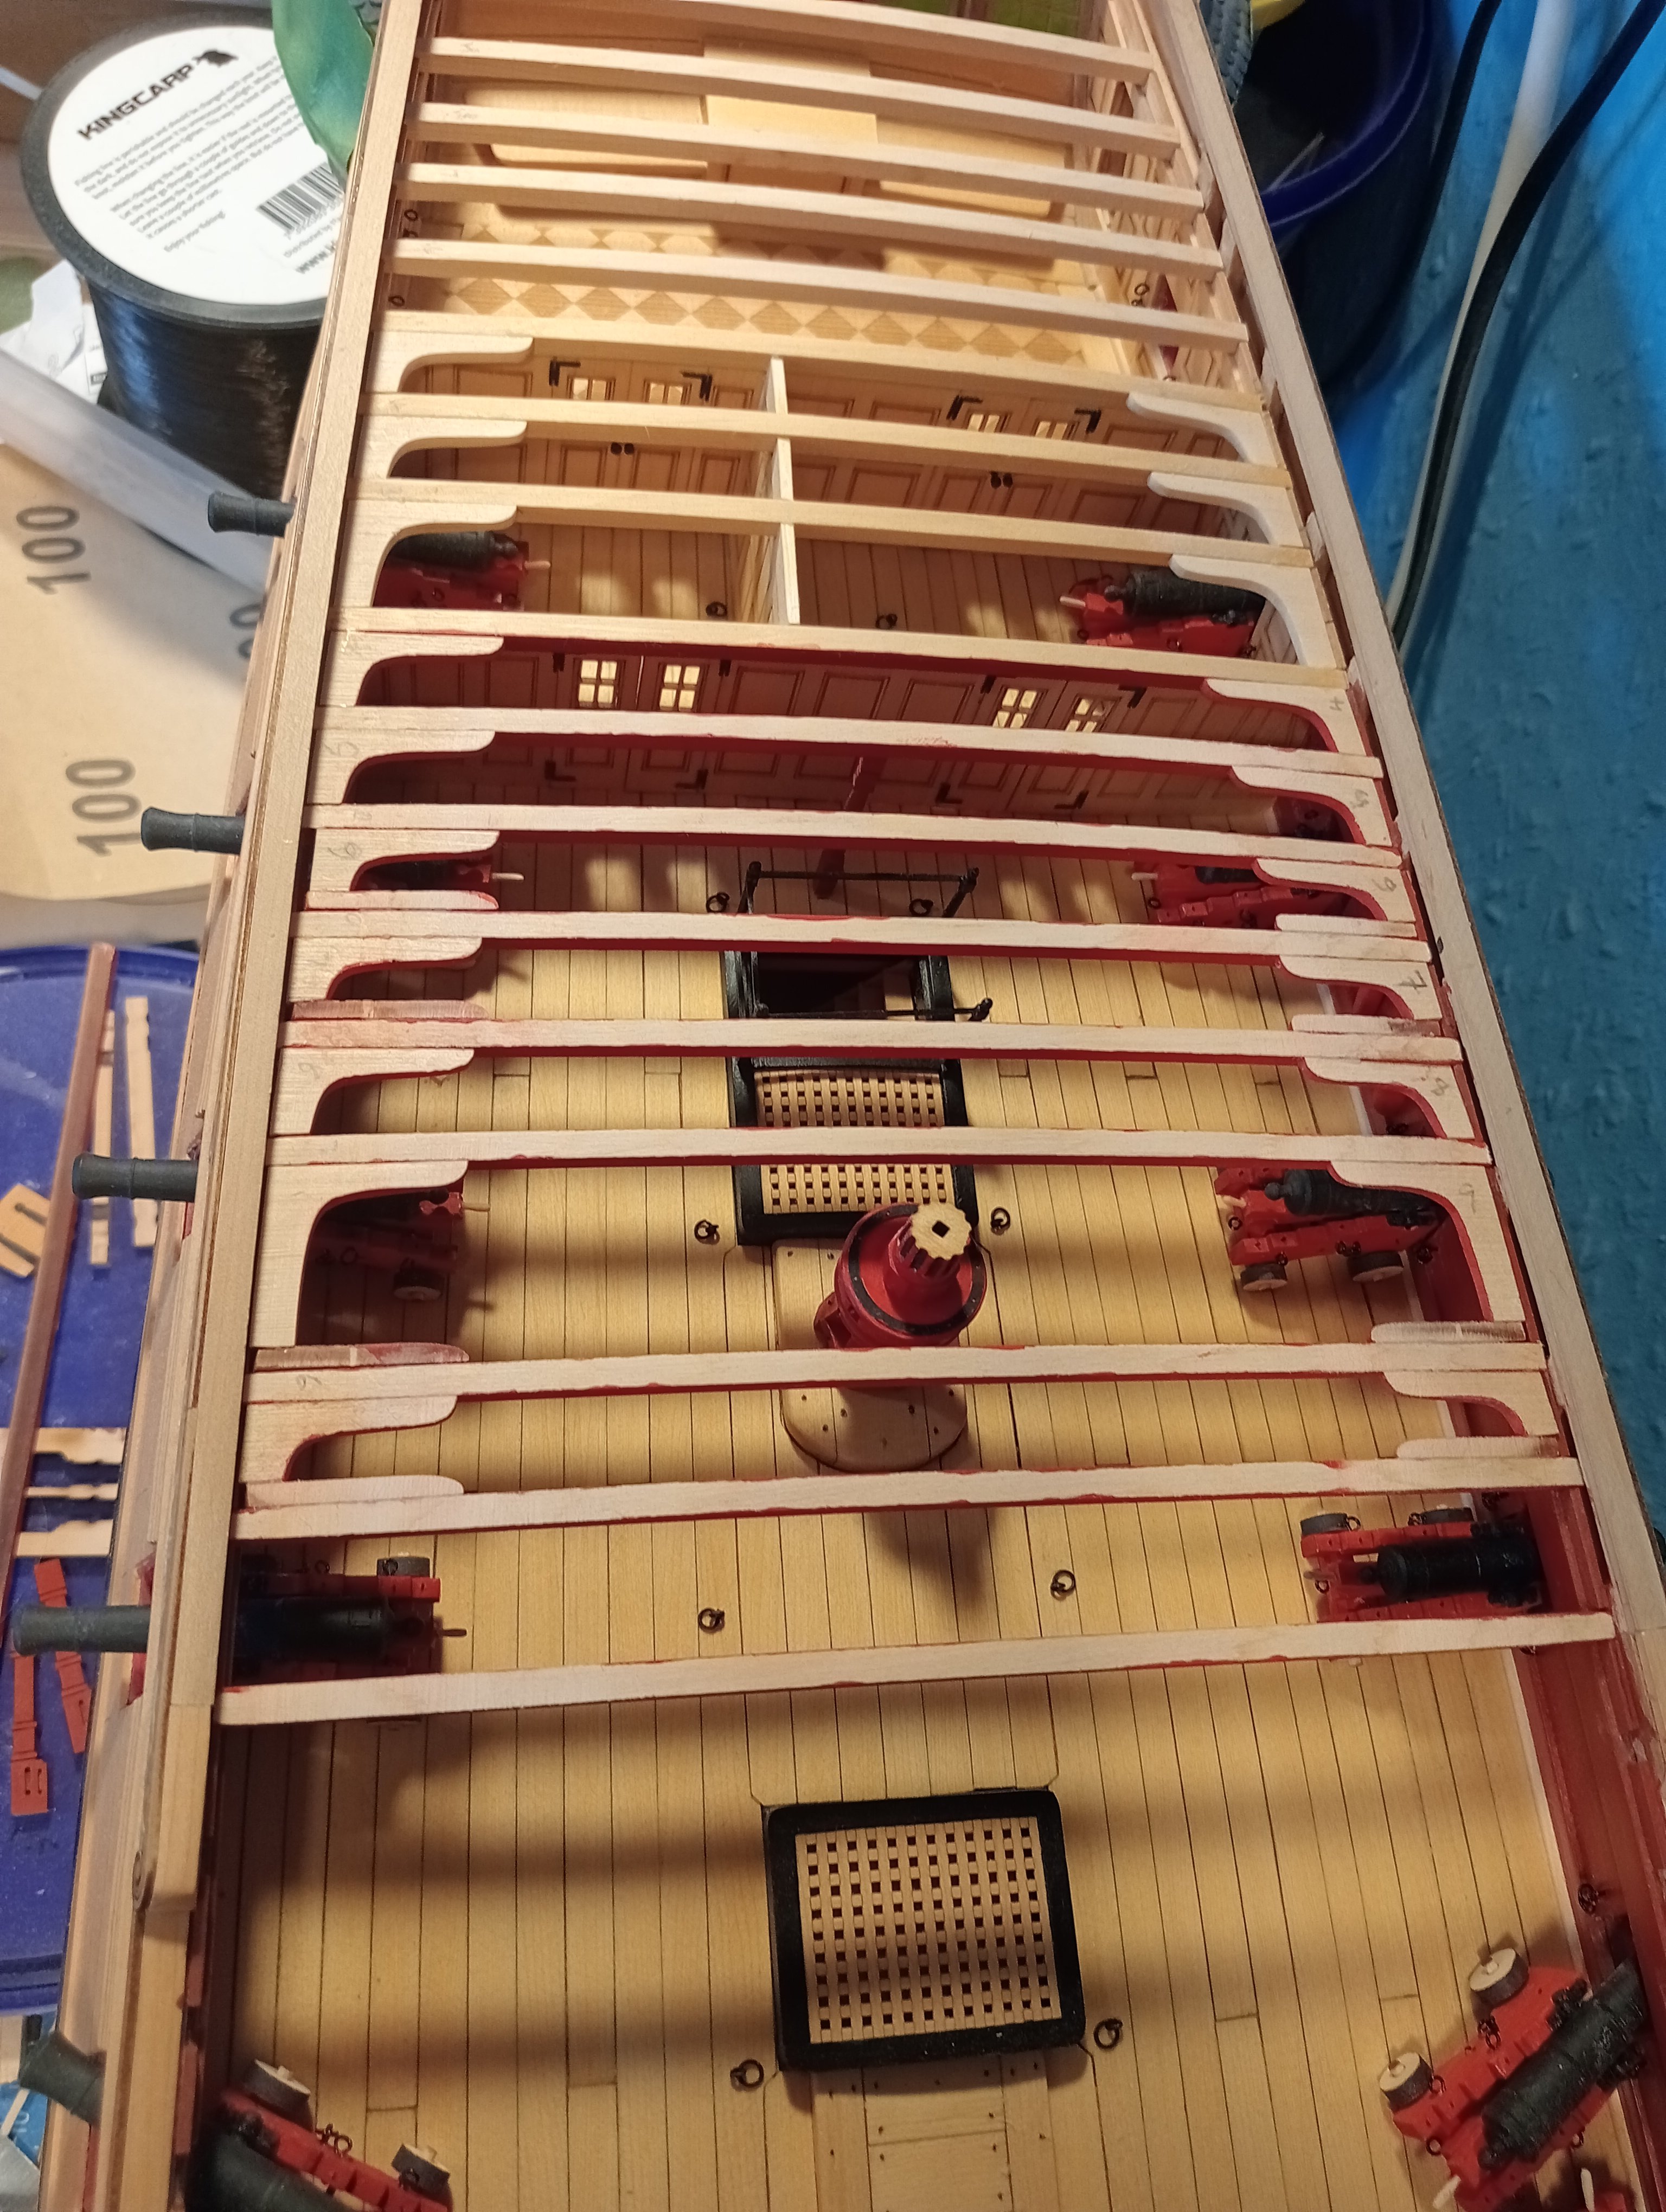
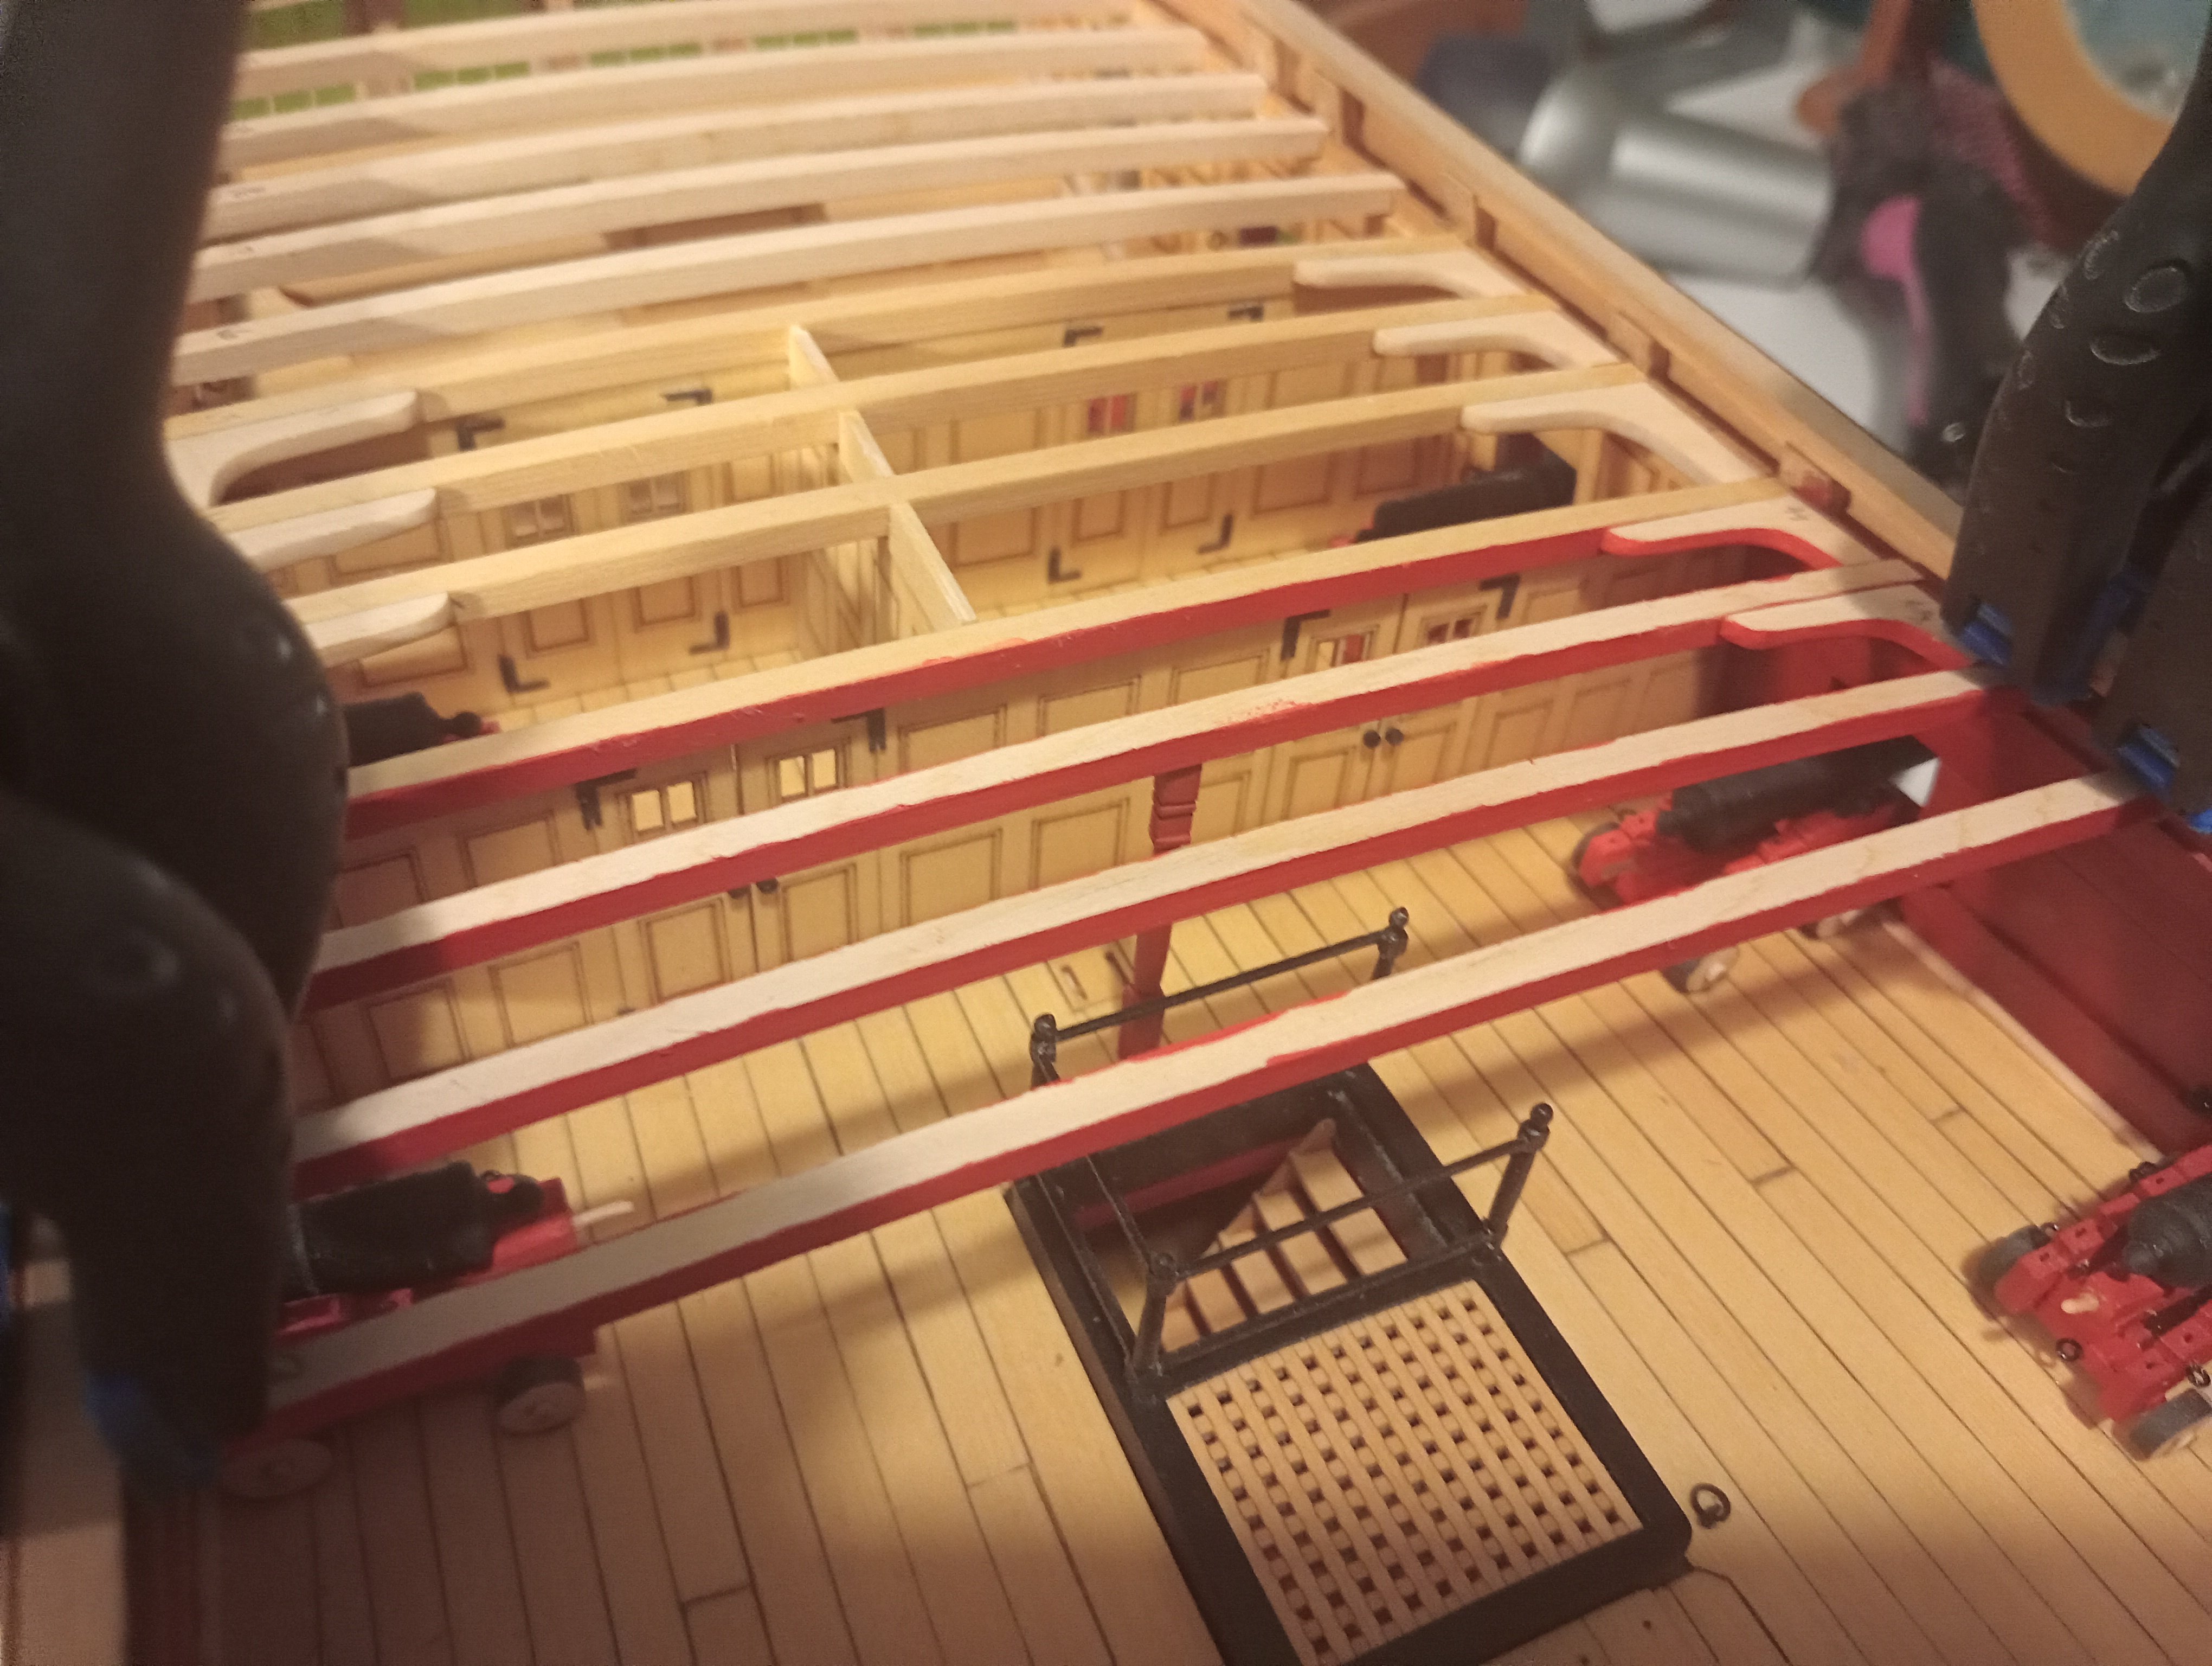
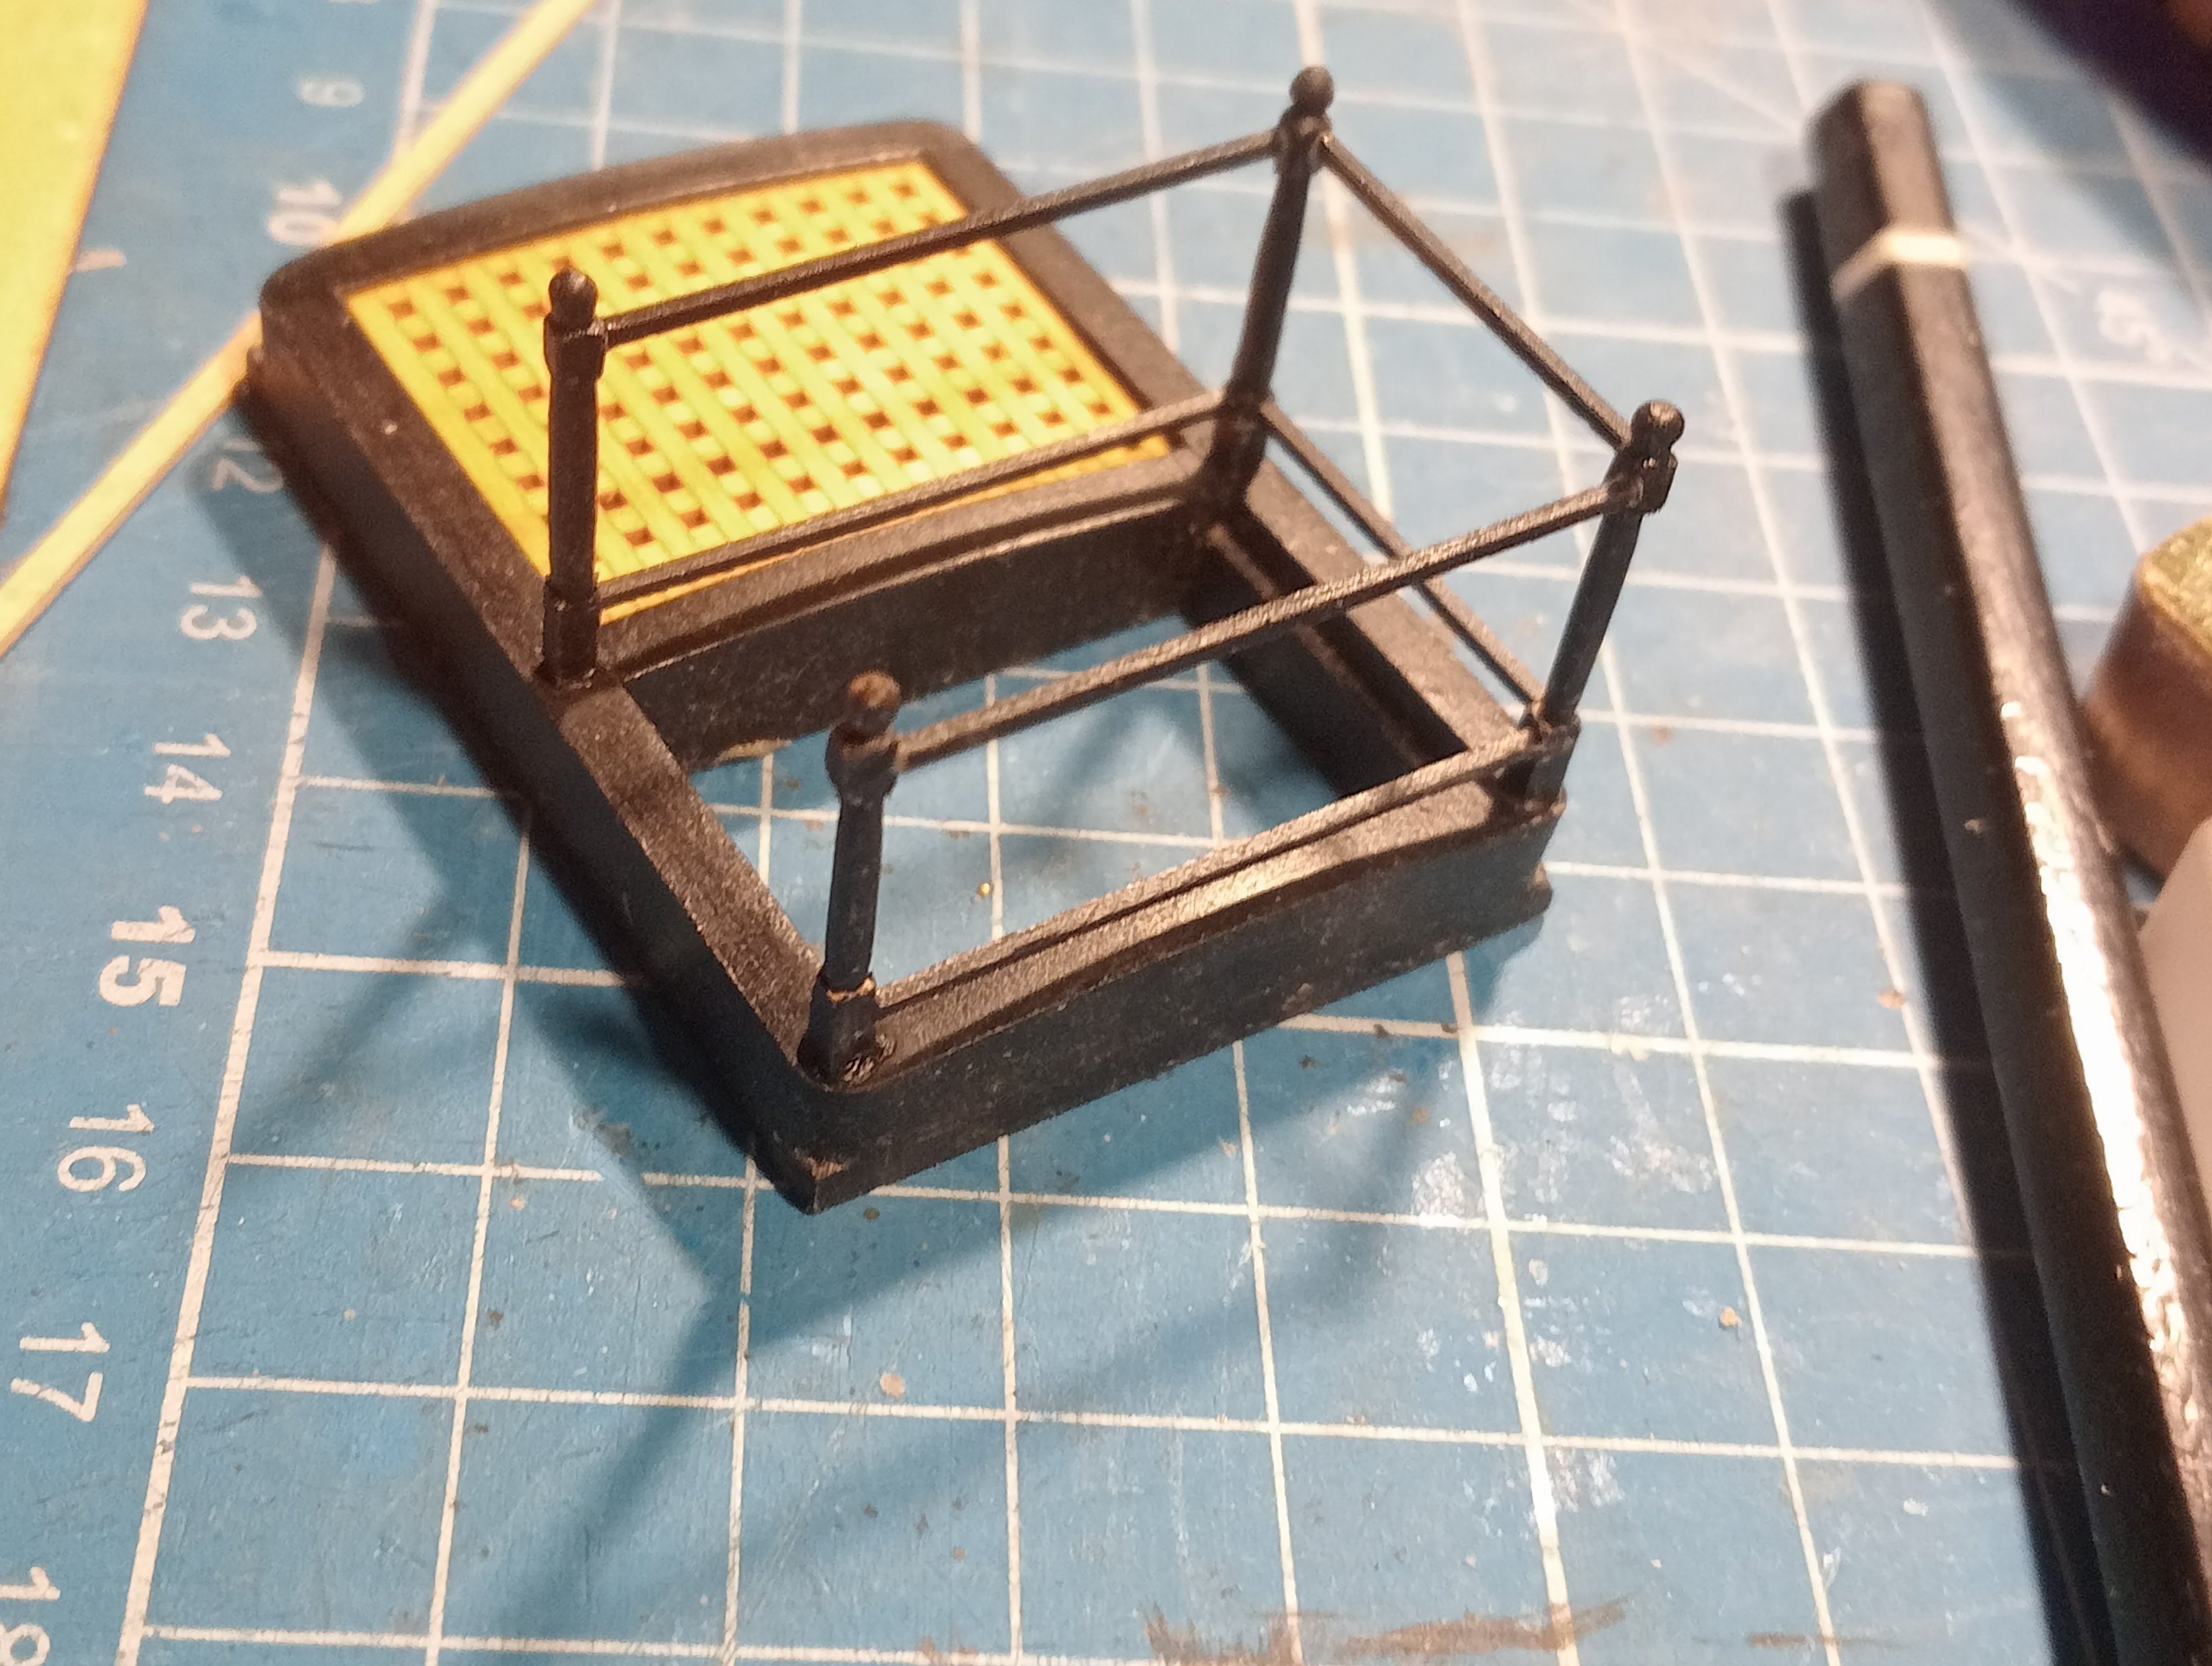
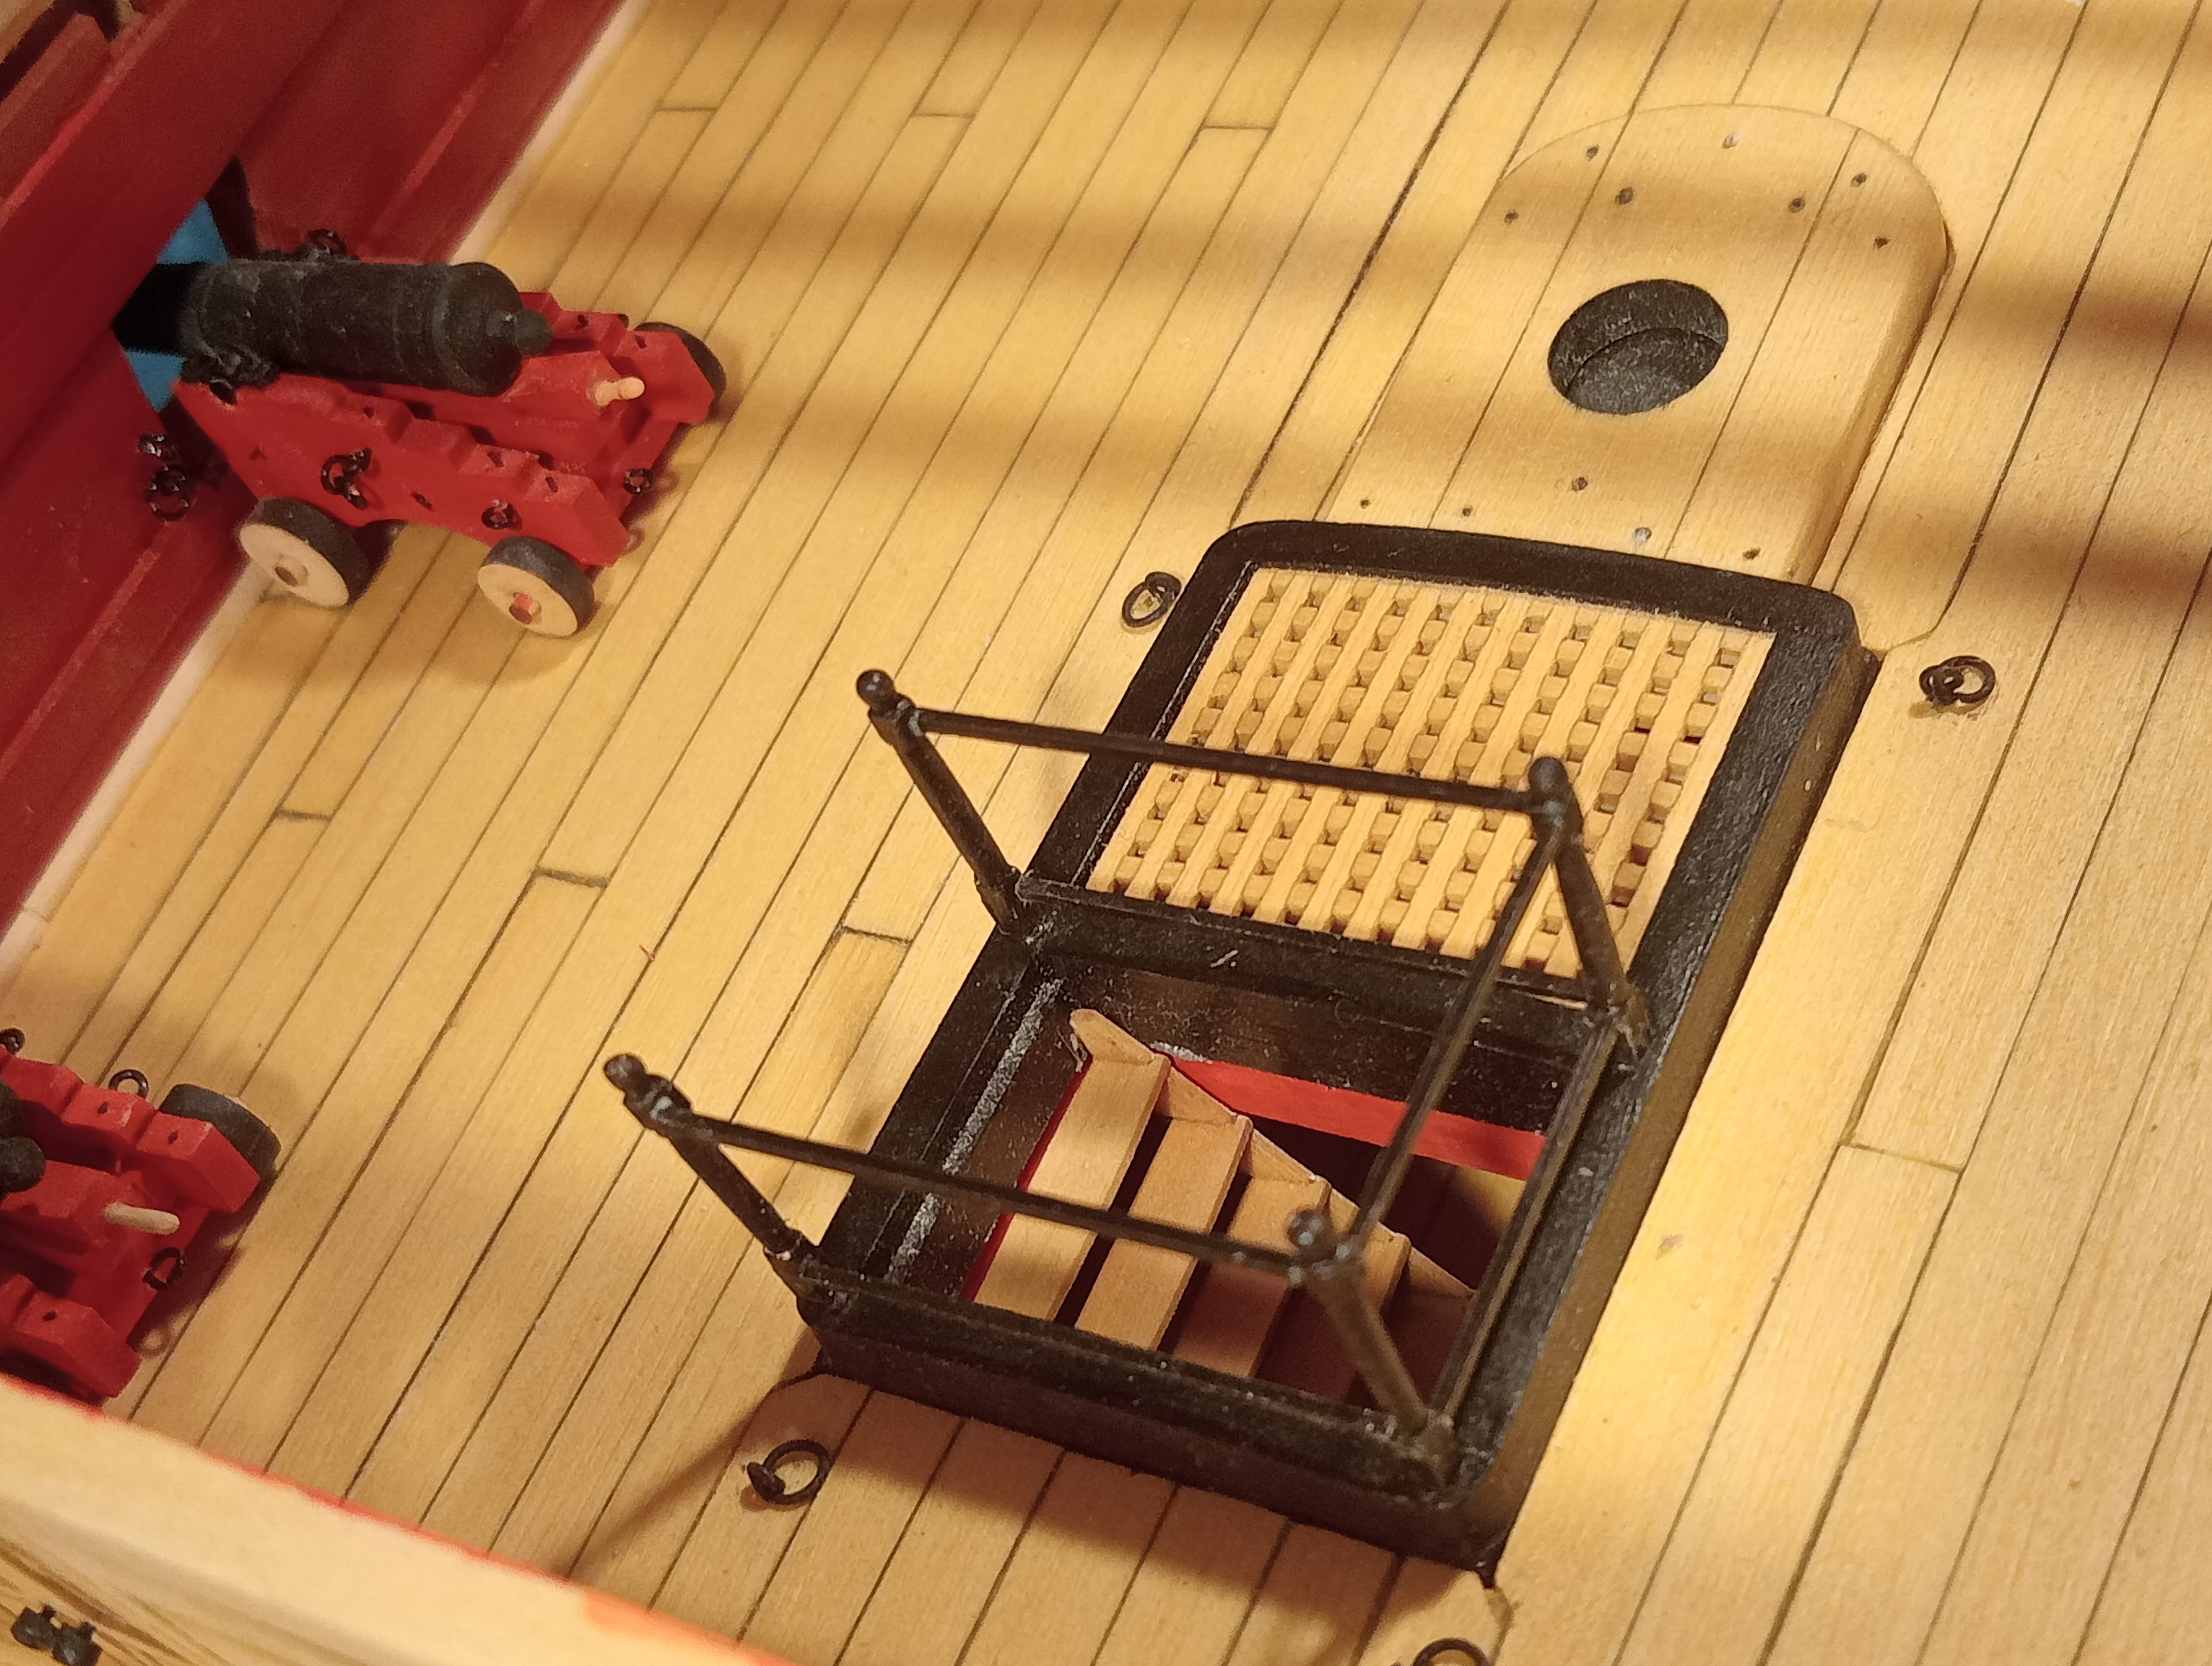
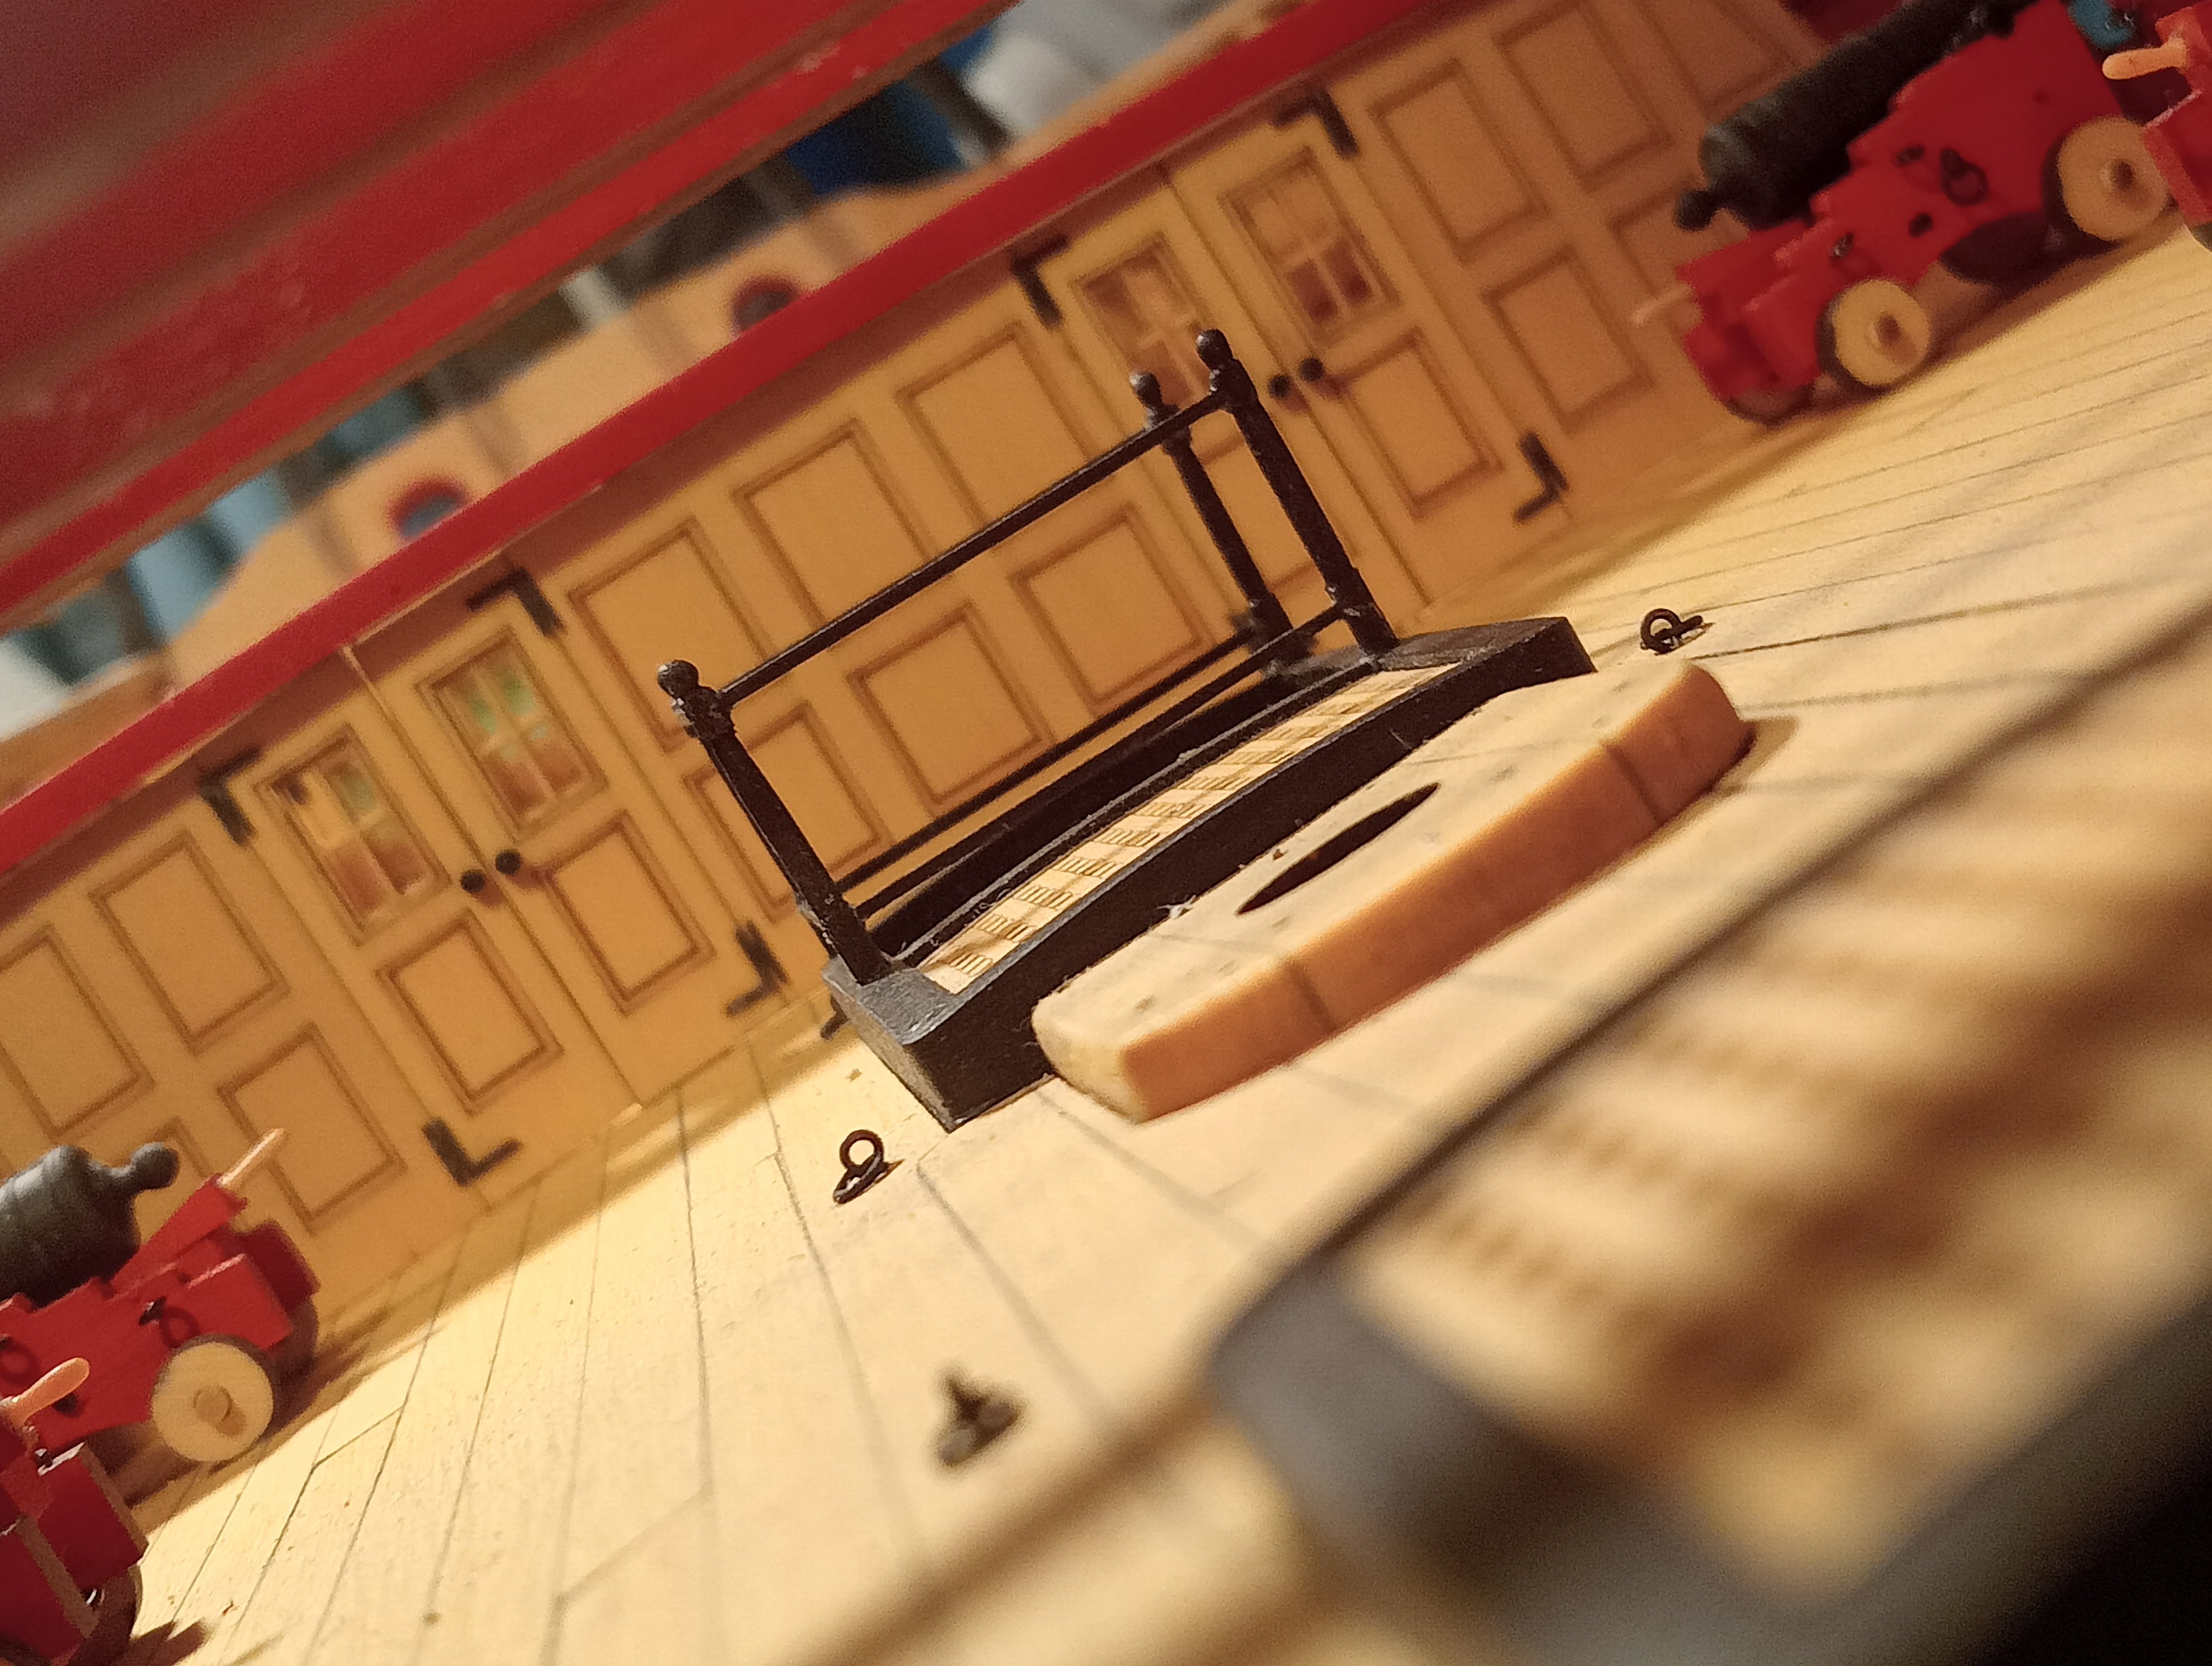
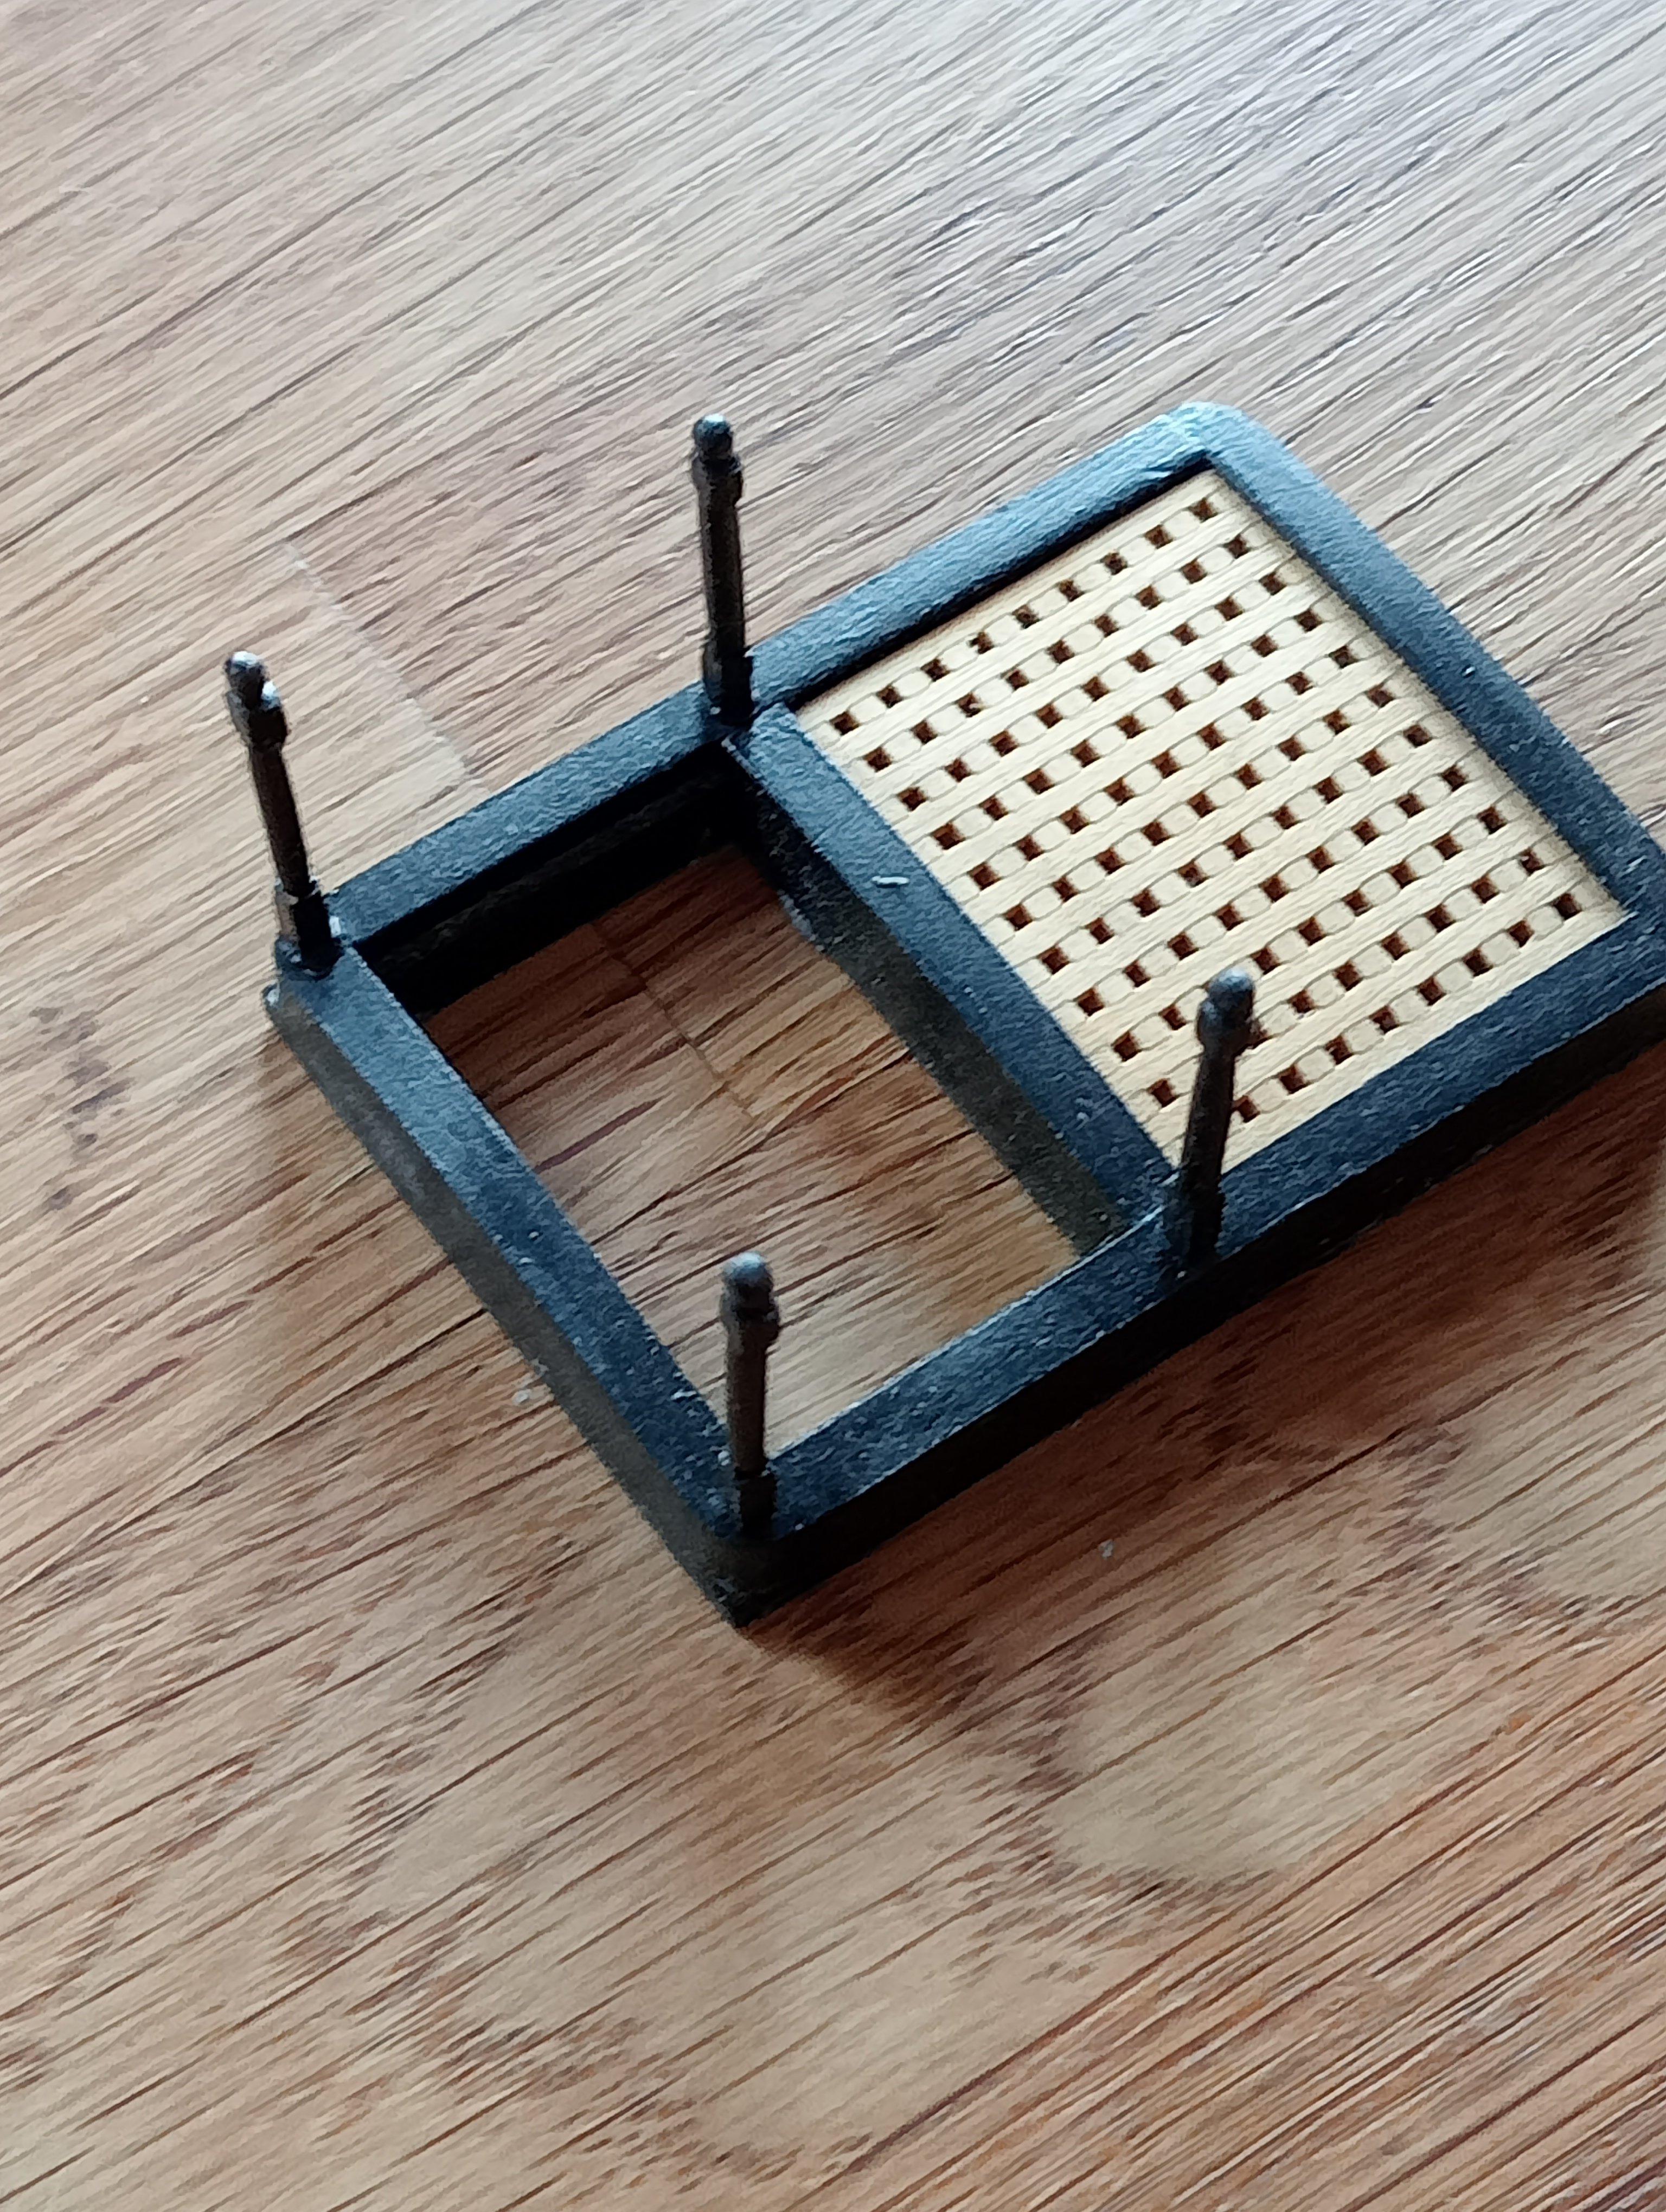
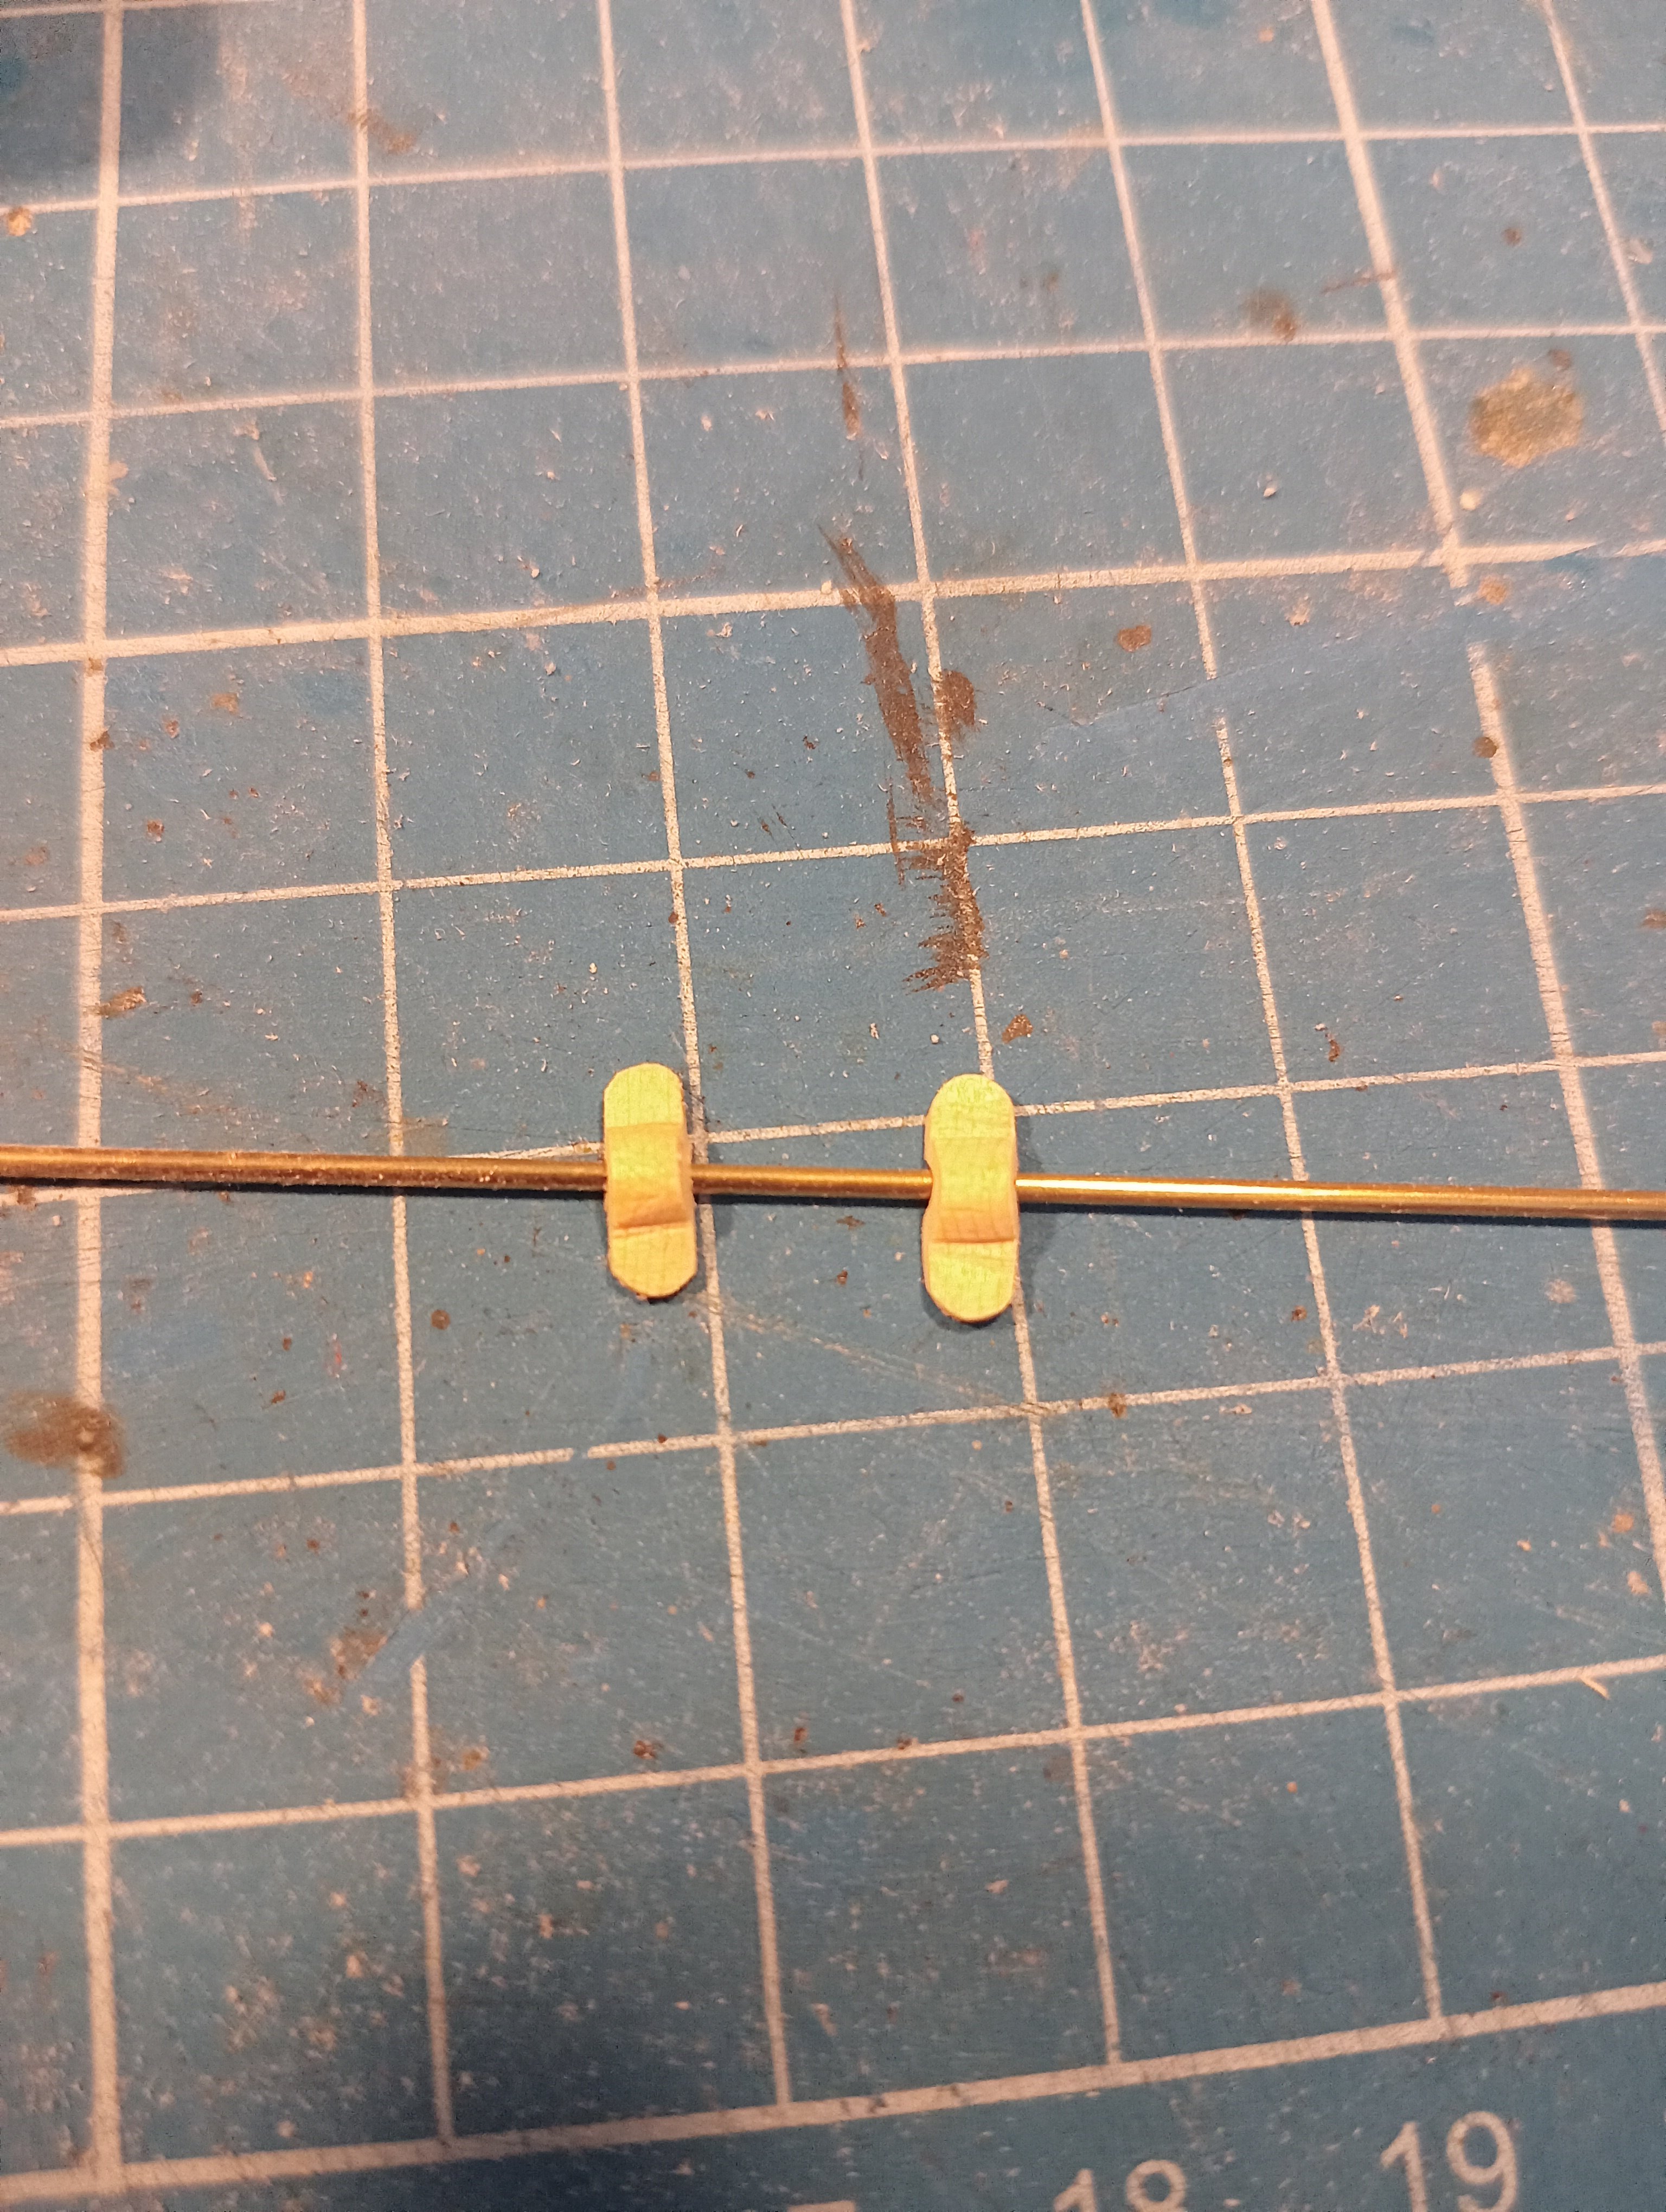
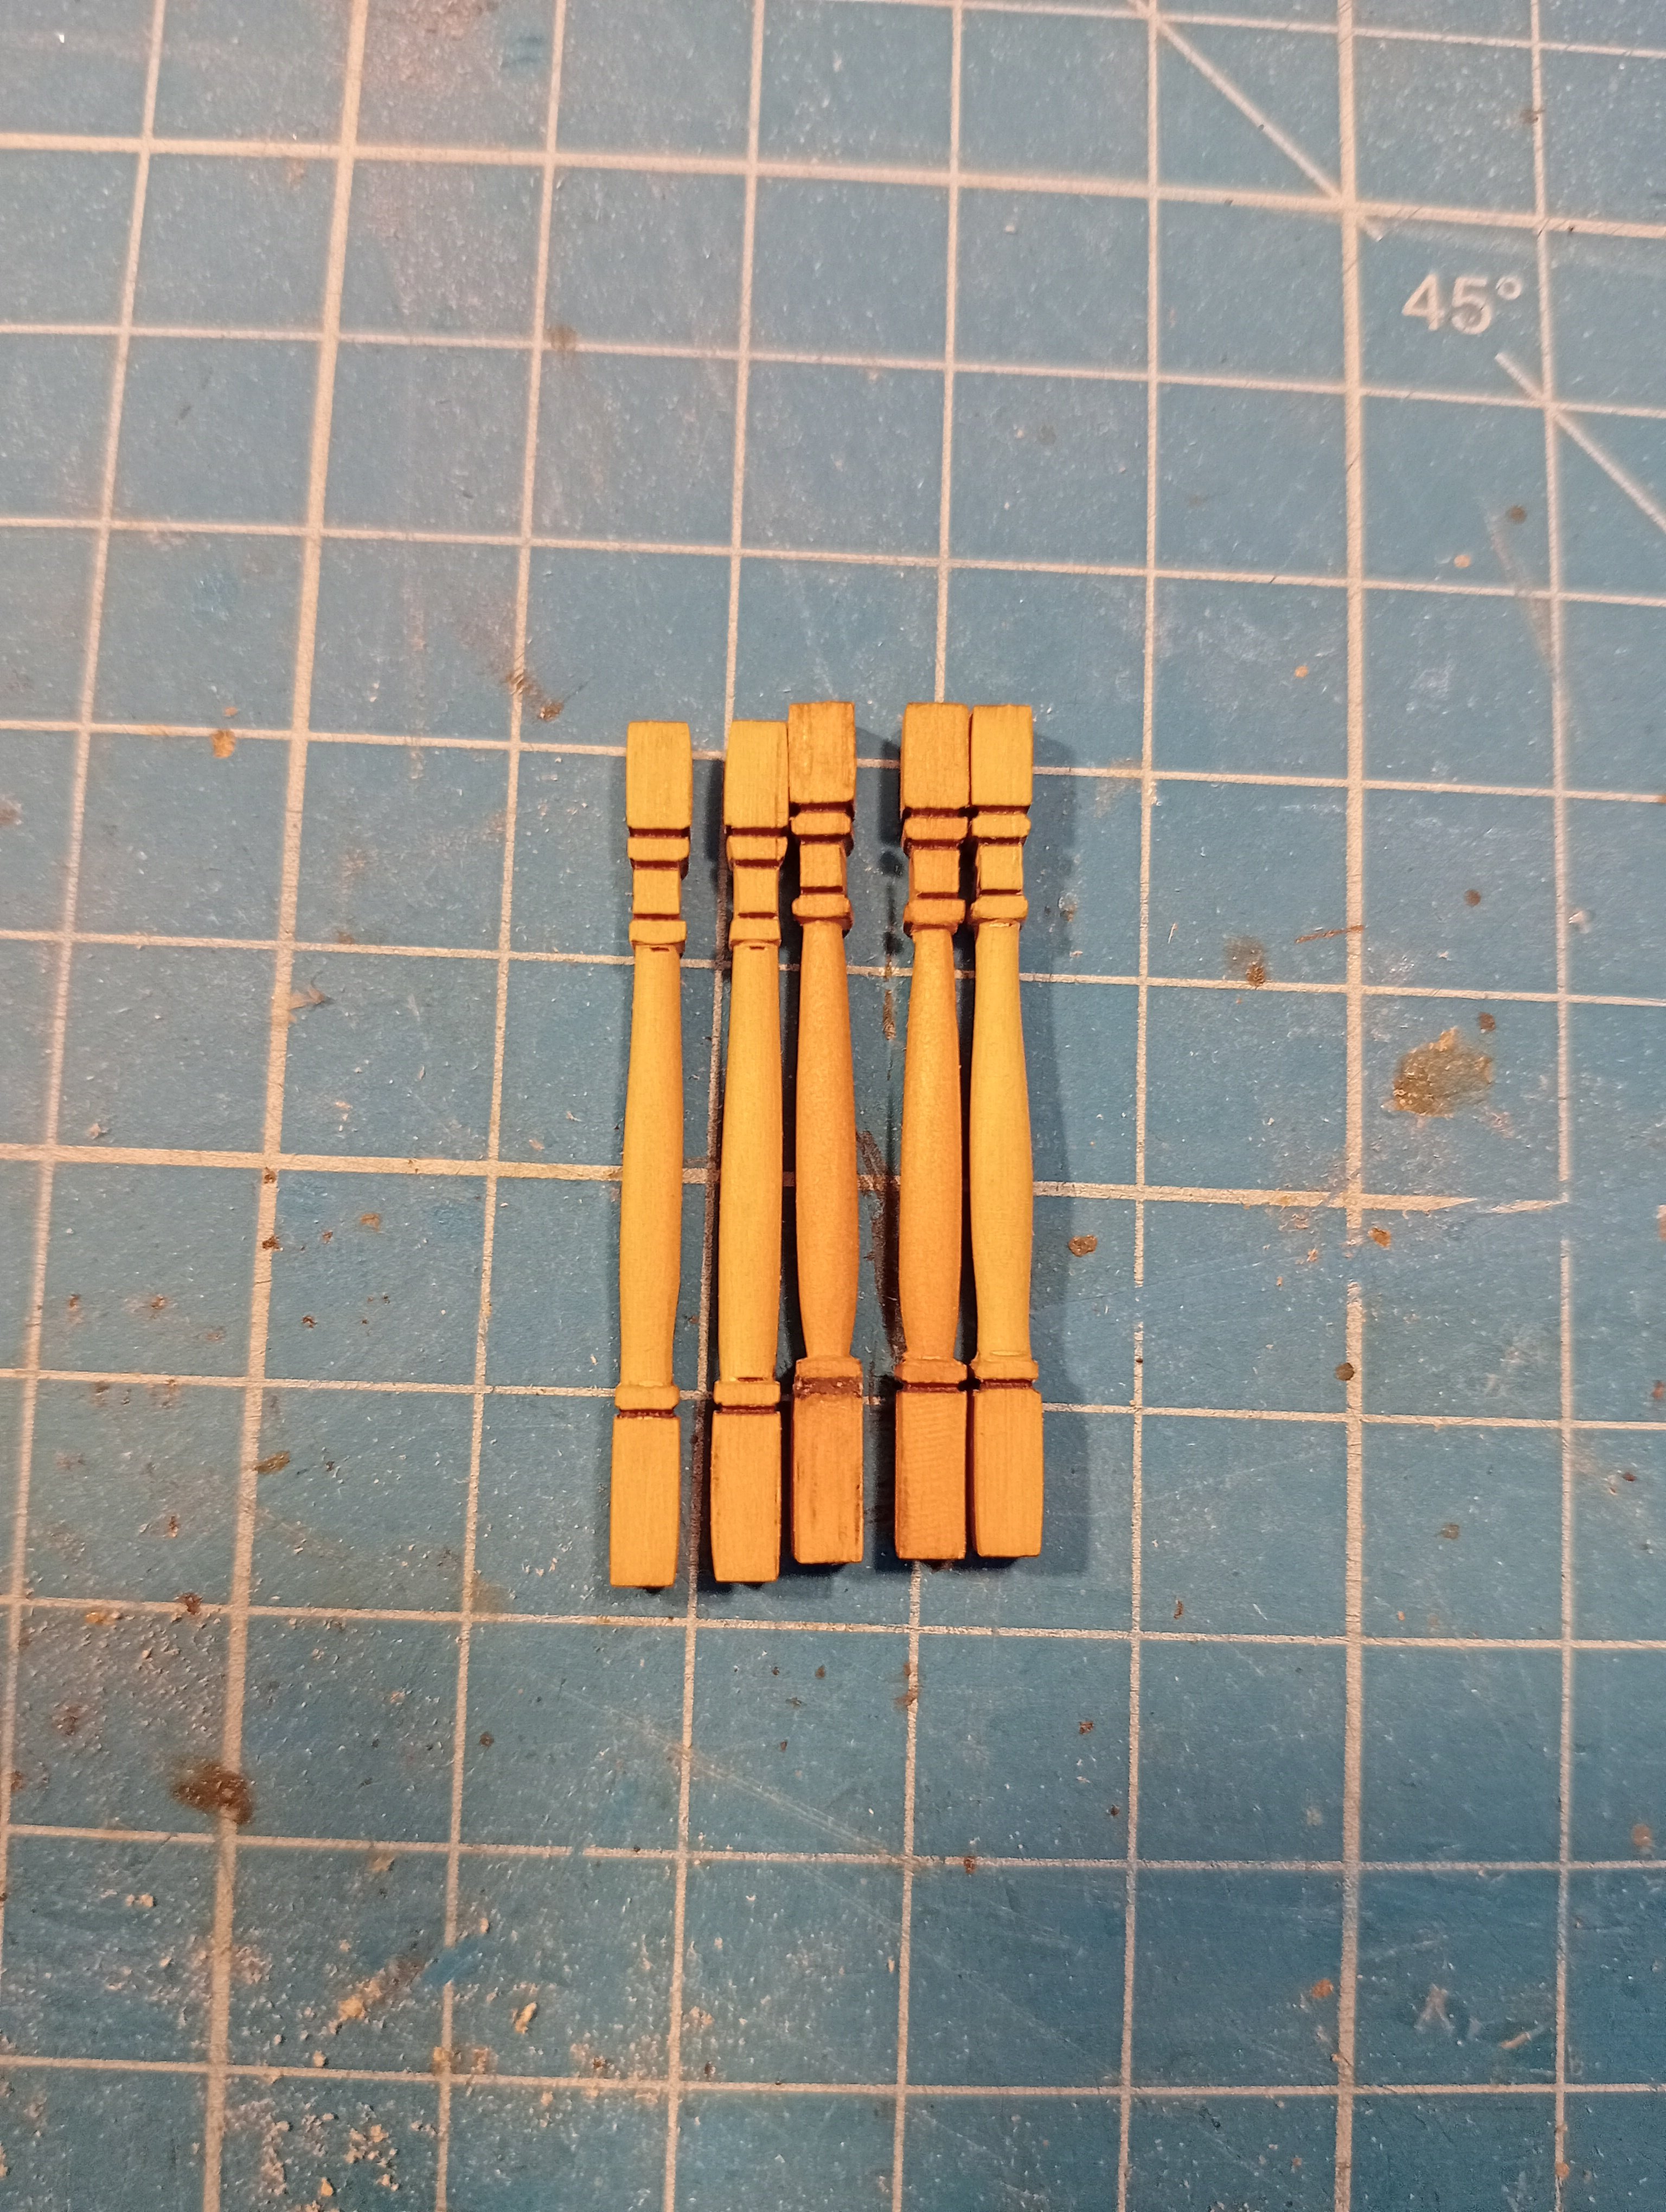
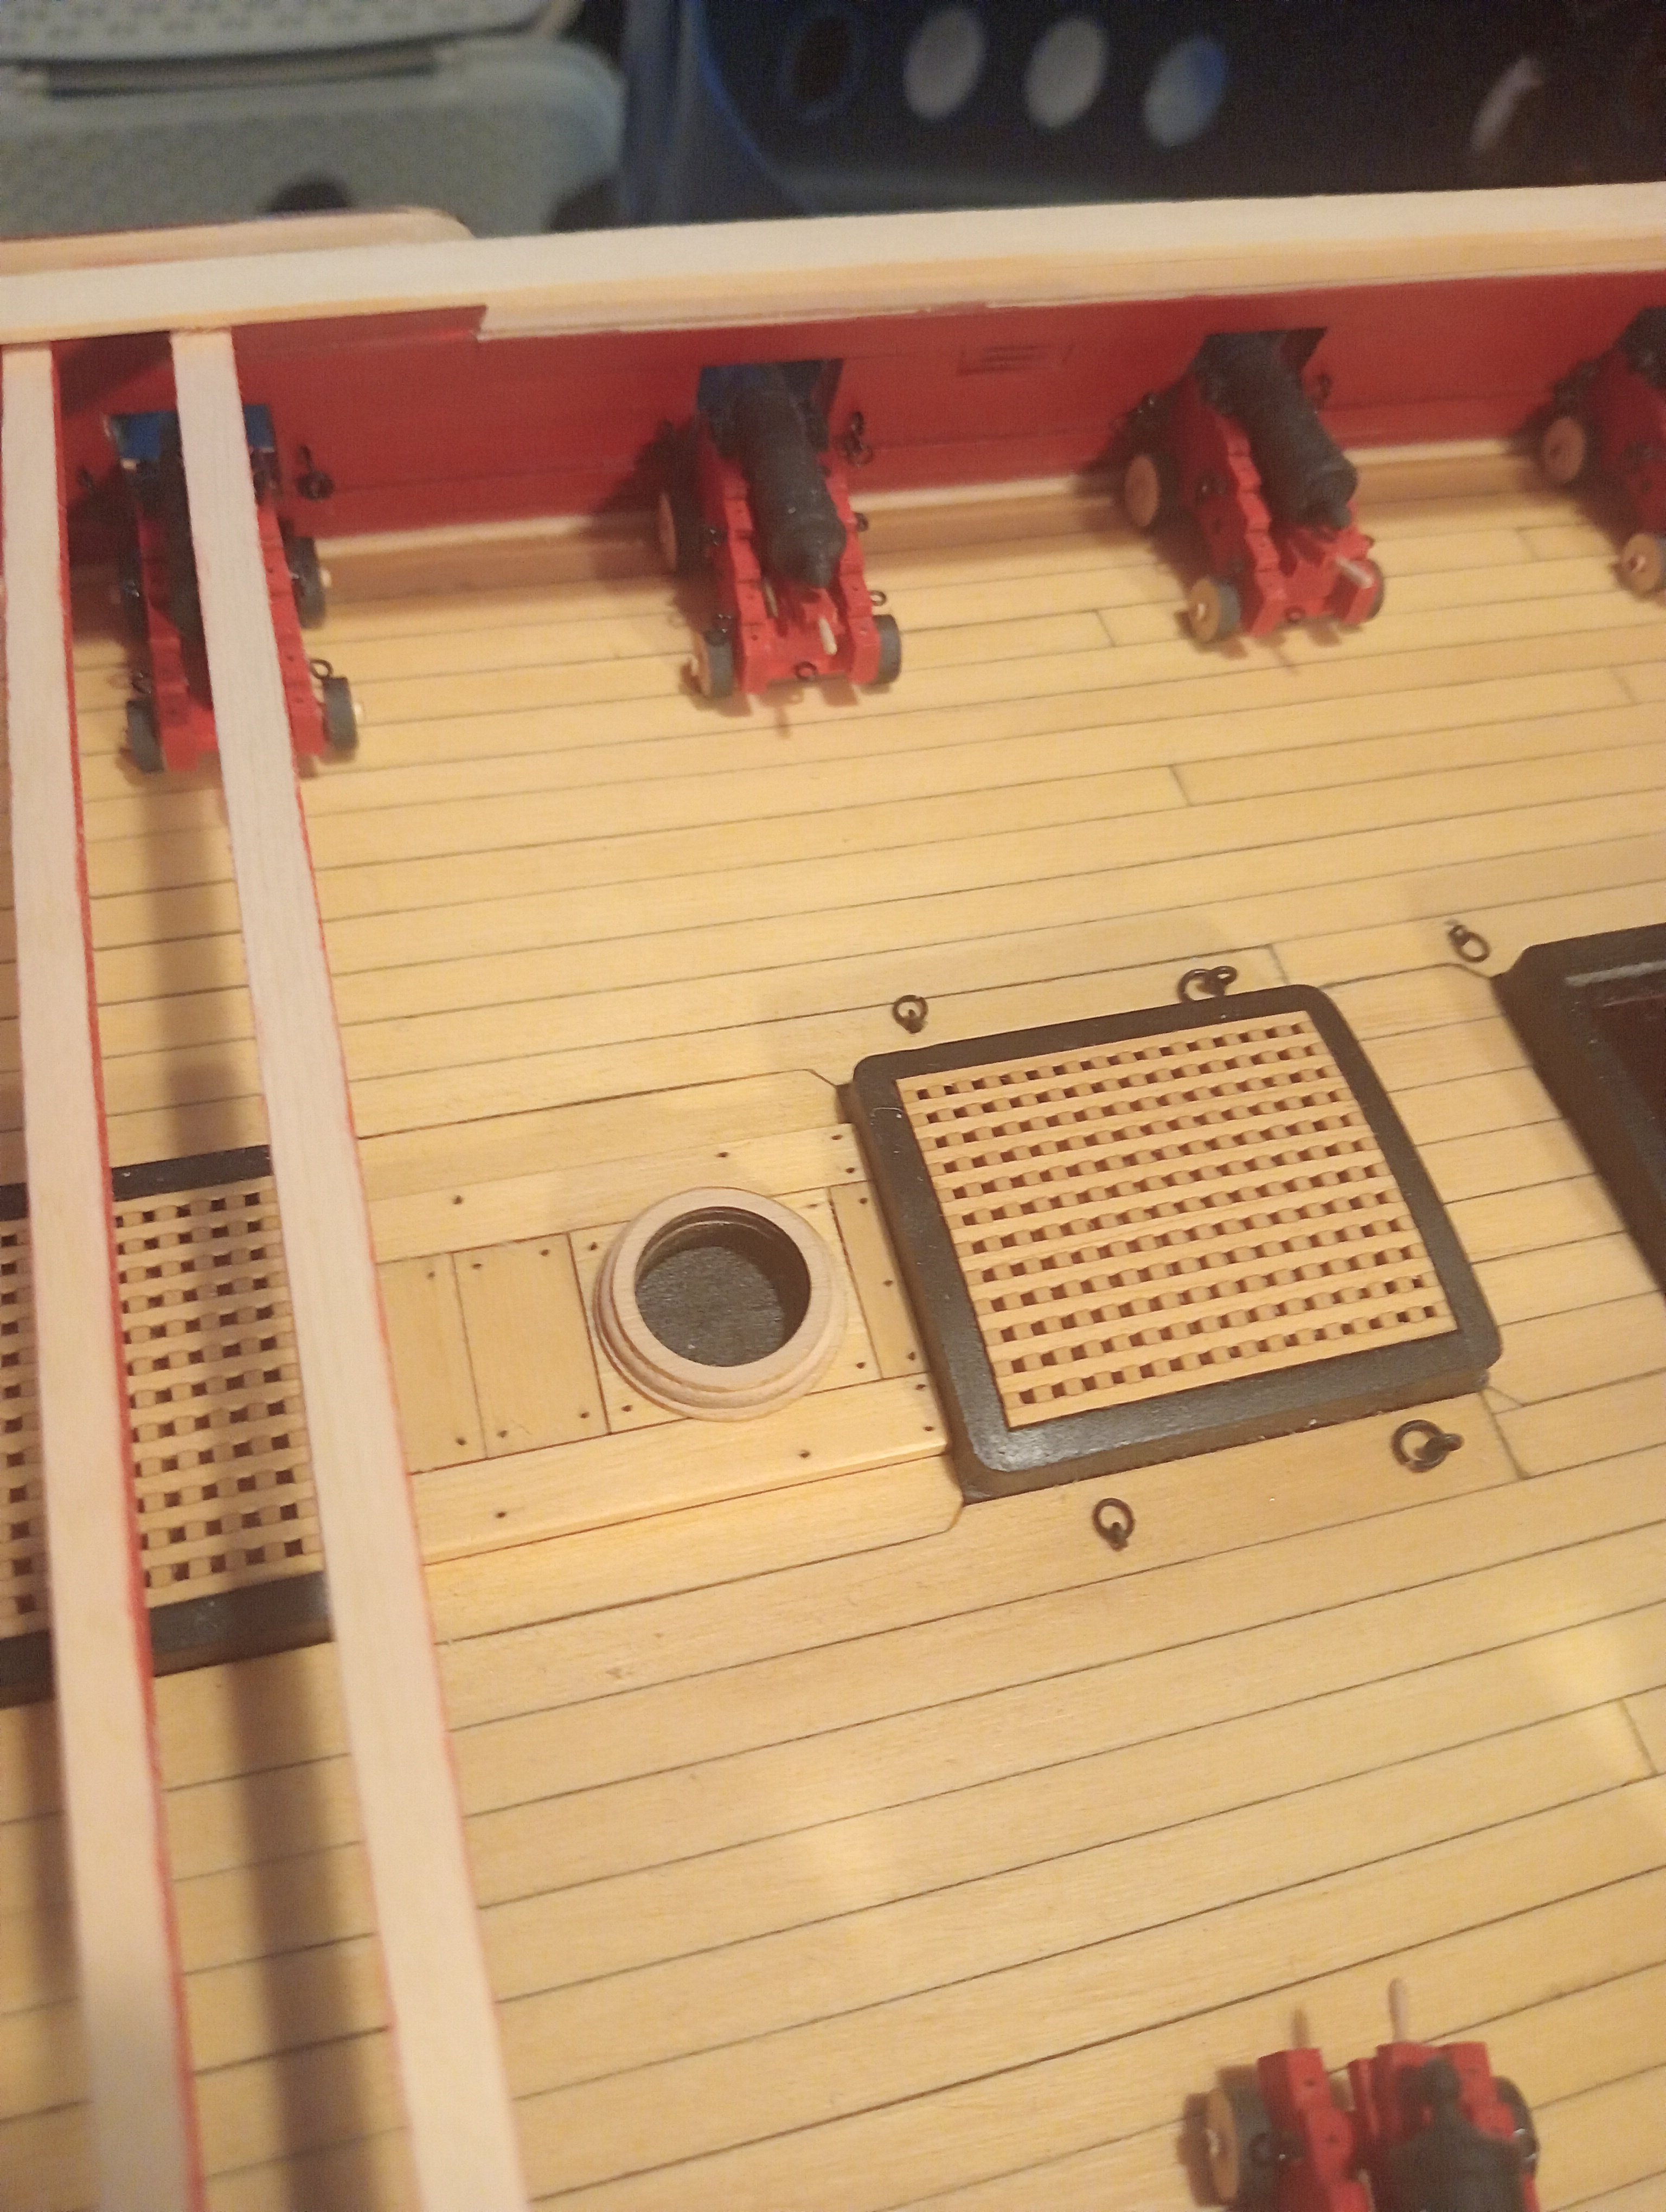
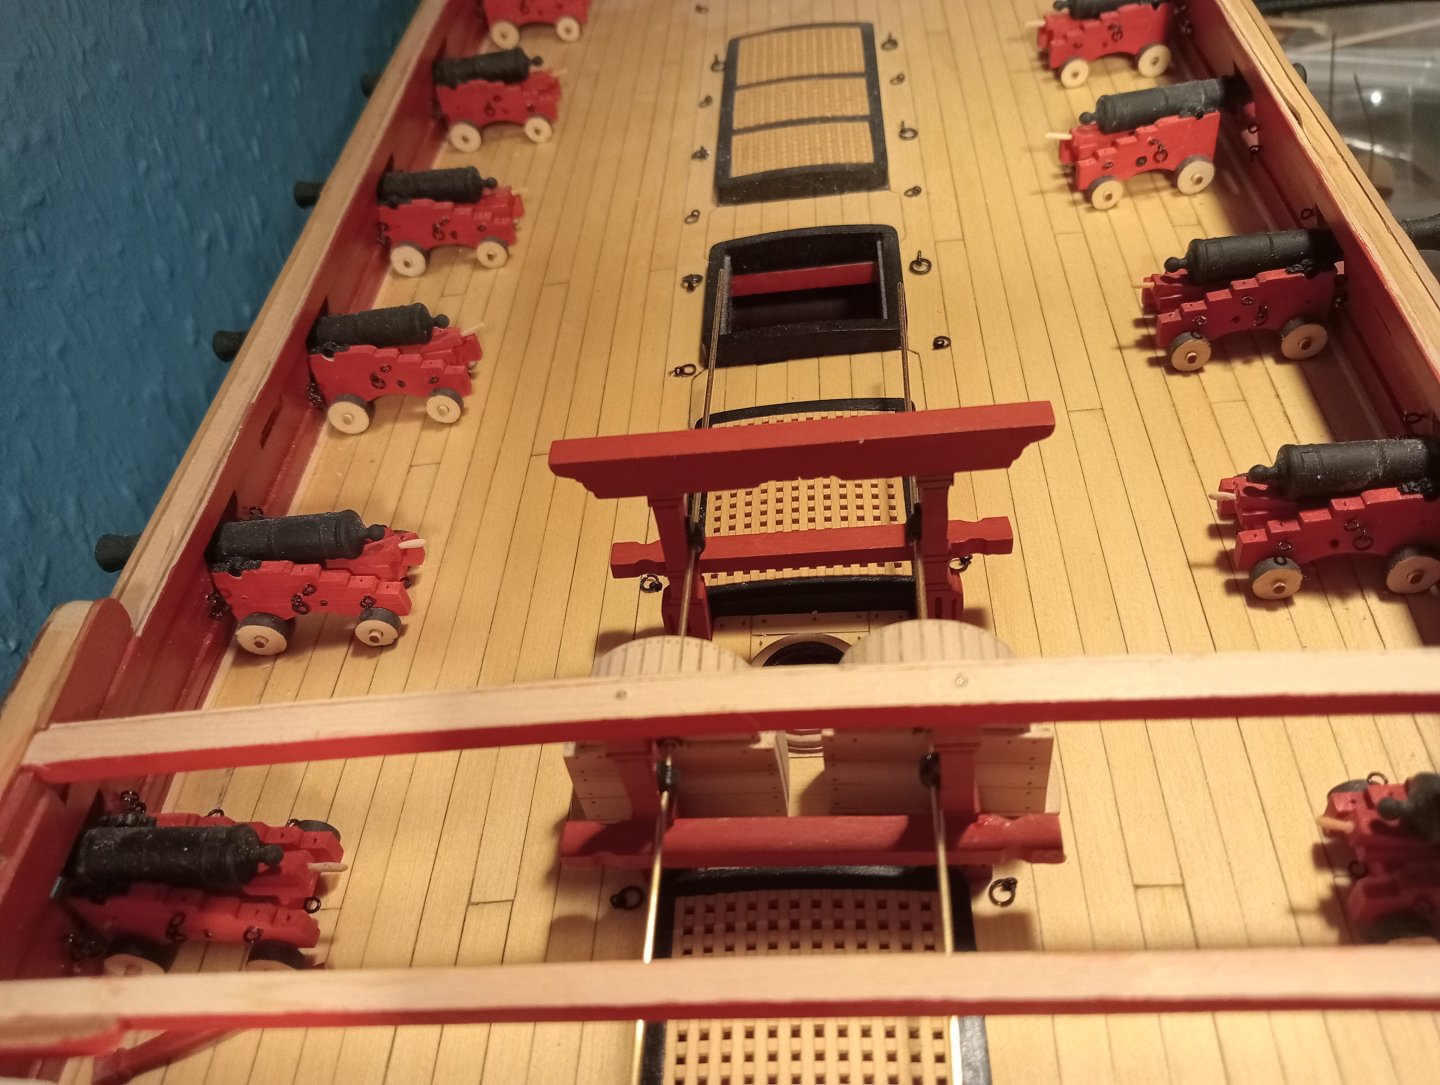
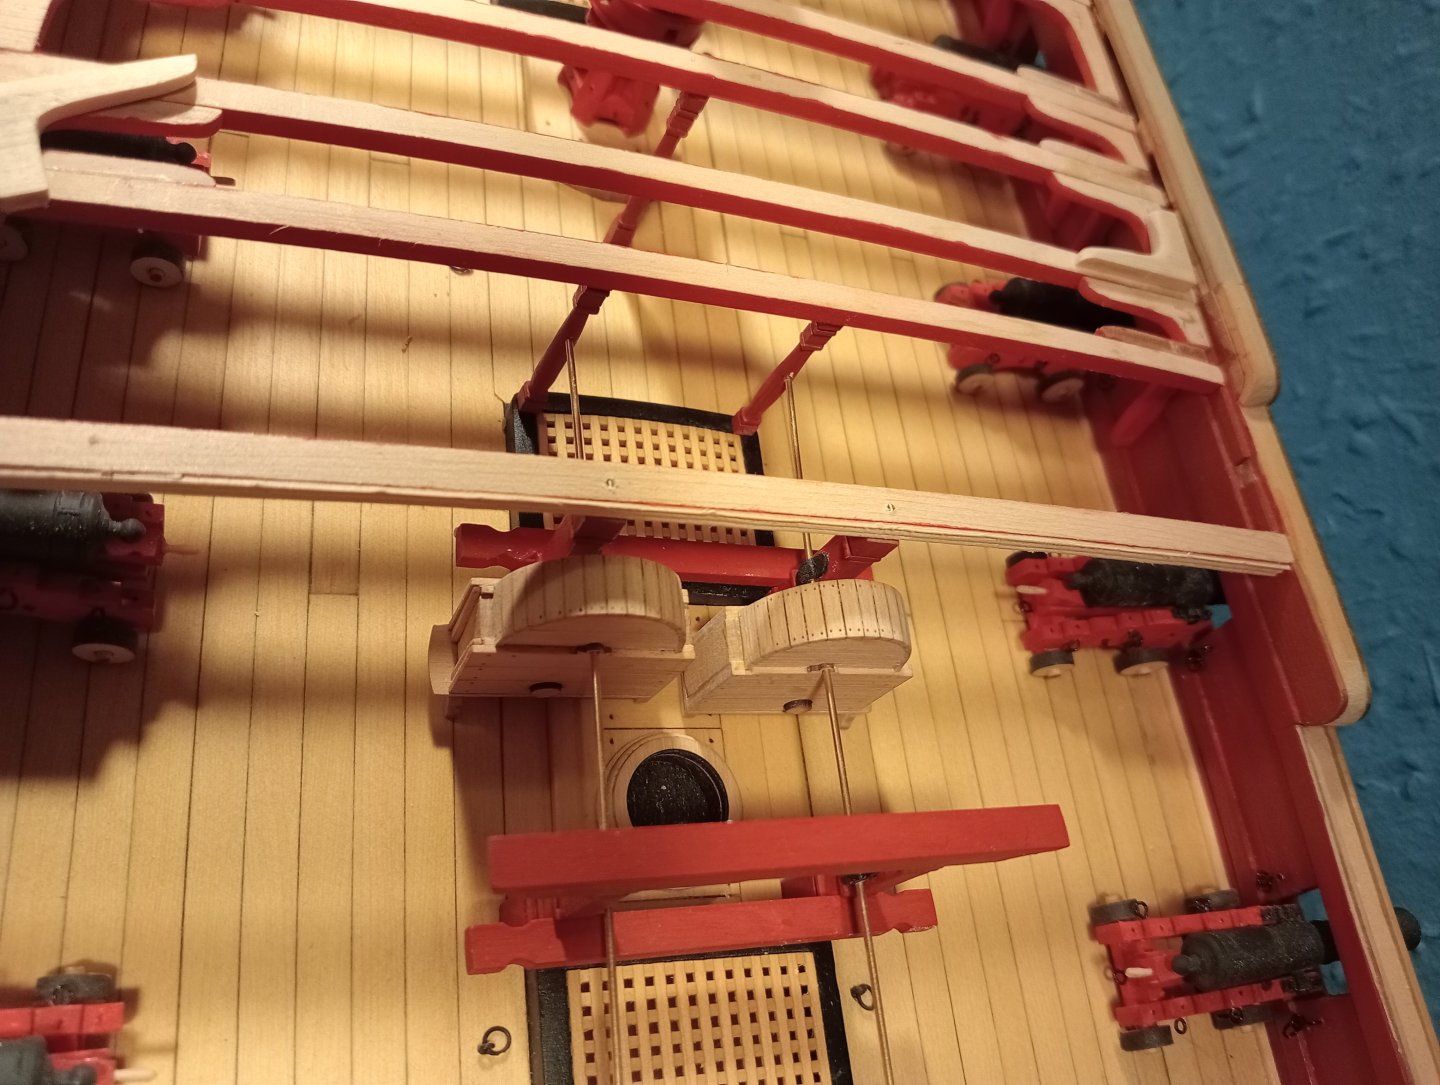
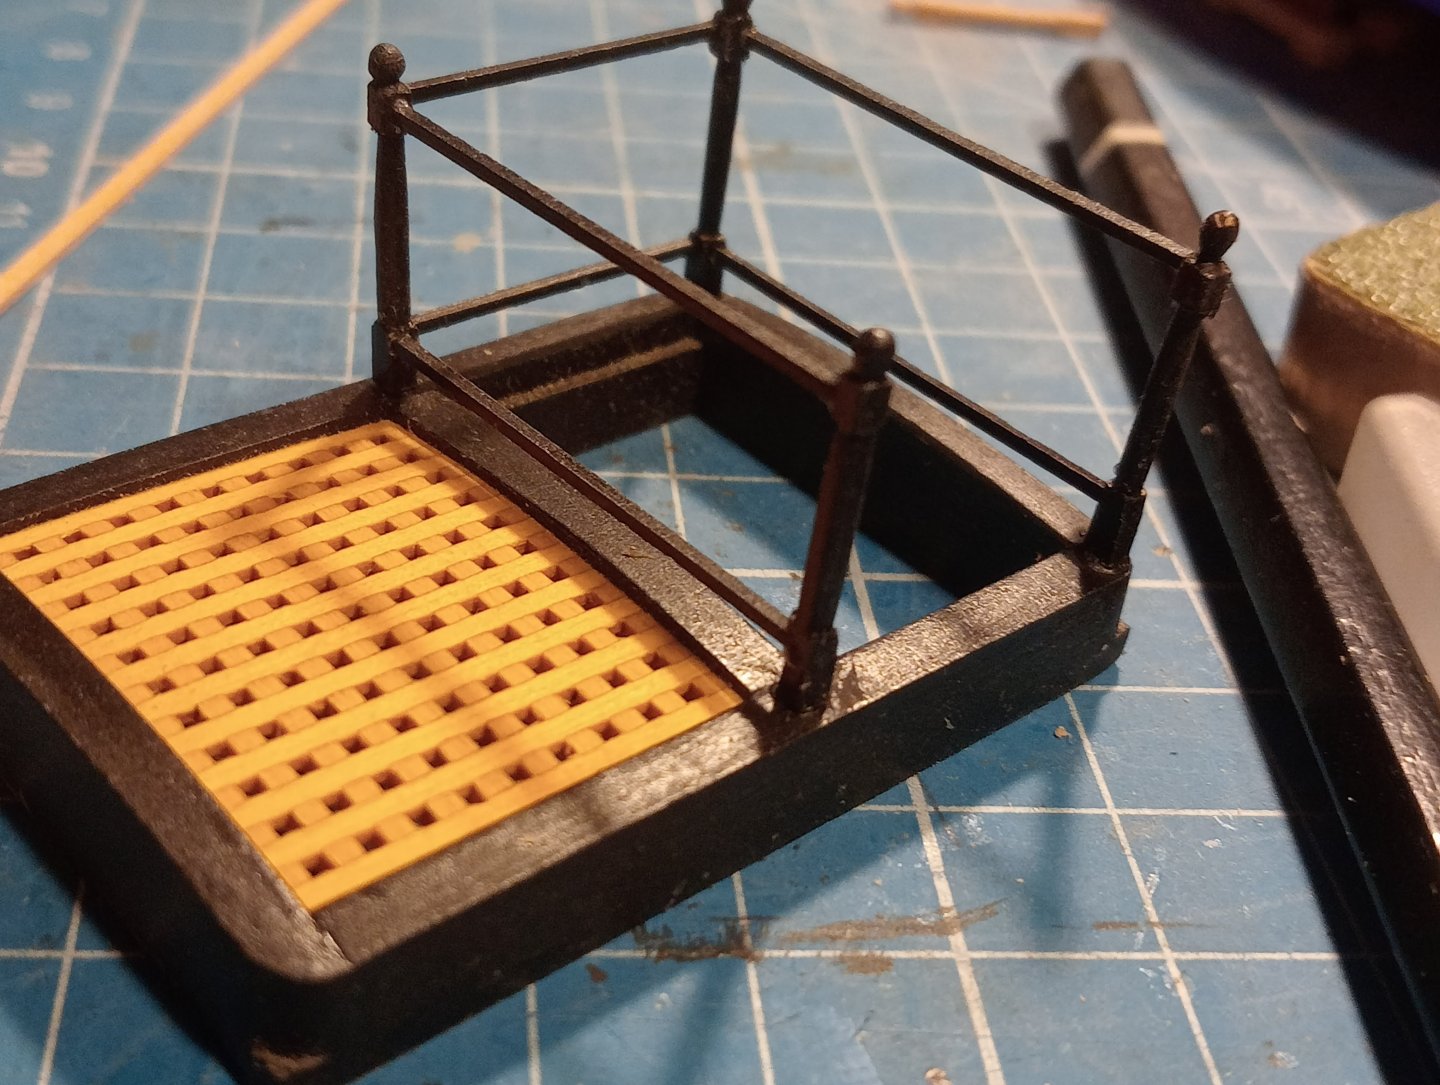
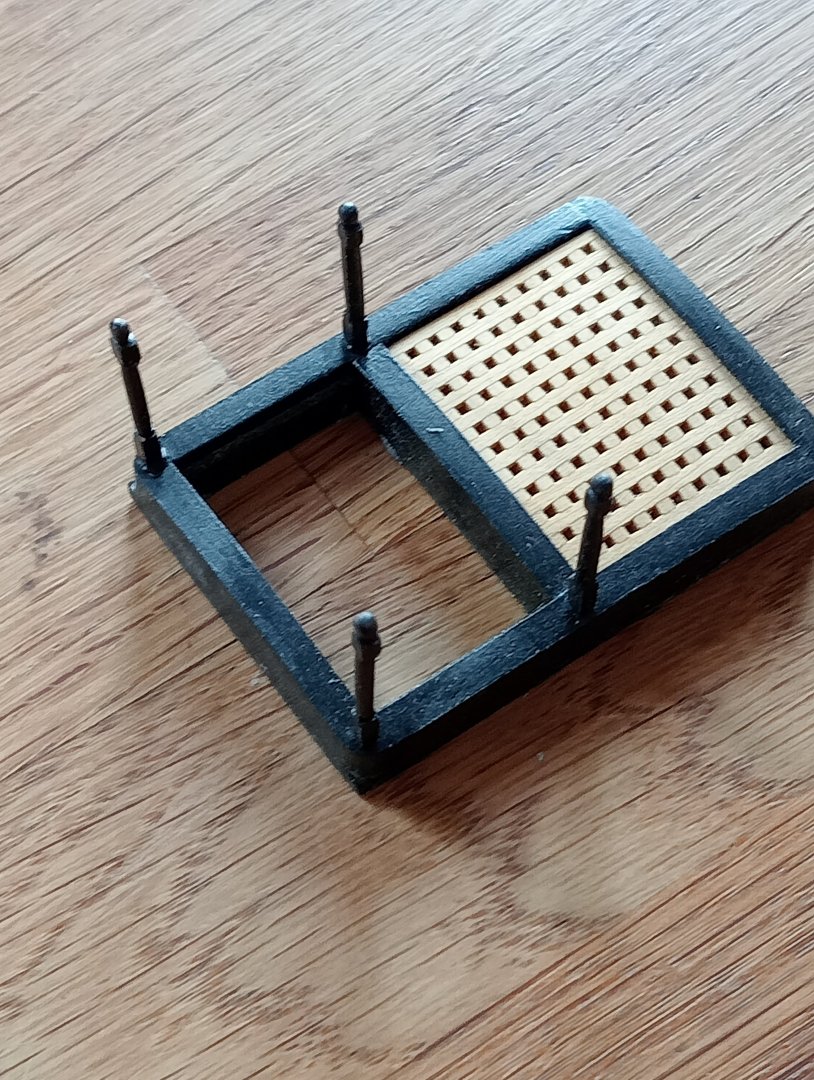
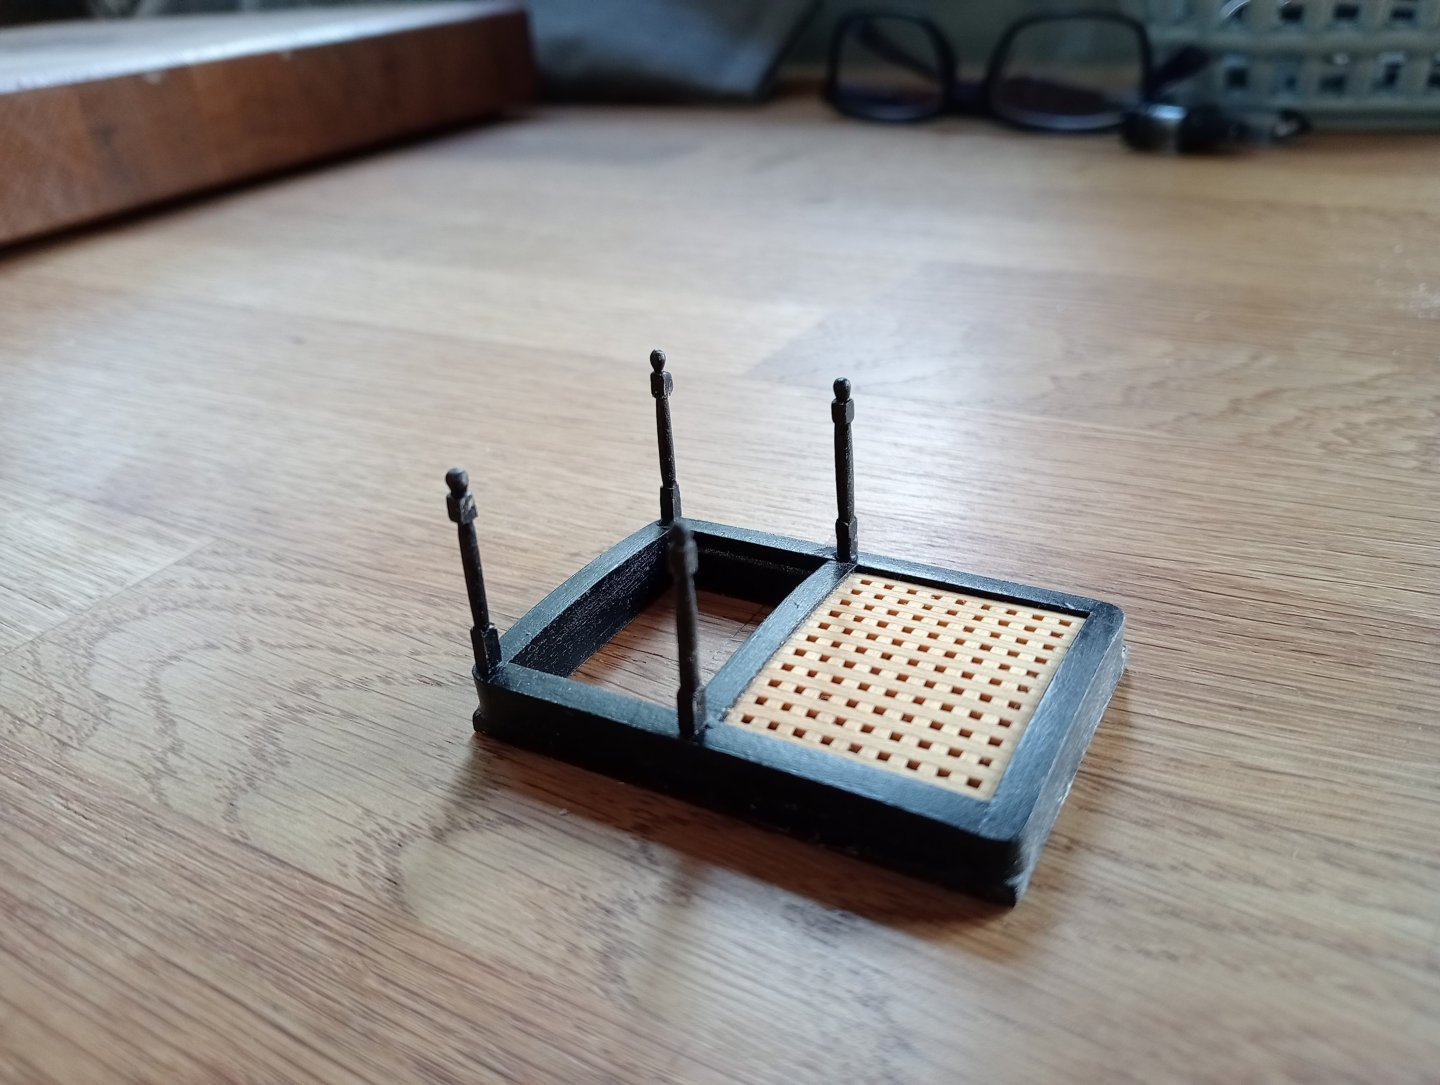
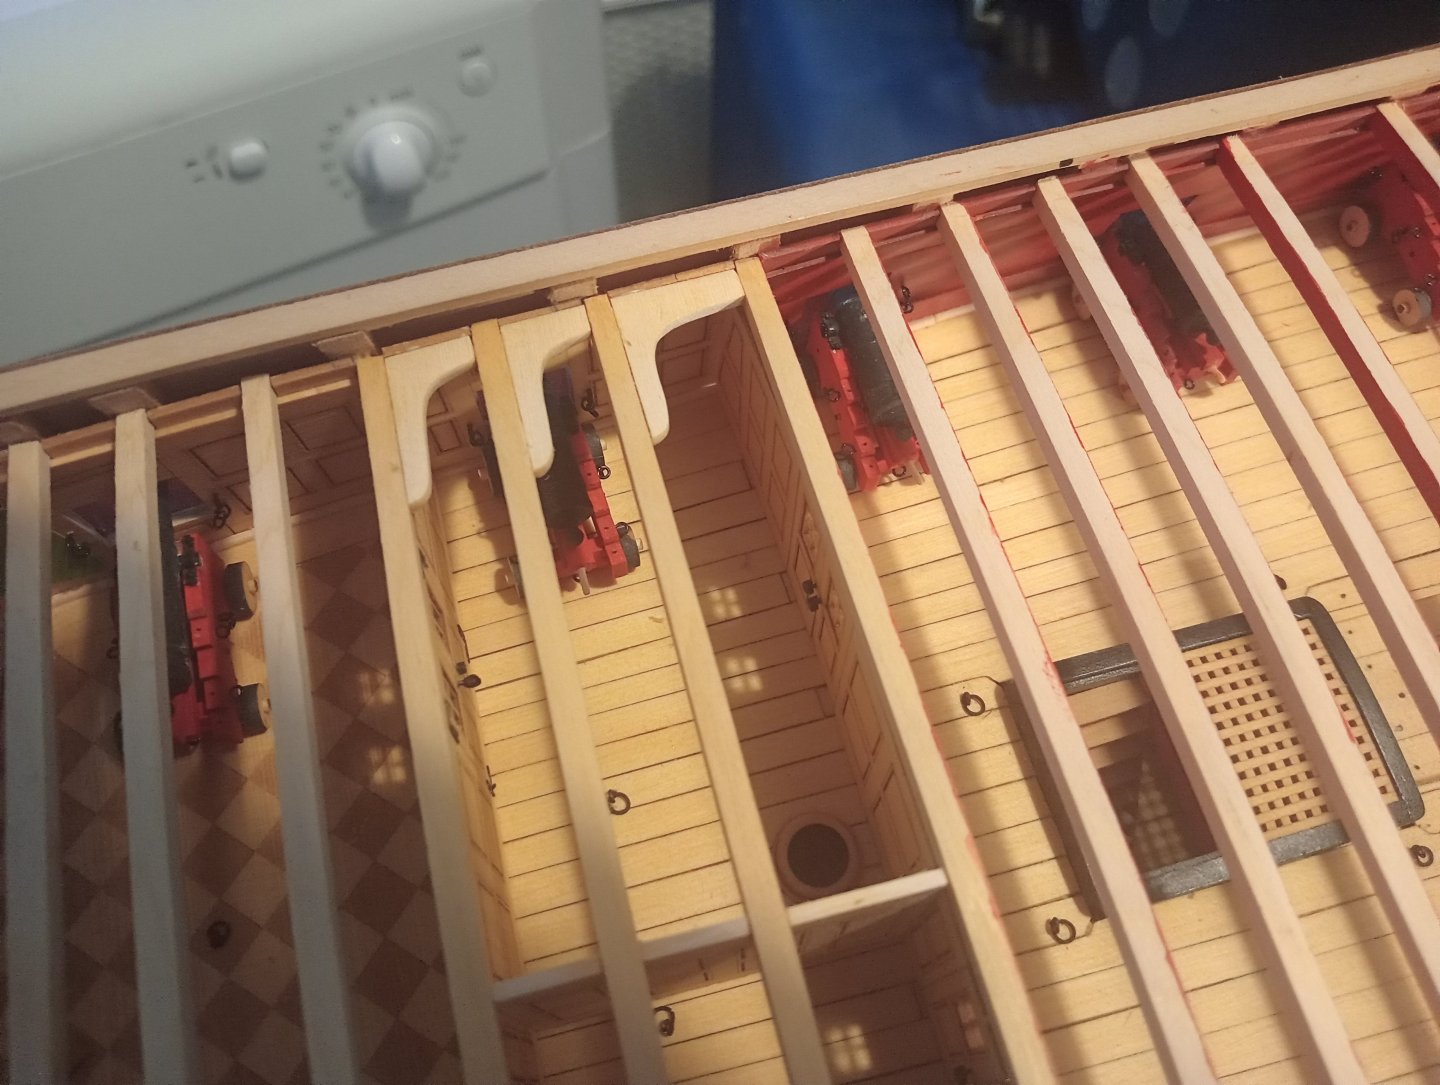
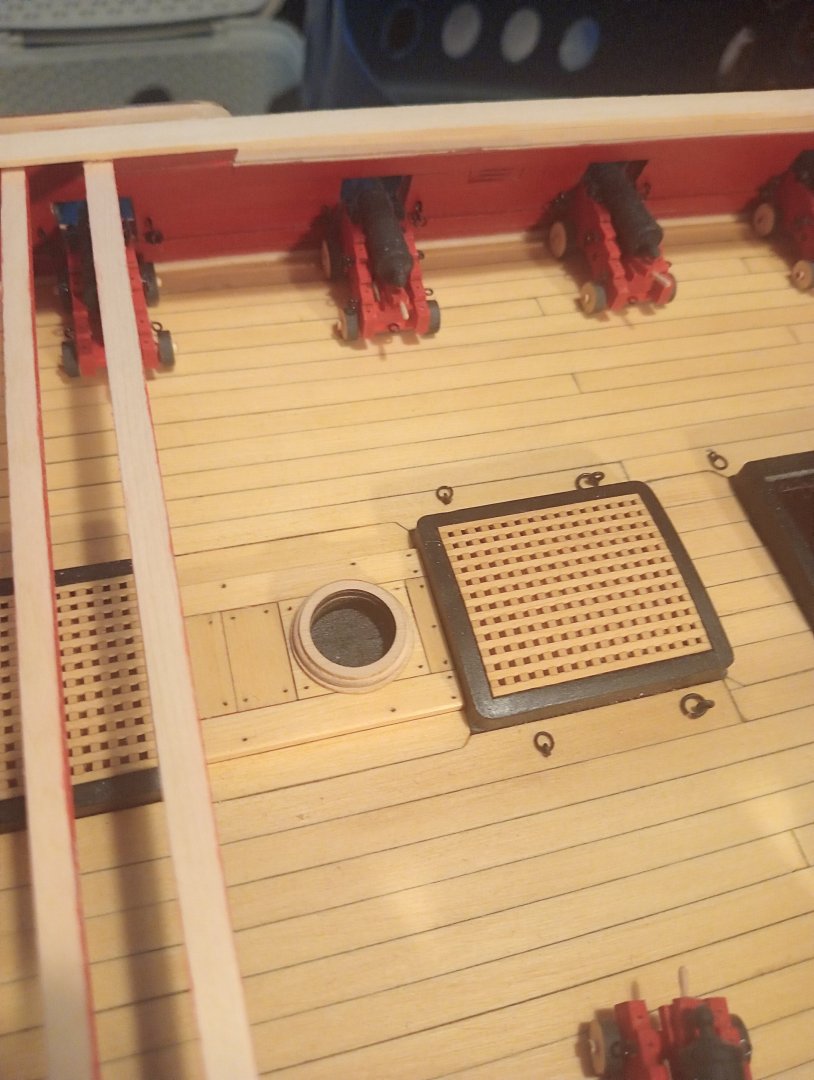
It's about time I updated this. I've got to the point where I need to do the chain pumps So I made up the gallows a the bits, painted them and dry fitted, brass rods placed for the height of the previously made brackets.so far so good Though on this photo the gallows need squaring up with the hatchthe columns are placed And work continues Thanks for all the likes, they are much appreciated. Cheers


-
I'm still plodding on with the lodging and hanging knees I'm managing to one beam at a time, so slow work Thanks for following and all your support, this group is helping greatly. Cheers

-
I would be doing Winnie a dishonour if I did not try to do my best😁 Thank you Glen, your Winnie is an inspiration alongside Chuck's, and all the others here!!
-
Work continues slowly on chapter 7. The first hanging knee, actually it could have been tweaked for a better fit Thanks for all your encouragement, it's appreciated. Cheers

-
A pristine looking deck Frank! Very neat, great work.
-
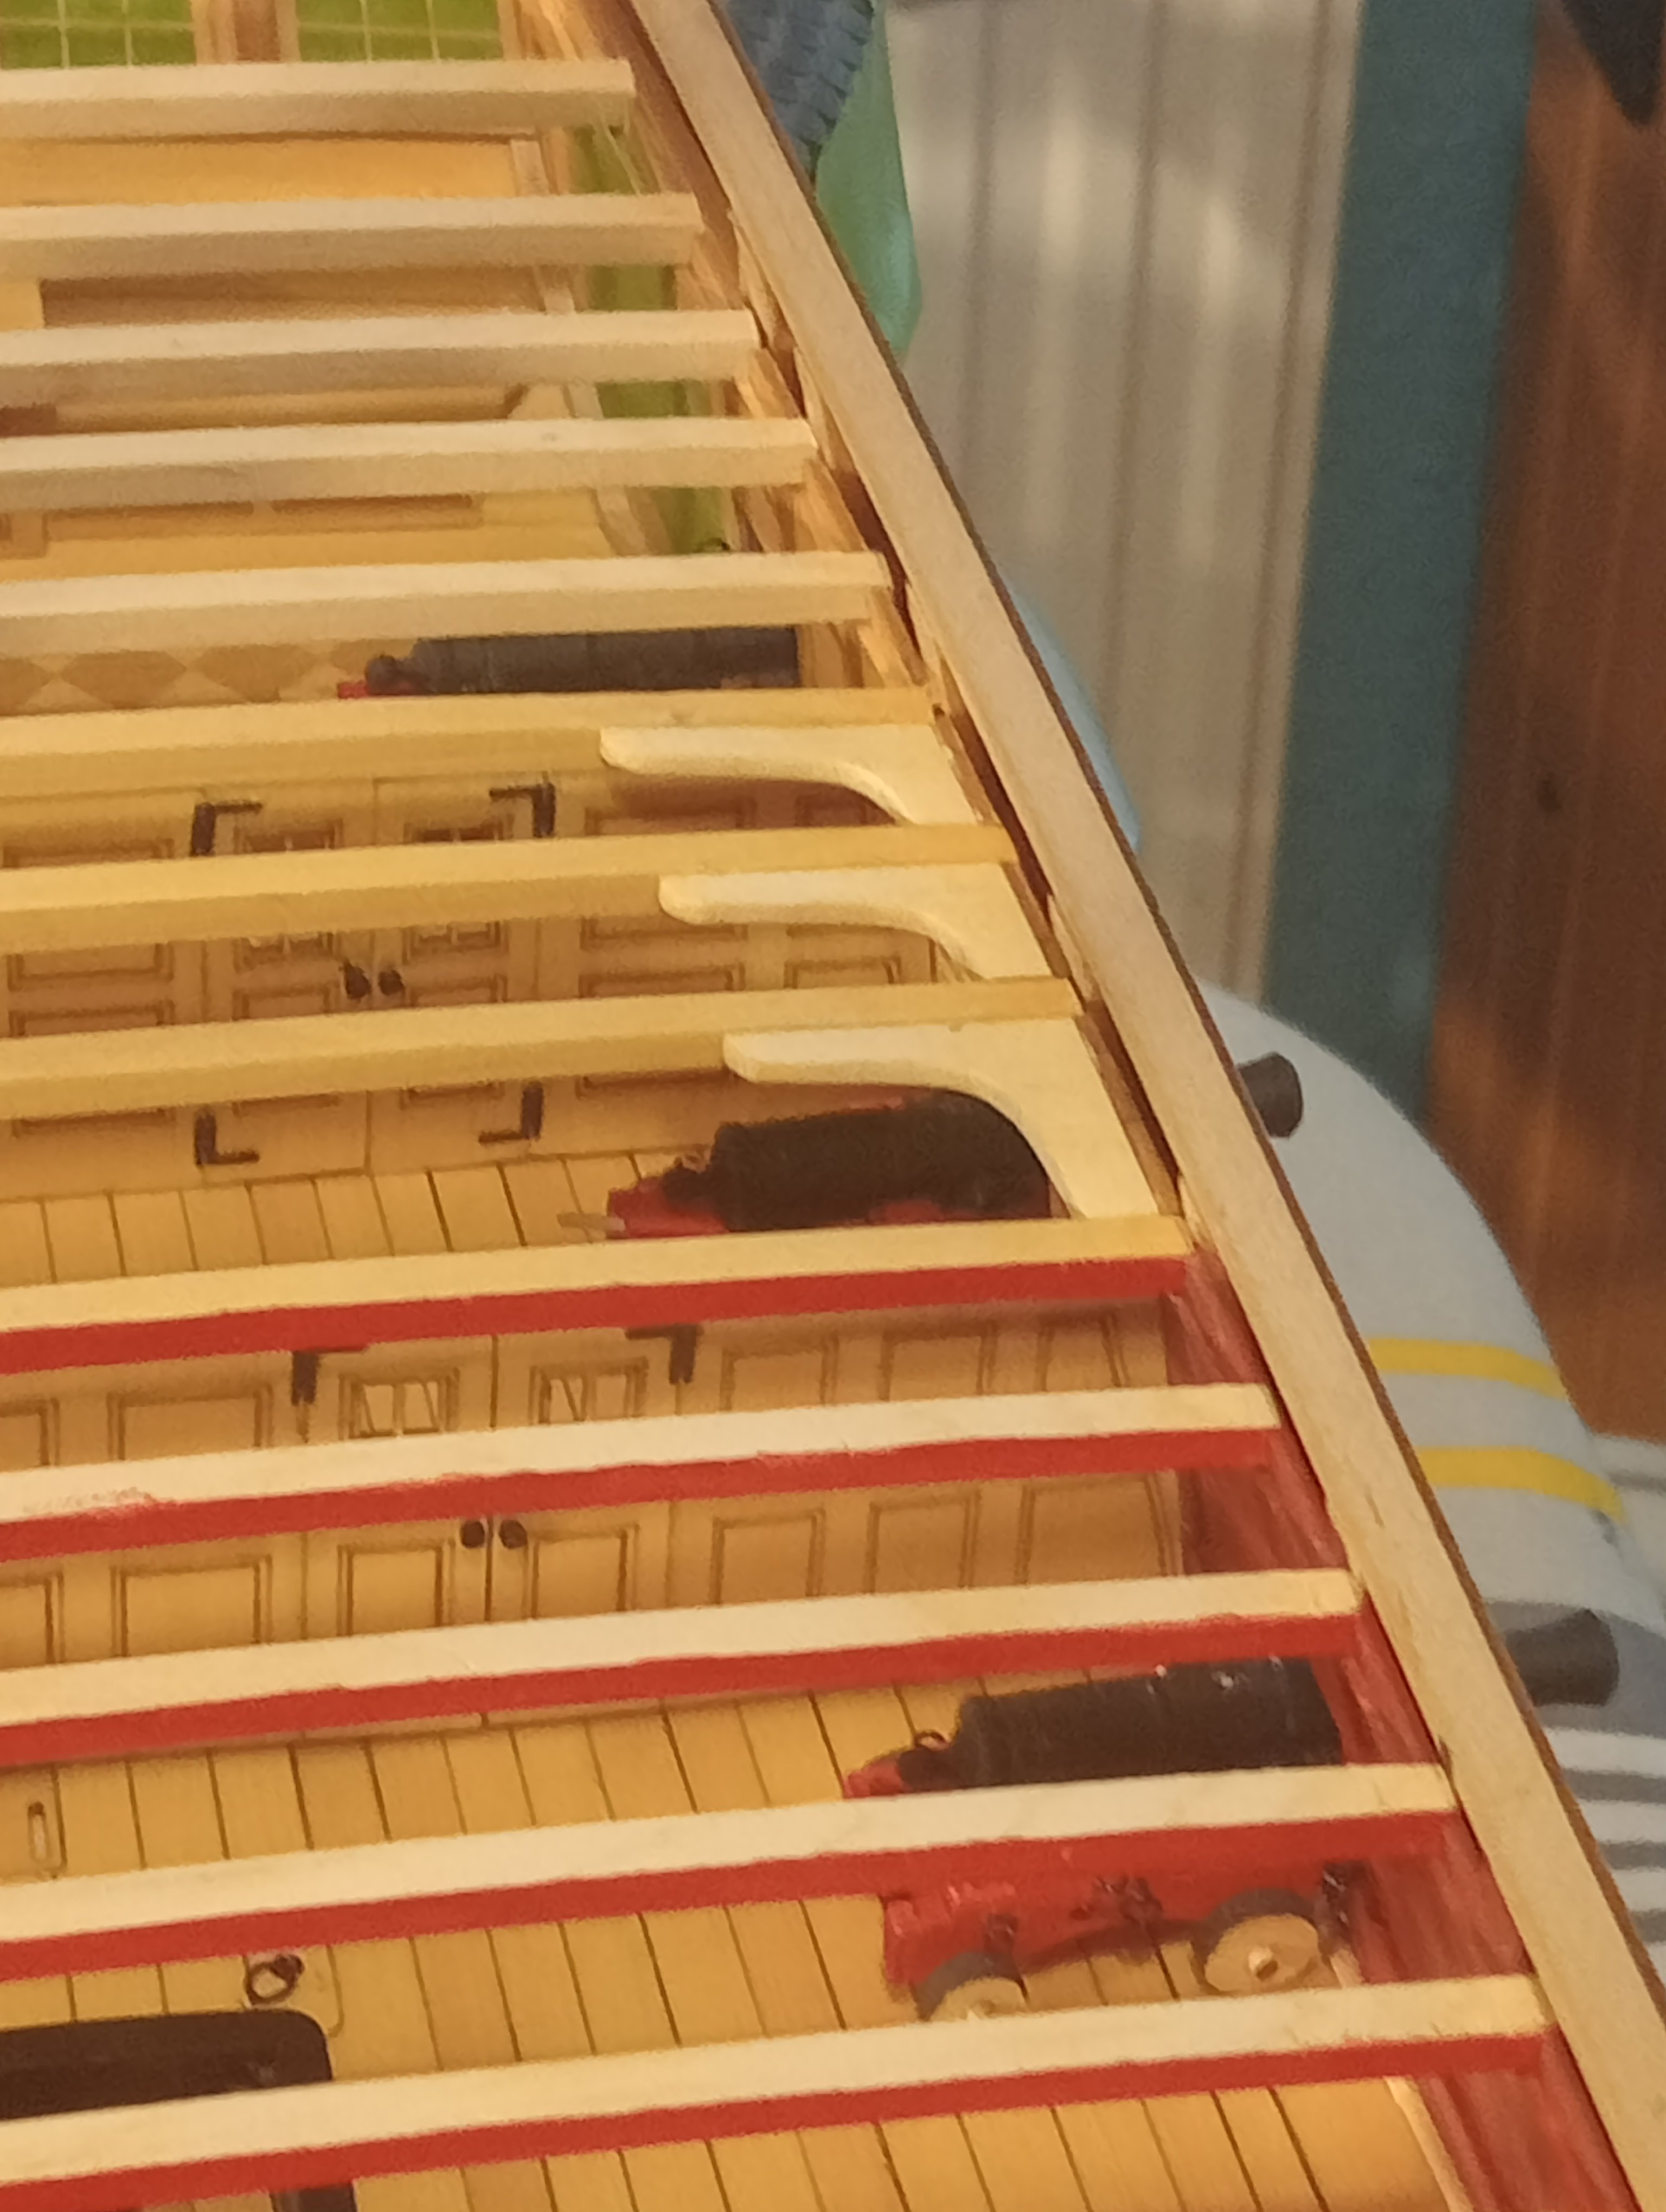
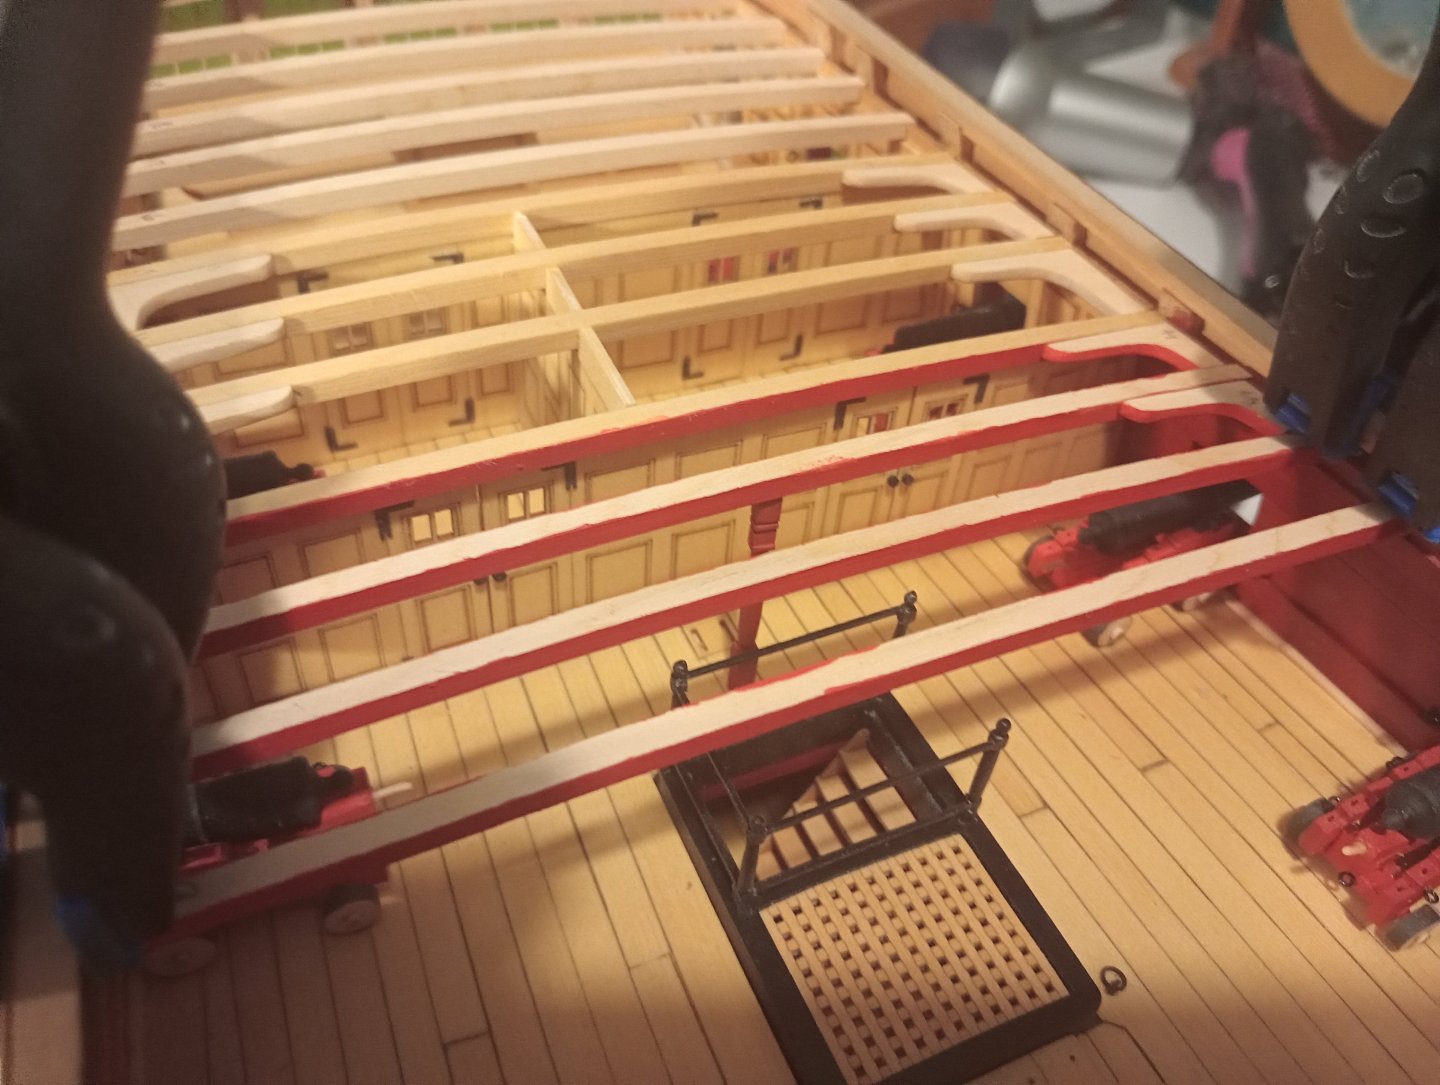
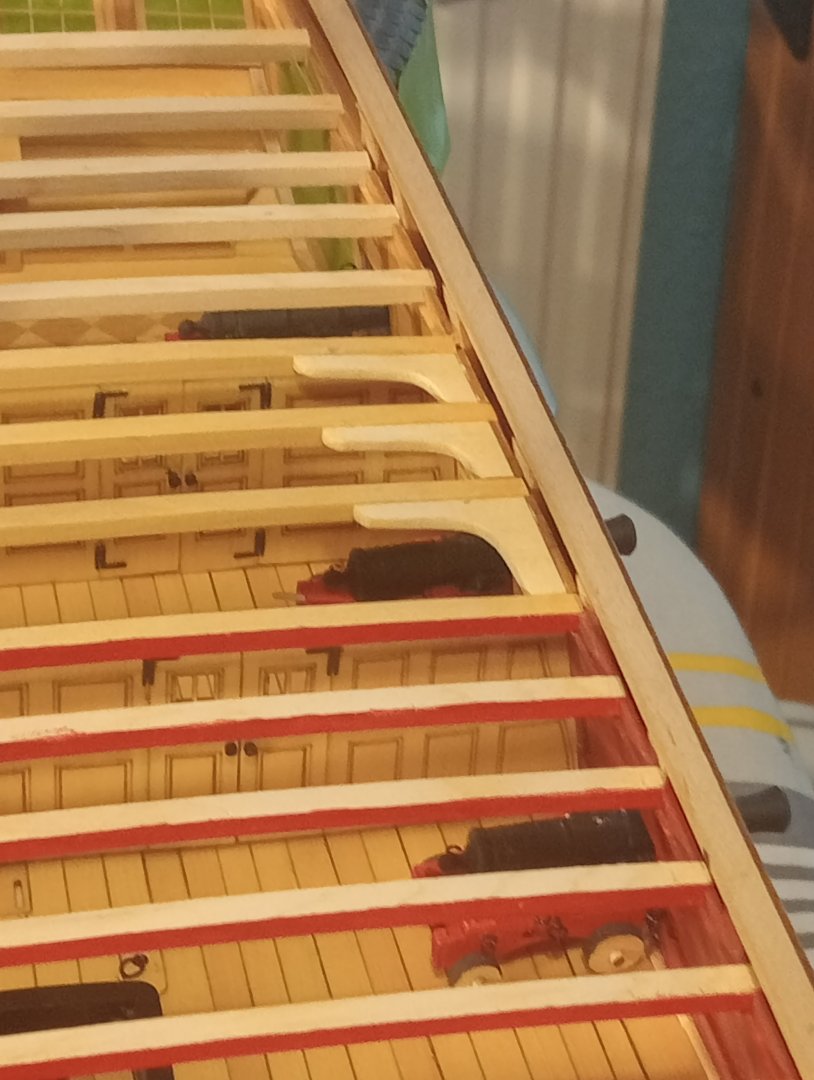
Thanks for all your interest in my fumblings 😁 I managed to fix another 3 deck beams in place with two more knees and one column I need to shape the hanging knees to move on, so they are my next job Another along the deck view, the curve of the deck planks really shows up on this one Until next time, Cheers
-
The rails have been added to the companion way Just need to touch up the black paint And fitted back on the deck Cheers


-
Yes, I must have made over 15 of them, to see them snap when doing the last tweaks But I enjoyed the challenge Thanks
-
Continuing with the elements below the quarterdeck, I made the stanchions for the companion way Painted, and pegged I fixed them onto the coaming I'm glad I hadn't glued this down yet I shall be on the rails next. Thanks for looking in👍 Cheers
-
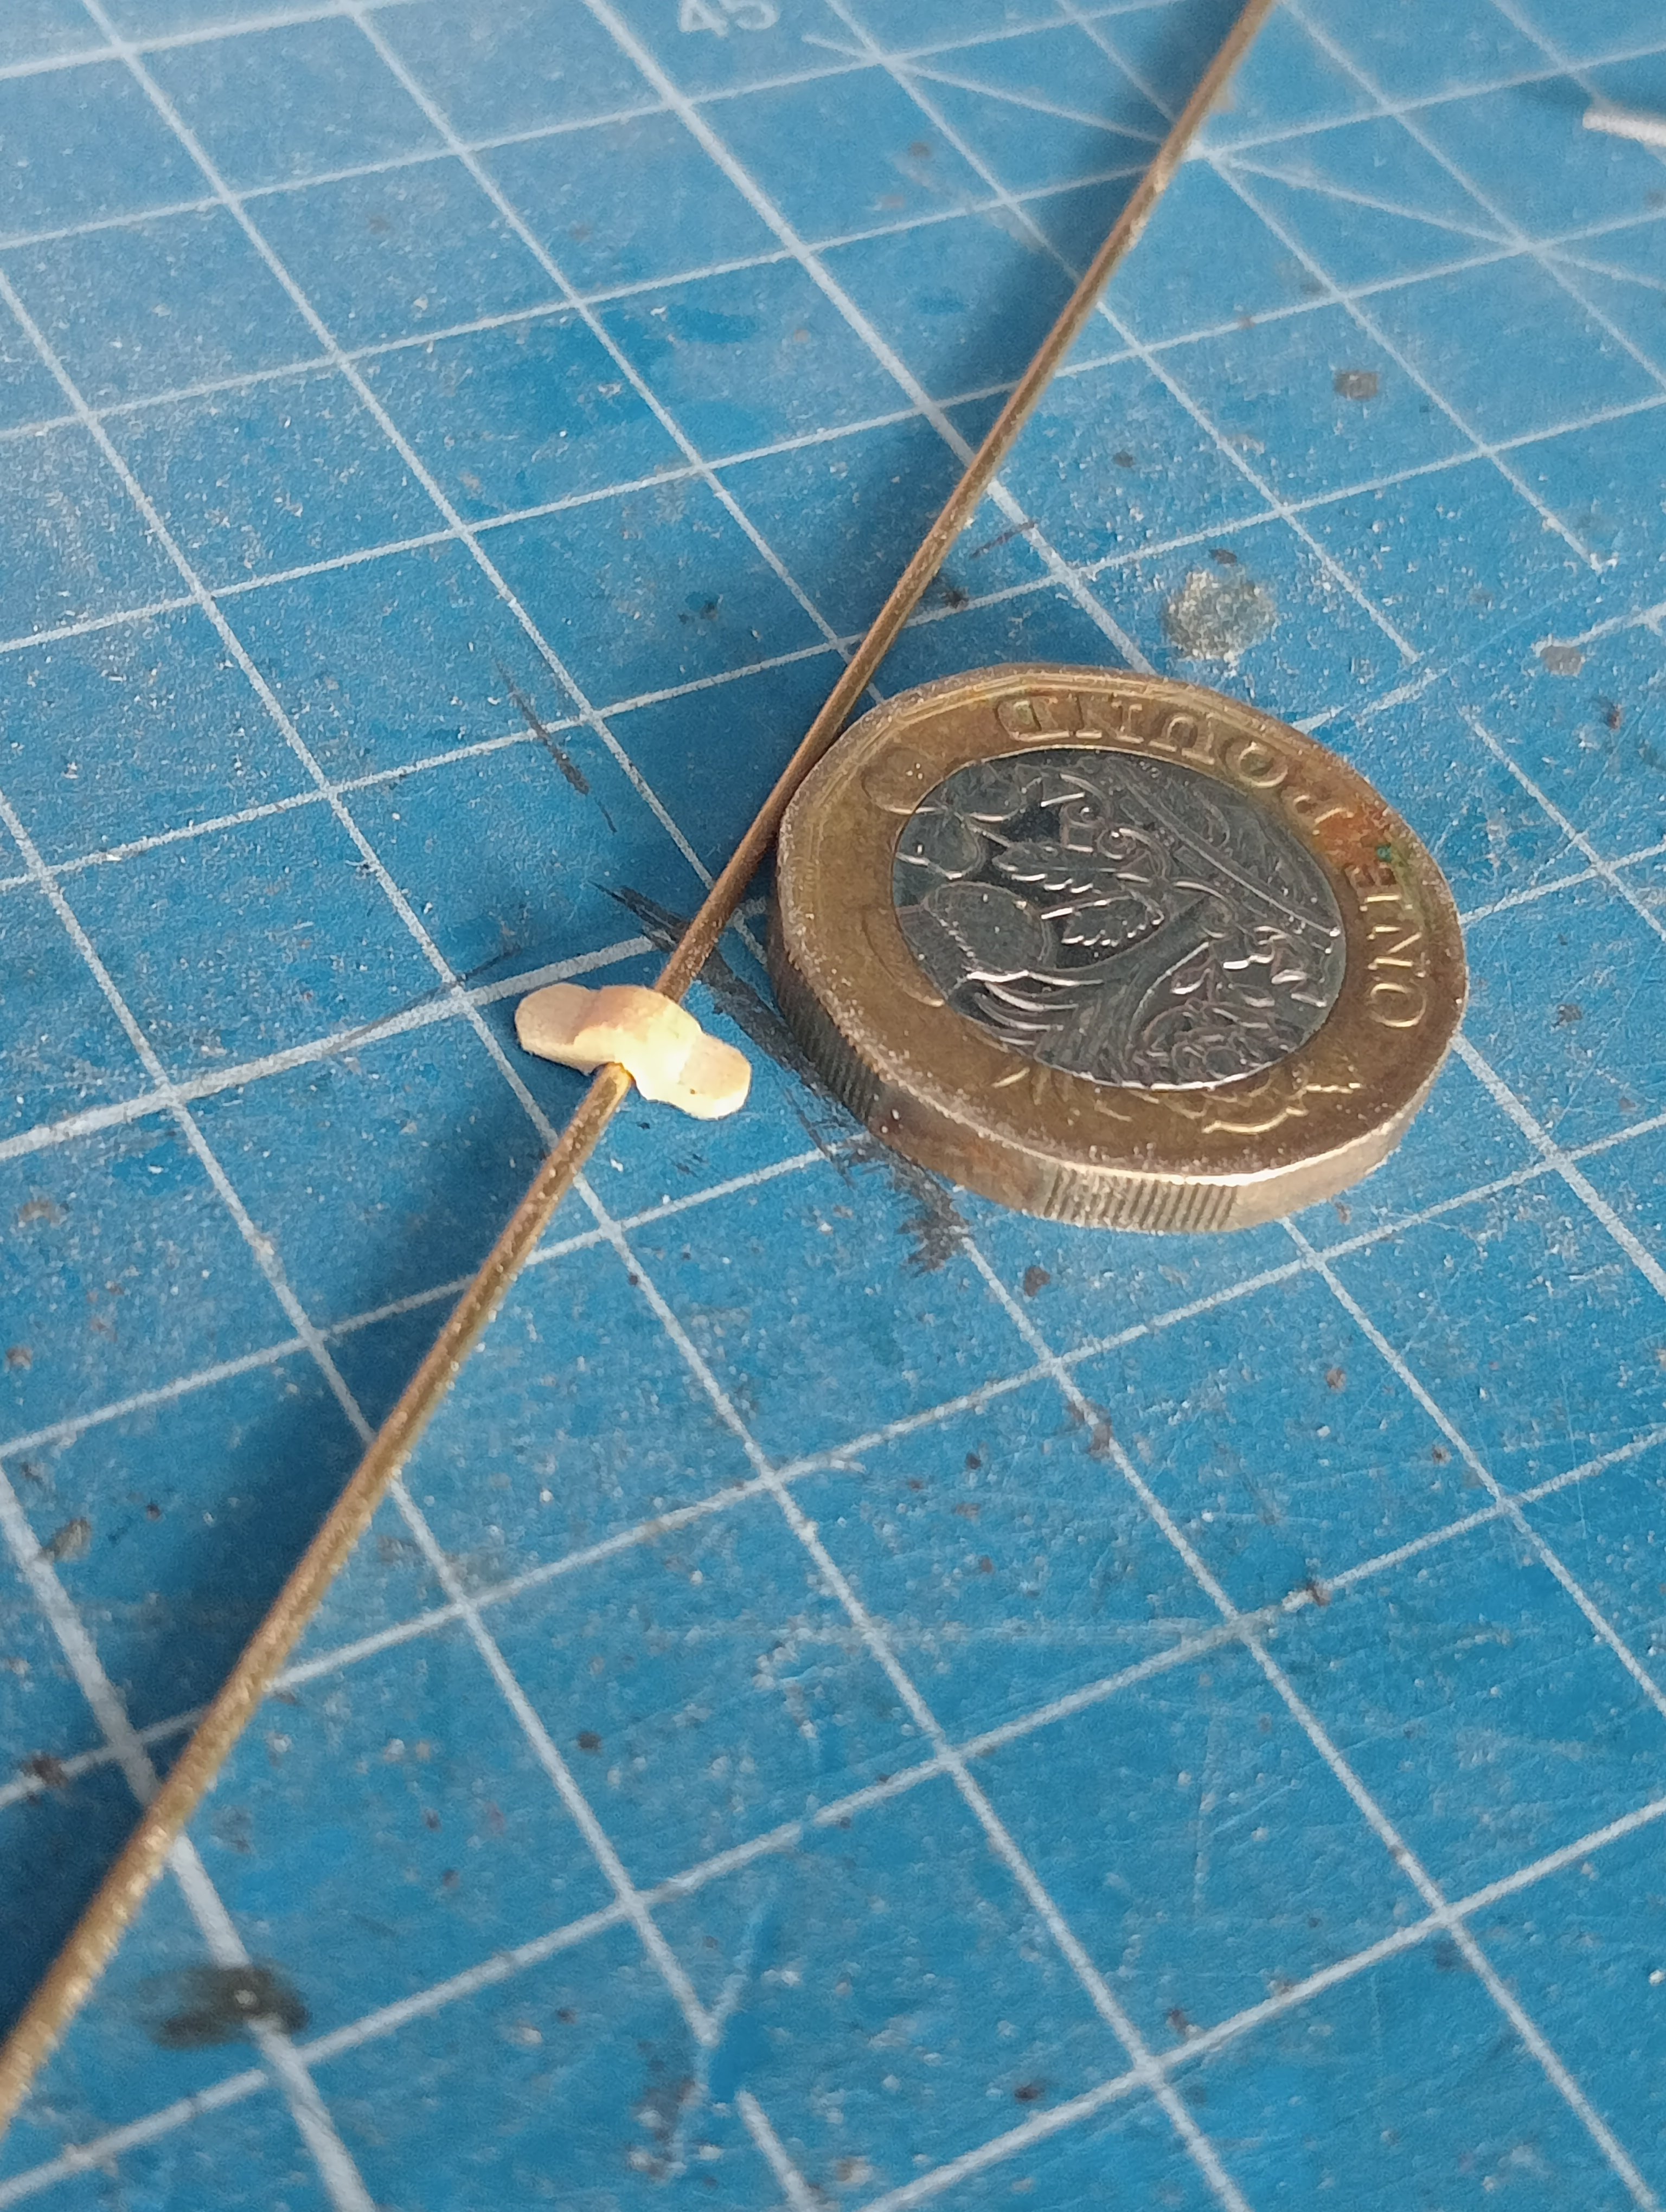
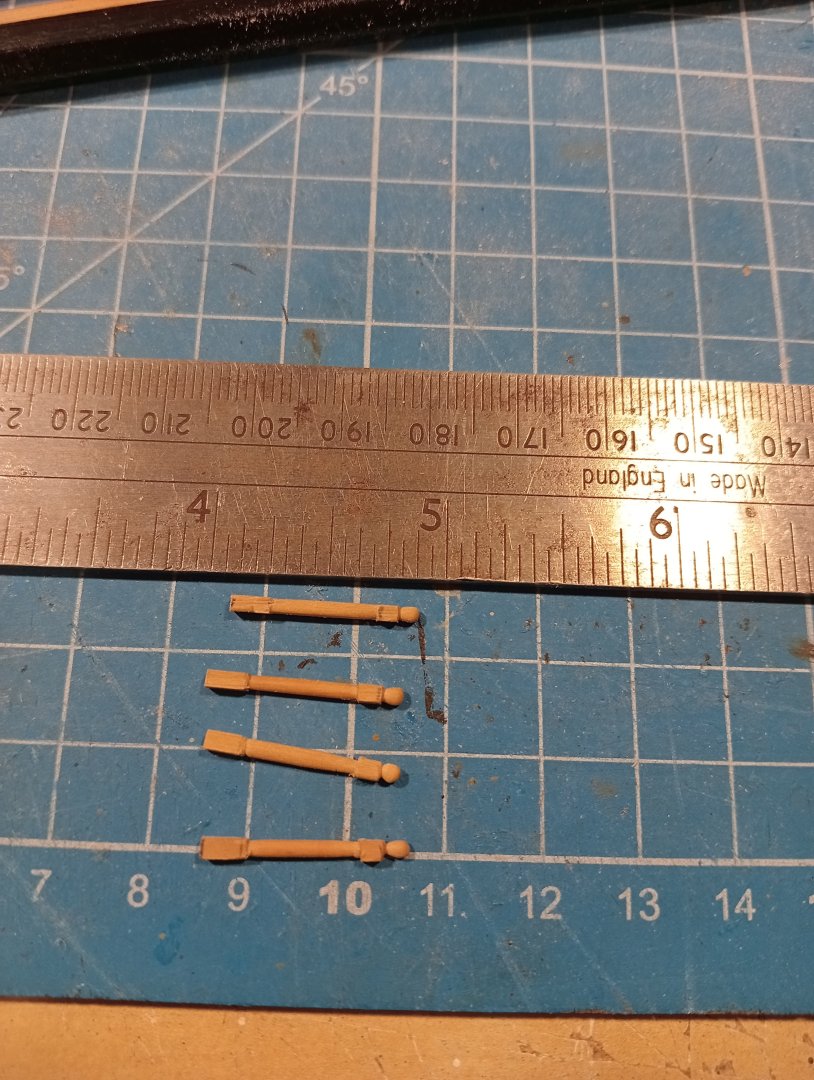
Well work continues slowly, the small brackets are frustrating, as I break more than I should, but I now have two!! I took a break from these tiny things and decided to do the columns. I just removed the char and shaped the long central section . Thanks for looking in and hitting the thumbs up. Cheers.


-
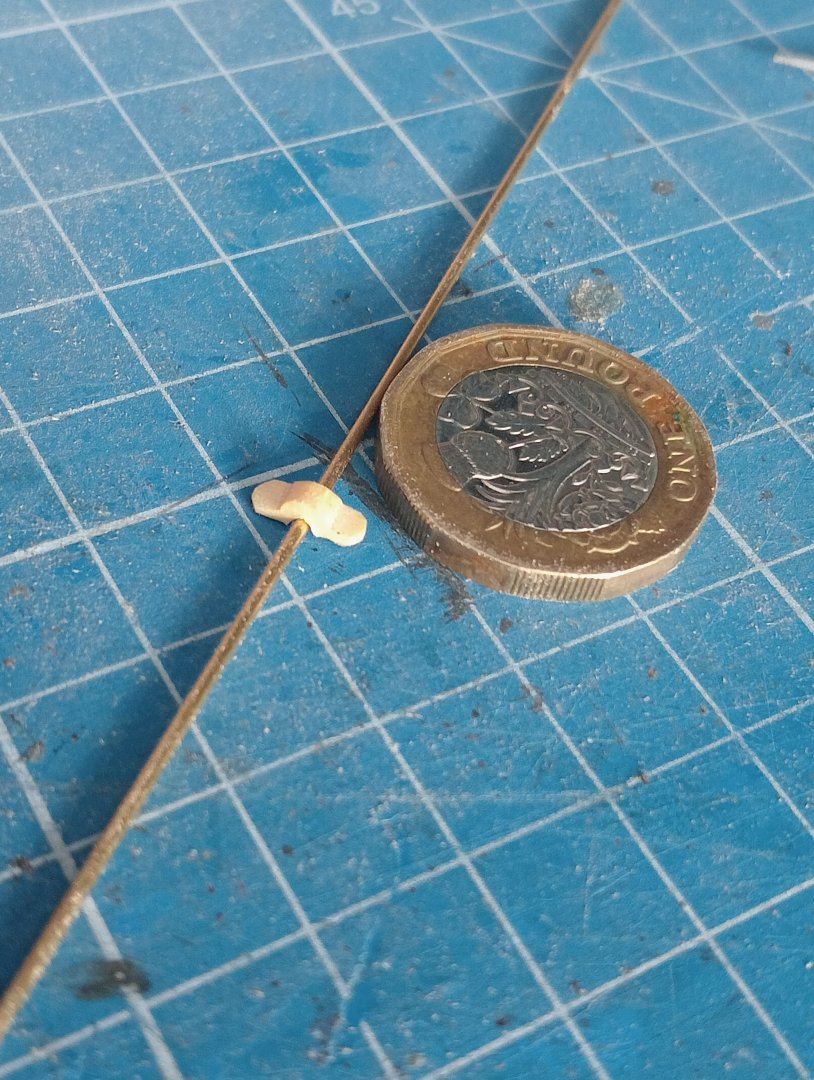
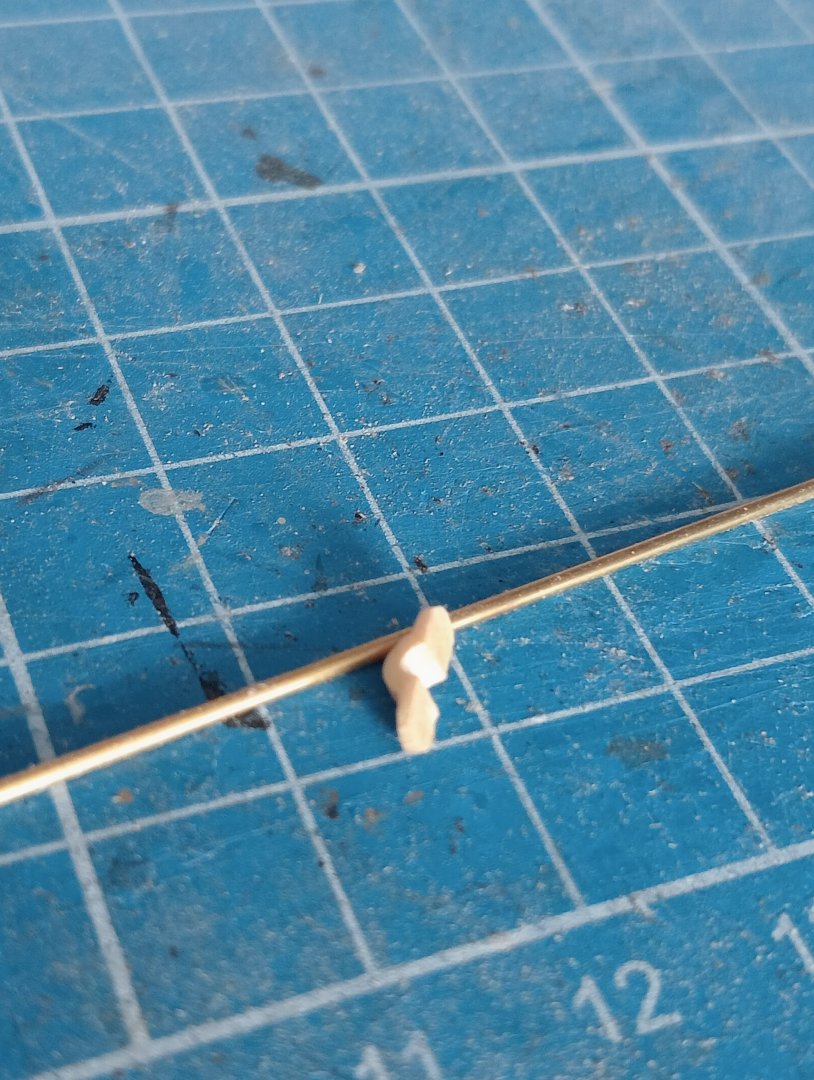
Hi, a small update, having started fixing the knees, I now have to do the chain pumps, so attempted the small brackets to hold the crank handles. Several hours and a few failures later, I think I've got it!only three more to make, wish me luck! Cheers Thanks for staying interested 🙂
-
Thanks for looking in on my fumblings with Winnie!! I have made the mast covers and fixed them And I've made a start on the knees, The two guns and two beams have been glued in. The knees have been sanded to fit fitted and glued on both the port and starboard sides The work continues,more will follow. Cheers, until next time.
-
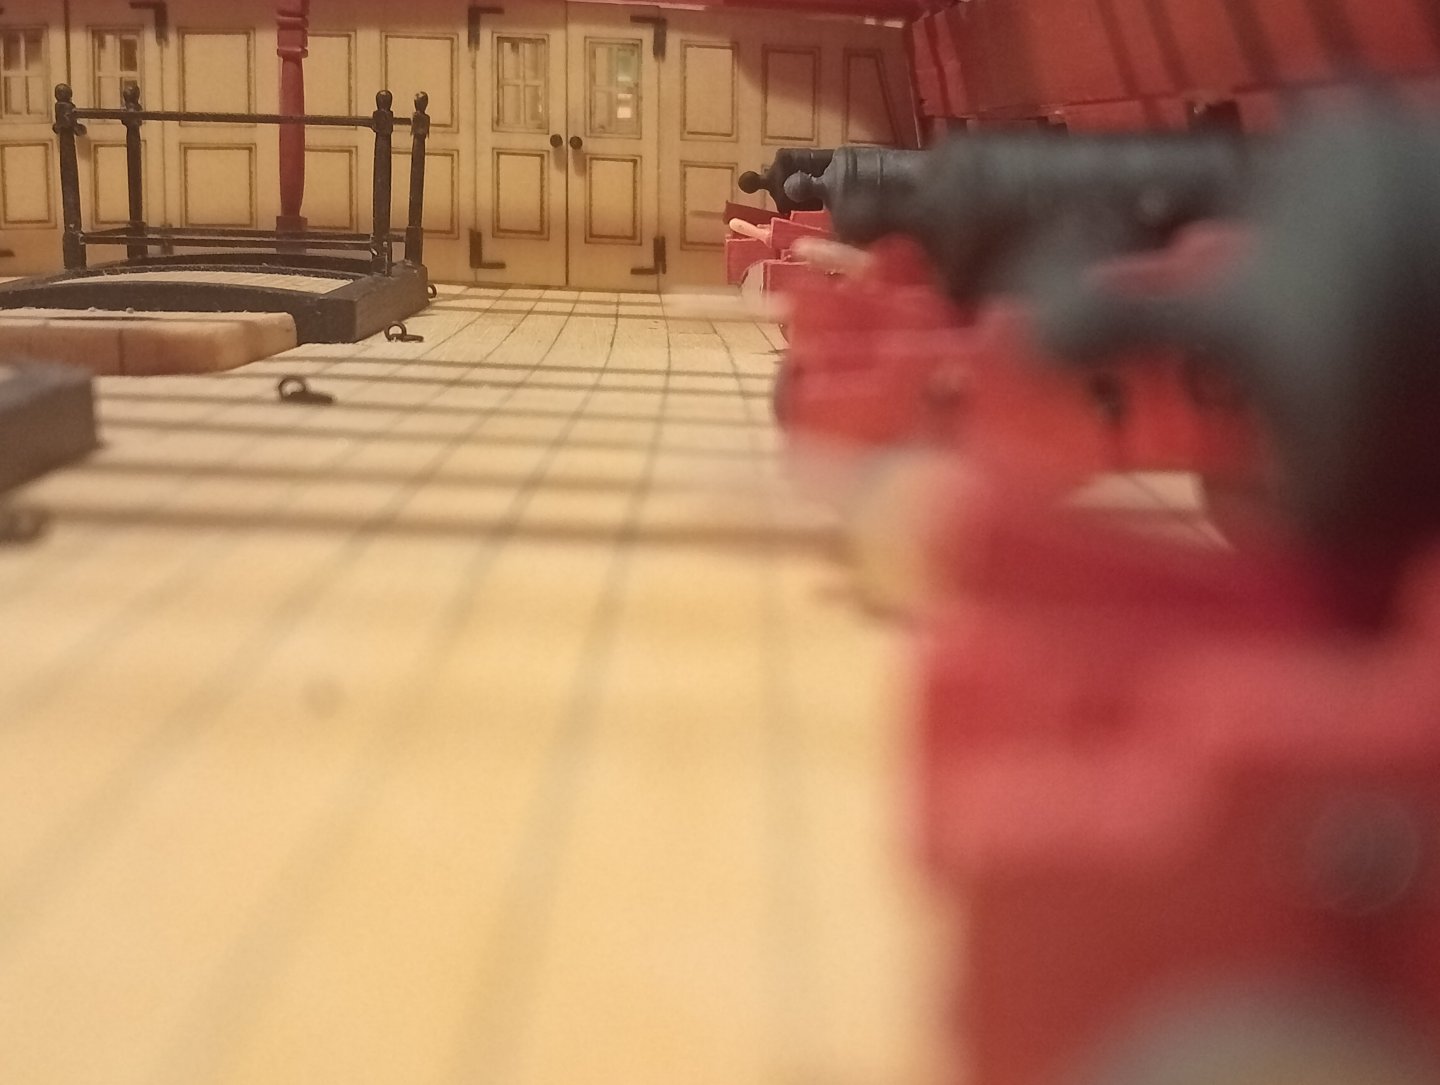
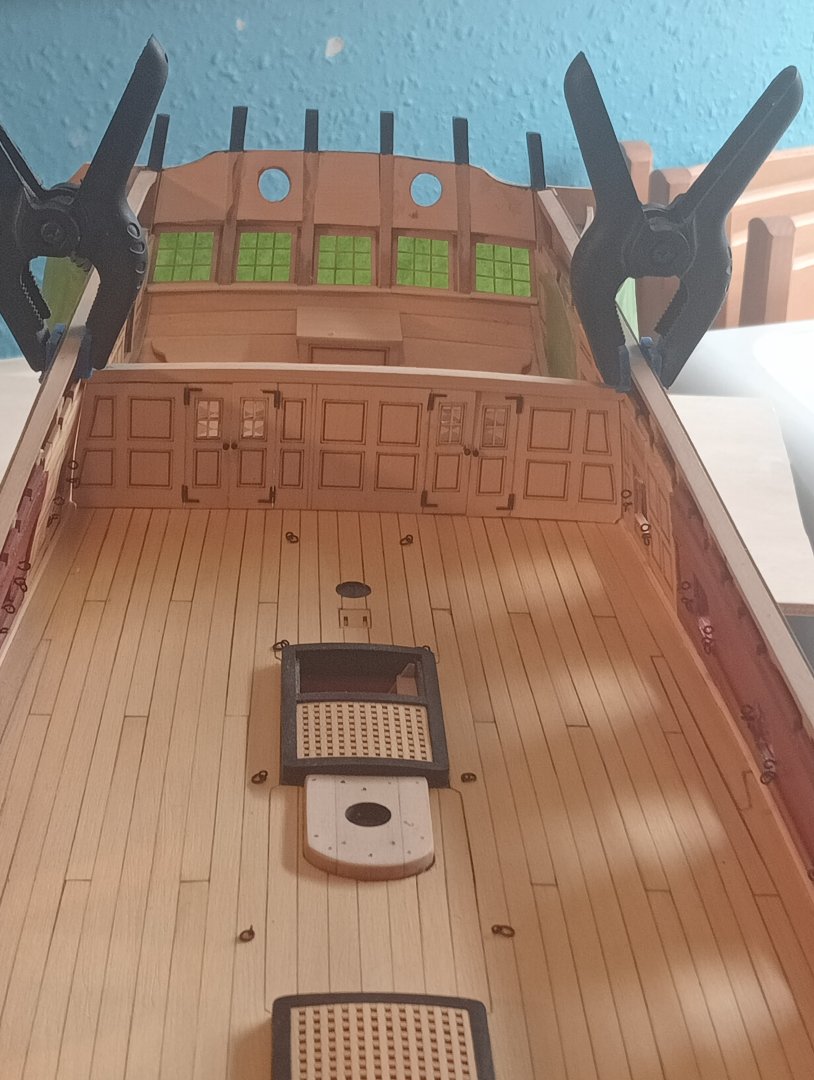
Hi all, The second cabin bulkhead has been tested, tweaked and finally fitted. The door knobs caused me the biggest headache, as the ones Chuck supplies, I managed to break or lose most of them, so fashioned new ones from the offcuts of the cannon trunnions. There are still only two beams glued in, as I daren't glue the others till I'm absolutely sure I can!! It certainly gives Winnie a better look with these bulkheads fitted.thanks for your support. I still have some little niggles to sort out, but work progresses slowly. Cheers


-
Welcome aboard It's a hobby in itself perusing these pages, so enjoy!
-
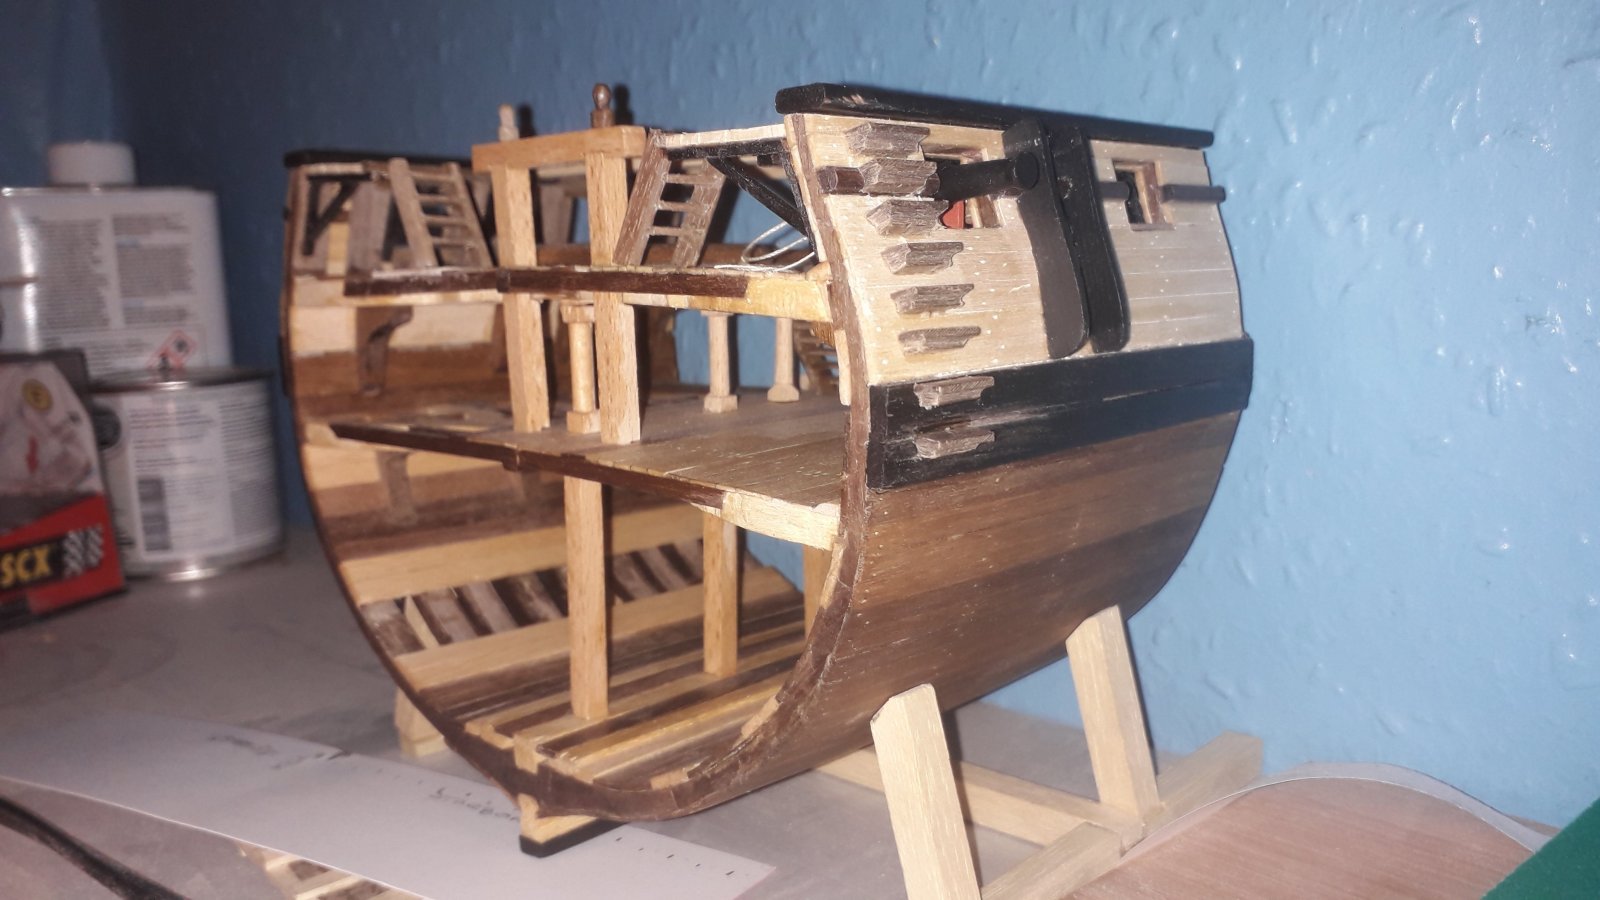
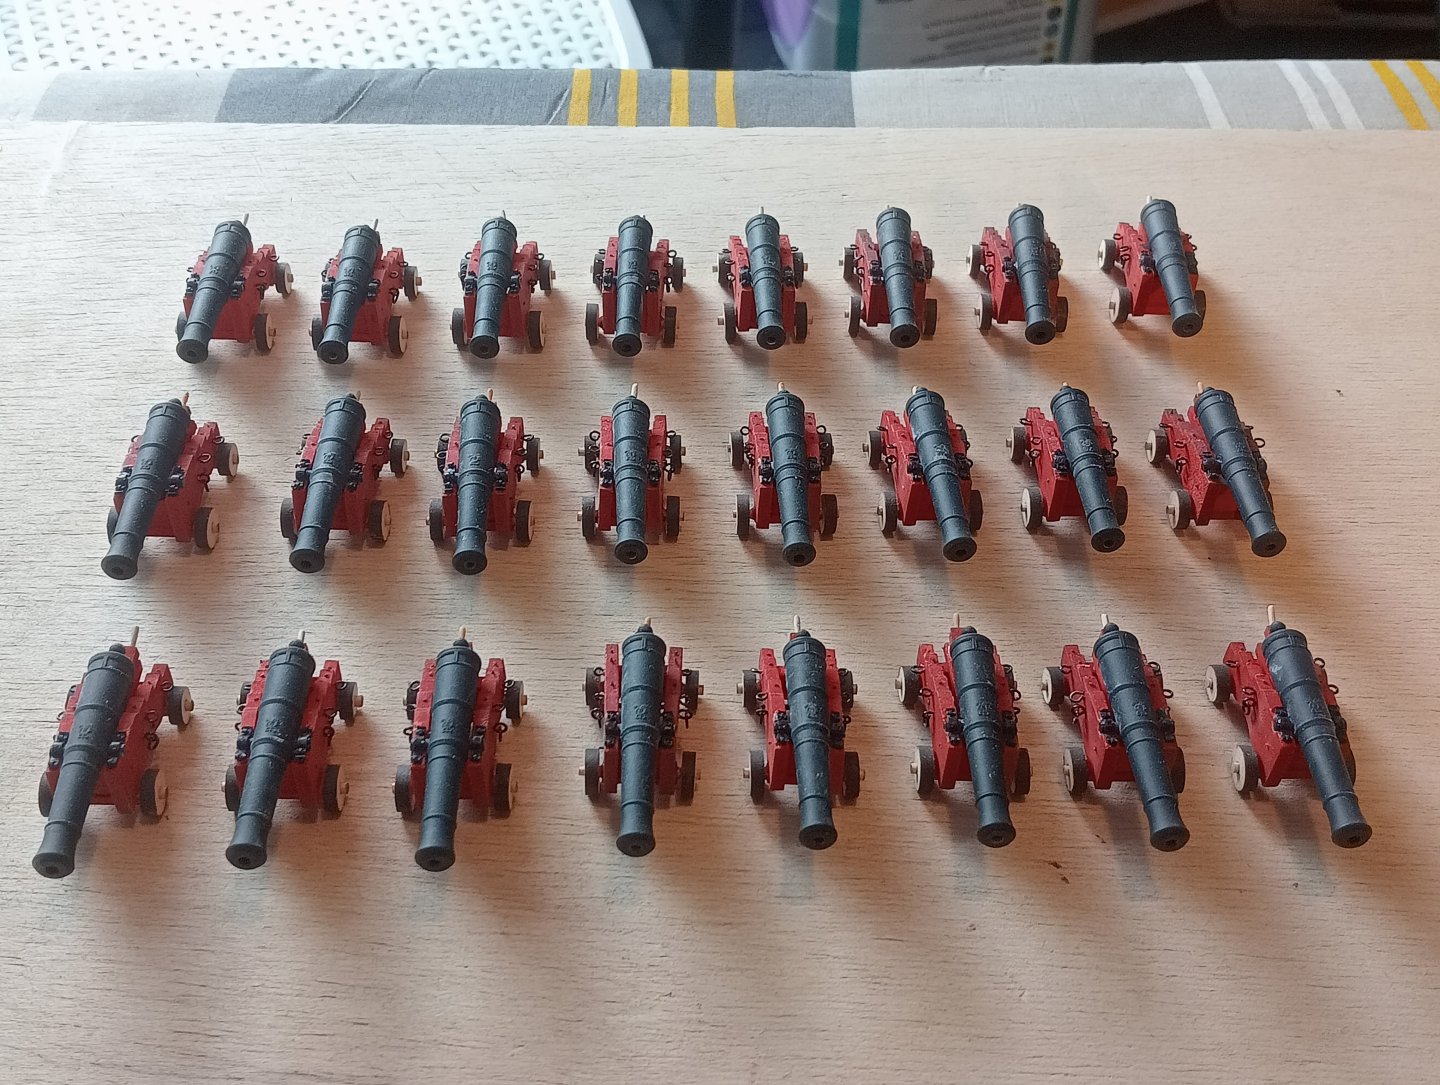
Hi, the guns are finished!!! A long slog, and obviously a few more to do when the Q deck and focsle are done. I started by cutting the trunnions by hand but after breaking a few off I changed to a cutting disc on a small rotary tool The fittings are all done in the bulwarks so the first dry fit of the aftmost cabin bulkhead has been done A long way to go still, but I'm getting there. Thanks for looking in and your continued interest. There will be a short break as I'm off to the Yorkshire dales to do some hiking/walking for a week. Cheers

-
Thanks Frank, there will be one soon, as the artillery for the main deck is finished. I'm still in progress of fitting the ring bolts and and split rings in the bulwarks And then to start on the cabin bulkhead fitting Cheers
-
I agree with Alan. The miniature tools are very useful Those platforms look superb
-
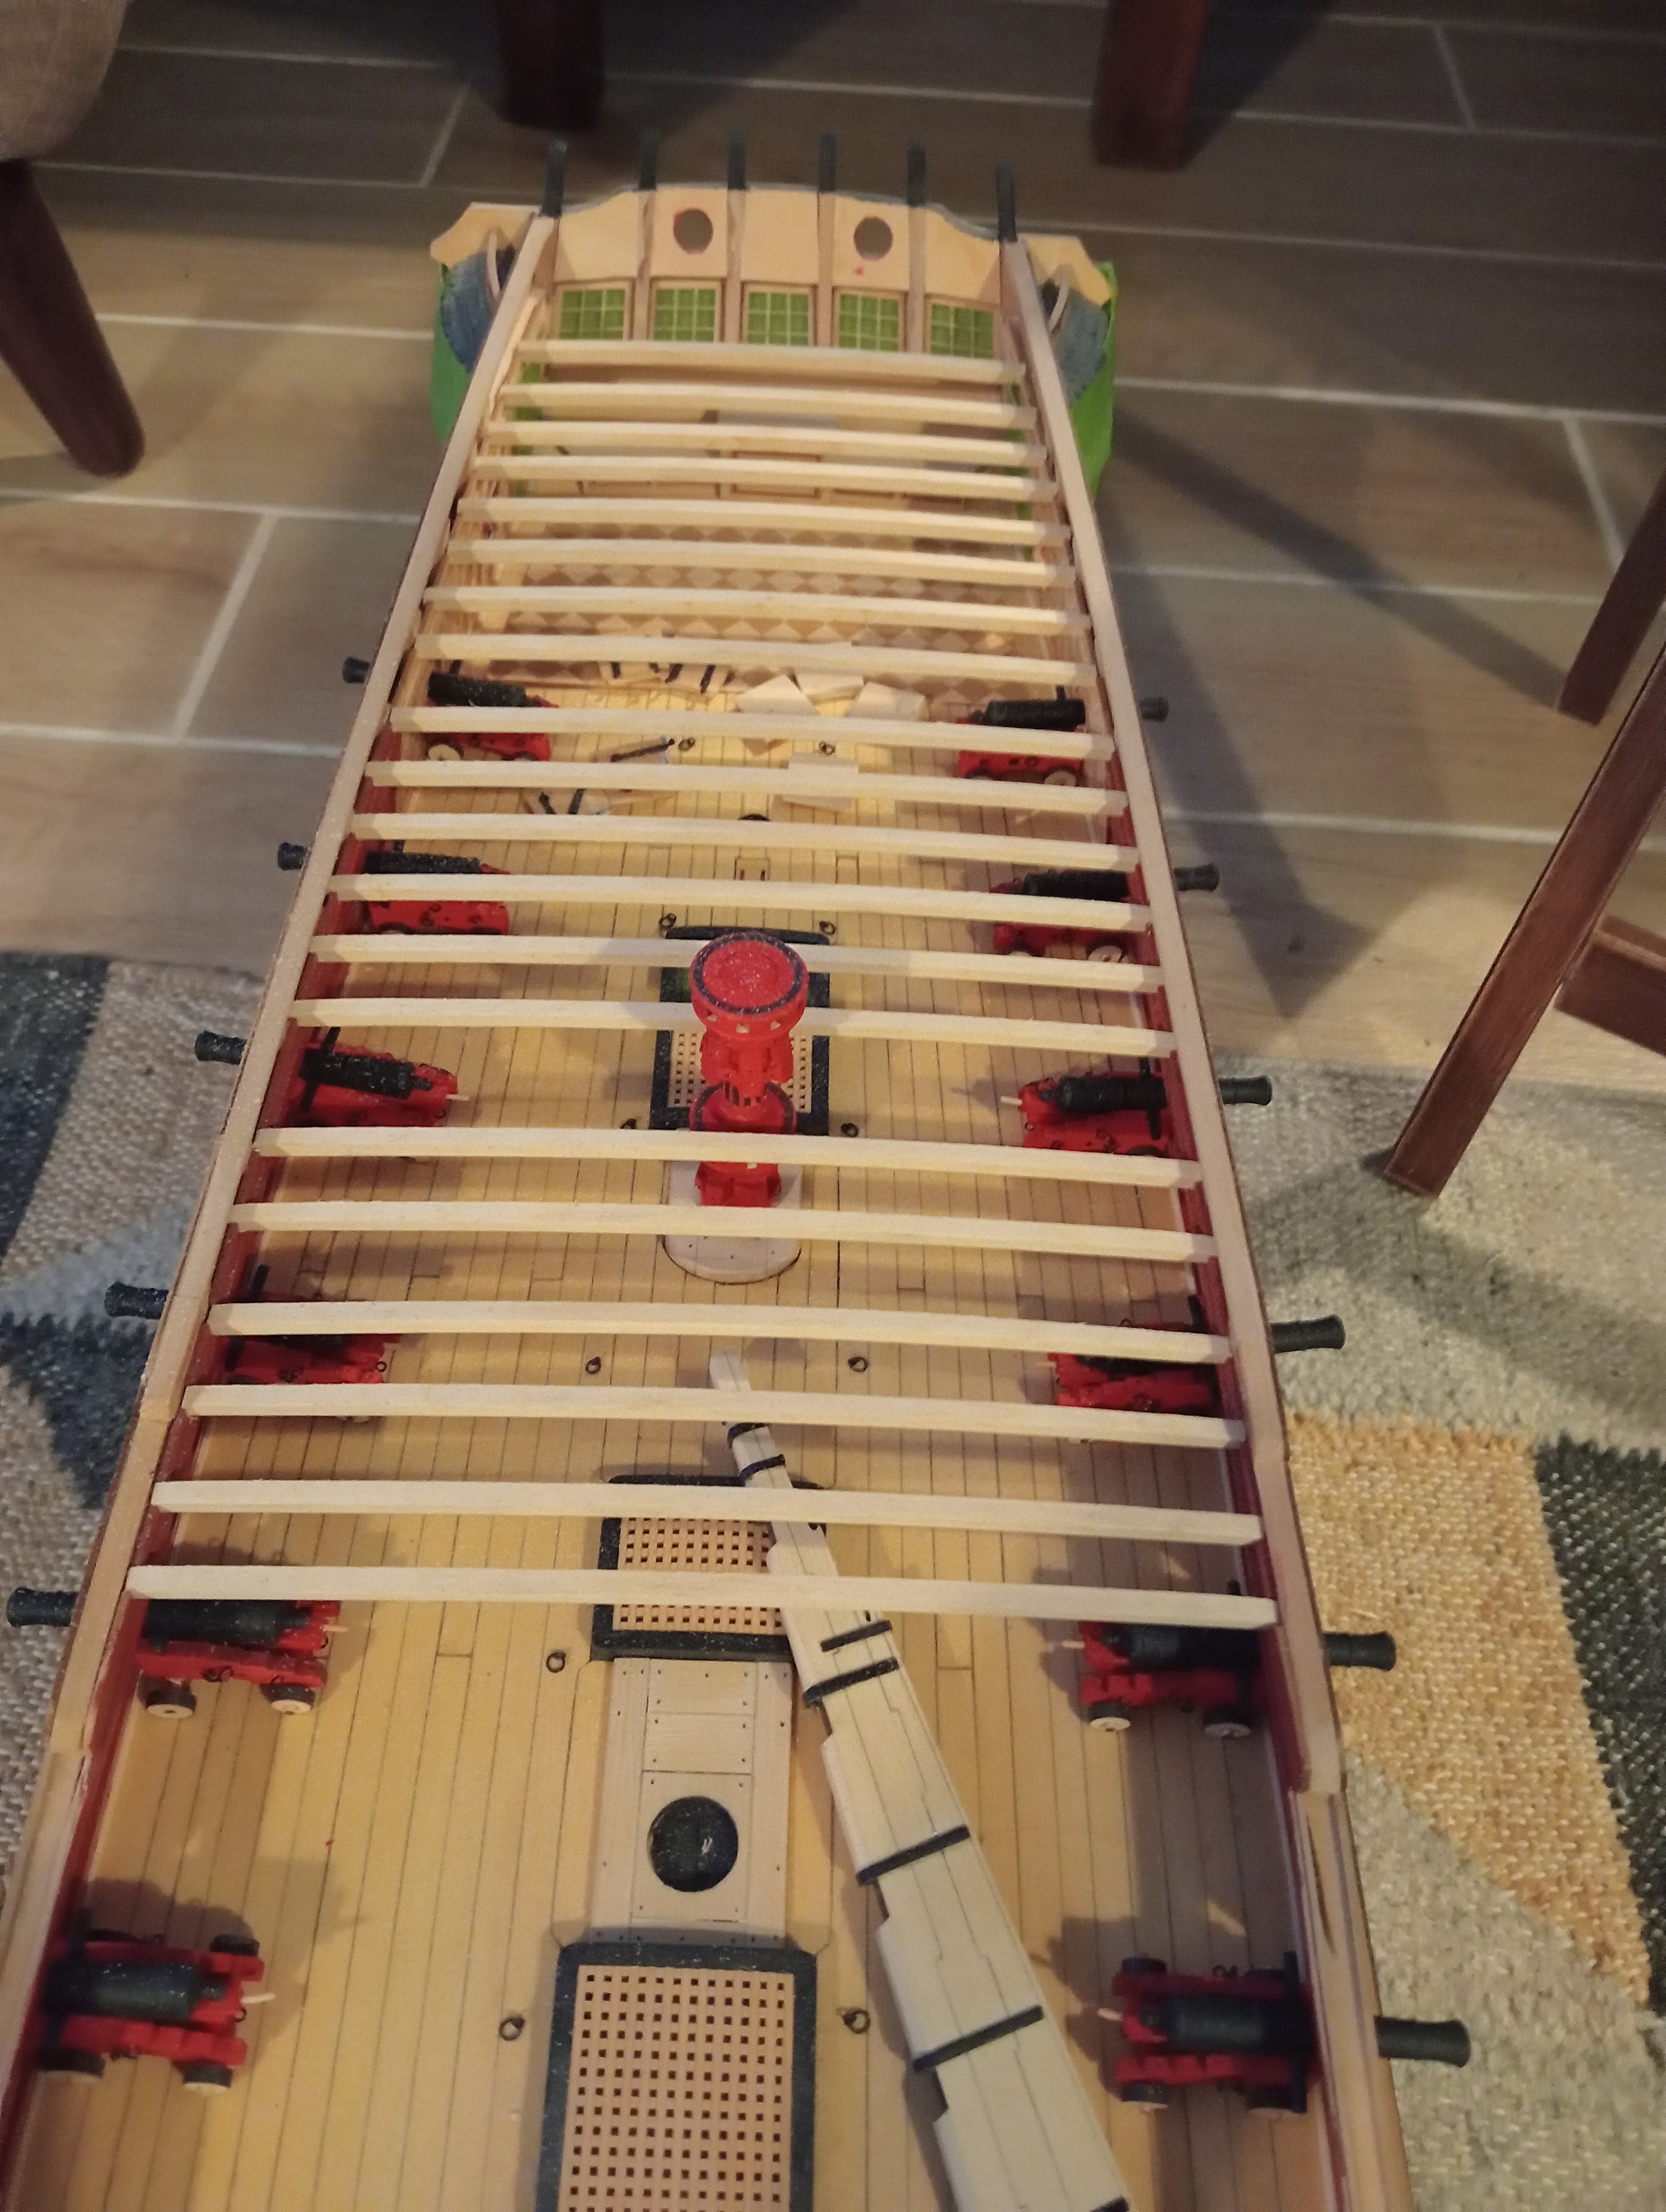
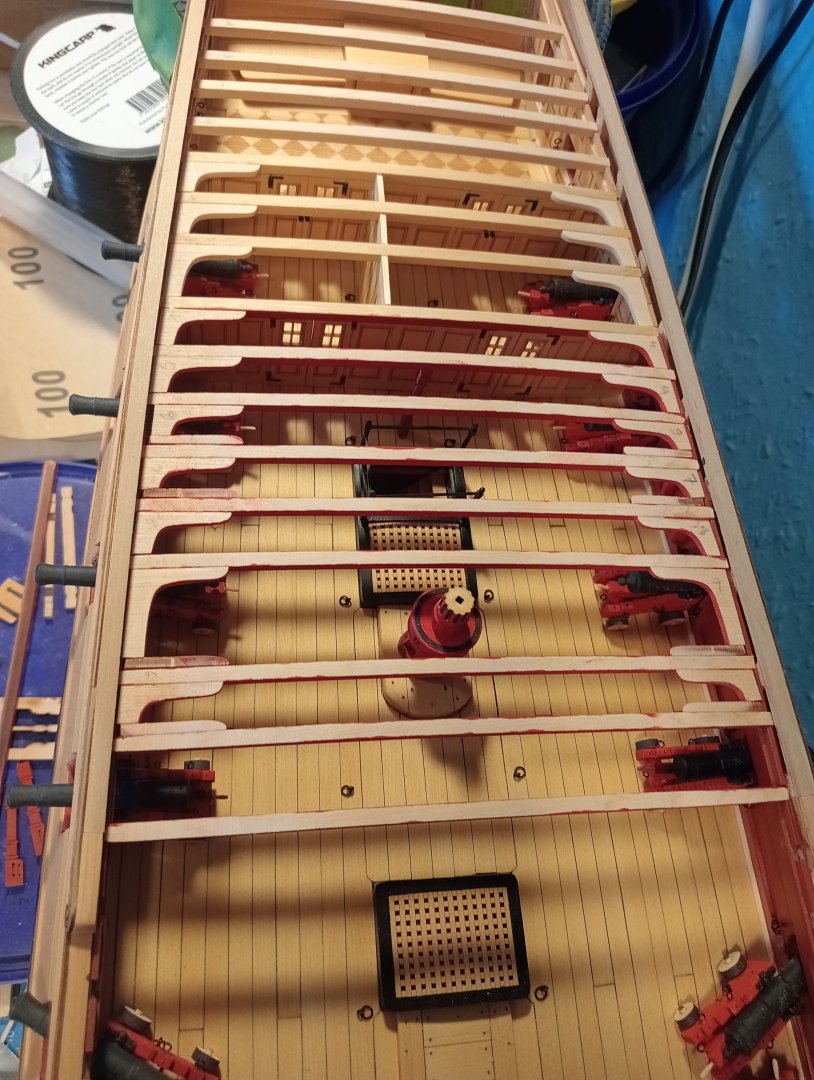
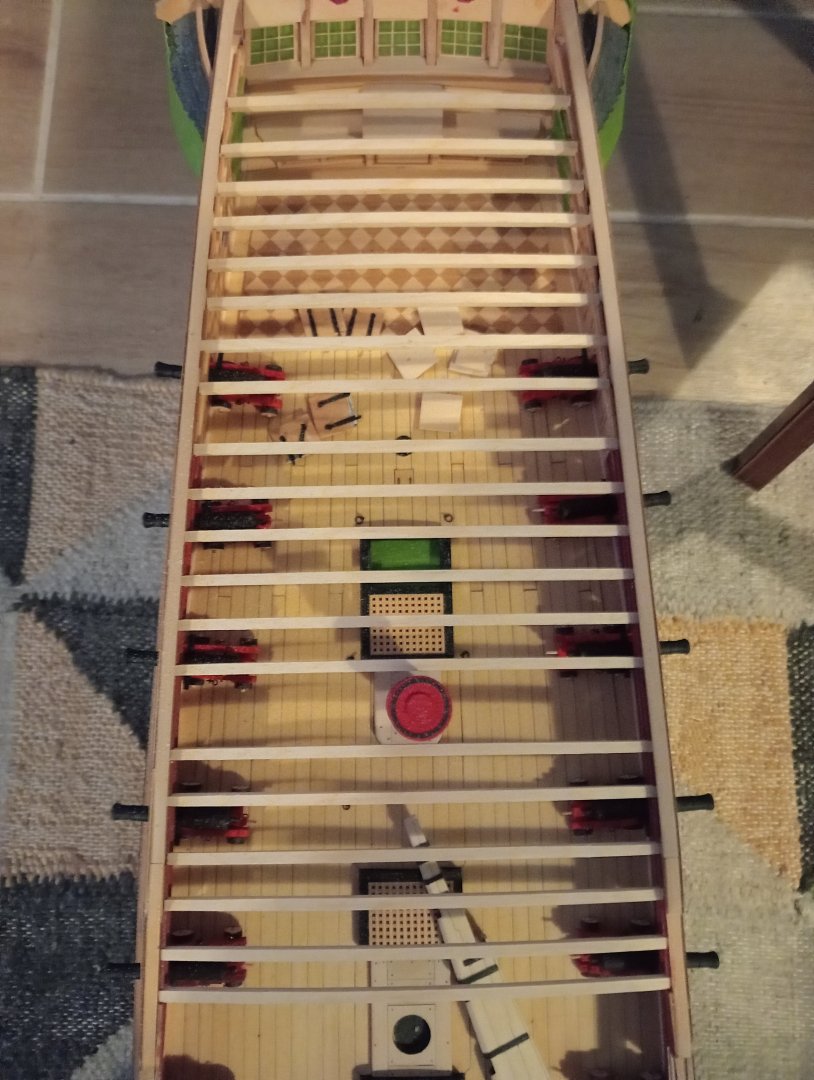
I've temporarily placed all the QD beams except the one on the transom. They've been numbered for removal as and when required Need to double check for a smooth run with a plank Time is limited because of work but I manage to work on Winnie now and then, so please bear with me. Cheers

-
Looking good, welcome and enjoy, it's a great model to work on!
-
Thanks Chuck and Glenn. It's taken me a while to get back to working on Winnie, I seemed to lose the motivation for modelling over the past 12+ months! Happily it's coming back
-
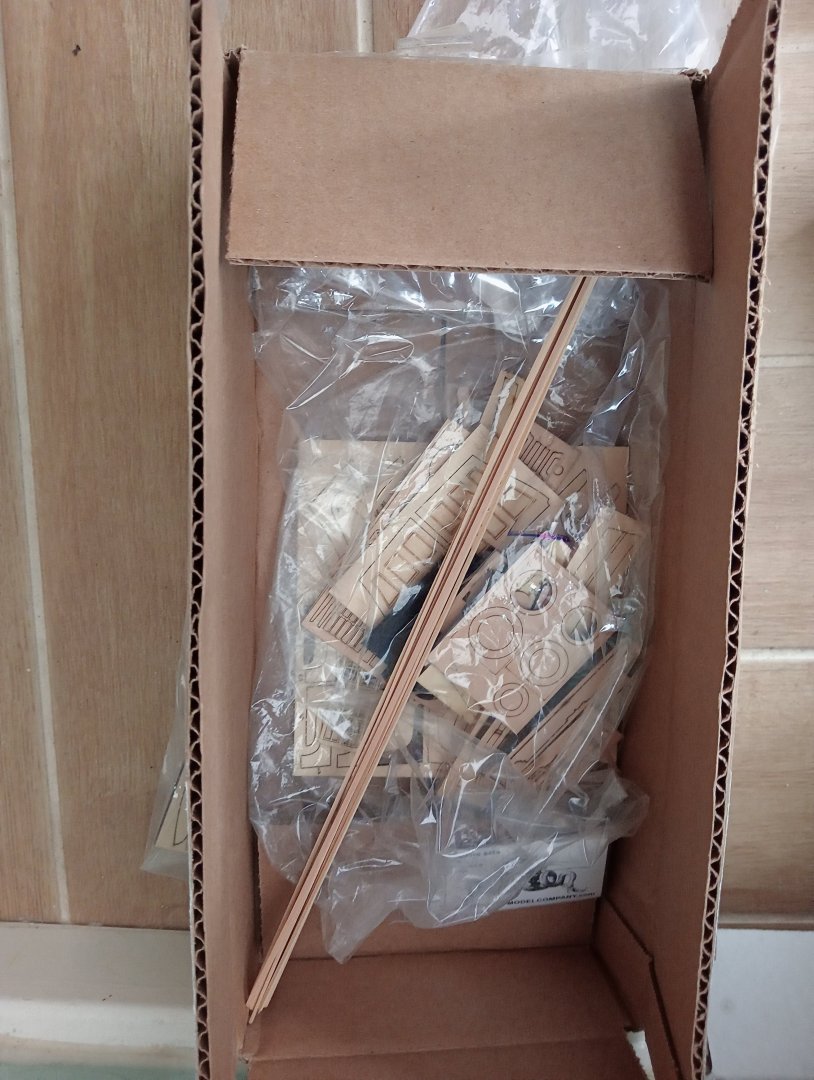
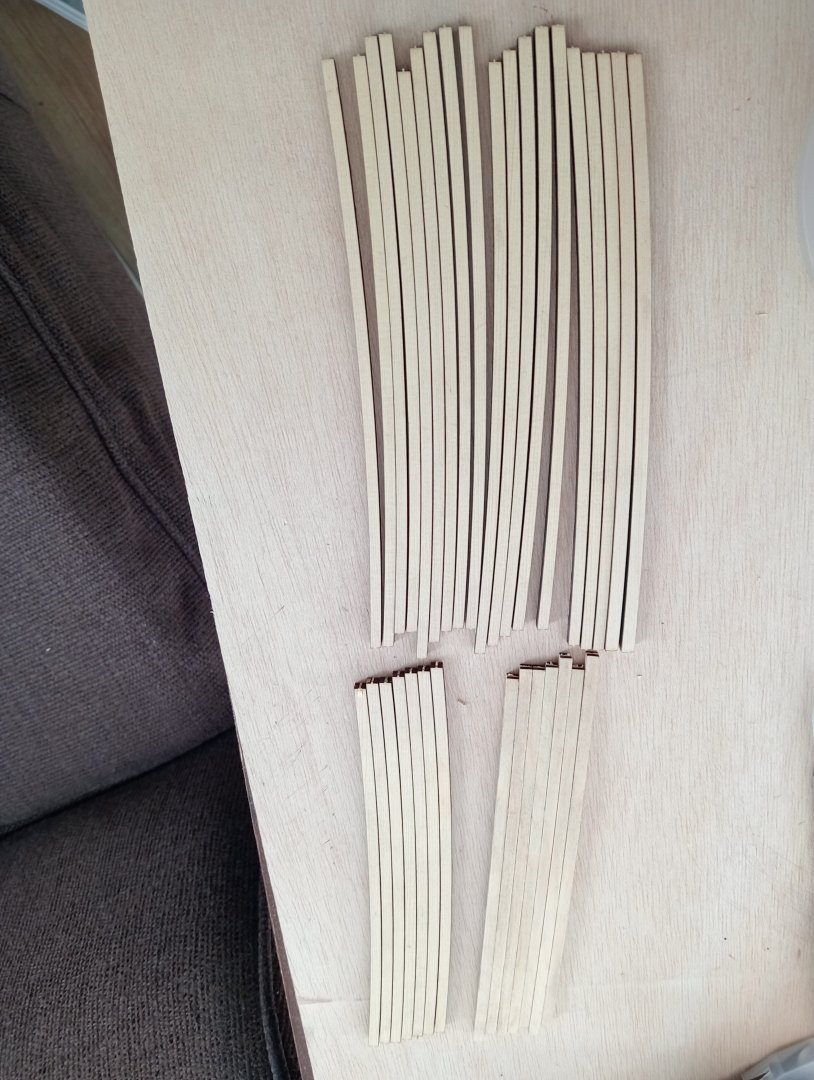
Hi again, Chuck's deliveries are fast, the parts for chapter 7 arrived in about a week or so again. So now, it's more sanding and trying them for fit And all the barrel trunnions to trim for the fitting of the cap squares Thanks for looking in. Cheers
-
Good to see you back on Constellation, Jack. Looking good. And yes I know that feeling 😄 True true
-
Many Thanks Chuck!
-
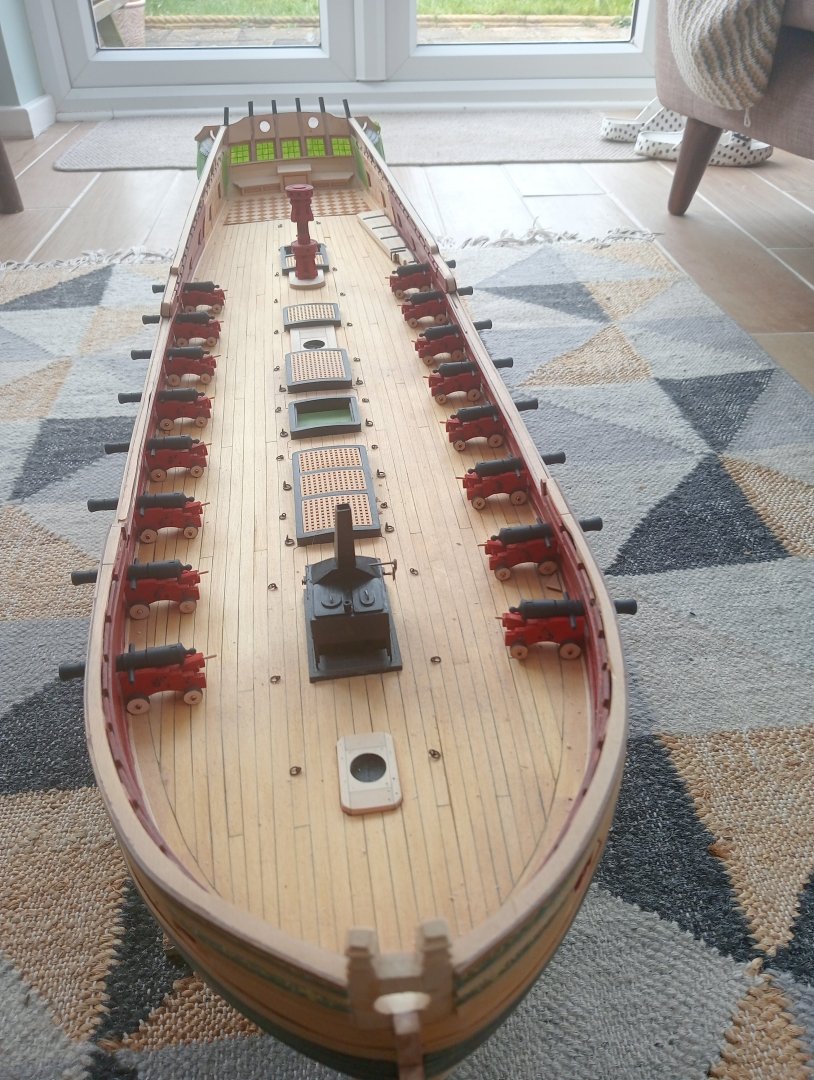
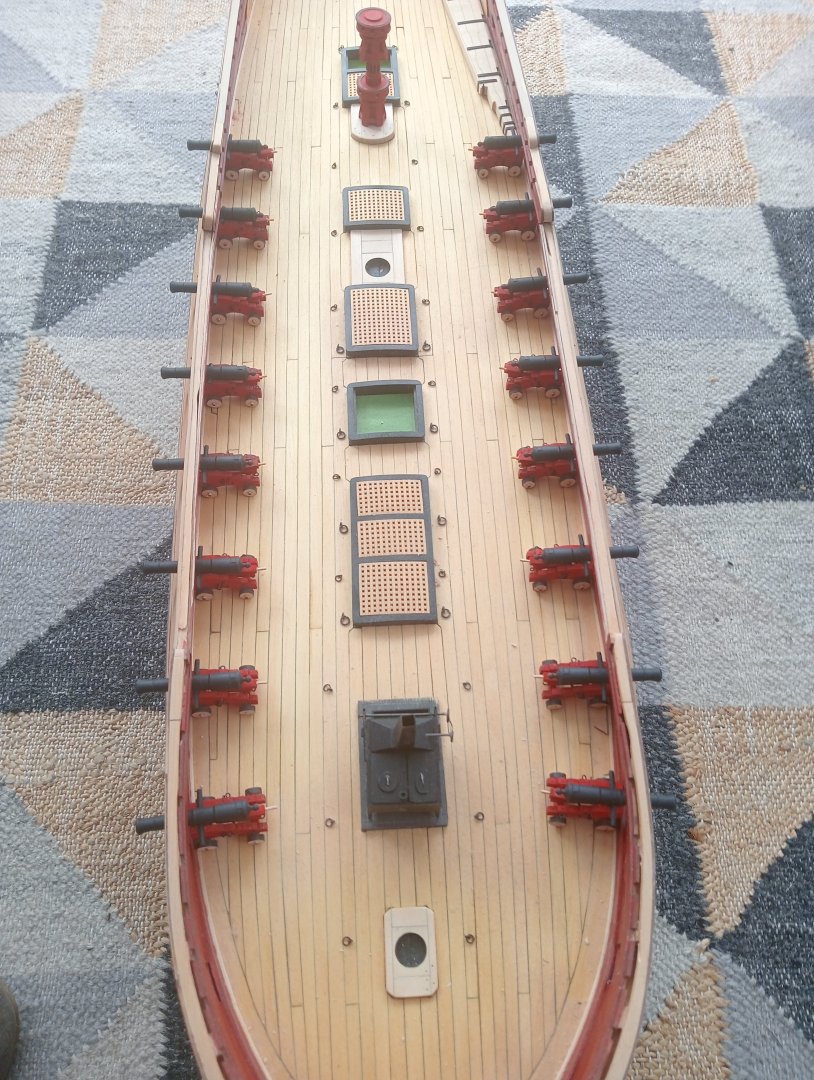
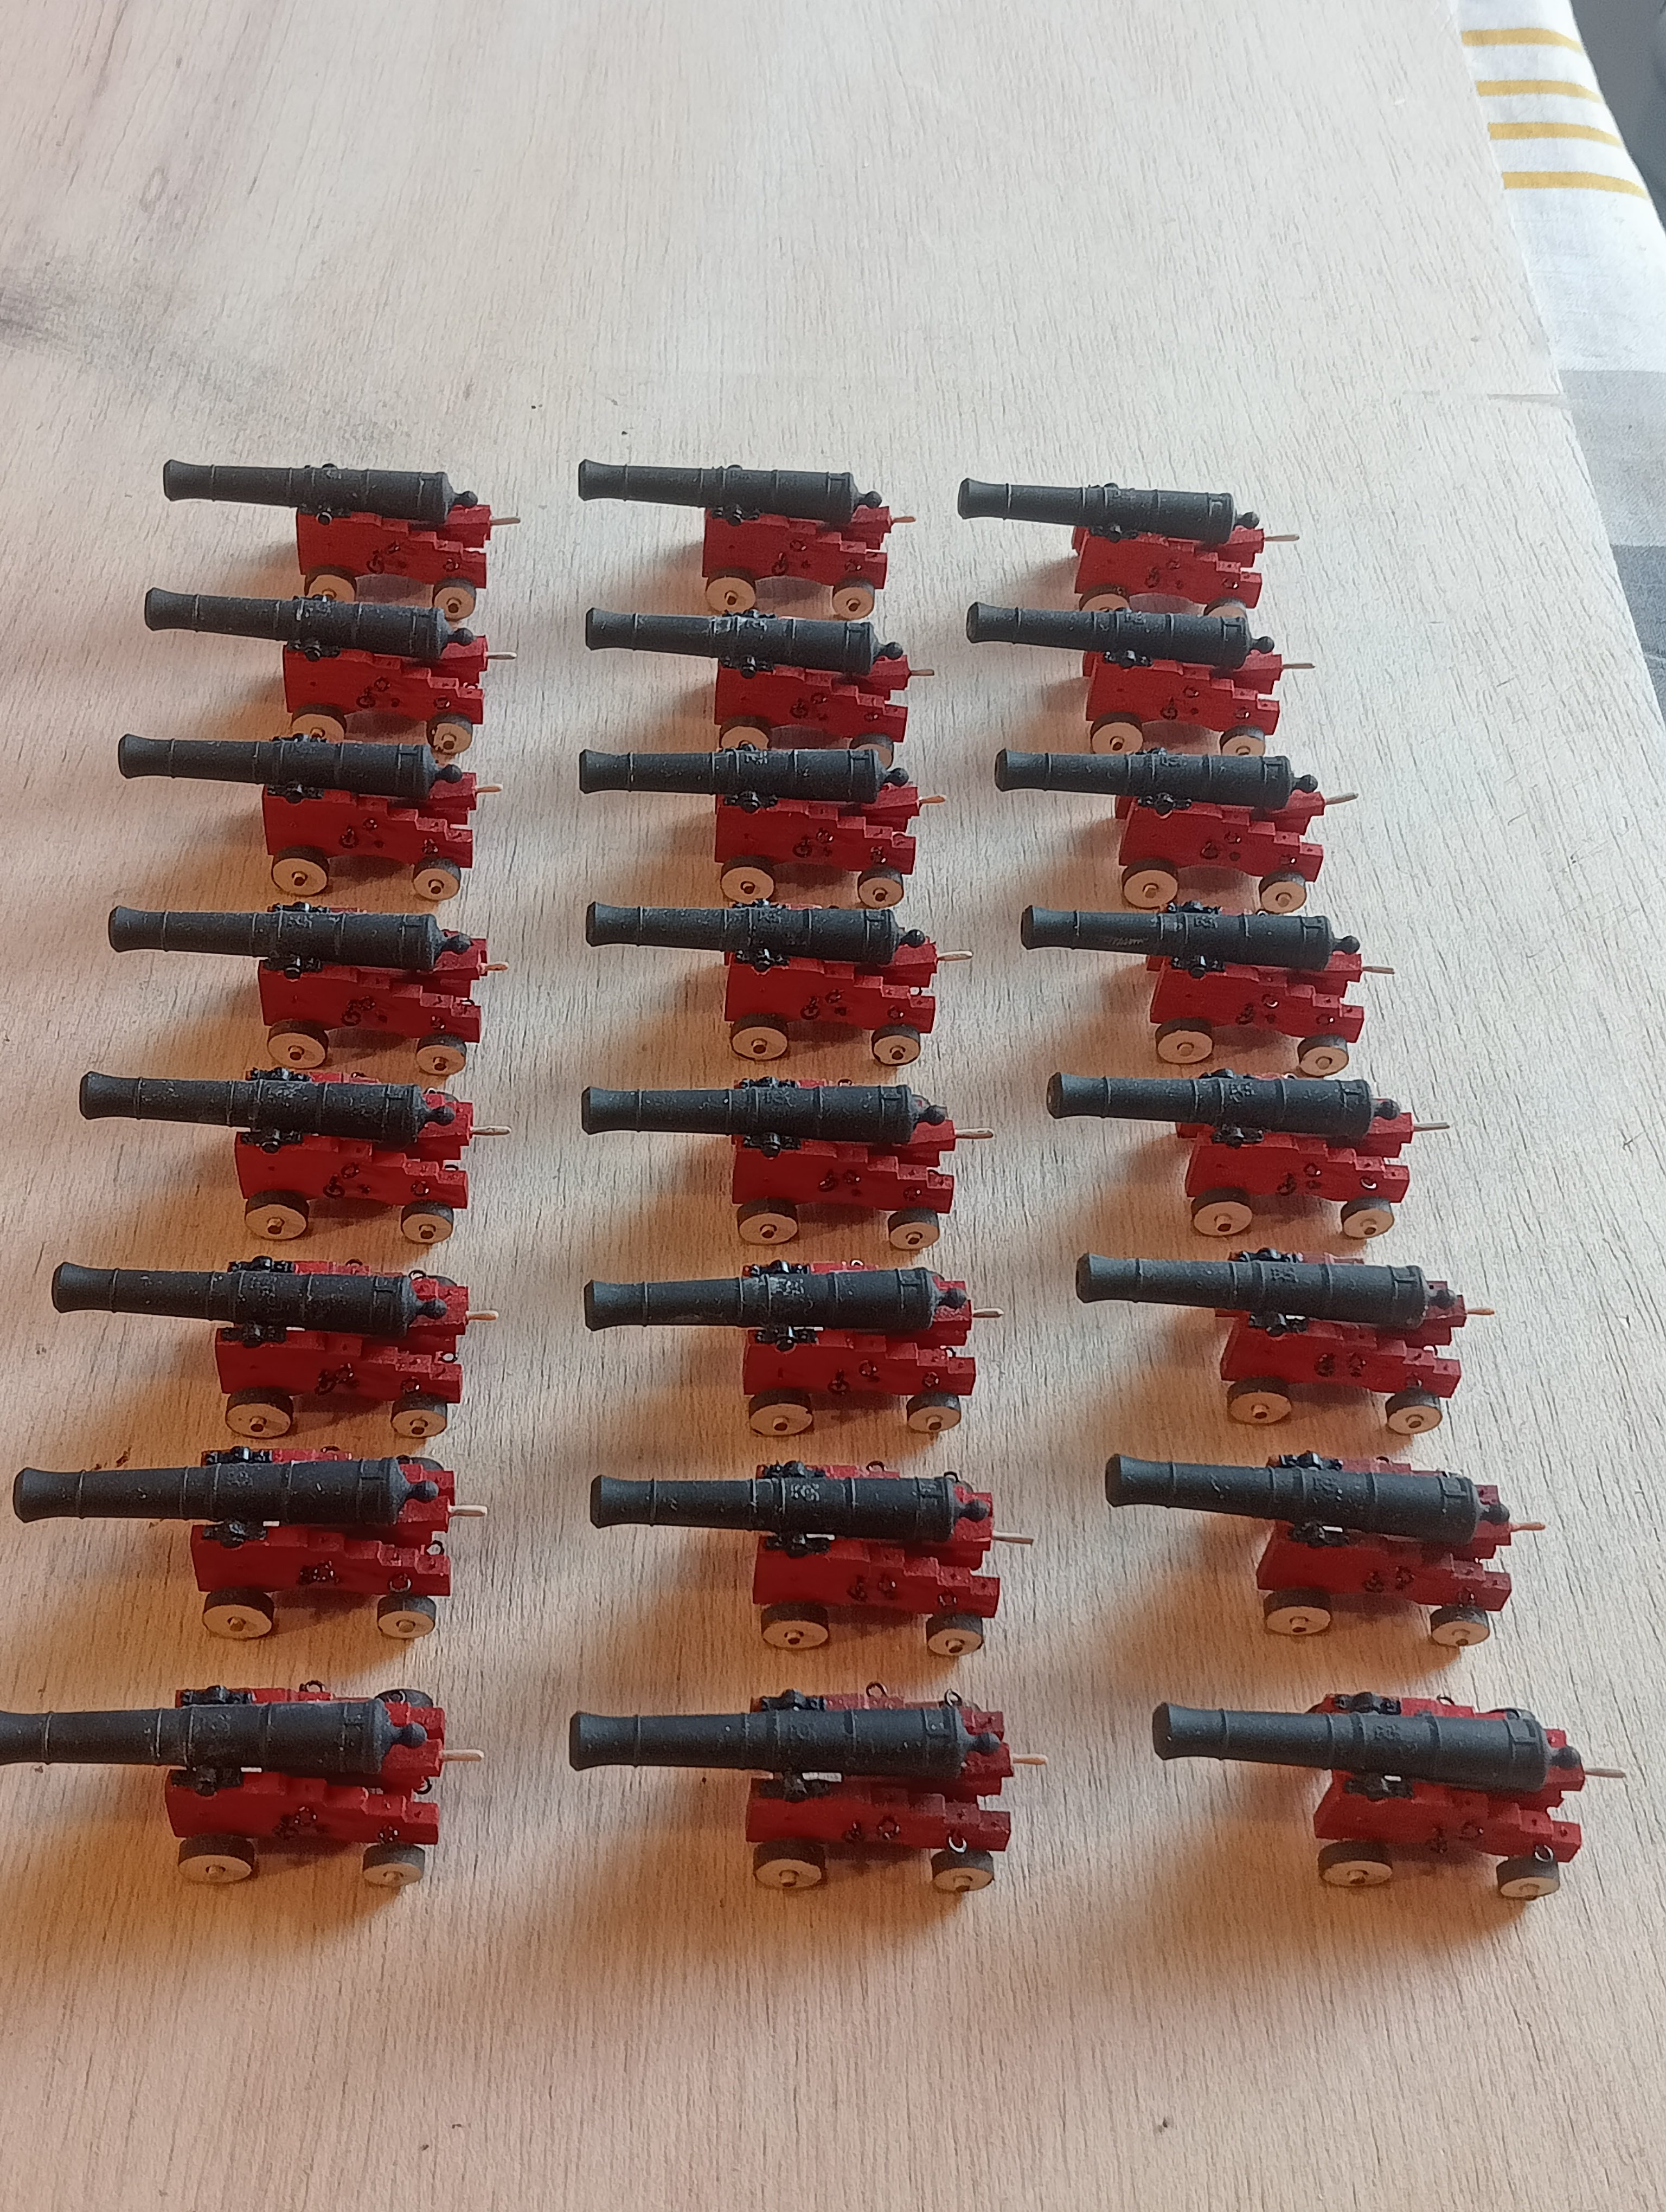
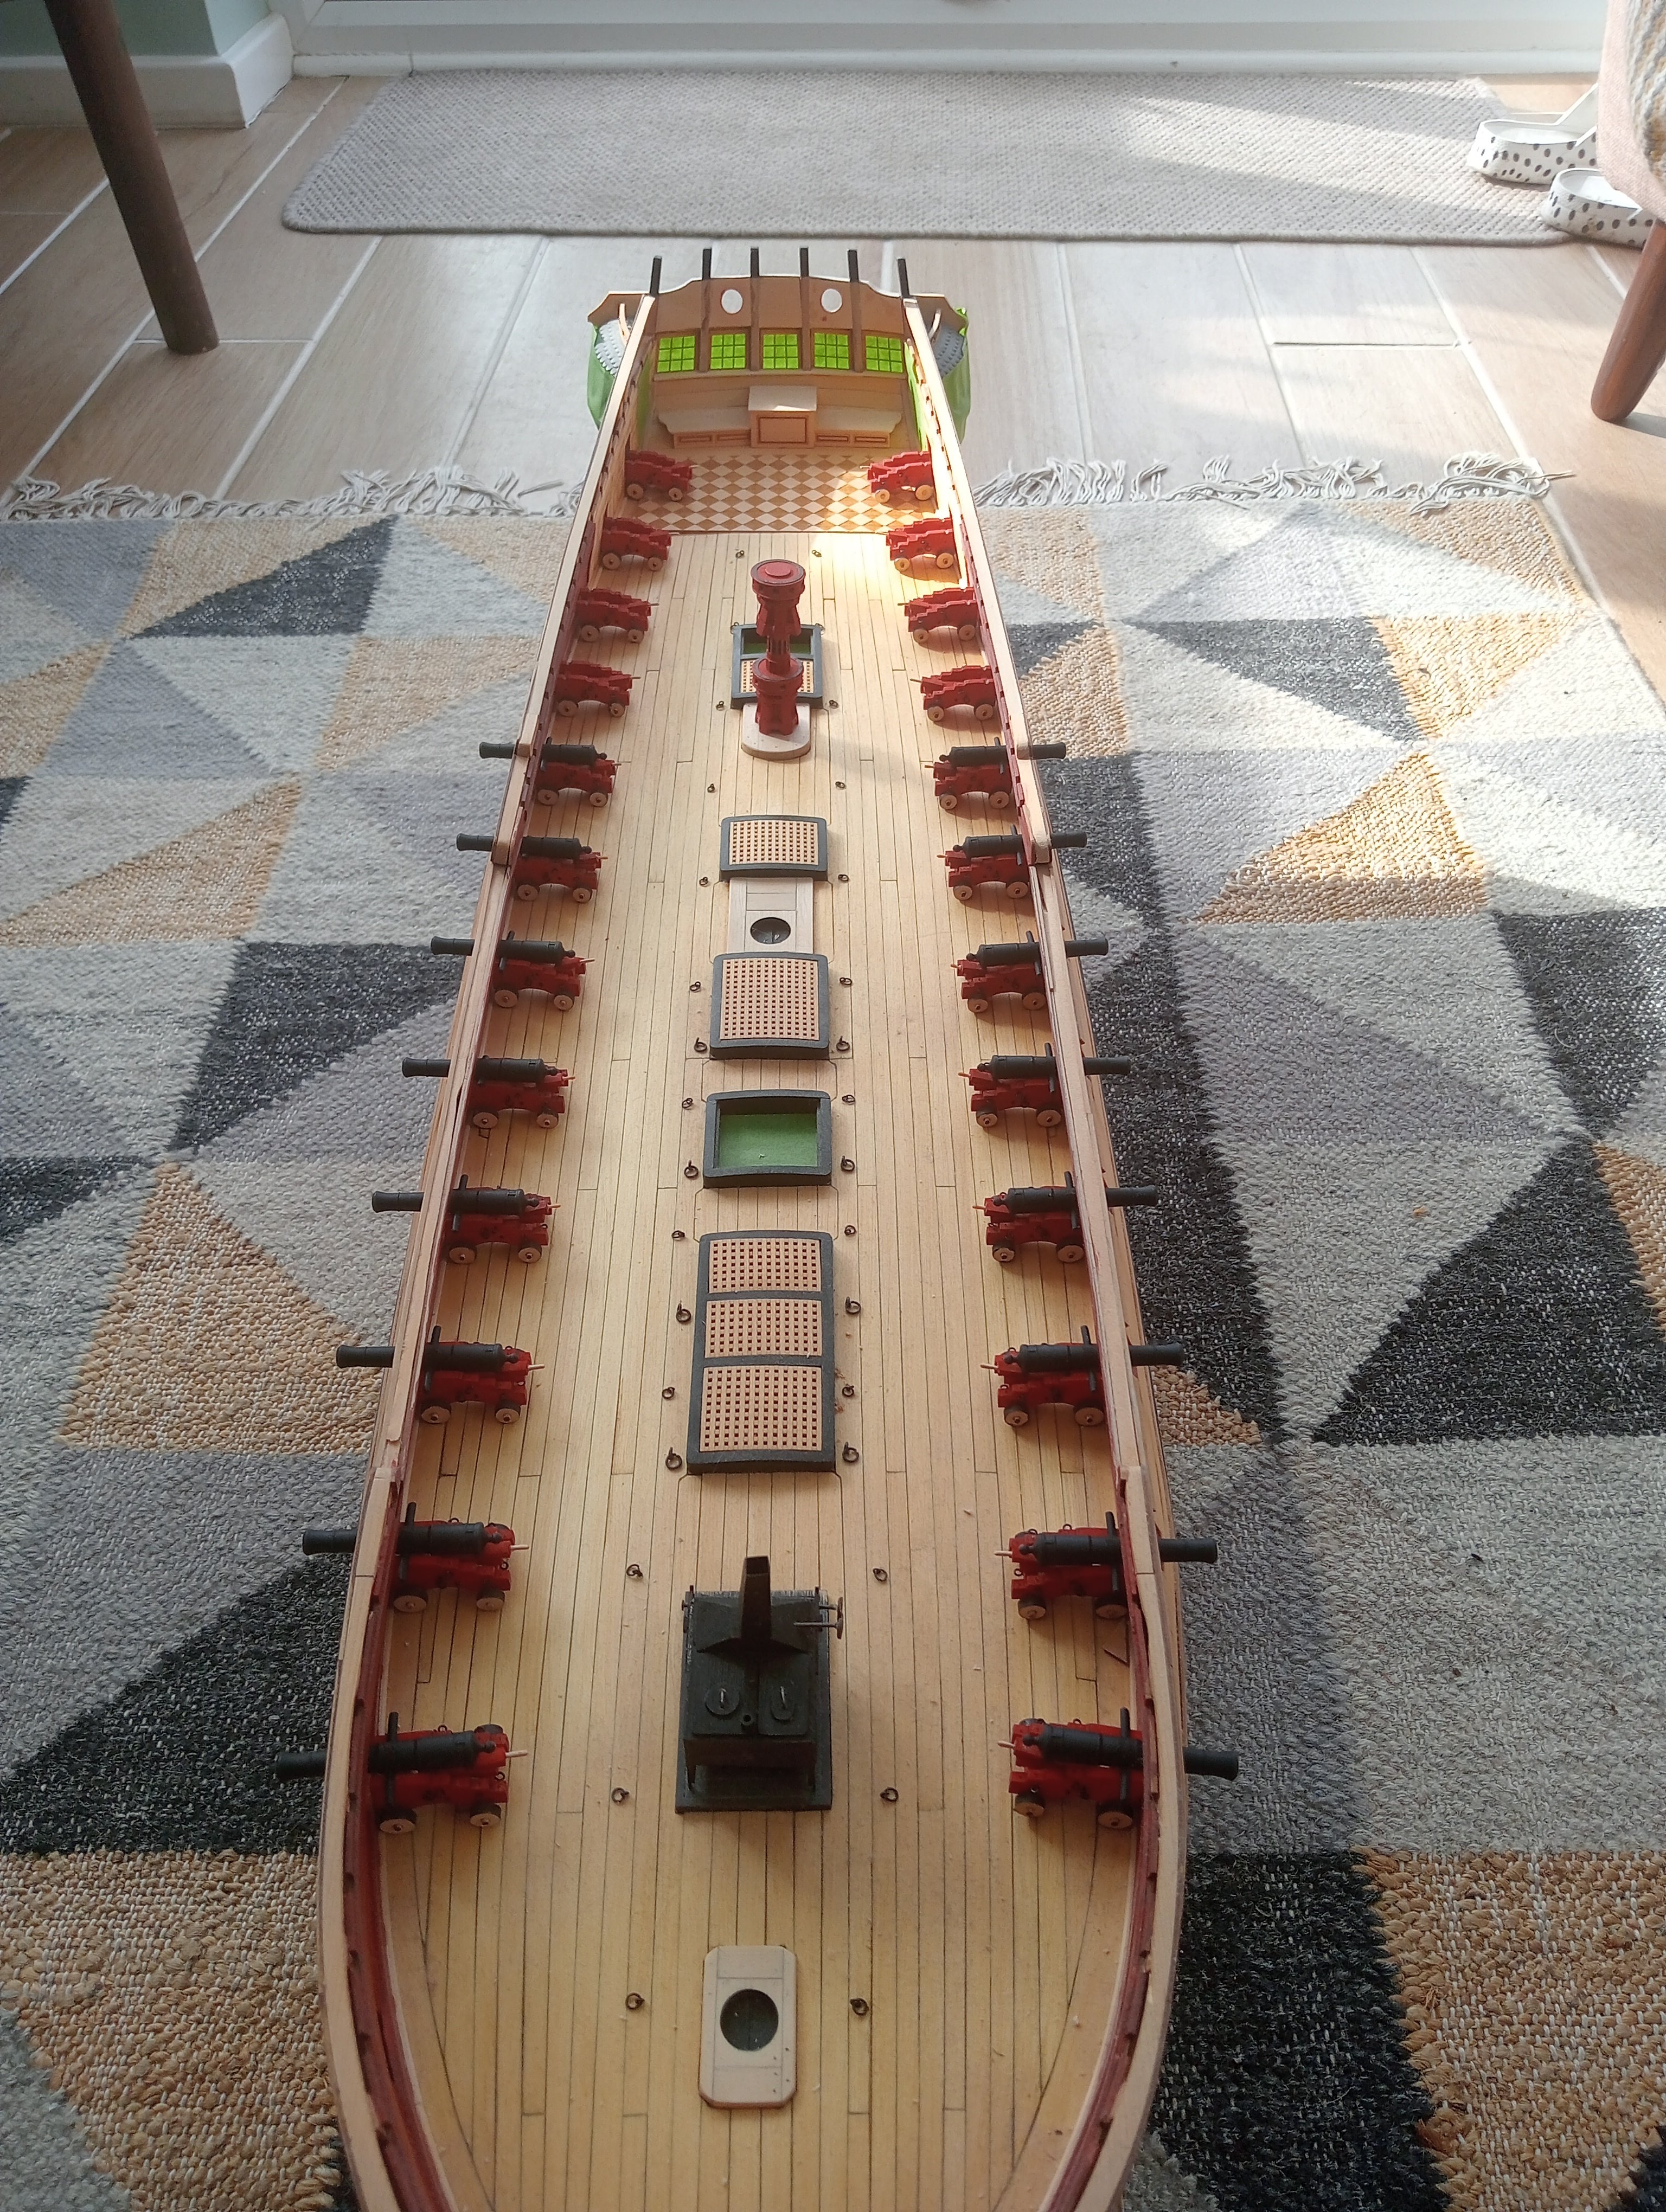
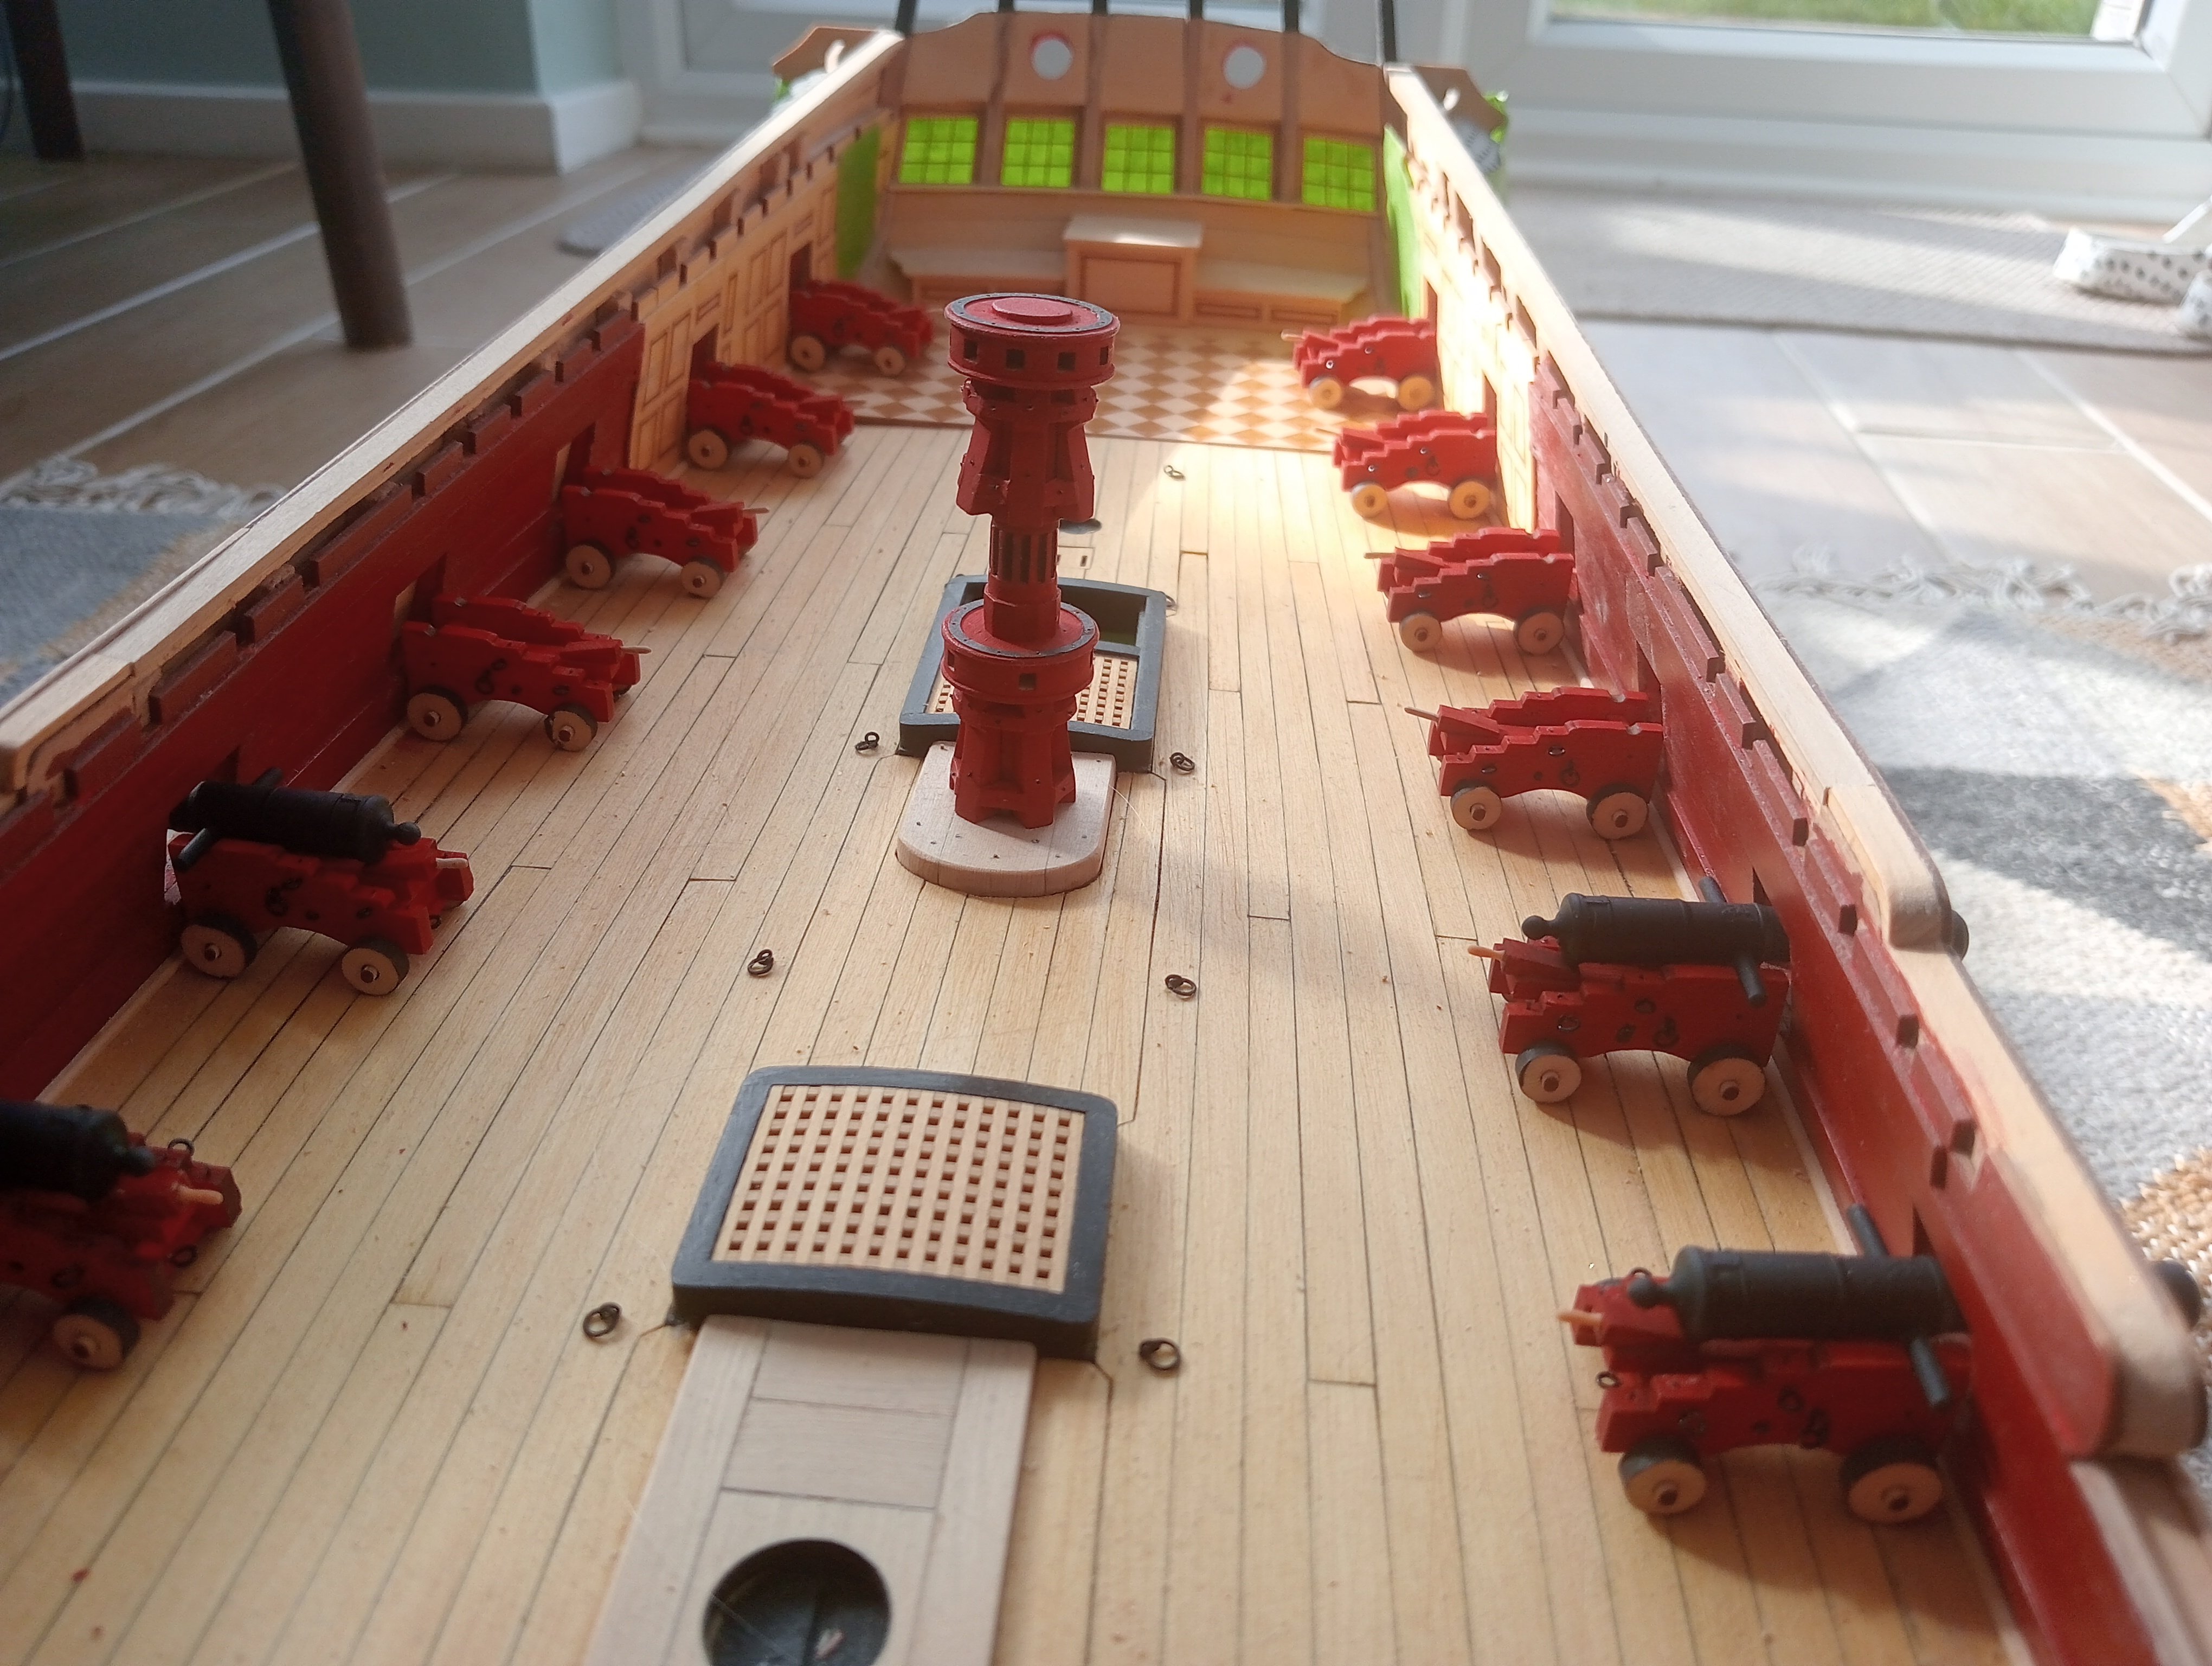
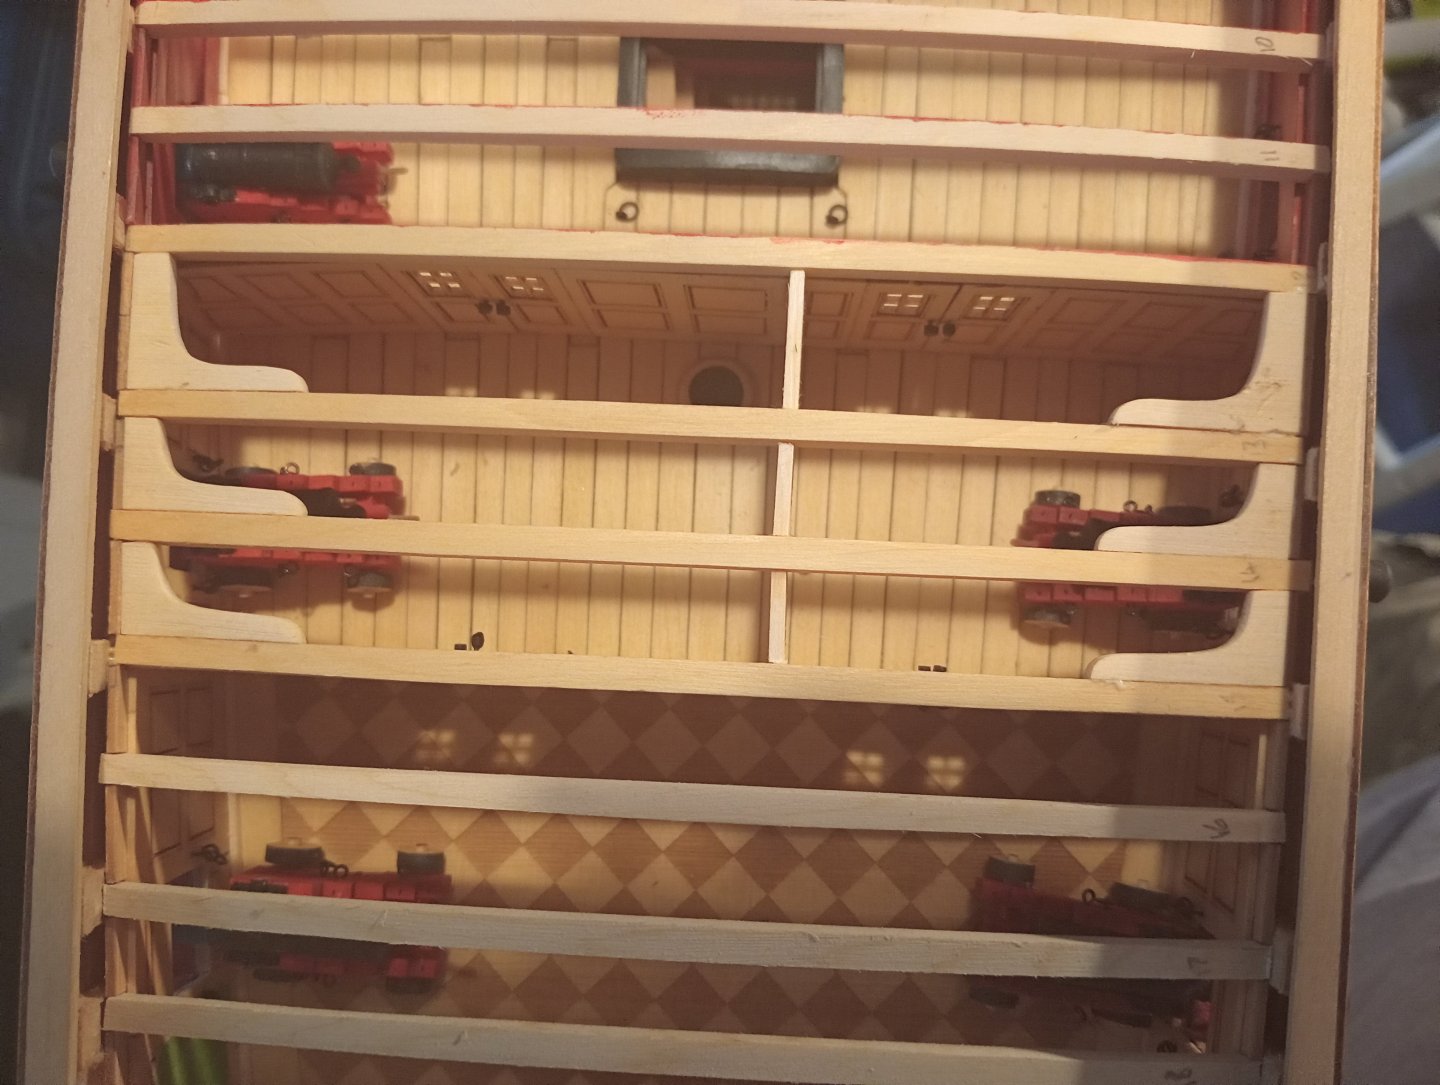
So, all the 12pdr carriages are done, 8 have no barrels, but they are on order, along with chapter 7 and the cap squares. While I wait for chapter 7 to arrive, I will spend time making lots of ring bolts and split rings for the bulwarks, 125 is mentioned in the monograph. All with barrels are placed in position. Im quite satisfied, even if I do say so myself. The barrel less ones in the cabin area, And one last photo Thanks for looking, and hitting the like button. Still no decision on whether to rig or not to rig the guns. Feedback will be gladly welcomed on this matter. Cheers