HOLIDAY DONATION DRIVE - SUPPORT MSW - DO YOUR PART TO KEEP THIS GREAT FORUM GOING! (Only 20 donations so far - C'mon guys!)
×
DarkAngel
-
Posts
243 -
Joined
-
Last visited
Content Type
Profiles
Forums
Gallery
Events
Everything posted by DarkAngel
-
 Update Gallery


-
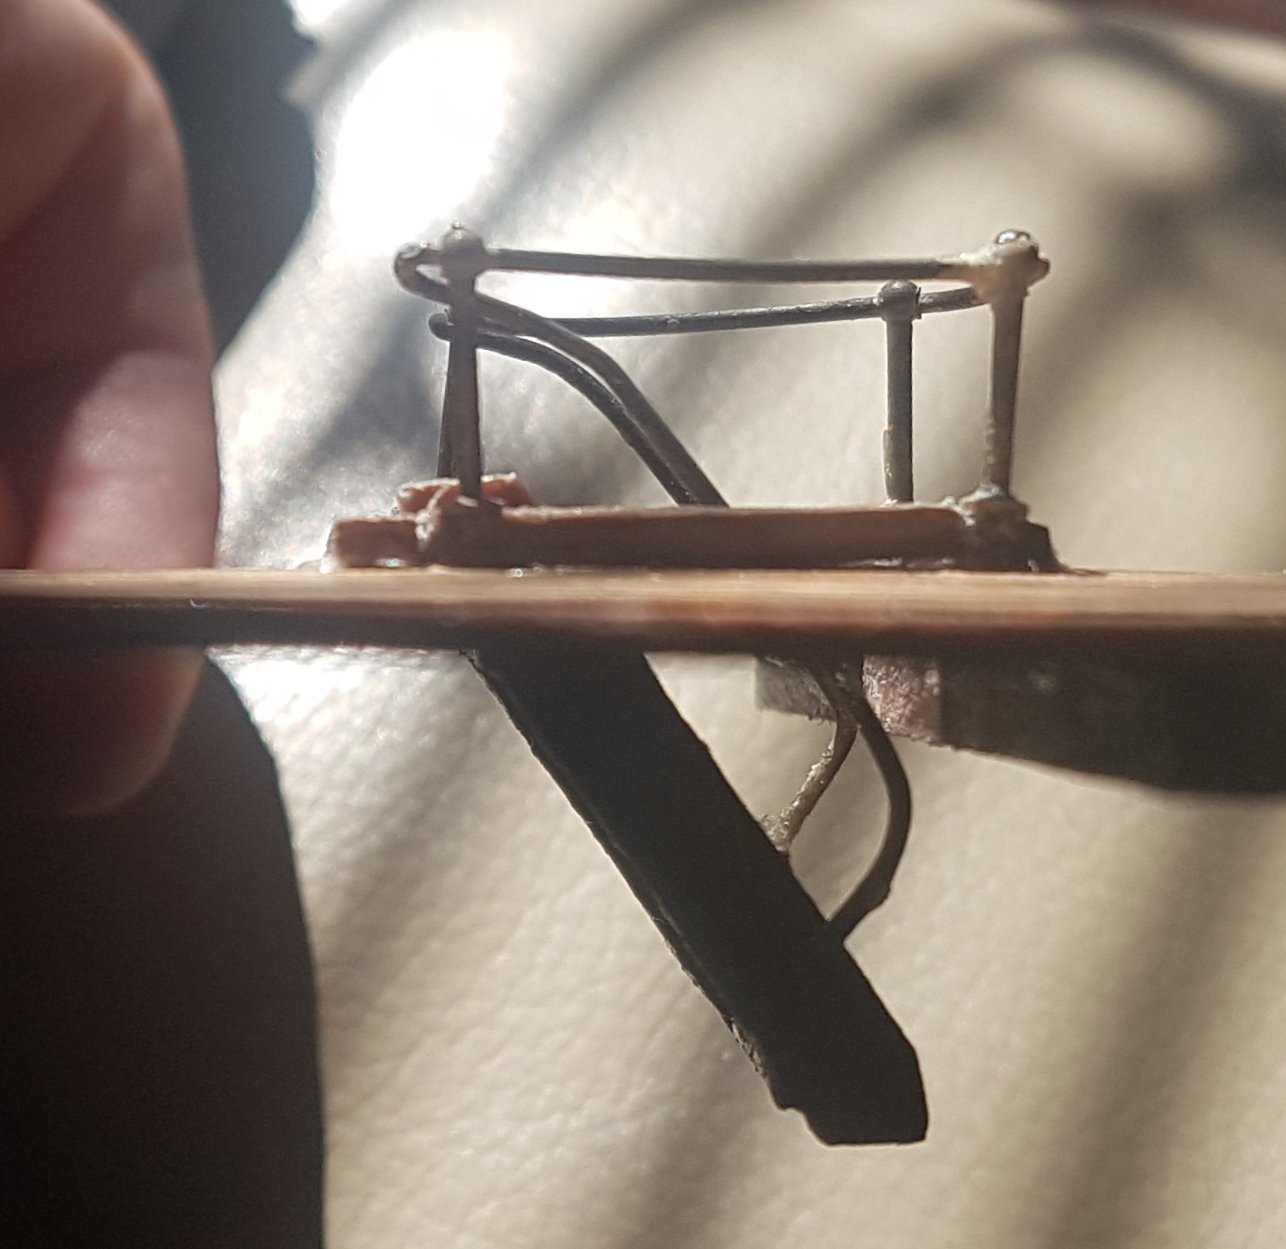
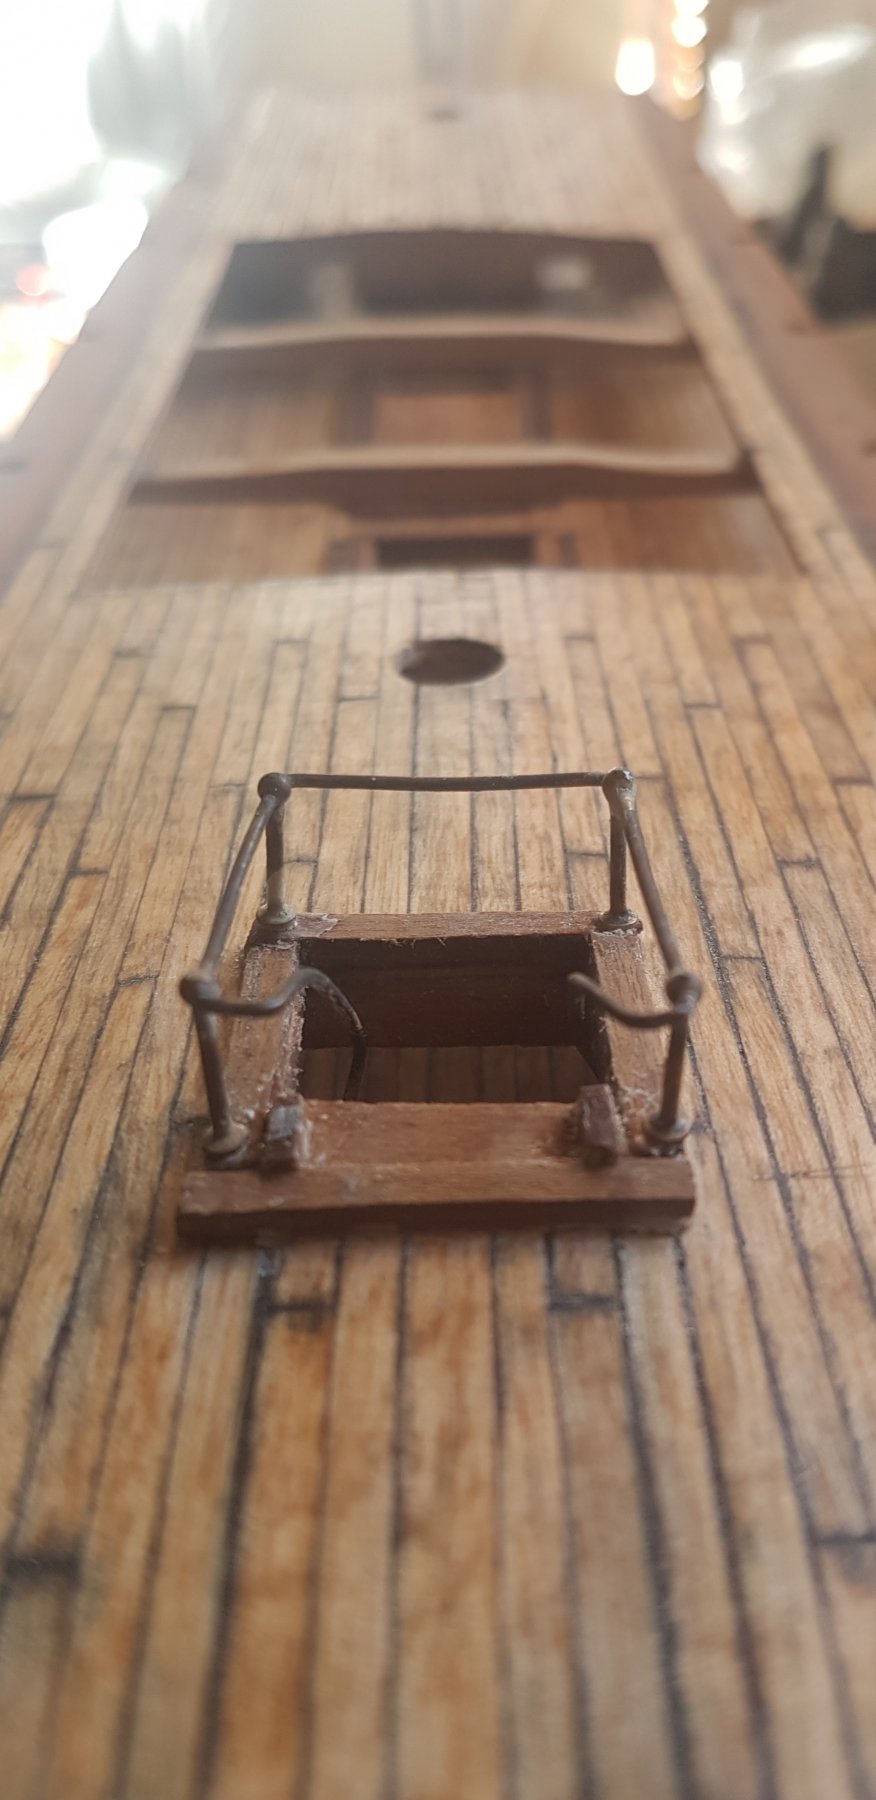
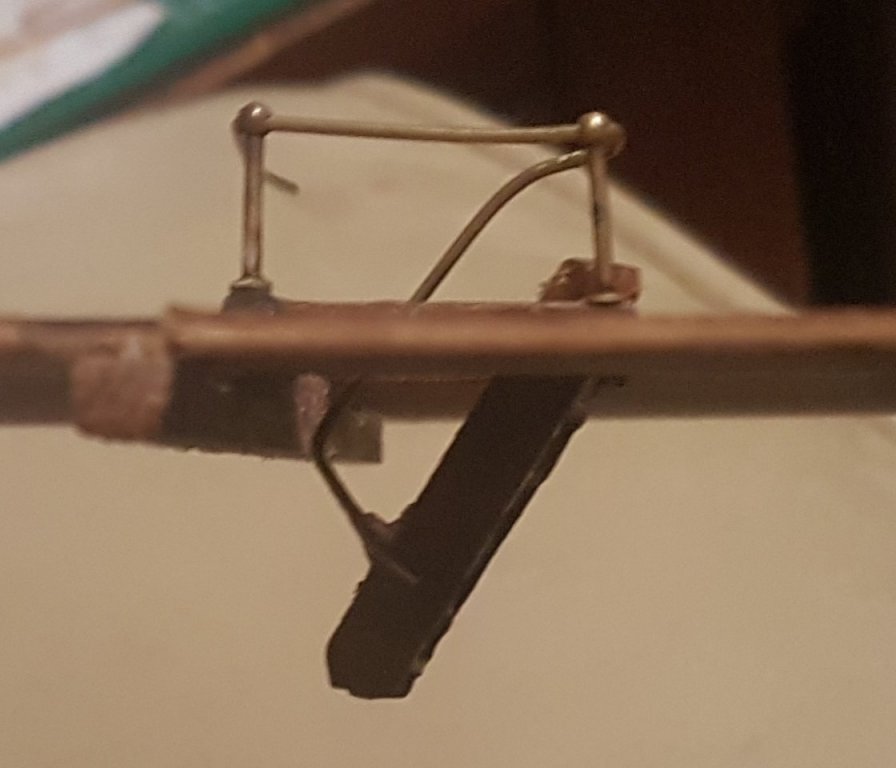
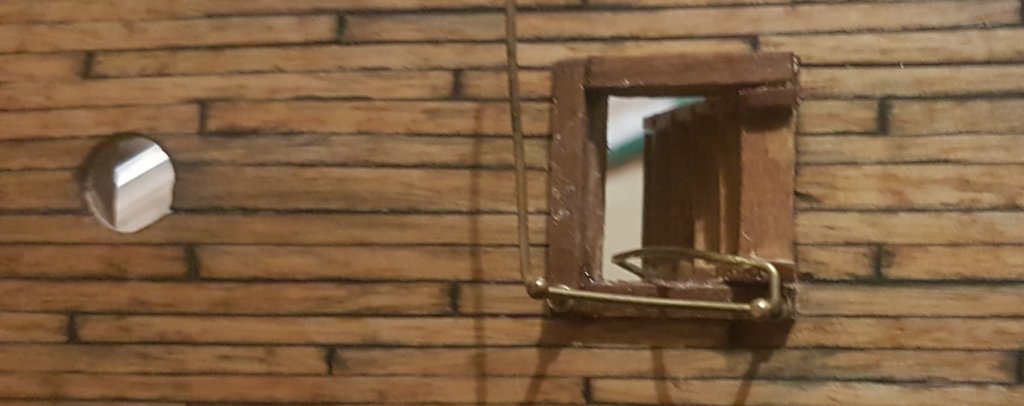
Brass railing on main deck I received a precision screw driver set today and had a go at widening the posts to allow the brass cabling to pass through. I had to go up from a 0.5mm hole all the way up to a 1mm hole to enable the brass cable included in the kit to fit through. I thought I would tackle the top stairs near the middle mast and am happy with the progress thus far. I found that drilling larger holes in the posts caused me to rub off the black patina, so I will need to brush on the 'Liver of Sulphur' solution again after the brass railing is completed. pics edit: I used superglue to glue the brass onto wood as I needed a strong quick bond to hold the various connections in place while I planned the next section. Firstly I bent the brass cable to test fit before going for the glue. I was worried about stcking my fingers together, so I used a bit of scrap wood to put pressure on items to be bonded. A bit of superglue on skin comes off by itself after a day, just don't press the glued skin parts together !

-
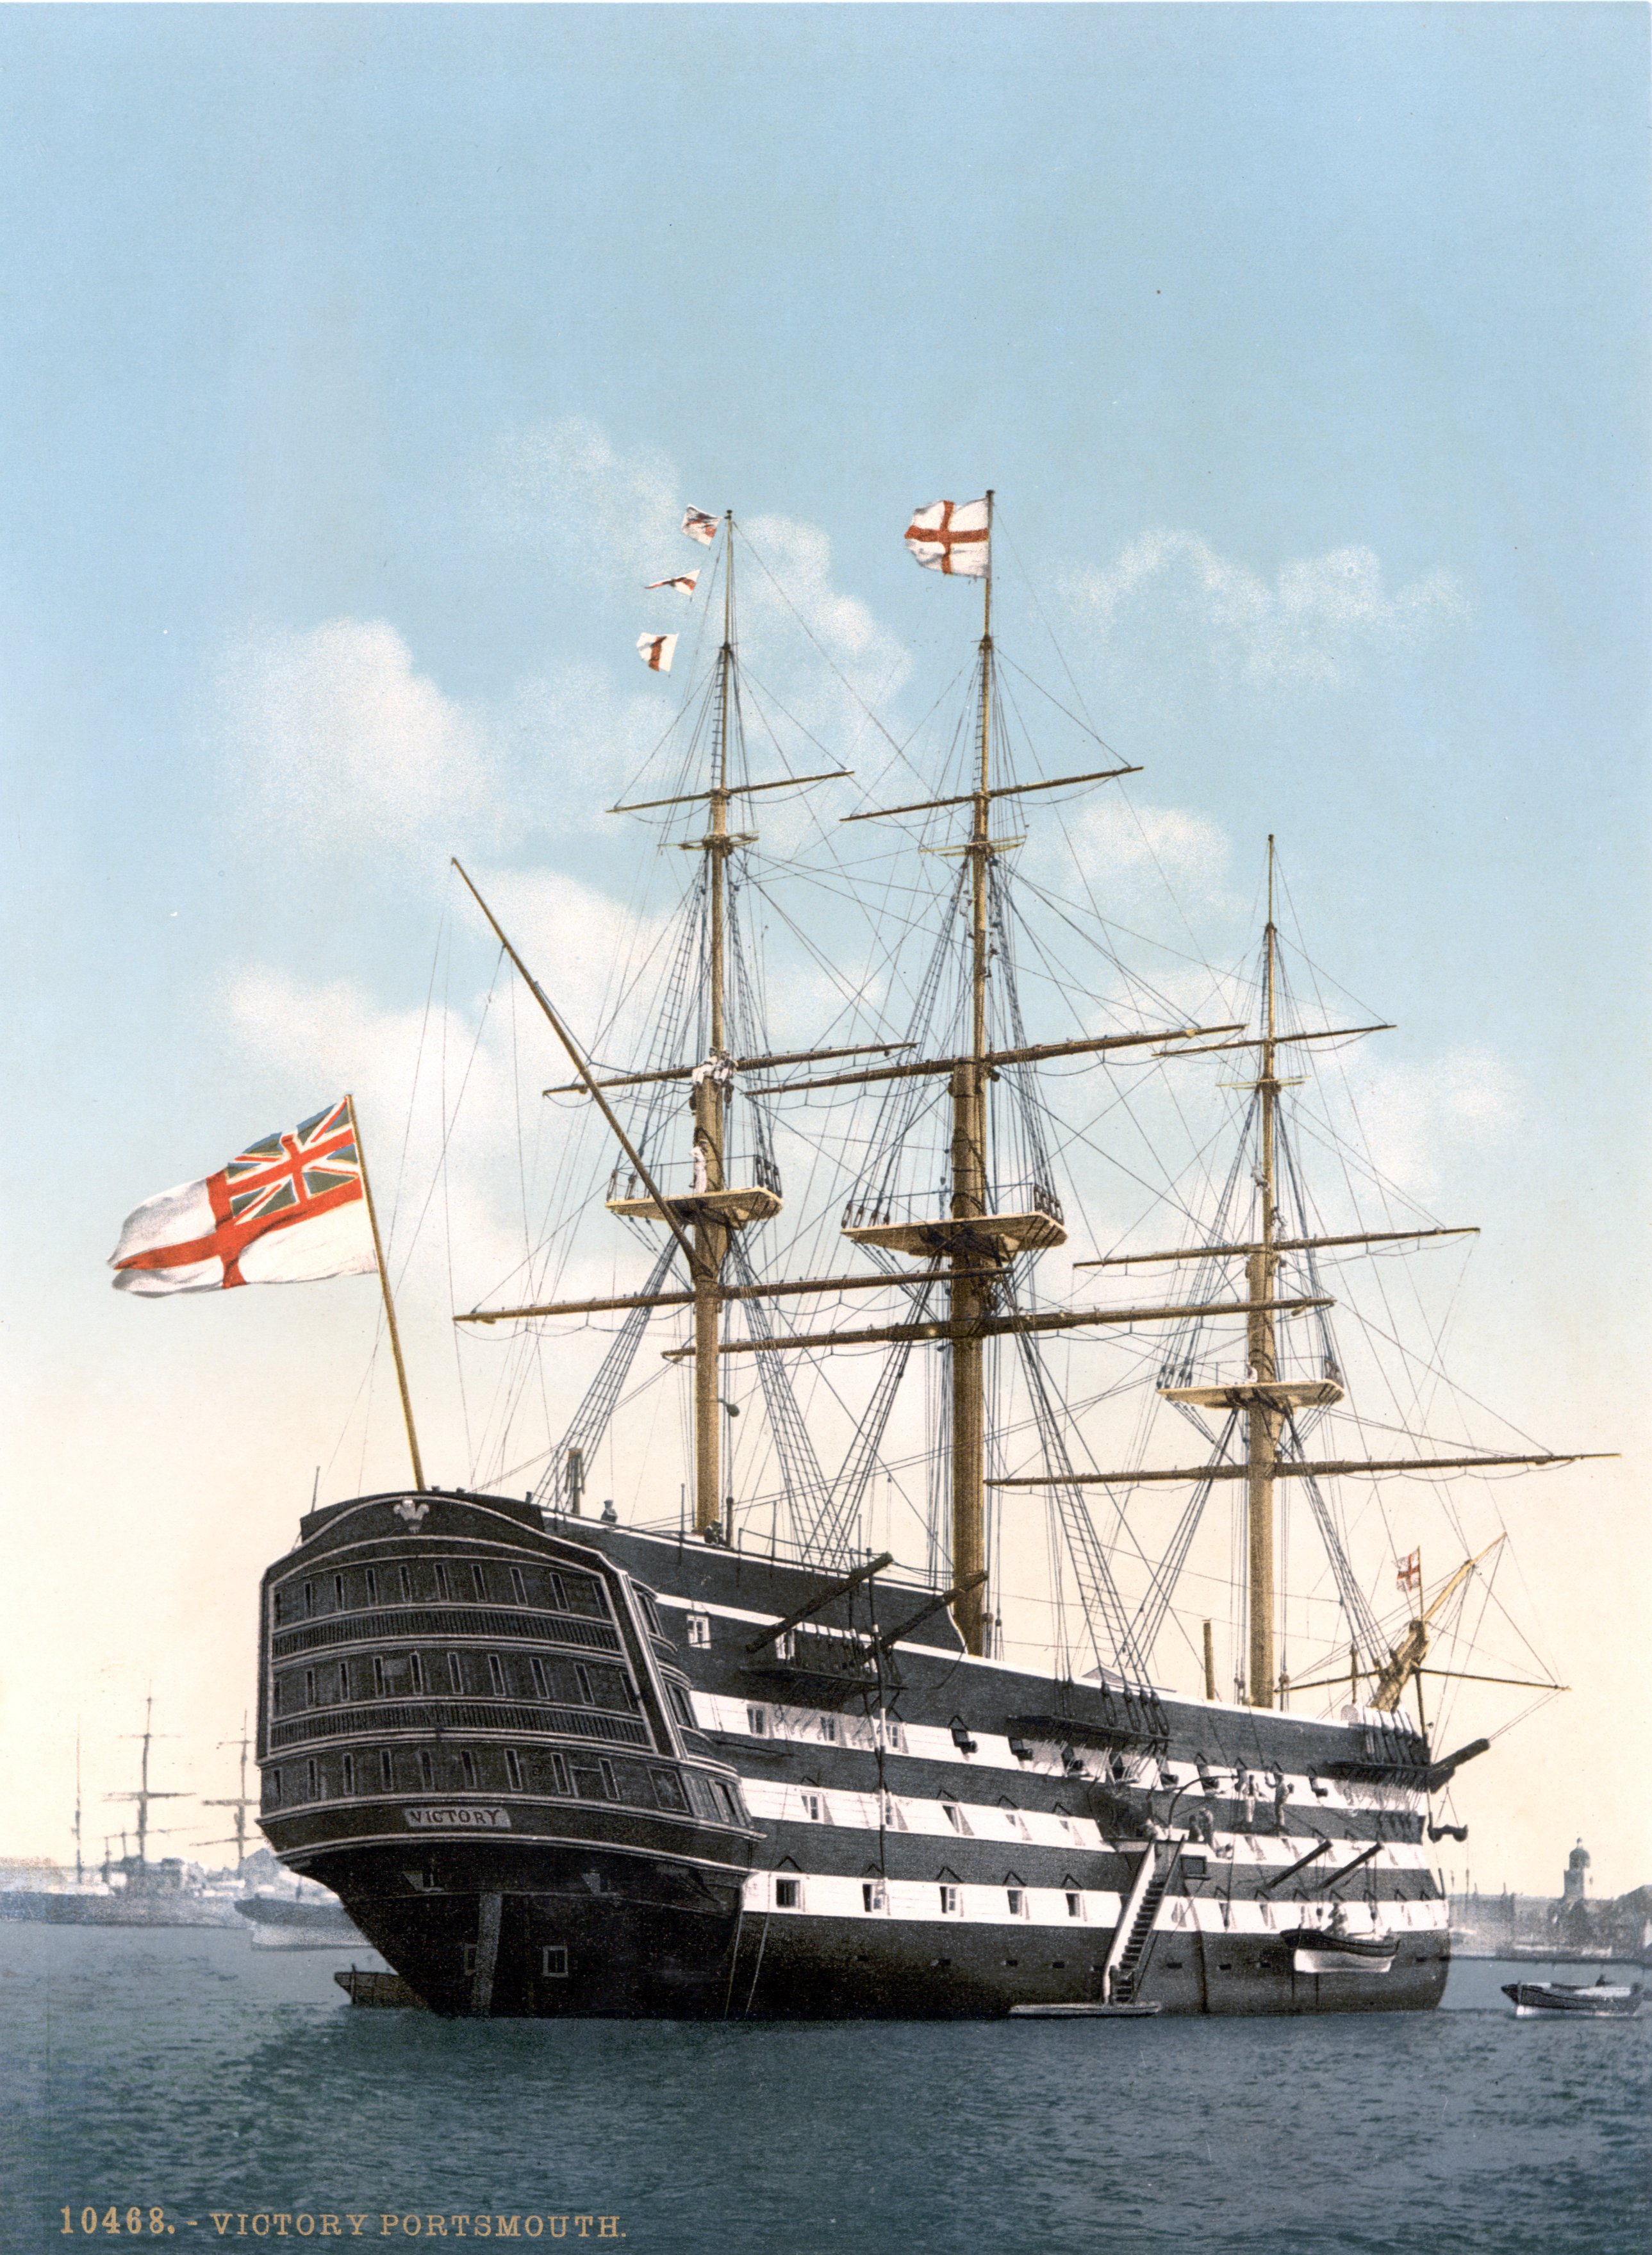
2nd Deck installed Permanently installed second deck after cutting back bulkheads for more streamlined walls as per HMS Victory in Portsmouth. This is required now before I can start the port lining framing on the other side. I can start the hull planking now at any time I'm using the coffee stirrer sticks, white pine 2mm x 5mm for the interior wall and instead of painting them white, I'll just put a satin clear coat to maintain the light natural wood colouring. My plan is to put in a few hanging tables and add a few other items like some barrels, maybe some powder horns a pyramid of cannon balls... extra center sections with cannon balls extending in each direction, And a mast housing bracket (a wooden round base to sit the mast inside). Also a wired lighting setup with severals light above each row of cannons. Pics

-
Lanterns Onboard through out the various decks on the HMS Victory, I noticed there are many lanterns, Primarily above or around each cannon and in area's requiring illumination, like the bottom of stairwells. I had a look around for these parts, but most seem too big for this scale 1:98 Considering crafting these to house a tiny electric light possibly, any suggestions on where these may be sourced ?
-
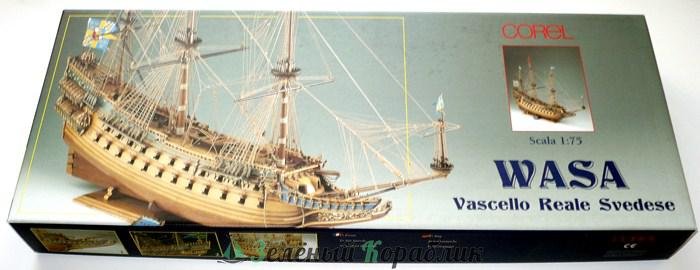
Wasa model acquired Early August I will be acquiring the Wasa 1628 Swedish royal ship by Corel in 1/75 scale. It's a beauty with lots of gilded decorations and over 60 guns. I am in no hurry to start the Wasa, there will be lots of research undertaken before I think about that. Like the HMS Victory the Wasa is still around having been rescued from it's watery grave and brought back to life in the 50's. So there are plans and real life photo's taken to consider. Currently I am reading a few Wasa blogs, and collecting Wasa images
-
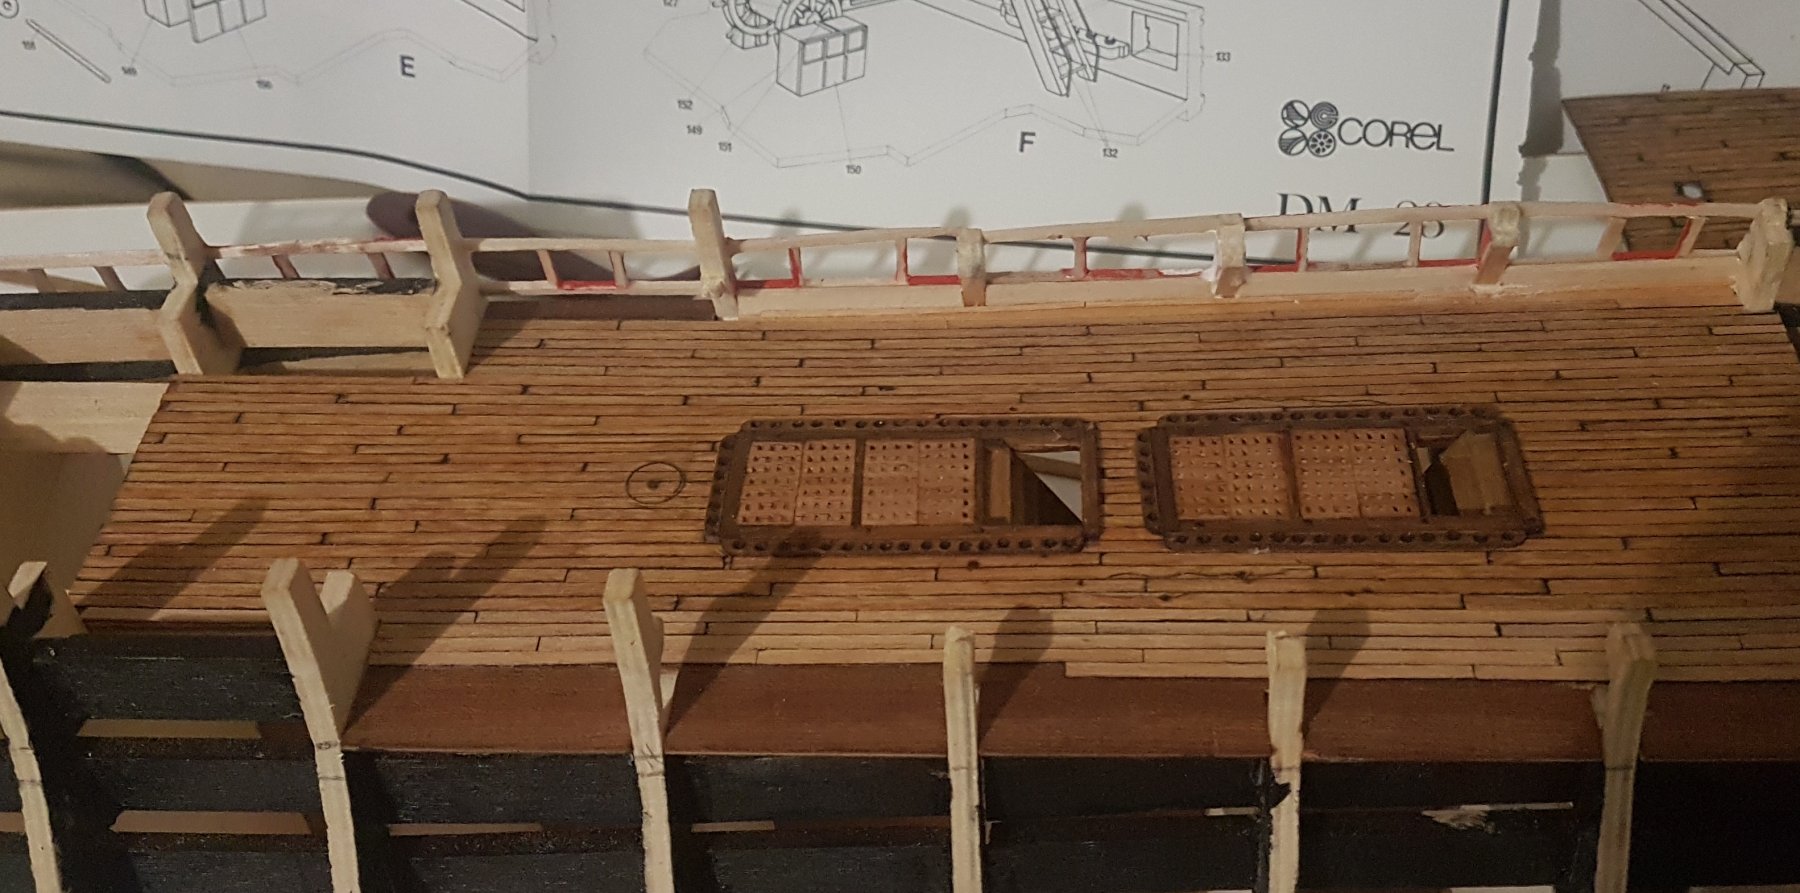
Overview 2nd deck Here's a few more pics to get an idea of the overall progress thus far.

-
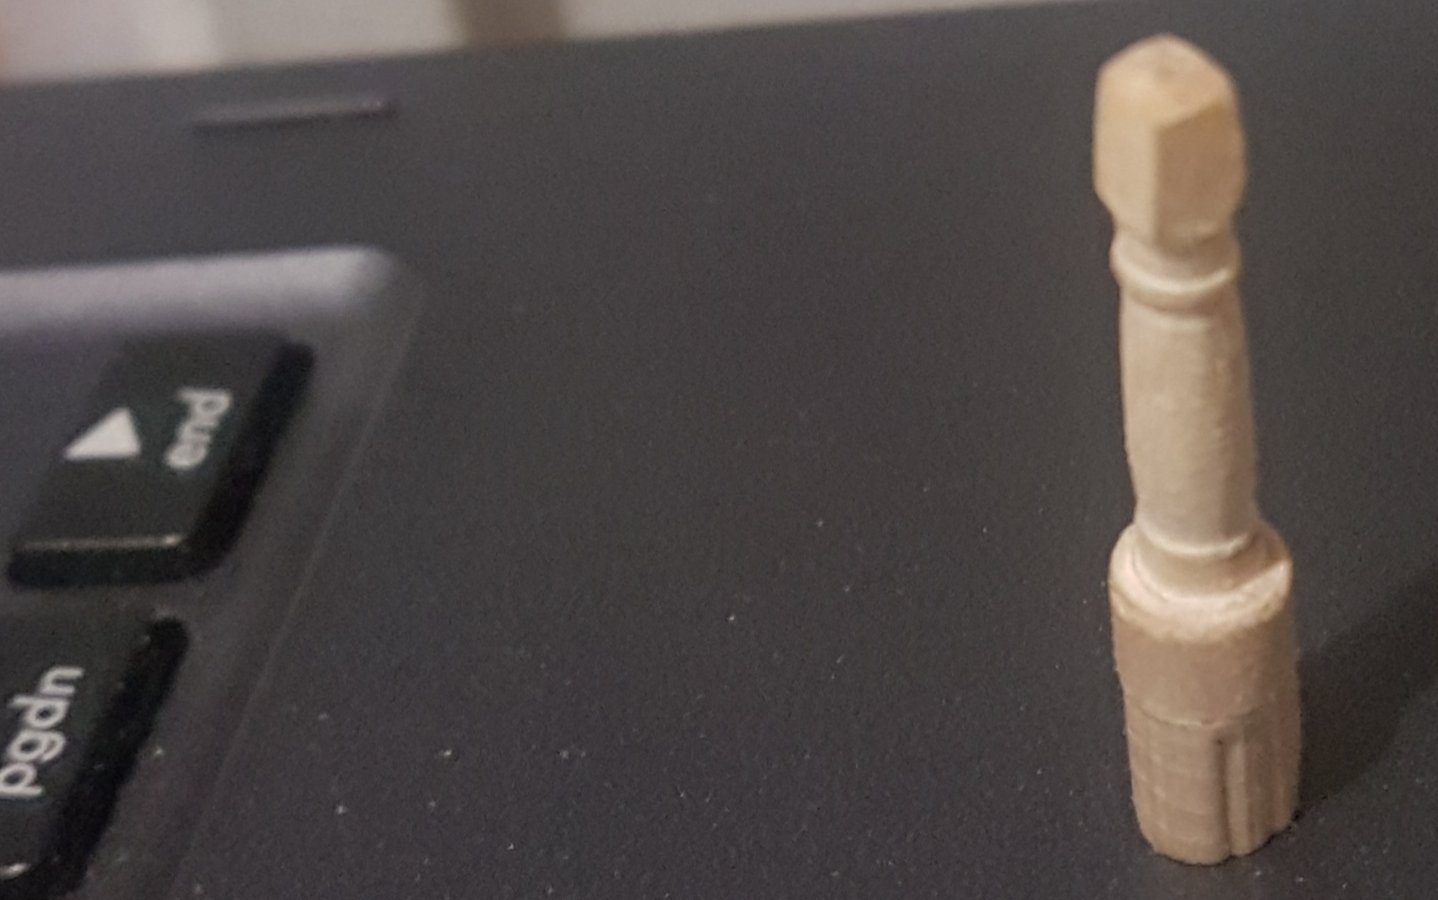
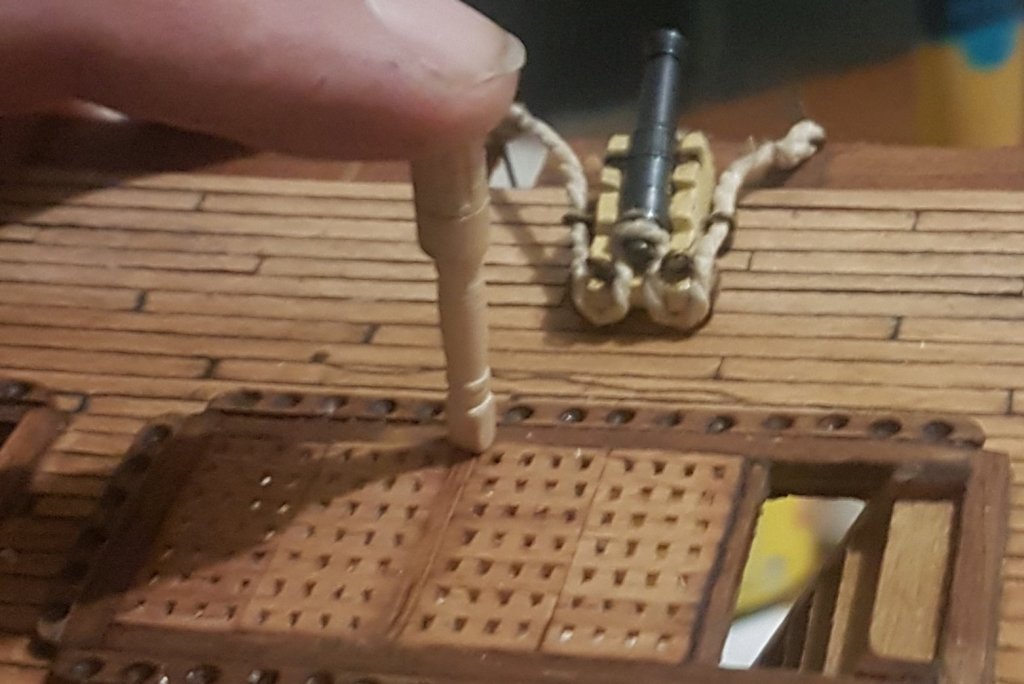
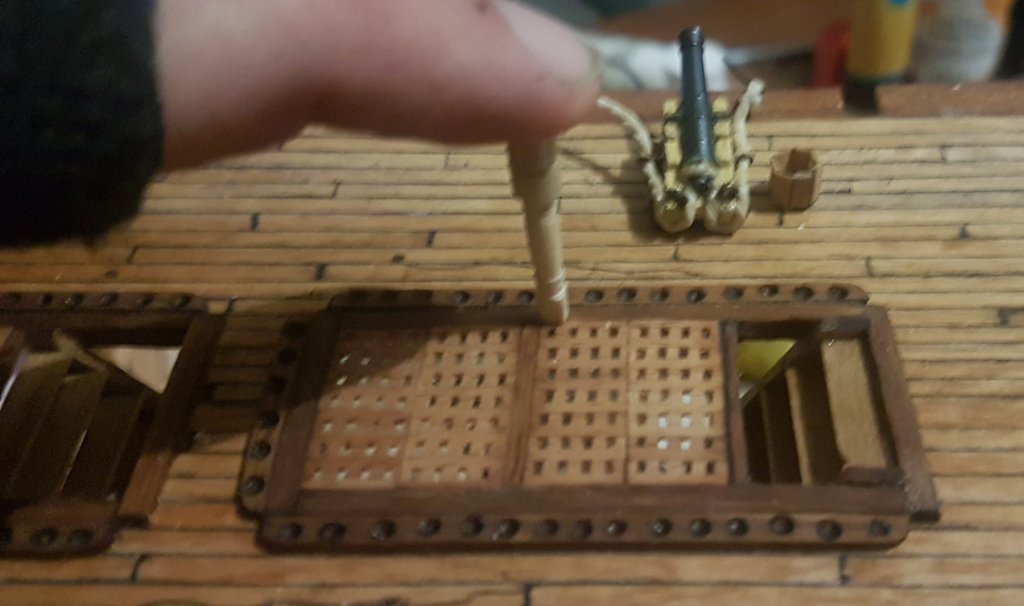
2nd Deck column I bought a packet of 5mm dowel to use for the 3mm column supports for the cross beams that can be seen from the main deck. here's a pic of a sample I crafted using my drill as a lathe, a sharp steel chisel like blade and a file. Just need another 11 of these

-
Yes it looks a bit different zoomed in a lot to what it looked like before I took a pic. This was my first attempt using what was available when I went shopping Wed. Turns out both sewing shops are closed or close at lunch time on Wednesdays, I may use the cotton embroidery thread in single strand (the above pic was double strand) for the netting used around the ship, just have to see how the thickness of the strand works. Ideally I shall find a thin thread to work from and twine together to make some nicely woven rope Nice pic of thread above you posted there allanyed
-
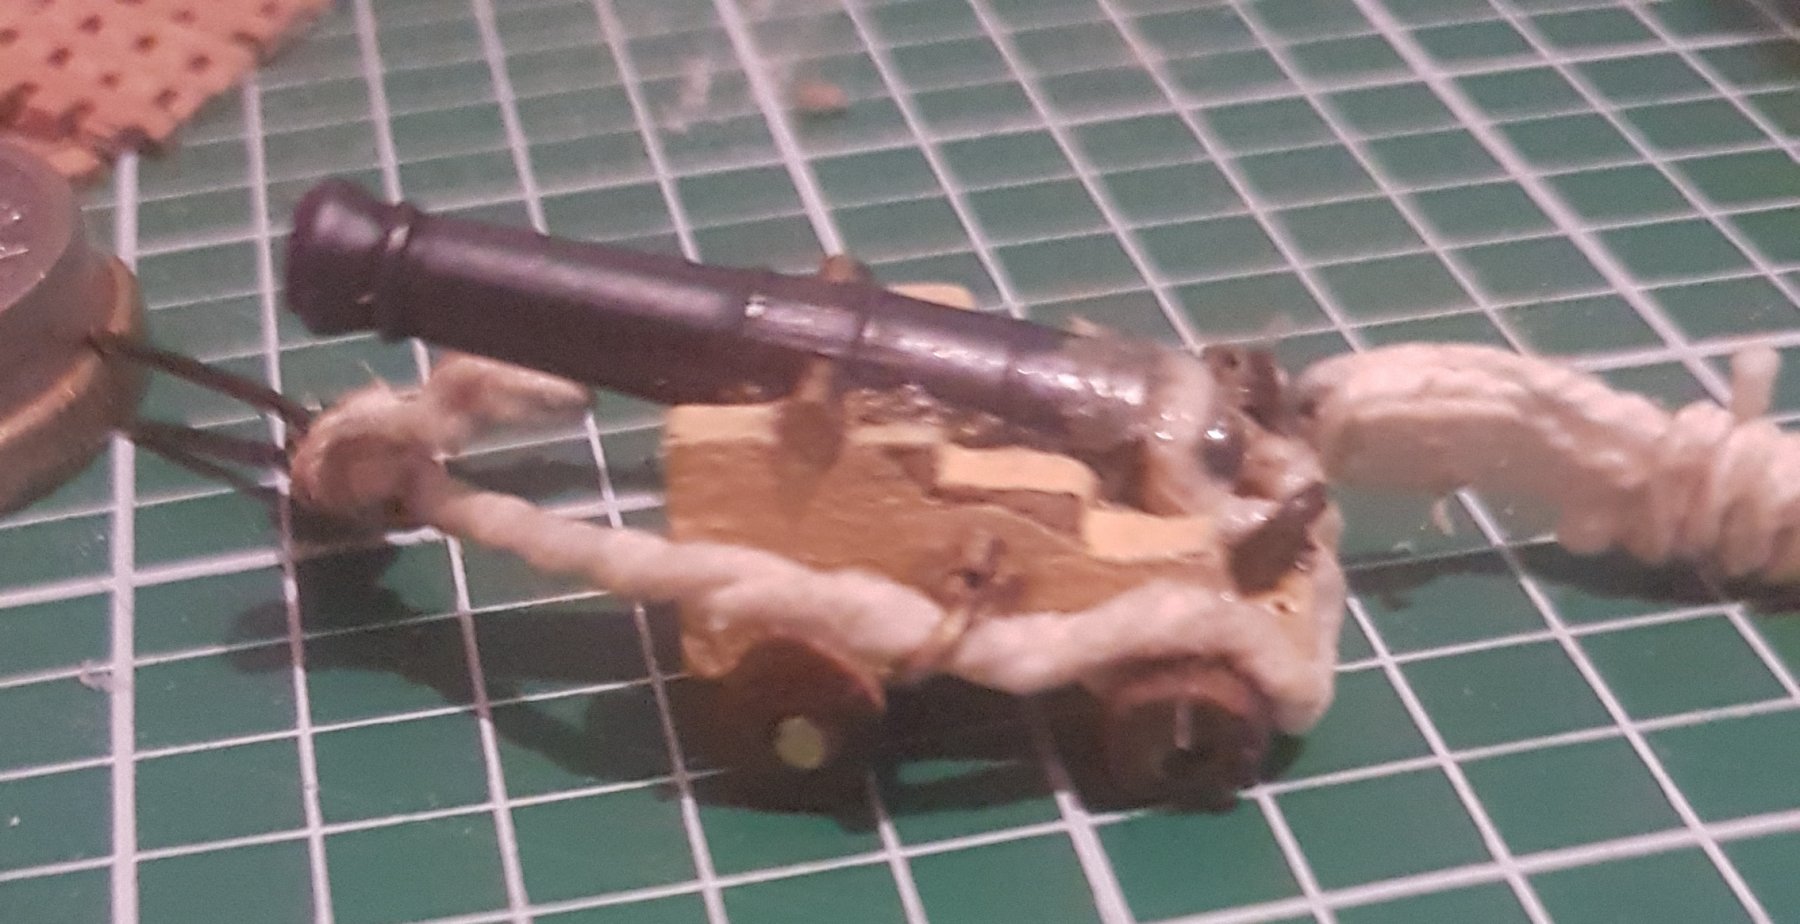
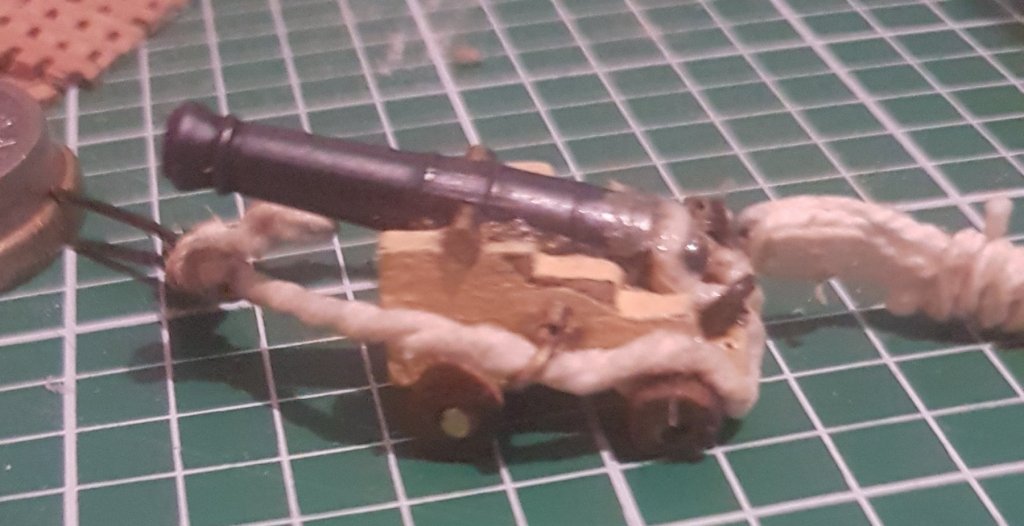
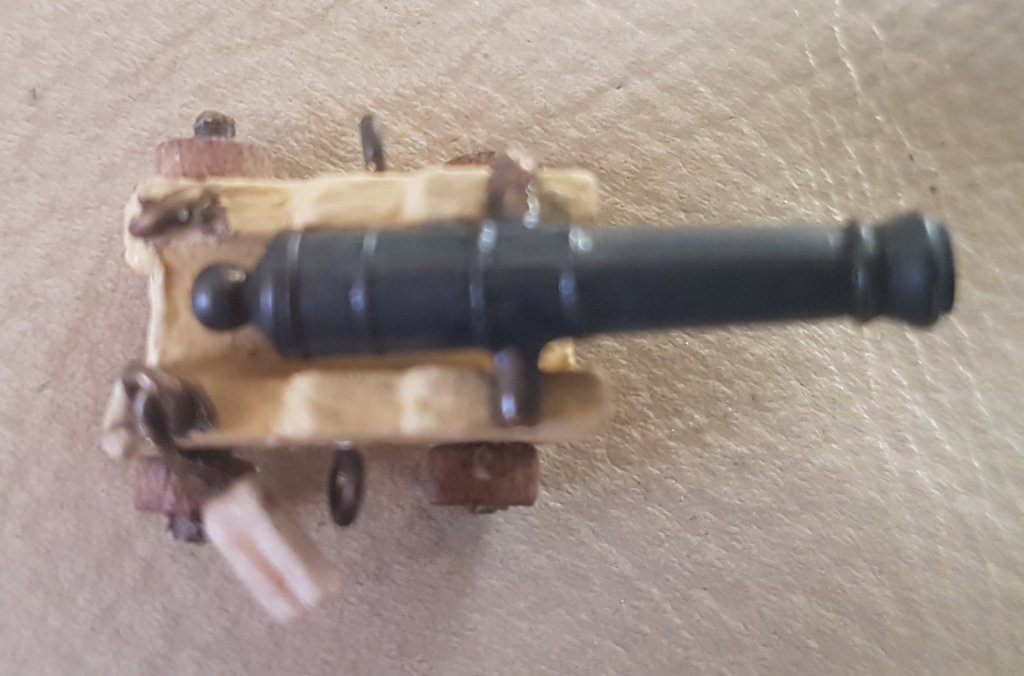
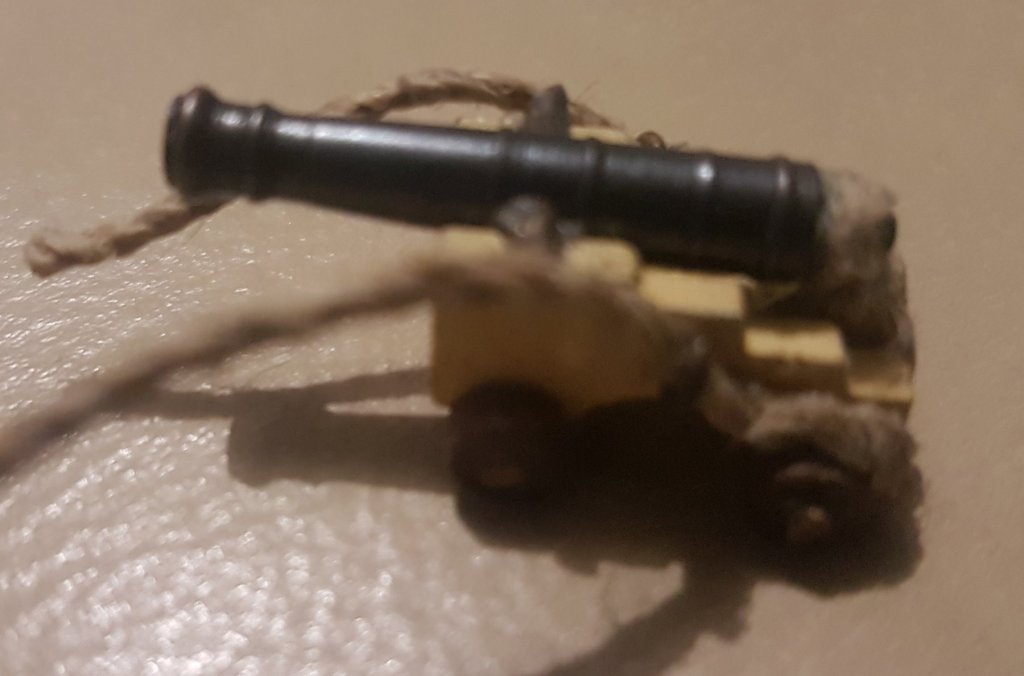
Cannon update Here's a few pics of the new and improved rope, I sourced some cotton natural colour embroidery thread.
-
In my kit the brass wire is supposed to be 0.5mm but it's more like 1 mm and definately doesn't fit in the hole, even with some filing. And my cannon balls which are 2mm look much smaller than yours, however it's hard to gauge in the pics as the zoom may be different.
-
Hey thanks for the reference pics... did you need to drill bigger holes in the posts to get the brass cable through ?... I was thinking of just getting smaller brass cable, however I llike the look of the brass hand rails on yours edit: What size cannon balls are those ? ...4 mm ?
-
The ladder steps need to be assembled, they are the grooved sections cut on an angle, the steps are cut from the same pieces used for walnut hull strips. There are some precut stairs in the packet, these are for the narrower stairs used elsewhere.
-
Mark: Great minds think alike I have already planned a visit tomorrow to the local sewing shop. 2nd deck update I've added a bit of wear and tear to the second deck to show the HMS Victory after being in battle... with dropped cannon balls and cracked planks. Also added first of many crafted cannon ball racks. These are pictured with the stock 2mm cannon balls. Fiber Optic lighting I have discovered fiber optics are used for model lighting !!! There are really tiny lights available that have a built in resistor and work from a voltage range of 3v - 12v battery. This would allow me to add a yellow light above each cannon on the second deck, now I need to source some hanging lanterns to attach them into

-
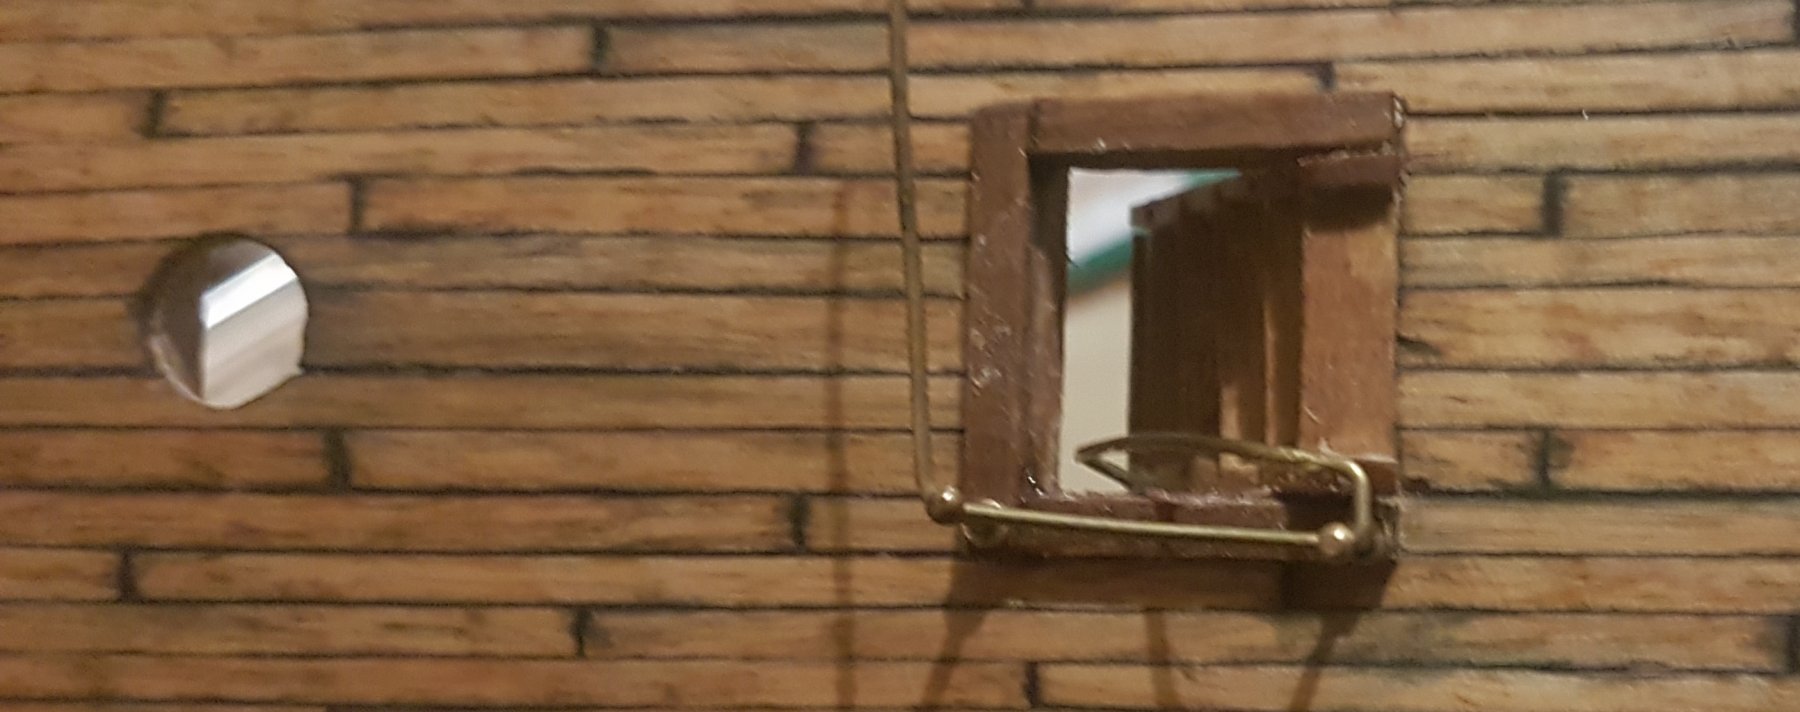
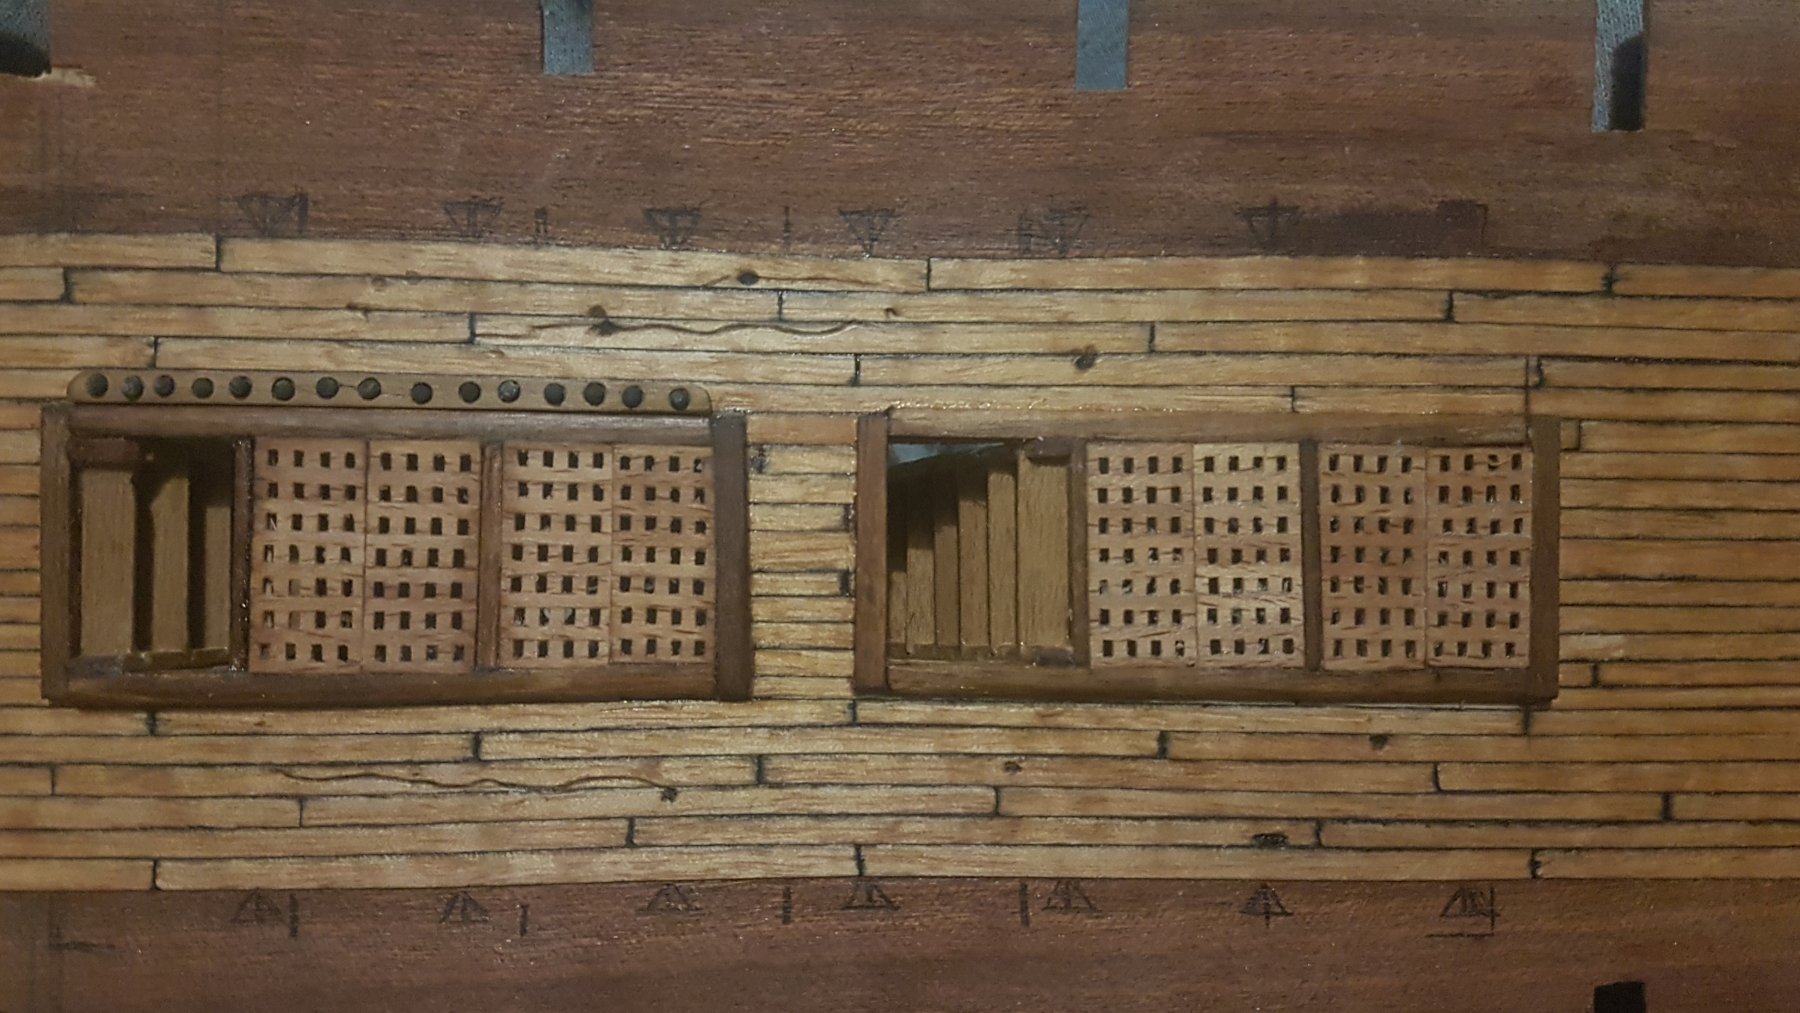
Jonesey thats a good question, I have allowed the port holes to be designed to fit the hatches in the kit. However I am still thinking of either tweaking them a bit or just using the hatch and not the surround... or making my own. I have prepainted the hatches and think they look ok as they are. Once I complete the hull planking and positioning of hatches, I shall see what they look like with the various options mentioned above. The pictorial diagrams and plans seem to indicate the hatch surround should sit flush with the outside of the hull. I like this idea, and will do a test fit to see how it all comes together. Another tweak on the existing hatches, is that I won't be using the hinges but filing them off. I want to make a hatch hinge like the original with long brackets that extend above the hatch to attach to the hull. So I am considering sourcing a material to blacken and craft for this purpose. Also to give depth to the cannon port holes, I think I would prefer to use wooden framing to suit the shape and depth of each port hole before painting them red.
-
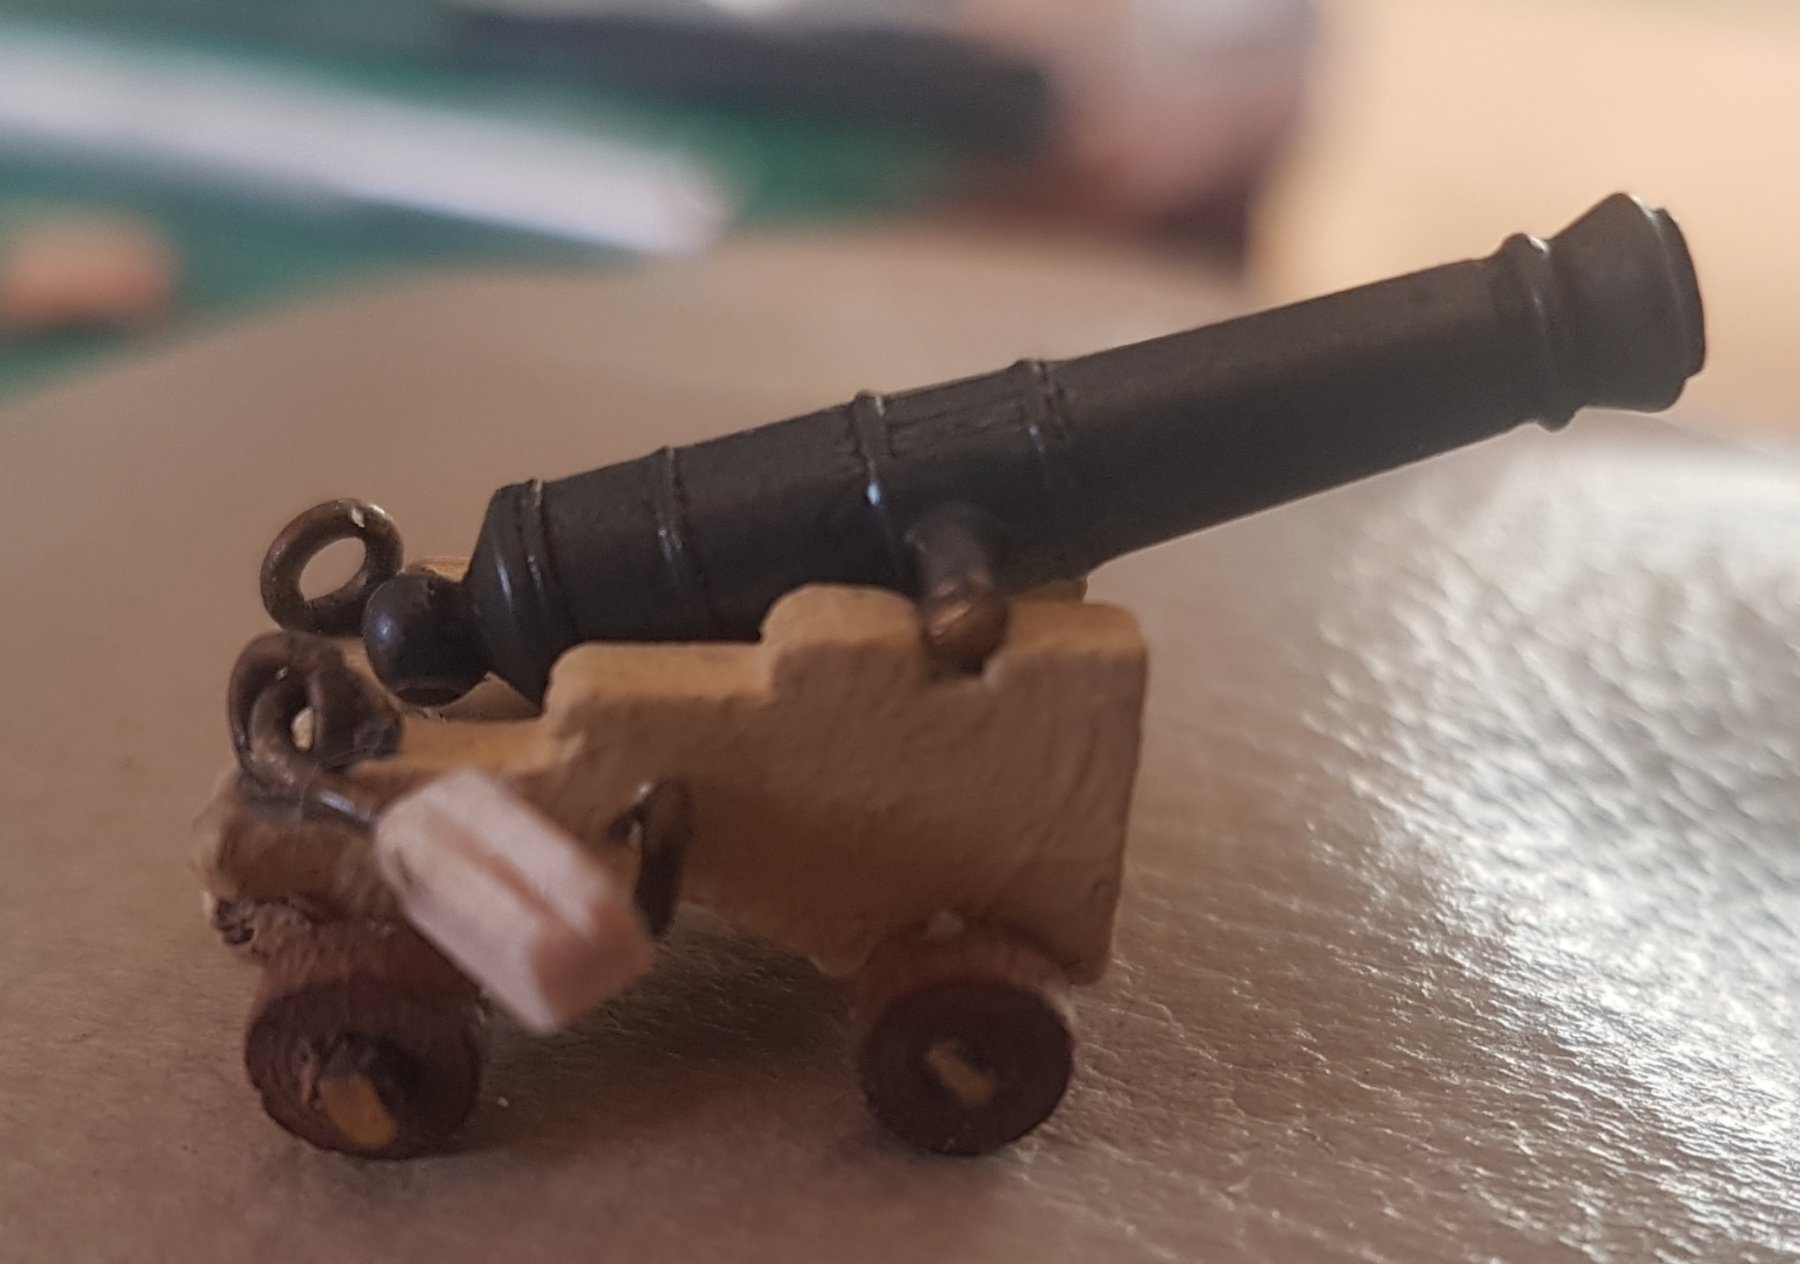
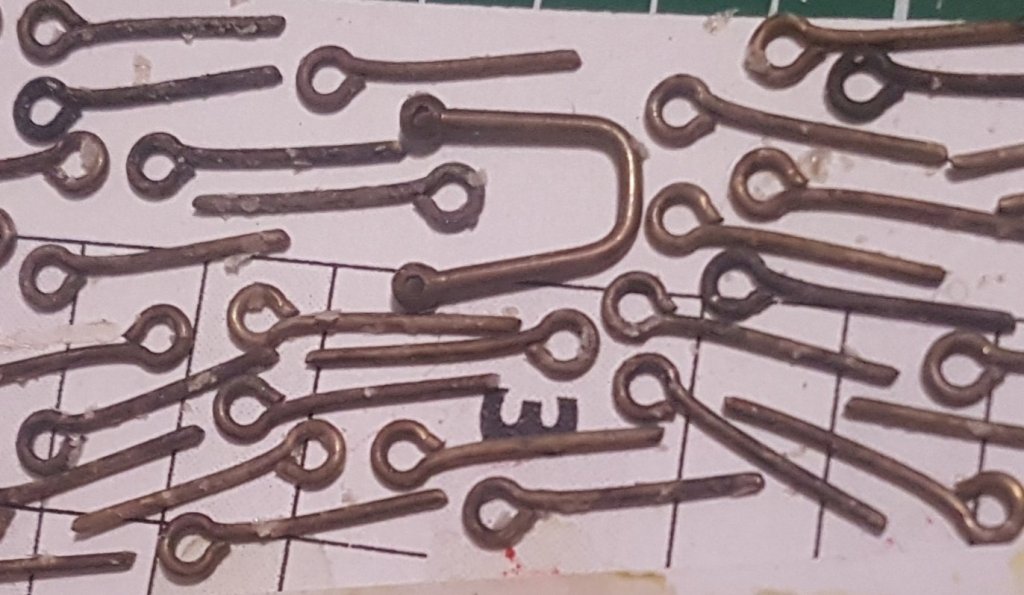
Thanks Jonsey, the close up shot on the camera reveals a lot more than I can normally notice with the naked eye. Also the small scale makes things a little tricky or out of whack, like the size of the eyebolts. I'm going to make some more 5mm pulley blocks, quite like how they look. My first two designs were too big and out of proportion, but simplifying a blackened brass hook just glued directly onto a 5mm block looks ok and in proportion to the eyebolt.
-
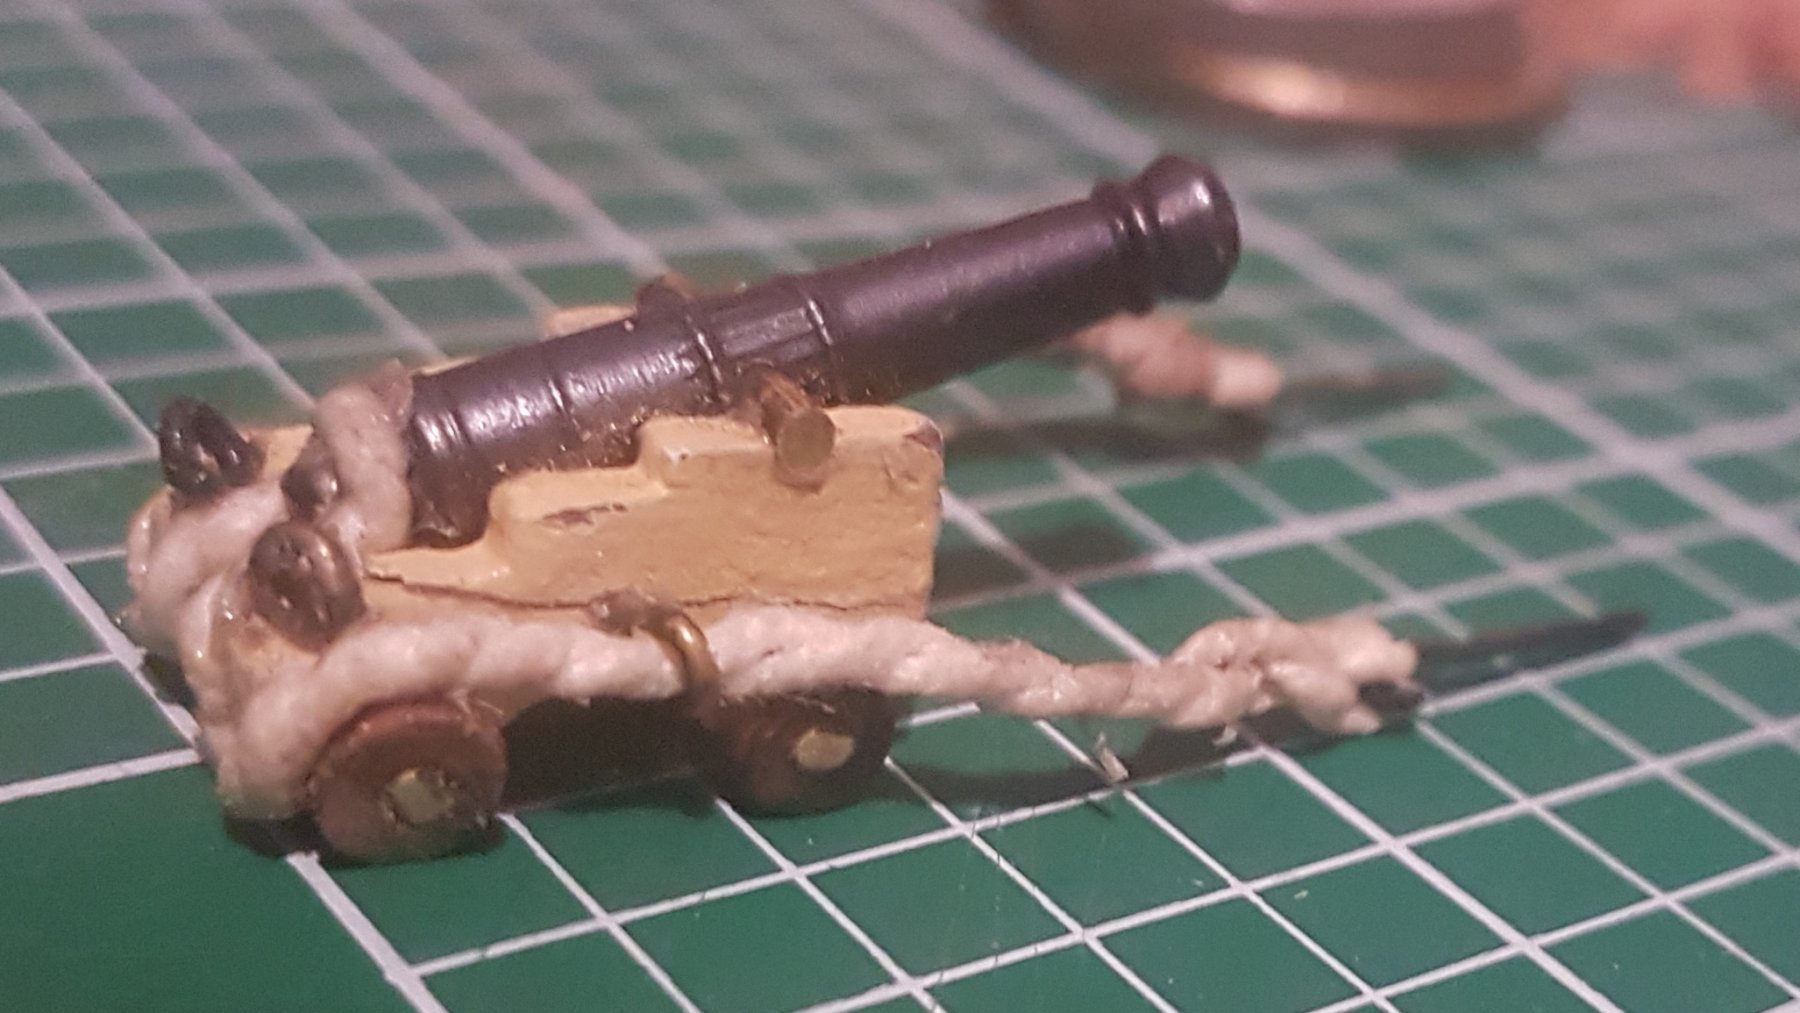
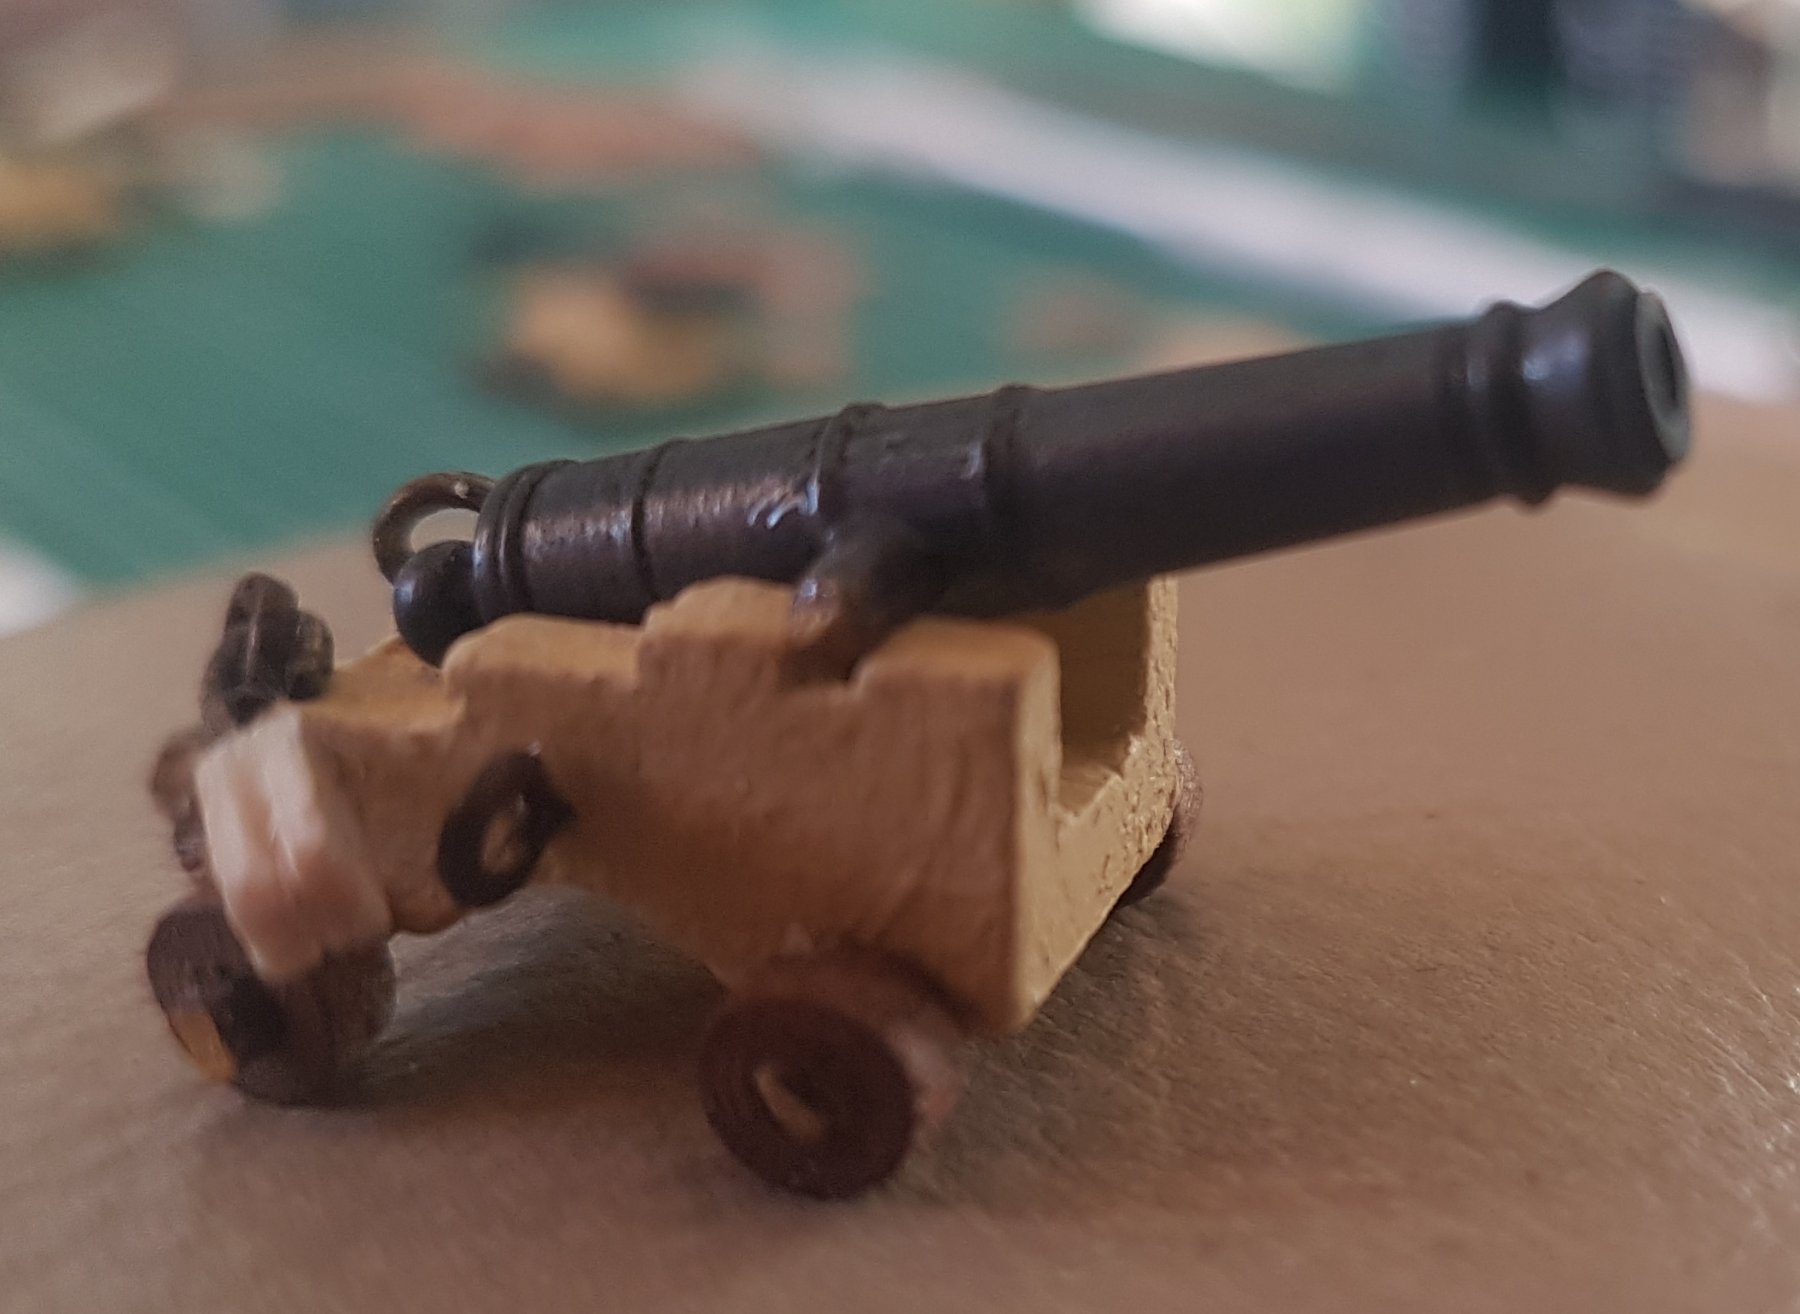
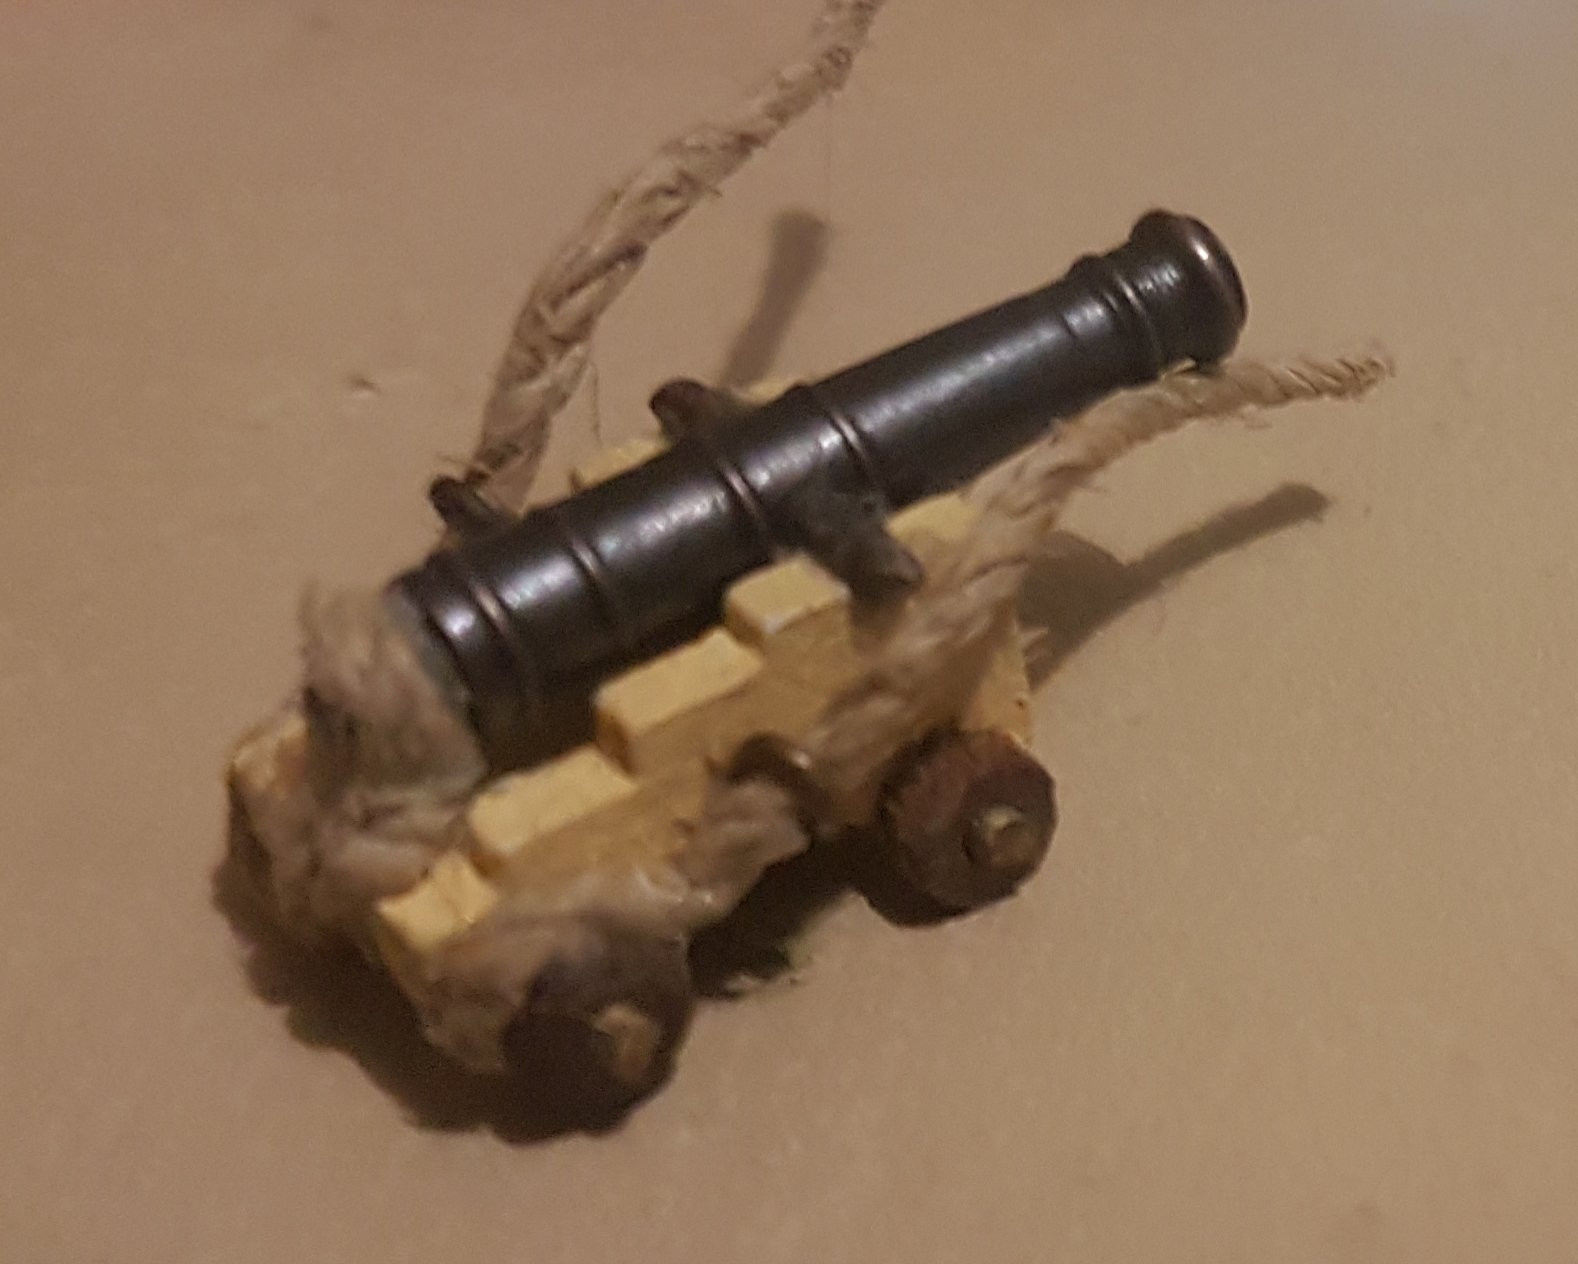
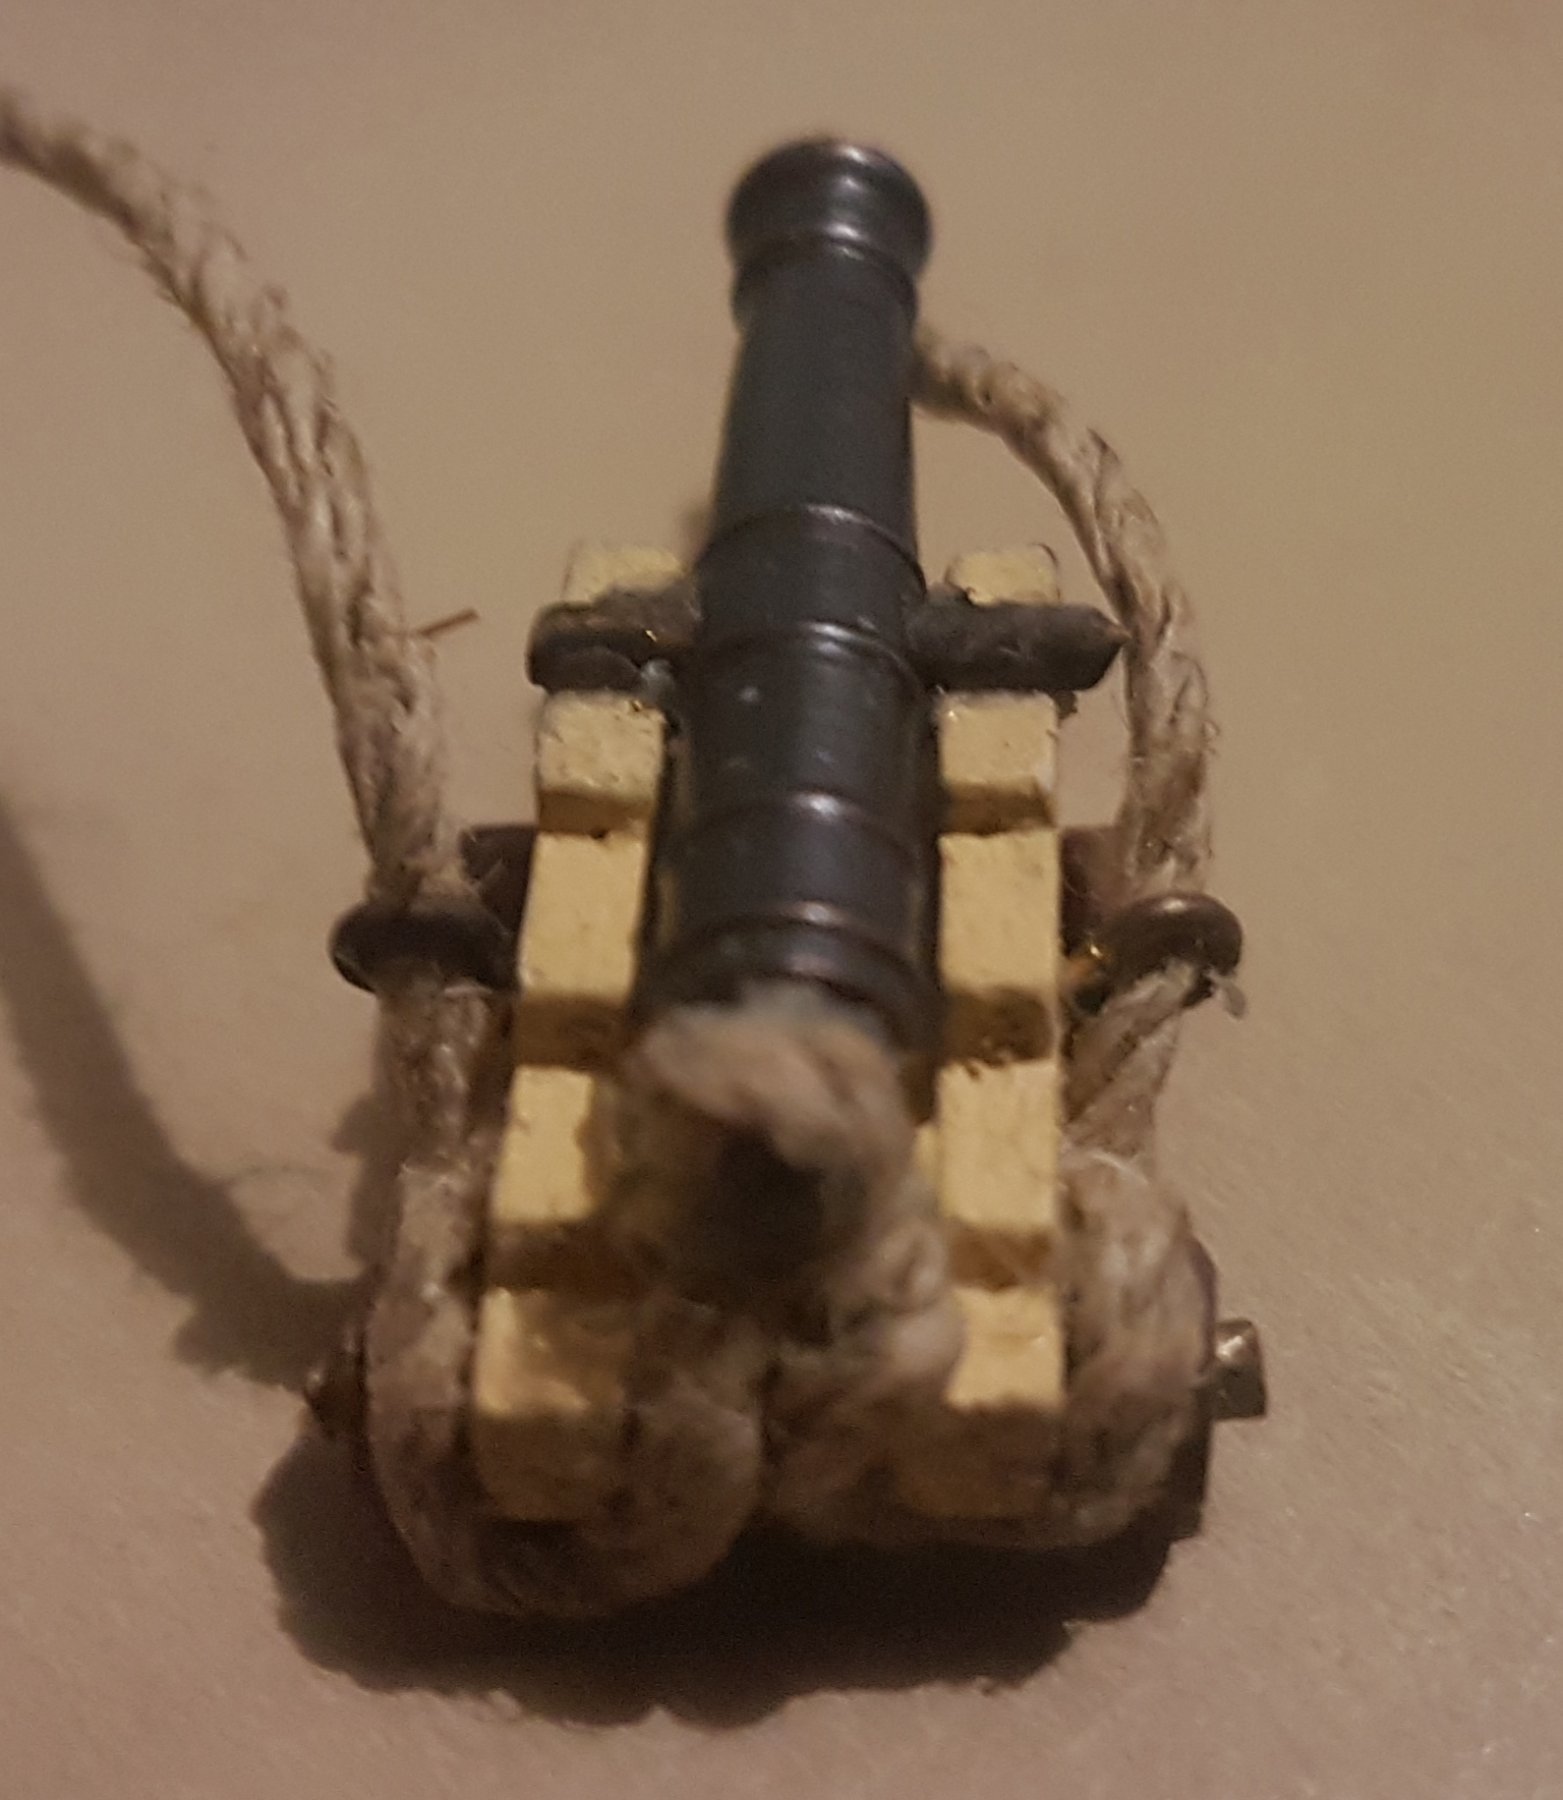
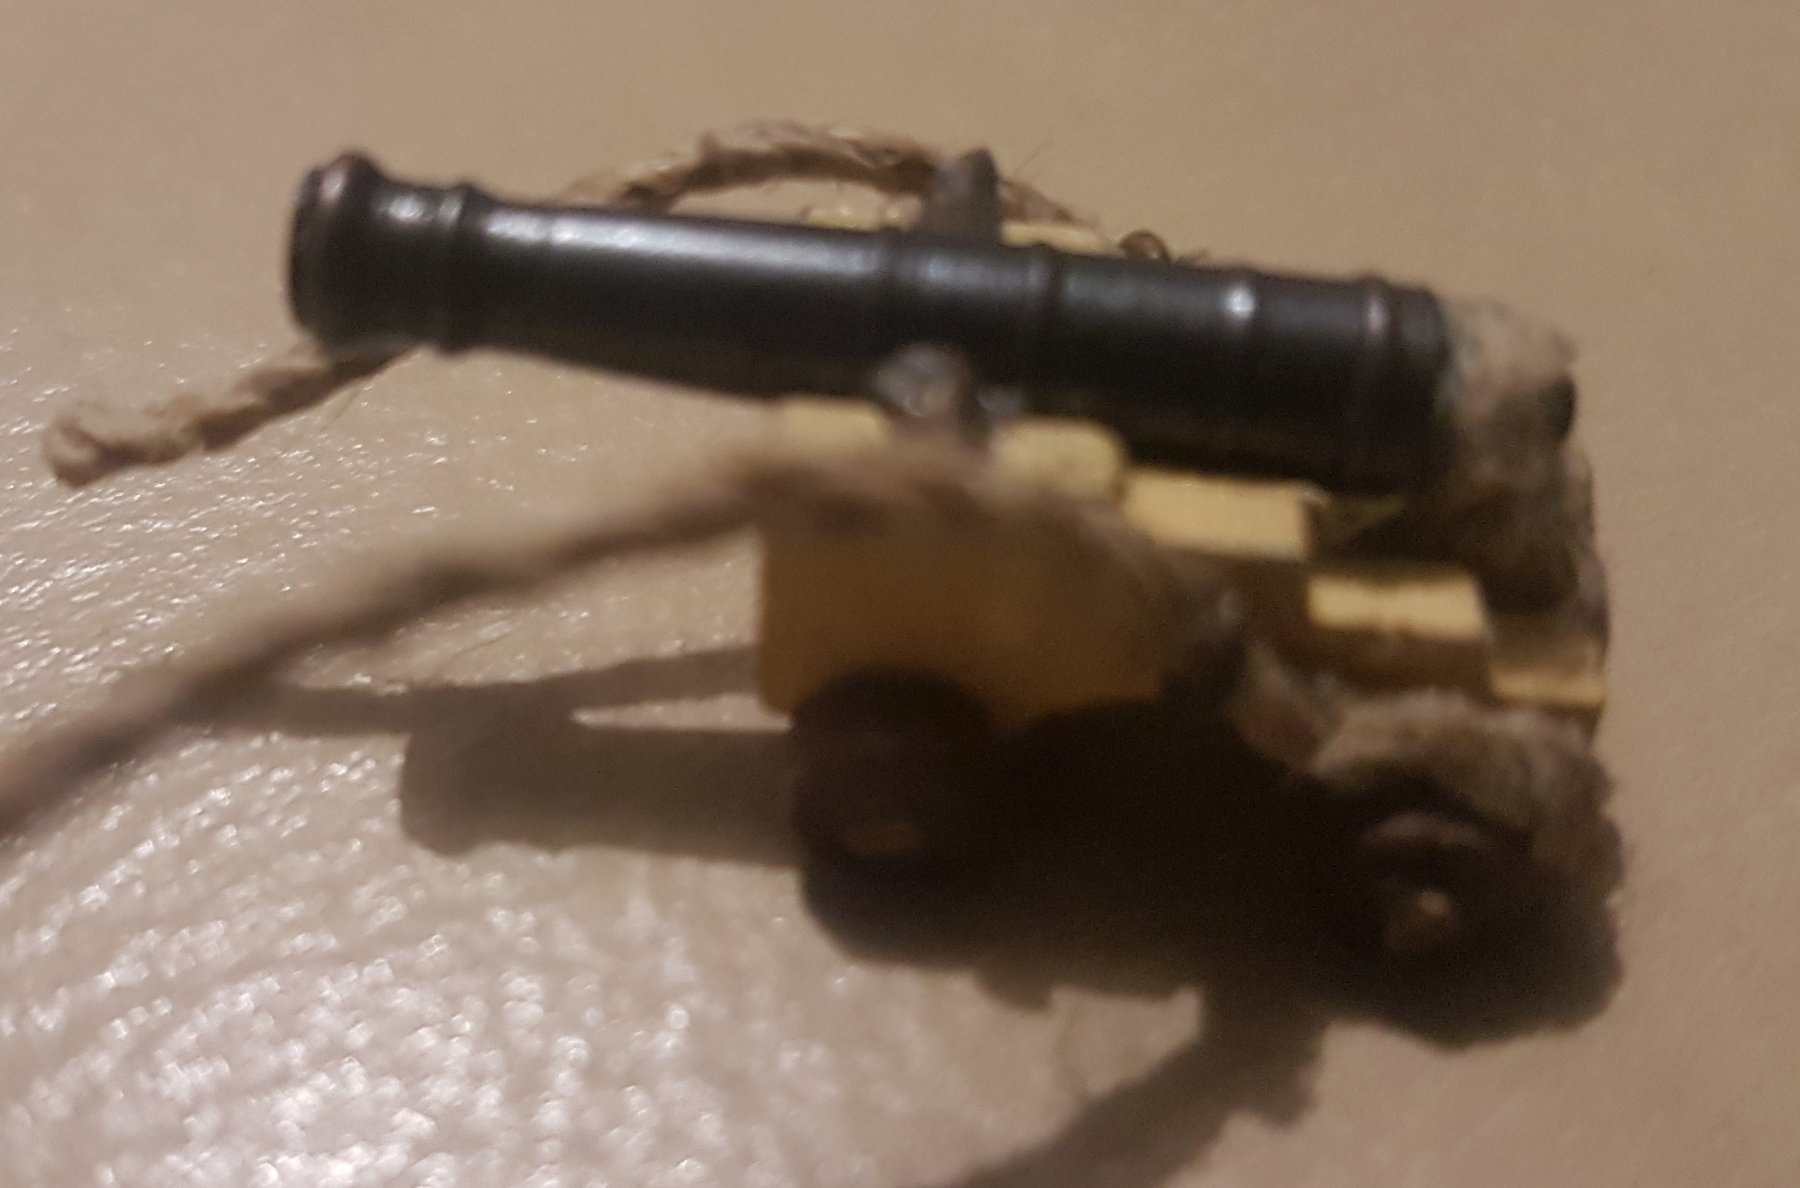
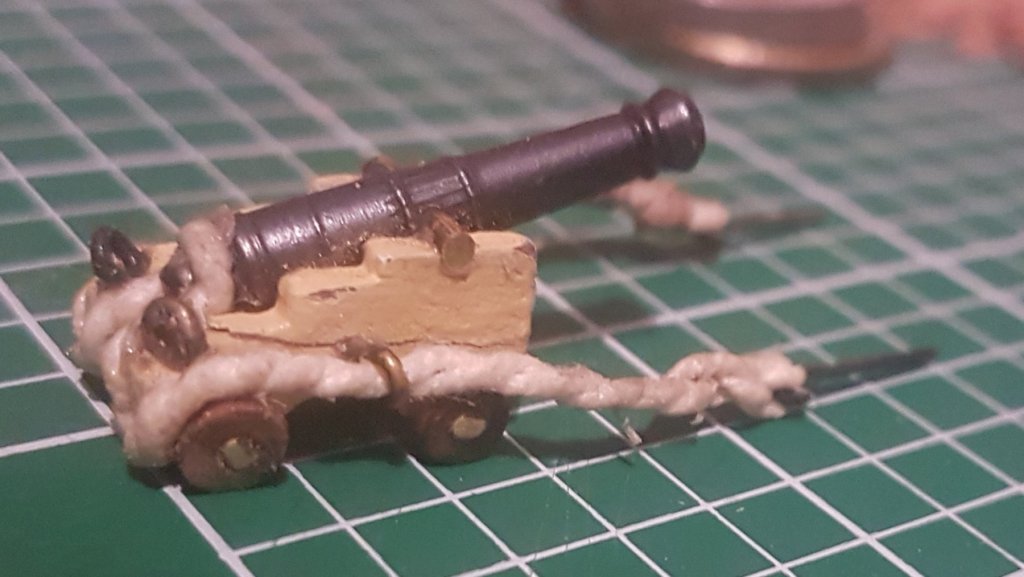
Cannon build Here's a first look at a cannon assembly with blackened brass eyebolts, custom crafted pulley with hook, the yellow ochre and white 1:1 mix for the ship color. notes: I'd like to enlarge the bore hole a bit bigger on these cannons, also I'm going to visit the local sewing shop to source some natural undyed light thread to have a go crafting my own rope, So stay tuned for updates on that pics below: show the hemp rope that comes in the kit, it's a bit fuzzy with loose threads and I'm not that happy with them.


-
Tips updated Adding patina to brass Sourcing wood for crafting I have found brass ball bearings in 3mm size are quite cheap to source in packets of 50 for about $5 on Ebay. Blackening these would make good cannon balls
-
note to self: May be better visiting Portsmouth in Autumn The moulded parts are a bit tricky. I have used a scalpel and scissors to cut out the pressed forms on the cardboard they are mounted on before thinking about separating them from the backing. I read somewhere that you leave the cardboard on, however I have found thinning down the backing material with a sharp scalpel is easier than removing it entirely. Blackening brass I just received some 'Liver of Sulphur' which is used by jewelers to add various patina effects to different metals. Brass can be darkened to brown or black apparently by leaving in the solution to develop a patina. The gray cannon balls I received in the box blackened quickly, however to break down the brass I think it may take a couple of days as the process seems a lot slower. Steps put on rubber gloves and safety goggles put a little of the solution in a container, dilute with water as required have another container of just water Dip items in solution with tweezers Allow to dry on paper, check colouration Repeat as necessary I'm doing this now because I need the blackened brass rings for the cannon assembly.
-
Jonsey: Nice... That would have been quite an educating trip. Feel free to post any pics here if you wish. I've been building up a collection of reference images from people who have taken pics at Portsmouth and posted them onlline. Without those pics my build wouldn't be as accurate
-
nice pic Jonsey. Those cannon balls may be the 4mm variety
-
Updated post #93 above with a new detail pic of hatches completed and a tung oil / orange turpentine rub on the frame. I'll be getting 3mm cannon balls as the 2mm ones look tiny and out of proportion to the original. Also I shall craft the cannon ball racks. And maybe some buckets out of left over decking cut off's.
-
Second Mast support Jonesy: I'm not planning on enlarging any holes as the mast fits fine as it is, I will add a hole in the second deck to act as a second reinforcement with a thin base plate under the 2nd deck to glue the base of the mast onto. Preparing a support for the second mast would be easiest to do without the top deck, and can be done with a lower mast (just the dowel part) test fit before completing the hull I'm thinking.
-
Thats a good point Especially as I'm thinking of using liquid nails glue for the hull planking. I can still get access to the second deck after completing the hull if I plan the planking right. Indeed this is my first wooded ship... (after doing a lot of research) my father is a carpenter and I picked up alot of woodworking when I was a child. Haven't used PVA glue since I was in primary school in the 70's. edit Thinking of using just oil on the second deck level to darken the planks and bash some cannon dents to pool and darken wood from the oil residue.
-
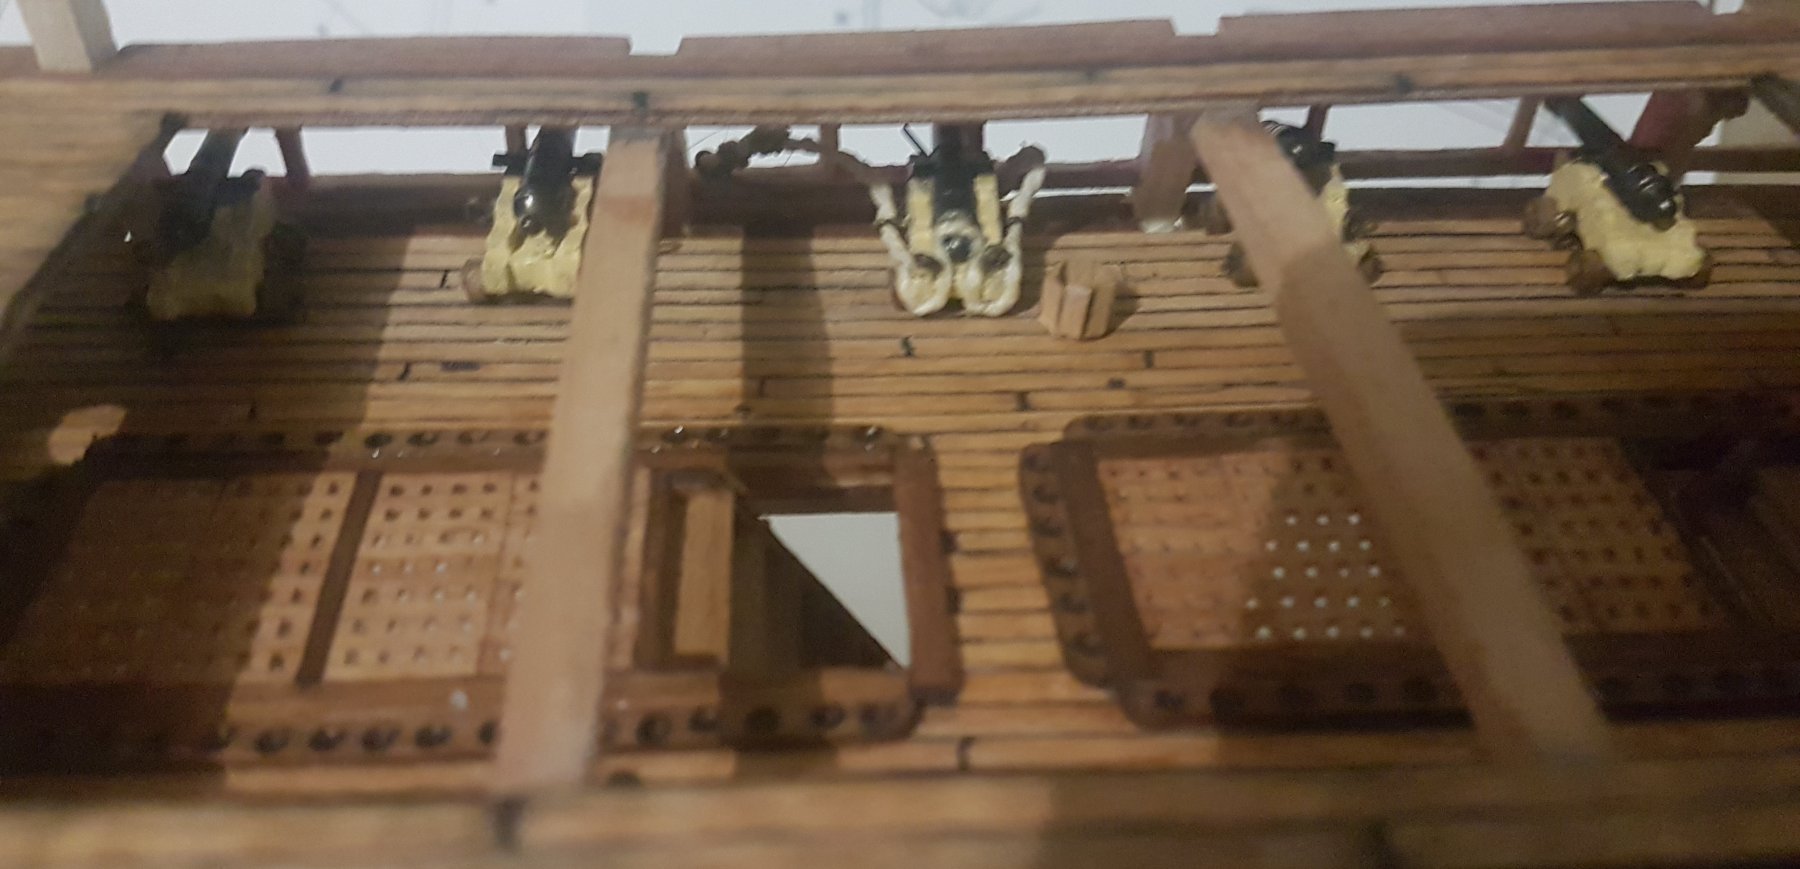
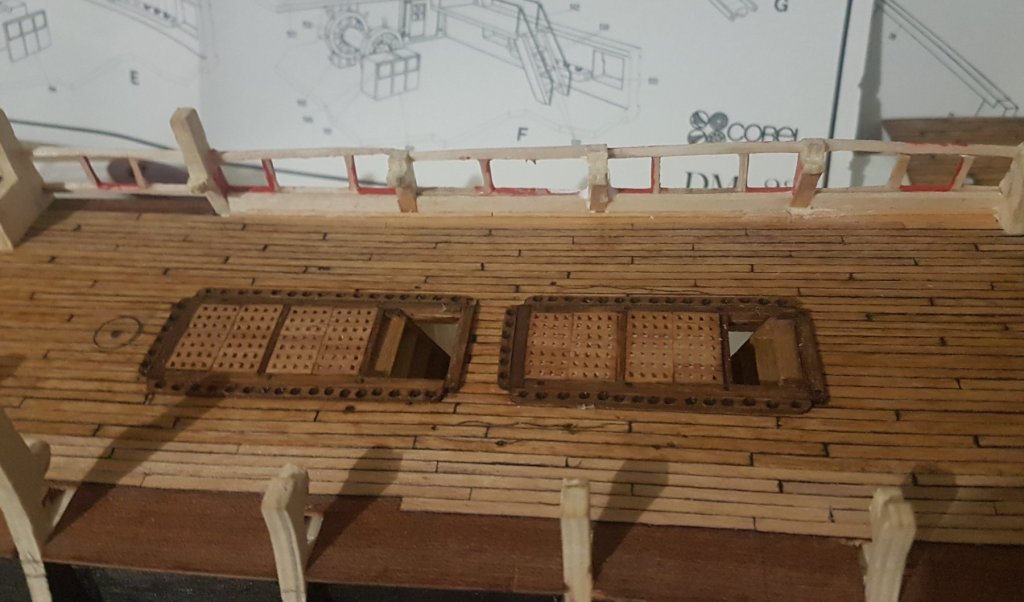
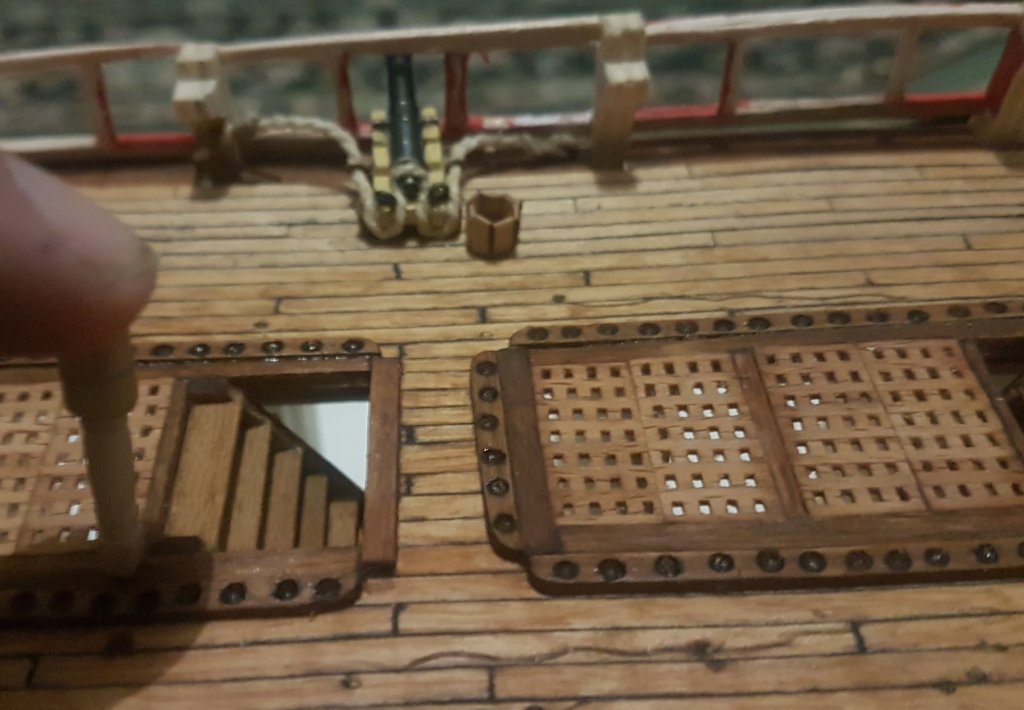
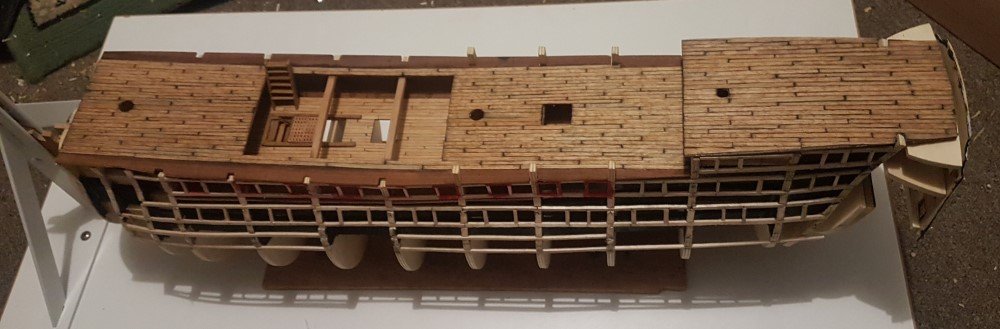
First look at various deck levels I refitted the decks back into the hull to get a feel for how all the components would look together, and to check the positioning of the middle mast between levels. Also checked the height of the ladder stairs. I plan on removing some of the inner bulkheads on the lower deck and complete decking to the hull and I'm thinking of completely finishing the lower deck before starting on planking the hull. The lower stairs are a nice tight fit into the stairwell and need minimal glue to keep in place. Instead of the stairs just hanging in mid air, I'd like to create a bit of level 3 complete with planking on the bit you can see and pre-install a warm yellow led light somewhere out of sight. I'm thinking of putting a magnet closure on the rear cabin to enable removing it like a hatch and putting a battery and a switch in there, hidden amongst the interior decorations. There is alot things I am considering, like redoing the whole interior stern of the ship and creating little area's of interest that can be seen through the decks. I must say I'm really enjoying this build experience thus far
-
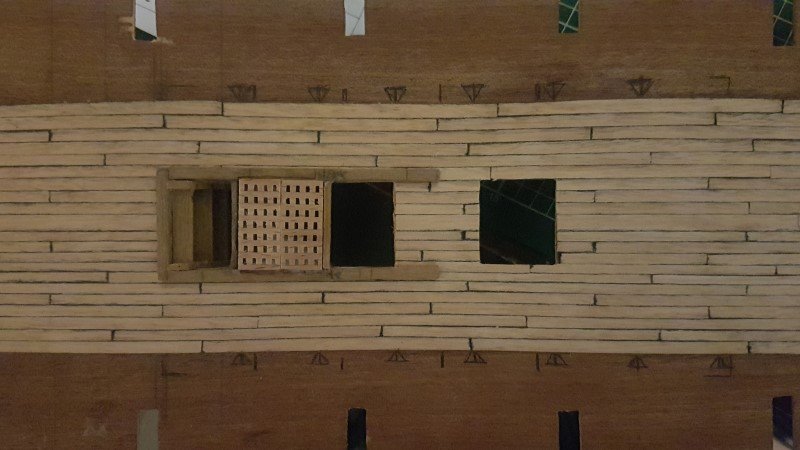
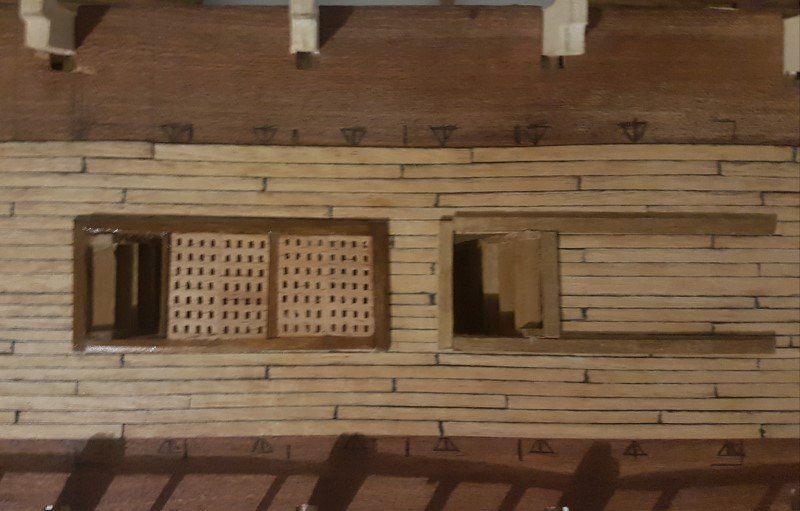
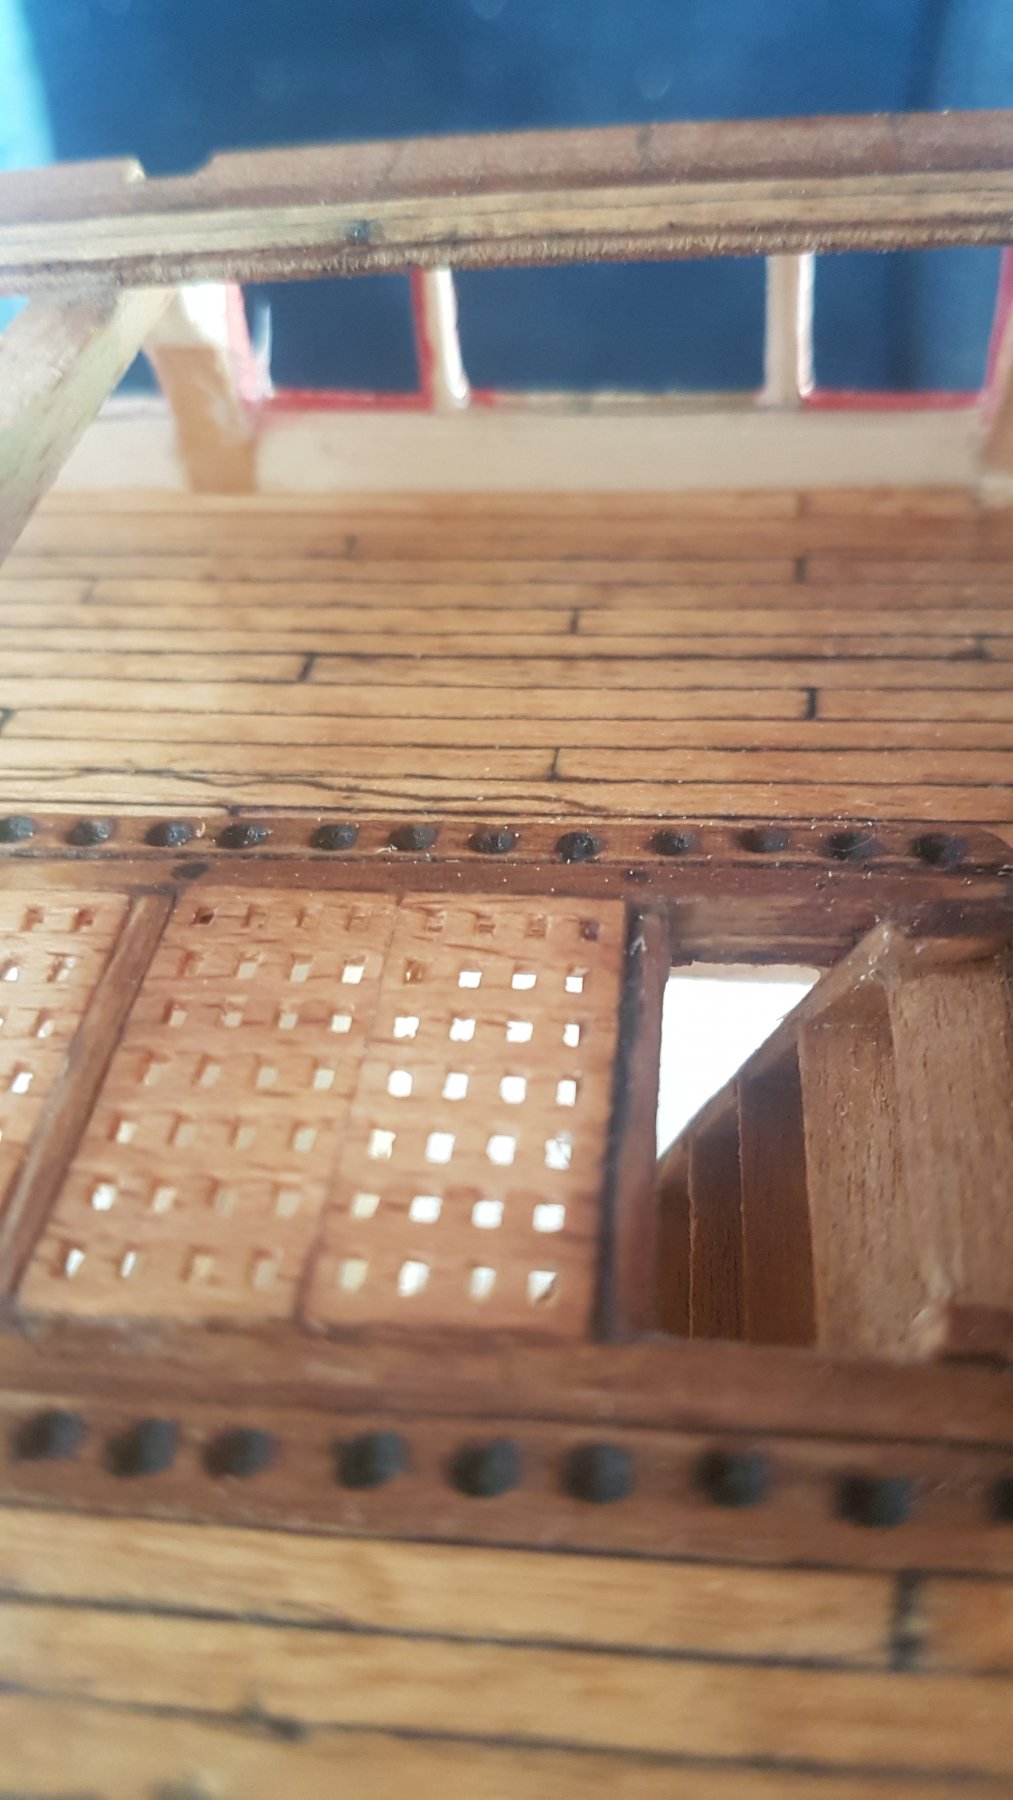
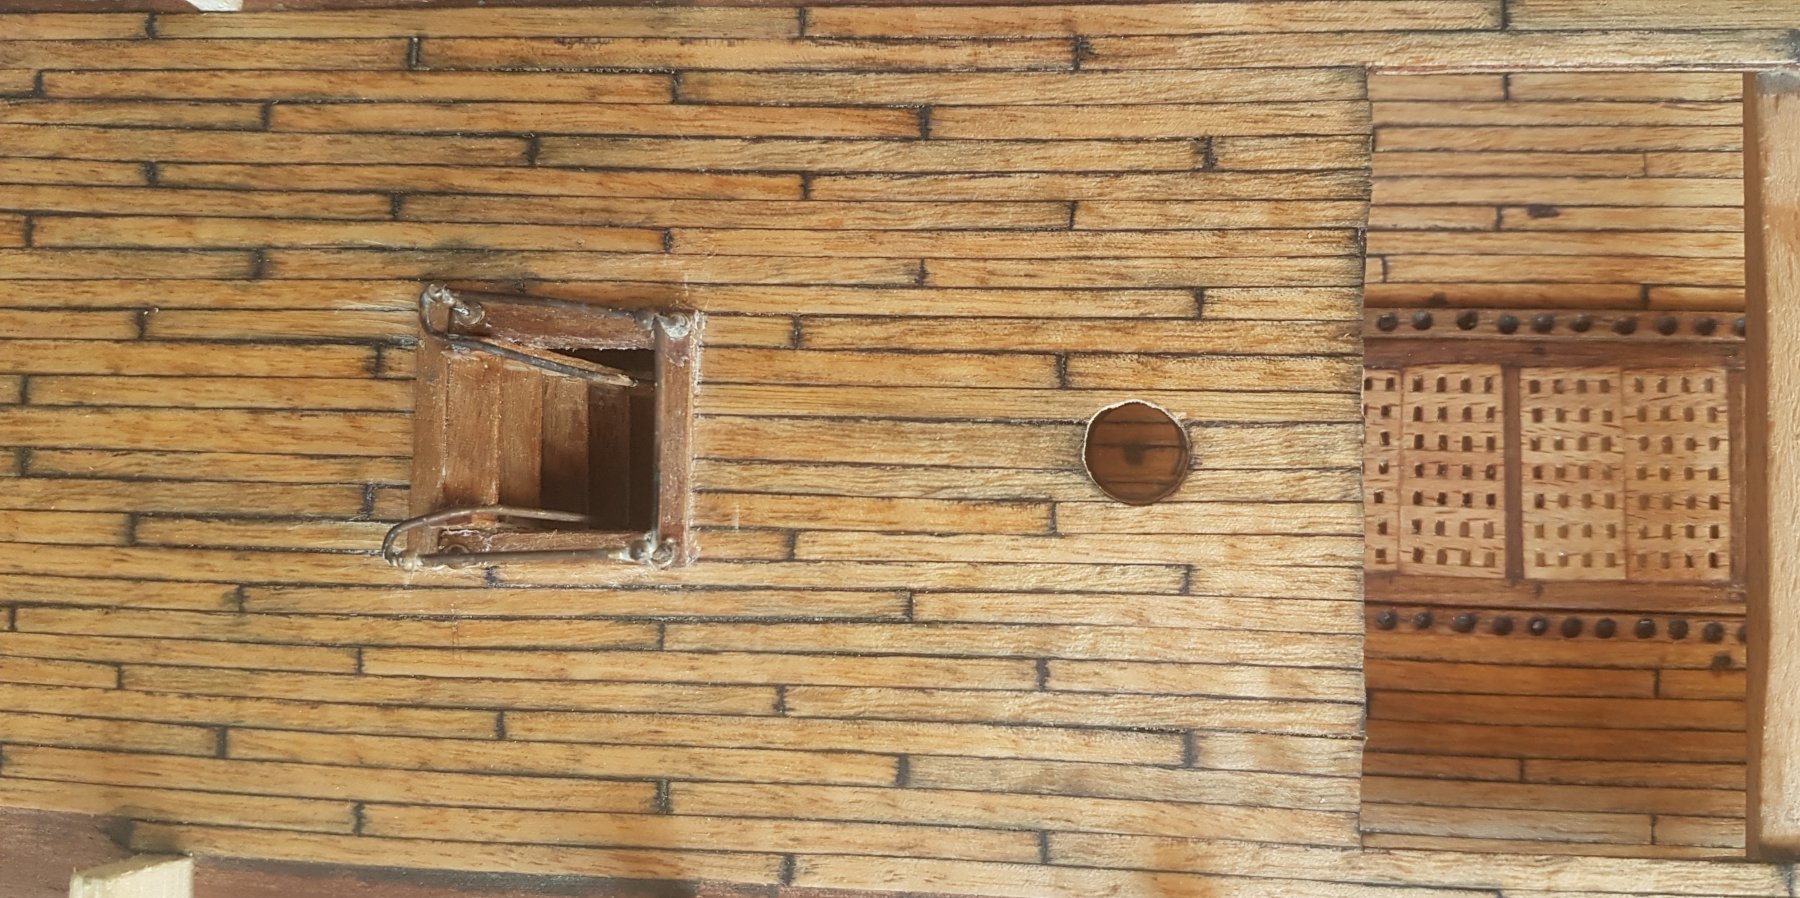
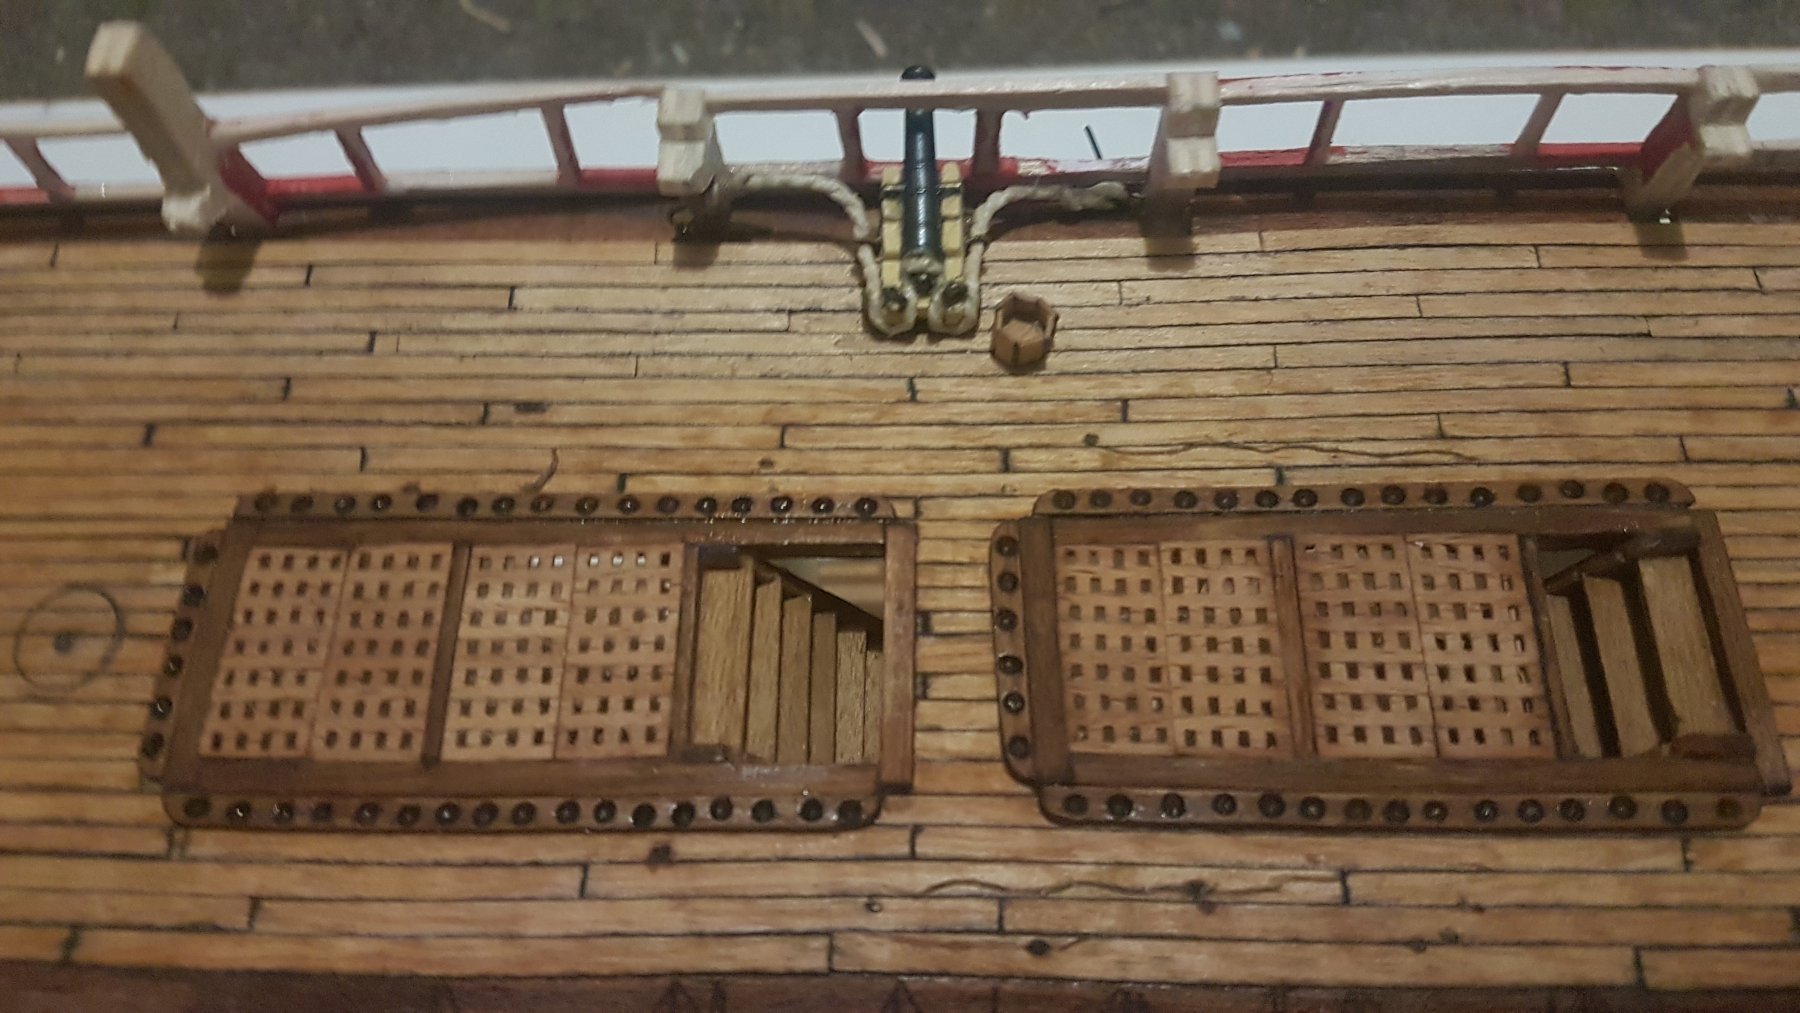
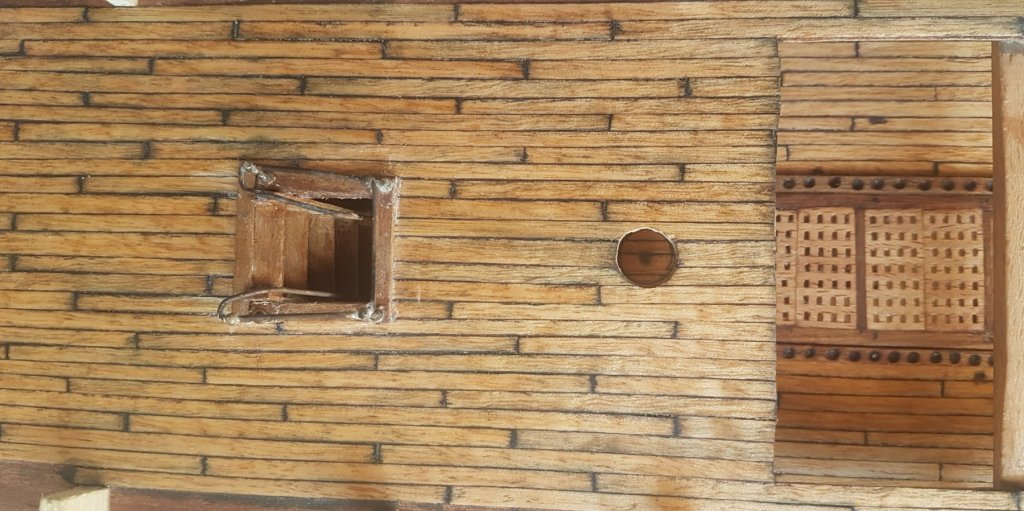
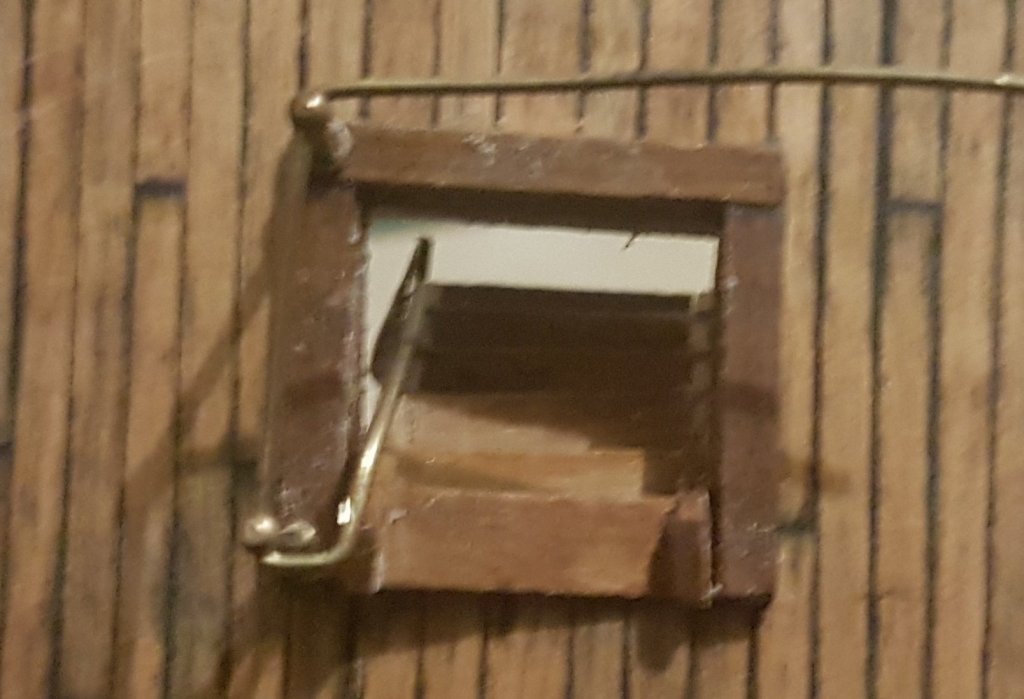
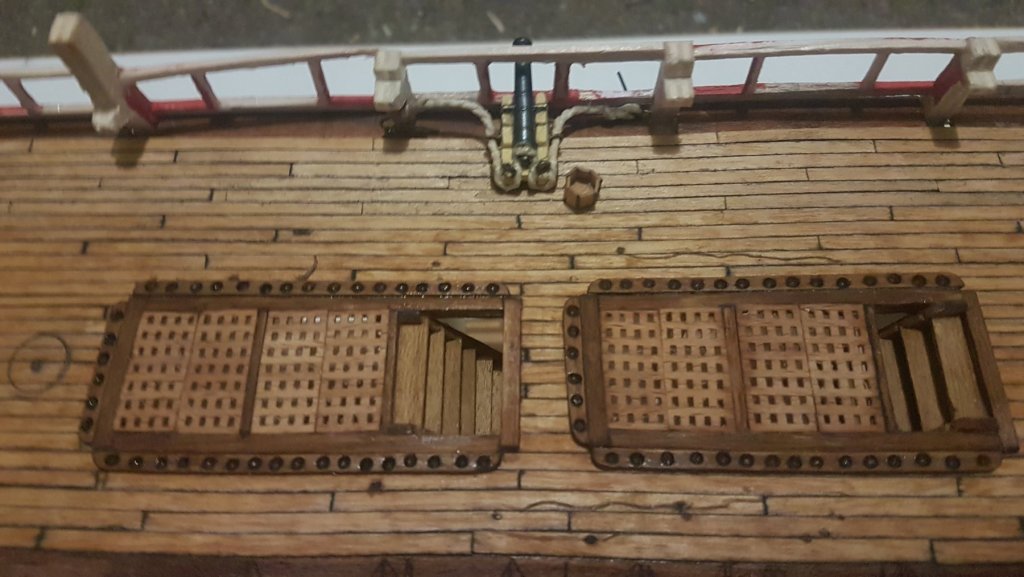
Second Deck detail Finished planking the second deck before removing the bulkheads from jutting out from the interior wall. I have crafted a hatch next to the stairs. Also I'm going to make some cannon ball sized dents on the planking on this level. This is a work in progress, I am doing this now because I'd like to get the second deck complelte before doing the hull, also thinking of adding a light beneath the second deck to shine light out of the stairwell and lattice hatches. Have cut holes behind the lattice, and can add the yellow window plastic from the rear cabins to crate a warm yellow light. Probably need to diffuse the light a bit as it'll probably be too bright. edit: completed hatches on left with an oil rub finish, will lose it's gloss after it absorbs into the wood, keeping the darker appearance as compared to the raw wood on the right. Also the stairs on the left are also left as raw wood. Wooden Grill: These were made from the cannon racks cut up and stacked 7 deep and 5 'teeth' wide with a flat bottom section to finish .