KimW
-
Posts
15 -
Joined
-
Last visited
Content Type
Profiles
Forums
Gallery
Events
Everything posted by KimW
-
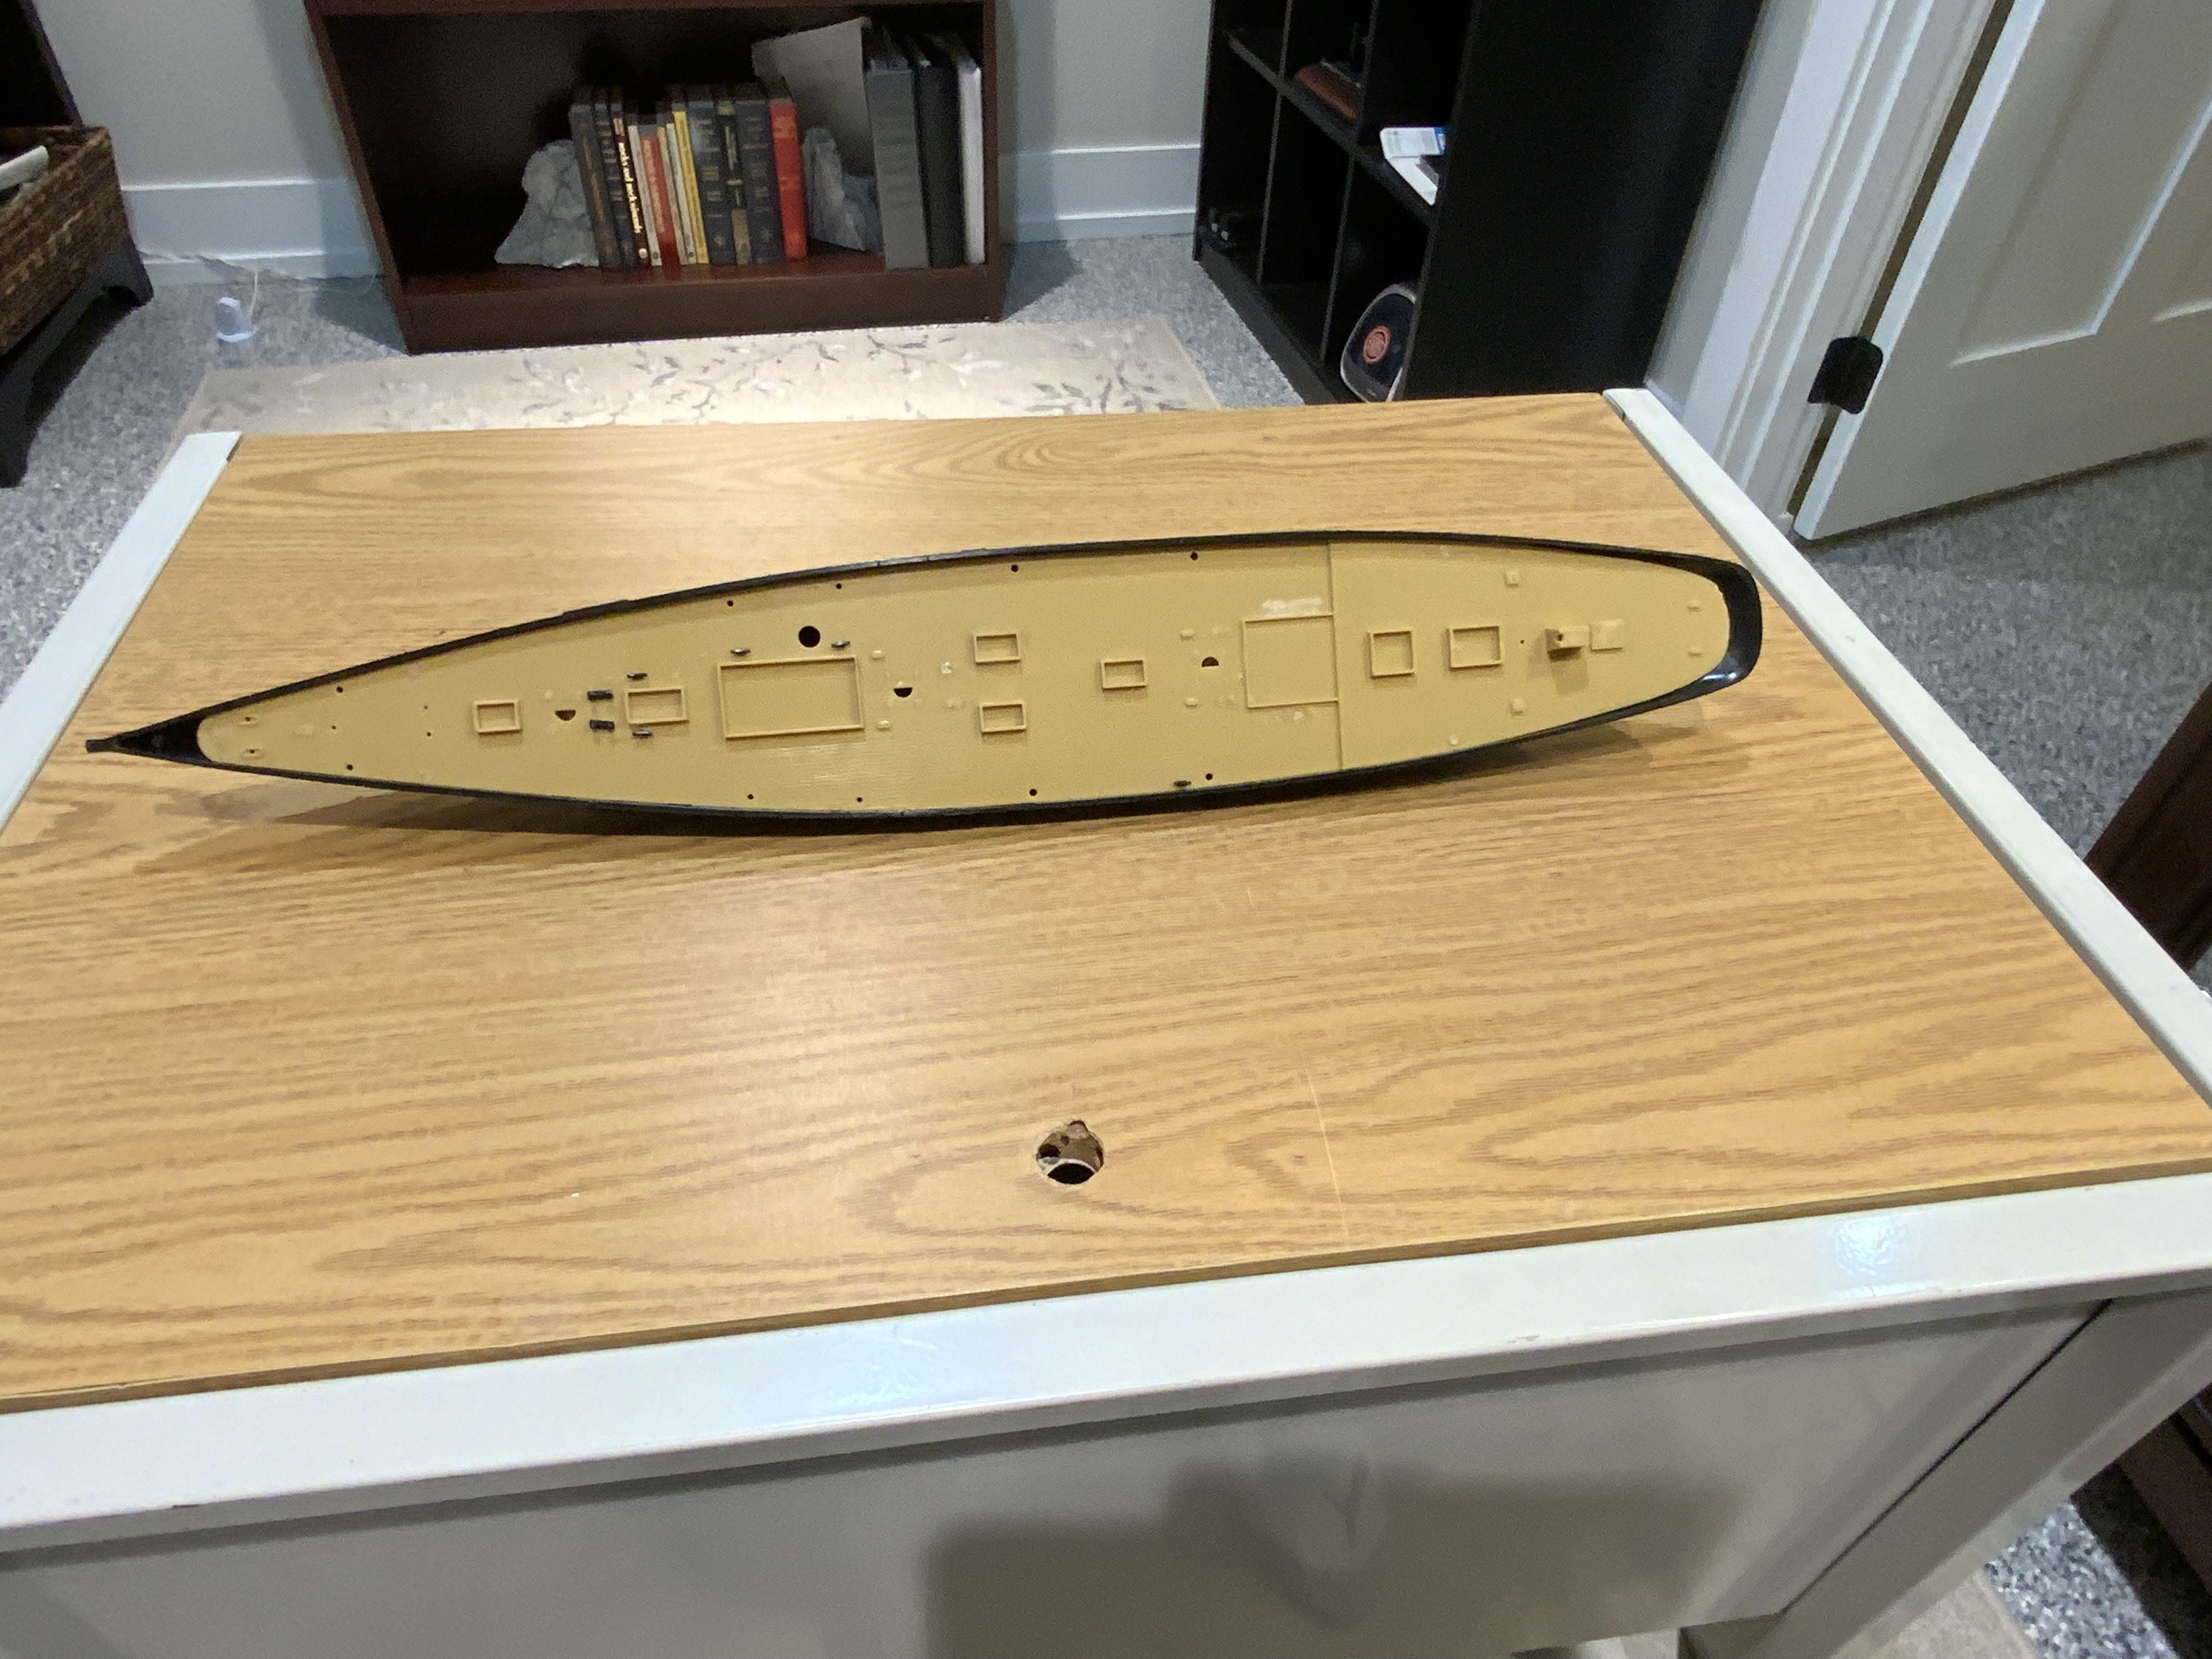
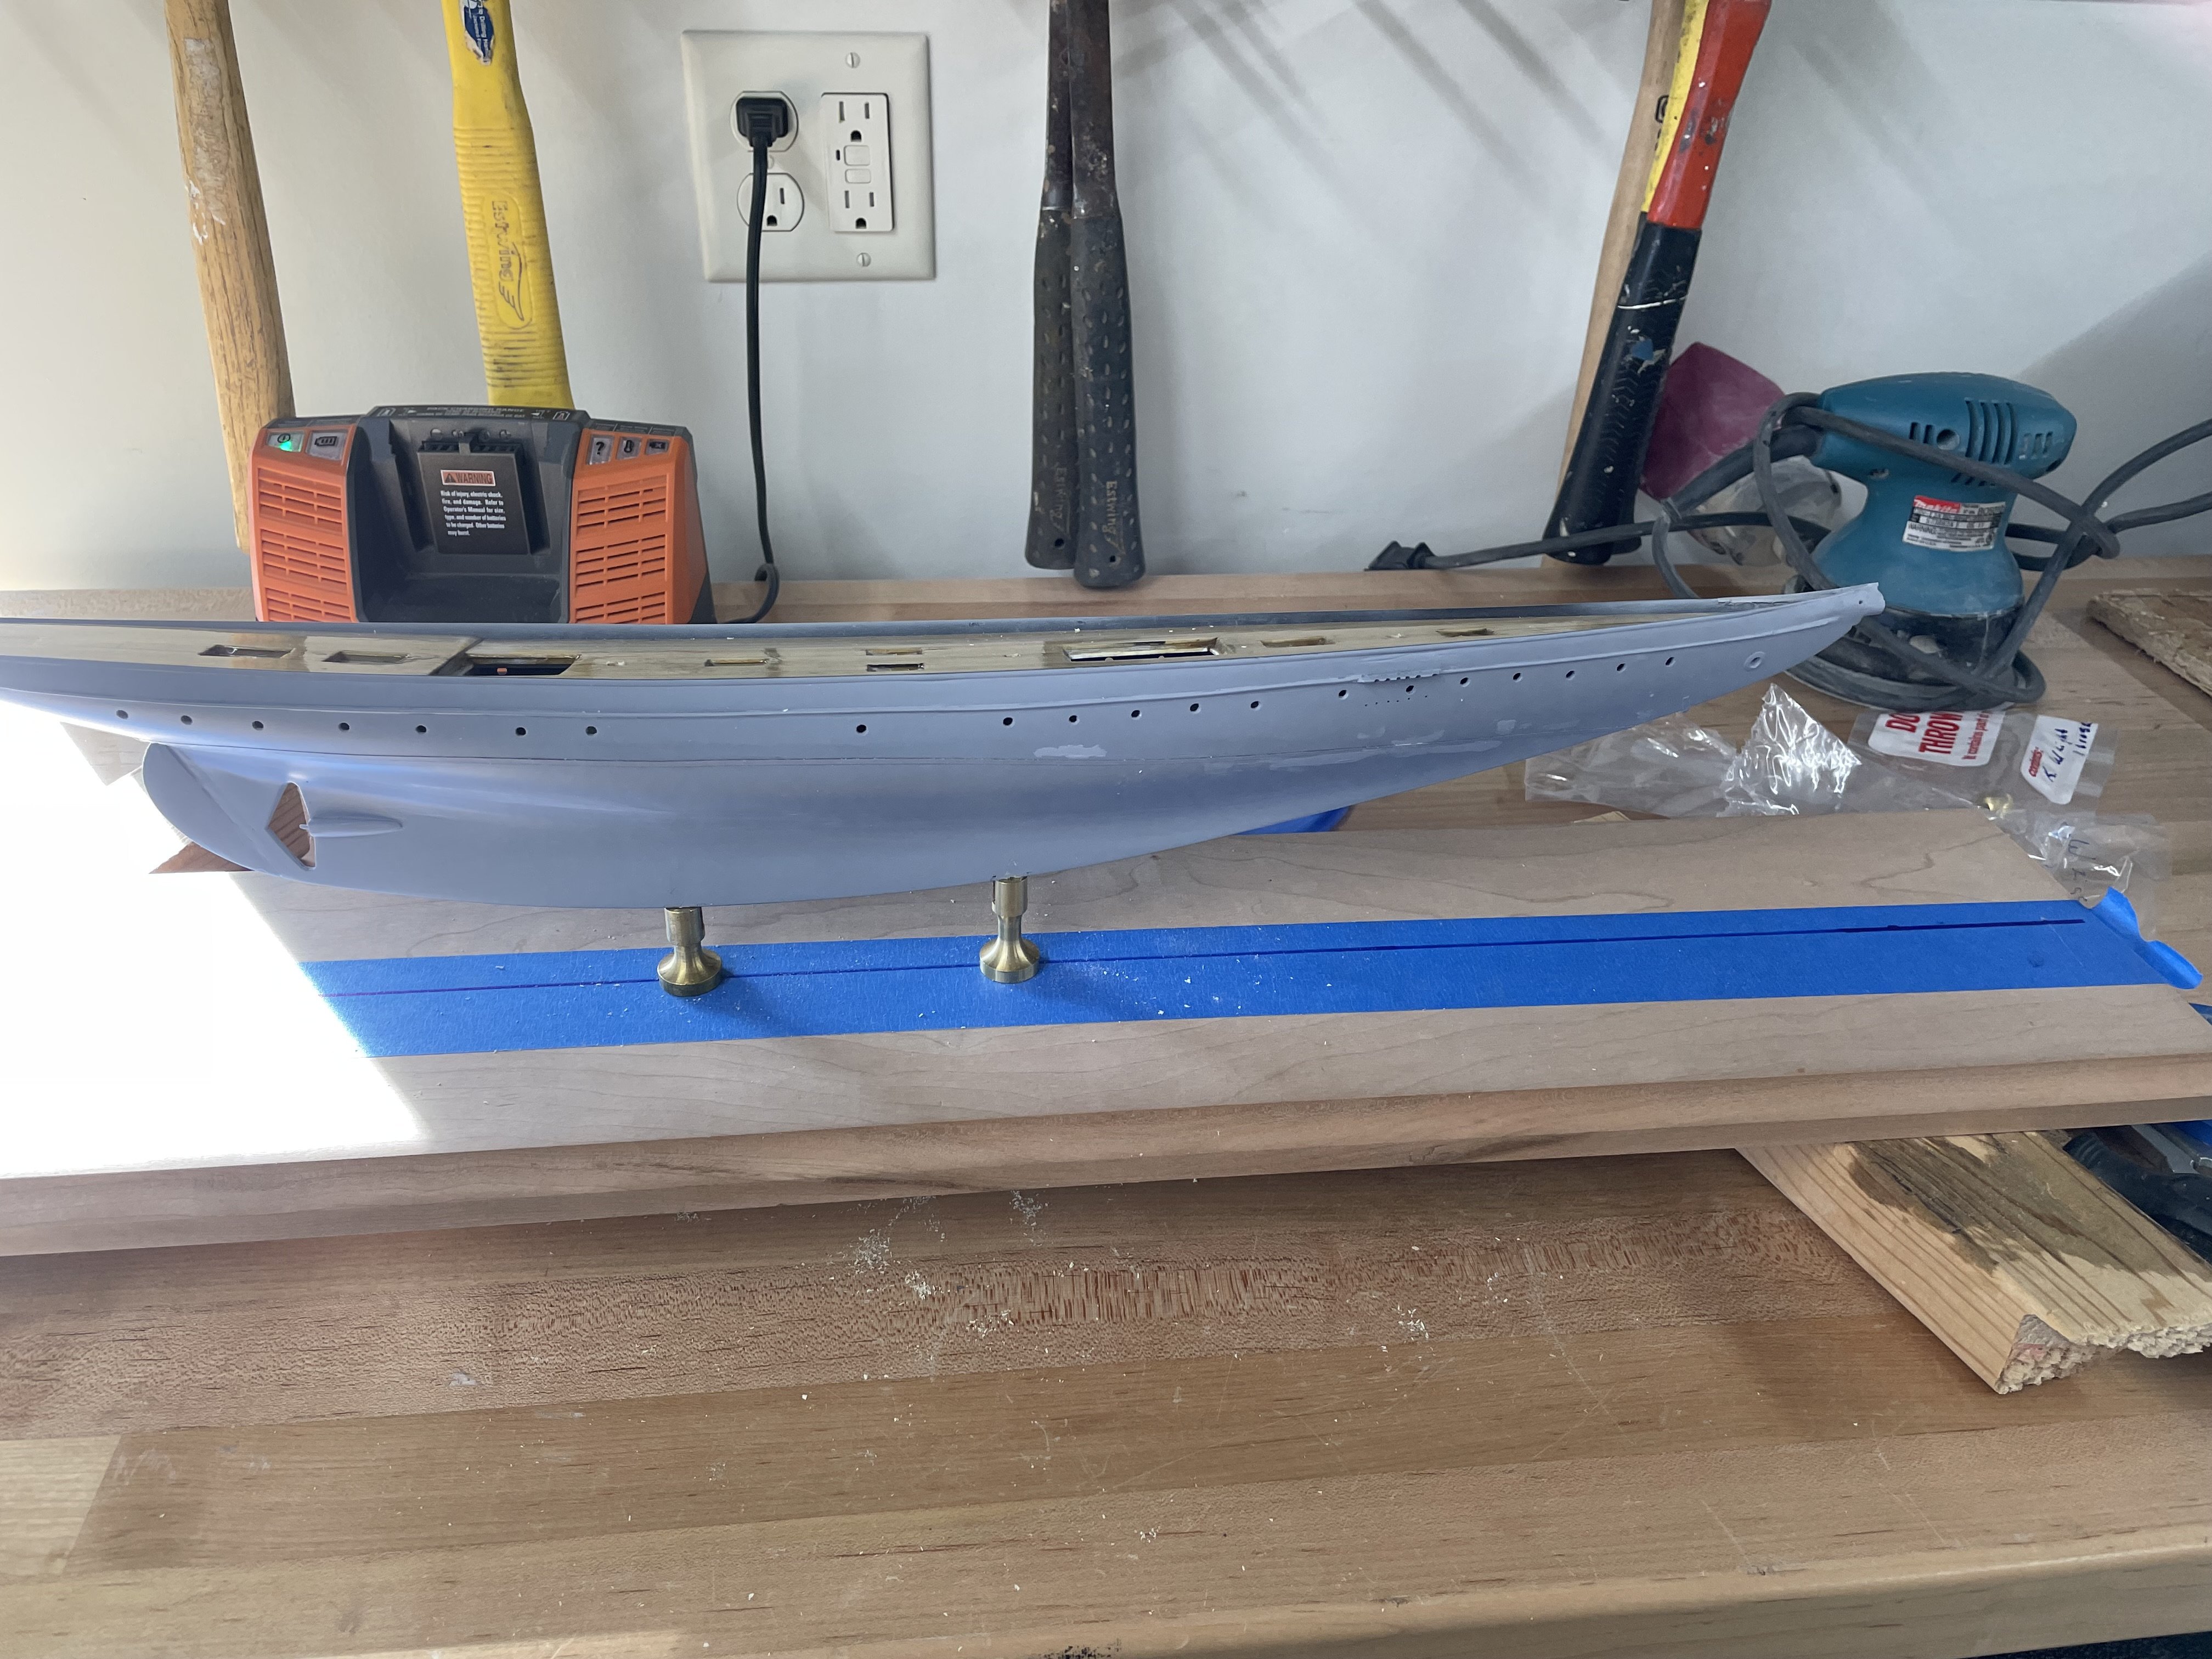
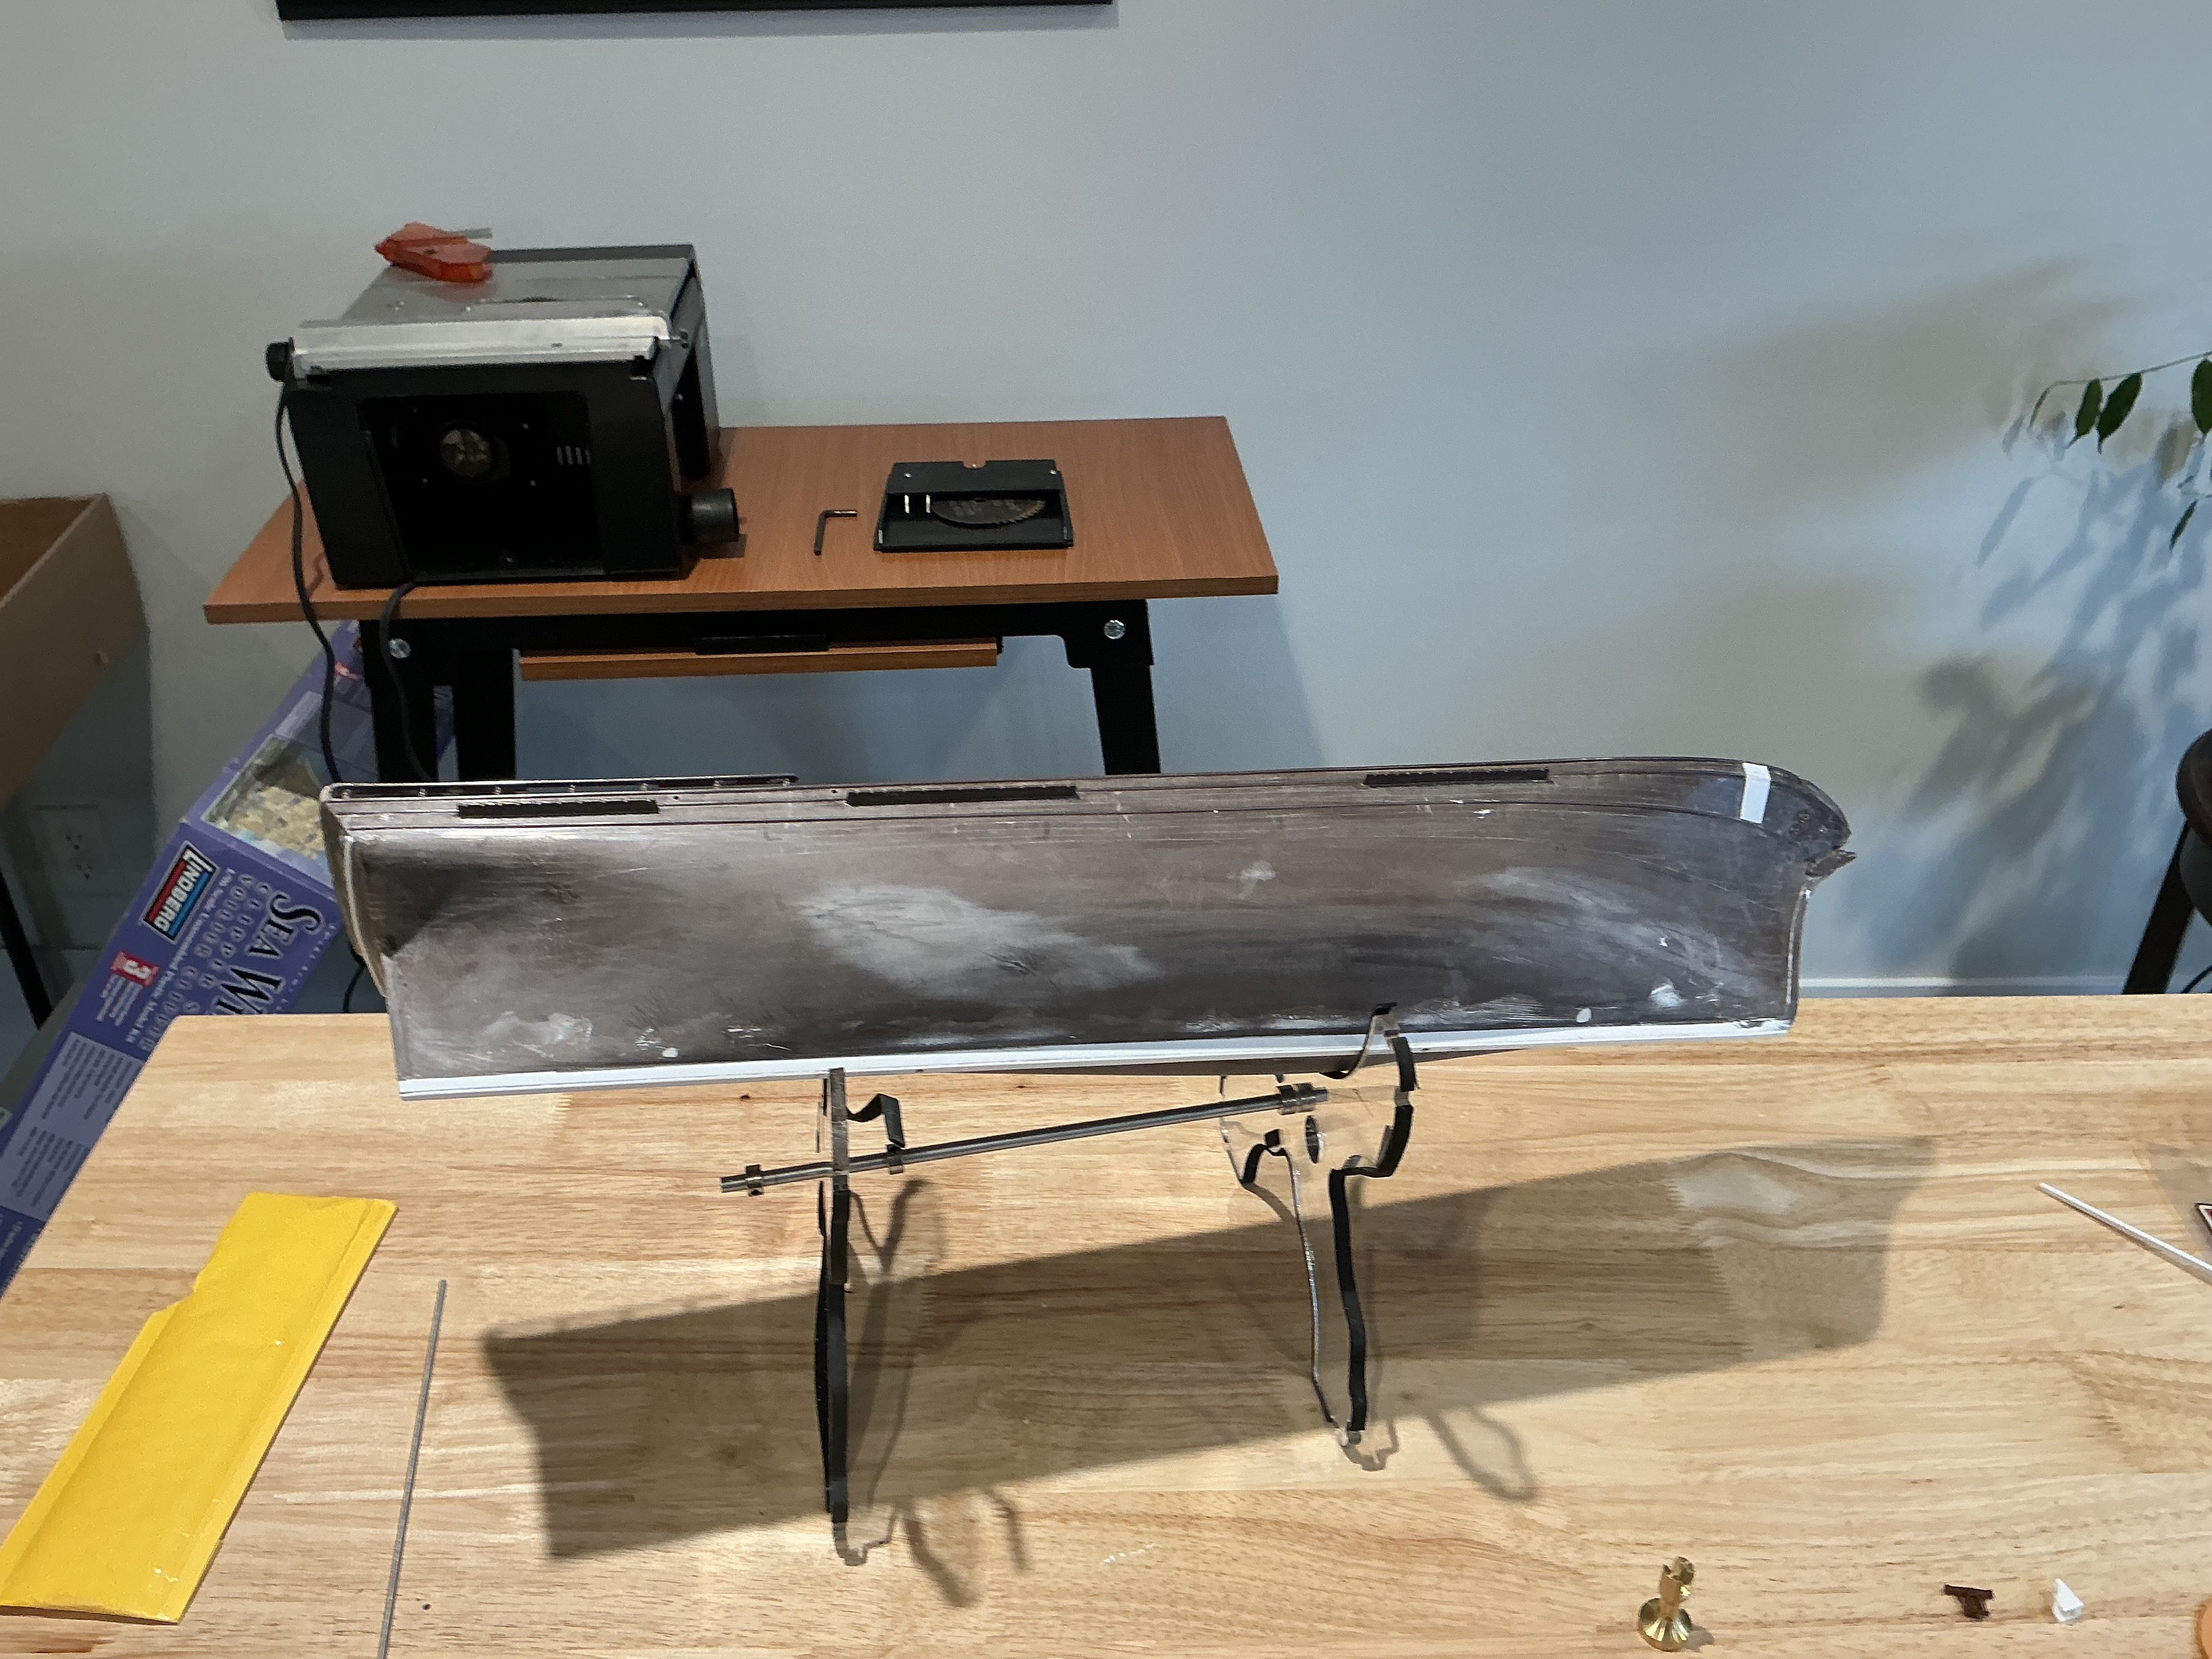
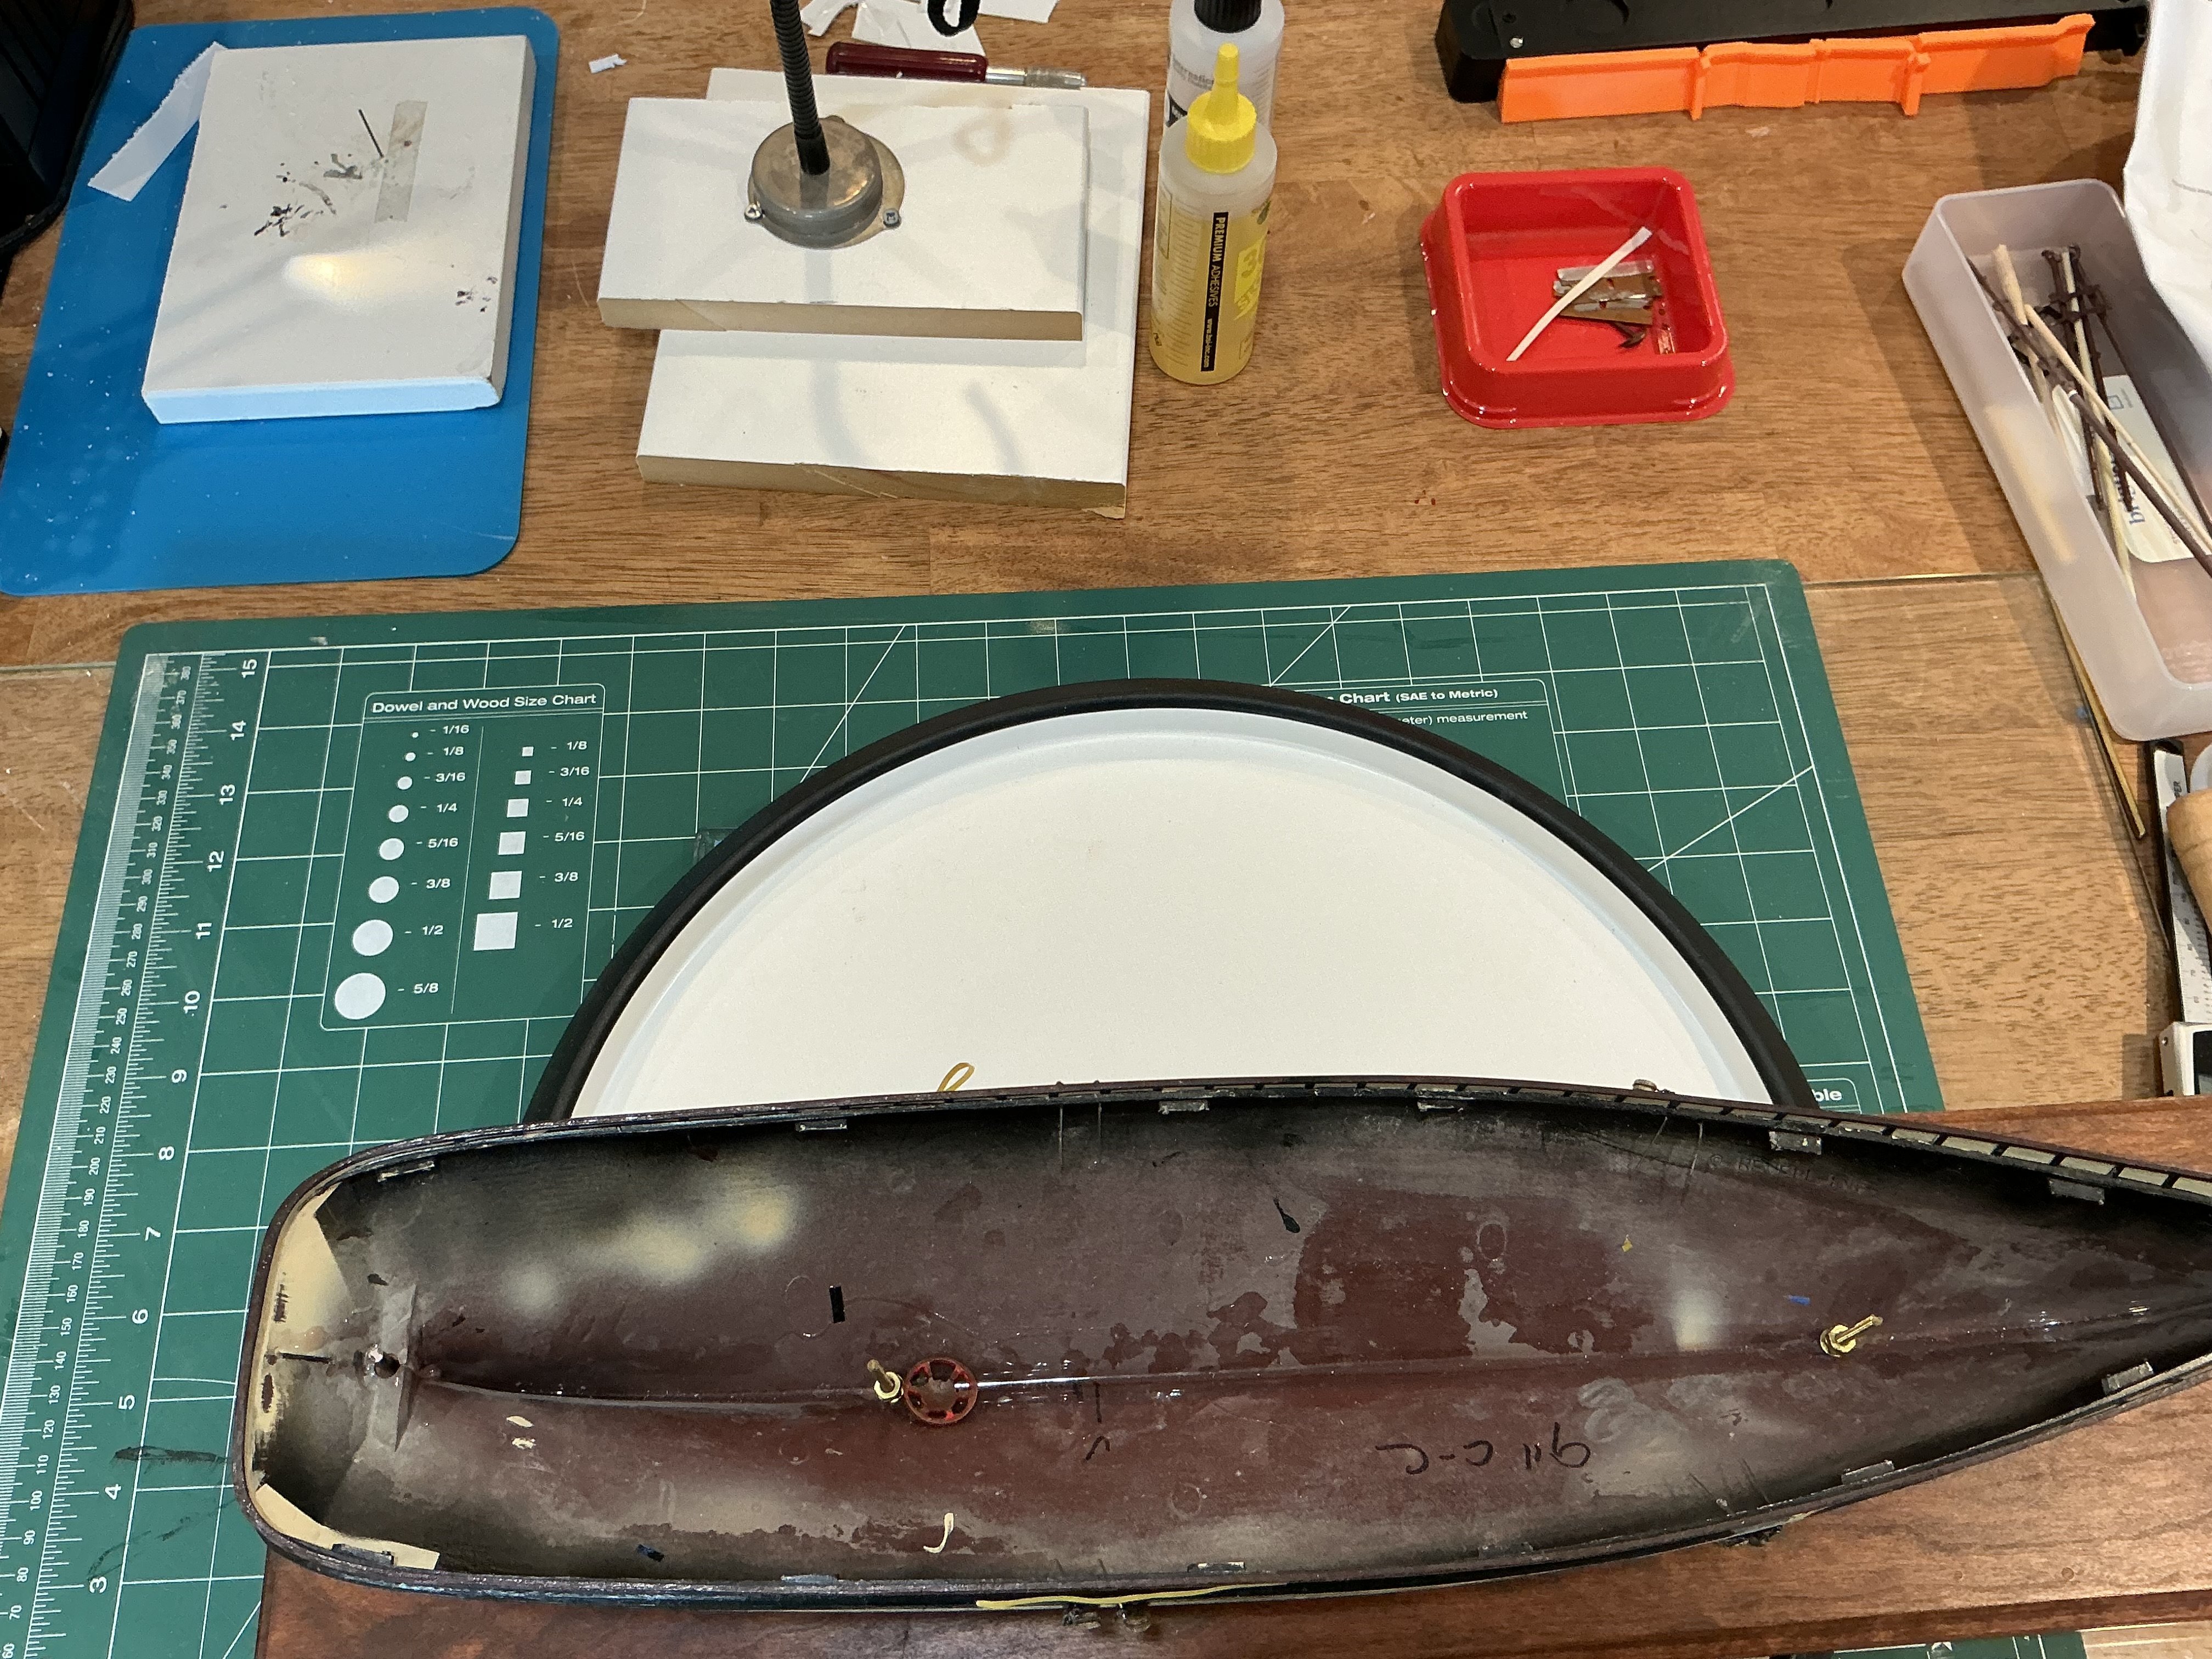
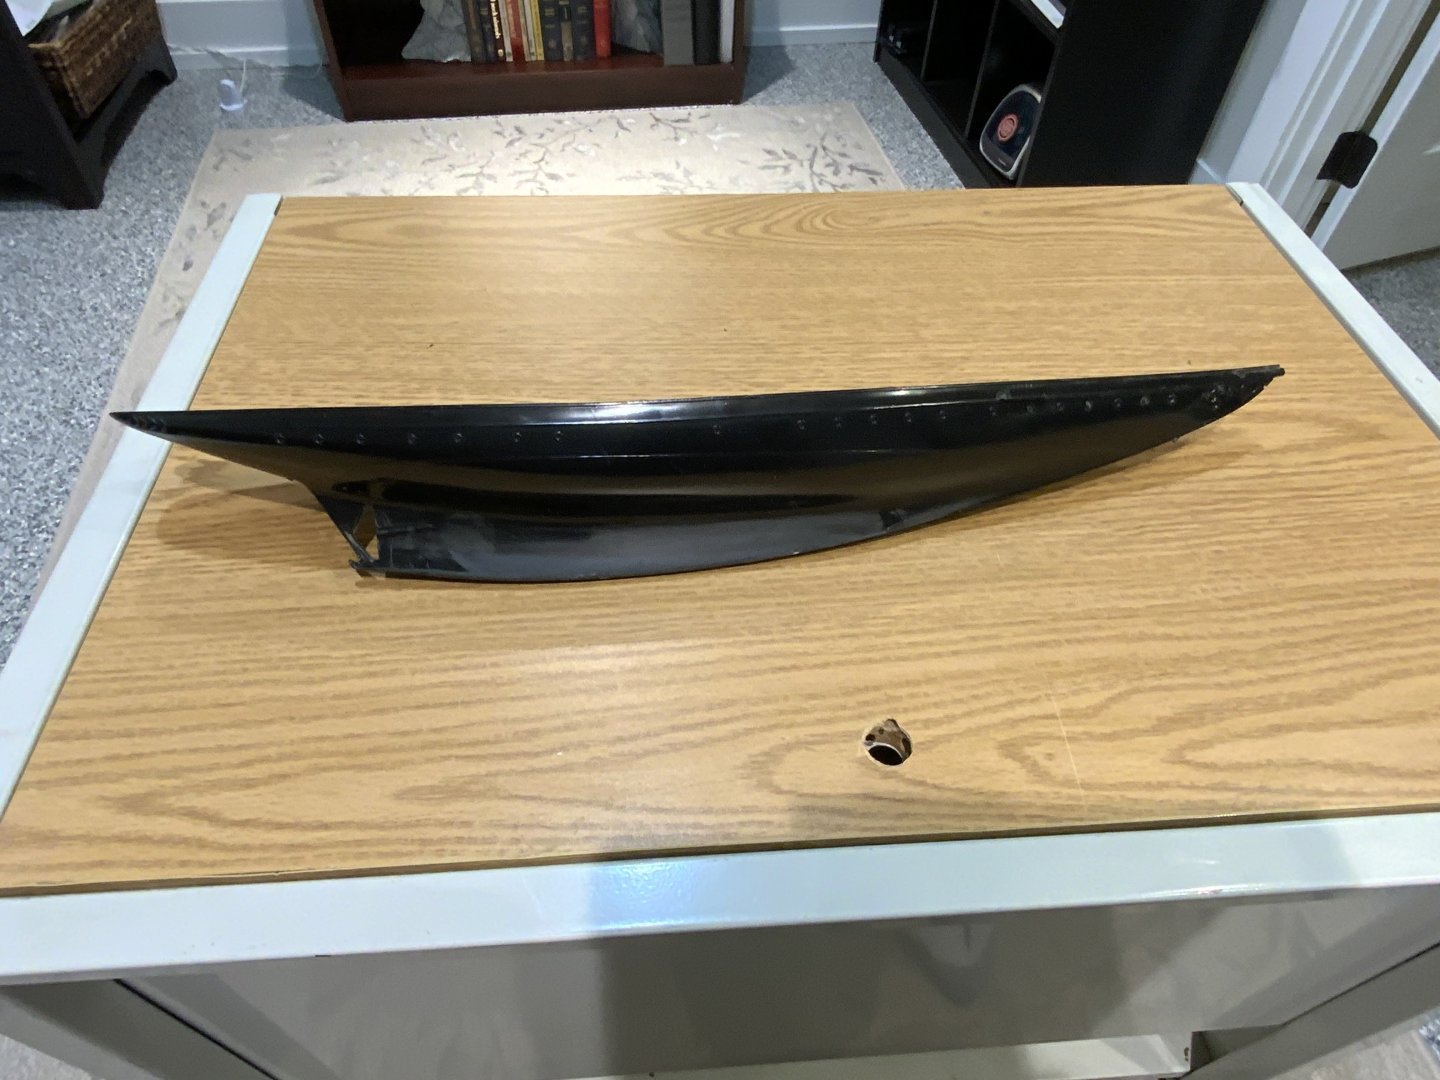
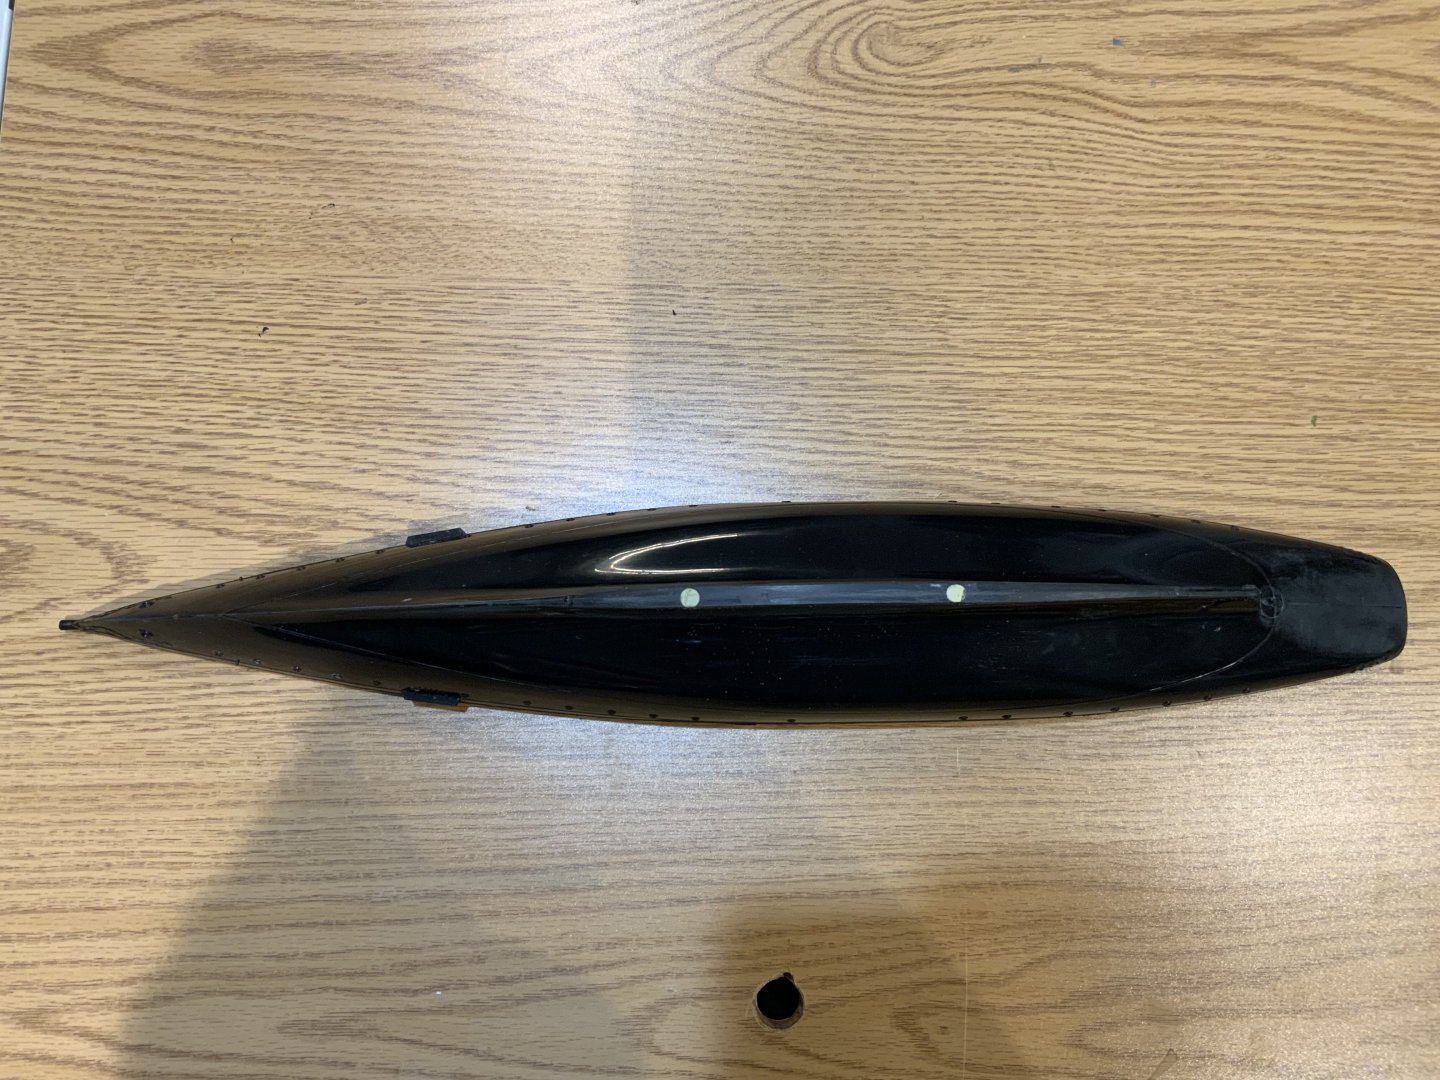
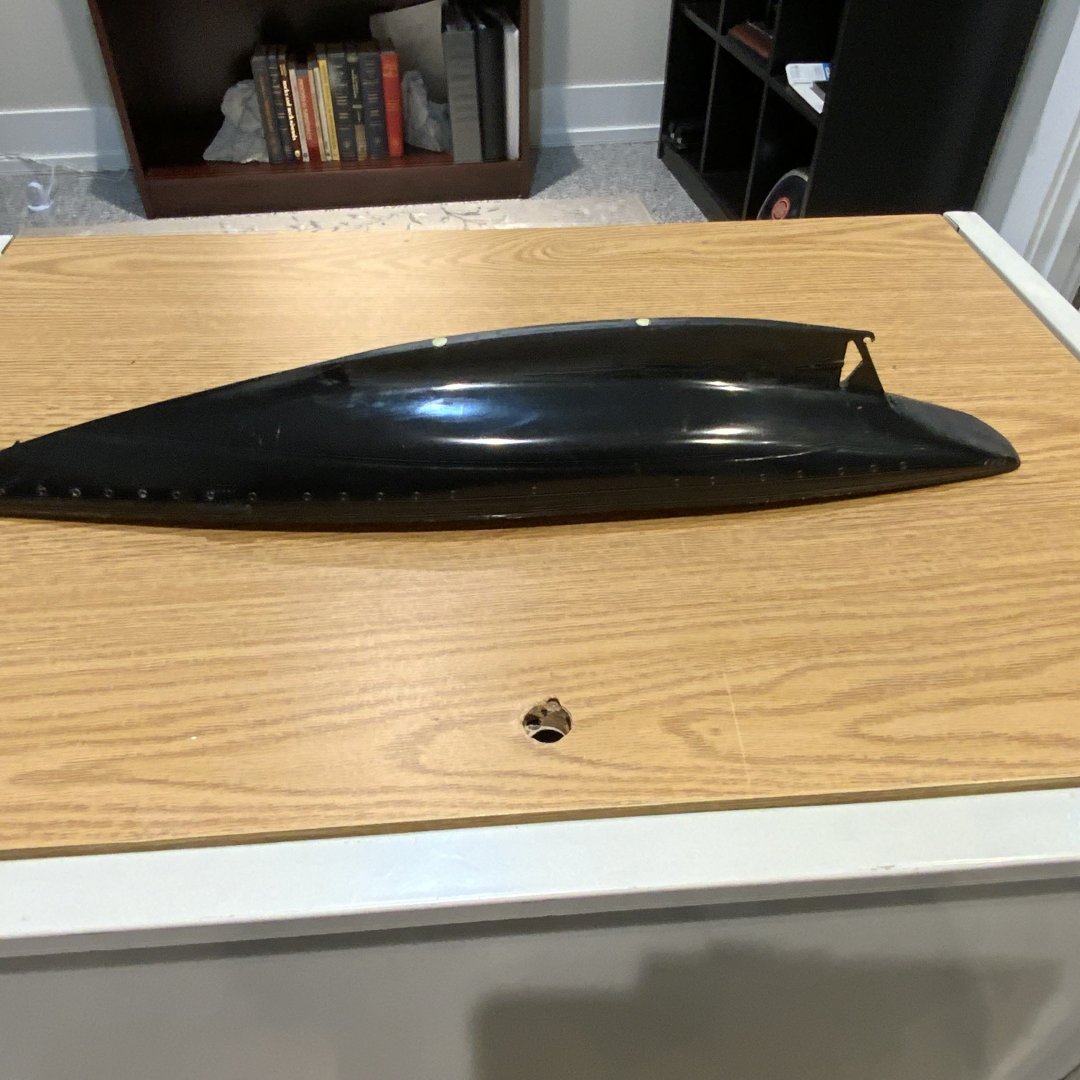
Now is the time to talk about the paint debacle. When I saw Bluejacket’s Atlantic, I really liked the hull color scheme- black over scarlet red. They were using Model Master paints back in the day. Rustoleum put and to all to the Testor’s lines some three years back. When it came time, I ordered the paint for the Atlantic. I received an assortment of True North paints. True North paints are based on mineral spirits. I is odd stuff to work with. The hull color sent was a WWII anti fouling paint color in salmon pink. This paint dries slowly. Second coats blend nicely. It takes a lot of thinning for an air brush to cope with the mixture. I really wanted the deep red color on the hull. I decided to paint the upper hull to see if I could live with. The flat black was full of sediment and very to mix. When I thinned this paint ; it required more tan 60 percent thinner and much higher pressure. The paint dried dead flat and it was very grainy. I put the gold paint on the trim by hand brushed and masked and sprayed the arrows above the portholes..it required some touch of the black . I noticed the detail was getting muddier and muddier. When I stood back and looked it was just a mess. I stripped all of the hull uppers off with Testor paint remover. The paint remover was not very productive- it took three passes to remove it. I left the lower hull covered, put this project on the shelf last summer. I just this week removed the tape. Not the best idea leaving the masking tape on for so long. The picture below is the hull looks like after cleanup. It looks the pink color looks like it paint over well, but I pine it for paint barrier, just in case. I will be using Tamiya hull red for the lower hull. The True North paints went the garbage a long time ago. The next time you a photo it will be a much happier sight! KimW

-
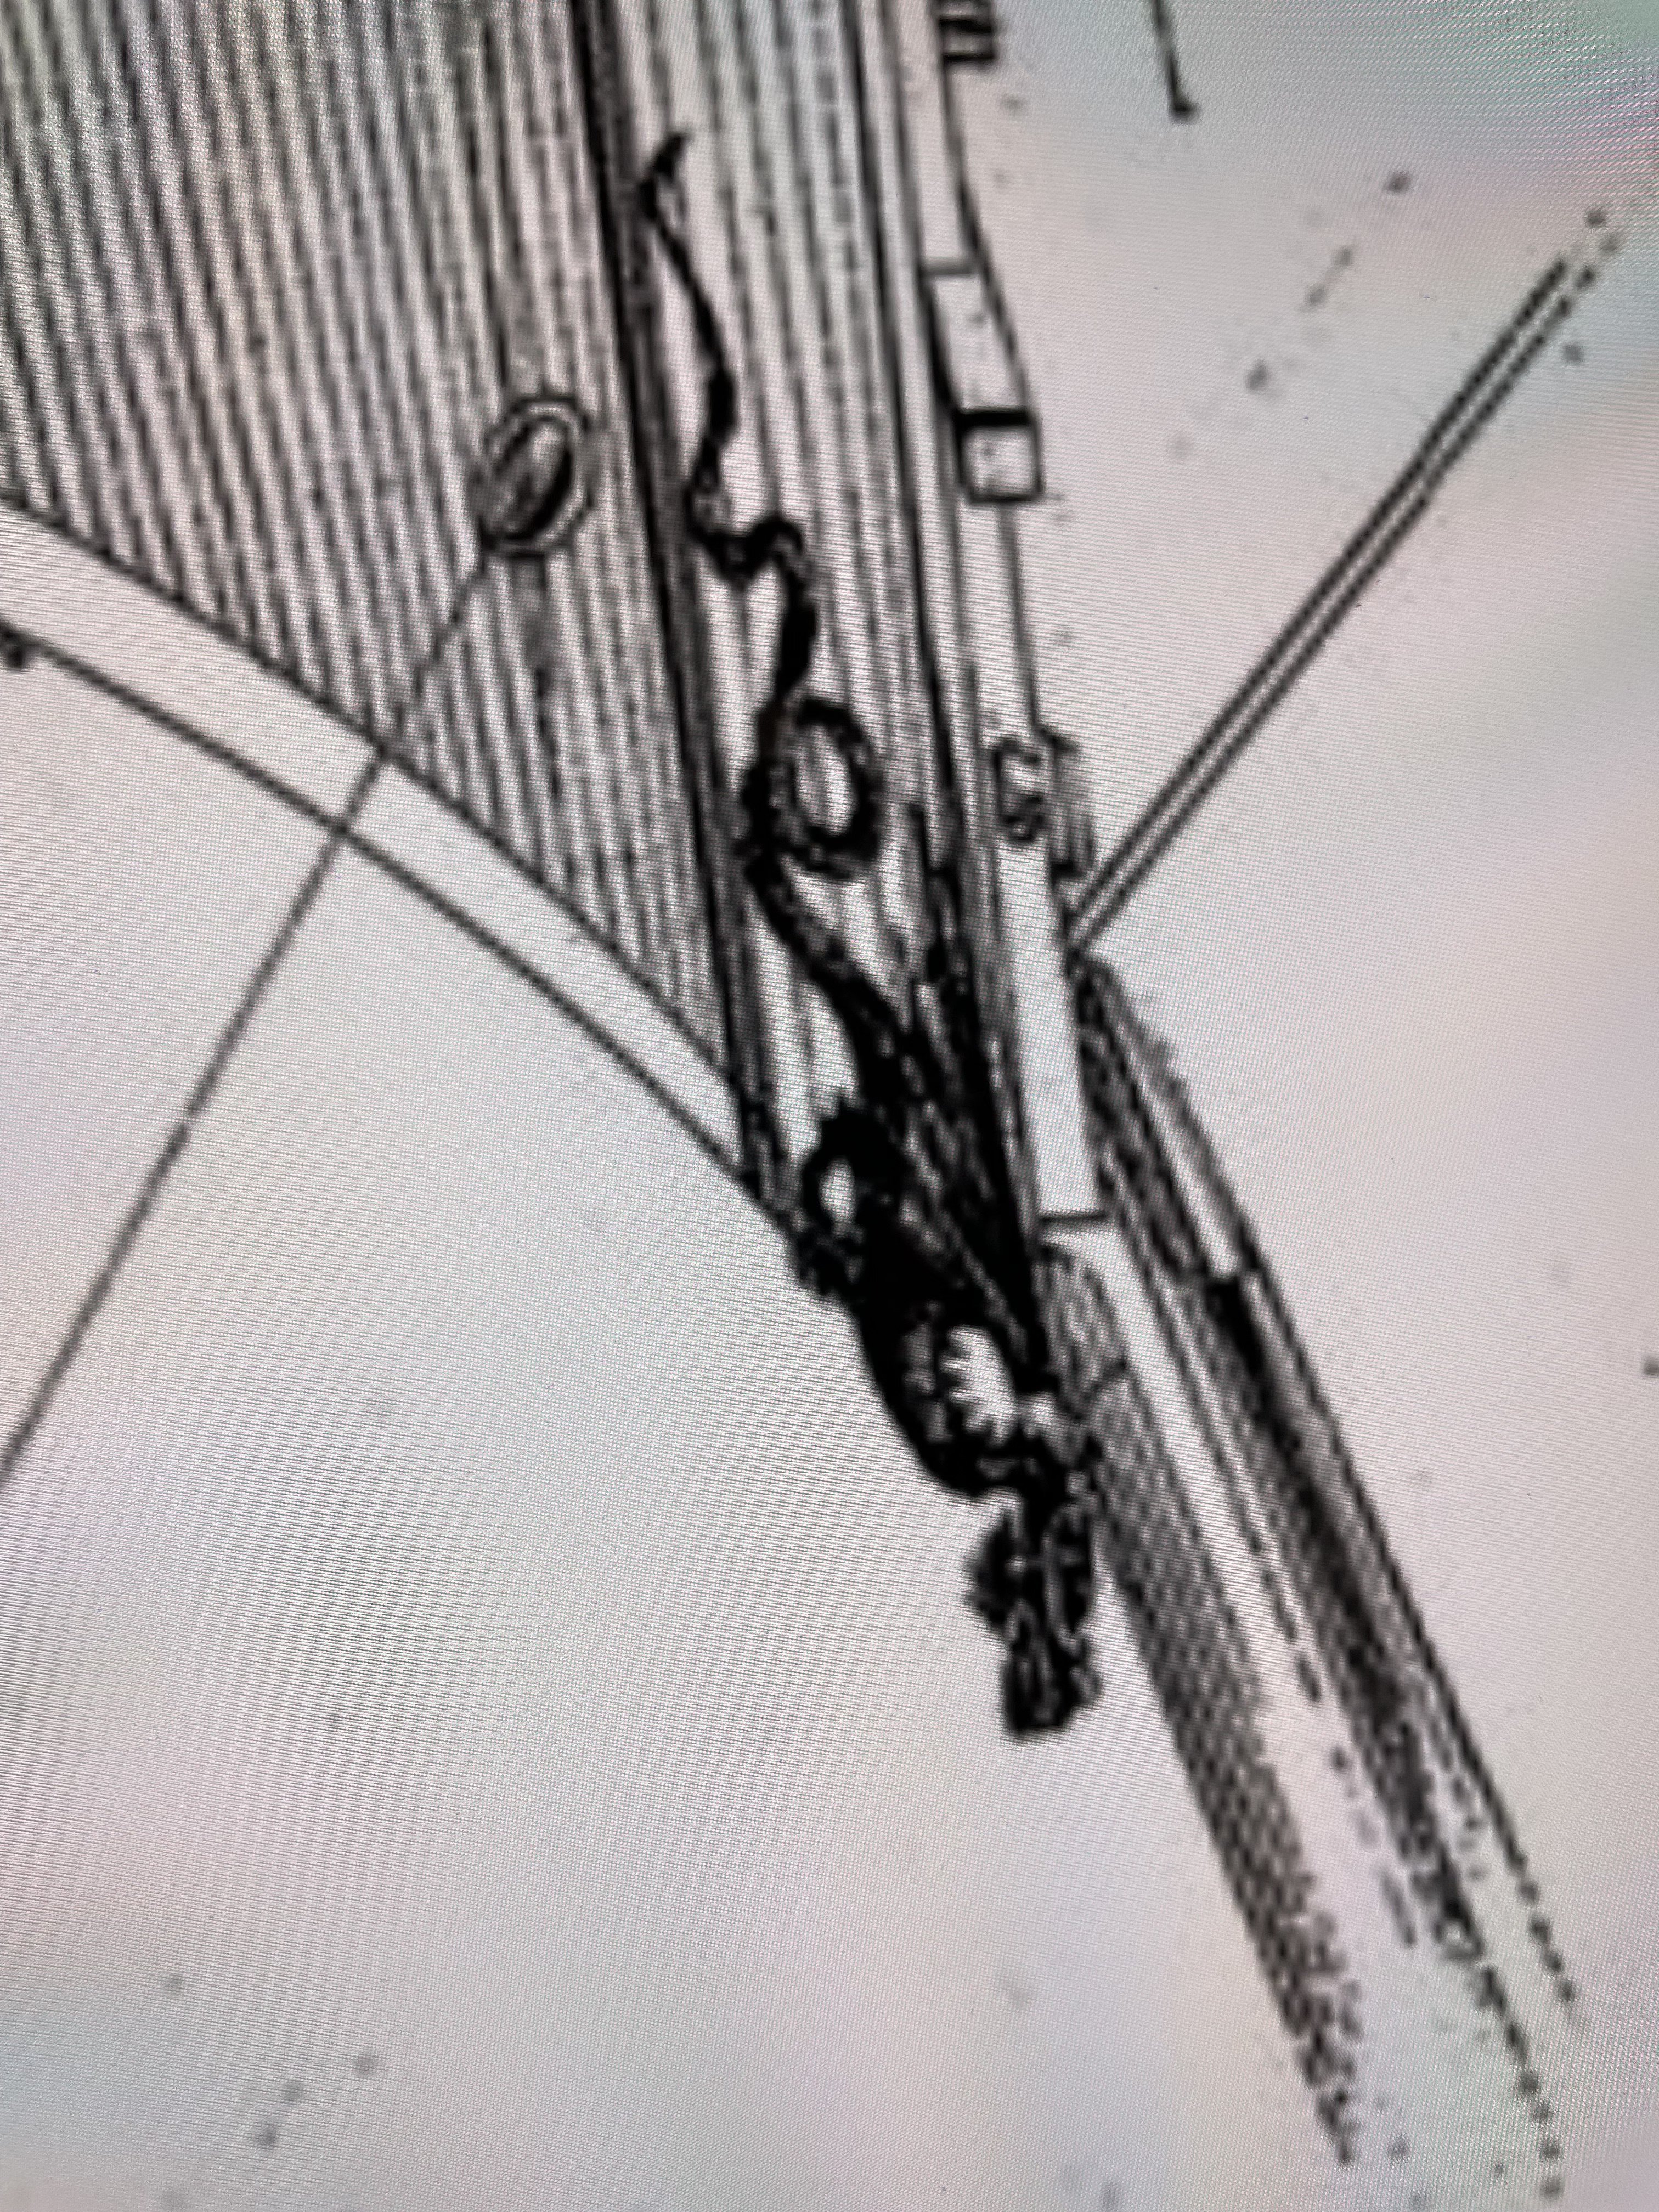
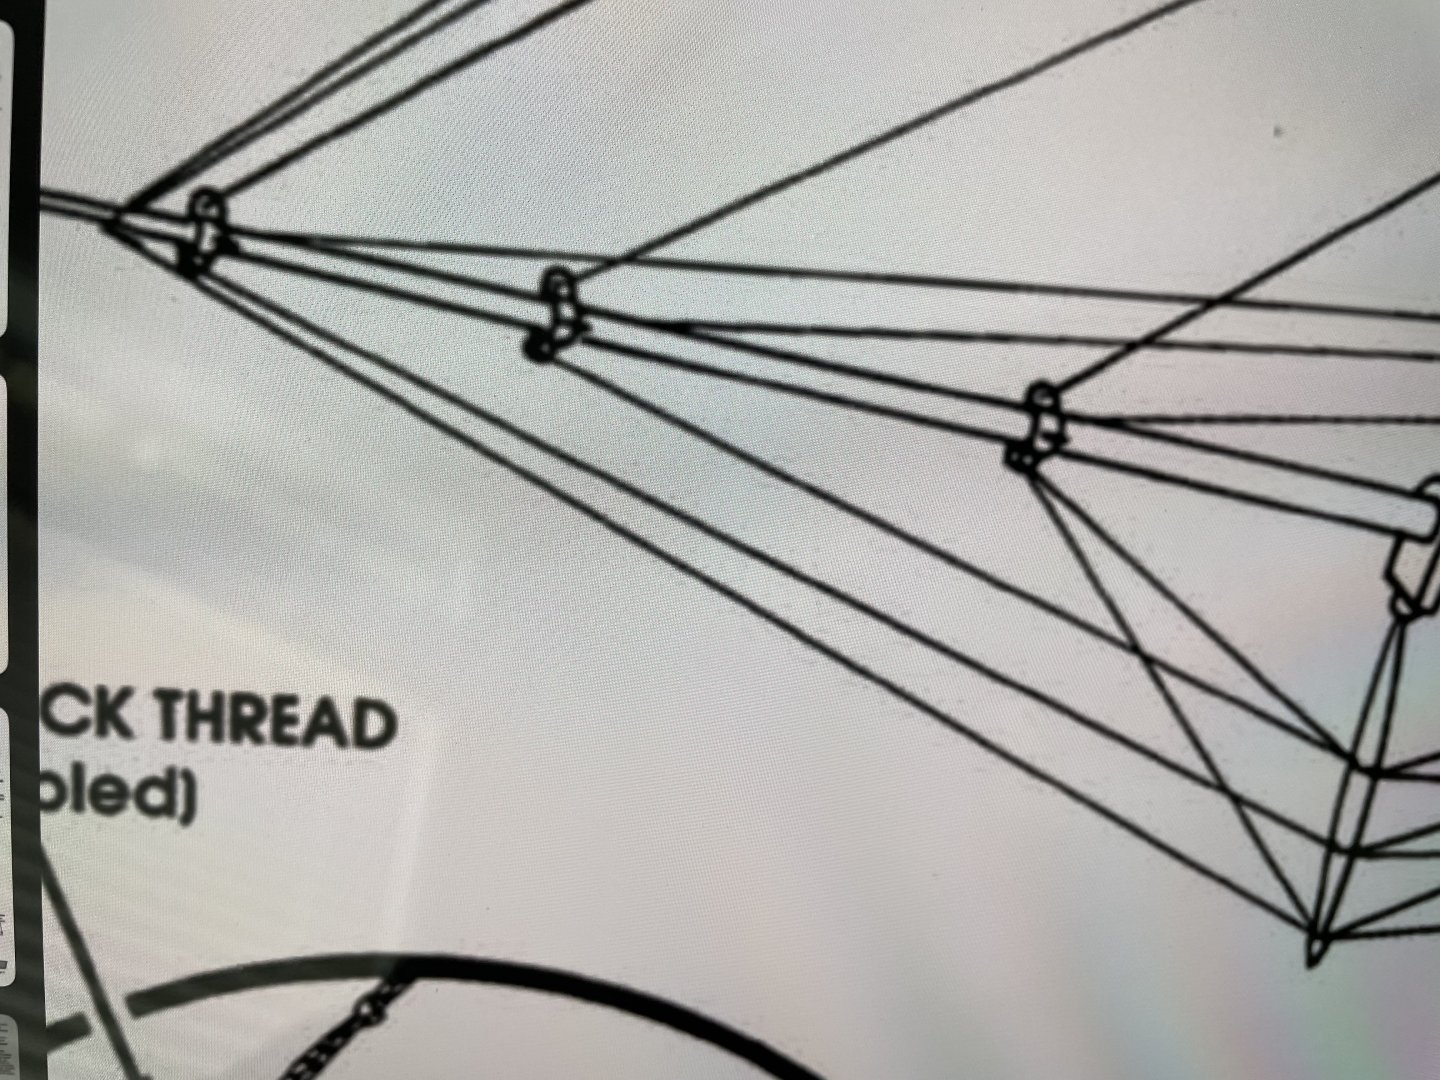
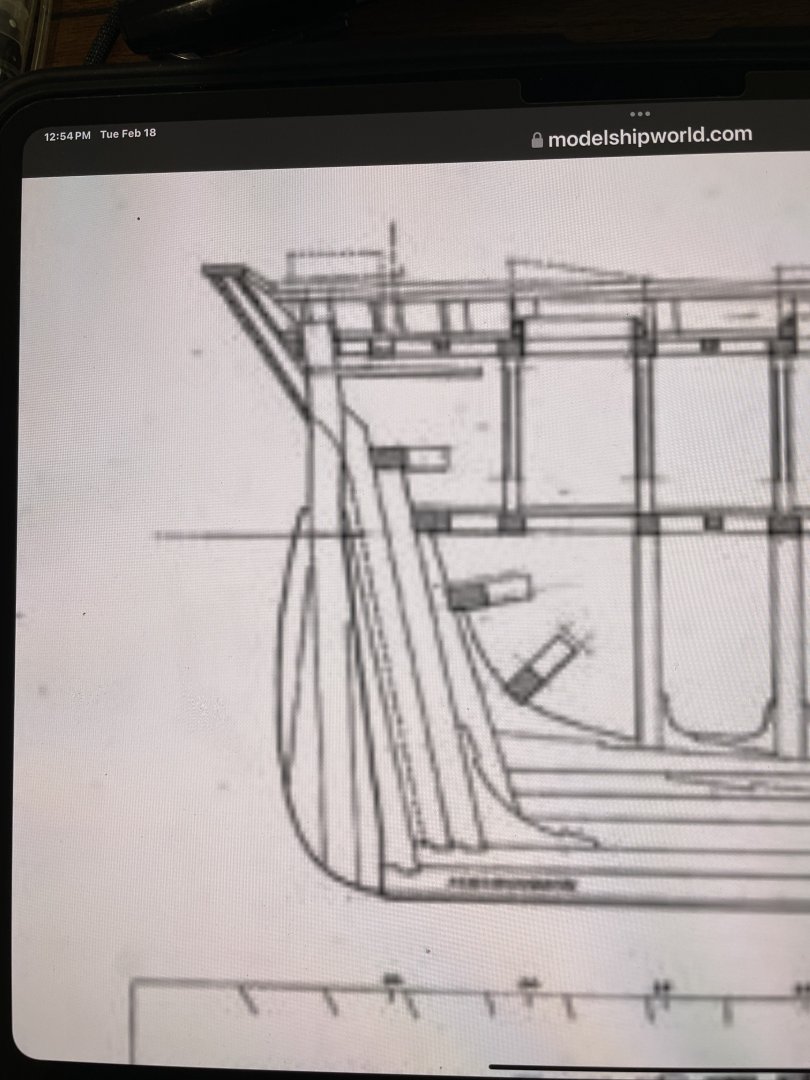
Thank you for your interest in my question. Below is an image from the instruction that shows the 4-tab connections on the bow sprit. I do not believe these to be accurate. I would like to rep[ace them with row eyepins in the horizontal plane and either a code to the eye and or around a sheave let into the boom, whichever the scale allows (1/96). The instructions show the two upper essays seized to around a shoulder at the front of the bowsprit and forestry splitting at the bowsprit and going to either side of the bow. Two of the main foestay terminating at the fife rail, which does not seem correct. Thank you for responding, KimW m
-
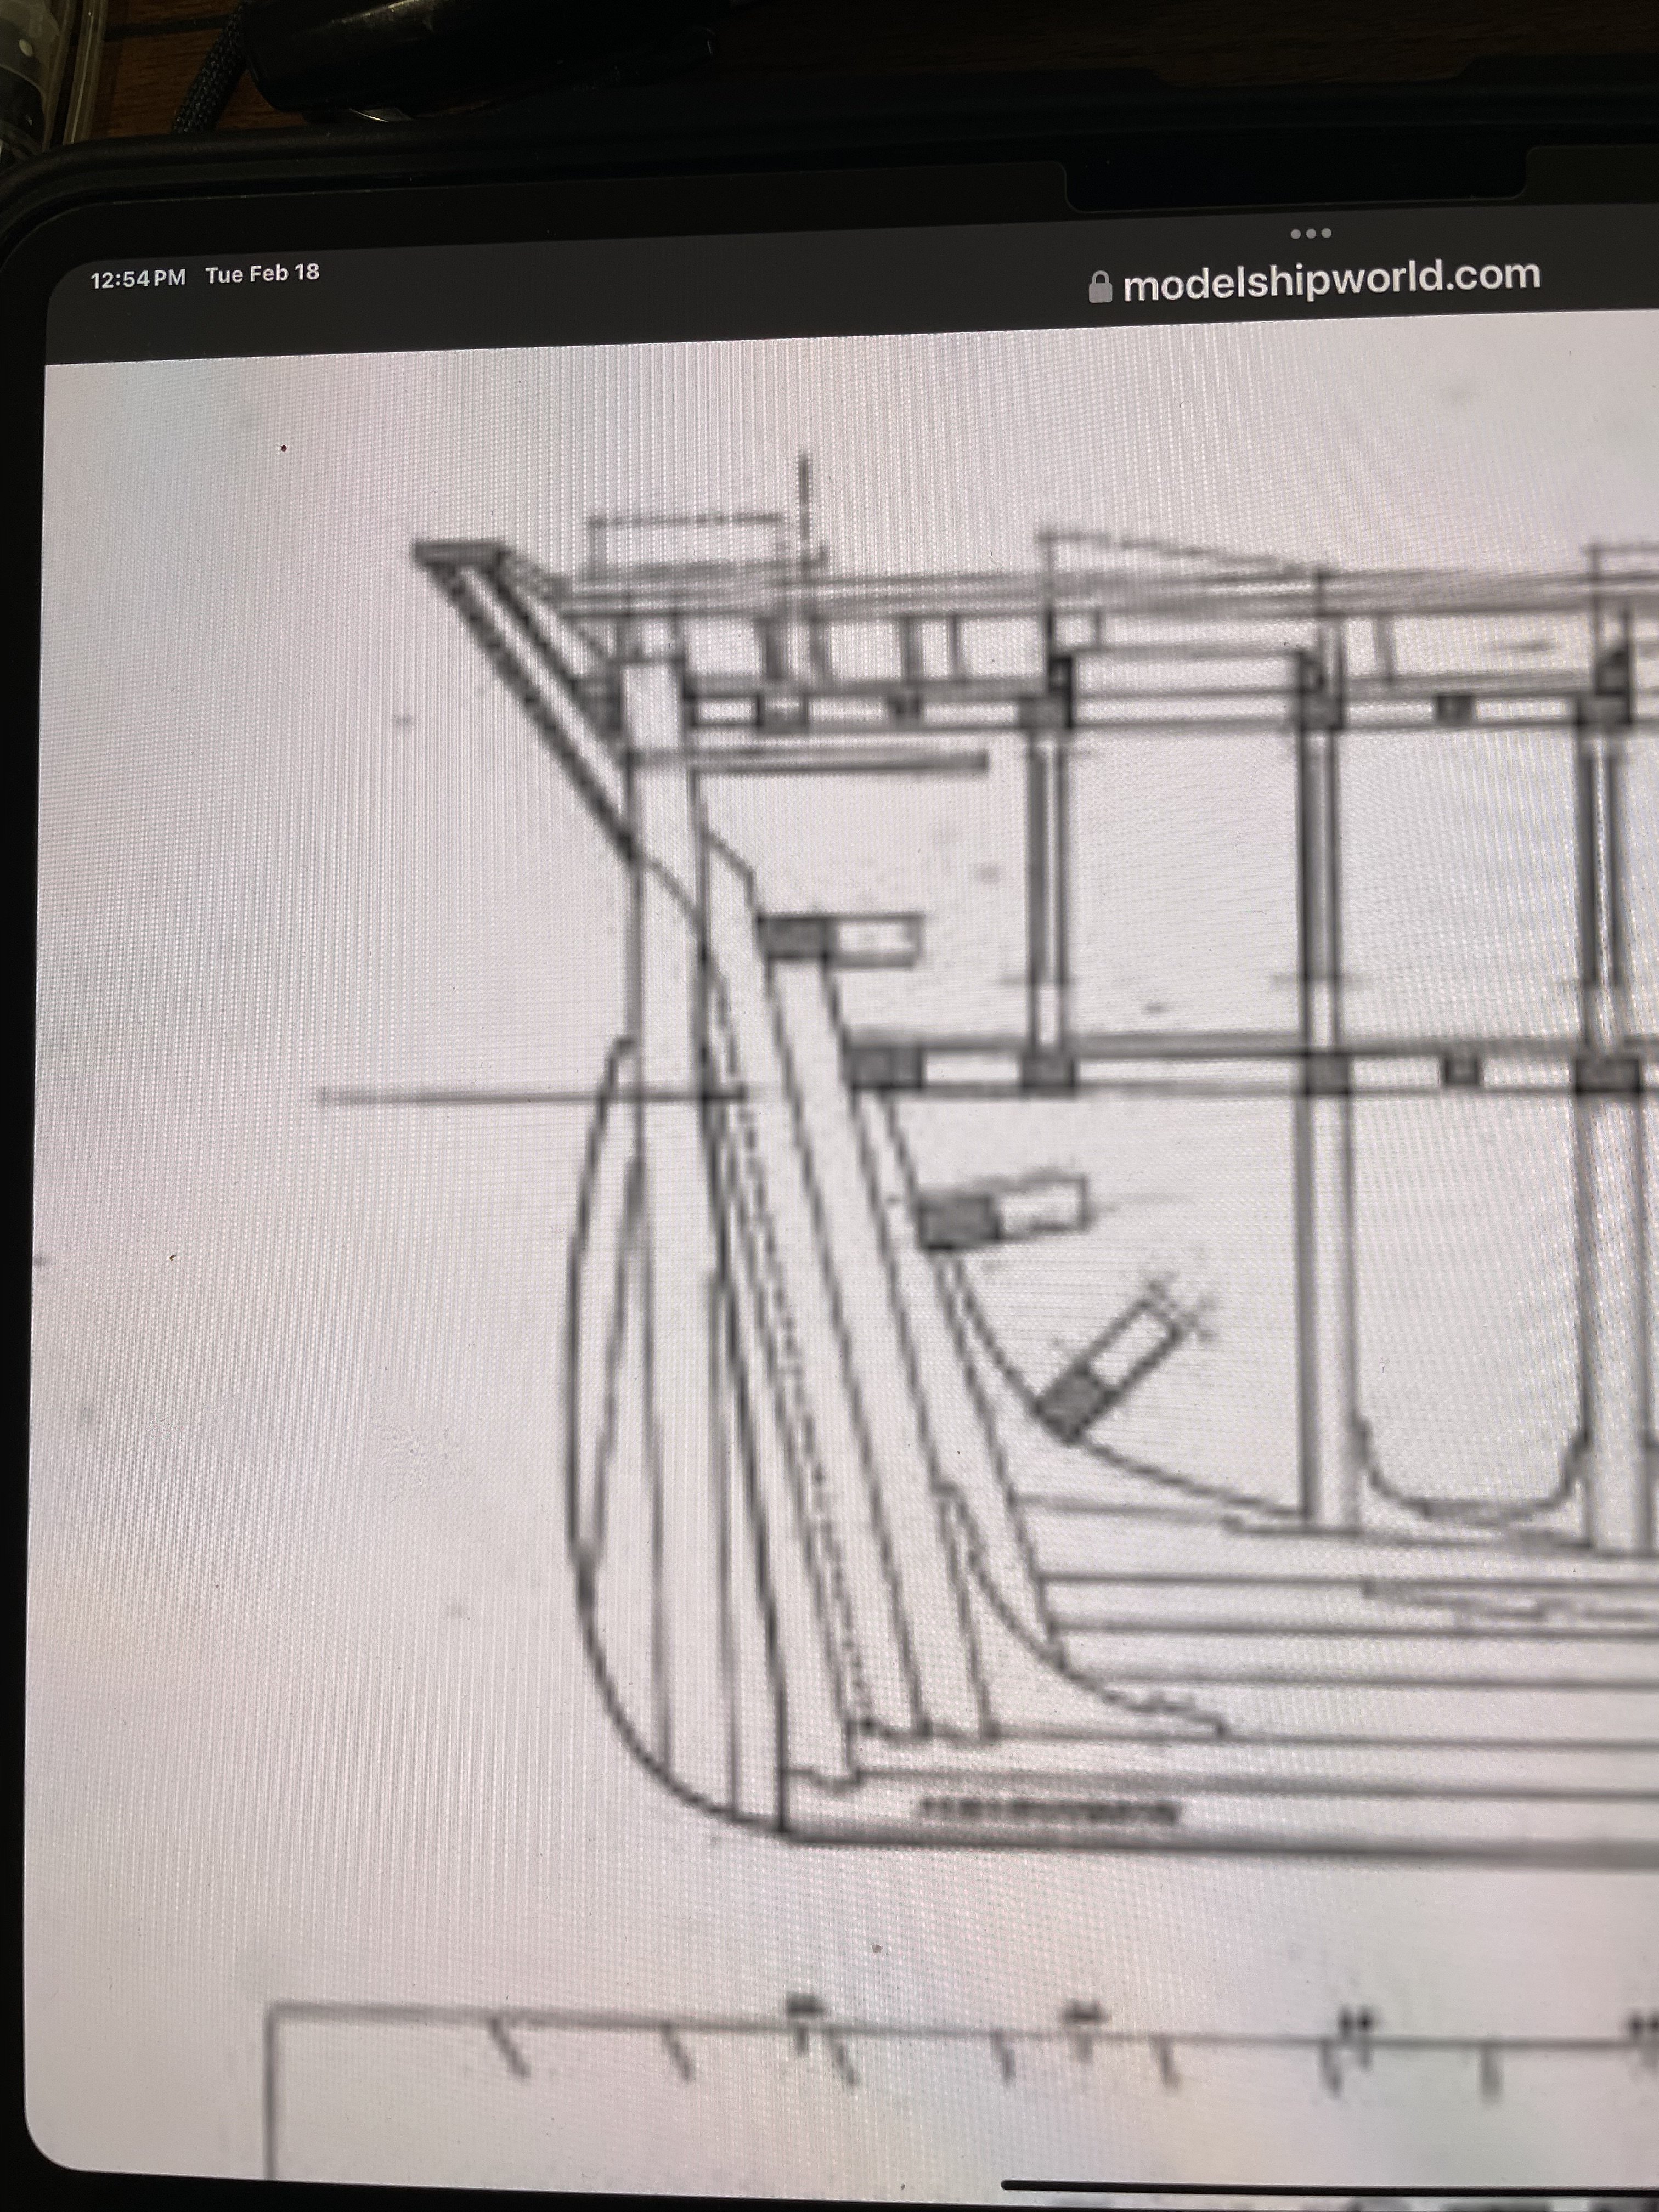
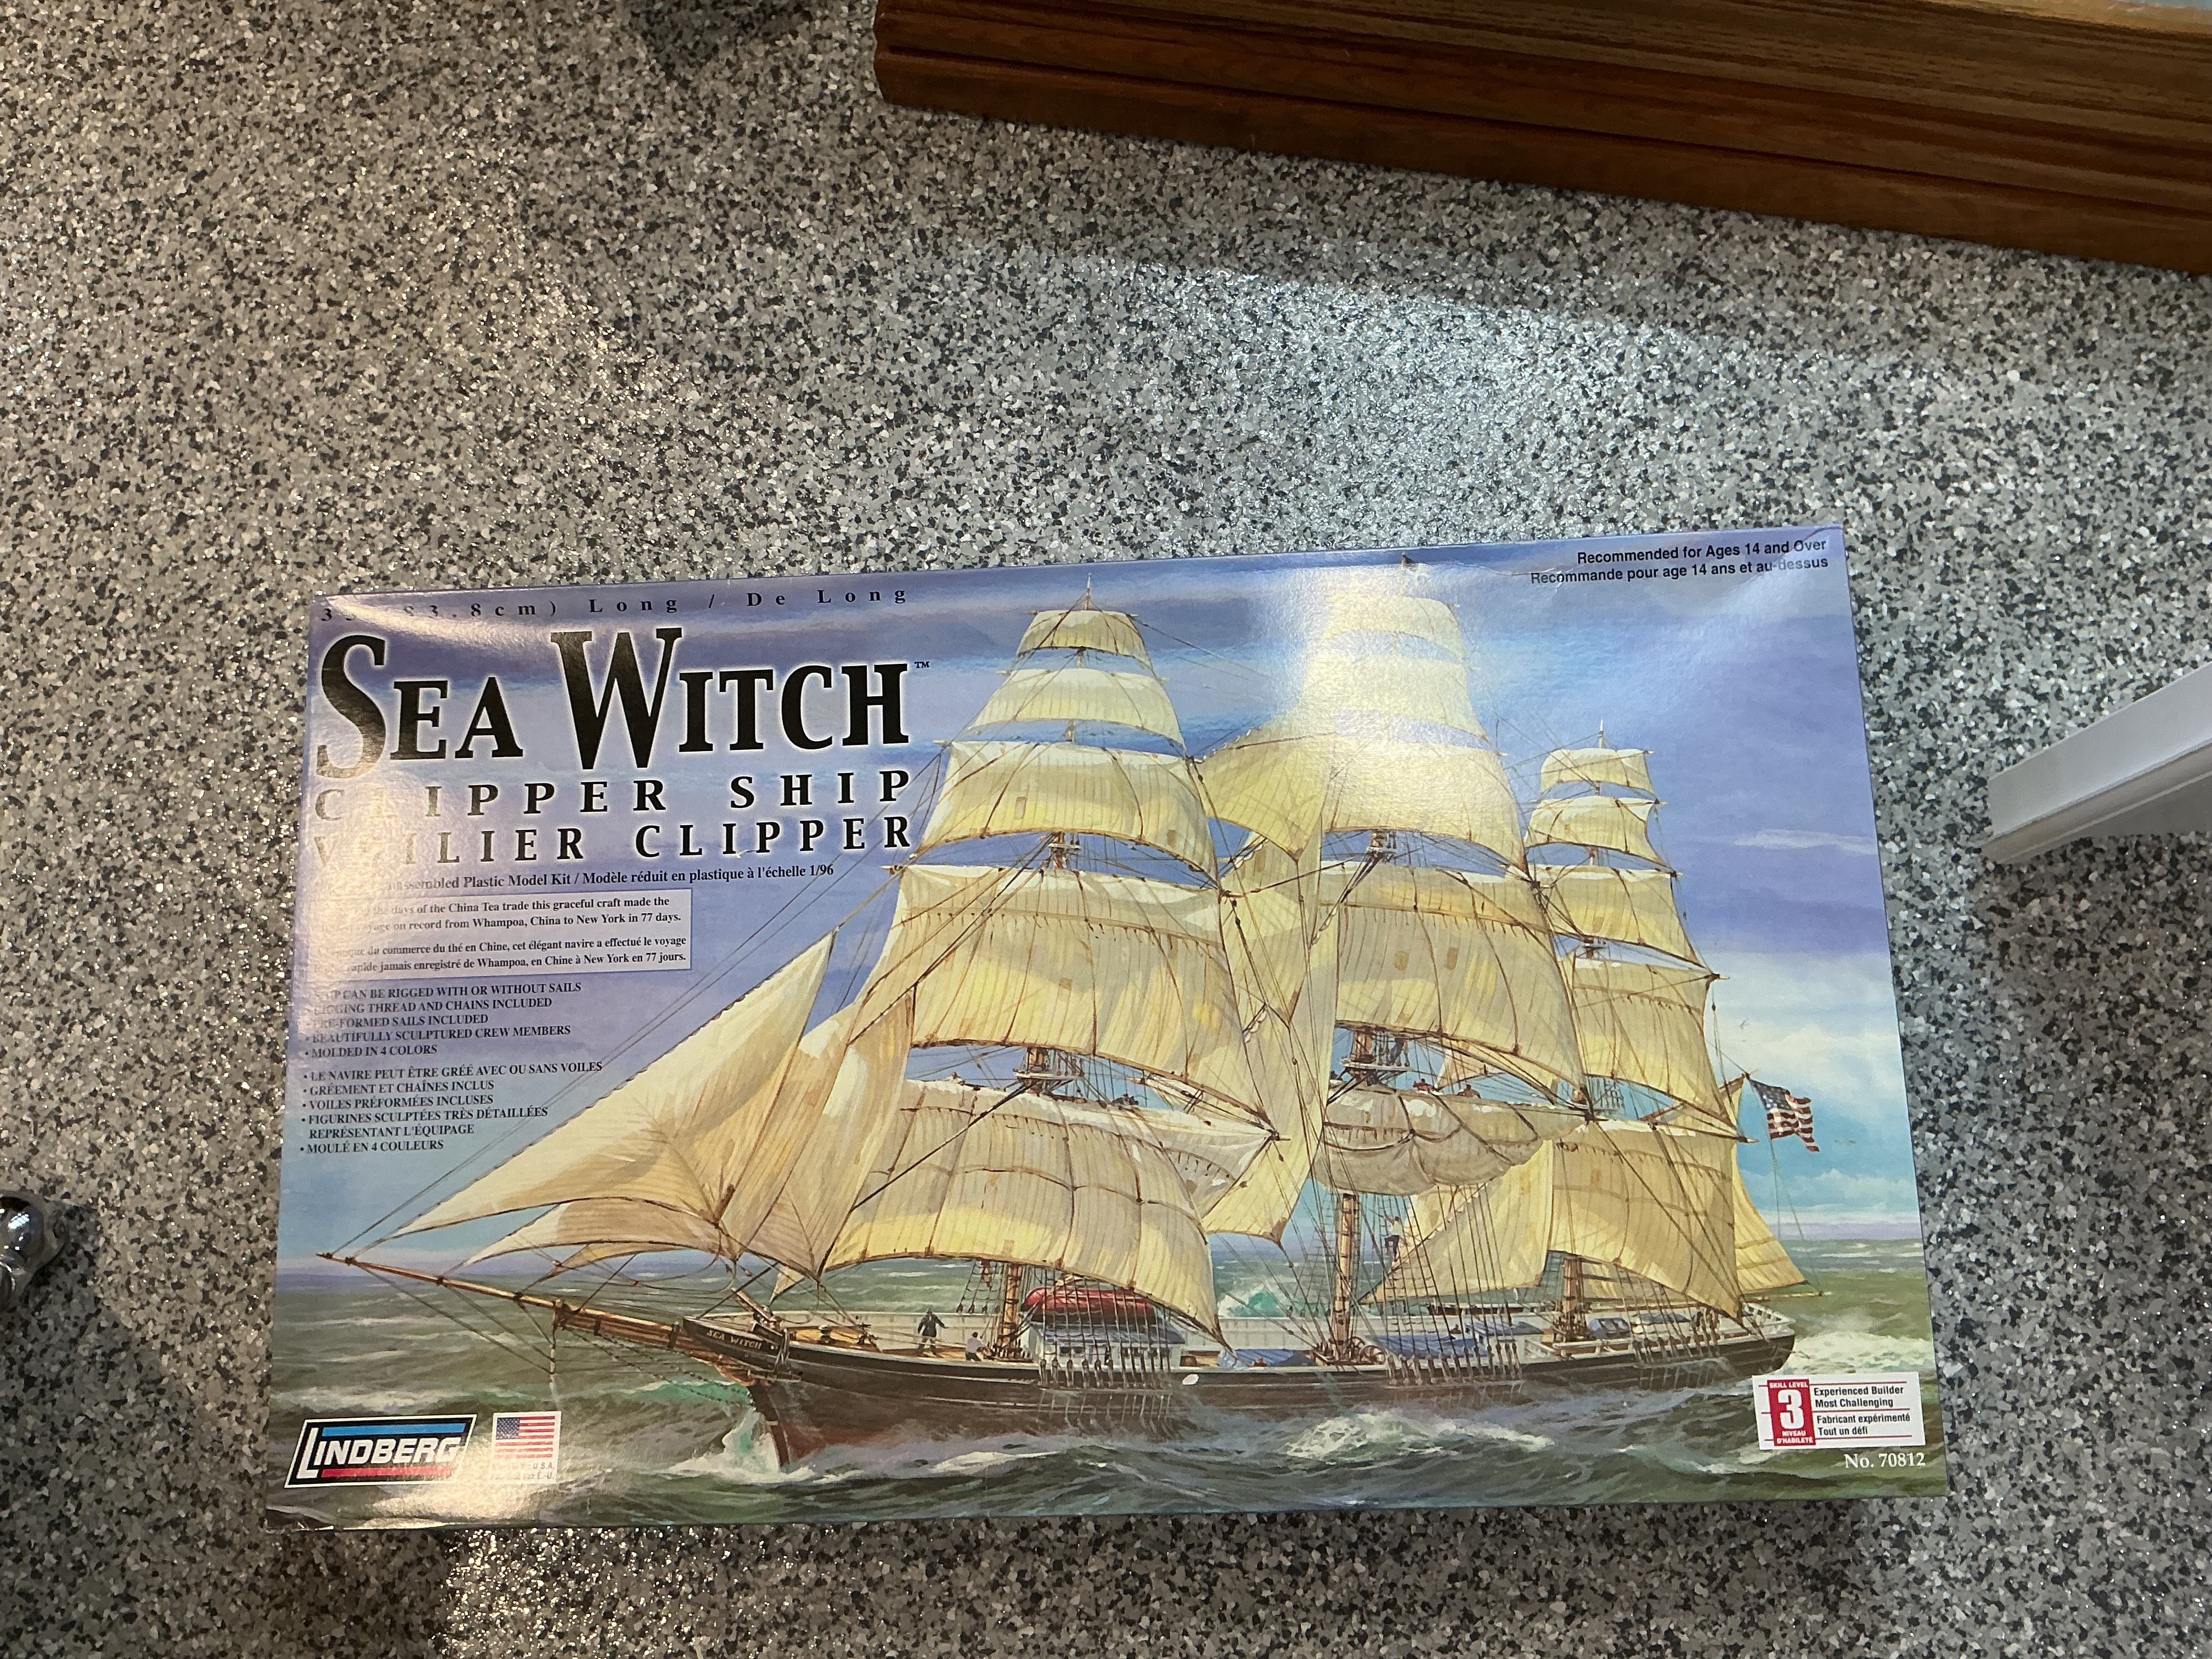
I have a build log on efforts on Lindbergh’s Sea Witch. I am finishing up the modifications and detailing on the bowsprit. The kit has a mast bands with 4 eye bolts, where stays are not continuous through the sprit to an anchor point on the hull which incorporates a means of re-tensioning the rope. This makes sense from an engineering view point. Terminating the standing rigging at the bow sprit and and the n resuming it with an indecent tie in directly below would leave entire sections that could not be adjusted; installing sheaves at these these location would be ideal. The tensile forces could be directed directly to the tie-in point, through a means of adjusting tension in the rope. The sheave would allow the sprit to move as needed without undue wear, while transmitting compressing forces to the ships hull keeping the bowsprit I’m place. The sprit is large enough to either, drill a hole ar let a disc of styrene into the boom. This will work well except for the forward most connection, which is too thin and requires some sort of structural sleeve to hold a sheave or hole. All of the upper and lower connections would be removed. The question is - does my proposed provide a more accurate and realistic model? KimW
-
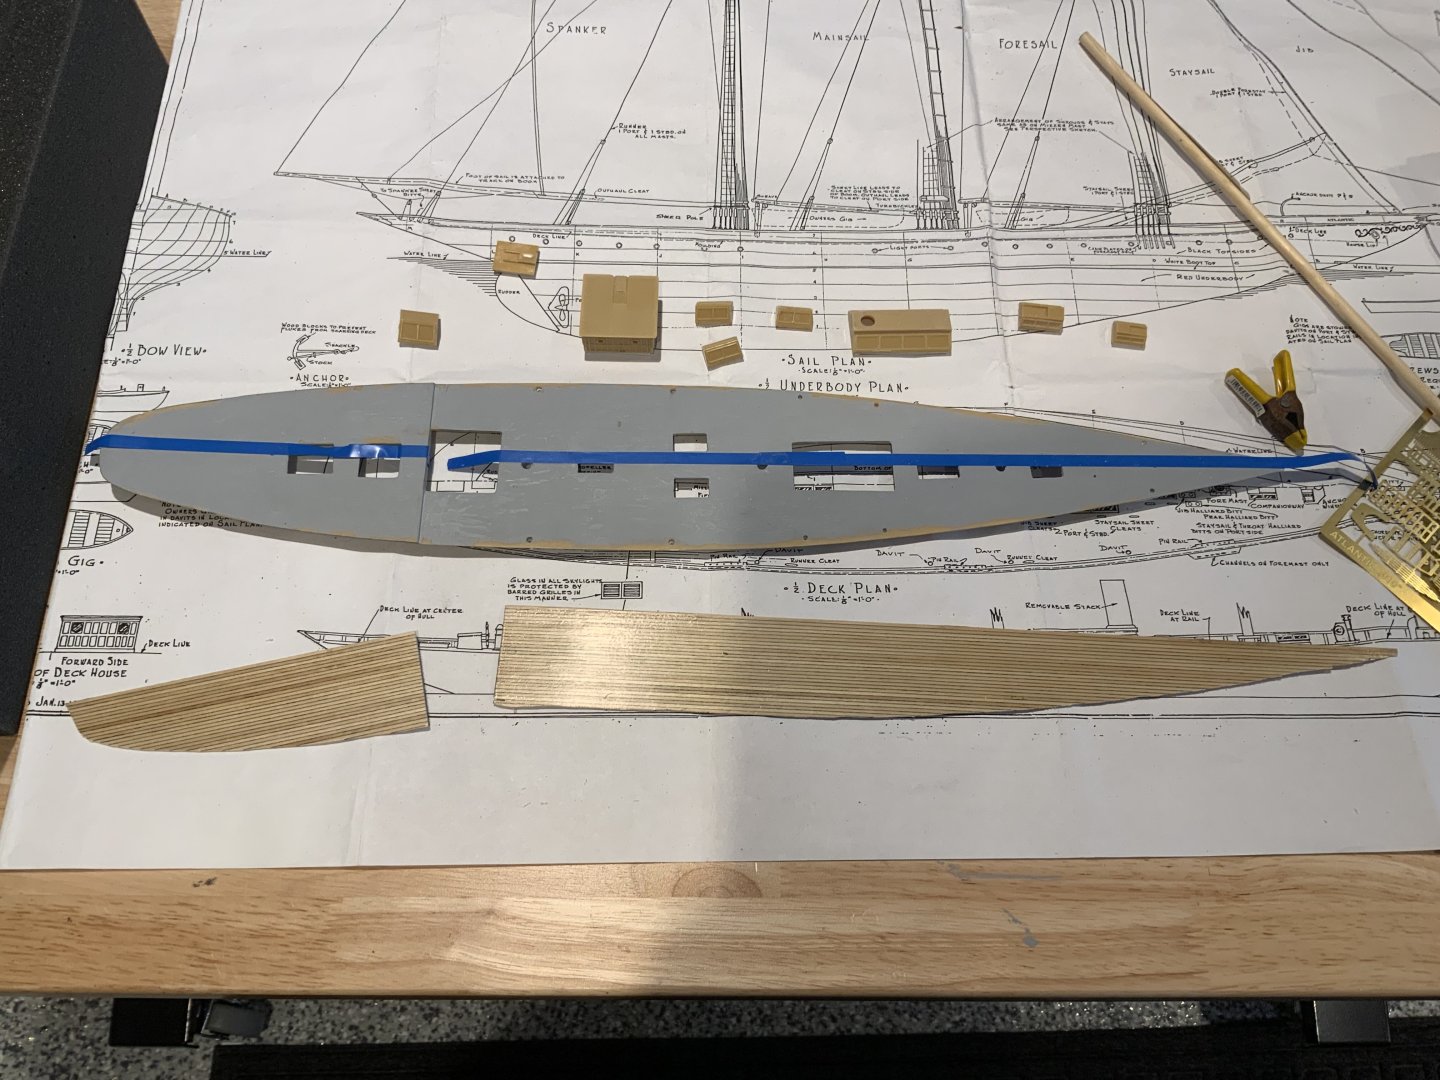
All, here is a shot of the America’s deck with two coats of shellac along with the fitted deck for my Atlantic schooner. More to come!

- 7 replies
-
- 1
-

-
- America
- Schooner Yacht
- (and 2 more)
-
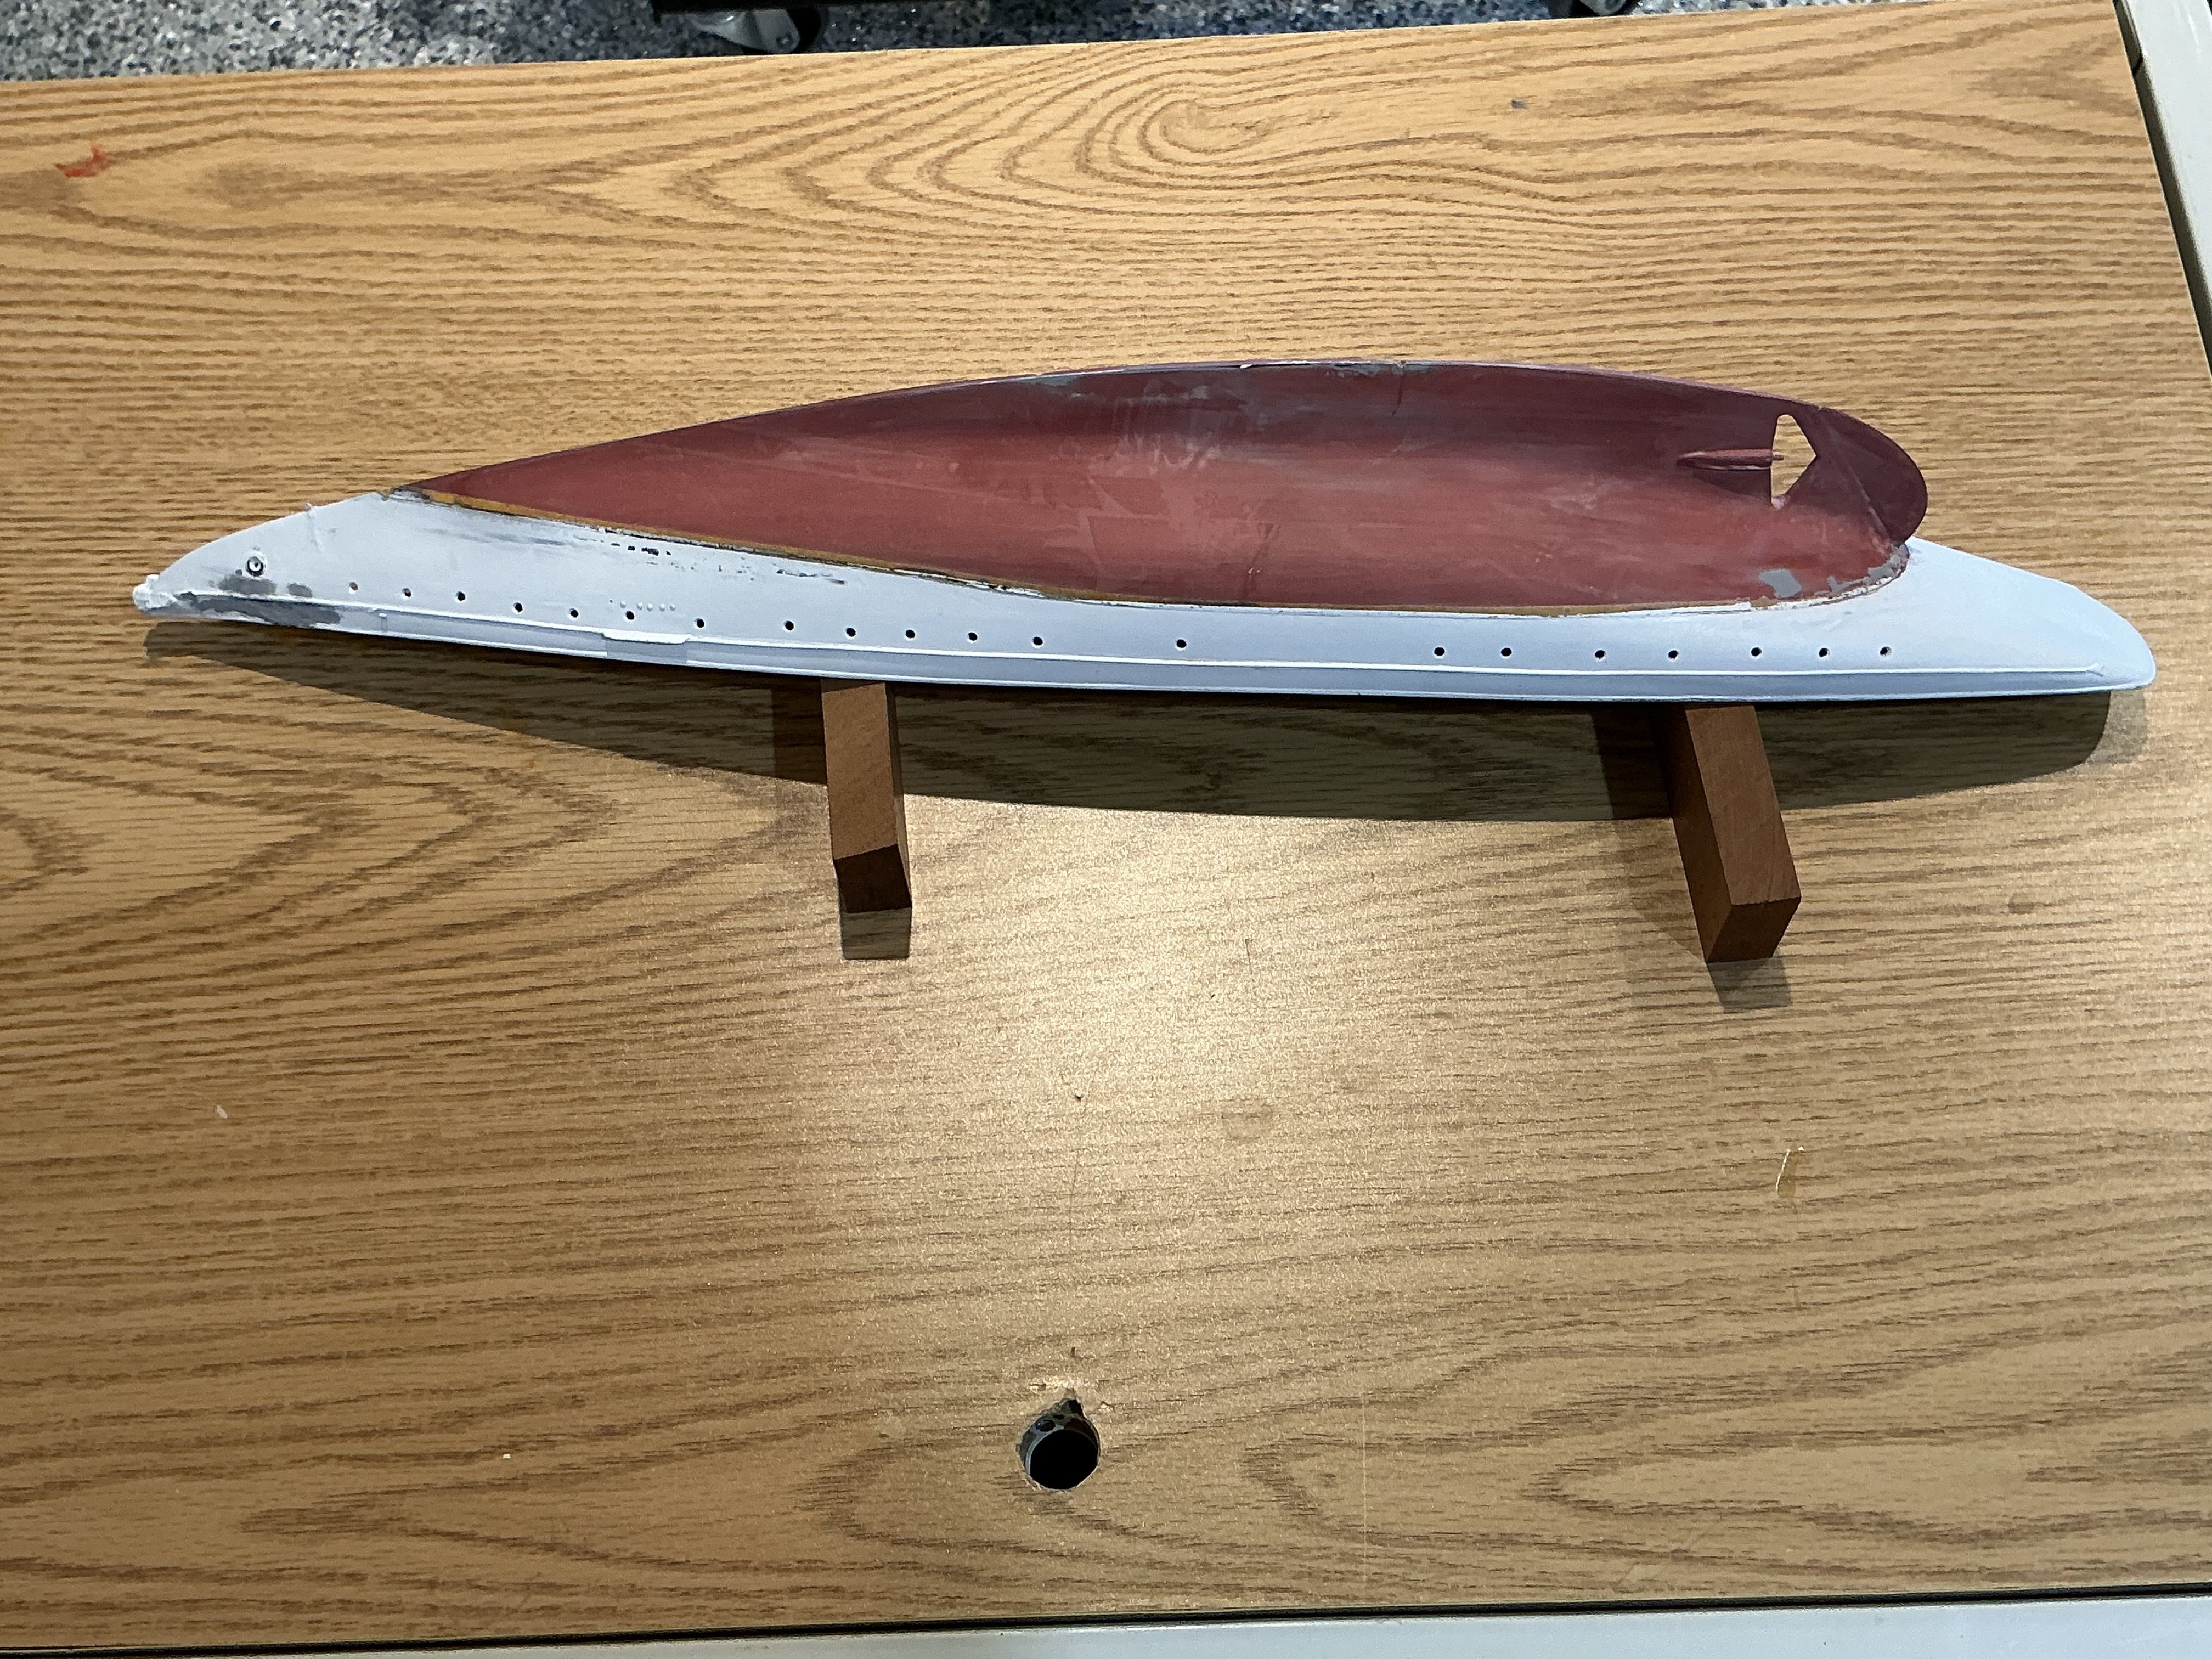
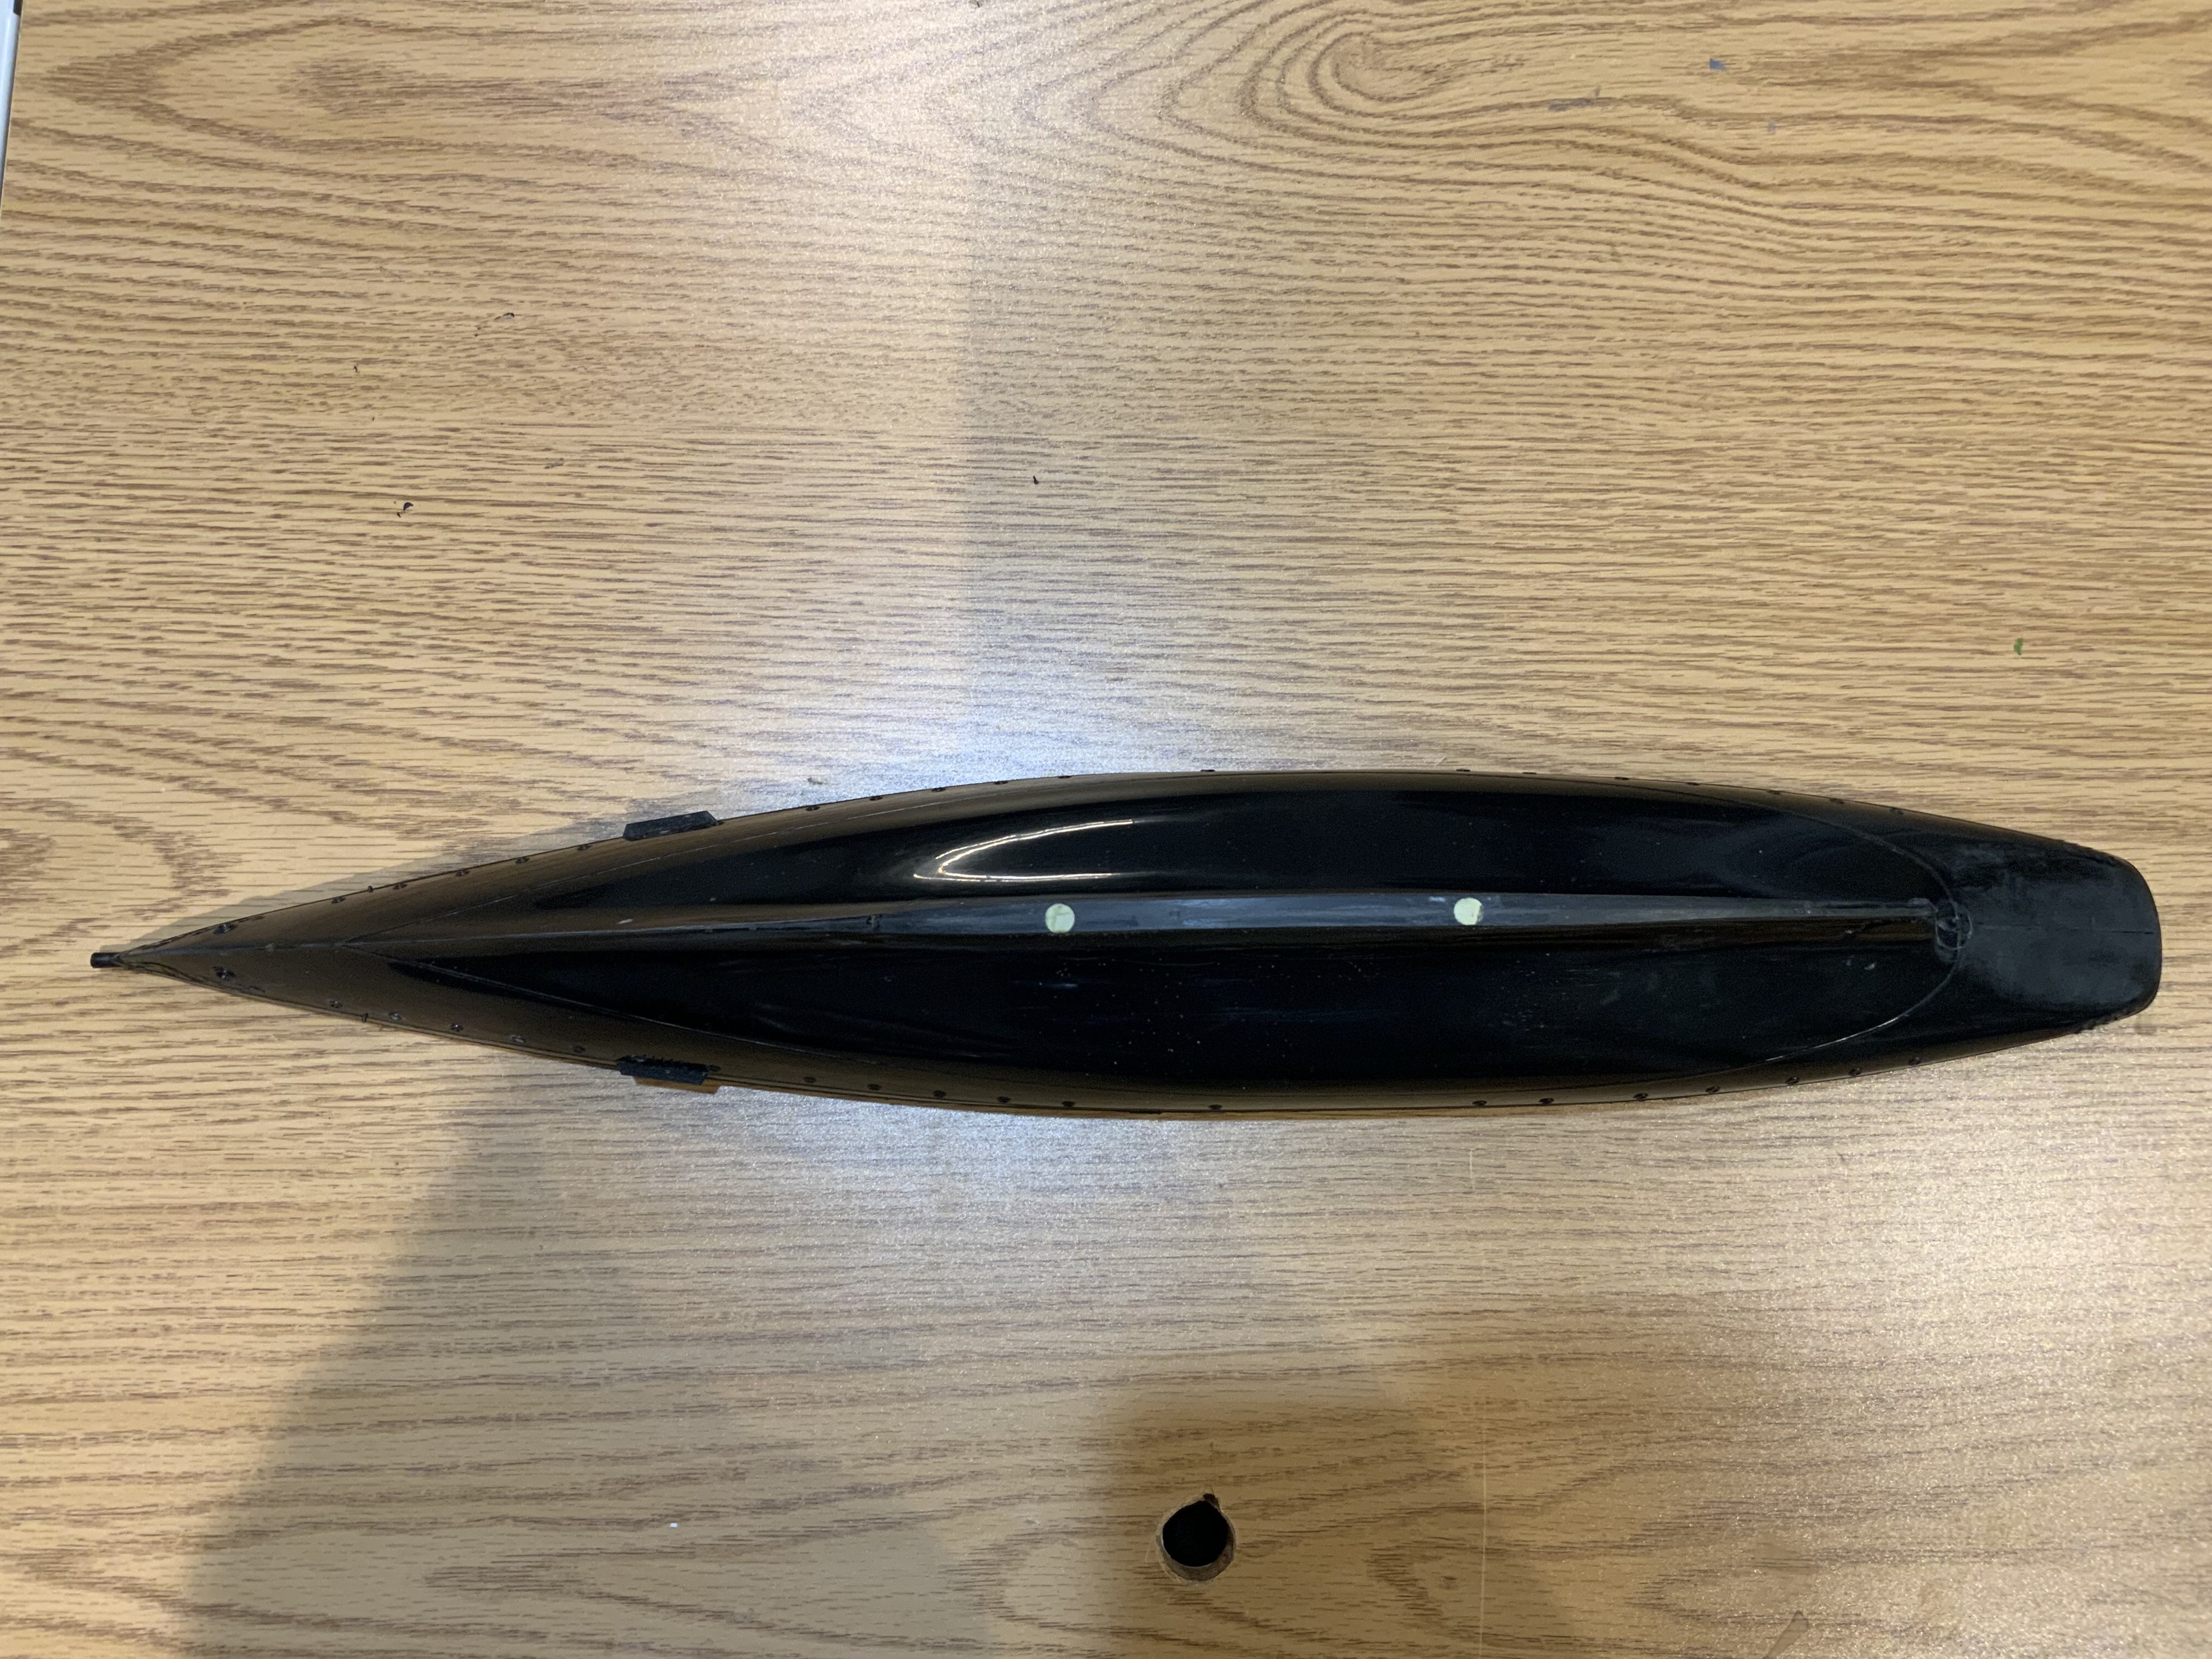
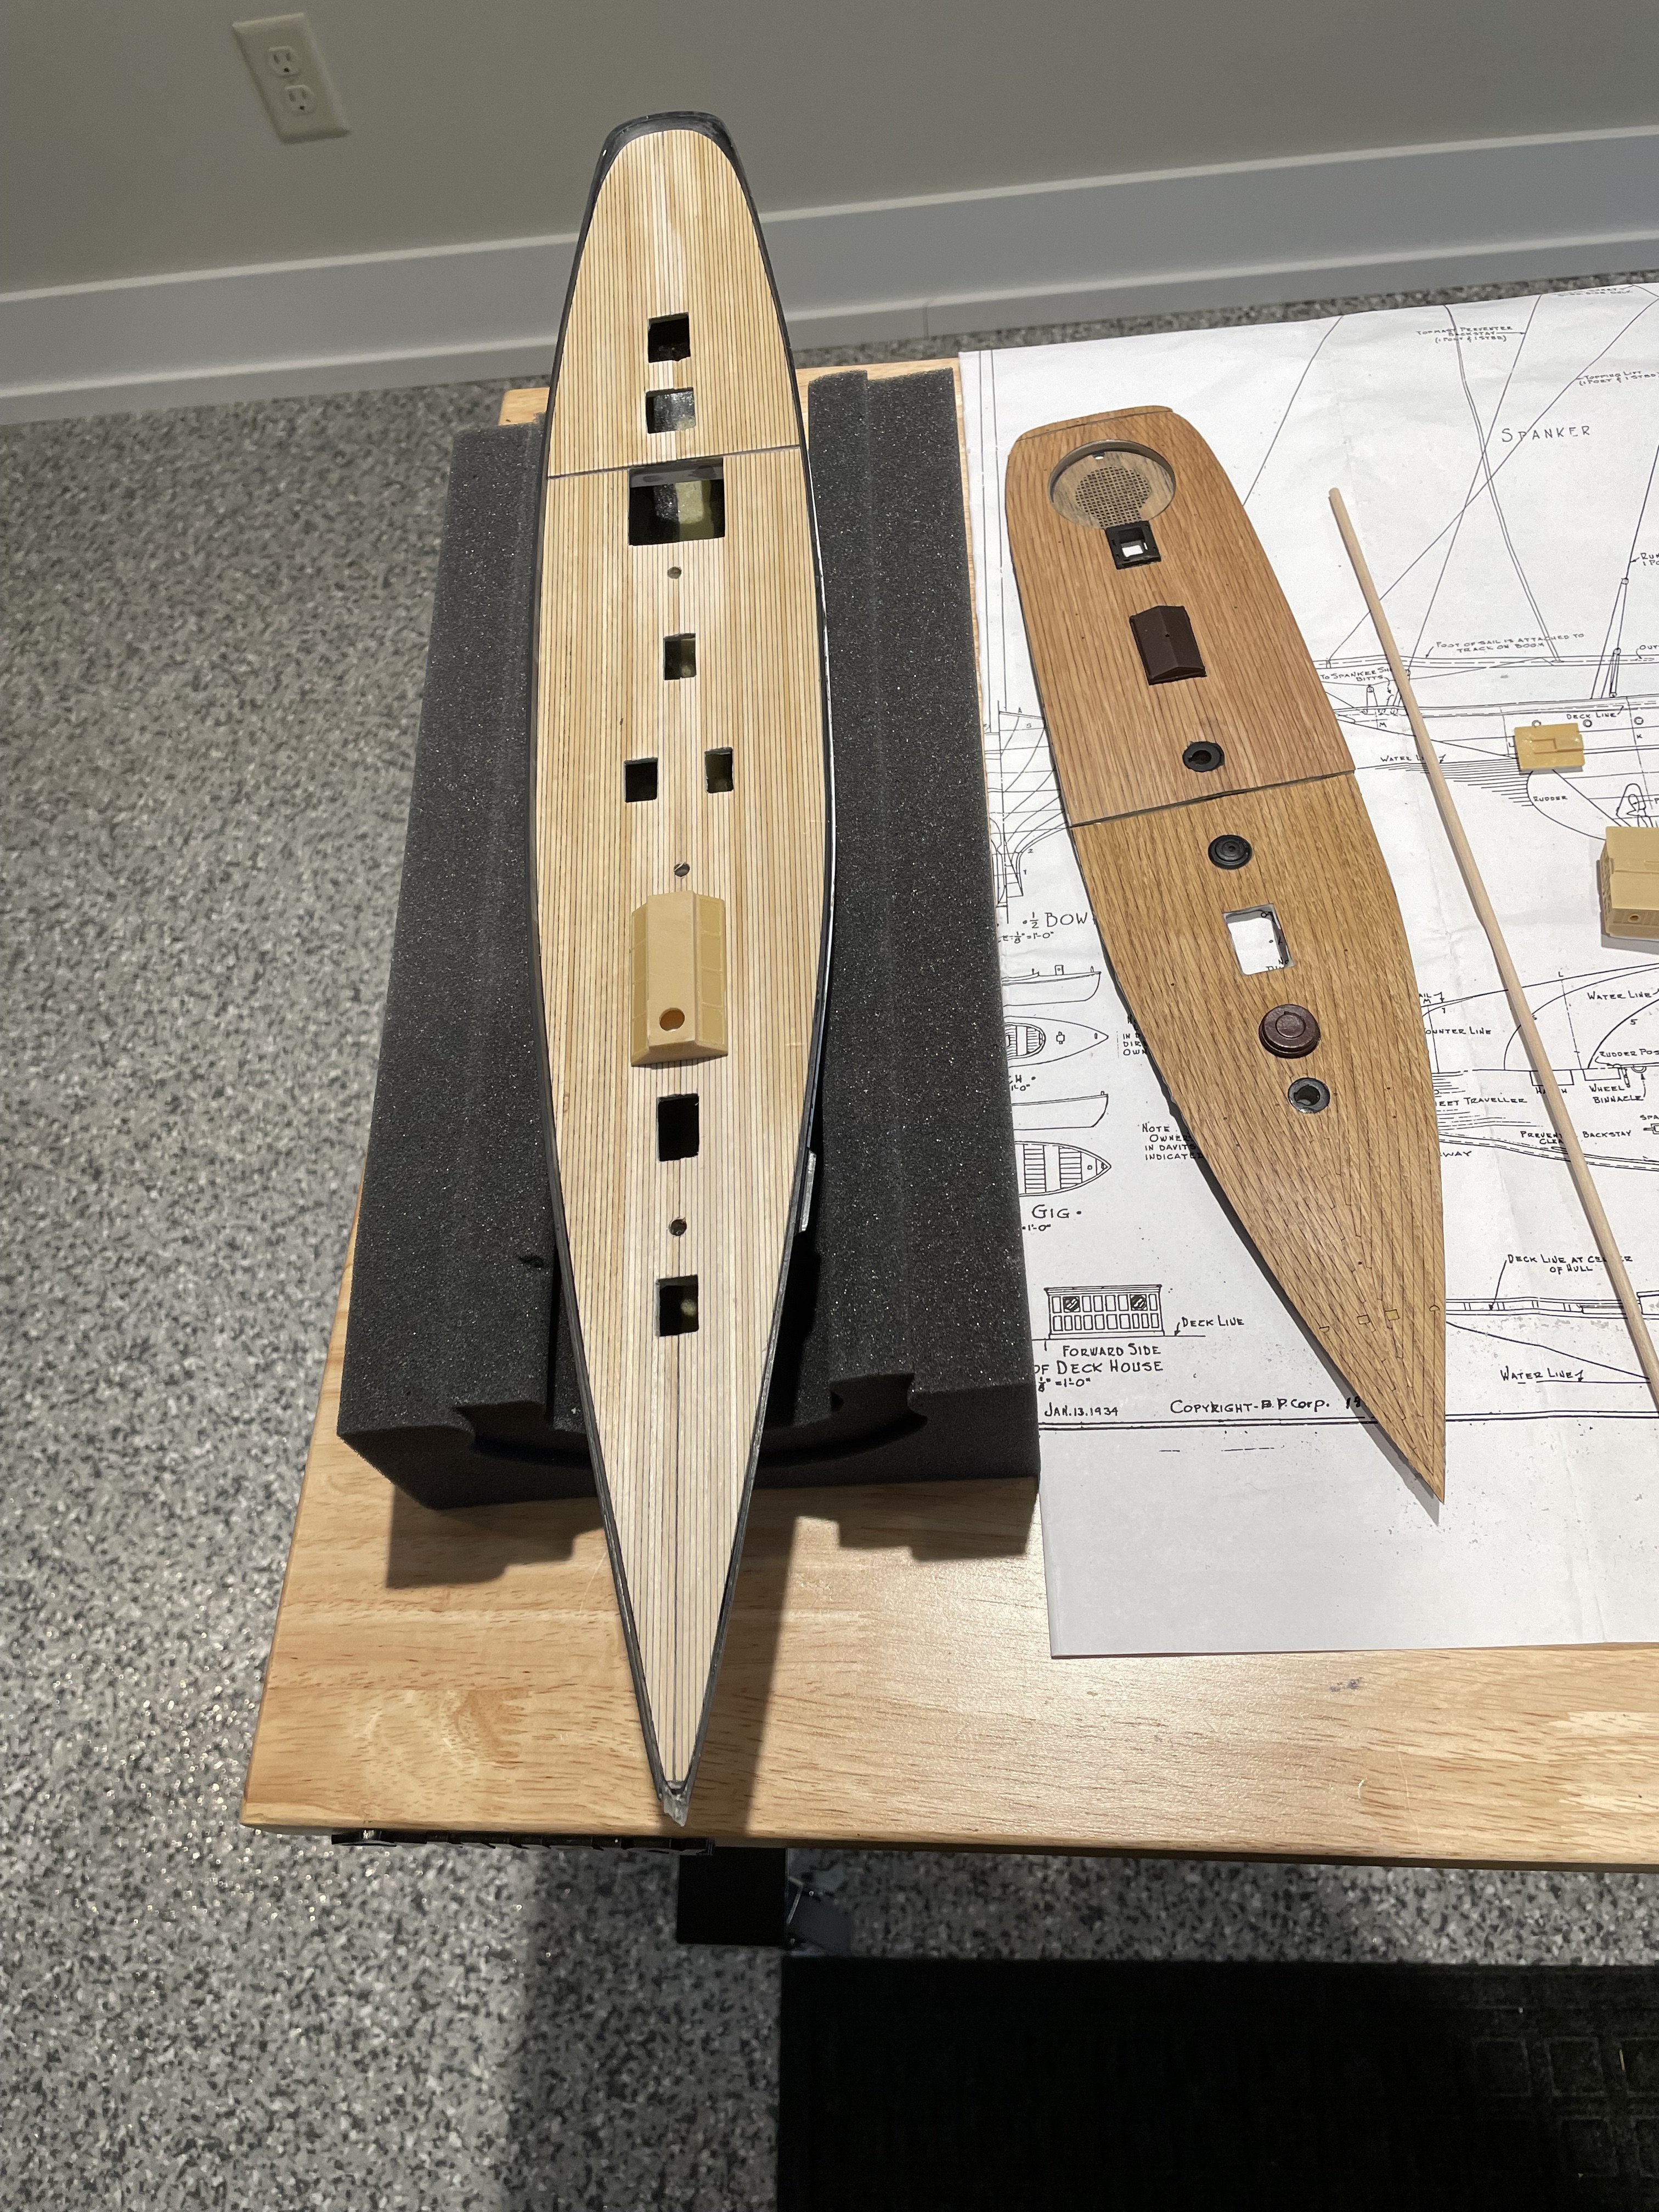
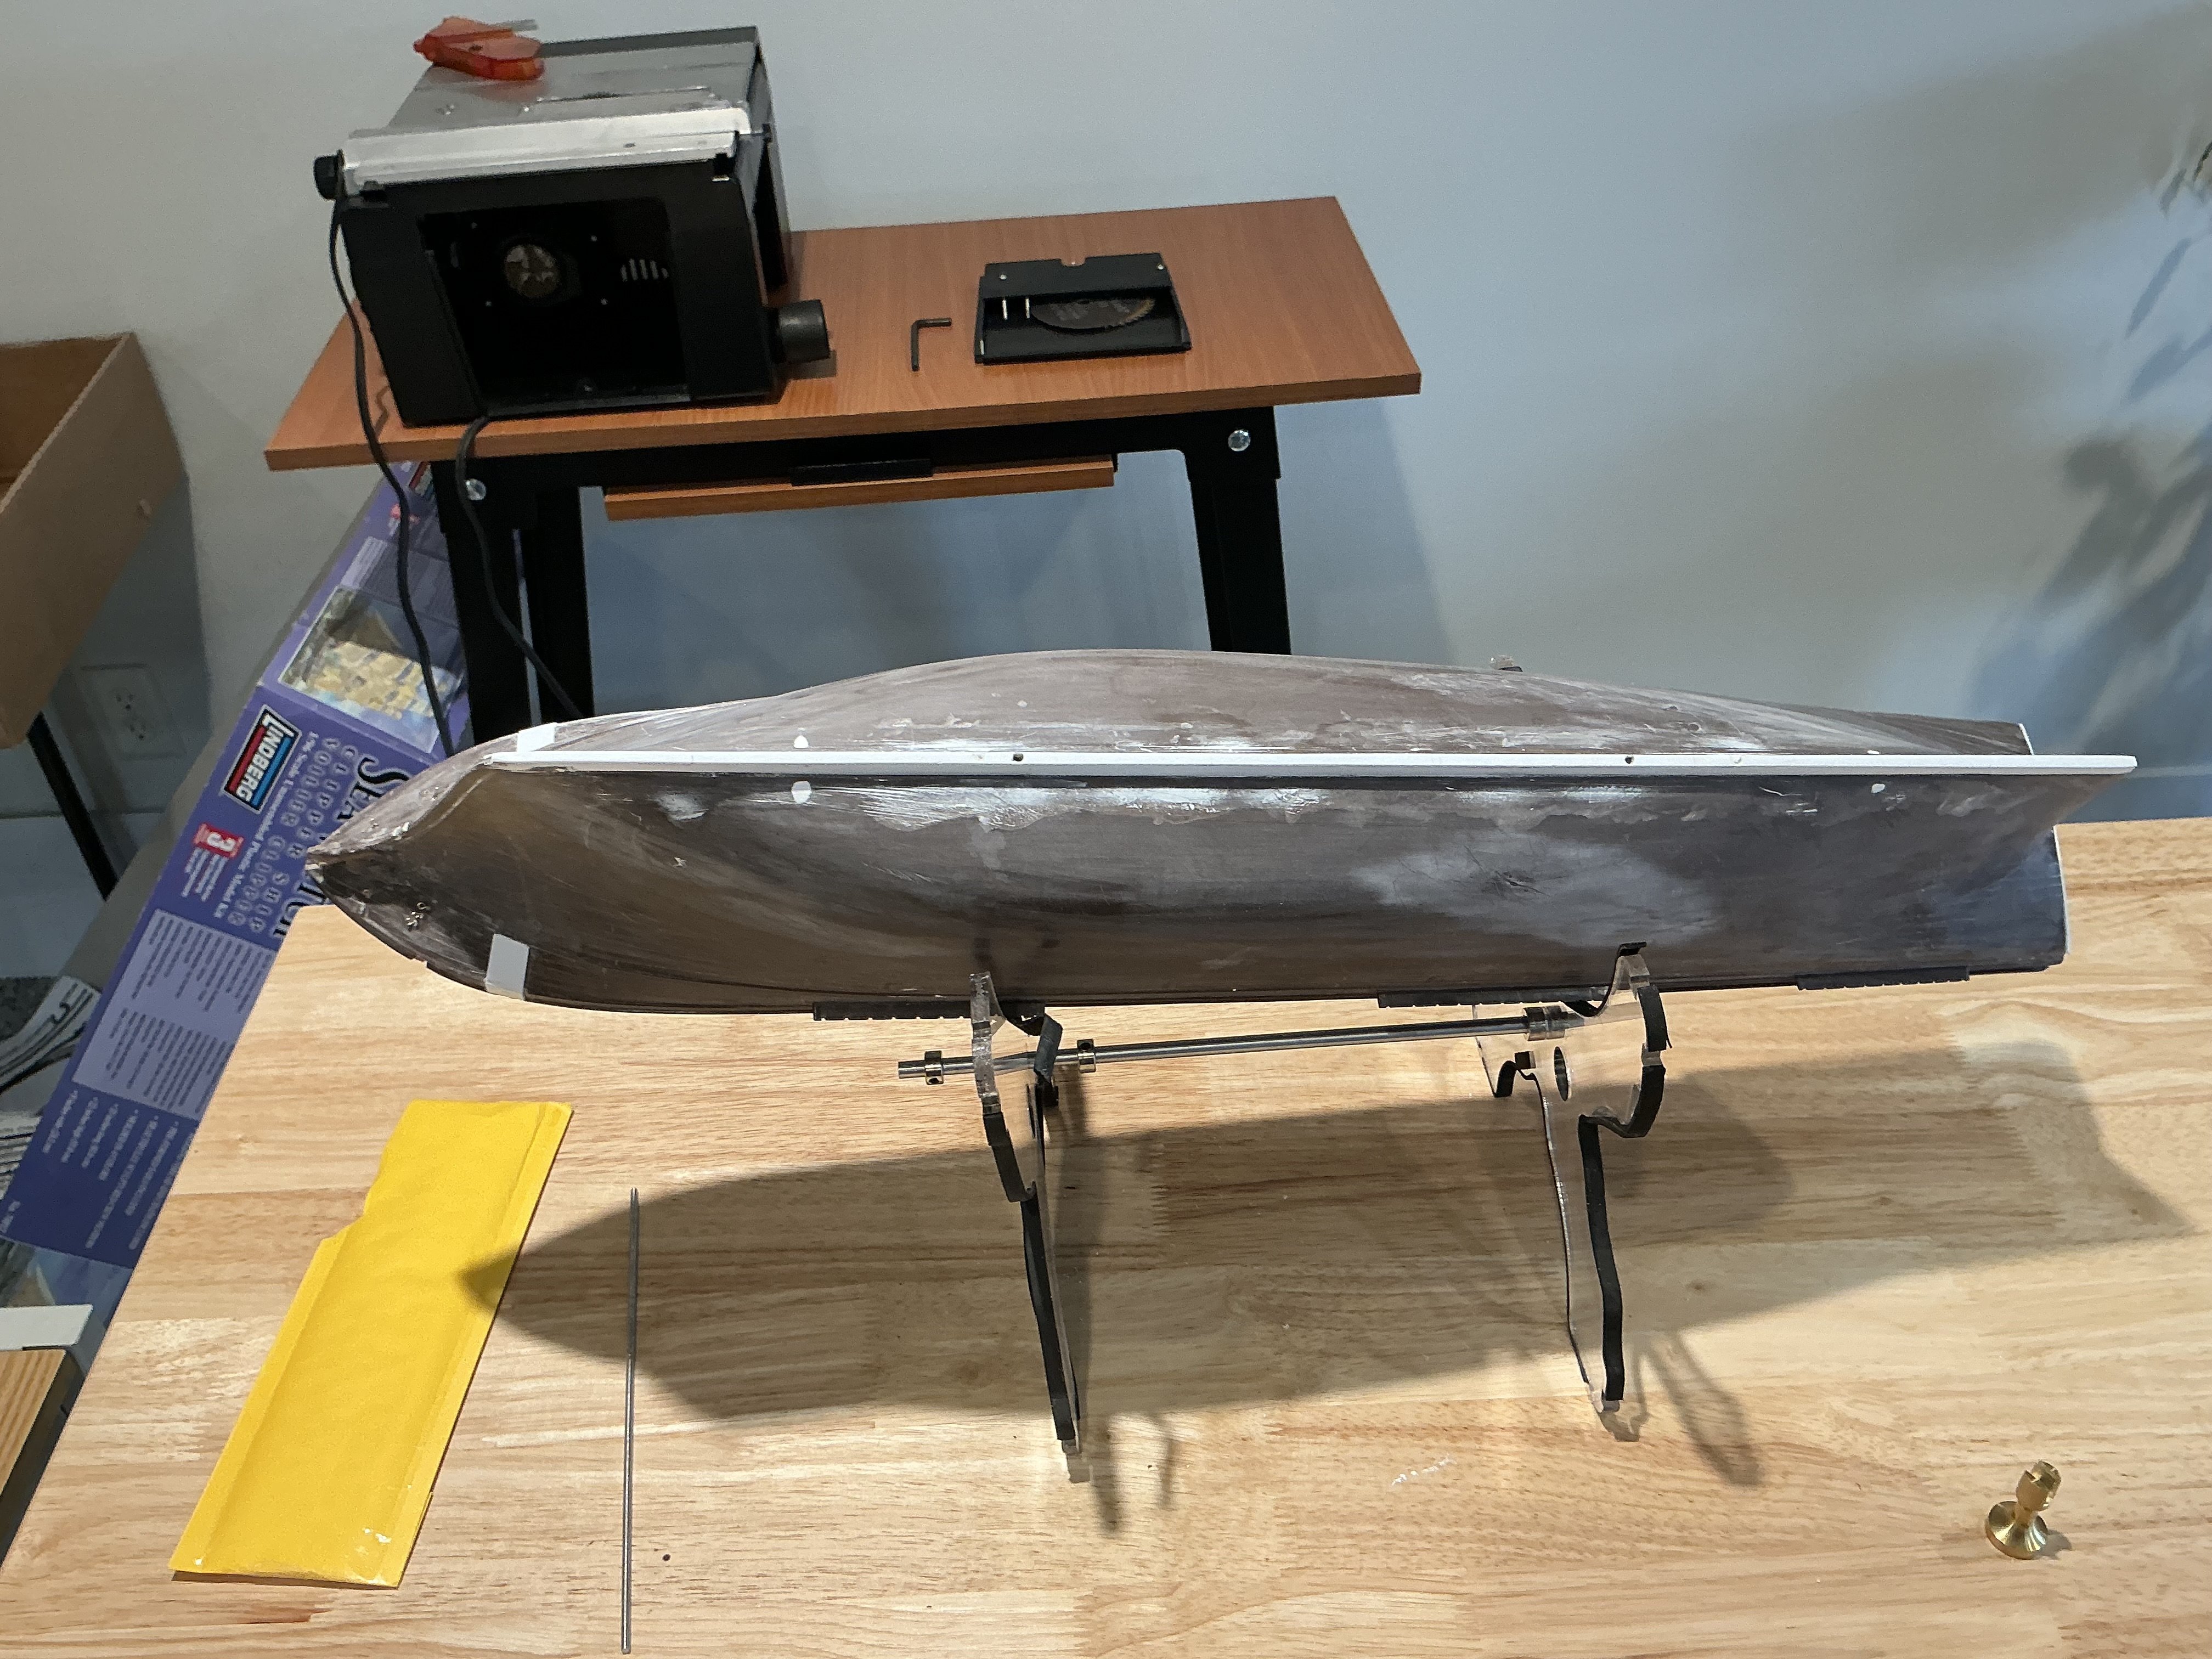
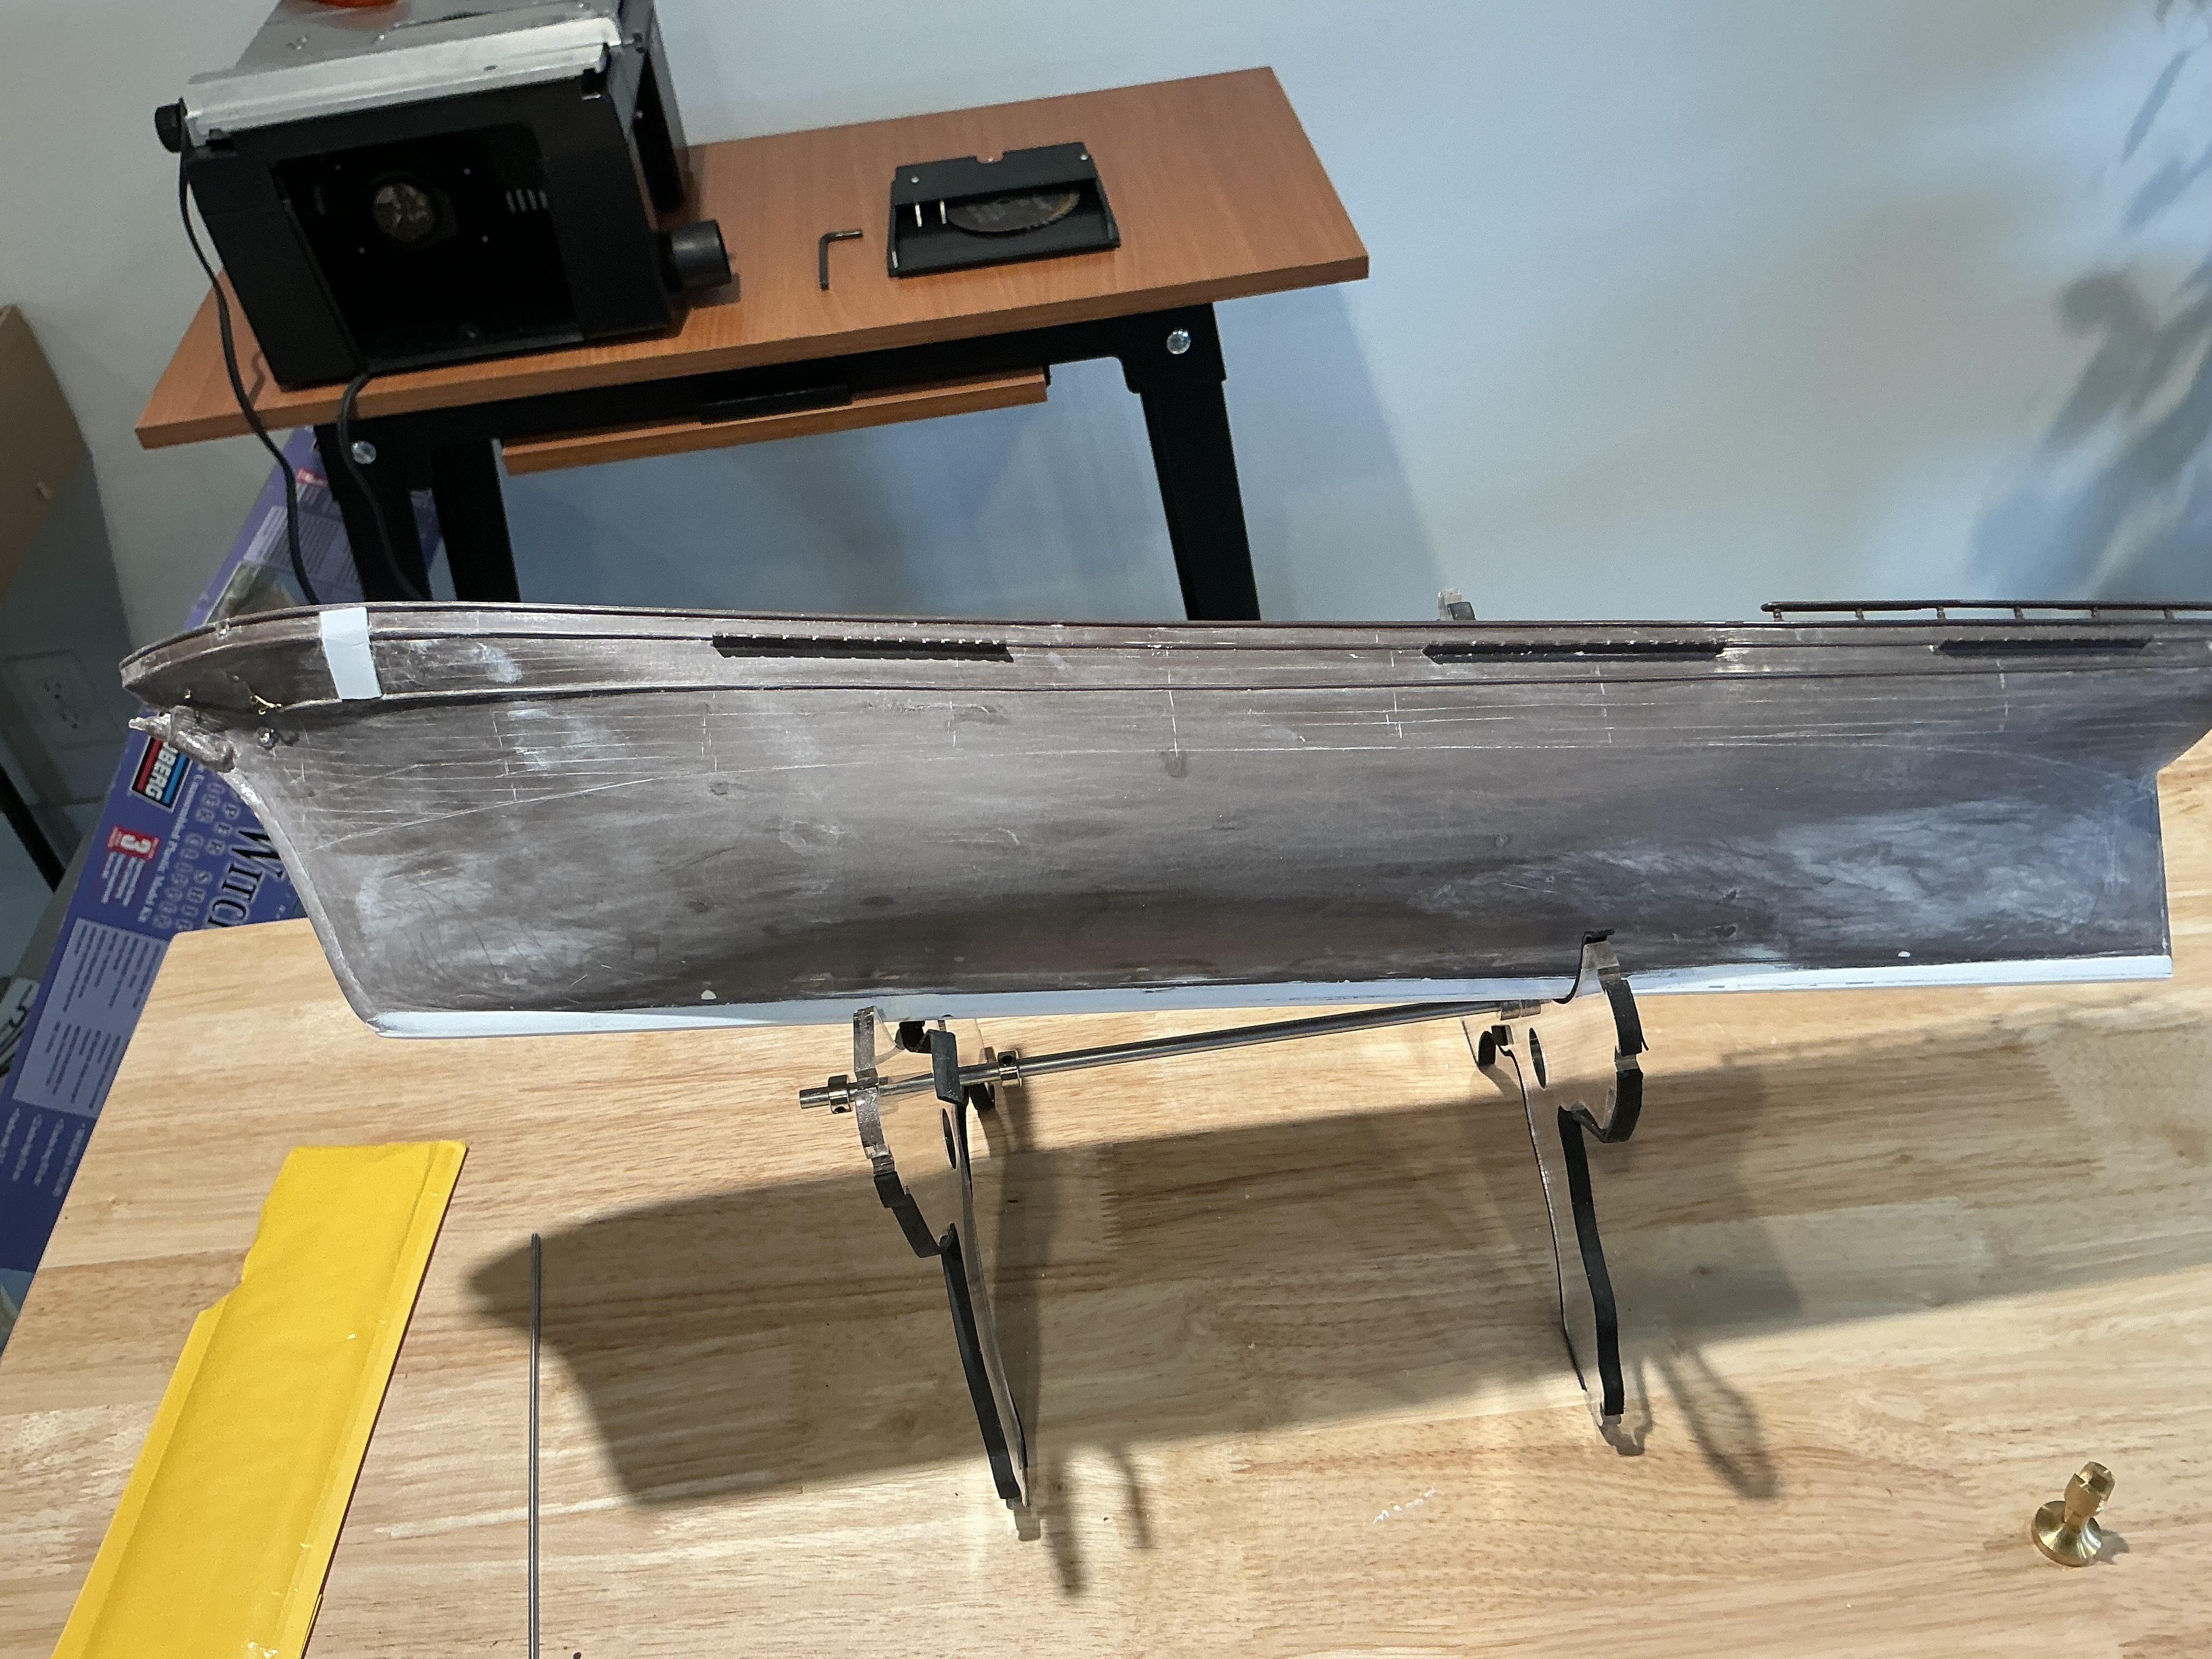
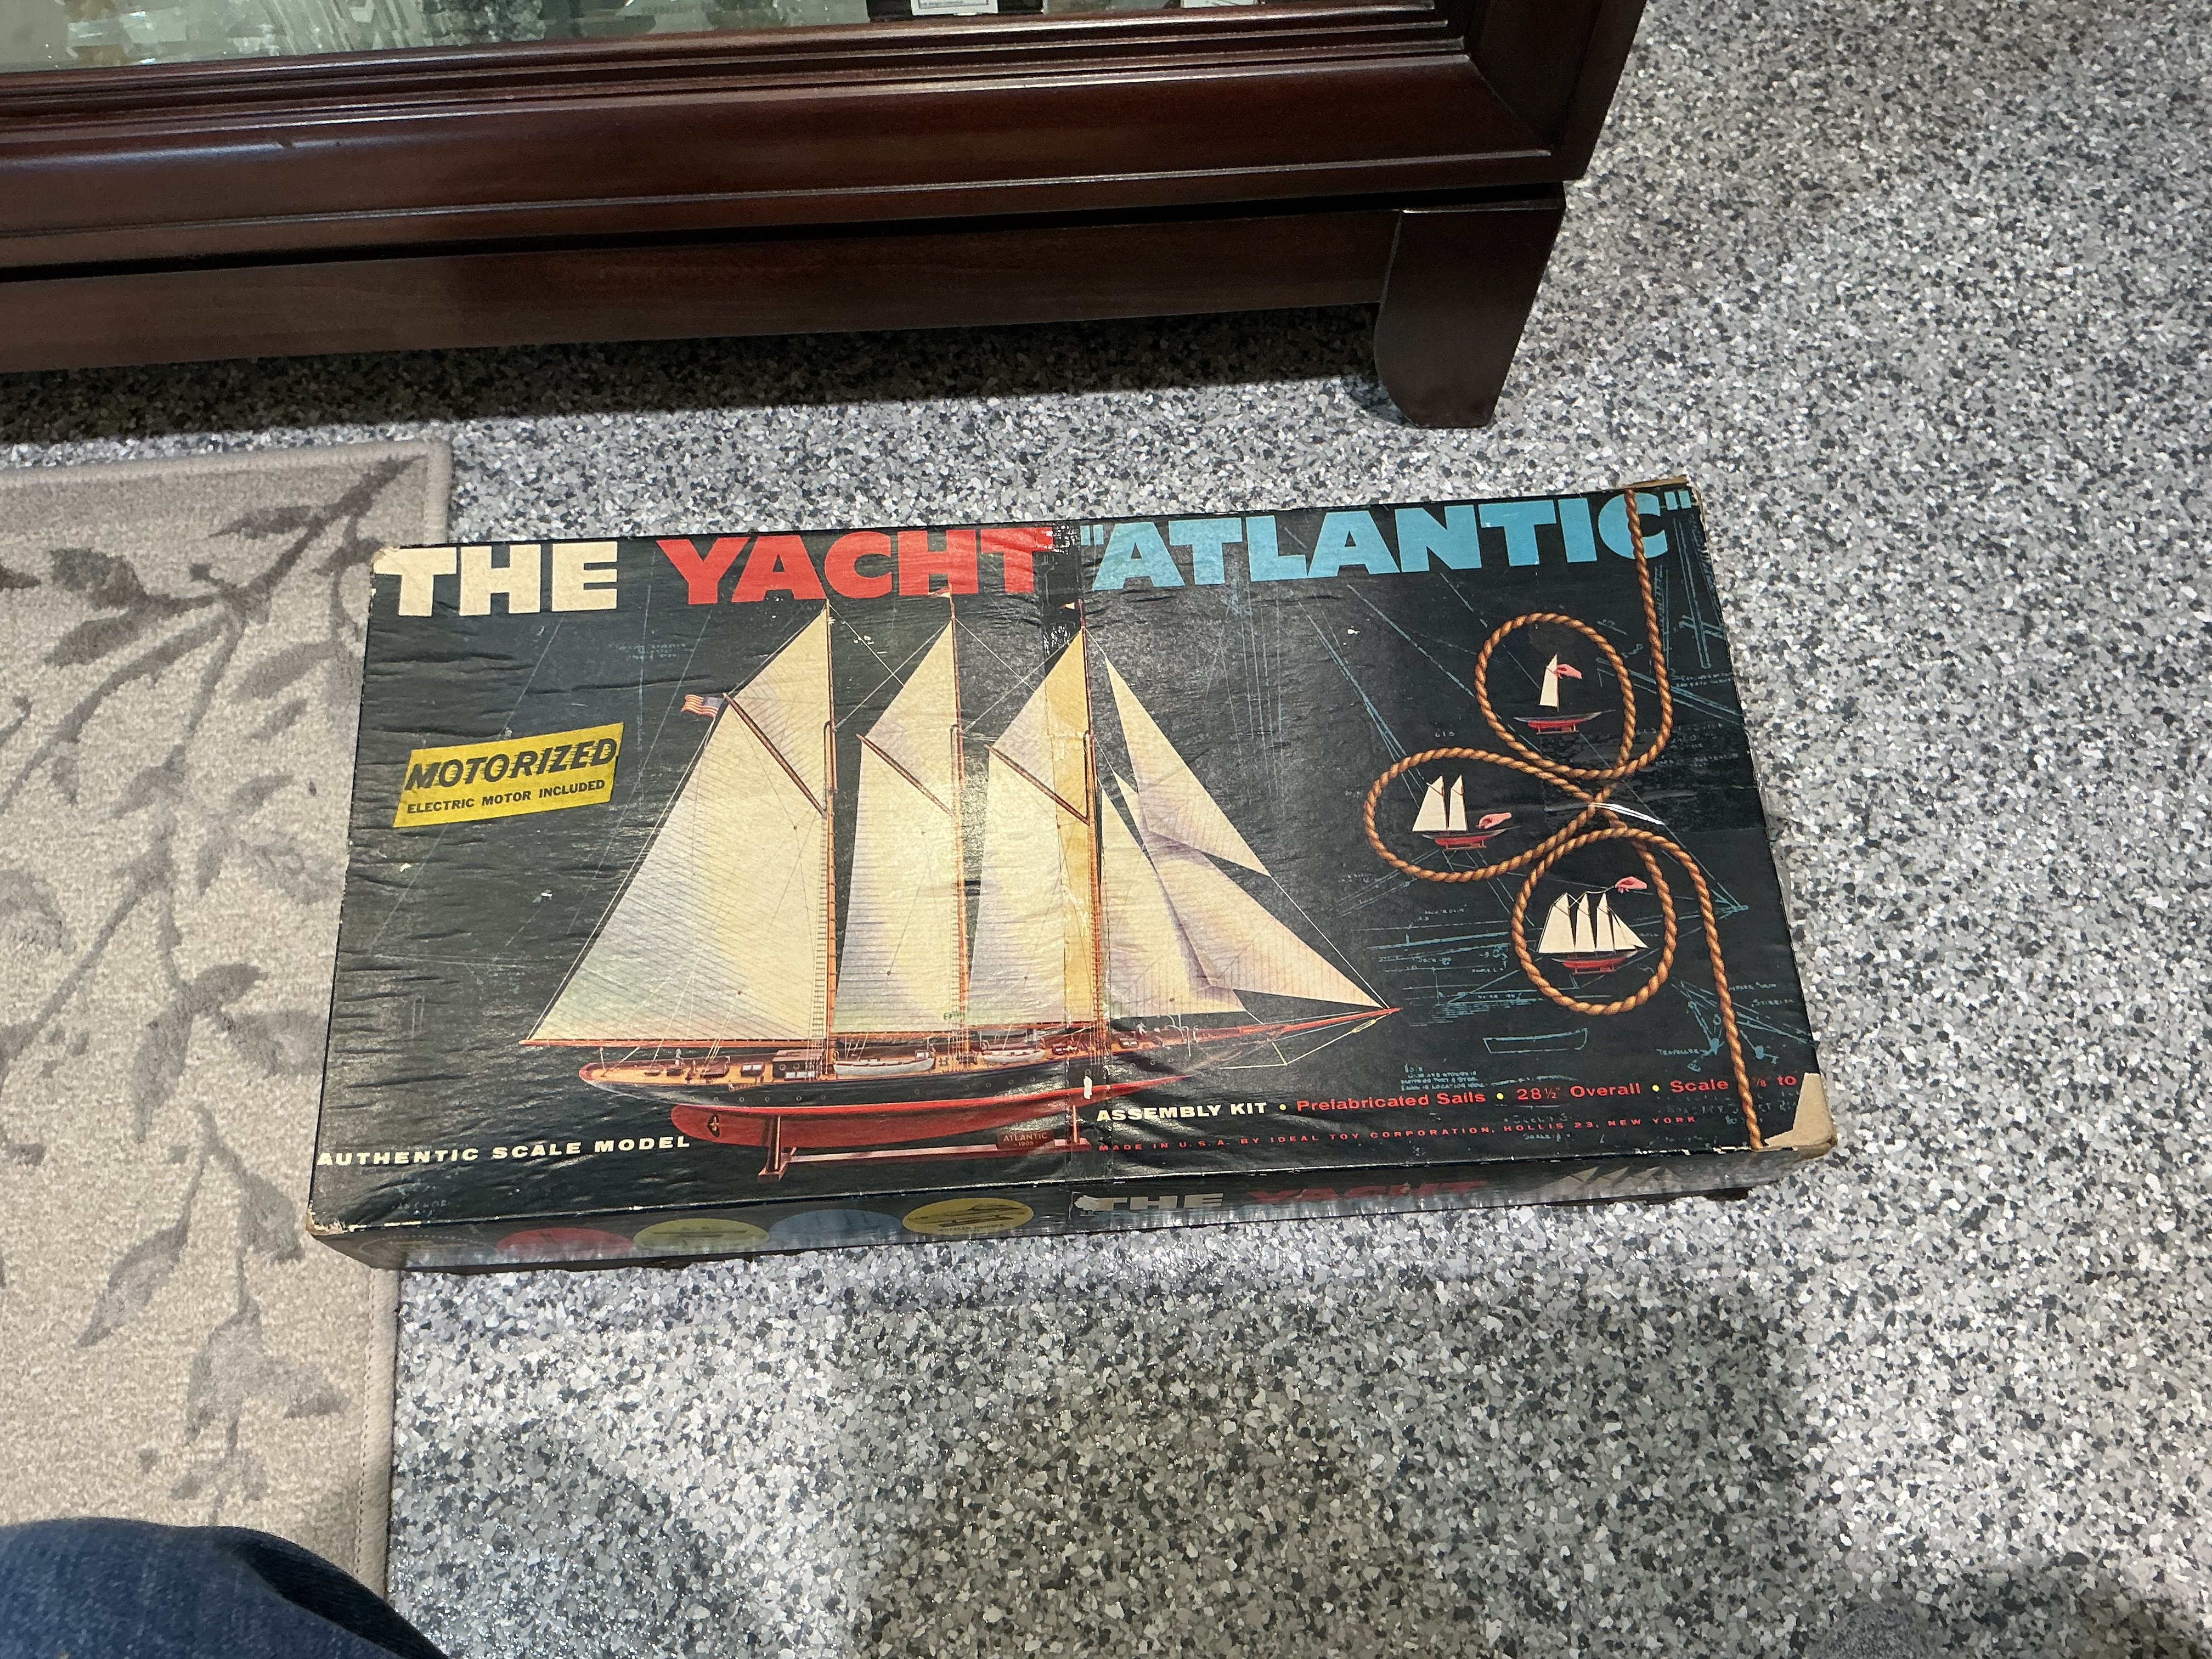
This installment one of my schooner Atlantic build. This kit has what amounts to a solid, one piece hull. The rudder is a separate piece, and it will need to be discarded. There is an access door on one side for the propeller shaft, which was lost somehow. This space Will need to be filled and a new shaft fairing installed.. As far as the material removal itself, I tried using a Dremel tool. It did more melting than good, and created more repair work. The best method that worked was to use a short bastard file and large flat sanding sticks in coarser grits, augmenting with wet/dry sandpaper wrapped around various shapes. The next point of difficulty was the foot was that it was not centered on the keel, requiring the removal much more material on one side than the other. As removal proceeded on the thick side it became clear that hull was getting too thin. The interior spaces were strengthened with two coats of epoxy on the inner hull filled with epoxy everywhere it could be stuffed. As removals continued, the thick side was truing up nicely, when I broke through into what proved to be long, longitudinal bubbles running parallel to the keel. A lot of epoxy putty and removal of overly thinned hull material, eventually produced an acceptable shape. Then I test fit the pedestals. This exercise revealed, that ,while the pedestal fit nicely, it had t be thinned out vertically a good three quarter inch. As work proceeded, I encountered small bubbles filled with compacted white powder. CA fixed these bubbles well. As the final shape resolved itself , the really beautiful lines of the hull emerged. I drilled out all of the porthole locations to accept the after market portholes I purchased. I also drilled out pin installation holes for the foremast chainplates. Hull strakes, ornamental items, such as long arrow on both sides of the hull, were formed out of half round strip styrene and carved cut styrene sheet. This was a better option, than using brass rod and the photo etched parts from the blue jacket kit. Moving-on to the deck installation, all deck detail was removed. I also opened up the locations of the various deck houses. Then the glued up deck sheeting was marked and cut to fit the deck. Because the width of the deck was too wide, I made a pattern and split the wood deck along the center line. The makes for a seam along the centerline. The wood deck material also had ro be thinned before use in this build. The wood decking was laminated to the plastic deck with epoxy. More on this to come!


-
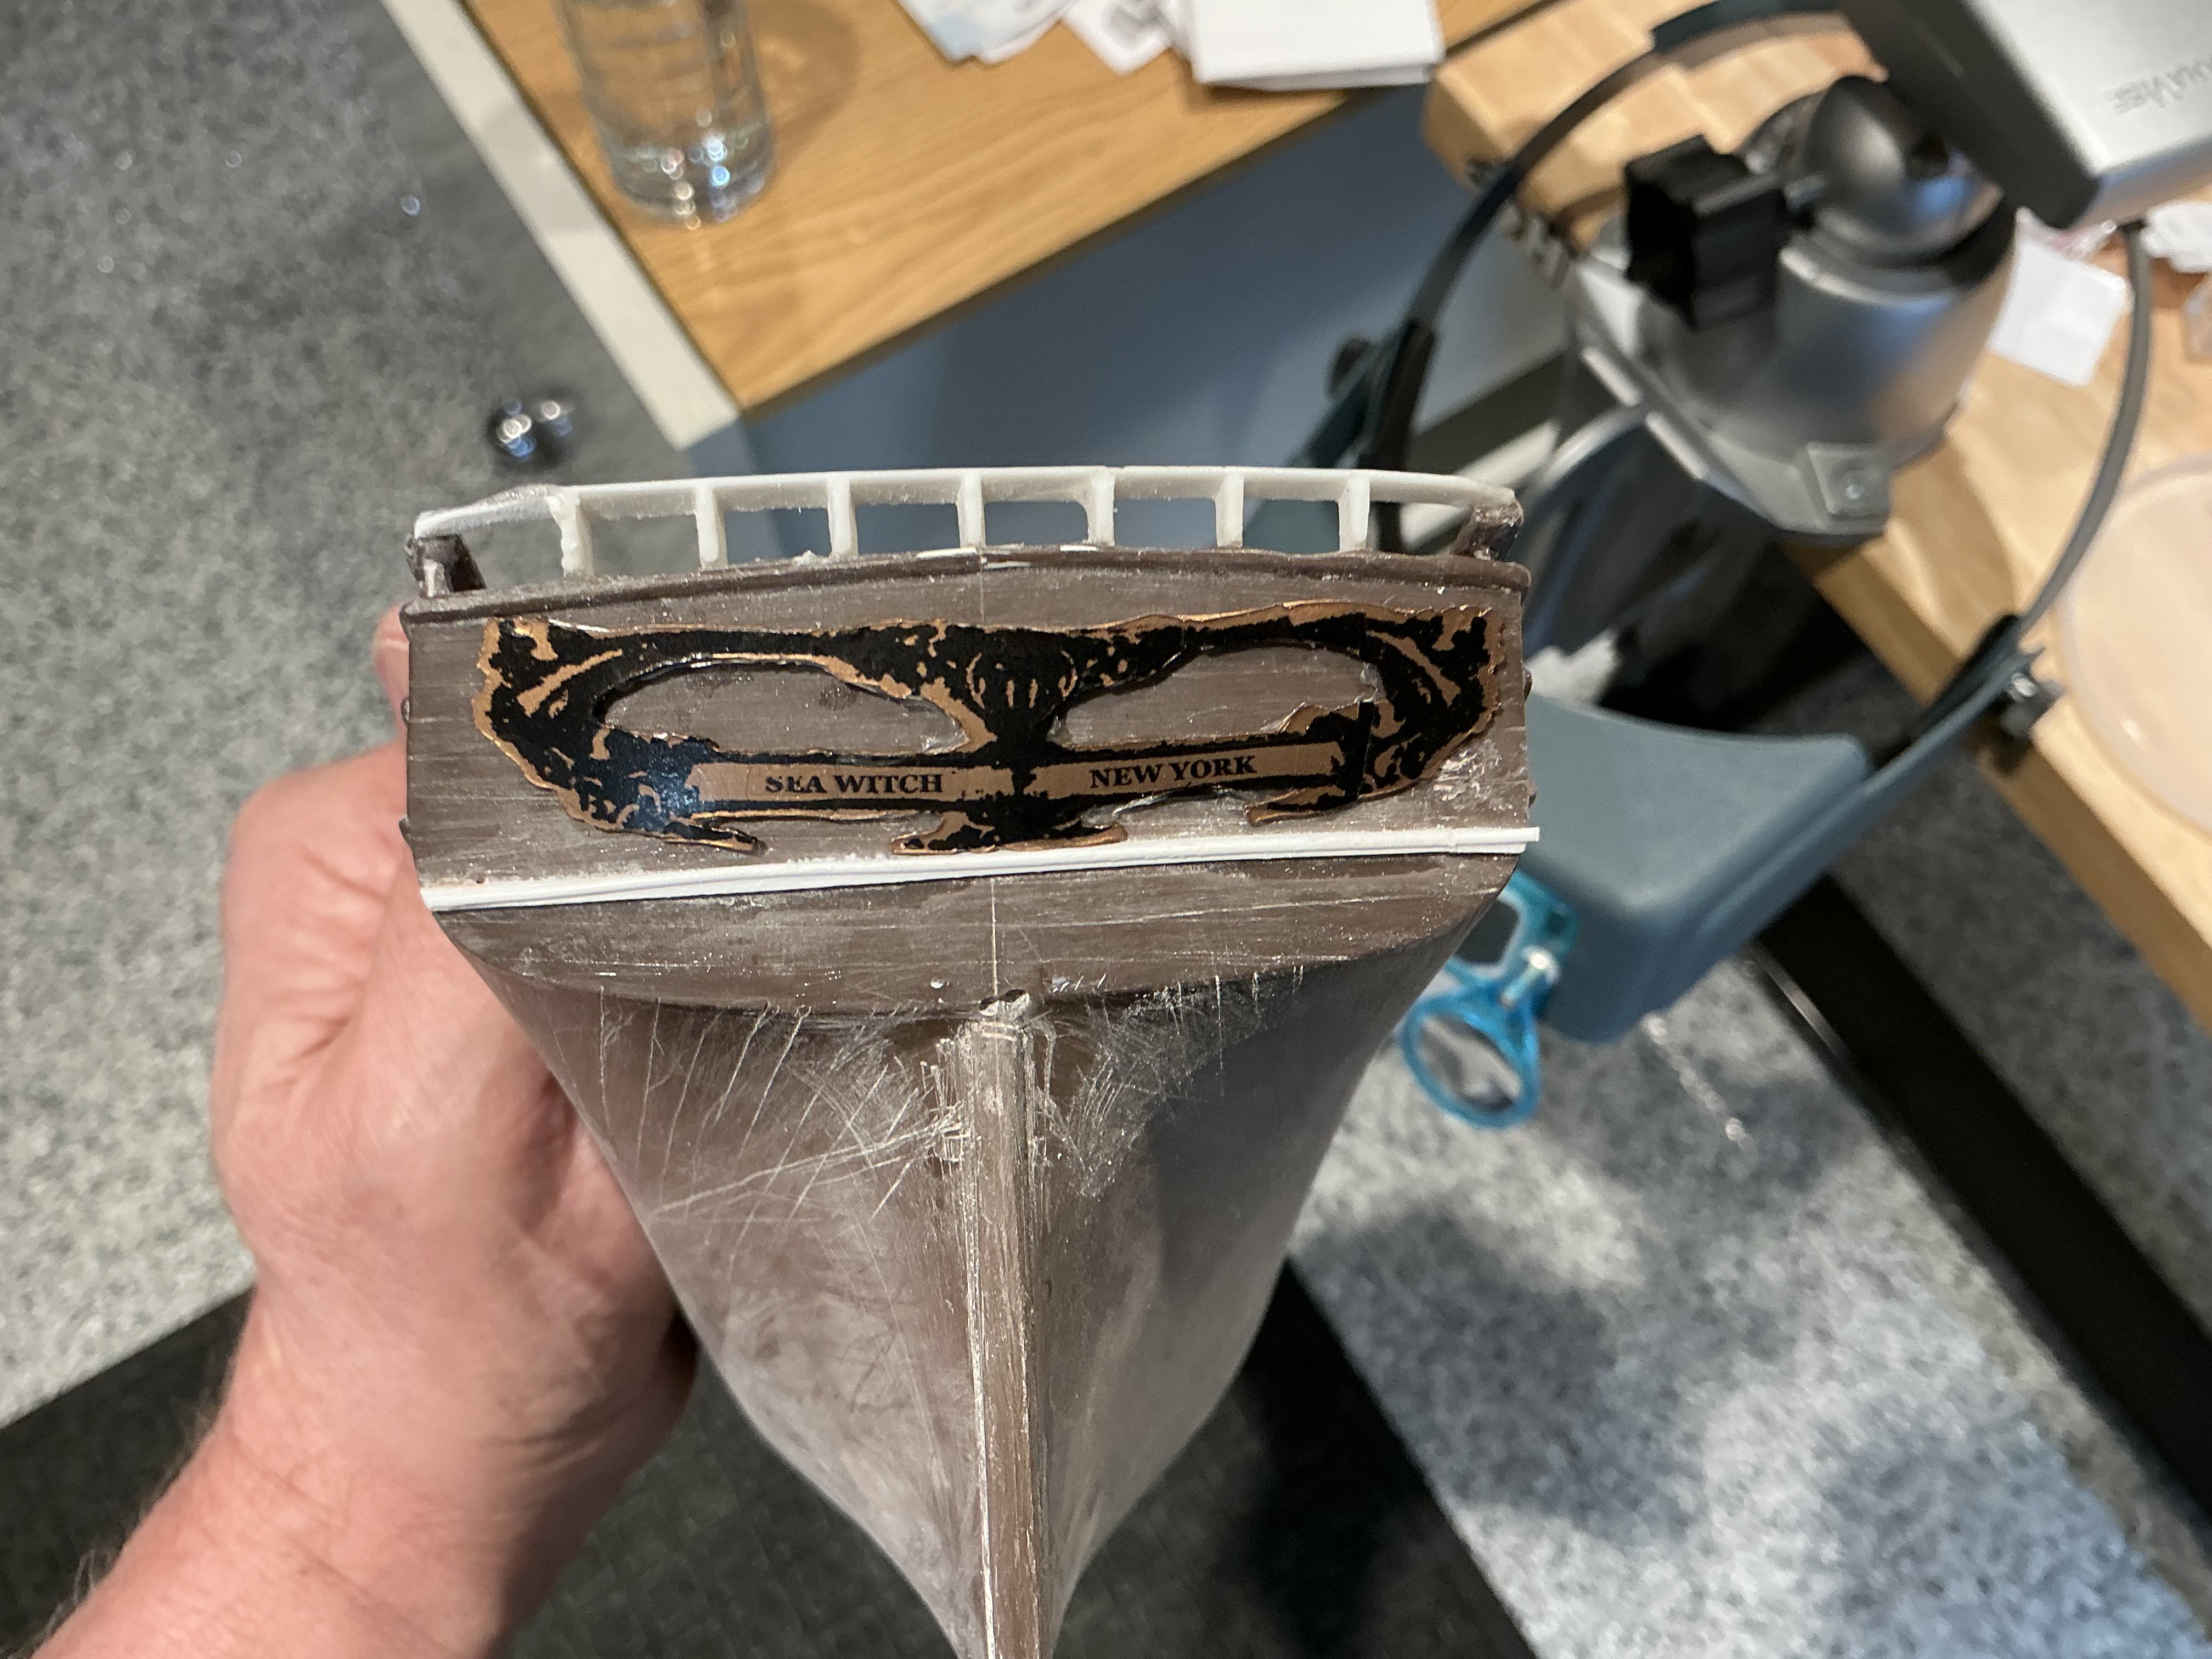
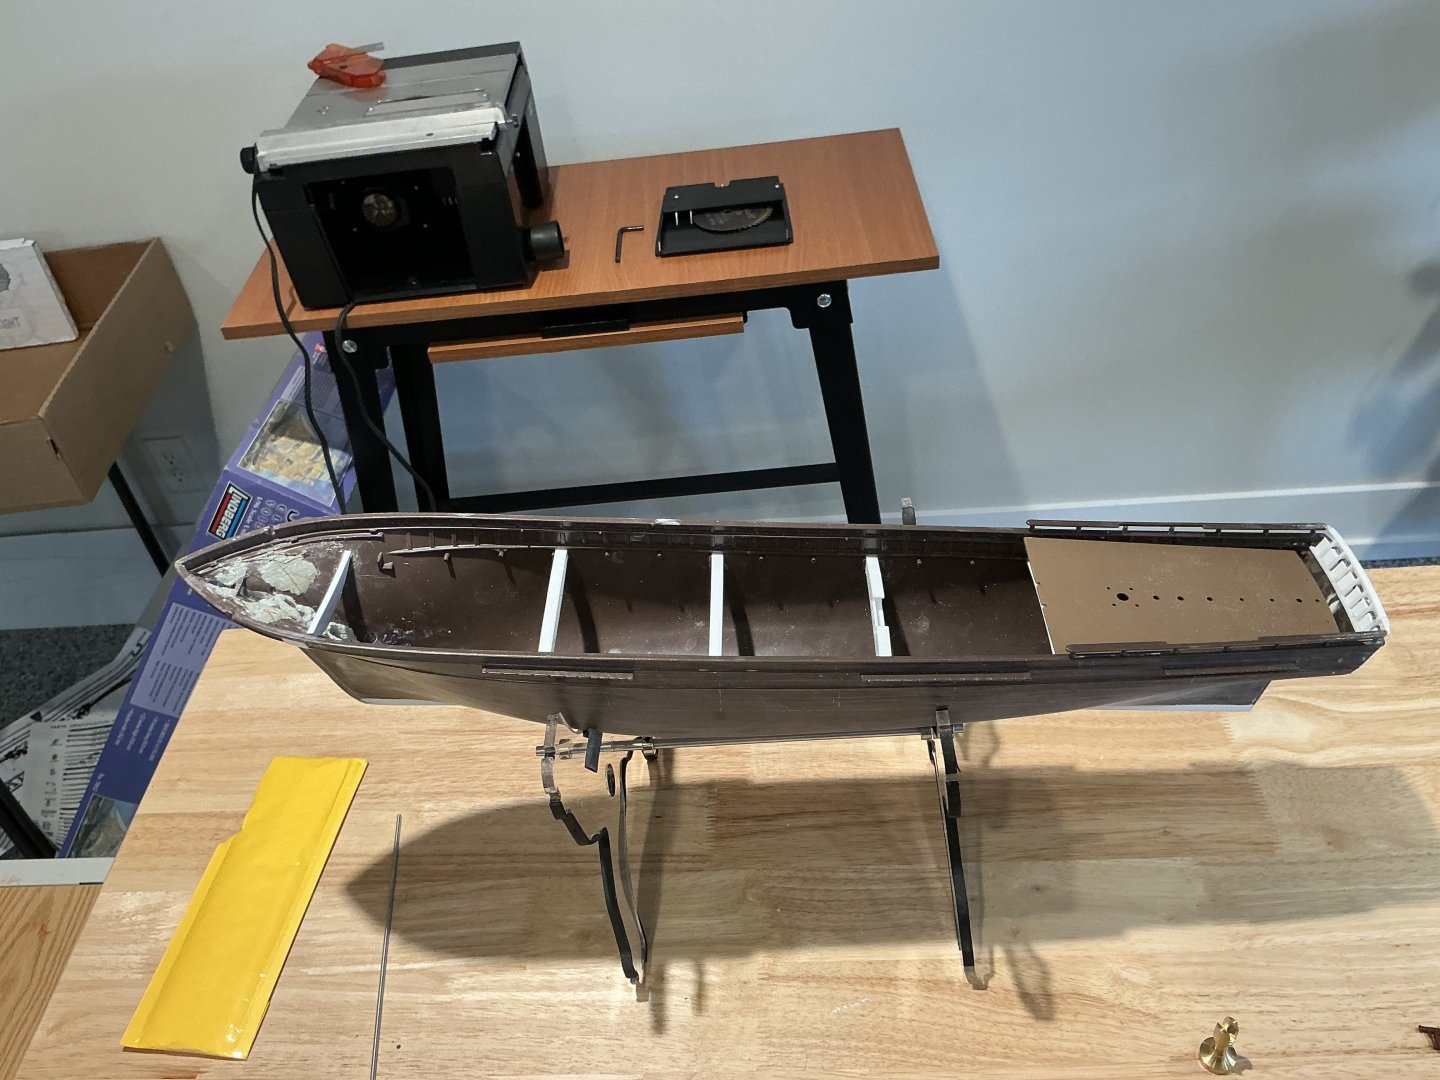
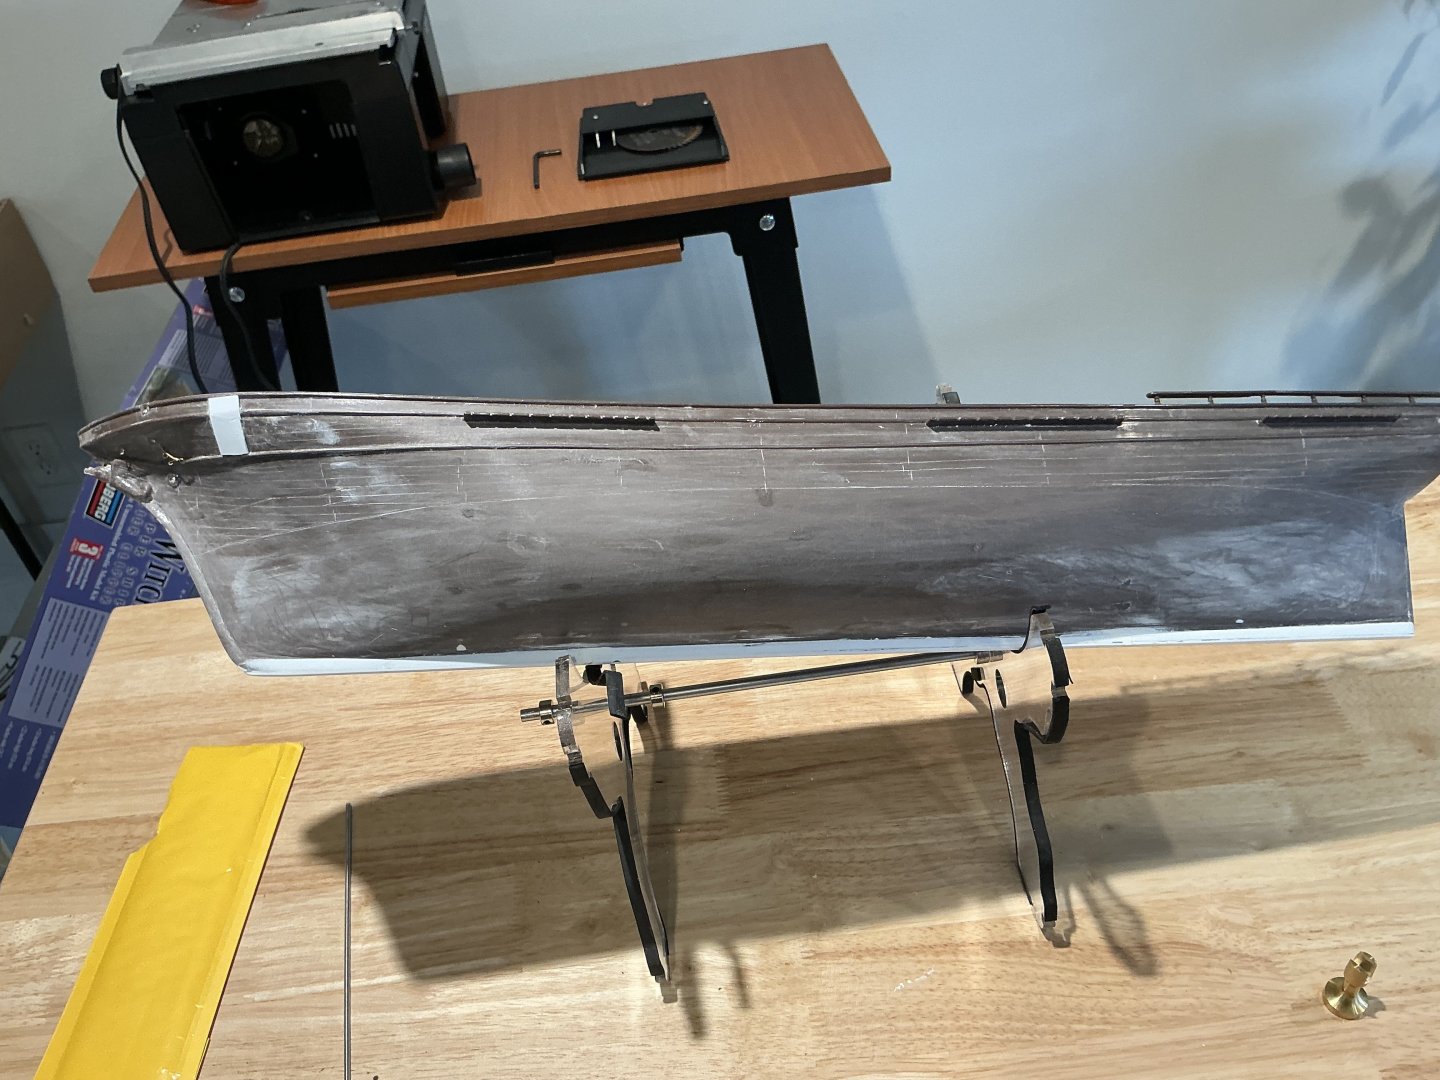
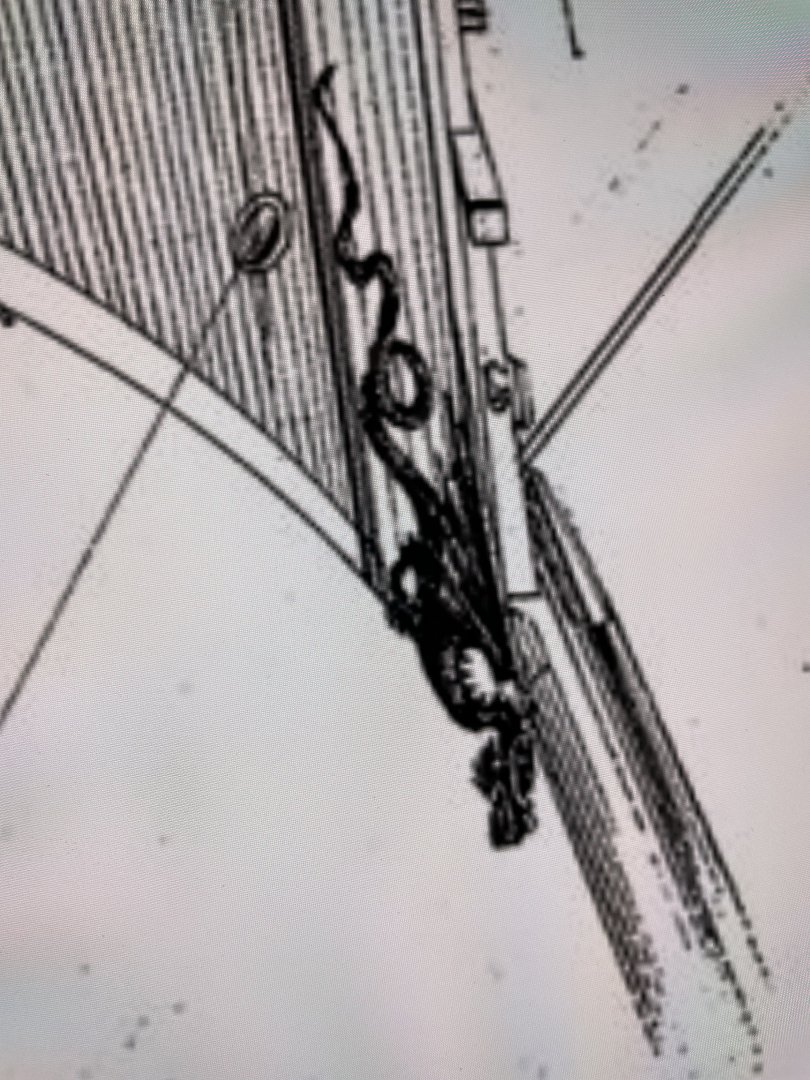
Attached are photos concerning my current status on the Sea Witch. the hull was glued together and reinforced with epoxy and epoxy putty. The kit rudder was removed. Billboards for the anchors were added. Most of the holes in the hull were filled. This process includes the aft bumpkins as they will be installed higher on the hull. Eyebolts of metal were installed in the bow. The unrealistic fish tail on the figurehead was removed from the hull,; it will be replaced with a dragons tail similar to the one depicted below. The figure head molded into the hull looks like a dazed dolphin with cherub wings and a fish tail. The goal is to provide a Chinese black dragon, which is the symbol of commerce. It was necessary to remove the sharp steps along the keel and it proved need full to face the keel to get some extra width for the pedestal screws. I will be using a M3 all thread rod in lieu of screws. I am putting together some interior blocks to allow me to install a temporary handle and add a baseboard and pedestals later. A new rudder was fabricated similar to what is shown in figure below. I am fitting the pintles and gudgeons mow, but I cannot install them until the rudder is coppered. The hull was scored to represent planks on the upper hull. The bottom will remain smooth. It will be painted a copper and copper tape will be applied over it. I made a a detailed transom decoration and test fit it in a photo below. I am working on installing a windlass under the foredeck. Photos to follow. That is it for now. Mote to.come!


-
This is my third kit in progress. This is the current kit that I am working on at this time. I want to get the copper on the hull before I switch back to the America. This kit has good bones and it is molded well. The detail is simple and a bit heavy. The hull has no plank detail or copper plate at all. The lifeboats have no plank detail at all. There is no windlass. The kit directions would have you owe 1/16 inch cotter keys for eyebolts that are much too large. I have purchased a laser cut wood deck for the build. Missing details like the Hawse ports, railing for the fore deck, billboards for the anchors will have to be added. There are a lot of opportunities for fun in this build. I will probably buy my blocks and deadeyes from Bluejacket. More to come soon!

-
A clarification to a prior request. I will be building this kit as the America crossed the Atlantic on its challenge race. This means a shorter bow writ, one top sail, an additional companion way, in lieu of a grate, a compass and two lifeboats. KimW
- 7 replies
-
- 2
-
-
- America
- Schooner Yacht
- (and 2 more)
-
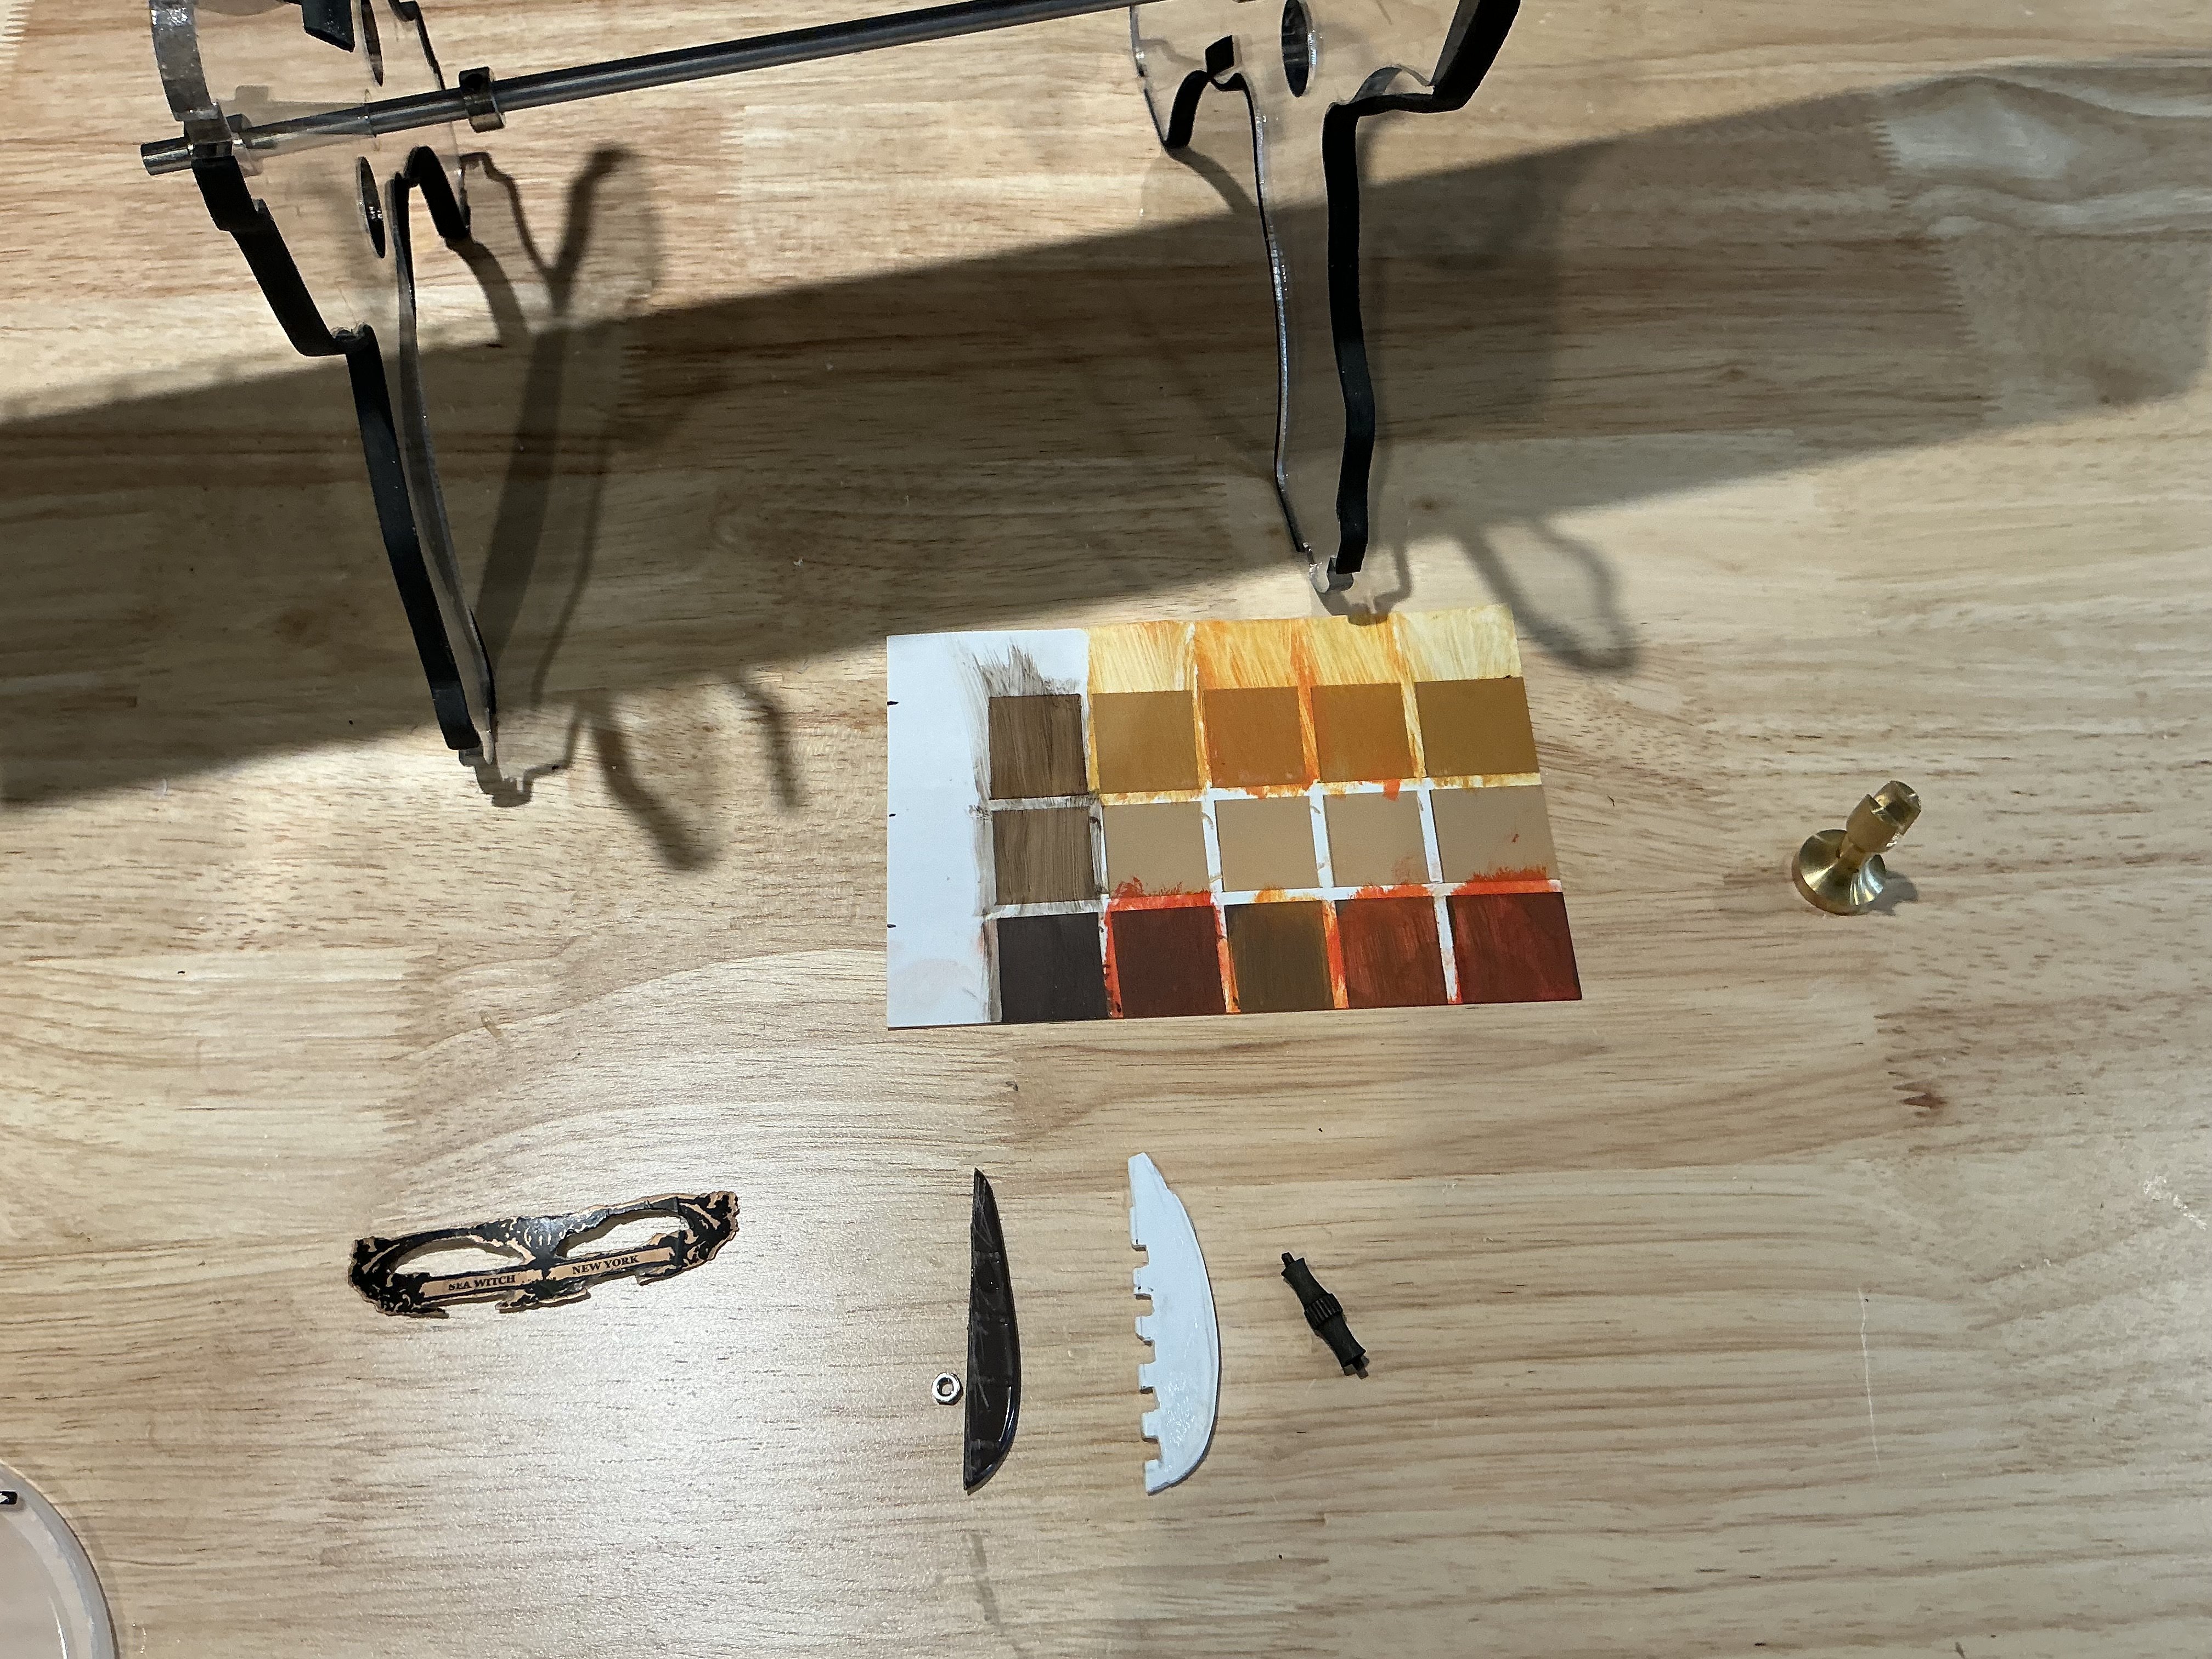
Thanks! I intend to use it a lot. You can use different base colors and oil paints to achieve a wide range of effects.

- 7 replies
-
- 3
-
-
- America
- Schooner Yacht
- (and 2 more)
-
This is my second vintage plastic kit that is in progress. I have lusted after Blue Jacket Ship Crafter’s kit for a long time. My reviews of build logs for the Bluejacket kit left me feeling that this kit was beyond my abilities due try glaucoma. I just could see how I could handle the accurate carving needed. I came across the UTC kit on eBay. When I looked at the photos and started comparing dimensions, the hull was darn close, the deck furniture had possibilities. The stand and masts would have to go, along withe motorized features and related details. I decided to order the kit. Then I contacted the good folks at Bluejacket and purchased a set of plans for their kit. When everything arrived, I started comparing. The overall dimensions were spot on, except the length, which was a little less than 1/4 in longer. The operating rudder and surface detail would have to go. The deck would have to be lowered. There was an odd foot molded into the keel. It might have been some sort of counterweight and it was also used hold one leg of the three legged stand. The completed model would be on a baseboard with brass pedestals, so the foot would have to go as well. Then I contacted Nic at Bluejacket to see if I could just order the parts for his kit. He looked into it for me. He contacted me and it would be cheaper just the kit without a hull. I said yes added two sheets of his glued up decking to the order. This is the background of this build. It is up to me to see if I can pull it off. I love a challenge! Installment one coming soon!

-
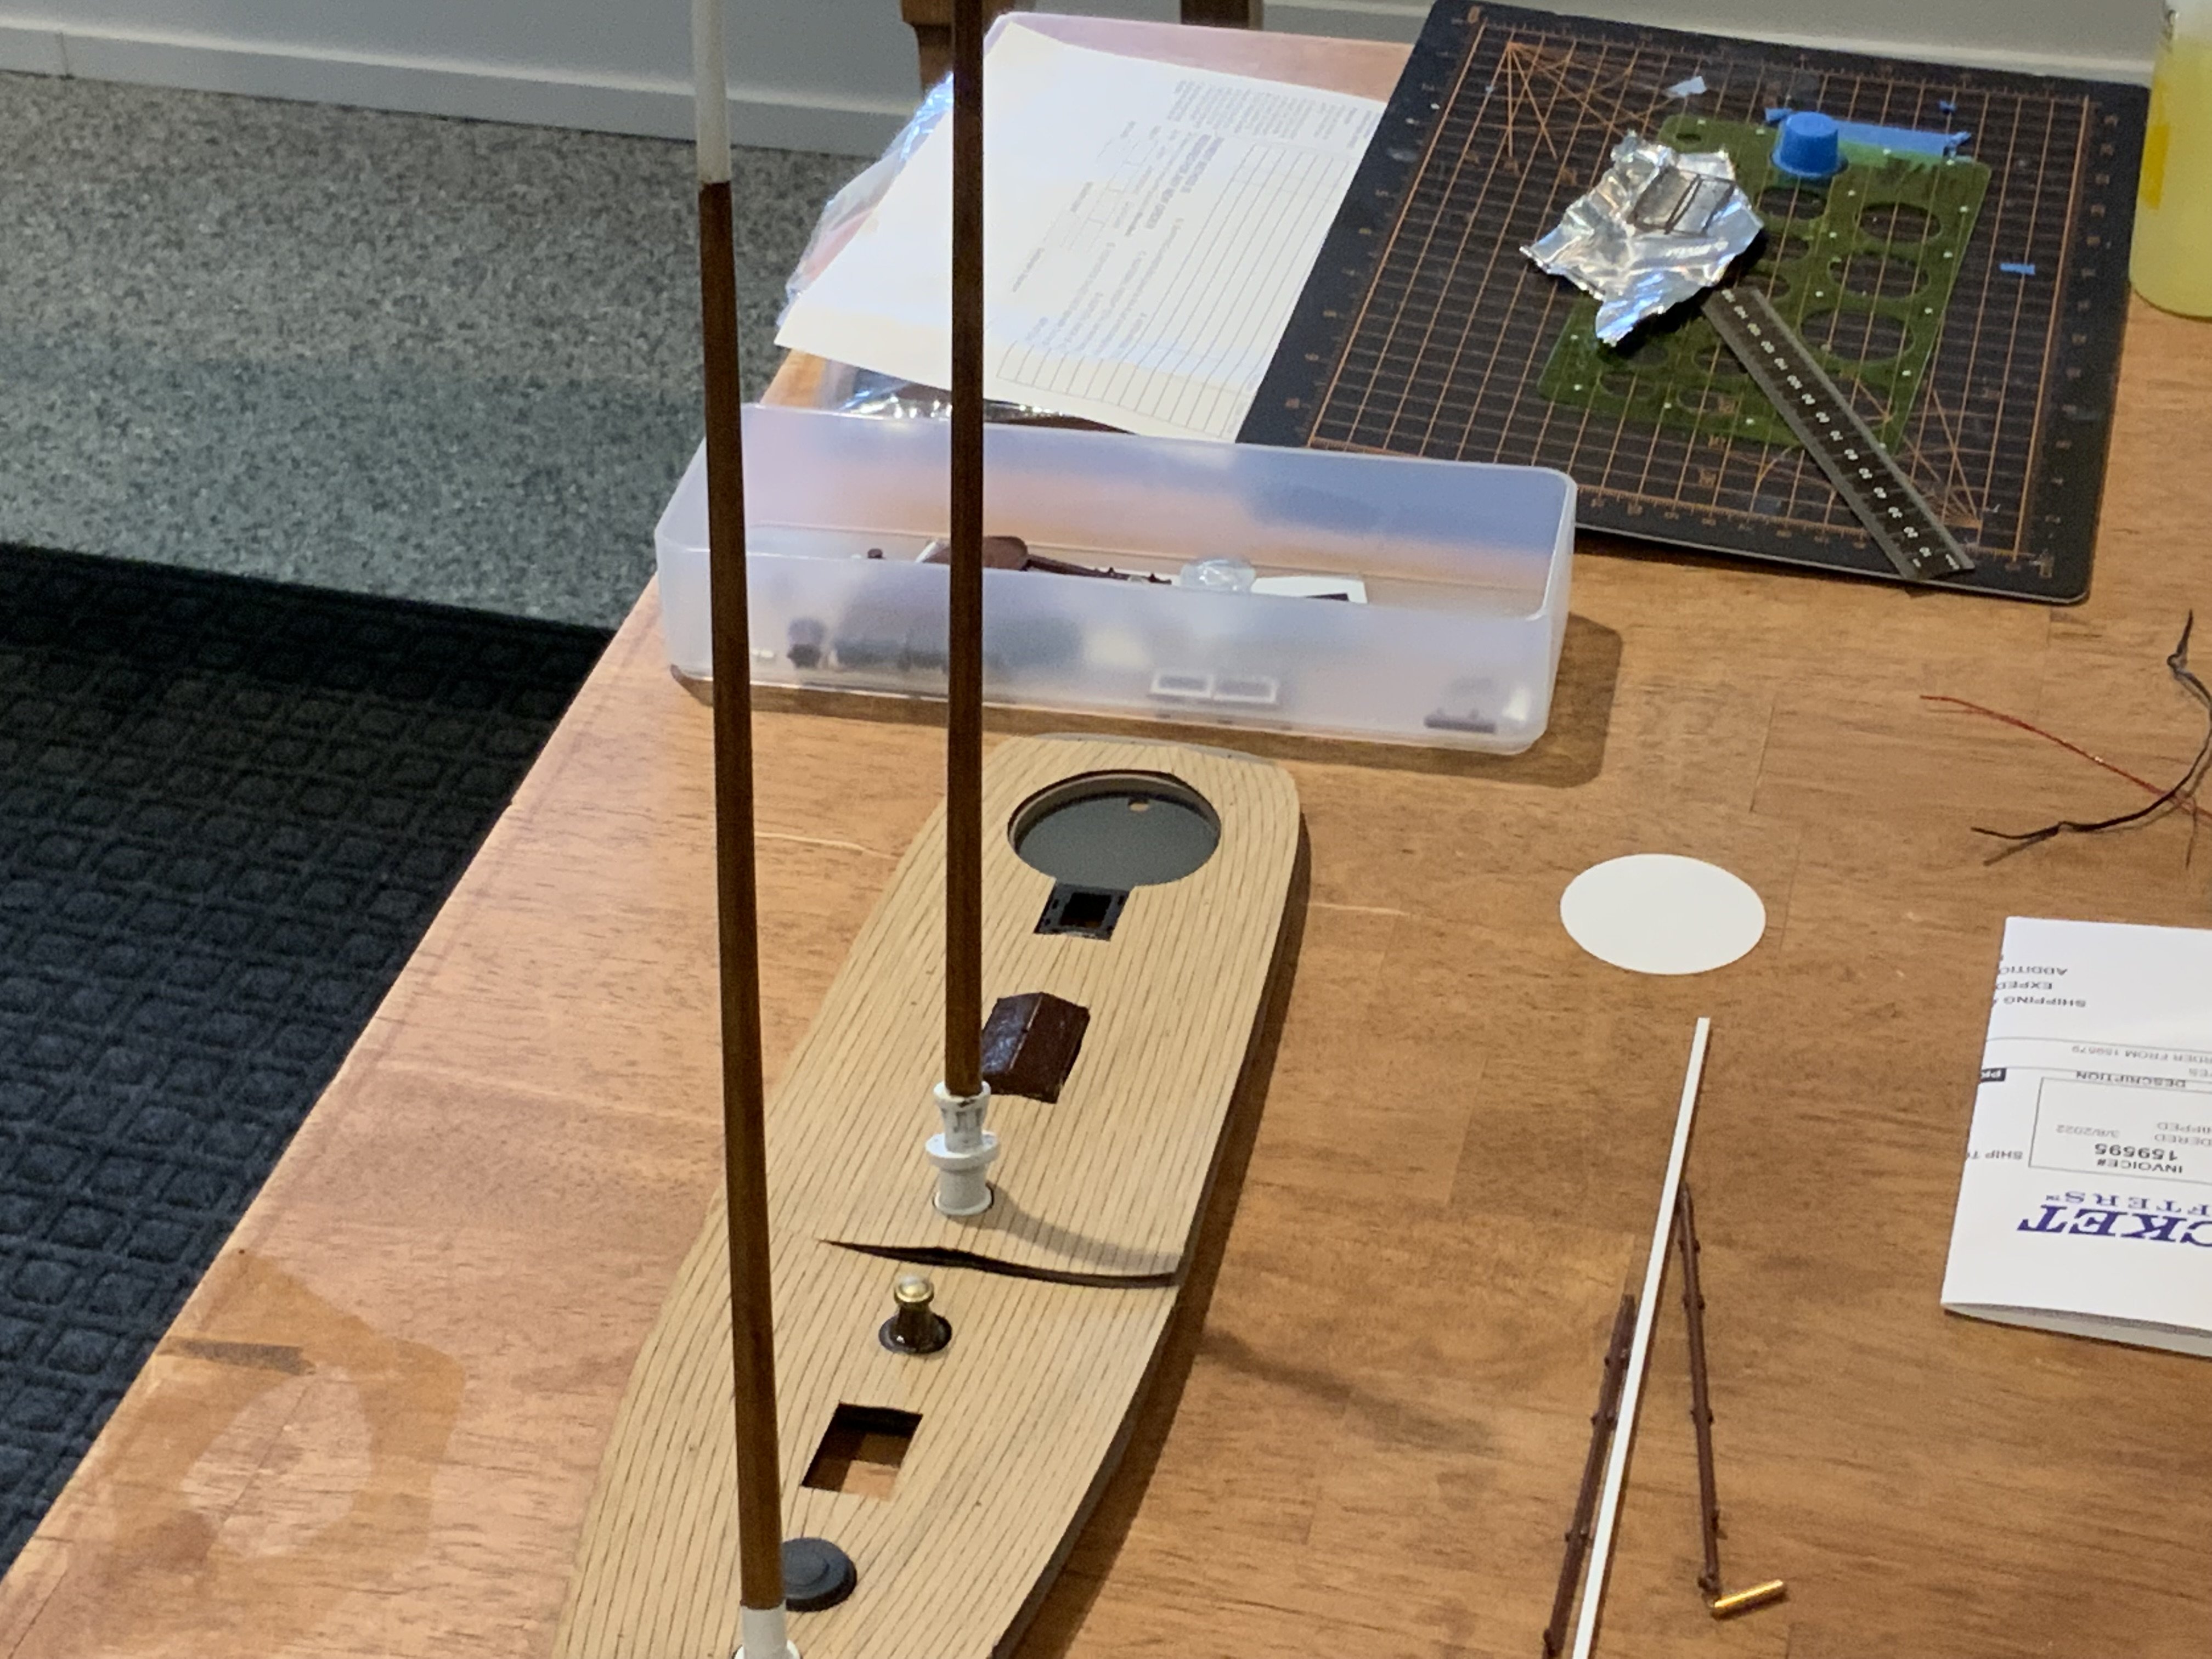
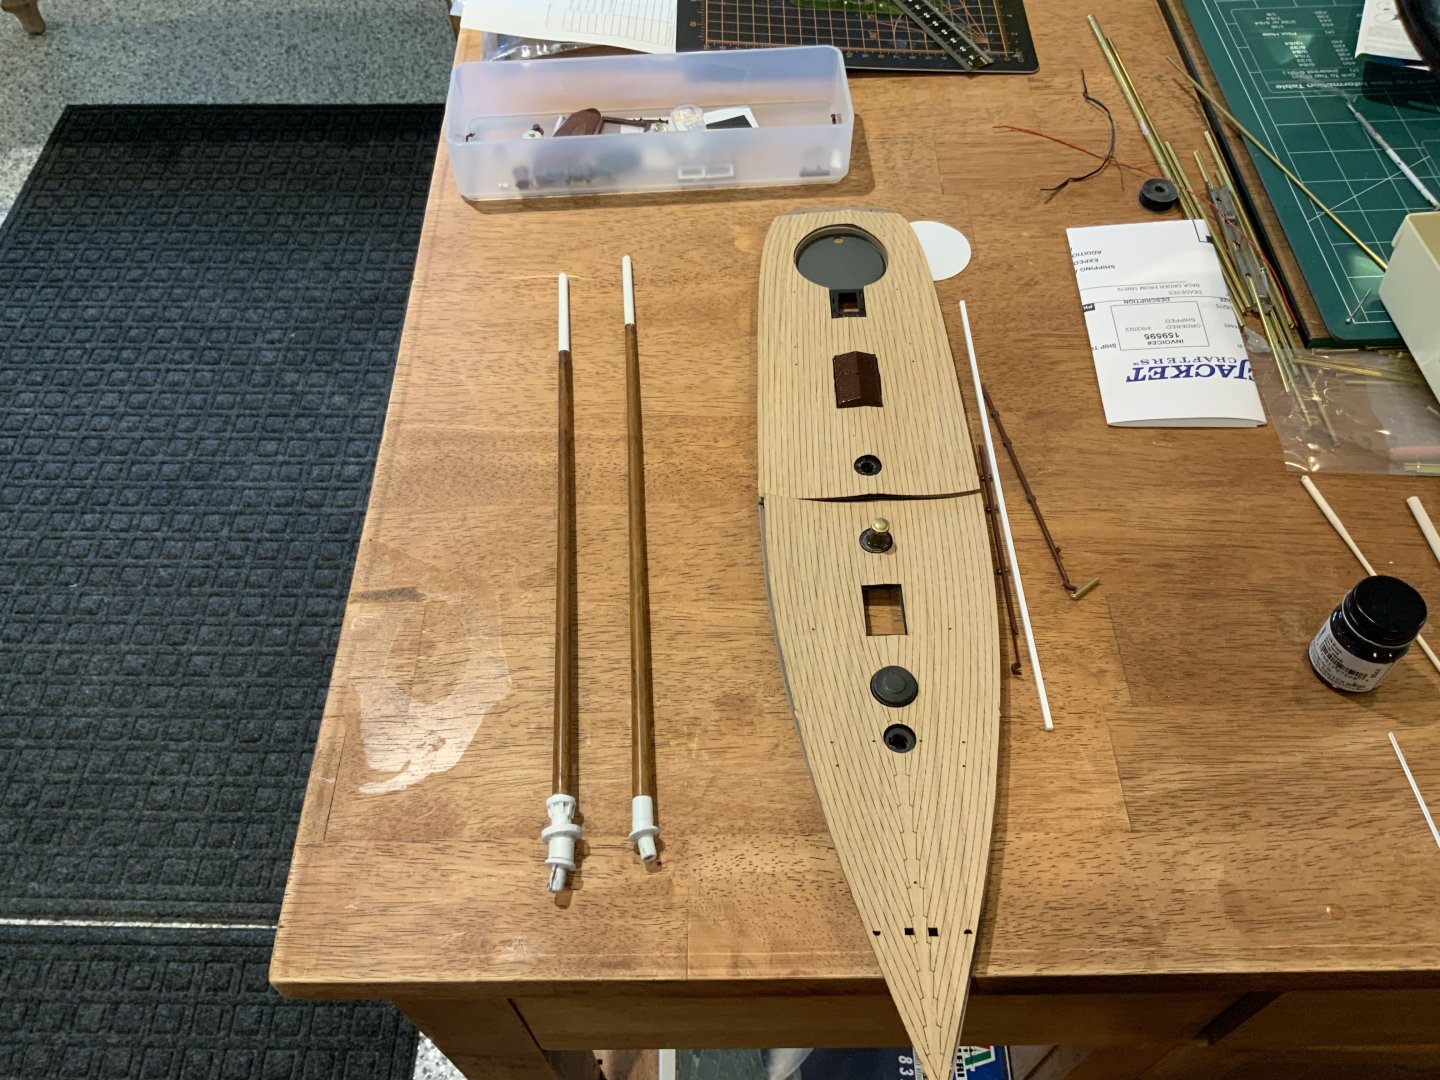
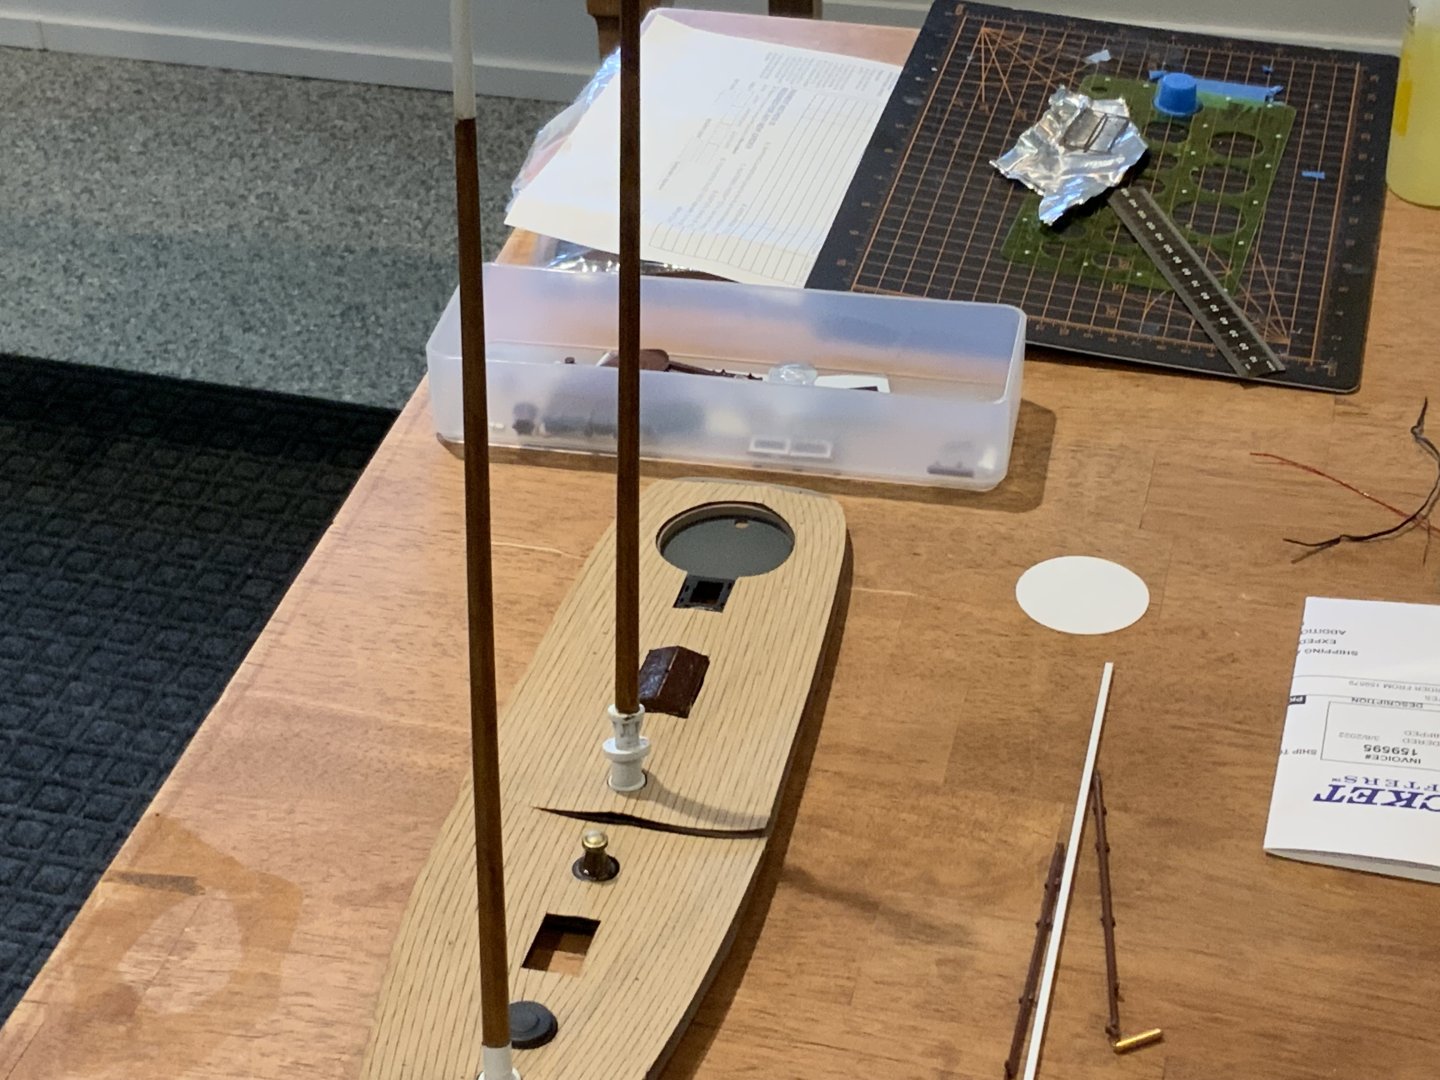
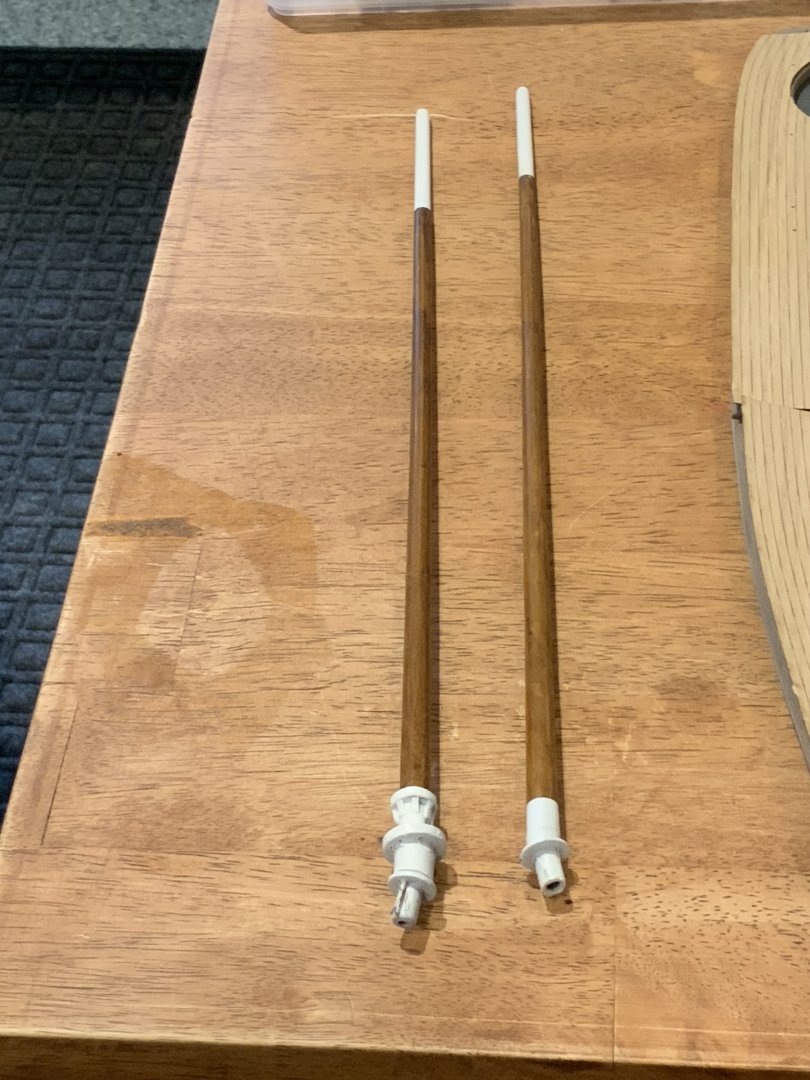
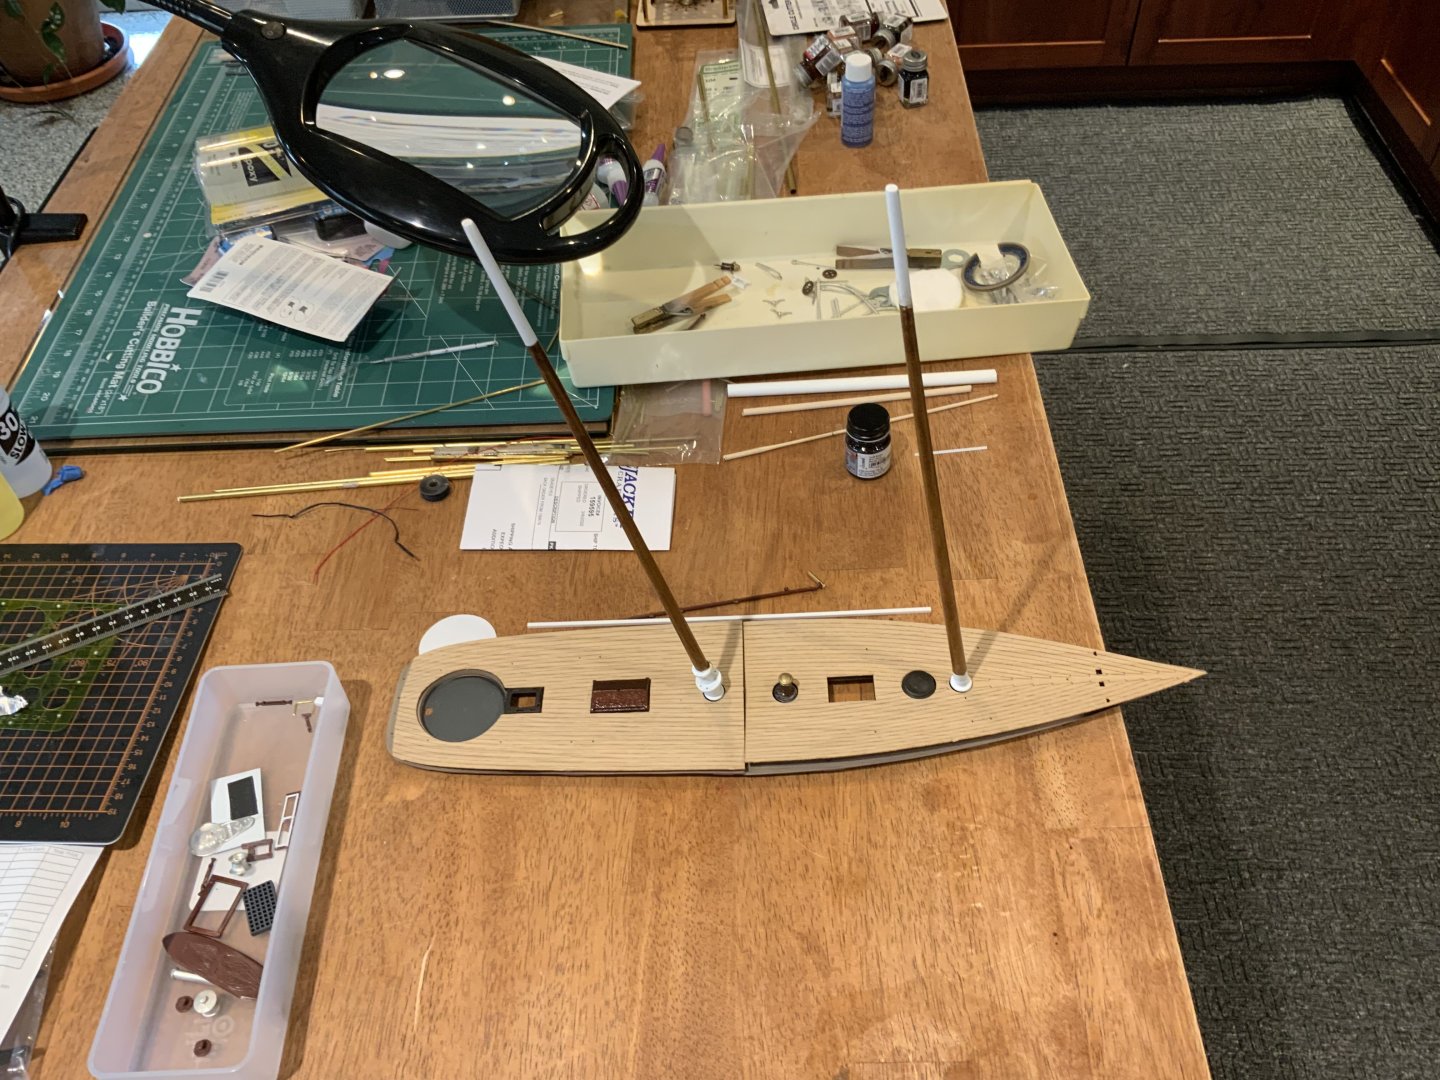
Thank you Paul for pointing out my error. This is a repost of my installment 1. It should keep the thread flowing. This kit was touted as being a good kit for someone just starting out because the rigging was reasonably accurate. The hull halves were glued together with liquid cement and reinforced with epoxy. The hull will be mounted on a stained baseboard with brass pedestals. The keel a v-cross section ,which posed a problem. With using the normal screws. They are just too large. The baseboard and pedestals came from Bluejacket . The best solution I could come up with was using small diameter all thread brass rod. It will not be possible to remove this at will. This means that the hull be installed permanently after the hull is detailed and painted. The pintles and gudgeons just doidnot line up realistically. This problem has to be dealt with when the hull halves are assembled, as the rudder is trapped between the halves. I found that if you forced the rudder down, they look all right. You will have to cut off a little from the bottom of the rudder to keep the bottom of the rudder flush with the keel. The deck is in one piece and it is very flimsy, longitudinally and horizontally. The deck provides the only support for the masts and there are not a lot of attachment points for the deck. See the photos. I cut strips of 1/8 in styrene and reinforced the back side of the deck. The will receive laser cut deck sealed withe shellac. You can see the reinforcement in the photos. The masts were reinforced with epoxy cemented brass of as well as the bowsprit; as. They were mostly hollow. I will prolly extend a brass rod into the keel for both masts. They were painted with technique that simulates wood. The tops Will be white ,along with the gaff booms. The gaffs and top mast will be made of wood. The lower mast sections are painted the bulwark color. The main mat has an odd zig-zag configuration that a straightened as best I could, by using a sleeve and a scratch built goose neck connection for the main sail boom. All of rage raised detail was removed from the masts. It will be replaced with actual mast hoops attached to cloth sails. The top mast bracket, mast bands, eye holts, and “T” cleats will be fabricated from metal ( chain plates too). I compiled painting the transom eagle as close as I could get to the actual colors as I could. This decoration still exists and images are available. I purchased a set of blocks Historic Ship models. I also picked up two wood . Plank on frame boat kits, of proper size for the lifeboats. Bluejacket provided the Davies and other needed deck furniture. That is all for my Revised first installment. More to come!


- 7 replies
-
- 8
-
-
- America
- Schooner Yacht
- (and 2 more)
-
First installment.
This kit has a very flimsy deck and the masts attach directly to the deck as you can see in the photos. I reinforced with strops cut from 1/8 in styrene sheet, both laterally and longitudinally. I will probably also extend the masts to the keel with brass rod. I used a laser cut deck made of wood veneer it is sealed with two coats of
The masts were assembled with epoxy and brass rod in the in the cavities . All the surface detail was removed. Metal mast rings will be added along with cloth sails. Eyebolts, clears and mast clamps will be constructed of metal The topmost and gaffs will be made of wood.
I used a faux wood painting technique that simulates wood on the main and foremast. This was used on the bowsprit as
It was necessary to straighten the lower man mast as it had an odd double angle where the mainsail boom
The top mast, gaffs and upper mast sections will be painted white. The lower masts will be painted the inner bulwark color., along with the portion of the bowsprit not projecting from the bow and the foresail boom.
At this point, I have to leave it more to come later.

-
The final product is outstanding! I am working on a 1/96 scale plastic kit which will transition to wood ship model techniques from the deck up, excluding the masts and bowsprit parts which will remain plastic. These will be painted in a technique that does a decent job of simulating wood grain. A lot of replacing parts with with poor detail or just not there at all. The rudder was cut off and completely replaced. I have used many Bluejacket fittings in this process. I will be purchasing the blocks, deadeyes based on this kit with some modifications. I do have a question on the standing rigging. I see that some forestays are tied off and seized on the fife rail, instead tying to hearts with lanyards. The instruction sheet for build shows more of this fiferail alternative . From anngineering stand point the forces from the loads on thr mast should directed by the shortest route possible and tyed directly into the structural framing of the hull. This would ideally include a means of adjustment to deal with rope stretch. Is this idea in correct? I am slow/y creating build logs for my current projects. These include the Schooner Yacht America, the schooner Atlantic and the Sea Witch at this KimW
- 356 replies
-
- 1
-
-
- red jacket
- finished
- (and 1 more)
-
Sorry this build is for the SCHOONER YACHT America built in 1851. I will be starting a build log for my current started project the Sea Witch from Lindbergh. This is a full square rigged ship. Afterwards I will be building the Cutty Sark. Pro bay fiery I finish thee Atlantic and the America. Thank you for lpoking Kim W
- 7 replies
-
- 3
-
-
- America
- Schooner Yacht
- (and 2 more)
-
Well now the experience Begins- my first Build Log. This is a little retroactive. I have been working on this for a while now. The goal is to a vintage plastic kit and upgrade it using wood ship model techniques. This will include adding wood and/or parts to replace bad detail and incorrect items. Use plastic eye, bolts, “T” cleats, deadeye assemblies and chain plates. A laser cut wood deck will be applied and the top mast and upper gaffs will bs remade with wood. As I am building this to represent the America as she crossed the Atlantic, life boats will be added as well as a binnacle. Why a vintage kit. The first production runs have the best detail. Ihe plastic is strong, but brittle. You need to to use a strong liquid plastic cement to ensure a good bond.There is little flash oh the parts. Sink-holes are few and far between. The major hull seam should be backed up with epoxy. You really do not want seams springing apart when your project is finished. Old plastic is also very hard and difficult to sand. Why this subject? My research found many comments indicating that rigging was accurate and that this was a good introduction to the hobby. I built Revell’s 1:96 Cutty Sark and USS Constitution when I was a teen an relish the opportunity to do better. This is the end of installment on. More will follow soon.

- 7 replies
-
- 6
-
-
- America
- Schooner Yacht
- (and 2 more)
-
I am very impressed with cat,s heads on the catheads!I I was-puzzling out out to accomplish this feat along withe binnacle and ships bell bell assembly. I have always felt that this kit would be a good basis for a detailed. model of the CS, given the amount of steel in the bulwarks and masts. Plastic is closer to steel in appearance than wood. Accuurizing the bulwarks, wash ports and deadeyes and lanyards combined with utilizing wood ship modeling techniques above the decks will make for an impressive model indeed. I have started this project with the Revell Germany issue of this kit. I stopped after severe disappointment with the poor detail. soft plastic and poor detail. I picked up a vintage kit along with wood deck for this kit and a set of blocks, stanchions and other details. As I plan on correcting the angle of the bowsprit to its proper angle and modifying the bow knee and adding the chain gammoning, along with correcting the knight heads, having the second kit will be very helpful. Presently I am working on accurizing Revell,s schooner Yacht America to practice and develop my metal work skills, before resuming work on the CS. I look forward to following your build with keen interest. I have already benefitted from some of the information that you shared. keep up the good work! KimW
- 444 replies
-
- 2
-
-
- Cutty Sark
- Revell
- (and 2 more)