Kevin-the-lubber
-
Posts
1,202 -
Joined
-
Last visited
4 Followers


Recent Profile Visitors
2,366 profile views


-
 Kevin-the-lubber reacted to a post in a topic:
HMS Victory by dafi - Heller - PLASTIC - To Victory and beyond ...
Kevin-the-lubber reacted to a post in a topic:
HMS Victory by dafi - Heller - PLASTIC - To Victory and beyond ...
-
Kevin-the-lubber reacted to a post in a topic:
HMS Victory by dafi - Heller - PLASTIC - To Victory and beyond ...
-
dafi reacted to a post in a topic:
HMS Victory by dafi - Heller - PLASTIC - To Victory and beyond ...
-
Hubac's Historian reacted to a post in a topic:
HMS Victory by dafi - Heller - PLASTIC - To Victory and beyond ...
-
Mexspur reacted to a post in a topic:
HMS Victory by dafi - Heller - PLASTIC - To Victory and beyond ...
-
 As ever, excellent work, and the foot bars make sense. While the boats on display at Portsmouth may only be contemporary examples, the one that looks like the launch has a planked 'deck' at about 1/3rd height vertically, sitting on cross bars. I can see what looks like a duckboard underneath this in my photos, sat on the frames. I can also just about make out the slots for the capstan, though neither this nor the little stern gantry are present on the boat. Nor is there anything that would give clues about the rigging. I imagine this launch, like the Vic itself, has had a few improvements and adaptations made over the years, and the deck may have been added as a more comfortable solution once load carrying became less relevant. It's frustrating that it's so difficult to get good photos of the boats (and that they seem to be a repository for offcuts and wood scraps). Maybe next time I'll ask if I could go inside the enclosure - it turns out I have a free pass for the historic dockyard and V@P so can visit as often as I like.
 -
Ian_Grant reacted to a post in a topic:
HMS Victory by dafi - Heller - PLASTIC - To Victory and beyond ...
-
Mexspur reacted to a post in a topic:
HMS Victory by Kevin-the-lubber - Heller - 1:100 - PLASTIC - with 3D printed additions
-
Mexspur reacted to a post in a topic:
HMS Victory by dafi - Heller - PLASTIC - To Victory and beyond ...
-
Hubac's Historian reacted to a post in a topic:
HMS Victory by dafi - Heller - PLASTIC - To Victory and beyond ...
-
Indeed he is and, even though I can almost hear the screams of terror through having all those guns run out when she's heeled over so far, I quite like his paintings. It's intriguing that the ochre seems to continue round the counter.
-
dafi reacted to a post in a topic:
HMS Victory by dafi - Heller - PLASTIC - To Victory and beyond ...
-
Archi reacted to a post in a topic:
HMS Victory by Kevin-the-lubber - Heller - 1:100 - PLASTIC - with 3D printed additions
-
I echo that. From a technical view alone it's a superb piece of work, but the artistry is what really catches the eye. I certainly know what you mean about 15 iterations, sometimes even that isn't enough, is it.
-
Mexspur reacted to a post in a topic:
HMS Victory by Kevin-the-lubber - Heller - 1:100 - PLASTIC - with 3D printed additions
-
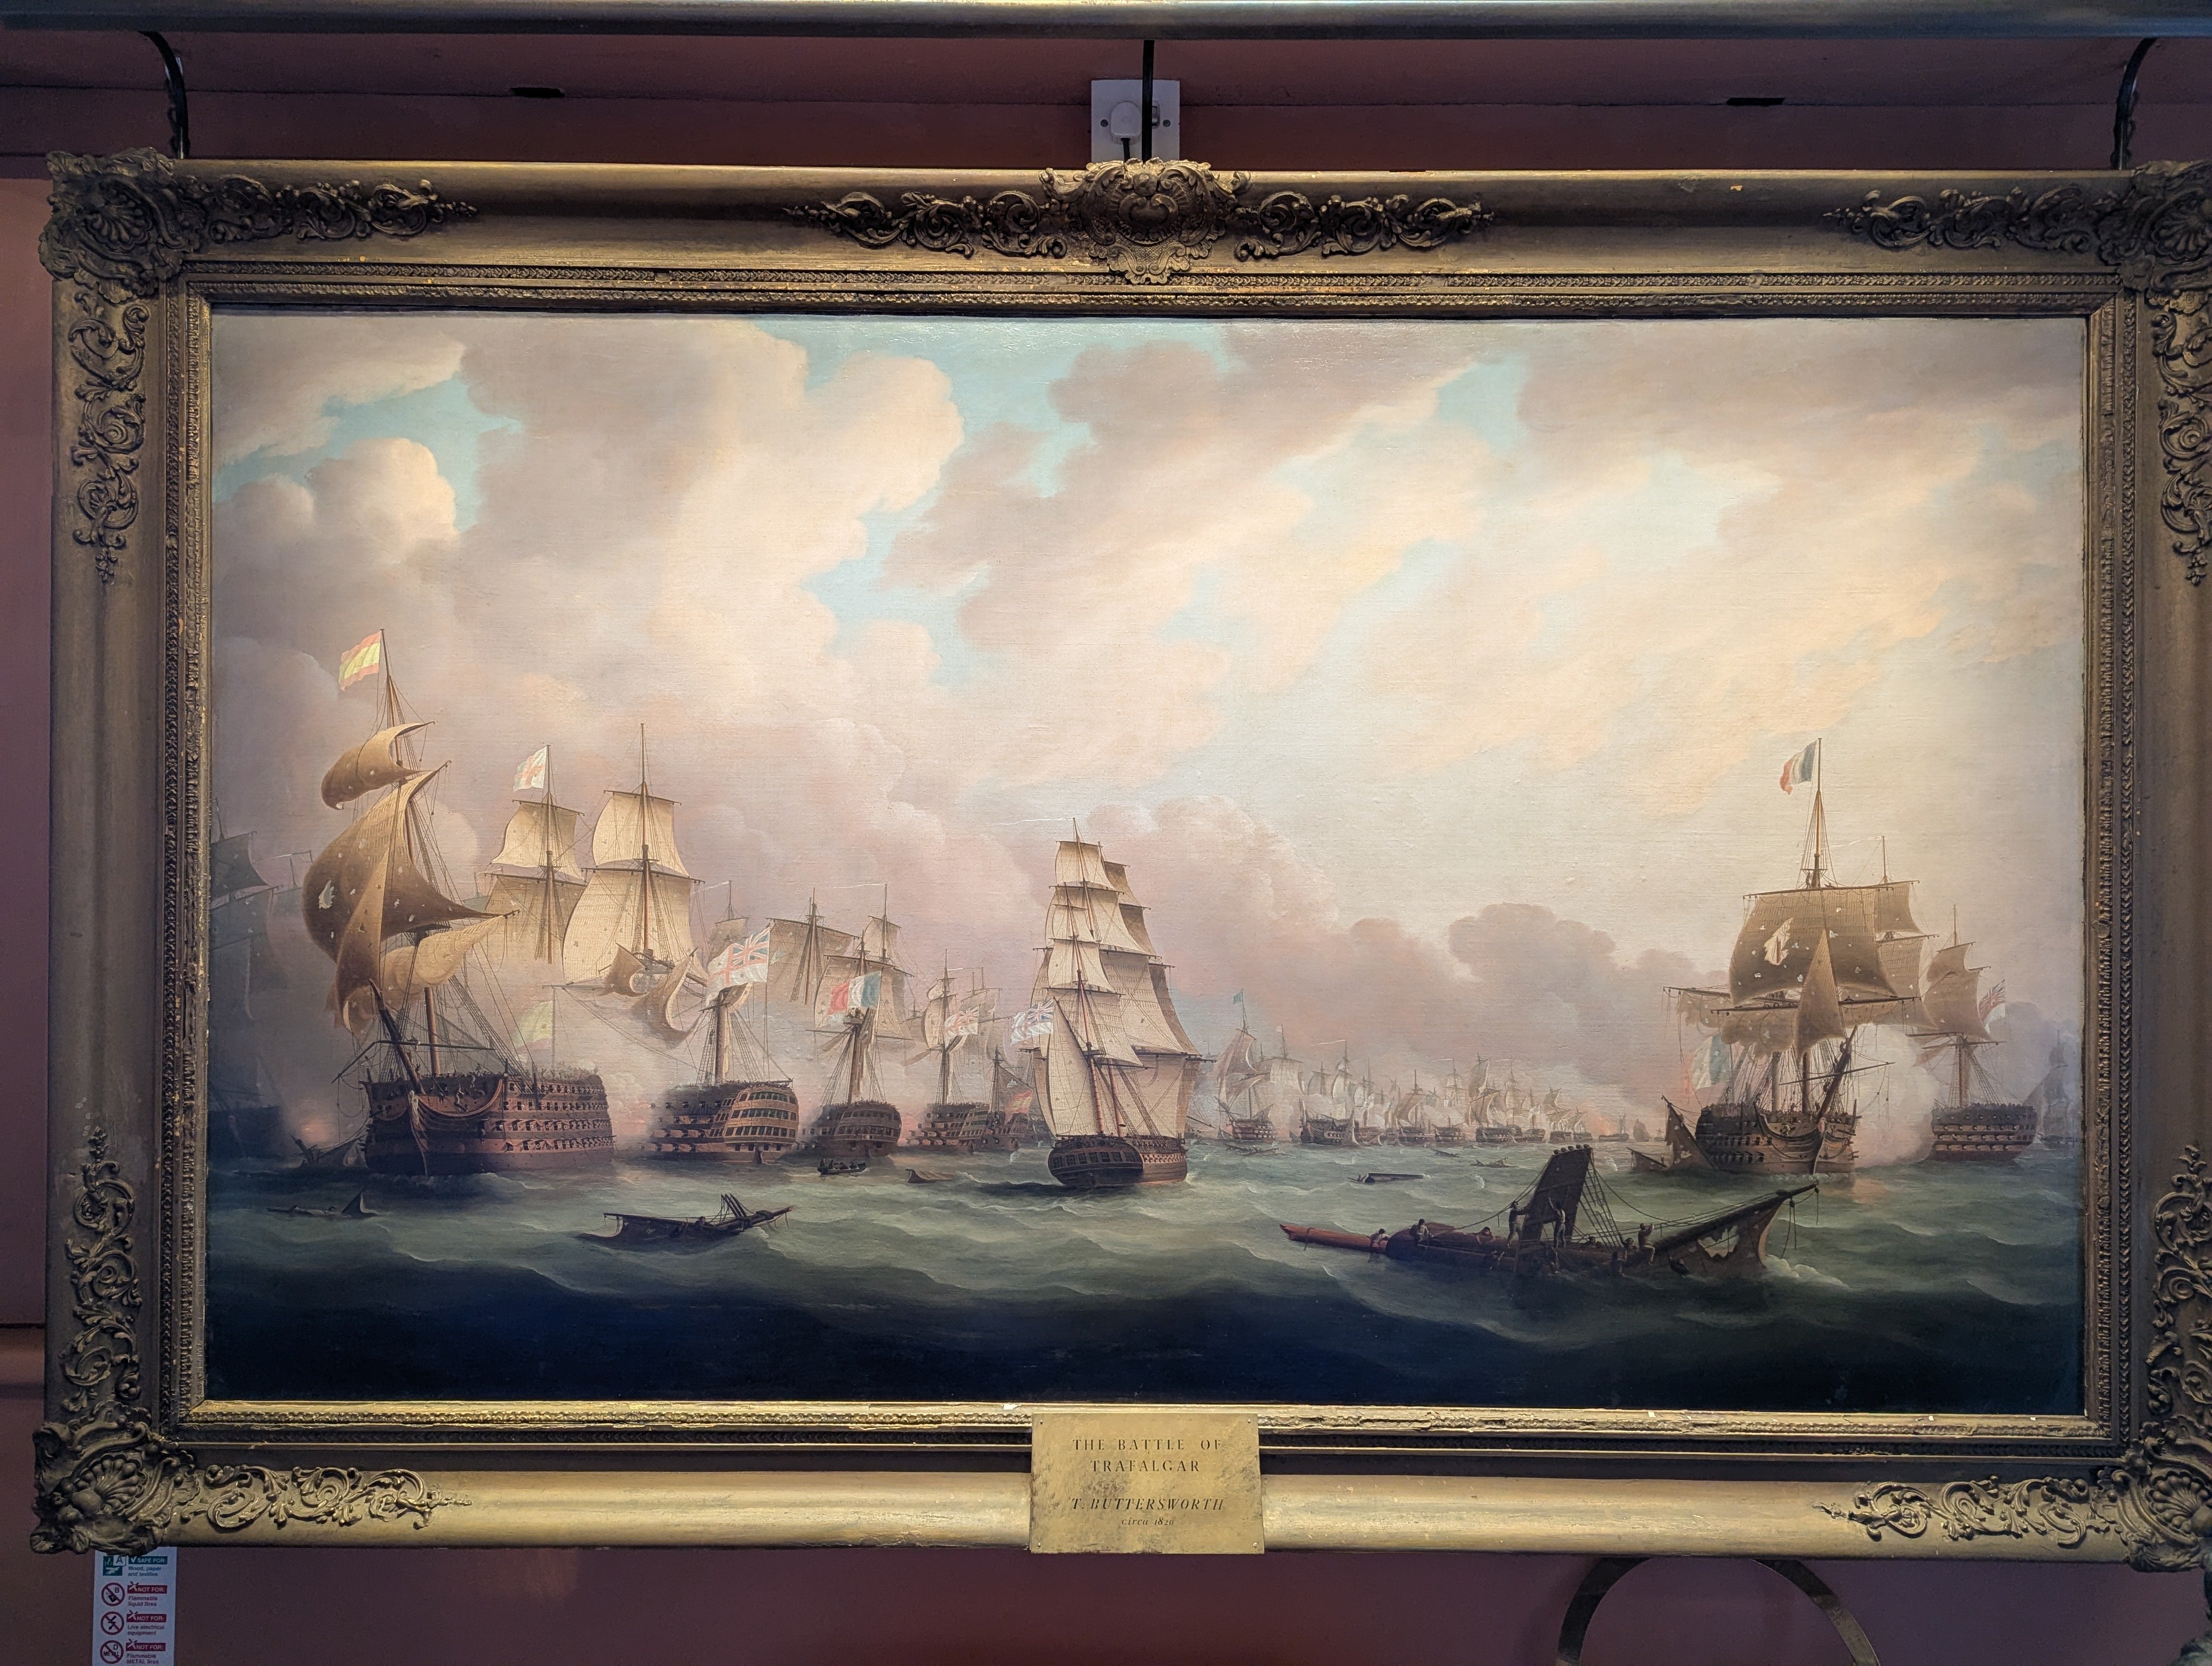
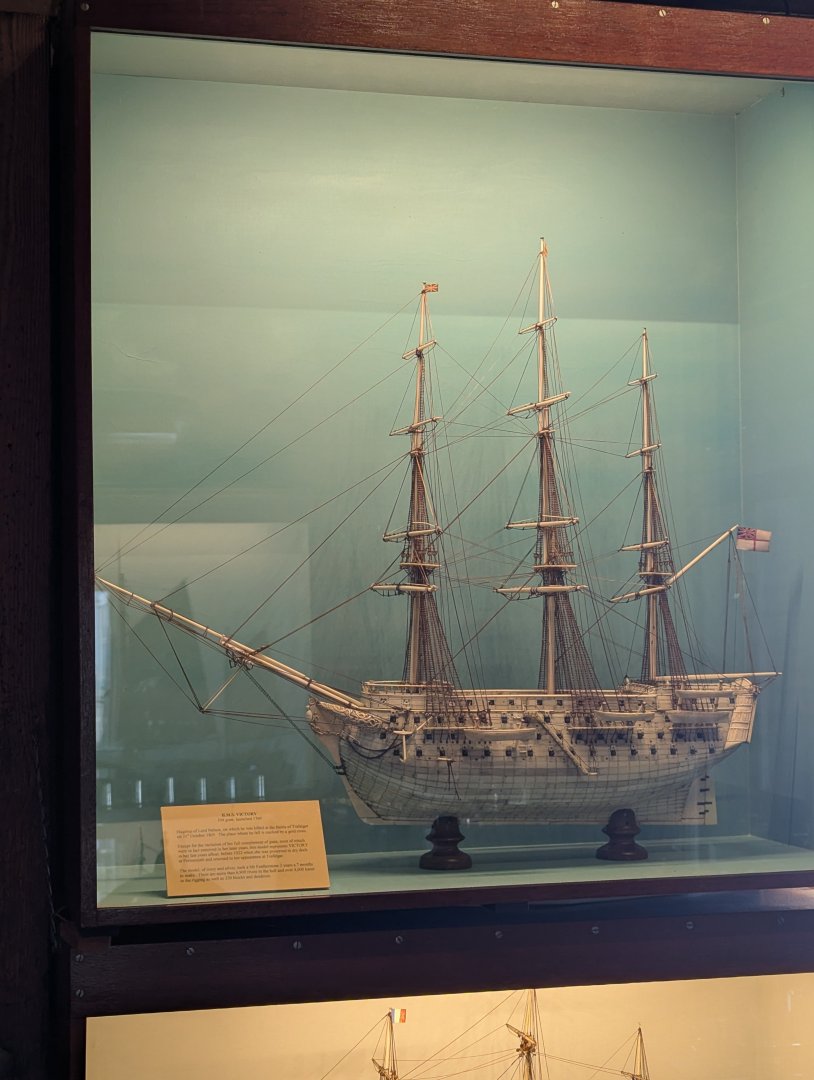
As I'm still nowhere near ready to post an update on the model, I wanted to share a couple of photos in the meantime. I took these yesterday while visiting the Sir Max Aitken Museum in Cowes on the Isle of Wight. If you happen to be visiting the Victory in Portsmouth and have spare time and a few pounds for the ferry crossing, this is a nice little treasure trove of nautical artifacts. Its not very large but entry is free and the lovely Isle of Wight is always worth the visit anyway. The first is Trafalgar by Thomas Buttersworth. I found this to be an interesting depiction, with Victory (first british ship from the left) looking fairly different to the ship we see in Portsmouth. Discussion welcome! The second is an exquisite, bone and silver carved model of the Victory. I'd say the scale was around 1:150 or thereabouts. While it looks like the modelmaker needed to take licence with a few details, it's an impressive piece of work.

-
I have a feeling I'm going to be sending you many, many metaphoric thankyou's over the months ahead. I'd never heard that they were known for clogging.
-
What an impressive result. While the artists that painted the original are certainly to be admired, doing the same in miniature is itself quite an achievement. If you hadn’t explained the method I would have guessed you’d had a professional outfit make you a decal. And thanks for the tips. I had to look up artists frisk as I had no idea what that was, but it’s something I already have a use/need for on a non-ship project, and I think I’ll take out that second mortgage and try a bottle or two of Golden paint for airbrushing. I’ve mostly used Vallejo Model Air and, while they are affordable and often very good, most colours tend to clog my (good quality) airbrush such that I almost dread airbrush sessions. If Golden turn it into a pleasure I’ll gladly pay the three times the cost premium.
-
 Kevin-the-lubber reacted to a post in a topic:
HMS Bellona 1760 by SJSoane - Scale 1:64 - English 74-gun - as designed
Kevin-the-lubber reacted to a post in a topic:
HMS Bellona 1760 by SJSoane - Scale 1:64 - English 74-gun - as designed
-
Good plan. That’s a very nice looking build and I’d think you’re bound to have a time when you’re sat somewhere nice with too much time on your hands. That’s what stops us buying - our current plan, once my wife retires, is to rent long term I.e. two or three months at a time, to do some of the longer journeys, but be able to come back home for the winter etc.
-
I think all methods are as valid as each other. Although it was before my time I expect some traditional model-makers scoffed at all those injection-moulded abominations when they first hit the shelves. Though I'd still love to have the patience, hand skills and eye for carving that you have Marc.
- 2,623 replies
-
- 1
-
-
- heller
- soleil royal
- (and 9 more)
-
Keep in mind that you both make far more progress than me! Even now I have somewhat mixed feelings about it all, but I suppose I'm in too deep now.
- 2,623 replies
-
- 1
-
-
- heller
- soleil royal
- (and 9 more)
-
Kevin-the-lubber reacted to a post in a topic:
HMS Lion by Ian_Grant - 1/150 - RADIO - RESTORATION - WW1 Battlecruiser
-
I love the herringbone, Bill. That must have taken some careful cutting. The lighting looks amazing, though like almost all things electrical the detail is a mystery to me.
-
Kevin-the-lubber reacted to a post in a topic:
Sovereign of the Seas by 72Nova - Airfix - PLASTIC
-
Kevin-the-lubber reacted to a post in a topic:
HMS Lion by Ian_Grant - 1/150 - RADIO - RESTORATION - WW1 Battlecruiser
-
I zap these with my soldering blowtorch, but that said, I can’t remember the last hairy print I had. I used to be plagued by that but think the filament heater solved that problem.
-
Thanks both, I just thought I'd ask on the off-chance that you would know off the top of your head, but I don't want to hijack your log!
-
You've already gone way beyond my knowledge but google tells me 1/3 to 1/2 would be fine. This thing won't be turning heavy loads, probably about 1 kilo or thereabouts.
-
That's really not bad at all for FDM printing, is it. I'd also chop off the funnels and do them separately - you can probably do that in the slicer. Ian, can I pick your brains a little about motors, as you seem to know a sight more than me about these. I'm making various simple machines for other arty projects and one of these is a roller machine, that is quite similar to a rock tumbler. I could just buy a rock tumbler but I like solving puzzles and making stuff, besides which I can make everything apart from the motor. I've used a small, cheap, 220V synchronous 5 rpm motor for proof of concept, it does the job but gets very hot after 30 mins continuous use. I need something that can run for hours, maybe even days. It also reverses direction at will, there must be some kind of internal counter that determines that this time it'll be clockwise, next time anti. Ideally I'd have control over that and even more ideally, I'd be able to control the speed via electronics rather than gears. Any suggestions, pointers?
-
Kevin-the-lubber reacted to a post in a topic:
HMS Lion by Ian_Grant - 1/150 - RADIO - RESTORATION - WW1 Battlecruiser
-
Kevin-the-lubber reacted to a post in a topic:
Soleil Royal by Hubac's Historian - Heller - An Extensive Modification and Partial Scratch-Build
-
Good thinking. I flit from model to model, hobby to hobby, project to project, as the mood takes me. Some will get finished, some won’t, life’s too short to spend doing things you neither need or want to do.