


David56
-
Posts
52 -
Joined
-
Last visited
Content Type
Profiles
Forums
Gallery
Events
Posts posted by David56
-
-
thanks for the help will let you know how it goes
-
Daliab Your ship is looking great. hope mine turns out just as well. Have a question for you on the gun ports. What size thread did you use for the gun ports. Also are there any tips you can pass along on getting them done correctly. any help will be appreciated
-
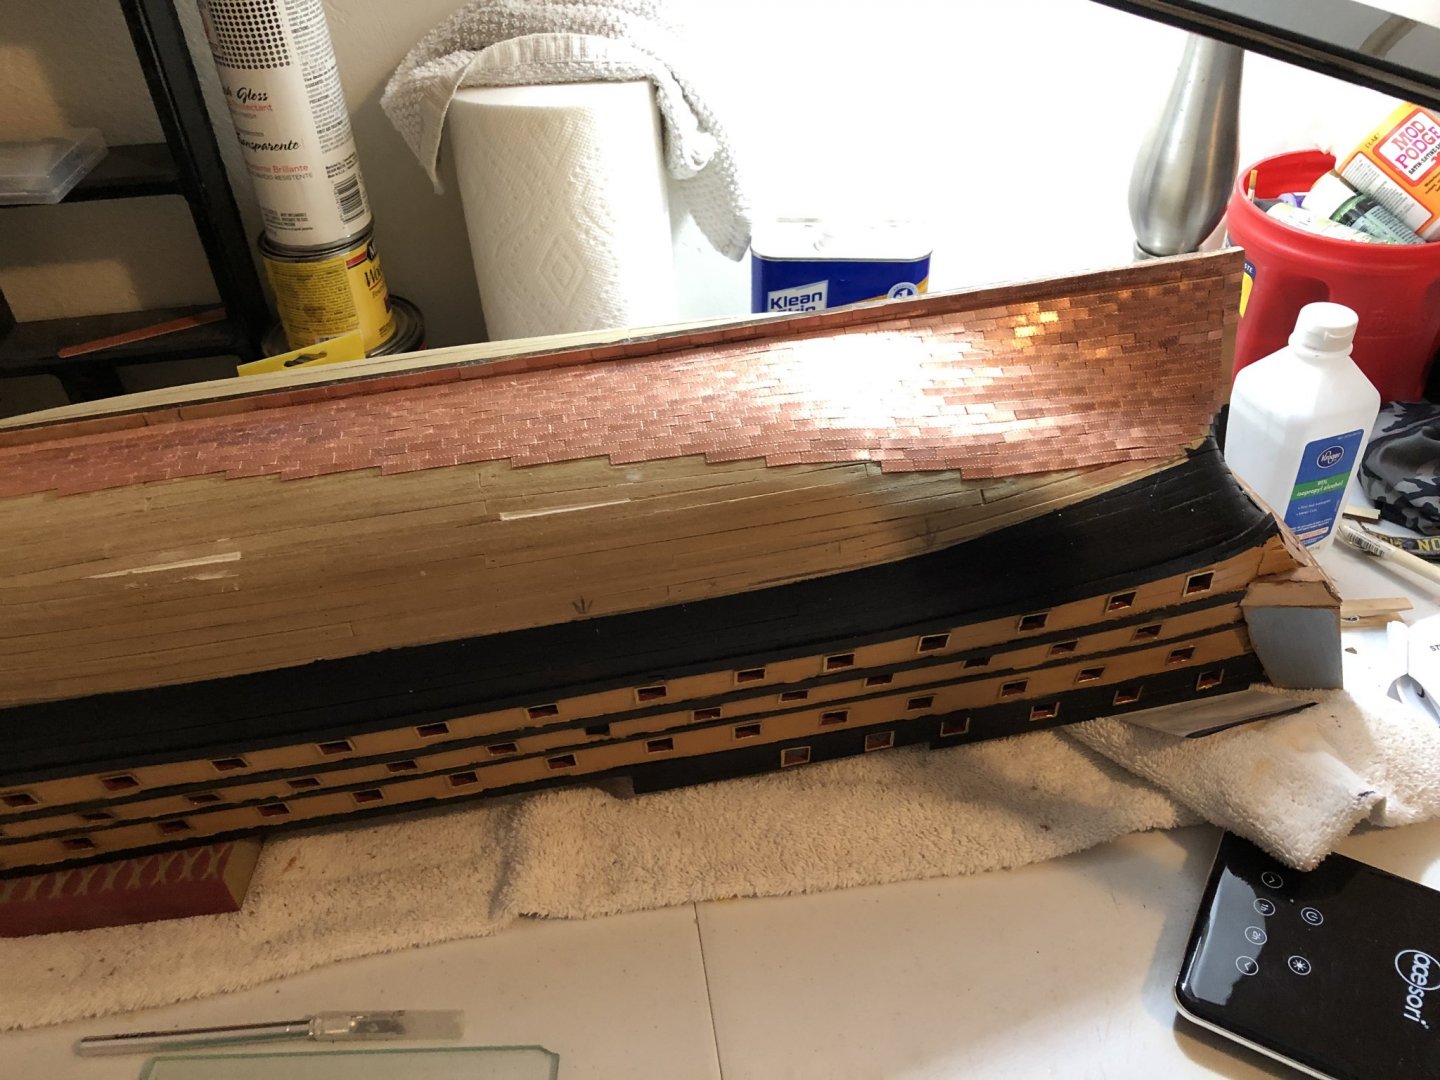
Hi everyone, has been a while since my last post but my Victory has been on hold due to some health issues(knee problems). I have completed the copper tiling of the hull and finished the stern. I have started the bow, but since being out of work for a while, work is being a priority so do not know how long it will take to finish the bow section. Hopefully i can get back to working on the Victory on a regular basis very soon. happy building everyone
-
-
The only thing I can tell you is take your time. I started at the keel and at the stern. I found out the using super glue that has a brush works best for me I got it on Amazon but and sure can get at Walmart or any hardware store.
- GrandpaPhil and Daliab
-
 2
2
-
When I cut out my gun ports I went through several blades. Found out the sharper the blade the easier it was to cut the gun ports. Hopefully some sanding can hide your mistake
-
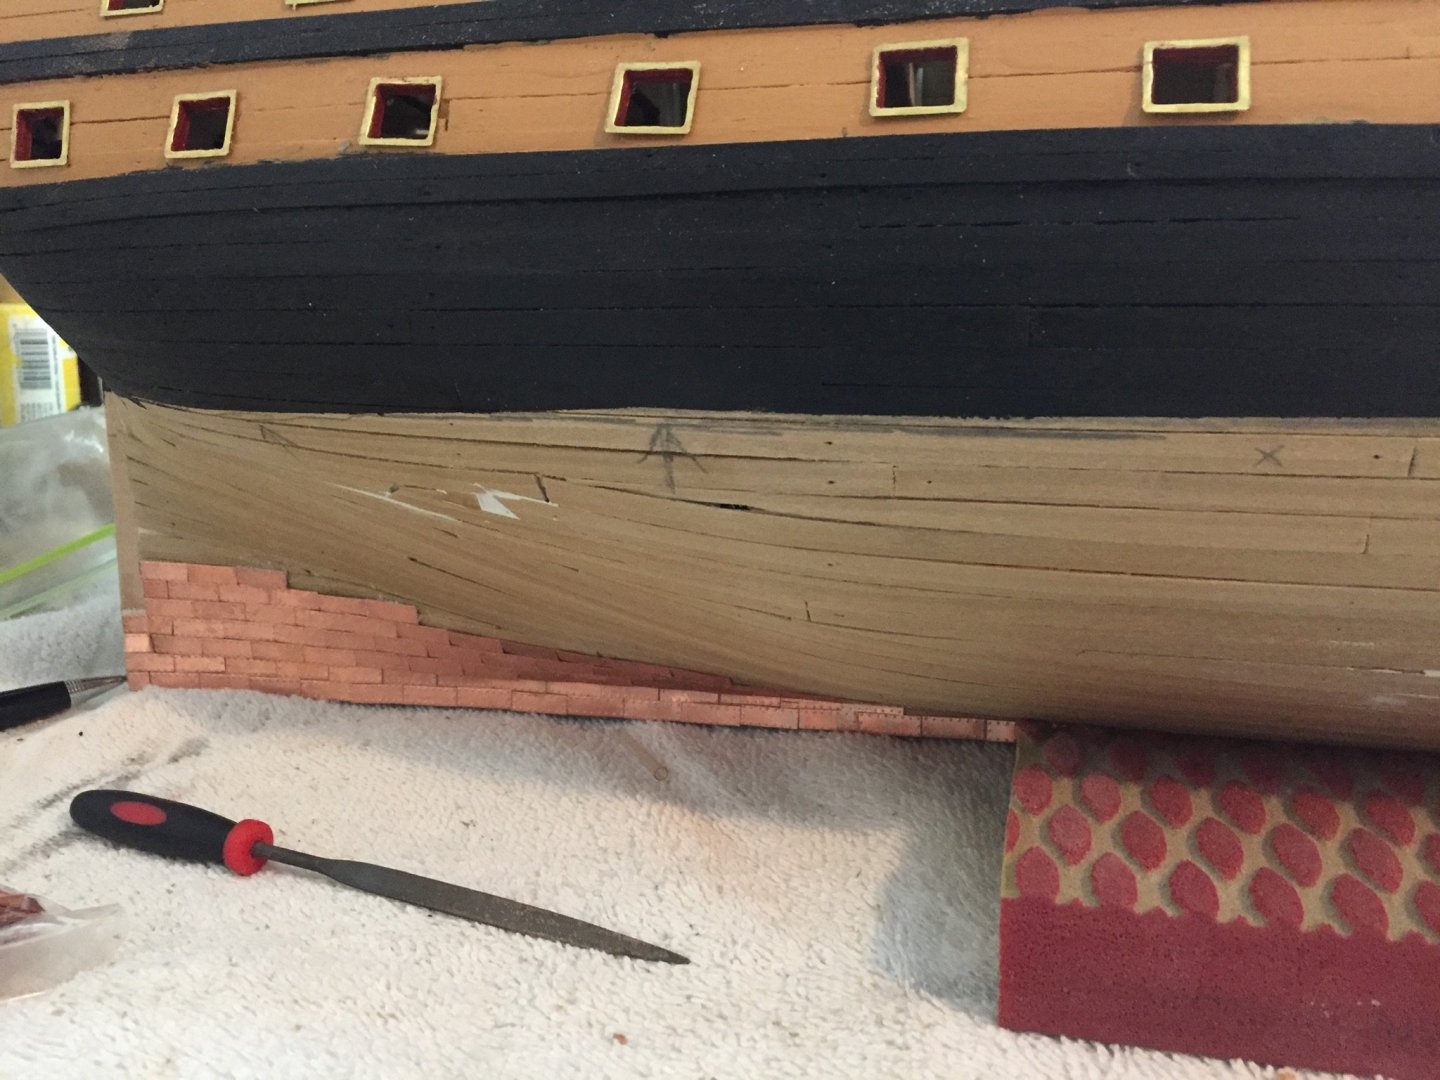
The copper tiles are going slow. I have not had a lot of time to work on it due to work schedule. As you can see from picture it is moving along Hopefully in the next couple of weeks I can get more tiles put on the hull.
-
Your ship is looking good. I am building the same model kit. I agree with you about the instructions. I have just started to put on the copper tiles. Keep up the good work
-
started the copper tiling of the hull. It is a very slow process but have found that using curved tweezers works well and gives better control in putting them in place. I am also using an xacto knife With a curved blade to cut the tiles. There may be a better way to cut them but the curved blade works well for me
-
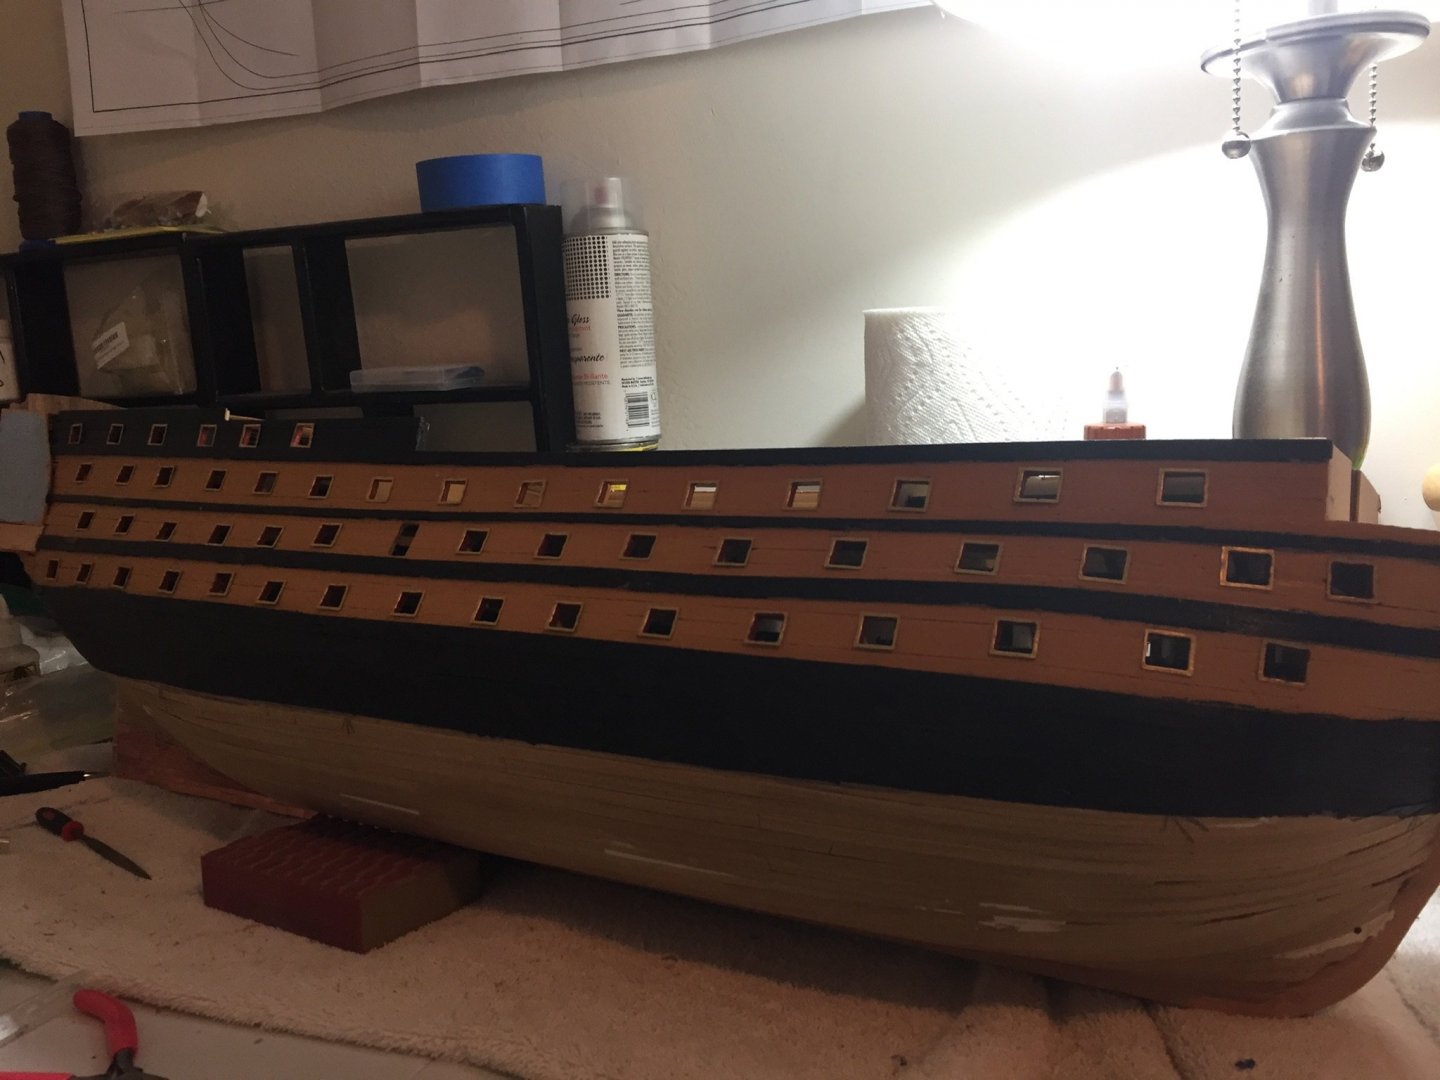
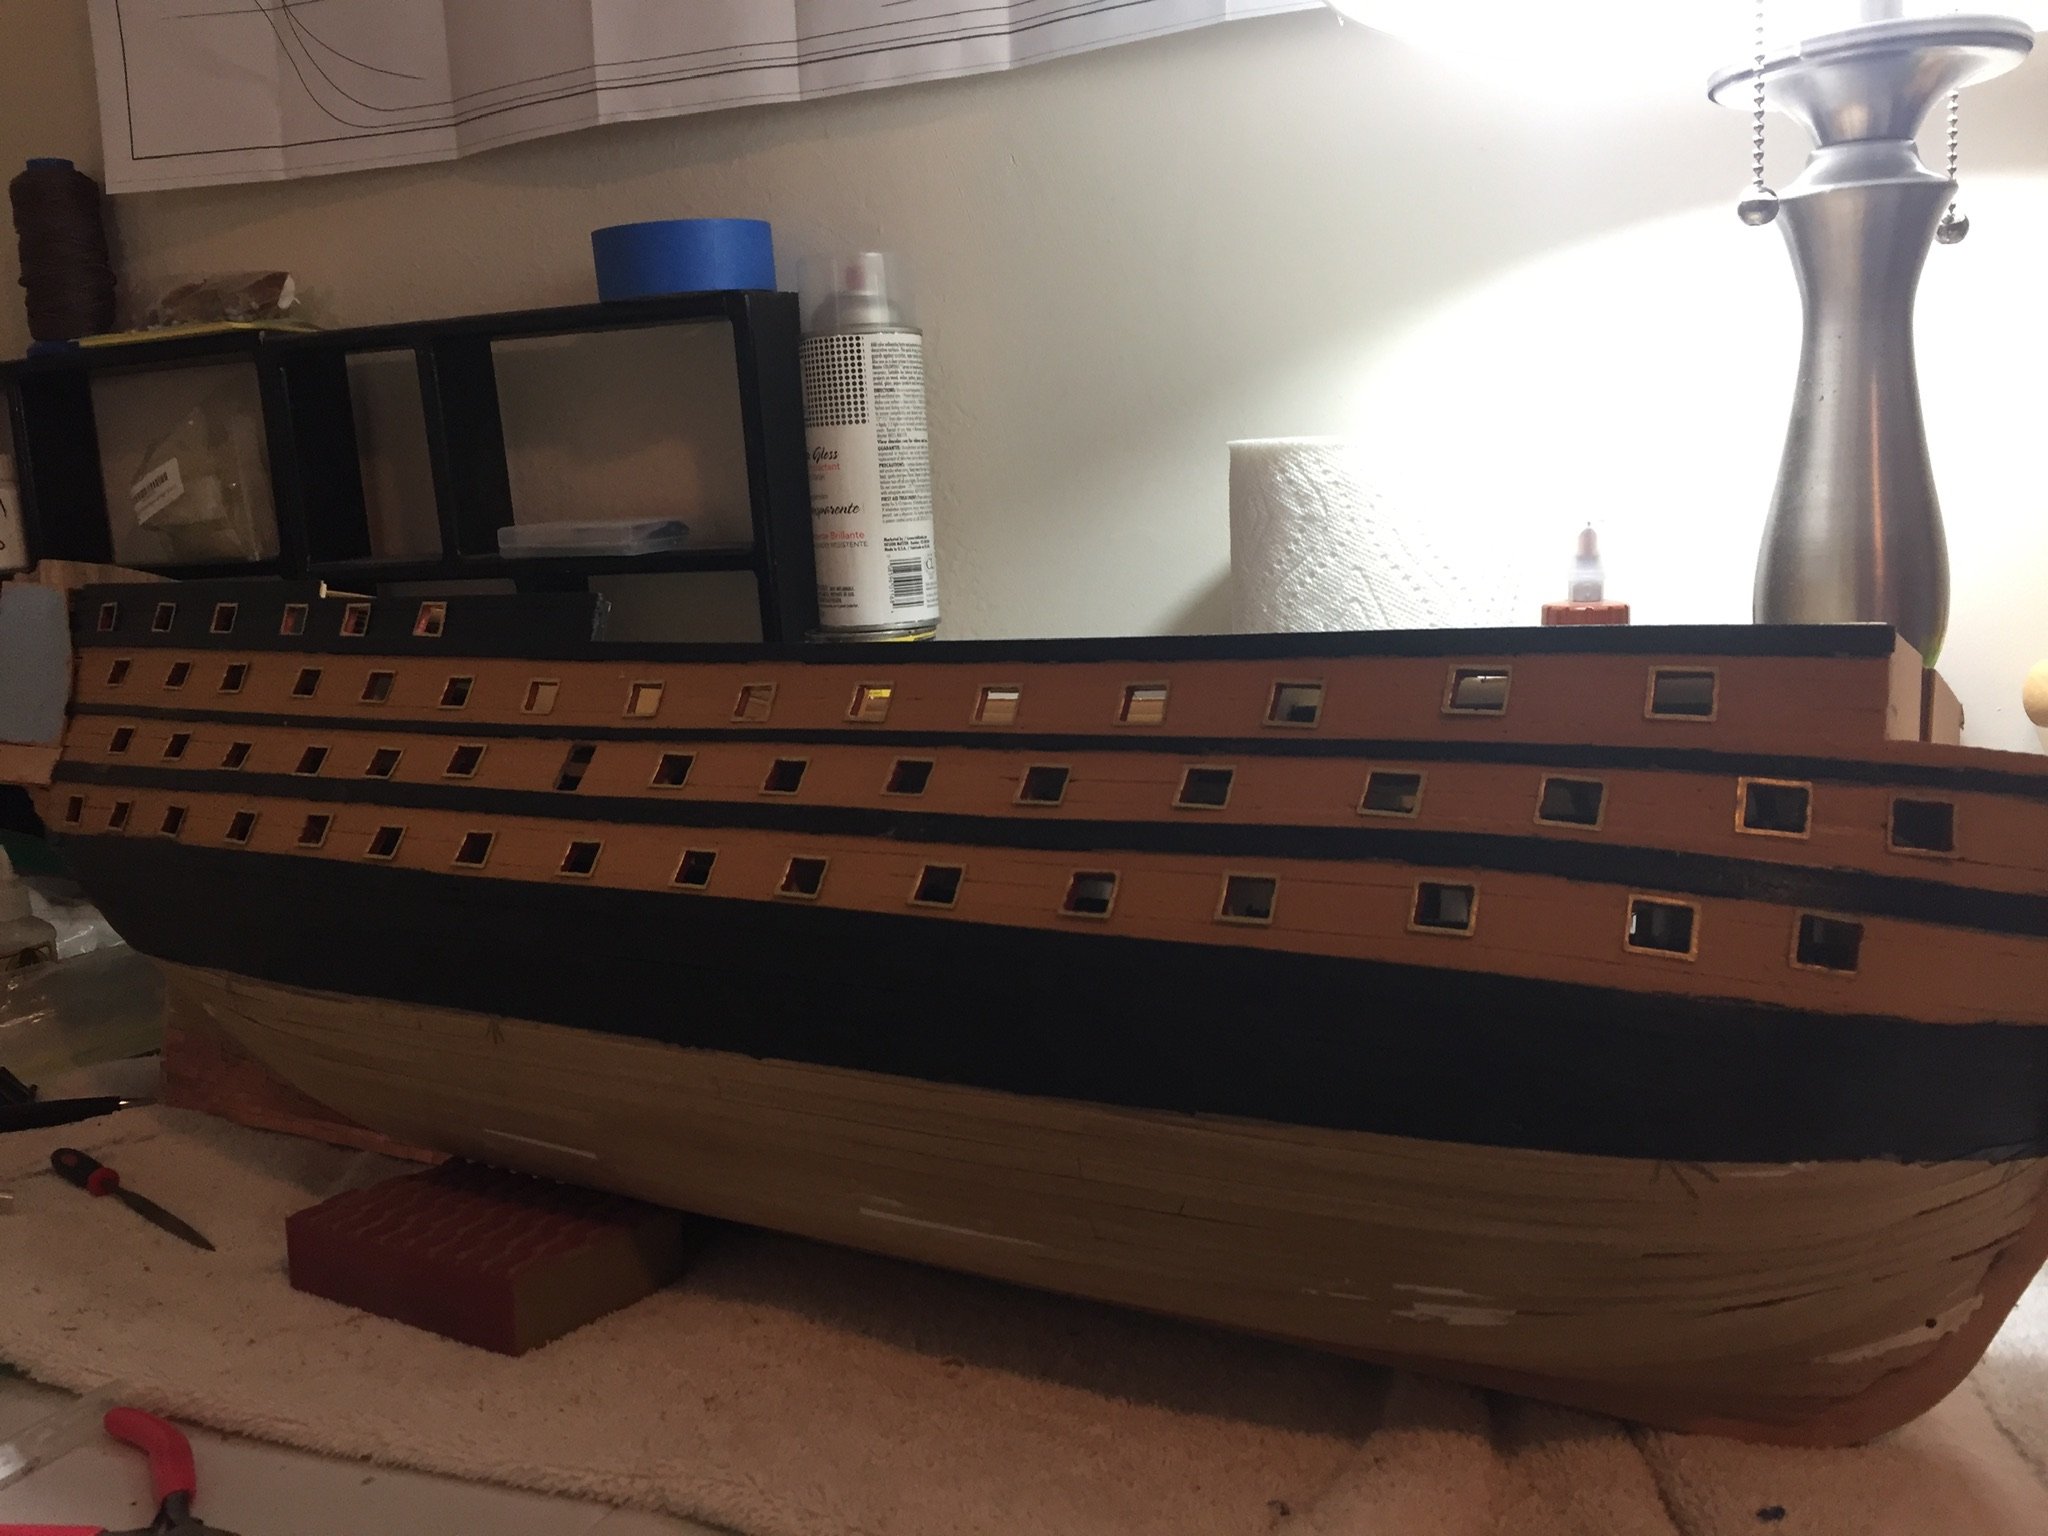
I finished the painting of the hull and the gun port liners. After they dried i glued them into the gun ports. I have to work this week end so on Monday i will be starting the copper tilling of the hull. Reading other builders posts this is a long process. So will be taking my time. I will post some pictures after a get a couple of rows completed
-
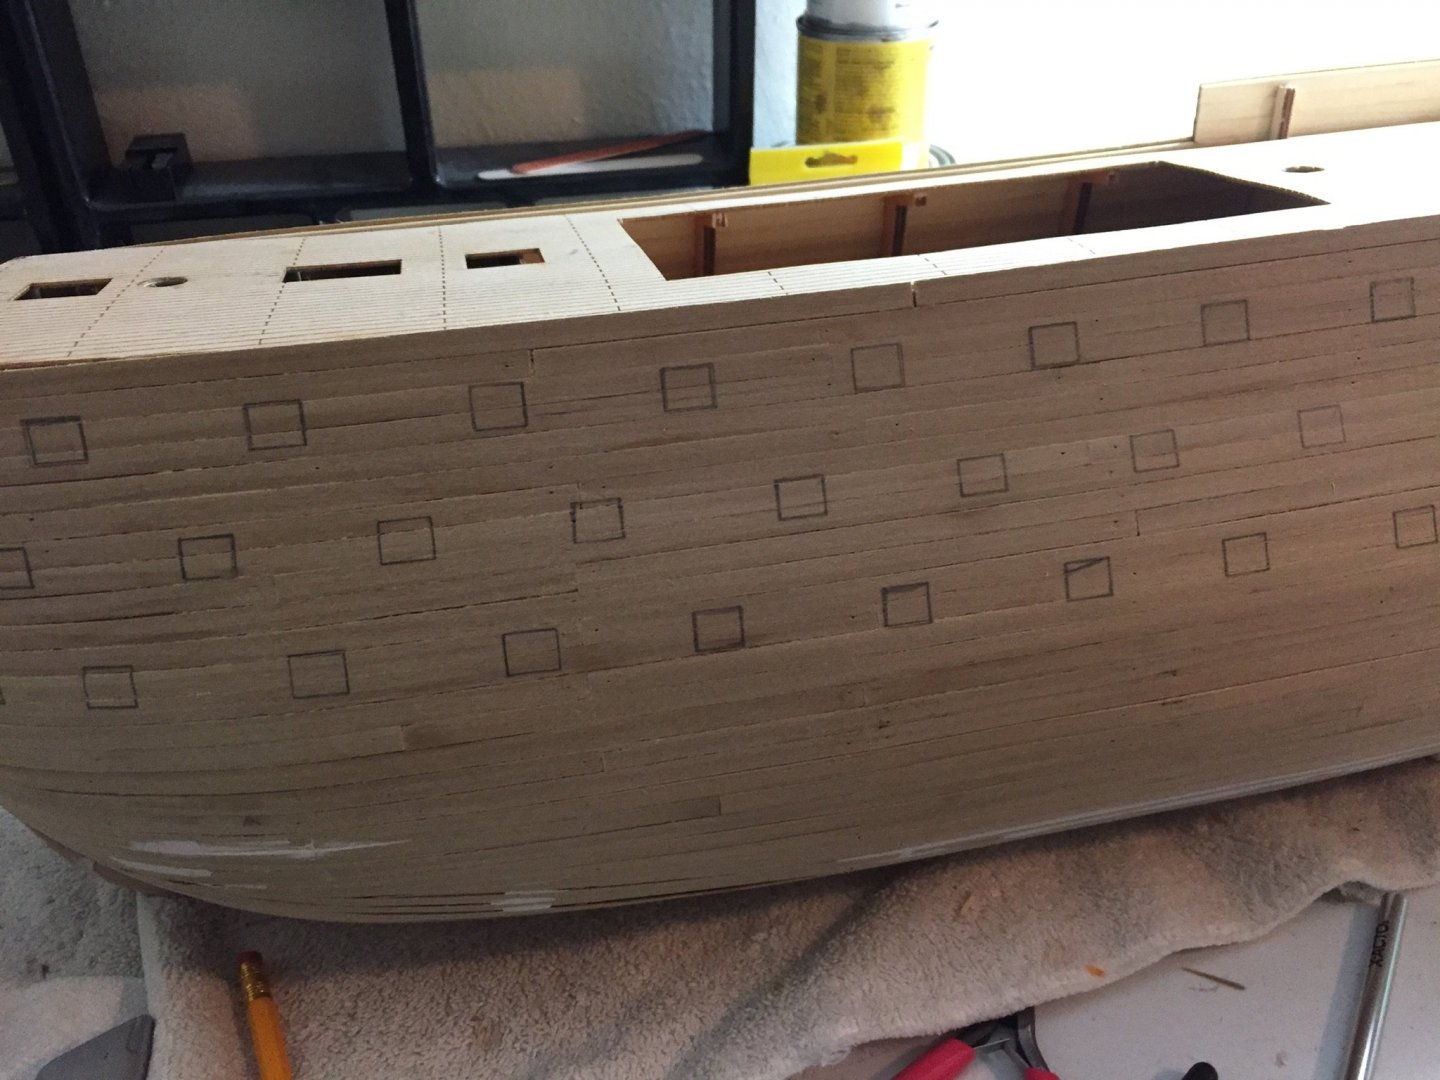
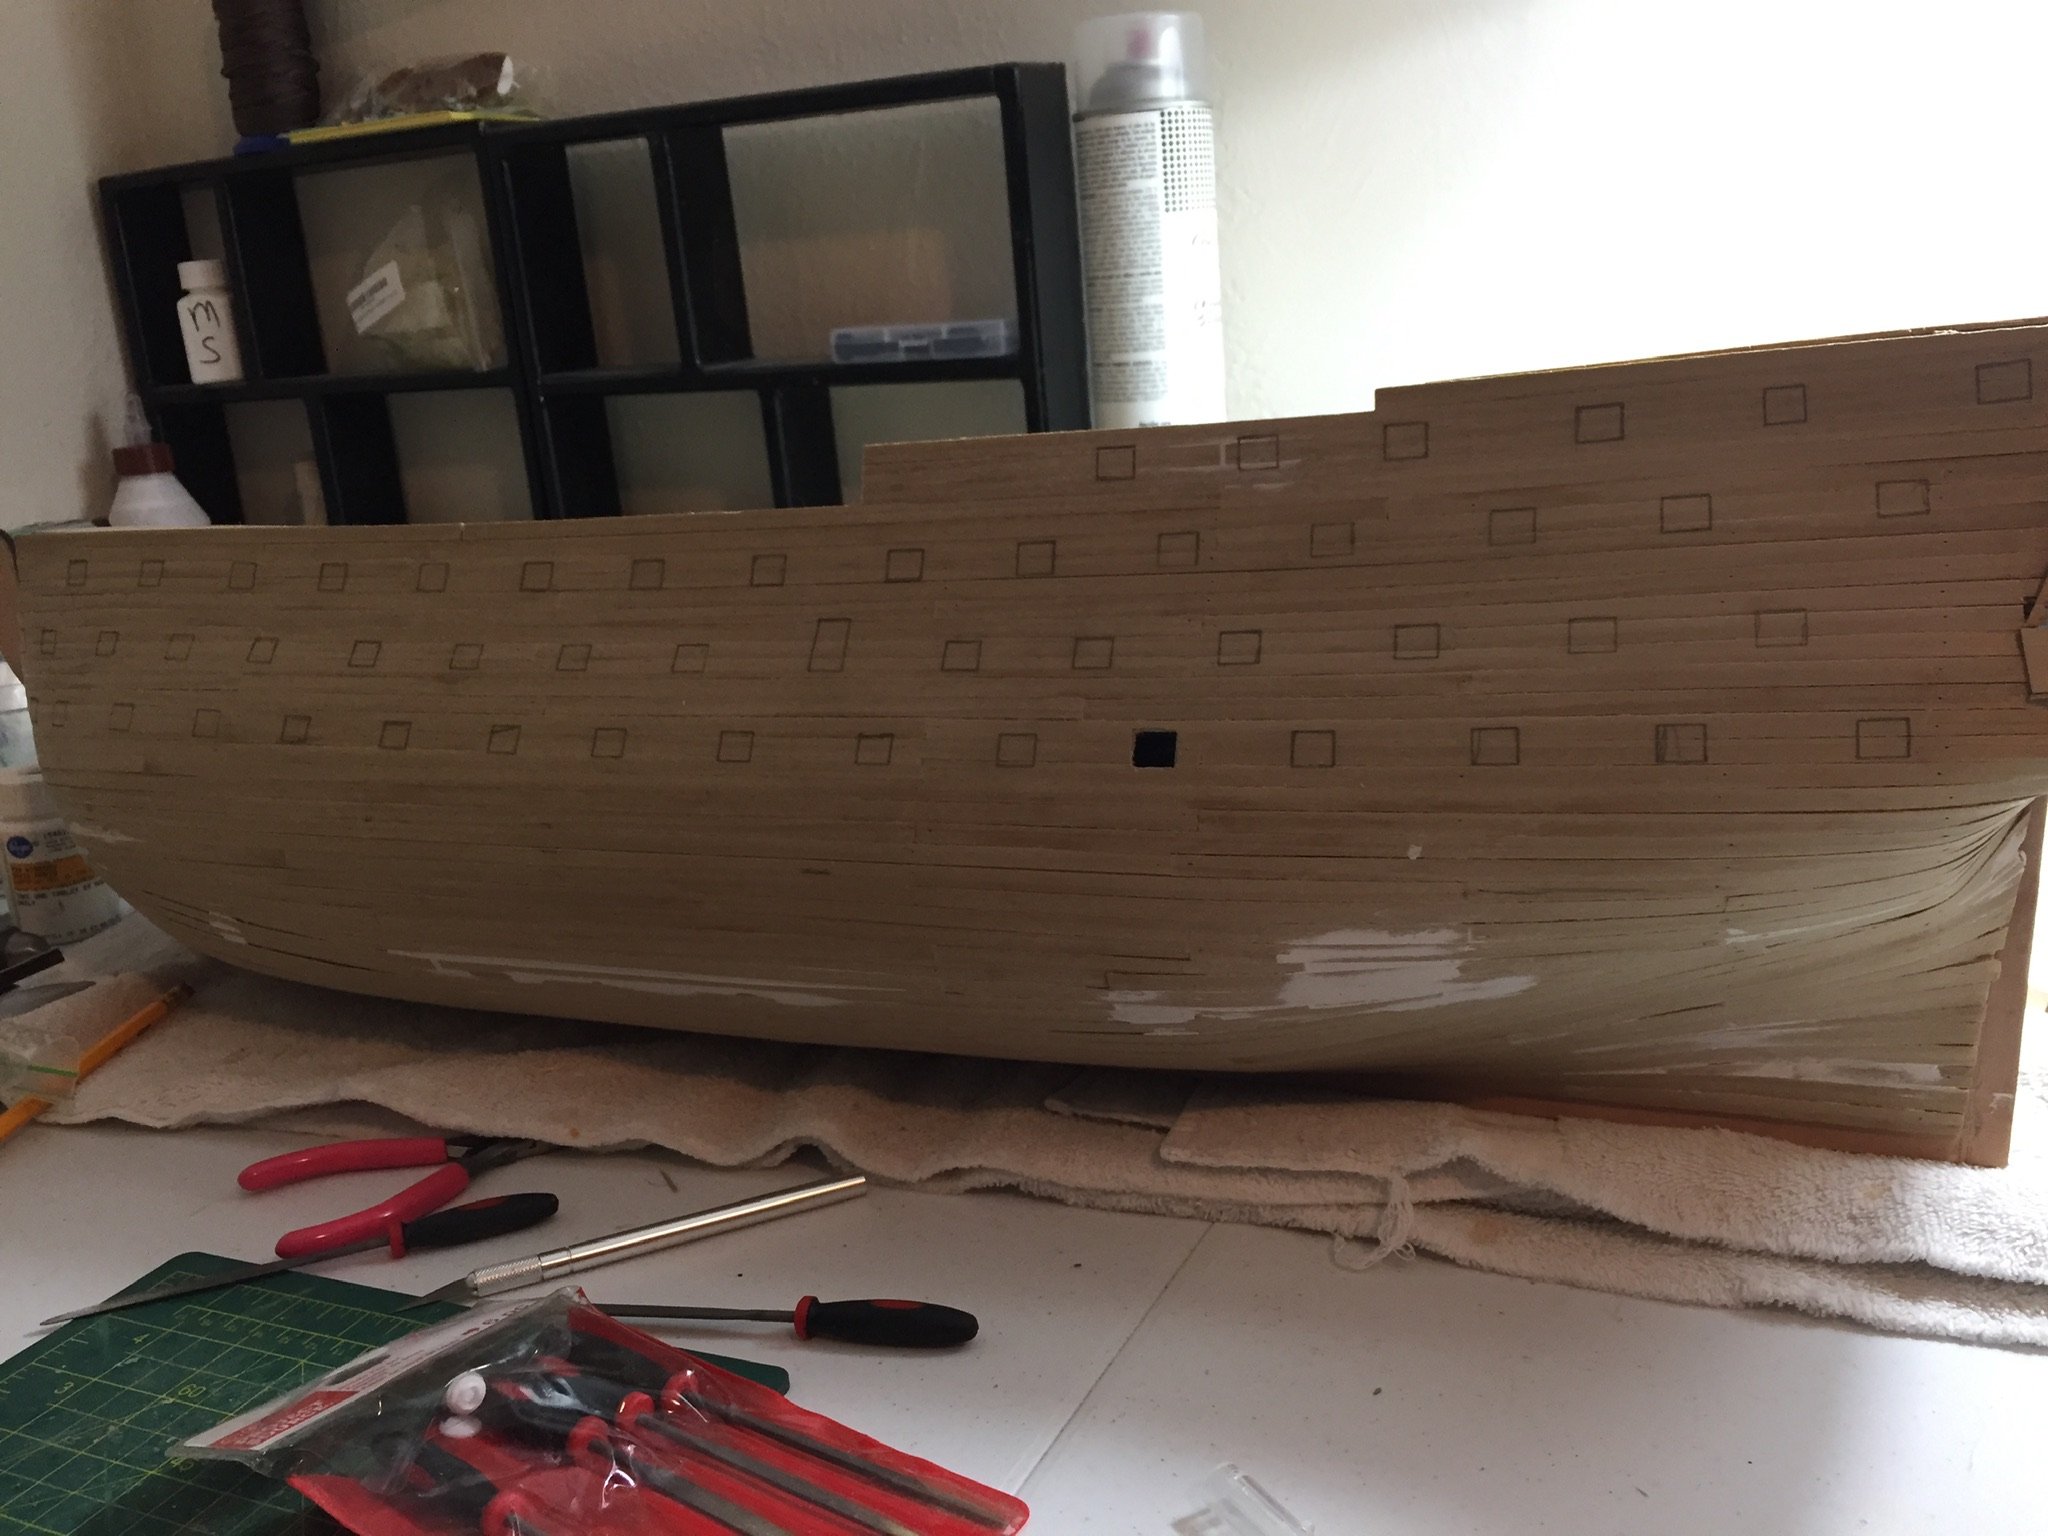
Have made some good progress since my last post. I have completed cutting out the gun ports and installed the gunwales. After giving the hull a final sanding i made a jig to draw the waterline. I have applied the first coat of the yellow ochre. I am thinking it will take about 3 coats of the yellow ochre. then i will mask it off and apply the black paint. Them to start coppering. This will be the first ship i have done installing the copper tiles.
-
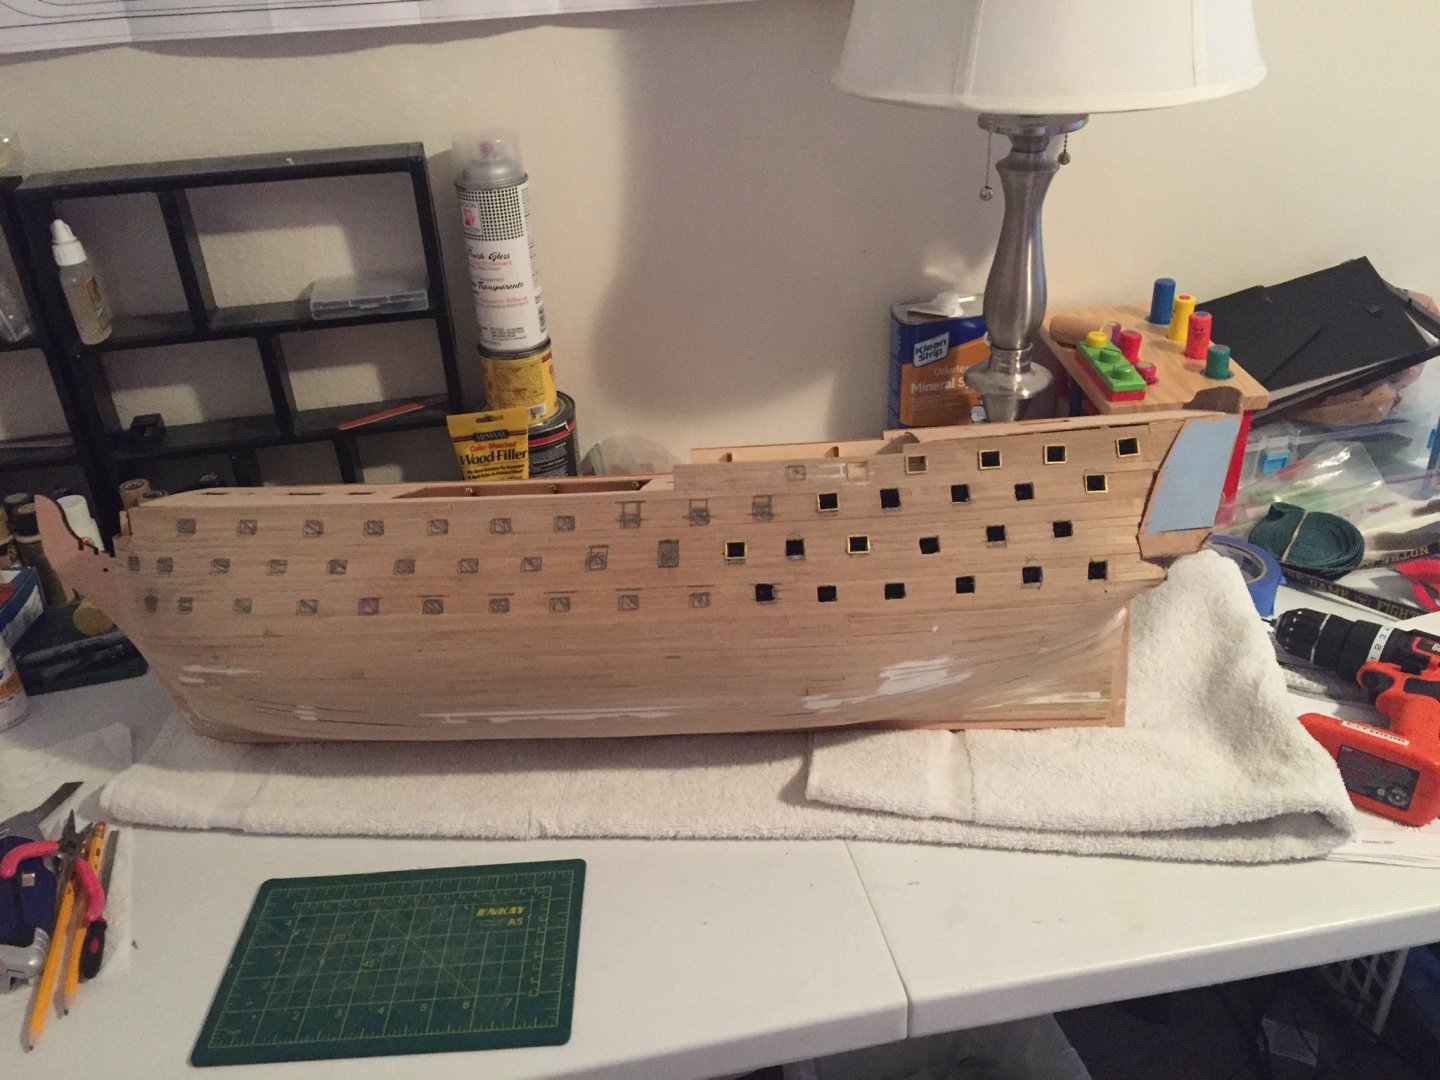
Moving along with cutting out the gun ports. Had issue with the template due to it not cut correctly. Template was cut on a angle and had to measure and draw each port on the hull. everything is coming out correctly but slow. Measure twice and cut once so they are in the correct place
- Zarkon and GrandpaPhil
-
2
-
Daliab
i got mine really smooth so that there were high or low spots i use wood filler to fill low spots and small gaps. The smoother you get the first layer the less problem you will have will the second. On the second layer only had to do sanding around the bow and then a fine sanding over the rest of hull to get it smooth. You do not want any high and low spots when you start the copper tiles
-
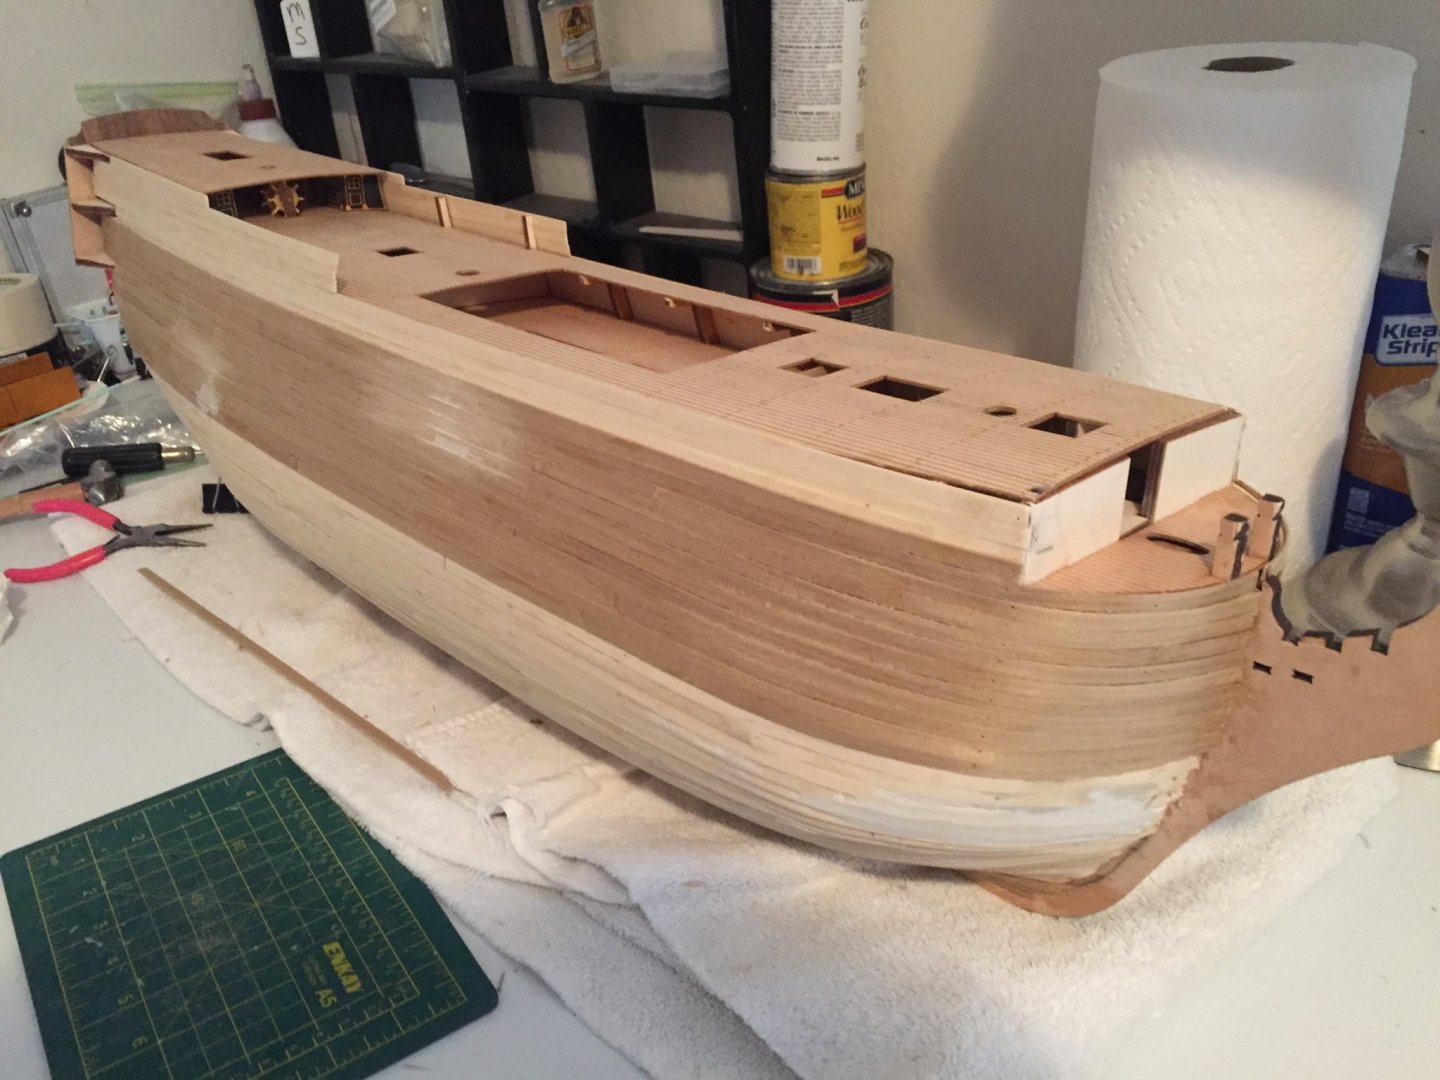
With the second planking and the stern completed I have the gun ports drawn on both sides of the hull. One gun port cut out and many more to do. After cutting the gunport I and using the supplied gun port liners to fit so everything lines up and fits as required

-
Completed the second planking just have to do some fine sanding. Next is finishing the stern and then cutting out the gun ports.
-
-
Daliab
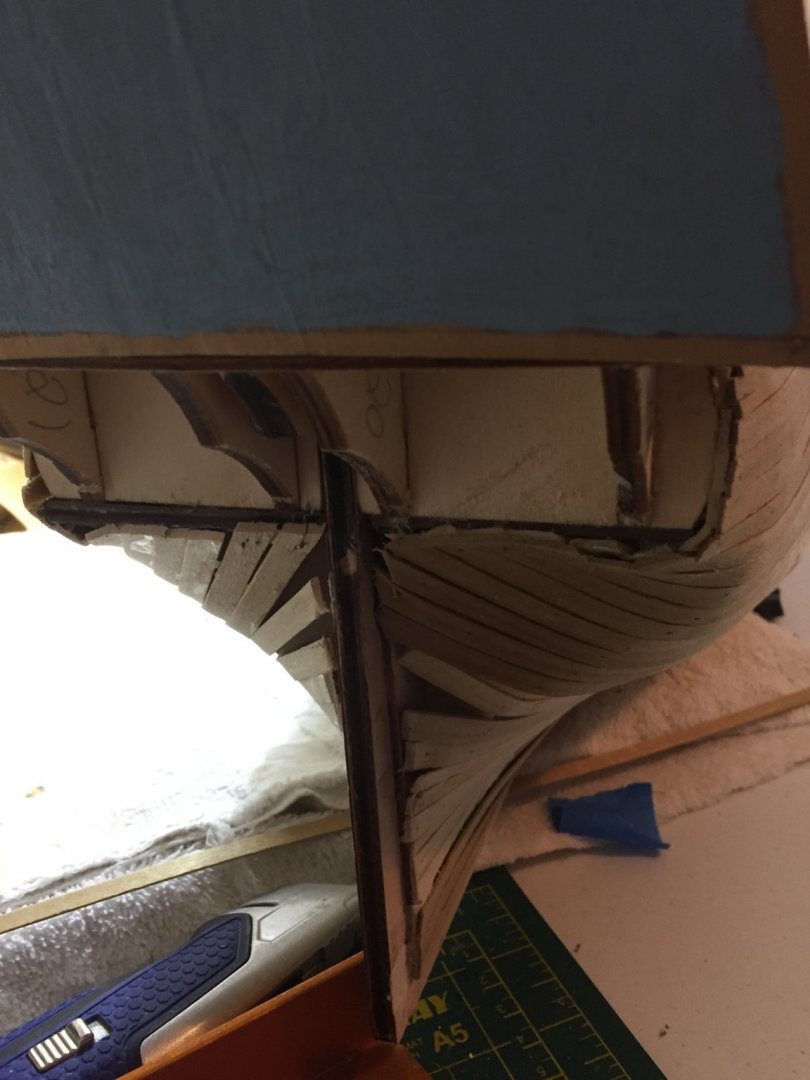
i have added a couple of pictures of the stern. Like you asked. Still have some cleaning up to do but doing it as i move along with the second planking. Hope it helps
-
Here are pictures of the stern. Still have some cleaning up to do and am doing it as i move along with second planking

-
Working late tonight but will get a picture of the stern and post it here in next day or two
-
Here is where i am now. I have started the second layer of planking. Going a little slow because this layer is what everyone will see. The walnut strips are in good shape only a couple had bad spots that i removed.
- GrandpaPhil, Ronald-V, Zarkon and 2 others
-
5
-
Your ship is looking good.
-
Daliab
yes i was able to find them. They are much easier to follow and use. Like you i also use the ones that came with the kit. Thanks for showing me where they were located.
-
Well i finally finished sanding the first layer of hull planking and am satisfied with the results. The instructions say to put the second layer of planking on in full strips. I am finding that the full strips is a little difficult in keeping them level and tight against the previous plank. Since the hull is painted and copper tiles. I decided to cut the planks in 1/3’s and stager the joints by one or two frames. It looks good and easier to work with. I will post pictures after i get a few rows of the second planking completed
-
Yes i did. It was the decking planks on other ships i looked up modelexpo.com. They have a large selection on planking and decent prices. When i order from them i got the order within a week


HMS Victory by Daliab - FINISHED - Mantua/Panart
in - Kit build logs for subjects built from 1751 - 1800
Posted
Your ship looks great. have moved to new place since the fire and things going well. i have decided to start building again. this time i am going to build the Caldercraft HMS Victory. i have ordered it but due to the virus. it will be about 4 weeks before it arrives. i will start a build log once i received it. happy ship building and will watch our progress. Dave