David56
Members-
Posts
52 -
Joined
-
Last visited
About David56
- Birthday 10/31/1956
Profile Information
-
Gender
Male
-
Location
Virginia, USA
Recent Profile Visitors
-
 FrankWouts reacted to a post in a topic:
HMS Vanguard by marktiedens - Model Shipways - scale 1:72
-
 popeye the sailor reacted to a post in a topic:
HMS Vanguard by marktiedens - Model Shipways - scale 1:72
-
 Landlubber Mike reacted to a post in a topic:
HMS Victory by Daliab - FINISHED - Mantua/Panart
-
Your ship looks great. have moved to new place since the fire and things going well. i have decided to start building again. this time i am going to build the Caldercraft HMS Victory. i have ordered it but due to the virus. it will be about 4 weeks before it arrives. i will start a build log once i received it. happy ship building and will watch our progress. Dave
-
 Daveruss reacted to a post in a topic:
HMS Victory by David56 - Panart - 1:78 scale
-
Daliab Your ship is looking great. hope mine turns out just as well. Have a question for you on the gun ports. What size thread did you use for the gun ports. Also are there any tips you can pass along on getting them done correctly. any help will be appreciated
-
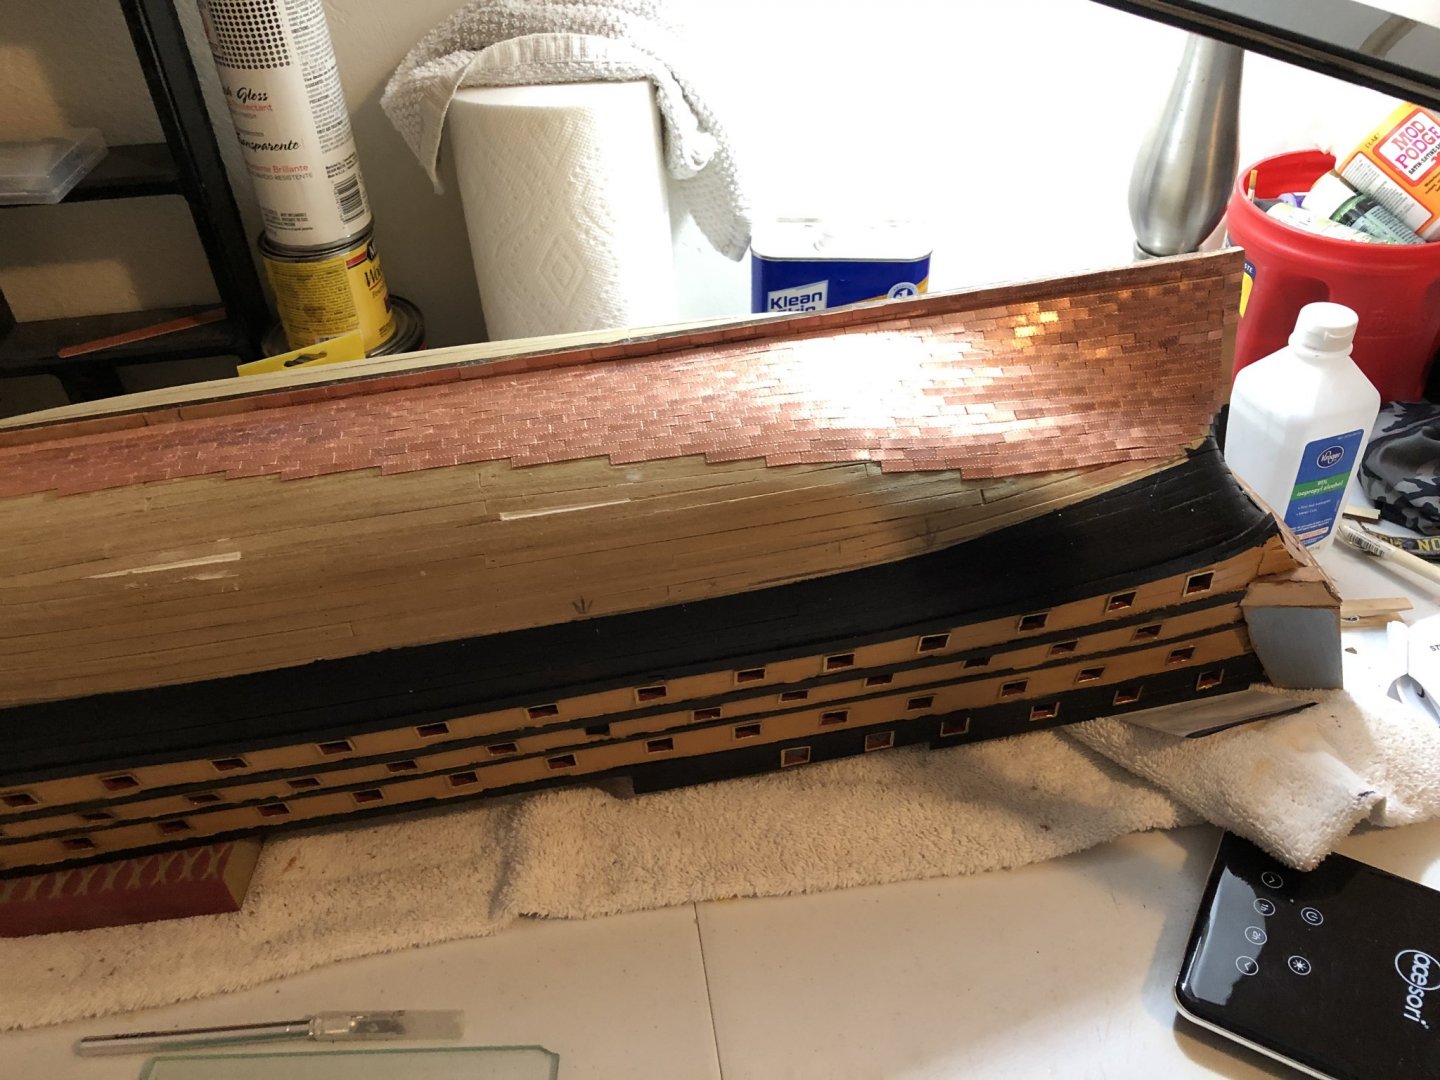
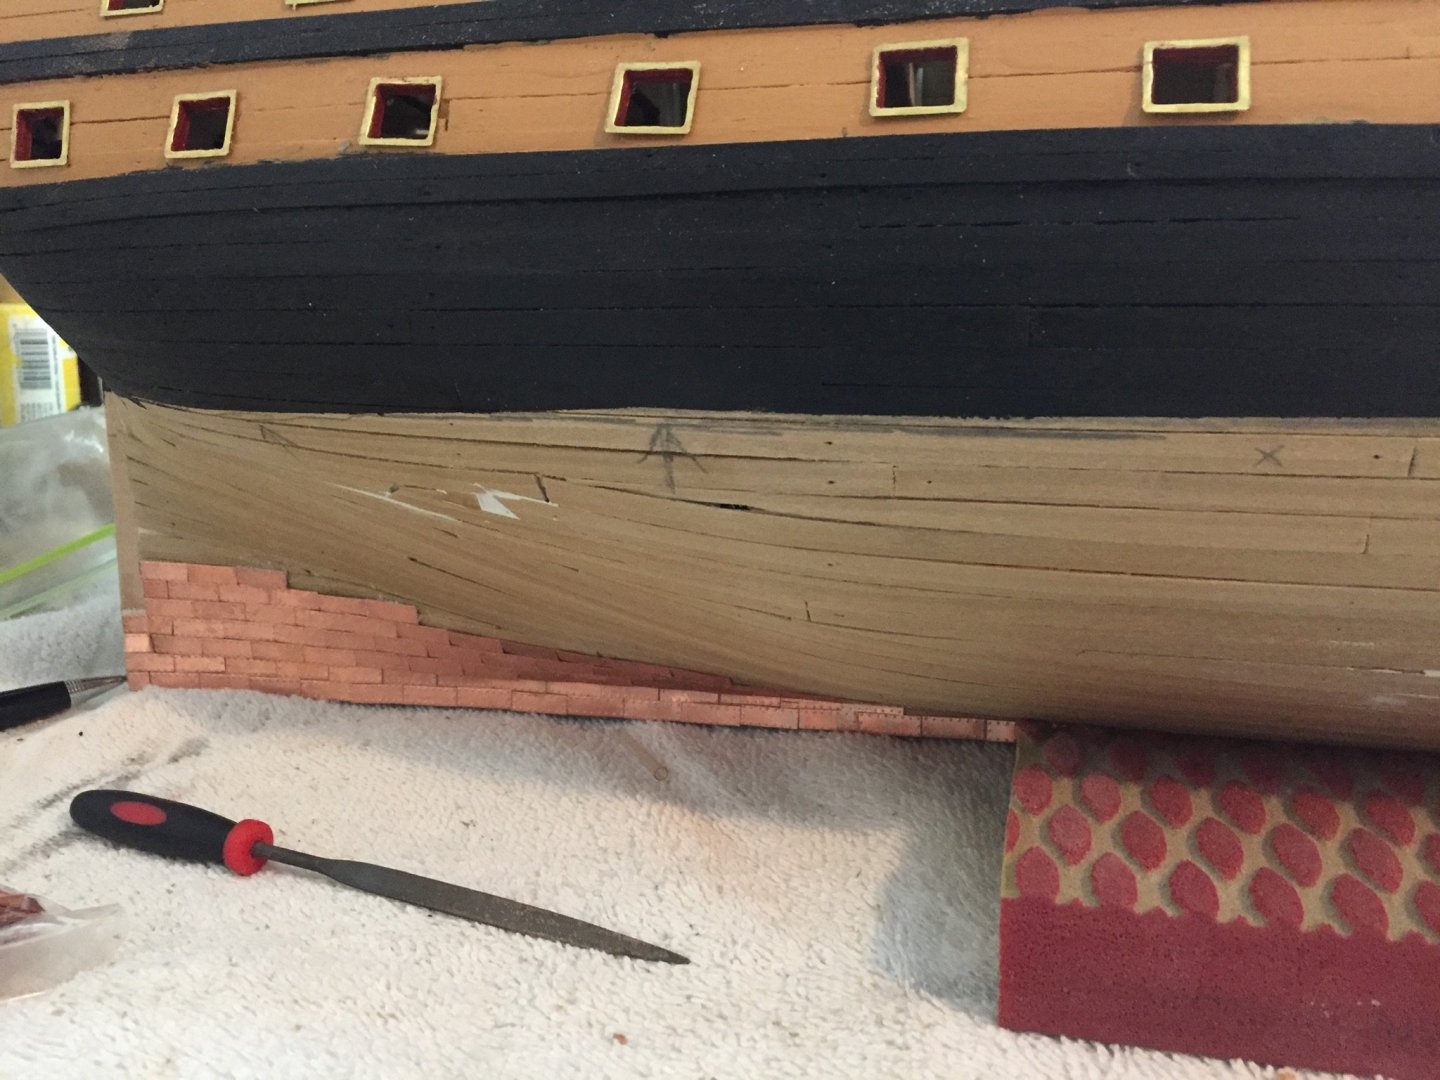
Hi everyone, has been a while since my last post but my Victory has been on hold due to some health issues(knee problems). I have completed the copper tiling of the hull and finished the stern. I have started the bow, but since being out of work for a while, work is being a priority so do not know how long it will take to finish the bow section. Hopefully i can get back to working on the Victory on a regular basis very soon. happy building everyone
-
 Daliab reacted to a post in a topic:
HMS Victory by Daliab - FINISHED - Mantua/Panart
-
 Daliab reacted to a post in a topic:
HMS Victory by David56 - Panart - 1:78 scale
-
 GrandpaPhil reacted to a post in a topic:
HMS Victory by David56 - Panart - 1:78 scale
-
 GrandpaPhil reacted to a post in a topic:
HMS Victory by David56 - Panart - 1:78 scale
-
When I cut out my gun ports I went through several blades. Found out the sharper the blade the easier it was to cut the gun ports. Hopefully some sanding can hide your mistake
-
 mispeltyoof reacted to a post in a topic:
HMS Victory by mispeltyoof - Panart - Scale 1:78
-
 GrandpaPhil reacted to a post in a topic:
HMS Victory by David56 - Panart - 1:78 scale
-
started the copper tiling of the hull. It is a very slow process but have found that using curved tweezers works well and gives better control in putting them in place. I am also using an xacto knife With a curved blade to cut the tiles. There may be a better way to cut them but the curved blade works well for me
-
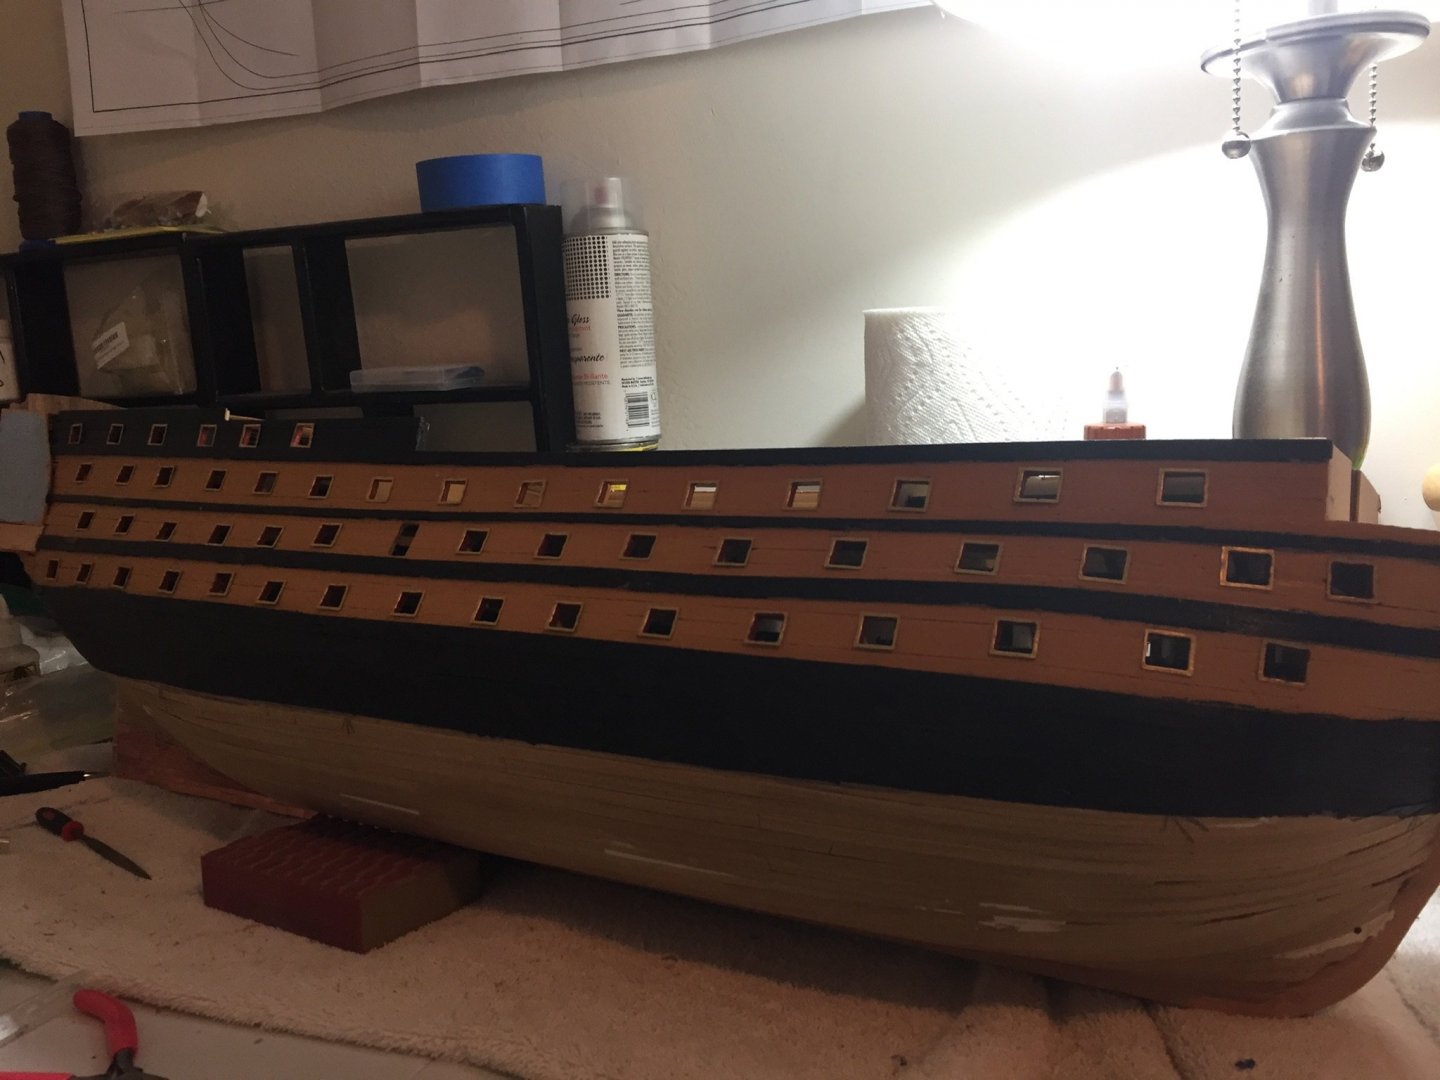
I finished the painting of the hull and the gun port liners. After they dried i glued them into the gun ports. I have to work this week end so on Monday i will be starting the copper tilling of the hull. Reading other builders posts this is a long process. So will be taking my time. I will post some pictures after a get a couple of rows completed
-
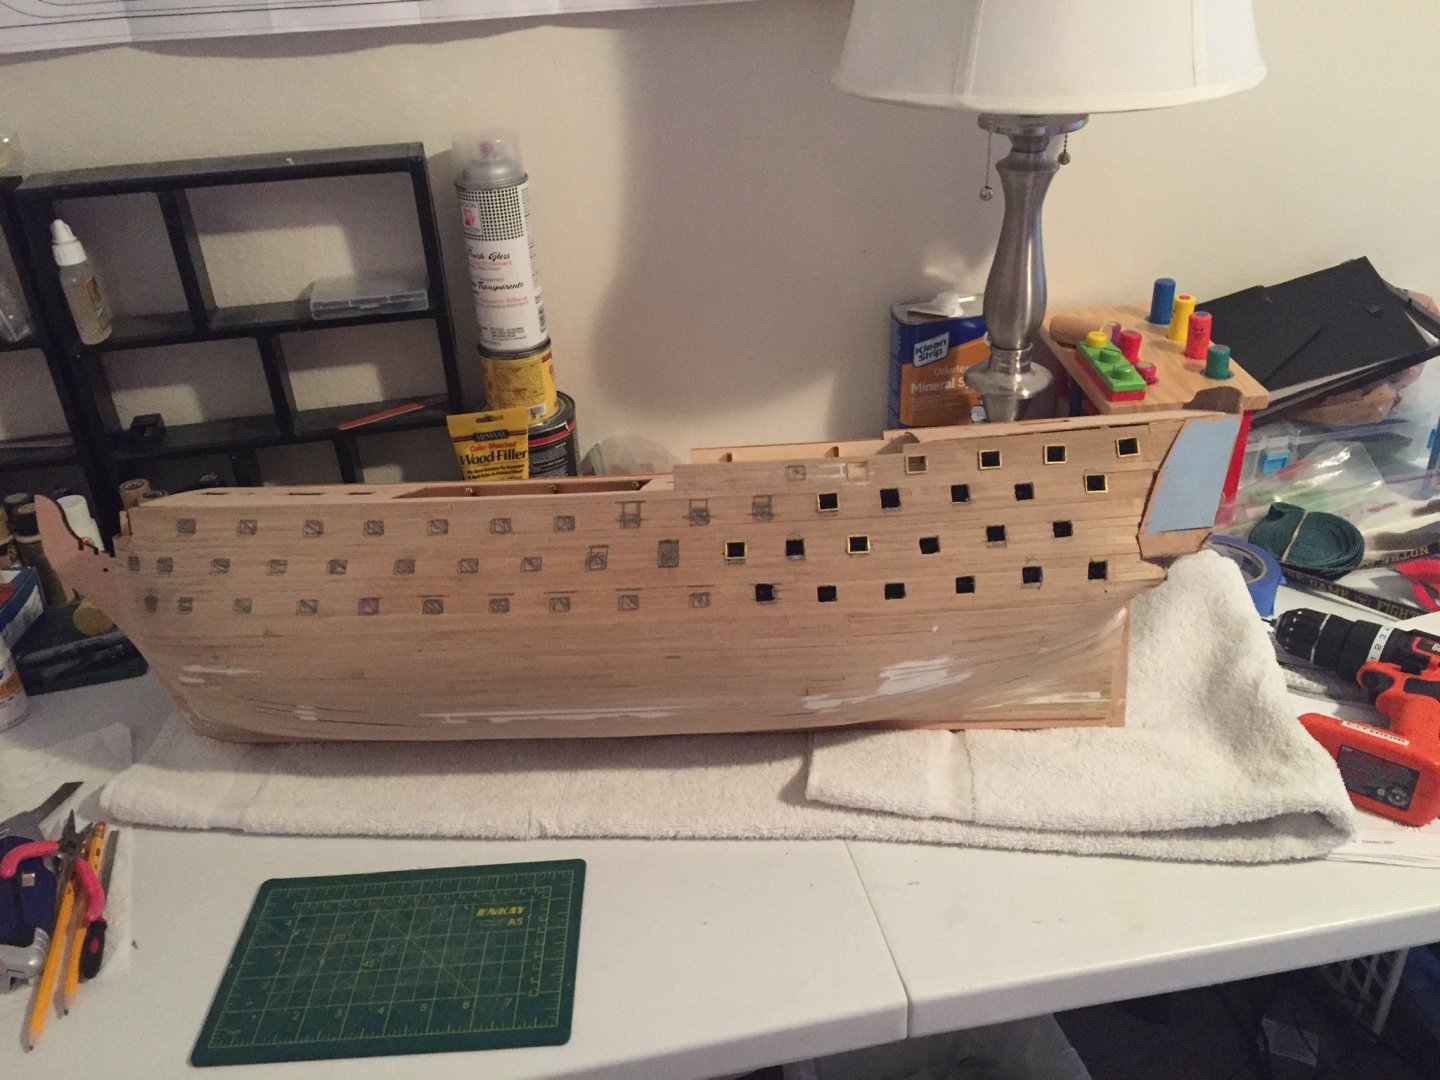
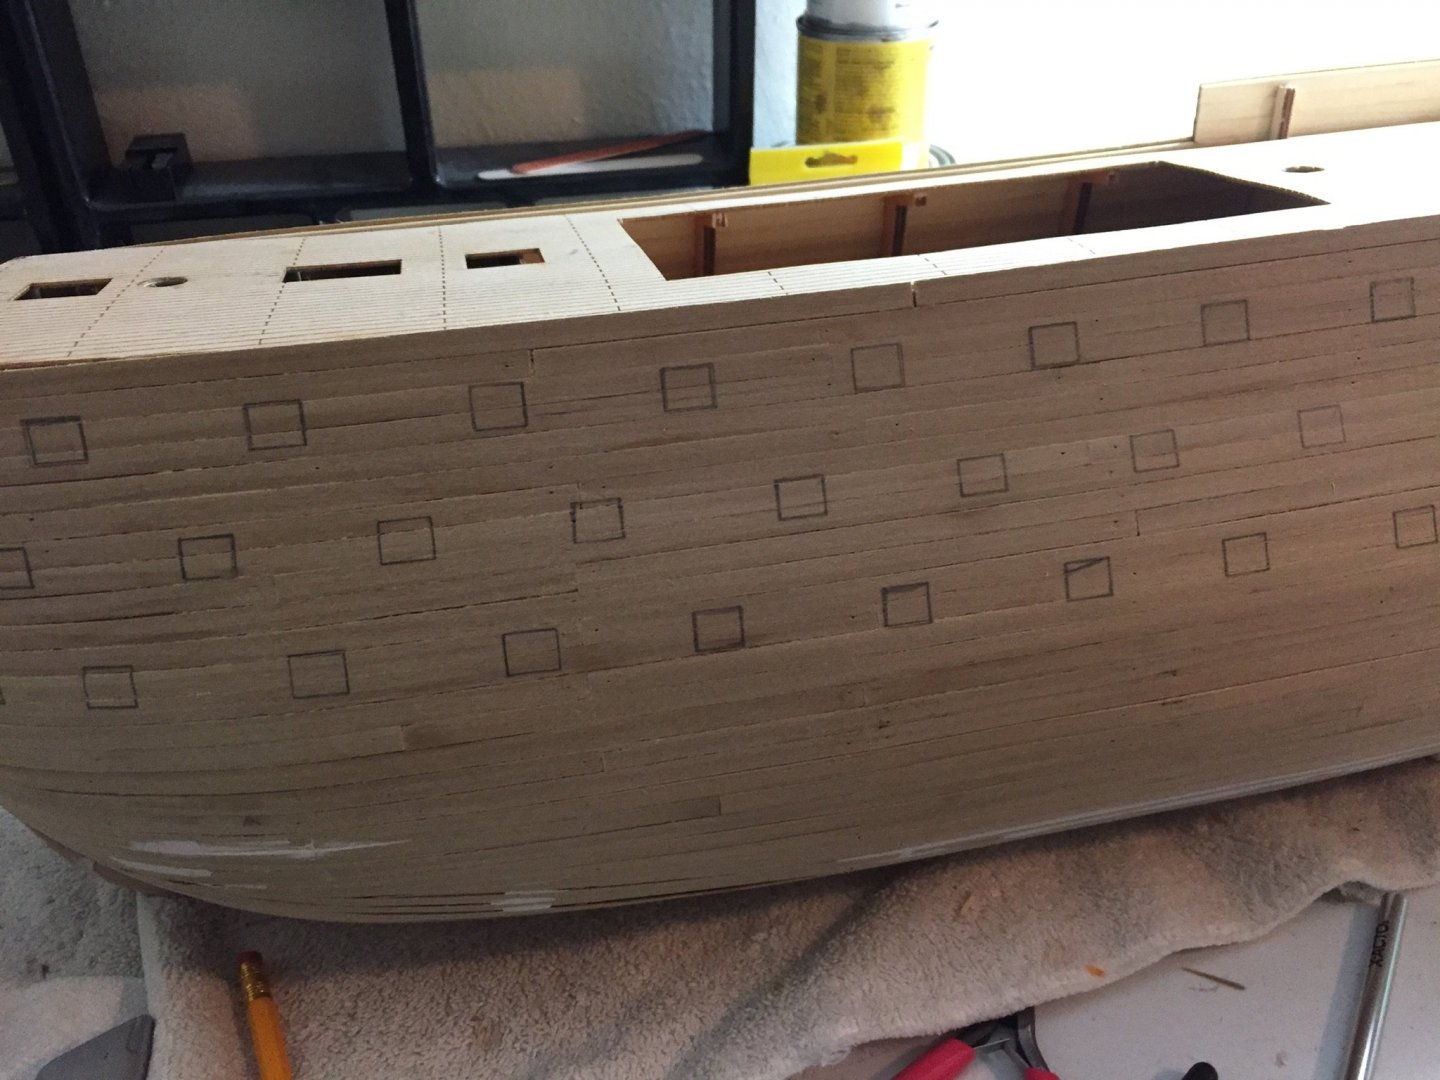
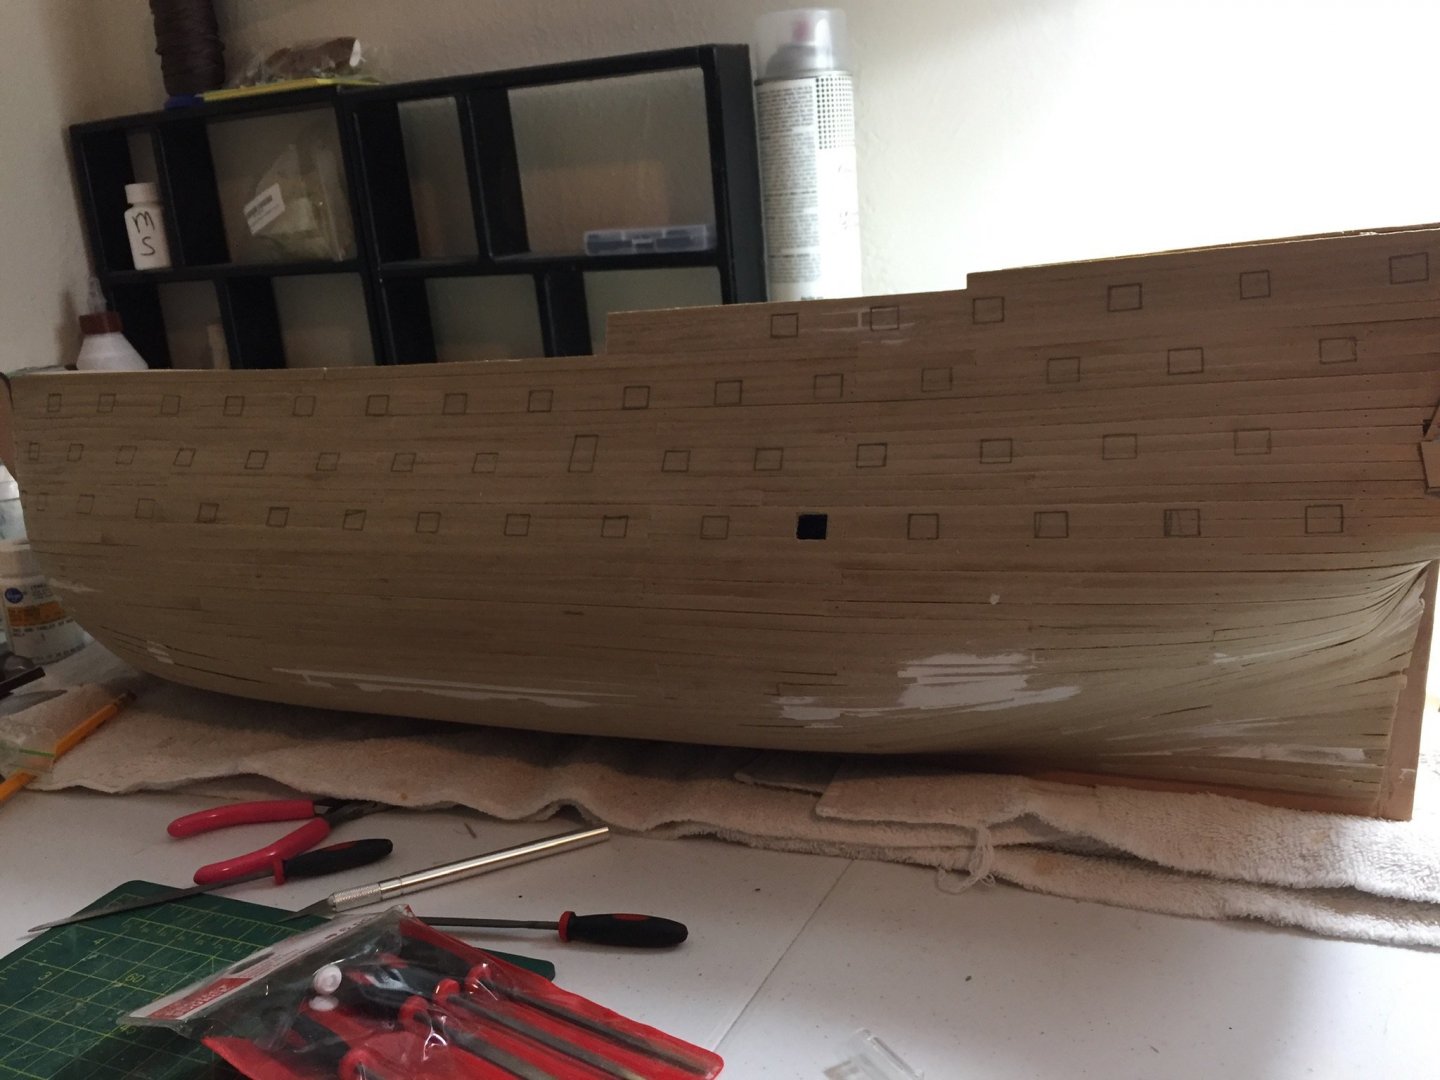
Have made some good progress since my last post. I have completed cutting out the gun ports and installed the gunwales. After giving the hull a final sanding i made a jig to draw the waterline. I have applied the first coat of the yellow ochre. I am thinking it will take about 3 coats of the yellow ochre. then i will mask it off and apply the black paint. Them to start coppering. This will be the first ship i have done installing the copper tiles.
-
Daliab i got mine really smooth so that there were high or low spots i use wood filler to fill low spots and small gaps. The smoother you get the first layer the less problem you will have will the second. On the second layer only had to do sanding around the bow and then a fine sanding over the rest of hull to get it smooth. You do not want any high and low spots when you start the copper tiles
About us
Modelshipworld - Advancing Ship Modeling through Research
SSL Secured
Your security is important for us so this Website is SSL-Secured
NRG Mailing Address
Nautical Research Guild
237 South Lincoln Street
Westmont IL, 60559-1917
Model Ship World ® and the MSW logo are Registered Trademarks, and belong to the Nautical Research Guild (United States Patent and Trademark Office: No. 6,929,264 & No. 6,929,274, registered Dec. 20, 2022)
Helpful Links
About the NRG
If you enjoy building ship models that are historically accurate as well as beautiful, then The Nautical Research Guild (NRG) is just right for you.
The Guild is a non-profit educational organization whose mission is to “Advance Ship Modeling Through Research”. We provide support to our members in their efforts to raise the quality of their model ships.
The Nautical Research Guild has published our world-renowned quarterly magazine, The Nautical Research Journal, since 1955. The pages of the Journal are full of articles by accomplished ship modelers who show you how they create those exquisite details on their models, and by maritime historians who show you the correct details to build. The Journal is available in both print and digital editions. Go to the NRG web site (www.thenrg.org) to download a complimentary digital copy of the Journal. The NRG also publishes plan sets, books and compilations of back issues of the Journal and the former Ships in Scale and Model Ship Builder magazines.

