-
Posts
1,007 -
Joined
-
Last visited
-
 PaddyO reacted to a post in a topic:
US Brig Syren by Redshadowrider - Model Shipways - Scale 1:64 - First wooden ship build
-
 PaddyO reacted to a post in a topic:
US Brig Syren by Redshadowrider - Model Shipways - Scale 1:64 - First wooden ship build
-
 schooner reacted to a post in a topic:
US Brig Syren by WalrusGuy - FINISHED - Model Shipways - Scale 1:64 - Second wooden ship build
-
 Coyote_6 reacted to a post in a topic:
US Brig Syren by WalrusGuy - FINISHED - Model Shipways - Scale 1:64 - Second wooden ship build
-
 François de Saint Nazaire reacted to a post in a topic:
US Brig Syren by WalrusGuy - FINISHED - Model Shipways - Scale 1:64 - Second wooden ship build
-
 François de Saint Nazaire reacted to a post in a topic:
US Brig Syren by WalrusGuy - FINISHED - Model Shipways - Scale 1:64 - Second wooden ship build
-
 PaddyO reacted to a post in a topic:
US Brig Syren by WalrusGuy - FINISHED - Model Shipways - Scale 1:64 - Second wooden ship build
-
 PaddyO reacted to a post in a topic:
US Brig Syren by Zeuswyn - Model Shipways - Scale 1:64
-
 PaddyO reacted to a post in a topic:
US Brig Syren by WalrusGuy - FINISHED - Model Shipways - Scale 1:64 - Second wooden ship build
-
 PaddyO reacted to a post in a topic:
US Brig Syren by WalrusGuy - FINISHED - Model Shipways - Scale 1:64 - Second wooden ship build
-
 WalrusGuy reacted to a post in a topic:
Le Gros Ventre by ChrisLBren - 1/36
-
 WalrusGuy reacted to a post in a topic:
USF Confederacy 1778 By KennyH78 - Model Shipways - 1:64
-
 WalrusGuy reacted to a post in a topic:
USF Confederacy 1778 by WalrusGuy - Model Shipways - 1:64
-
 WalrusGuy reacted to a post in a topic:
USF Confederacy 1778 By KennyH78 - Model Shipways - 1:64
-
 WalrusGuy reacted to a post in a topic:
HM Sloop Echo 1781 by VTHokiEE - 1:48 - Cross-Section
-
 WalrusGuy reacted to a post in a topic:
HM Sloop Echo 1781 by VTHokiEE - 1:48 - Cross-Section
-
 WalrusGuy reacted to a post in a topic:
Le Rochefort by No Idea - 1/24th Scale - First POF Build
-
Hi Werner, the headrails look fantastic! This is probably the most trickiest part of the build.
- 60 replies
-
- Confederacy
- Model Shipways
-
(and 1 more)
Tagged with:
-
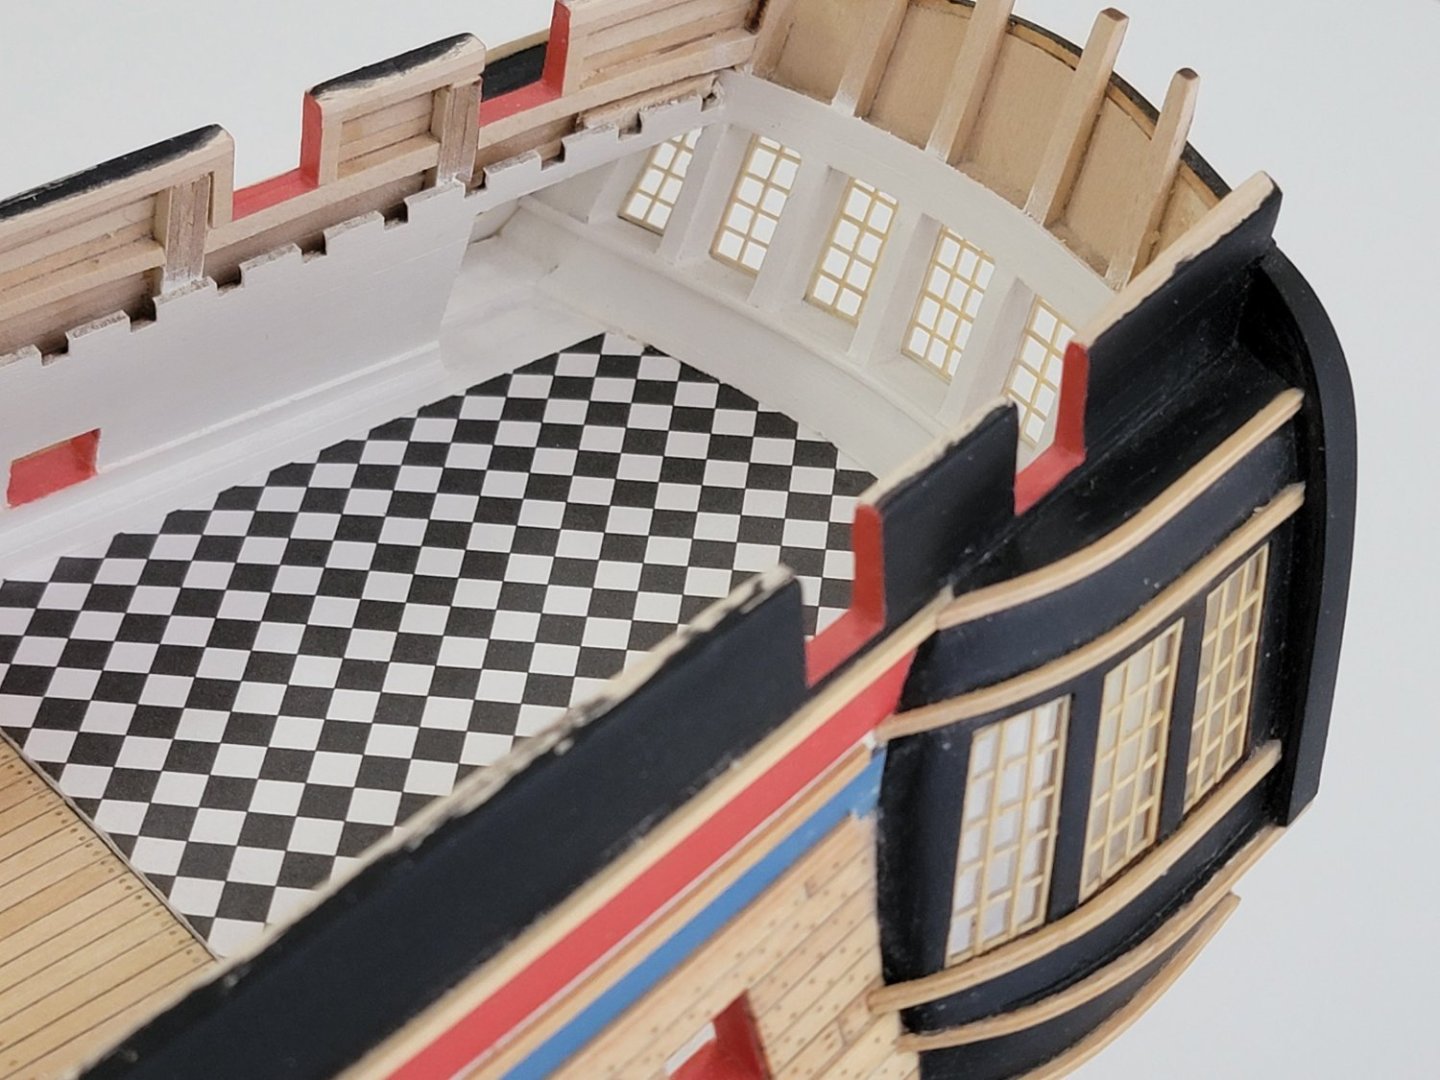
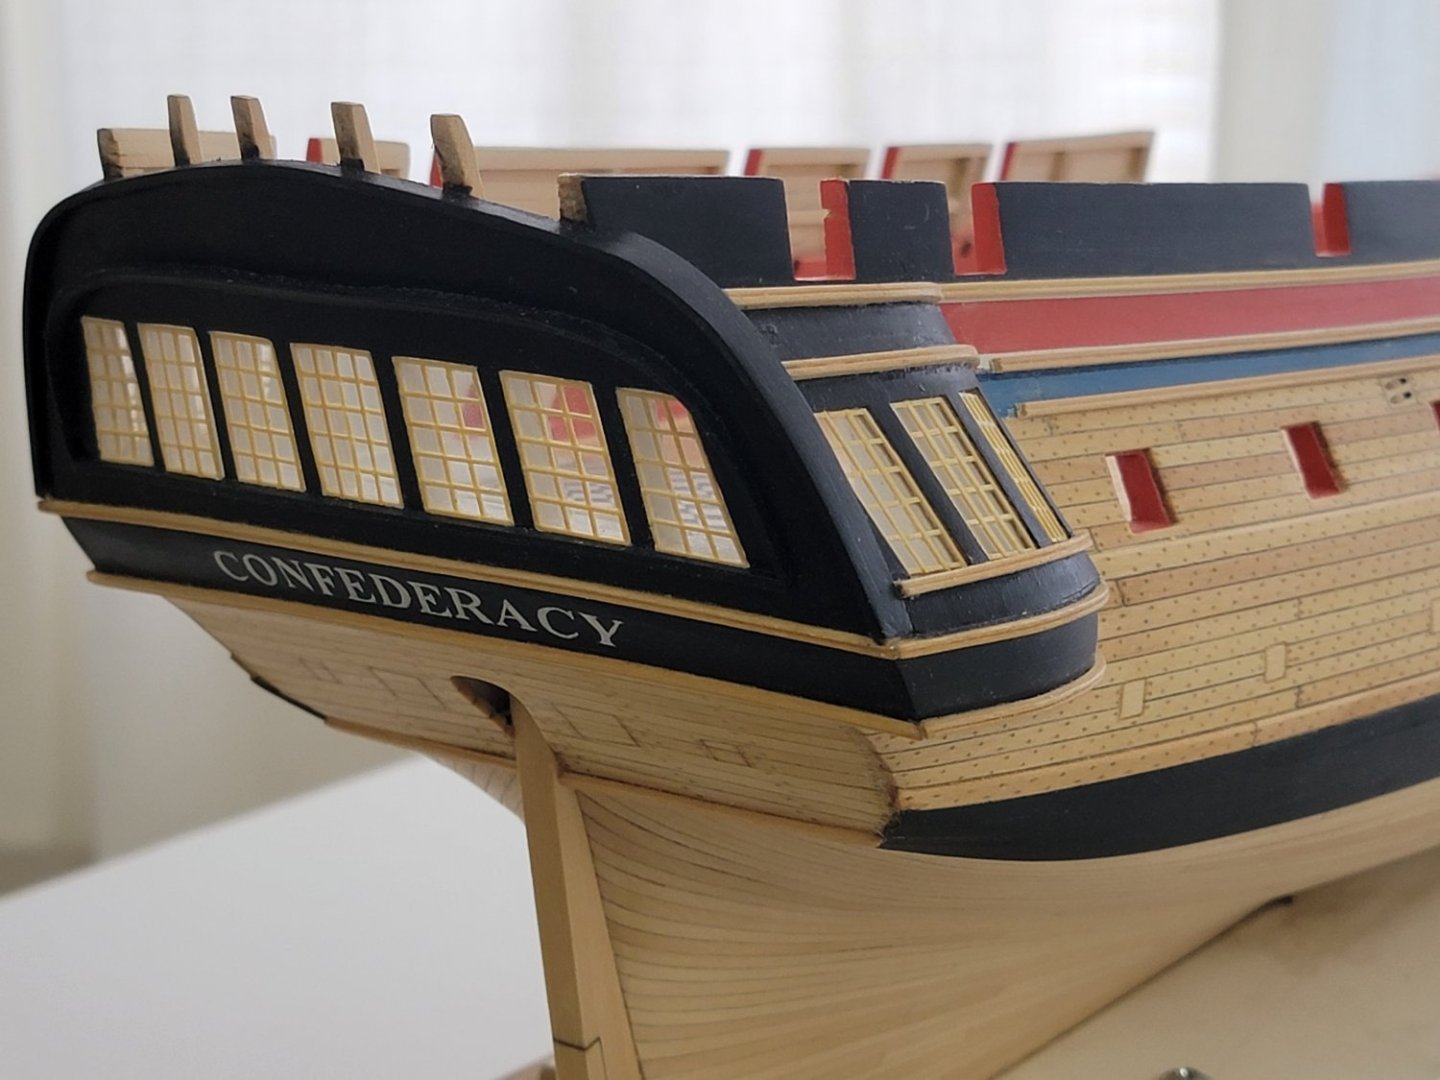
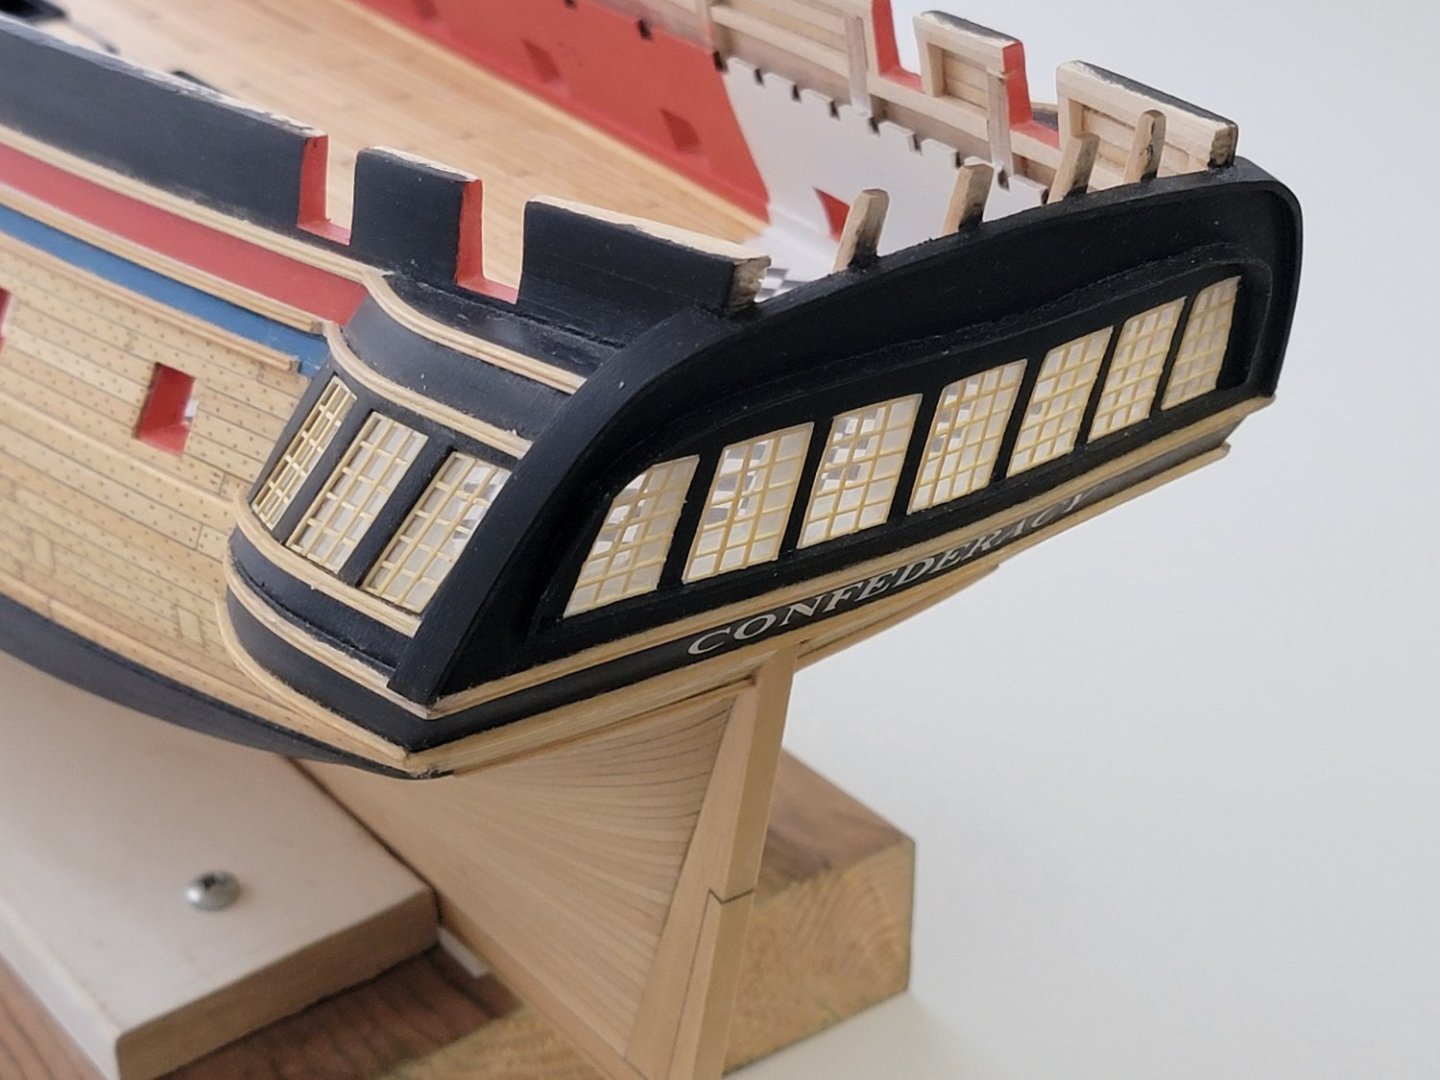
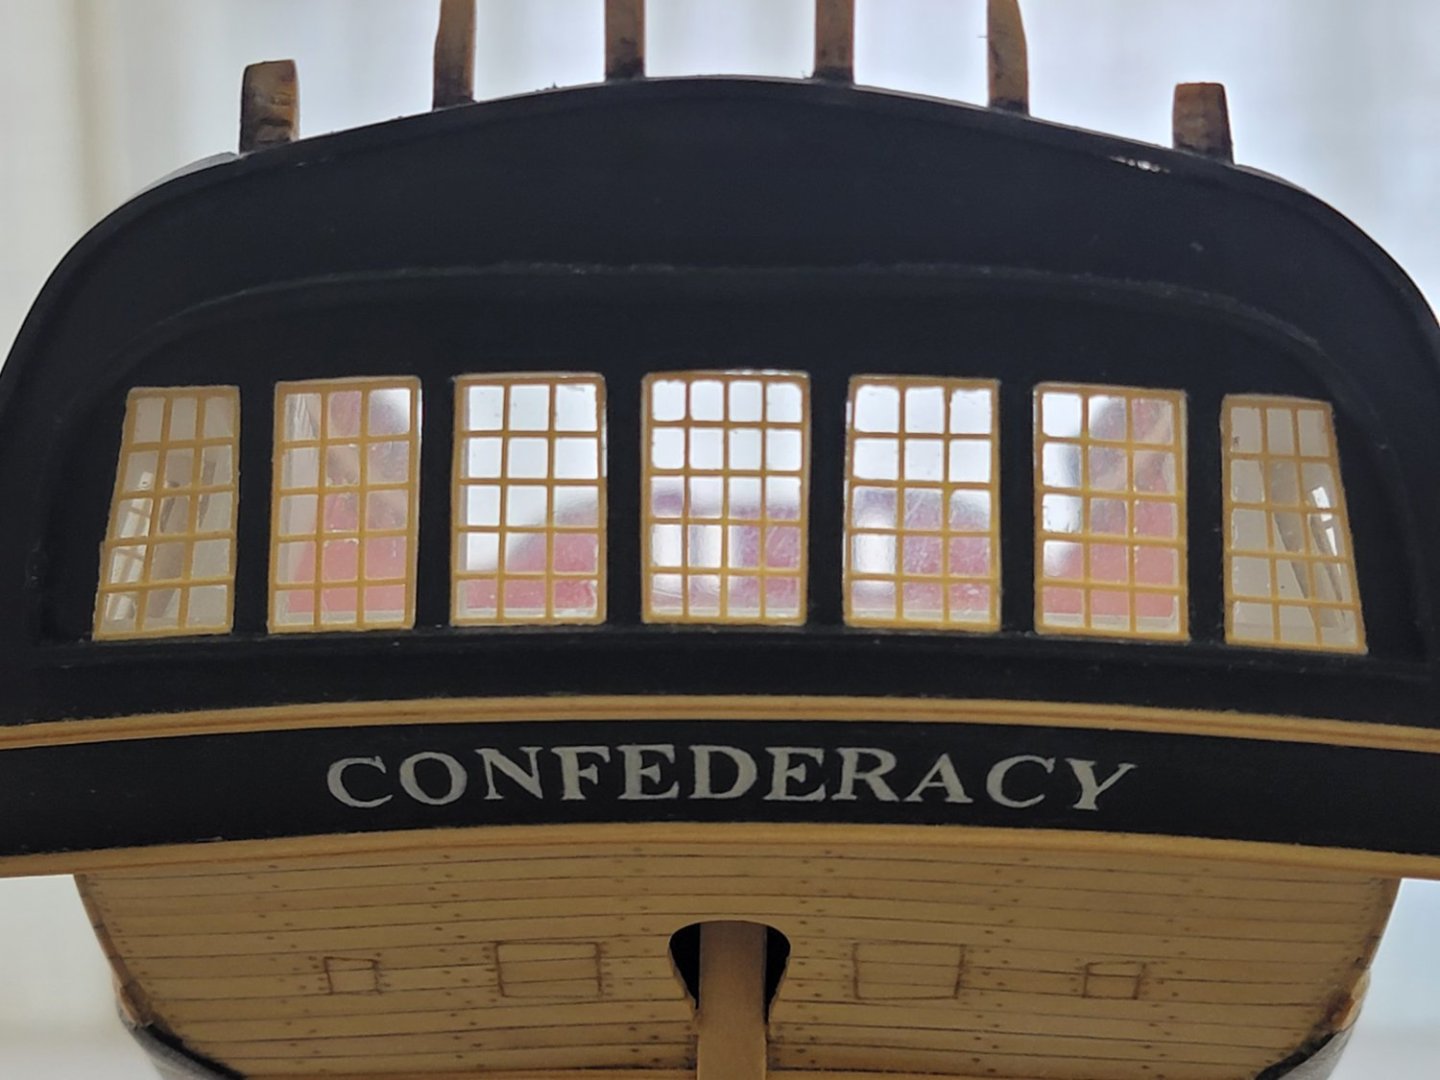
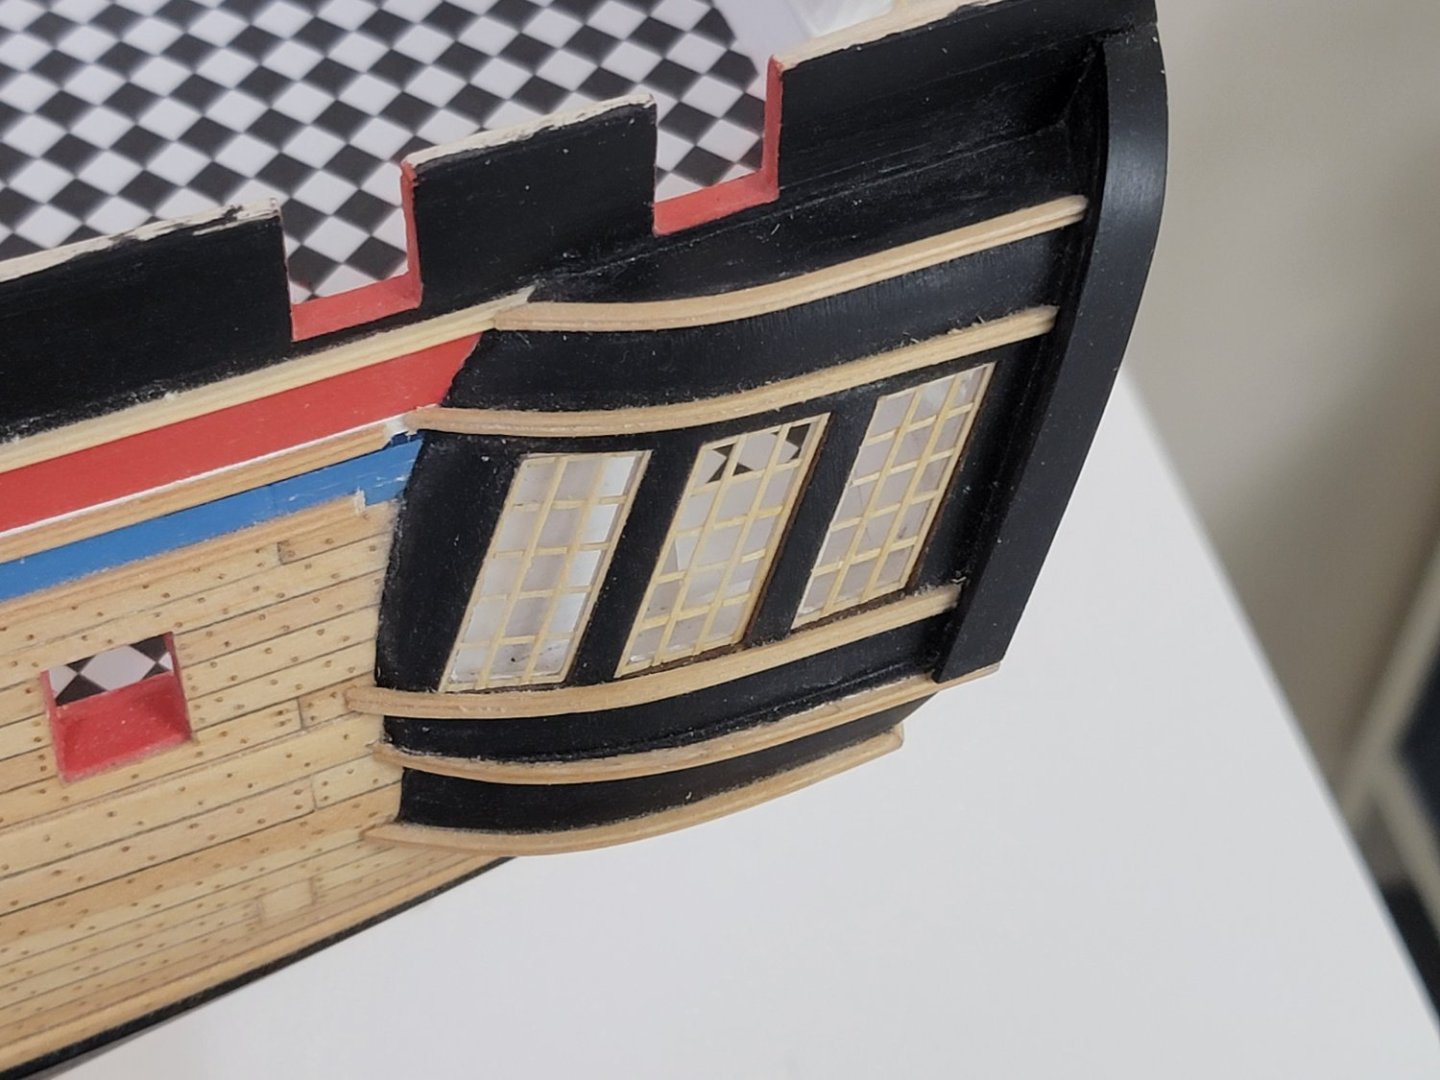
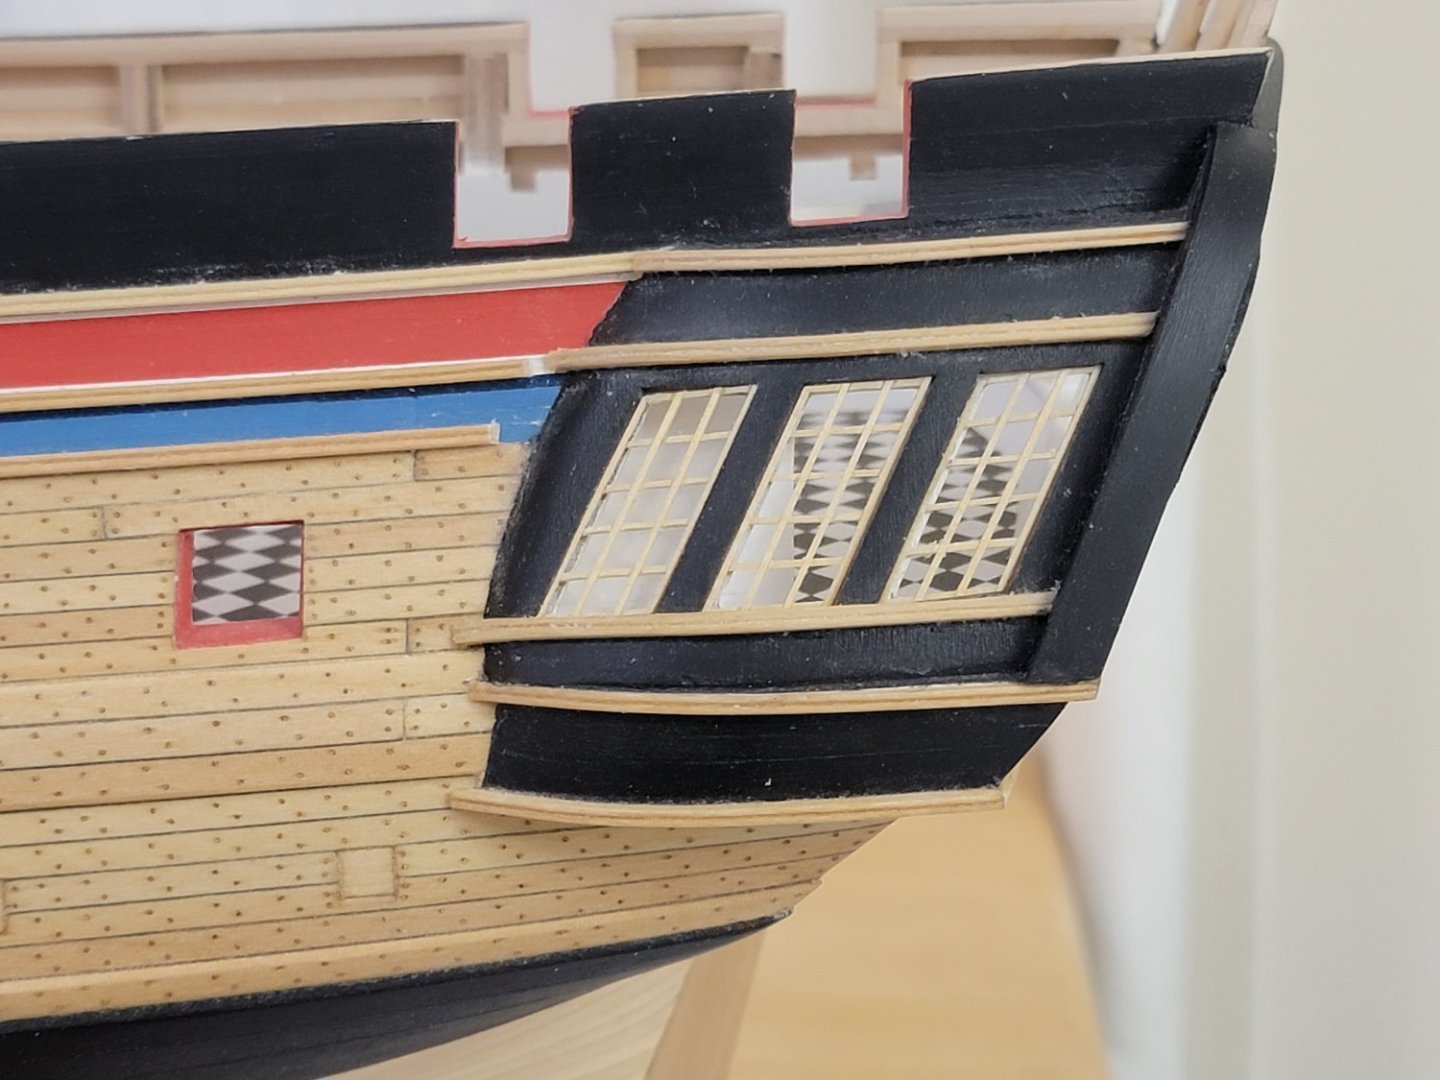
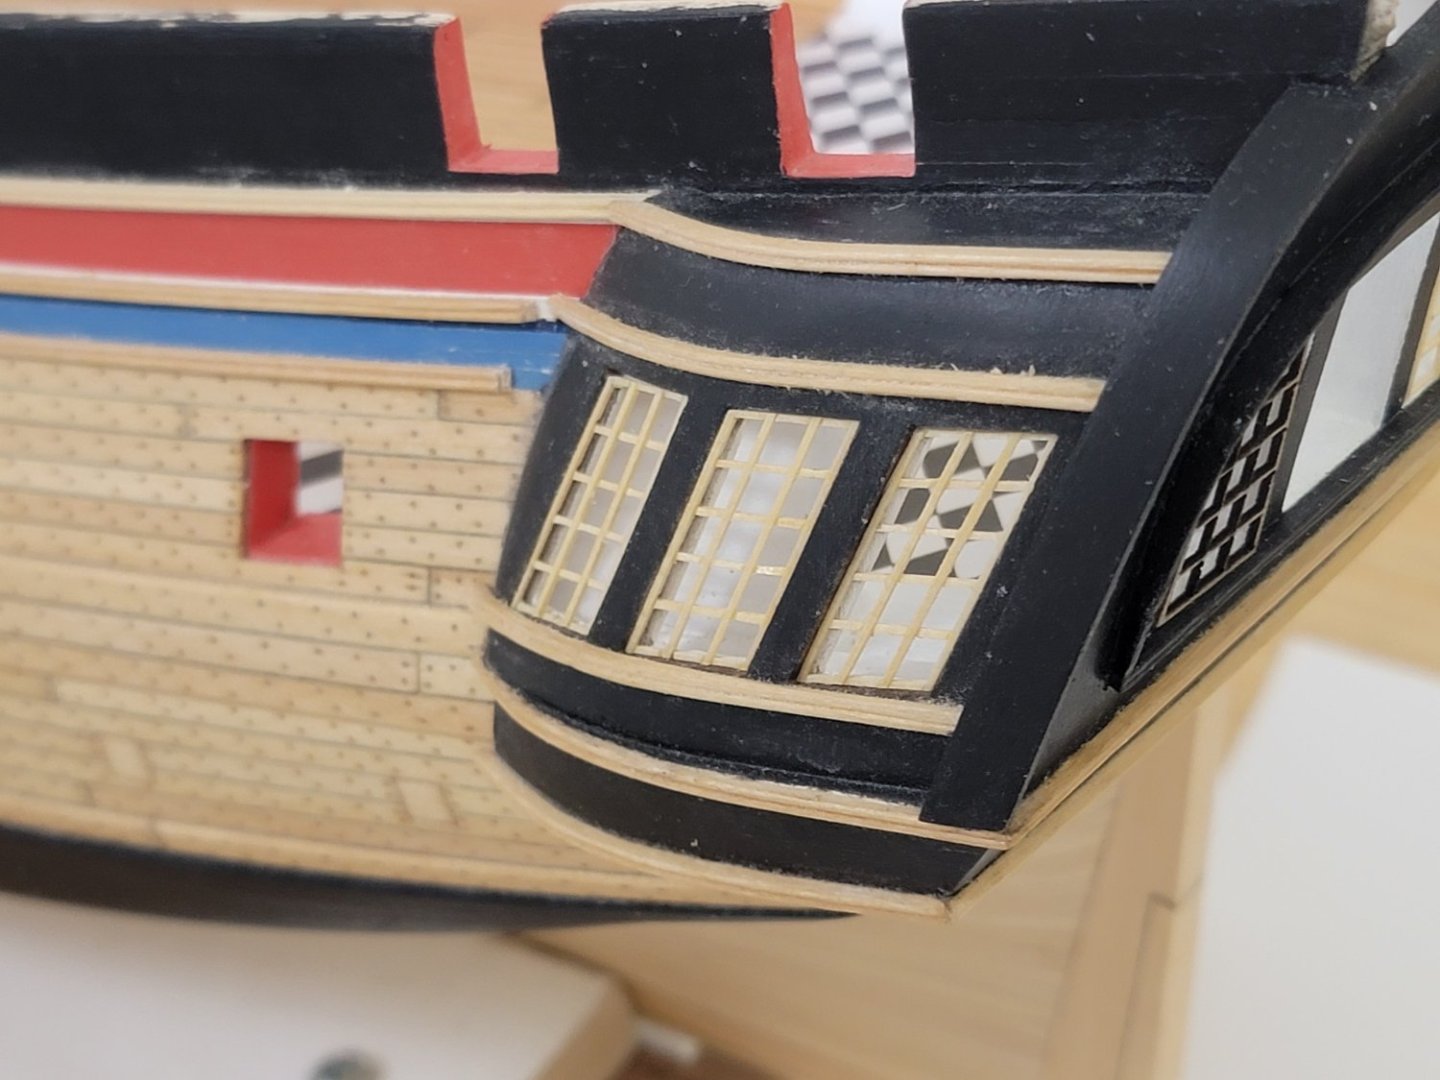
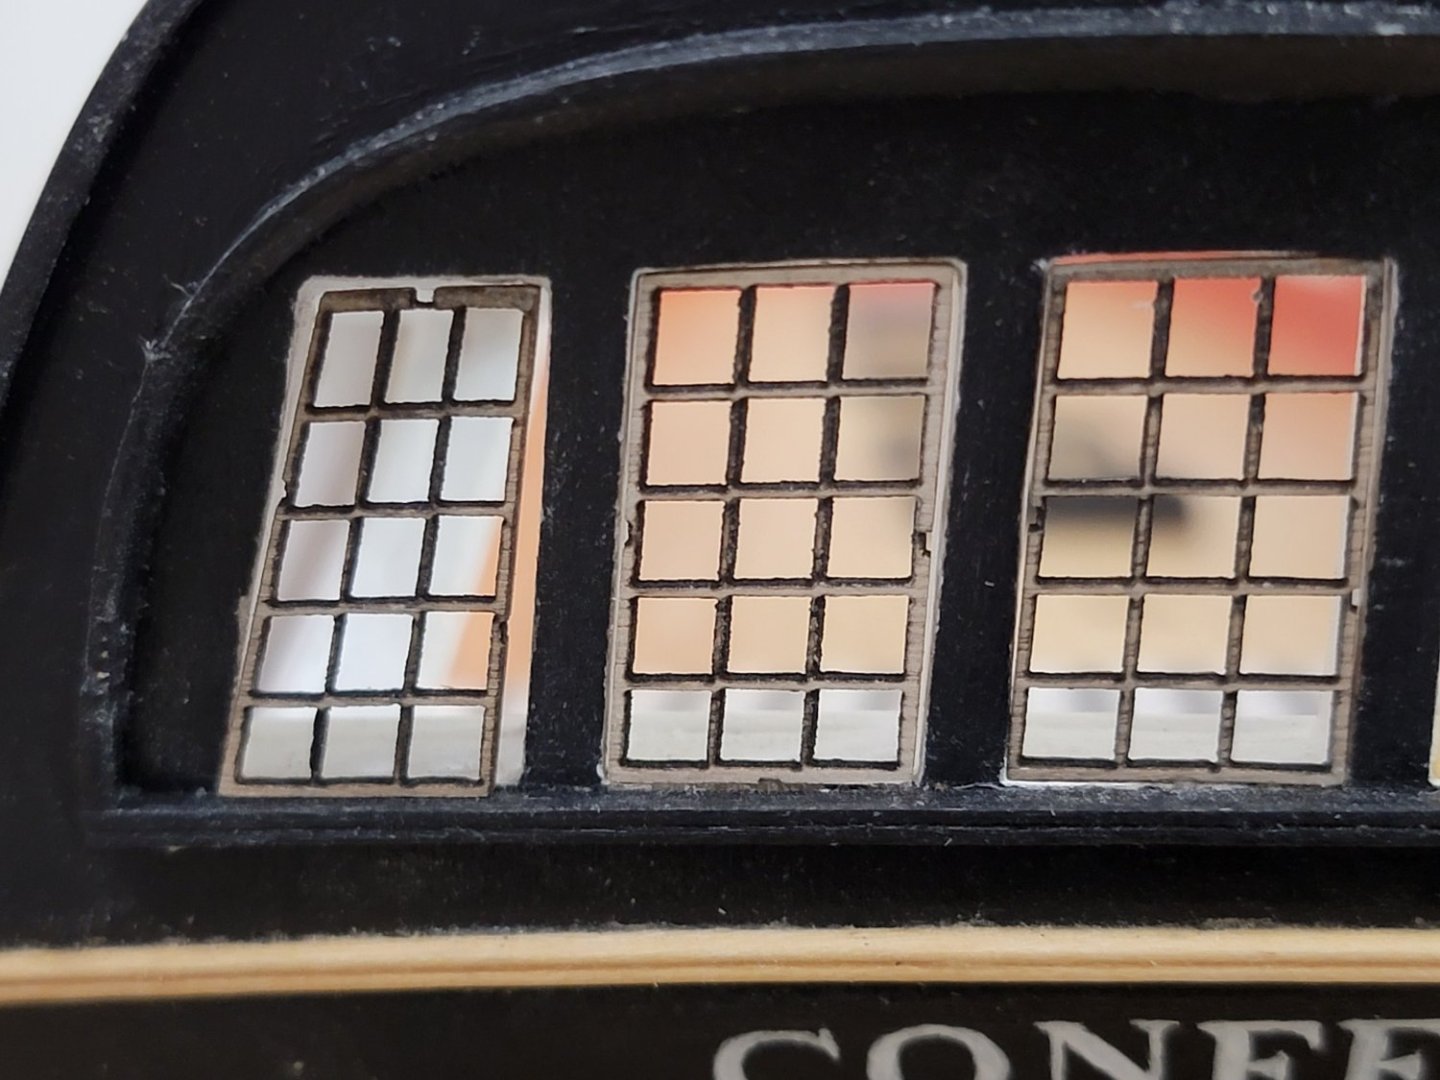
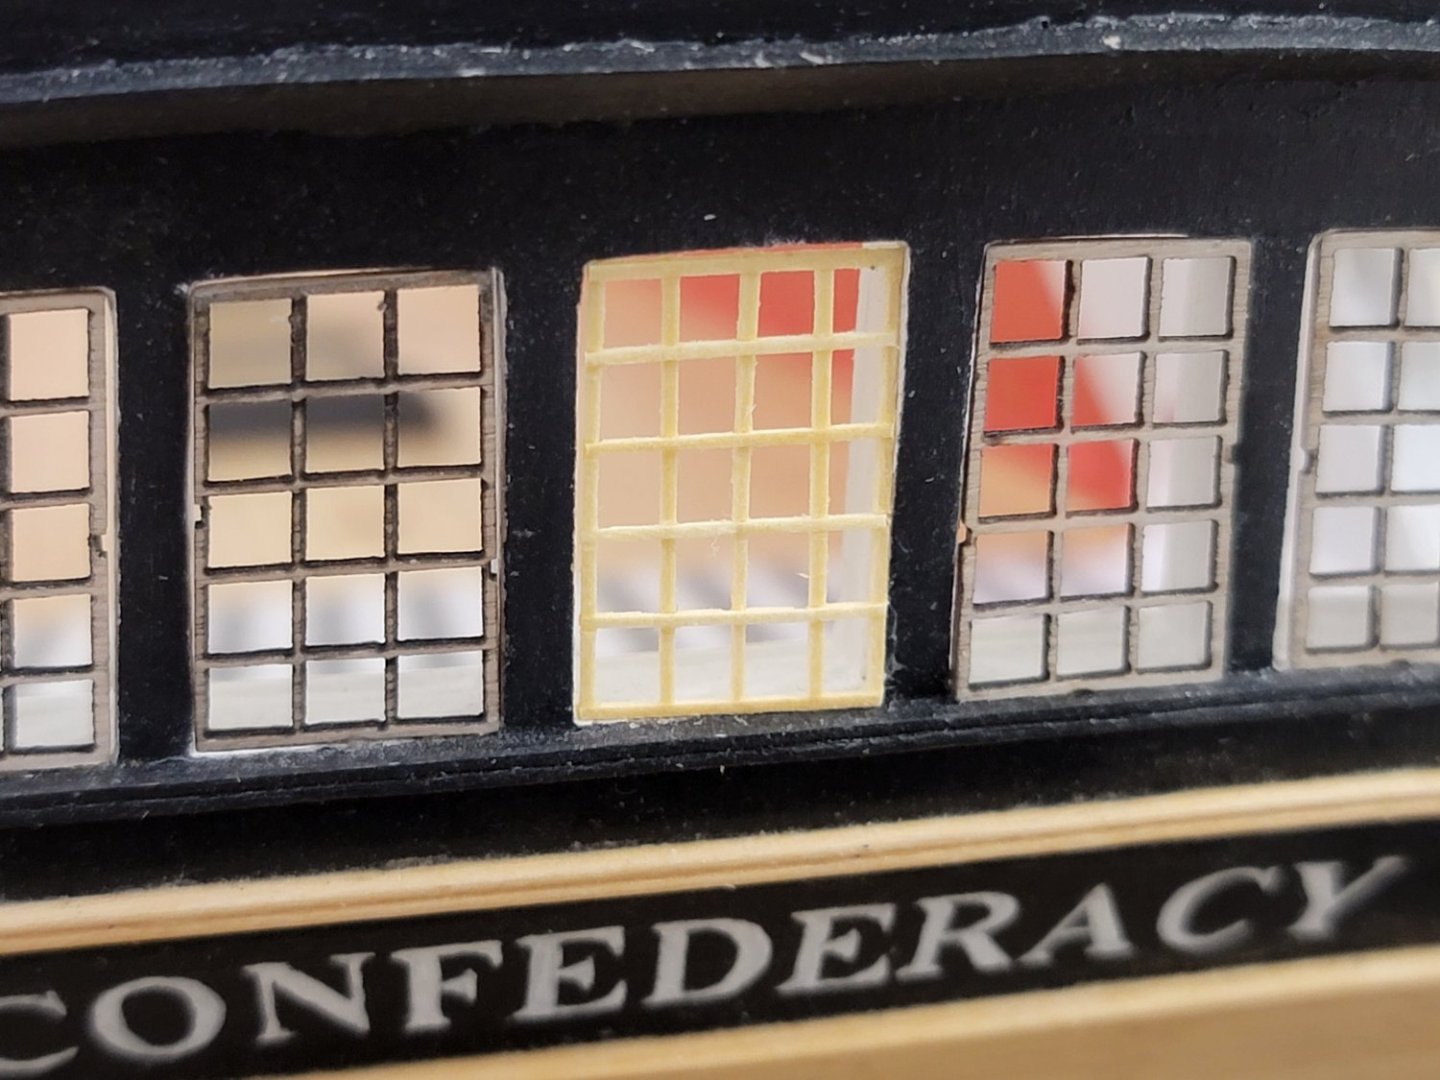
Thanks so much, Tom, Kurt, and David!! I finished up with the windows! A very tedious task... but I did become quicker in assembling them towards the end. I tested the micro crystal clear solution for the windows but I wasn't too big of a fan of the frosted window look. So I opted to use the acetate instead. I placed each window frame on the sheet, ran a #11 blade on the outside edges of the frame, lightly marking the acetate. Then I used a metal ruler as a guide to run the blade multiple times until it went through. Finally, I used the micro clear solution as a glue for the frames on the acetate. Here are some photos with the windows+frame dry-fitted in the openings:
-
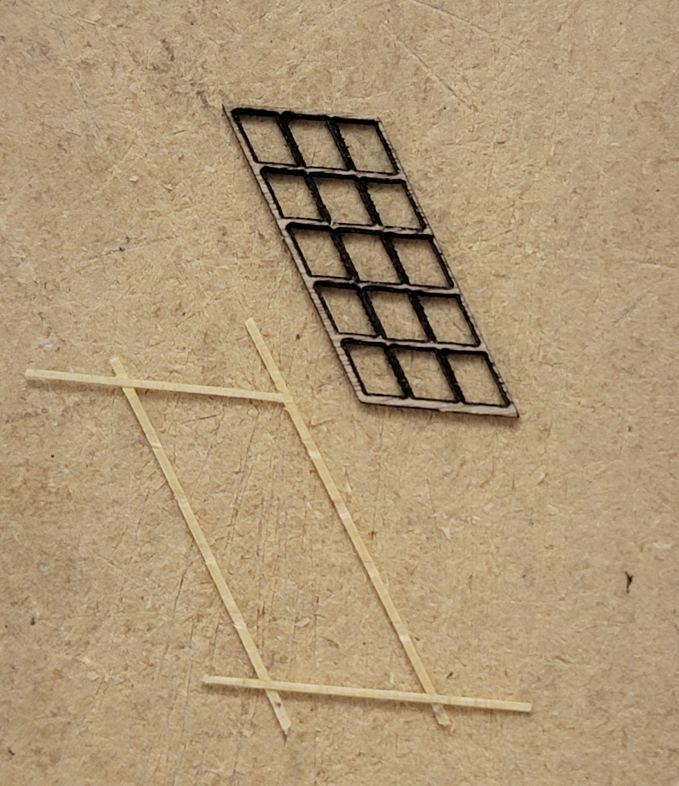
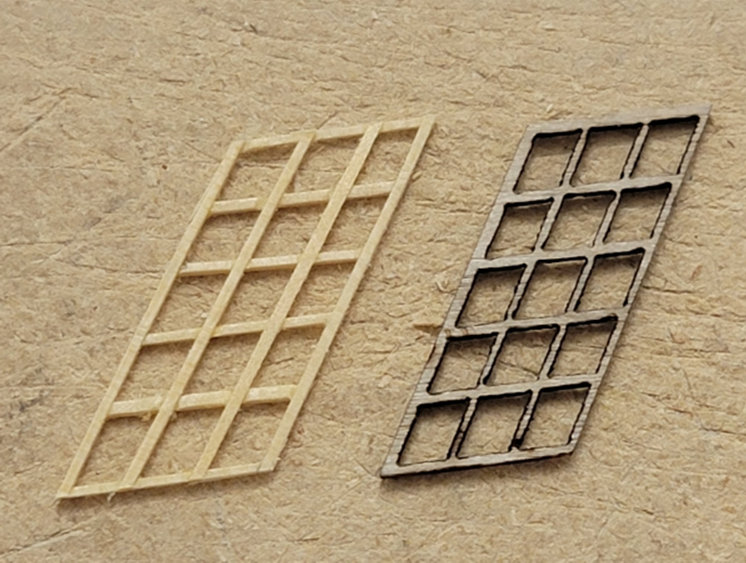
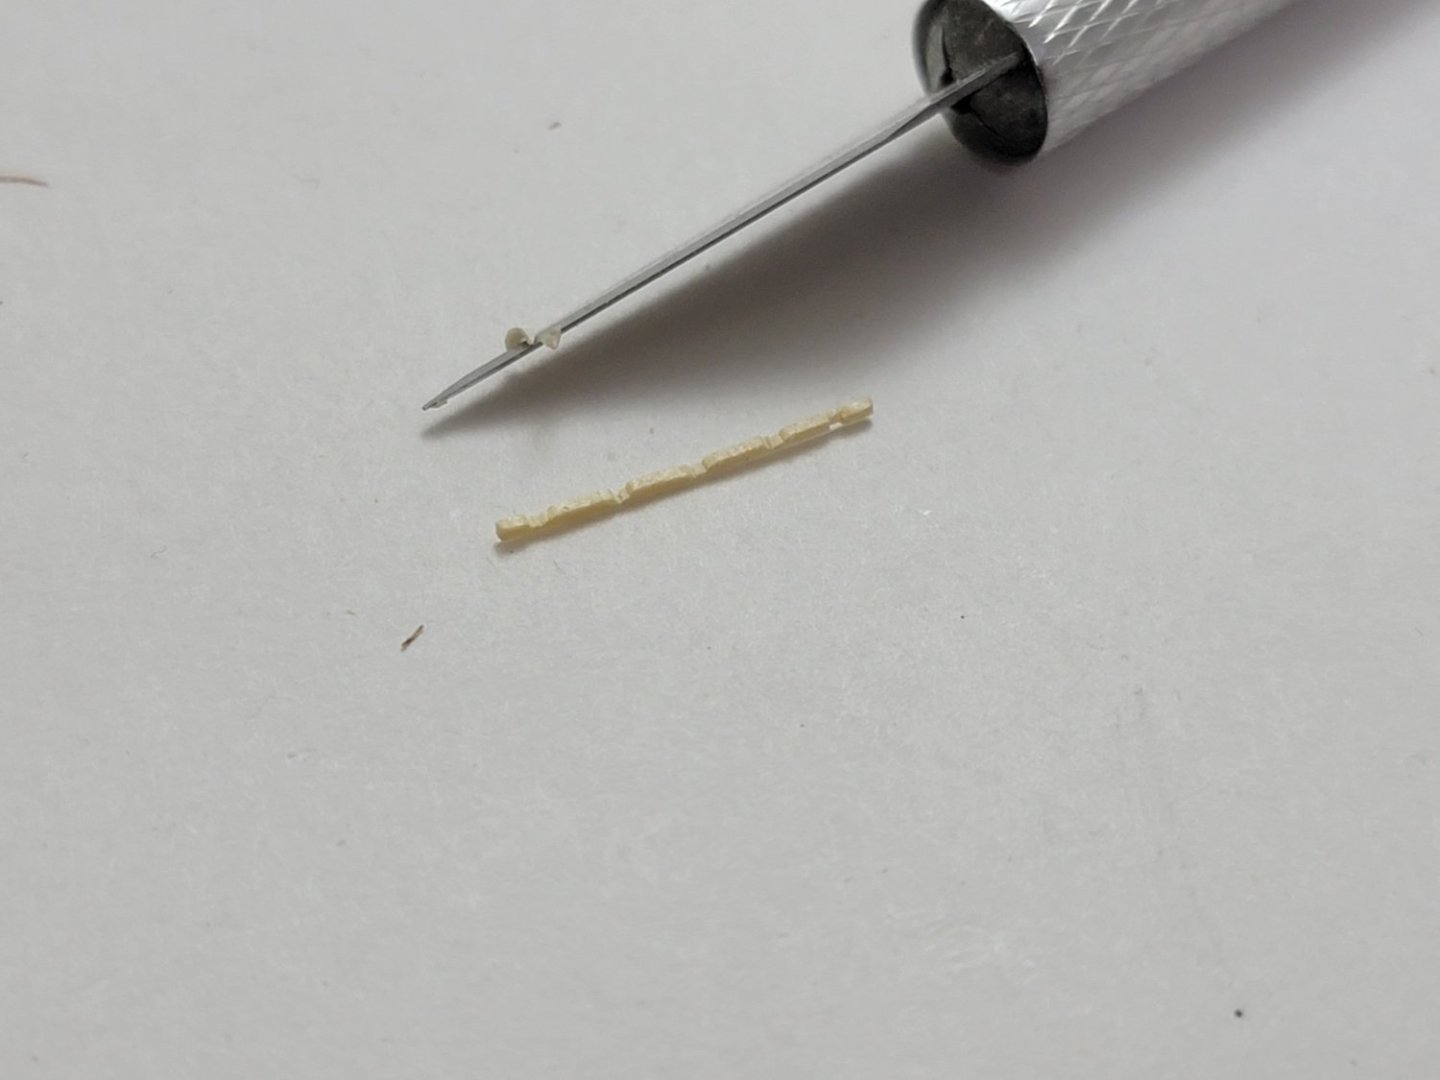
Thank you so much for the kind words and the 'likes'😄 I have been slowly working through the window frames. I finished the portside frames. For the angles windows, I used the kit supplied ones as a guide. Here, I glued the two outer strips and used the kit frames to get the right angle by letting the glue set as the strips rest on the edges of the kit piece.. After letting the glue set and doing the same on the opposite corner, the 2 'L' shaped pieces were then glued together, followed by all the internal strips: Here are a few photos of how it looks on the ship (only dry-fitted for now): I got to say, all this is really really fiddly work. Getting the notches in the correct spots on each strip is very tricky. Had to discard twice as many as those that made the final round!
-
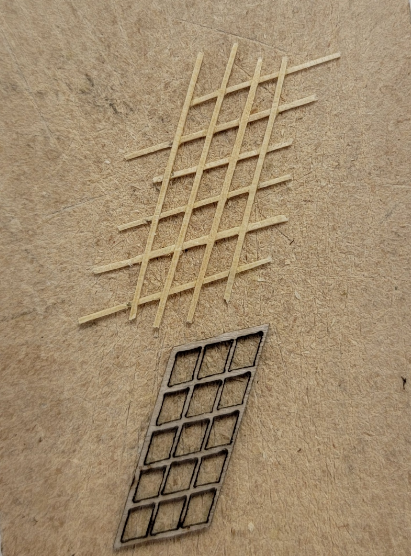
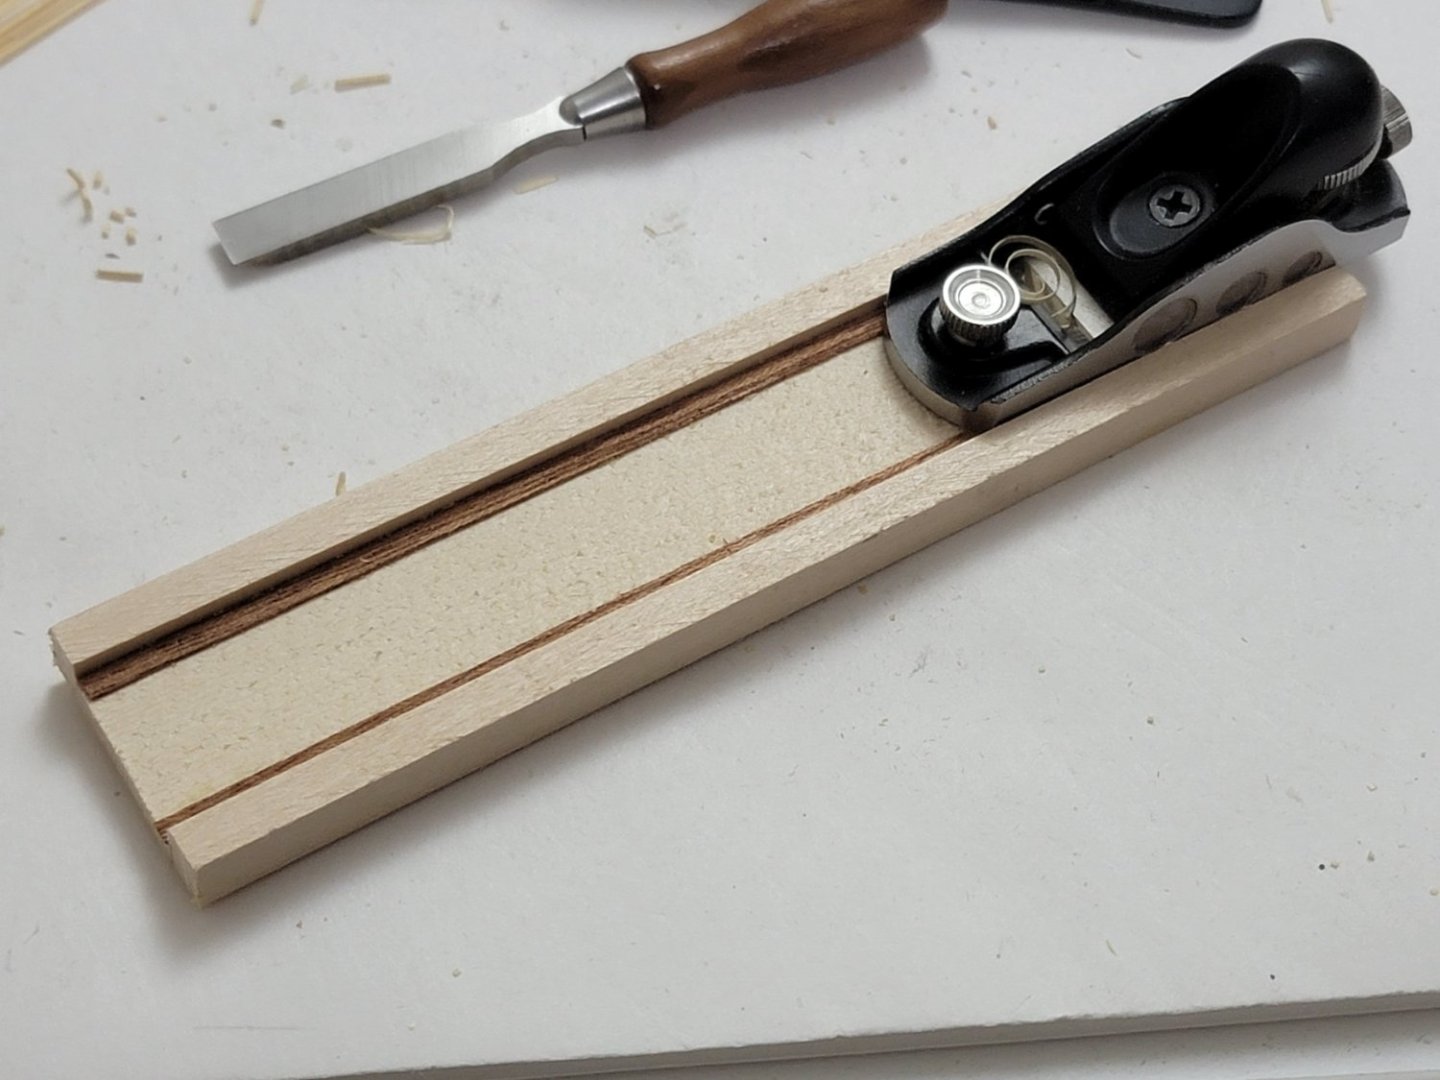
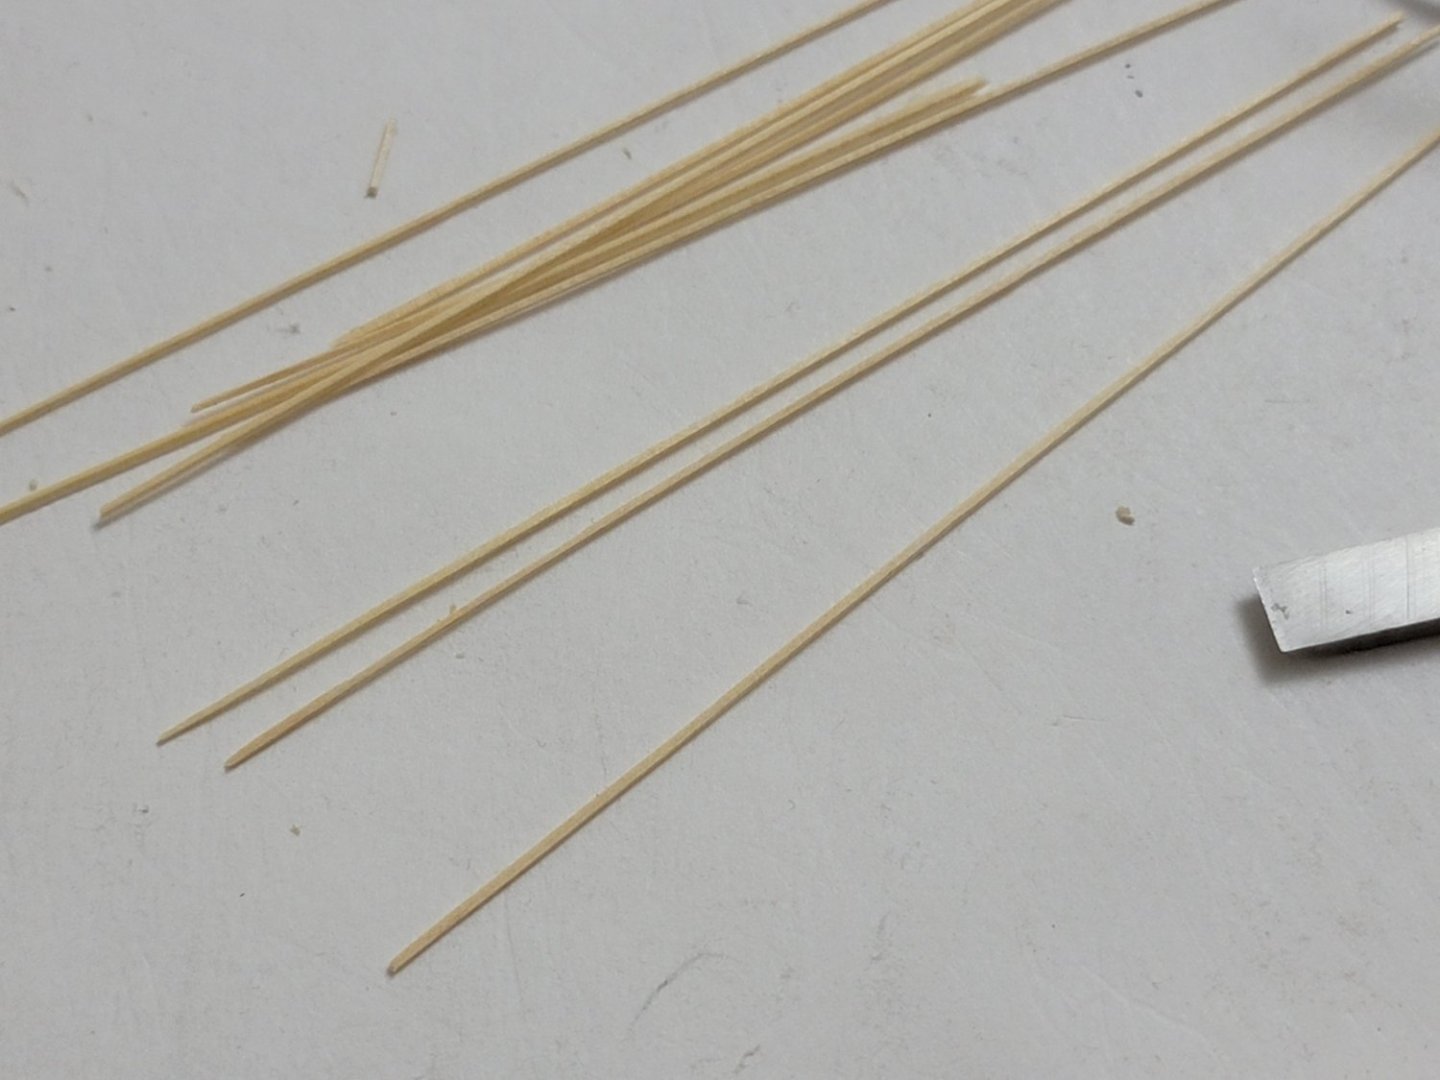
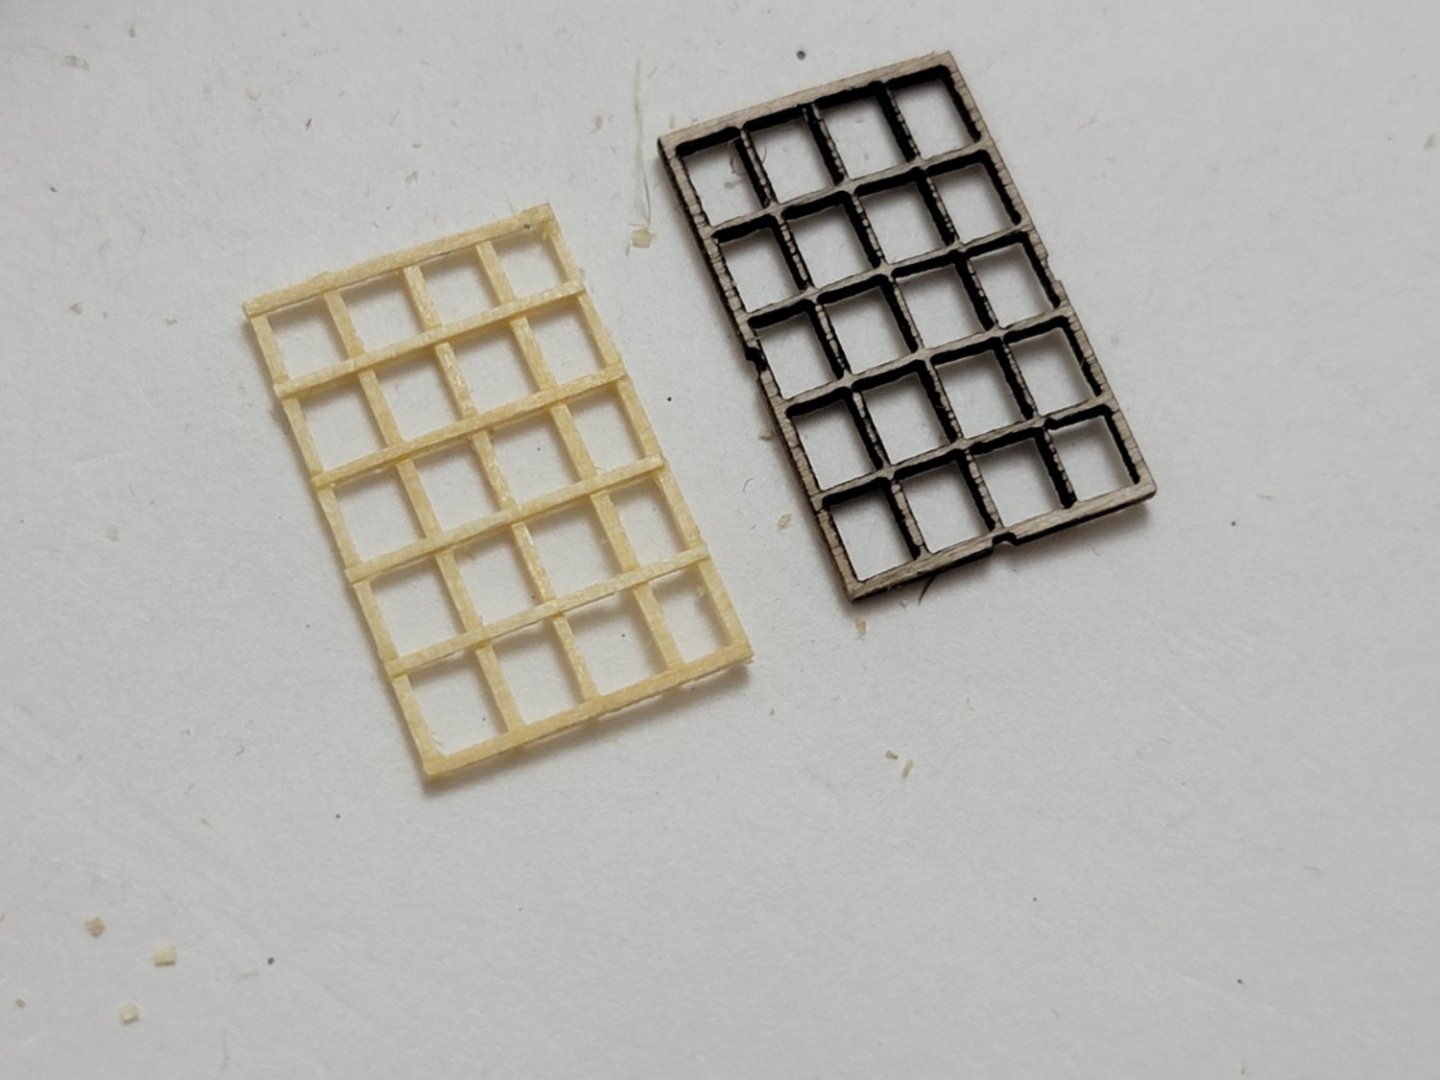
Thank you, Werner. Thanks all for the likes as well 😊 A bit of a shorter update. I was not very happy with the kit supplied window frames. They did not fit well on model for some reason. I am not sure why as I did check their fit during the initial framing stage of the build. Also, they had some notches on the sides (not sure why it has these). So decided to try building my own ones. While working on them, I did think I may have taken on more than I can chew... However, I thought it would be best to take some time off and think about this problem for a bit and tackle it more systematically. So, first I made a simple jig for my mini planer to glide on the rails to thin down some larger pieces of Alaskan yellow cedar I had laying around: Using this jig, I was able to create relatively square strips (around 0.5mm x 0.5mm): Next, I used the kit supplied frame as a reference to notch out sections of strips, then glued them together to make the entire frame assembly. Below is just a test piece I made to make sure the method I used can work. The strips are not parallel since I did not pay much attention to the notch placements. The second iteration will be more carefully done to ensure it is better aligned. And here it is on the ship: I will use this test piece to try out the Micro Krystal Klear solution as well. So next I will redo the frame for better alignment. But I am sure the angled windows will definitely be more challenging....
-
Hi Werner, your build is gorgeous, everything's so neat and tidy. Very inspirational! Harshil
- 60 replies
-
- Confederacy
- Model Shipways
-
(and 1 more)
Tagged with:
-
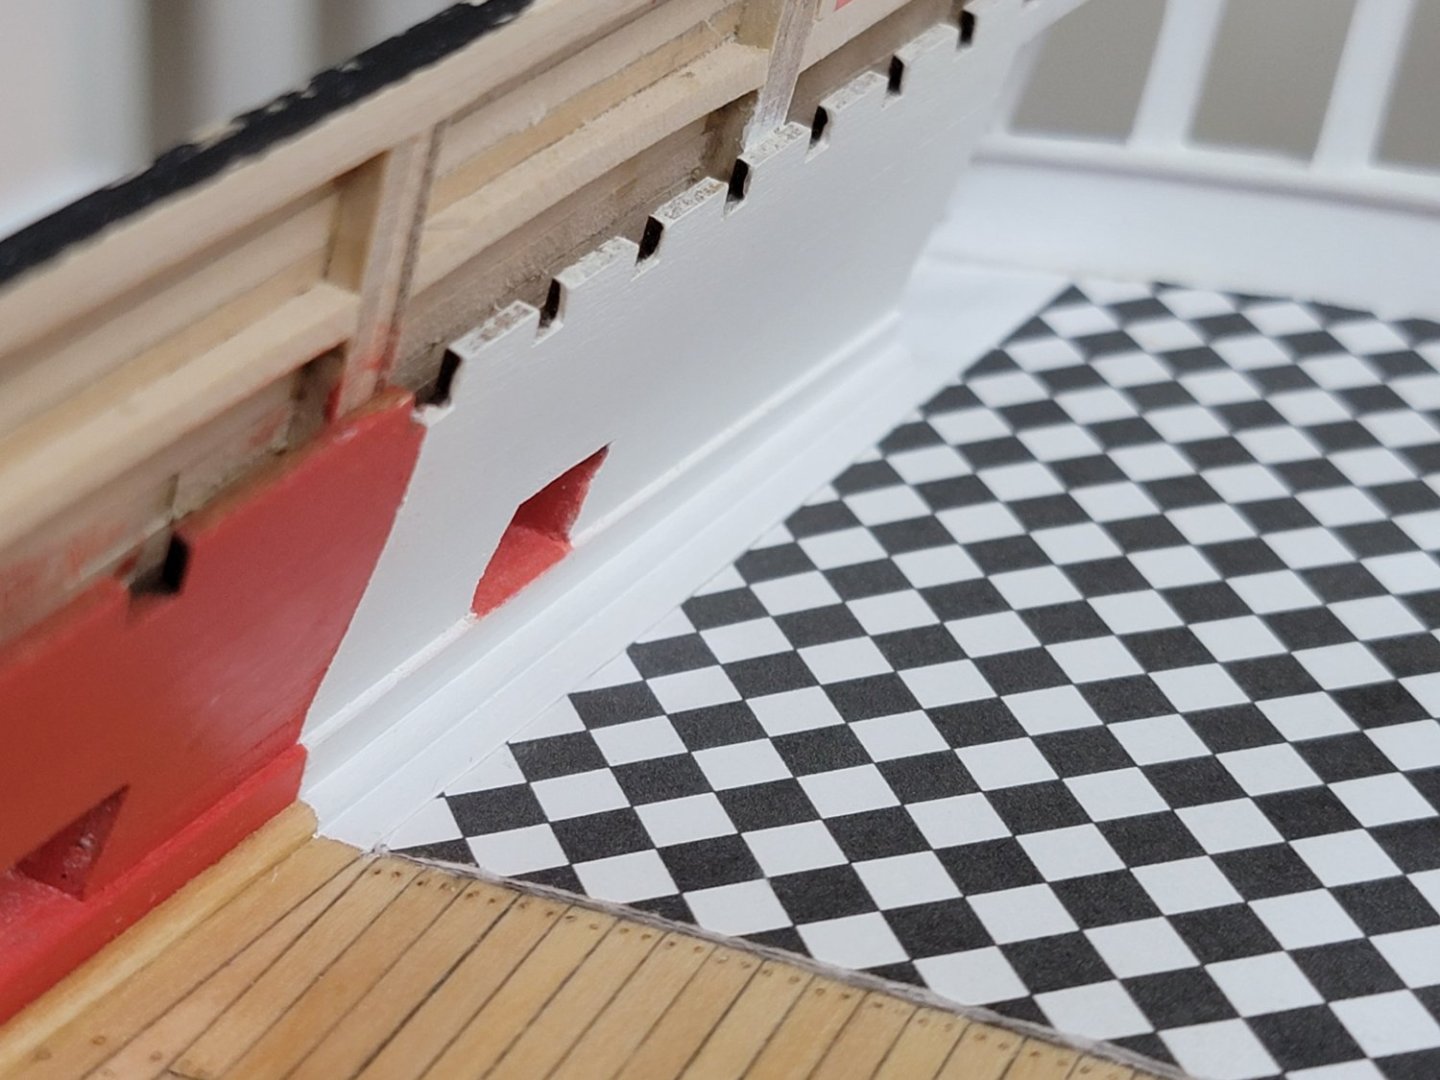
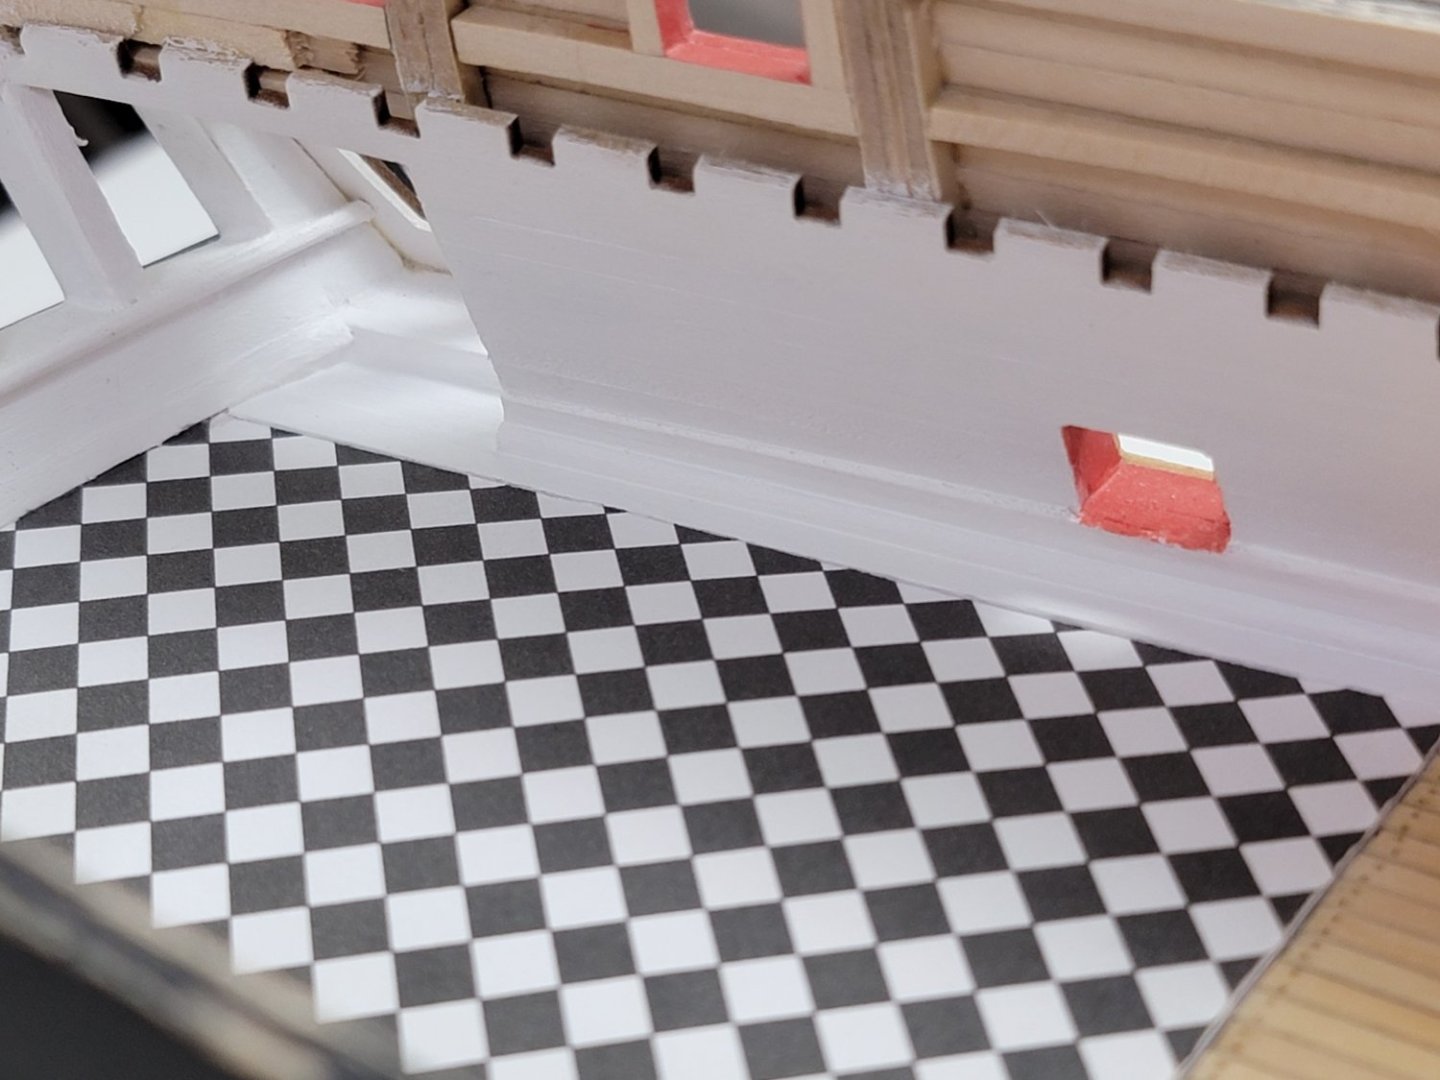
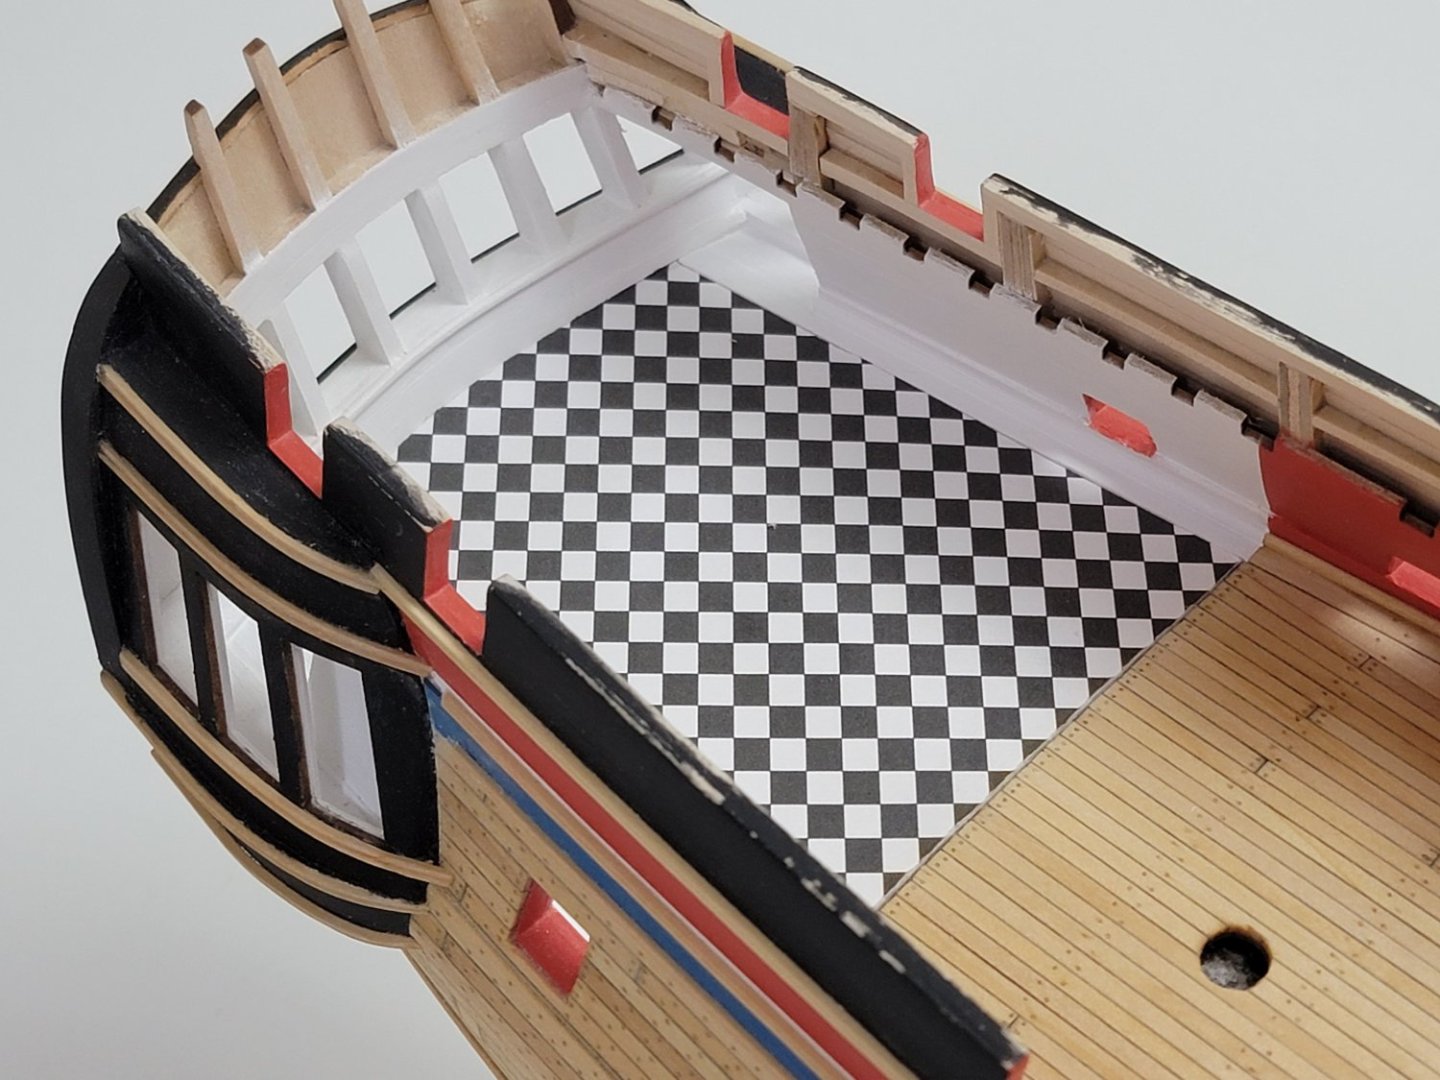
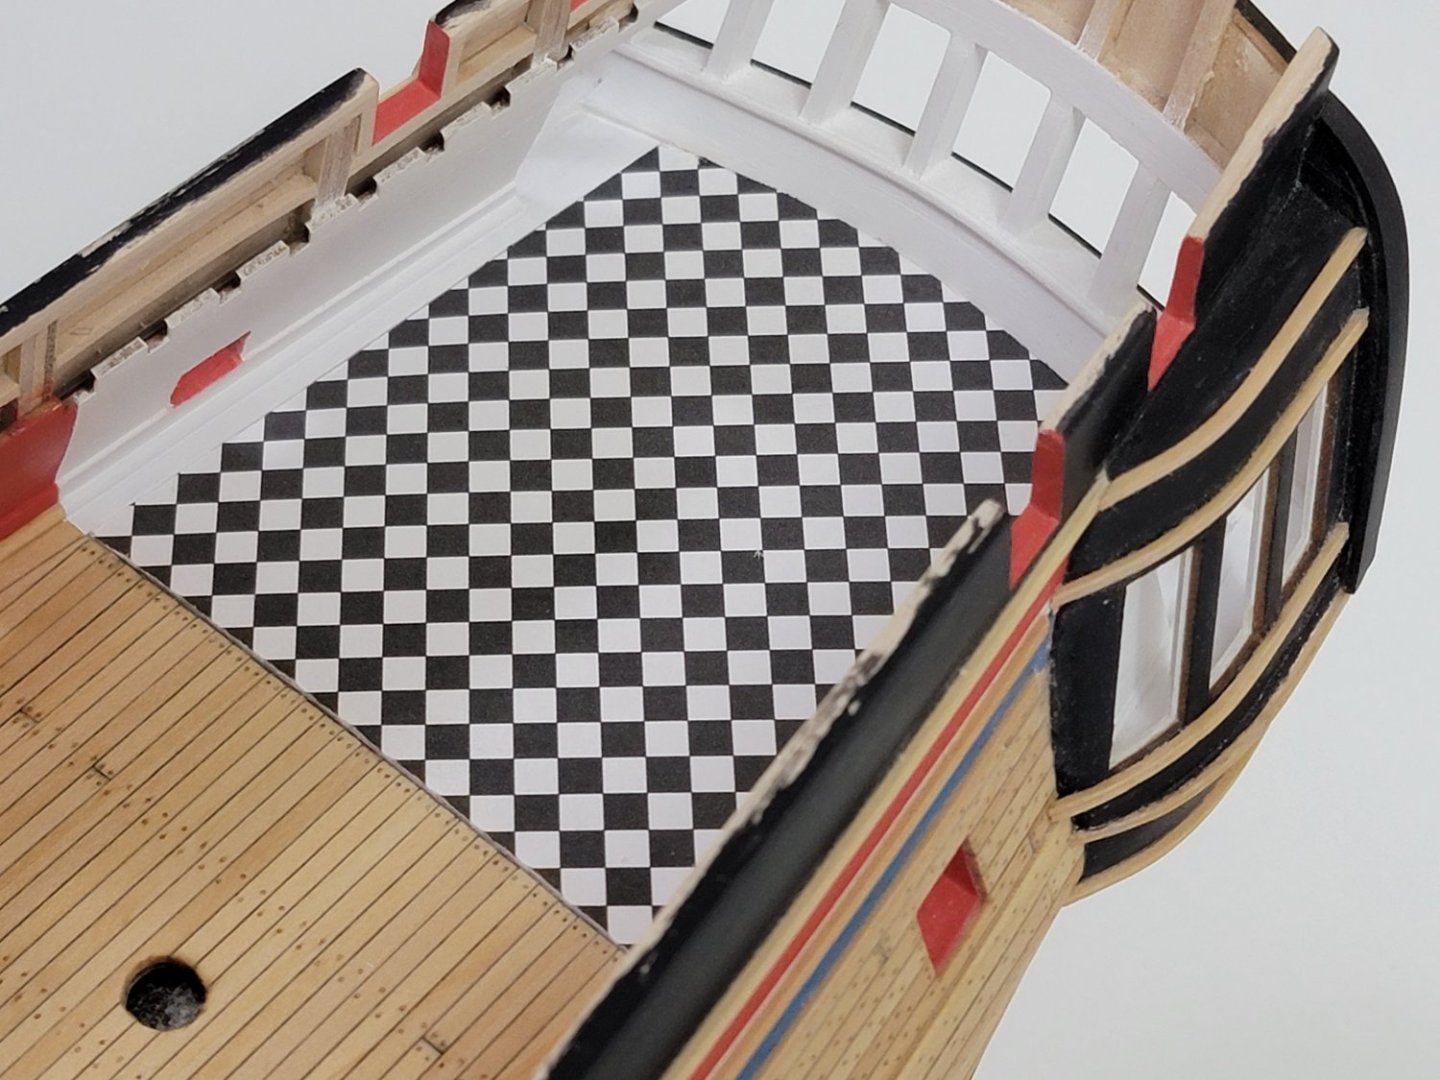
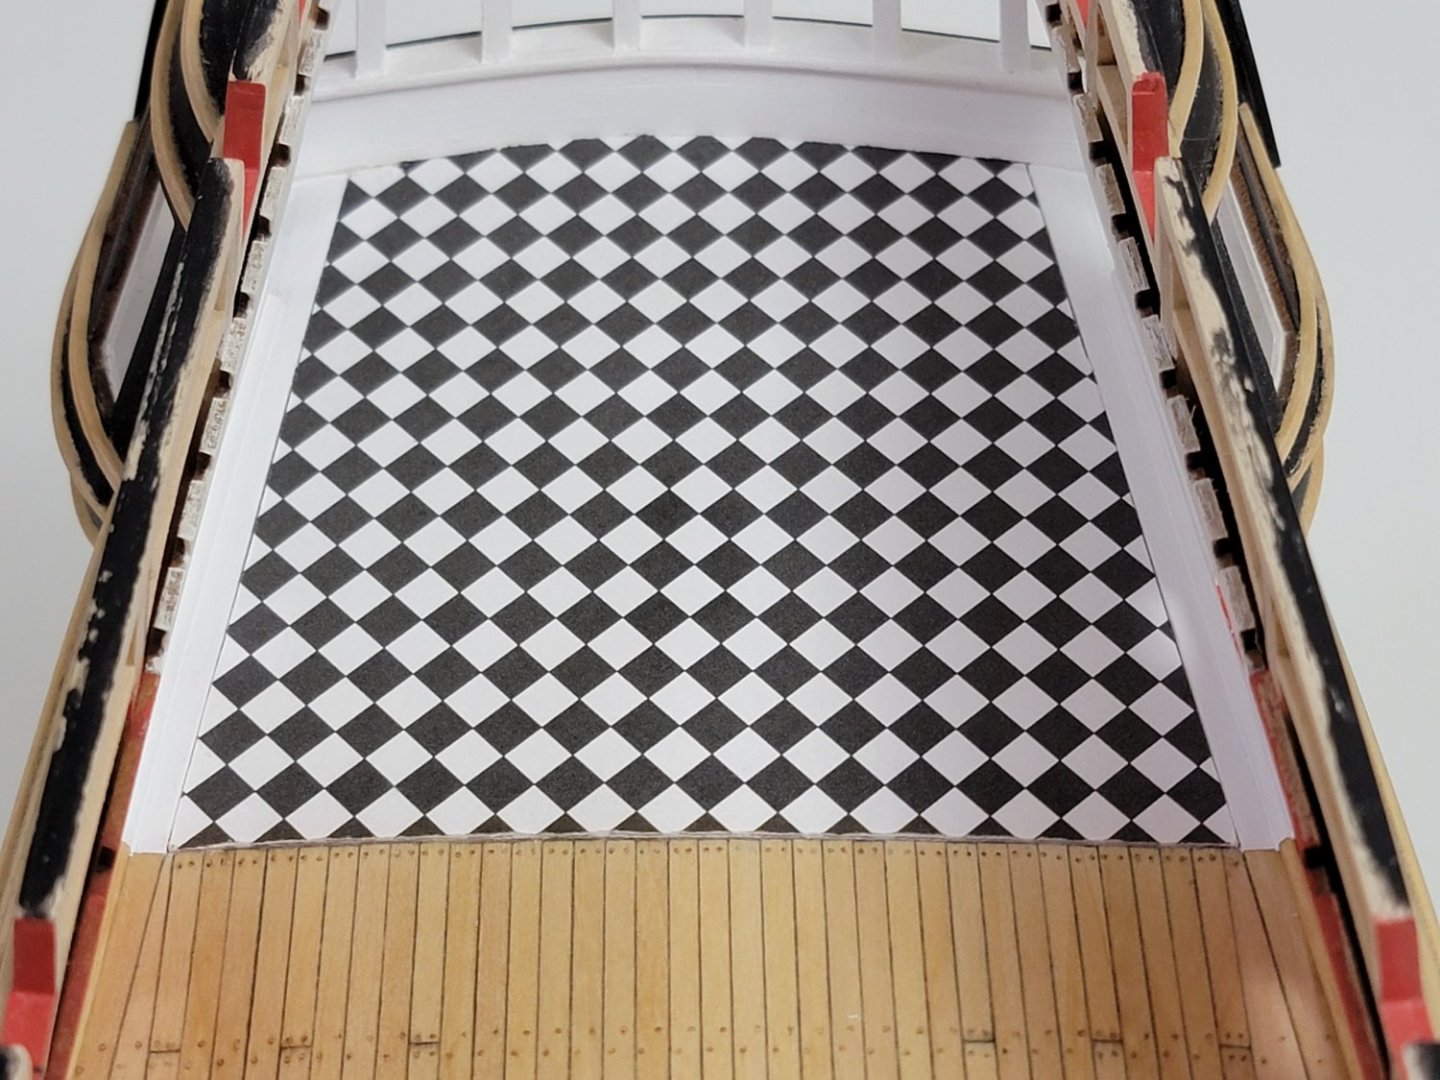
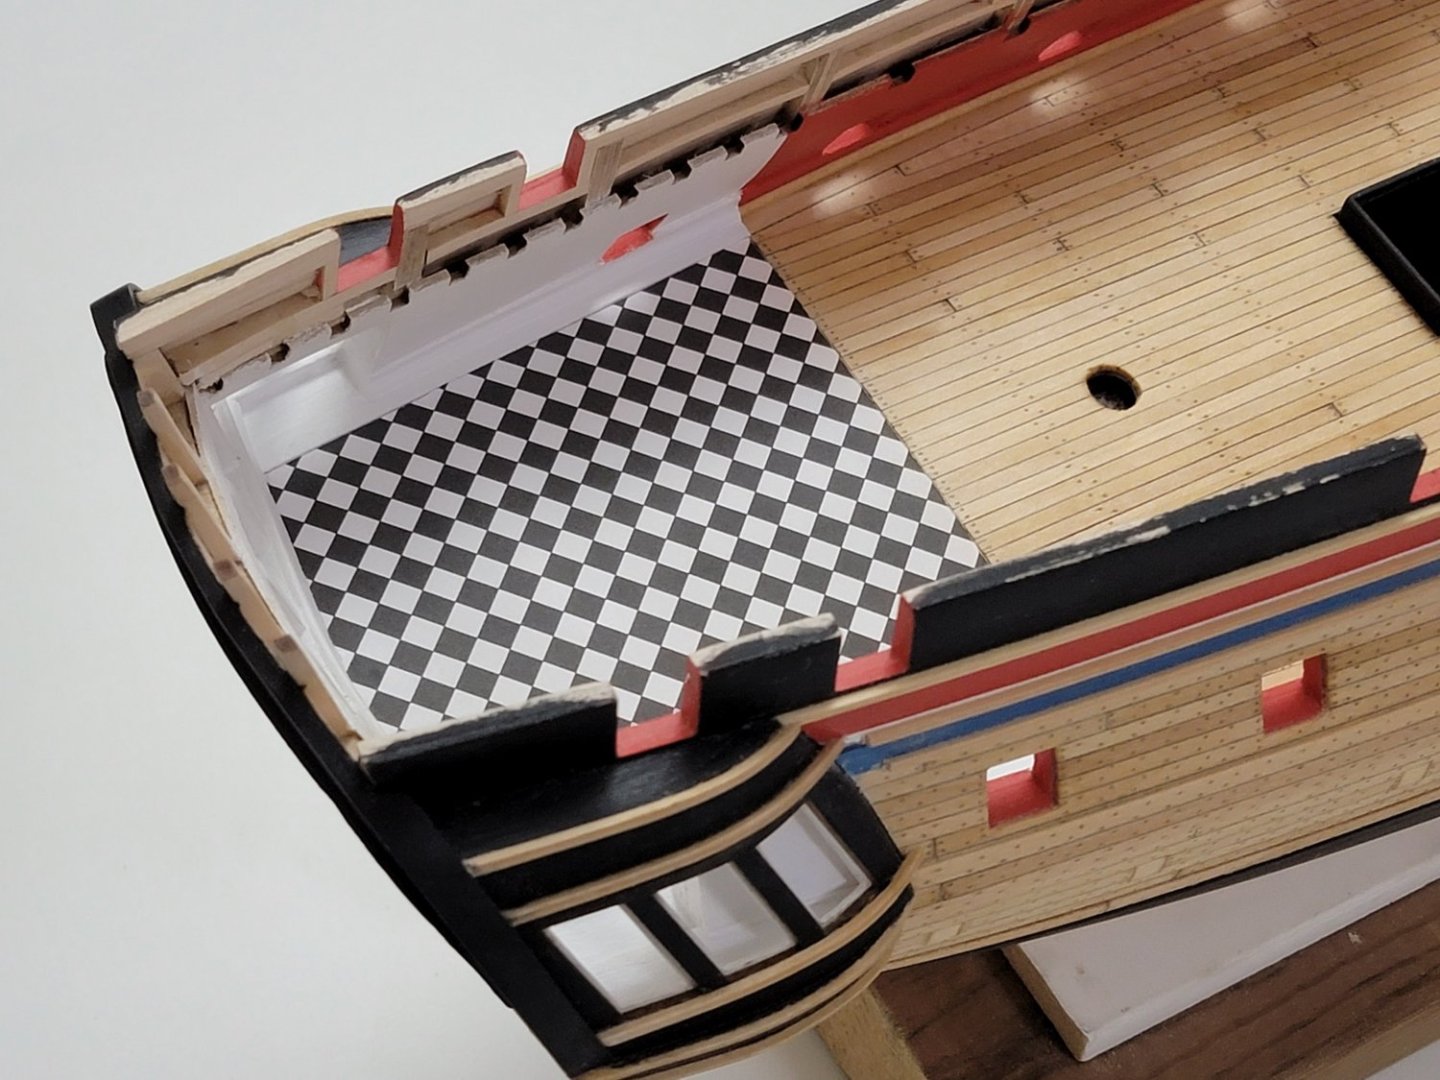
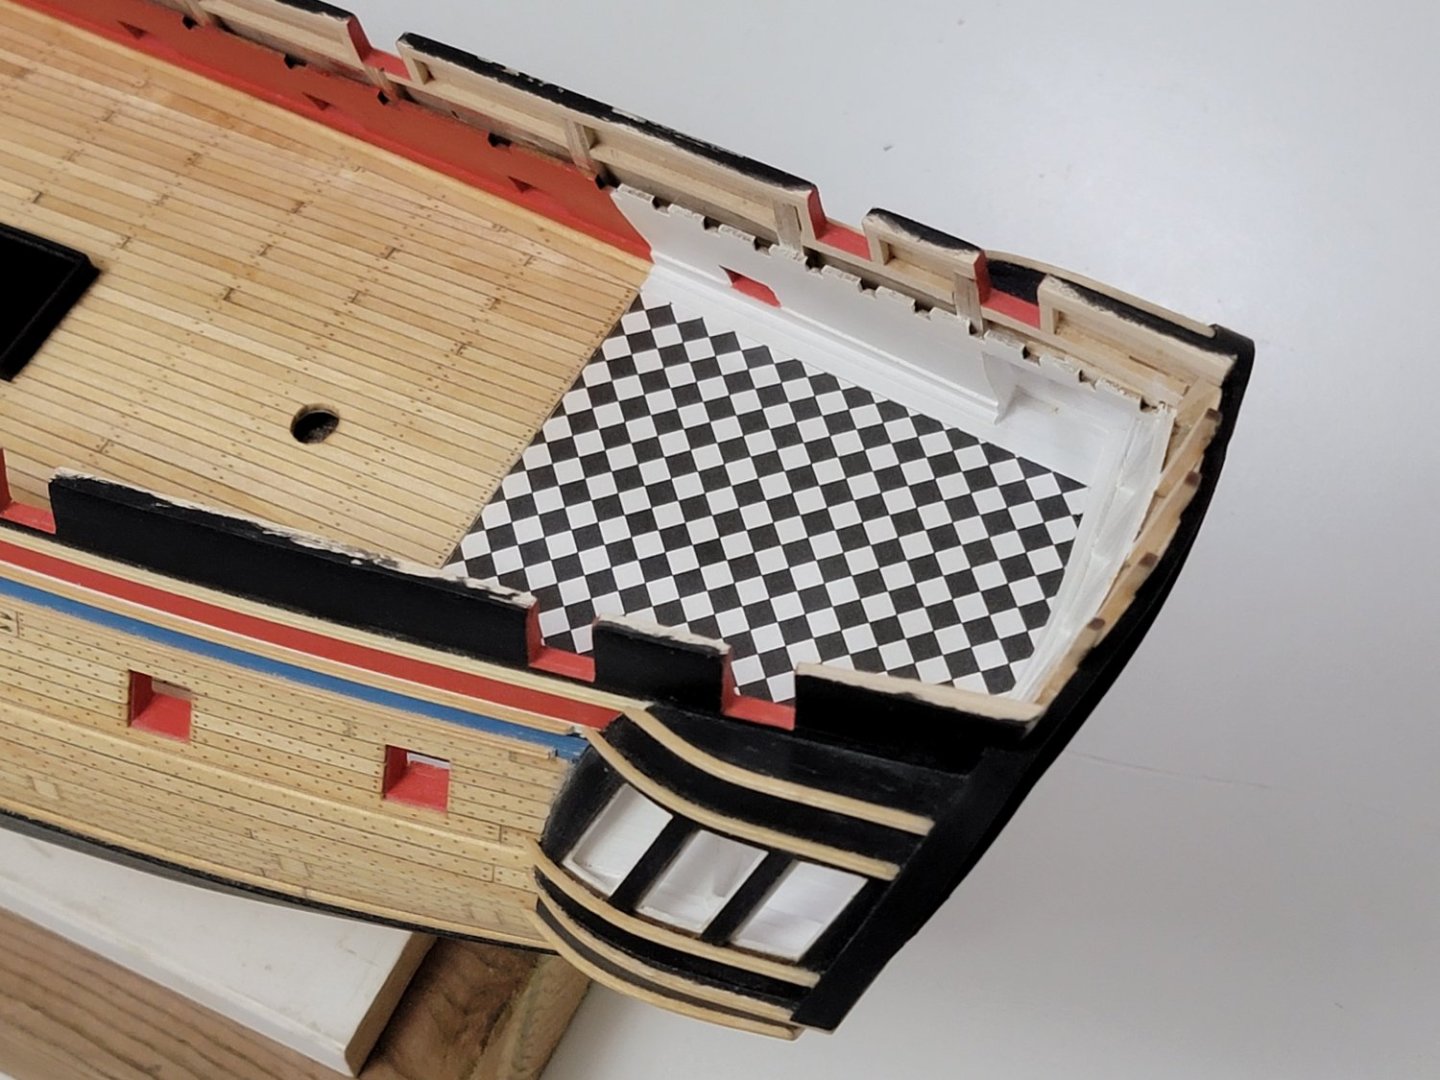
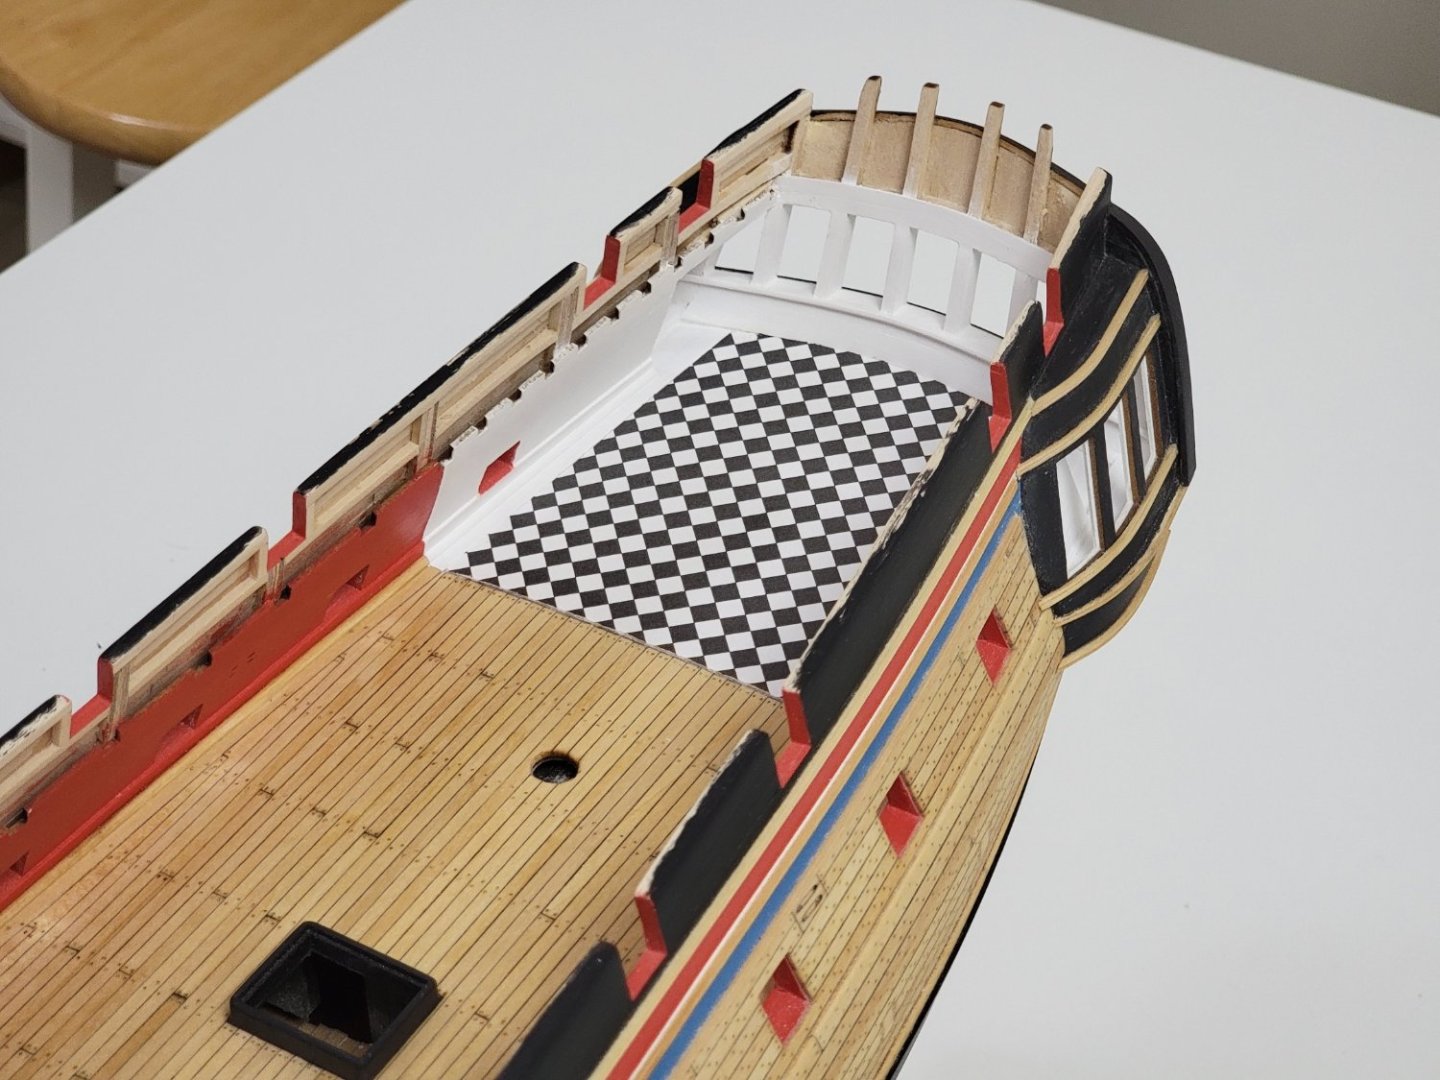
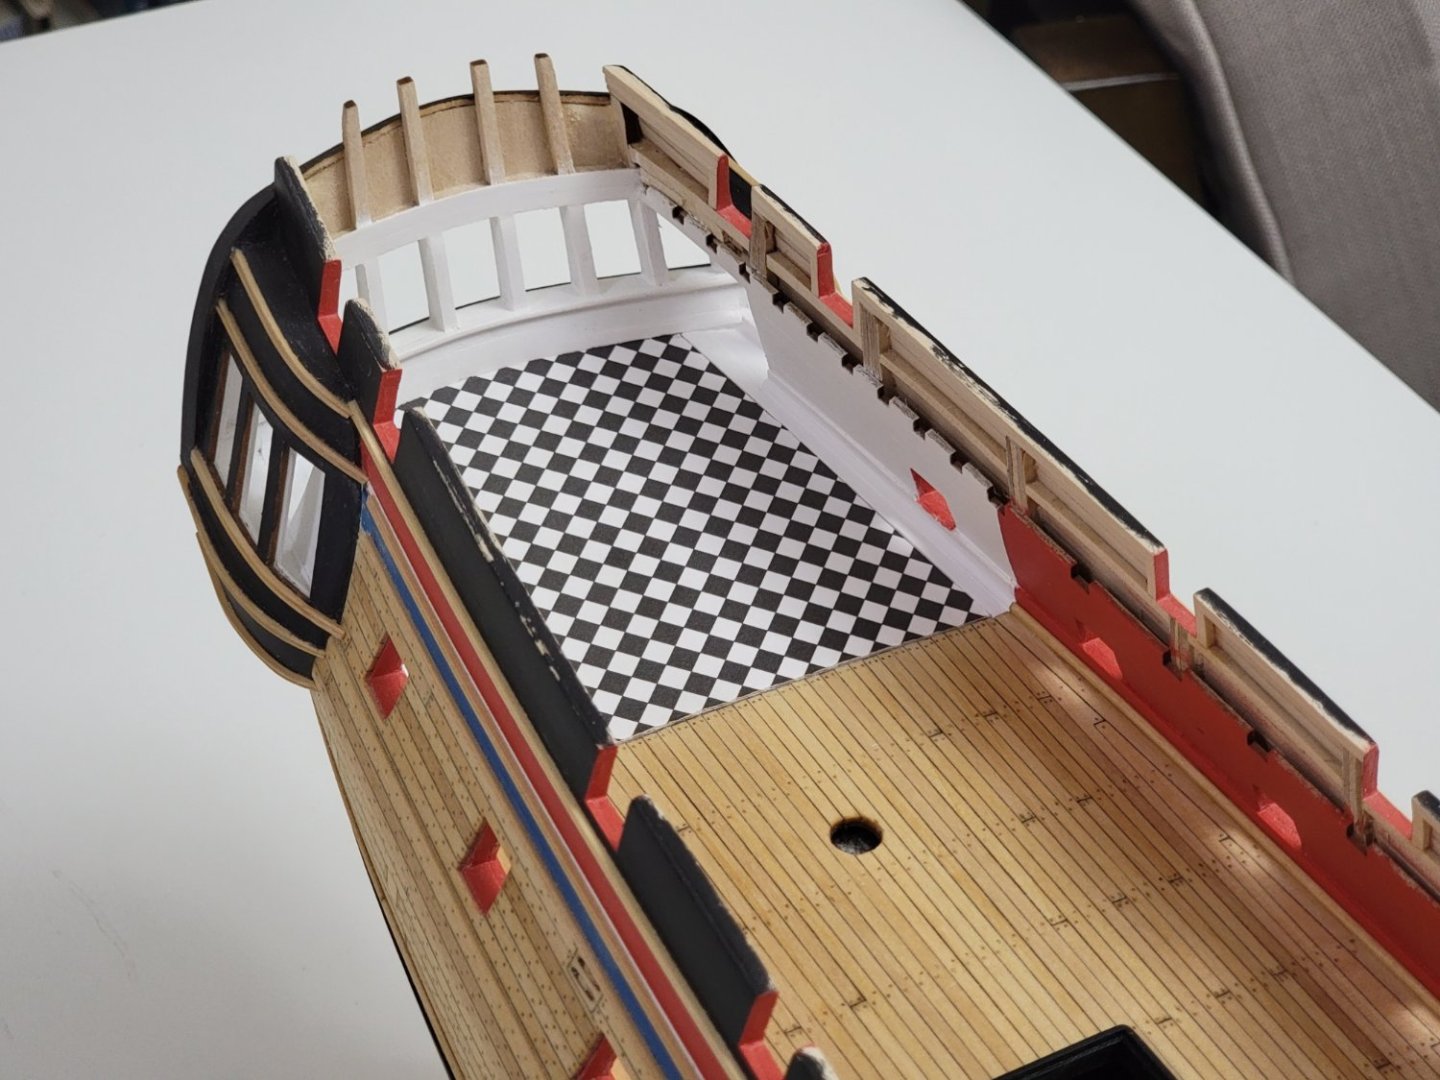
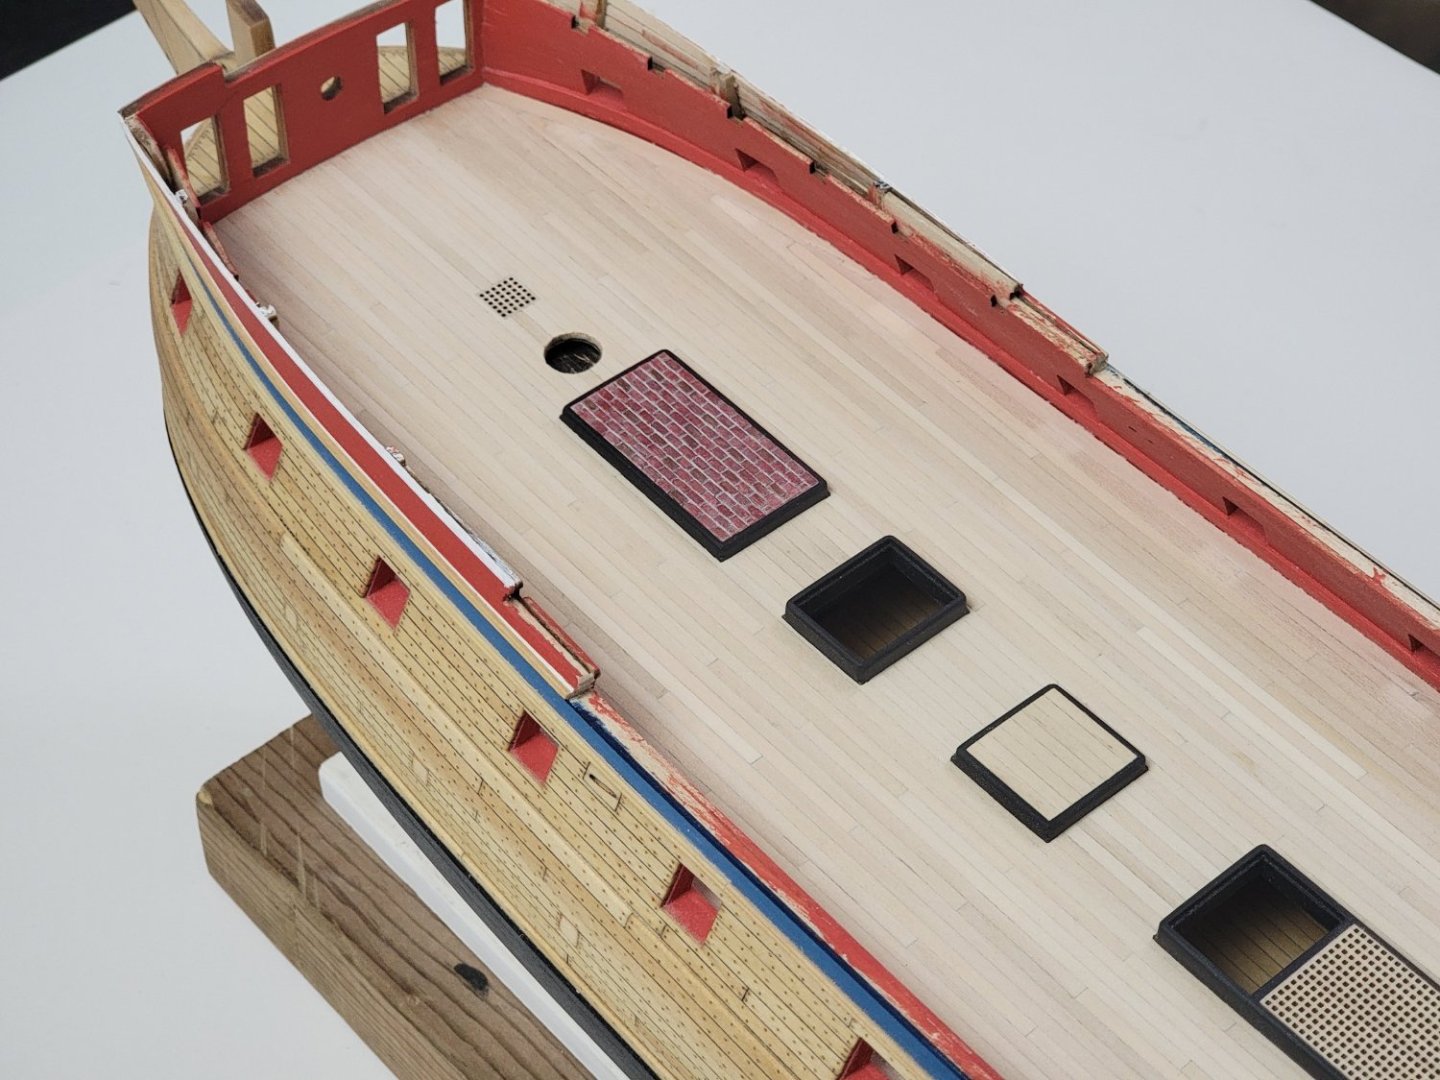
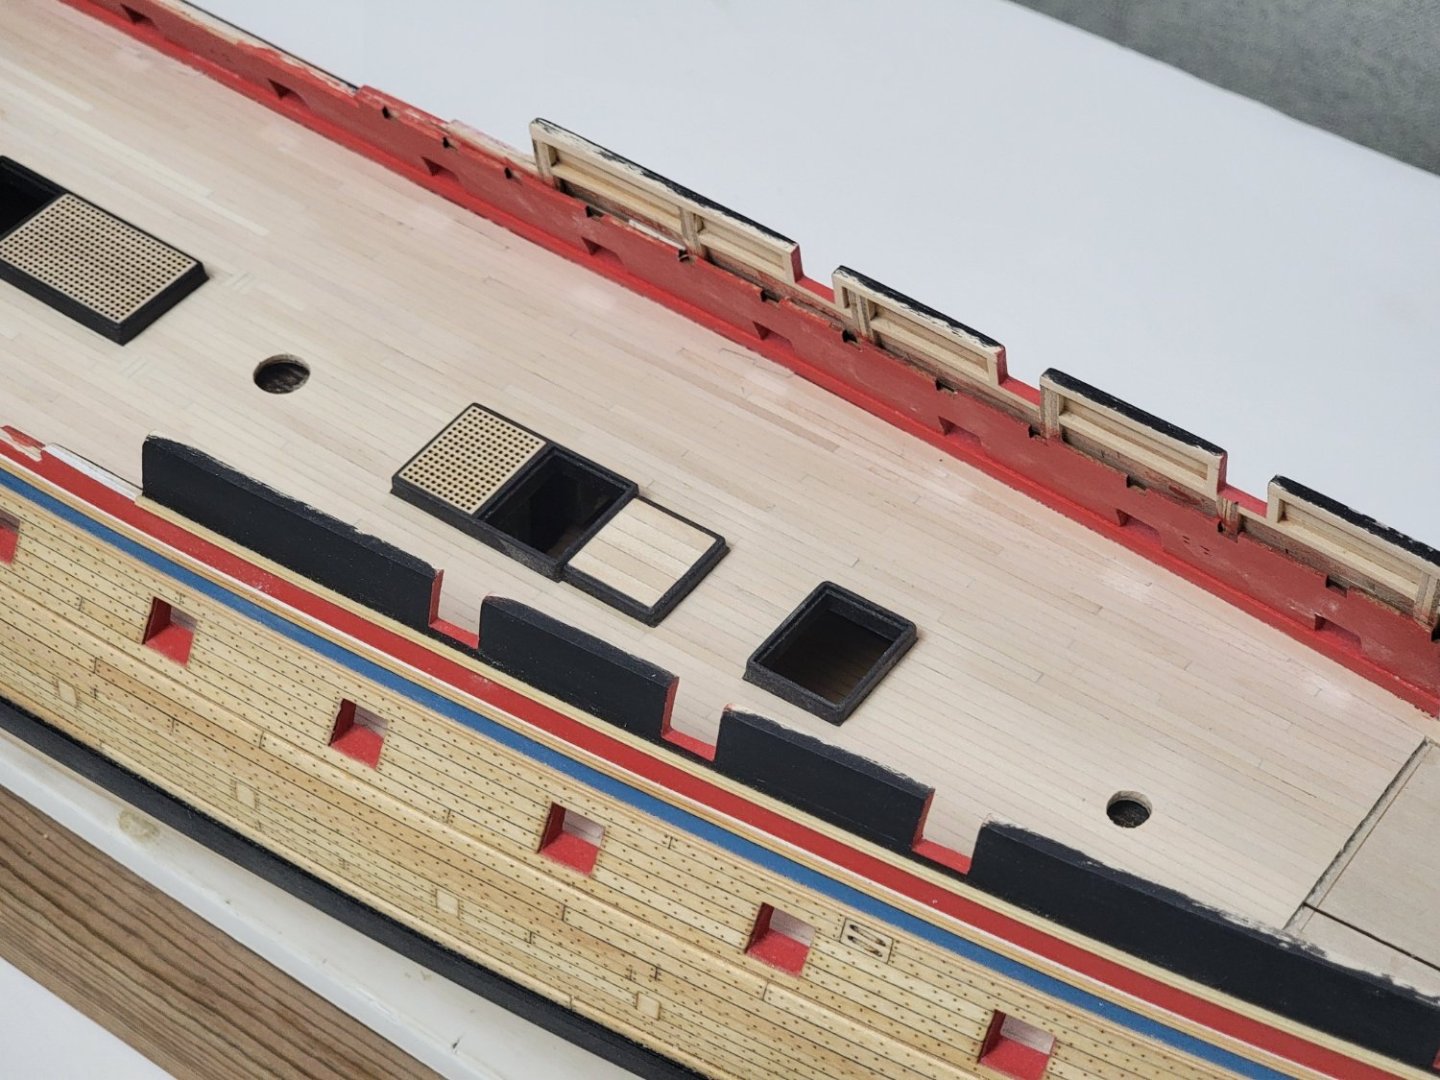
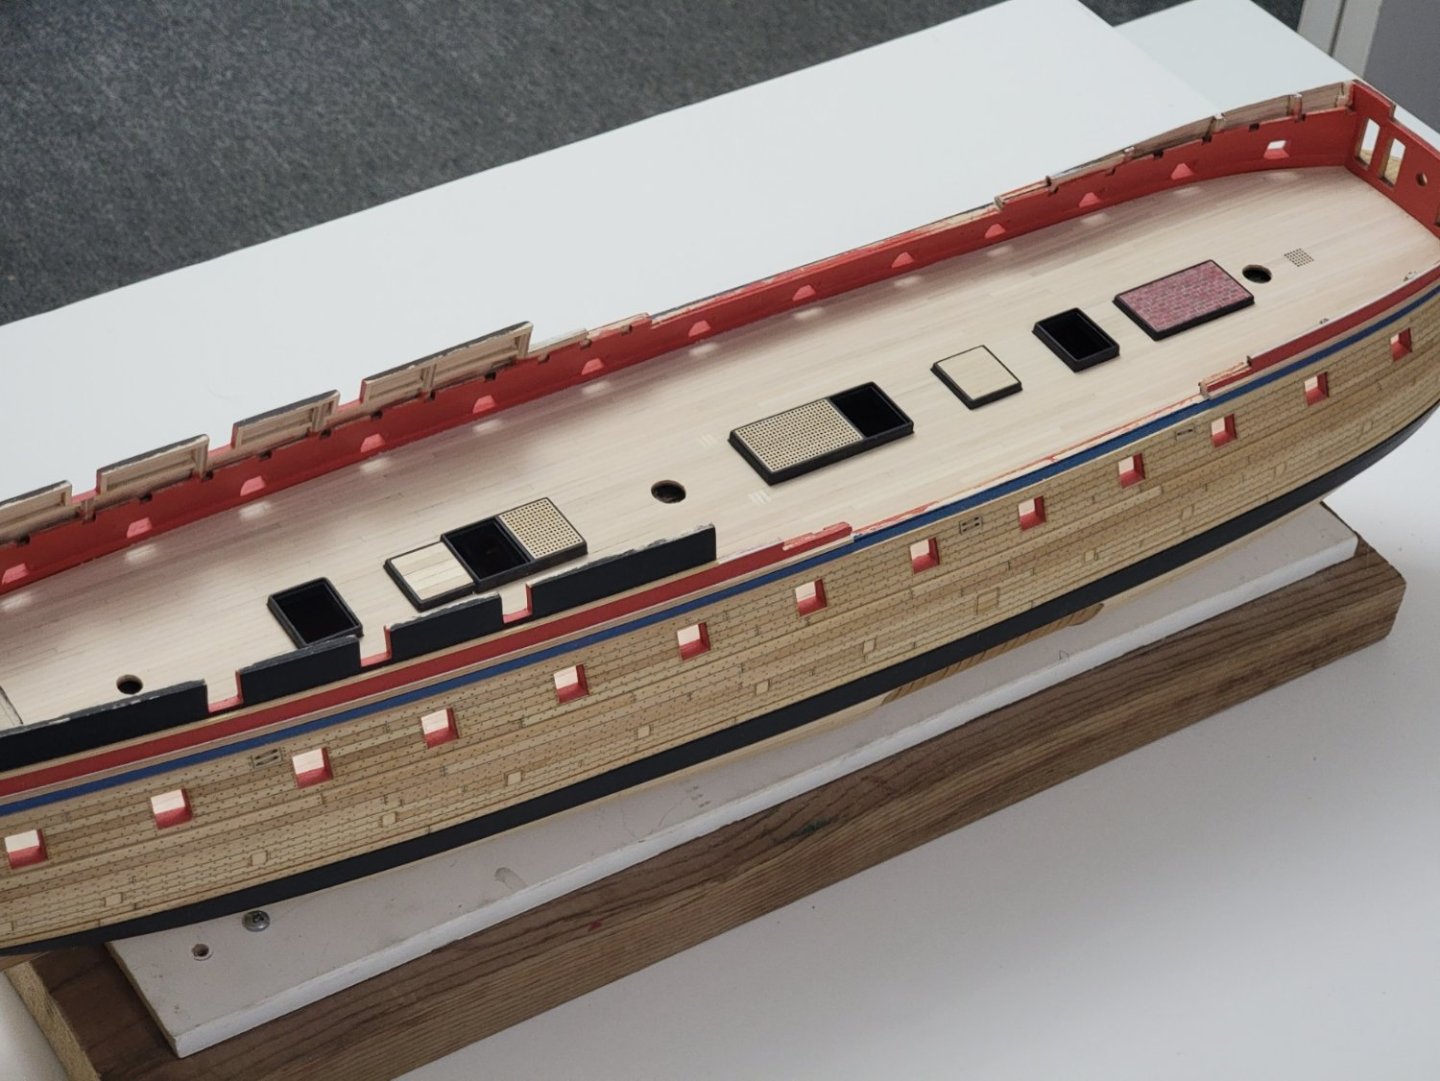
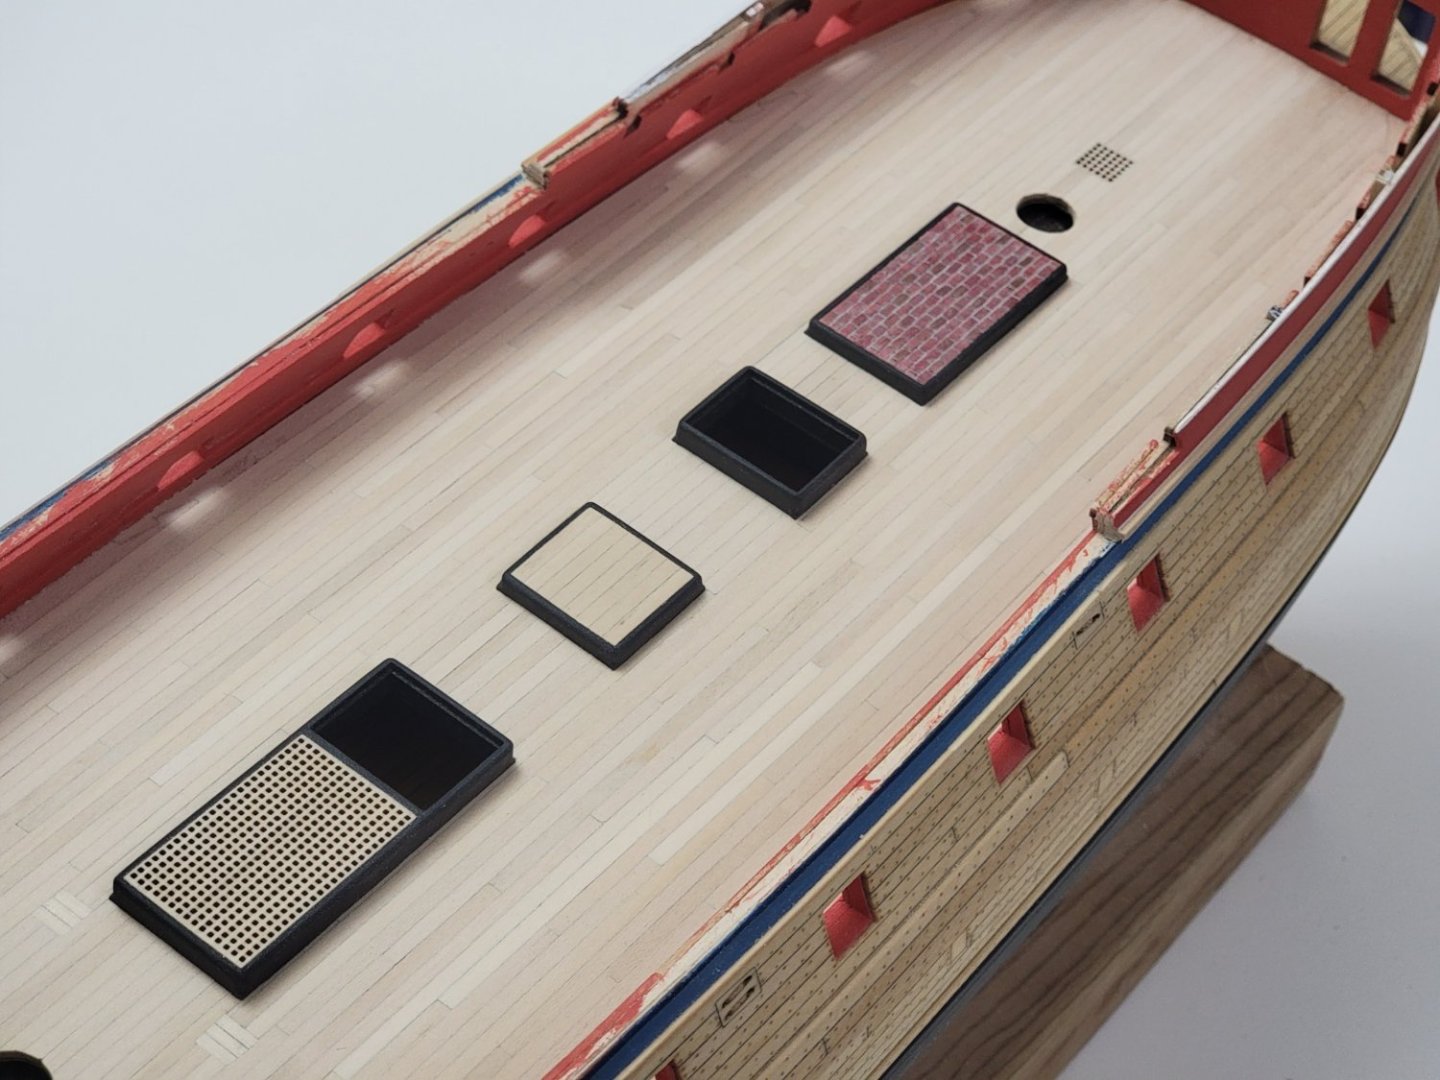
The checkerboard pattern is now glued to the false deck 😬 Fingers crossed I don't mess it up during the build. I'll try to be as careful as I can. Also, I hope the stick glue I used to bond the card stock onto the thin basswood sheet would hold up over the years. So far it seems good, but let's see.... Anyways, below are some photos. I guess this marks the completion of Chapter 10! For the next step, I am thinking to backtrack to finish up the stern. Hoping I can get better at the carvings this time around! Harshil
-
Thank you, Werner. After correspondence with Chuck, I think the best option would be to glue in the pattern section, then covering it with paper to protect it until its time to install the guns. Looking forward to seeing your update post 😁. Thanks again for the nice words and thanks all for the likes! Harshil
-
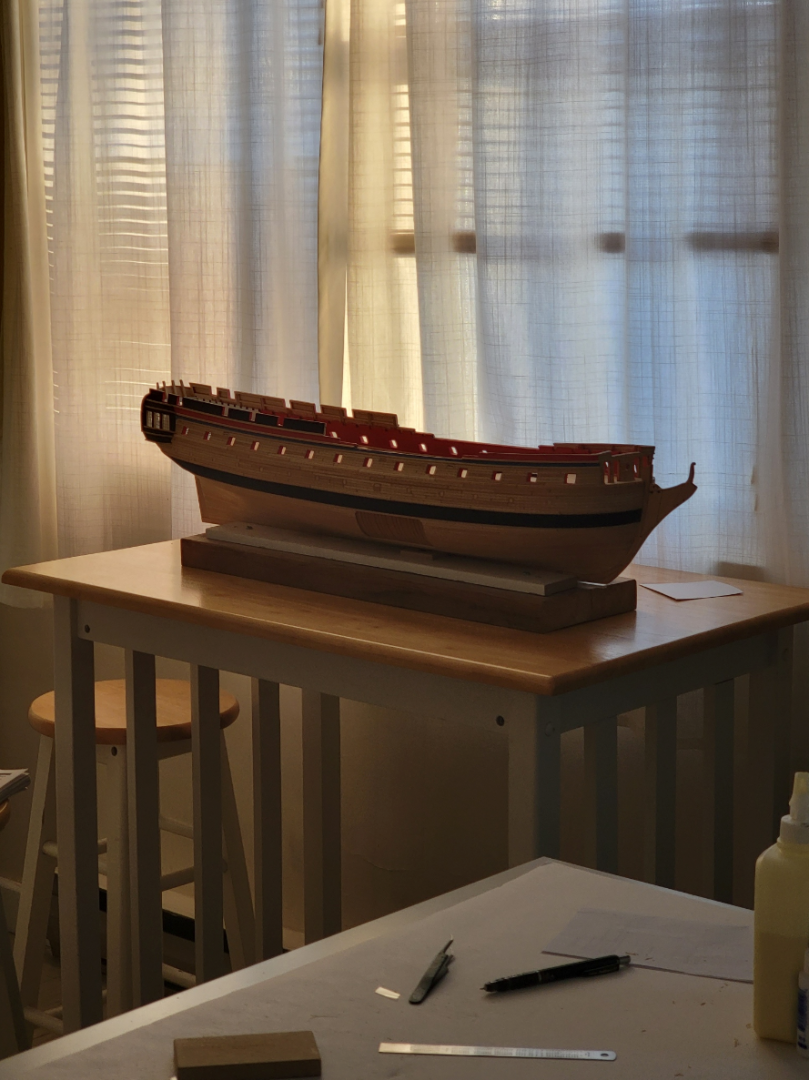
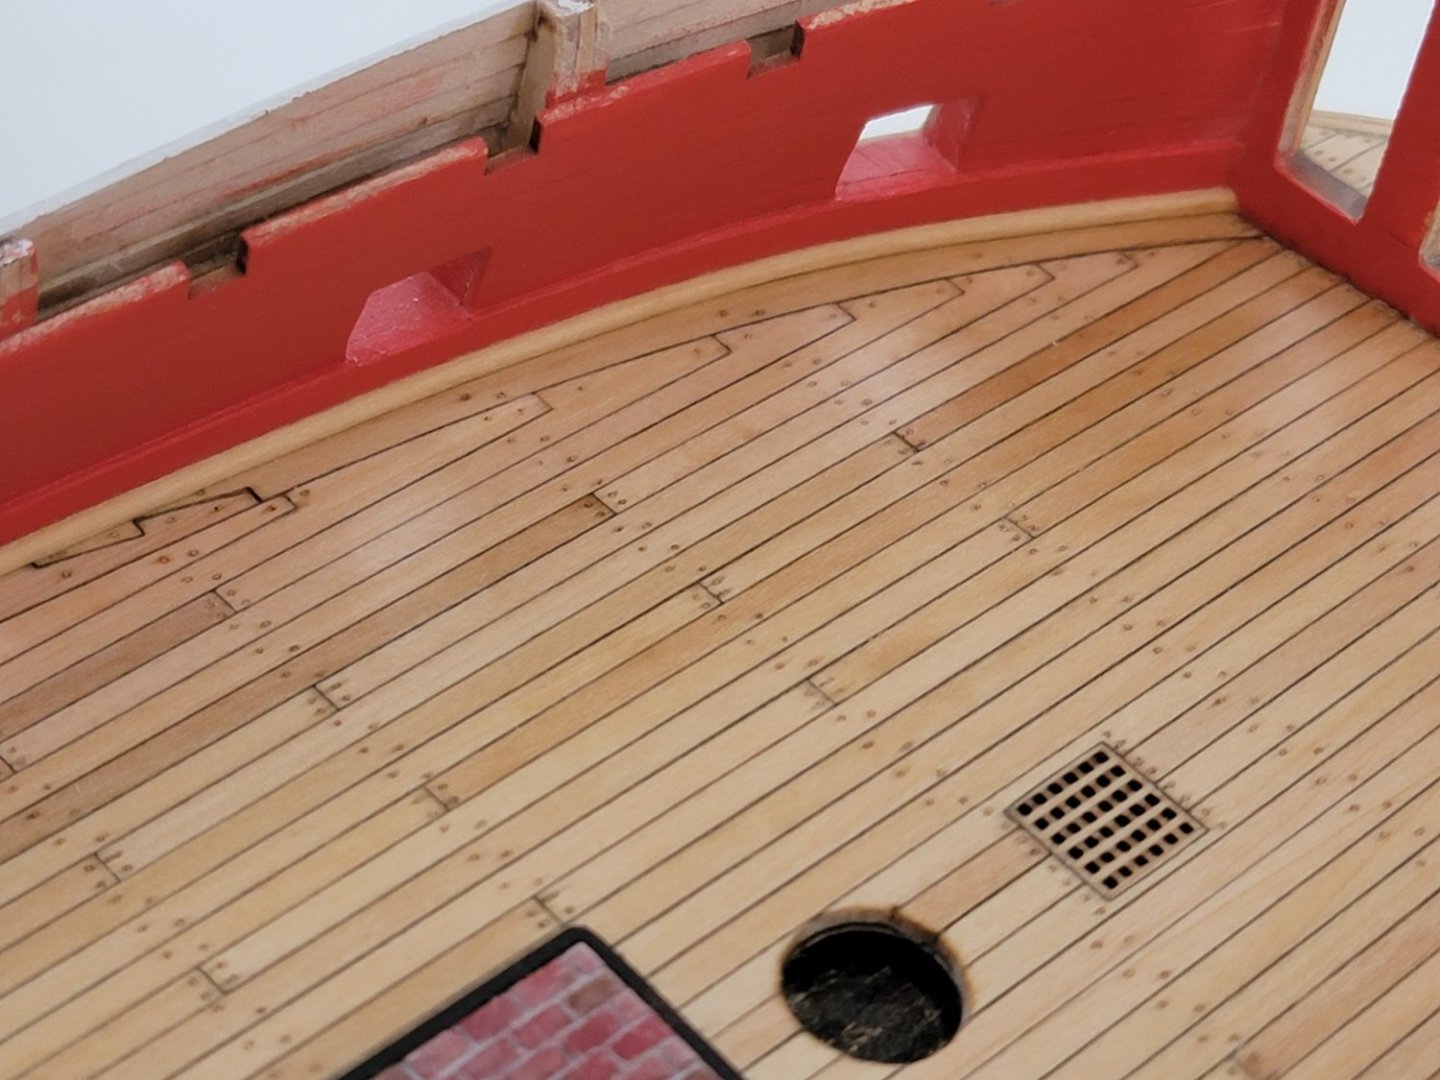
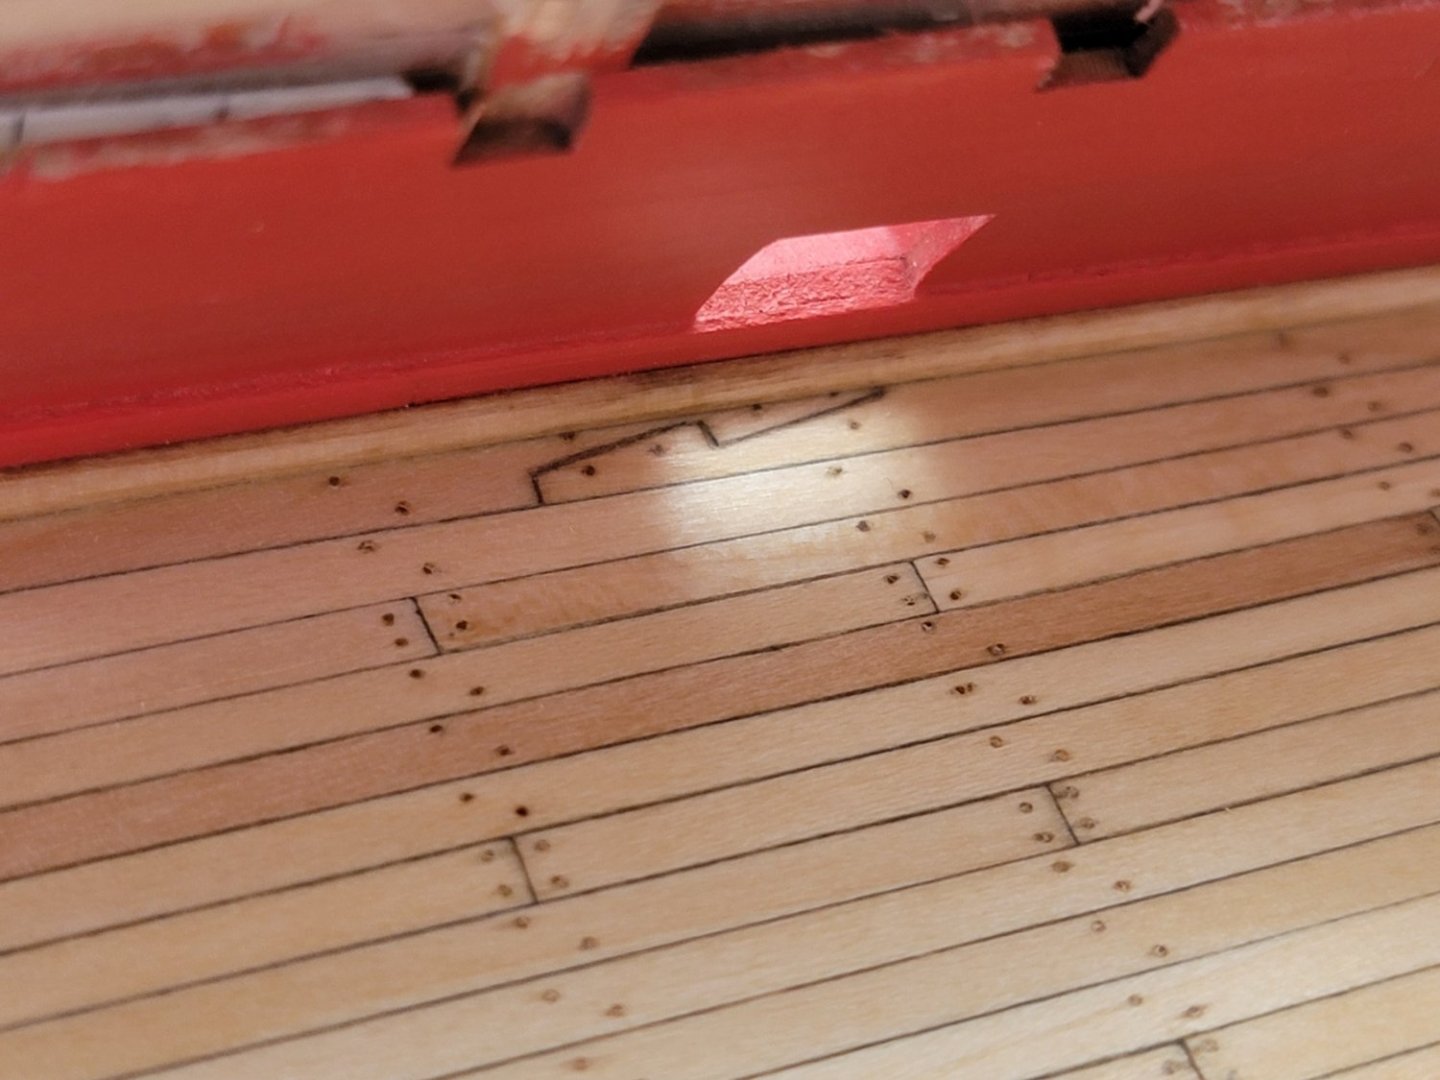
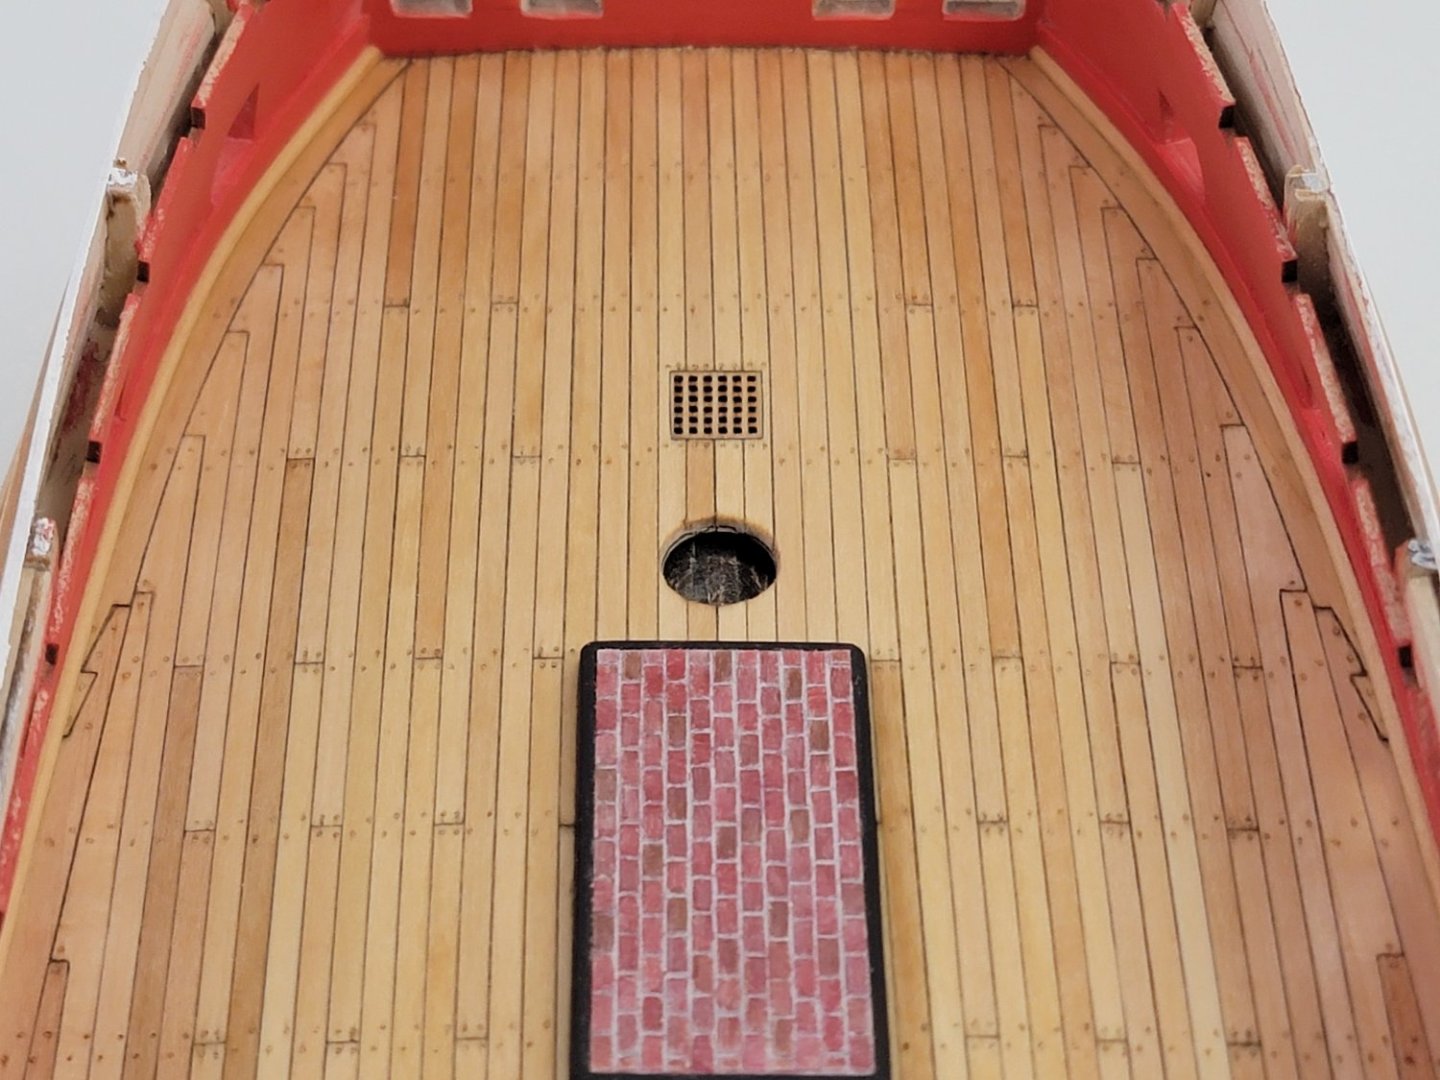
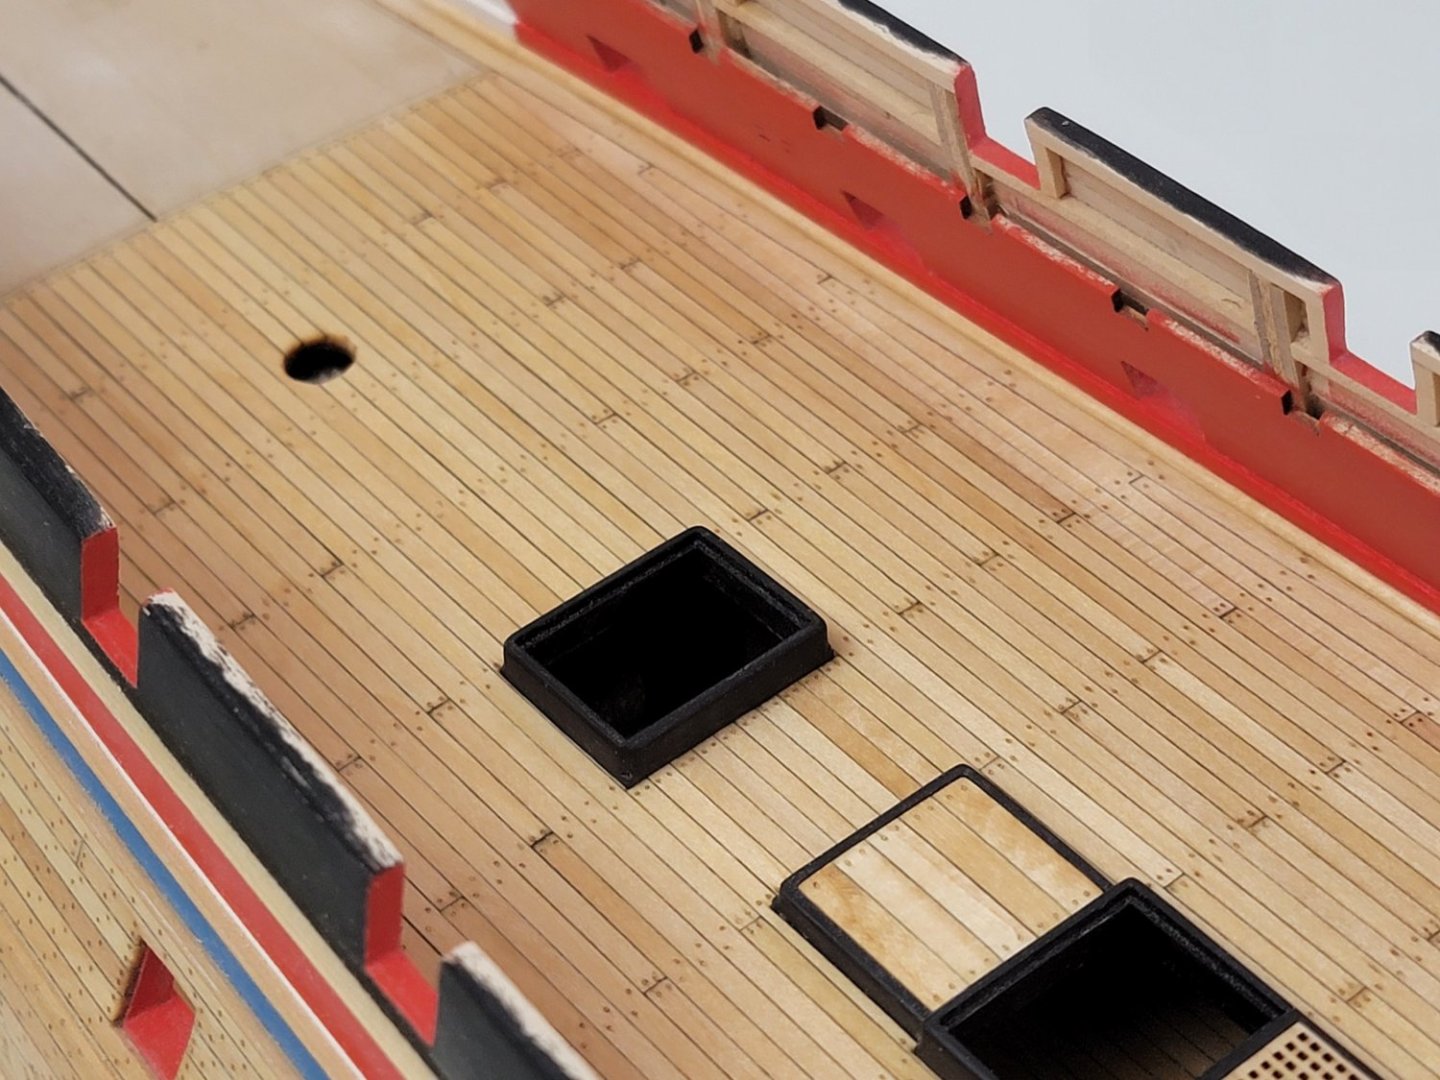
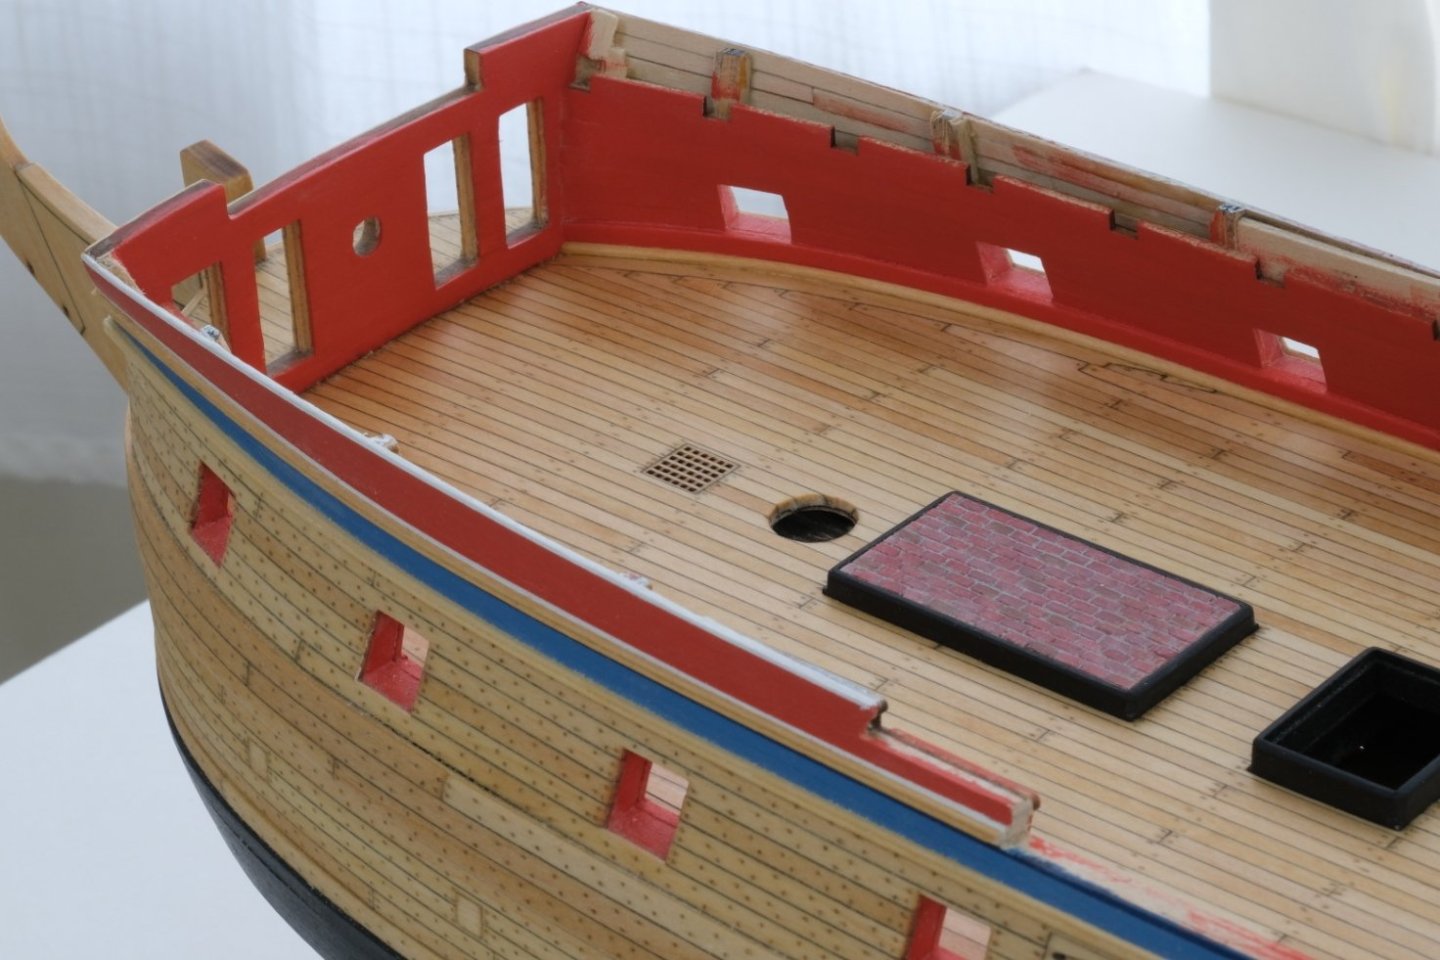
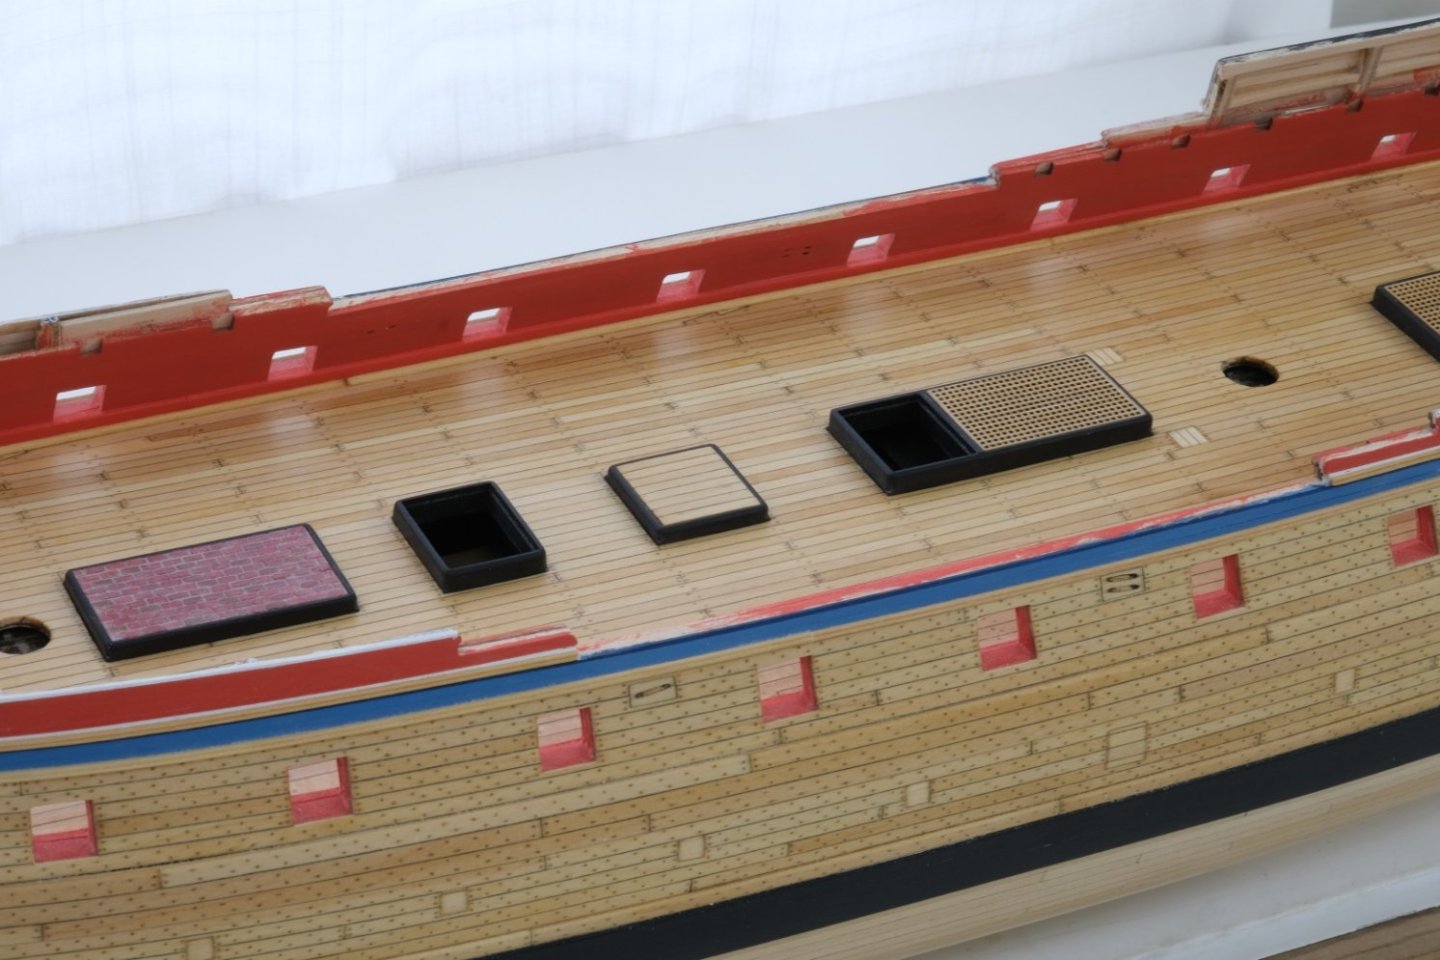
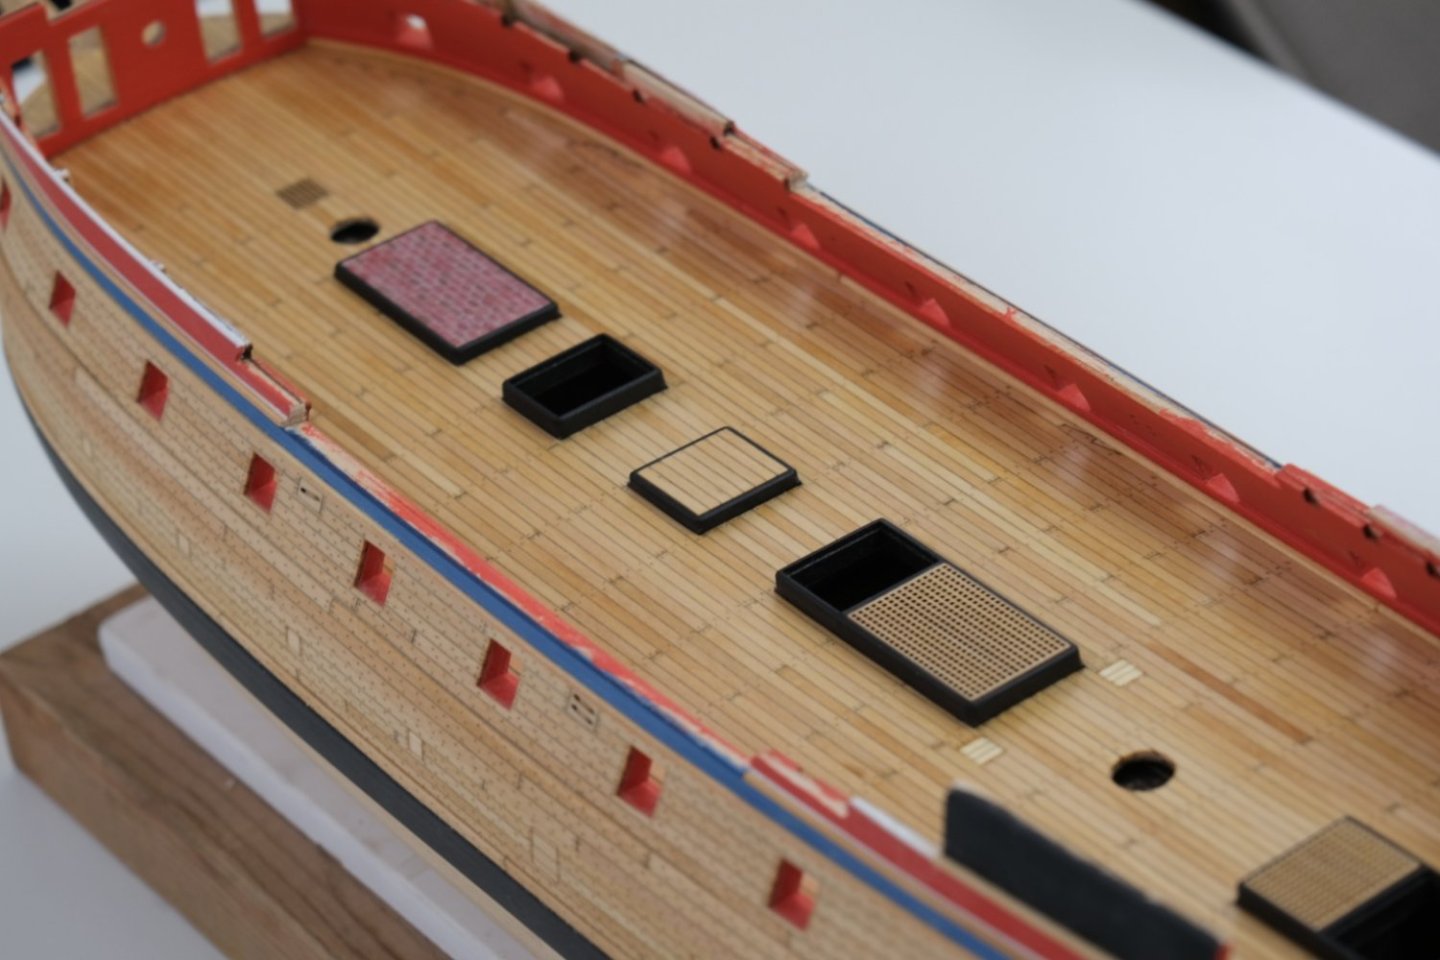
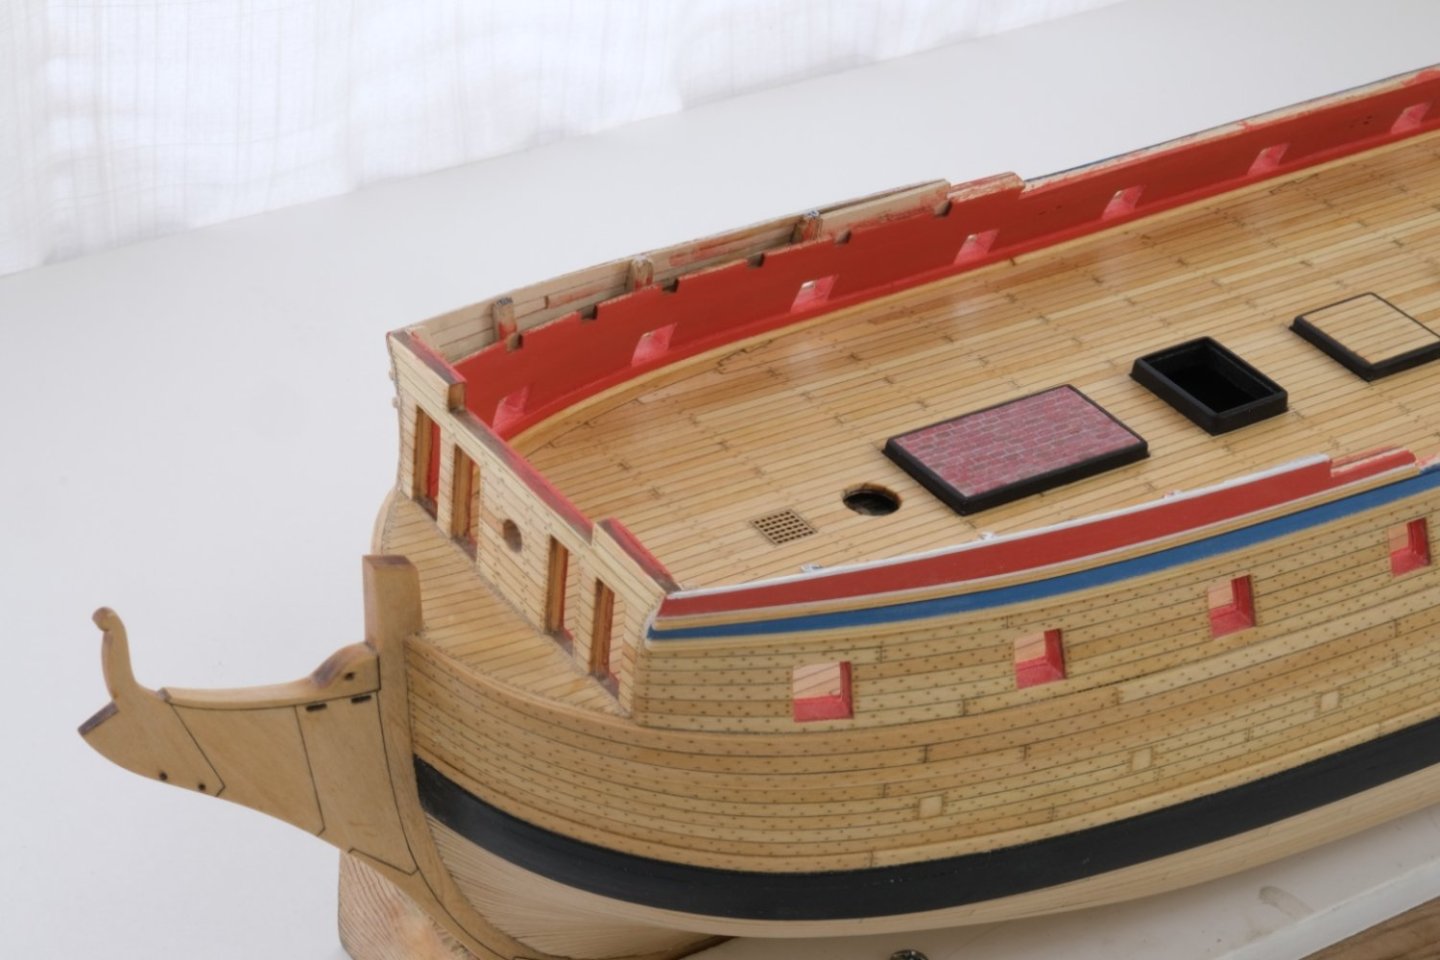
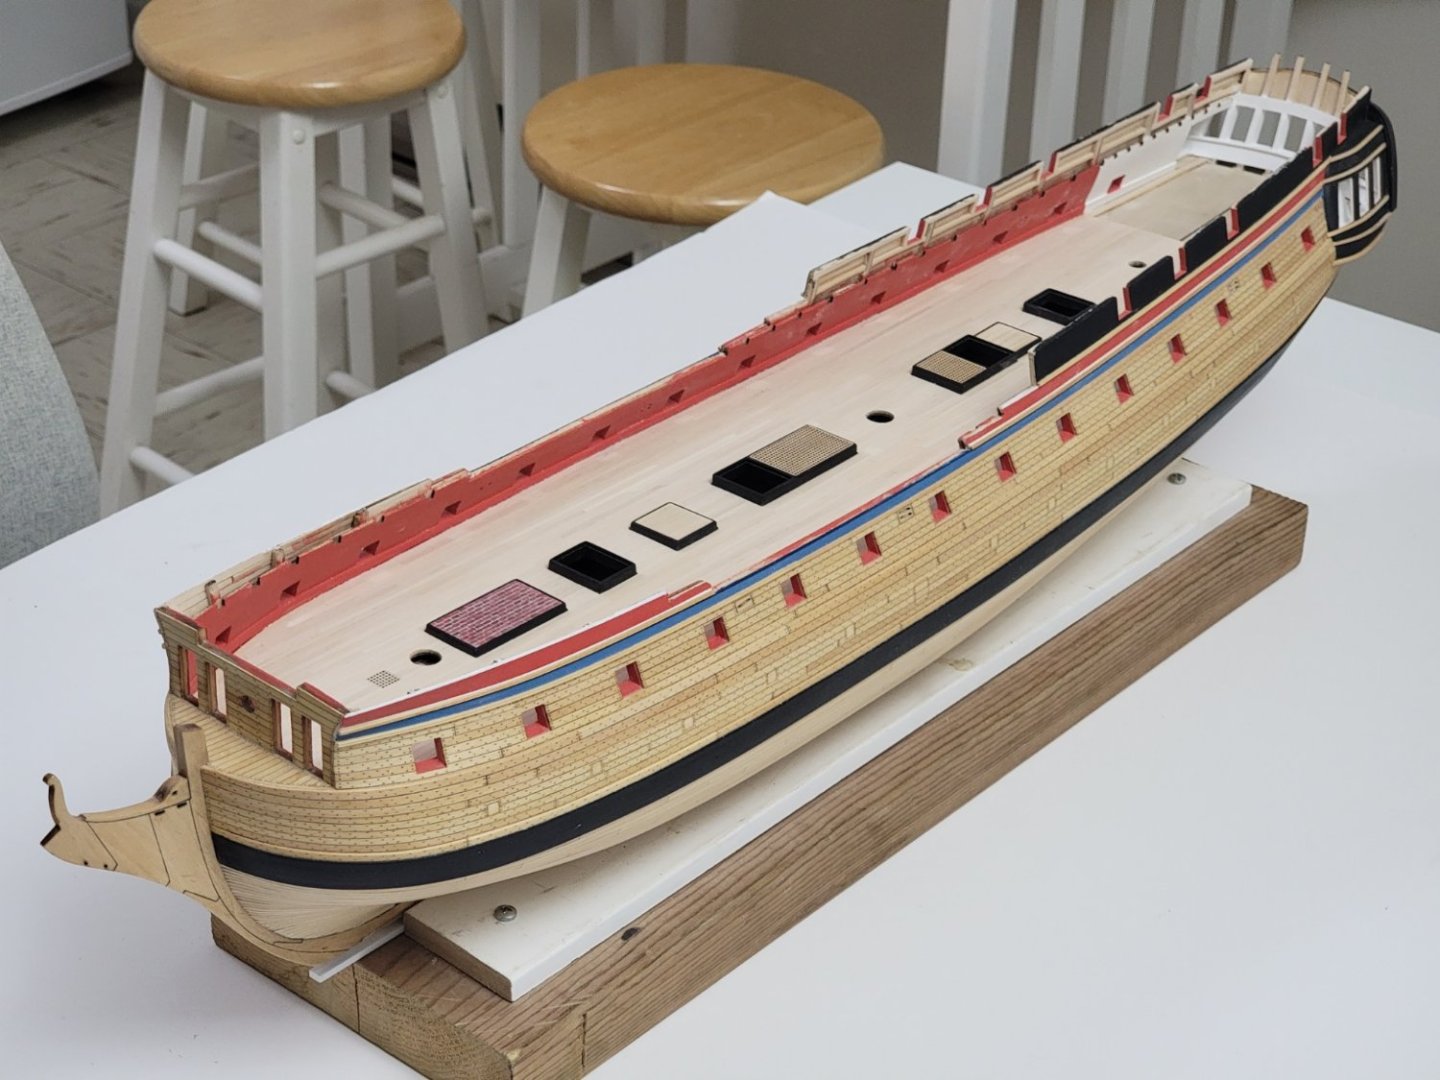
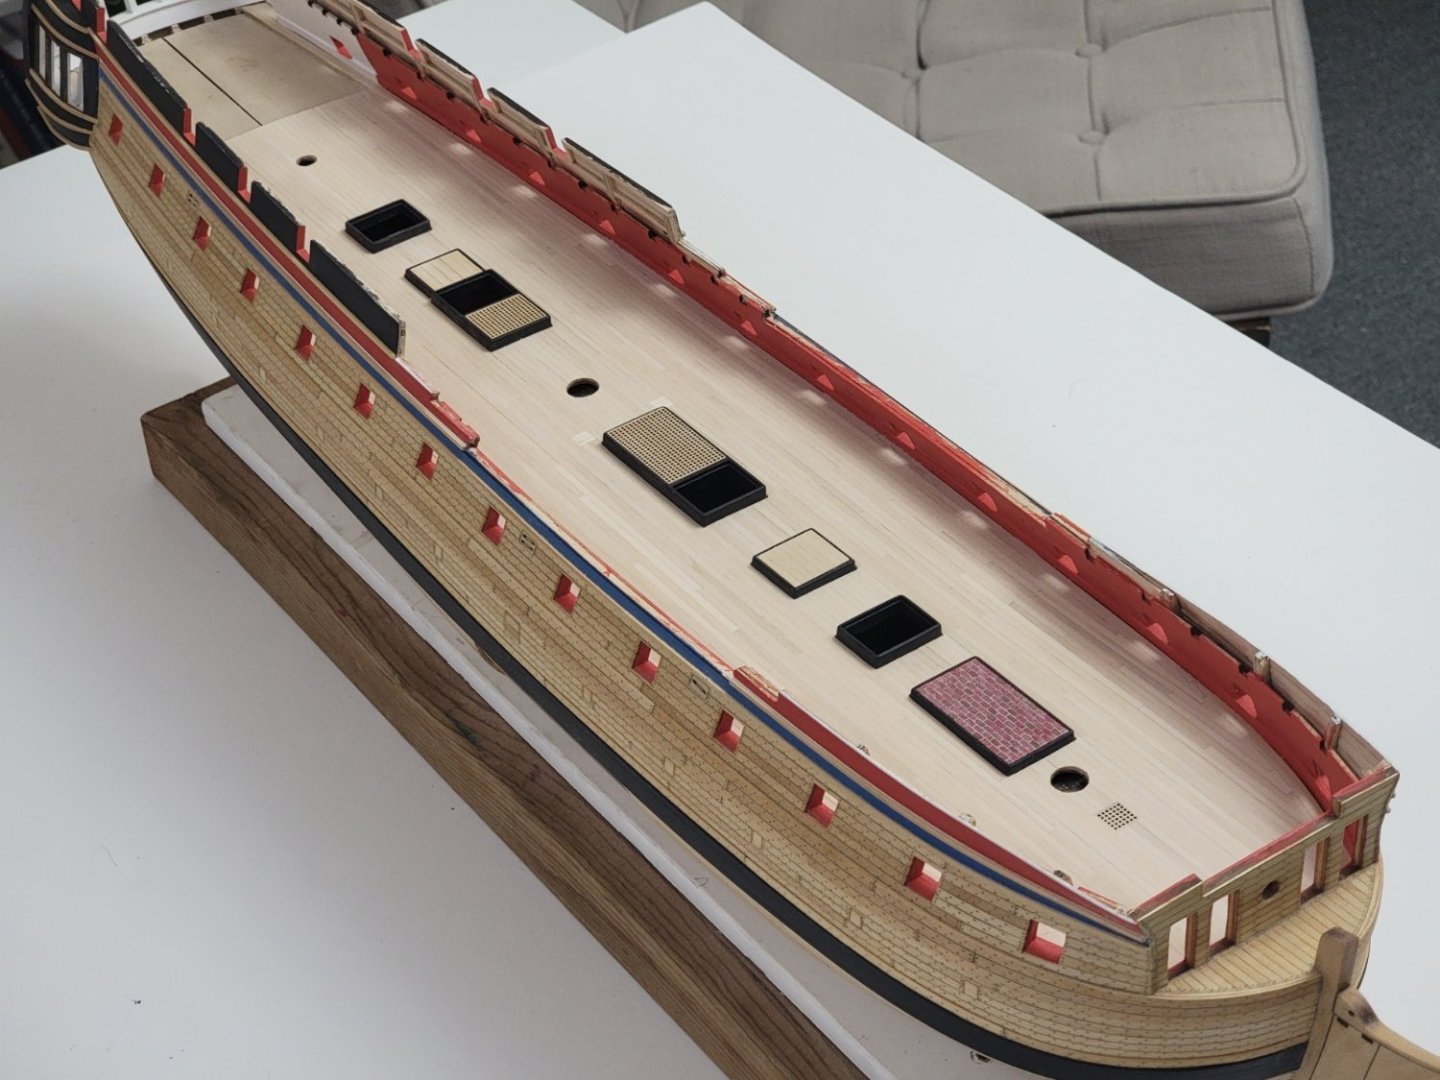
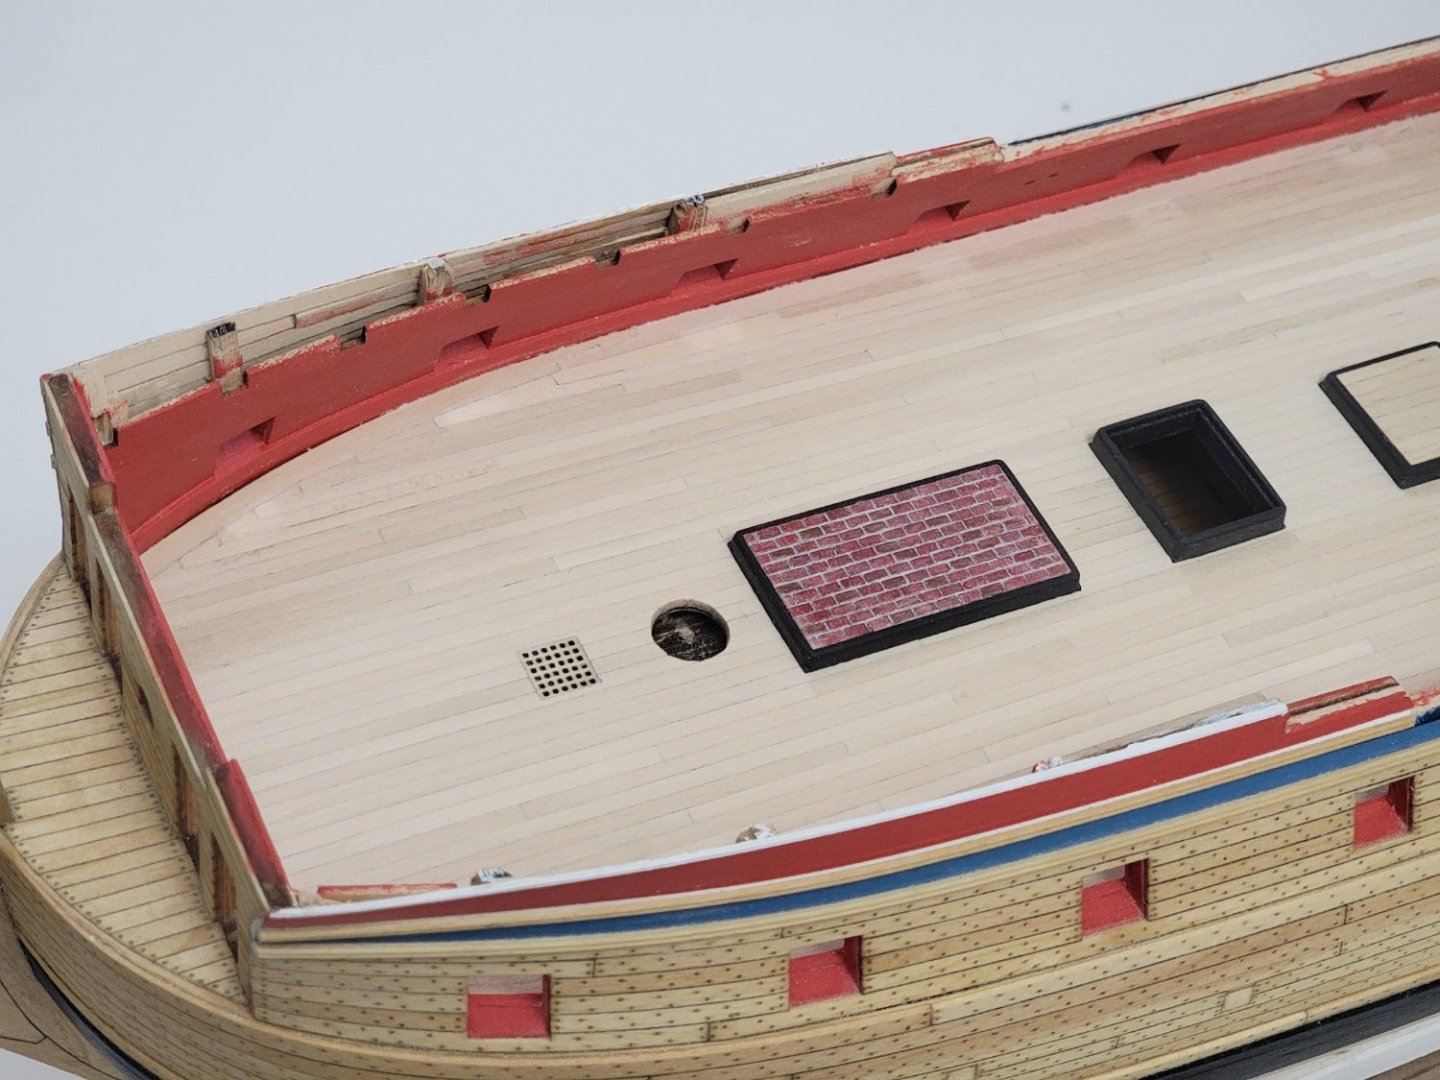
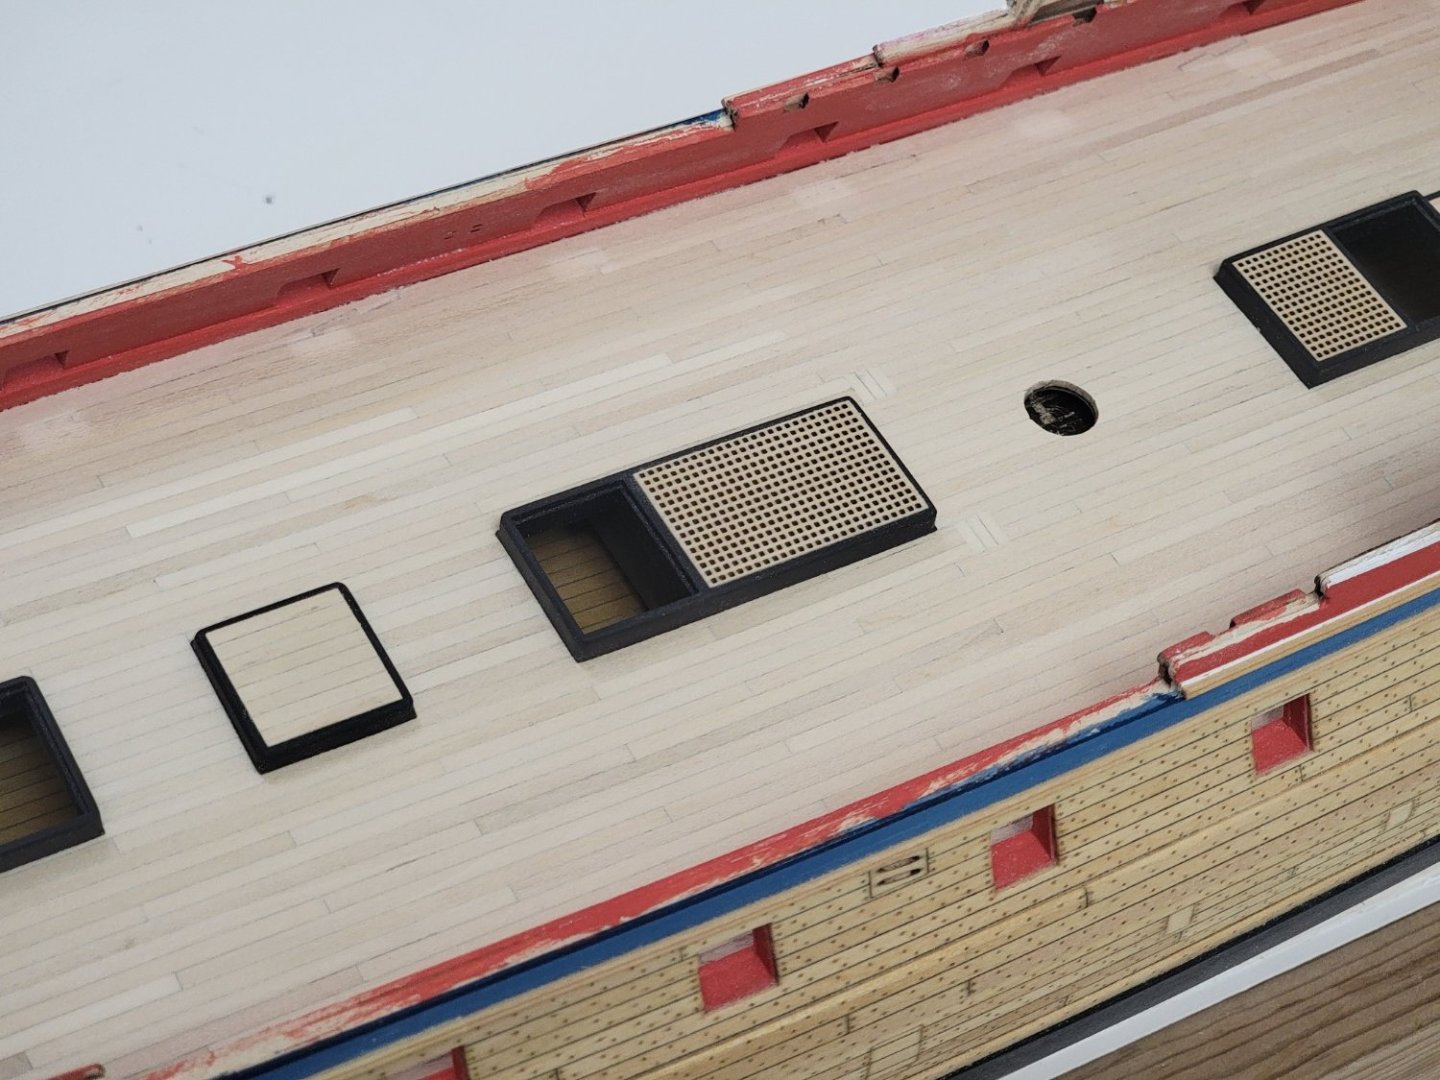
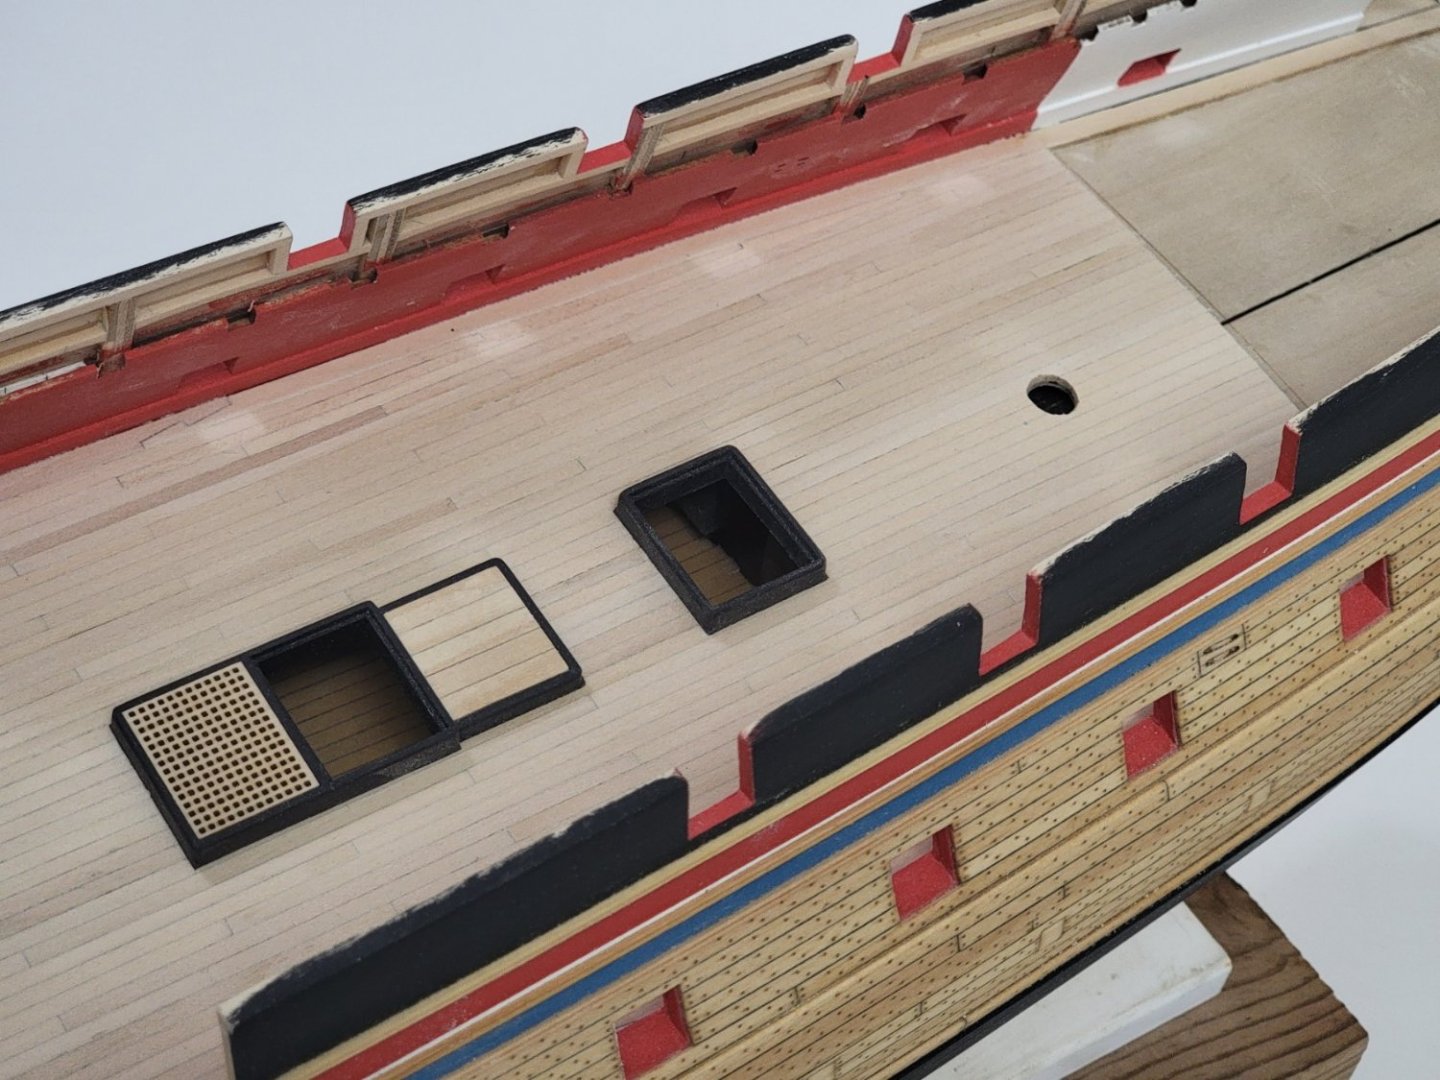
It's been a while since my last update! I finished treenailing the deck, installing the waterway, and have stained everything with tung oil. I shaped the waterway to be in a convex shape using a planer and sanding sticks. I have not yet glued any of the deck fittings in case they come in the way when installing the ladder etc. Here are some photos of where the model is at currently: The next step would be to paint the margin plank + waterway in the great cabin white before gluing the checkerboard pattern. In the meantime, I will also continue thinking of different options for the checkerboard pattern as I am not too confident that I can keep the printed card stock pristine throughout the whole build...
-
Thank you Steven, David, and Rick! Your comments are much appreciated I think using thinner planks should be doable, but some adjustments should be made for the wales, and decking (since the gunports would be slightly higher from the deck level with thinner planks). But curious to hear what @Chuck thinks. Harshil
-
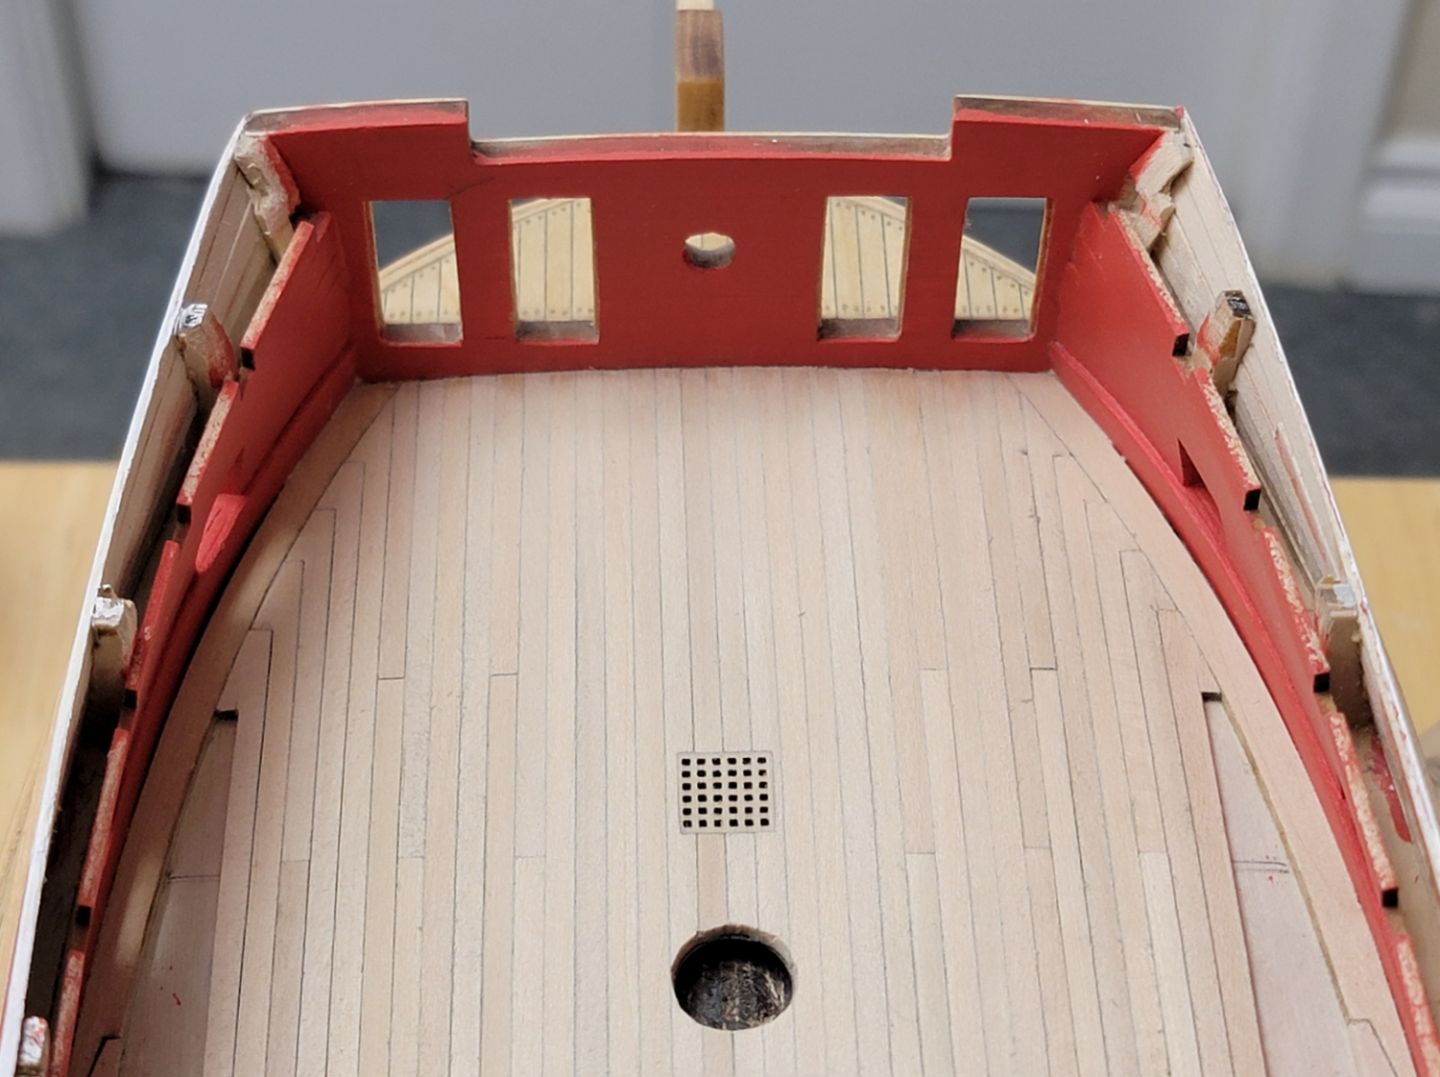
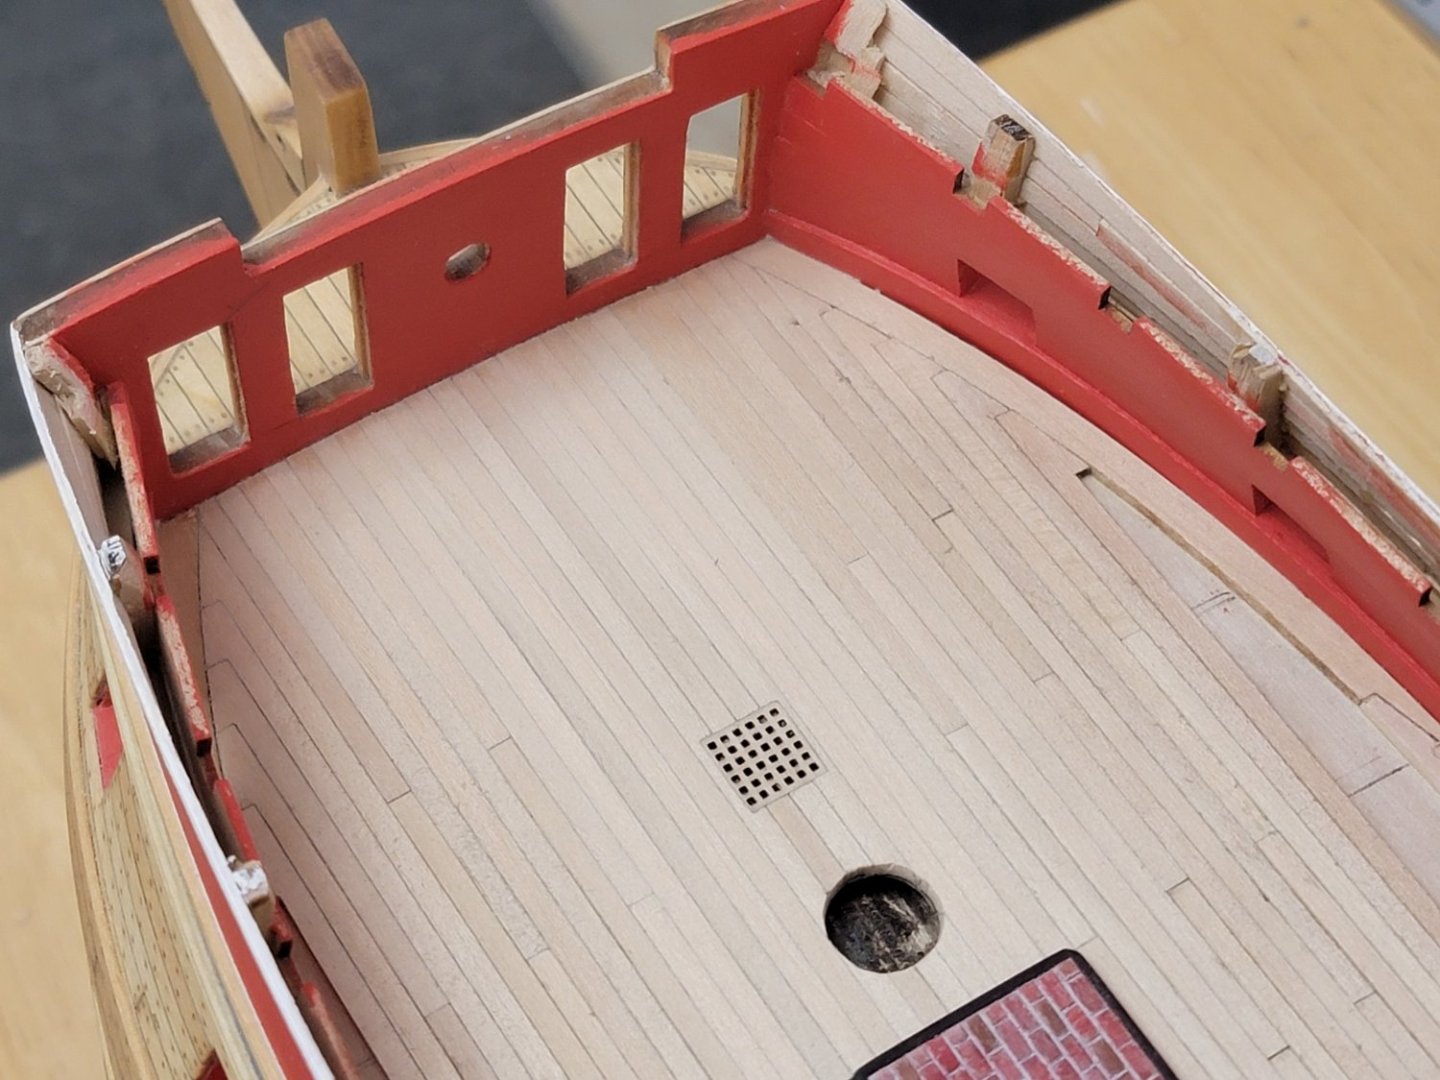
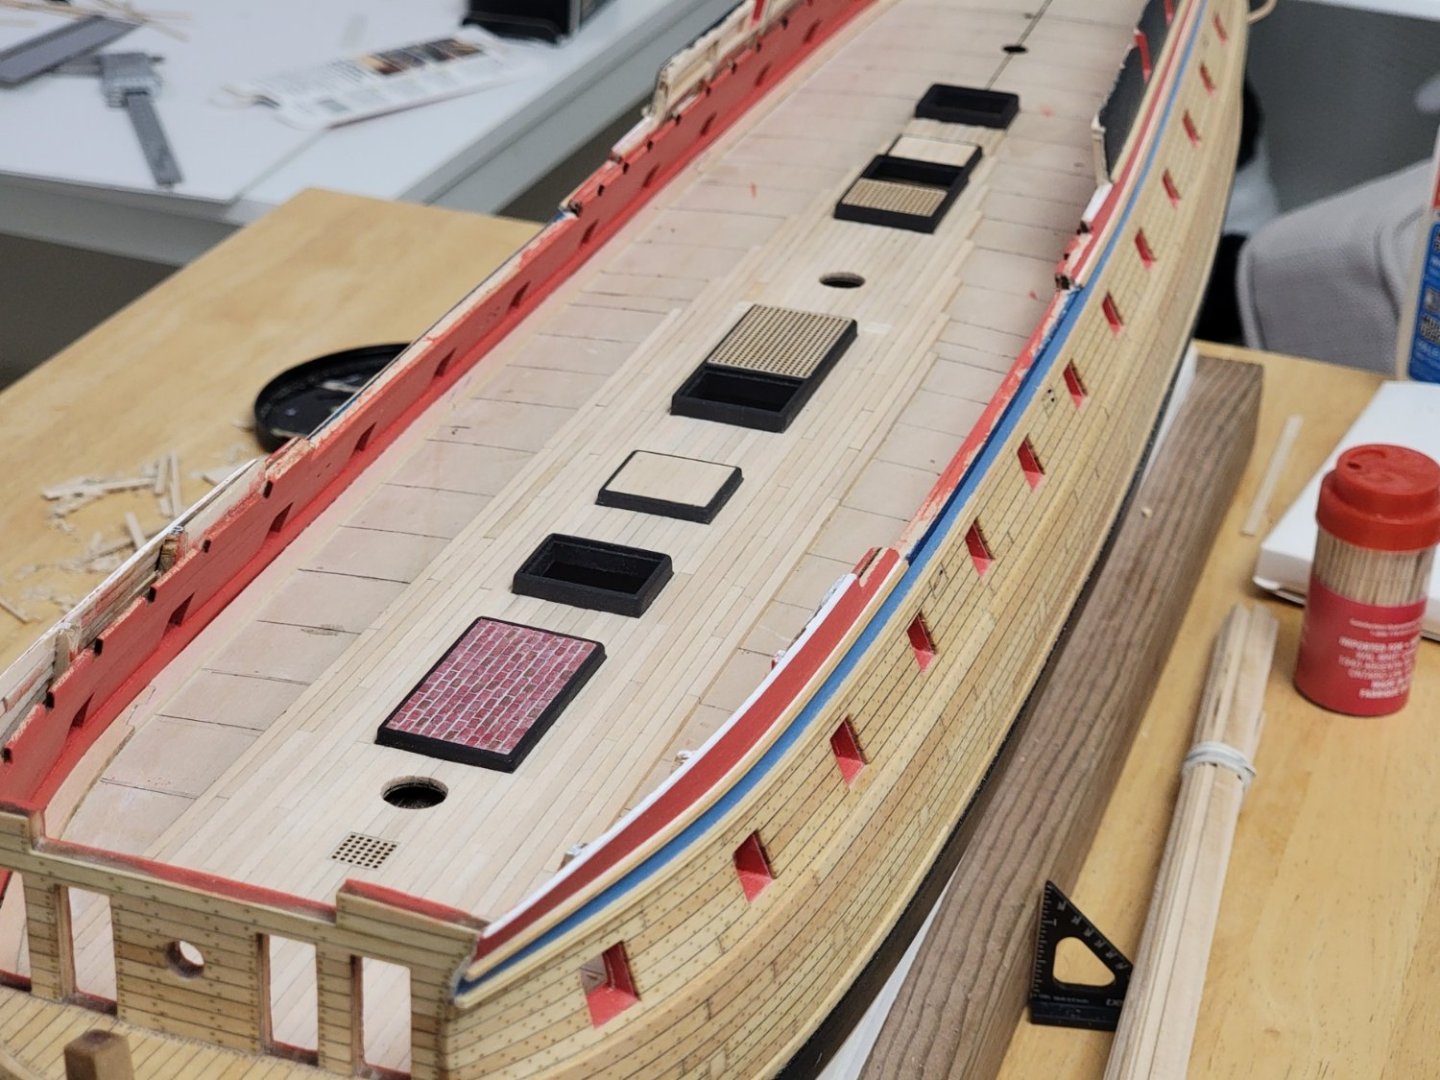
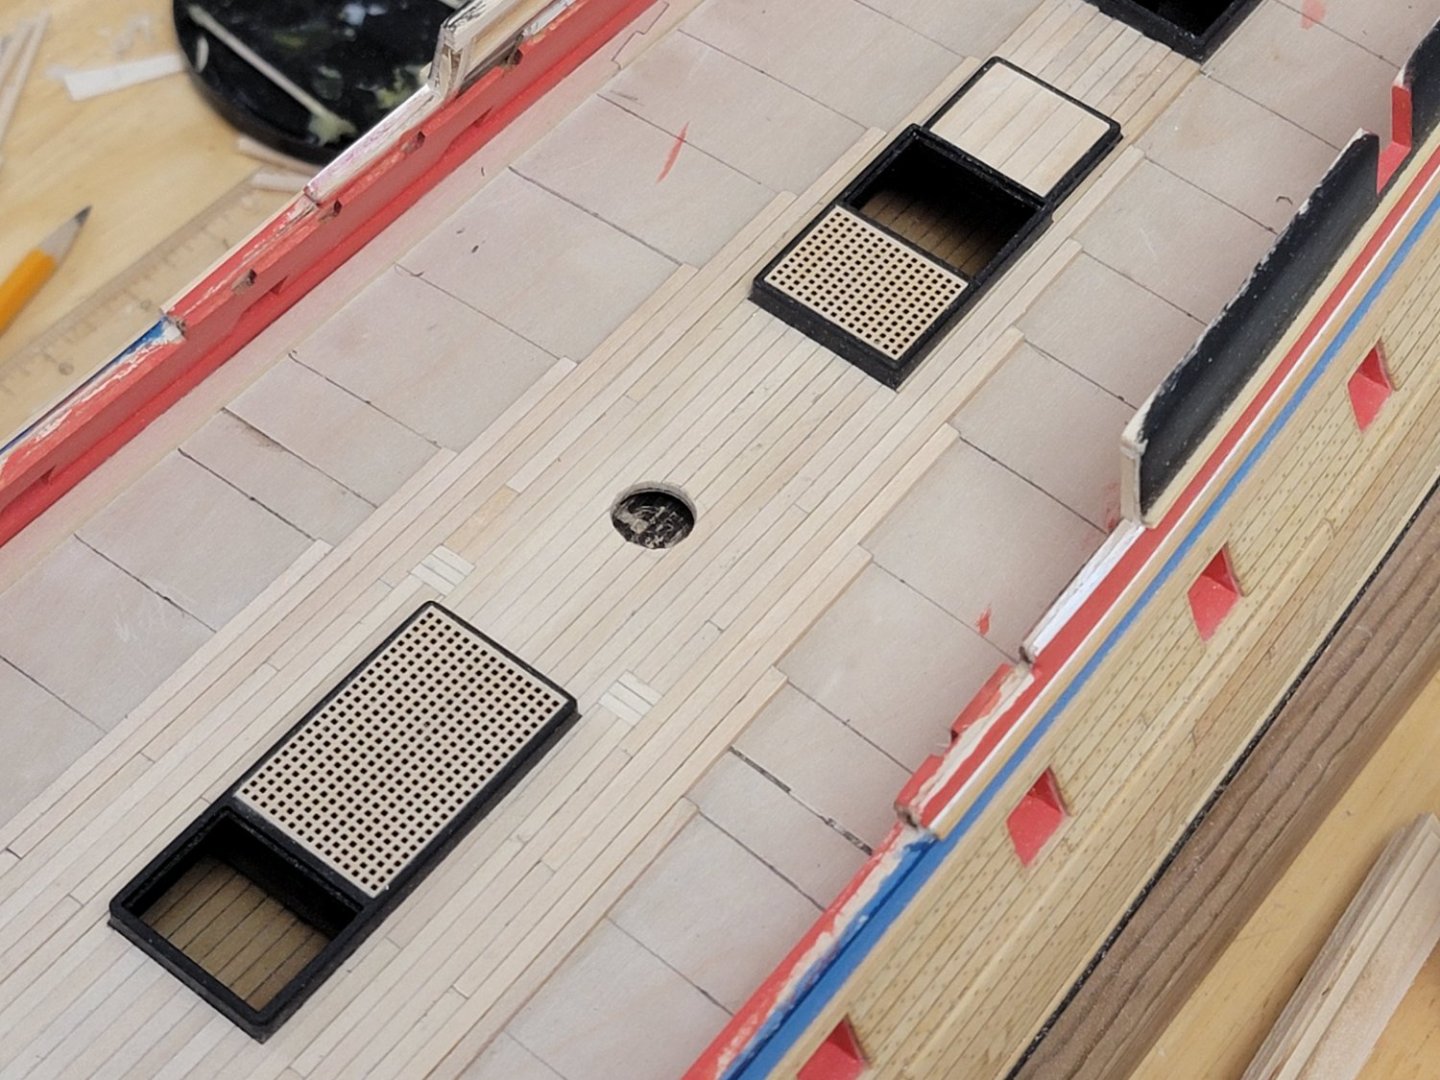
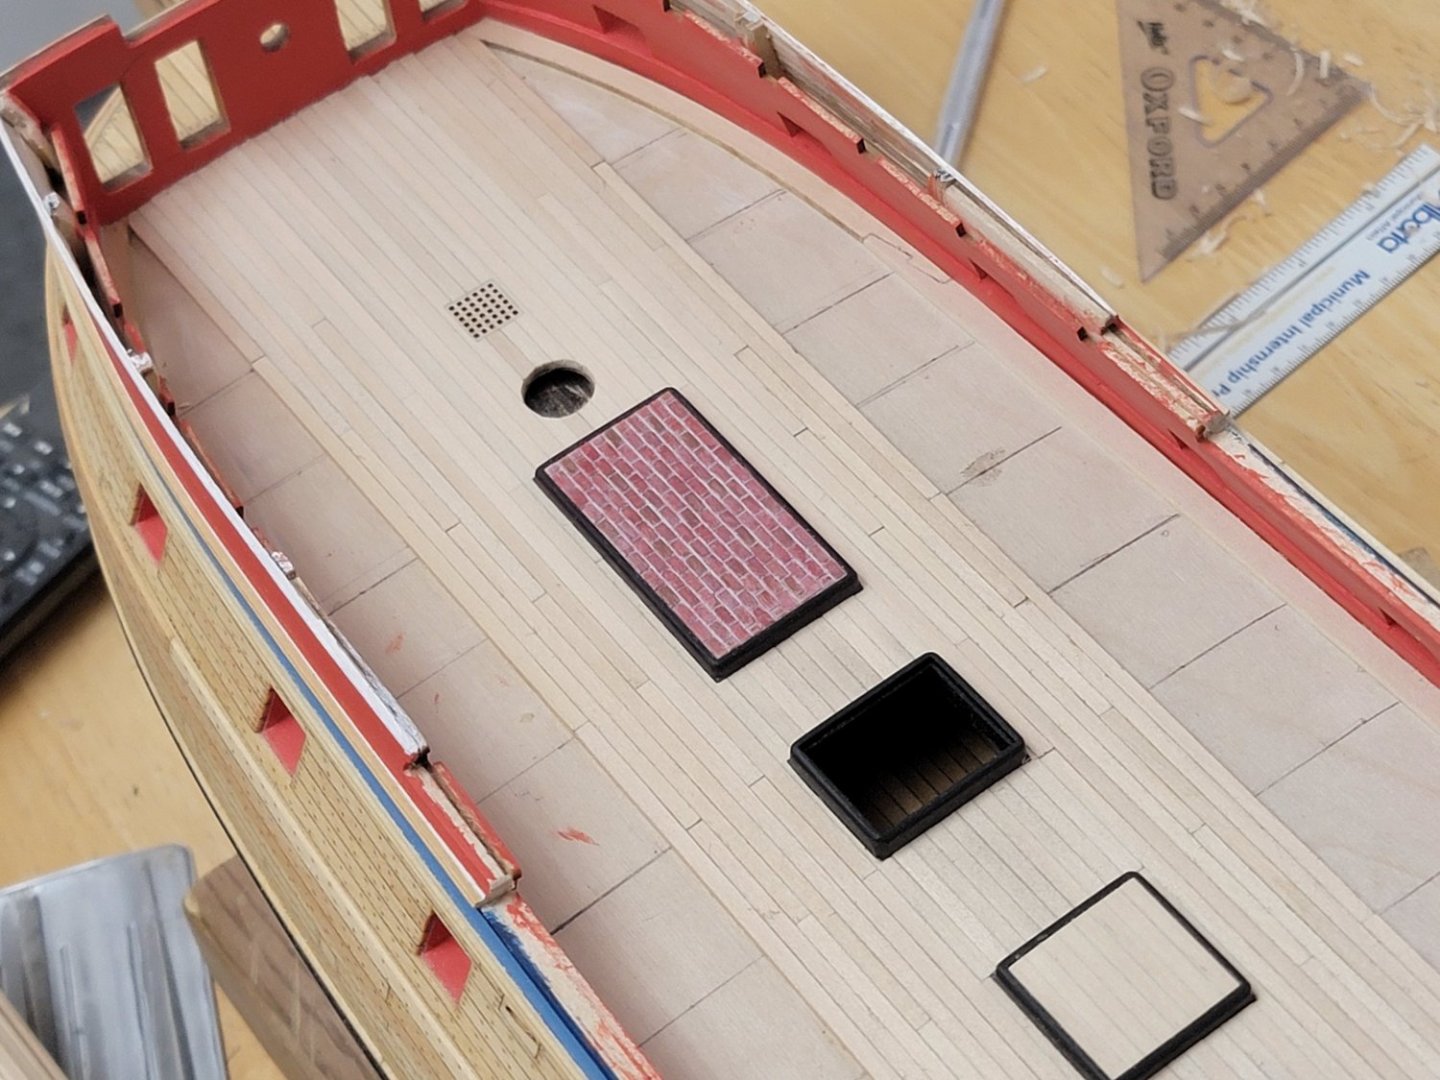
Thank you all for the likes!! Decking is now completed 😁 There are some mistakes with symmetry, especially for the edge planks. That made me realize, it would be best to plan ahead of time and mark the plank locations (similar to the hull). I also had to redo the aft planks as I realized I did not follow the same pattern as the forward part of the ship. But glad I found that before it was too late! Before I forget to mention, I spot glued this plank to make sure the decking would be flush with the great cabin And here are some photos of this stage completed. Next is the treenails, waterway, and then lastly finishing with tung oil.
-
A quick update on the decking. Managed to get some hook scarfs at the bow. For this, I used a planer for the long end, and an X-acto blade at the forward-end of the plank where the planer could not reach. Then carefully peeled of 0.1mm slices until the plank was completely flat. I checked the end result against a normal plank facing a source of light to make sure no light seeps in any potential gap. In some cases where light did seep in, I used sandpaper glued to the edge of a flat piece of wood and lightly sanded it straight. Harshil
-
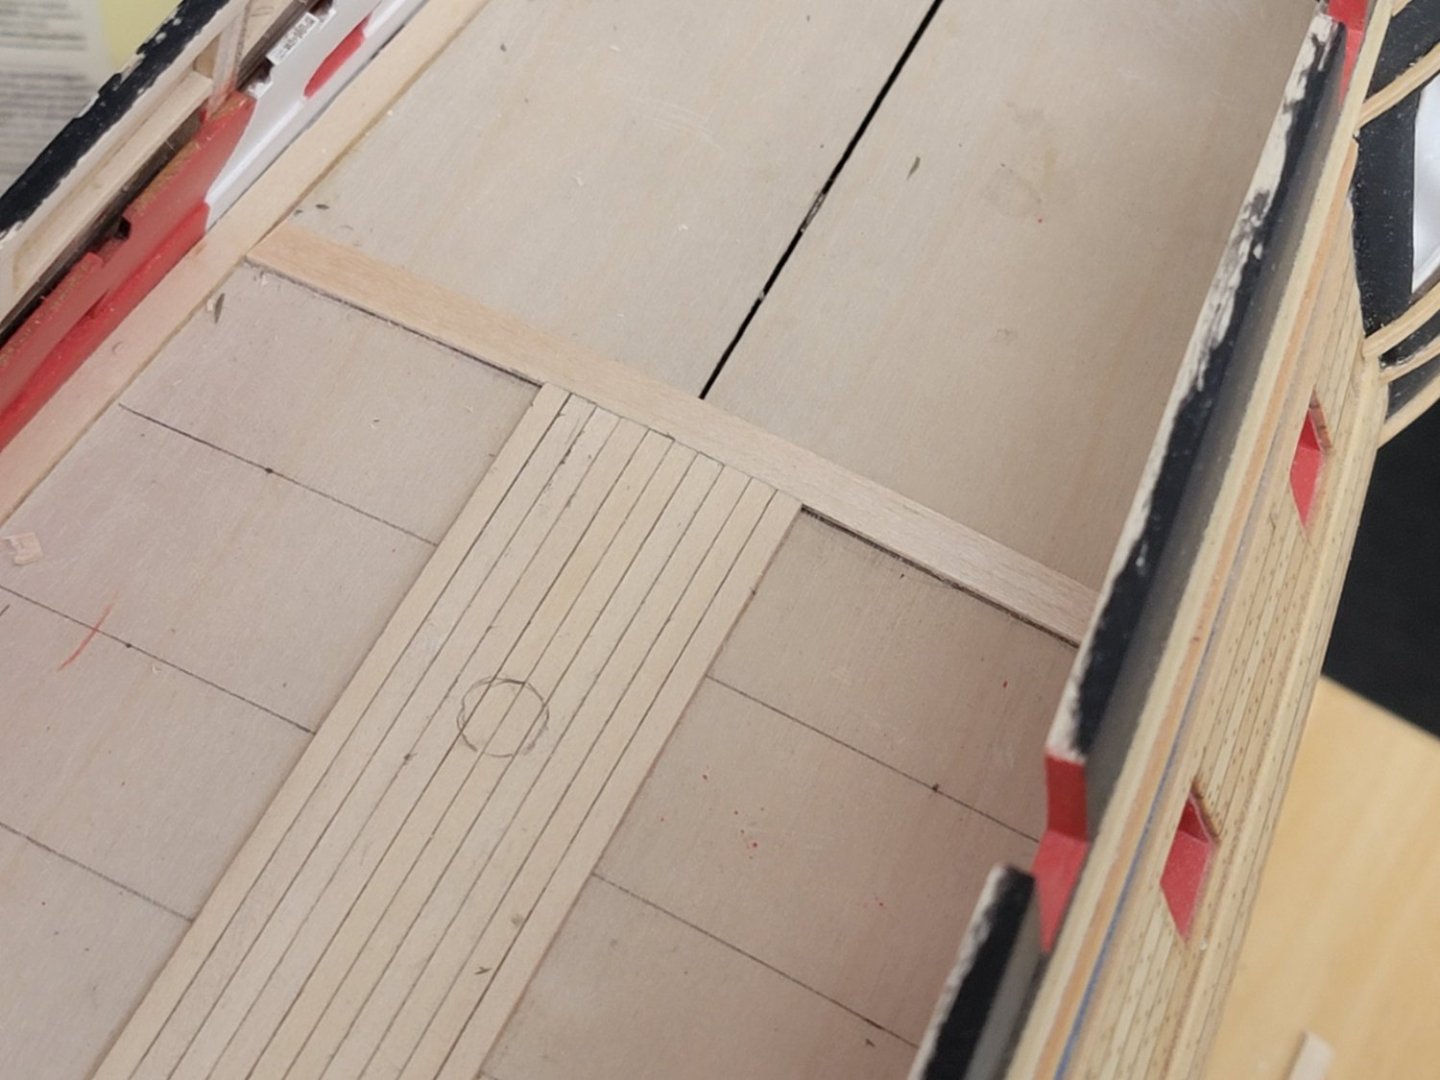
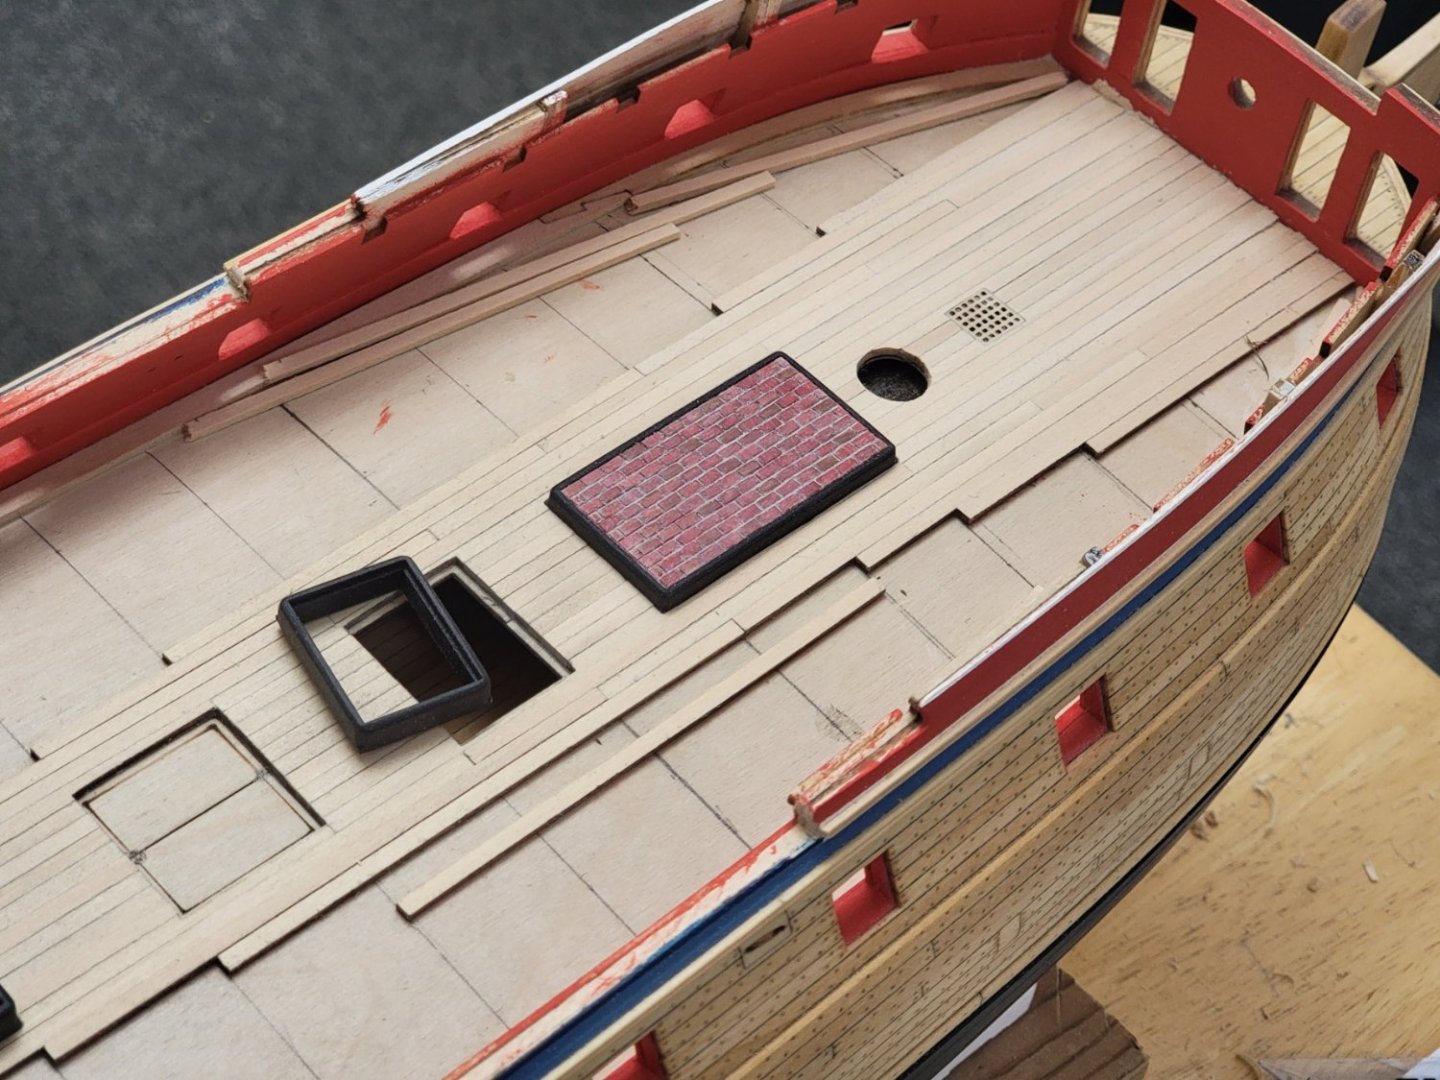
Thank you, Bob! Currently working on the decking. Here are some few progress photos 😊: Also, I was thinking of exploring more ideas for the checkerboard pattern. I am worried that any small mishaps or stains (like glue seepage or paint droplets) on the printed cardstock may be hard to remove since it is very porous just like paper. Might test out label paper.. Harshil
About us
Modelshipworld - Advancing Ship Modeling through Research
SSL Secured
Your security is important for us so this Website is SSL-Secured
NRG Mailing Address
Nautical Research Guild
237 South Lincoln Street
Westmont IL, 60559-1917
Model Ship World ® and the MSW logo are Registered Trademarks, and belong to the Nautical Research Guild (United States Patent and Trademark Office: No. 6,929,264 & No. 6,929,274, registered Dec. 20, 2022)
Helpful Links
About the NRG
If you enjoy building ship models that are historically accurate as well as beautiful, then The Nautical Research Guild (NRG) is just right for you.
The Guild is a non-profit educational organization whose mission is to “Advance Ship Modeling Through Research”. We provide support to our members in their efforts to raise the quality of their model ships.
The Nautical Research Guild has published our world-renowned quarterly magazine, The Nautical Research Journal, since 1955. The pages of the Journal are full of articles by accomplished ship modelers who show you how they create those exquisite details on their models, and by maritime historians who show you the correct details to build. The Journal is available in both print and digital editions. Go to the NRG web site (www.thenrg.org) to download a complimentary digital copy of the Journal. The NRG also publishes plan sets, books and compilations of back issues of the Journal and the former Ships in Scale and Model Ship Builder magazines.

.thumb.jpg.62d1d69fed1f32364417cb1f9cdeb009.jpg)

