.jpeg.a7da657cb4ba514598c3cb5ebaa13c0e.jpeg)
Sundt
-
Posts
45 -
Joined
-
Last visited
Content Type
Profiles
Forums
Gallery
Events
Everything posted by Sundt
-
.thumb.jpeg.ee4d205046163acd786c8b7e92026d43.jpeg) Where did you buy the black scalpel? are they better, sharper? And your boat built is incredible. just, wow :-)
Where did you buy the black scalpel? are they better, sharper? And your boat built is incredible. just, wow :-) -
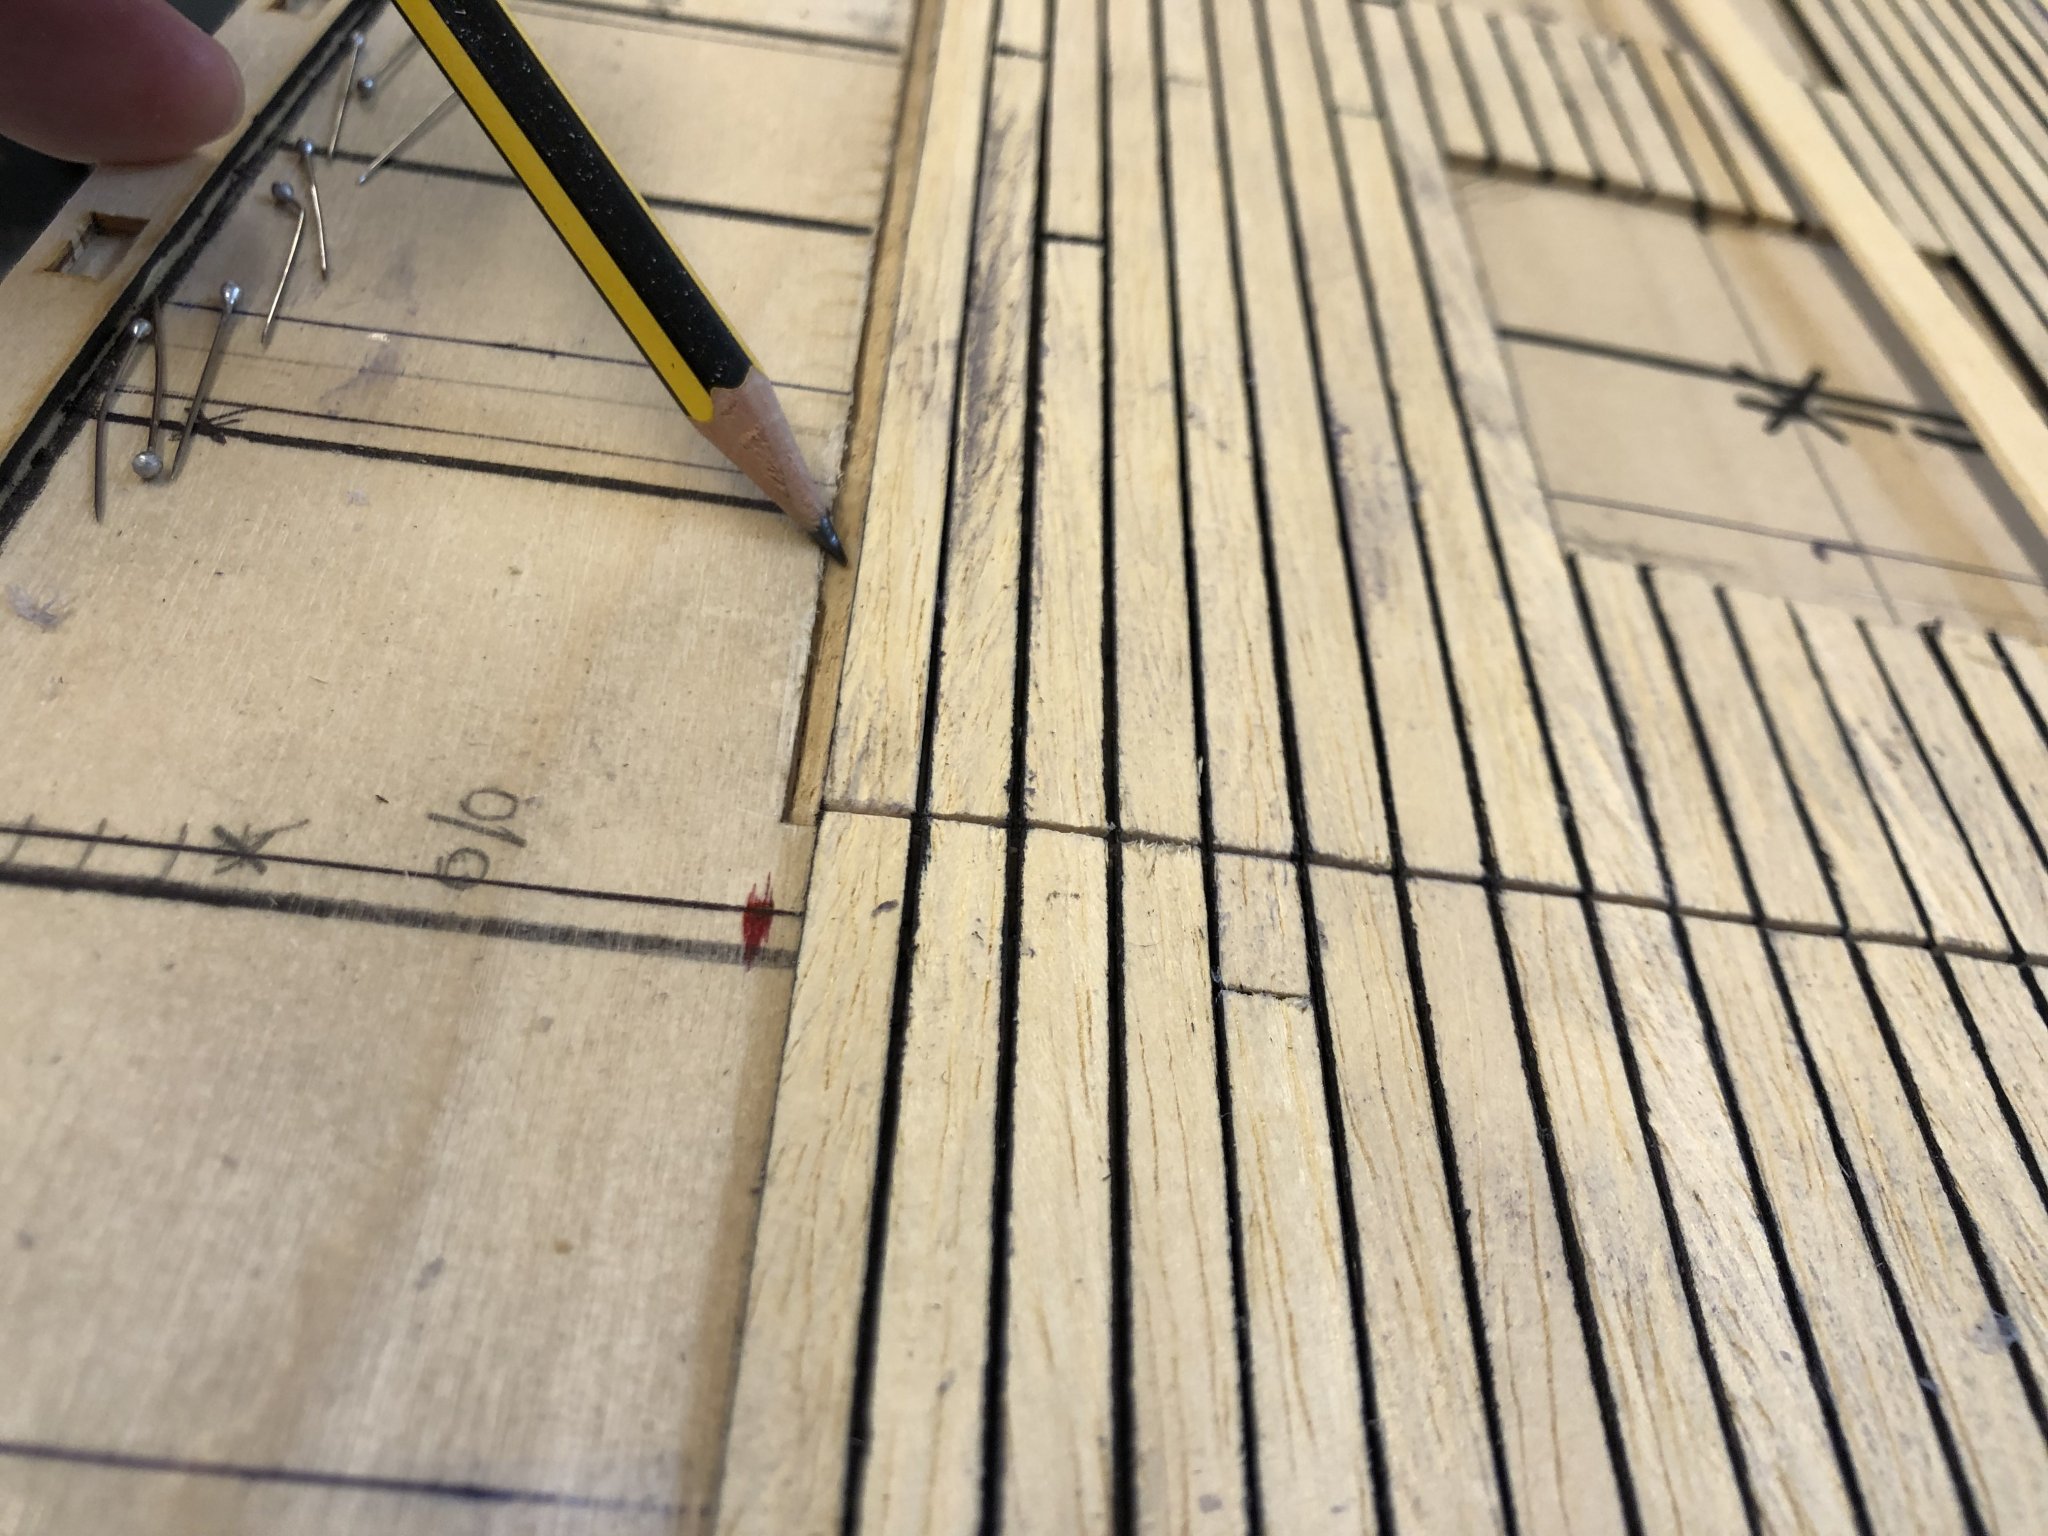
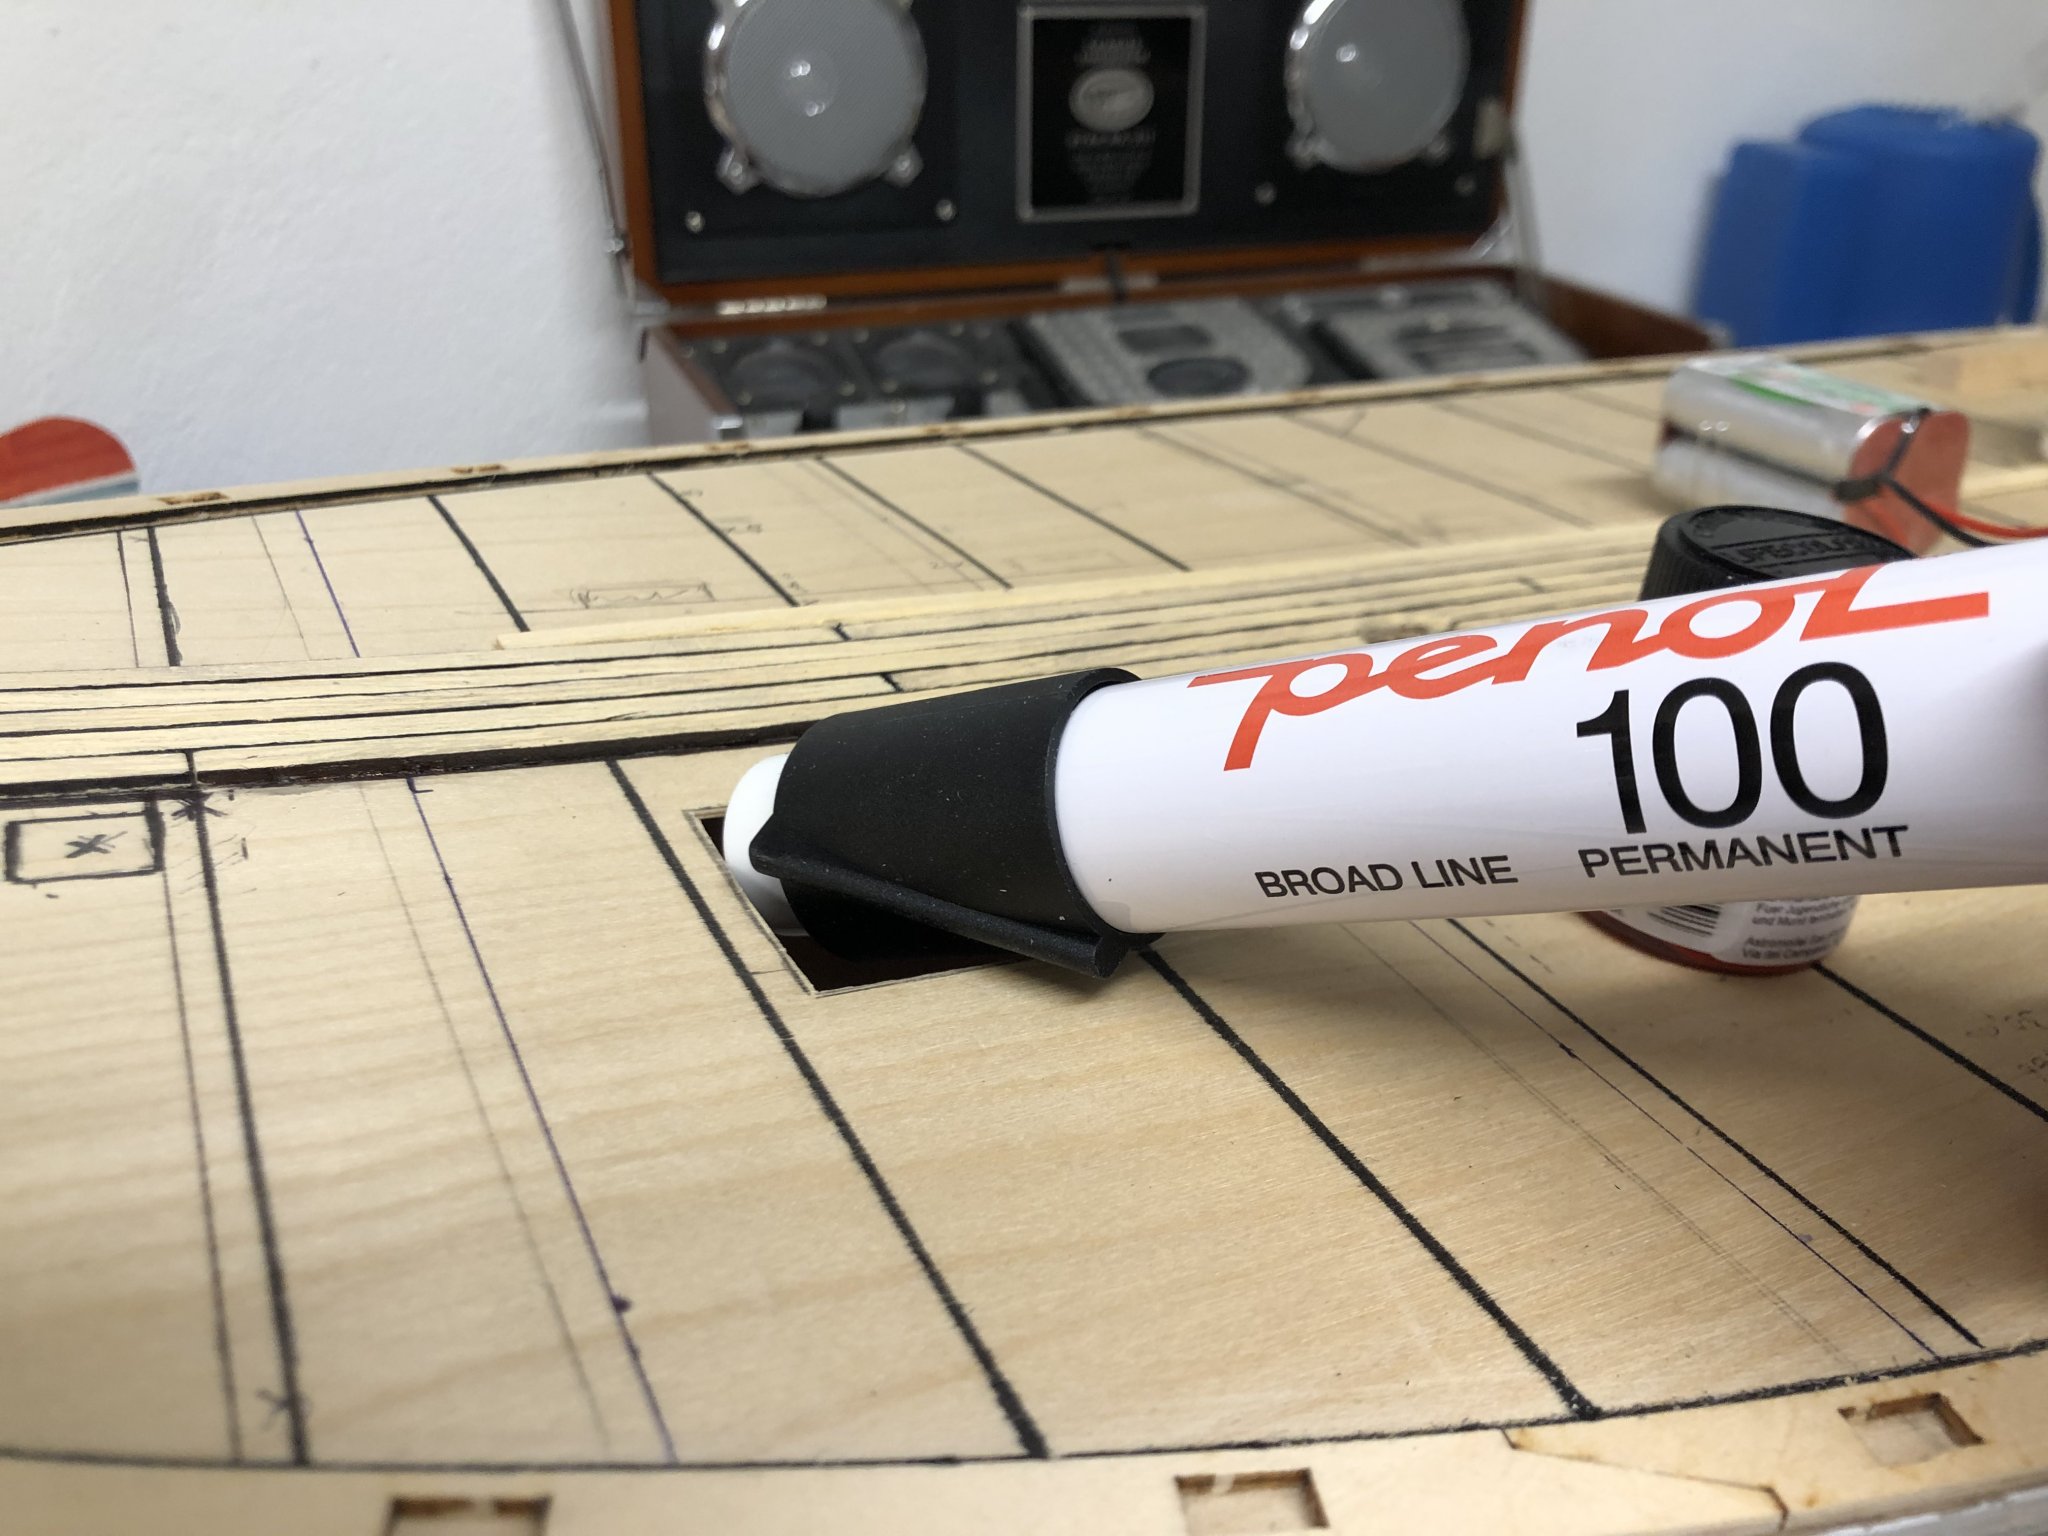
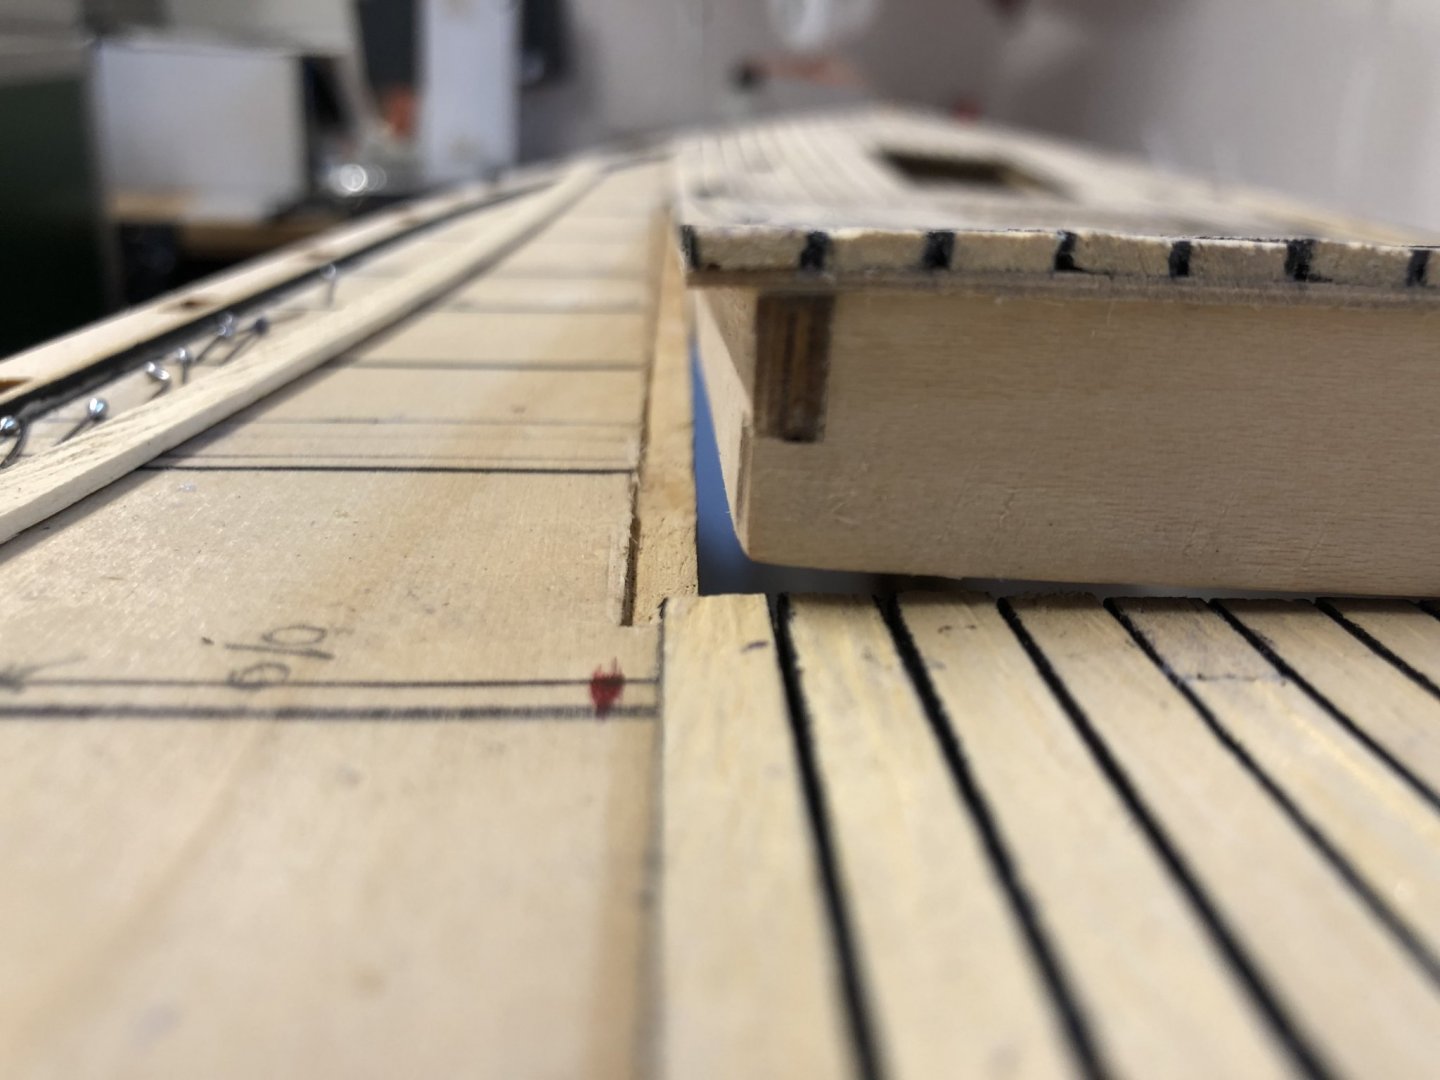
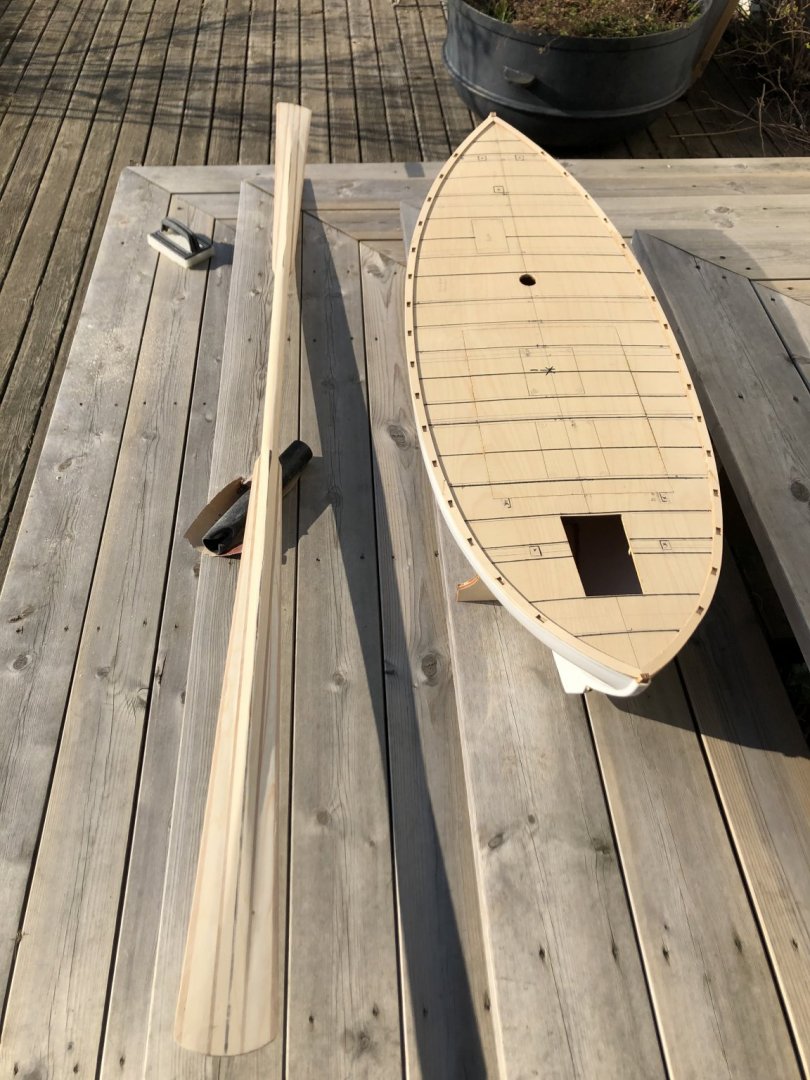
The access hatch is finished, all planks glued on middel part of boat. I adjusted the hatch plywood to match the planks glued on, see pictures with pencil pointing on cap. I will try to add some rubber later for waterproofing? Only 8,33 planks both side of hatch left 😉

- 90 replies
-
- 5
-

-
- billing boats
- colin archer
- (and 1 more)
-
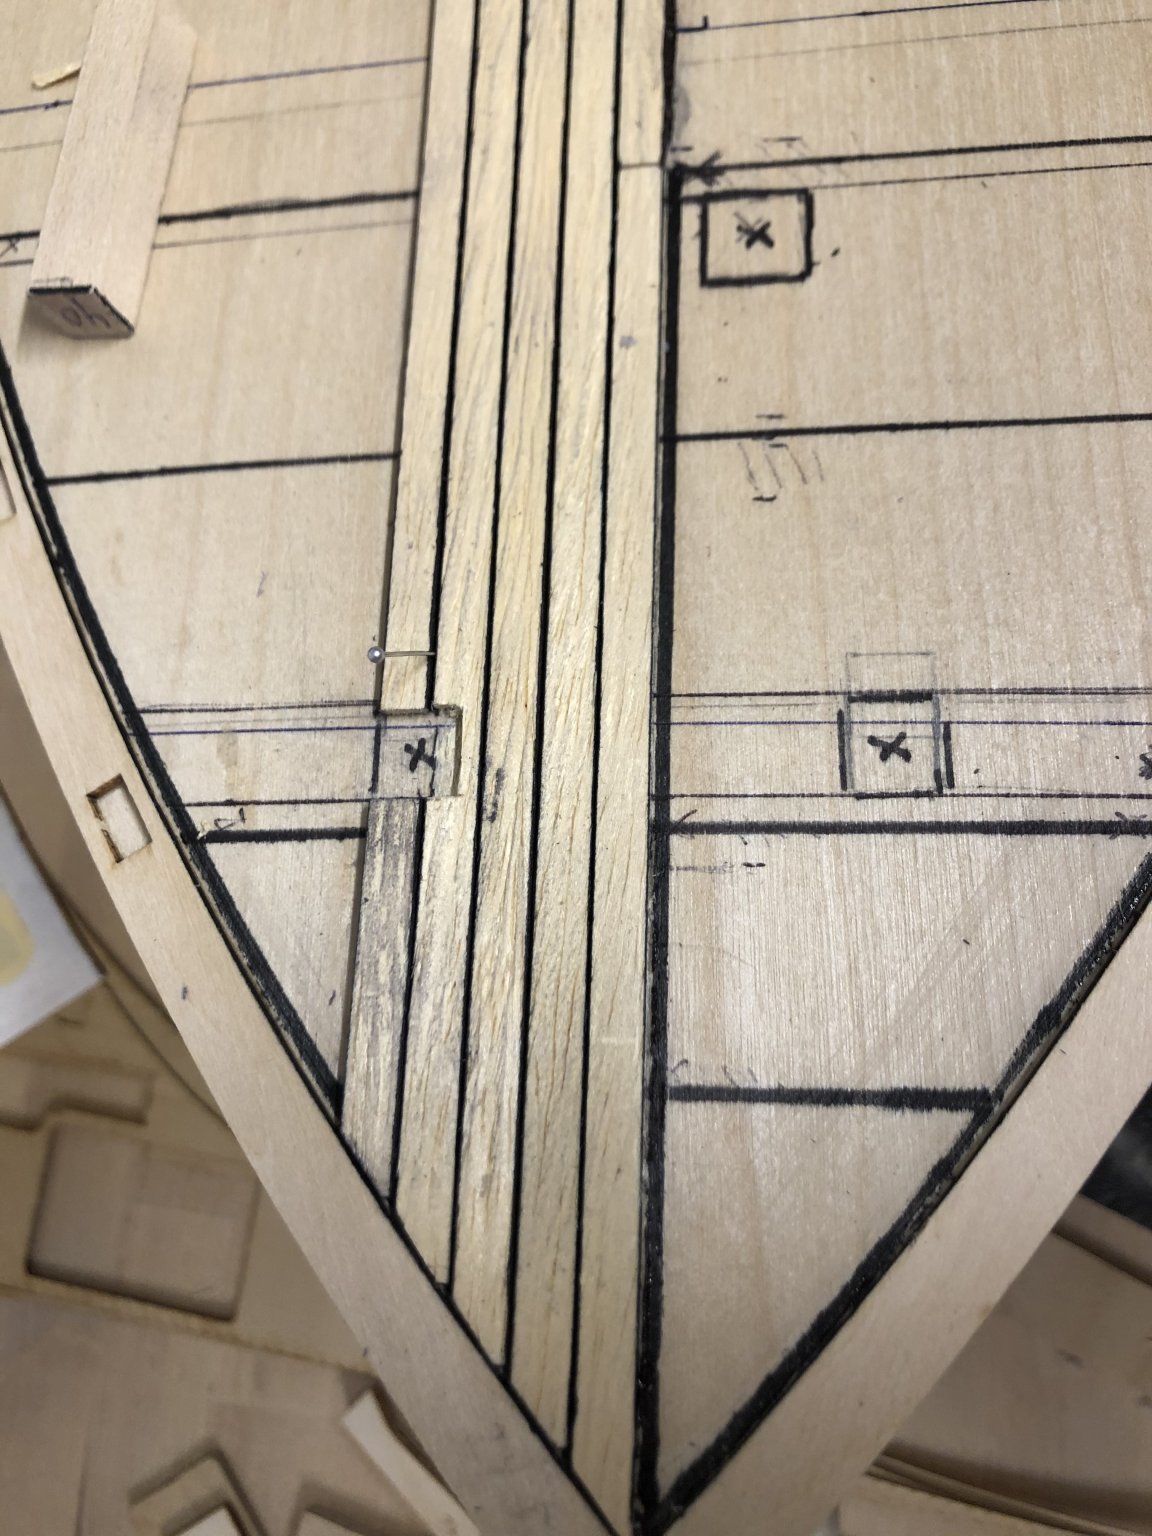
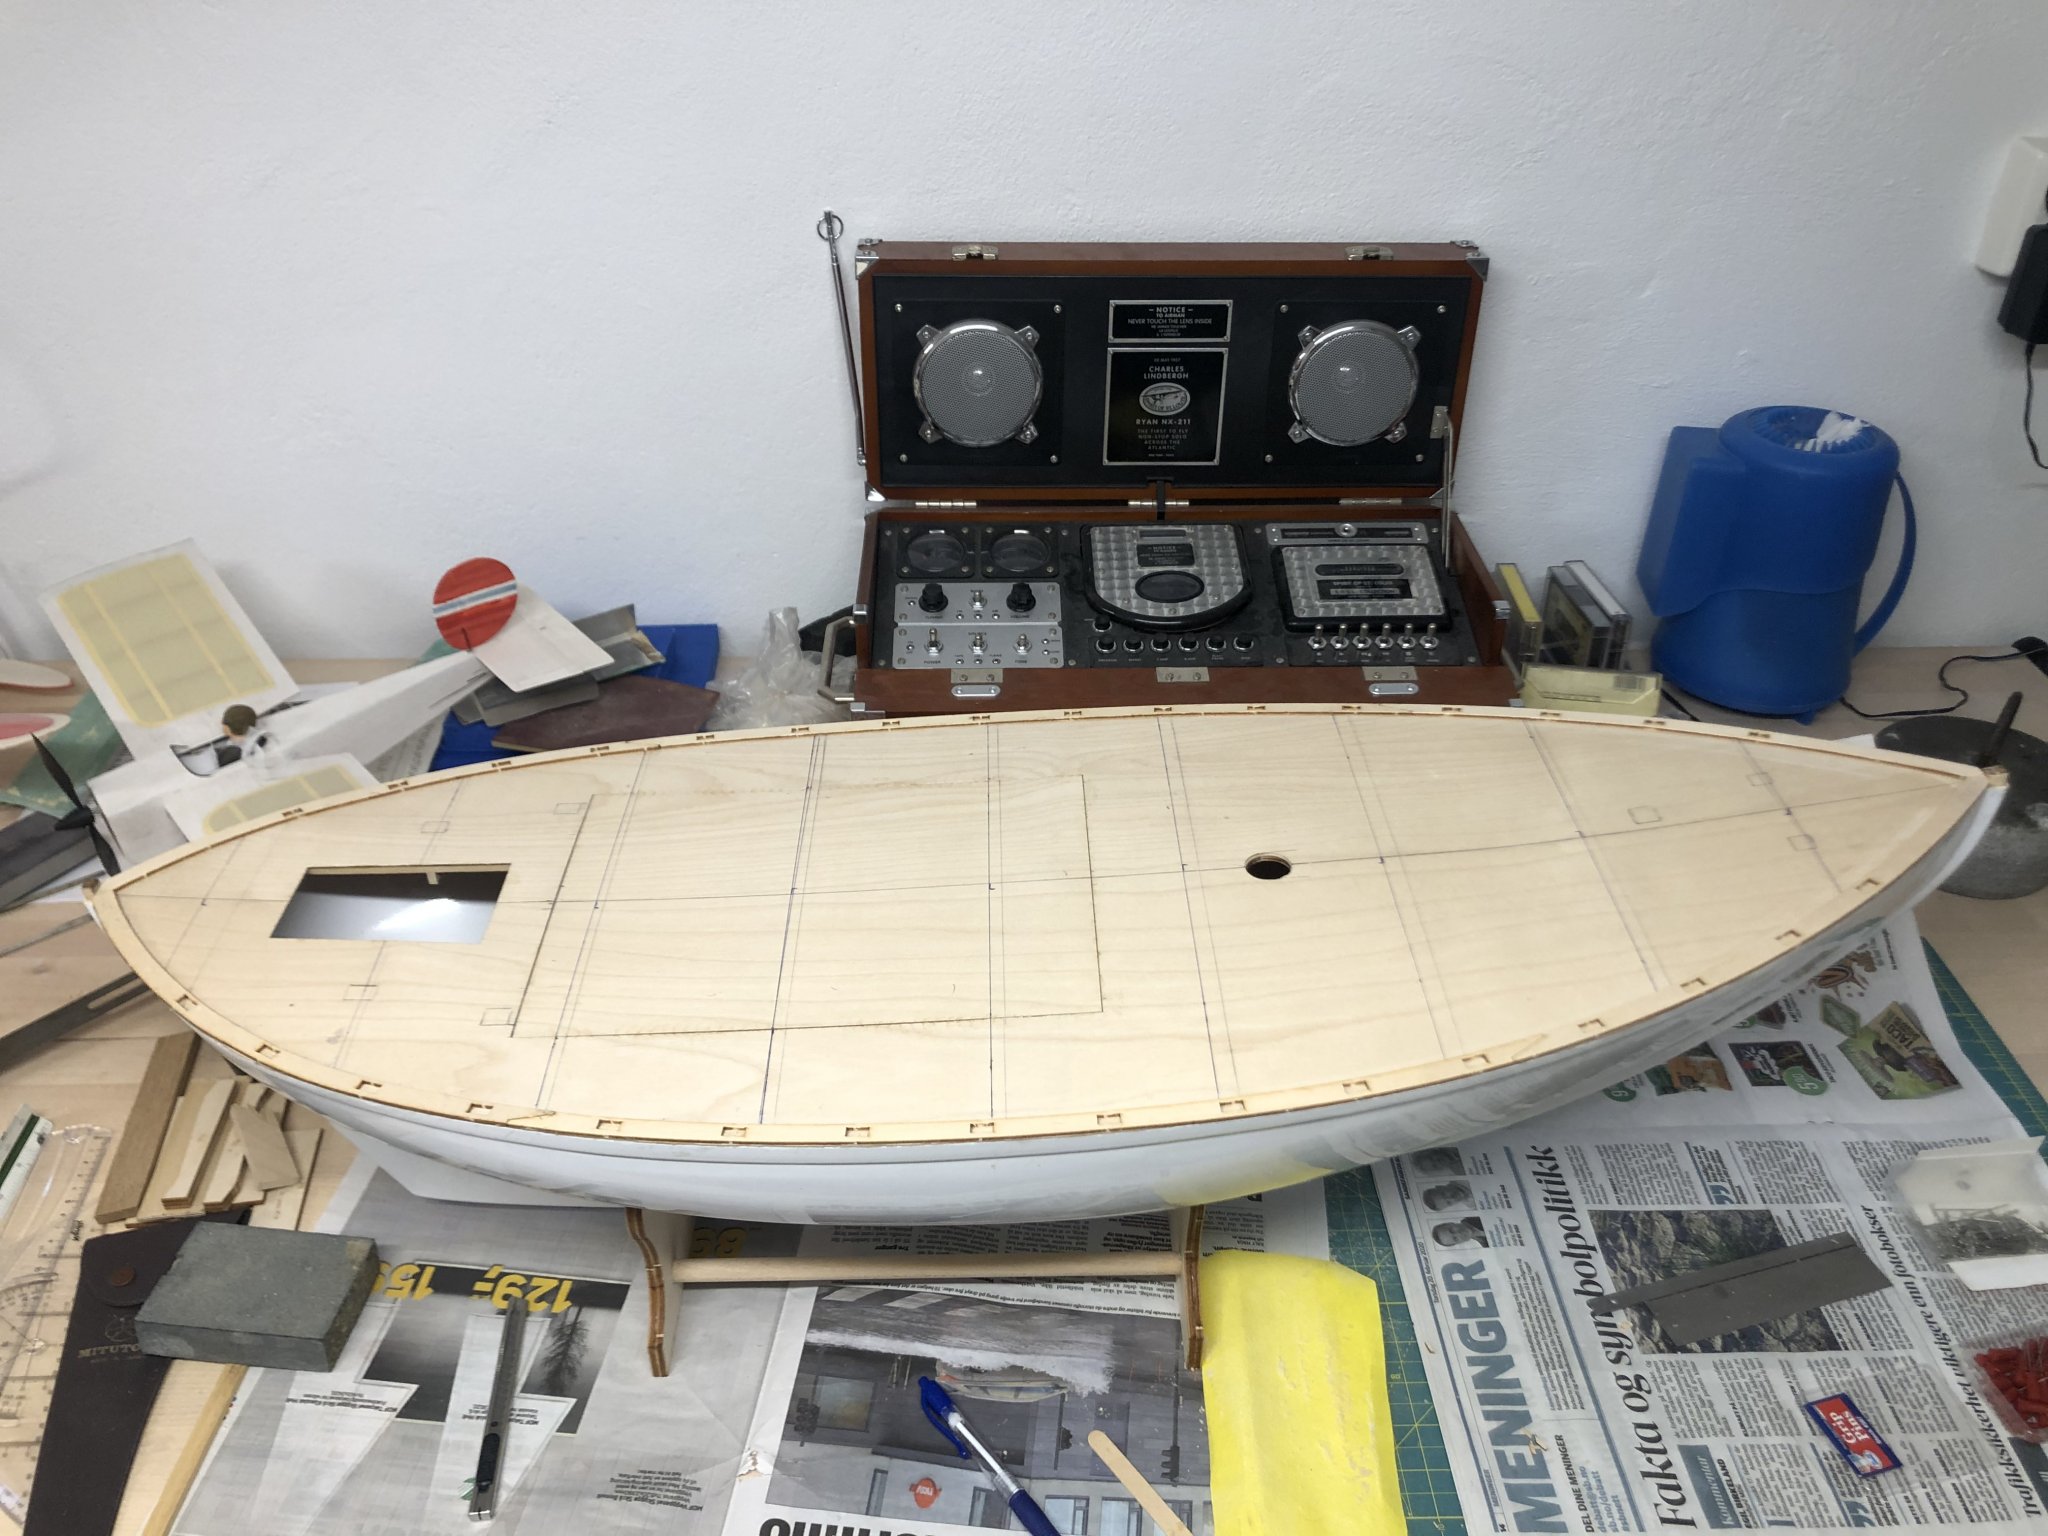
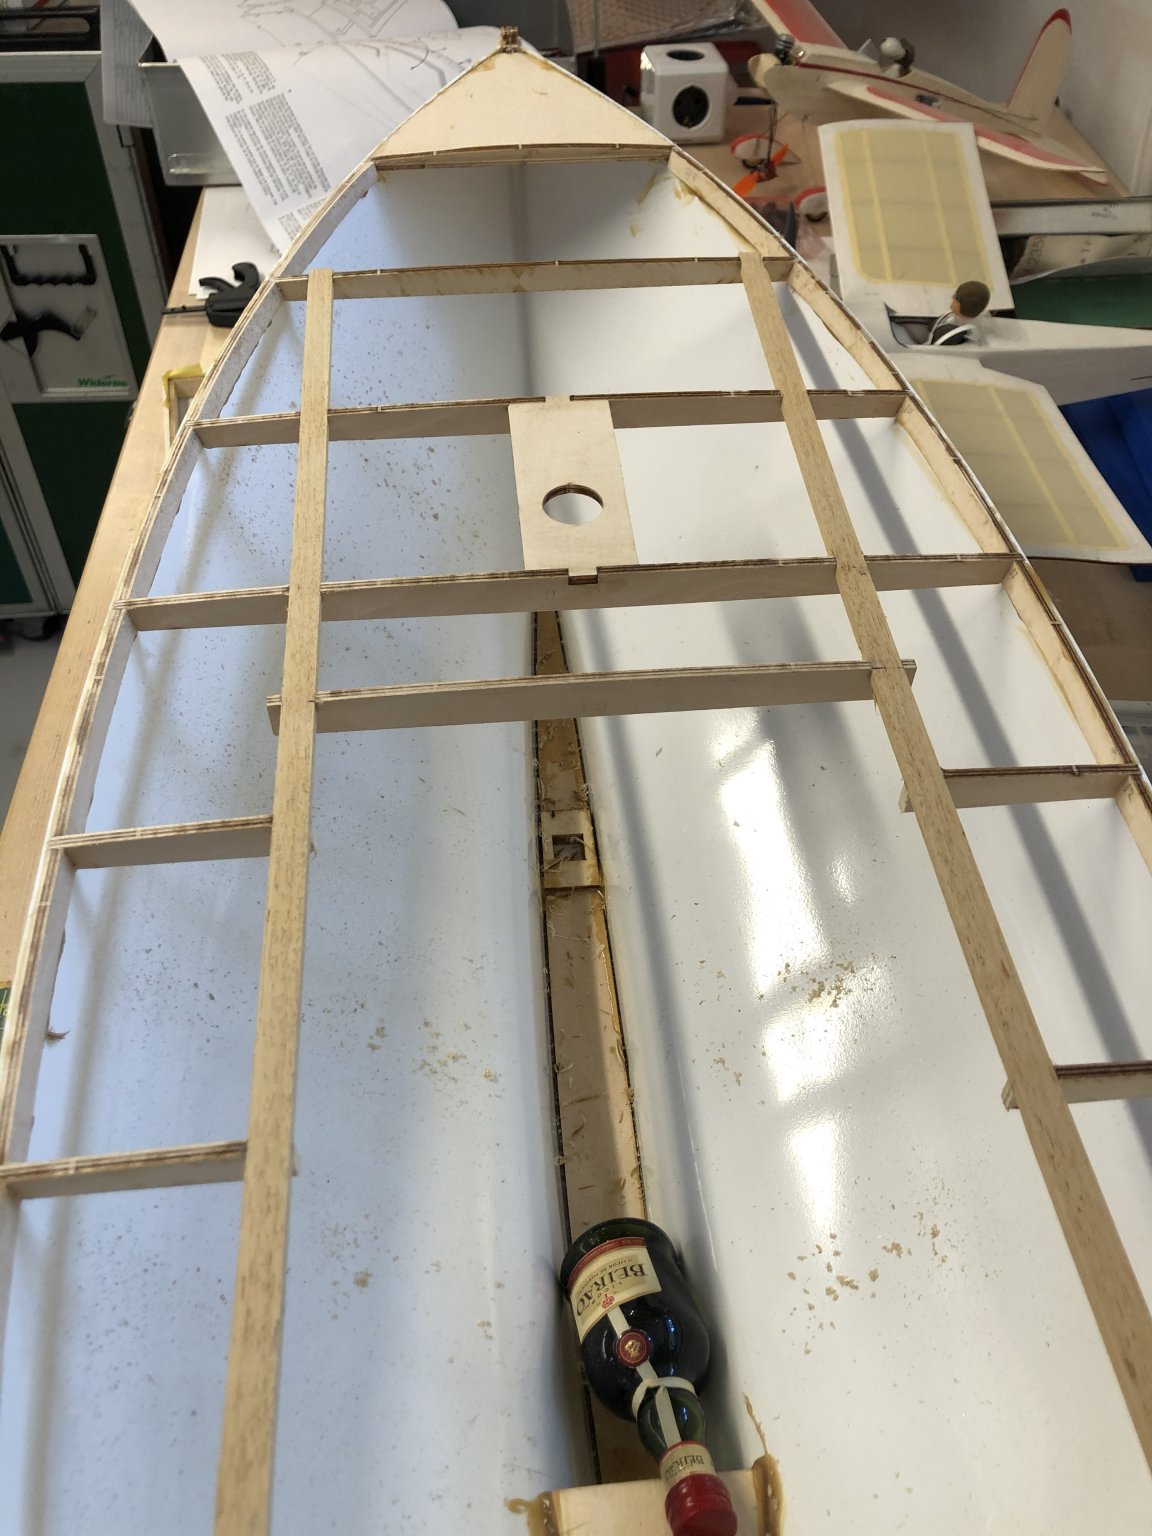
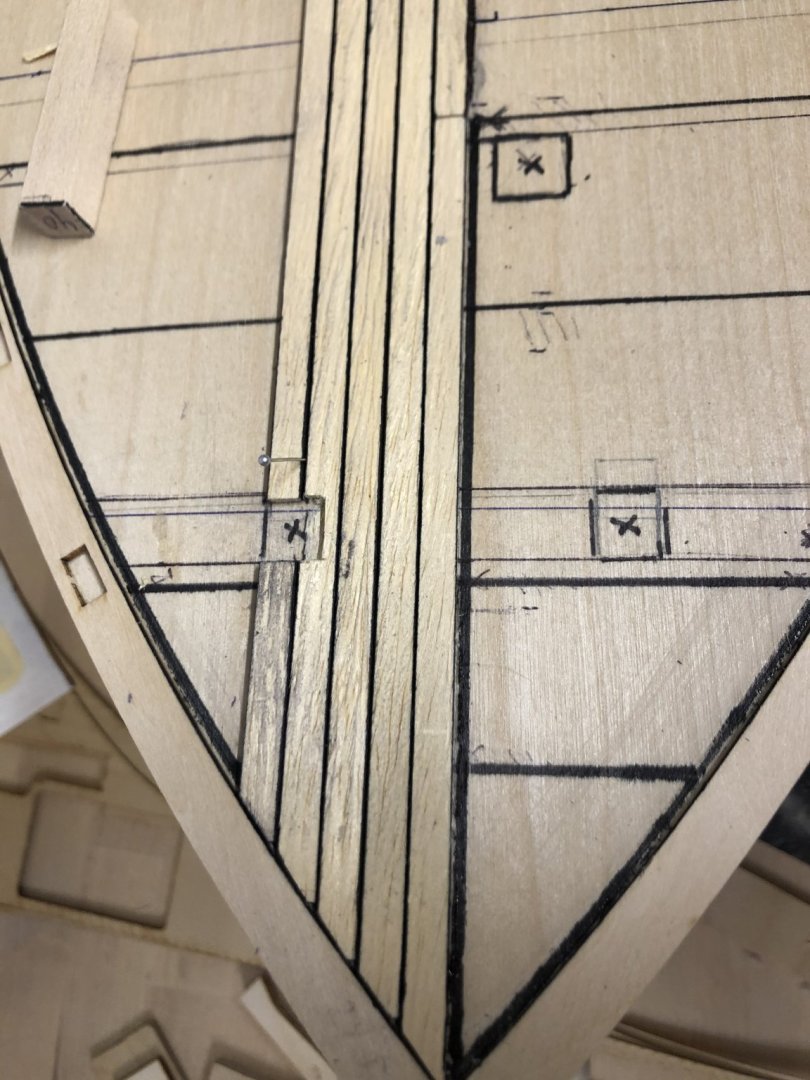
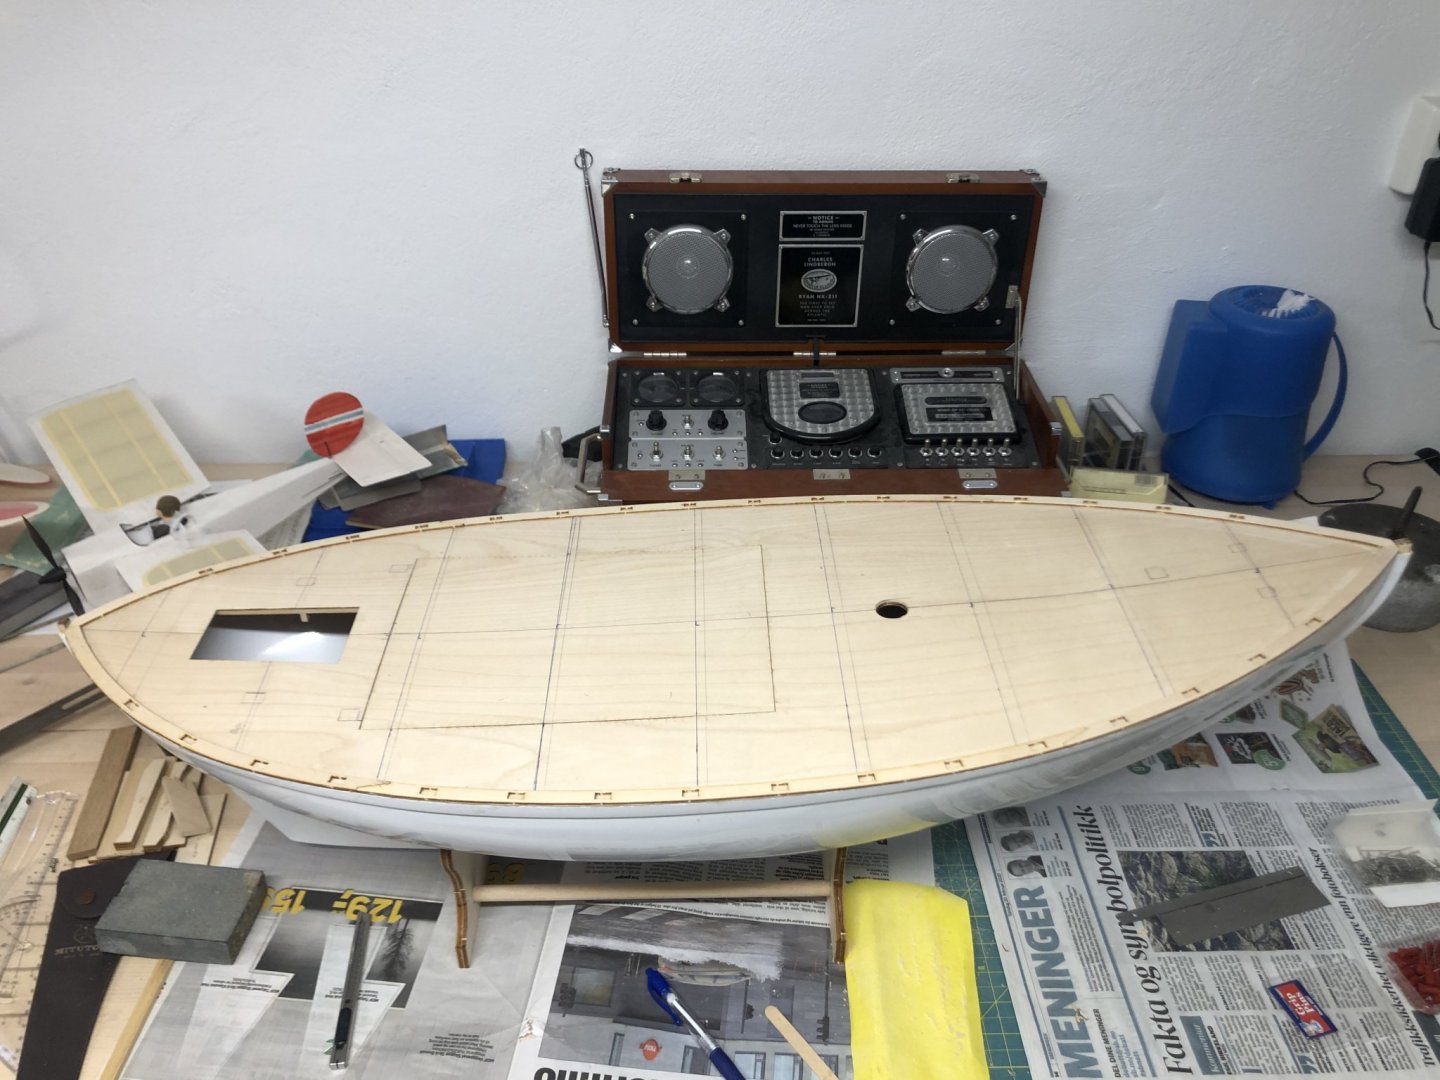
Ship ahoy. I glued the center plank first, need more research on the web, watching pictures and youtube. To get a idea of the layout. No need to be 100% My boat will have around 48 deck planking, the original colin archer have 45. Two evenings work made 5 of 48. I hope the idea of permanent marker on the edge of wood planking looks good then finished 😉

- 90 replies
-
- 5
-
-
- billing boats
- colin archer
- (and 1 more)
-
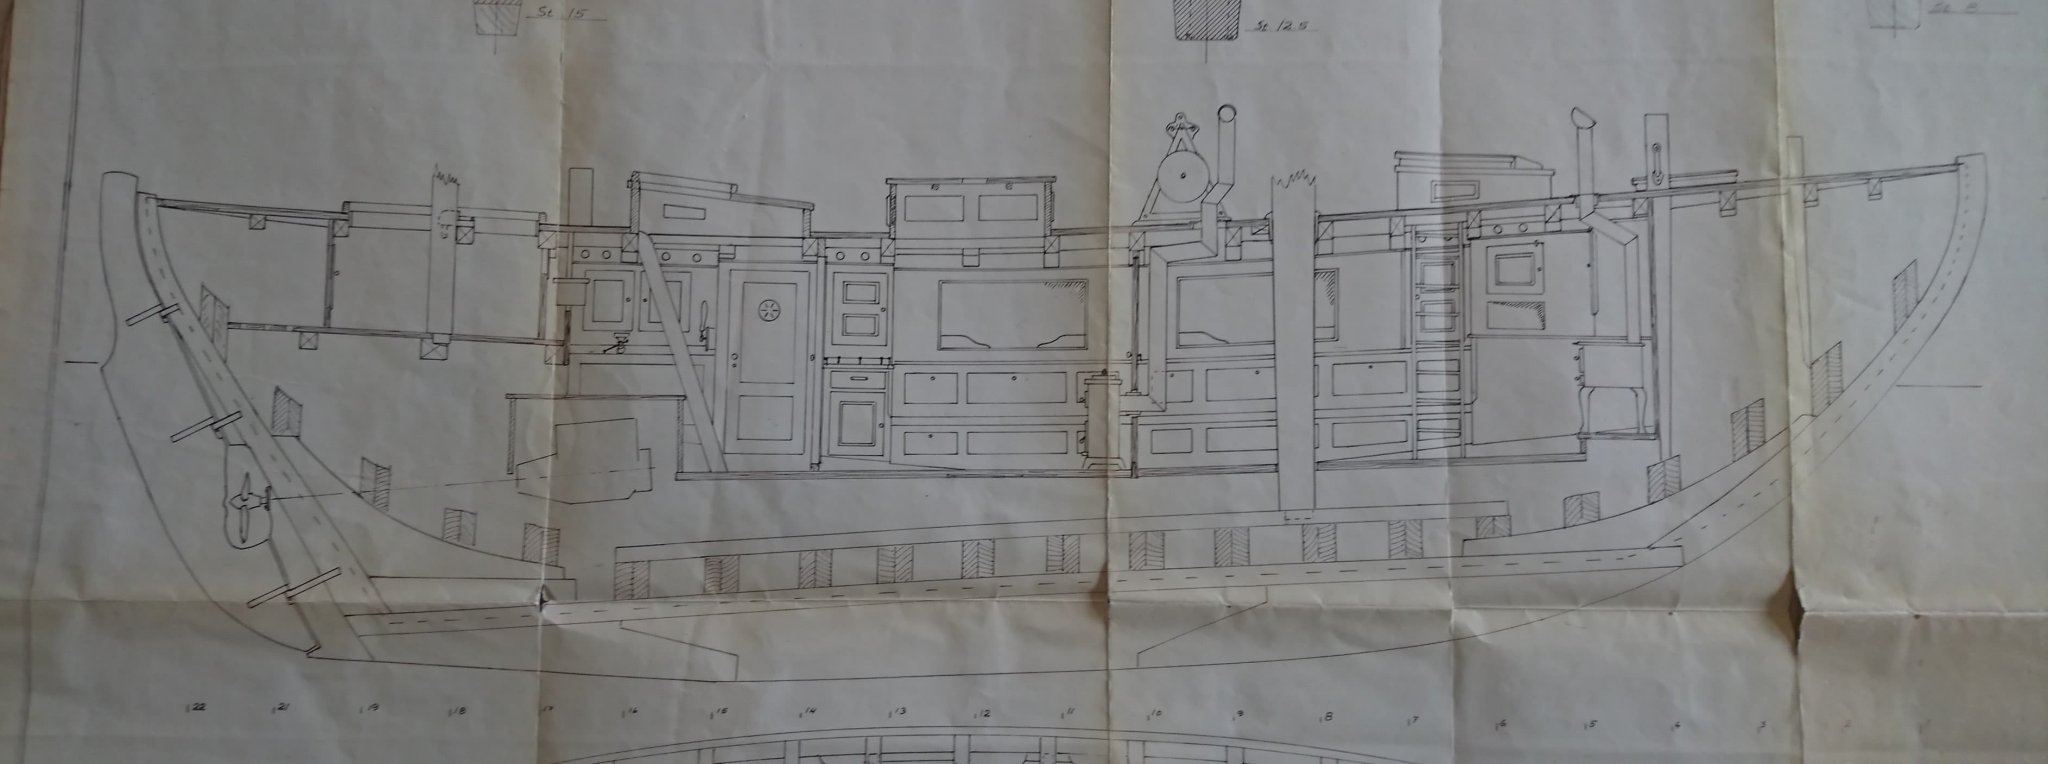
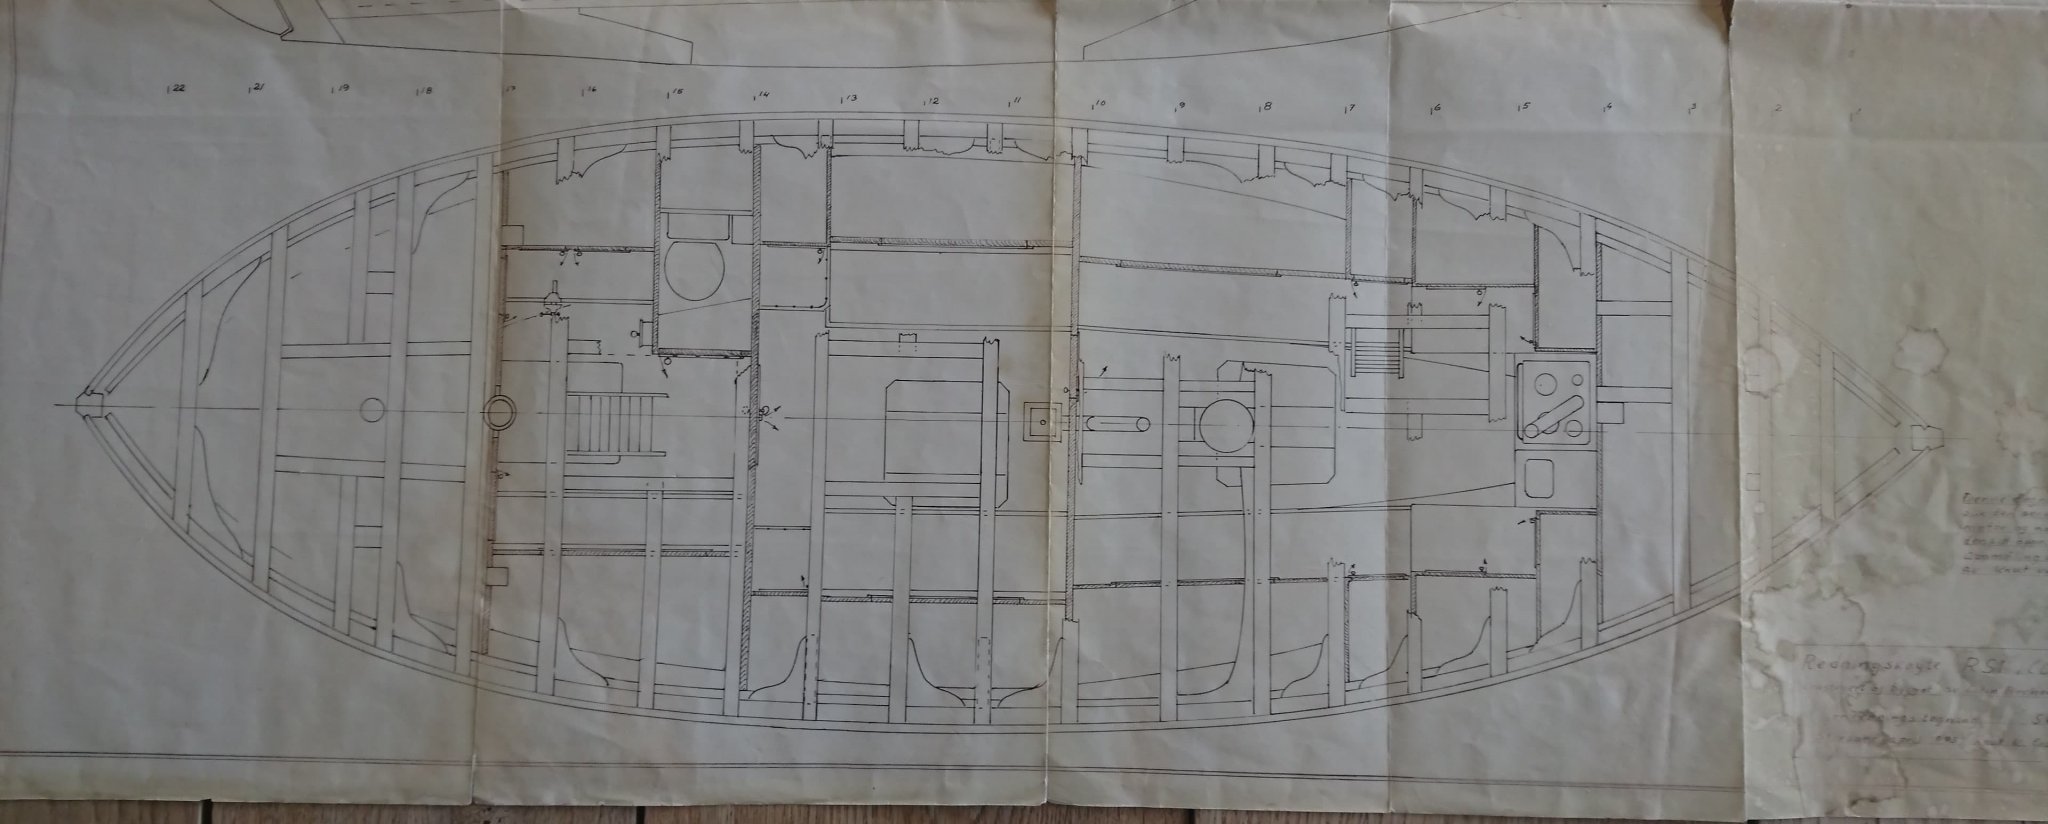
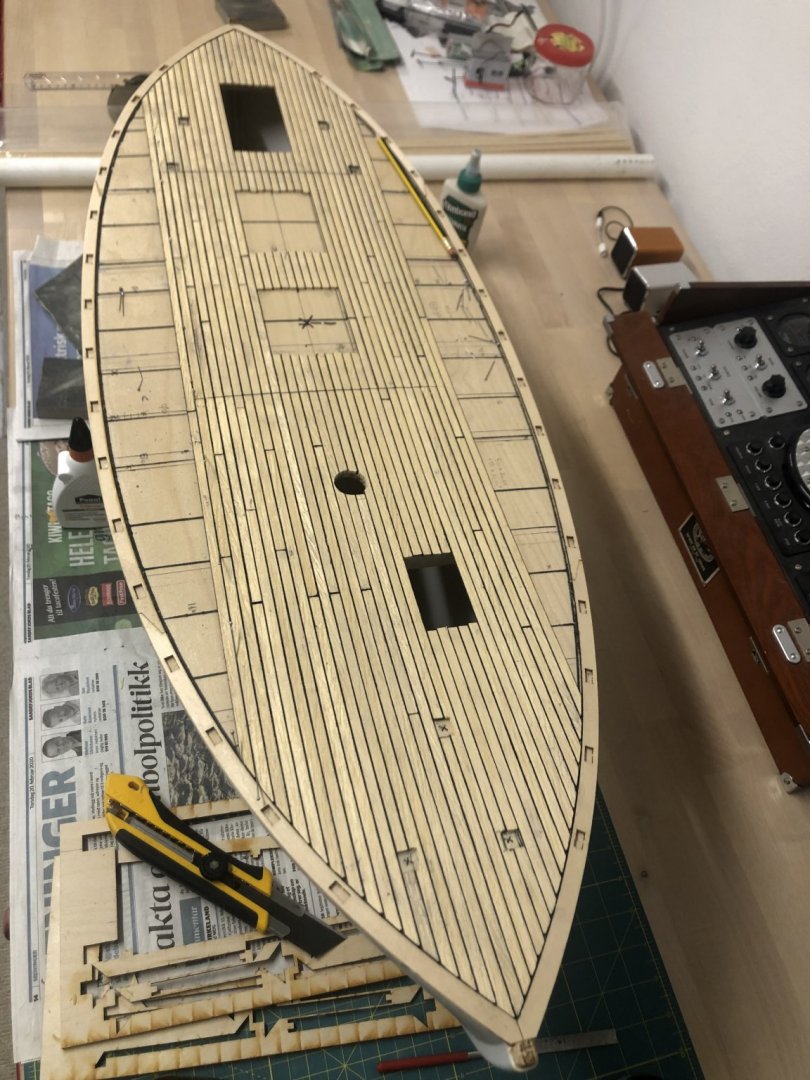
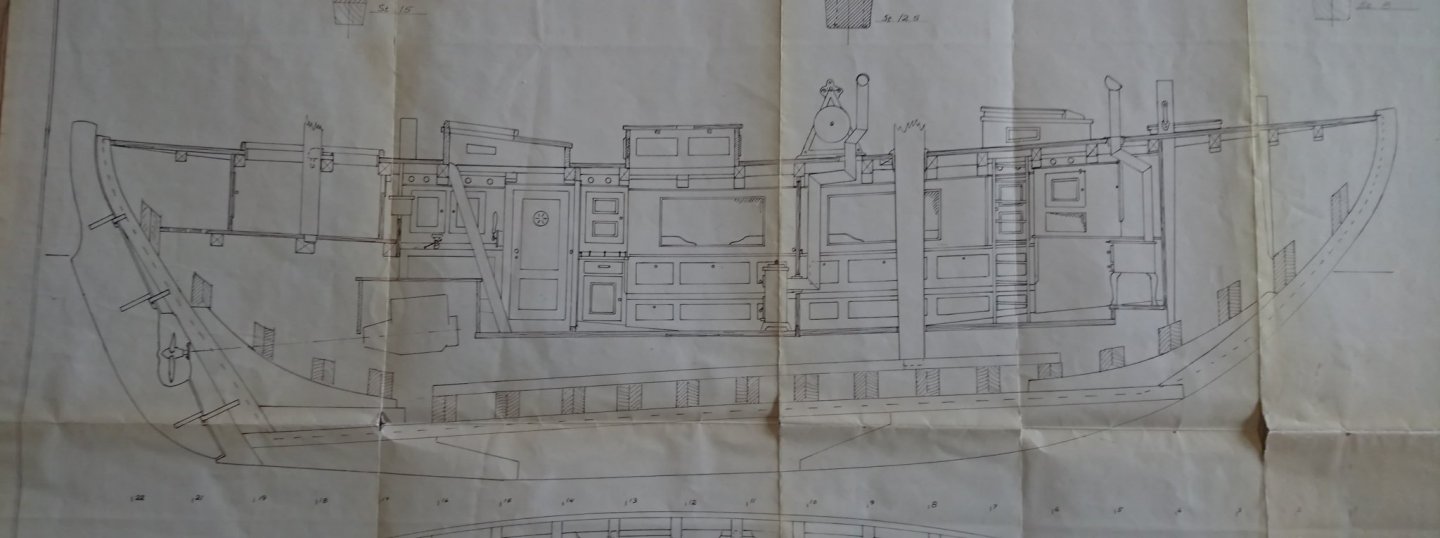
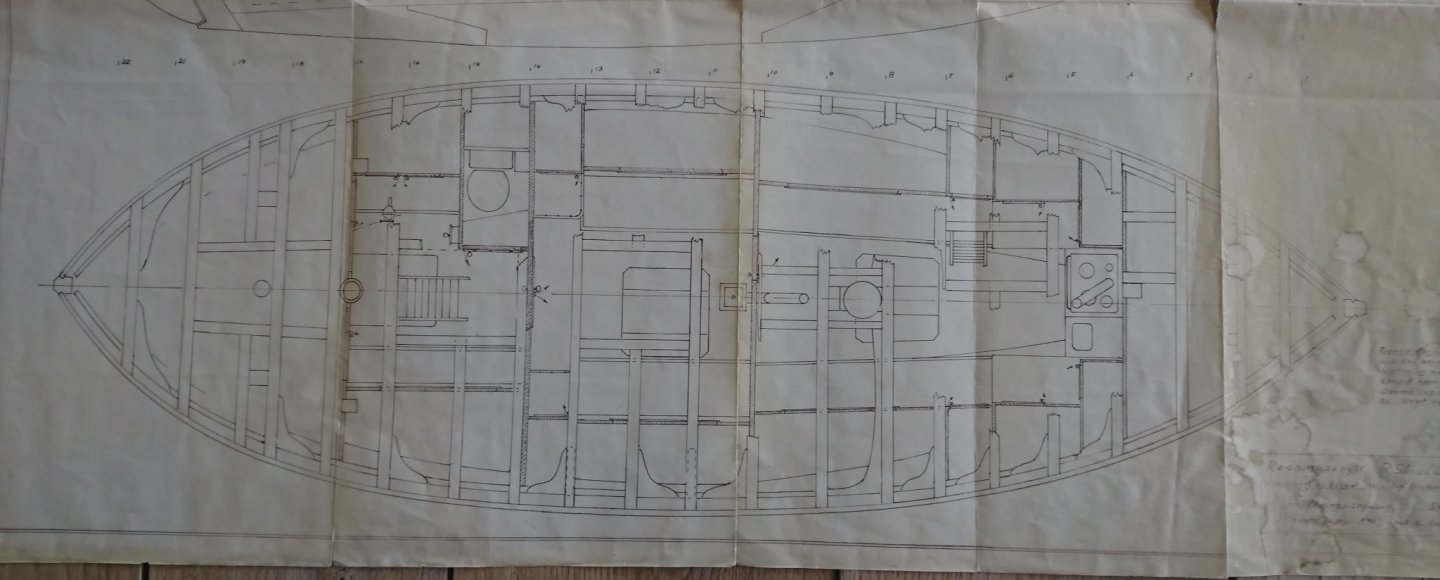
Startet with som pictures of RS1, discovered that drawing wasn't correct according to deck- beam ? new black lines with permanent marker where it must be acc to the designer drawing. New layout on planking. Permanent marker on edge of planking, to ilustrate caulking.
- 90 replies
-
- 5
-
-
- billing boats
- colin archer
- (and 1 more)
-
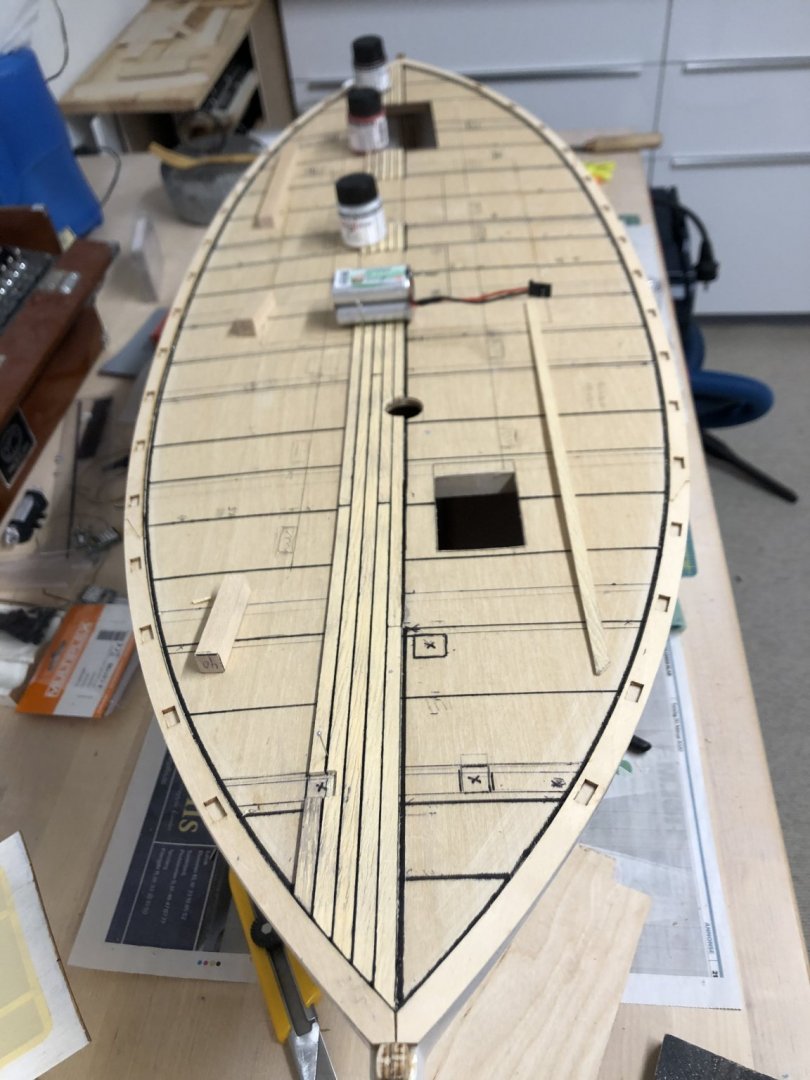
My next question is making the deck planking including 0,6mm caulking1:15(8-9mm), deck layouts is important when planking. The outer dollbord is oak i think. Have to collect som information before installing reiling? I think its nice to finish the deck including outboard Dollbord, sanded and some oak/ mahagoni stain where needed. Outboard dollbord glued on, it was a bit difficult, but after some test fit, its installed 🙂 Happy easter from Norway


- 90 replies
-
- 6
-
-
- billing boats
- colin archer
- (and 1 more)
-
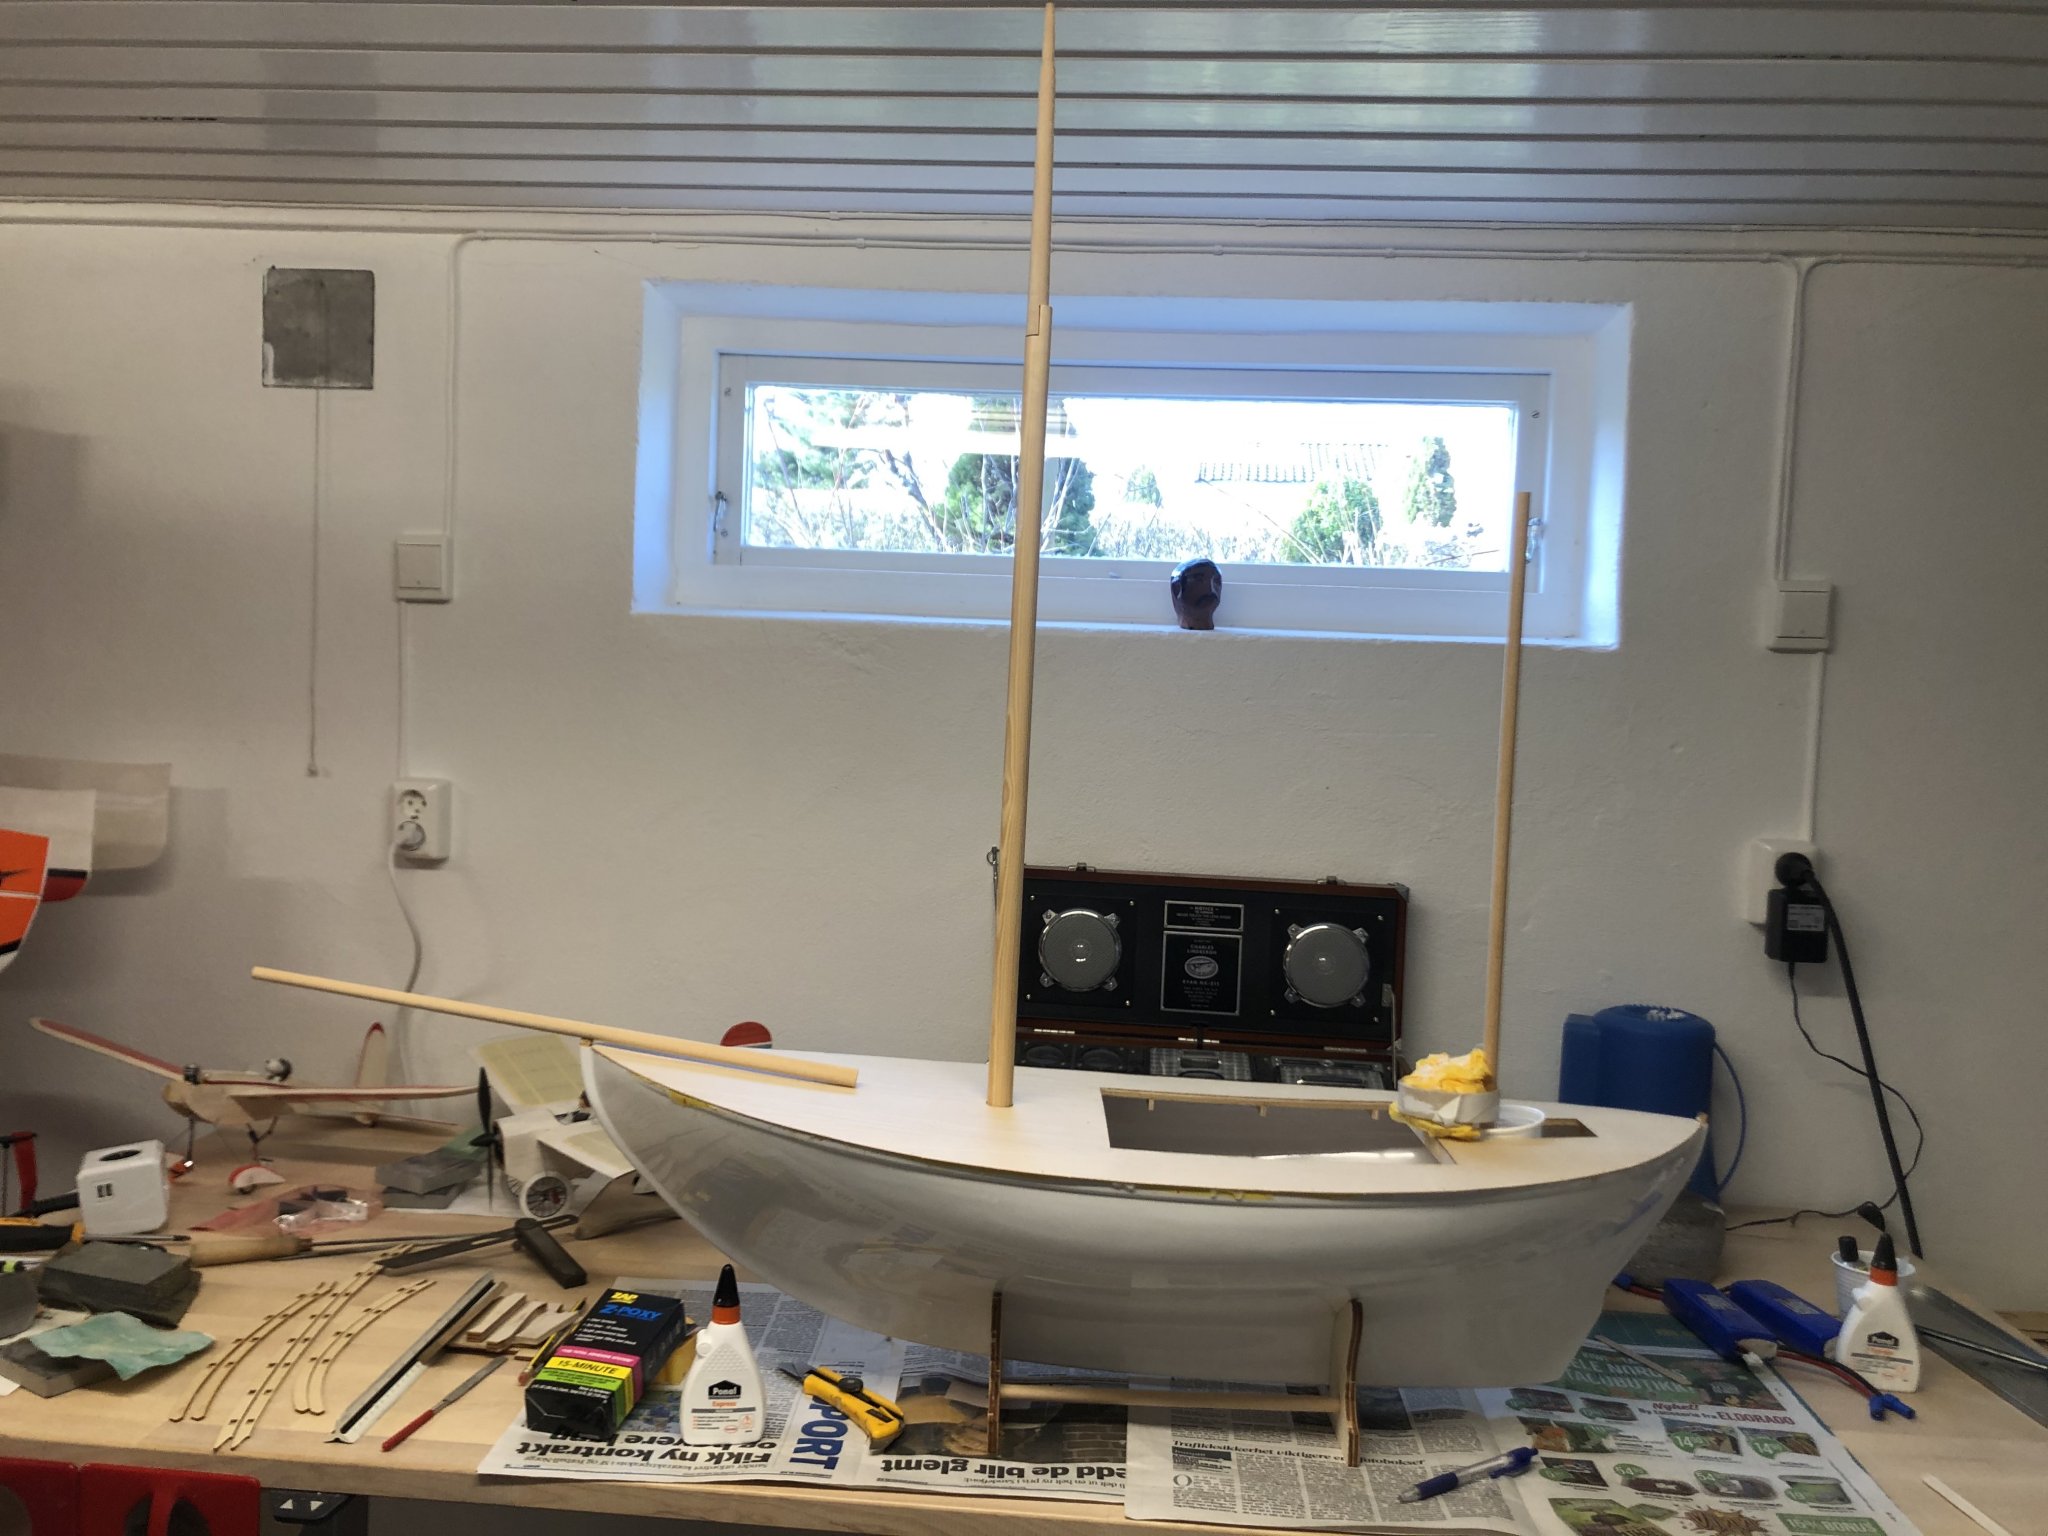
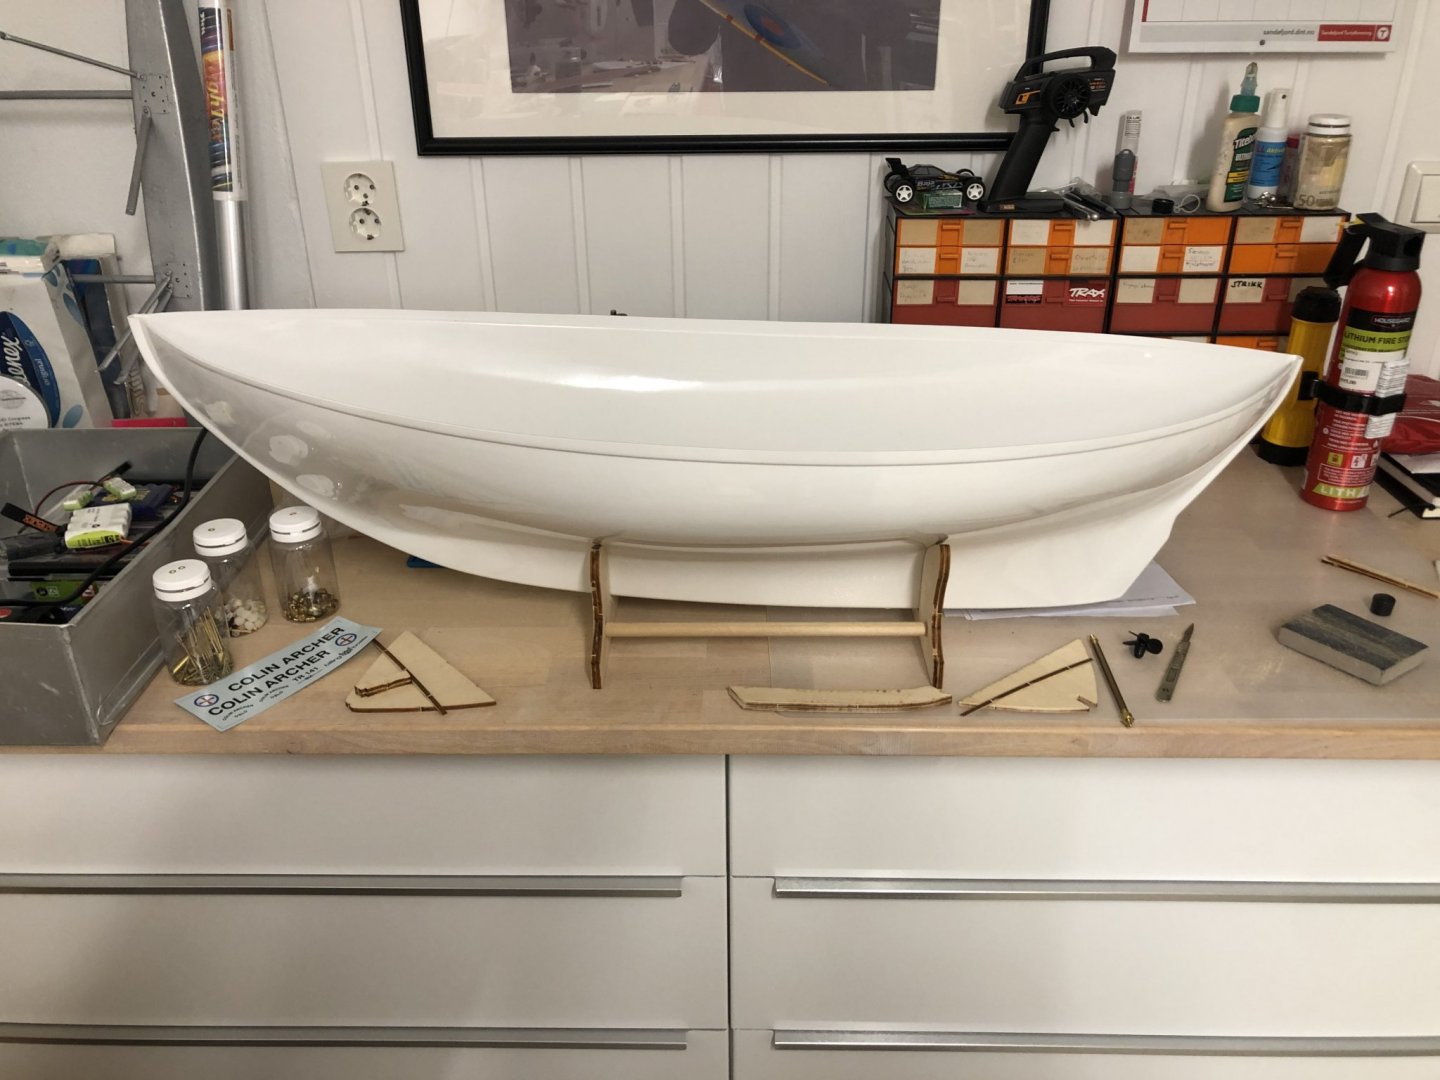
thanks, I needed some inspiration, grabbed some sticks in the box, she will be lovely 🙂 IMG_0375.HEIC Colin Archer.HEIC

- 90 replies
-
- 5
-
-
- billing boats
- colin archer
- (and 1 more)
-
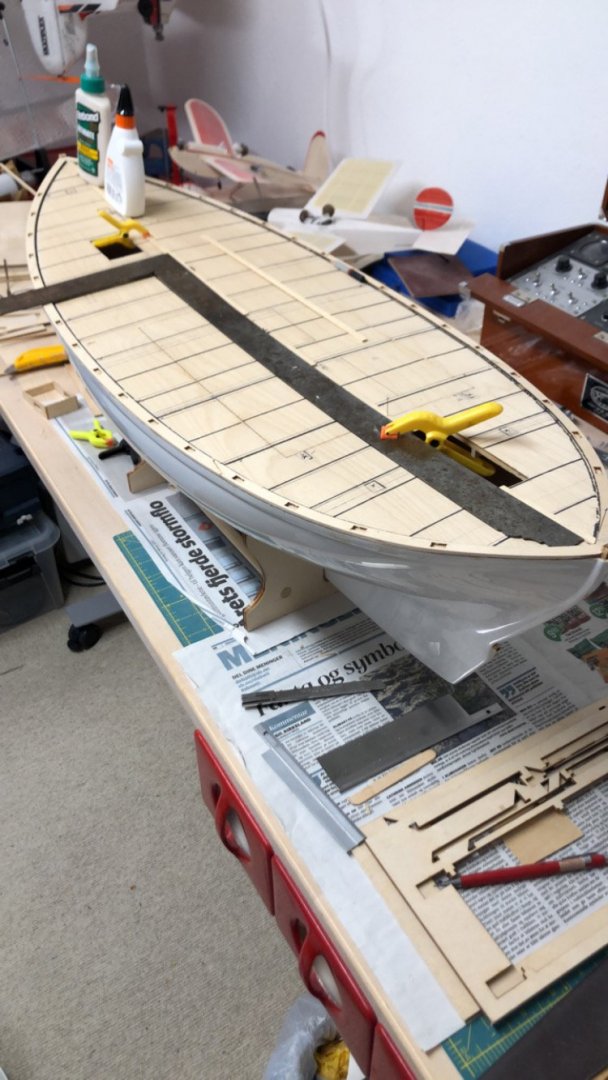
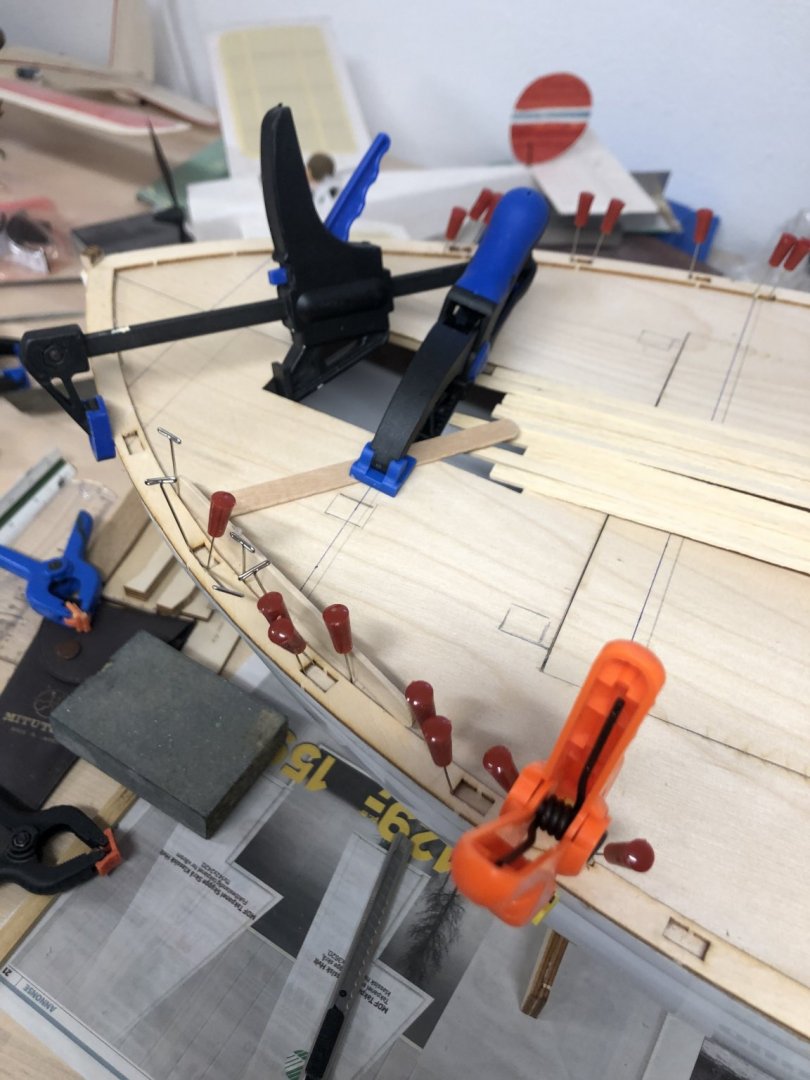
Glued some more tonight. Deck installed. Tomorrow i will see the result 🙂 Before gluing, i made a clamp and installed weights 2- times. 10 min first time, 7 min second time 😉 Then applied glue, clamp in mast hole and around opening in deck. Weights , and tape on edges around the boat
- 90 replies
-
- 3
-
-
- billing boats
- colin archer
- (and 1 more)
-
Stabilit express glued in a wooden stick for reinforcement. Just in case, some of the rigging rope to be attatched.
- 90 replies
-
- 4
-
-
- billing boats
- colin archer
- (and 1 more)
-
i see that kit on the marked 🙂 Thanks, i will post my progress, from glue, stain, photos from a real Collin Archer or changes i do, haven't find any photo or video of the rigging. I want som details, so hopefully a got som nice pictures in the end. Just ask if more information is needed , i then changes the text bellow the pictures 🙂
- 90 replies
-
- 1
-
-
- billing boats
- colin archer
- (and 1 more)
-
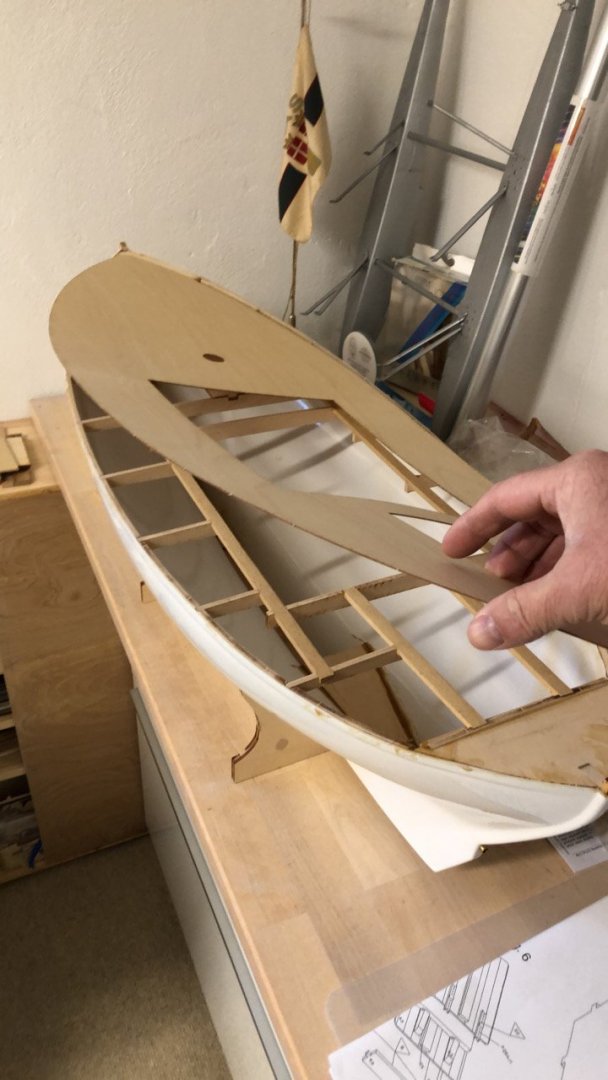
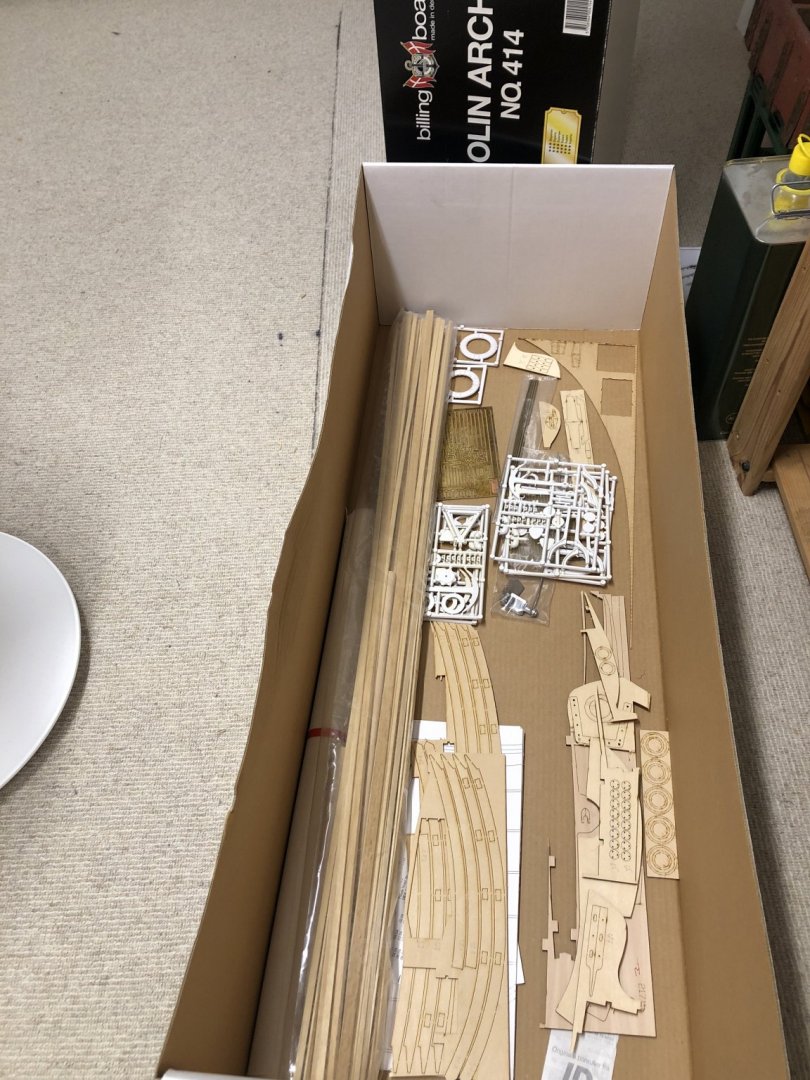
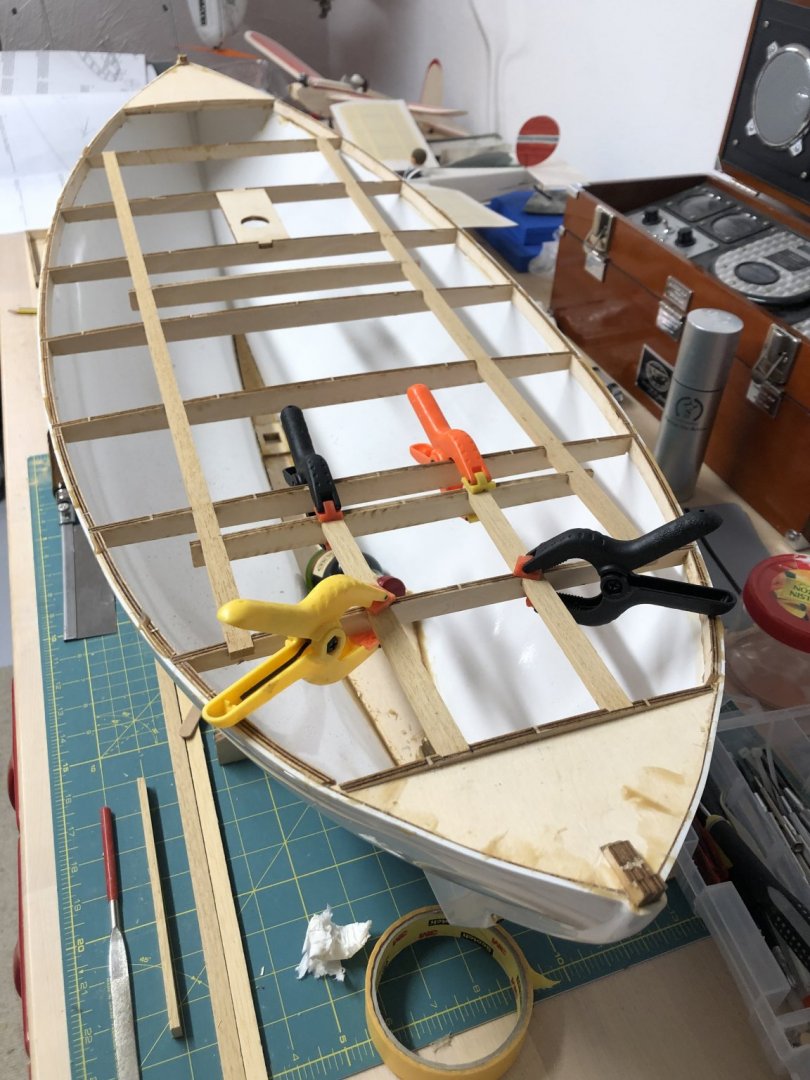
Some smal part glued. Tomorrow the hull need to be sanded so the ply-deck can be glued on. Still some part in the box😄
- 90 replies
-
- 4
-
-
- billing boats
- colin archer
- (and 1 more)
-
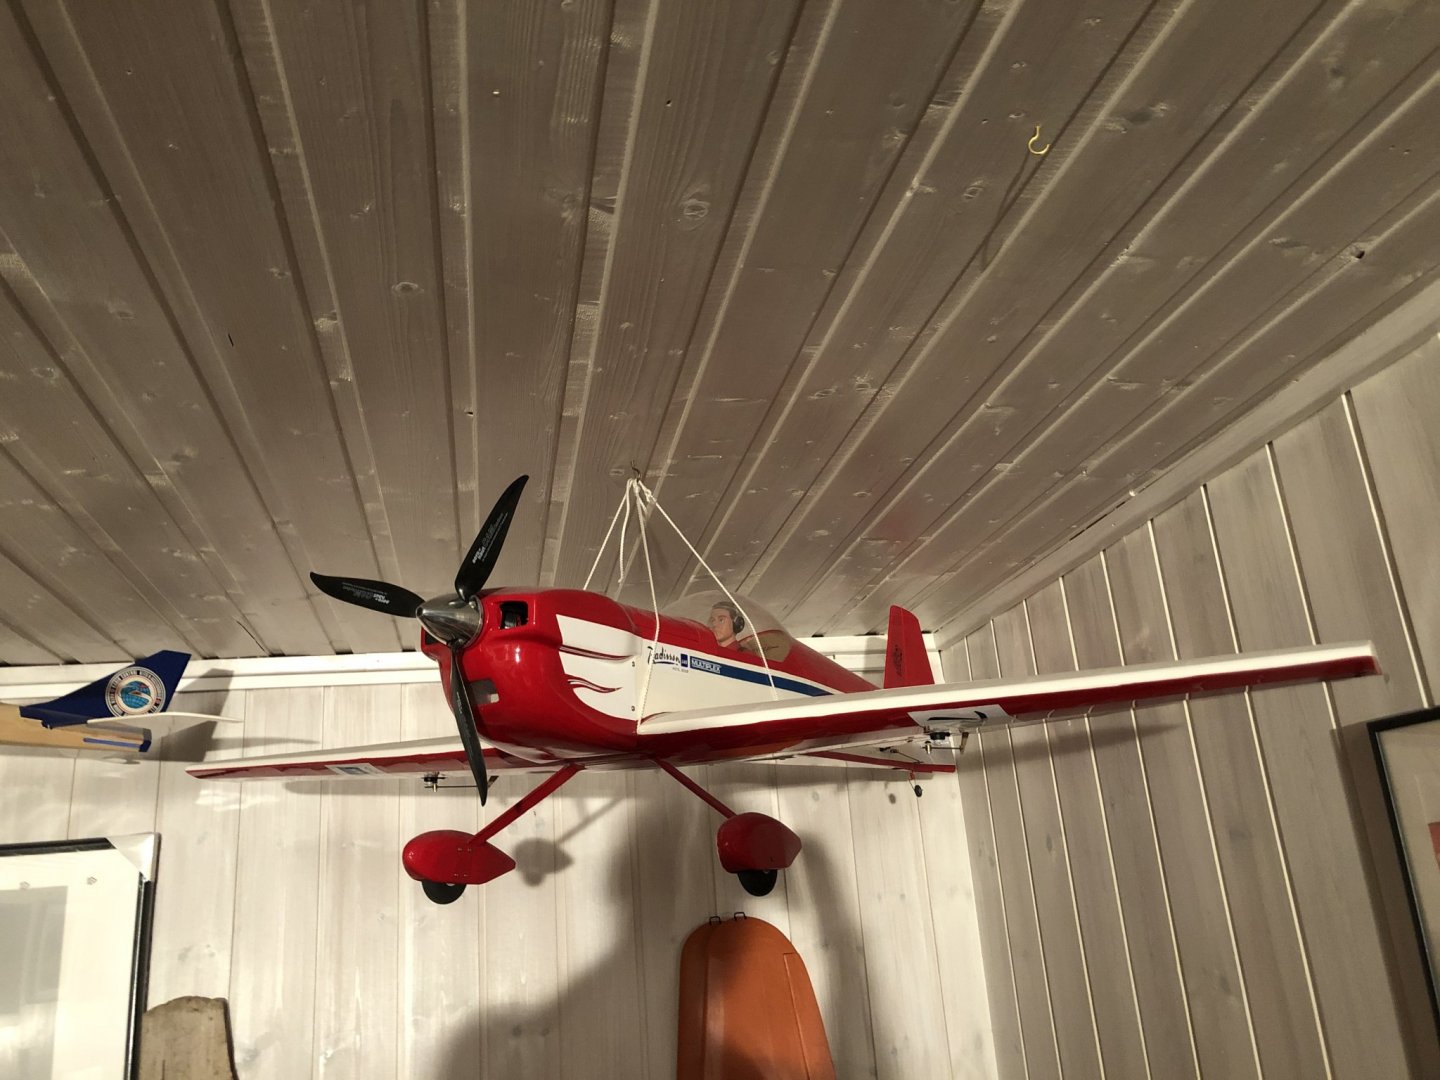
I love the smell of wood. have built some modelaeroplane from stevensaero (off topic) . the bottle will be opened then the hull is close to finished, or i feel it's finished 🙂 I will follow your built if it´s in here. Thanks for following !
- 90 replies
-
- 3
-
-
- billing boats
- colin archer
- (and 1 more)
-
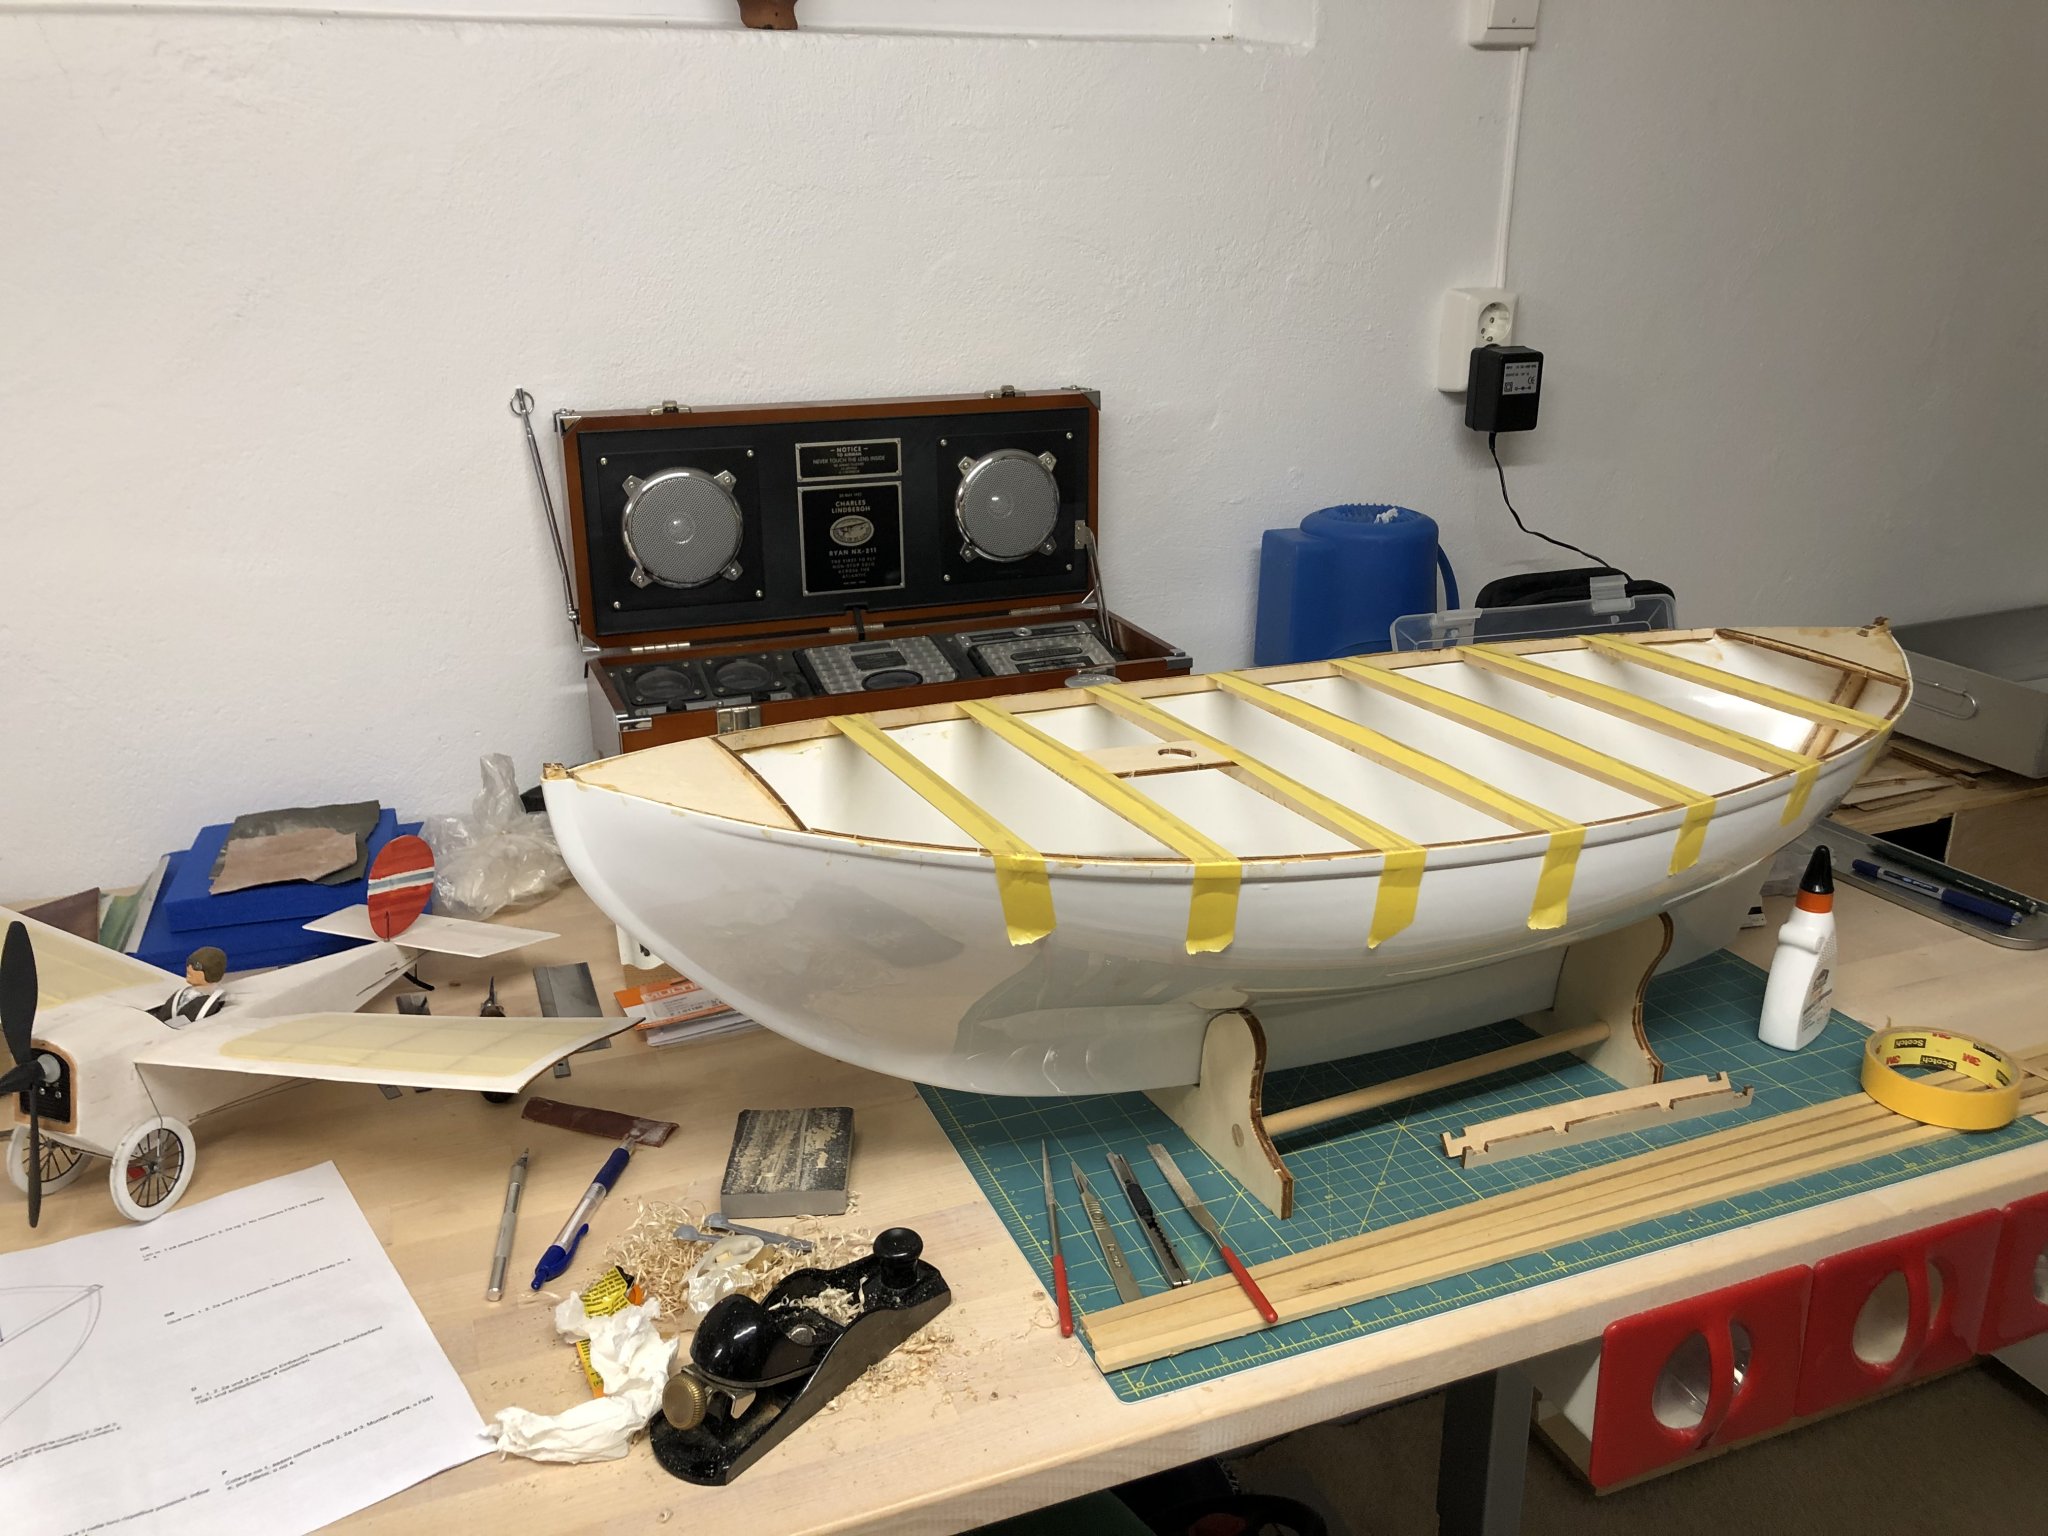
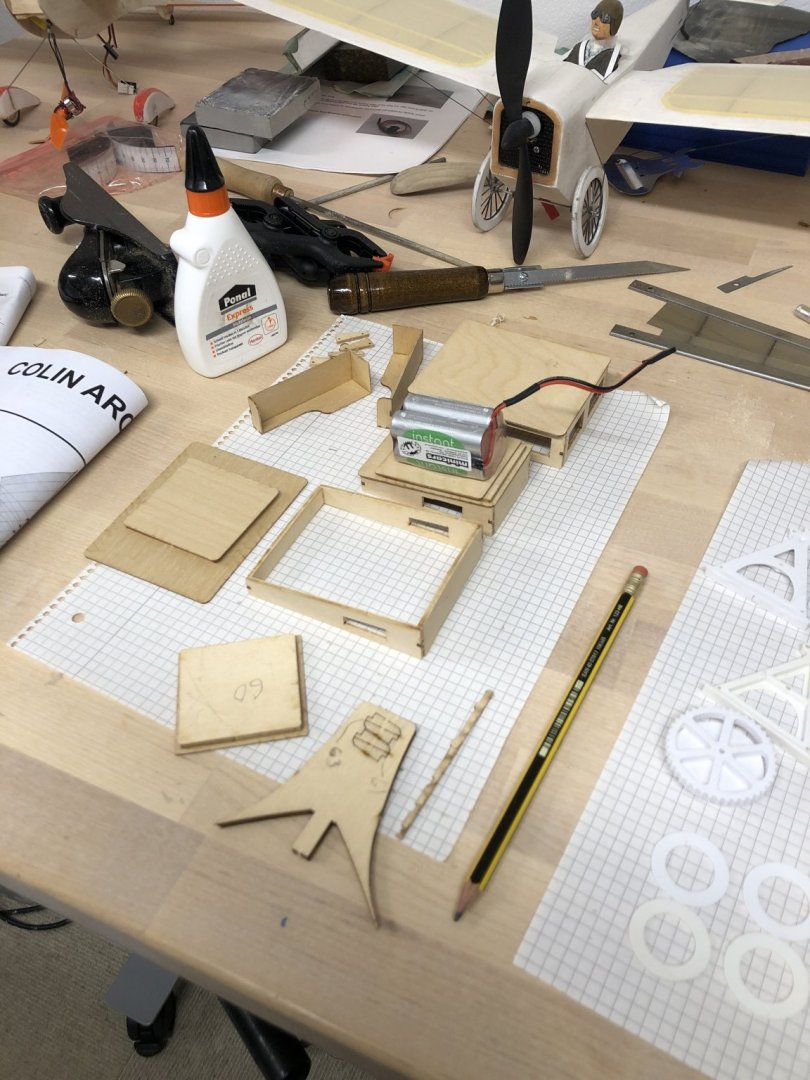
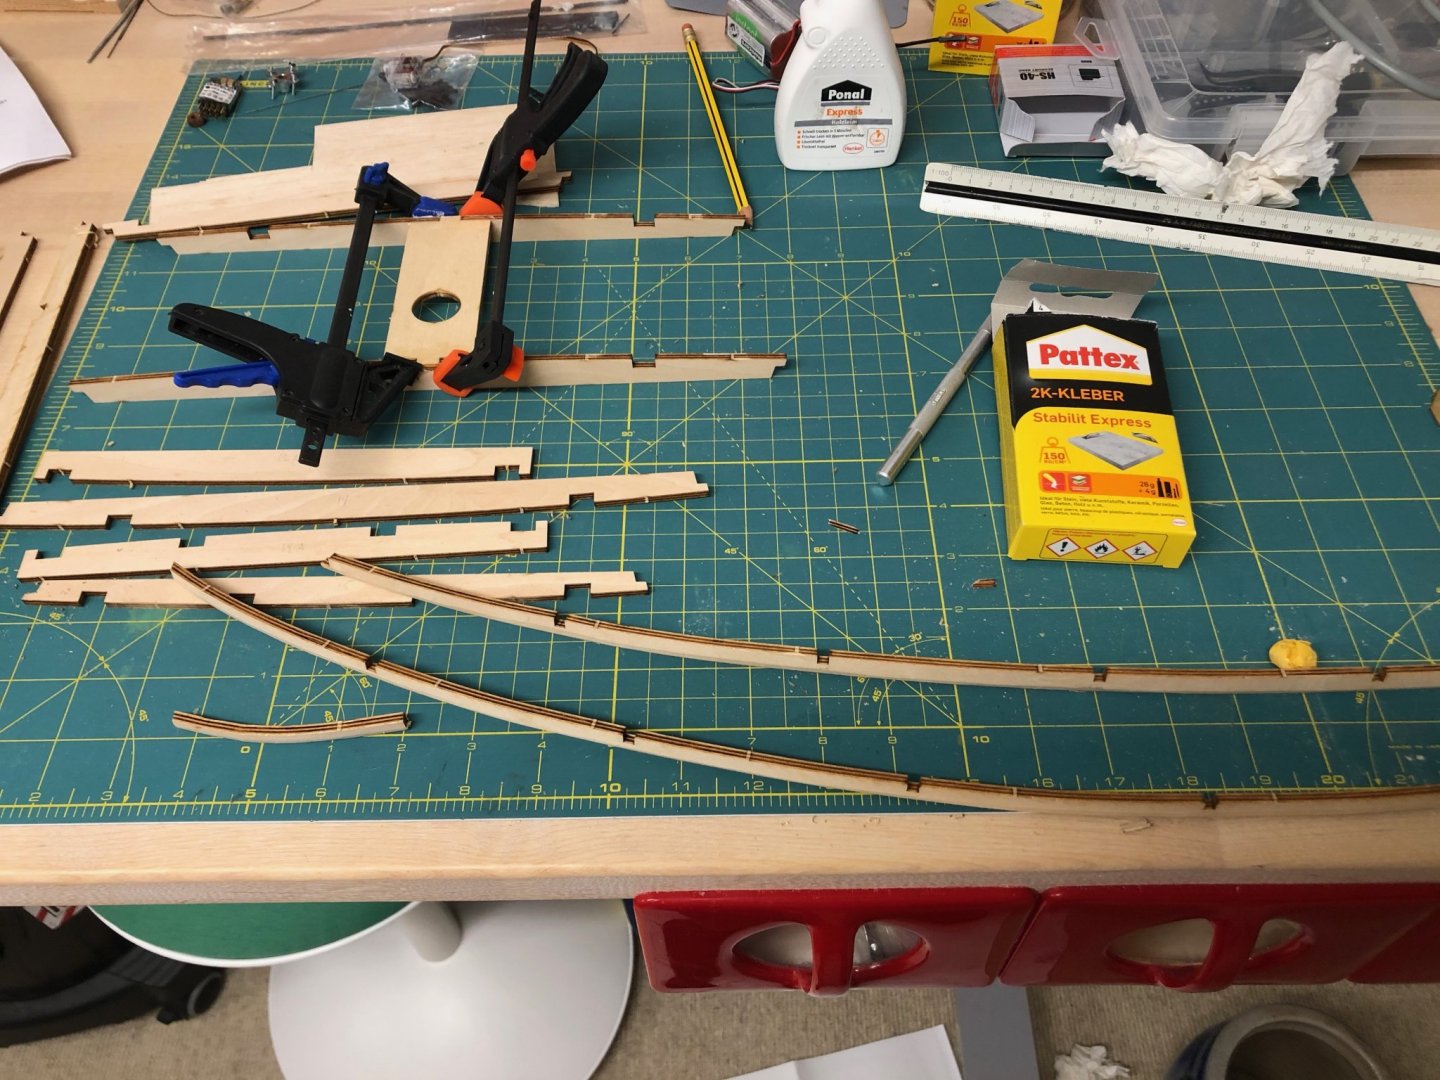
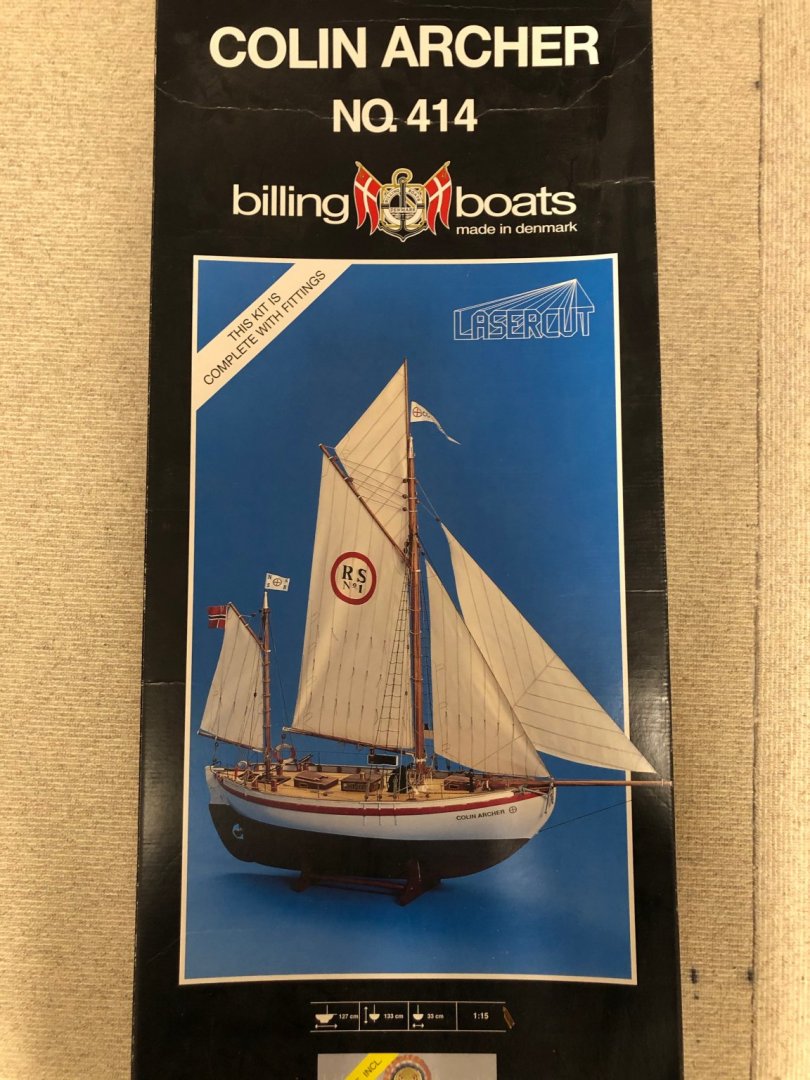
Plastic hull, i needed Stabilit Exspress. I wanted a RC sailing scala boat from Norway 🙂 More gluing with white glue "ponal exspress"


- 90 replies
-
- 9
-
-
- billing boats
- colin archer
- (and 1 more)
-
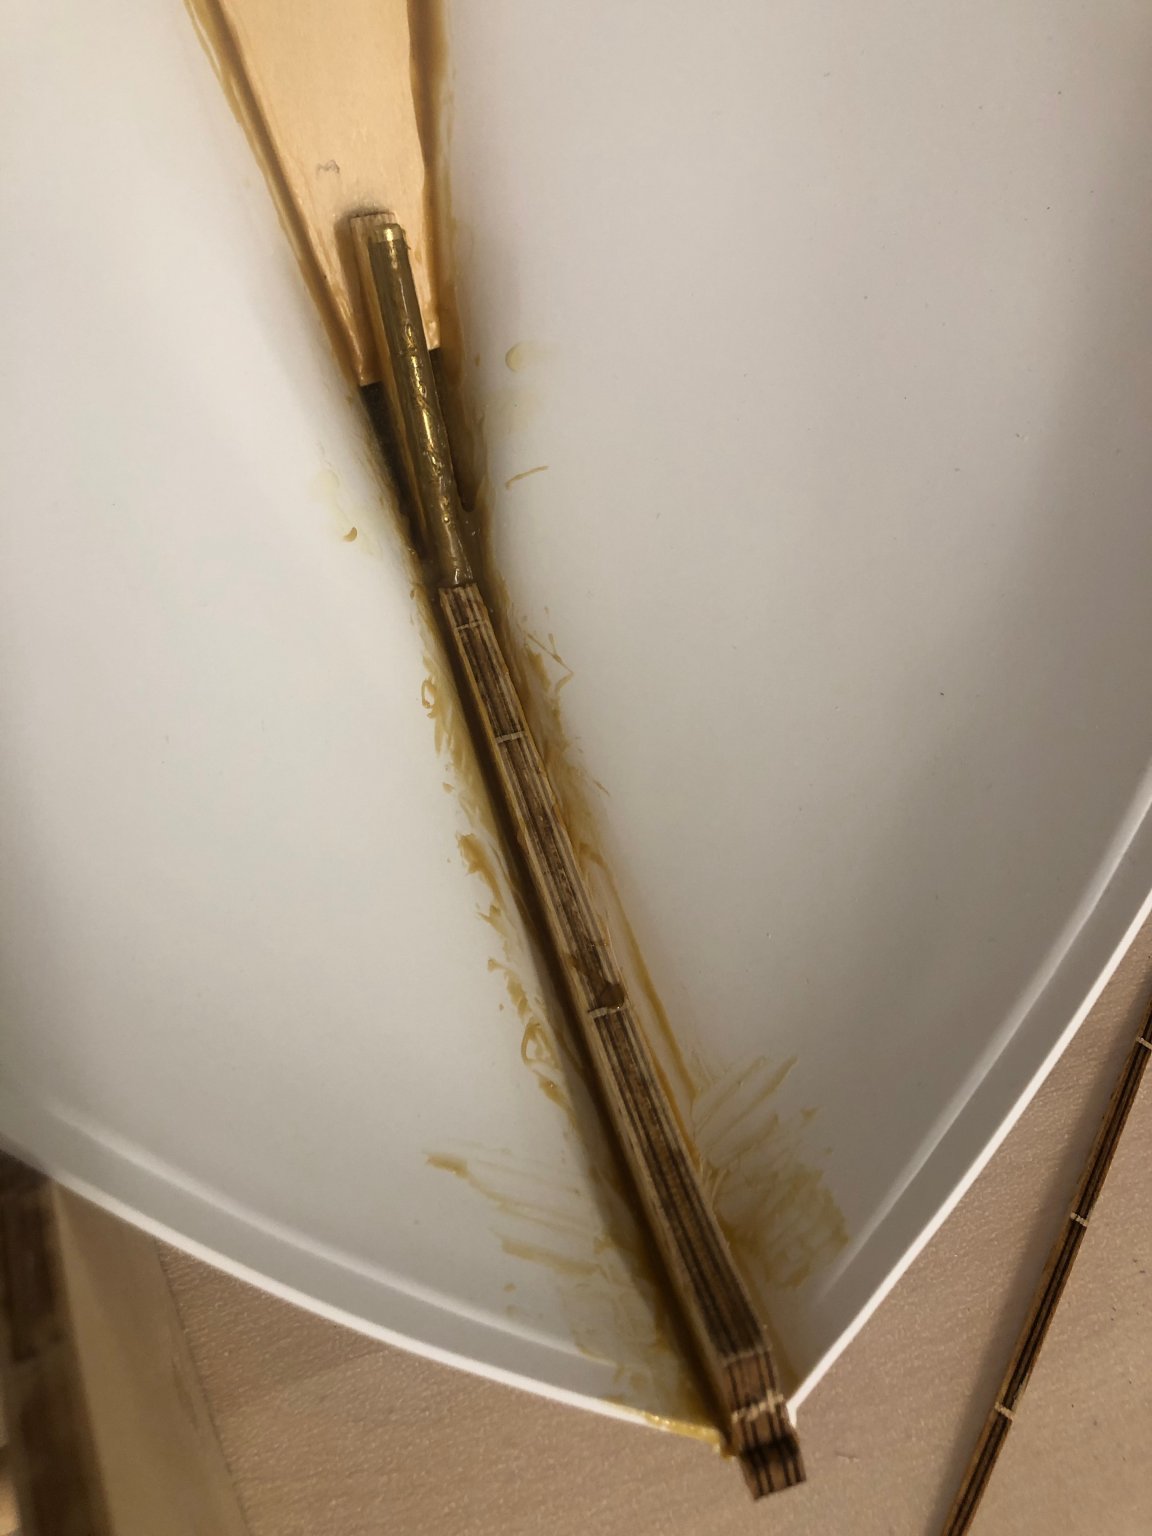
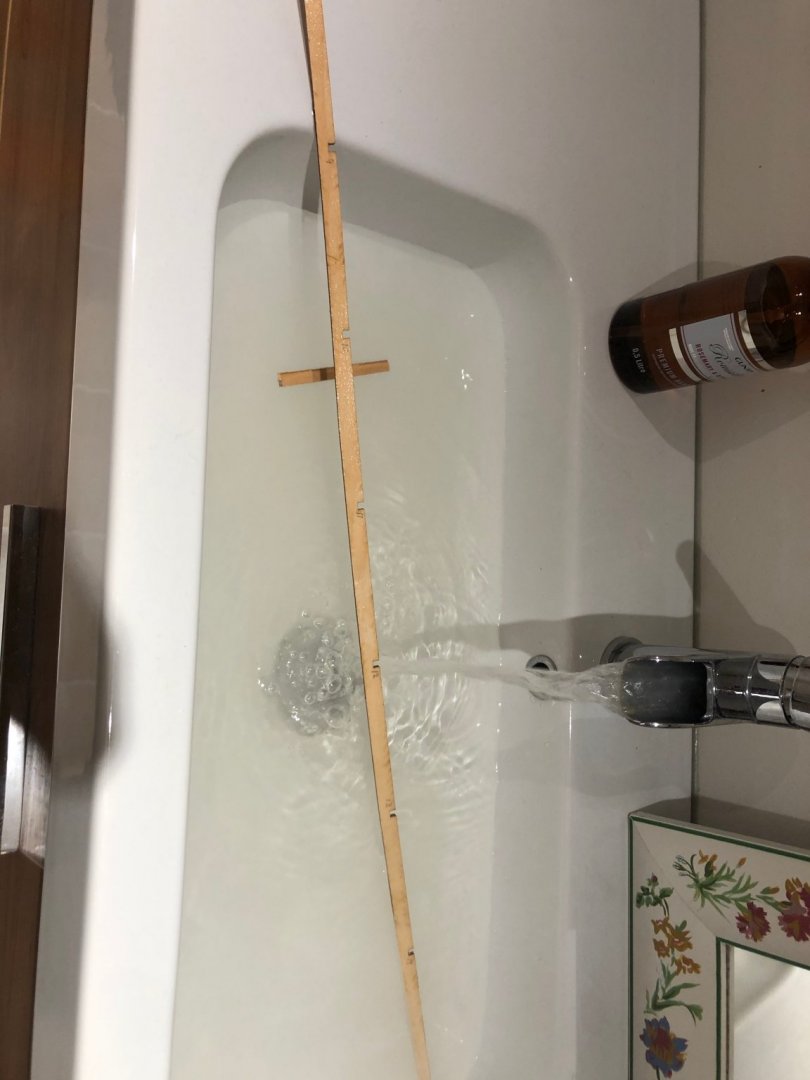
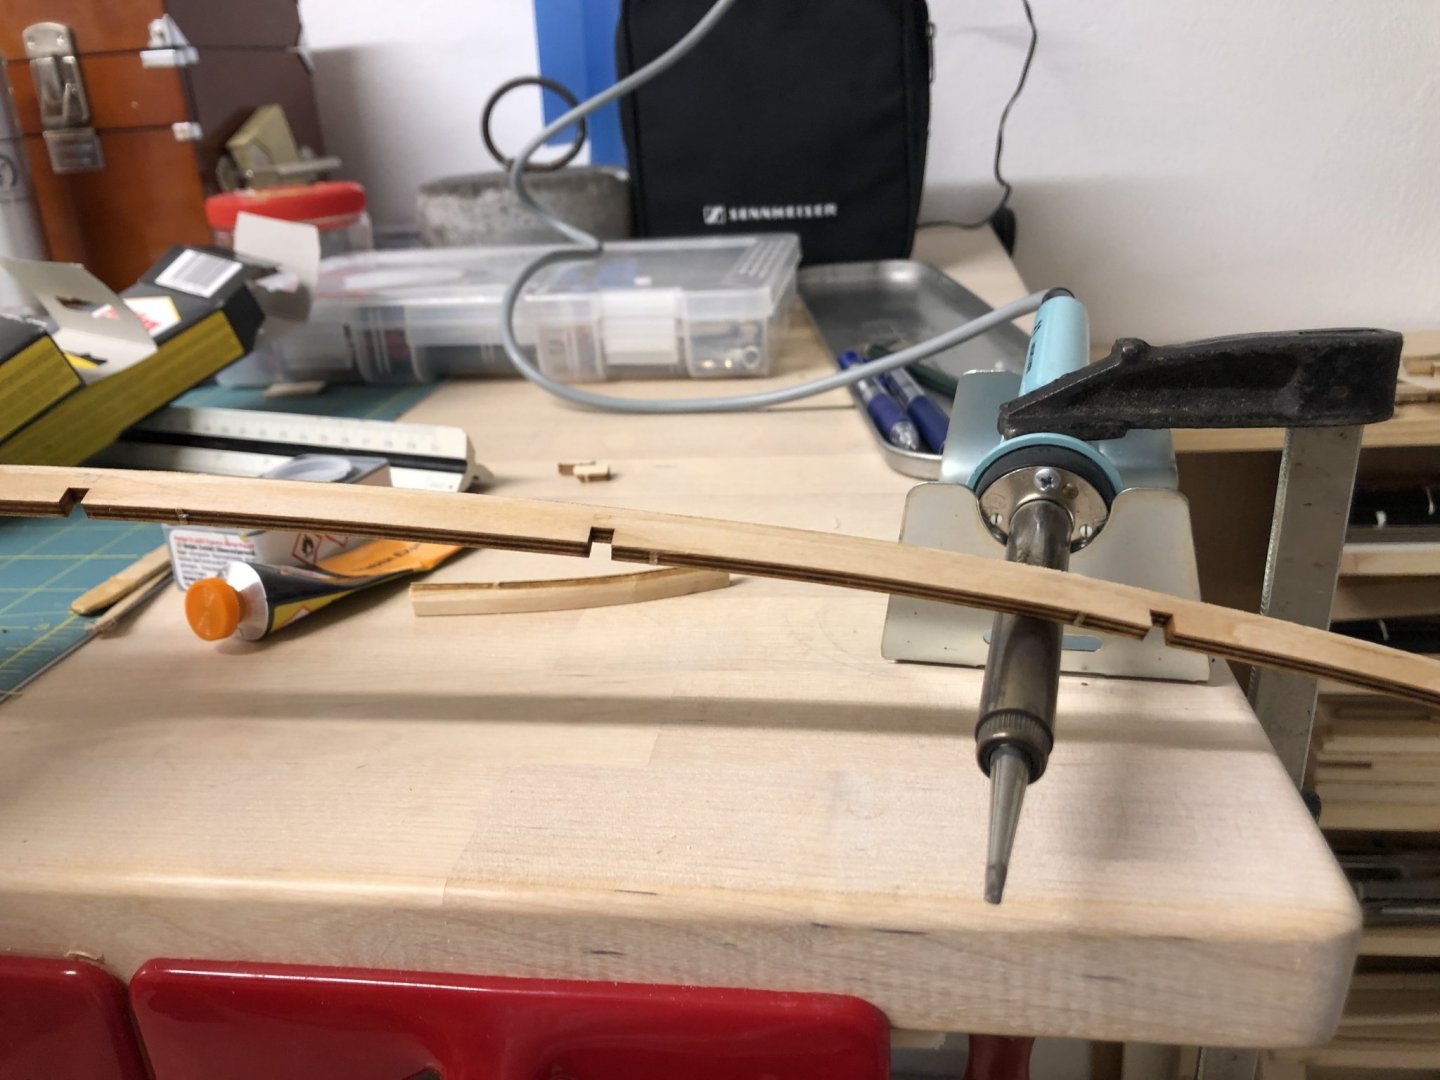
Upper side beam in ply was to stiff to bend. some hot water and soldering iron to make a curved beam work well. Video: how to bend wood and plywood. You can practice on som leftover from earlyer builds. Glue: Stabilit Exspress (PS hull to wood) IMG_9244.mov

- 90 replies
-
- 3
-
-
- billing boats
- colin archer
- (and 1 more)
-
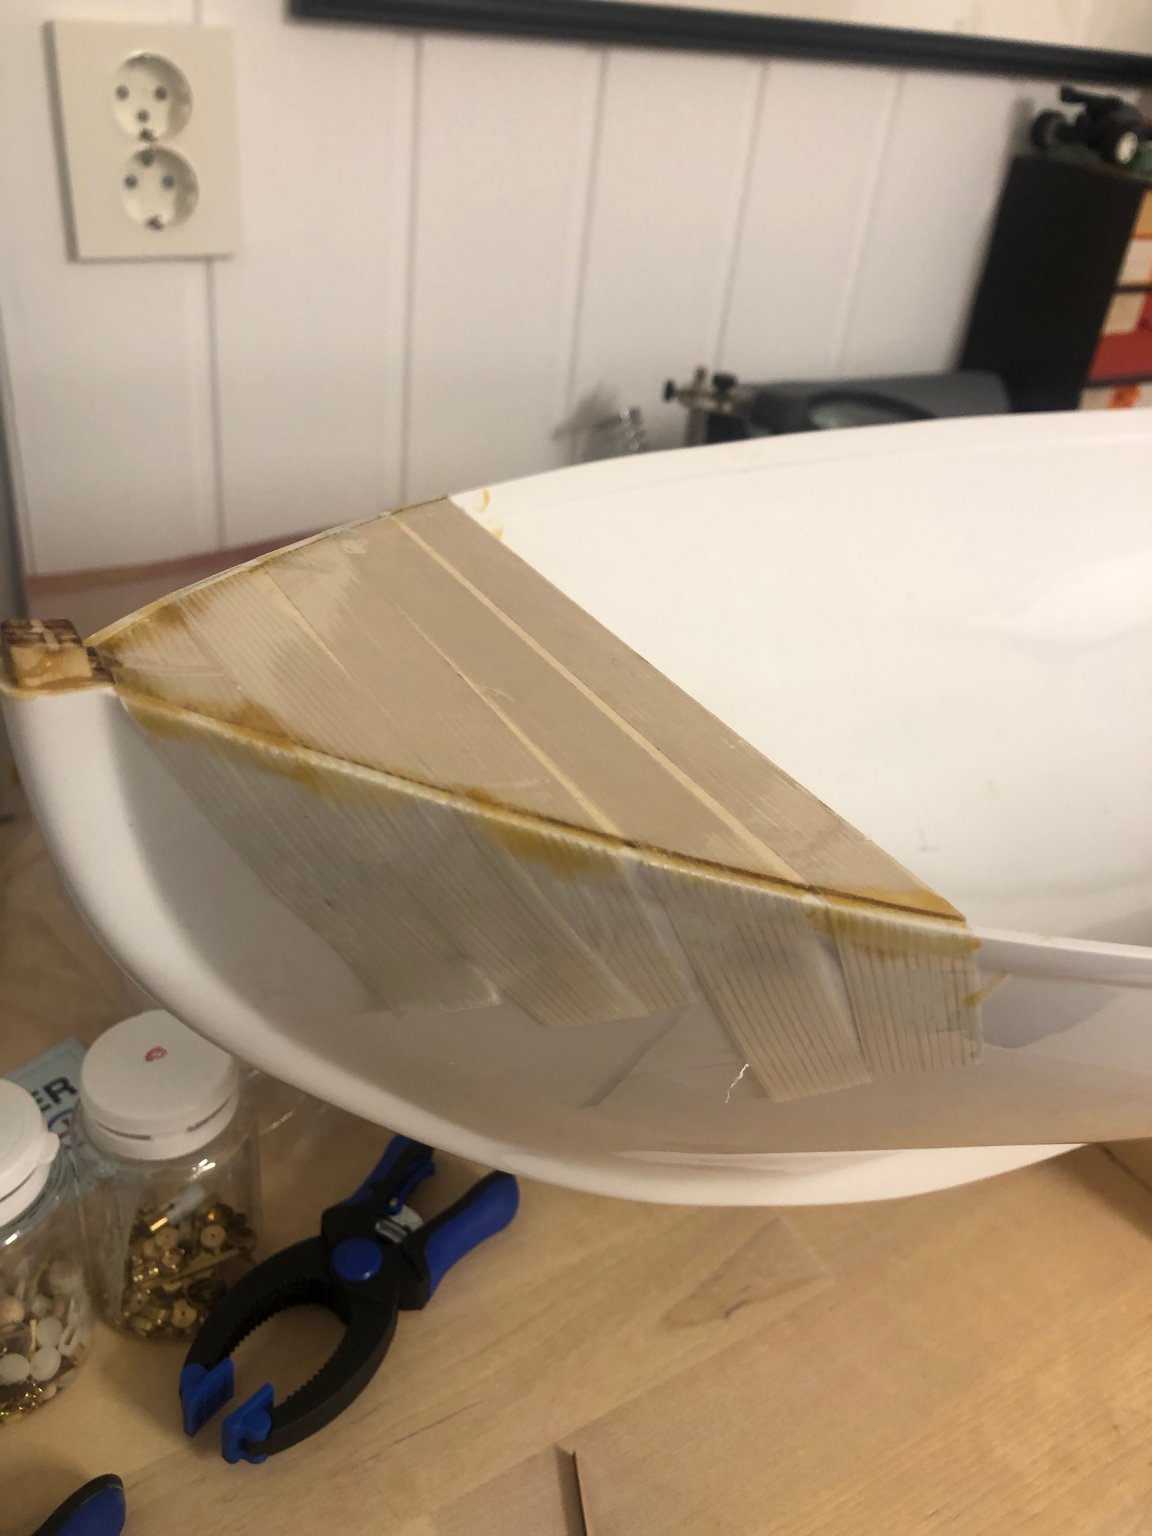
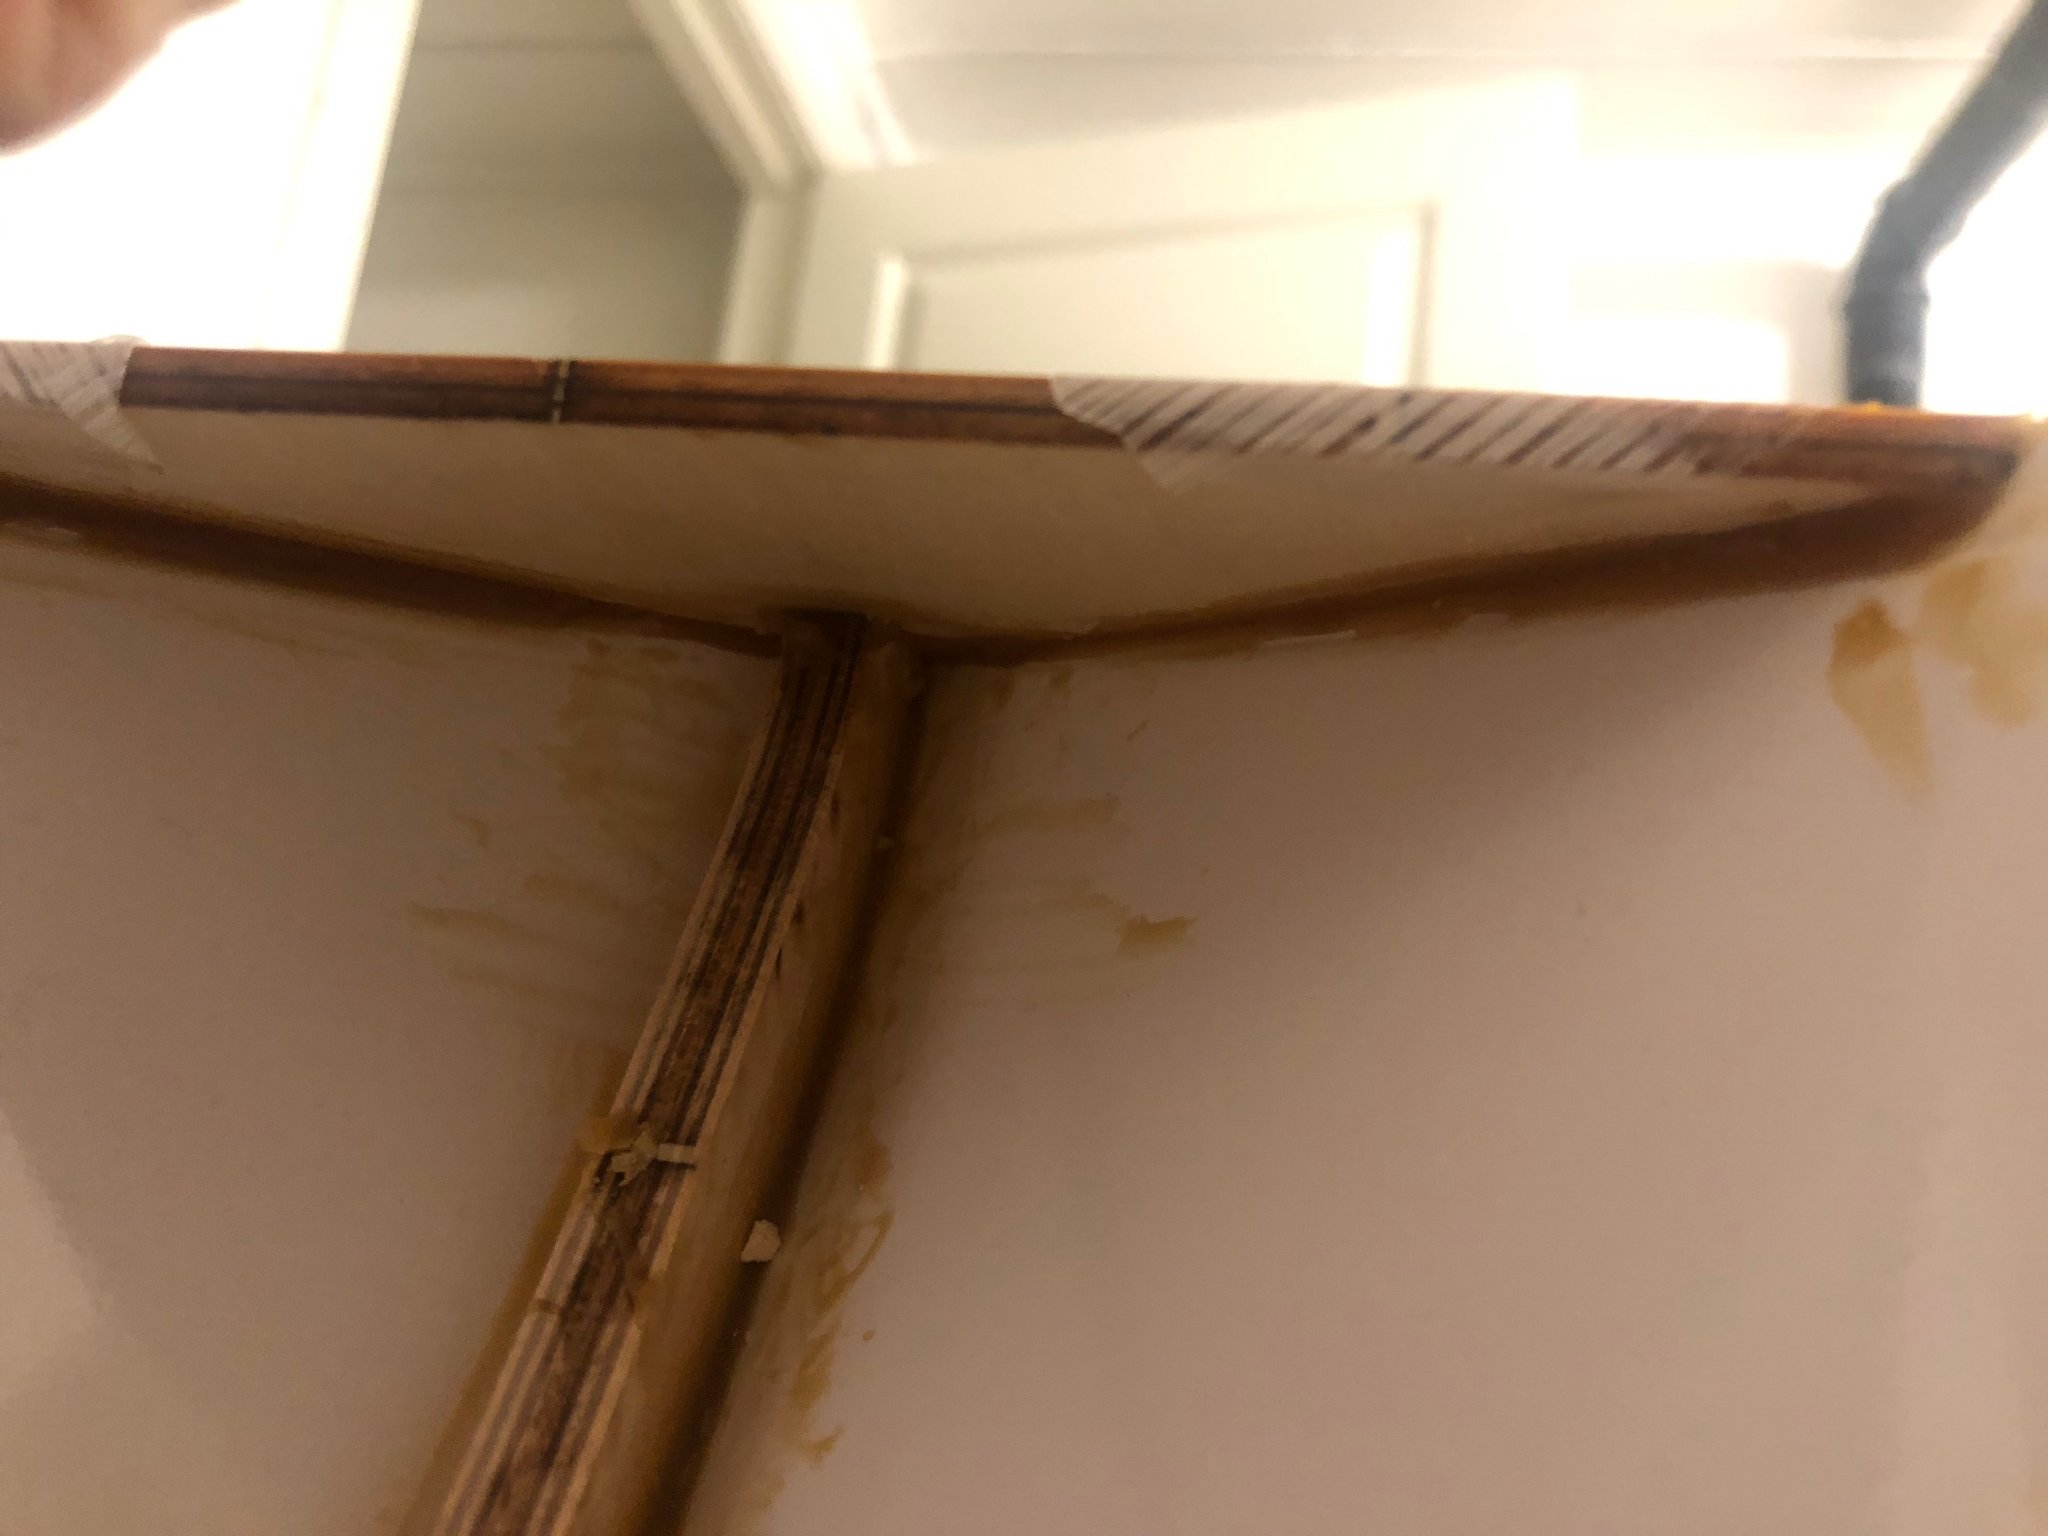
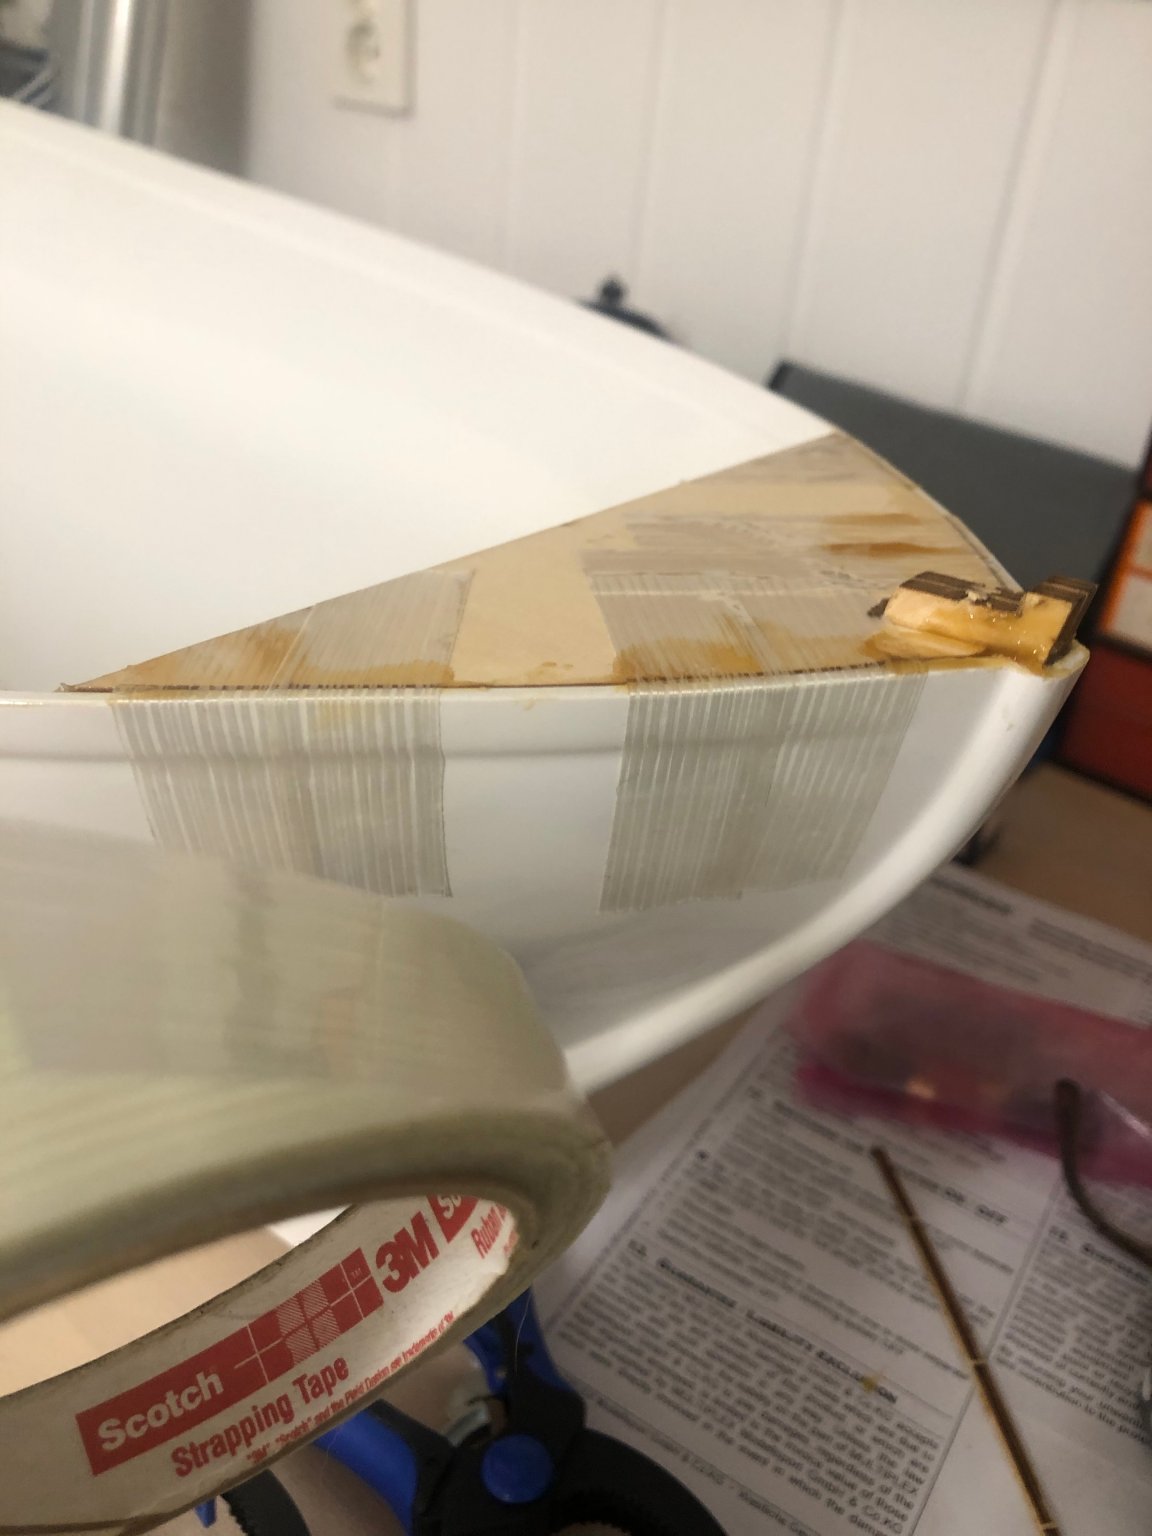
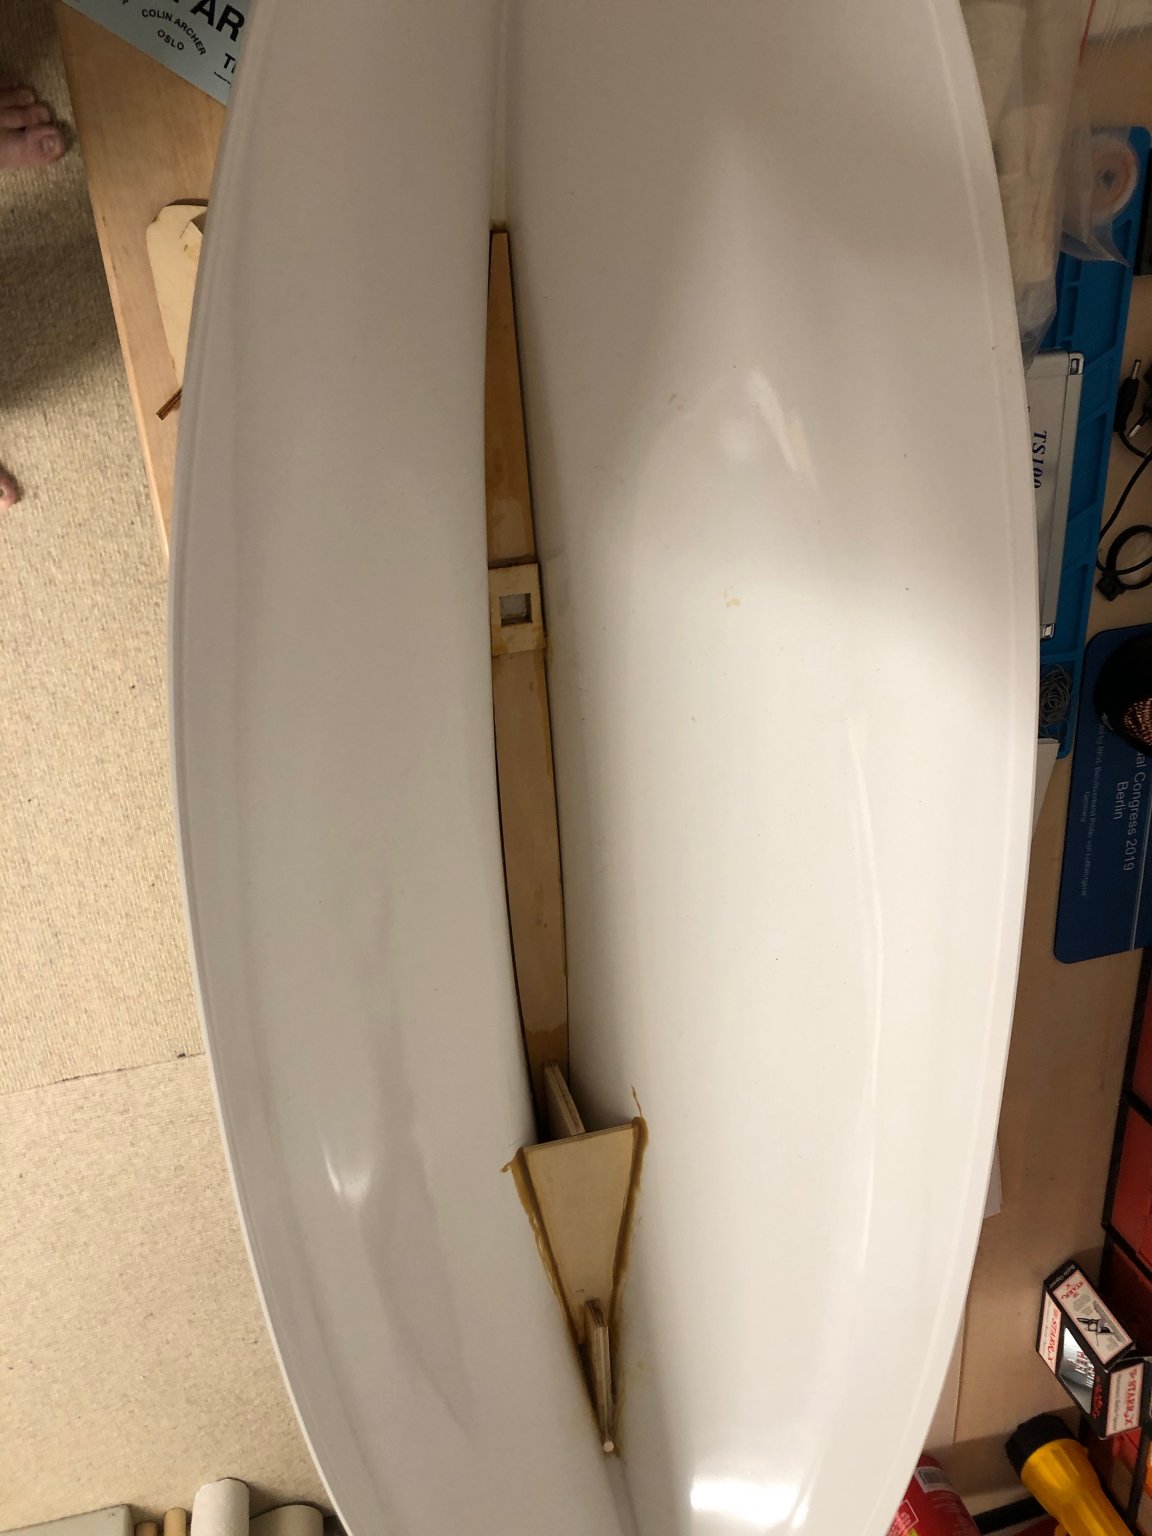
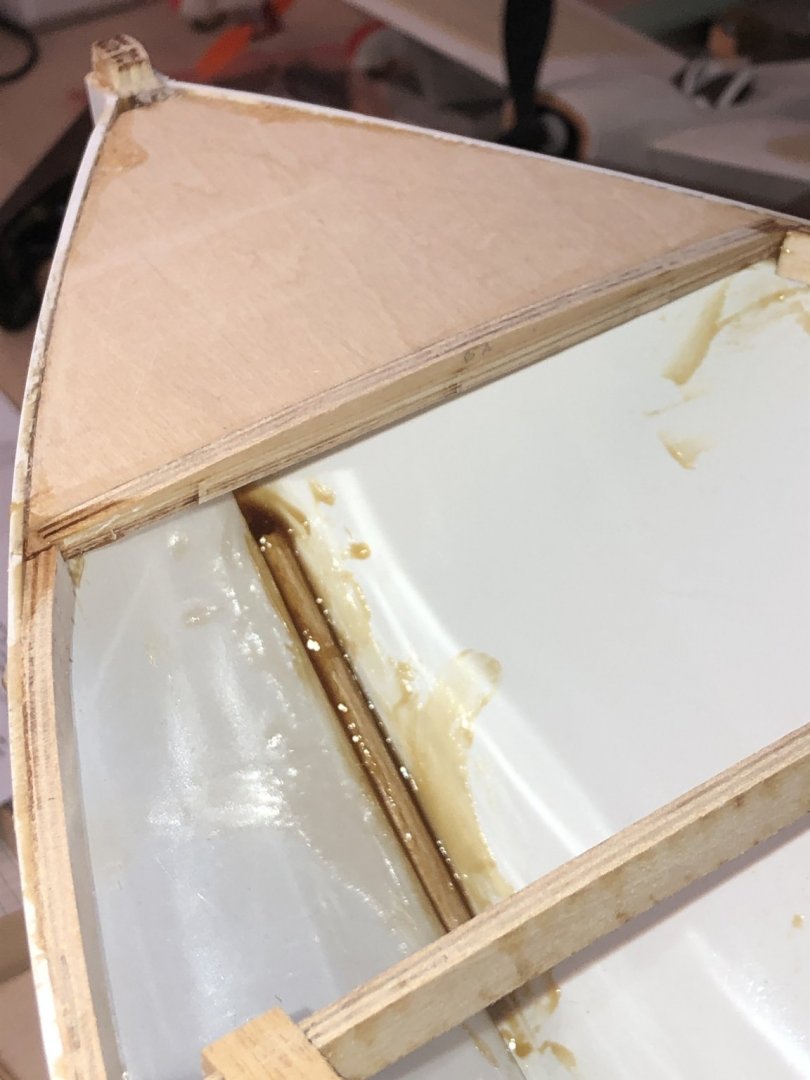
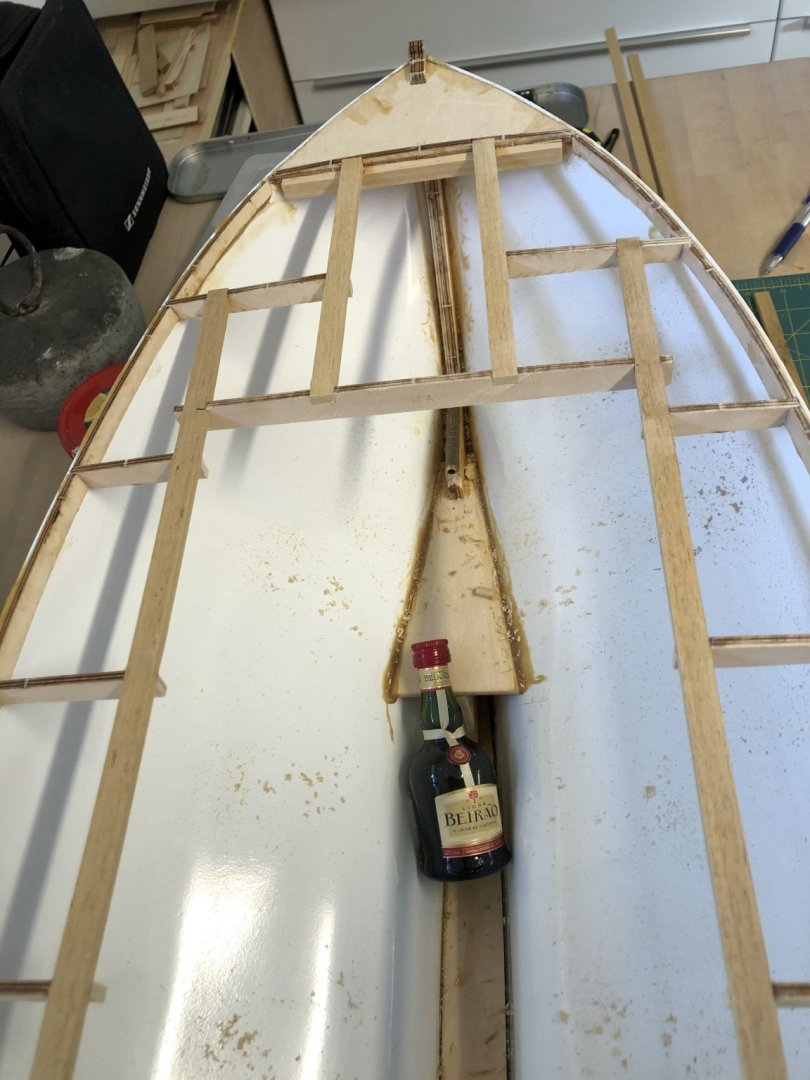
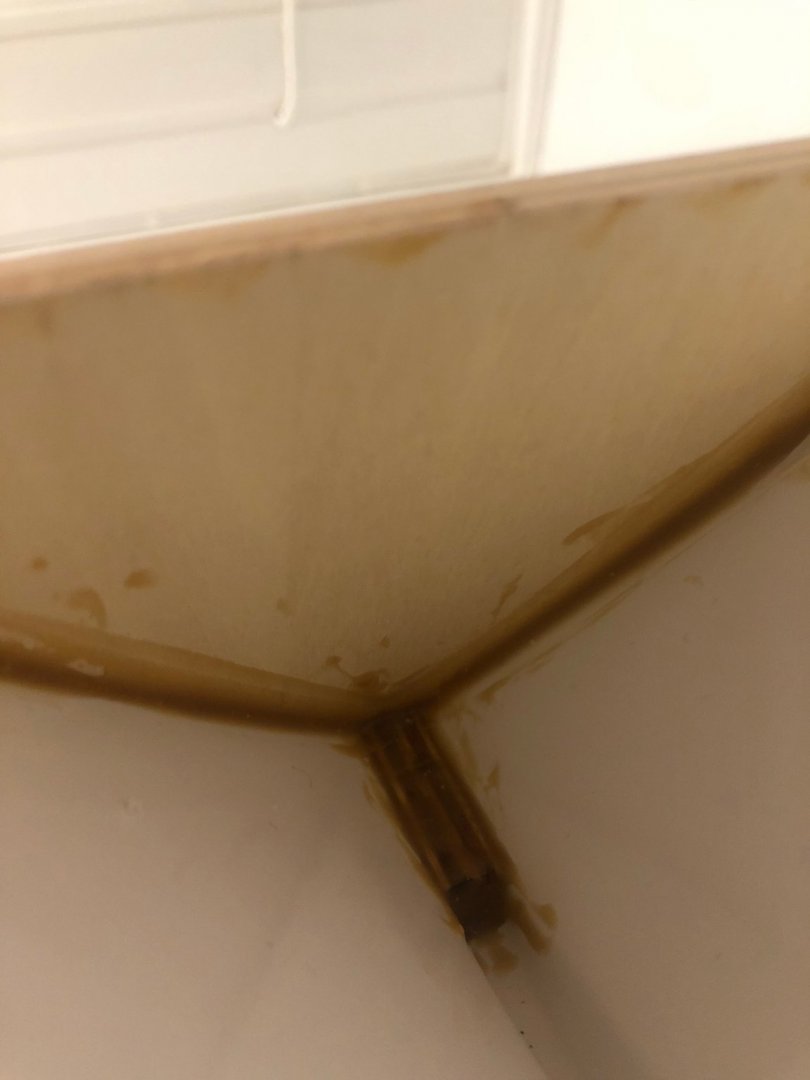
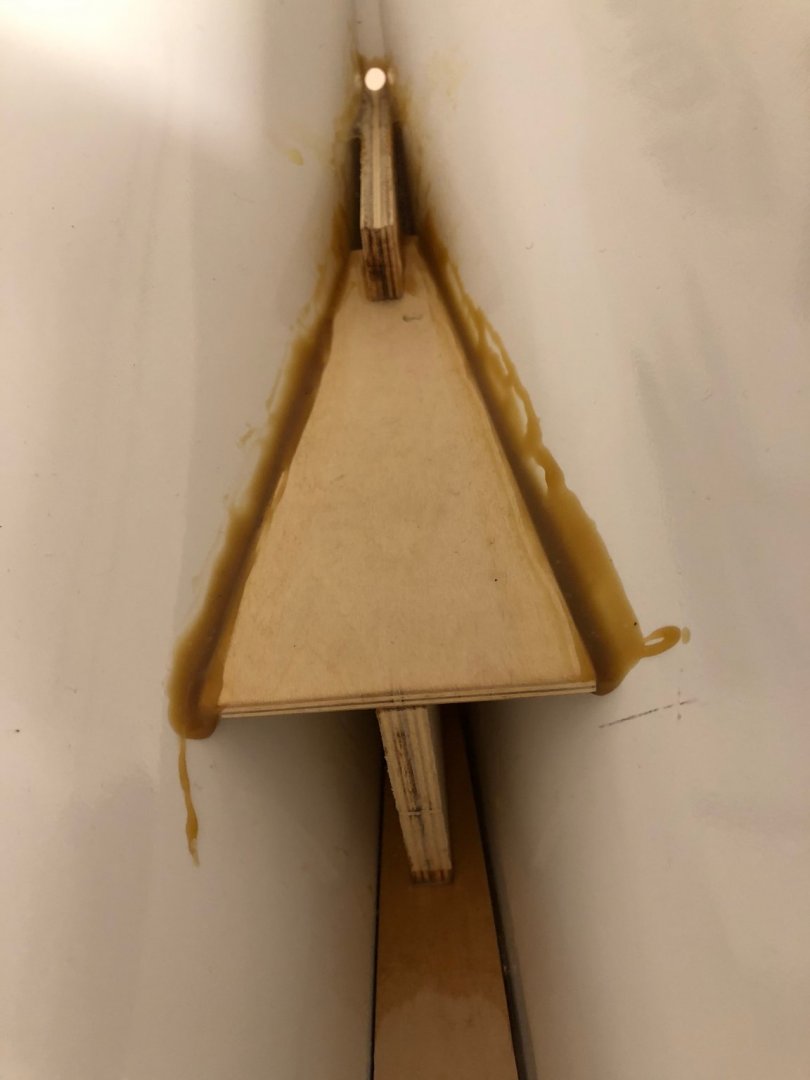
A bit tricky to glue aft and front plywood to the PS hull. Strapping tape made my day. Next time i will preinstall the tape on the hull, not on the ply( glue then get dragged outboard on the hull) I do that on the bow, the stern get nicer, the tape was applied to the hull first. 🙂


- 90 replies
-
- 3
-
-
- billing boats
- colin archer
- (and 1 more)
-
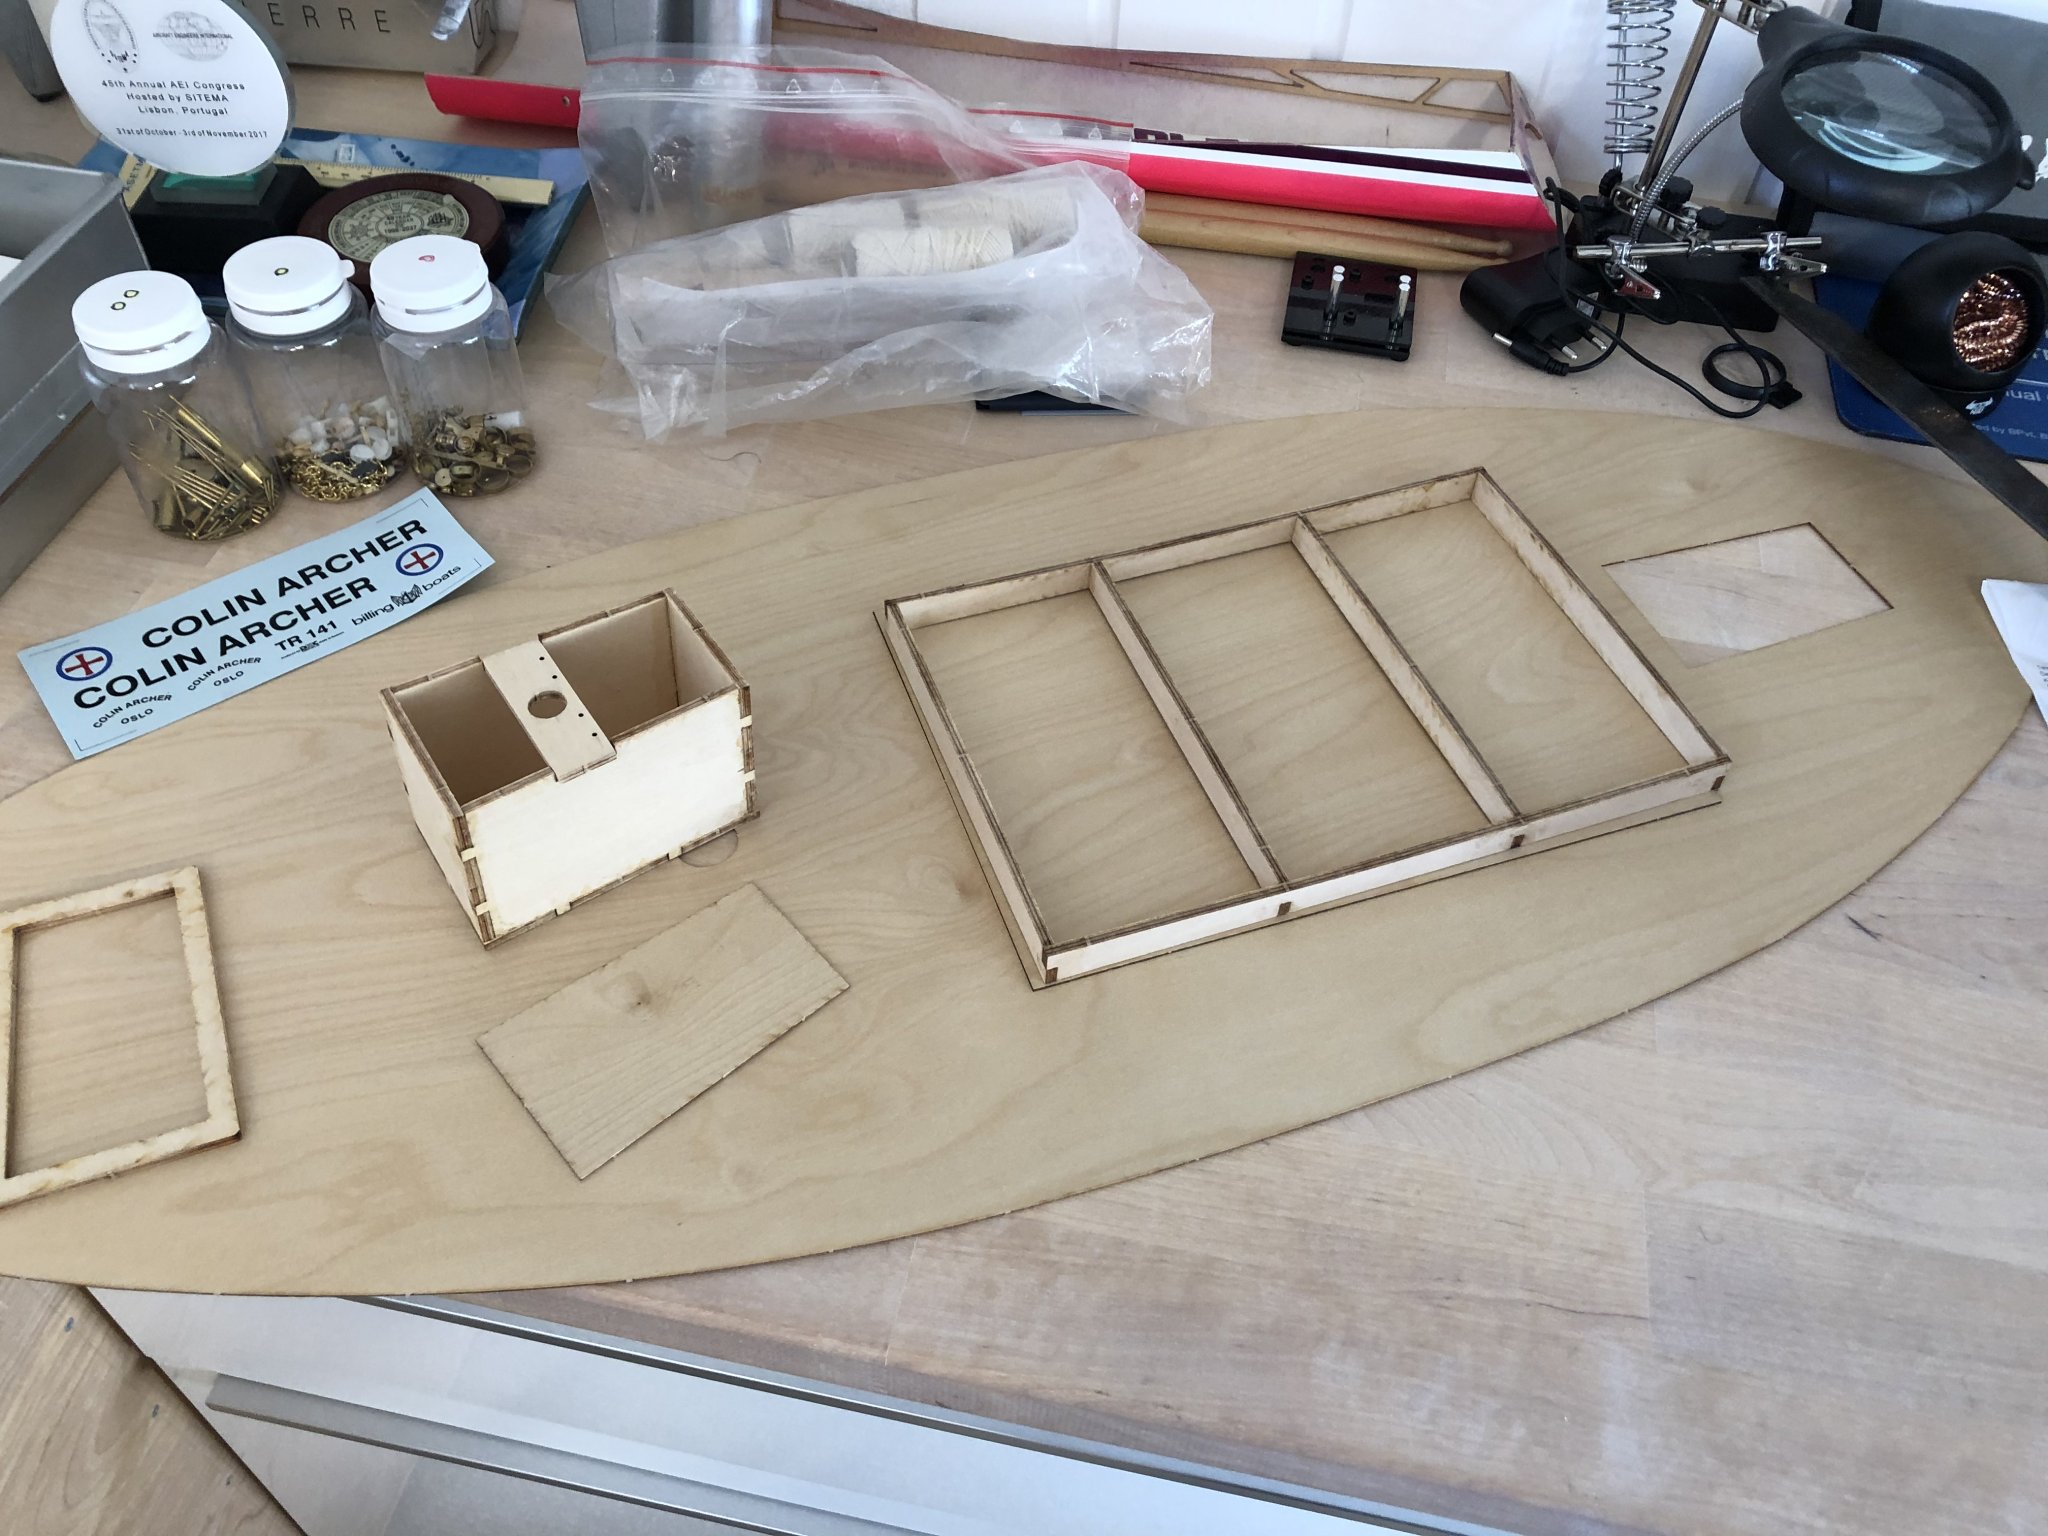
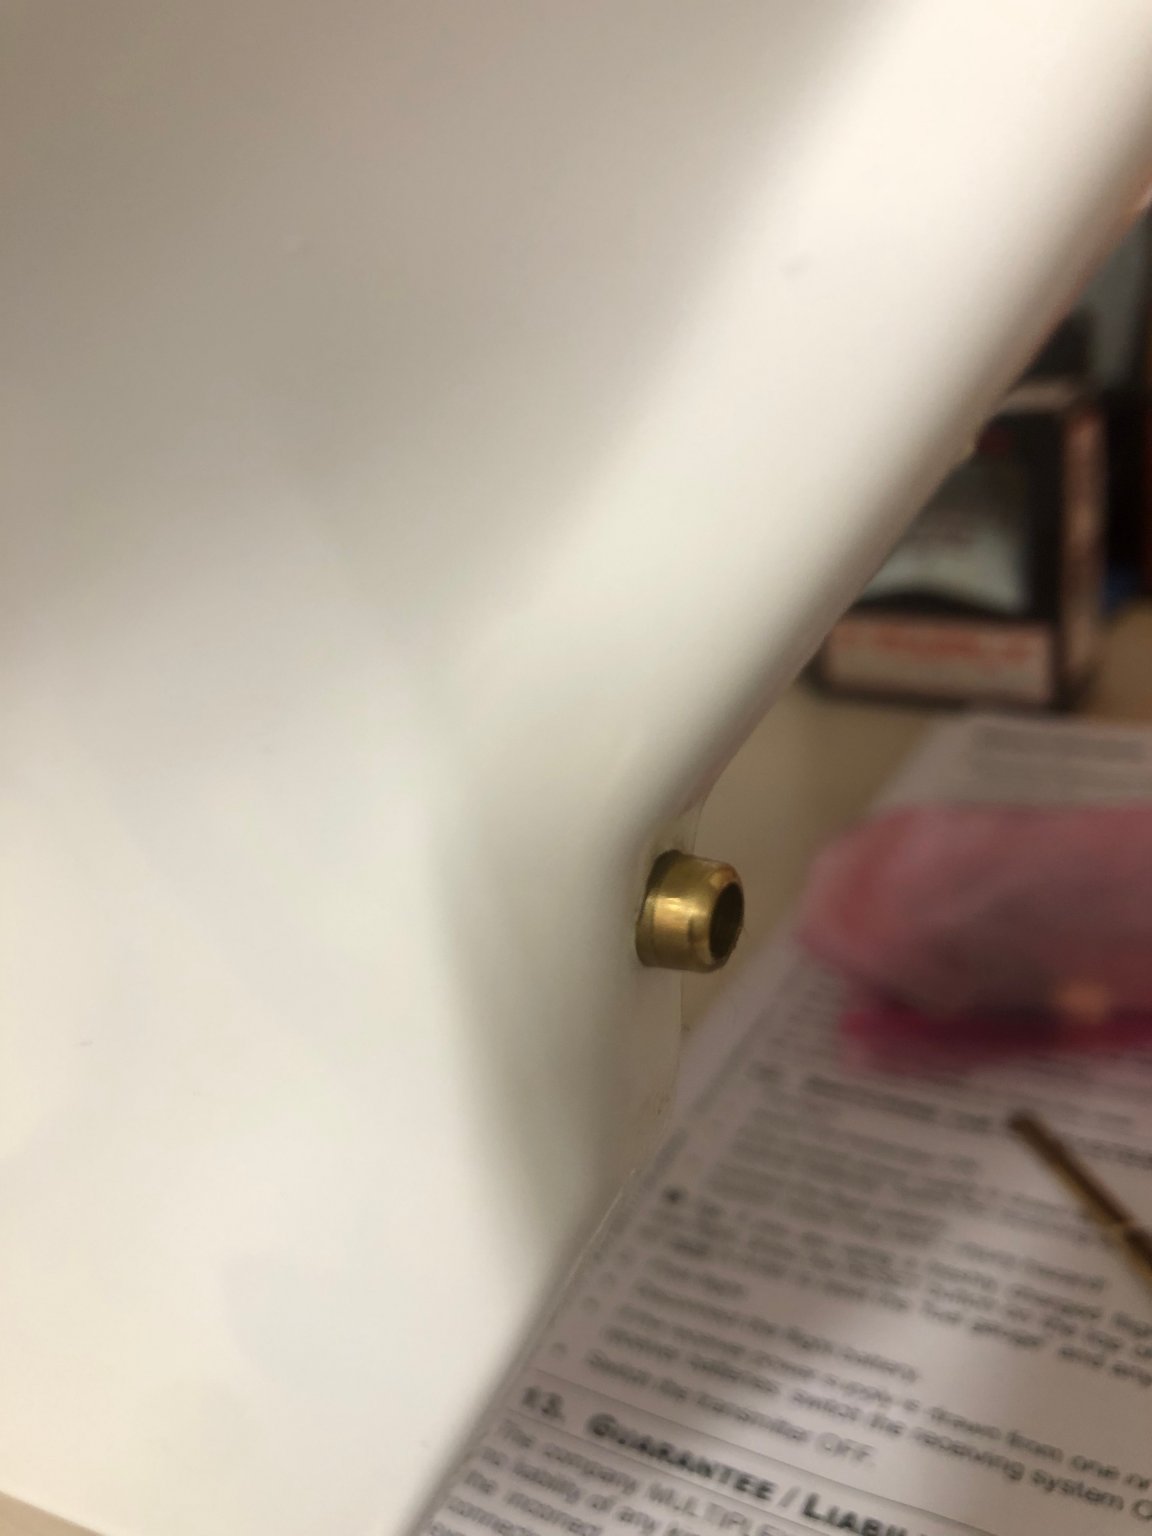
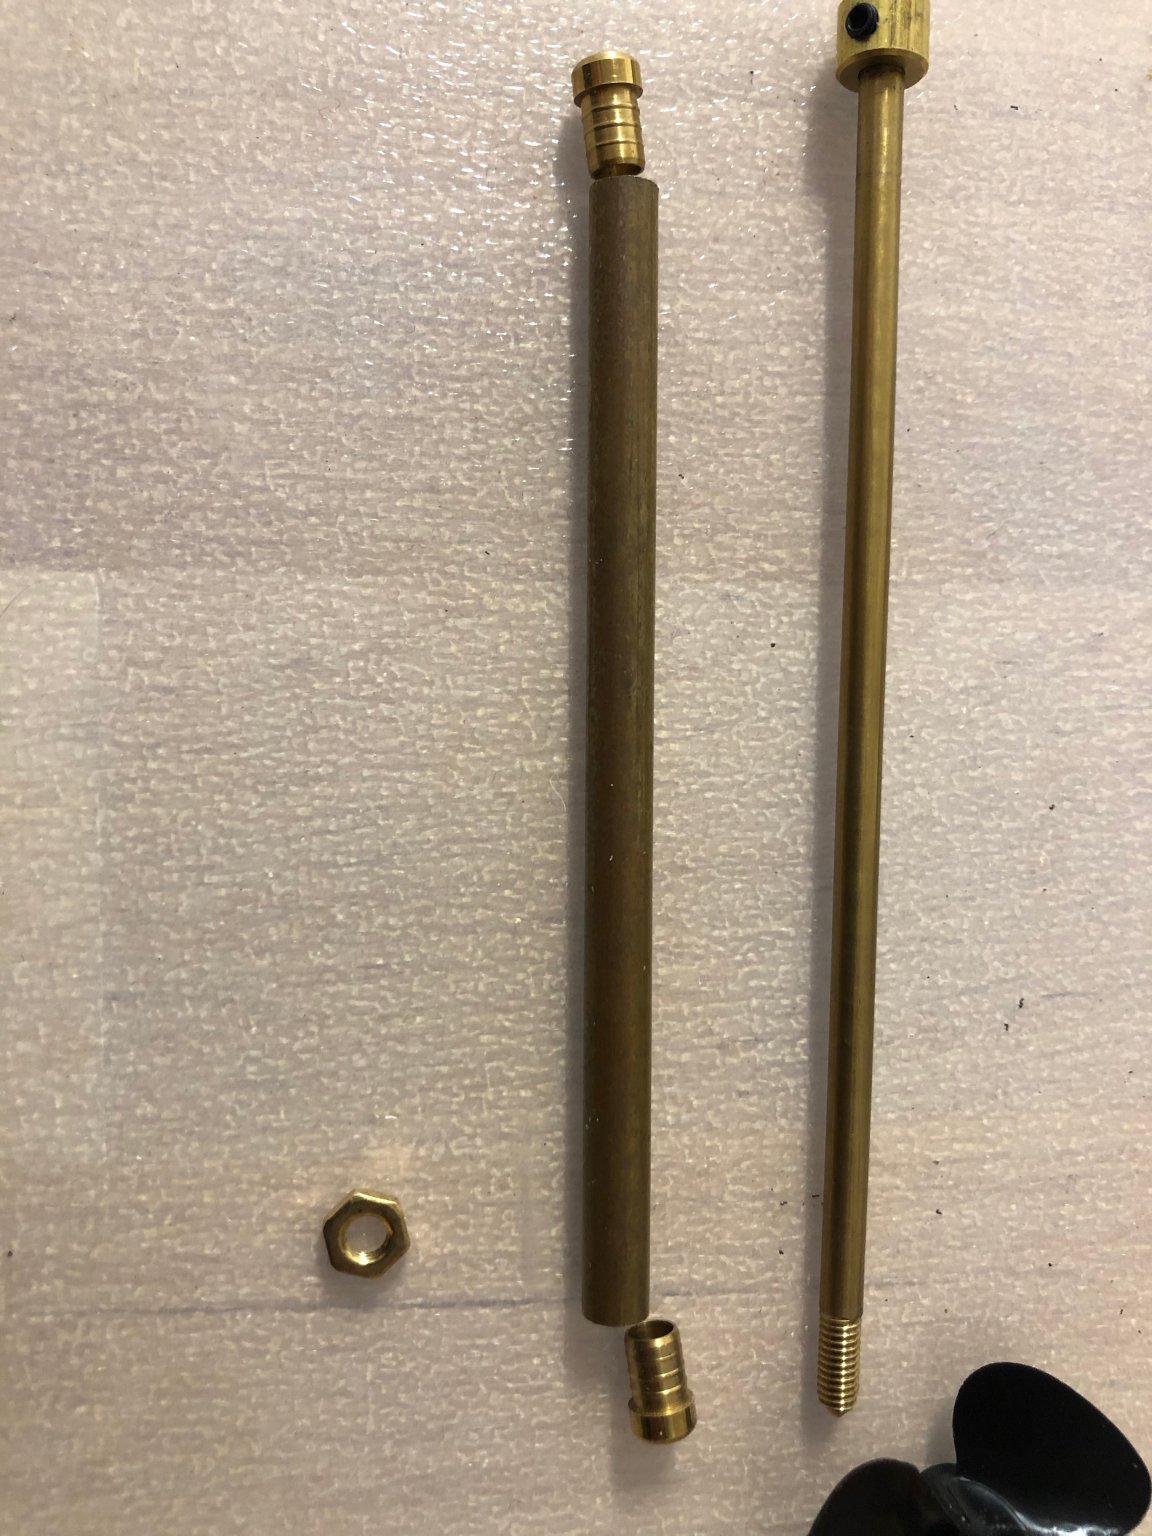
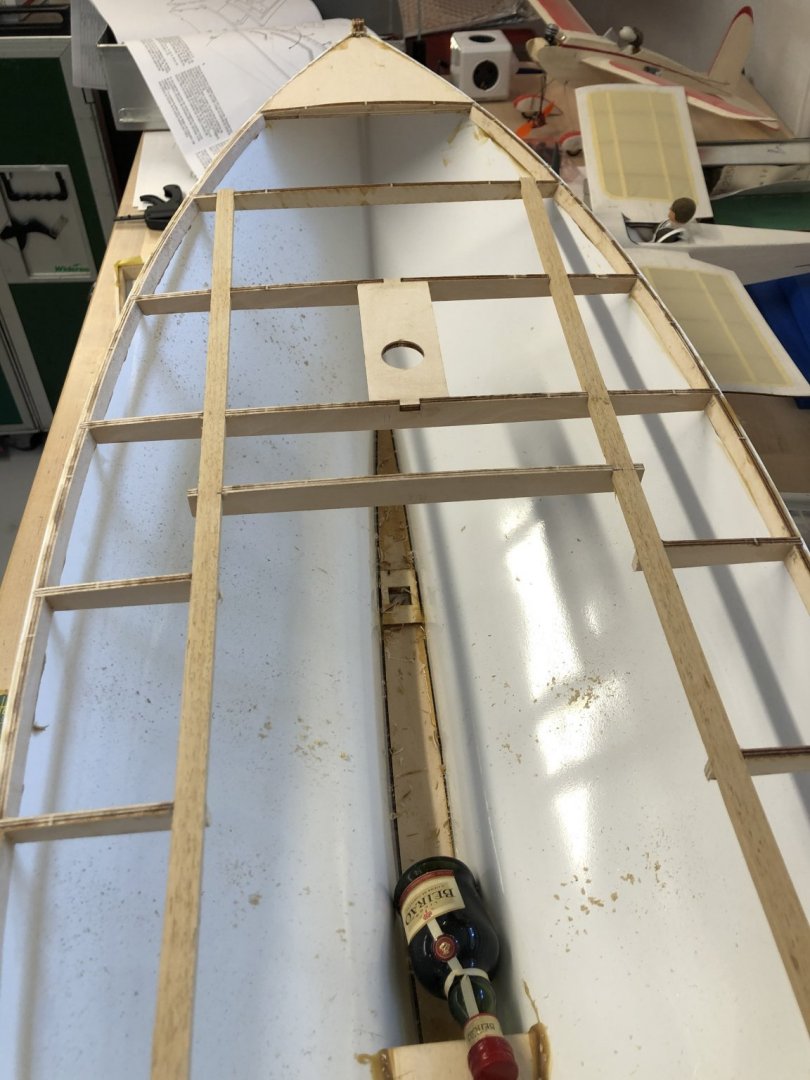
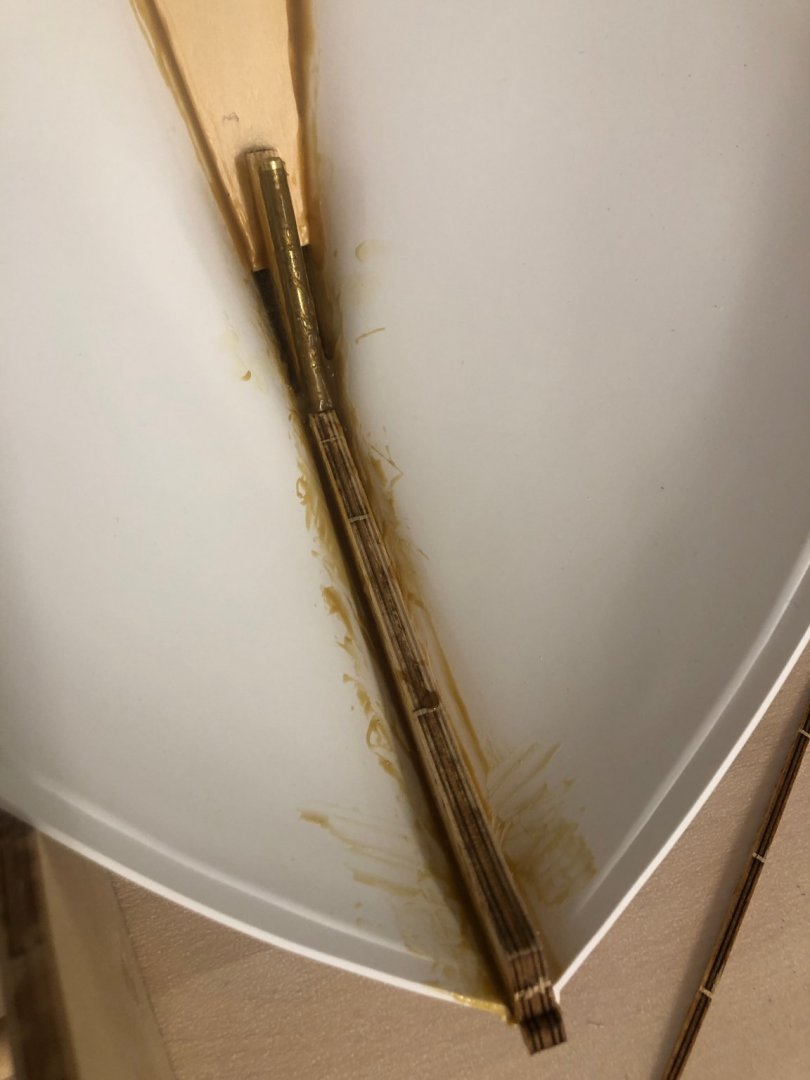
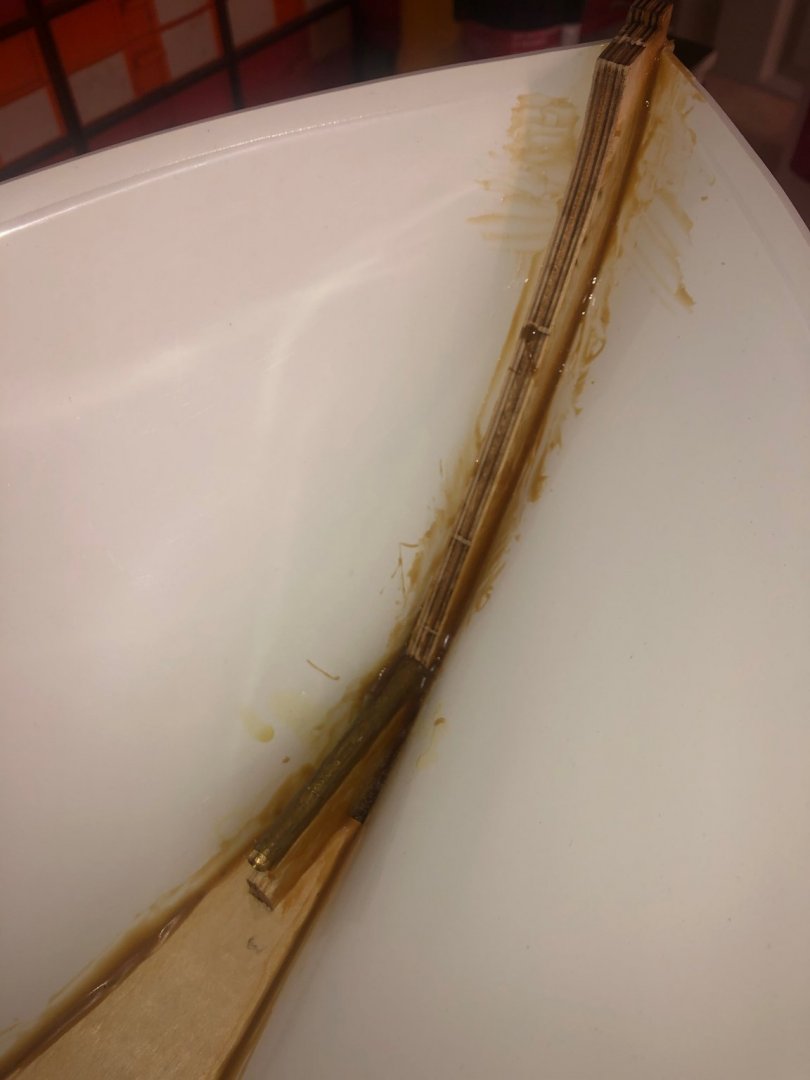
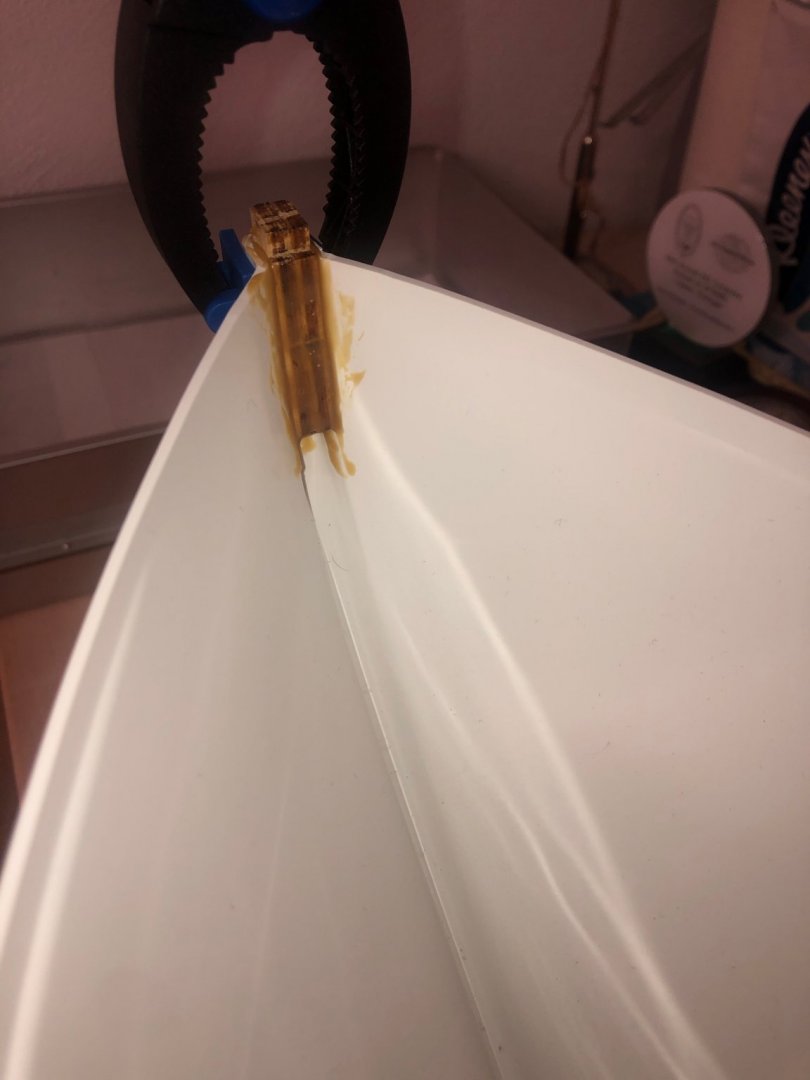
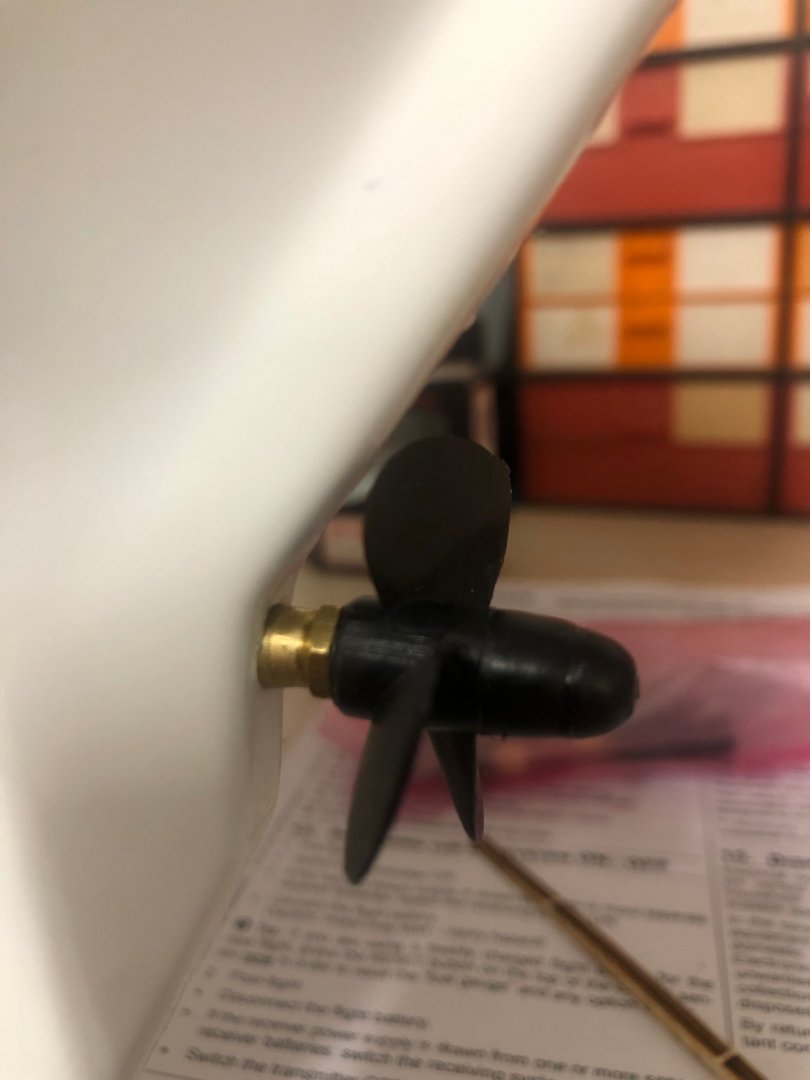
Propeler tube and fittings installed and some other parts.

- 90 replies
-
- 3
-
-
- billing boats
- colin archer
- (and 1 more)
-
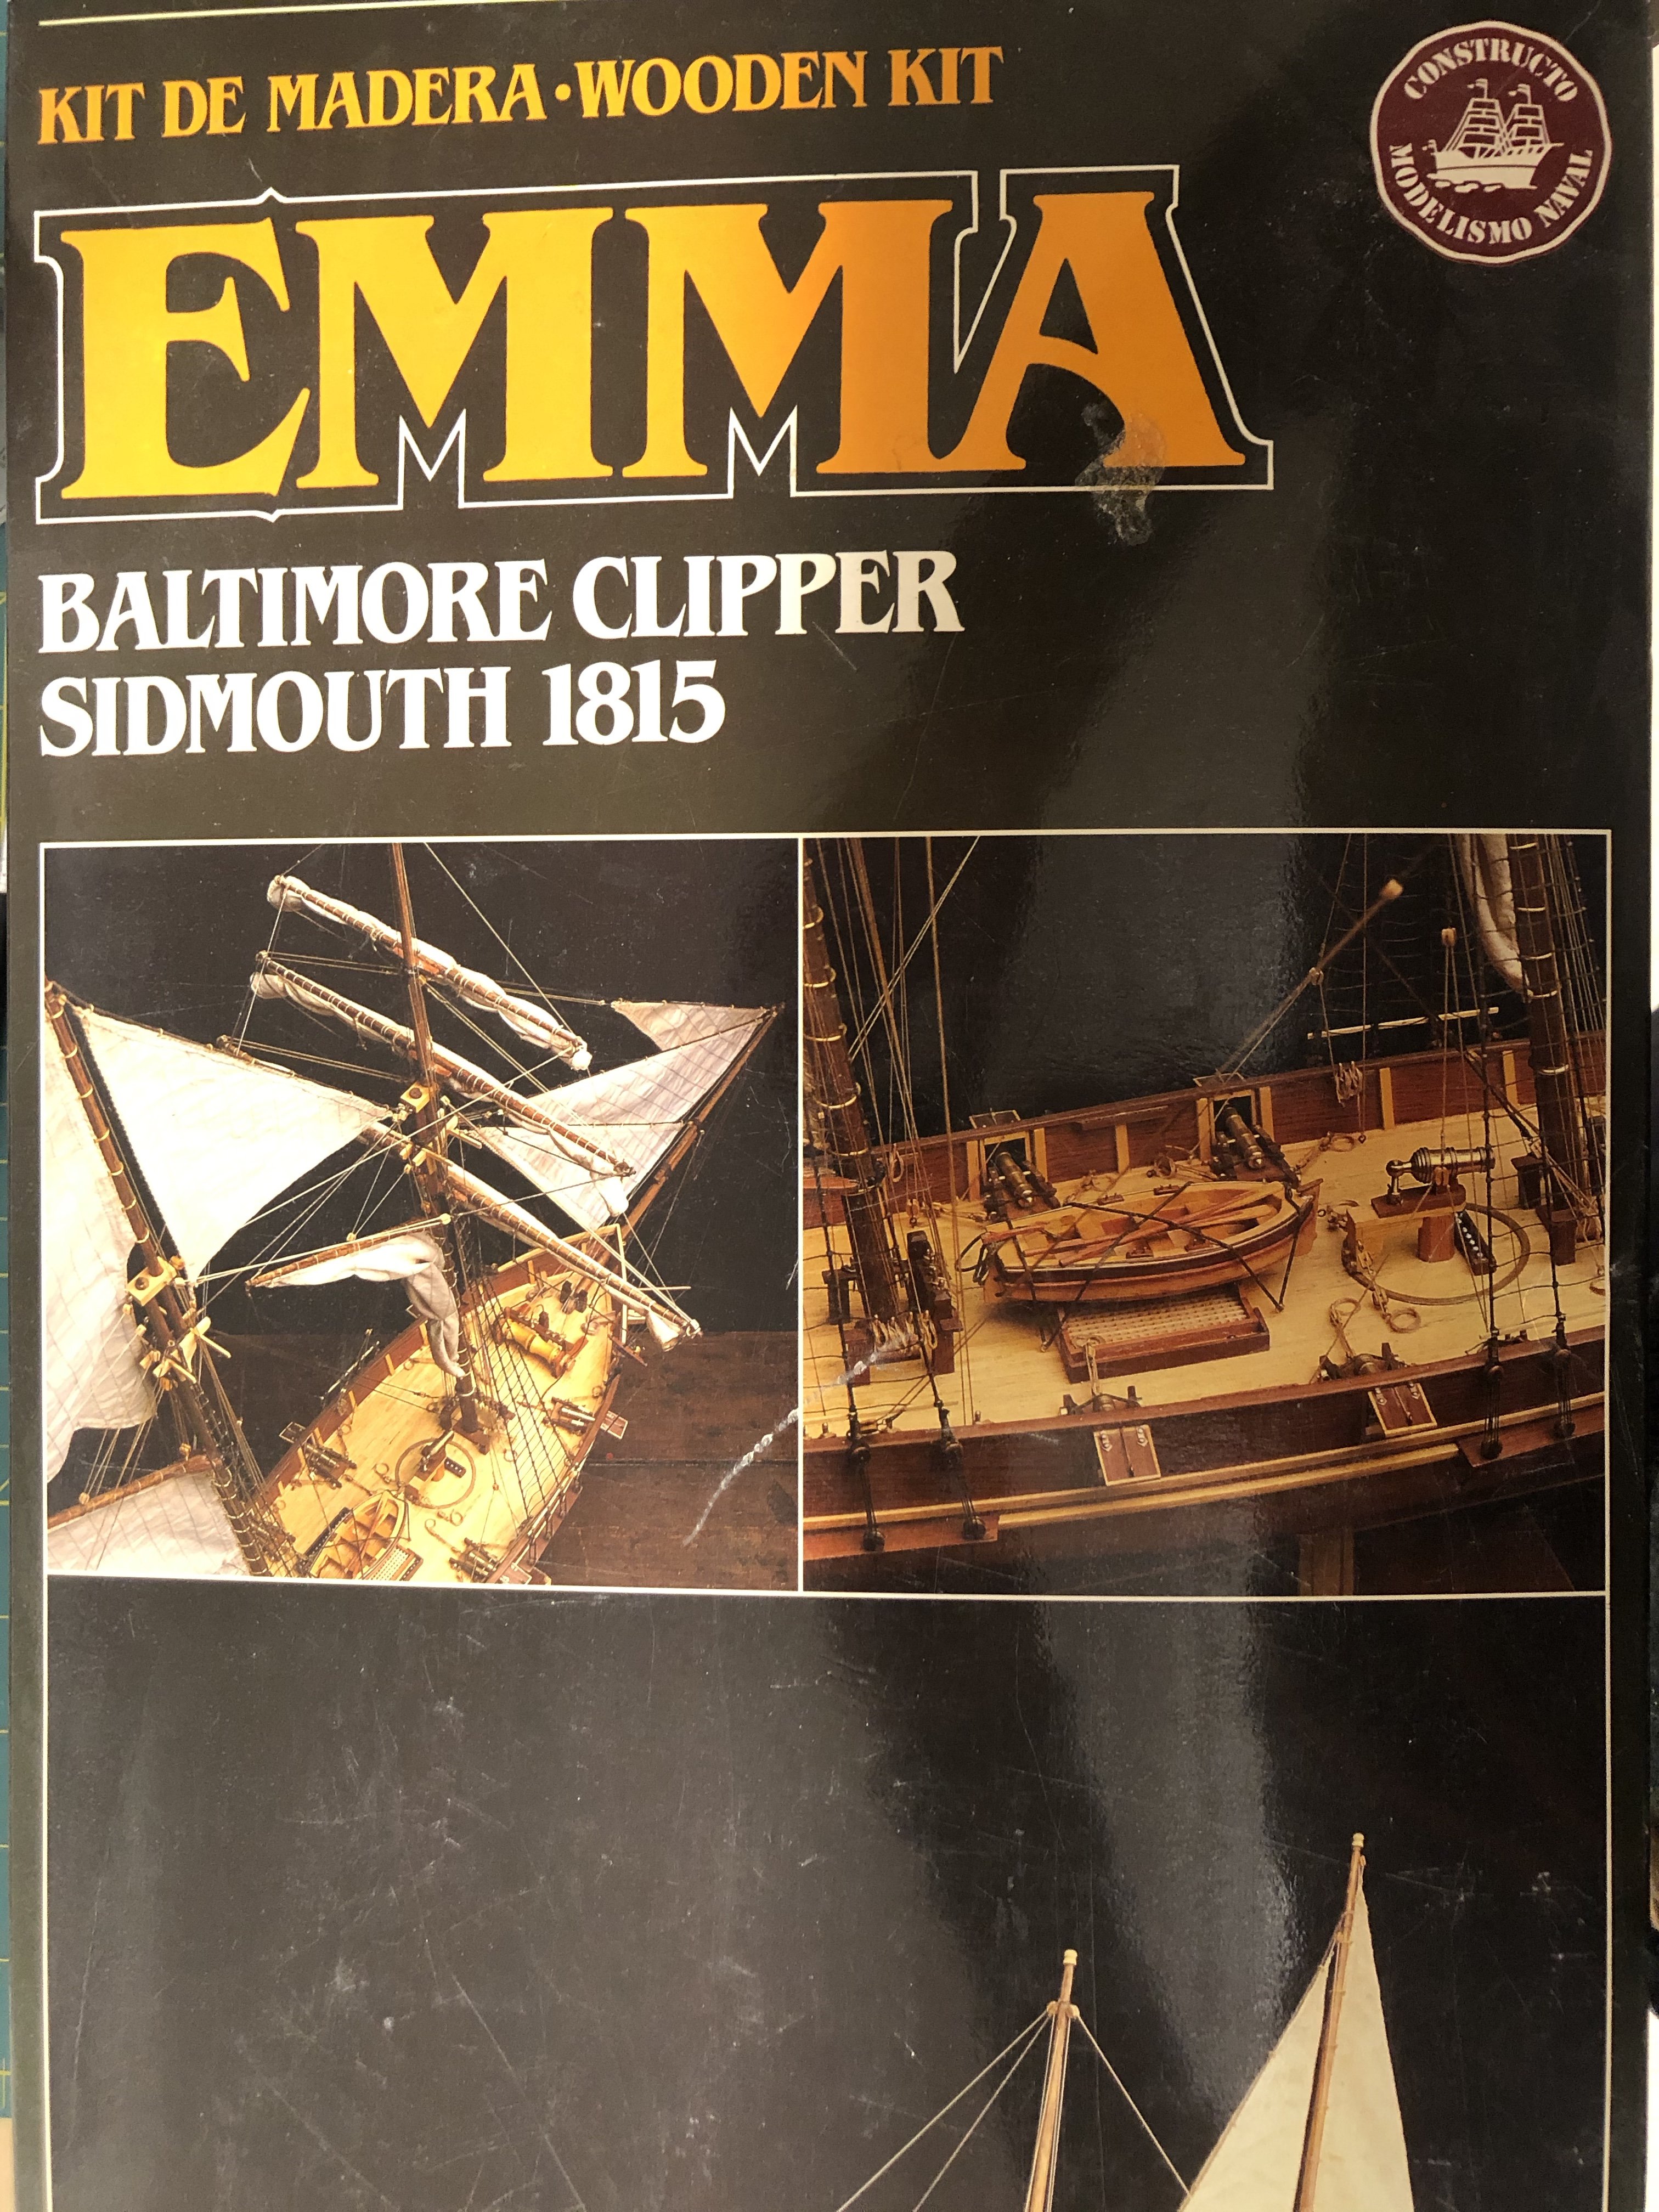
Thanks a lot, this kit hopefully prepare my skill to finish a Constructor's kit named Emma Baltimore clipper. Brgds Andreas
- 90 replies
-
- 1
-
-
- billing boats
- colin archer
- (and 1 more)
-
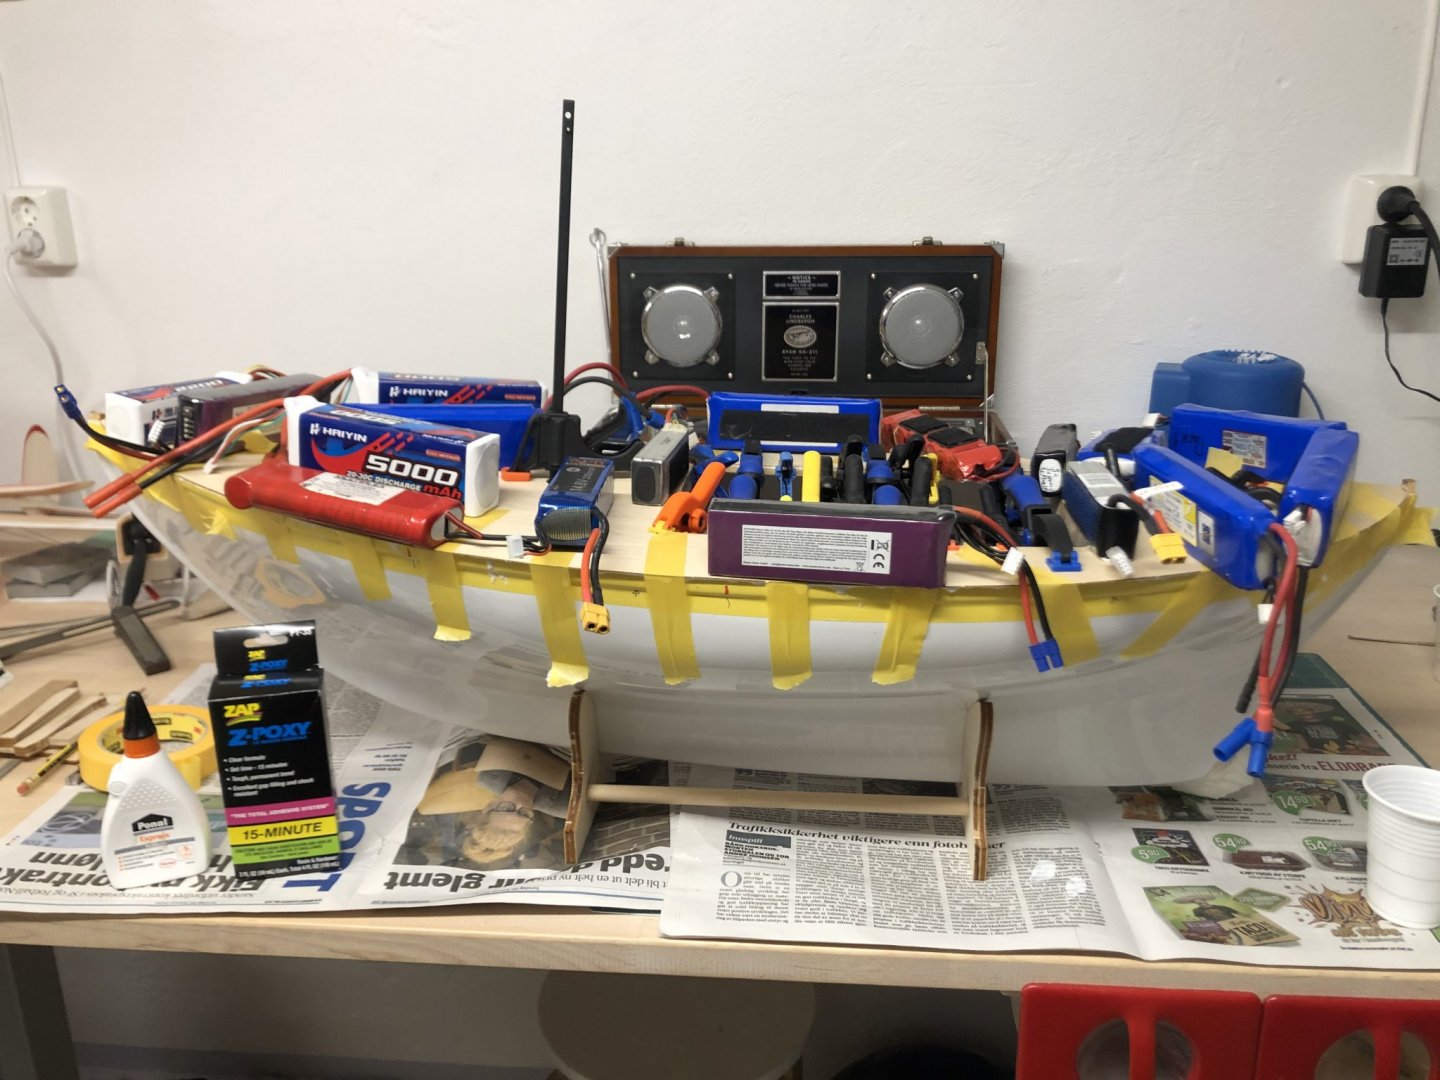
Thanks, Will be sailing. i hopefully finishing next year. 2020 hull work, 2021 rigg and remote control. In my house i start planing for storing fully rigged and easy access to bring the boat to the water 🙂 Cross my fingers. Then doing som house rehab, the time is 3 times my planned. Have made some internet search for the kit. haven't found to much, so now i will bring it on the net 🙂 brgds Andreas
- 90 replies
-
- 2
-
-
- billing boats
- colin archer
- (and 1 more)
-
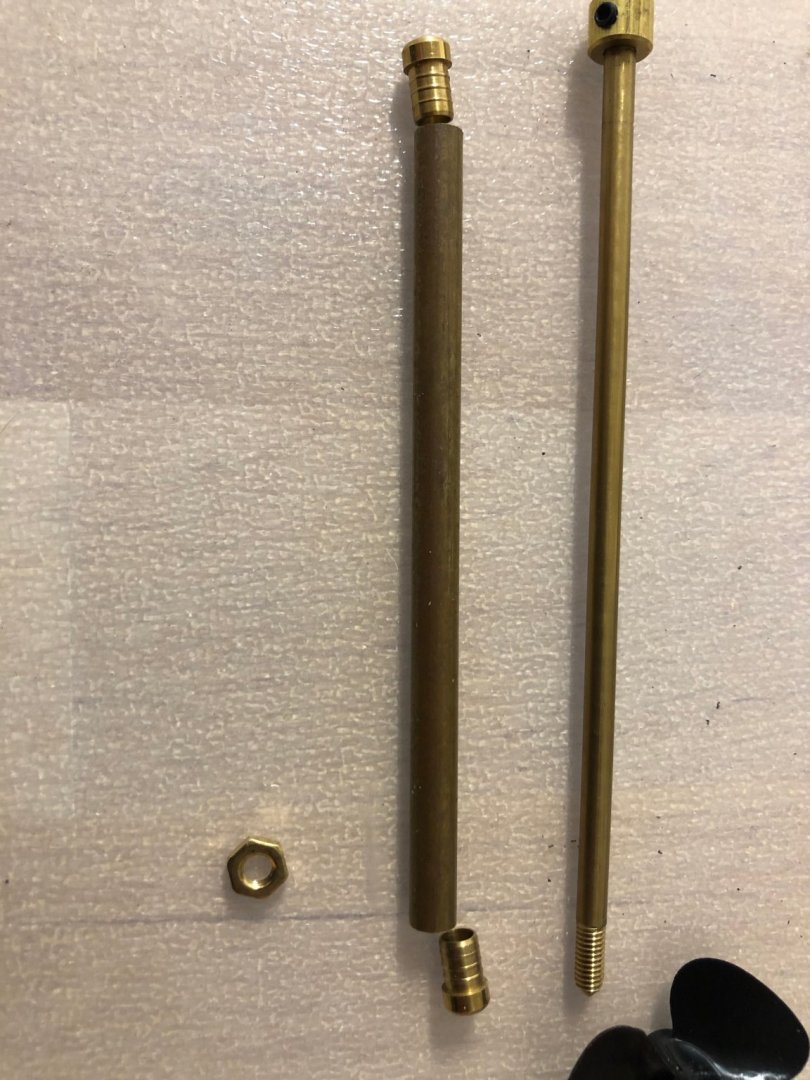
Brass tube with fittings to be installed. The boat will be used in saltwater. fitting is to be inserted in the tube with some pressure. Is it clever to just add some thread locker, or glue?
- 90 replies
-
- 3
-
-
- billing boats
- colin archer
- (and 1 more)
-
Started building a old Billing Boats kit. PS hull was told to be the last kit, they started a new production in wood some years later, available today. some tip about glue will be asked for 🙂

- 90 replies
-
- 4
-
-
- billing boats
- colin archer
- (and 1 more)