

Geam
-
Posts
67 -
Joined
-
Last visited
Content Type
Profiles
Forums
Gallery
Events
Posts posted by Geam
-
-
Very fine workmanship Frodo. You are a fast builder. Nice too see the 'Nordlandsjolle-ish' dinghy too. Hope you added some lead so you can tow it?
Looking forward to seeing both afloat this summer.
My wife bought me a 'present' last friday. 76 sq.m of oak wood flooring. Have to replace the old parquet flooring before I am allowed to continue with the RS1.🥴
George
-
Ahhh, so it's Gringo Bob to the rescue! I have in fact have had e-mail correspondence with him about headsail control ...and the Fisher 34 layout. Yes you will need som space in the hull to do this. I am not sure that it is needed in the case of the RS1 though. Fisher 34 was a nightmare of 'string' below decks.
I've seen some YouTube videos where the headsail is simply left to be on the wrong (windward side) on one tack, but the RS1 still seems to sail OK. But it looks a bit strange!
So long as it floats, it'll look good anyway!
George

- GrandpaPhil and Frodo
-
 1
1
-
 1
1
-
Photos on the boxtop......mmm I seem to have sent them to someone in the post!😁 But I have photos of the boxtop...many say that the boxtop gives more build info' than the "look-alike instructions"
Is the hole in the hull for the rudder linkage well sealed? It seems very near the waterline.
I'm studying your idea for controlling both foresails. I have not taken any measurements myself yet, but I think that the clew if the inner sail will have to be able to move through an arc of approx 15-20cm. The clew of the klyver will need to move through much more because it has to go all the way around the forestay when tacking. Maybe a block on the inner sail would give a 50% reduction and reduce the movement of the foresail clew -in relation to the klyver. I'm thinking while I'm writing, and that's not always a good idea for me! I'll have some breakfast then think while actually looking 🧐 at the RS1 deck!
You are doing great things with your RS1, and kindly giving tips about the build to the 'world'. Keep up the good work. I look forward to seeing your sailing videos on YouTube!
George
-
Your 'nr3' ropework seems good to me!
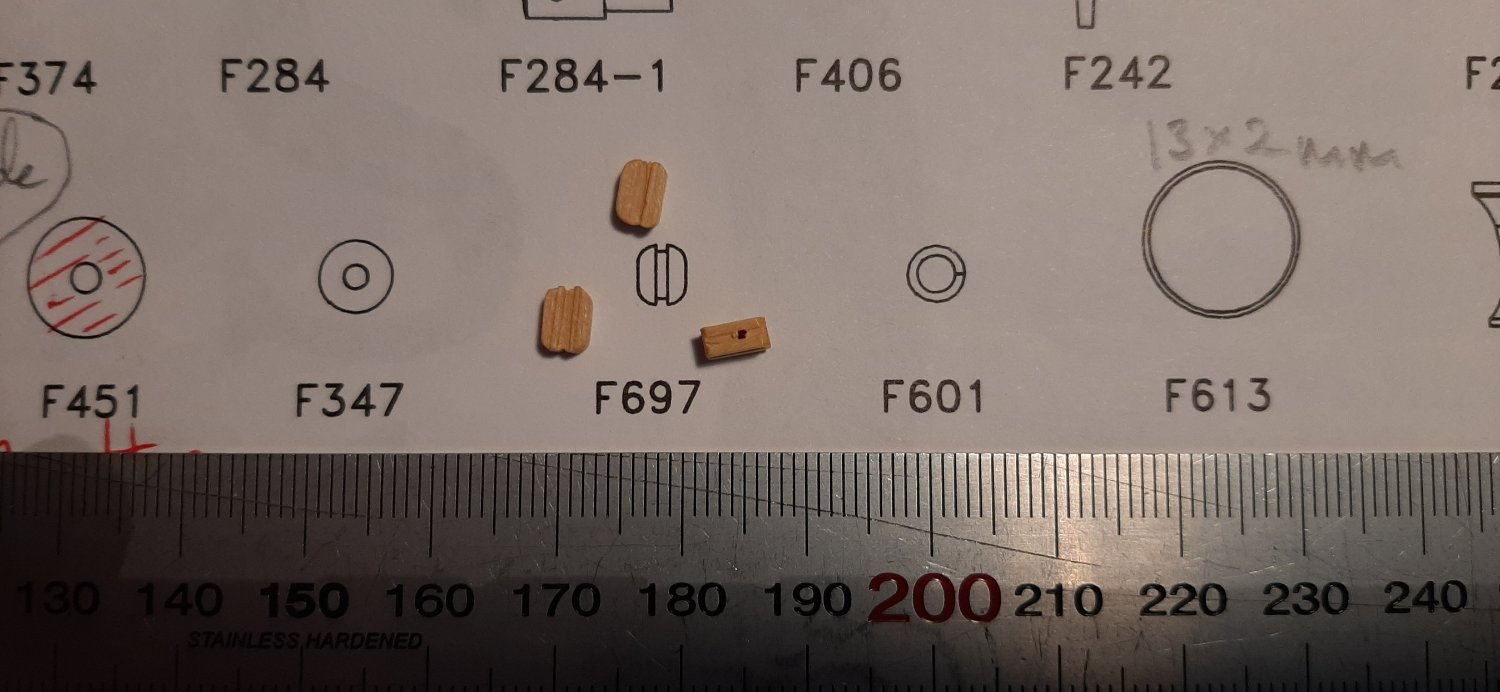
Thanks for finding F697. It's clearly marked on the drawings for the top half of the sailplan, but I did not see it! Not sure yet if F697 for the top of the flagline or part of the mizzen rigging. Don't know why I have 2 more than in the parts list. Will find somewhere to put them.
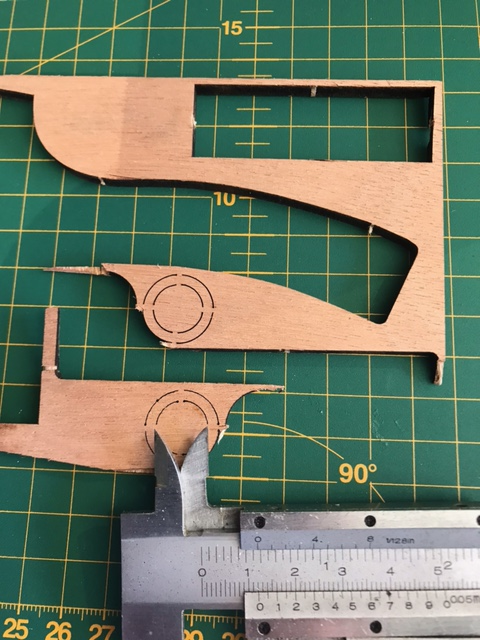
Part F92M is a 'rudder horn' -to attatch the rudder servo to the rudder. It is nicely marked so you can bend it to 90*
I will consider chainlinks to strengthen some of the parts. Where did the chain come from? Clas Ohlson?...etc. Made something like that on the Fisher34 but can't remember where the chain came from!
George
-
Hi, the photo you posted of a round bead with a hole in it is part F347 -I think. There should be 11 of these. I forgot to post a photo of the what I think is part F697 which is a tiny dead-eye... (jomfru? in Norwegian?) I have 3 of these, but maybe they are not F697?
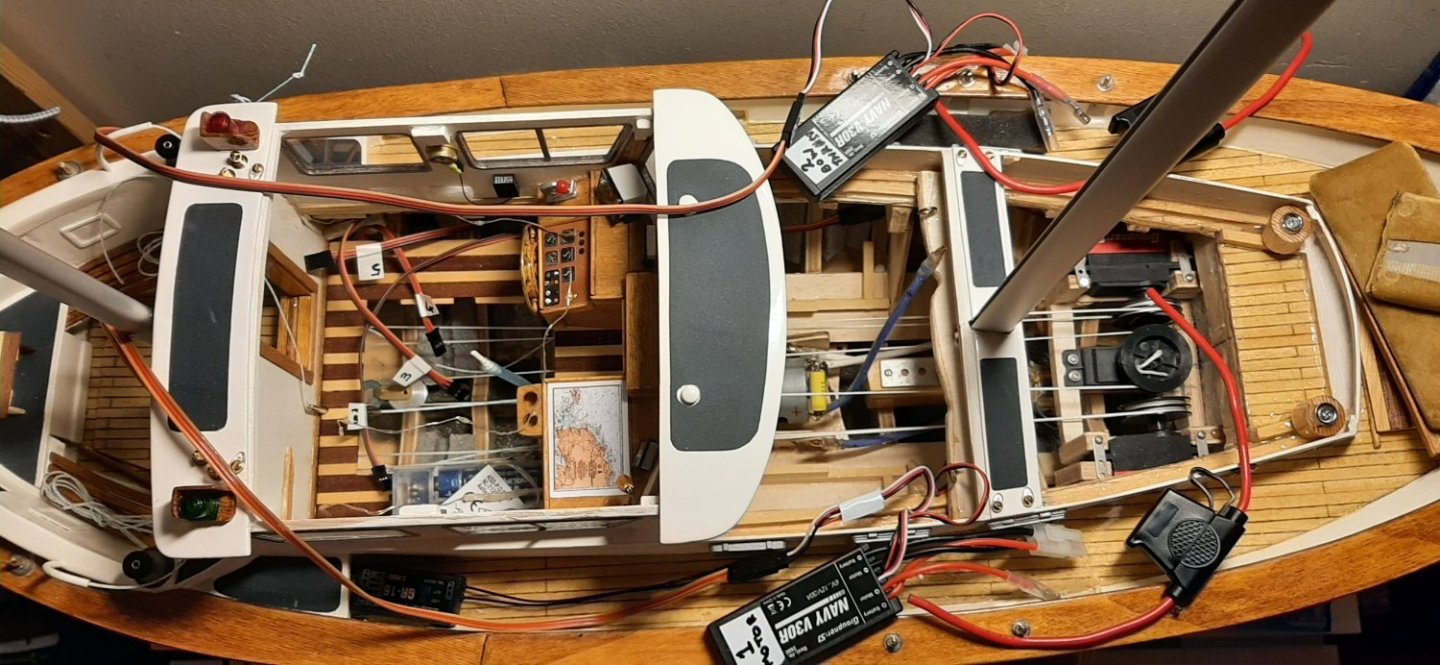
As regards R/C control, I am only going to control the foresail (Klyver) with a sailwinch. My inner foresail will be left to self-tack on a thin elastic sheet tethered to a small 'horse' just forward of the main mast. To control the inner foresail properly would need a dedicated servo I think. It would be complicated -and maybe even impossible- to set up these two sails from the same servo.
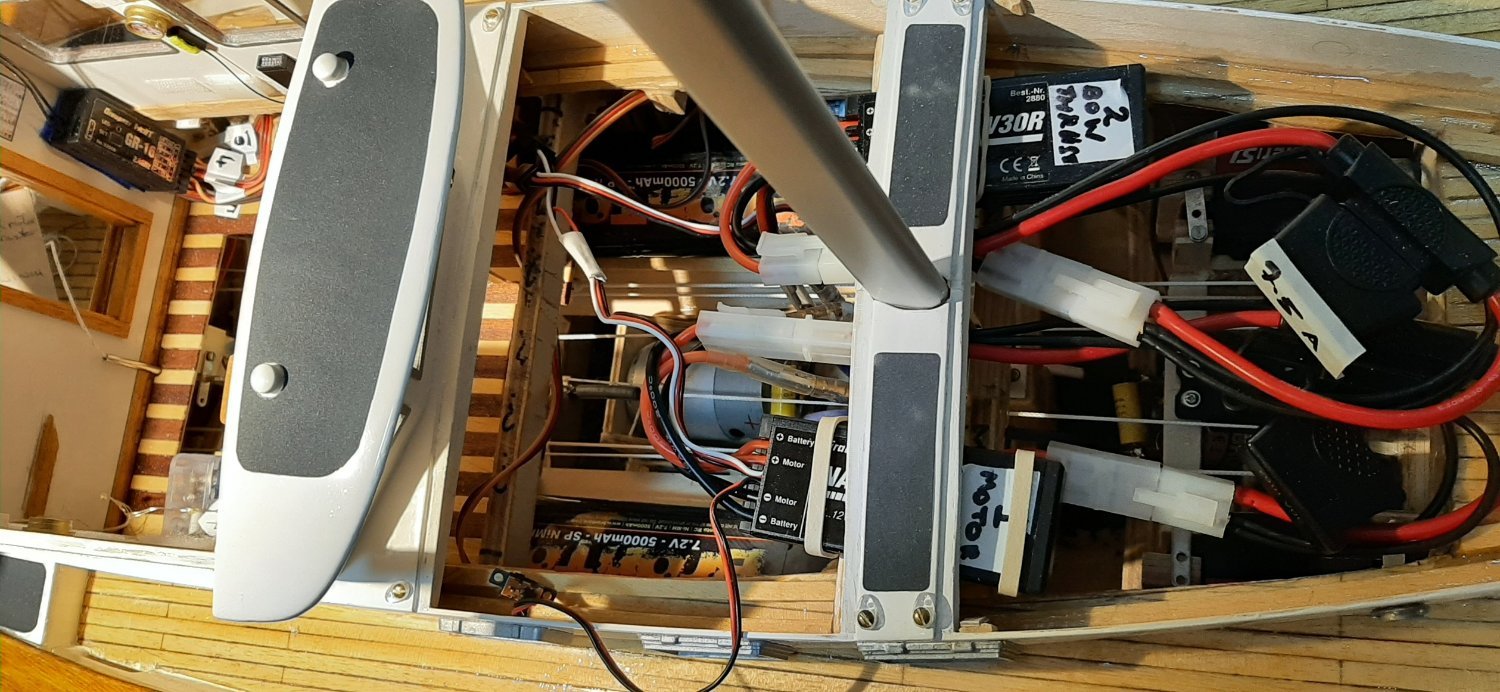
My sheets to control the klyver run in guide tubes up through the side decks abeam the main mast. I will take a photo and post it on my RS1 log. These sheets will then be run through blocks on the capping rail. Not sure if I will use the kit blocks but will probably try these first. Replace them with brass blocks if they break.
I have noted your changes with regard to making the RS1 more suitable for R/C sailing. Look like very good ideas to me👍
George

-
Hi again Frodo, not the same topic at all but... do you -or anyone else- know what part nr F697 is for? The parts list states that there is ONE of these in the kit. My kit has THREE. The same part is listed for the '728' -all wood RS1 and here too there is only listed ONE in the kit.
It is obviously a static block or dead-eye, has a tiny hole through it from the side. I have not found this part marked on the drawings....yet. It's probably there, but where!
Otherwise, I'm not sure the blocks and securing 'eye-pins' F92/I, are strong enough to handle such a large sailing yacht. I suspect that originally the RS1 kit was designed as a static model.
Some of the 'eye-pins' might be exchanged for screwed-in eyebolts on my RS1.....and maybe the blocks for the foresail sheets will be brown-painted metal.😬 Anyway I can't use modern metal blocks and tackle as on my Fisher34 model so it will all have to be well epoxied in place and hope for the best. Not planning to sail in stormy weather anyway.🤢
George
-
Hei Frodo.
On the Sarik site--if you write 'dinghy' in the 'search' window at the top of the page. you will see the list of dighys. When I searched just now it was the third down on the list. The have a 13" and a 9" plastic clinker hull. £11.00. I bought the 9" as reckon this is the nearest to a correct size for the RS1. Sarik were going to produce an all-wood kit of a 9" clinker built dinghy, but I never checked up to see if they actually put it into production. I did not even look further down the list today, so maybe it's there now. Anyway, I did not want to start on a miniature clinker-built wooden hull!
You need to mark and cut the sides of the hull to get a shape to resemble a 'Nordlandsjolle'. The line of the bow is not quite the right shape, but when all the other detail is added it looks good enough I think. I can post some of my construction photos here on your build log but first you have to say if you actually want them on your log! You may have already seen them here -or on the Model Boats forum? Not sure if I posted the actual build photos on modelshipworld.
George
-
I'll check up on the dinghy...
George
-
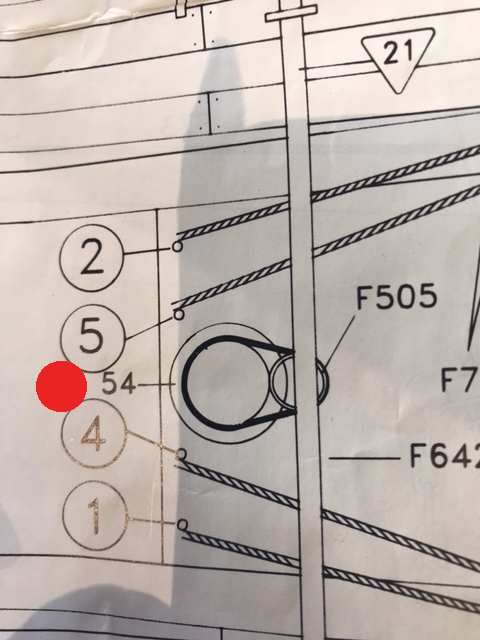
Had a look at the drawings. The eye-screw you refer to is for the nr 3 halyard (uphaul) for the foresail (klyver). You need to study both the plan view and the side view drawings. The halyard goes from the pin rail (naglebenk) up to a block and back down to the eye-screw on the capping rail. The same eyescrew is used to anchor the next block up in the sytem too! This system apparently gives a 8X leverage to tighten the forlik of the Klyver sail. If you follow the nr 3 sheet you will see a few more blocks in the system before you get to the top of the klyver sail! The Klyver sail does not have a forestay but on the RS1 has a wire sewn in to the forlik of the klyver.
-
Hei Frodo, haven't noticed that particular eye-screw. but I am hunting around the drawings to try to find out many other small parts. I expect that you do have one further forward for the foresail sheet guide-block? Billing Boats like to keep their customers guessing, it seems.
Yes dinghy is indeed too small. Have suppose that you seen my semi-scale effort? '
George
-
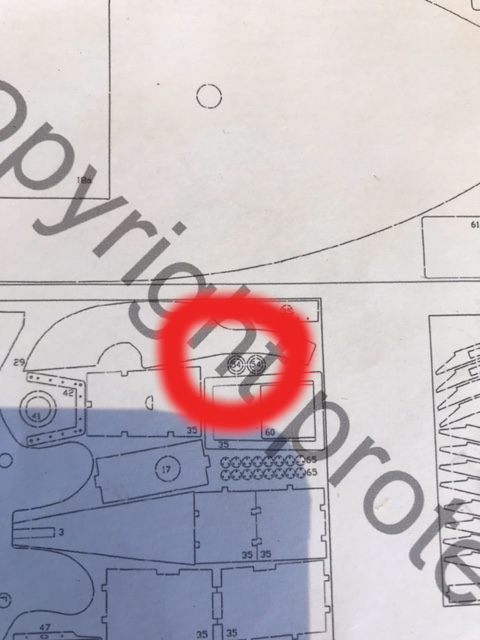
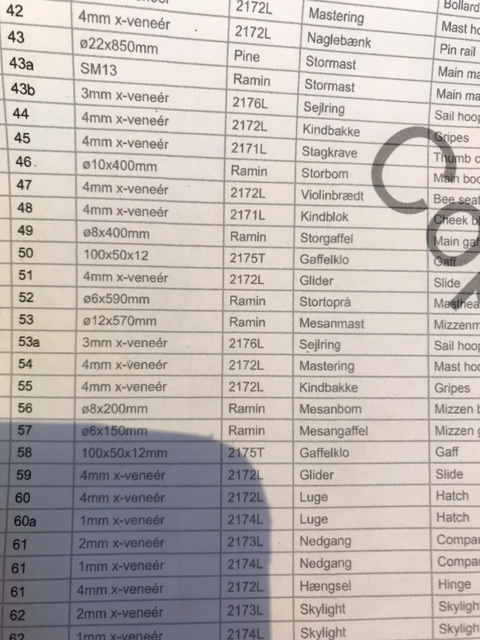
Received a reply e-mail from Billing Boats. The new owners of Billing do not know anything about the '414' kit they say. So they do not know why there are two nr 54. One of them deffinately should go on top of the mast support nr 35 as shown on the plan. So the other one can be stuck anywhere it might look right!🤪
George
-
2 hours ago, Frodo said:
Funny, when I had used all the parts from the kit I had 2 rings extra, and I could not figure out where they were suppose to go. Apparently I've missed the nbr 54 "mast hoops". Thanks for noticing George.
Se attached pictures, guess they say it all
")
12mm rings:
Pictures from the instructions (that I didnt notice until you made me aware George).
I think I will cut one of them in to halves and mount at the base just for the look. I dont think there is a technical need for the support rings ("Mast Hoops").

Cannot find out why there are TWO nr 54 rings. Maybe one should go below the part 35?
In the instructions for the all-wood kit (728) there is only ONE ring for the mizzen foot. Different part number though...75.
2 hours ago, Frodo said: -
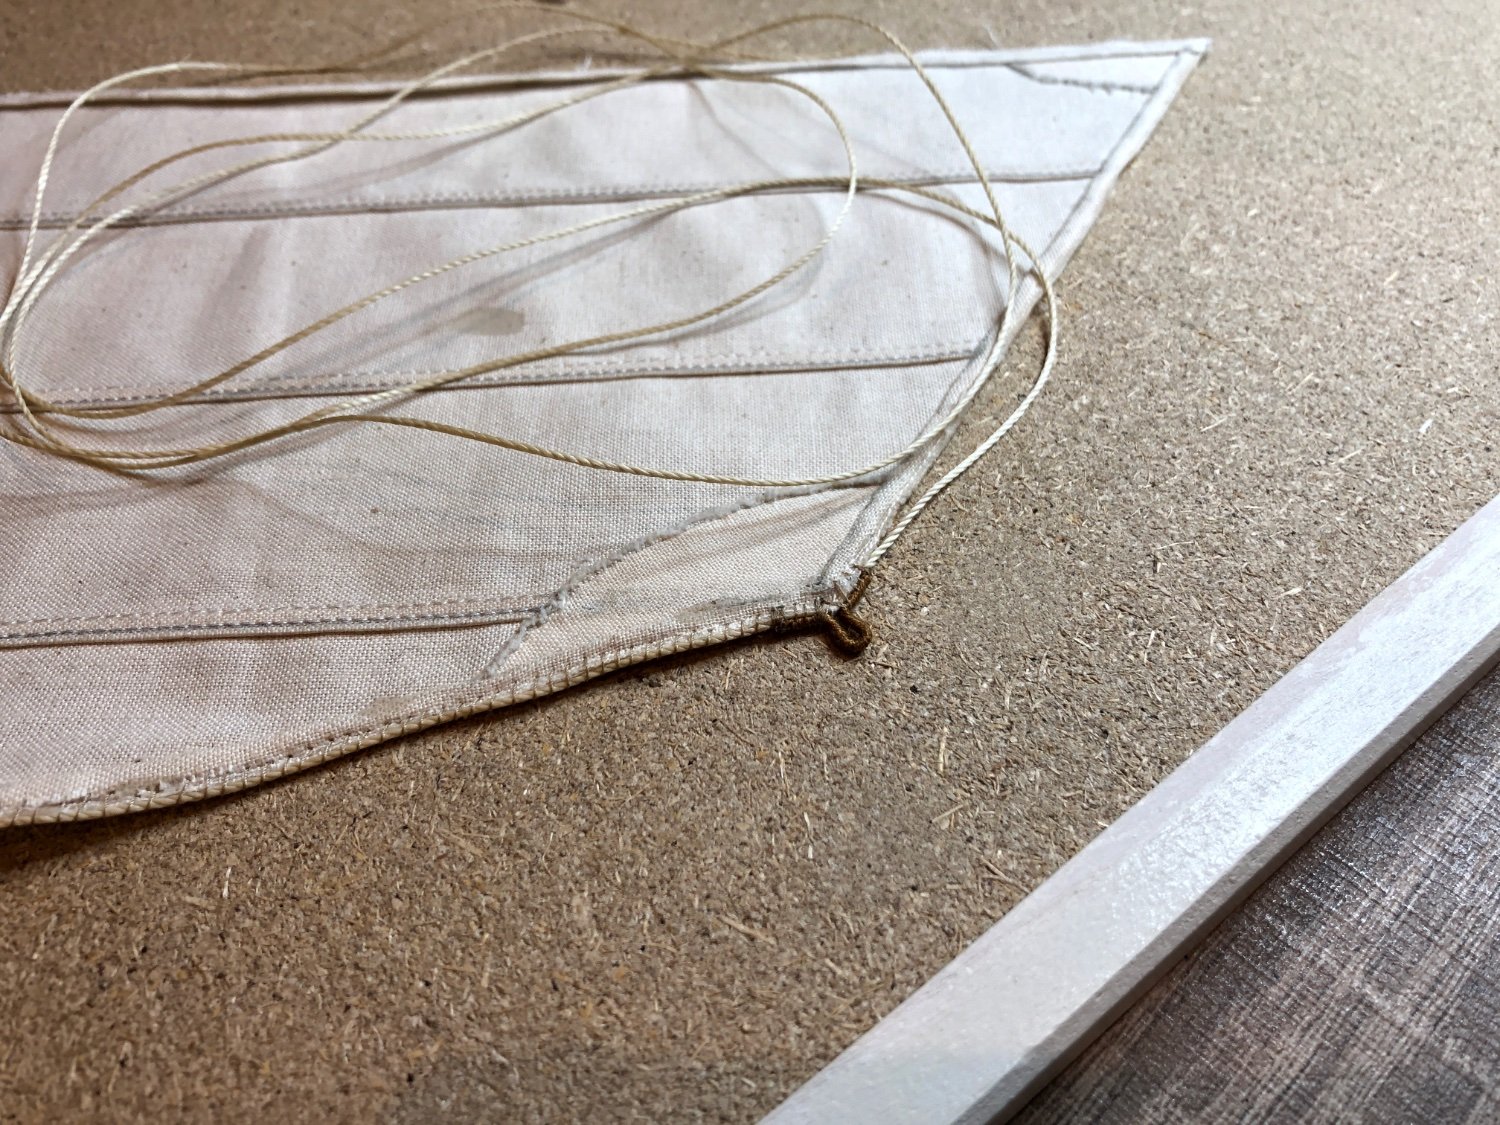
Thank you for all the sail-making photos Frodo. they will help a lot when I get that far. Need a sewing course first though.
George
-
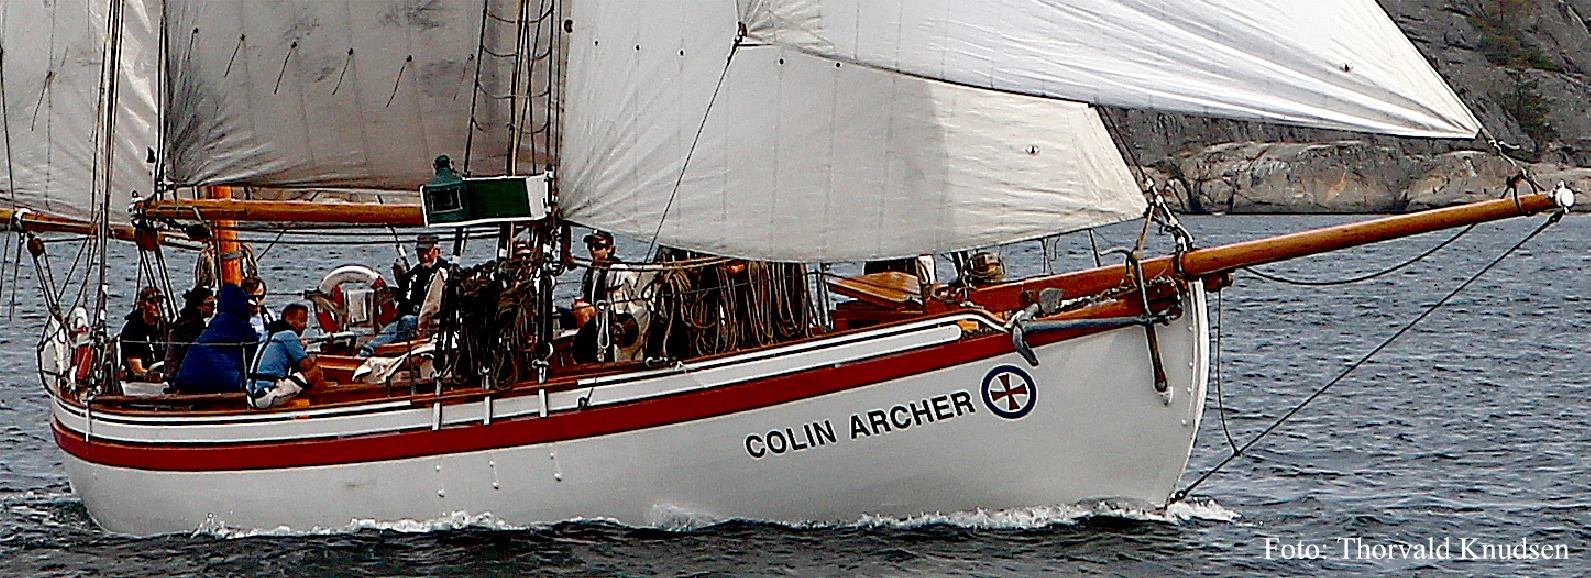
Hi Frodo, in my kit the 'Colin Archer' name looks like it' a transfer. ie. soak in 37*C water. I have not tried it yet but thought I would try the "TR 141" bit to see what happens. The background paper in my kit is a light yellow-green colour due to it's age!
On another matter, have you noticed the part number 54? there's 2 of them. Called 'Mast Hoop'. The plan drawing shows ONE at the base of the mizzen mast. The part 41 is also called a 'Mast Hoop' This is at the base of the main mast.
I have not seen part 54 in place at the foot of the Mizzen mast on any model RS1 and I cannot see it at the mast foot on photos of the original RS1.
I wonder if they are intended to be fitted as support rings above and below where the mizzen passes through the mizzen mast support plank, part 35?? The mizzen is secured on the sole of the cockpit/steering well, so I cannot see why it needs TWO support rings at part 35.
Any ideas?
George
-
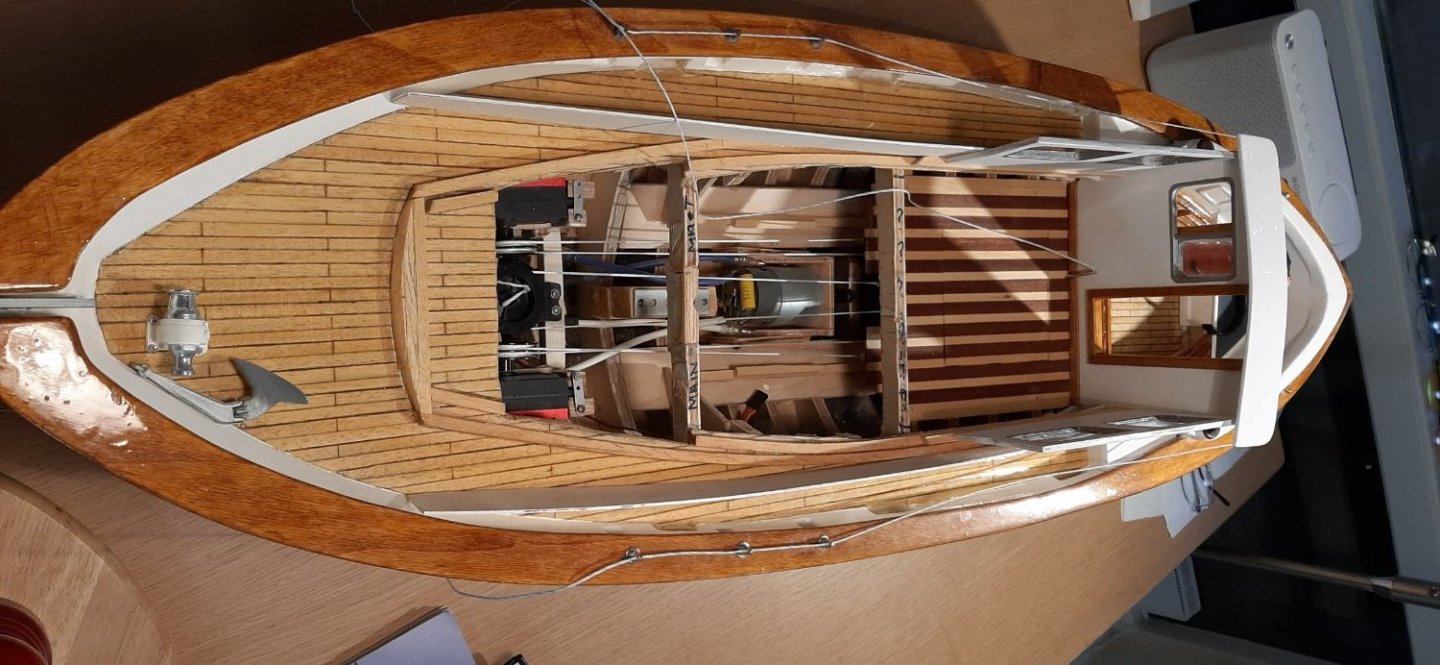
Hi Frodo, I like your look-alike interior plan. Looks very good so far. More sensible than mine. Mine was unecessarily complicated and took me such a long time to work out how to do it and still have access to servos and RC gear. You build really fast, I'm impressed. Might be some painting-temperatures during the next days.
God Påske! / Happy Easter!
George
-
1:100-ish?? Not 1:15-ish?
-
On 4/9/2022 at 9:59 AM, Frodo said:
Hi George,
thanks for a great tips. I think I do as you suggested 👍. I know there can be quite som pressure on the hinges when sailing, and if the soldering snaps it will be trouble 😉
Hi again, I wanted Robart MEDIUM size 'hinge points' but my shop only had LARGE. So I filed the plastic pegs down a bit to avoid making too big a hole in the rudder blade (weakenng the sides). Advantage was that the METAL hinge pins were then the larger (stronger) size. The medium size would probably be strong enough though. Were are not expecting high speed sailing here!
George
-
On 3/19/2022 at 10:35 PM, Frodo said:
I will re-paint the rudder and the hull in the same glossy white color. I am not impressed by the hinges for the rudder, think I will re-make something slightly more robust.
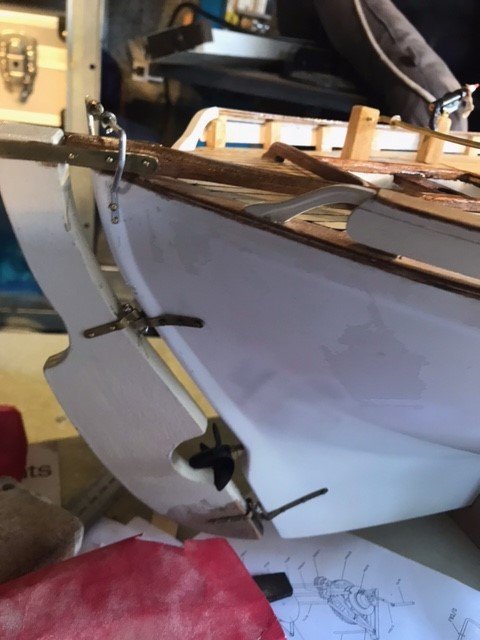
Hi Frodo, nice to see all of your build photos. I also replaced my kit hinges -with Robart 'hinge points' -as used in model aircraft. I kept the brass straps on the hull, but cut off the pintles (hinge parts) and installed the Robarts . Result was non-sloppy hinges. I had previously mounted the brass straps the wrong way ie. the rudder straps were BELOW the hull straps instead of above them, but chose not to change this fault as it's not very noticeable.
George
-
That explains why there are so many of them....and also that they hang downwards even when sailing!
Well done, never thought of that🙂. Professional rescue-sailors in the old days would not need a piece of wool to help them set the sails properly!
Nice RS1 marking on the mainsail. I have been thinking about how to make that. good to see your example. Looks like you used the top of the glass to make the circle! I'll have to get one of those glasses before I do the sails🤪
See that you have the same Biltema compressor as I have.
Your RS1 looks really superb now👌👍
George
-
Hello again NP.....I'm impressed by your 'golden varnish' deck planking. I am planning to use Owatrol D1 oil then D2 varnish, but I don't think will add much colour. May I ask what your 'Golden varnish' is?
George
-
It's not really important, but if you want to make the telltales function during sailing, you may have to make them of thin, lightweight wool yarn. Off-White (ECRU) coloured "Dale Baby Ull" or similar.
George
-
On 3/1/2022 at 12:29 AM, Norwegian Plastic said:
Started with the Mizzen. It shall have boltropes, some eyes and the threads showing the wind in the sails. What are those called?

They are called 'telltales' 🙂
George
- Norwegian Plastic, Chuck and JpR62
-
2
-
 1
1
-
Your main cabin oil lamp looks superb NP! I plan to make mine with a ready-made oil lamp and solder/epoxy some brass tube here and there. It'll look a bit skinny compared to the real one...and a bit big at approx' 1/12th scale, but I can live with that.
Thanks for the tip on staining 'rope'. You are quite right, staining with wood-stain produces less flexible rope. I'll try to mix some 'brown wash'.
George
-
On 2/9/2022 at 9:19 AM, Norwegian Plastic said:
It is nice to have some activity in the building log and I only know of you, Sundt and Arjan building this kit so let us share ideas and solutions. No need to remove the pictures of your beautiful interior! Regarding the dinghy, I have no plan at the moment. When the house is done in July I will start making the sails, my wife has forbidden it until she has a batroom and kitchen in the new house....
There is another guy called Carsten in east Norway who has postet a photo of his RS1 on Sundts thread.
George


Colin Archer no.414 By Sundt - Billing Boats - RADIO - polystyrene hull
in - Kit build logs for subjects built from 1851 - 1900
Posted
Hi Andreas,
Jeg savner innslag og bilder fra deg og Carsten. Hvordan går det med CA RS1 bygging?
George