-
Posts
27 -
Joined
-
Last visited
Content Type
Profiles
Forums
Gallery
Events
Everything posted by Capt Nemo
-
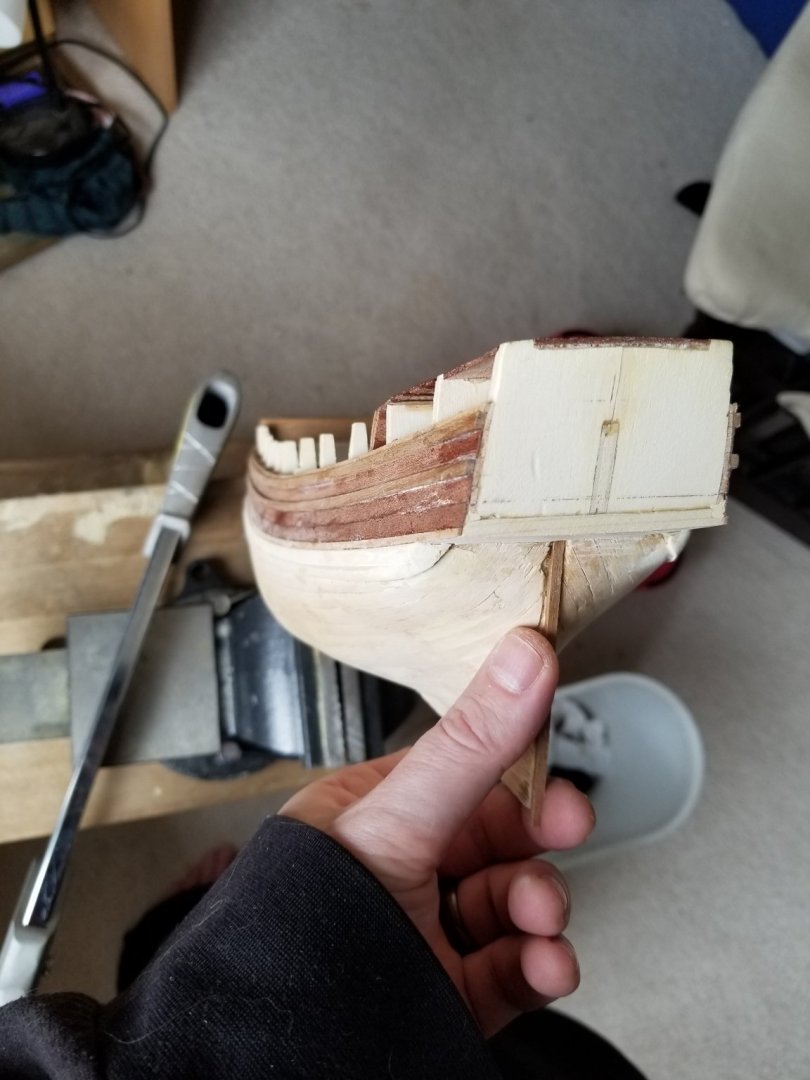
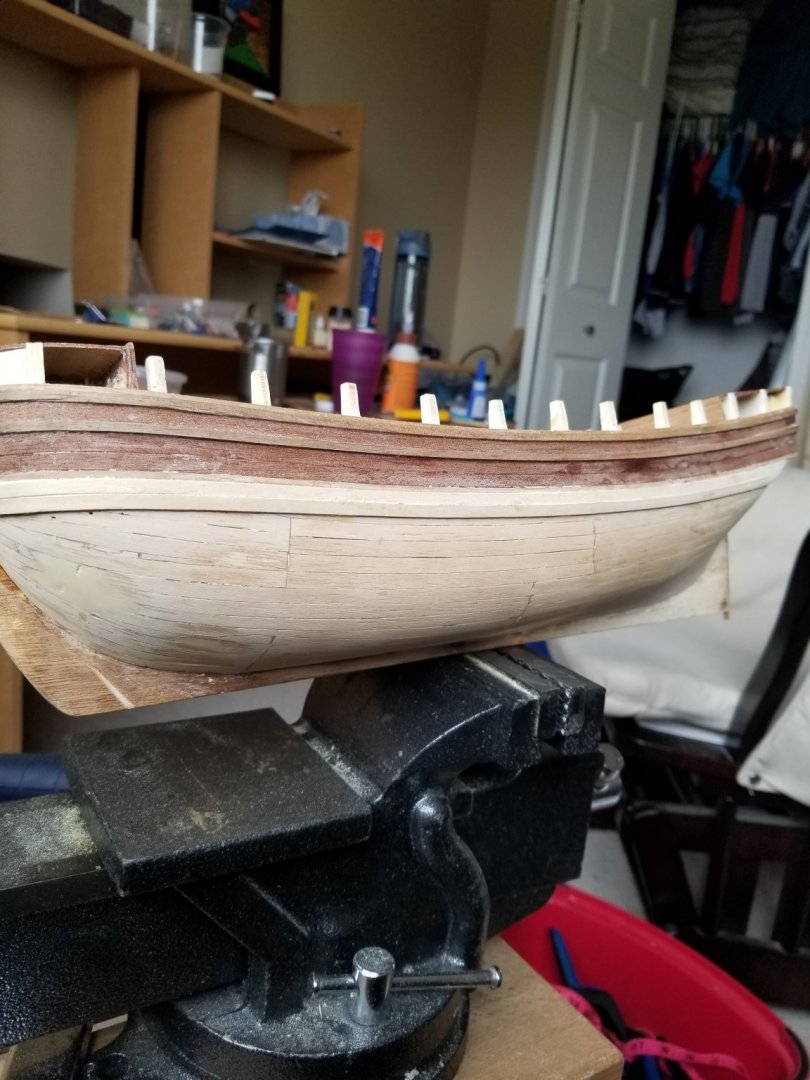
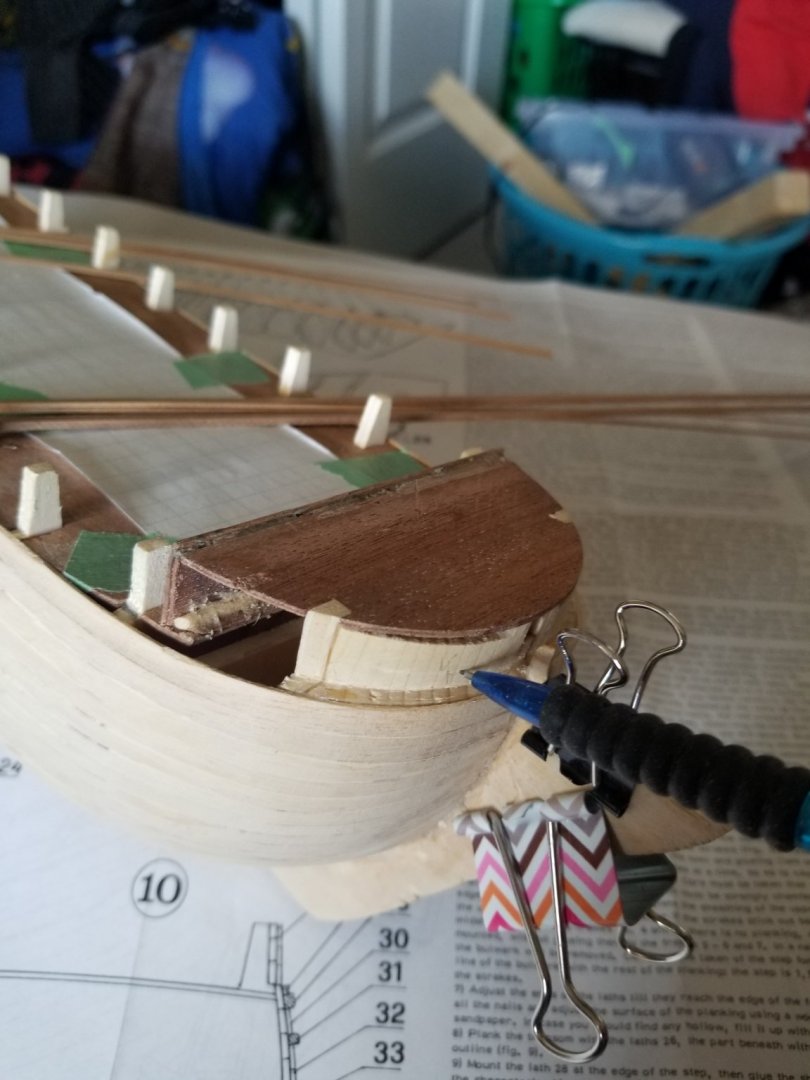
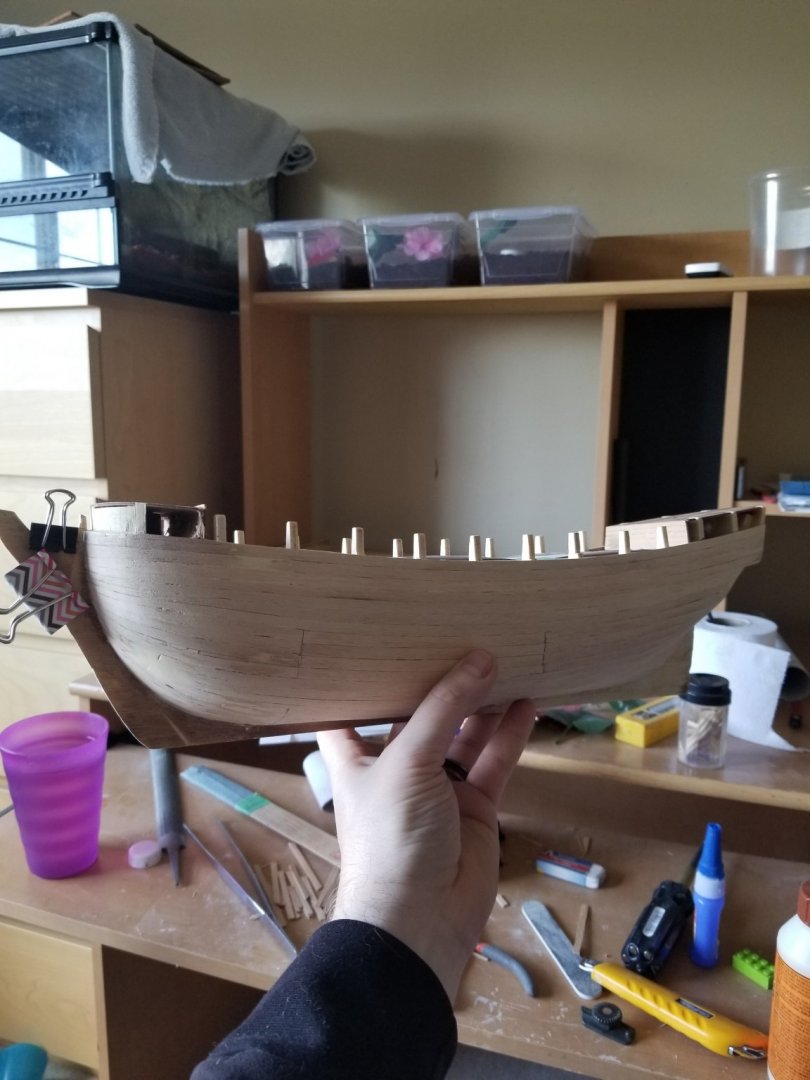
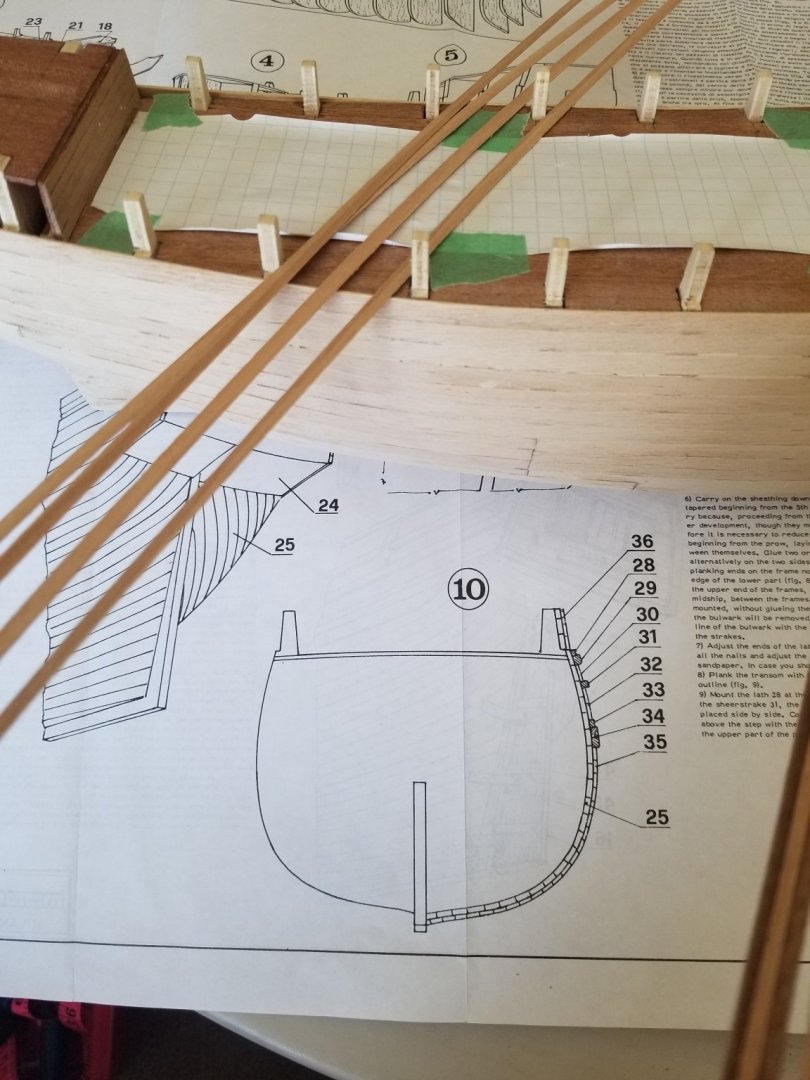
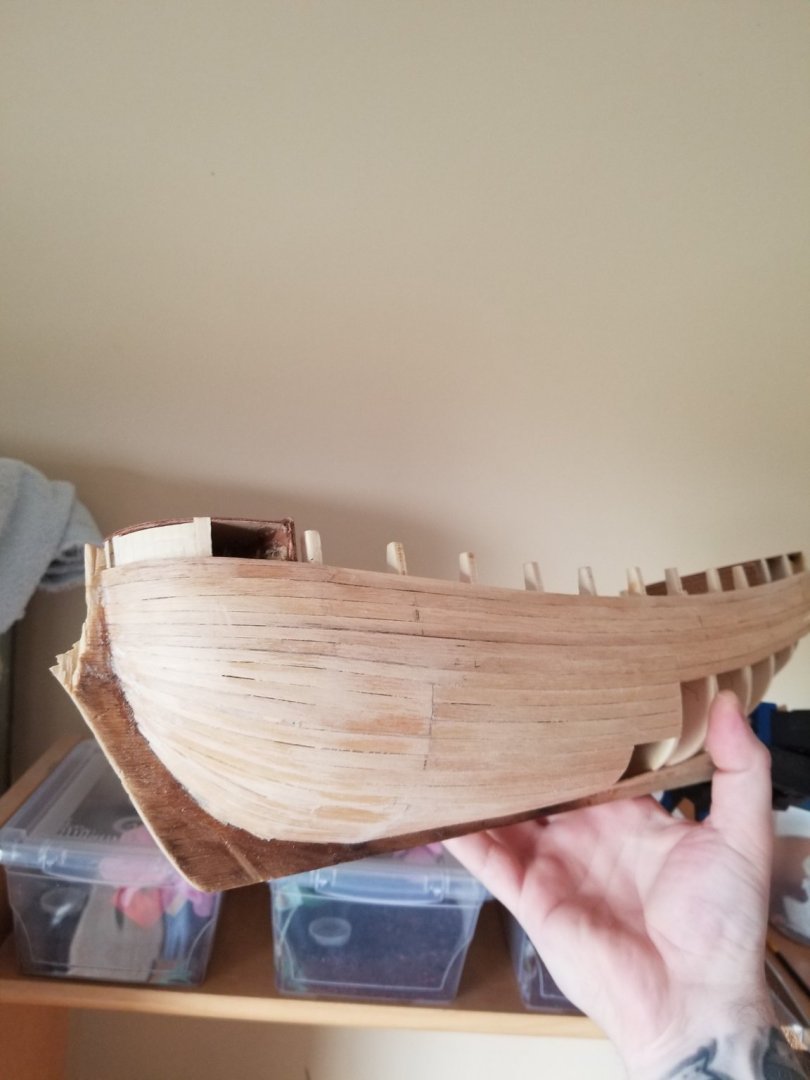
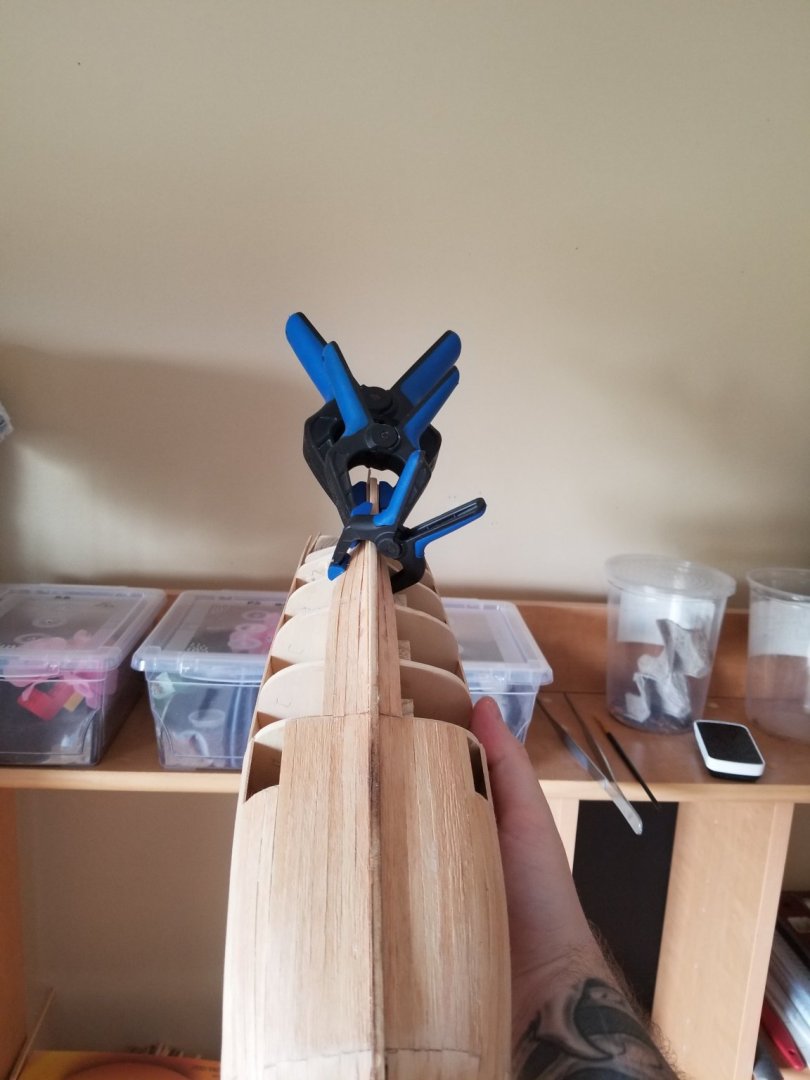
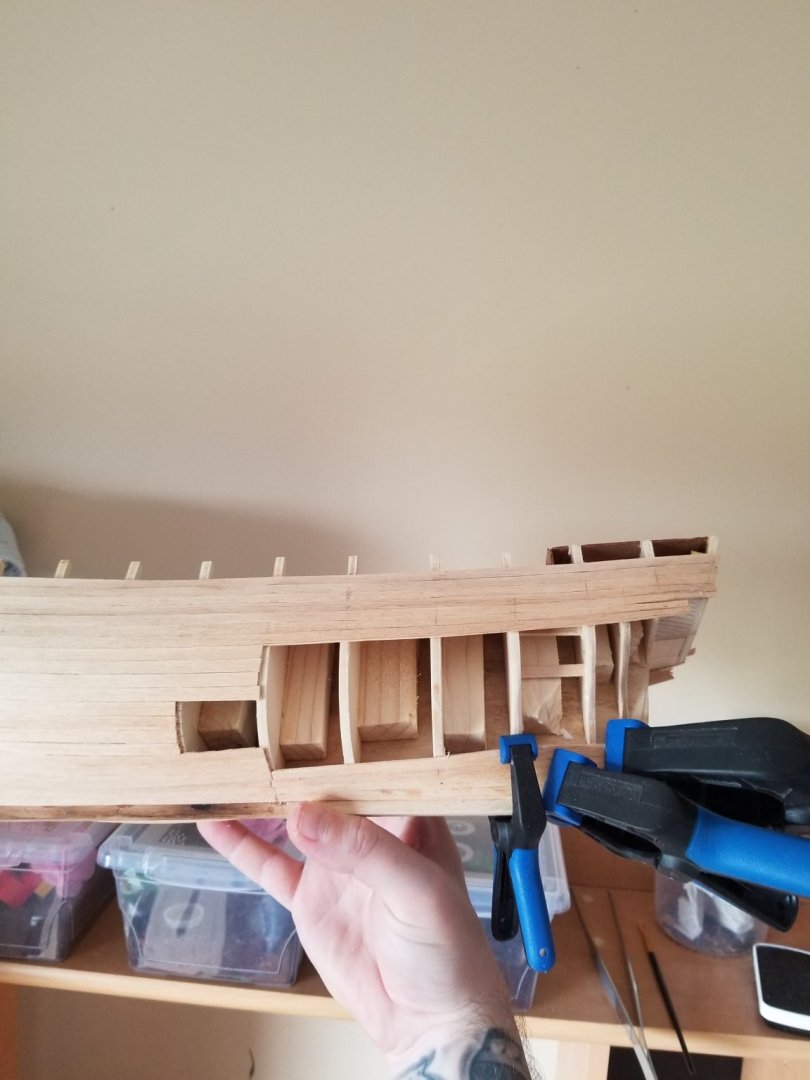
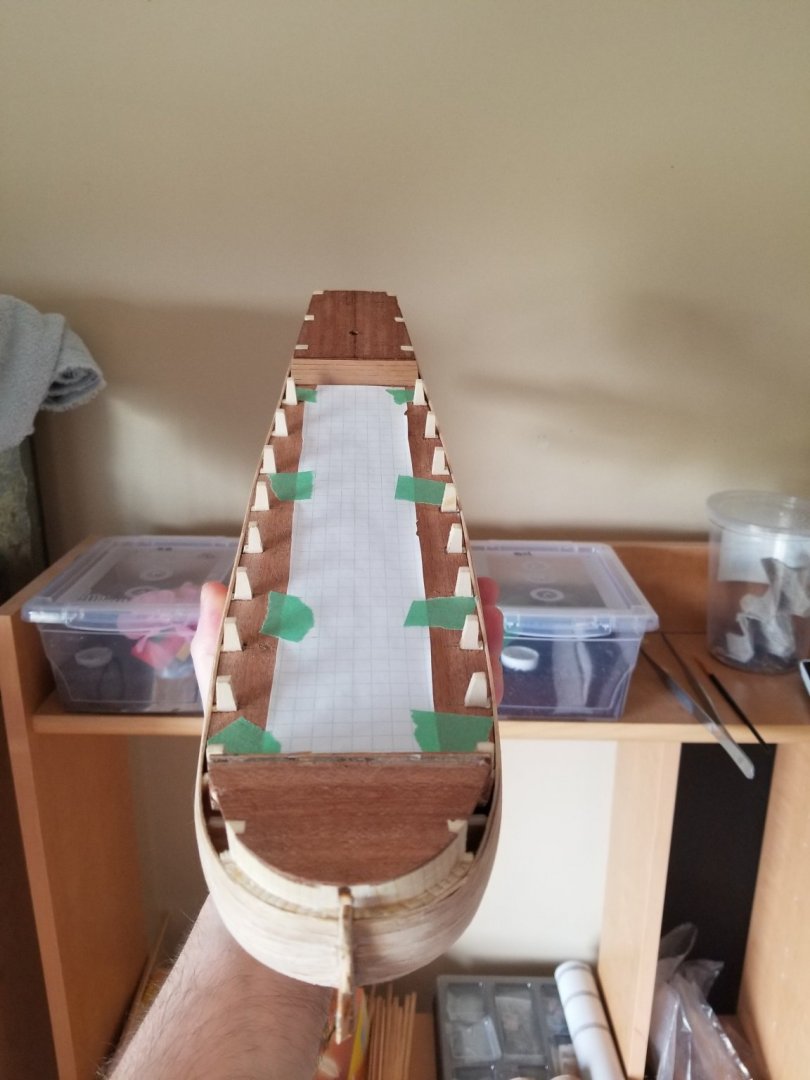
Got the bulwark, I believe its called; done and now I'm ready for the final planking. The wood glue with a little CA to hold it worked wonderfully. Got a little wood filler on there and haven't sanded , but I'm pleased with it sofar. Had to do a few modifications for better measurements and placement of wood and still have lots to go but that was a big step for me, especially bending the larger diameter wood. Now I'm about to start the final planking on the hull. Q: What is a proper length of plank on the hull. Scale is 1:64 with an overall length of 645mm. My planks are 4x0.5mm so I was guessing around 150mm long. My knowledge on the subject is very lacking so any advise is welcomed. While I'm asking about the plank length, on the decks I was thinking a little shorter.... say 120mm?
-
Thanks for droping in Cathead, I was leaning tword wood glue as well so your second opinion on the matter pretty much settles the debate for me. Got some wood bent to shape for the bulwark tonight so i'll try gluing them on and using a bunch of the rubber bands along the hull to hold things in place for drying/curing of the glue. Should do the trick. I believe i can't just post you my e-mail on the forums, but i truely would love to get my hands on those photos. I find the beagle to be absolutley facinating... her voyages/passenger changed everything. I read about them building it back in the early 2010s if memory serves me. How close is the replica to an original of when Darwin sailed on her?
-
Colman thanks for the kind words, I have heard that the mamoli factory burnt down and that dusek took over. Never got my hands on a dusek kit, but they do look much better with "updated" parts and wood that the original did not. Very much enjoying the mamoli kit, but I do see some big draw backs that have to be overcome/re-invented... but isn't that expected in most kits? Example Those blocks had to be hand made because in the old kit (mine) those were missing. Same as the back end and it took me awhile to figure out how to curve the planks. Conclusion for me was to build a block so as to have a nice smooth bend that I figured would be very fustrating/impossible to achieve without it. I hand made the ones in the back as well and it came as a surprise to me when I saw pictures of newer kits with these blocks included. All that being said, I'm sure dusek is going to do these kits right and I wish all the best to them. I was looking at some of their viking longships and to my unprofessional opinion, they look like some great quality kits that I would very much like to "add" to my burgeoning shipyard. 😁
-
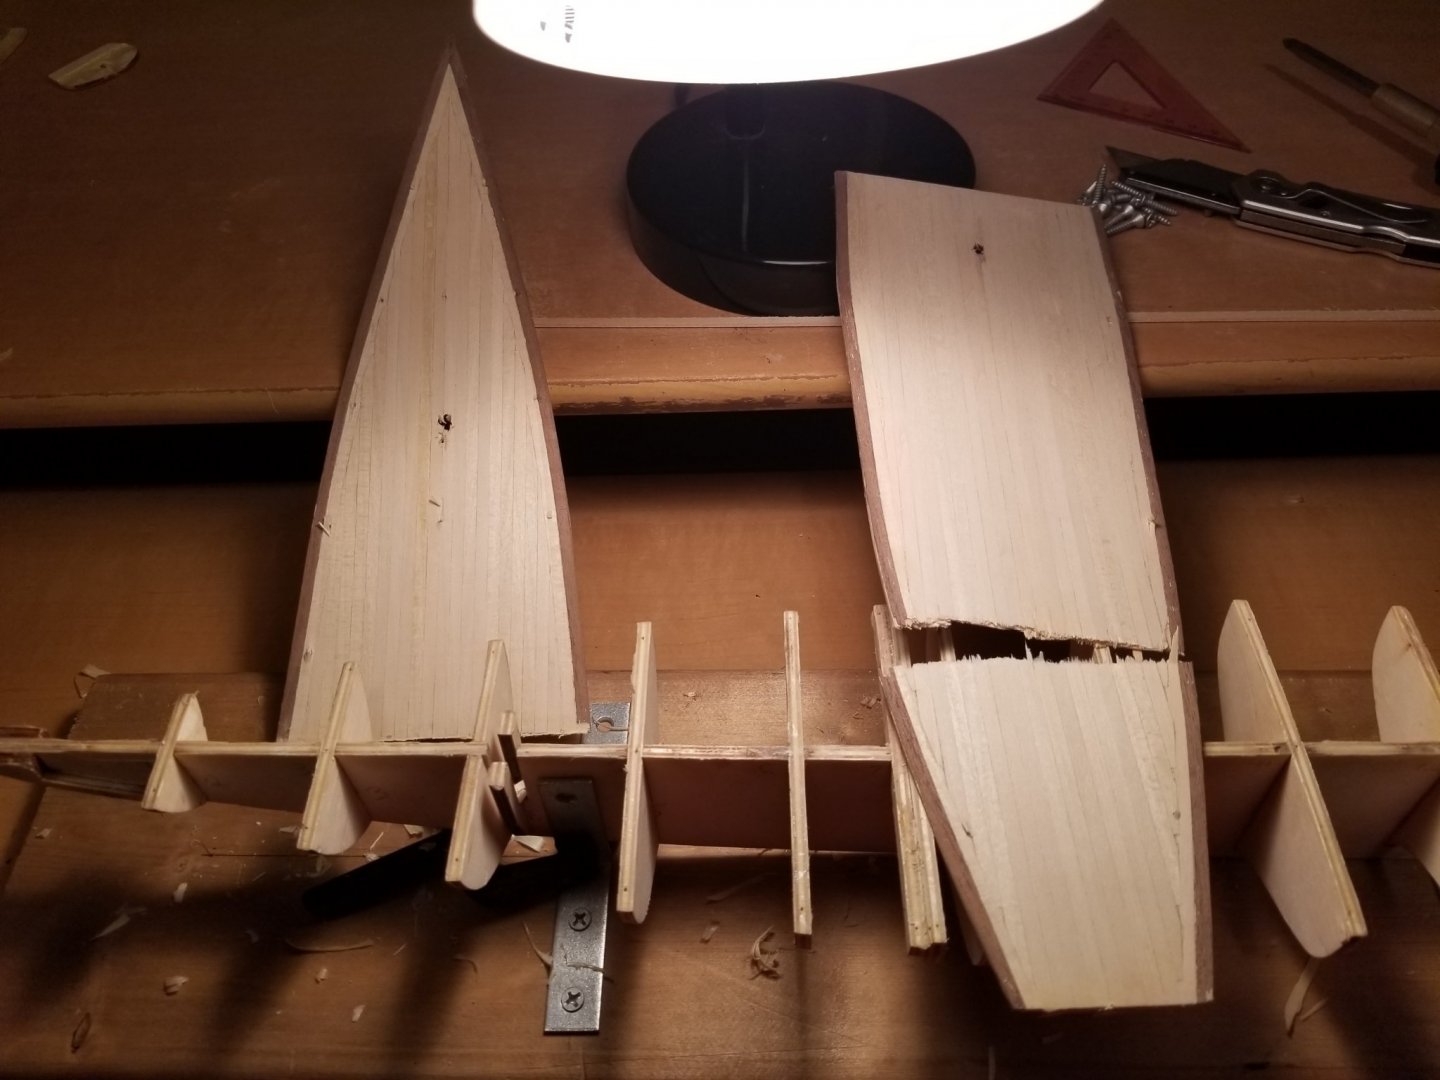
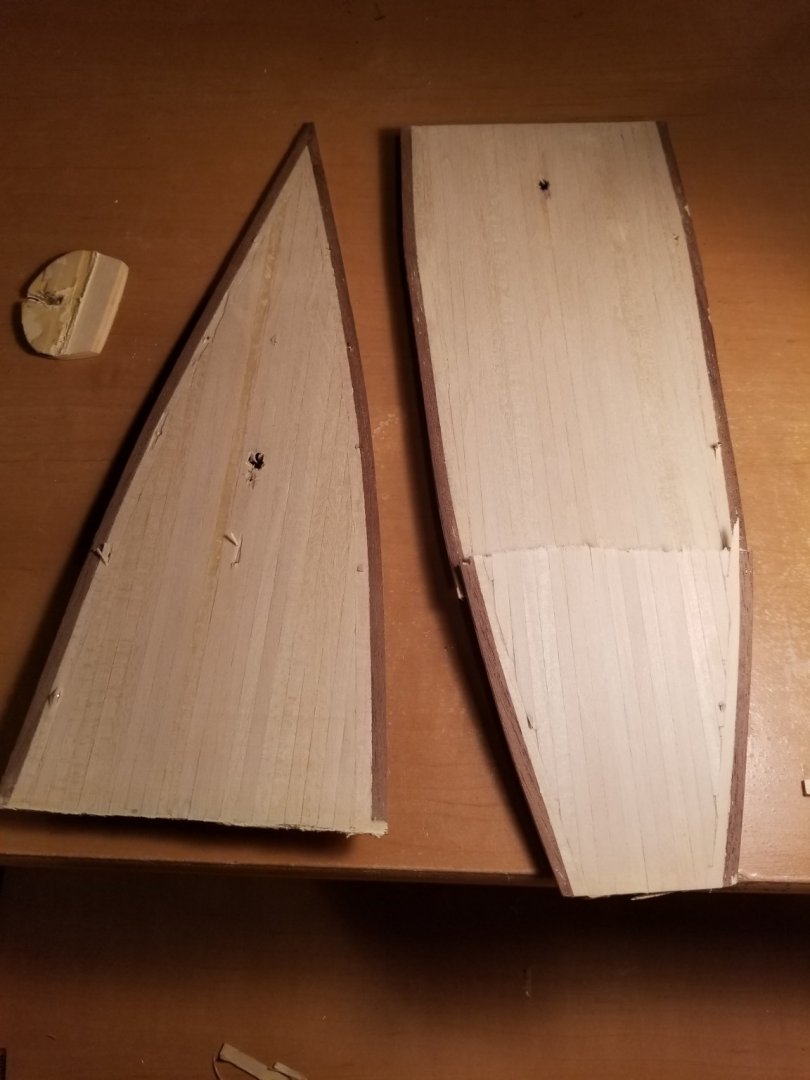
Finished up the first planking and about to start the second layer. Got a question here... Q: What glue should I use for the final planking? I got the first layer on with CA glue, but wondering what the easiest way forward is when it comes to the second planking. There is nothing to clamp the planks to and nailing/pinning dosen't seem like a sound idea to me at this point. So please, anyone with some guidance for a first timer would be much appreciated. The planks are 1×4mm walnut for the final layer.
-
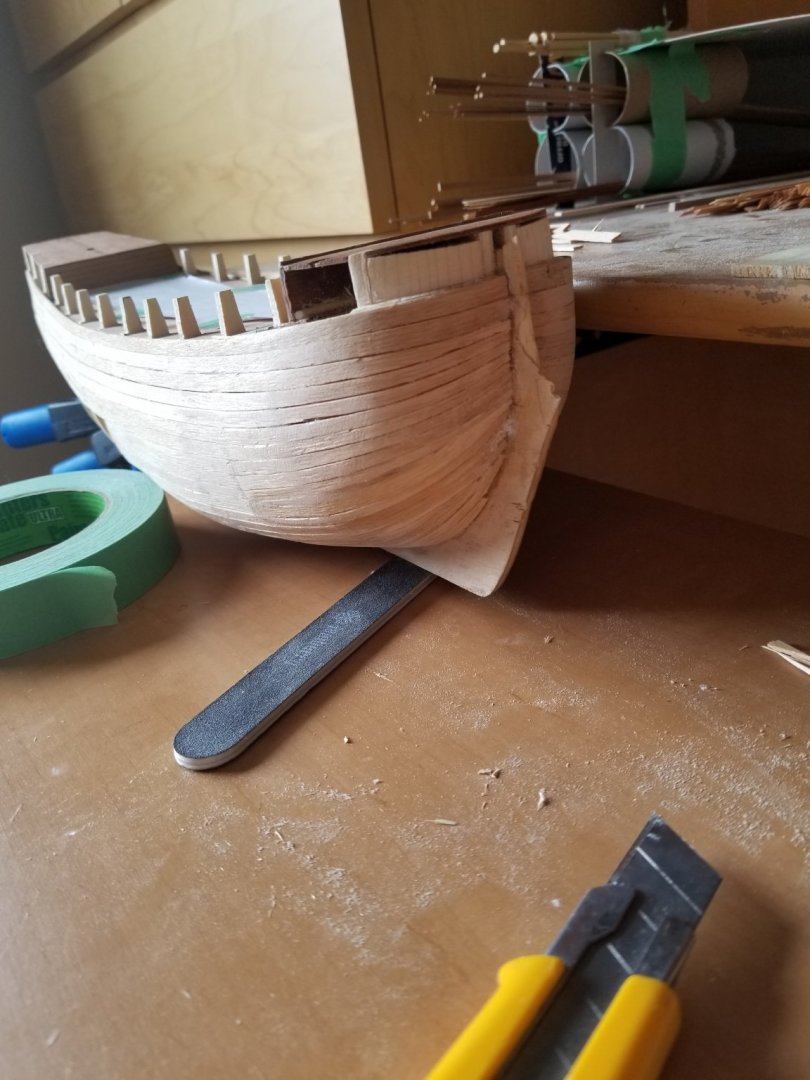
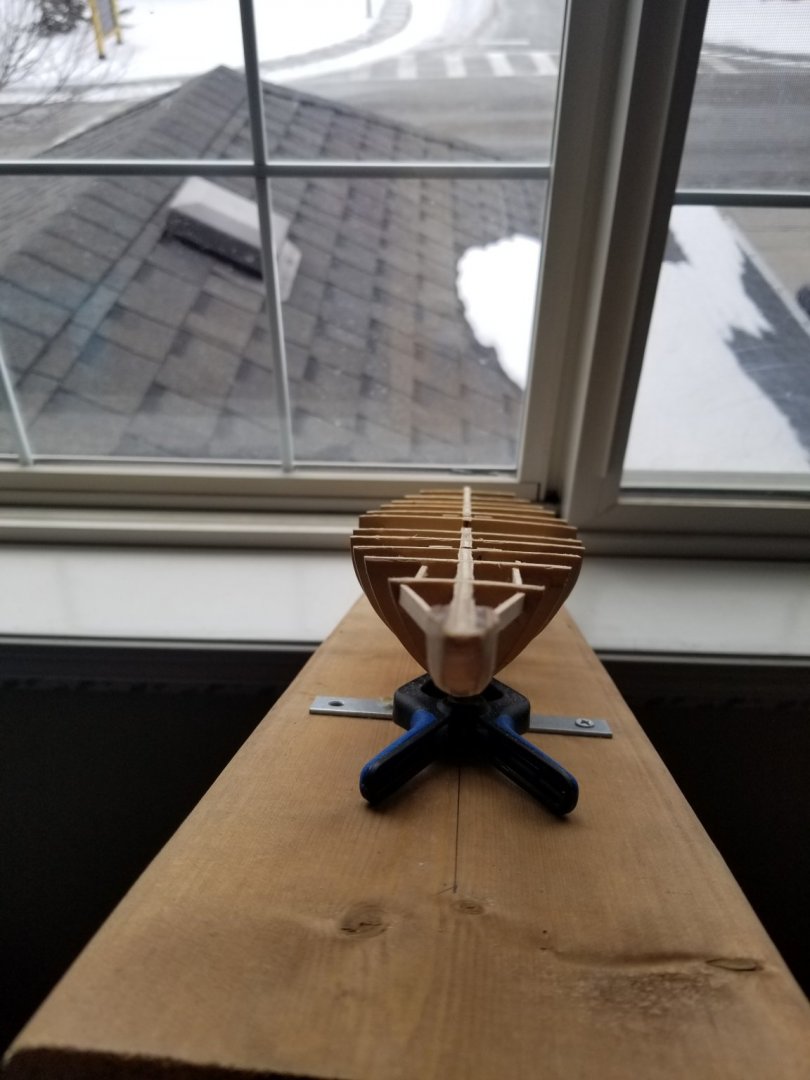
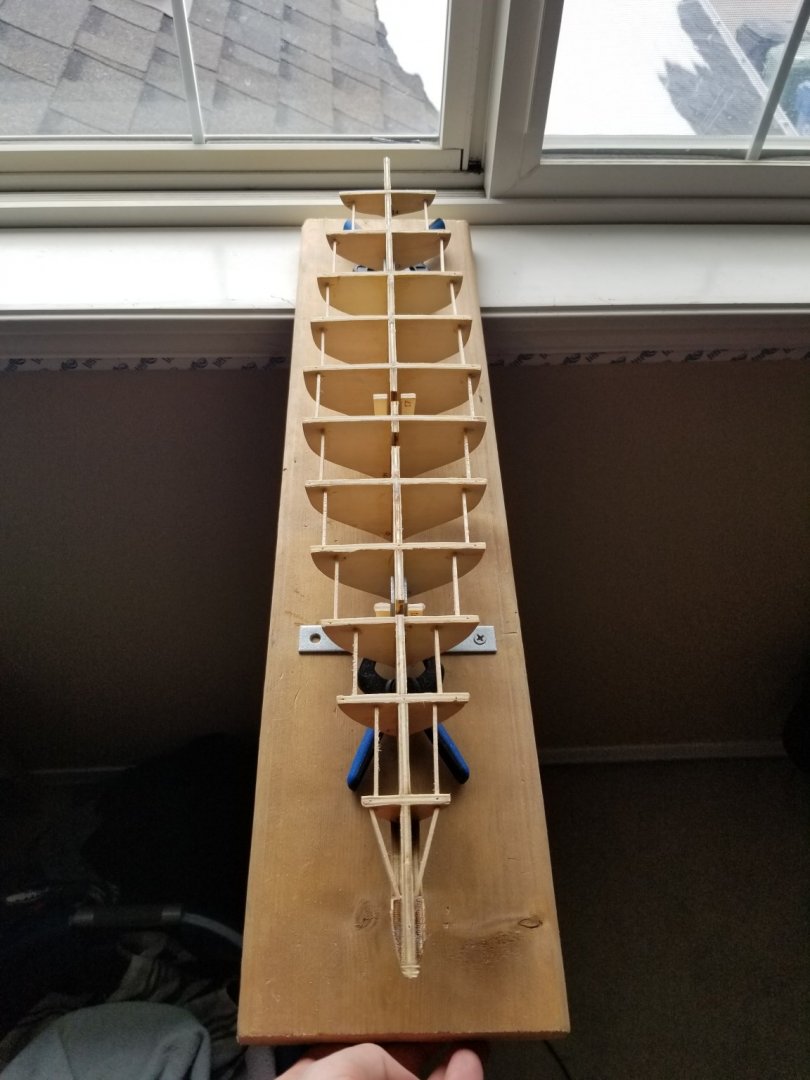
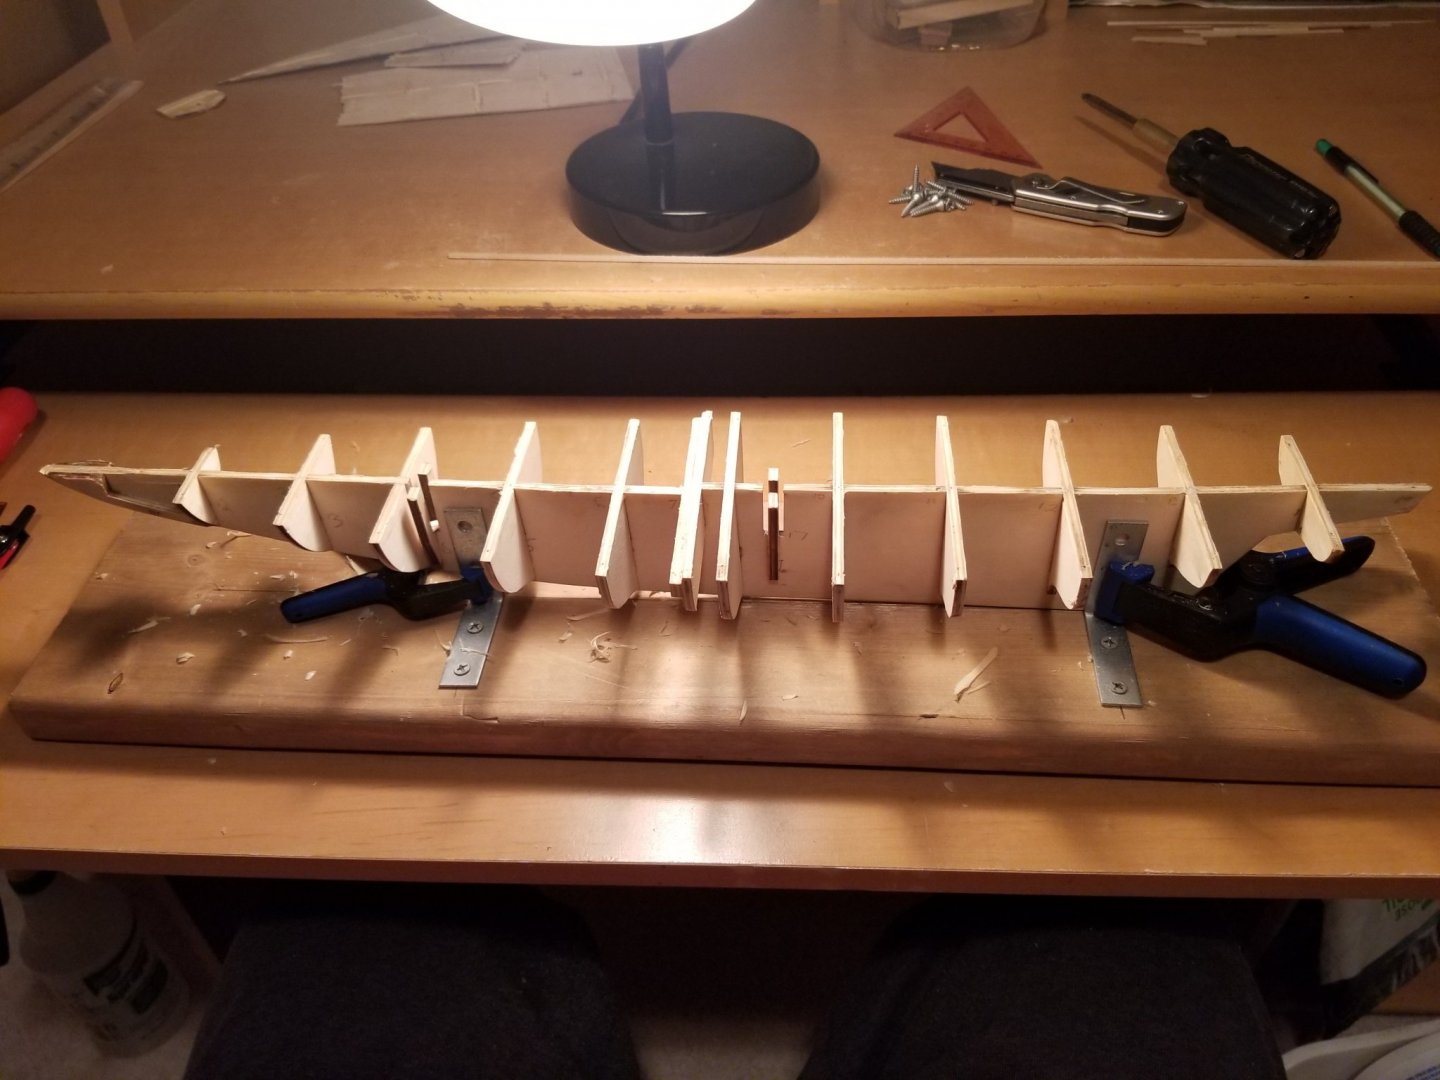
After my 7th plank I notice my math at the nose and tail end aren't adding up so I started to split the planking in sections for easier visualisation of the work. Ended up hacking the "nose" in as best I could, going to need much more hands on for the first keel planks in determining were to end the planks befor the "nose" of the ship. I believe that's where I went wrong because I calculated 18 planks midship and kept that number on bulkheads A thru M (every bulkhead). Don't think keel planks hit all bulkheads going forward of the ship towards the "nose" of the ship. Please bare with me, still learning ship liguistics. Having the planks sit well with no stress in them is mostly what I'm focused on atm. Never used pins or clamps to hold them, used CA as I went. At the rudder I have some clamps cause I'm using type2 wood glue there.
-
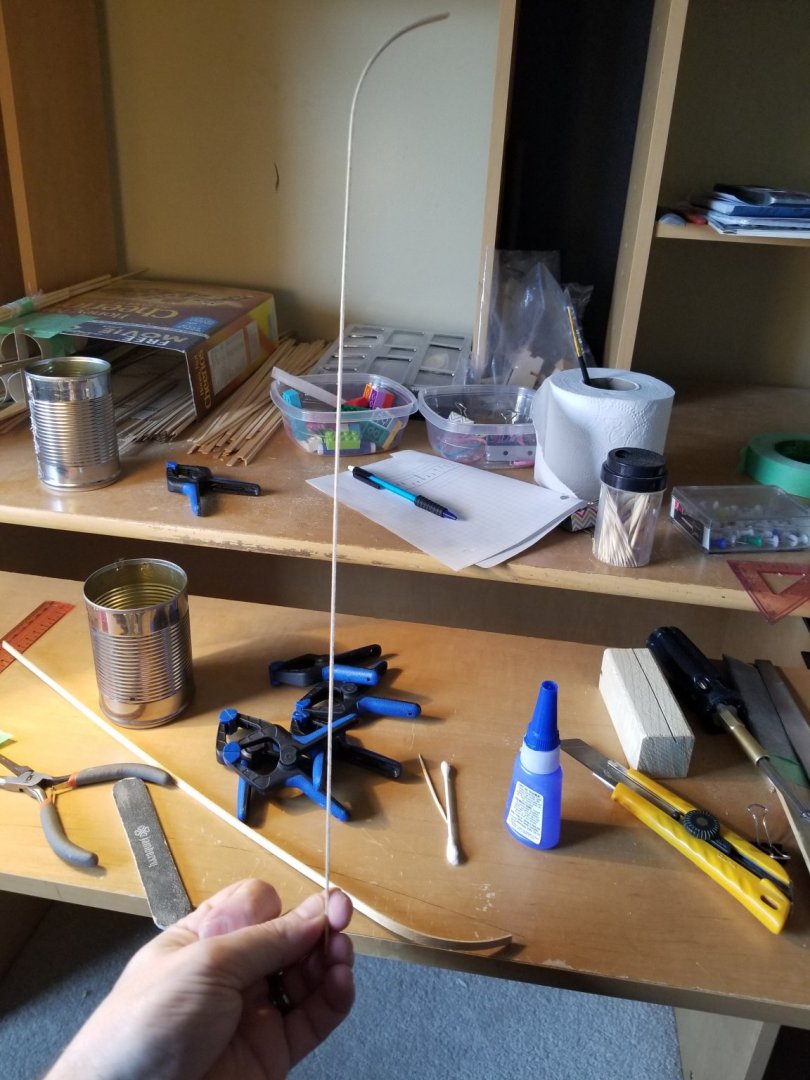
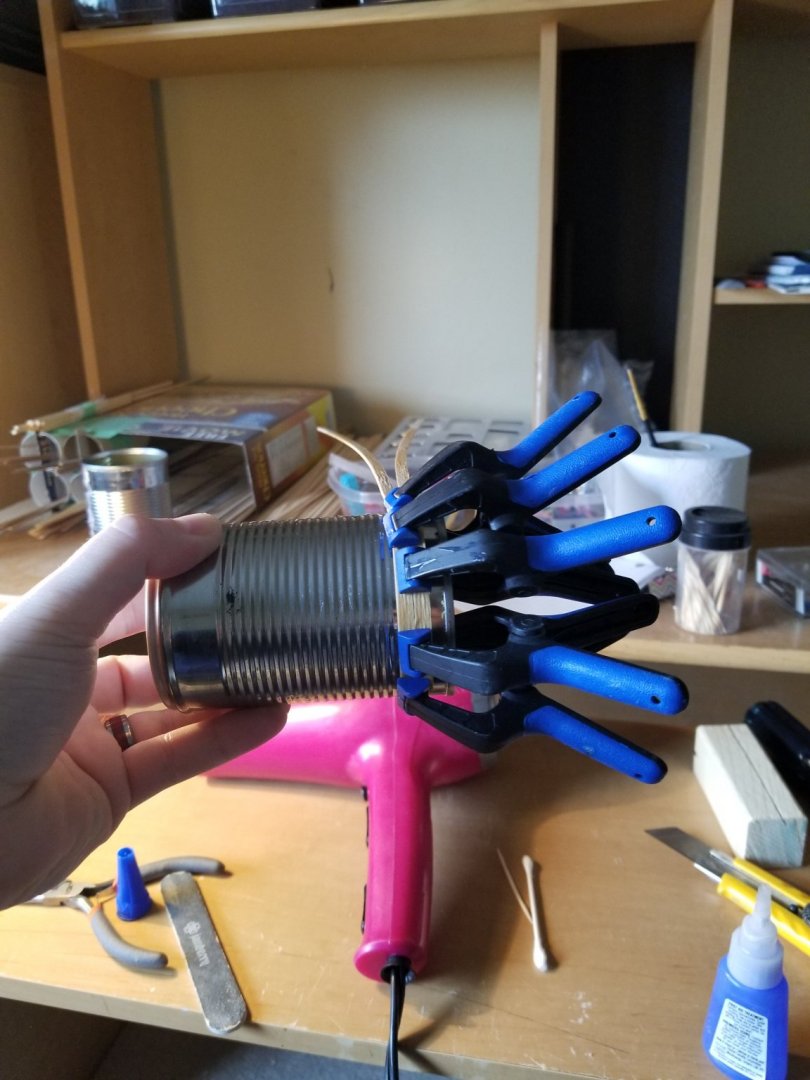
I found "wetting" the wood only enough so it doesn't snap and heating it up with my professional bender (wife's pink hairdryer) and forms (soup can) I could get some fairly radical bends in wood withing a couple minutes. I bent all my planks with a side bend using clamps to stop lifting and then a 90 degree bend with can to round the "nose of the ship into the keel. Looks straight but it has a few inches worth of side bend through the lenght of the plank. I also "split" planks believe its called along the whole length. Midship I'm at 5mm and tappered to 2.5m at the tail and nose of the ship.
-
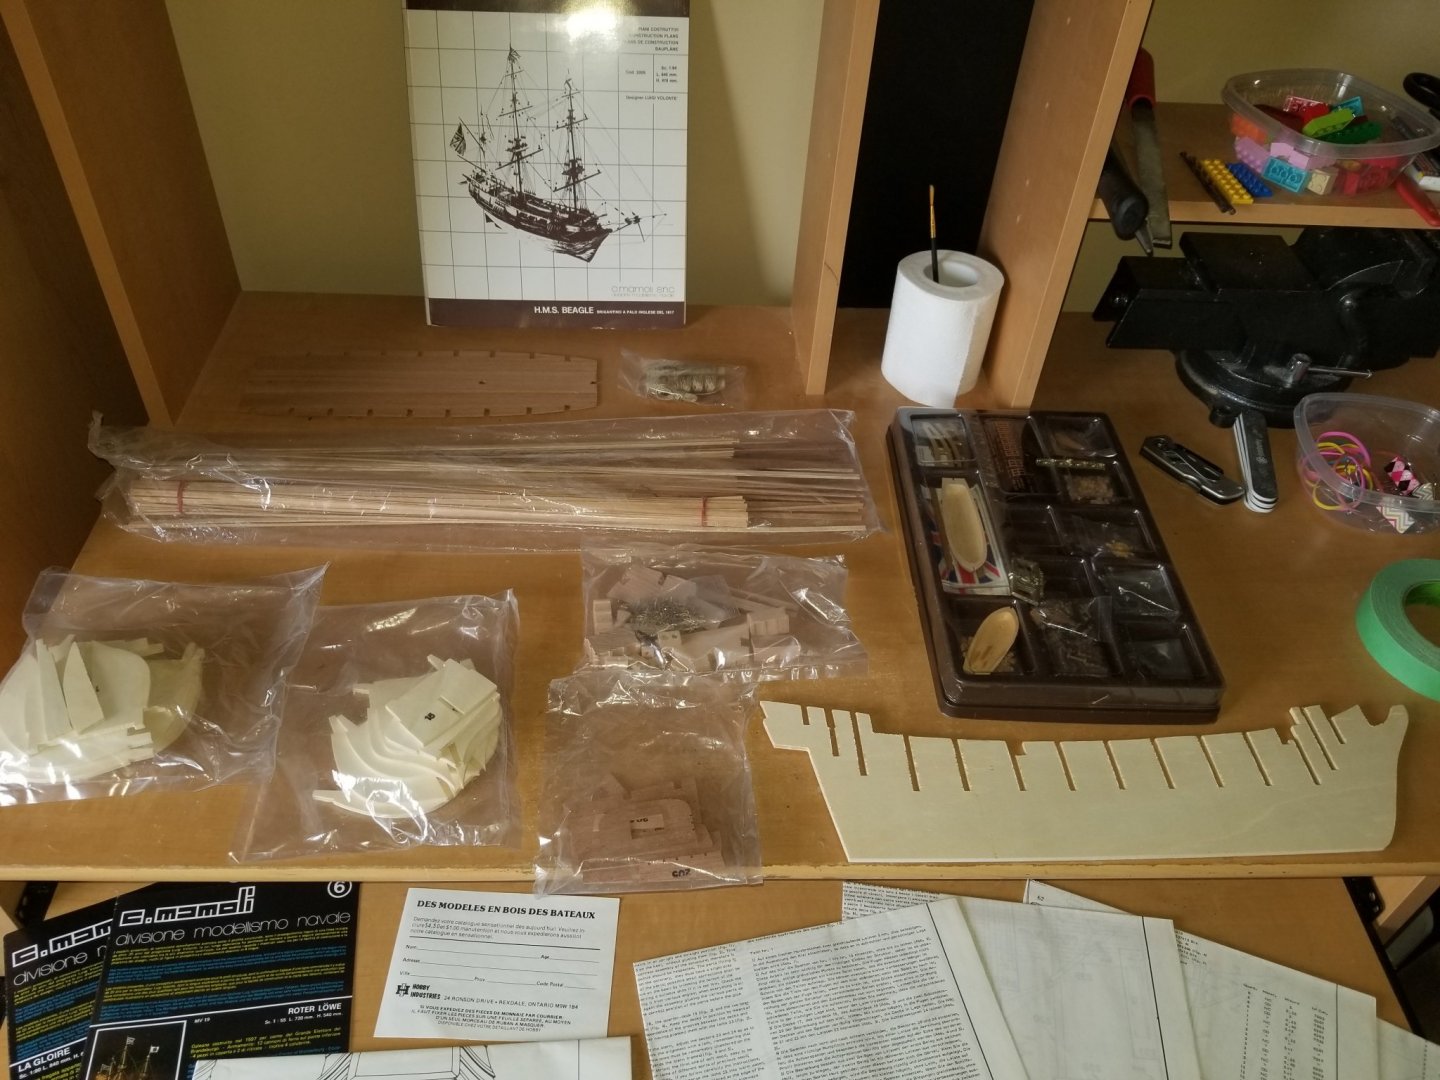
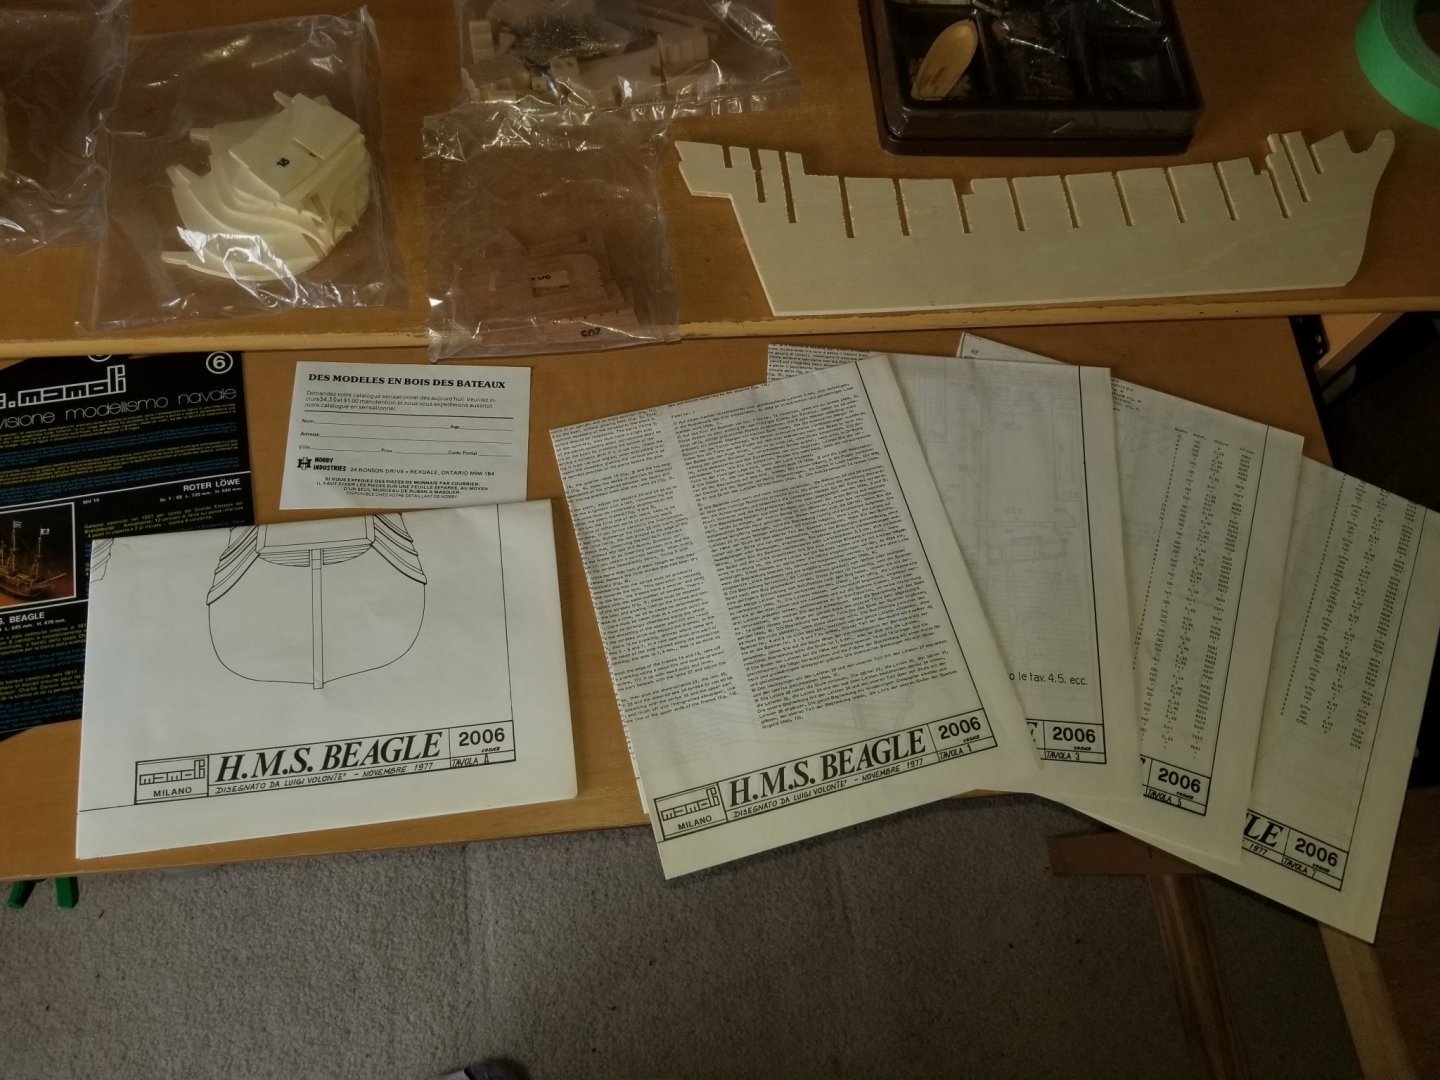
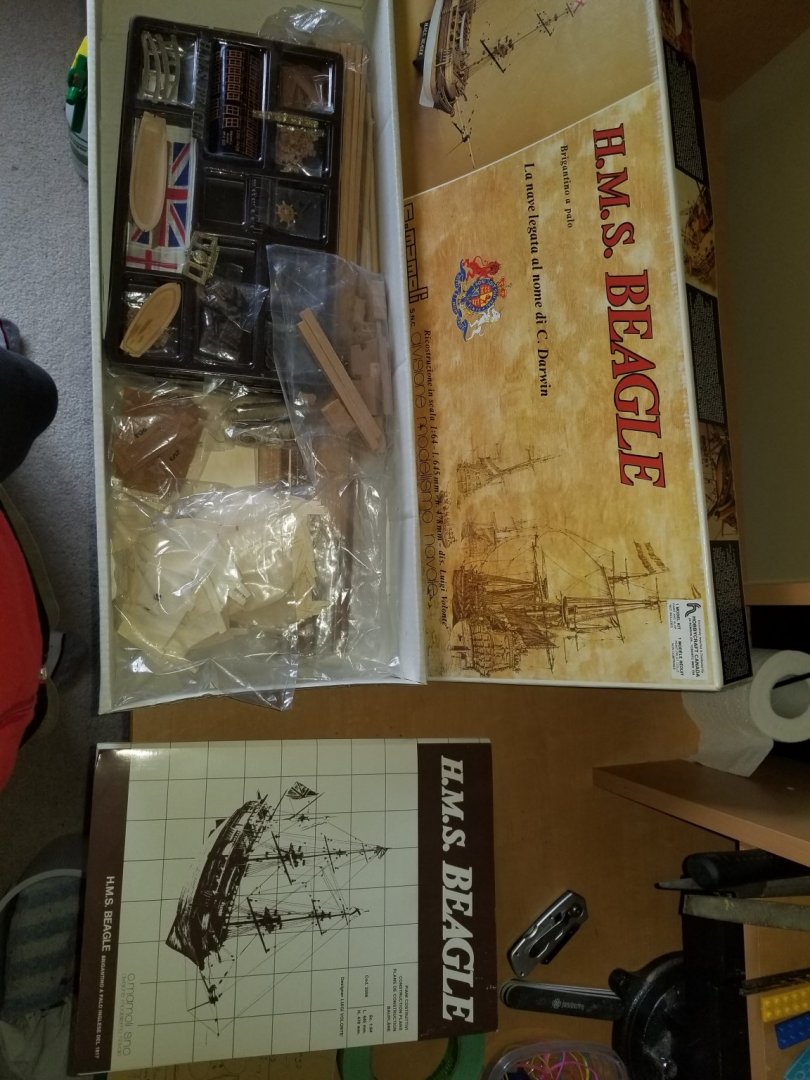
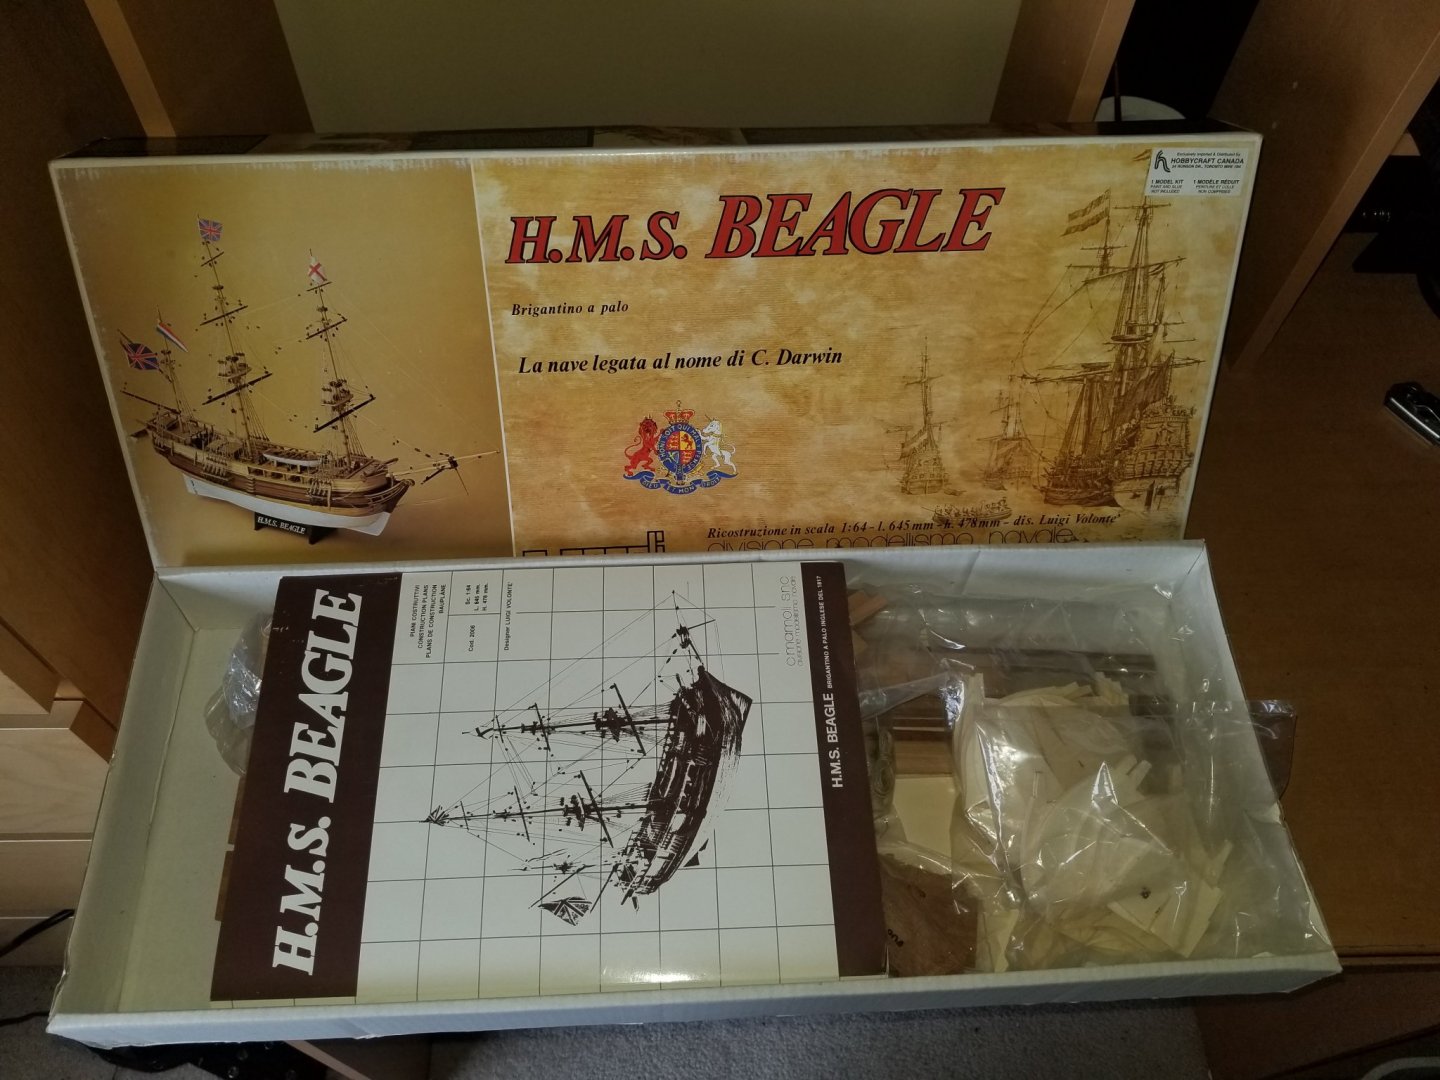
I started this build log for one reason, there wasn't much of these being built for such an important ship. I tried my hand at the bluenose 2 as a first build and ended up abandoning her... let's just say one late night there was a shipwreck, might end up being a scratch build in the distant future. For know I'm tackling mamoli's kit. At first I noticed the plans are so much worse then artisana's, thank God for the interwebz as I'm learning how to build from those befor me. The wood as well is in very poor quality, I had a warp in the keel and the balkheads were very badly cut (all pre-cut by hand). The wood planks were all mixed up in one big bag, and some broke just by handling them, in part from the old kit and some just broke (5×5 broke in 1/2 cause if a knot in the middle). As a clear indicator of age on this kit... the little rubber bands that were suppose to hold a plank bundle together was basically brittle plastic that disintergrated on touch and stained the wood. I guess I grabbed a very old kit. I'm missing lots of wood like the blocks on the "nose" of the ship to round the plank into the keel. Had to fab up my own, no big deal but still a bit of a headache as this is my first real go at things. To do it all over again I wouldn't have bought the mamoli as the price of the kit isn't representative of quality in the slightest. Anyways, mamoli bashing aside her we go with a few pics. Of my cat... because why not start with that adorable face 🤣 These are the pictures I took upon opening of the kit. Anyone willing to guess at the age?
-
Very nice work sofar, she'll be a beautiful example once completed! I love the deck pattern on the Terror, such a beautiful and historically important ship.
- 206 replies
-
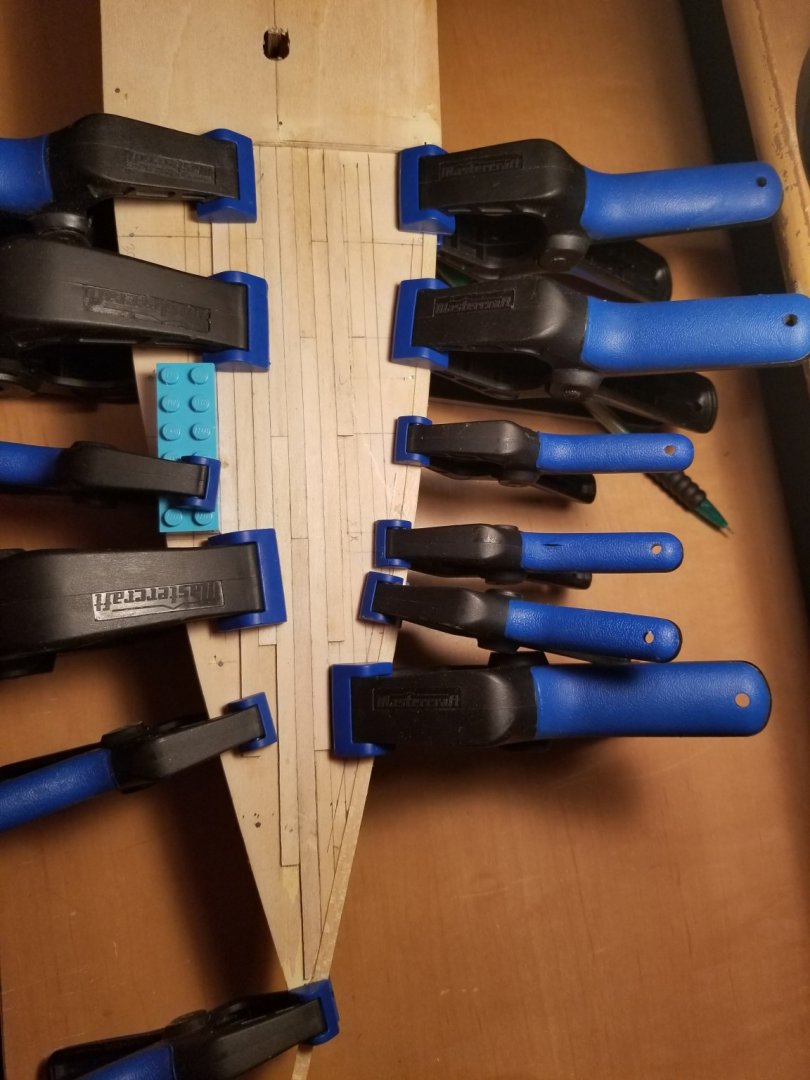
Started the planking with watered down wood glue and it's working beautifully, especially with the pencil simulating the caulking. Only got a few planks on and cured but I can already see a huge difference from my first attempt. Hard to tell in the picture with all the measurements, but once done and varnished it'll be awsome.
- 14 replies
-
- bluenose ii
- artesania latina
-
(and 1 more)
Tagged with:
-
- 14 replies
-
- bluenose ii
- artesania latina
-
(and 1 more)
Tagged with:
-
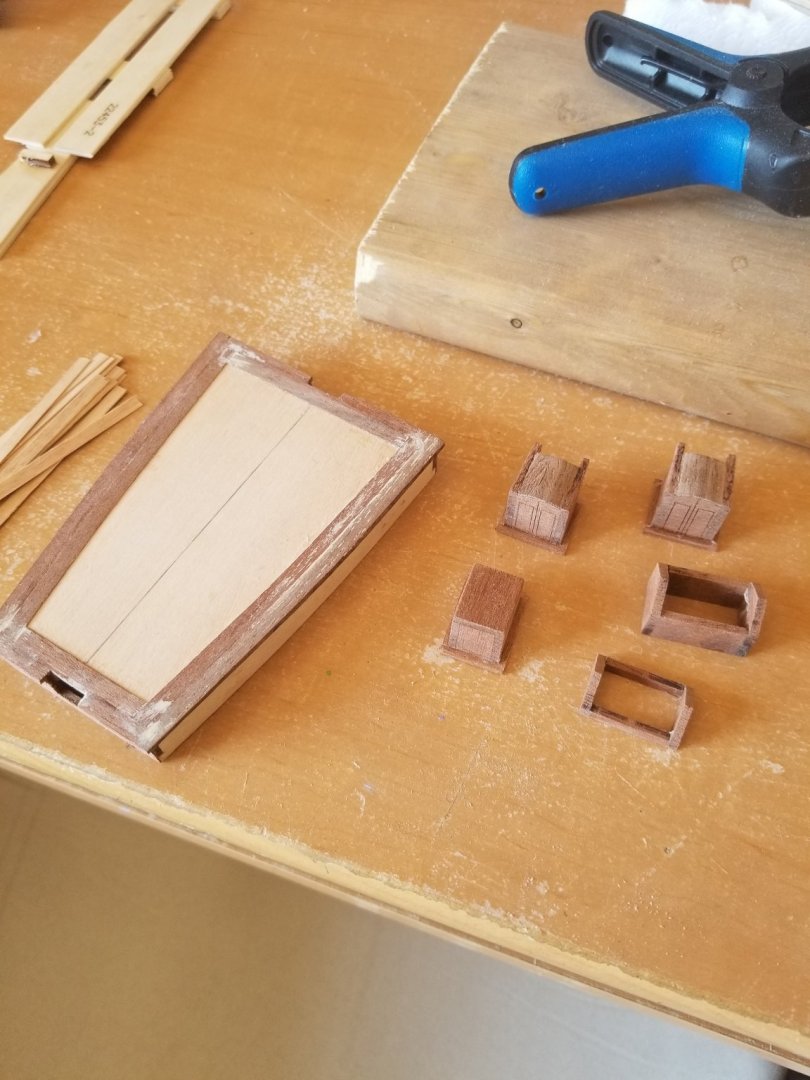
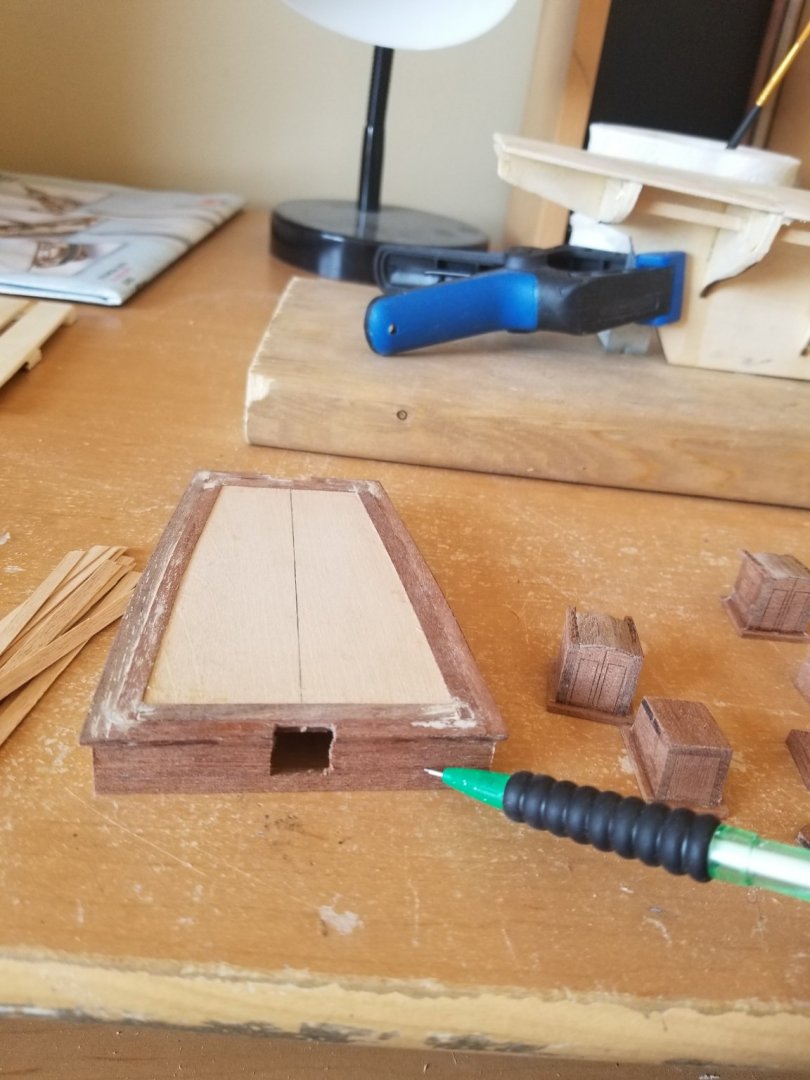
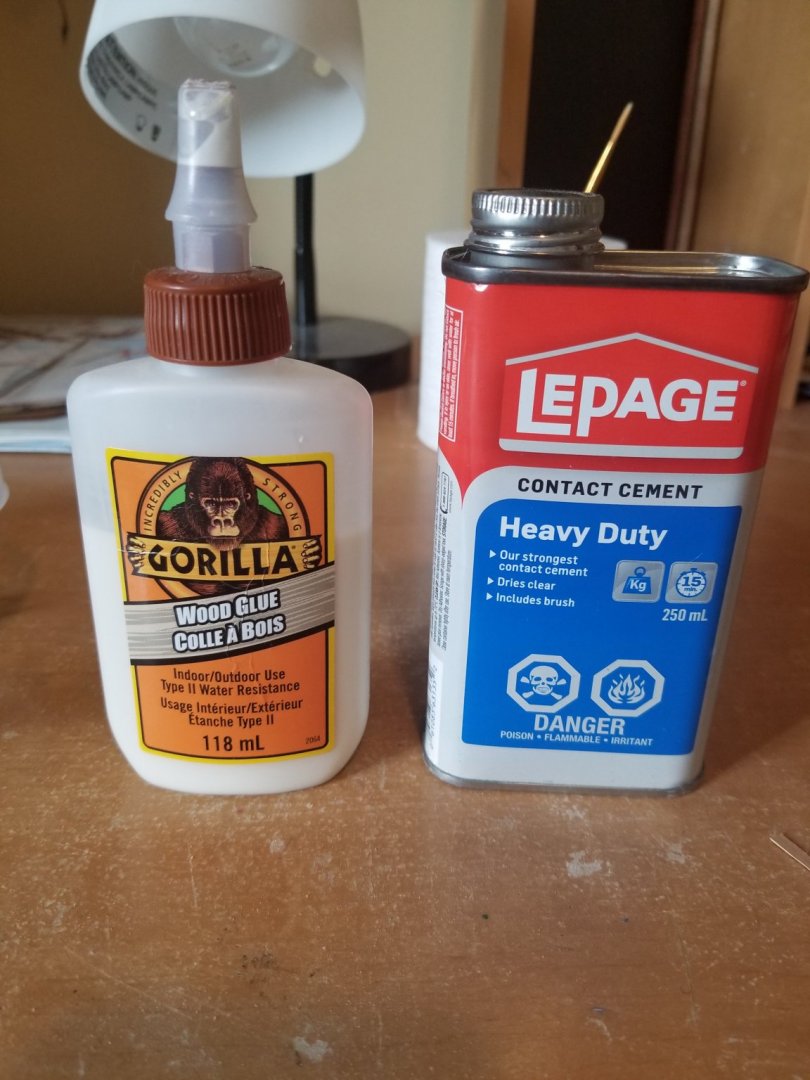
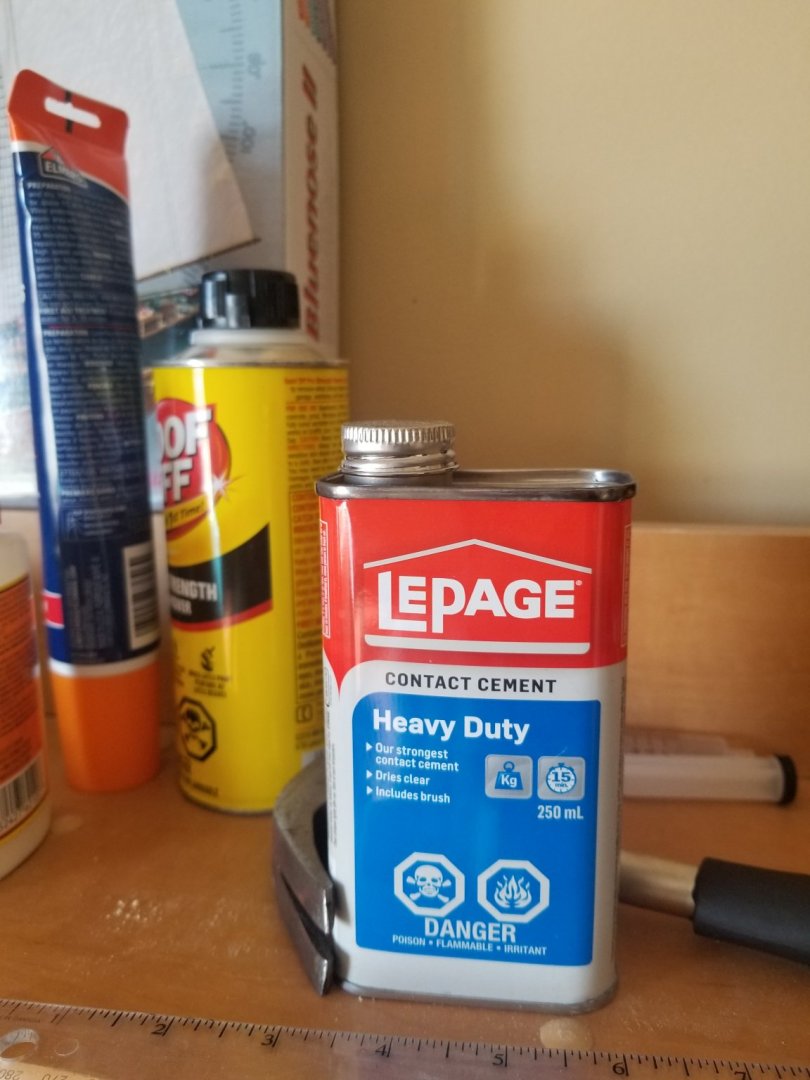
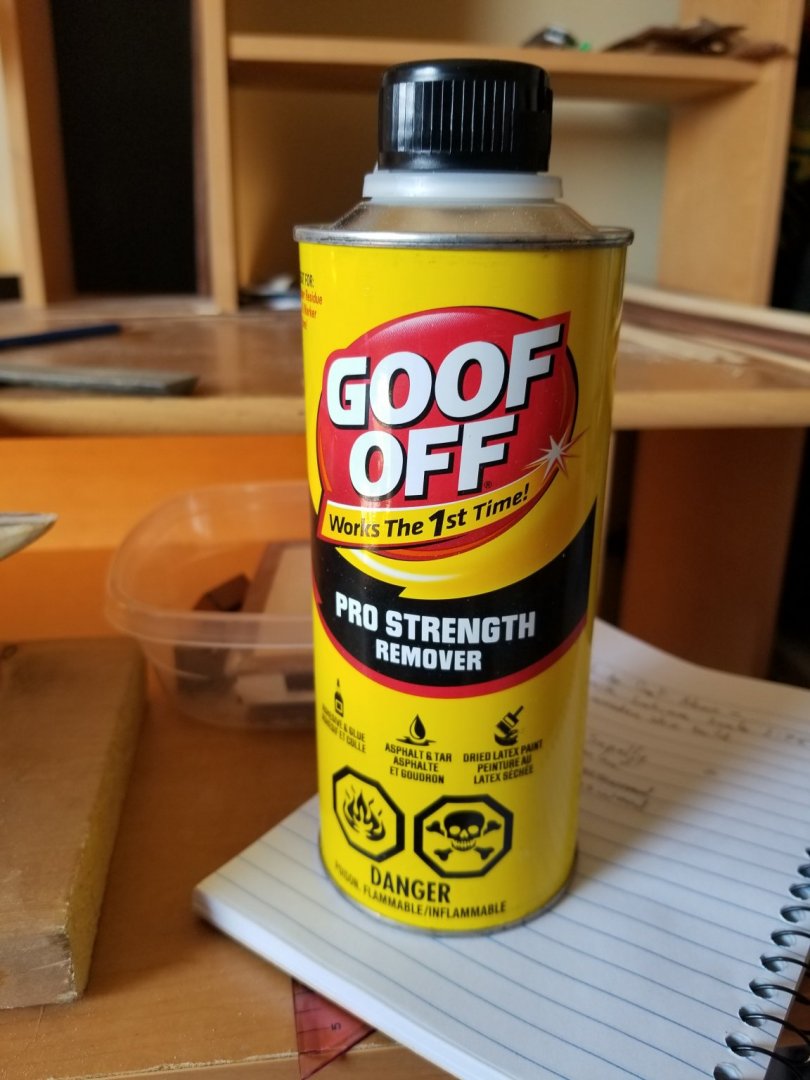
Thanks for the replies gentlemen, I almost lost faith in my build log, I had lots of reservations starting this up and almost stop after seeing my first post... felt rather silly/embarrassed. The wife has taken it upon herself to push me to keep posting believing it therapeutic I think hehe. I find comfort in your posts, I was thinking of using watered down wood glue as Louie mentionedand now that's what I'll go ahead with knowing I'm not messing up a second time. That goof off is nasty, your right Backer, I only had to use the stuff once to remove the decks and the contact cement will be collecting dust for the time being. As I was contemplating on the deck and the best course of action, I started with some deck fittings. The stern cabin will be perfect to try and see how the decking will work out using Louie's words of wisdom. Q: Do you use pencil to simulate caulking on the deck fittings as well? Cabins walls and such. Slow and steady.
- 14 replies
-
- bluenose ii
- artesania latina
-
(and 1 more)
Tagged with:
-
Having second thoughts on contact cement for the deck planks, might stick to type 2 wood glue... nudge nudge wink wink. Can anyone tell me the proper use when gluing your deck planking to the false deck plywood? Last time around the wood glue would harden and make it so I couldn't butt the planks together anymore... main reason I got the contact cement out. Do you guys do it all in one go? I never used the cement so I'm a little apprehensive about using it seeing as this is the second take on the decking.
- 14 replies
-
- bluenose ii
- artesania latina
-
(and 1 more)
Tagged with:
-
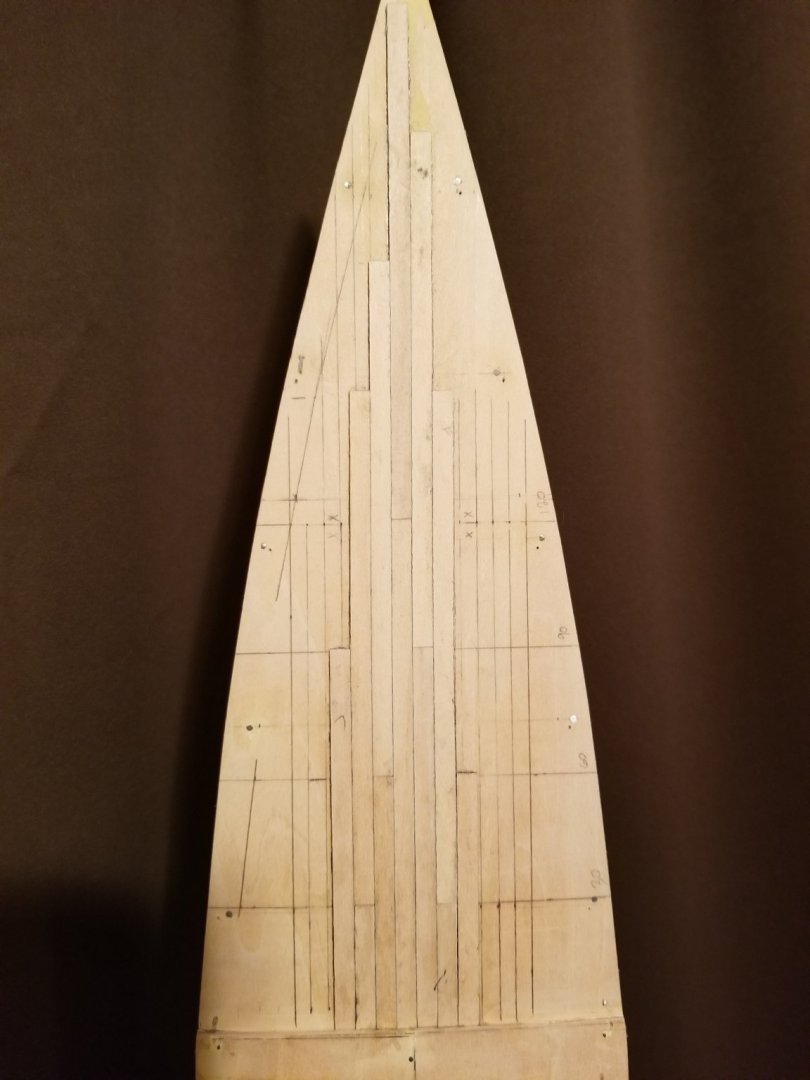
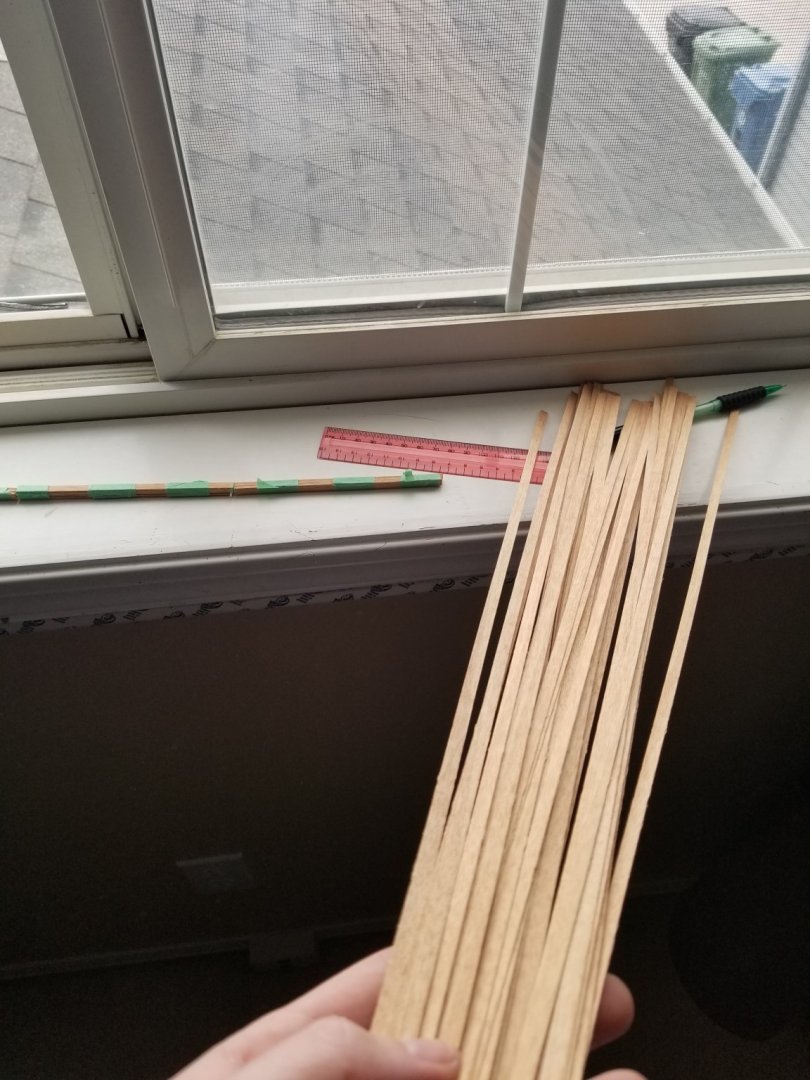
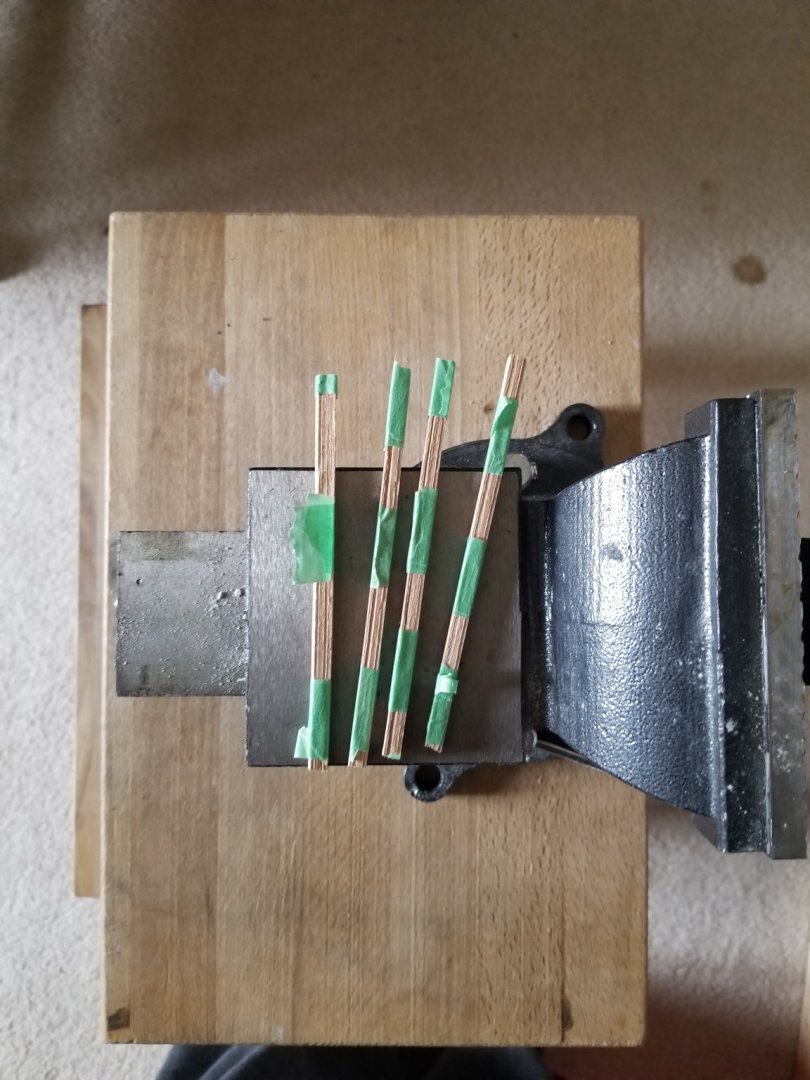
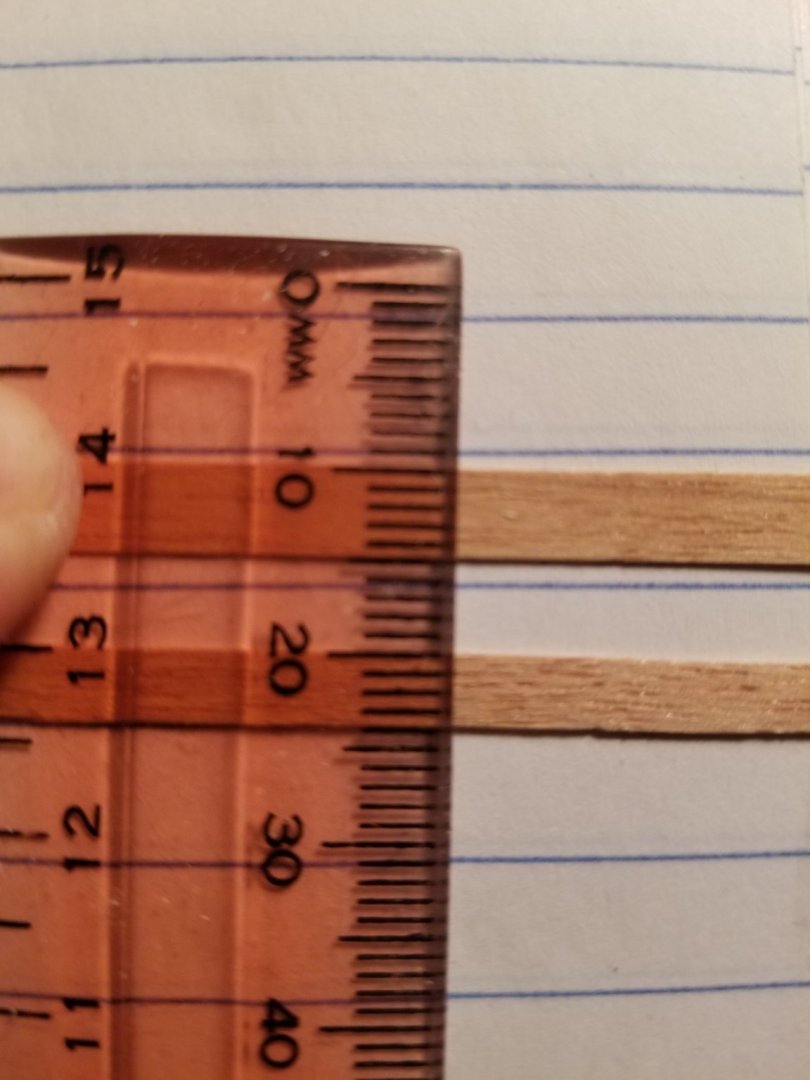
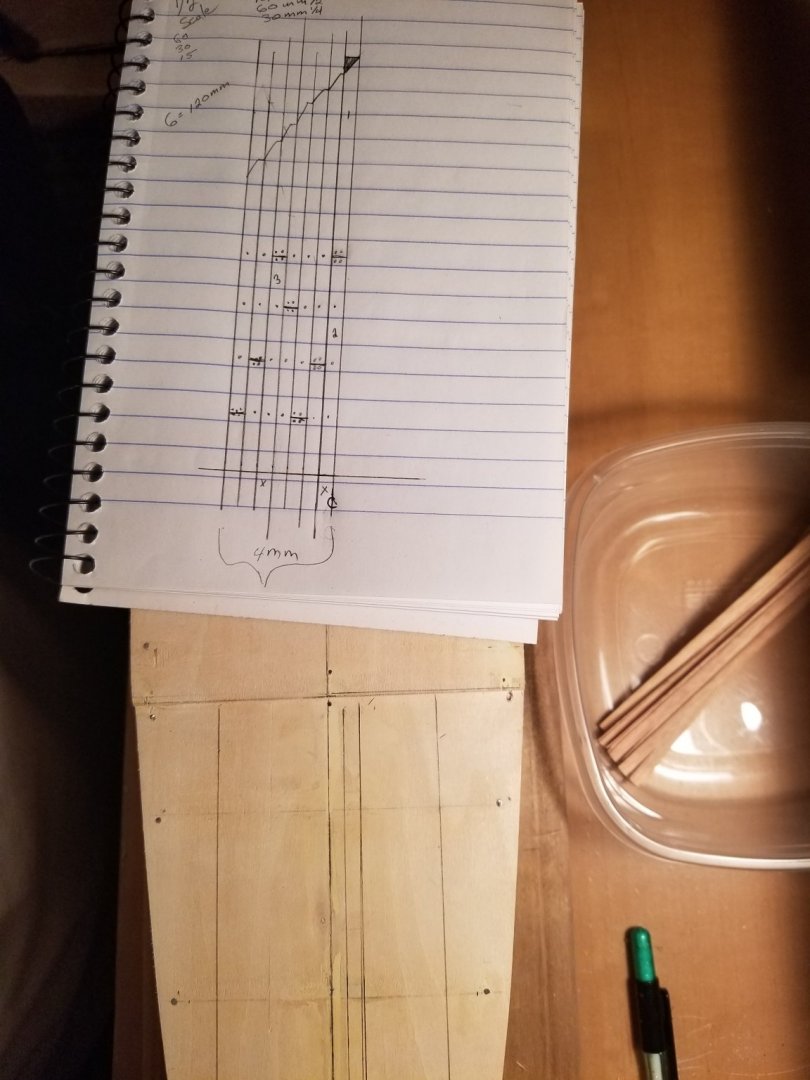
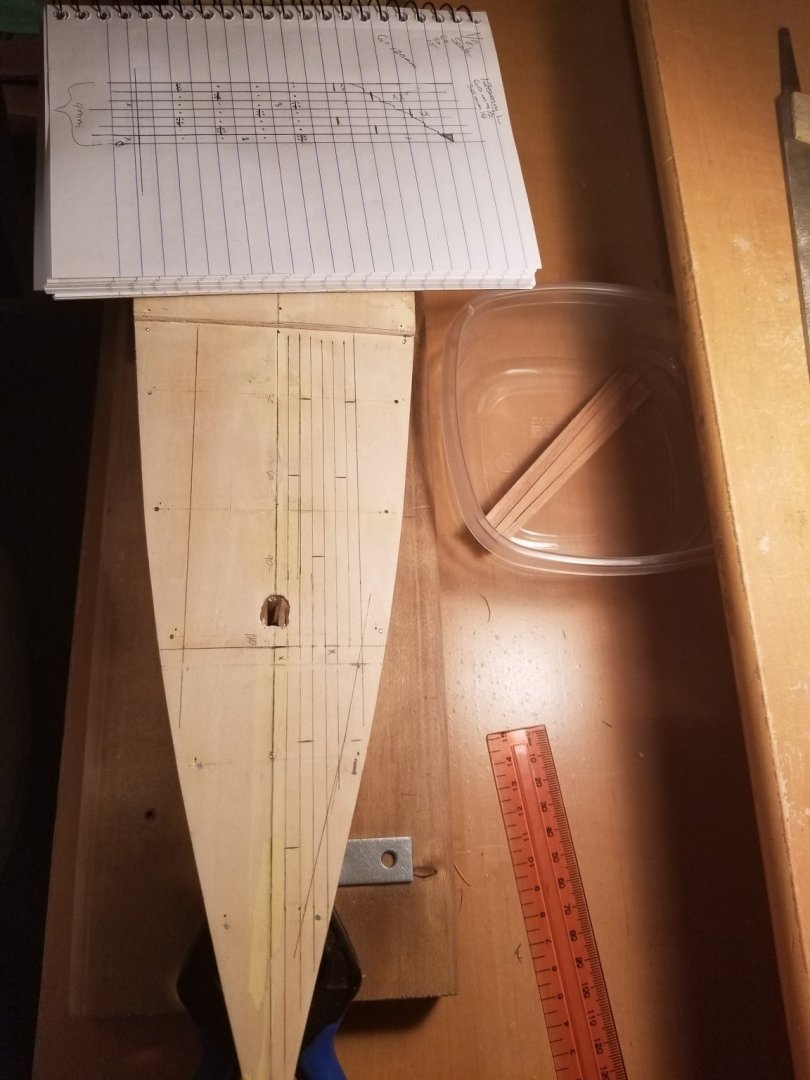
Planning out my deck planking. The wood I got for my deck was 5mm and is a little too wide for what I want so I ripped the strips down to 4mm wide. Hoping the time invested was worth the trouble, should look better in 4mm. My full plank lenght will be 120mm and going with a 3 butt pattern with pencile to mimic caulking and treenails. Also going to "jog" the planks... should be fun.
- 14 replies
-
- bluenose ii
- artesania latina
-
(and 1 more)
Tagged with:
-
Got my decks back on after I "trued" the bulkheads with some sanding. The shims i glued as well as the center line string from foredeck to aftdeck insured things would be somewhat straight and true. When I measured, everything looked good.... so round 2 after restarting is underway. I fixed the deck I snapped in 1/2 with some spare wood I had gluing it under the decking inbetween the 2 pieces and will fill/sand the crack from the top once the glue has cured. Nothing exciting to see sofar but a dragon has been slain today and I'm back on the trail. Next step is getting the deck planking back on. Got some contact cement, I believe they call this shoe makers glue at one point in time; that I'll be using this time around to plank the decks. Never used this stuff, so andy info or tips would be helpful to me. As I understand it, I'll have time to plank the whole deck in one go, brushing on a little as I go. It has a 15 min set time, so im think brushing a cm or so from top to bottom at a time and move from centerline to the outside. Enough glue for 2-3 strips at a time.
- 14 replies
-
- bluenose ii
- artesania latina
-
(and 1 more)
Tagged with:
-
So now I'm going to "true up?" The top of the bulkheads so I can get my decks back on. I might need to soak the decks to curve them a little to get them to sit right without any dents/divots. Need to order more wood as well now, kit seems to be missing the 3x3 and 5x5 sapelly.... not to mention new decking wood.
- 14 replies
-
- bluenose ii
- artesania latina
-
(and 1 more)
Tagged with:
-
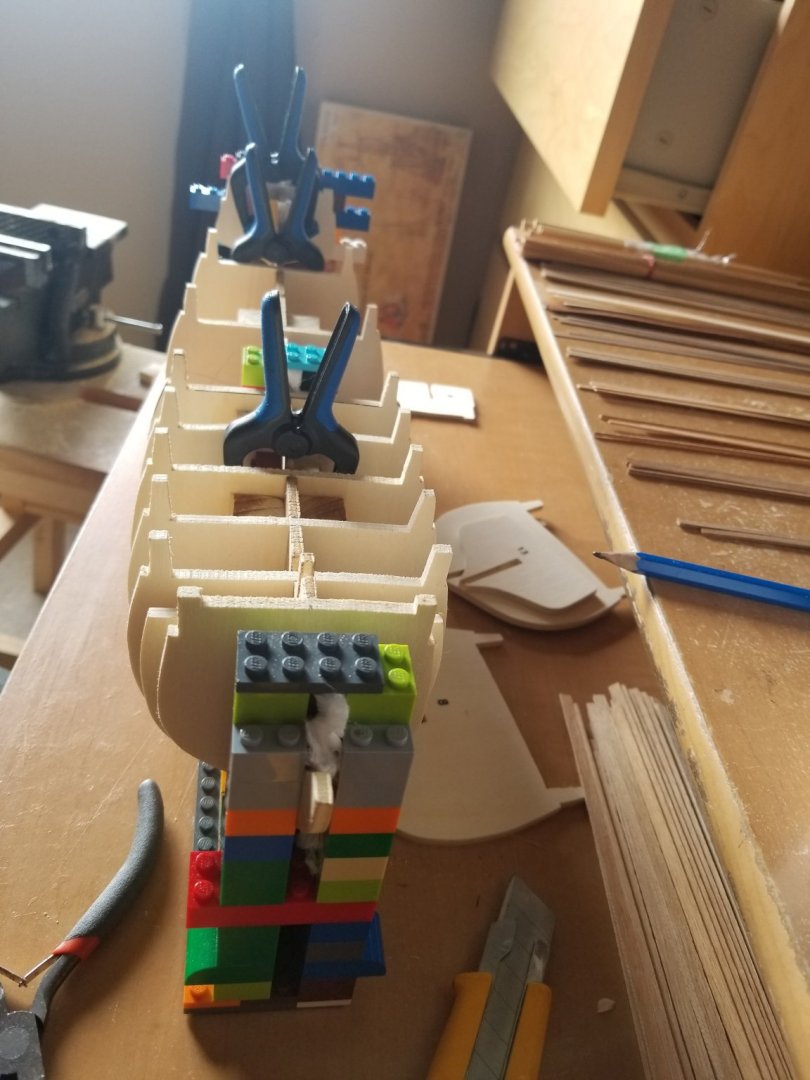
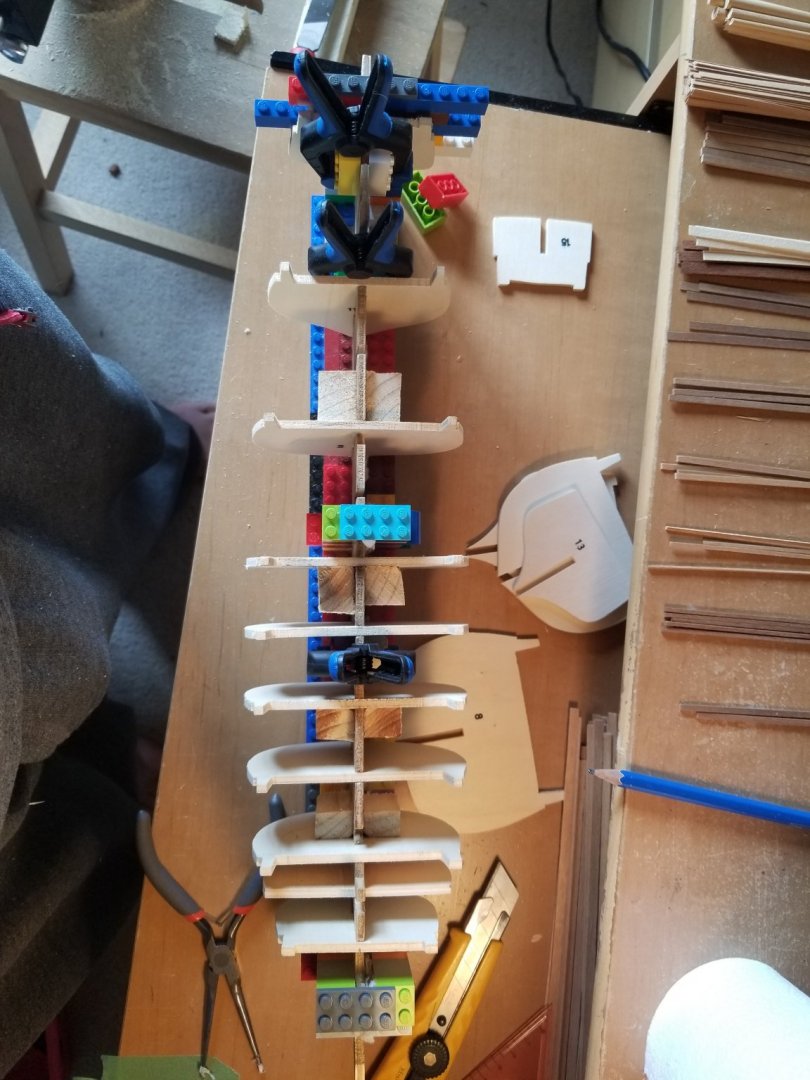
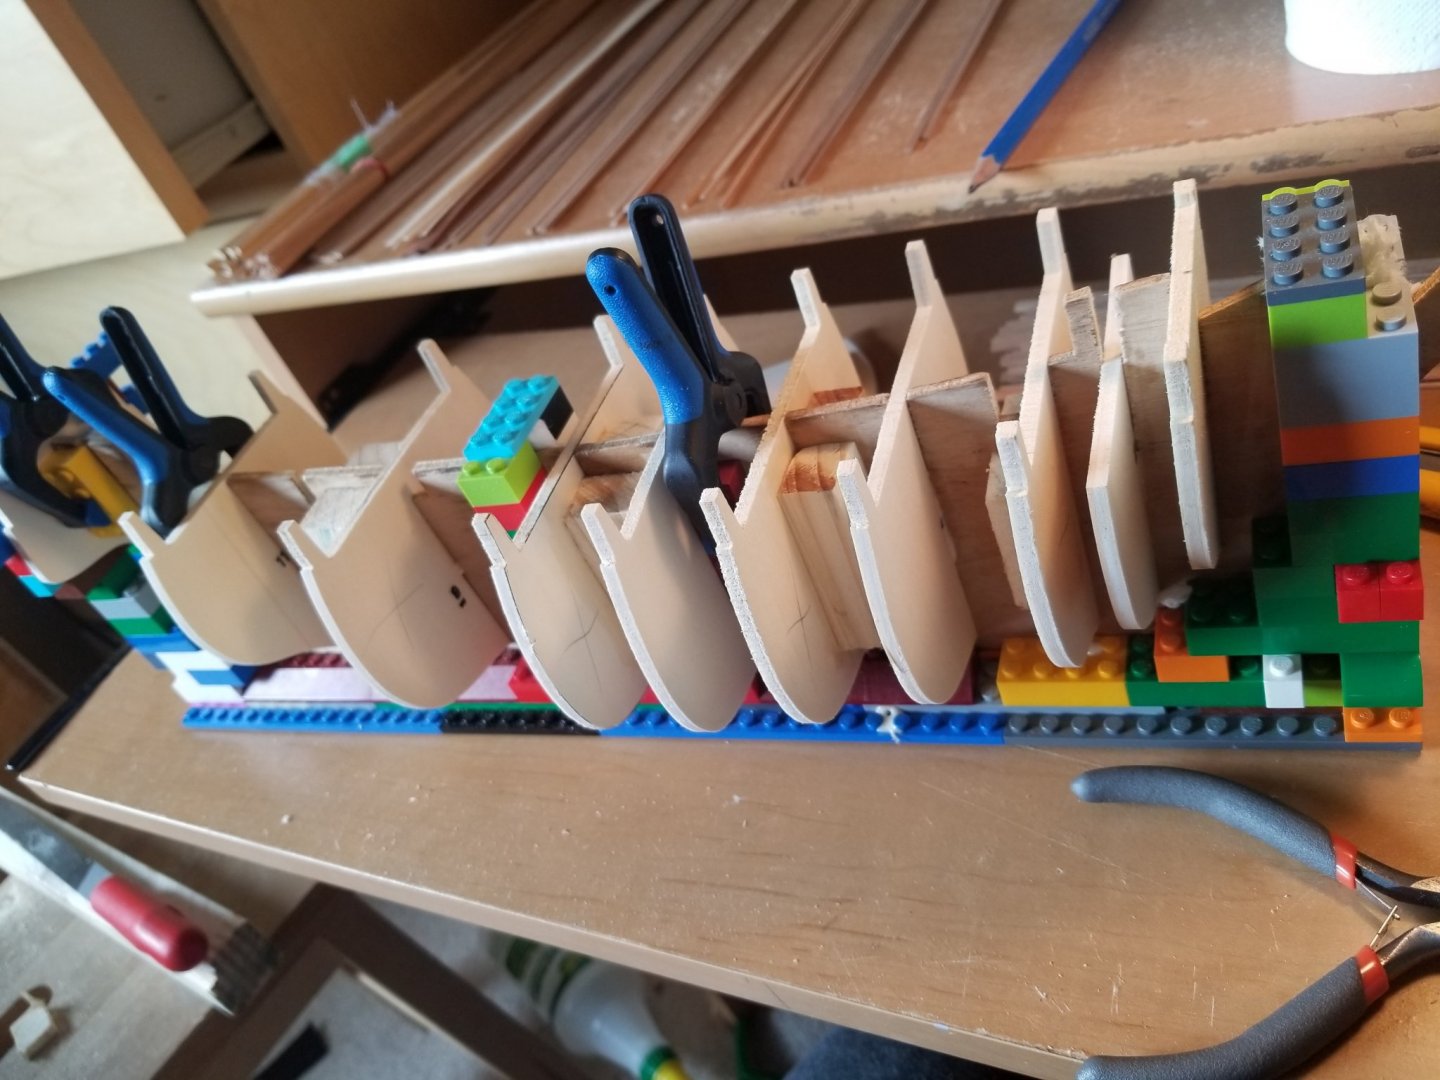
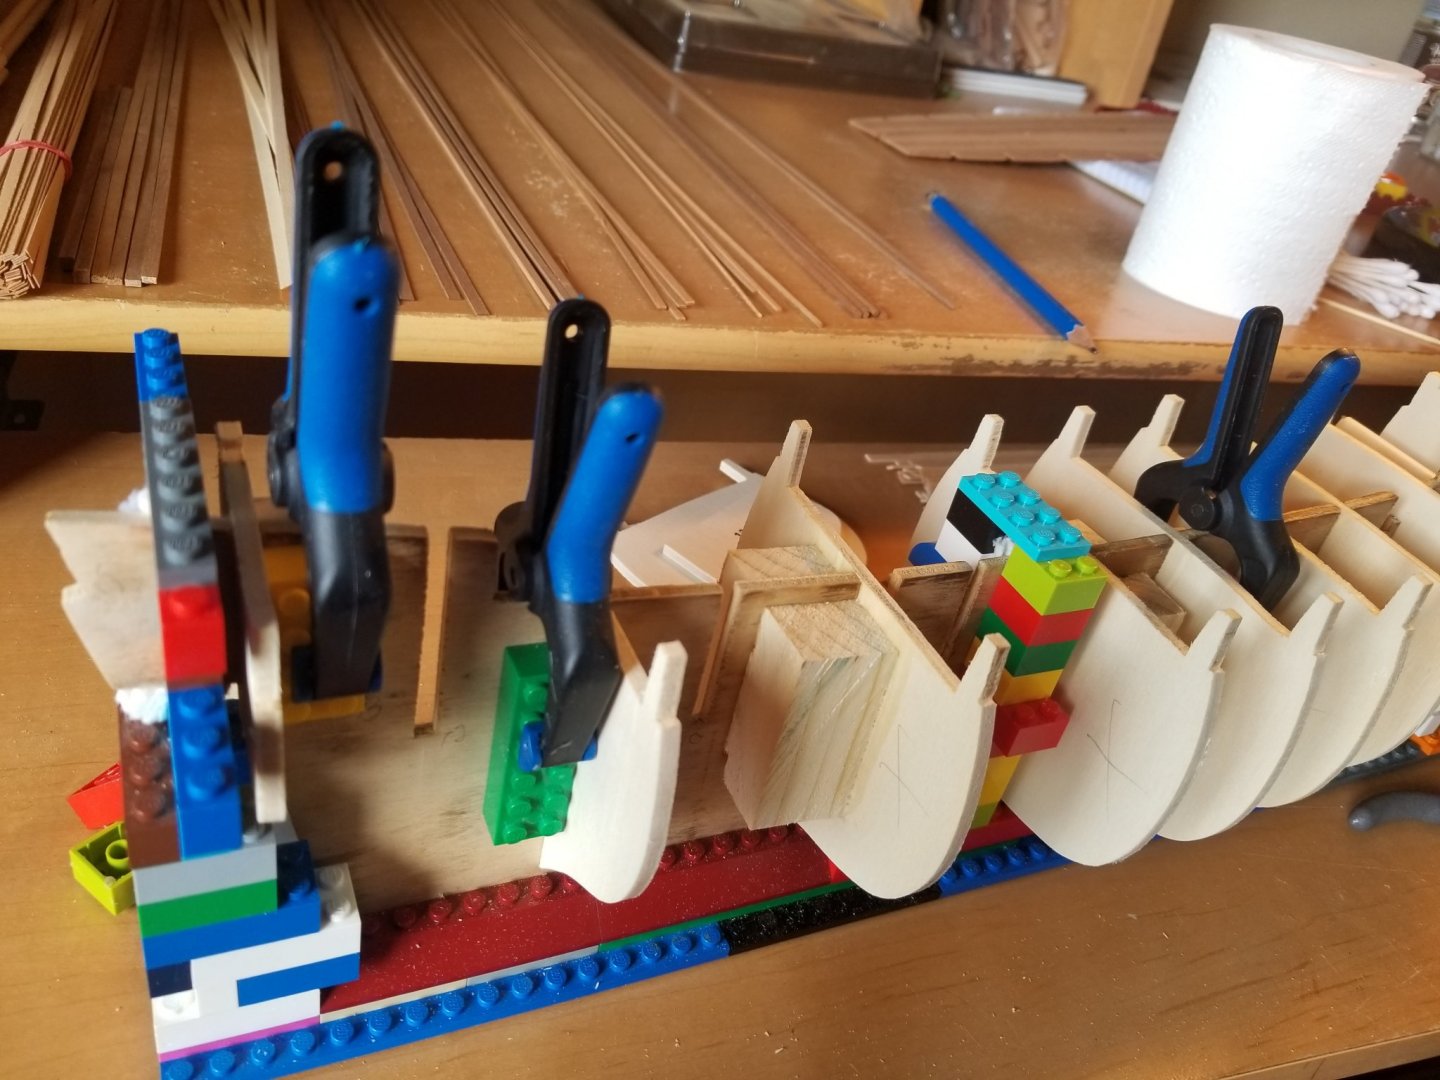
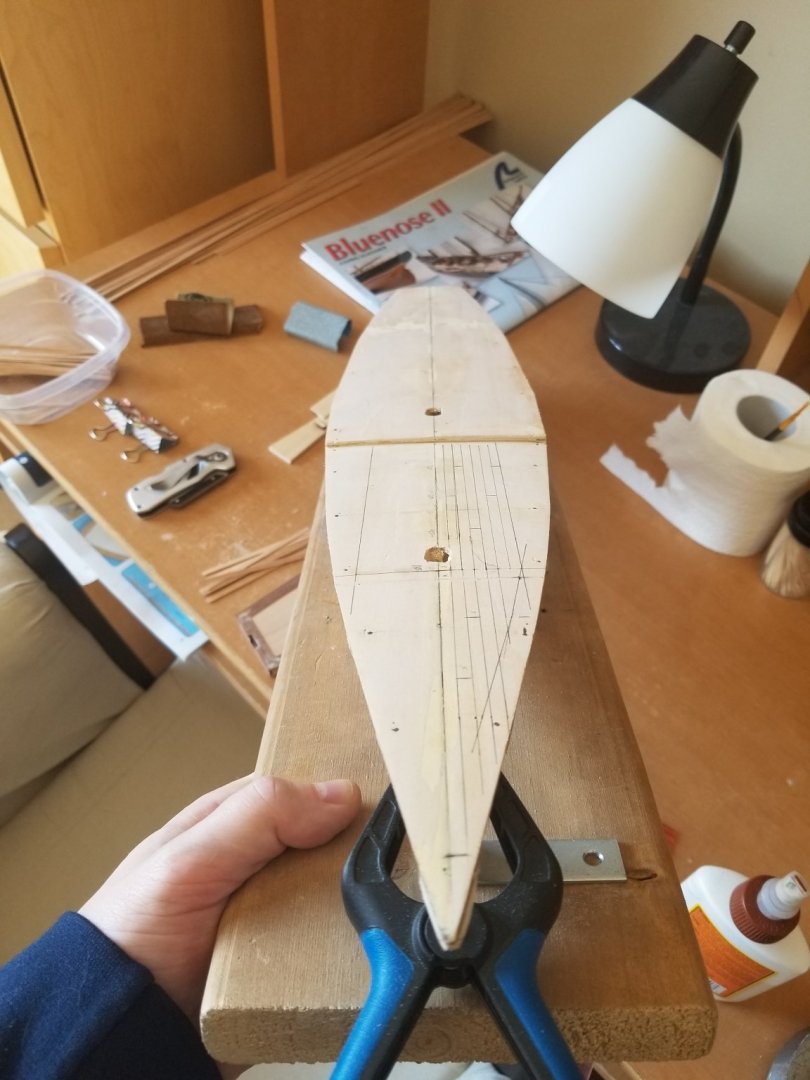
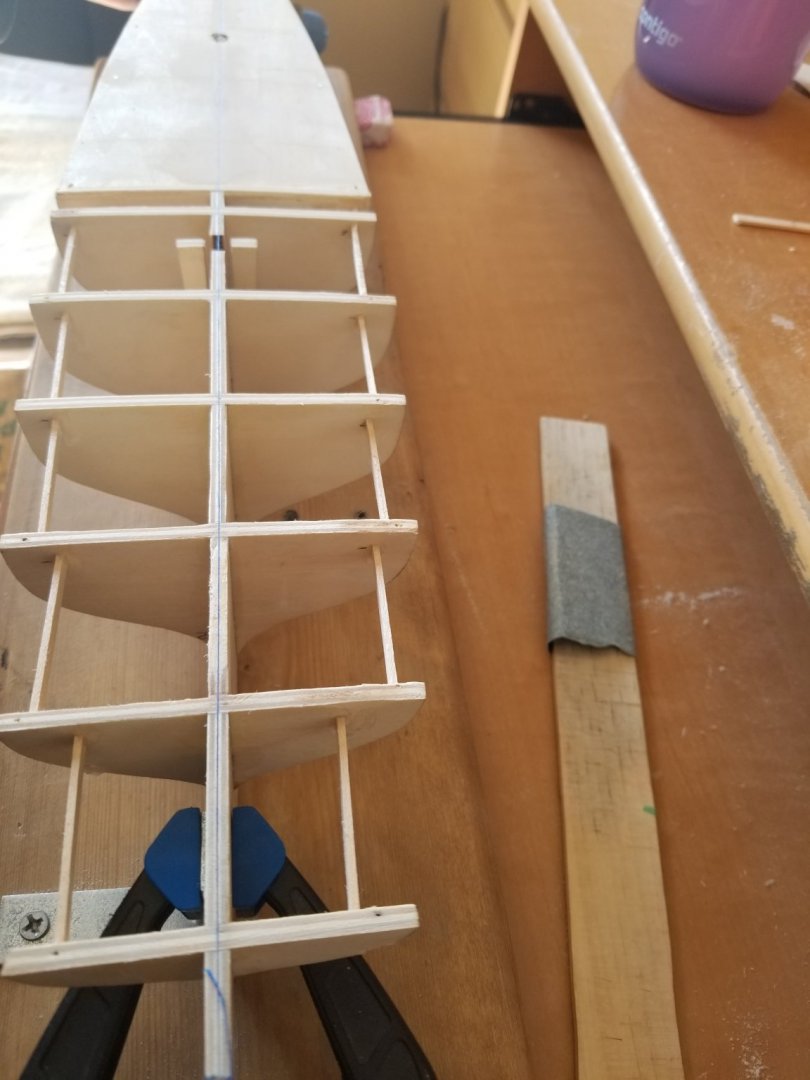
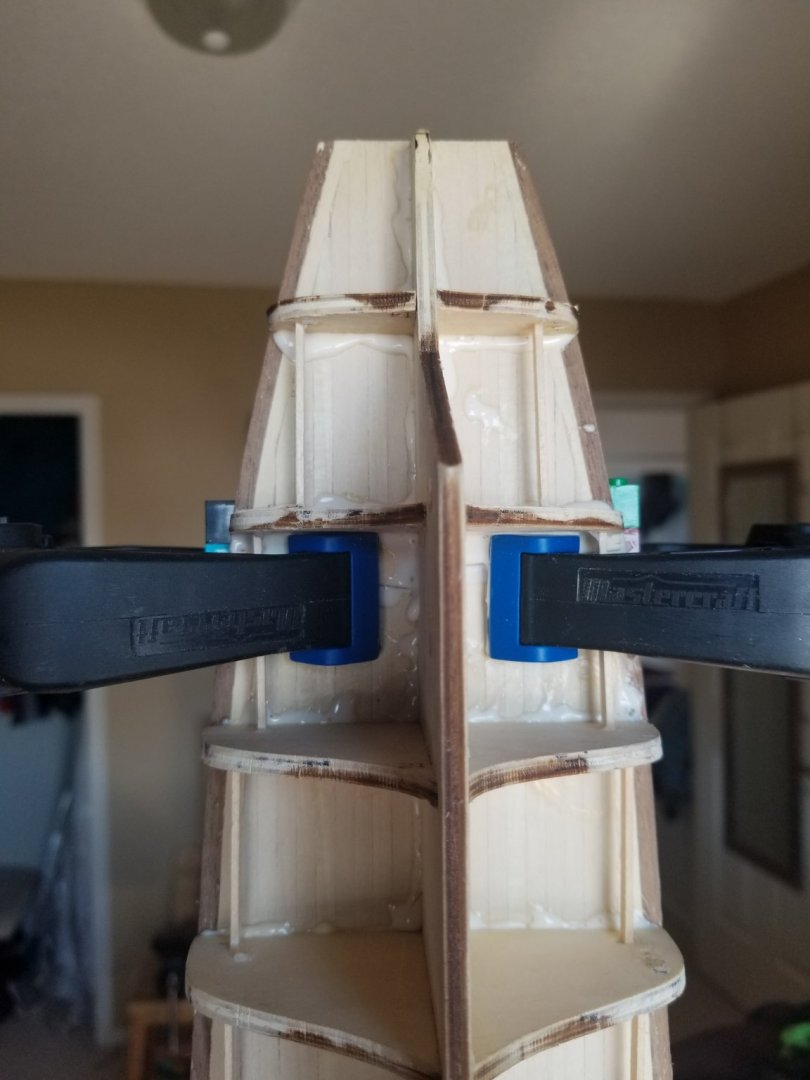
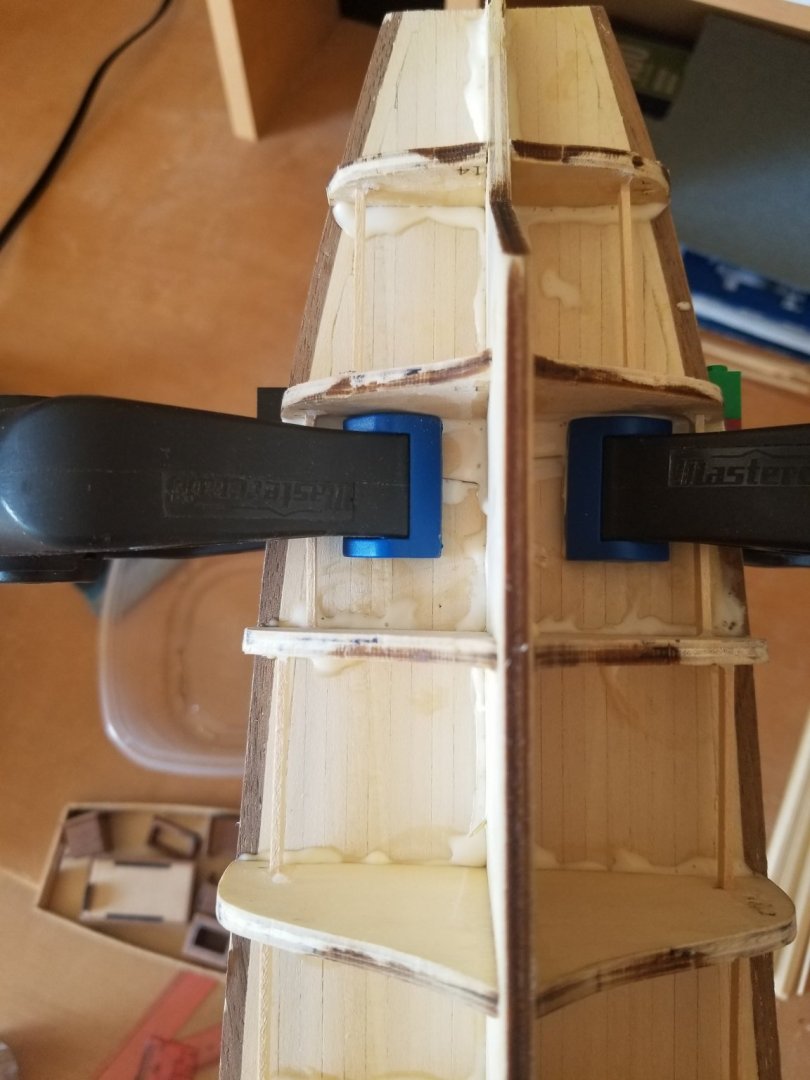
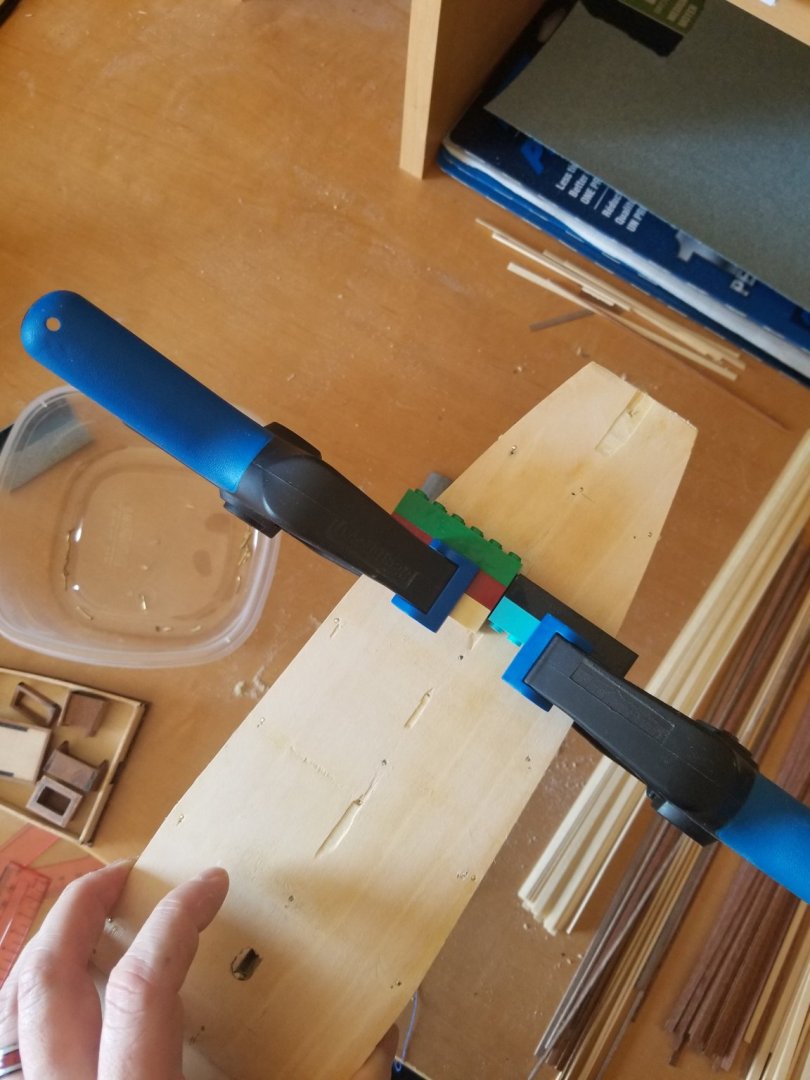
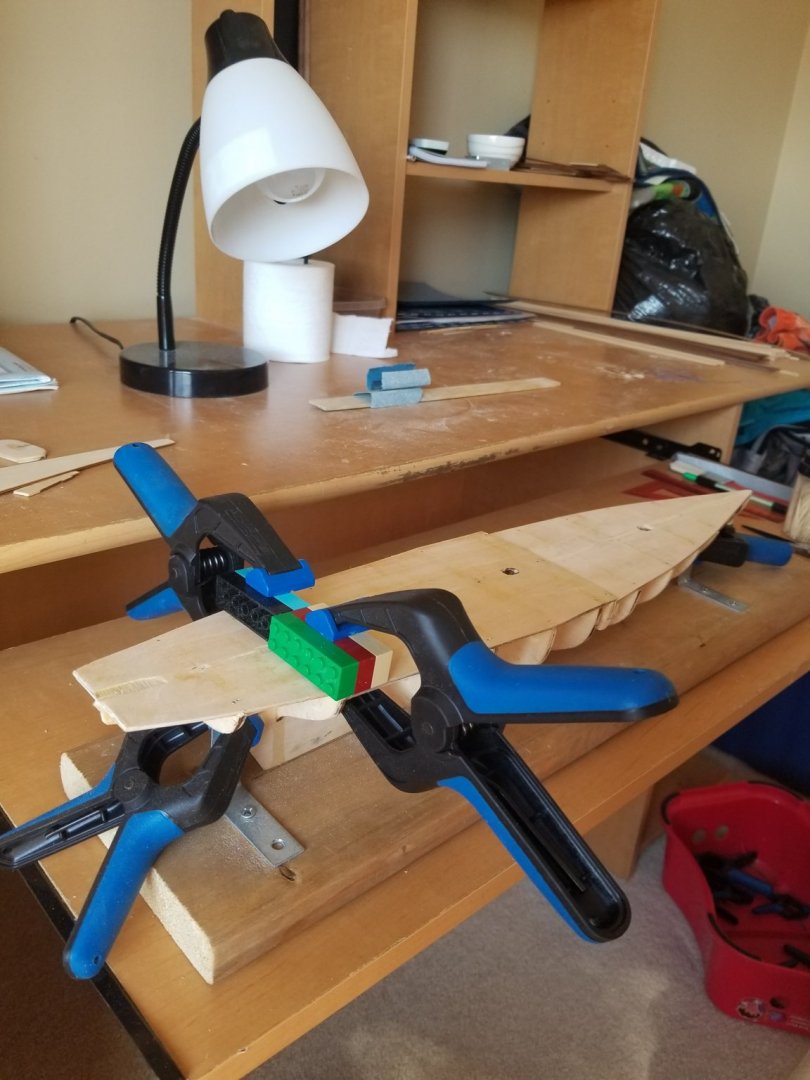
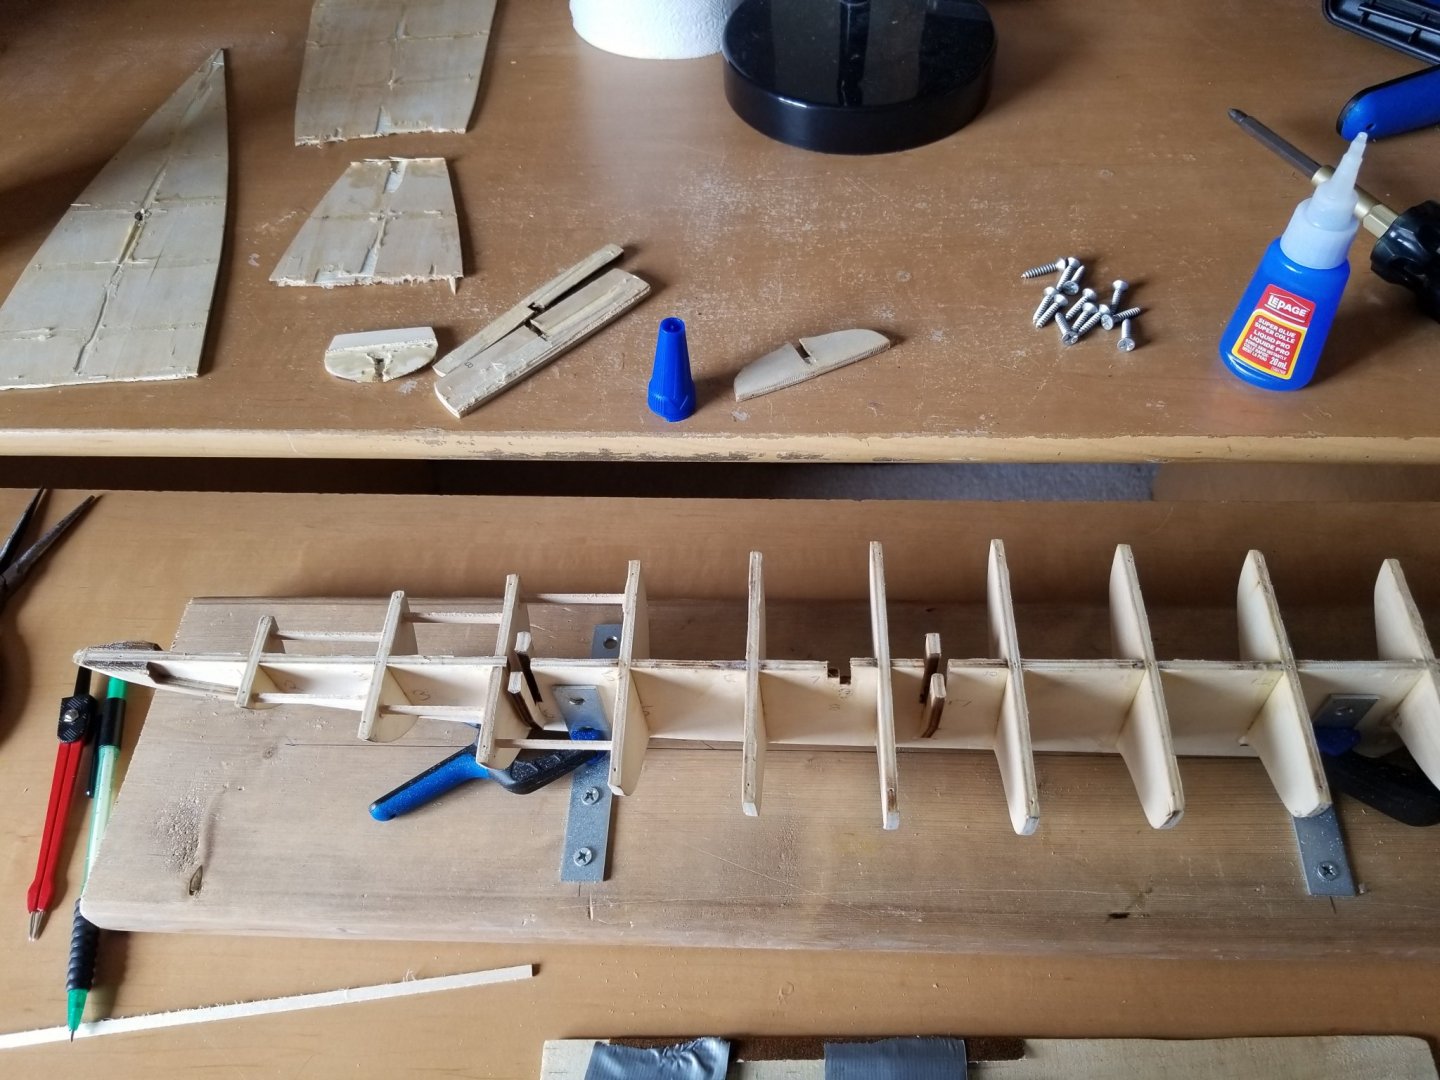
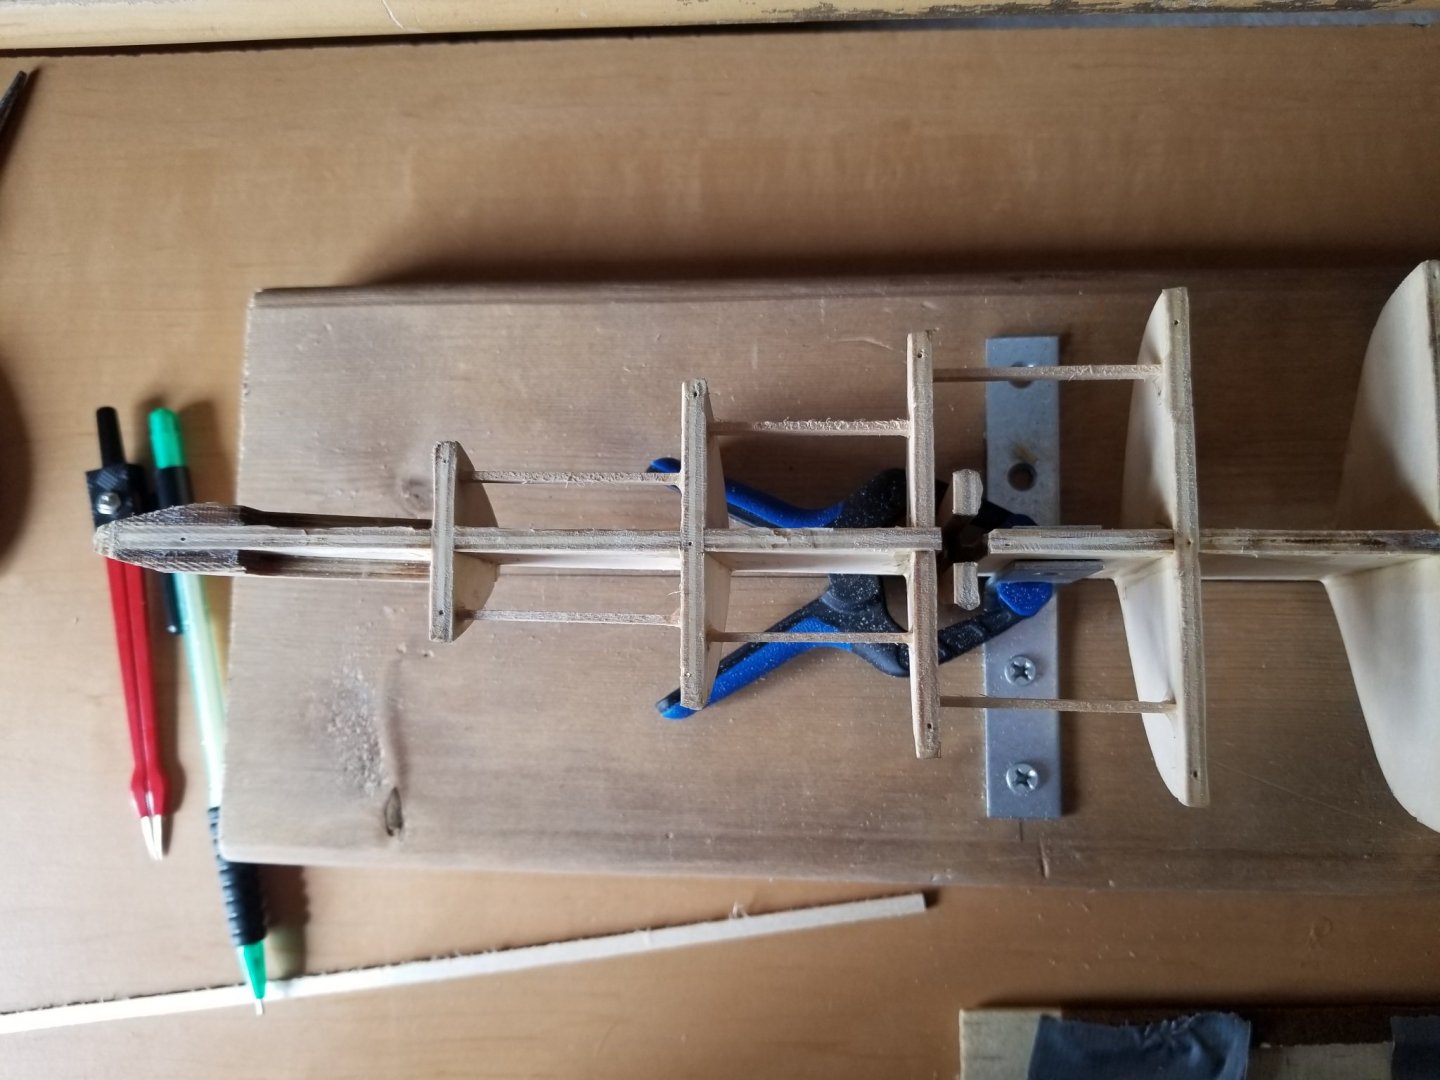
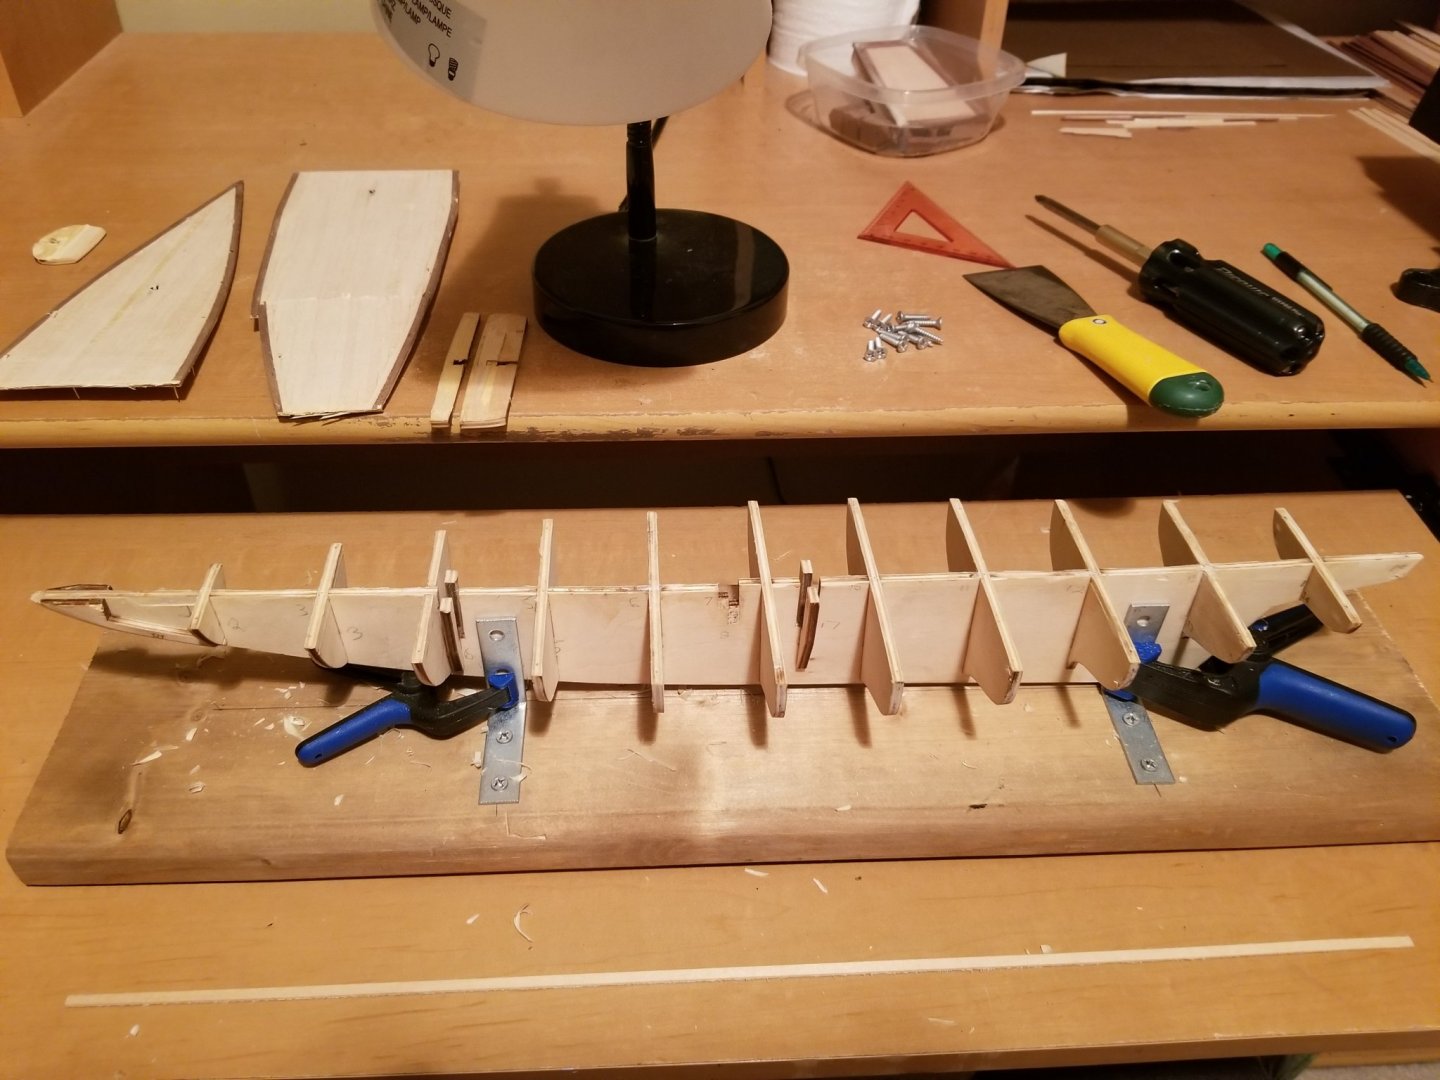
To get everything lined up and square I added some cribbing, for lack of a better term. Last time i had used the Lego trick and it didn't look good to me after I had the decks on.
- 14 replies
-
- bluenose ii
- artesania latina
-
(and 1 more)
Tagged with:
-
Ahoy all! As was mentioned to me and most new builders, I'm here starting a log of my build. I've already had a few "bloopers" and had to do a hard reset as I wasn't happy with the results. I had the decks on and planked so I hit it with good off (perfect name for a product) to unglue things. It did the trick... didn't work on the nails tho.
- 14 replies
-
- bluenose ii
- artesania latina
-
(and 1 more)
Tagged with:
-
Thanks for the wonderful post on clubs Feathermerchant, i never thought there would be such a thing. Finding people with similar interests is always a welcomed endeavor.
-
Thanks for the replys and thank you BobG, I still need to get my ducks inline but i do hope in starting a build log soon enough and going slow and steady does wins out in the end like you say. Old army saying "slow is fast and fast is slow", i did try and rush a little out of the gates and i'm paying for it now... lesson #1 of the journey.
-
Thanks Heronguy for the reply. I was a little leery to buy from the sponsors but i've been told i can be jaded at times so it might be a me issue hehe; I'll make it a point go over them to place my orders in the next day or so. I never heared of Crafty Sailor and will get in touch with them as well, especially if they are within range! I really am thinking about starting a build log as i do see the benifits to it, especially this being my first go at wooden ships and model building in a very long time.
About us
Modelshipworld - Advancing Ship Modeling through Research
SSL Secured
Your security is important for us so this Website is SSL-Secured
NRG Mailing Address
Nautical Research Guild
237 South Lincoln Street
Westmont IL, 60559-1917
Model Ship World ® and the MSW logo are Registered Trademarks, and belong to the Nautical Research Guild (United States Patent and Trademark Office: No. 6,929,264 & No. 6,929,274, registered Dec. 20, 2022)
Helpful Links
About the NRG
If you enjoy building ship models that are historically accurate as well as beautiful, then The Nautical Research Guild (NRG) is just right for you.
The Guild is a non-profit educational organization whose mission is to “Advance Ship Modeling Through Research”. We provide support to our members in their efforts to raise the quality of their model ships.
The Nautical Research Guild has published our world-renowned quarterly magazine, The Nautical Research Journal, since 1955. The pages of the Journal are full of articles by accomplished ship modelers who show you how they create those exquisite details on their models, and by maritime historians who show you the correct details to build. The Journal is available in both print and digital editions. Go to the NRG web site (www.thenrg.org) to download a complimentary digital copy of the Journal. The NRG also publishes plan sets, books and compilations of back issues of the Journal and the former Ships in Scale and Model Ship Builder magazines.

