HOLIDAY DONATION DRIVE - SUPPORT MSW - DO YOUR PART TO KEEP THIS GREAT FORUM GOING! (Only 13 donations so far - C'mon guys!)
×


drumgerry
-
Posts
96 -
Joined
-
Last visited
Content Type
Profiles
Forums
Gallery
Events
Everything posted by drumgerry
-
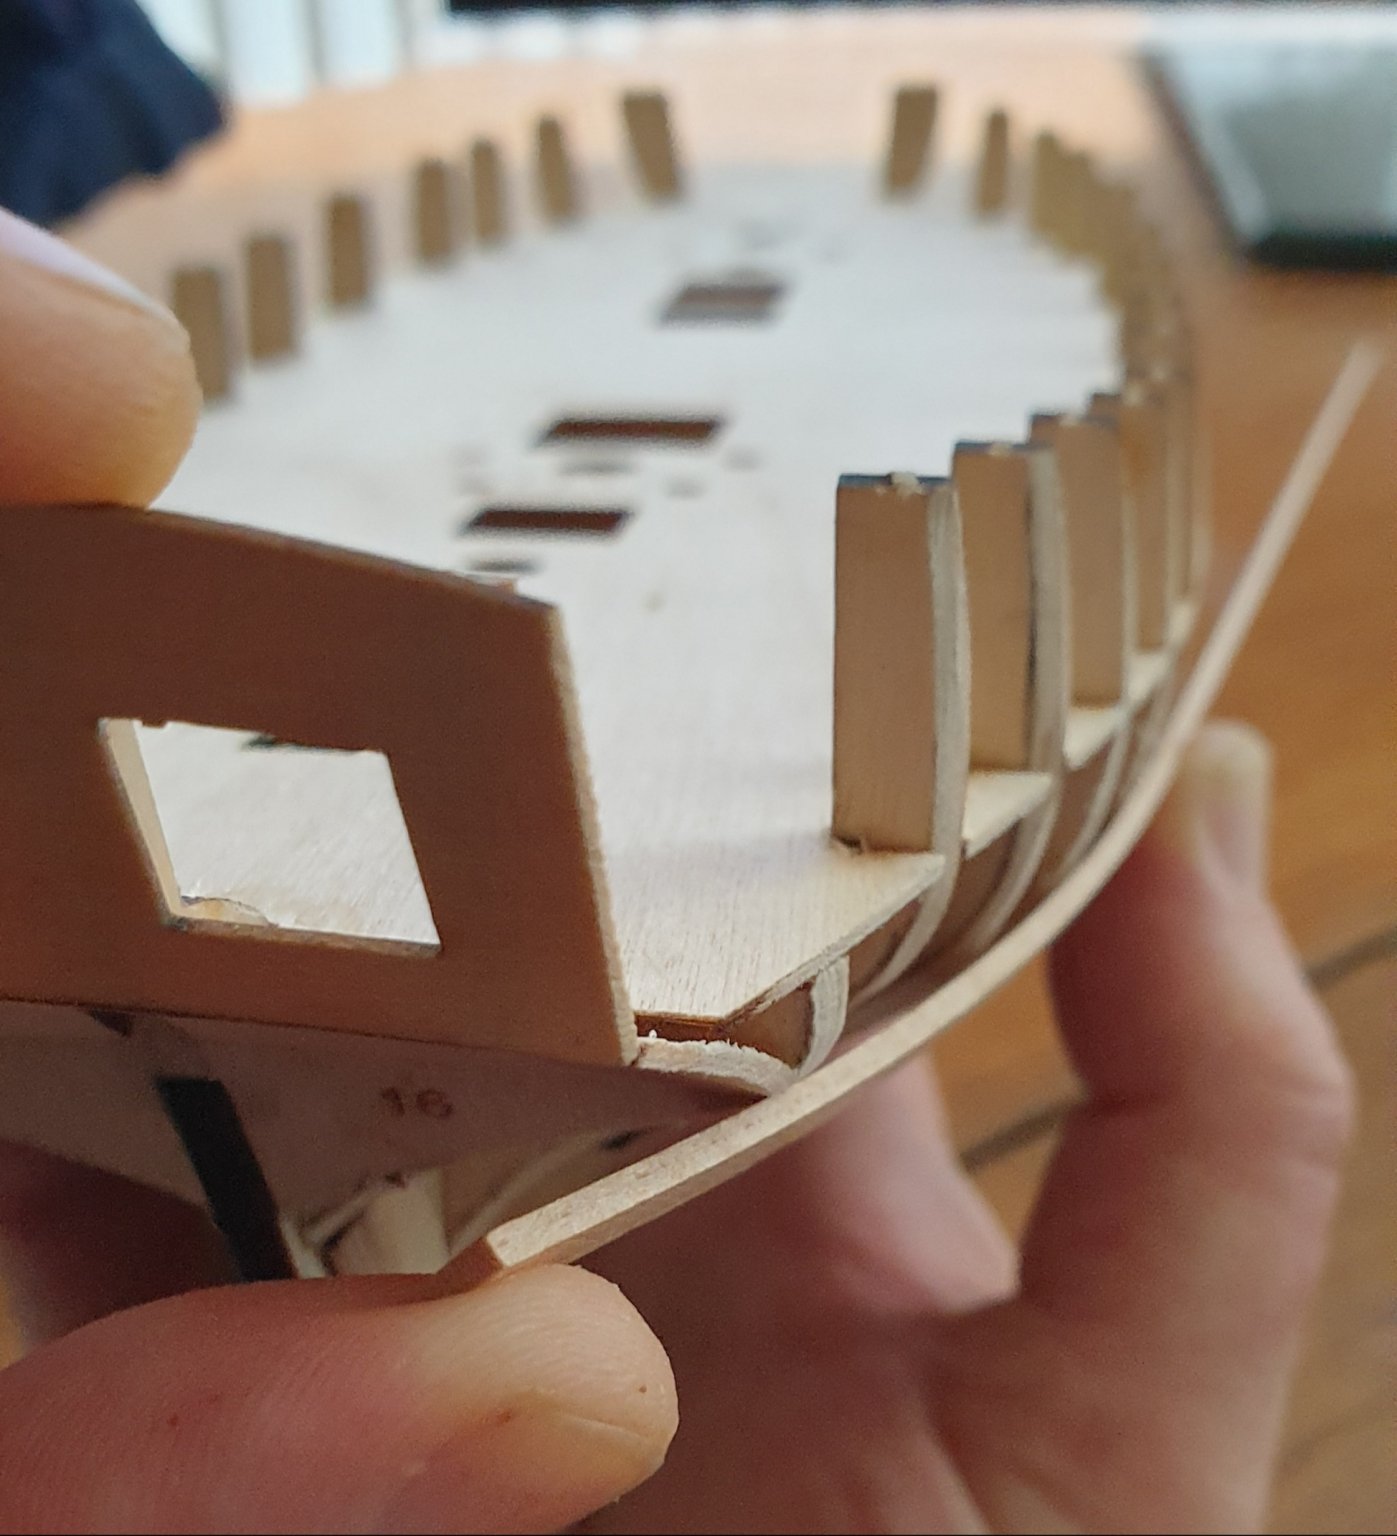
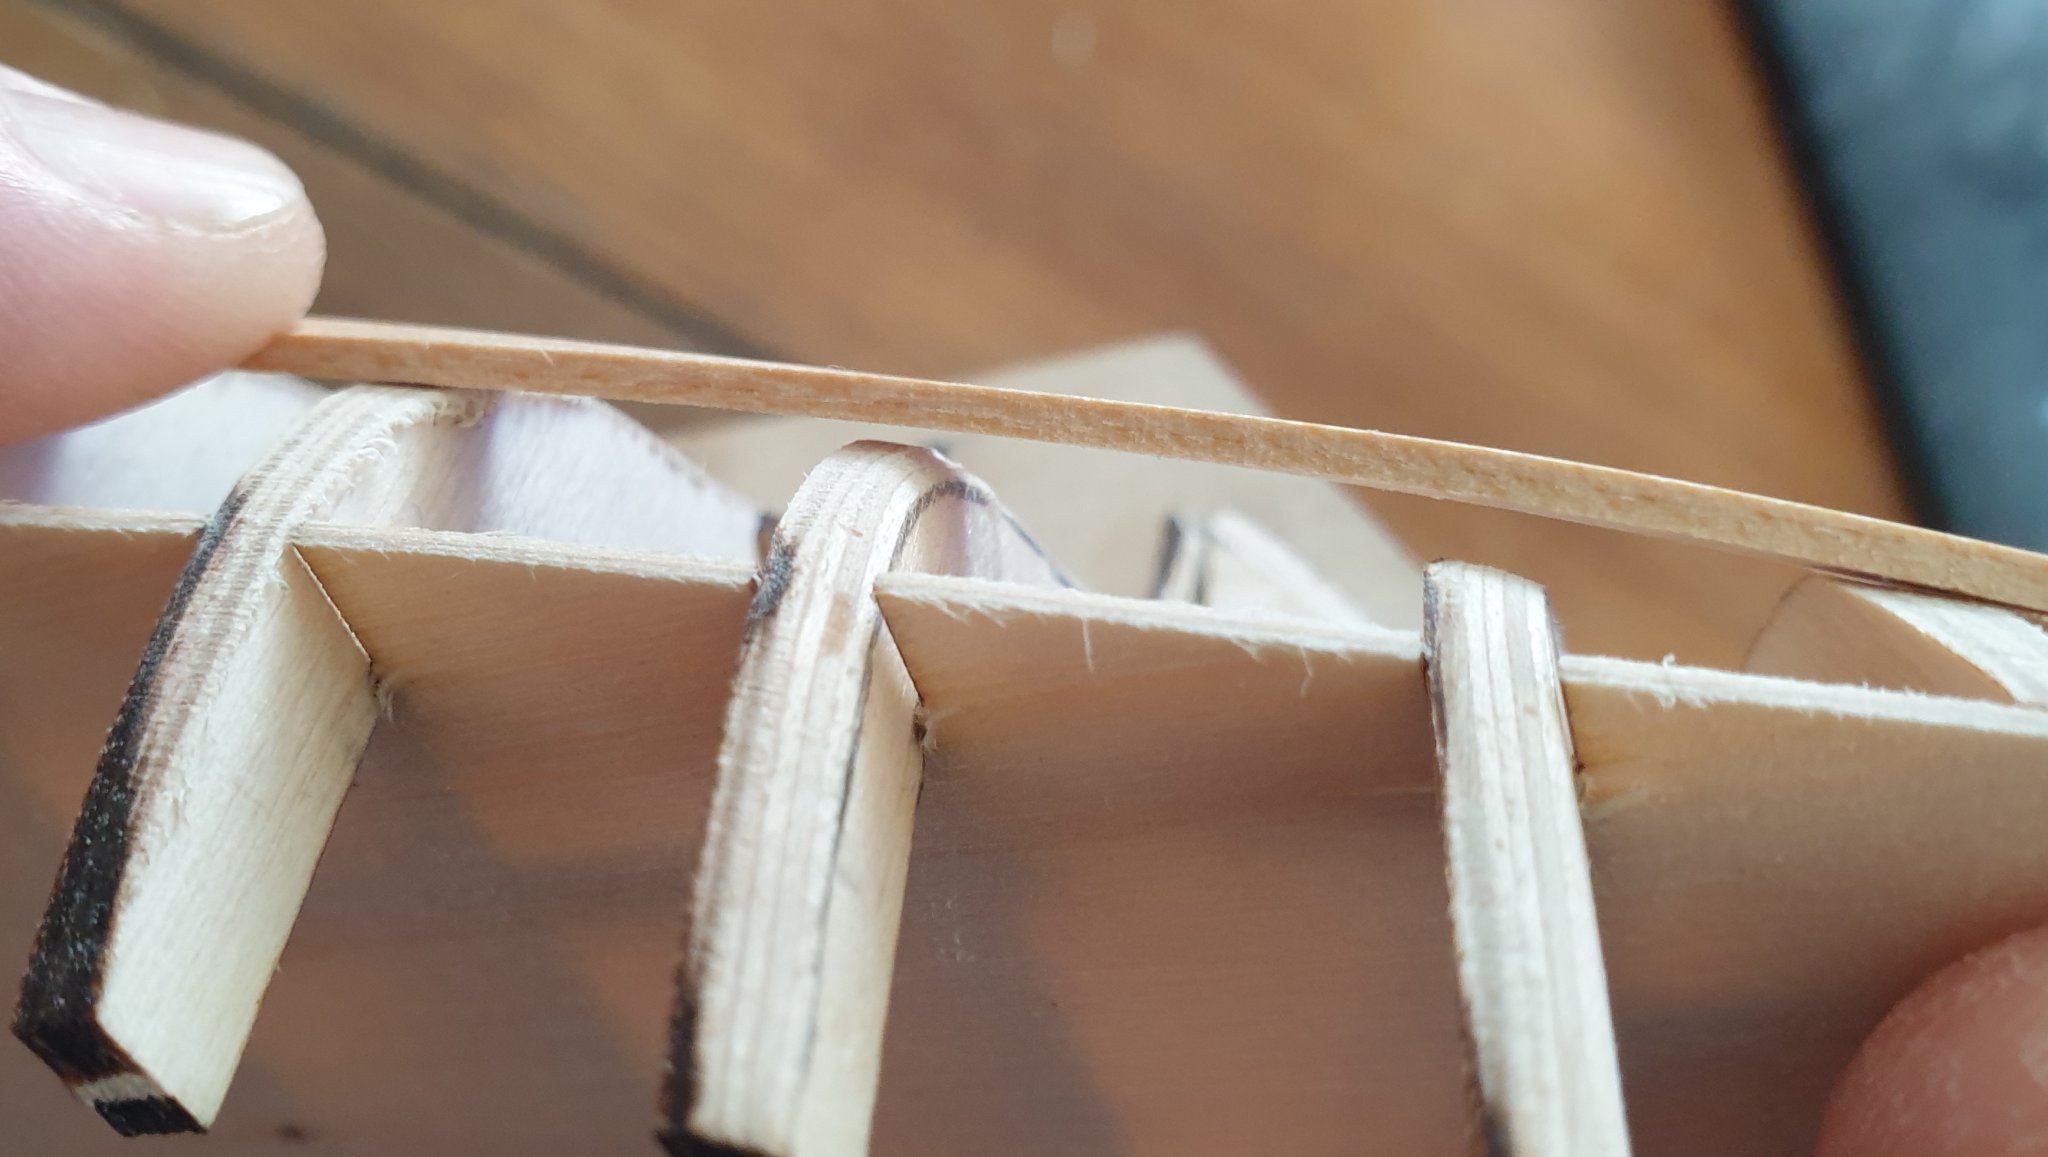
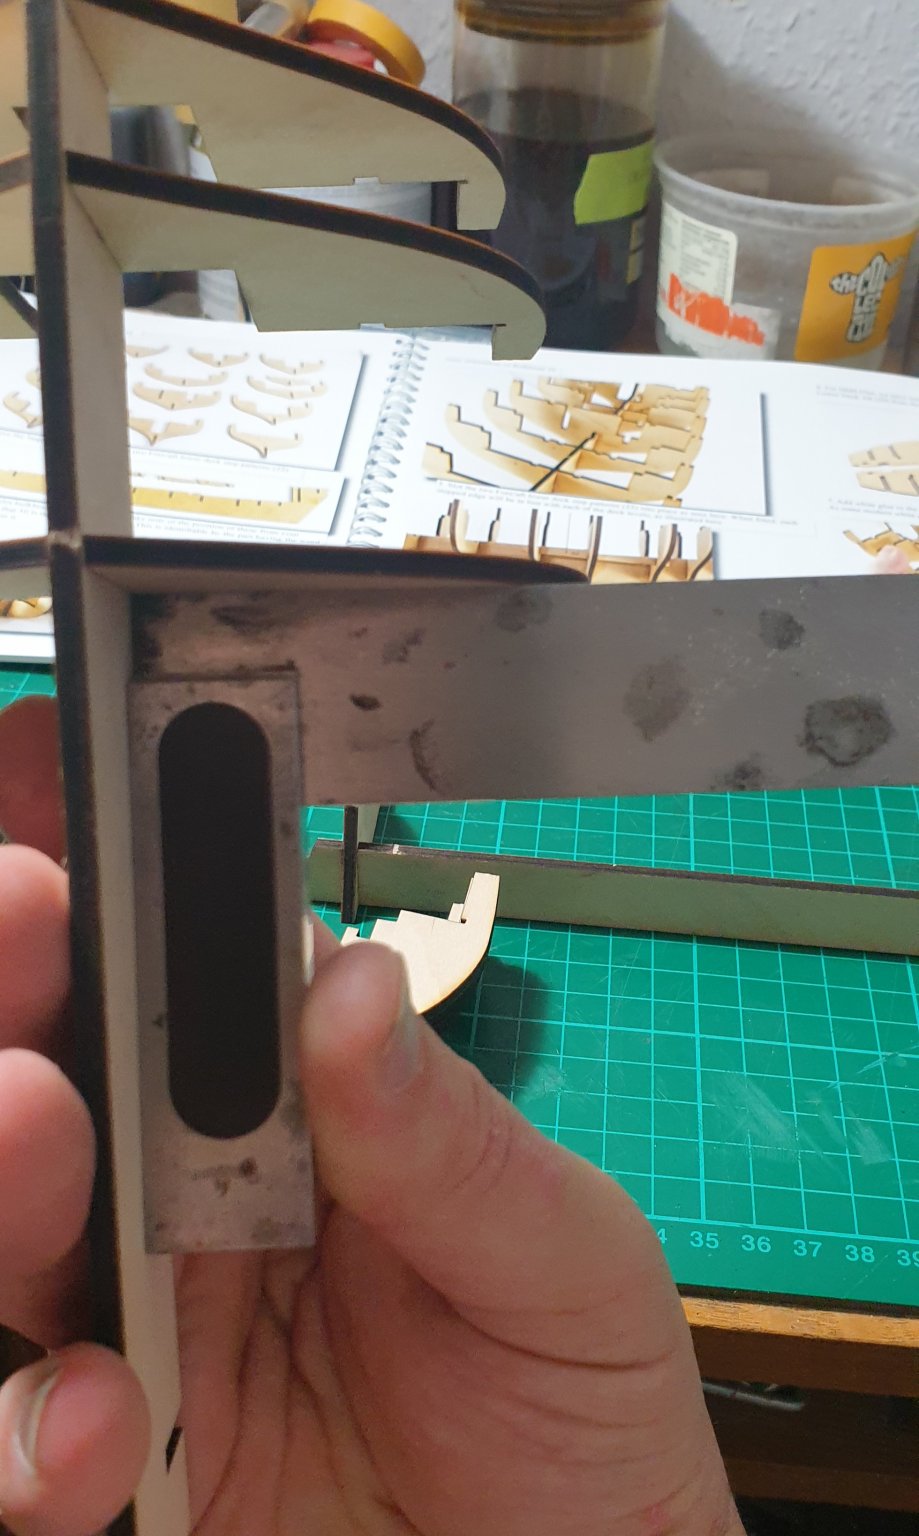
Gap looks enormous in these pics but in reality it's about the same as the width of the kit's lime planks.

-
Houston do we have a problem? I'm making a start on fairing the hull - it's very early days. Working on the stern bulkheads for a few minutes and on checking with a plank noticed this..... I appreciate its not a great pic and the plank is bulging out slightly but I think it conveys what I think might be the problem. There's a gap of almost 2mm over bulkhead 14. I haven't done much sanding so far and maybe I'm worrying about nothing but it's going to take a lot to close that gap. Is it reasonable to be seeing gaps like this at the start of fairing? Or should I be thinking about building that bulkhead up with some veneers or something? In terms of diagnosis I wondered if maybe I hadn't fully pushed that bulkhead down far enough during assembly but I measured how far above the deck the bulkhead extension tabs are sticking and it's the same as adjacent bulkheads. Apologies for the newbie question.

-
For sure Glenn! I hope nothing I said came across as a complaint because I really am loving the build and the manual is top notch.
-
I feel in my heart of hearts Glenn that maybe the keel doesn't really need a part number 😁. Or maybe it could get a letter or a roman numeral or laser etched letters saying "keel". Oh man I wish I hadn't started this. It really is obvious what is what and what goes where. Me and my big mouth haha! Chris you are right of course. It just struck me slightly that I was gluing parts between bulkheads 2 and 3 which had a 3 and 4 etched on to them. I'll slink back into my corner now.... Gerry
-
No need to try harder James! The manual is superb. As a beginner I couldn't begin to take this on without something as good as that to help.
-
Sorry James! Like I said I have a former newspaper editor peering over my shoulder whenever I'm writing anything important and she wouldn't have let that through. The pictures are fab though as is 99.99% of the writing 👍
-
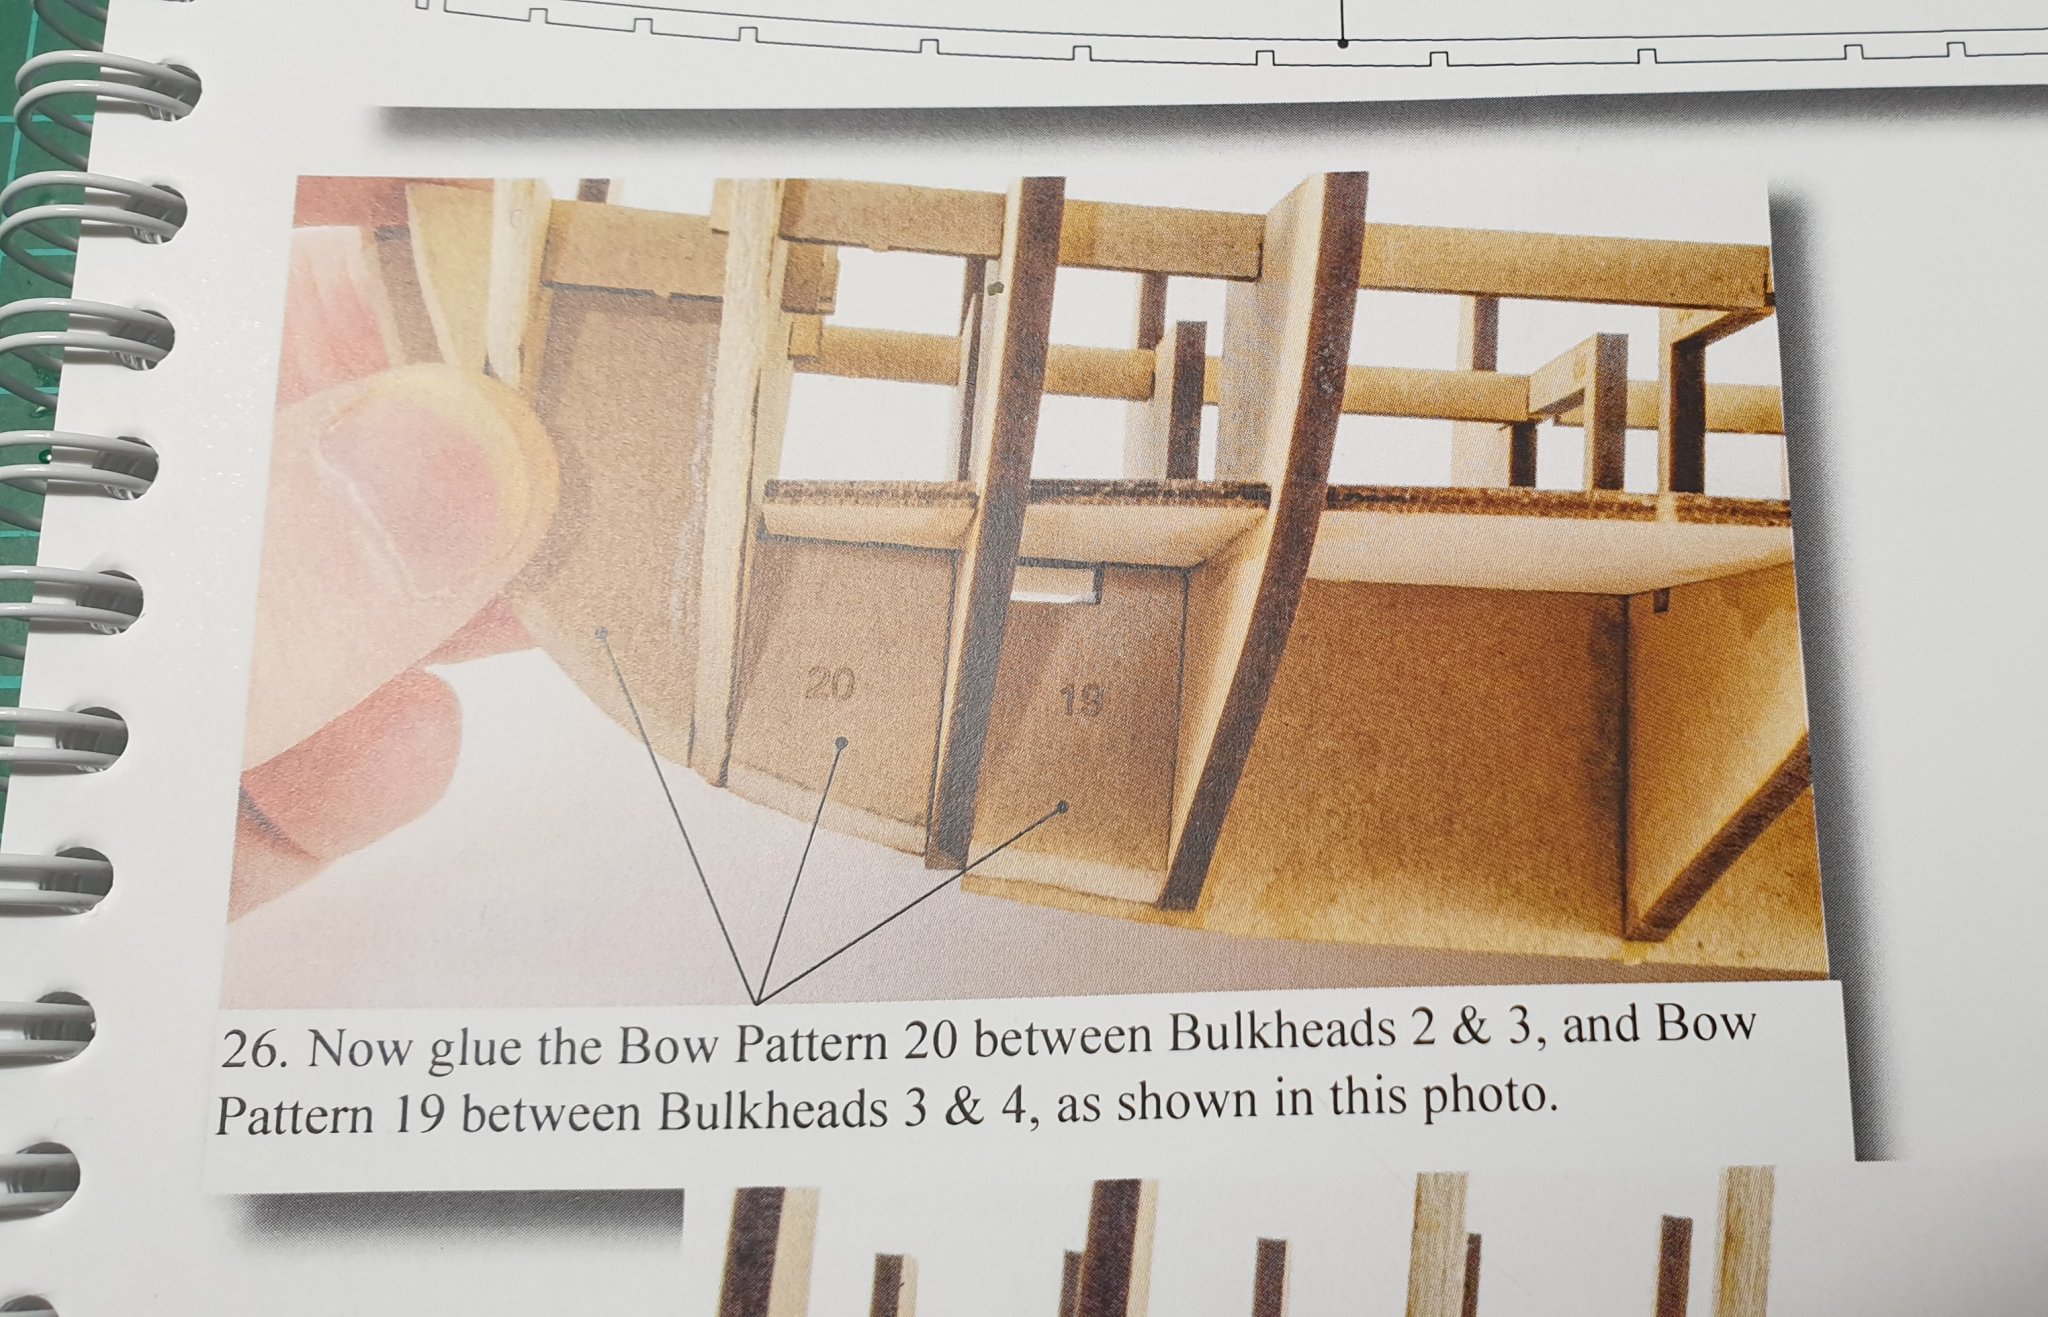
And part no 20 on Flirt goes between the second (part number 3) and third (part number 4) bulkheads! So yep not a mistake as such but an un-necessary muddiness. It might be simpler in the manual if the bulkheads were labelled 1 onwards rather than 2 onwards. I mean it's bleedin obvious where parts 20 and 19 go but for the sake of simplicity in the manual I'd be inclined to change it.
-
A wee bit of progress. Still working on the framing for the upper deck. Think I've spotted a mistake in the instructions as well. Not a big one but still a mistake. The manual should read (I think) between bulkheads 3 and 4 and between bulkheads 4 and 5. The false keel itself is given number 1 in the parts so the first bulkhead at the bow is number 2. Please forgive me for such pedantry as I live with an editor so it's not really my fault! Gerry

-
Except that I'm guessing you need your timber pretty much planed all round and of the correct thickness to start before you can start ripping strips off it? Thanks Geowolf. Determined to finish it for sure. I'll be sure to check out your planking posts. Gerry
-
Pre-bevelling bulkheads 2 and 3 and associated parts. Having to be careful to support the ply across the thinner areas to prevent flexing and to prevent a repeat of the above.

-
Hmmm...perhaps I can see a Byrnes saw in my future. Looks the business. The problem I have is I can process relatively large scale timber down to as small as I need it using the kit I already have so when the time comes and I have money burning a hole in my pocket I'll probably buy something else! But I could see that Byrnes saw being useful for cutting fret slots on instrument fingerboards as well so who knows.... Thanks Sjors! Yep I'll be sure to watch out for those. I have noticed people having to take care with them on the Speedy builds. Gerry
-
It's pretty rock solid now Glenn. Like you say stronger than before.. Re the boxwood I feel you need a thickness sander in your life! Sawn planks surely need tidying up after ripping even if they're close to final thickness?
-
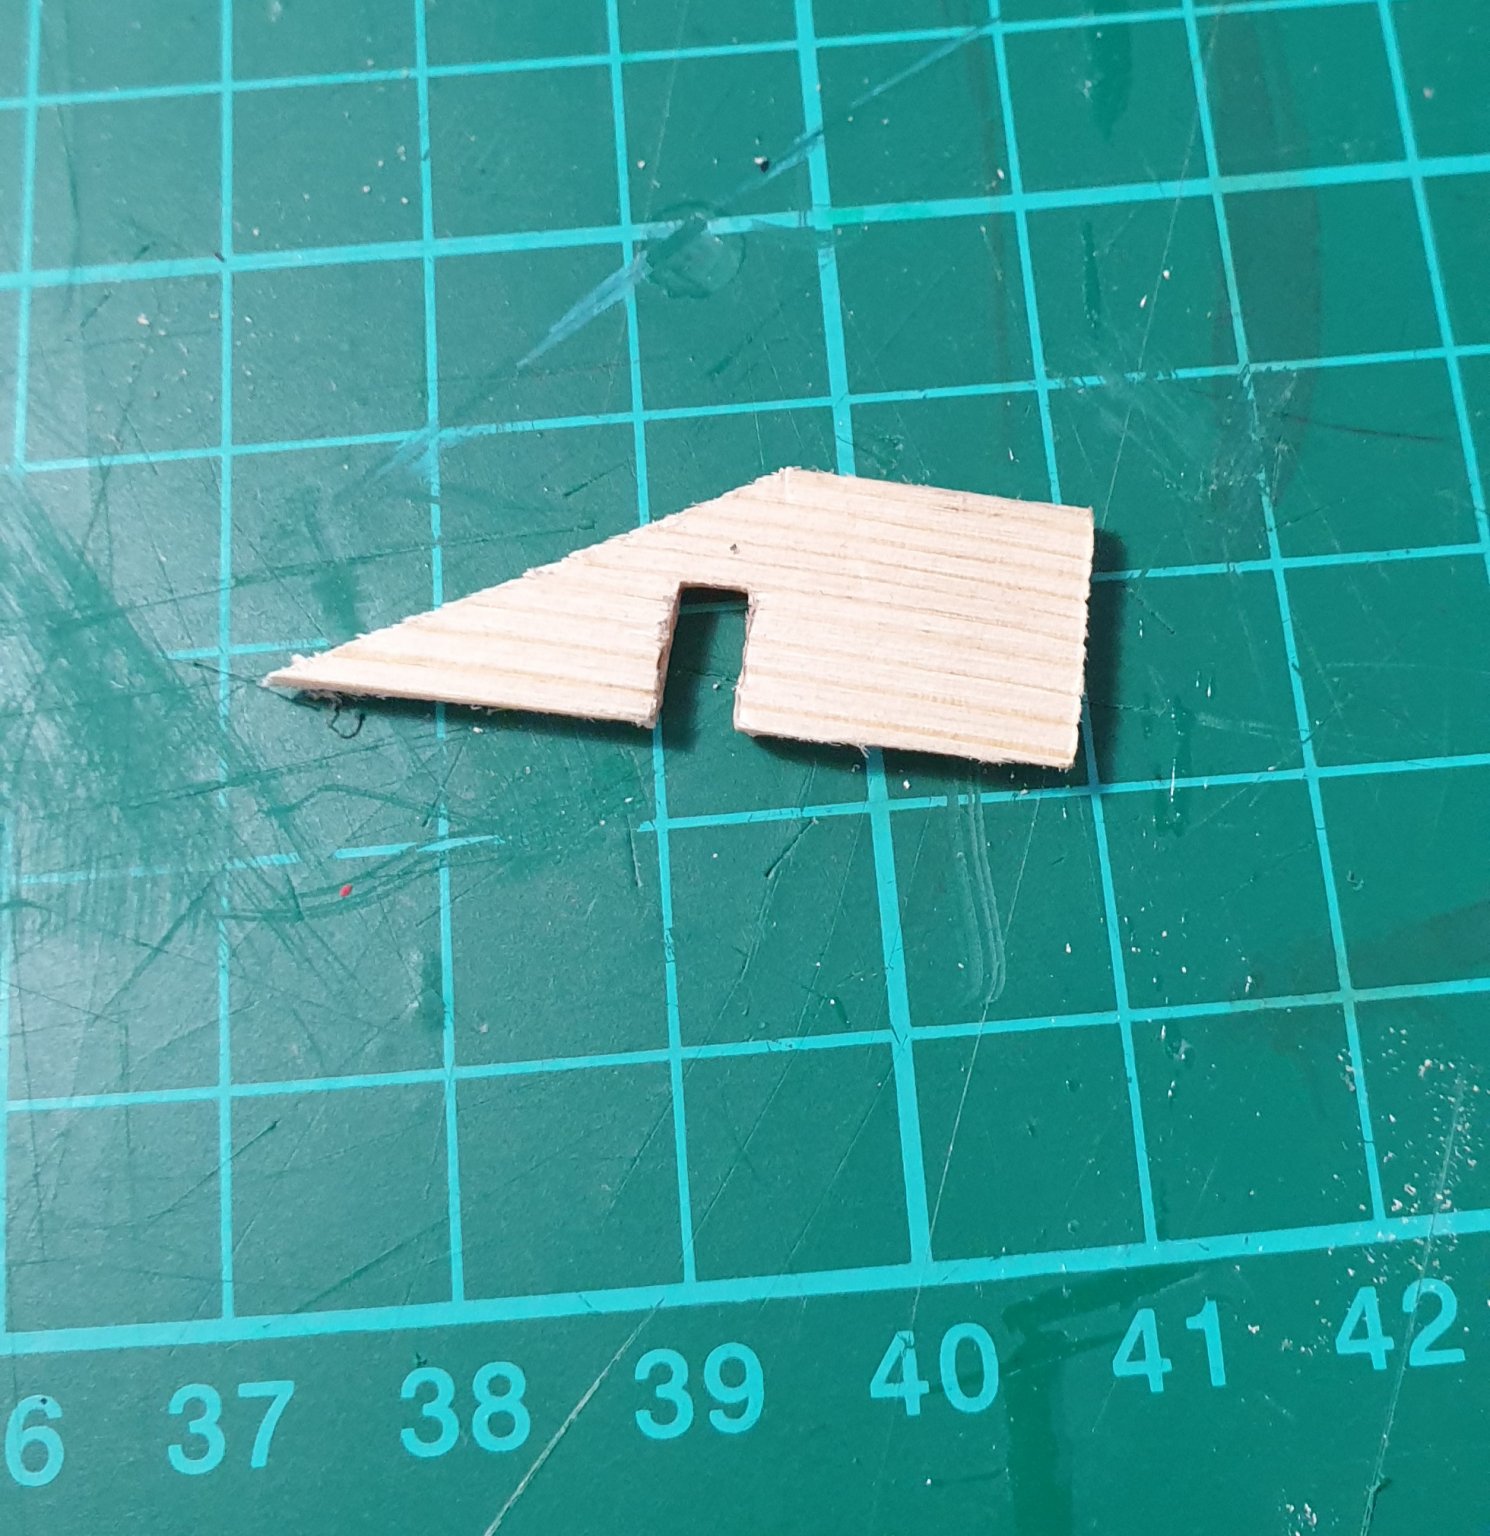
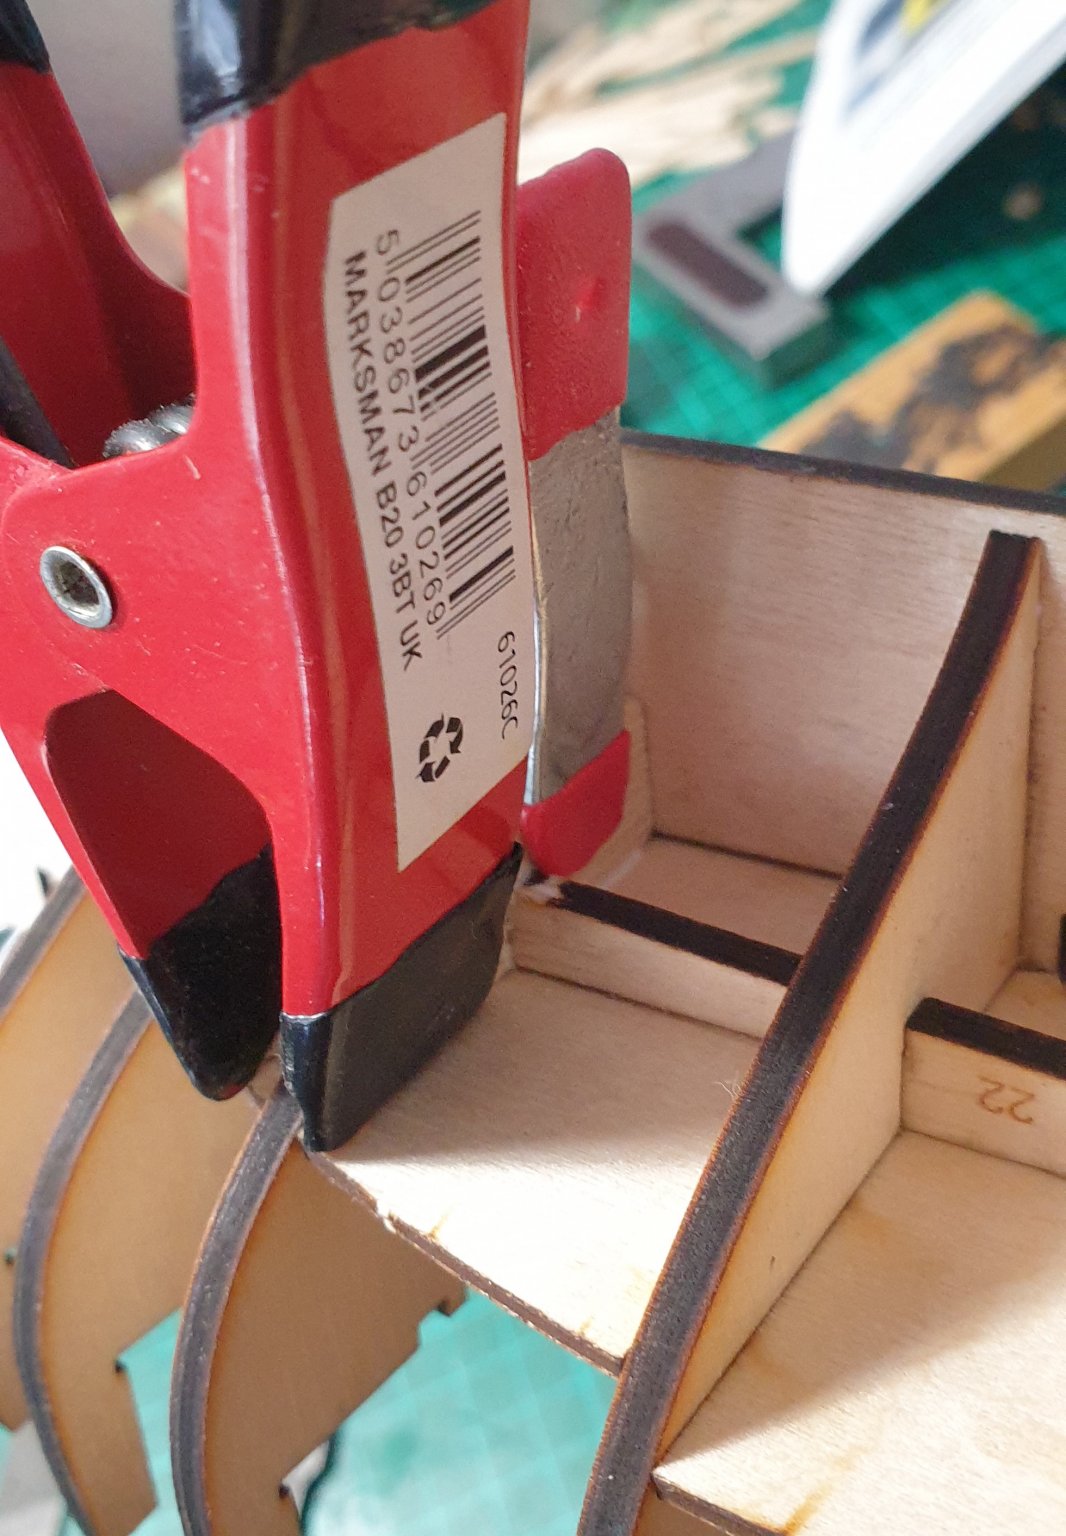
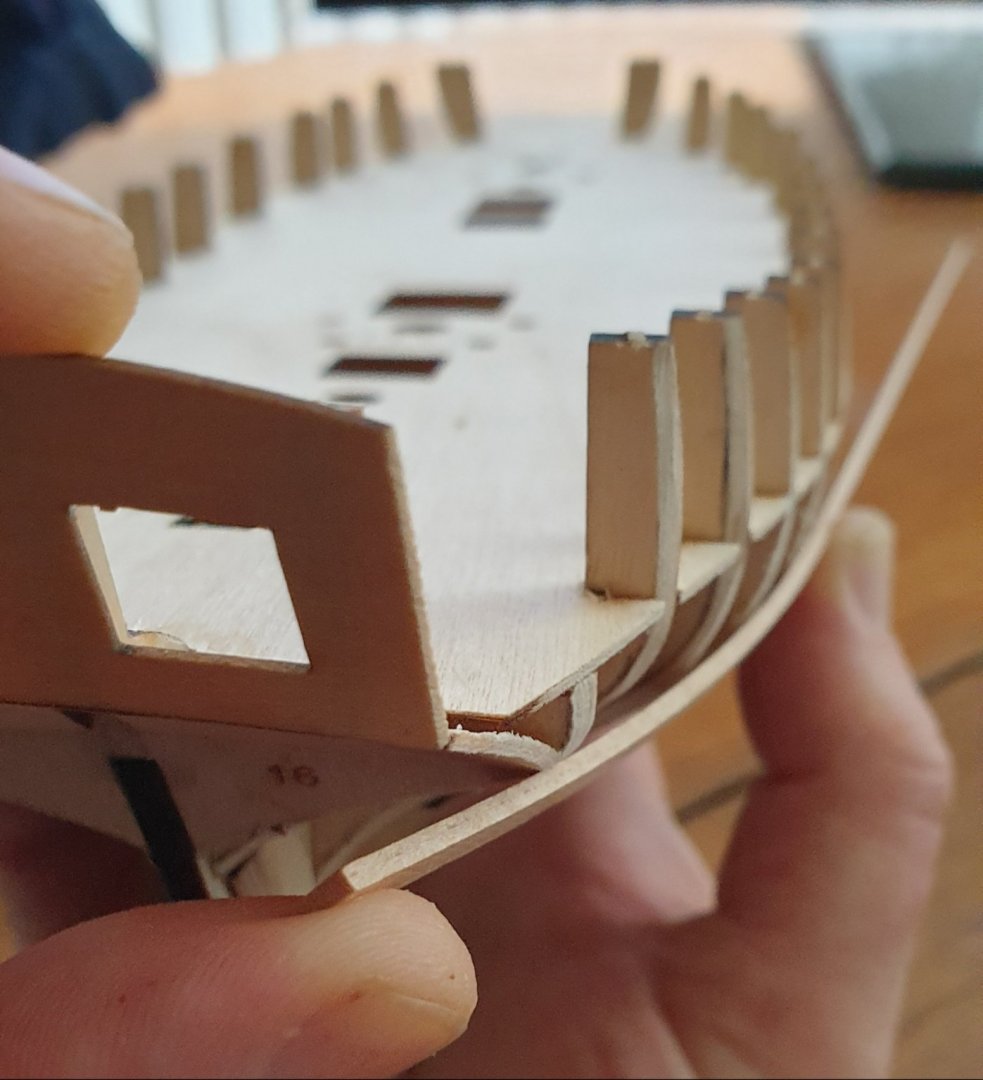
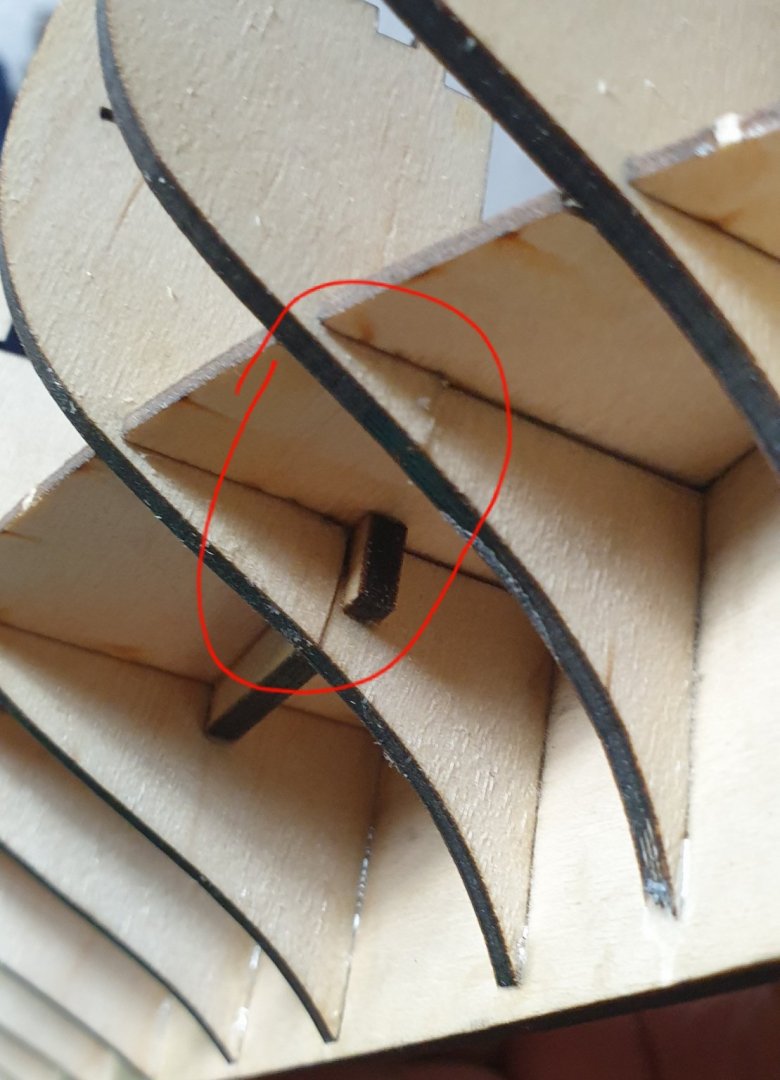
I didn't properly notice whilst I was assembling the bulkheads to the false keel but bulkheads 11 and 12 don't have that much material in the area where they join with the lower deck. The lesson is to take more care and not rush ahead. It's a lesson I've been taught in other fields many times (I literally have the scars to show from it) and now it's the turn of model ship building to teach me it. The best you can hope for is to come out of the lesson with no real damage done and I think I've lucked out in this instance. I've also lucked out Derek in that it's not in an area that will be seen!
-
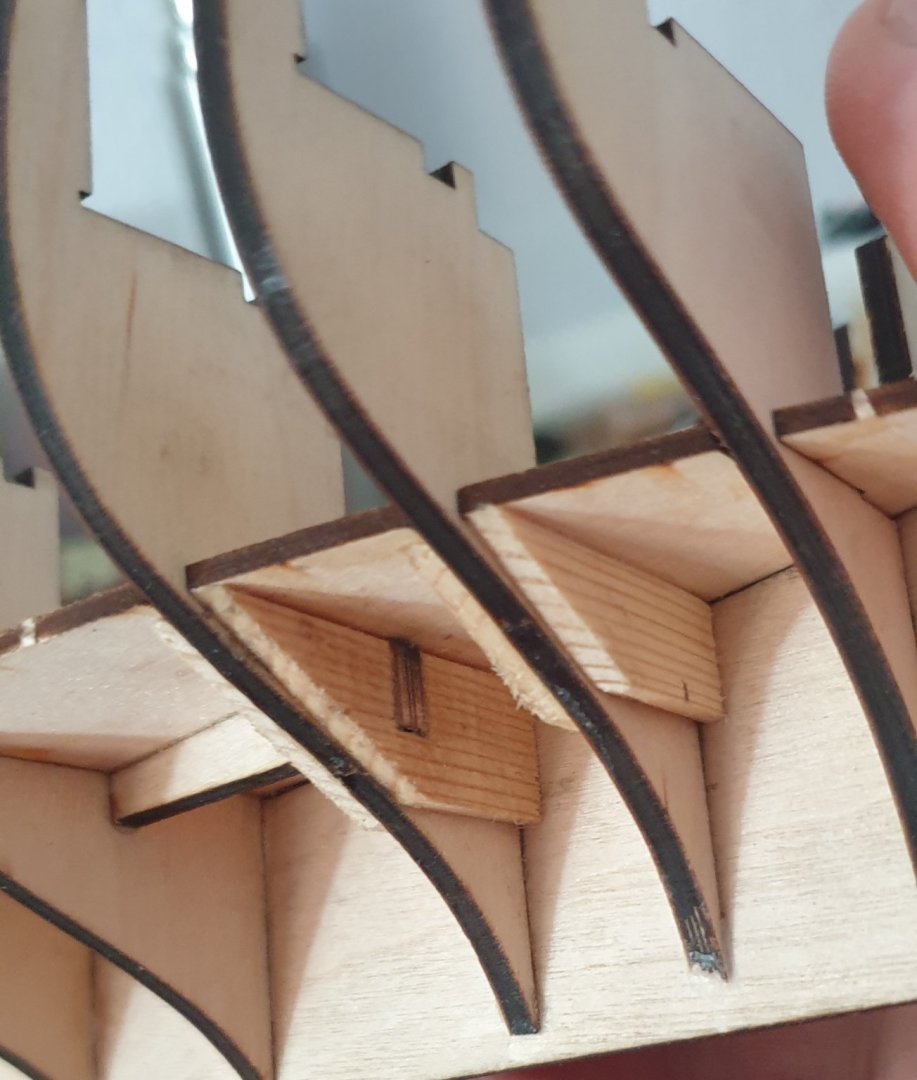
Found this if it's of any interest. https://www.rarewoodsusa.com/product/boxwood-castello-9/ Hopefully my build log will be of some use to someone - maybe only as a warning of how not to do it if my latest efforts are anything to go by. Yep, made my first big mistake. Fitting the back sections of the lower deck I broke the sides of two of the bulkheads. Yikes! Too much force applied in the wrong direction. Entirely my own fault and down to me to fix it as best as I could. This is after I had reglued the two broken sections. But it clearly wasn't going to be sufficiently strong like that. Decided to apply some of my musical instrument building know how for the fix. Found some scraps of close grained spruce with grain direction perpendicular to the plywood bulkheads and made two little brace patches for each bulkhead. Glued them with a couple of spring clamps. The end result is pretty solid so I think the bulkheads will be strong enough to take the planking Note to self - try to be less of an idiot for the rest of the build!


-
Thanks for the info Derek and Chris. Vane I'm thinking it'll be simpler to use the false deck (not the laser etched maple deck) and put the boxwood planking on top of that in the same pattern as the laser etched deck. We'll see when we get to that stage! Thanks again.
-
Cheers for that Derek - info like that is pure gold so it's much appreciated. Am I mis-remembering but on Speedy did you use the false deck and as well as the laser etched maple deck before you decided to put boxwood planks on? Or was the boxwood straight on to the false deck? I am going to try the fancy margin plank etc! I'm sure it's just as hard as it looks to get it just right the way you have done. I'll give it my best and learn something in the process and no doubt make a few mistakes. The good thing is I have all that boxwood to make new planks from if I mess up! Thanks again, Gerry
-
Derek your log is a true inspiration so thanks. Timberline is a great supplier. I've used them for years for tonewood for musical instruments. Processing the boxwood for deck planking will be just like processing other timbers for instrument binding. Cut the bigger plank into planks of the right length, cut a slice of almost the right thickness of the width of the model's deck planks, thickness it down to the right width for the deck planks, cut as many lengths of deck planks off of that and thickness them down to the right thickness for the deck planks. If I don't put the boxwood on top of the laser etched maple deck do you reckon I could use planks of 0.75mm or even 1mm thick and still not interfere with the position of the guns? Also did you stick with the same width of boxwood deck plank as on the laser etched maple deck? Hope you don't mind me asking. Haha I'm usually in awe of the amazing supplies of spruce and maple you get in the US when I'm buying wood for guitars, mandolins etc!
-
Will do Sjors 👍
-
Haha I just did! Something to watch out for but sounds like you've saved it.
-
I'm checking your build log every day Sjors to see how you're doing!
-
I'll be following you as well Bob. It'll be nice to see more people building Flirt. The more builds of Flirt the bigger the support network!
-
Perfect! Thanks so much Bruce. Worked a treat.
-
Is there a way to post some text then upload a pic then some text then a pic etc etc? All I seem to be able to do is write my text and any pics I've uploaded are all at the bottom of the page. I'm uploading direct from my Samsung Galaxy android phone Thanks, Gerry
-
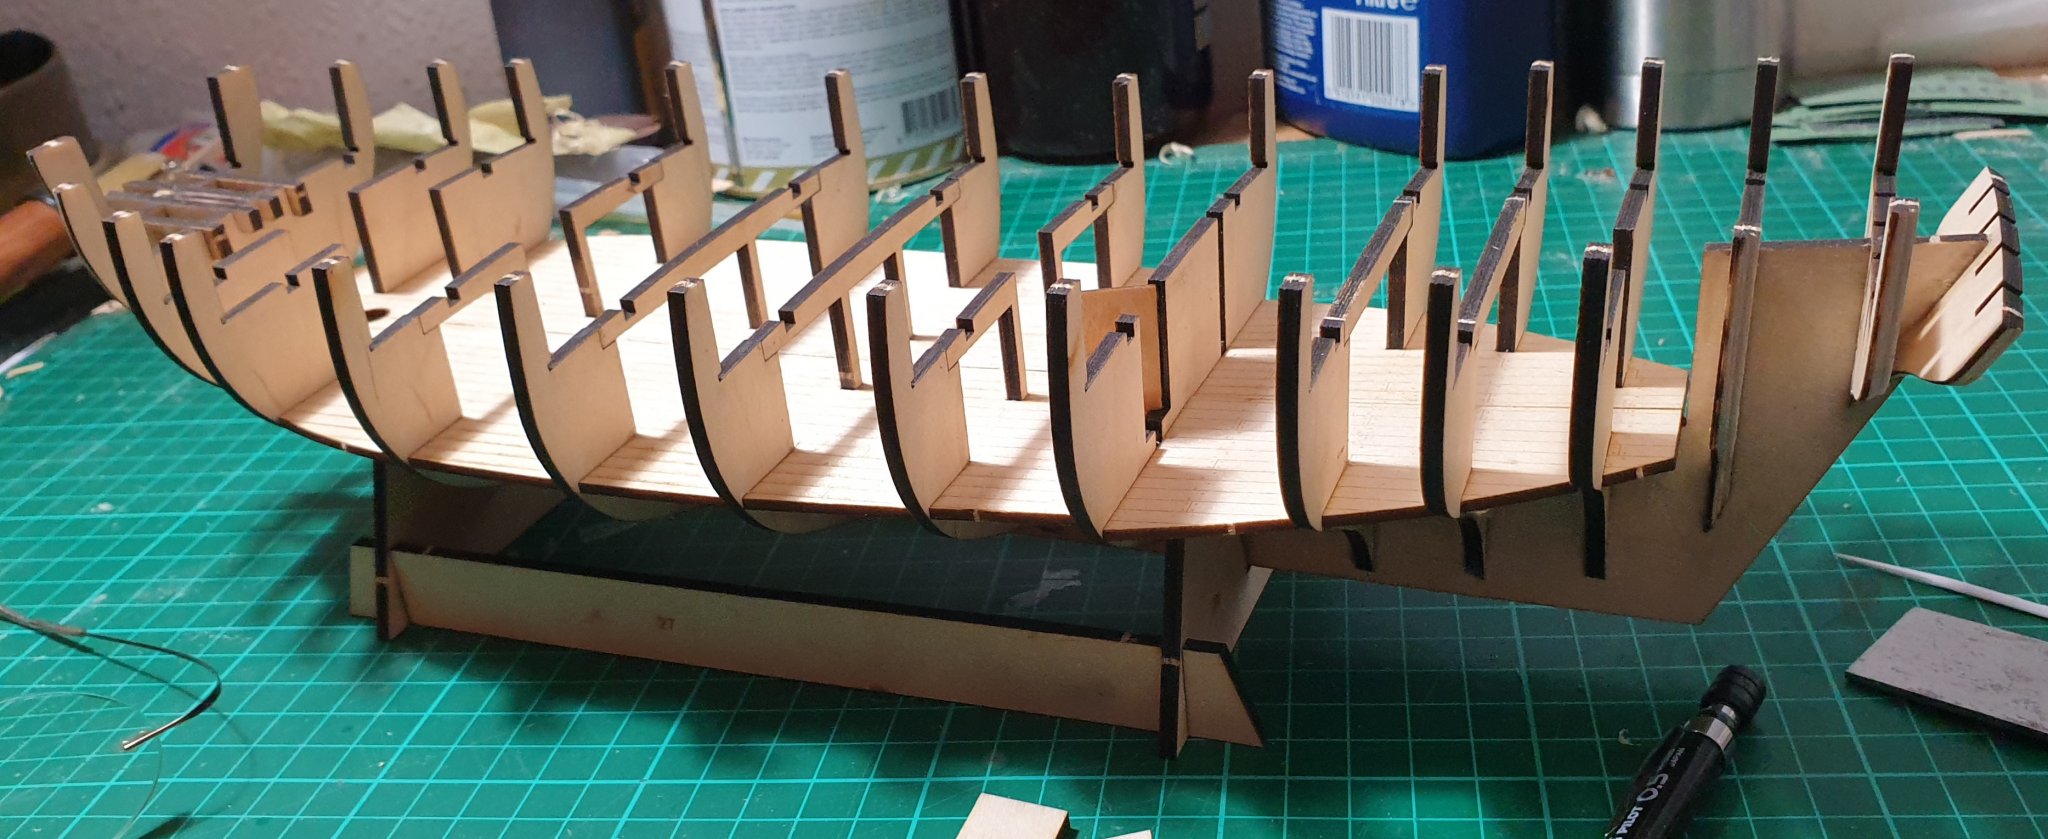
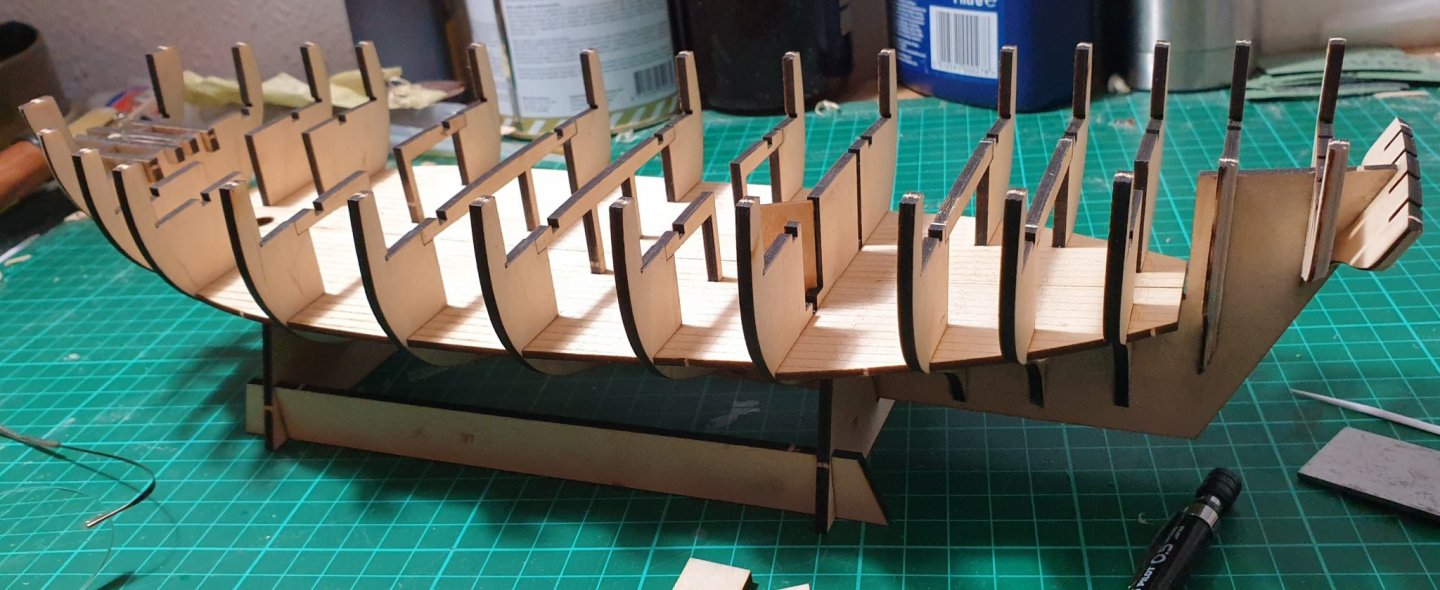
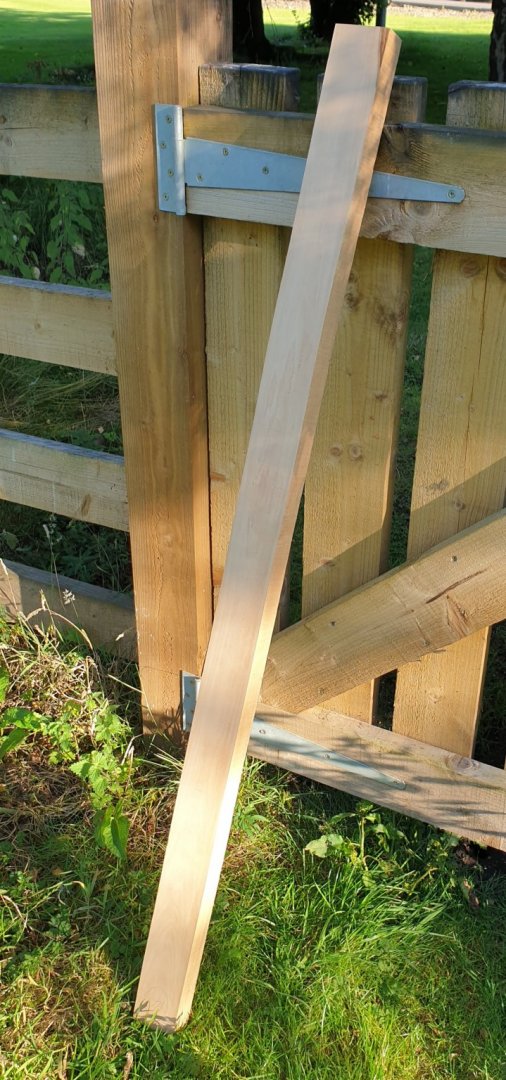
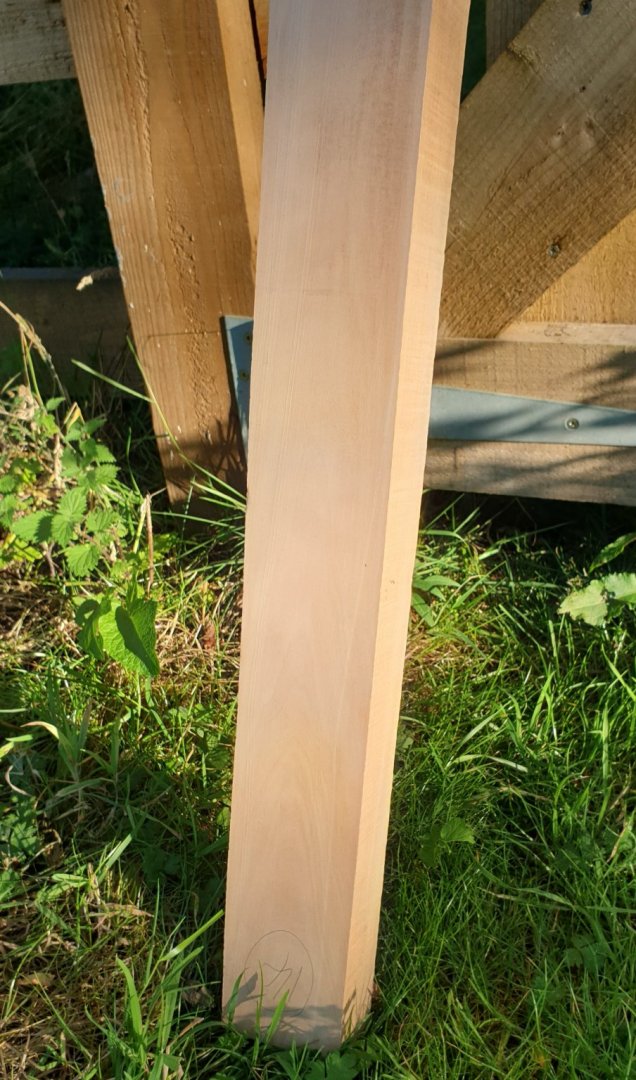
I've been inspired by reading a lot of the build logs on here it must be said. One of my favourites is HMS Speedy by Delf. He opted to build his deck out of box wood in preference to the laser etched maple deck in the kit. It might be biting off more than I can chew but I fancy doing similar. Delf built his deck on top of the maple deck. I'm tempted to try doing mine directly on to the ply false deck. To that end I've invested in a big lump of castelo boxwood from Timberline. It measures 1.5m x 8cm x 5cm. Luckily I have a bandsaw and thickness sander so getting regular size strips of even thickness shouldn't be a problem. And in other news I've glued bulkheads 4-13 on to the false keel. Starting to look like something now!
-
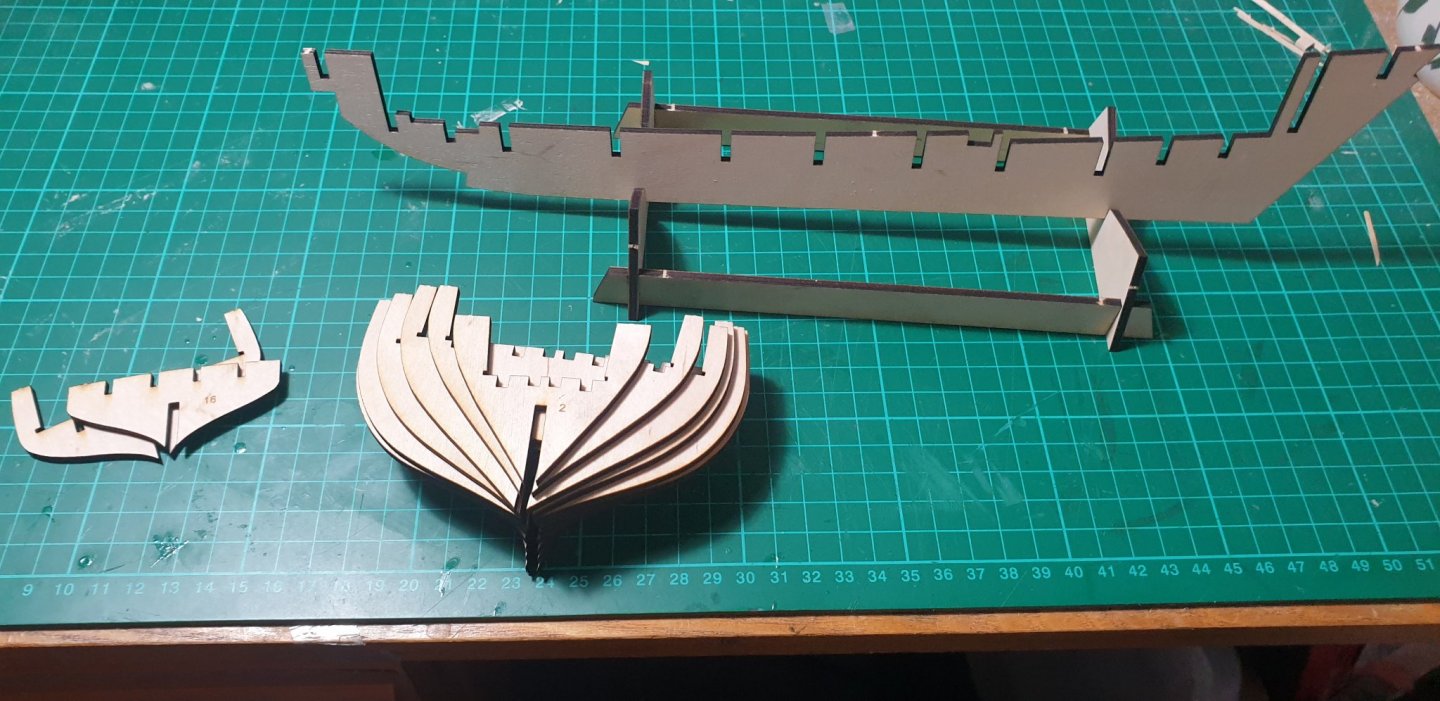
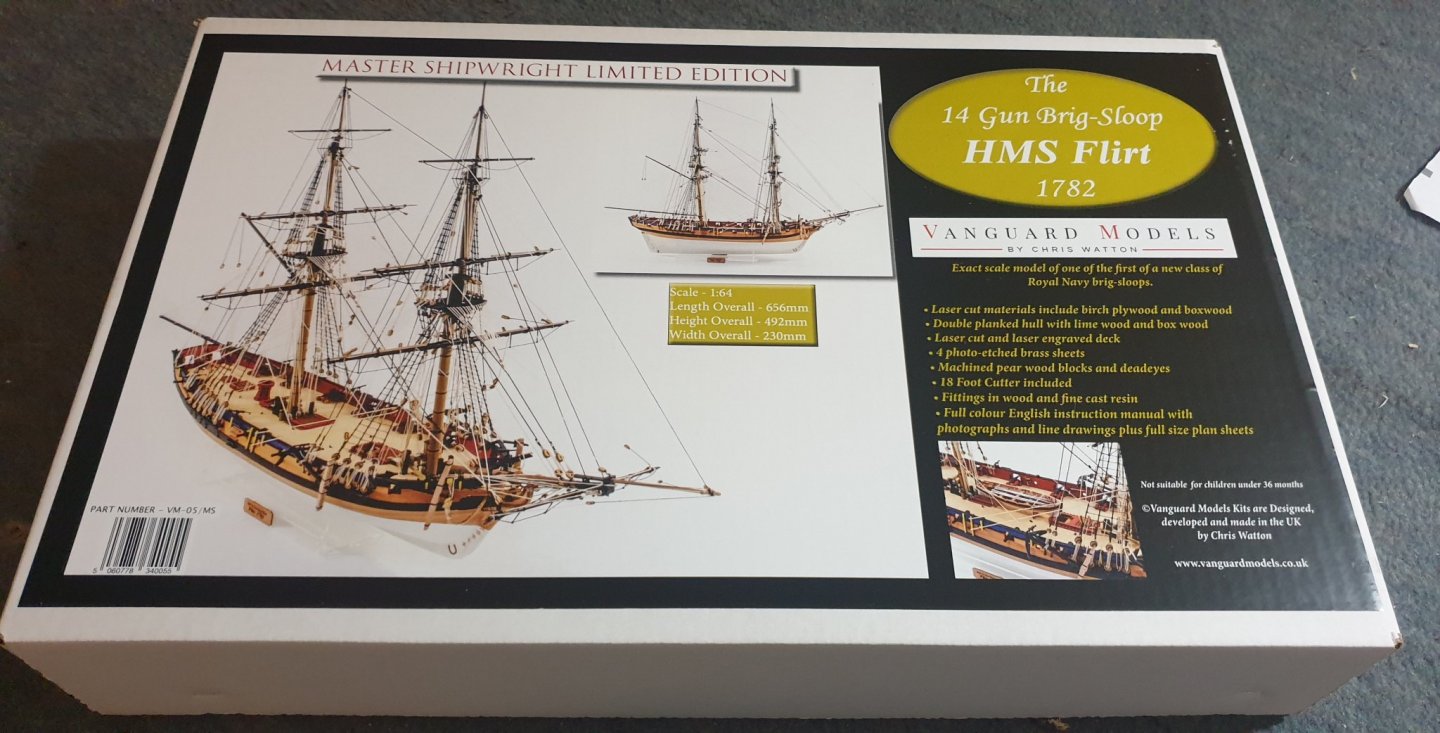
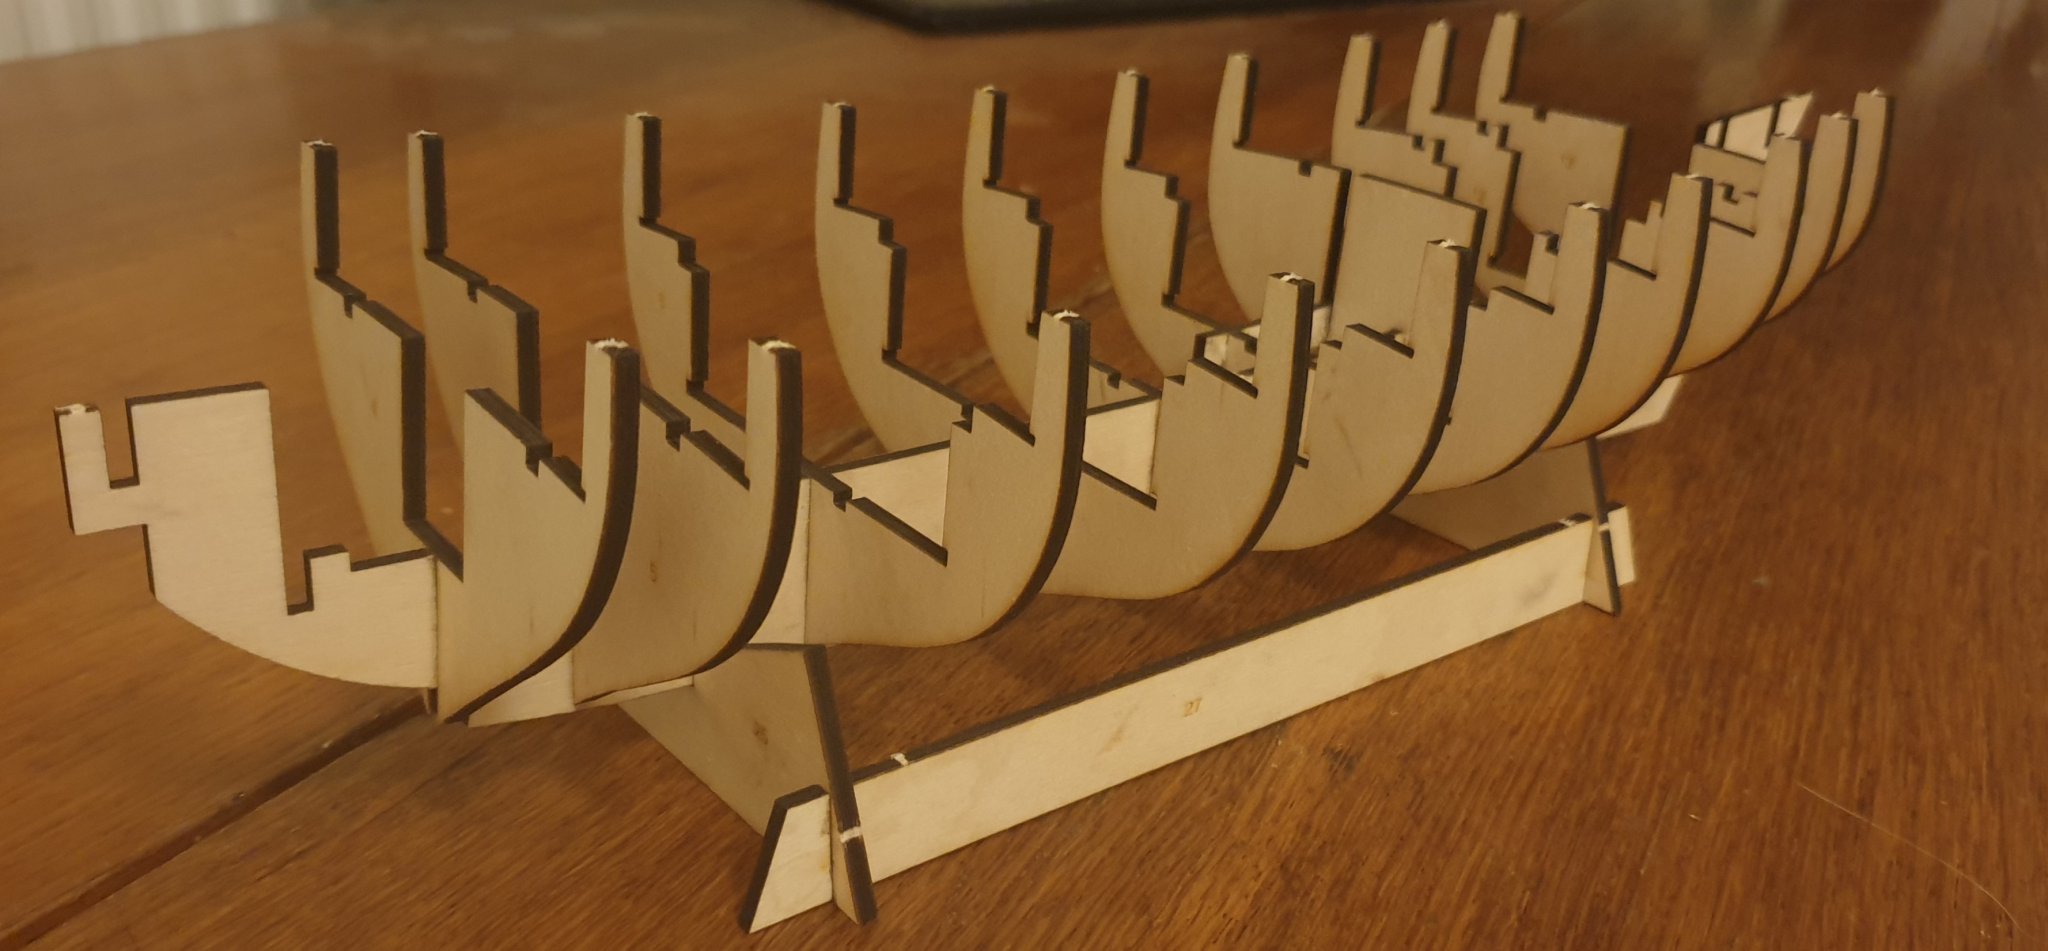
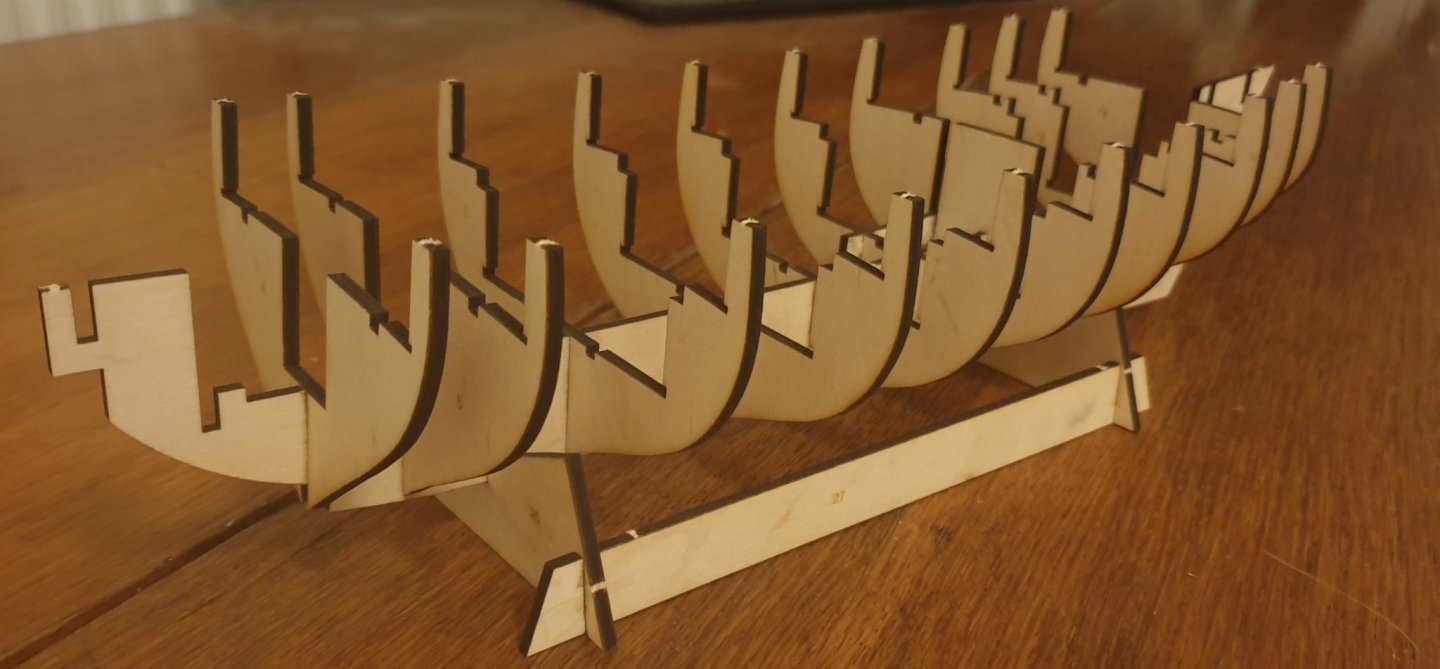
I started a build log for HMS Terror (my first build) and it's been going OK. Not giving it up but it's on a slight back burner for now because (cue drumroll!) I've availed myself of a Master Shipwright edition of Chris Watton's new HMS Flirt. That's the danger of reading all of the amazing build logs on here. It gives you a terrible compulsion to buy another kit! Well I have sensible, logical reasons for going for one of the Vanguard models kits. They seem to be state of the art in kit design from what I've read on here. Plus they have a cracking manual and no corners have been cut. All things that make life a bit easier for a beginner like me. Anyway, I went for the master shipwright version because there's no mdf in it and that is a substance I like to avoid if at all possible. The kit arrived today and all looks great. I've assembled the stand and dry fitted a few of the bulkheads. Bulkheads and false keel are made of top quality 6 layer birch ply. Fit of the bulkheads to the keel is perfect. They go together with a satisfying click, there is no play in the joint, and they're perfectly square to each other. What more could you ask for? I don't get anything done quickly as I'm a carer for my disabled son and have to do what I can in the little down time I have - so I might be a while getting this done. Working with such a lovely kit will ease the frustration of that for me.