HOLIDAY DONATION DRIVE - SUPPORT MSW - DO YOUR PART TO KEEP THIS GREAT FORUM GOING! (Only 13 donations so far - C'mon guys!)
×


drumgerry
-
Posts
96 -
Joined
-
Last visited
Content Type
Profiles
Forums
Gallery
Events
Everything posted by drumgerry
-
Now sold guys. Many thanks for the interest and comments. Gerry
-
Final price drop to £225 by Paypal which makes it half price on a new kit. If no takers I'll take it to ebay later this week. Cheers, Gerry
-
I do indeed. No problem
-
Cheers BE. It is a fantastic kit and there's a huge amount of work still to be done on it.
-
Ok I'm guessing £300 is maybe a bit steep. I've knocked £50 off so now it's down to £250. I'll give it till the end of the weekend and then I'll list it on ebay. All the best, Gerry
-
Thanks Bob. Kind of you to say so
-
I bought this kit from Chris last year with great intentions. However life has taken over and I find myself needing to sell a few things. It is part built as you can see but I think it is at a decent standard. It is at the stage where second planking is needing done. There are two sets of Chris' boxwood planks in the box for that. Everything else is there and in a brand new condition. I'm looking for £225 incl postage by PayPal. This is a hefty discount on the kit as new which is £450. UK shipping only I'm afraid. All the best, Gerry Thompson (based in Moray in NE Scotland).
- 10 replies
-
- 12
-

-
Oh now that's a good point Spyglass! I knew there was a good reason to post my inane ramblings on here! Thanks. Cheers, Gerry
-
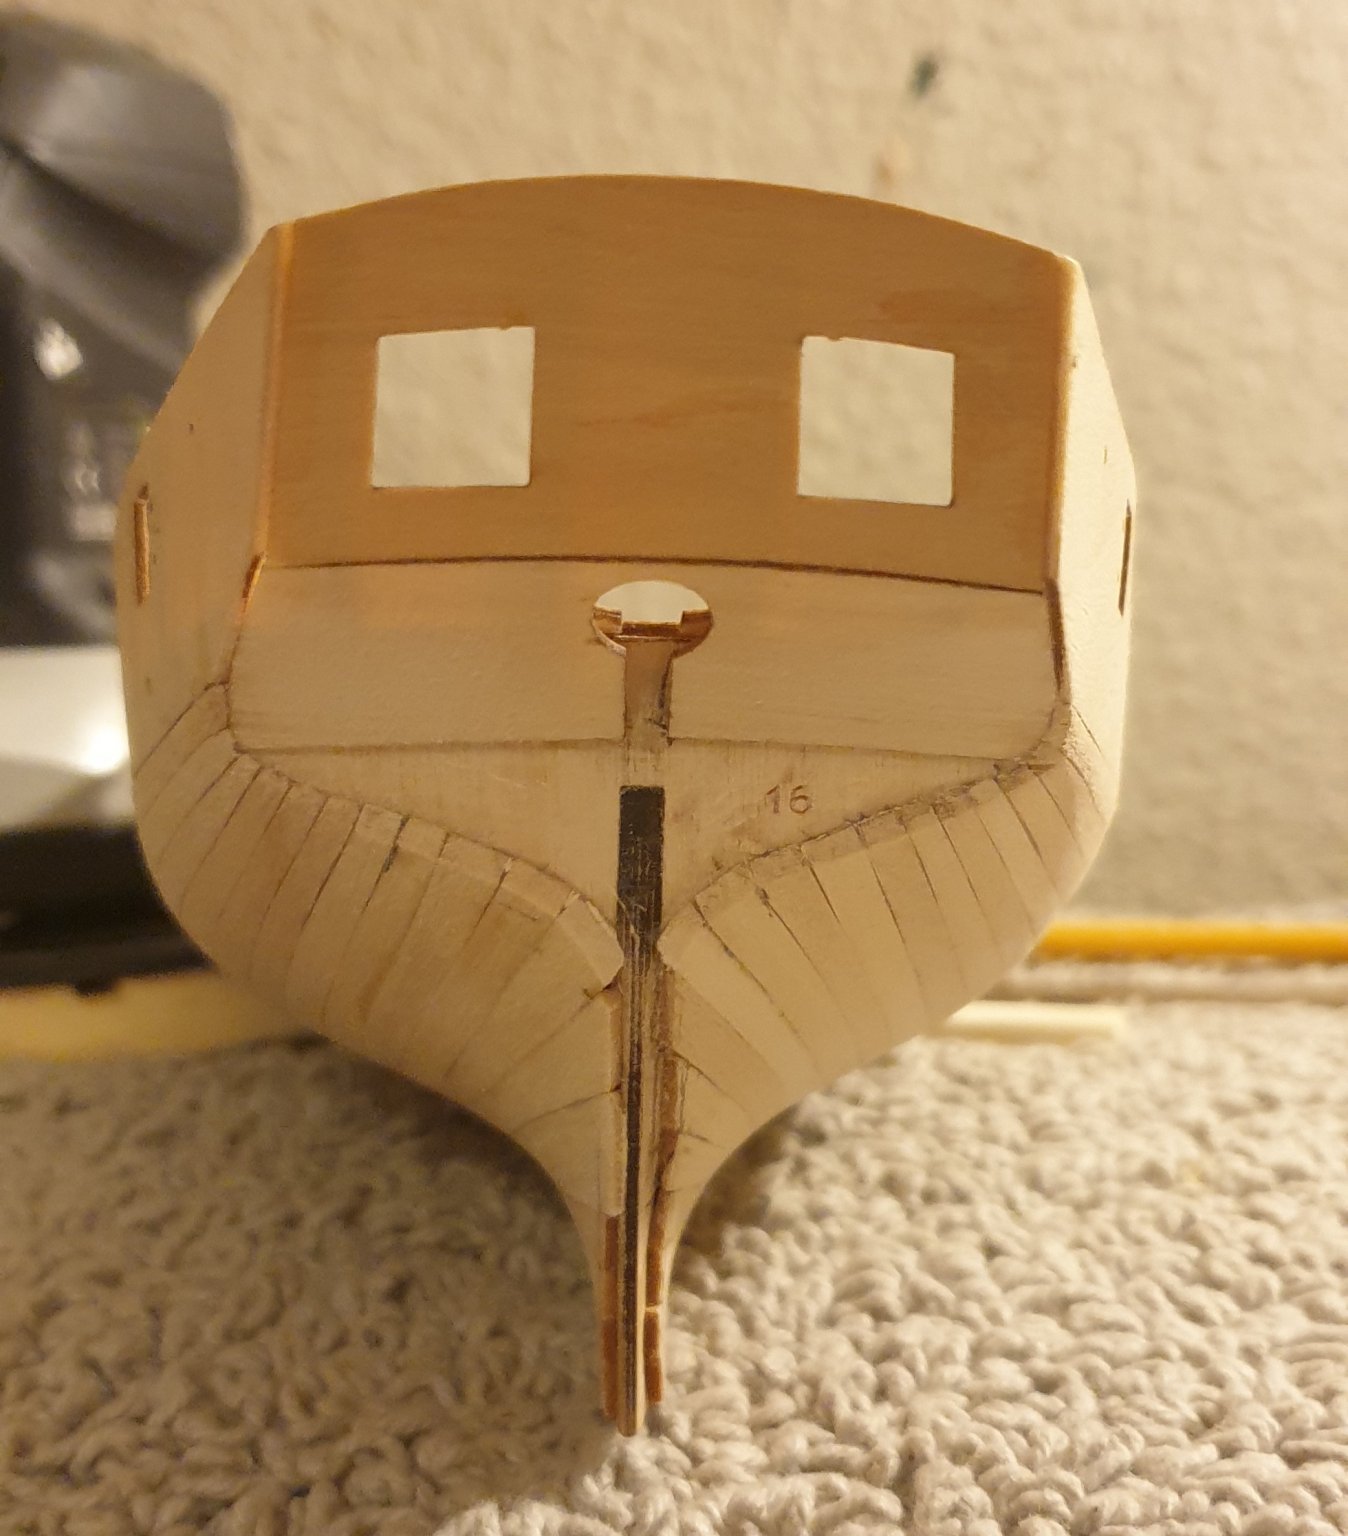
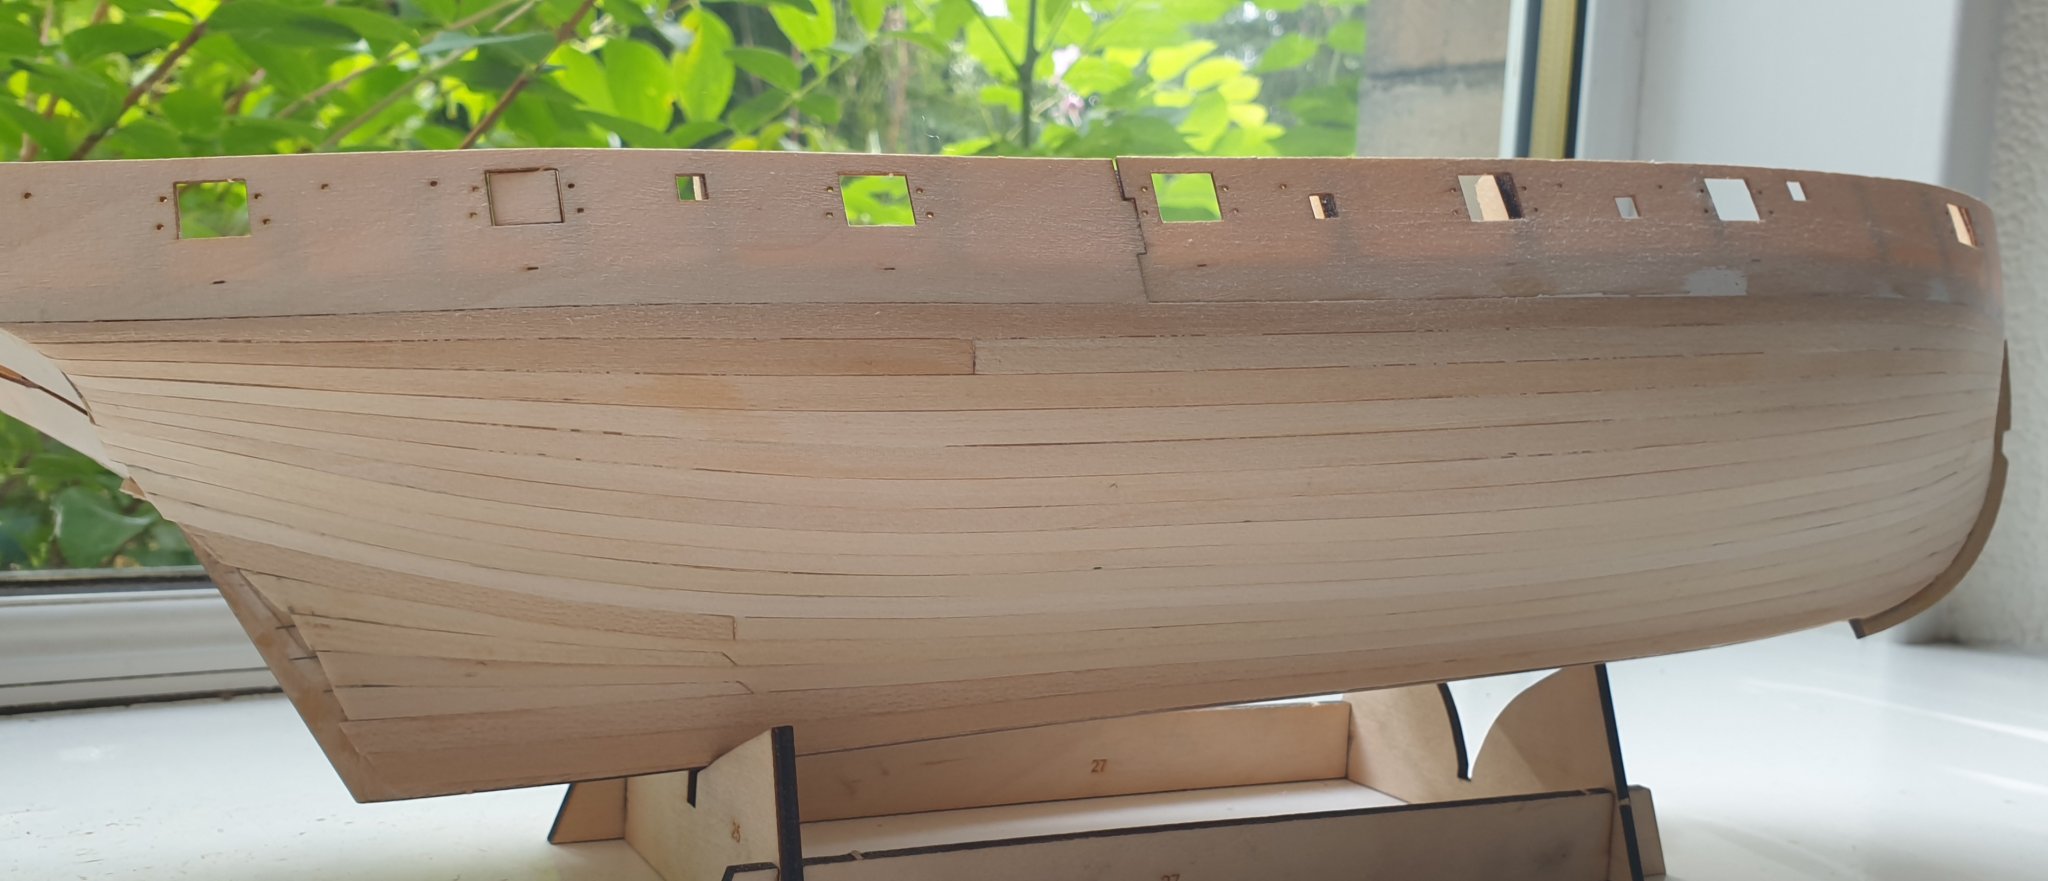
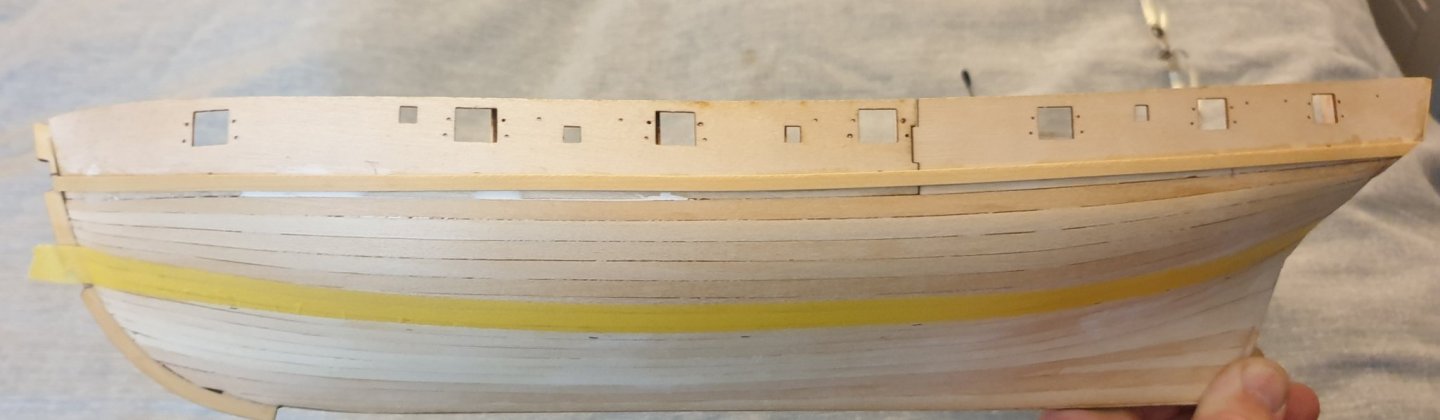
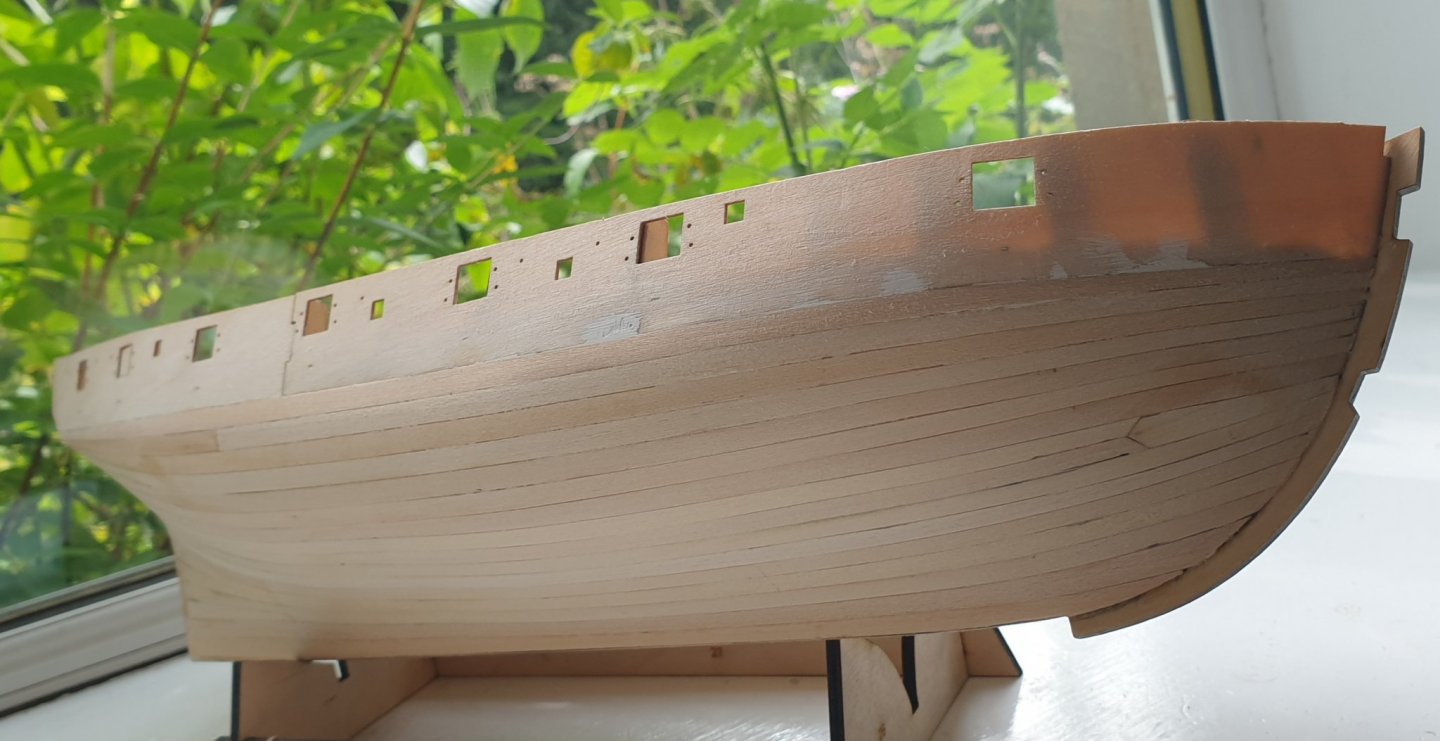
When doing the first layer of planking I miscalculated how many planks had to fit into the space particularly at the stern where I had to use stealers to make up the gaps. As a newbie it was my lack of understanding of the process. Actually getting some practical planking experience it's a little clearer now in my feeble mind. So in anticipation of doing the second planking I feel I need a proper sense of the space I'm dealing with and how many planks need to go into it. To that end I've measured the distance from the master plank down to the keel and marked a midpoint at various points along the hull. I've used this as a guide to divide the hull into two approximate bands with tape (the lower edge of the tape marks the bottom of the top band). The line that the planks will follow looks OK to me I think. I'll make up tick strips next for each band for 10 planks for the top band and 11 for the bottom. Hopefully I'll end up with a neat and relatively even result. Most of it's getting painted anyway so it doesn't really matter that much. It's all part of the learning process for me though. Cheers, Gerry
-
Thanks Sjors! I hope I do enjoy it! Cheers, Gerry
-
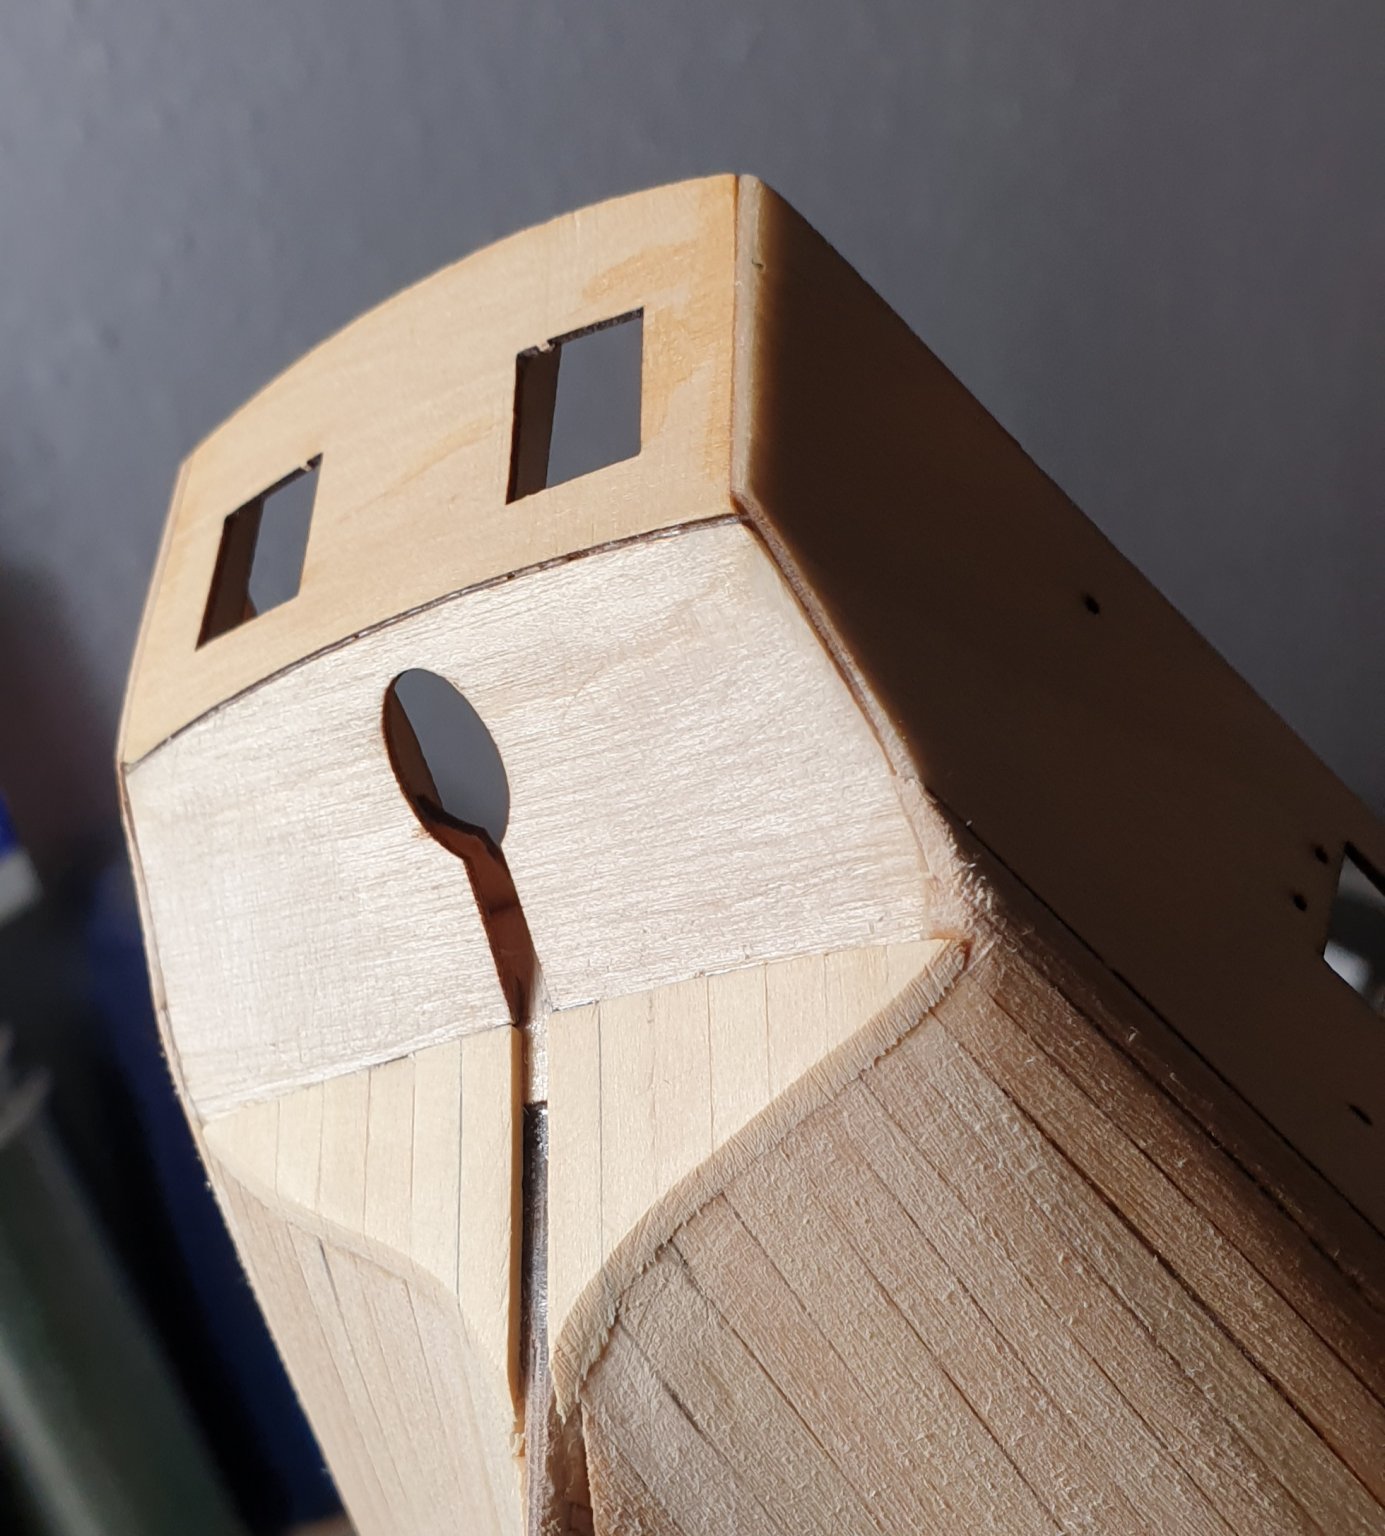
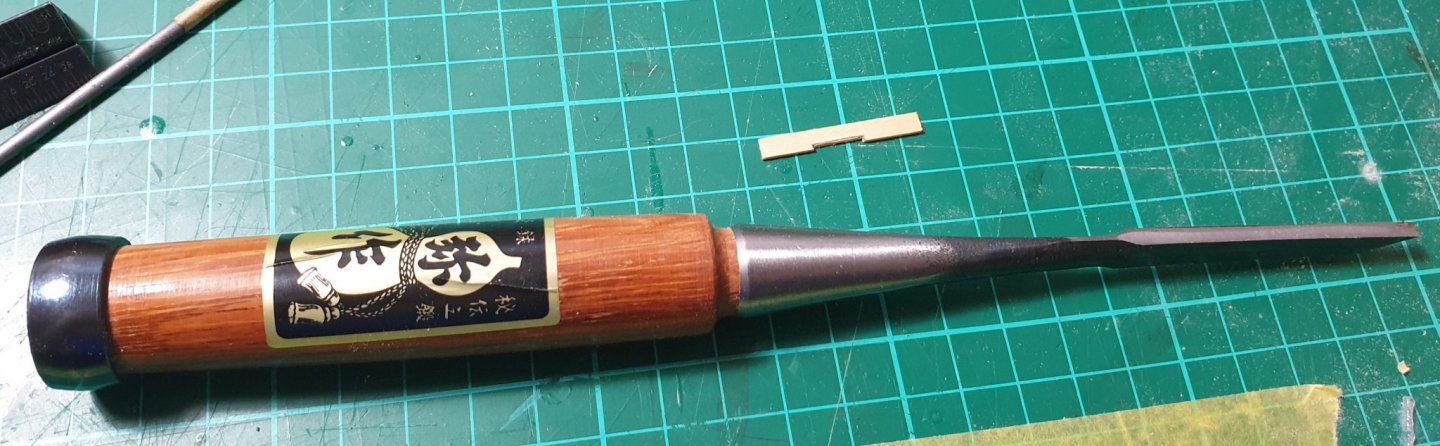
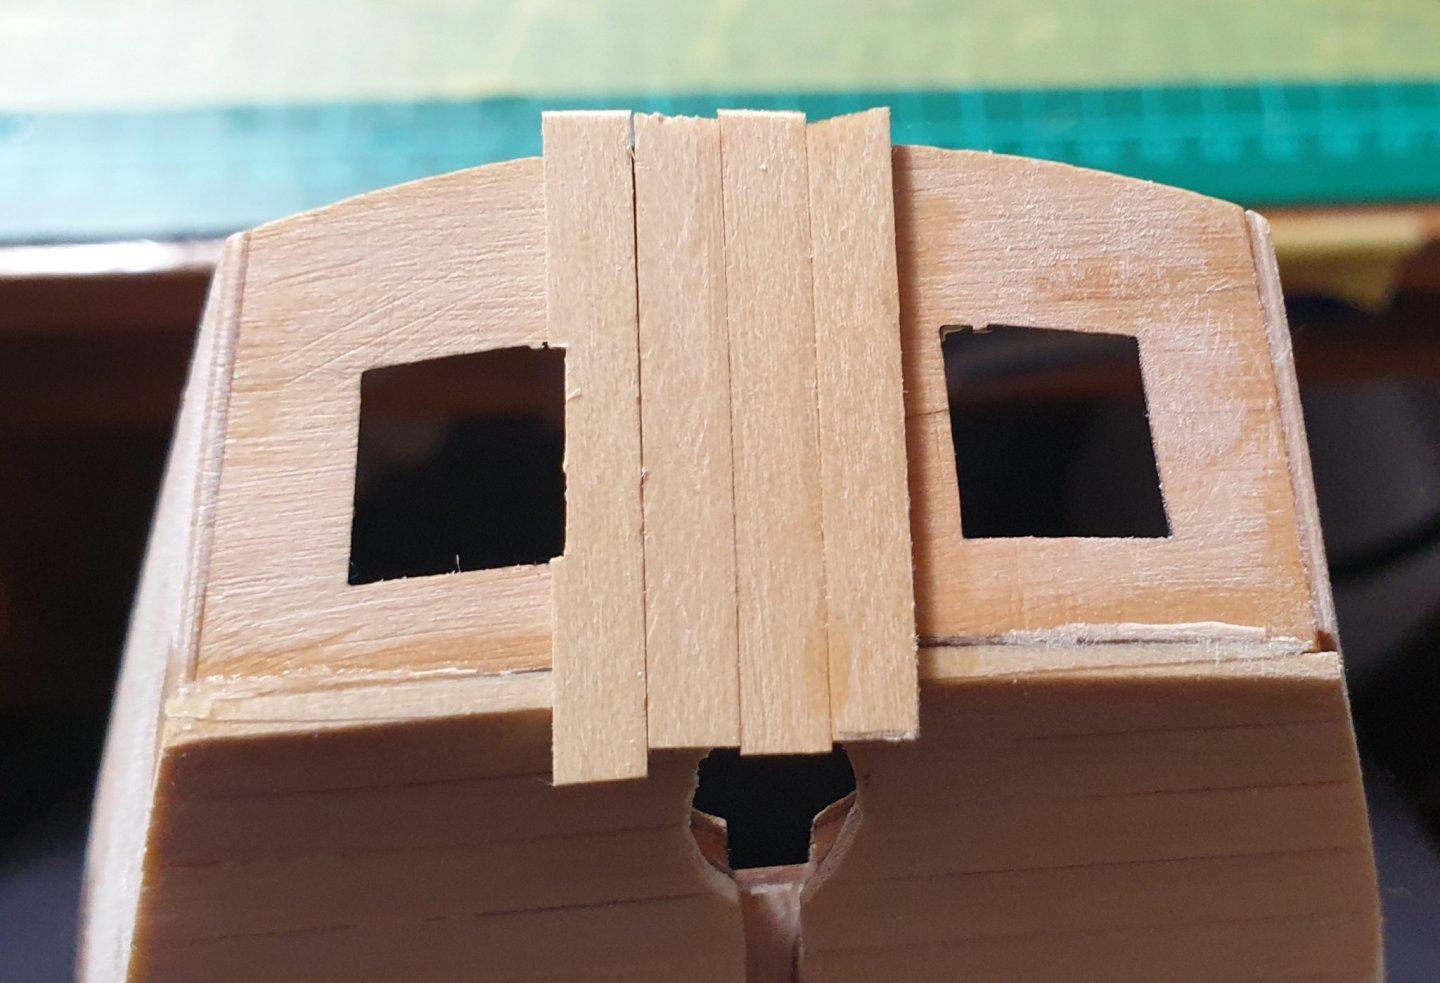
A little more planking on the stern. It's fun making the little mini cut outs in the planks for the windows with my nice Japanese chisel. Cheers, Gerry
-
First of the boxwood done. Such nice wood to work with. I can see why it's popular. Cheers, Gerry

-
Hi Richard. It might be an idea to check out how to attach images to your posts. Most people won't be keen to download files that you attach. All the best, Gerry
-
Thanks Derek. As well as the limitations of time my circumstances place on me I've learned over the years that if I try to rush ahead on tasks that require meticulousness I just make mistakes. So slow and steady it is and plenty of time to pause and take stock.
-
Thanks guys! You'll be ahead of me in no time Spyglass. Did I mention that I do things really slooooowwwwly?
-
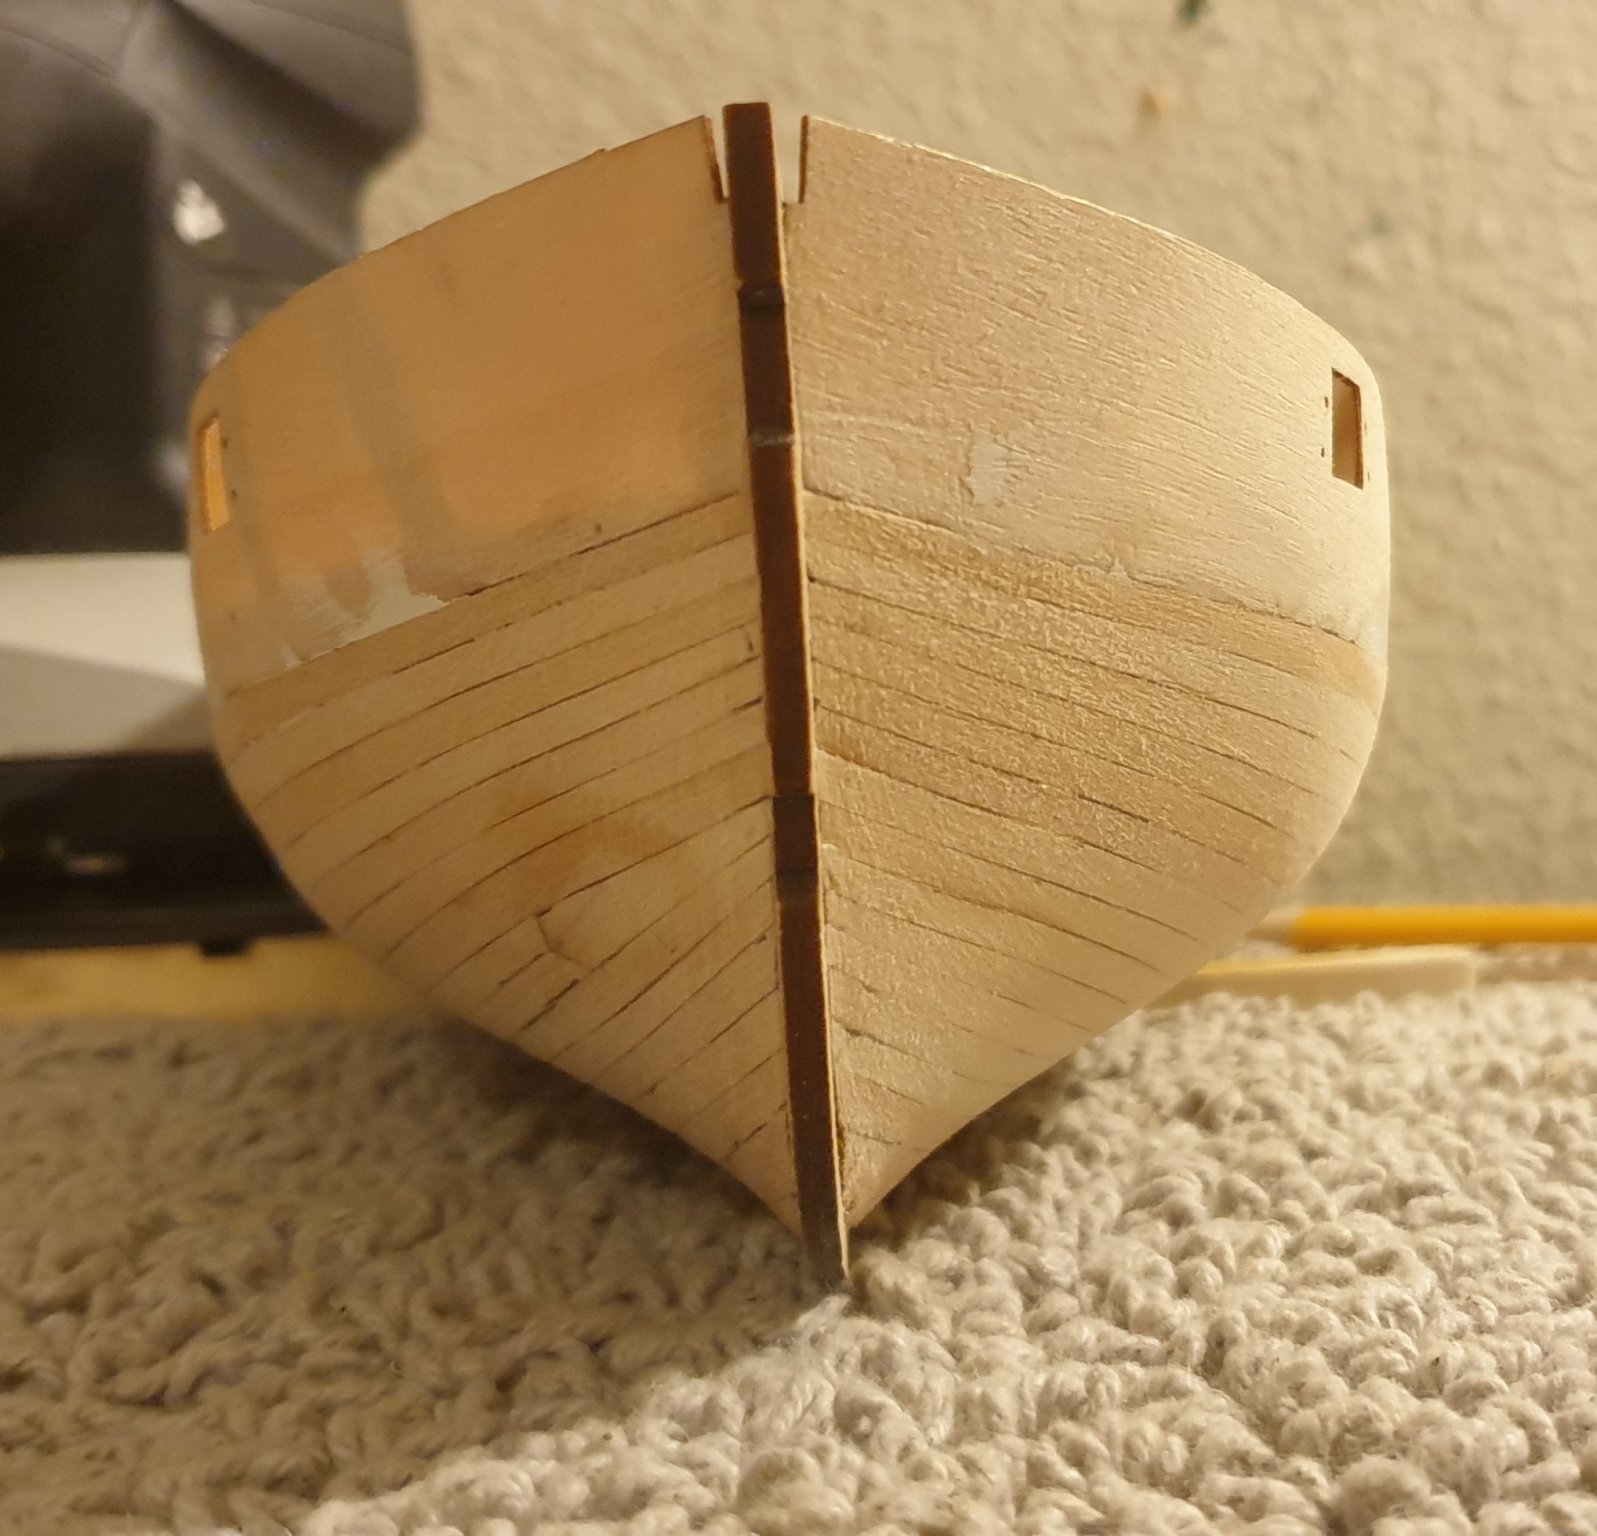
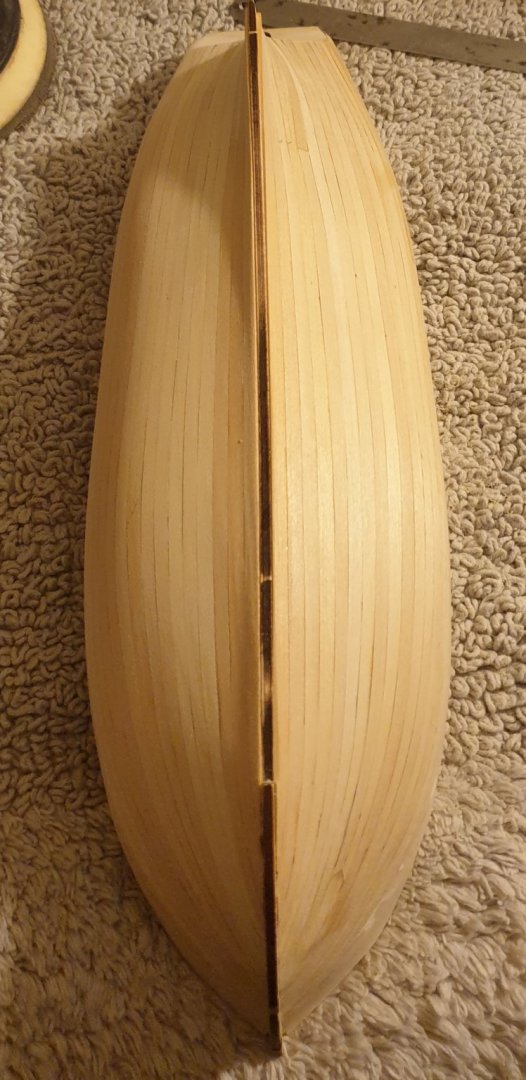
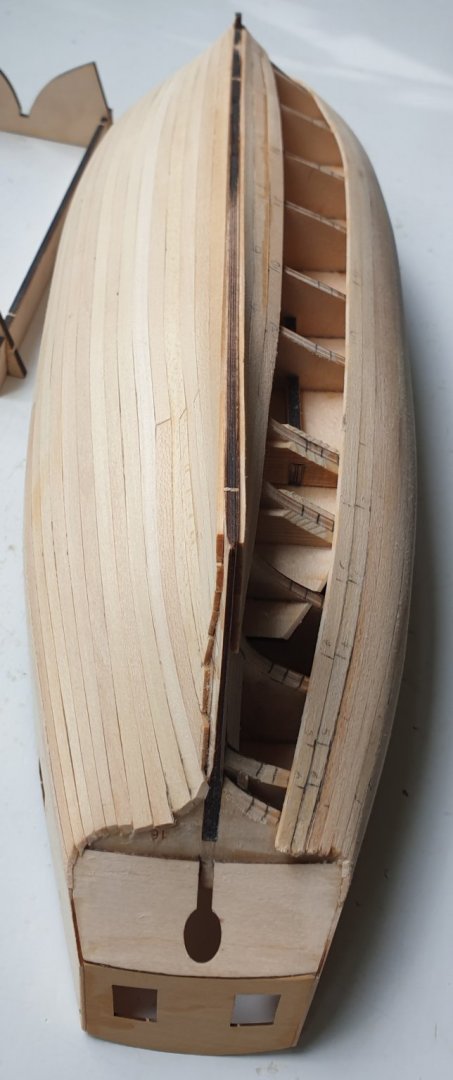
First planking finished! I feel like there should be an award or something for getting to this point 😁. Anyway great learning experience. Much sanding to follow then it's er... second planking! Cheers, Gerry


-
However you get it done it's fine as long as it gets done eh Spyglass? Sounds like you do just fine. One of the good things about the chisel thing demo'd above is that it's slow and with a sharp chisel not much pressure is required. The older I get the slower and steadier I like to take jobs. It gives me more time to spot a balls up coming along! Cheers, Gerry
-
No that's absolutely fine Glenn. Thanks. Yep I know that I miscalculated the number of strips but the good thing is that I did it in first planking and can learn from that. Cheers, Gerry
-
Haha brilliant! It works fine for any angle but you are winging it a bit when you're away from 45°. A hammer?!! A sharp chisel will only need downward pressure from your arm but I guess a Stanley knife or equivalent could be used in a pinch! Cheers, Gerry
-
I can't take the credit. It's standard practice for putting binding on instruments and getting clean joins between the various pieces. Try it Spyglass - you'll never go back!
-
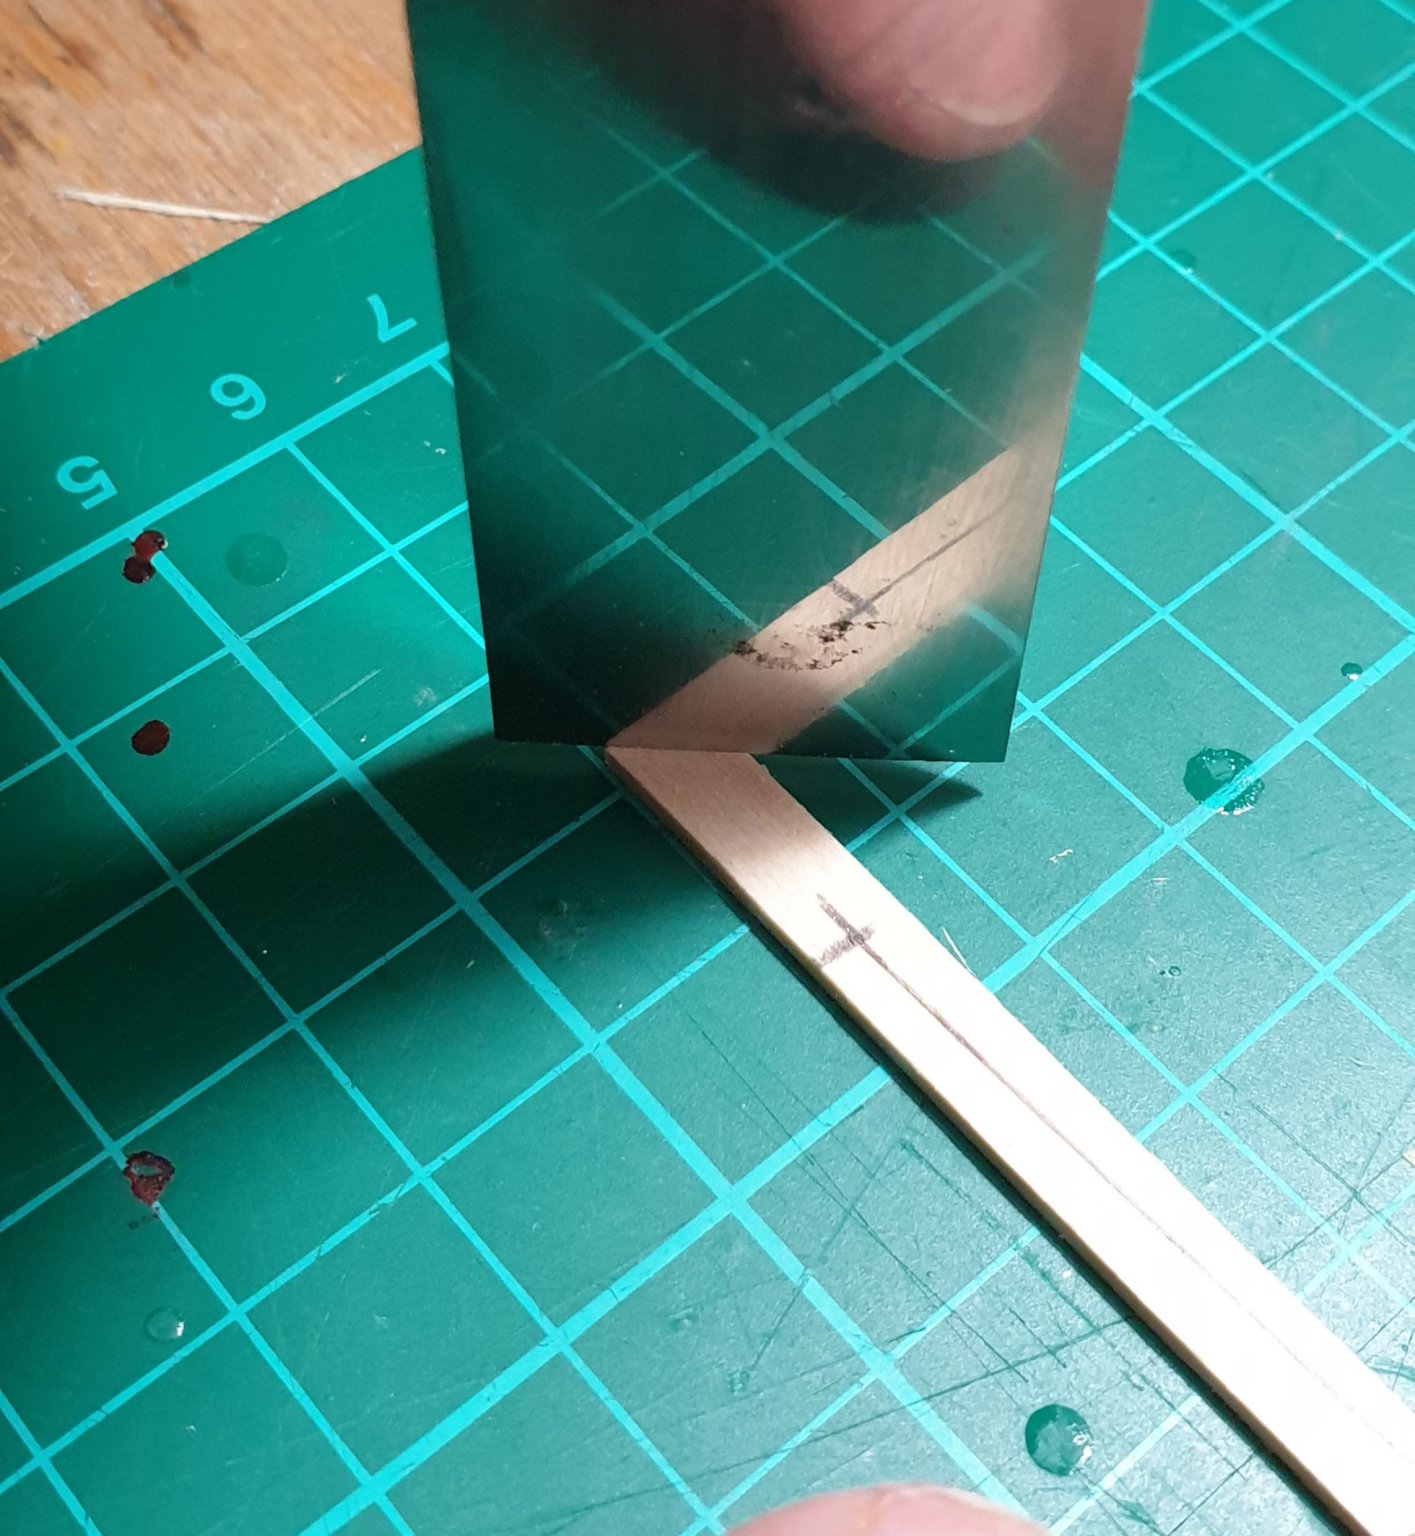
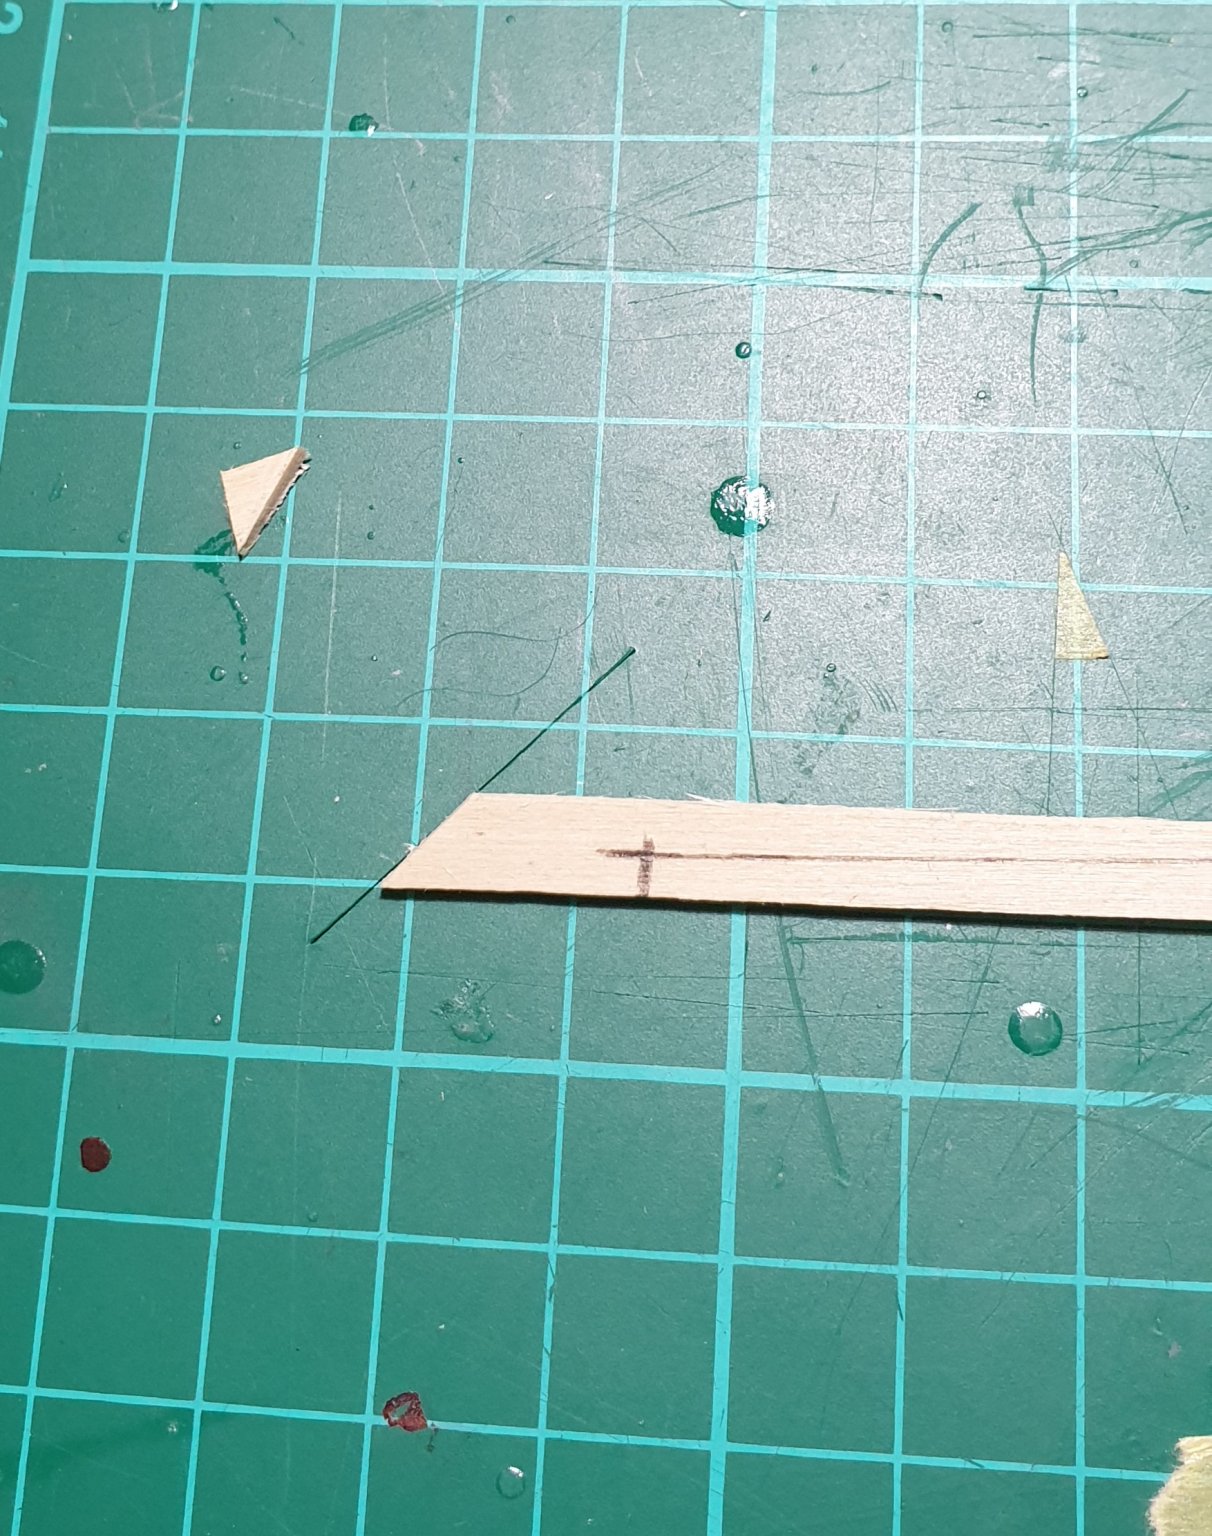
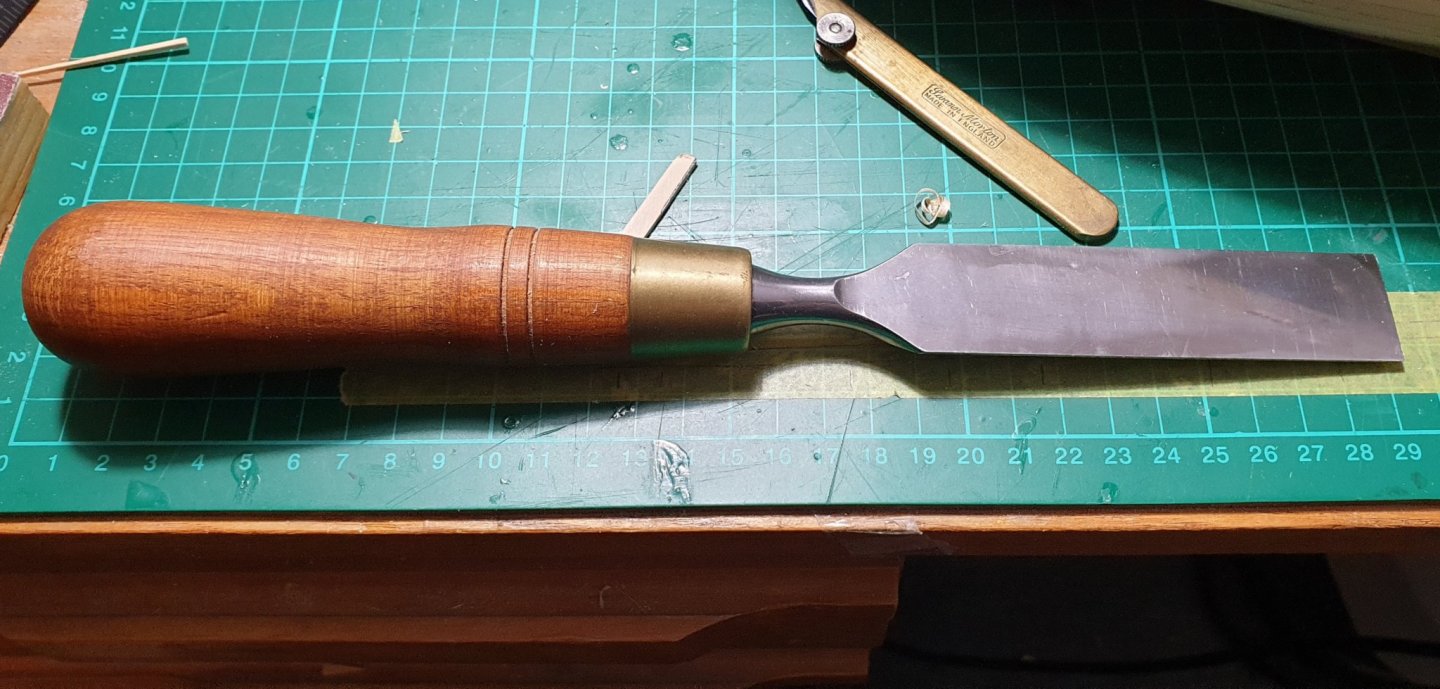
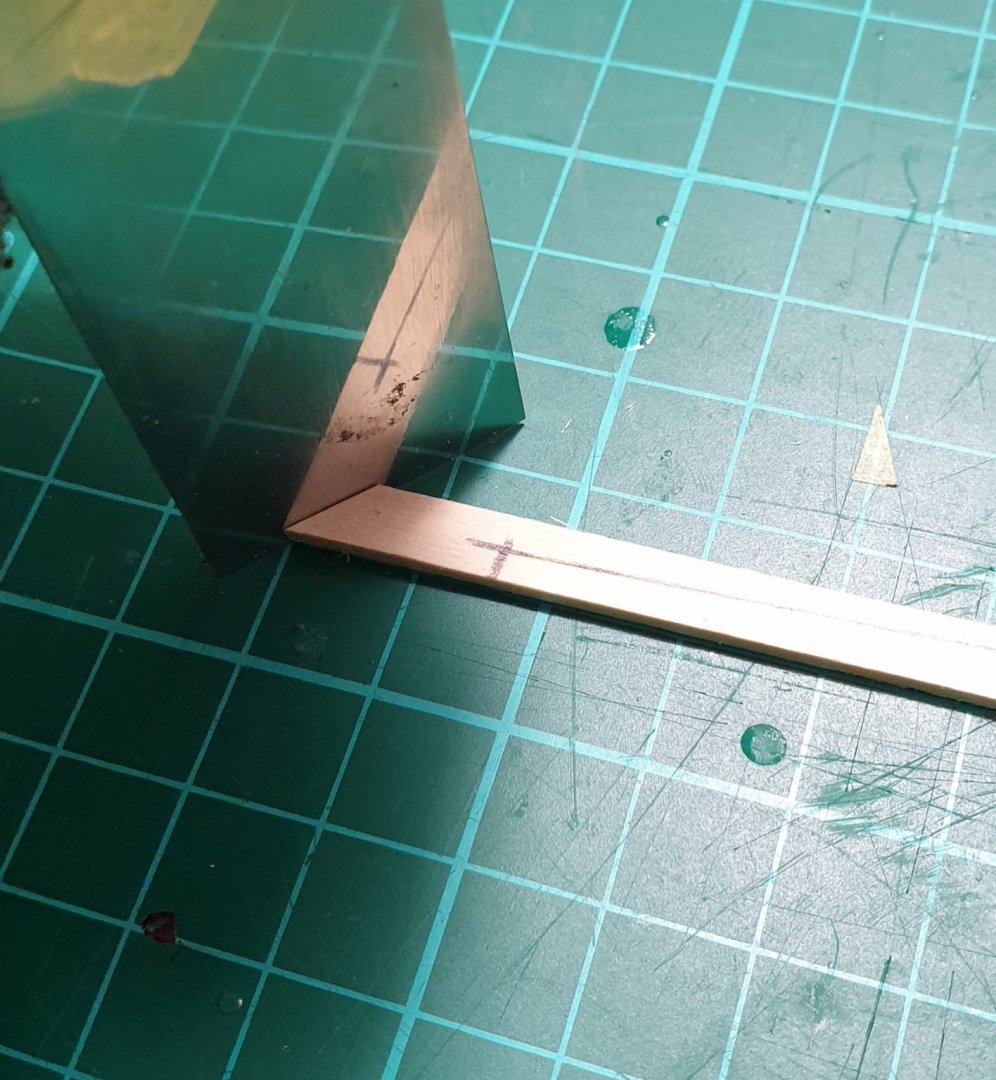
I thought I'd post this wee tip here as I used the technique when I was doing the drop plank on Flirt. You probably all know this already and I don't mean to teach yer granny to suck eggs but it might be of use to someone reading this who's never seen it. OK... So instead of using mitre boxes, fine tooth saws or any other gizmos here's a quick way to get a perfect 45° cut every time. You need a large-ish chisel (1 inch plus) and it needs go have the back polished to a shine. If you have the chisel but not the shine a flat surface and ever finer wet and dry papers to a minimum of say 1500 grit will do the job. Line your strip of wood along a straight line on your cutting mat and use the reflection of the chisel to cut your 45. The pics below will make it clear if my explanation doesn't. I should have made the cut using one of the boxes on the cutting mat to make it very clear but I re-lined it up after the fact for the final pic to do that. Hope it's of use to someone. Cheers, Gerry


-
Lime is also used as linings for musical instruments which is why I have some lying around. You'd need to be able to thickness them down if you bought them from here for example... https://shop.exotichardwoods.co.uk/lime-plain-lining-770-x-18-x-6mm.html I have two huge planks of lime about 2 metres tall, 12 inches wide and 2 or 3 inches thick that I haven't quite got around to dealing with yet! Cheers, Gerry
-
Well 'fancy' might be pushing it a bit Spyglass! Not a trick of the photo - good spot! I had a 6mm gap at that bulkhead and 5mm strips - I wanted to make the join at a bulkhead. Luckily I had a length of 12mm wide x 1.5mm thick lime wood lying about to cut a wider drop from. Looks a bit off but hopefully I'll plan things a bit better on the second layer of planking. Cheers, Gerry
-
I've been slowly making progress with the first planking layer.... One side complete and the other nearly so. It's gone fine I think although a little filler needed where the gun port strips buckled slightly when I fitted them.

-
Yep I appreciate that and I am doing more than I need to with my first planking here. Just trying to learn how it all goes together and use it as a rehearsal for the second layer.