


Doug Buchanan Jr
-
Posts
14 -
Joined
-
Last visited
Content Type
Profiles
Forums
Gallery
Events
Posts posted by Doug Buchanan Jr
-
-
On 3/26/2021 at 8:46 AM, Kevin said:
i dont think that would work, as it may mess up the alignment to everything else, , wales, stern fittings etc
Thank you for the advice, Kevin. I think you are correct in that it would throw off subsequent steps. Thank you again.
Doug
-
4 hours ago, Kevin said:
another option to to put balsa between the bulkheads, and sand to fit. will give you some thing to lay the single planking over
Thank you Kevin. What are your thoughts on putting a second planking layer over the kit's first layer? Billing doesn't call for this, but I'm wondering if I should consider it. Would it cause issues? -
3 hours ago, bolin said:
Nice planking. The real ship uses a lot of drop planks in the bow area. Almost no strake runs the full length. I know that most Billings kits use single planking. Is it the same for this one?
Thank you for your comment, Bolin. I may need to install drop planks in the bow as well. This Billing kit does use single planking. I'm trying hard not to sand completely through the hull. It's thin.
-
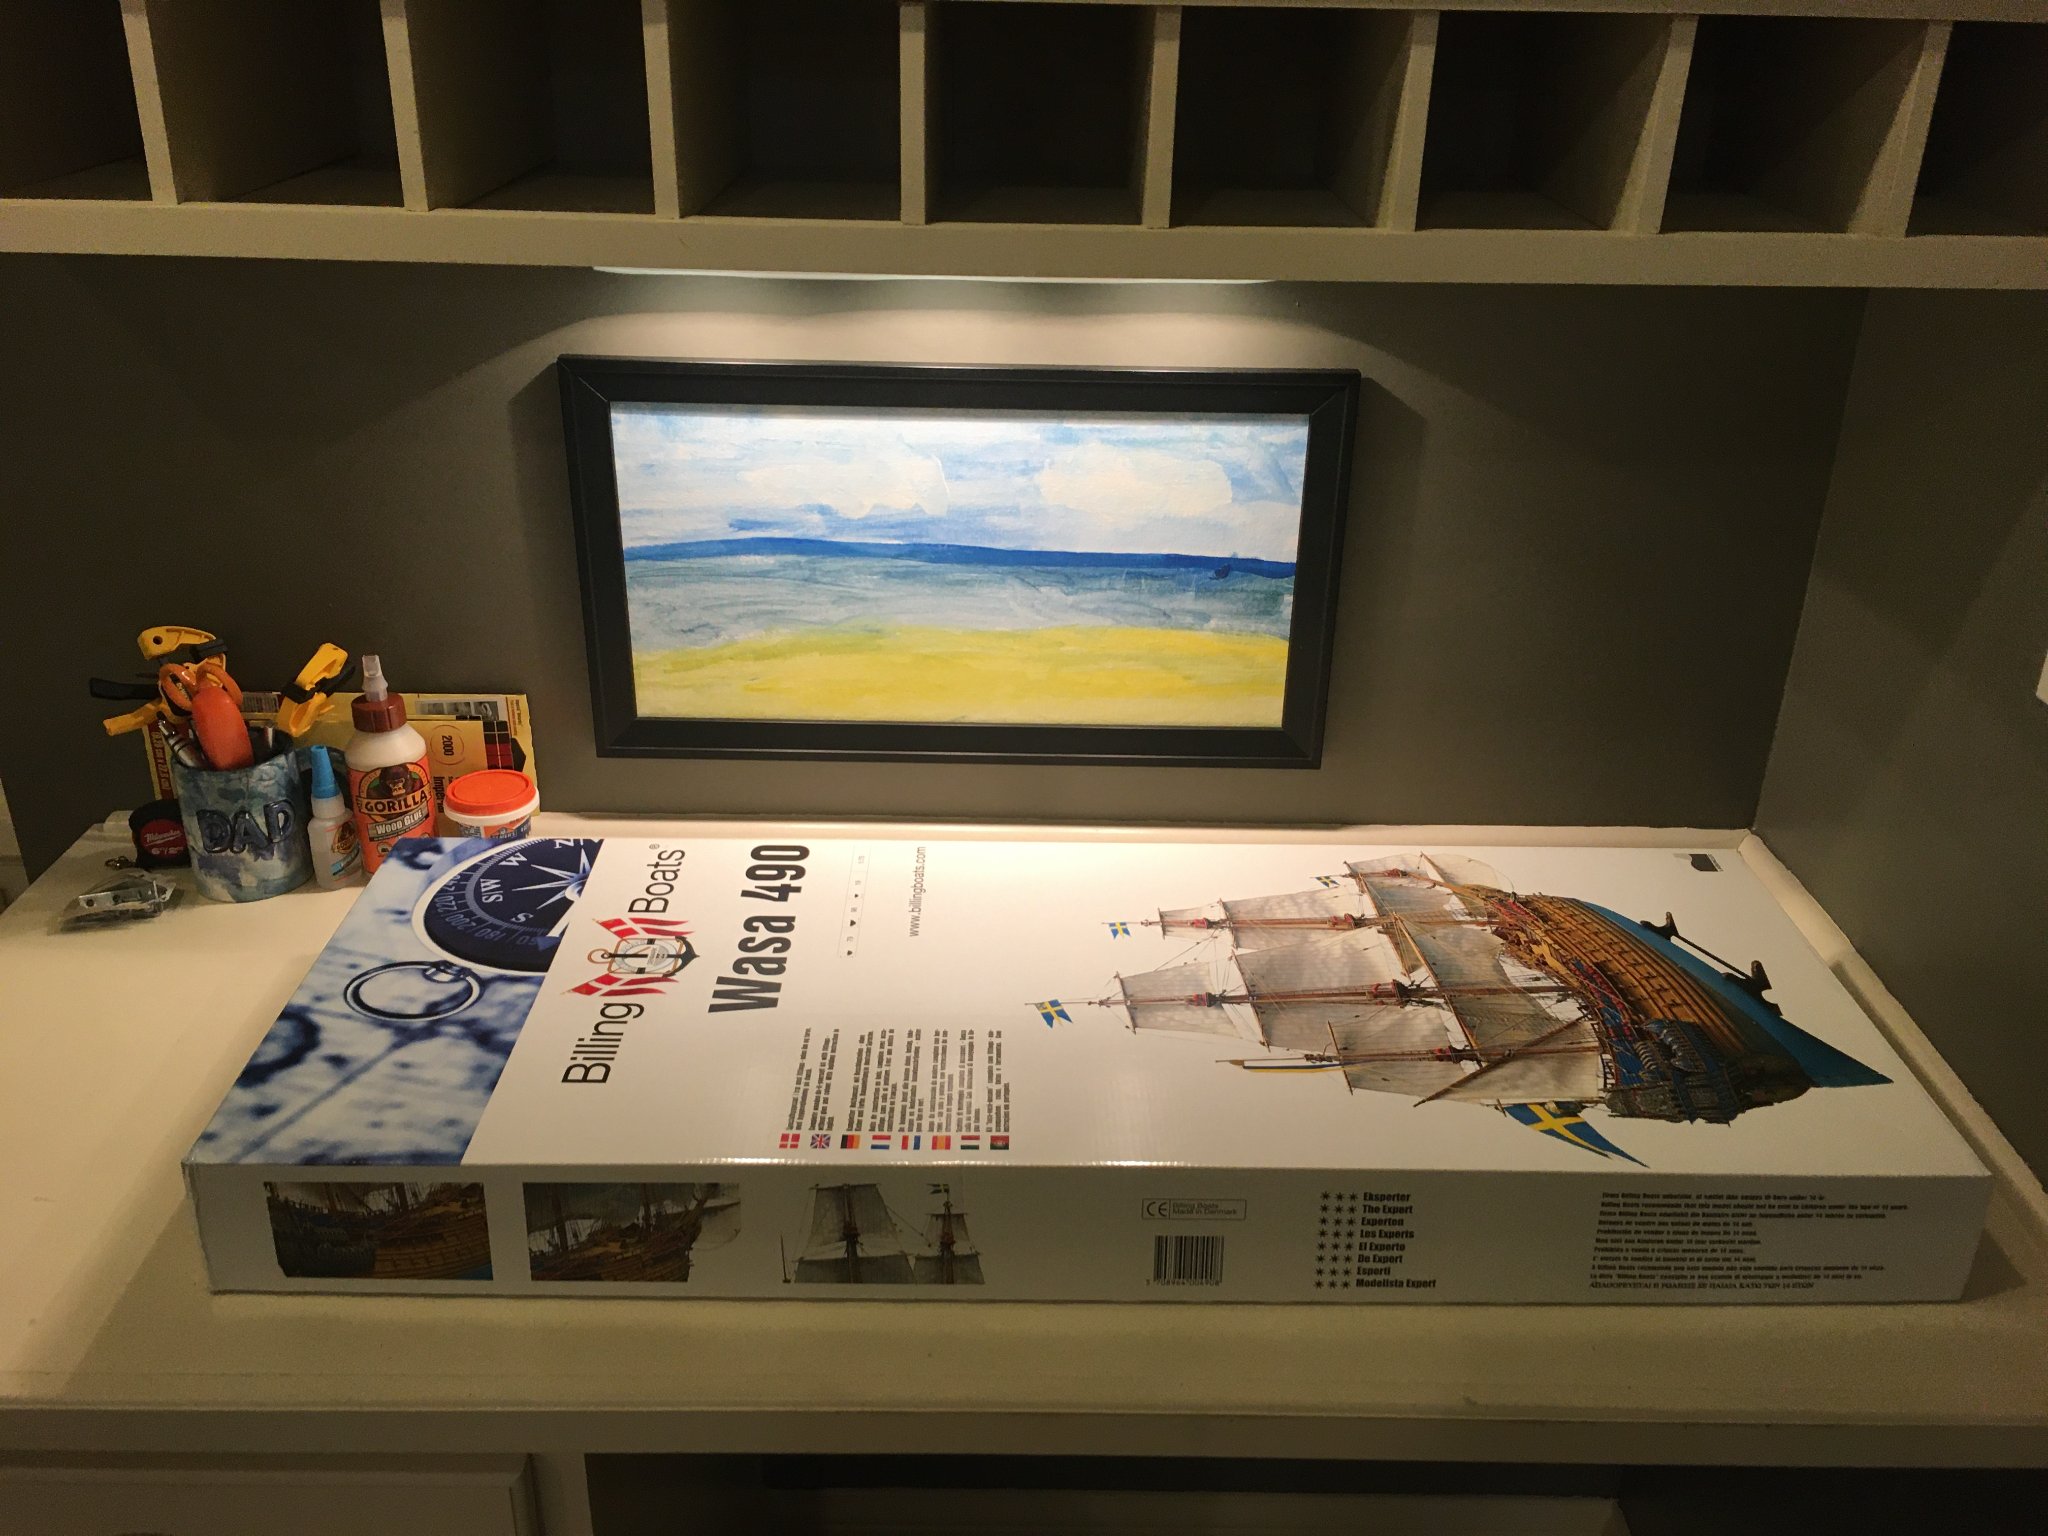
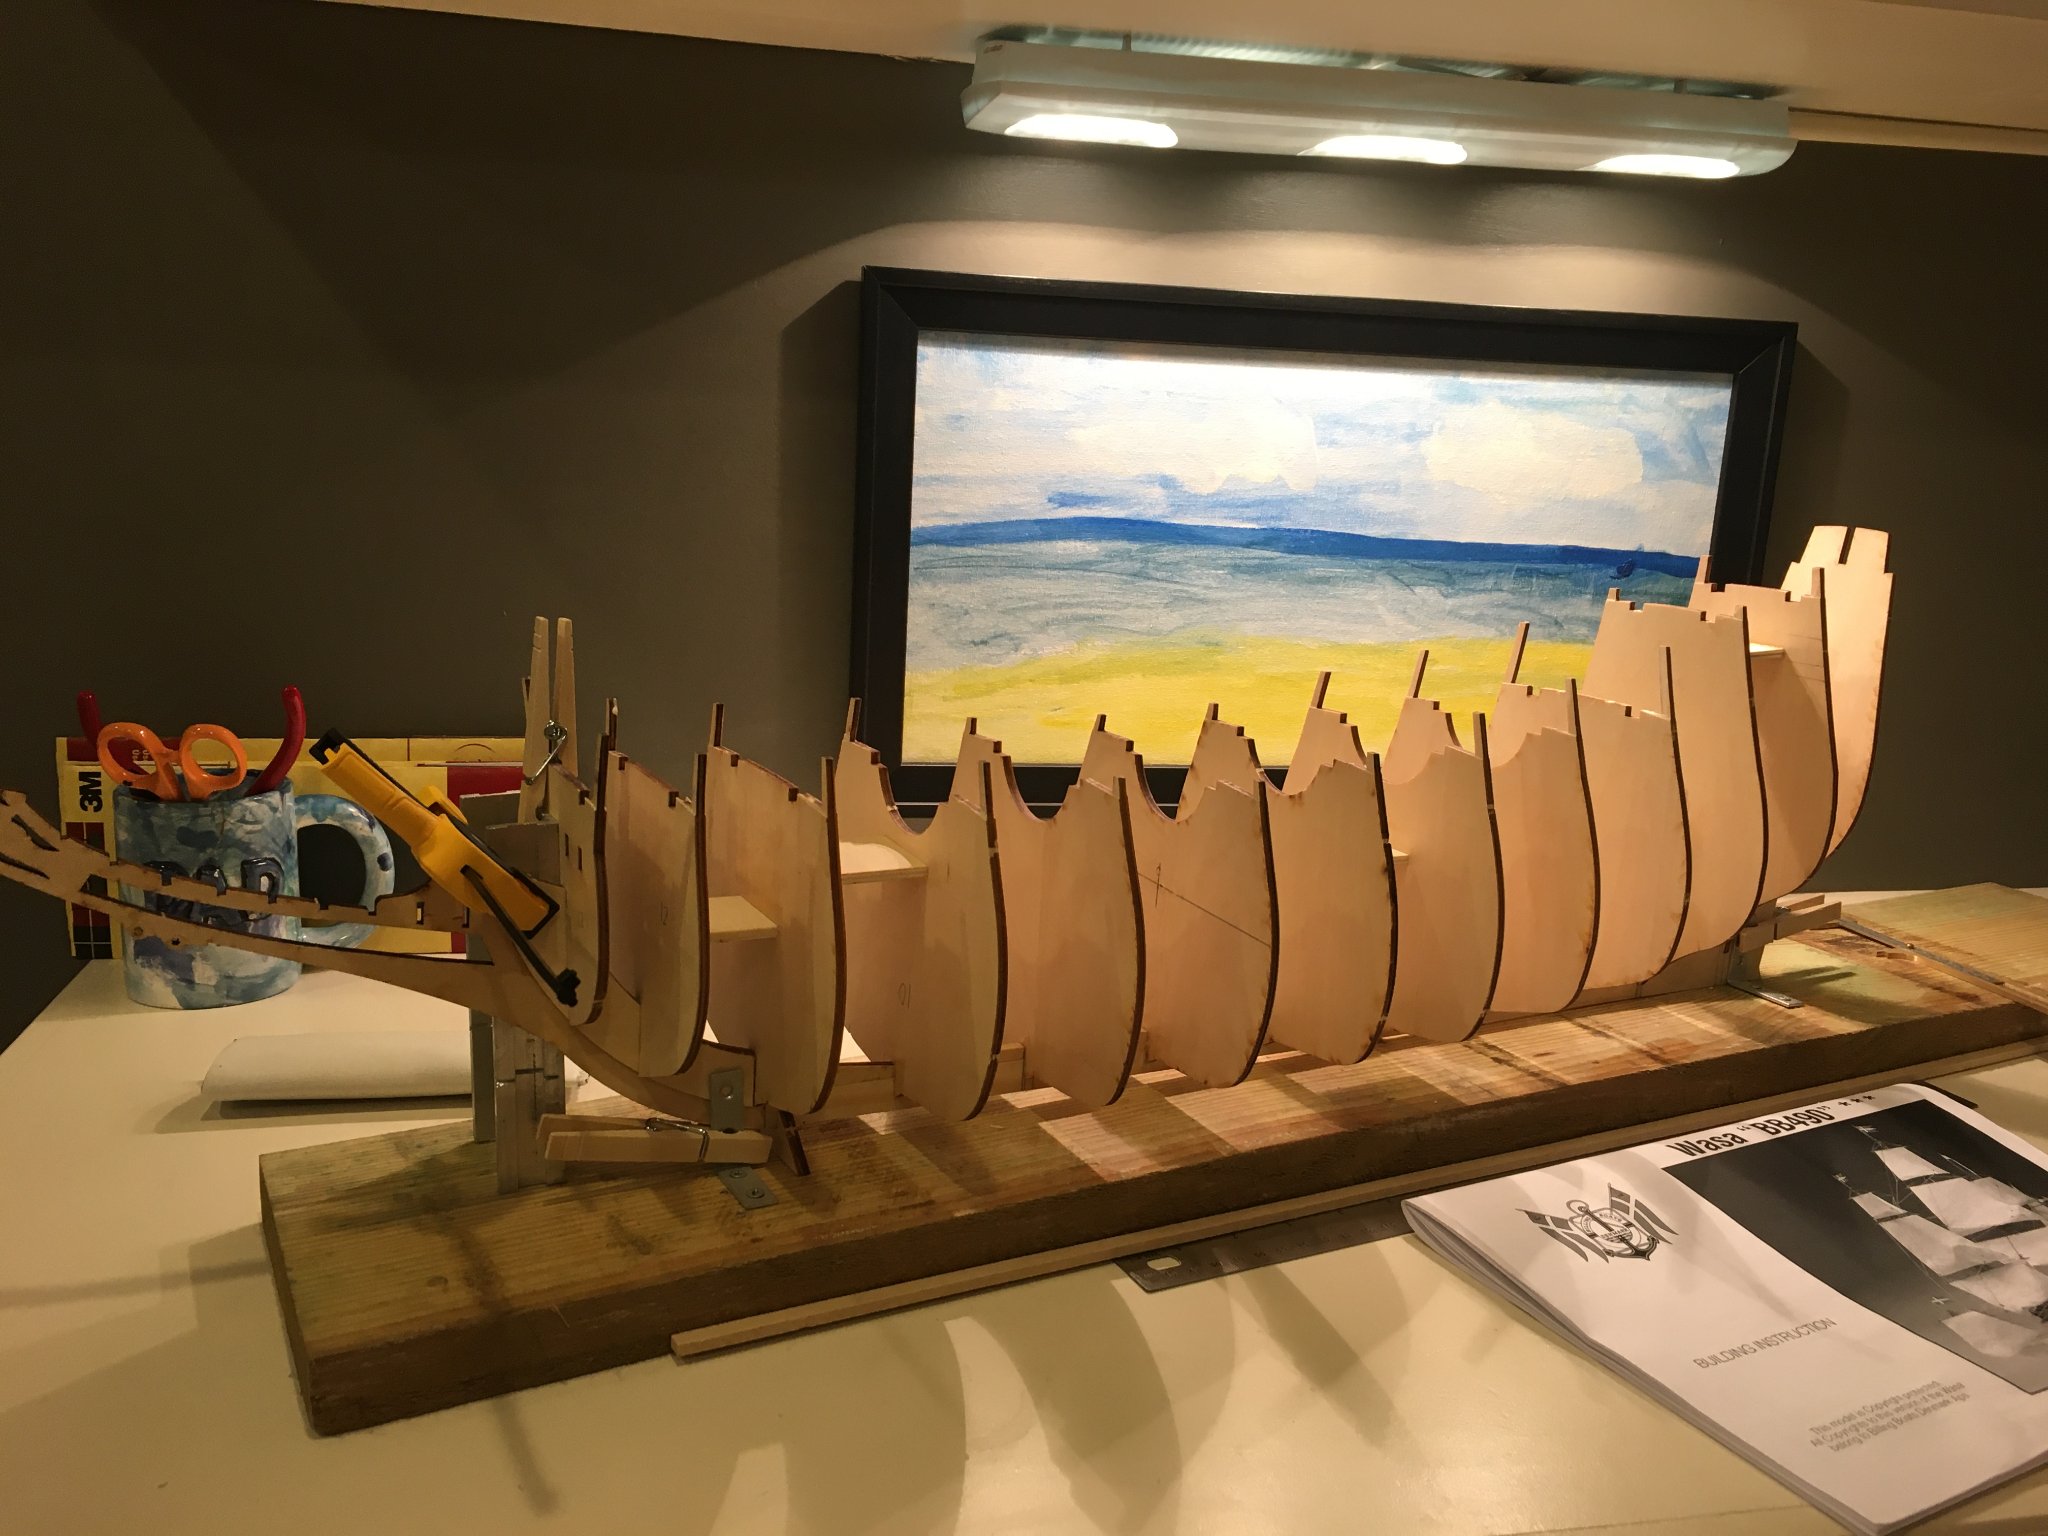
My Workspace
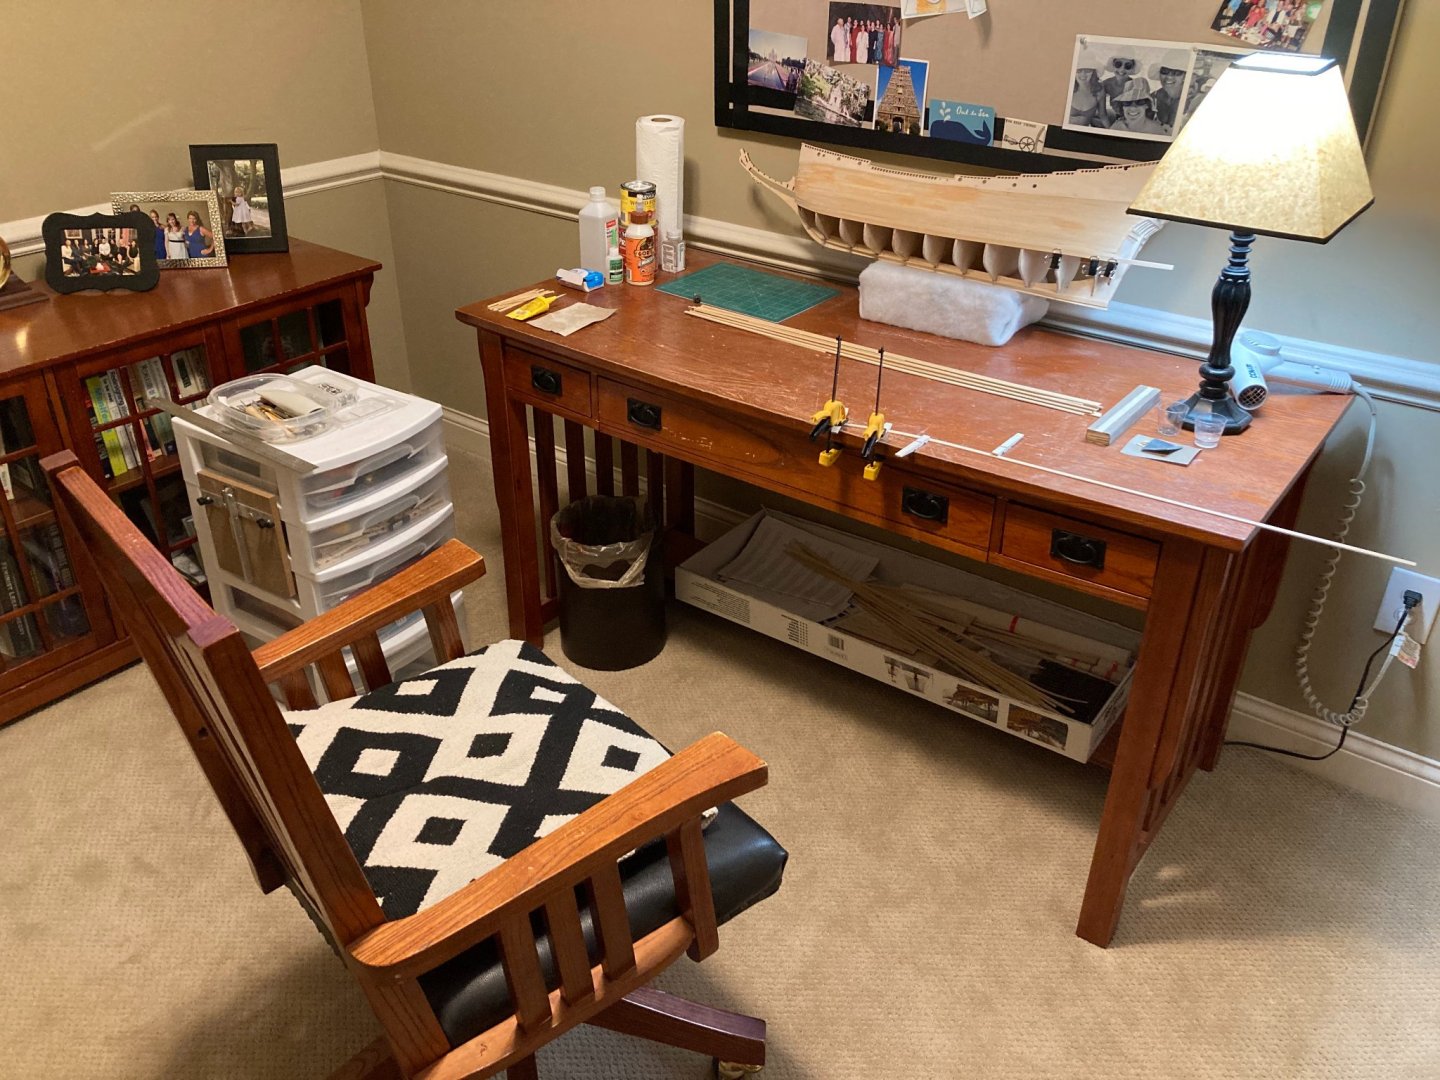
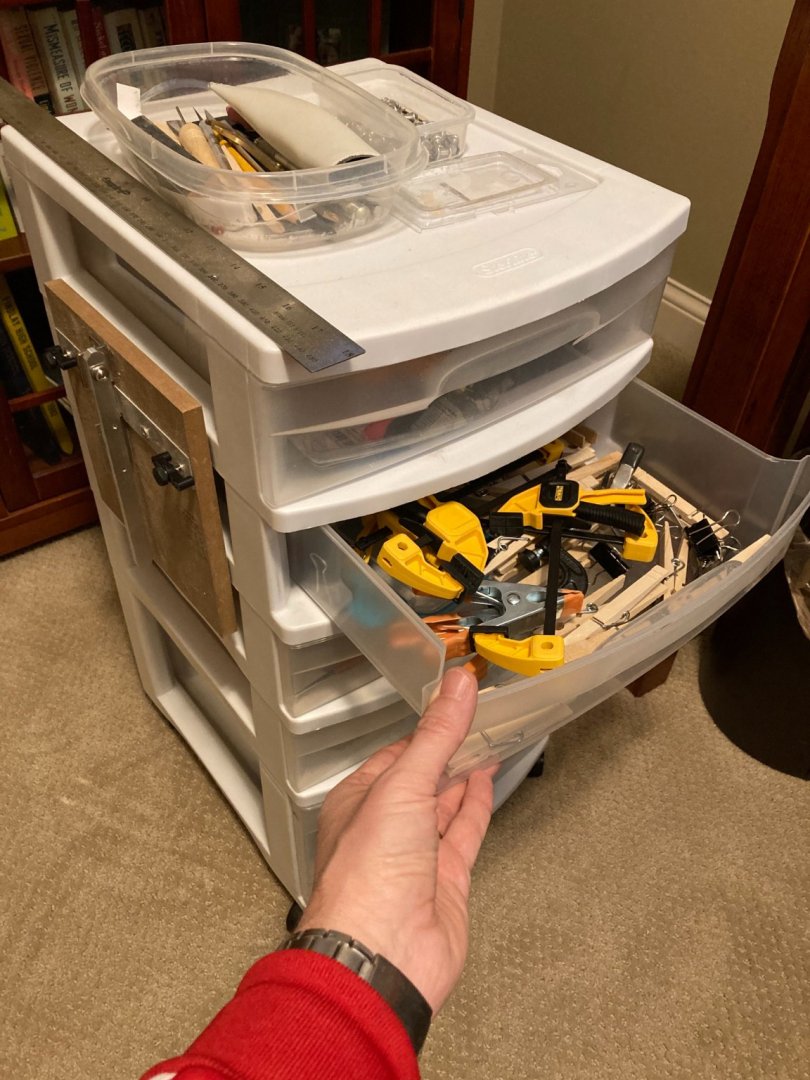
I've noticed that some modelers share photos of their workspaces, which it always interesting to see. They seem to run the gamut, from the kitchen table to basement workshops to custom-built spaces with a very nice view outside. Here's my workspace, my wife's former basement office. She moved upstairs to another office with a view to the front yard, so I've taken over this space for the most part. The rolling cabinet once held small toys, but now that my girls are mostly grown, I've repurposed it for tools. I try to keep the space clean.
- GrandpaPhil, Baker and Dean77
-
 3
3
-
7 hours ago, Backer said:
Thank you, Backer!
Best,Doug
-
Procrastination & Planking
I procrastinated for weeks before starting to plank the hull, mostly from fear (installing the garboard was challenging enough, and I still may not have done that correctly). While there are many great resources on how to do this, like this terrific booklet from Dirk De Bakker and Greg Brooker, I simply could not figure out exactly how and where to start, and to work up the courage to begin.
I spent a great deal of time looking at other VASA build logs (like Peter G's and Backer's) and studying their helpful photos. I lined off my frames with a pencil, making tick marks every seven millimeters, which were the width of the kit's planks. I did the calculations that seemed to show how tapered the planks would need to become as they neared the bow and crowded together onto increasingly smaller frames.
Part of the challenge (from looking at other modelers' work) seemed to be that not every amidships plank actually reached the bow. Because of VASA's very bluff shape, many lower planks never made it to the bow, but simply ended when they ran into their higher cousins in the race to the stem. Planks higher up on the hull curved around to meet the stem, blocking the way forward for planks lower down and forcing them to terminate against other planks.
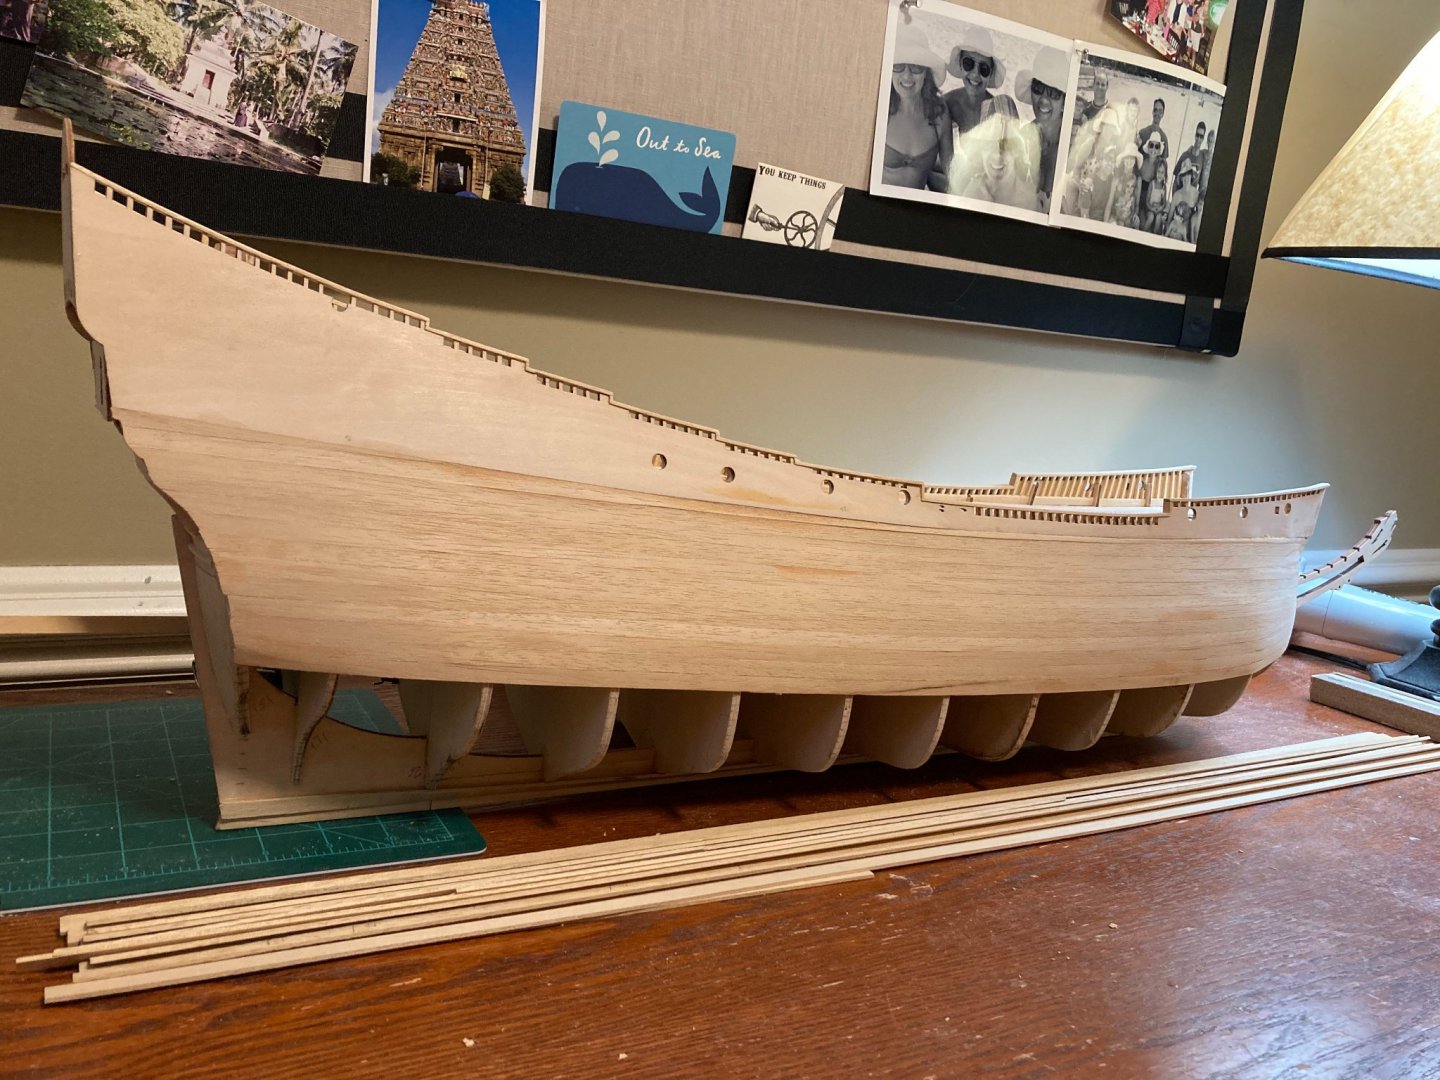
In the end, I made my best estimate as to how many planks would actually need to find a home against the stem, and that their width should be about 5mm. I know now though that I likely tapered them too much. As I progressed with planking, the upper planks below the wales actually started to droop at their tips: there wasn't too little room at the stem; there was too much. Ack.
To fix this without starting completely over, I partially cut away the too-tapered upper planks - the ones whose tips at the stem had started to droop - and replaced them with wider planks. Down below, I began to reduce the taper of the newer, lower planks, from about 5mm wide to about 6.5mm wide, a figure I based on the remaining room at the stem and on the number of planks I still expected to reach it.

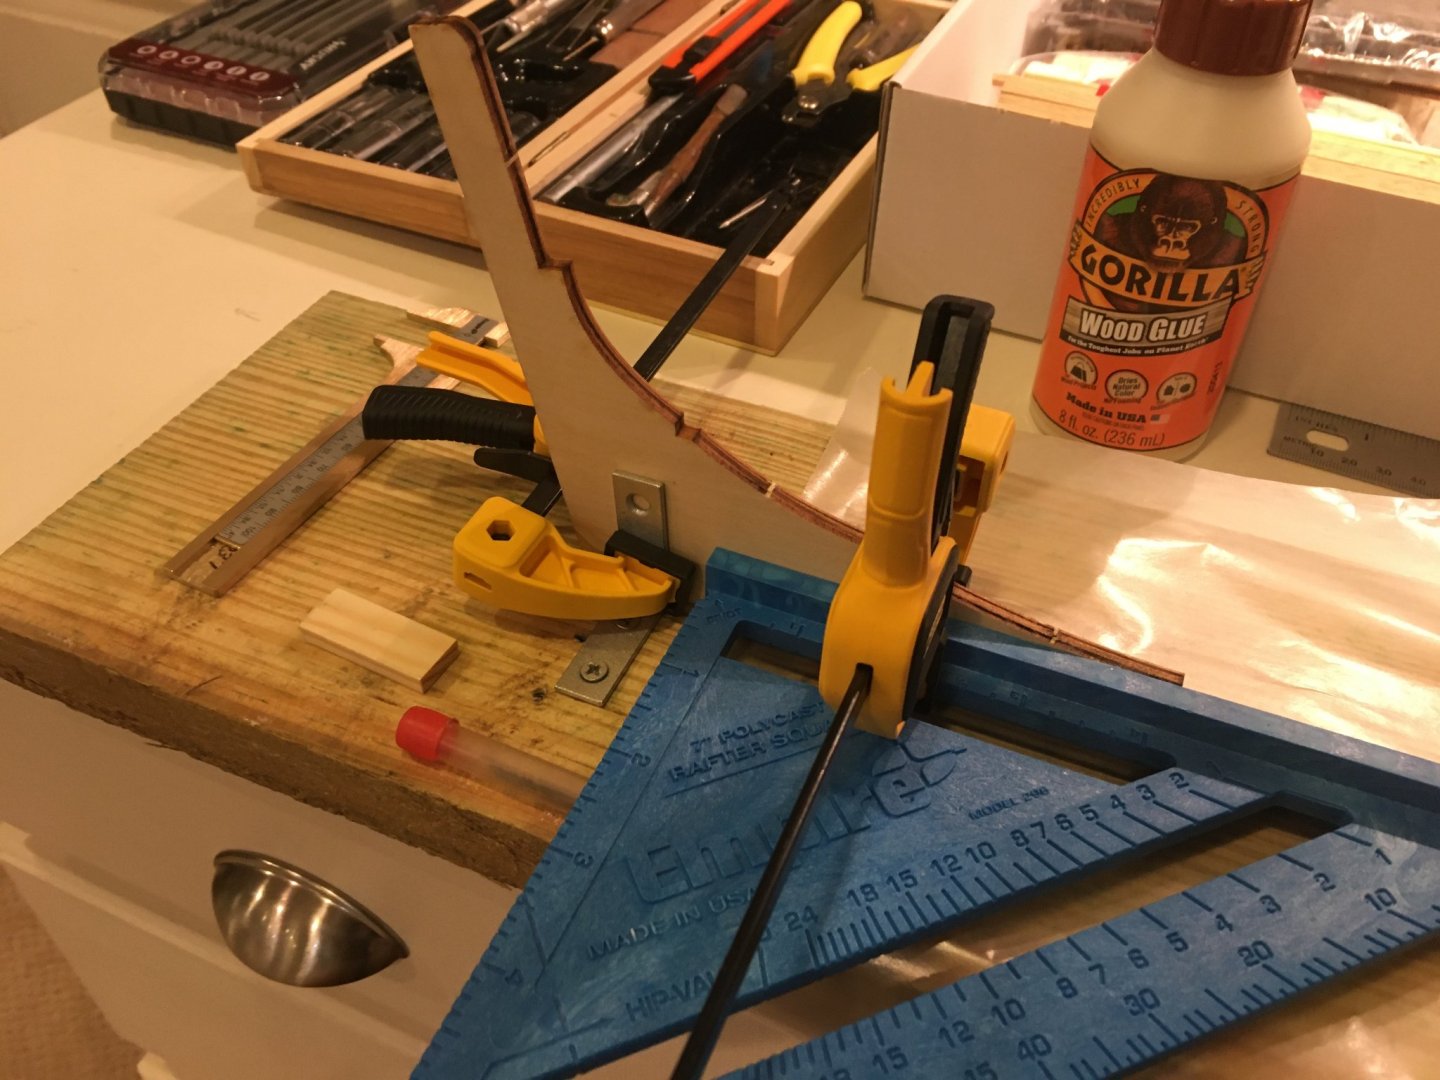
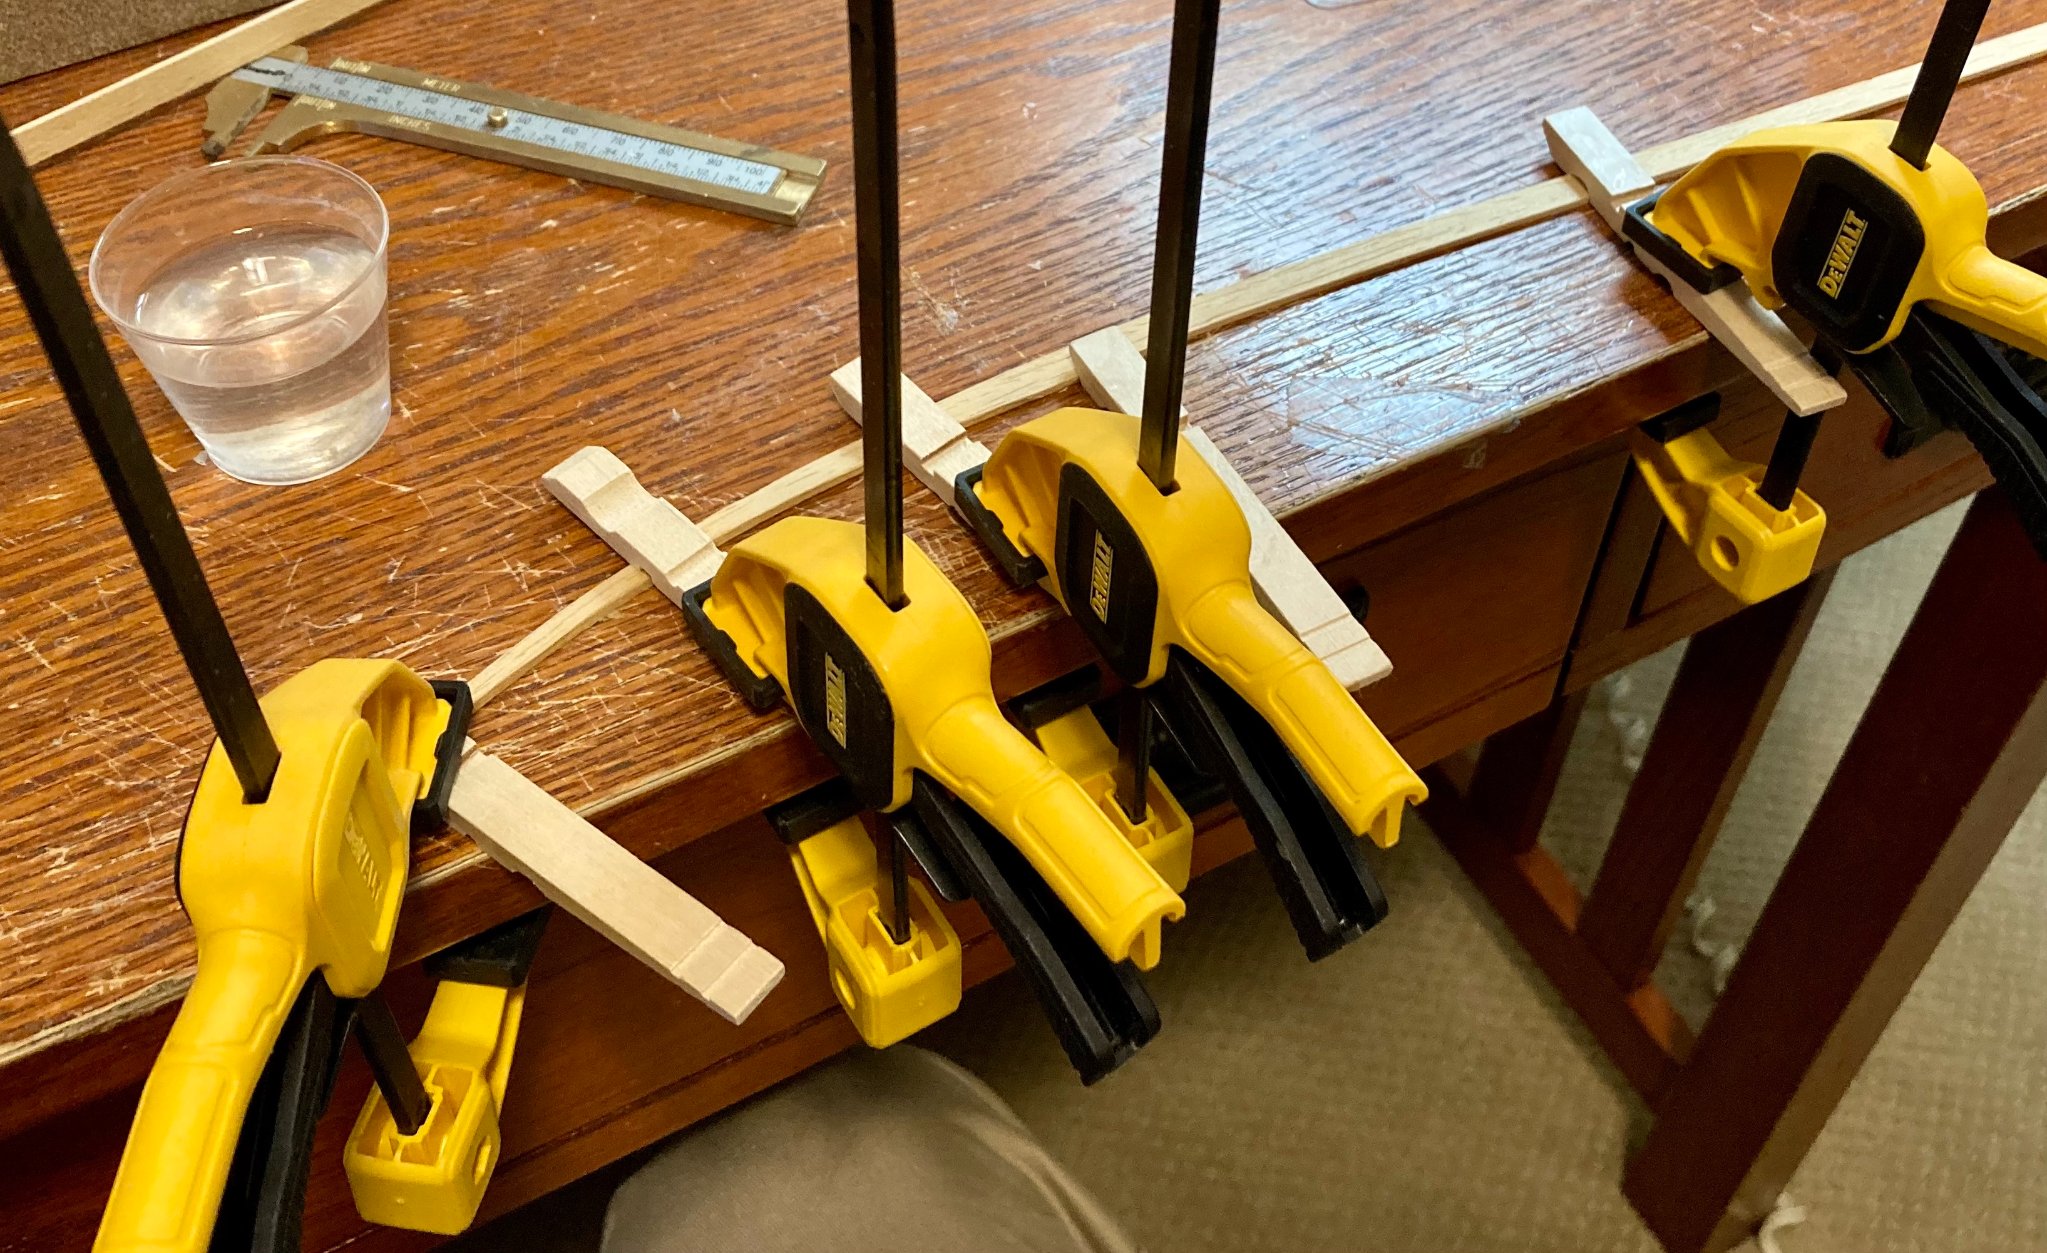
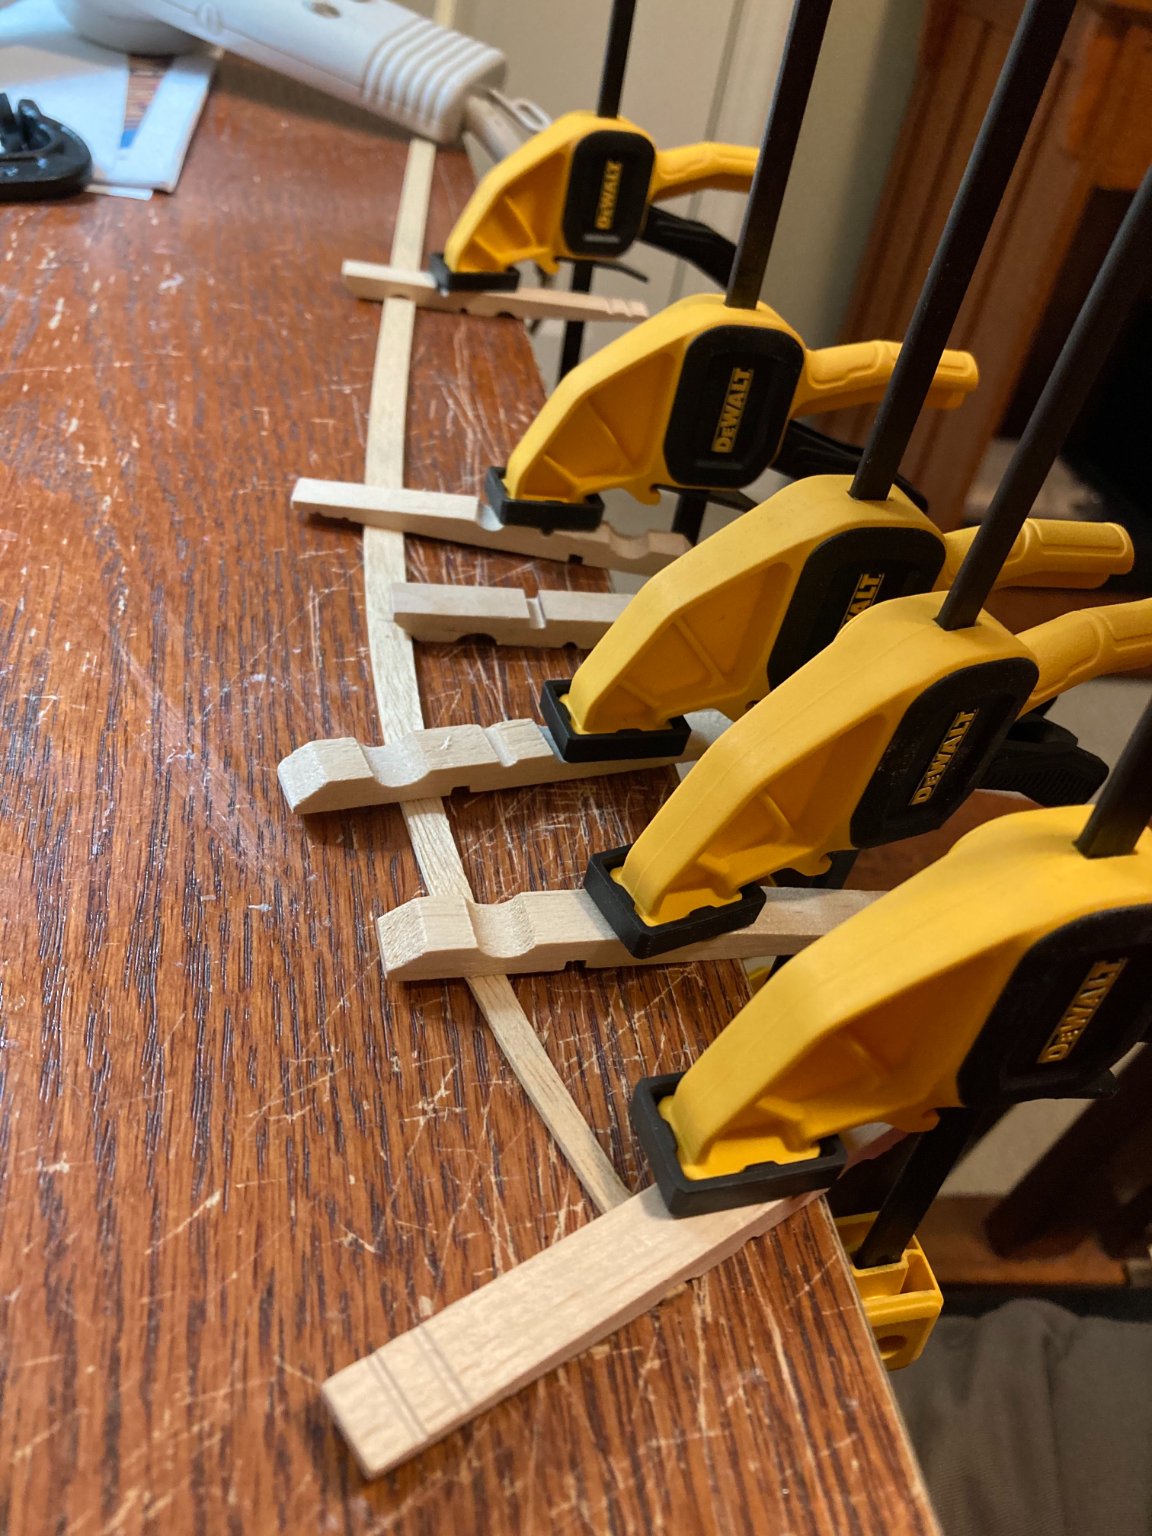
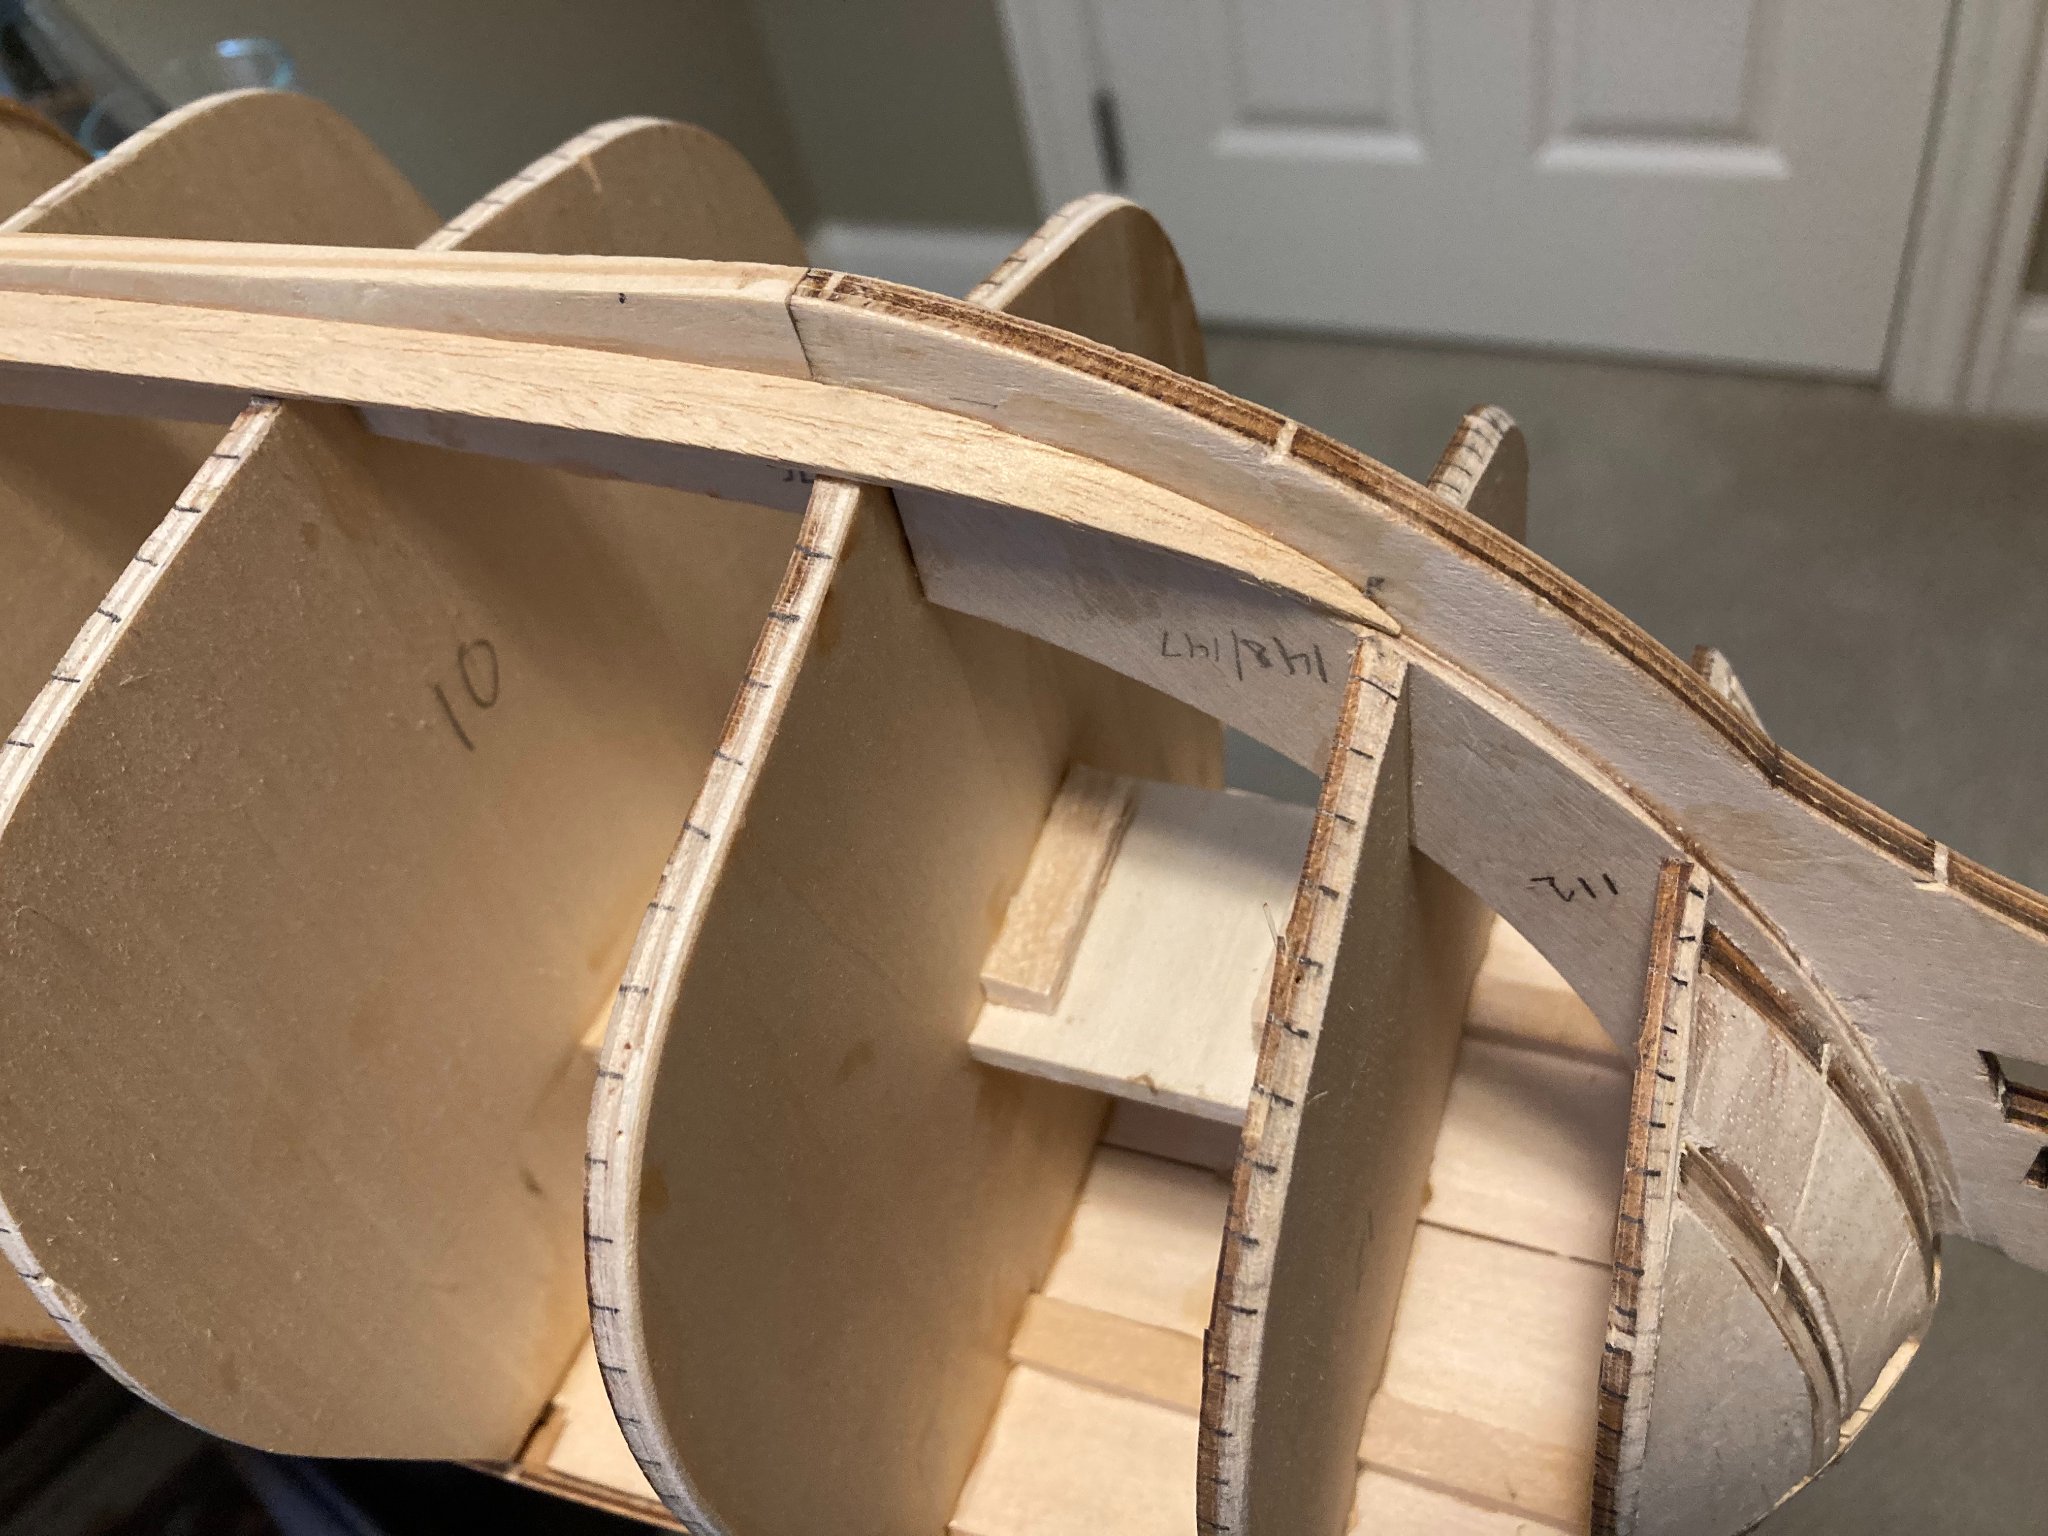
Below: Bending a plank. The single-best resource I found regarding plank bending is a four-part Youtube video series by Chuck Passaro, "Planking the bow of the HMS Winchelsea." I must have watched each video three times. Planks are essentially bent upwards, vertically, rather than longitudinally. This seemed counterintuitive to me, but it works and is the technique I went with (thank you, Chuck). I did not soak any planks, but just dipped my fingers in the cup of water seen here on the left and ran them along the top of the plank. When I have broken planks (and I have broken several) it usually seems to be a result of simply not leaving in the jig below long enough.


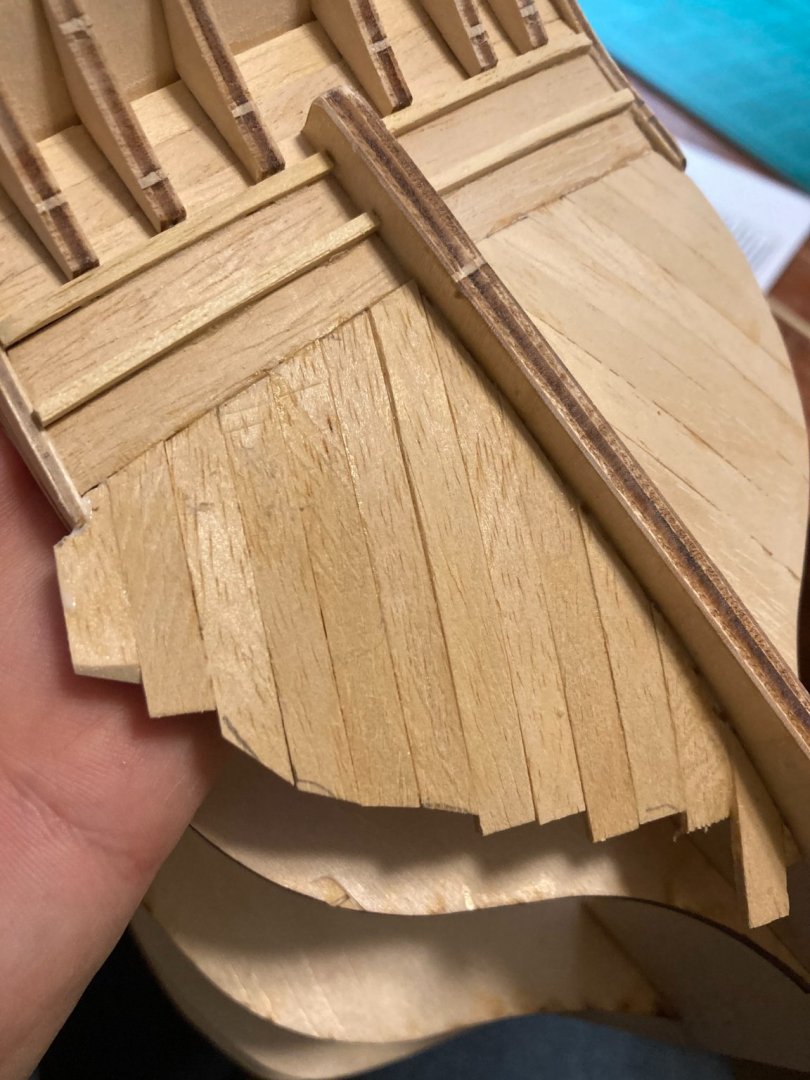
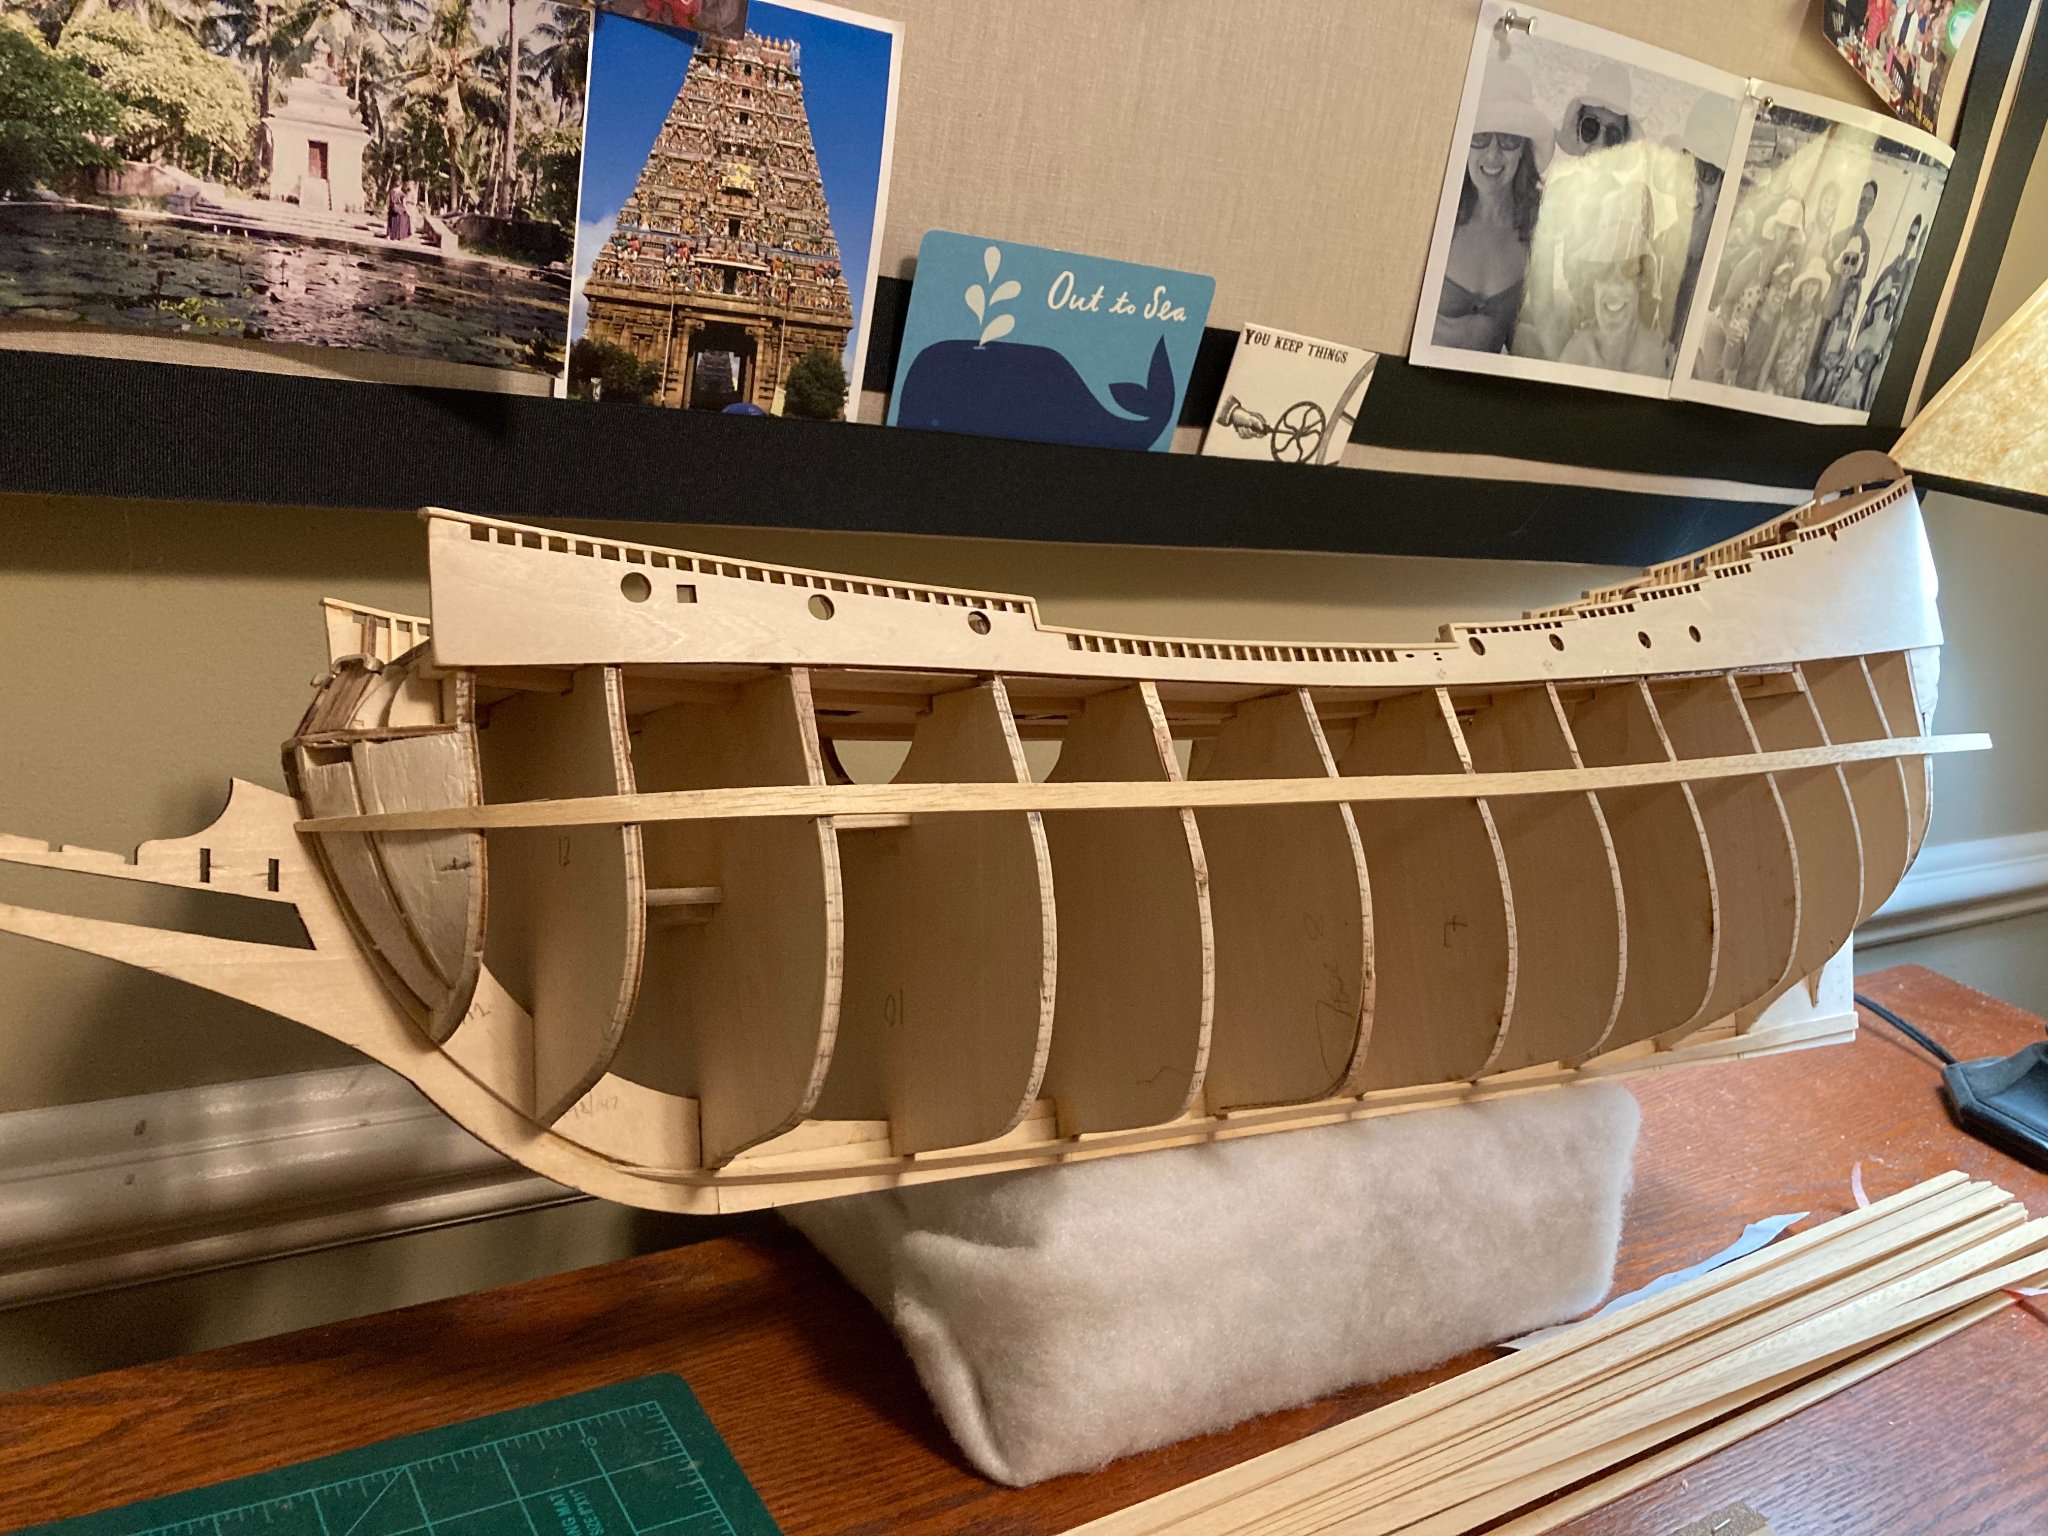
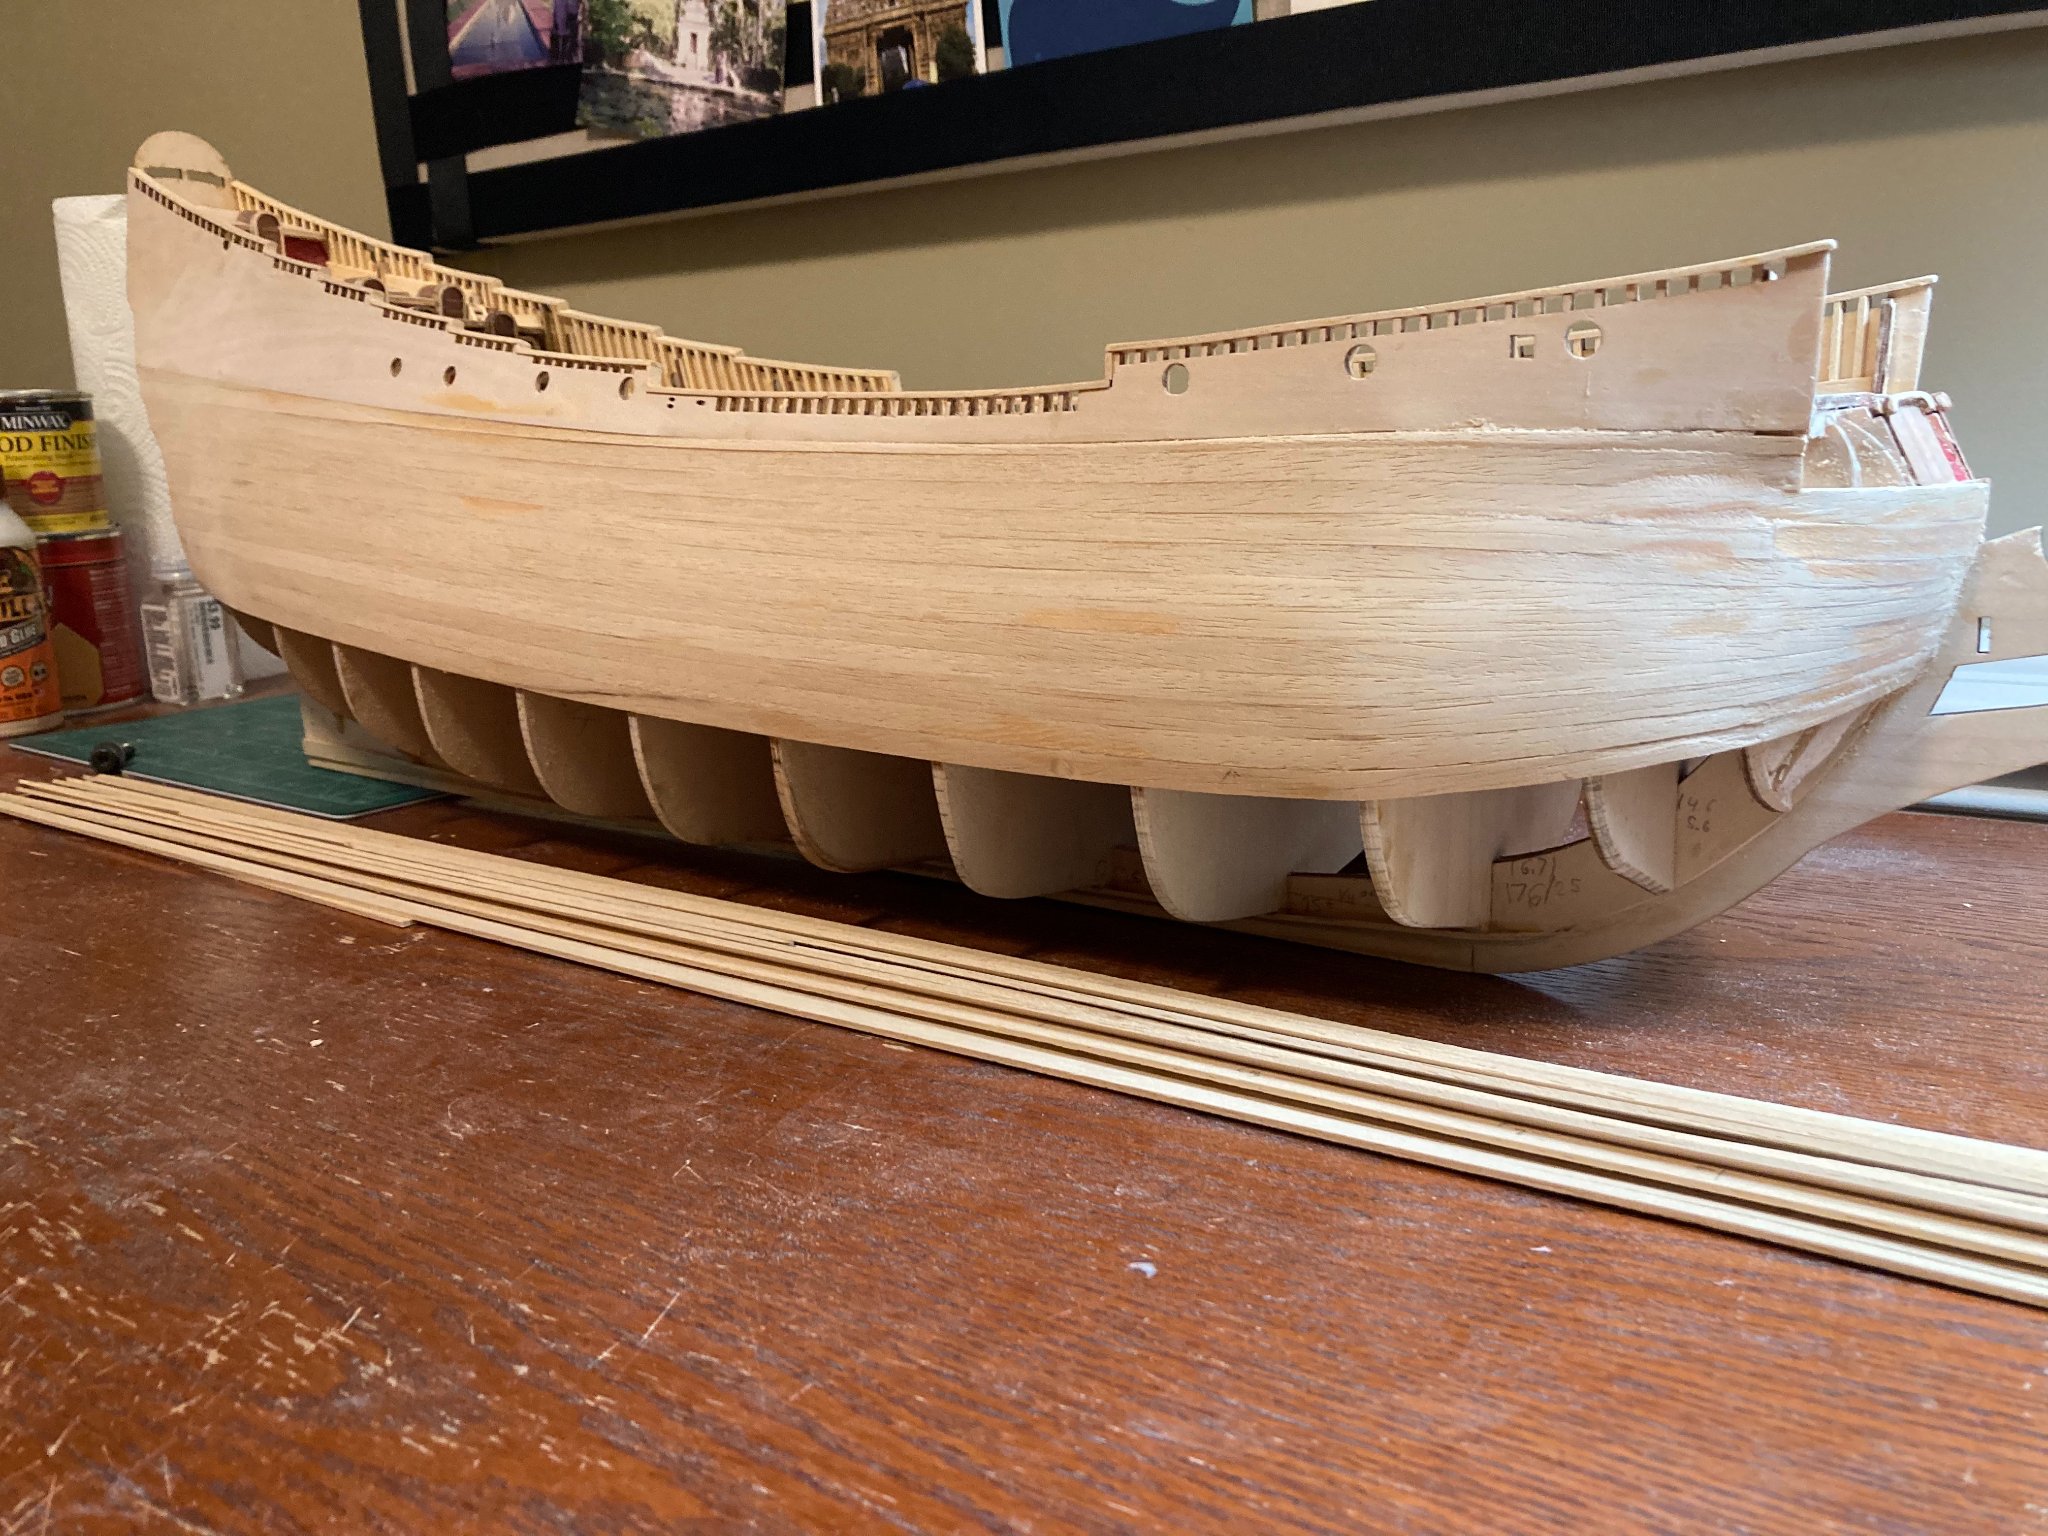
Below: The first three planks. Here you can see my issue with tapering too much: the planks begin to droop slightly at the bow. This became more pronounced as I progressed, ultimately forcing me to remove some too-tapered portions of the upper planks and replace them with wider ones.


Below: Lots of filling and sanding yet to be done.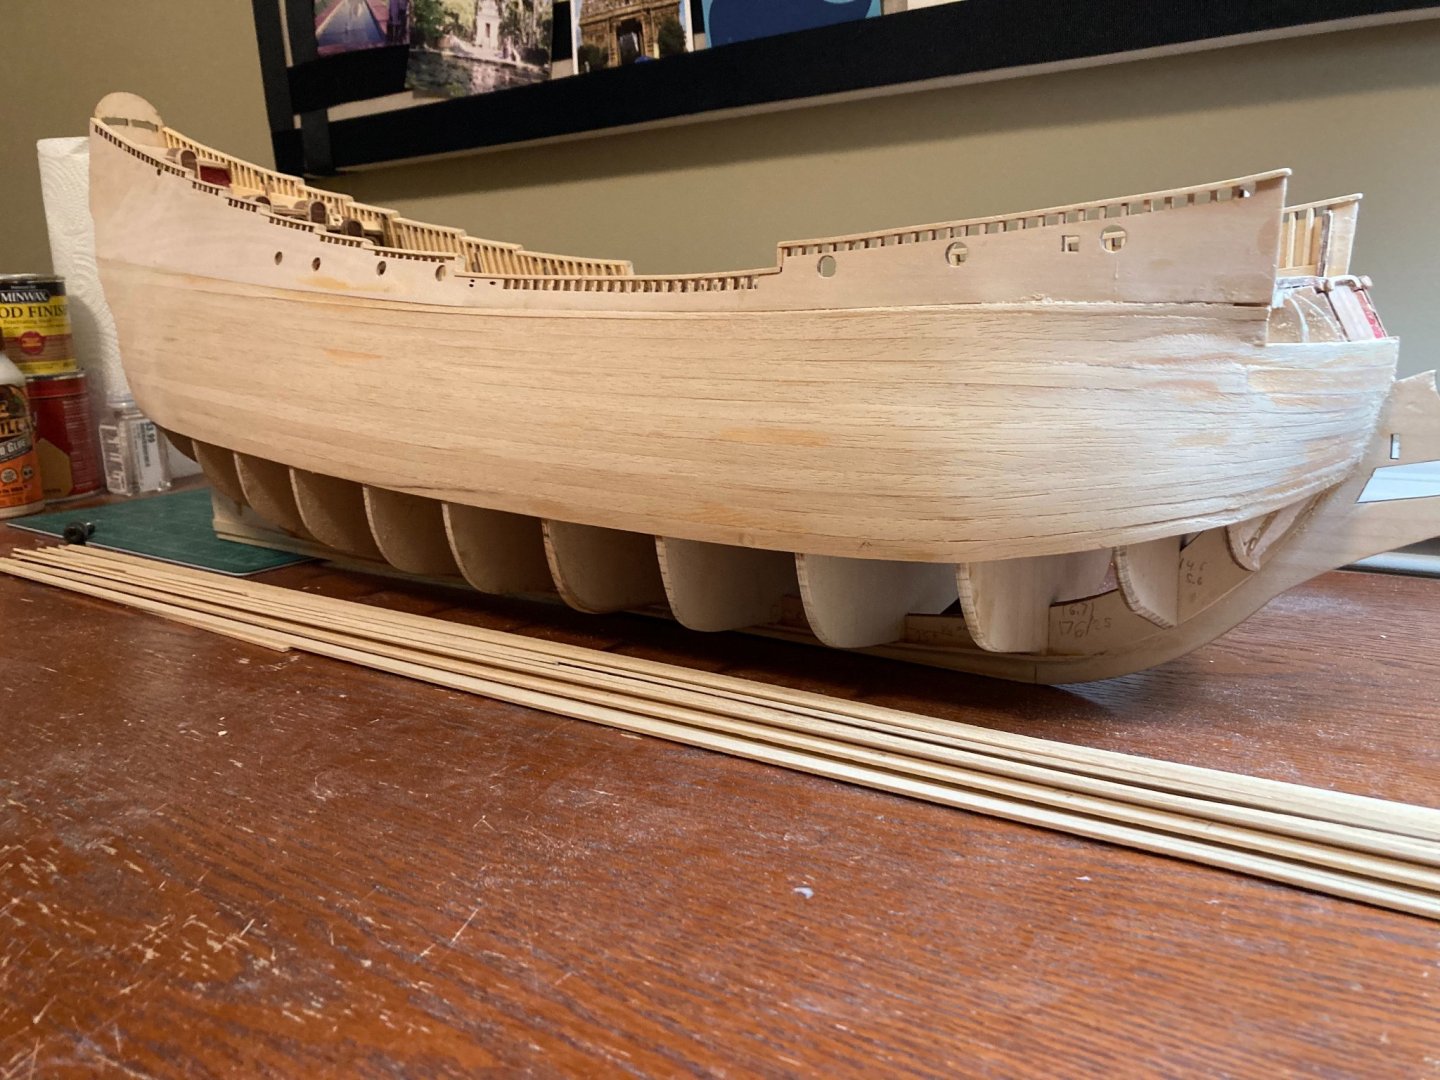
- Baker and GrandpaPhil
-
2
-
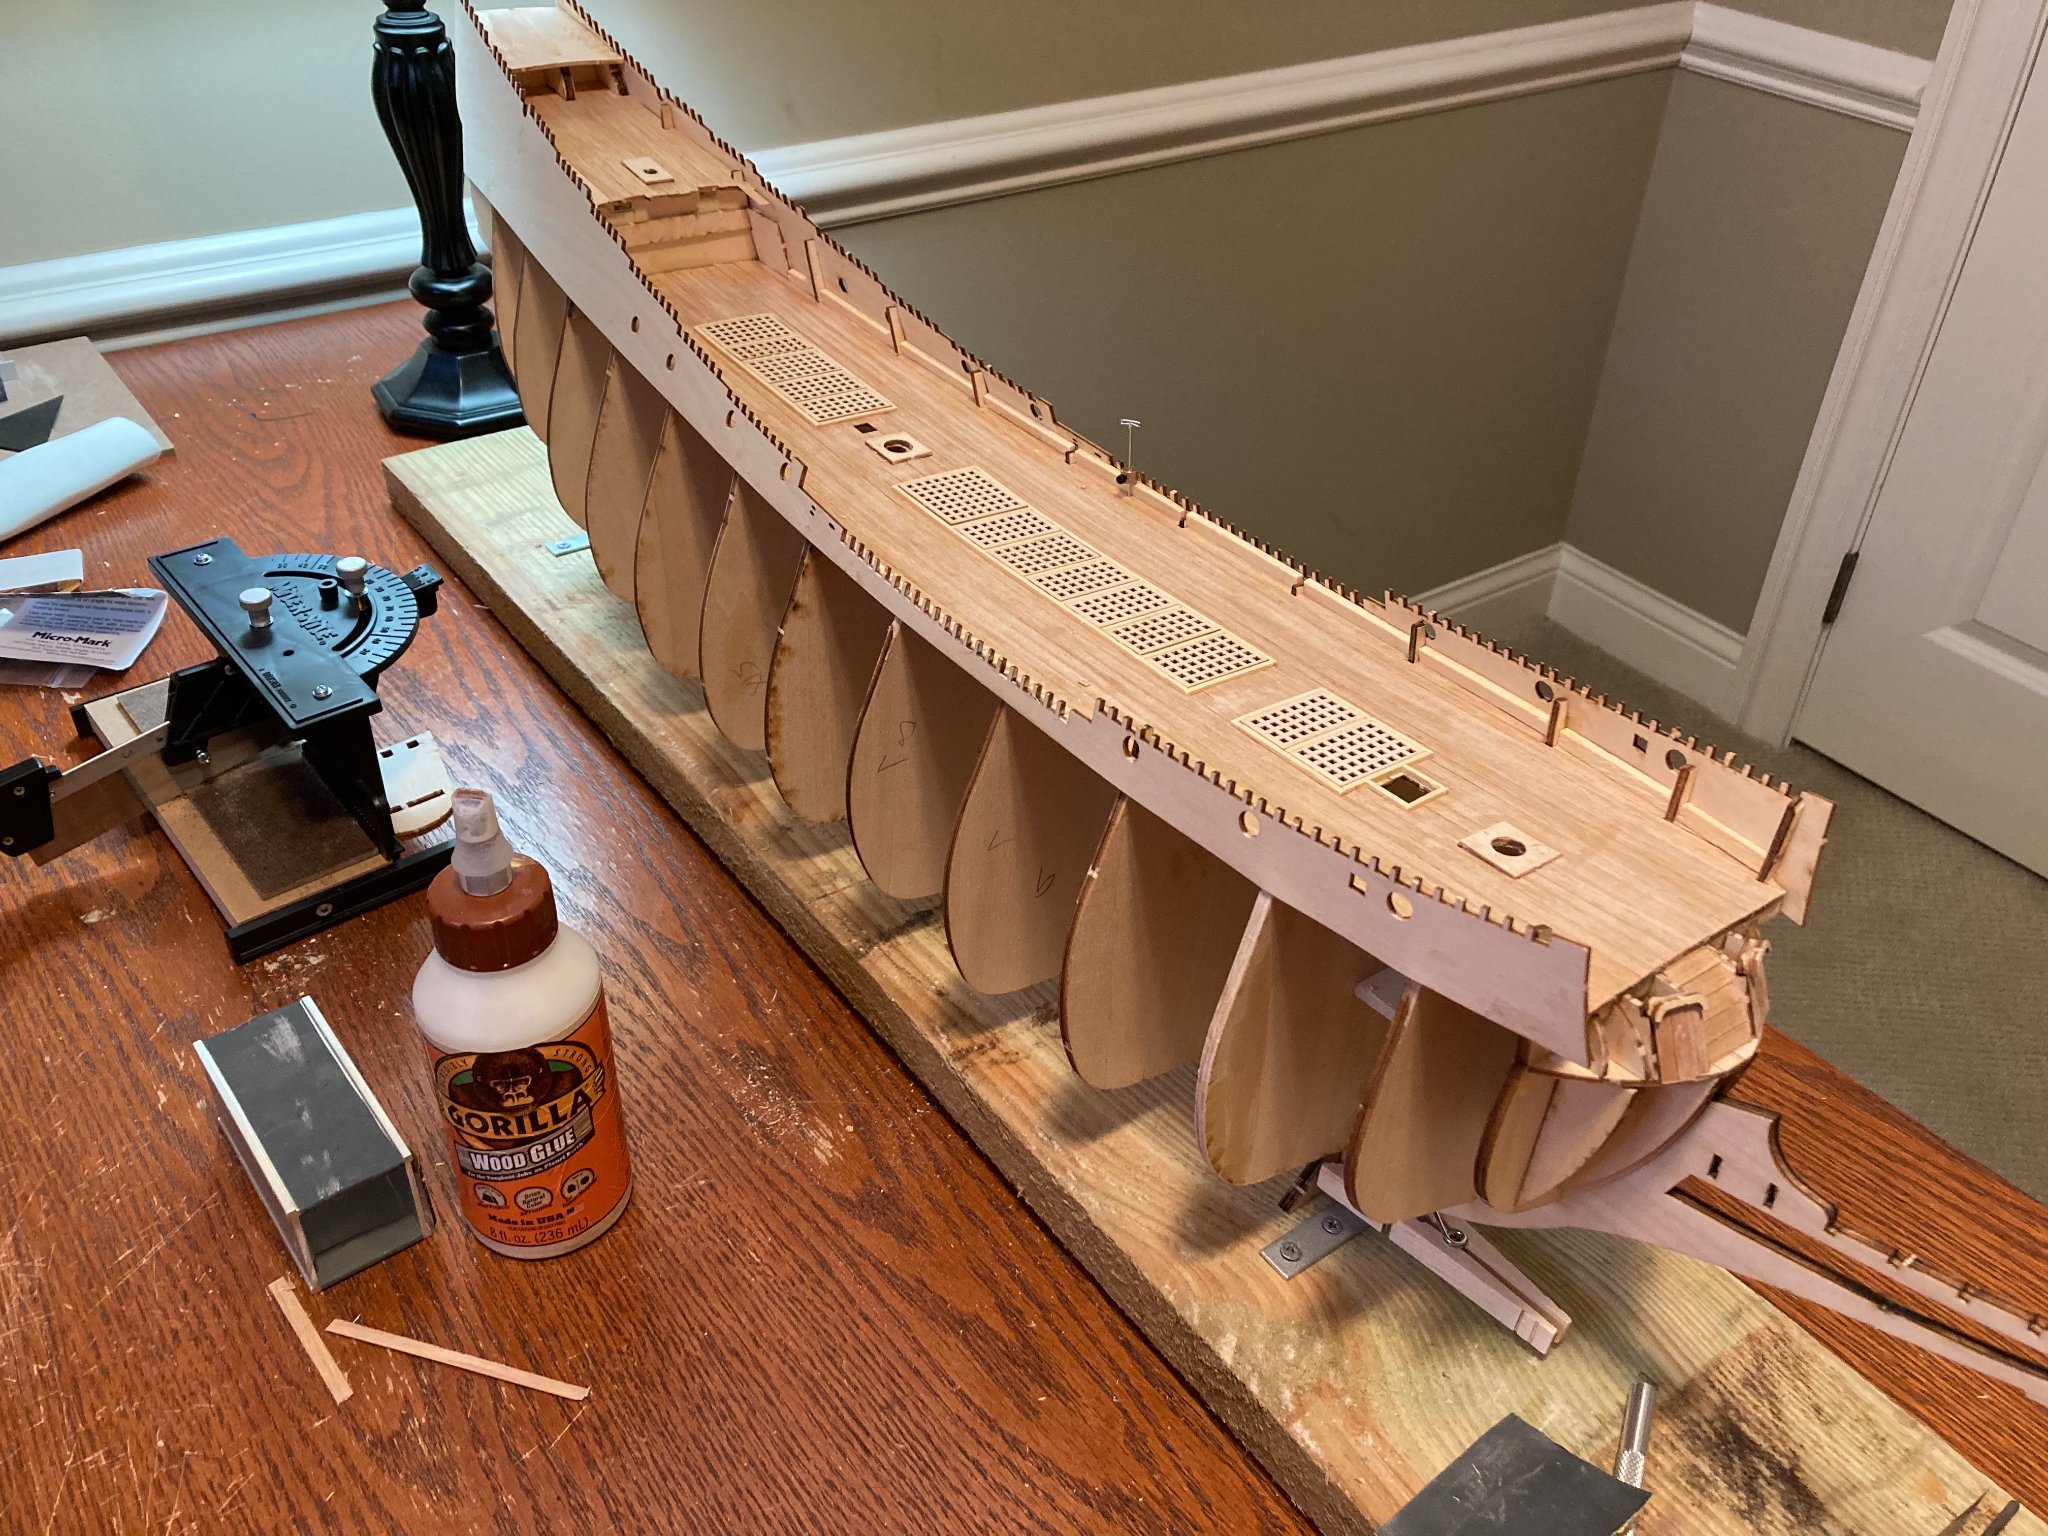
The Garboard Plank & Another Error
Before I began planking on the upper hull, I installed the garboard plank. This plank runs from near the bow alongside the keel, all the way to the stern of the model. Along the way, it twists nearly 90 degrees, from an almost-horizontal angle to a vertical angle.
Here I made another mistake that was time-consuming to fix: I started the garboard strake too close to the stem, or the vertical post that rises at the bow from the keel. Although I had read a number of articles and several videos on how to install this important plank properly, and had started the plank away from the stem as others had suggested, I realized I had still likely located the plank too close to the stem. Locating the garboard too close to the stem is likely to bump subsequent planks out of position, so this needed to be fixed.
Although the garboard was well glued in place (on both sides of the keel), I removed this first attempt and replaced both with new planks that started farther aft from the stem. However, even this second attempt seemed too close to the stem, so I took the step of trimming my second attempt back with an X-Acto blade and sanding the edges smooth. Hopefully the location of the re-done planks will let my subsequent planking fall into place correctly - we'll see.
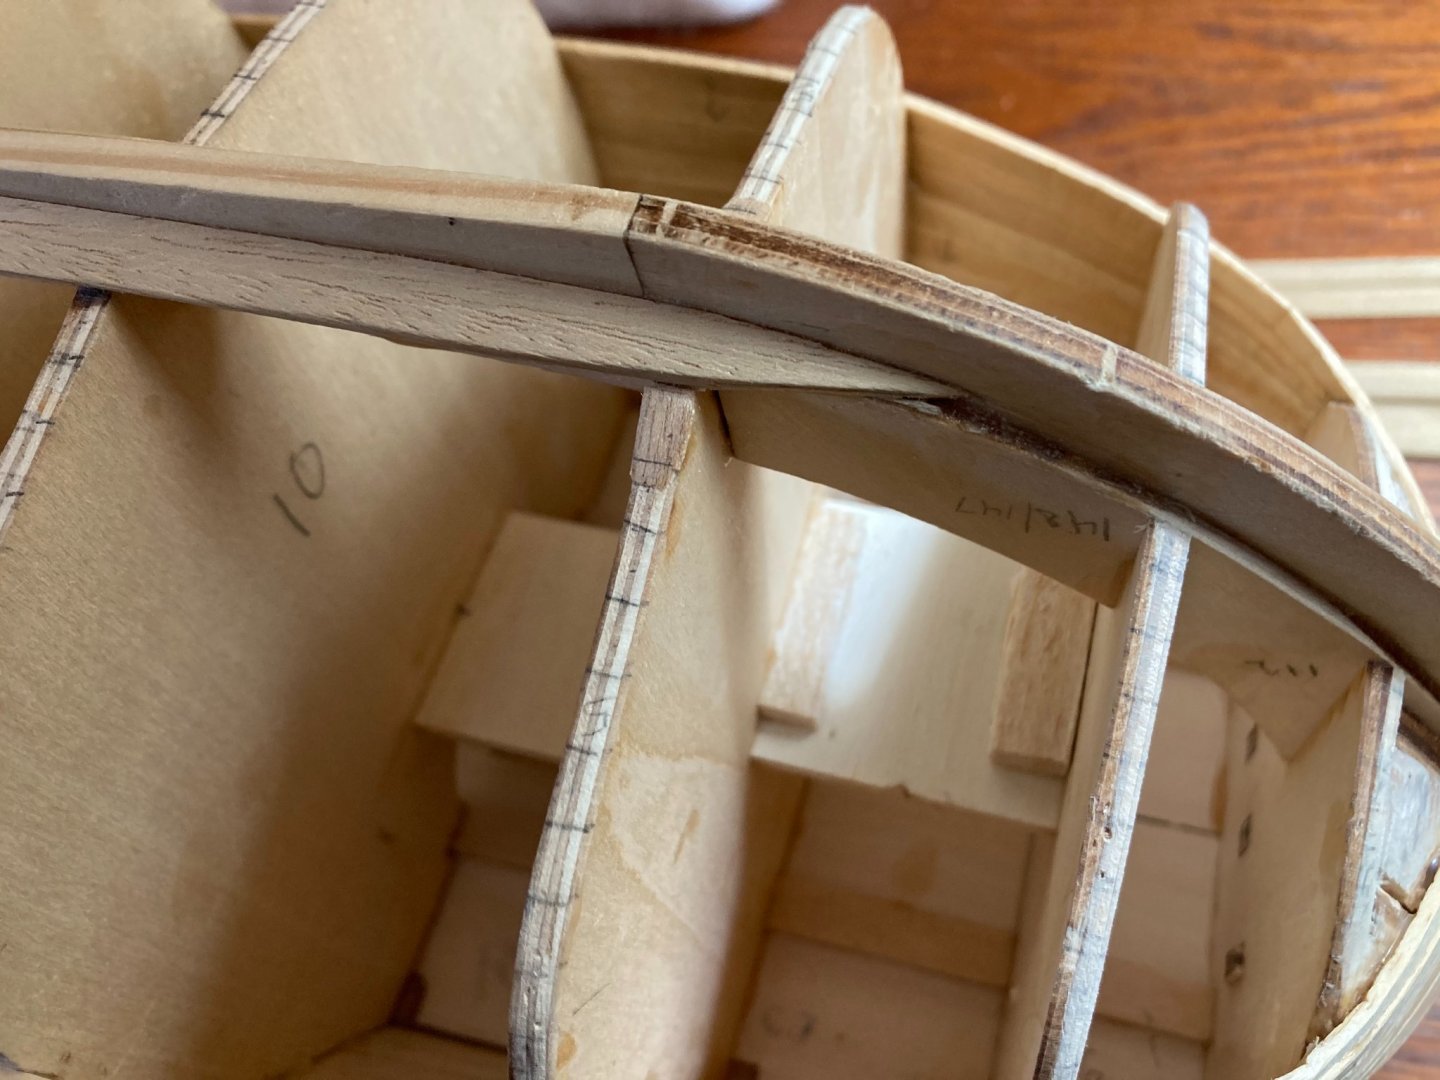
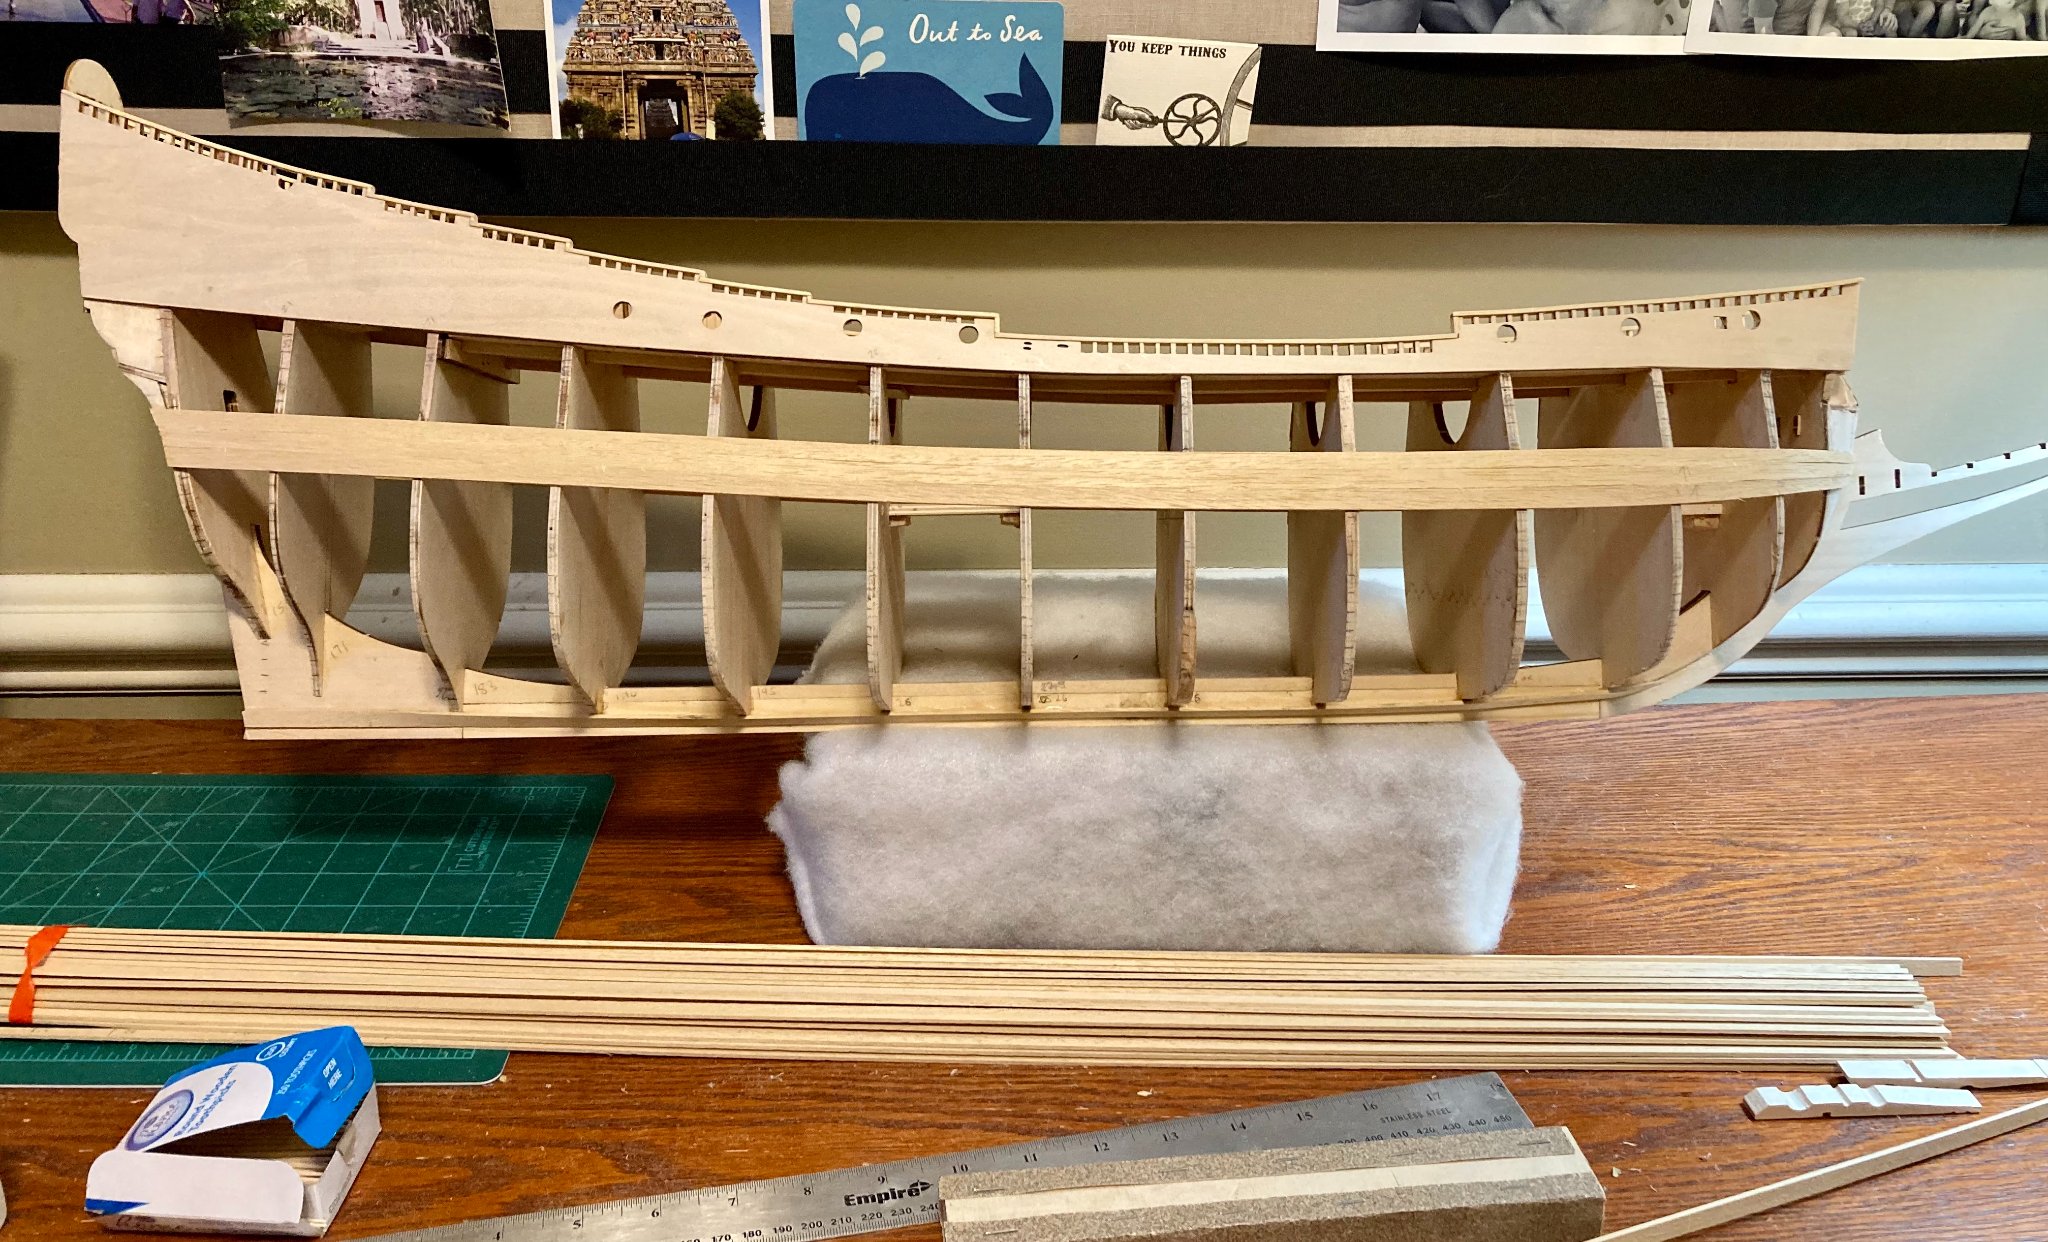
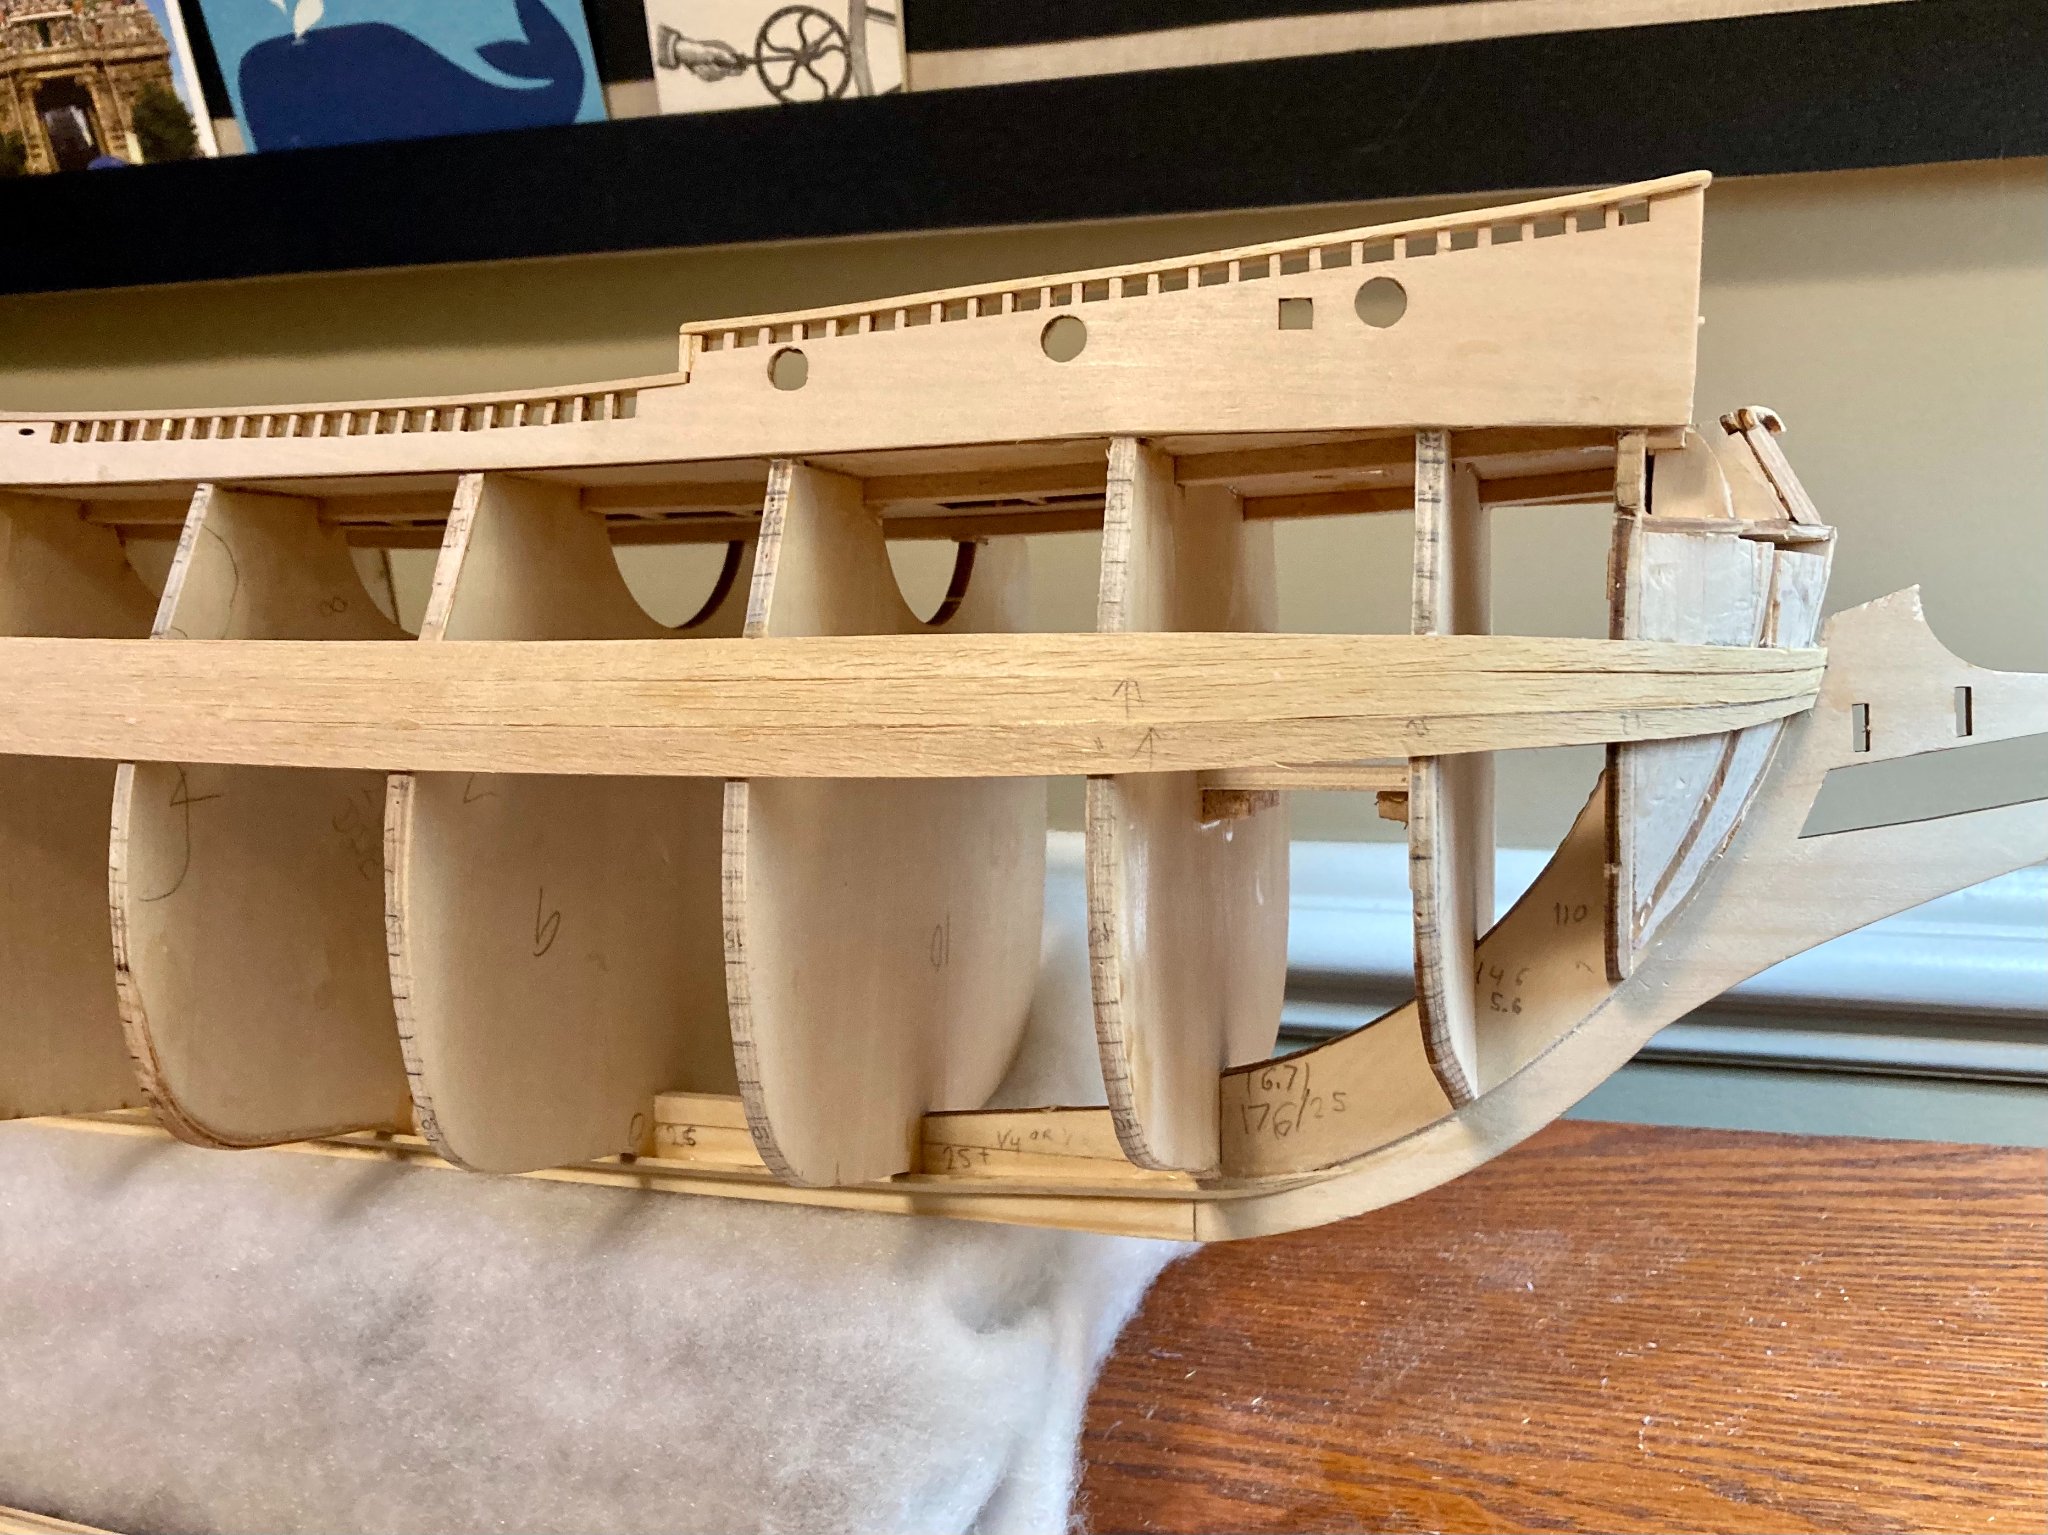
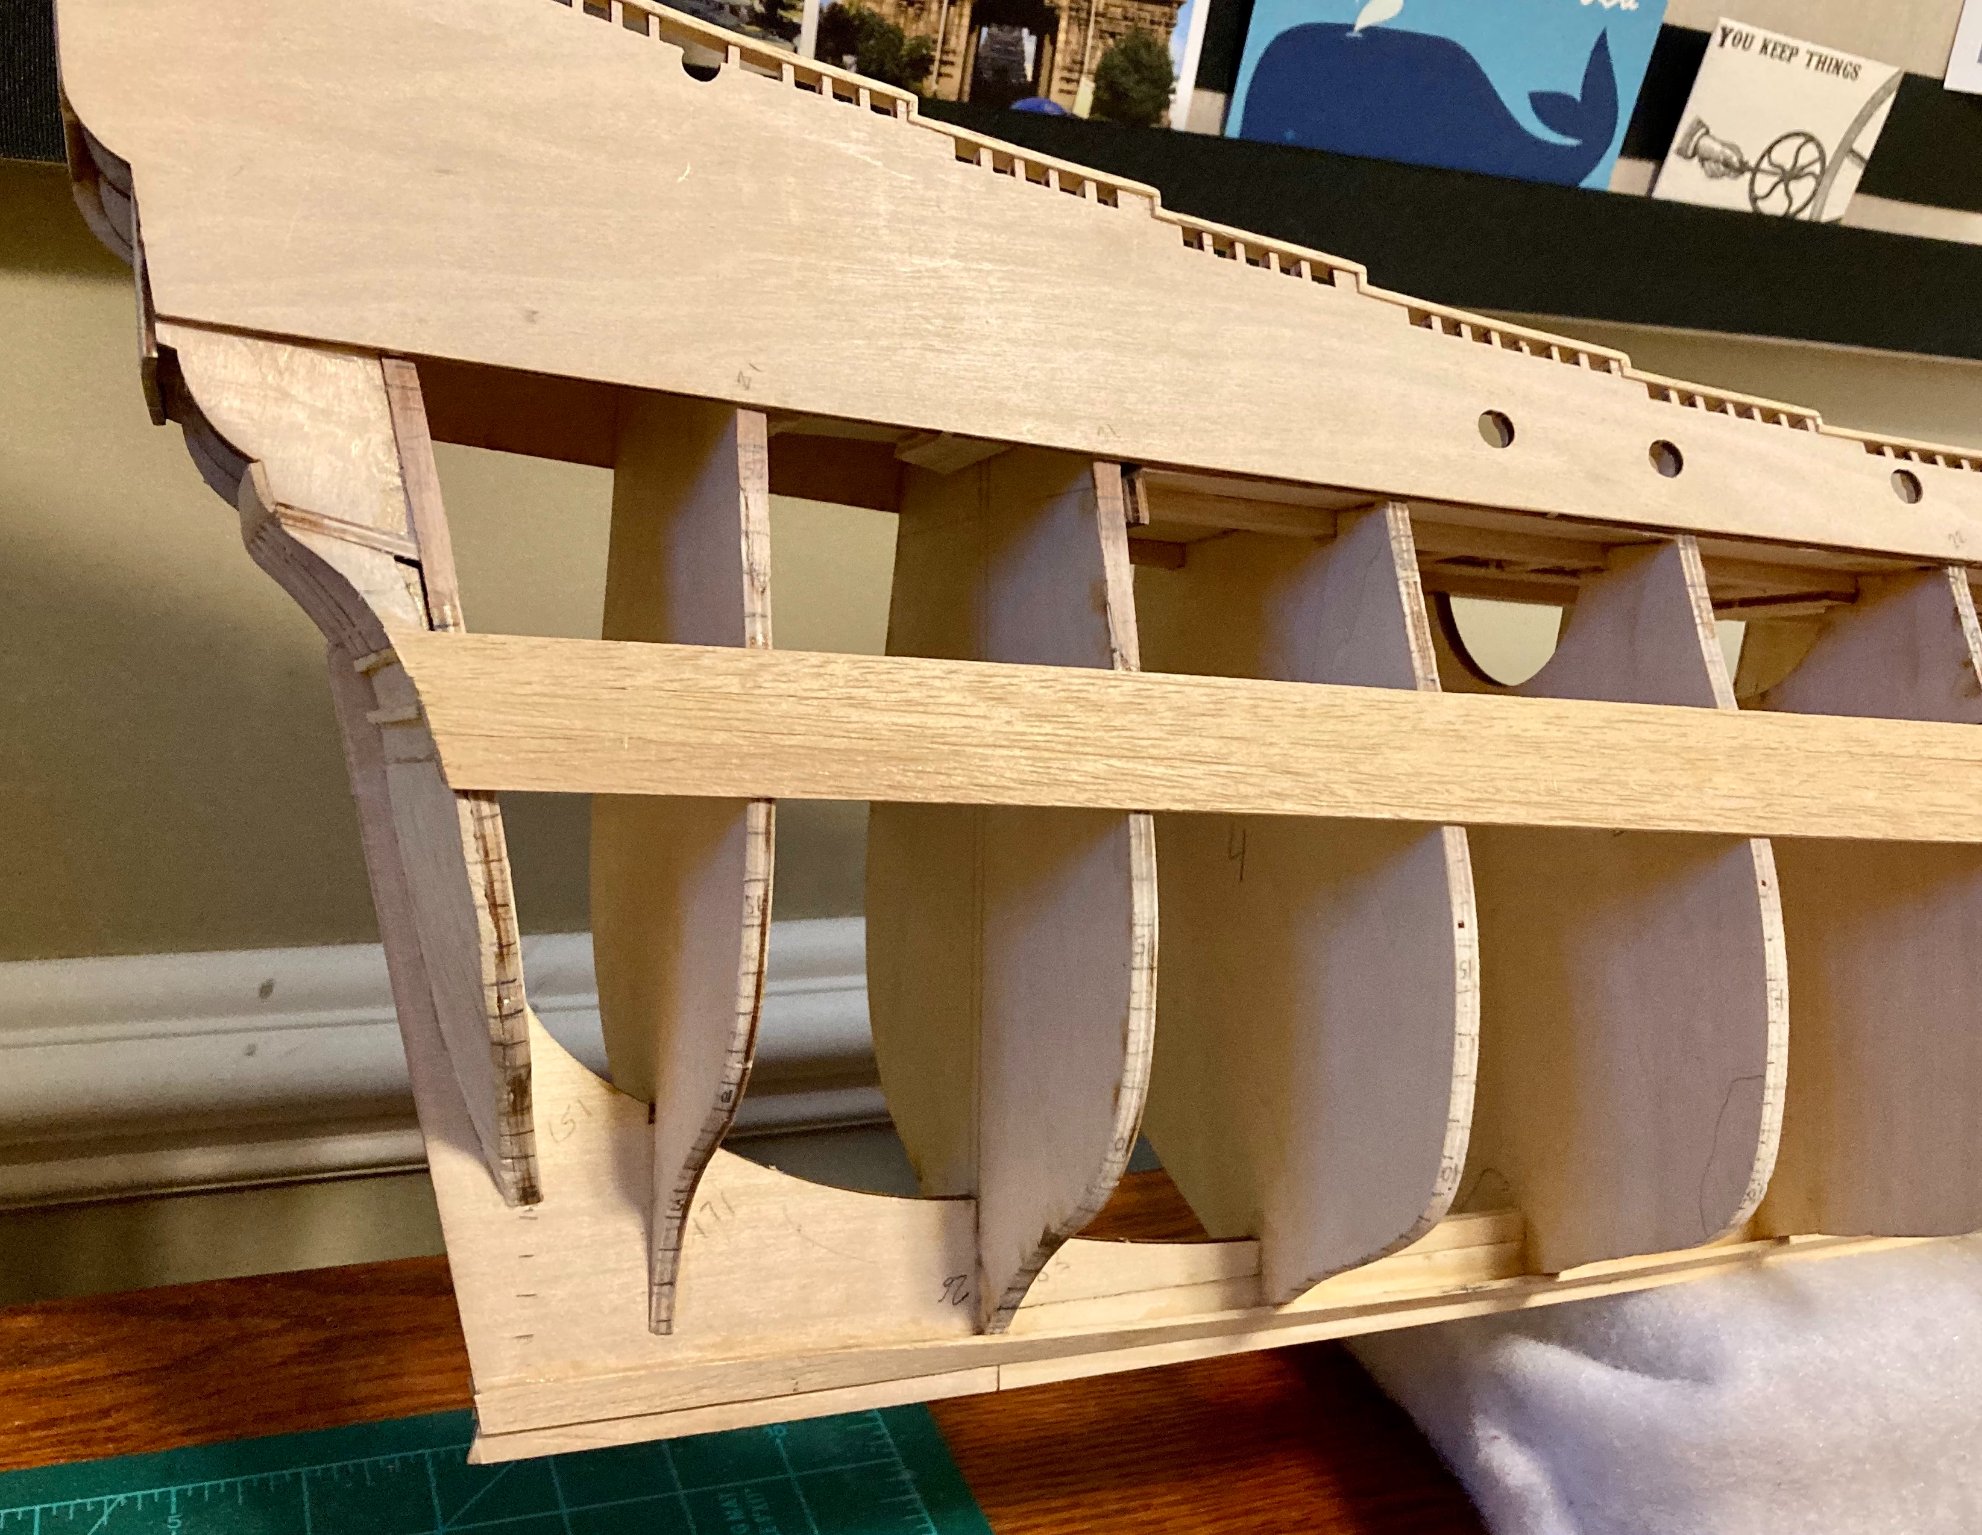
This is actually my second attempt at locating garboard plank. That's it running alongside the keel. Notice that it goes as far forward as Frame 12, which is the second frame from the right.

After lots of cutting and sanding needed to remove the first attempt and to install the second, I trimmed the second attempt back. Notice that now the garboard extends just beyond Frame 11 (the third frame from the right) and now stops. Hopefully the garboard is now further aft enough not to bump subsequent planks out of position as they terminate. Again, we'll see.
-
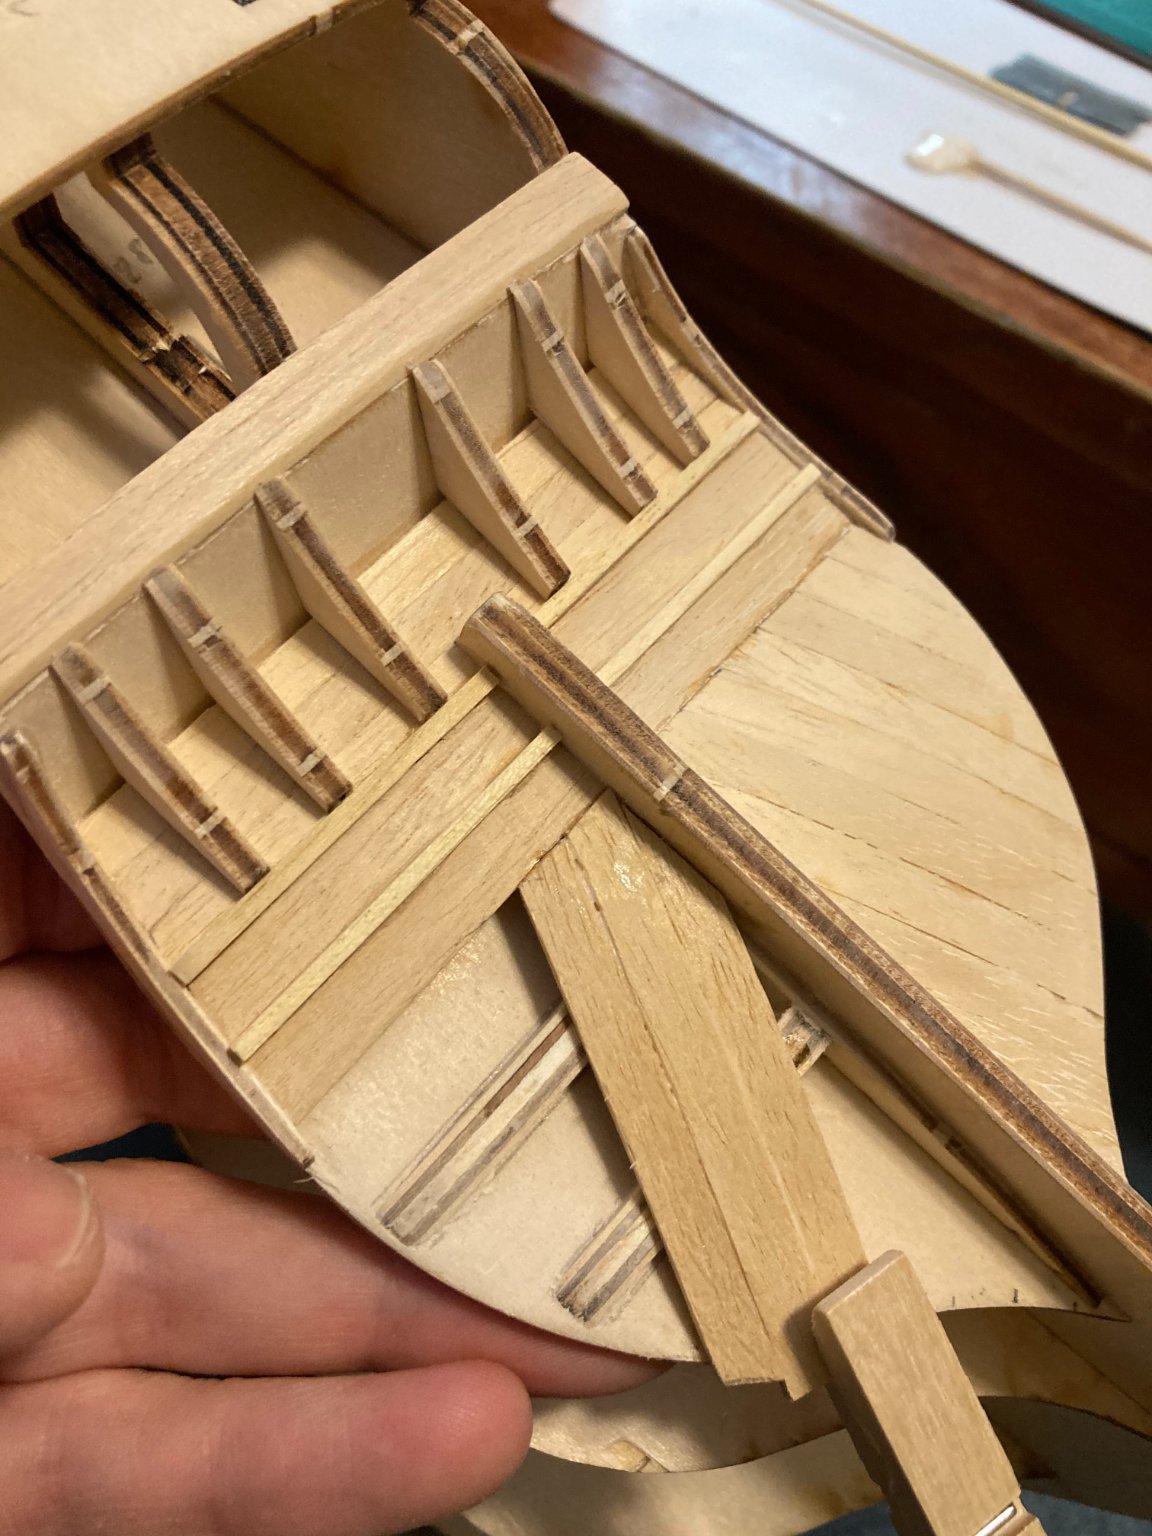
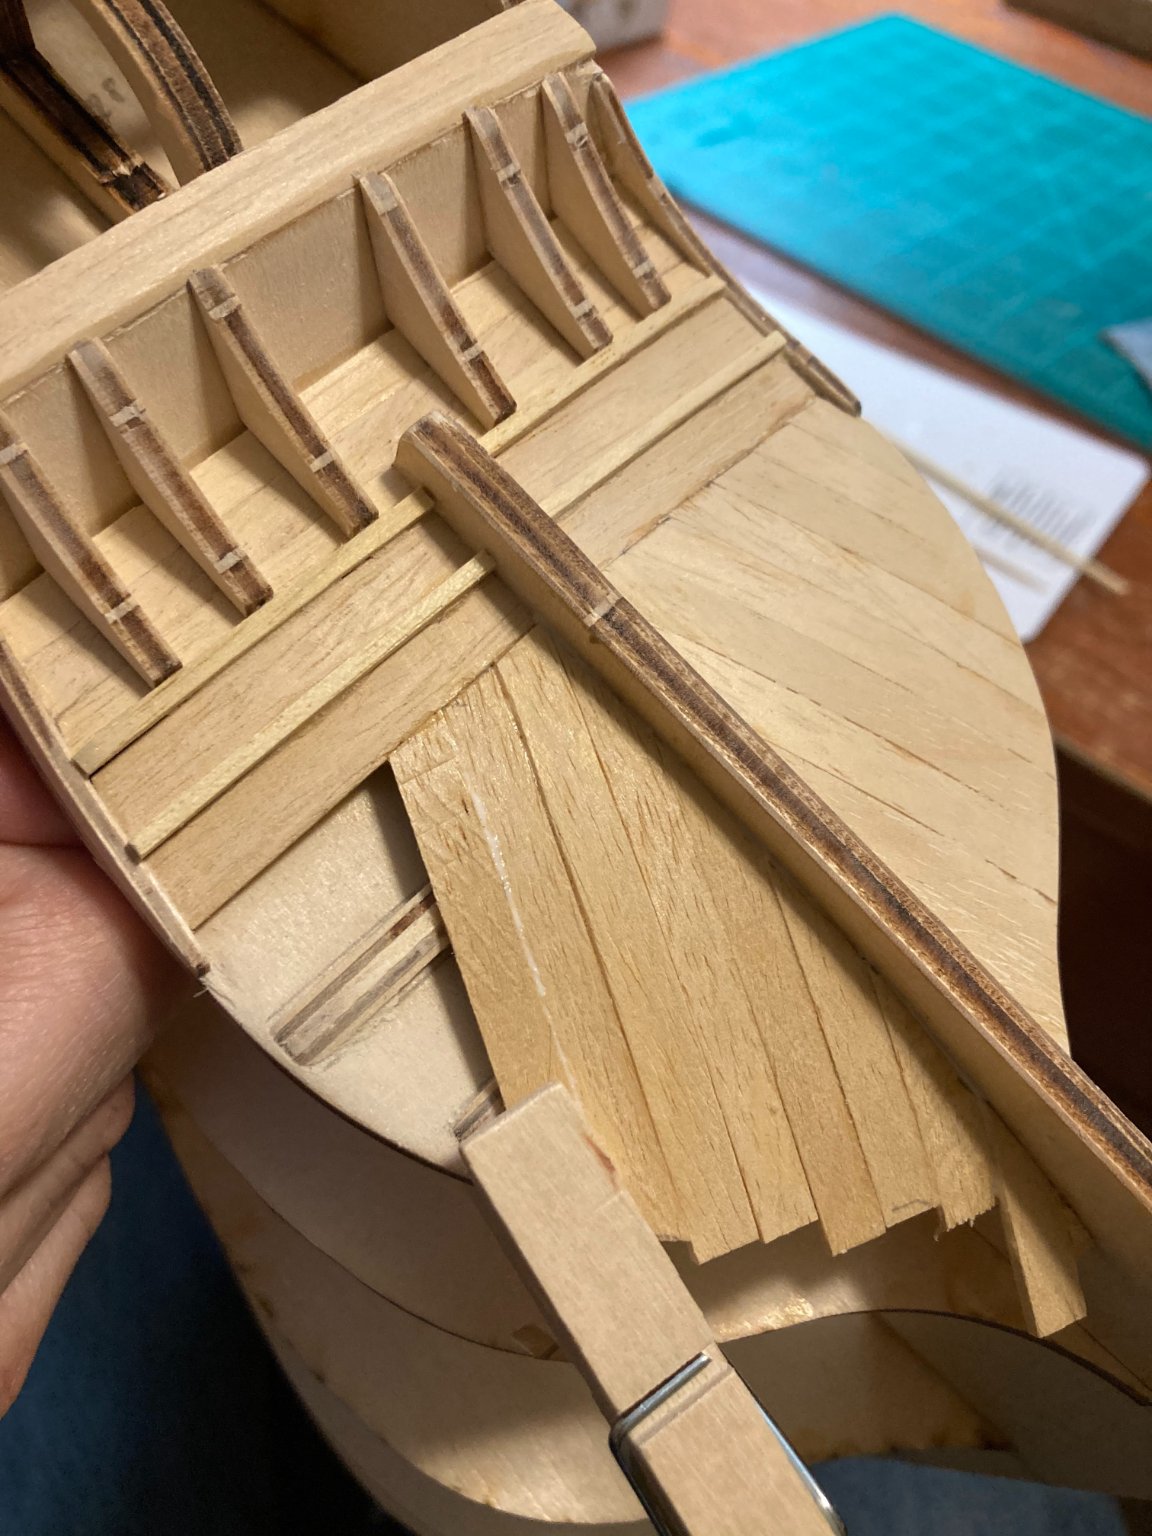
Planking the VASA's Transom
Photos now of planking work on the transom, also enjoyable work. The strips of wood that came with my kit are surprisingly dry and brittle, not sure why.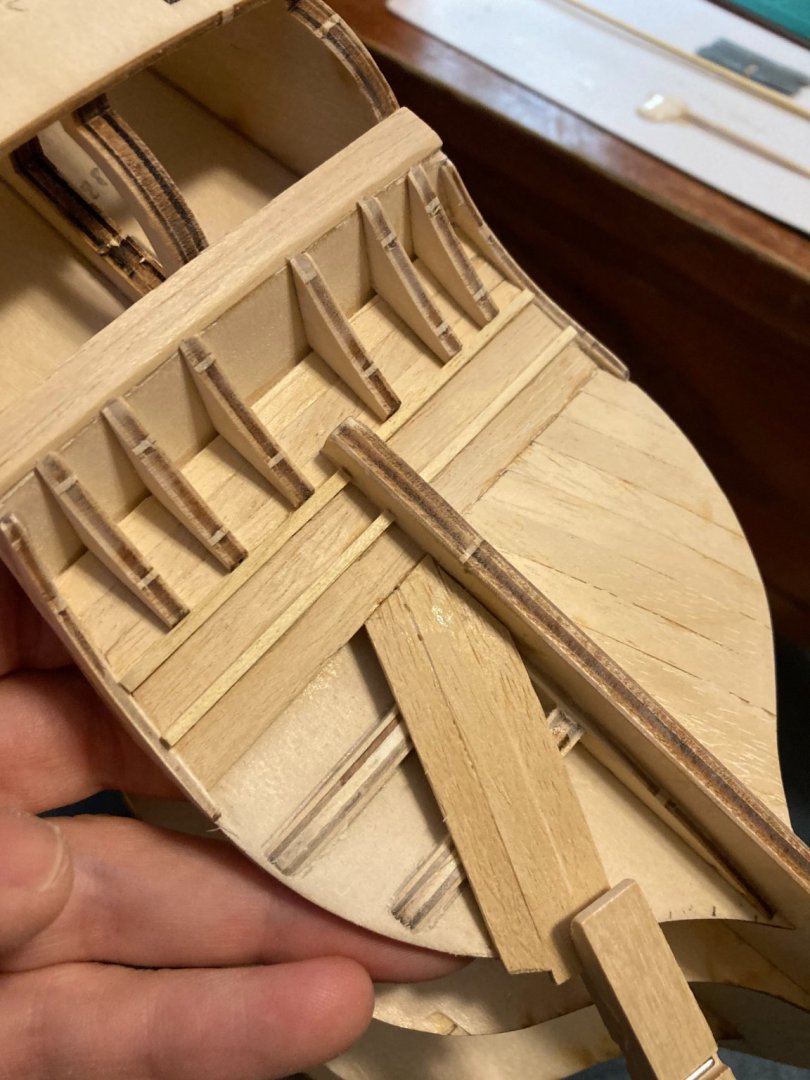

- Baker, marktiedens and GrandpaPhil
-
3
-
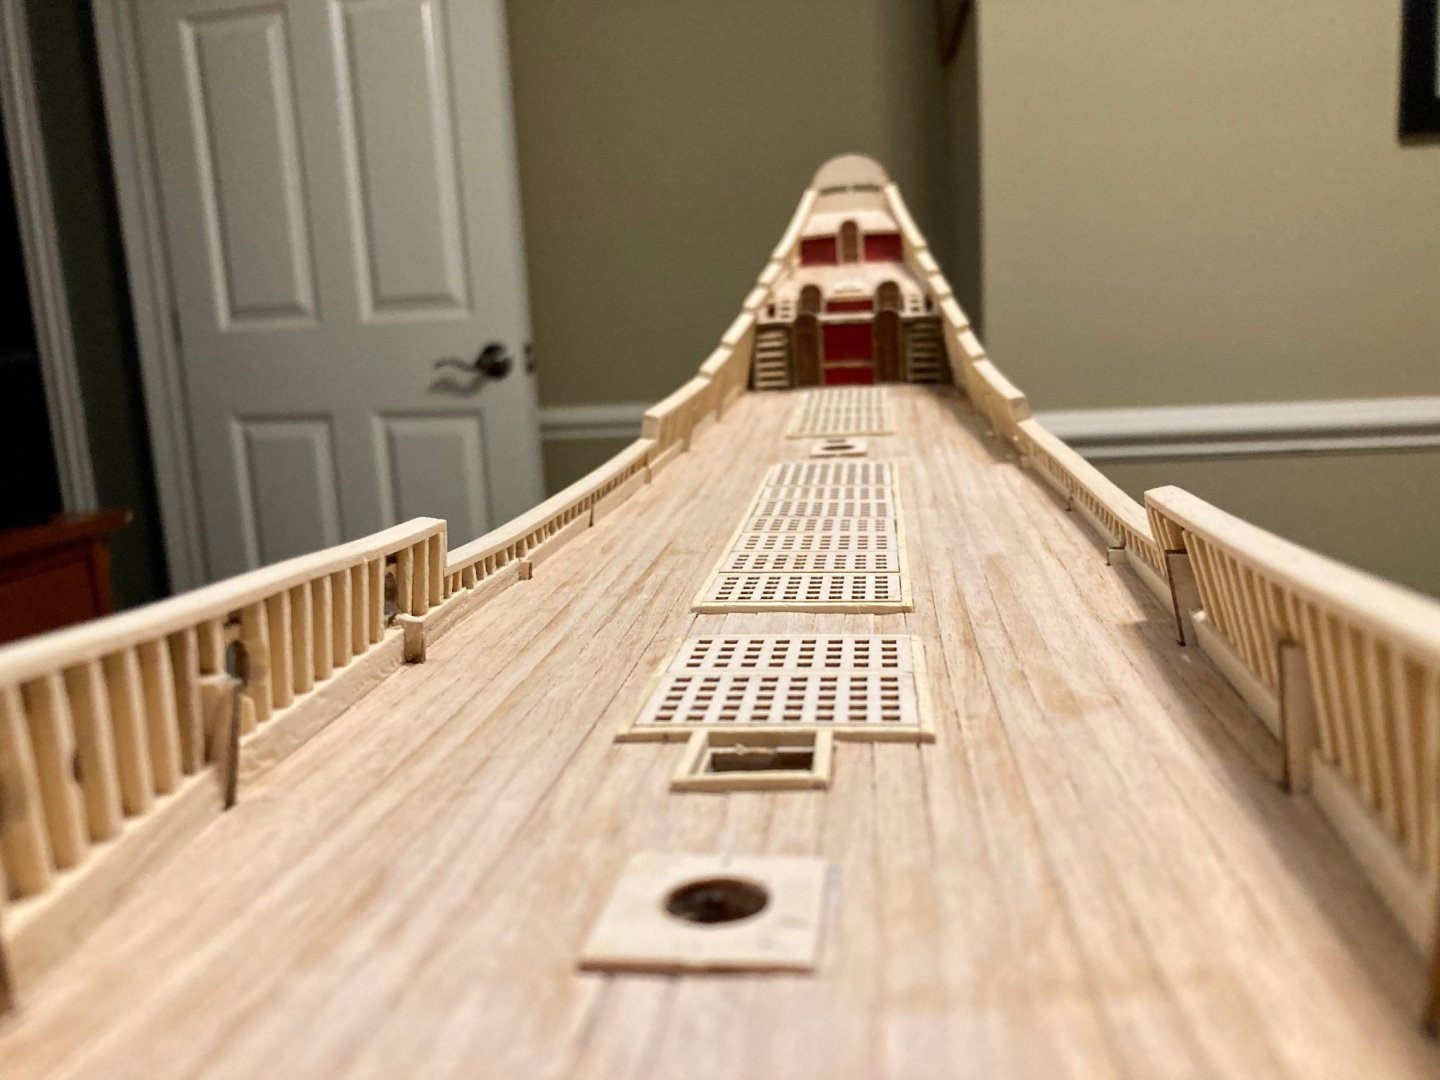
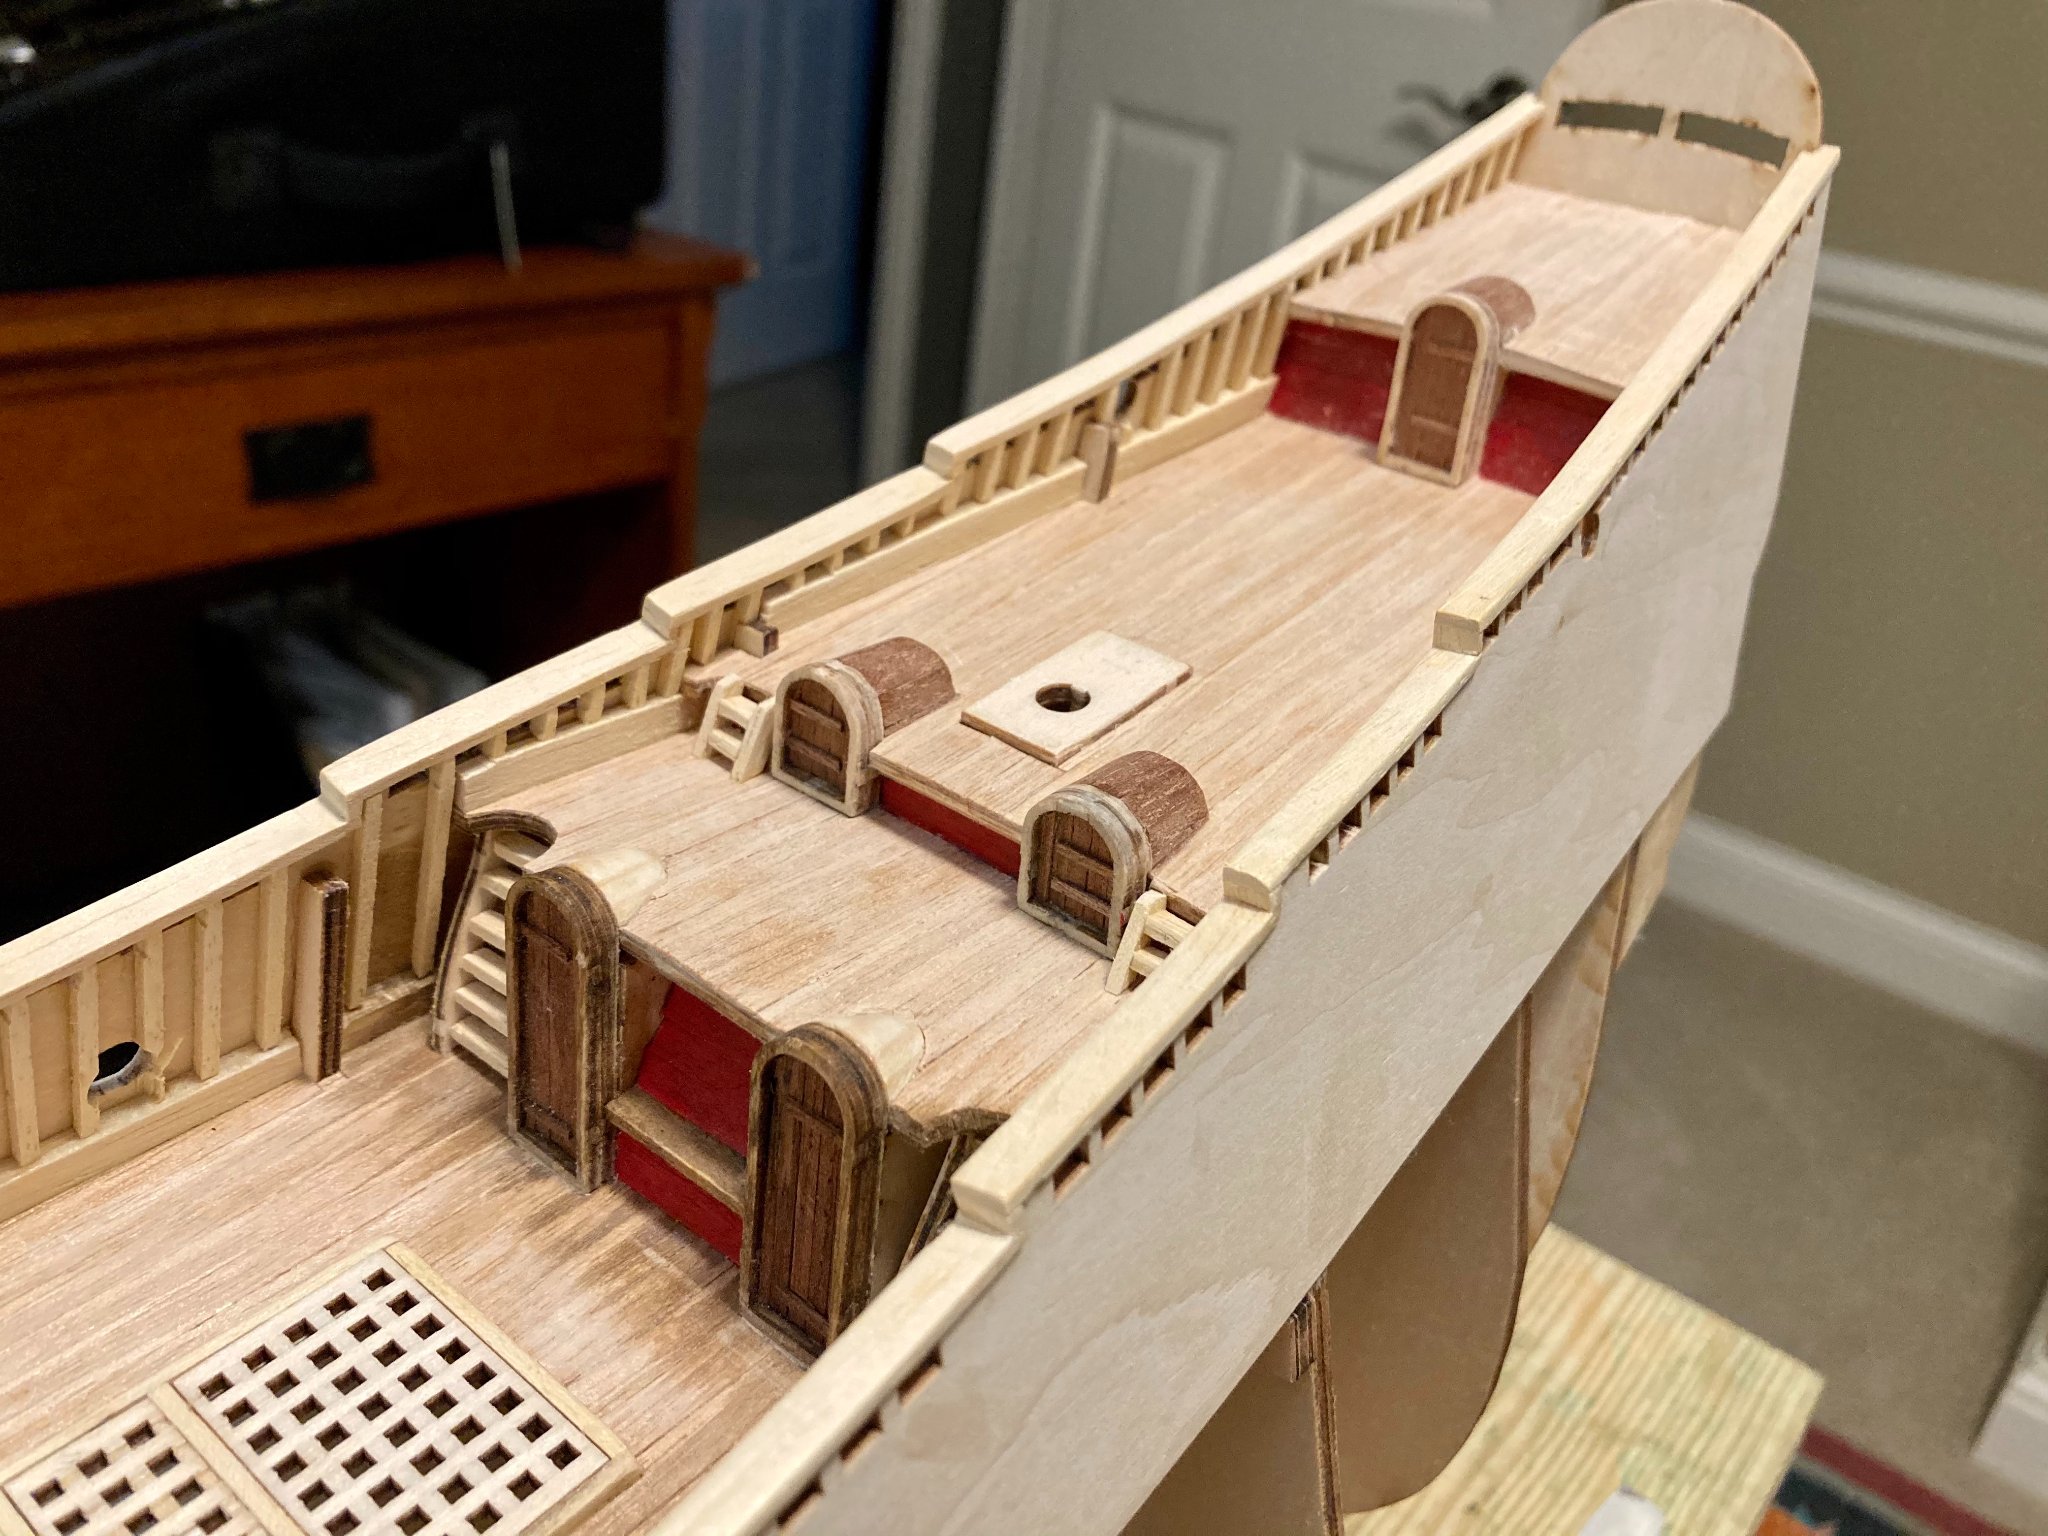
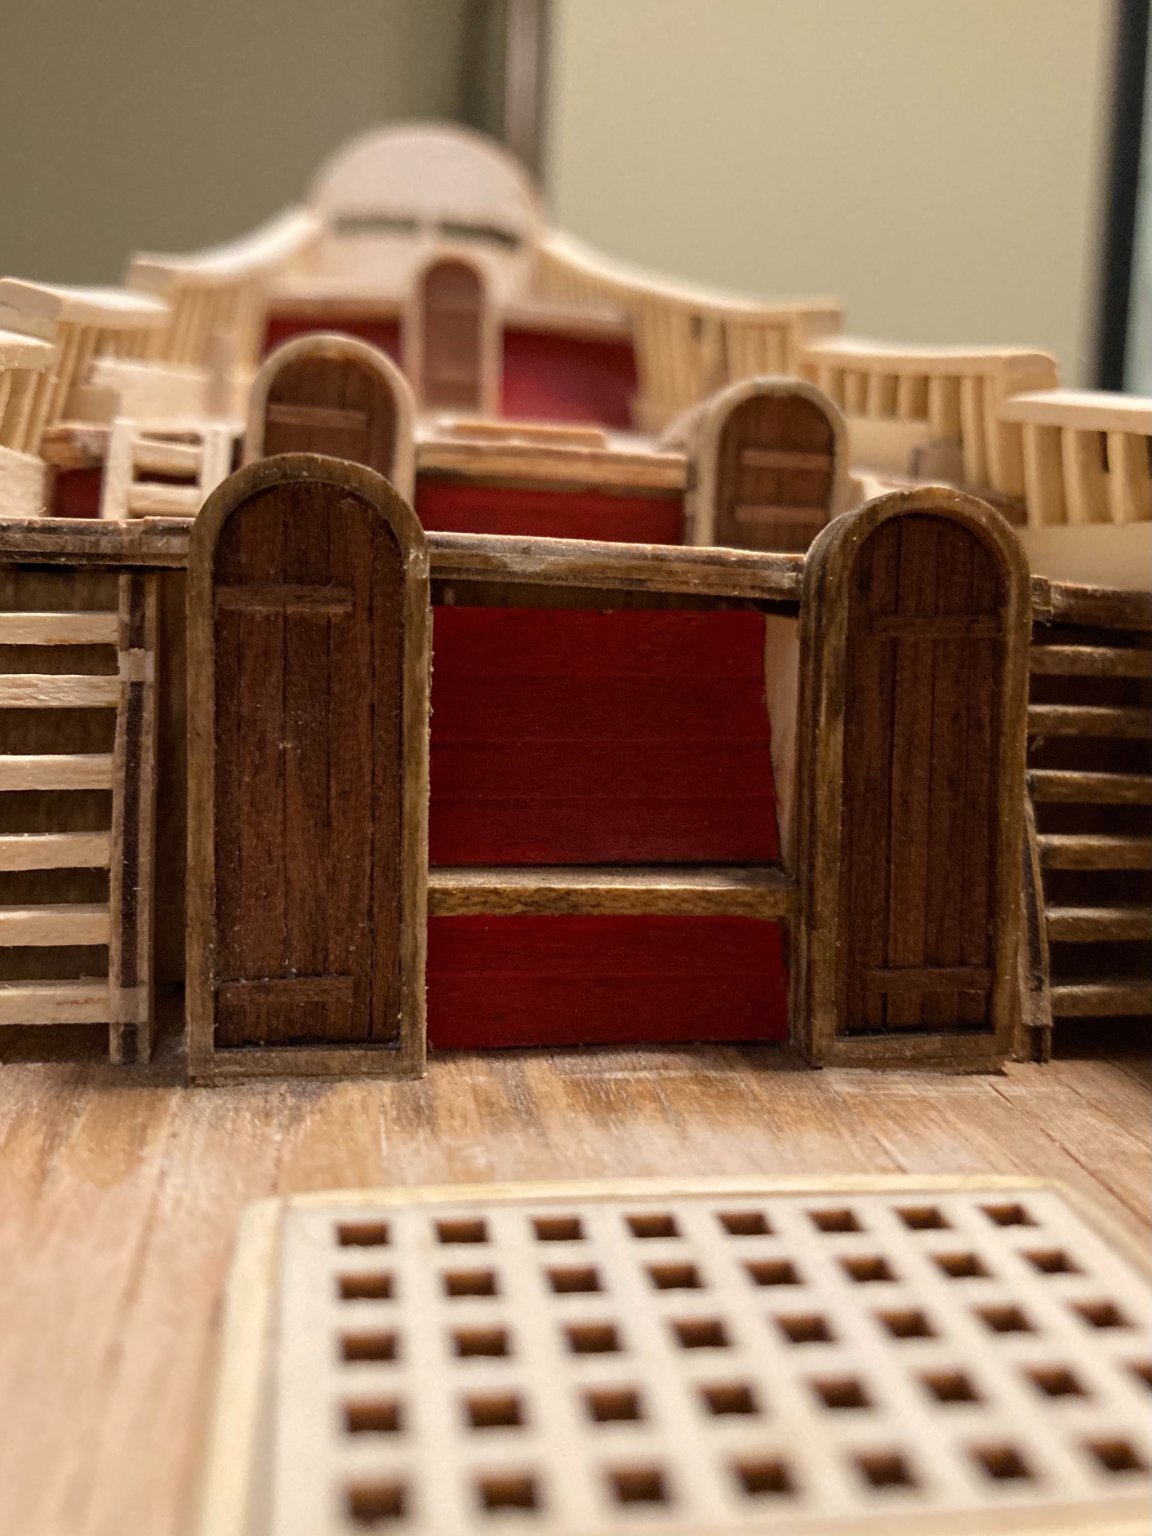
VASA's Sterncastle Doors & Deckhouses
As planking the main deck progressed, I worked on the five doors leading into the sterncastle's after cabins, along with their deckhouses. Each door is individually planked, as are several of the rounded deckhouses behind them. This was my first chance to work on more detailed parts of the model, which was very enjoyable. Behind the lowermost doors are two solid pieces of wood sanded into a conical shape, a first for me. I found it tricky to sand two initially unshaped pieces to the exact same dimensions, but after a good deal of trial and error, I got them fairly close in appearance to one another.


- marktiedens, kirill4, BLACK VIKING and 1 other
-
4
-
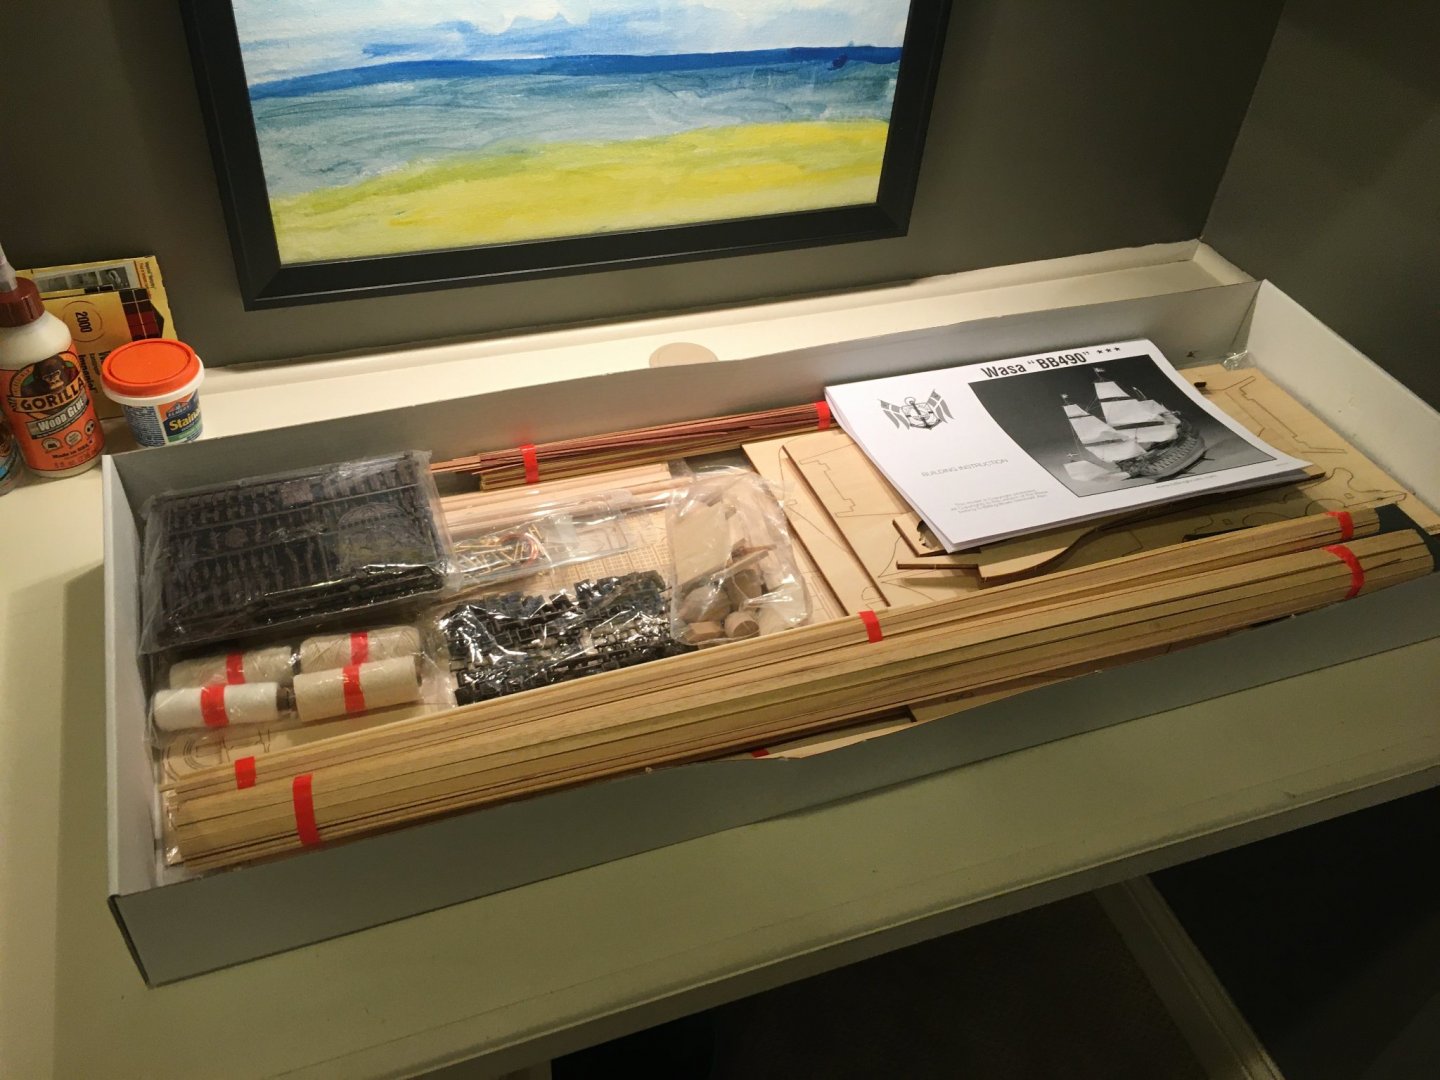
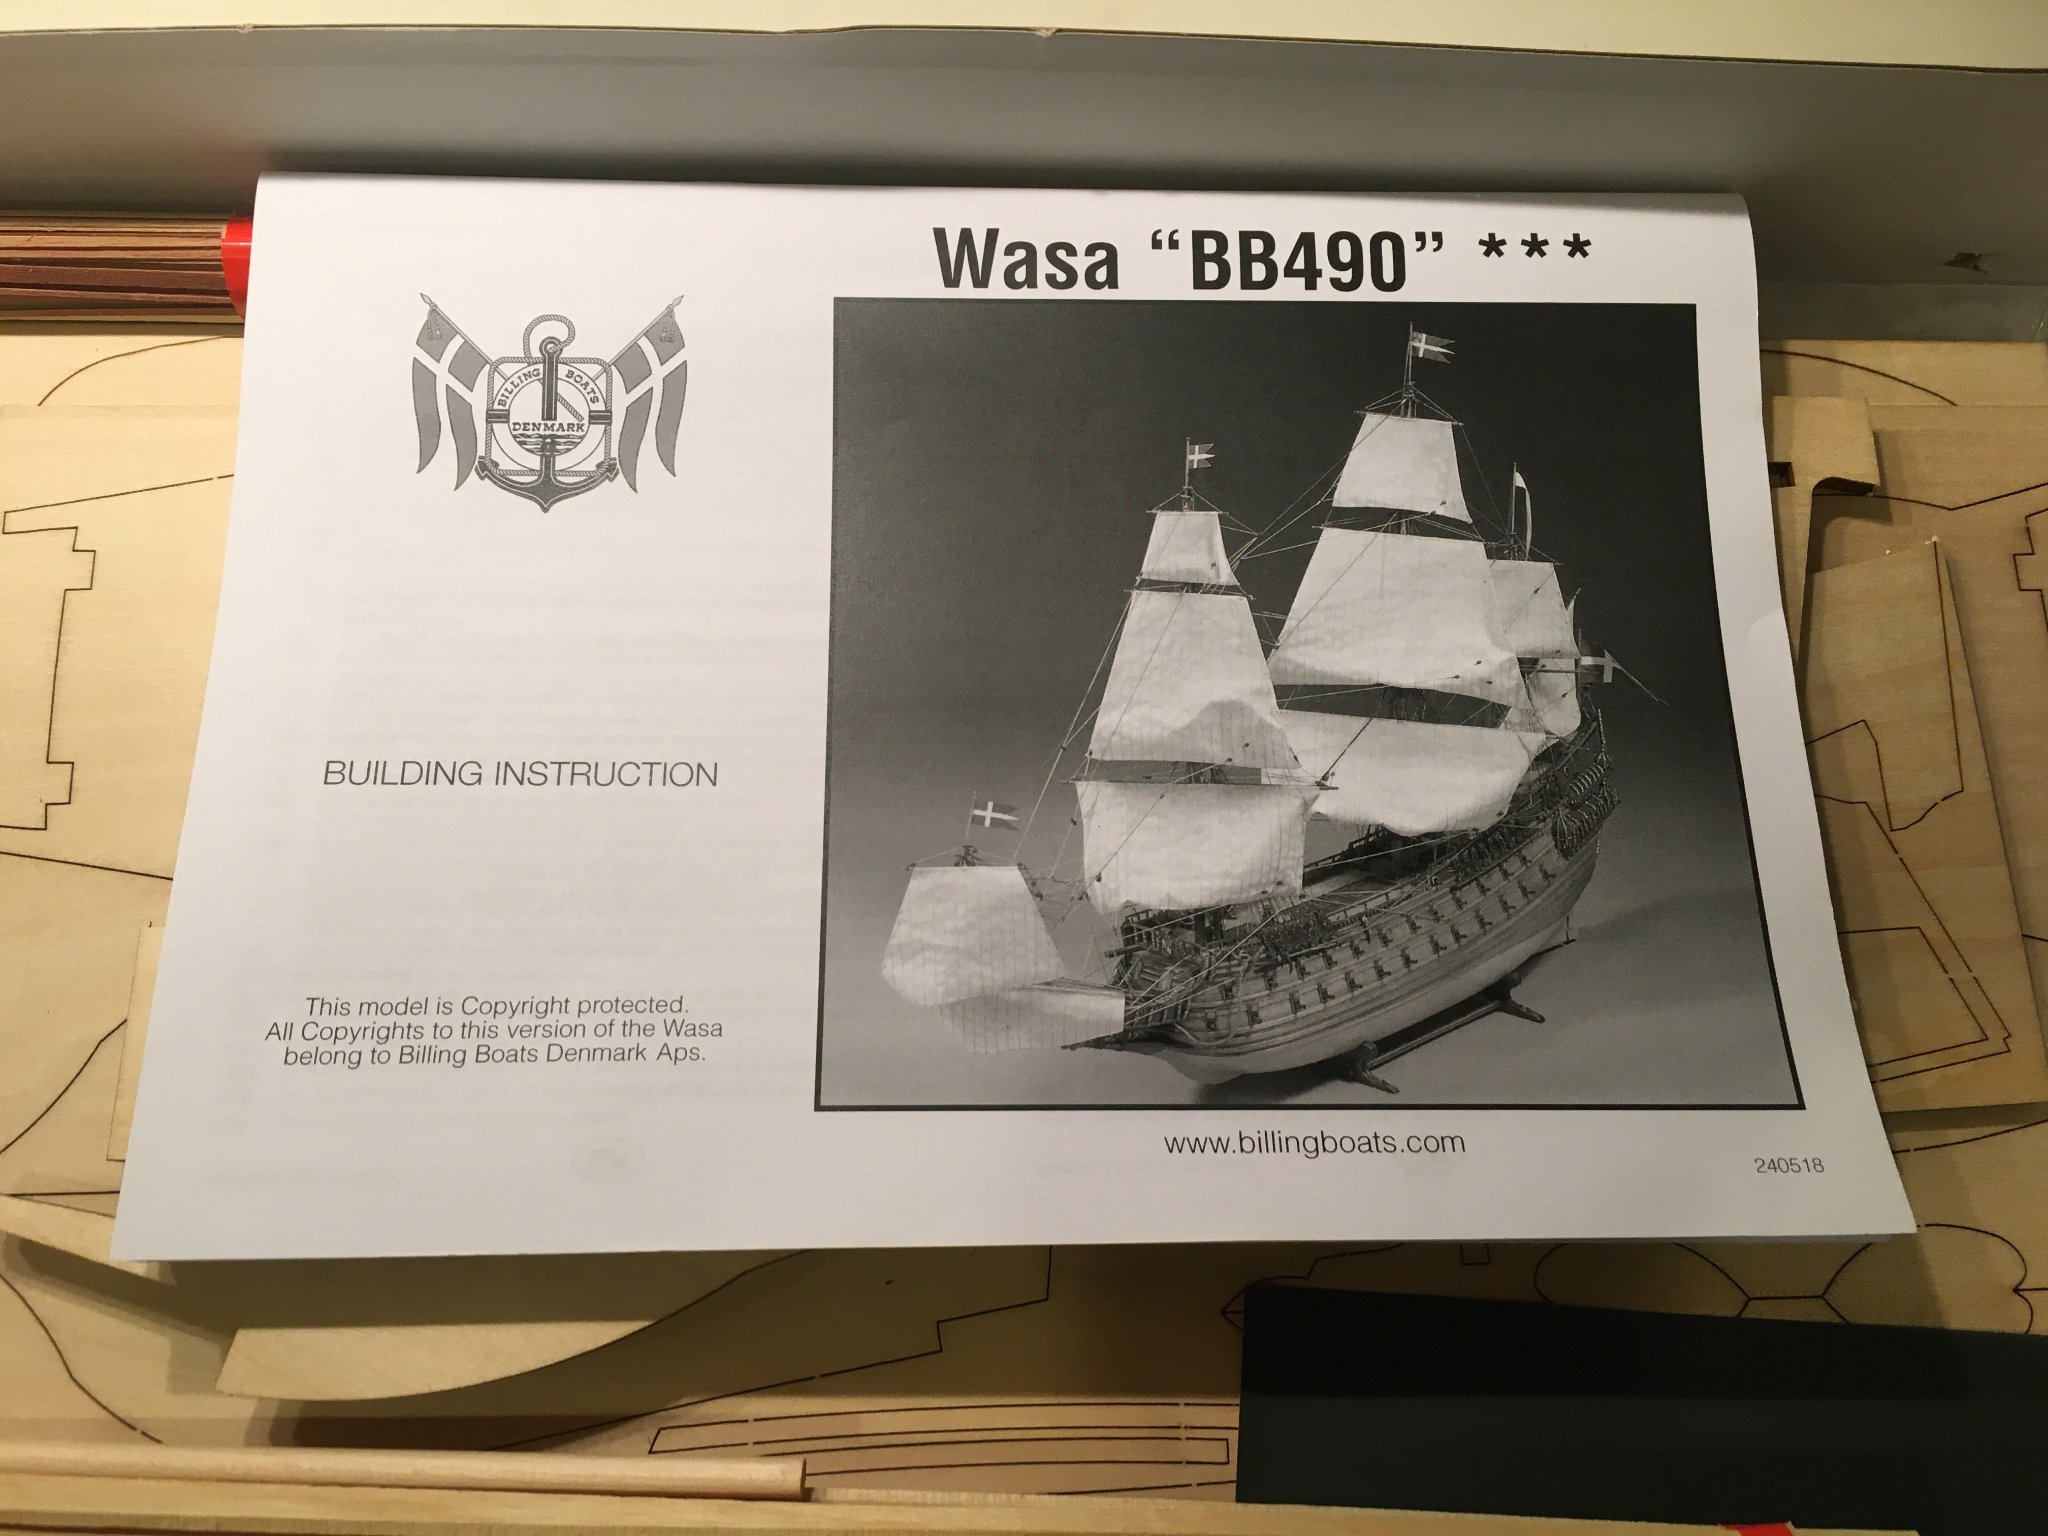
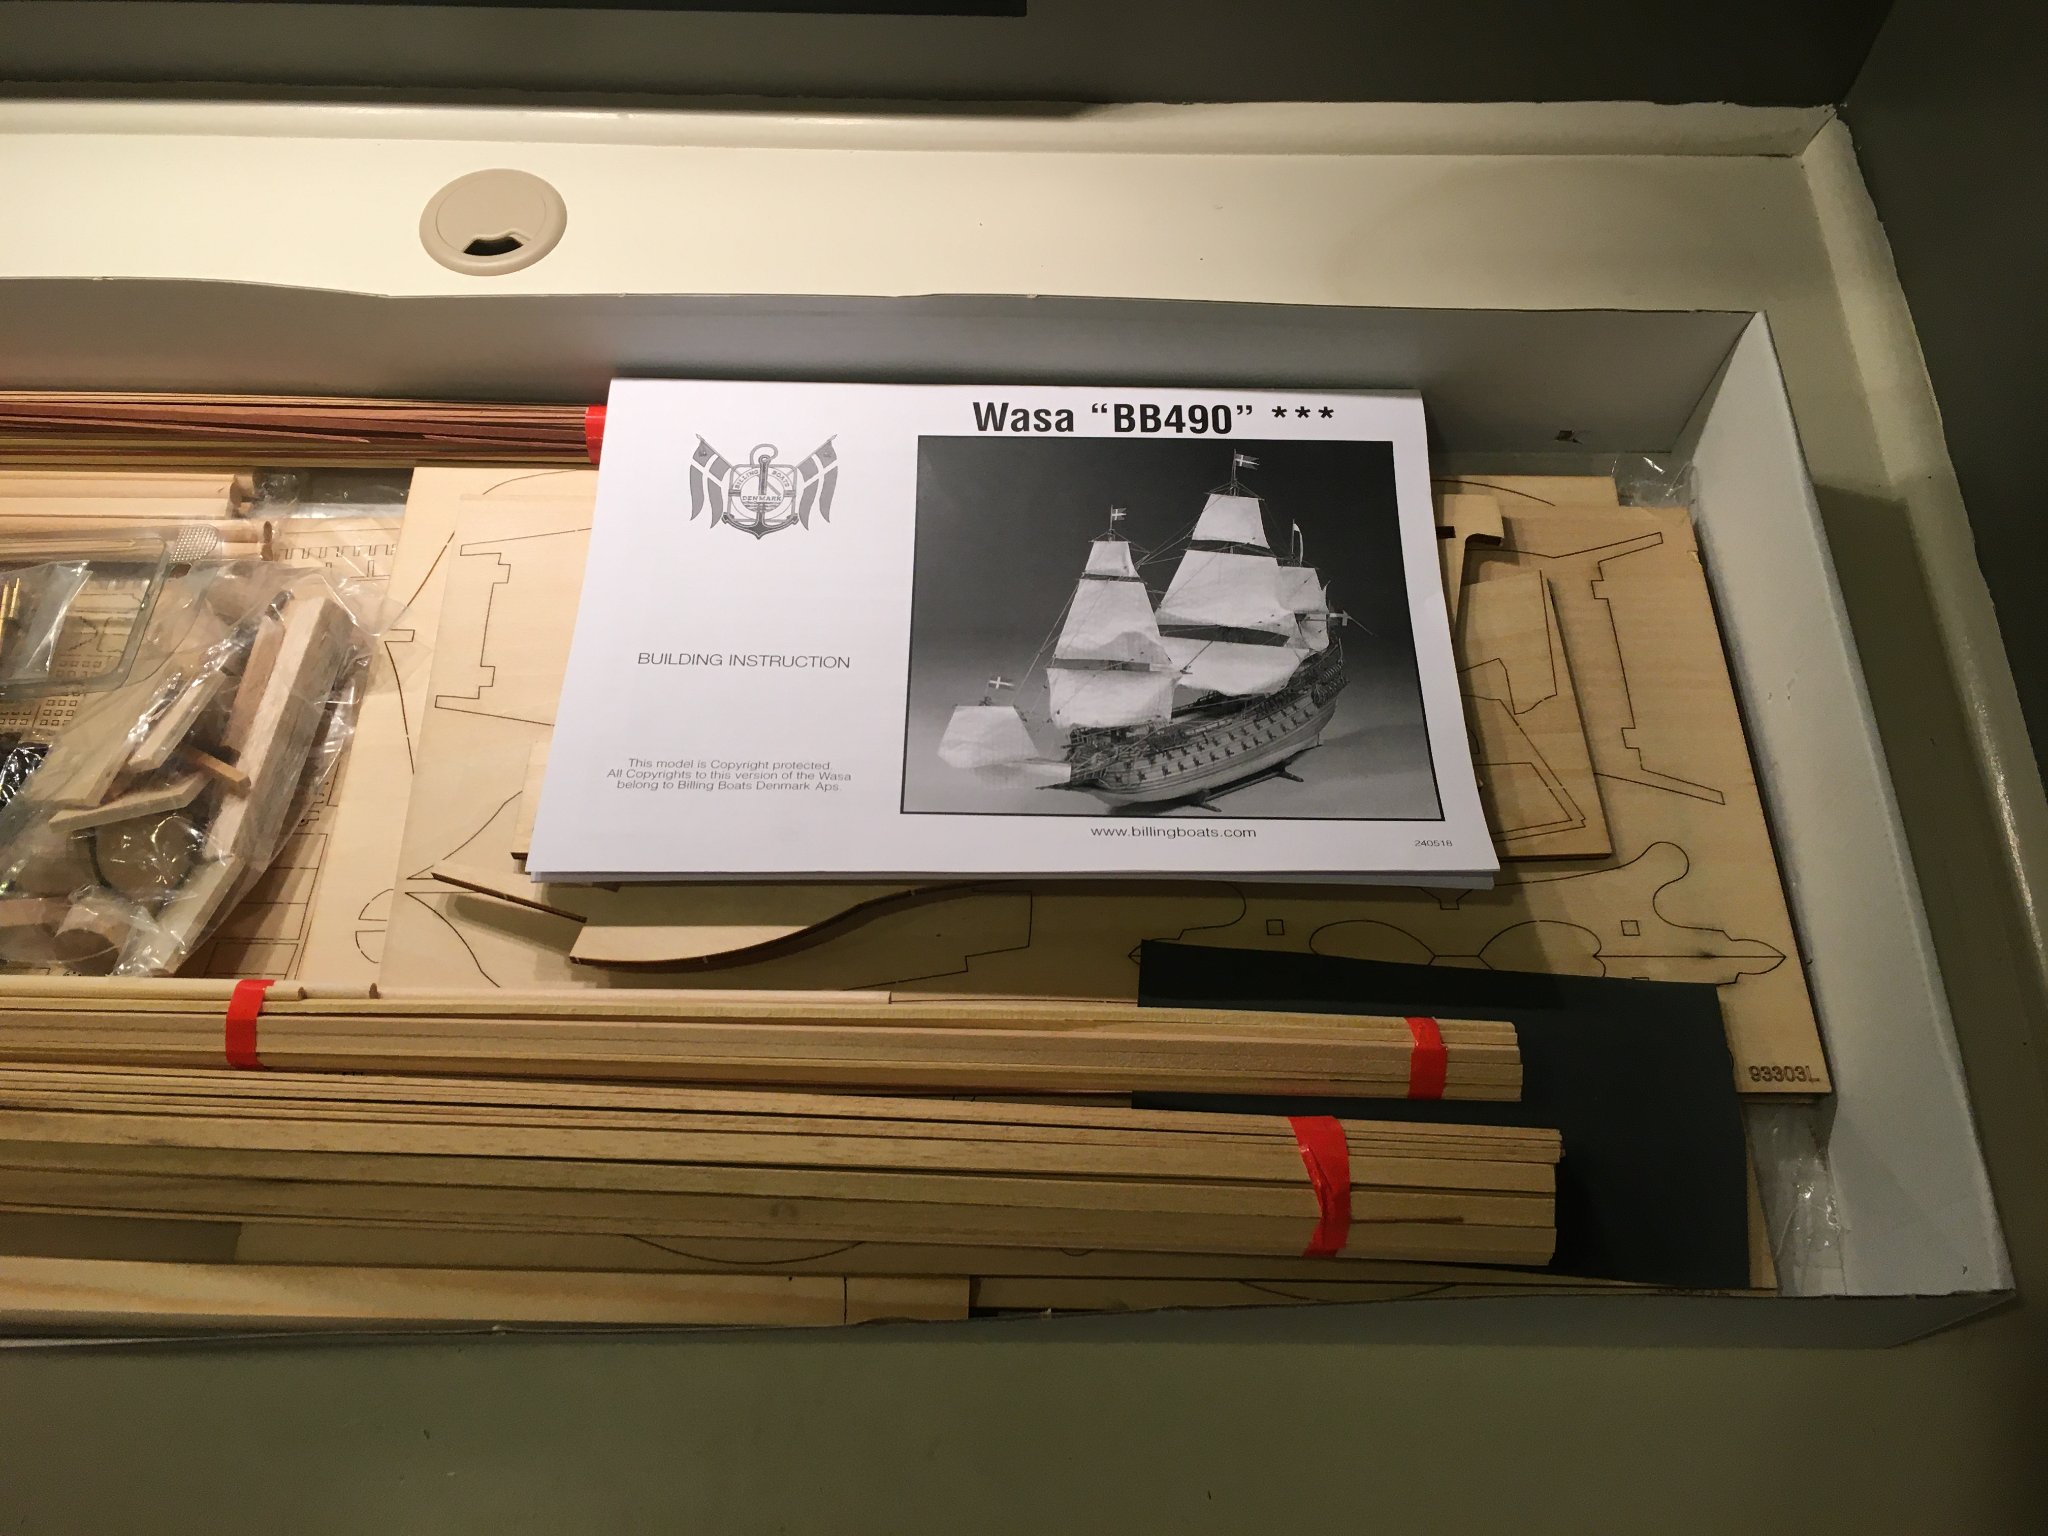
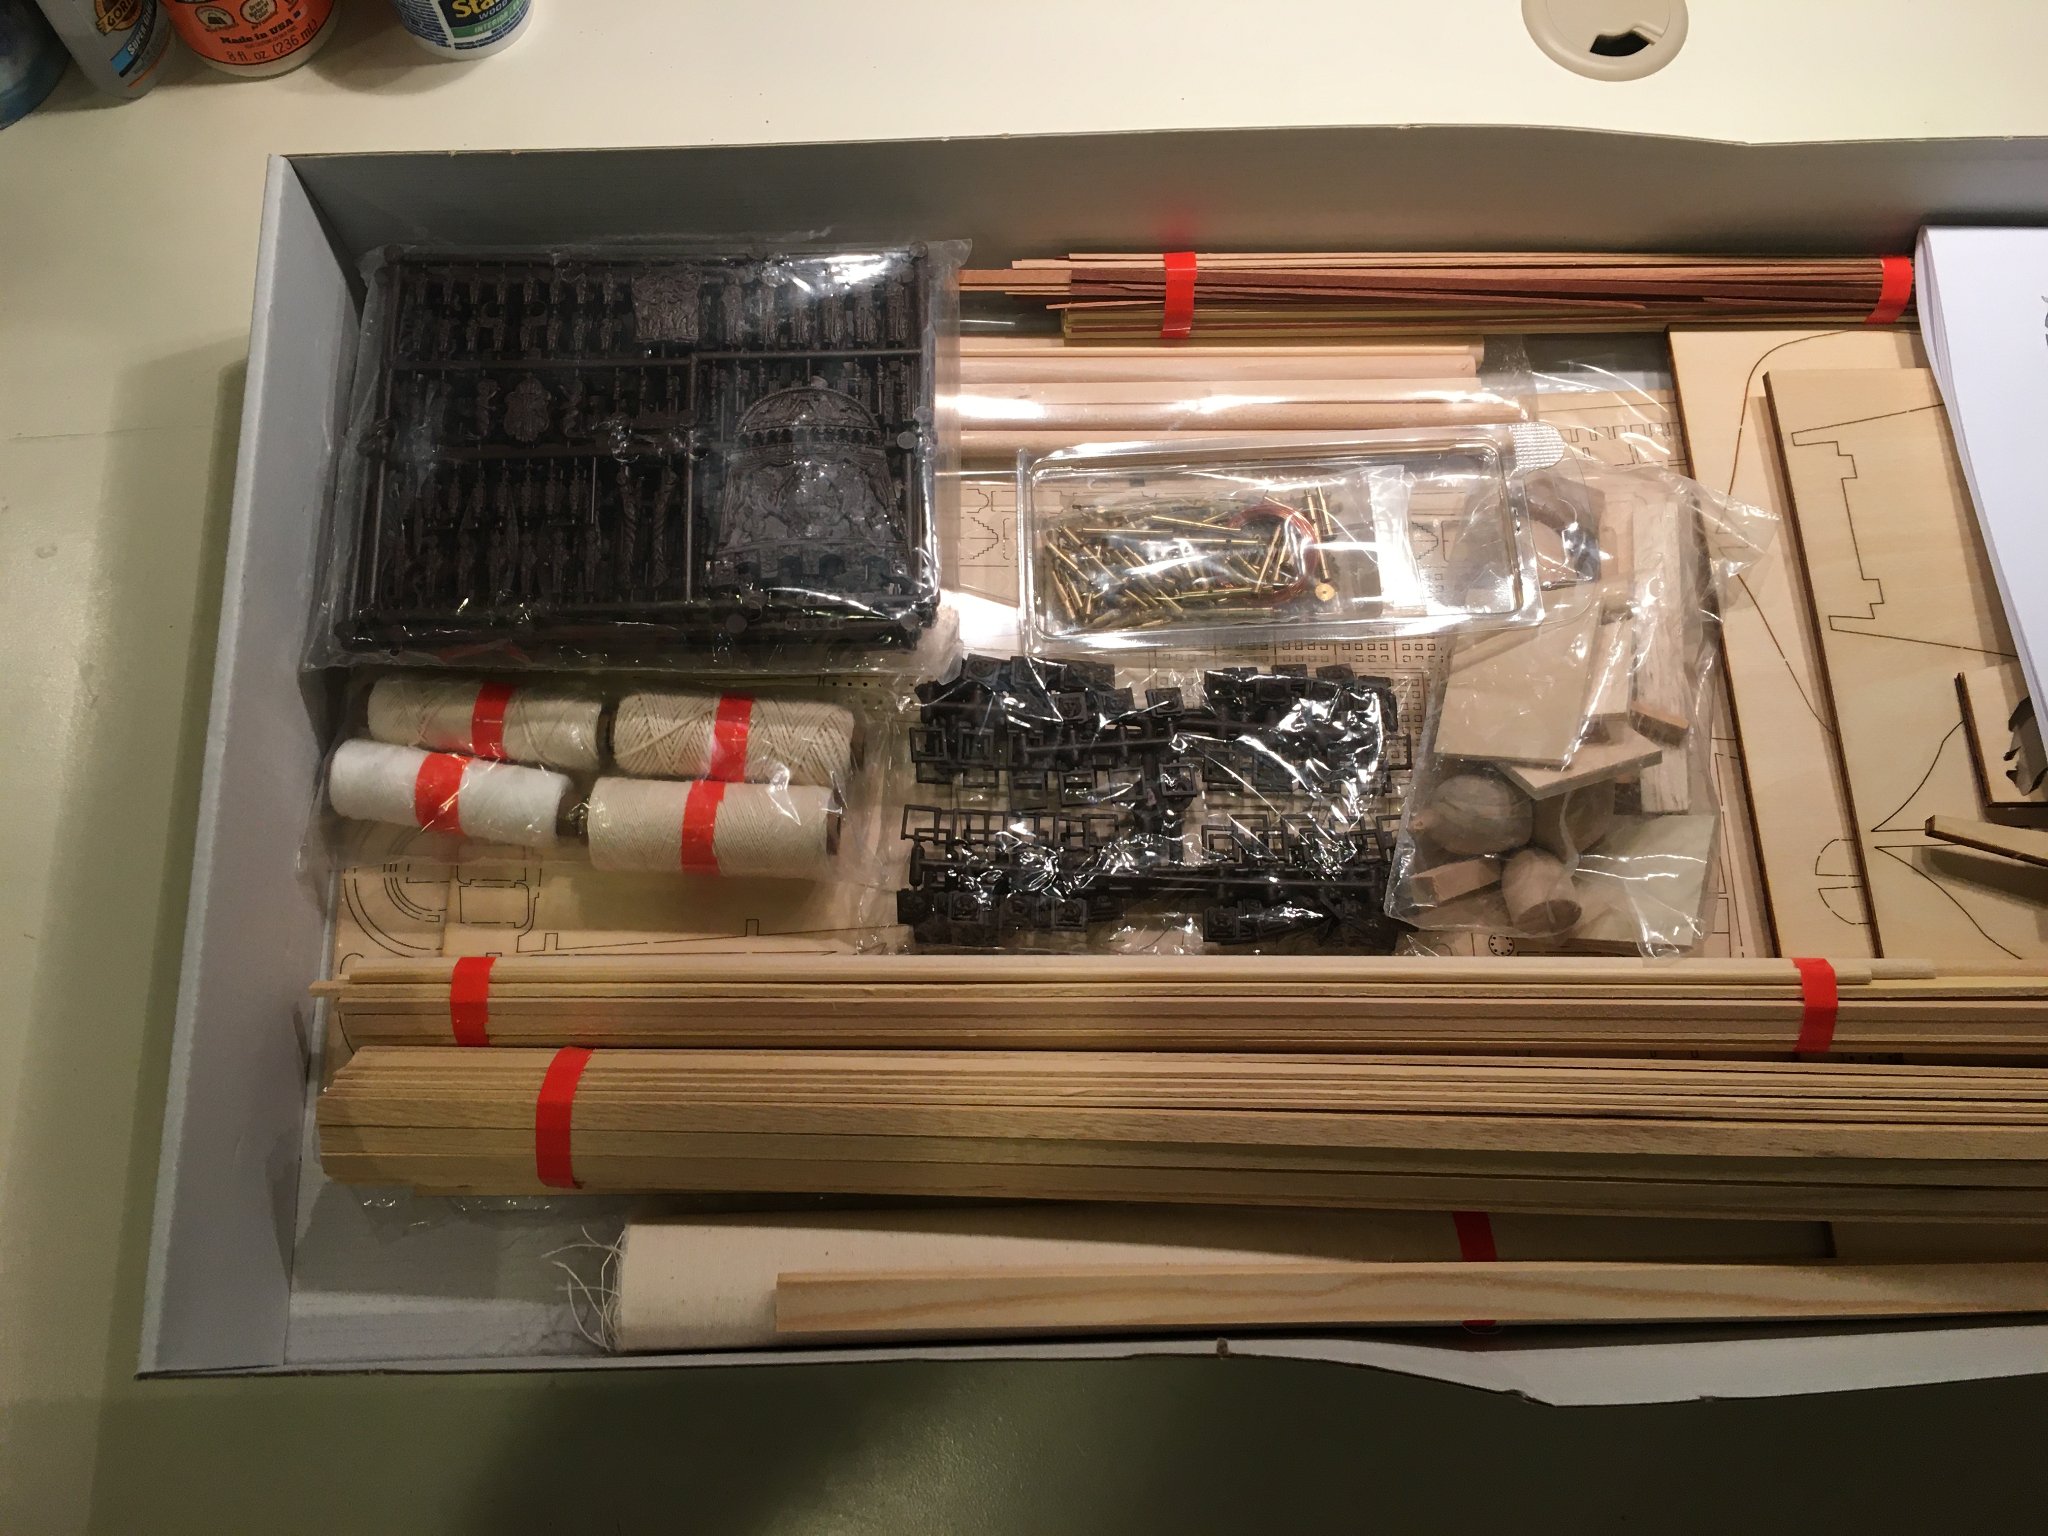
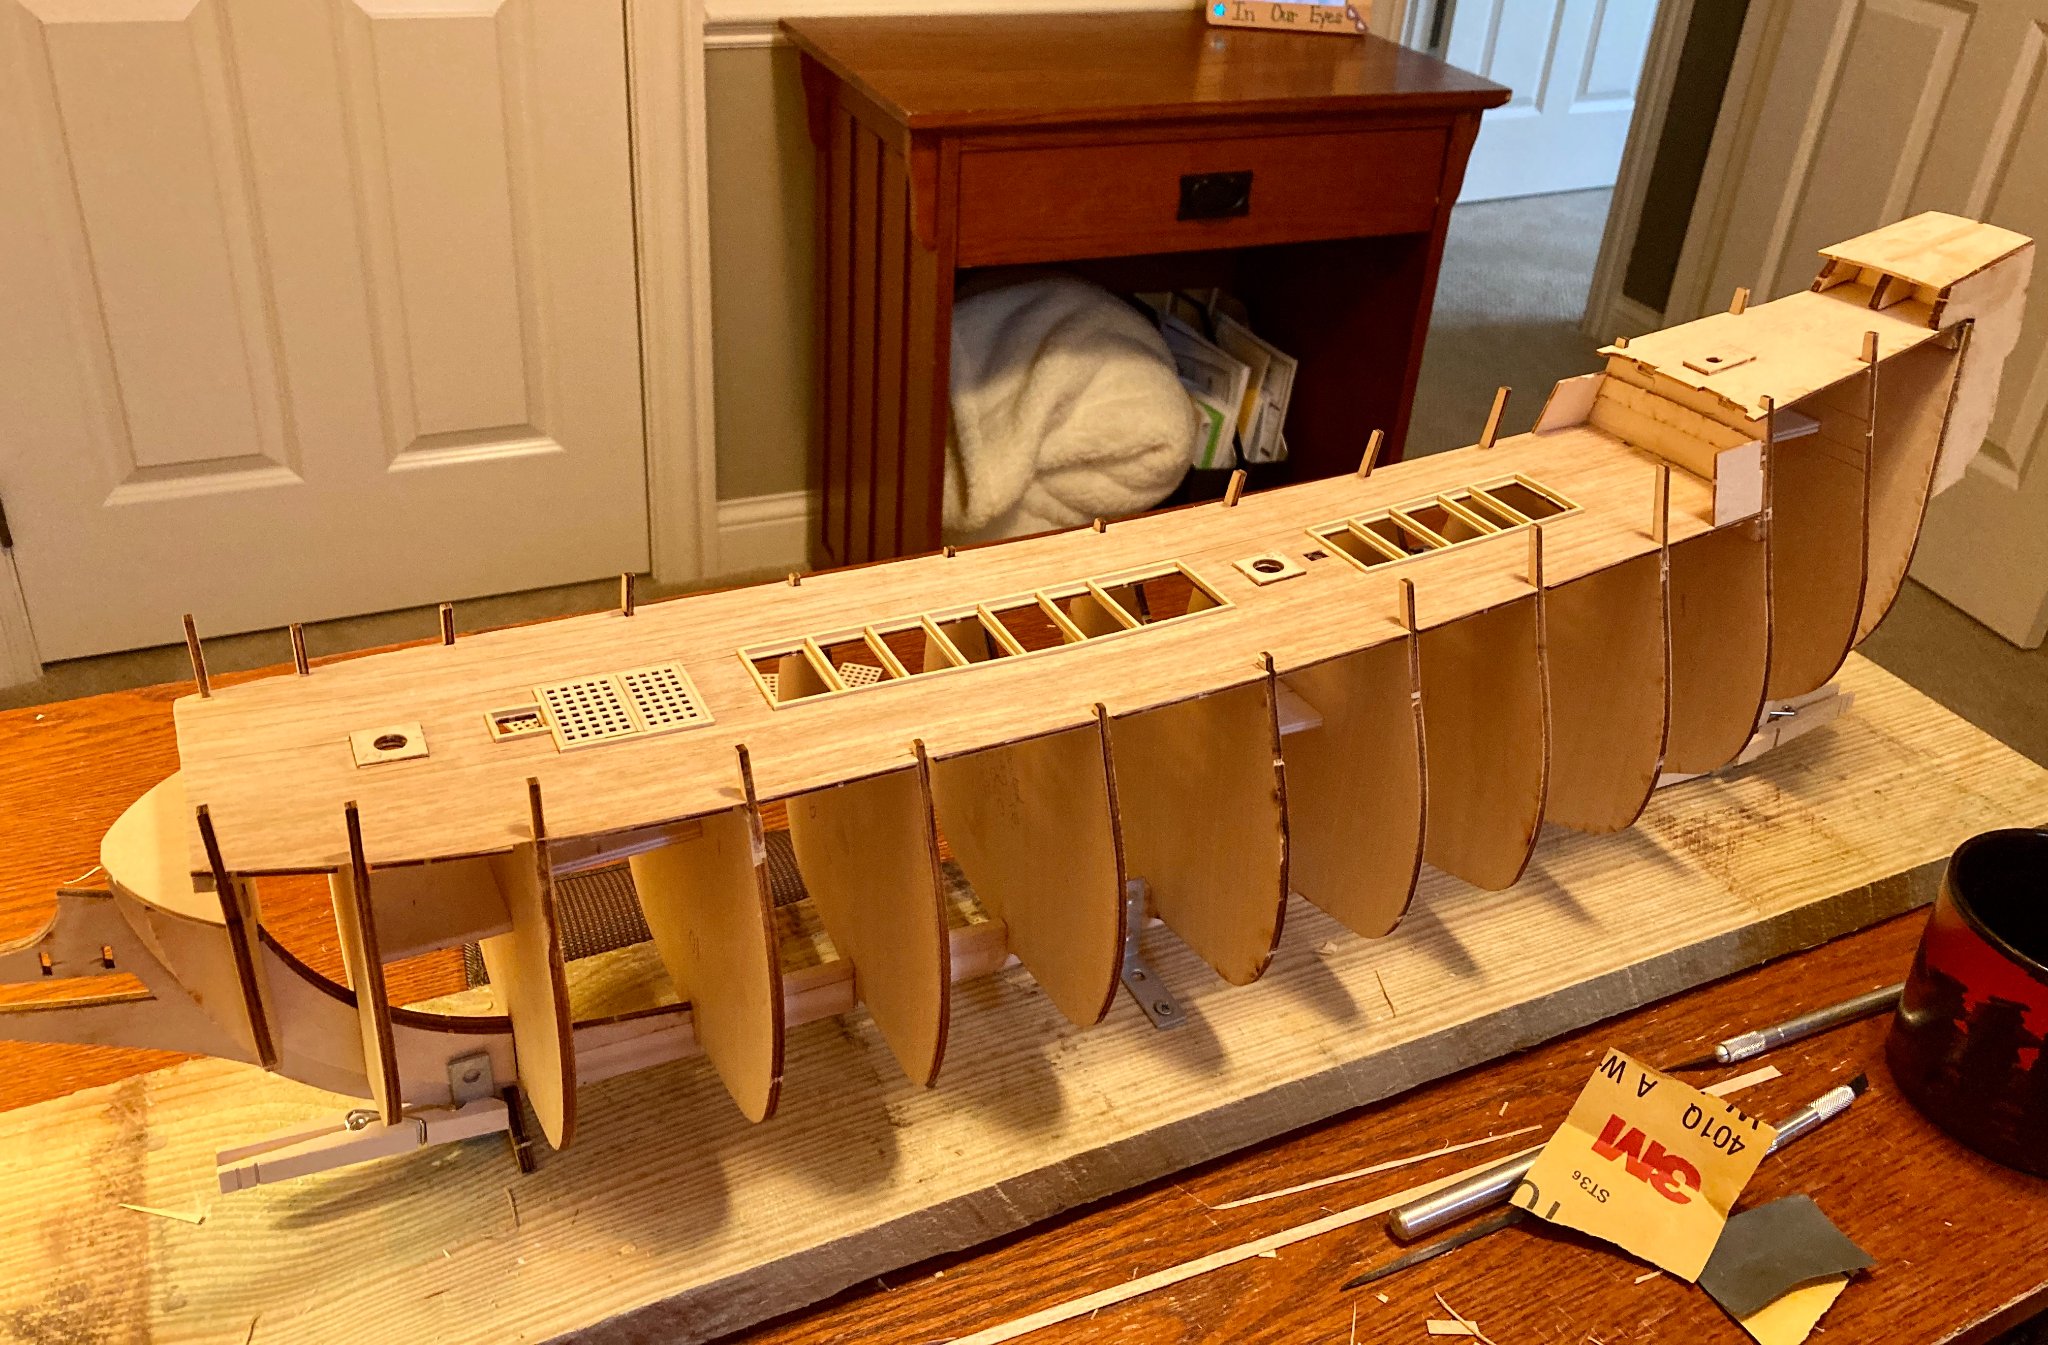
Getting Started, Keel Laying, Installing the Frames, and Planking the Main Deck
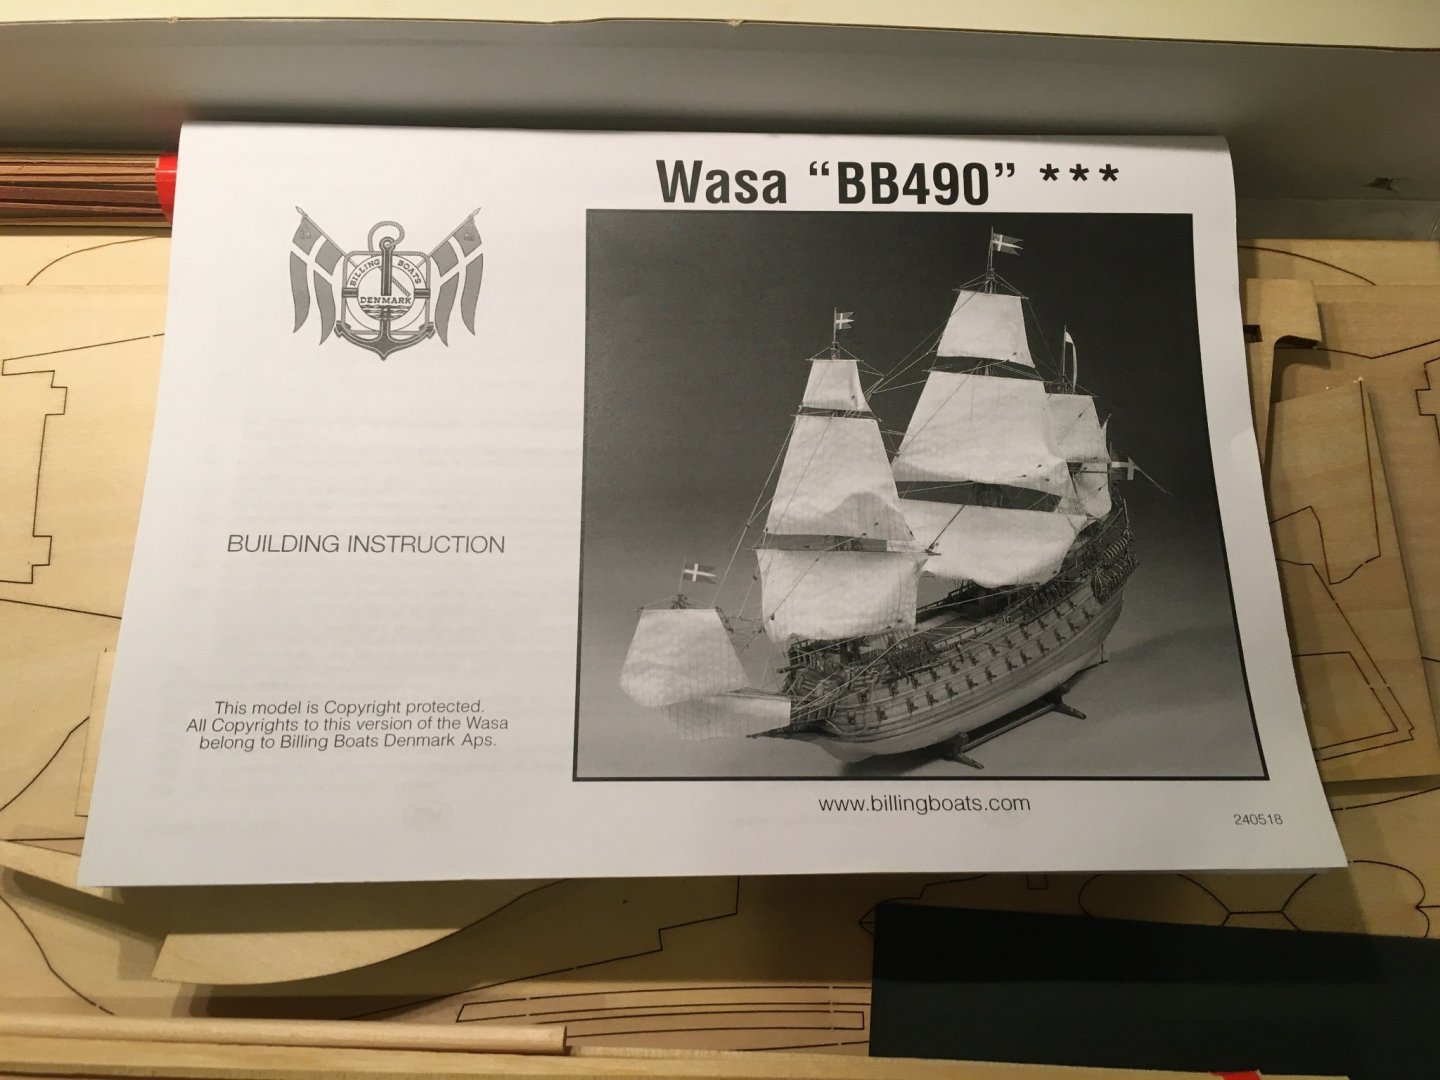
Some images of the VASA box contents. Billing Boats kits are well-organized. I will say that the instructions, which seemed adequate to me at the start of construction, truly aren't, especially when compared to the full-color, step-by-step magazine-style instructions I've seen in some other kits. This is where websites like MSW and the build logs posted by other modelers become indispensable. For an additional reference, I have downloaded instructions for the DeAgostini VASA, which are highly detailed and I think will be valuable when the time comes to paint the ship's decorations.


Next are some photos of setting up the keel and frames. For my desktop construction "drydock," I used a scrap piece of lumber along with some L-shaped shelf support brackets to hold the keel in place as I added the frames.


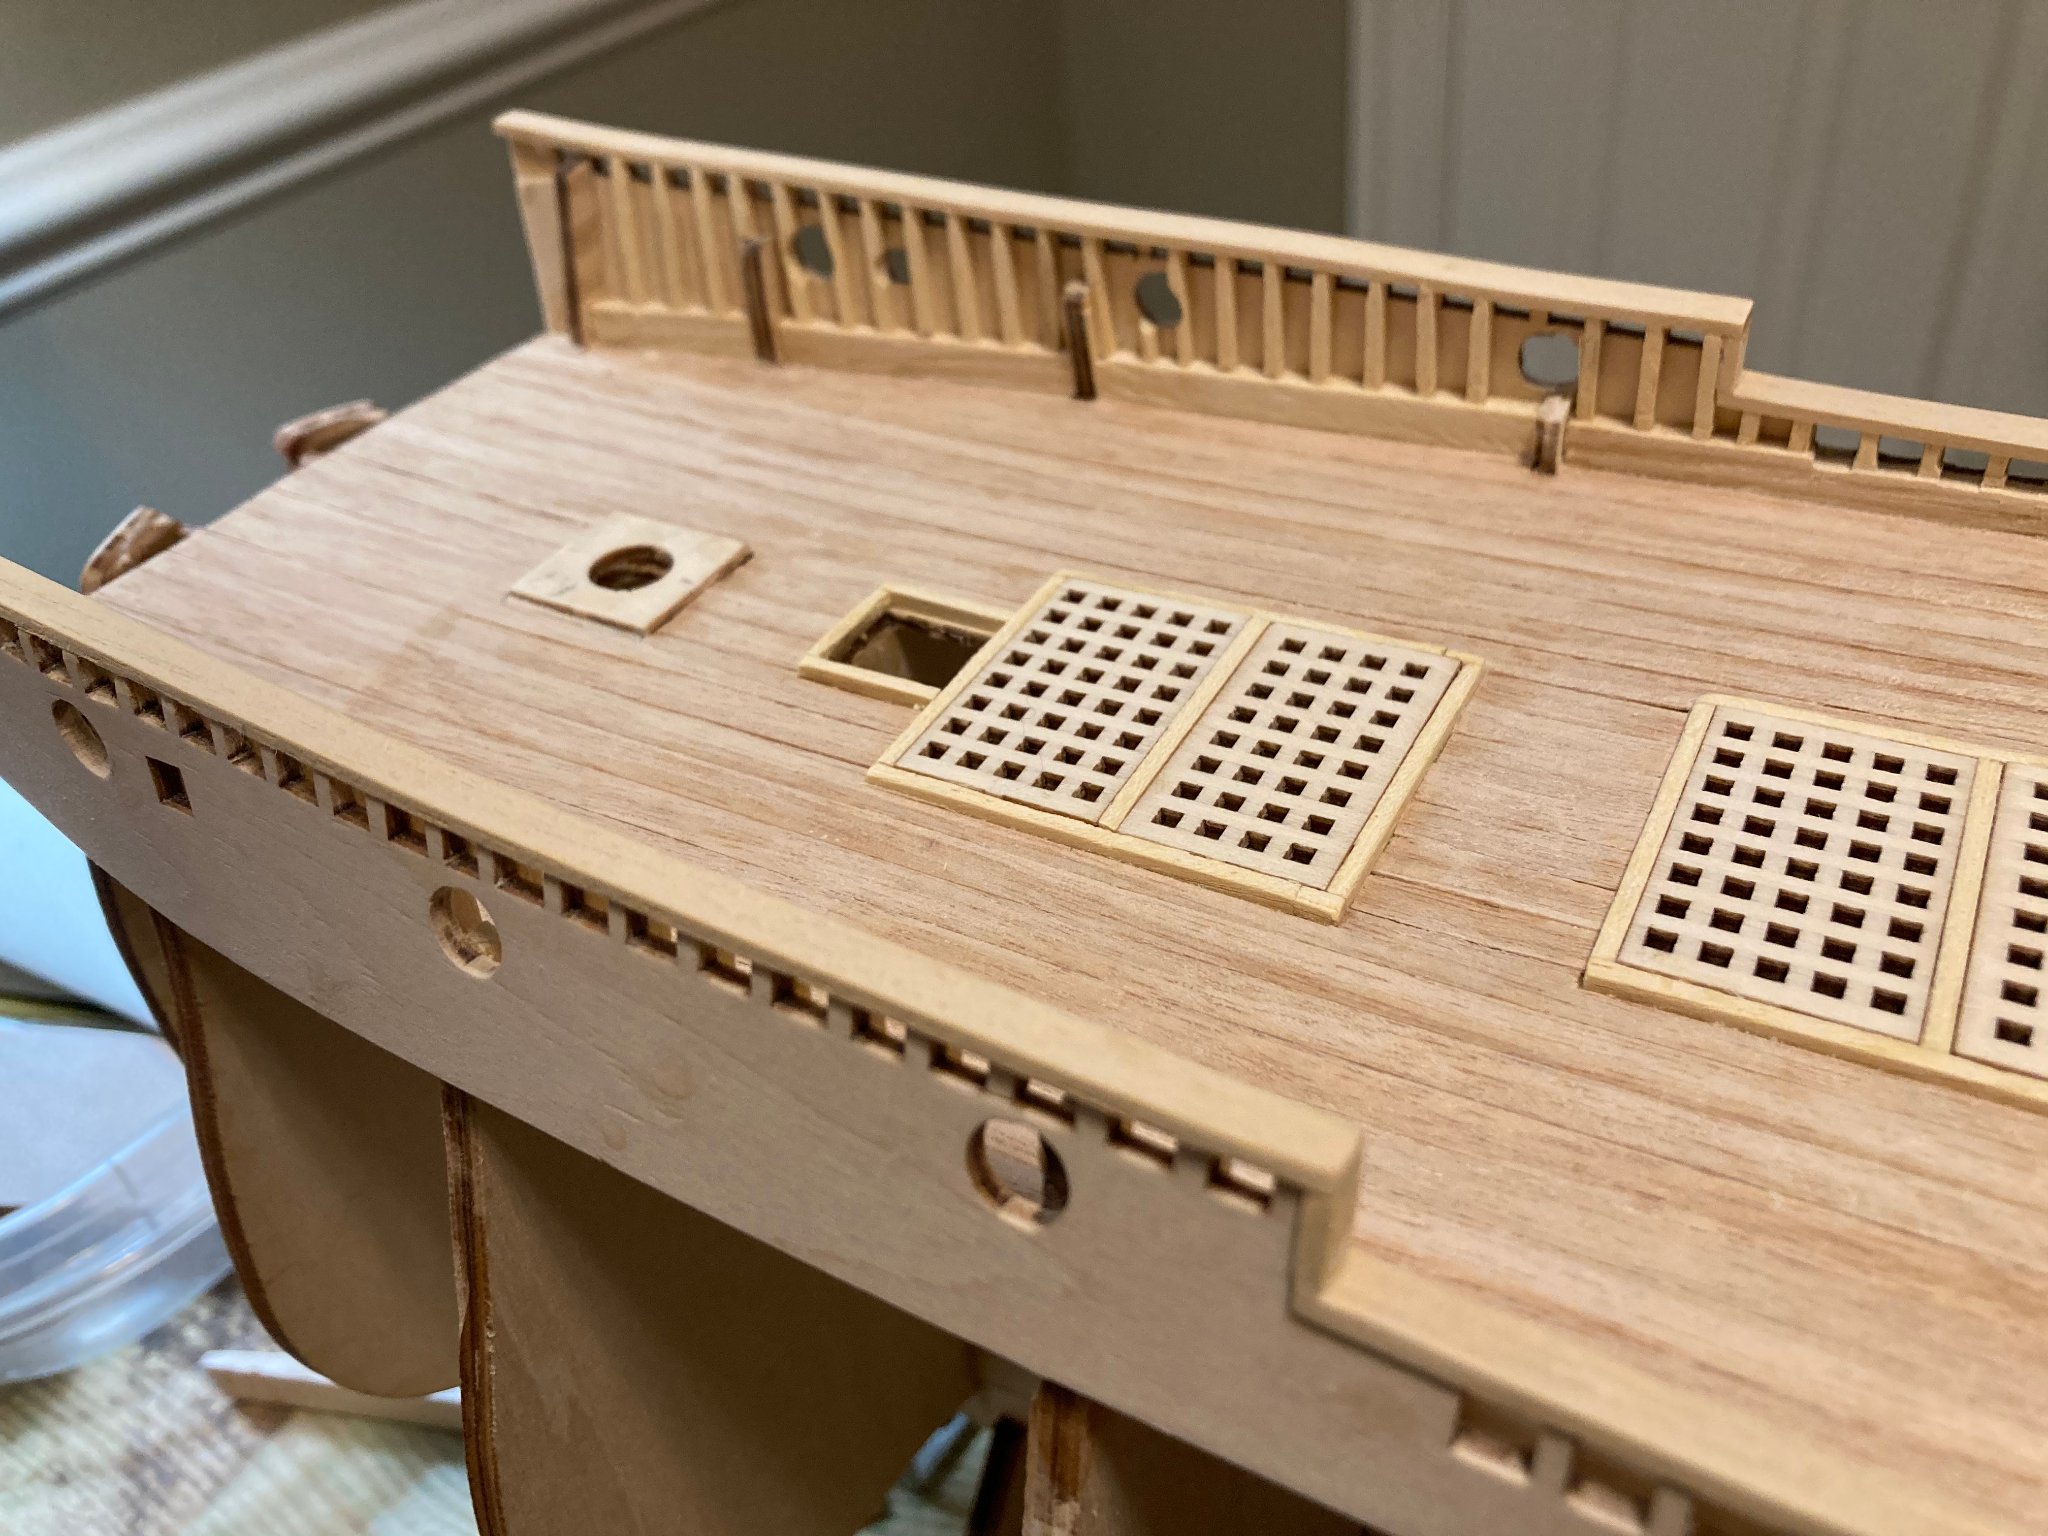
I spent the next several weeks installing the deck planking one strip at a time, and made one of my first errors. After laying a number of planks, I realized I had been using the wrong width of strip...ack. So up came the existing planking using a chisel-ended X-Acto blade, and after a good deal of sanding and double-checking, down went the new planking.

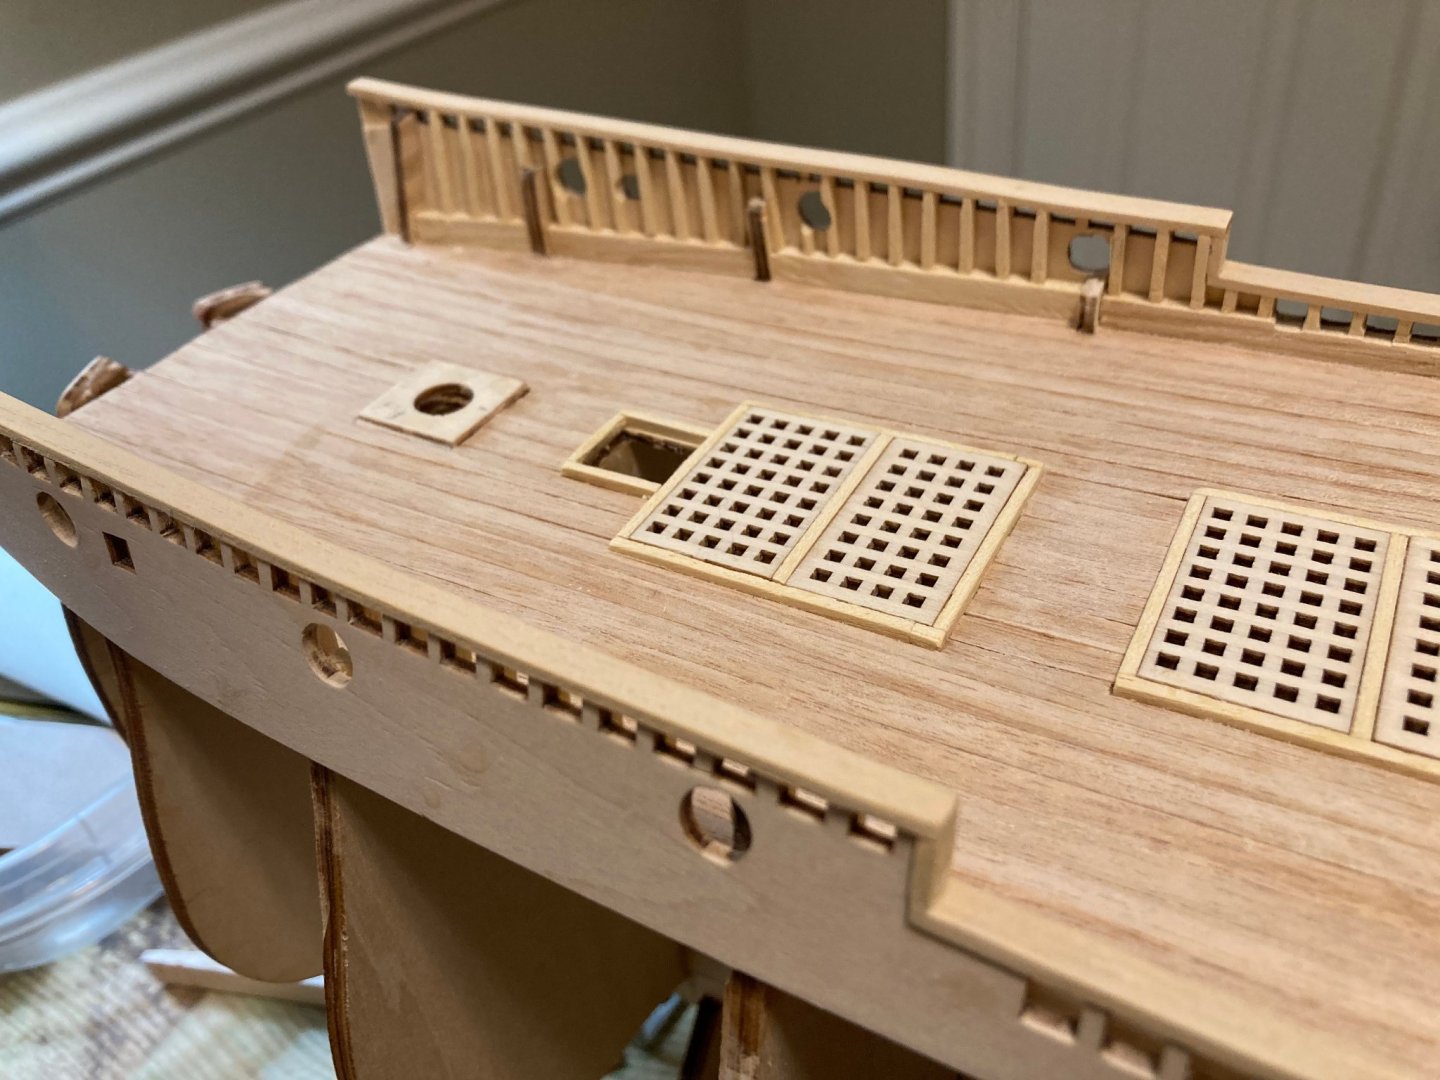
Below: the planked main deck with the wales installed.

- kirill4, marktiedens and GrandpaPhil
-
3
-
Thank you, Kirill! I really appreciate this link. I'll enjoy looking through these resources.
Best,
Doug
-
Hello MSW. I'm Doug, a first-time plank-on-frame builder in the USA. I've built many models over the years, mostly many years ago, and one kit from Denmark's Billing Boats (Jacques Cousteau's CALYPSO), but VASA is my first attempt at a wooden sailing ship kit. As a kid, I pored over books of historic sailing ships, as I'm sure many of you did, and the VASA was often featured in their pages. In 2016, I had the opportunity to visit the ship at its museum in Sweden, and the impressiveness of the ship and its preservation stuck with me. Fast-forward to 2020, and as a quarantine project, I decided to try my hand at the kit you see here. I'll try to document my progress as best I can while reflecting on my many mistakes (several so far). One lesson I've already learned: if you're not happy with something, and it can be fixed without destroying the model, take the time to fix it, even if there's short-term pain. Off we go.
- ccoyle and GrandpaPhil
-
2
-
Hi Peter, thank you for sharing all this. Early on, did you find that frames 8 and 9 in the hull seemed not to fit properly when you installed the connecting strips? For me, the two seem to be backward, with frame 8 fitting nicely where frame 9 is supposed to be, and vice versa. I even took them off the keel to make sure I hadn’t mis-marked them. Thoughts?
Thank you again.Doug


VASA by Doug Buchanan Jr - Billing Boats - 1:75
in - Kit build logs for subjects built from 1501 - 1750
Posted
Thank you, Kirill. I have some balsa blocks and will be looking at whether or not I will need to install them in the bow to support the planking and provide the right curvature. Thank you again!