Lapinas
-
Posts
126 -
Joined
-
Last visited
2 Followers


-
 Scott Crouse reacted to a post in a topic:
Lady Nelson by Lapinas - Amati/Victory Models - 1:64
Scott Crouse reacted to a post in a topic:
Lady Nelson by Lapinas - Amati/Victory Models - 1:64
-
Lapinas reacted to a post in a topic:
Lady Nelson by Danstream - Amati/Victory Models - 1:64 scale
-
Lapinas reacted to a post in a topic:
Lady Nelson by Danstream - Amati/Victory Models - 1:64 scale
-
Knocklouder reacted to a post in a topic:
Lady Nelson by Lapinas - Amati/Victory Models - 1:64
-
Knocklouder reacted to a post in a topic:
Lady Nelson by Lapinas - Amati/Victory Models - 1:64
-
This is a great advice. Thank you!
-
Scott Crouse reacted to a post in a topic:
Lady Nelson by Lapinas - Amati/Victory Models - 1:64
-
Scott Crouse reacted to a post in a topic:
Lady Nelson by Lapinas - Amati/Victory Models - 1:64
-
brunnels reacted to a post in a topic:
Lady Nelson by Lapinas - Amati/Victory Models - 1:64
-
brunnels reacted to a post in a topic:
Lady Nelson by Lapinas - Amati/Victory Models - 1:64
-
brunnels reacted to a post in a topic:
Lady Nelson by Lapinas - Amati/Victory Models - 1:64
-
JacquesCousteau reacted to a post in a topic:
Lady Nelson by Lapinas - Amati/Victory Models - 1:64
-
JacquesCousteau reacted to a post in a topic:
Lady Nelson by Lapinas - Amati/Victory Models - 1:64
-
I have tried using precut stairs from Amati too, but they I think also does not look according to scale 😬
- 81 replies
-
- 4
-
-
- Lady Nelson
- Amati
- (and 1 more)
-
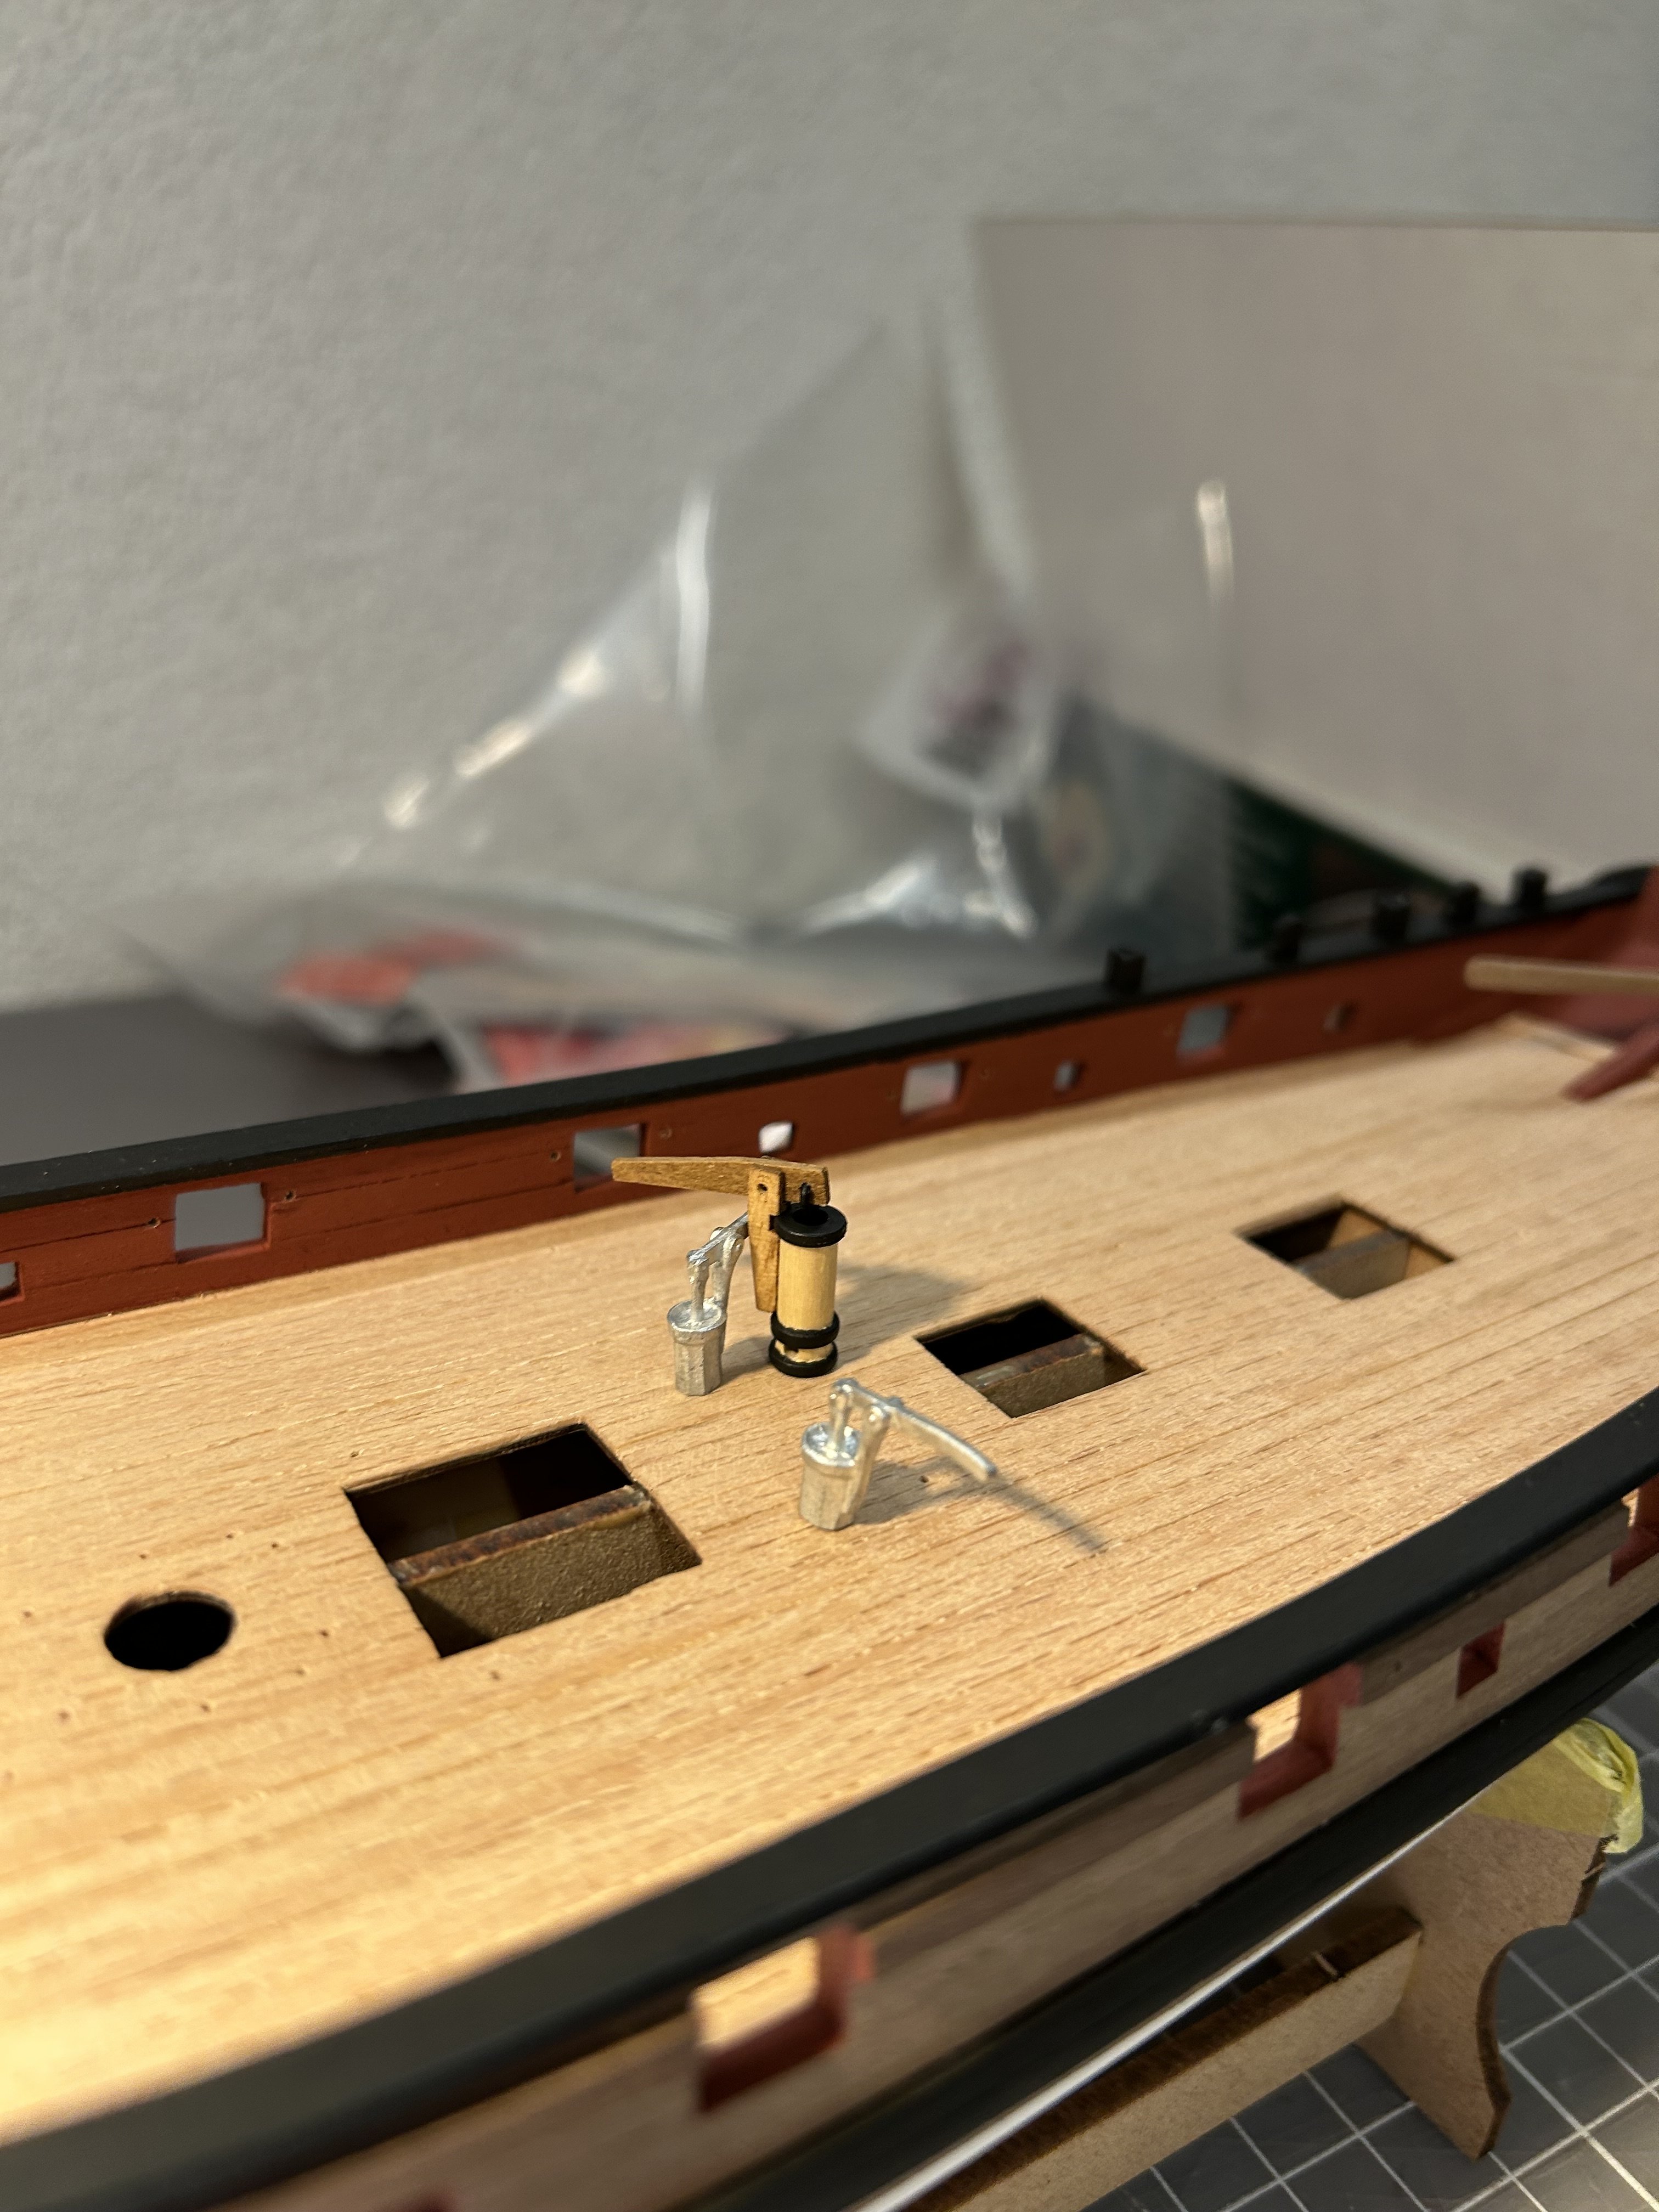
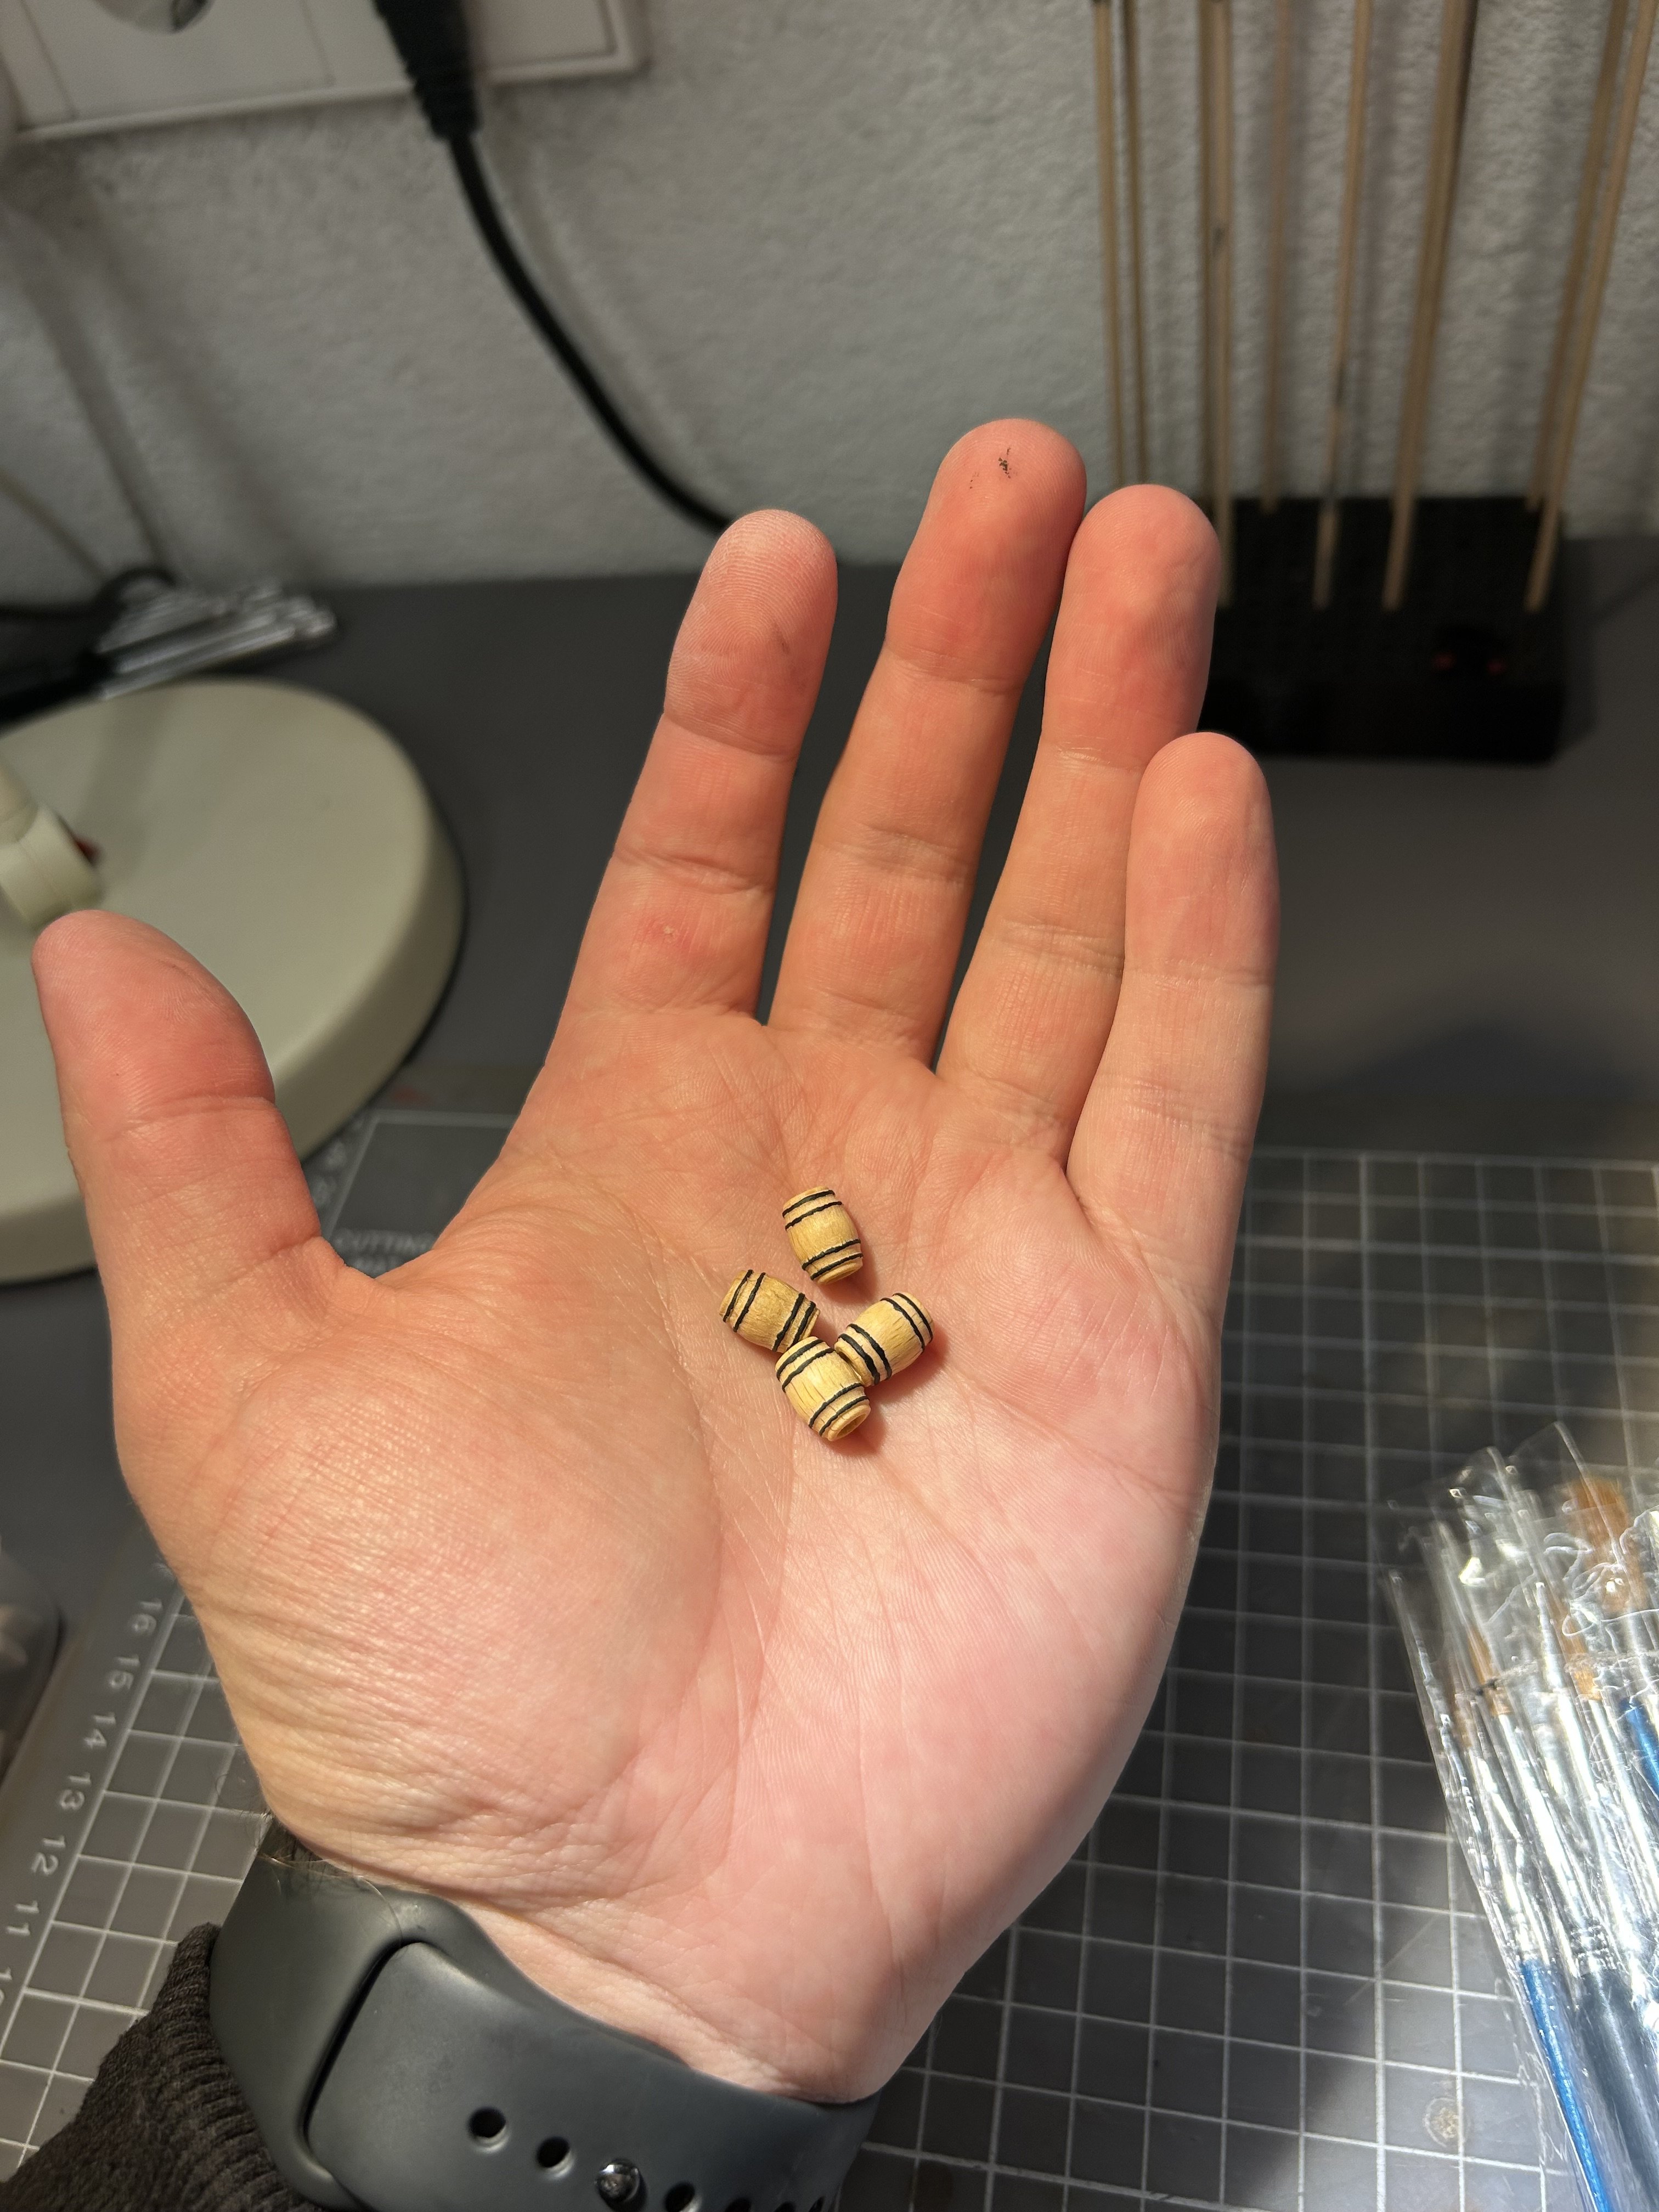
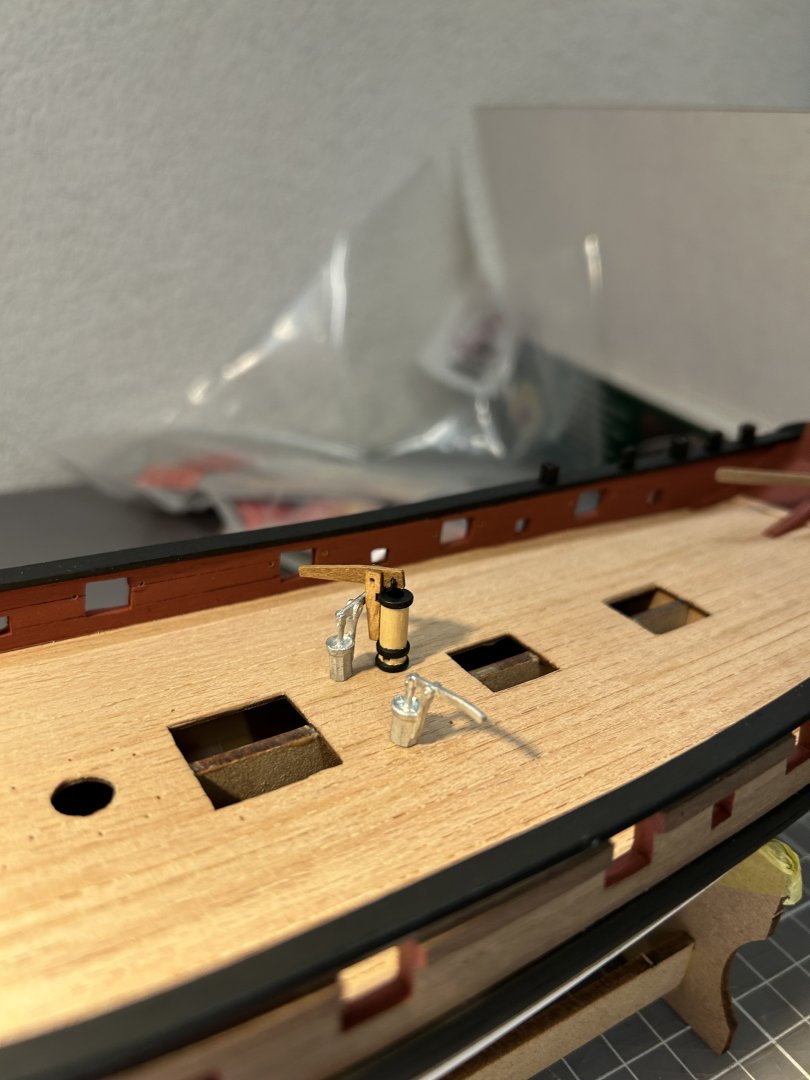
Hm this wooden pump was used in build that is advertised in their website, but I am not sure about the scale. This wooden pump is much bigger than the metal counterpart 🤔
- 81 replies
-
- 2
-
-
- Lady Nelson
- Amati
- (and 1 more)
-
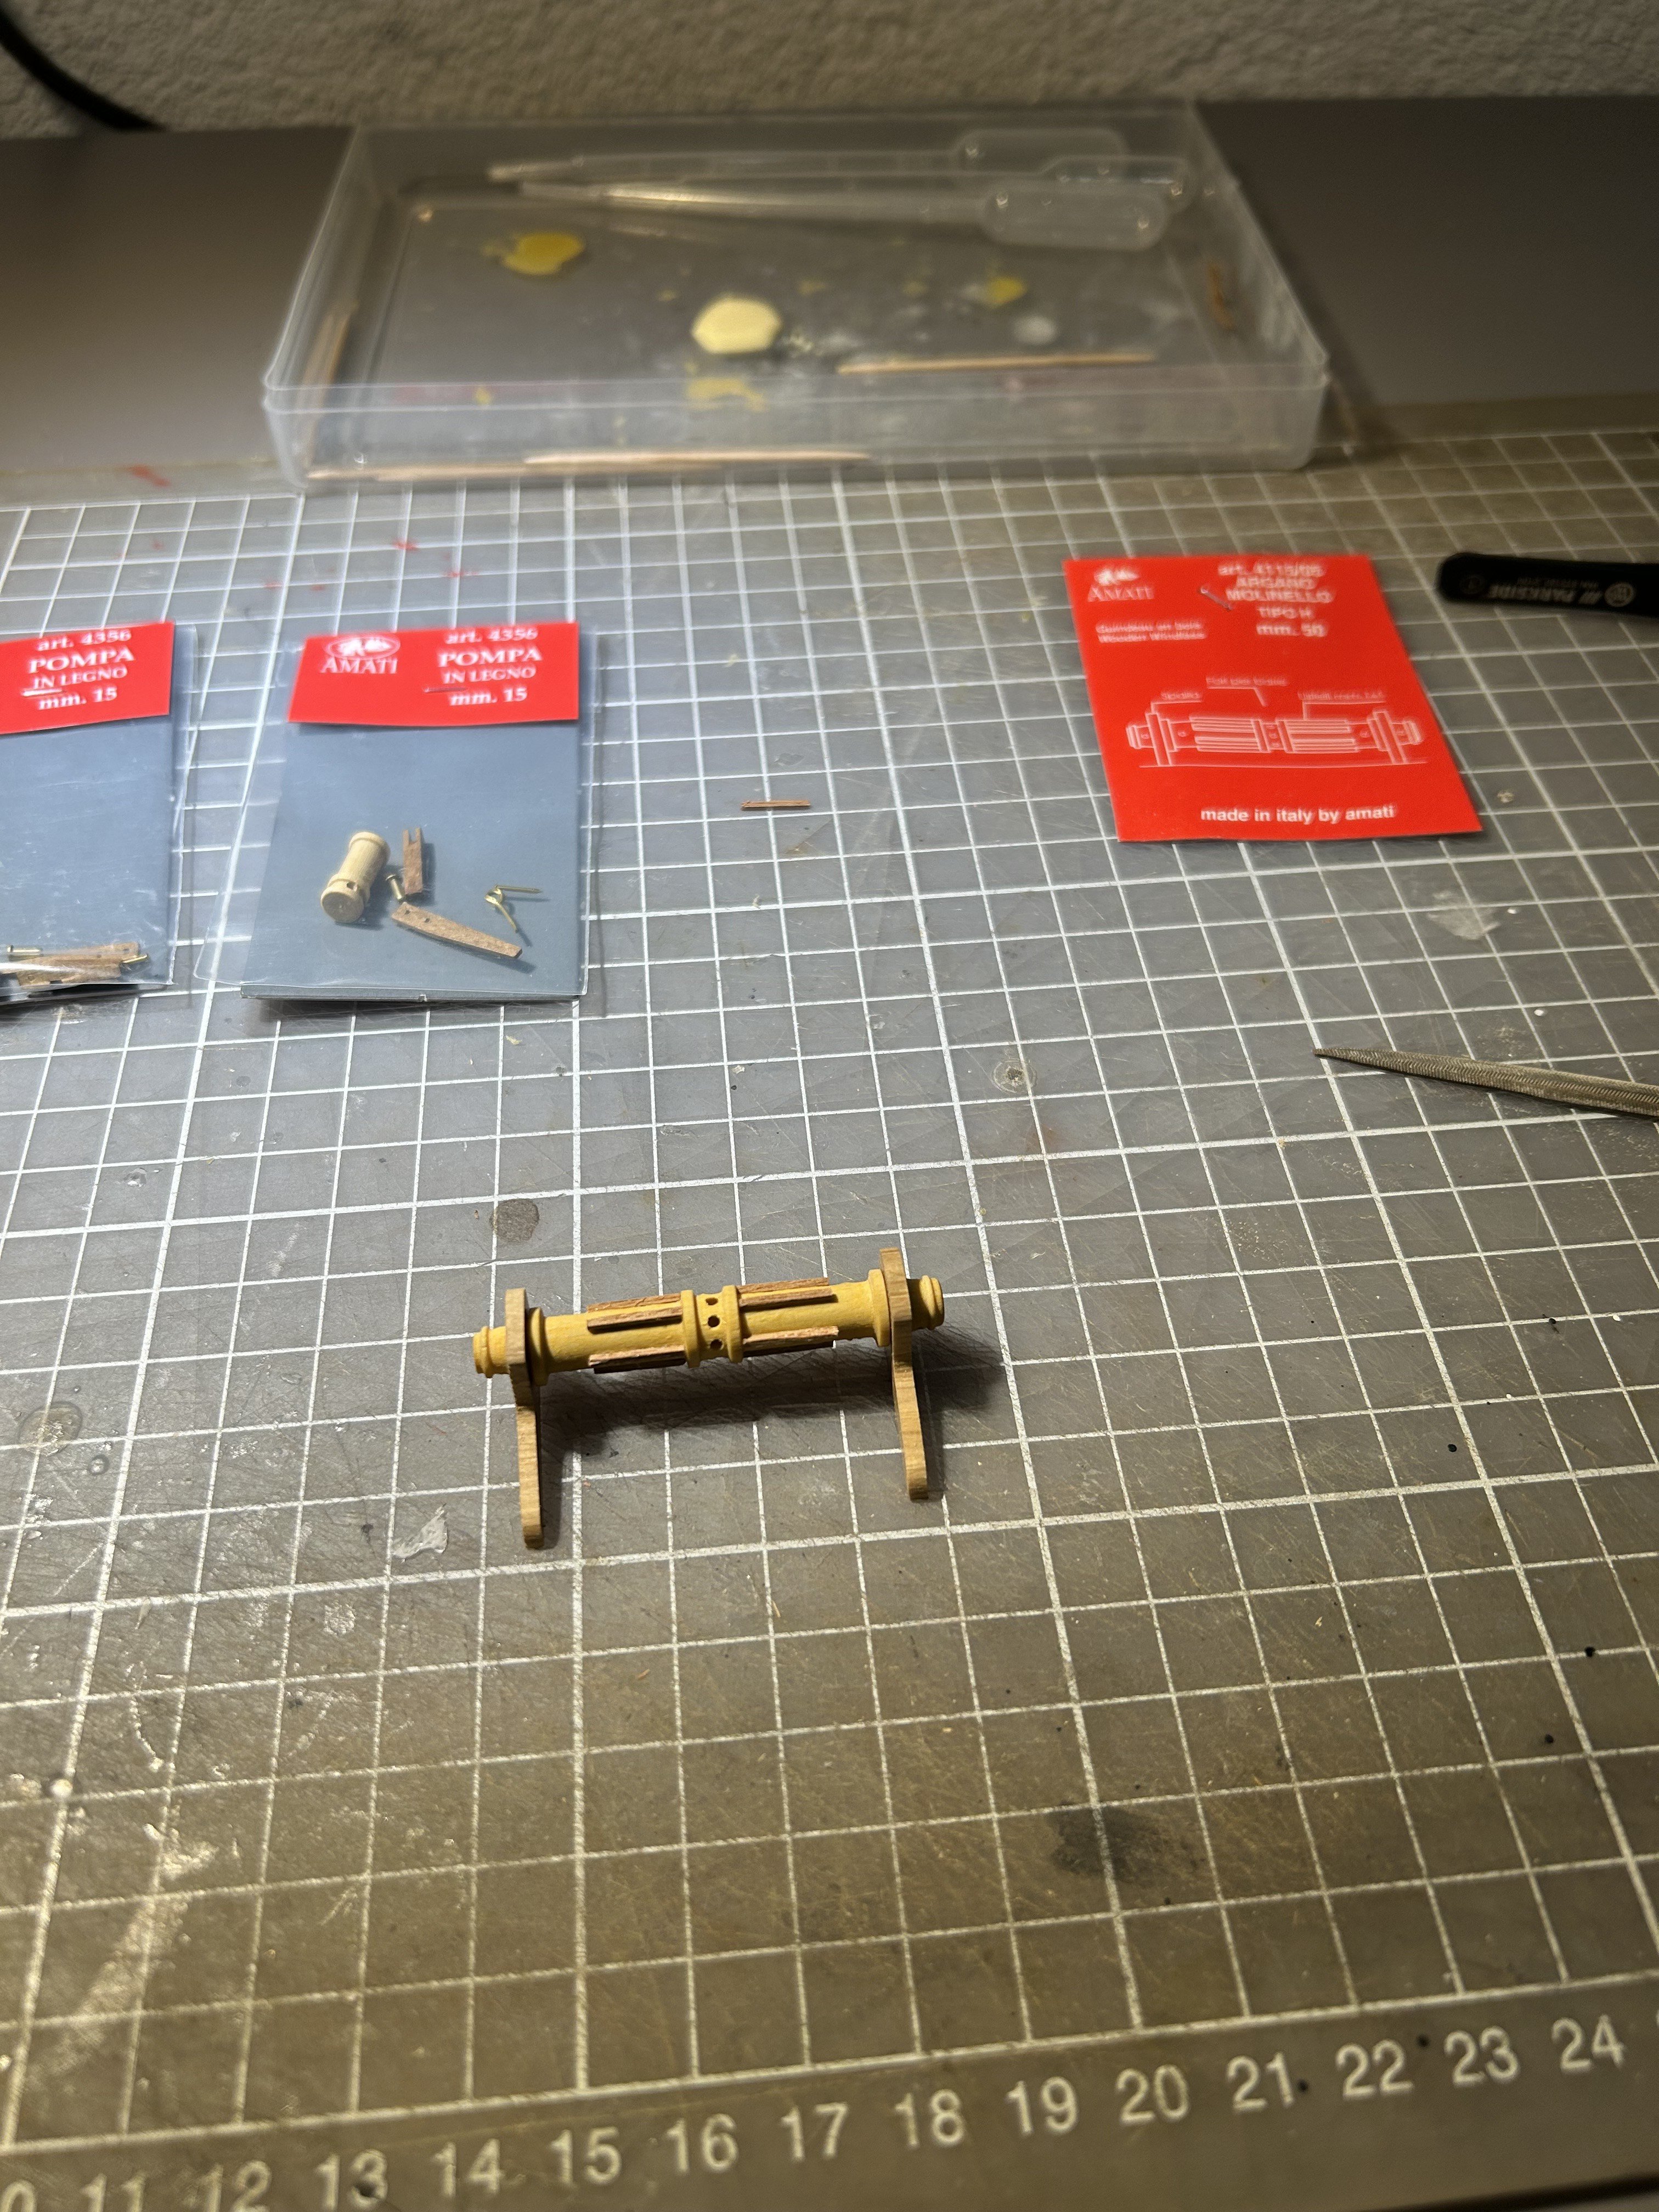
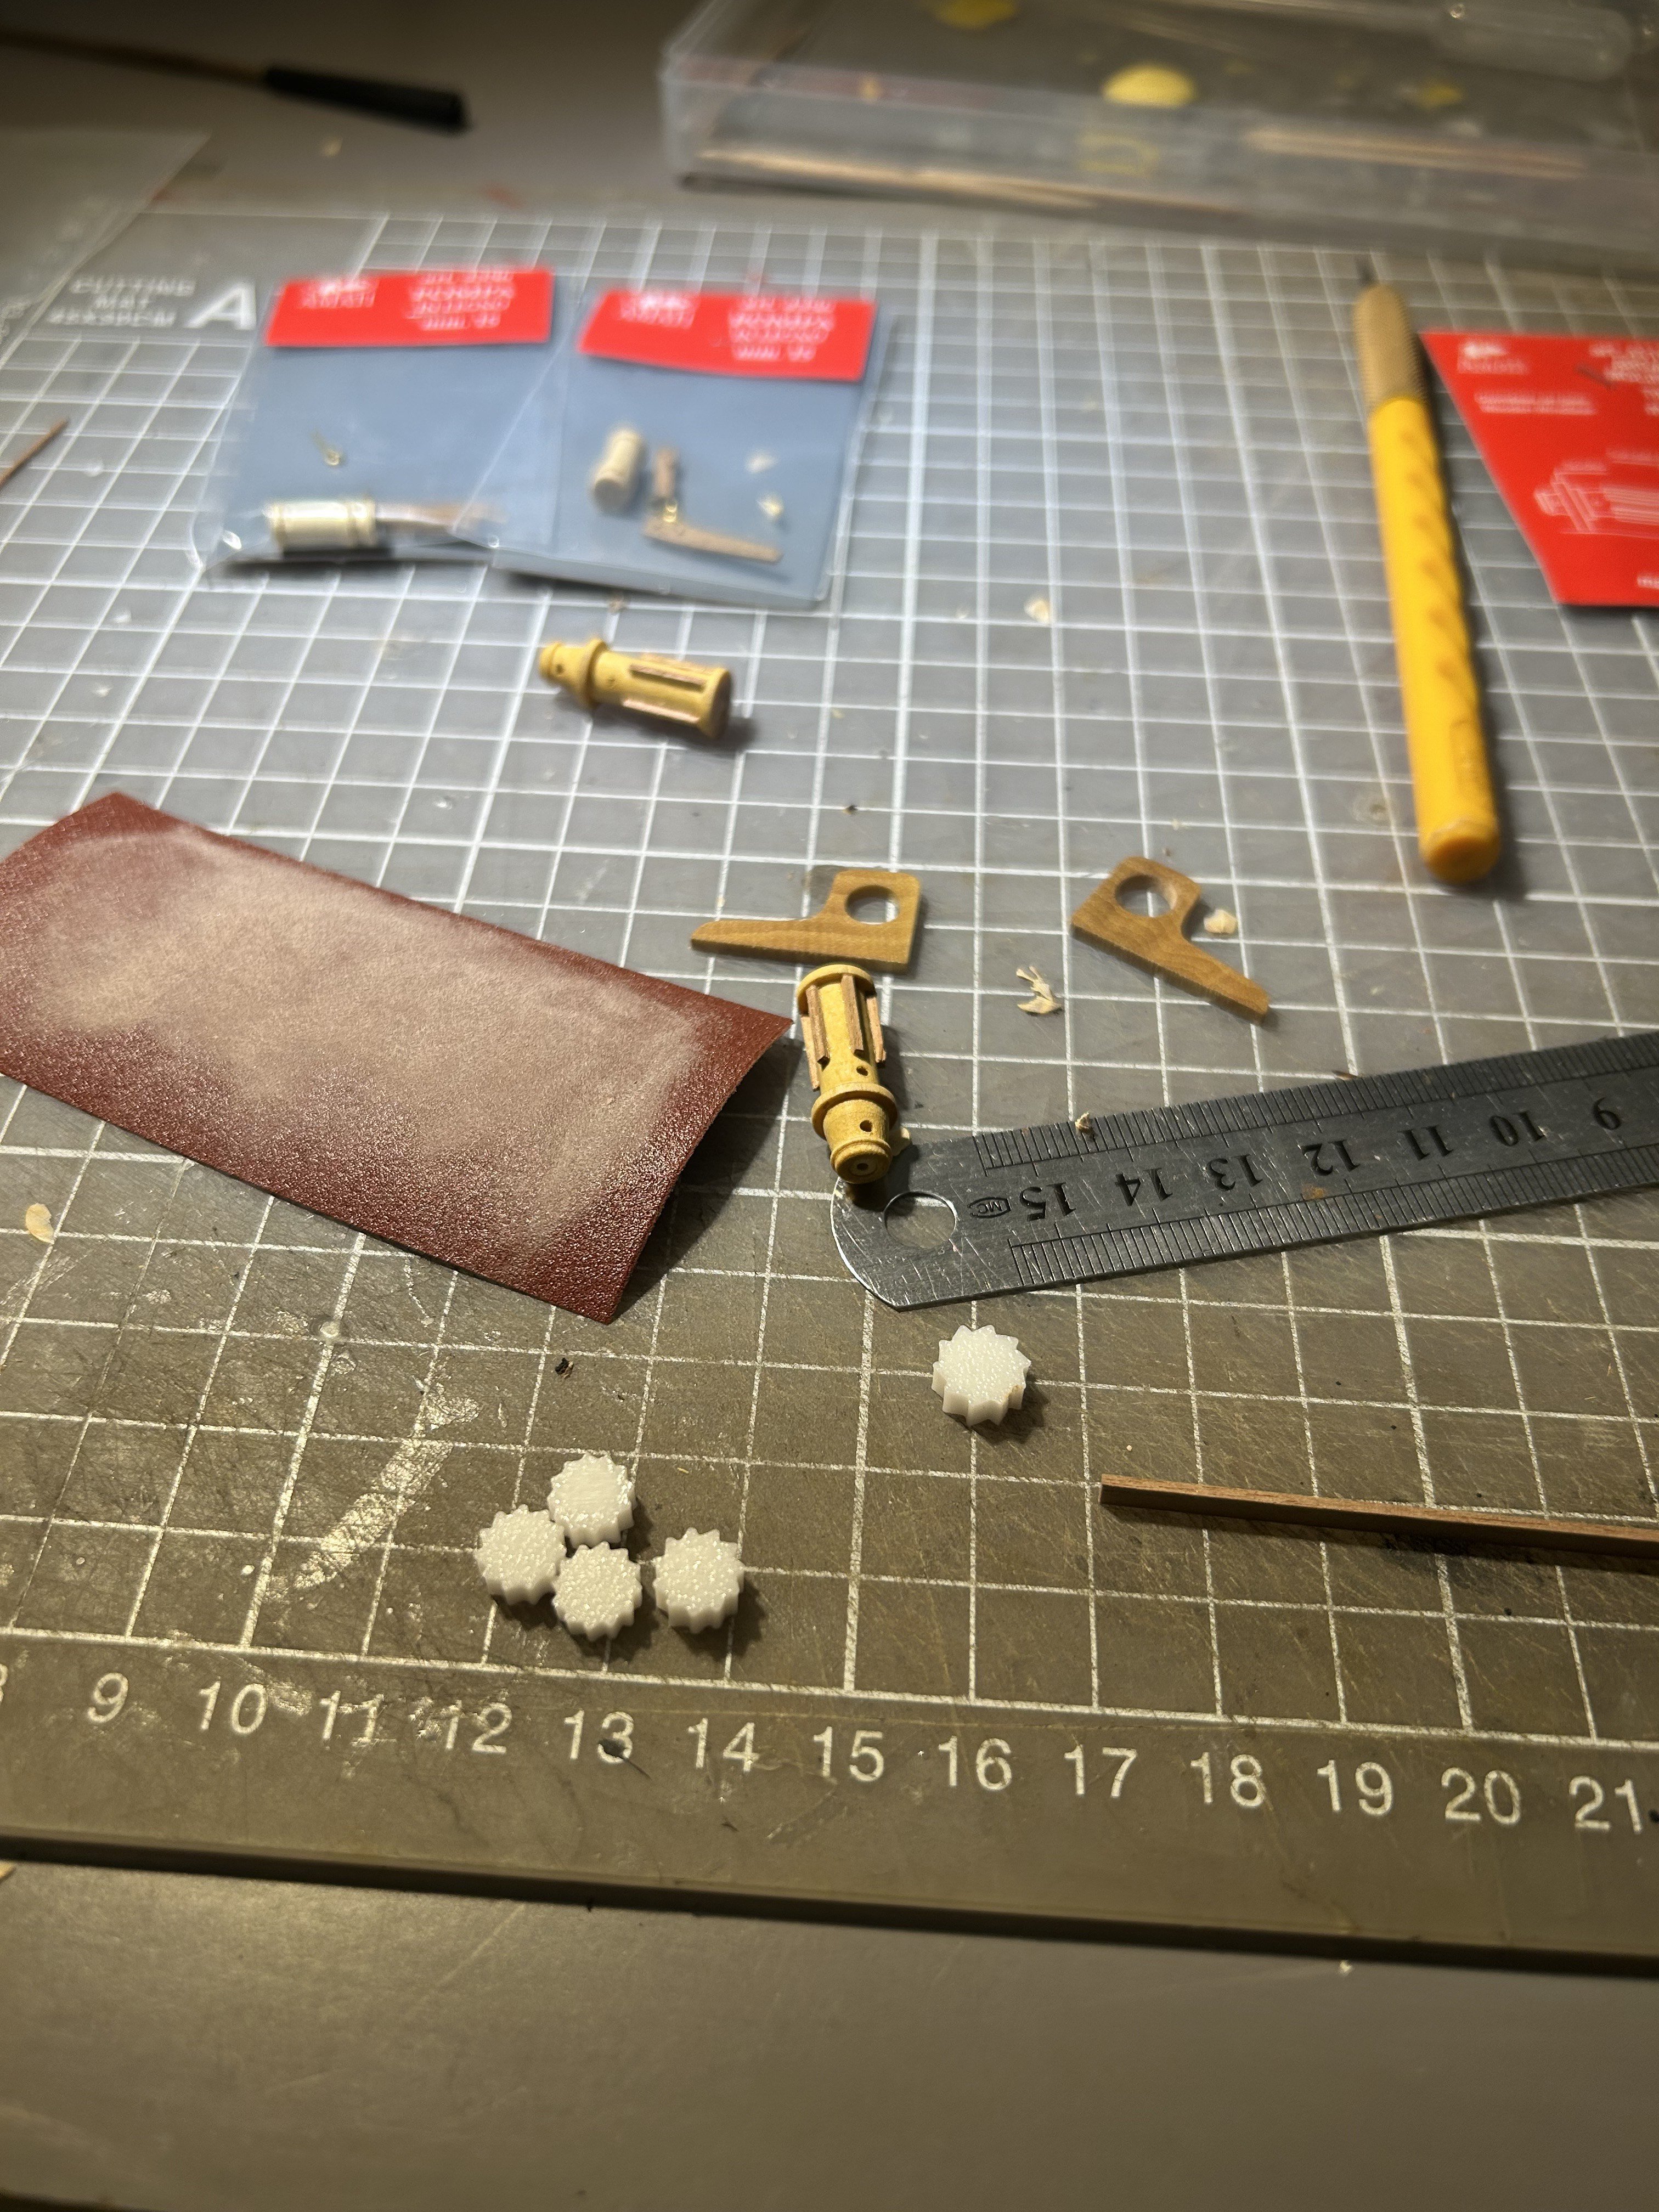
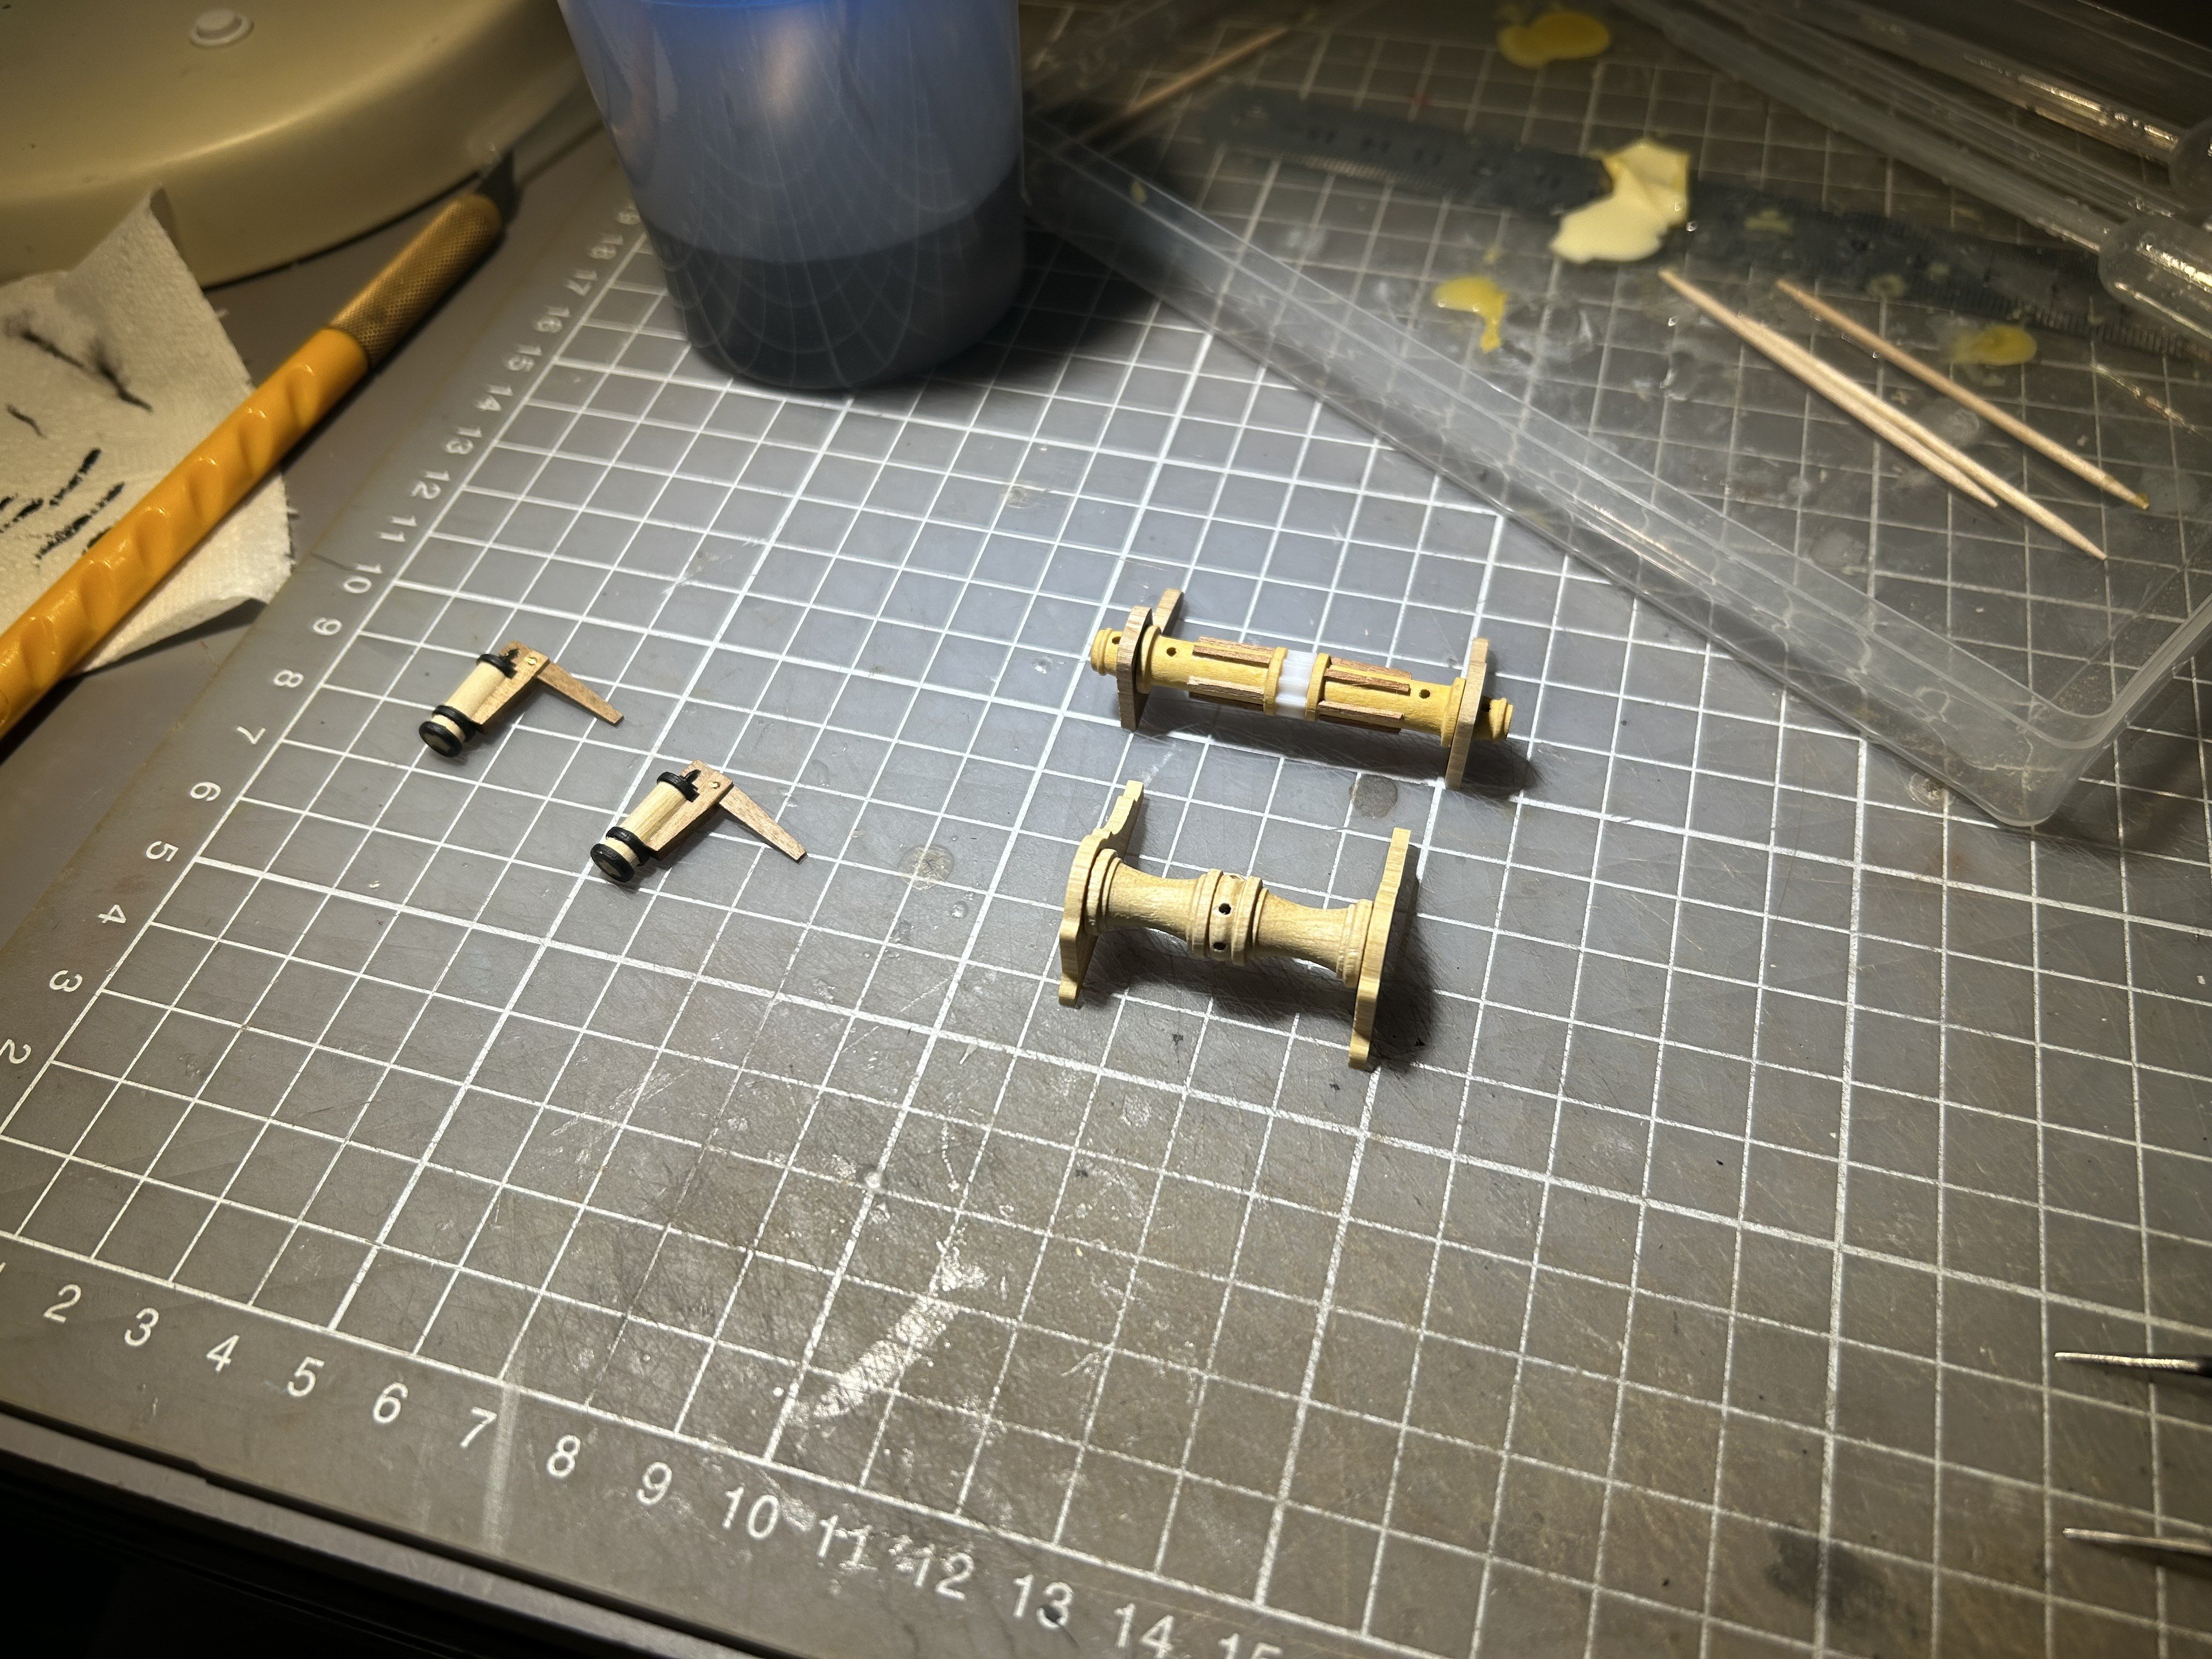
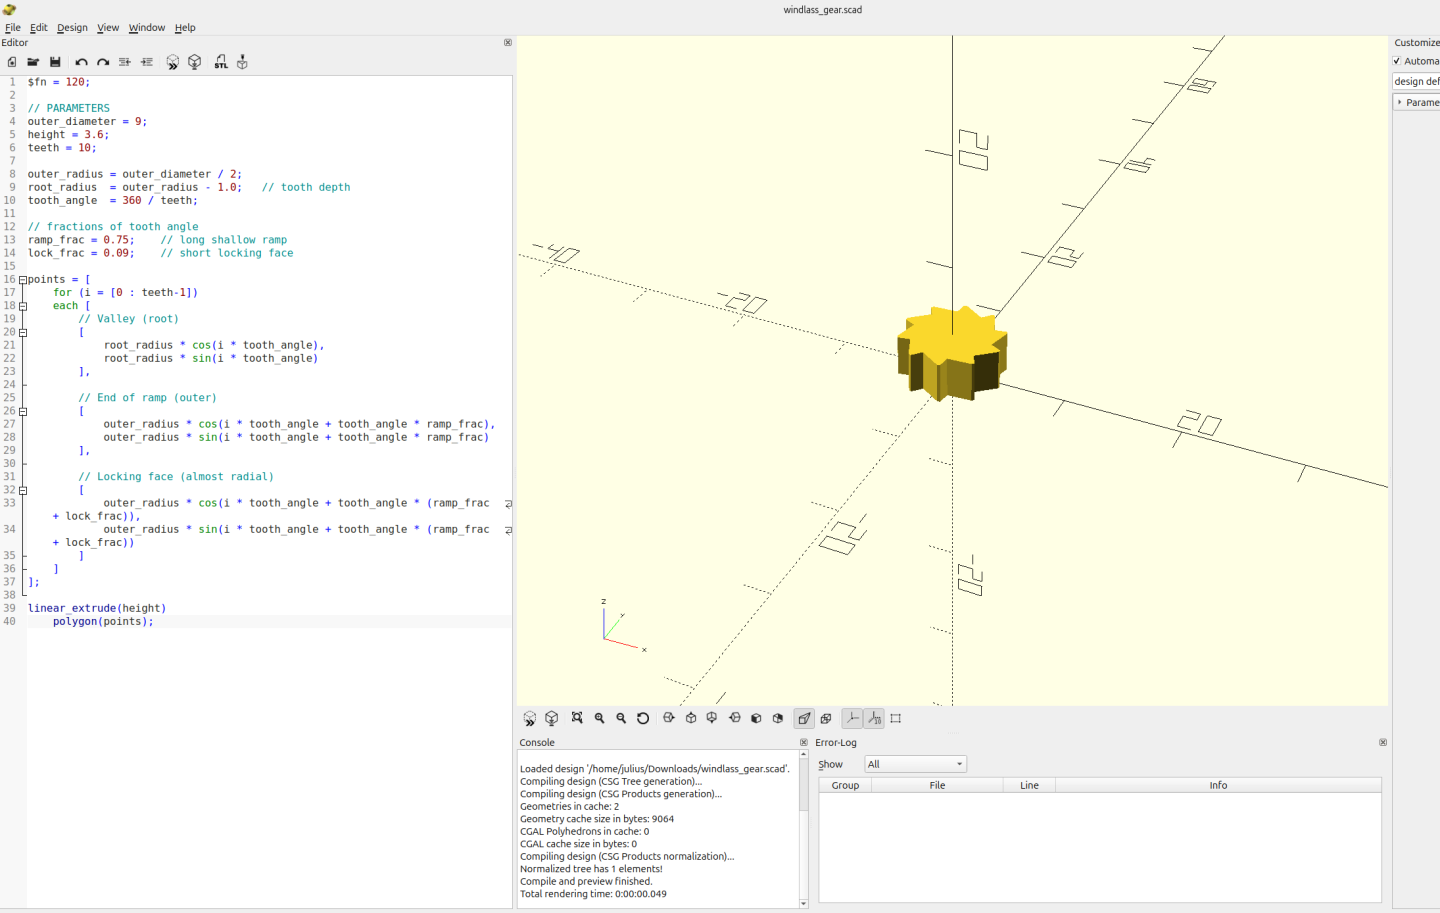
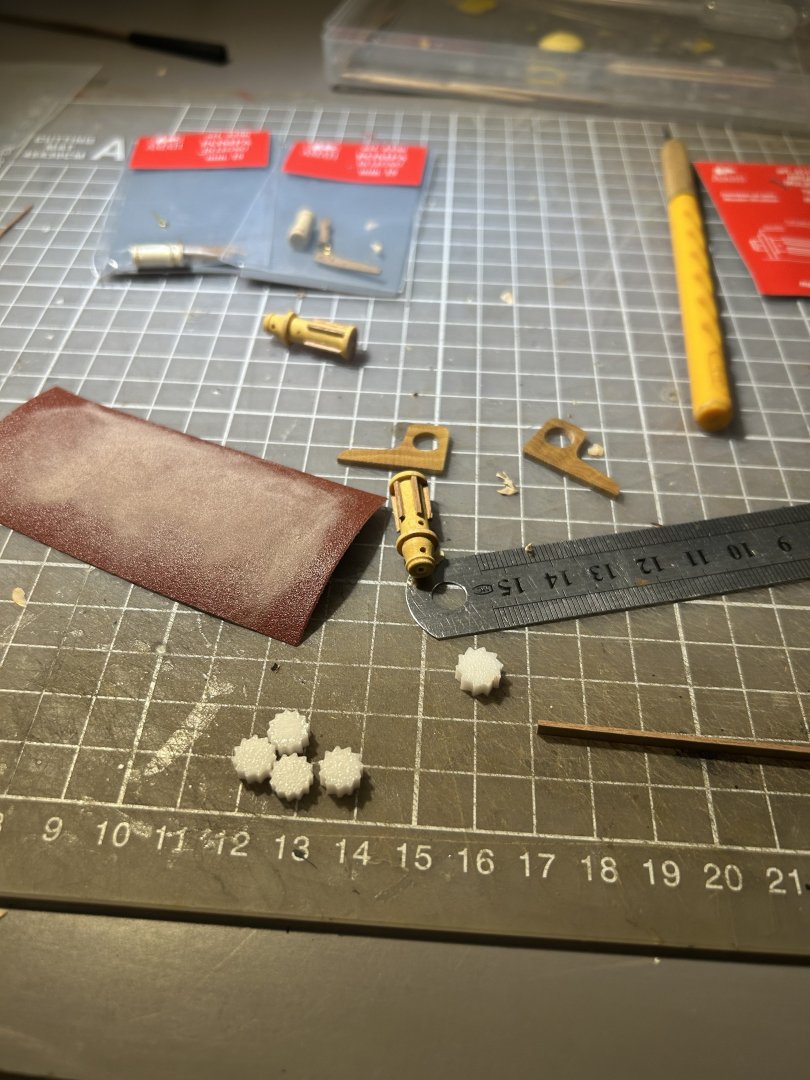
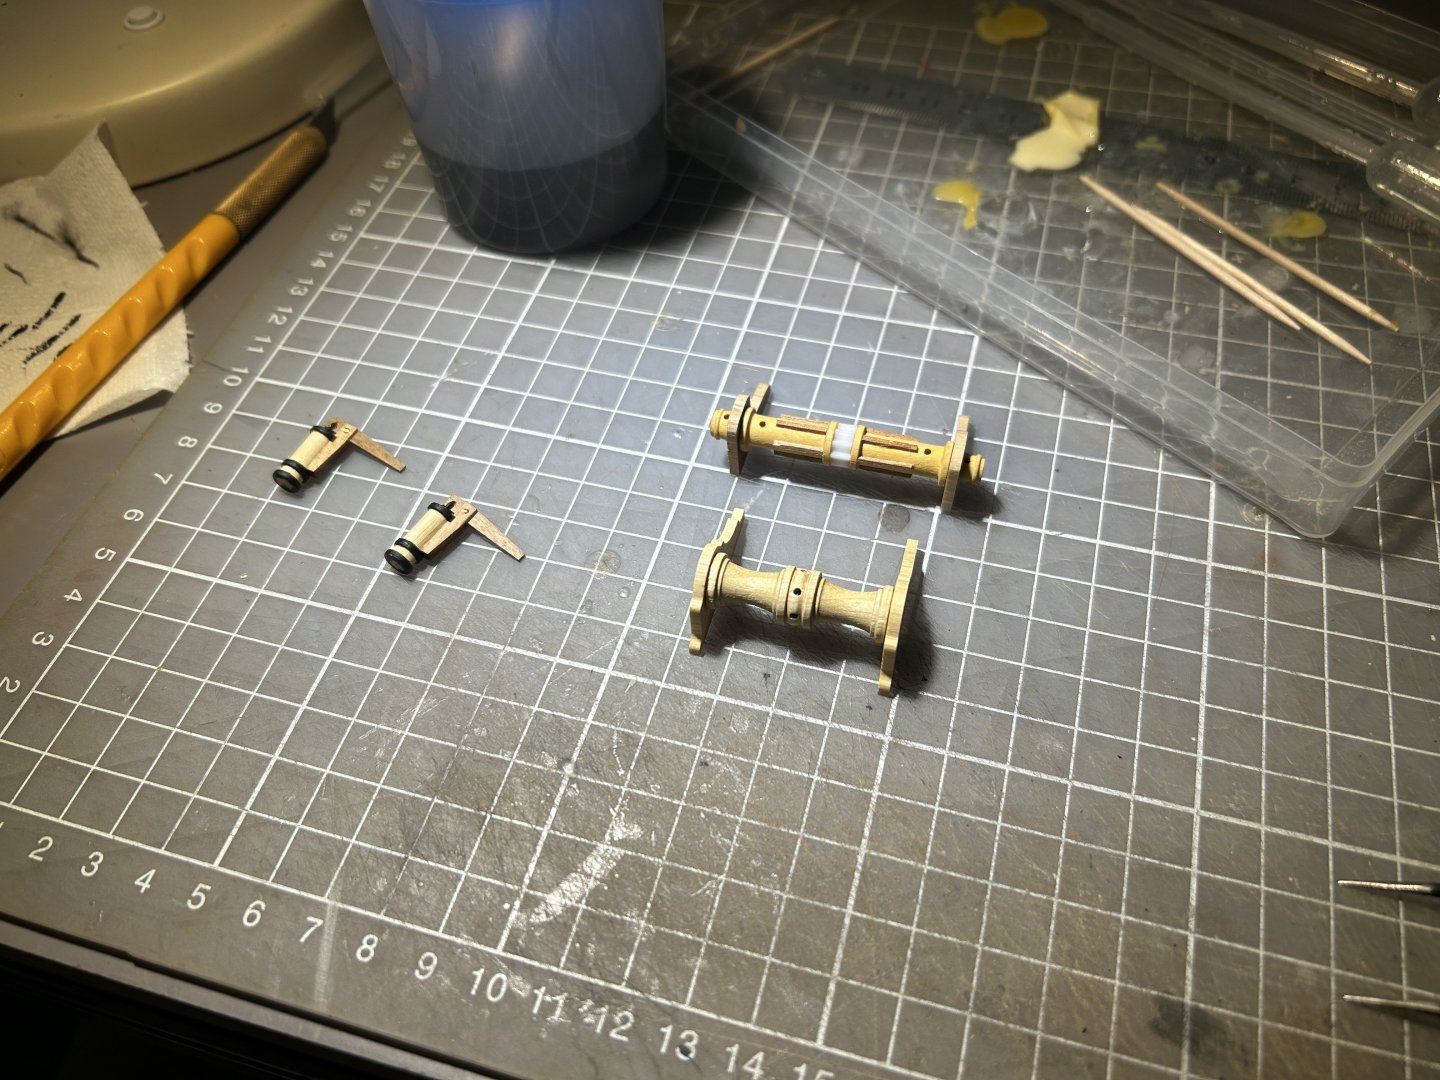
It looks like the consensus for this kit is that the windlass included - is not really suitable for this ship. I have noticed that a lot of people are repurposing this wooden windlass from amati: https://www.amatimodel.com/en/small-parts-and-accessories-for-model-making/product-wooden-windlass-type-h-mm55-b411505.html So I did that as well. Also I have noticed that the middle part of this windlass is replaced with ratchet gear. I could not find anything suitable in my stash, so I have designed one with Openscad and 3D printed it. After a few iterations I was satisfied and replaced the middle part of the windlass. Final result. You can also see that I have decided to use different kind of water pumps (https://www.amatimodel.com/en/small-parts-and-accessories-for-model-making/product-wooden-pumps-mm-15-b4356.html) instead of the metal ones that were included in the kit Windlass will be painted red together with "ratchet stopper". To help fellow modelers, I am also sharing an STL file so you can 3D print this gear at home. Additionally, I am including the SCAD code for the part in case any modifications are needed. windlass_gear.stl windlass_gear.scad

- 81 replies
-
- 3
-
-
- Lady Nelson
- Amati
- (and 1 more)
-
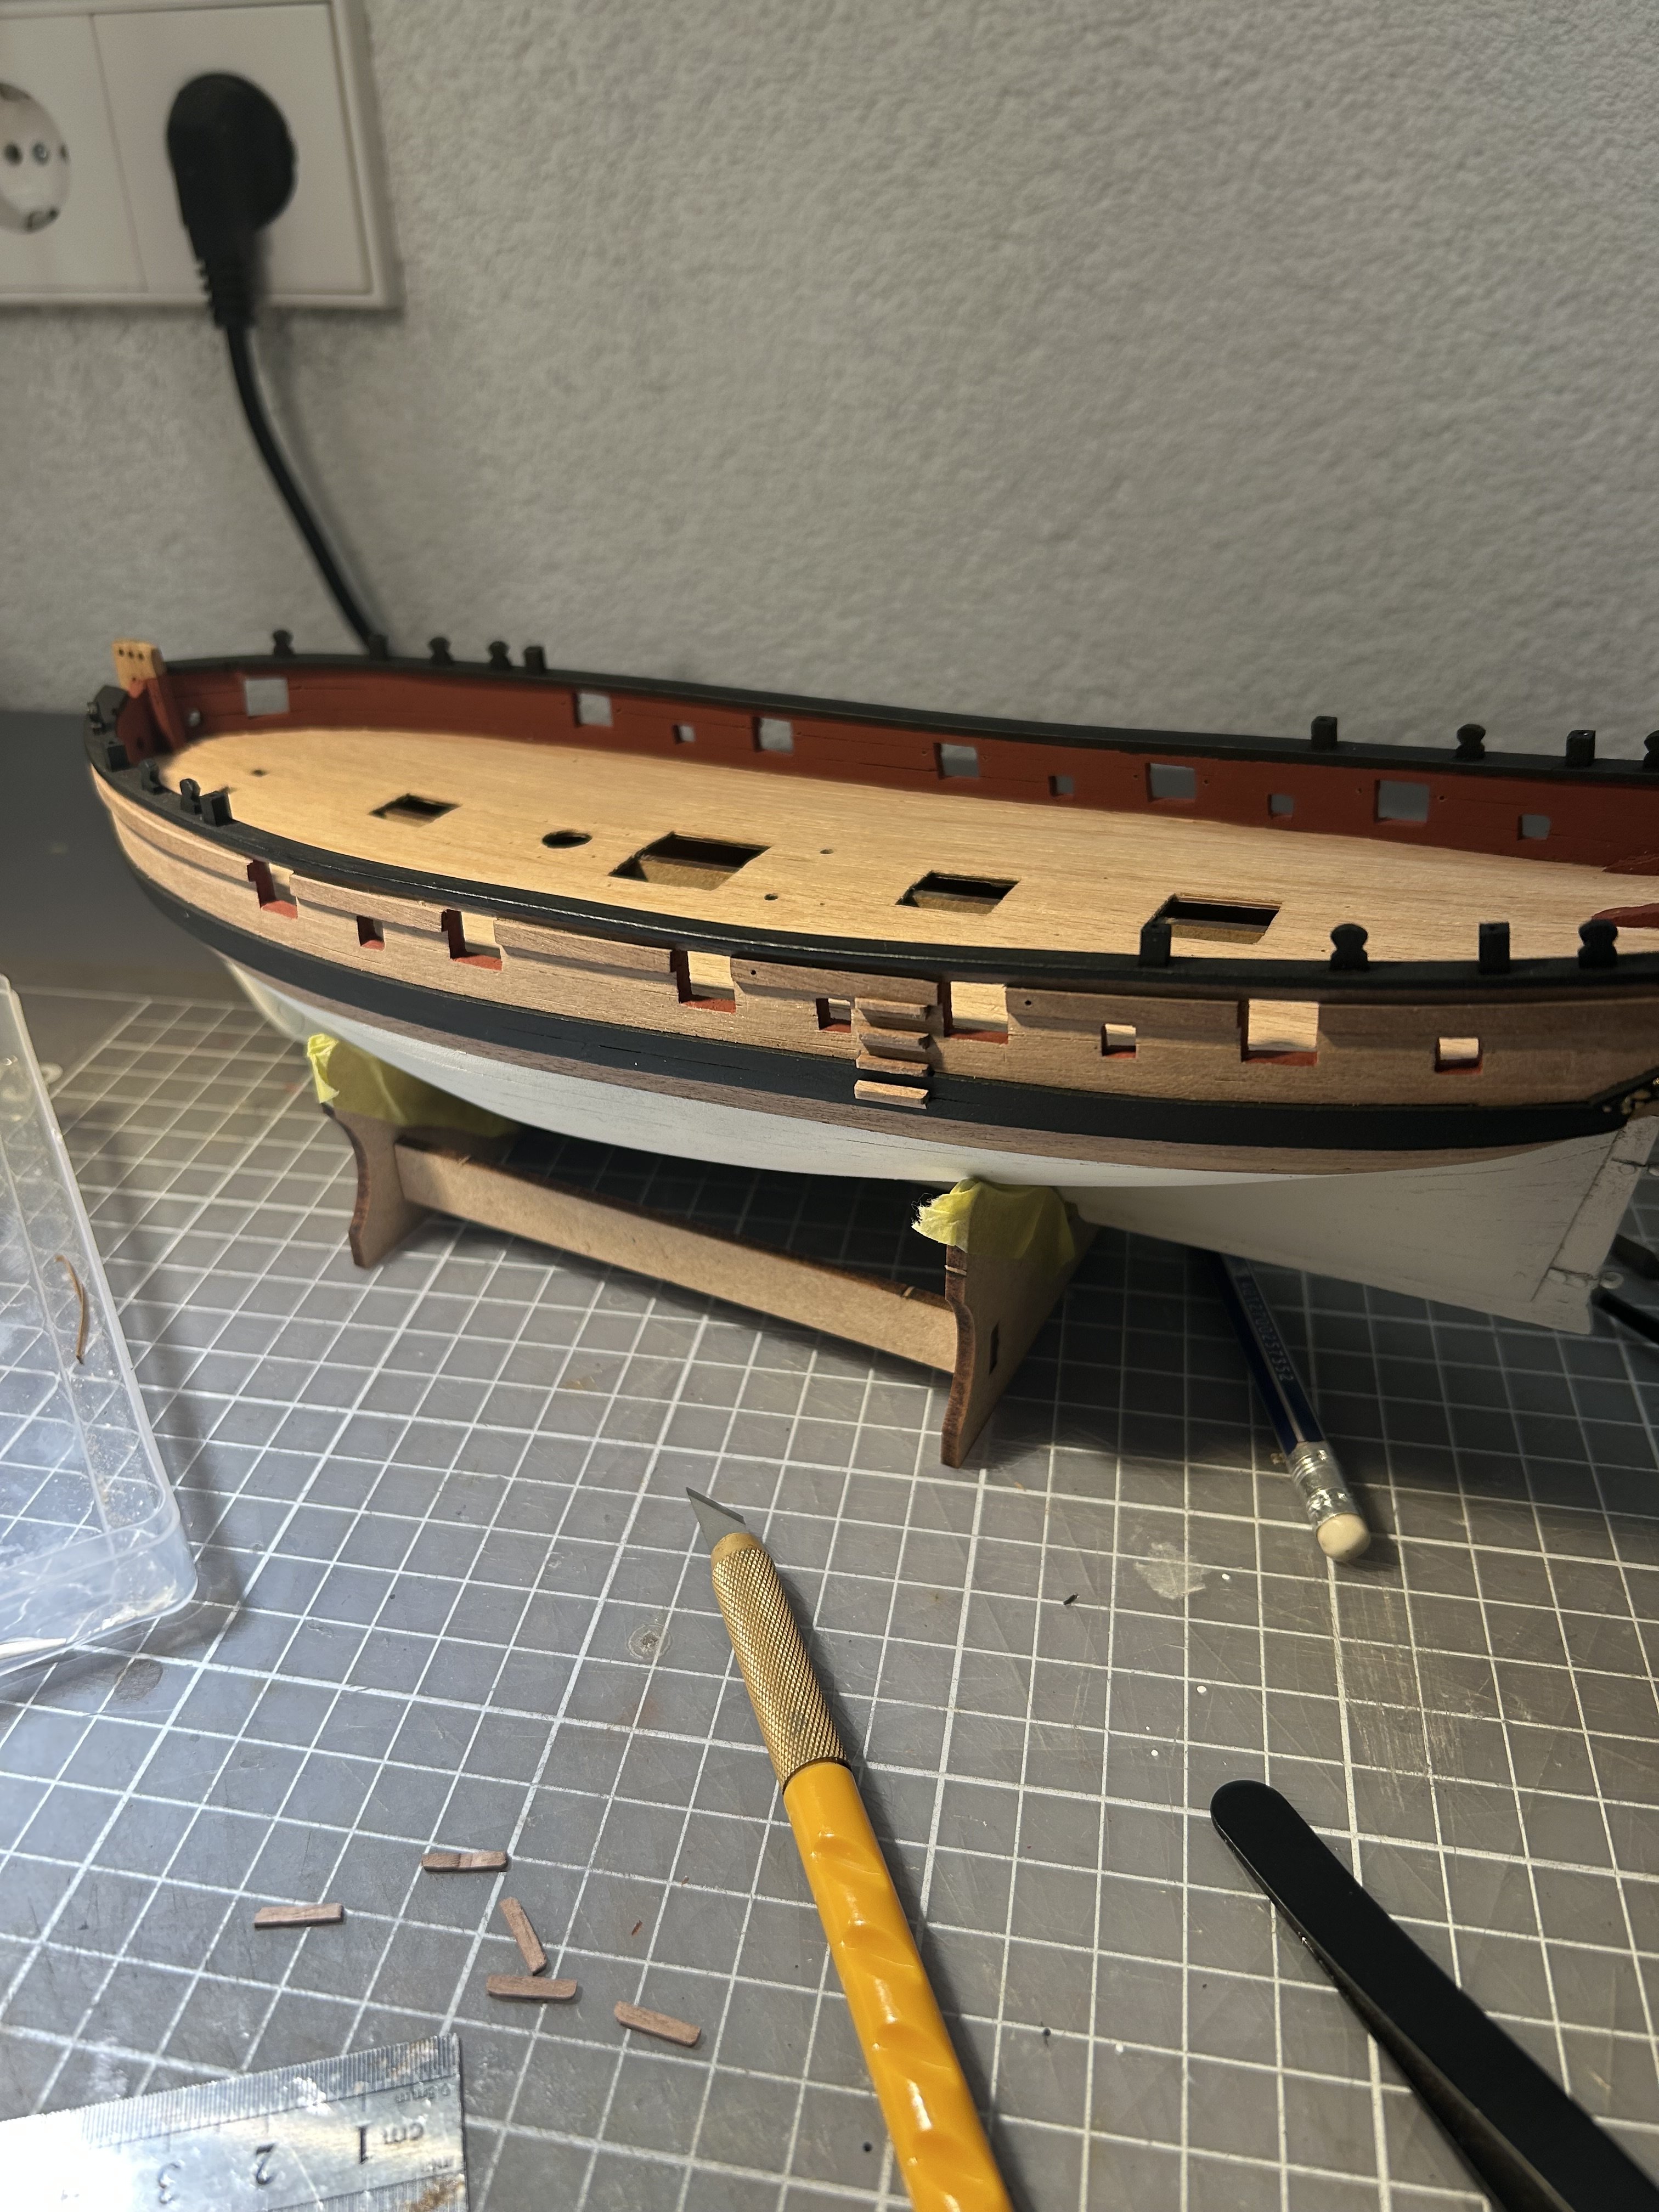
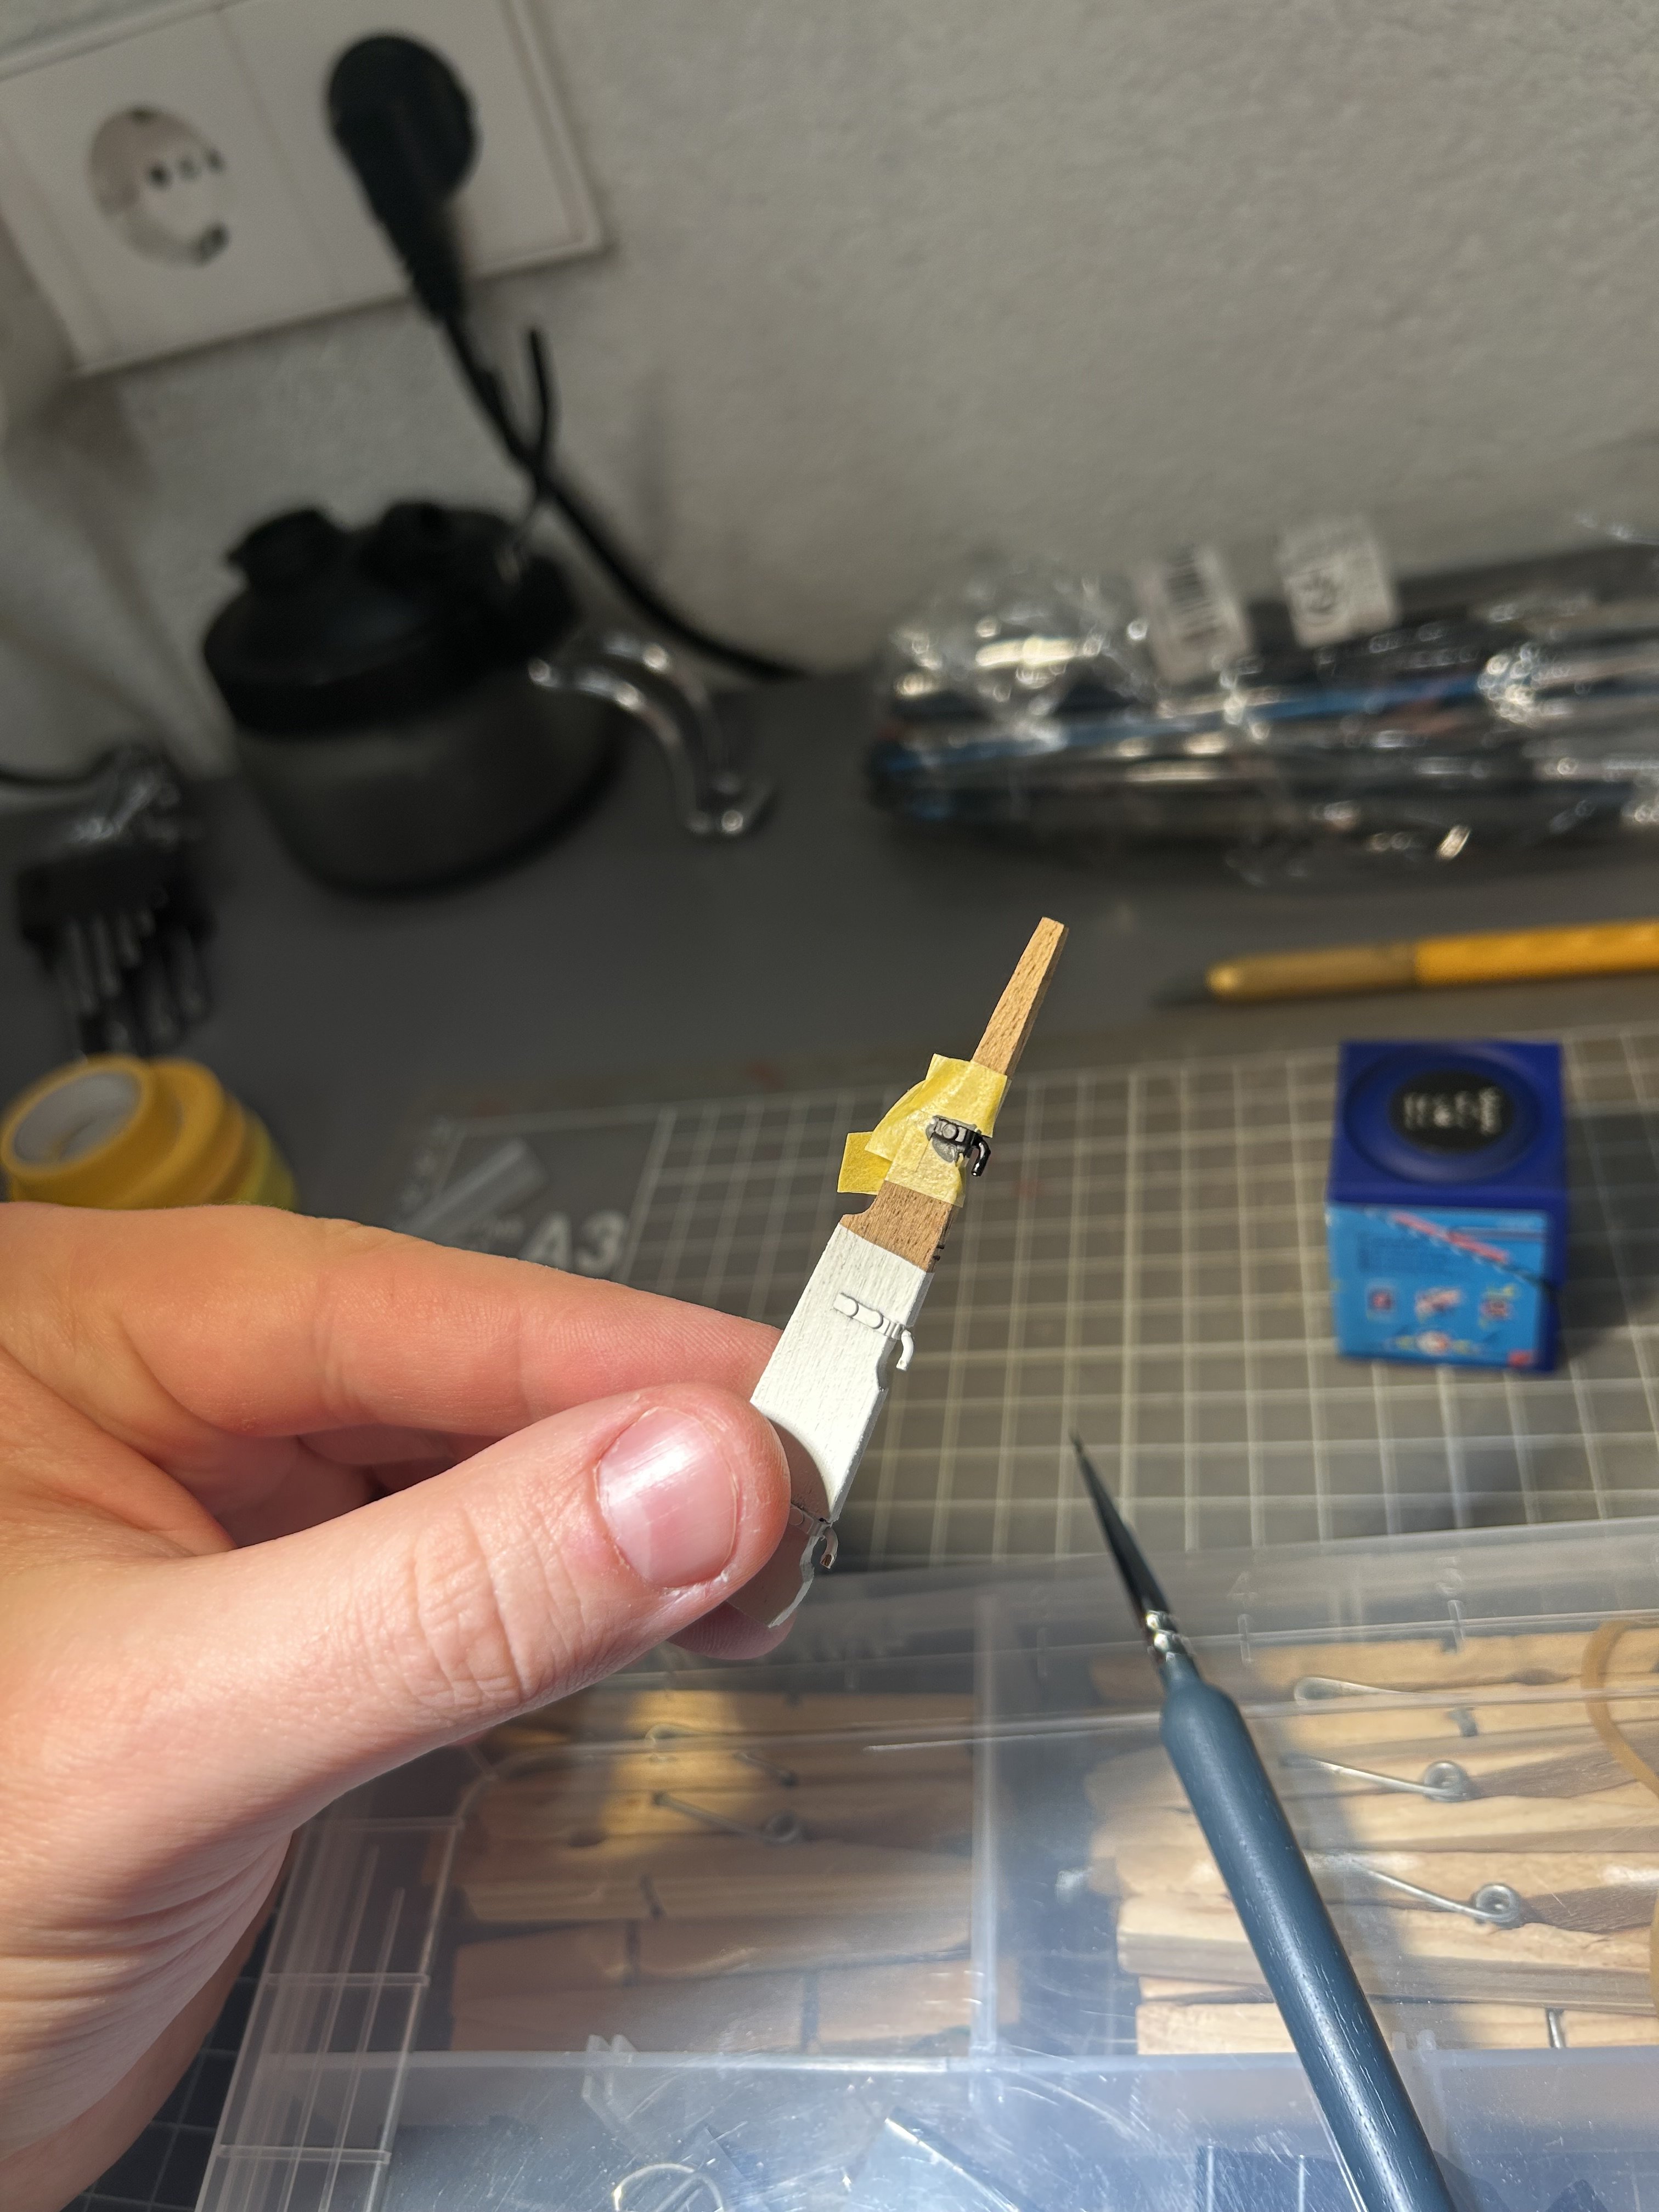
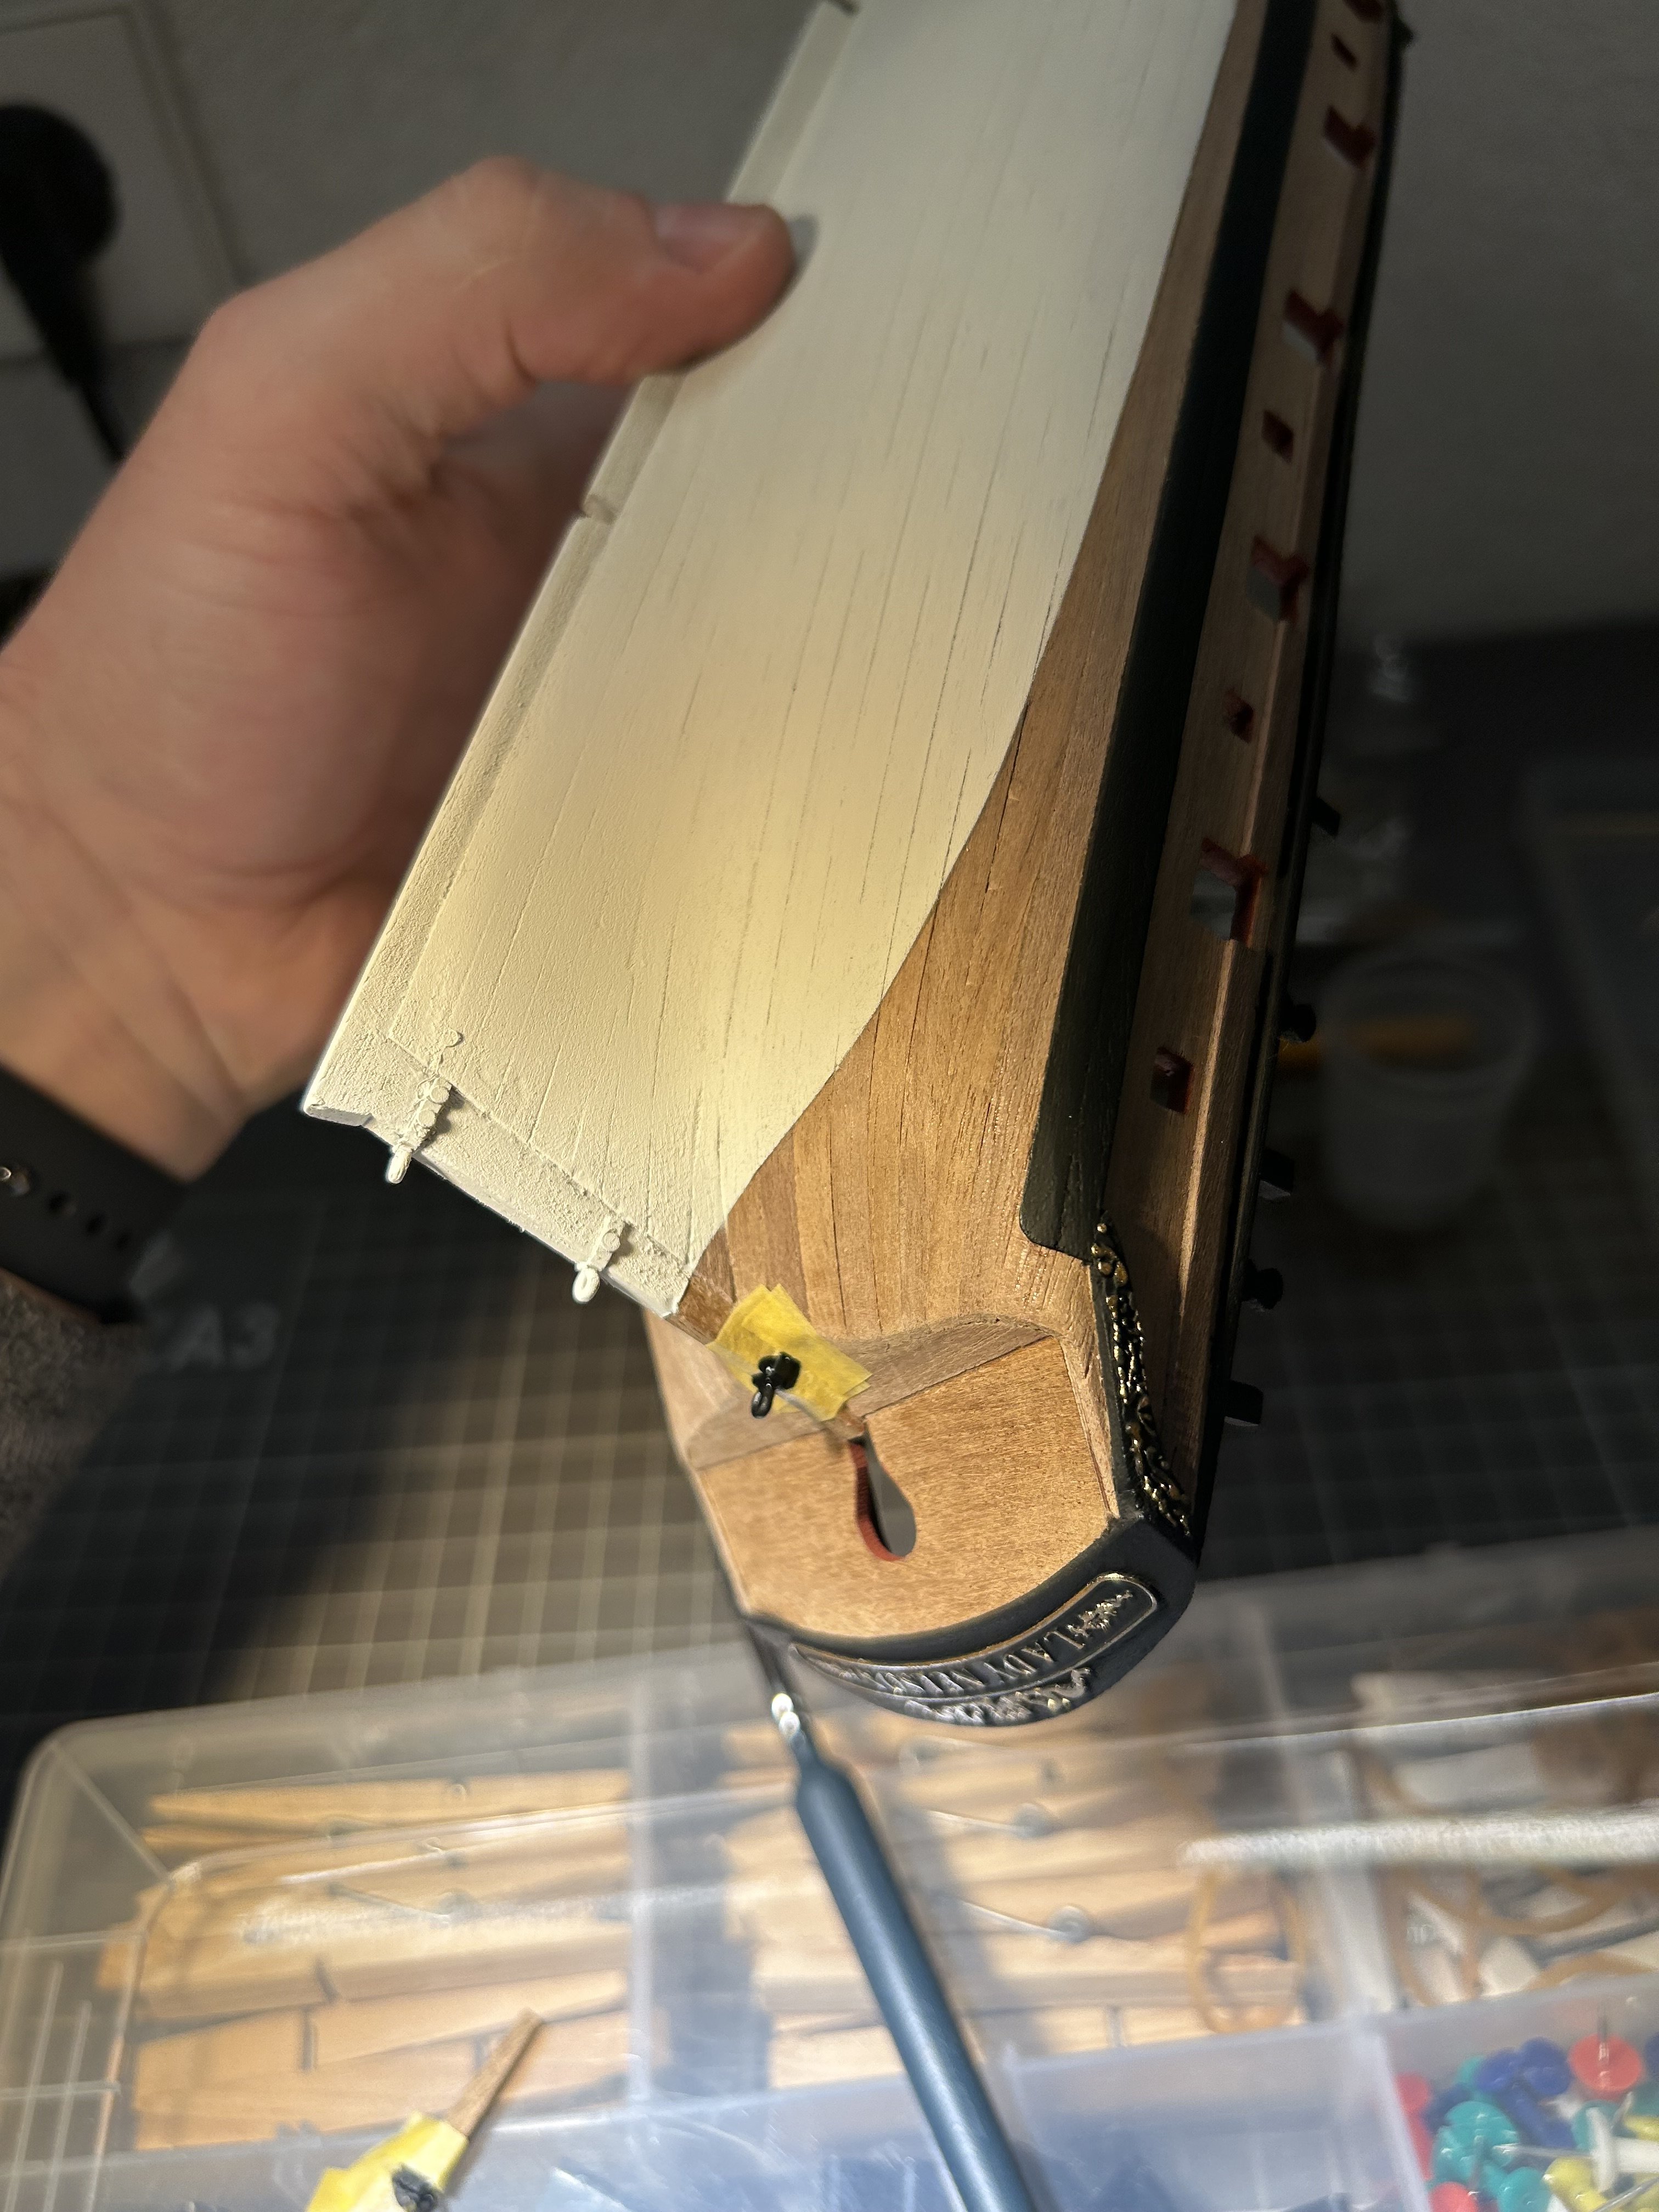
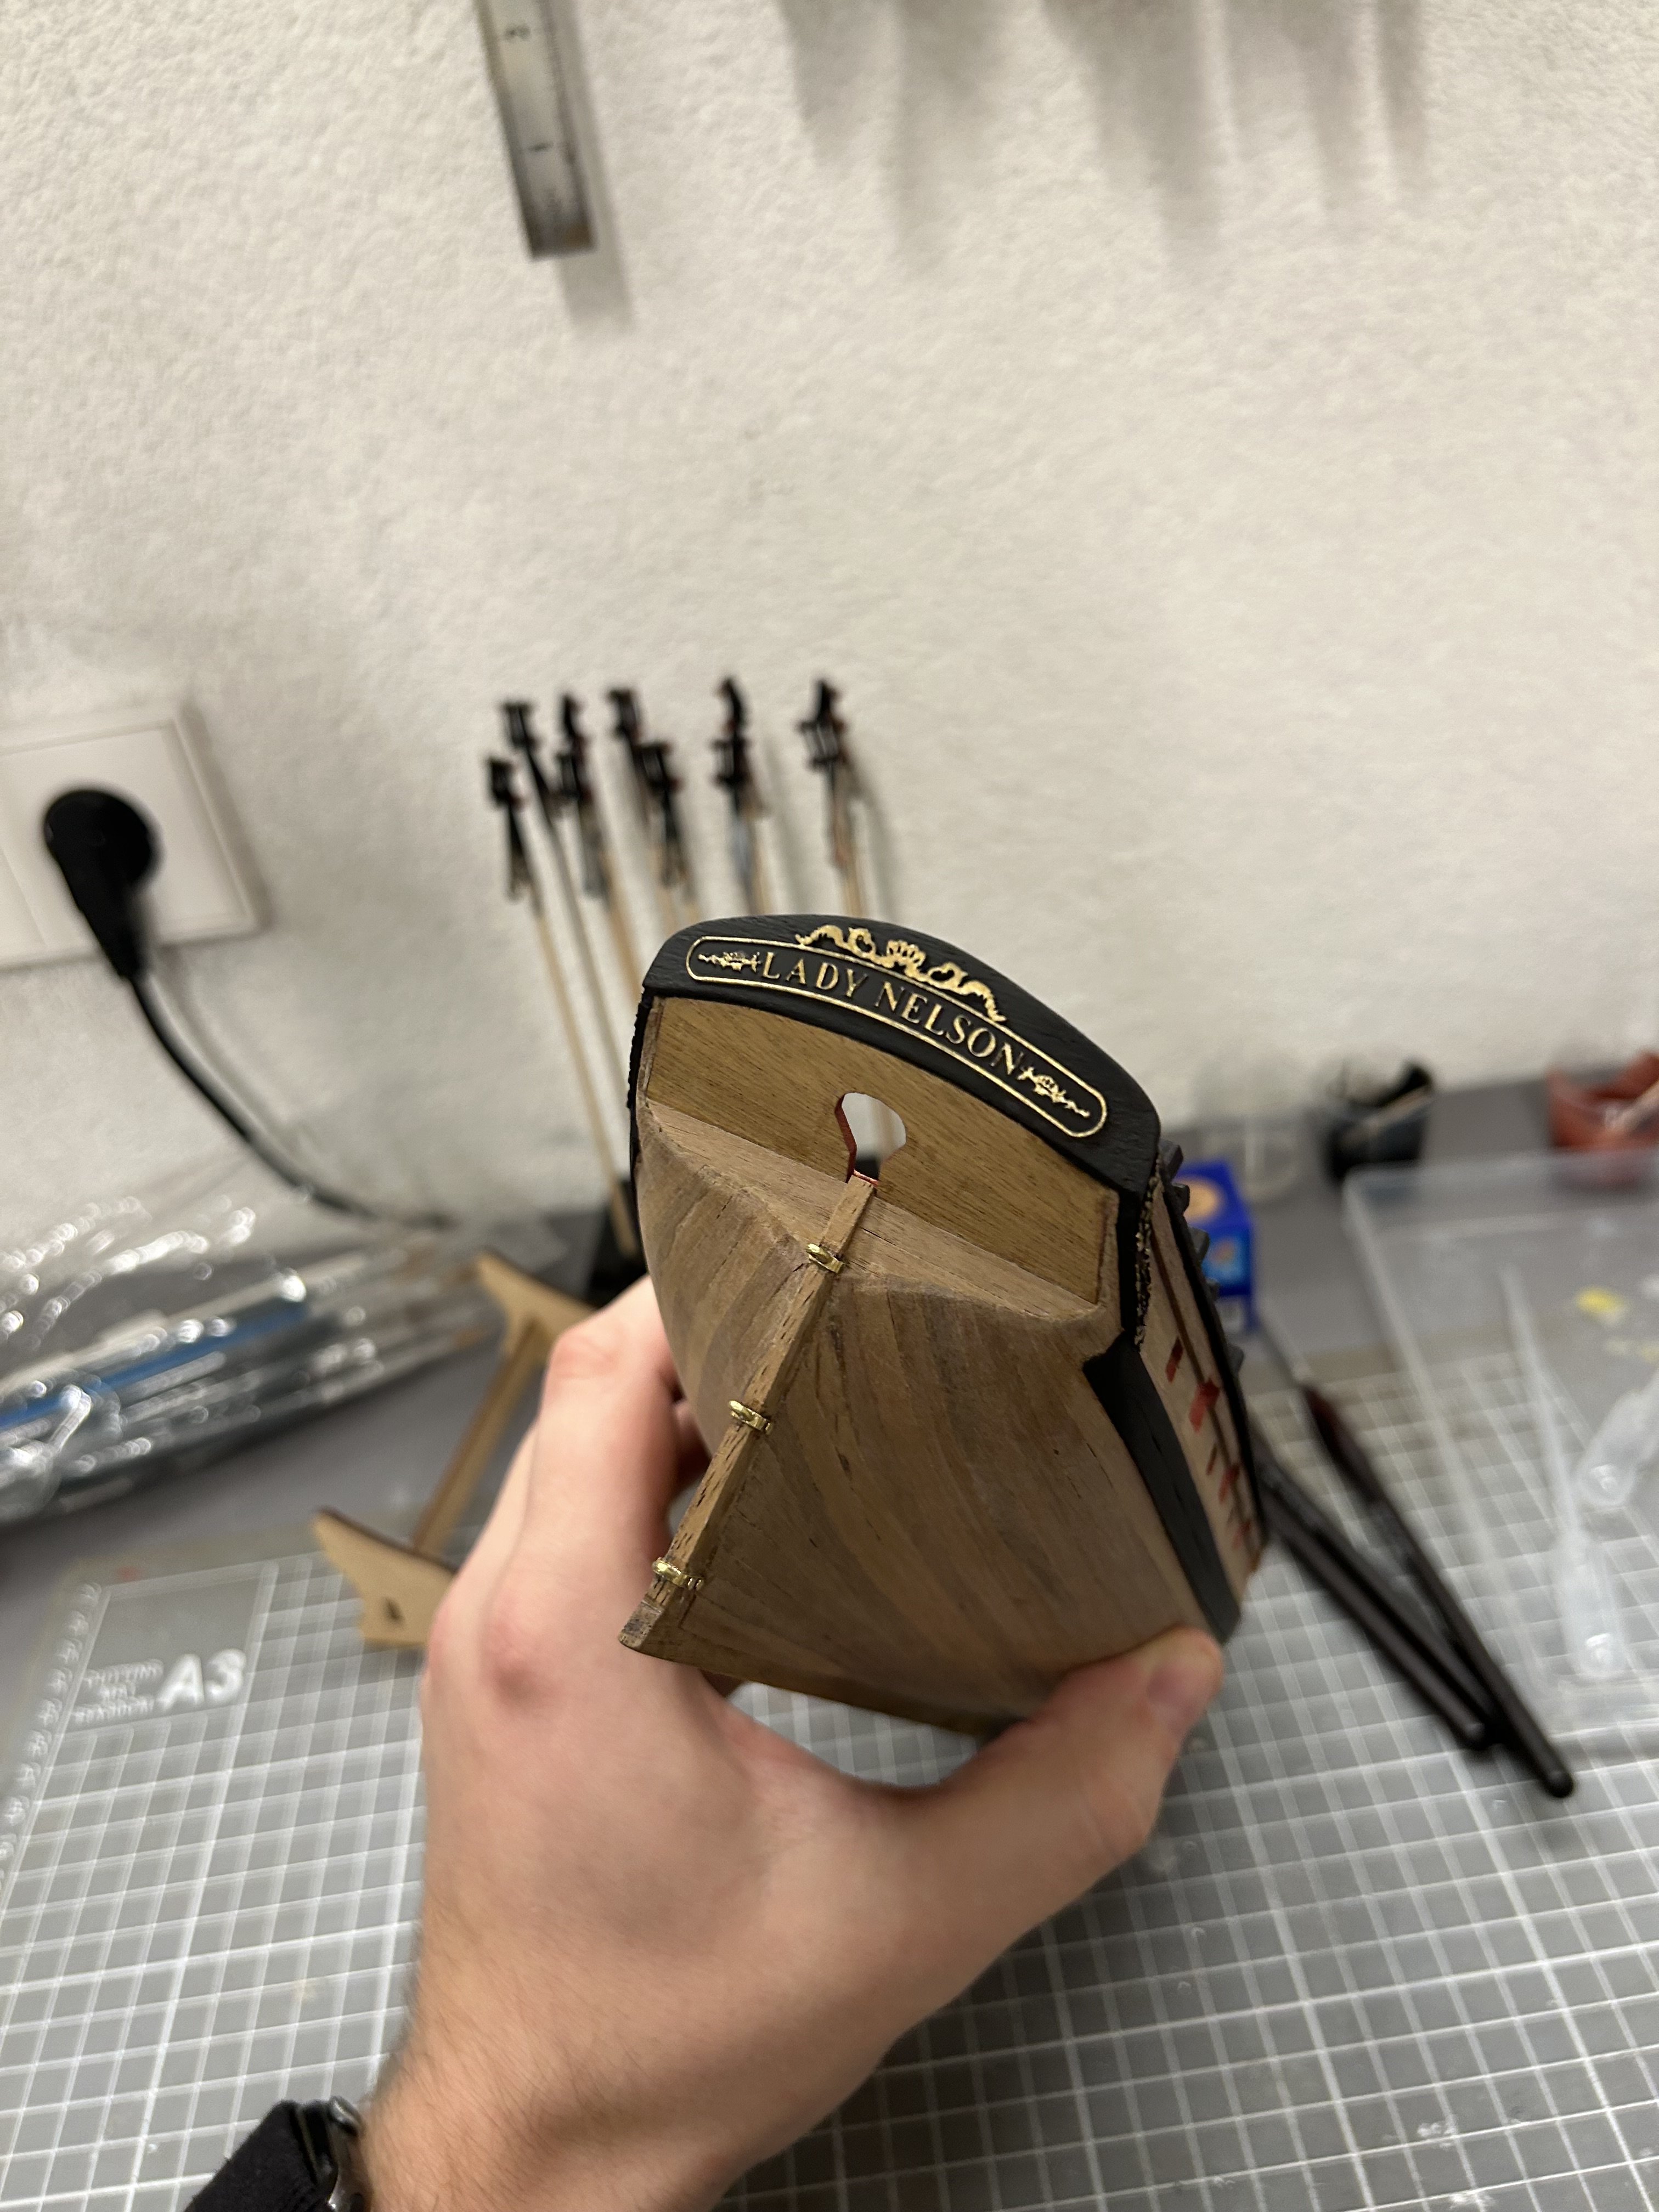
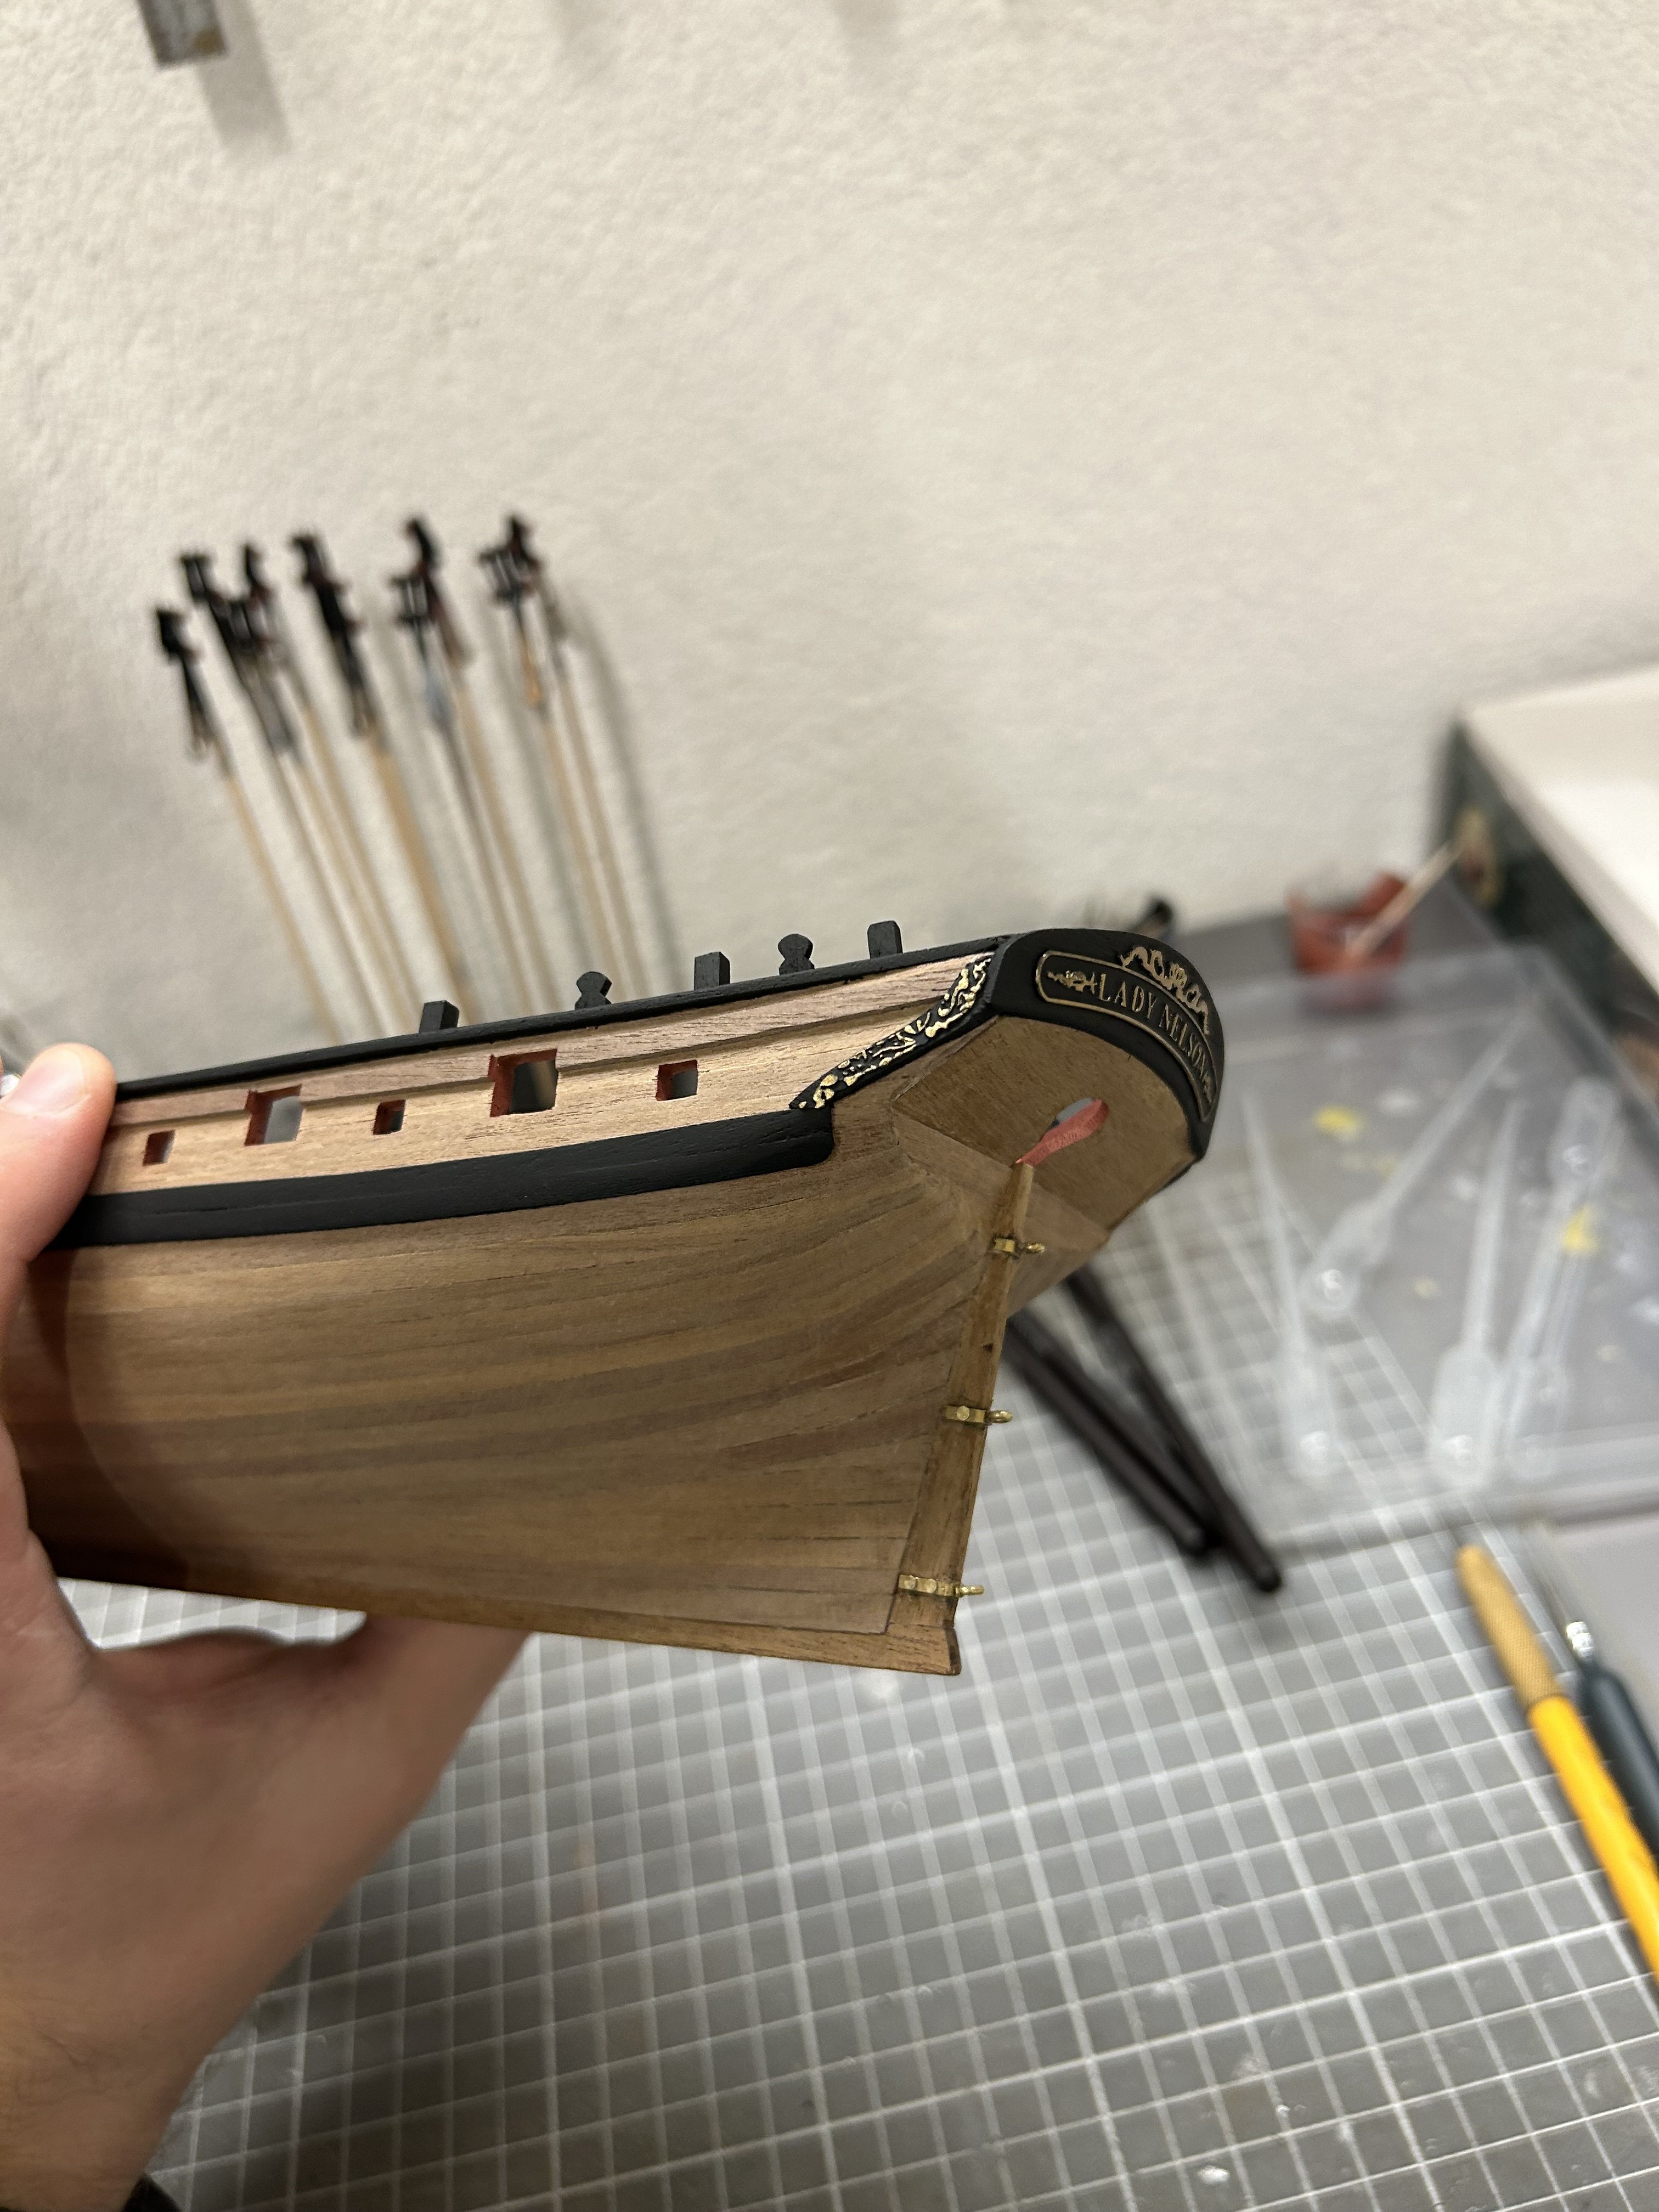
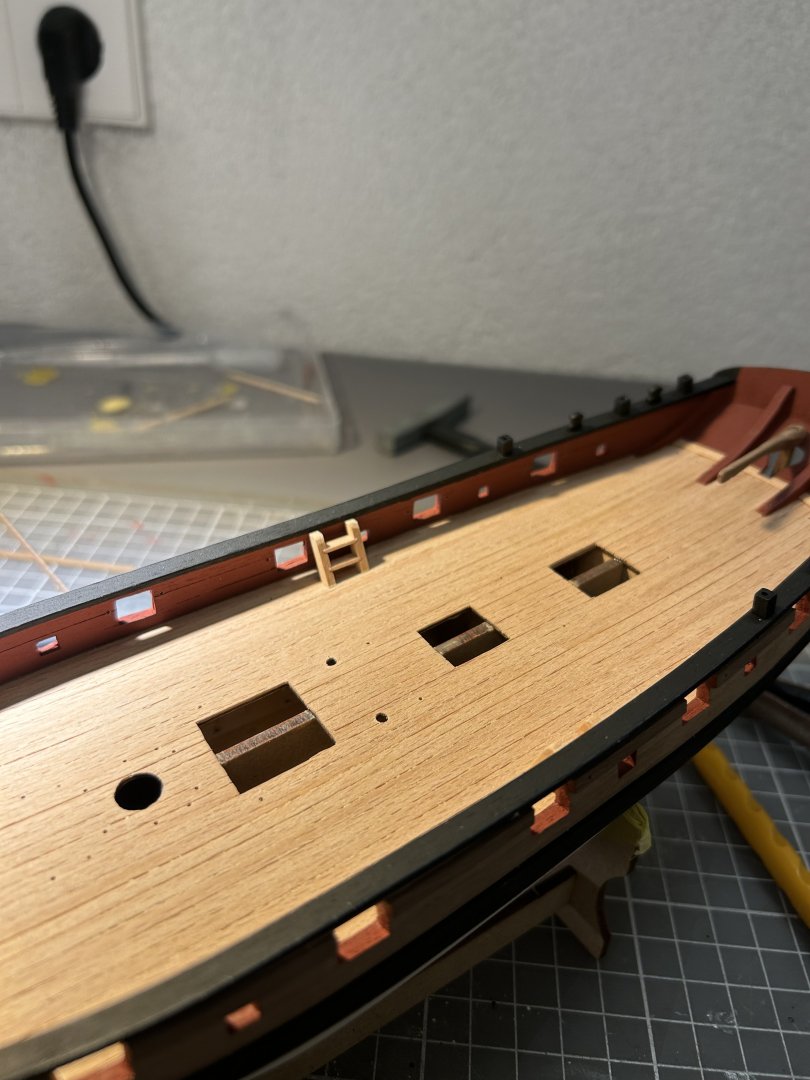
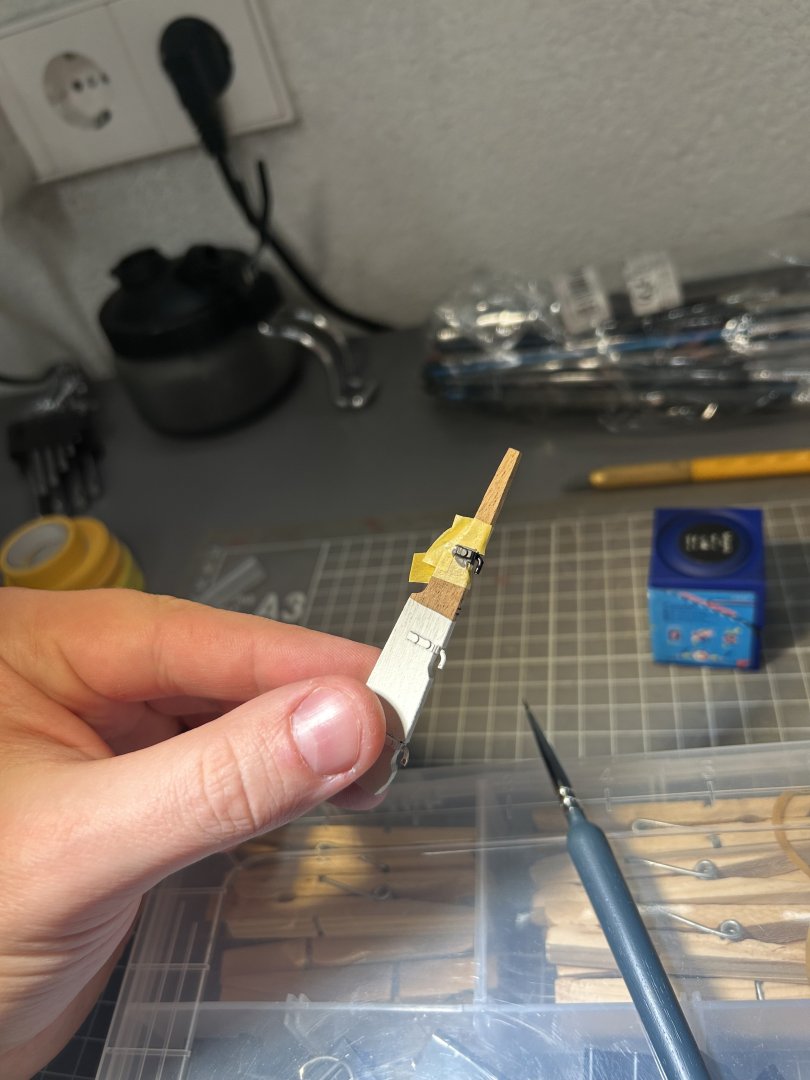
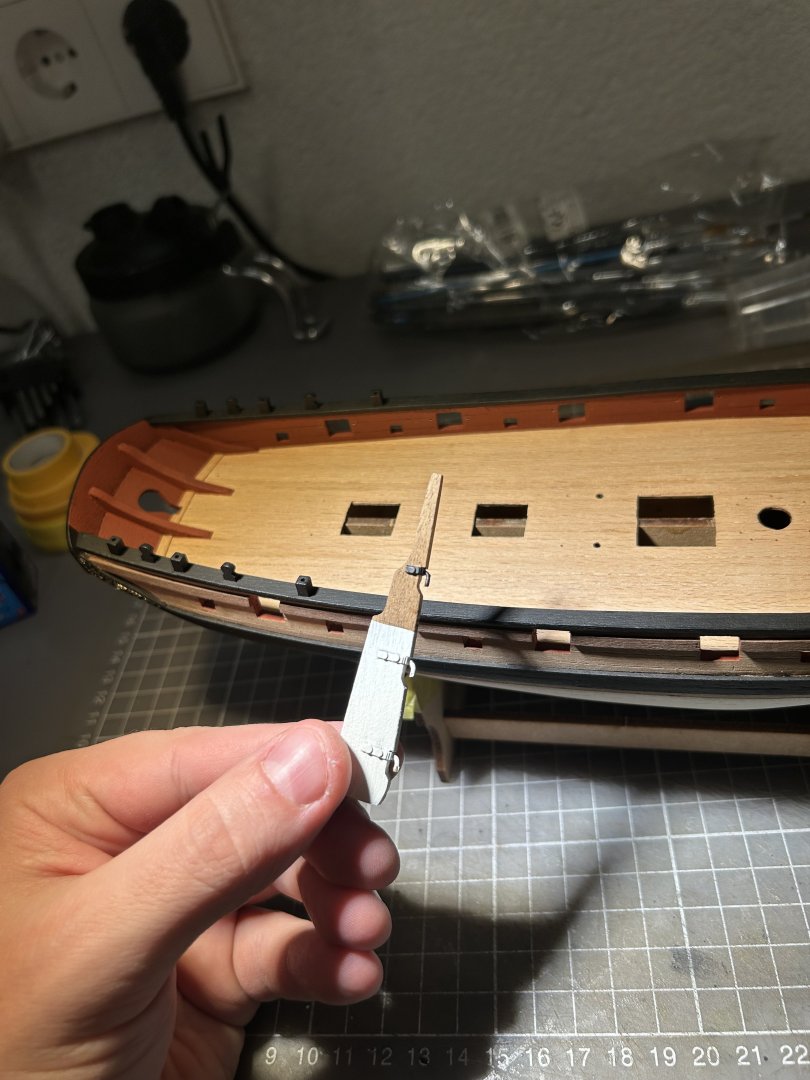
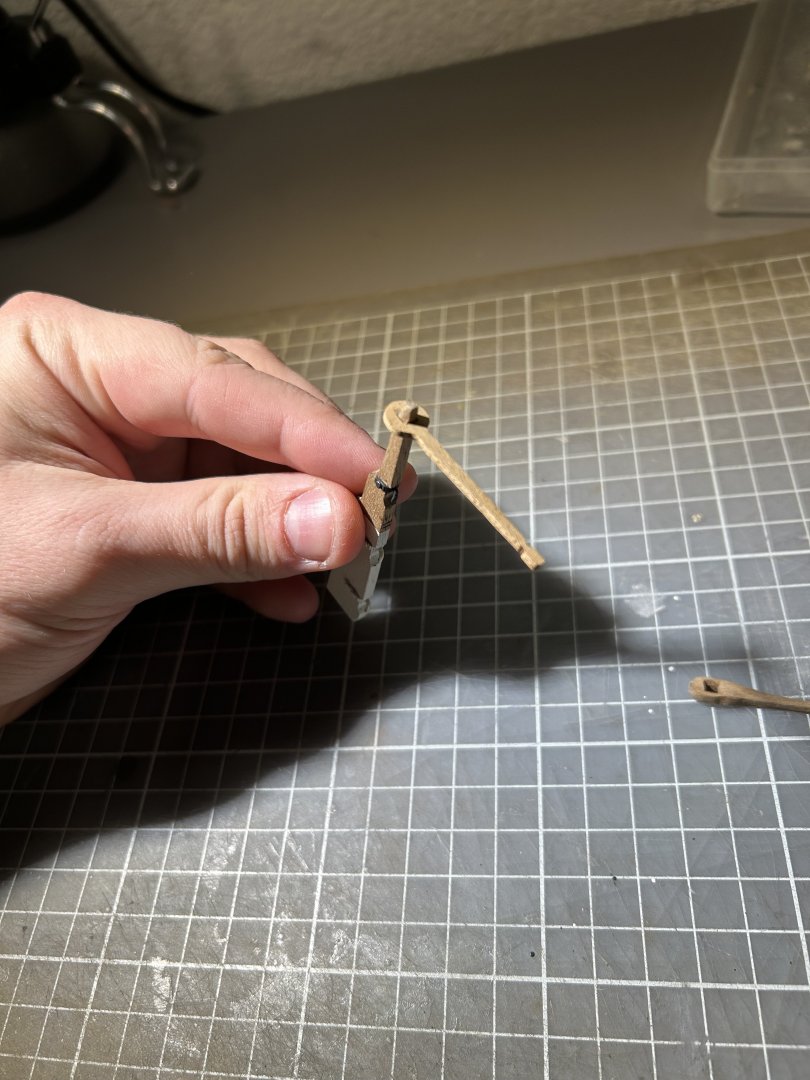
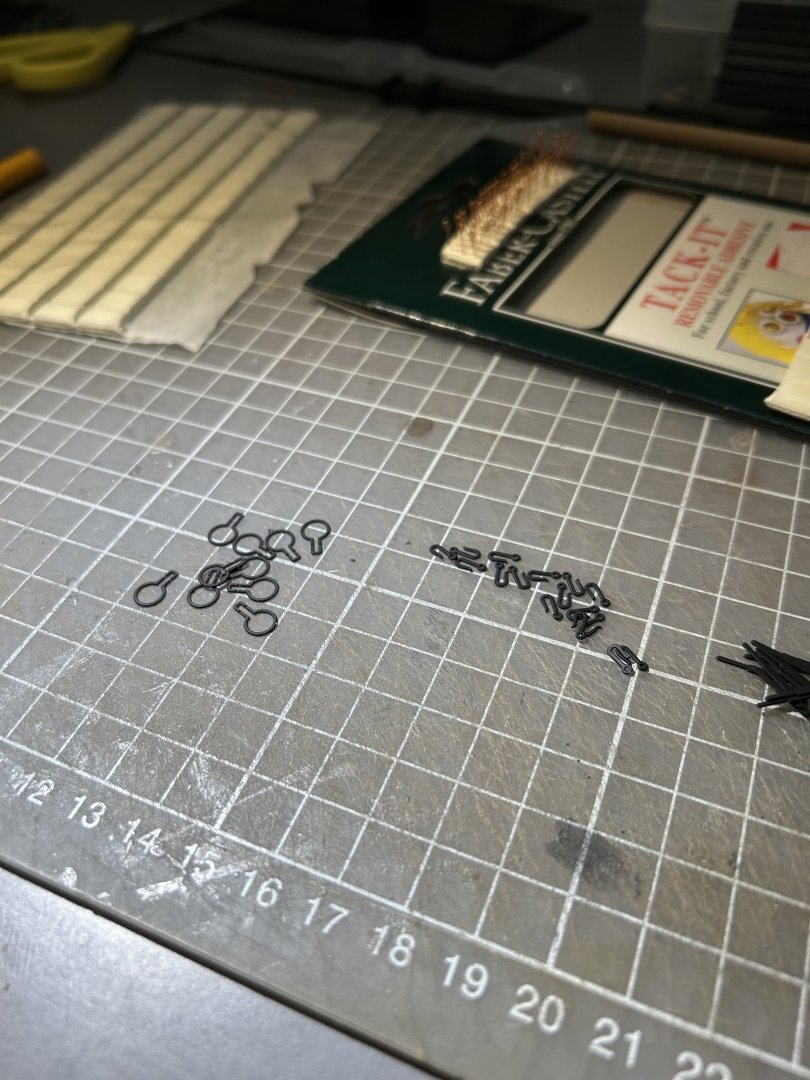
I have finished drilling all holes for eyelets. Painted brass rudder holders black. I have also made a custom rudder part based on some other build logs. Custom one looks way way better.


- 81 replies
-
- 2
-
-
- Lady Nelson
- Amati
- (and 1 more)
-
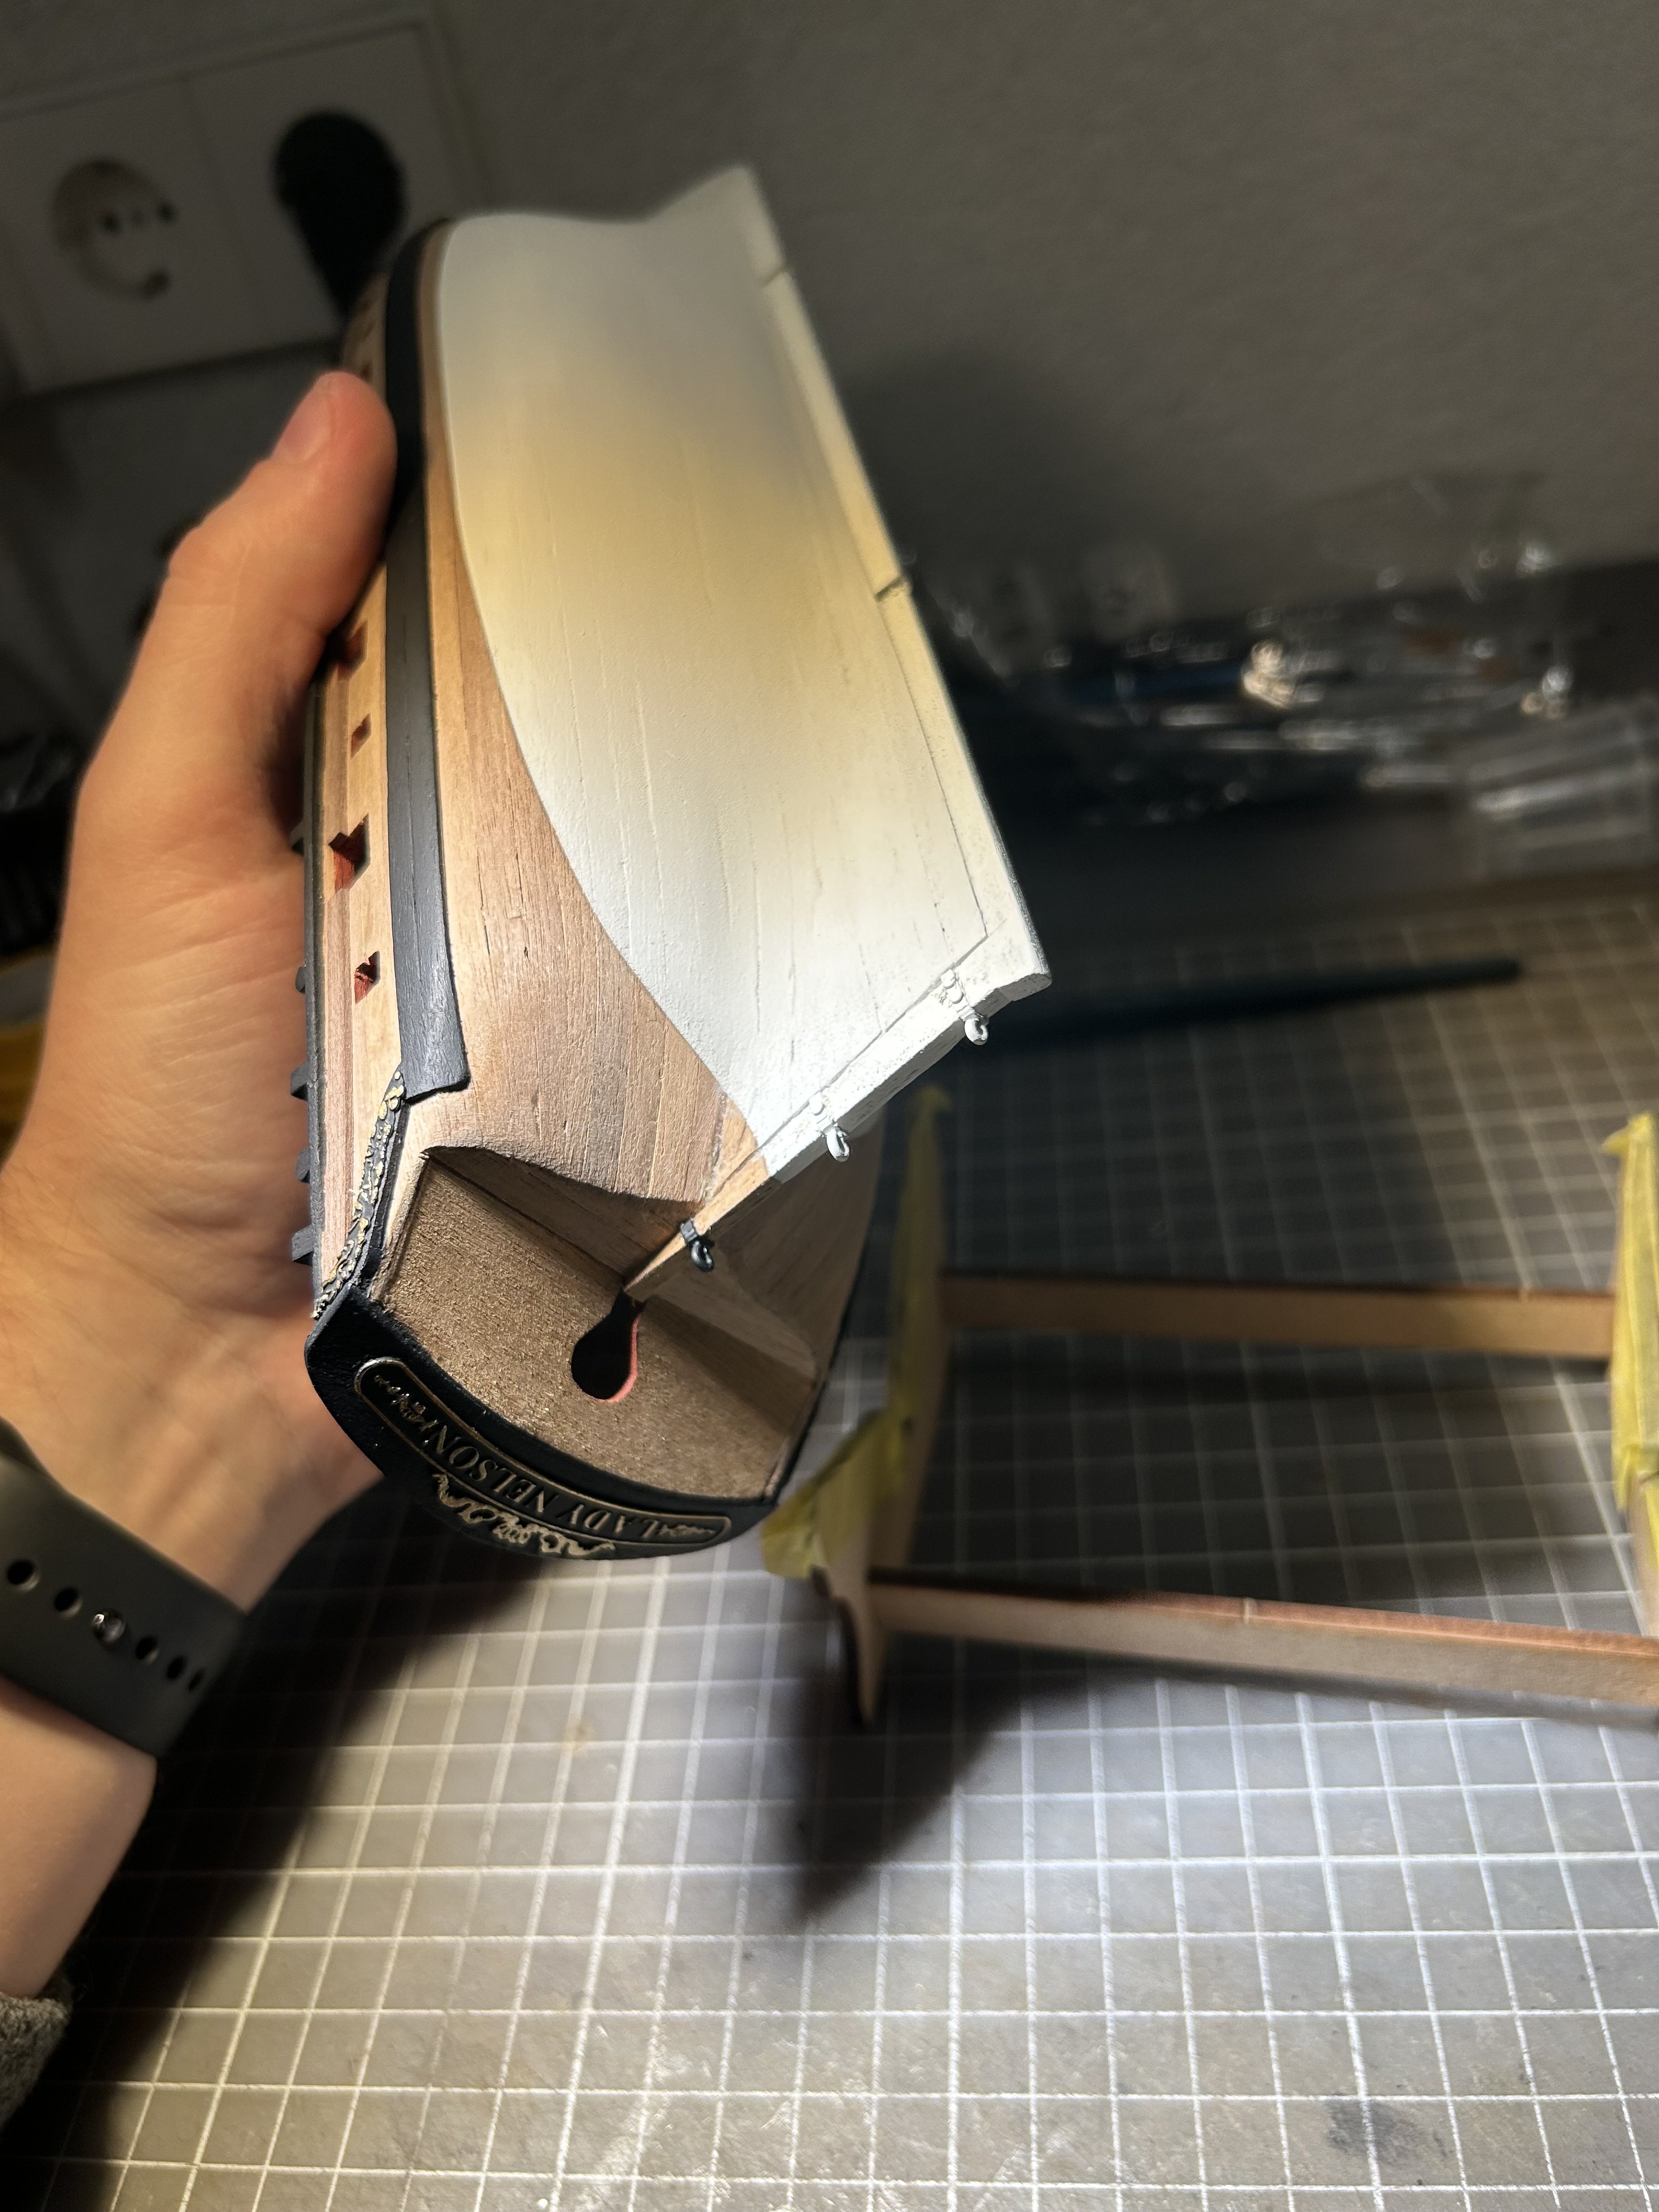
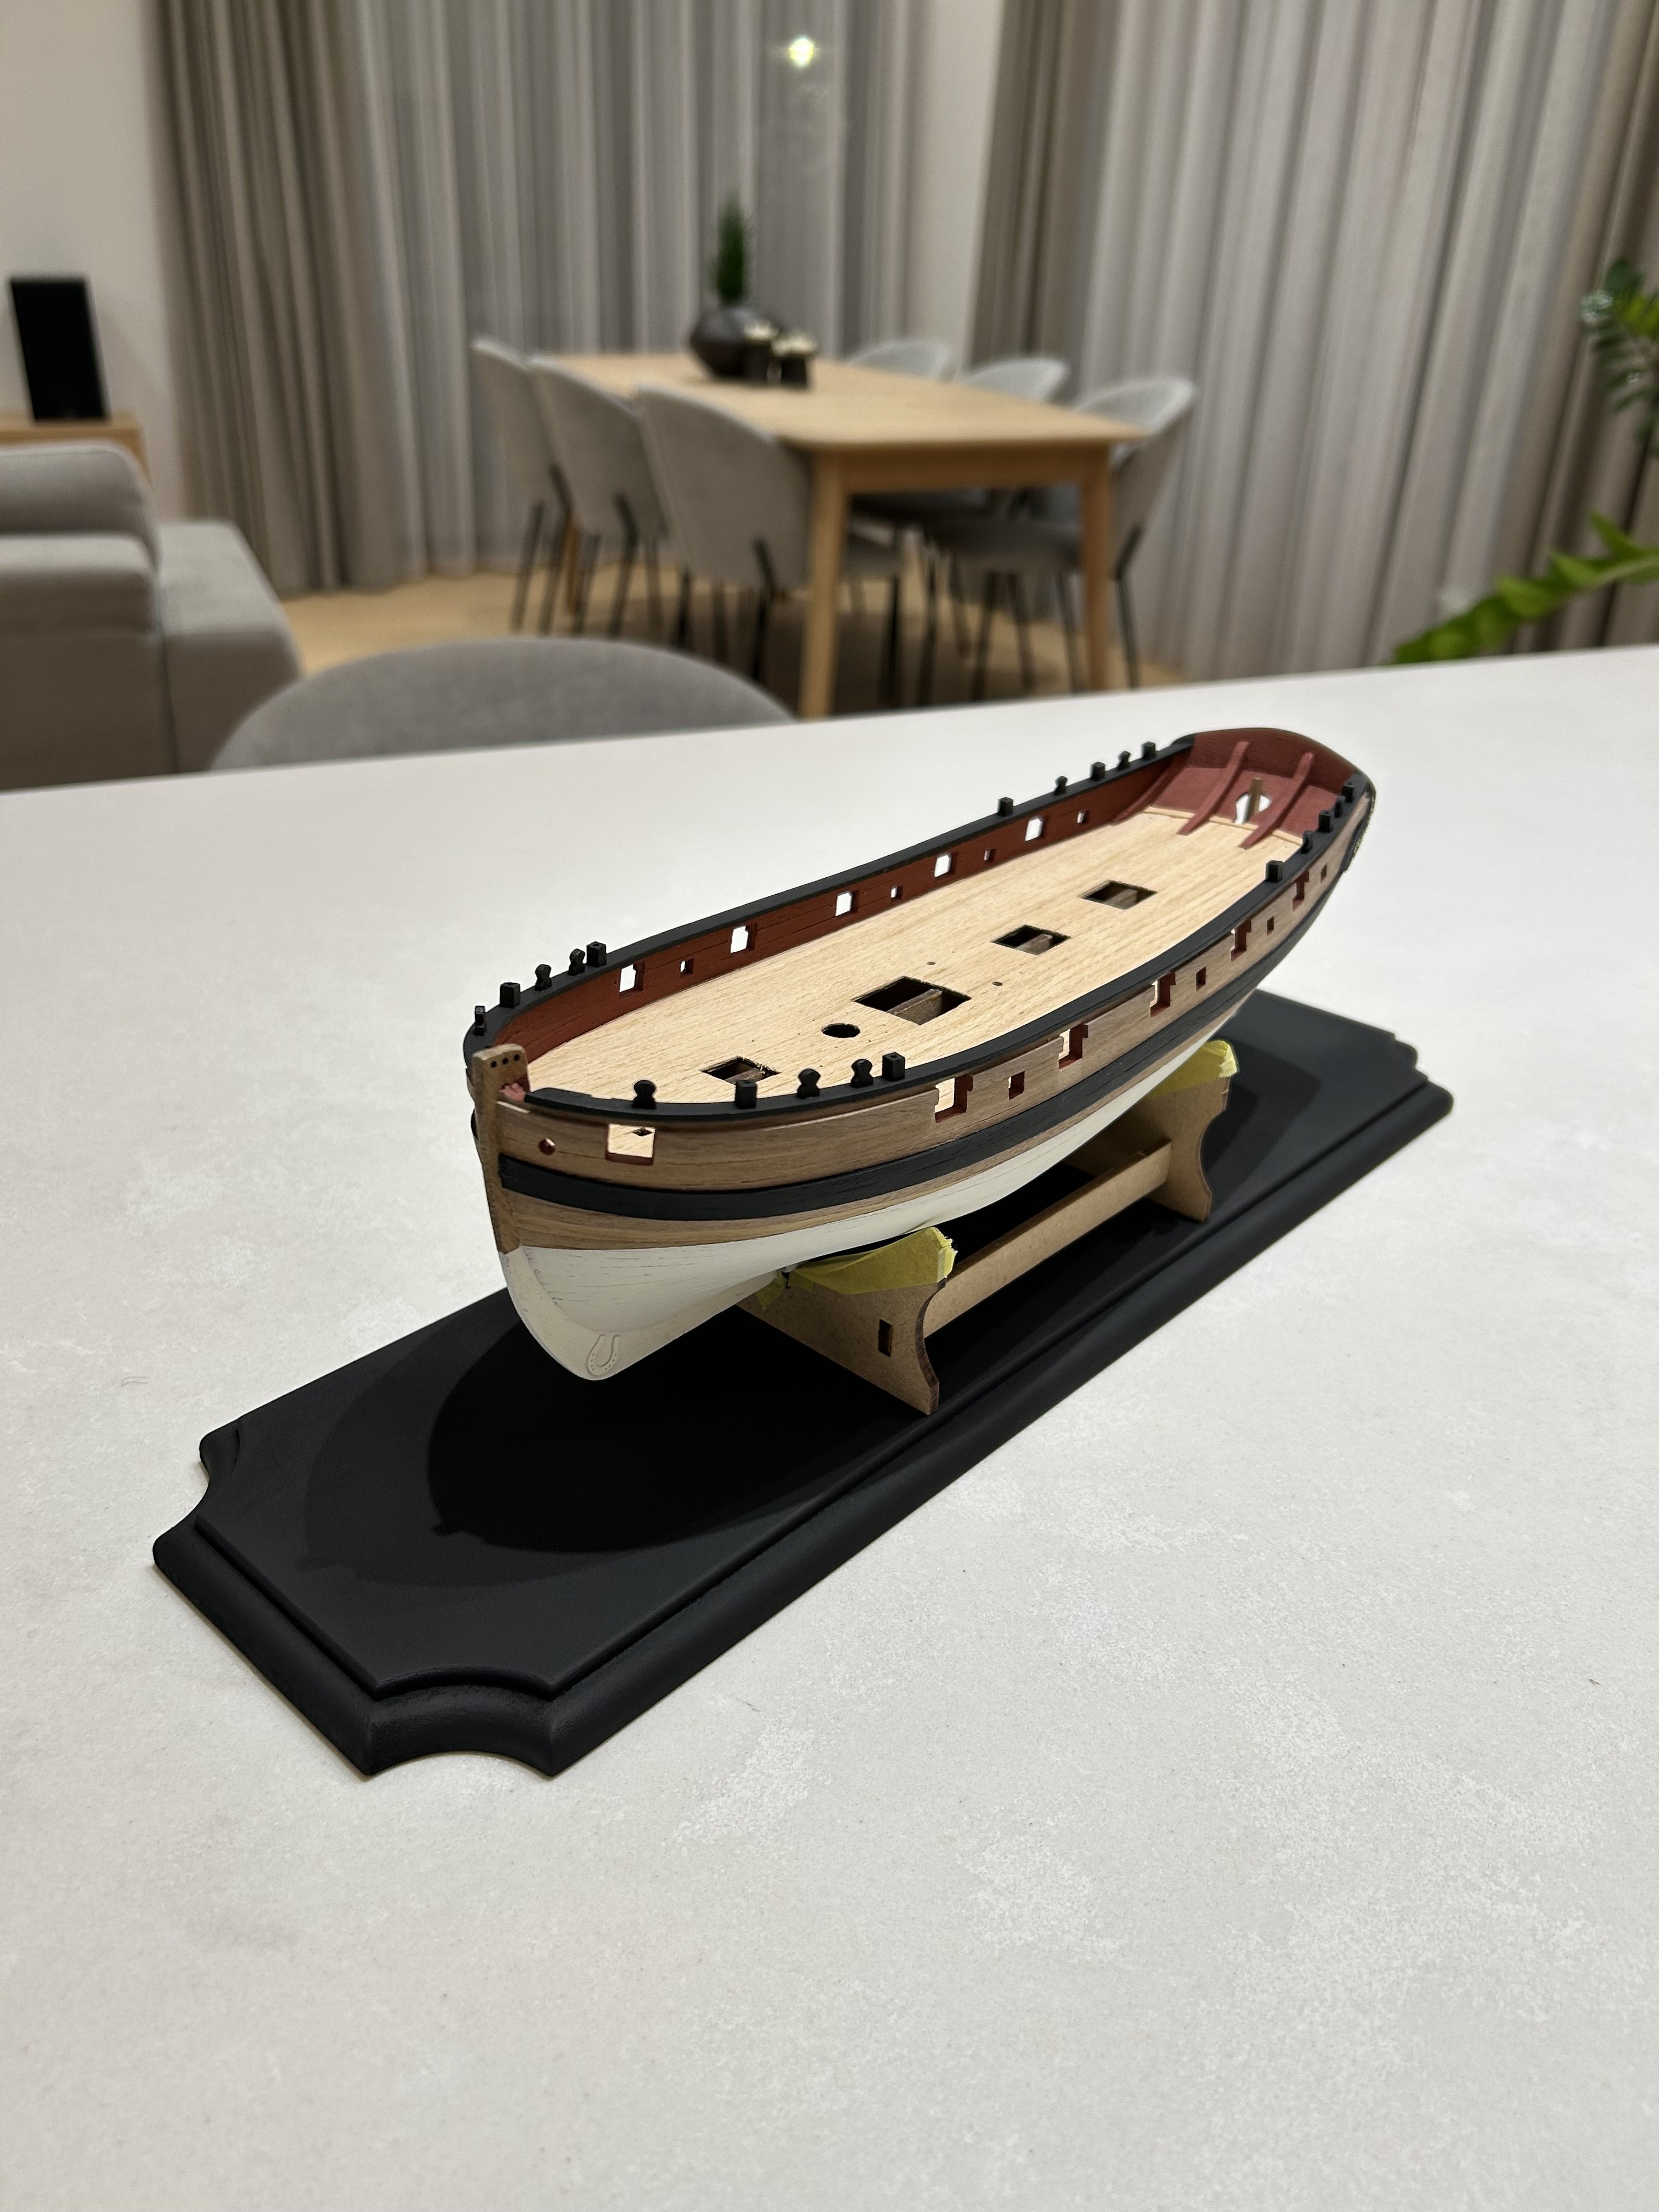
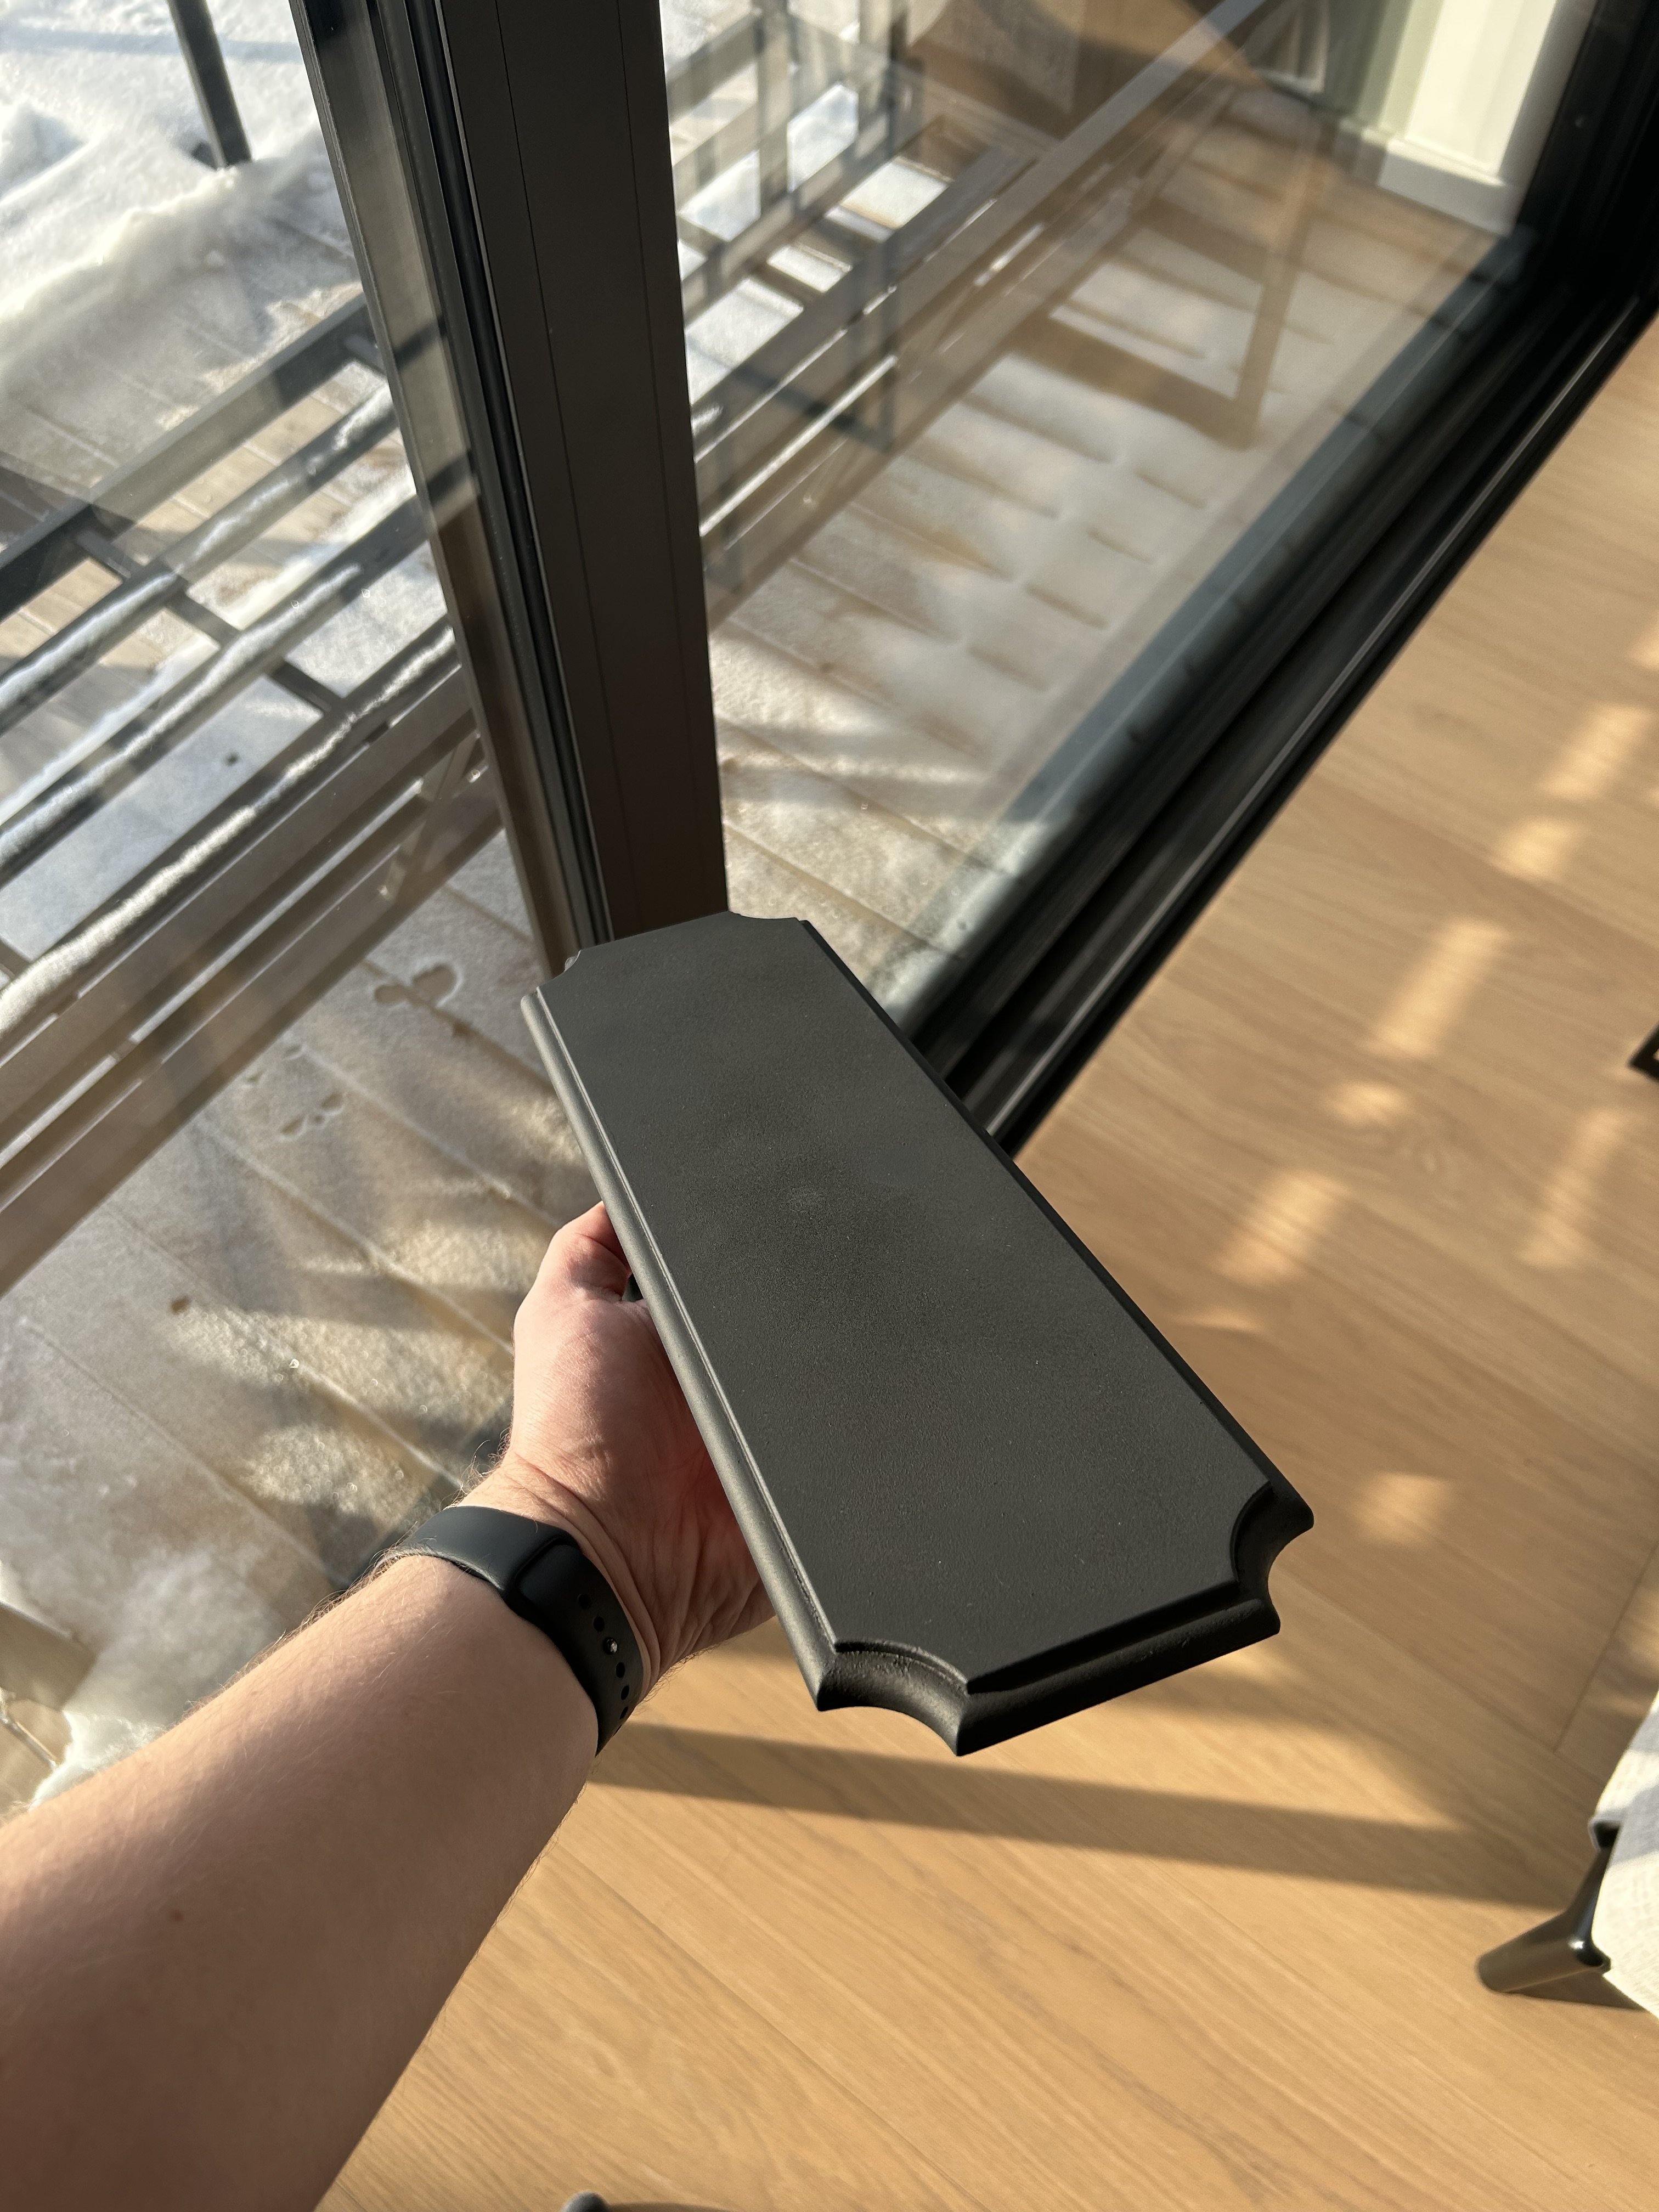
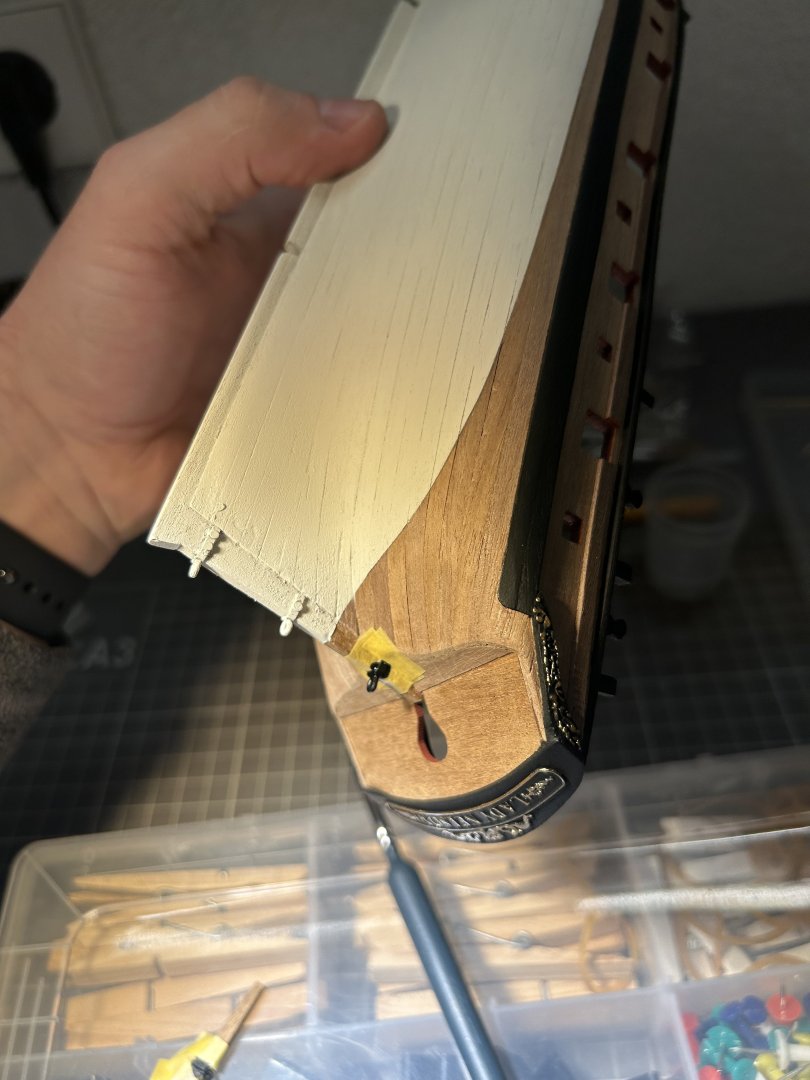
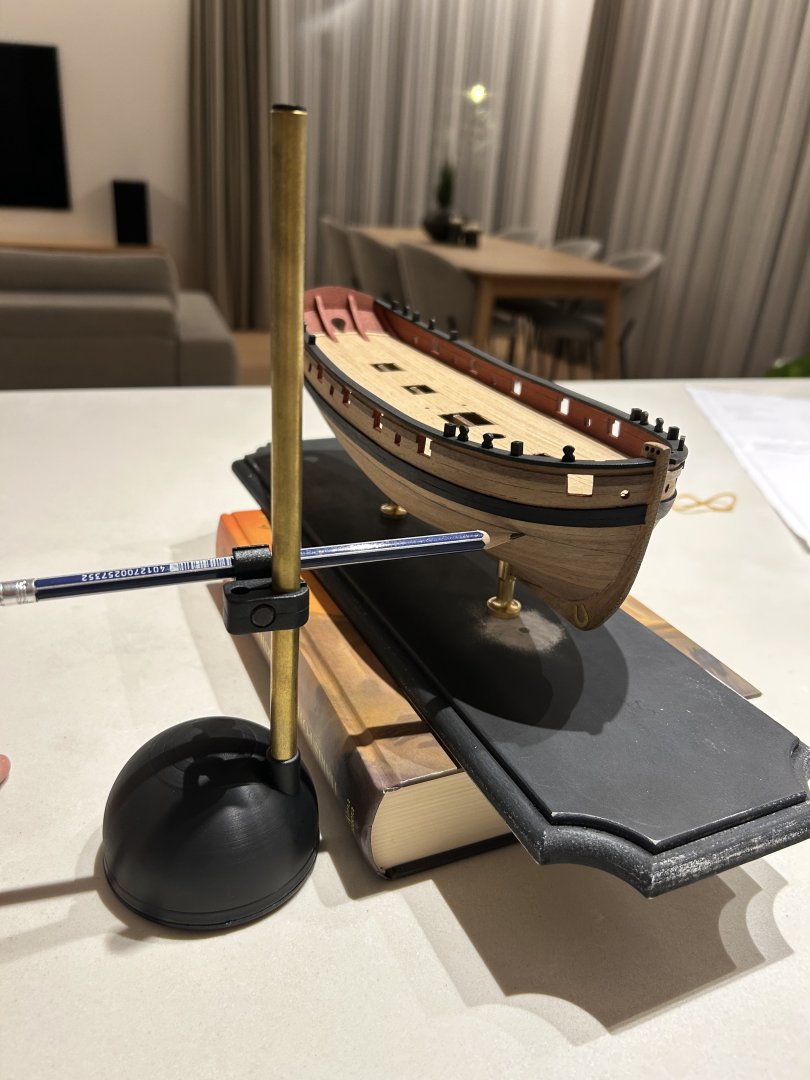
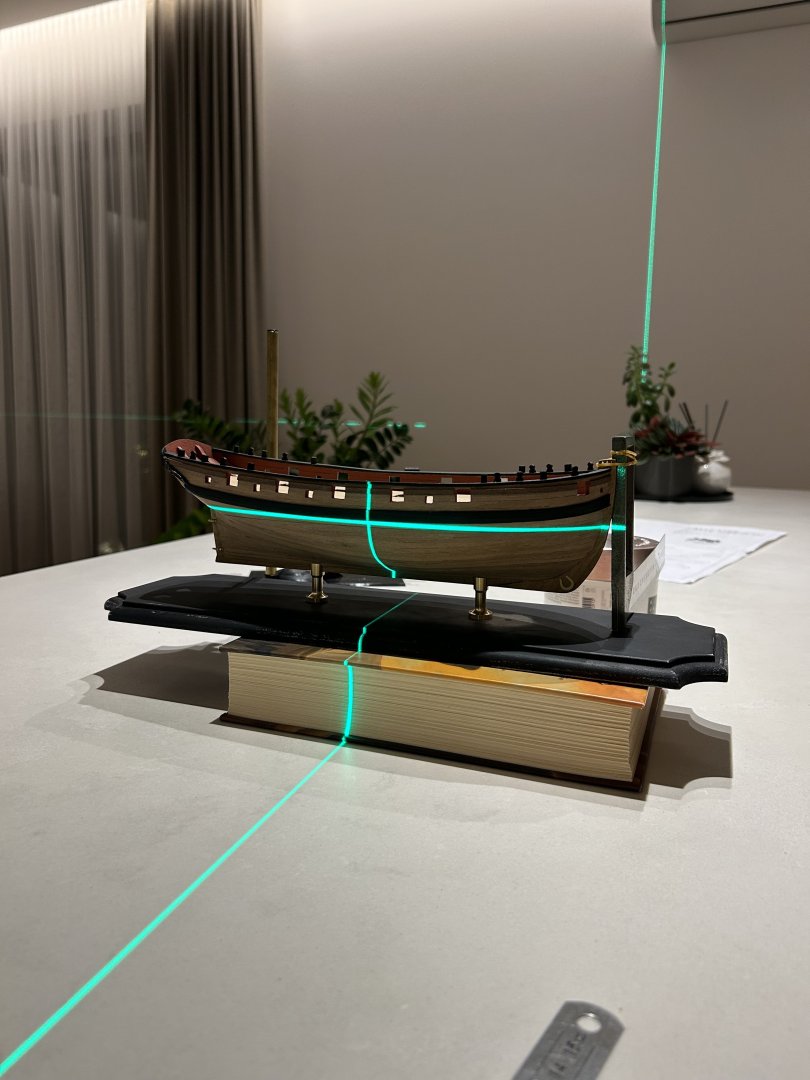
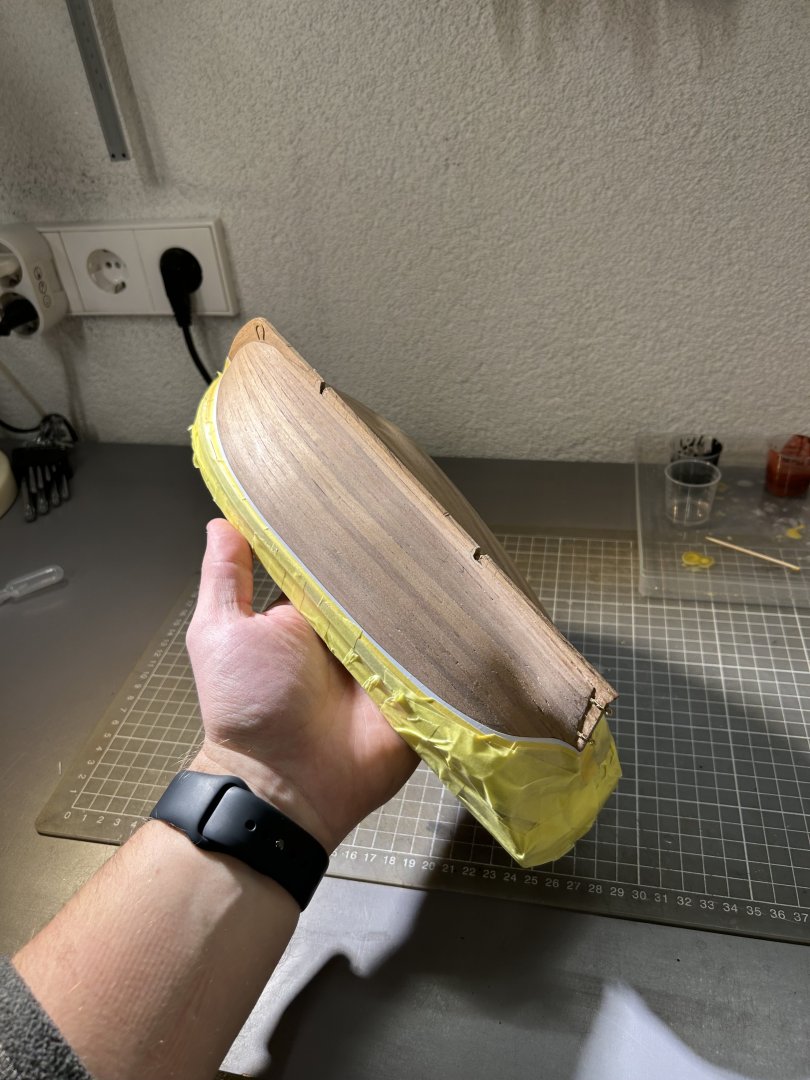
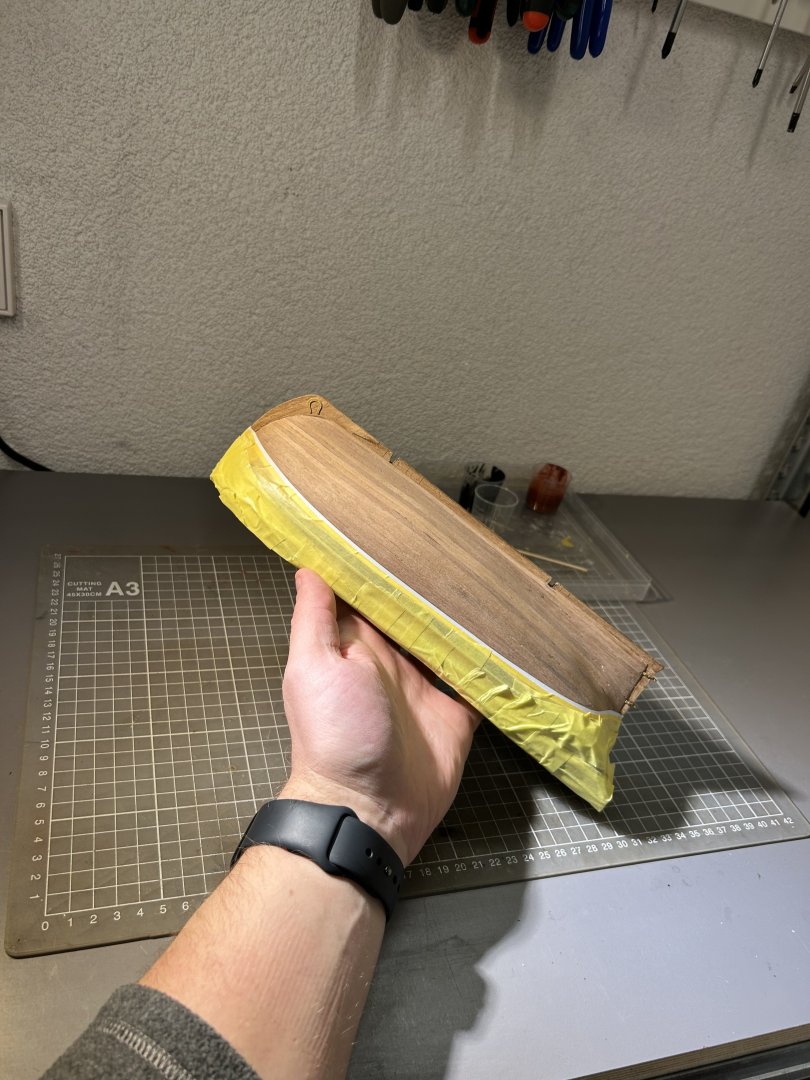
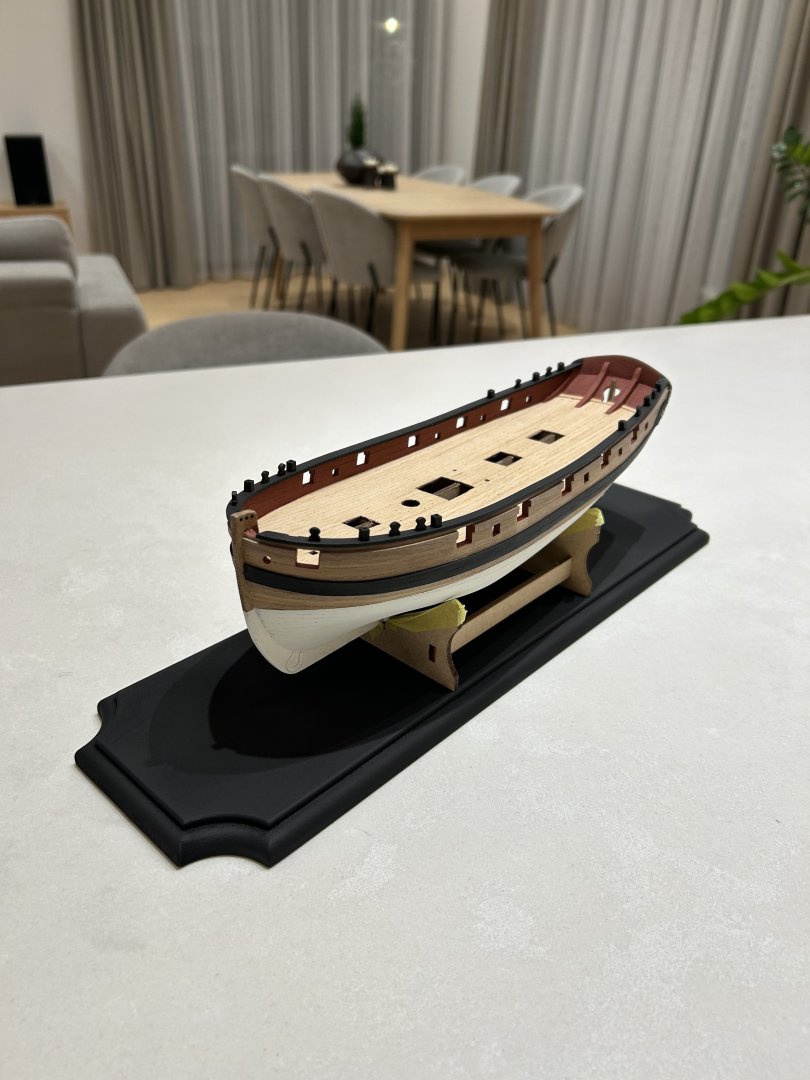
Hull was painted white. Base board was sanded and repainted in black I will eye into buying / making small drill press. It is very hard to manually drill straight holes with very high accuracy:

- 81 replies
-
- 4
-
-
- Lady Nelson
- Amati
- (and 1 more)
-
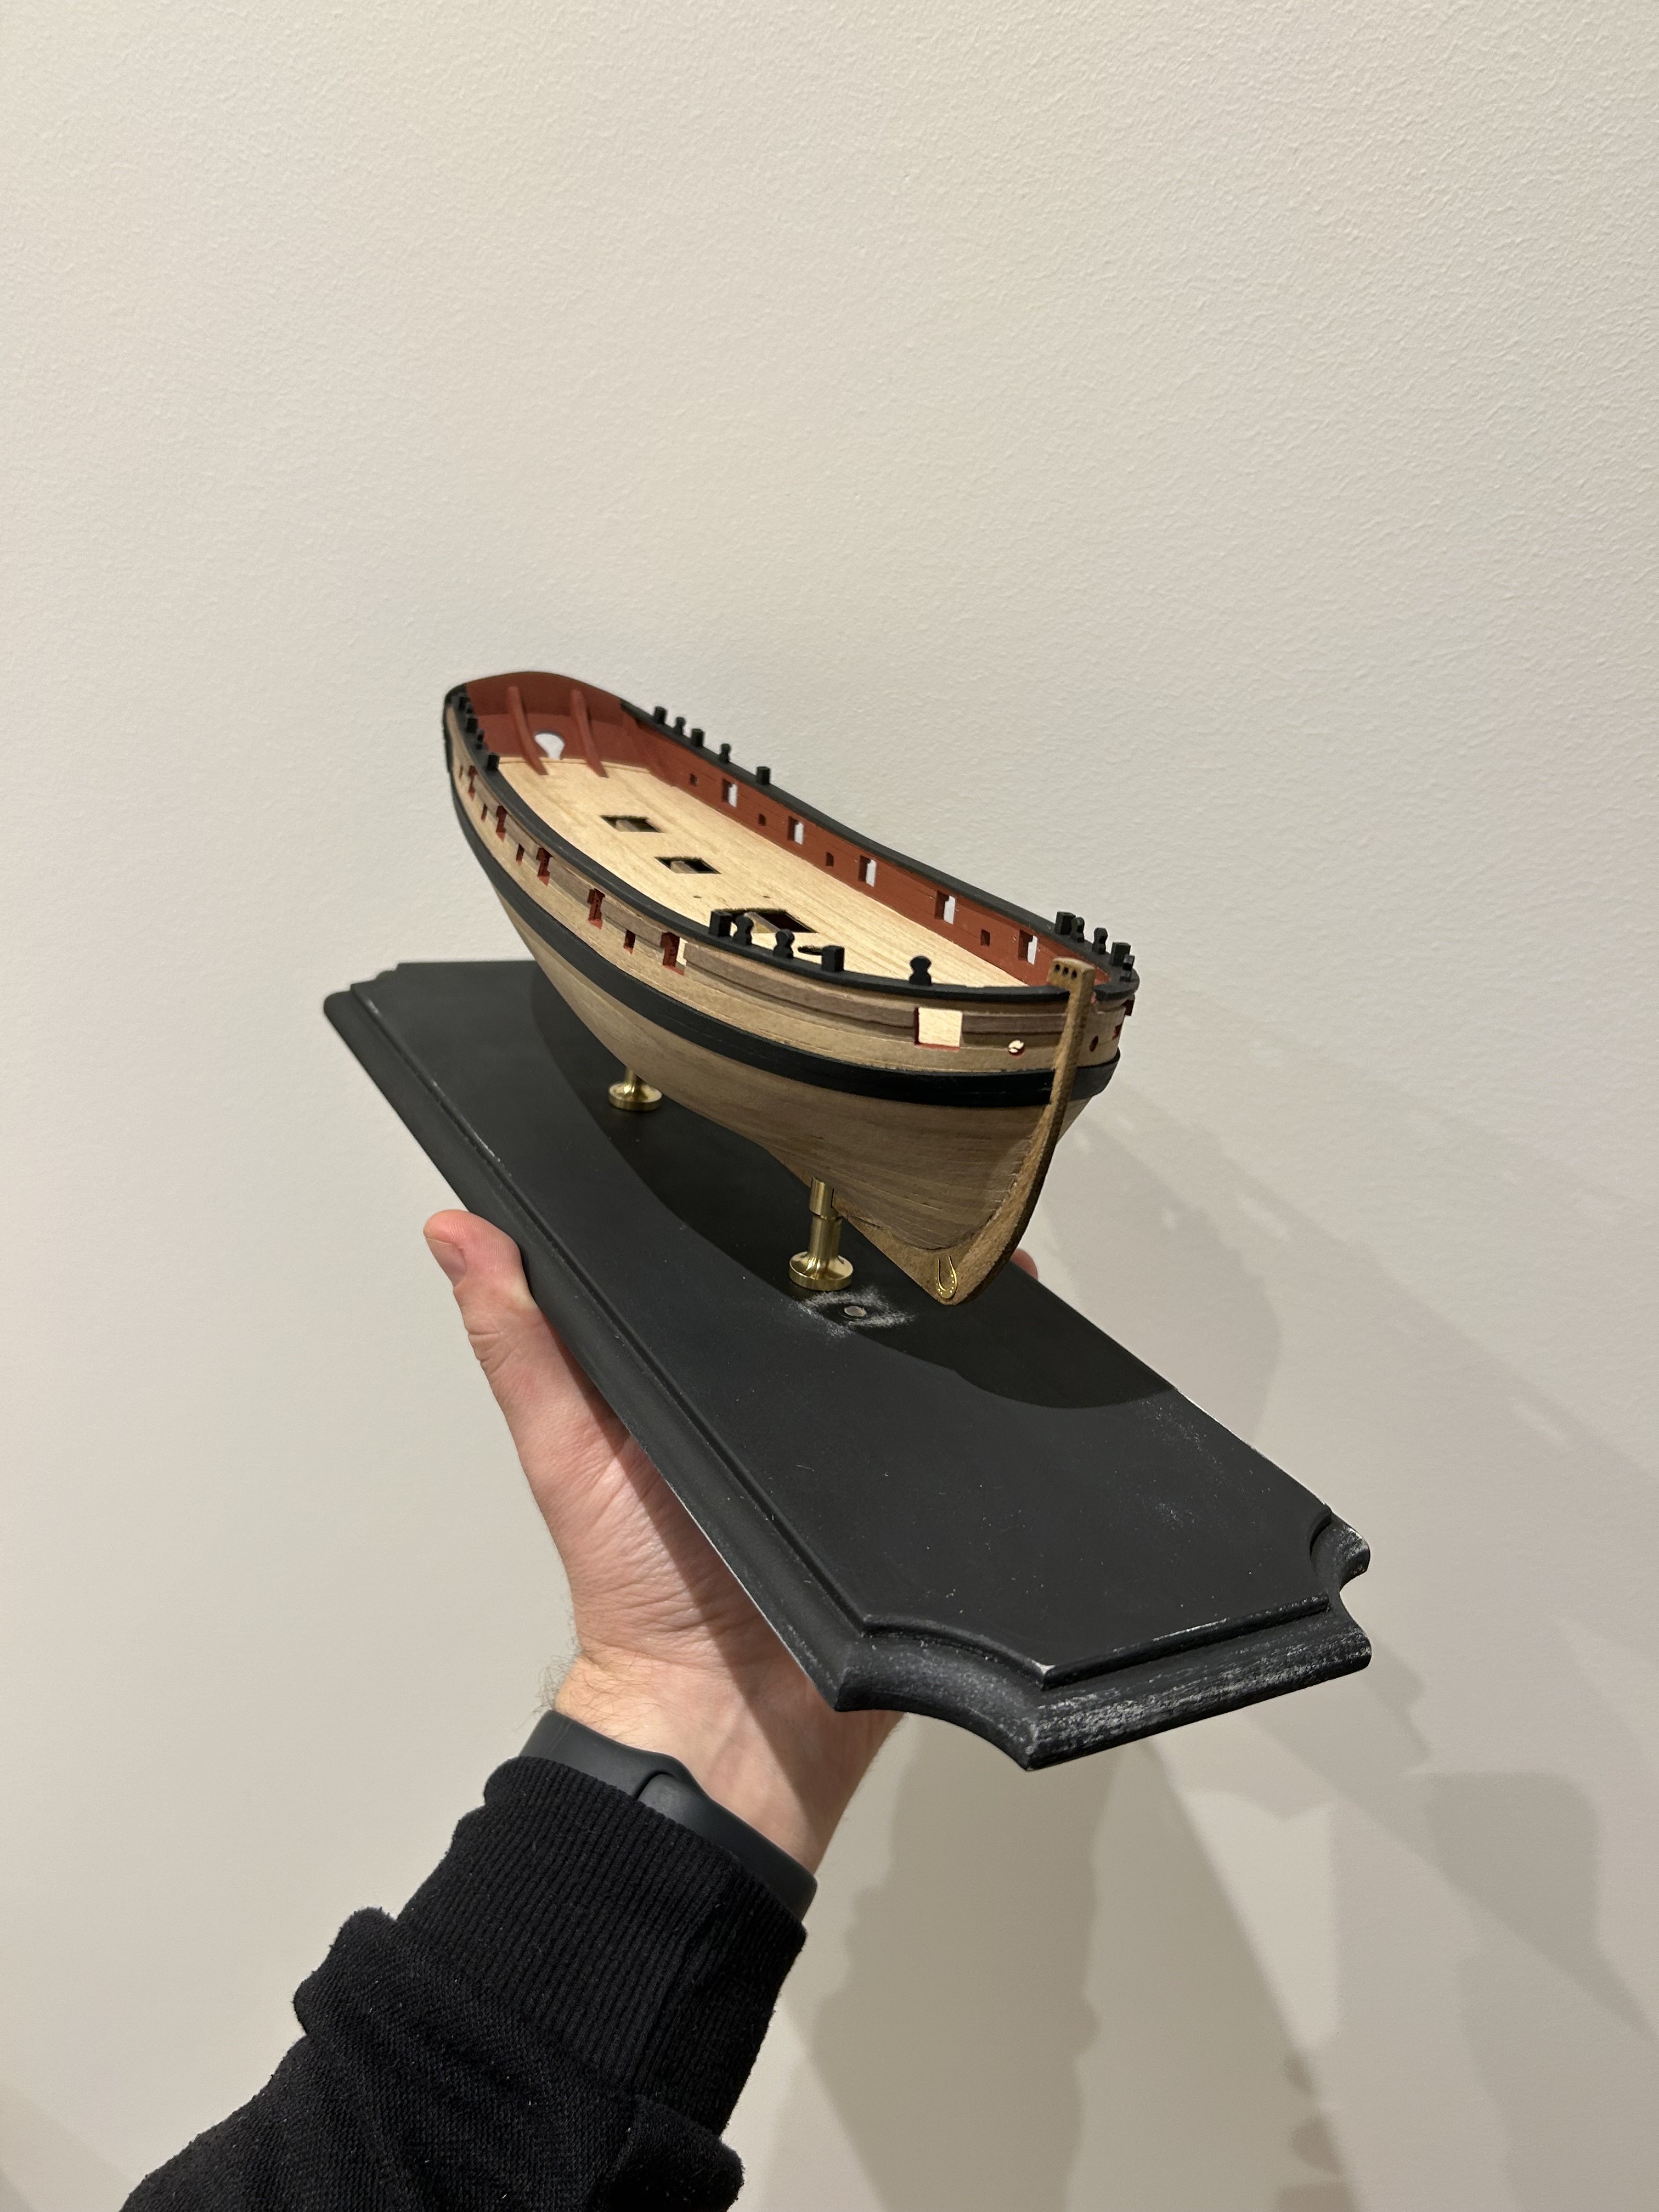
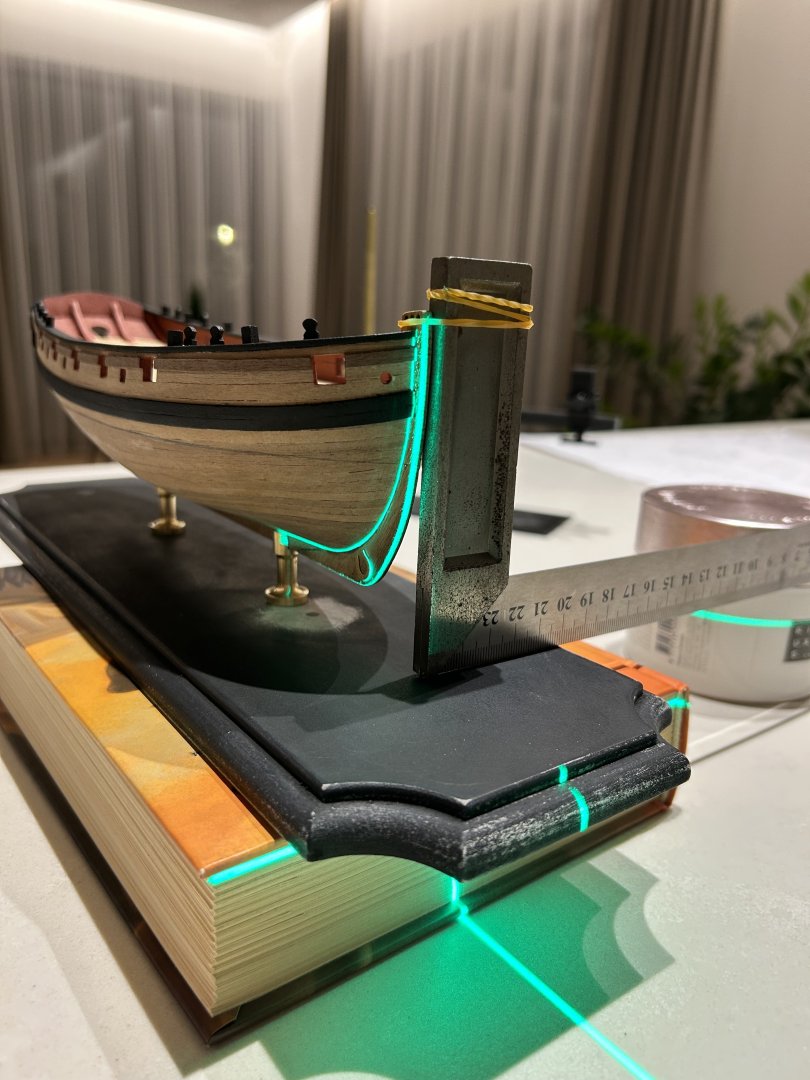
I have drilled holes for M4 screws in the keel and in the base board. I have also sanded the base board. Will paint it the second time. One reason would be to try to get a nicer finish, another reason would be because I drilled the second hole in the wrong place 😆 to fix that I have filled the hole with a wood dowel, added some wood putty.

- 81 replies
-
- 4
-
-

-
- Lady Nelson
- Amati
- (and 1 more)
-
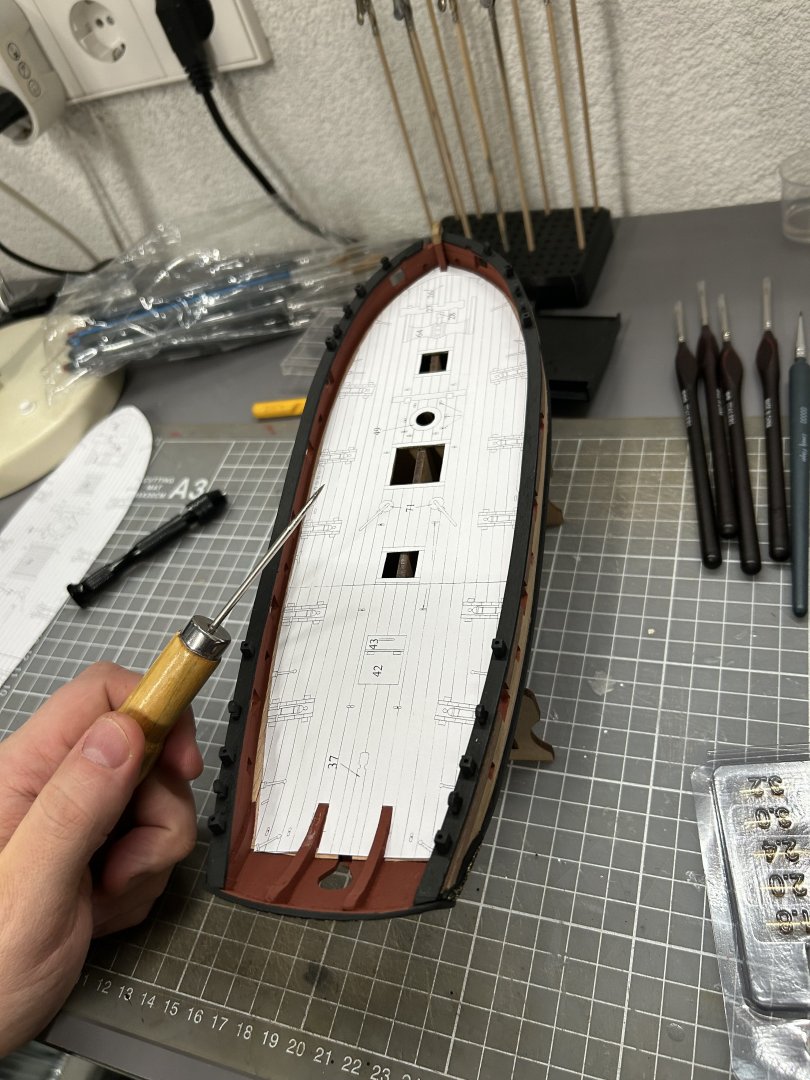
I have drilled some holes on the deck and bulwarks. Scanned plans has really helped to mark the precise location of the holes with awl. Also I have painted some buckets. I think I will be staining these later to tone it down.

- 81 replies
-
- 4
-
-
- Lady Nelson
- Amati
- (and 1 more)
-
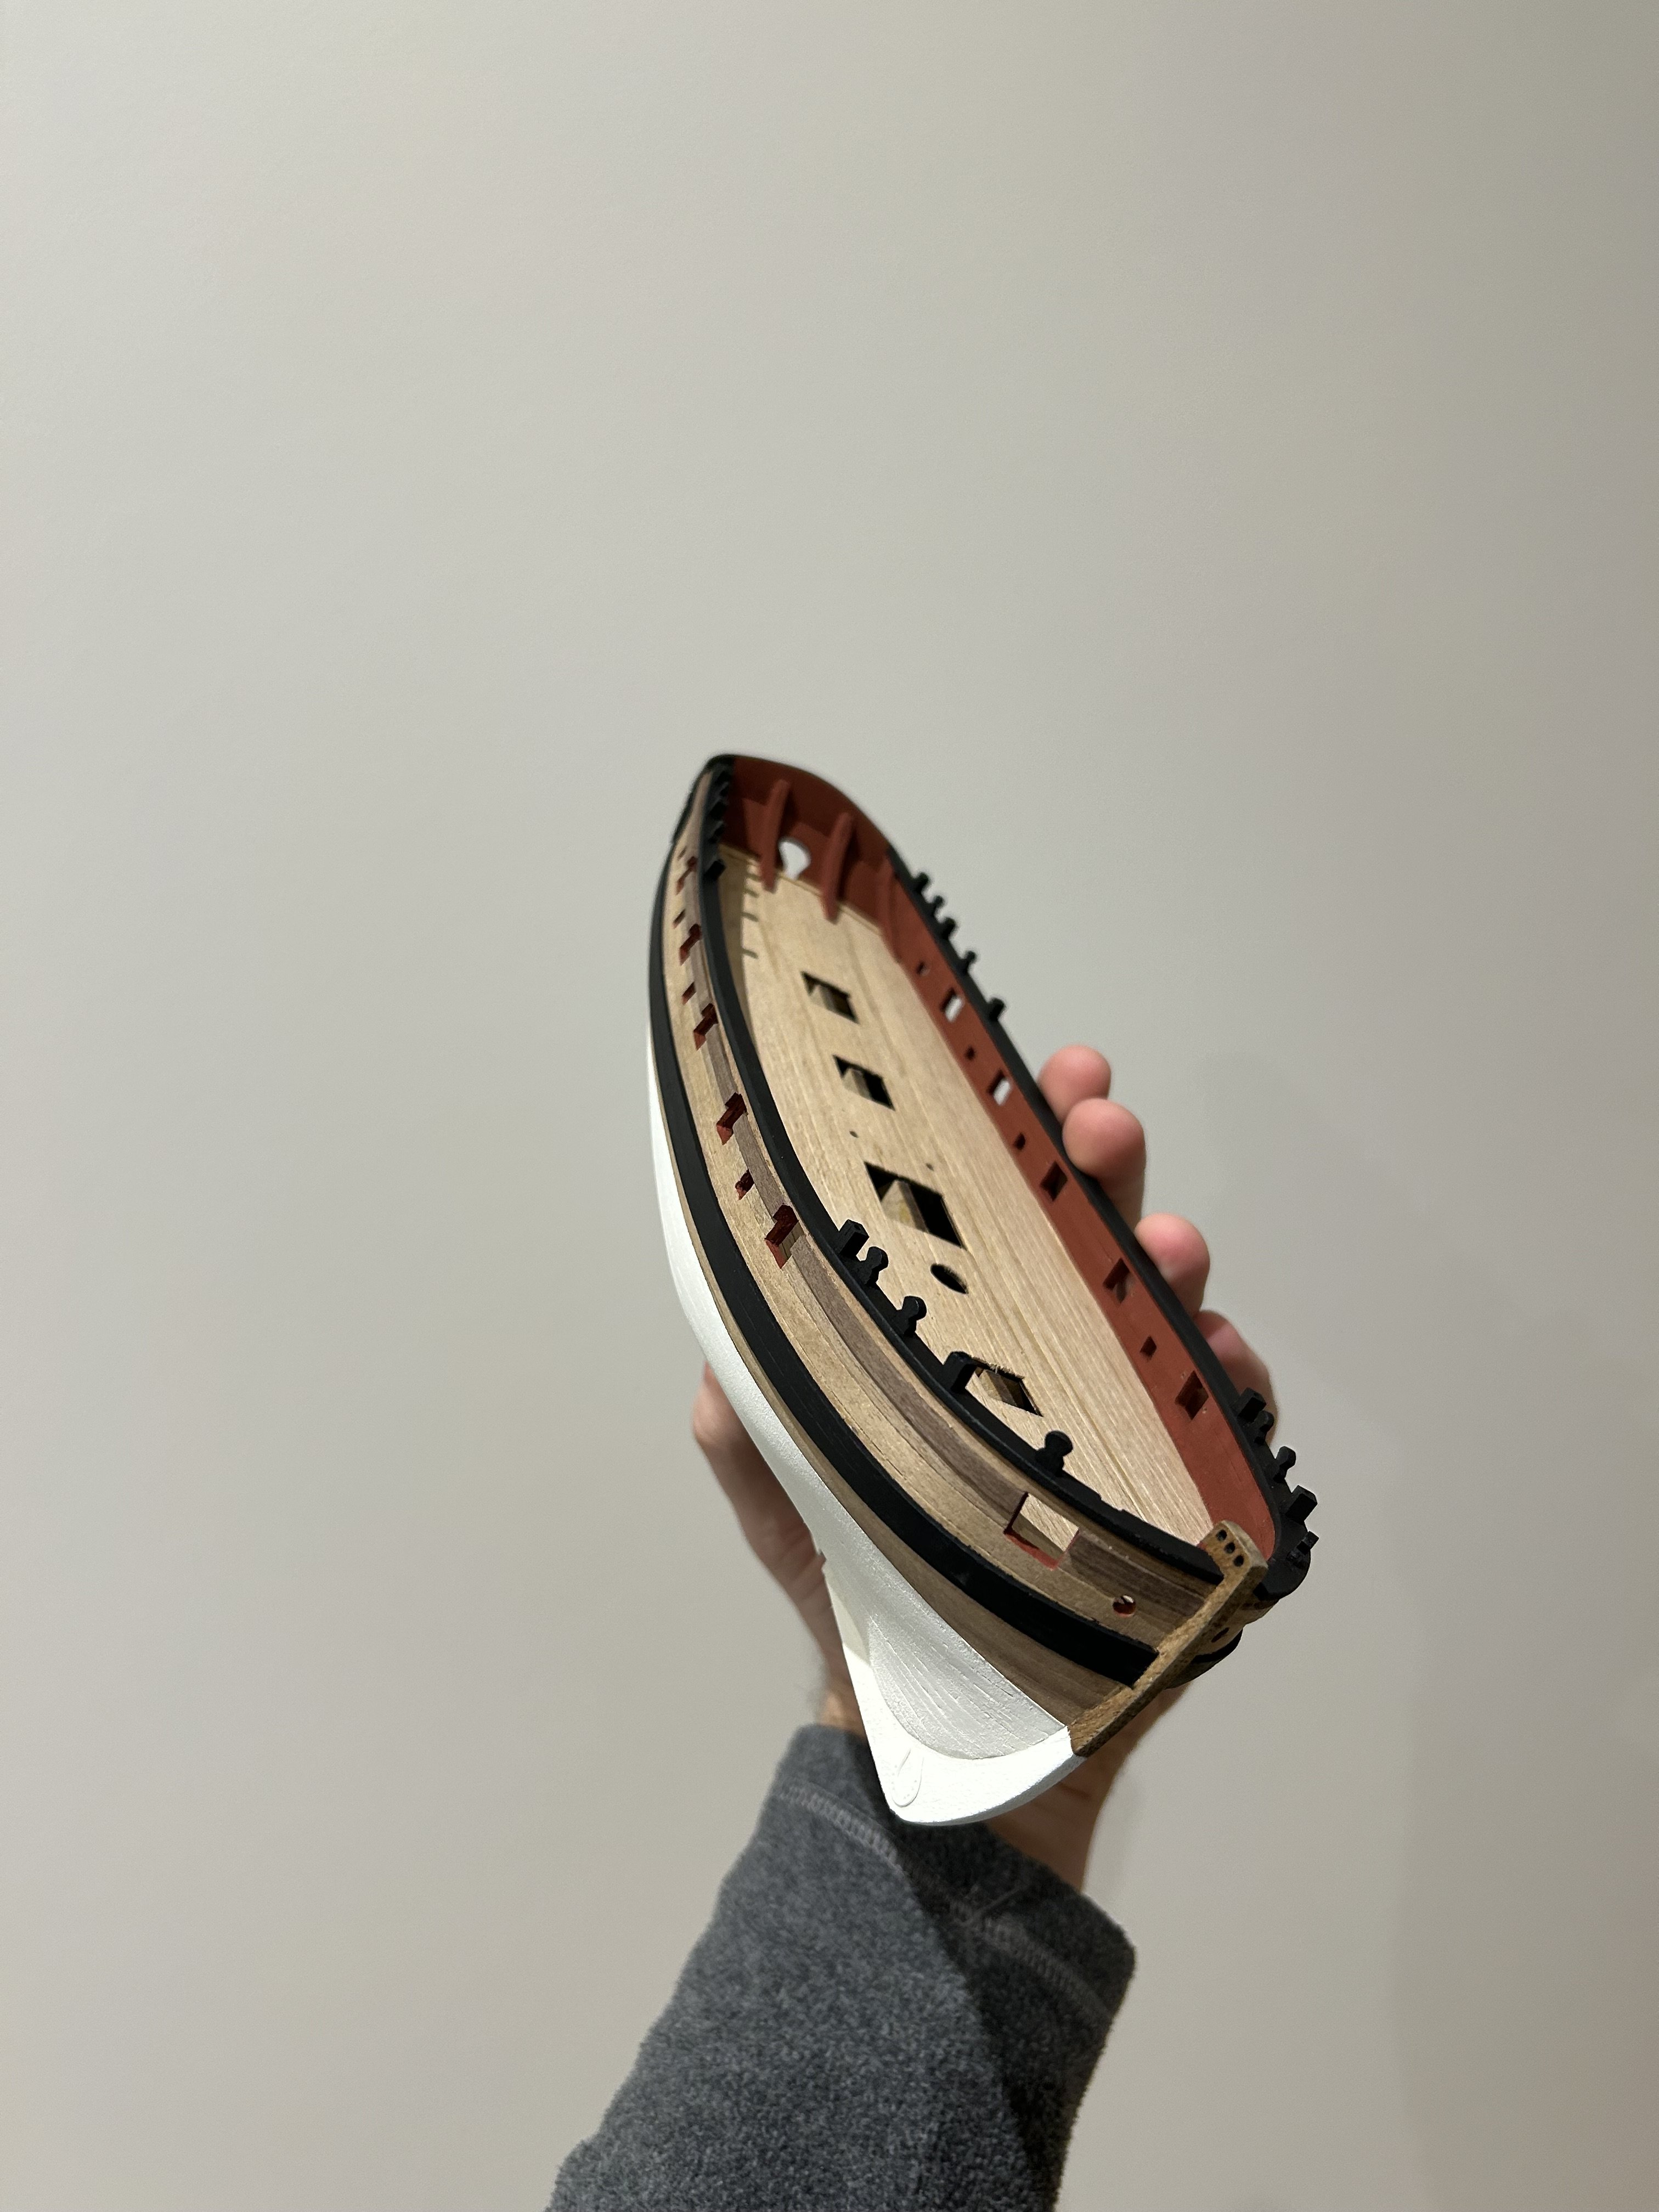
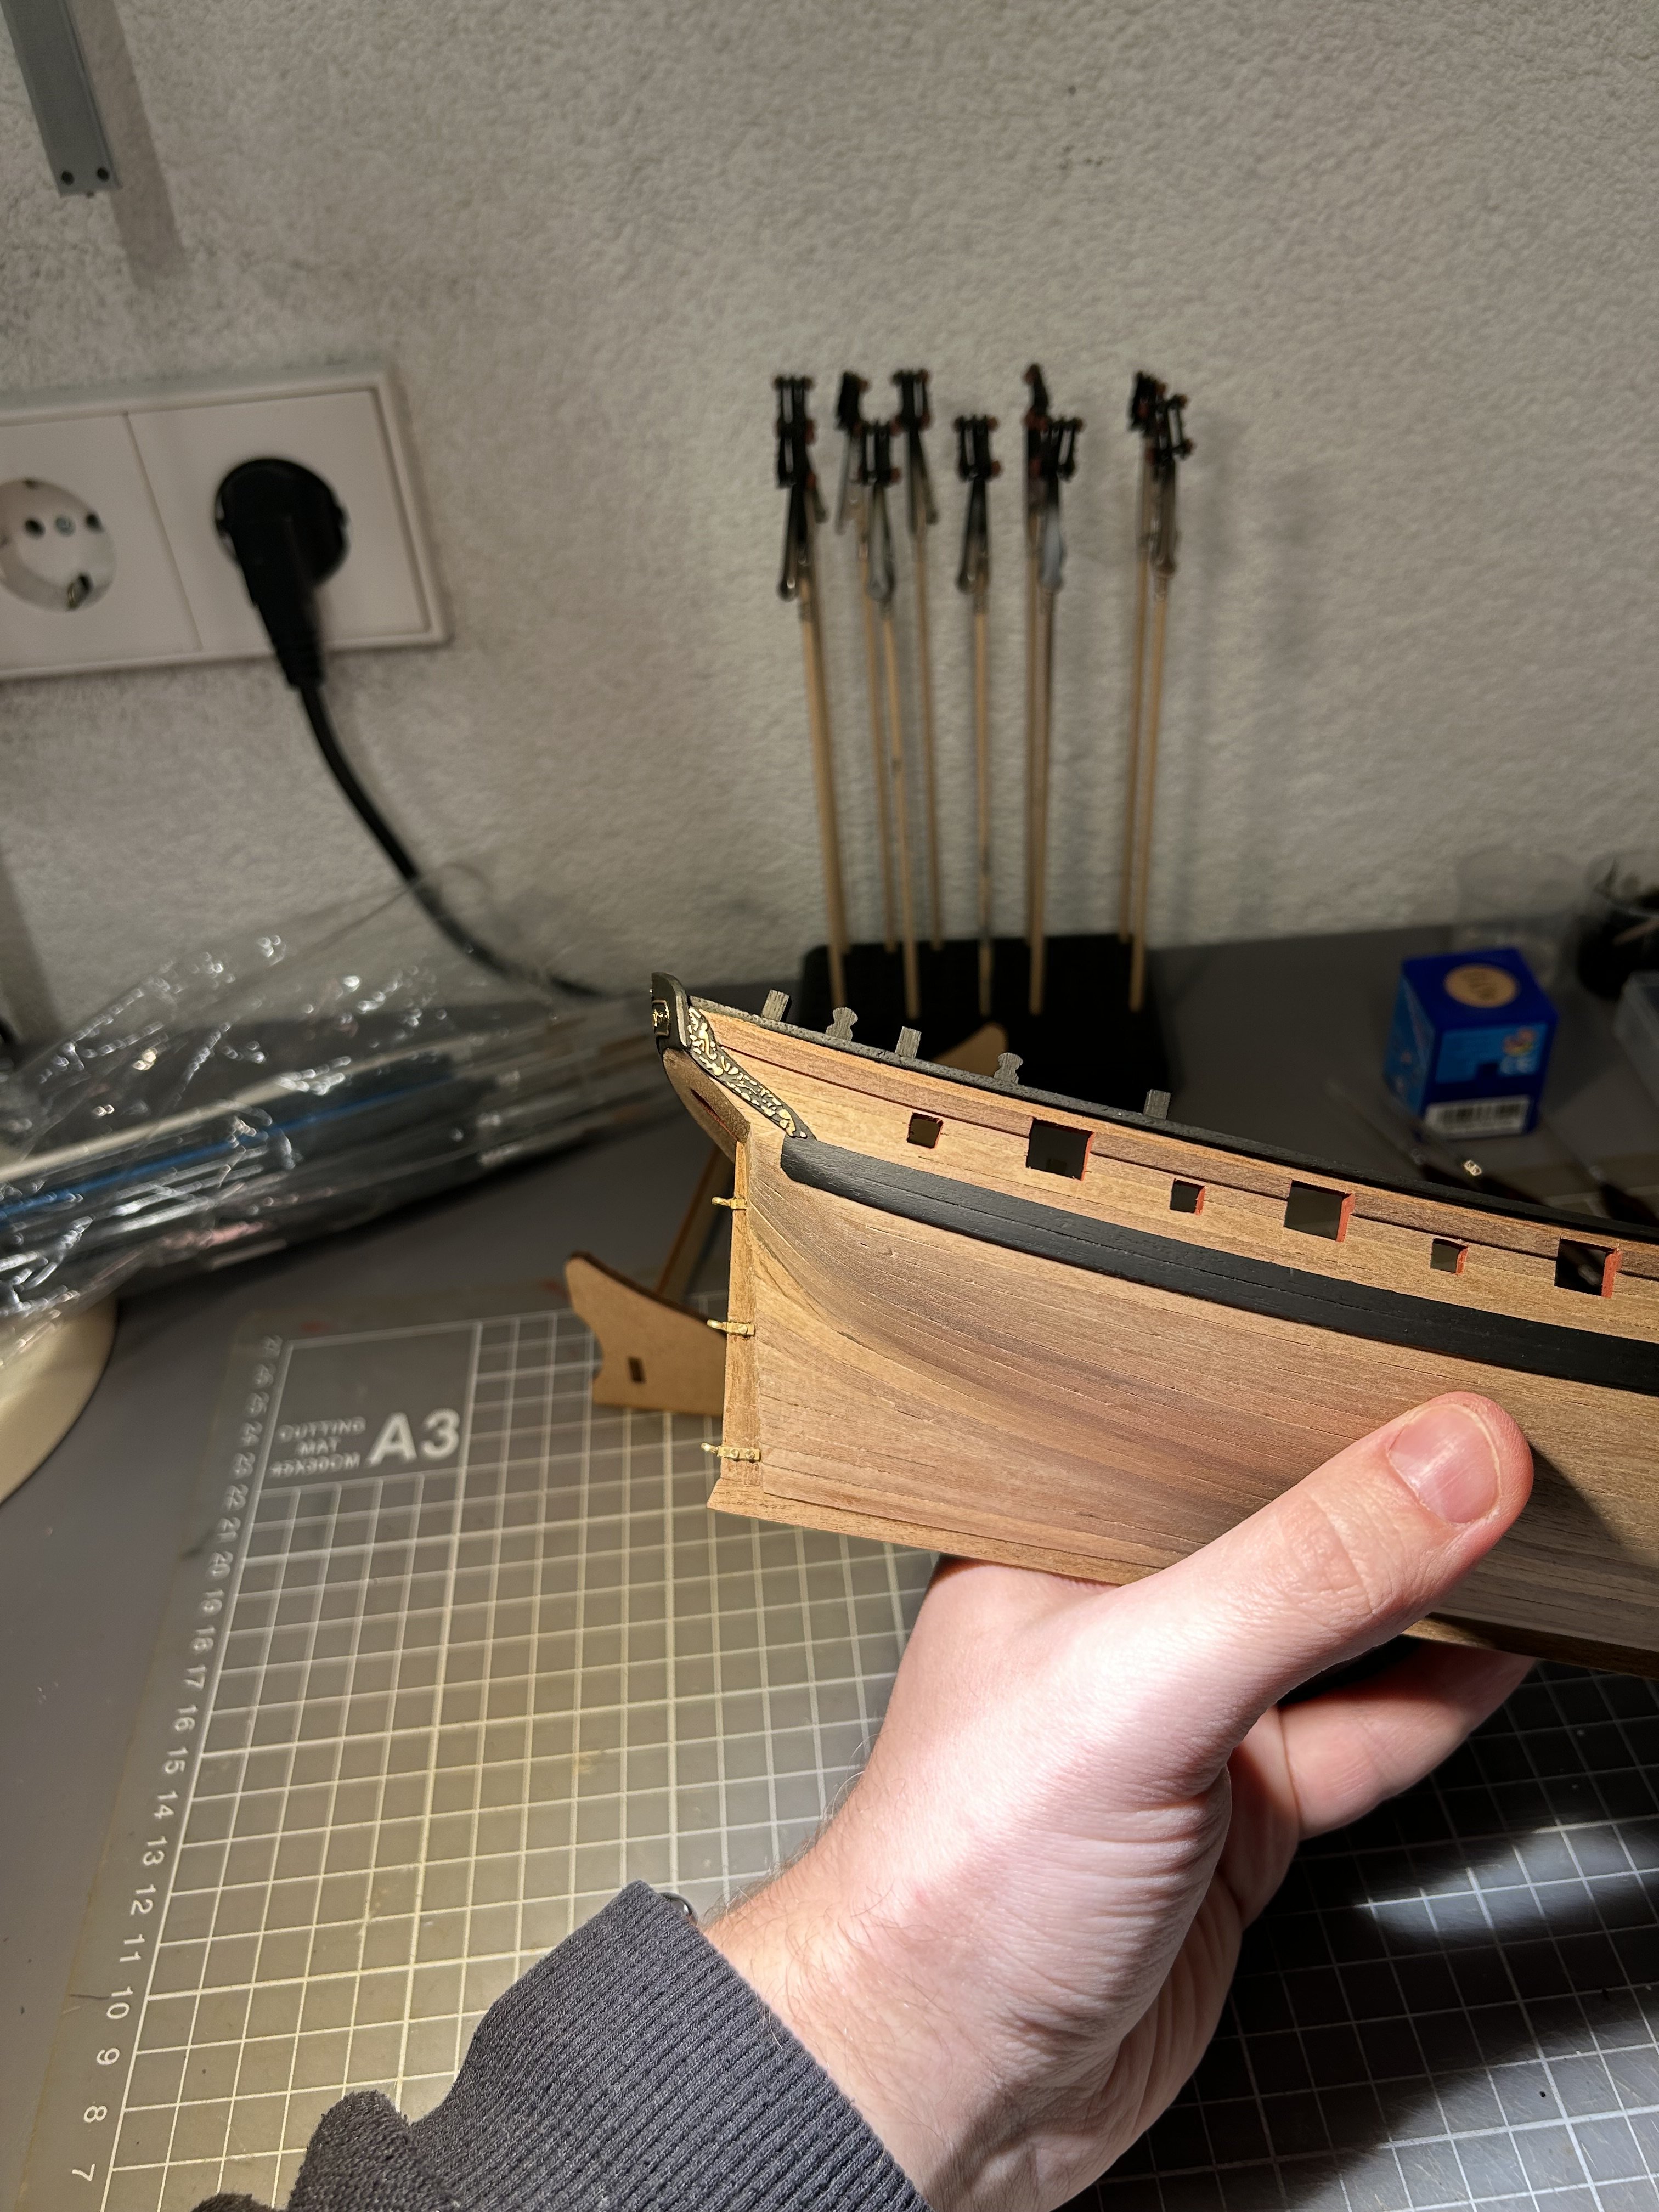
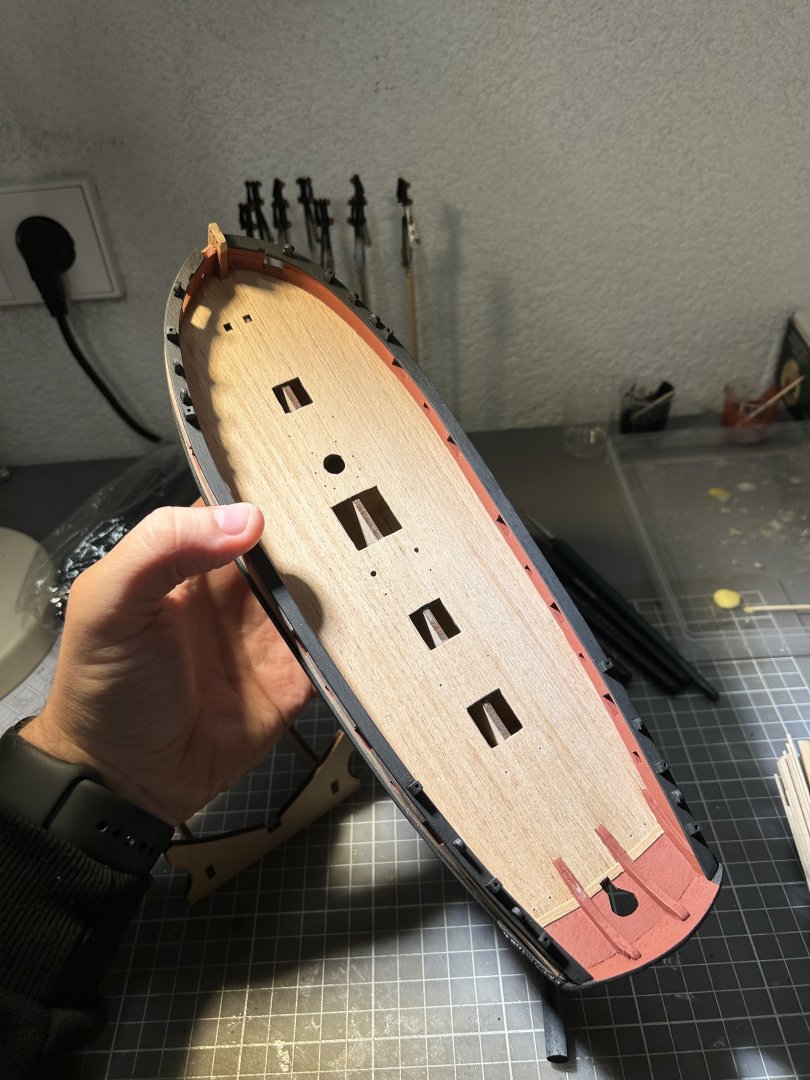
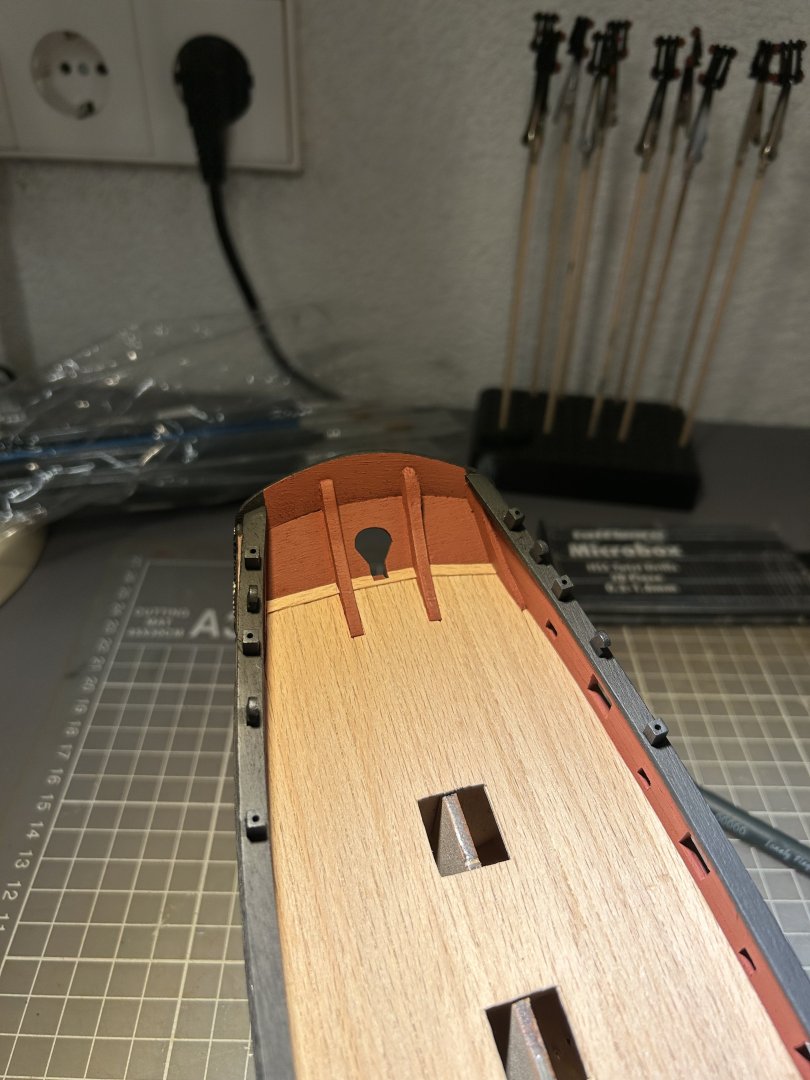
Add some horizontal planks on the deck towards the stern. It will mask nicely a slightly chopped deck planks line where it meets the vertical surface painted red.
- 81 replies
-
- 1
-
-
- Lady Nelson
- Amati
- (and 1 more)
-
Had a little bit of time, so I have finished painting canon carriages. I also did some paint touch ups with brush on the ship itself to make it perfect

- 81 replies
-
- 2
-
-
- Lady Nelson
- Amati
- (and 1 more)
-
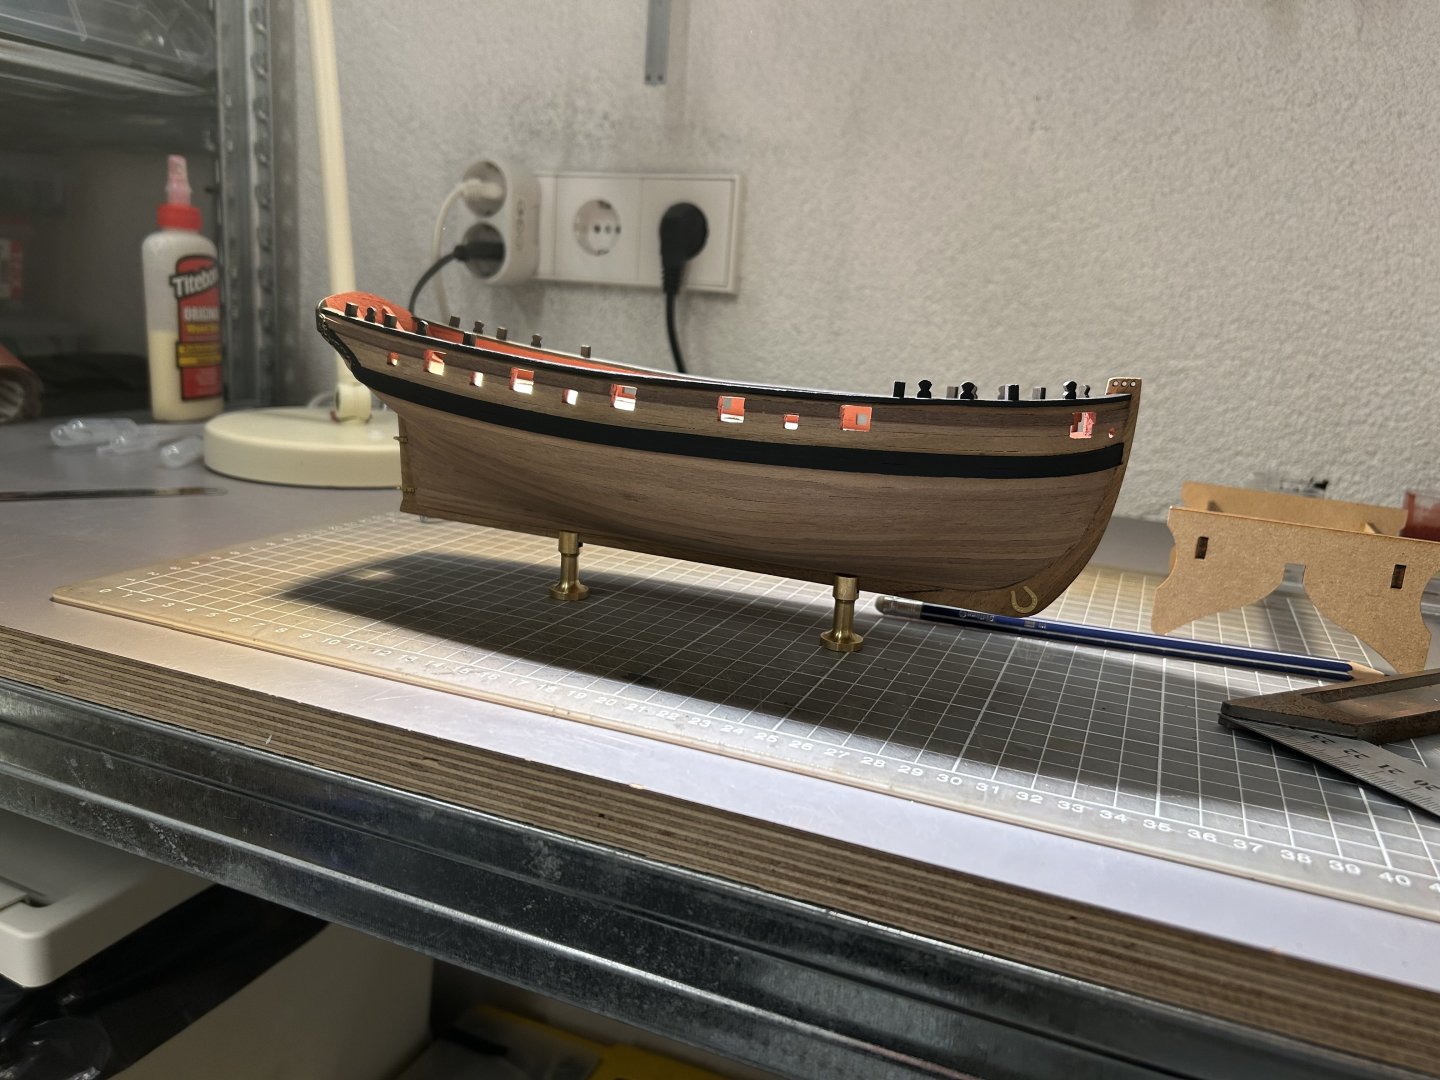
I have finally found a color that I like for painting bulwarks it is revell aqua color 37. Paint job still requires some finishing touches, but it turned out extremely well! Really happy with it.


- 81 replies
-
- 5
-
-
- Lady Nelson
- Amati
- (and 1 more)
-
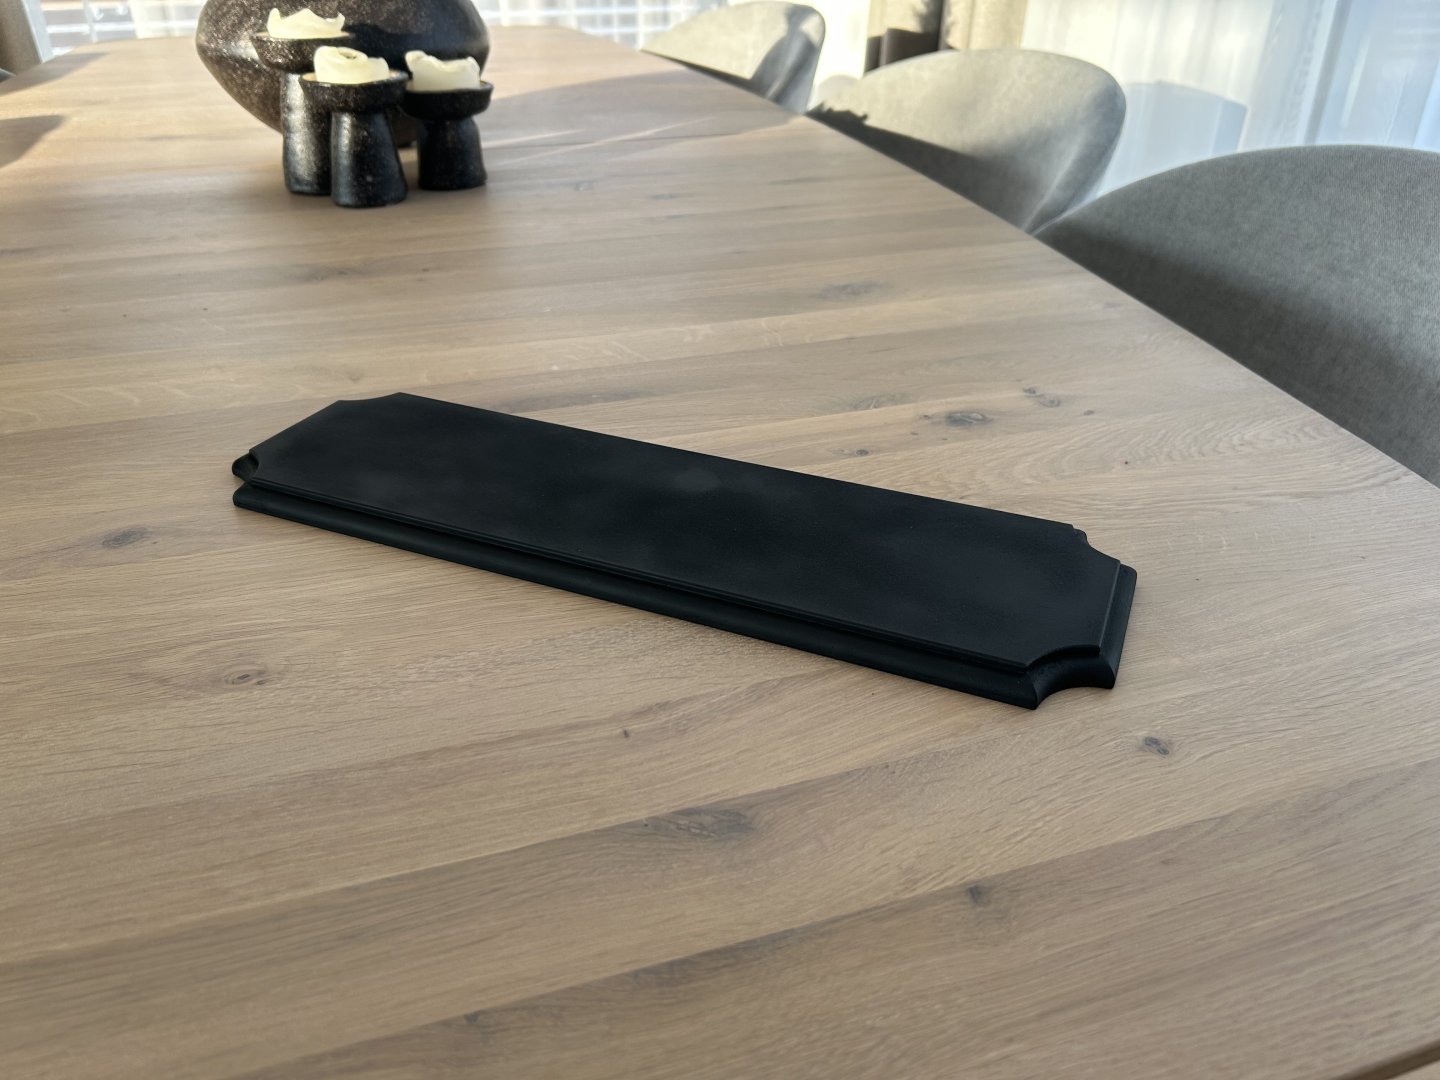
In the meantime I have airbrushed some small parts in black. Unfortunately I have some difficulties painting MDF in black. For some reason it is very hard for me to get the finish I desire with this mdf base plate. I will try sanding it and painting again, maybe will try some wood putty too. Just very hard to get even finish with it.

- 81 replies
-
- 5
-
-
- Lady Nelson
- Amati
- (and 1 more)