HOLIDAY DONATION DRIVE - SUPPORT MSW - DO YOUR PART TO KEEP THIS GREAT FORUM GOING! (Only 27 donations so far out of 49,000 members - C'mon guys!)
×


Lapinas
-
Posts
94 -
Joined
-
Last visited
Content Type
Profiles
Forums
Gallery
Events
Everything posted by Lapinas
-
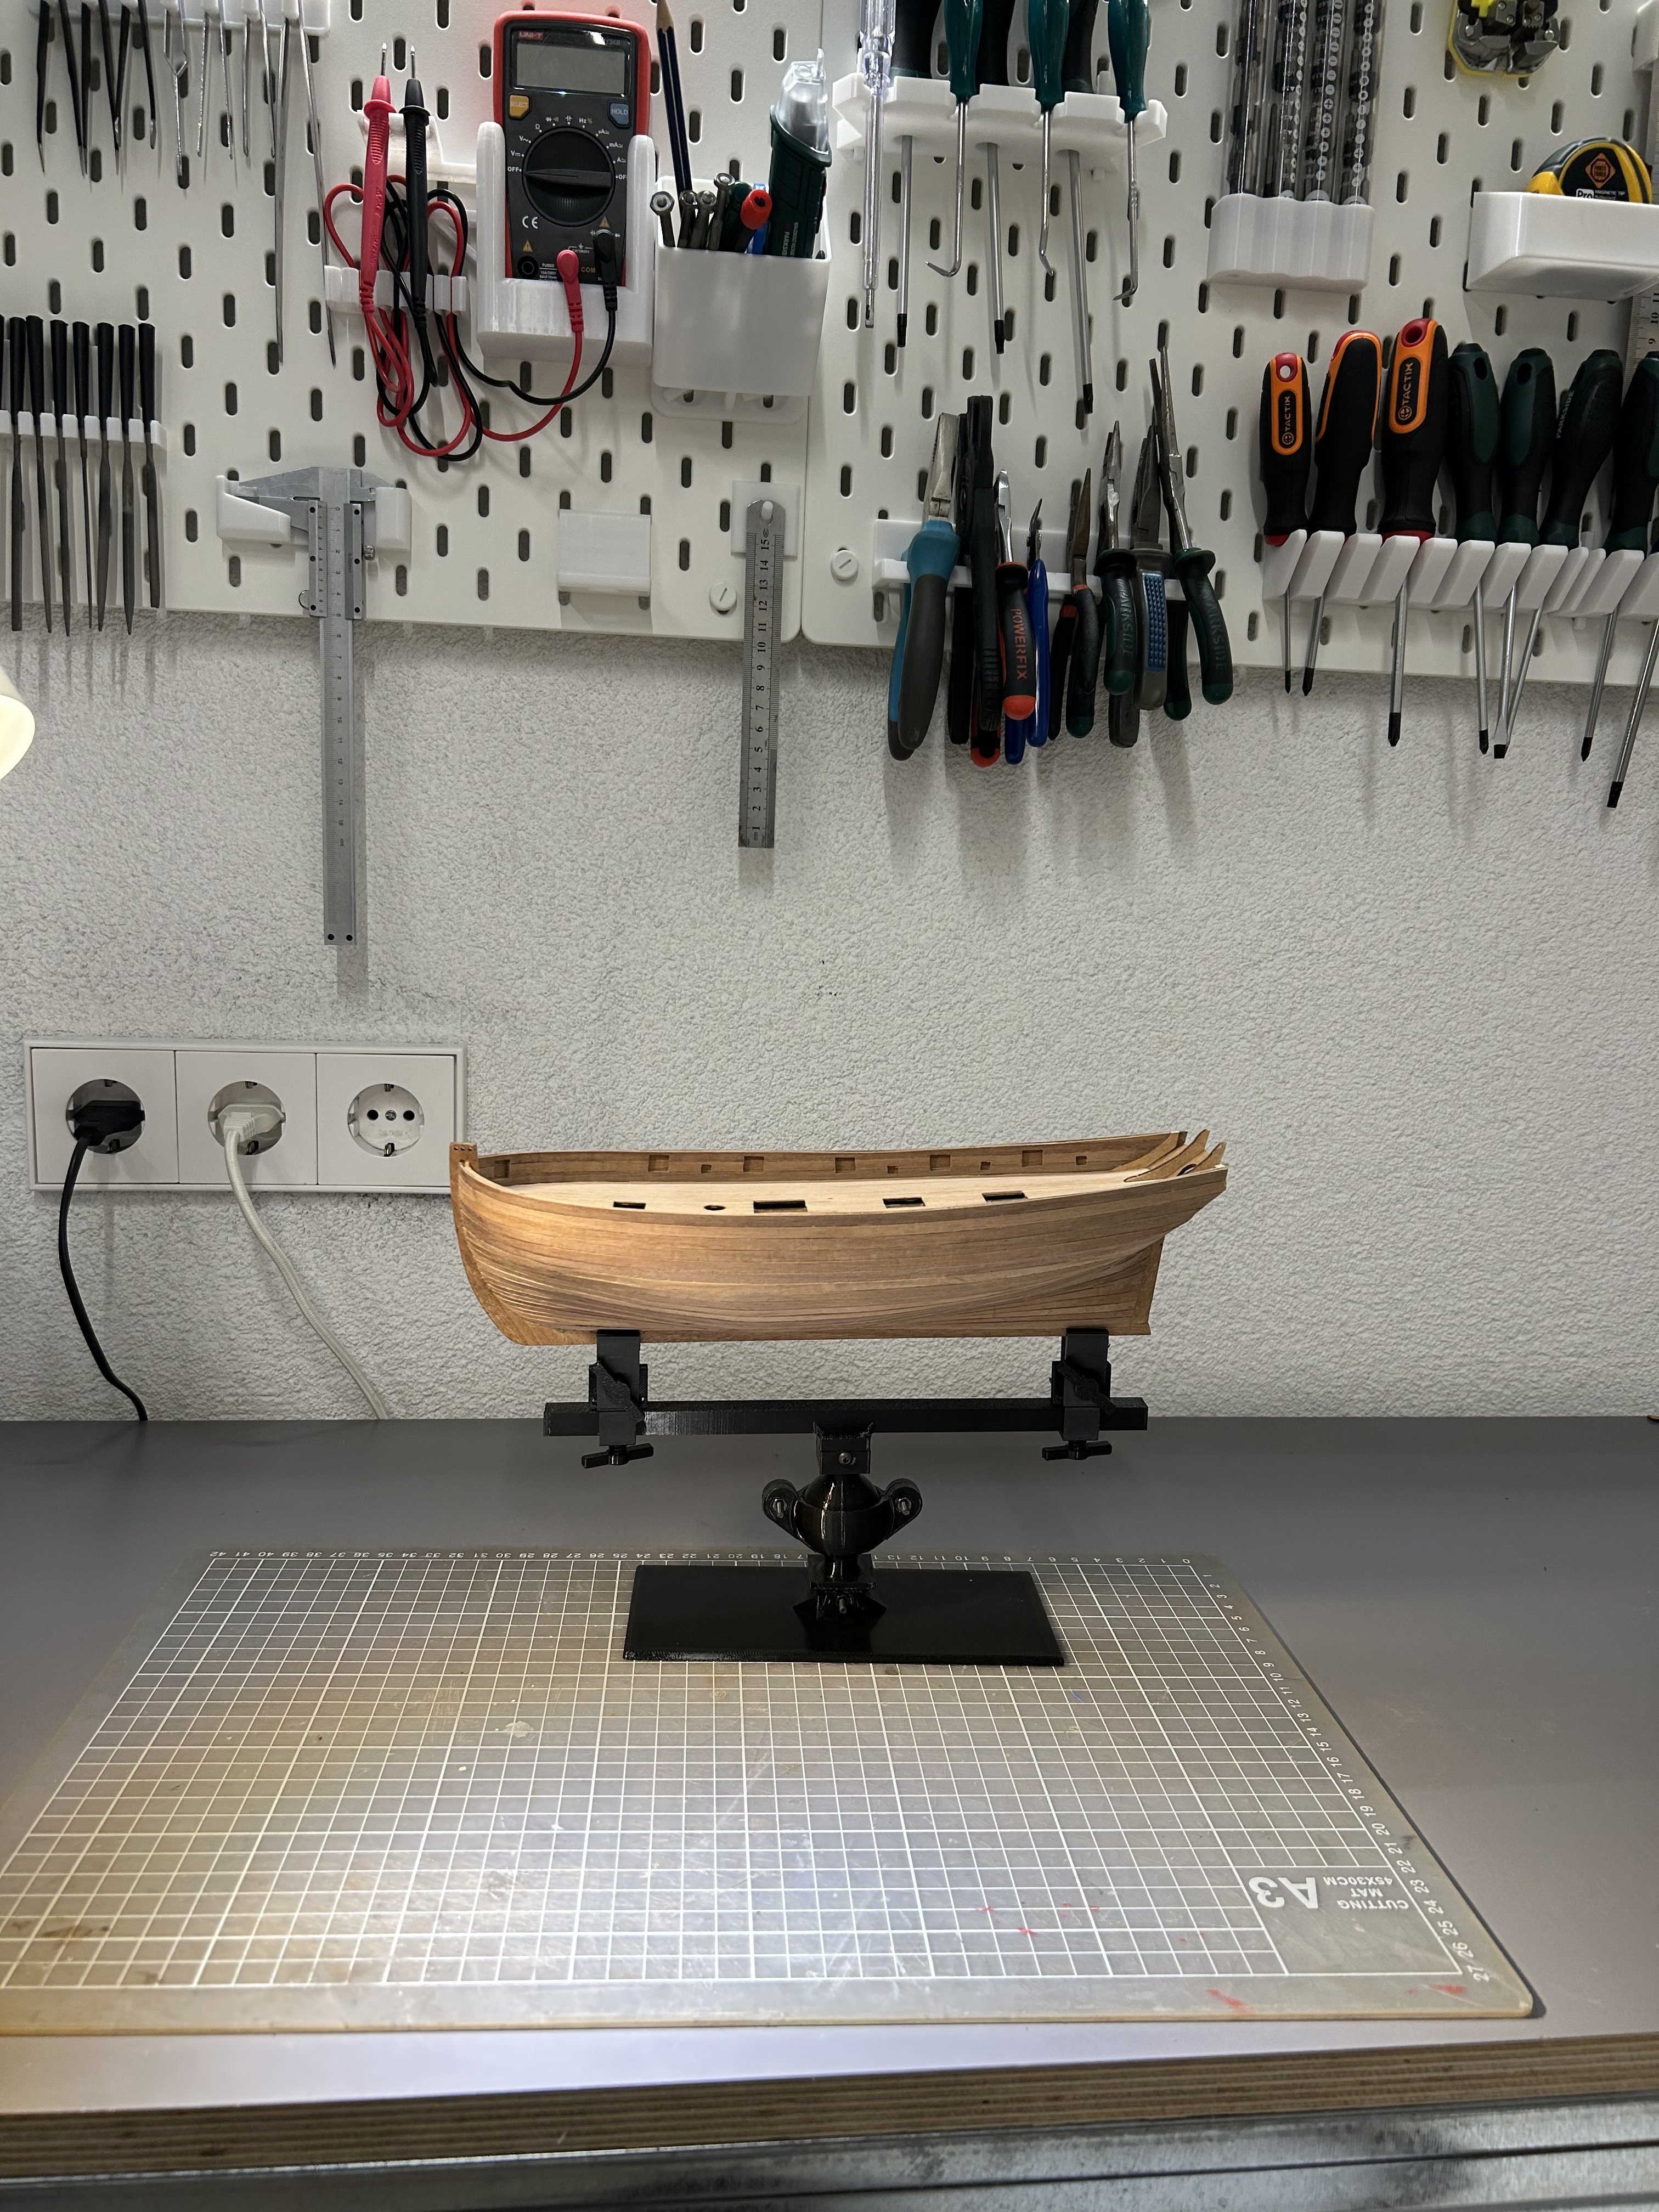
Progress update can’t wait to sand the hull to see the final result!

- 45 replies
-
- 2
-

-
- Lady Nelson
- Amati
- (and 1 more)
-
Started snowing outside… meaning I can get back to my garage


- 45 replies
-
- 2
-
-
- Lady Nelson
- Amati
- (and 1 more)
-
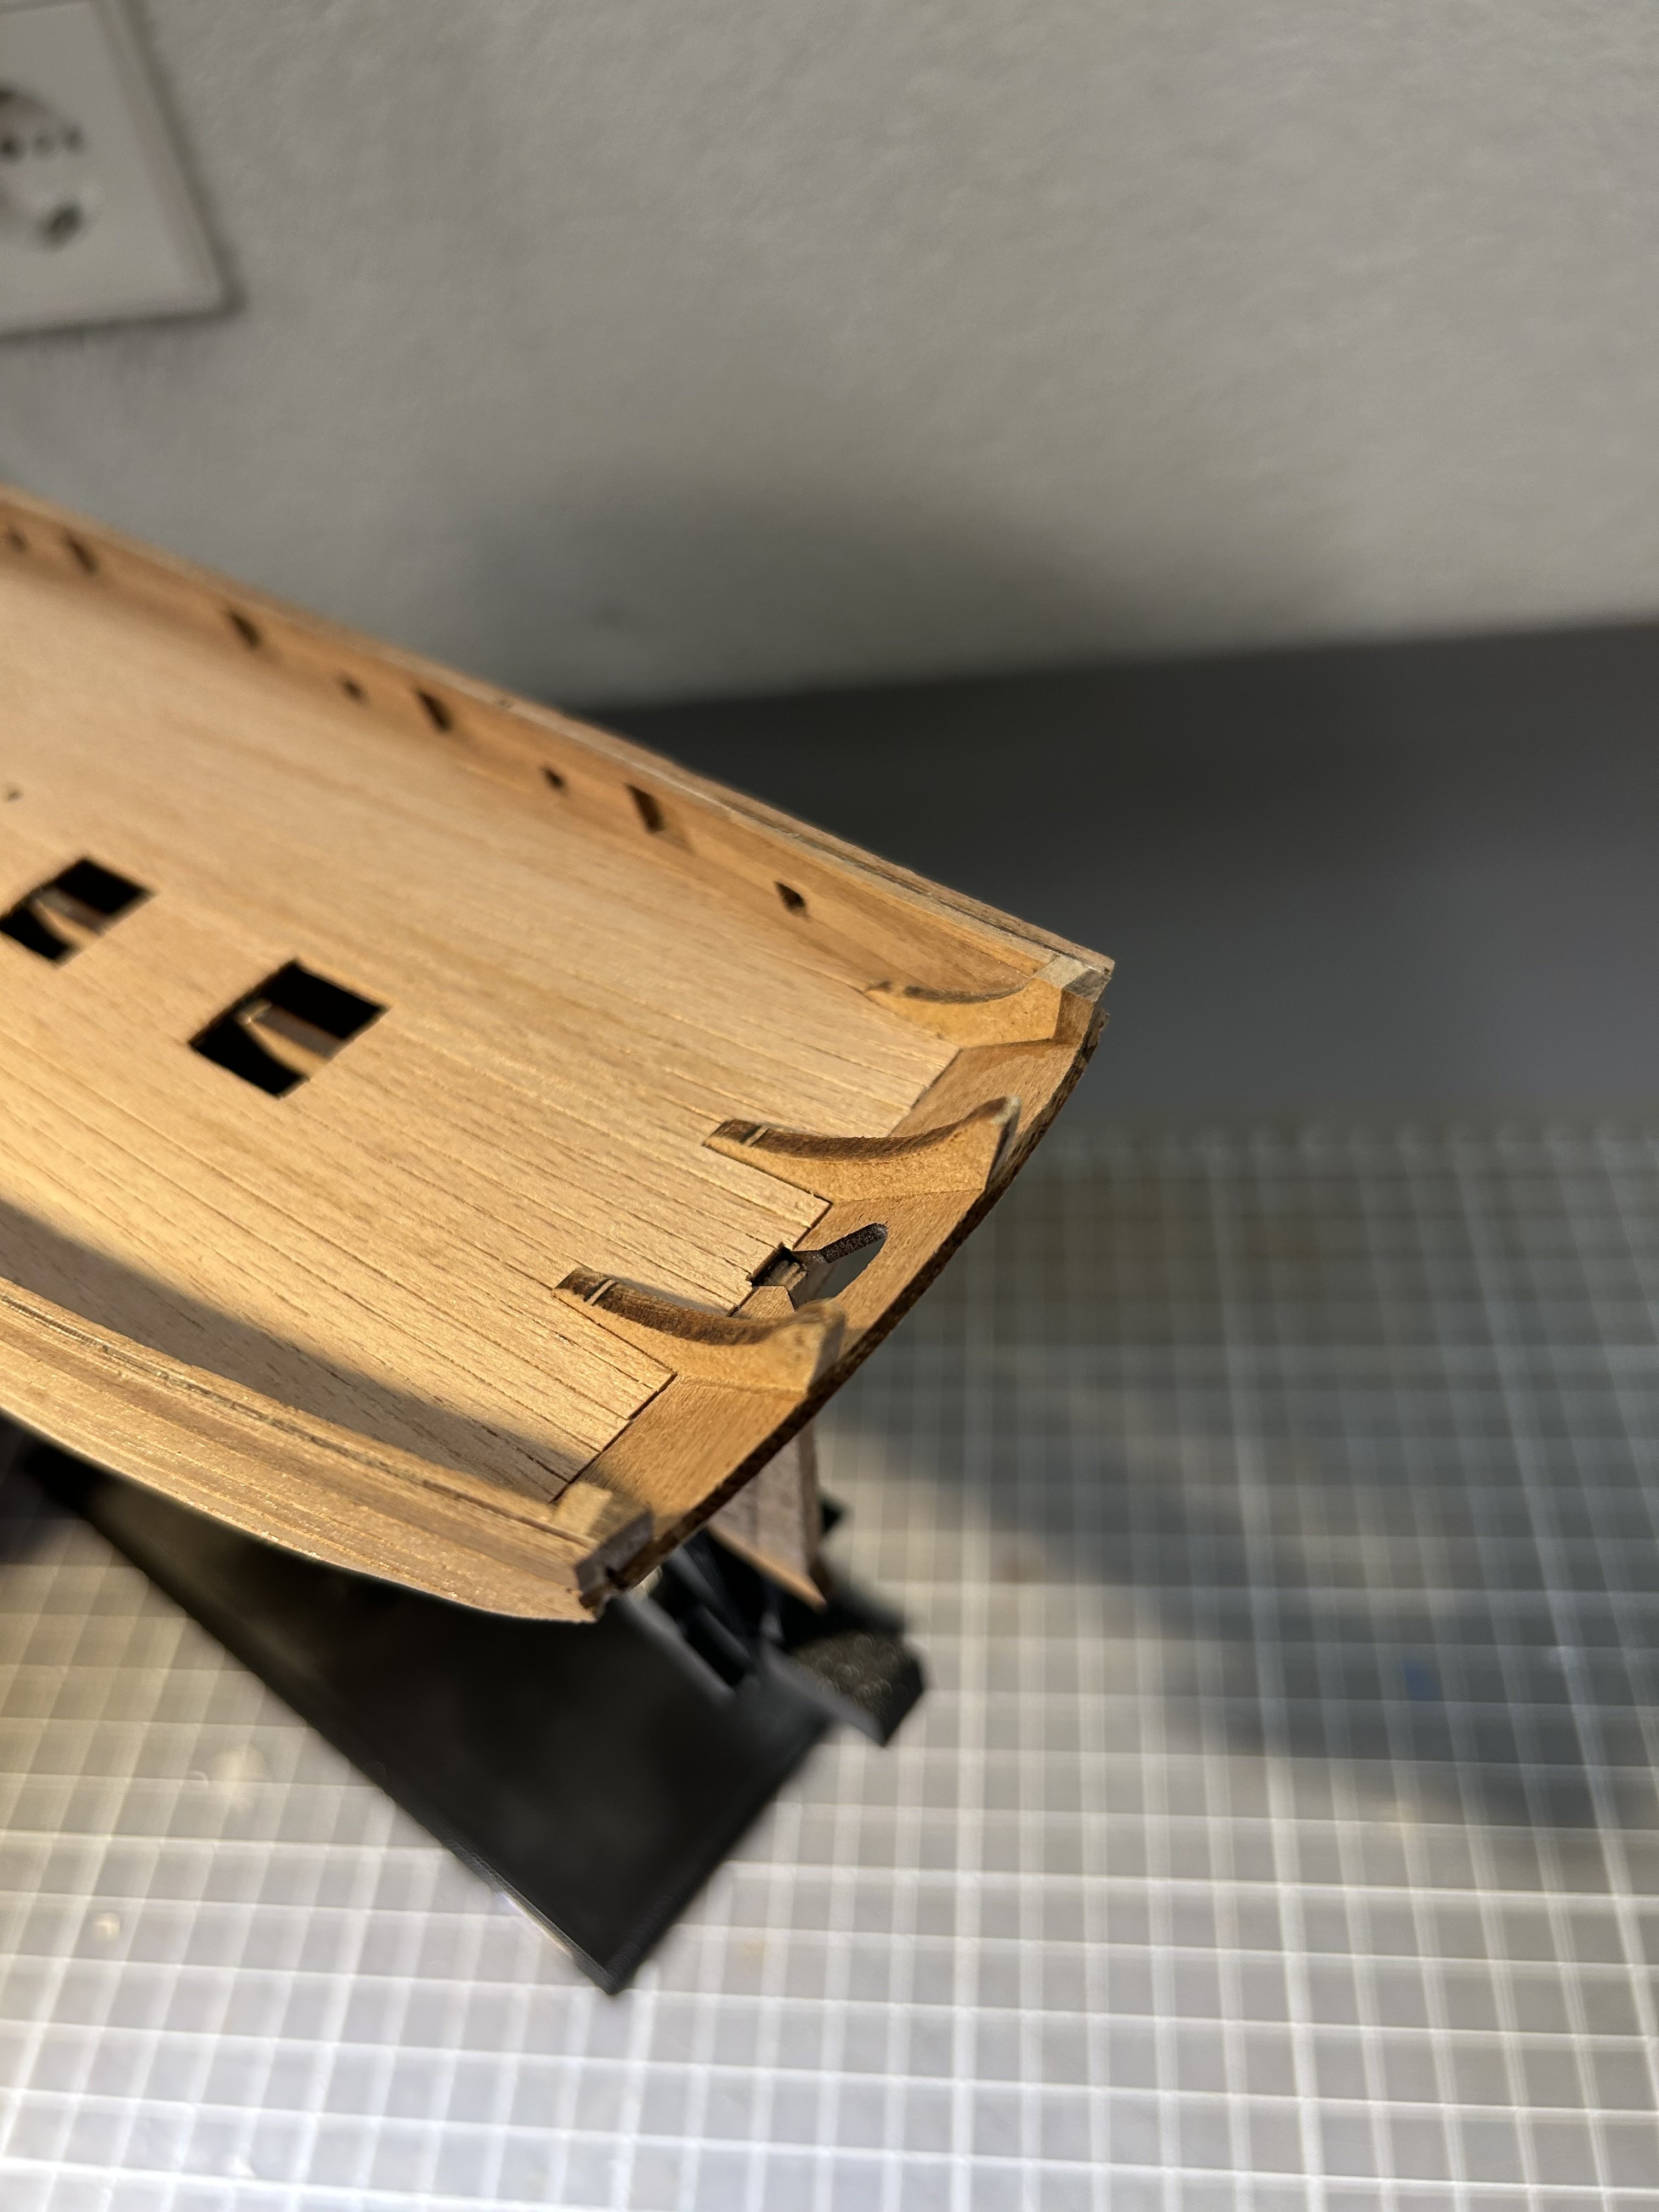
Got bored with hull sanding, so I have decided to do some work on deck fittings


- 45 replies
-
- 5
-
-
- Lady Nelson
- Amati
- (and 1 more)
-
Little progress update. Some days this hobby is 99% sanding 😅


- 45 replies
-
- 2
-
-
- Lady Nelson
- Amati
- (and 1 more)
-
There was not enough deck planks in the kit, to cover whole deck with whole planks only. But not a big deal. I was able to reuse some left overs and do joins below the cannons

- 45 replies
-
- 5
-
-
- Lady Nelson
- Amati
- (and 1 more)
-
Same thing for me!
-
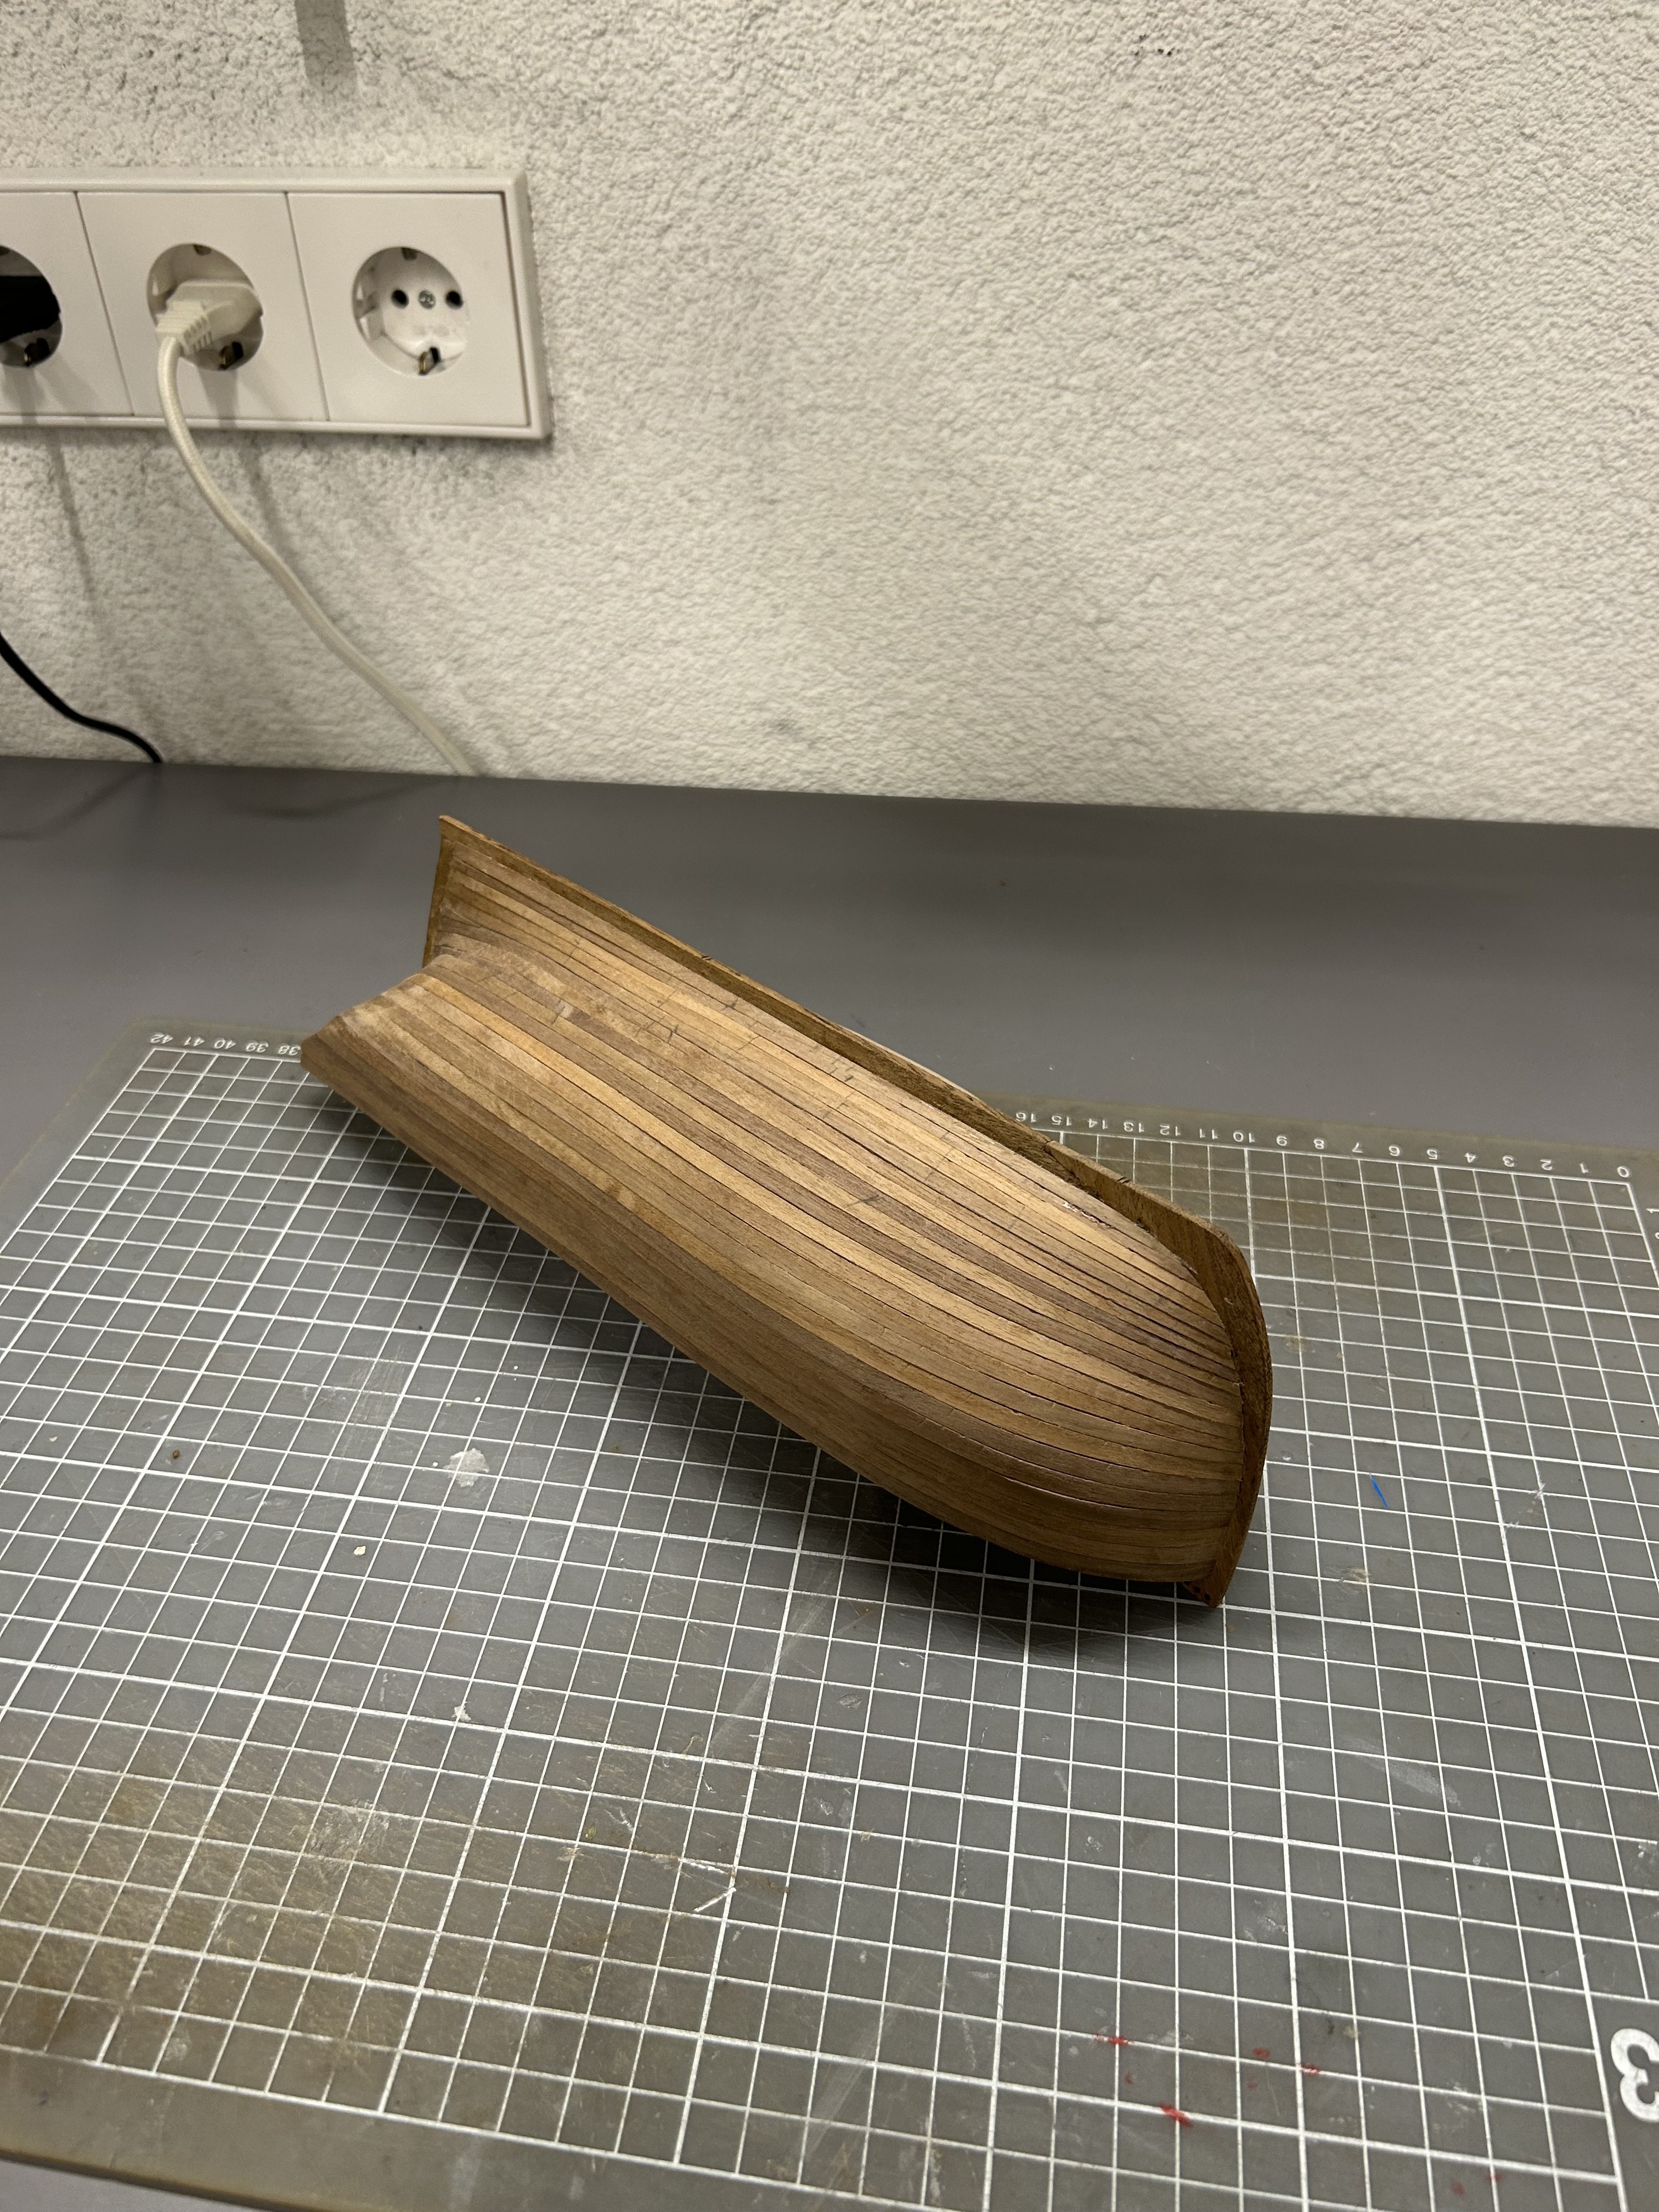
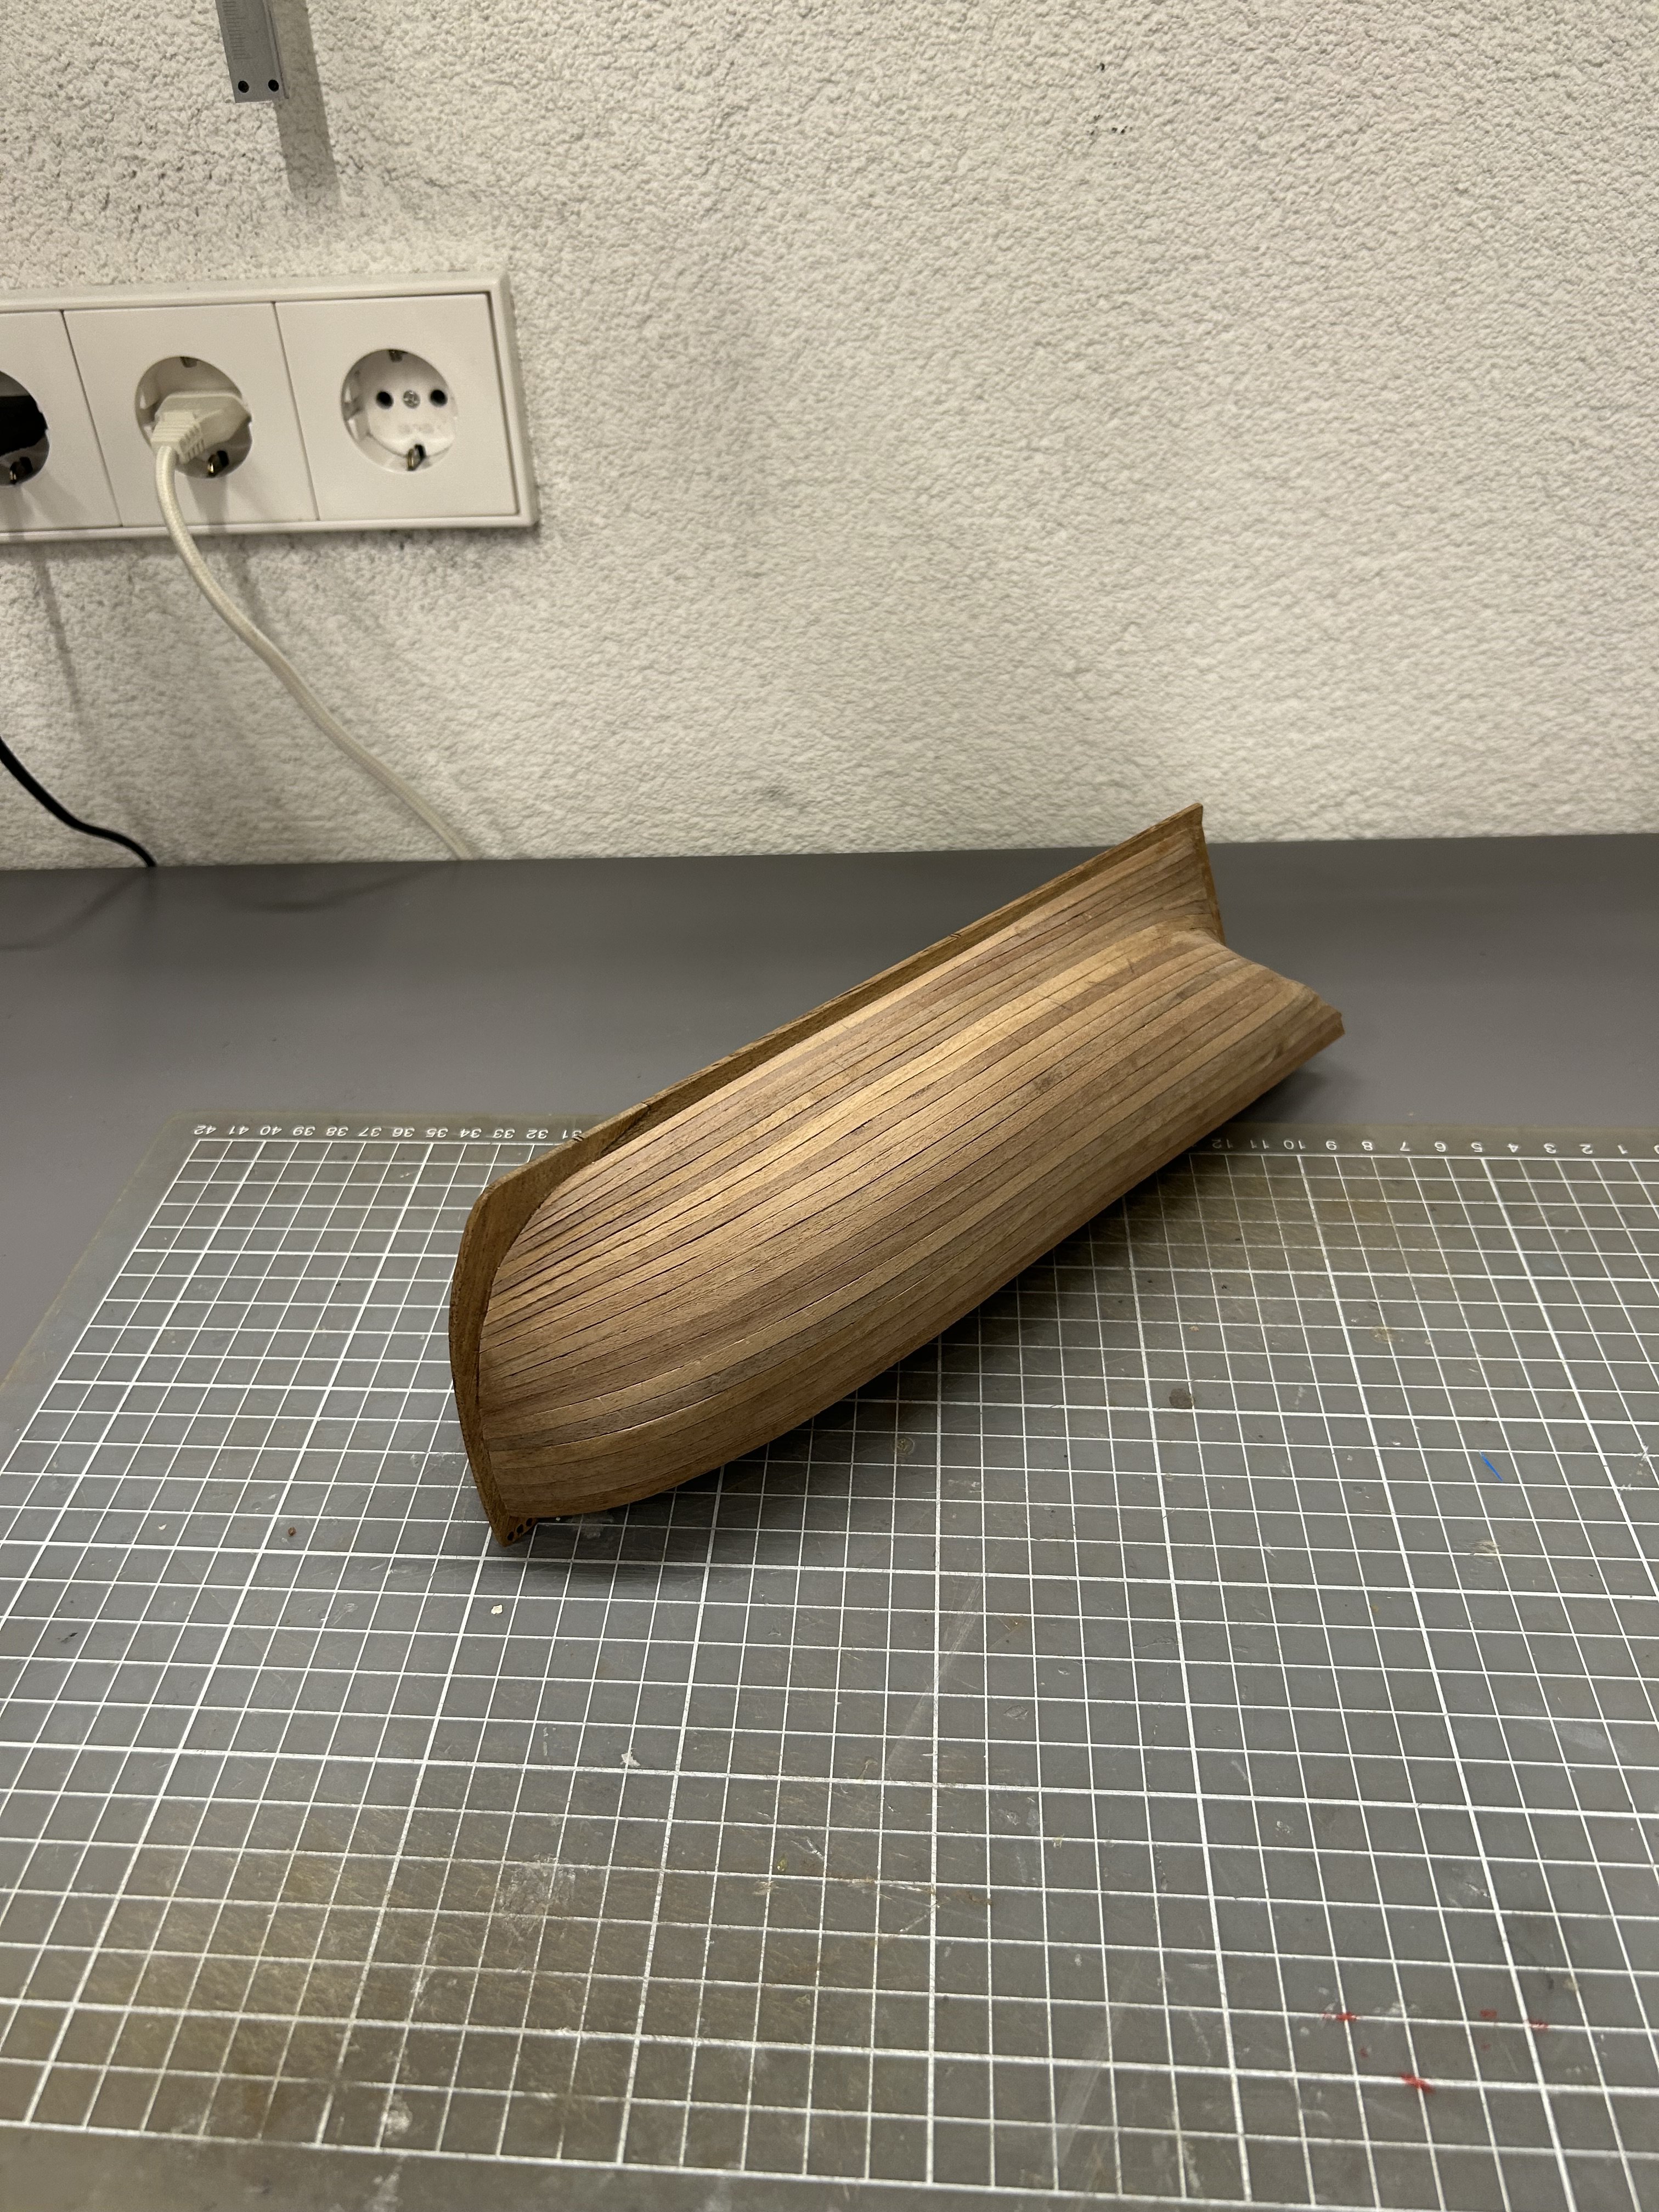
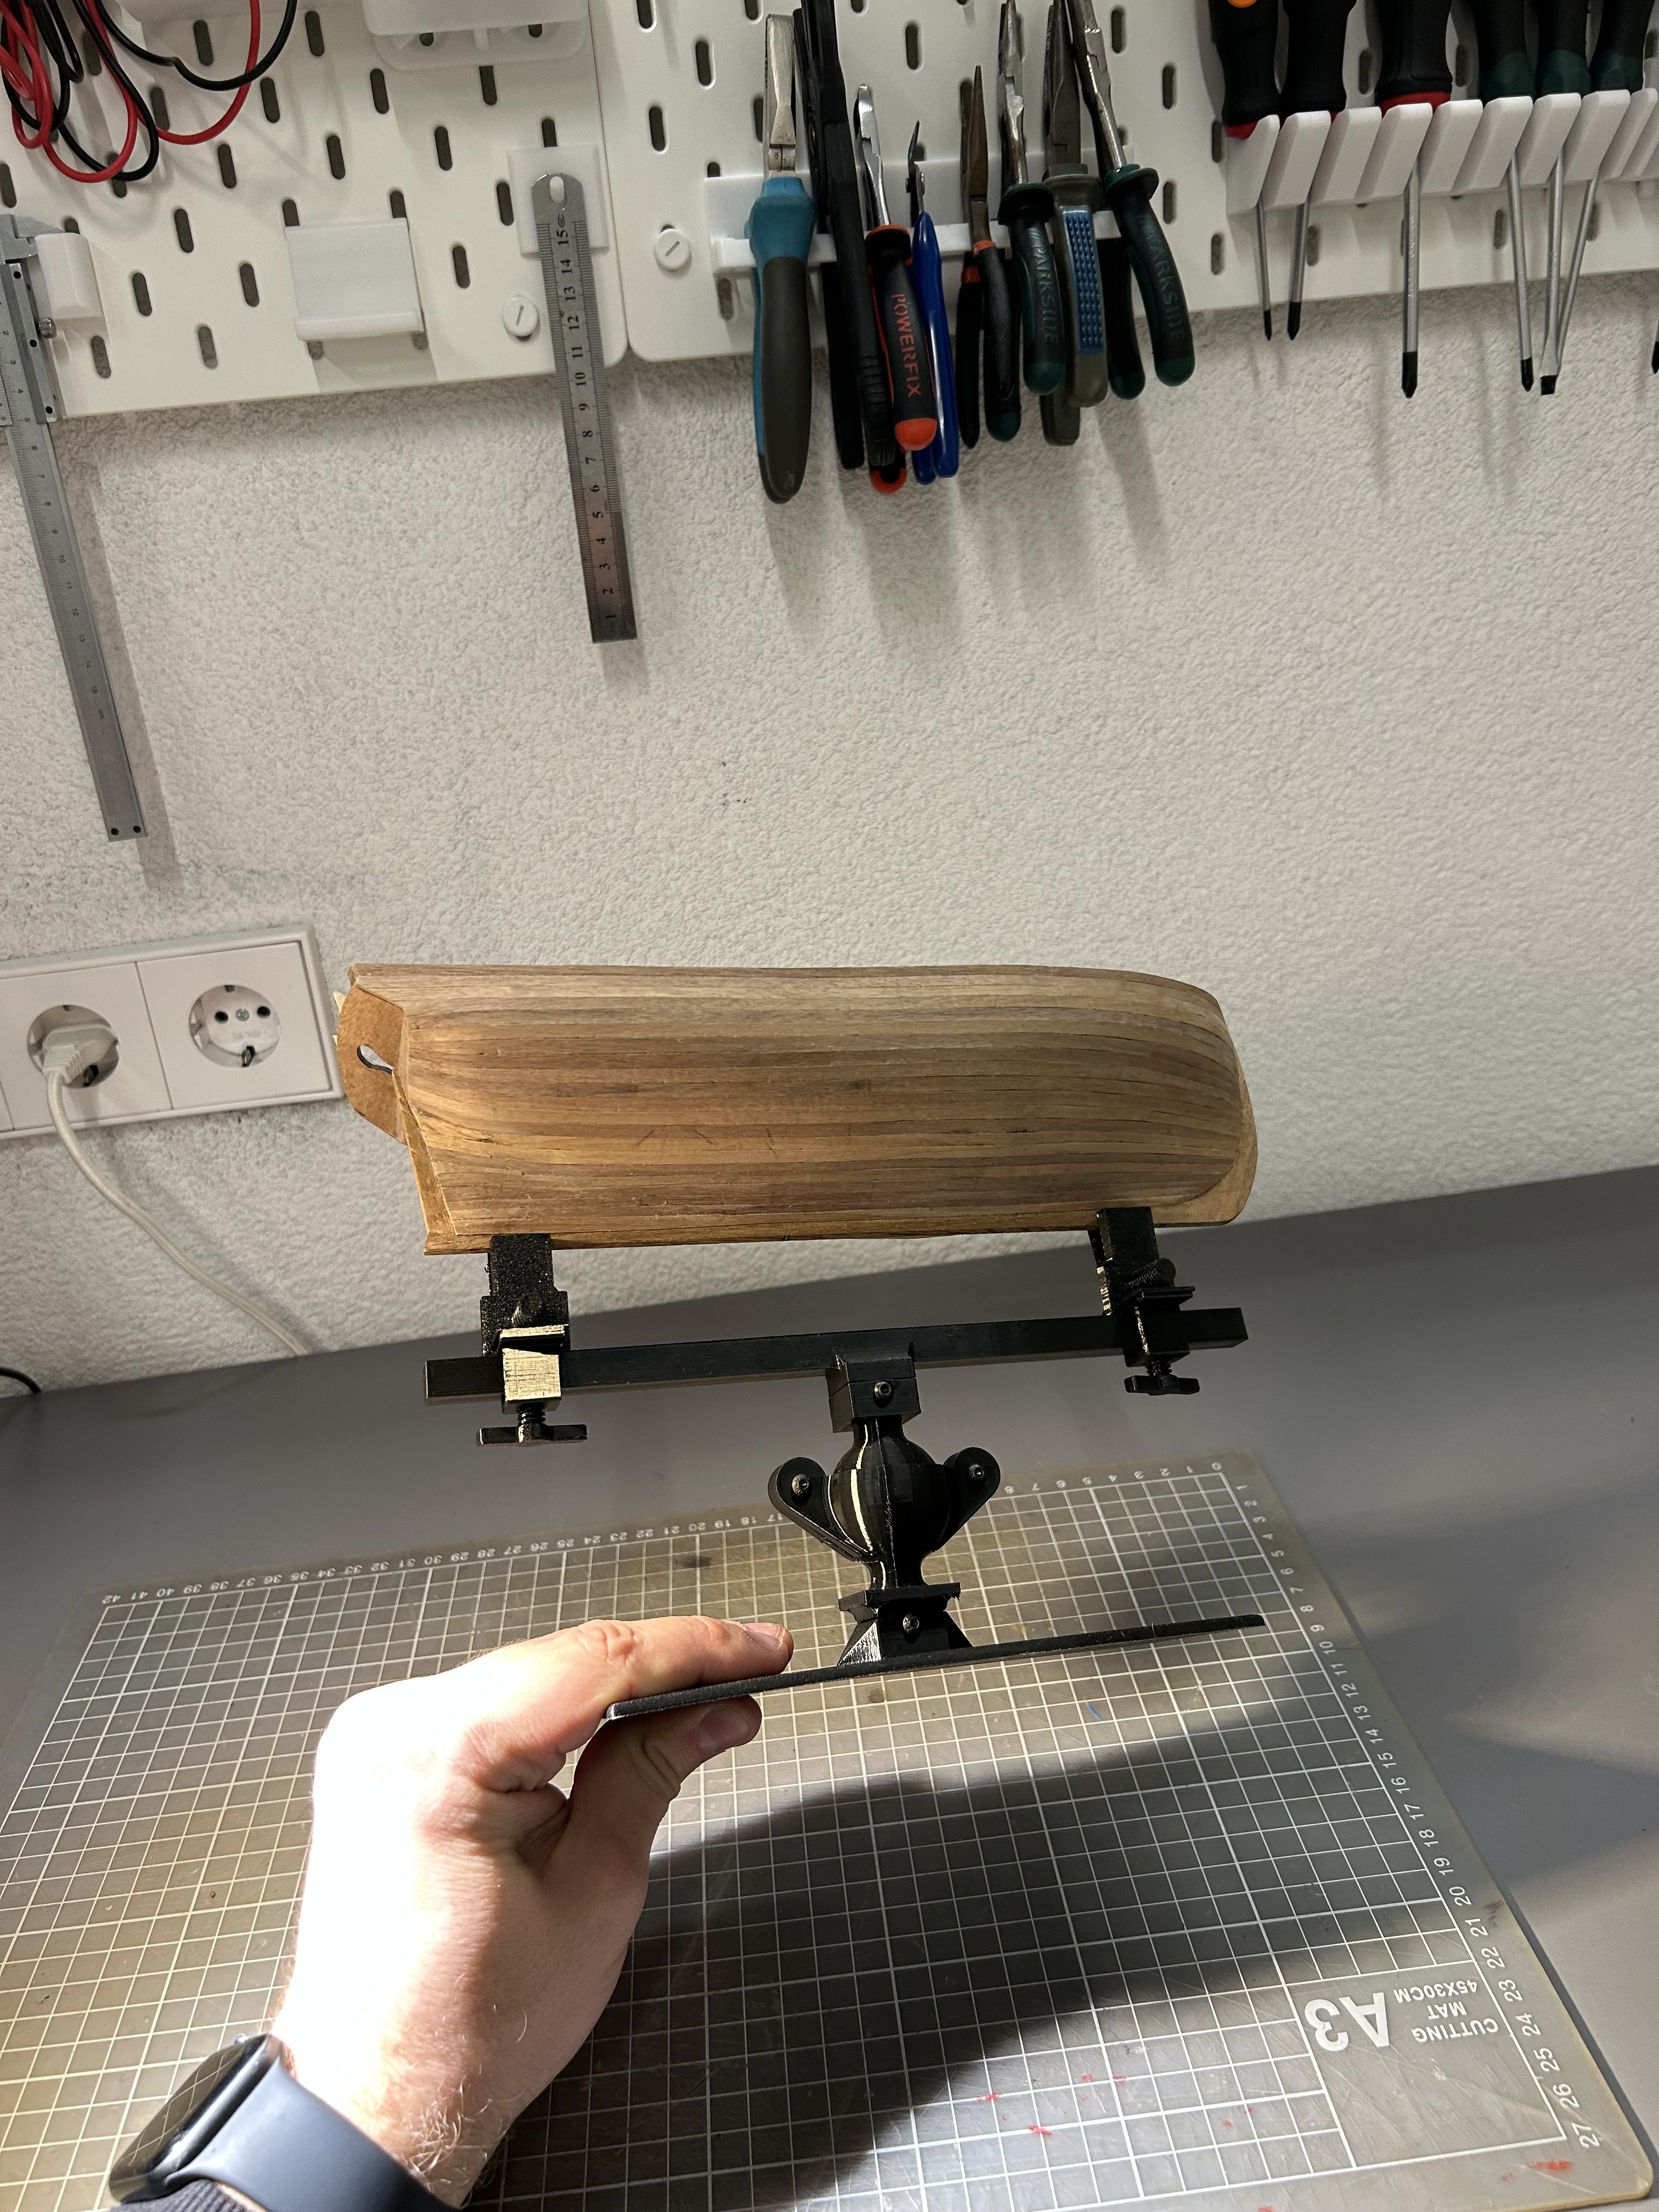
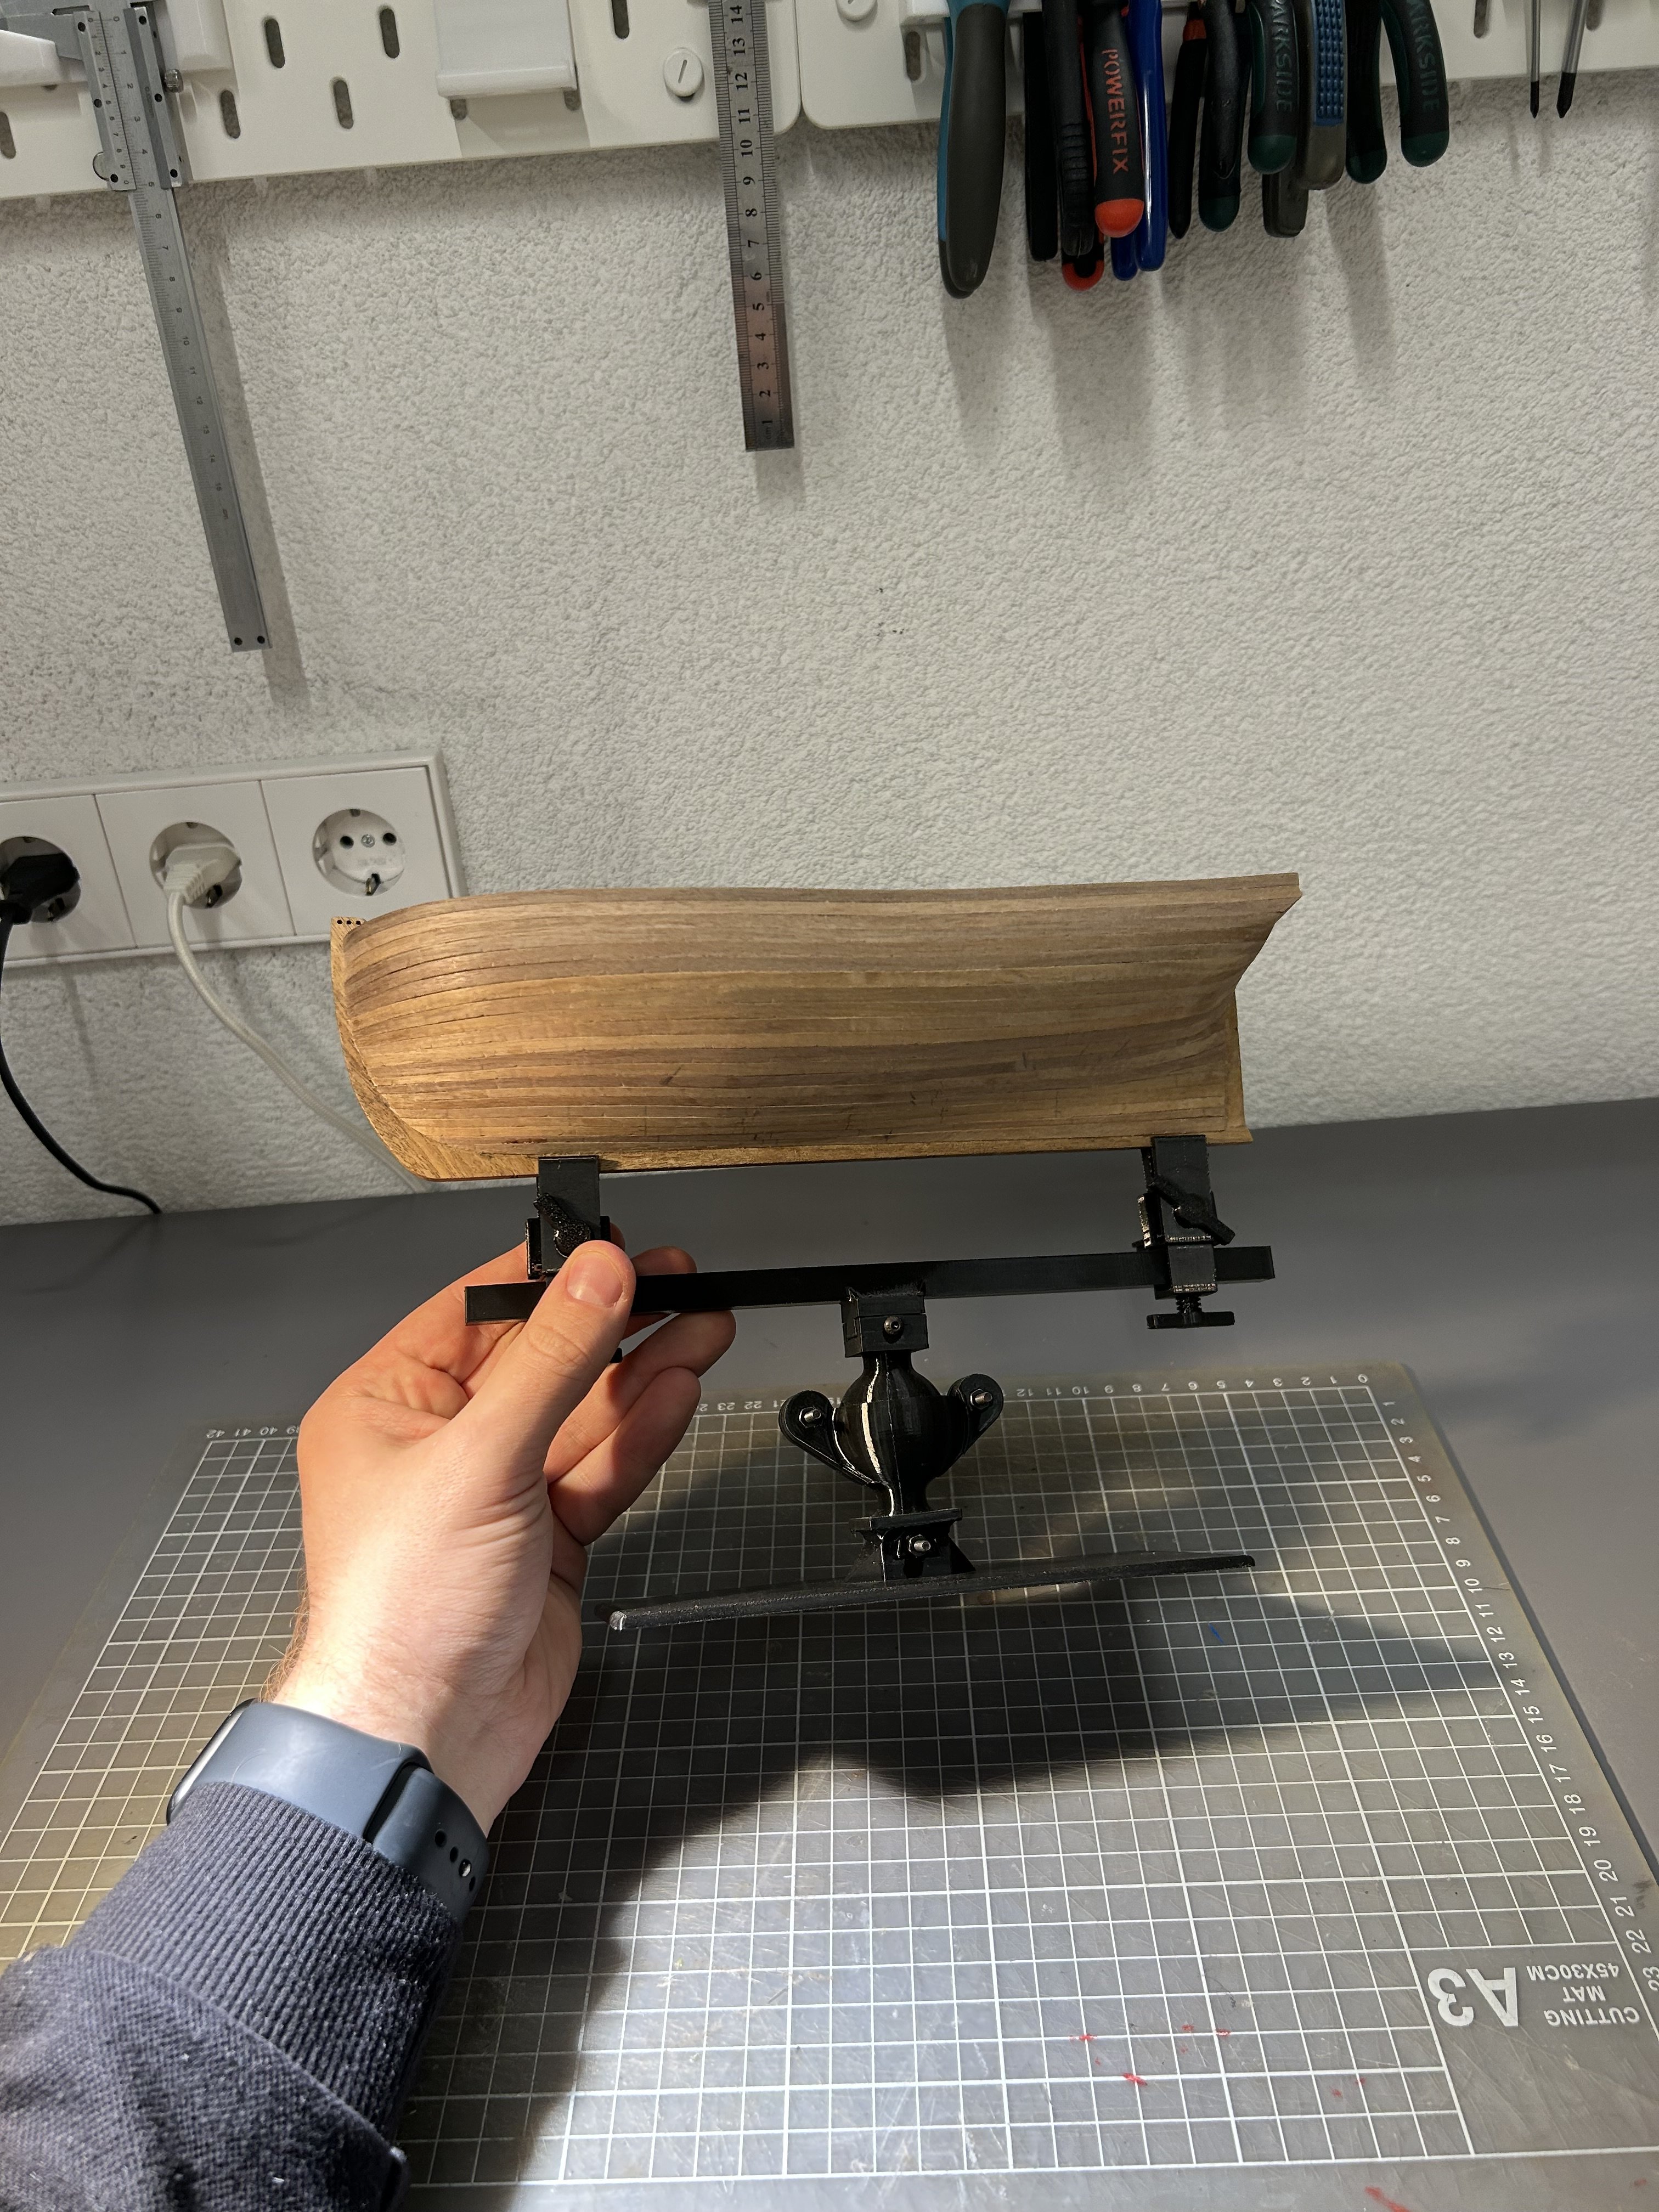
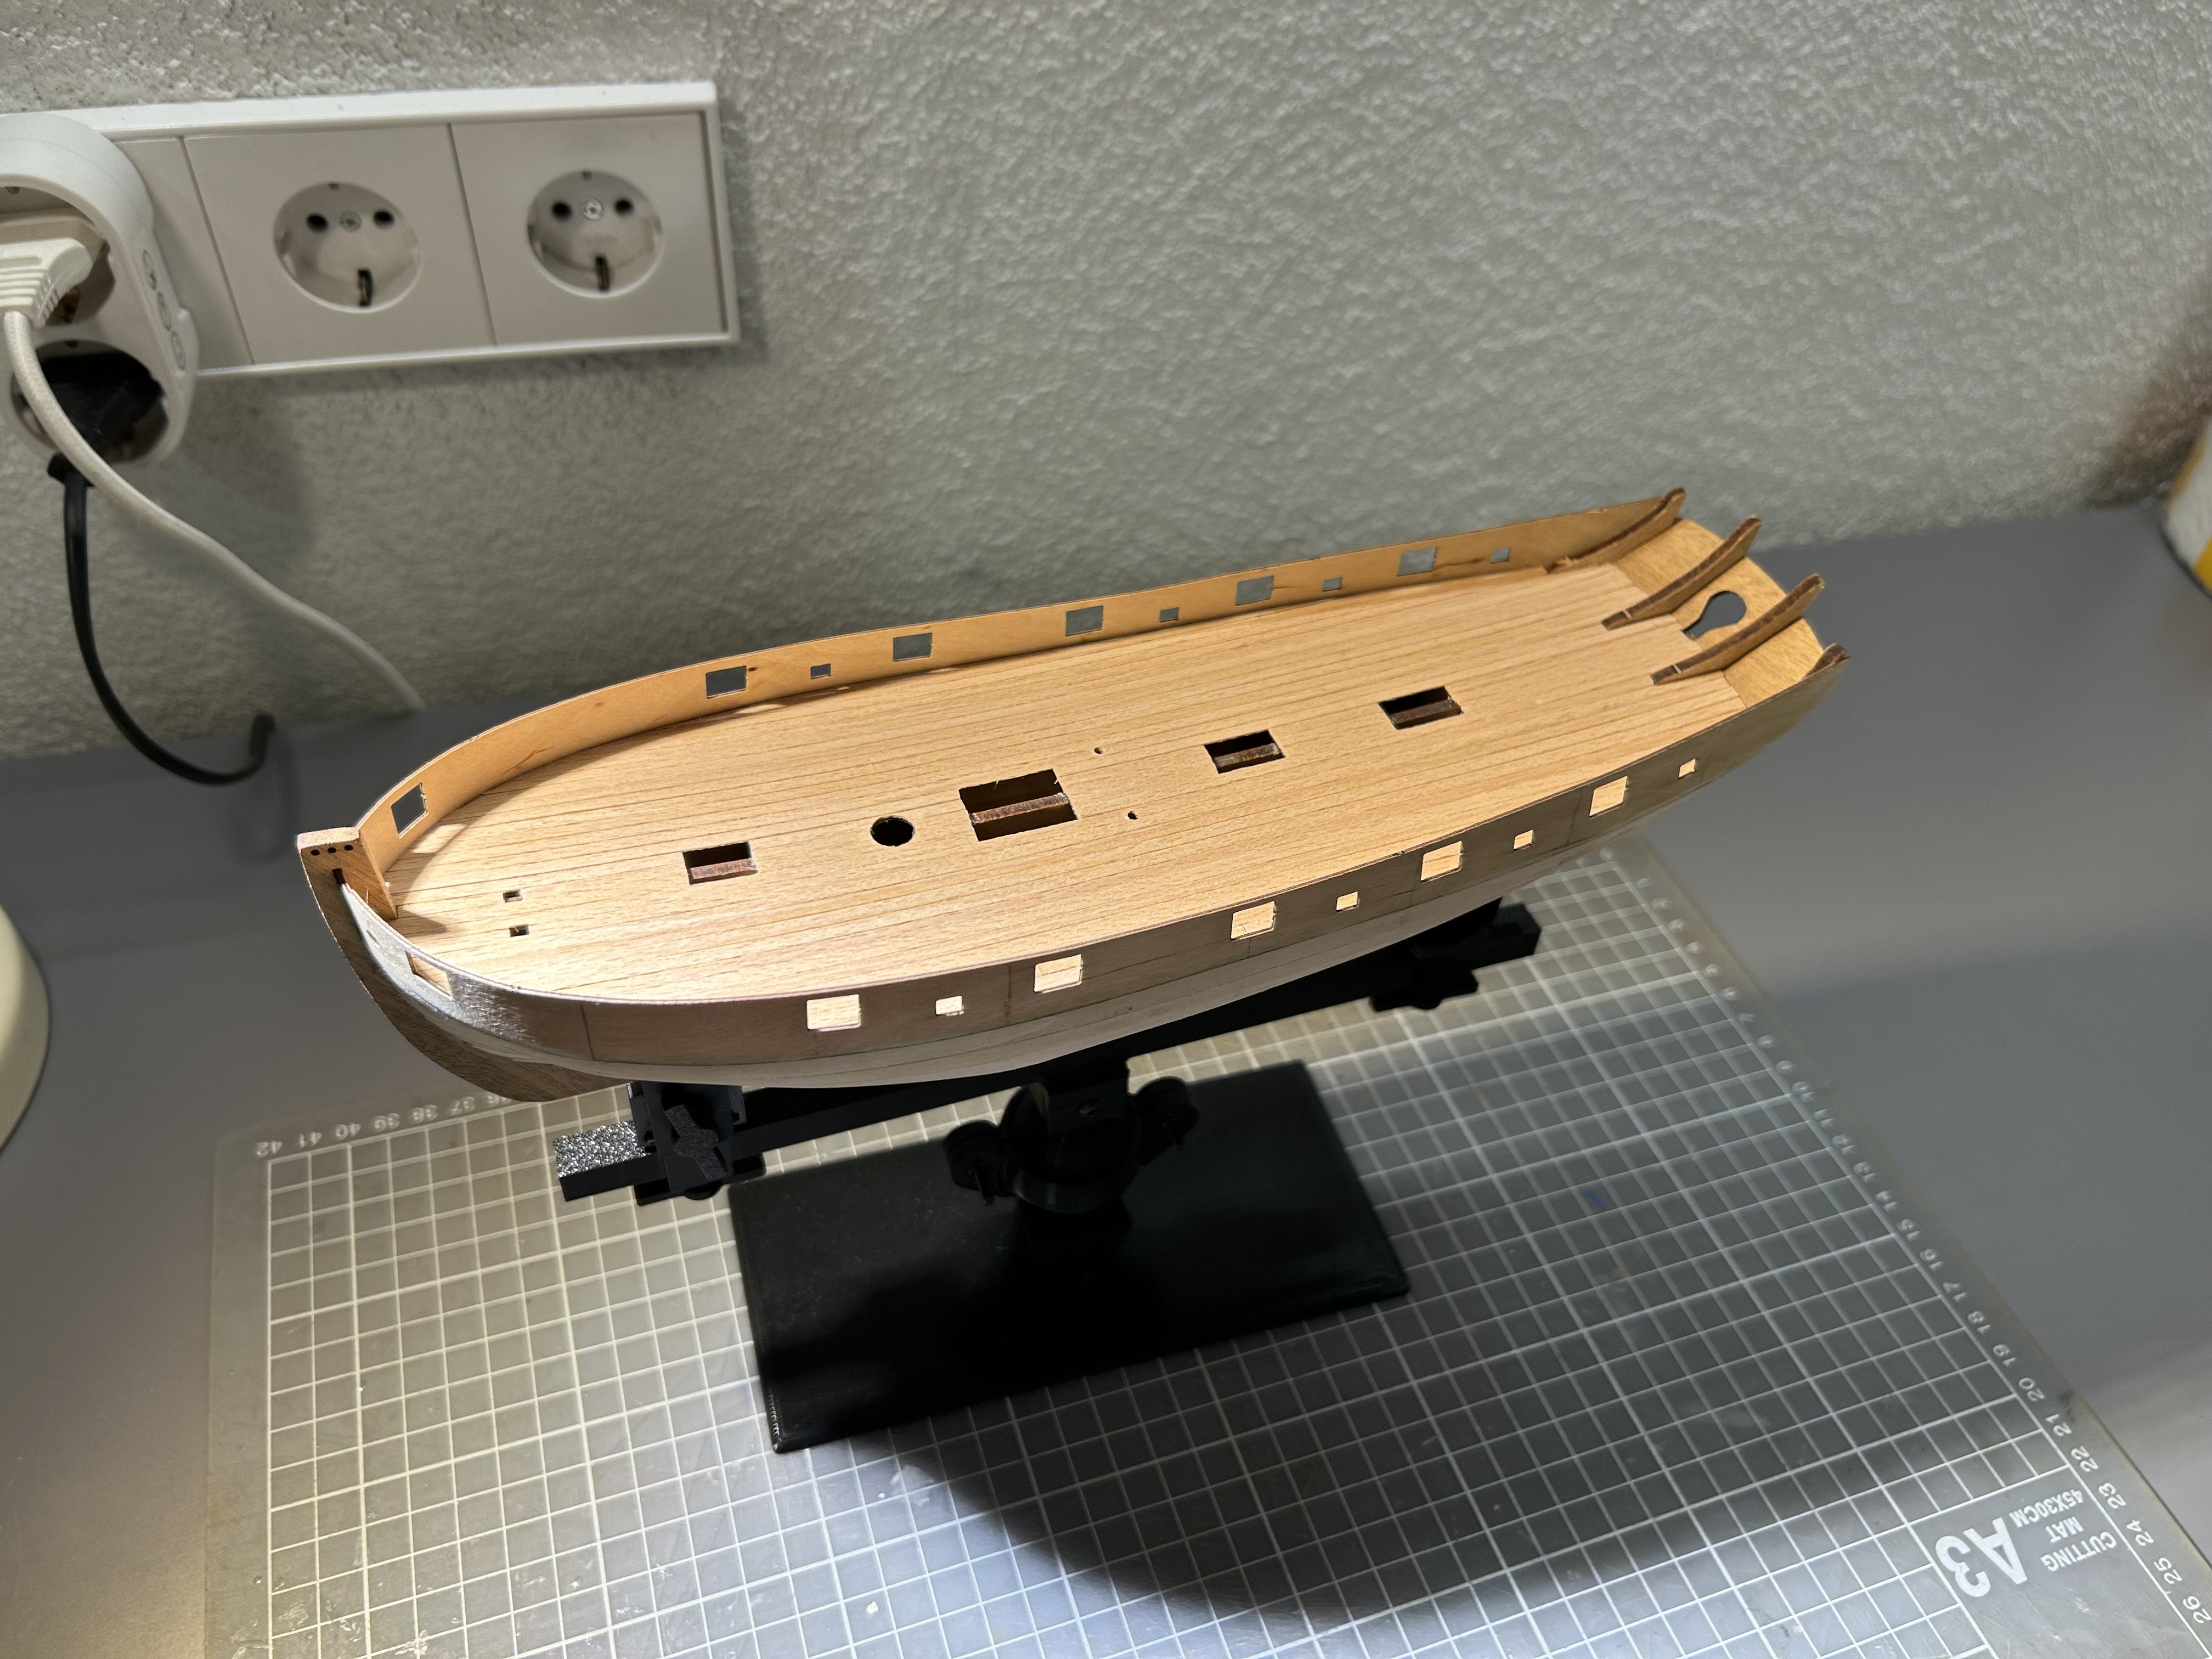
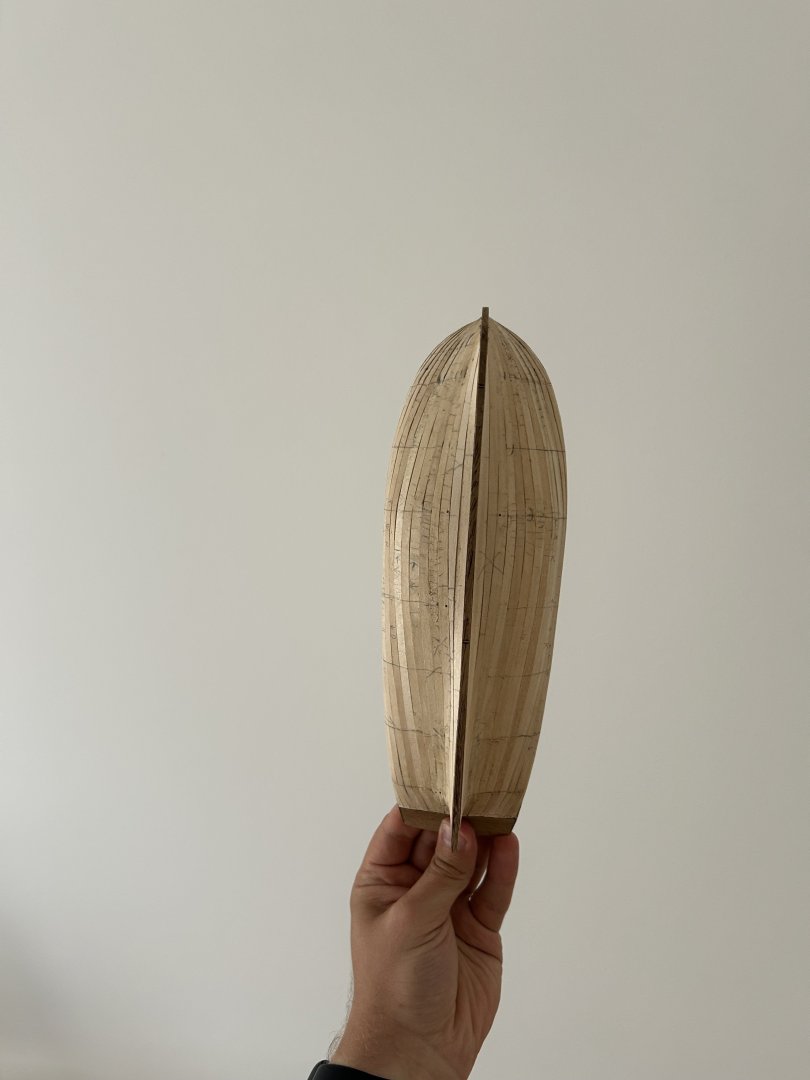
First batch of sanding I think I will do this process one or two times more and then I will be fully happy with the outcome I am not 100% sure yet, but it looks like no wood putty will be required on the hull.

- 45 replies
-
- 6
-
-

-
- Lady Nelson
- Amati
- (and 1 more)
-
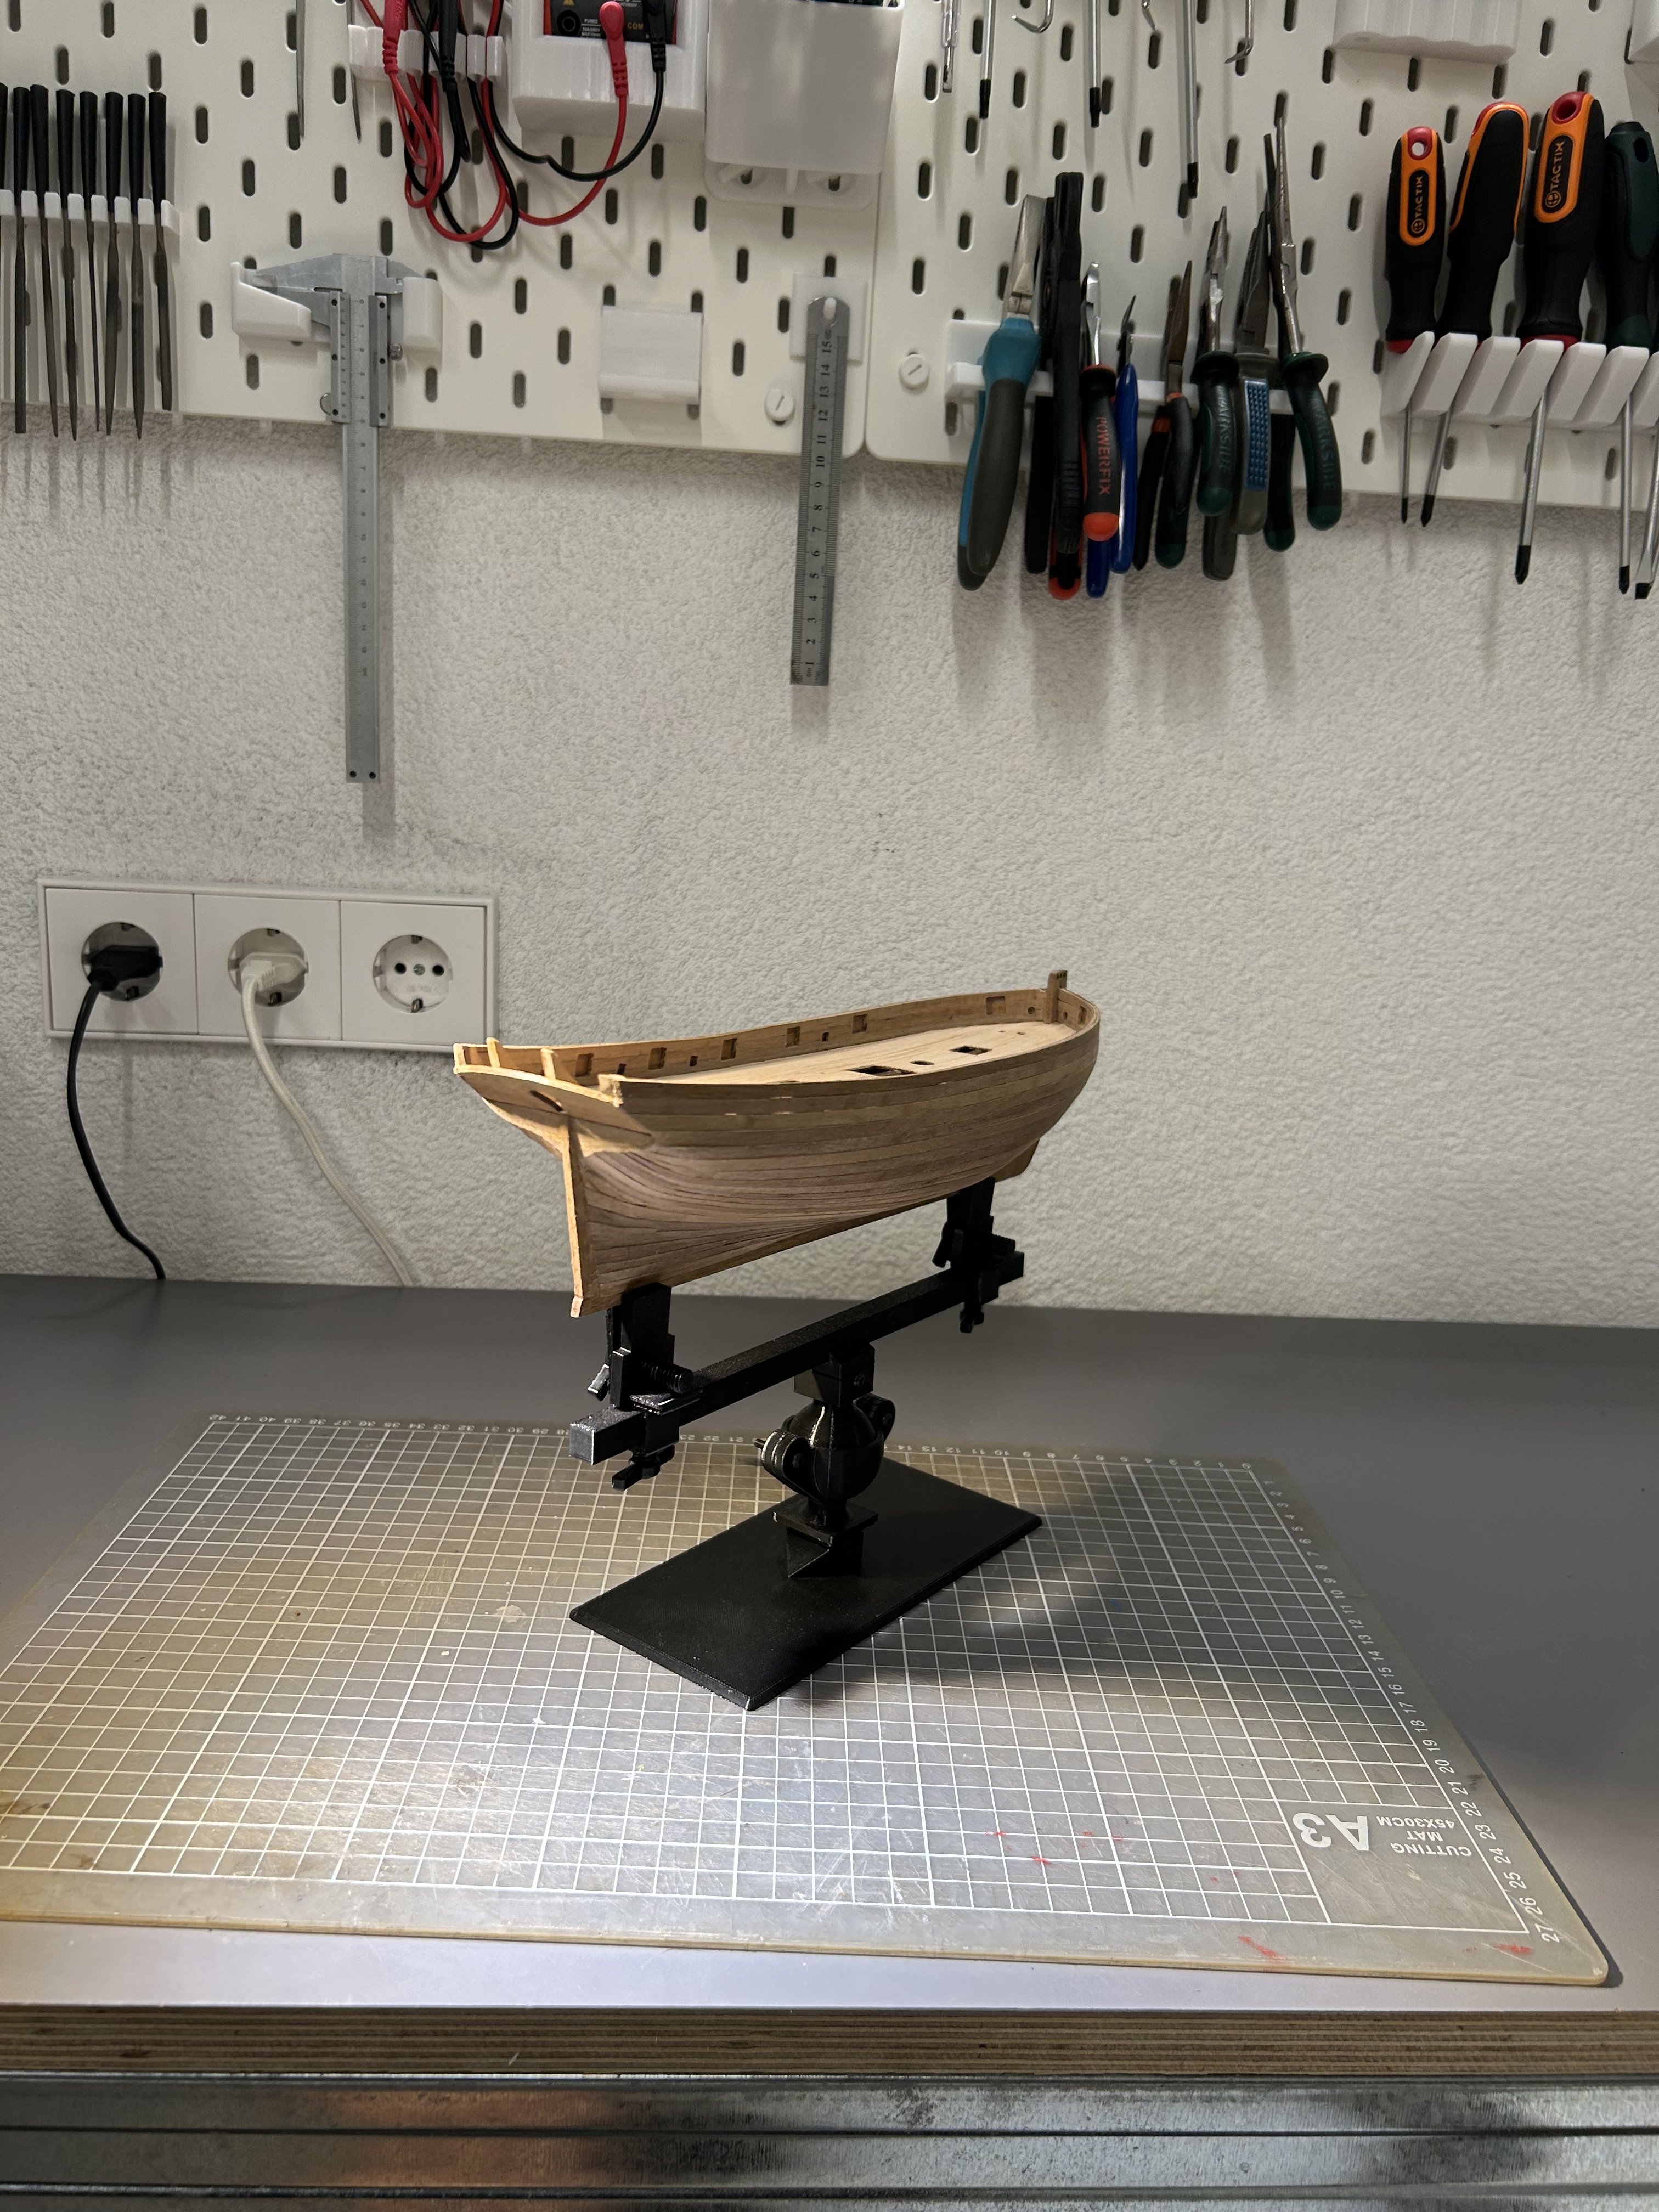
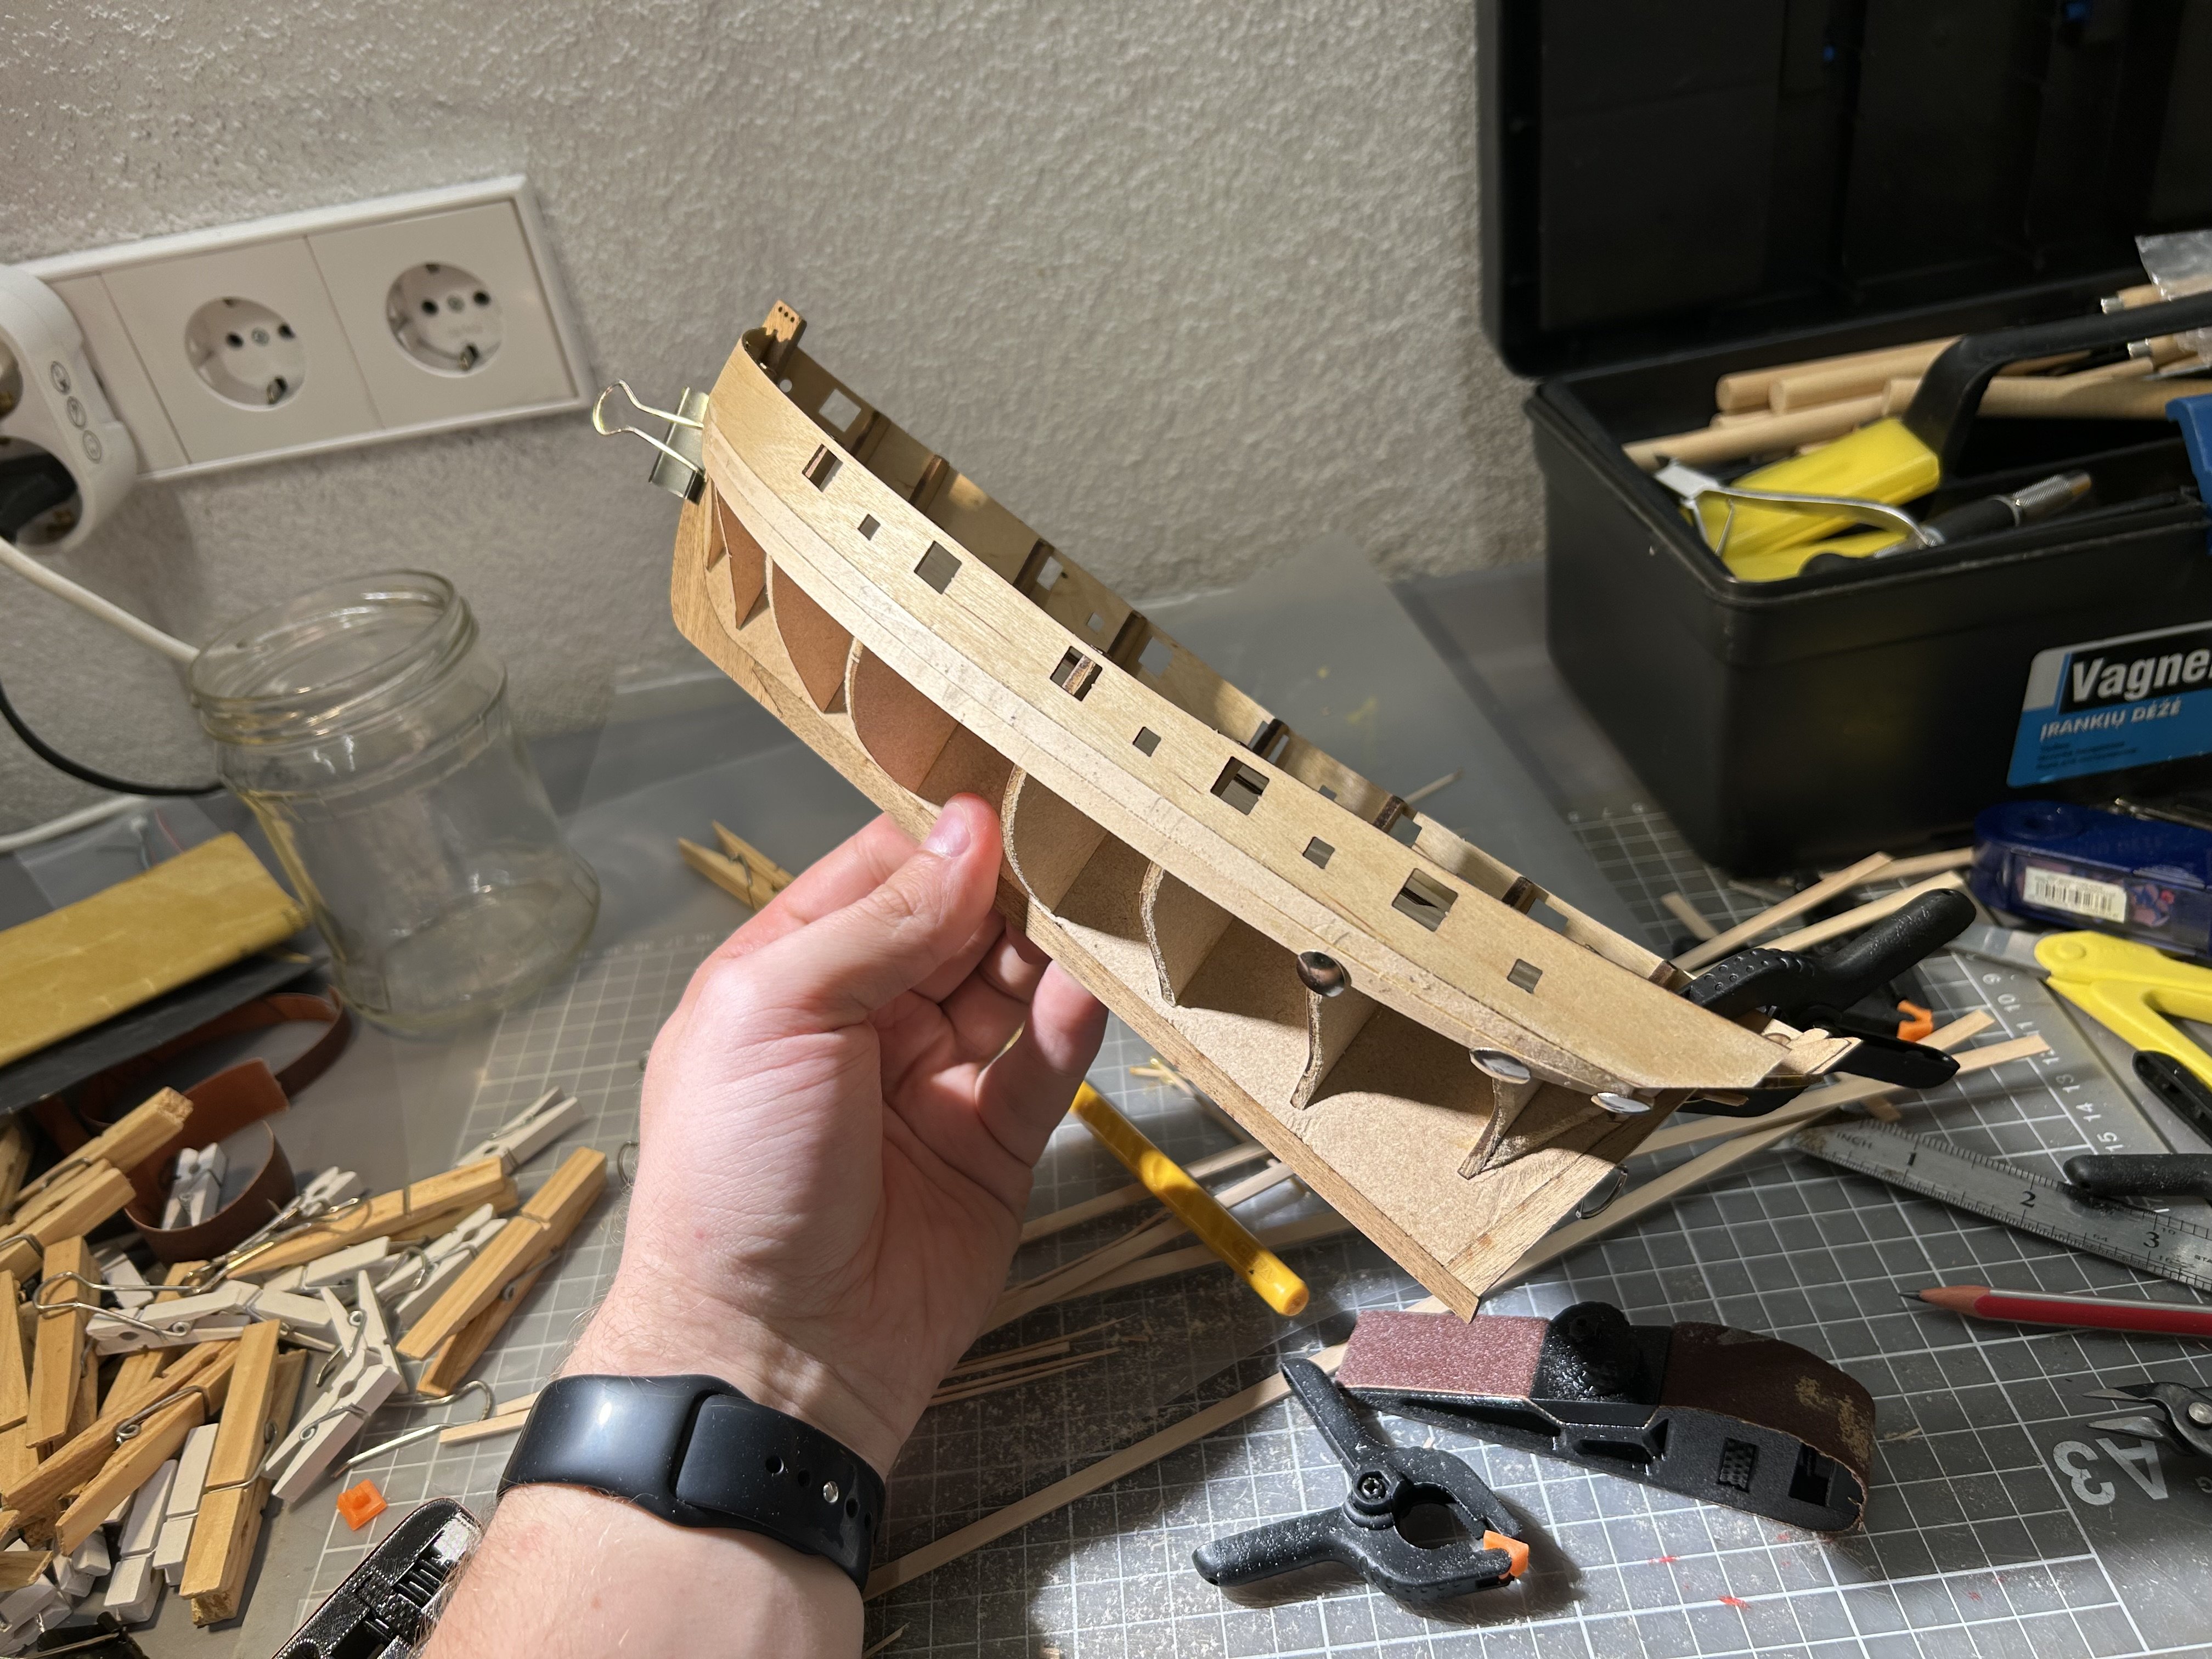
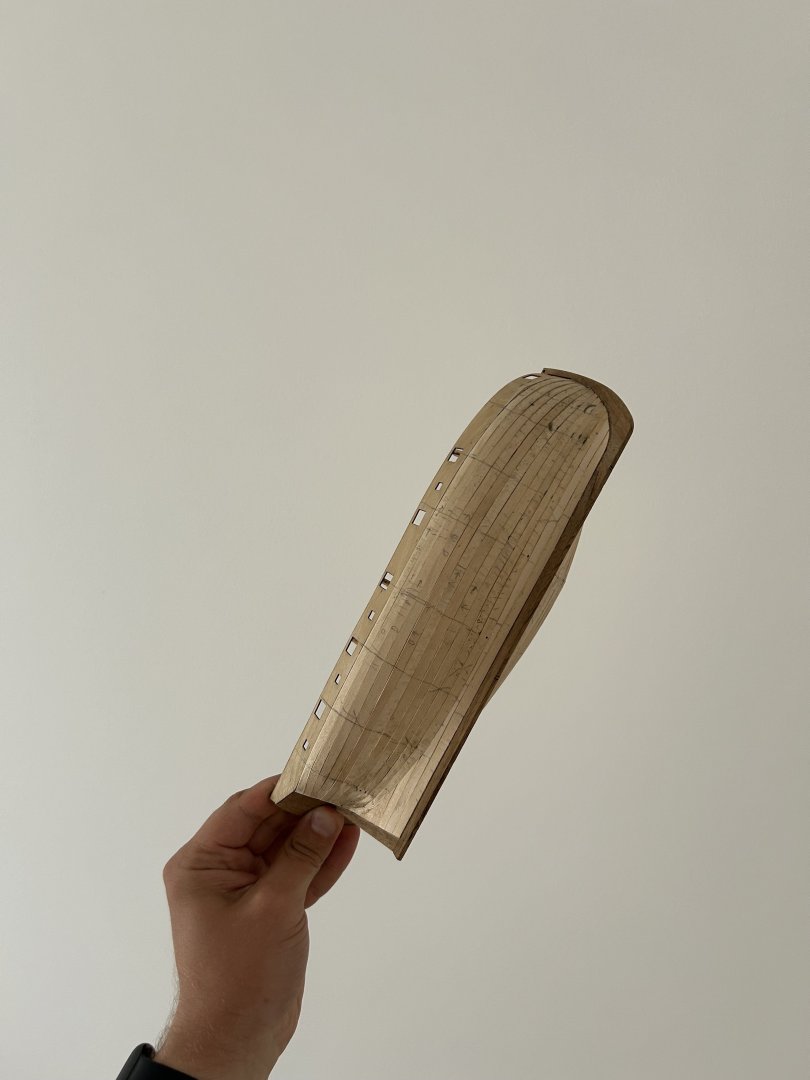
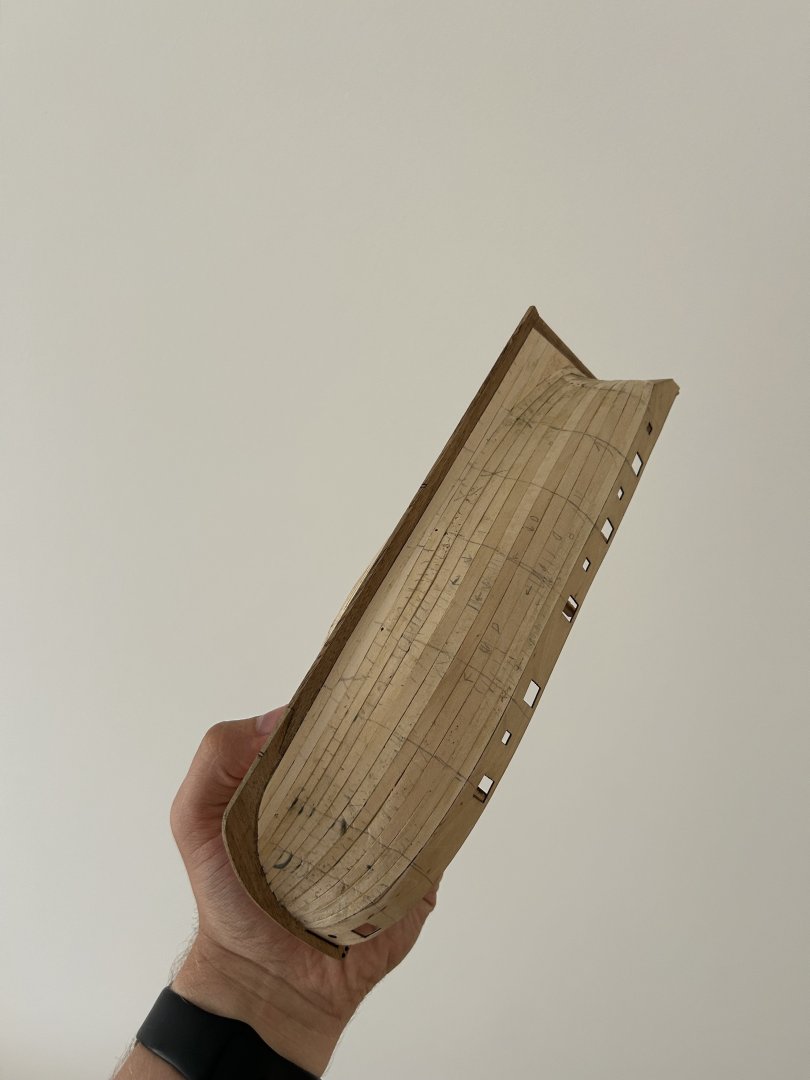
First layer of planks - done. A lot of slow and careful sanding is next. Will add some wood putty as well where it is necessary

- 45 replies
-
- 4
-
-
- Lady Nelson
- Amati
- (and 1 more)
-
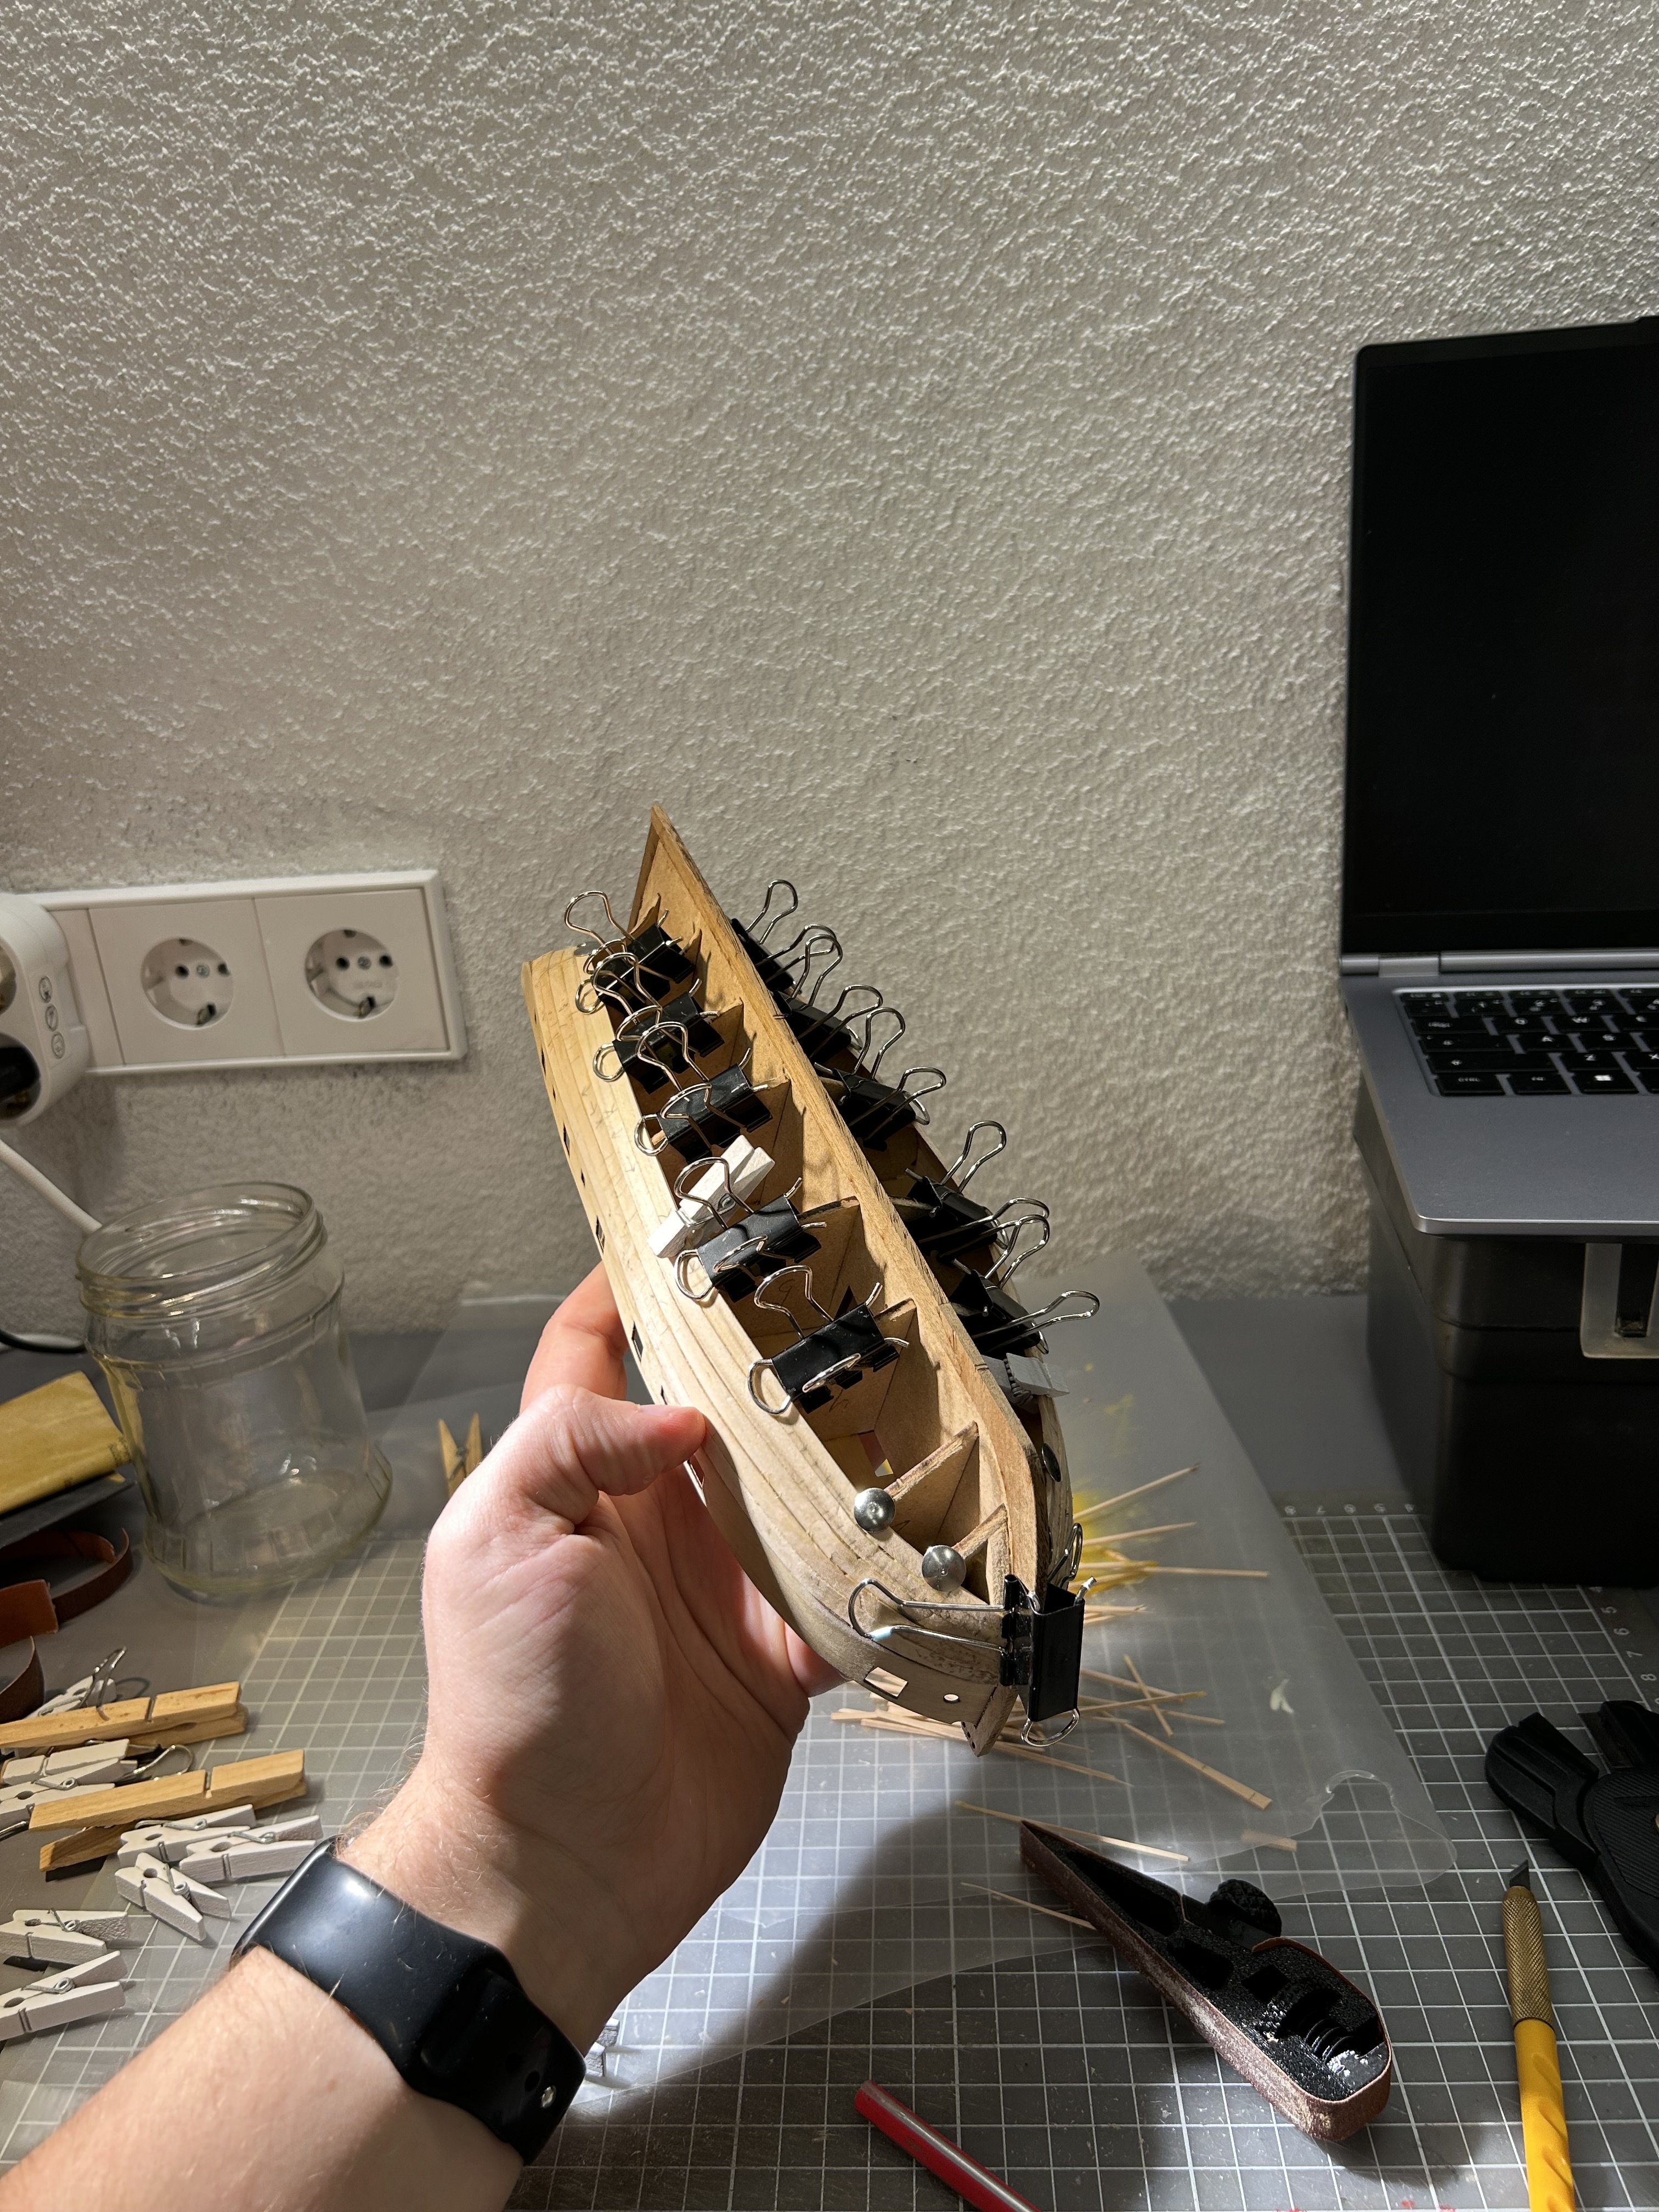
Few more! For every future builder - start using stealers earlier than I did. You will have an easier life 😆 I have realised that I need to use these a bit too late. It is good that it is just a first layer of planks, so I will not repeat the same mistake twice


- 45 replies
-
- 2
-
-
- Lady Nelson
- Amati
- (and 1 more)
-
1 more! I am getting nervous how I will be able to add the last planks 😆

- 45 replies
-
- 3
-
-
- Lady Nelson
- Amati
- (and 1 more)
-
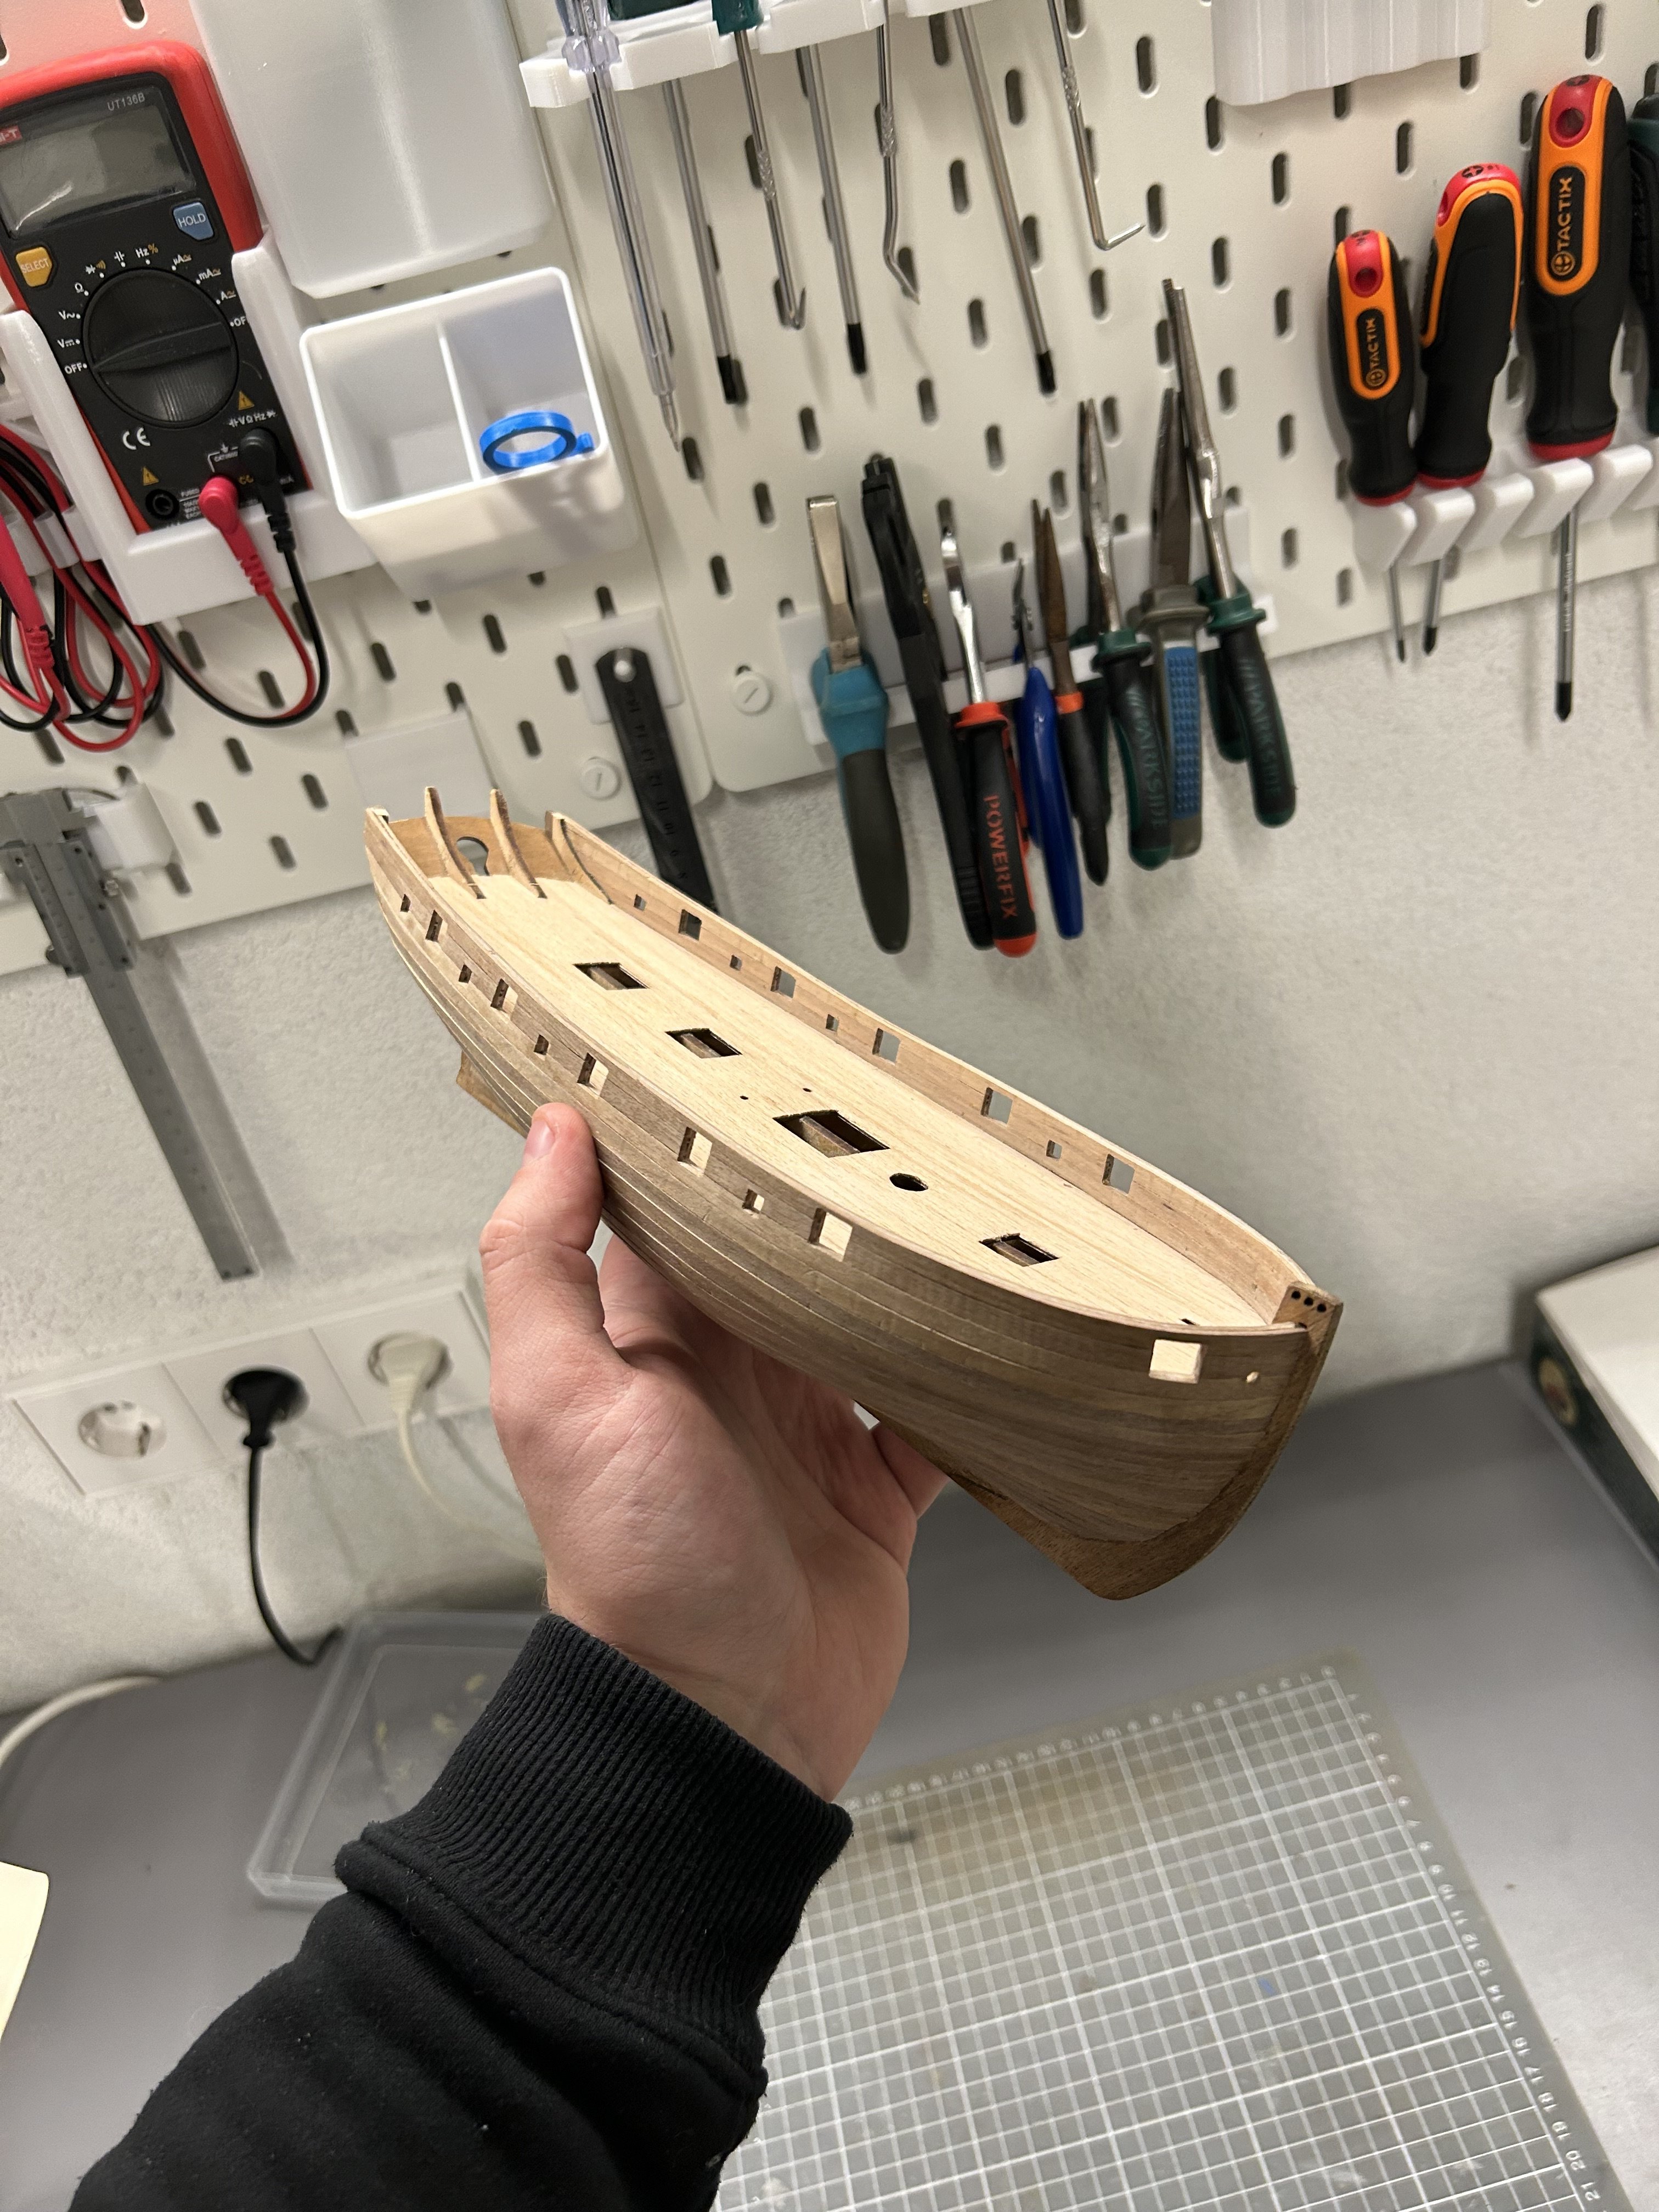
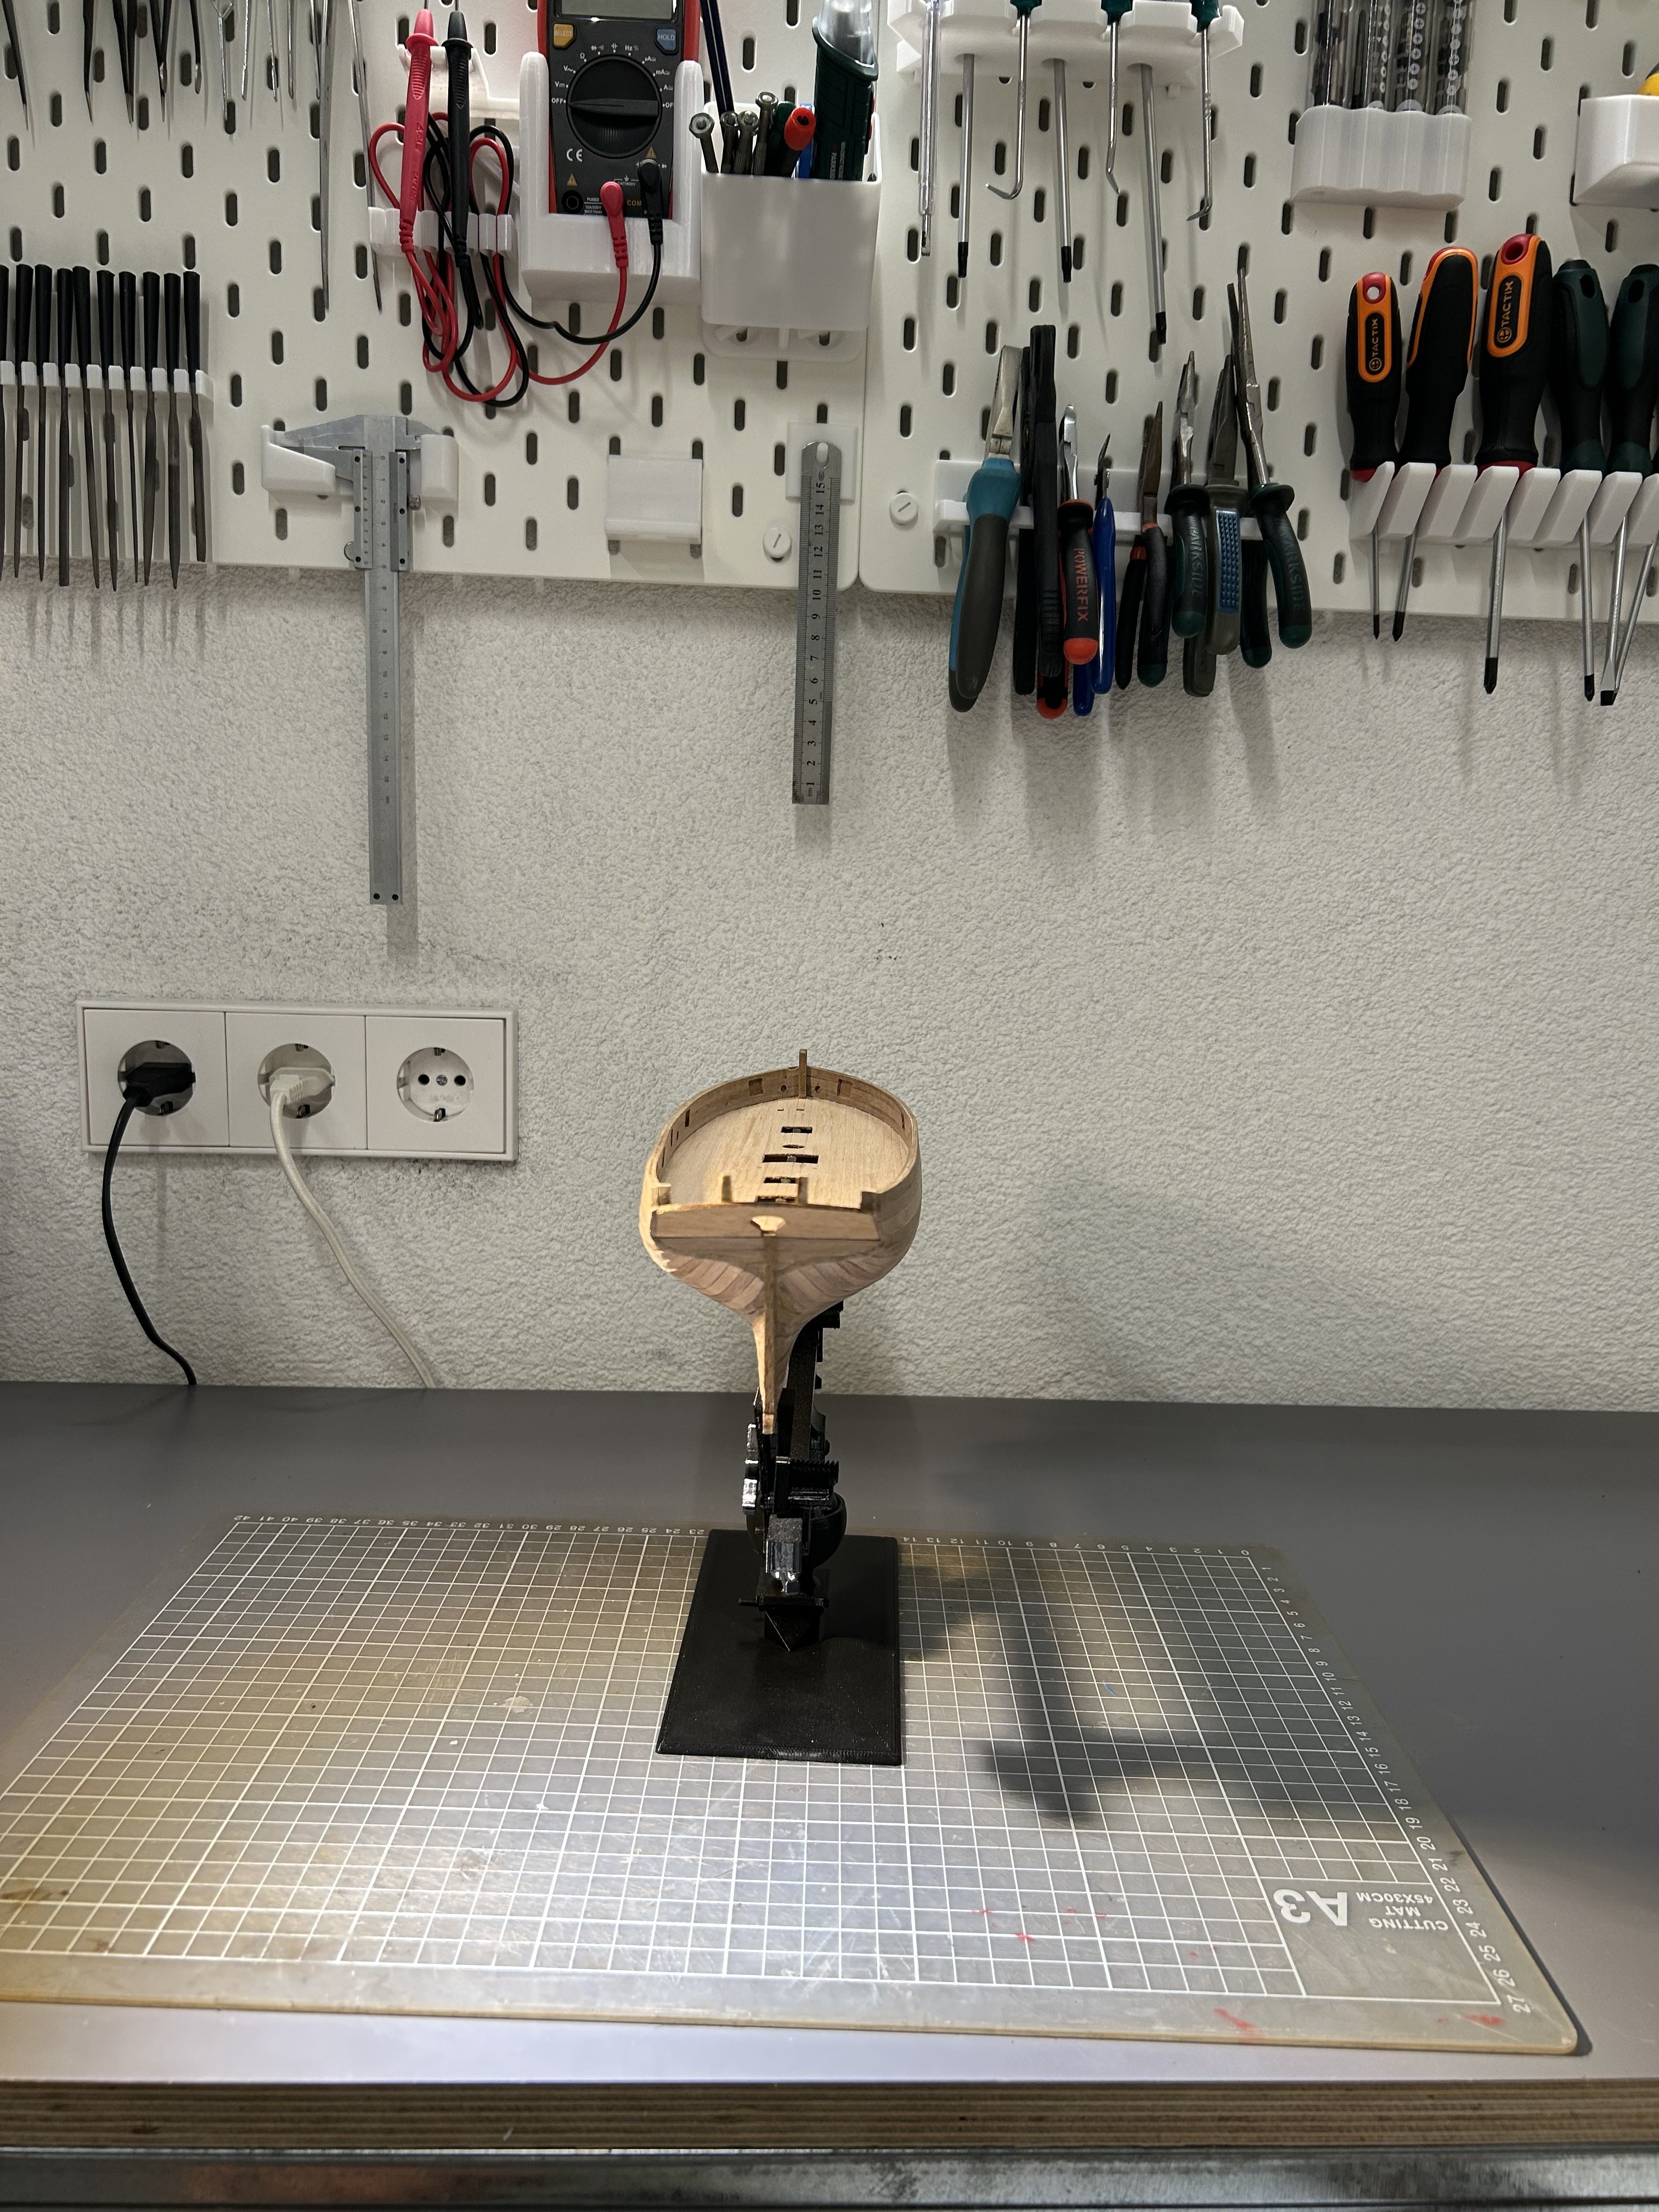
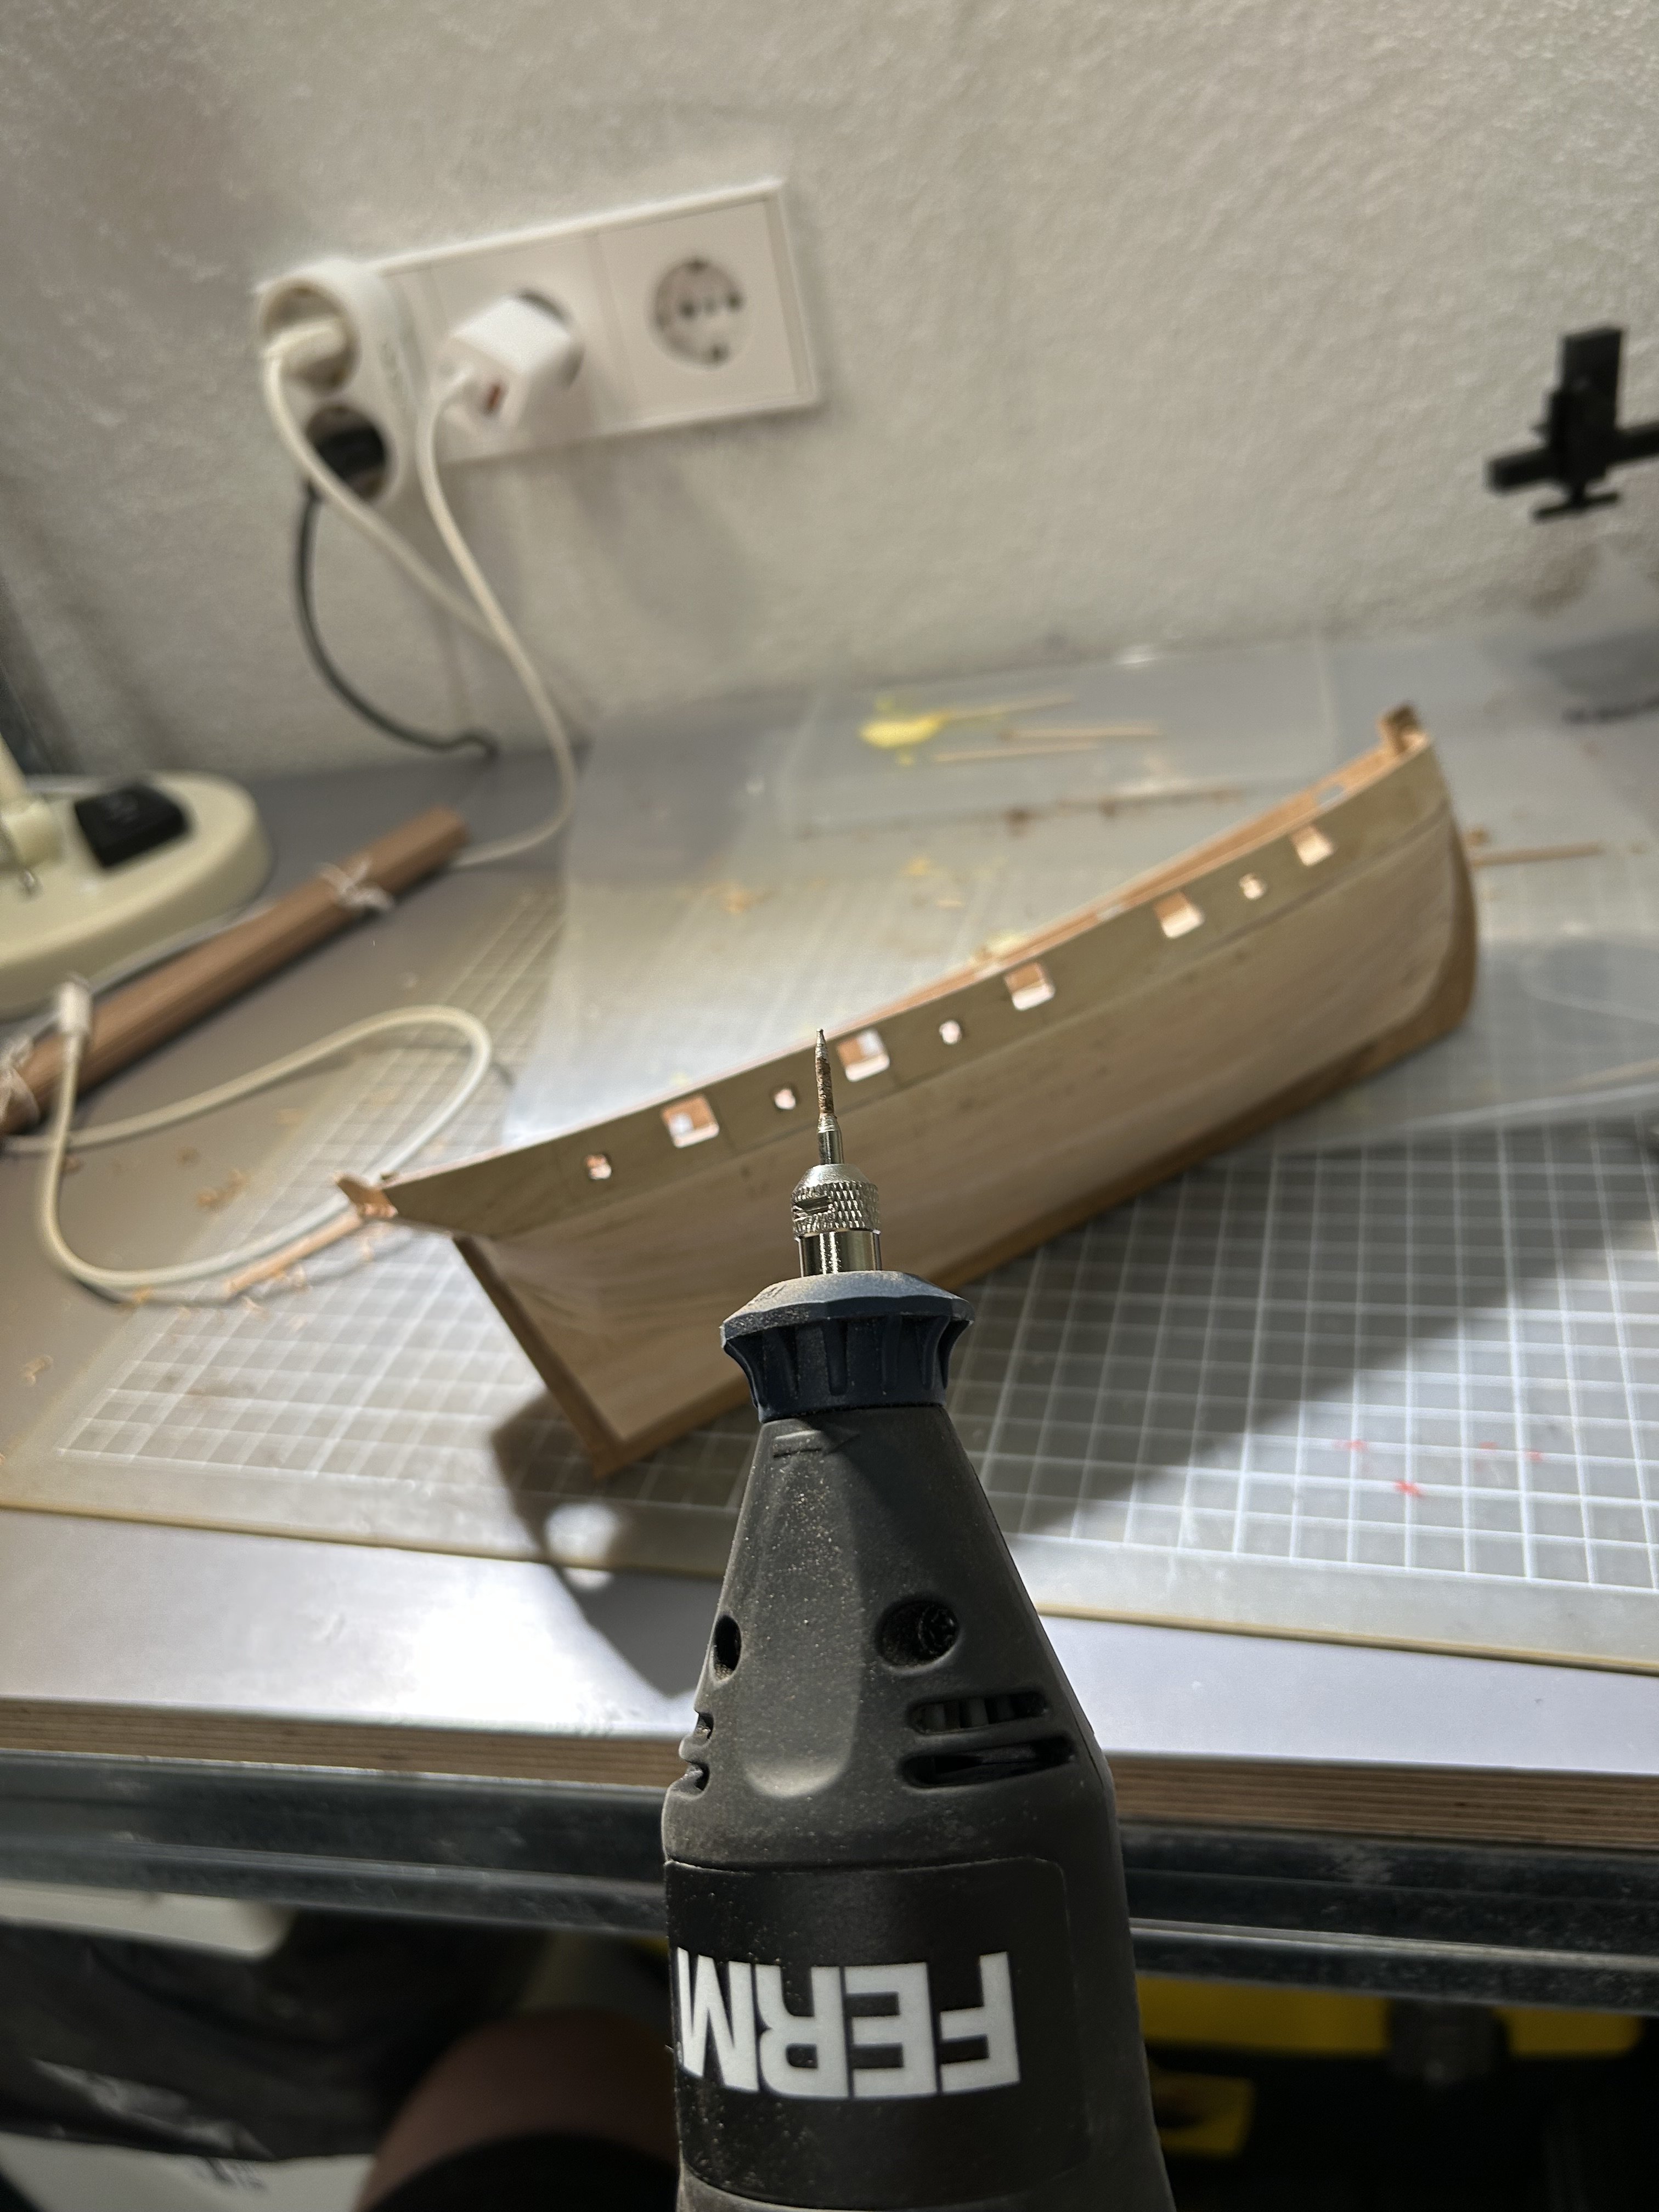
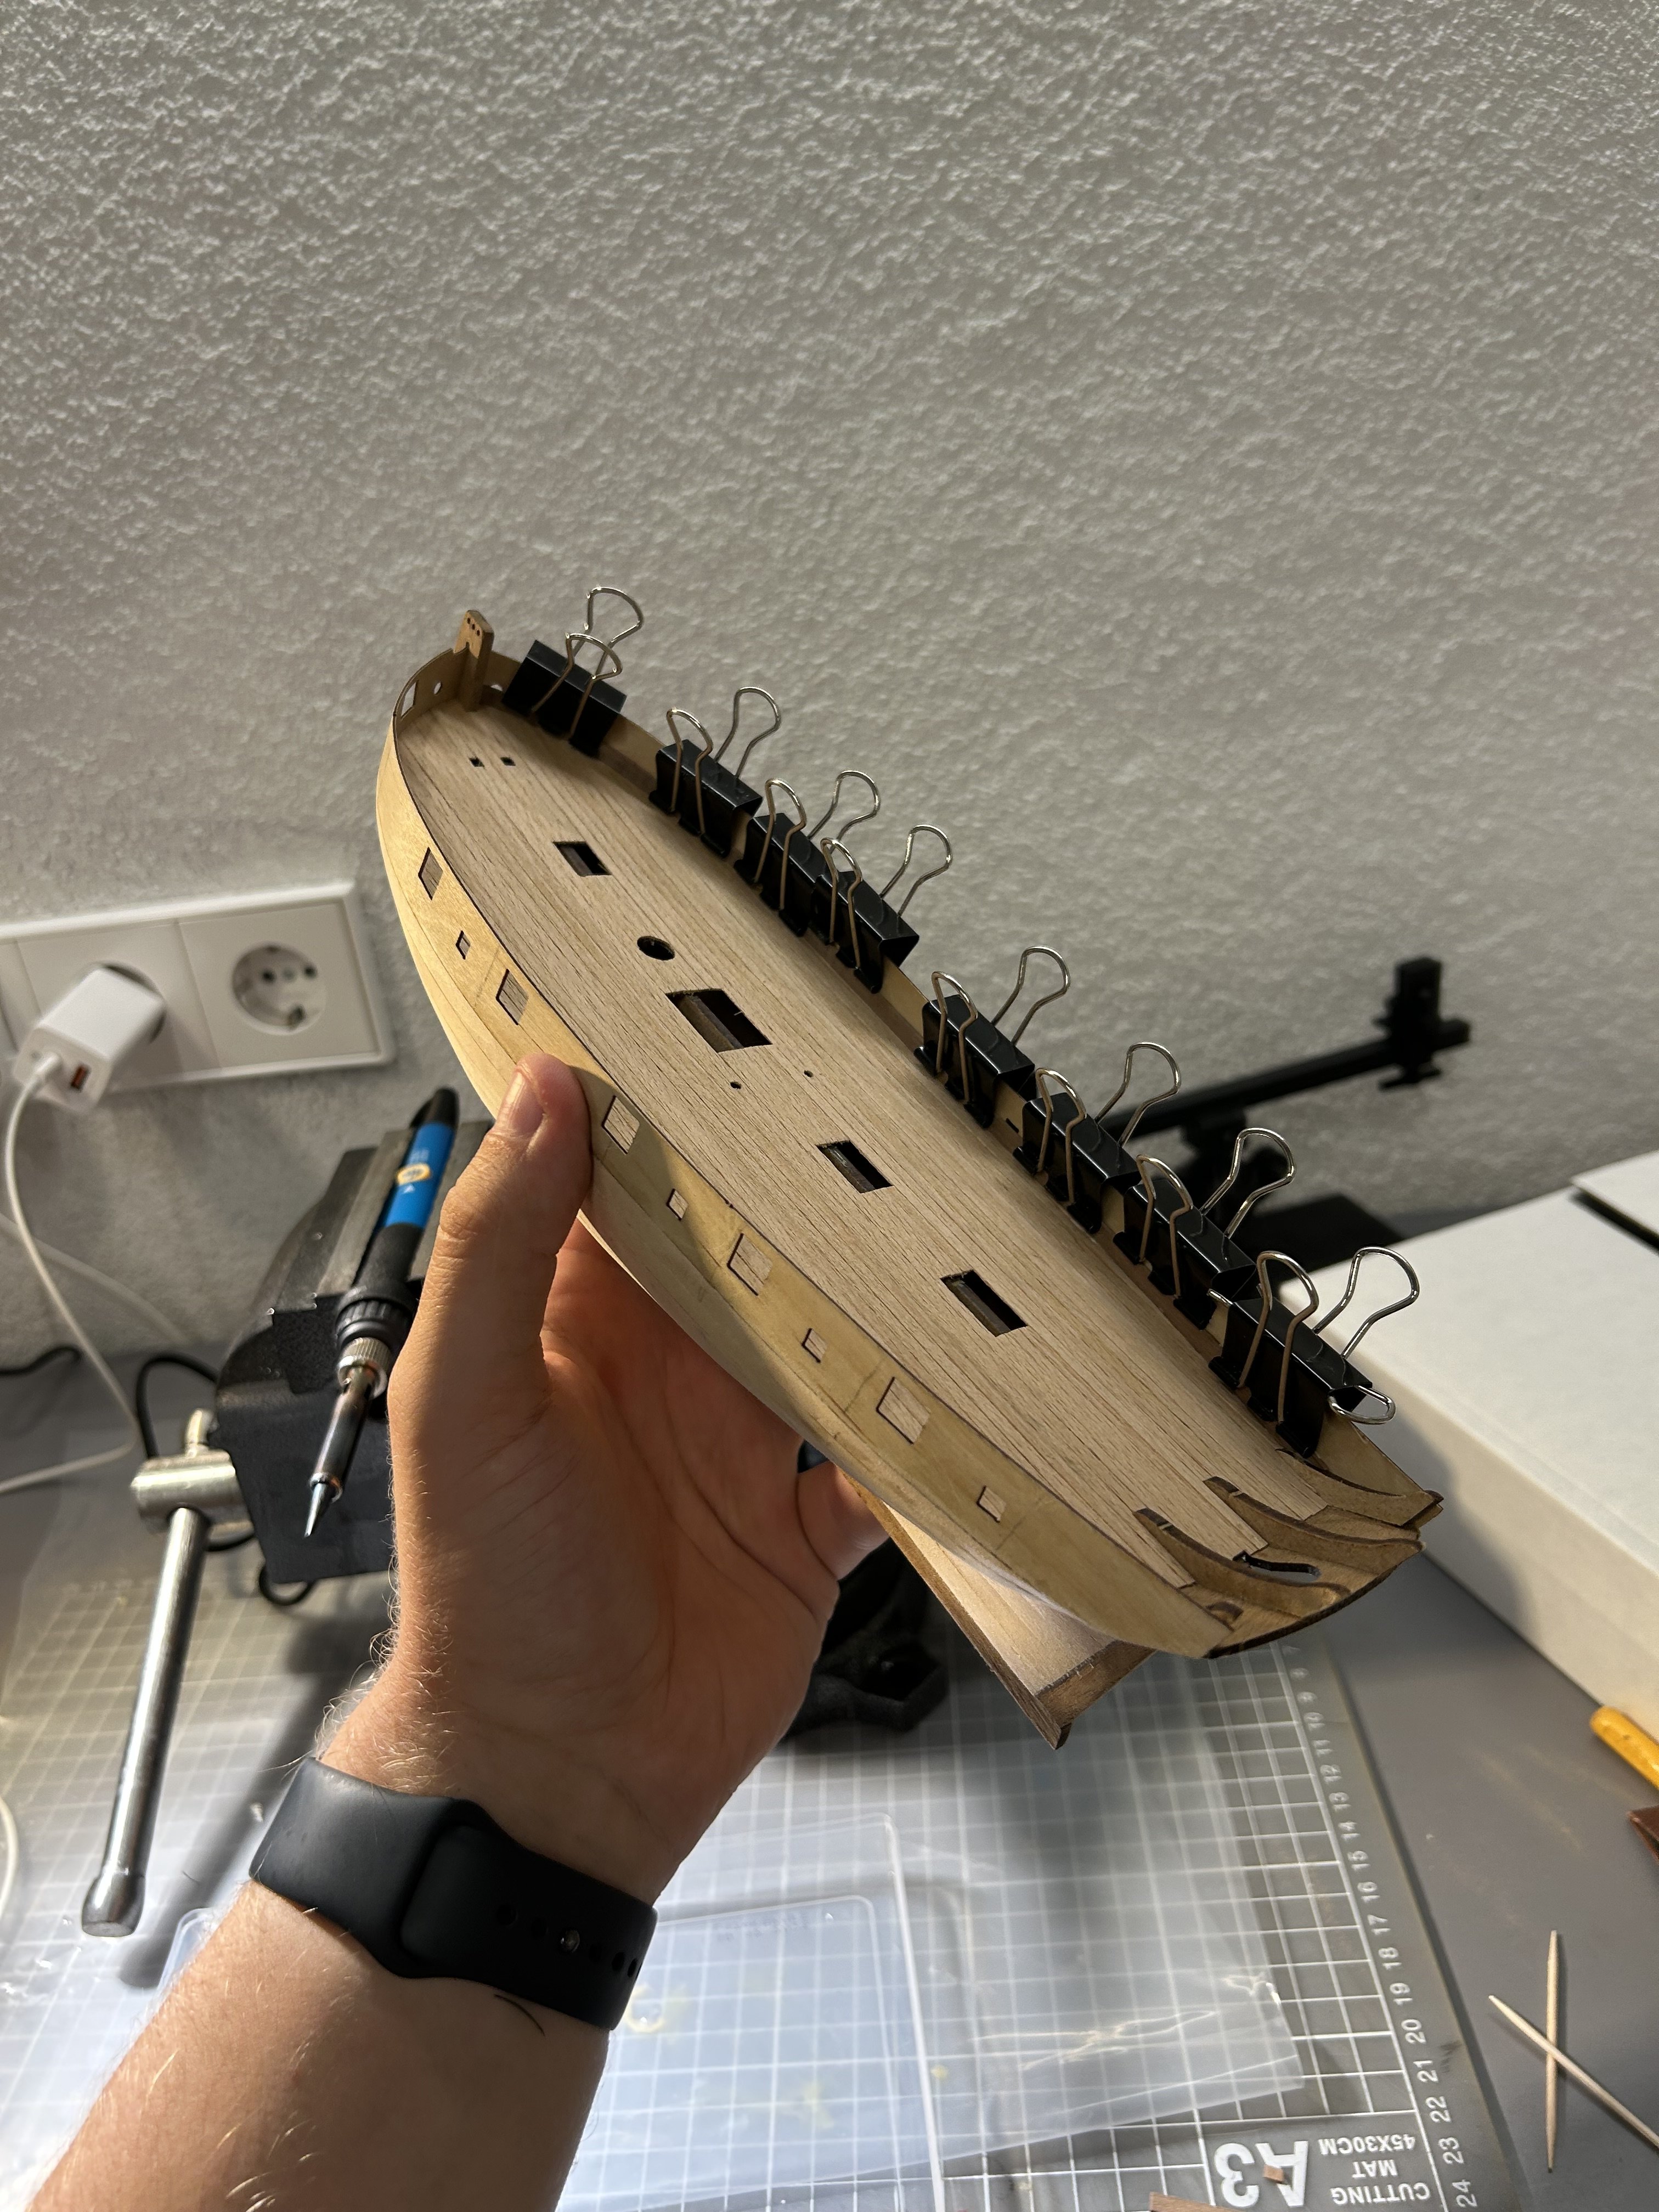
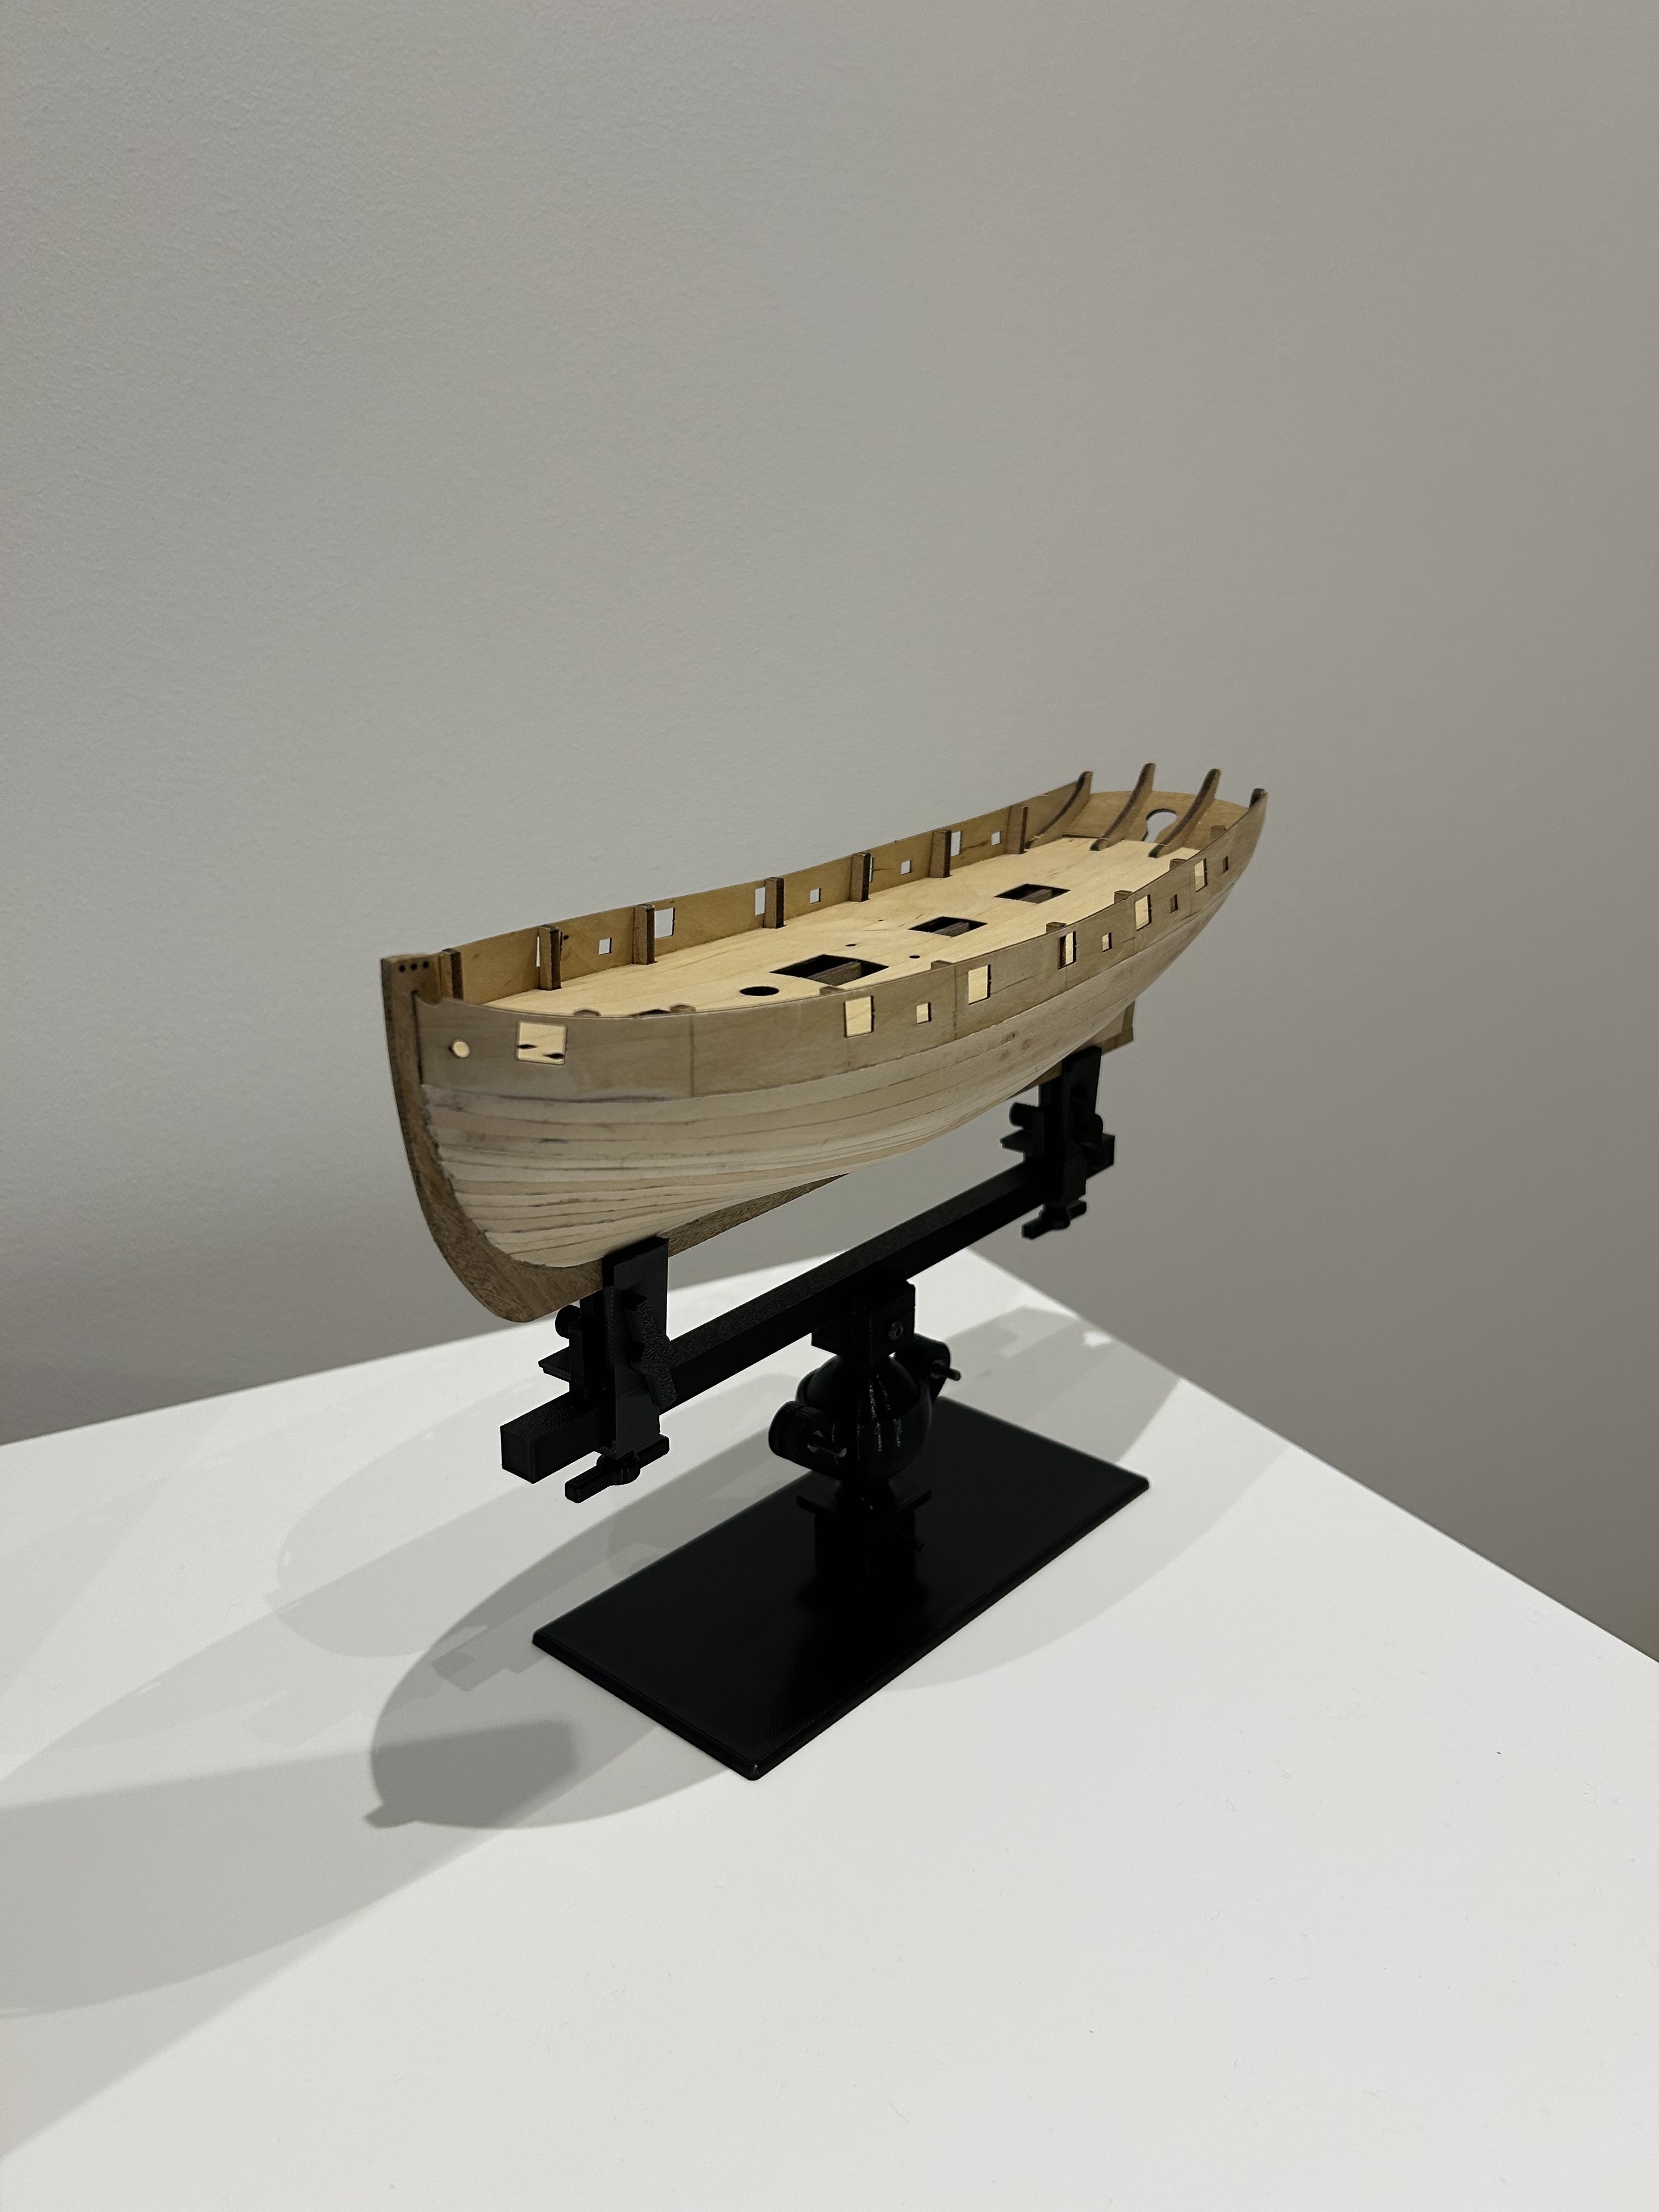
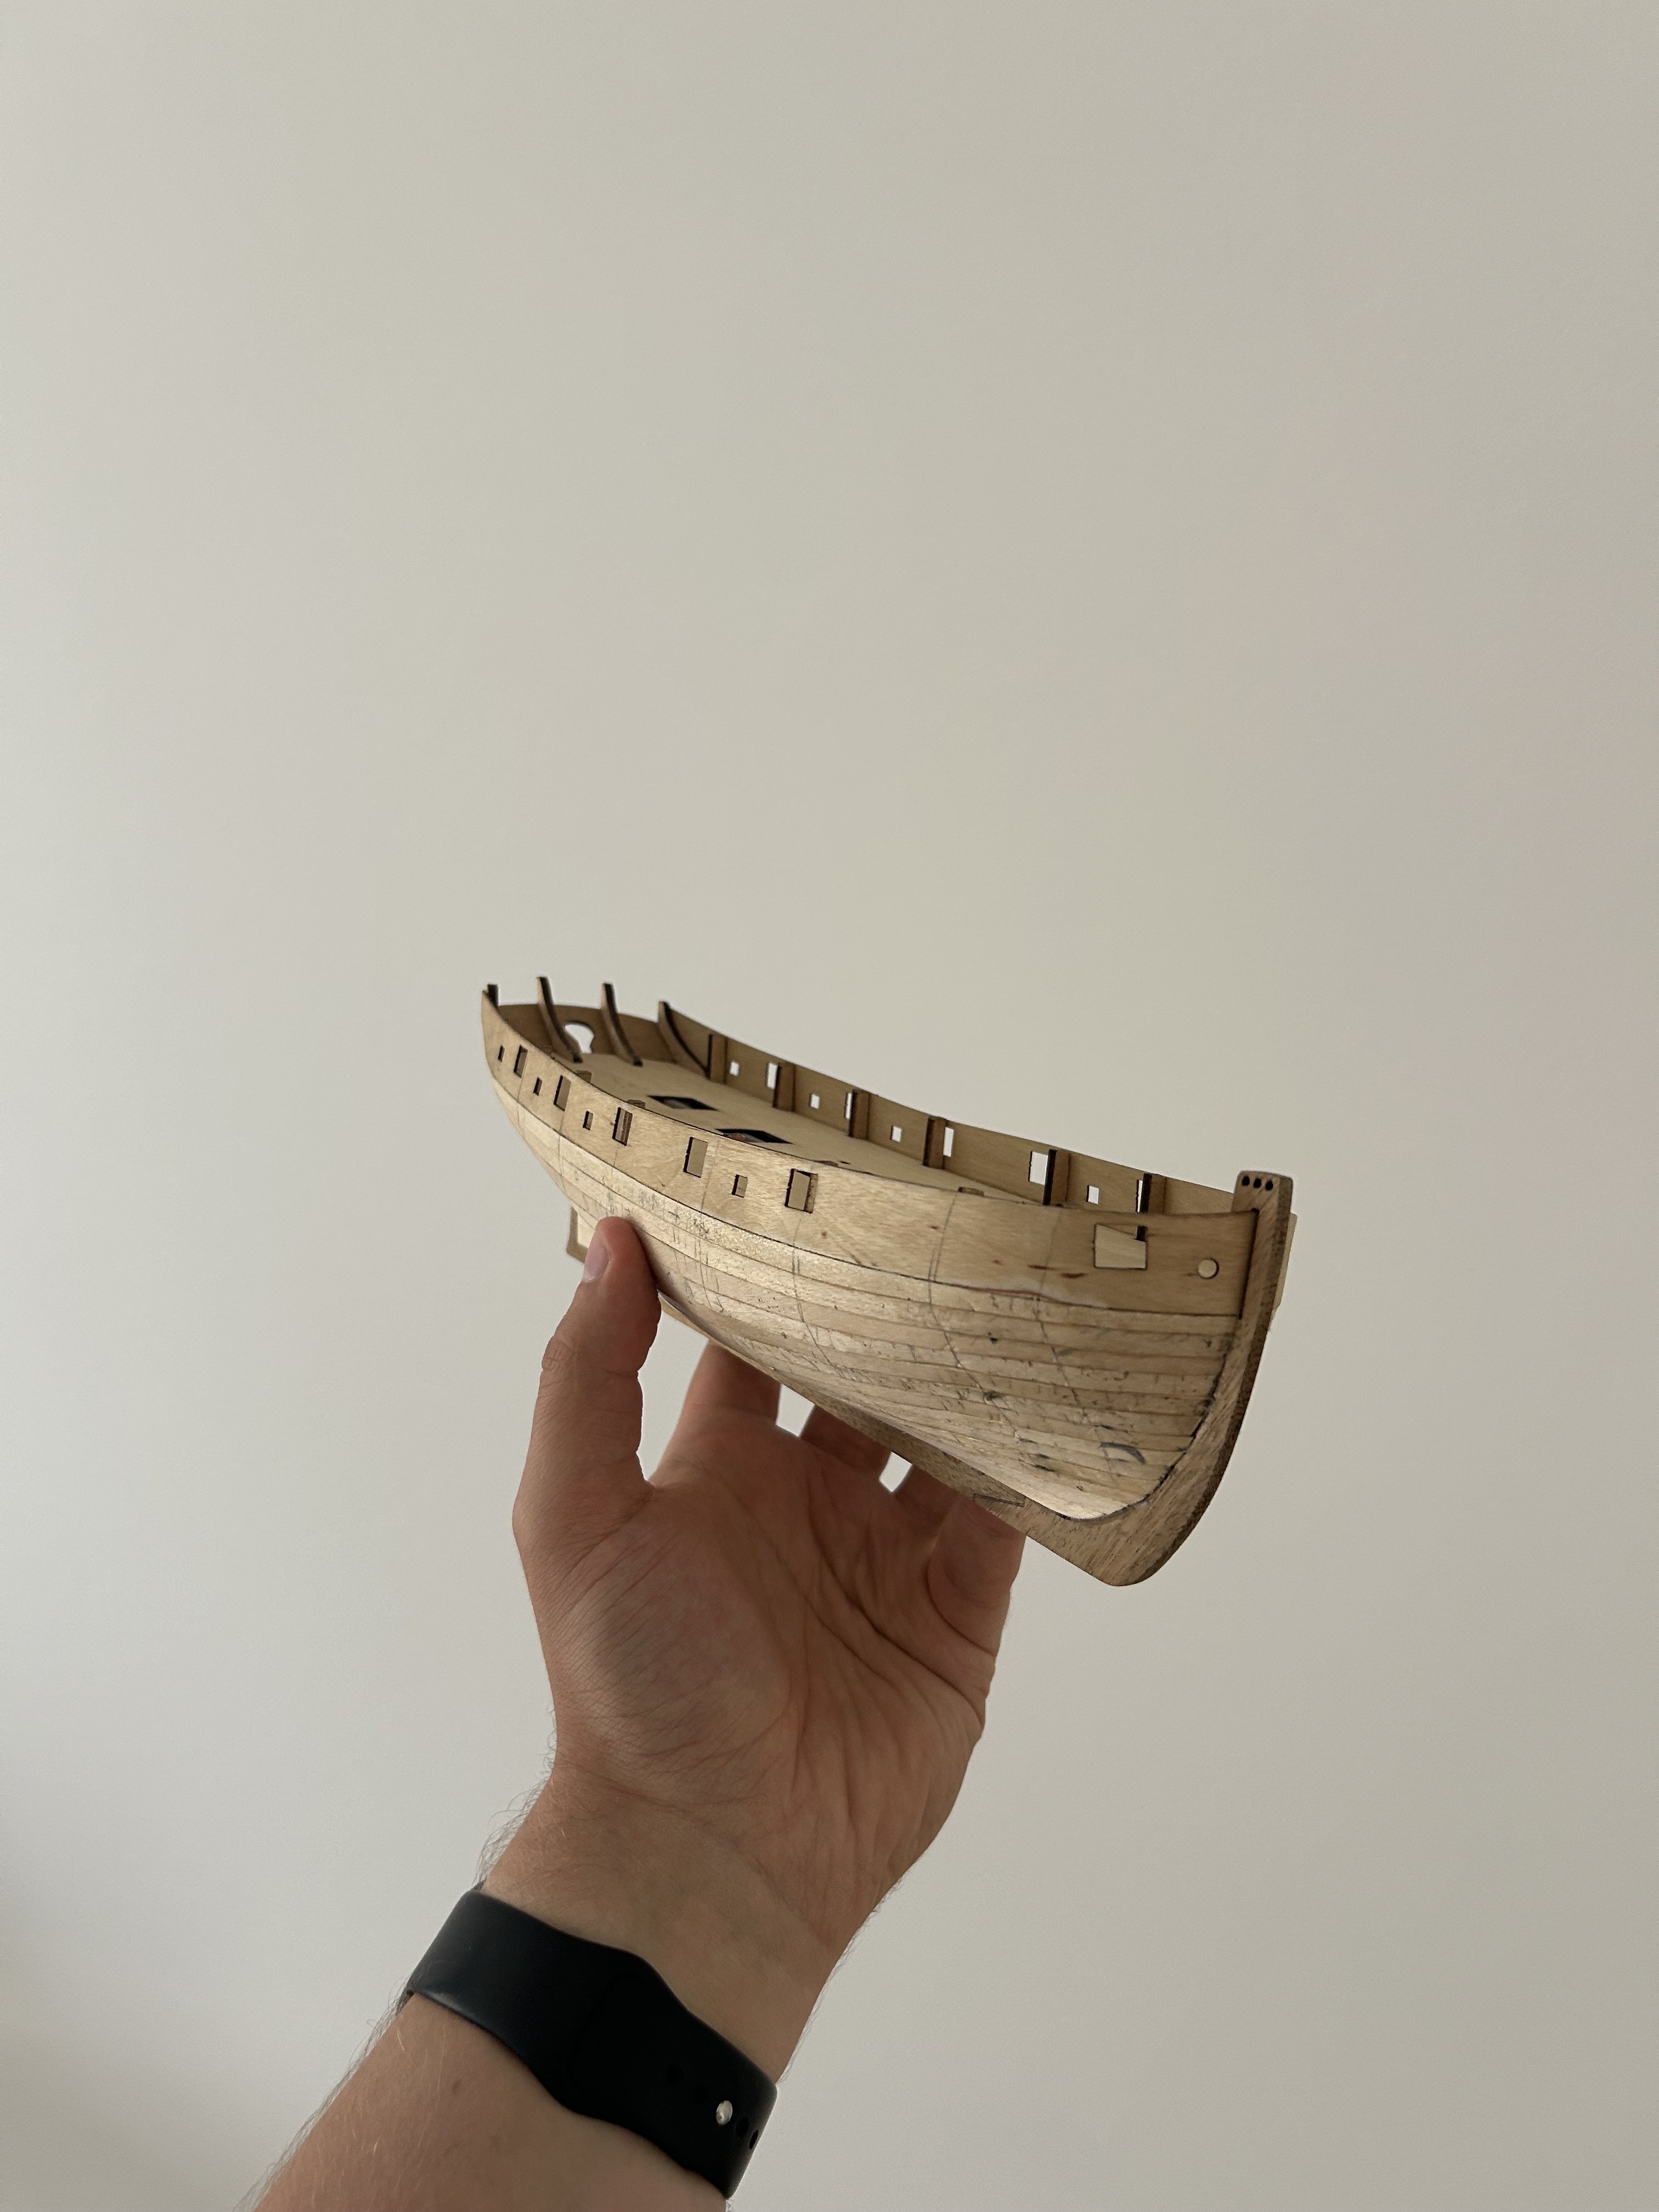
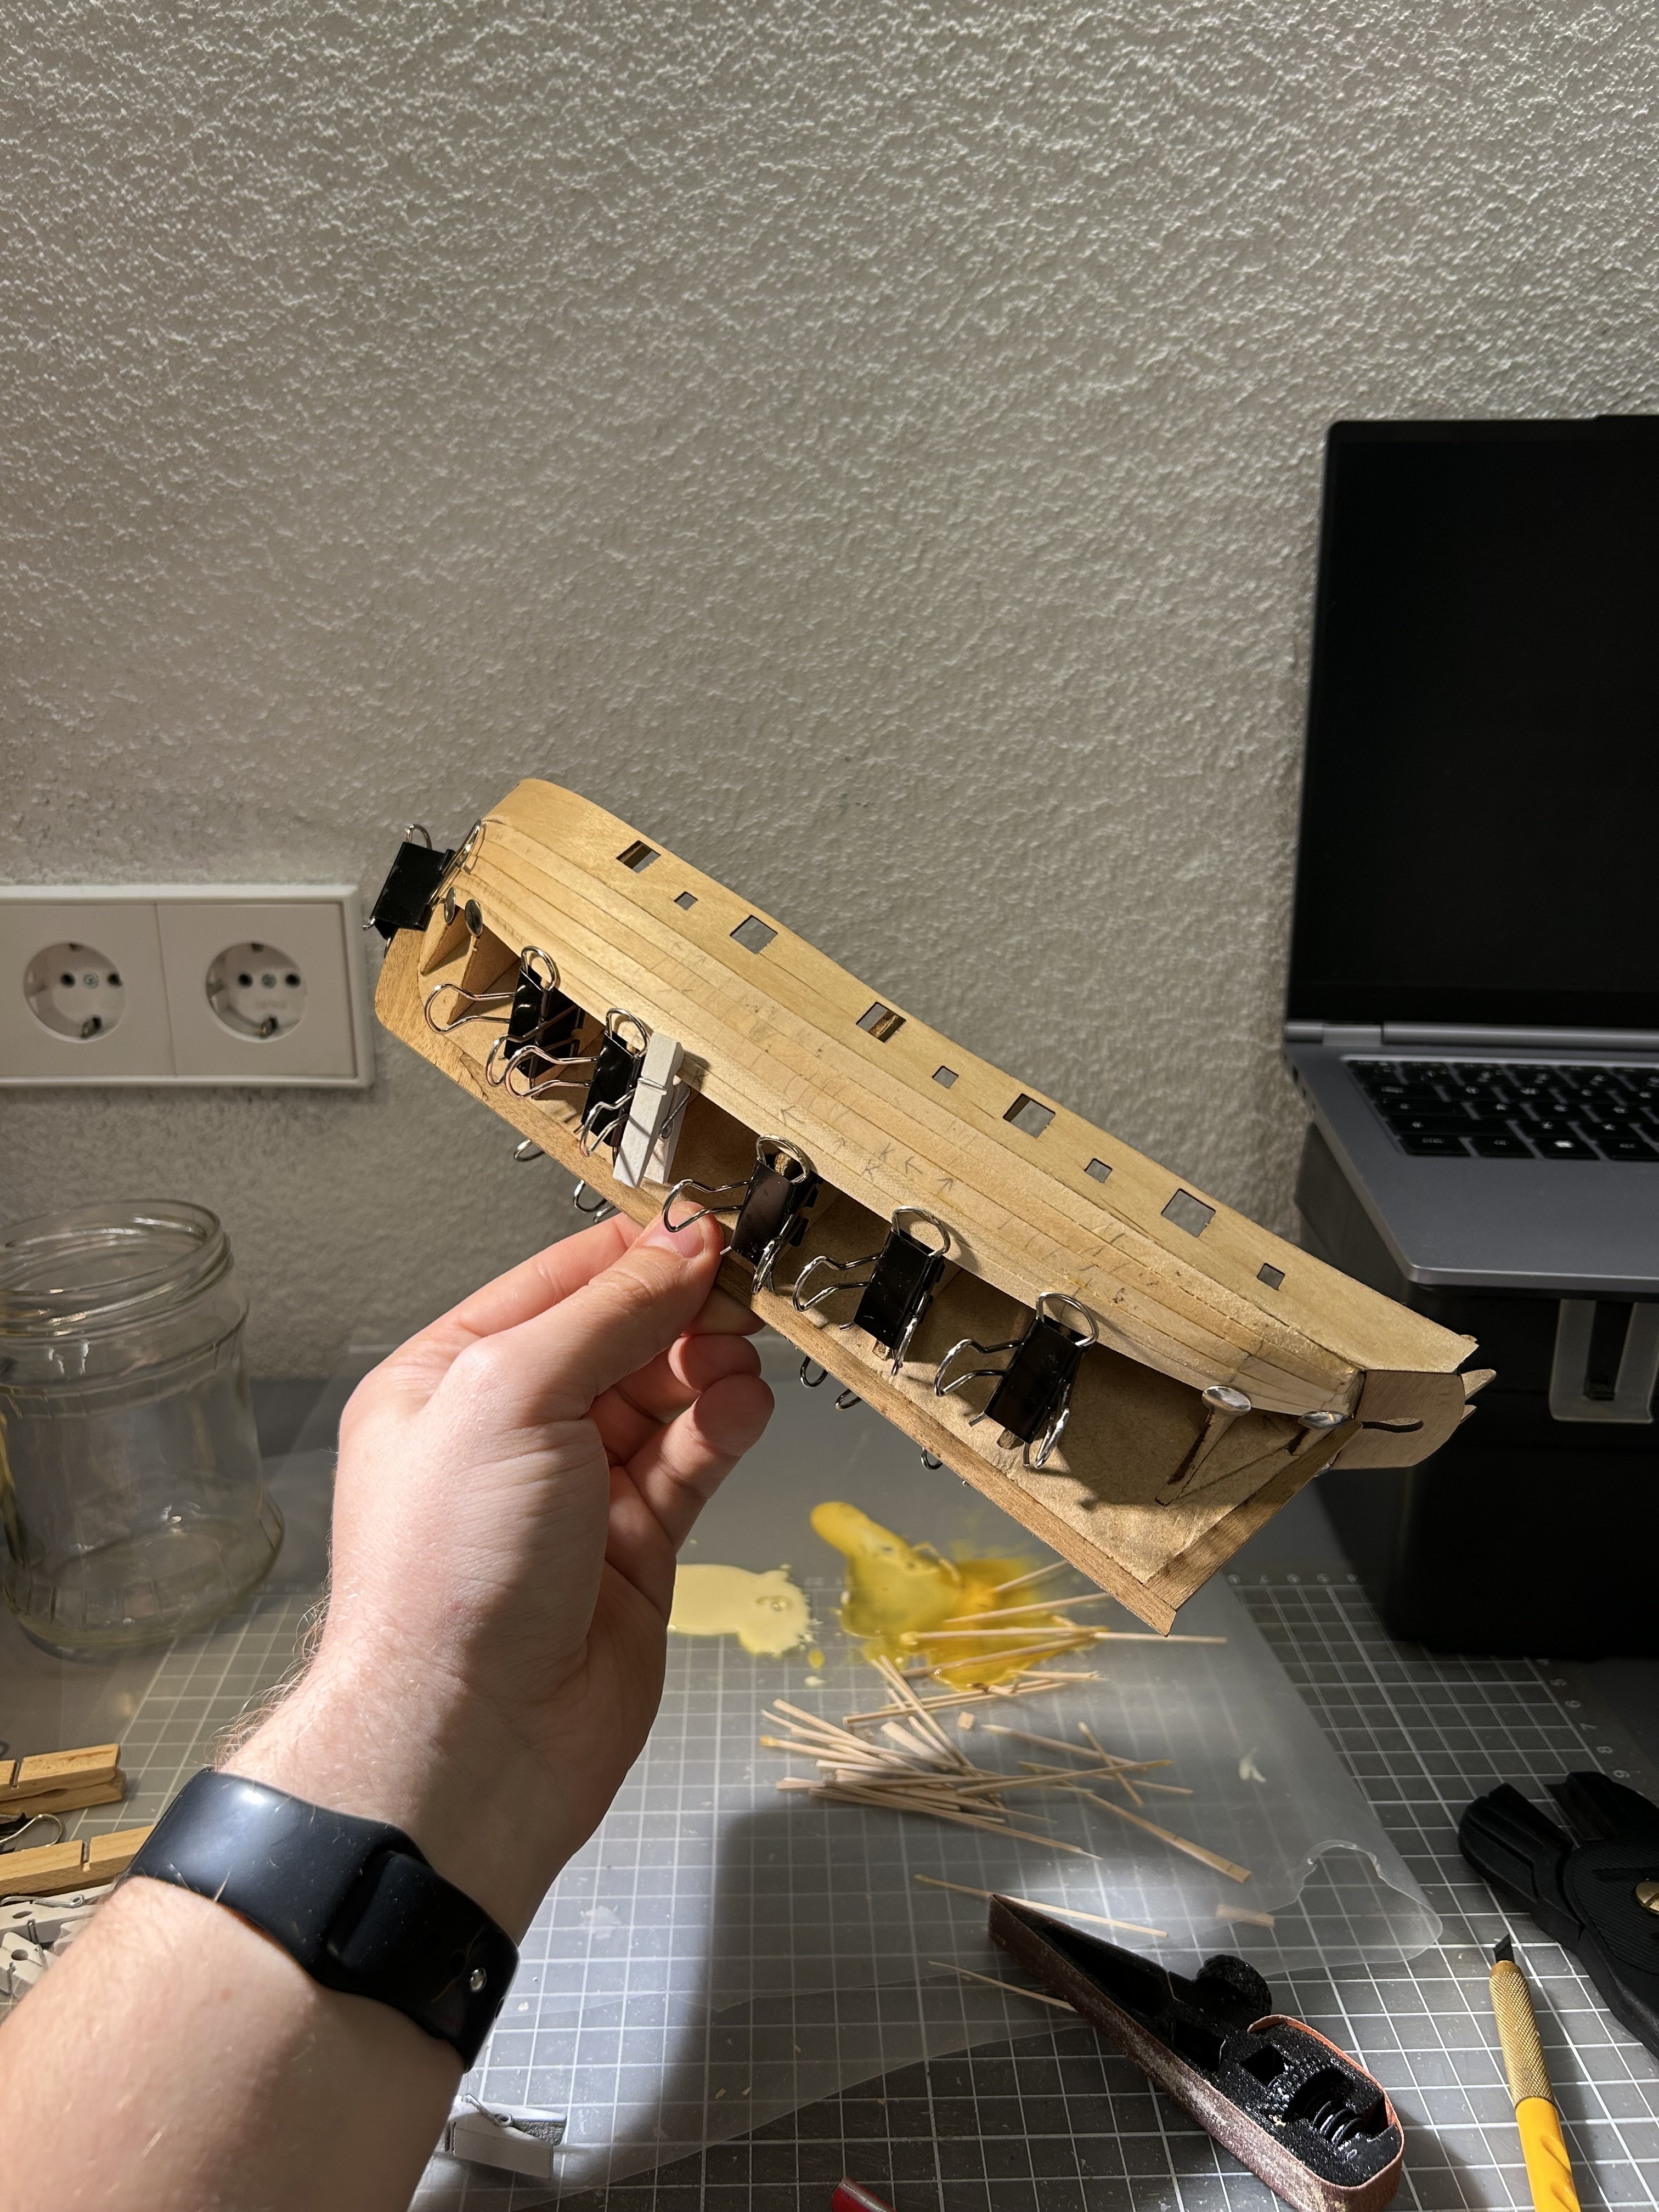
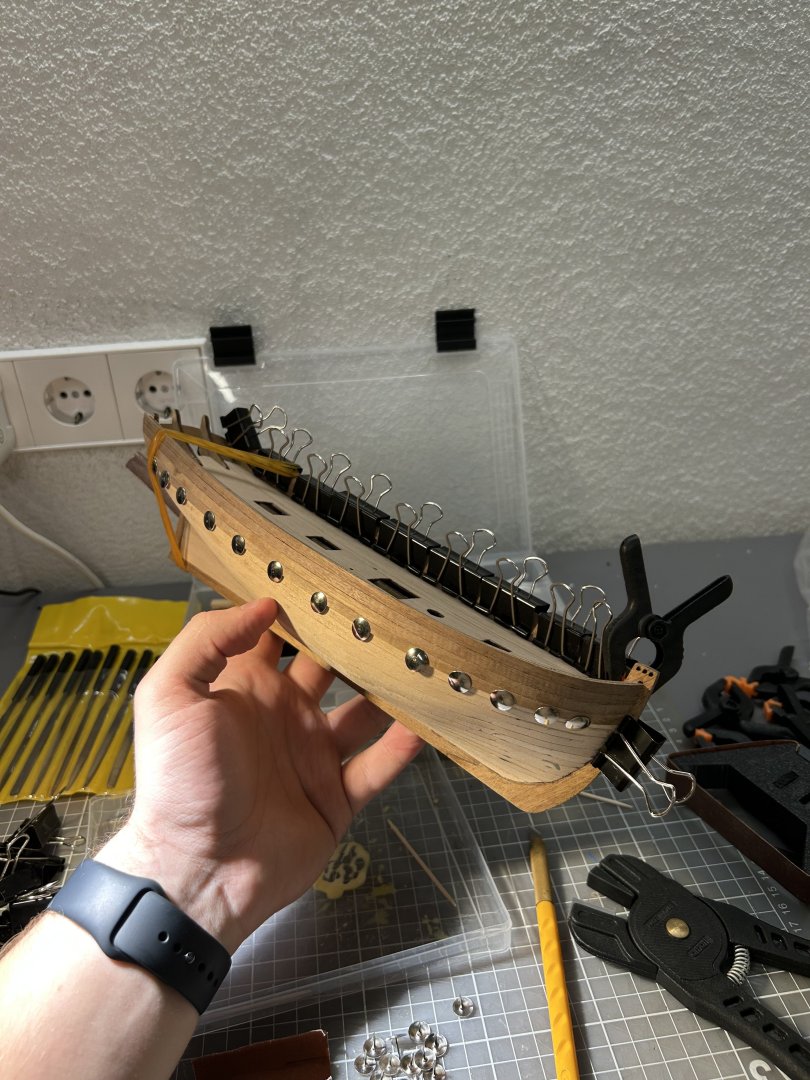
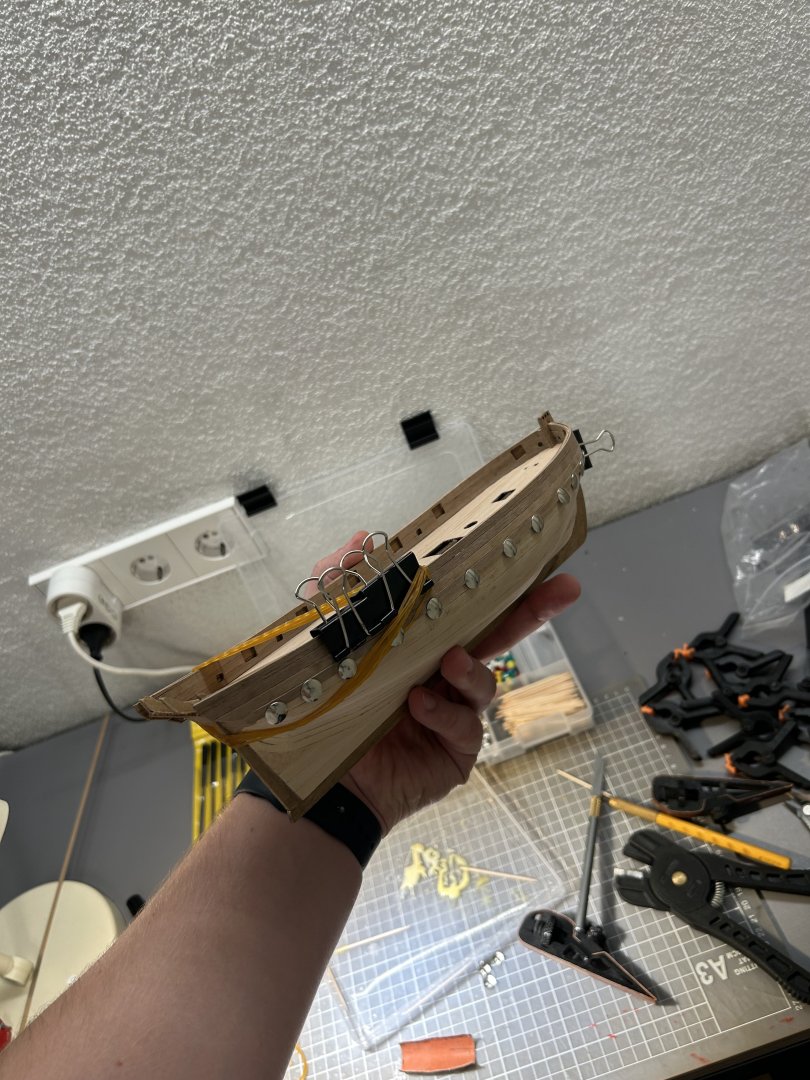
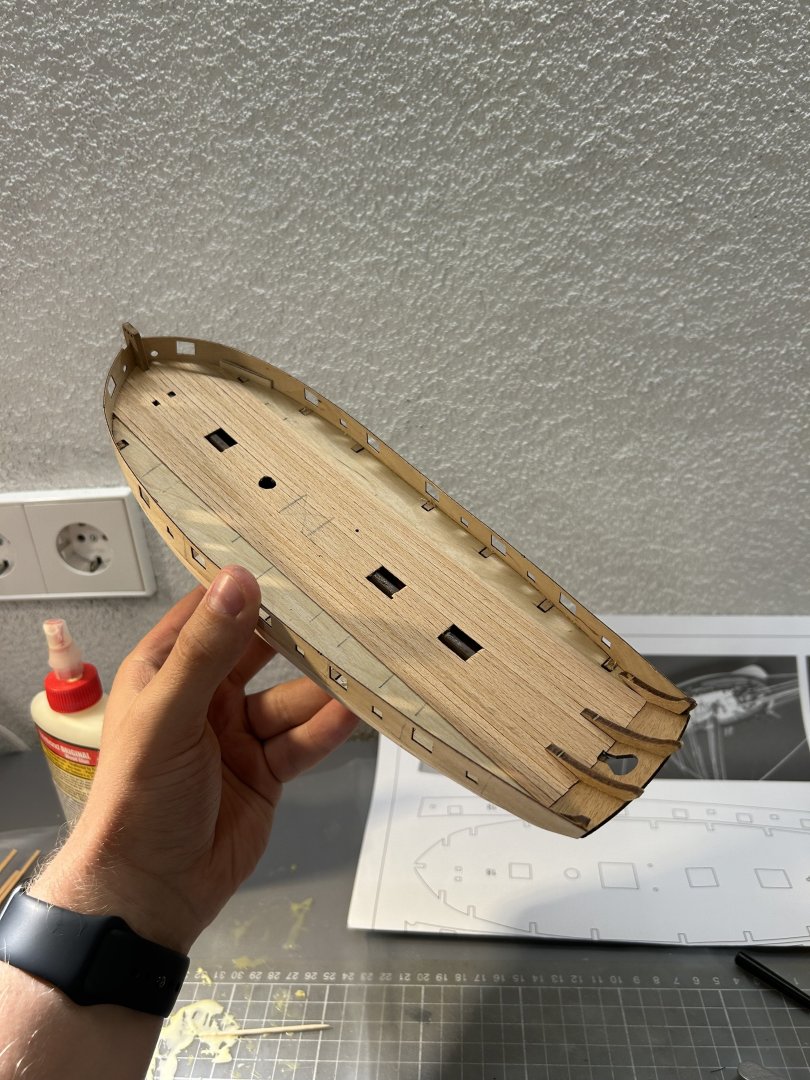
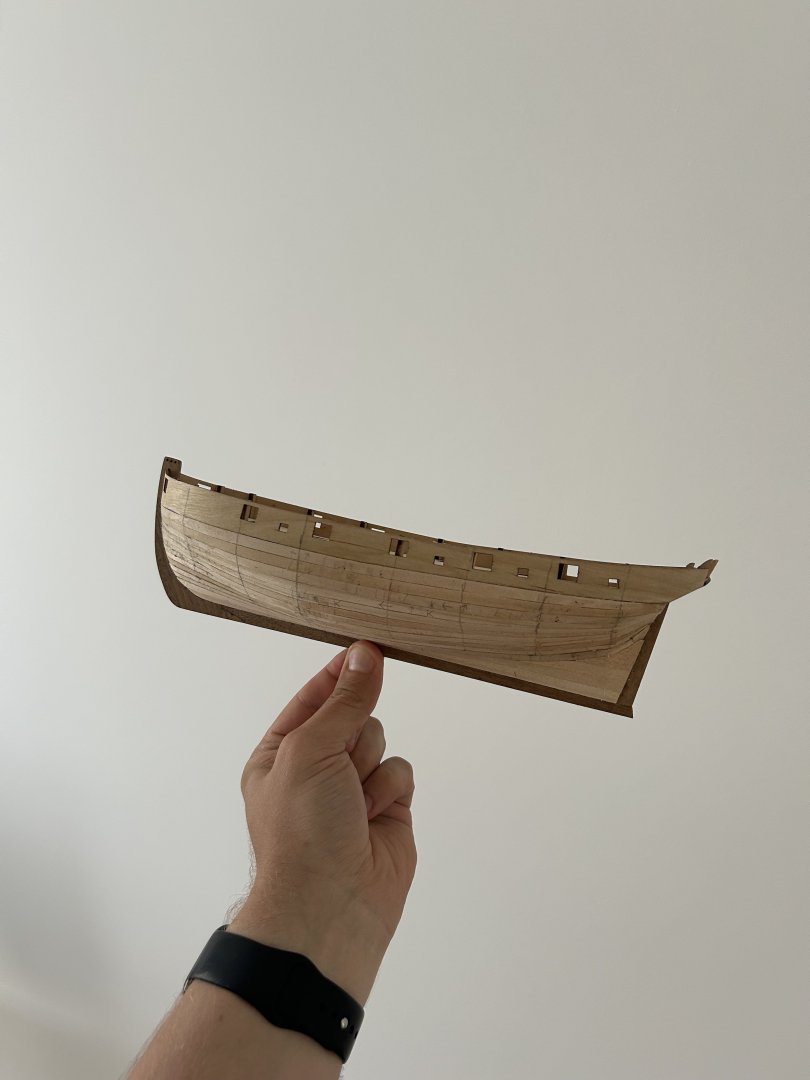
Started work on first layer of planks. I have forgotten how slow the process is 😆 4 planks - 2 hours of work.

- 45 replies
-
- 3
-
-
- Lady Nelson
- Amati
- (and 1 more)
-
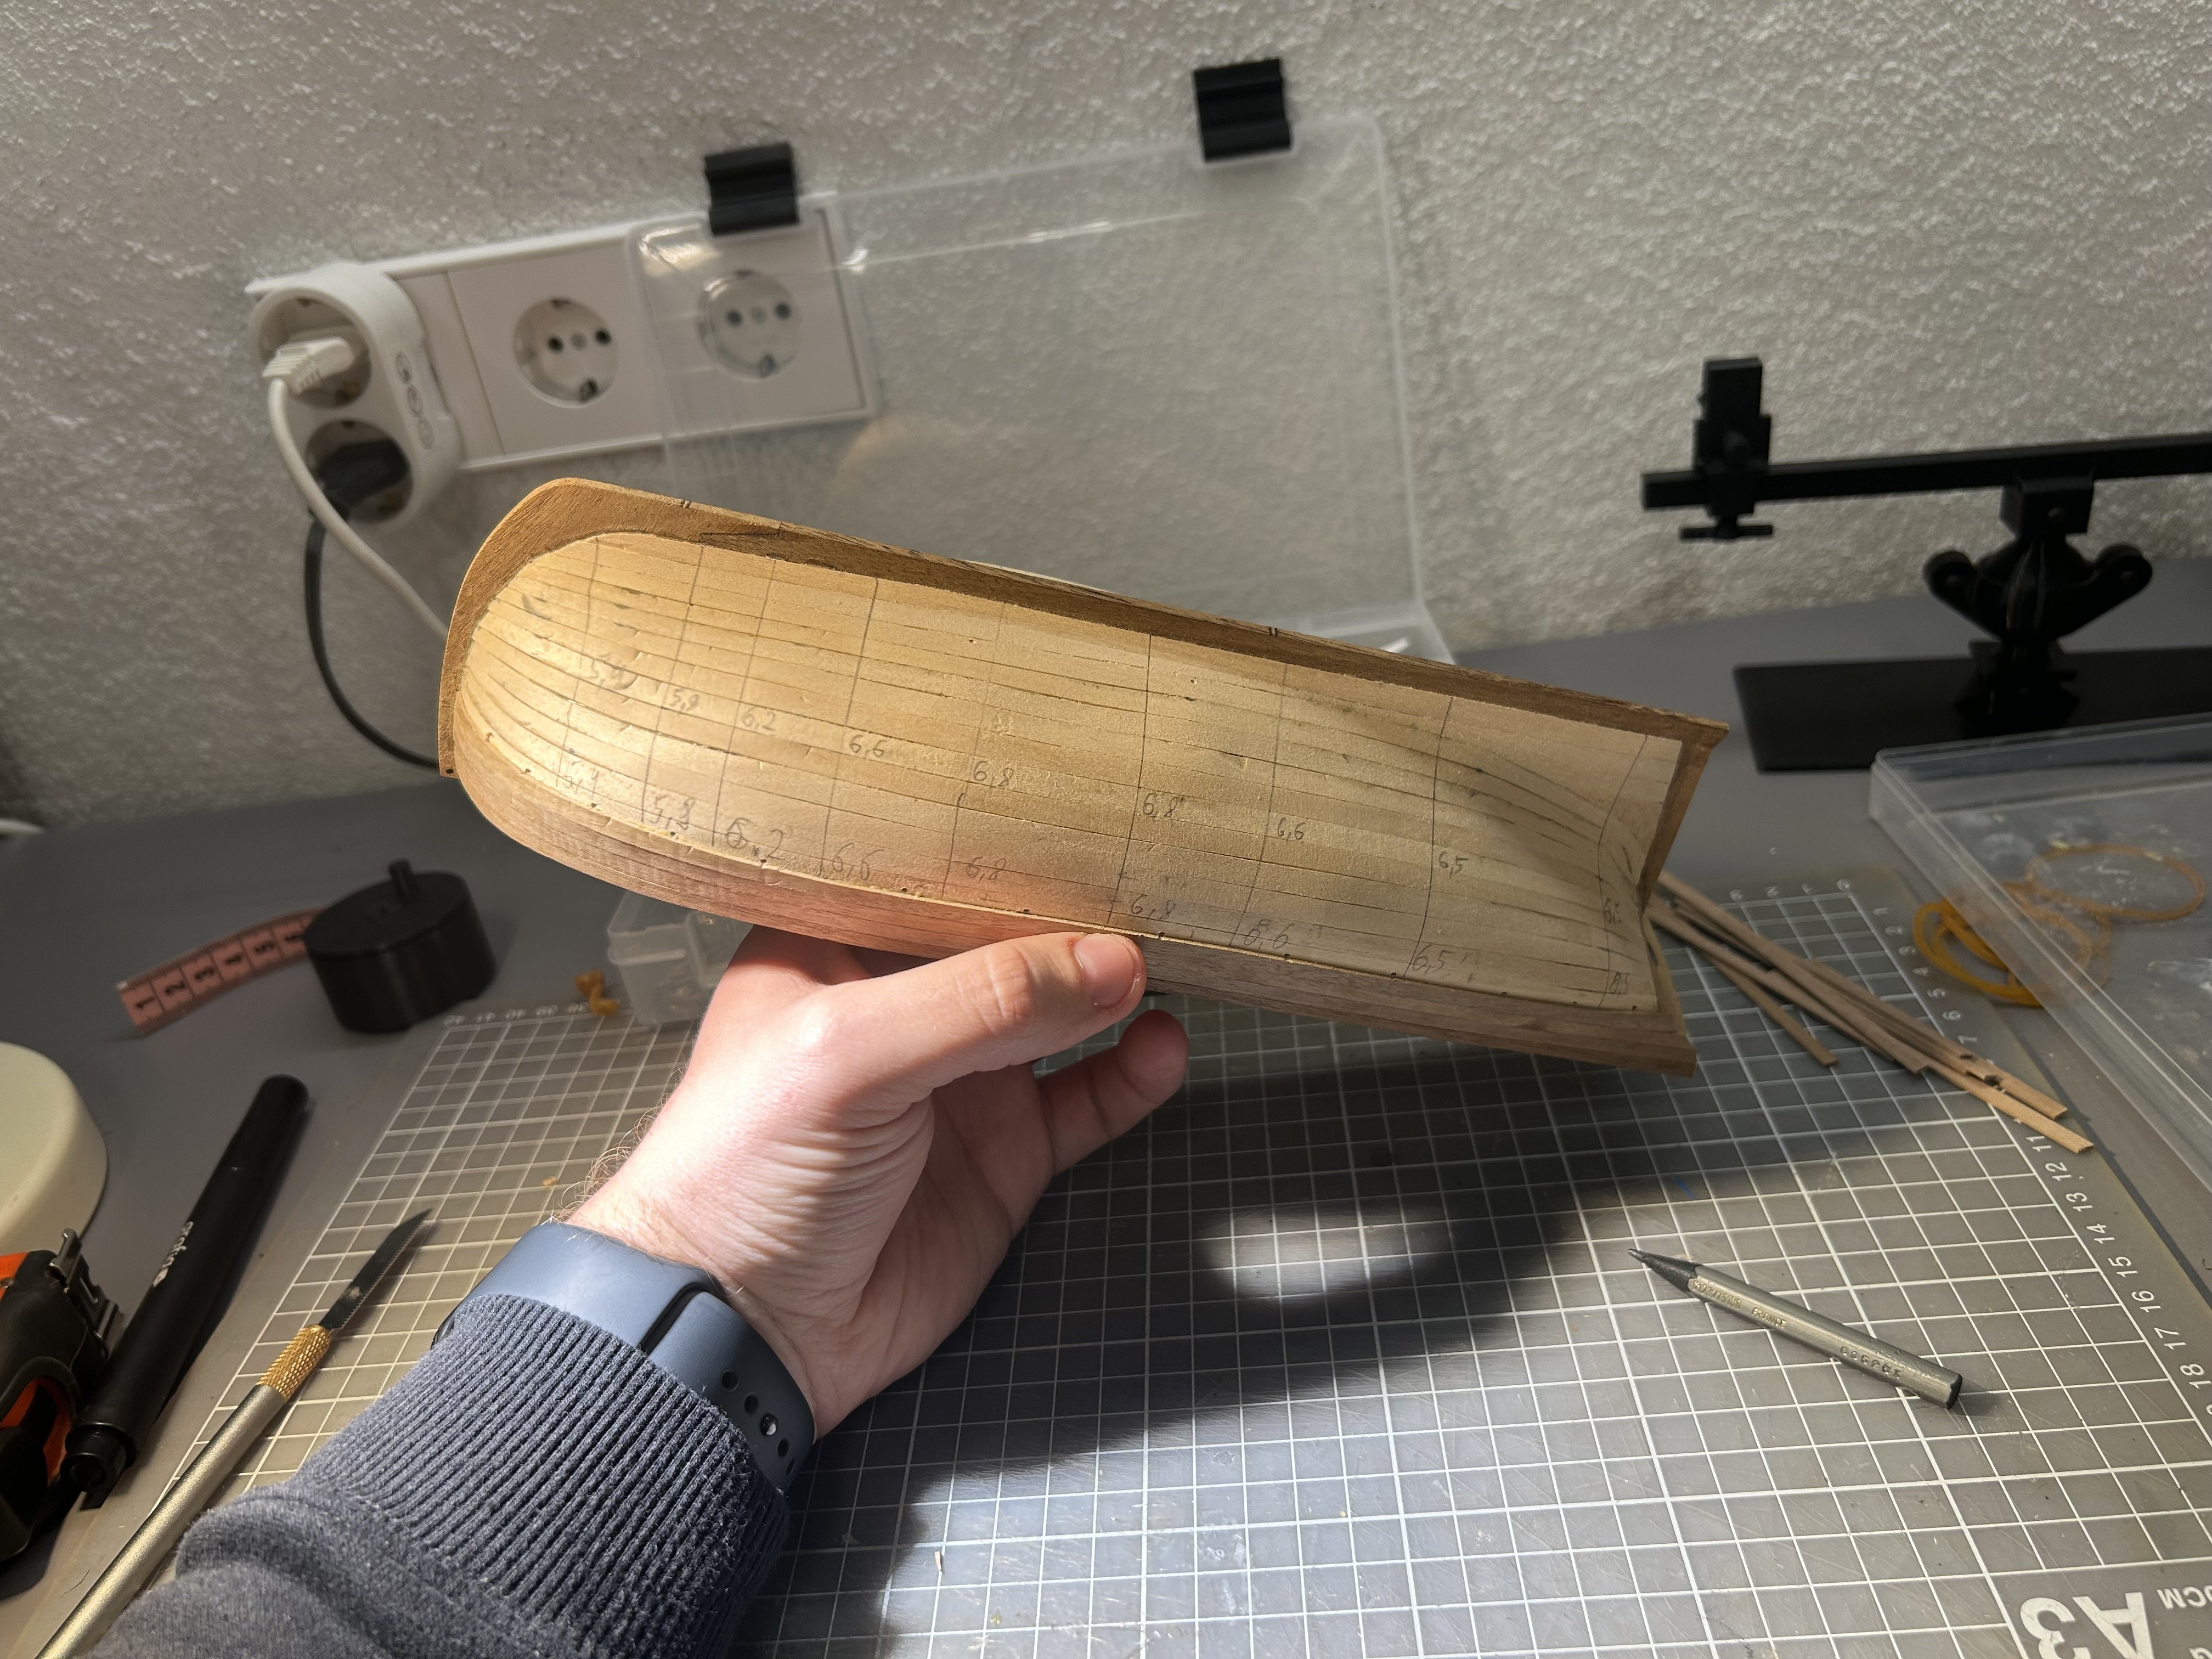
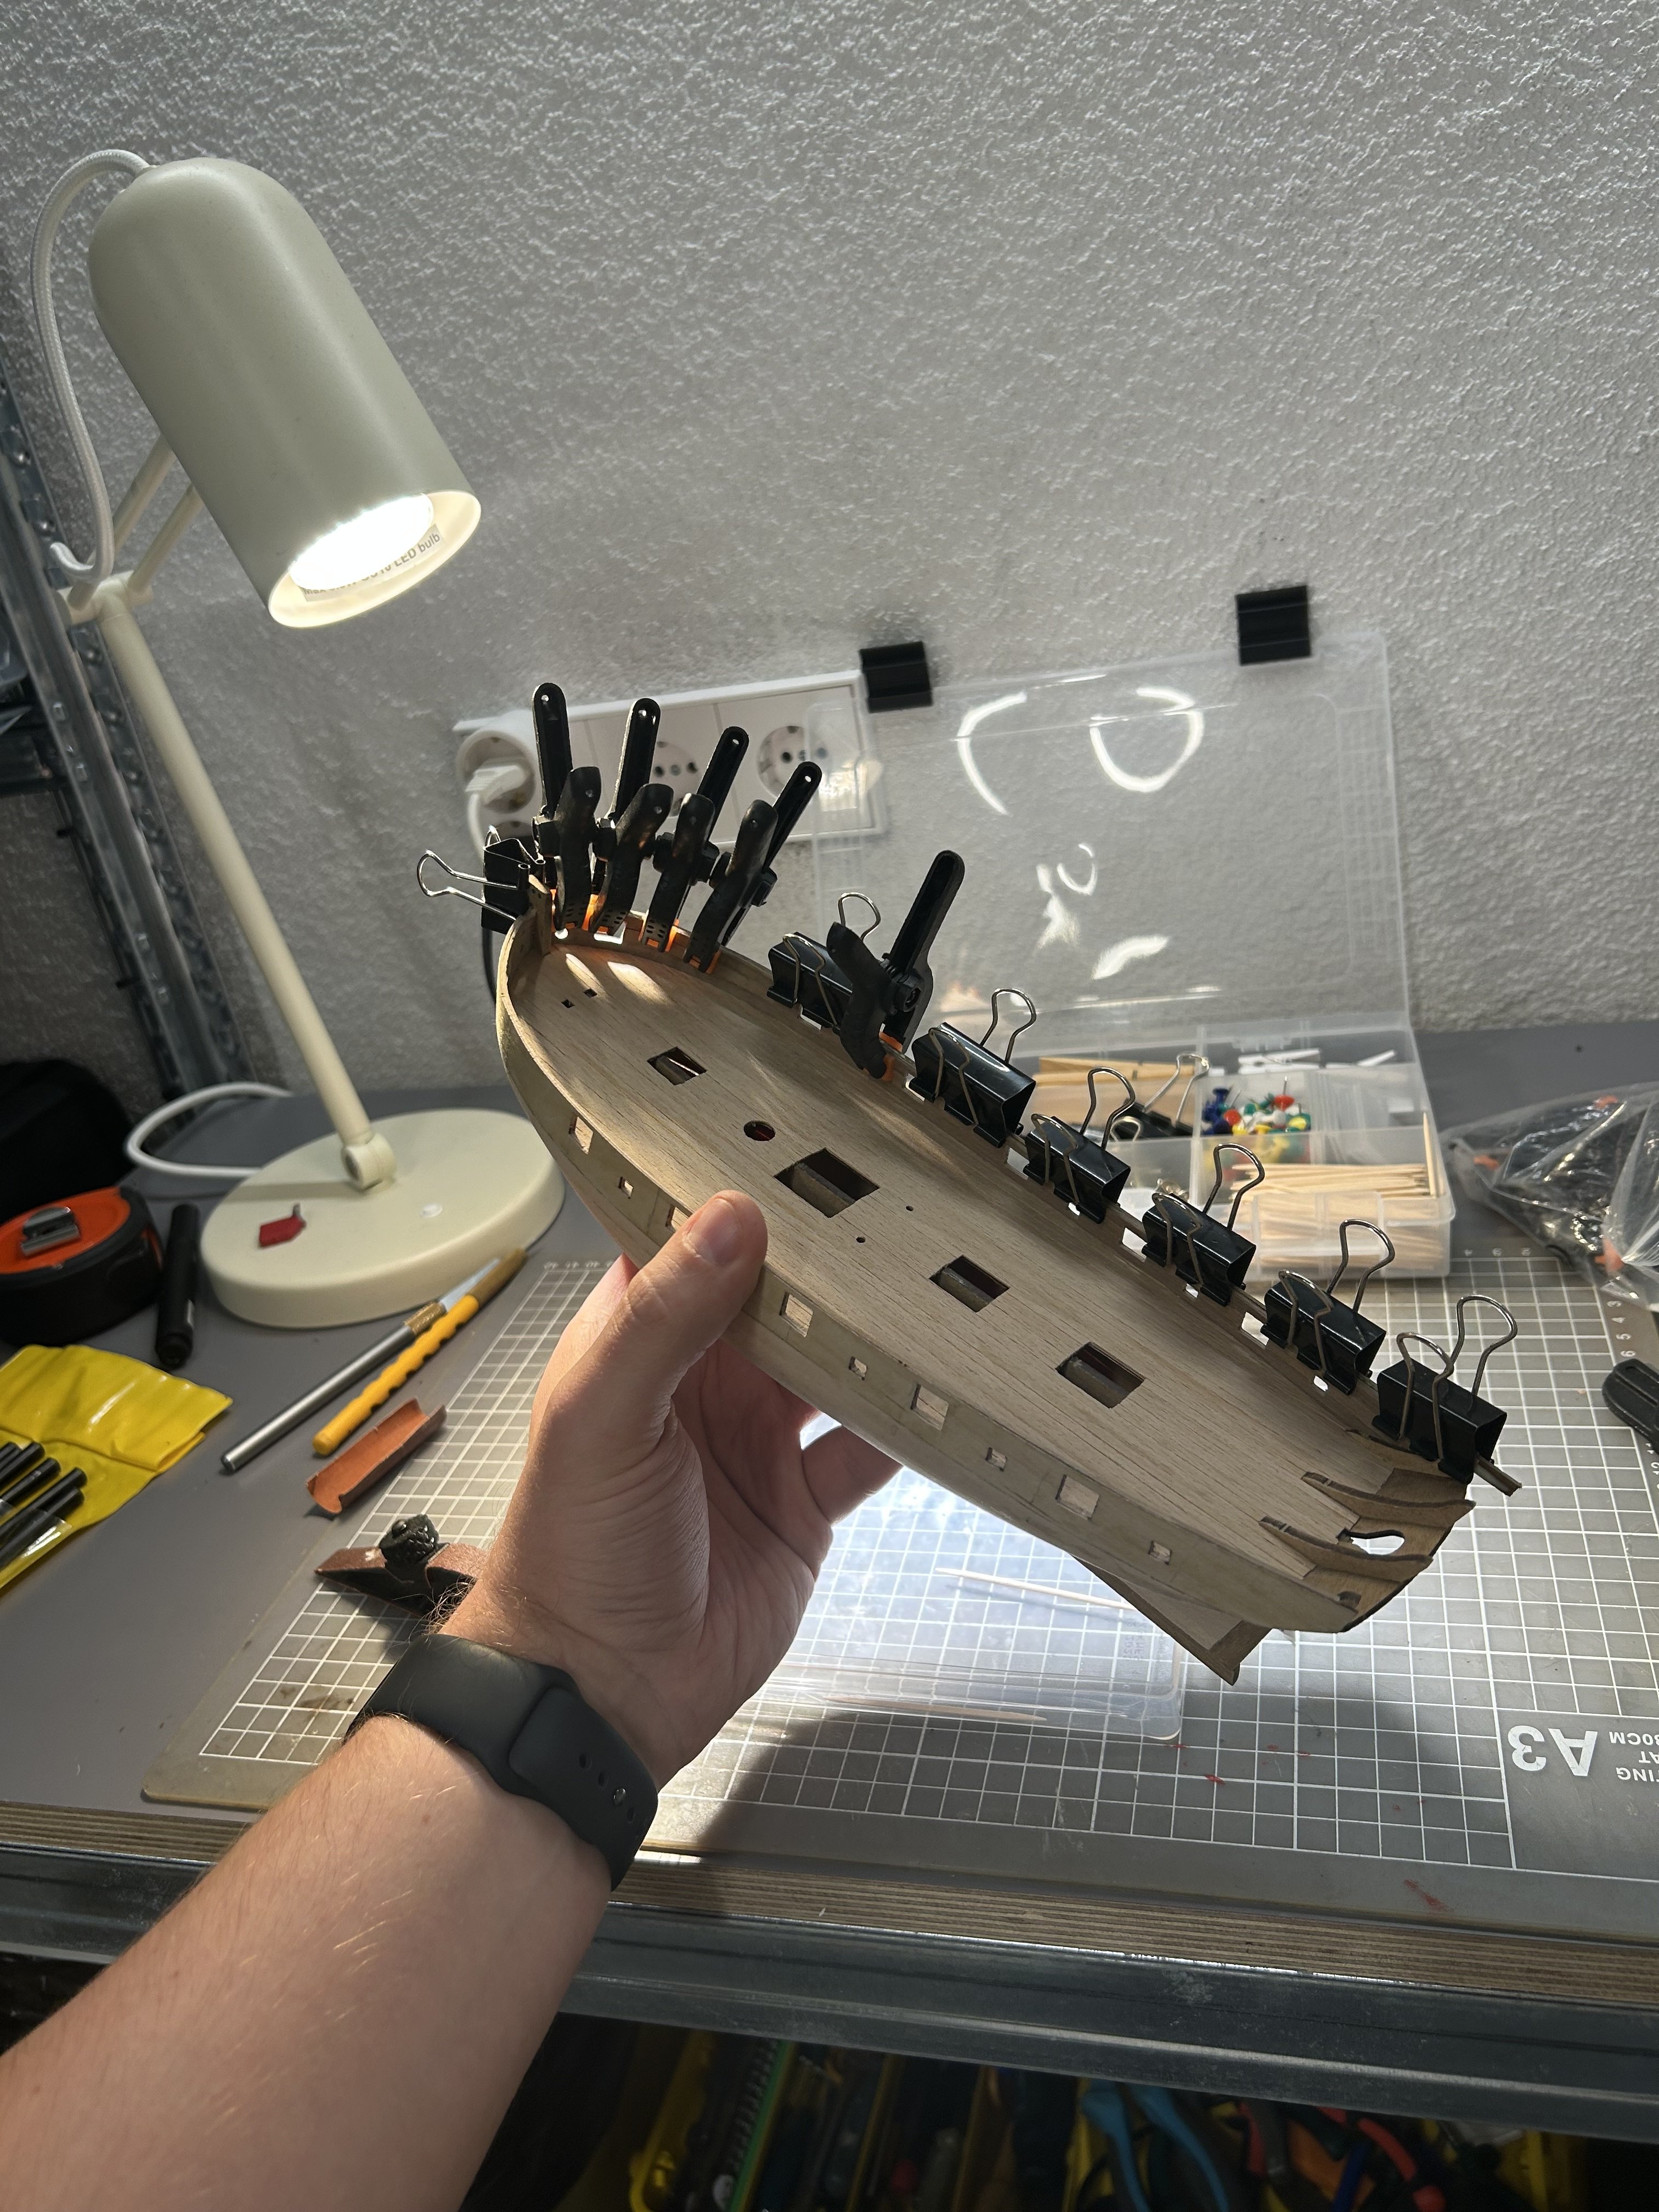
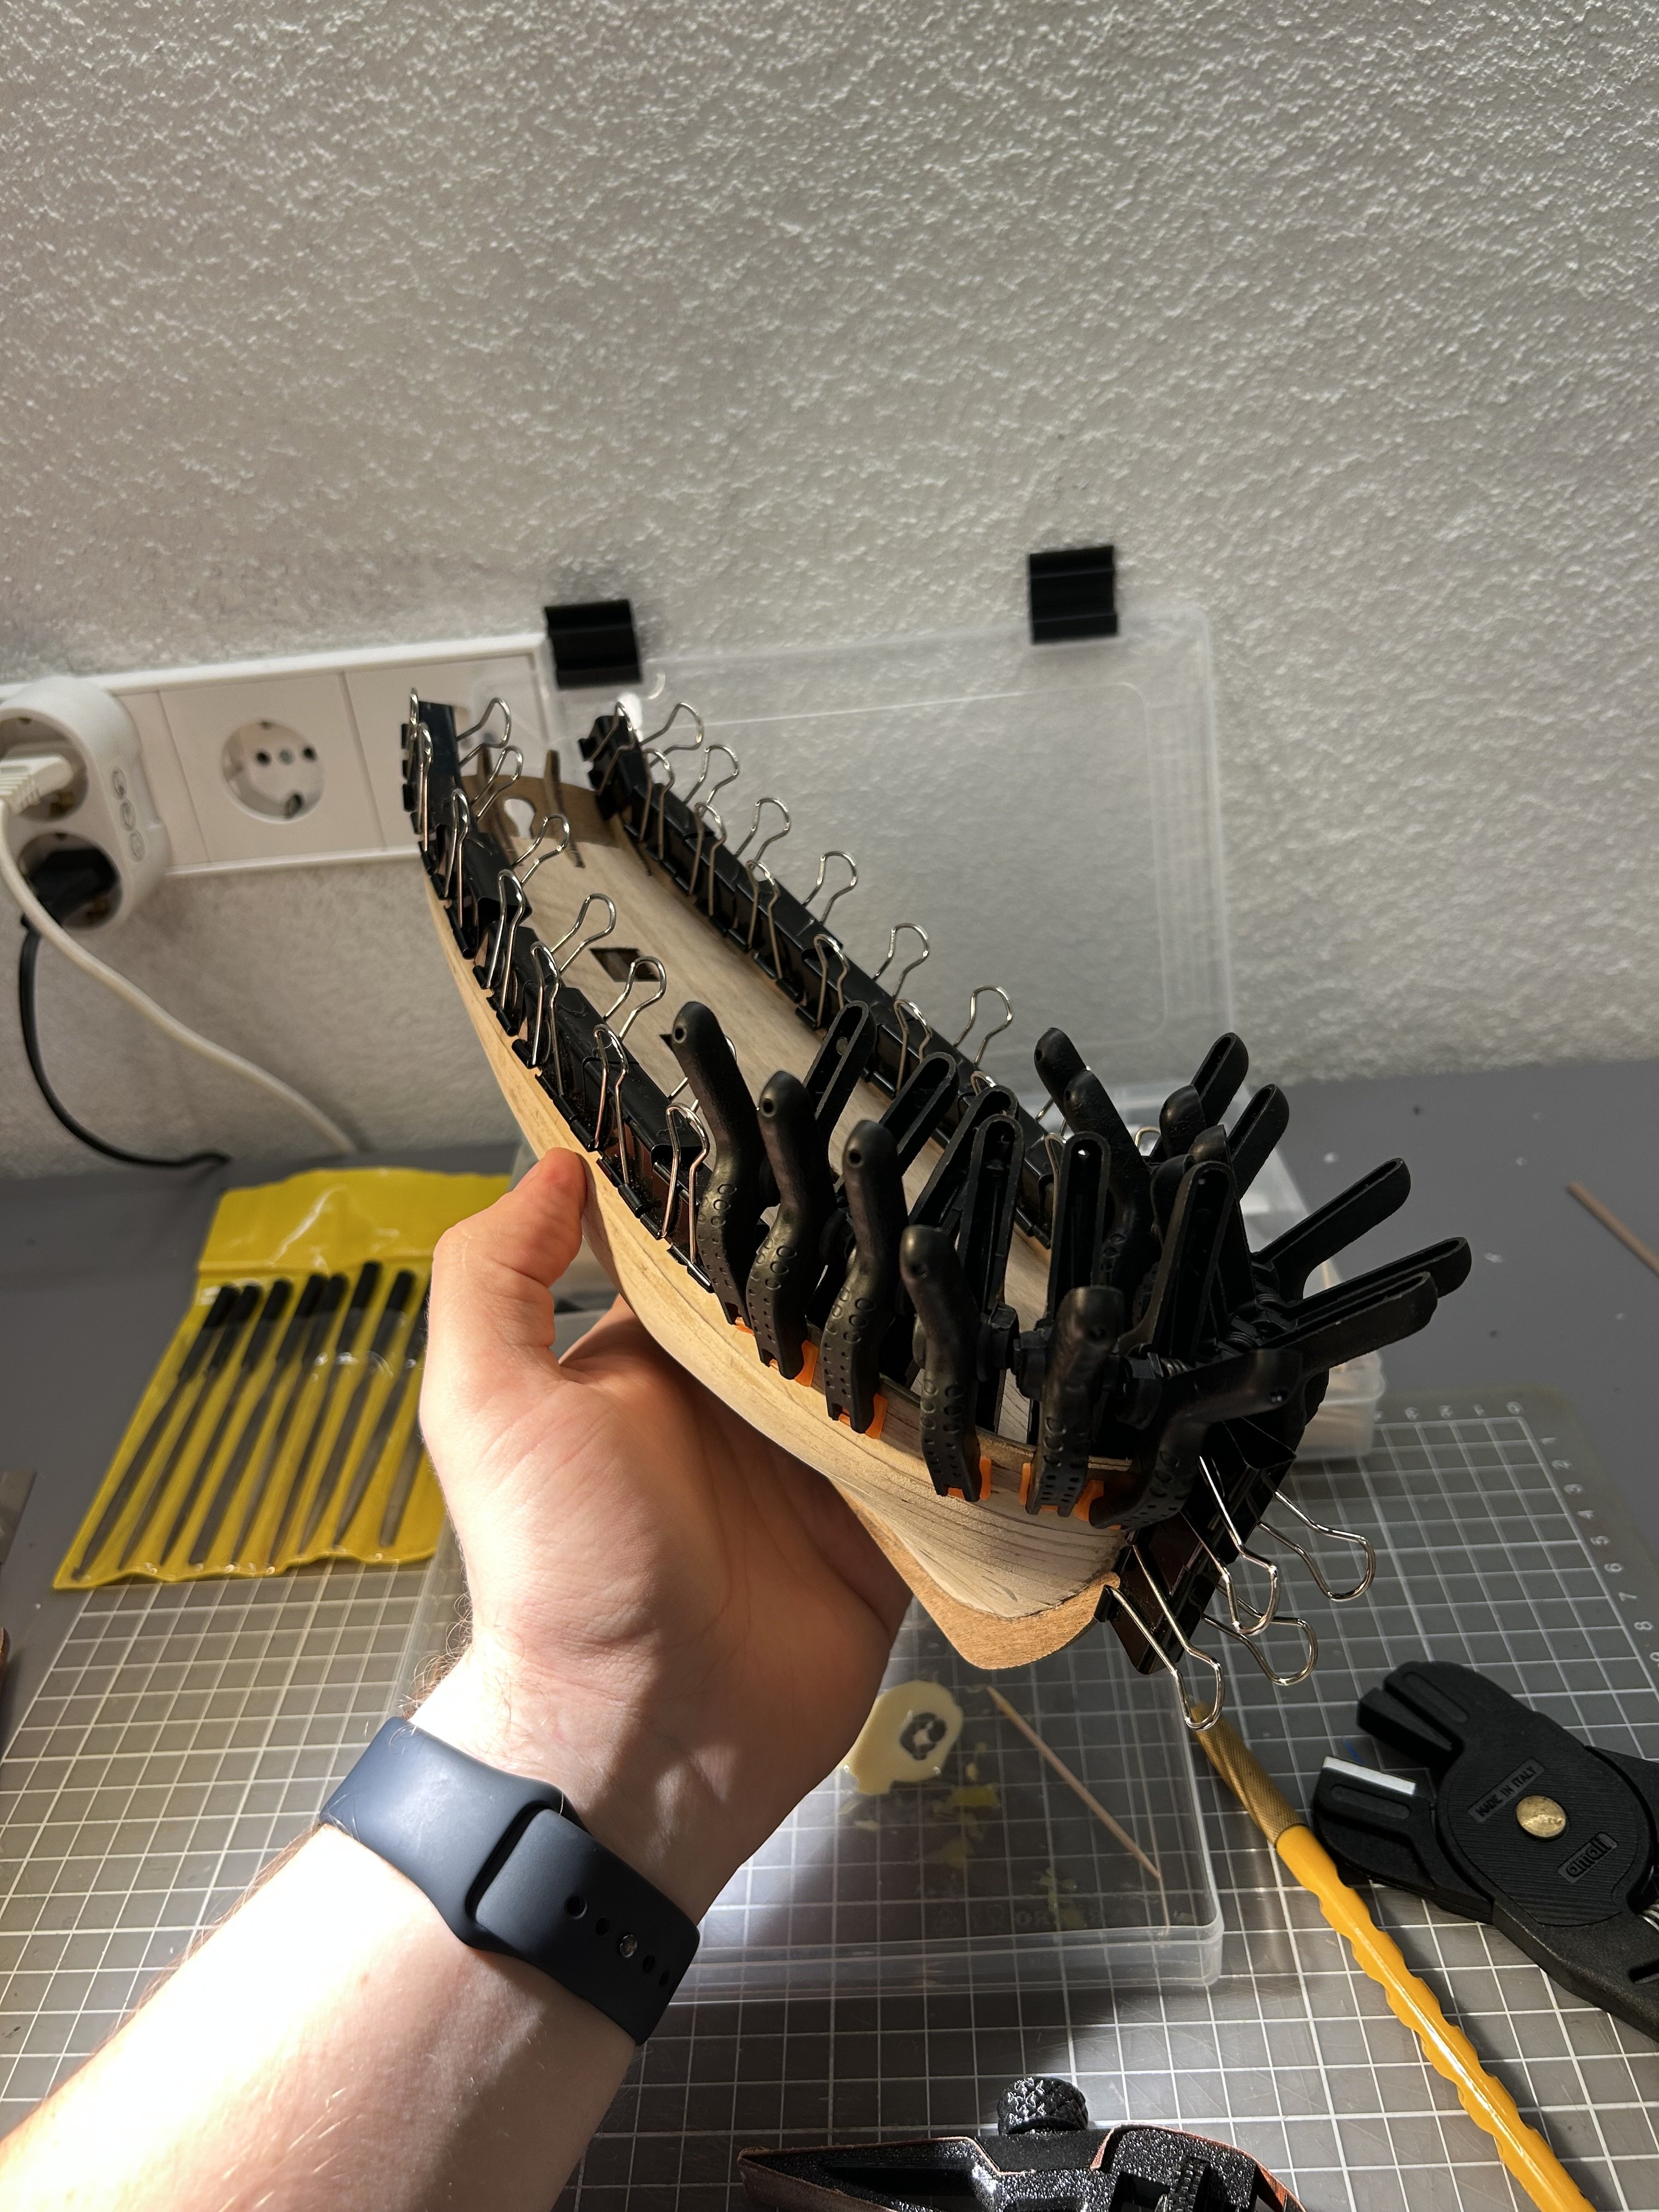
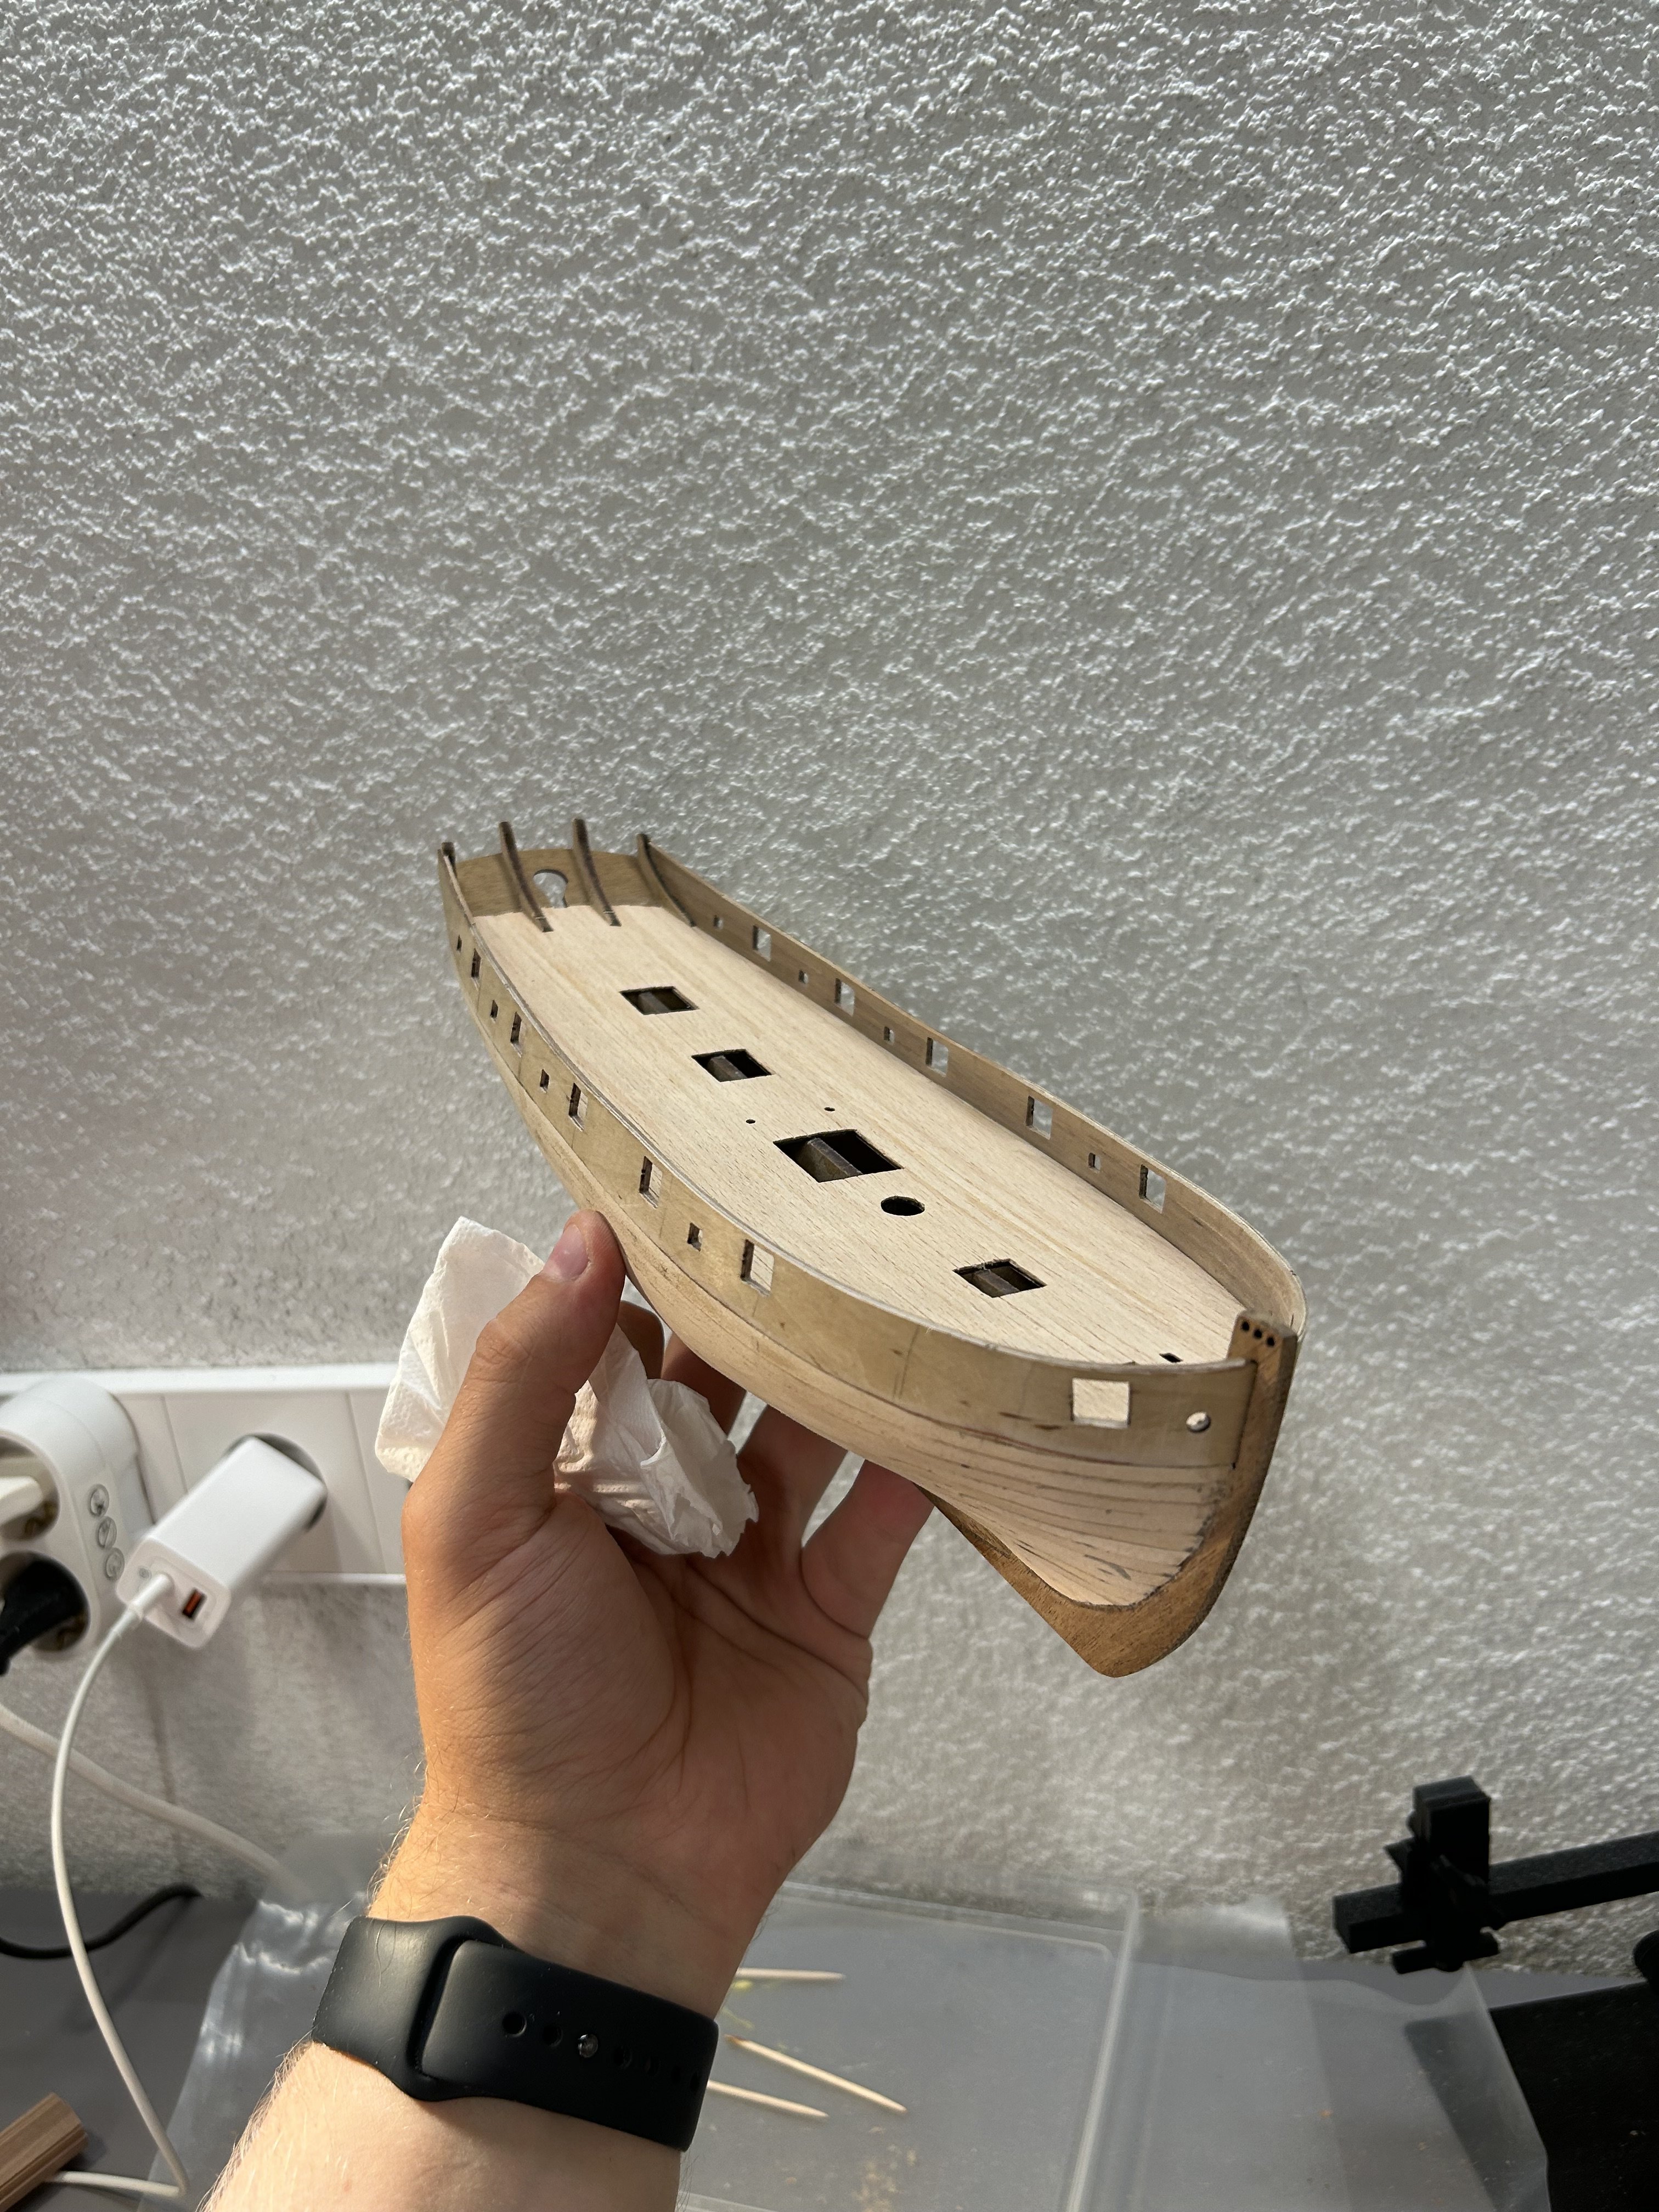
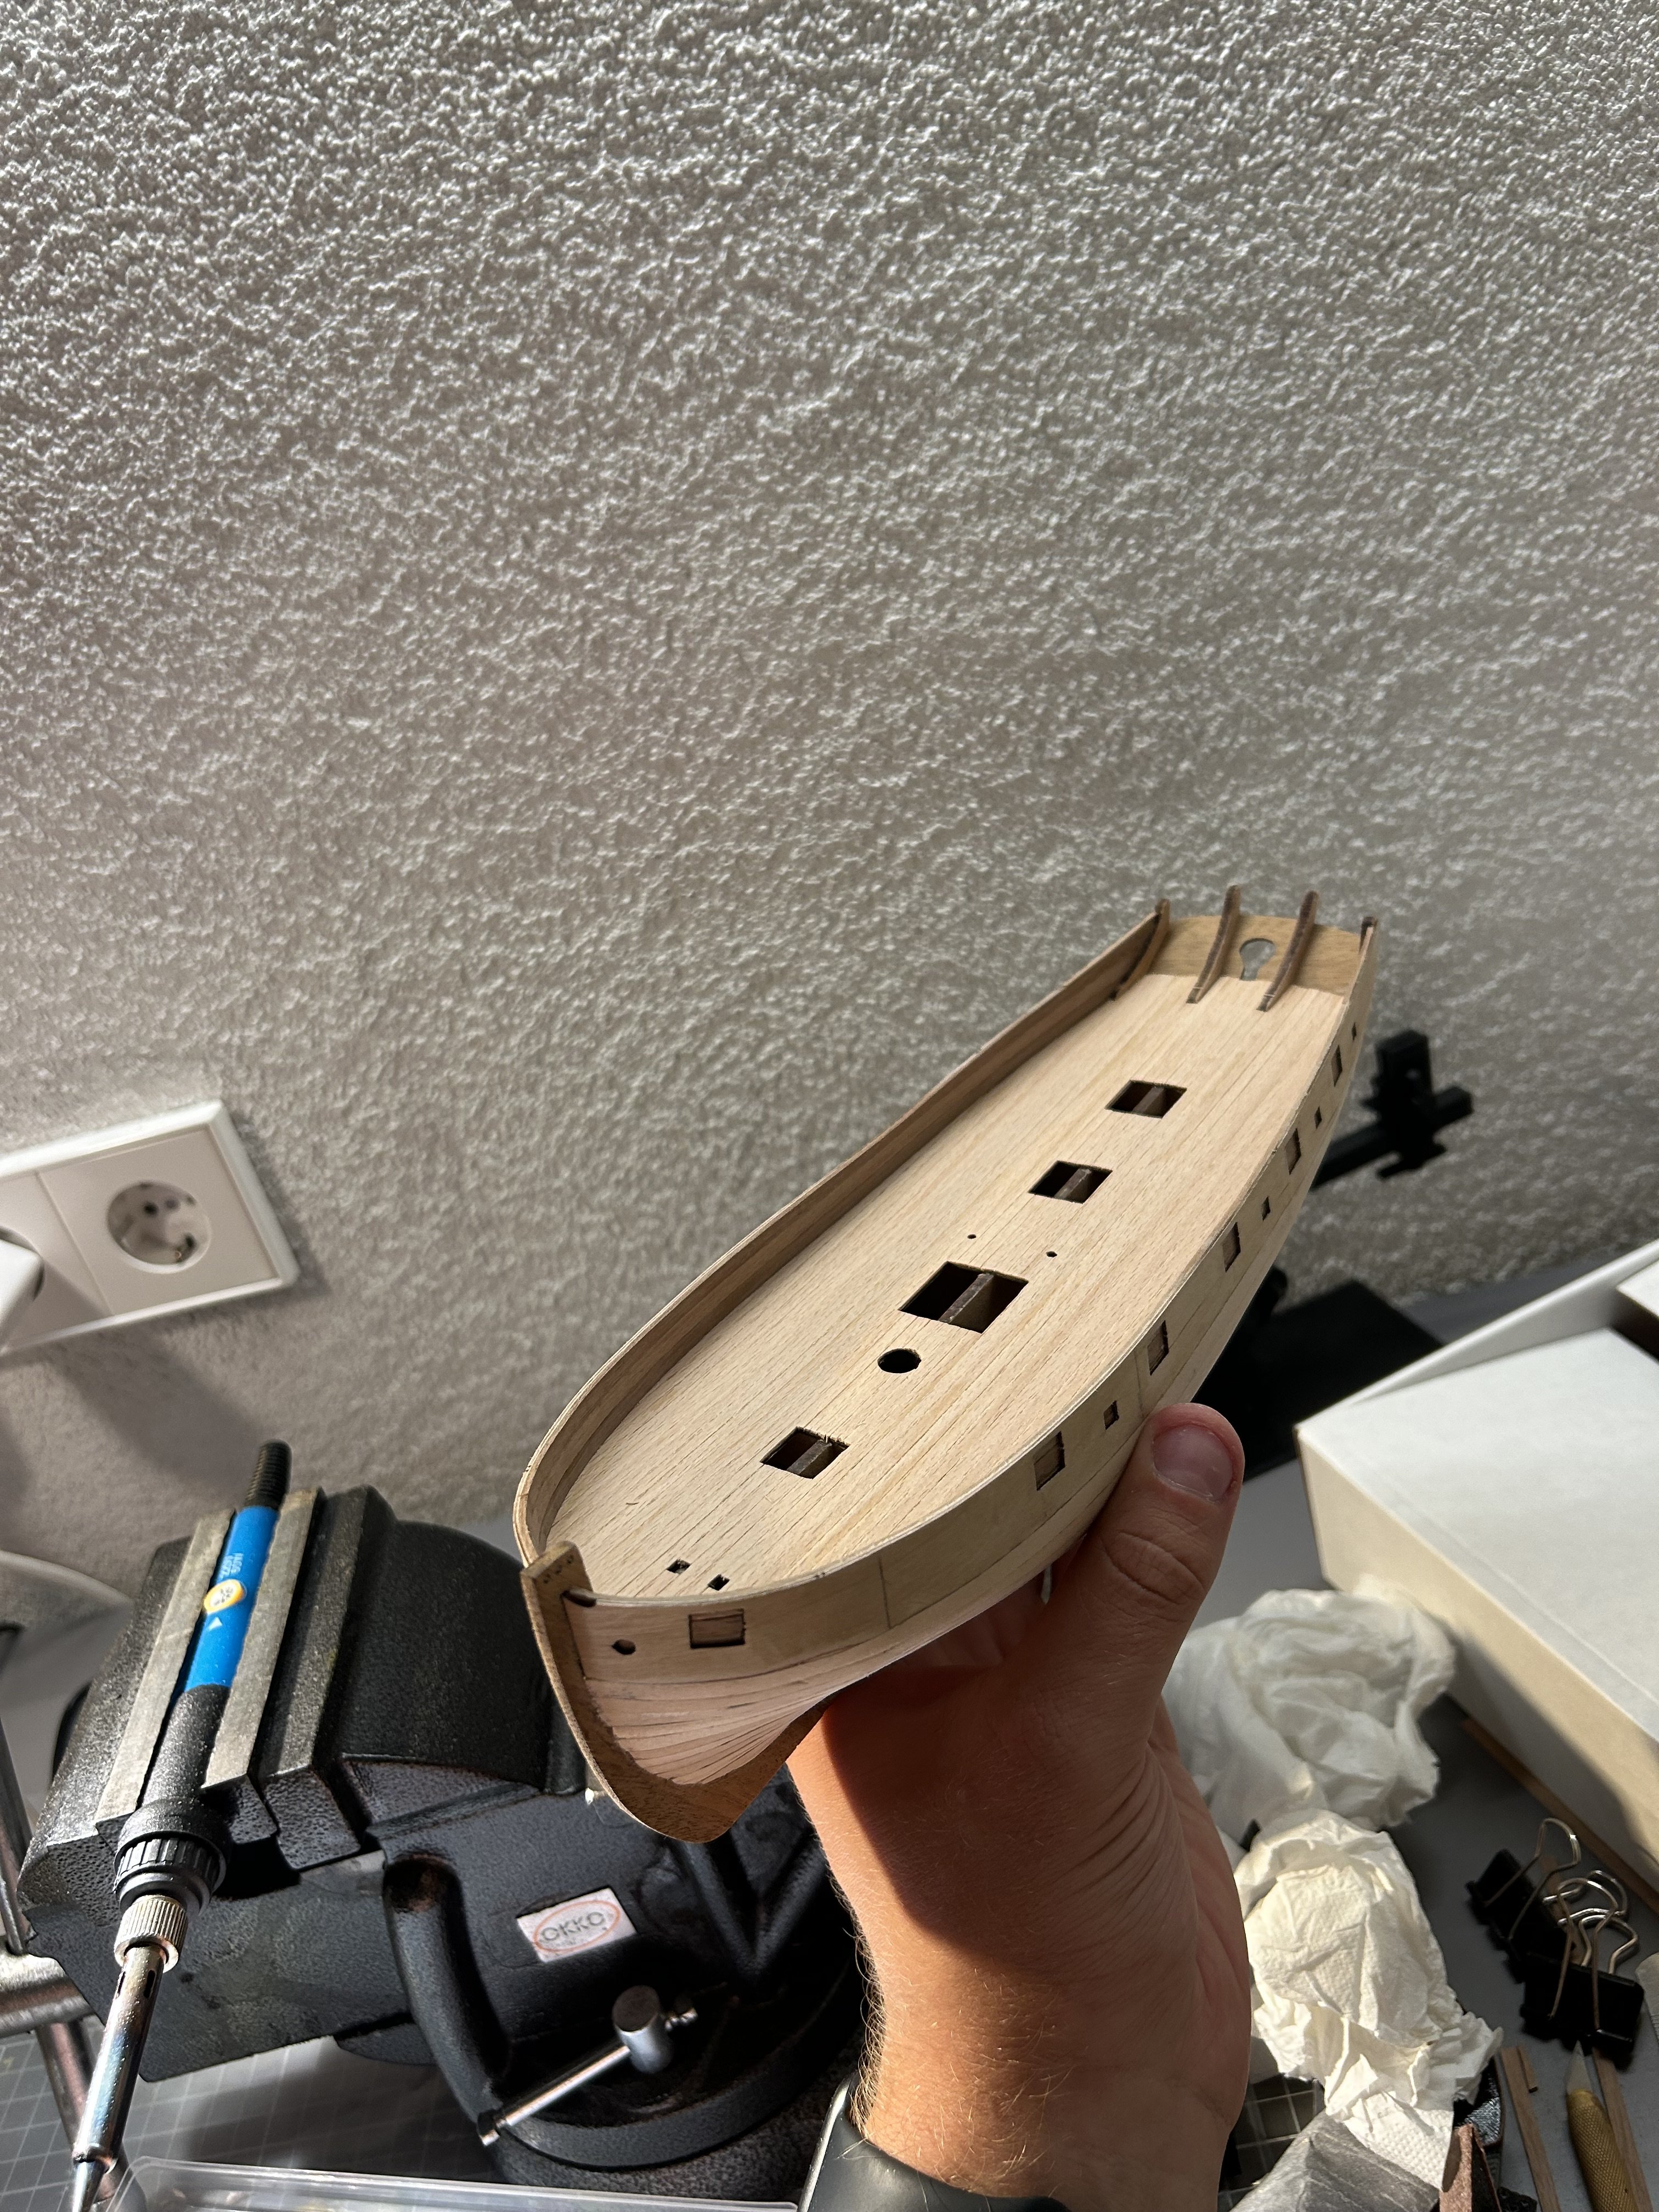
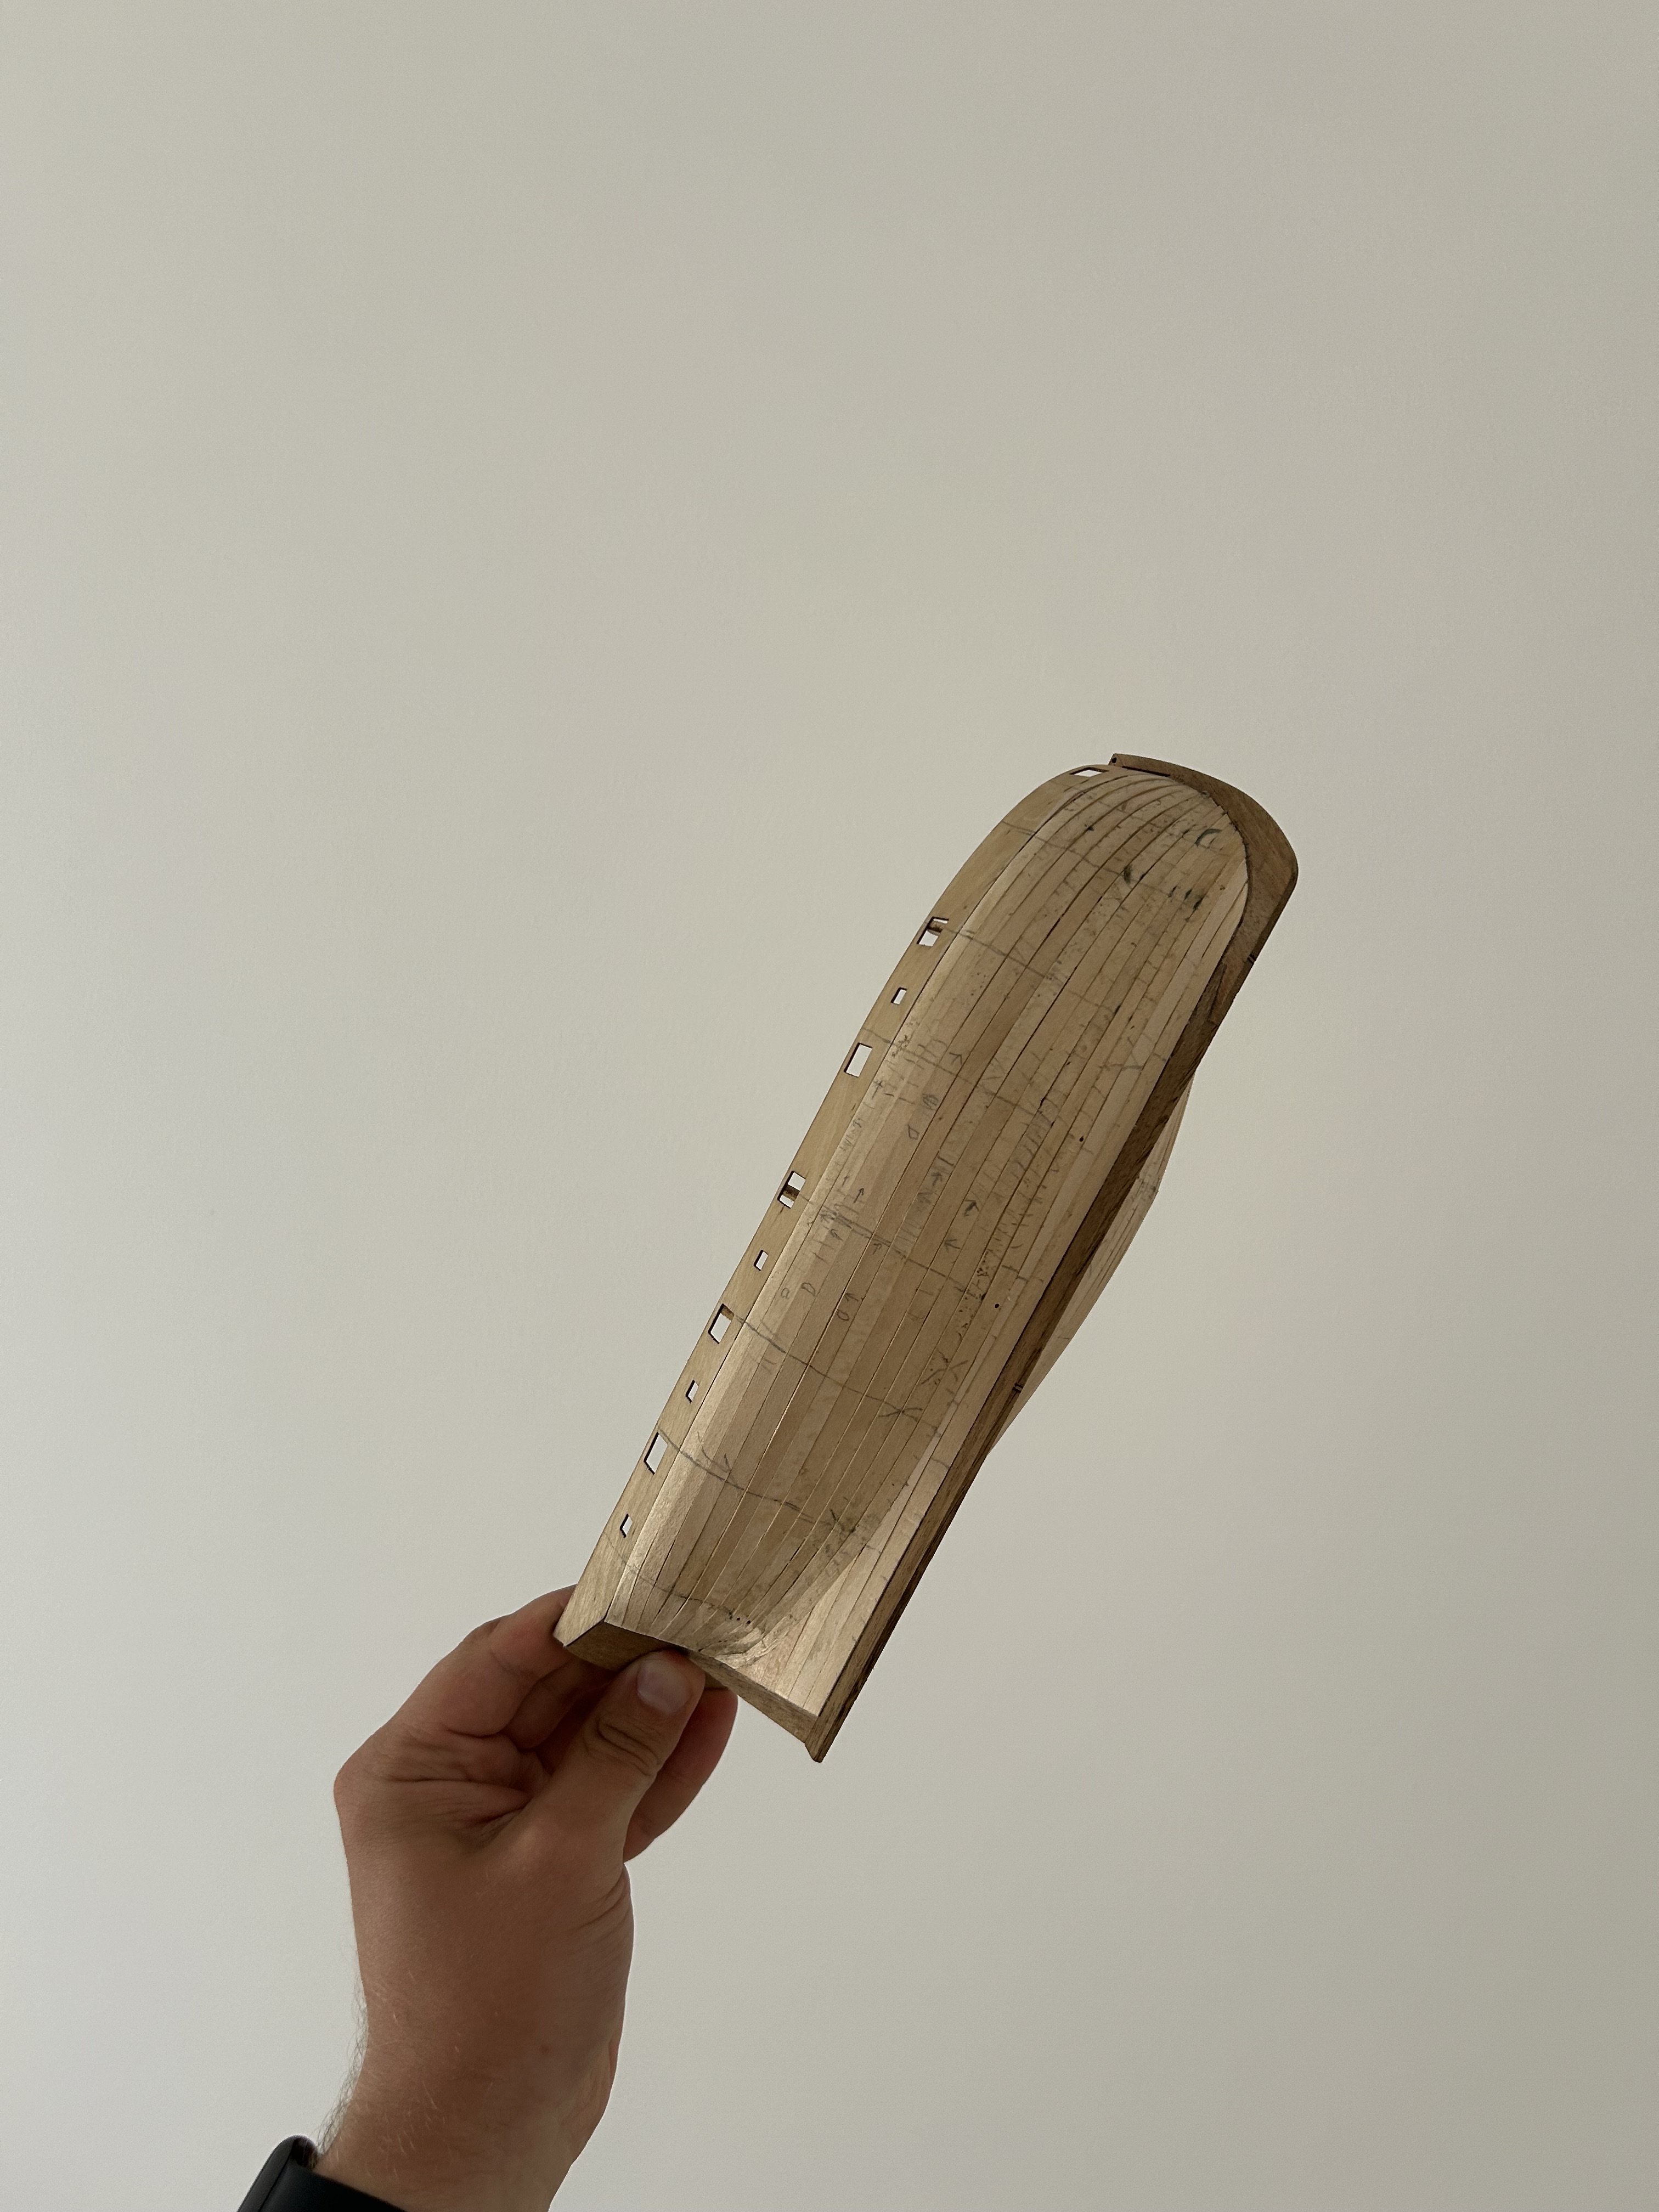
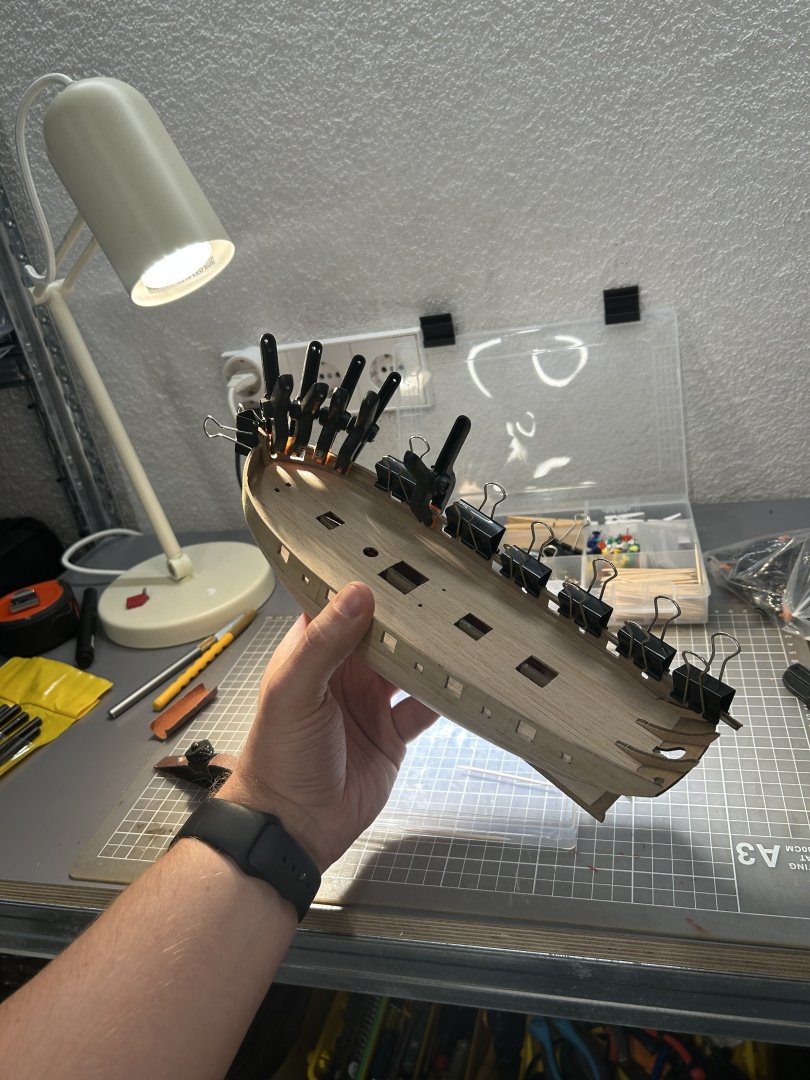
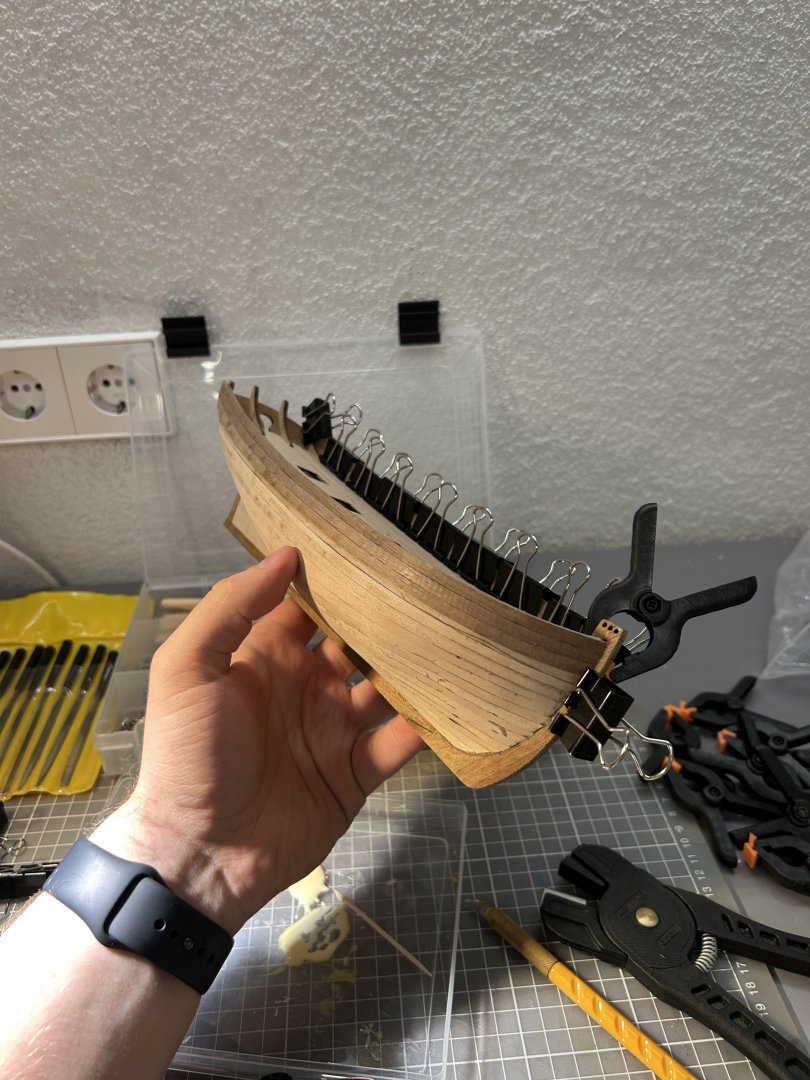
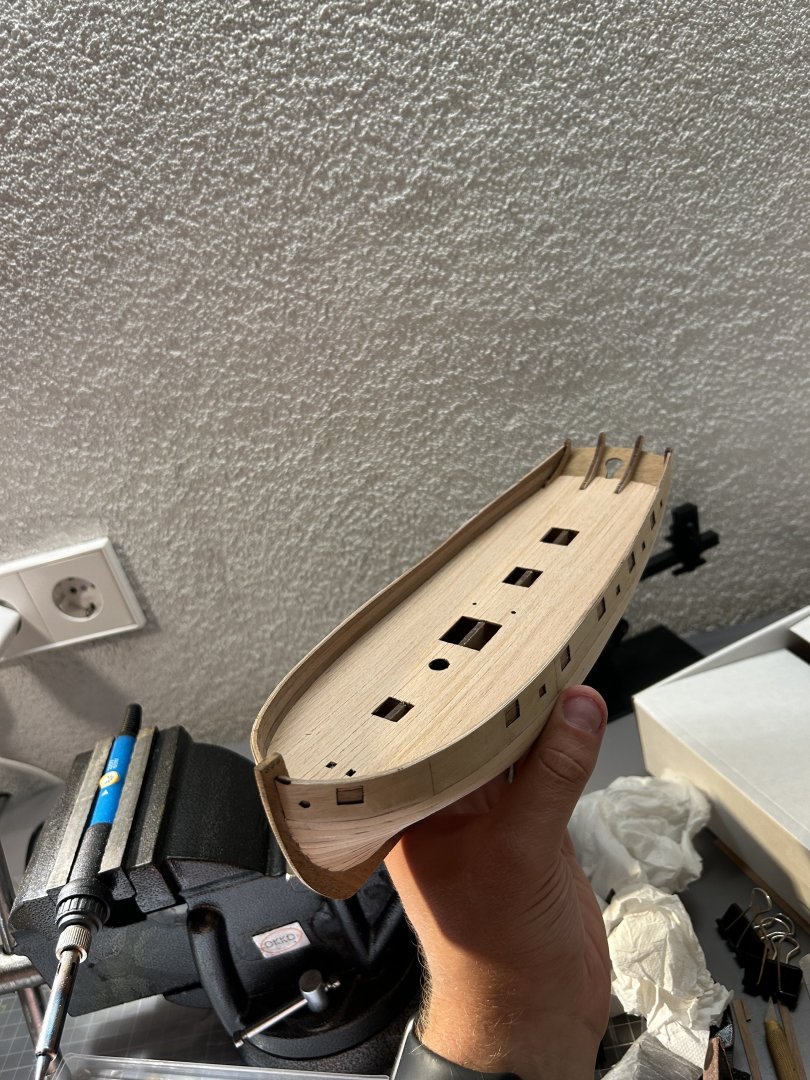
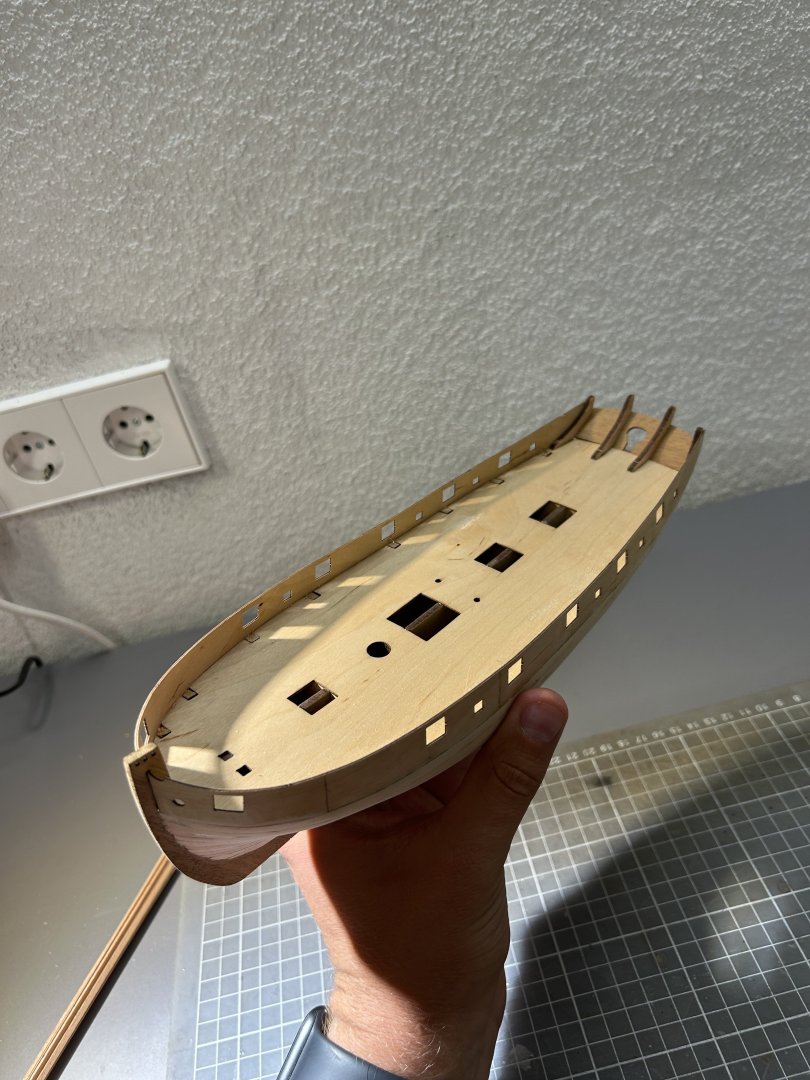
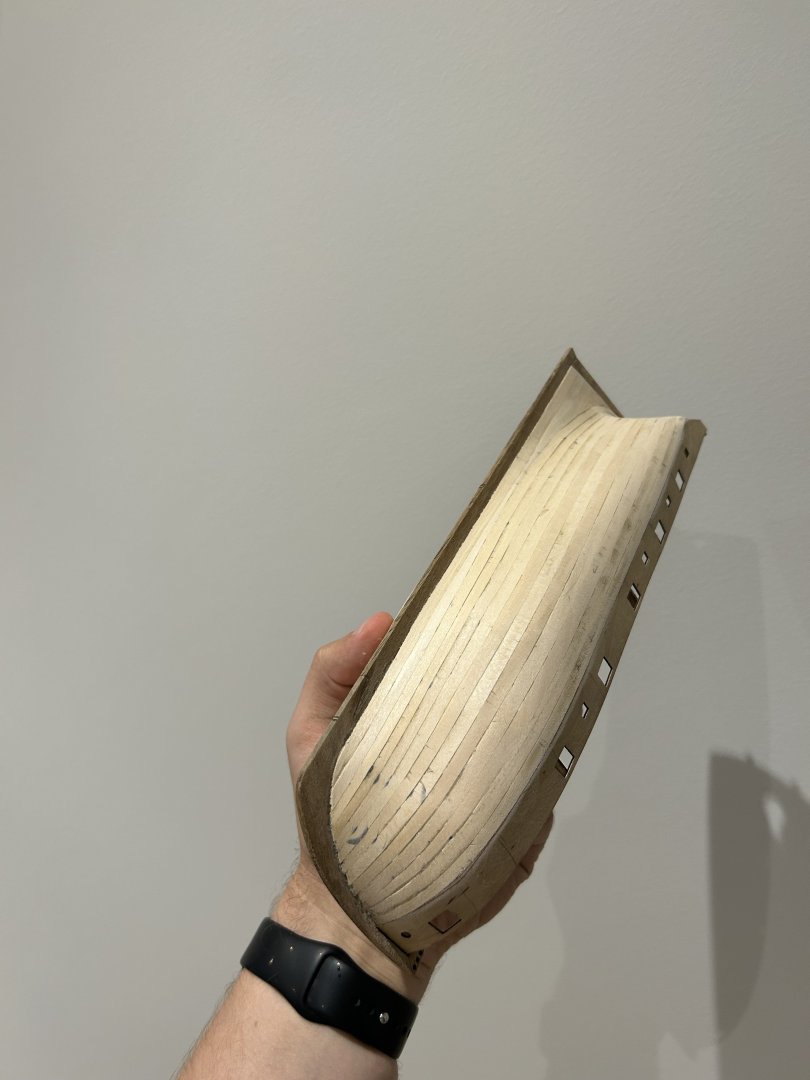
After heat forming and some sanding everything fits perfectly After testing fitting major stern pieces I will be able to proceed with first layer of planks.

- 45 replies
-
- 4
-
-
- Lady Nelson
- Amati
- (and 1 more)
-
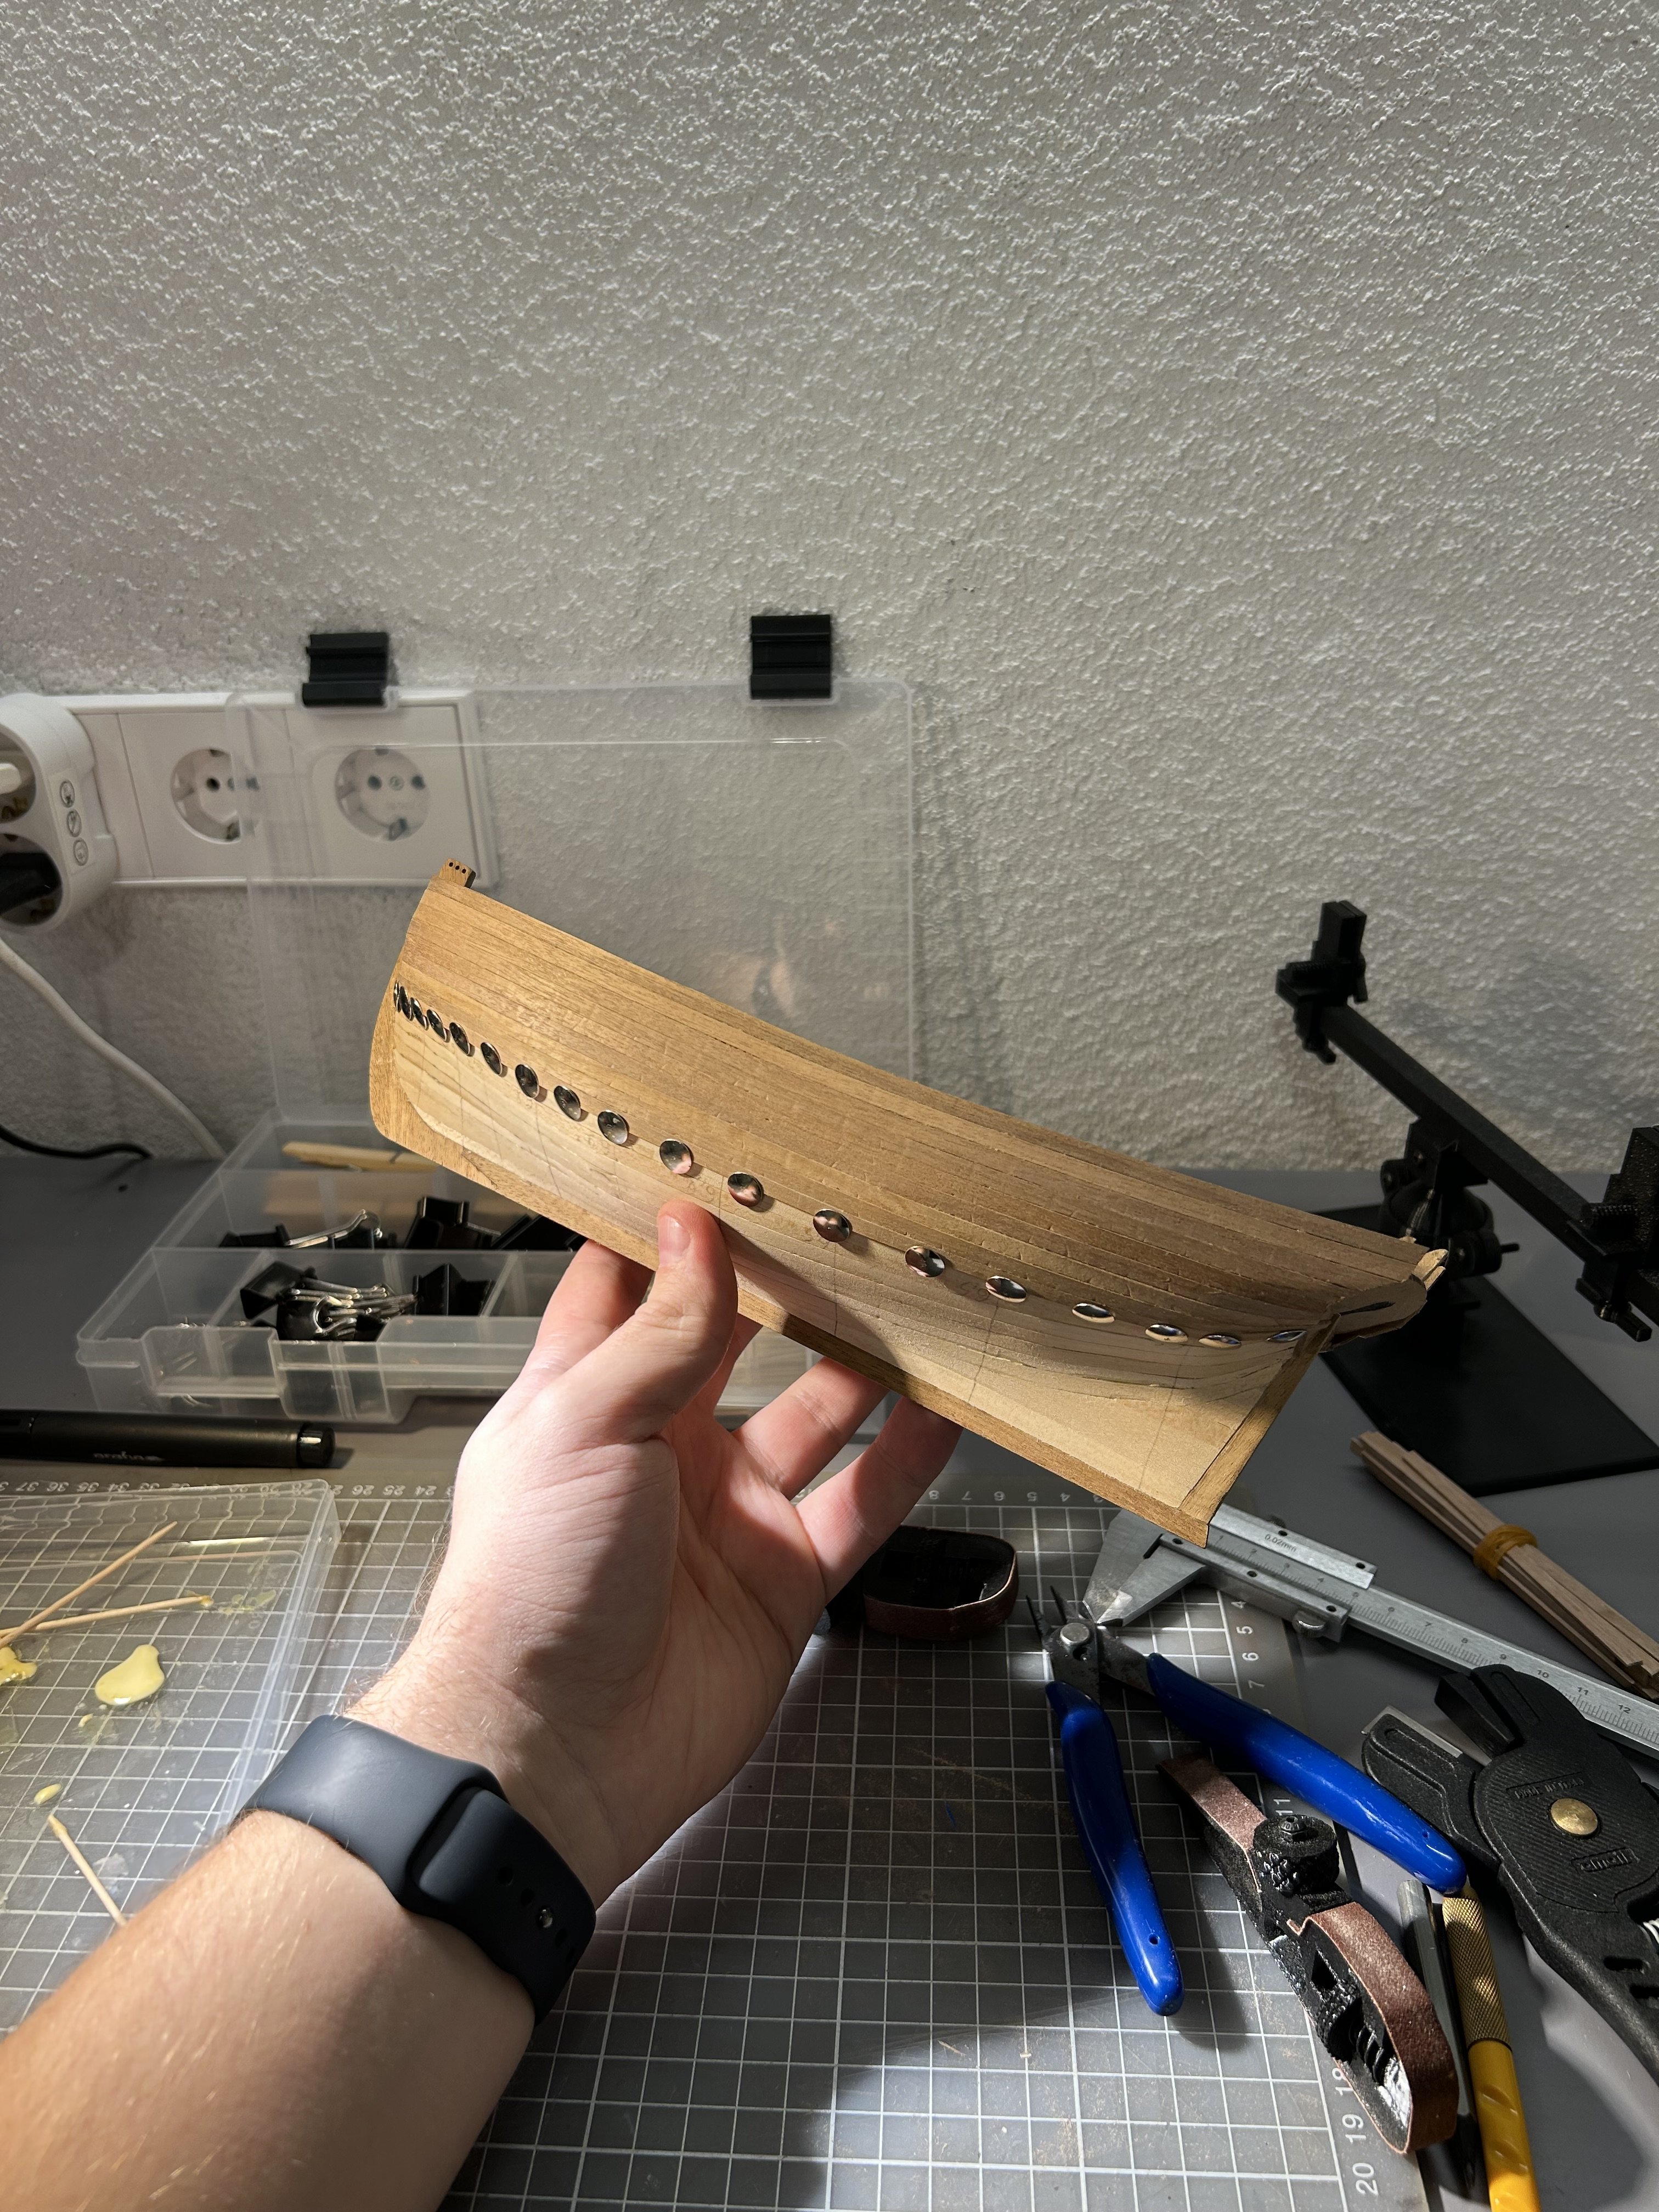
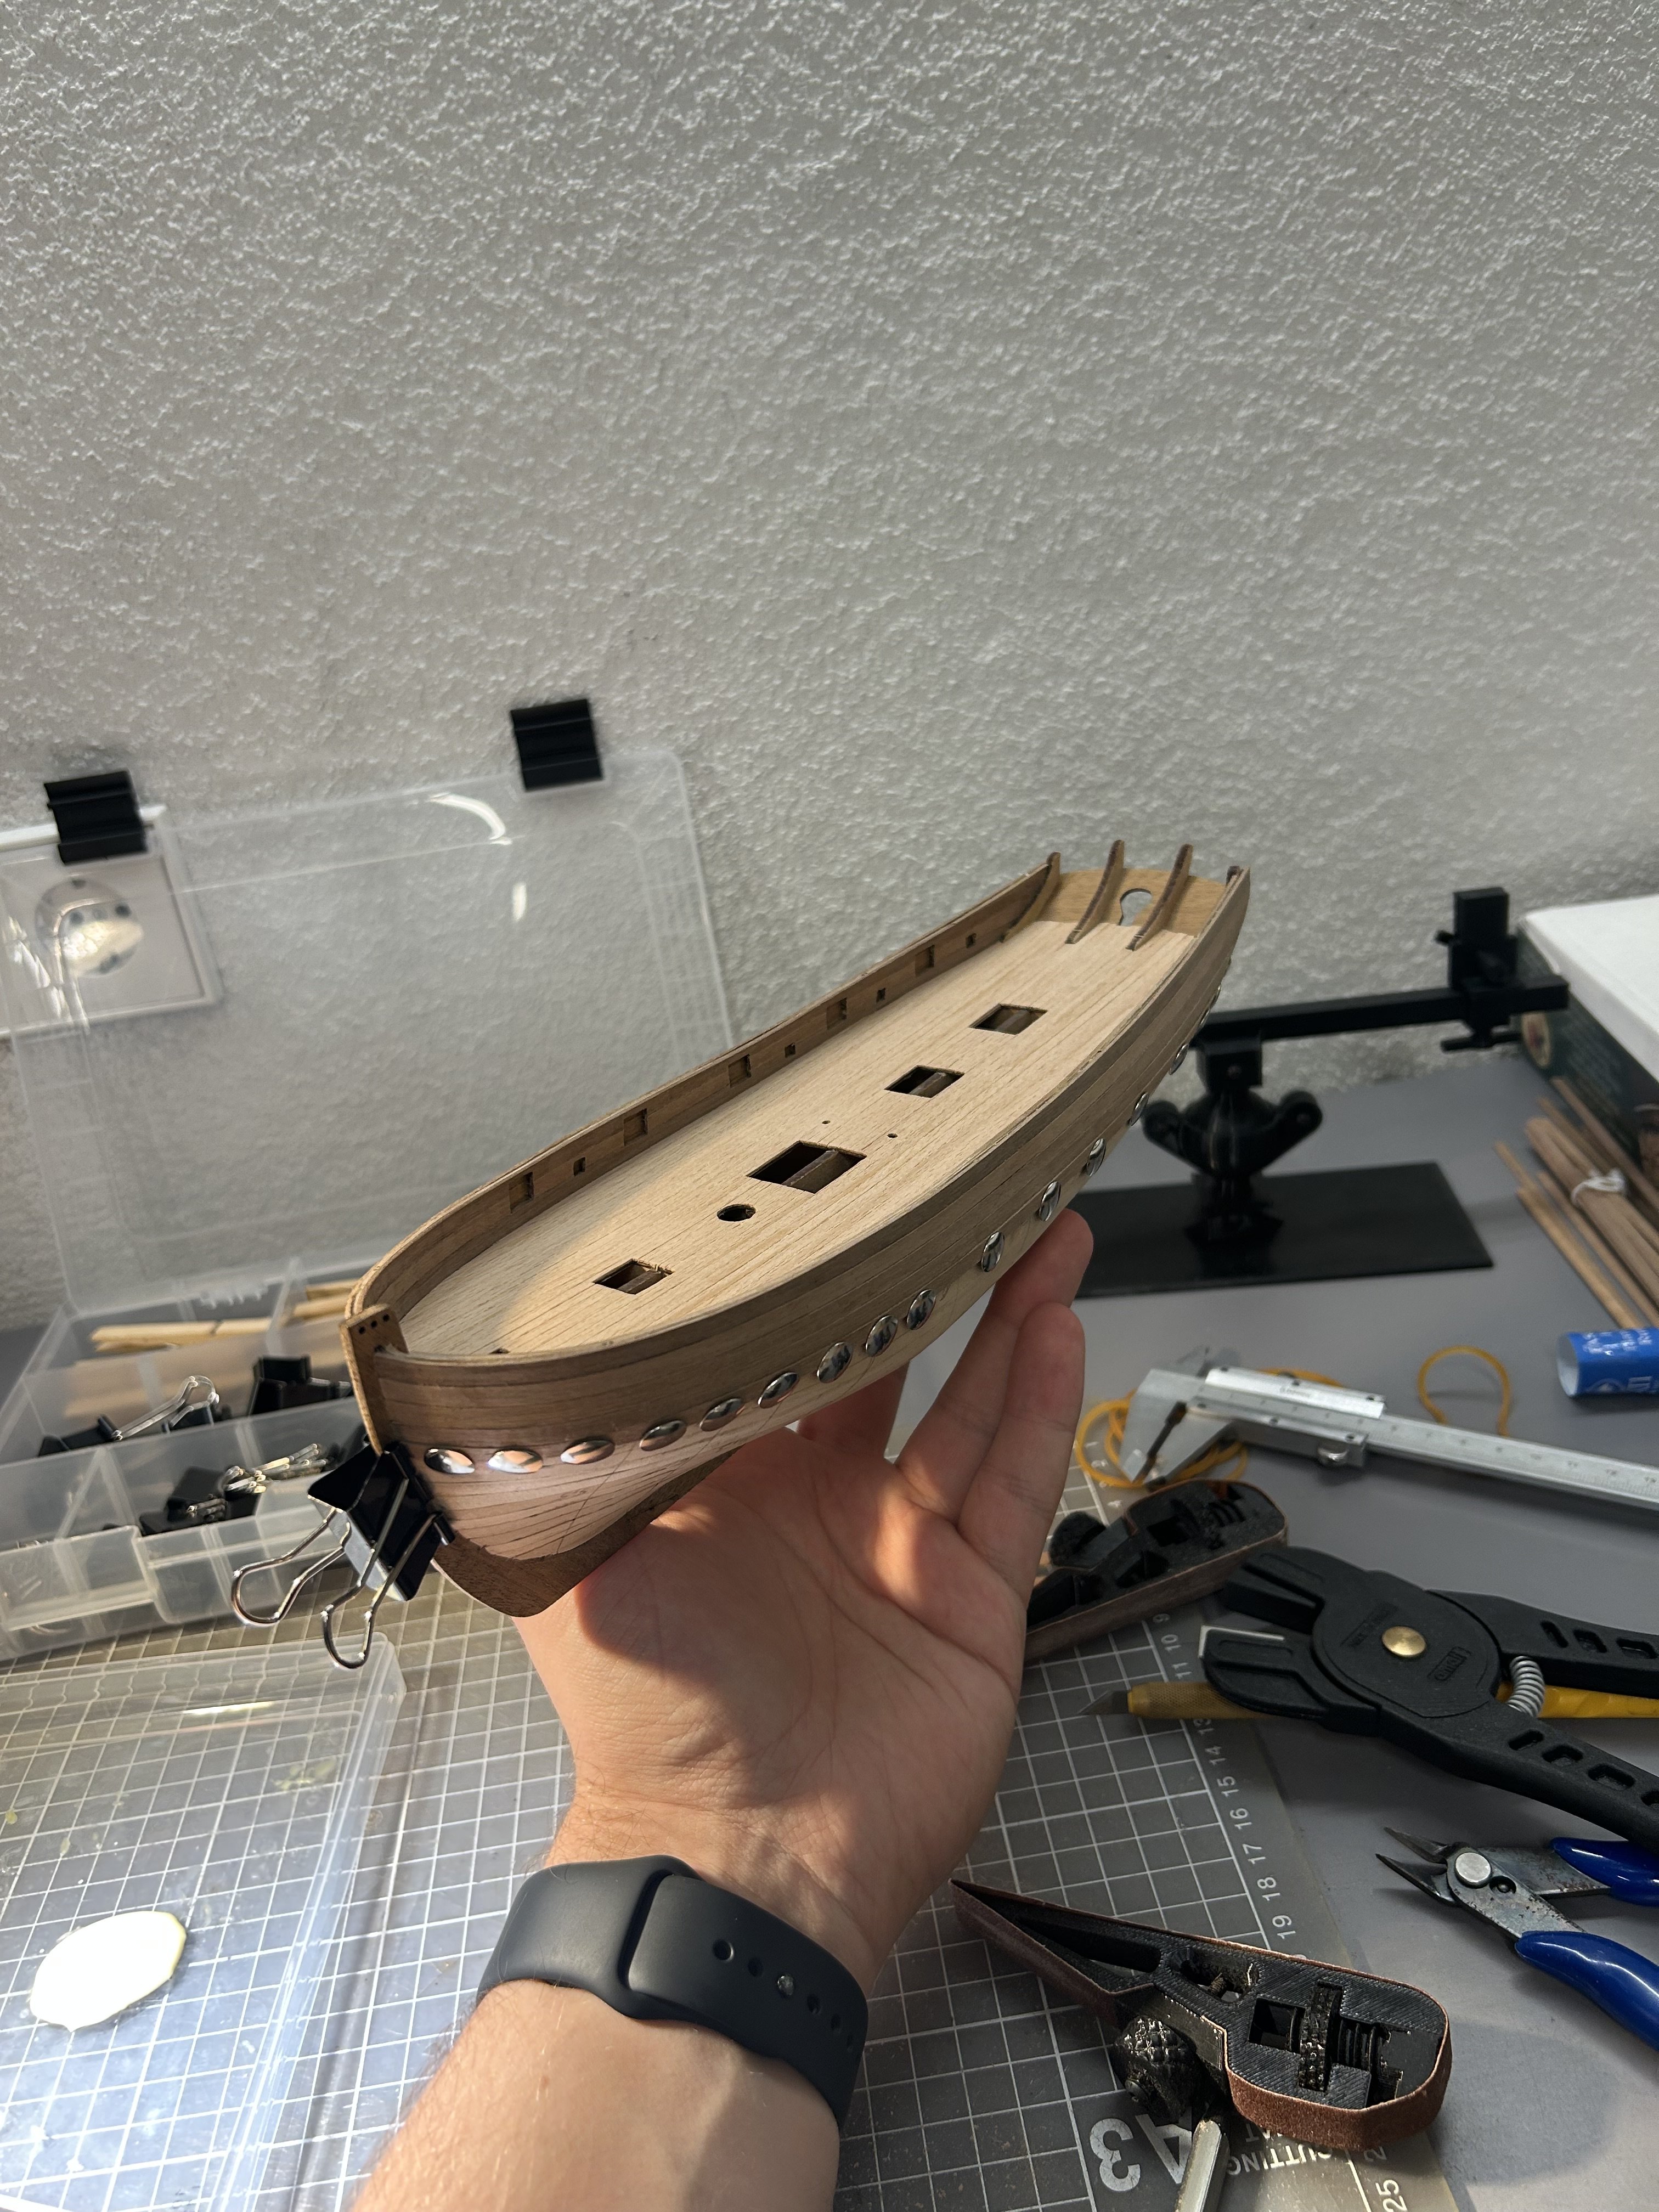
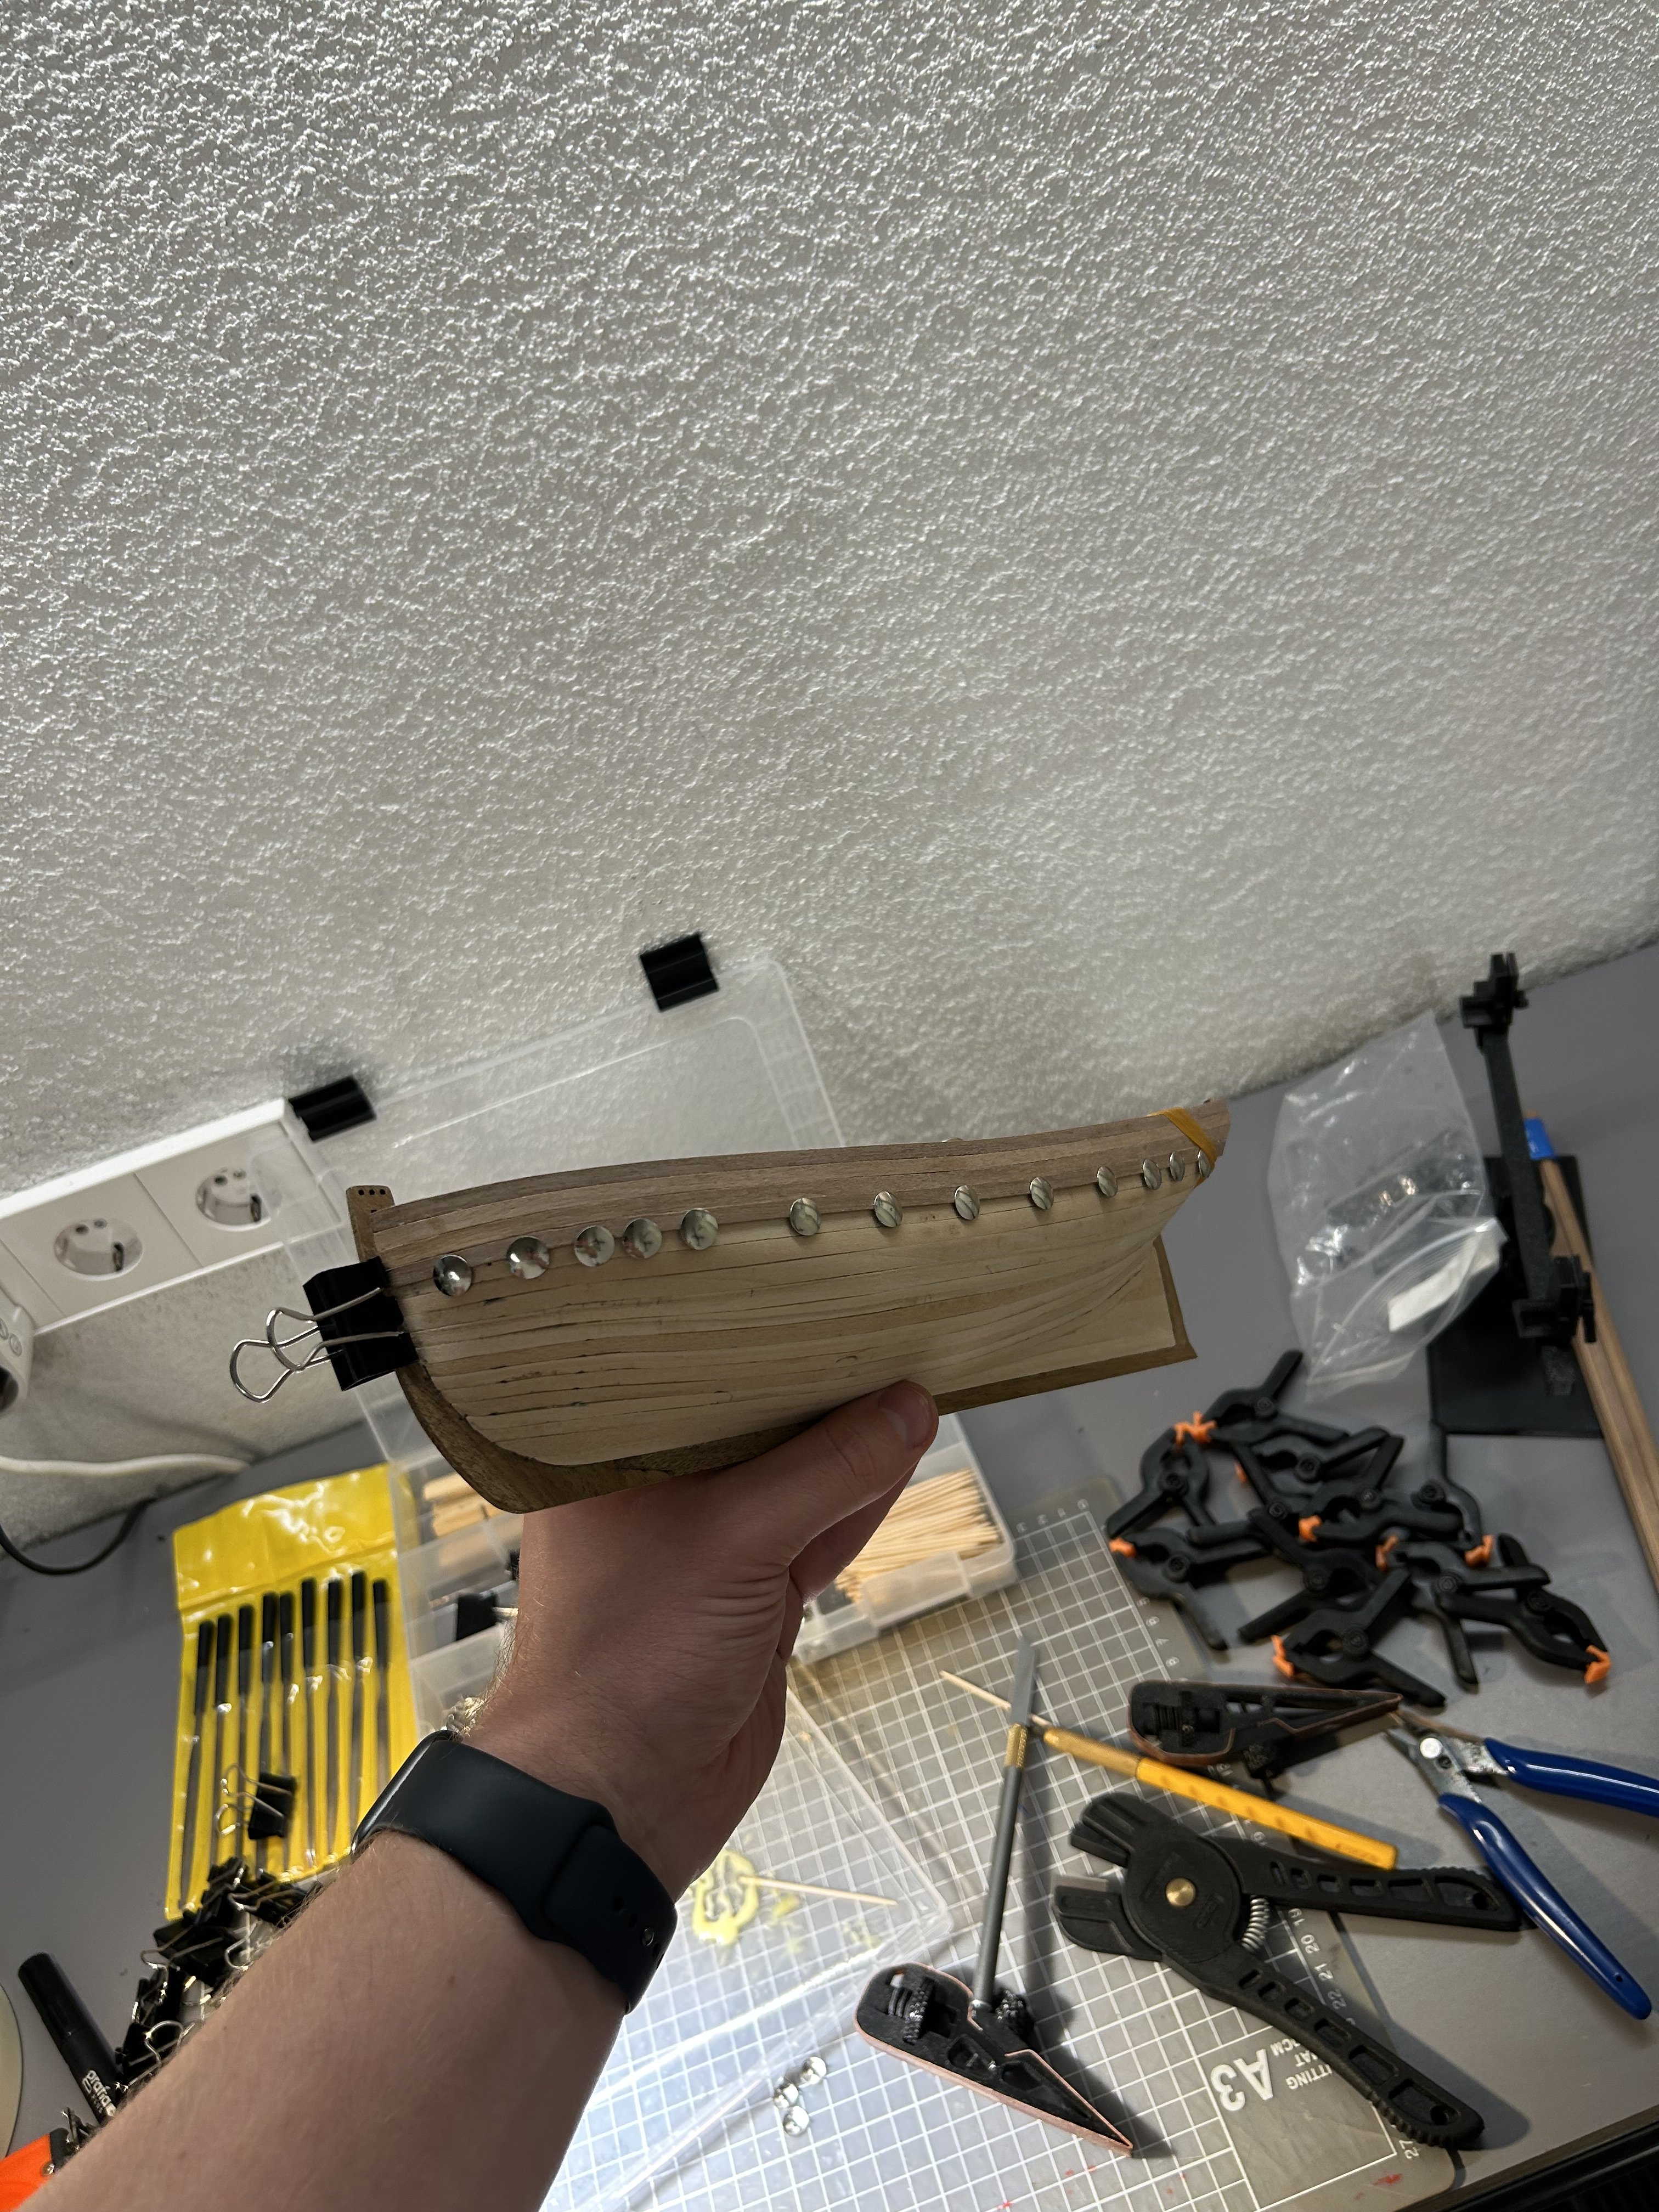
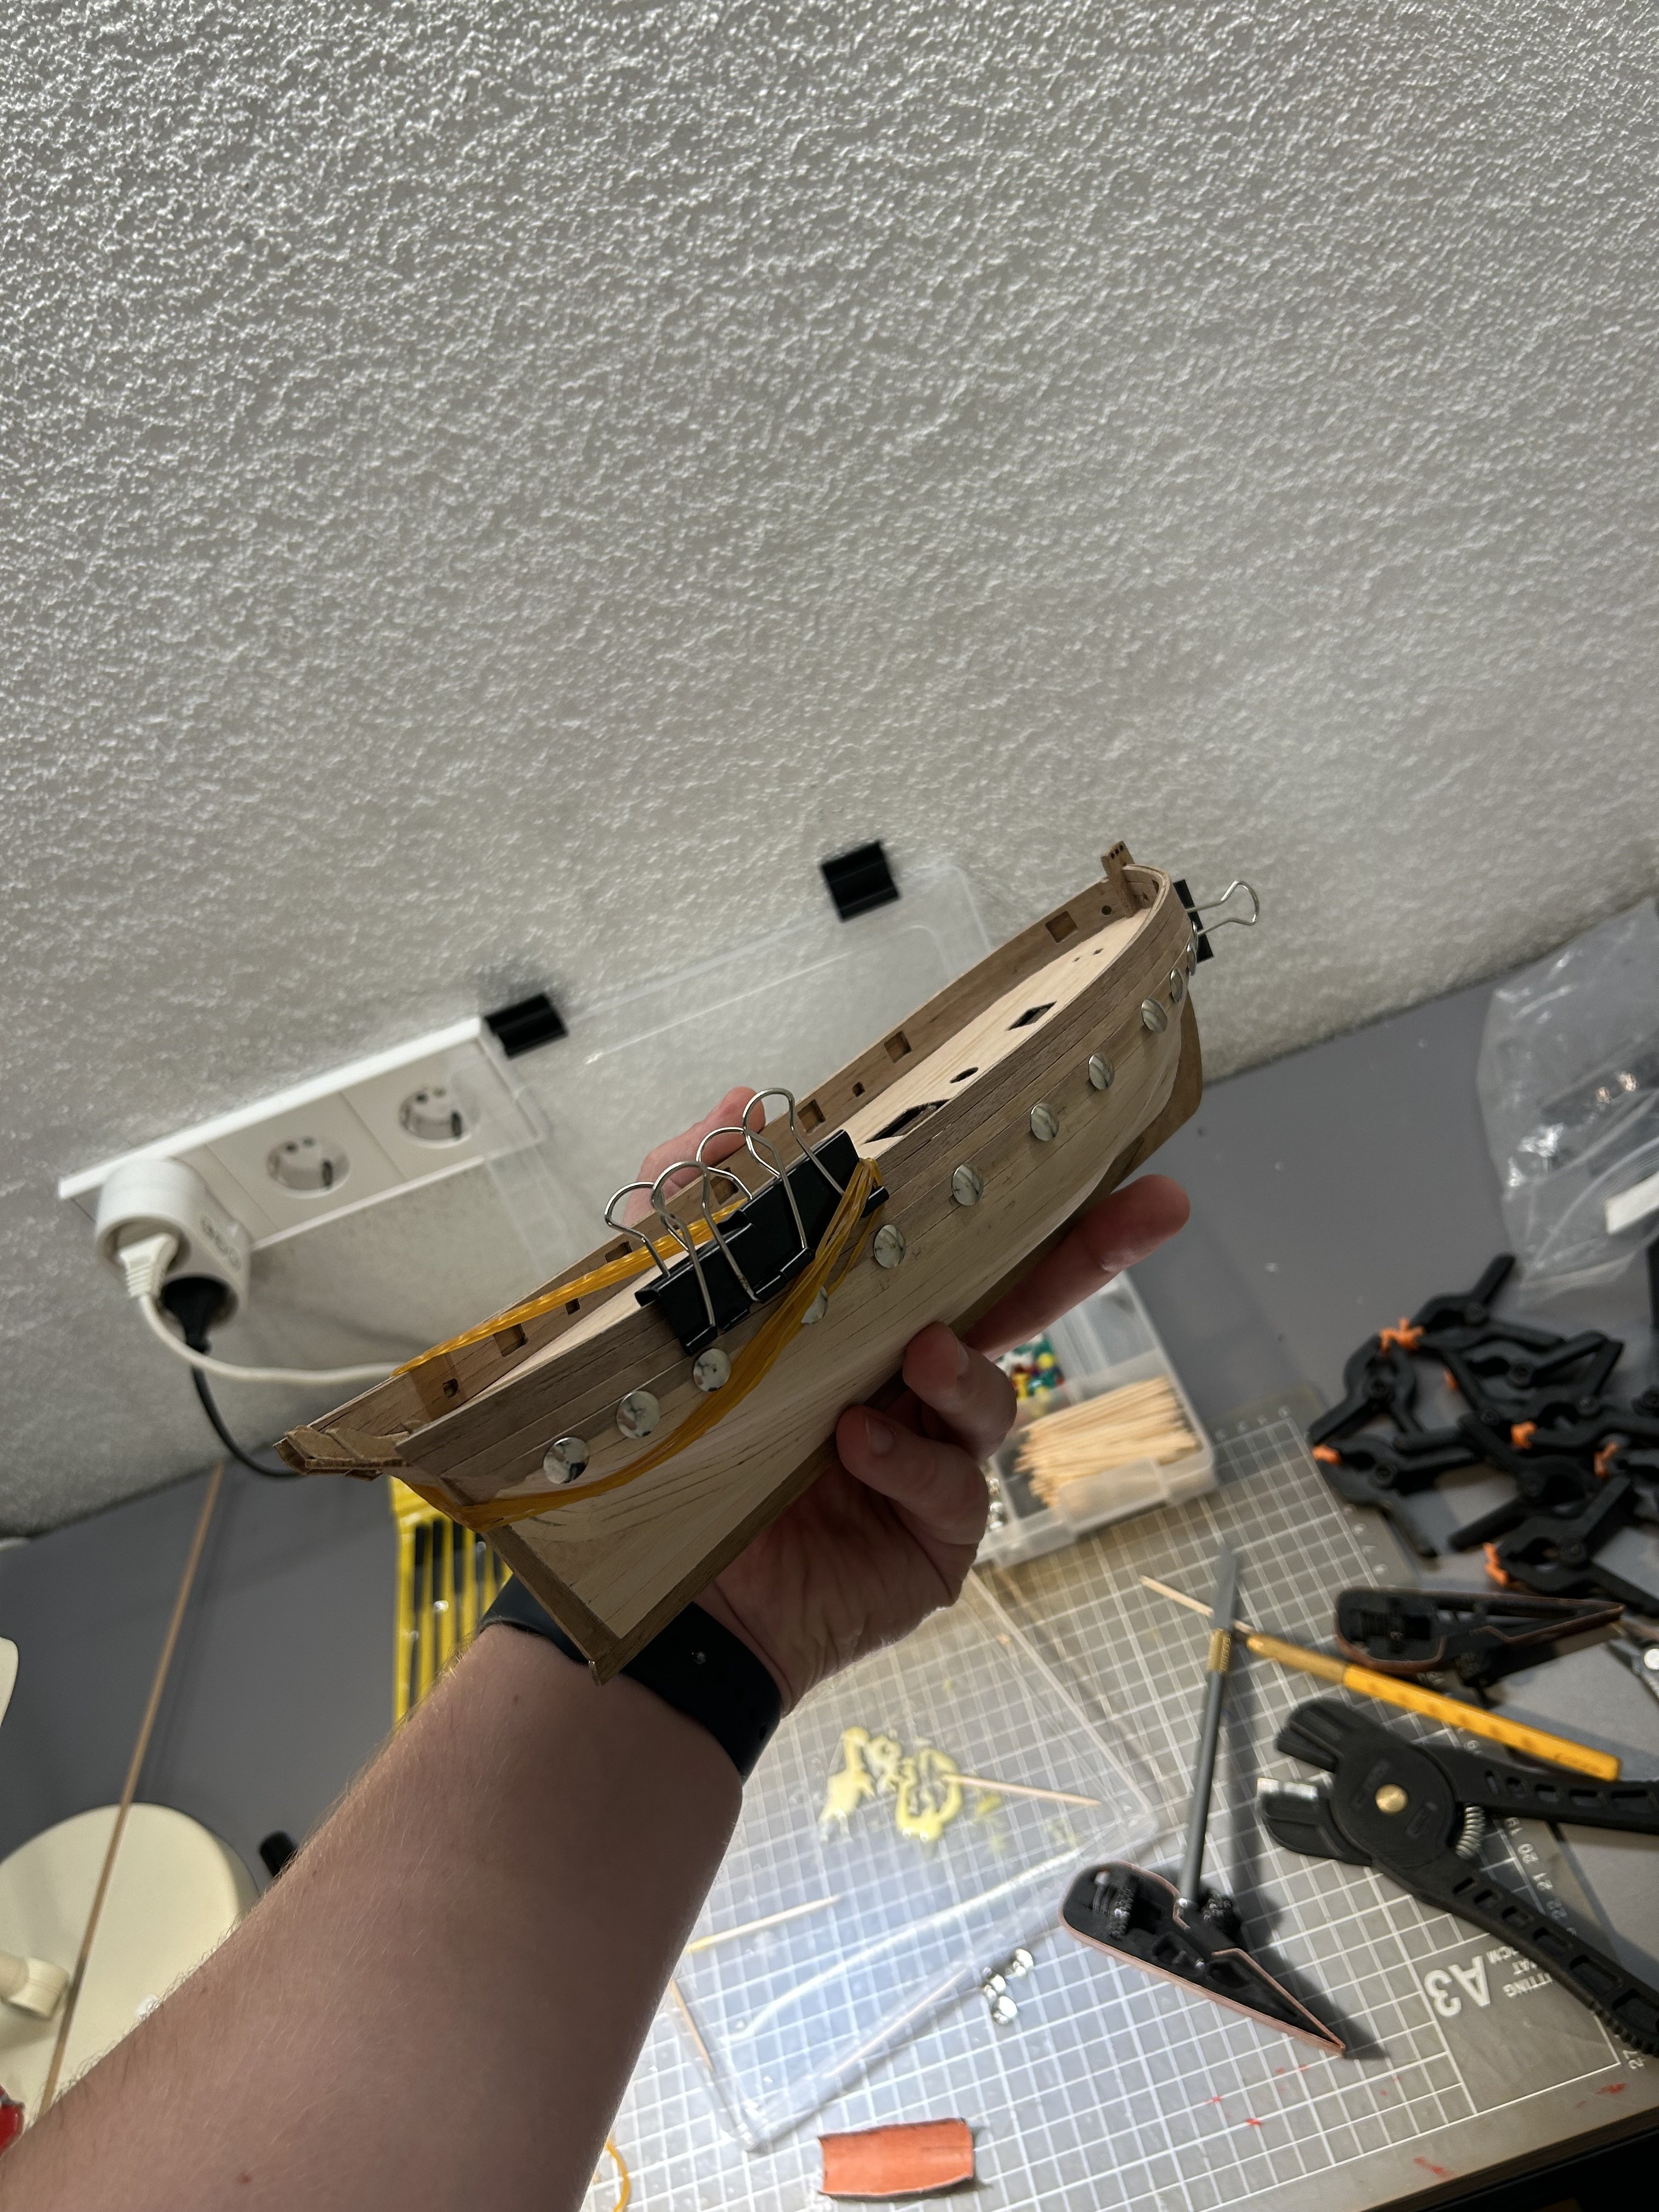
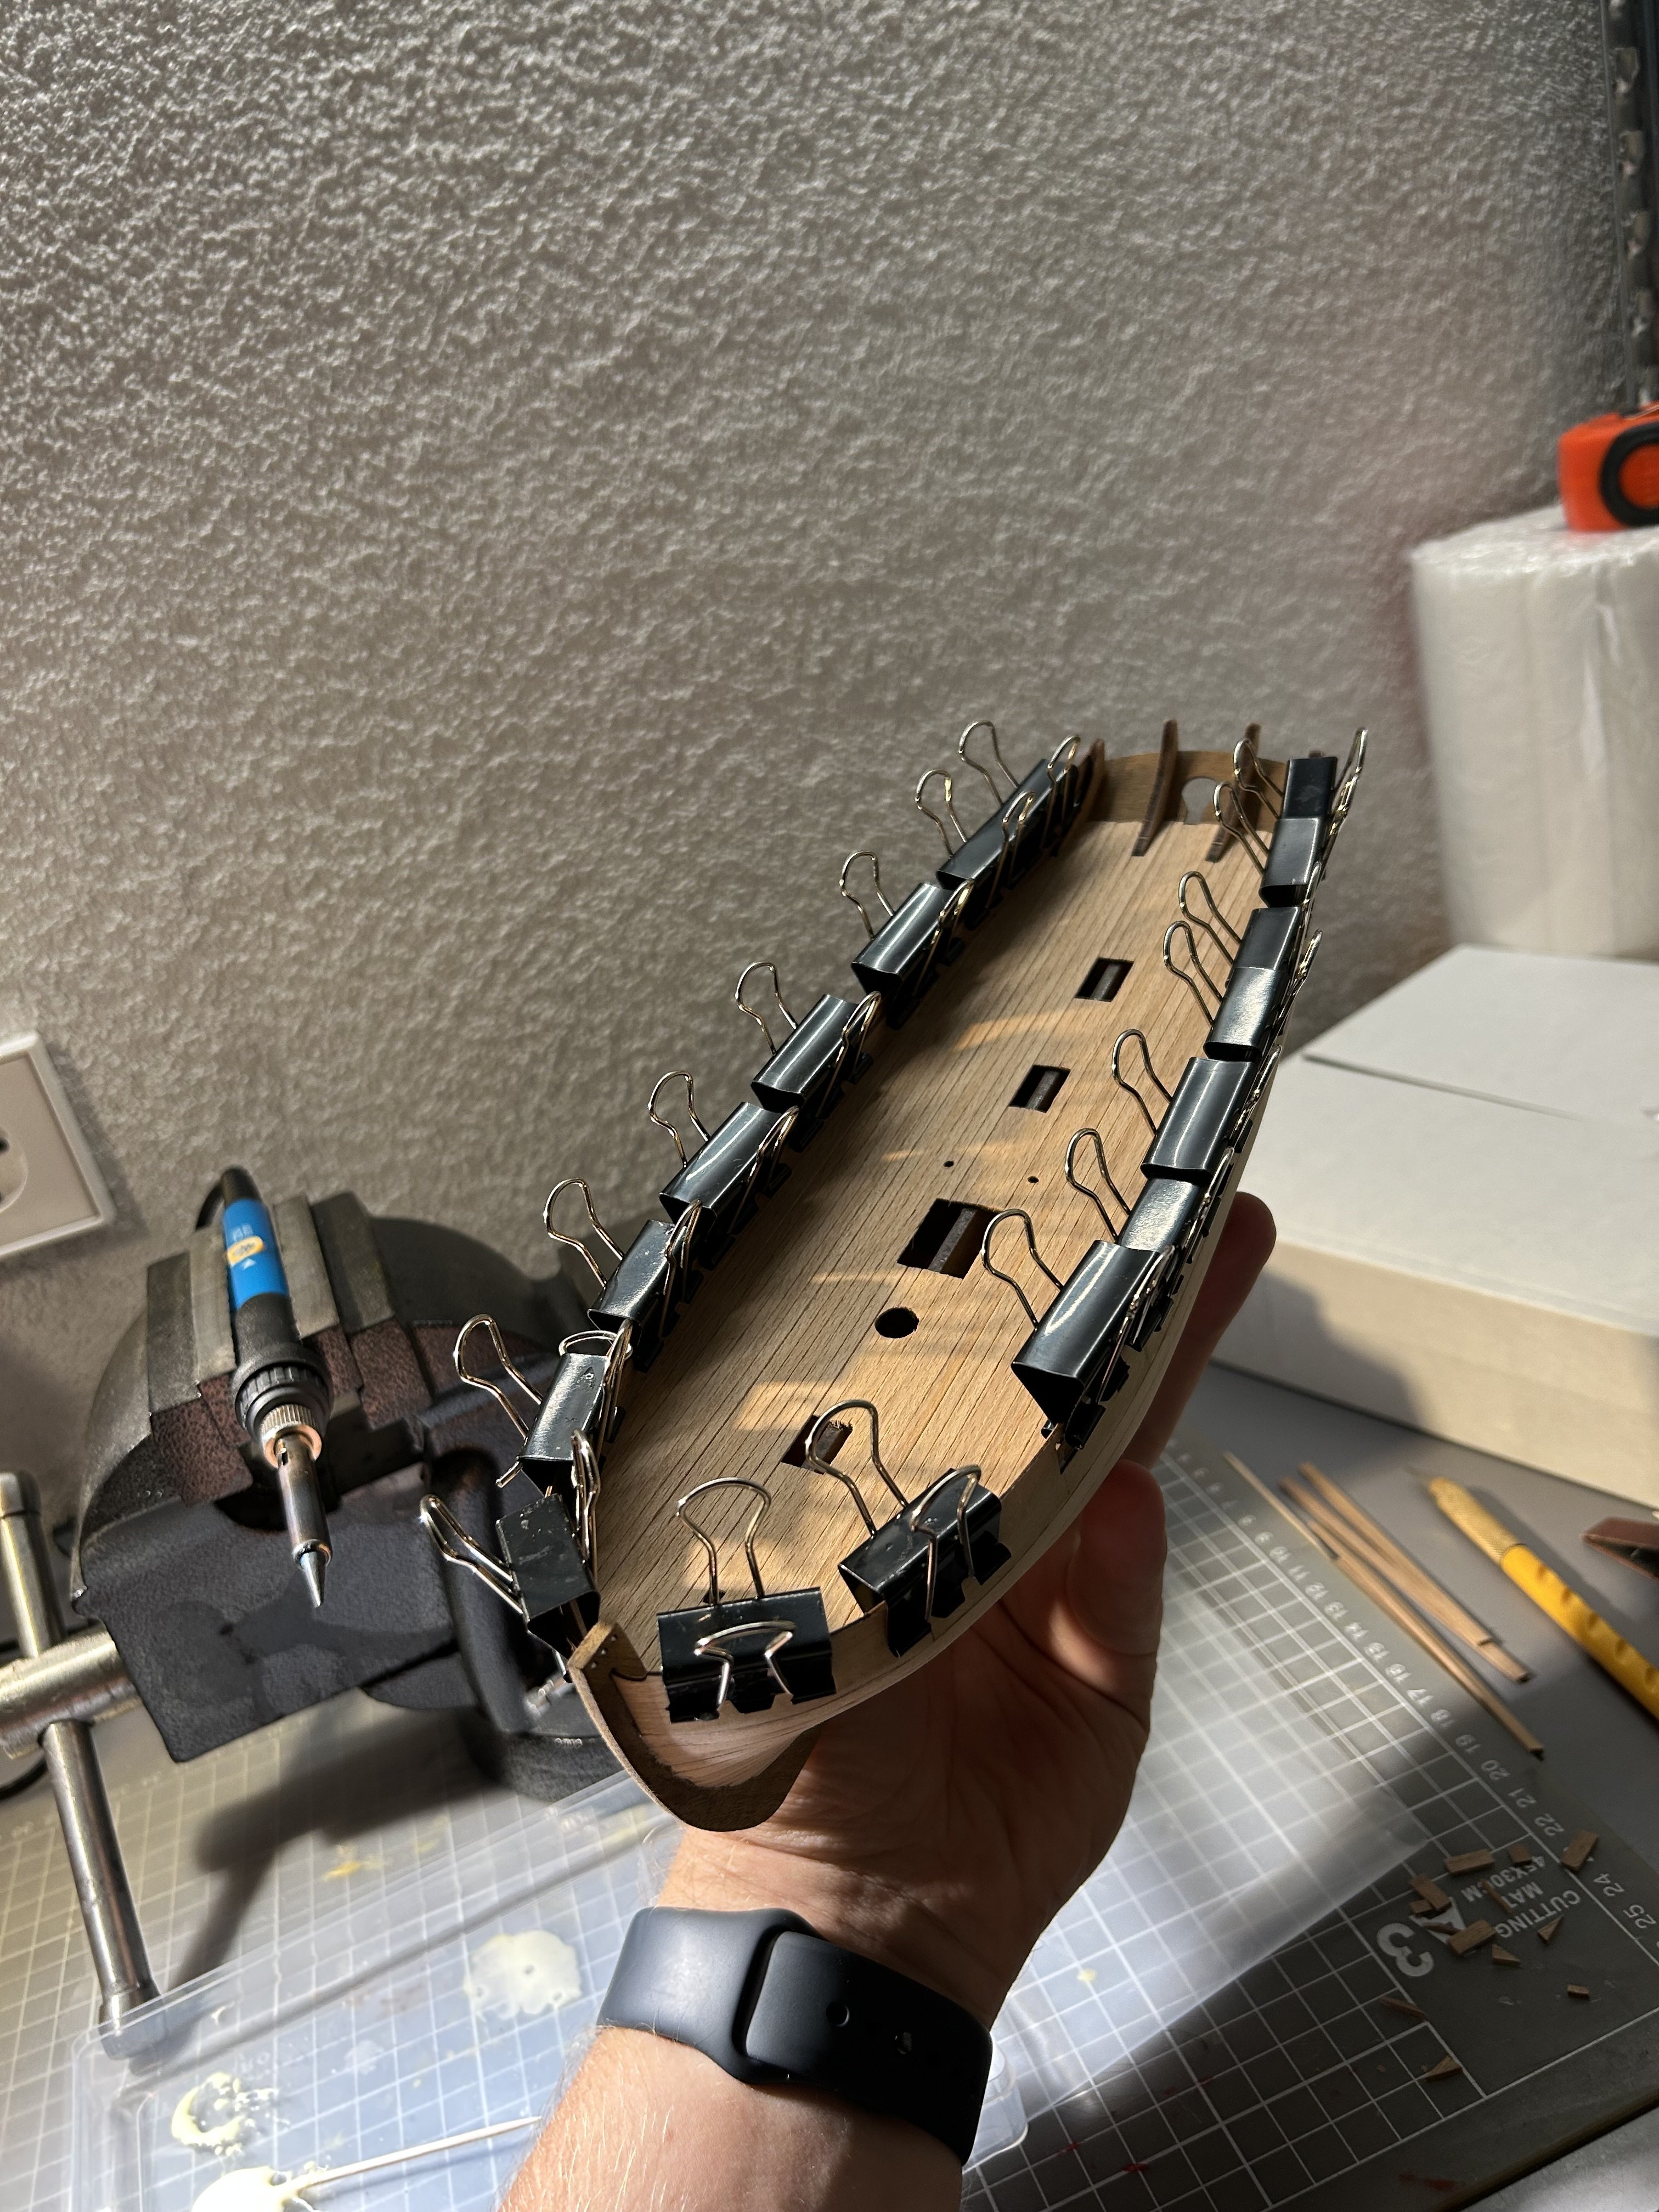
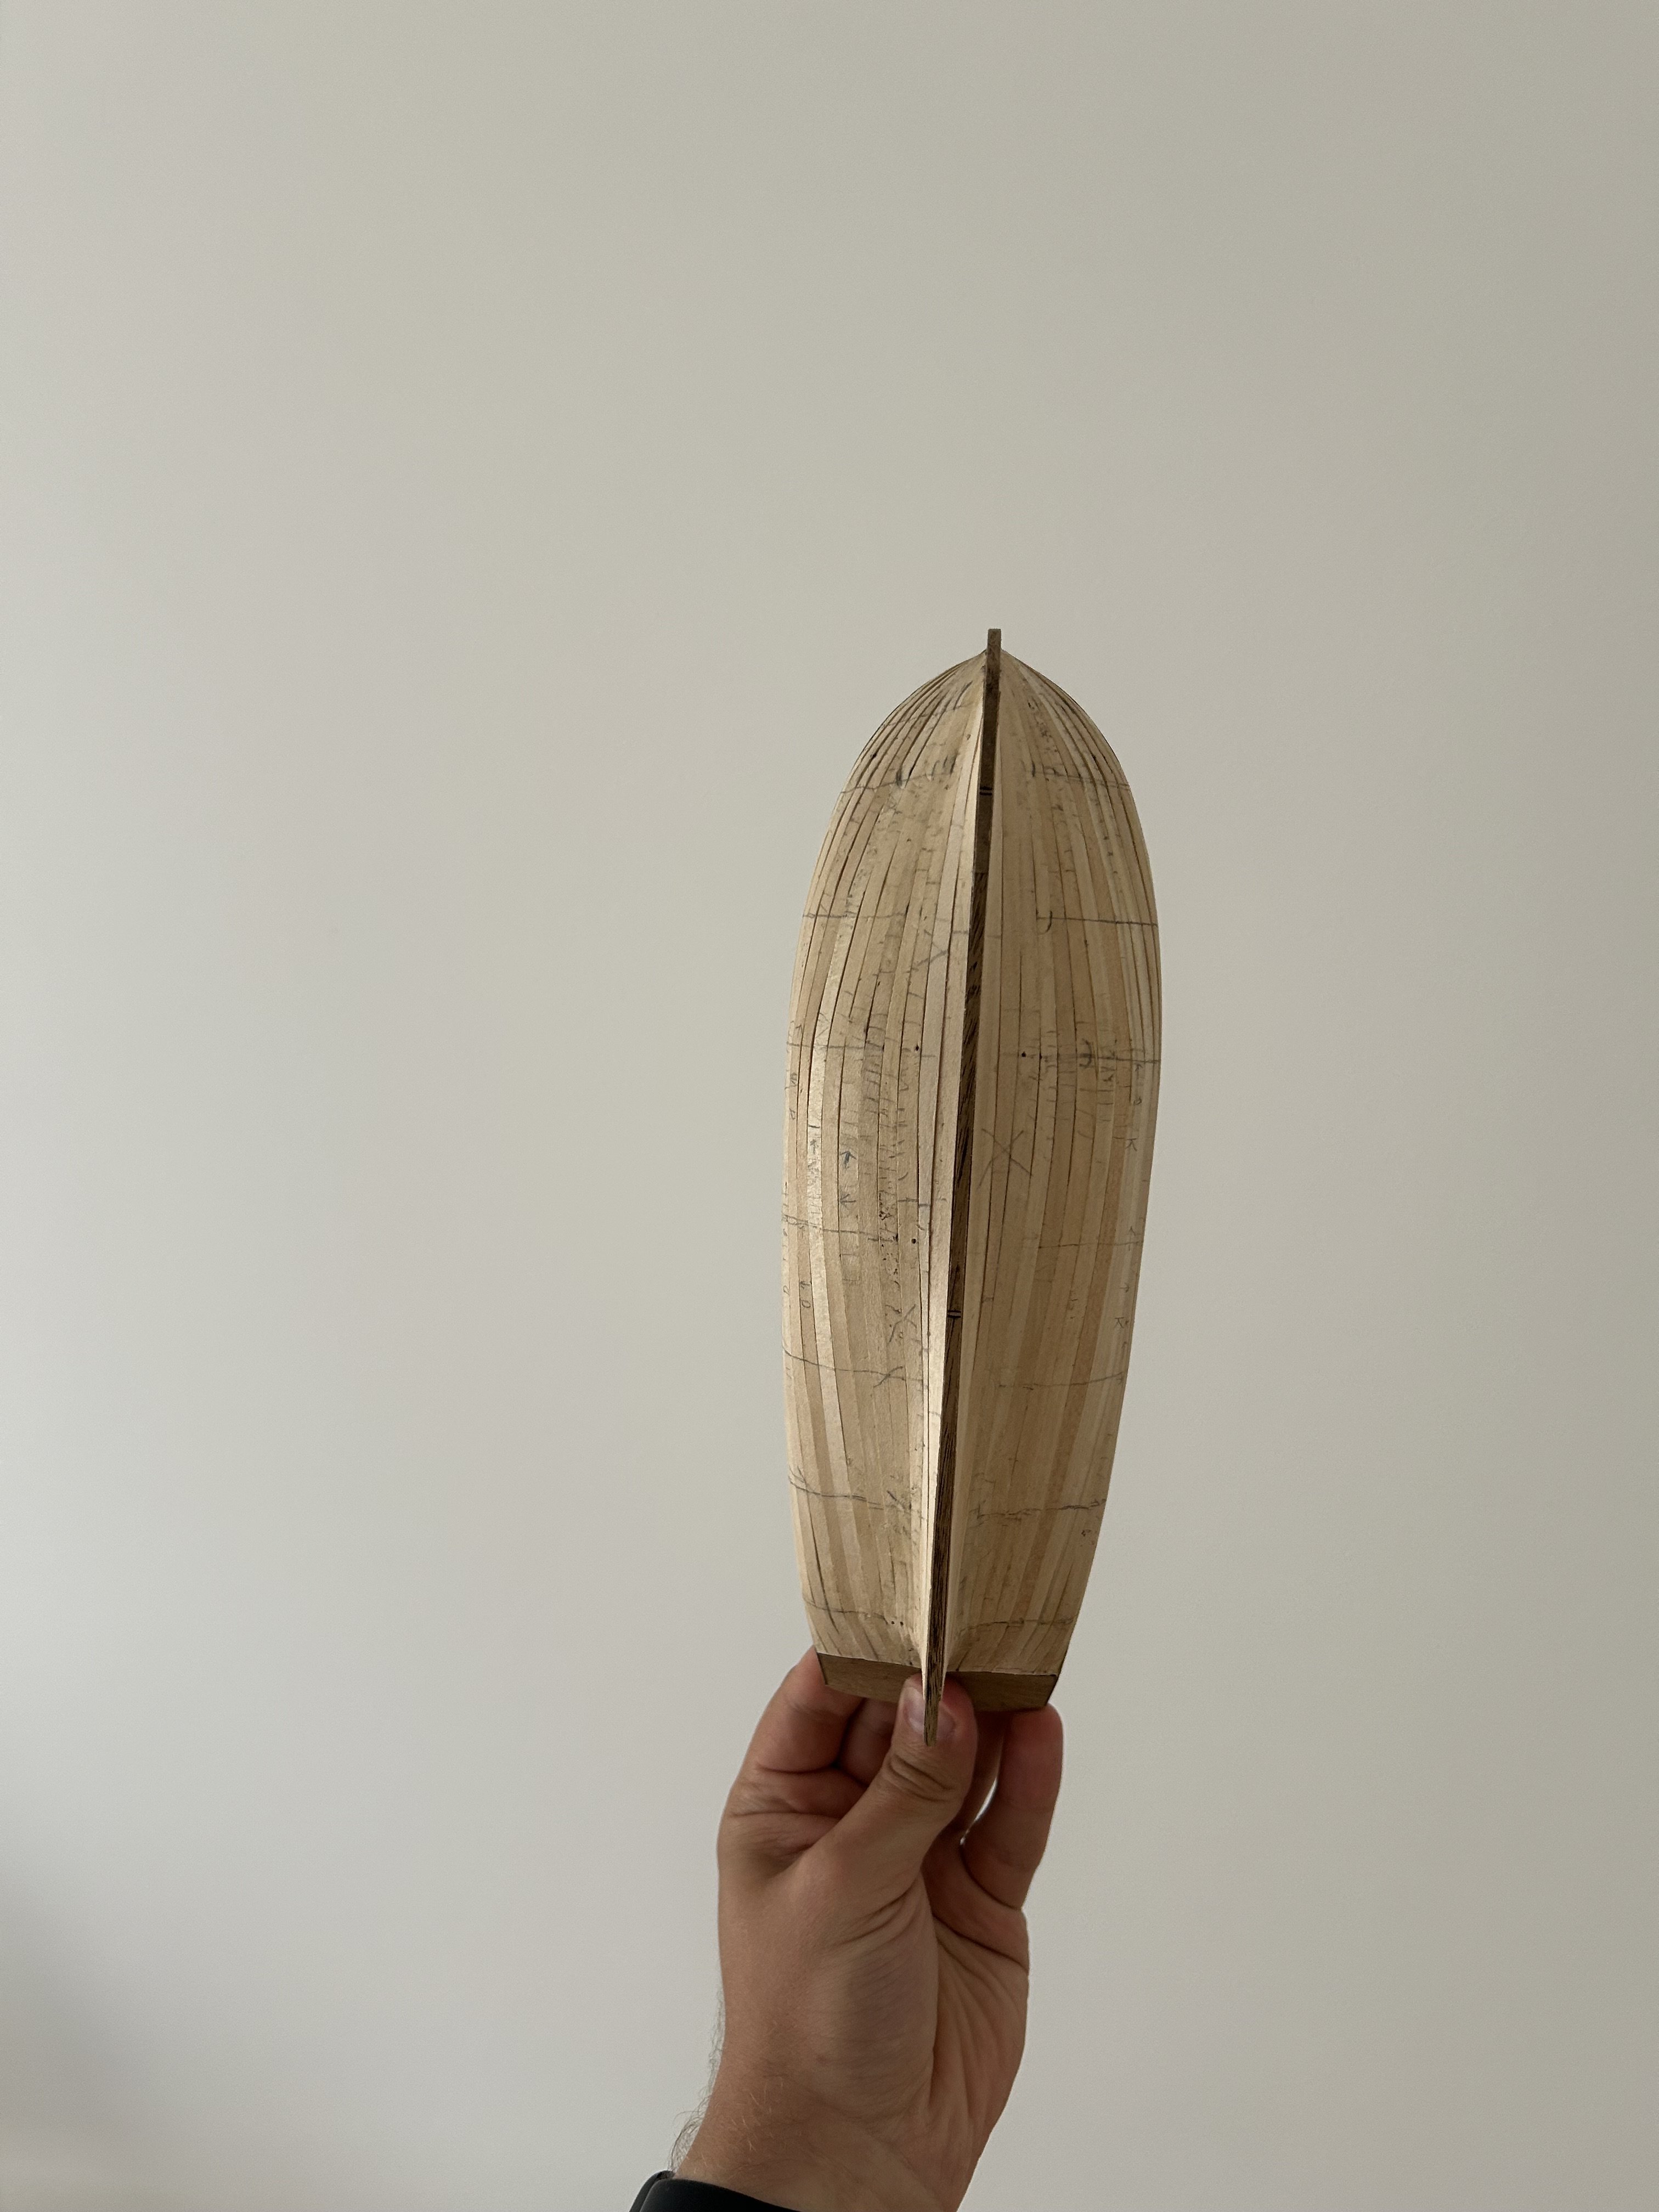
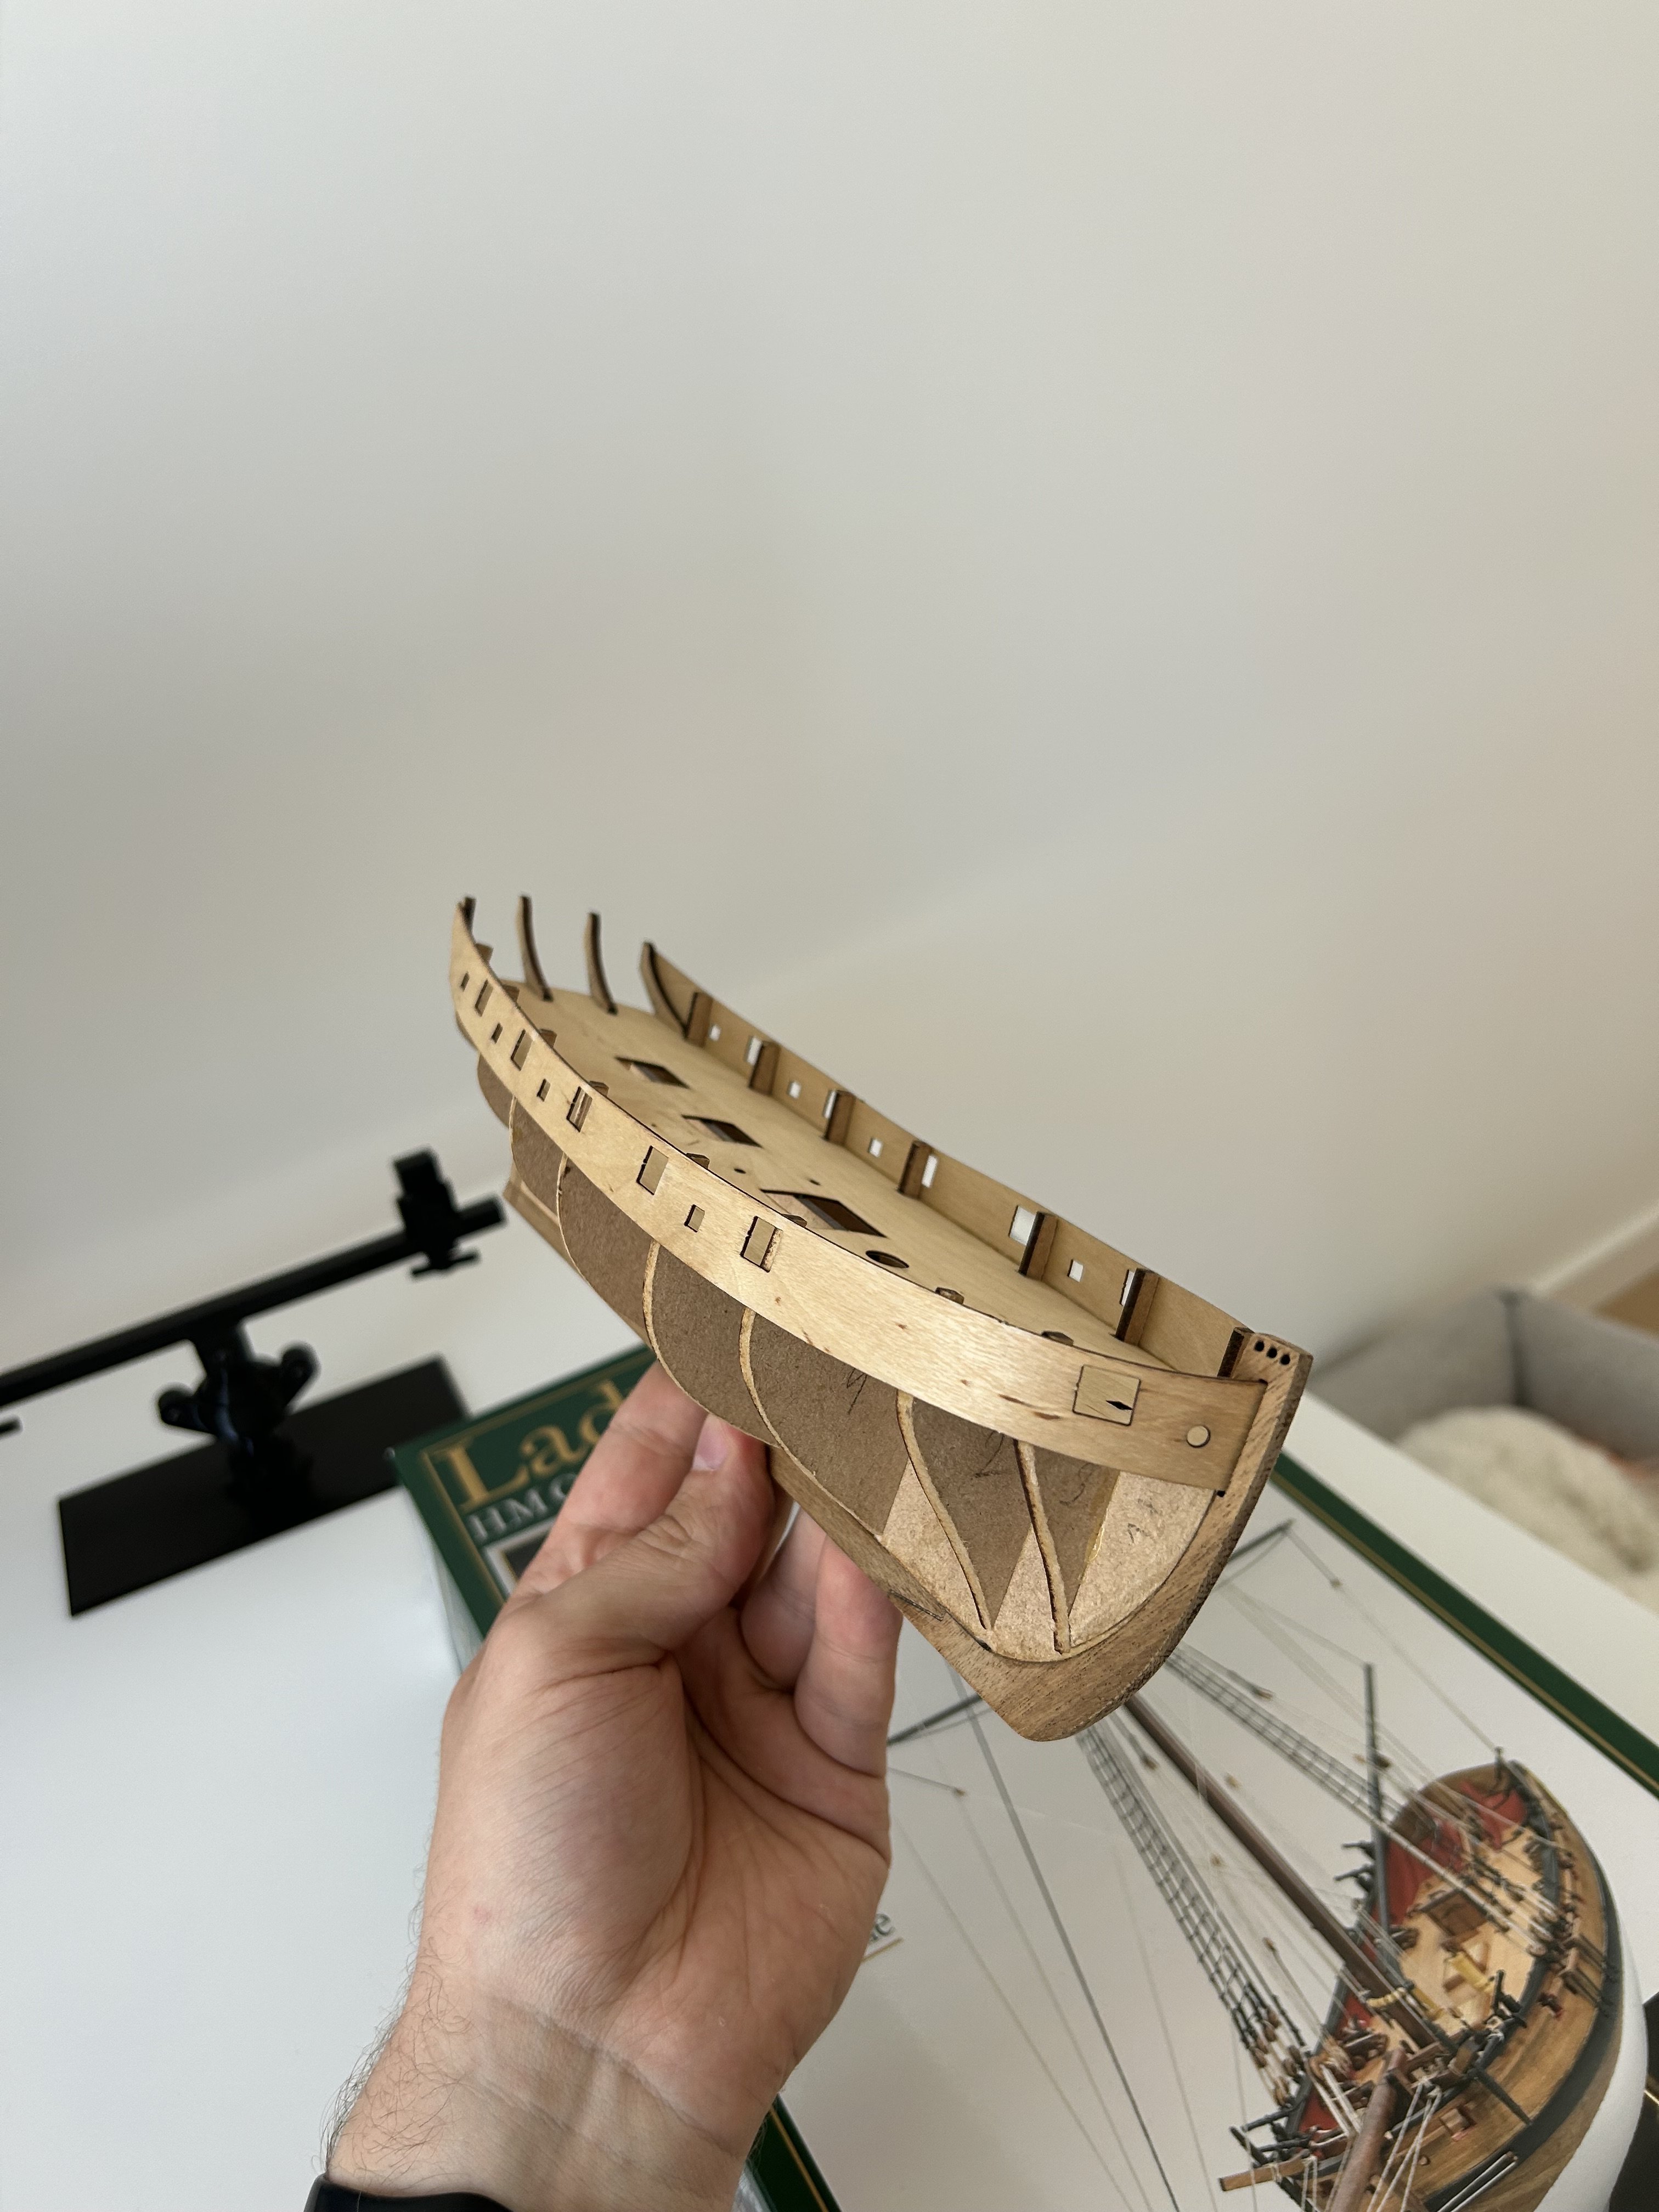
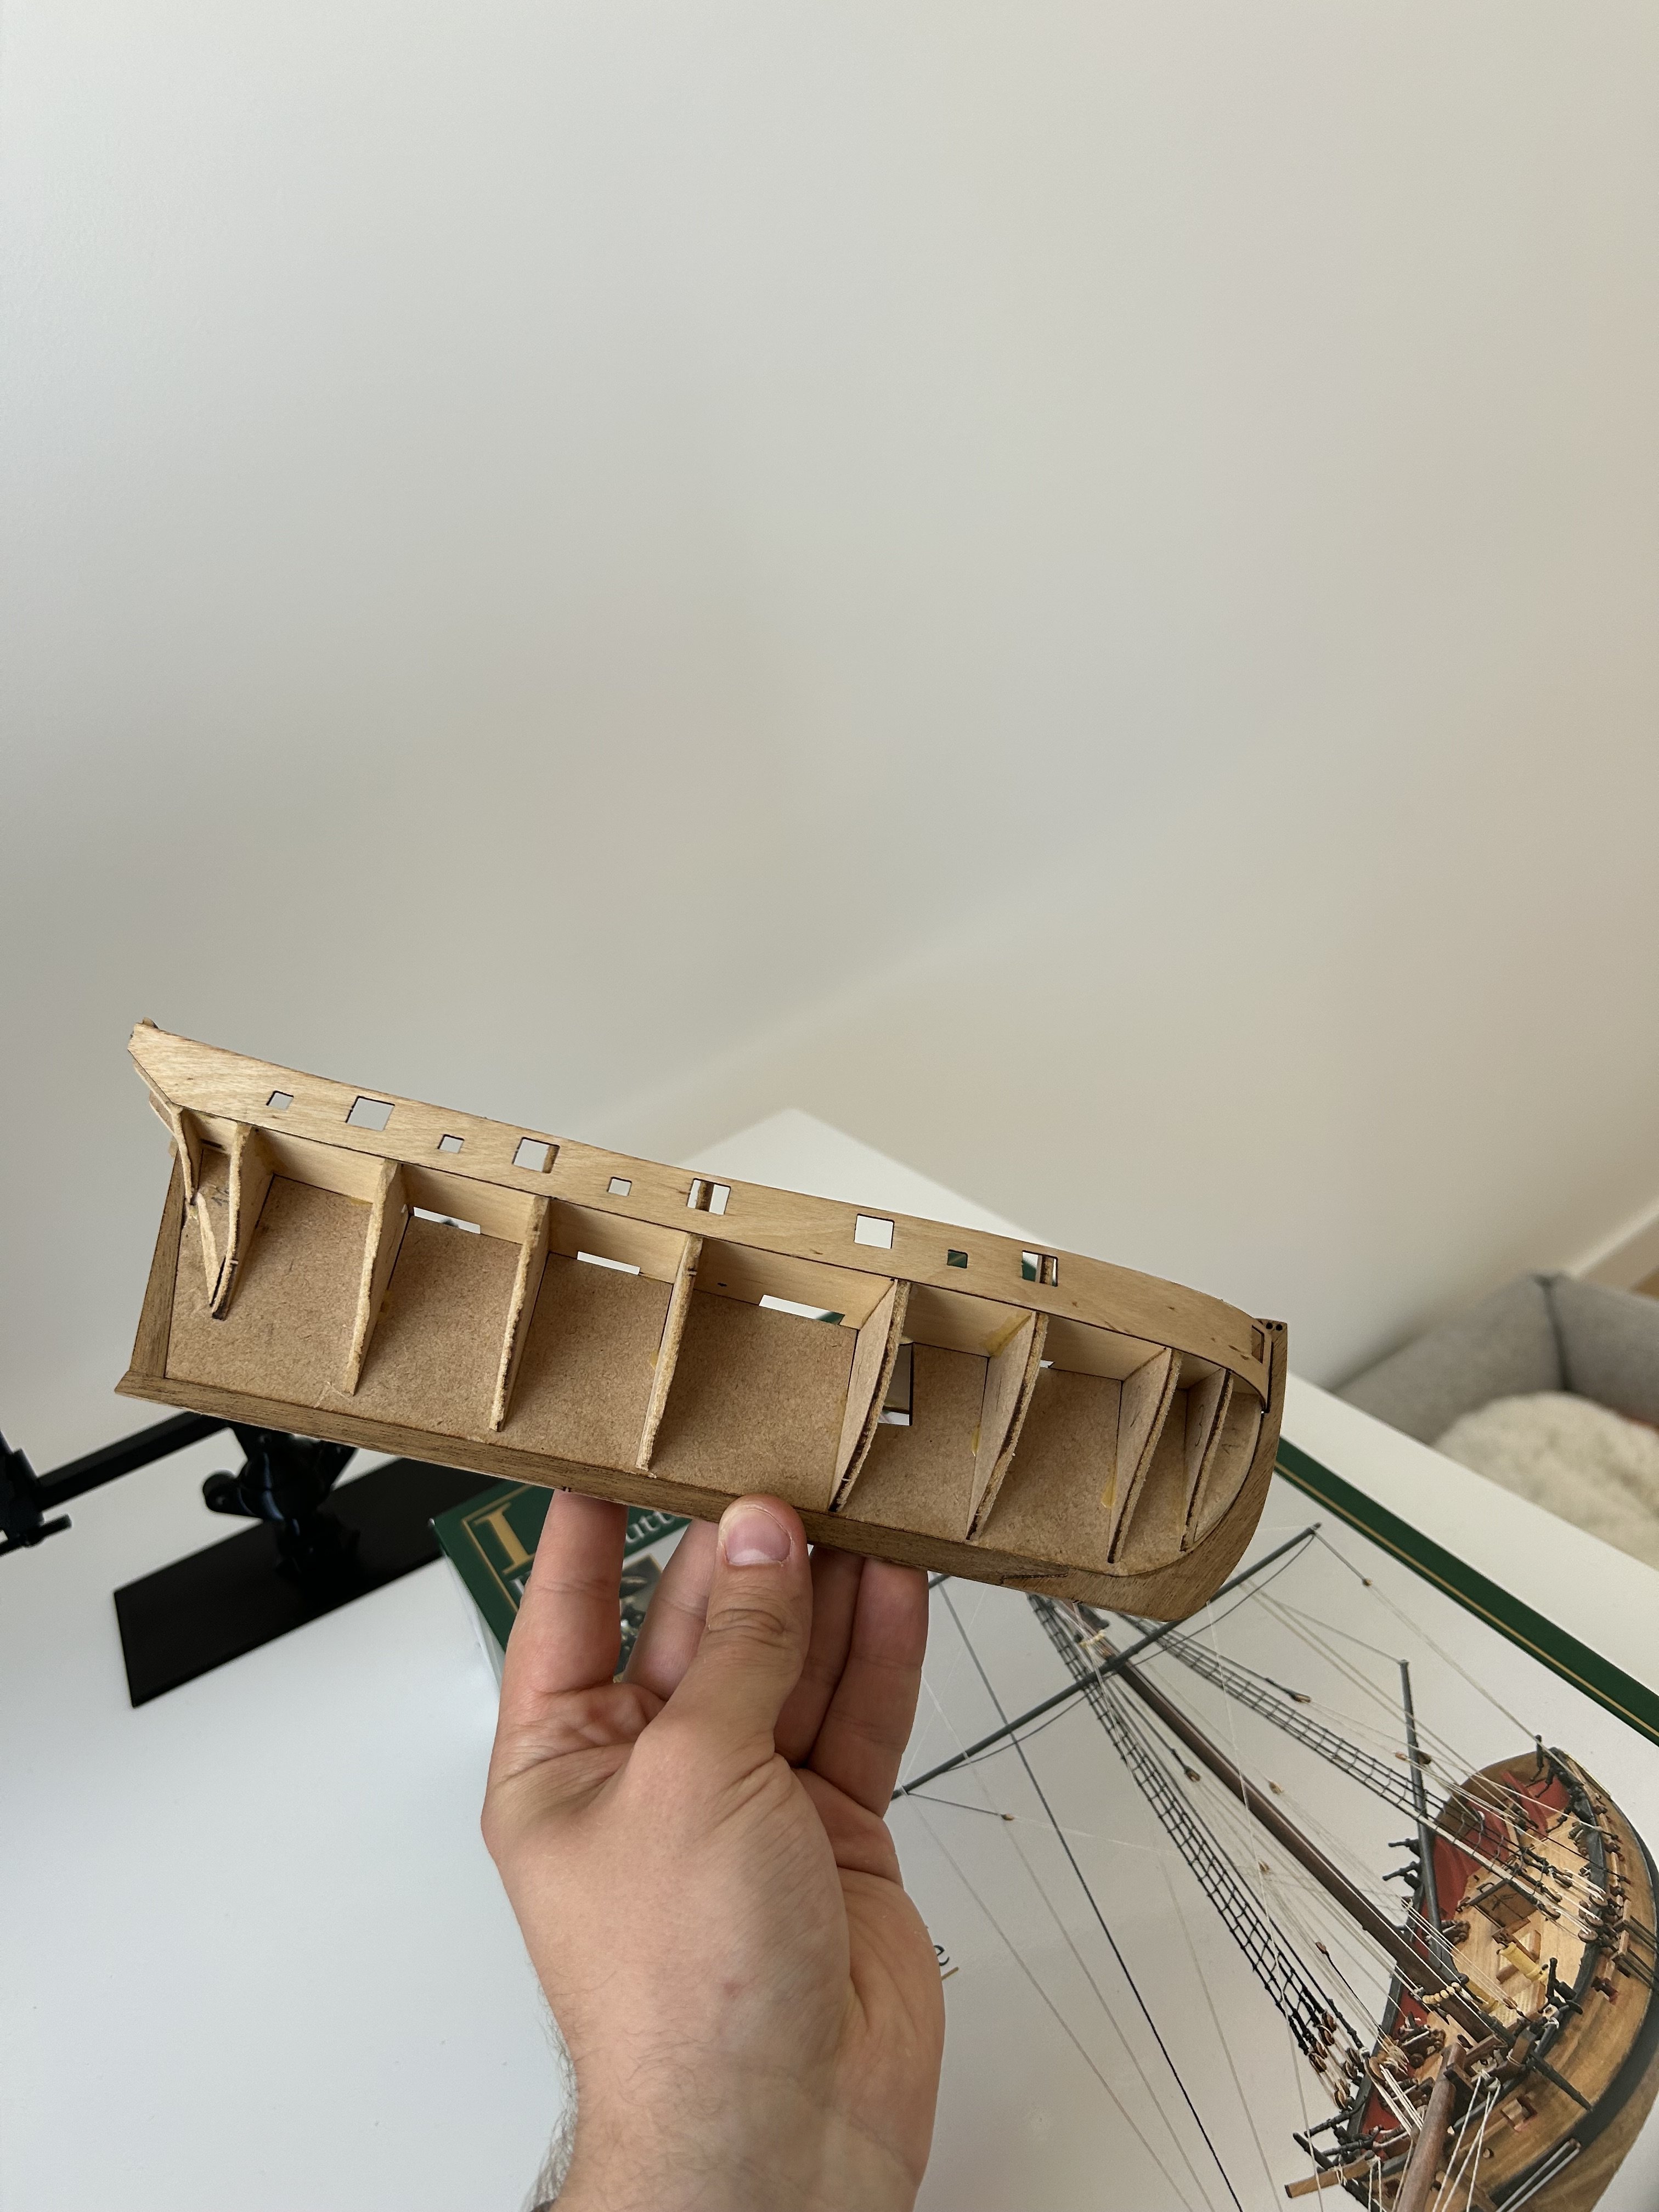
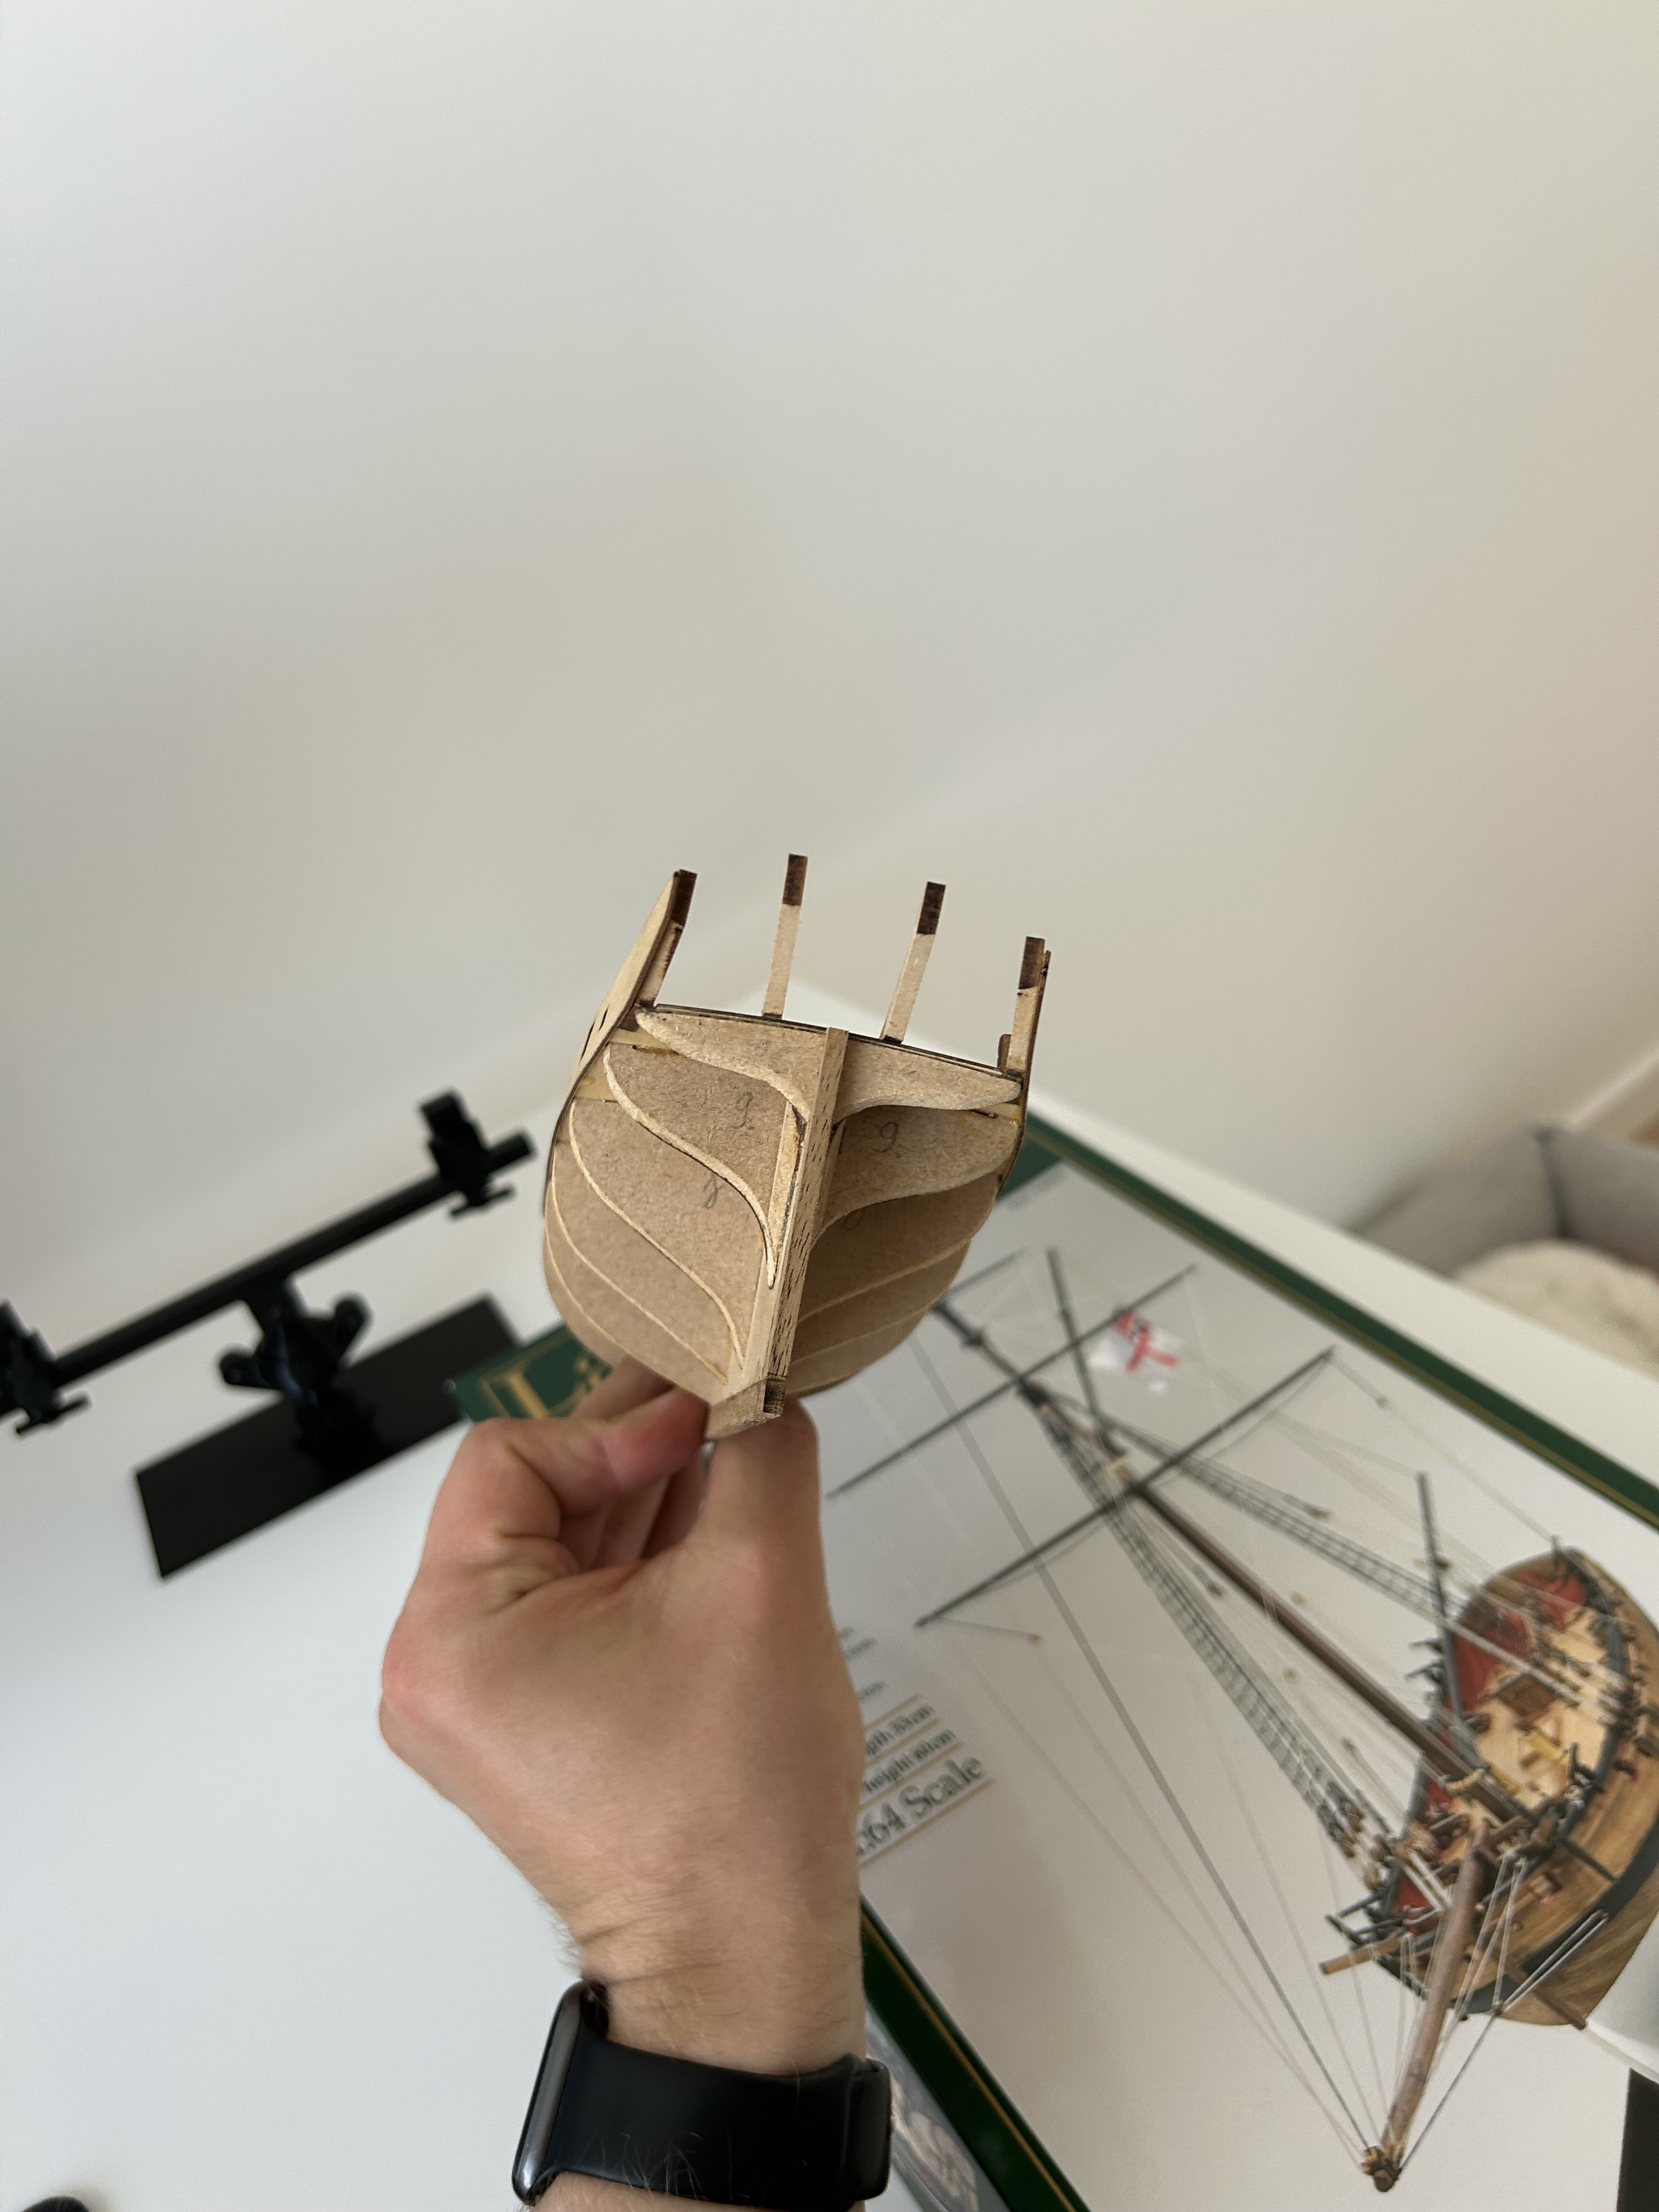
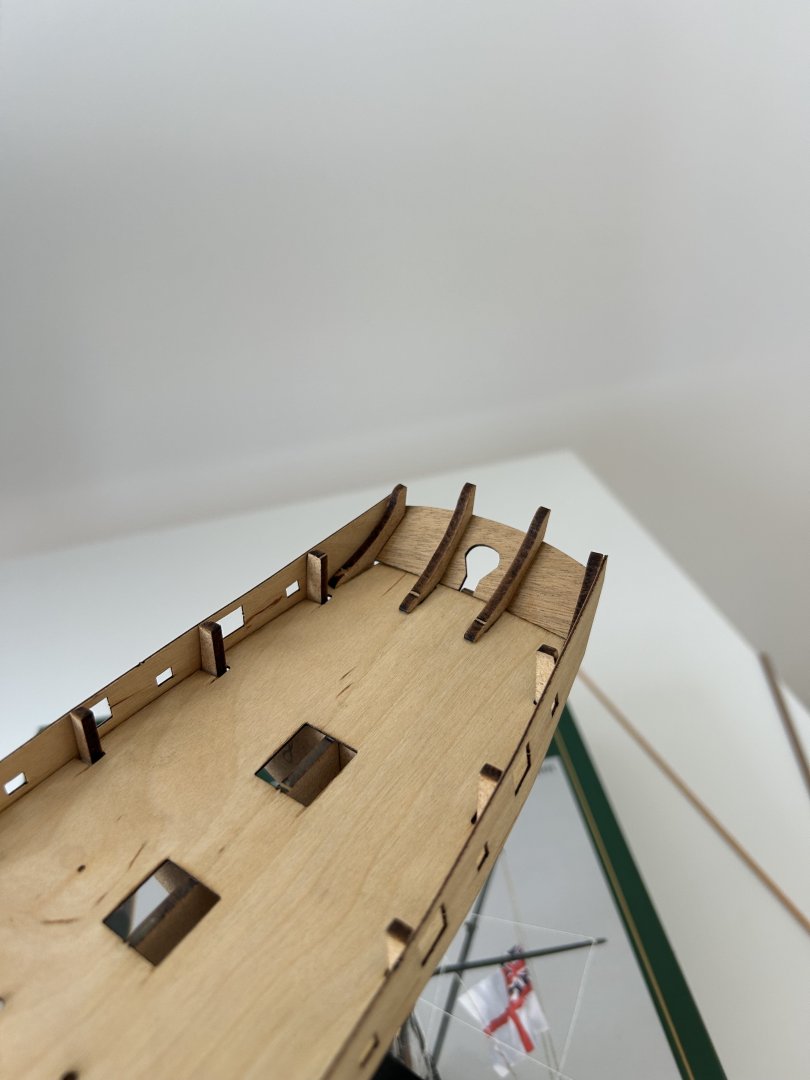
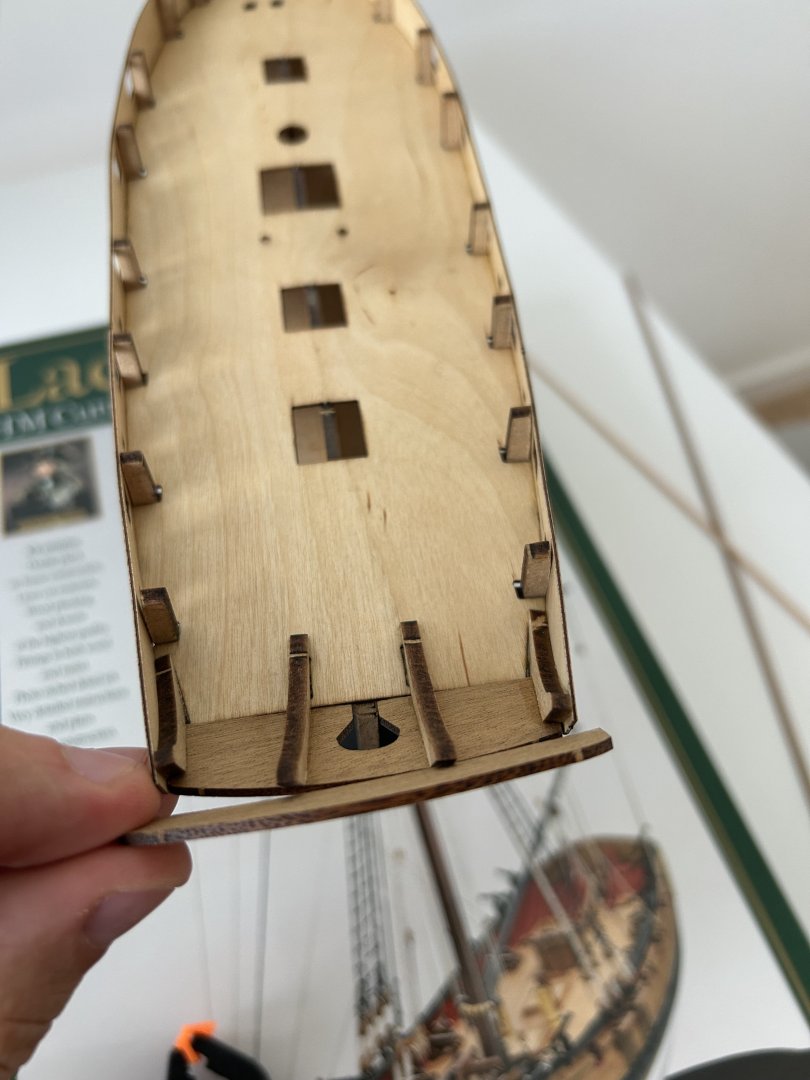
Little more progress. Fitment is medium at best. It will be a good riddle how to bend, sand and form the very end of the ship to achieve a tidy result 😆

-
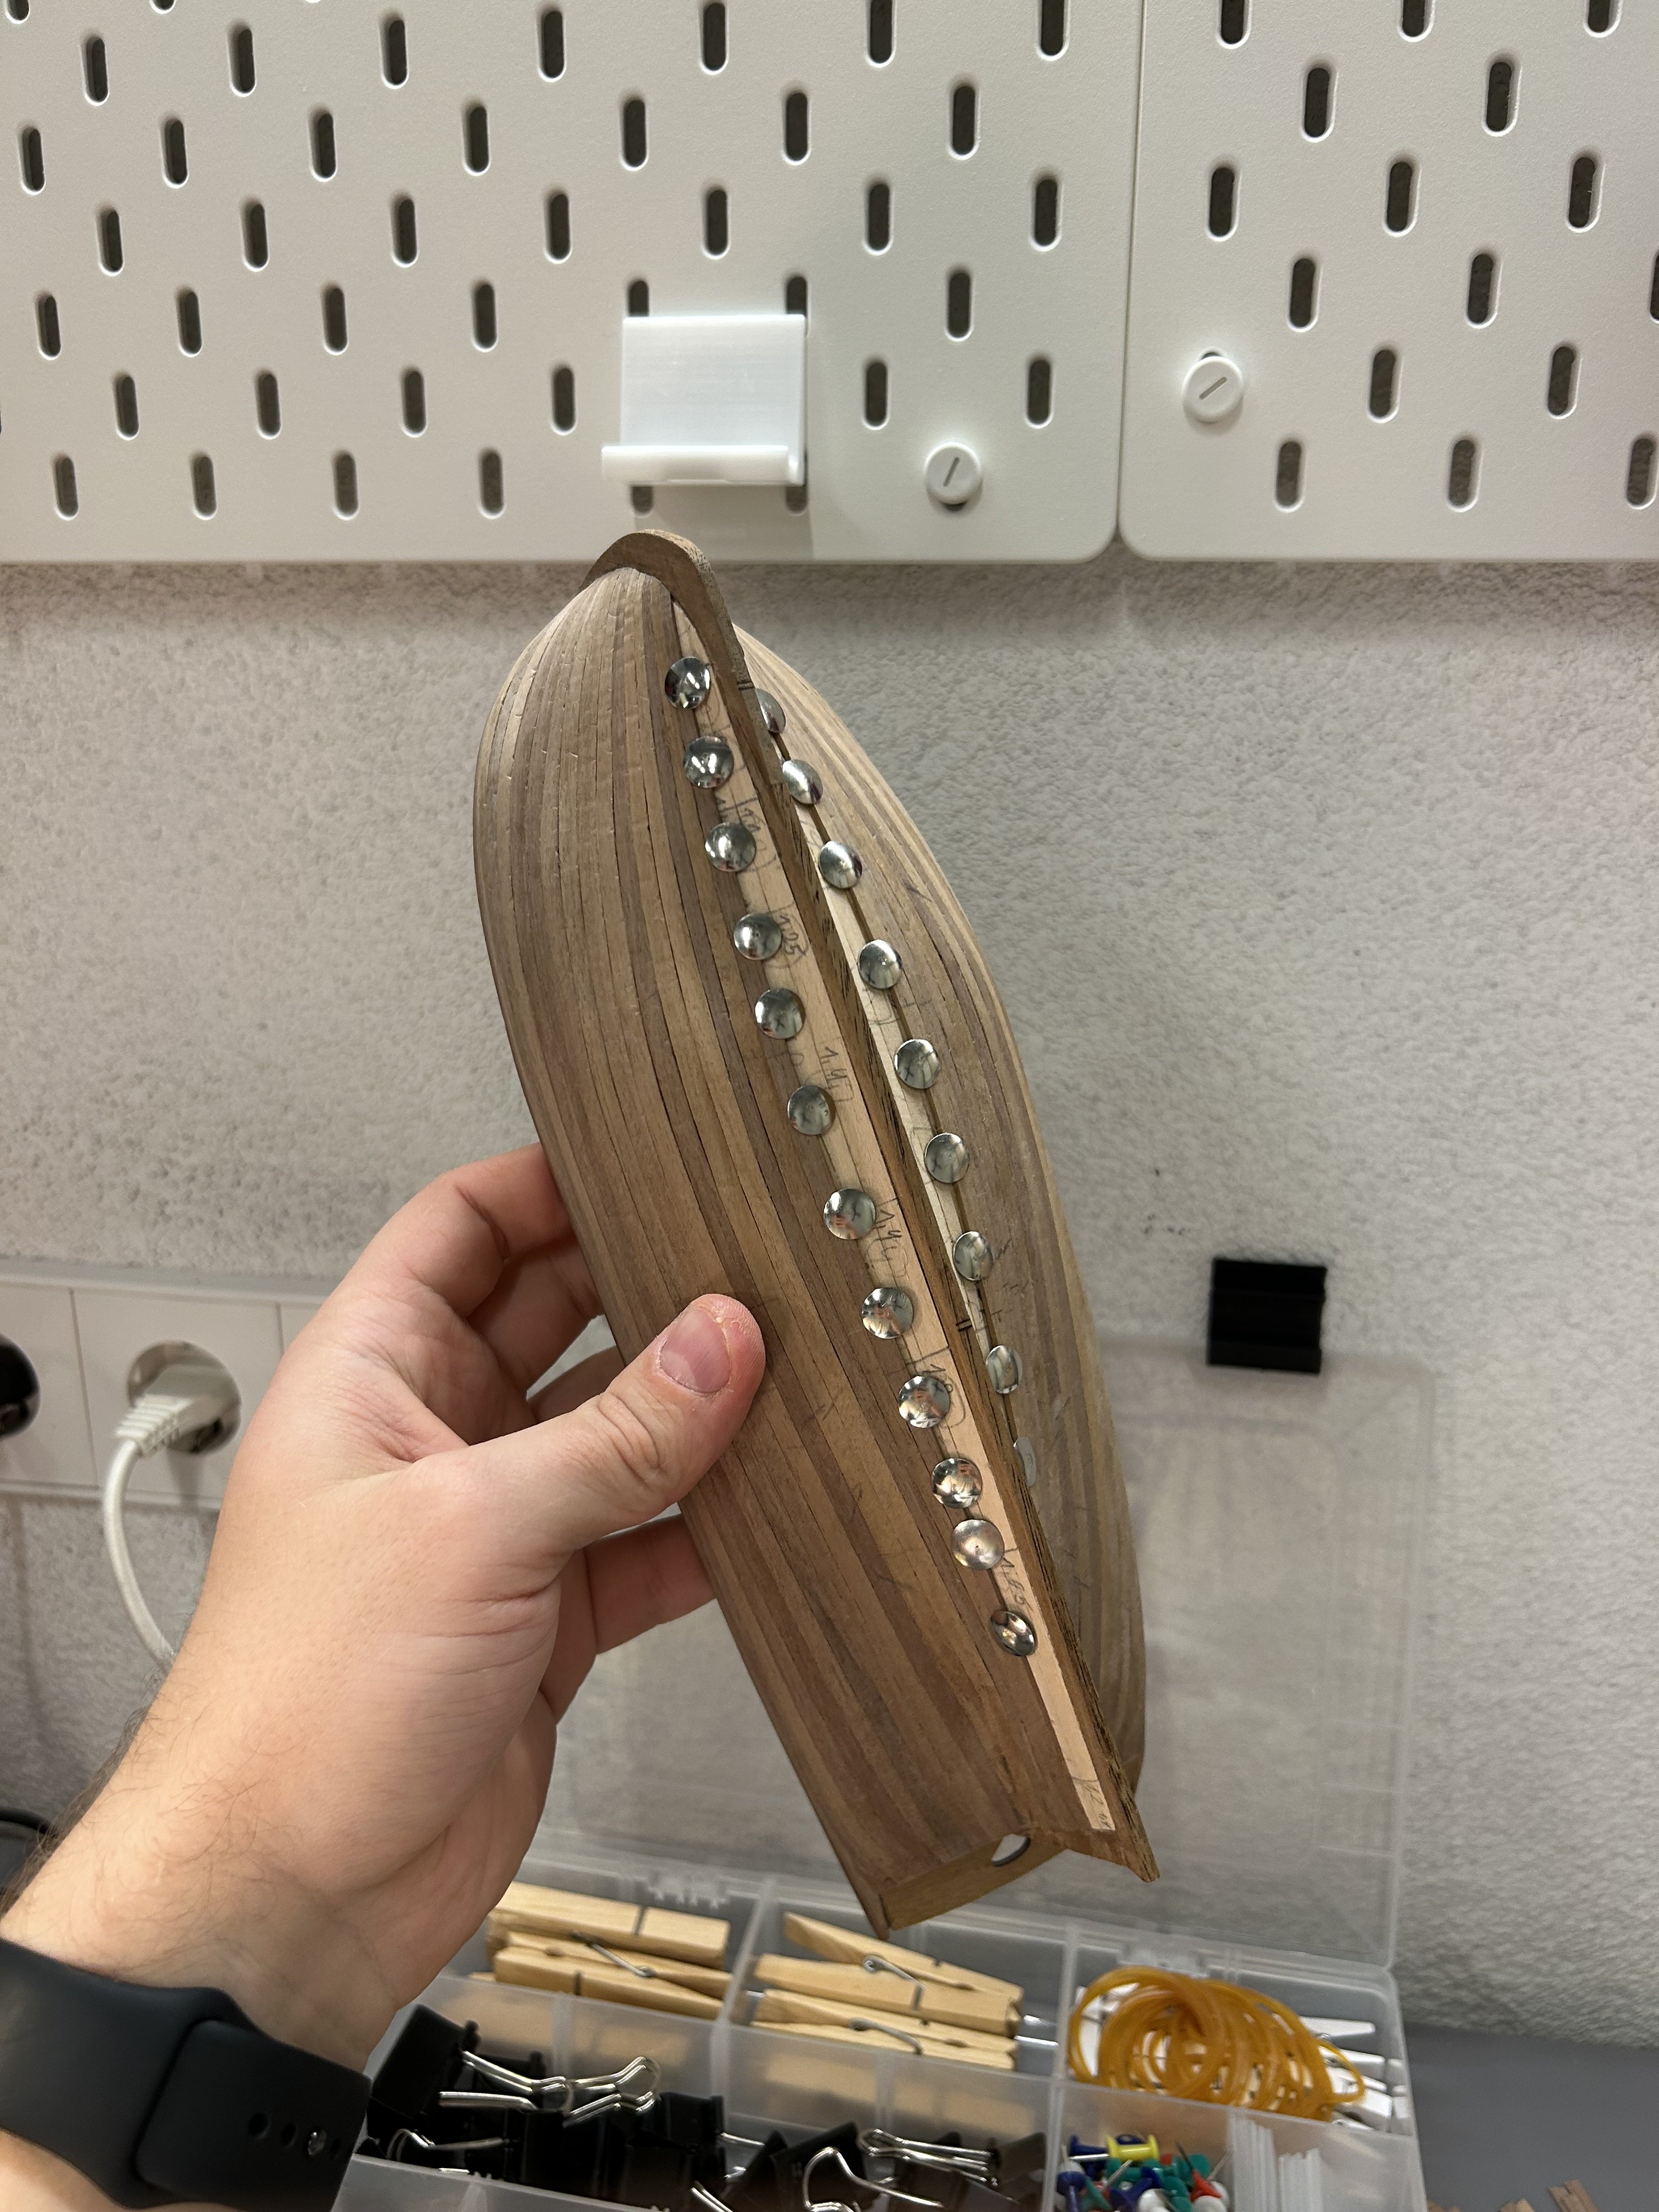
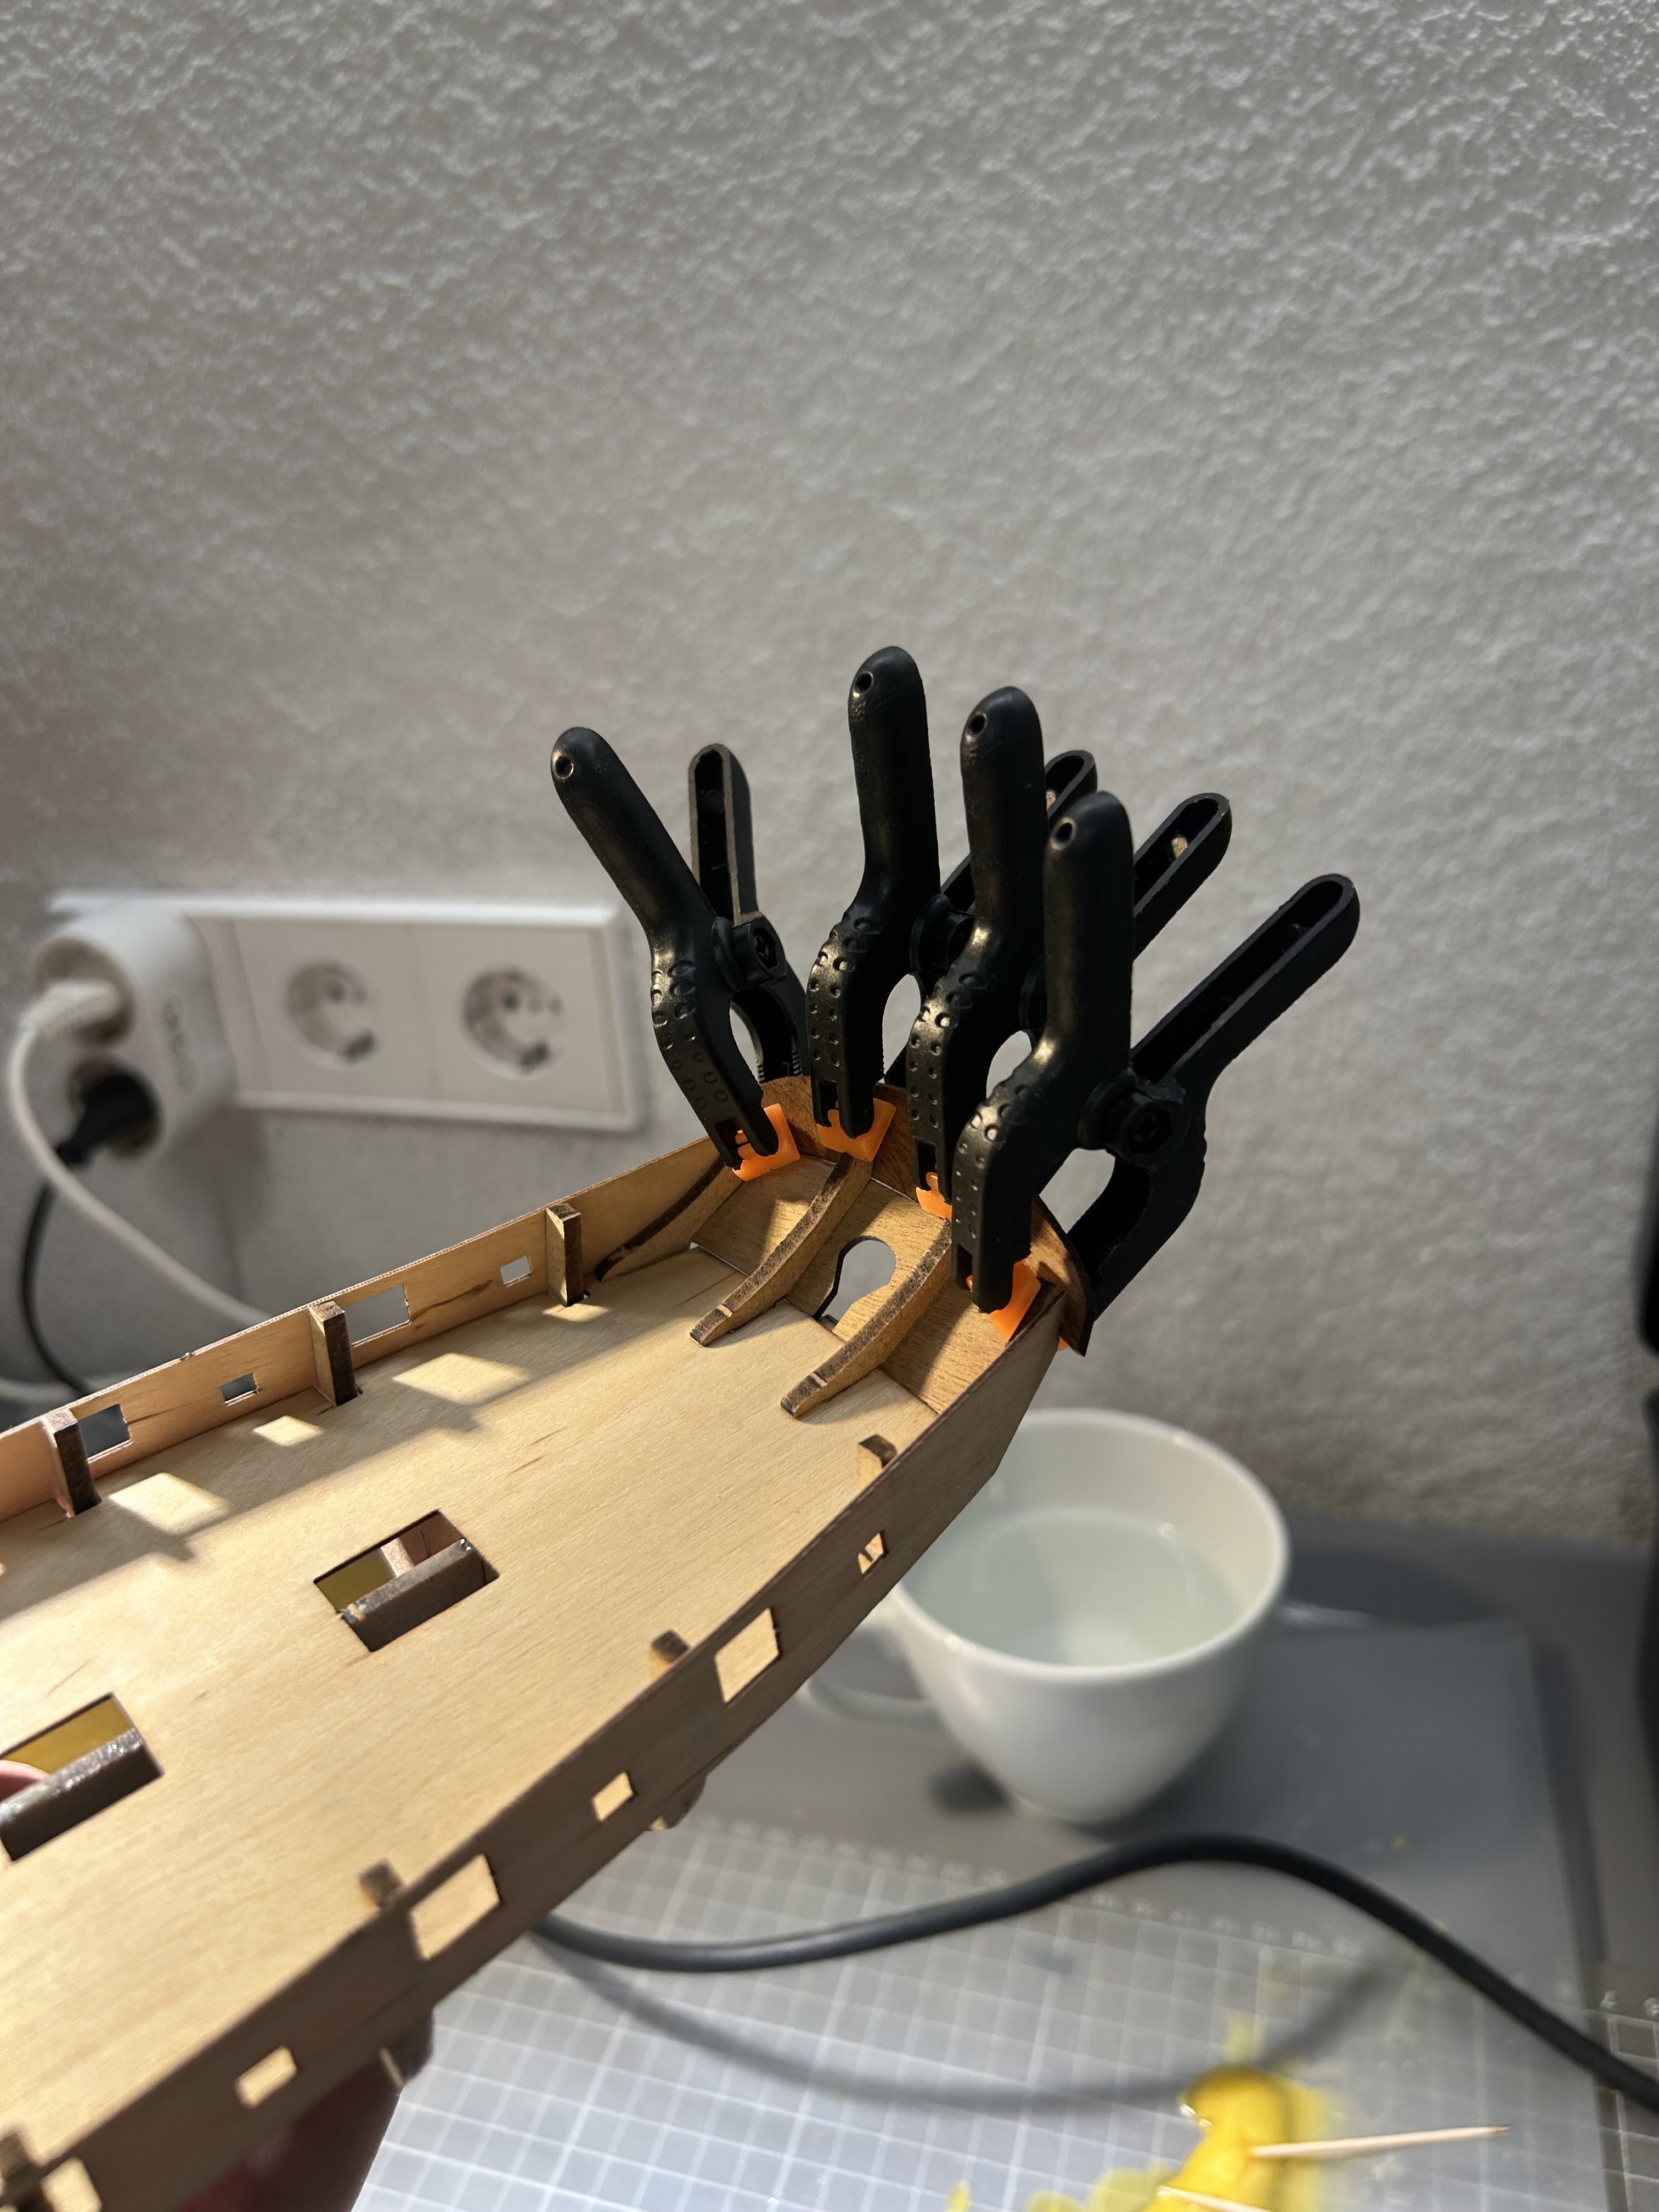
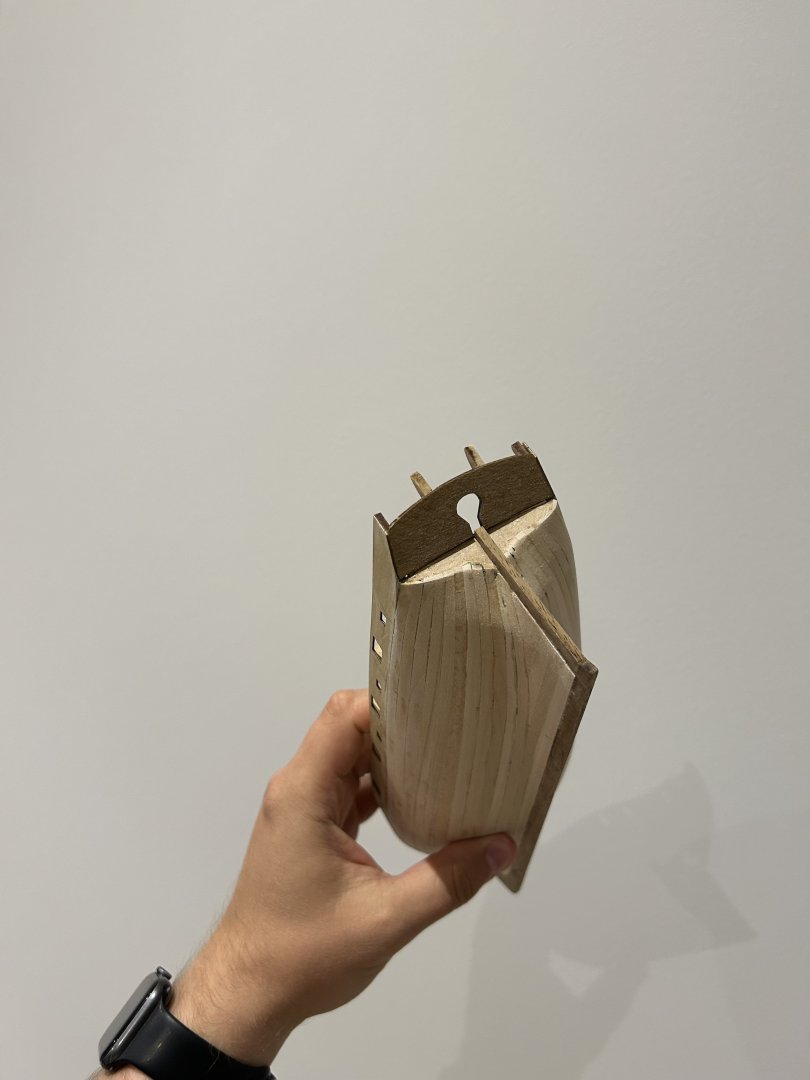
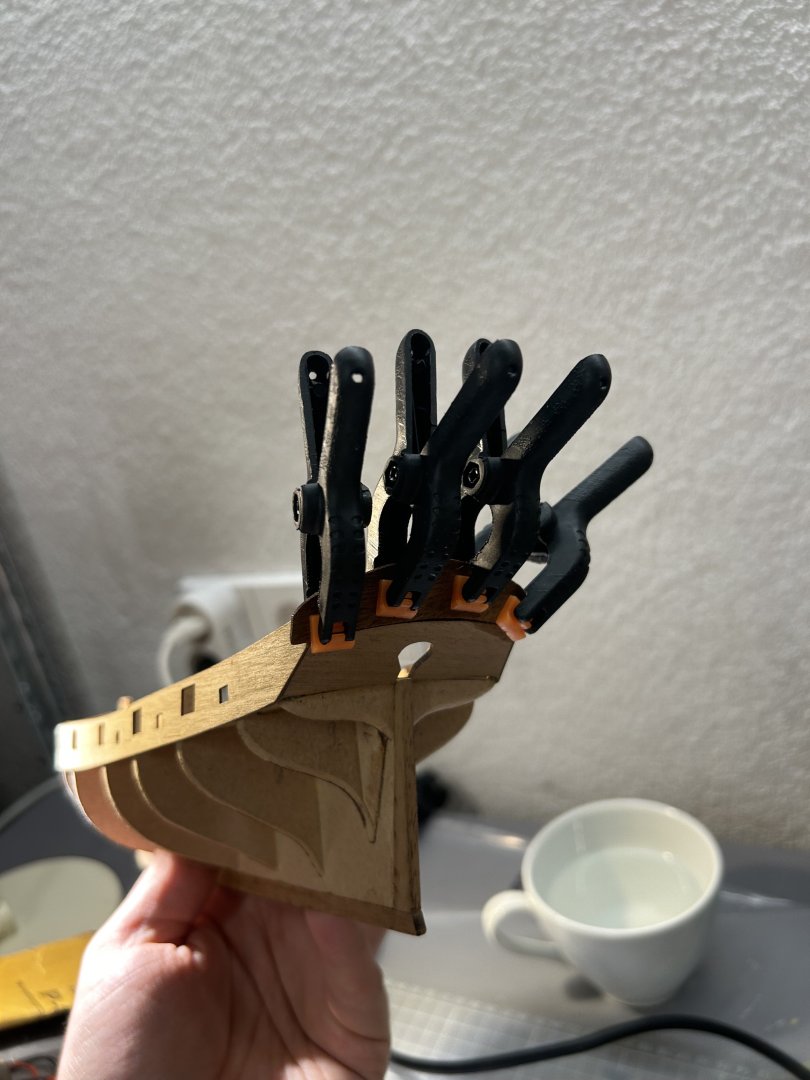
Glue is fully dried now. I went with a simple approach to bend these parts in to the form by soaking them and heat forming using hair curling iron 😅 quick and simple. For all future builders - these two parts are slightly different and the one with the notch at the front goes to the left side of the ship. It is detailed in the instruction manual but I have almost missed it.


- 45 replies
-
- 3
-
-
- Lady Nelson
- Amati
- (and 1 more)