Lapinas
-
Posts
126 -
Joined
-
Last visited
Content Type
Profiles
Forums
Gallery
Events
Everything posted by Lapinas
-
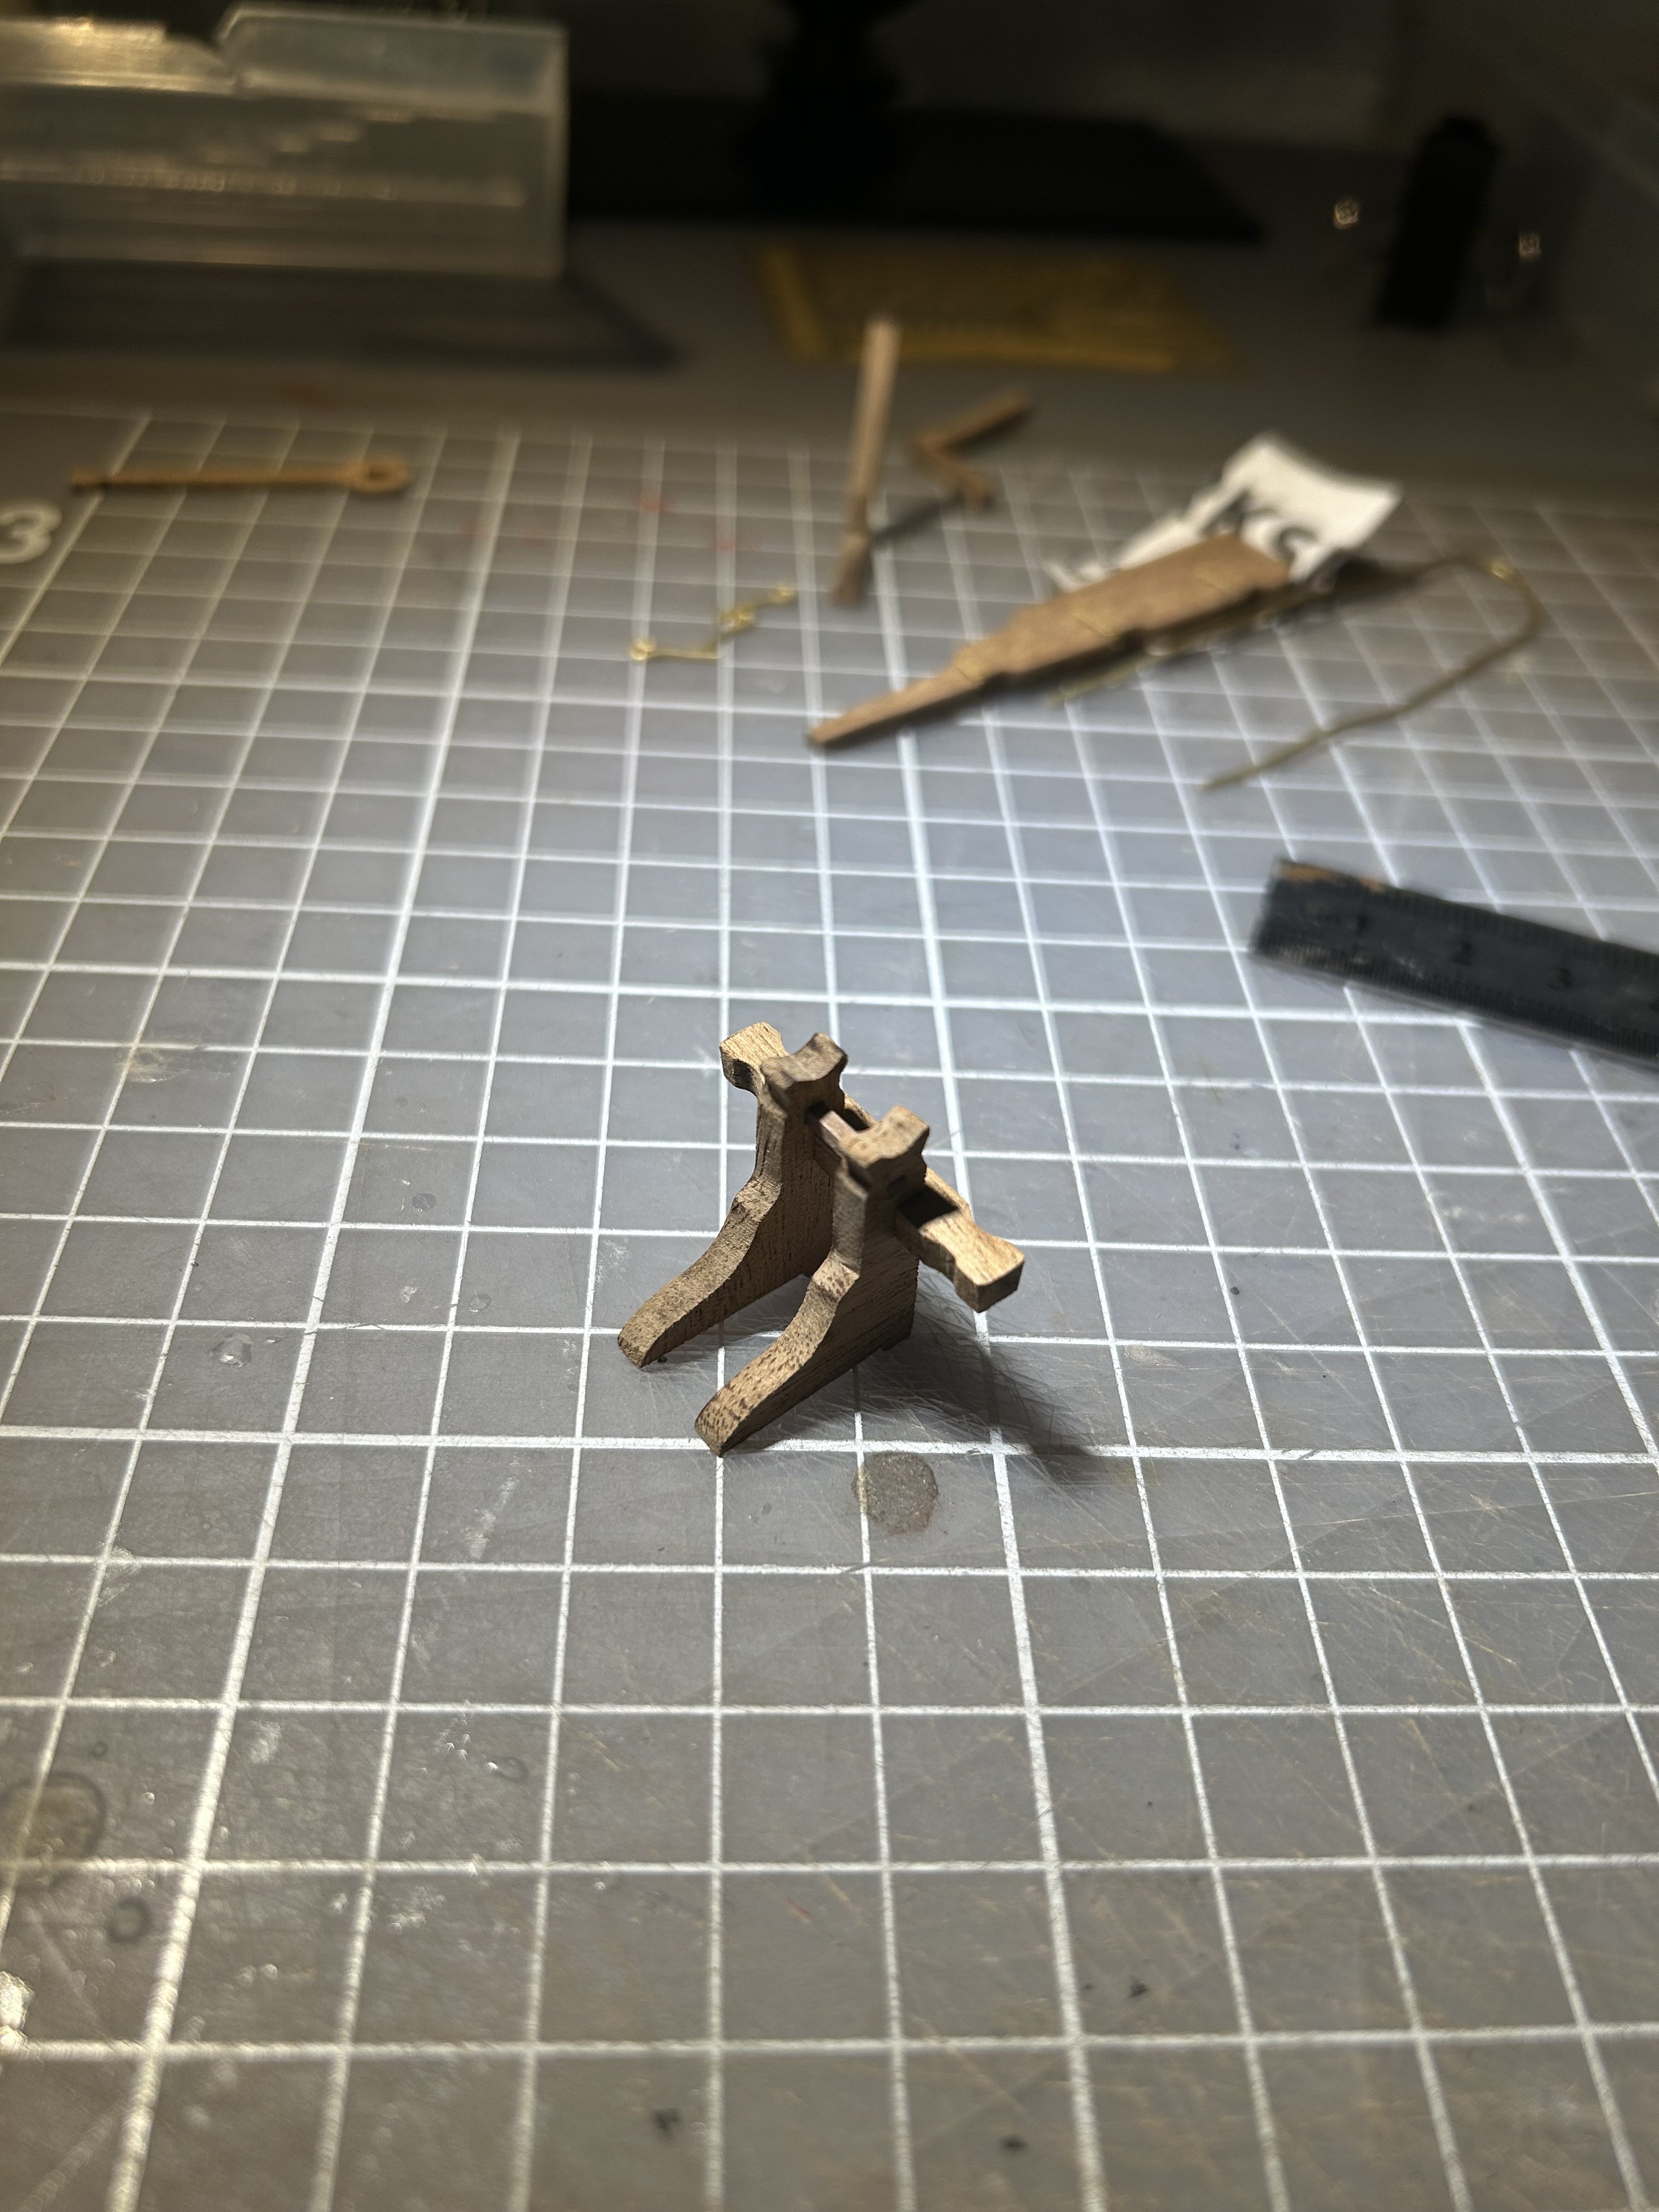
Got impatient and sanded small cannon posts today. Also drilled holes in every post too. Also sanded some casting process marks from small canons and did a test fit

- 81 replies
-
- 2
-

-
- Lady Nelson
- Amati
- (and 1 more)
-
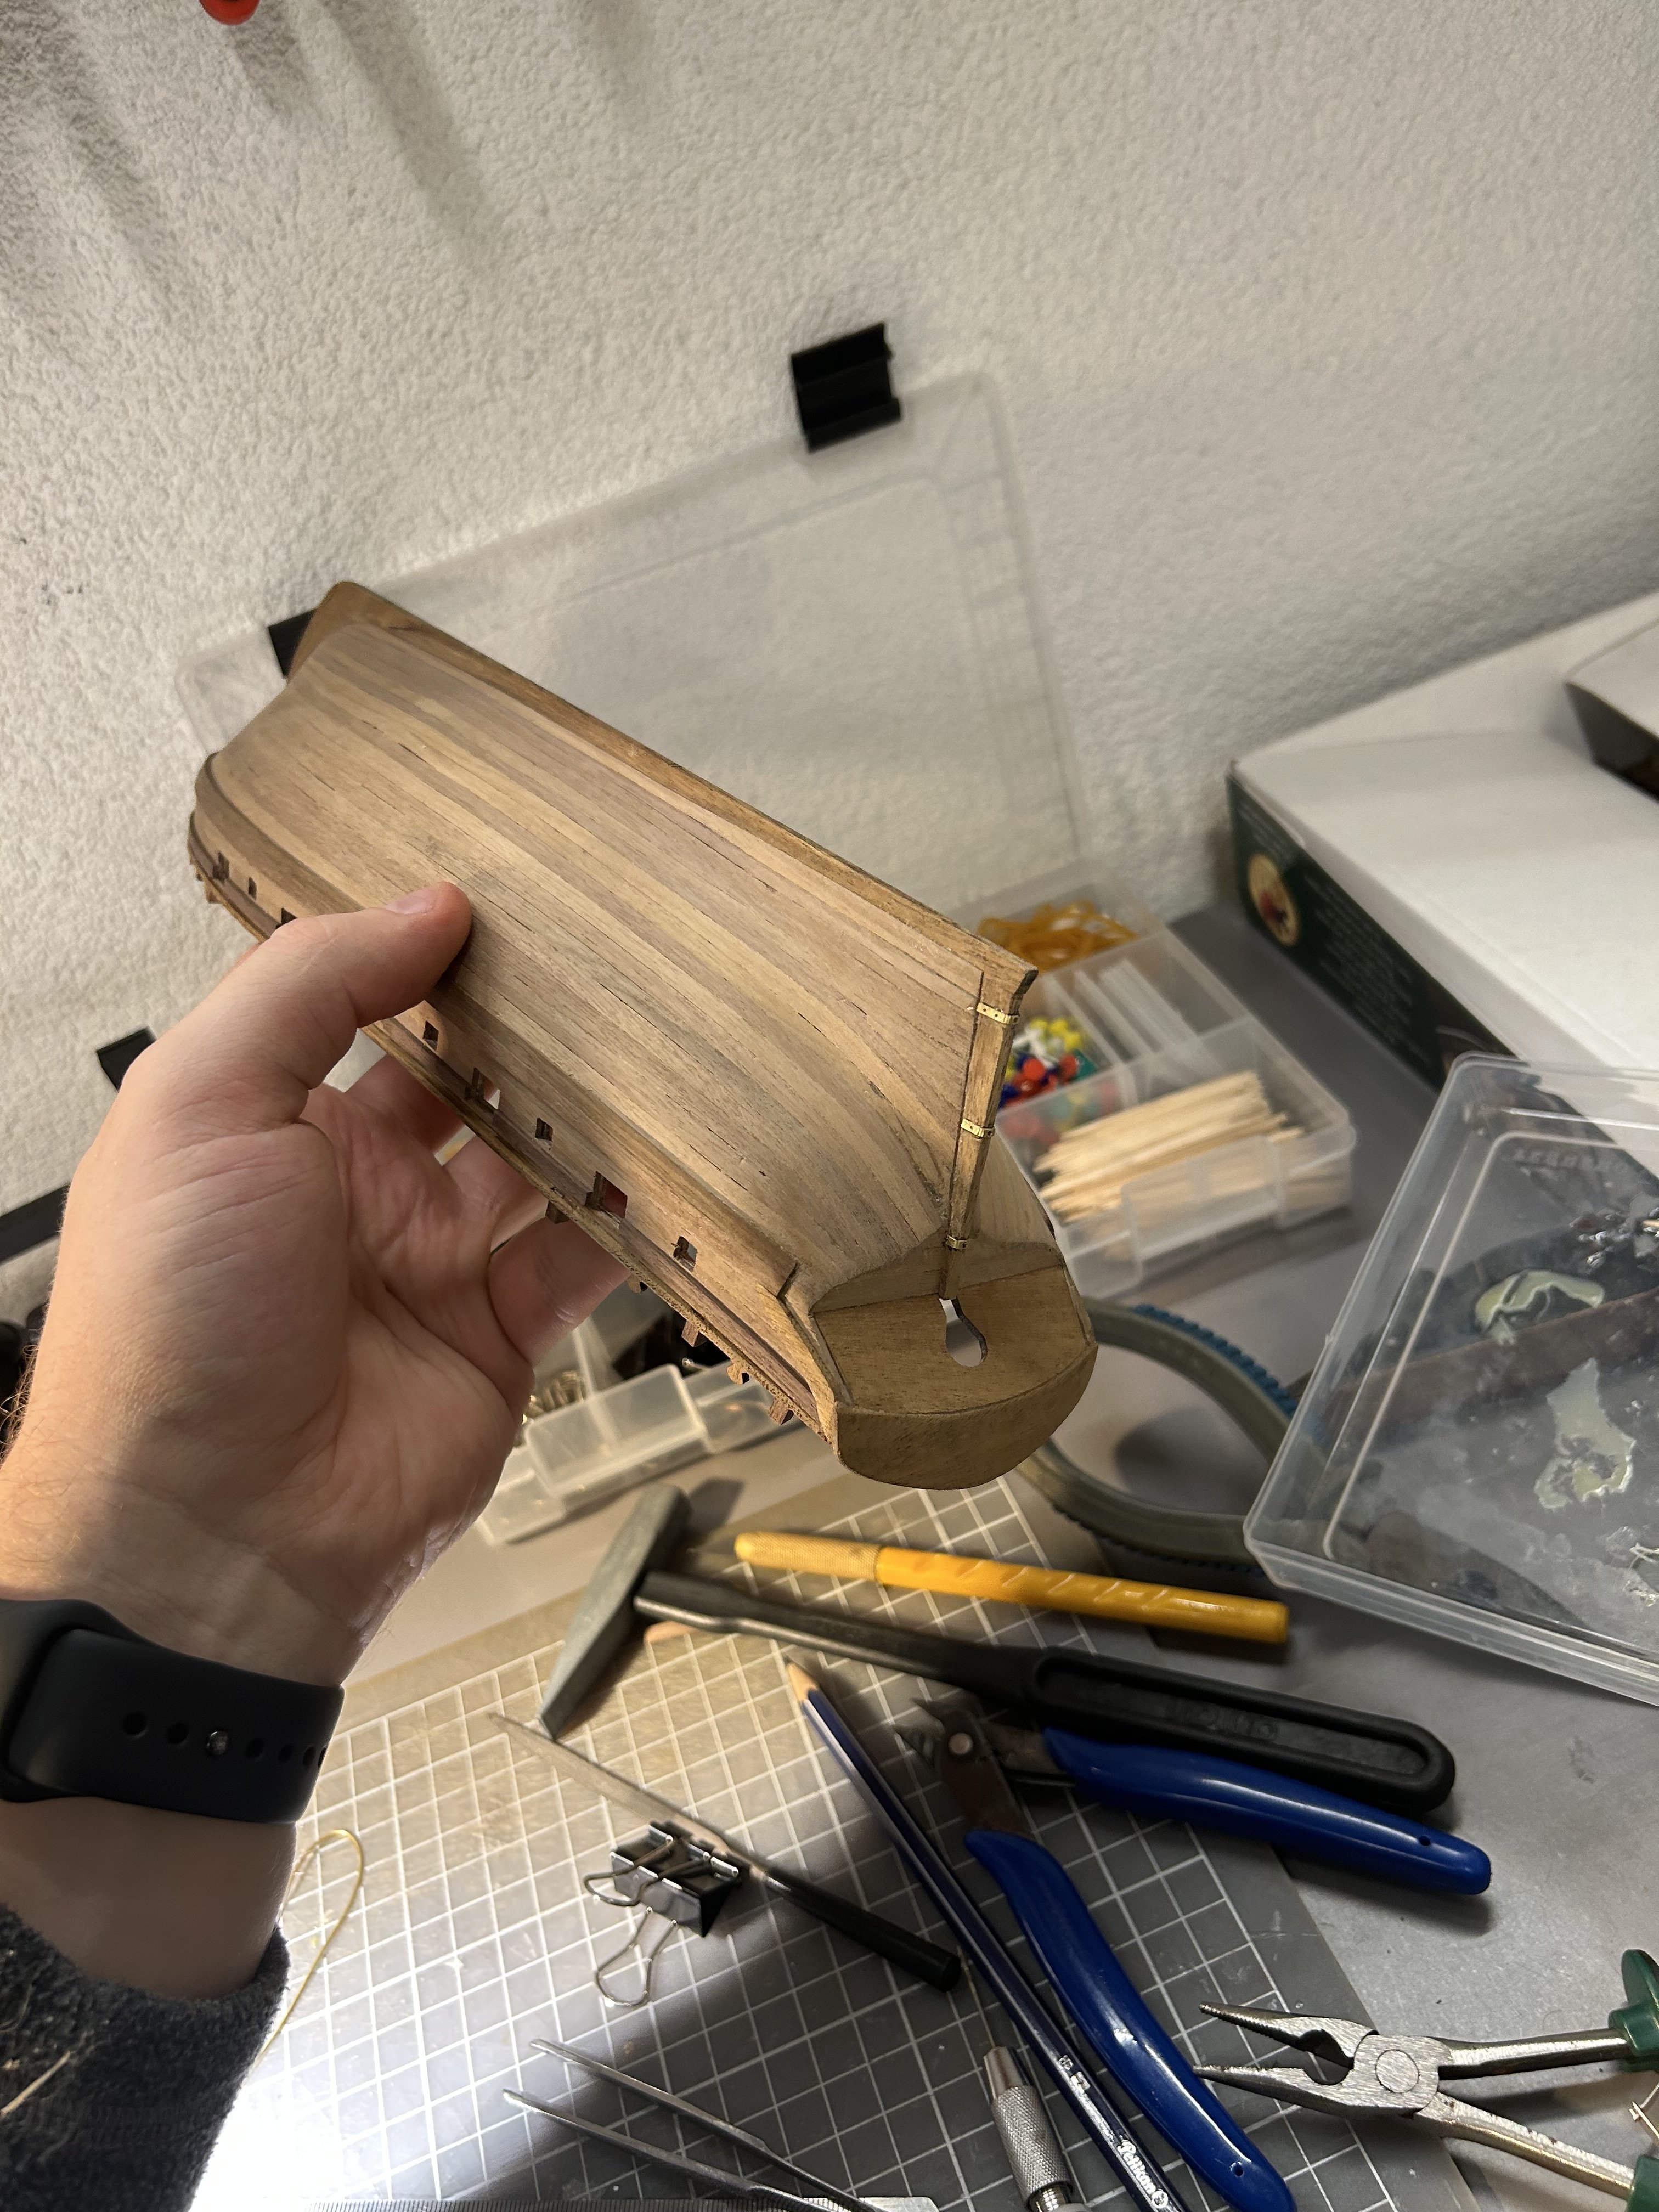
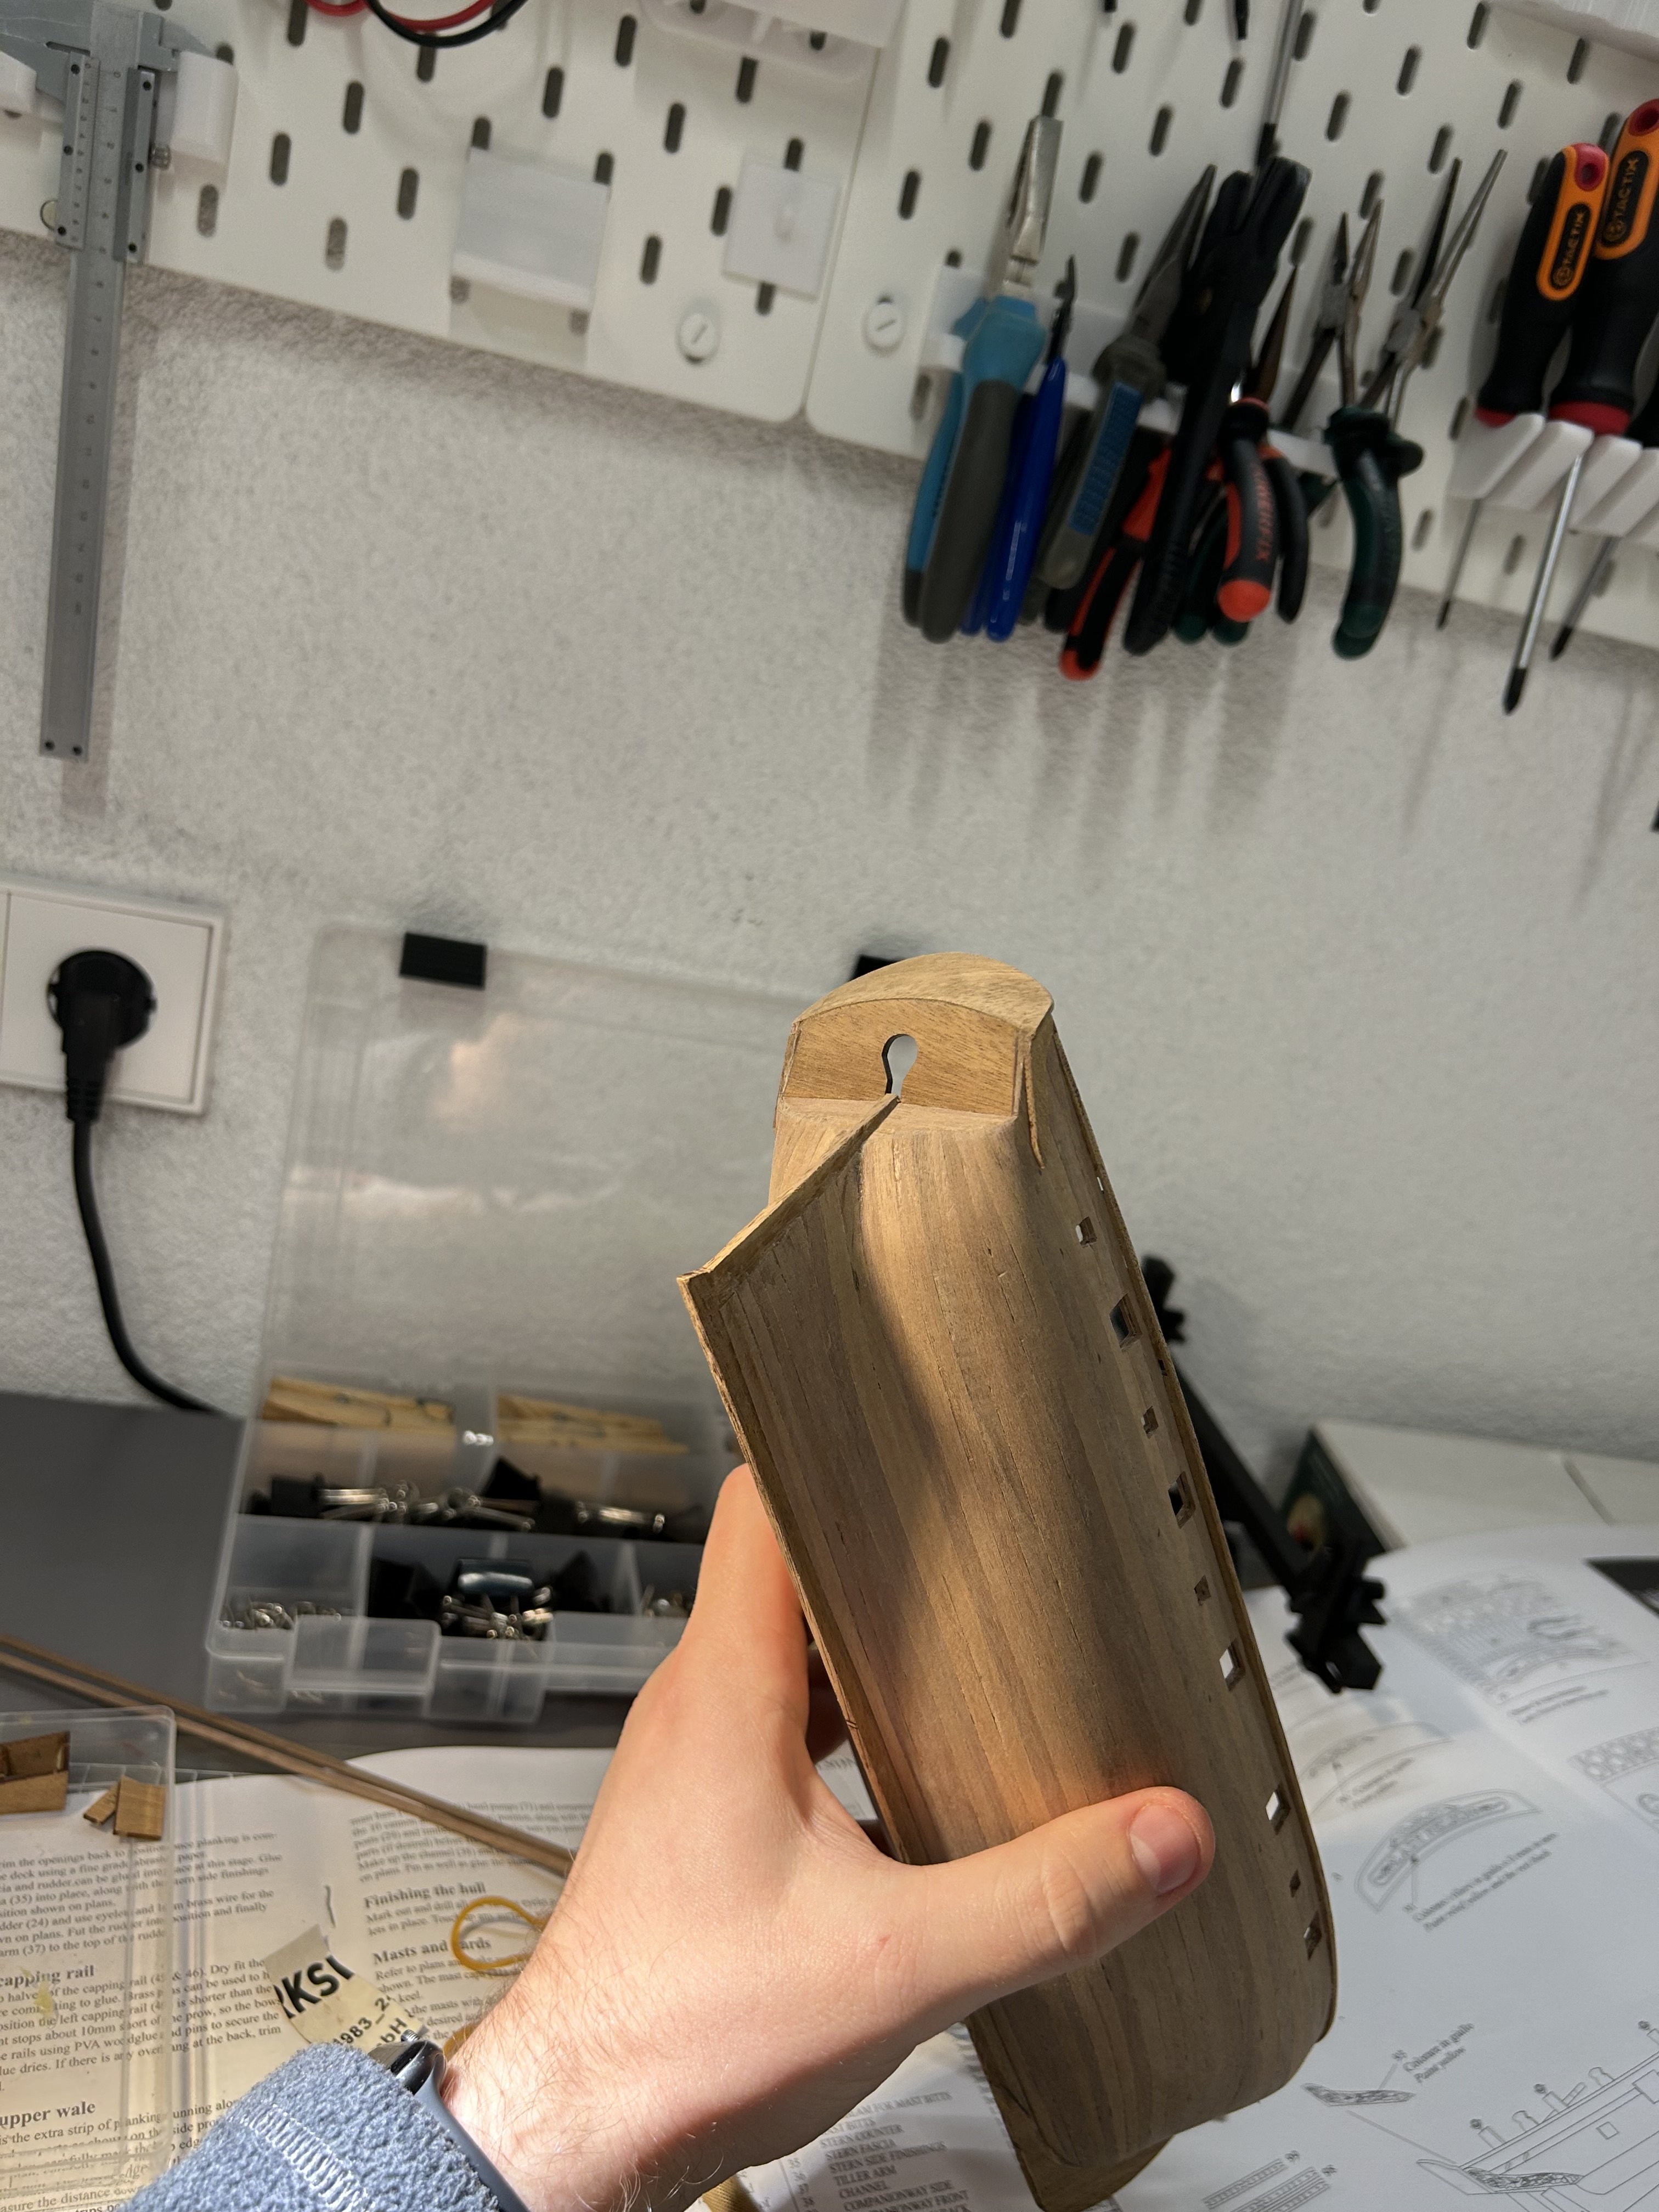
My ship has a rudder! Metal parts (where applicable) will be painted black later.


- 81 replies
-
- 1
-
-
- Lady Nelson
- Amati
- (and 1 more)
-
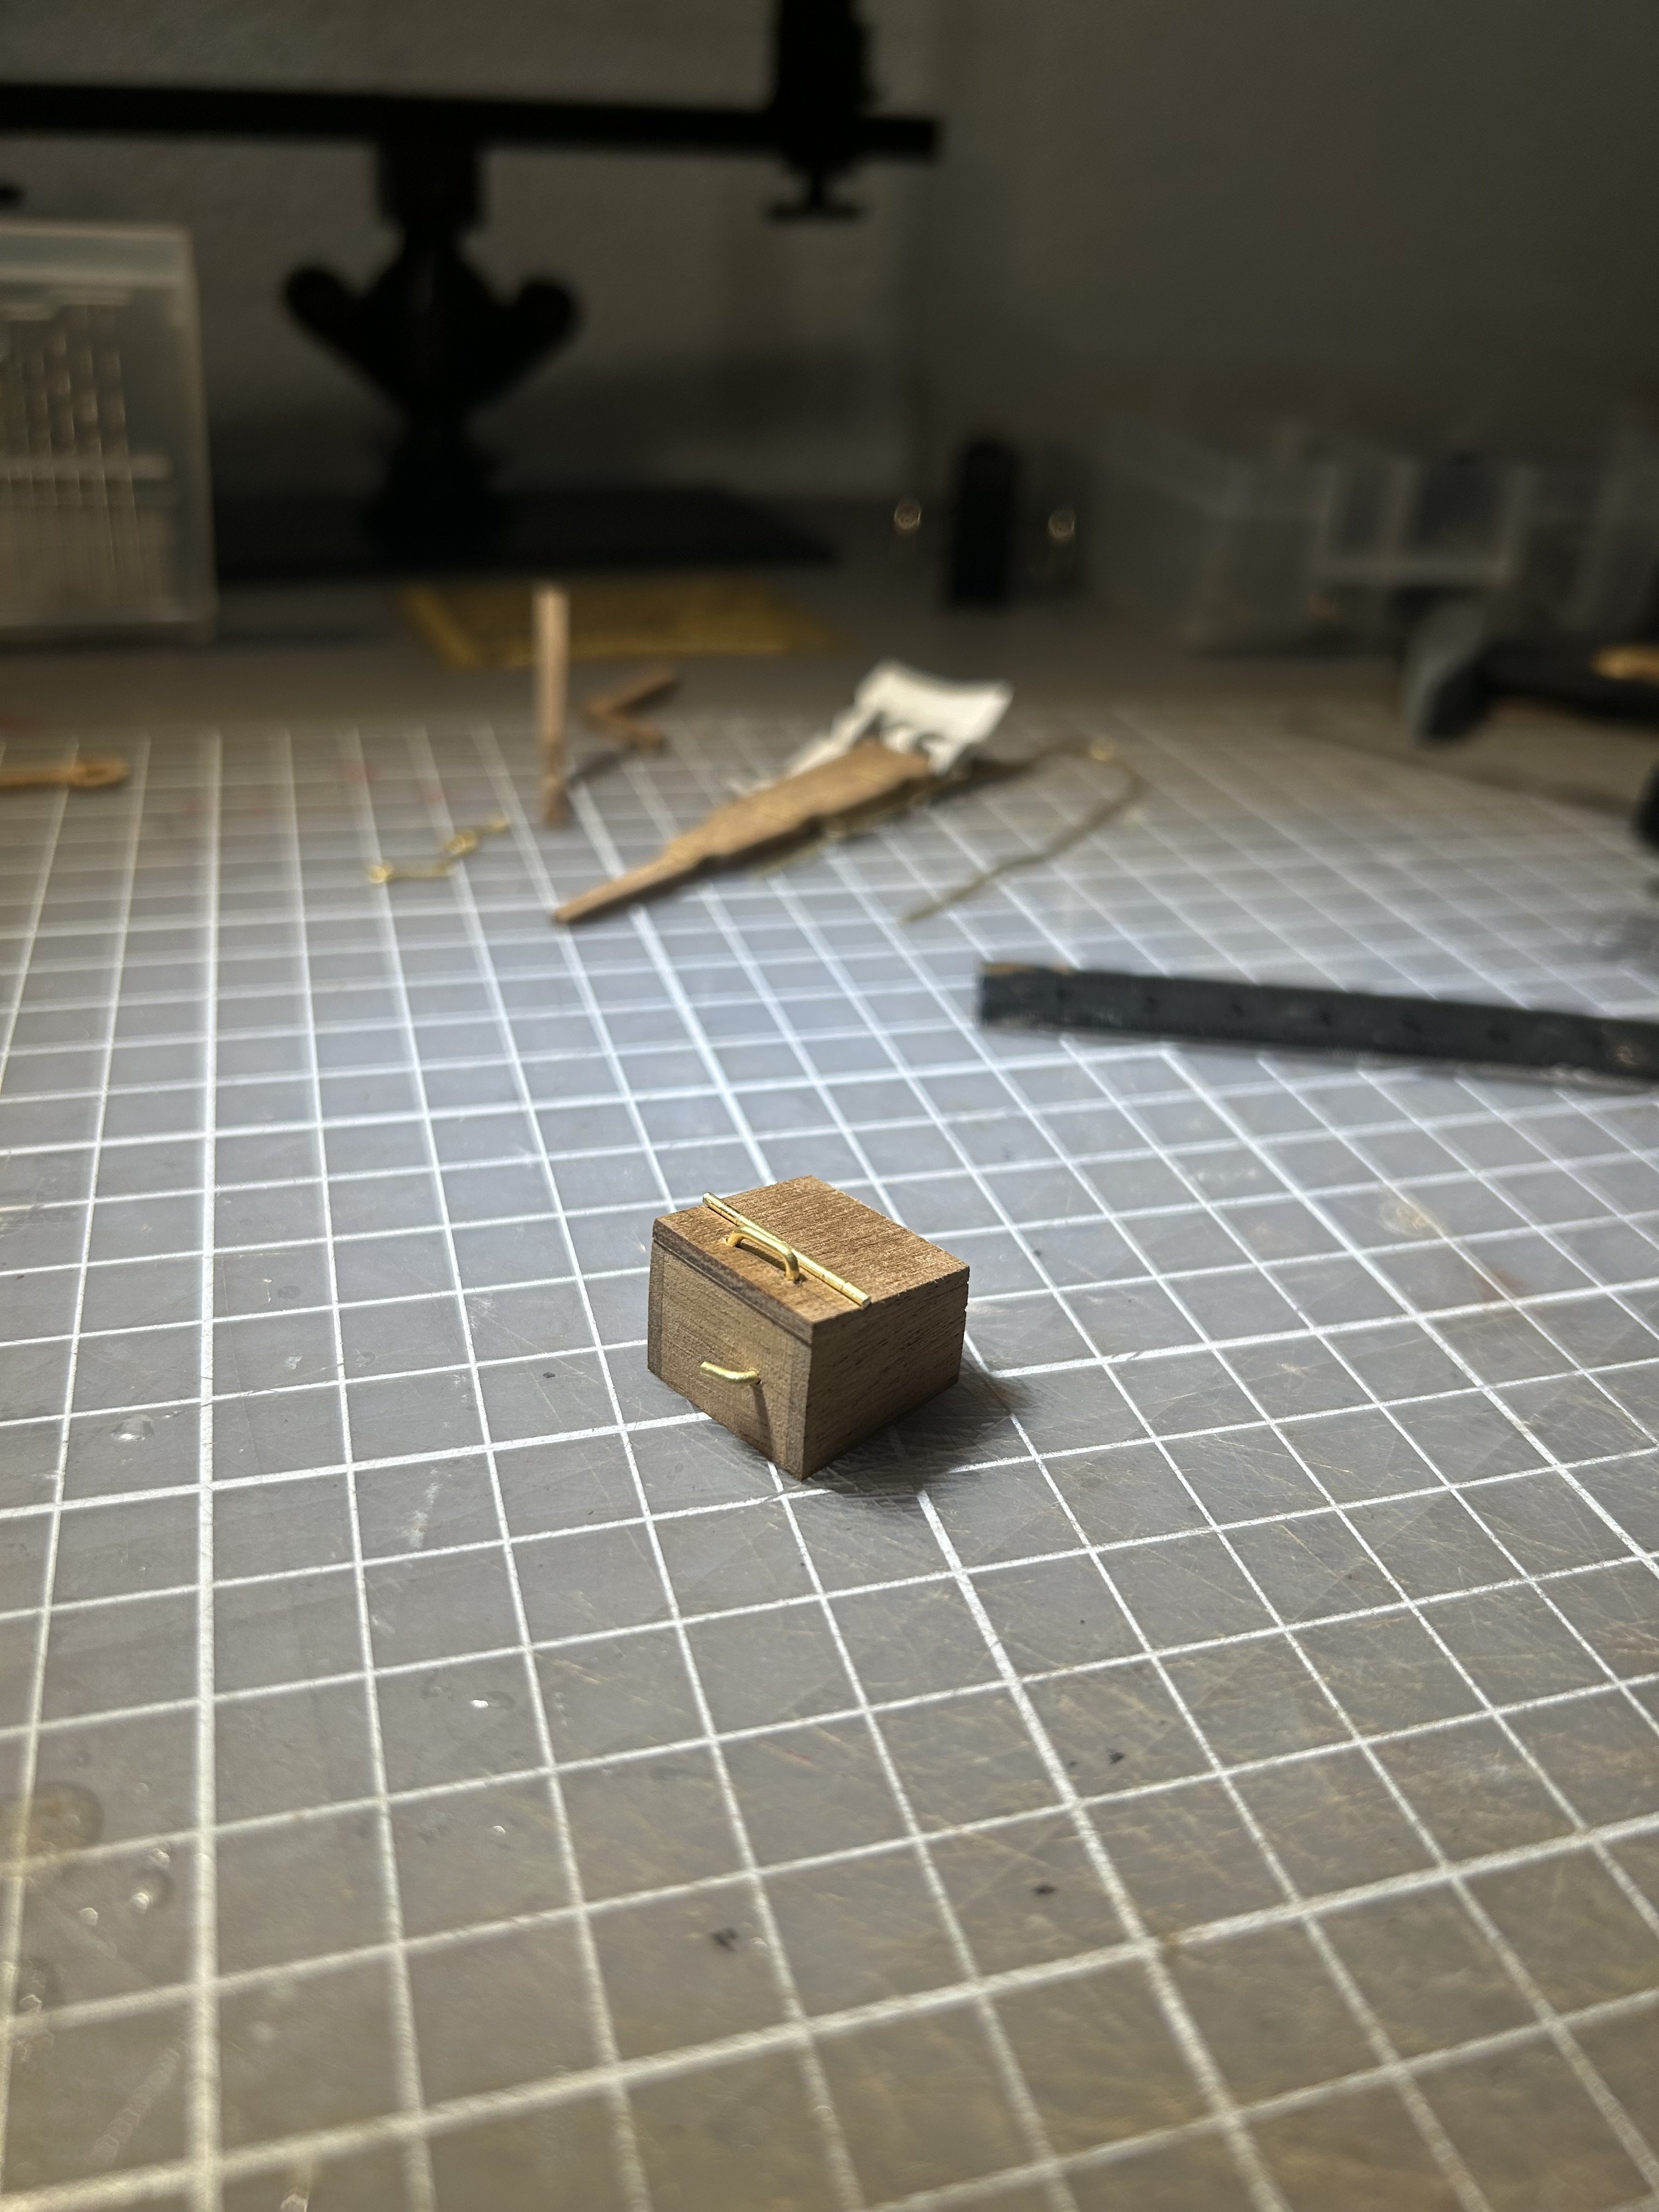
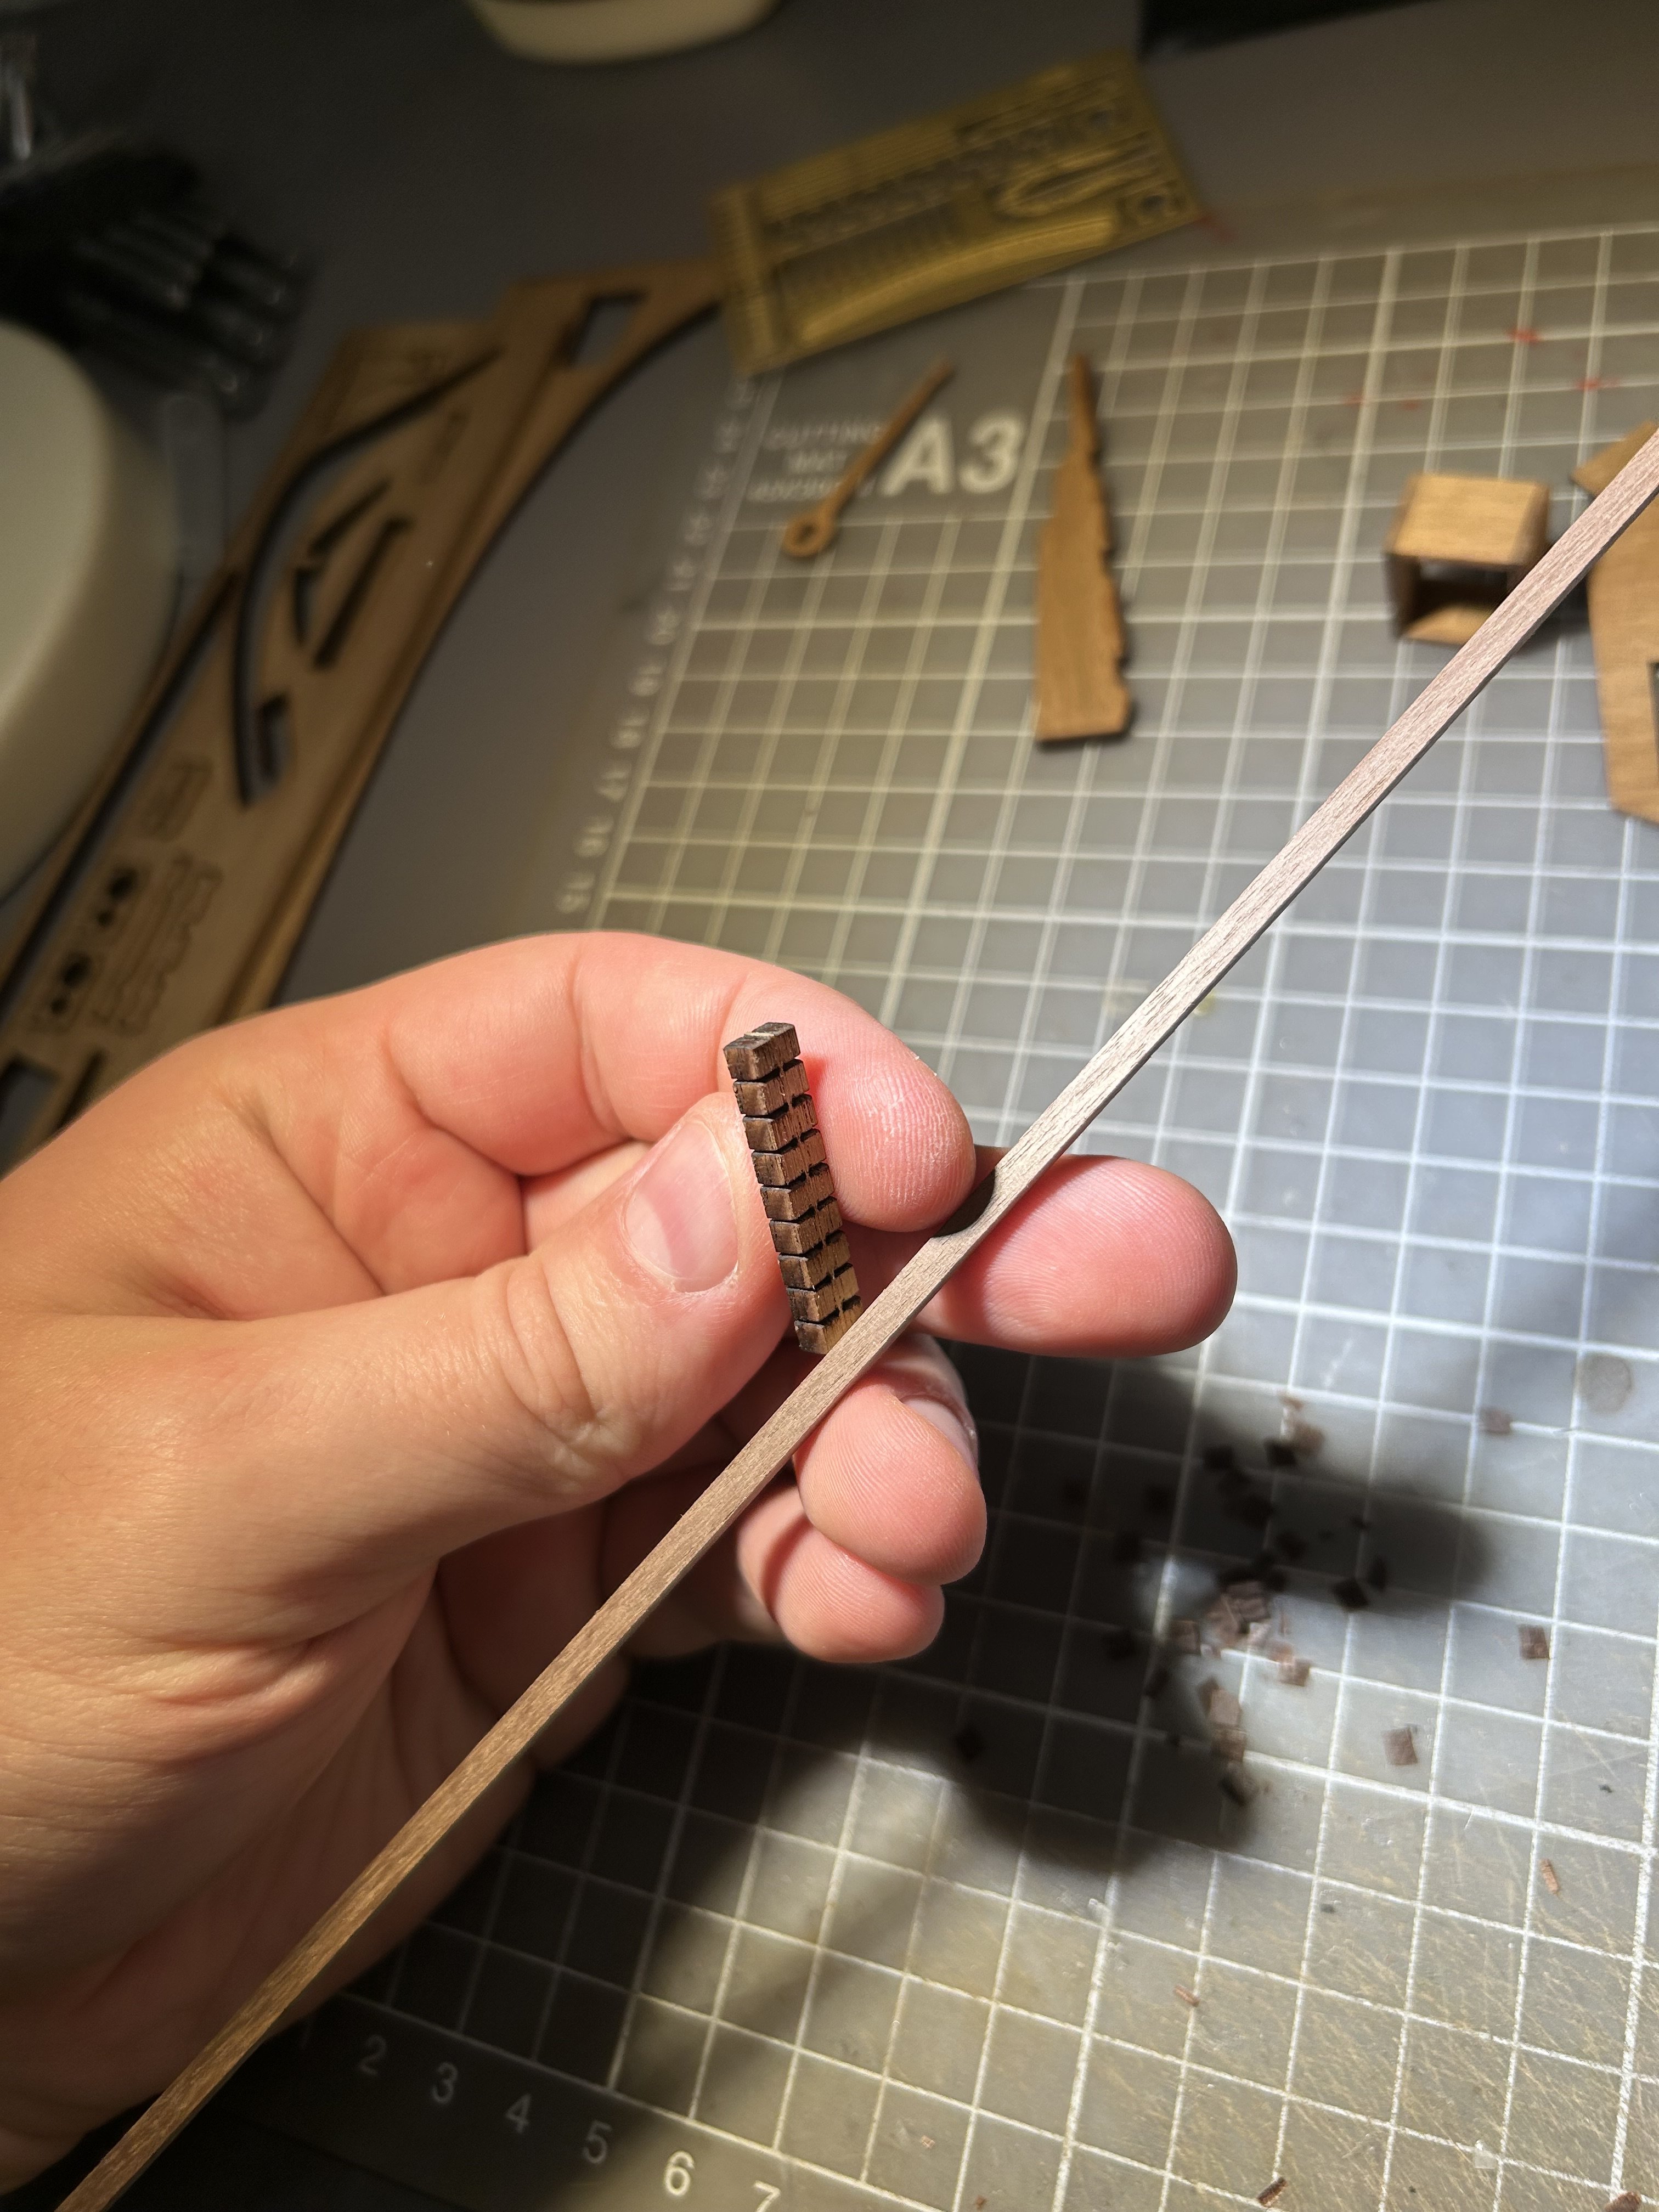
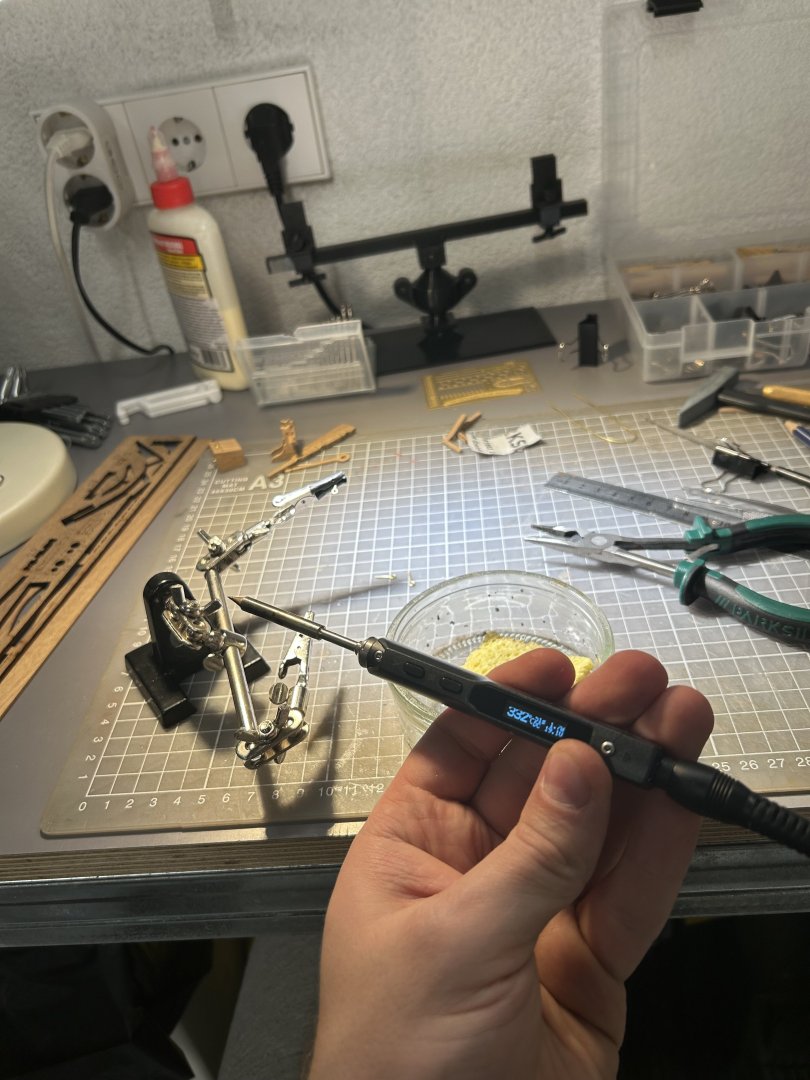
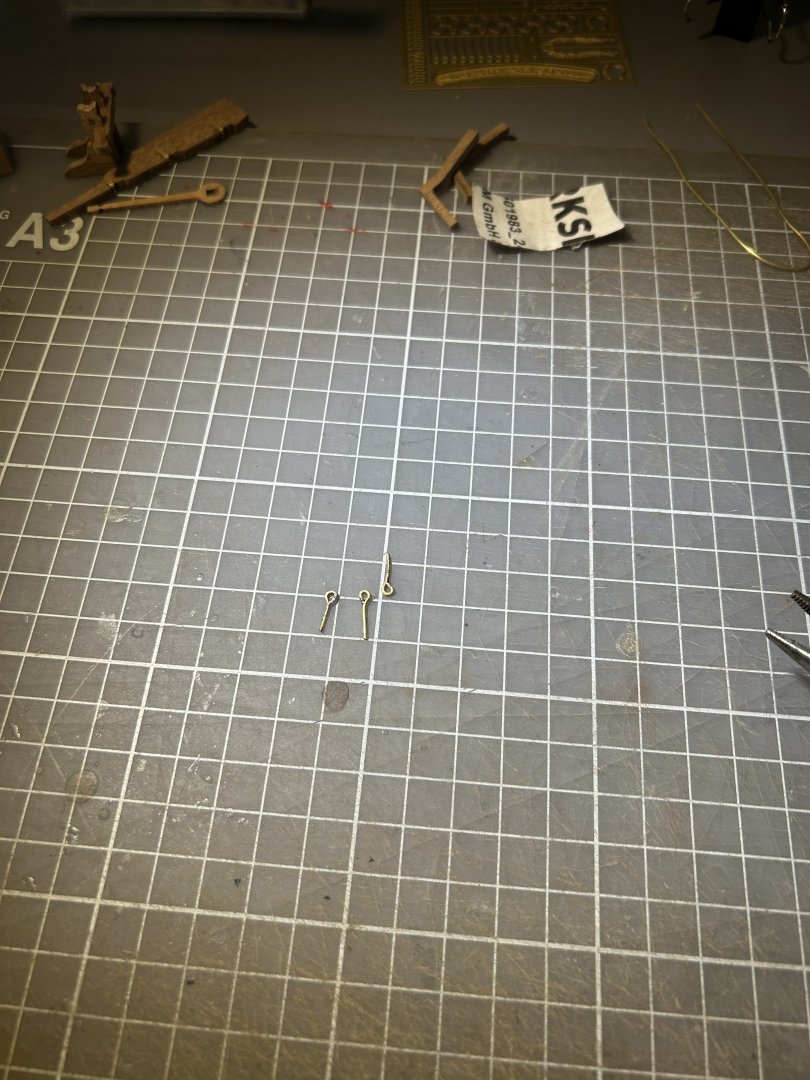
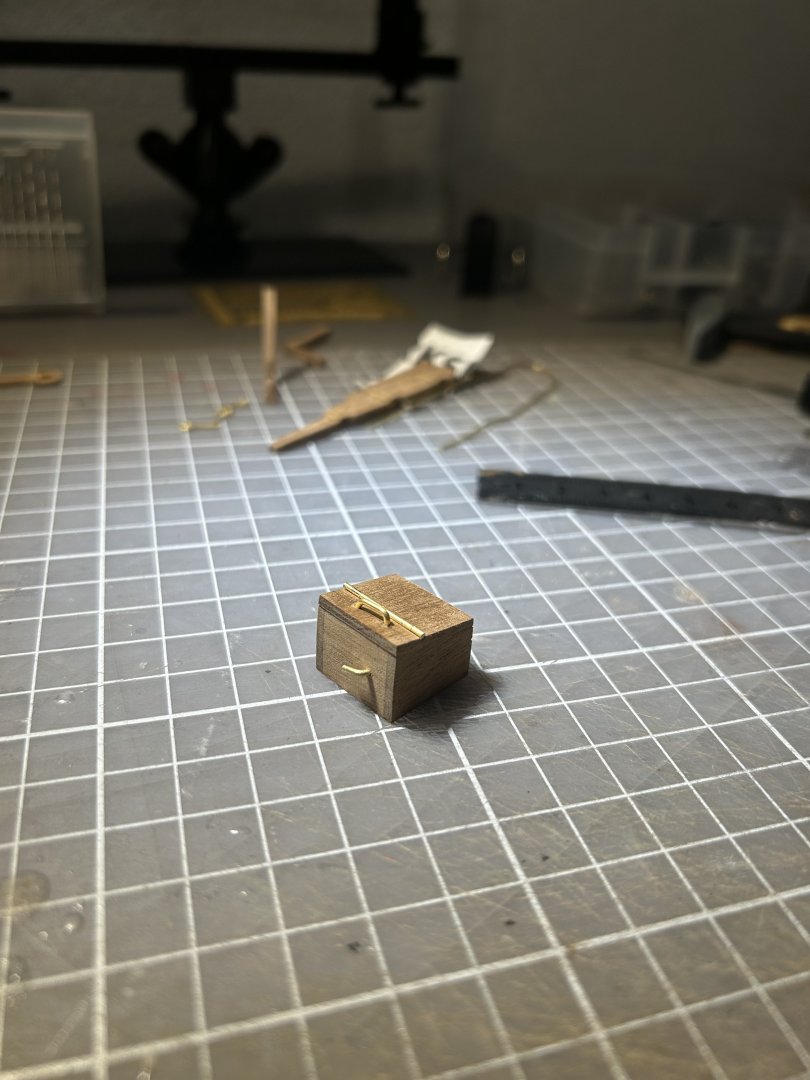
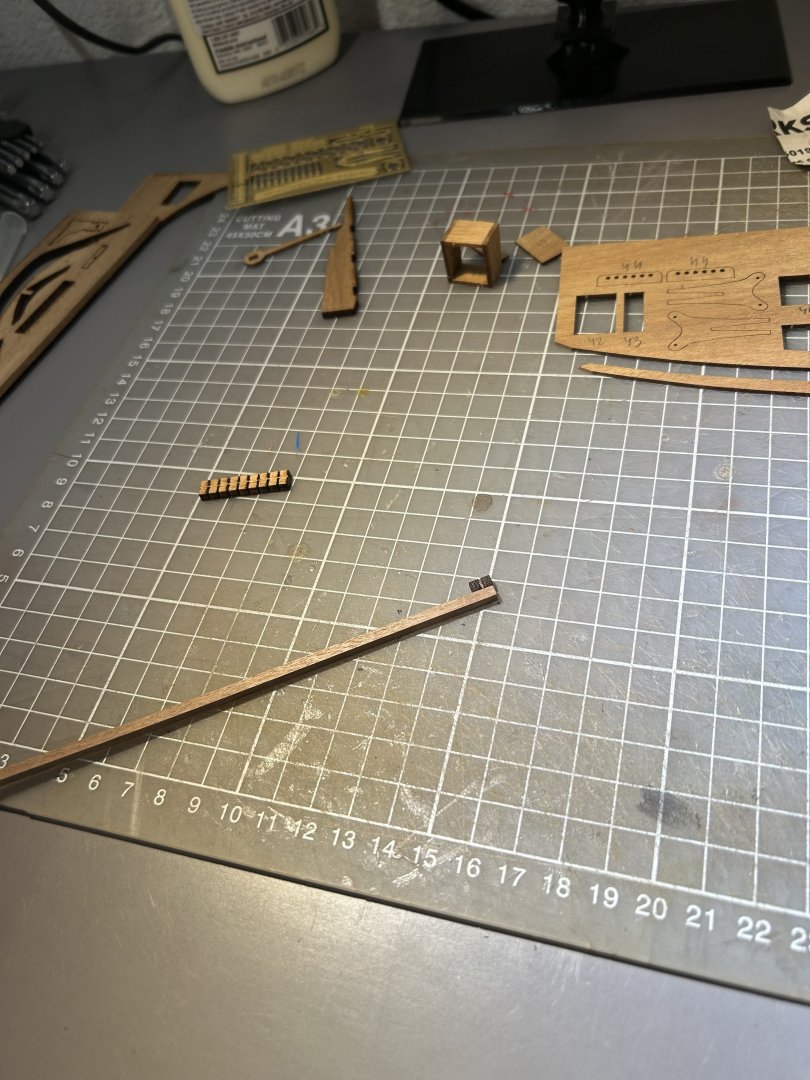
Made some furniture. Same advise as before - where possible it is best to replace laser cut parts with custom ones. Metal parts are not glued yet. Will be painting it black later.


- 81 replies
-
- 1
-
-
- Lady Nelson
- Amati
- (and 1 more)
-
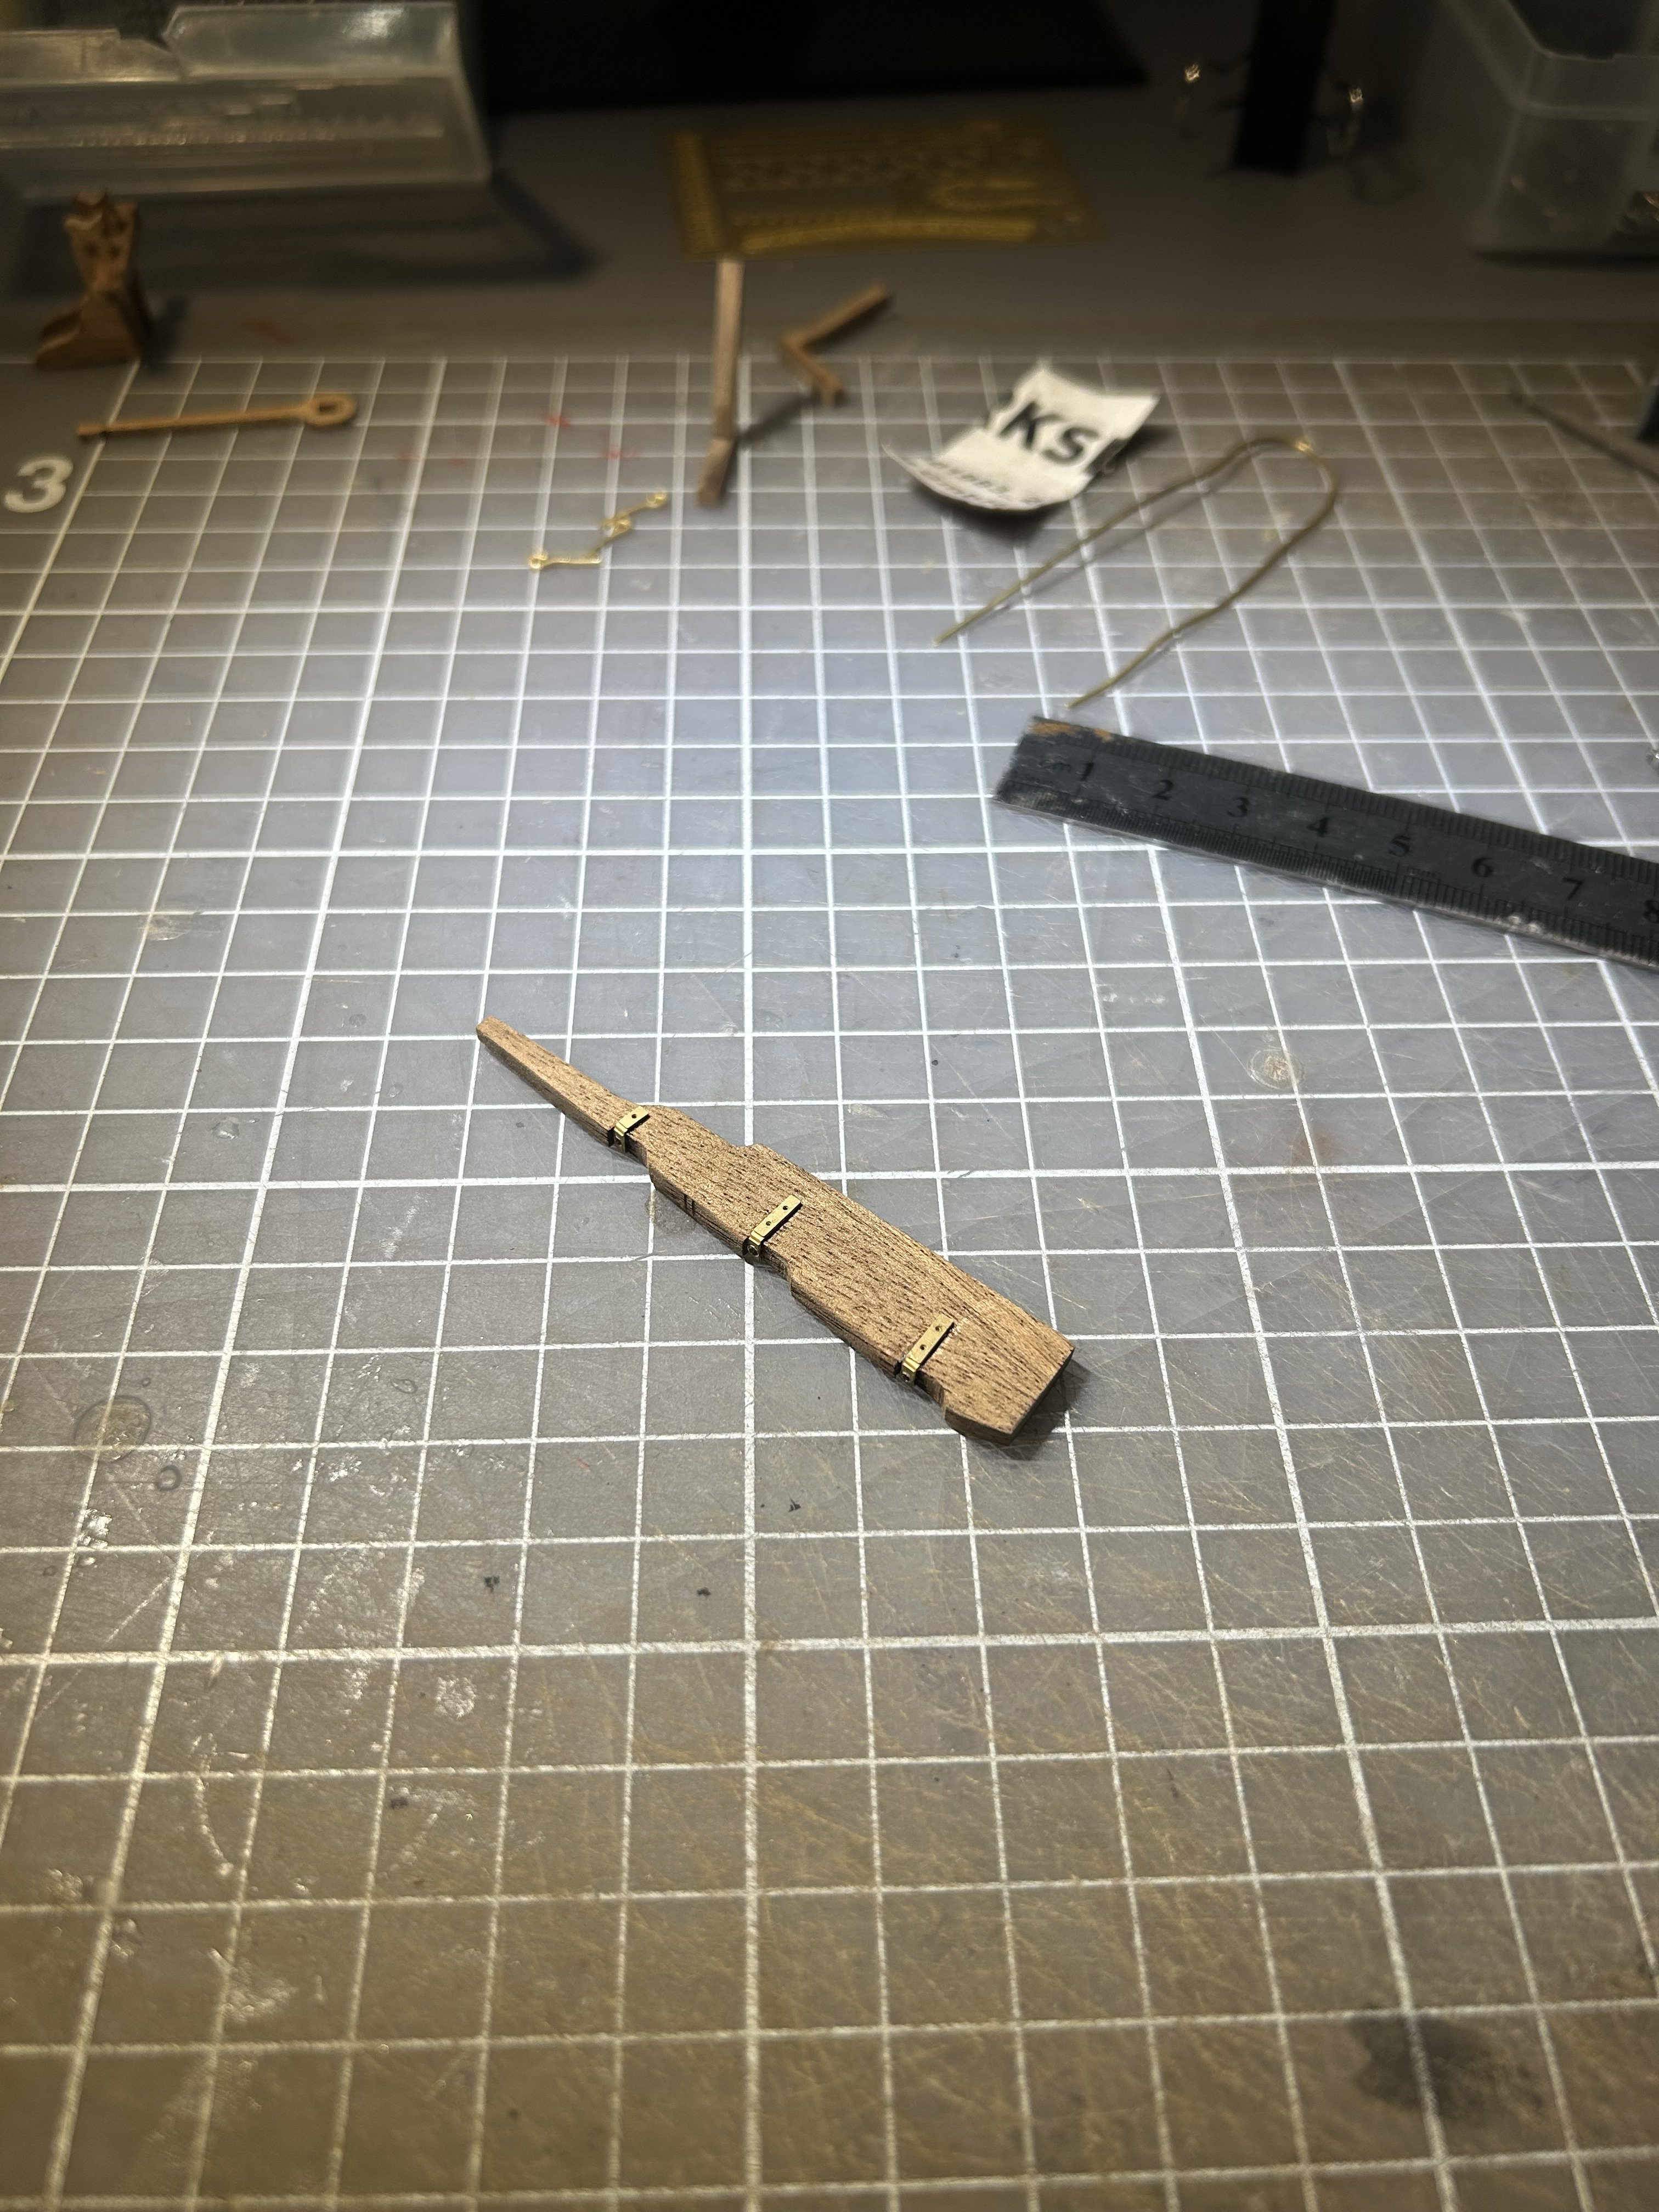
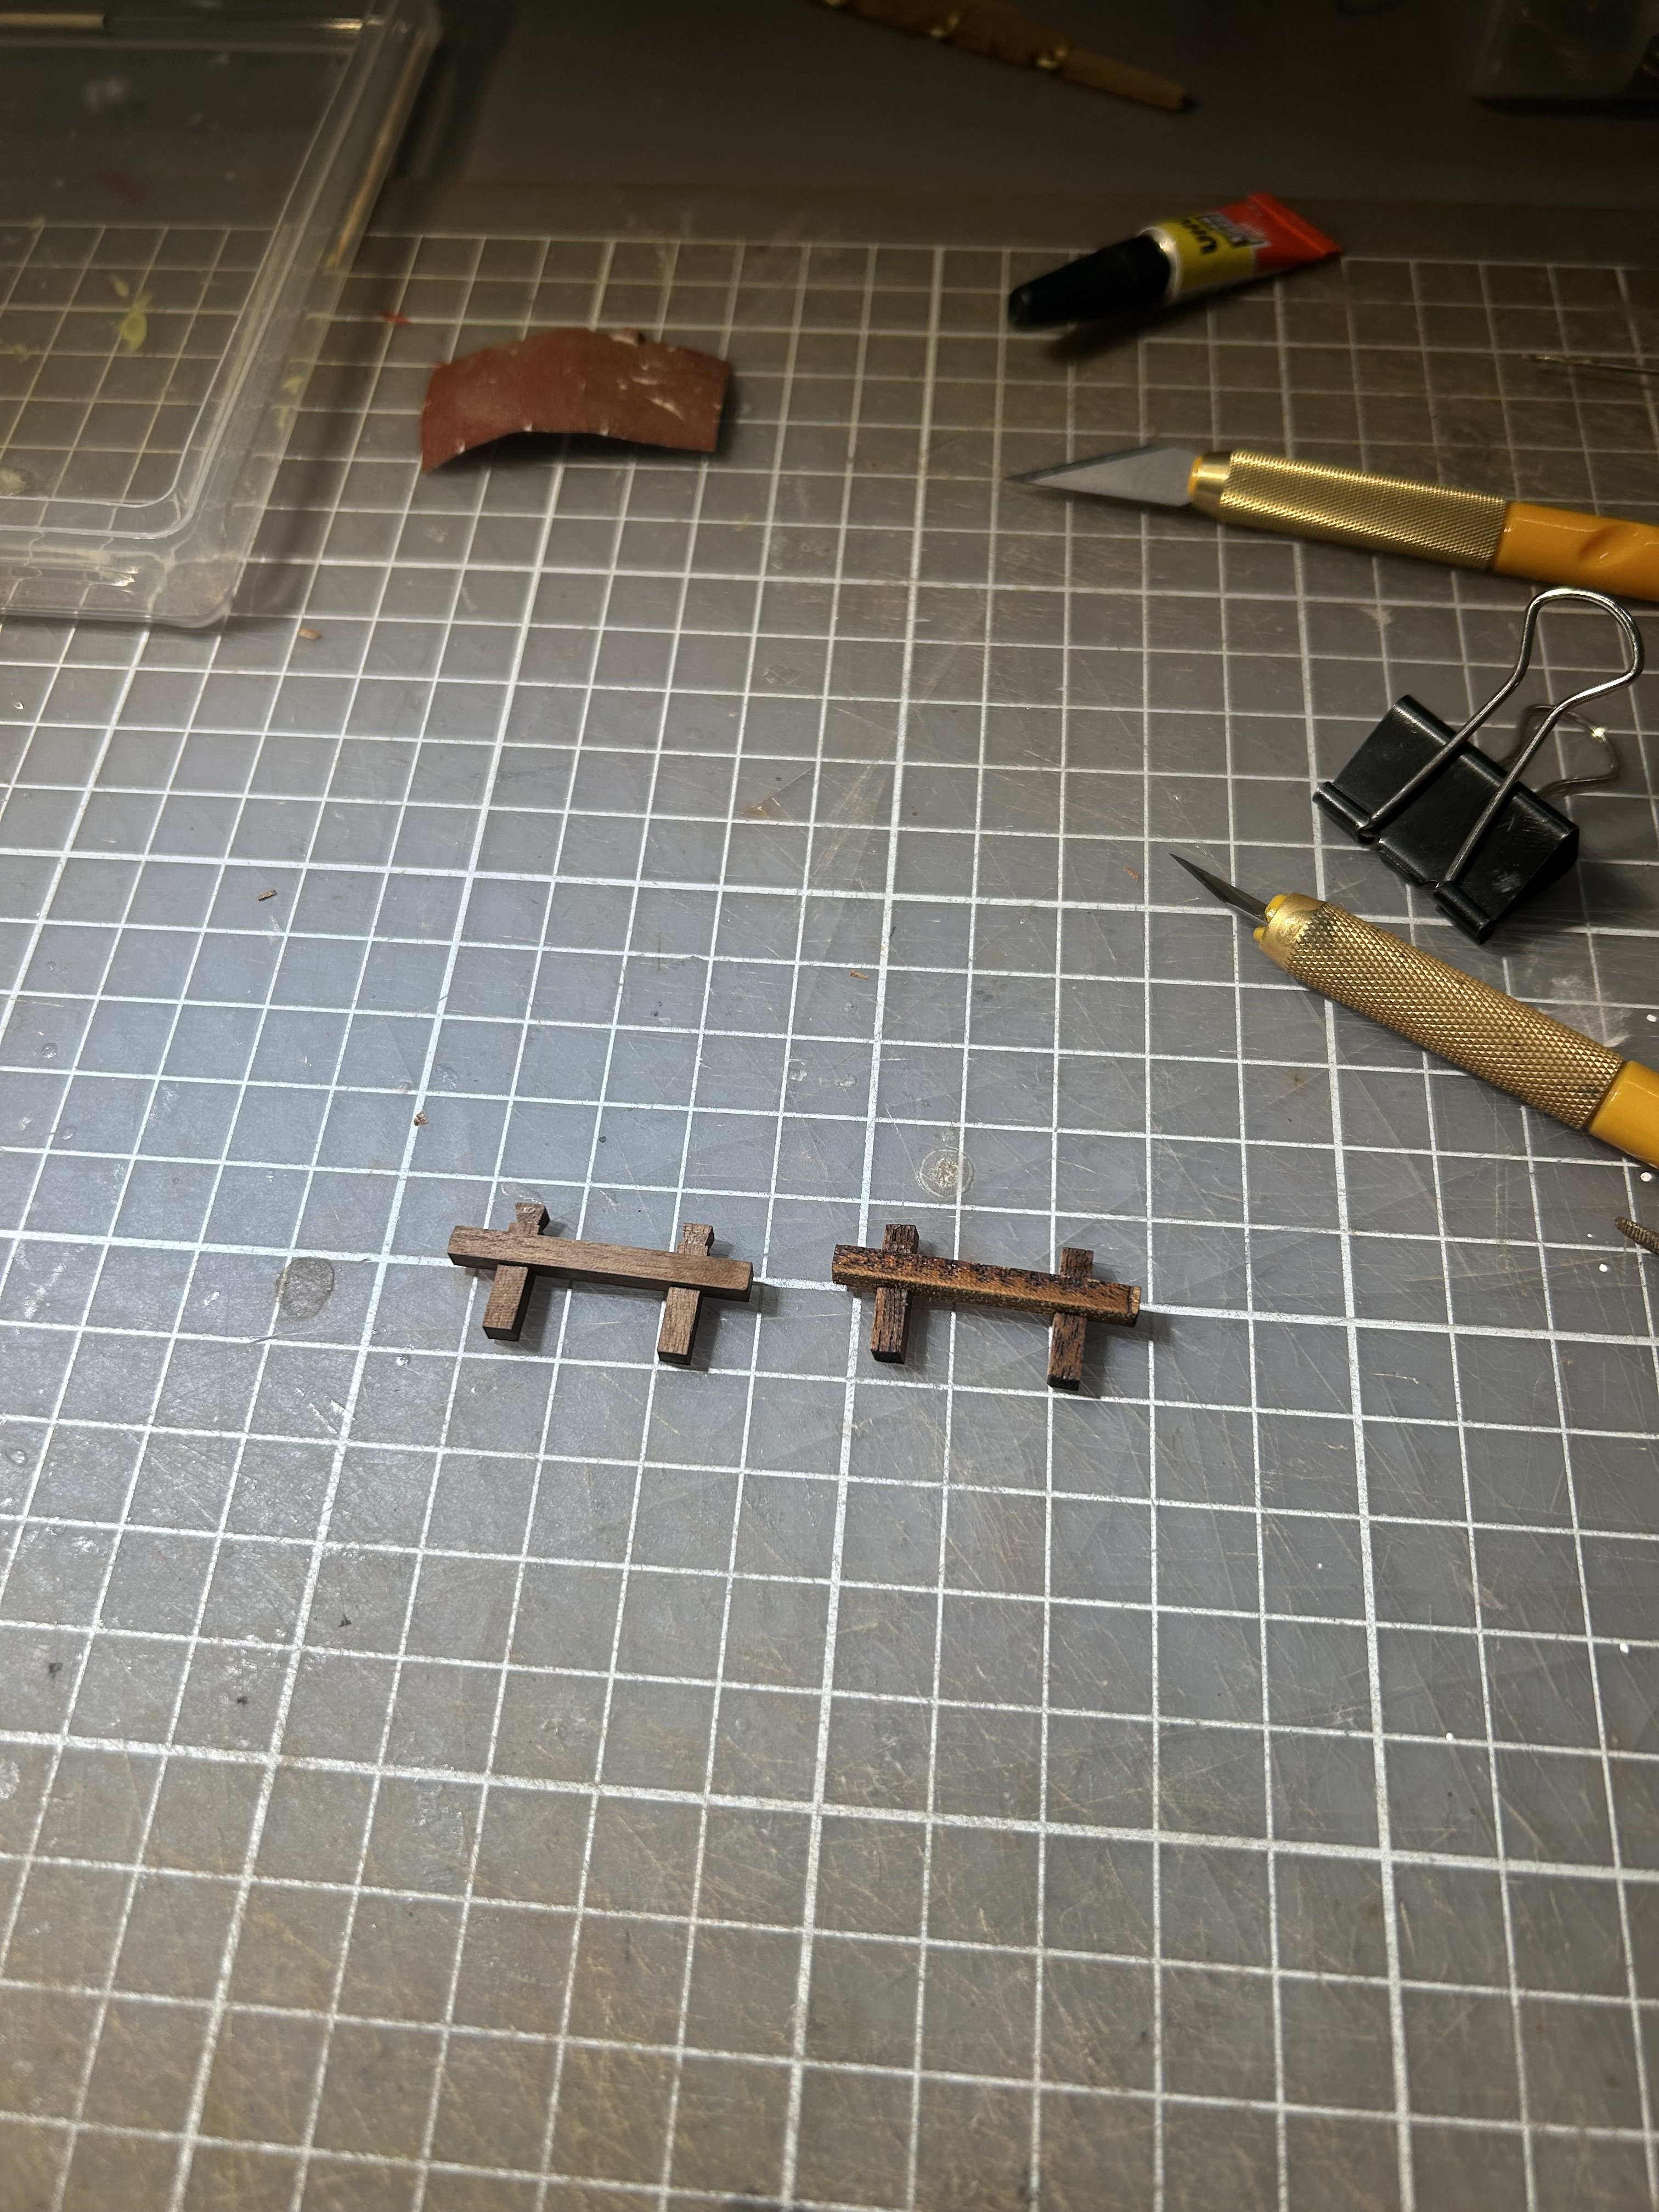
Glued in the “gun” posts. I have decided to make them out of 3x3mm strip. It is easier to cut it, than sand these laser cut parts no 29. Also that laser cut wood is prone to splitting. Gun posts still need some sanding though. Will wait until the next day when the glue is fully dried up.

- 81 replies
-
- 2
-
-
- Lady Nelson
- Amati
- (and 1 more)
-
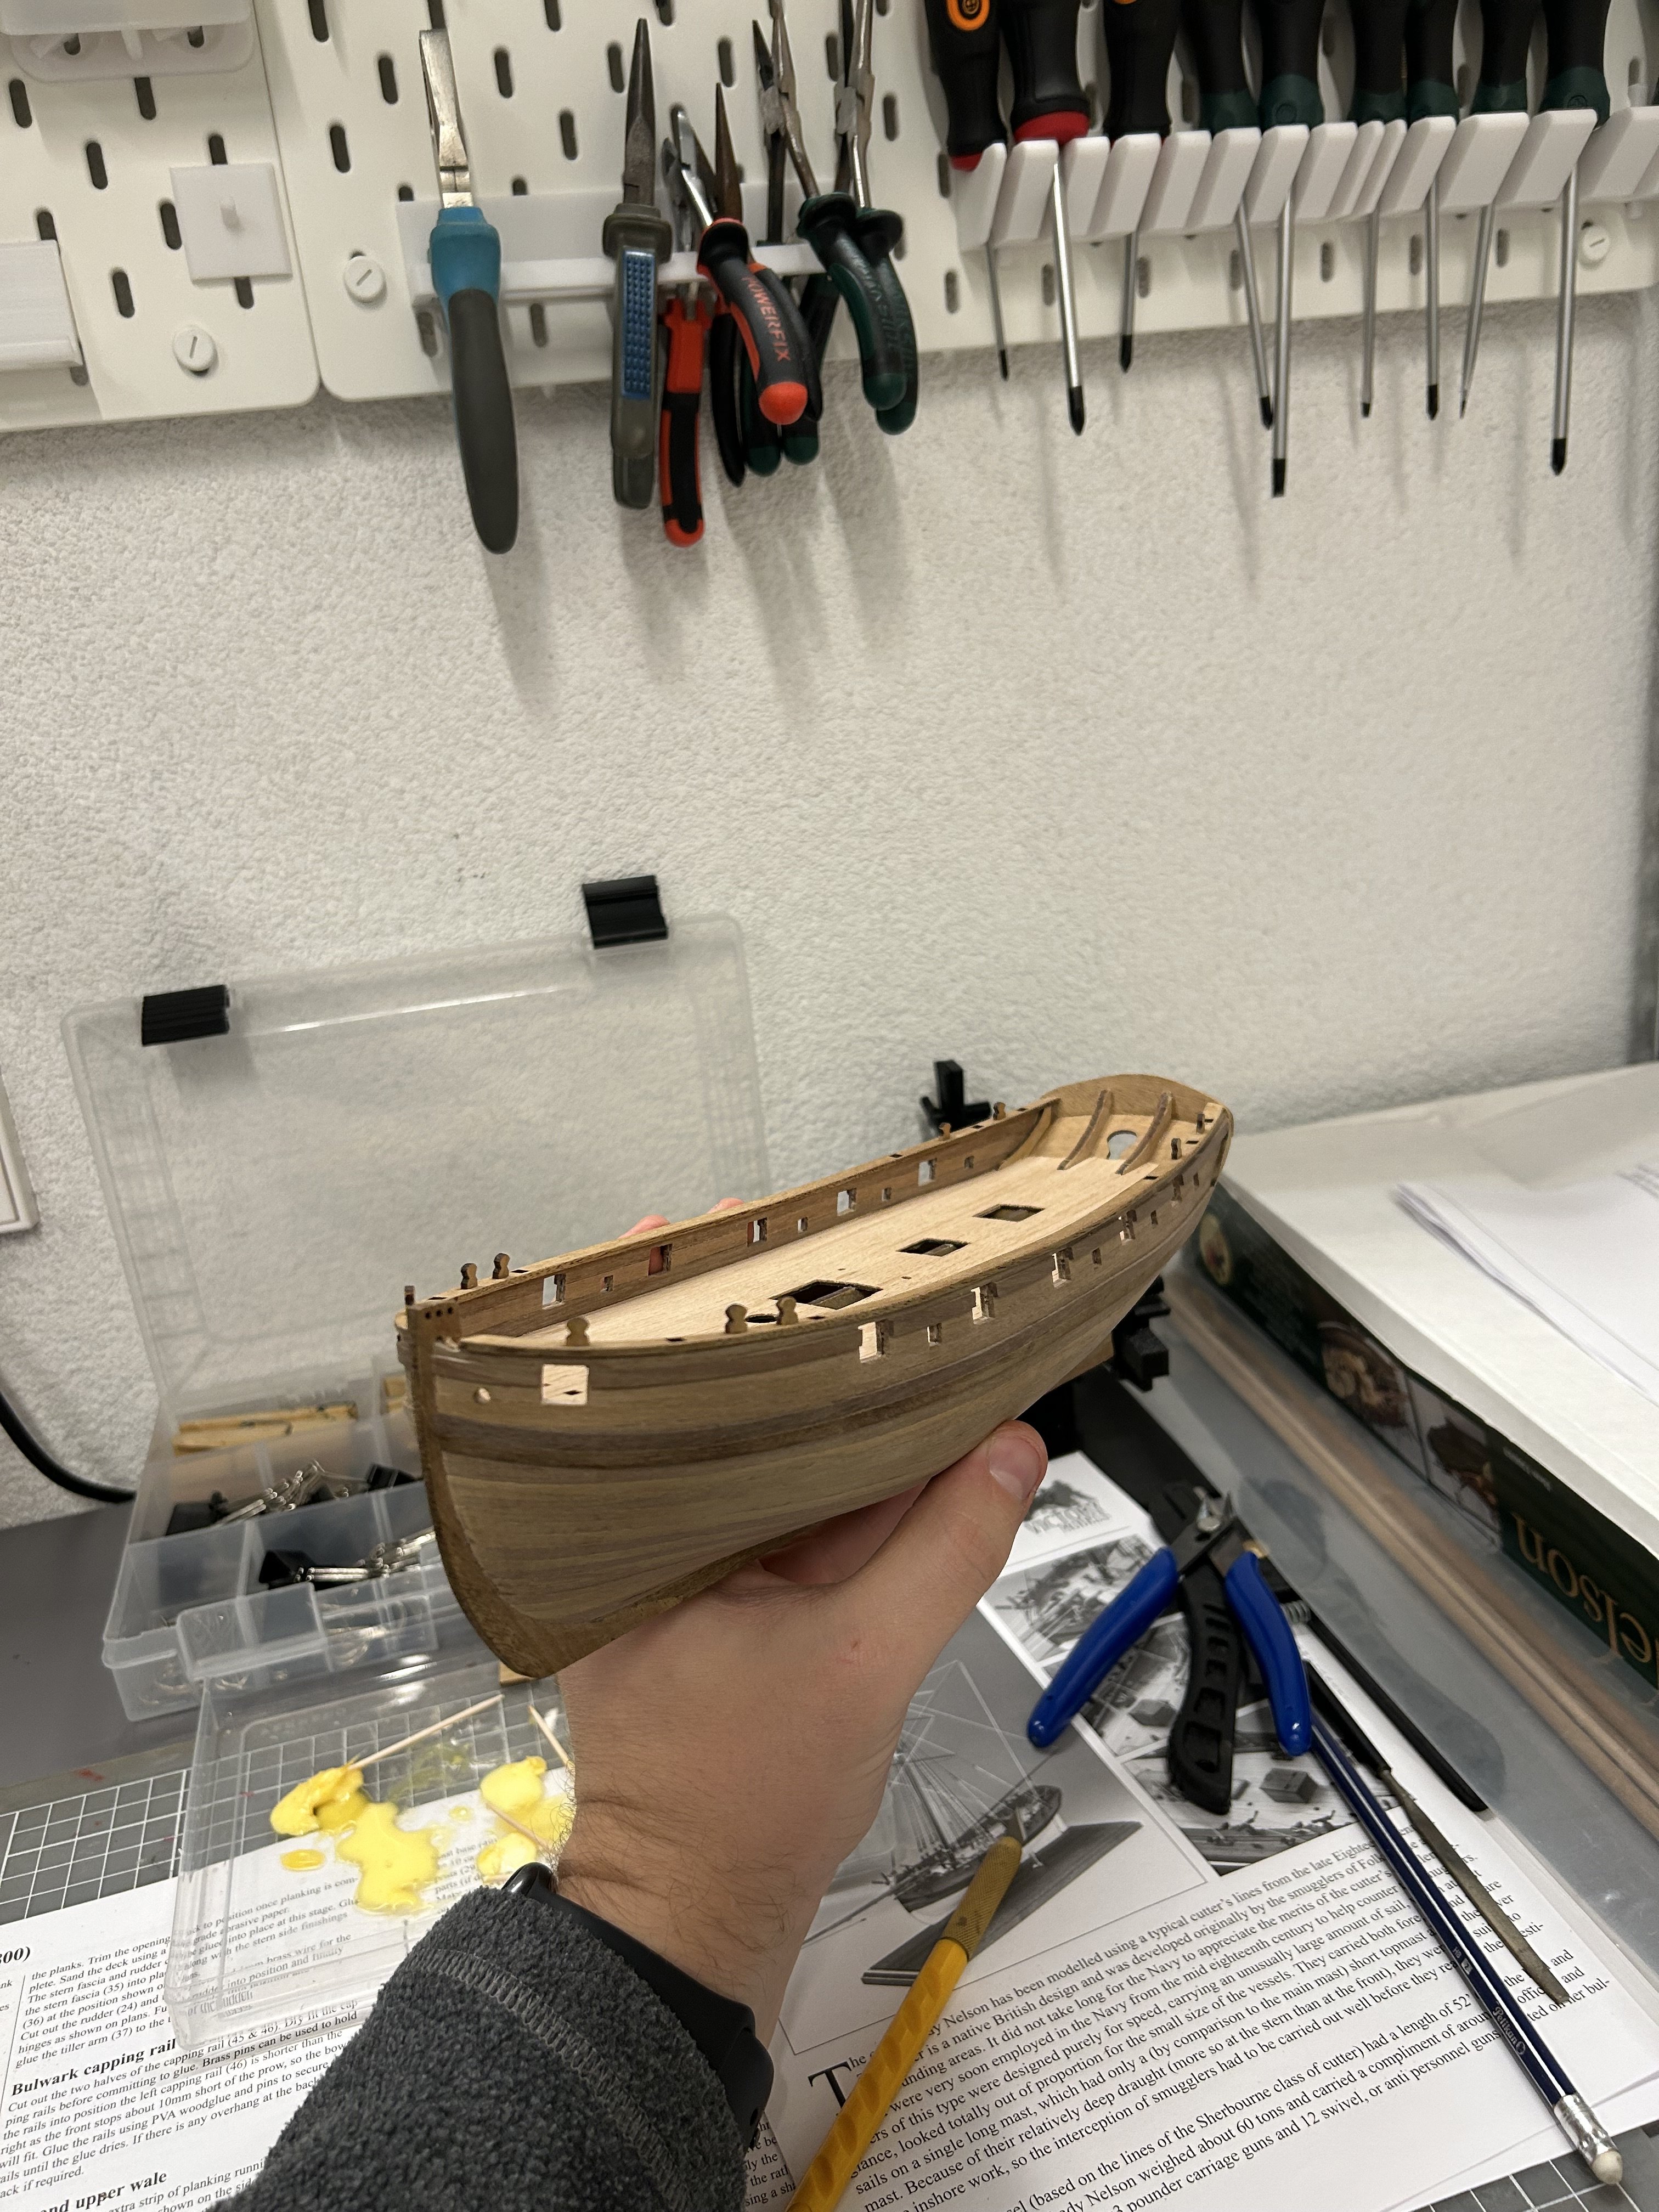
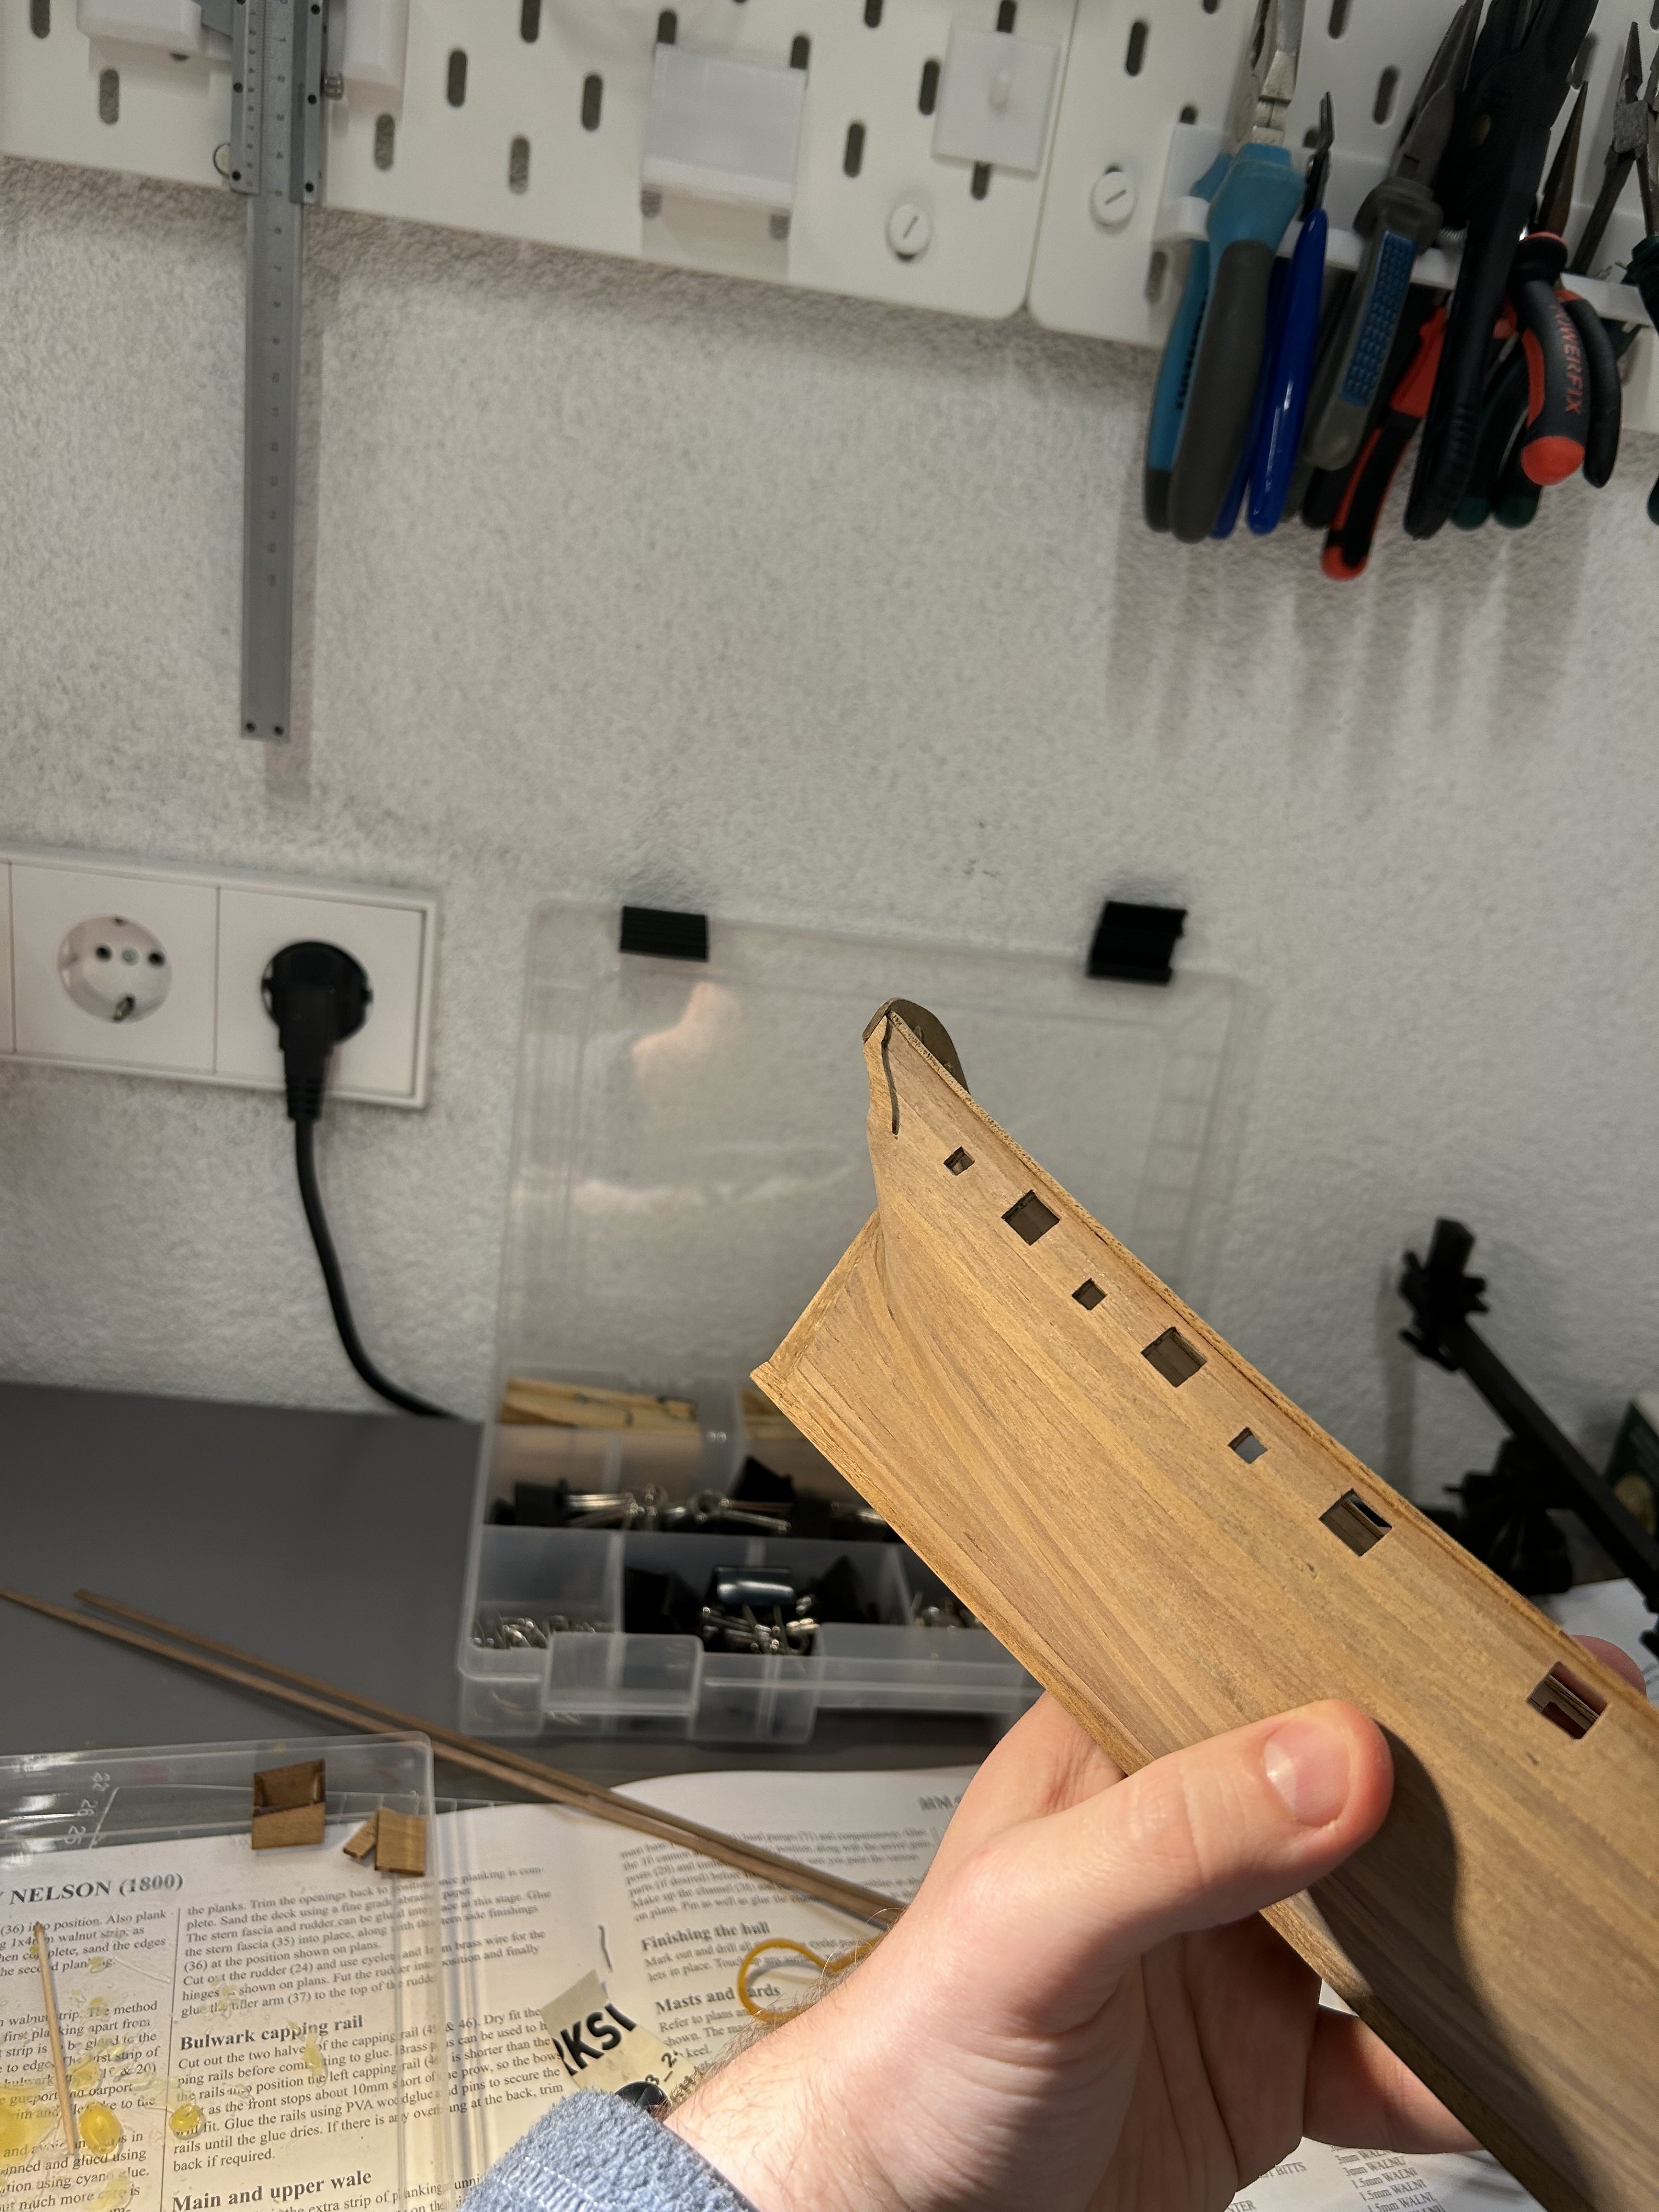
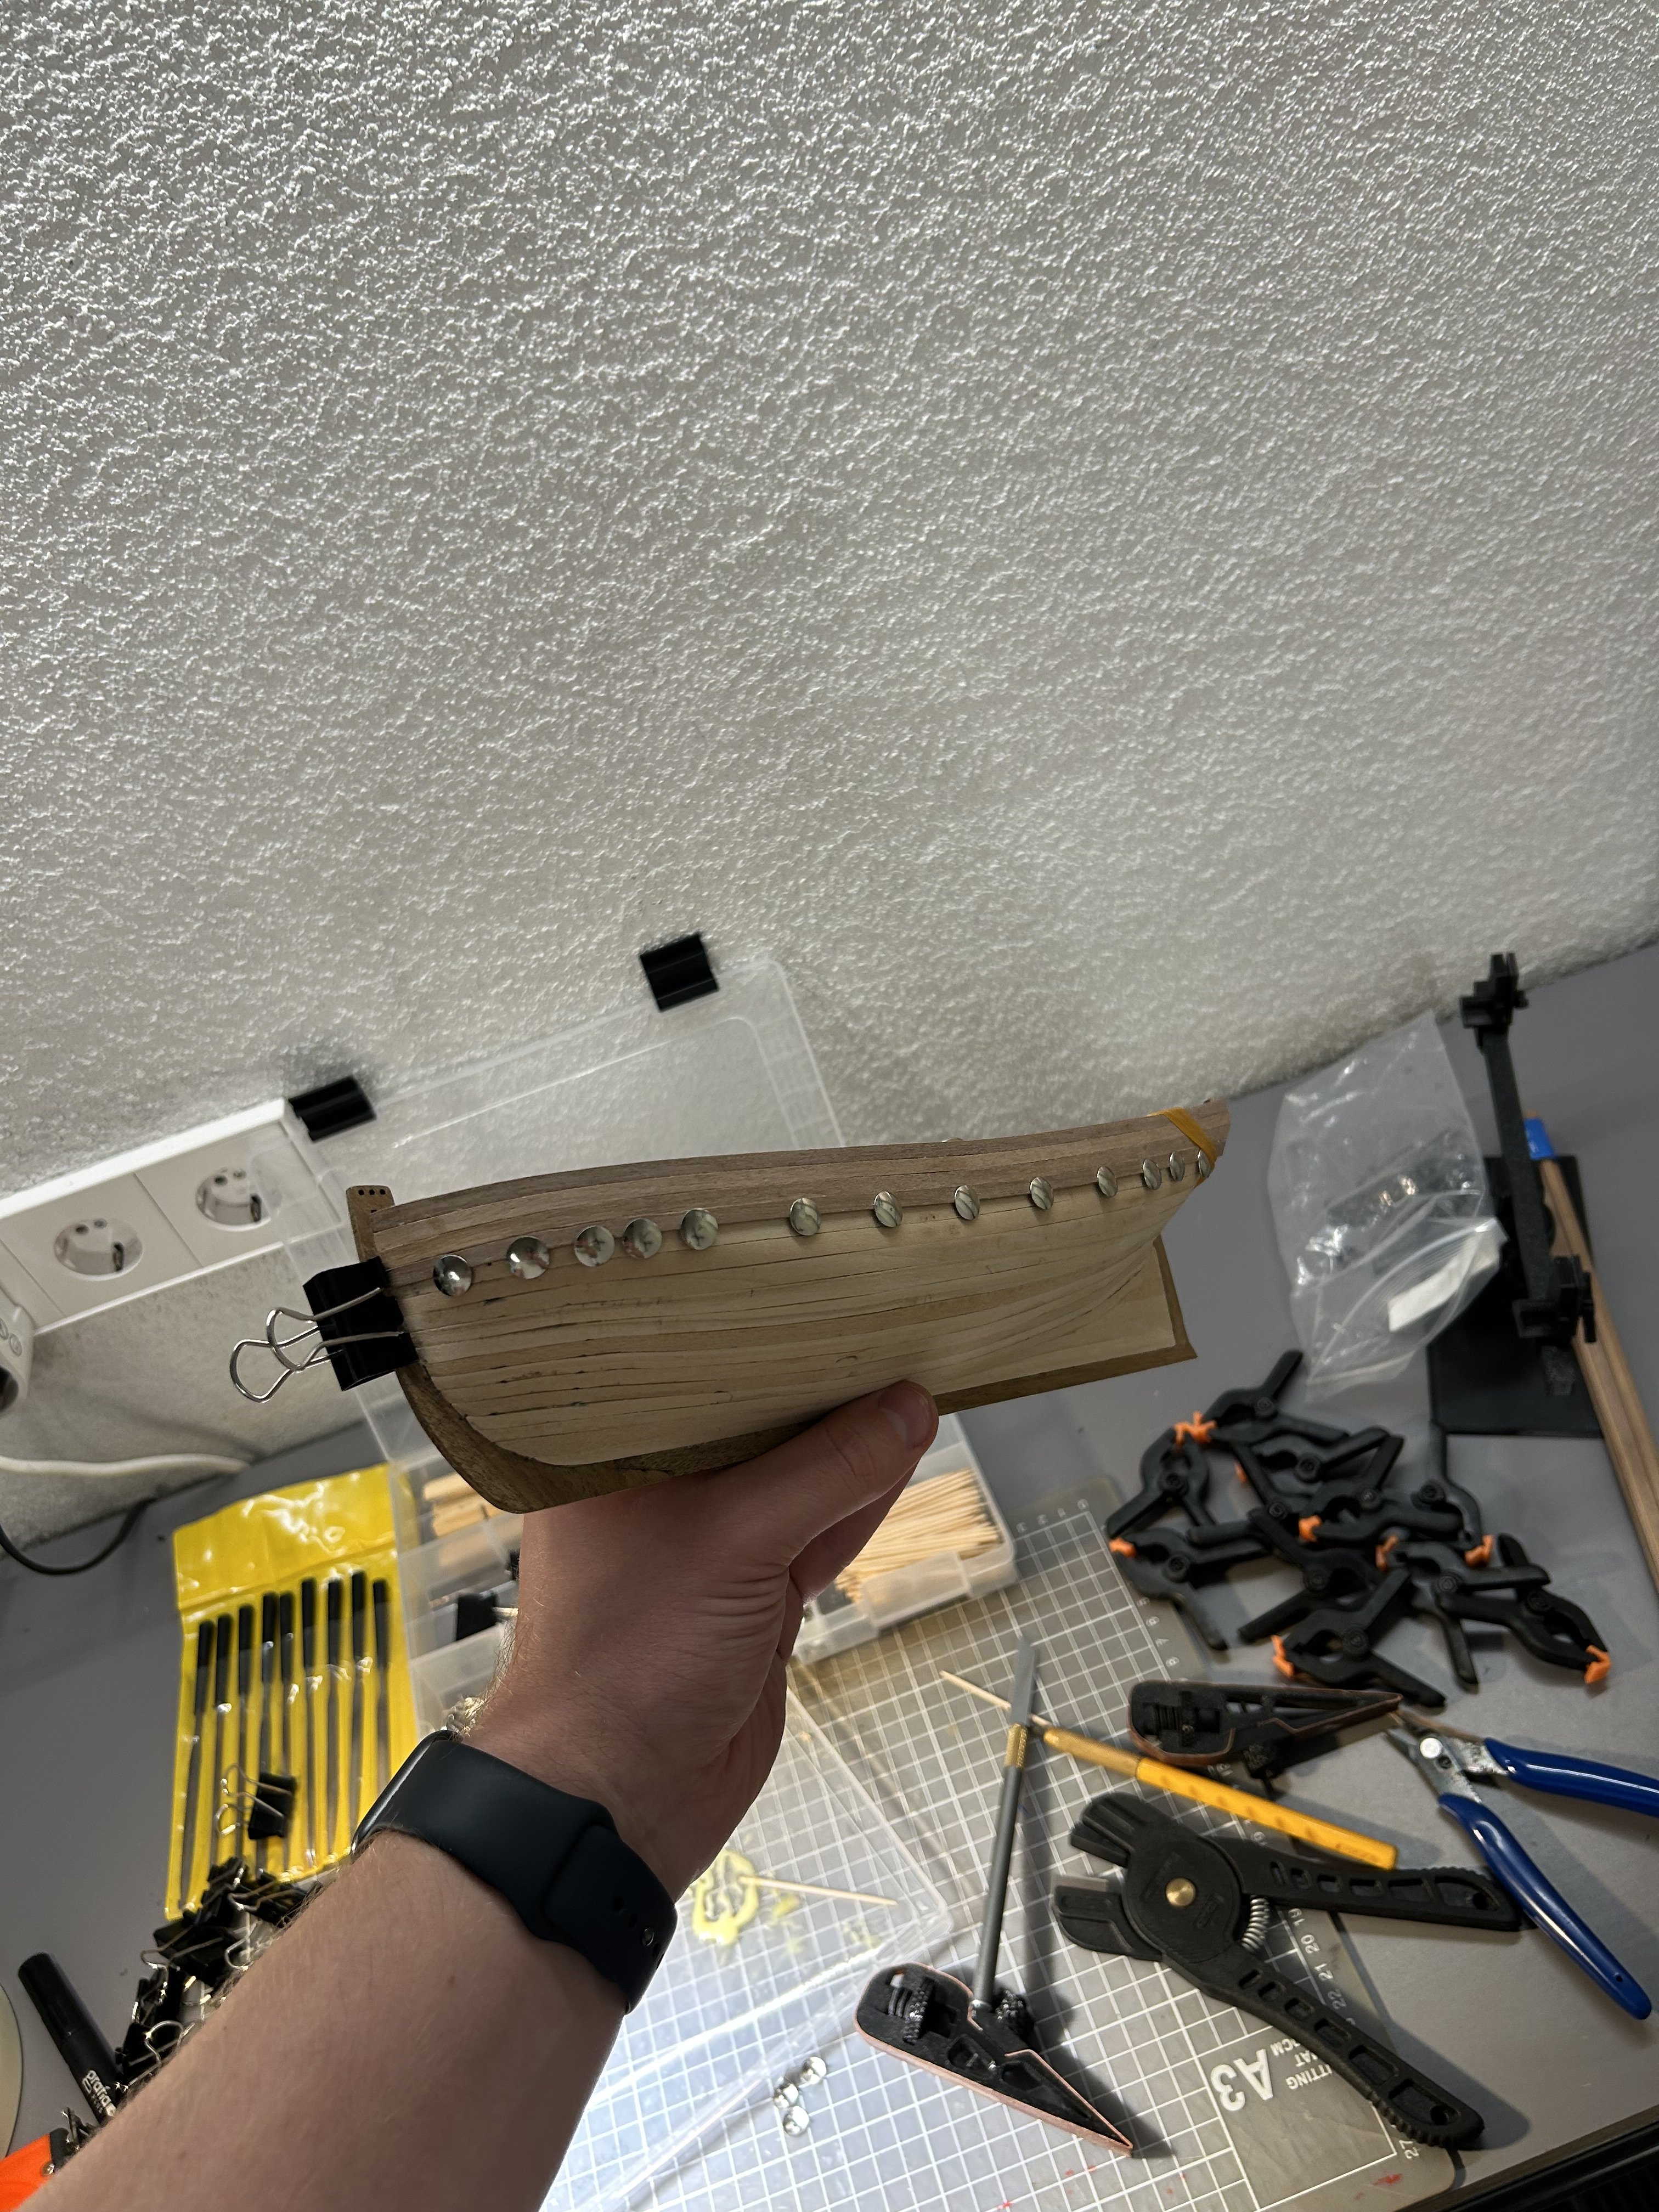
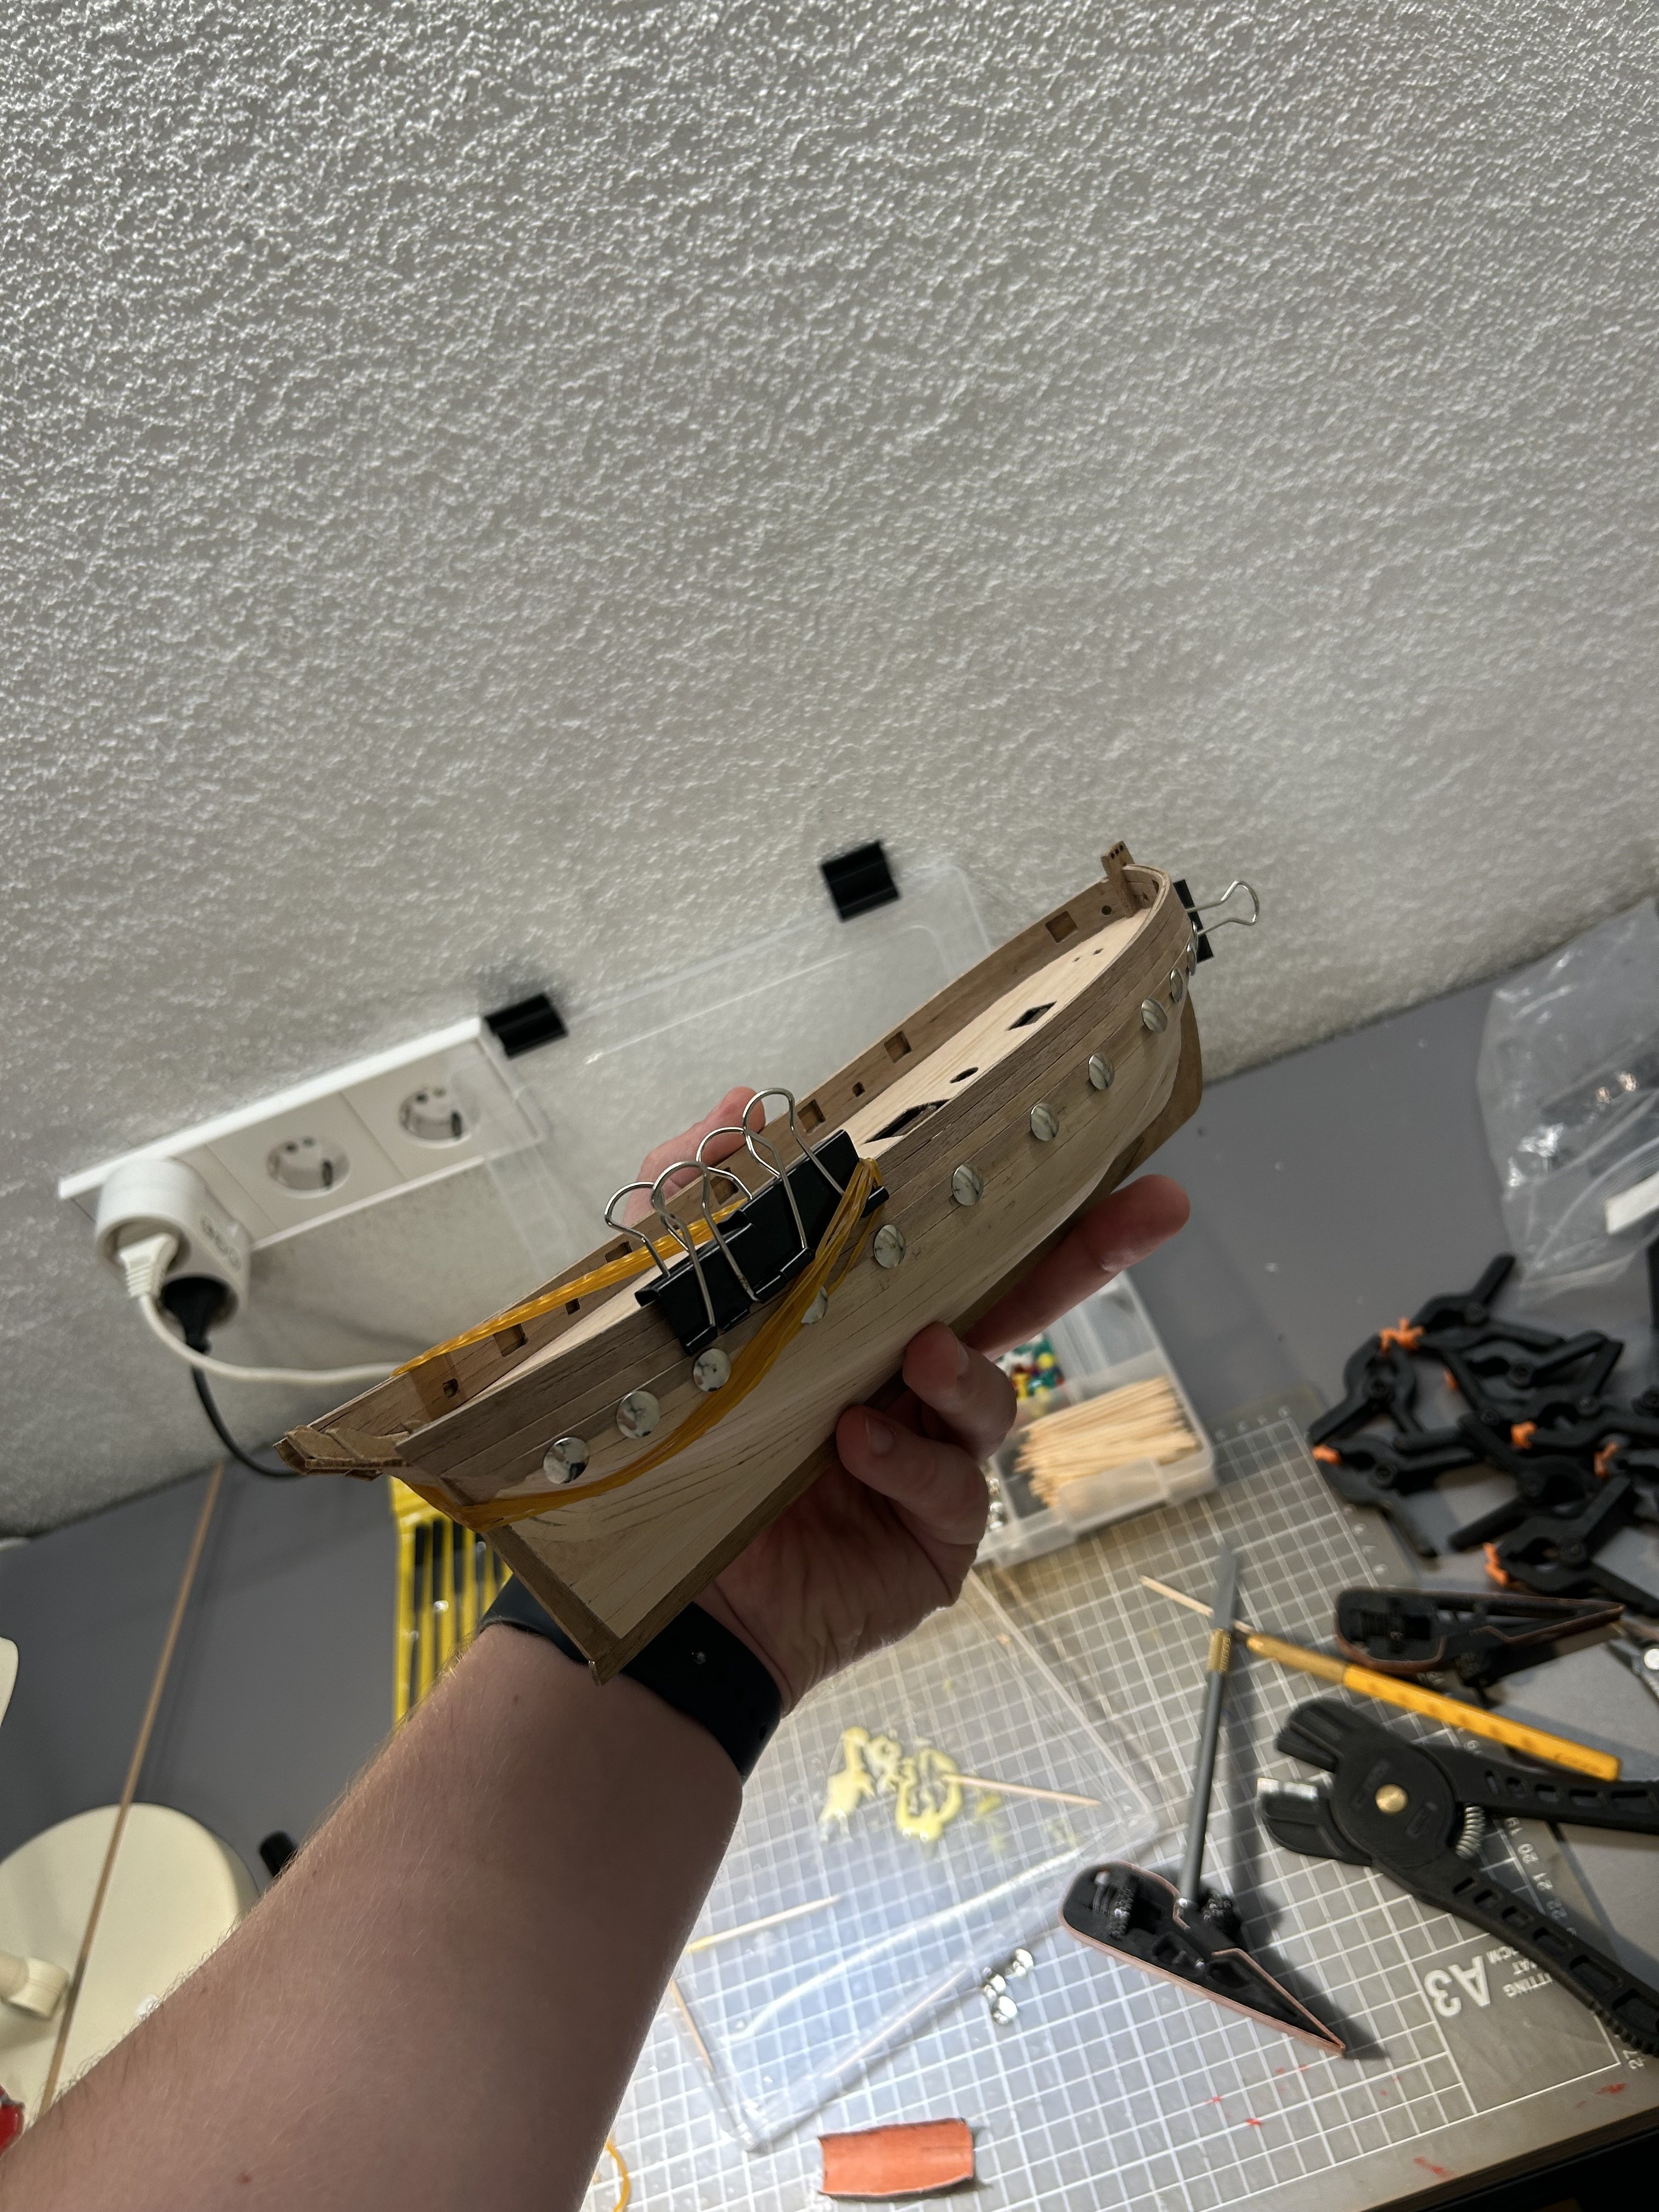
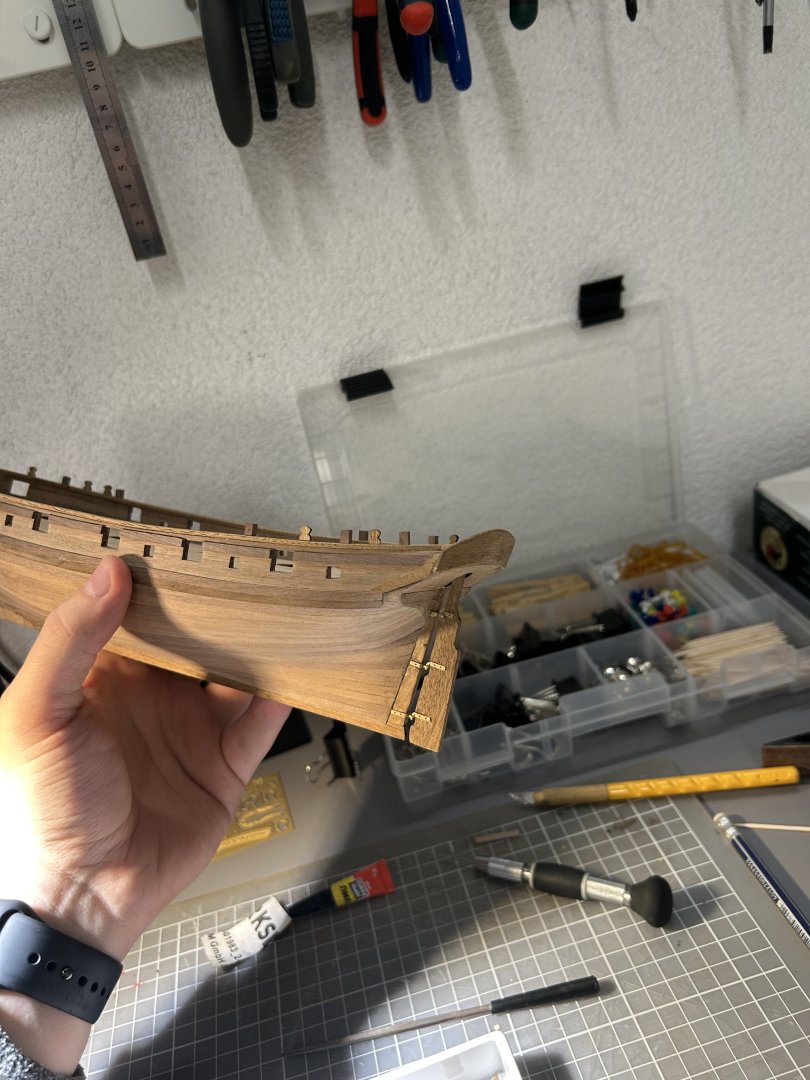
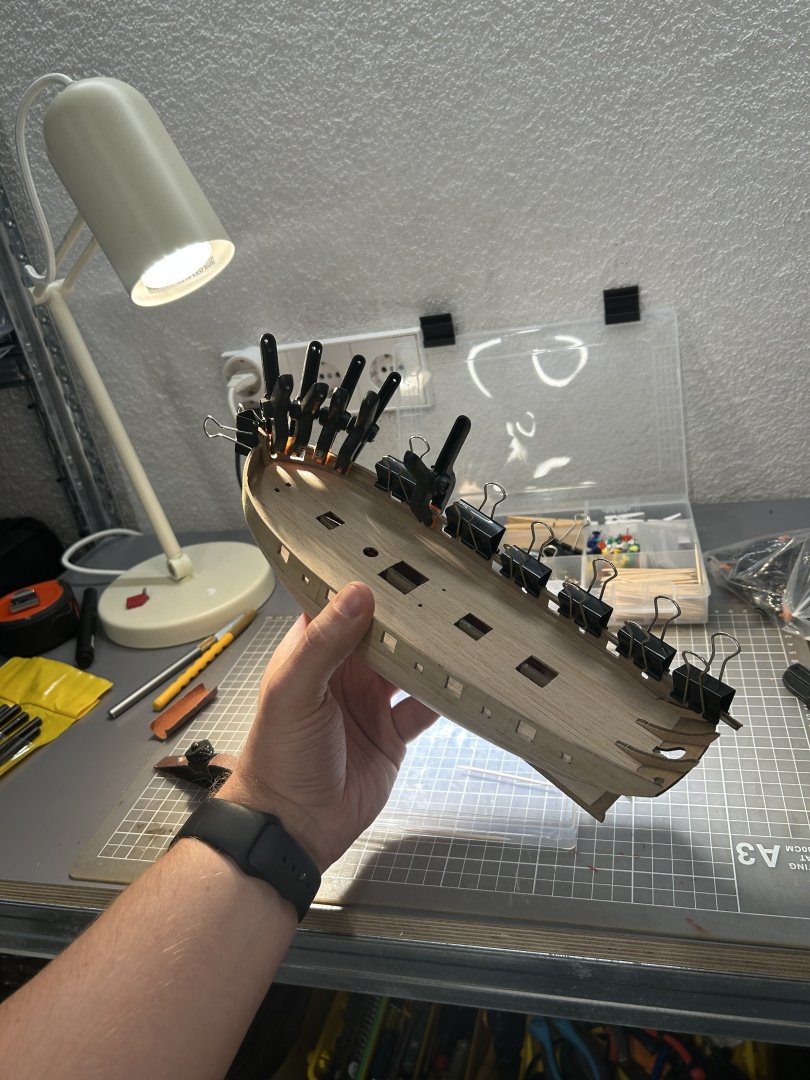
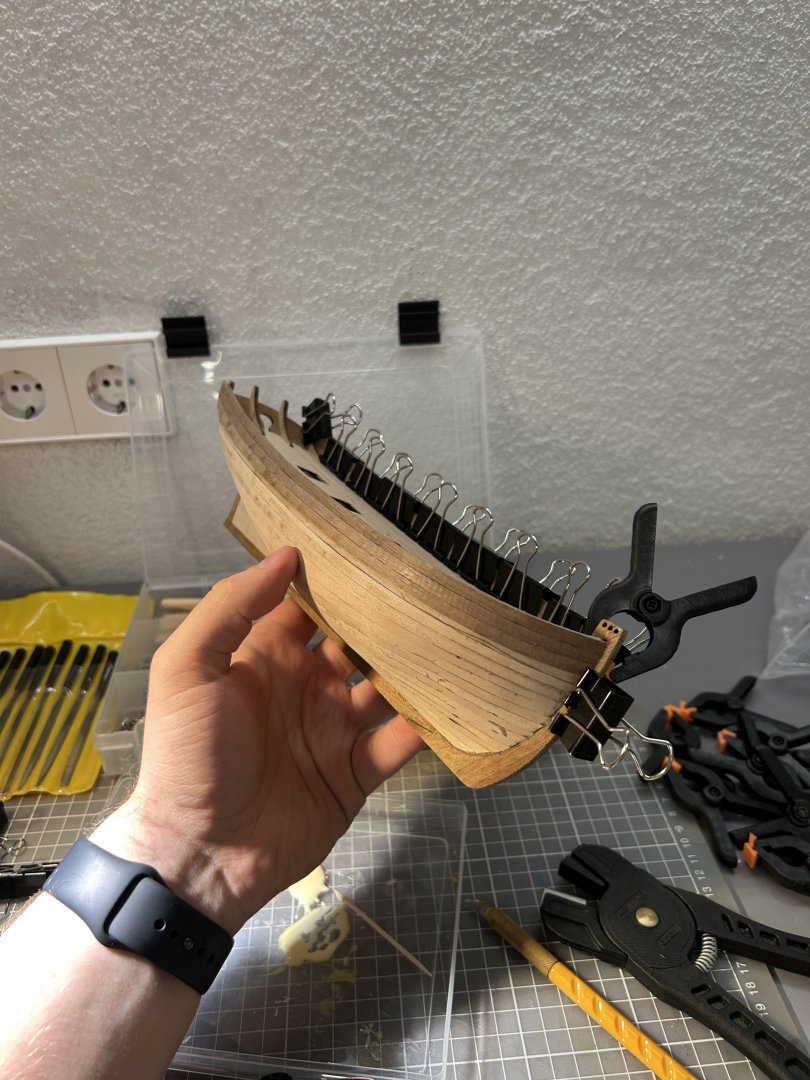
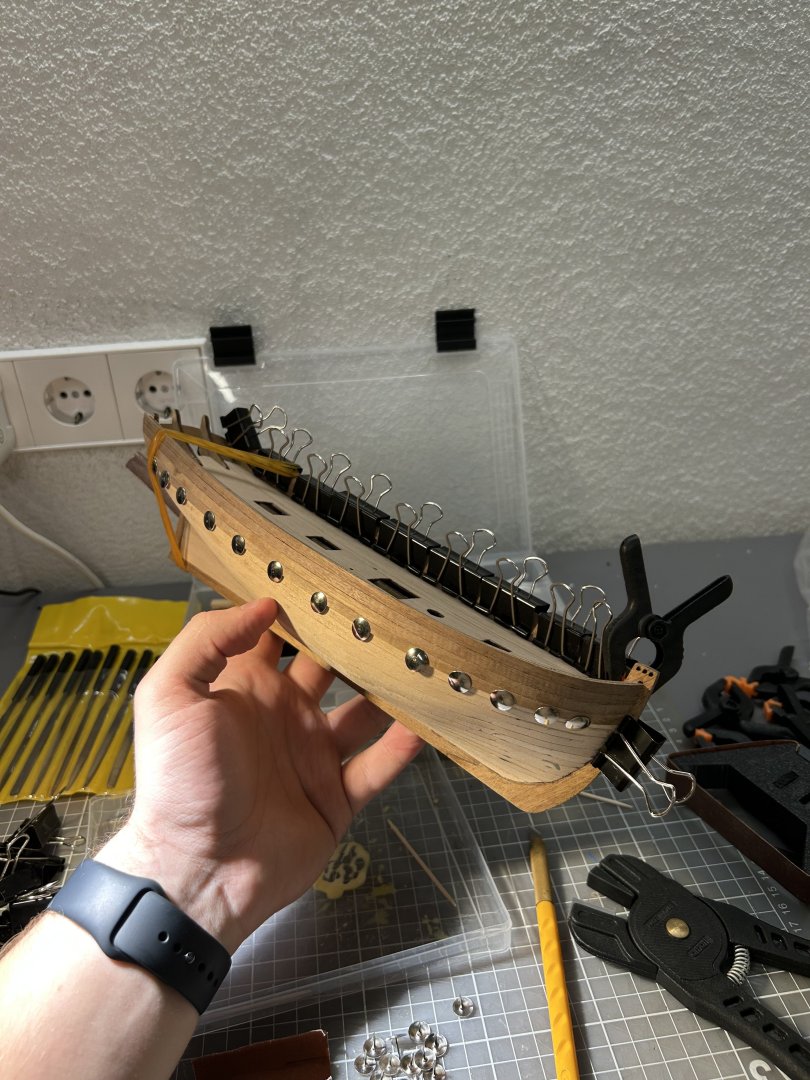
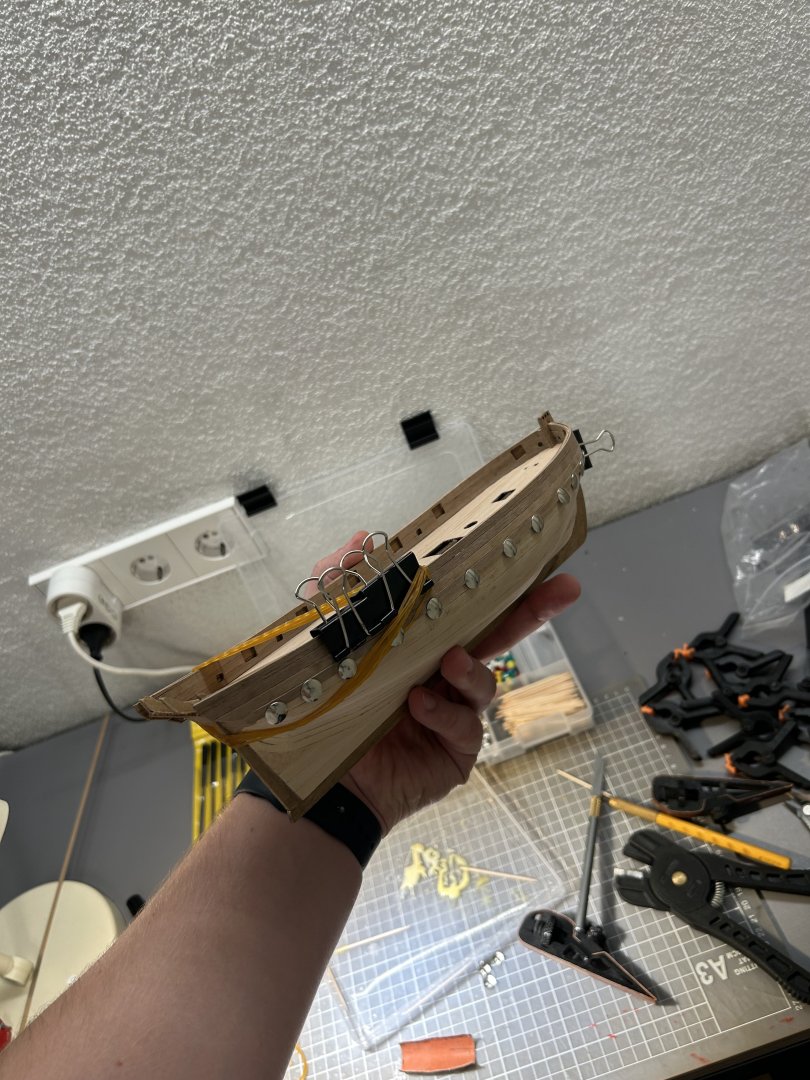
Added main and upper wales. Some rail fittings. Unfortunately I made a mistake and I have used 1x3mm walnut strip for upper wale, but you are supposed to use 1x2mm walnut strip for upper wale.

- 81 replies
-
- 3
-
-
- Lady Nelson
- Amati
- (and 1 more)
-
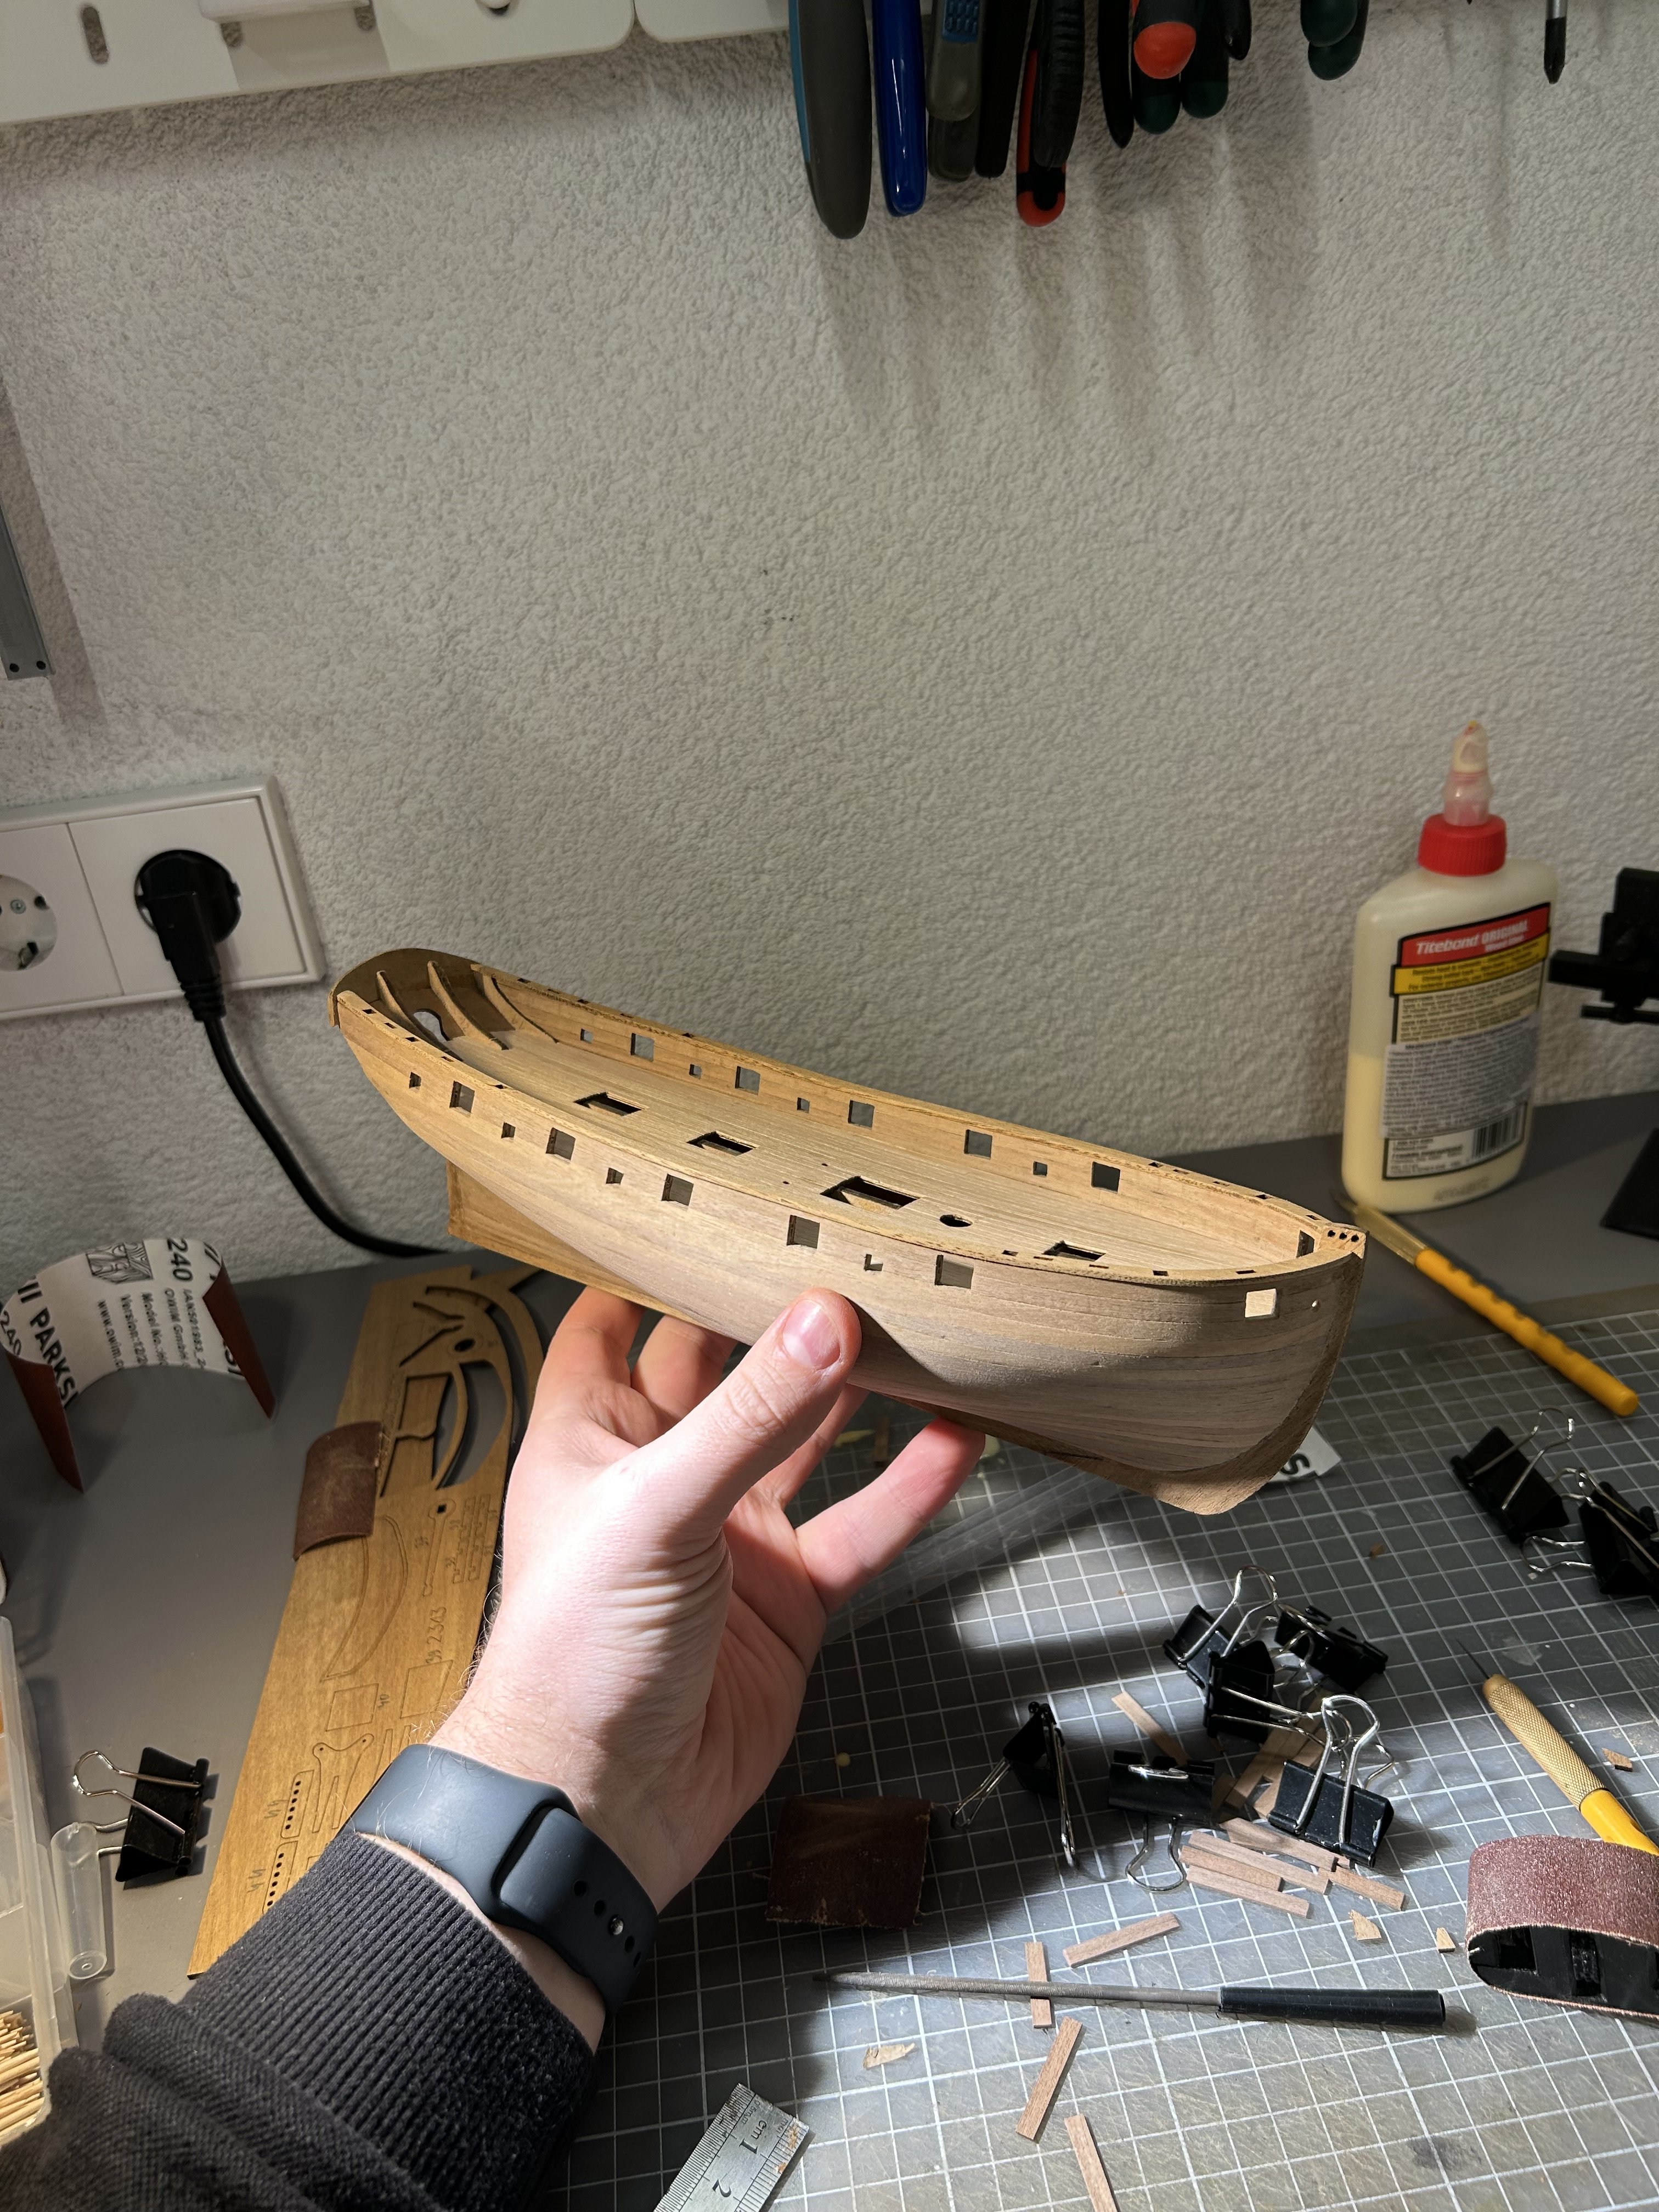
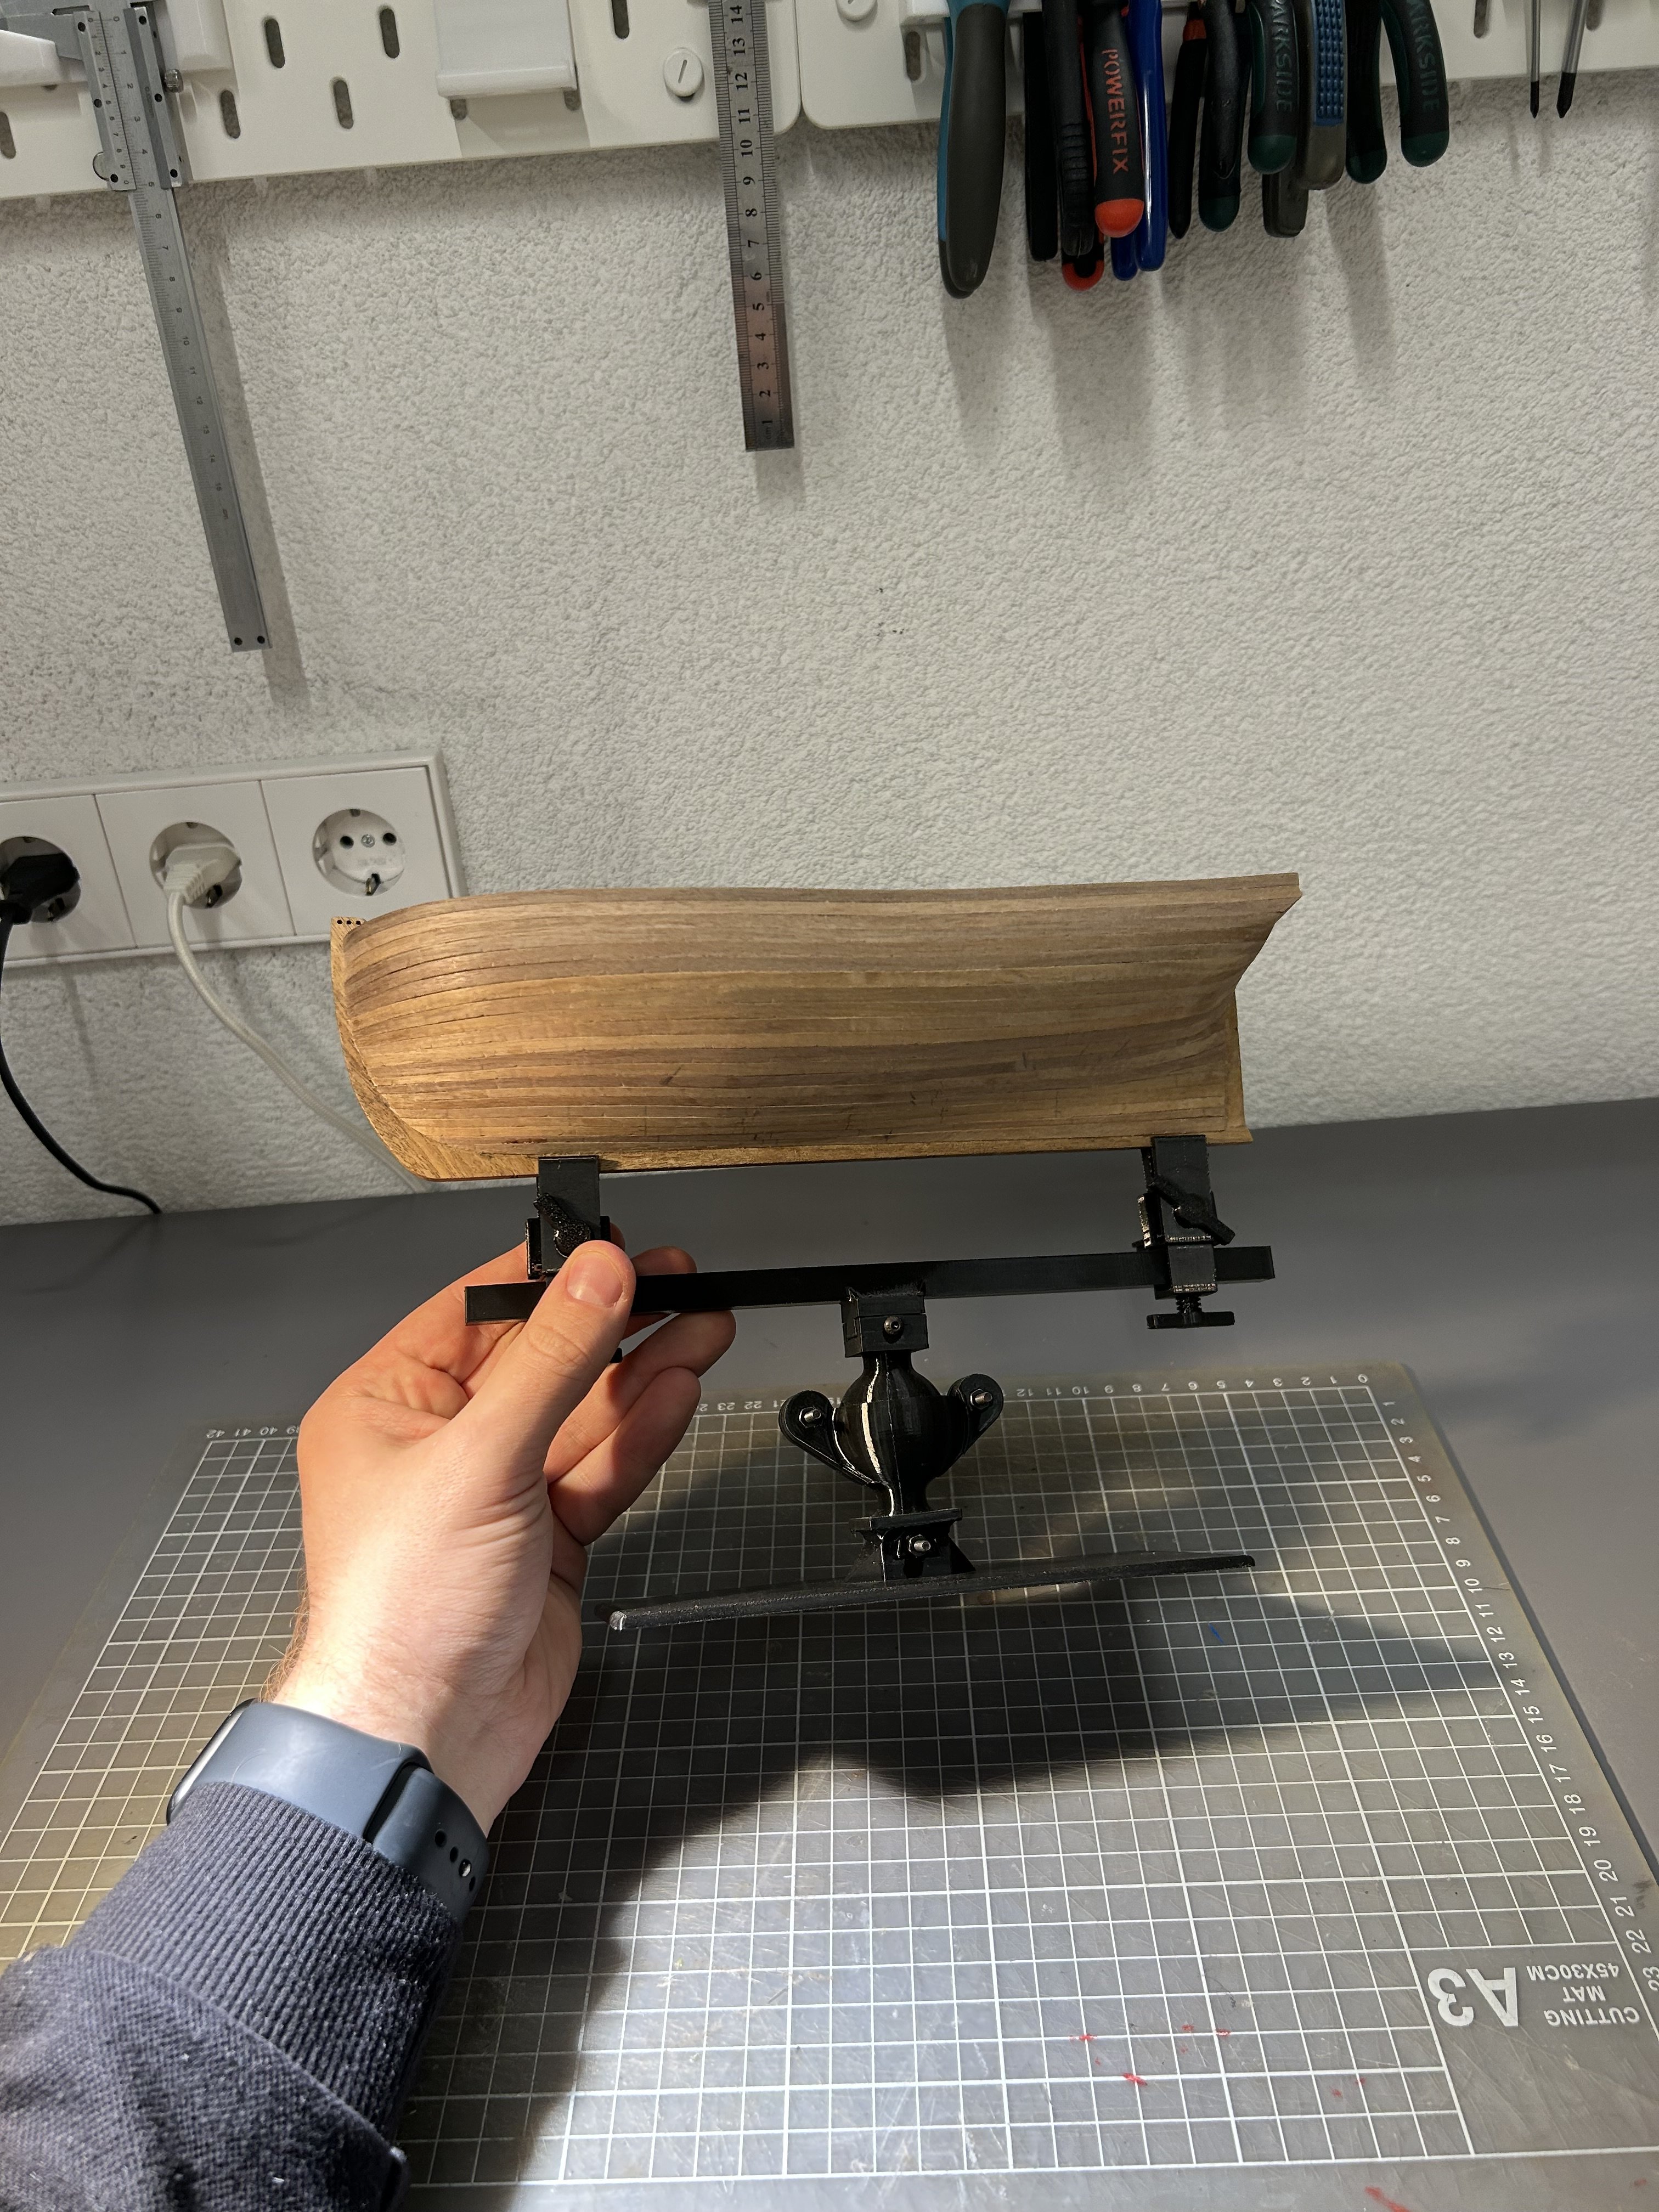
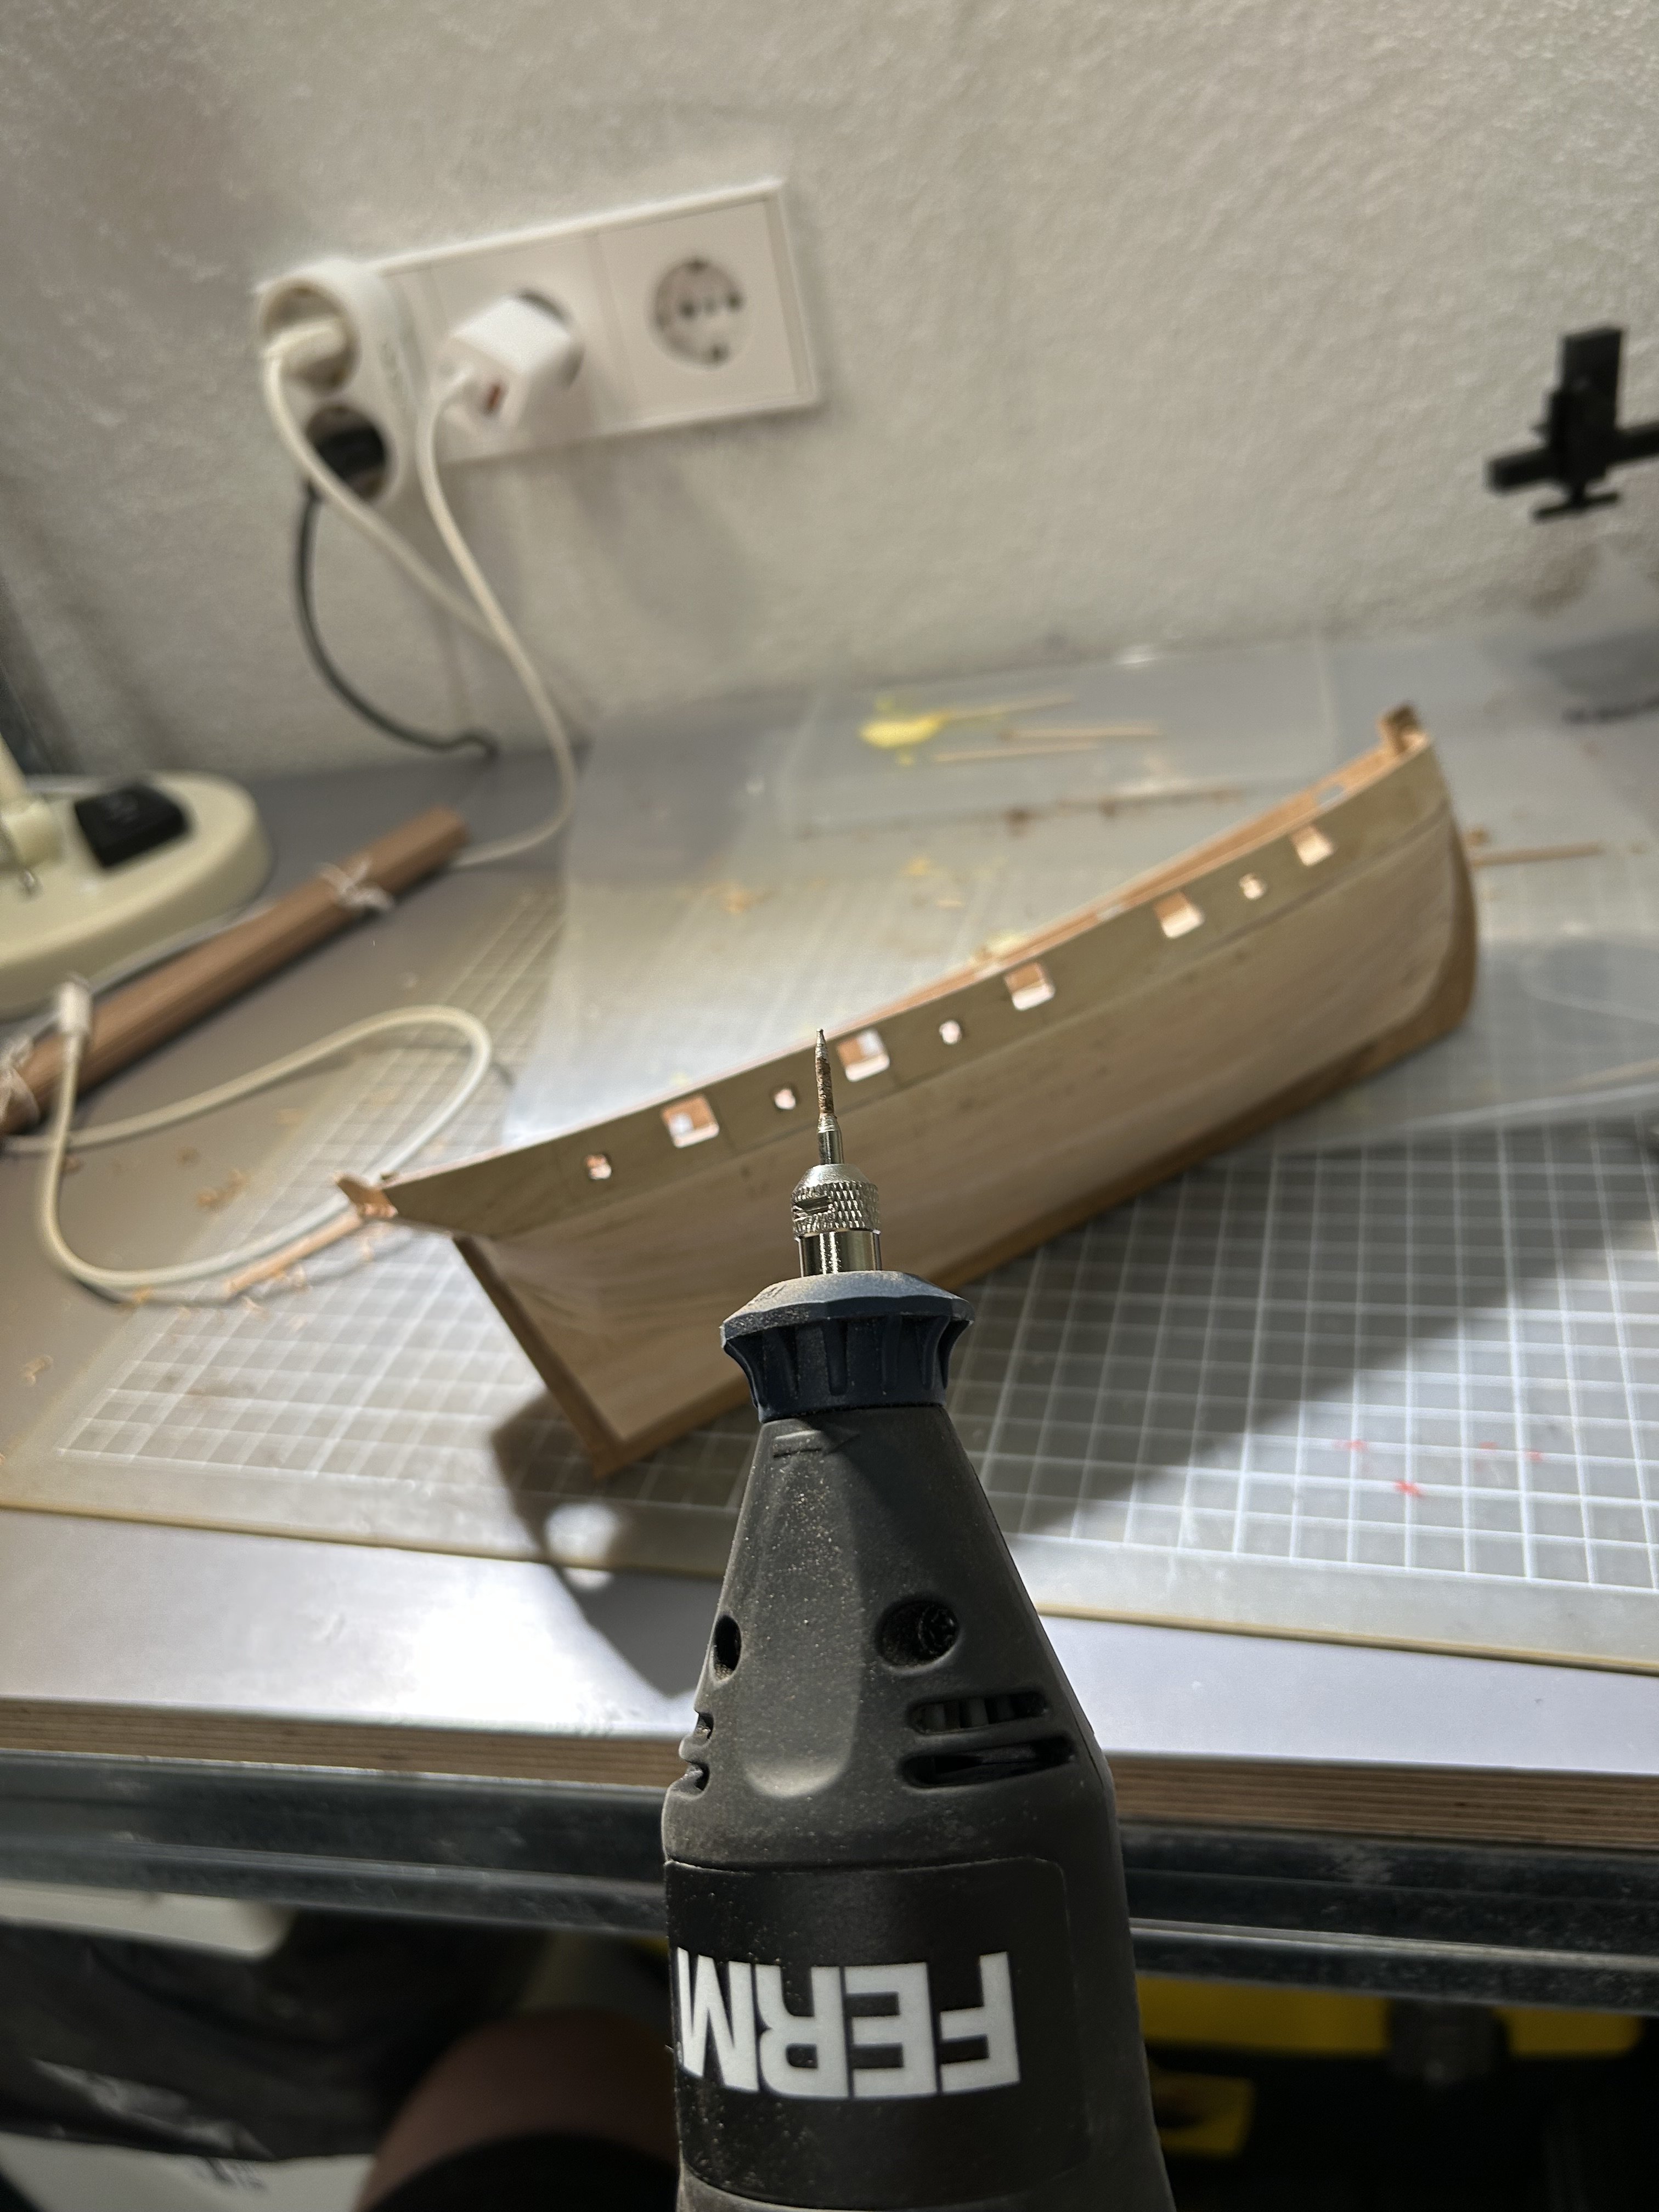
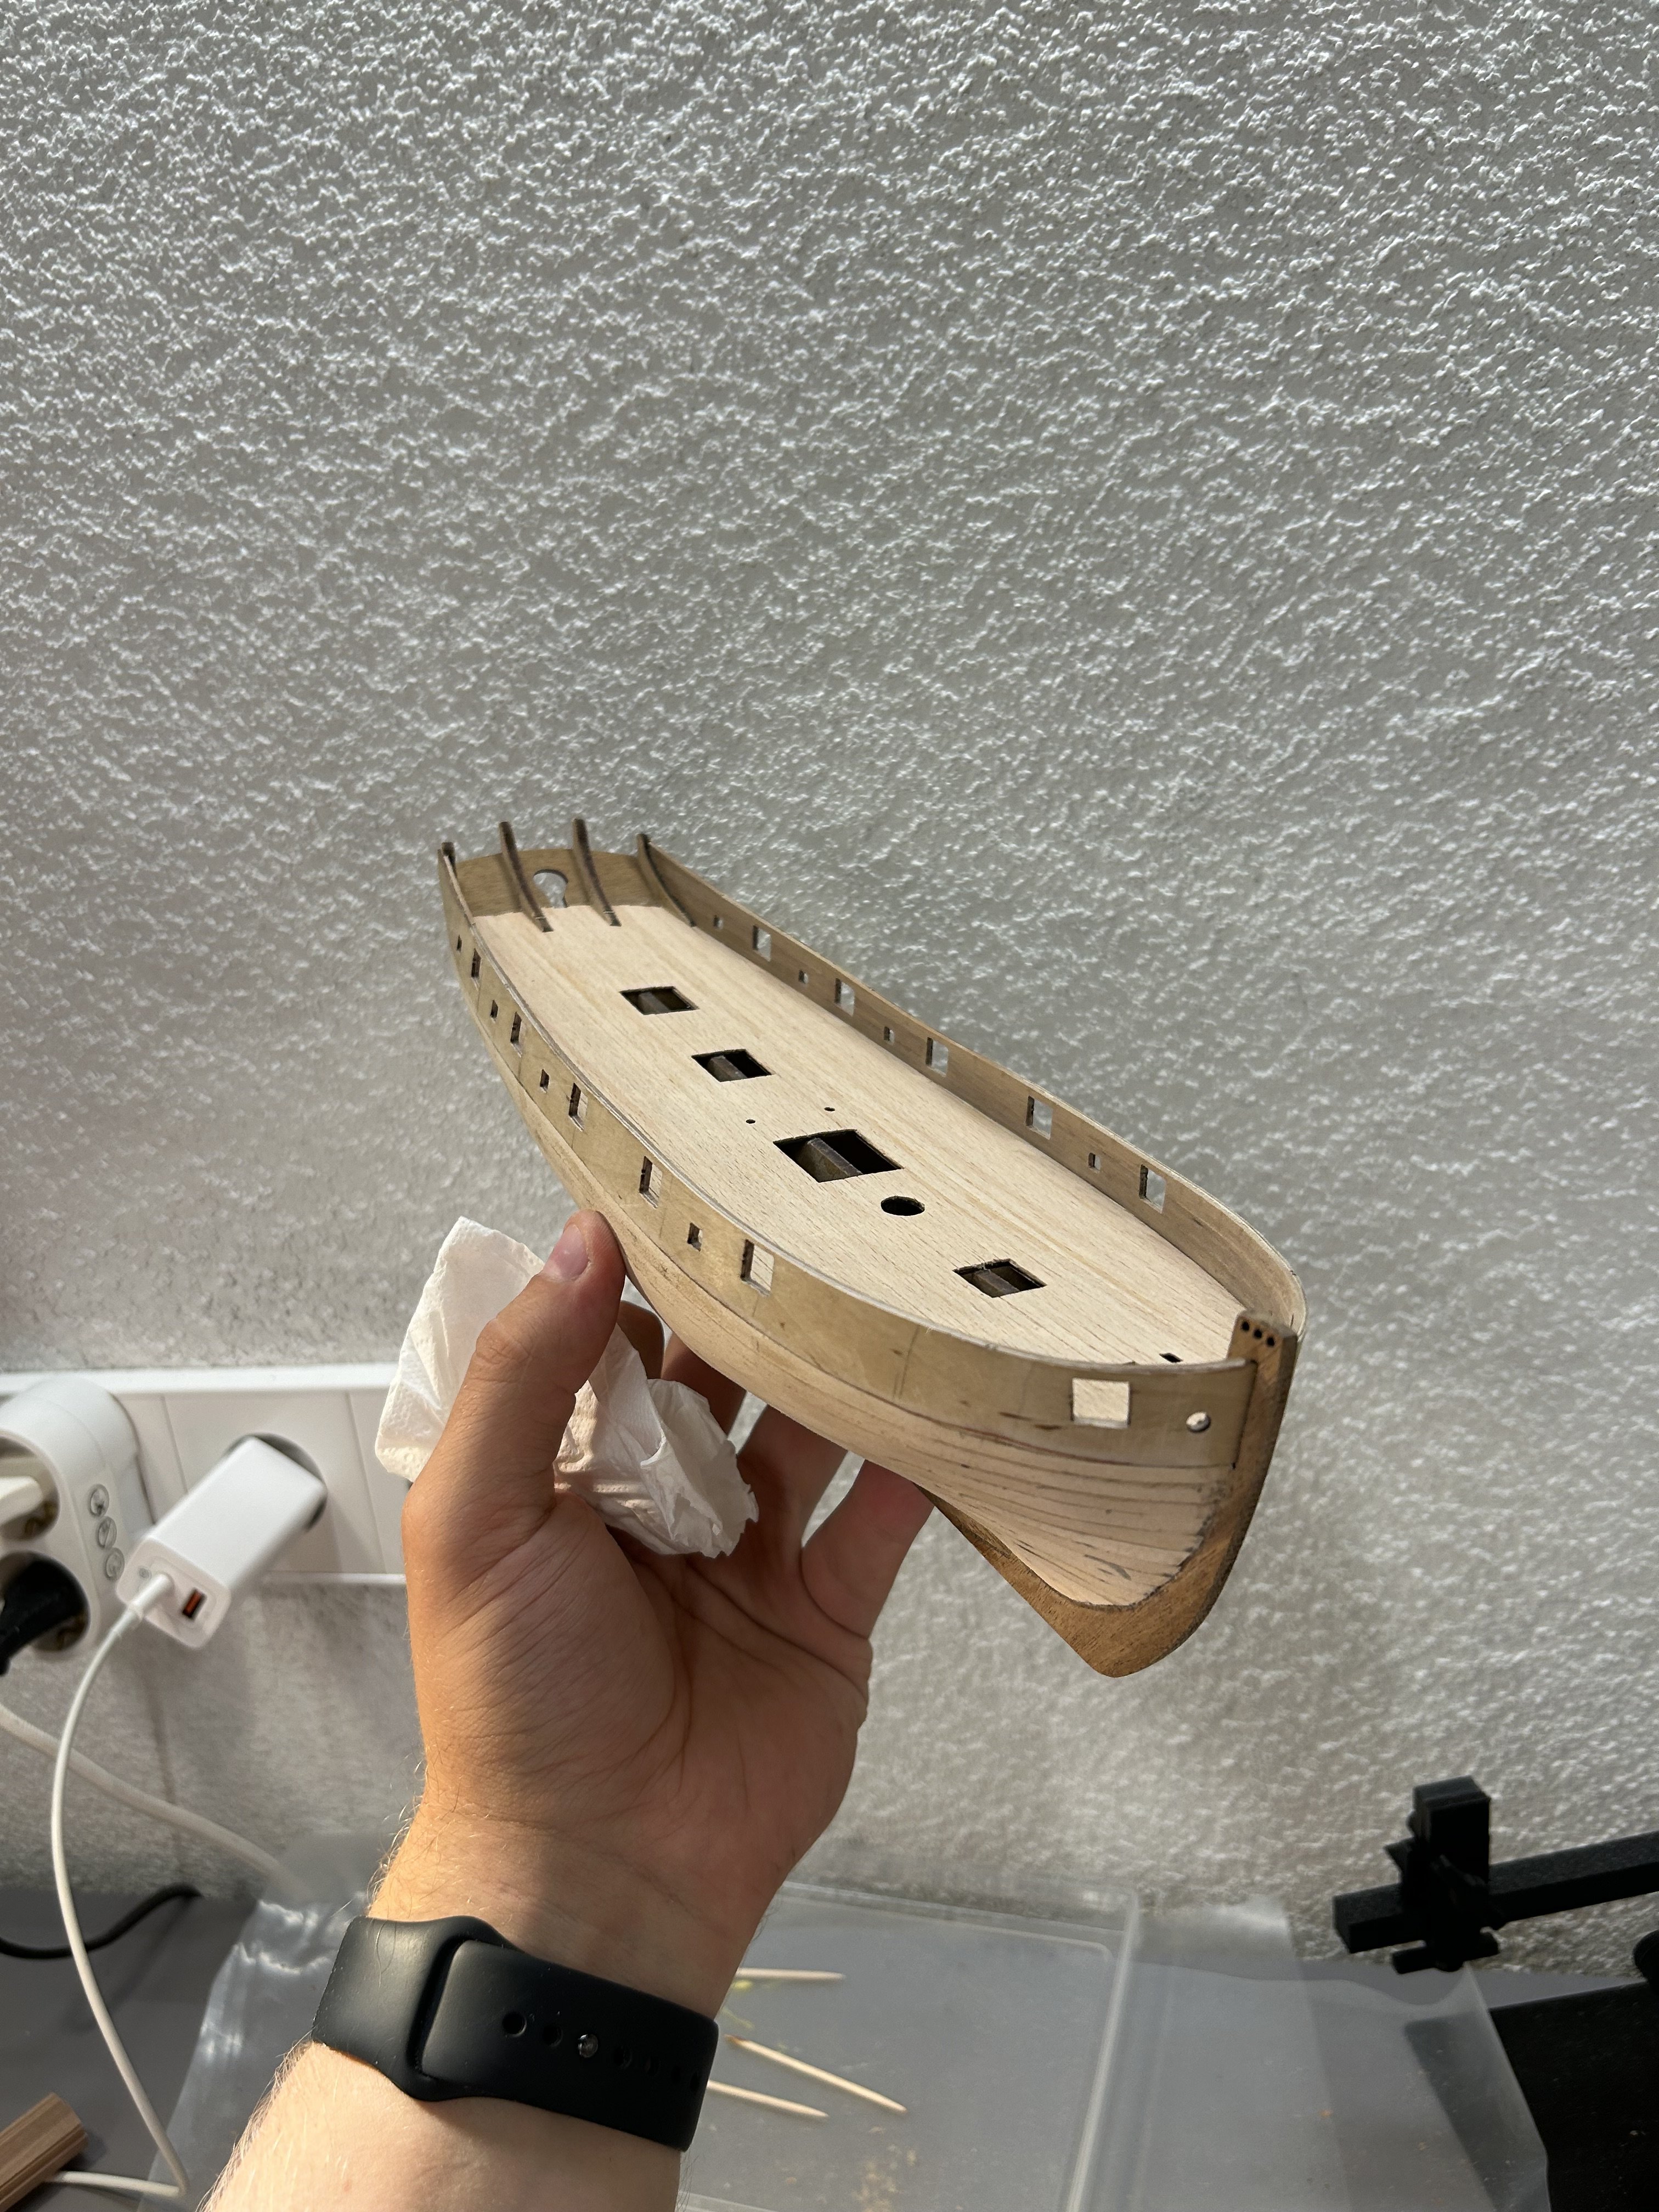
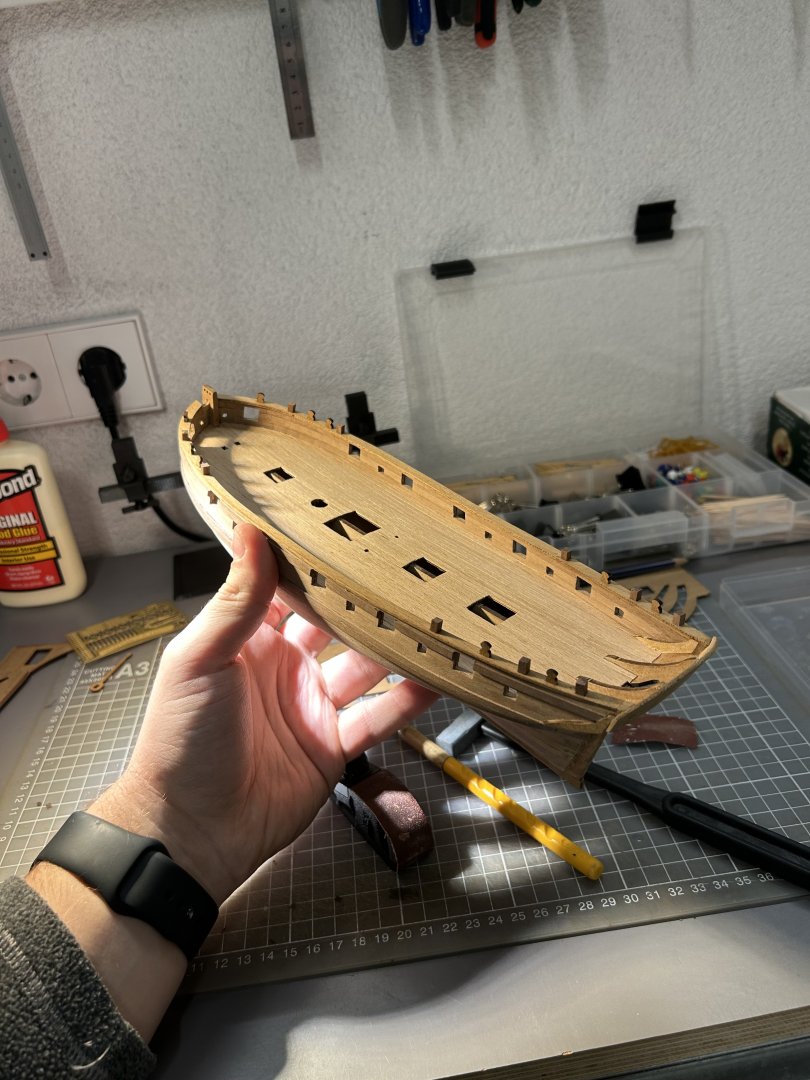
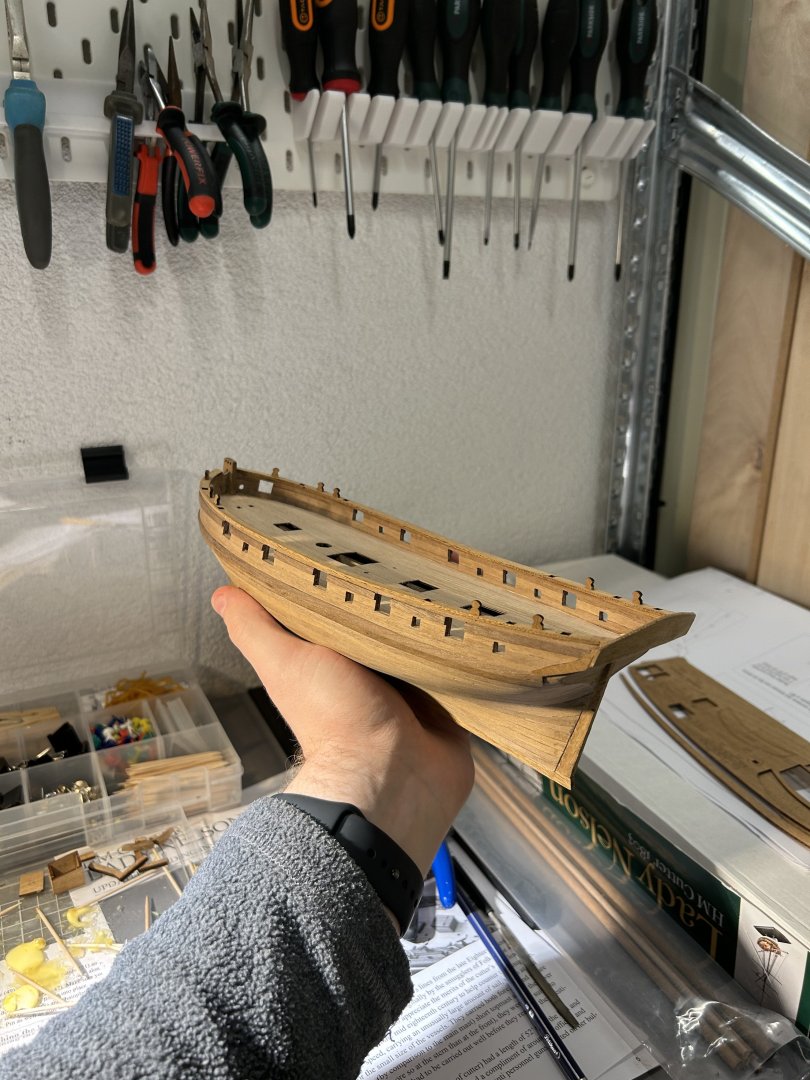
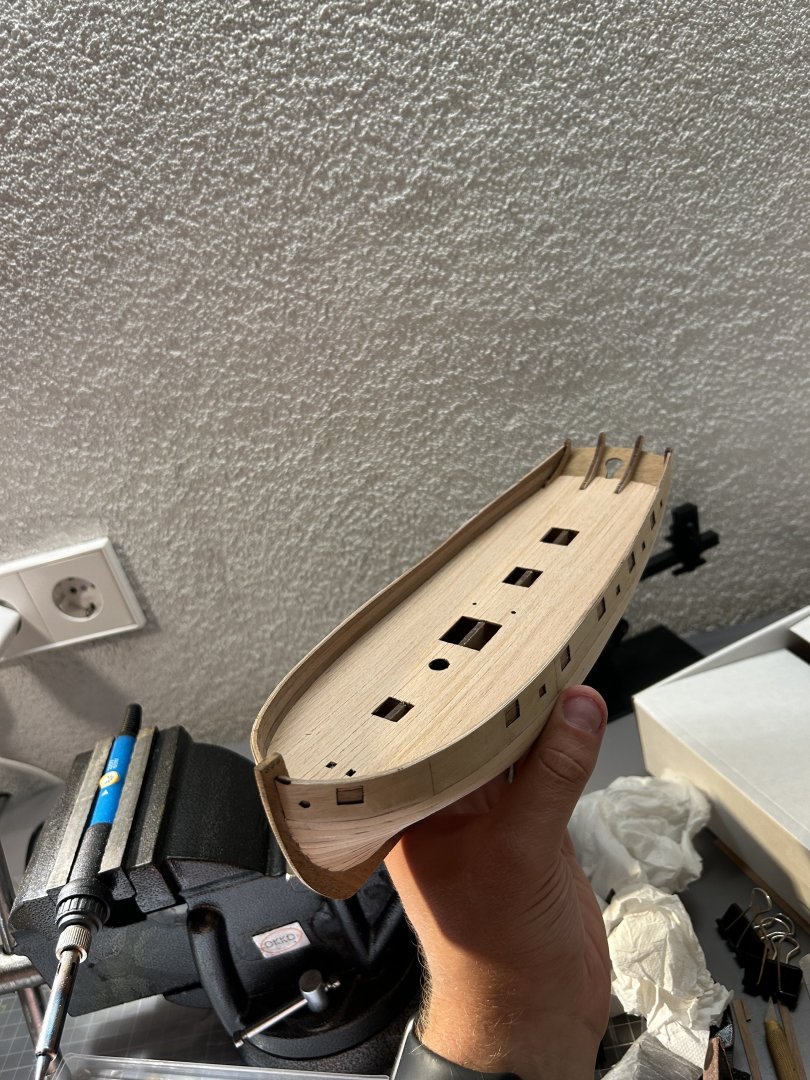
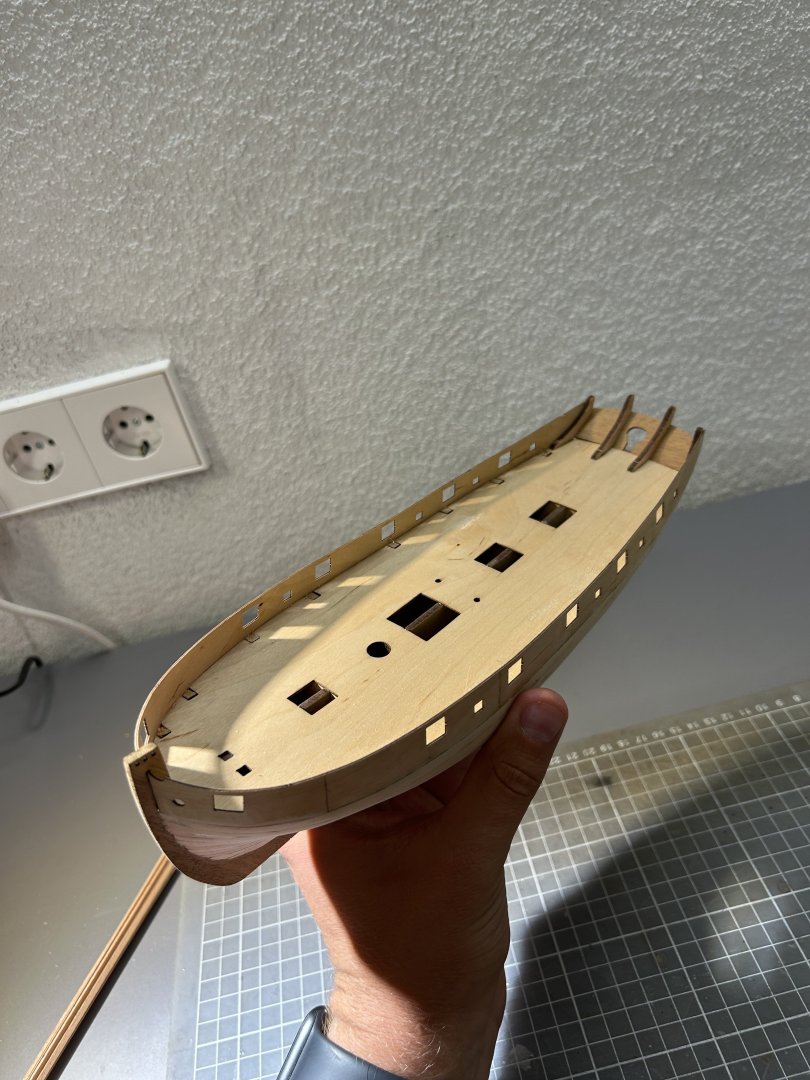
Progress update can’t wait to sand the hull to see the final result!

- 81 replies
-
- 2
-
-
- Lady Nelson
- Amati
- (and 1 more)
-
Started snowing outside… meaning I can get back to my garage


- 81 replies
-
- 2
-
-
- Lady Nelson
- Amati
- (and 1 more)
-
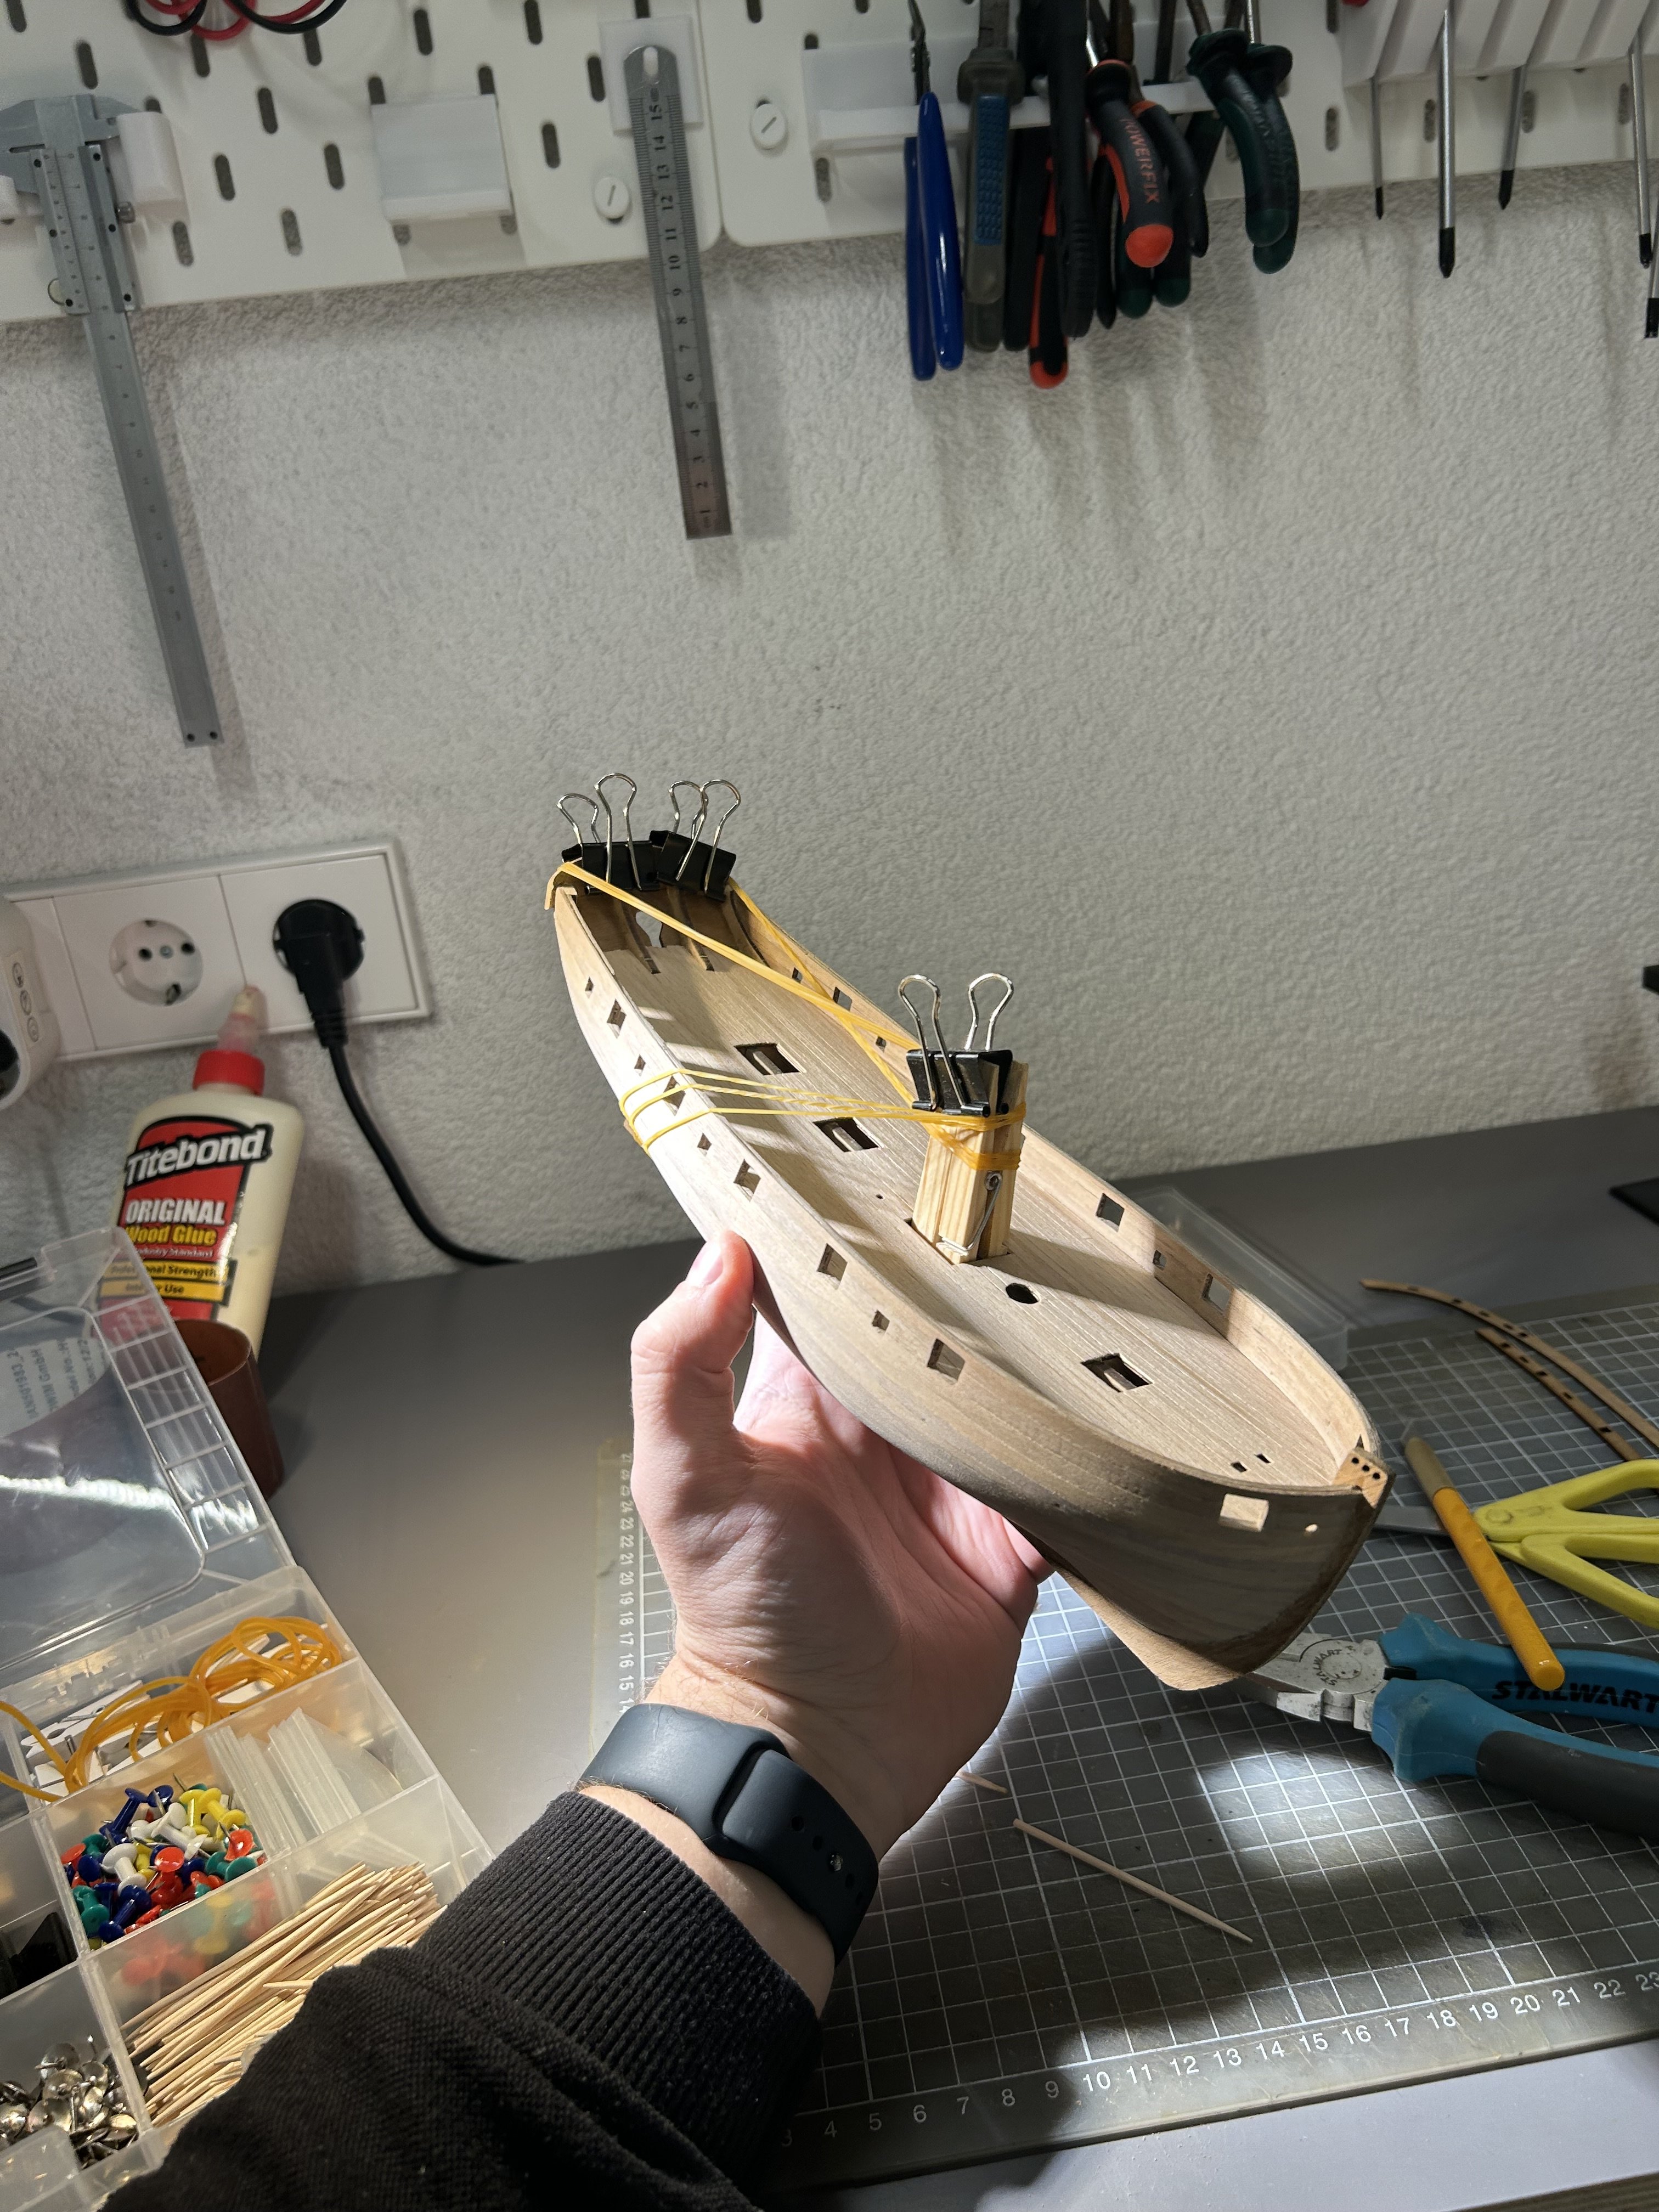
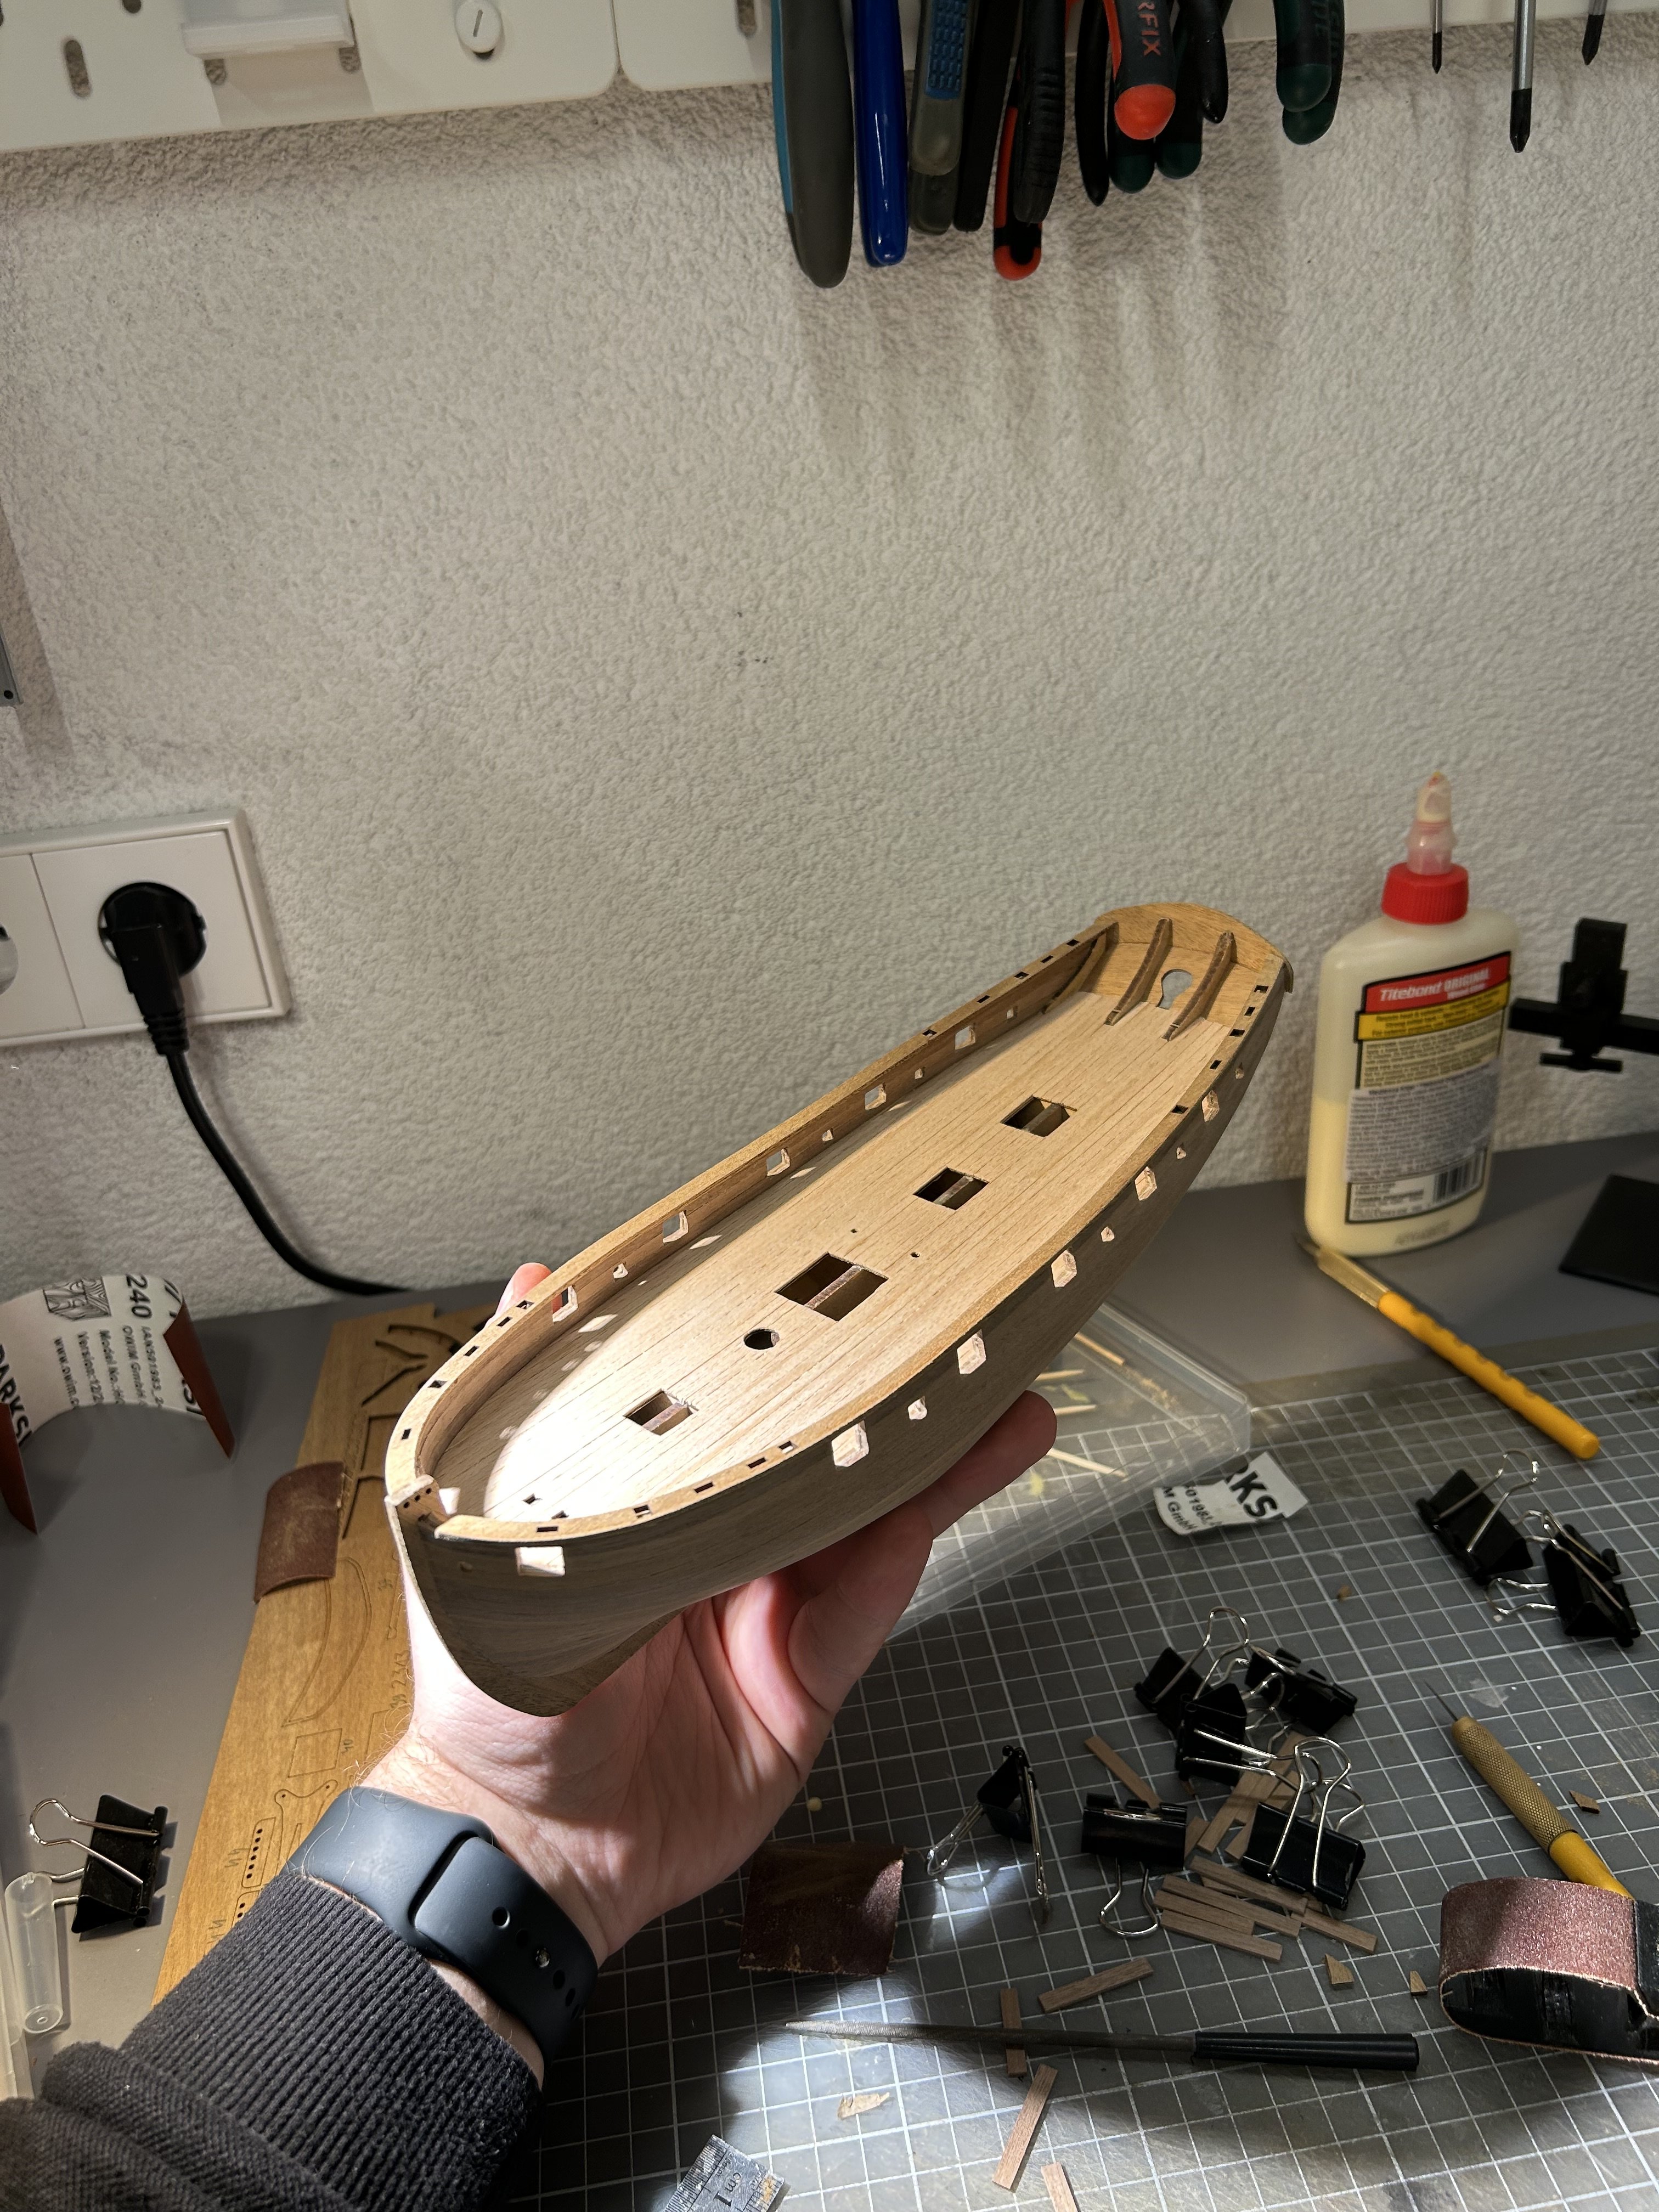
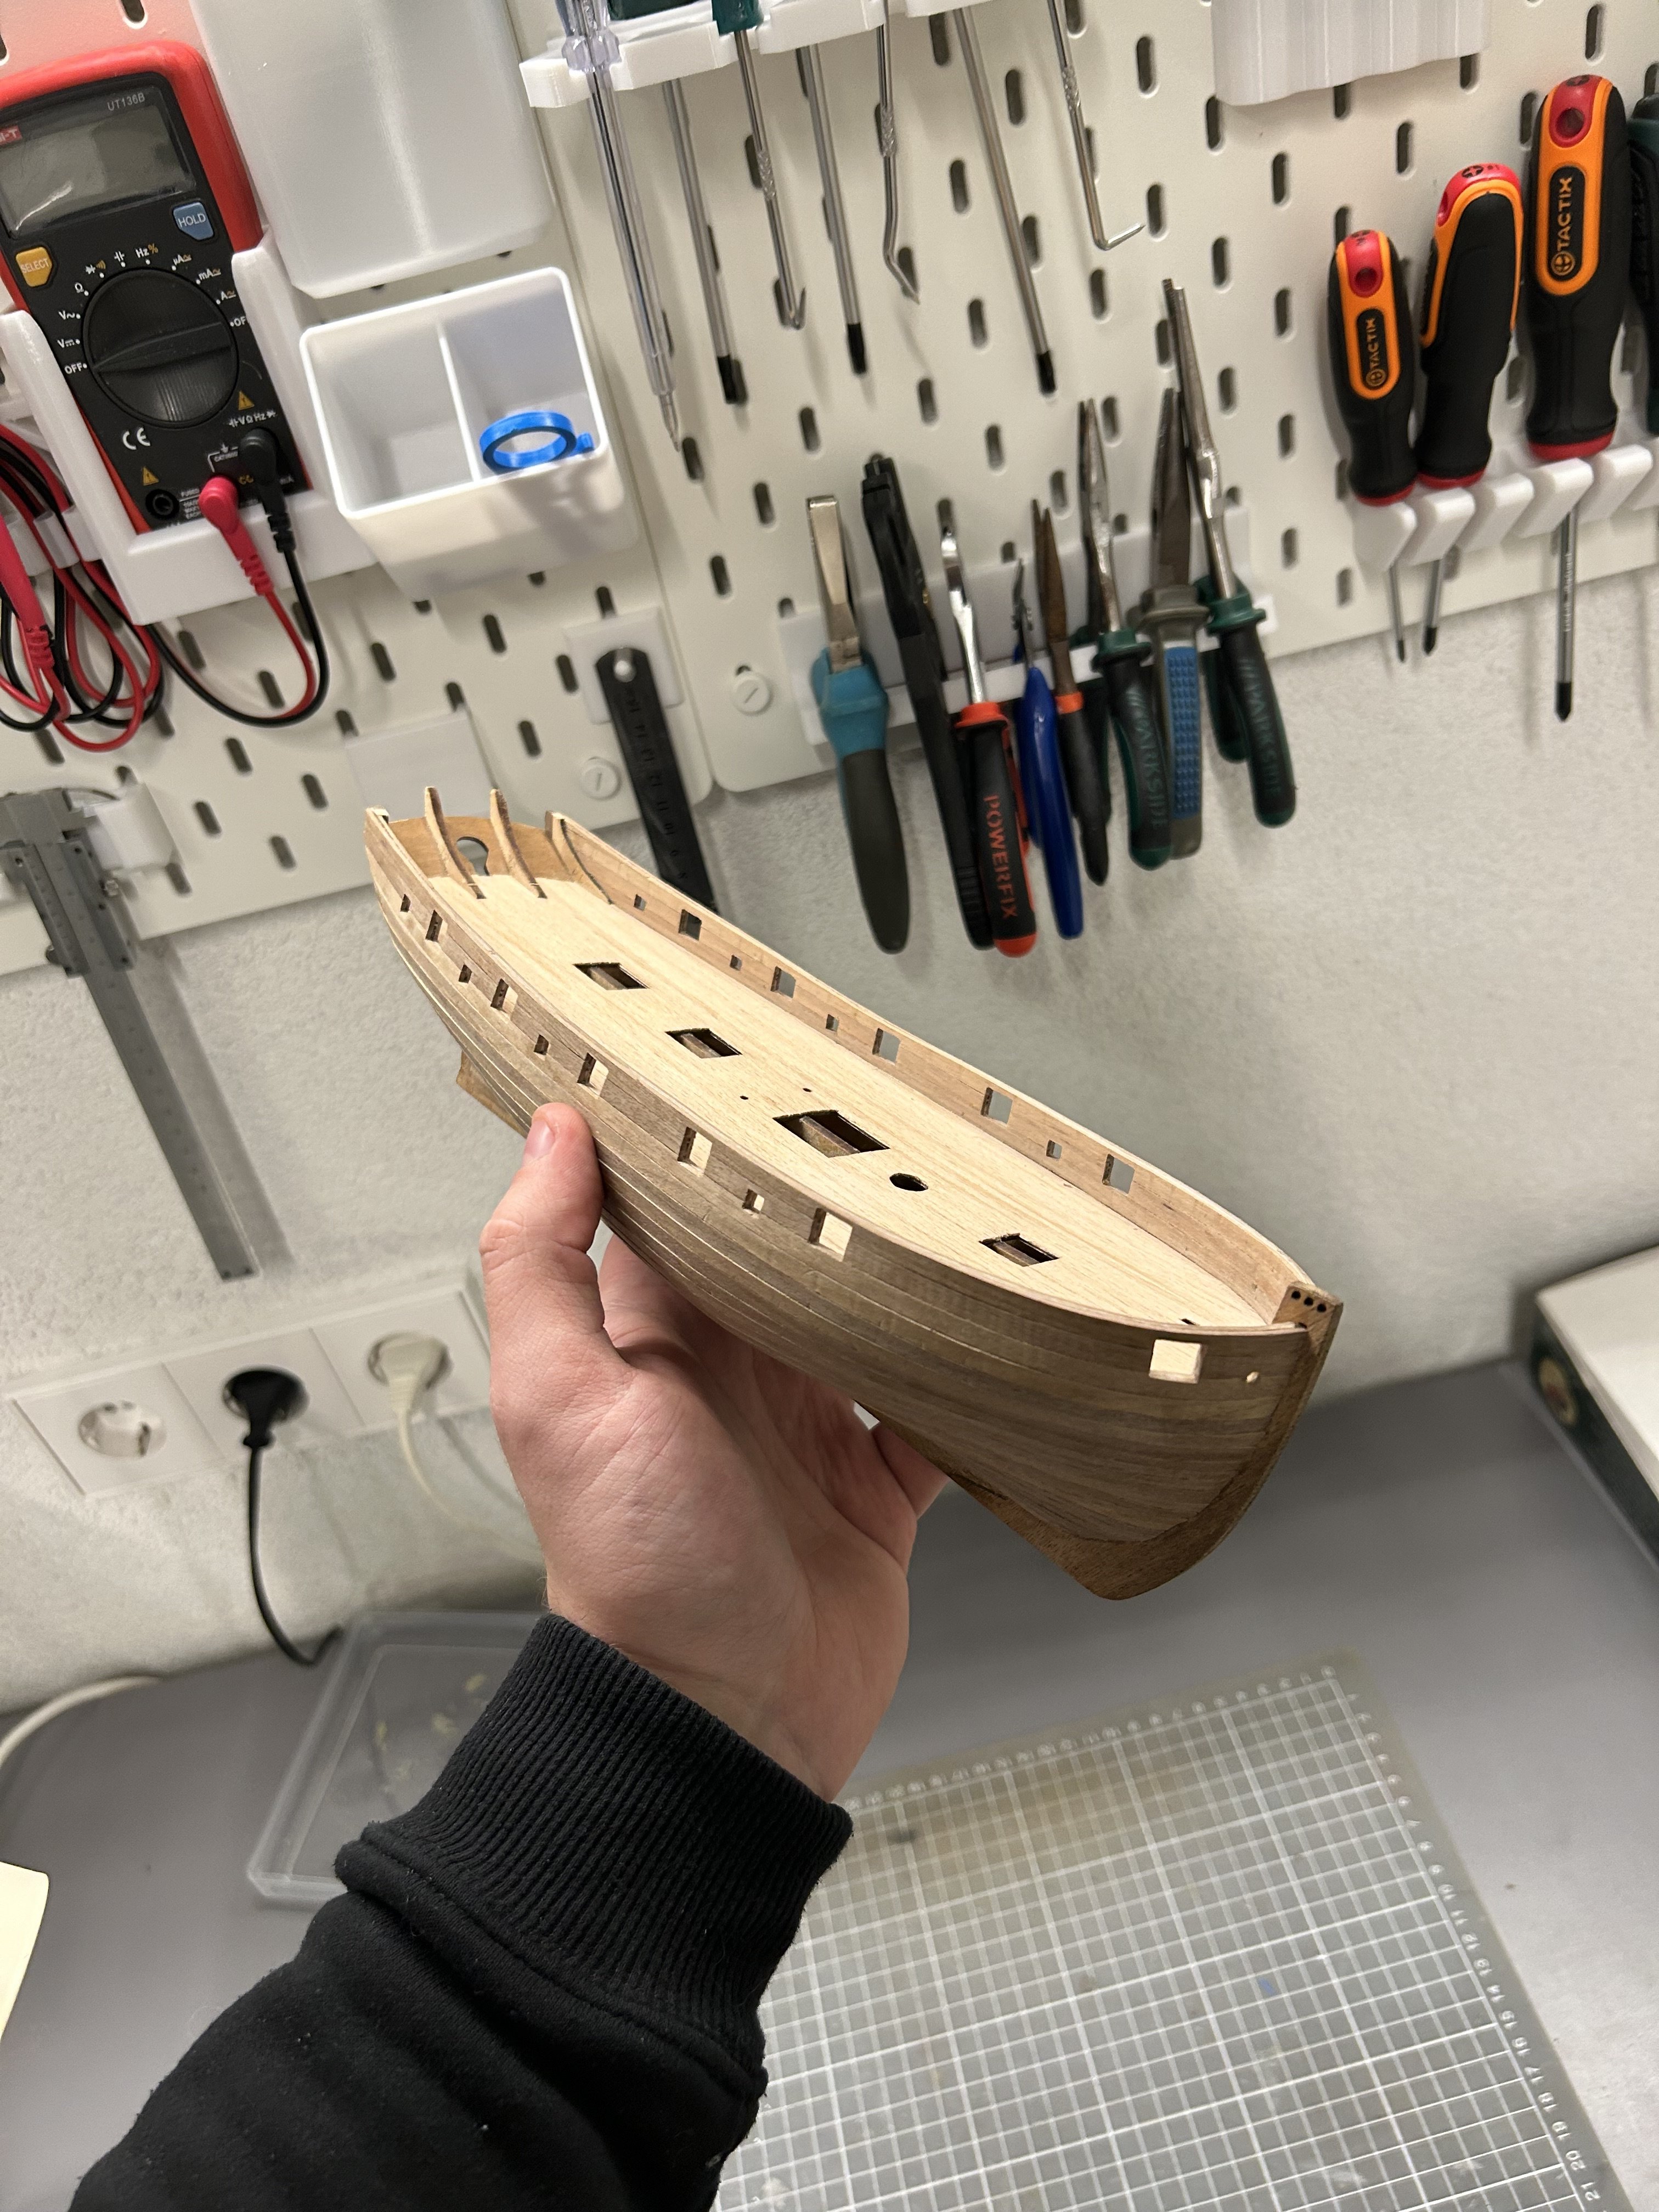
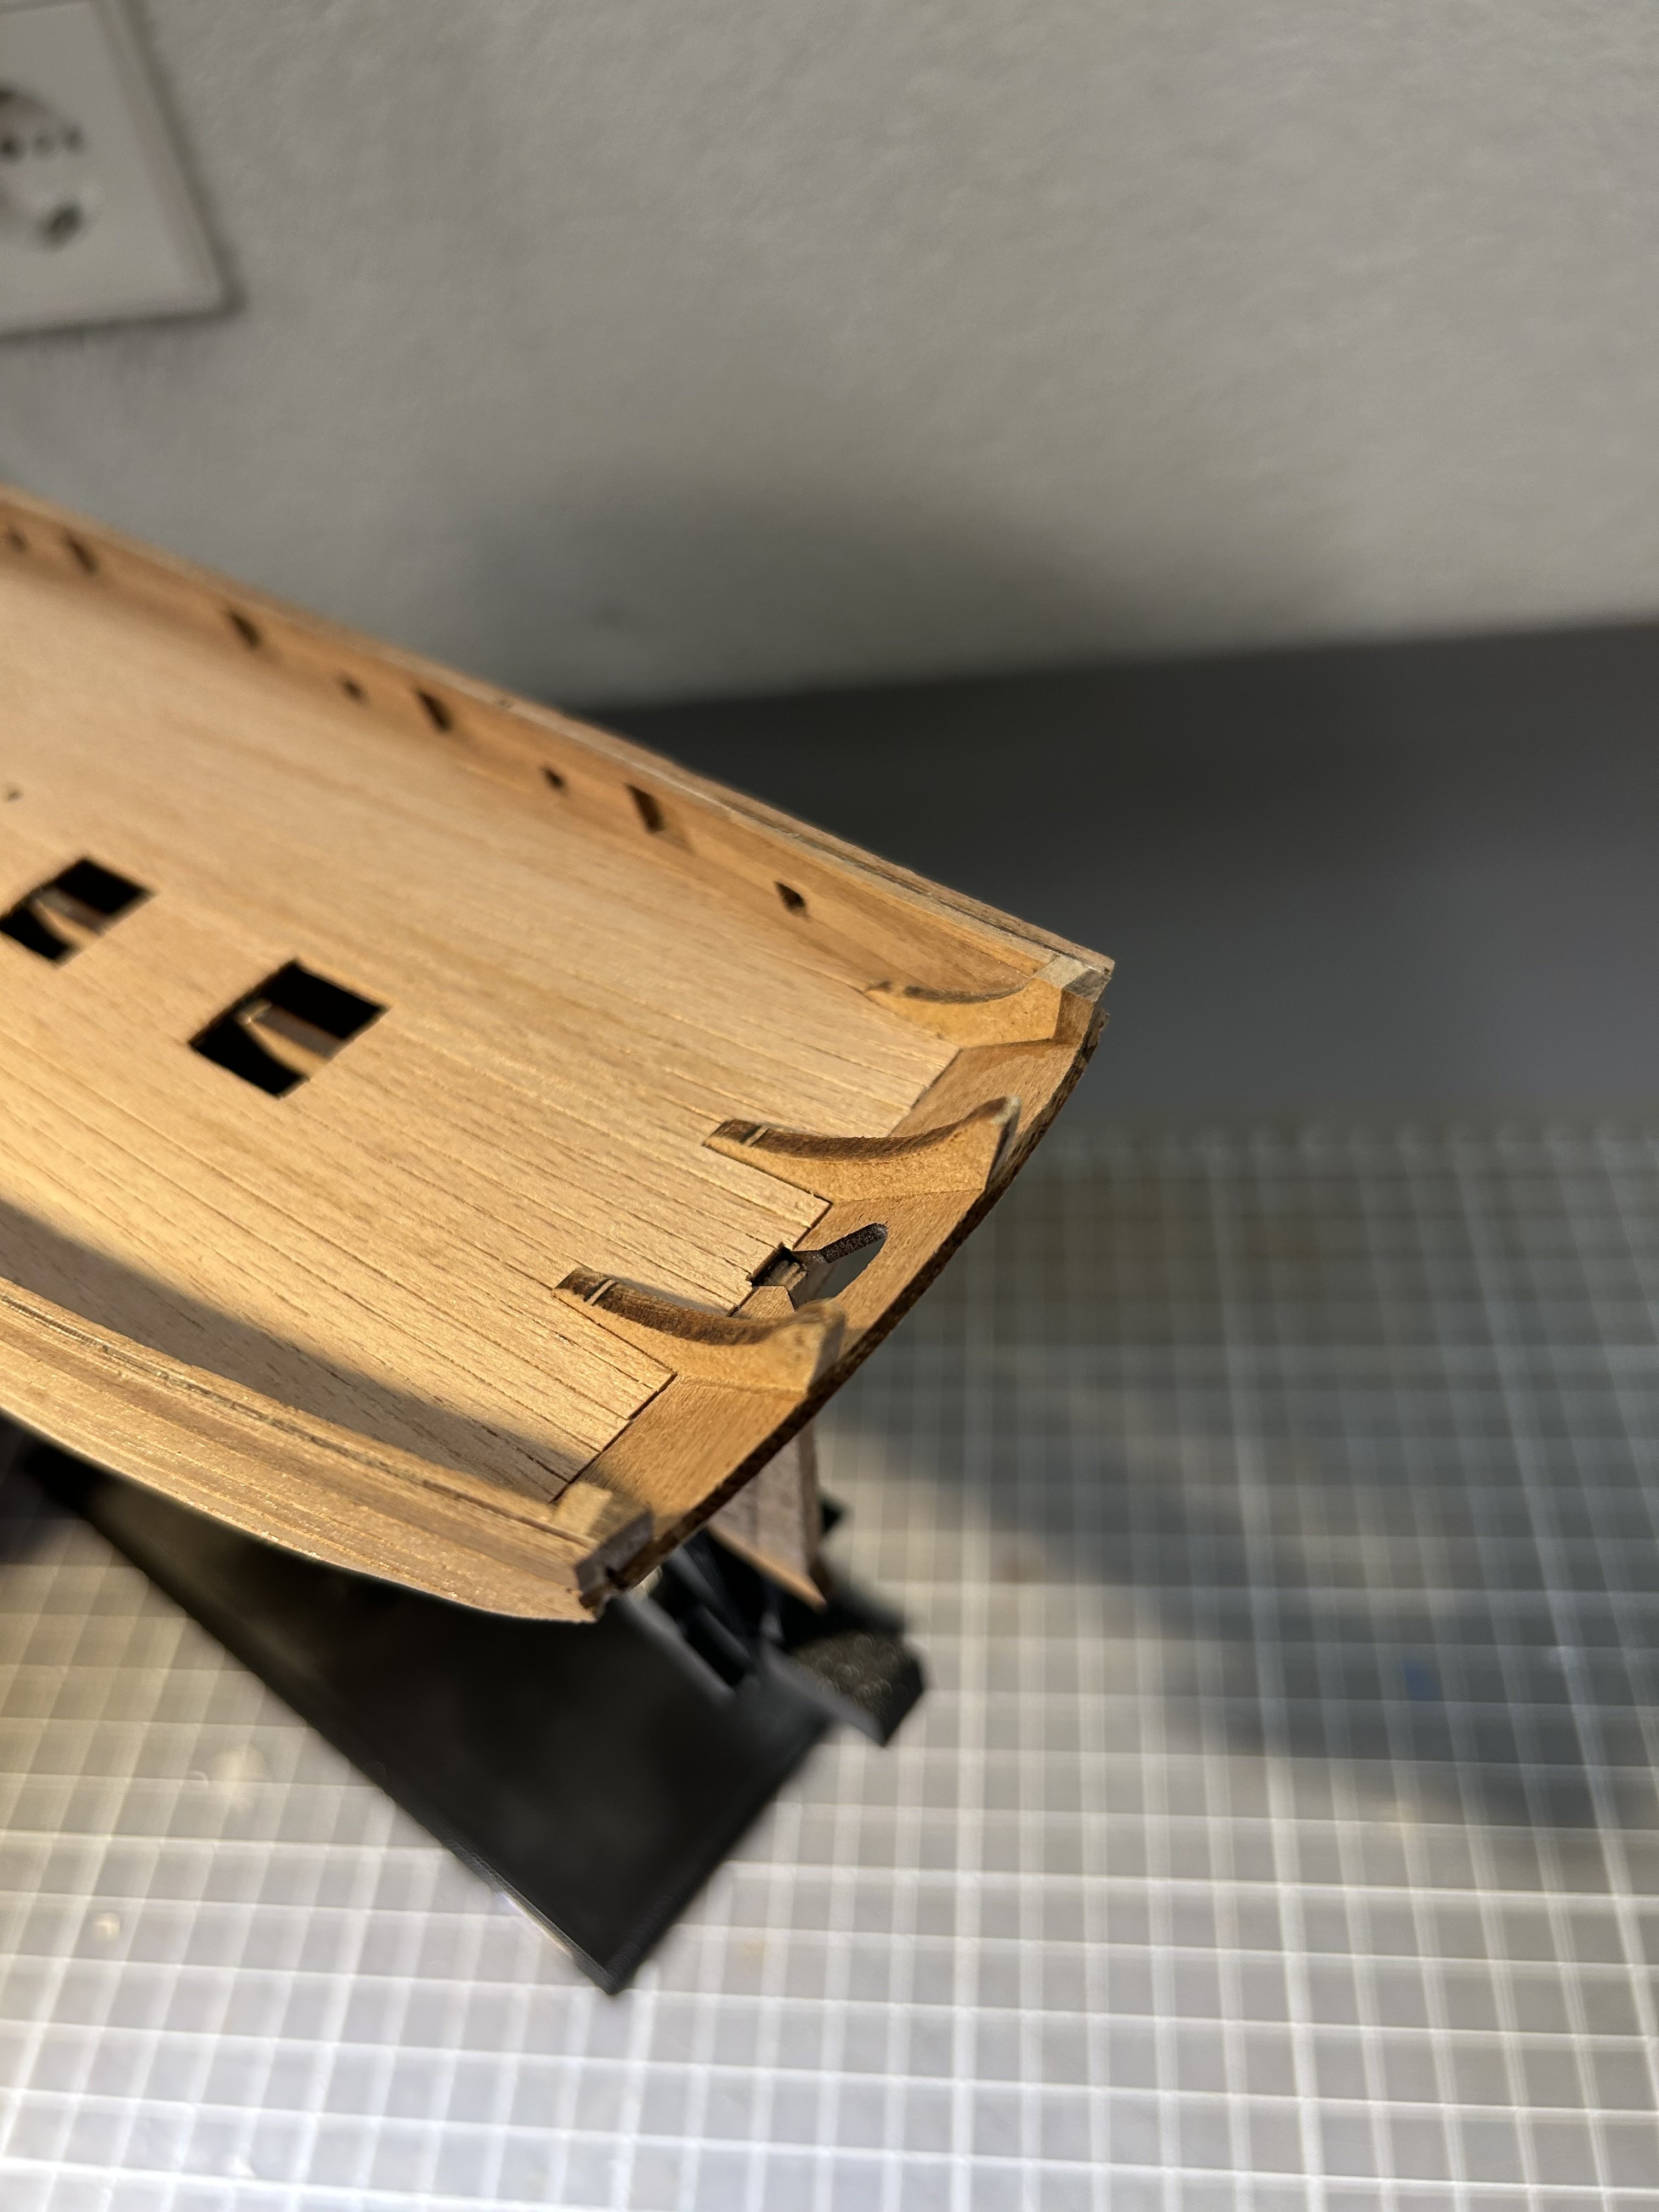
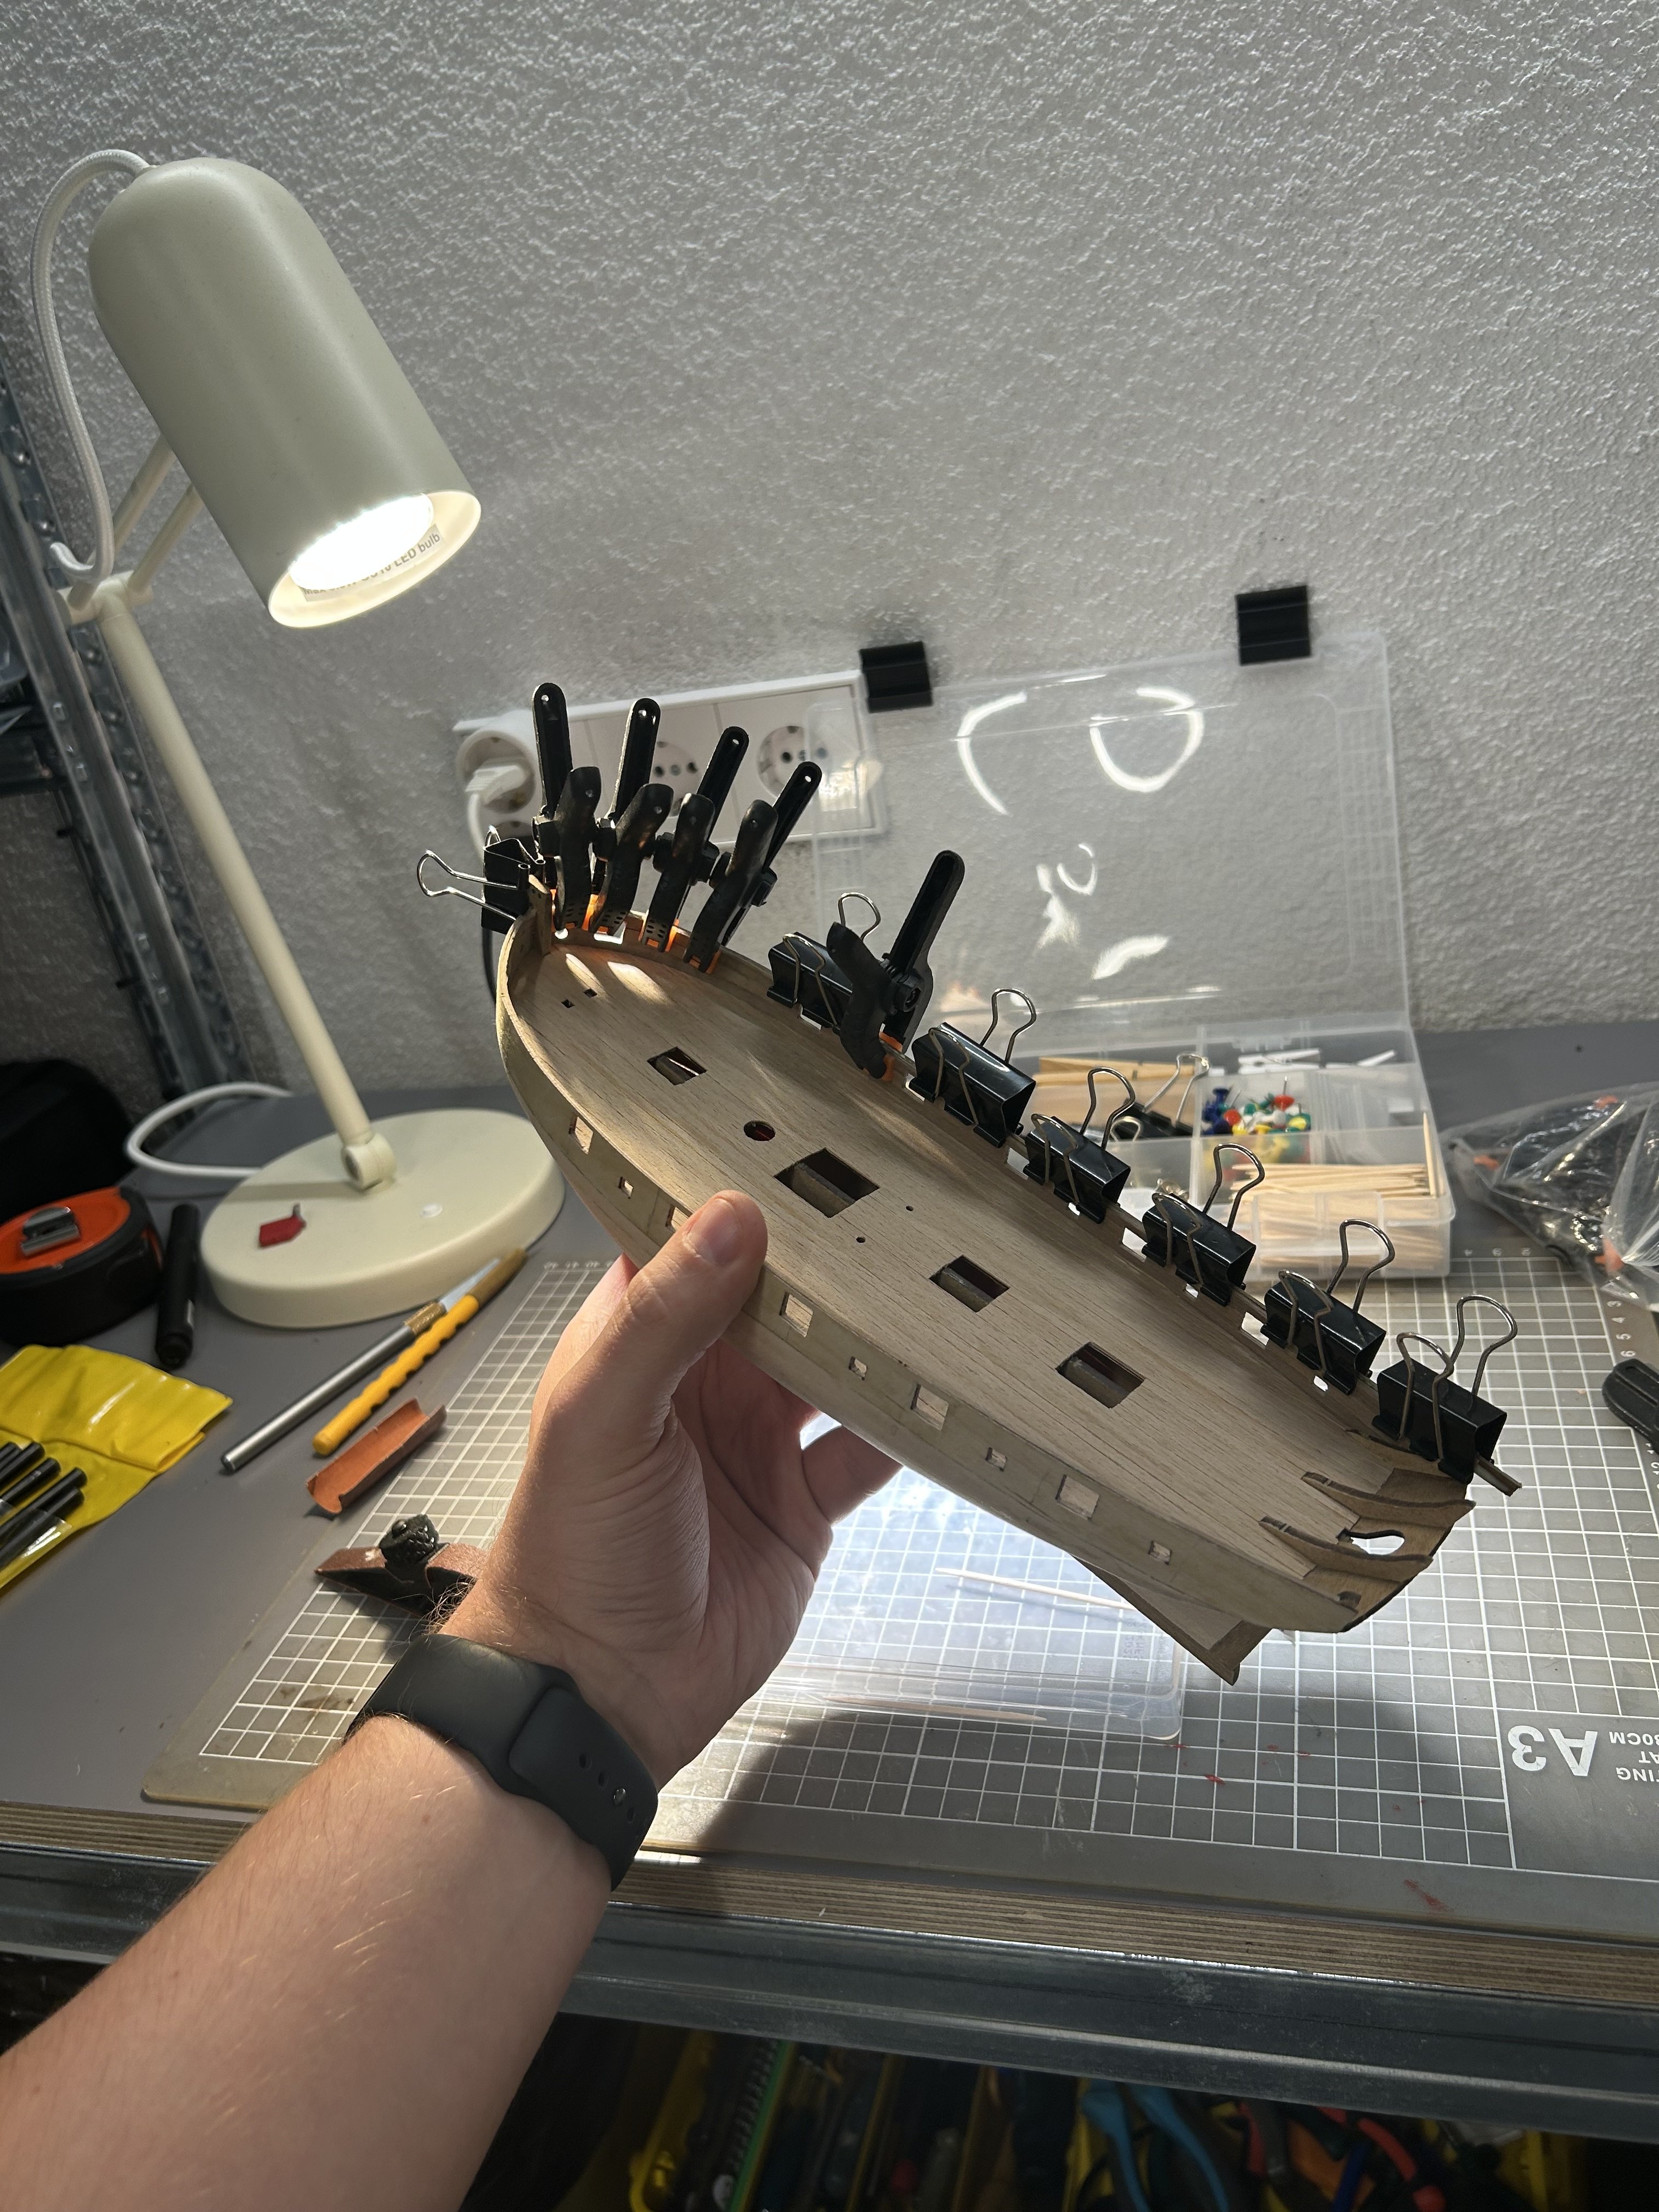
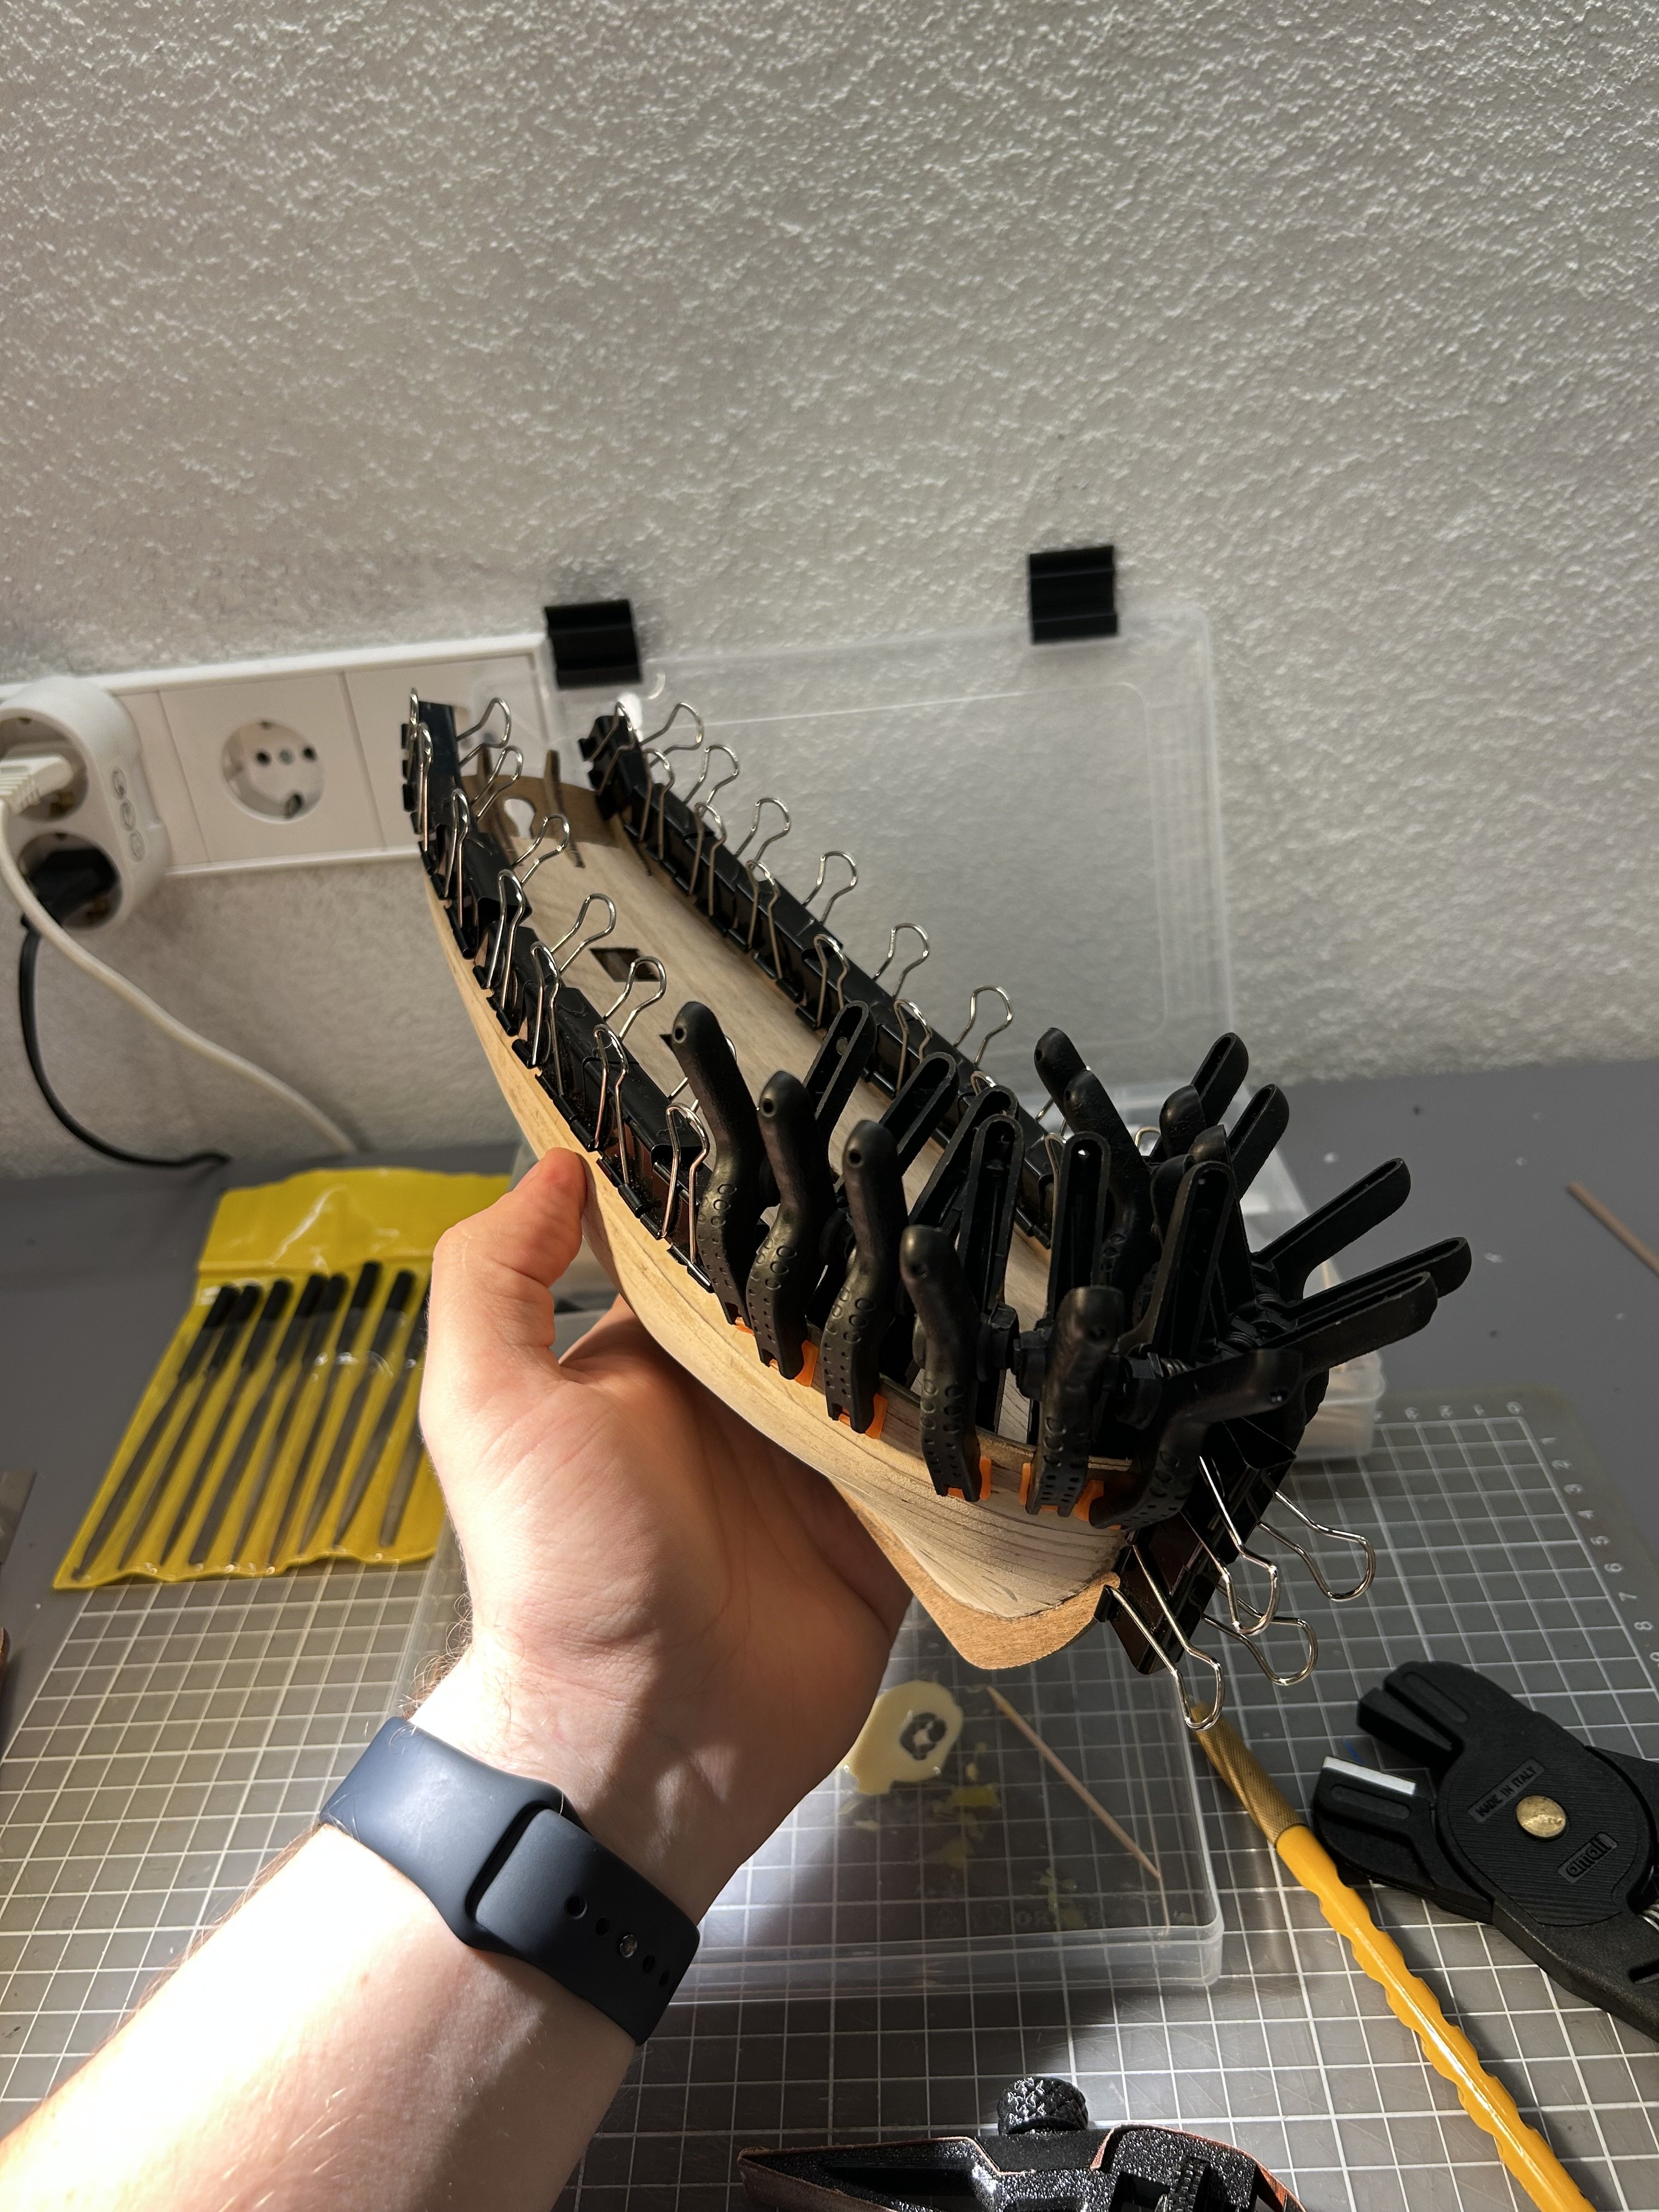
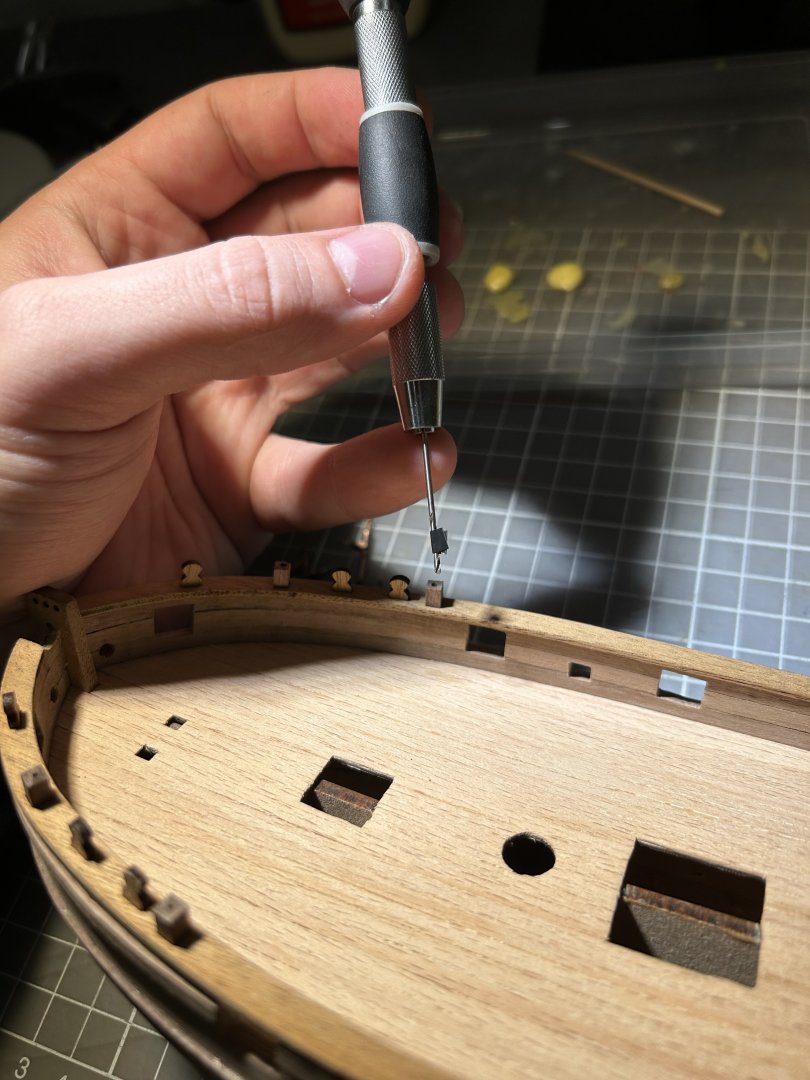
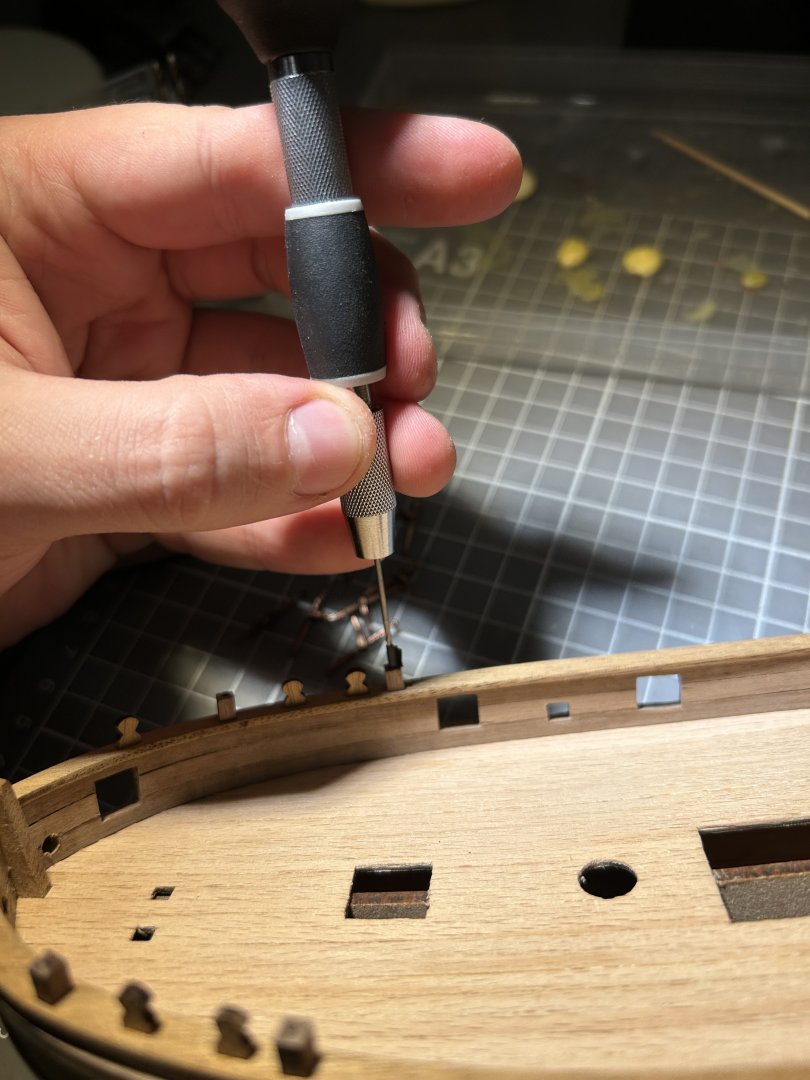
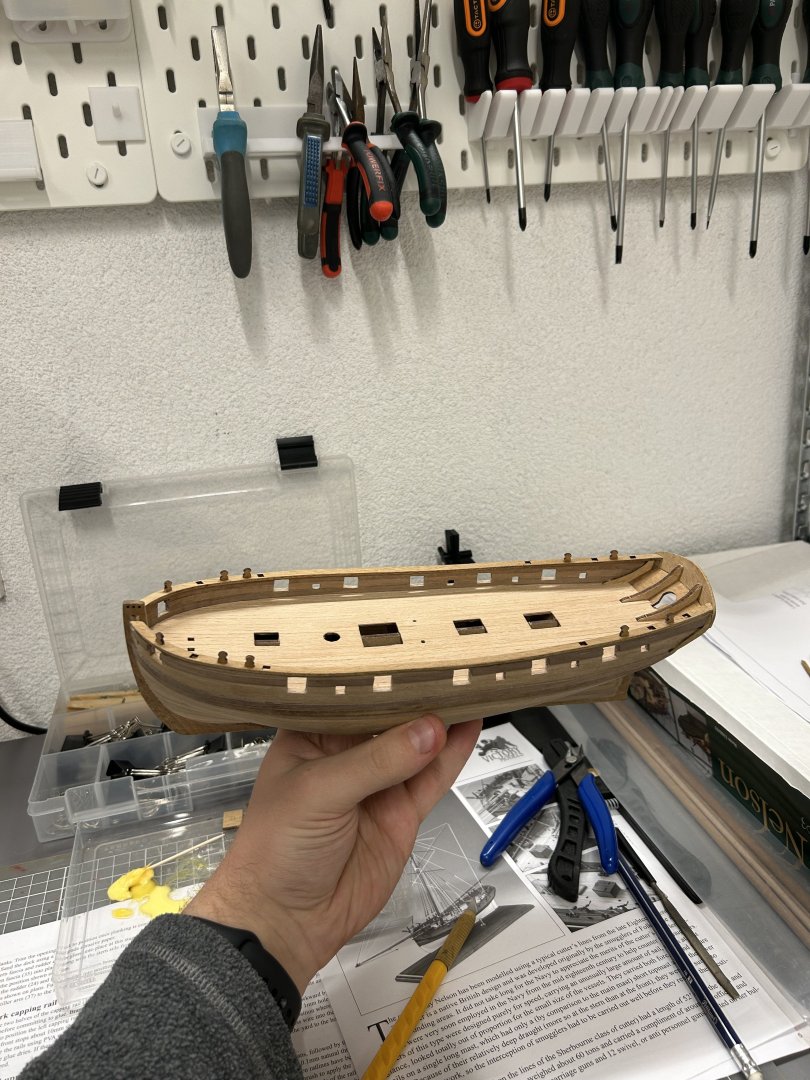
Got bored with hull sanding, so I have decided to do some work on deck fittings


- 81 replies
-
- 5
-
-
- Lady Nelson
- Amati
- (and 1 more)
-
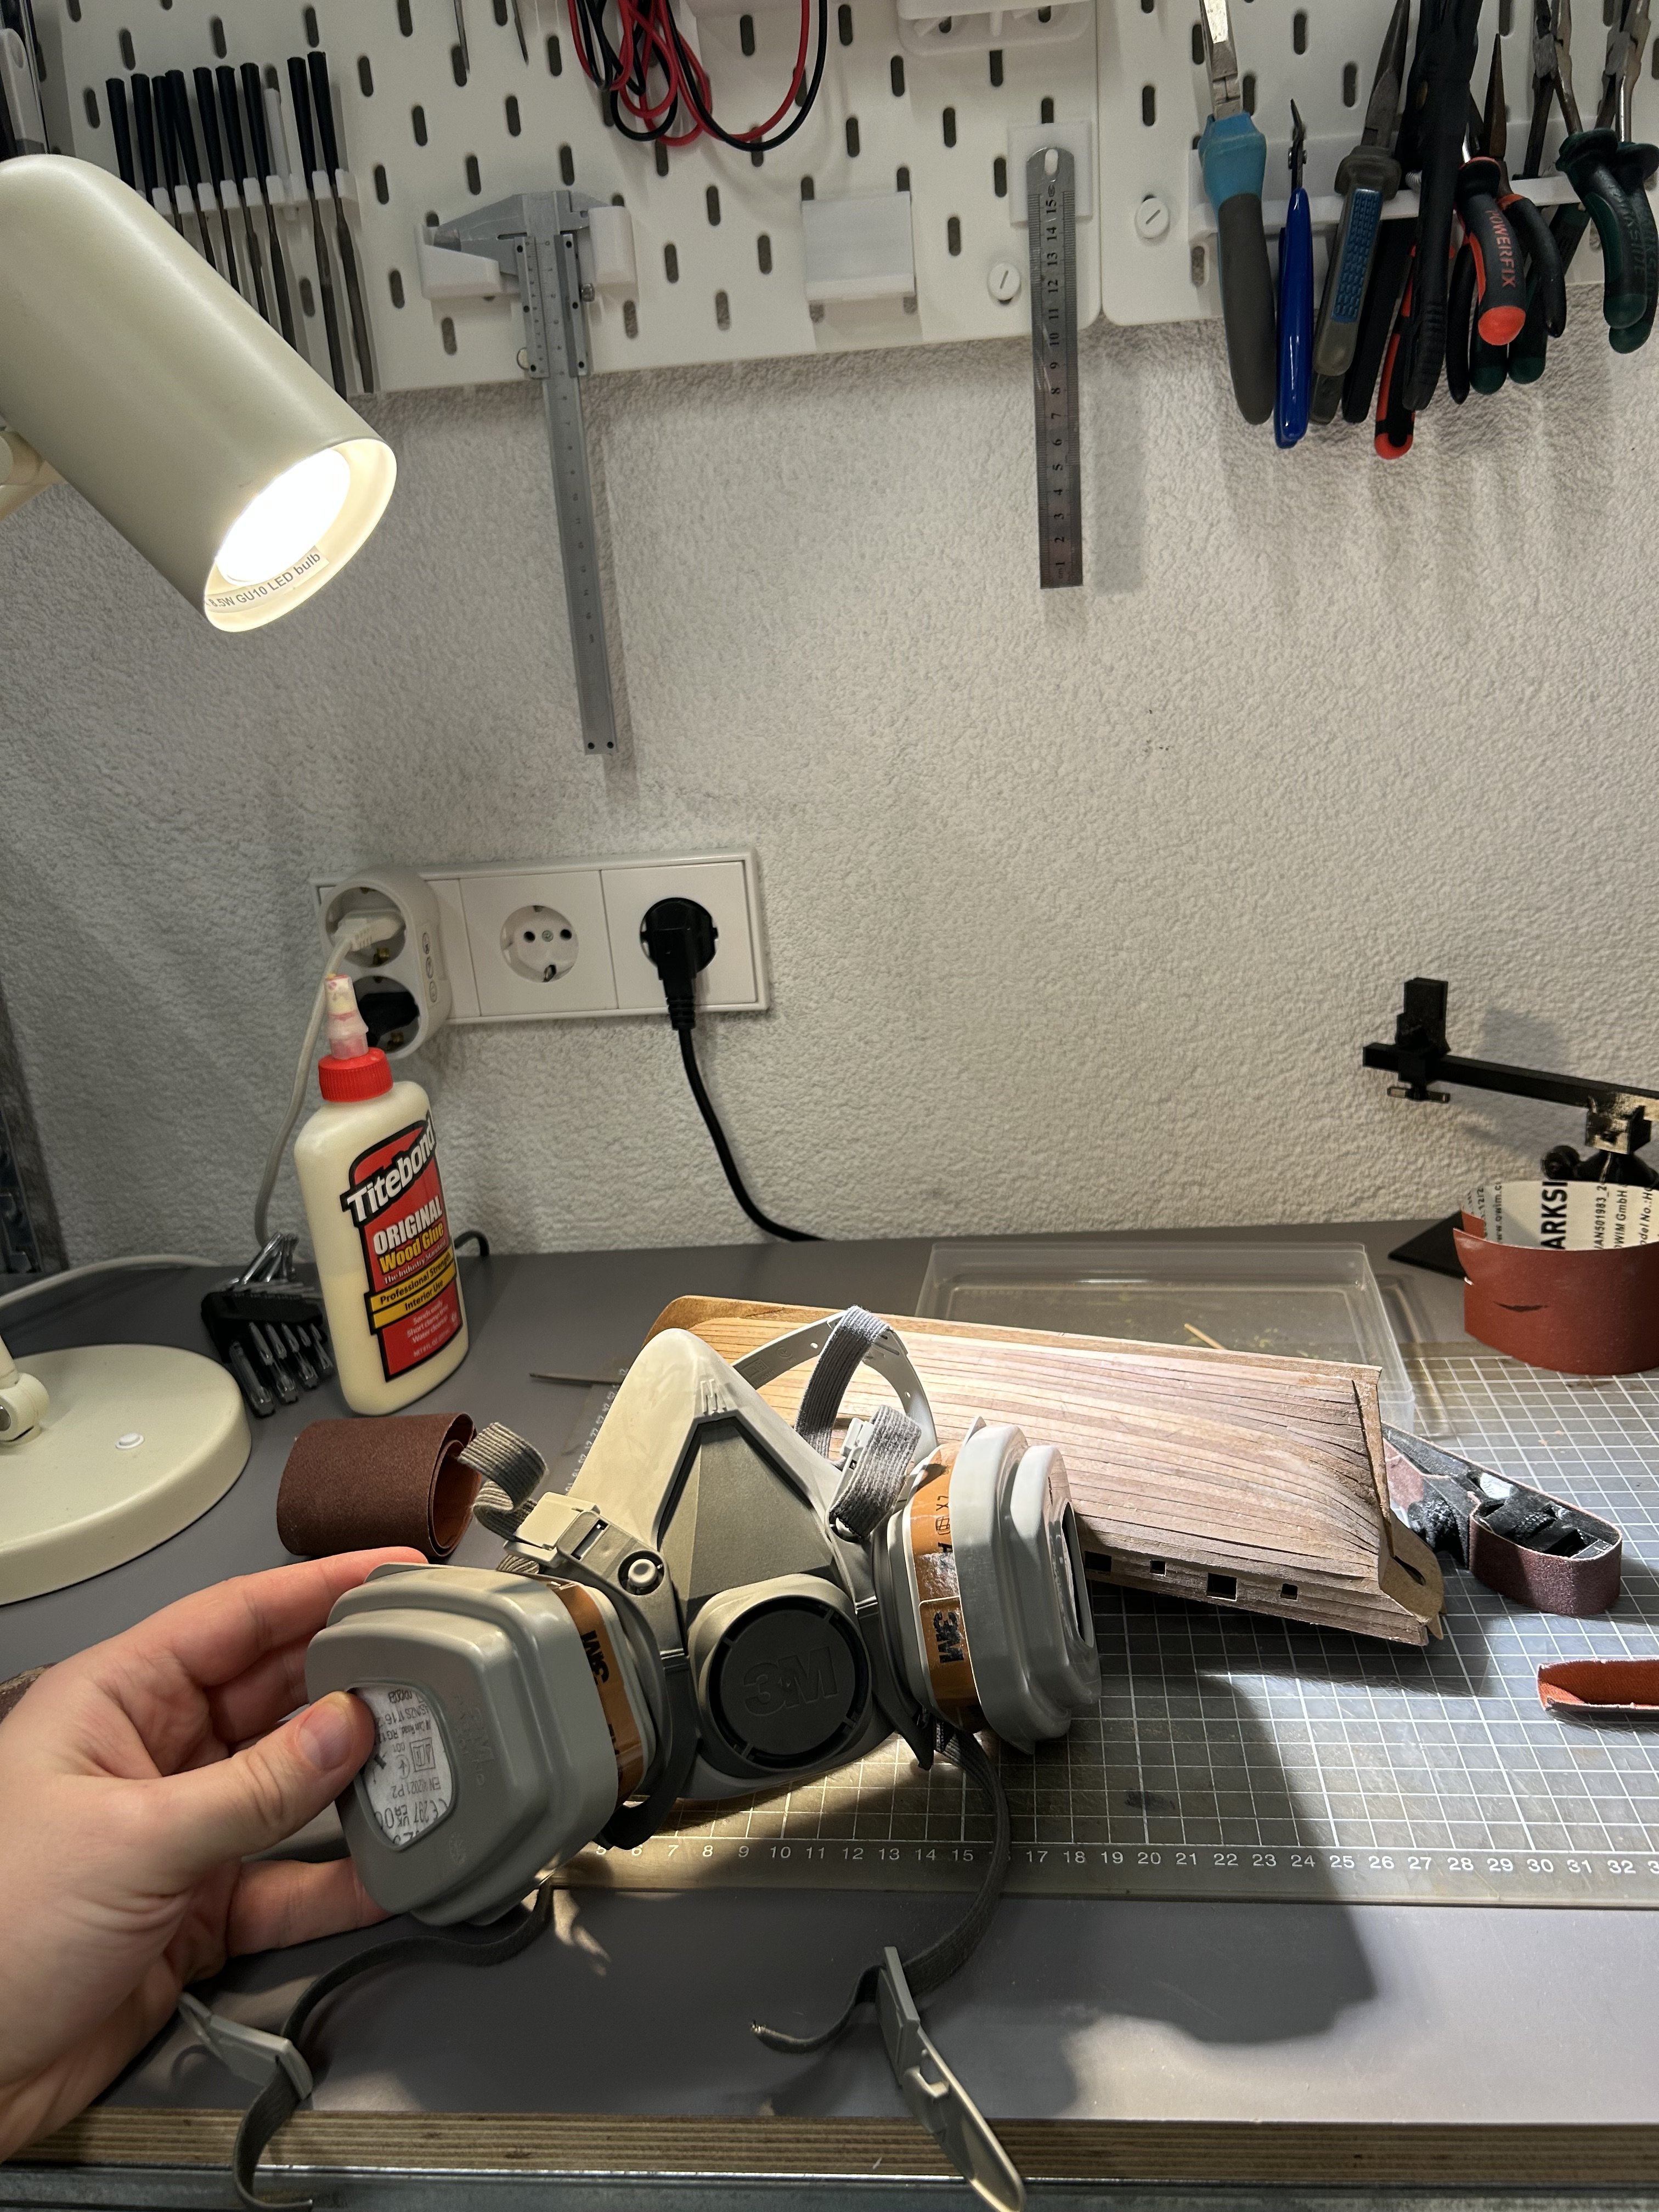
Little progress update. Some days this hobby is 99% sanding 😅


- 81 replies
-
- 2
-
-
- Lady Nelson
- Amati
- (and 1 more)
-
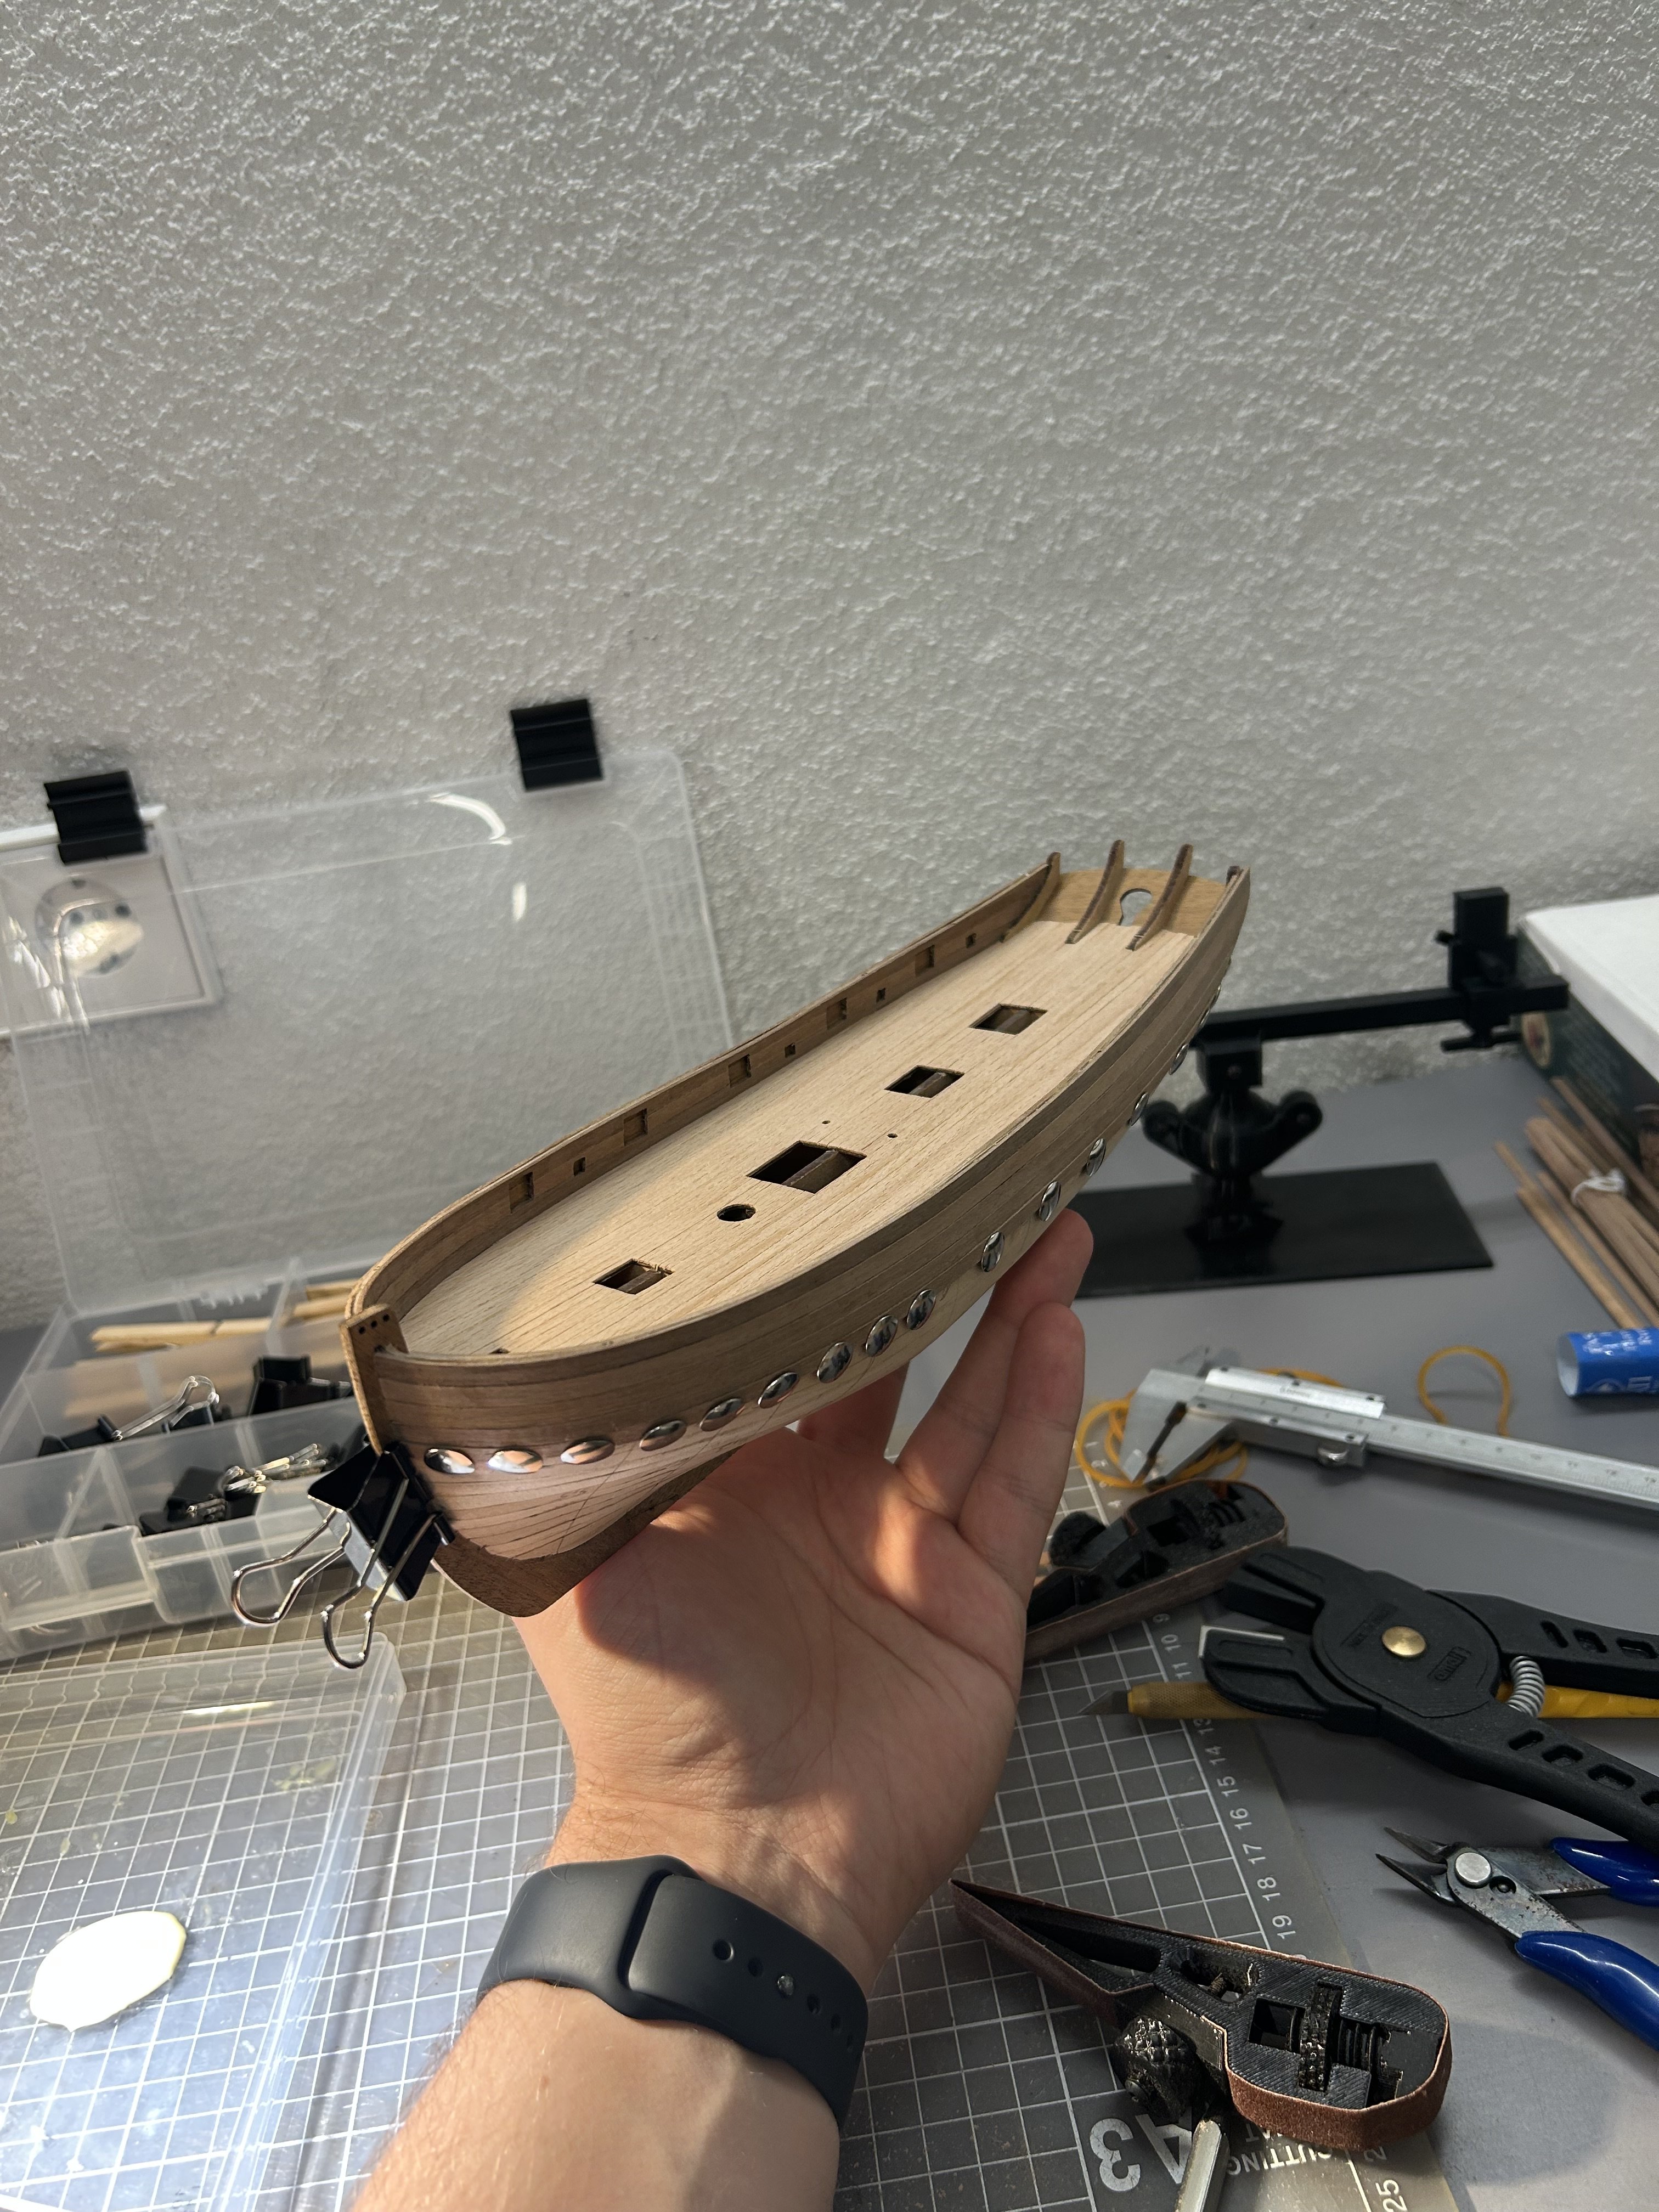
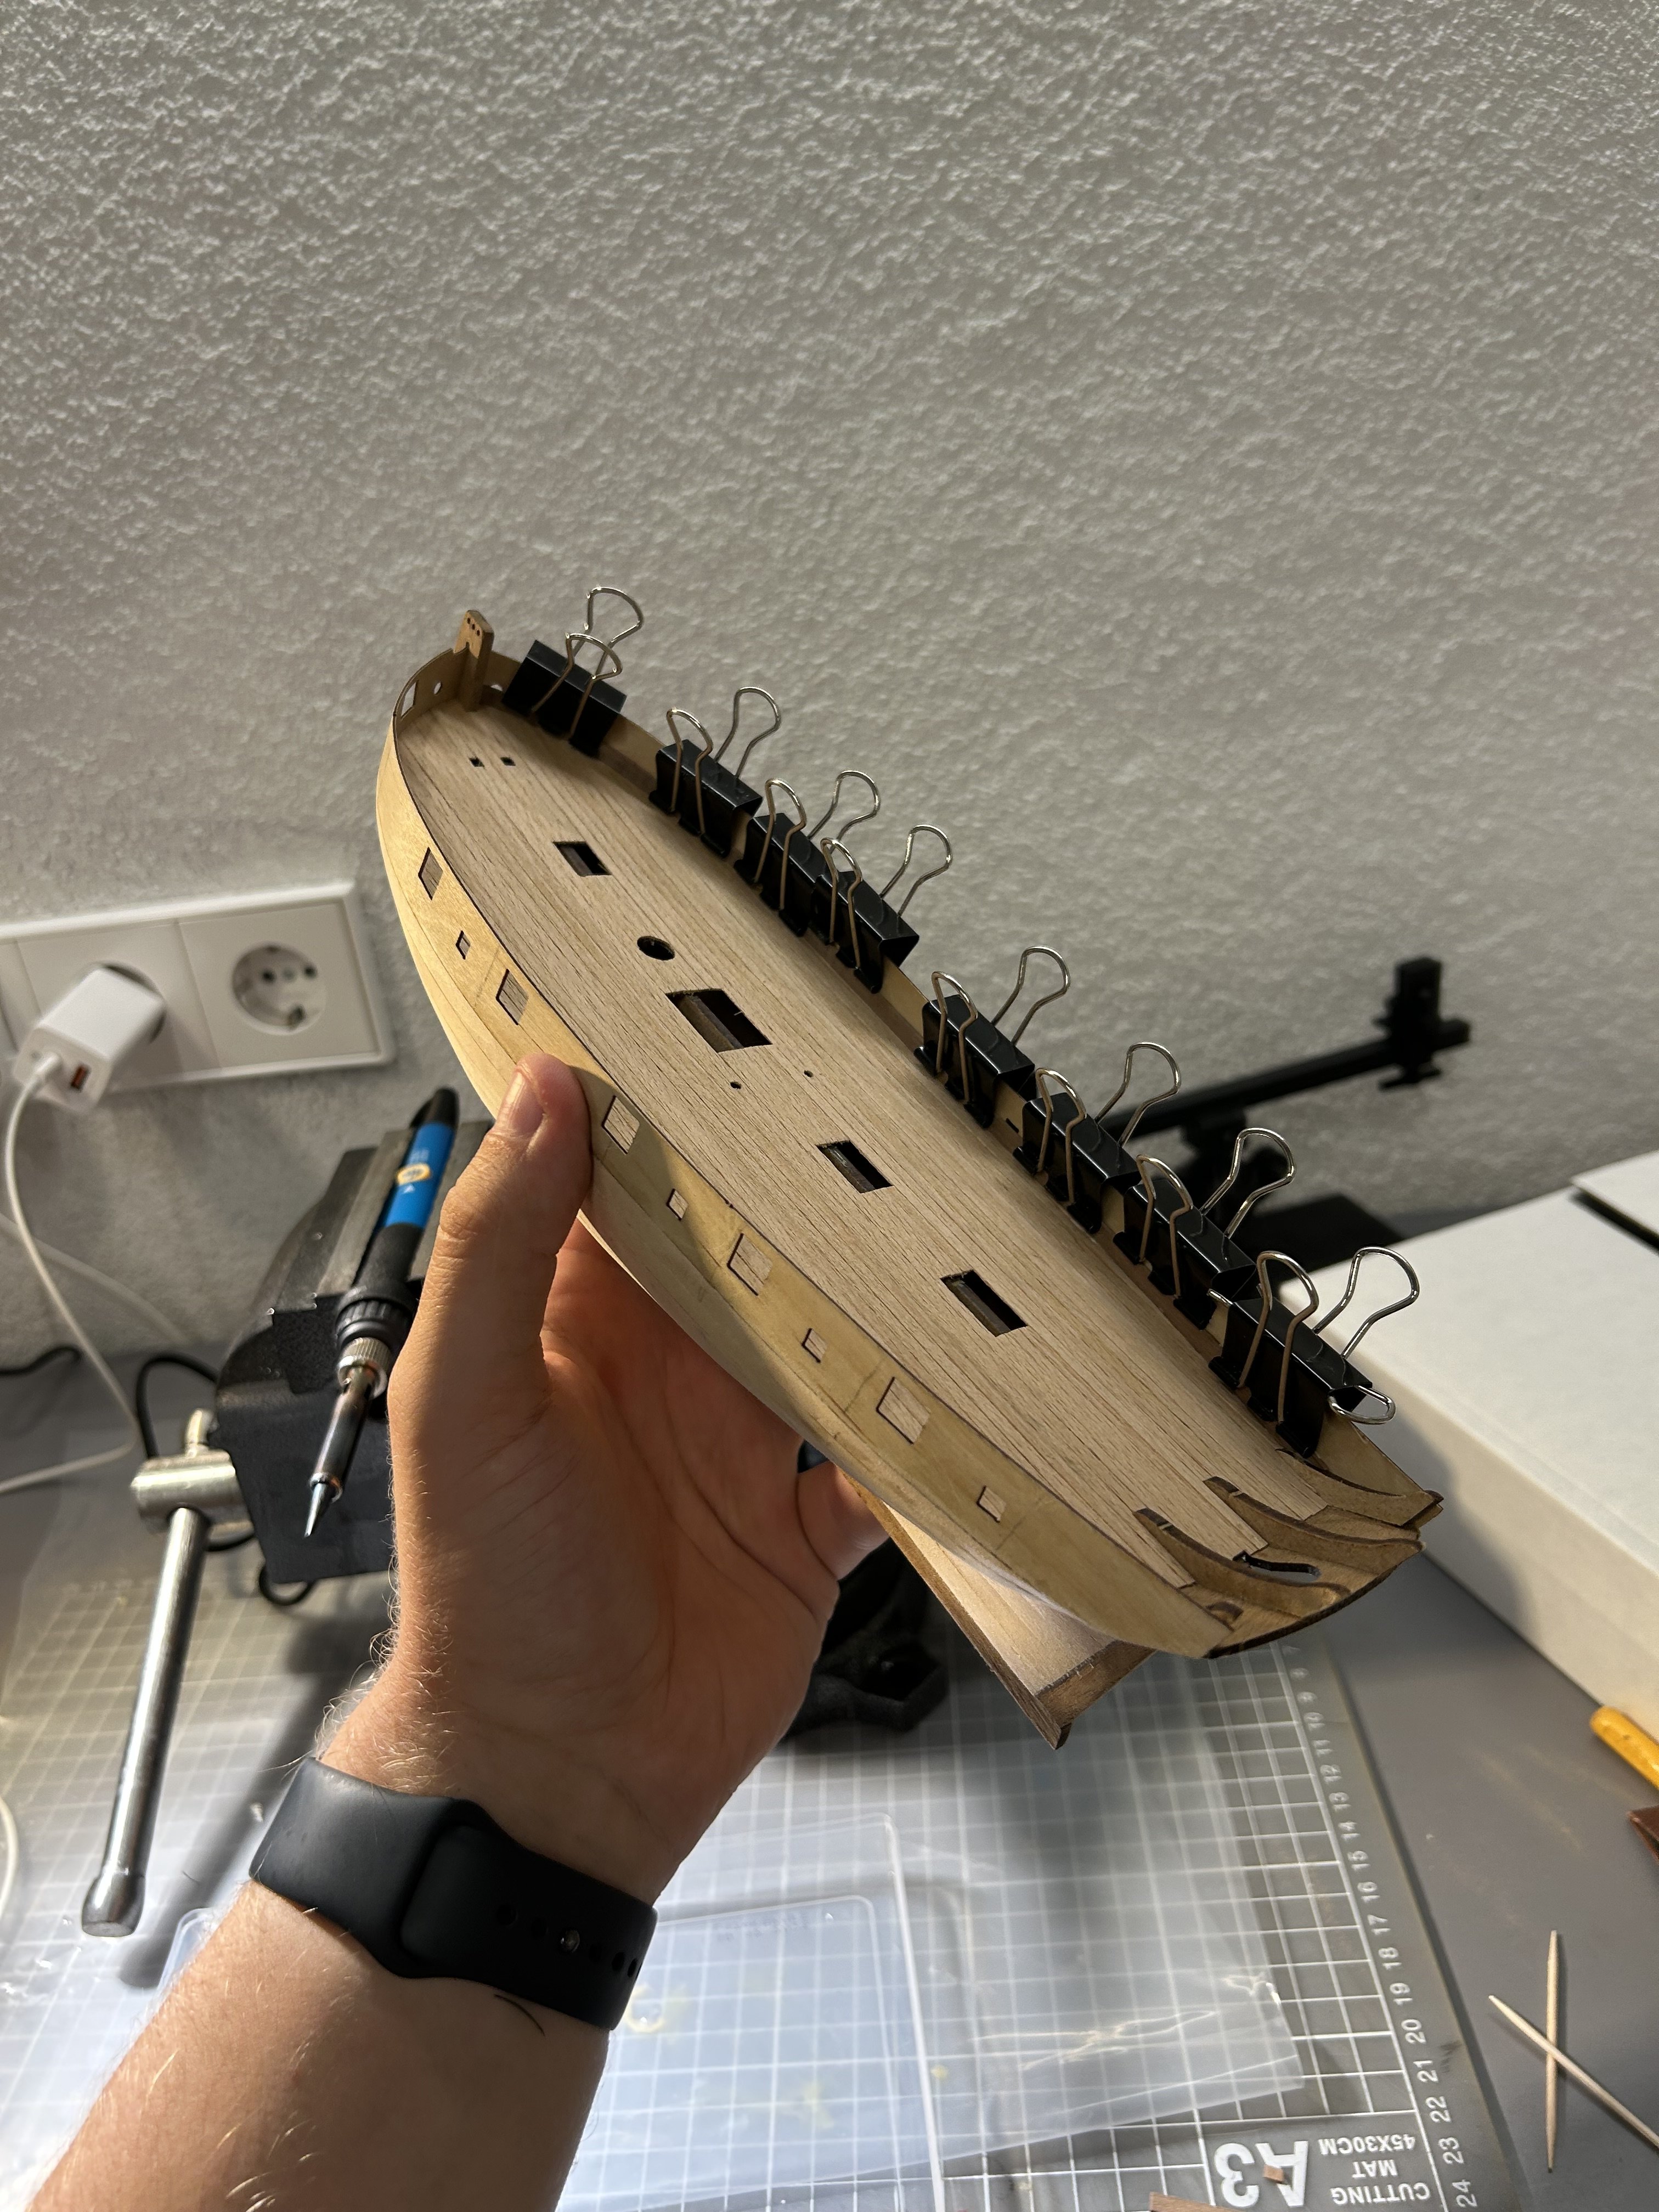
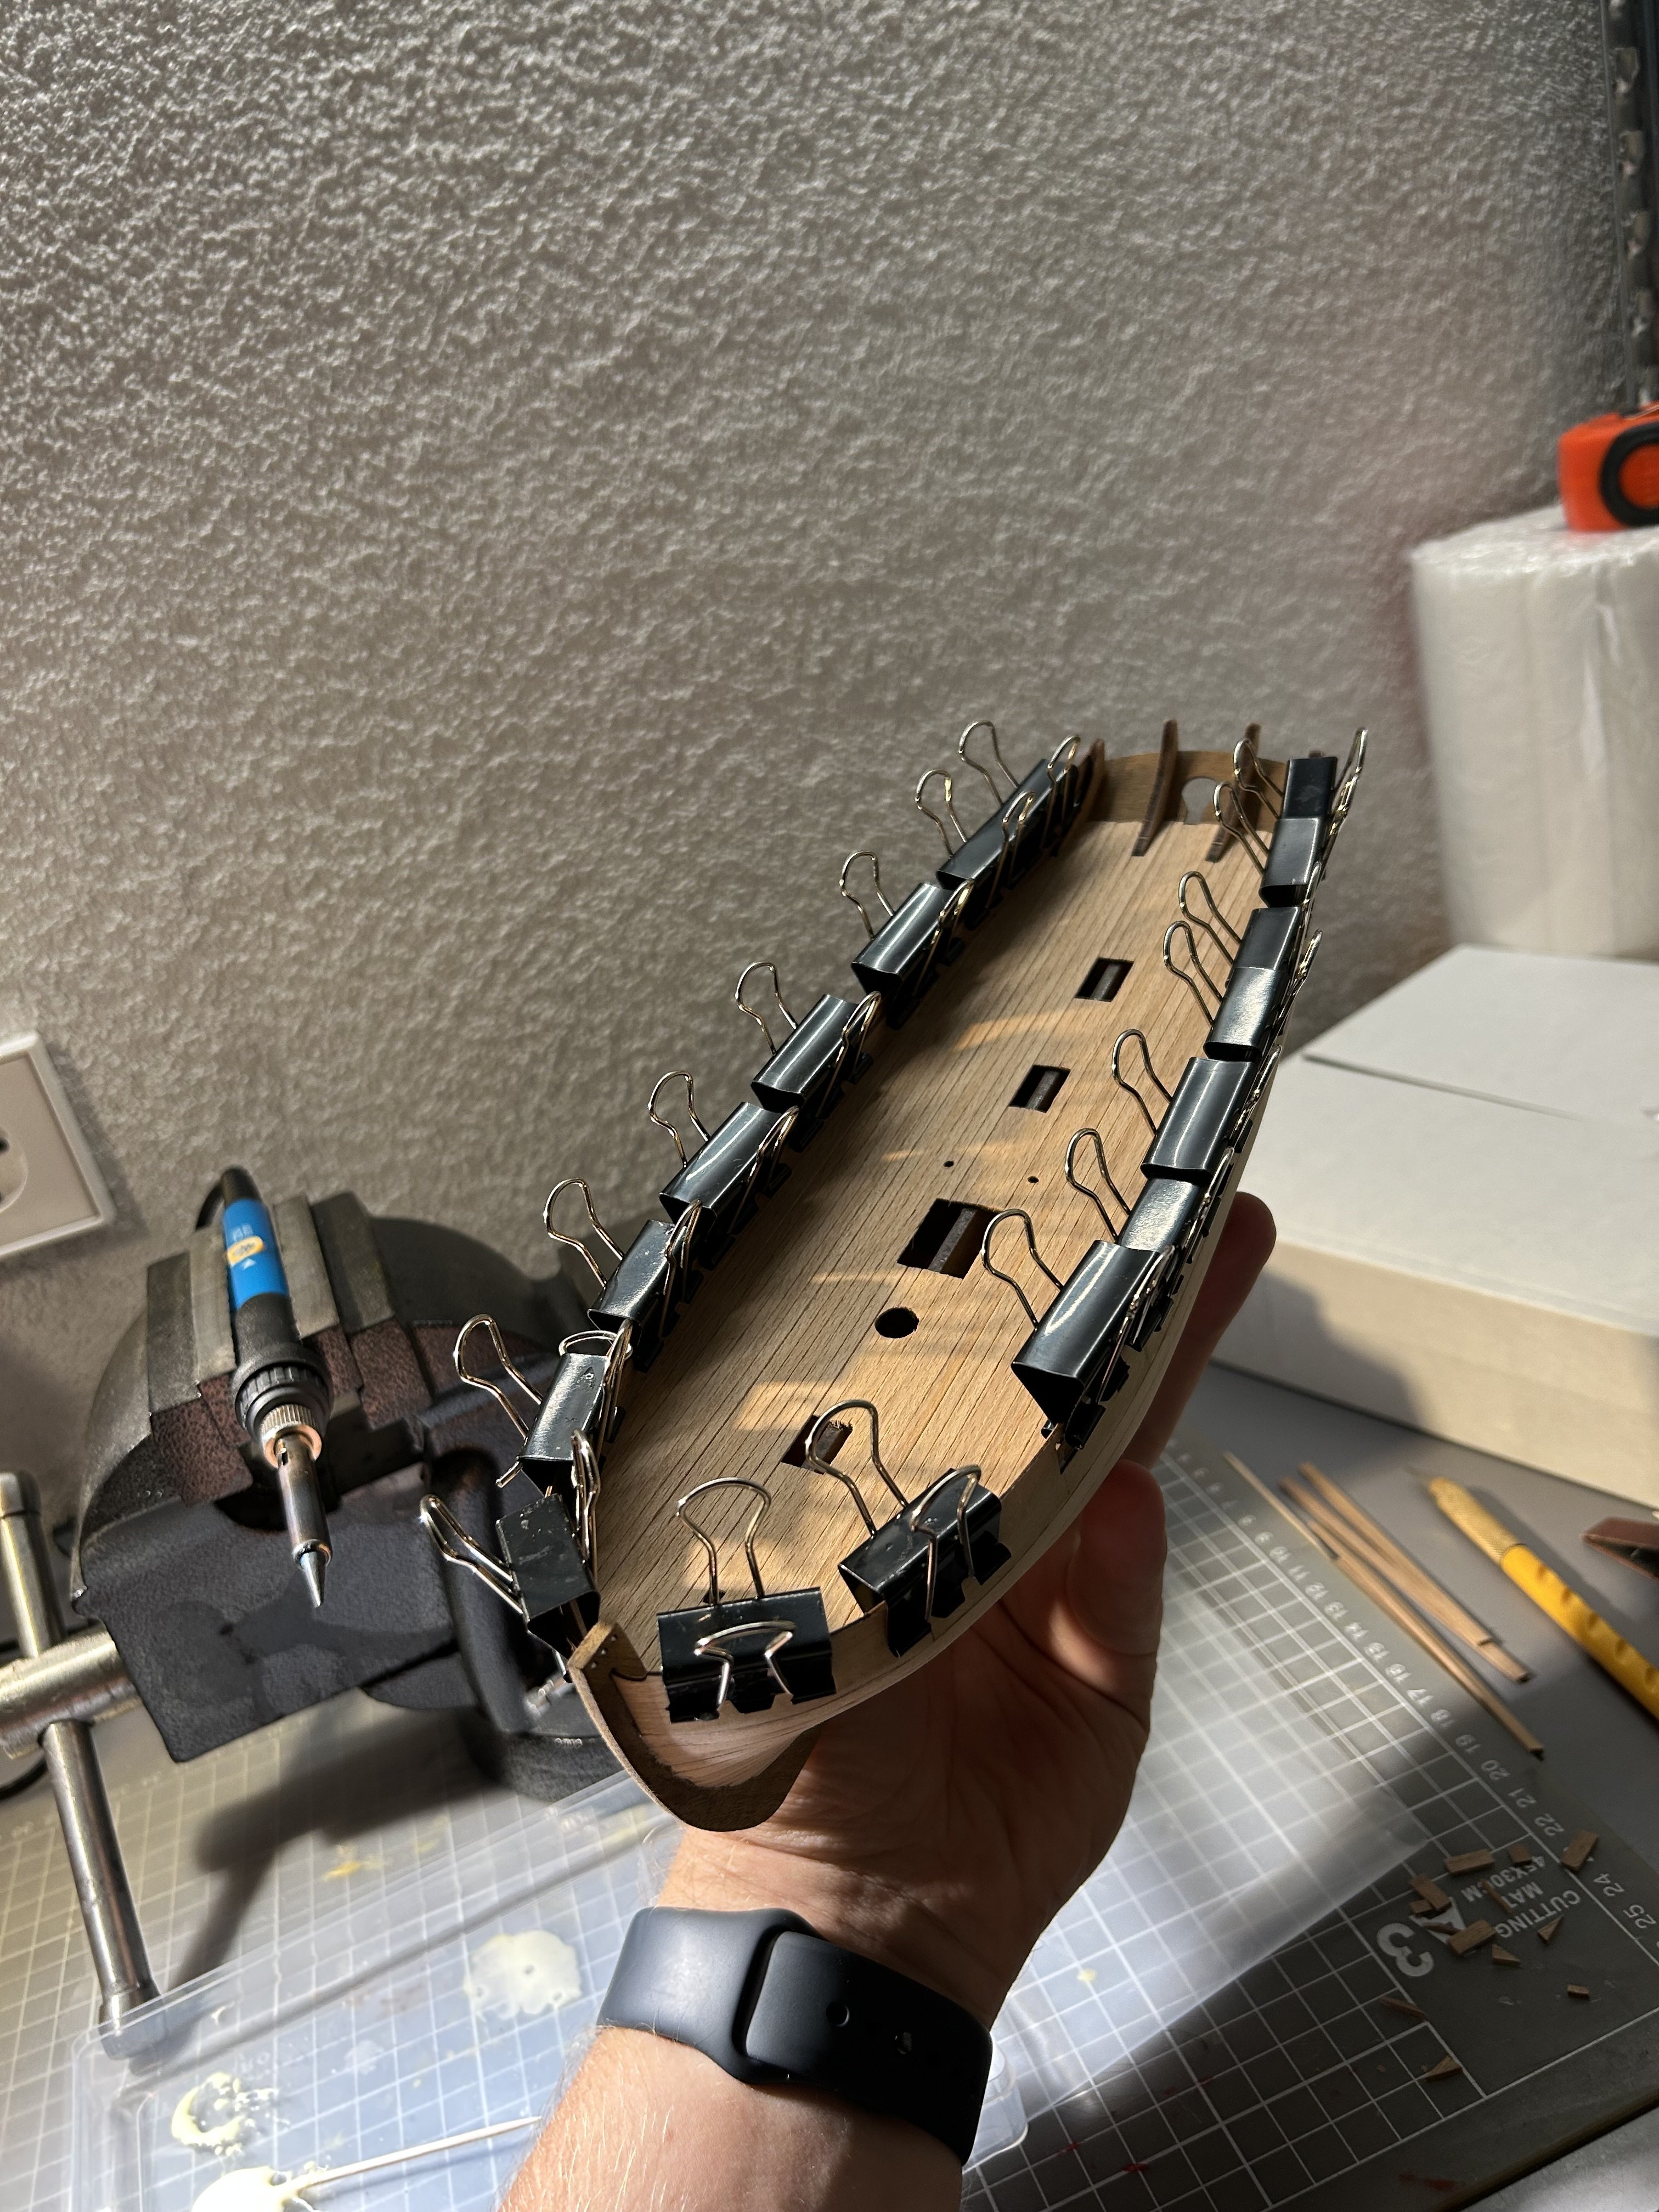
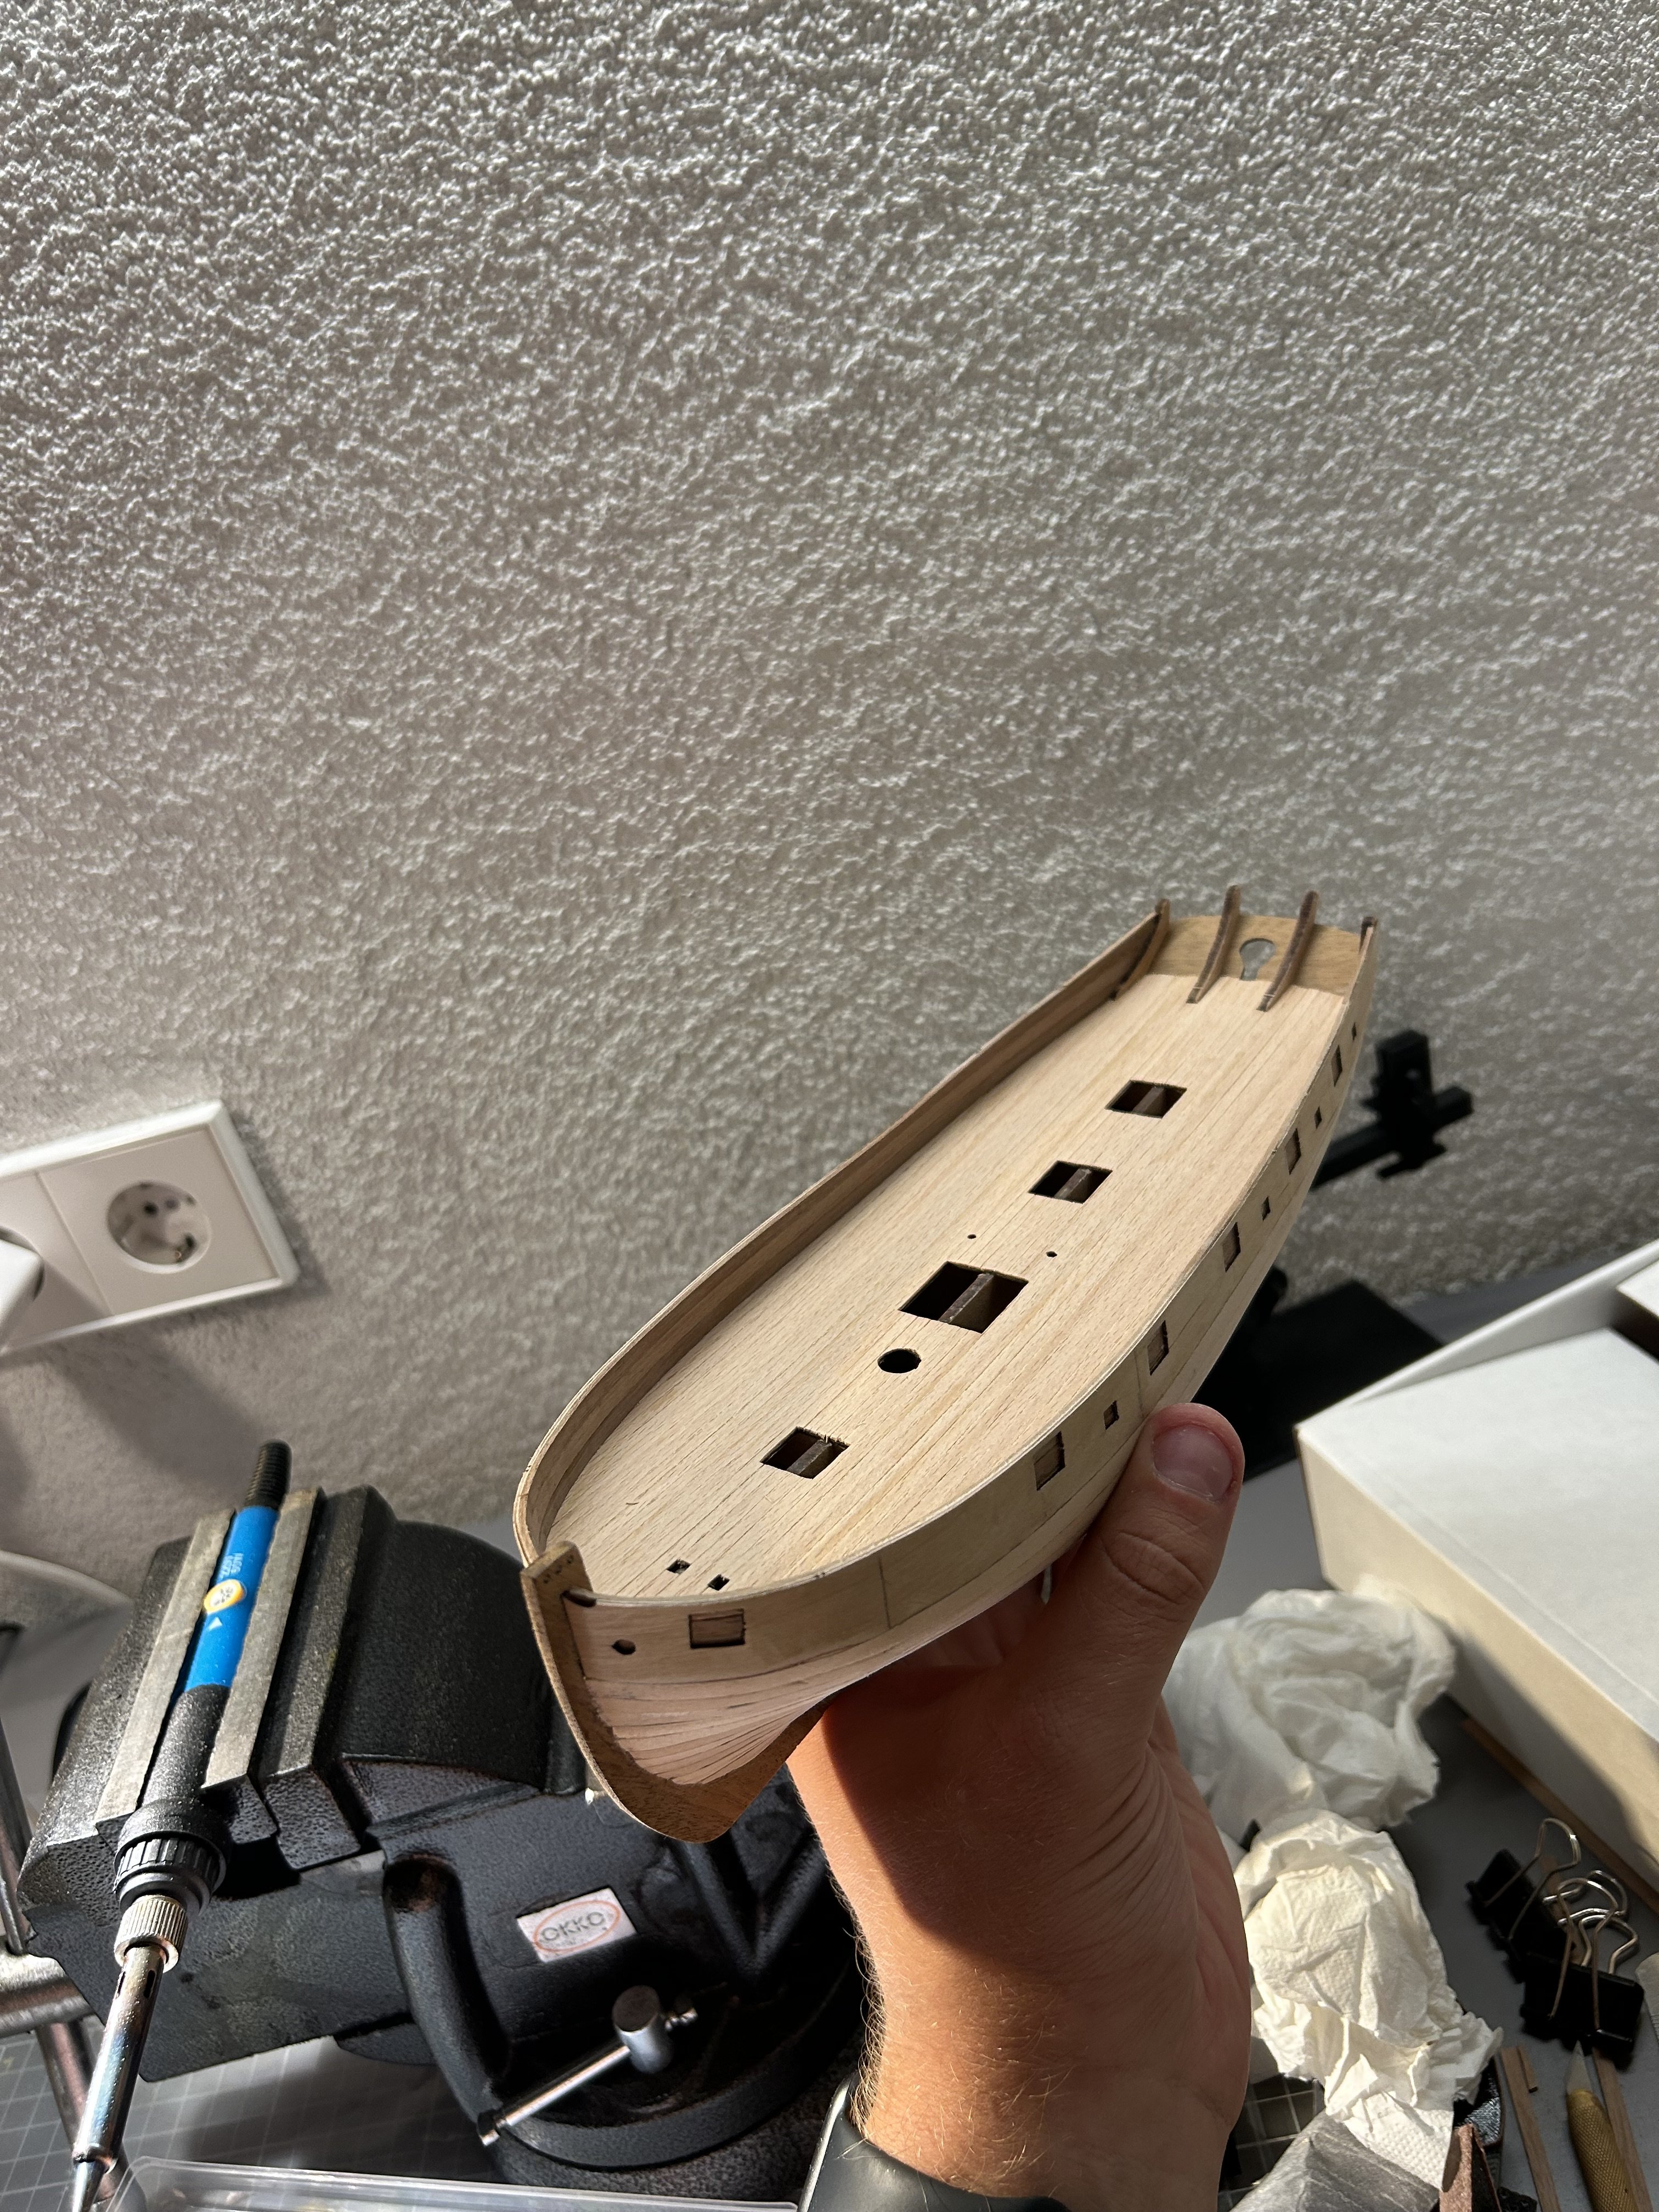
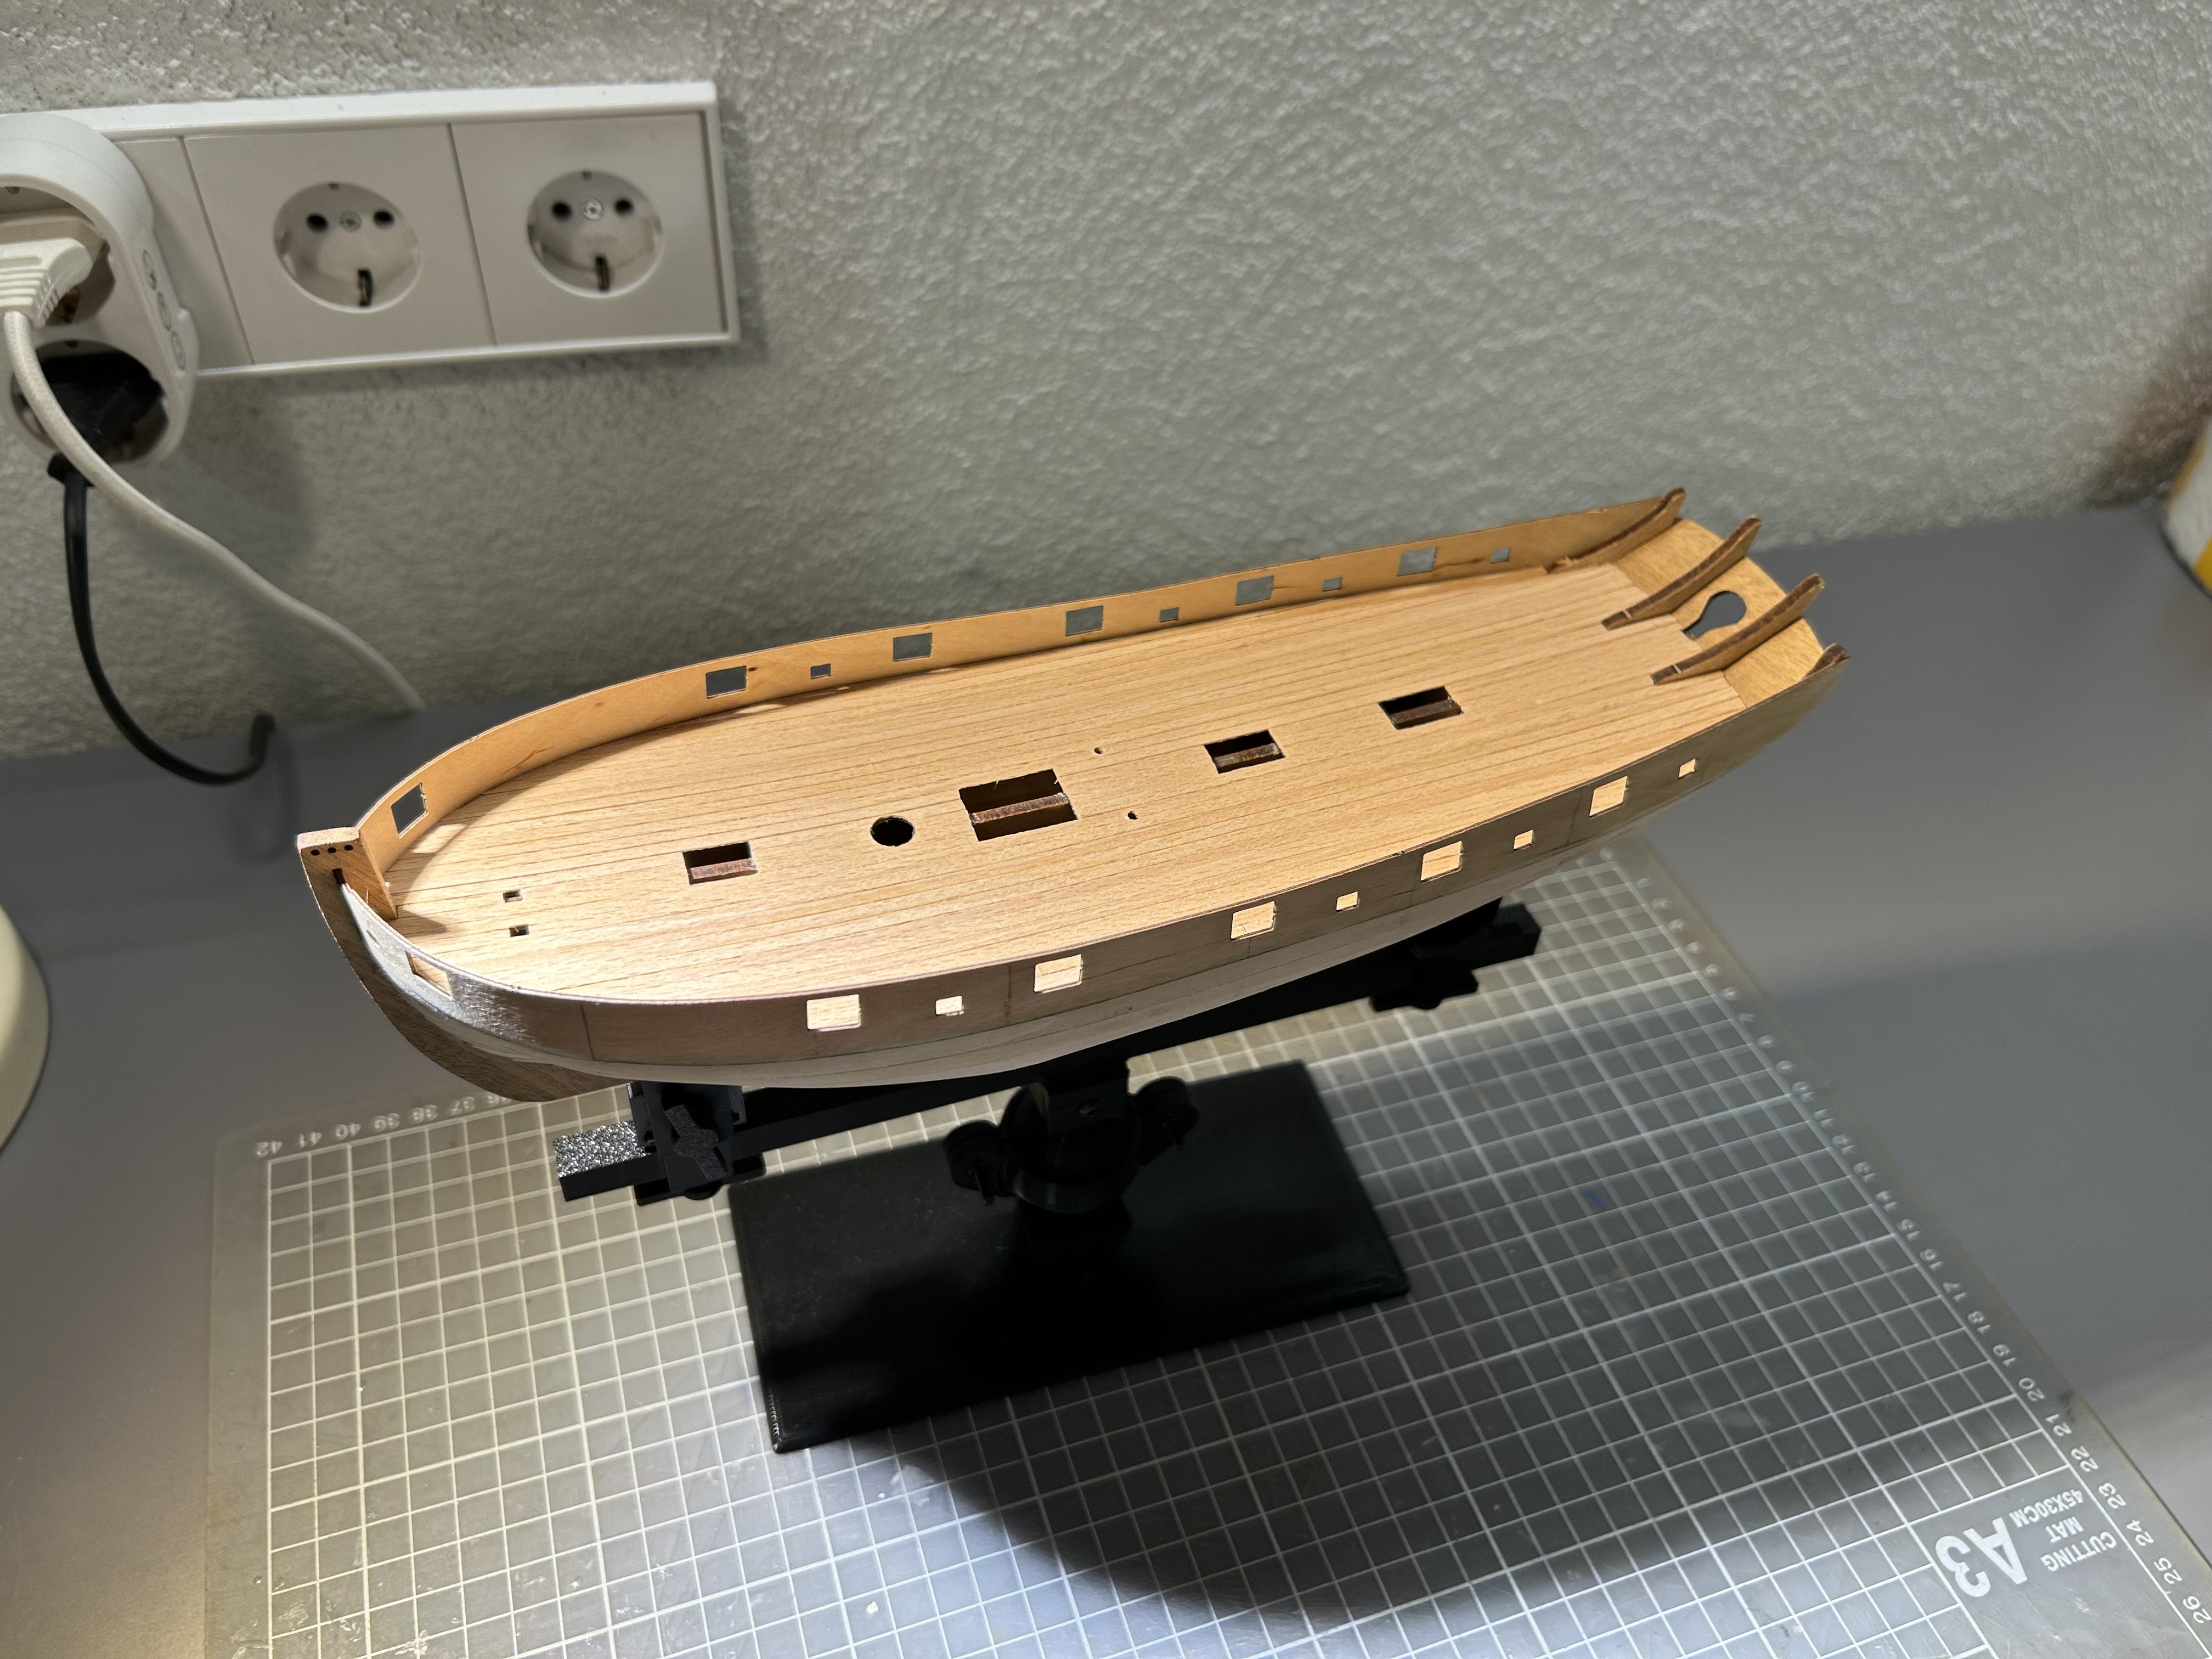
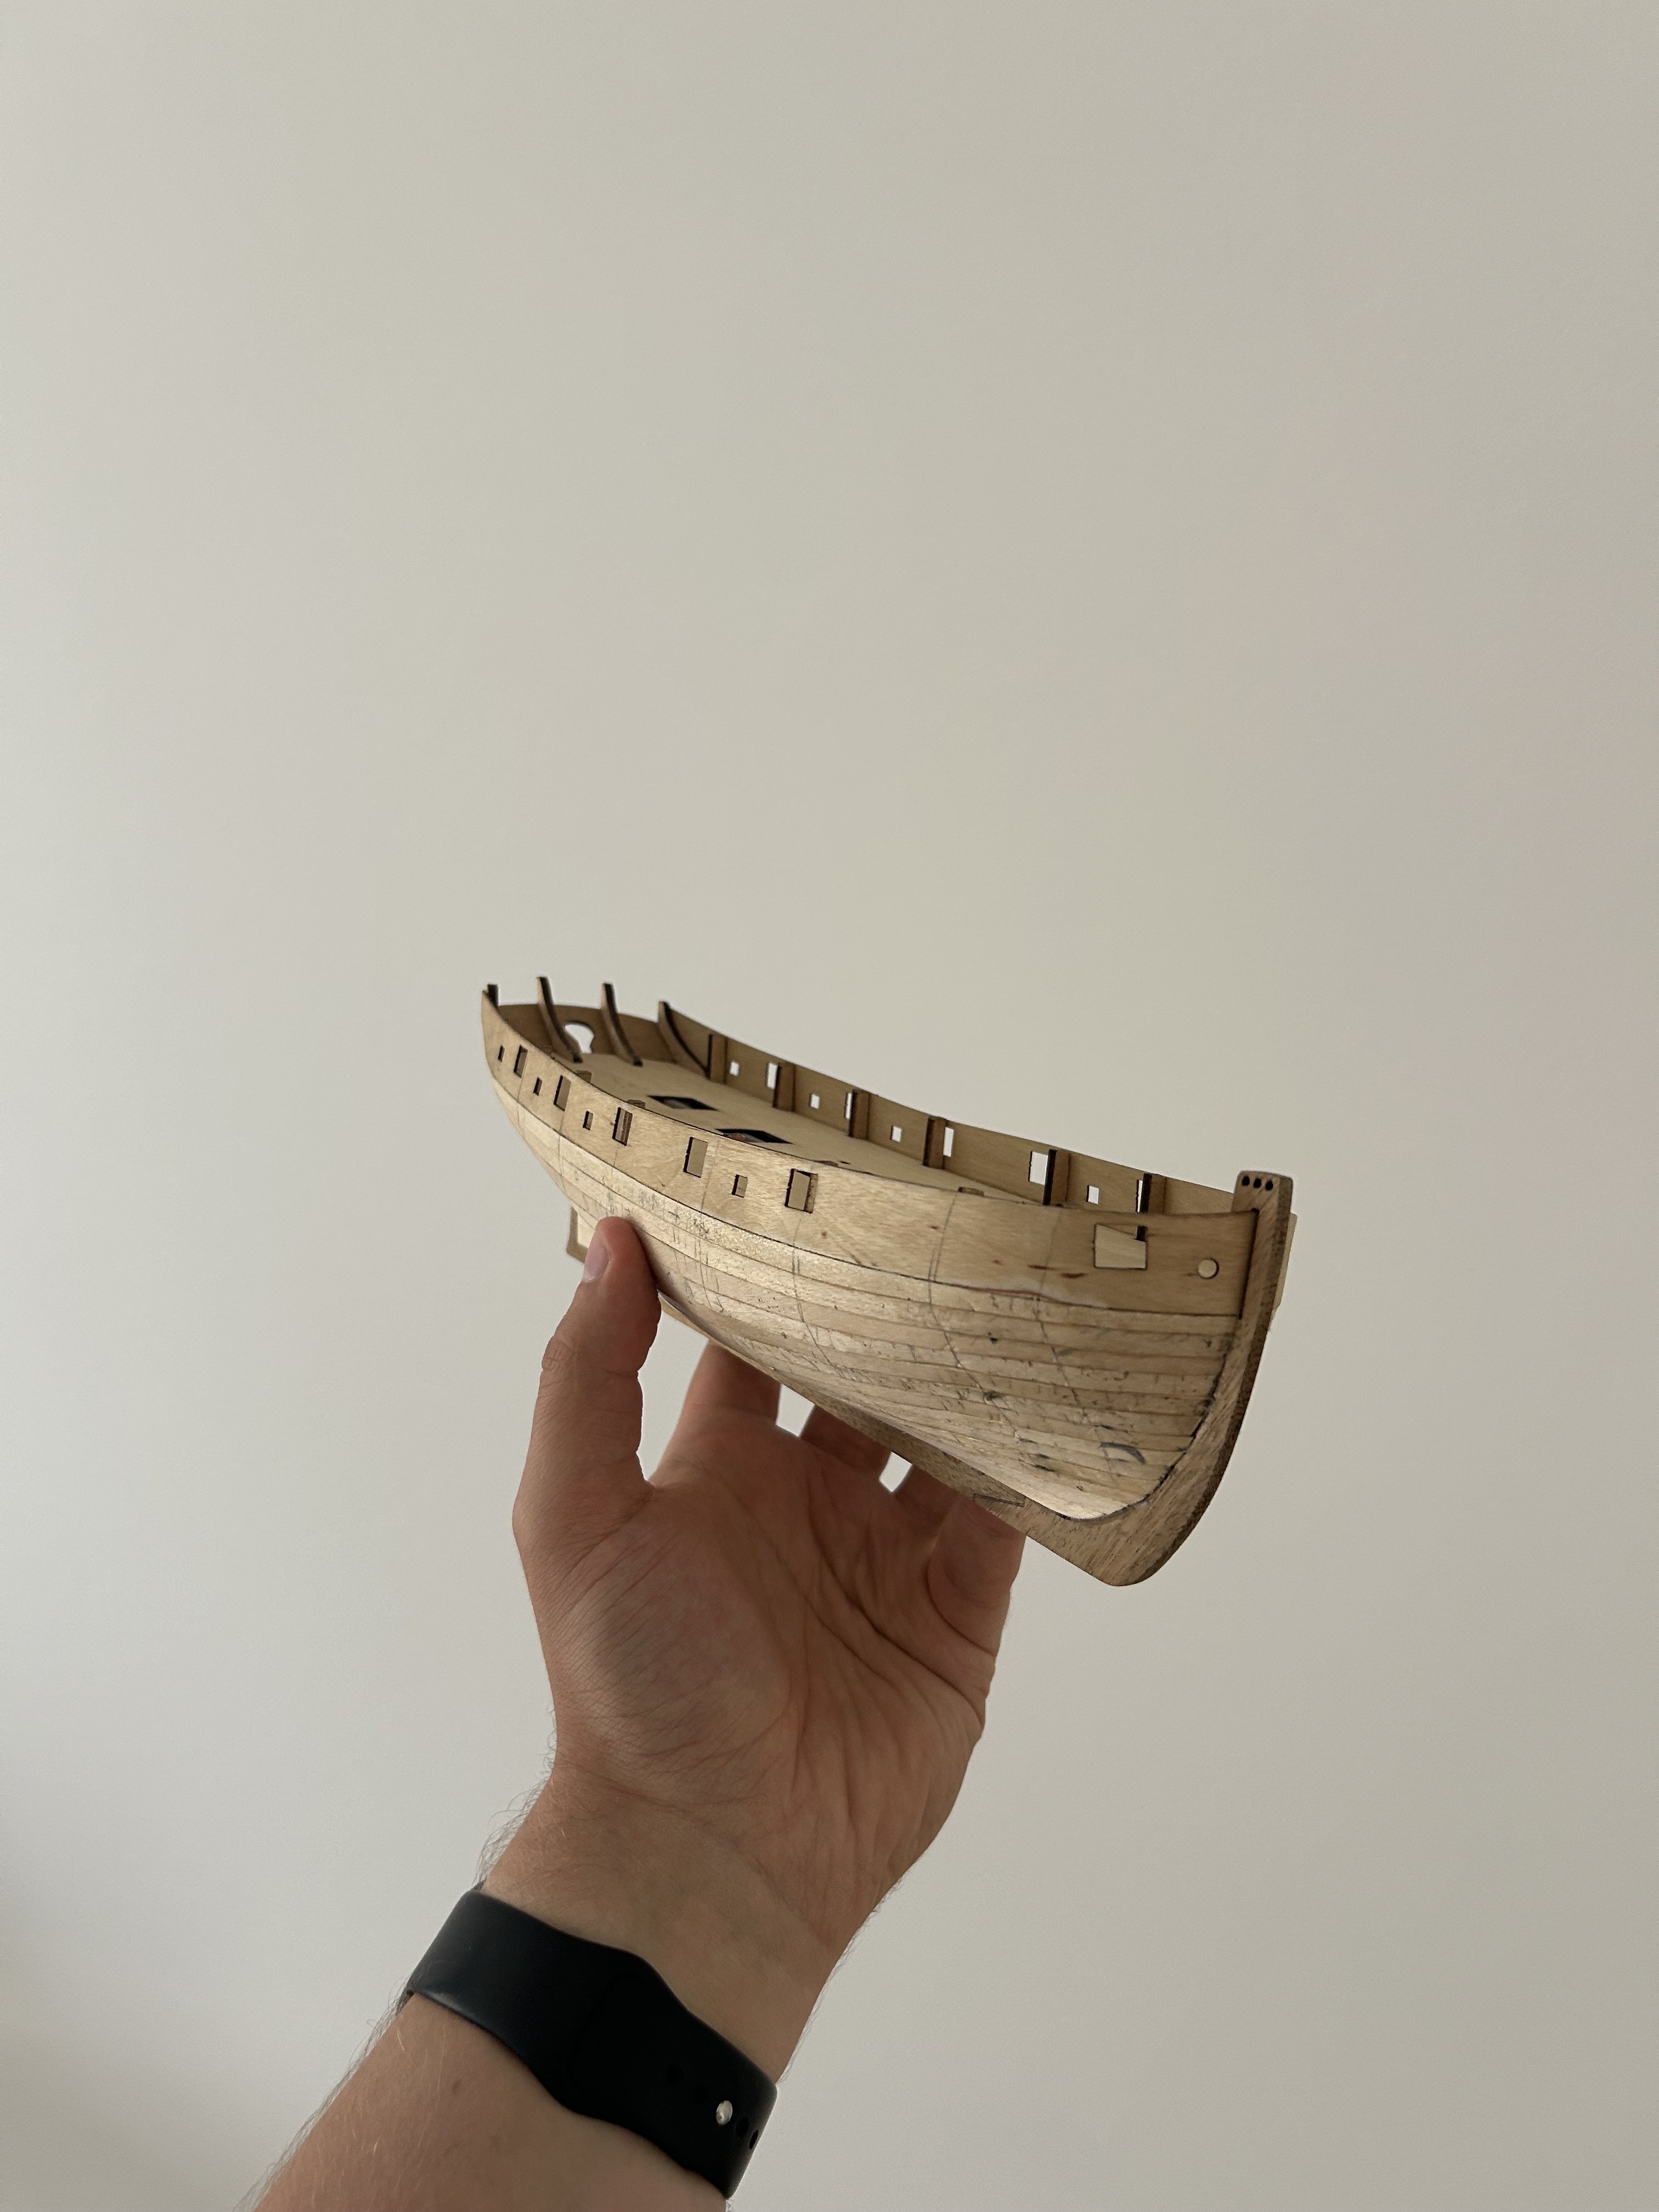
There was not enough deck planks in the kit, to cover whole deck with whole planks only. But not a big deal. I was able to reuse some left overs and do joins below the cannons

- 81 replies
-
- 7
-
-
- Lady Nelson
- Amati
- (and 1 more)
-
Same thing for me!
-
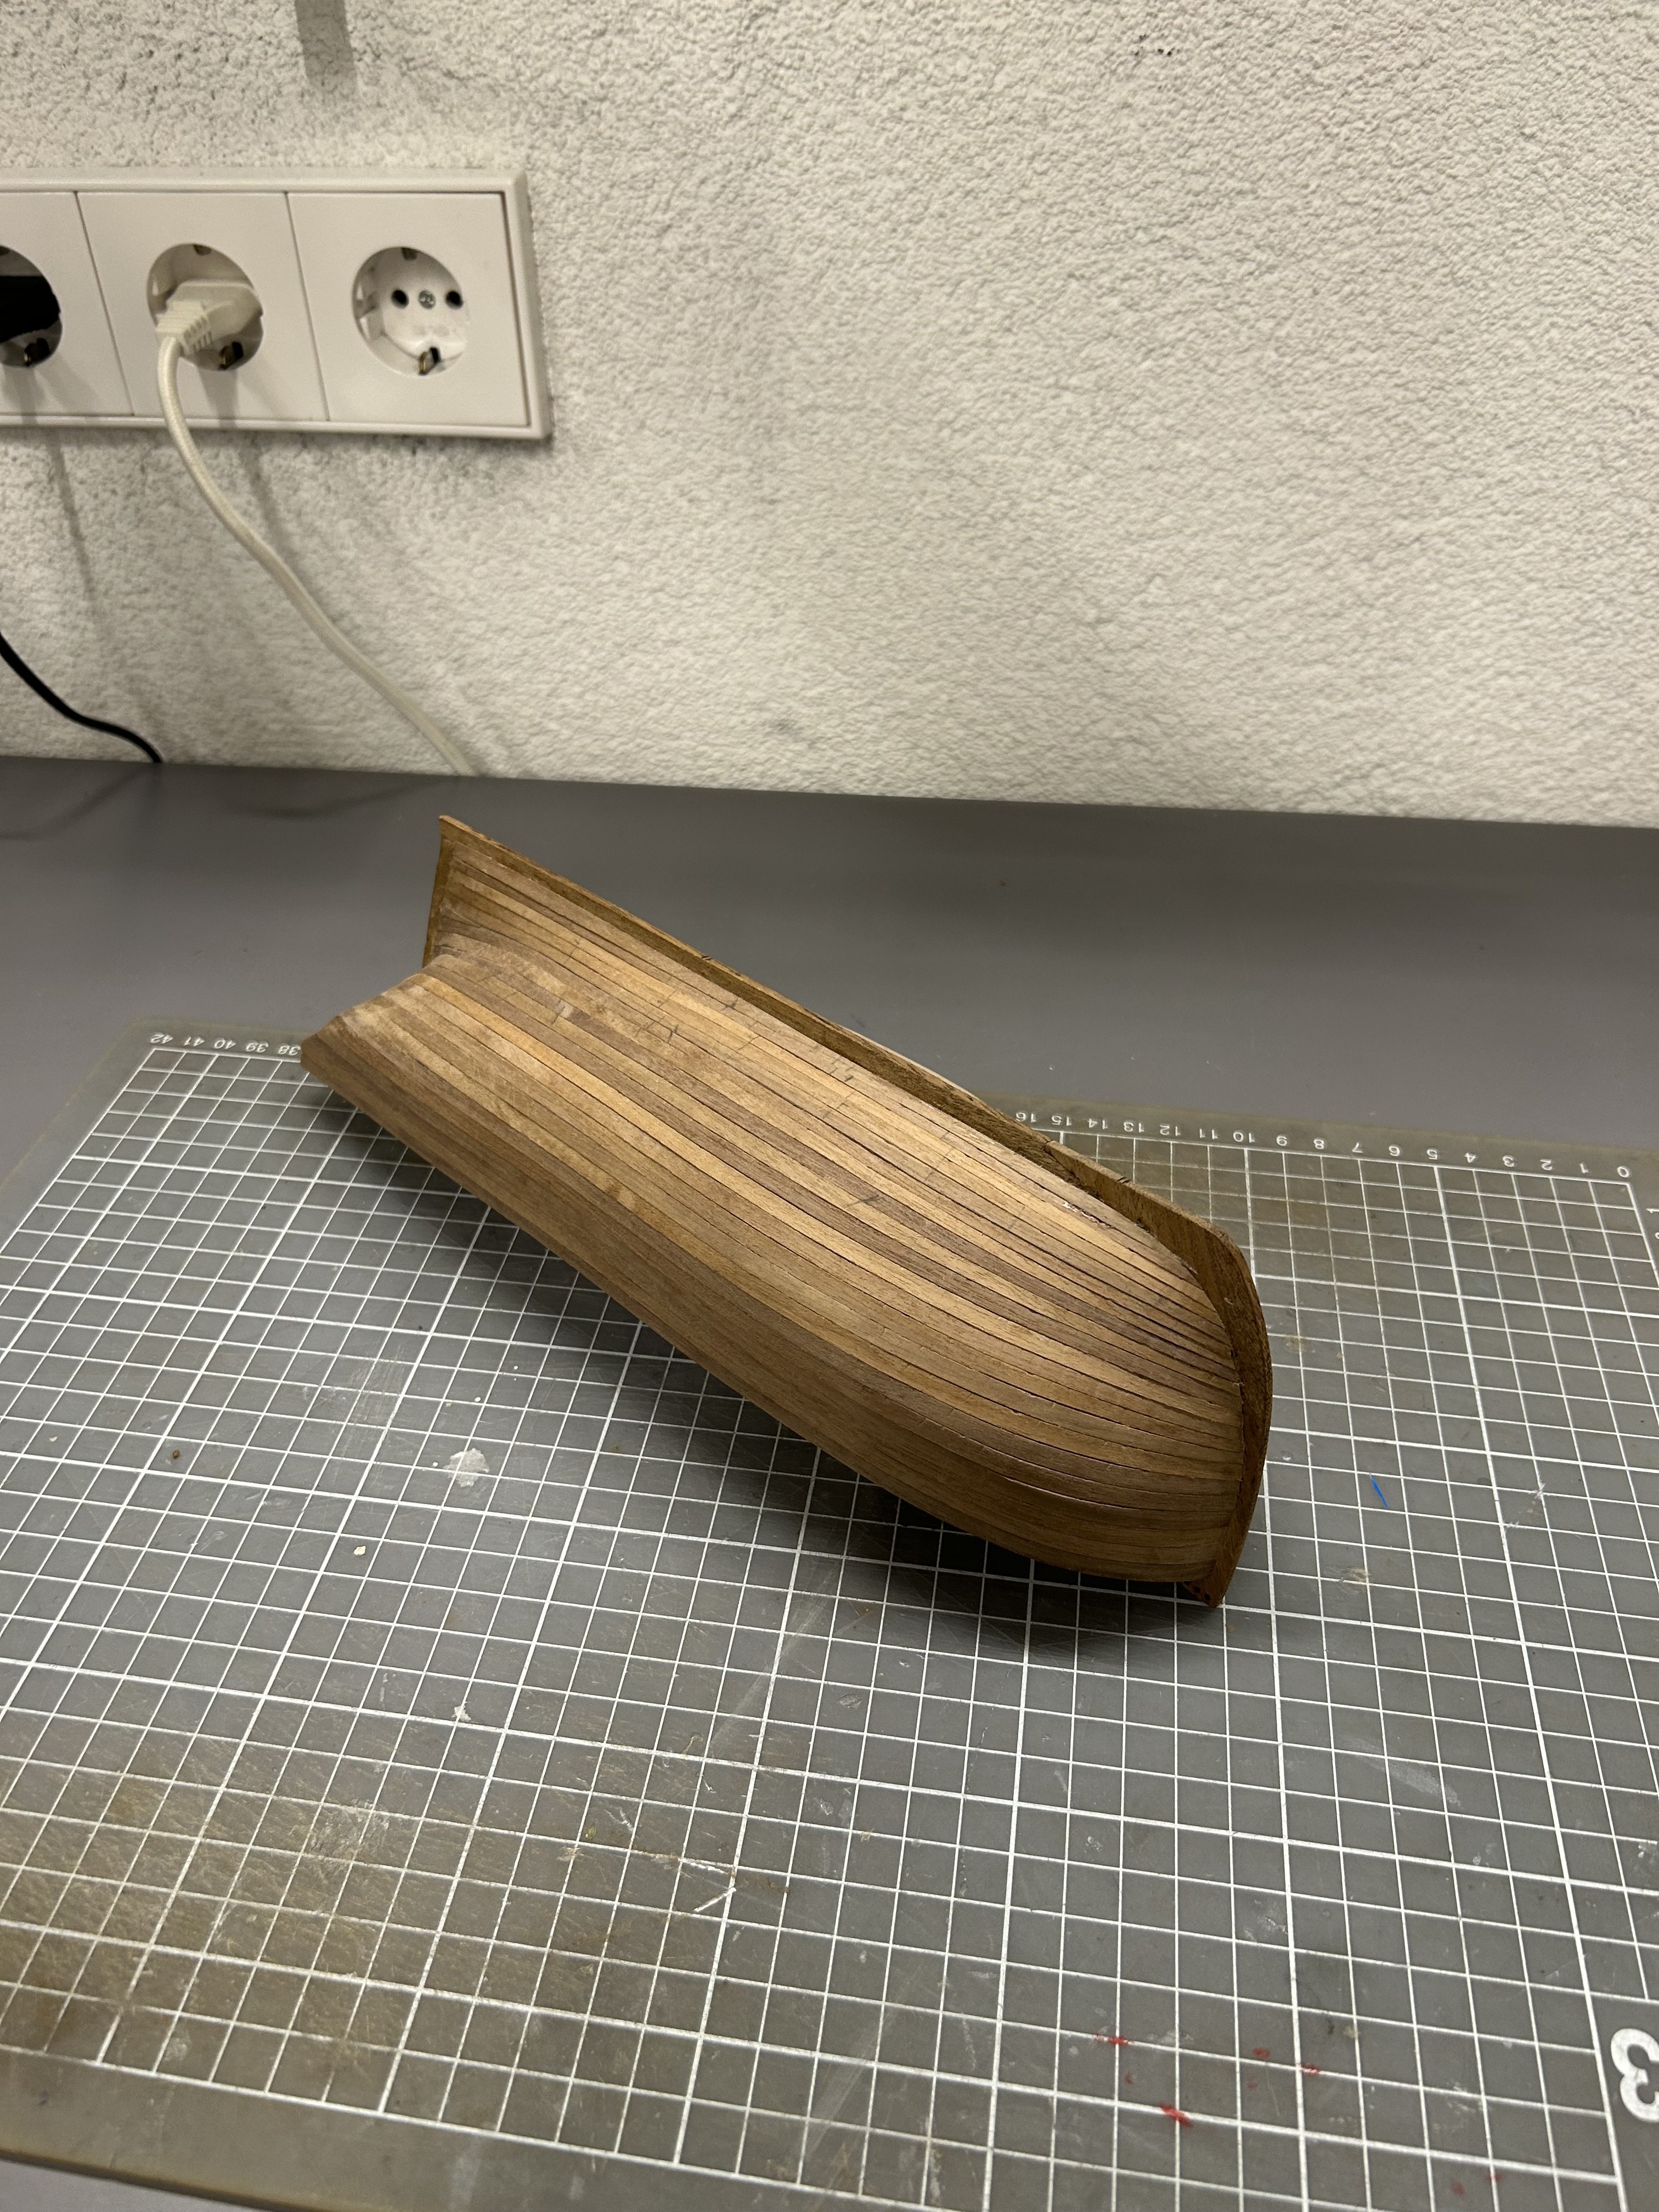
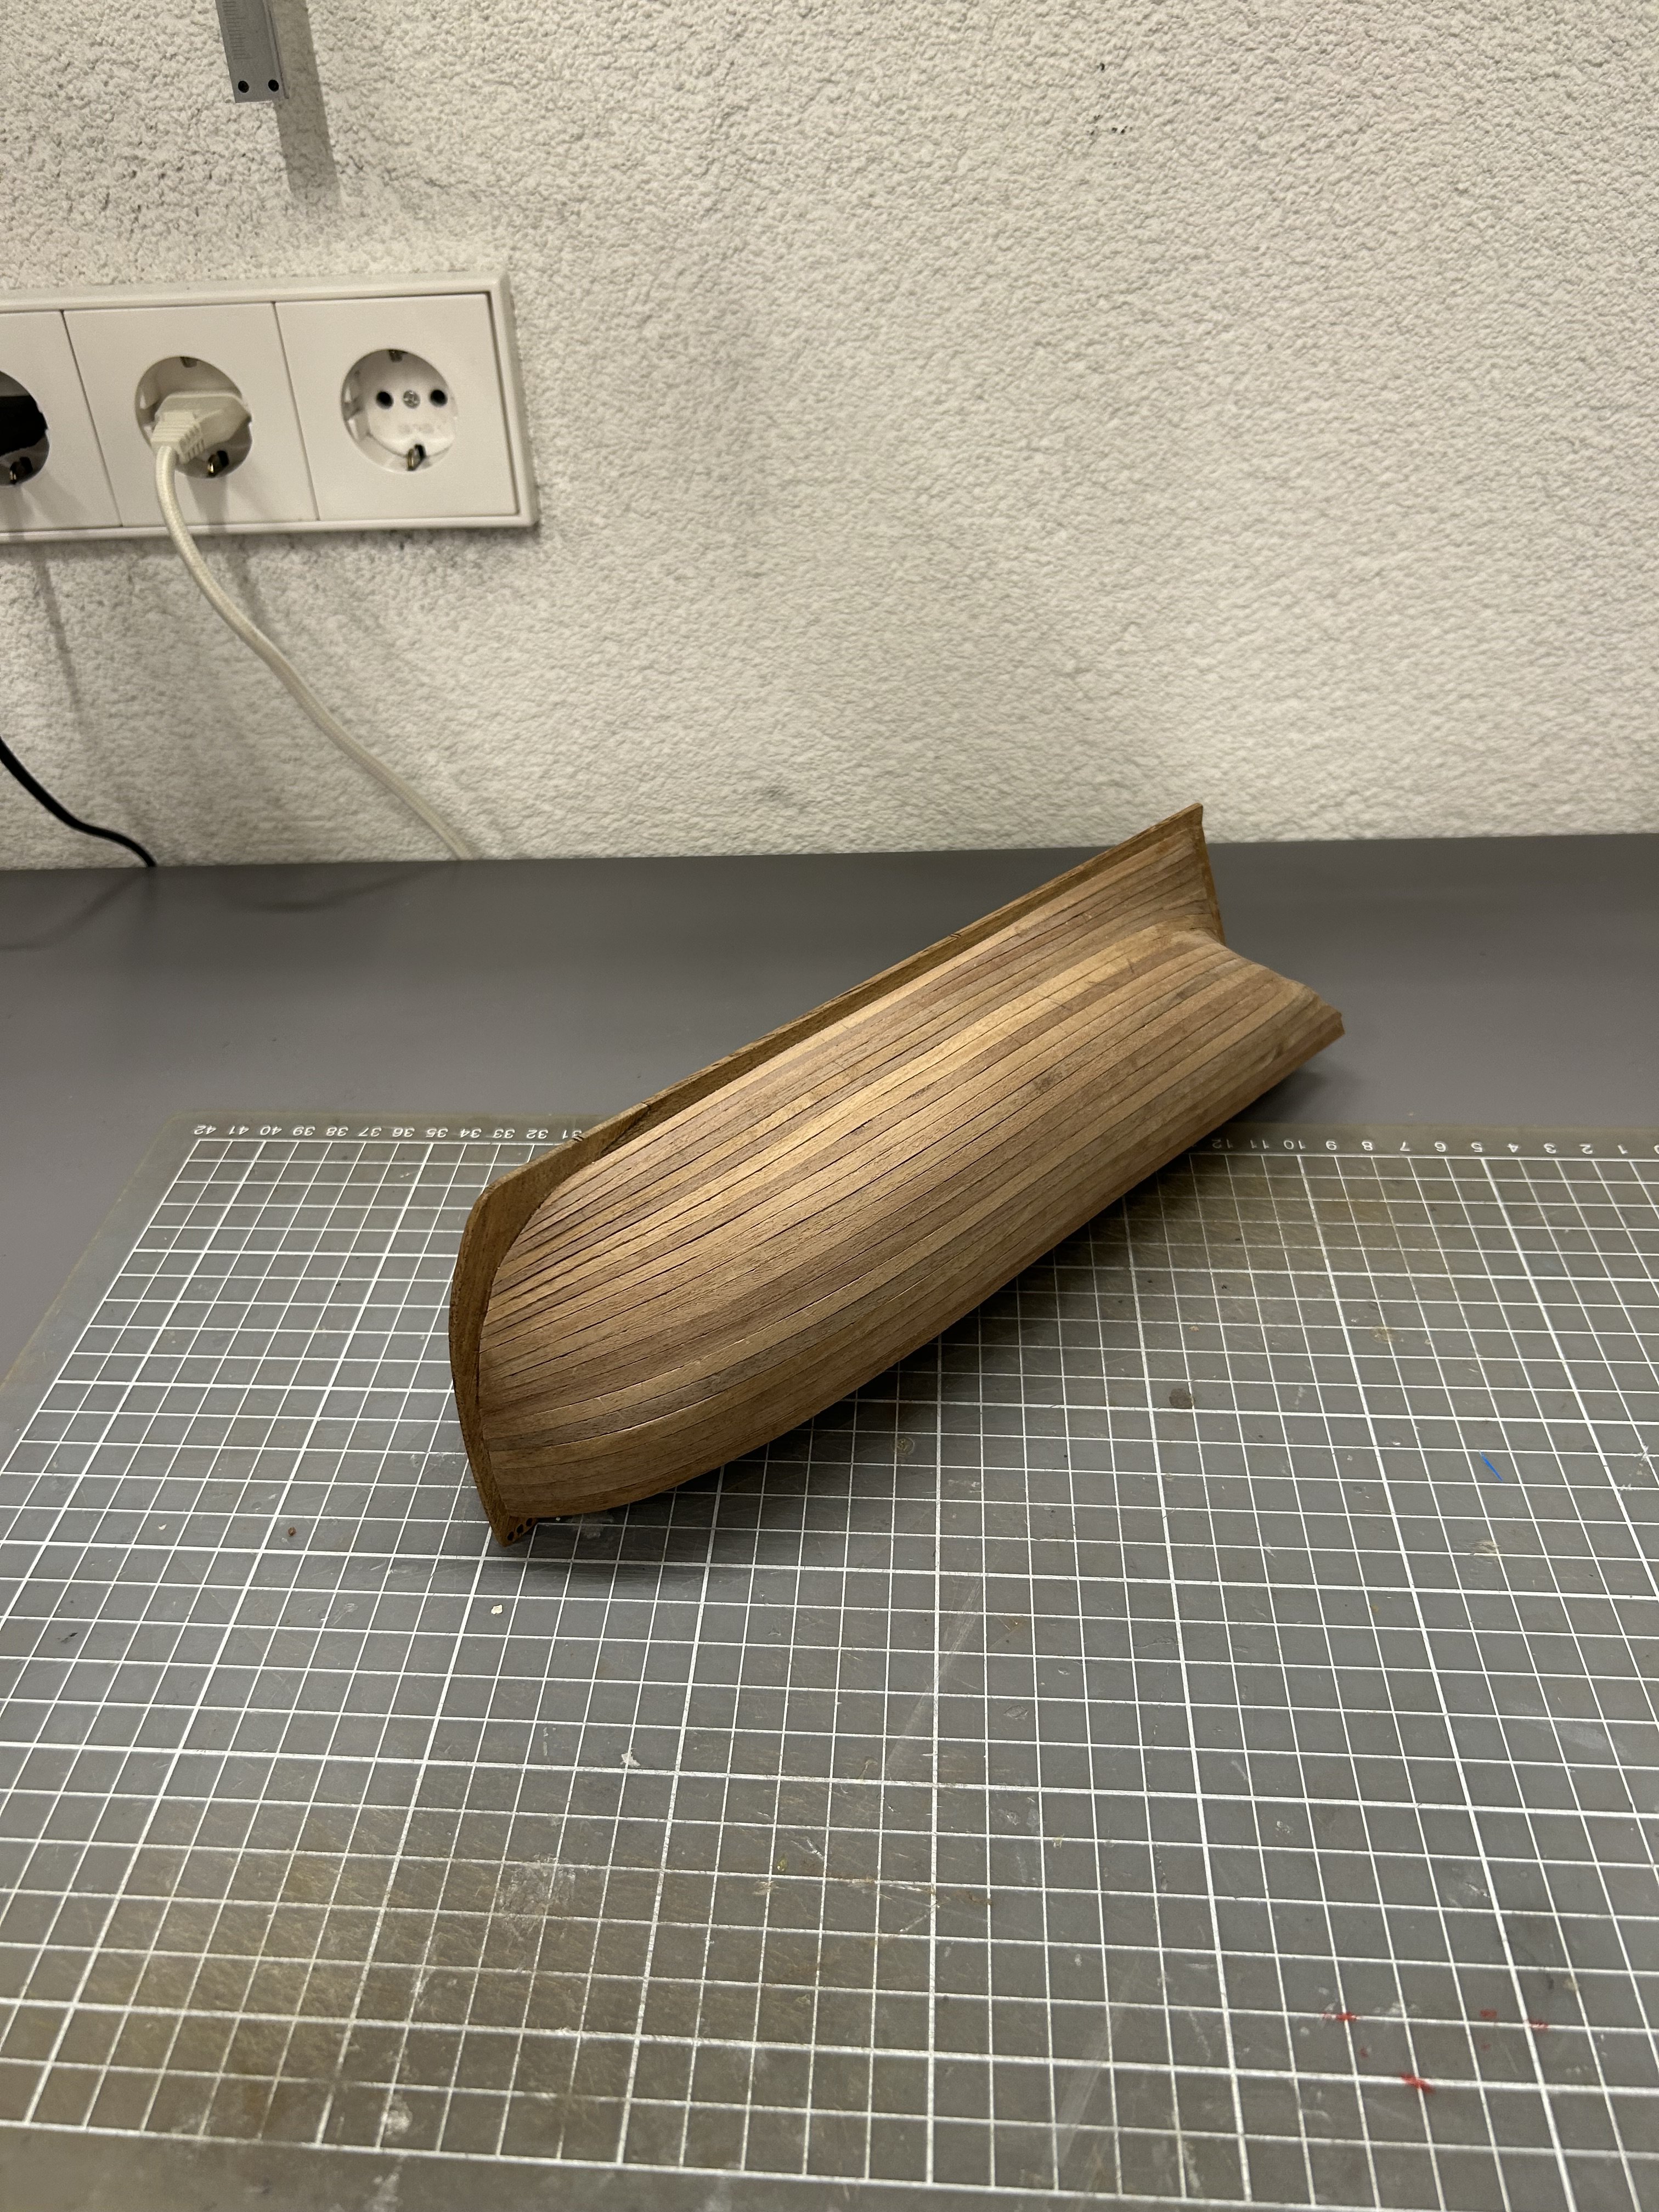
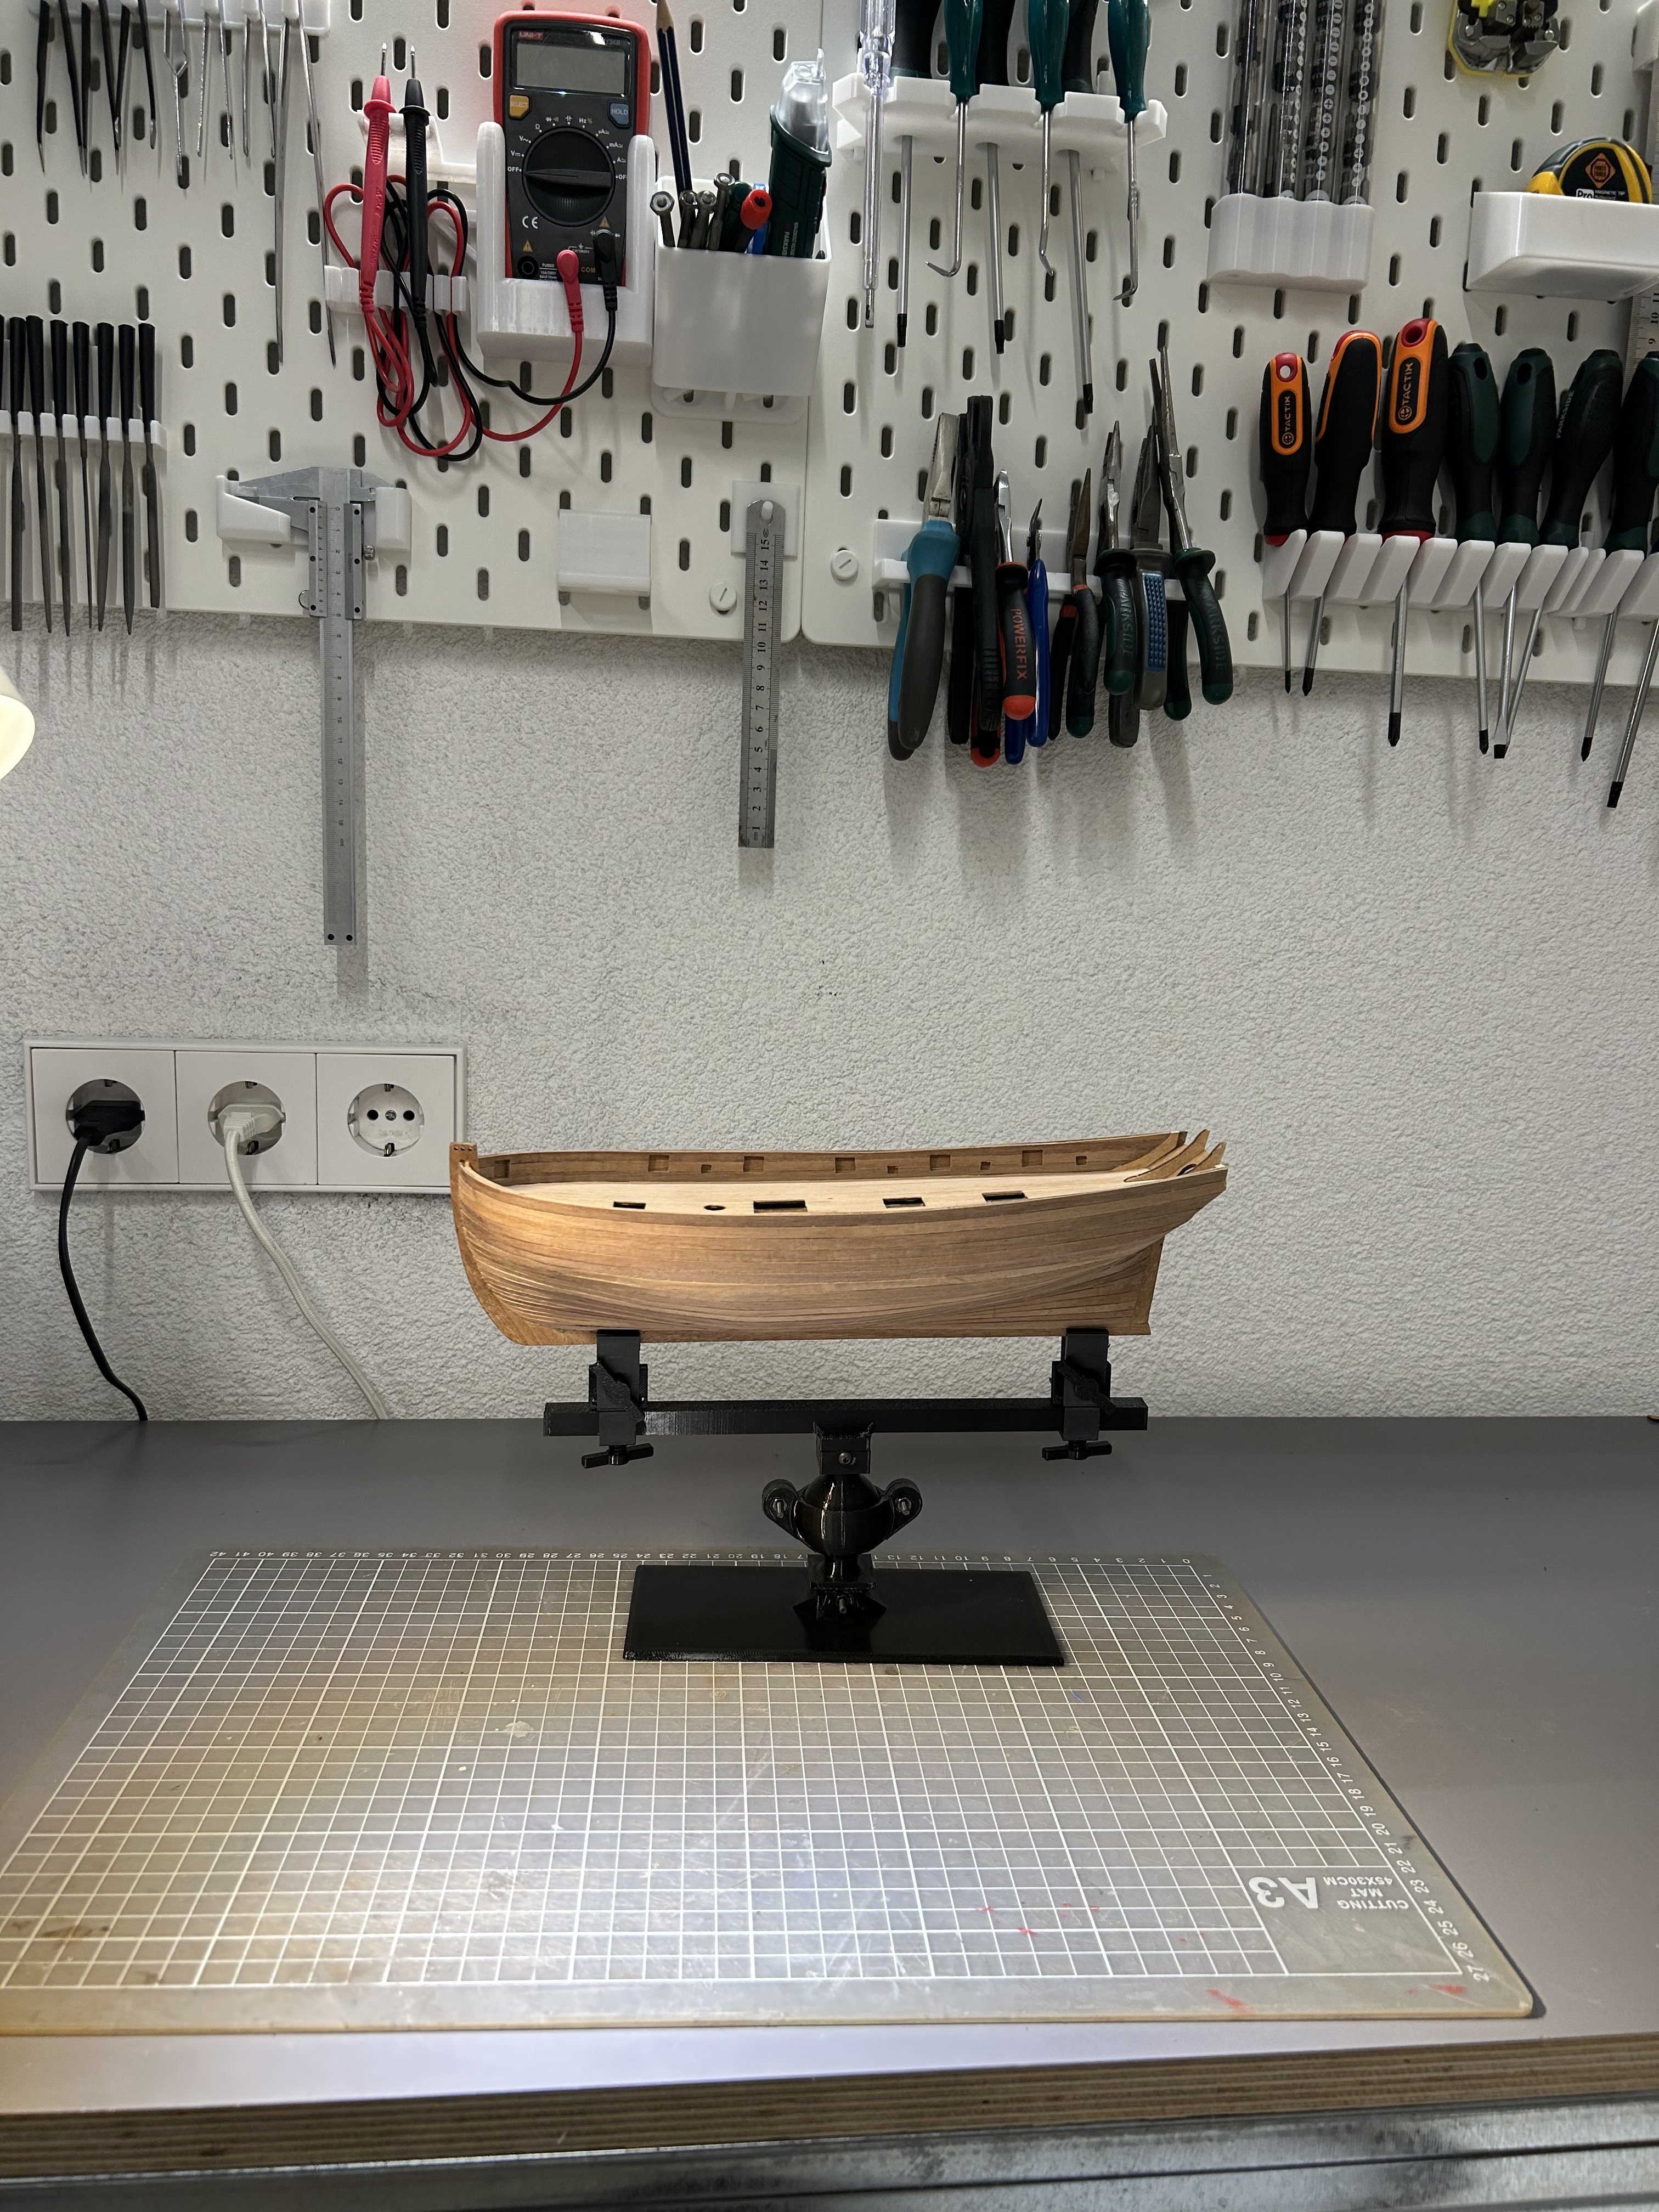
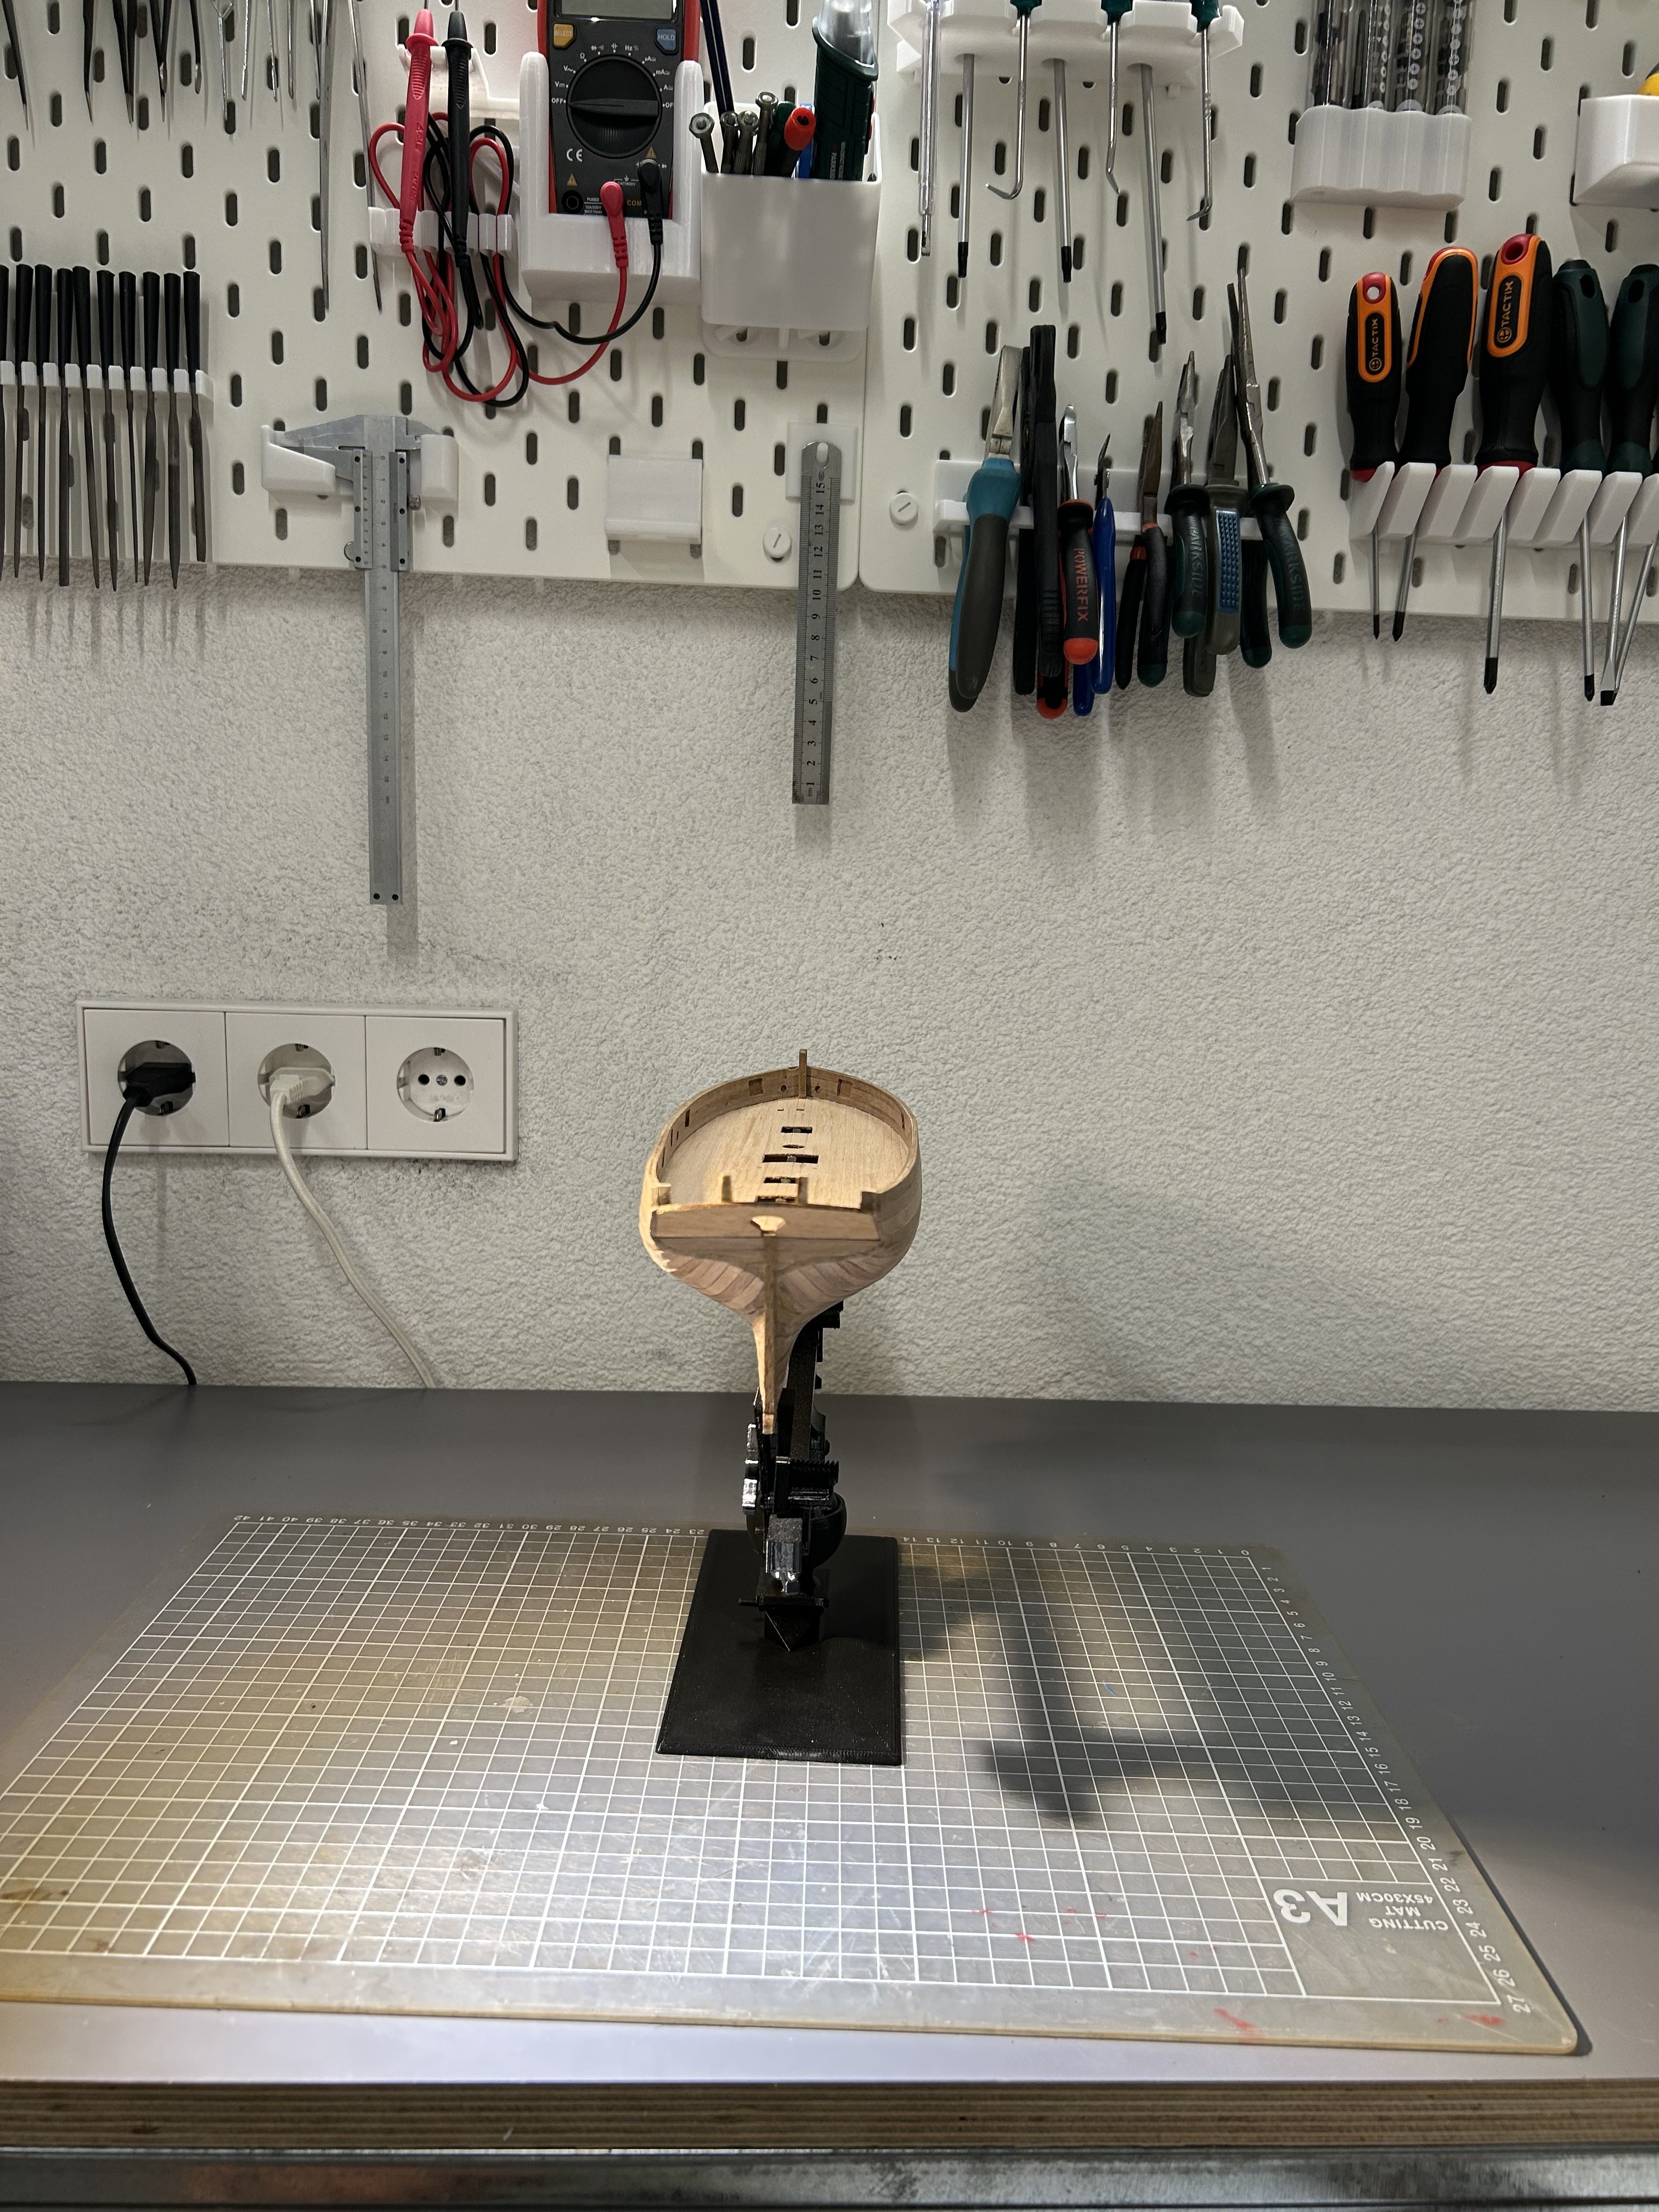
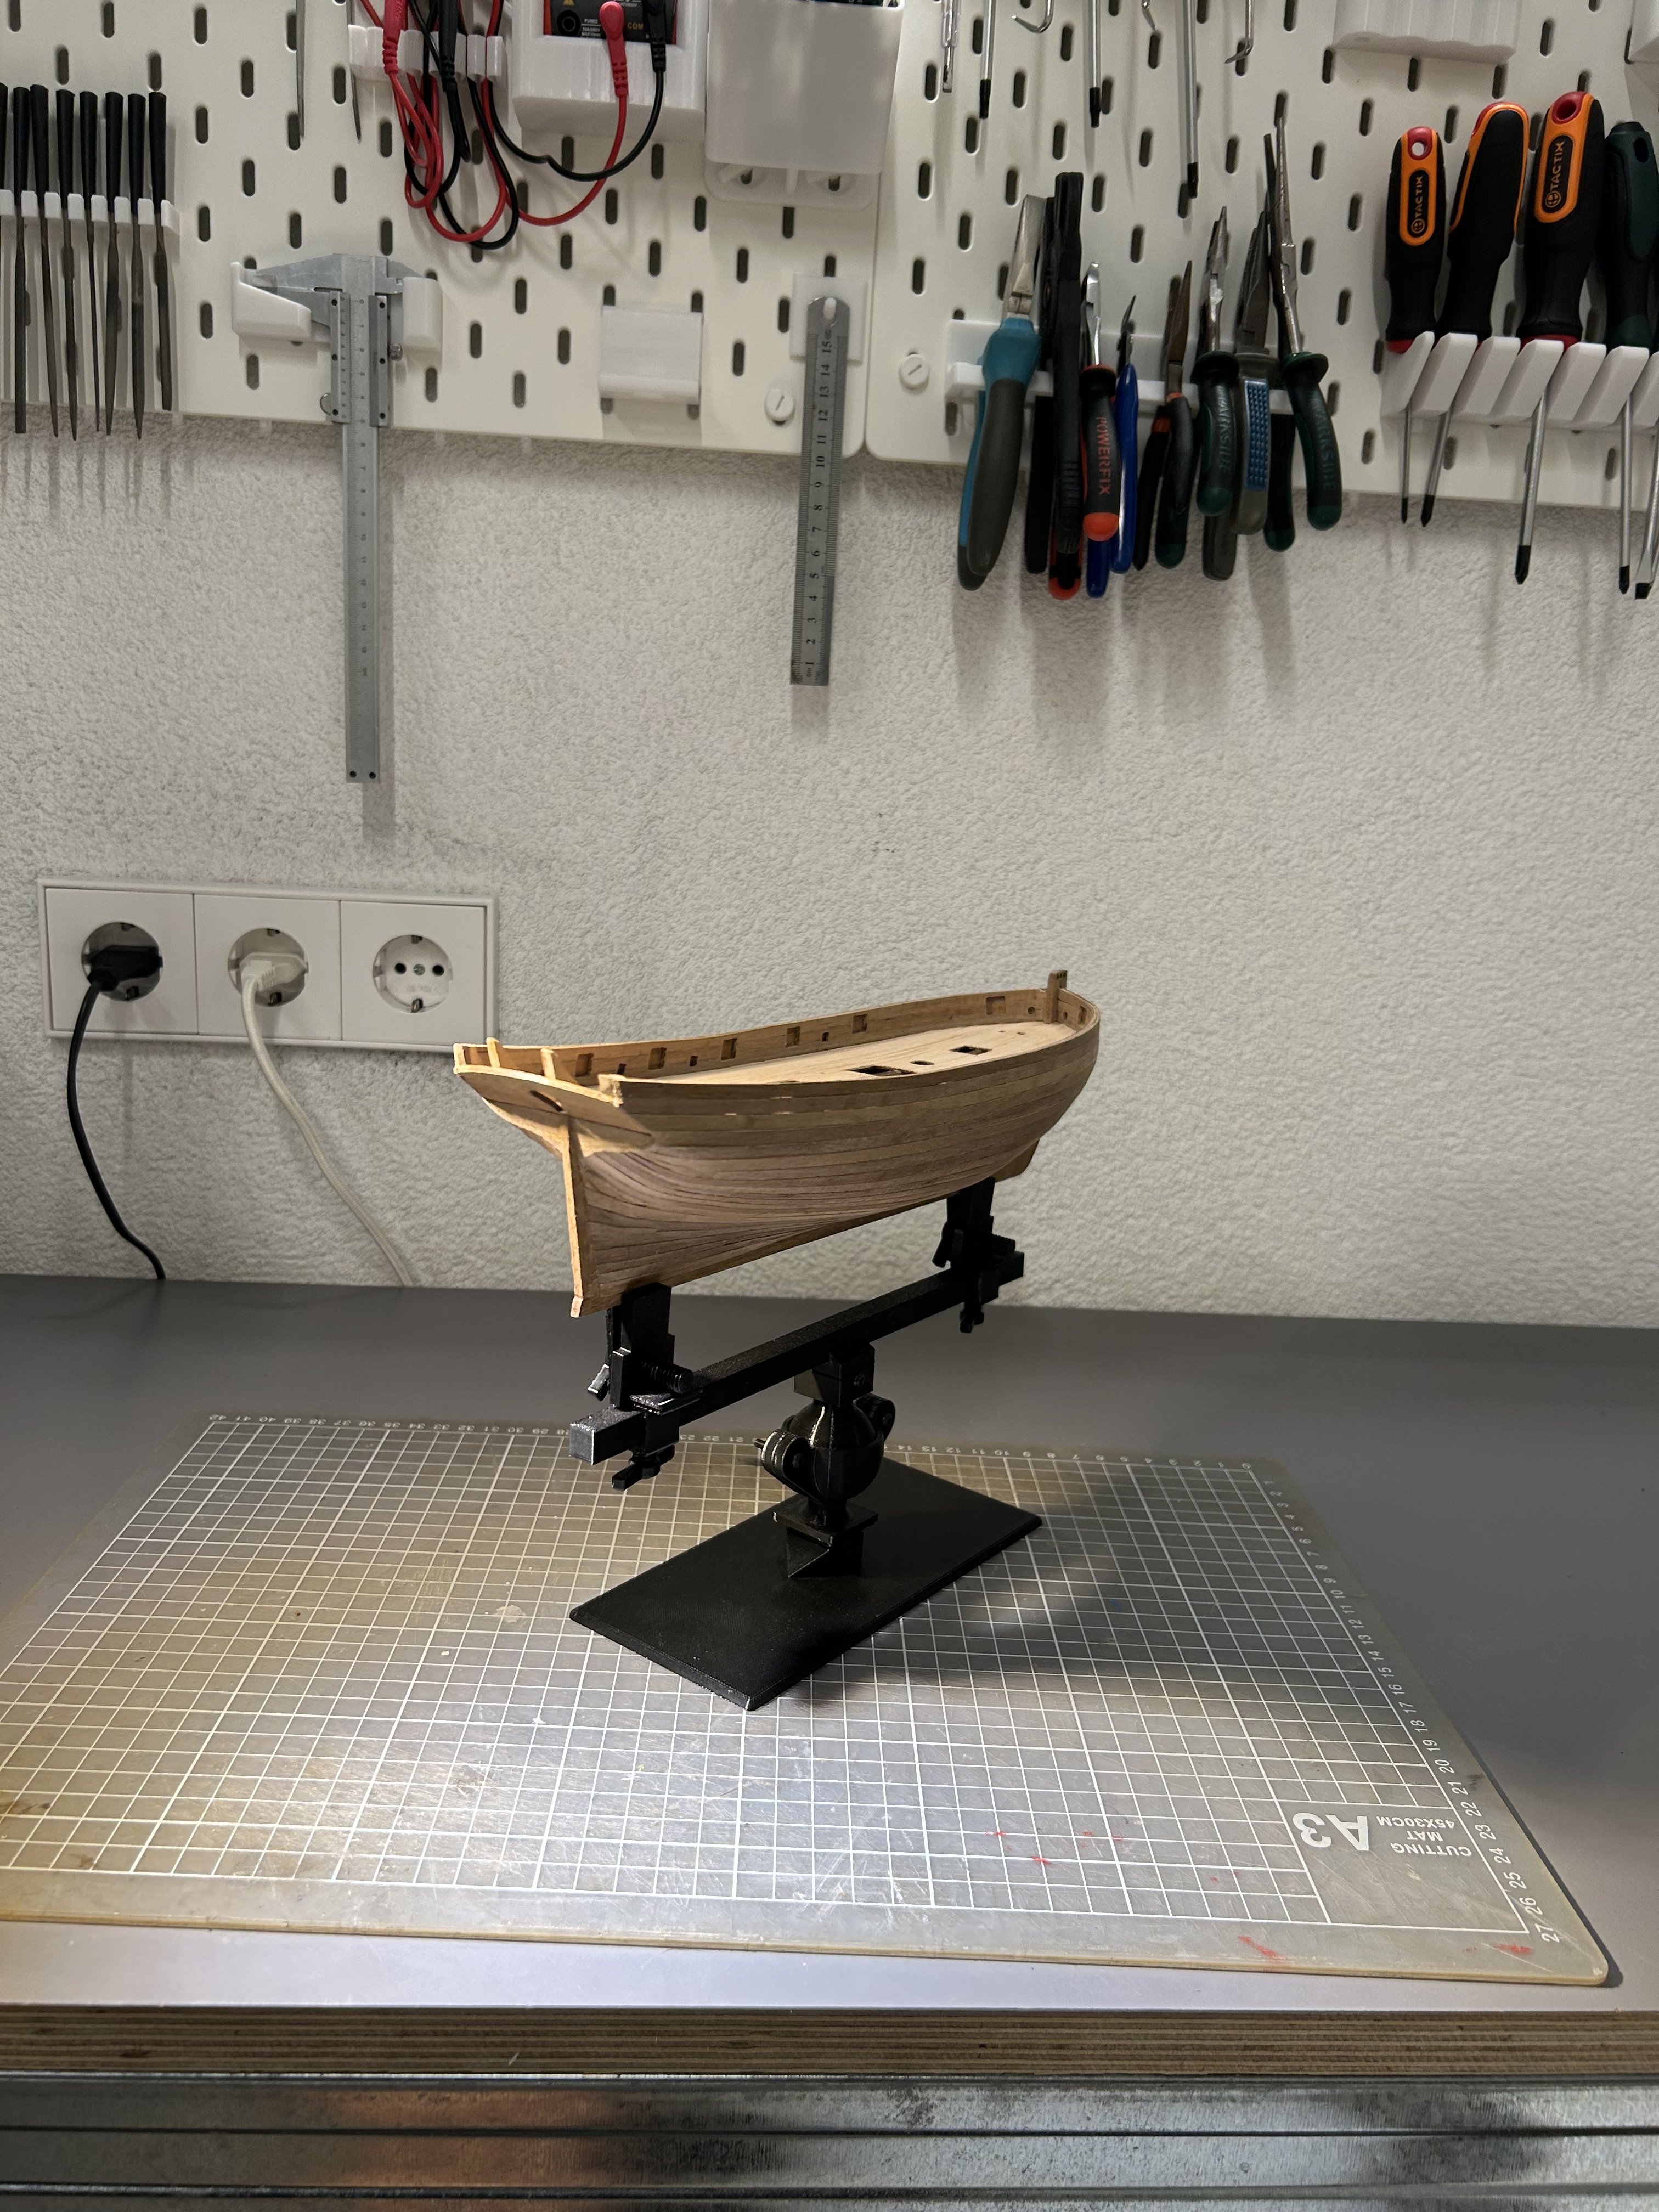
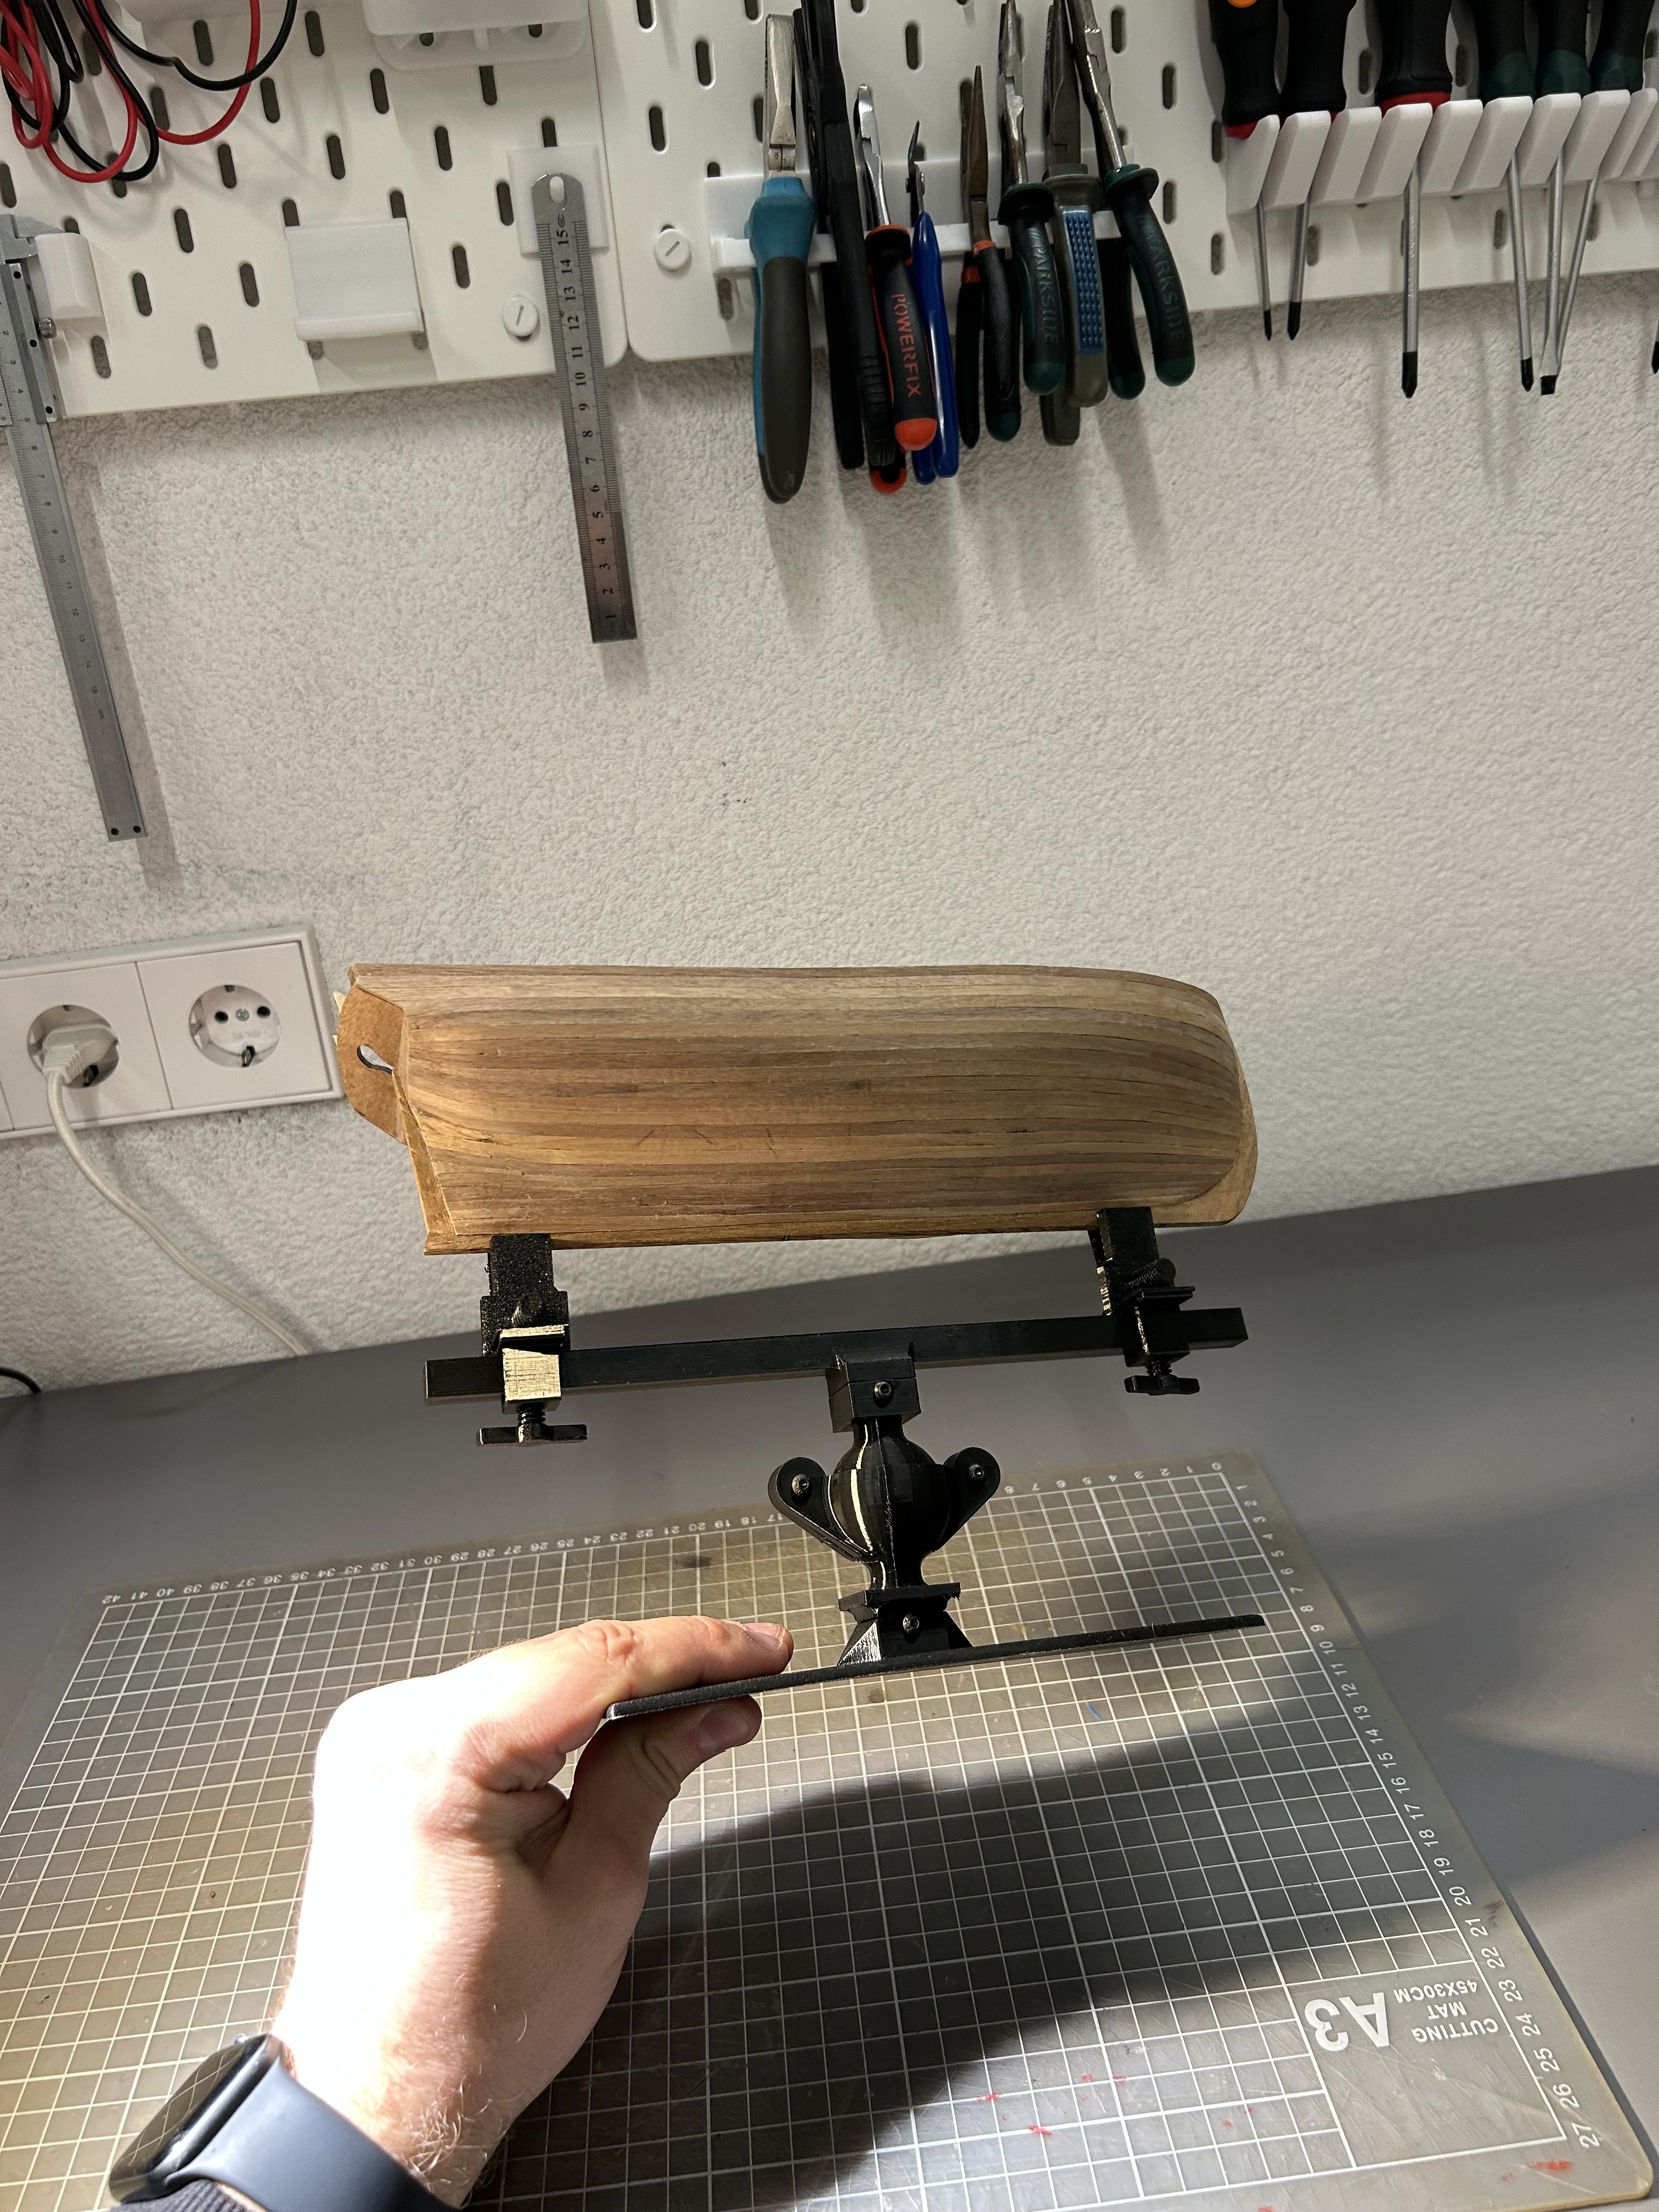
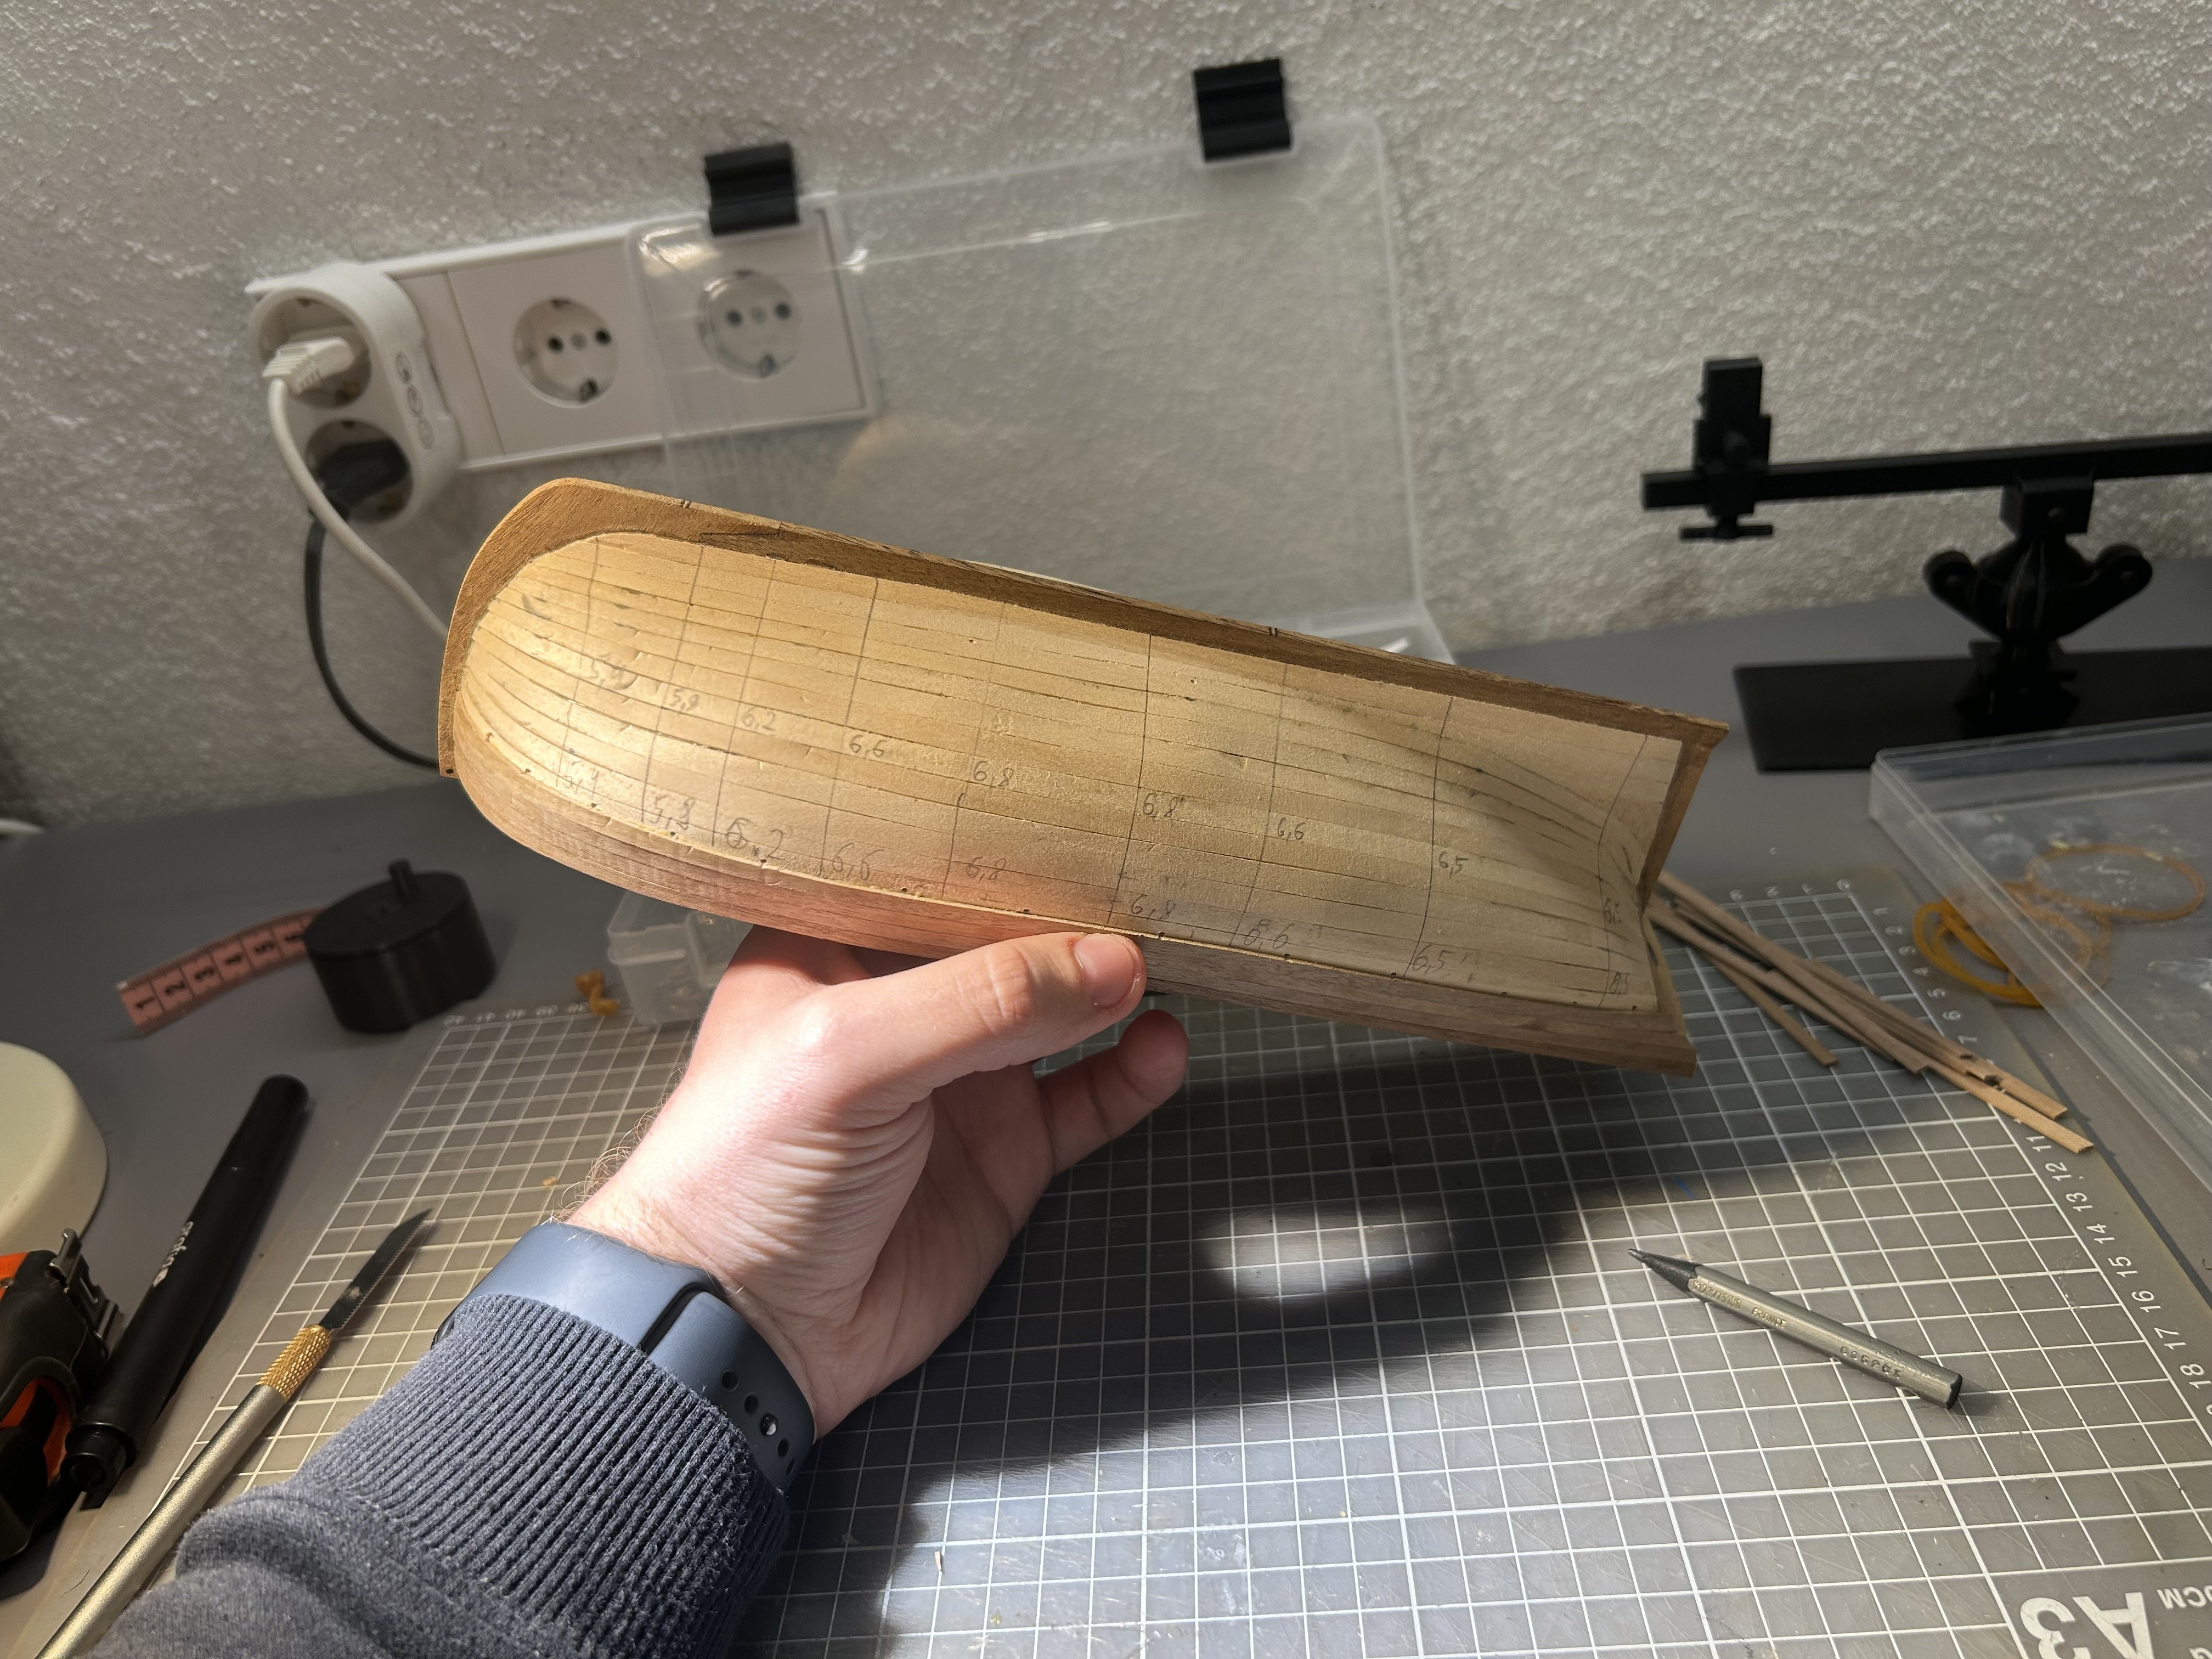
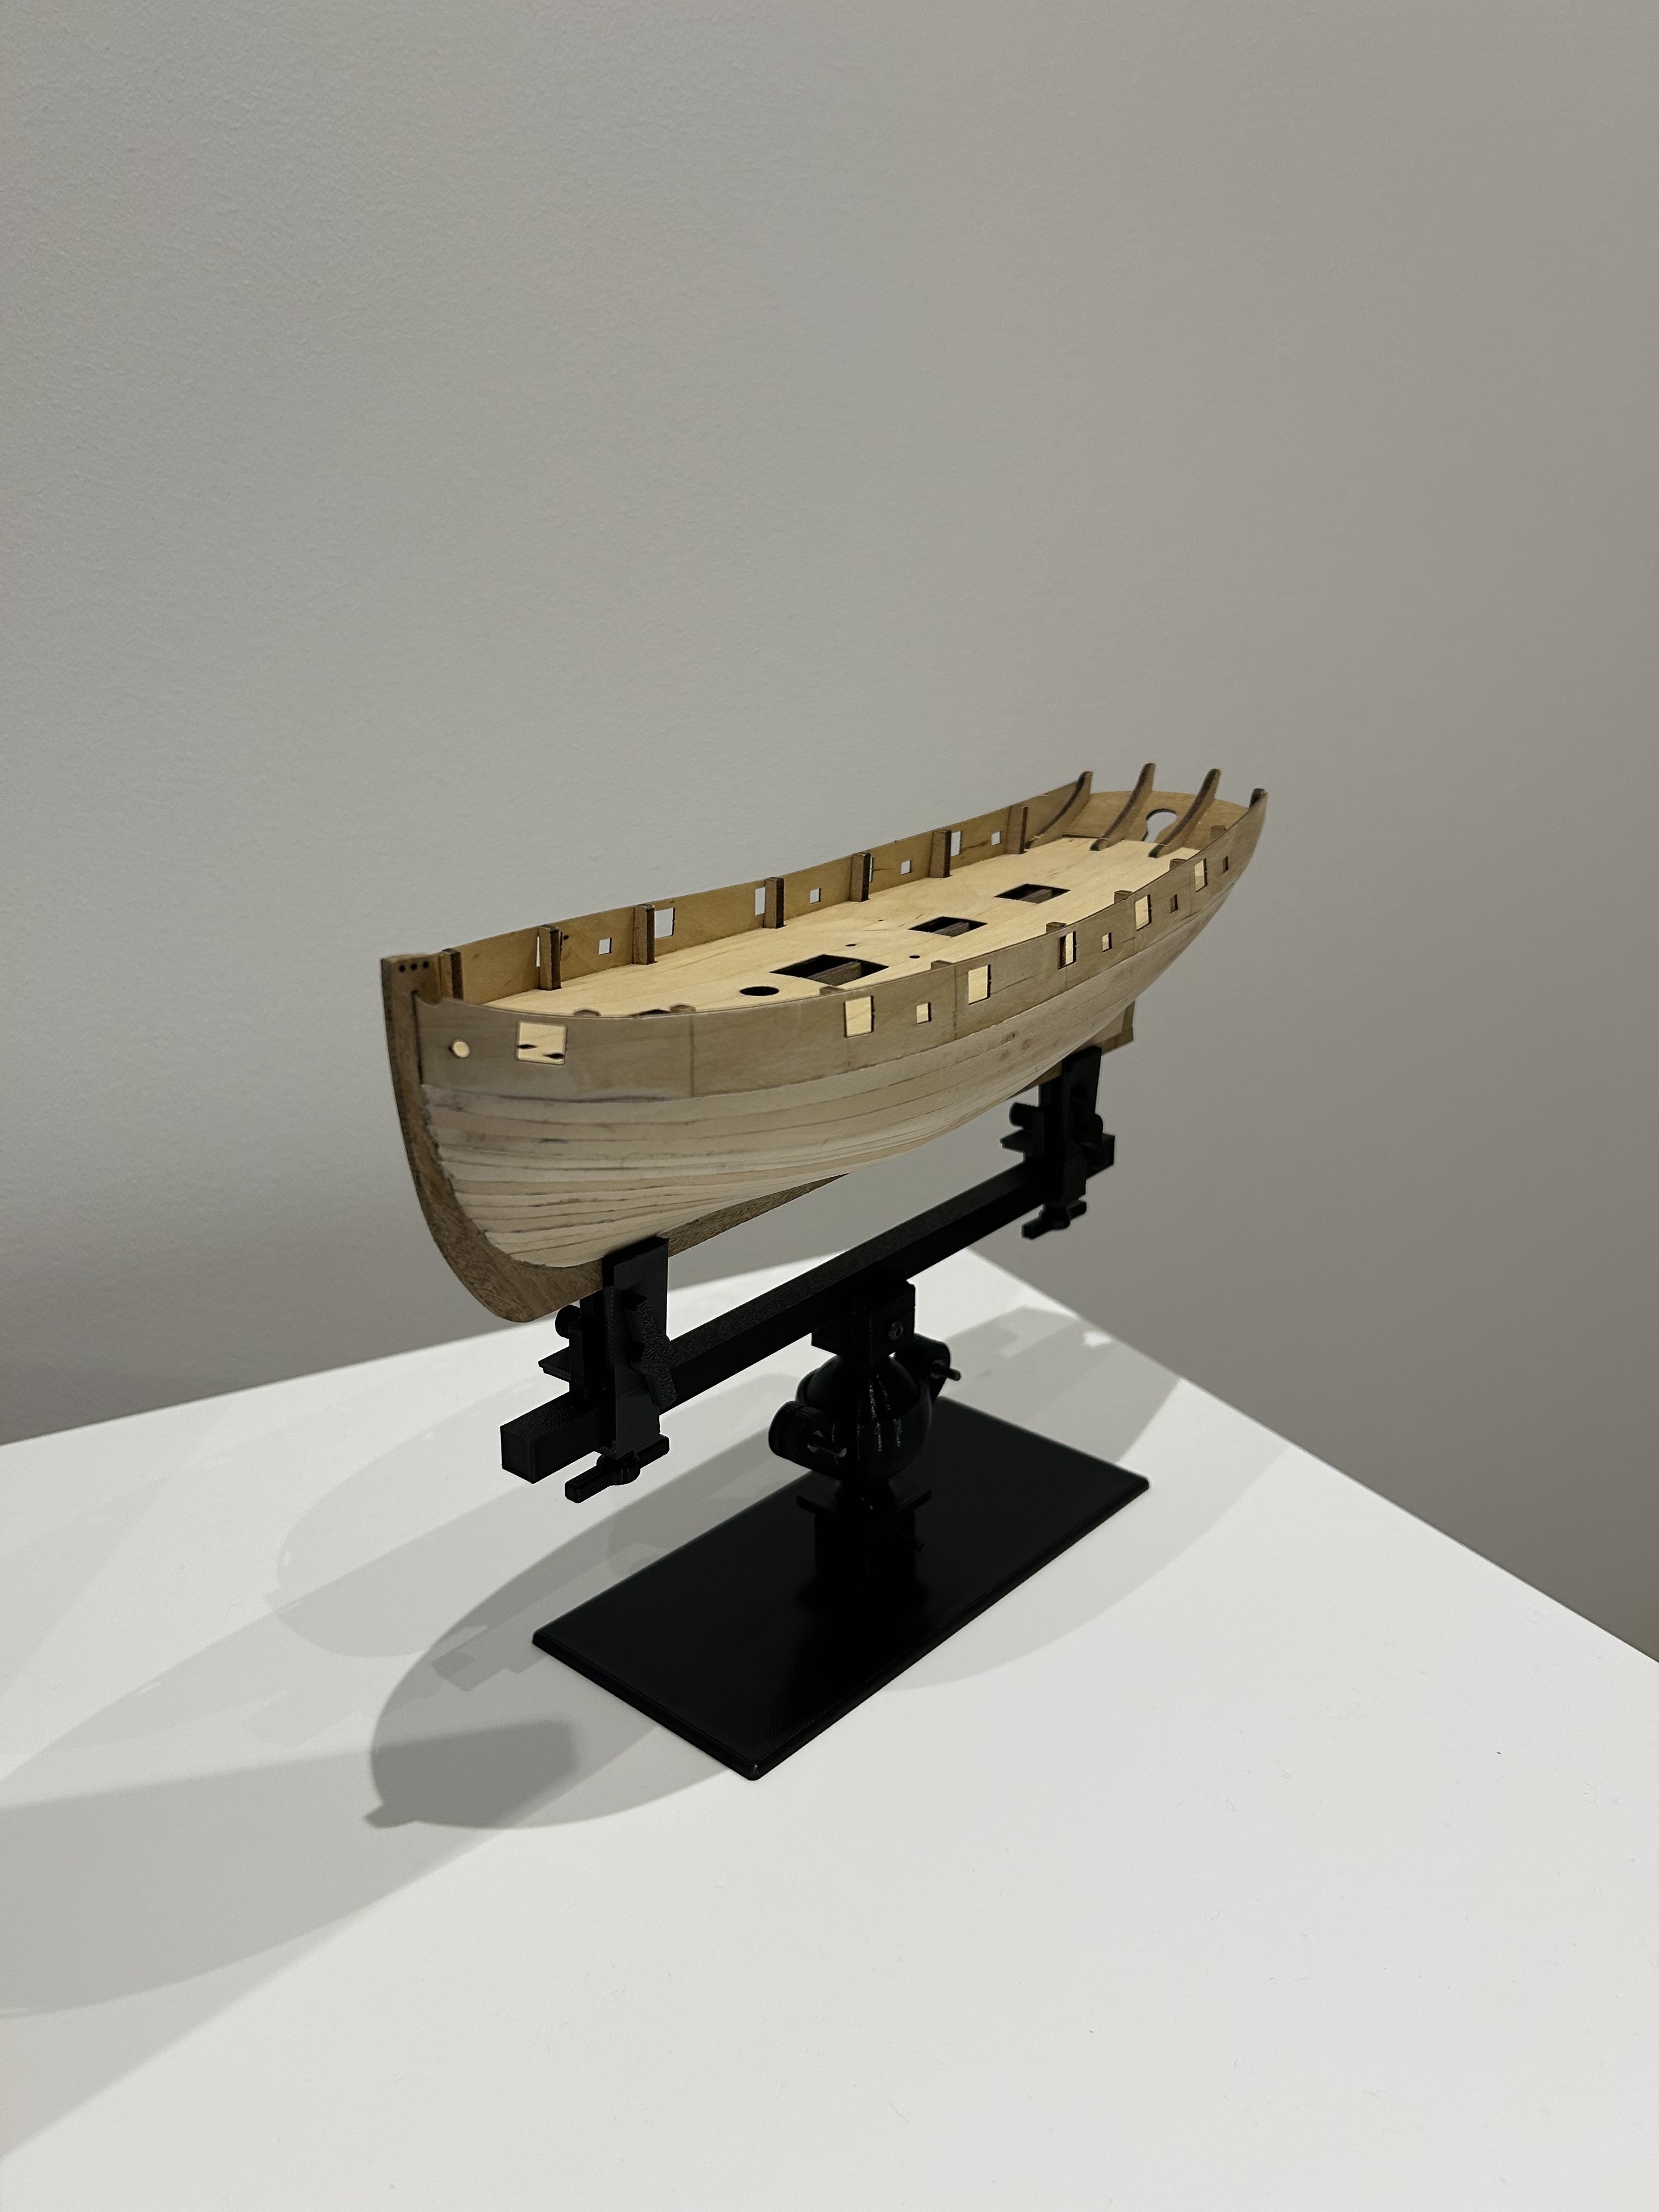
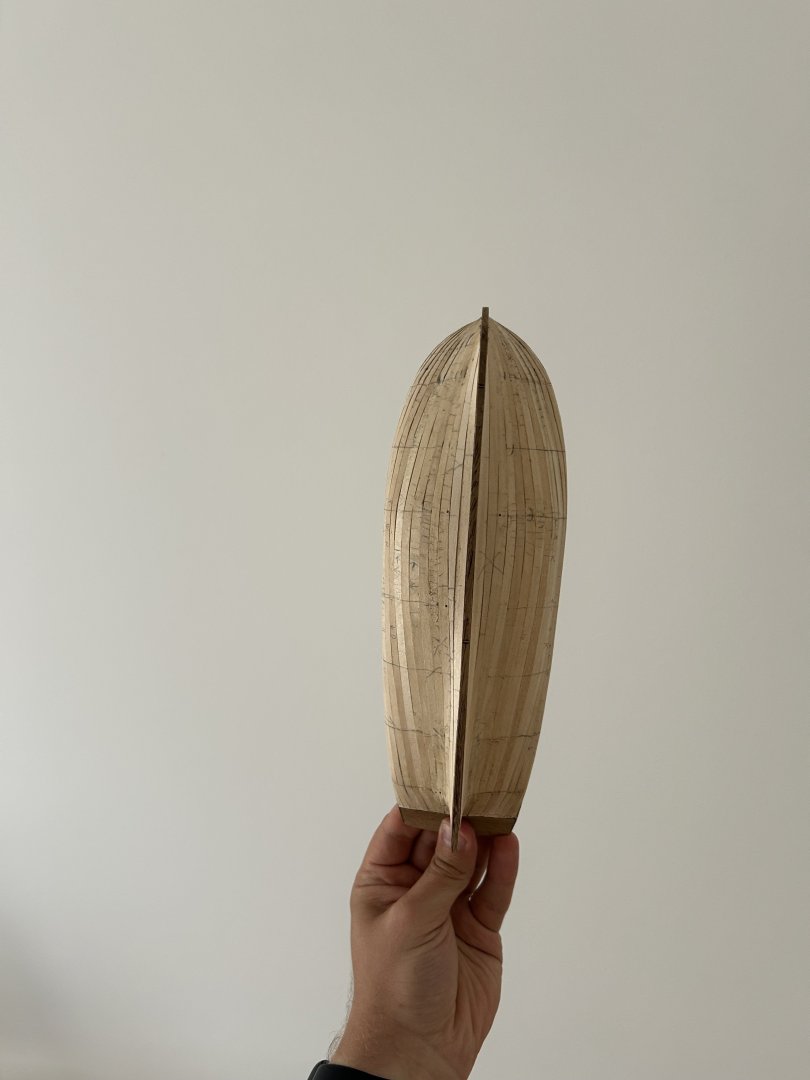
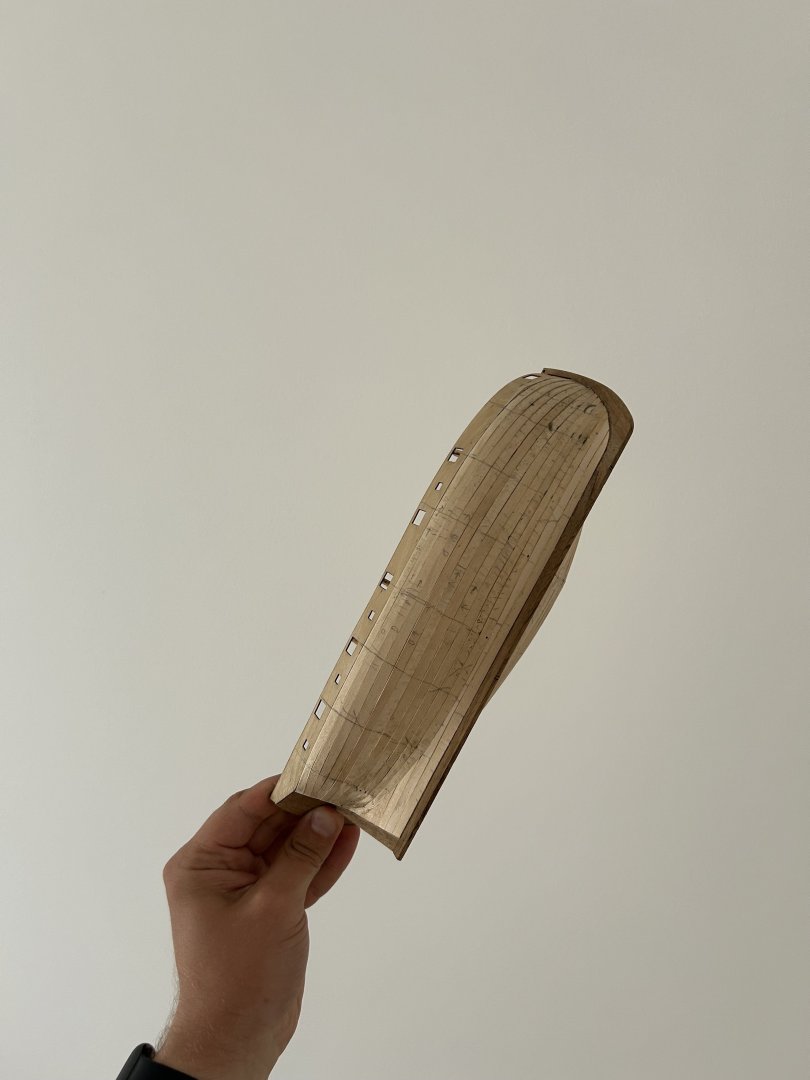
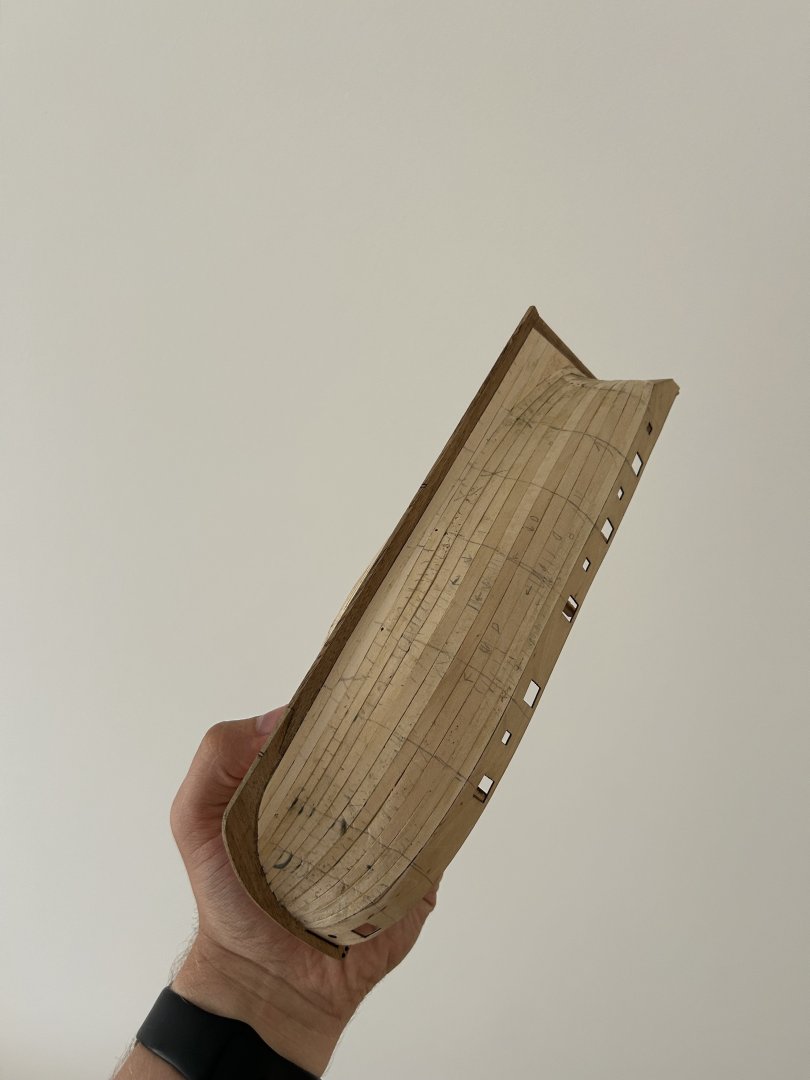
First batch of sanding I think I will do this process one or two times more and then I will be fully happy with the outcome I am not 100% sure yet, but it looks like no wood putty will be required on the hull.

- 81 replies
-
- 6
-
-

-
- Lady Nelson
- Amati
- (and 1 more)
-
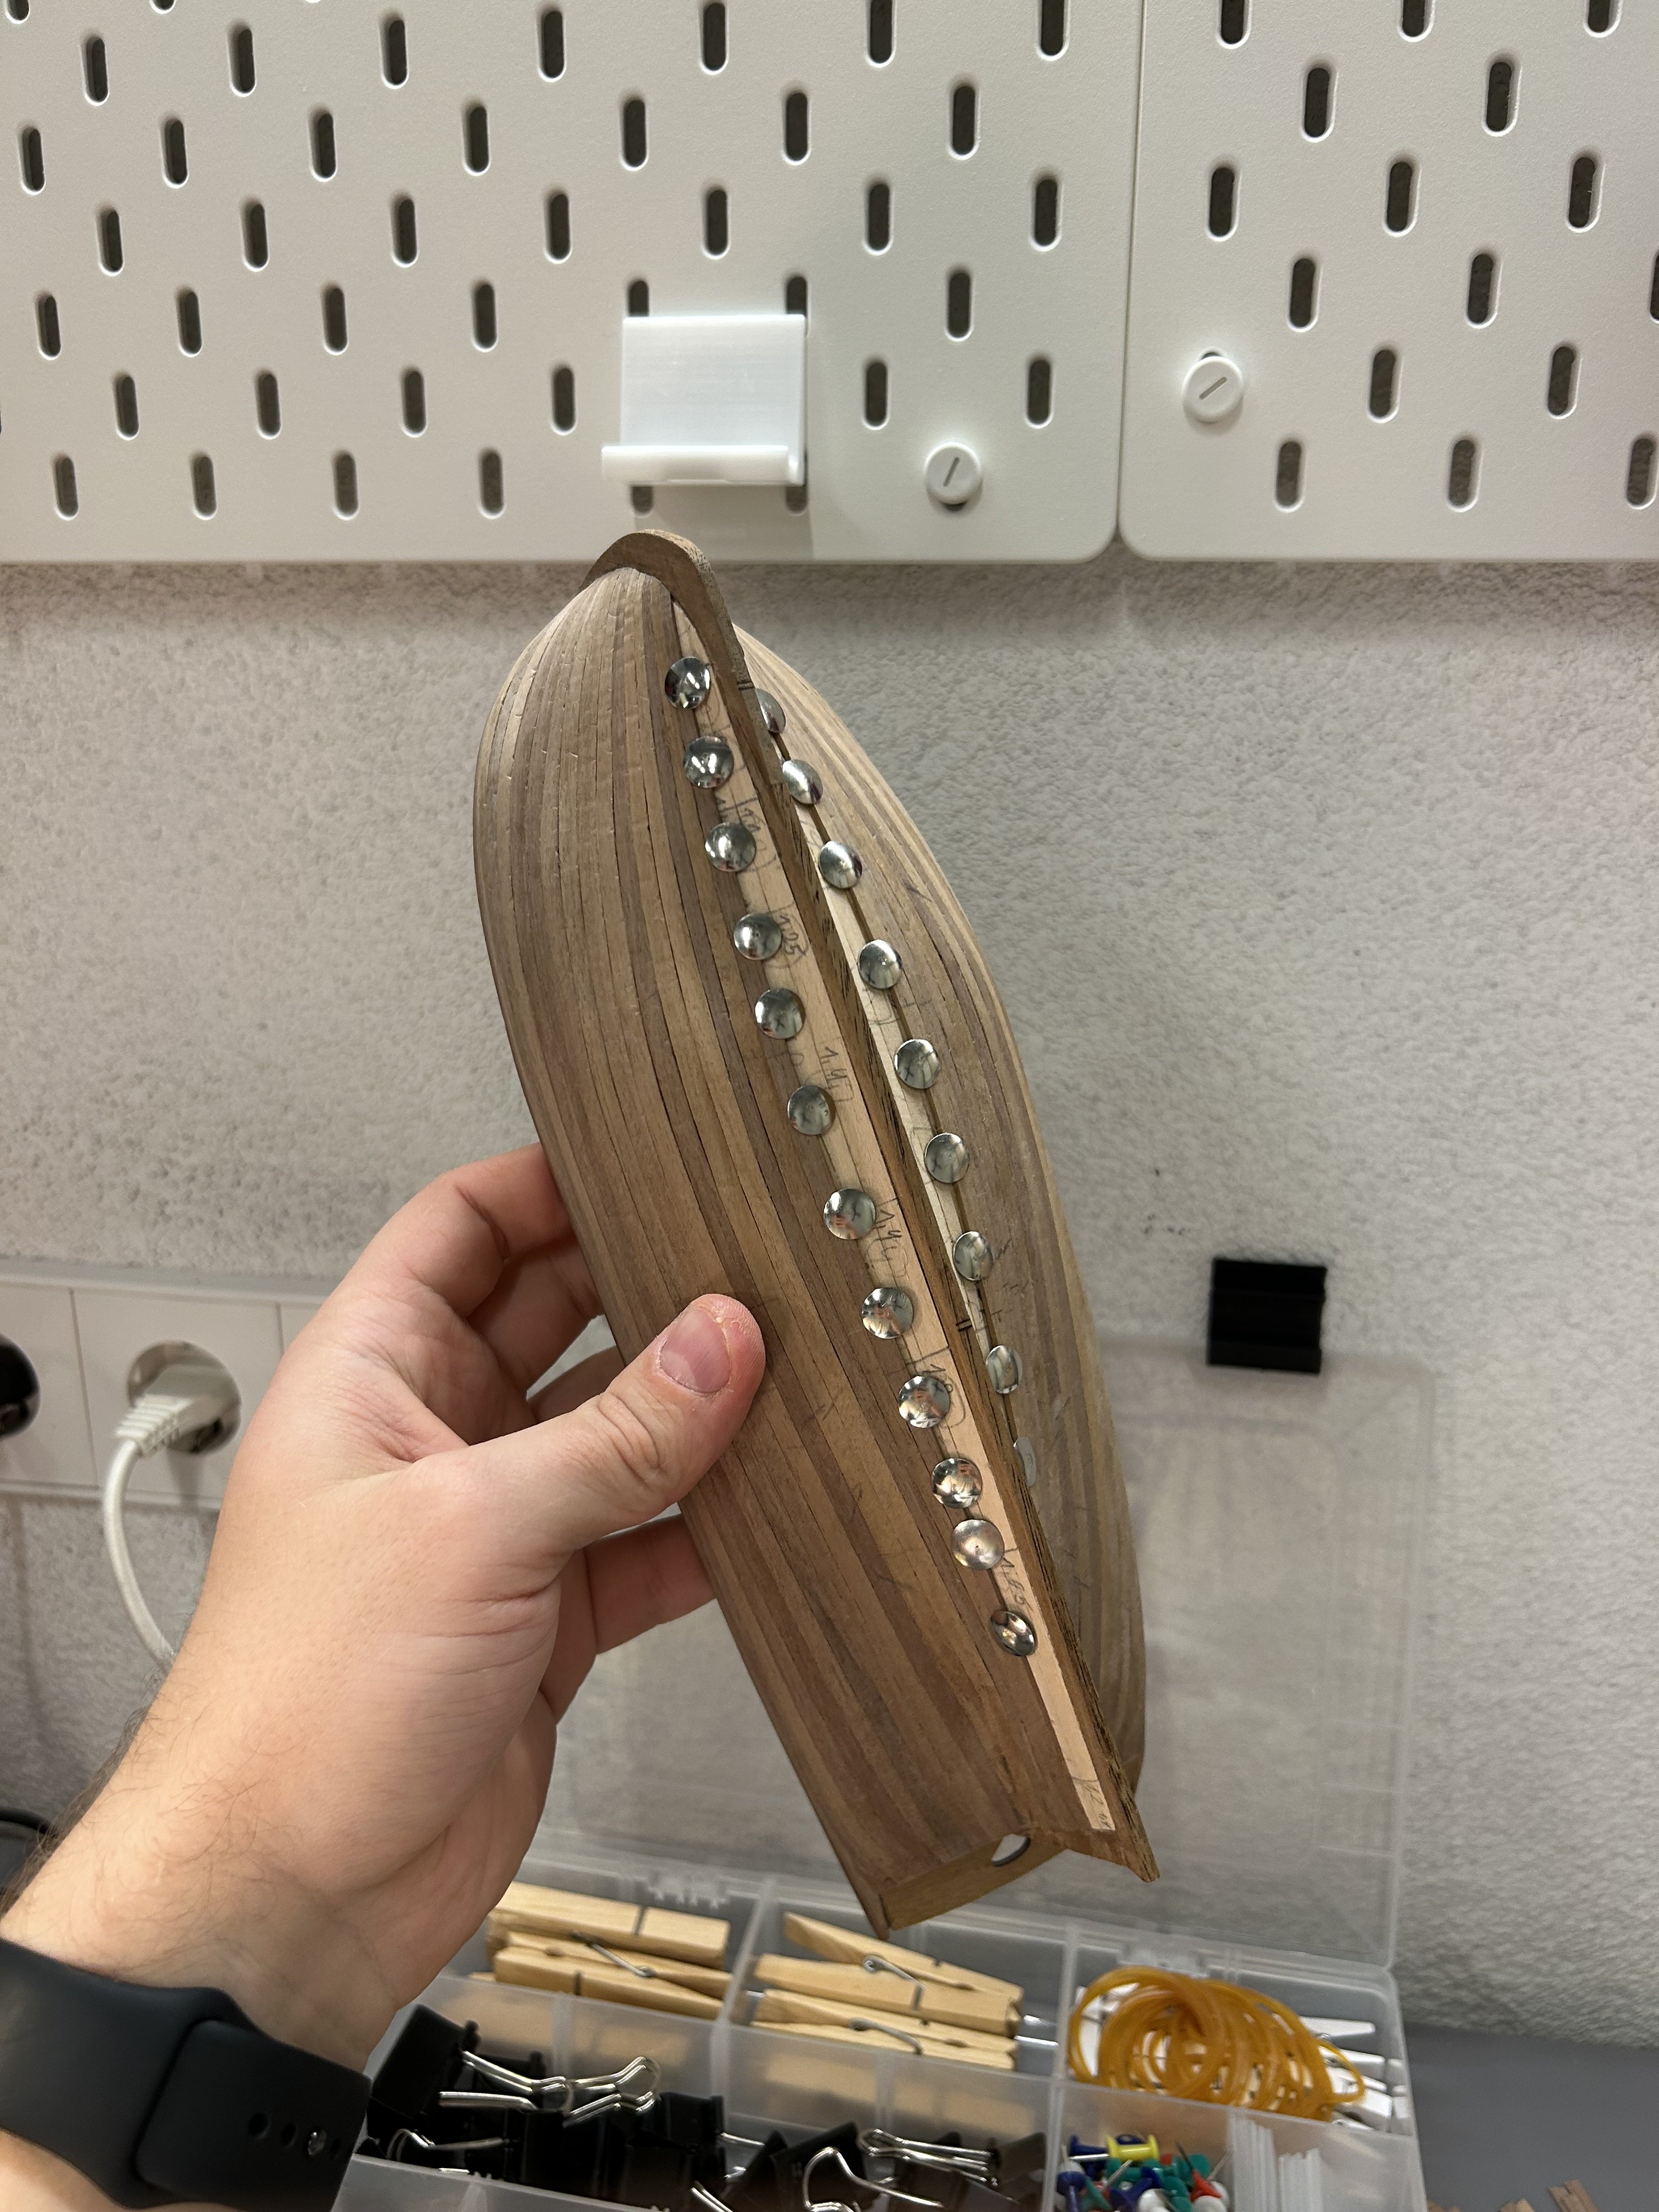
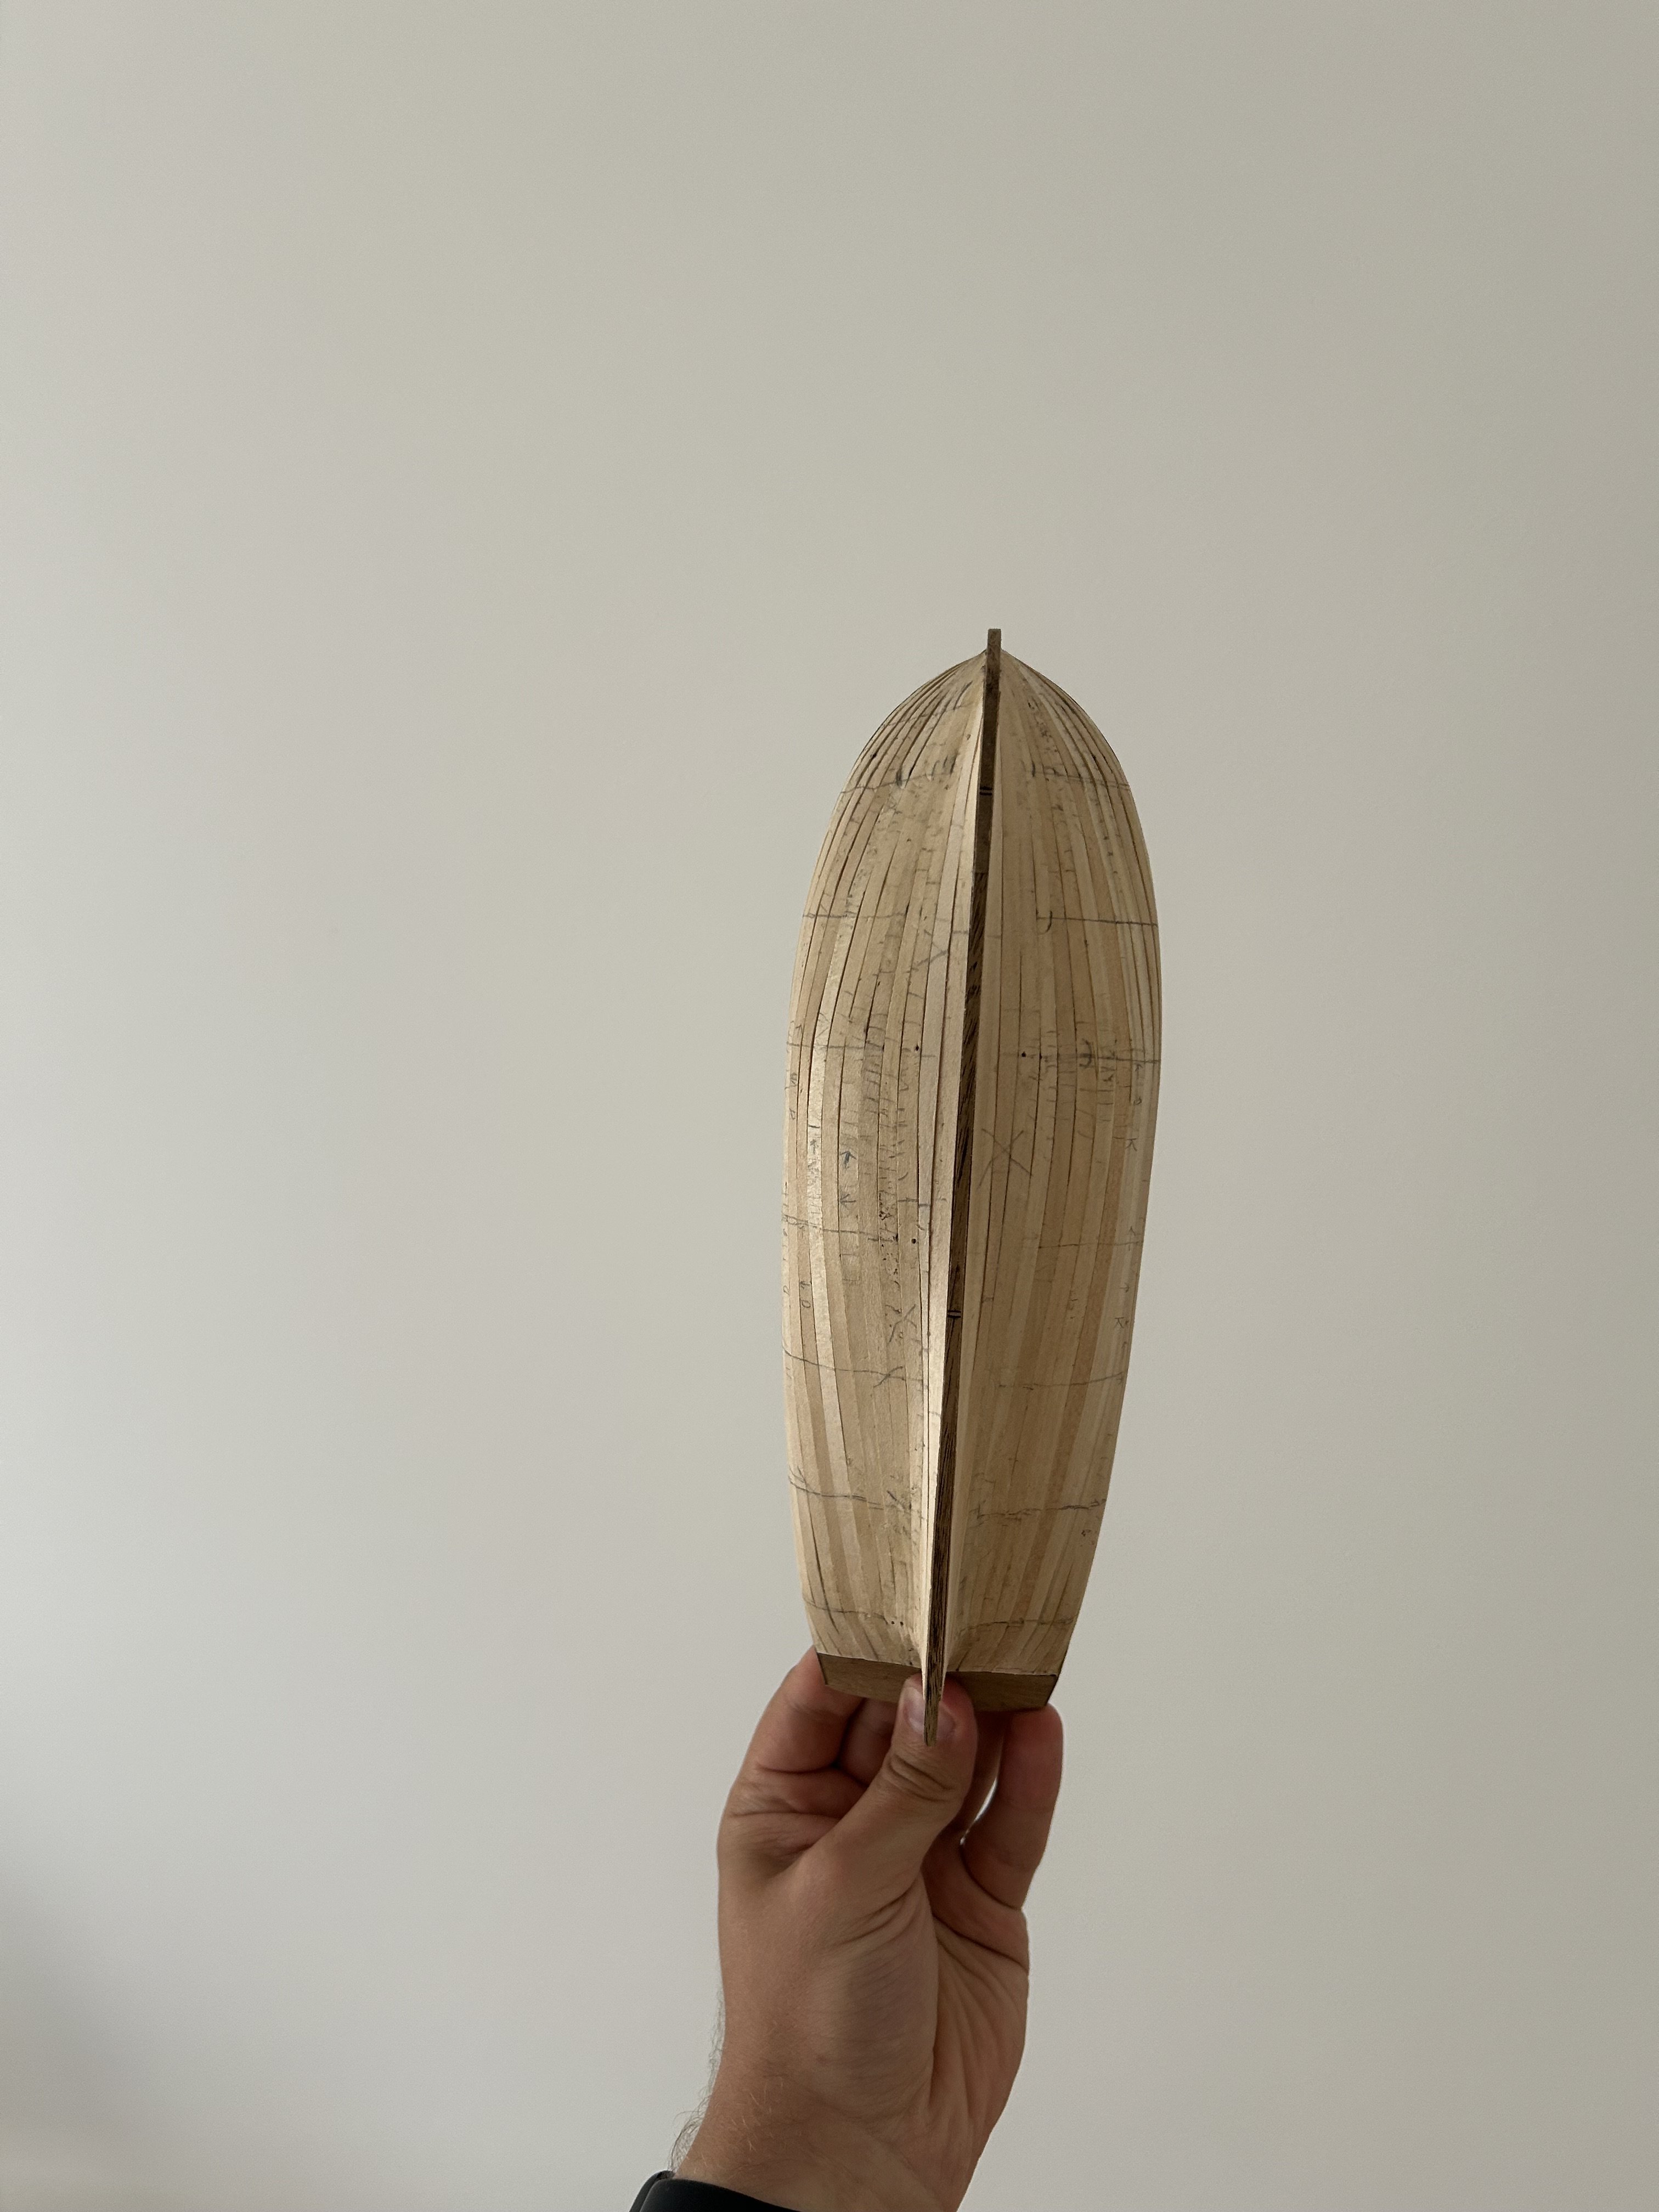
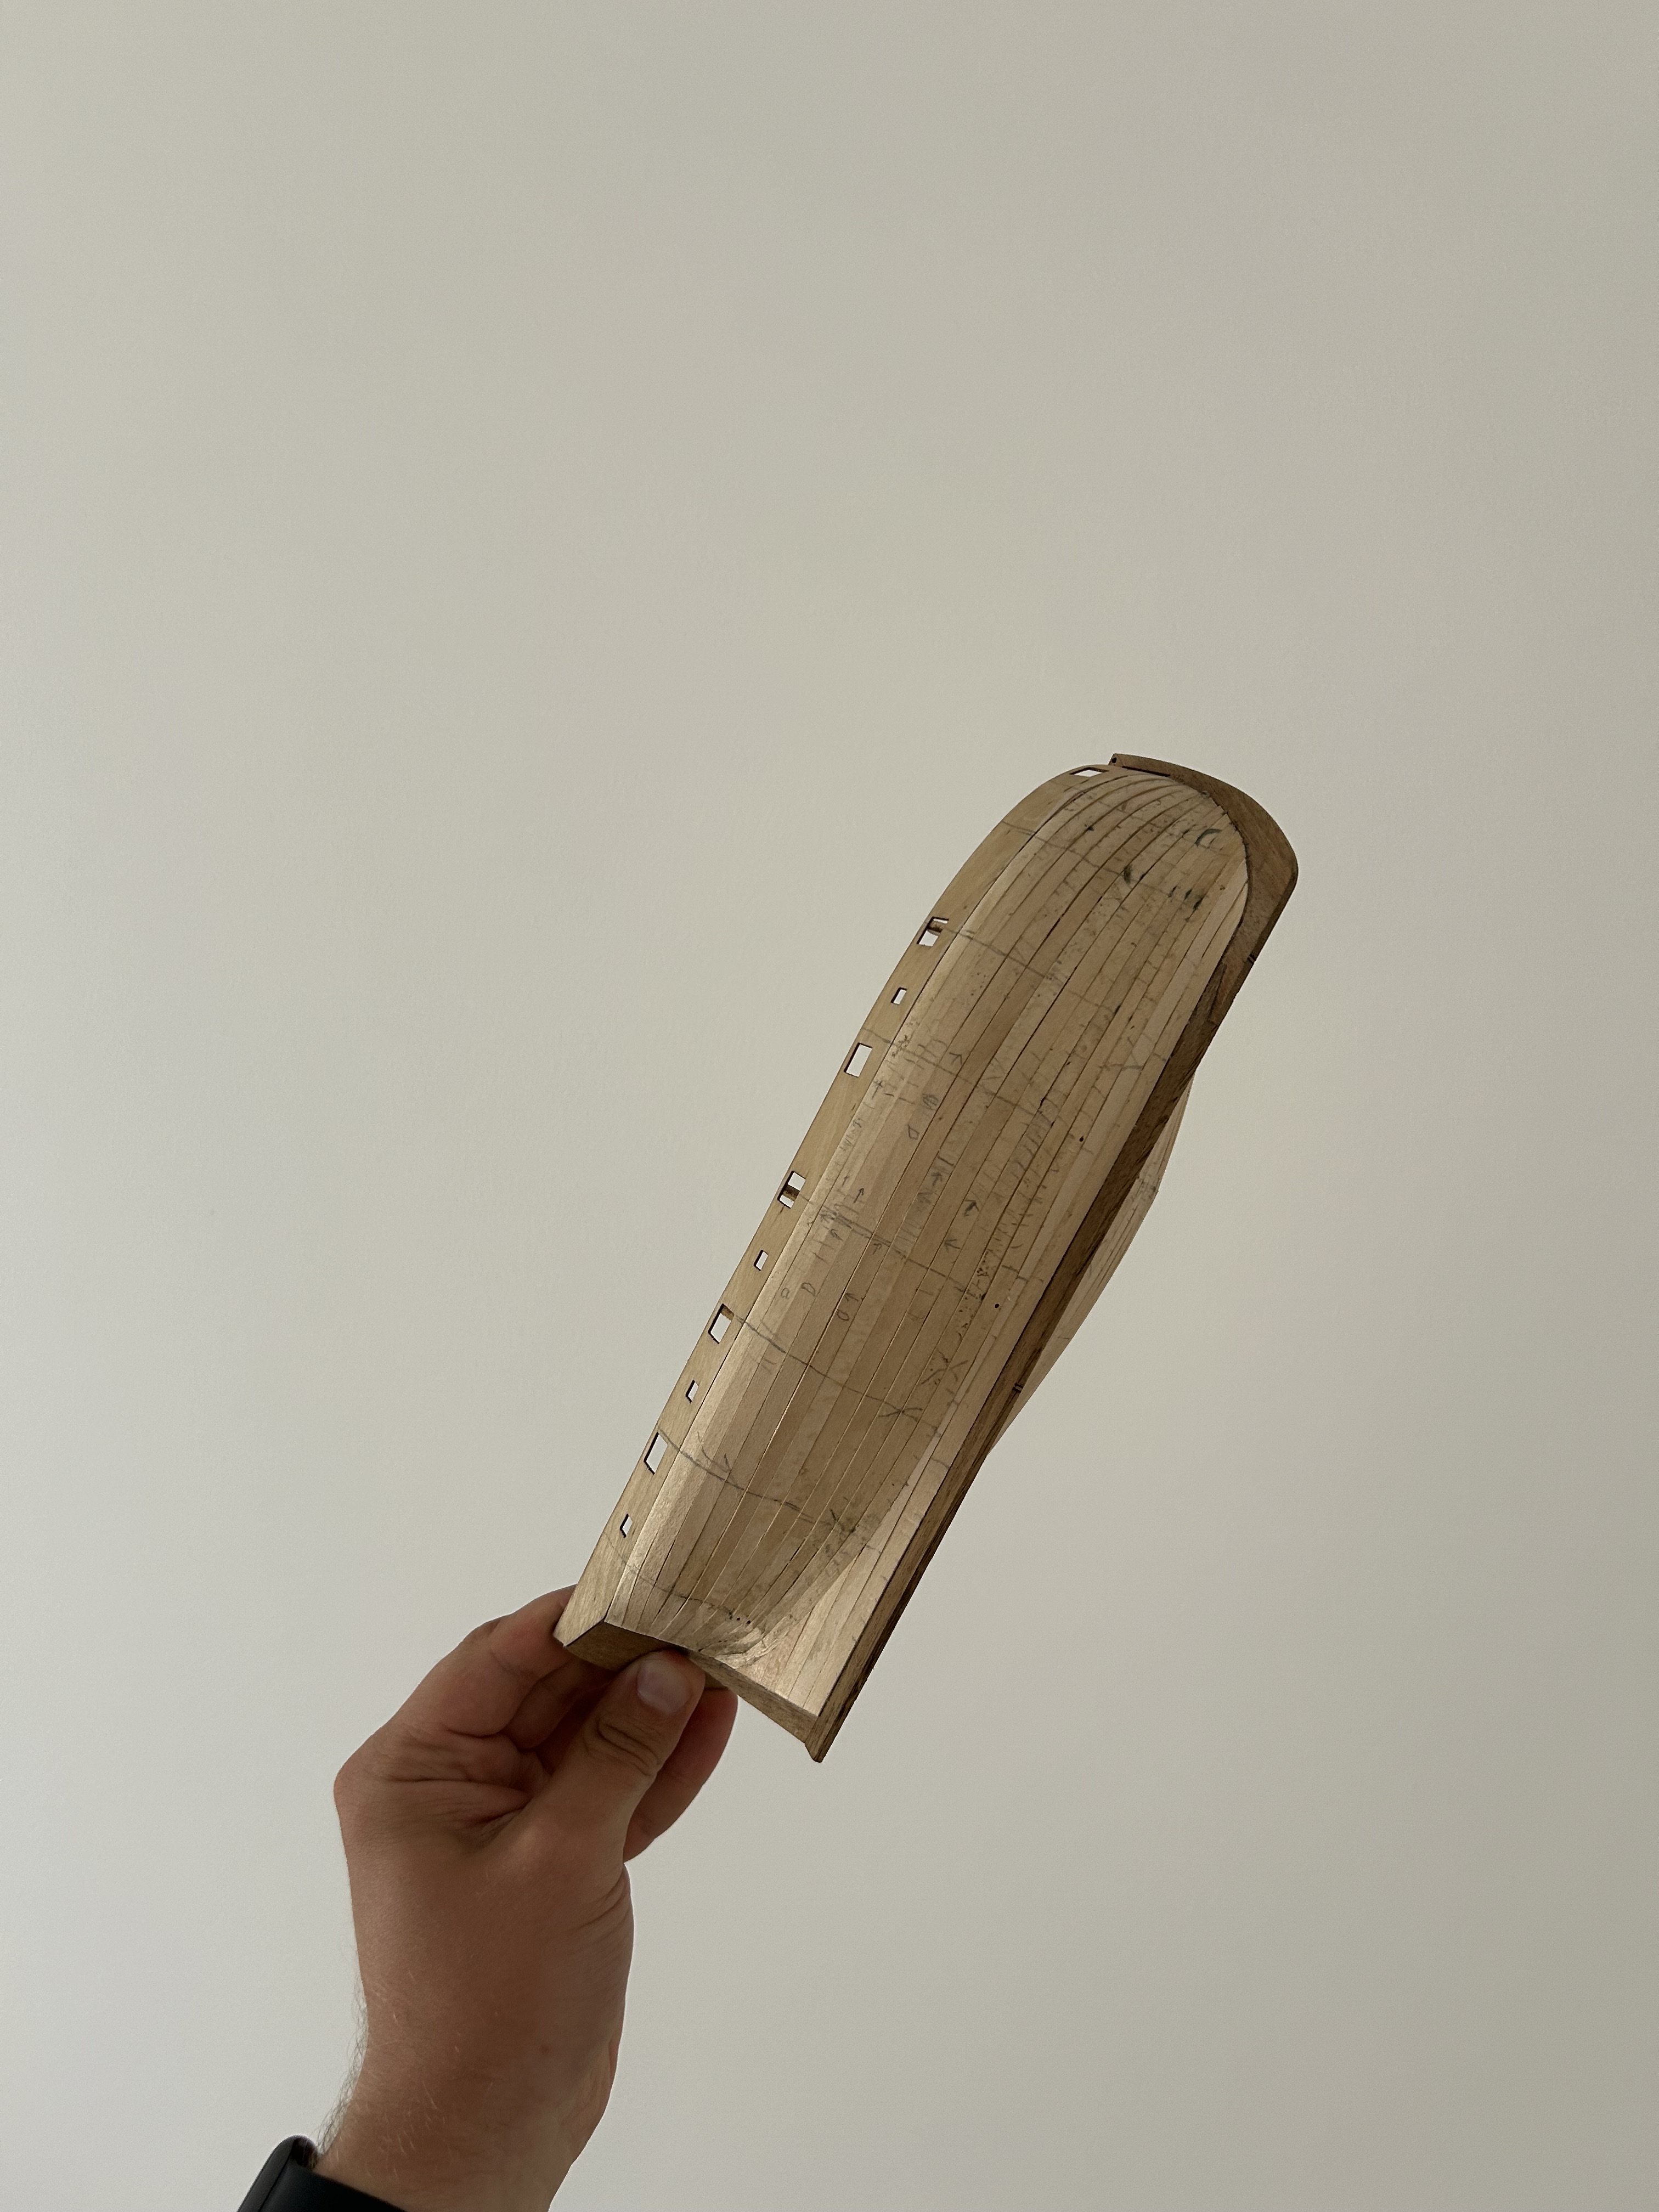
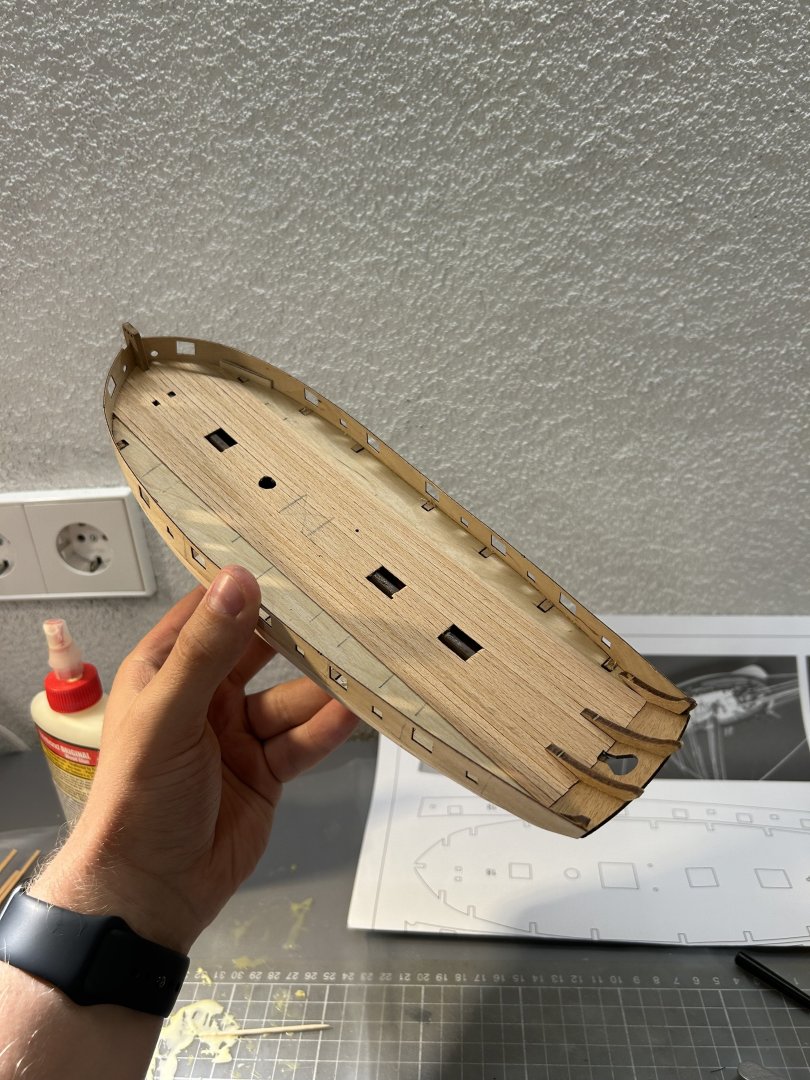
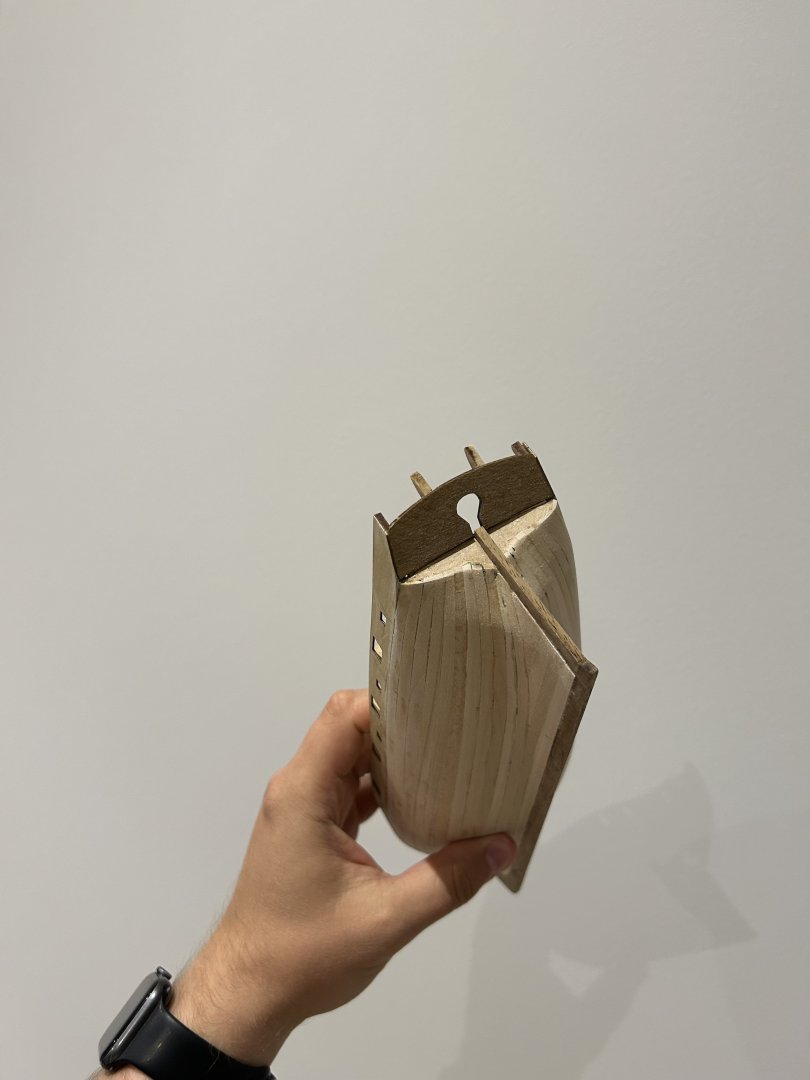
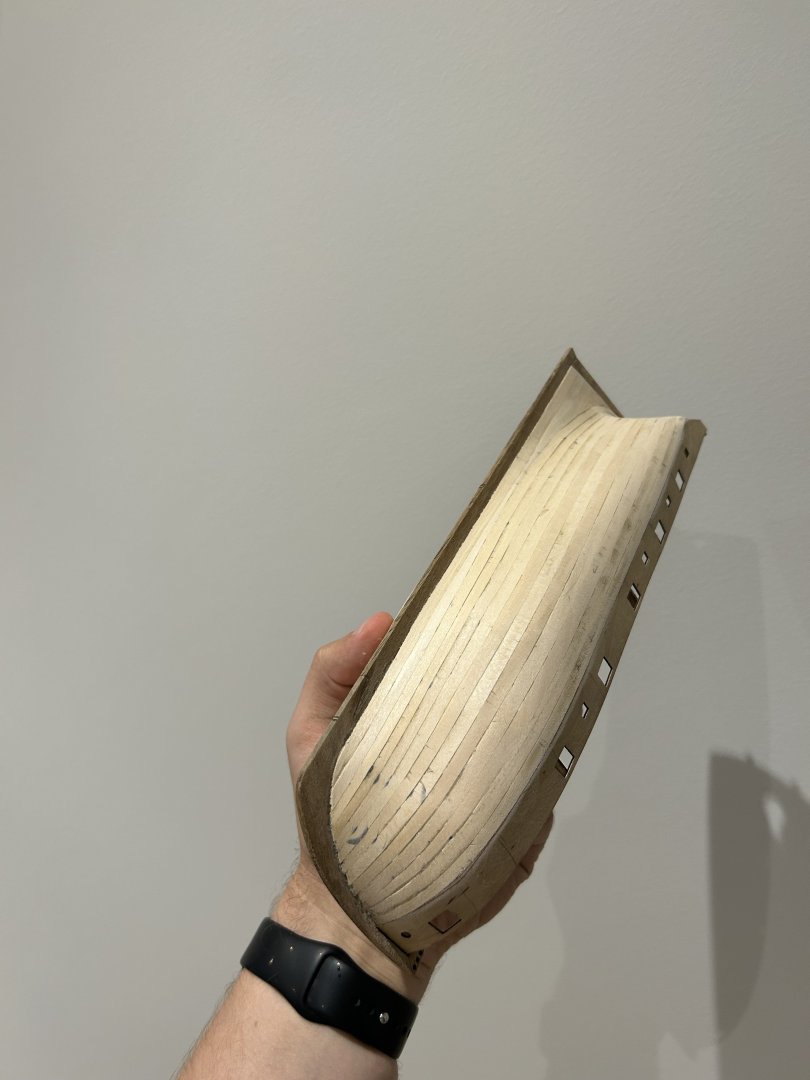
First layer of planks - done. A lot of slow and careful sanding is next. Will add some wood putty as well where it is necessary

- 81 replies
-
- 4
-
-
- Lady Nelson
- Amati
- (and 1 more)
-
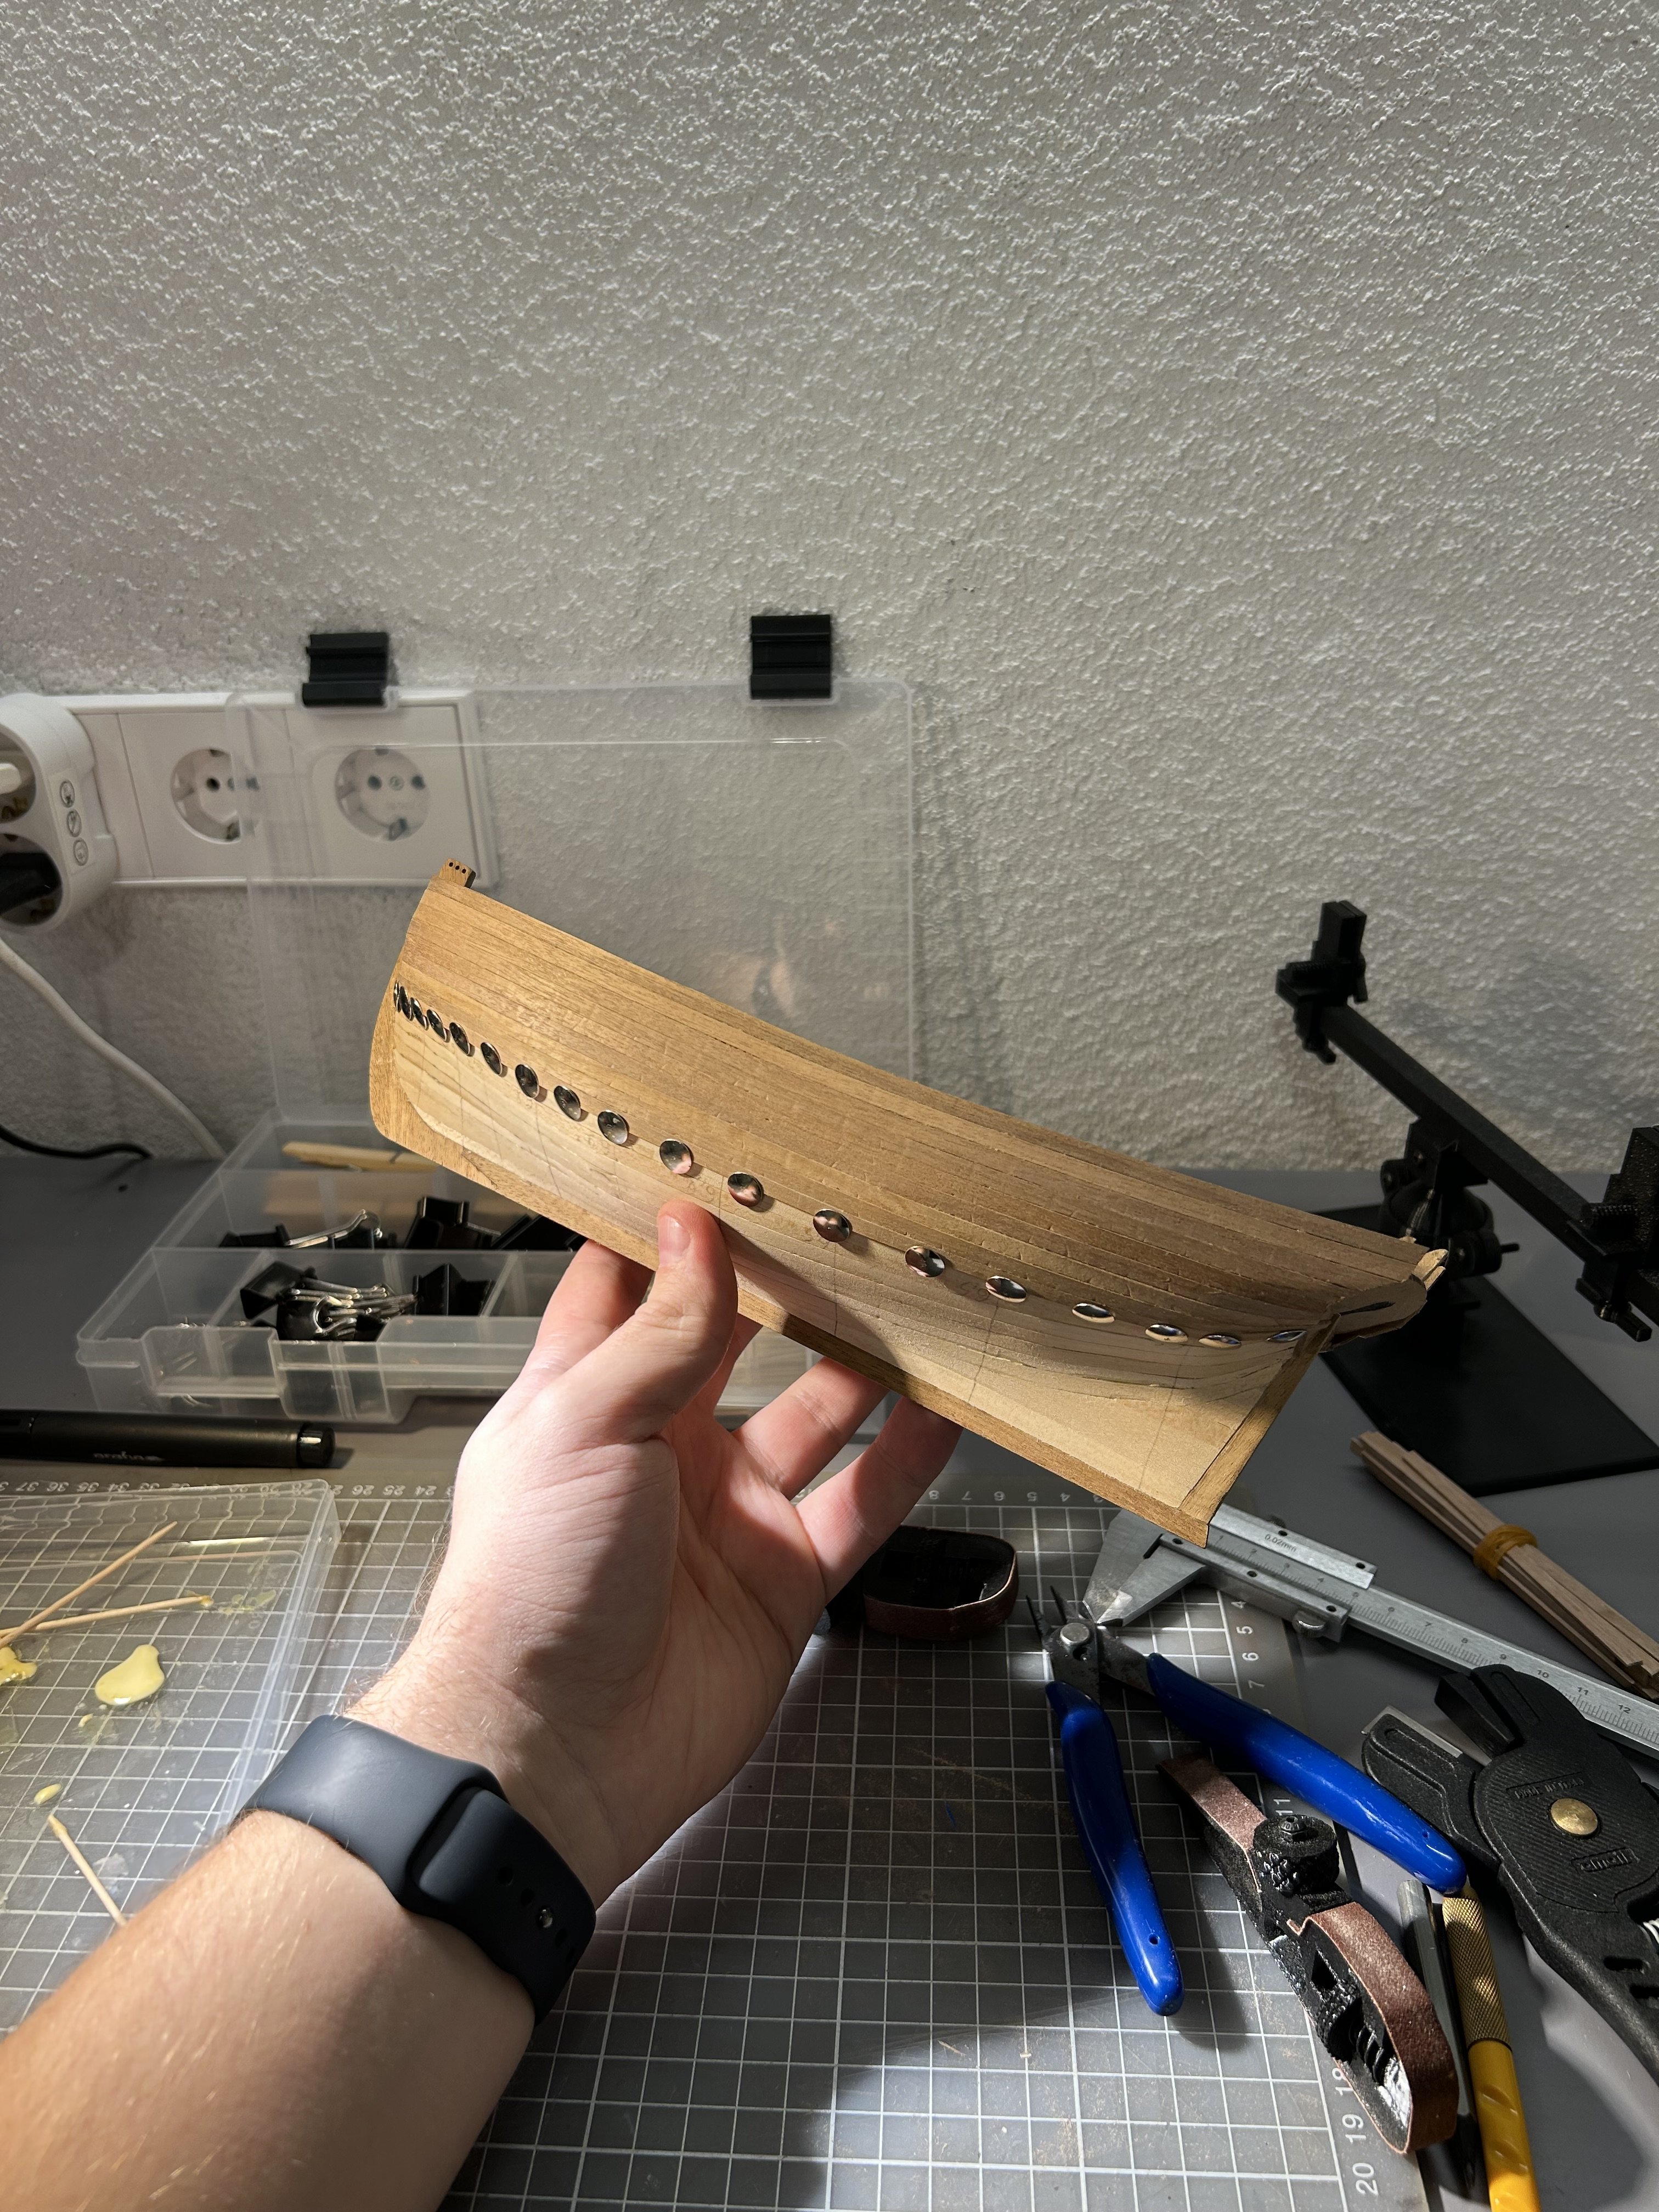
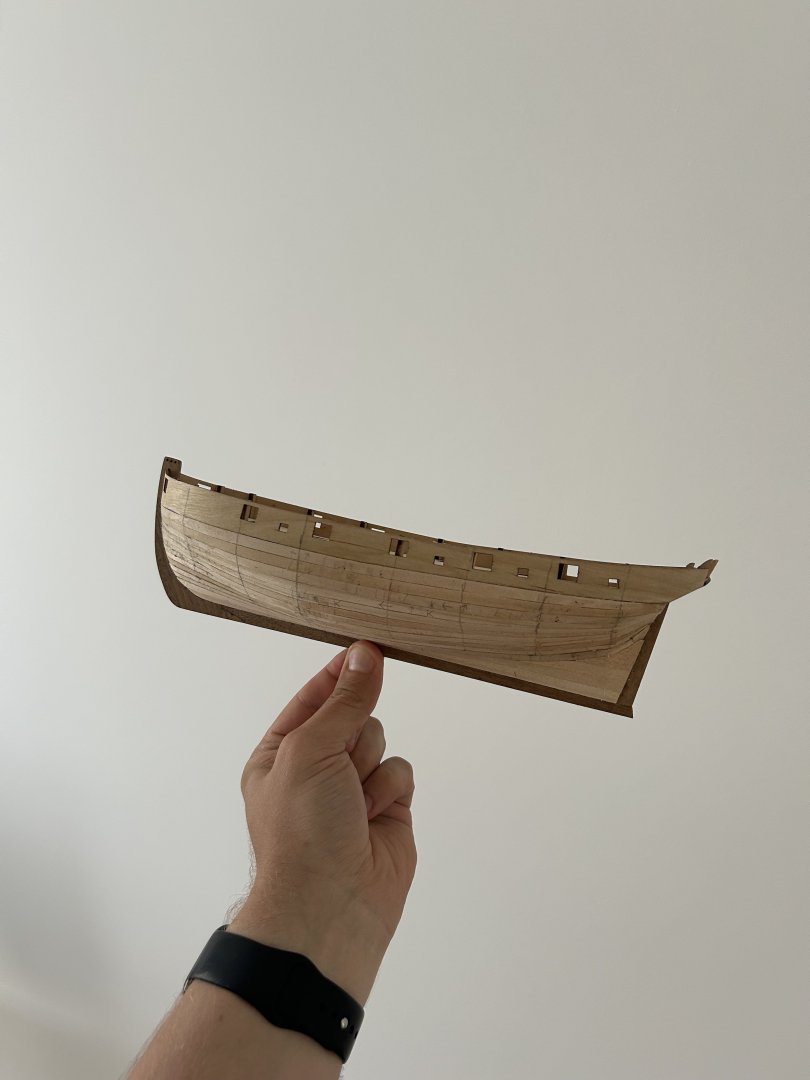
Few more! For every future builder - start using stealers earlier than I did. You will have an easier life 😆 I have realised that I need to use these a bit too late. It is good that it is just a first layer of planks, so I will not repeat the same mistake twice


- 81 replies
-
- 2
-
-
- Lady Nelson
- Amati
- (and 1 more)
-
1 more! I am getting nervous how I will be able to add the last planks 😆

- 81 replies
-
- 3
-
-
- Lady Nelson
- Amati
- (and 1 more)