


Lapinas
-
Posts
126 -
Joined
-
Last visited
Content Type
Profiles
Forums
Gallery
Events
Everything posted by Lapinas
-
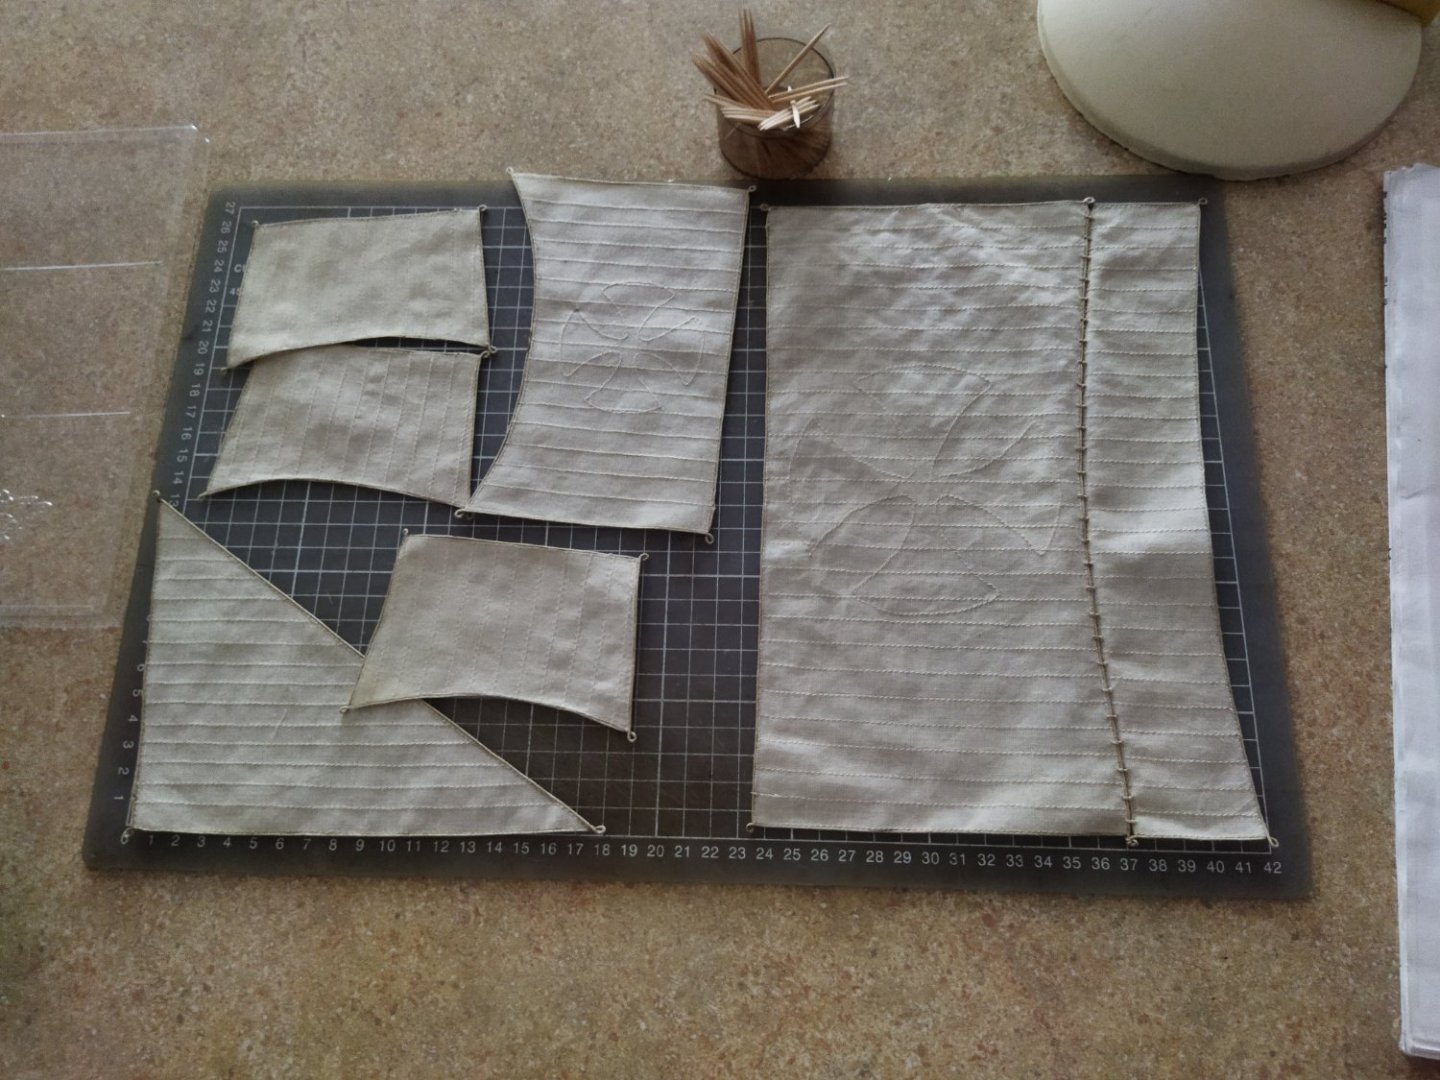
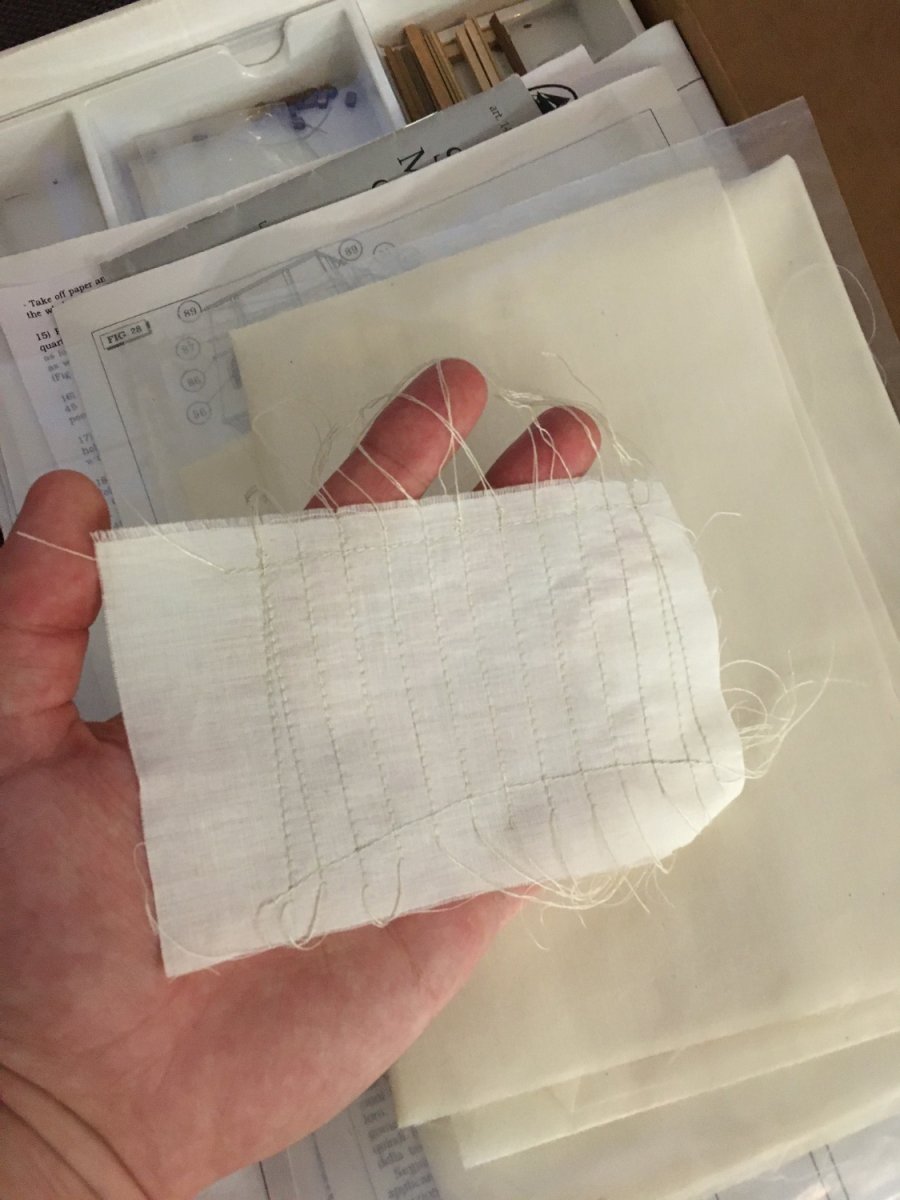
I have painted sails today with acrylic paint. I am quite happy with the result. I had to paint from both sides of the sail. Not sure if it is accurate, but pain has seeped to the other side after painting it on one side, so I was basically forced to do it this way


- 93 replies
-
- 4
-

-

-
- santa maria
- amati
- (and 1 more)
-
I redid the main sail, but got the same result... So I have tried ironing it and it helped. Thanks! 😃 Not sure yet. I was eyeing more recent sail ships recently used in sport
- 93 replies
-
- 1
-
-
- santa maria
- amati
- (and 1 more)
-
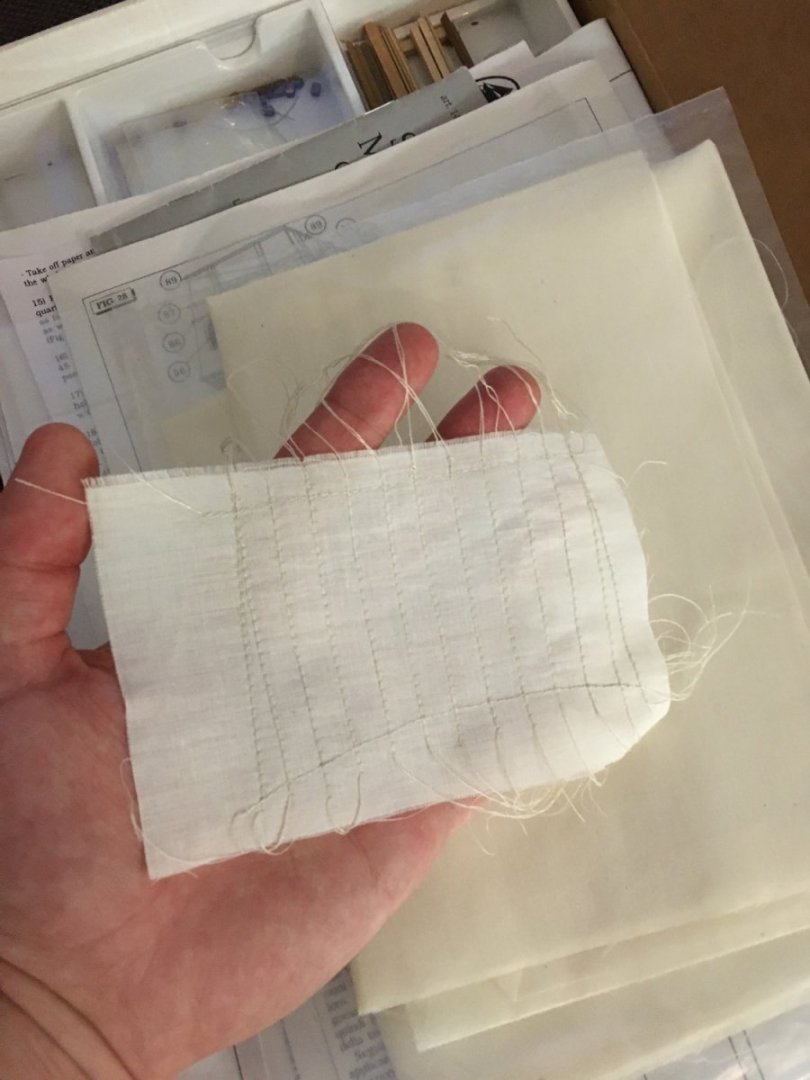
I have finished the sails. I have ordered 4 different batches of bitumen, but when mixed with turpentine it was not giving be a nice color... So after last failure I gave up and went to my local grocery store and bought some black tea 😄 When I was joining the main sail top and bottom parts it looks like the thread got too tight and most likely I am going to redo it.
- 93 replies
-
- 2
-
-
- santa maria
- amati
- (and 1 more)
-
I will have sails next week and will receive some dye for it. Hopefully everything will work out!
- 93 replies
-
- 4
-
-
- santa maria
- amati
- (and 1 more)
-
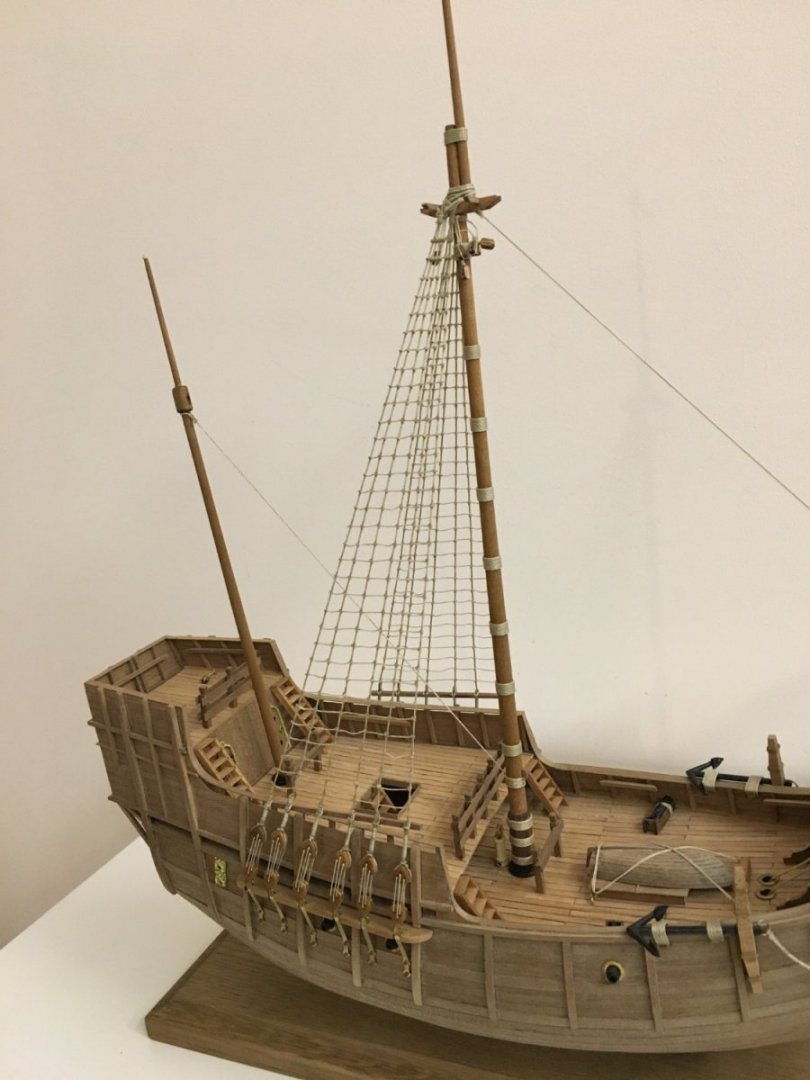
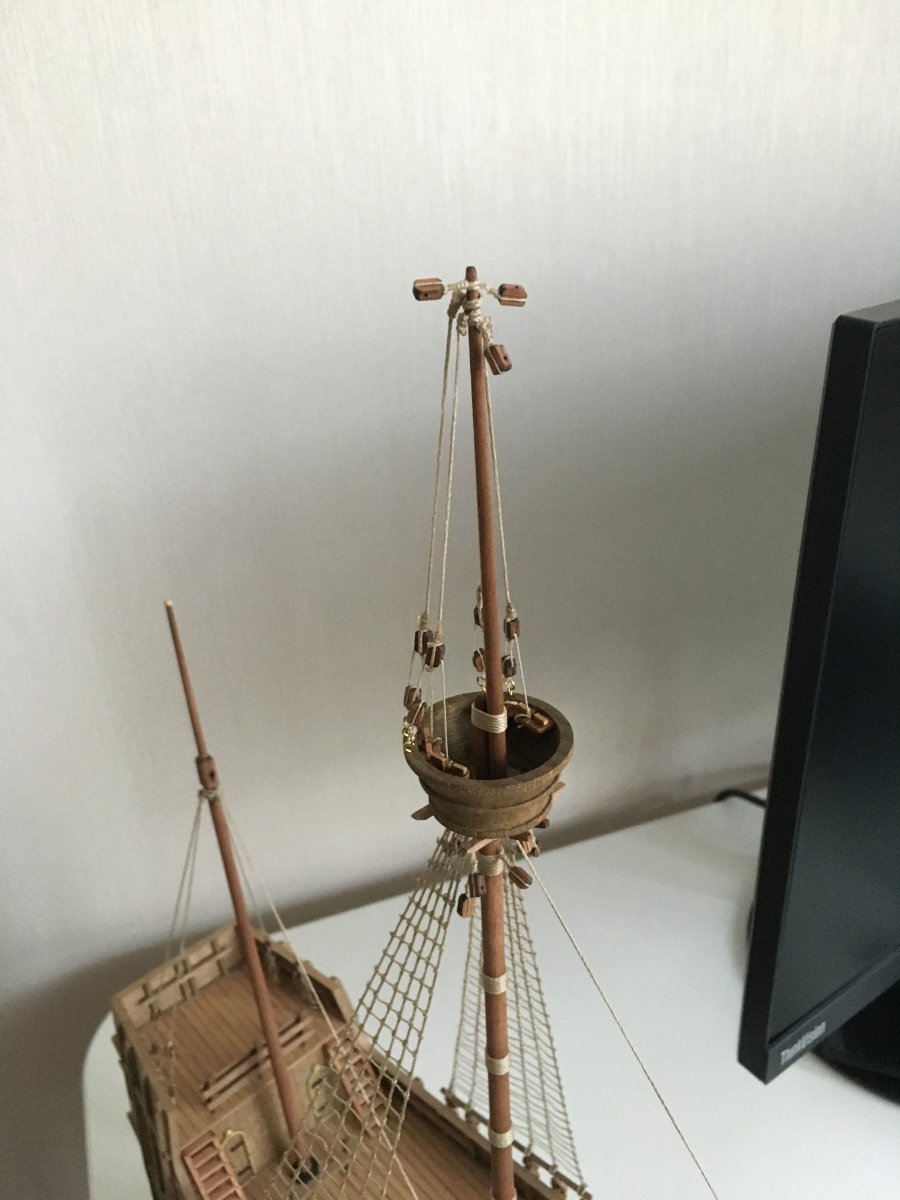
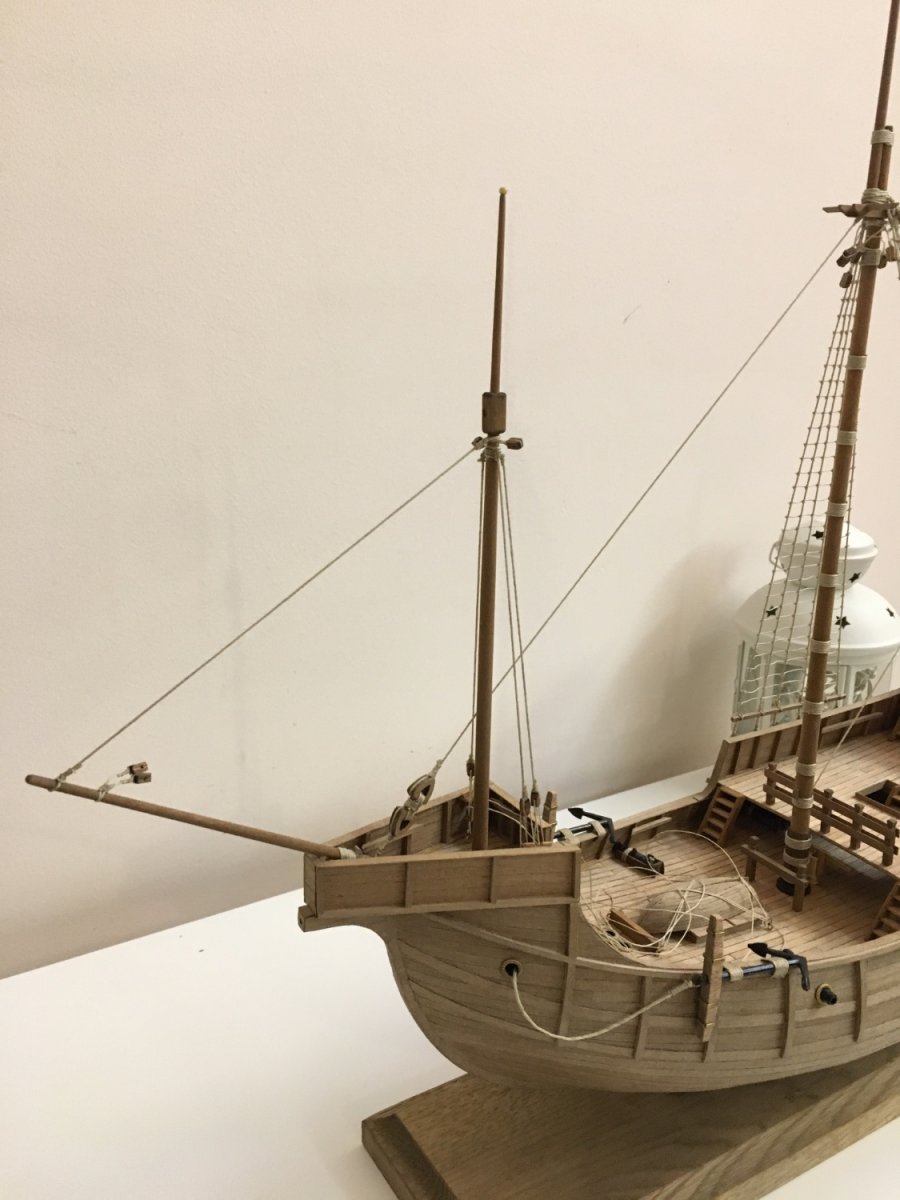
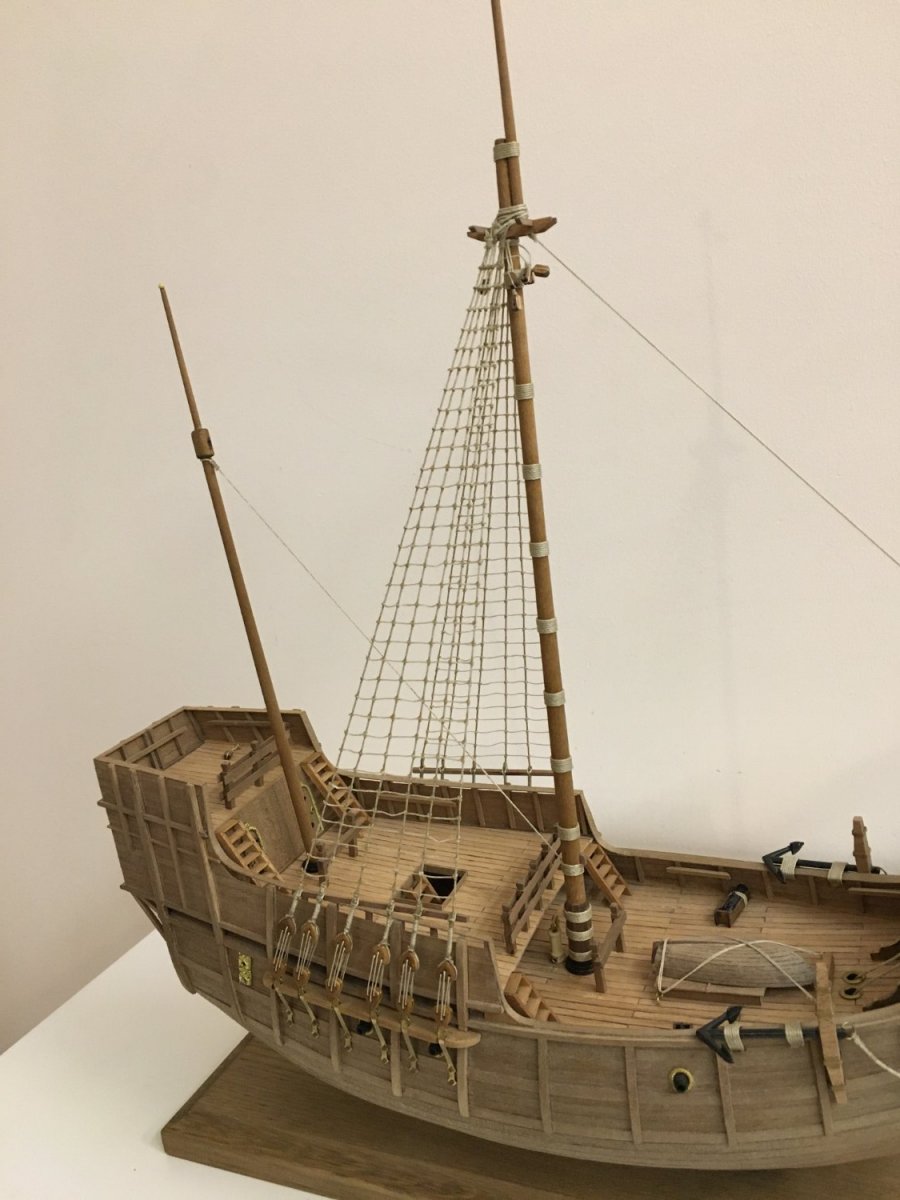
Ratlines are done I have made guides for each side. It helped me to maintain parallel lines while rigging.
- 93 replies
-
- 5
-
-
- santa maria
- amati
- (and 1 more)
-
Good progress, Emmet! I have to play catch up with you now
-
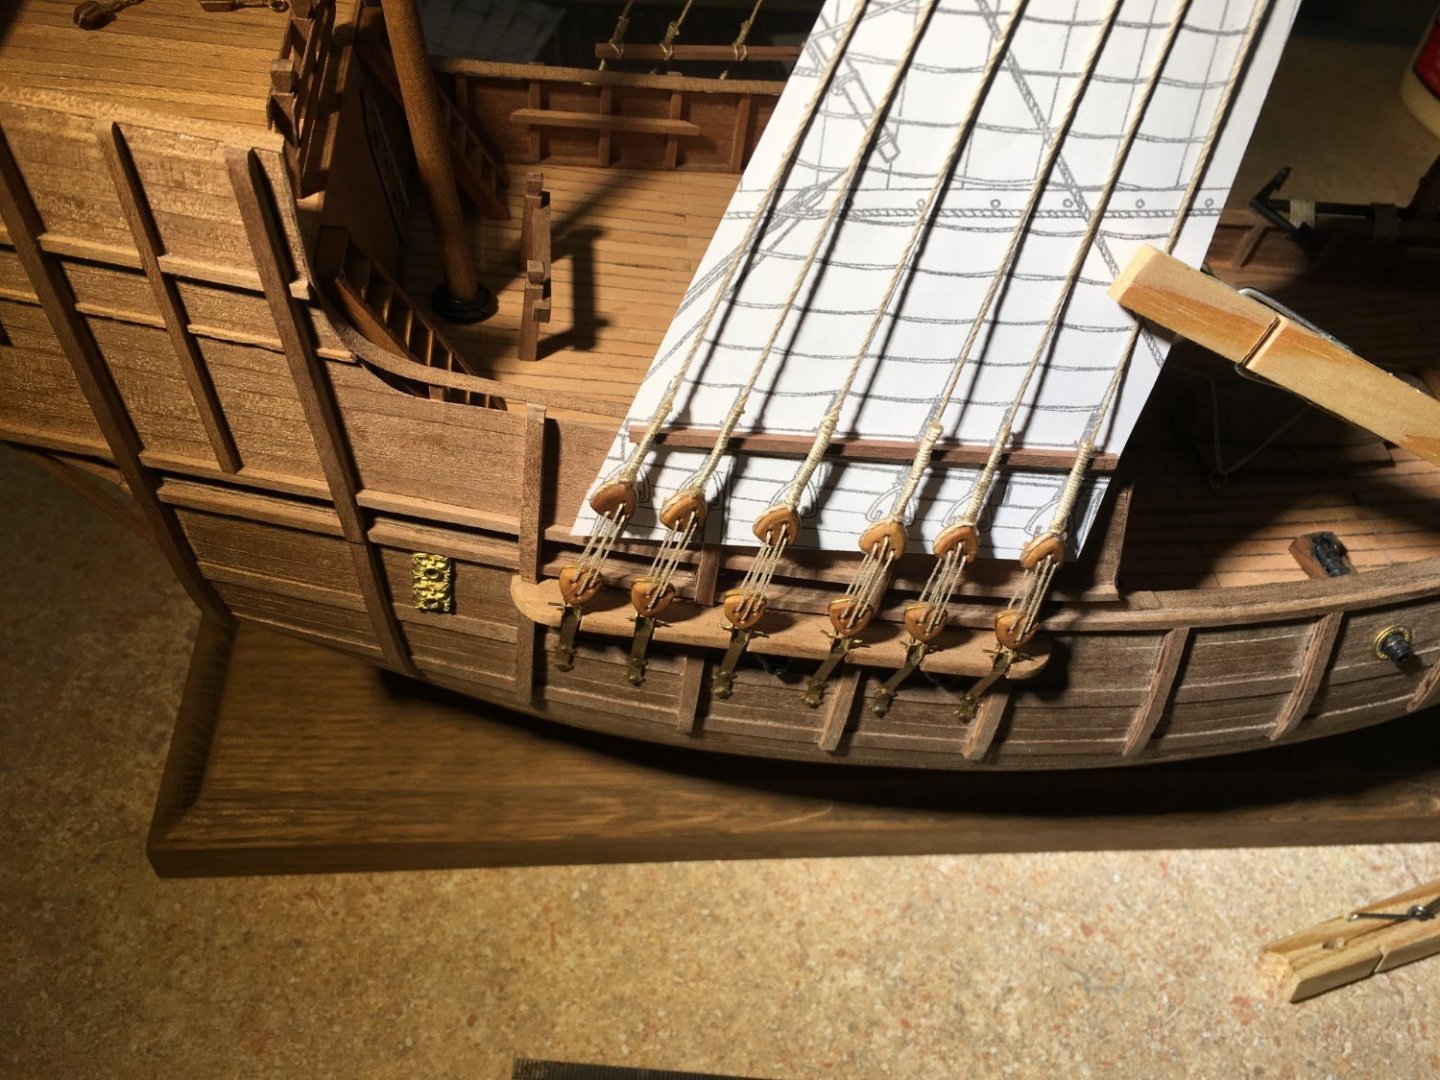
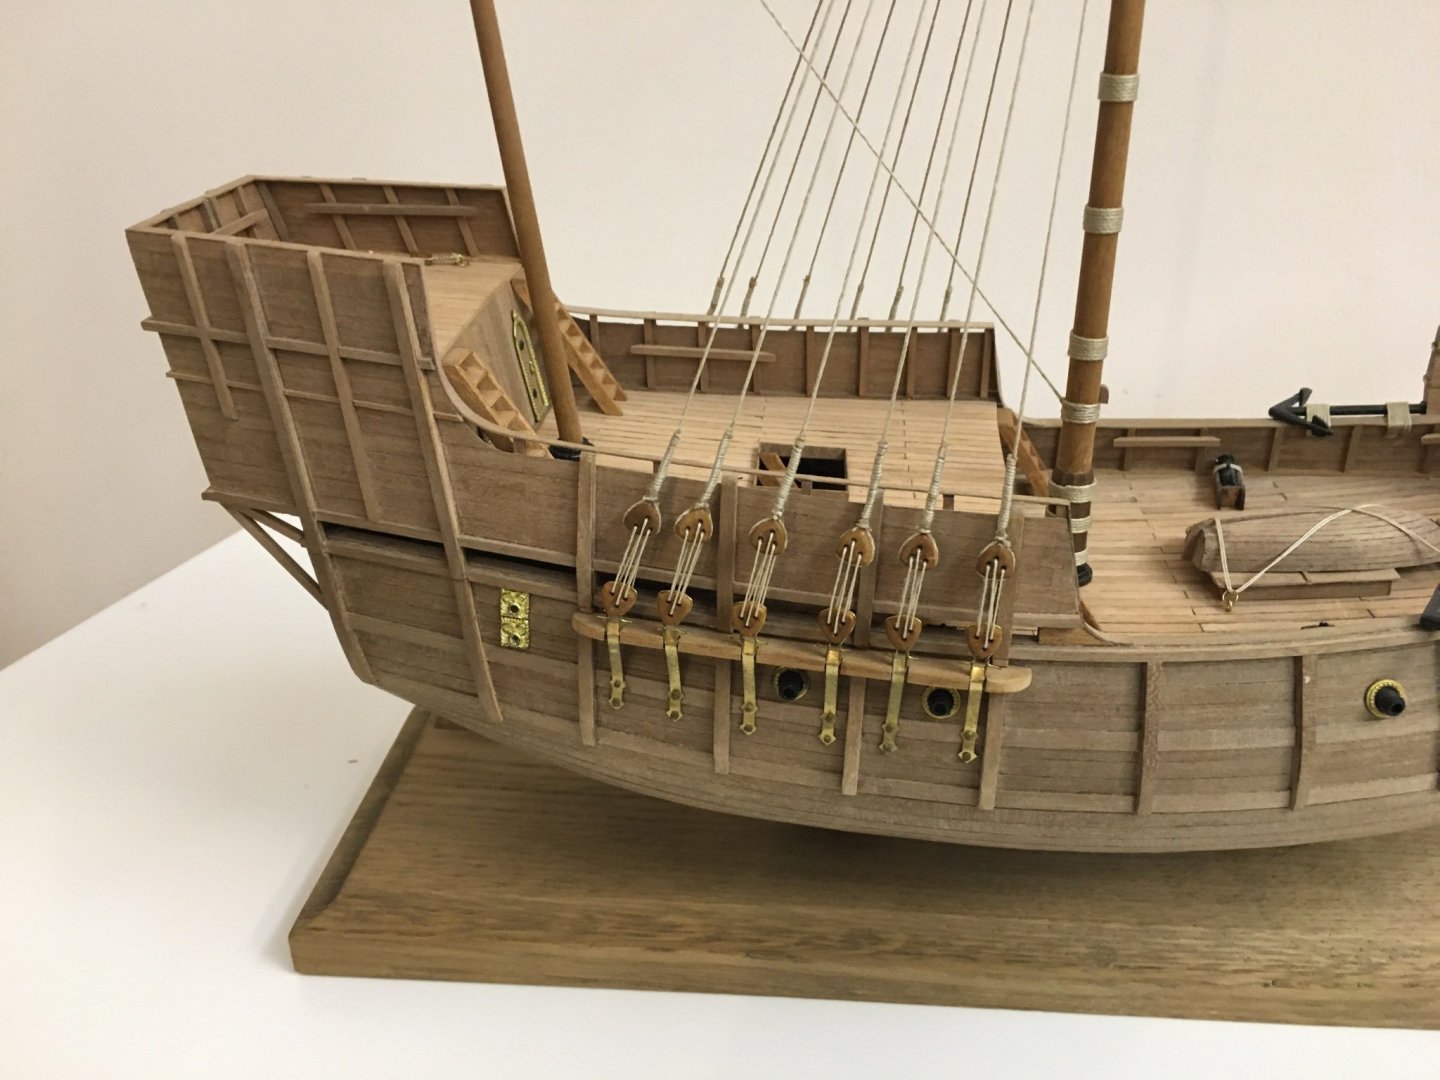
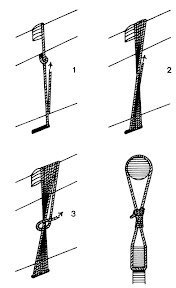
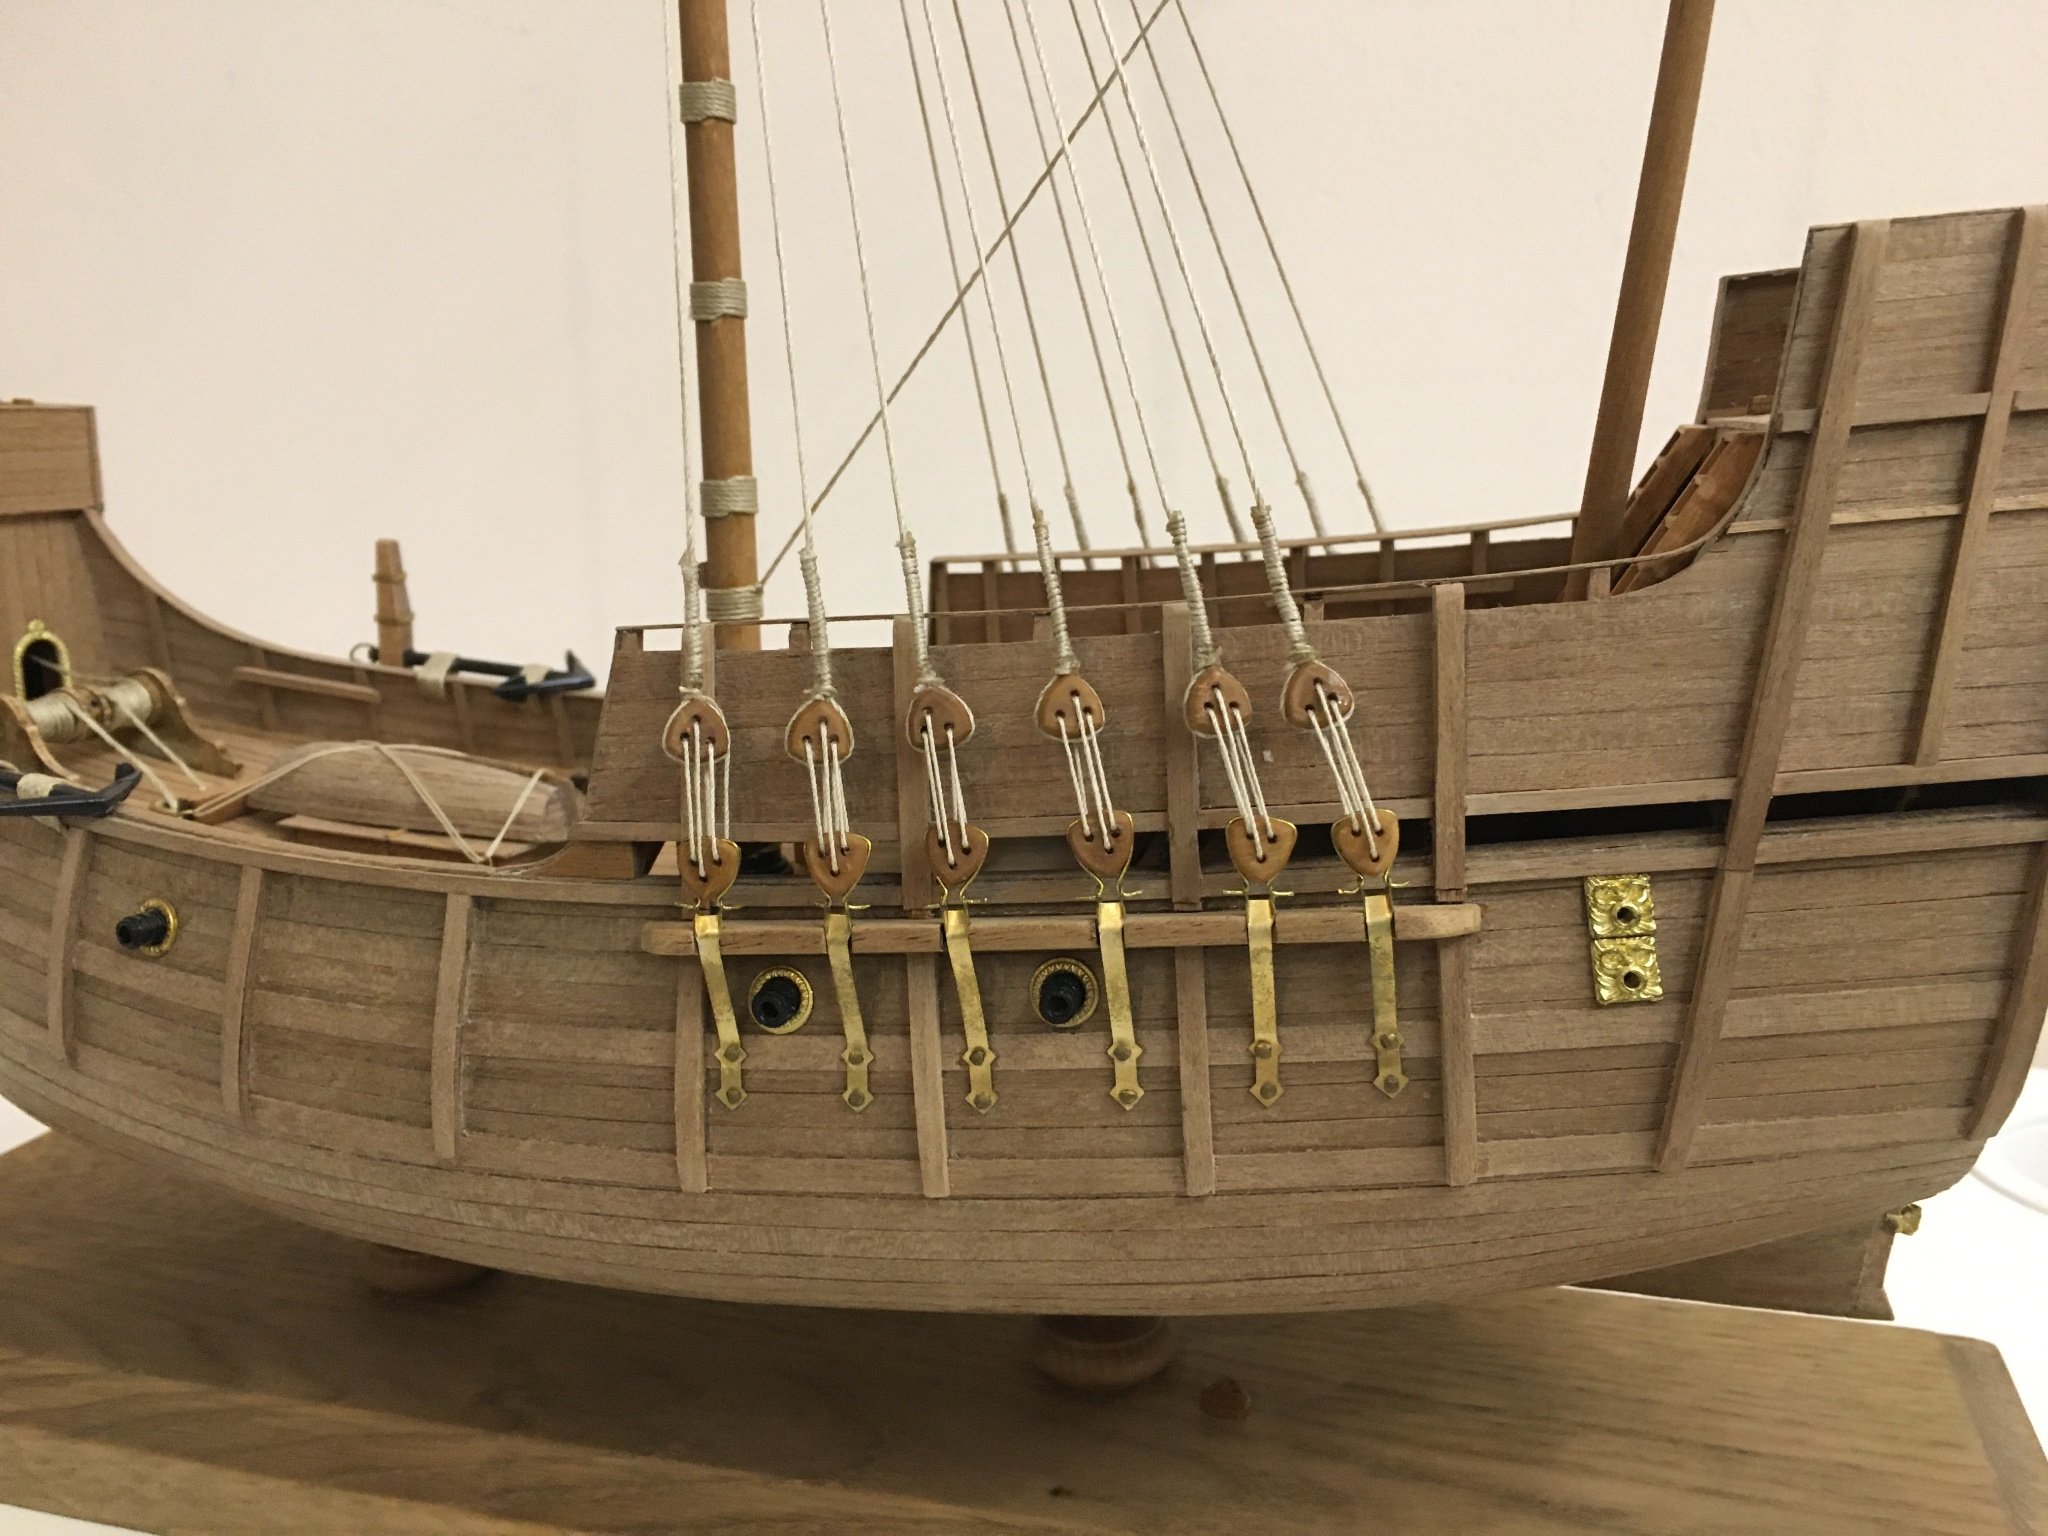
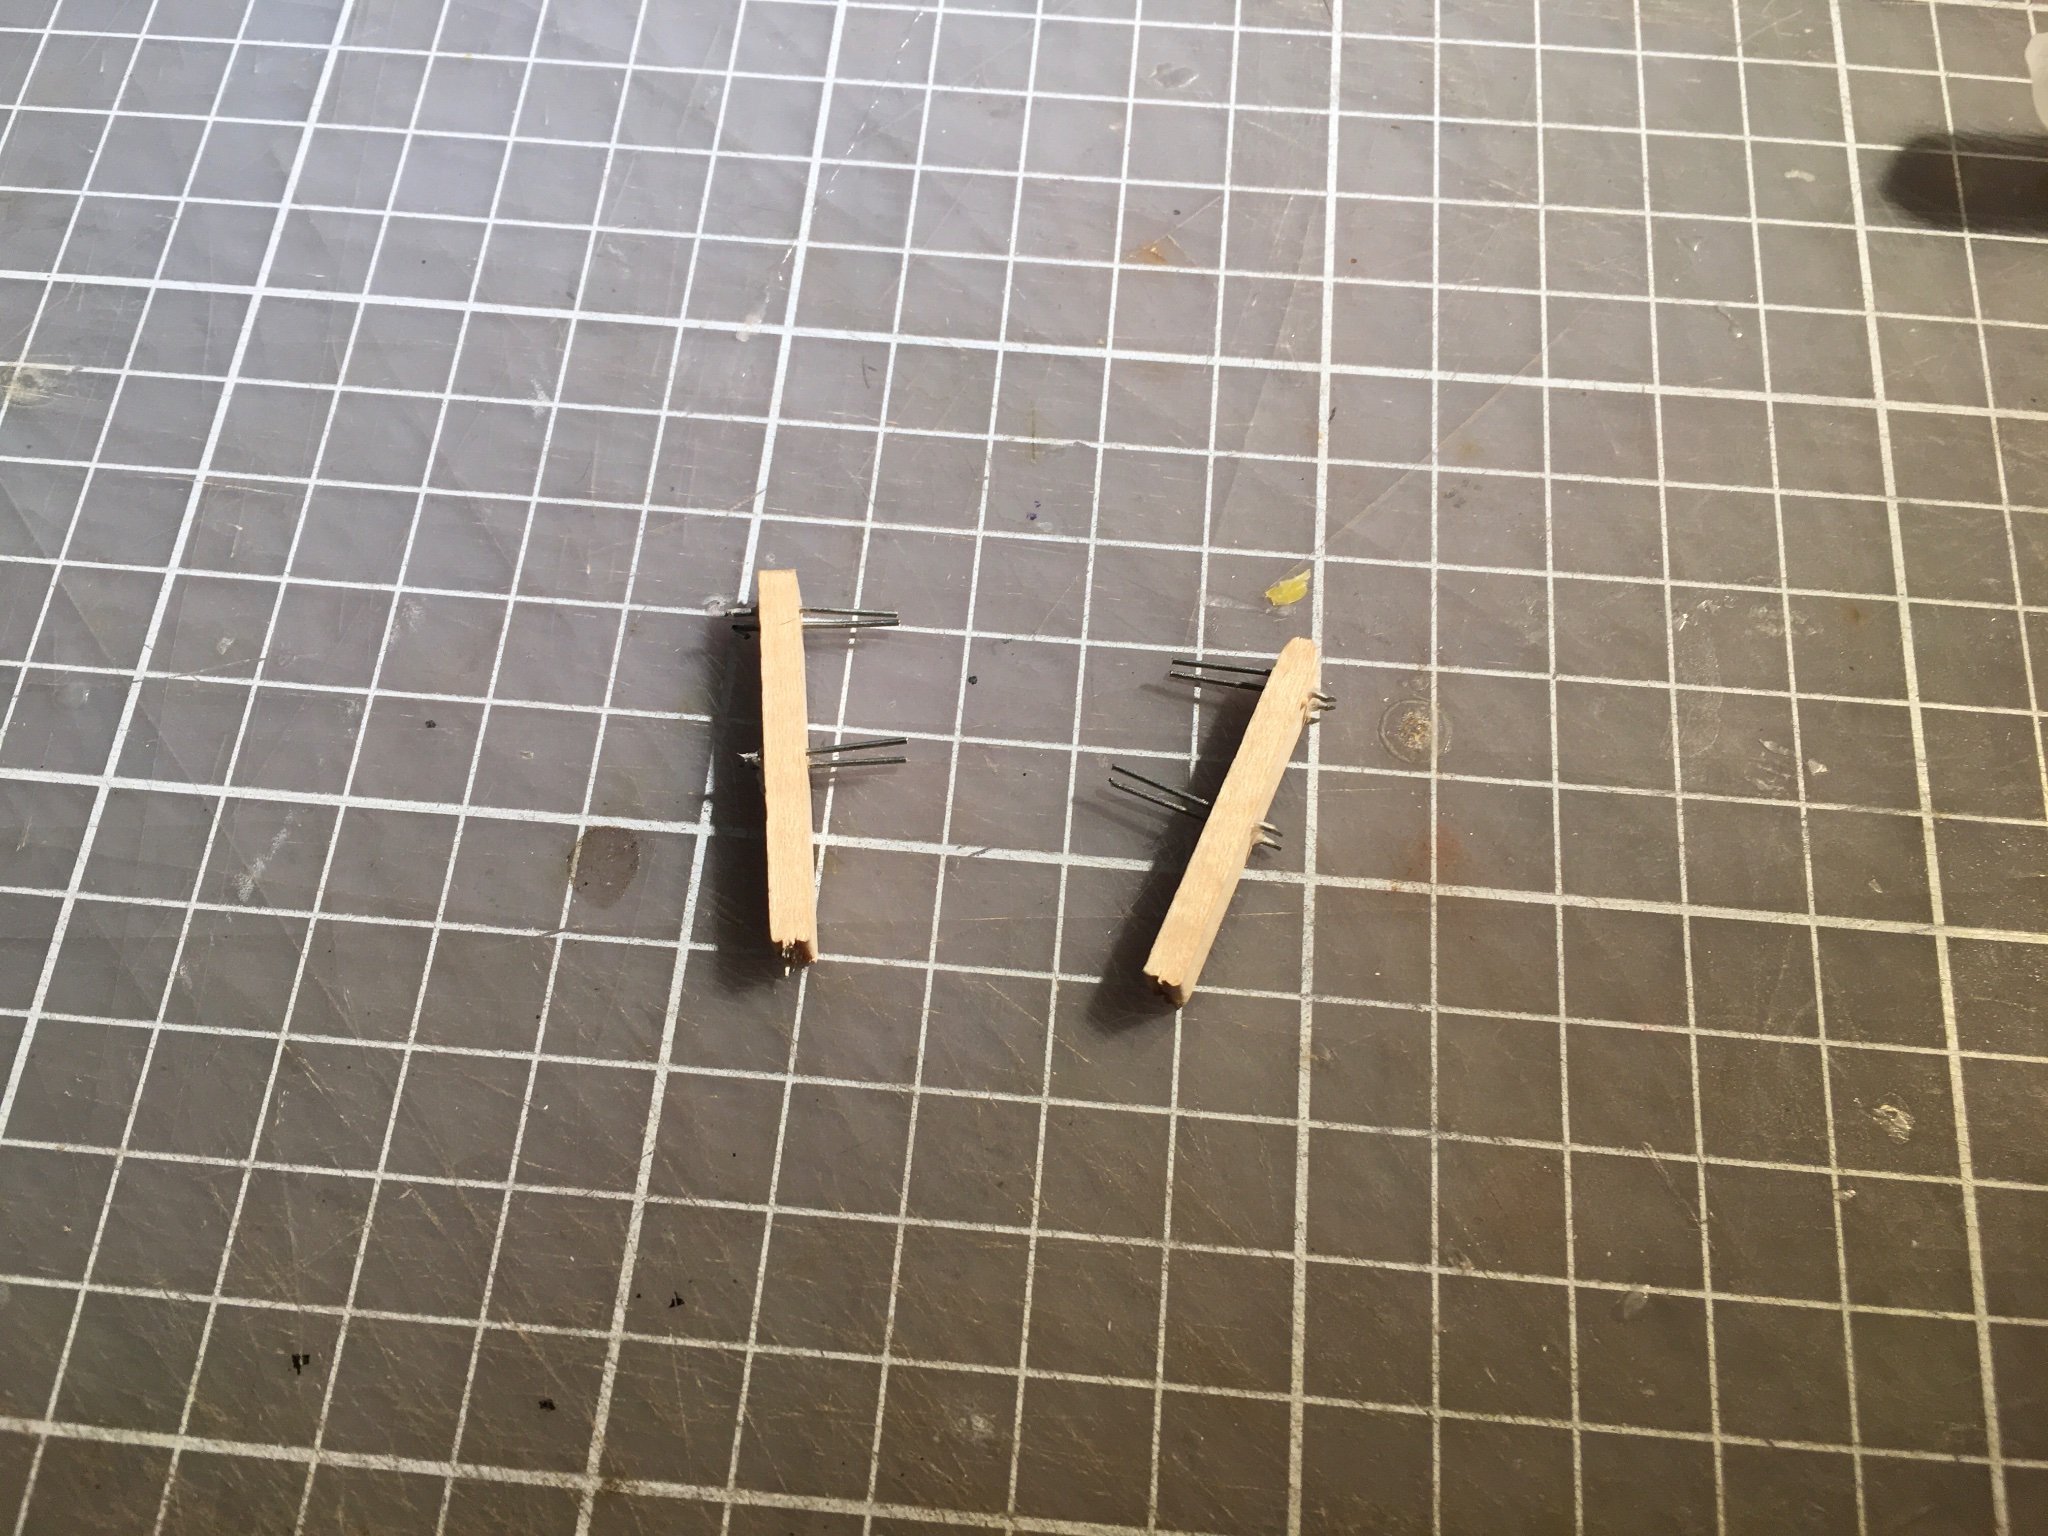
Added shrouds with deadeyes. Could be better.. but to fix bottom deadeye "holders" alignment is a bit too late What I mean for future builders: This is going to bother me forever This is a great page about making shrouds: https://suburbanshipmodeler.com/2017/10/07/shrouds/ I have tried to maintain spaces between deadeyes consistent by using these hand made tools:


- 93 replies
-
- 3
-
-
- santa maria
- amati
- (and 1 more)
-
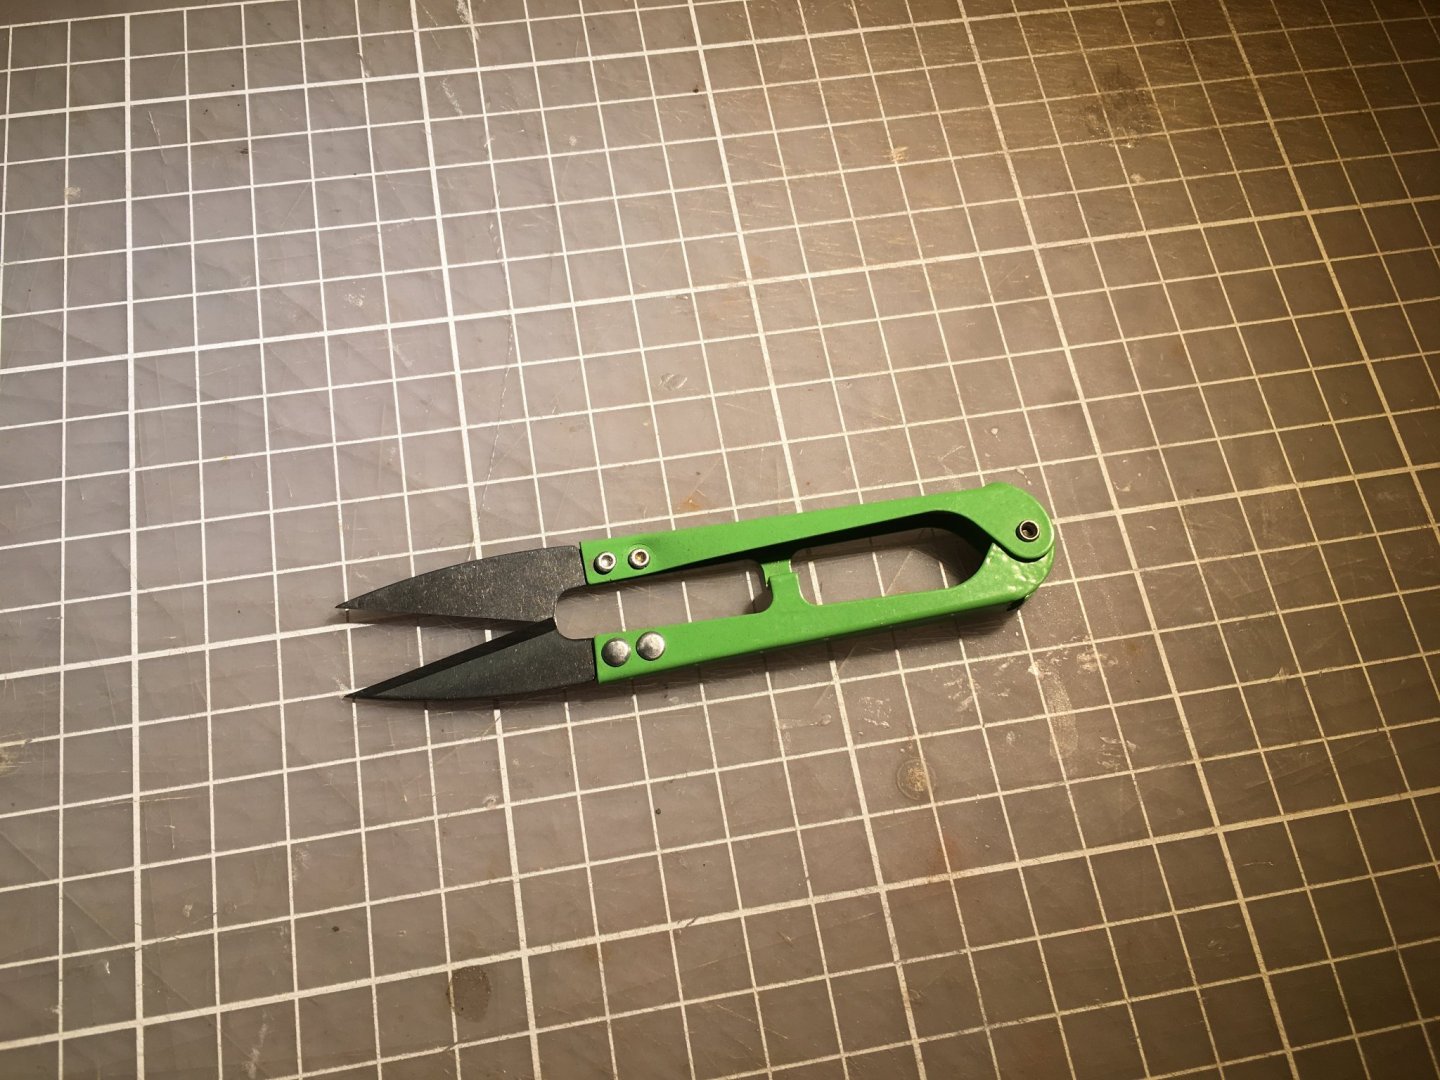
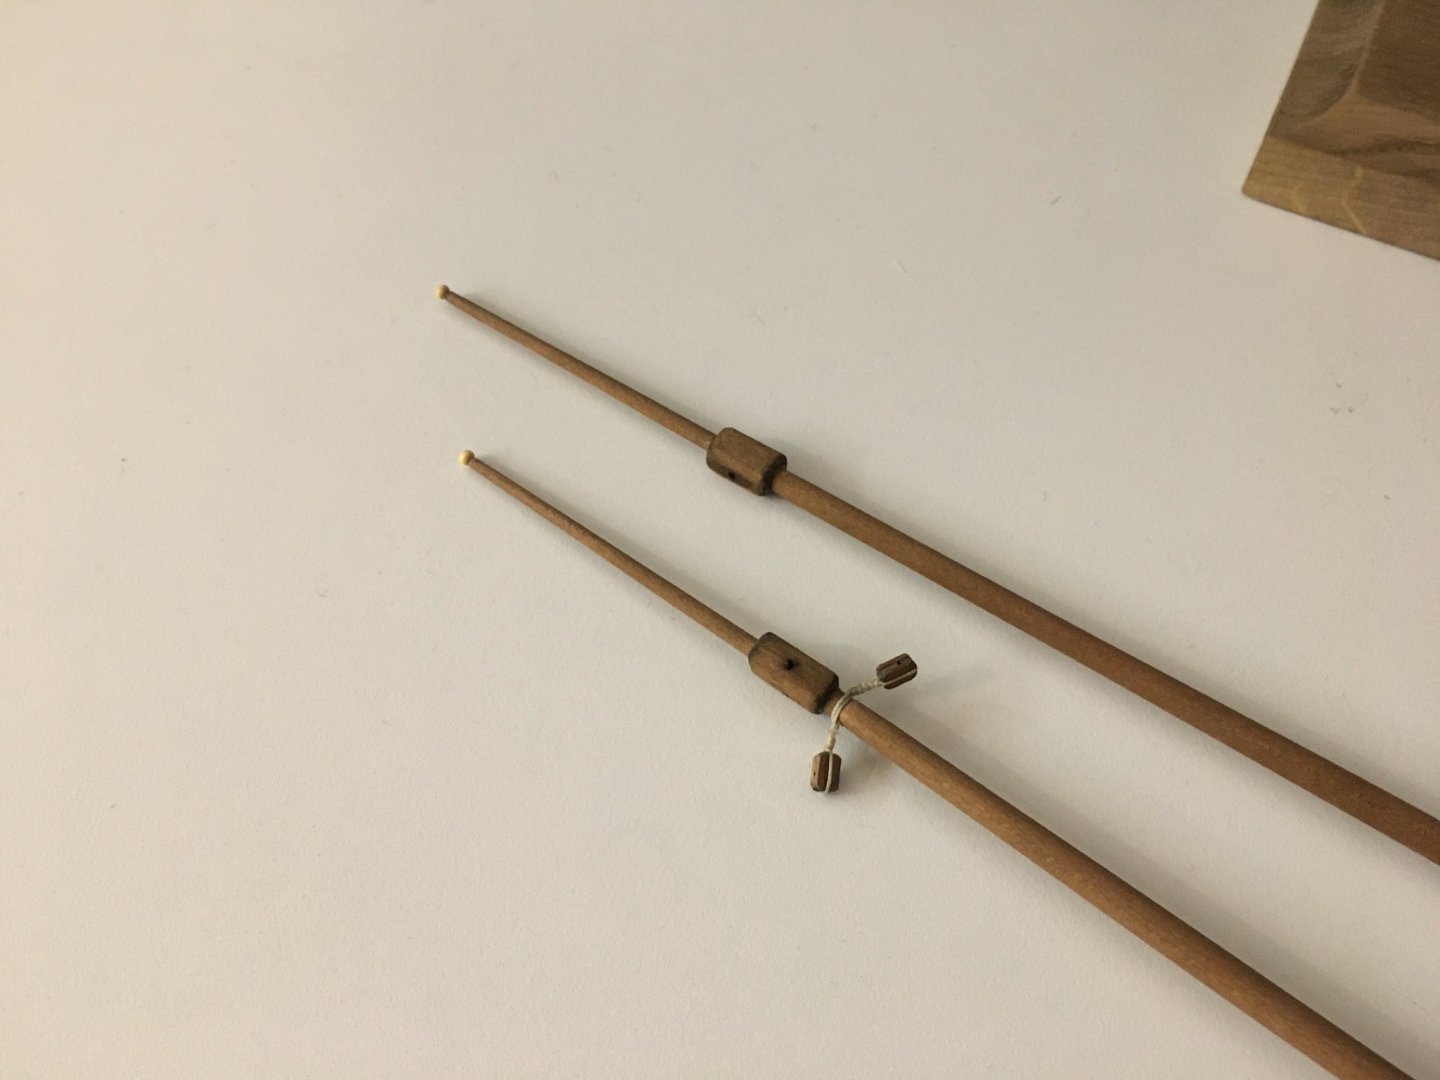
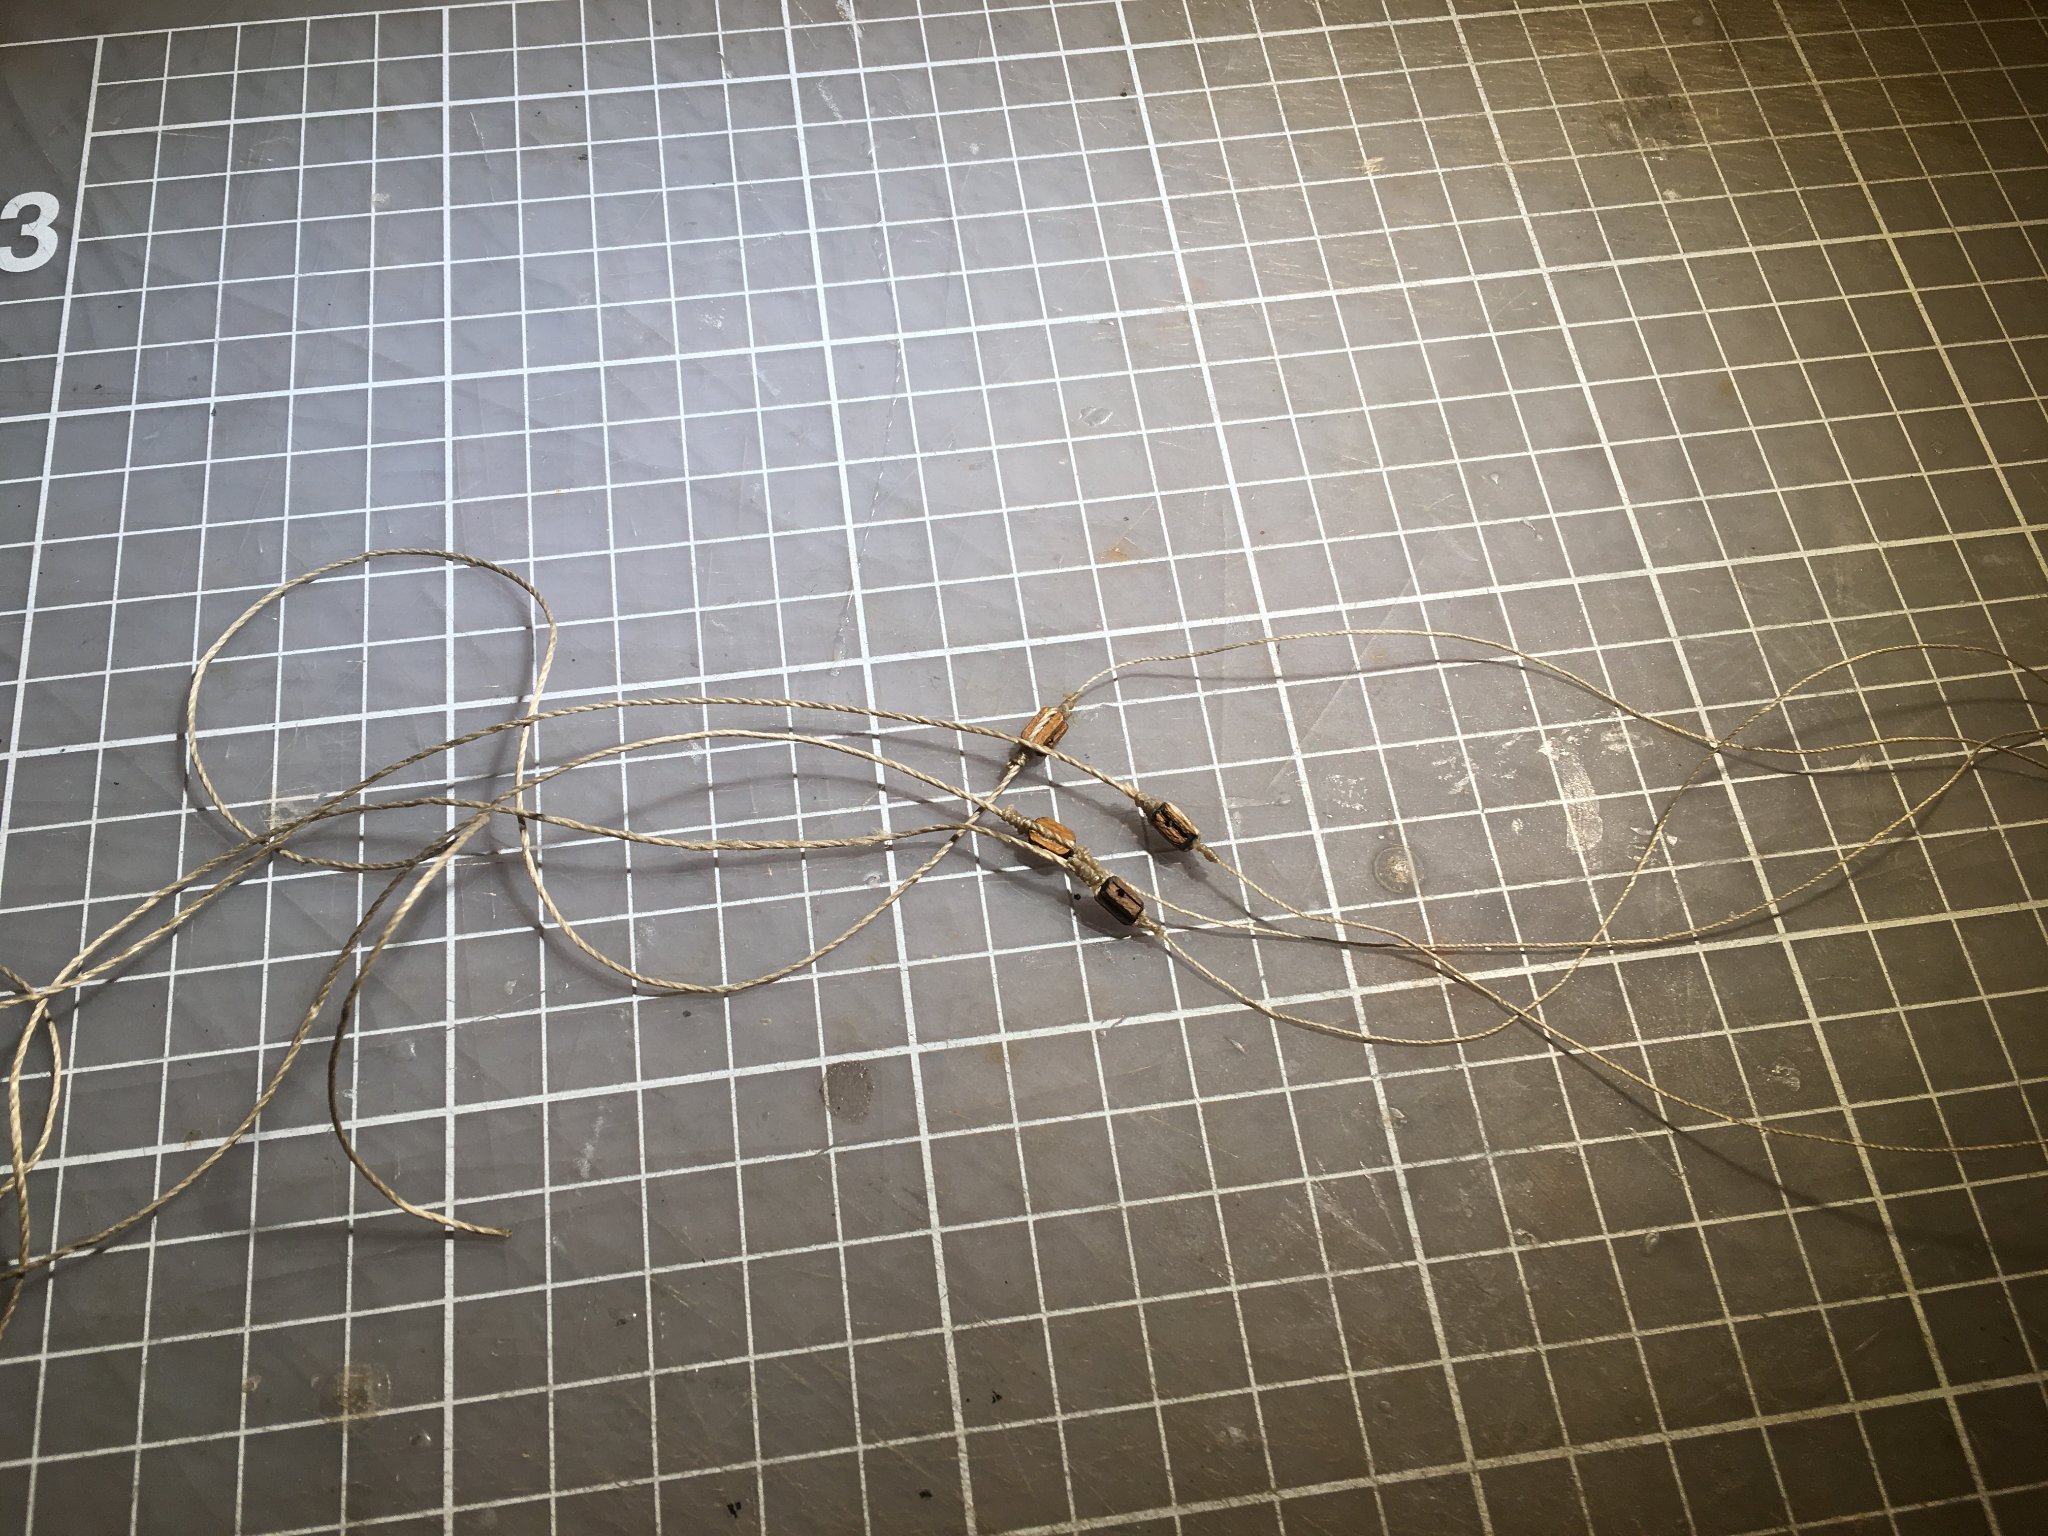
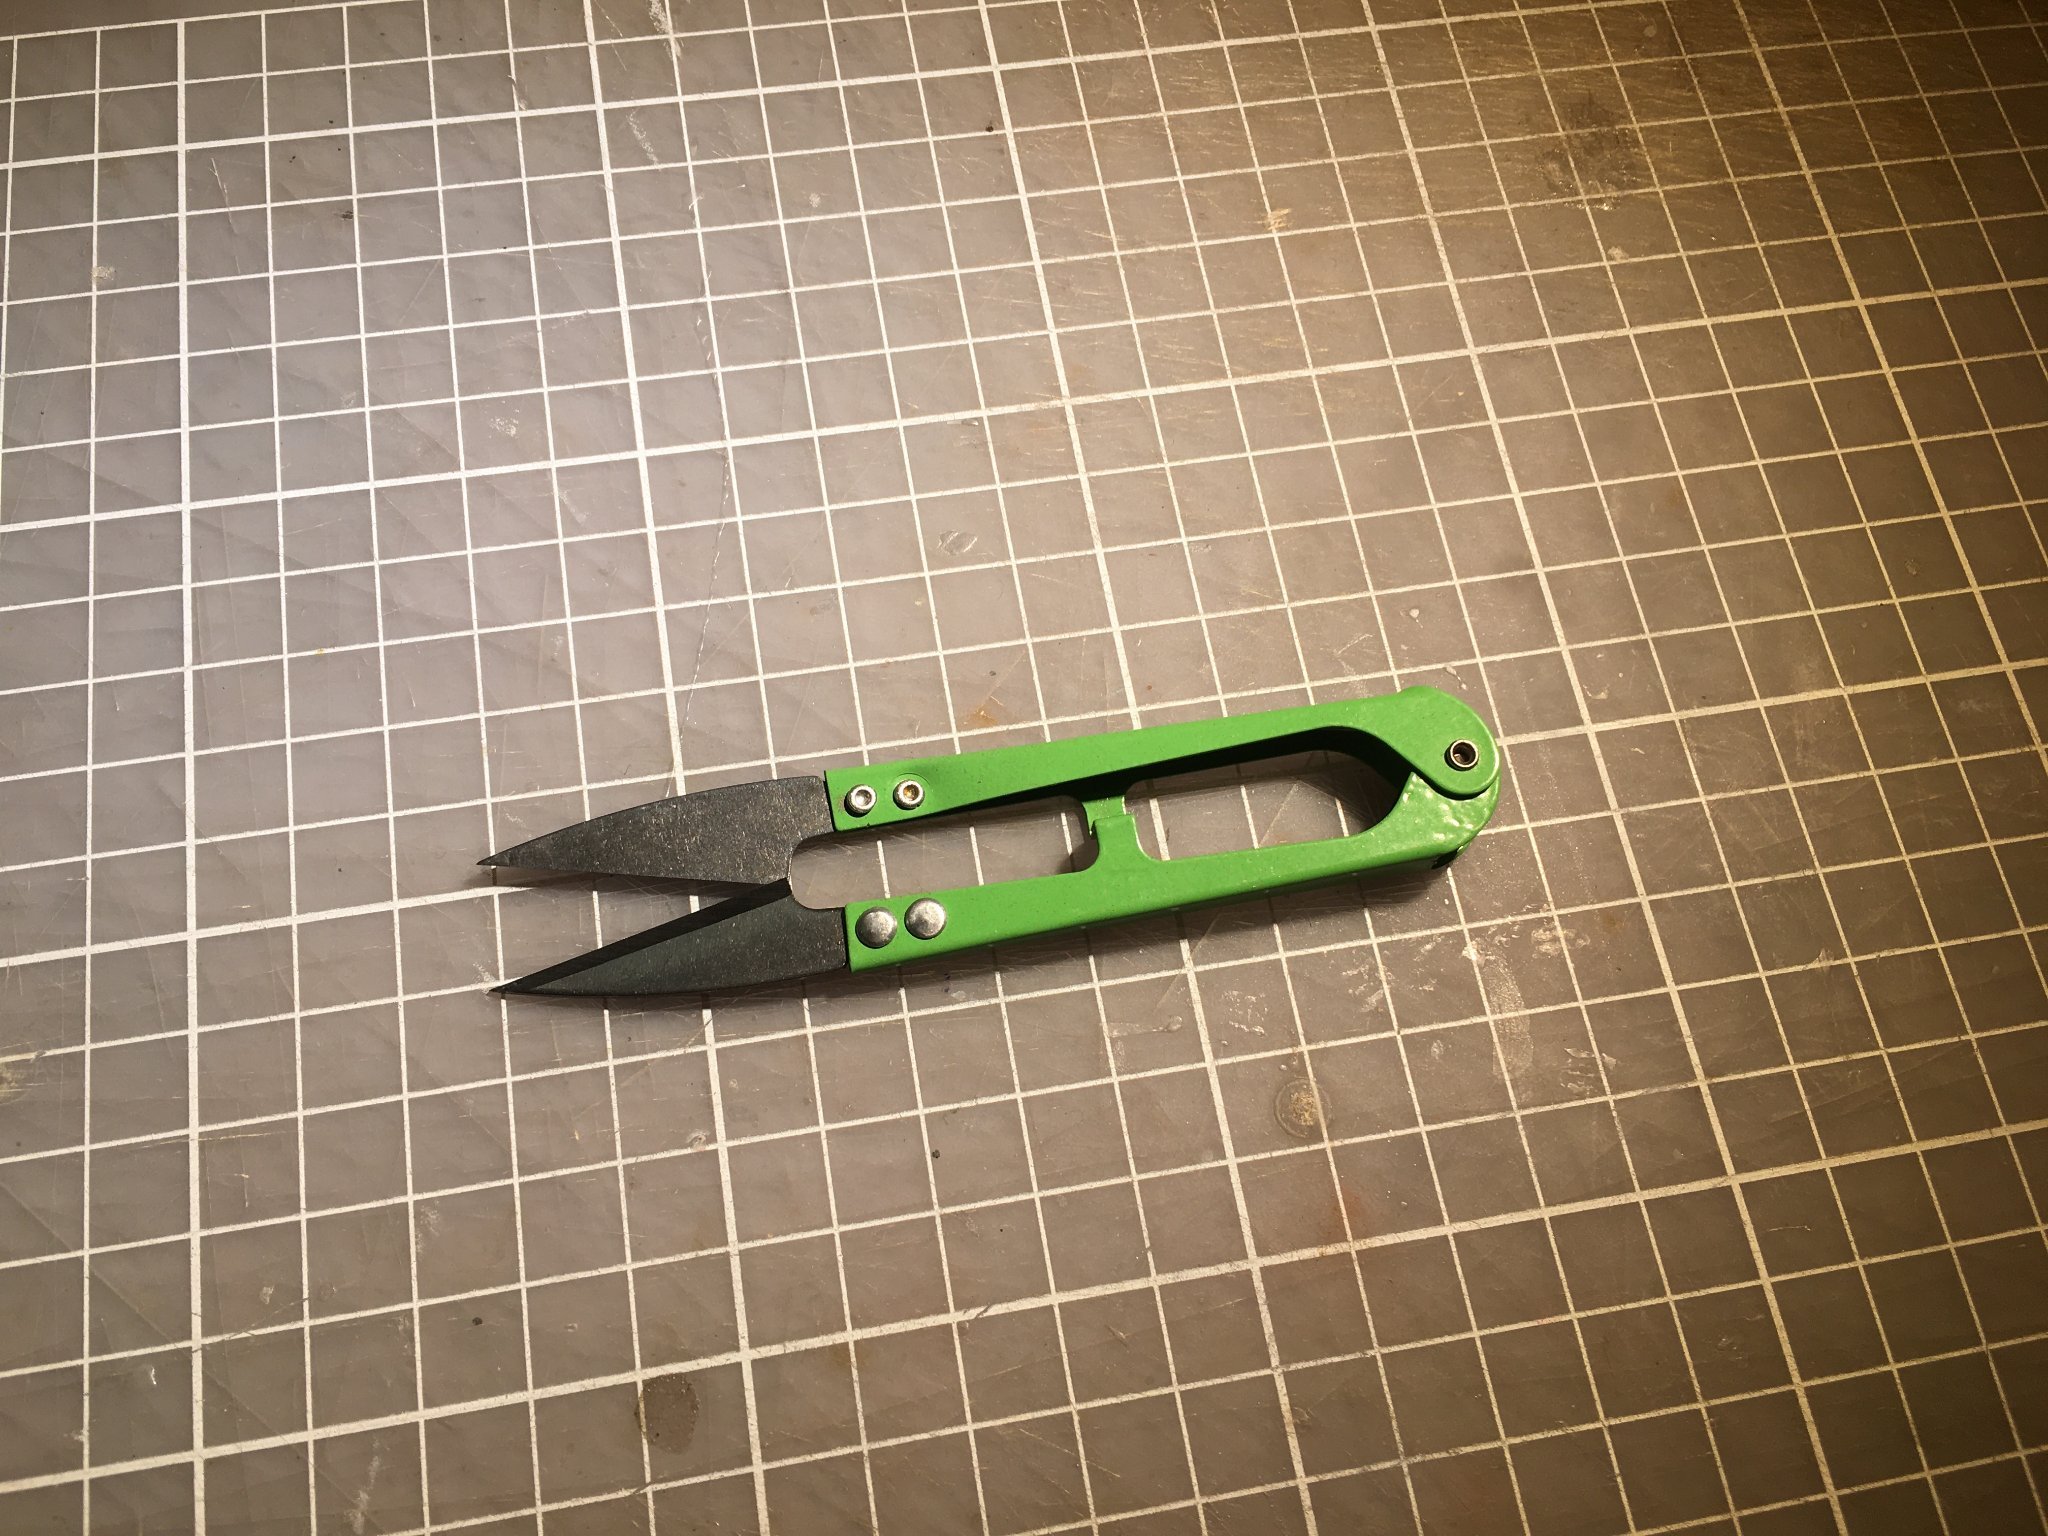
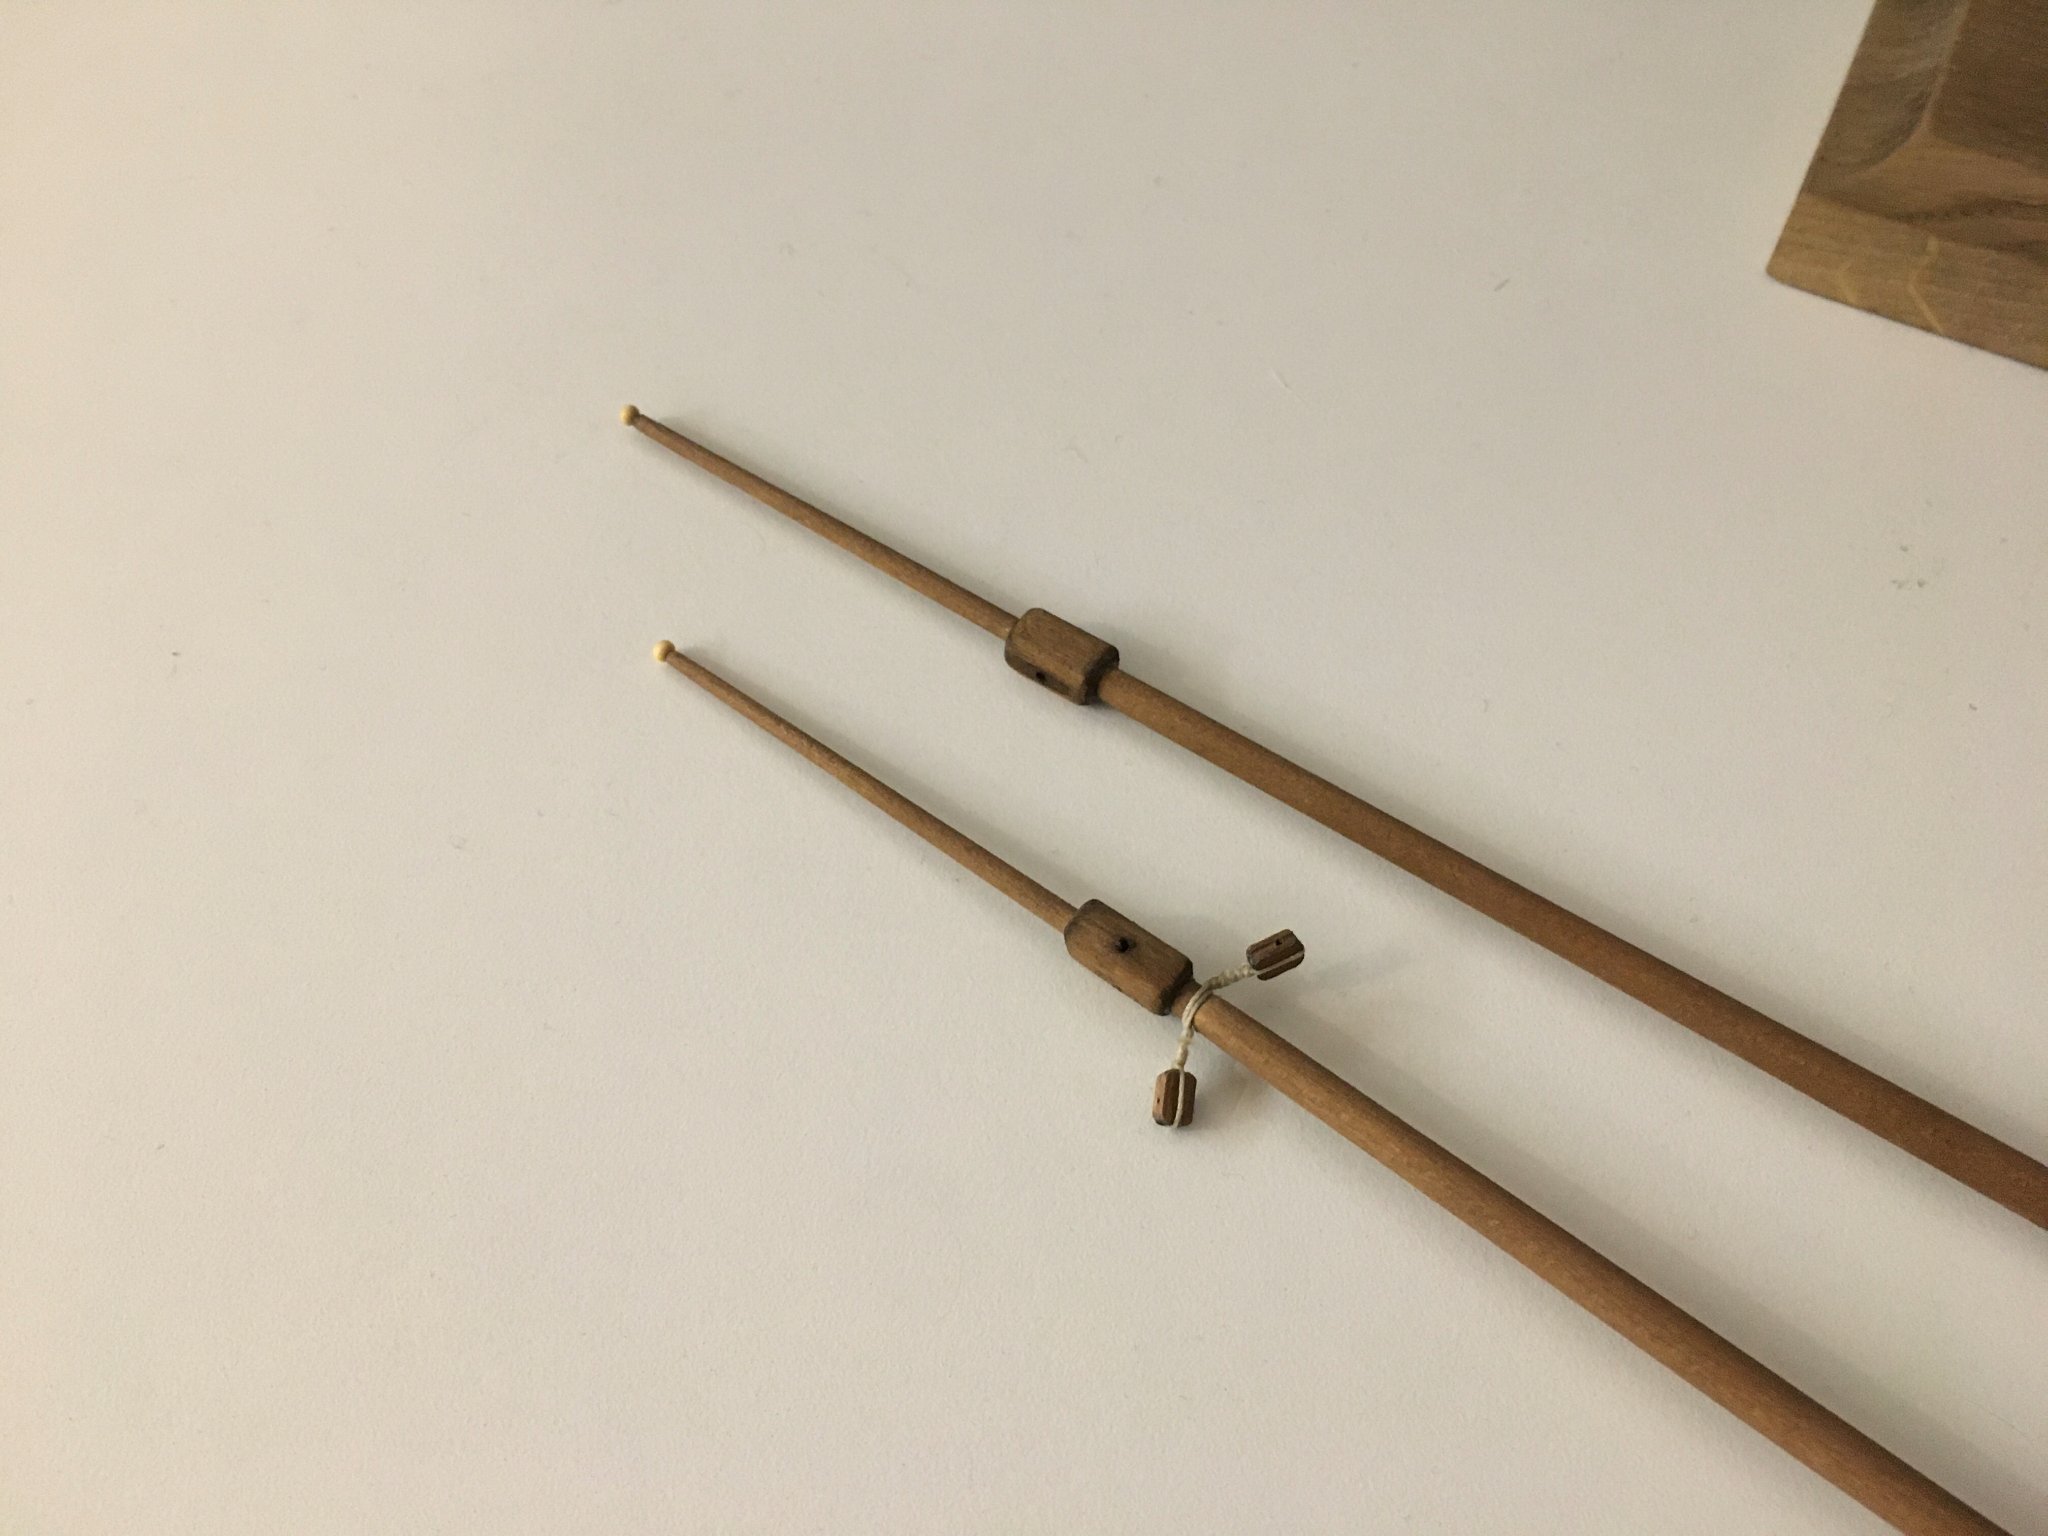
Small progress update Did a bunch of ropes: This tool is very convenient to cut threads, can recommend:


- 93 replies
-
- 5
-
-
- santa maria
- amati
- (and 1 more)
-
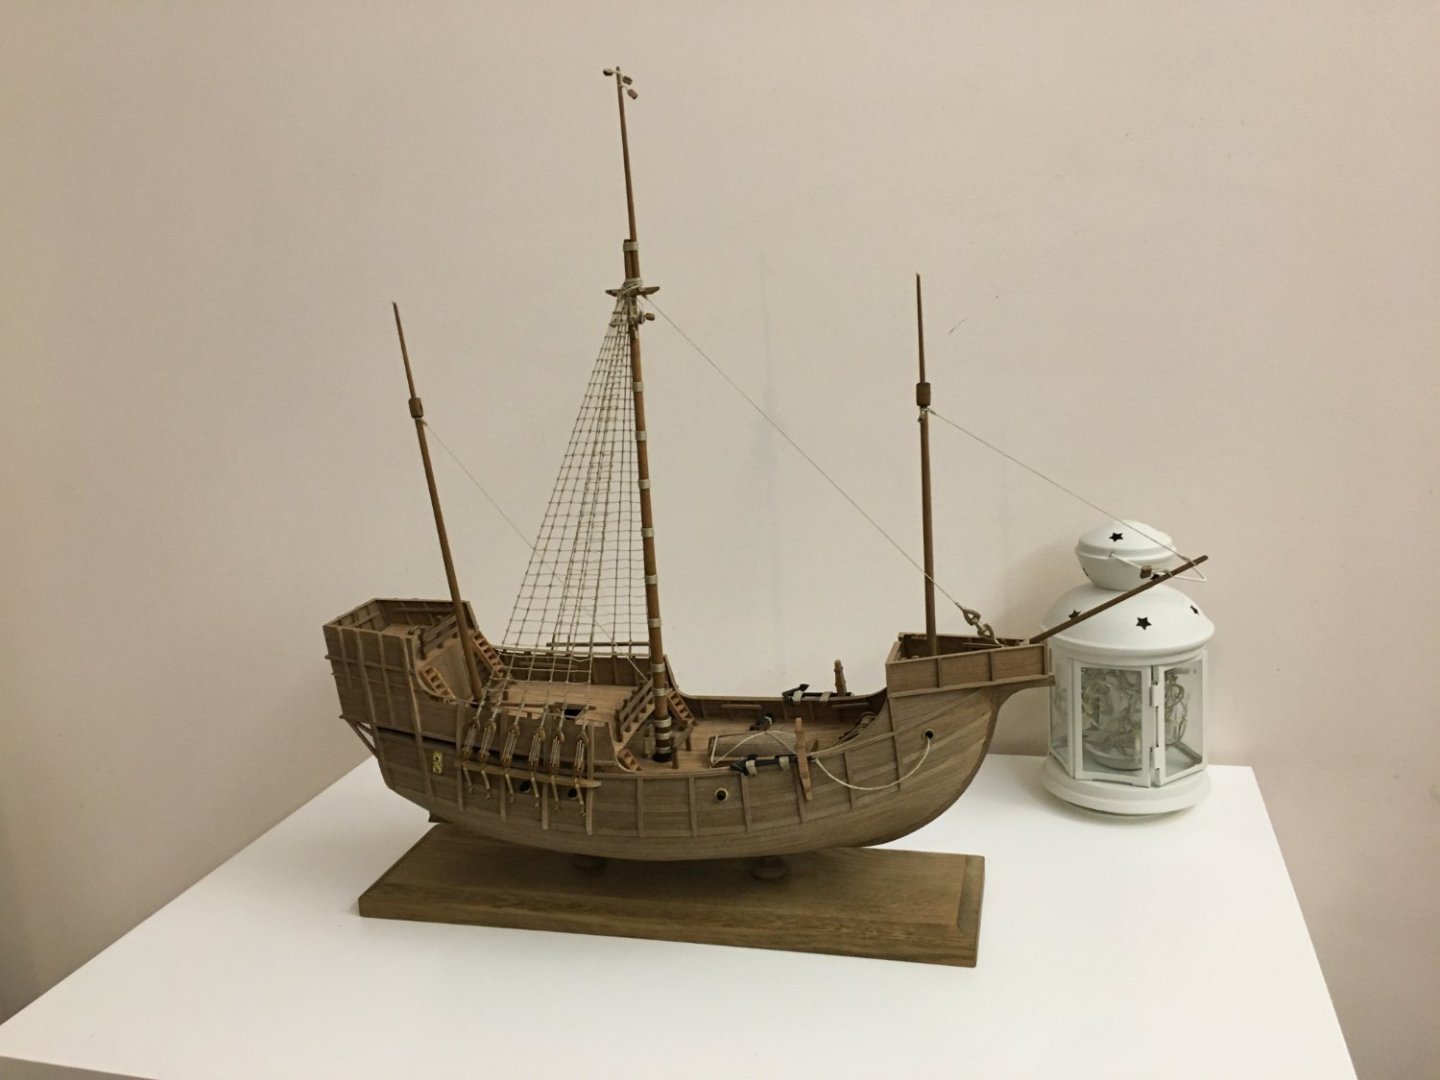
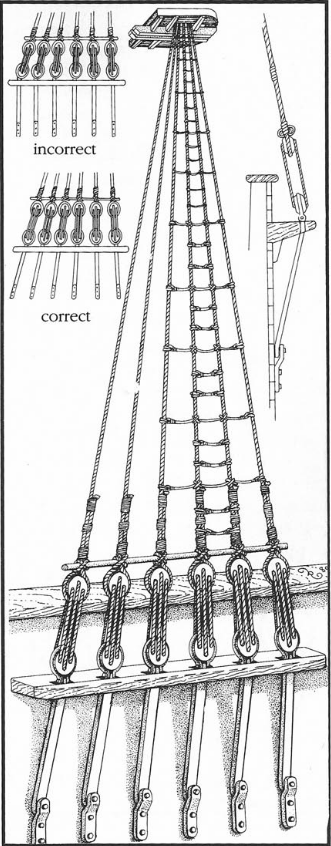
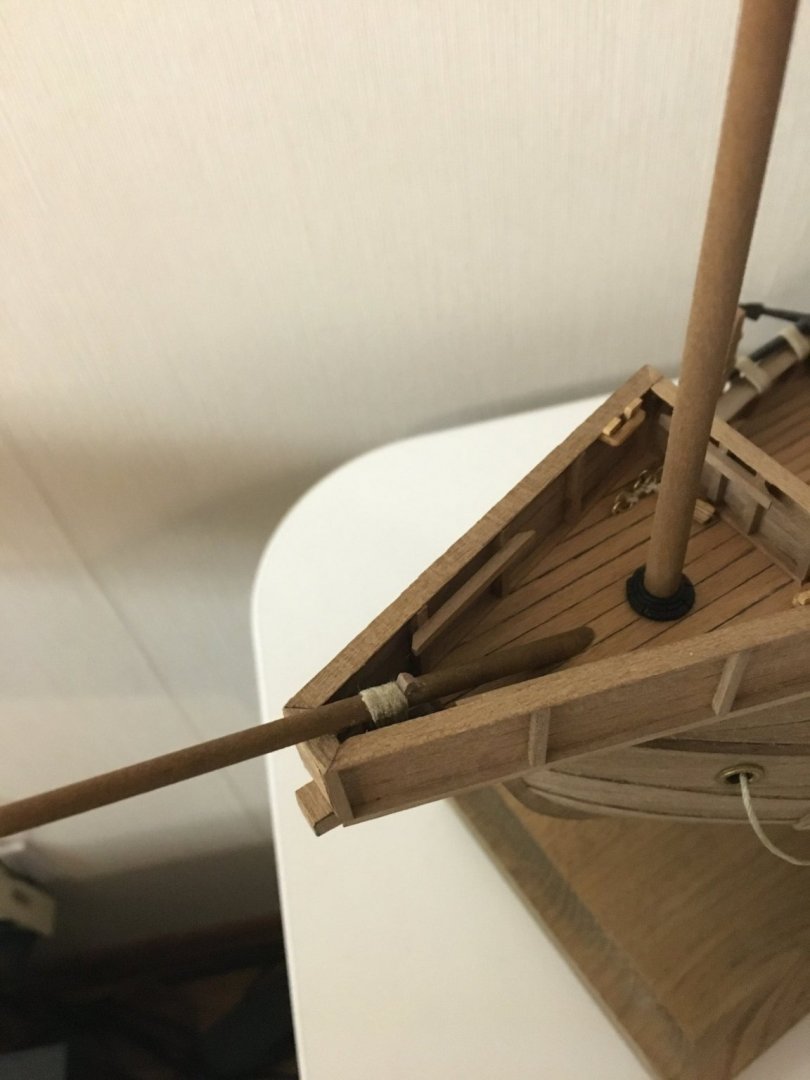
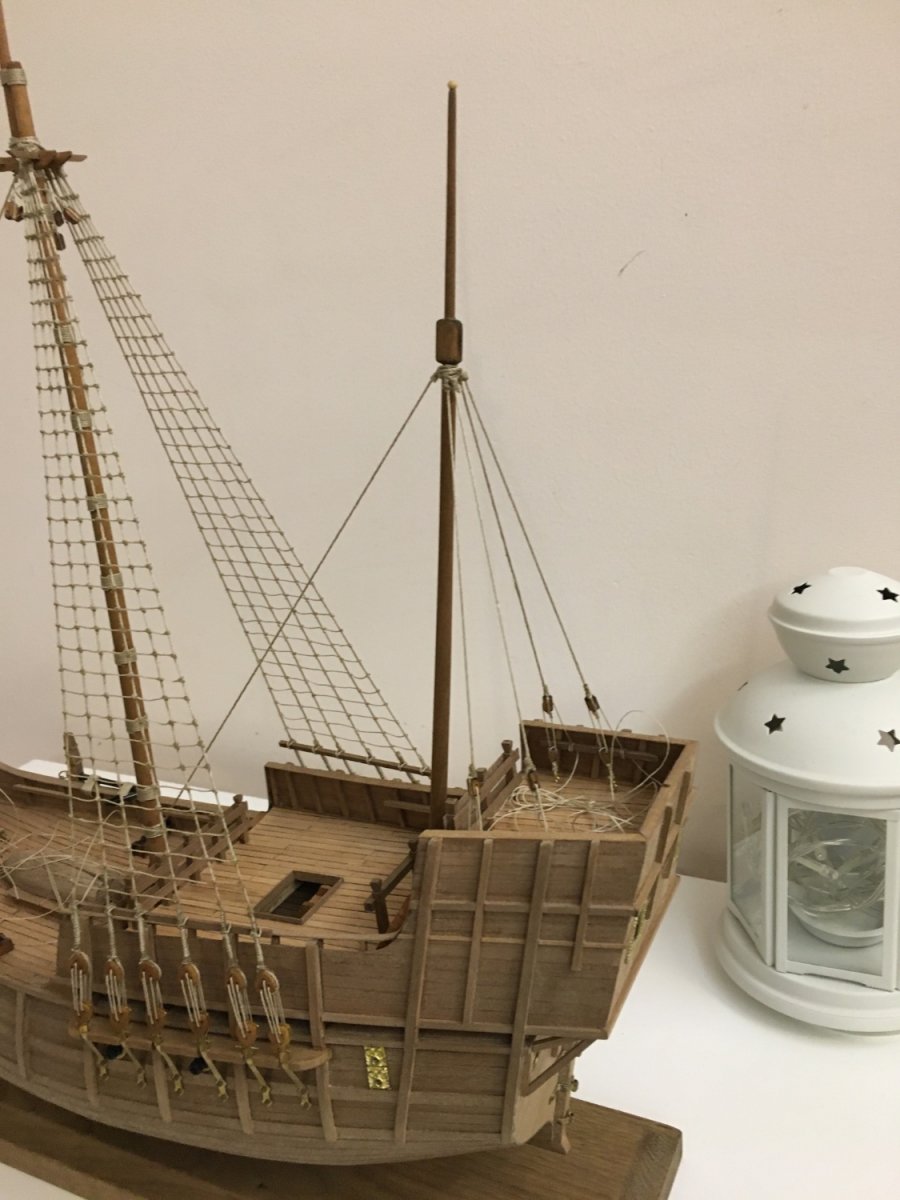
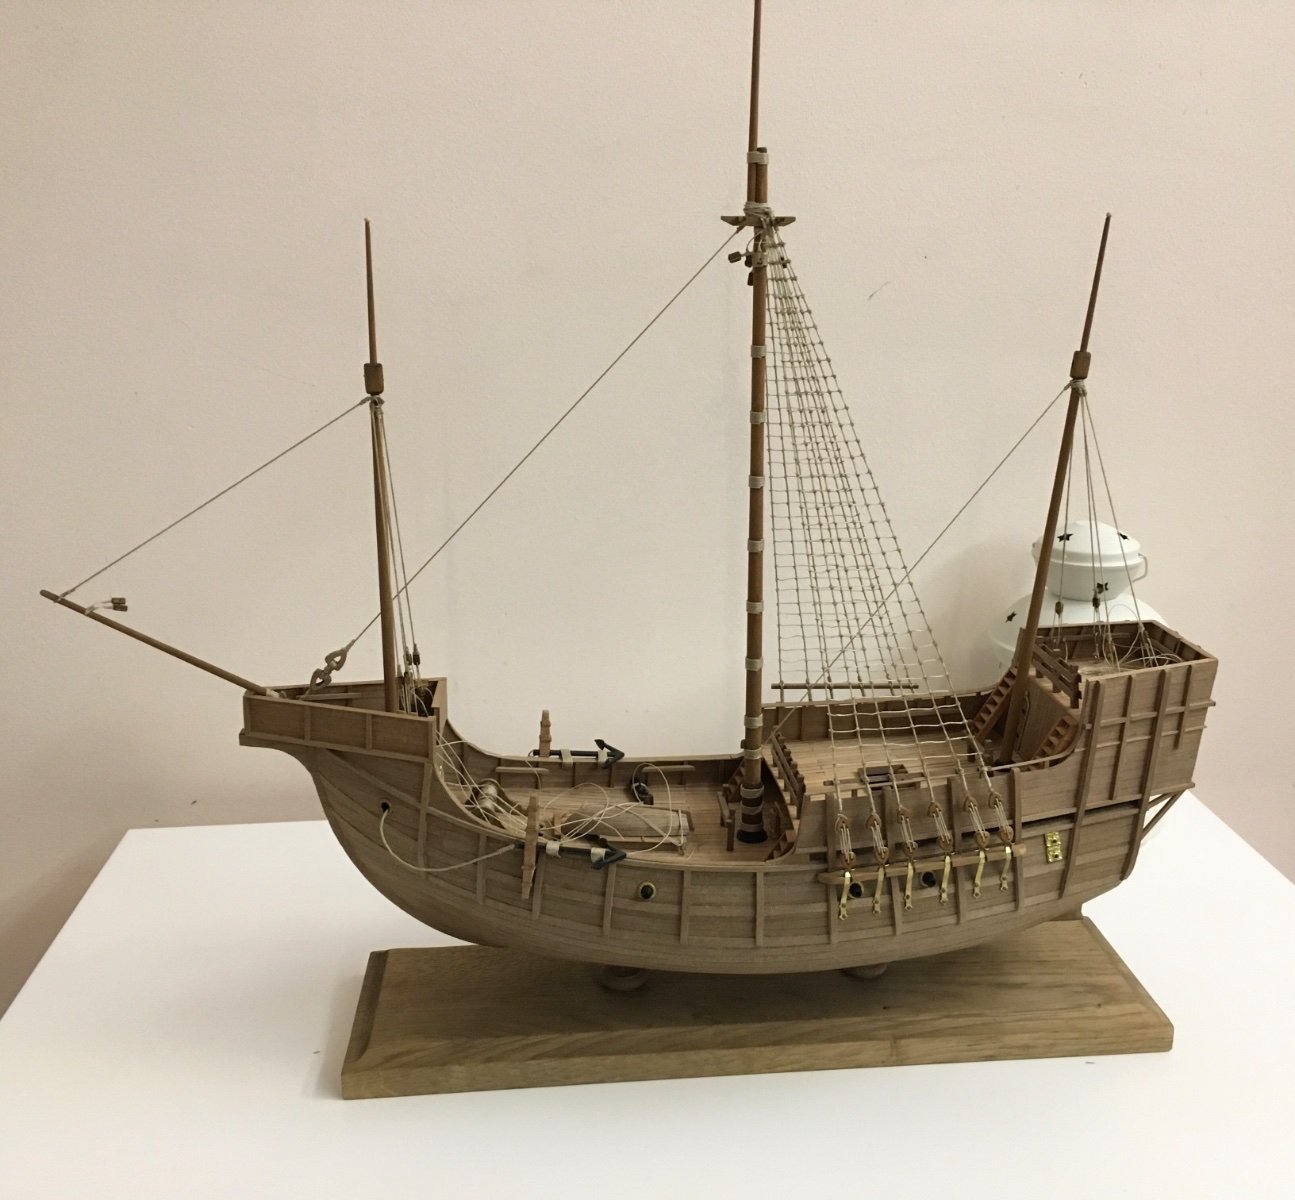
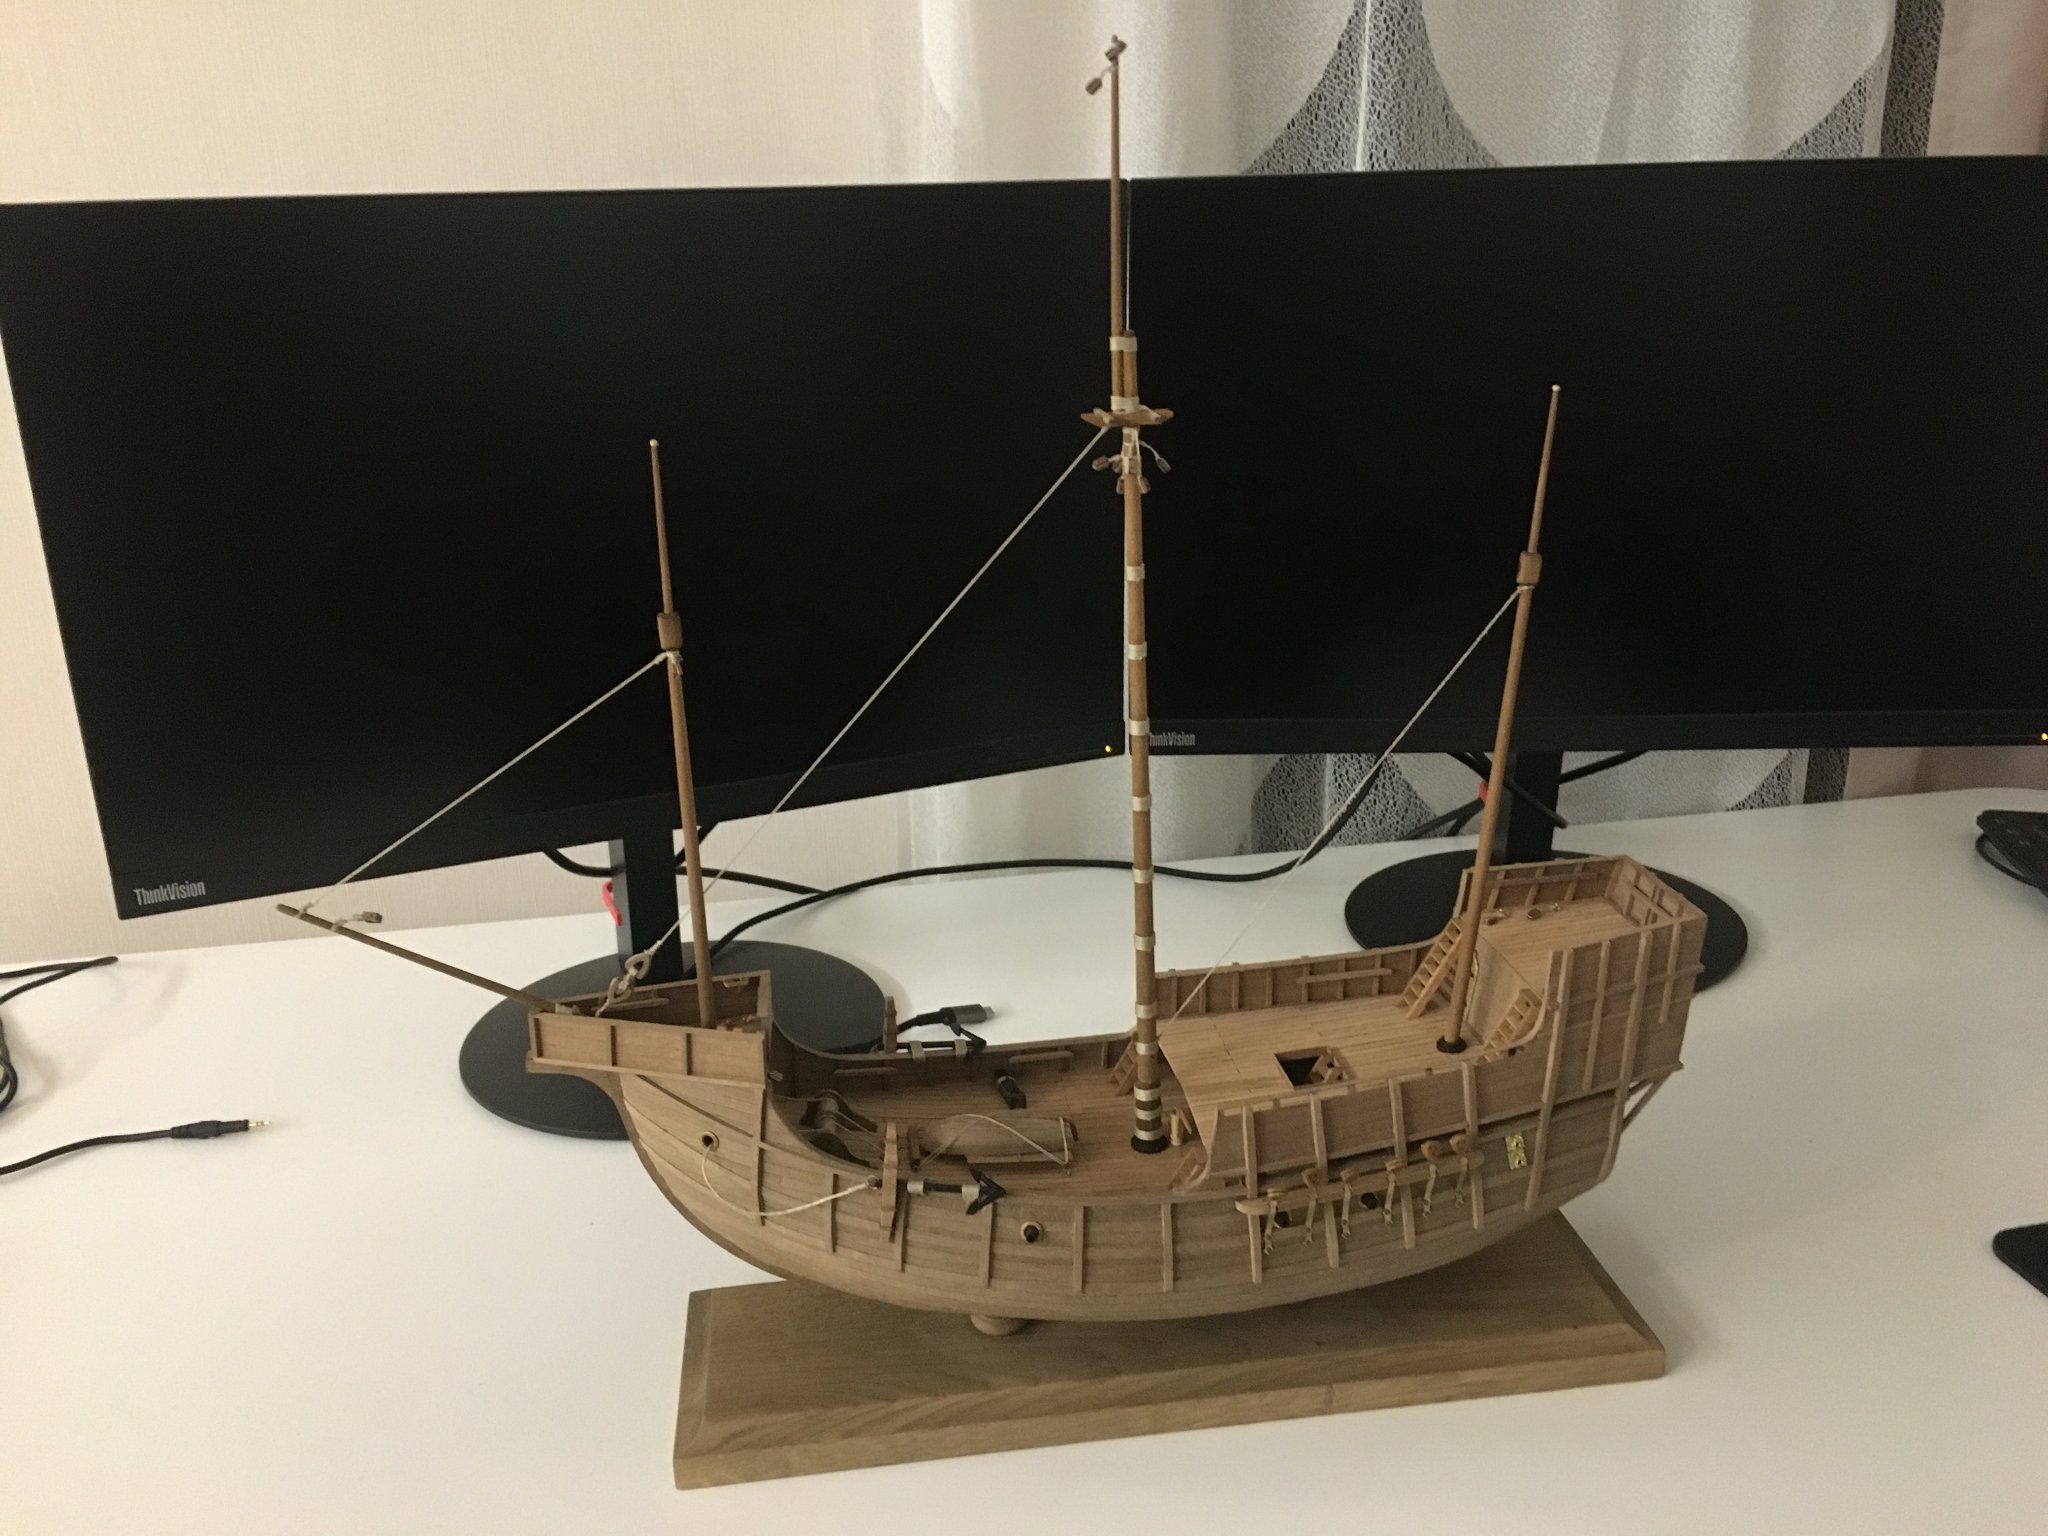
In a few hours I have managed to glue front-most mast and tie it down... It was way harder than I expected, everything was so tight and I had to try multiple times until I get it right.. I was not able to figure out what I am doing wrong until I found redhawk Santa Maria build on modelissmo.net (https://www.modellismo.net/forum/modelli-terminati/61121-wip-santa-maria-2.html). It included this blueprint: After I saw it everything clicked in my head finally and I was able to achieve the desired result. I hope this helps for future builders. I would love to have a better instructions for this ship, but maybe it is more fun to work this way. I have spent countless hours studying other people work on this kit.

- 93 replies
-
- 5
-
-
- santa maria
- amati
- (and 1 more)
-
Pinta by Andyrew - Amati - 1:65 Scale
Lapinas replied to Andyrew's topic in - Kit subjects built Up to and including 1500 AD
Keep up the good work! -
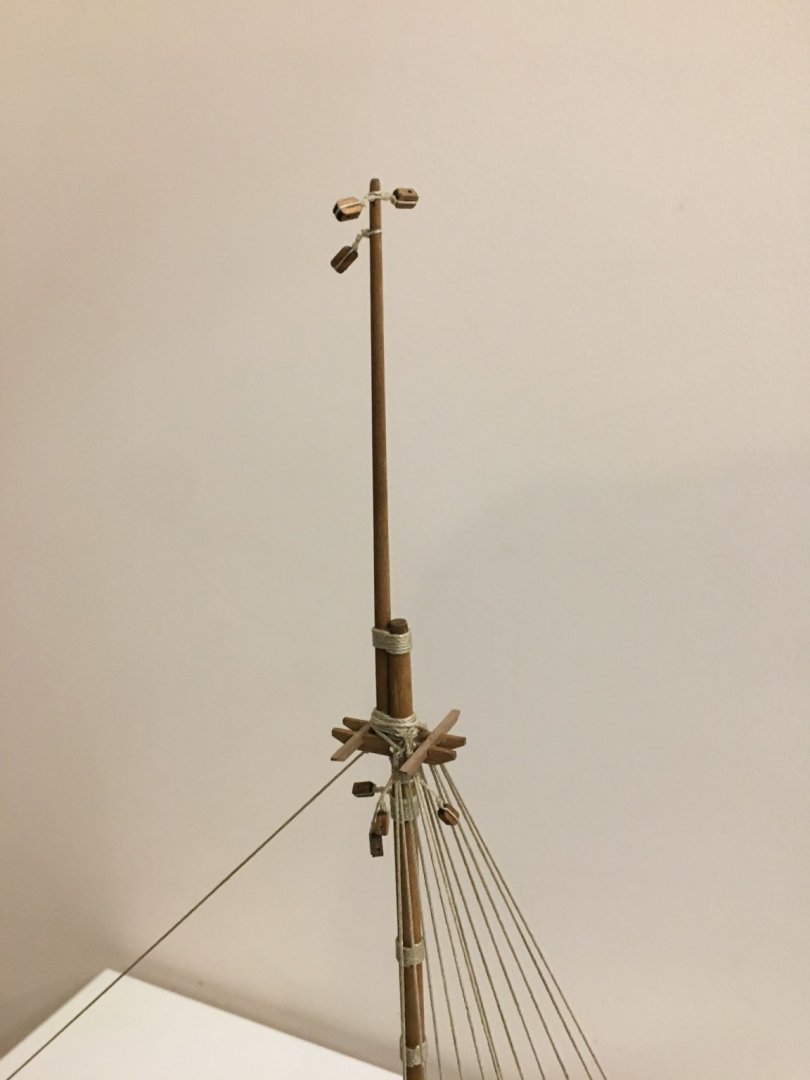
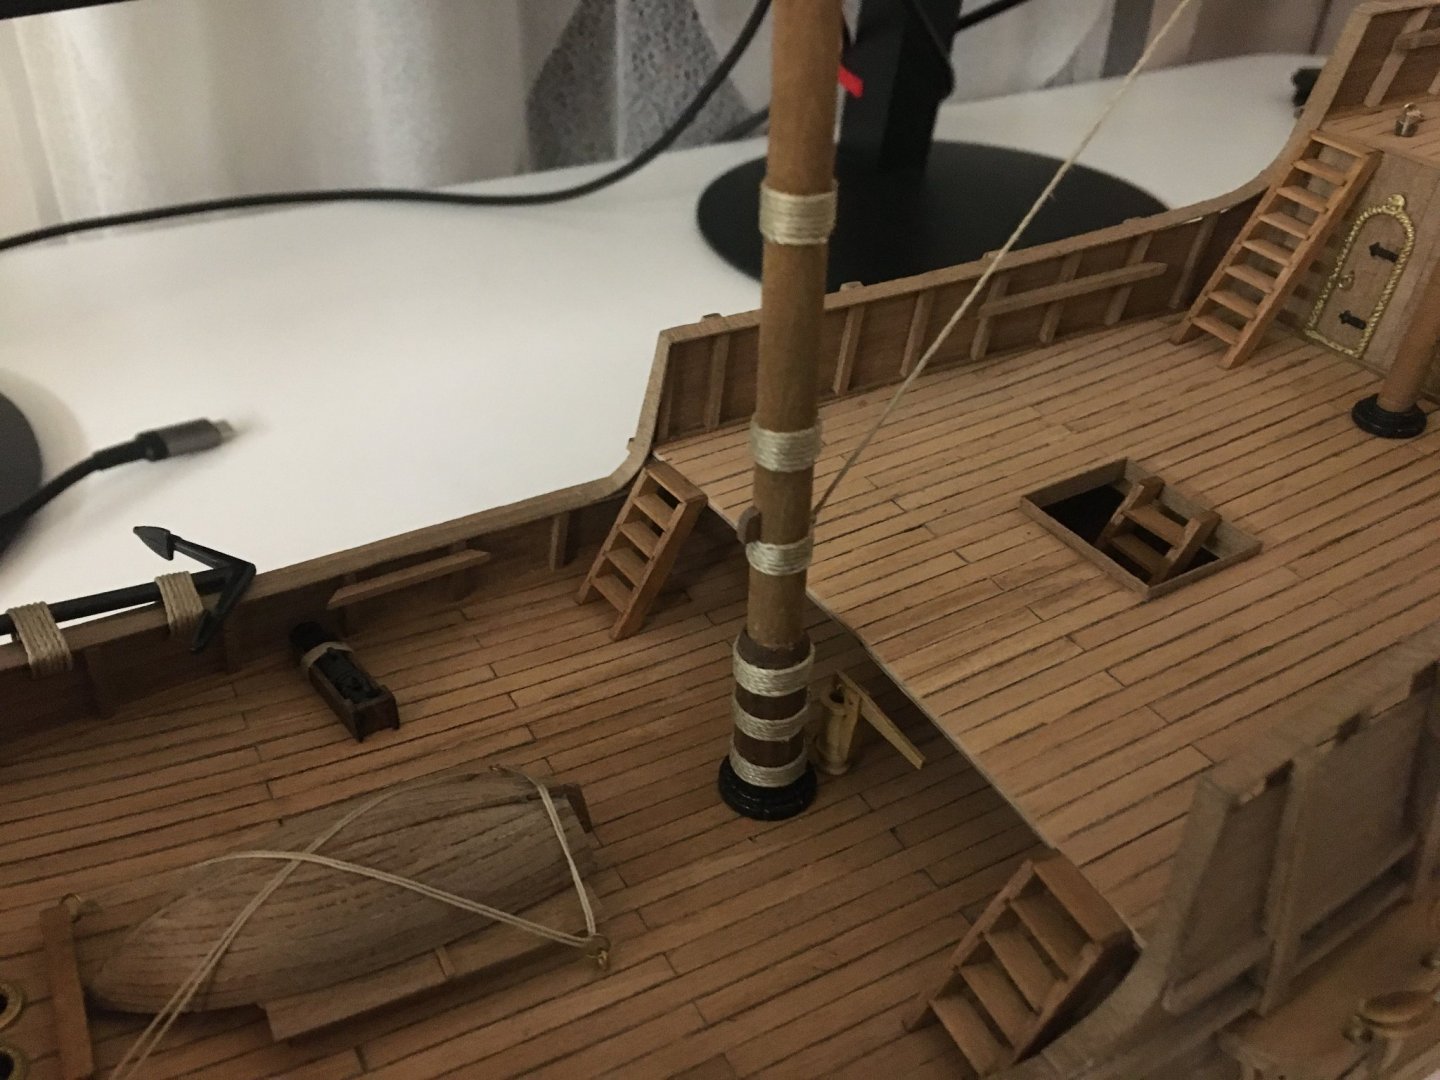
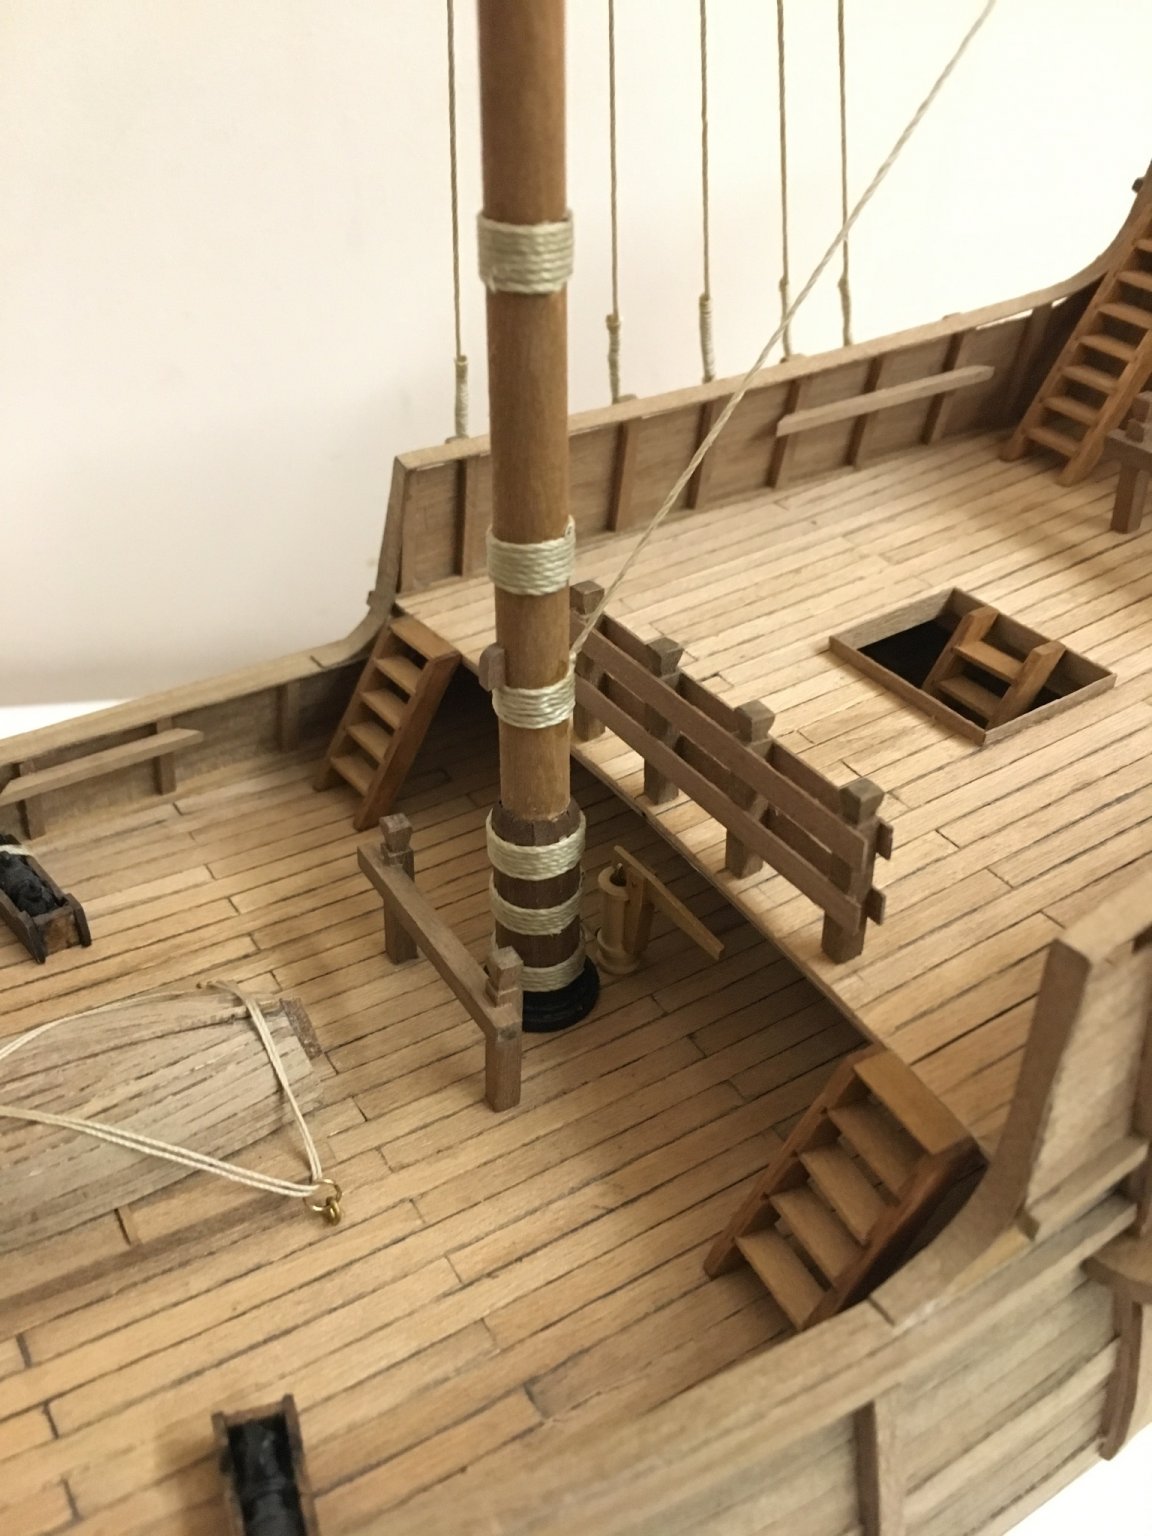
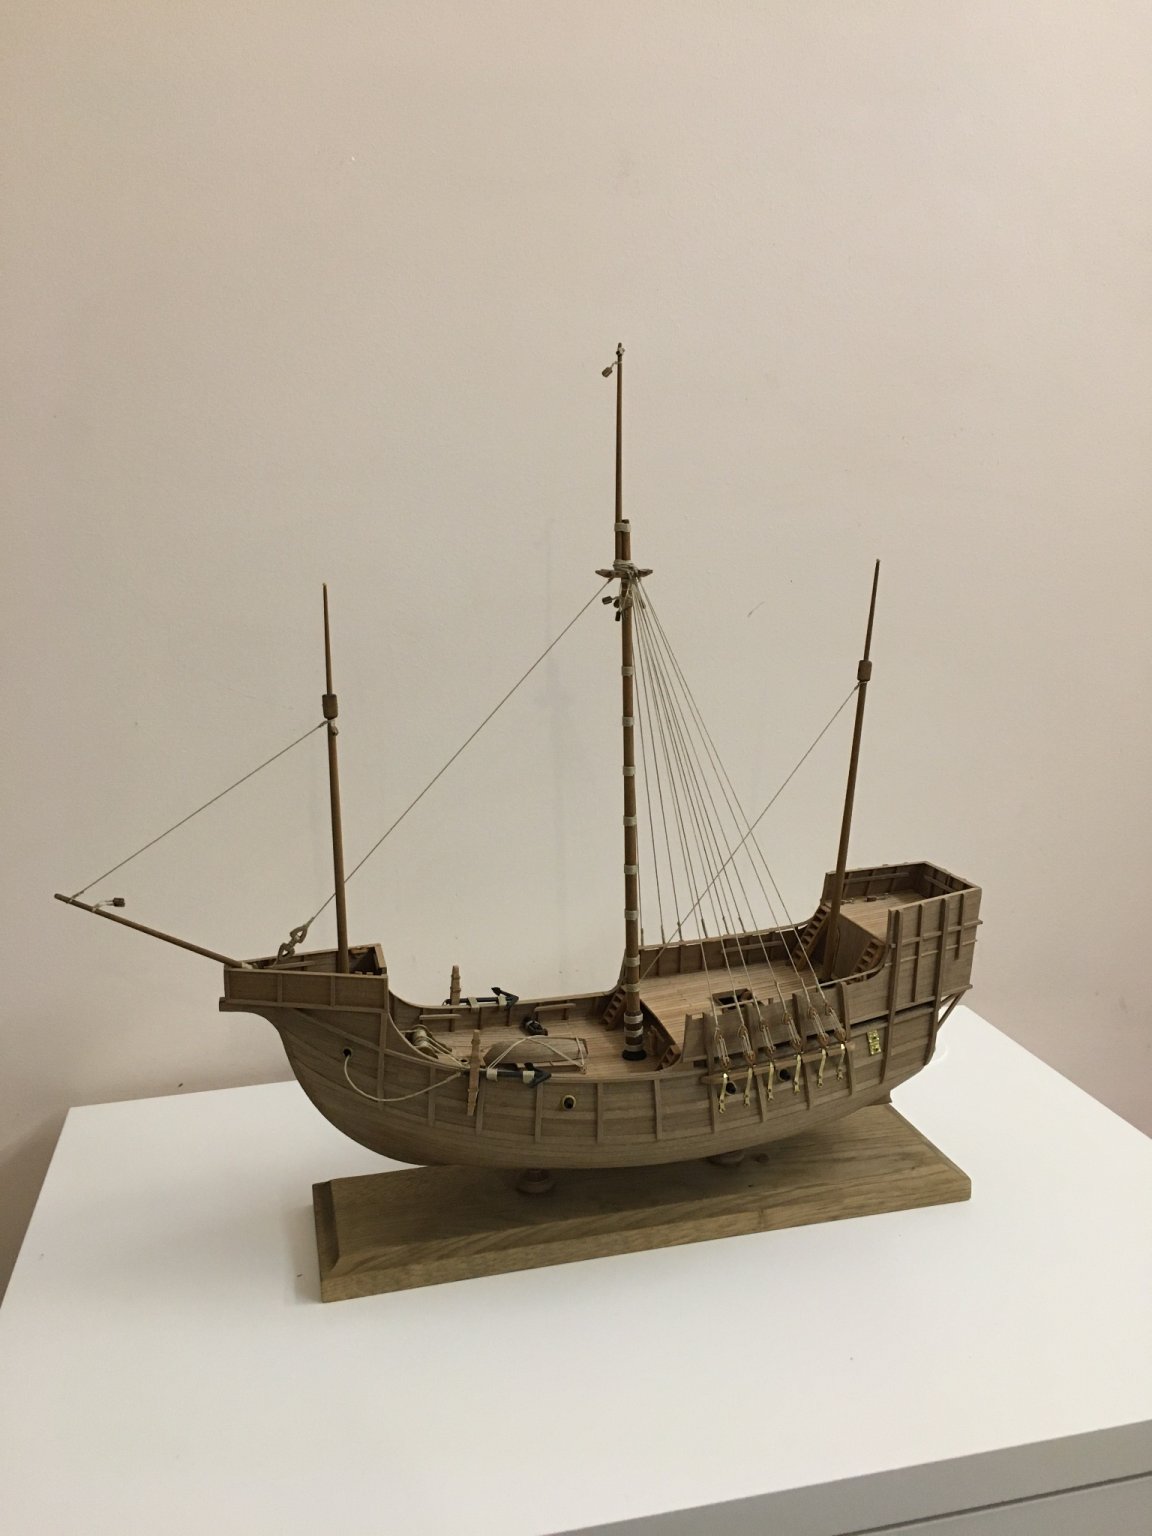
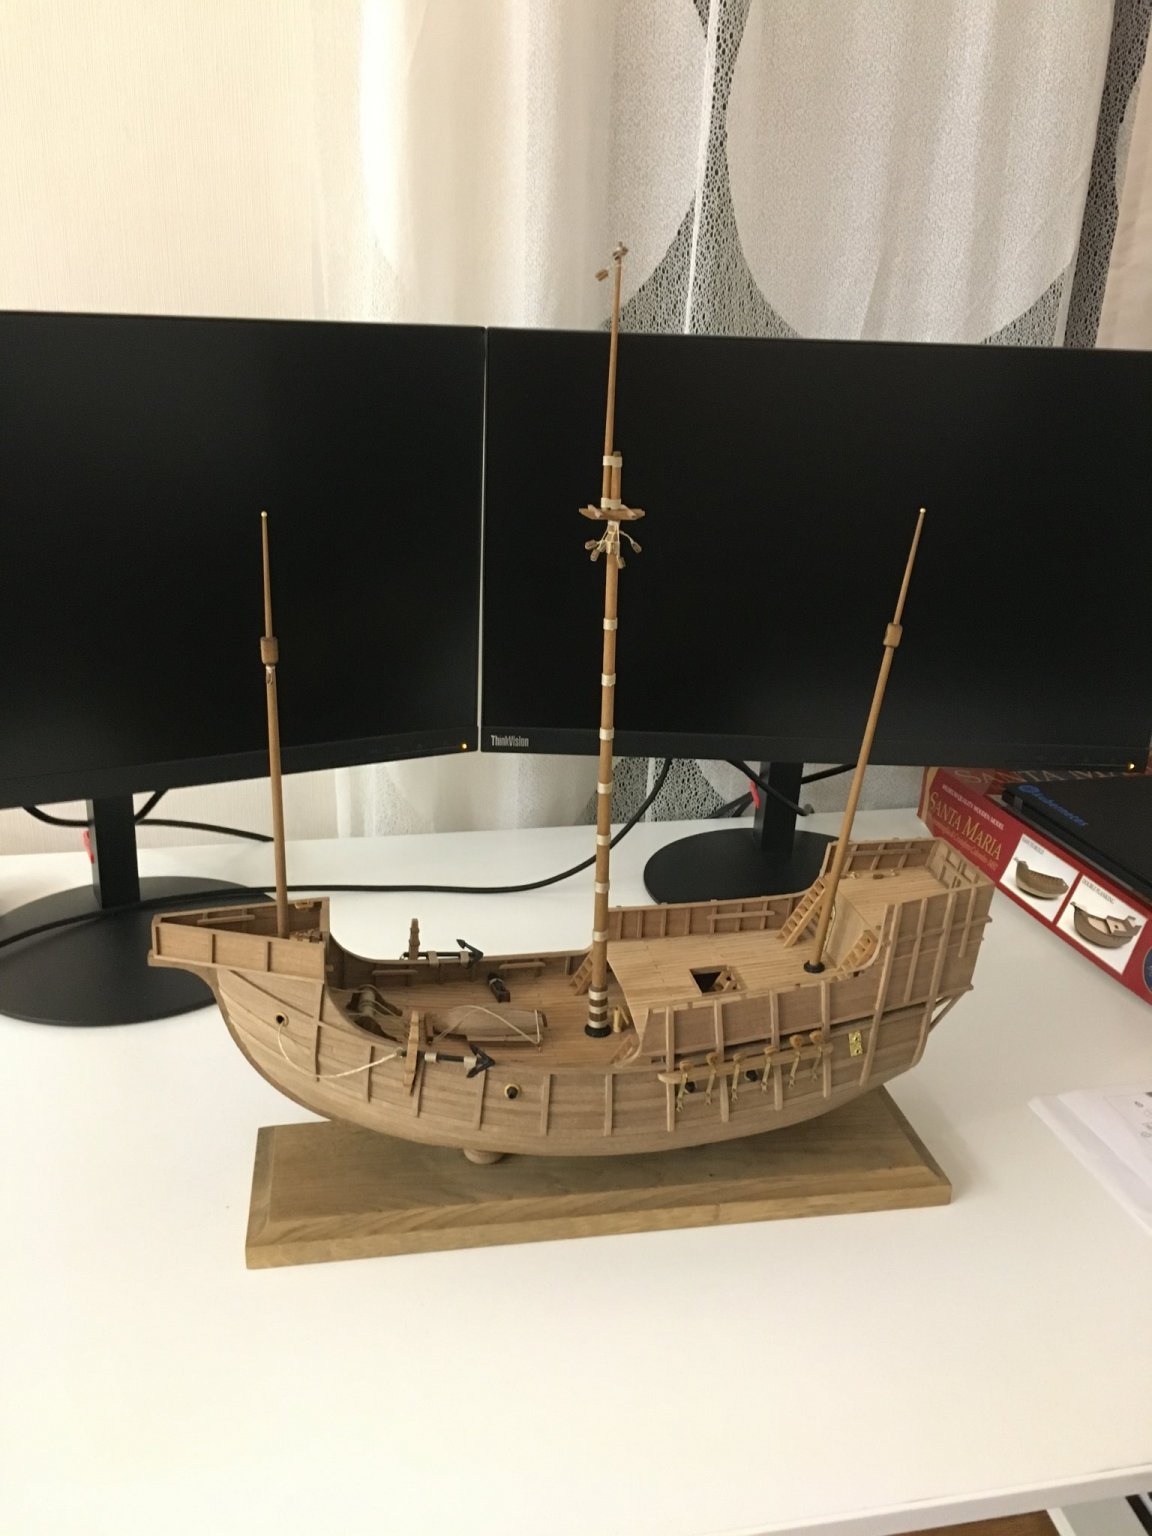
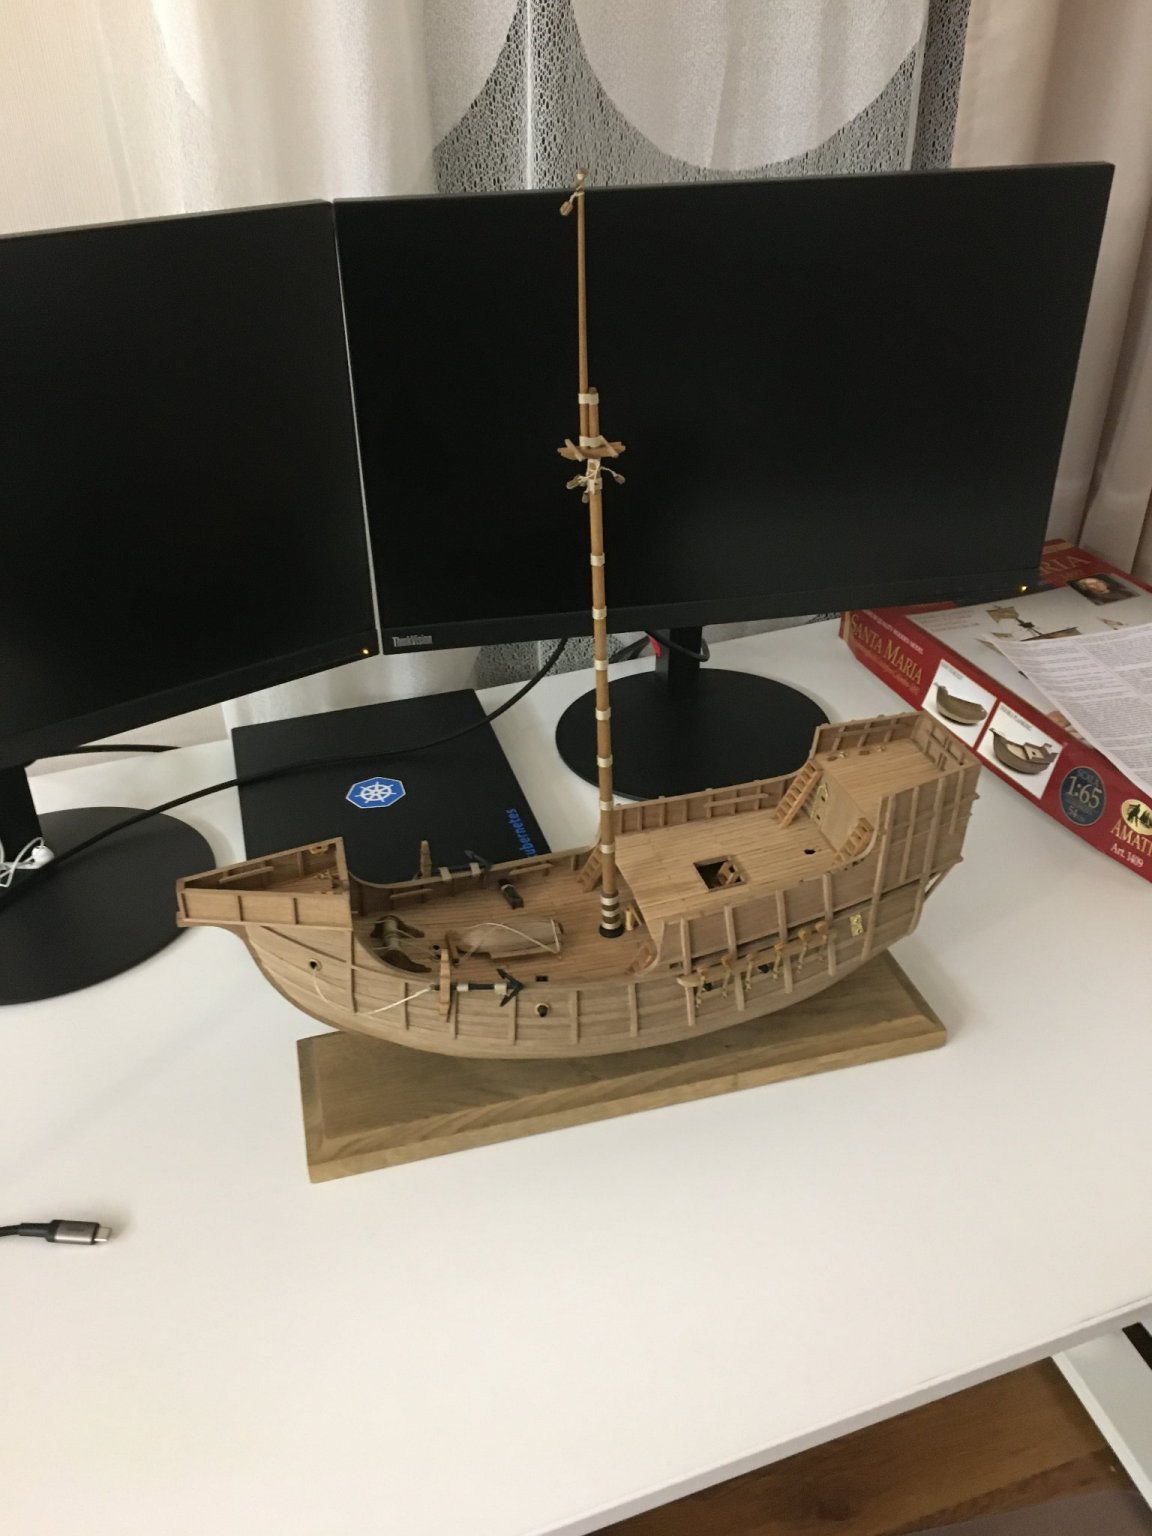
I worked on masts today :) And I have glued in the main mast today! :)

- 93 replies
-
- 4
-
-

-
- santa maria
- amati
- (and 1 more)
-
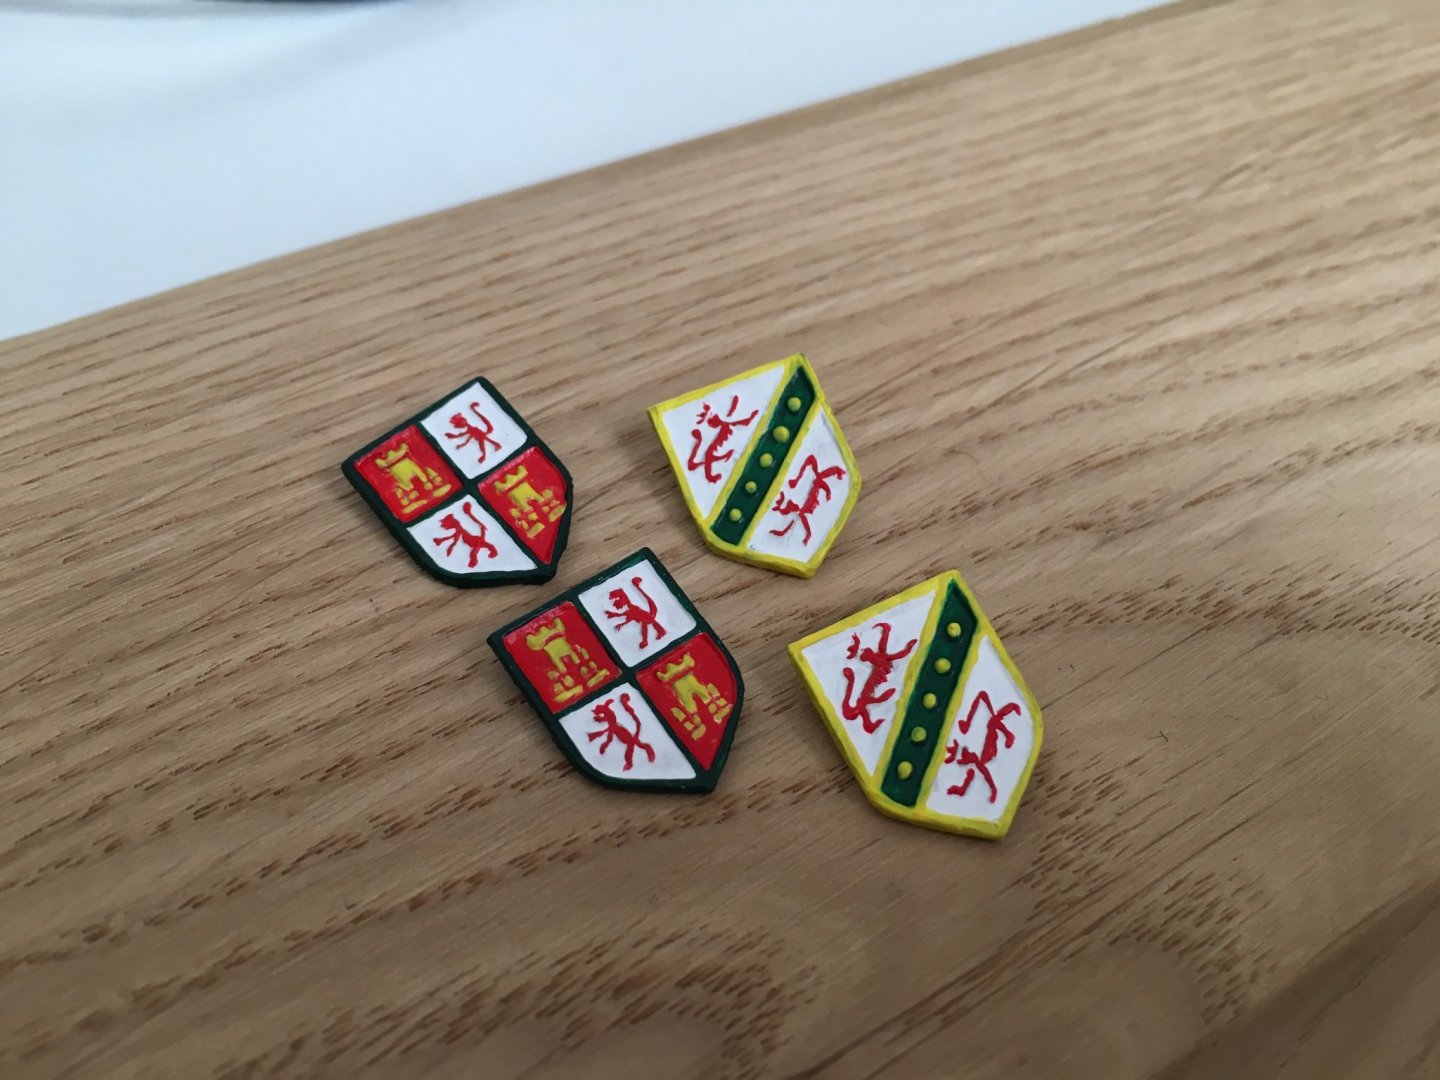
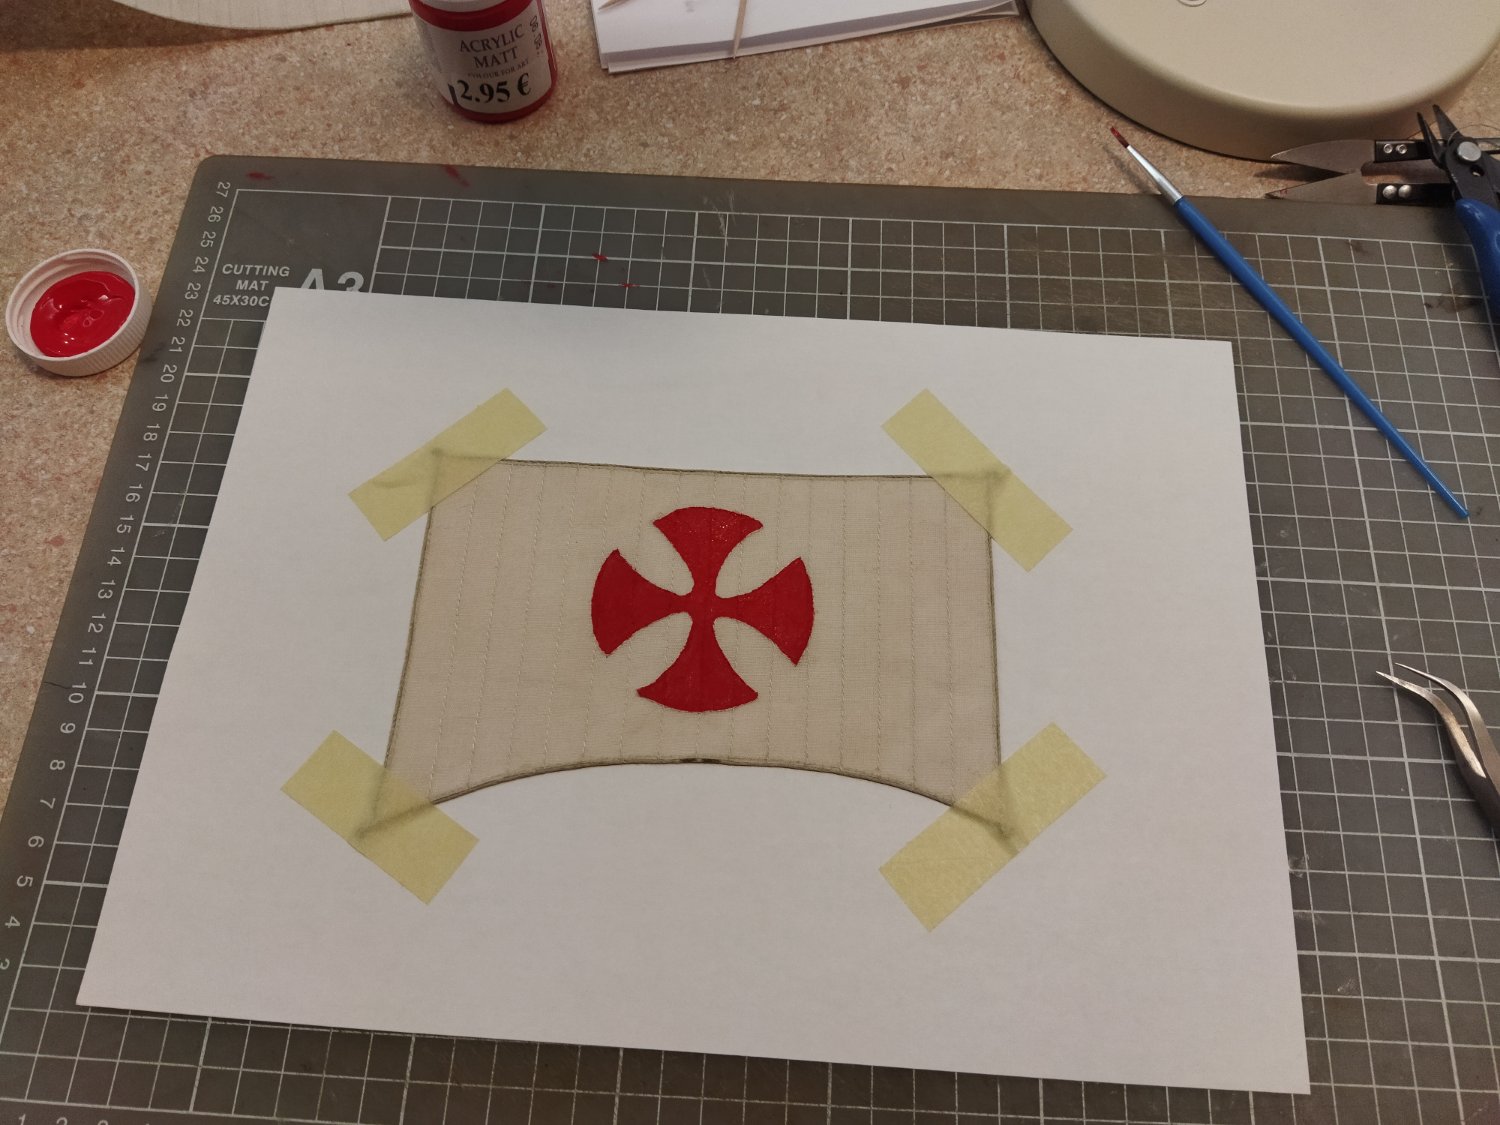
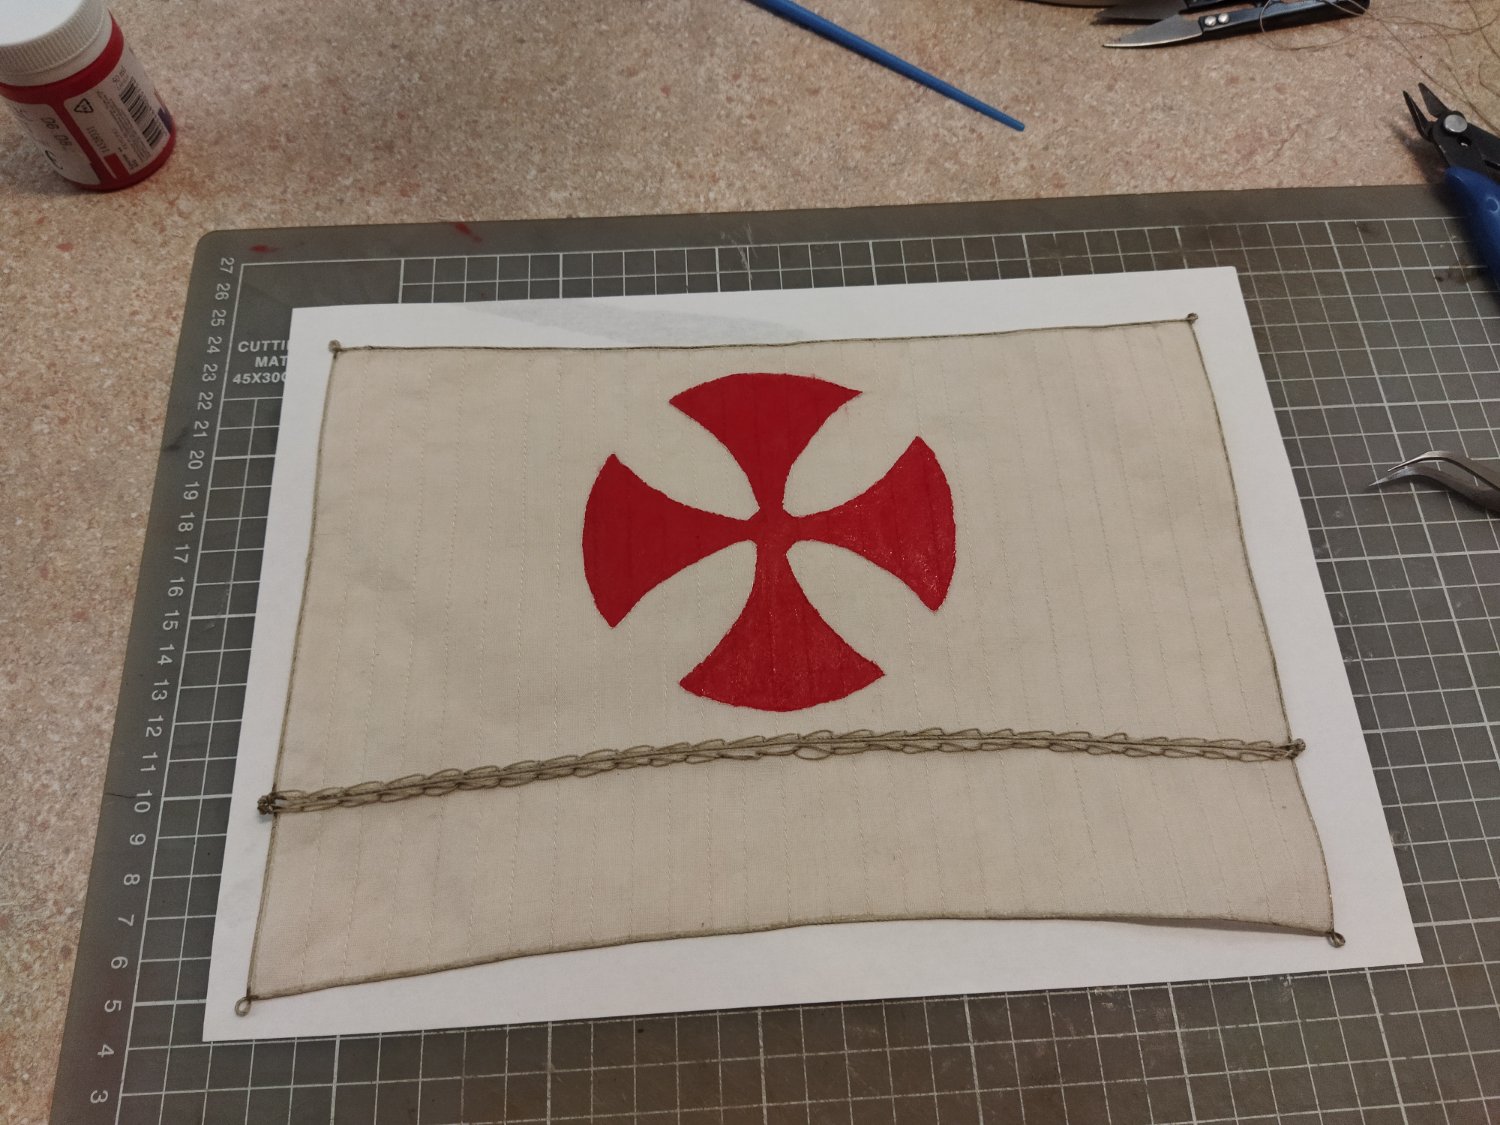
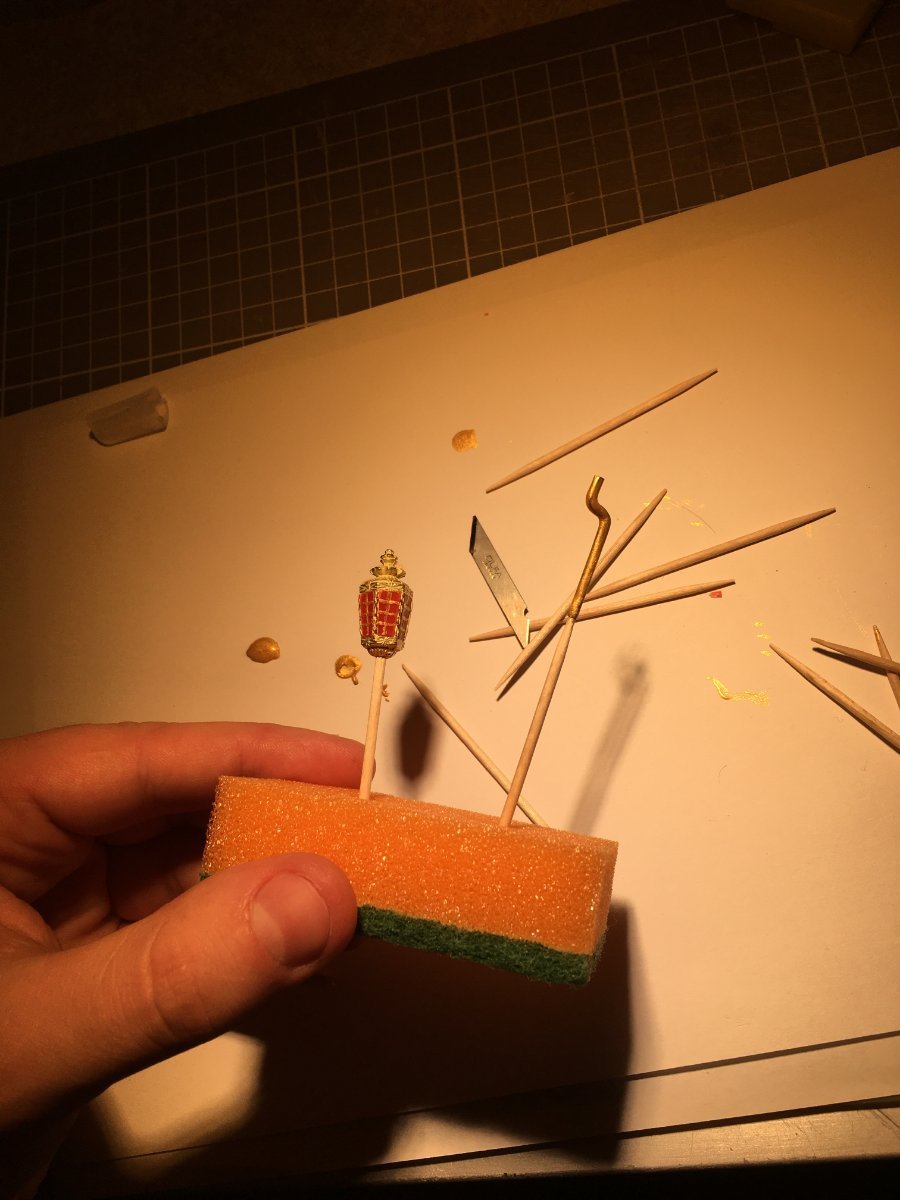
I am still alive! I have painted shields that go on the ship:
- 93 replies
-
- 3
-
-
- santa maria
- amati
- (and 1 more)
-
Nice progress I have to do some catching up with my build!
-
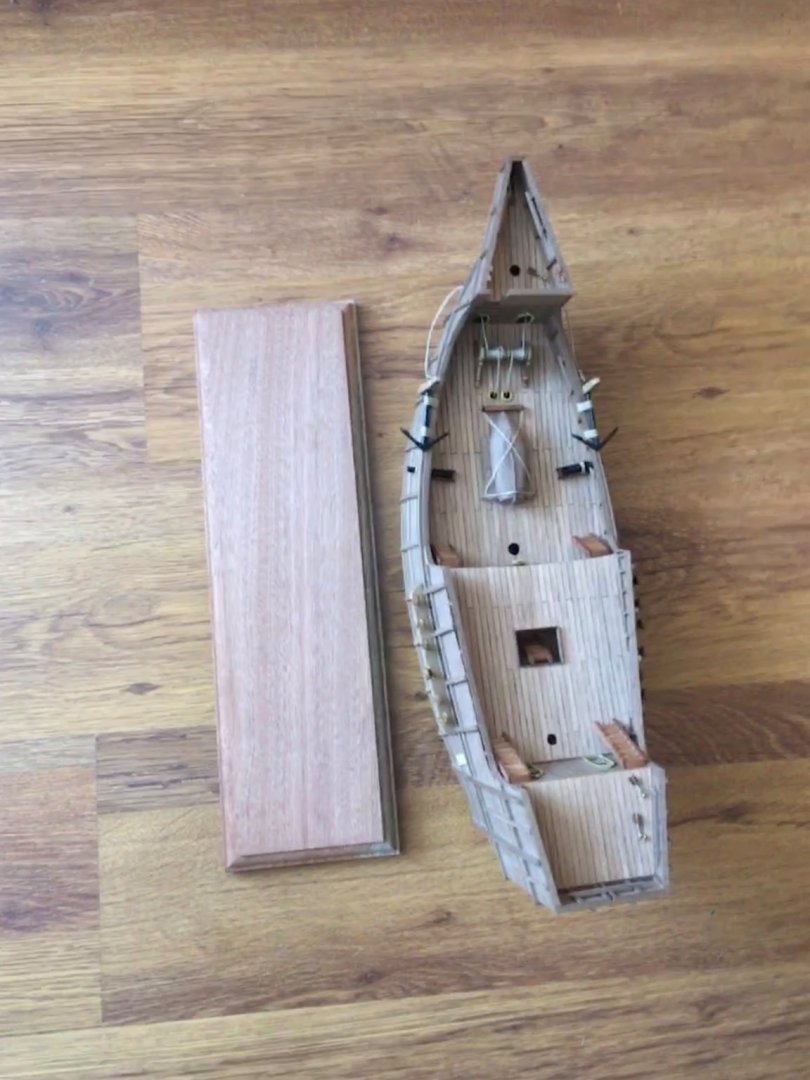
I just ordered metal pedestals from Amati and I am waiting for oak baseboard It will take a while... Can't really do anything because, I want to glue masts when ship is fixed in place...
-
Looking nice!
-
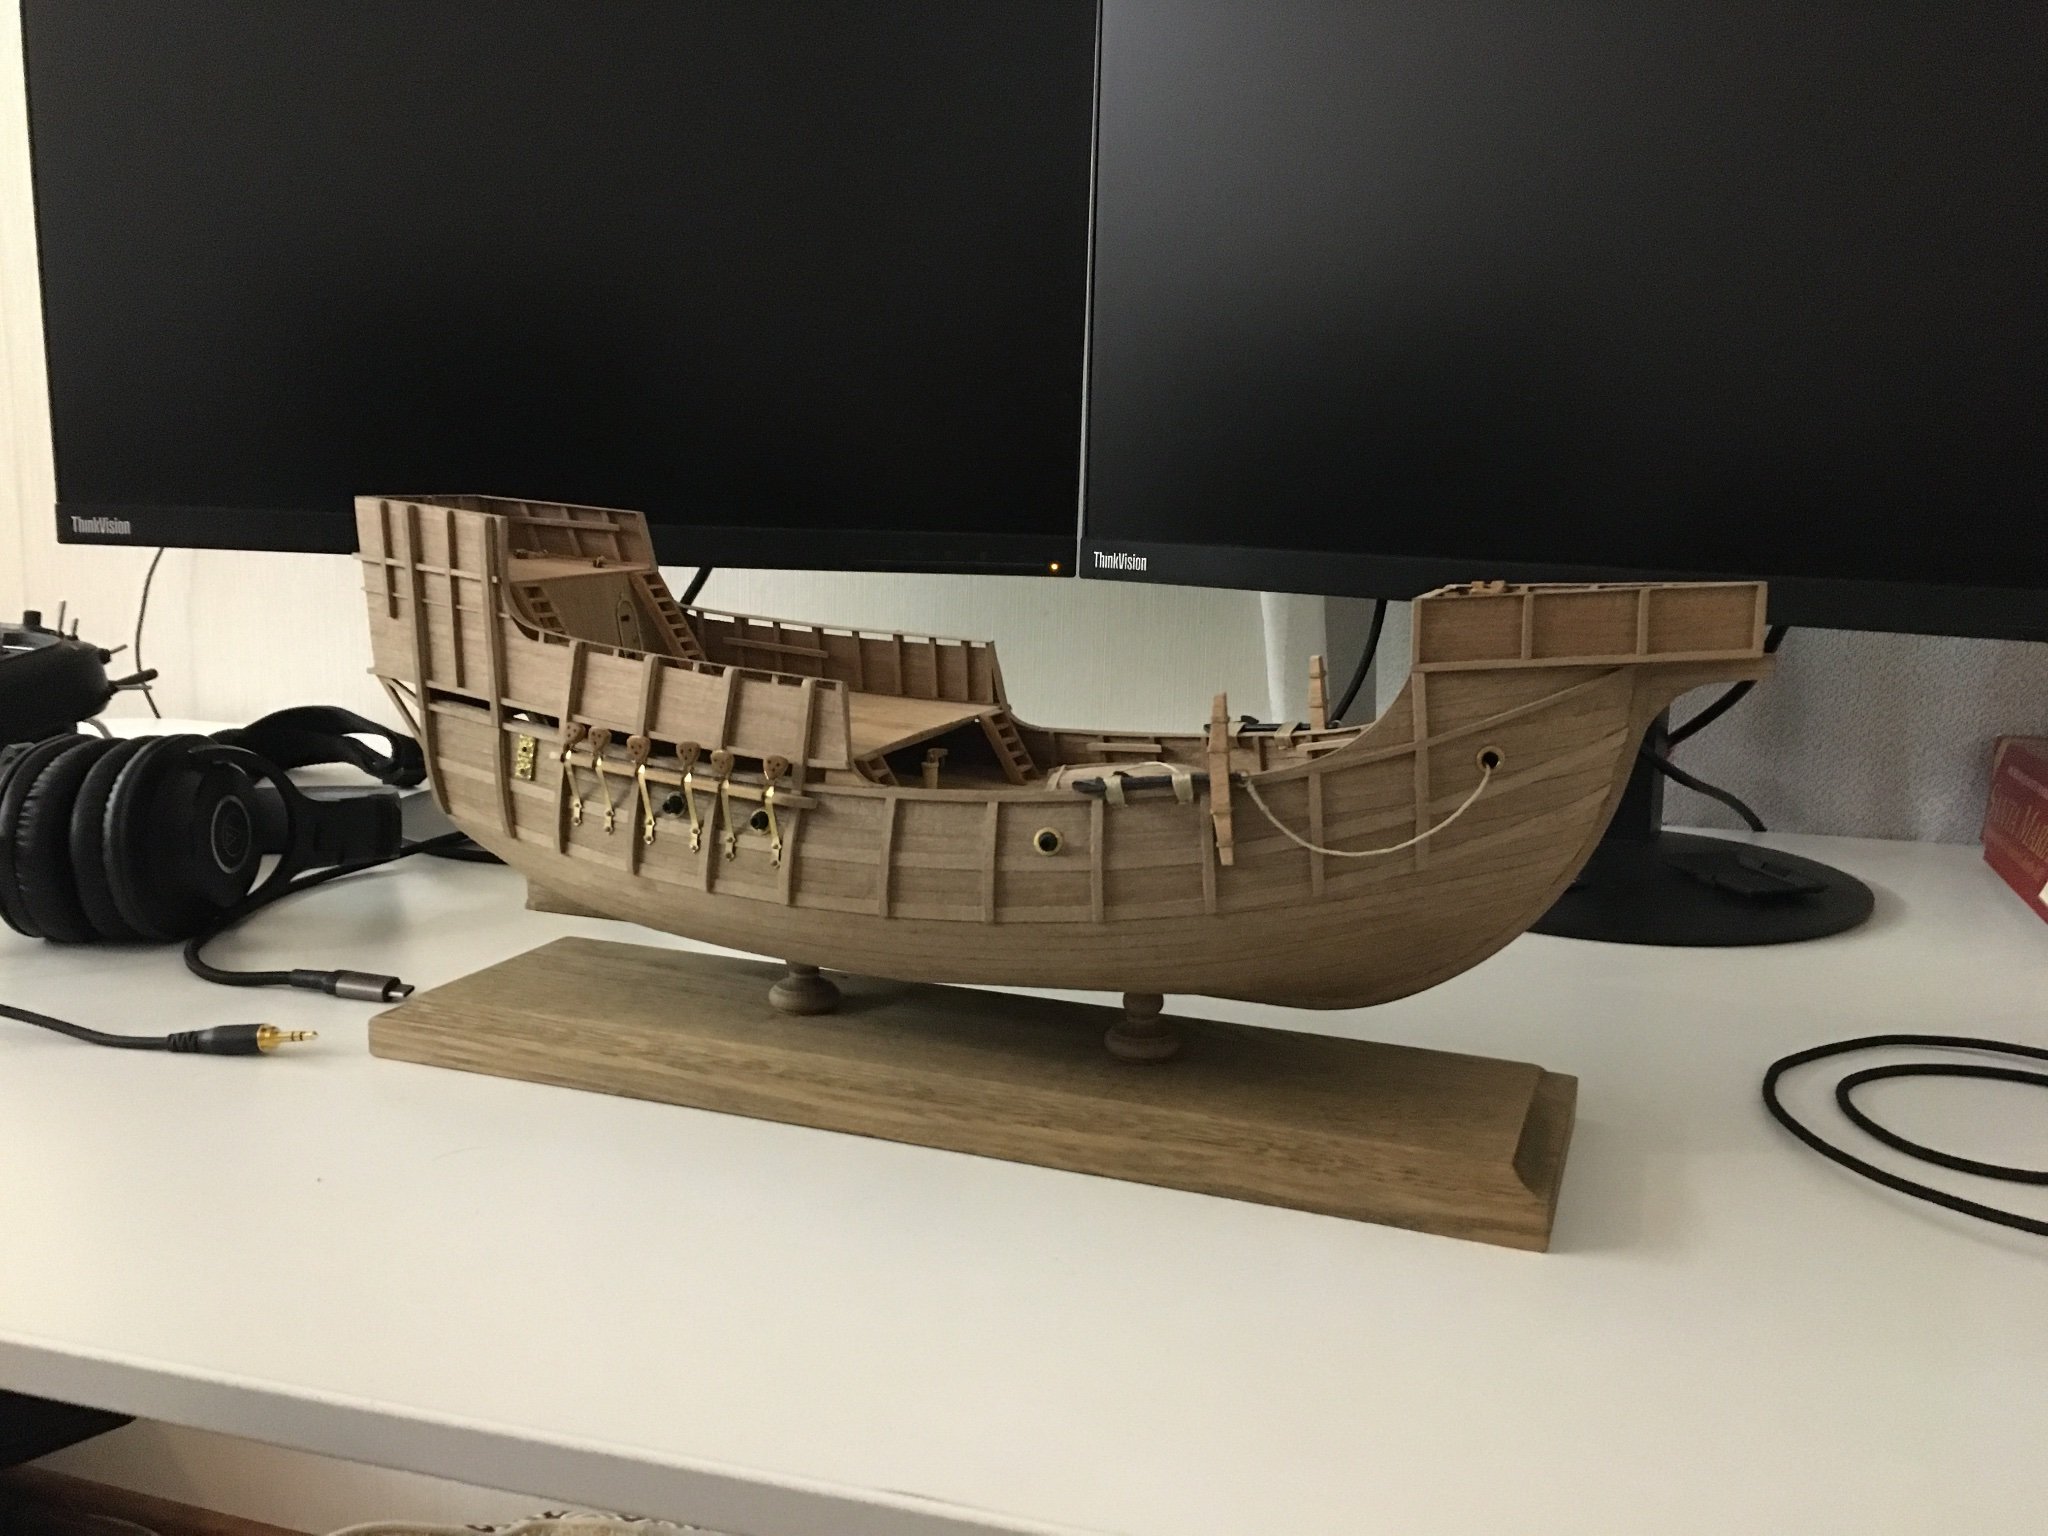
I have received this baseboard from Amati and the quality just isn't there for using it without fully painting it. The wood is very orange and there are two distinct colors of it... I have tried staining it, but no stain I have or I am able to buy is able to cover the orange shade. I am going to put this model on hold until I am able to source the baseboard locally. Want to fix it in place before gluing on the masts..

.thumb.jpeg.0f5959d6a4b491d2f934b1d94024e481.jpeg)
.thumb.jpeg.a1844c78c13e48ef33c99a17be91c0f3.jpeg)
- 93 replies
-
- 3
-
-
- santa maria
- amati
- (and 1 more)
-
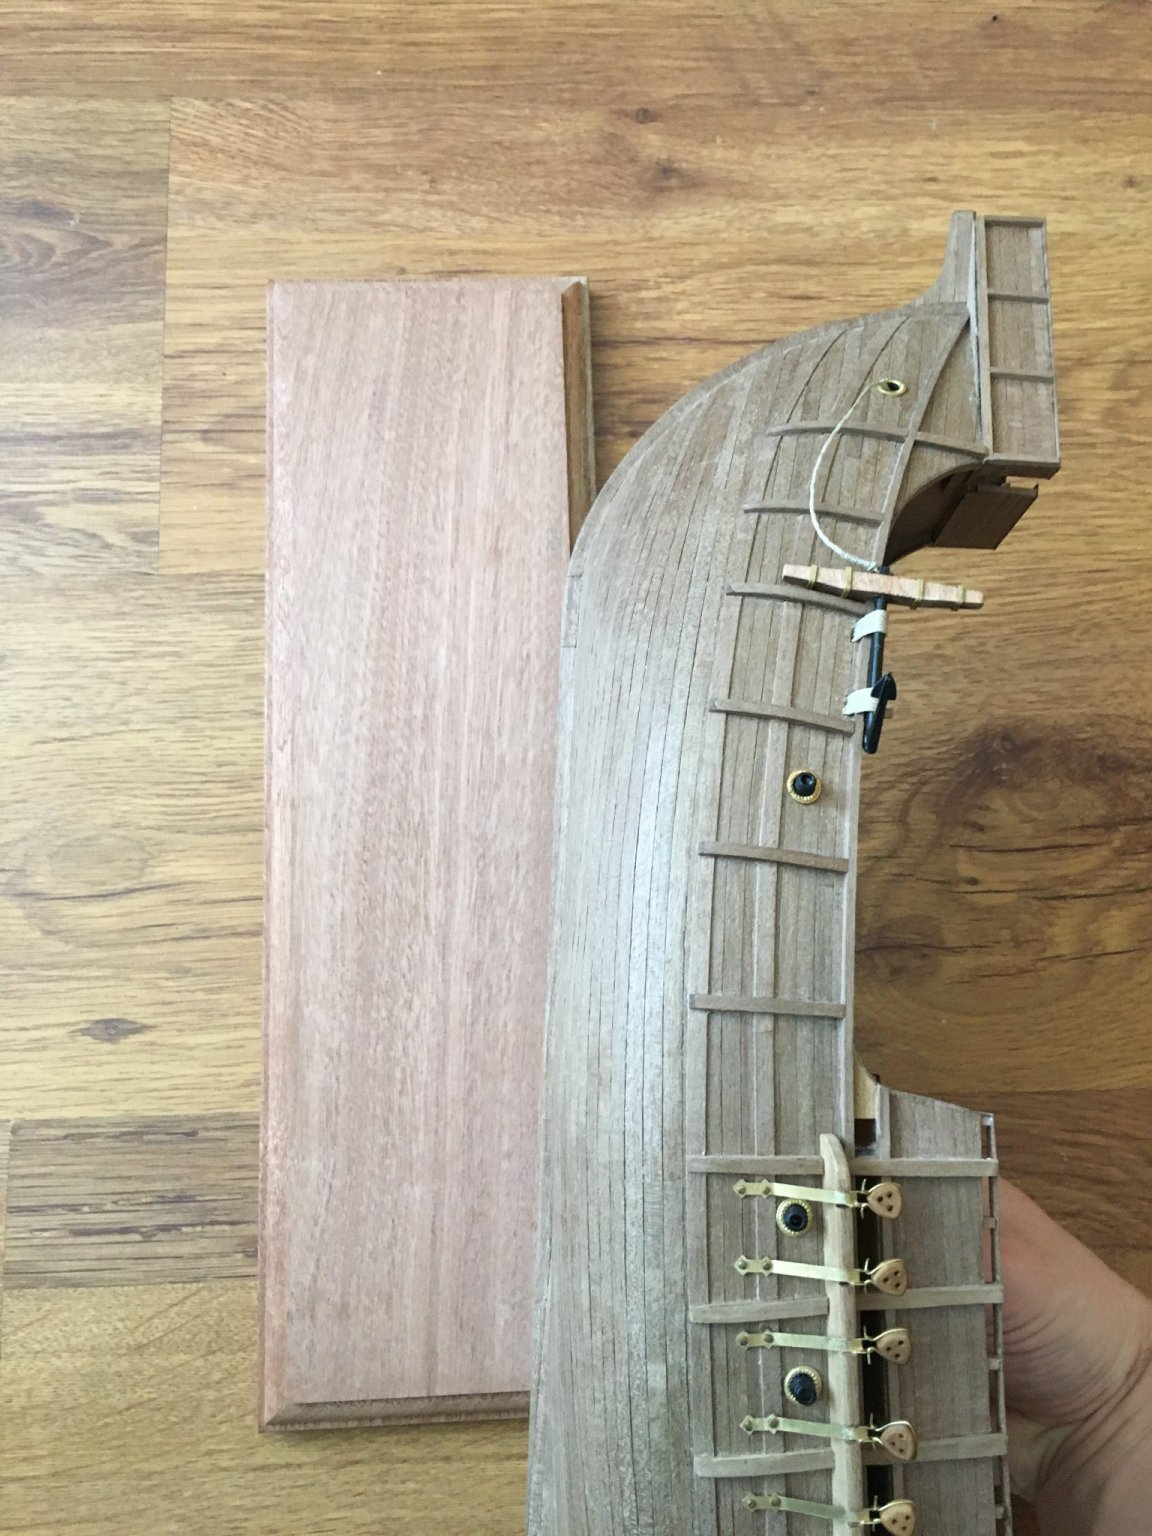
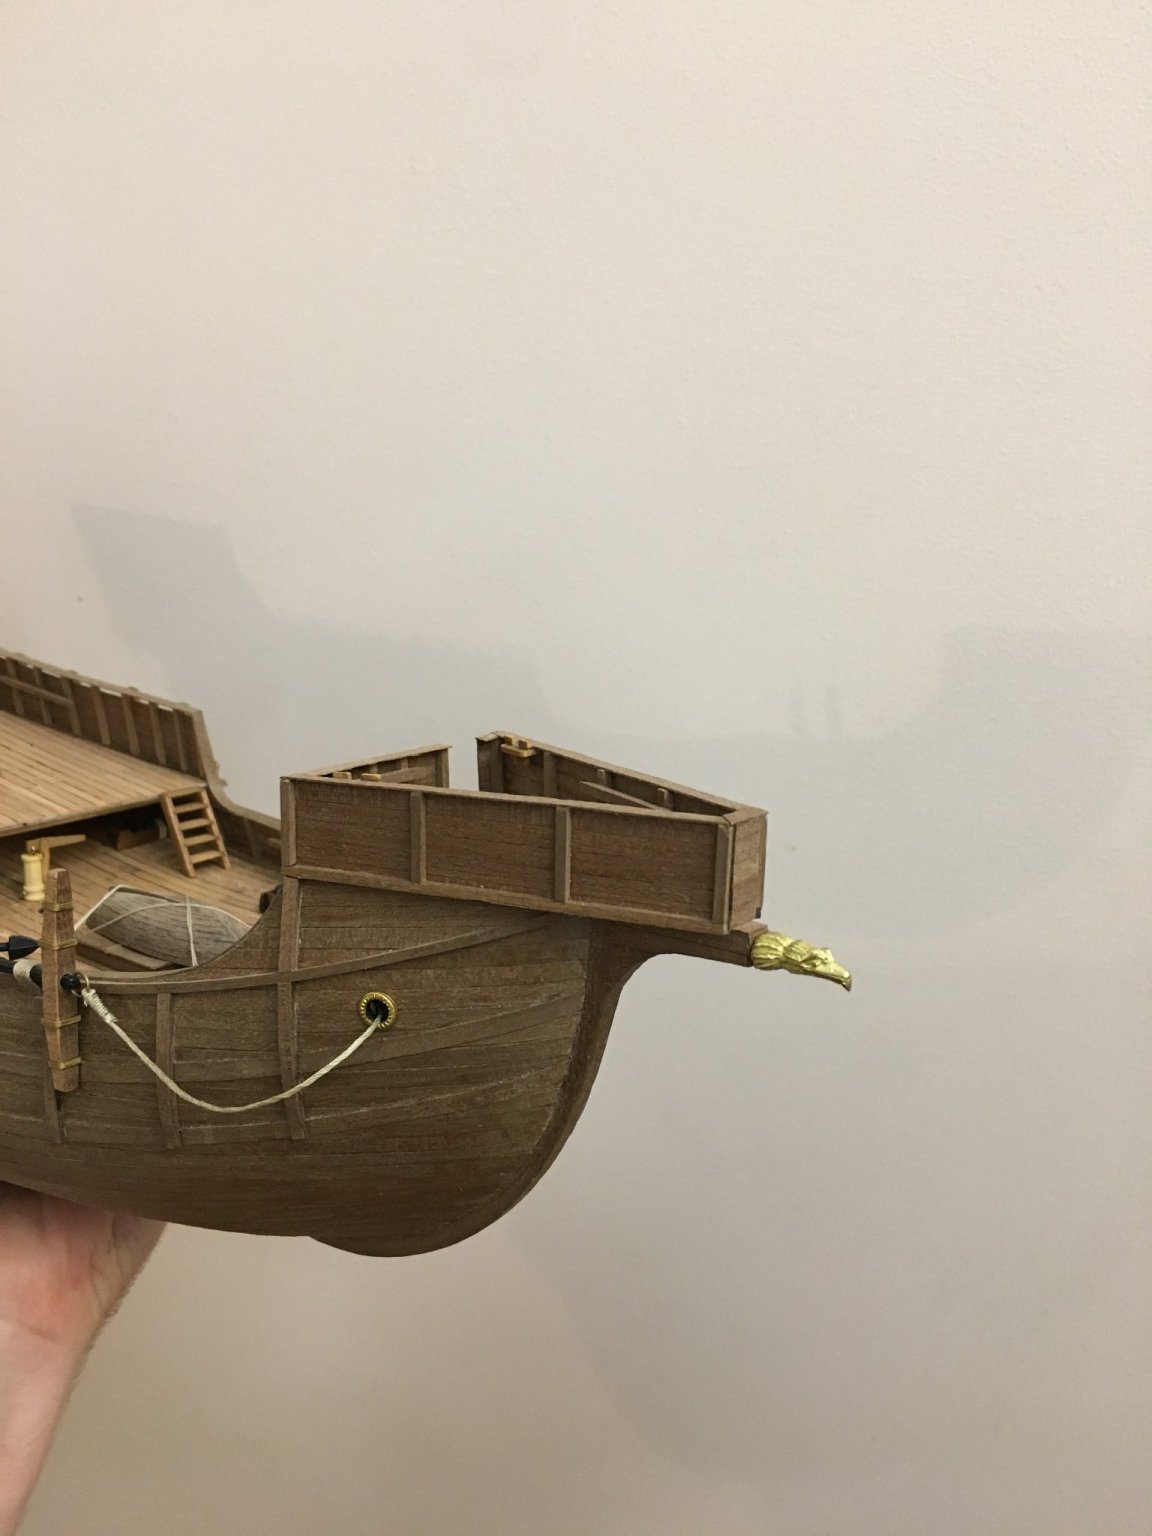
Dry fitted the "eagle" head to make sure that the hole I drilled fits perfectly:

- 93 replies
-
- 5
-
-
- santa maria
- amati
- (and 1 more)
-
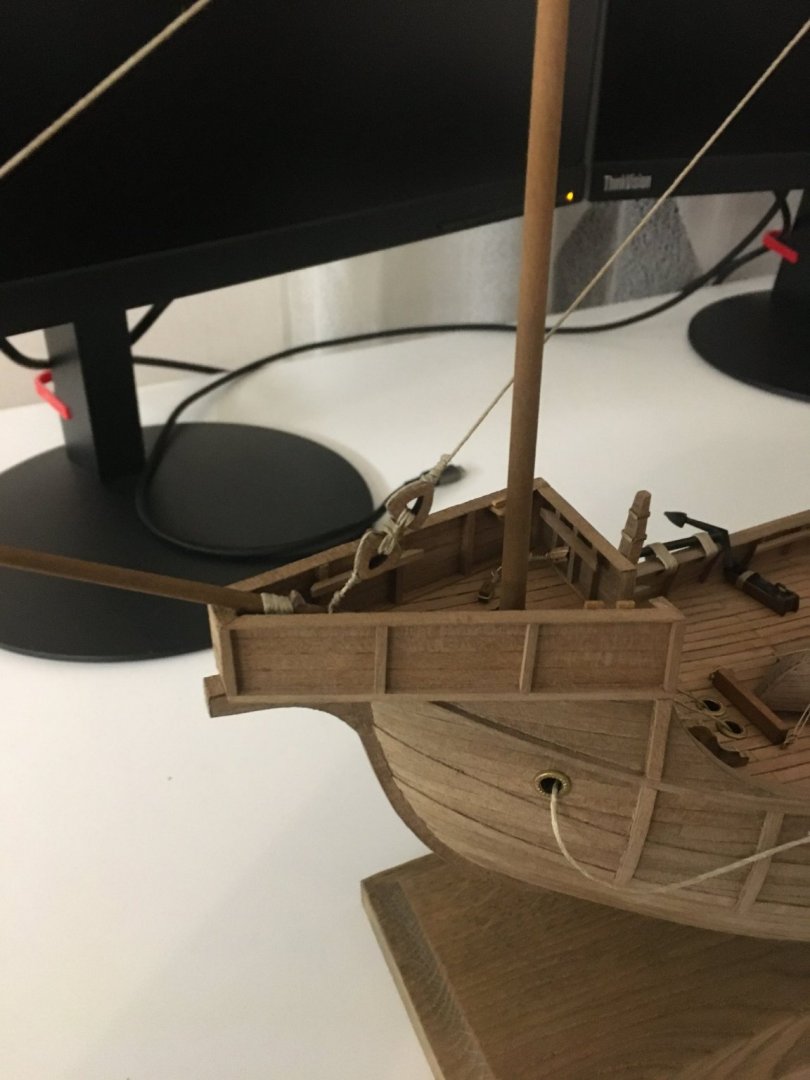
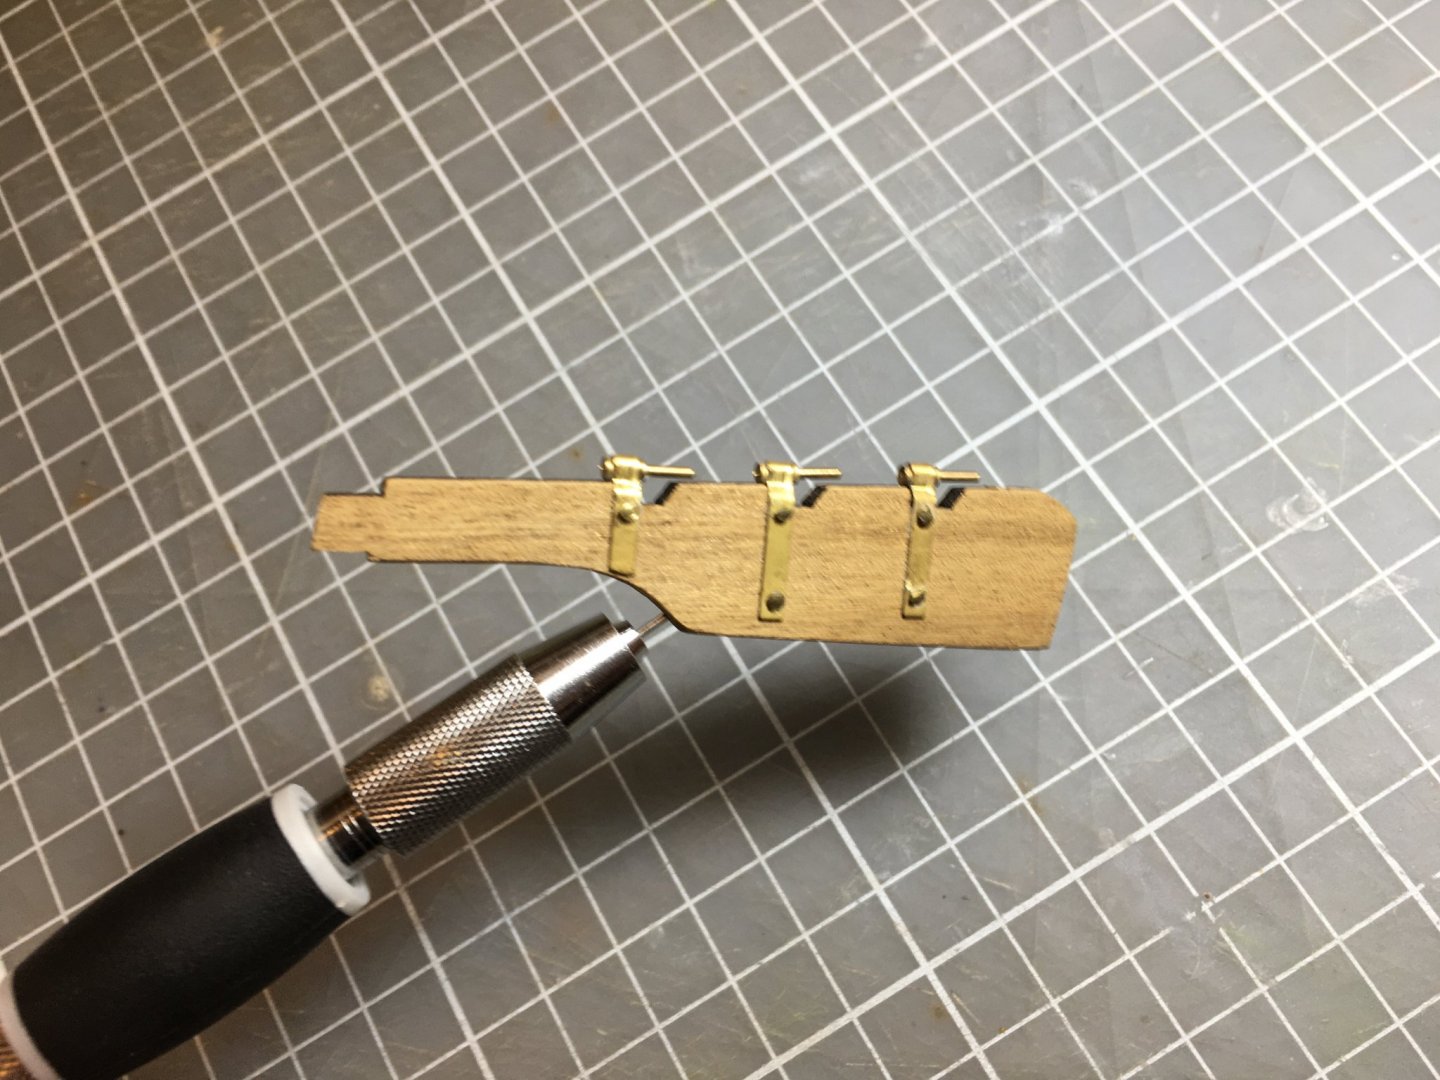
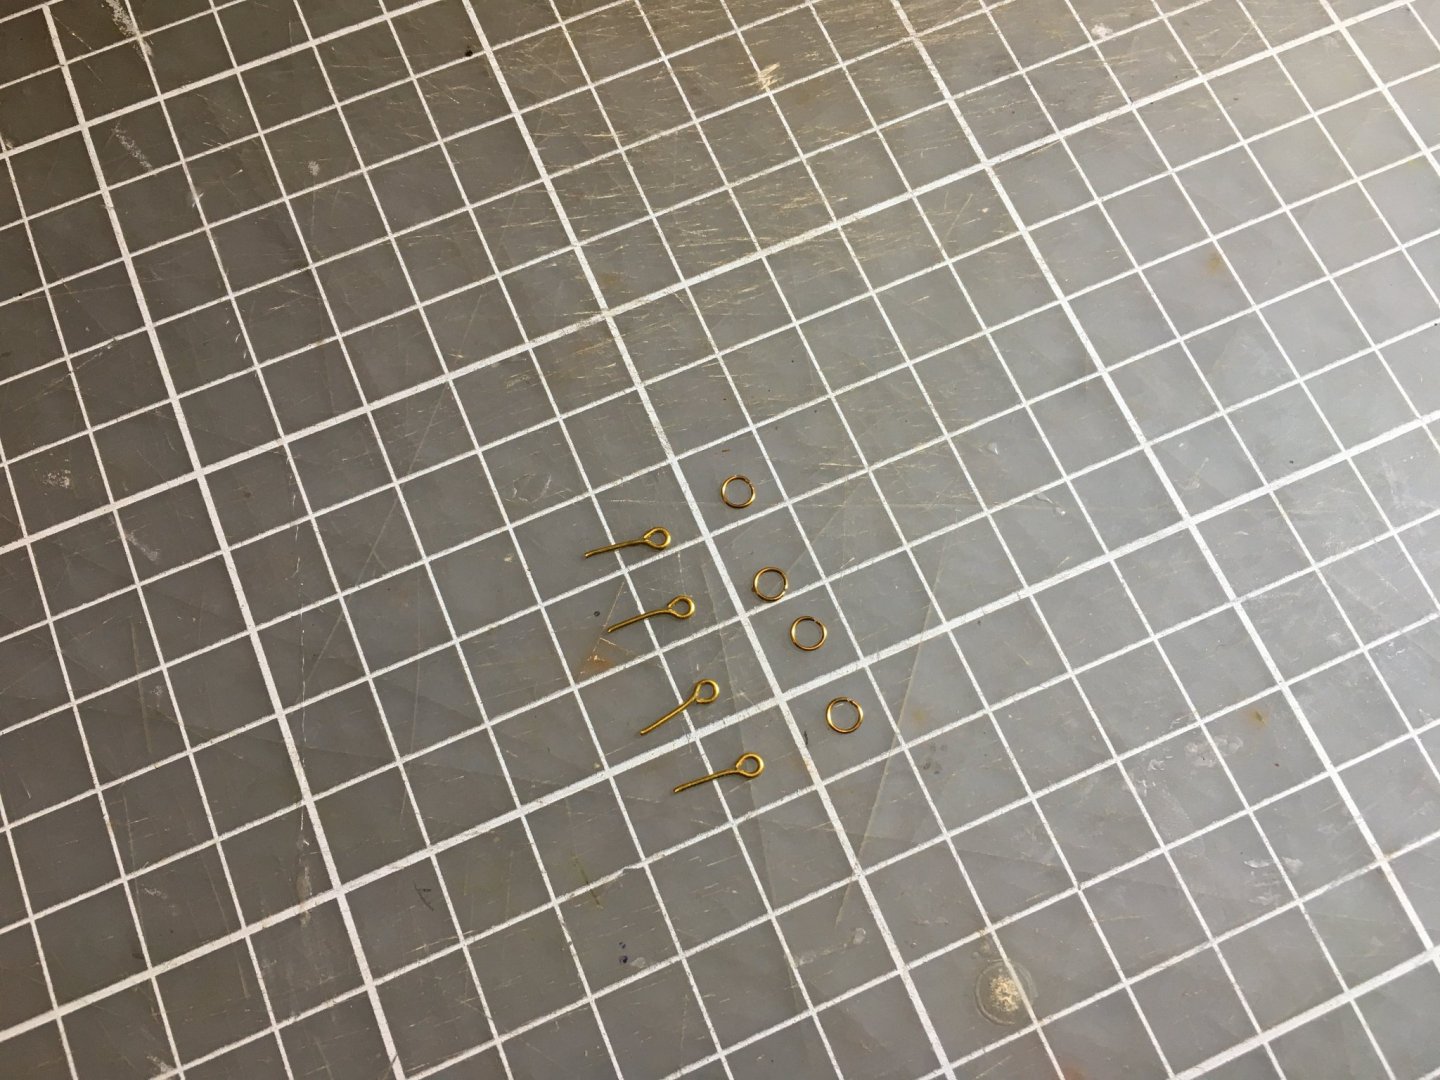
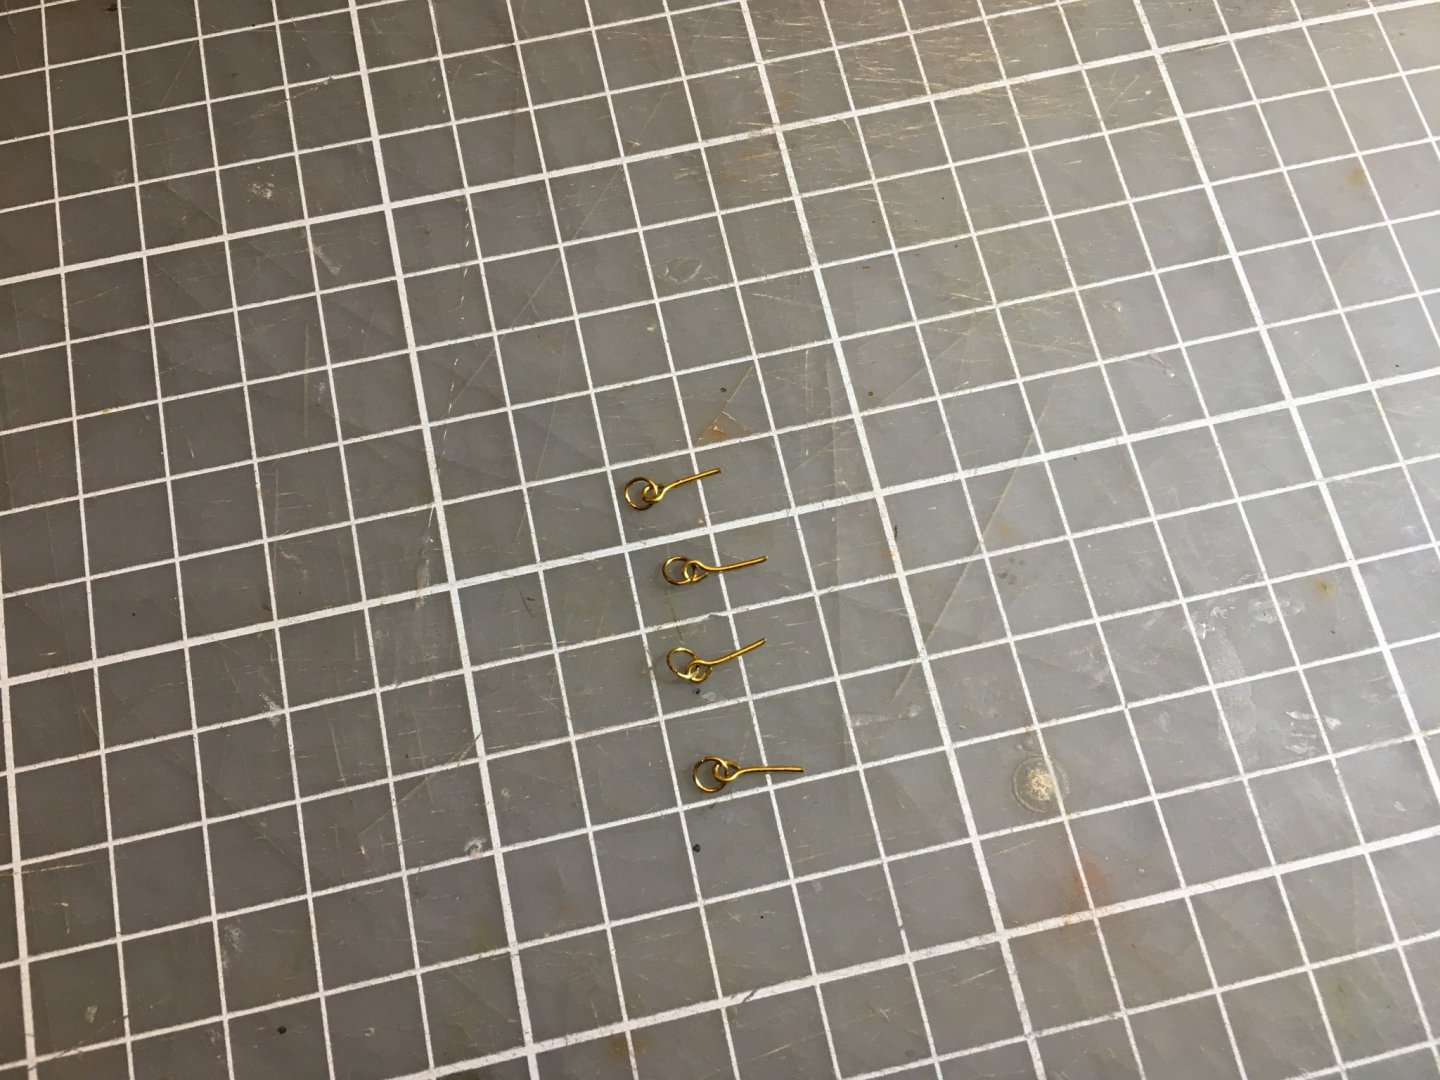
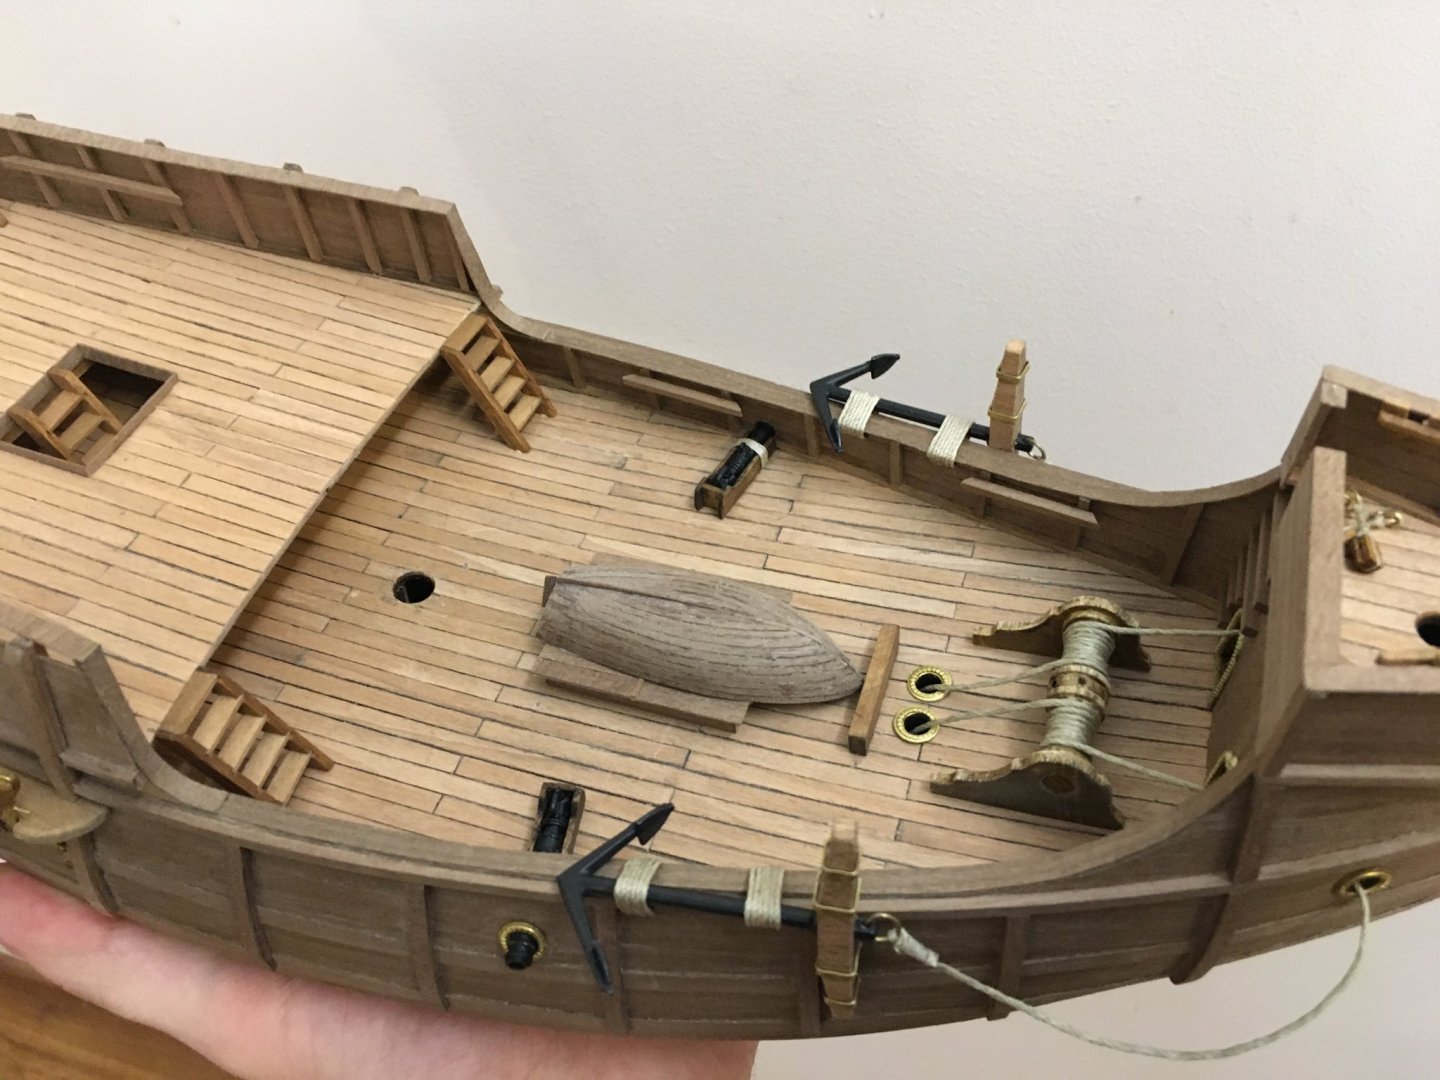
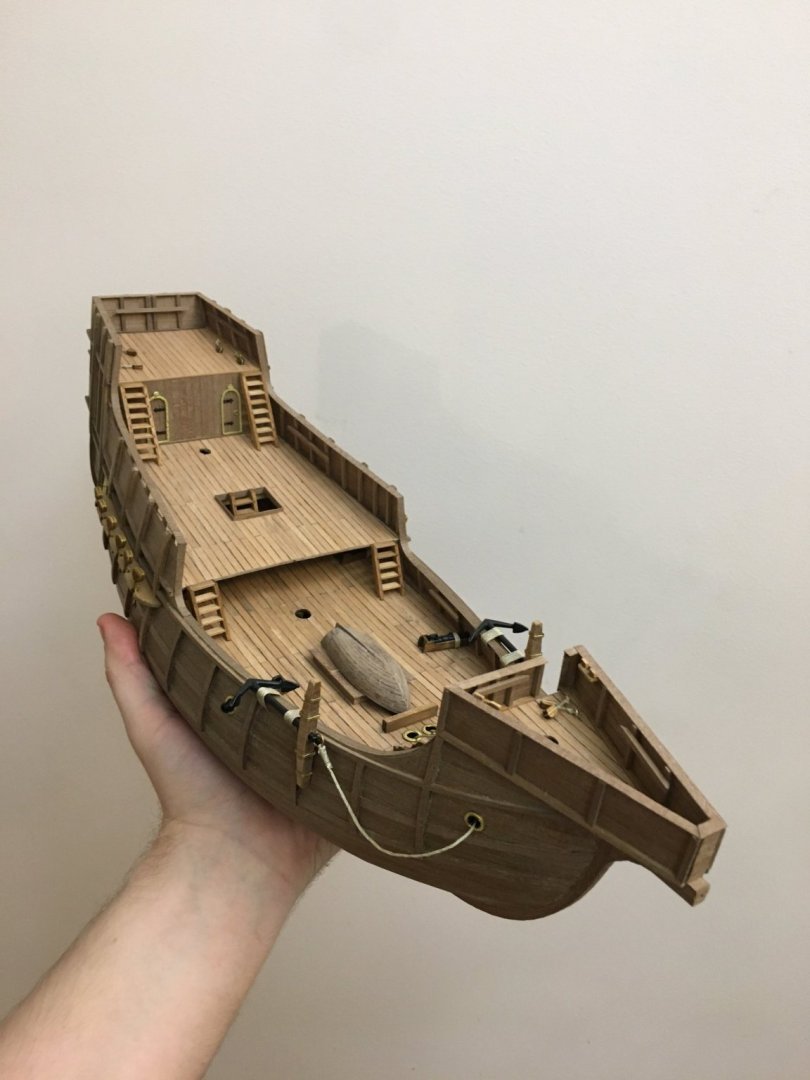
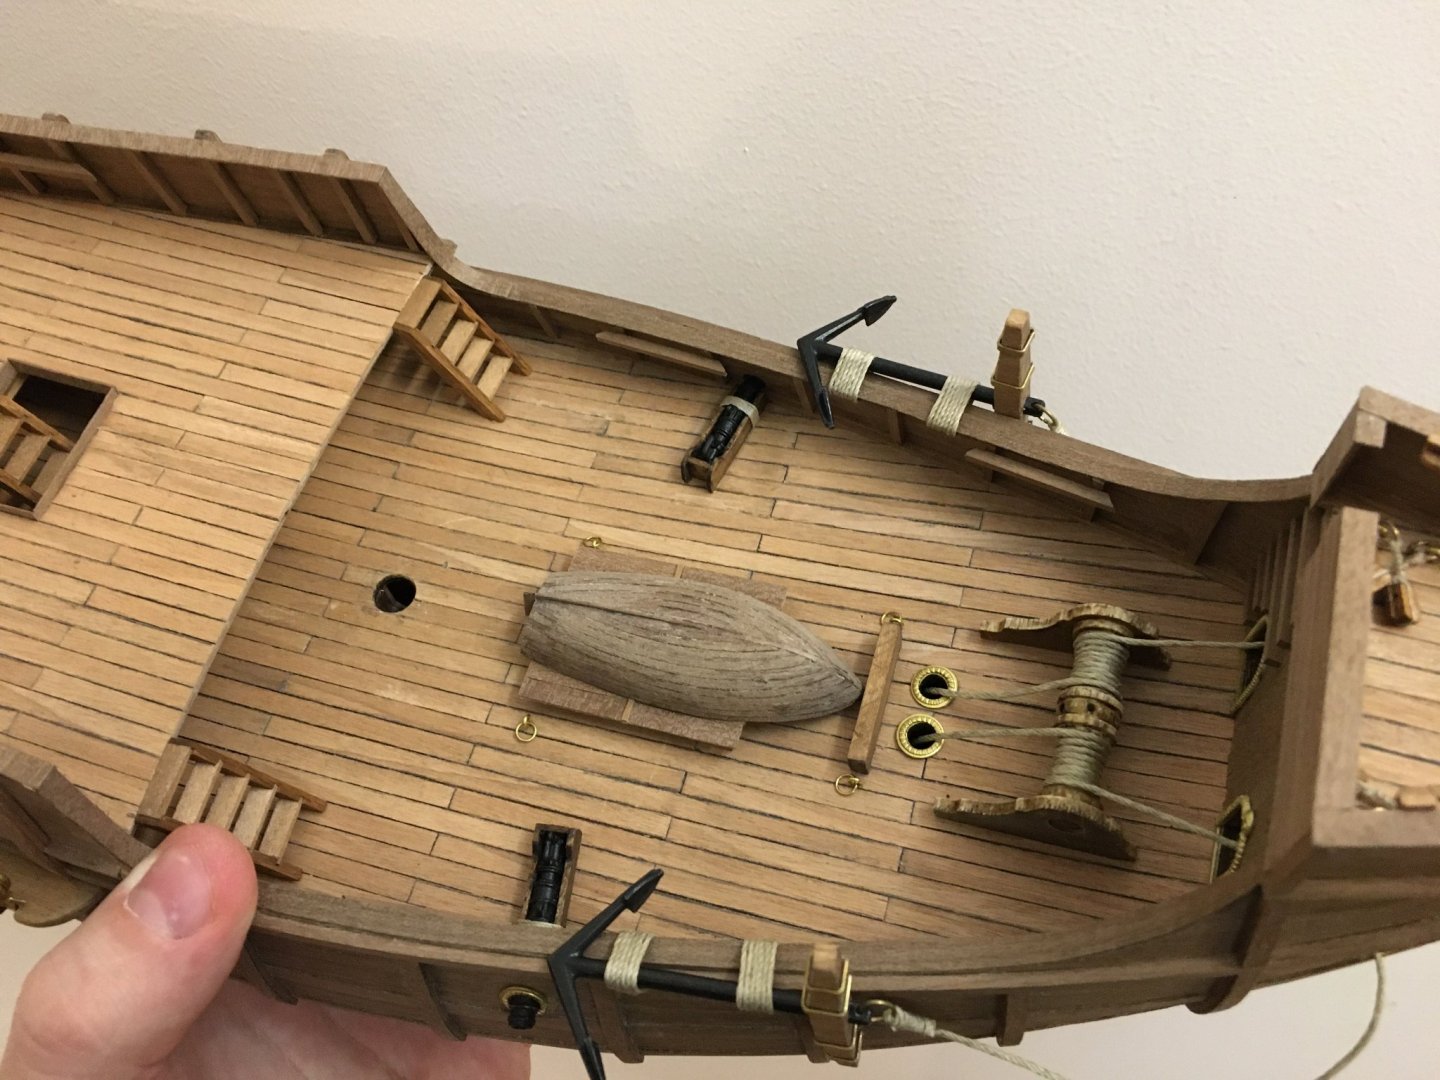
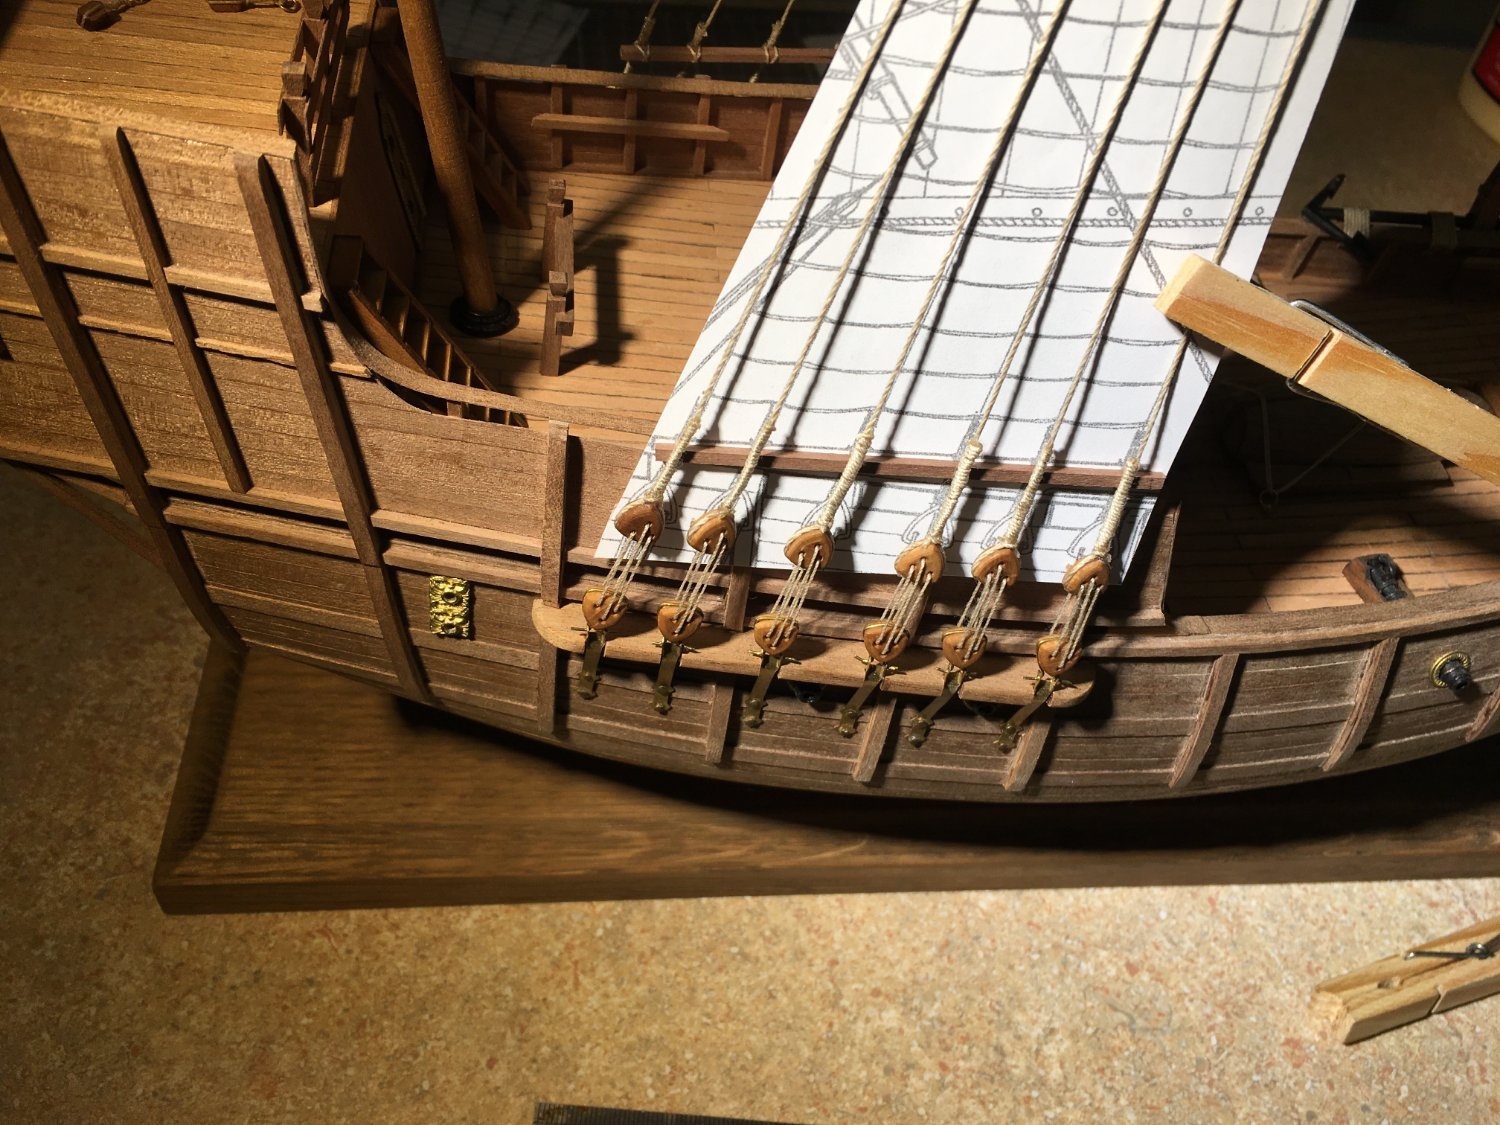
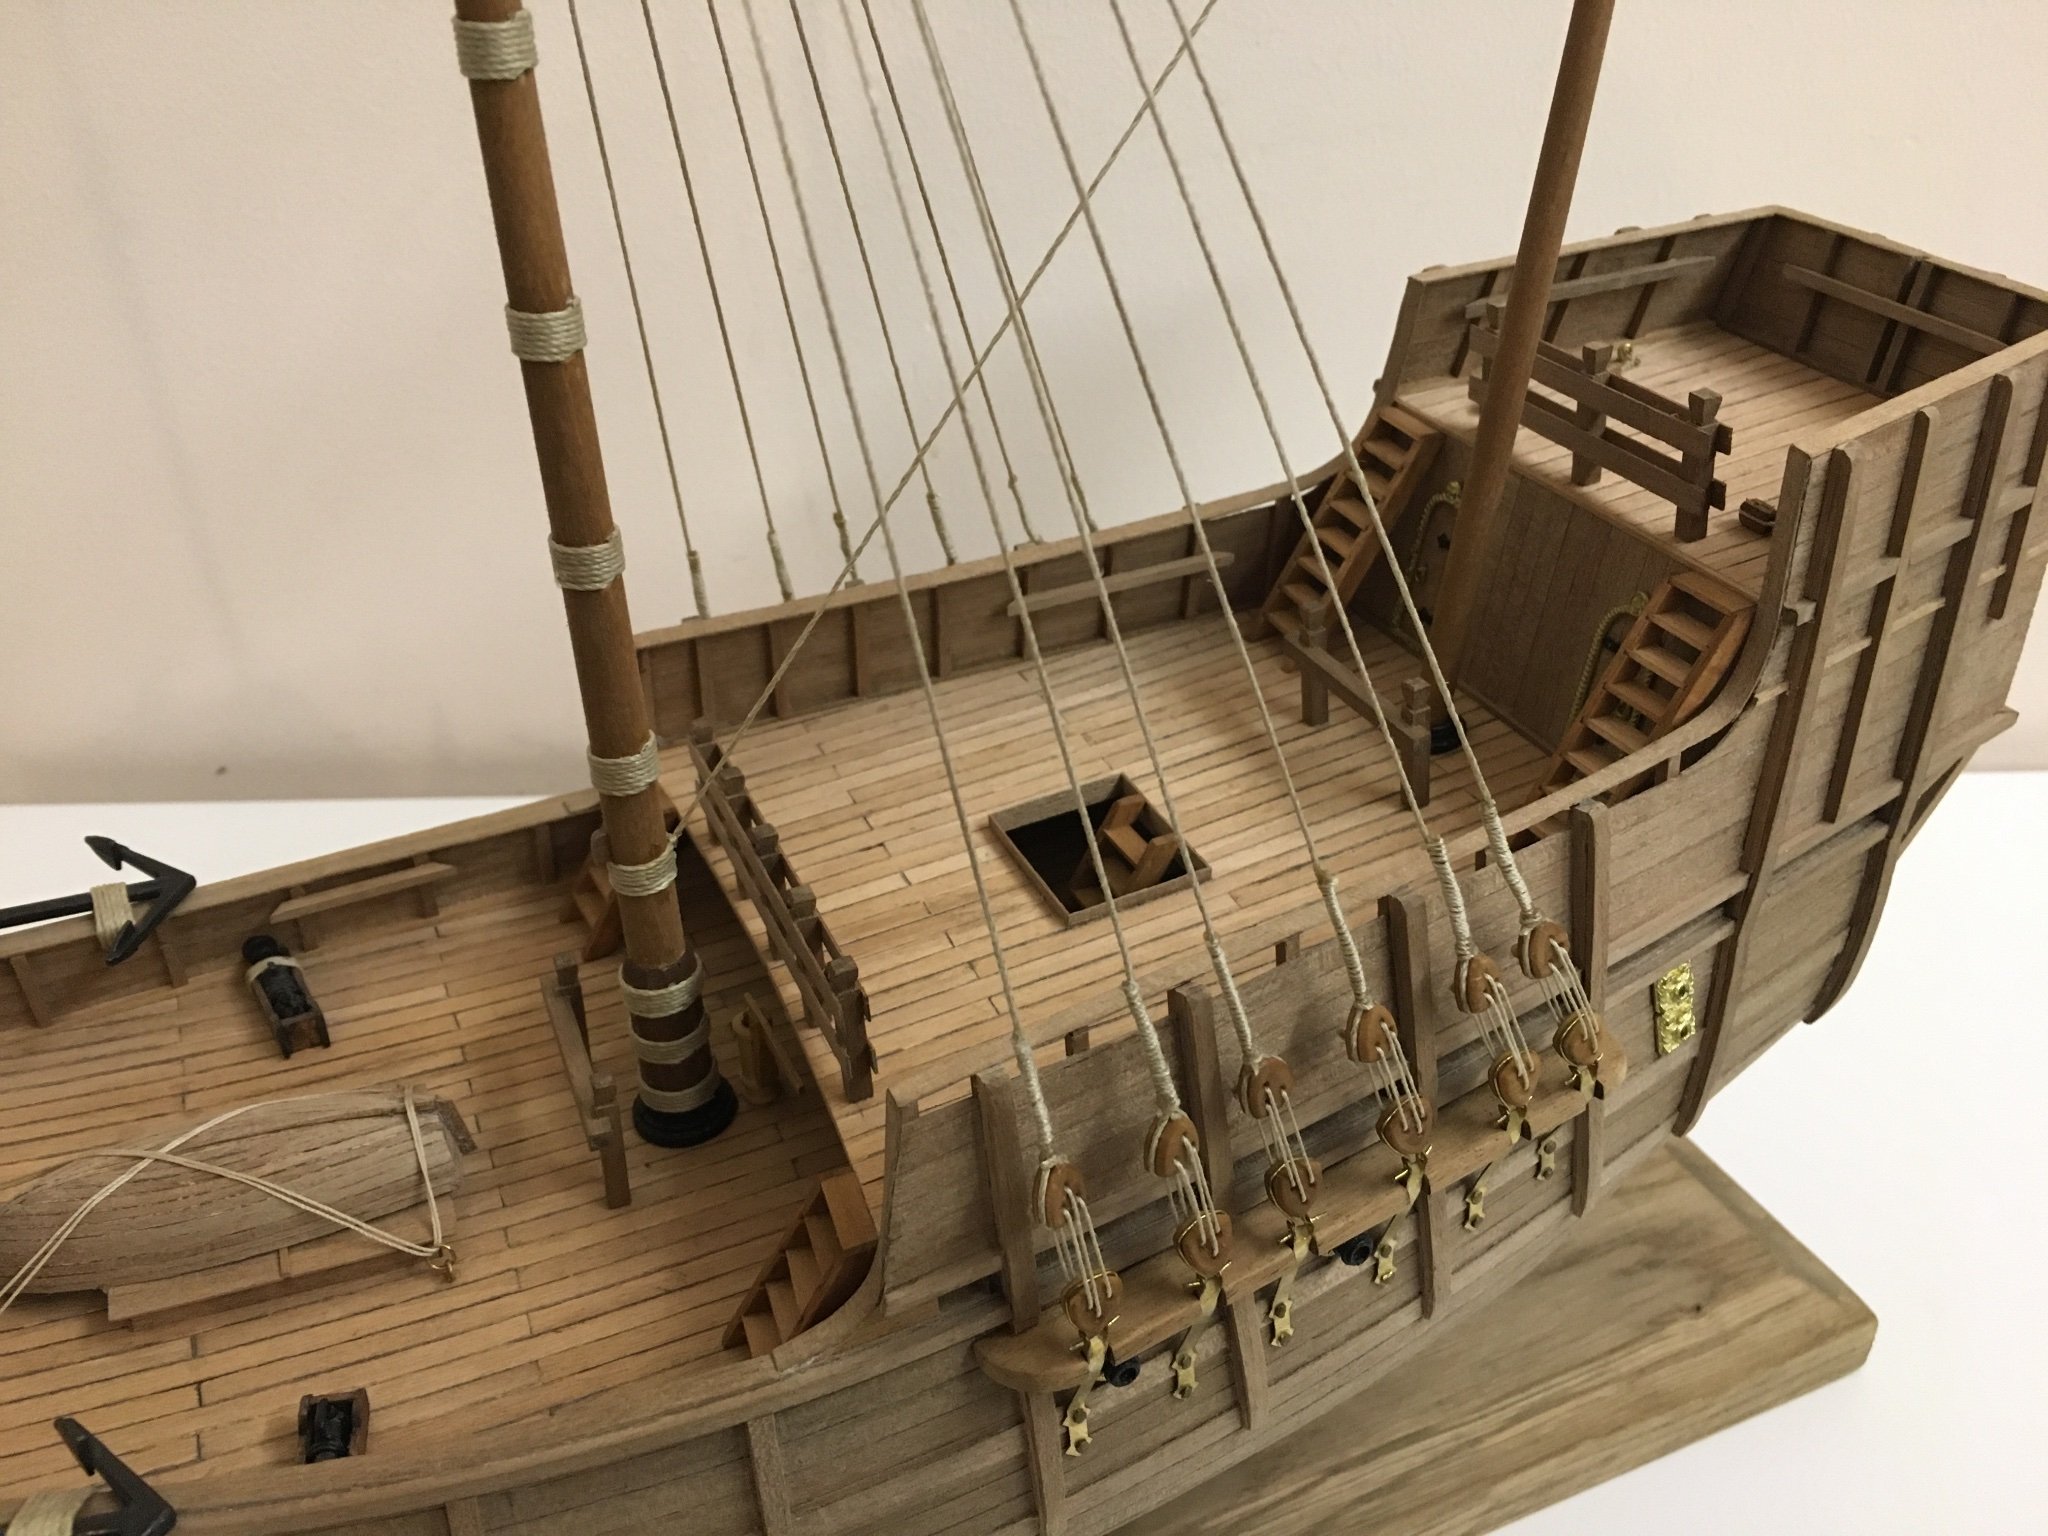
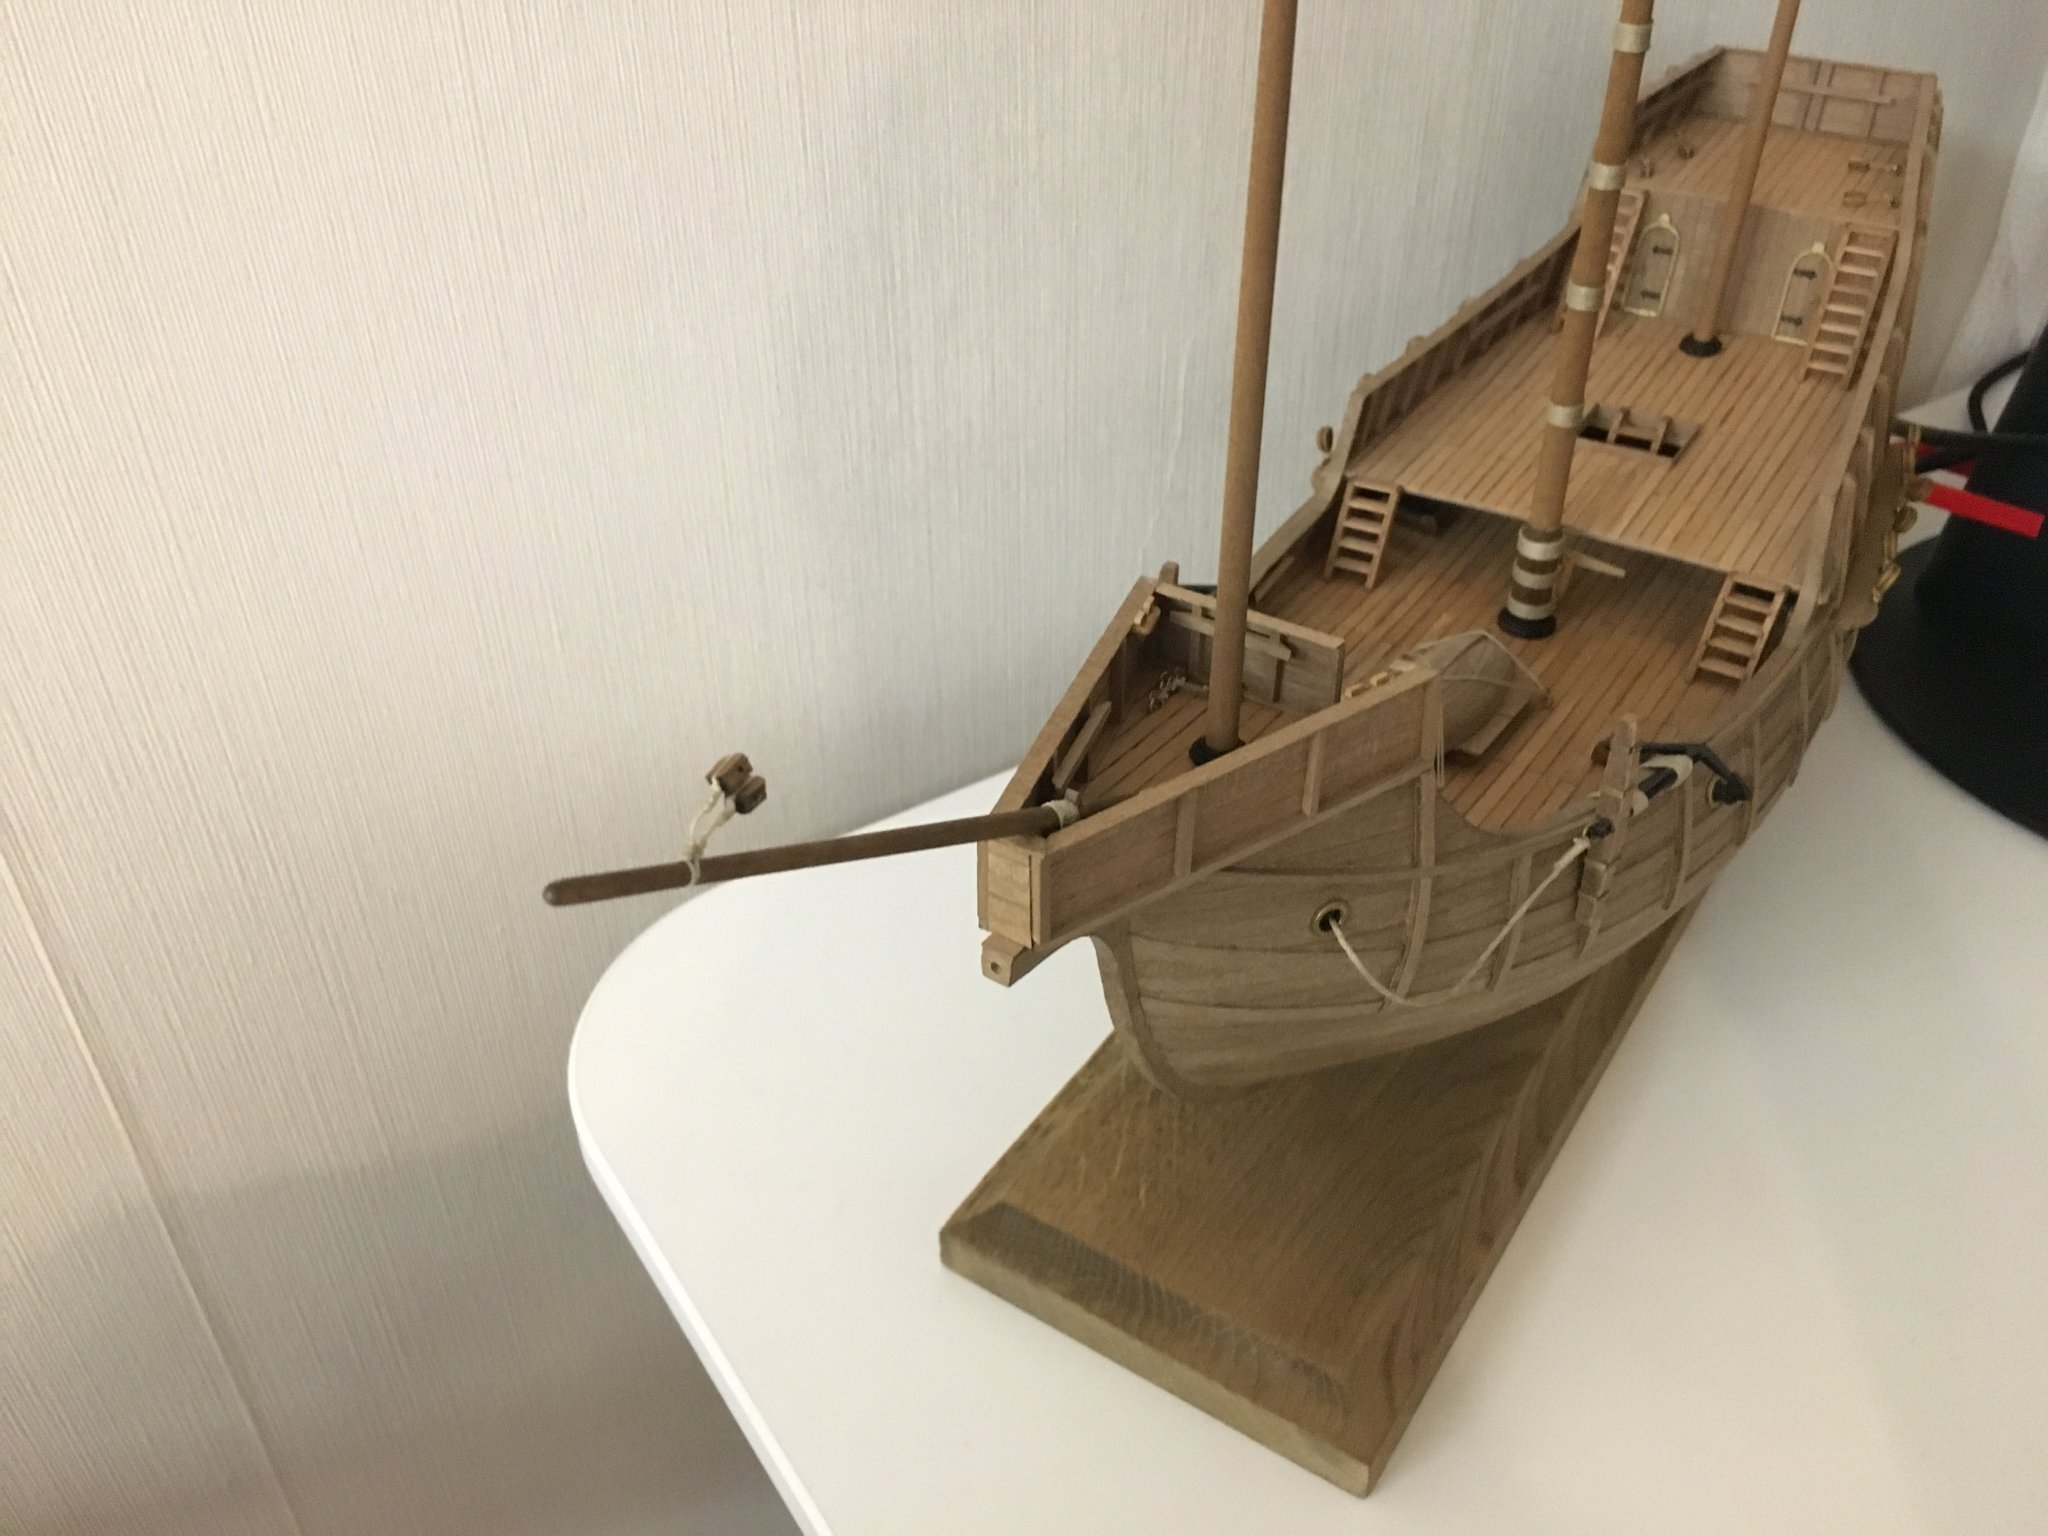
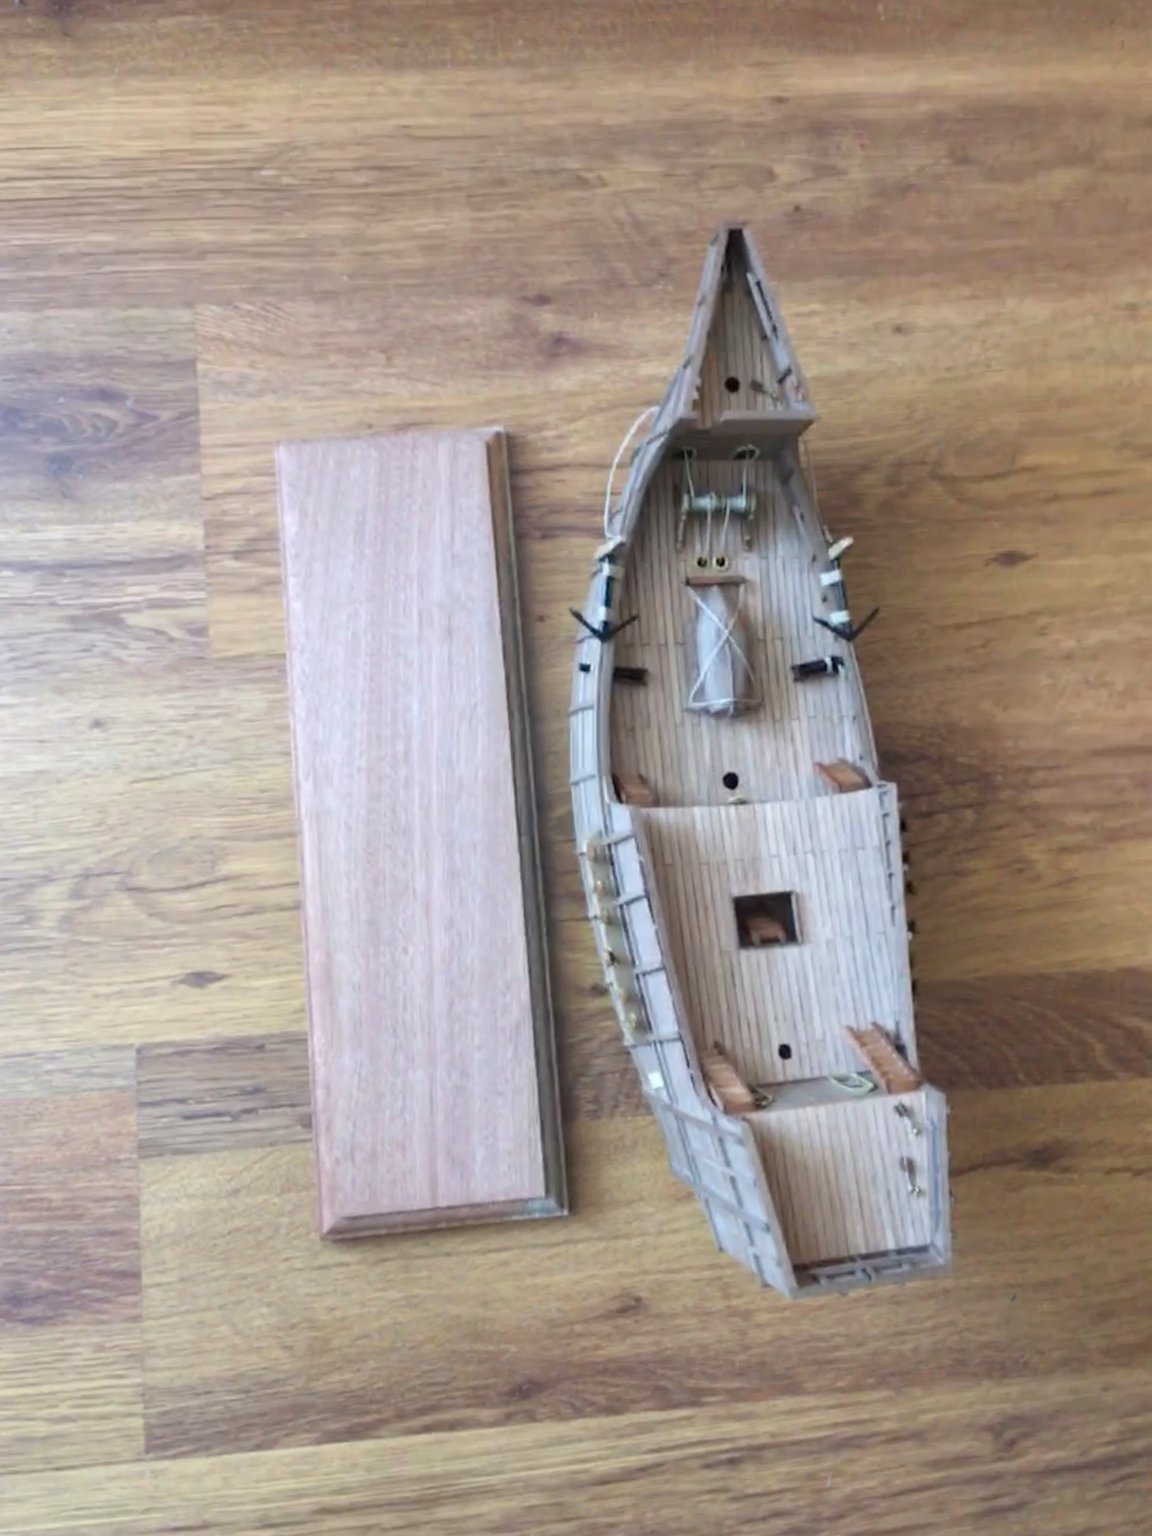
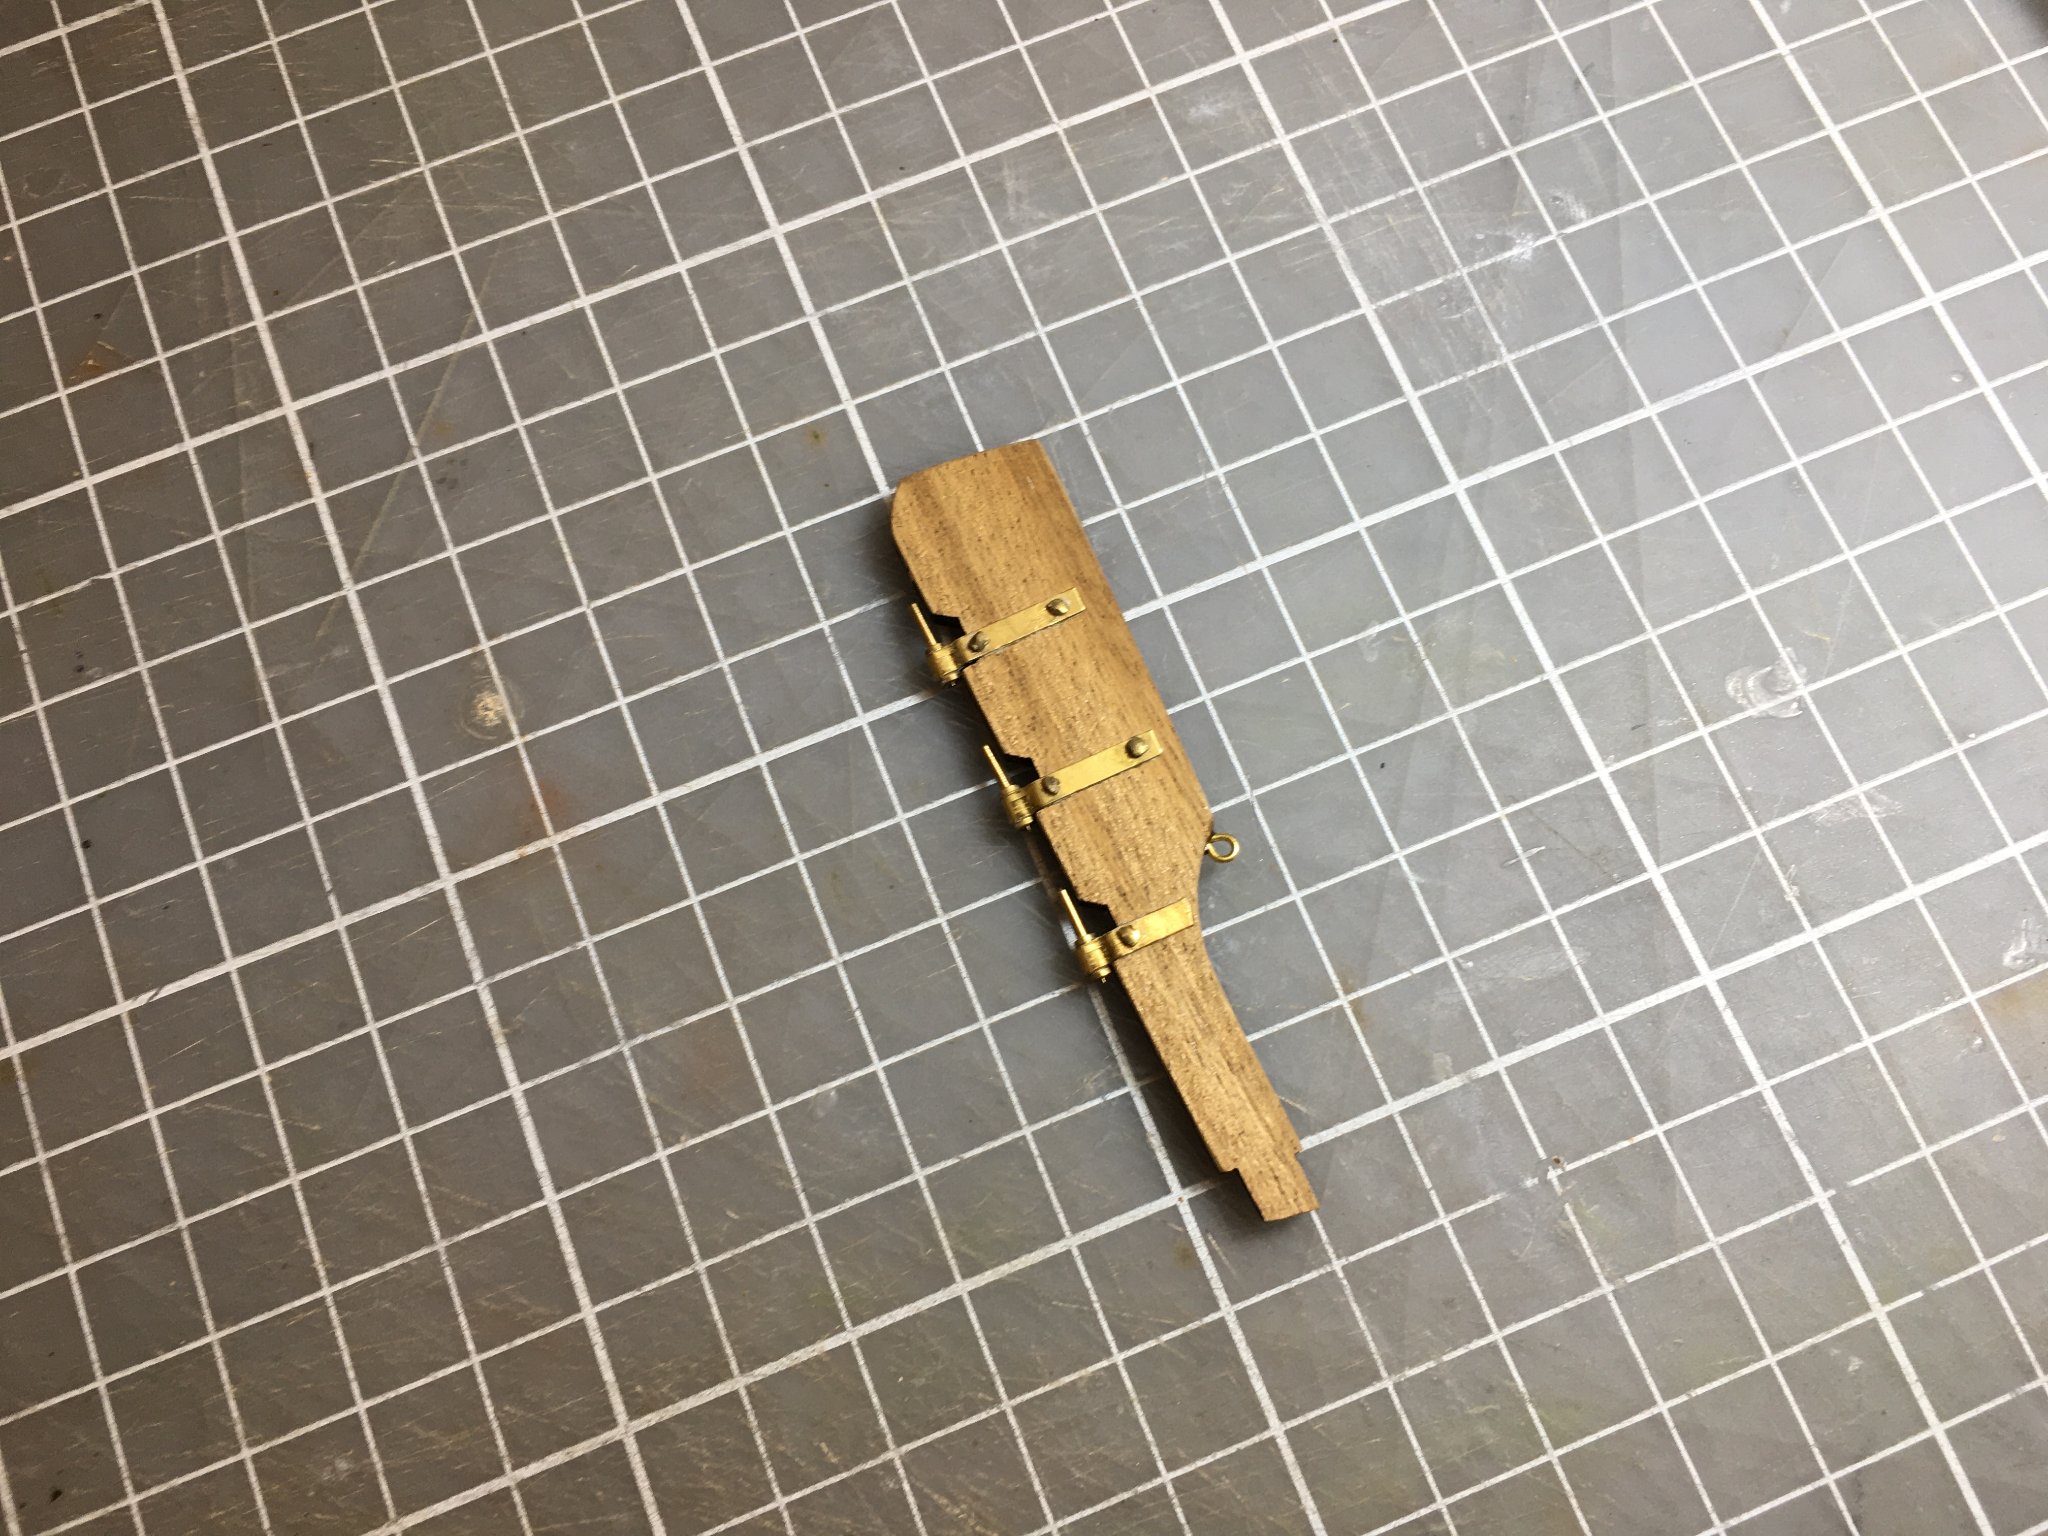
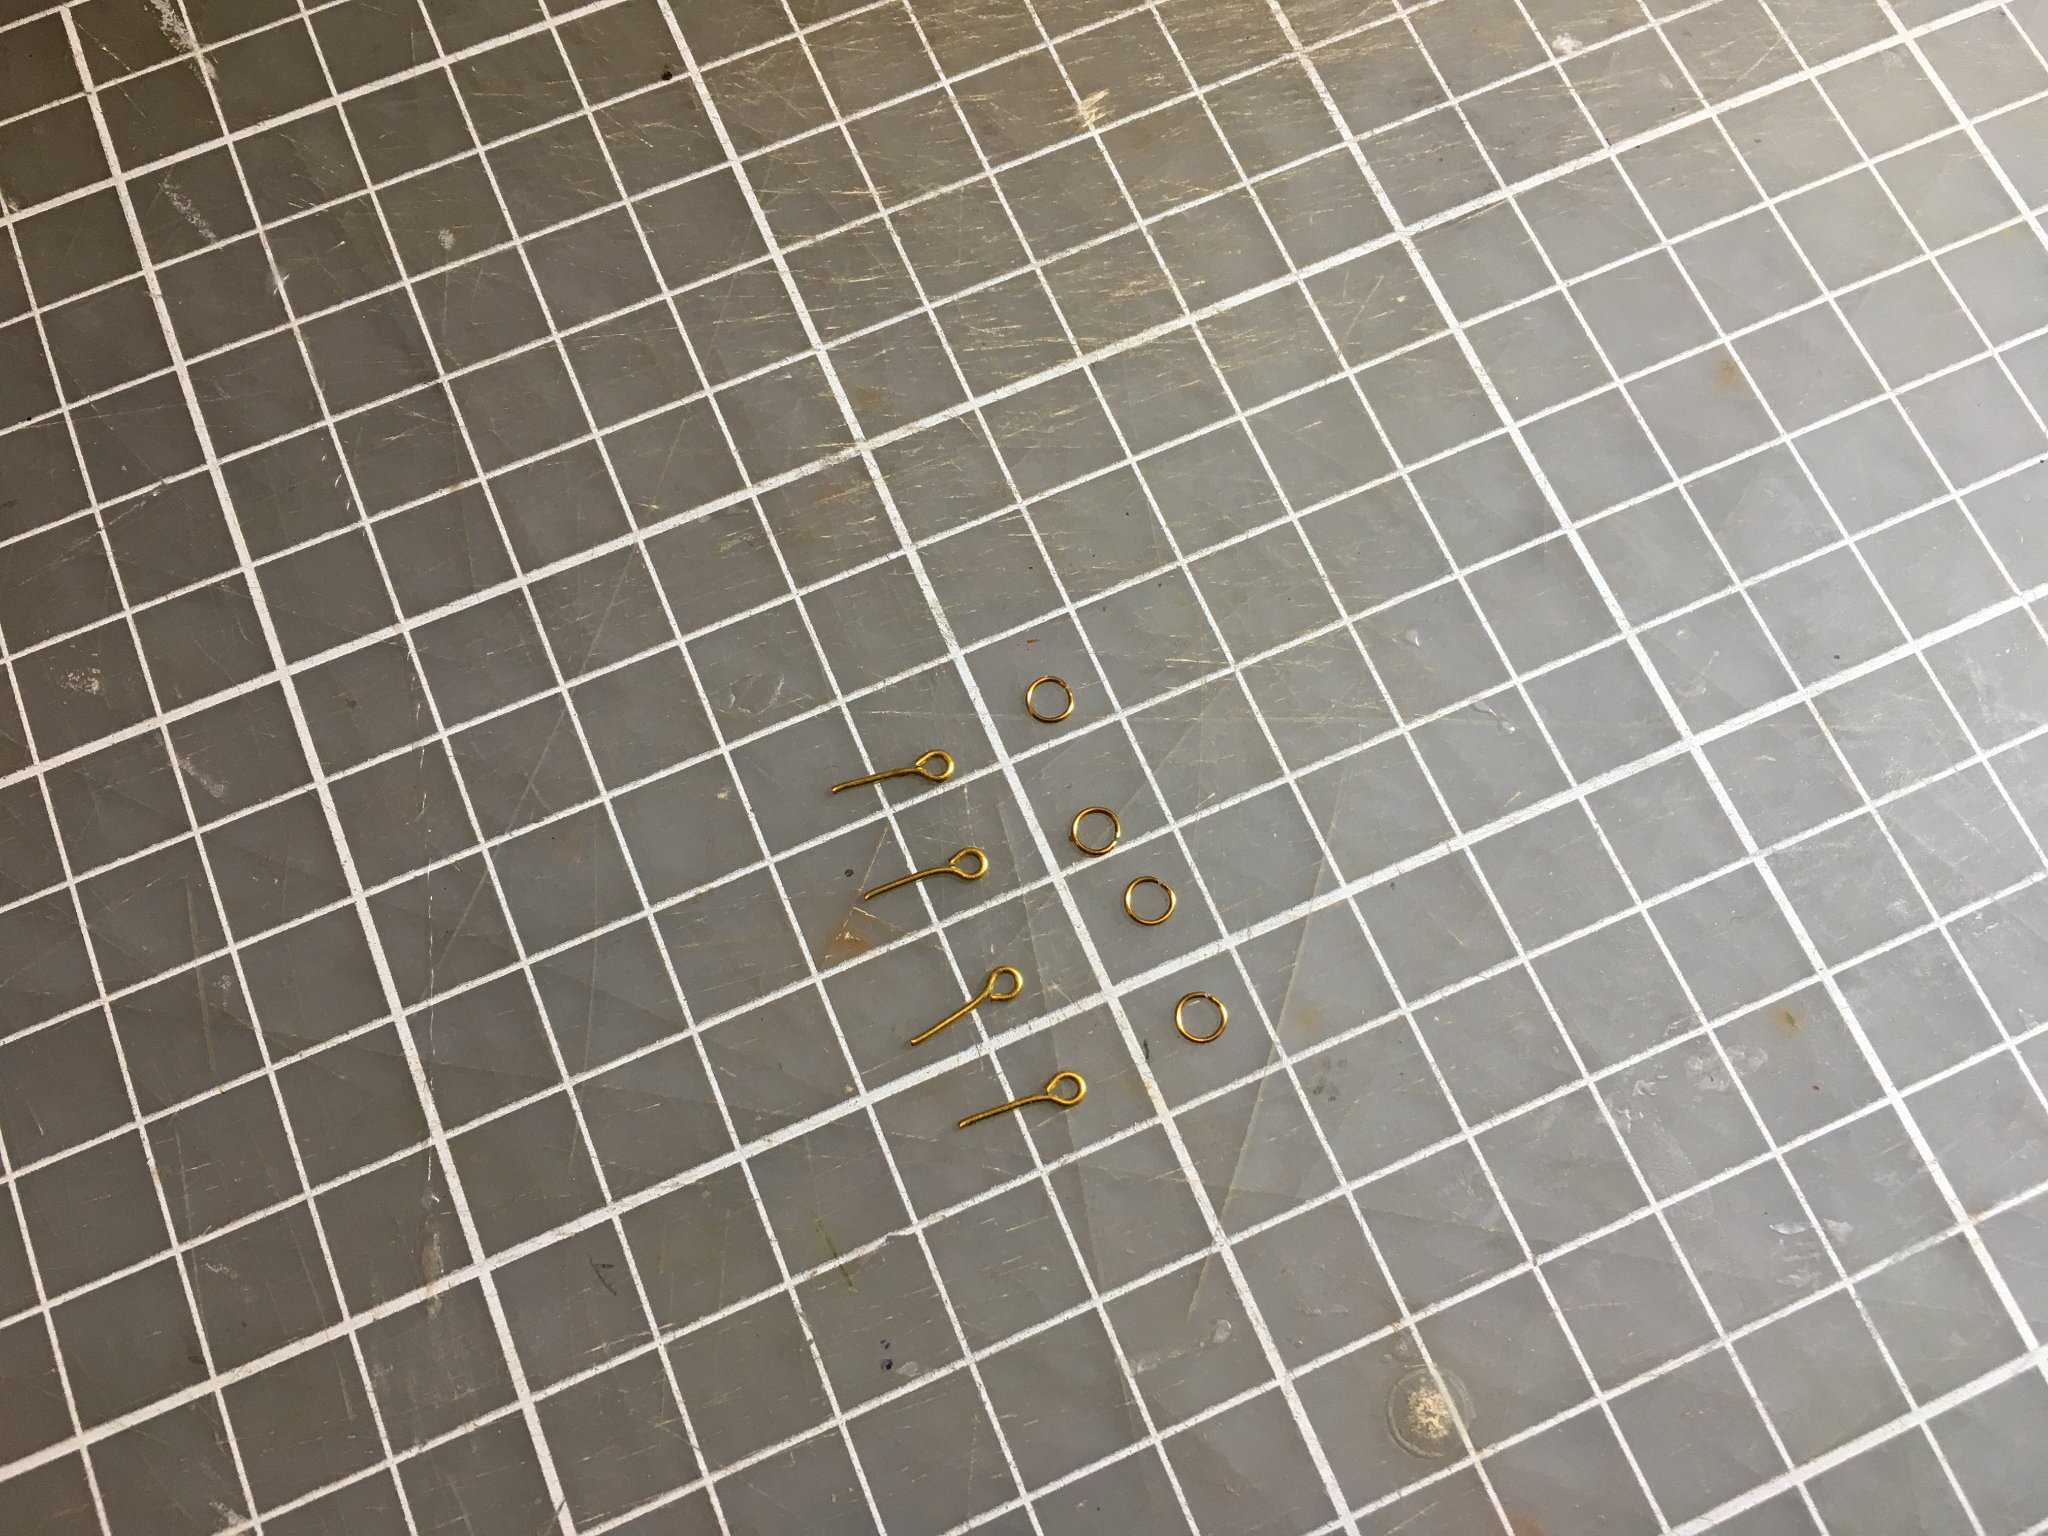
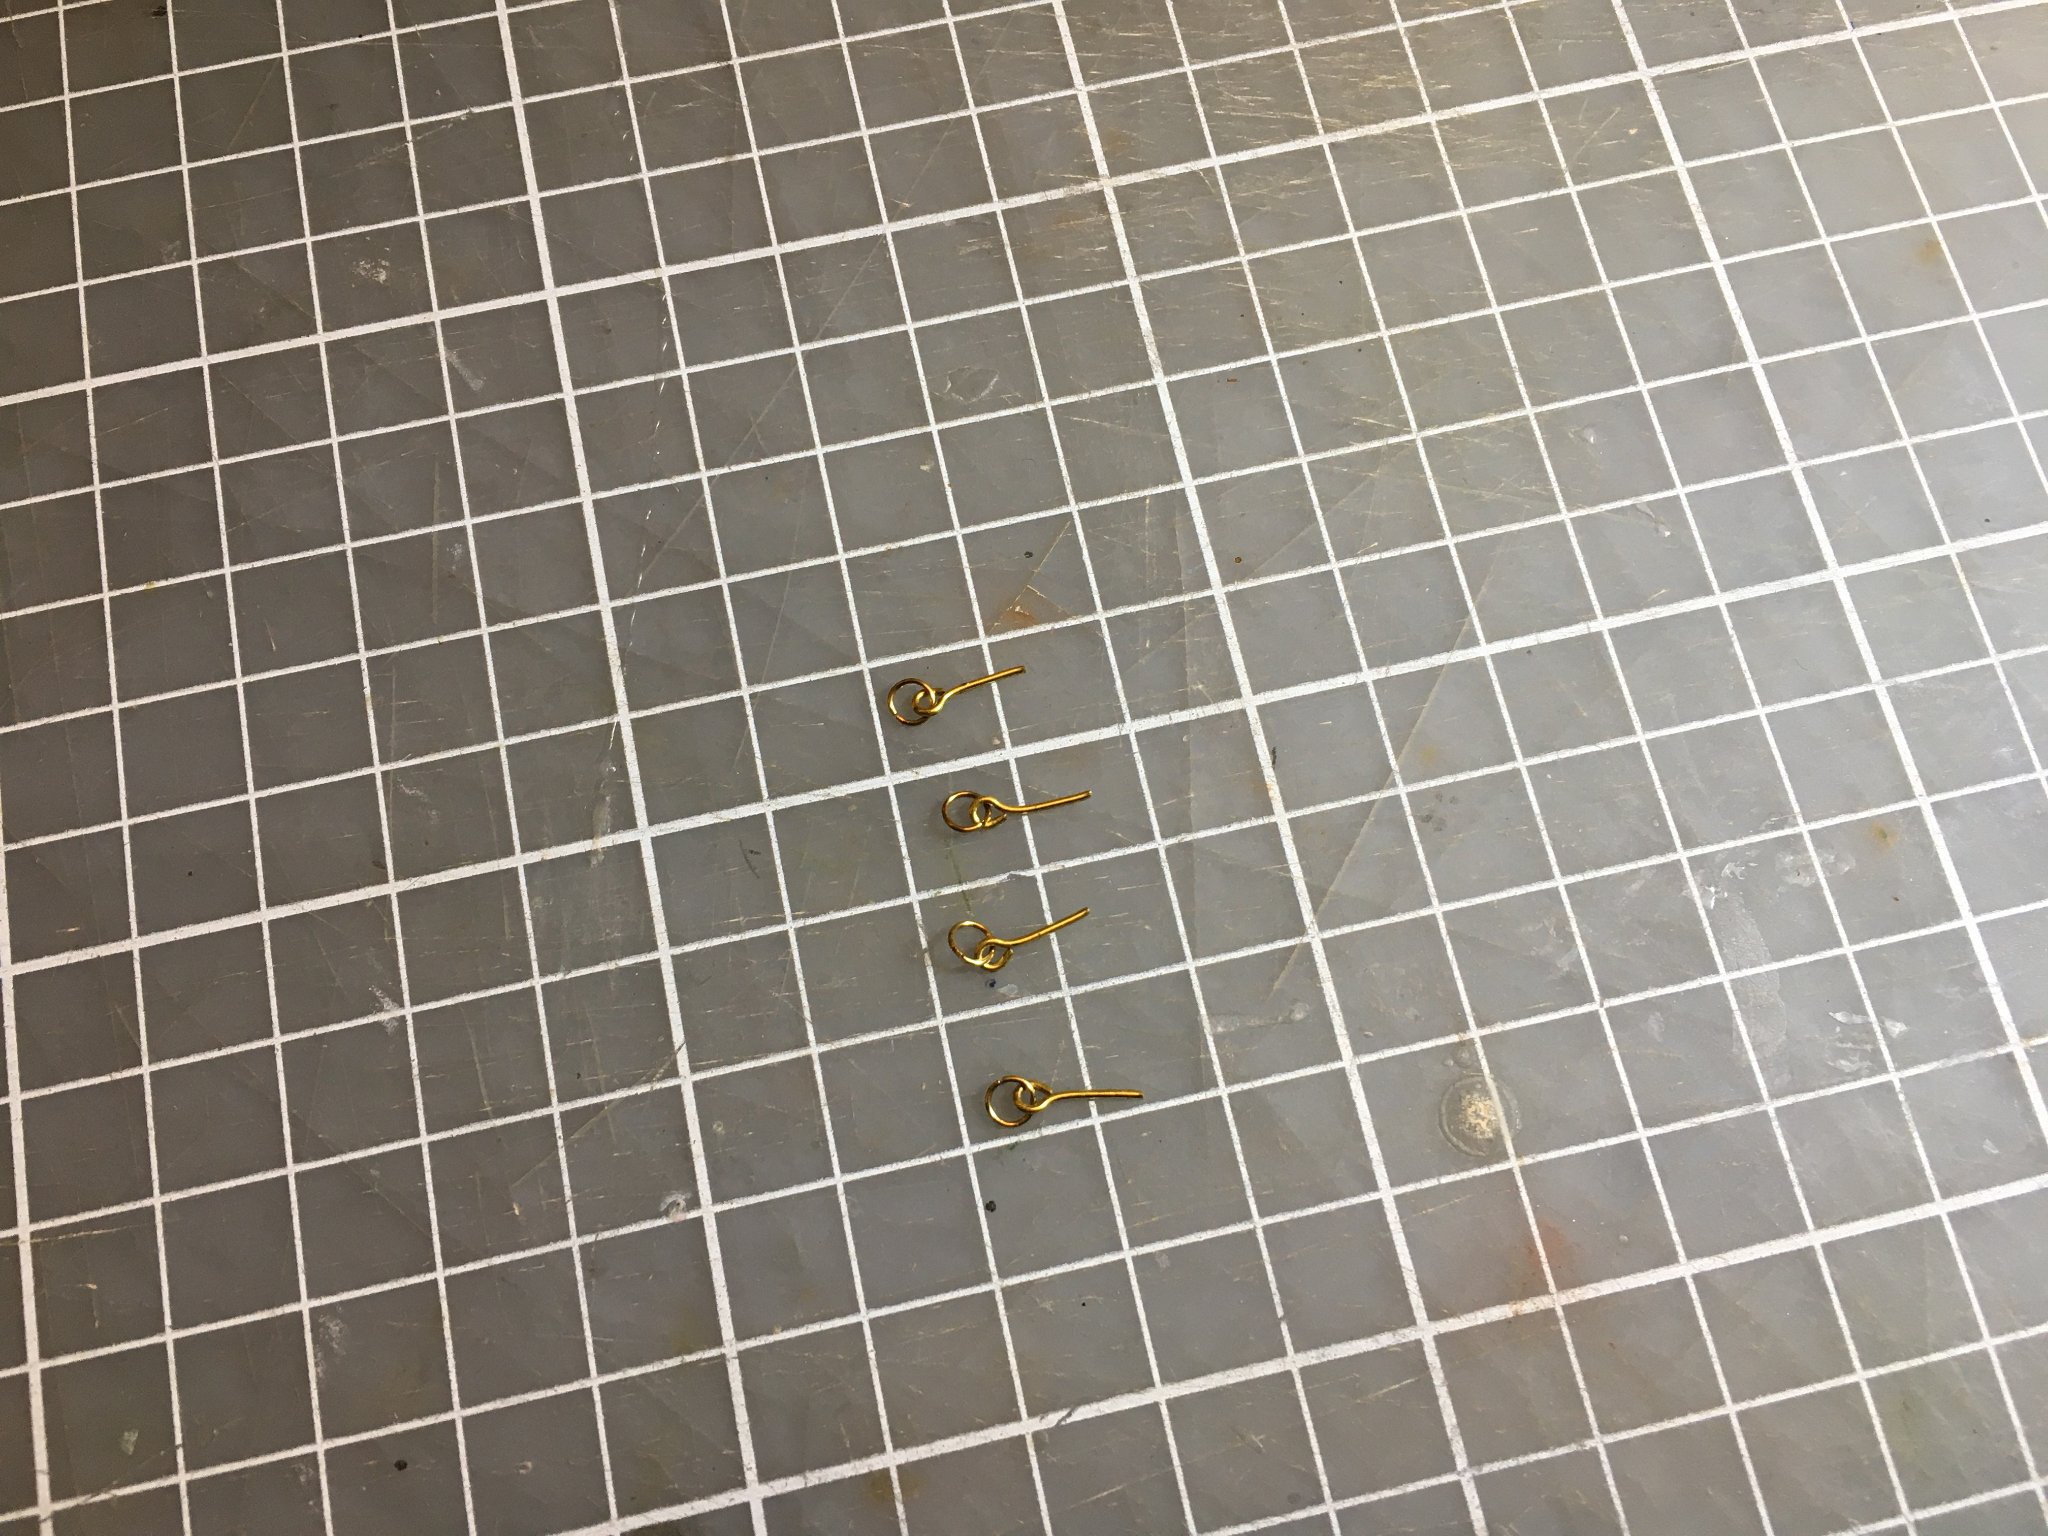
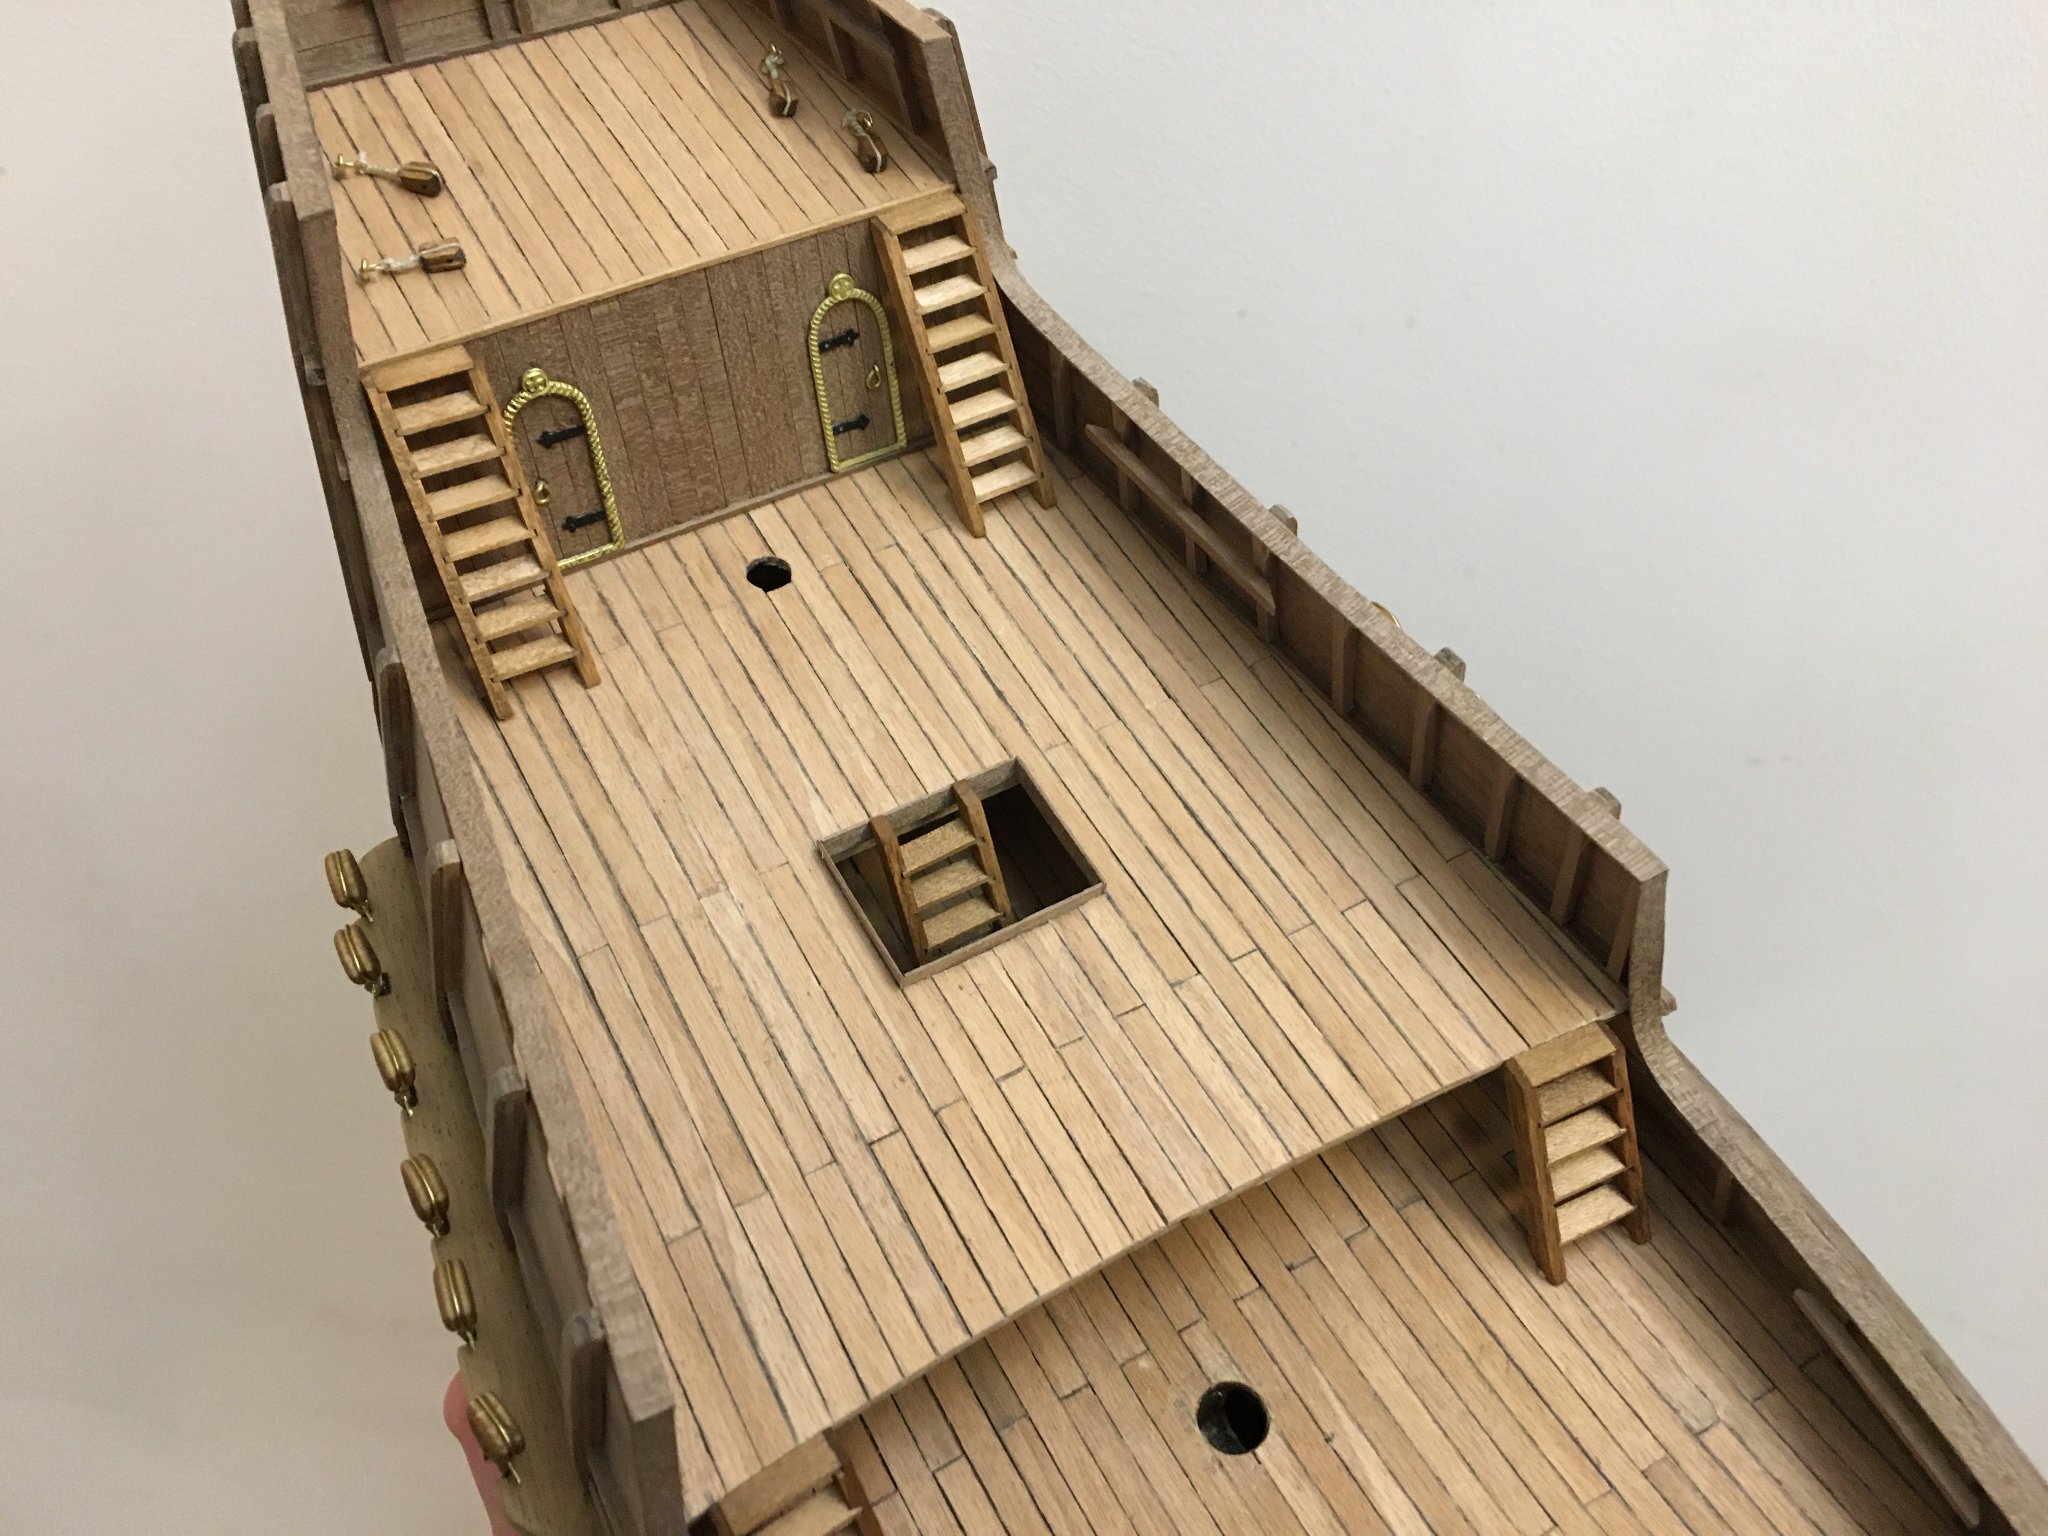
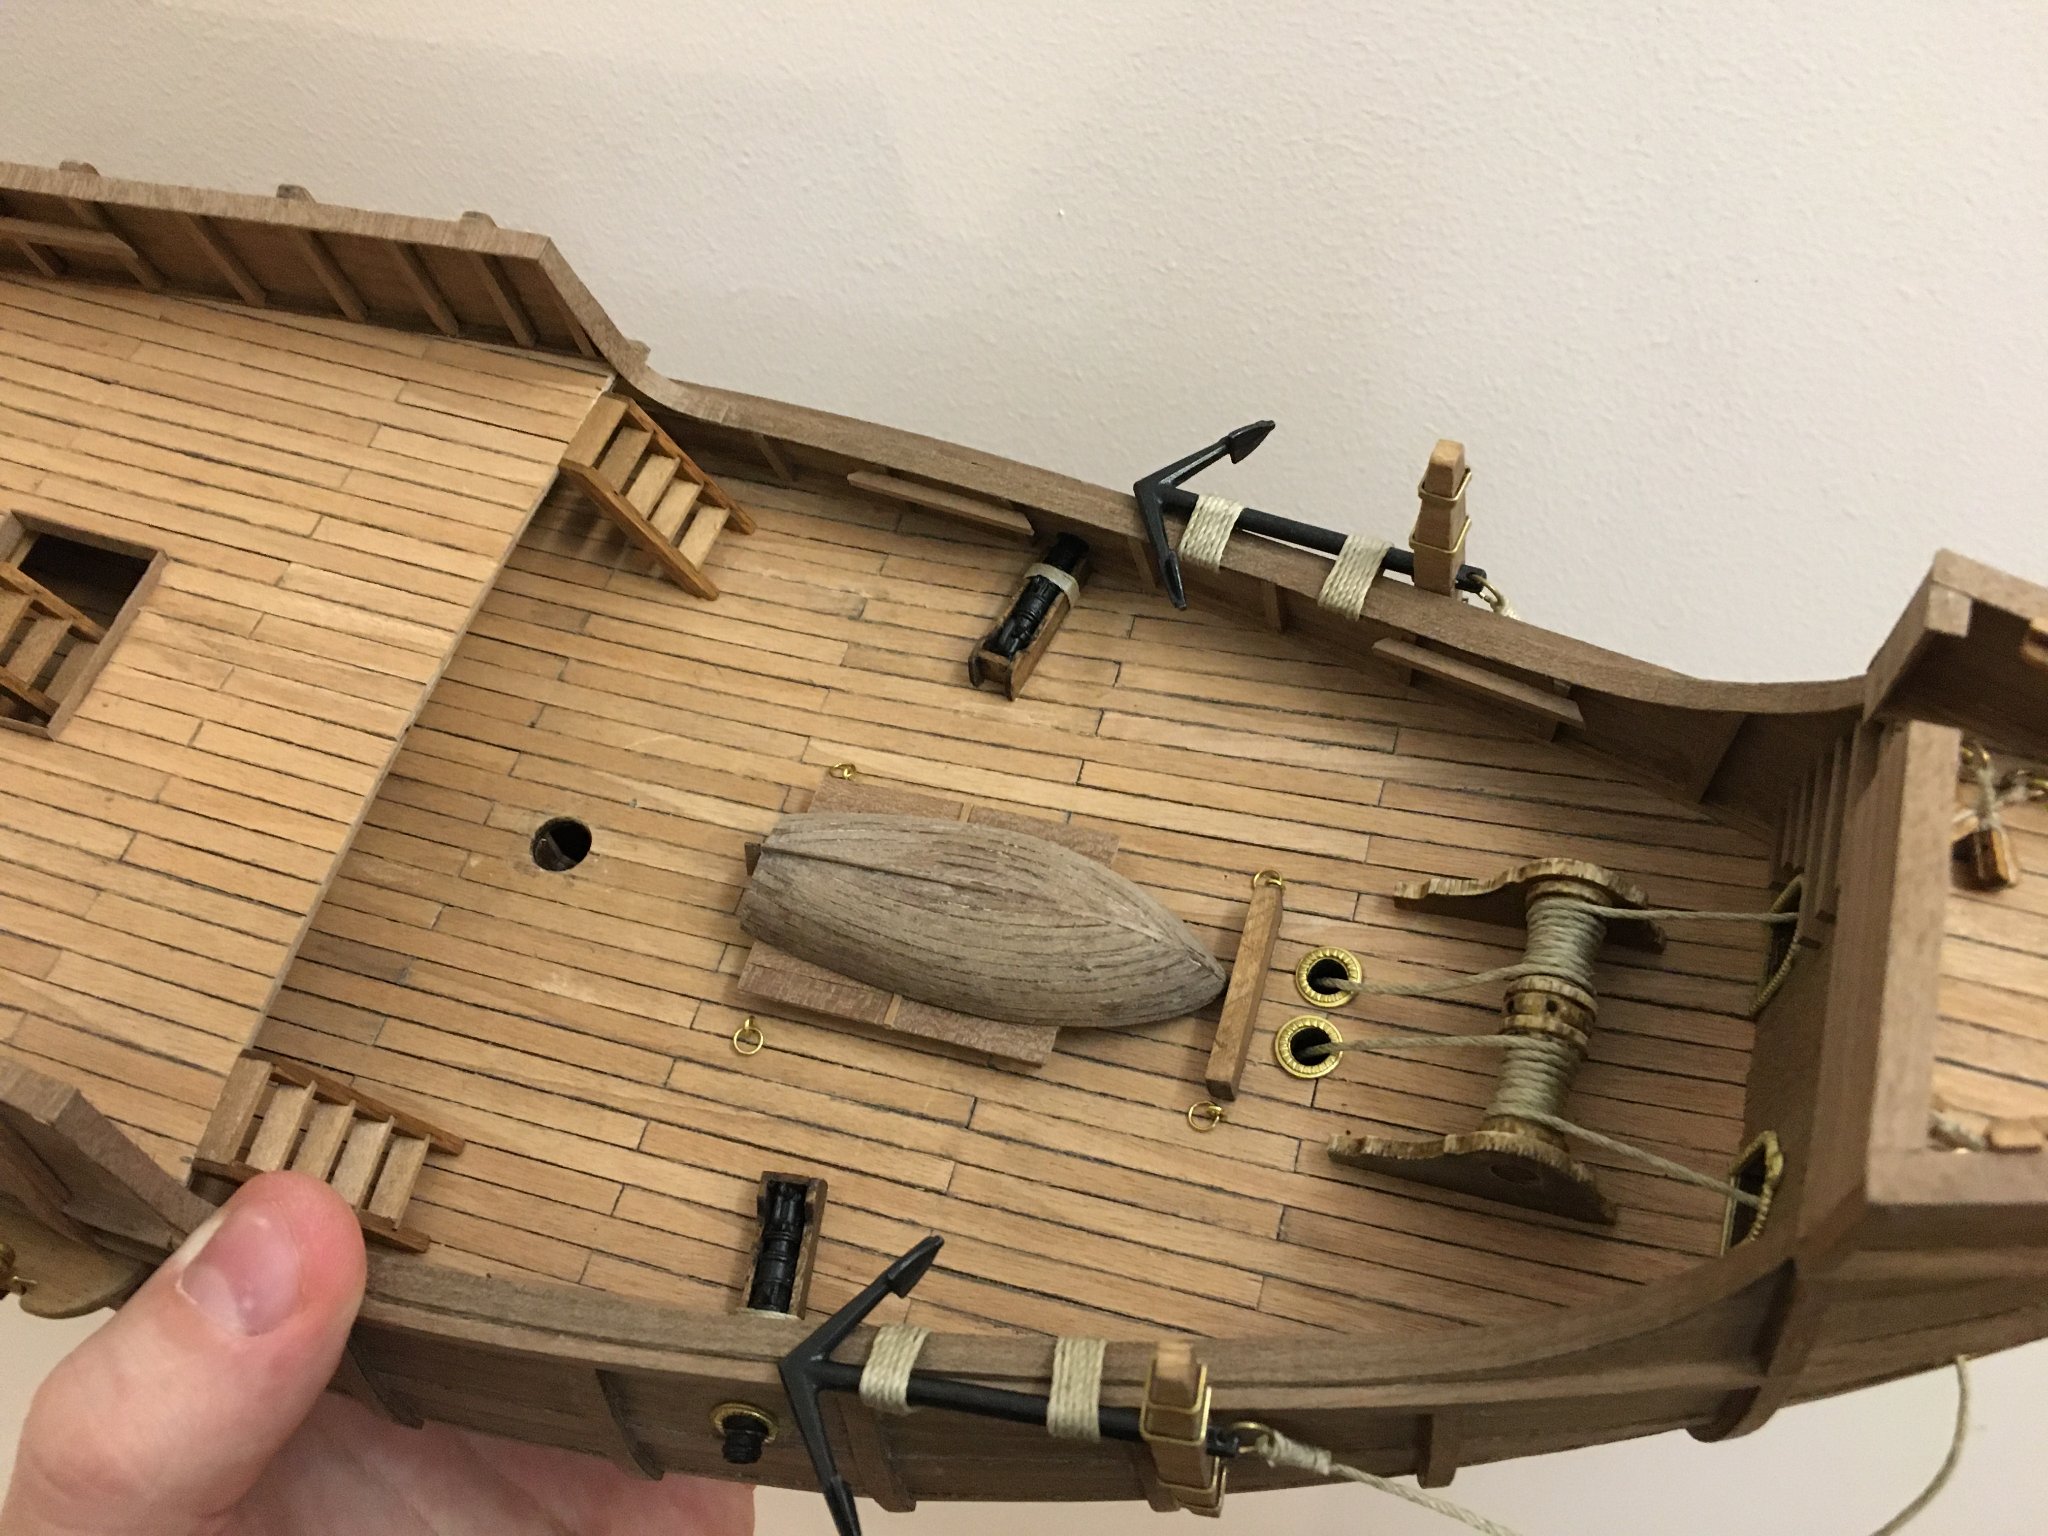
A little update here. Finished rudder by adding a loop: Made some loops for fixing the boat rope: Glued the boat in place: Added boat rope attachment loops: Added ropes to fix the boat in place: Glued the stairs in their appropriate places:


.thumb.jpeg.a9b9e104adee469101f20dedb9448e5b.jpeg)
- 93 replies
-
- 3
-
-
- santa maria
- amati
- (and 1 more)
-
Really stunning work! Can't wait to see how it will look finished. For next build I suggest buying silicone wires (if not using it already, can't really tell from the video). They are much more flexible and also head resistant! Soldering iron will not melt the isolation. I use these wires when working on my electronic projects and I like them a lot. Also, I would like to thank you for making all these videos. They are a huge help for a beginner like me.


.jpeg.9d67808294b0dddc9b81f34114388063.jpeg)


.jpeg.cf74f6244a0ab56bbe541a1ef9116838.jpeg)
.jpeg.4e36a996e4386decf81f10a7b65cb6f4.jpeg)


.jpeg.094d97e3d31fd3976524f60046911f37.jpeg)