Lapinas
-
Posts
126 -
Joined
-
Last visited
Content Type
Profiles
Forums
Gallery
Events
Everything posted by Lapinas
-
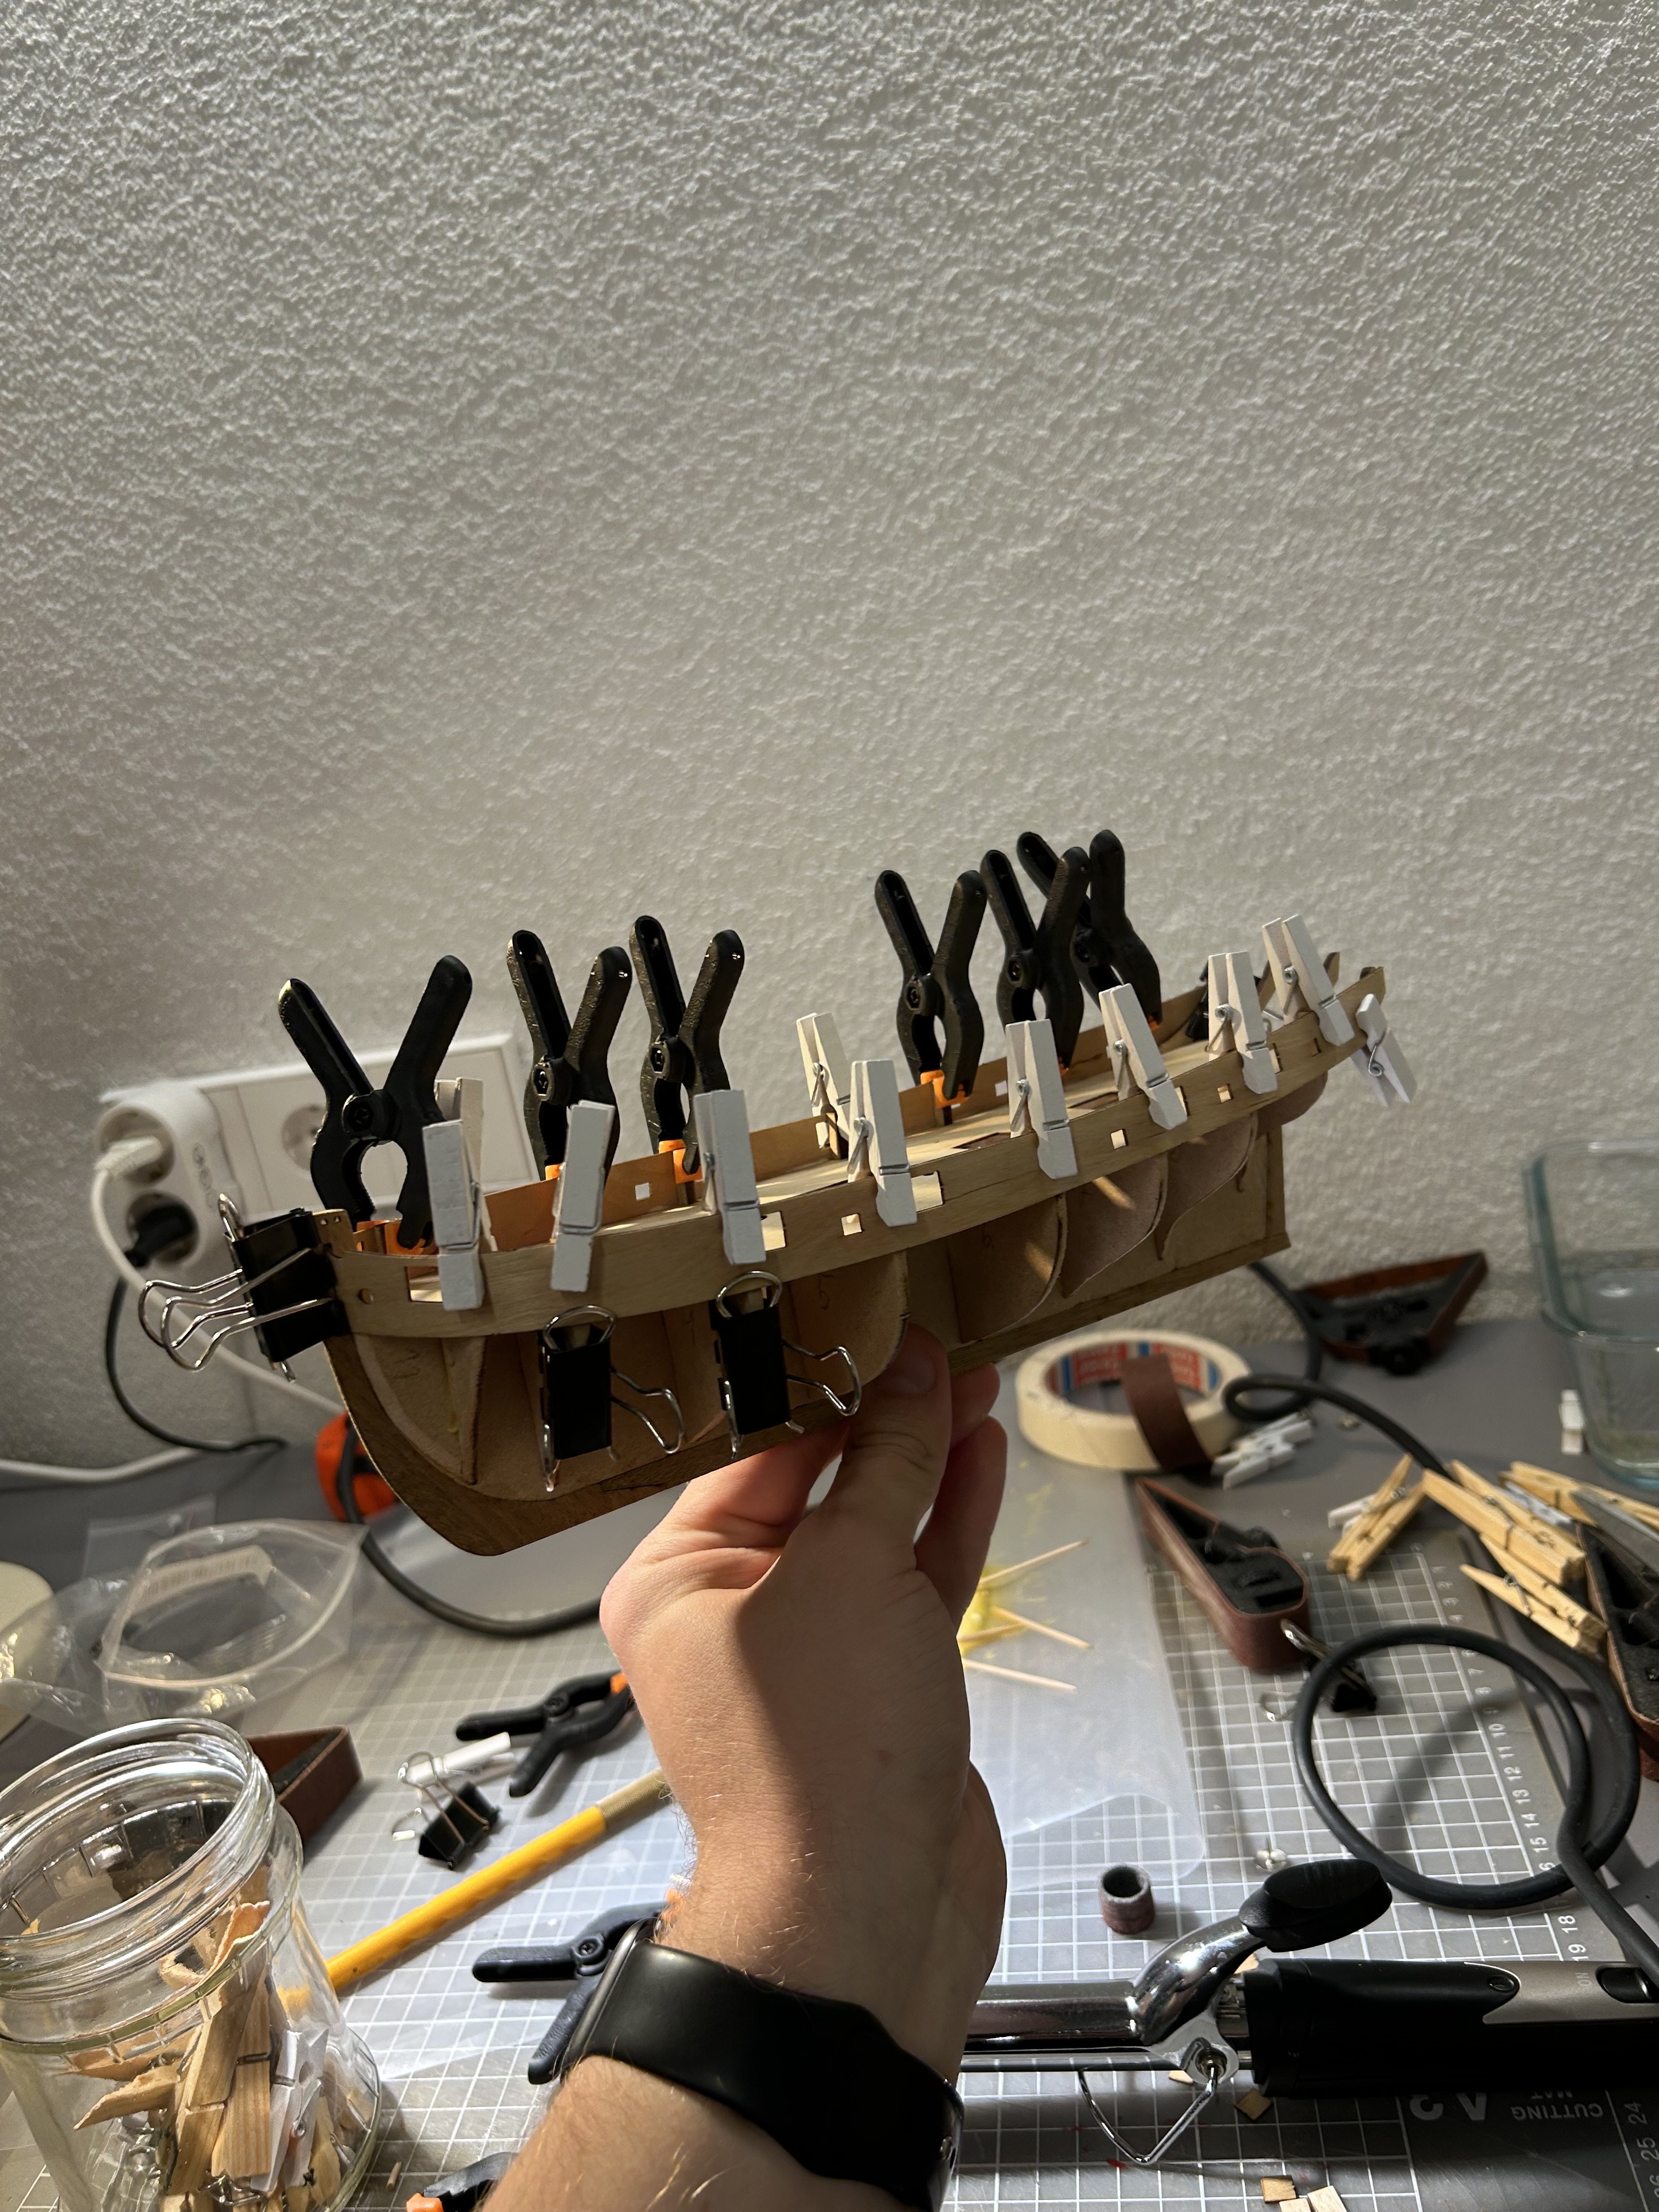
Started work on first layer of planks. I have forgotten how slow the process is 😆 4 planks - 2 hours of work.

- 81 replies
-
- 3
-

-
- Lady Nelson
- Amati
- (and 1 more)
-
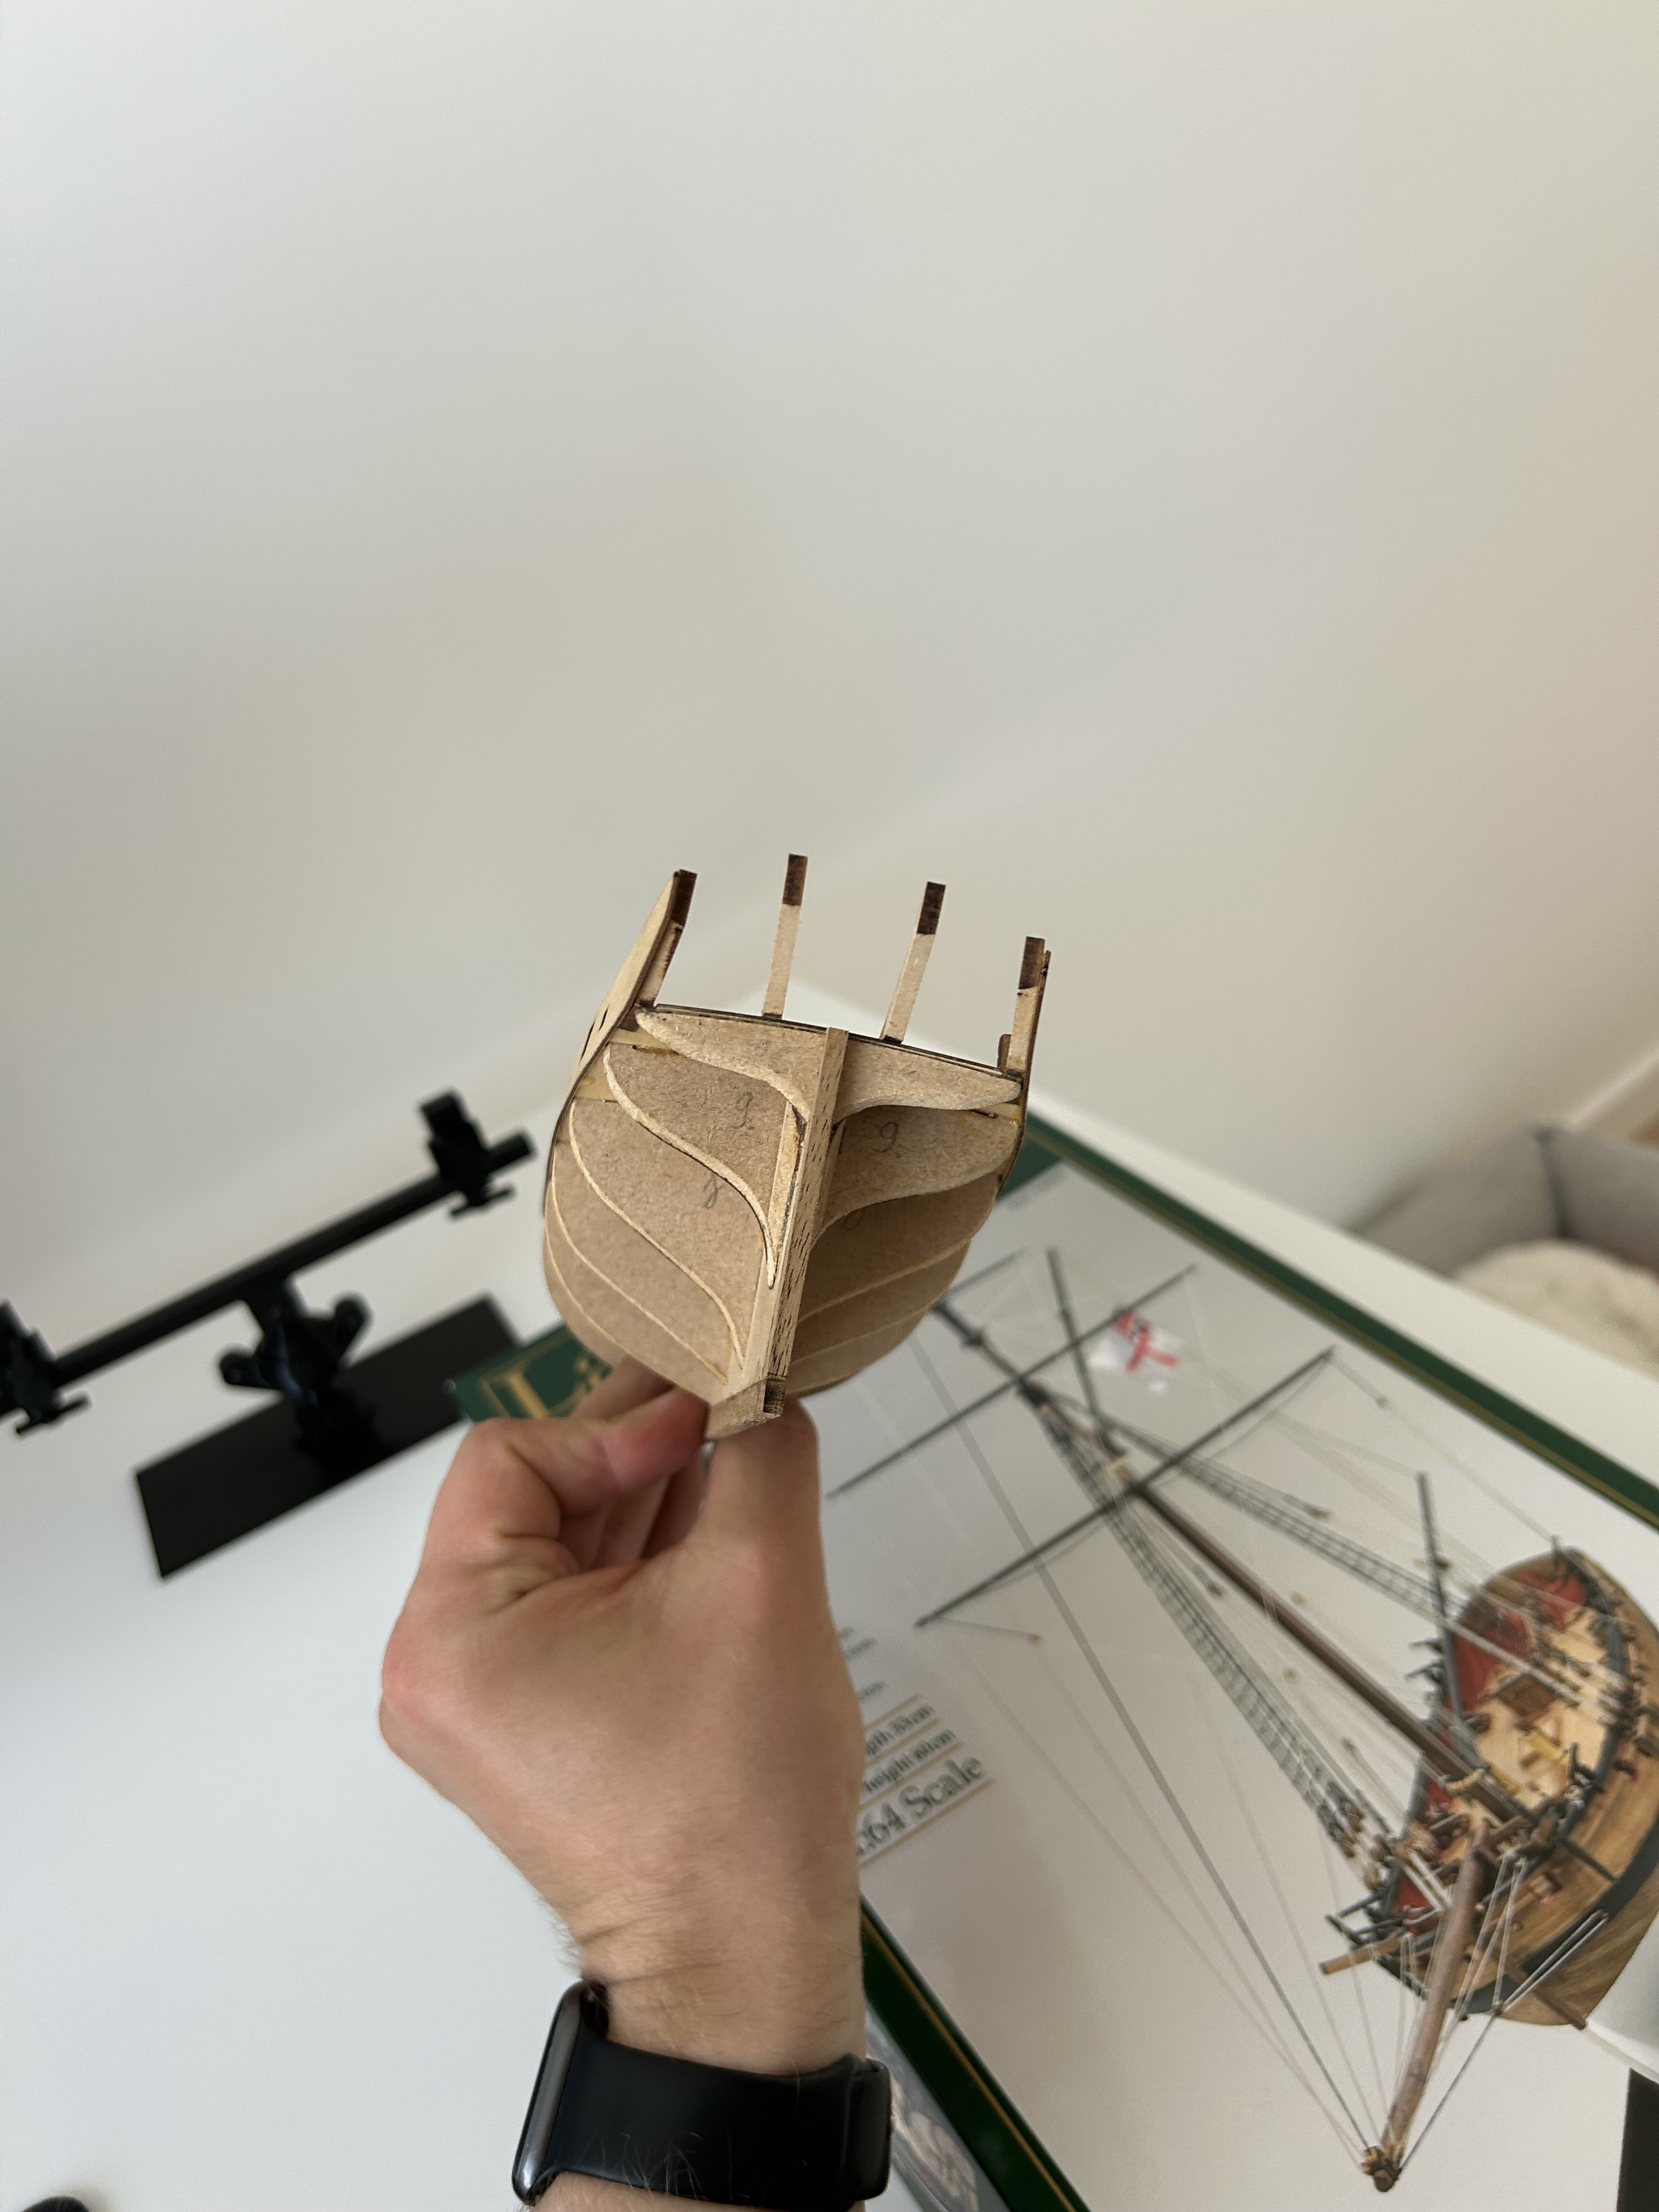
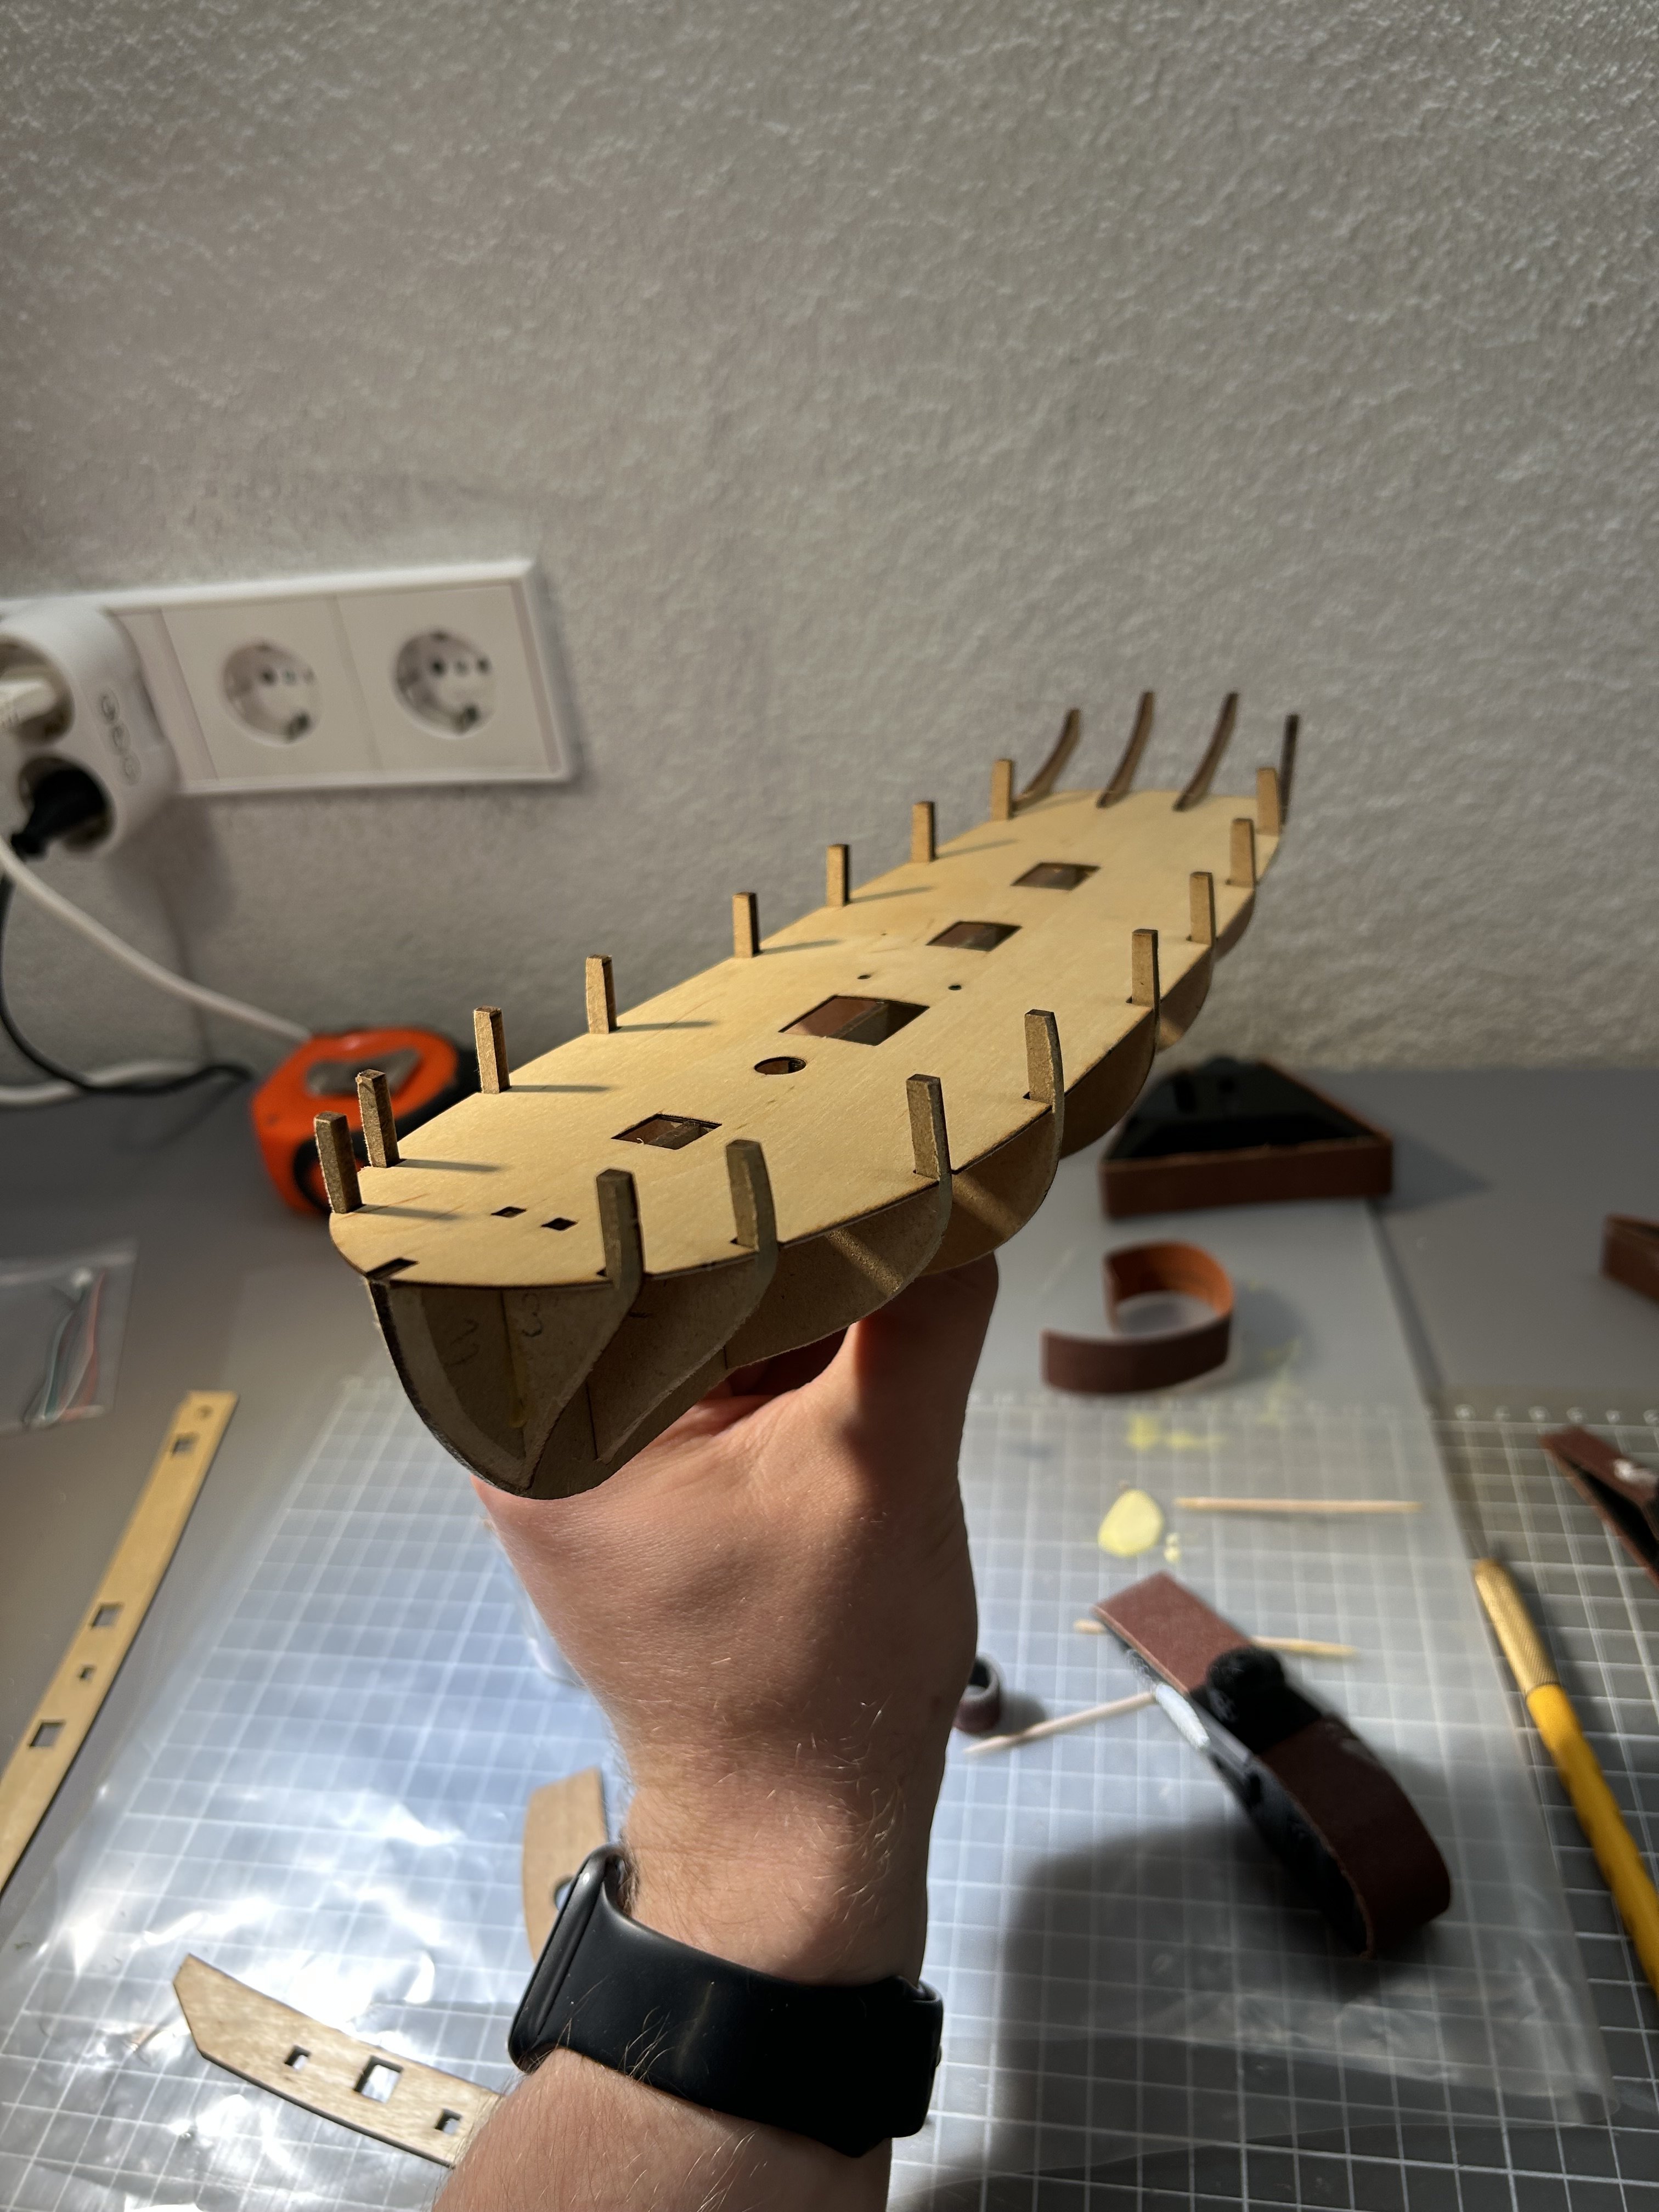
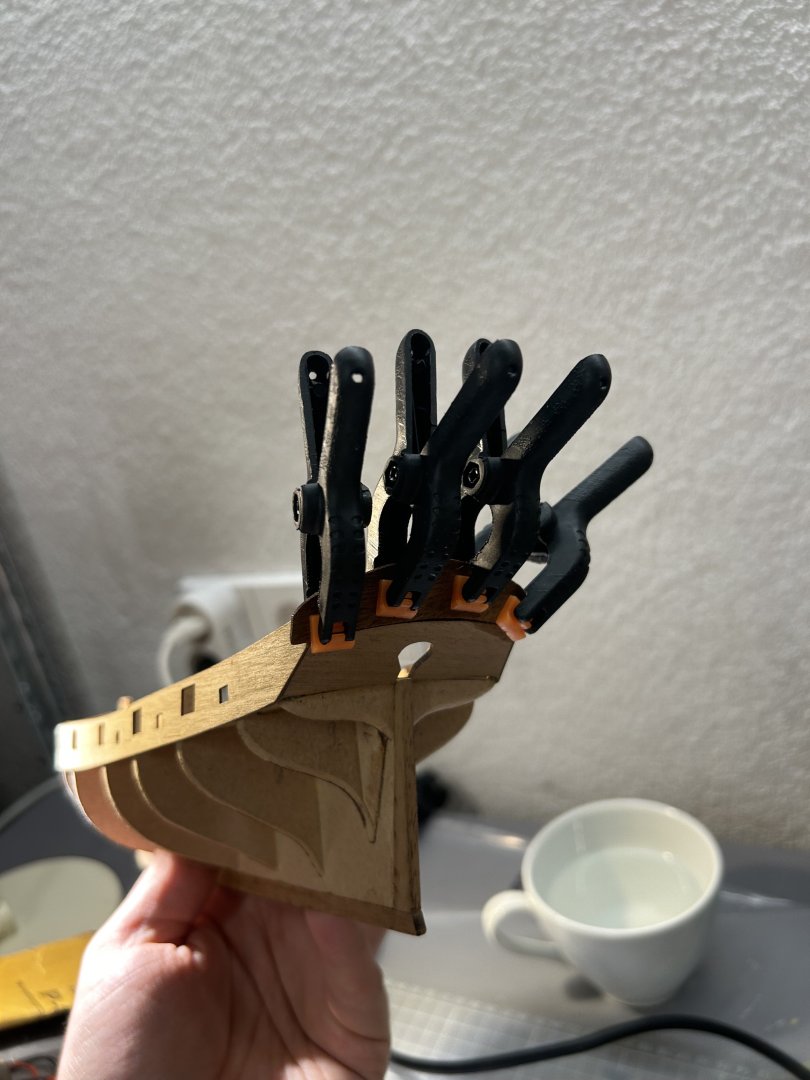
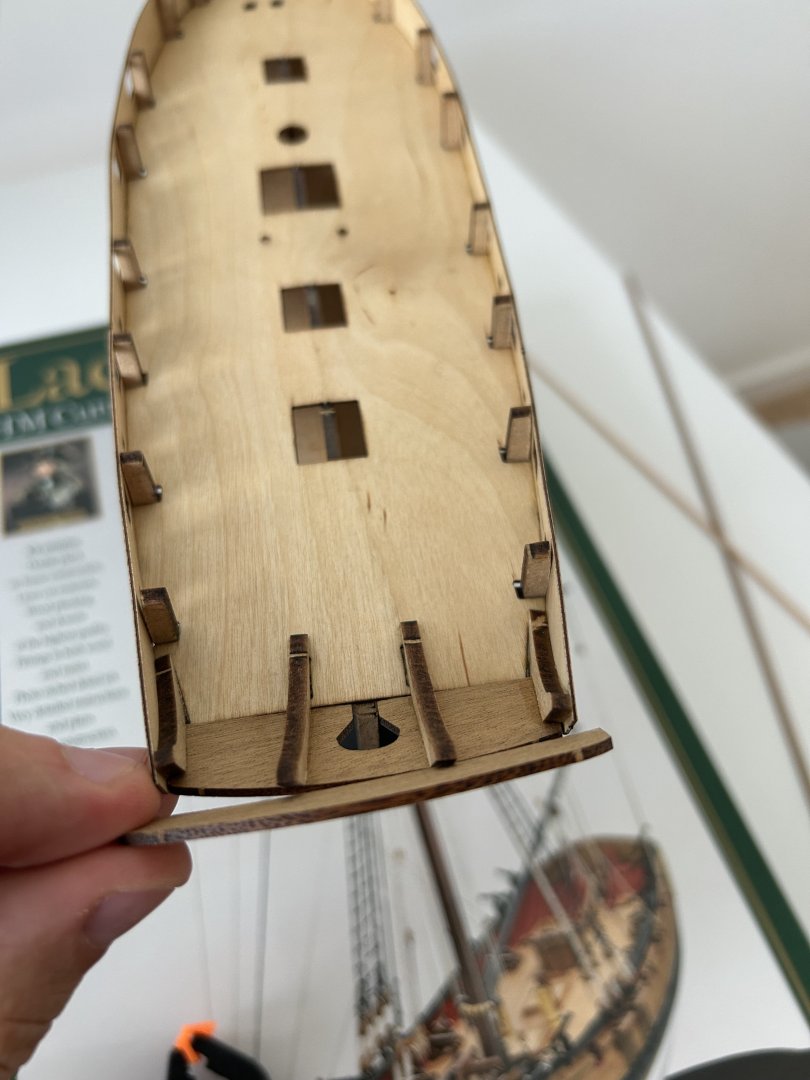
After heat forming and some sanding everything fits perfectly After testing fitting major stern pieces I will be able to proceed with first layer of planks.

- 81 replies
-
- 4
-
-
- Lady Nelson
- Amati
- (and 1 more)
-
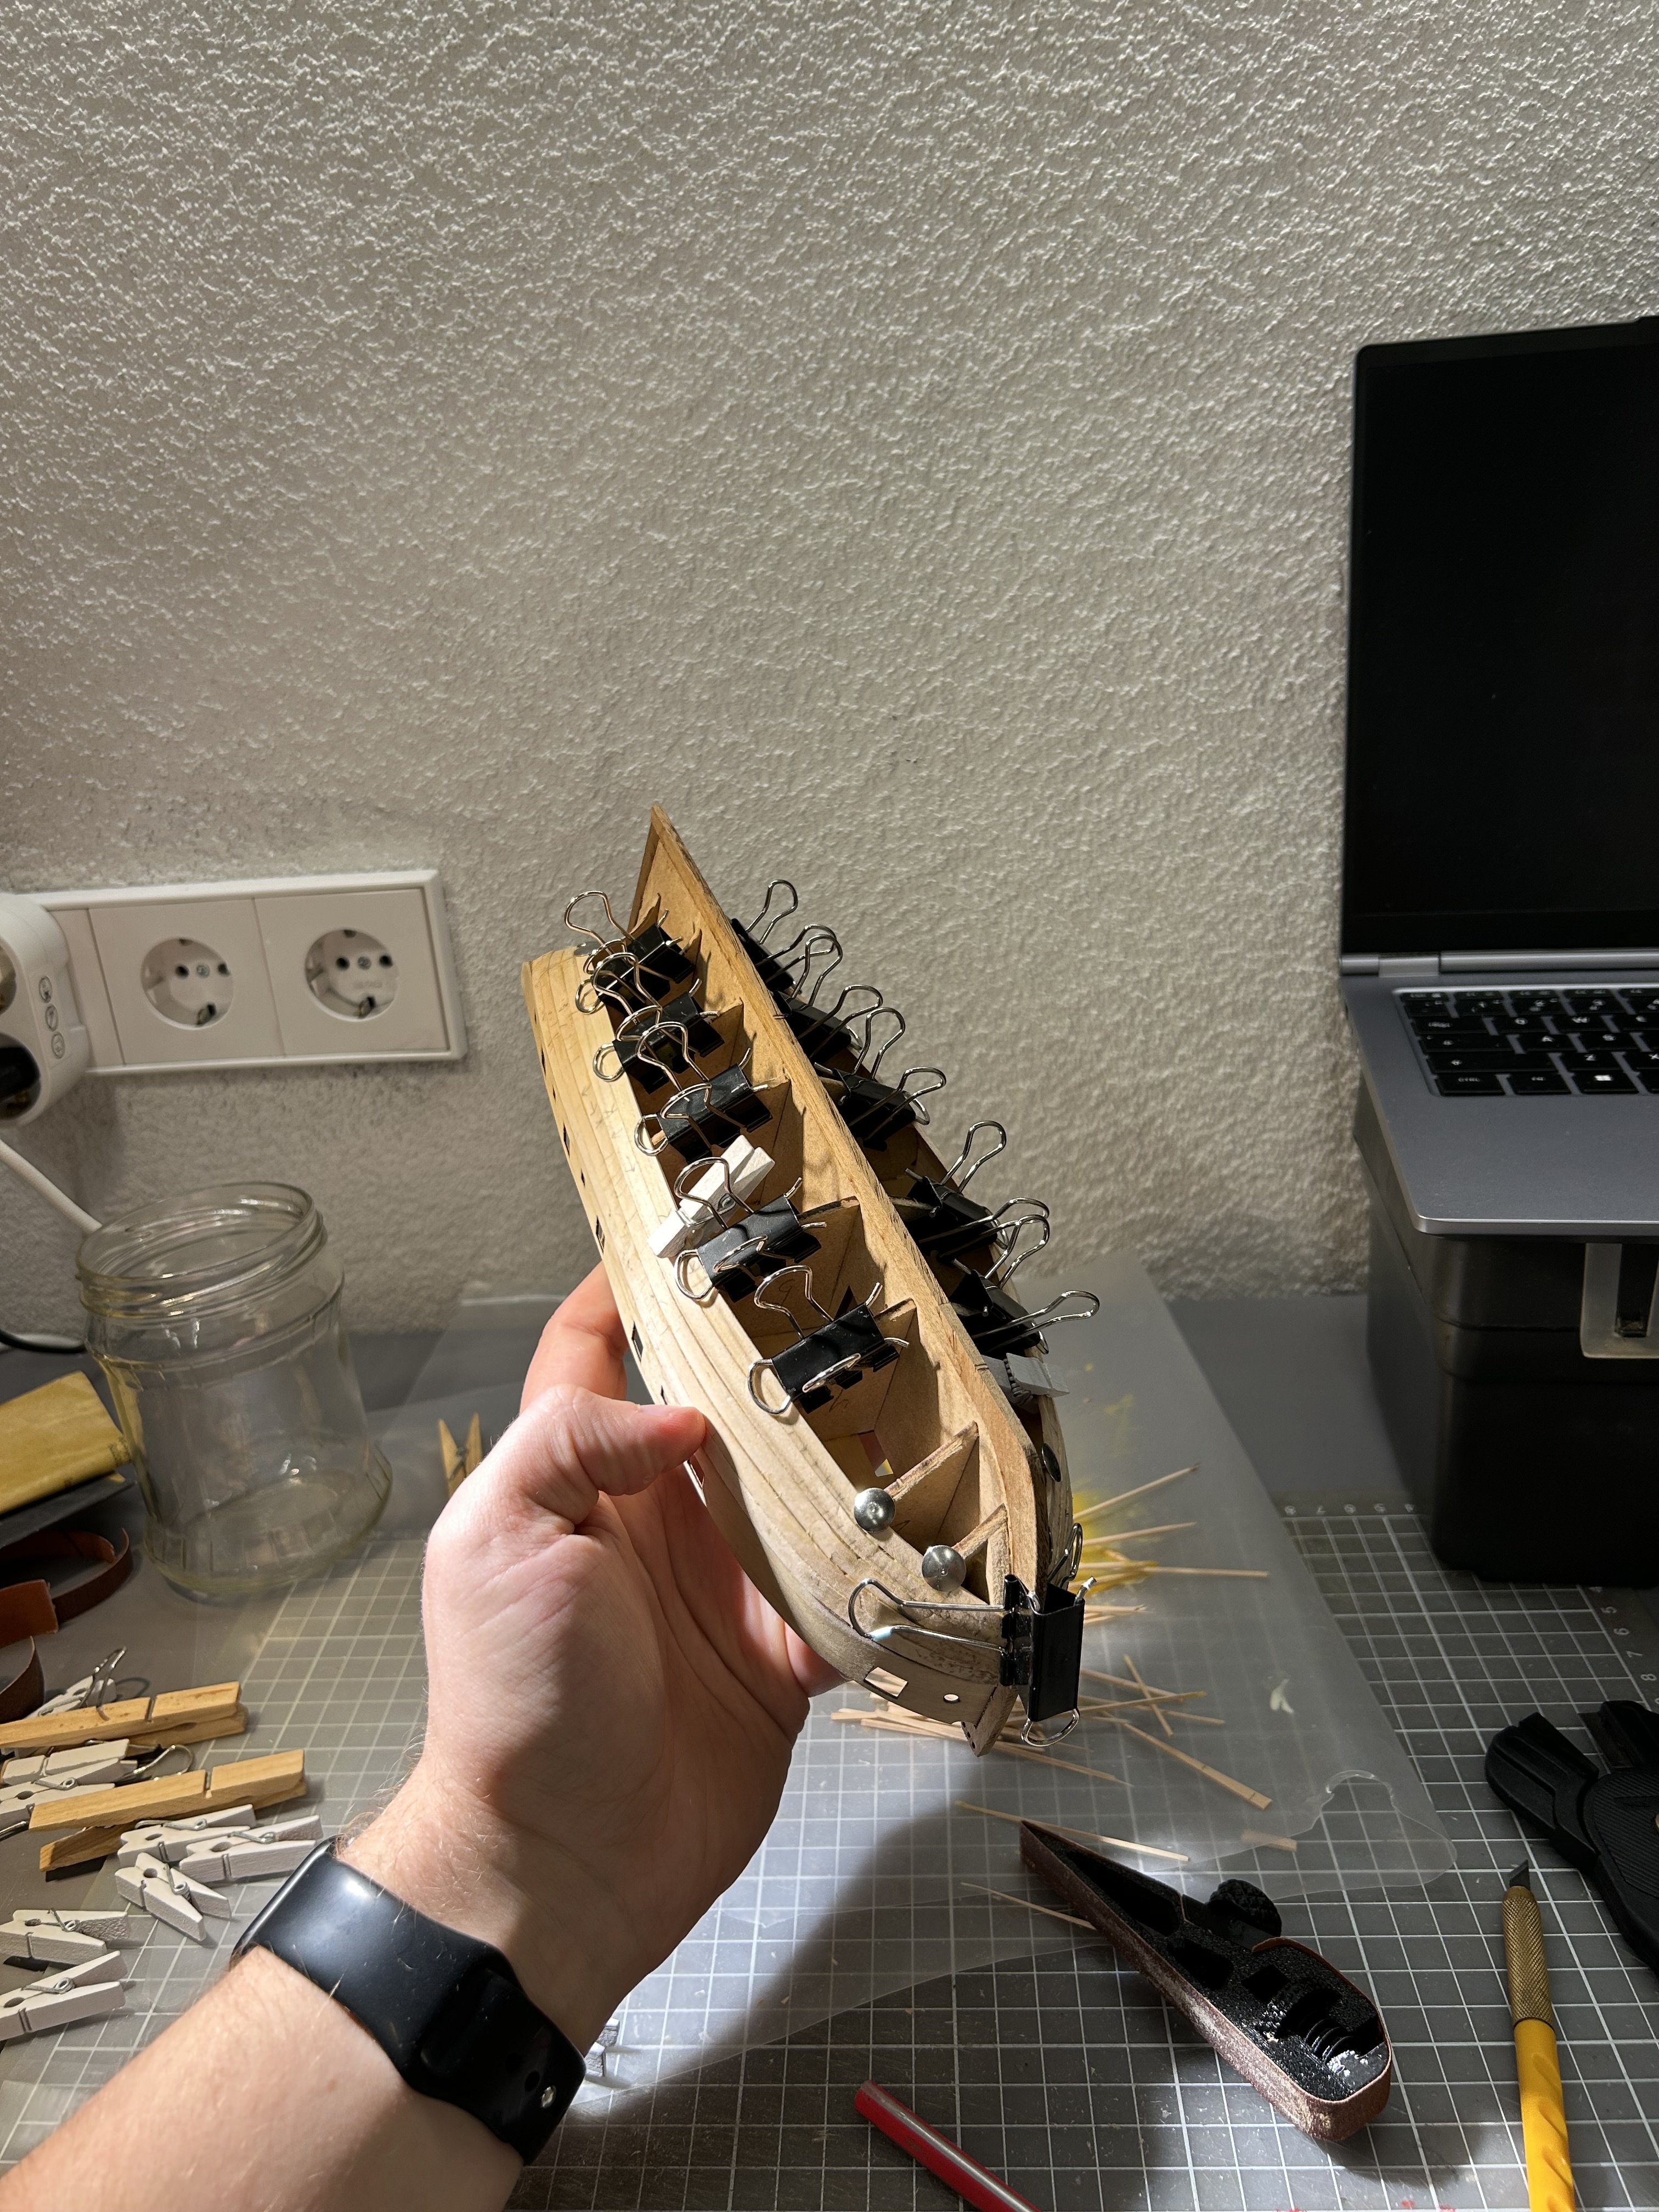
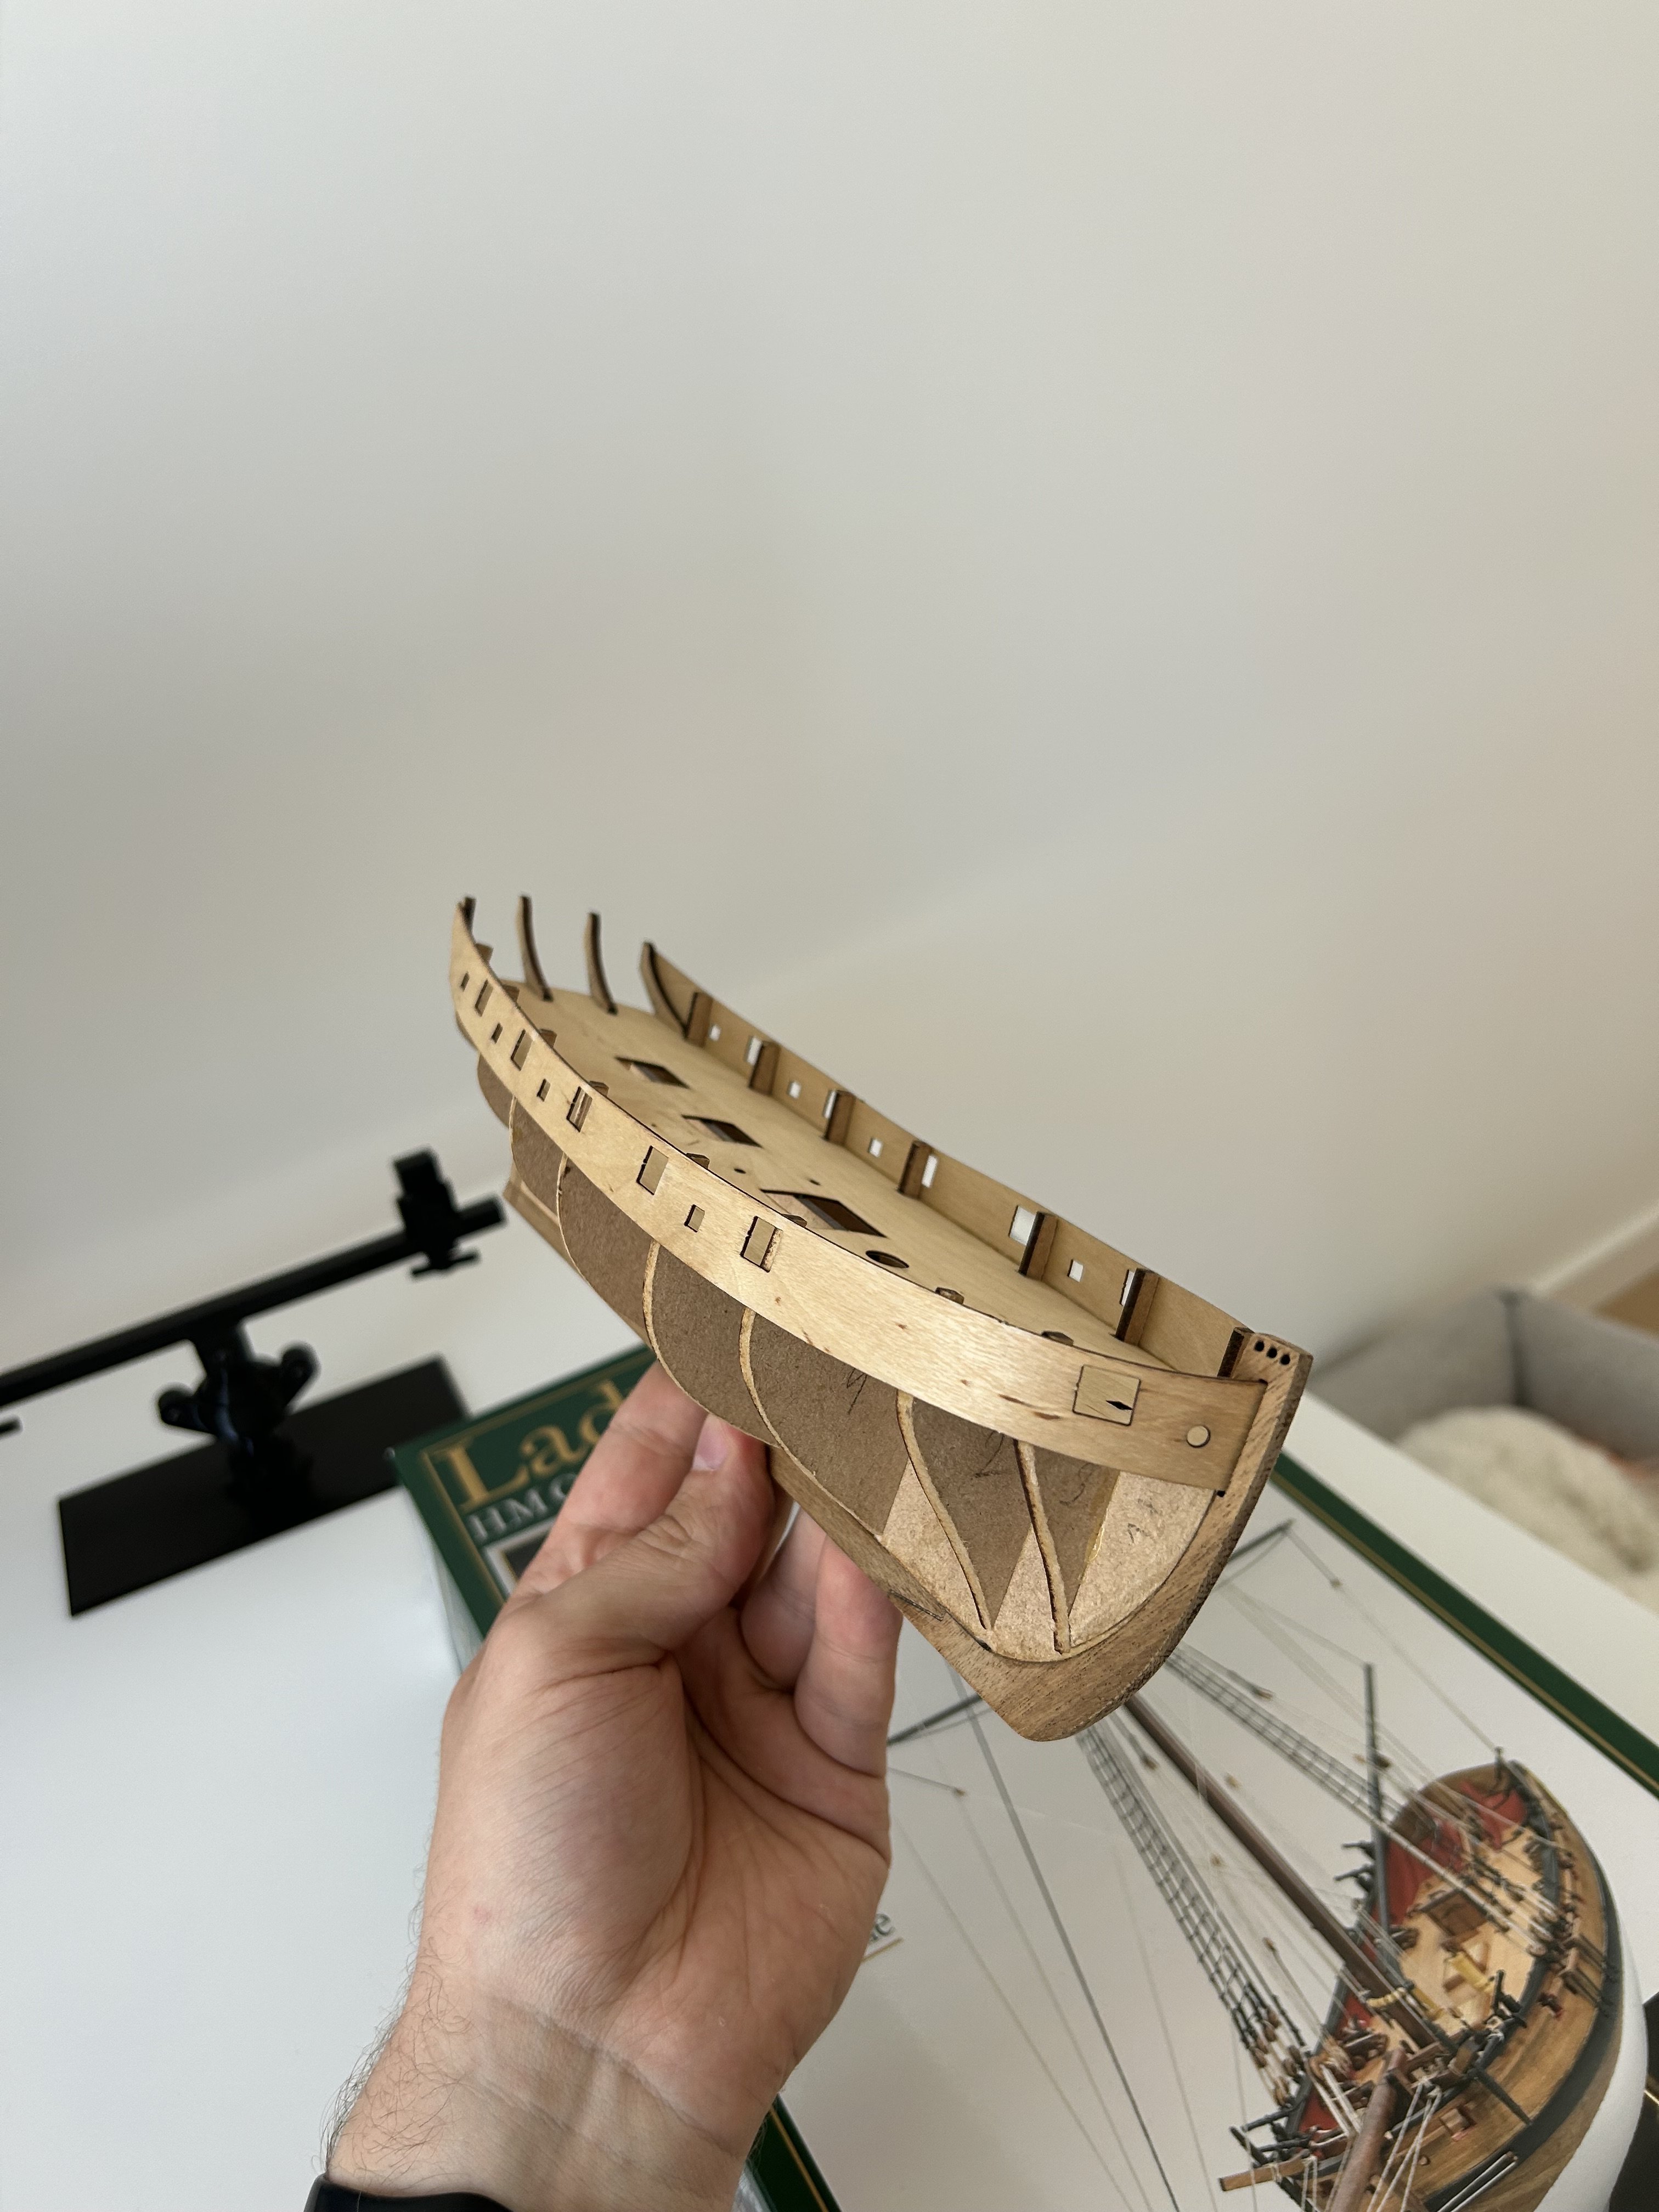
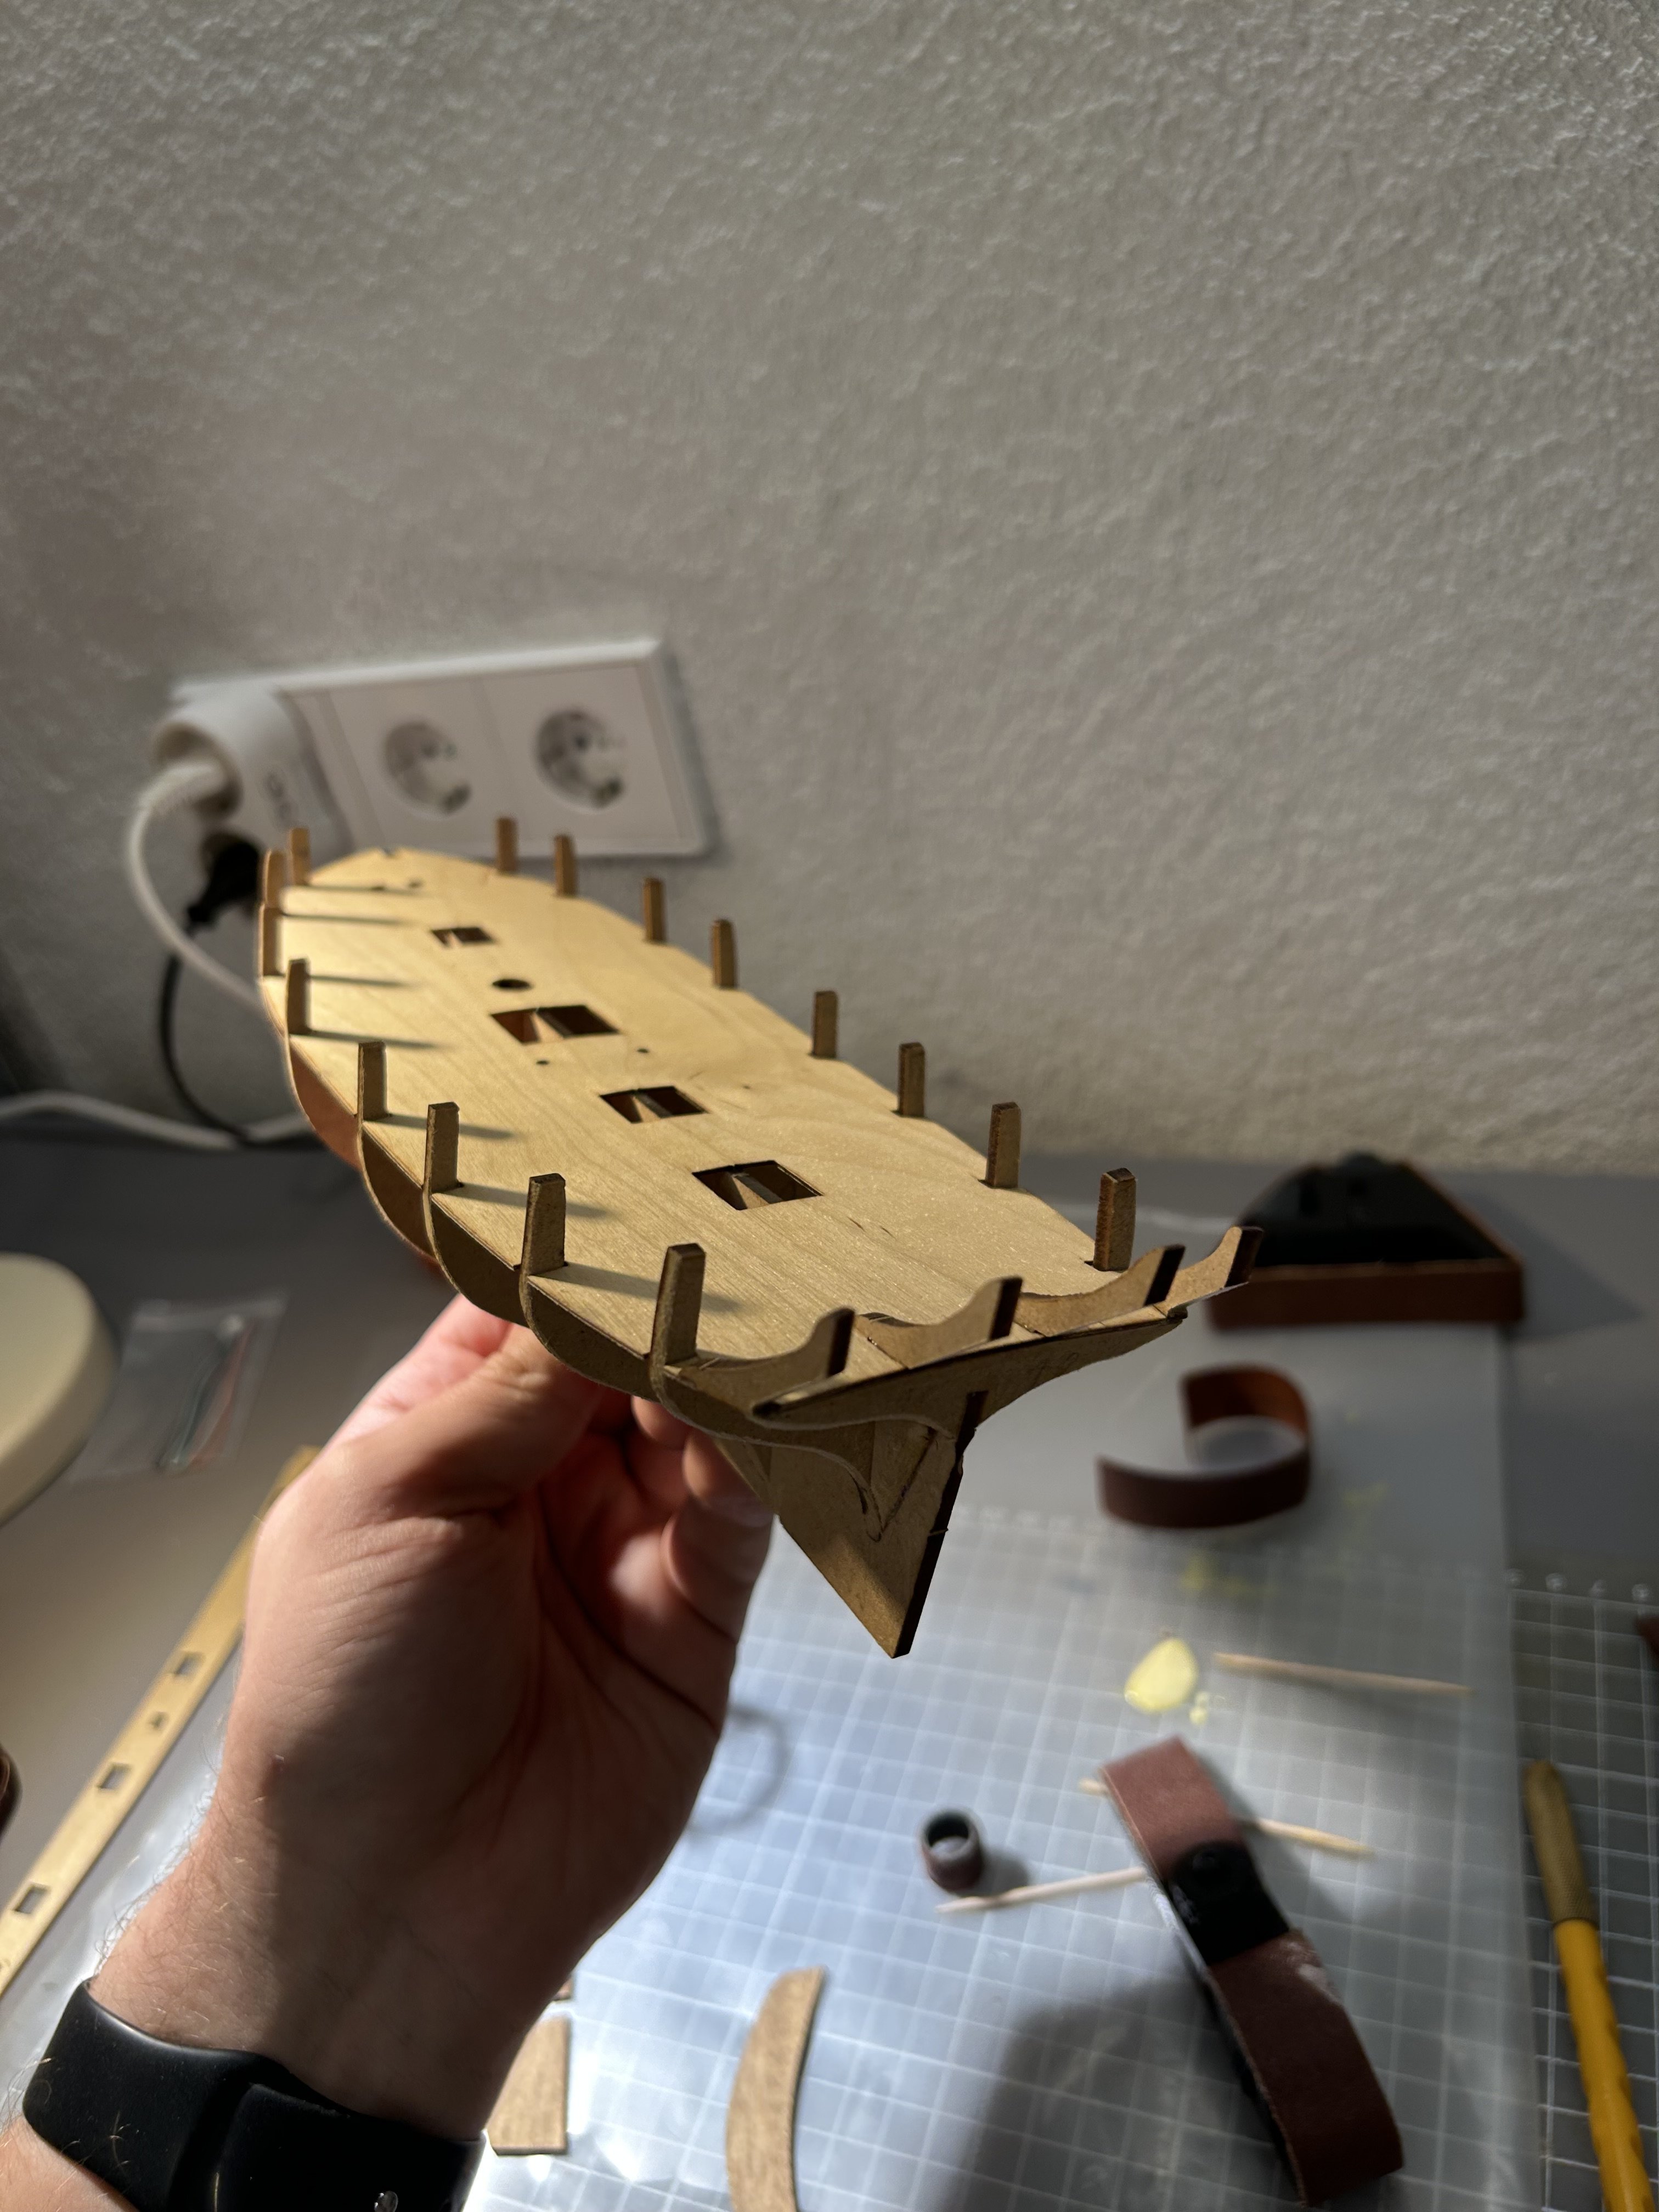
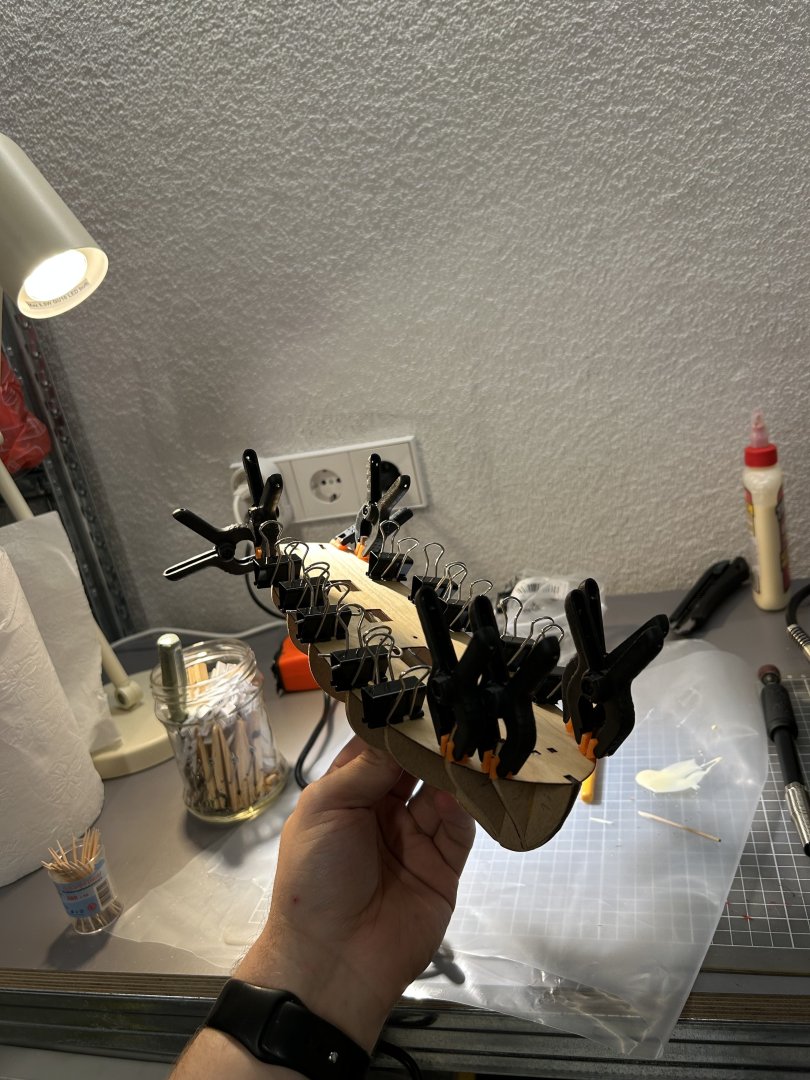
Little more progress. Fitment is medium at best. It will be a good riddle how to bend, sand and form the very end of the ship to achieve a tidy result 😆

-
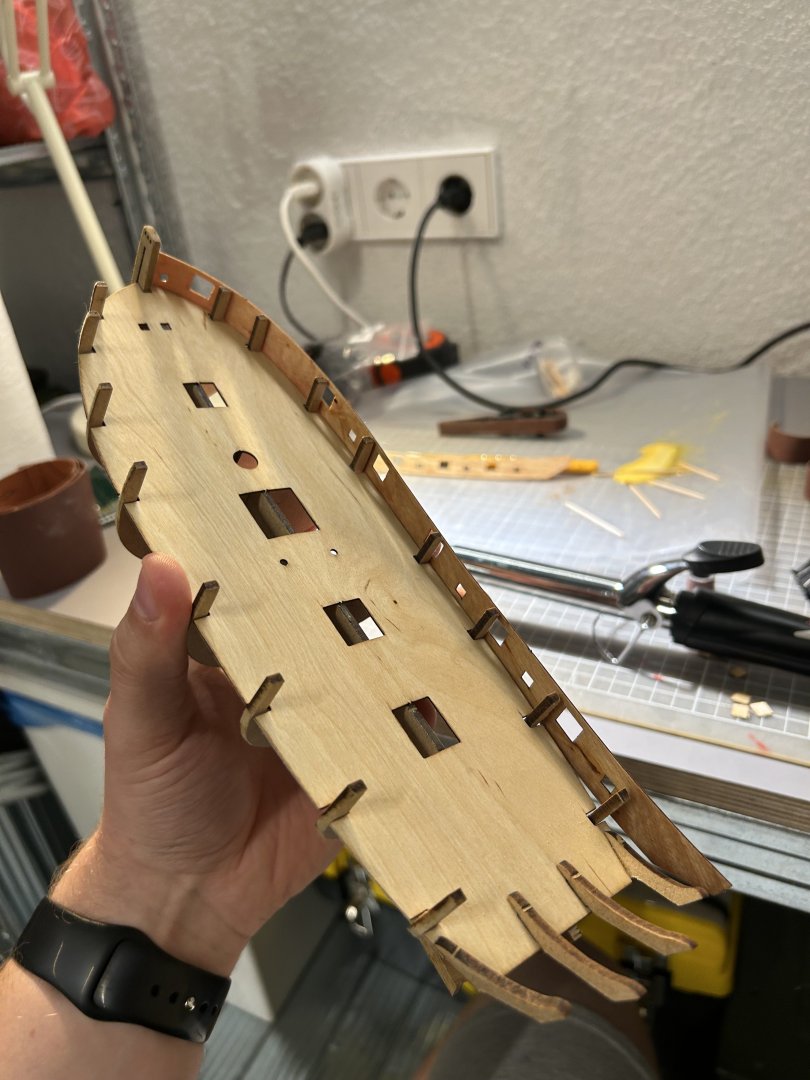
Glue is fully dried now. I went with a simple approach to bend these parts in to the form by soaking them and heat forming using hair curling iron 😅 quick and simple. For all future builders - these two parts are slightly different and the one with the notch at the front goes to the left side of the ship. It is detailed in the instruction manual but I have almost missed it.


- 81 replies
-
- 3
-
-
- Lady Nelson
- Amati
- (and 1 more)
-
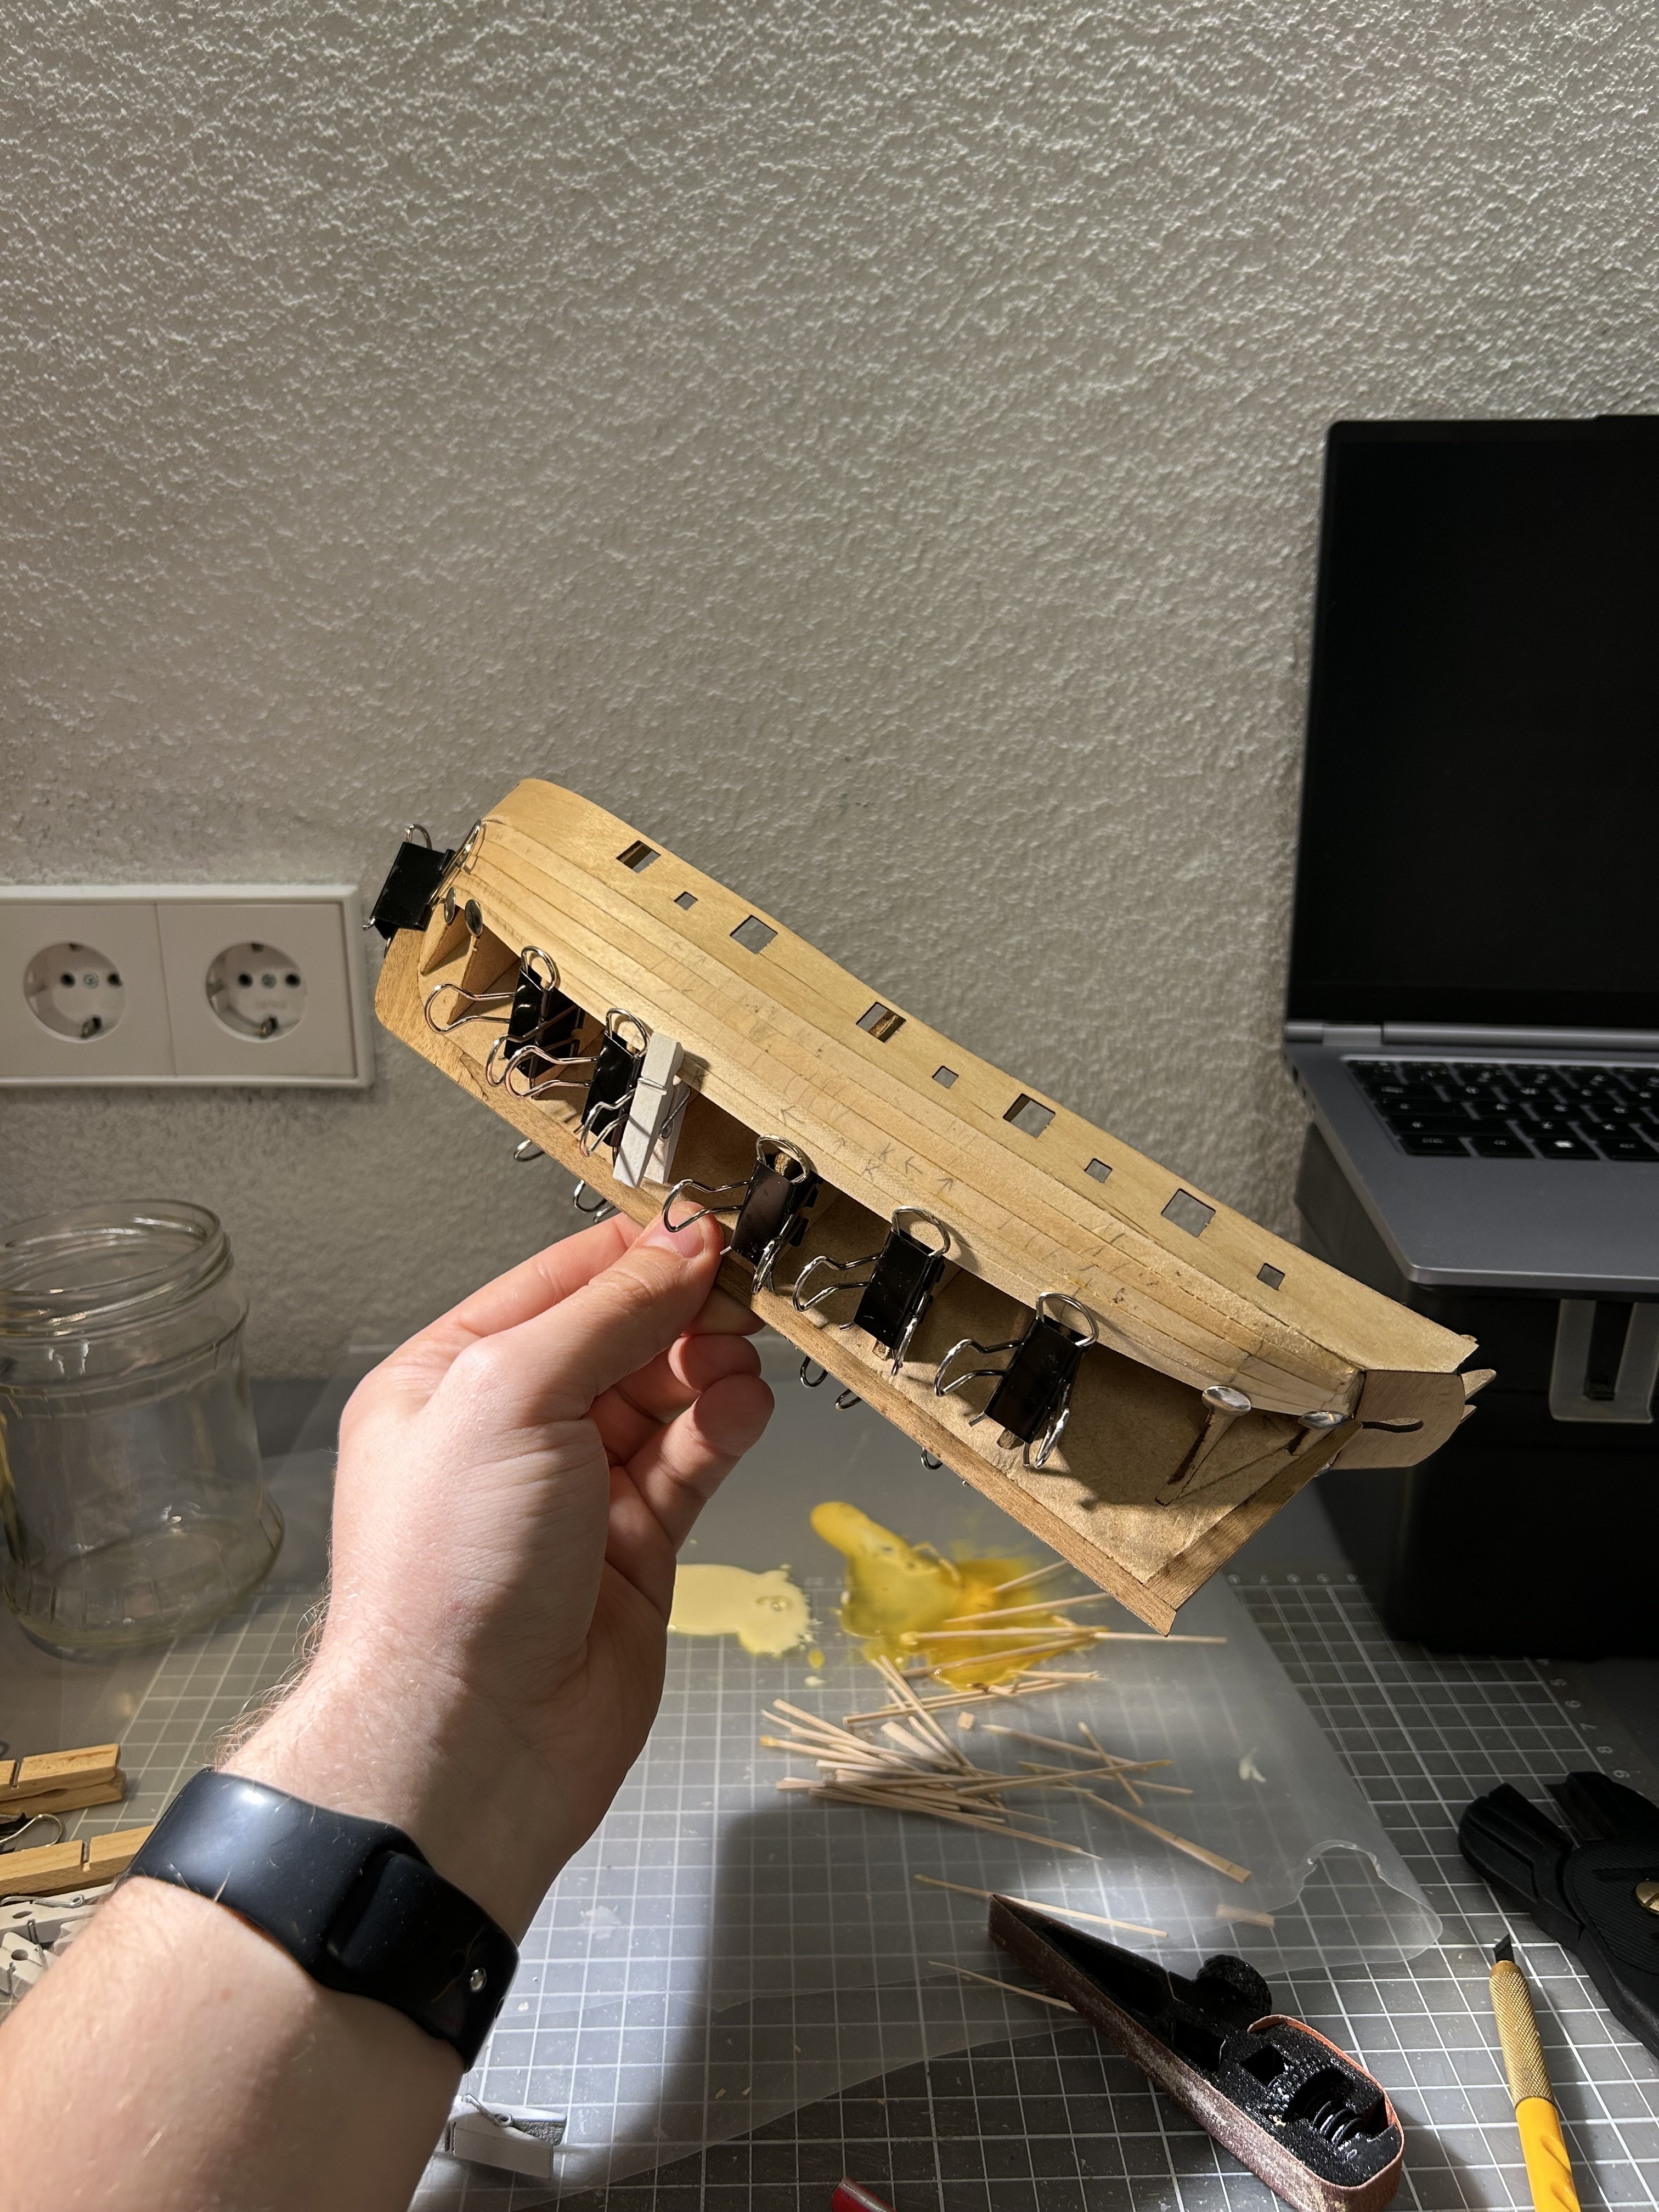
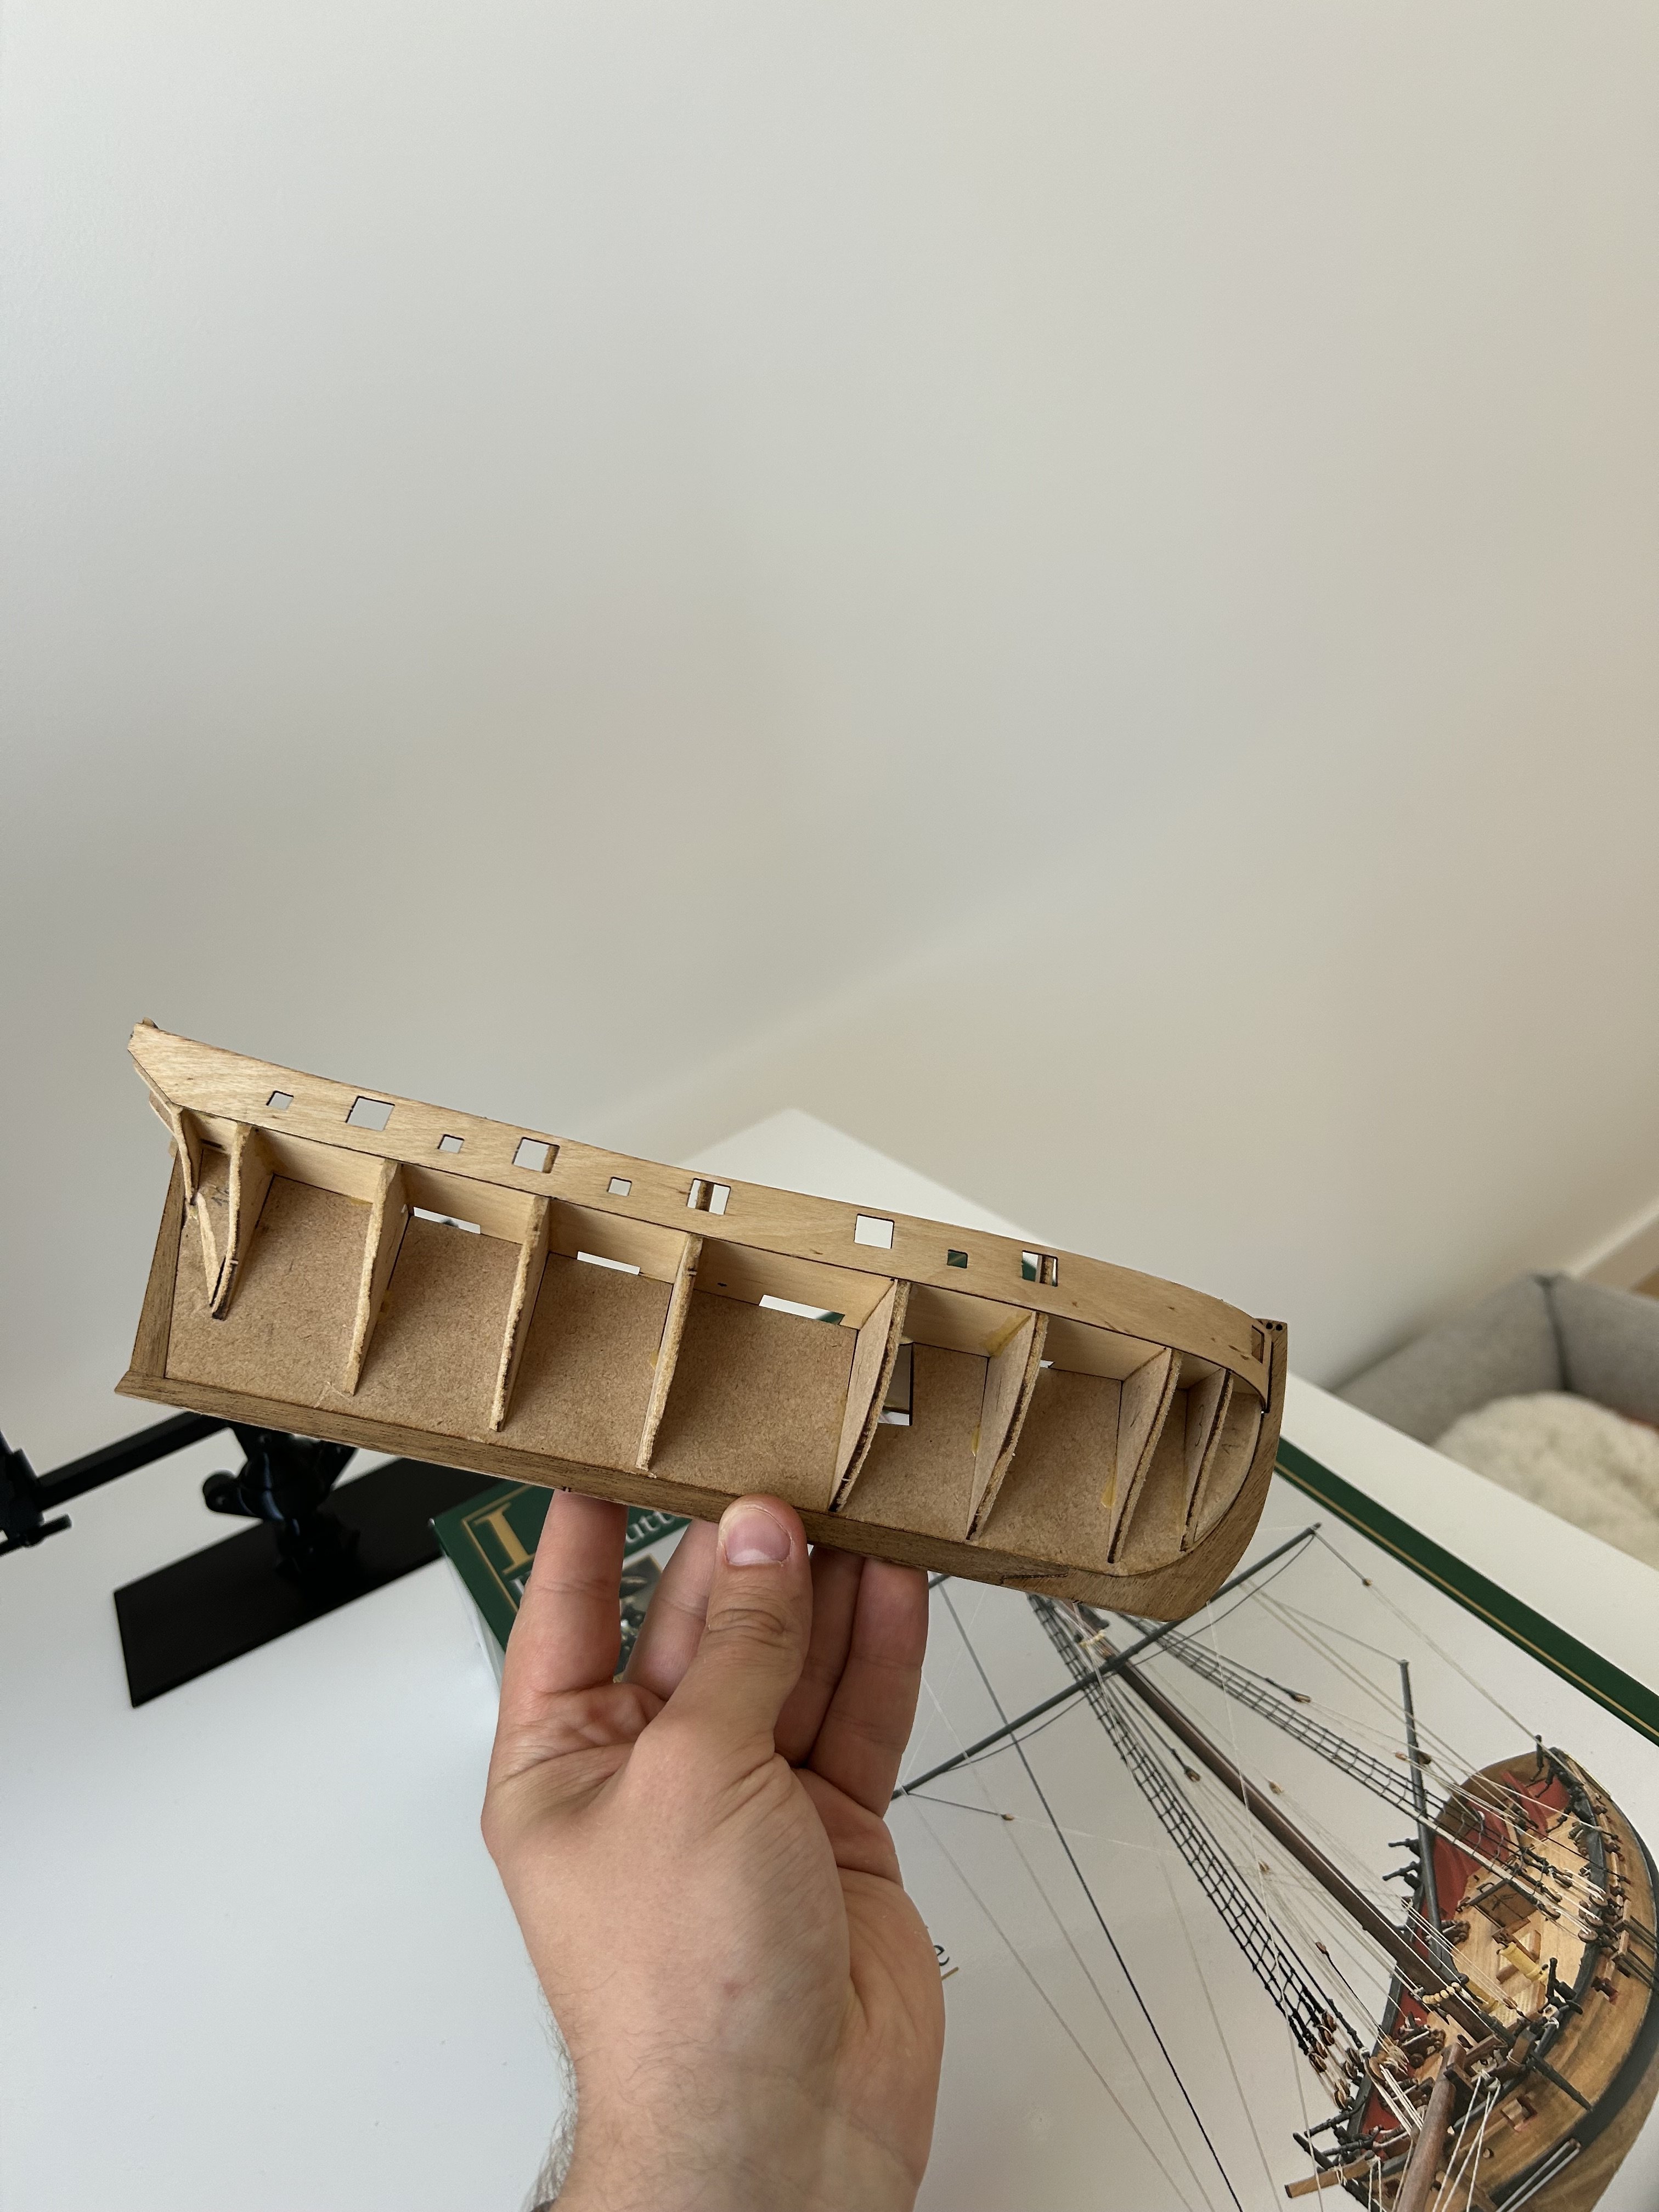
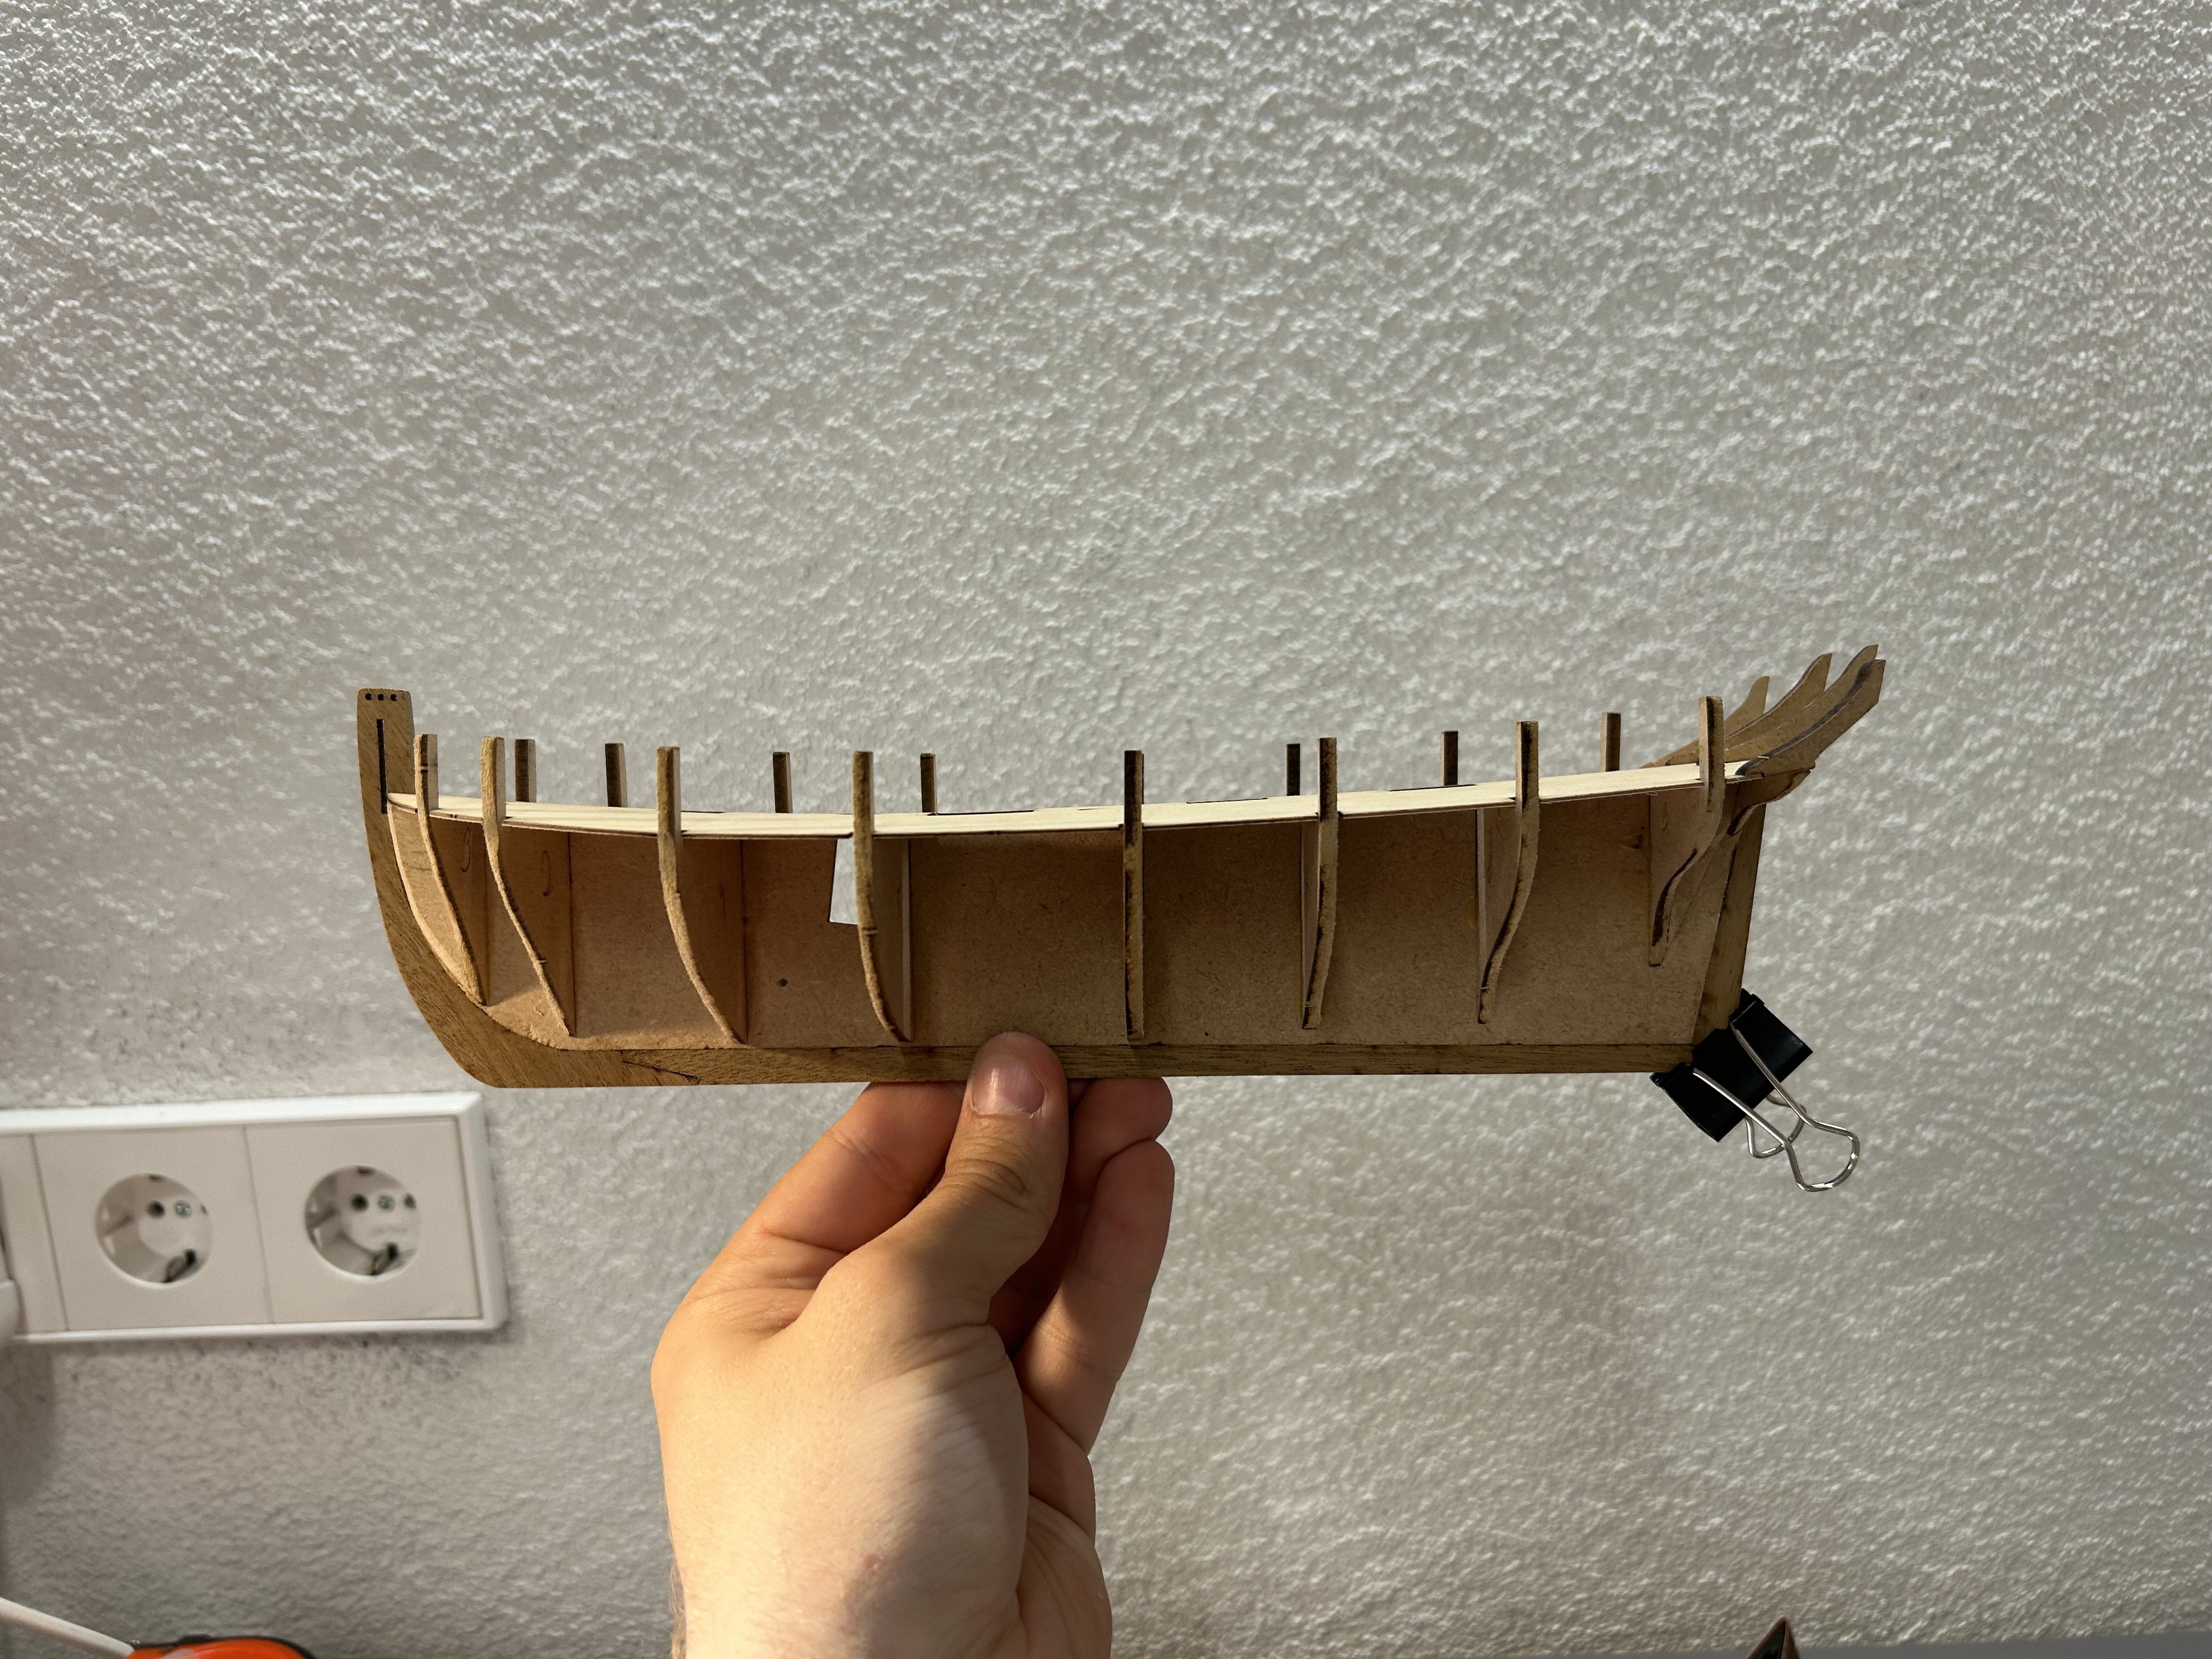
Halfway done. One side is glued in, another is drying up after forming.

- 81 replies
-
- 1
-
-
- Lady Nelson
- Amati
- (and 1 more)
-
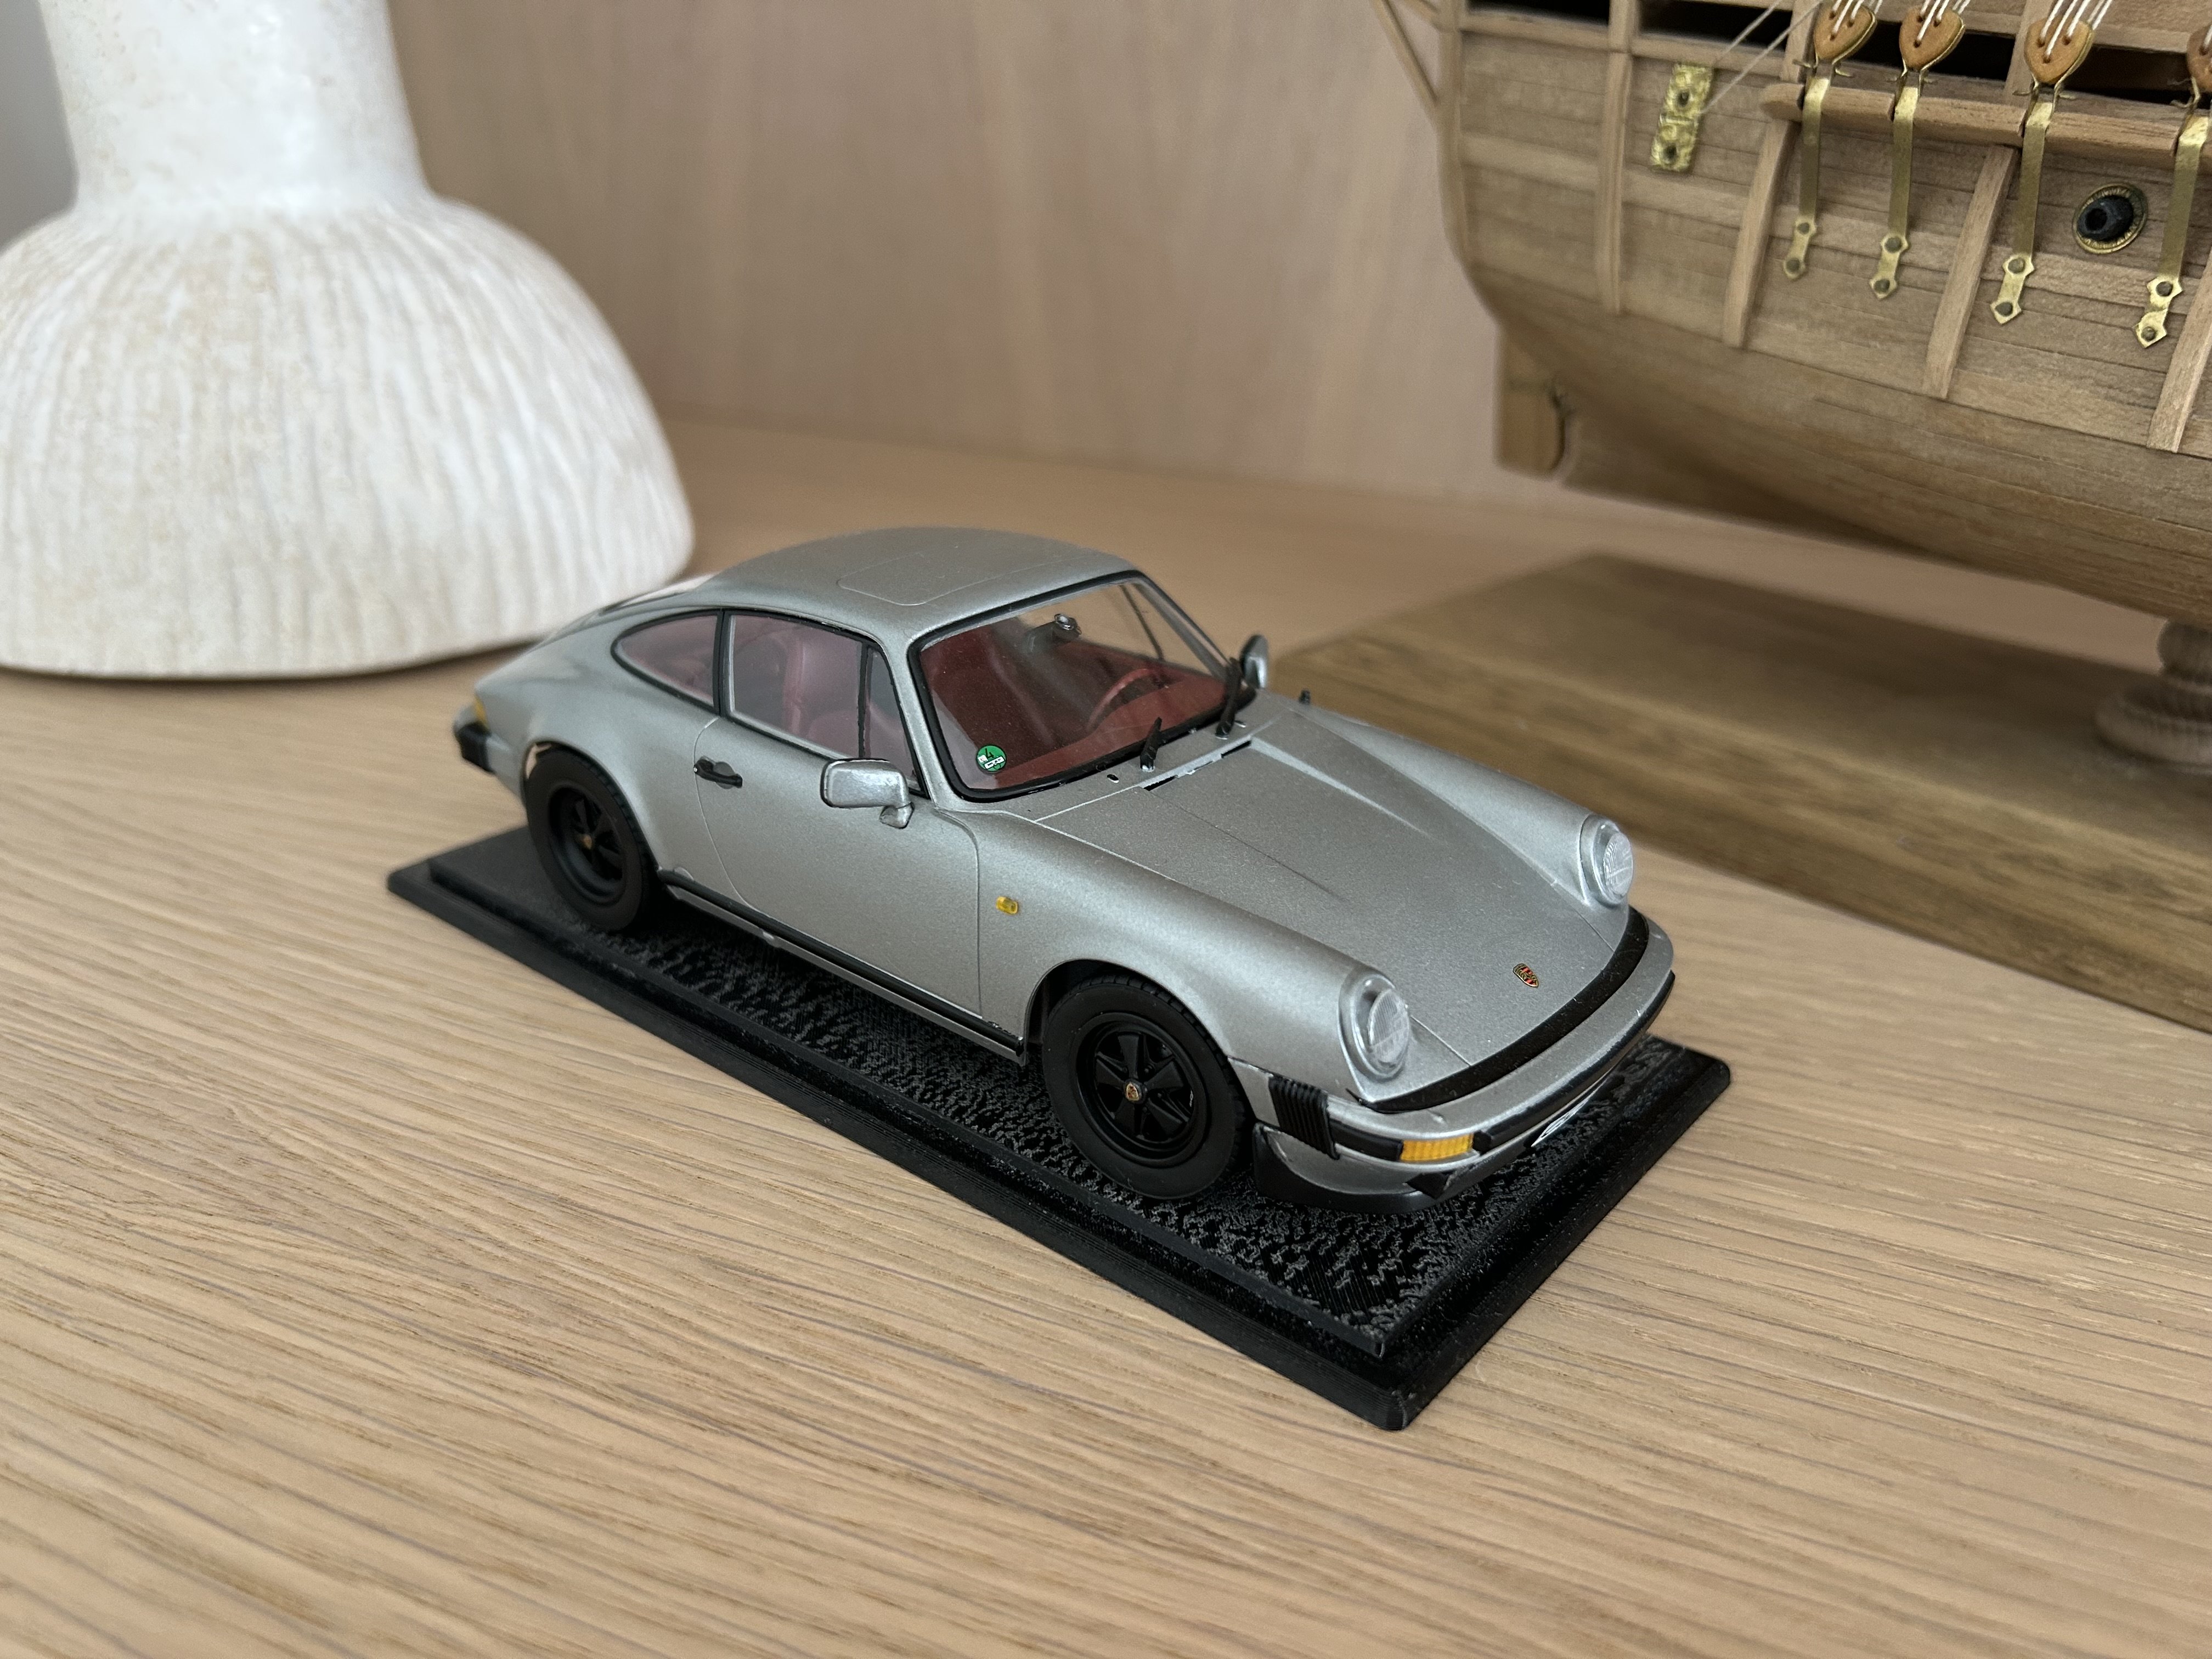
Indeed. I was so happy with my new airbrush that I made this Porsche plastic model

- 81 replies
-
- 1
-
-
- Lady Nelson
- Amati
- (and 1 more)
-
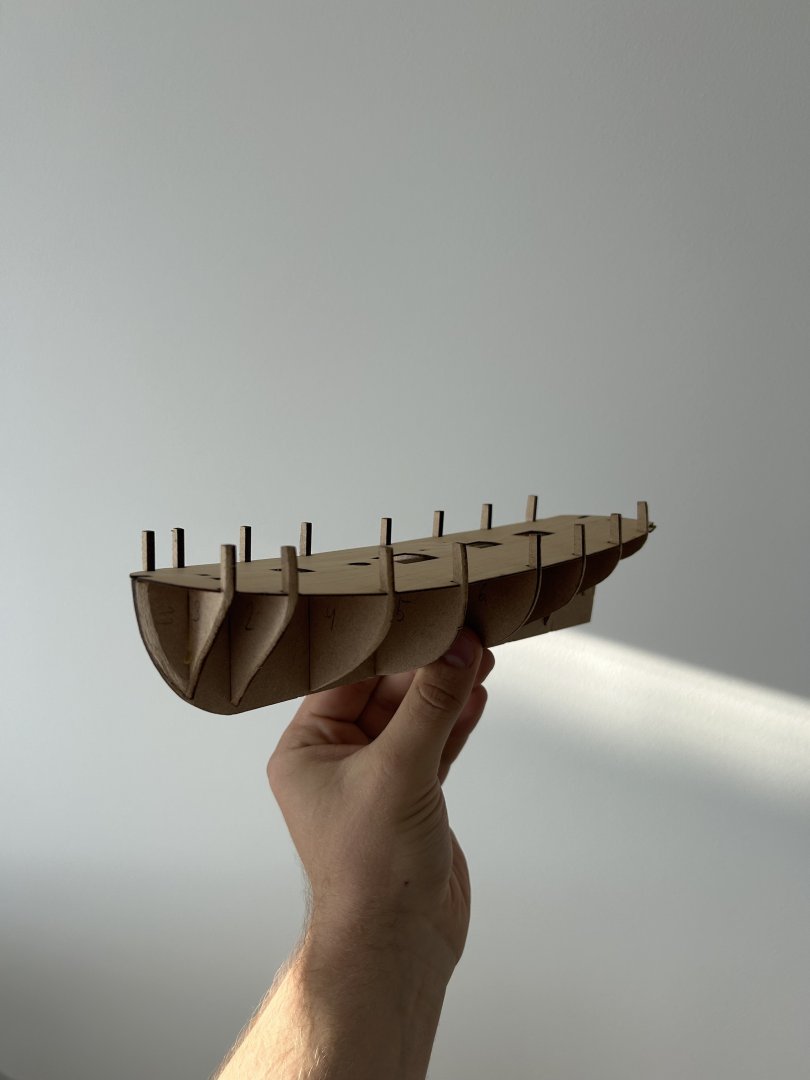
When I was building my Santa Maria I was insanely precise with every step of the process. I will be trying to make the first layer of planks not as perfect this time. I hope that any imperfections will be fixed with wood putty is required and the end result will not be affected. Also building model ship for the second time is much more relaxed process because I have a good idea now what is coming next with every step

- 81 replies
-
- 2
-
-
- Lady Nelson
- Amati
- (and 1 more)
-
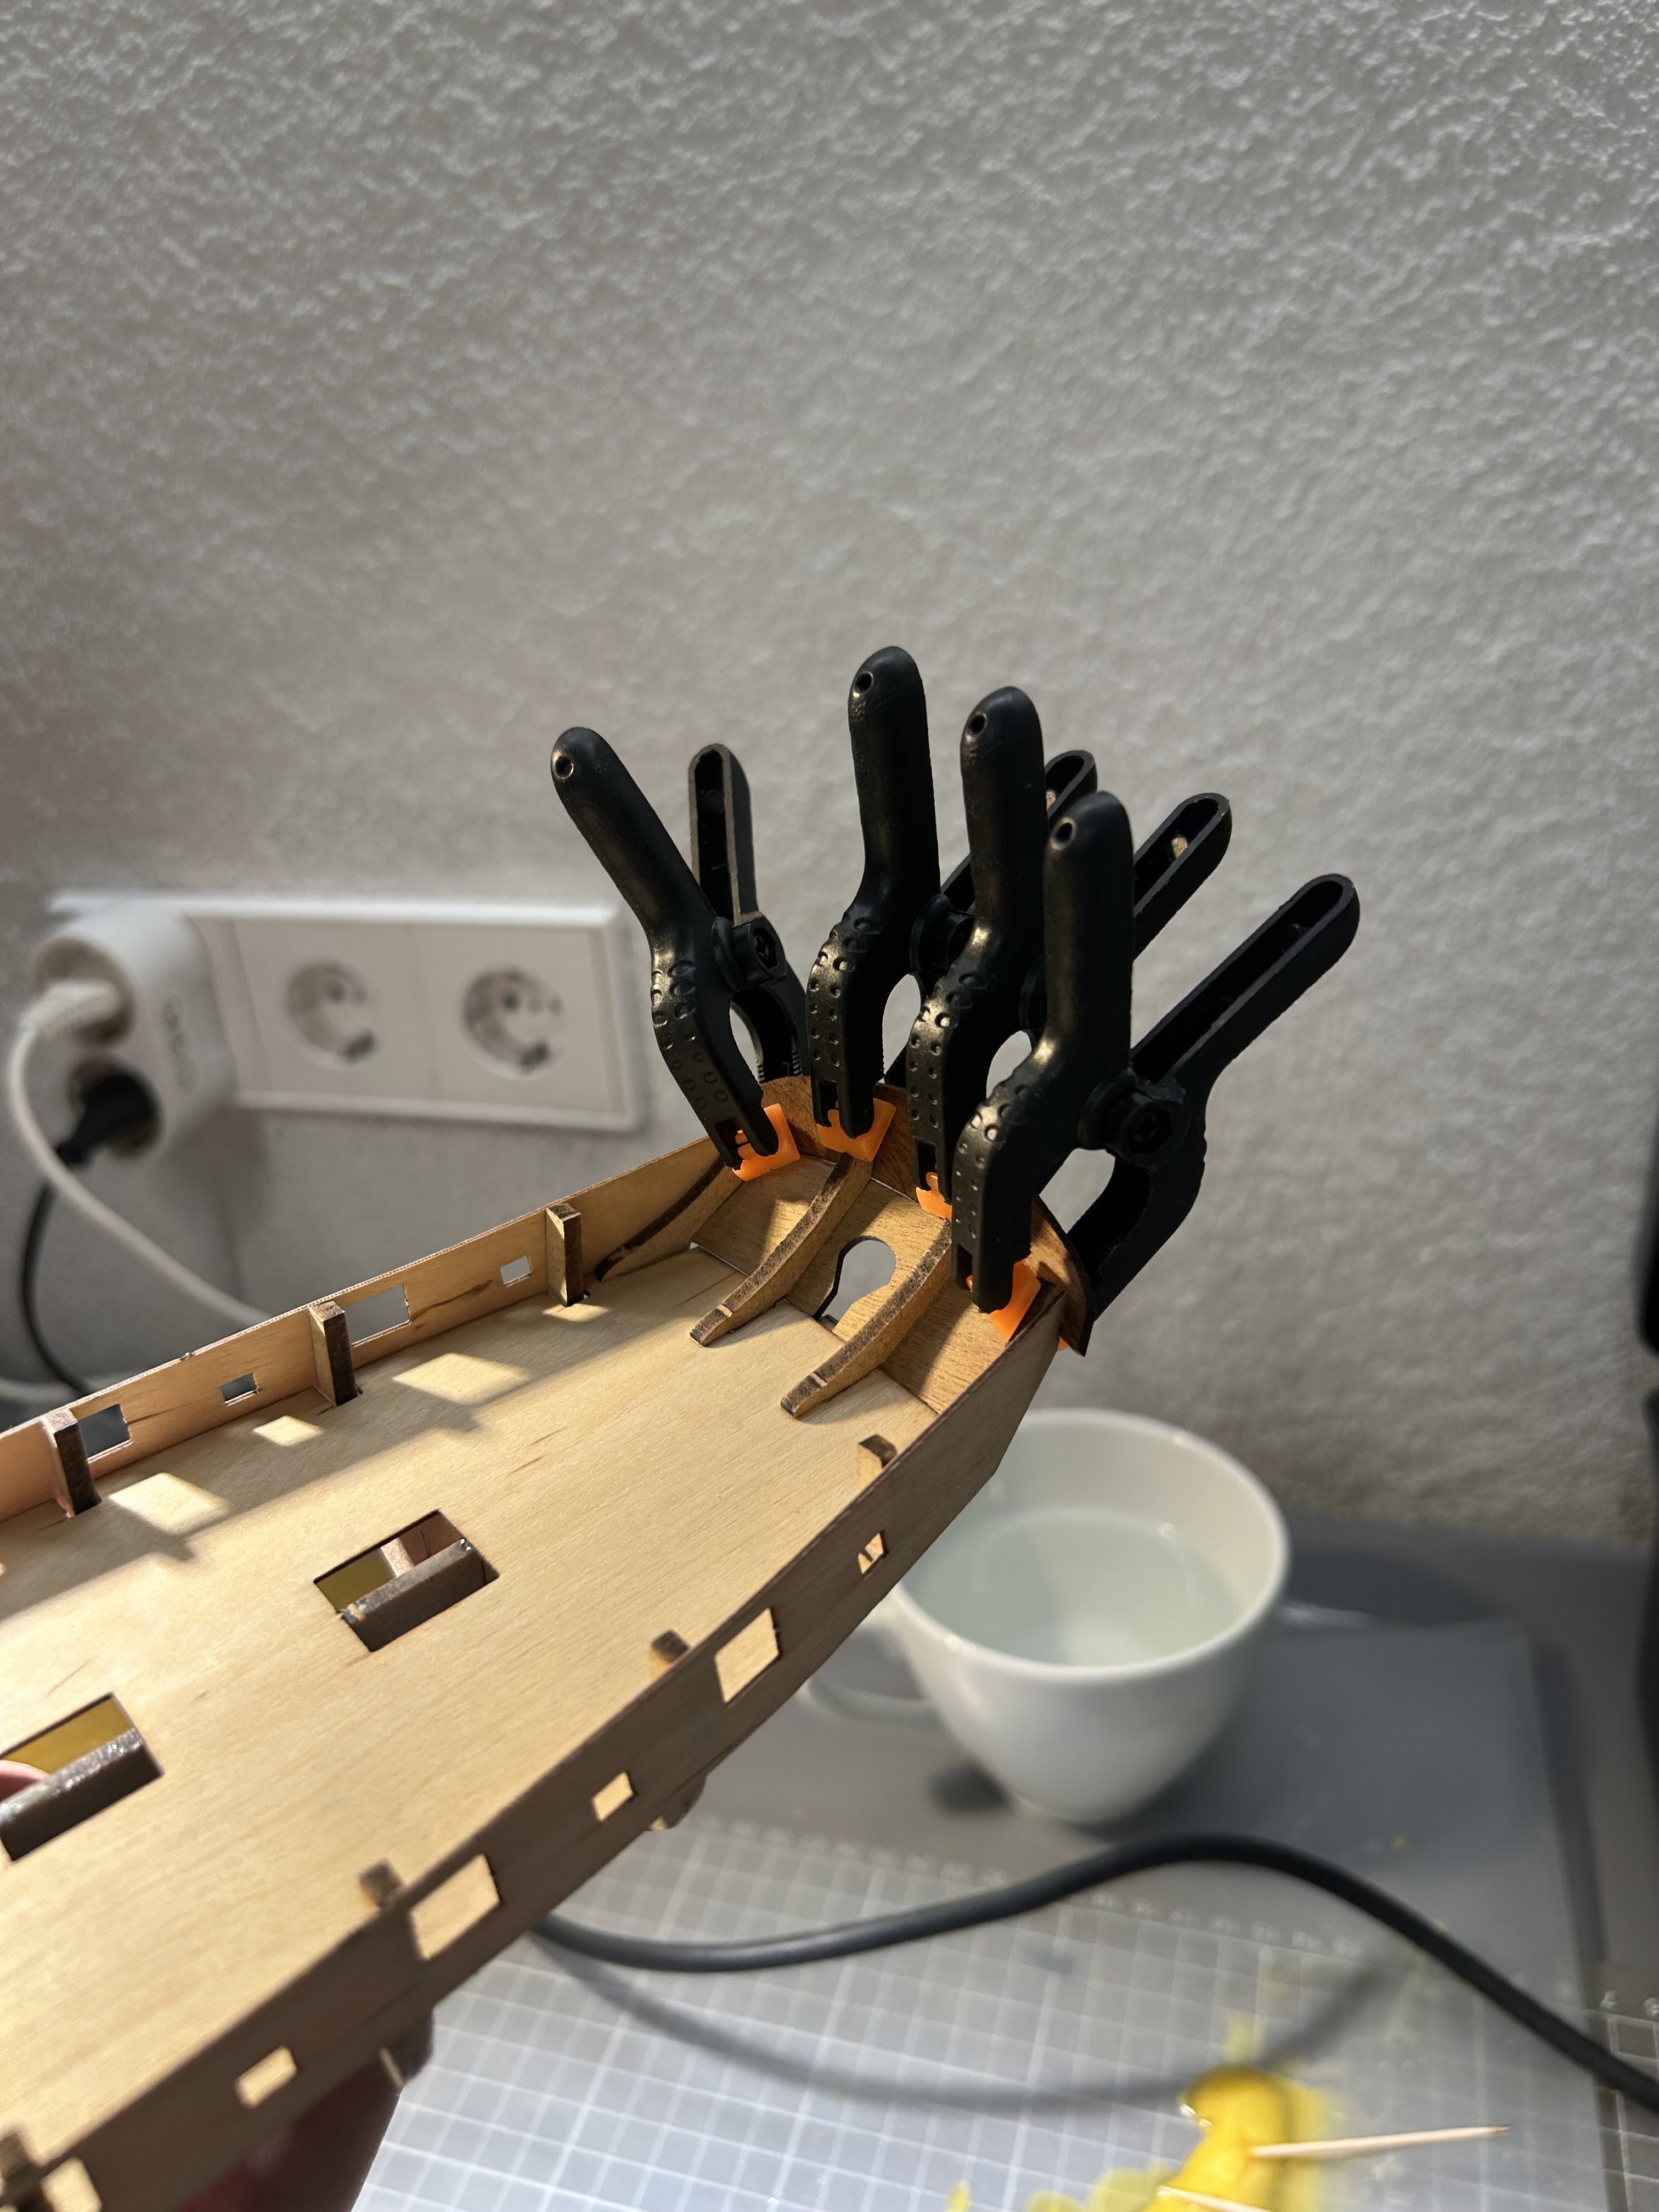
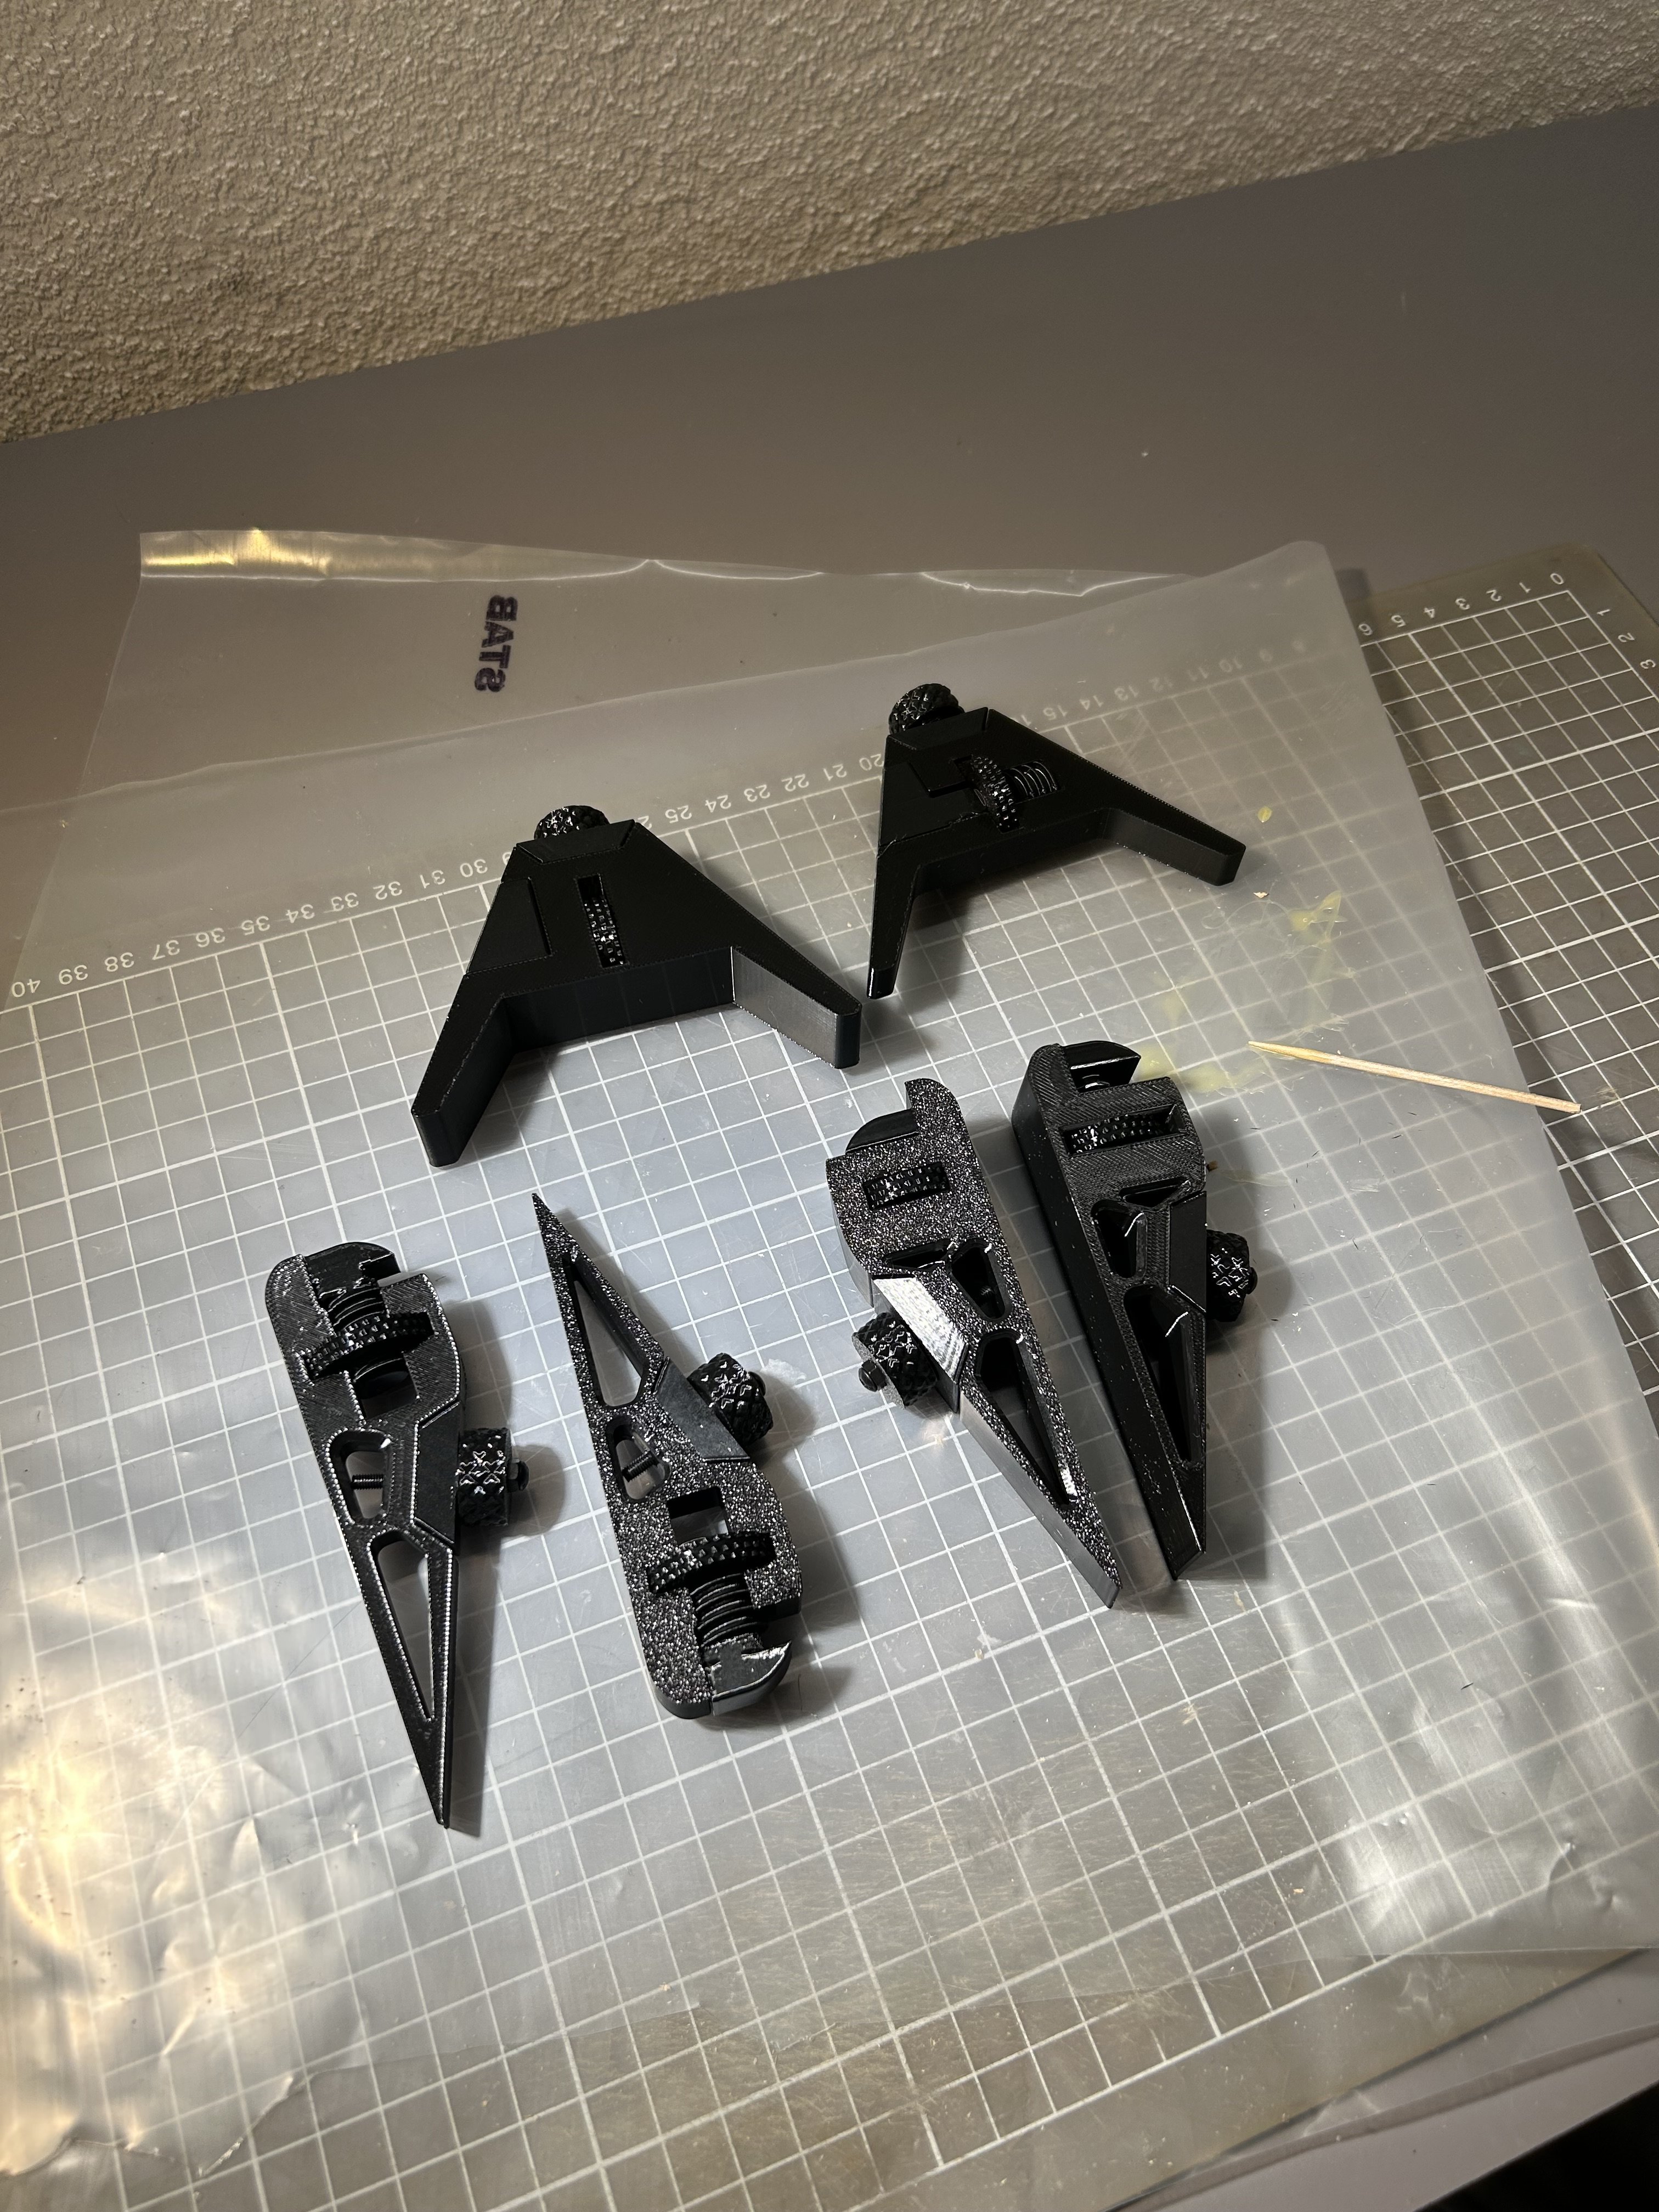
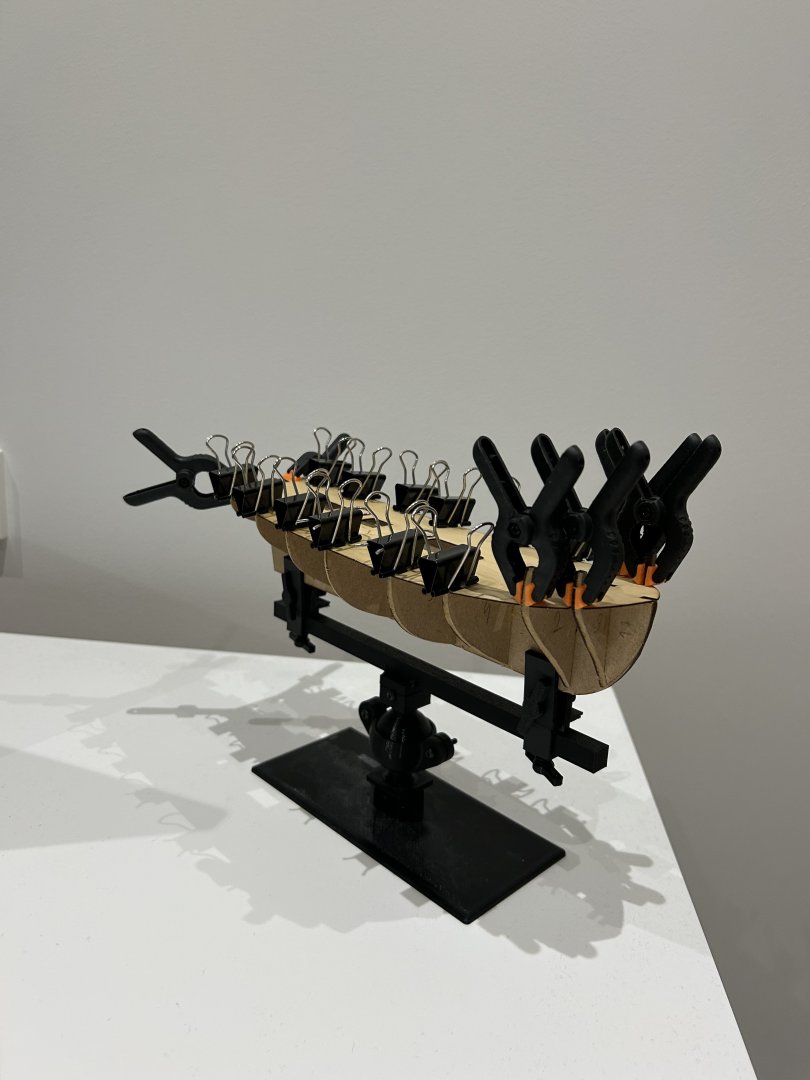
For all future model ship builders - this is the keel clamp that I have 3D printed: https://www.printables.com/model/55244-model-boat-keel-clamp Cost to print was < 2 EUR, so a good bargain. I have also 3D printed these sanding blocks: * https://makerworld.com/en/models/439843-mini-sanding-blocks?from=search#profileId-349330 * https://makerworld.com/en/models/1157569-sanding-tool?from=search#profileId-1162971 * https://makerworld.com/en/models/225757-simple-sanding-block?from=search#profileId-262461 Have not used every one of them, but I am sure they will be very useful in this build.
-
Little update. I have also 3D printed ship mount. It will be helpful when I will need to mark waterline for painting later. I have also bought airbrush, masking tape and compressor
- 81 replies
-
- 2
-
-
- Lady Nelson
- Amati
- (and 1 more)
-
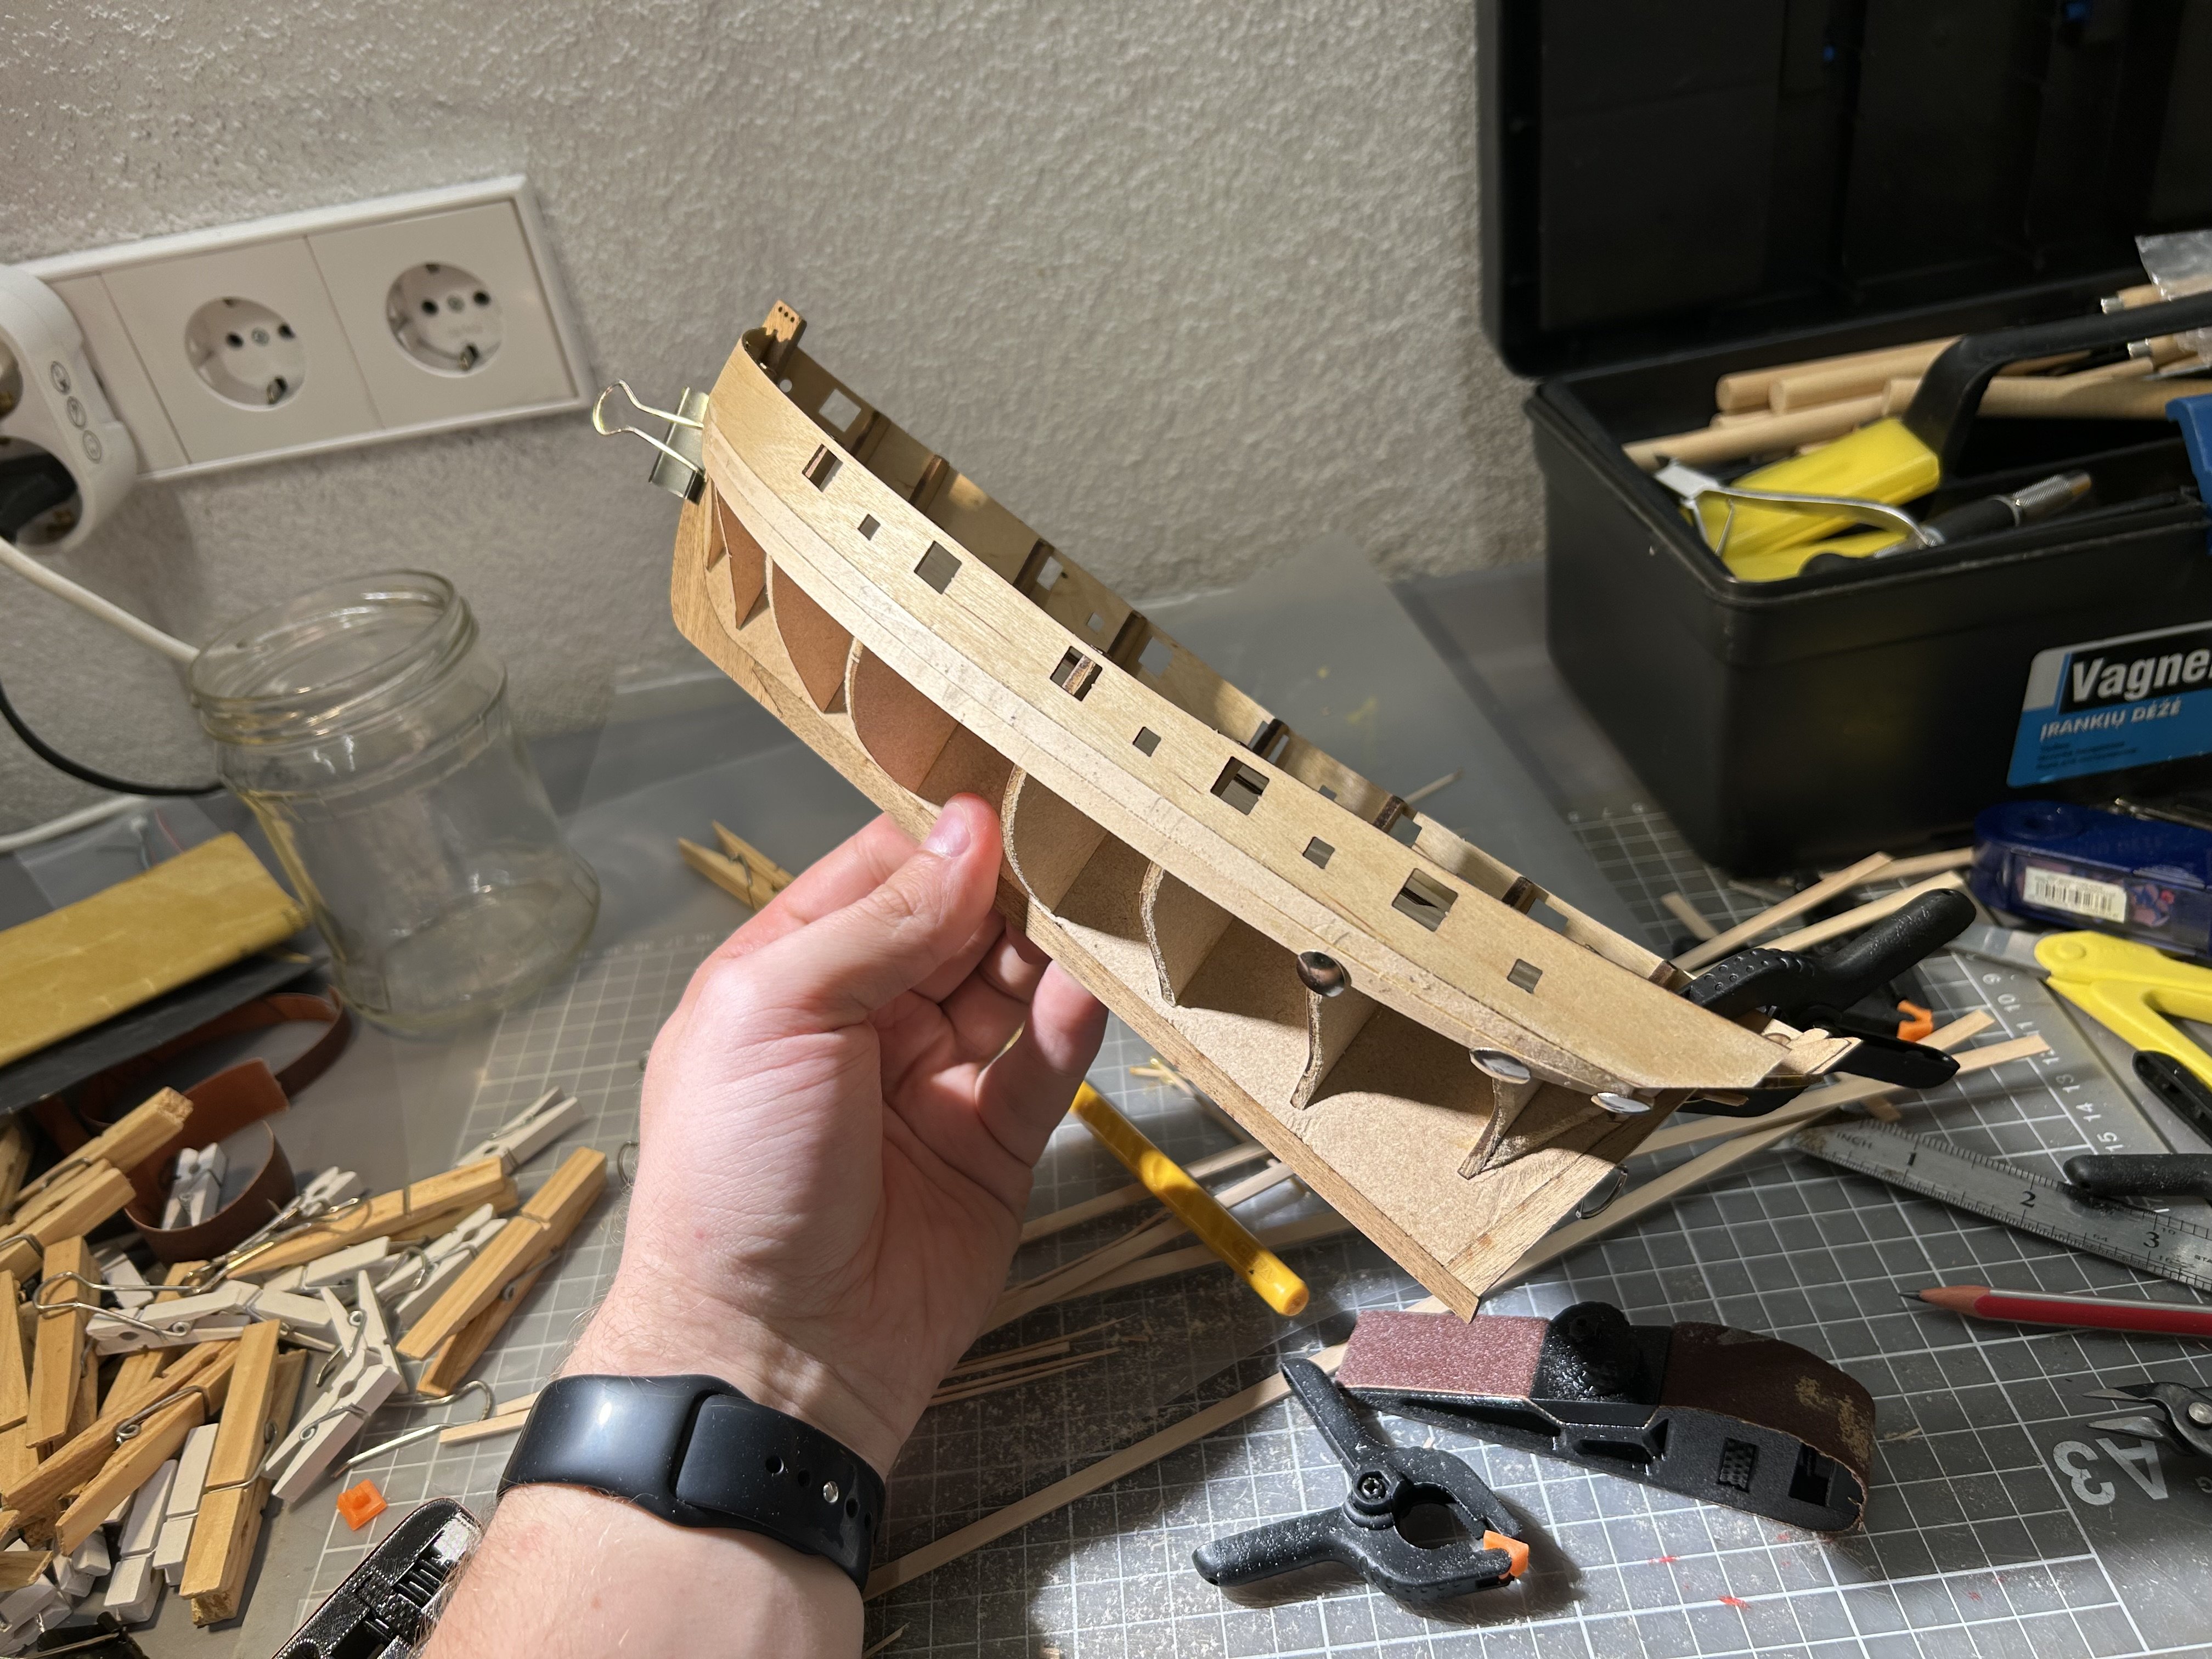
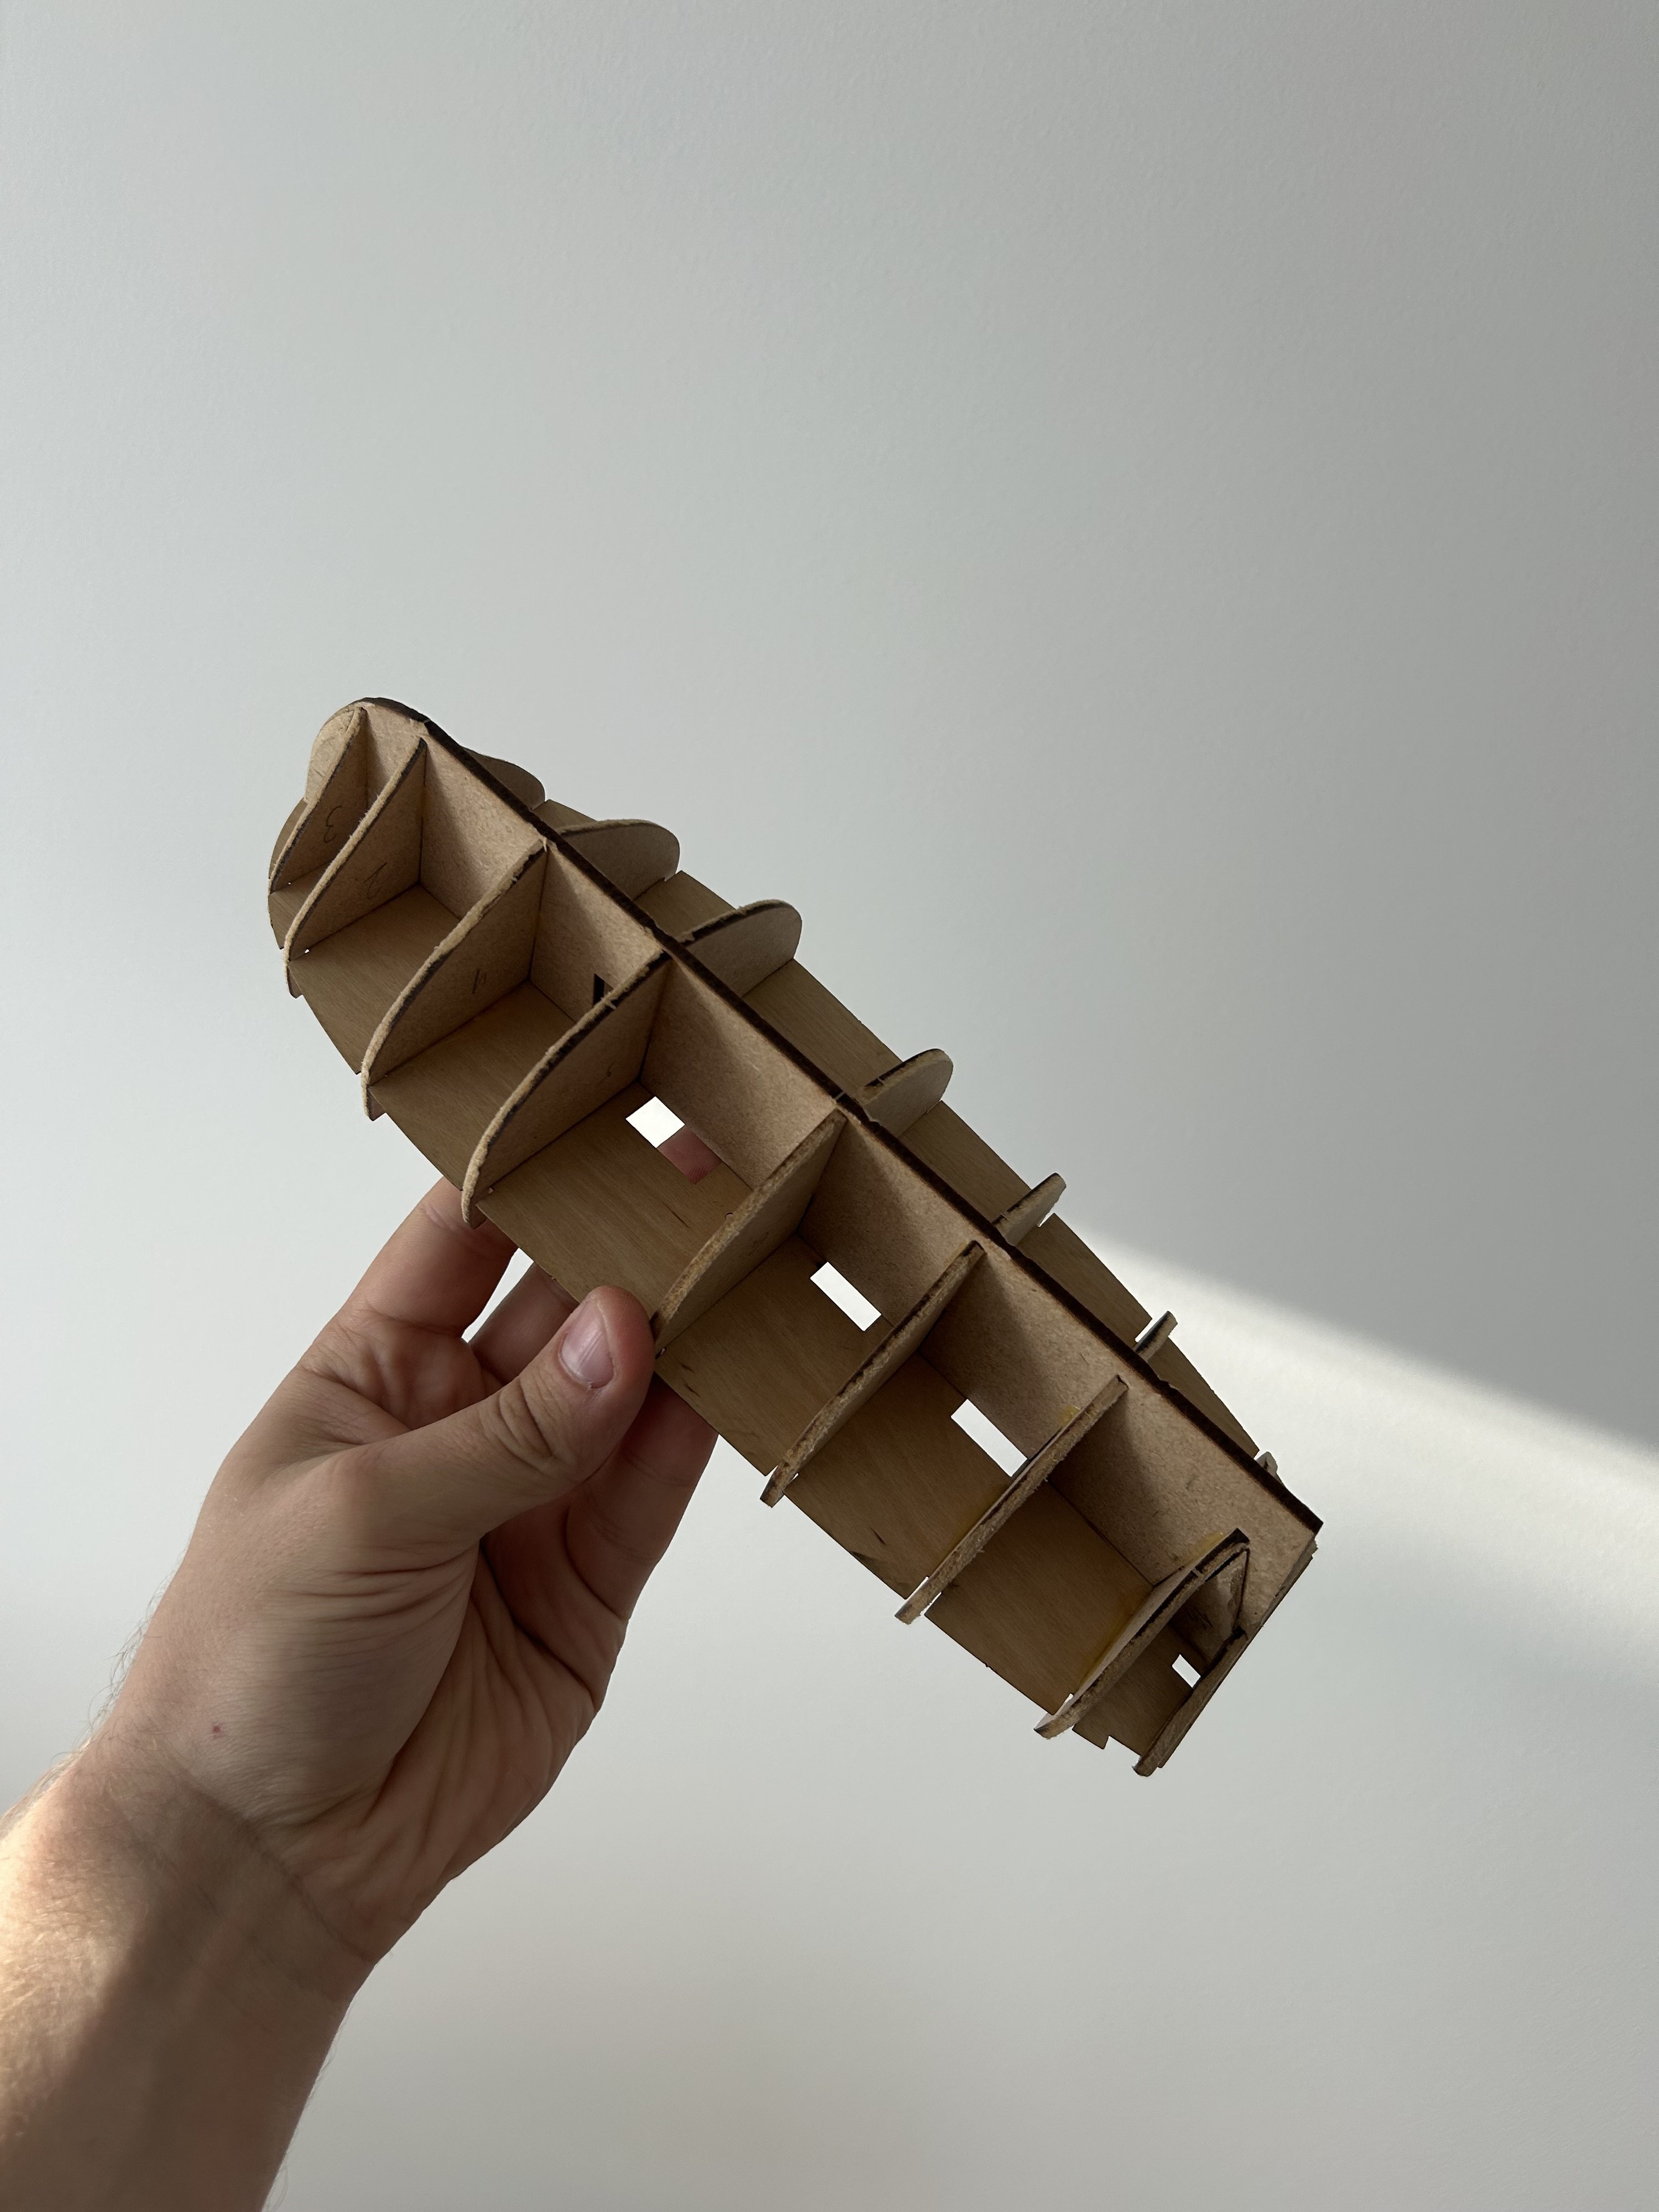
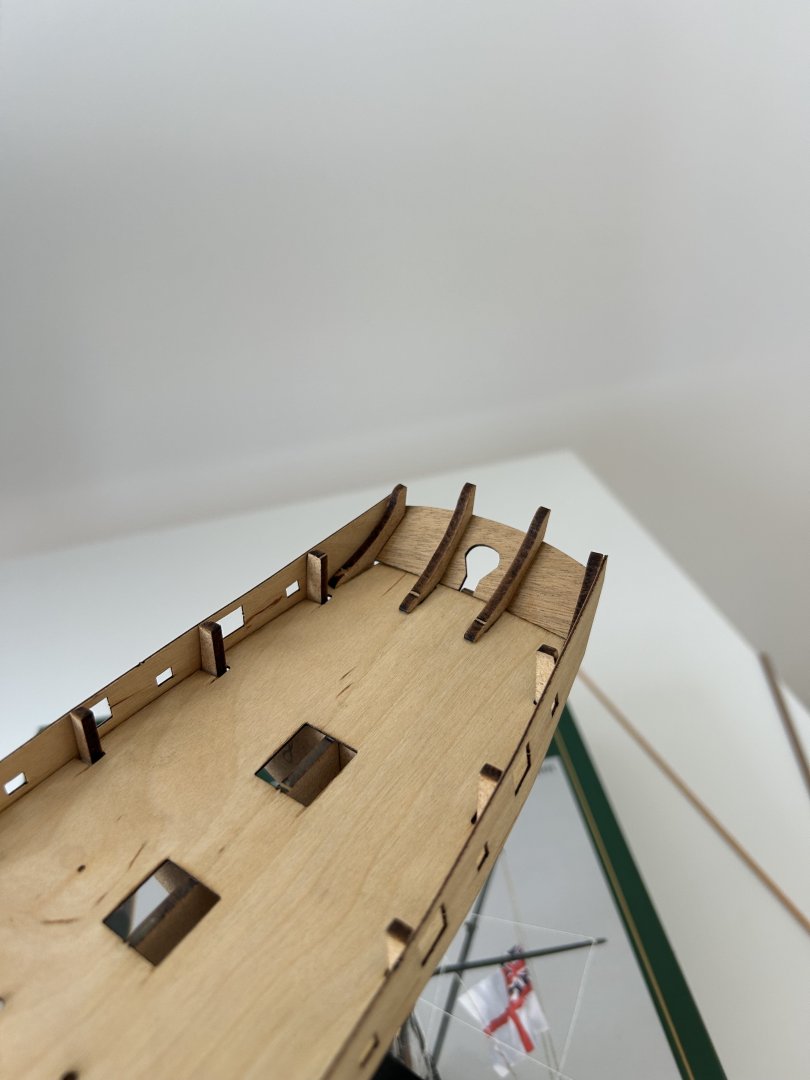
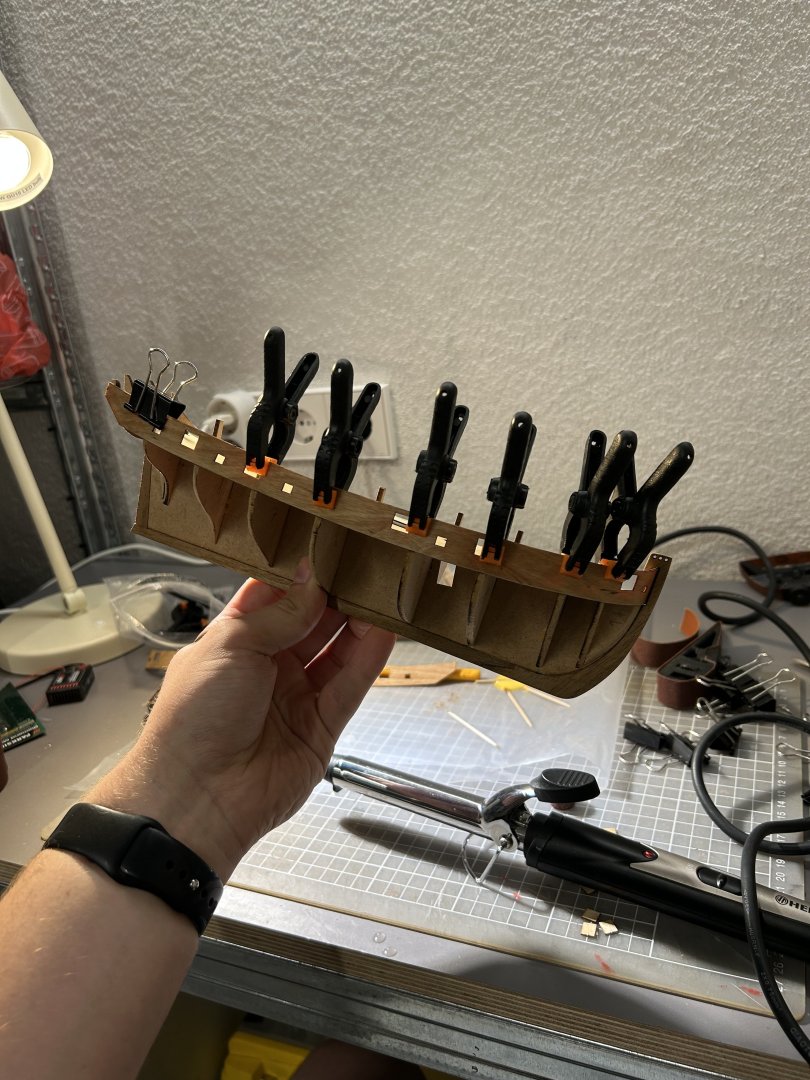
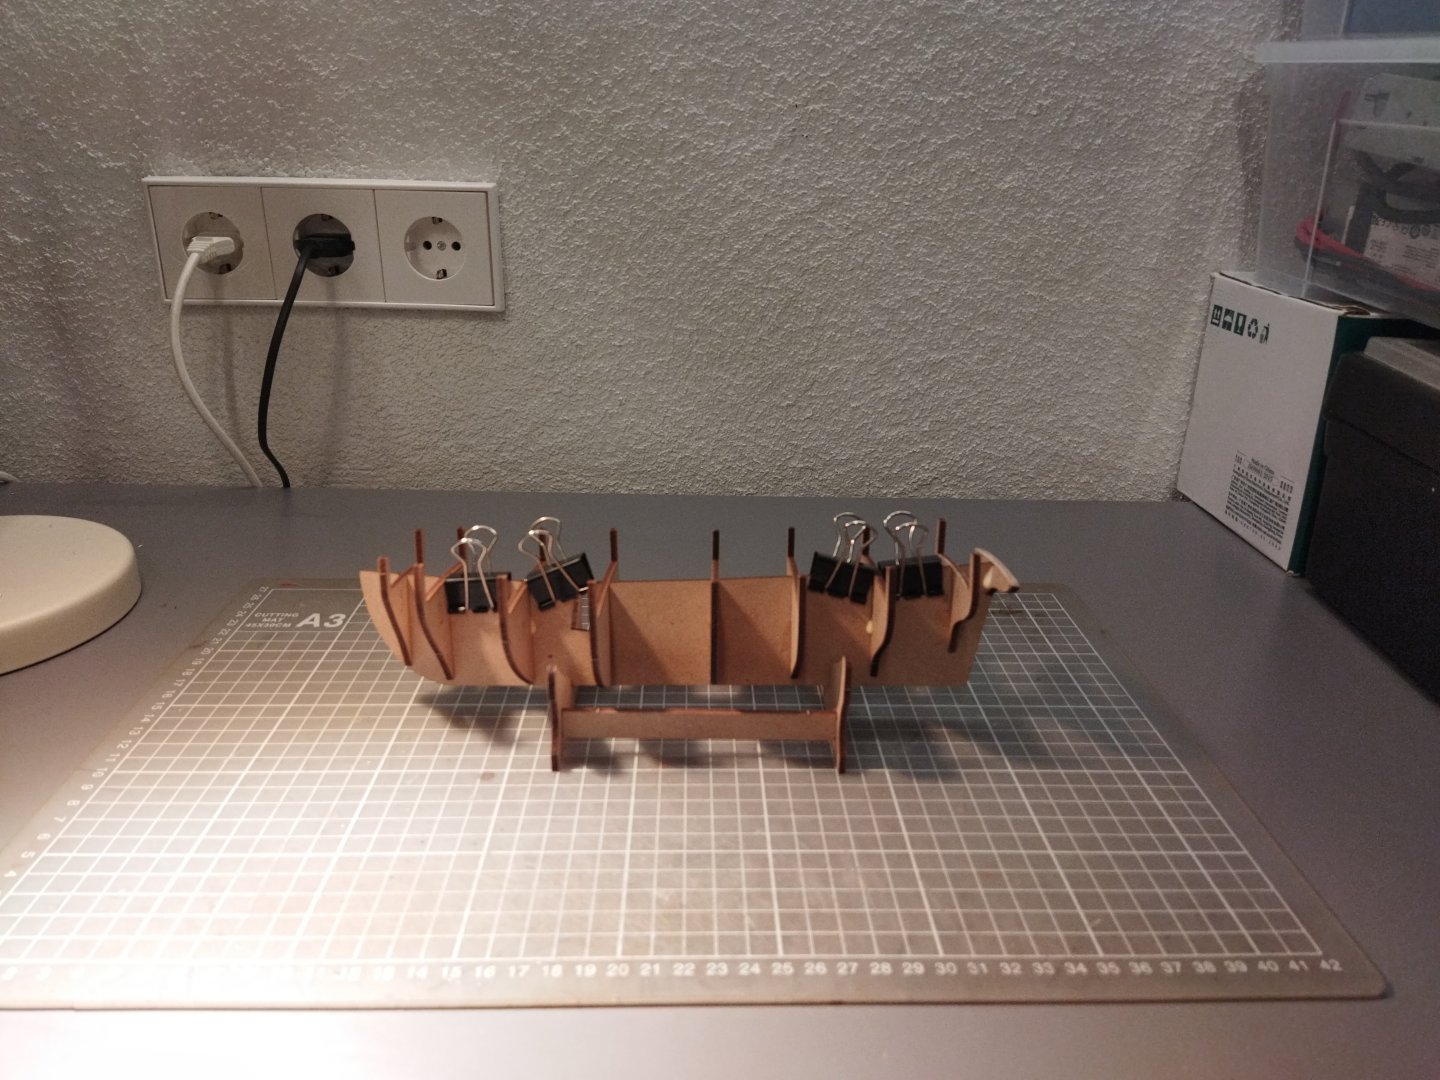
Baby steps. For other builders - please take a note that hull frame parts 2 and 3 numbers are swapped. But as always, it is good idea to dry fit everything before gluing anything
- 81 replies
-
- 1
-
-
- Lady Nelson
- Amati
- (and 1 more)
-
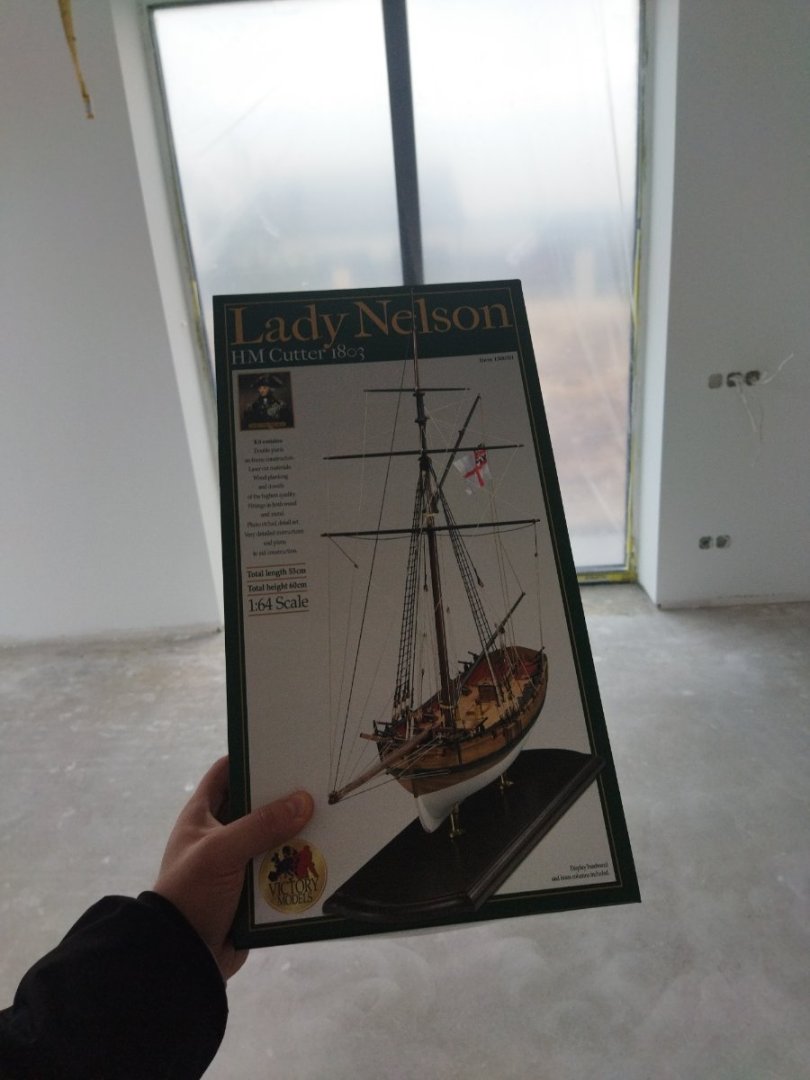
Hello, I was absolutely amazed by Lady Nelson build video "in motion" and I wanted this model kit for a long time now. I guess that it took me way too long to buy this kit myself so I got it as a gift Time for a new adventure! (the background is... another "model" that I am building as well)
- 81 replies
-
- 8
-
-
- Lady Nelson
- Amati
- (and 1 more)
-
La Nina by bluey - Amati - 1:65
Lapinas replied to bluey's topic in - Kit subjects built Up to and including 1500 AD
Looks fantastic! -
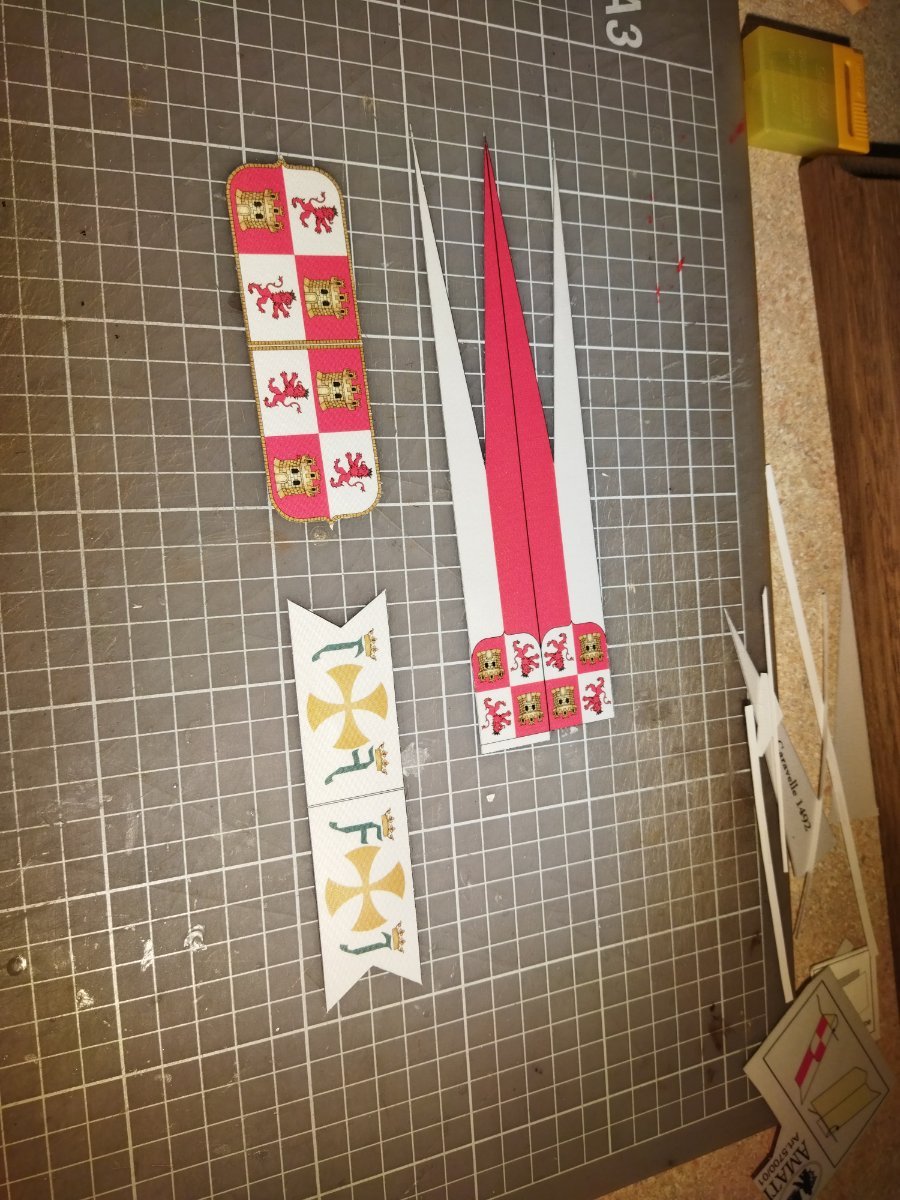
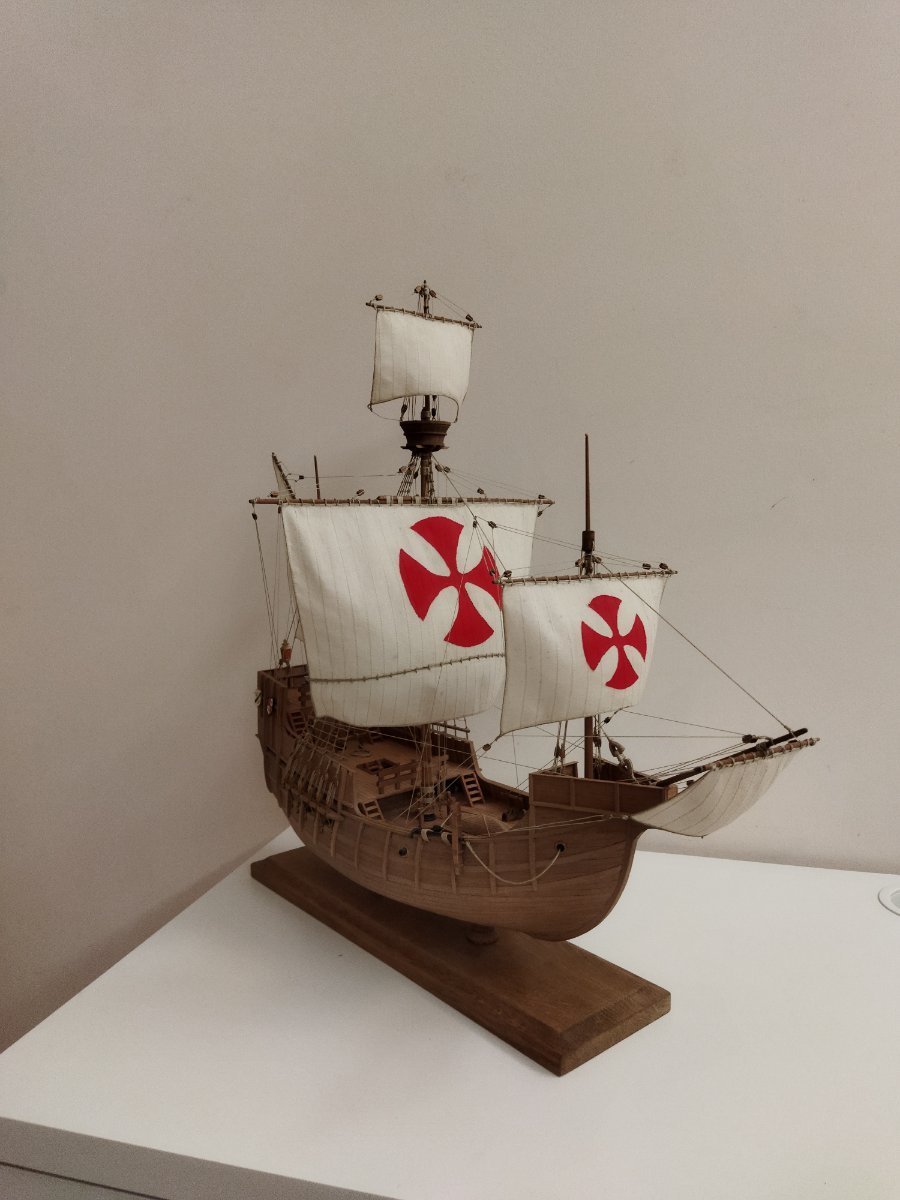
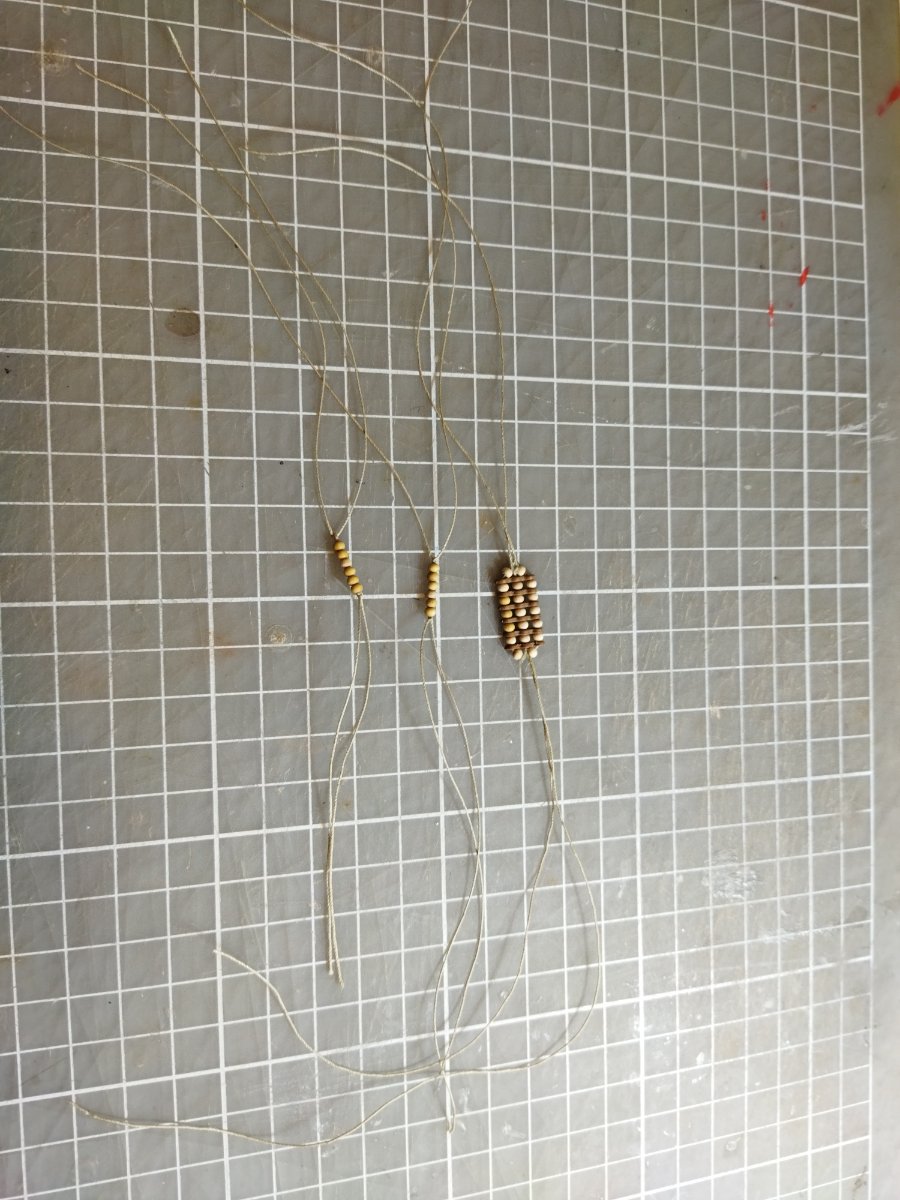
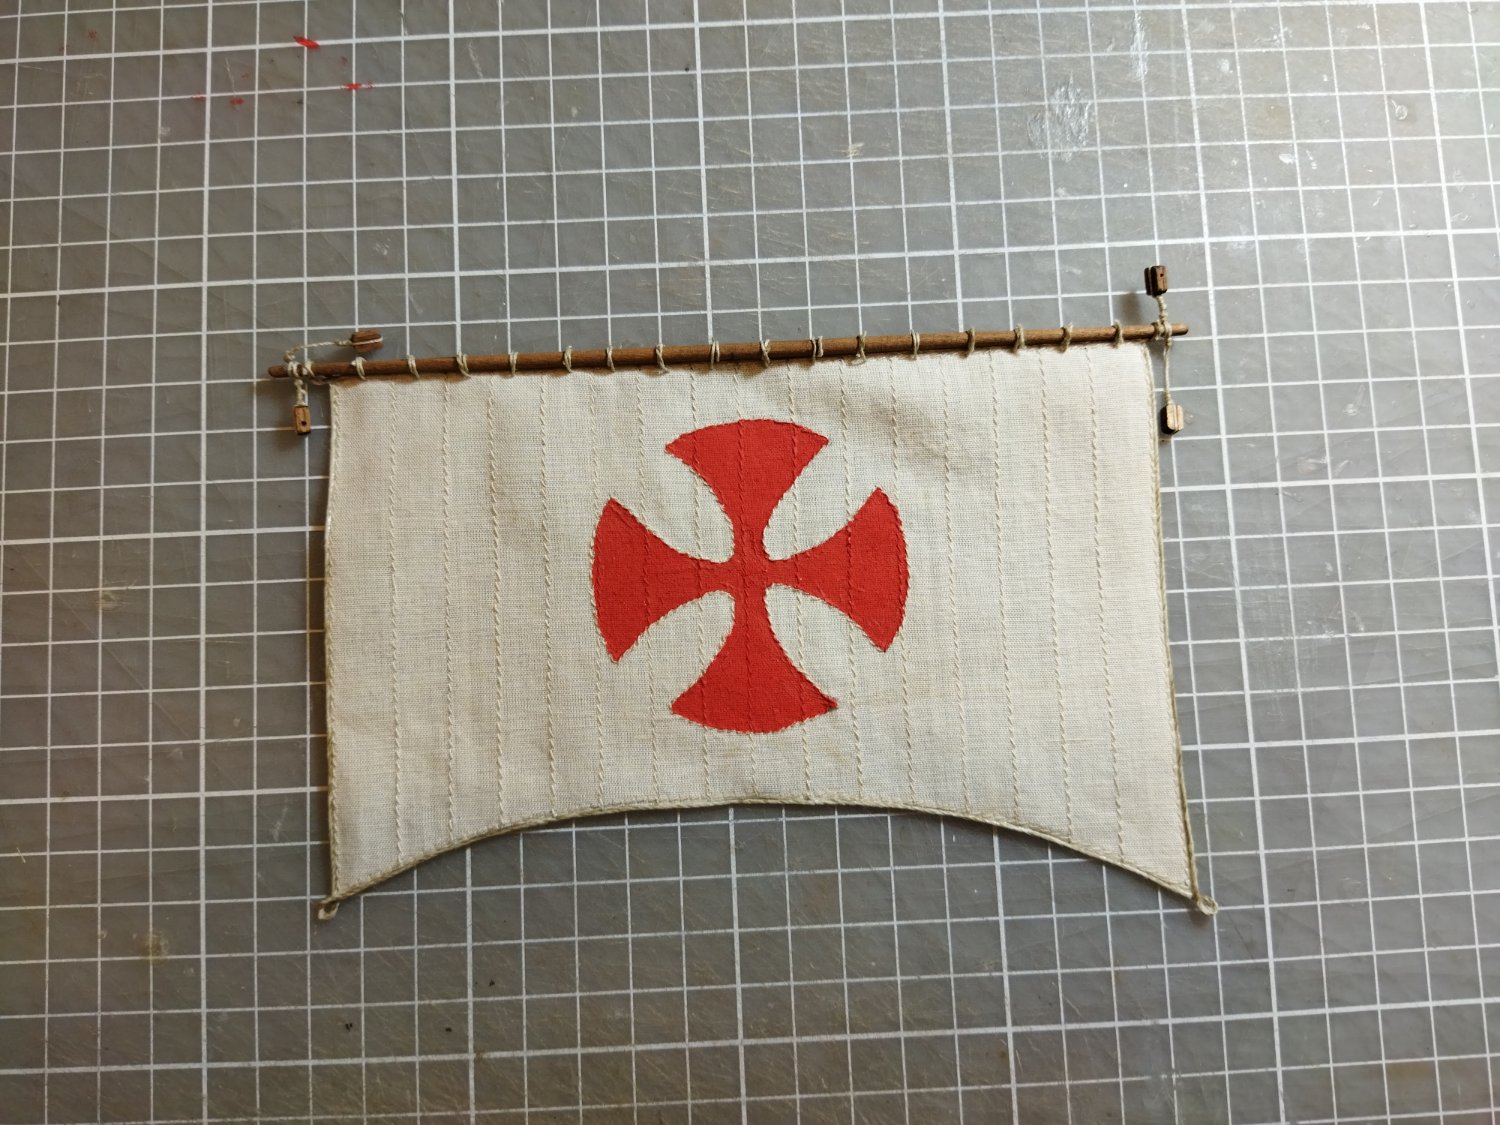
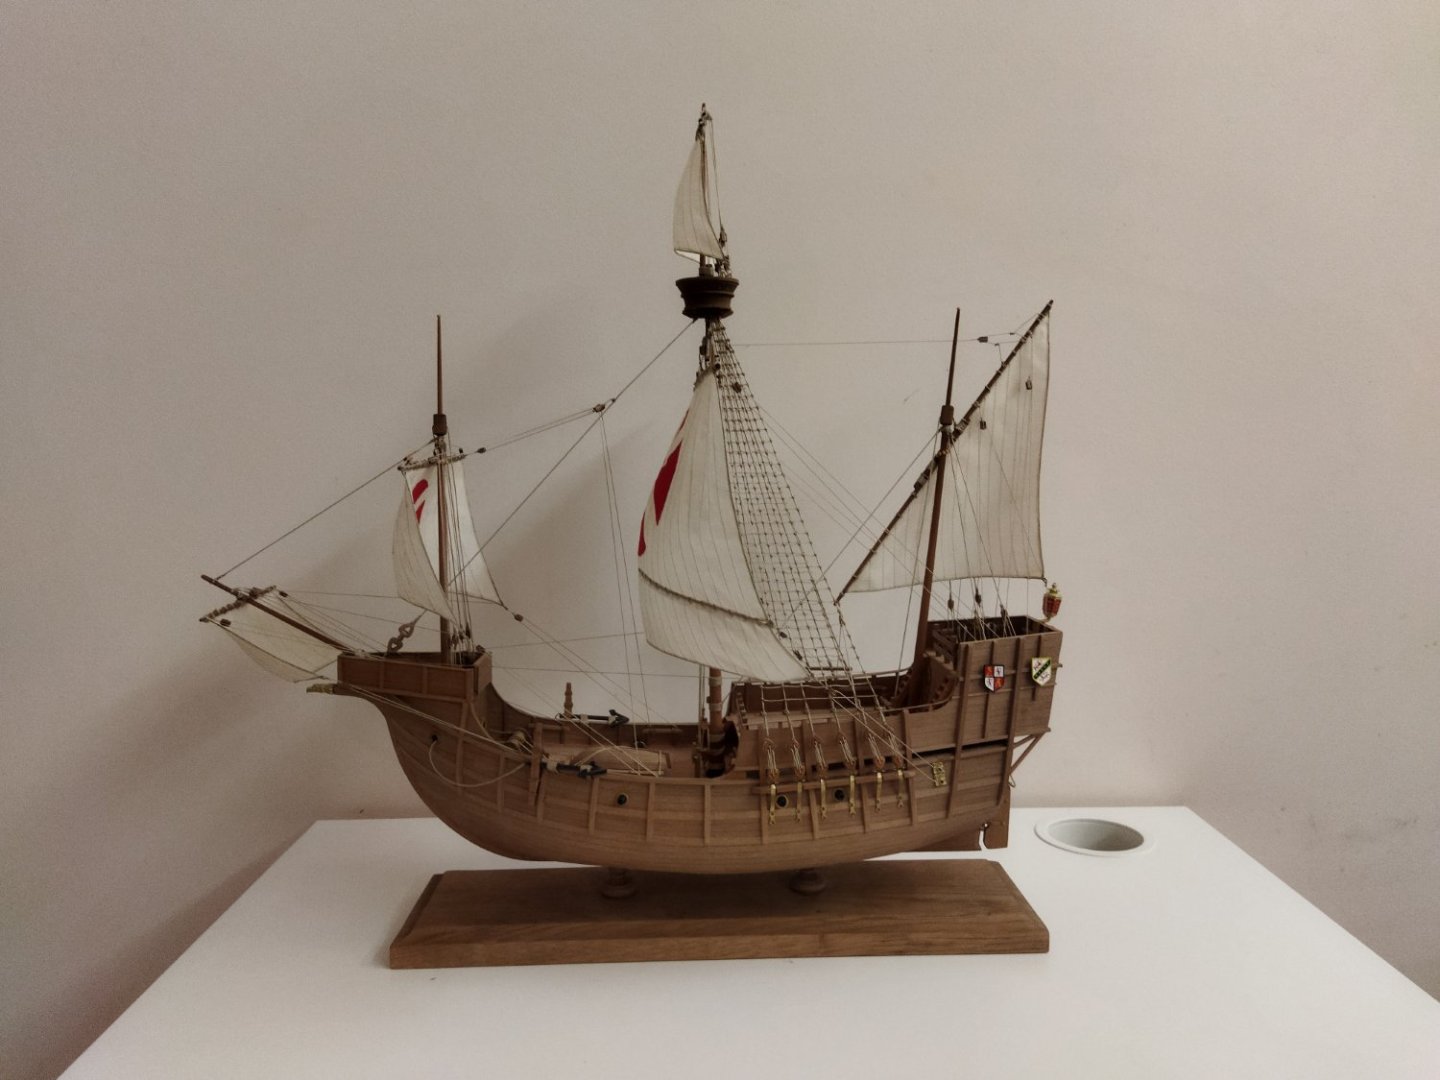
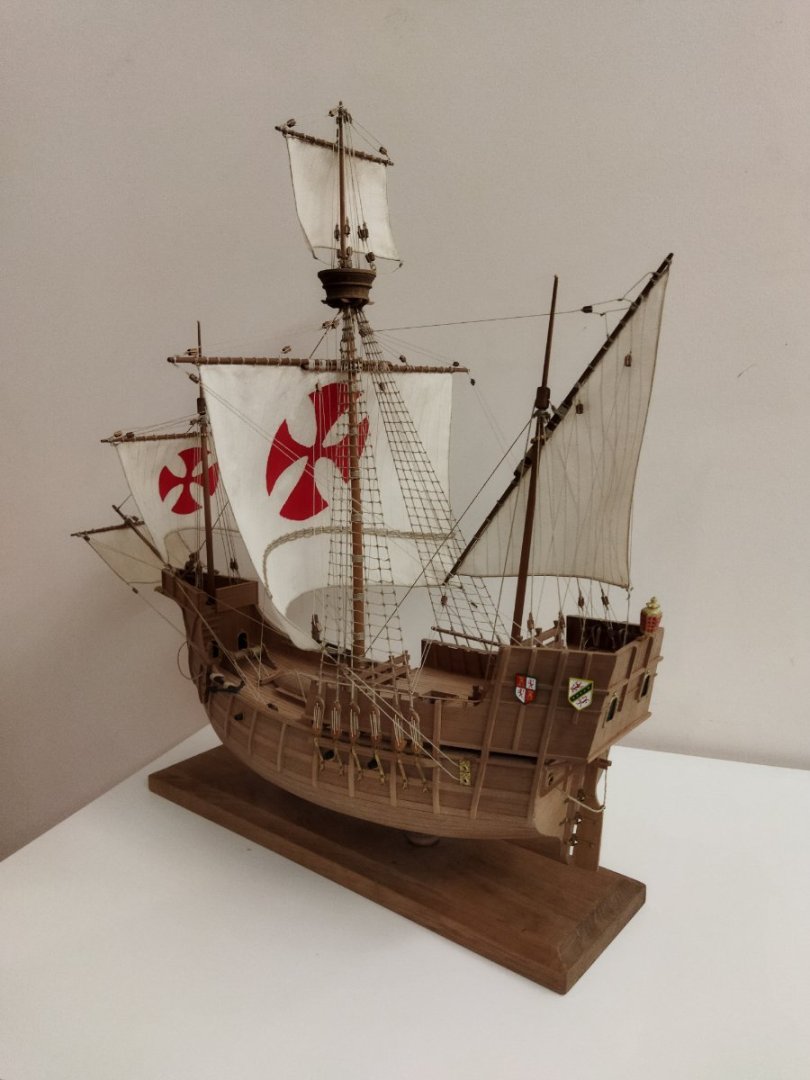
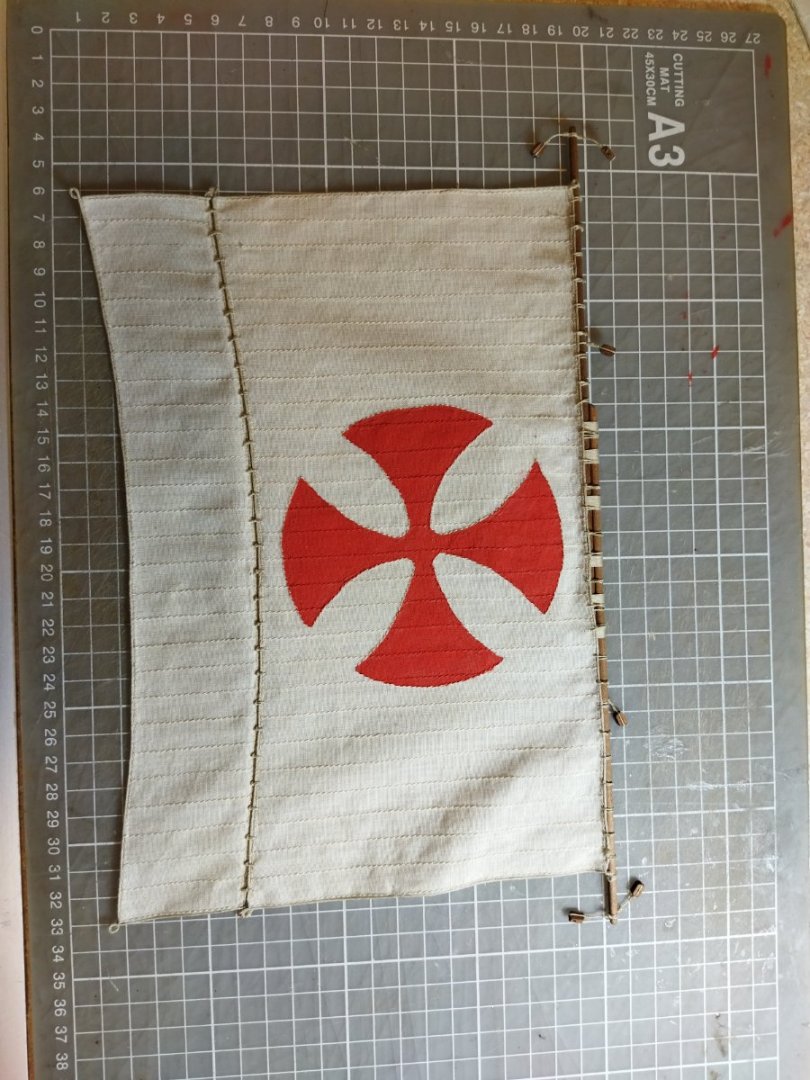
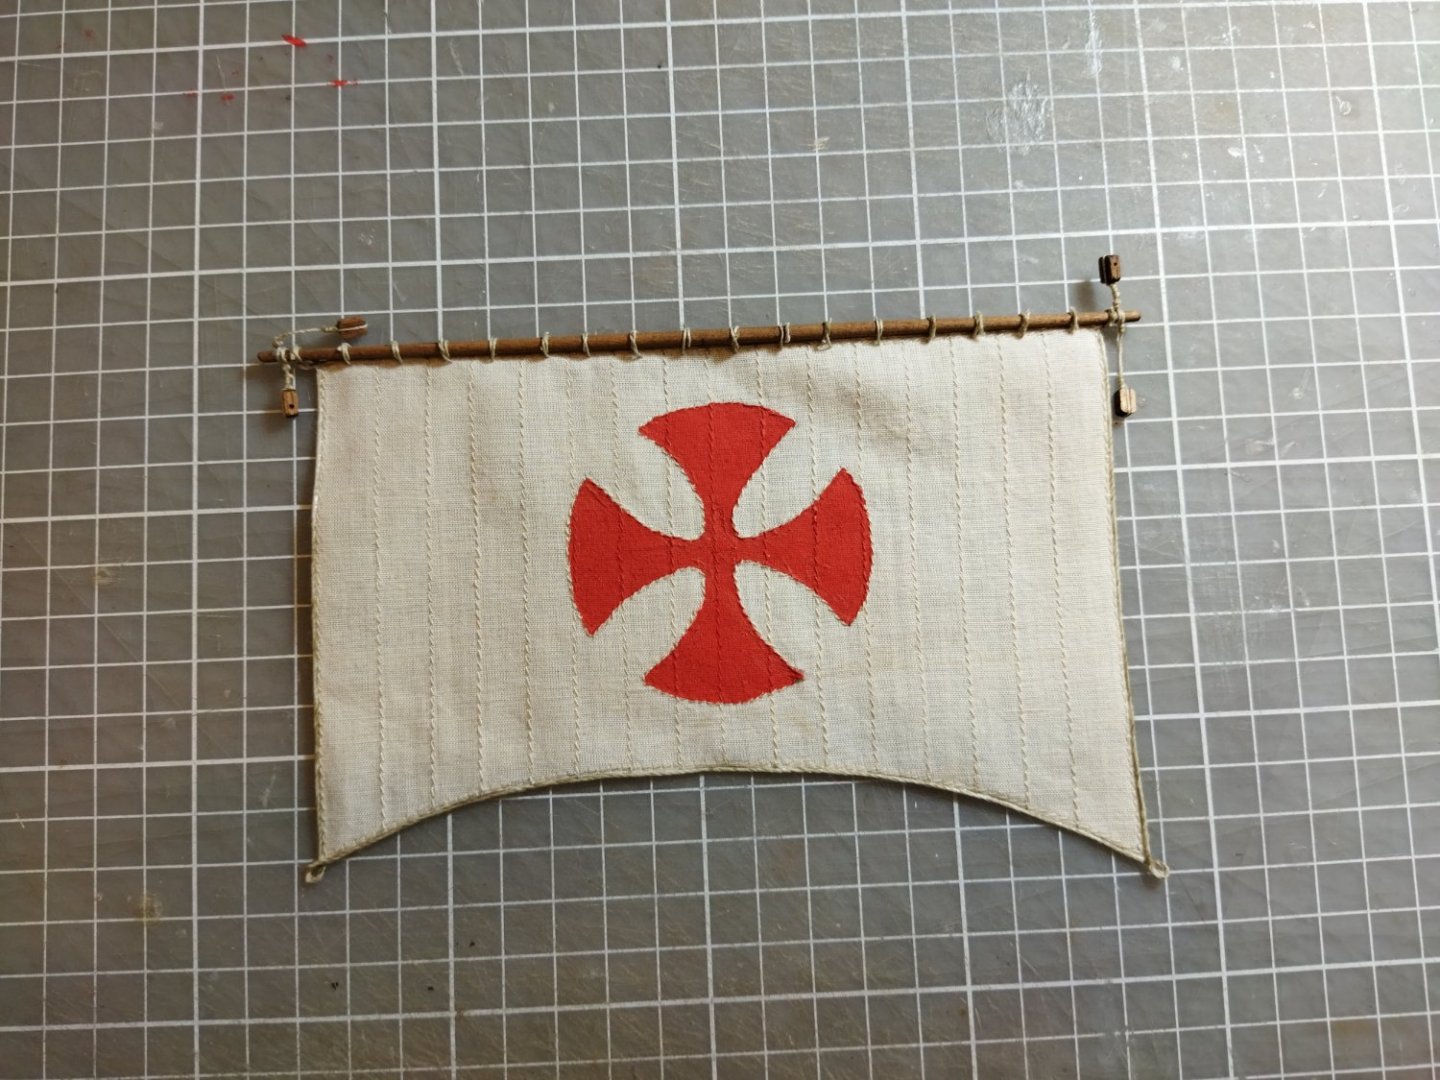
Very white and clean color of these flags does not really fit into the whole context of the ship. Will try dyeing these flags and if the results will be not satisfactory I think I will leave the ship as is. I have added last missing ropes too. Just waiting for the daylight to get better pictures These ships were not carrying flags all the time right?

- 93 replies
-
- 2
-
-
- santa maria
- amati
- (and 1 more)
-
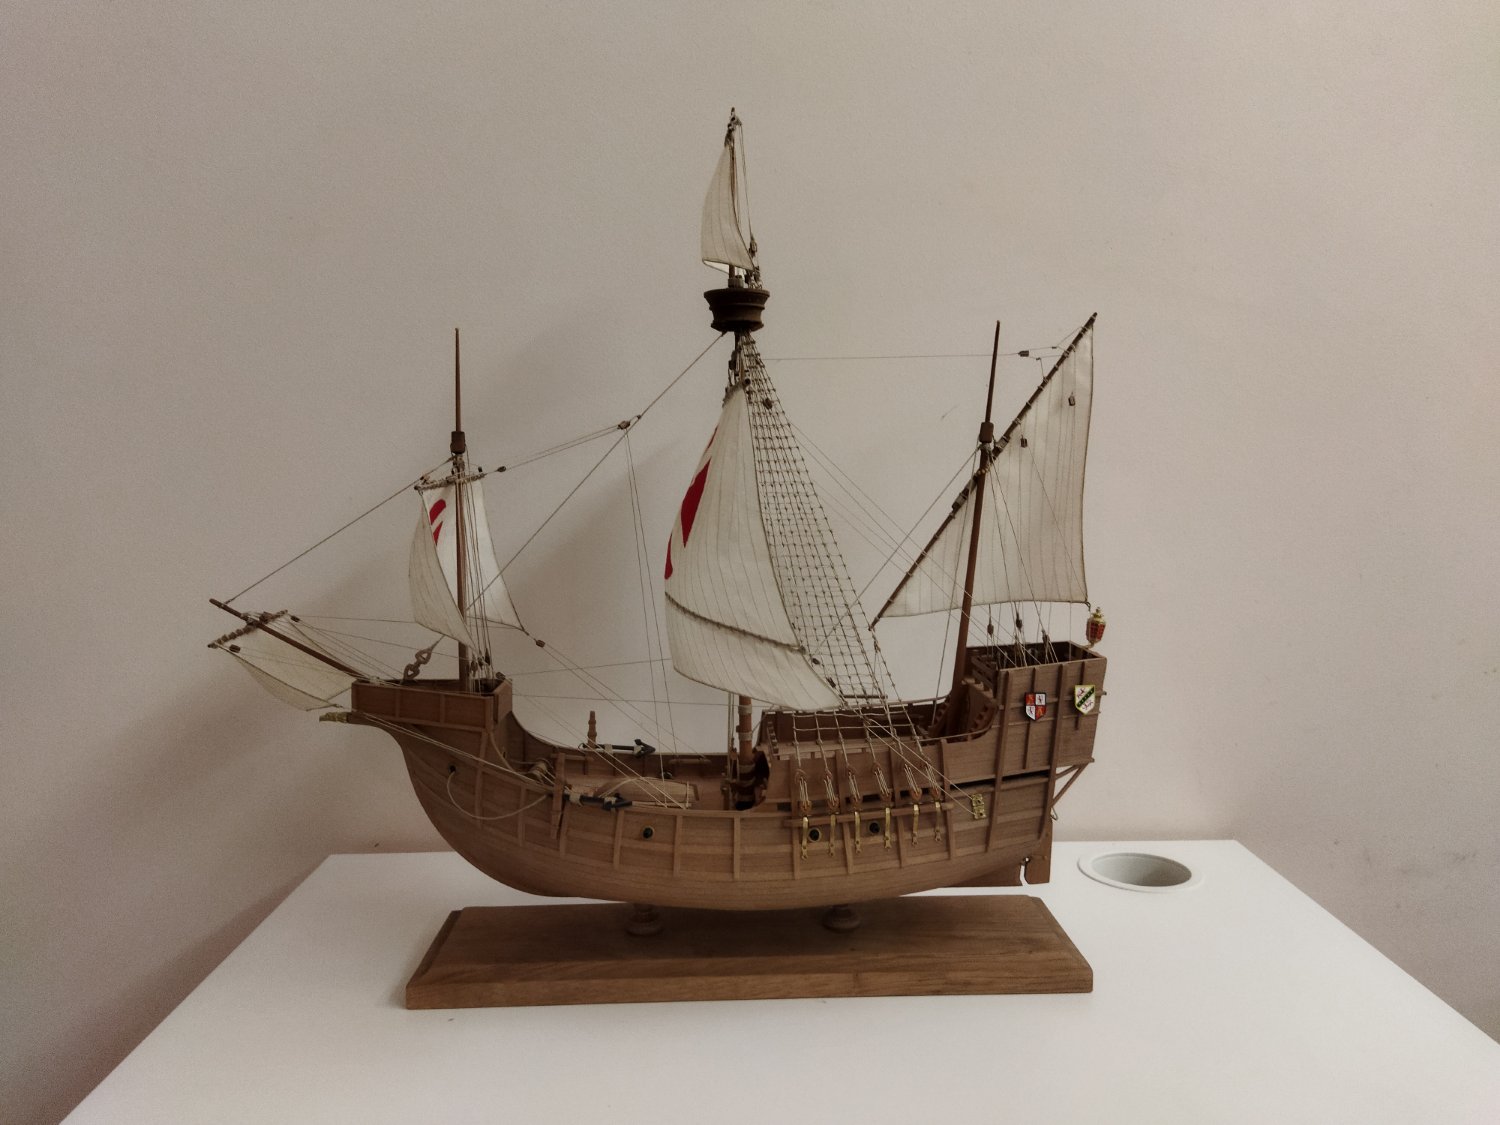
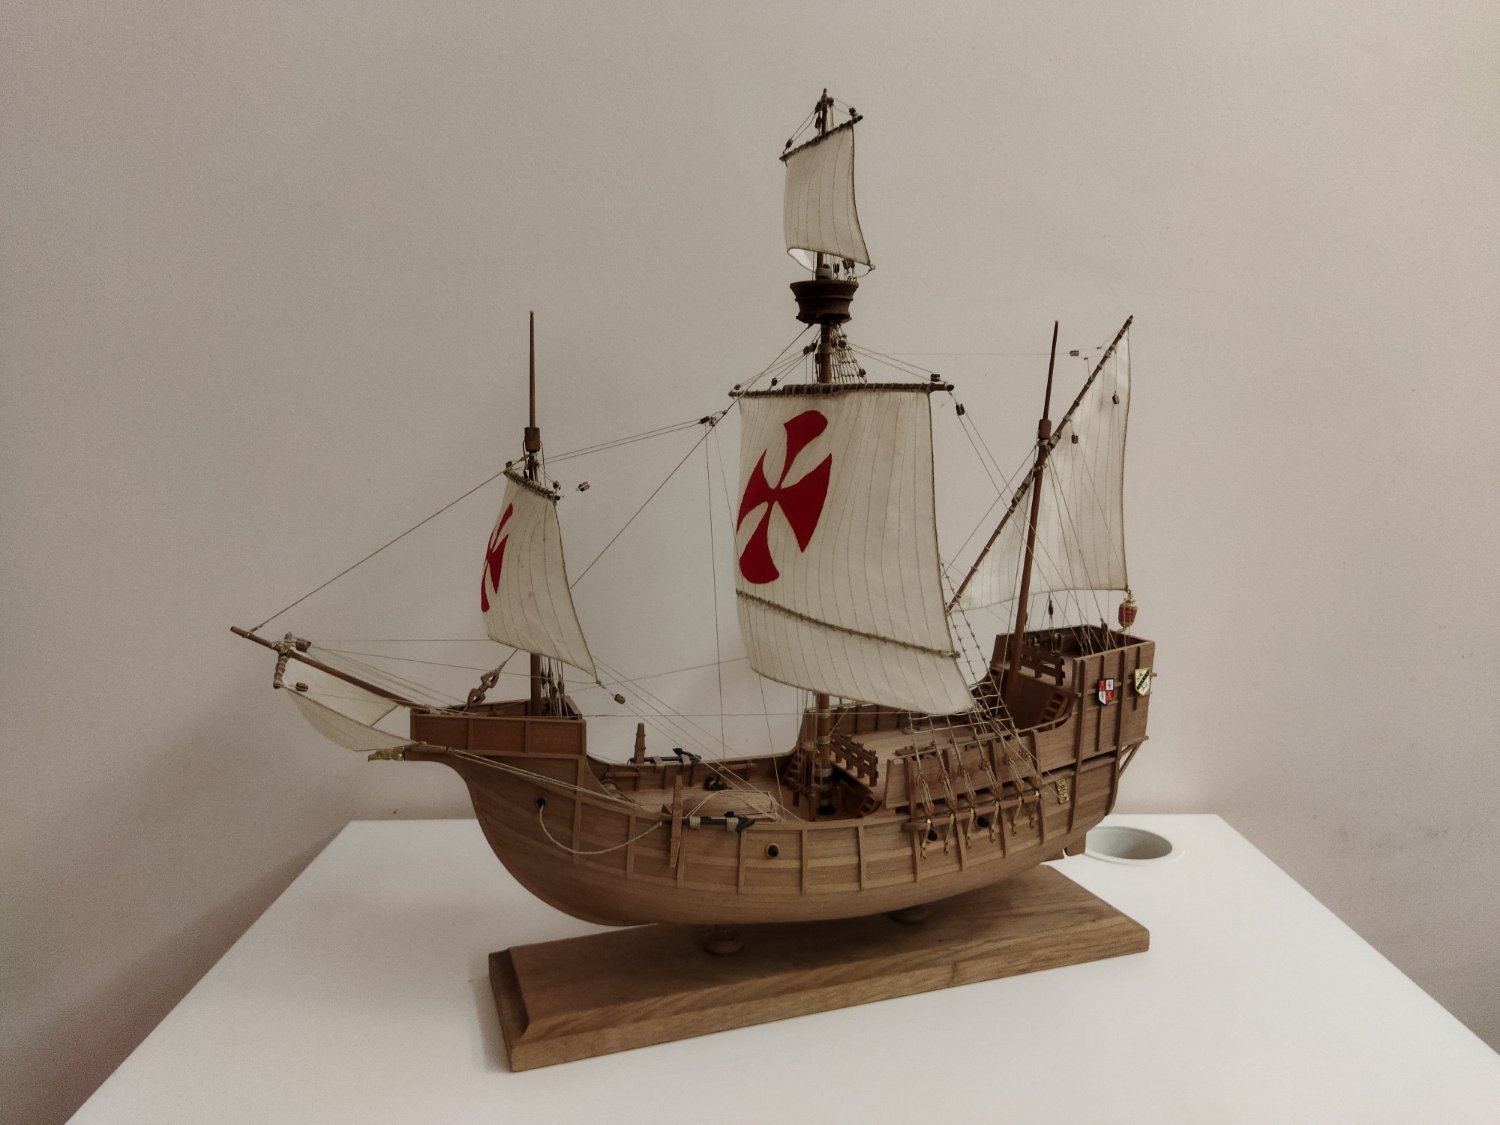
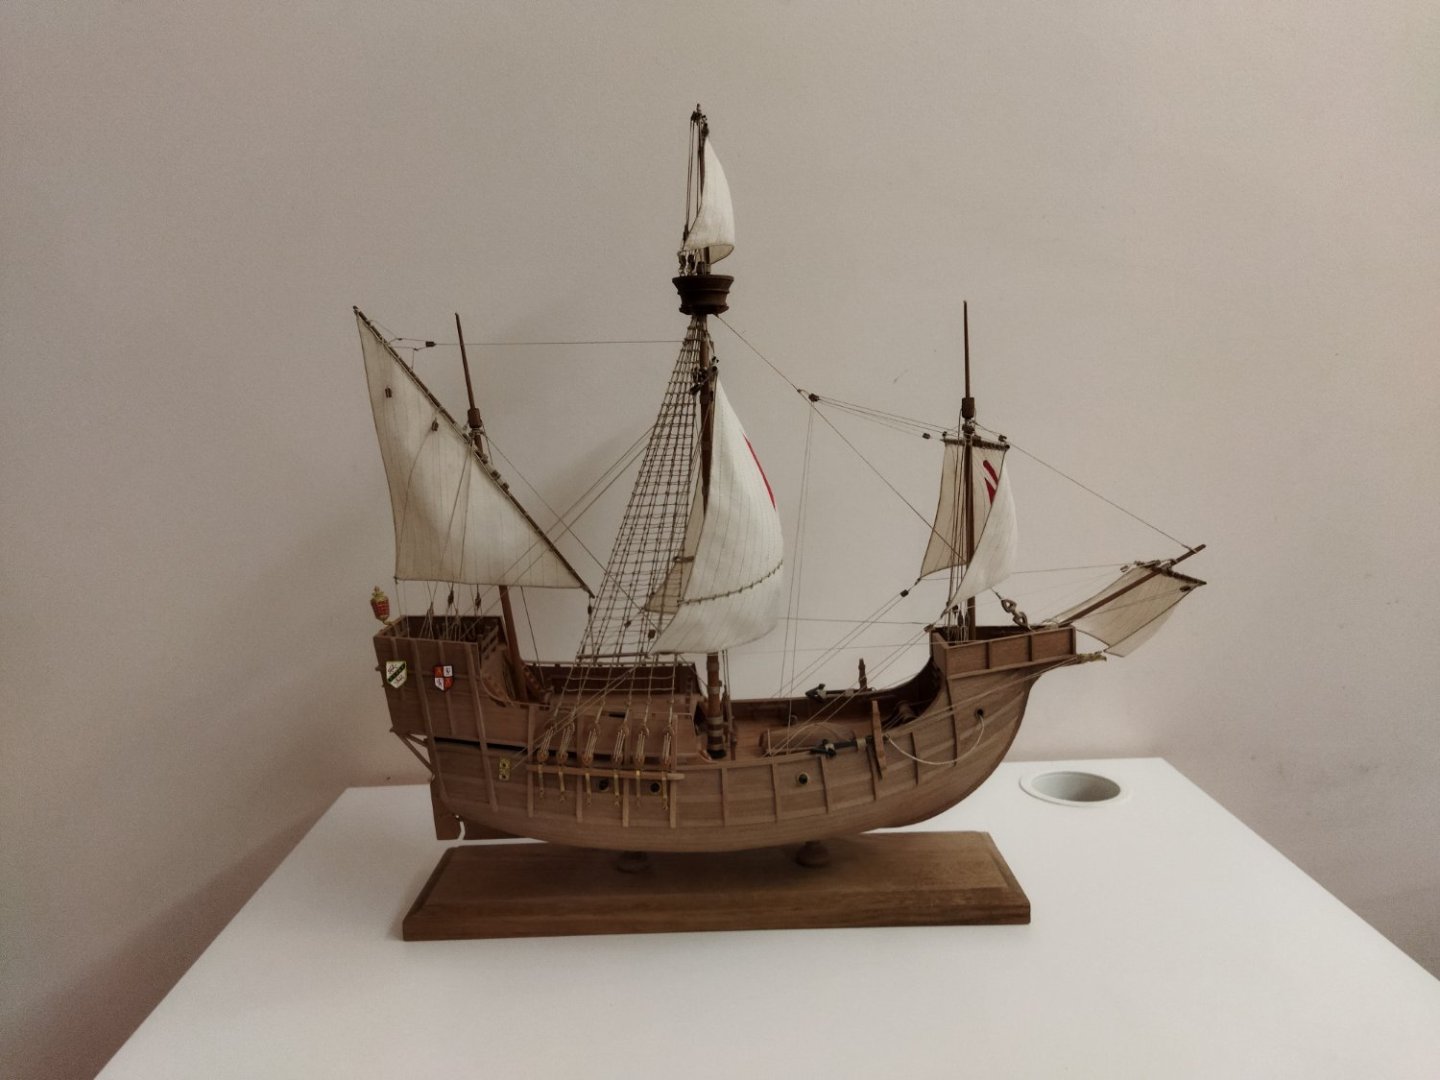
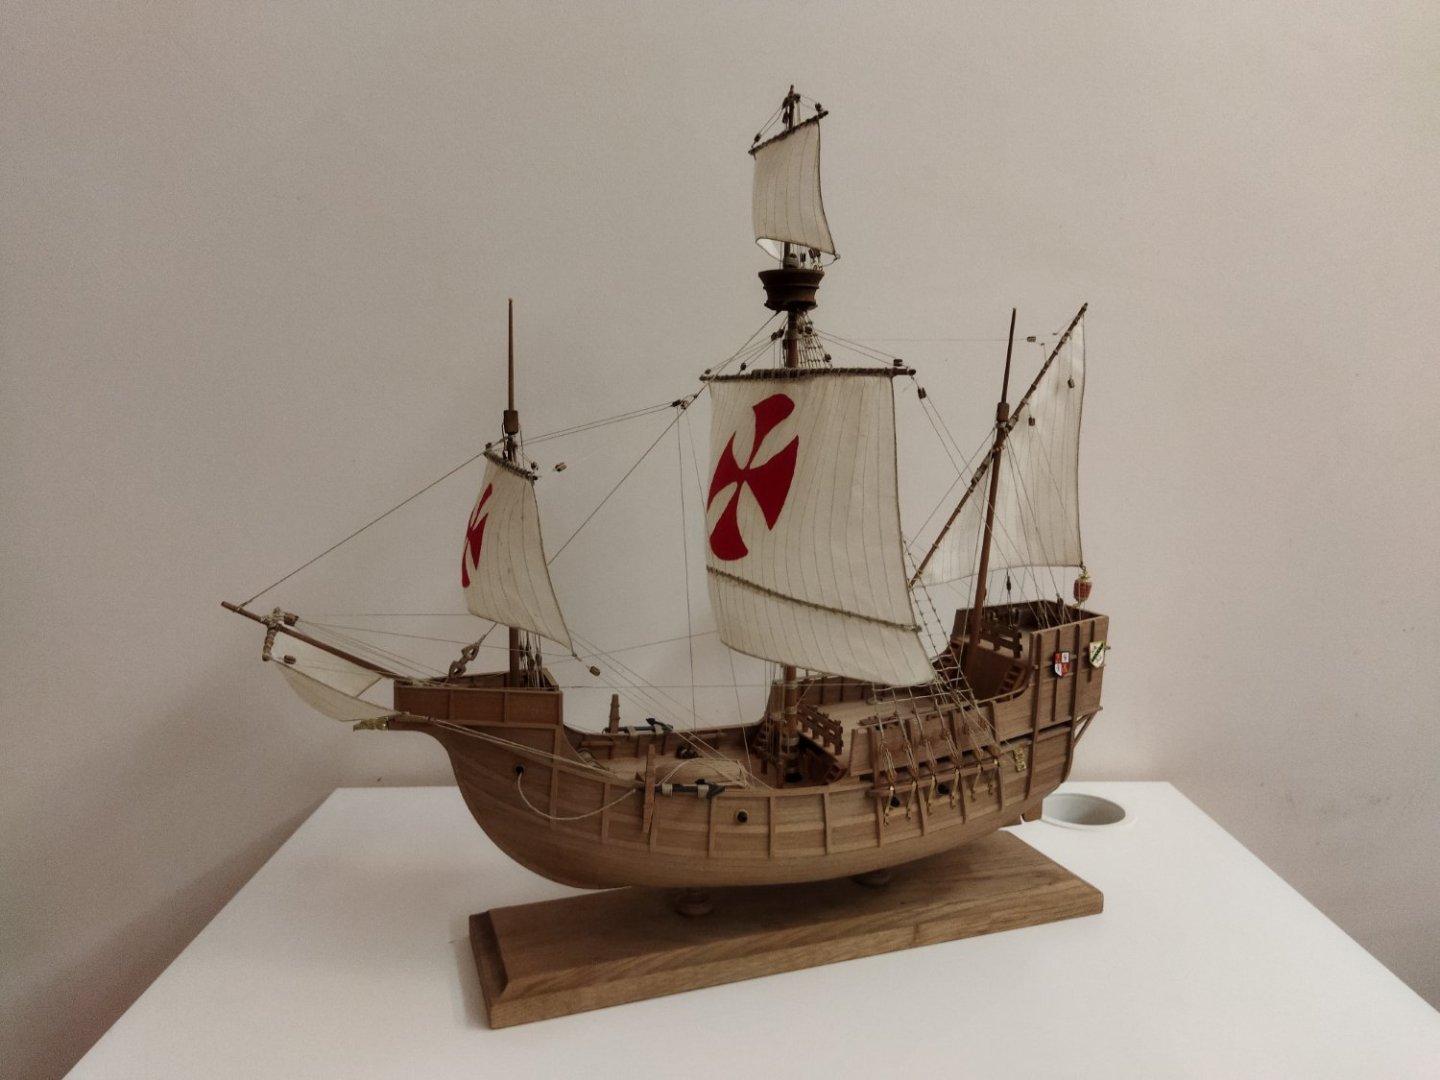
Rigging - done. Missing a few ropes on the deck though. Also I have ran out of the rope for placing flags... So will have to wait a few weeks untiI I will get it from Amati shop 😅 I am very happy with the overall result so far 🥳

- 93 replies
-
- 9
-
-

-
- santa maria
- amati
- (and 1 more)
-
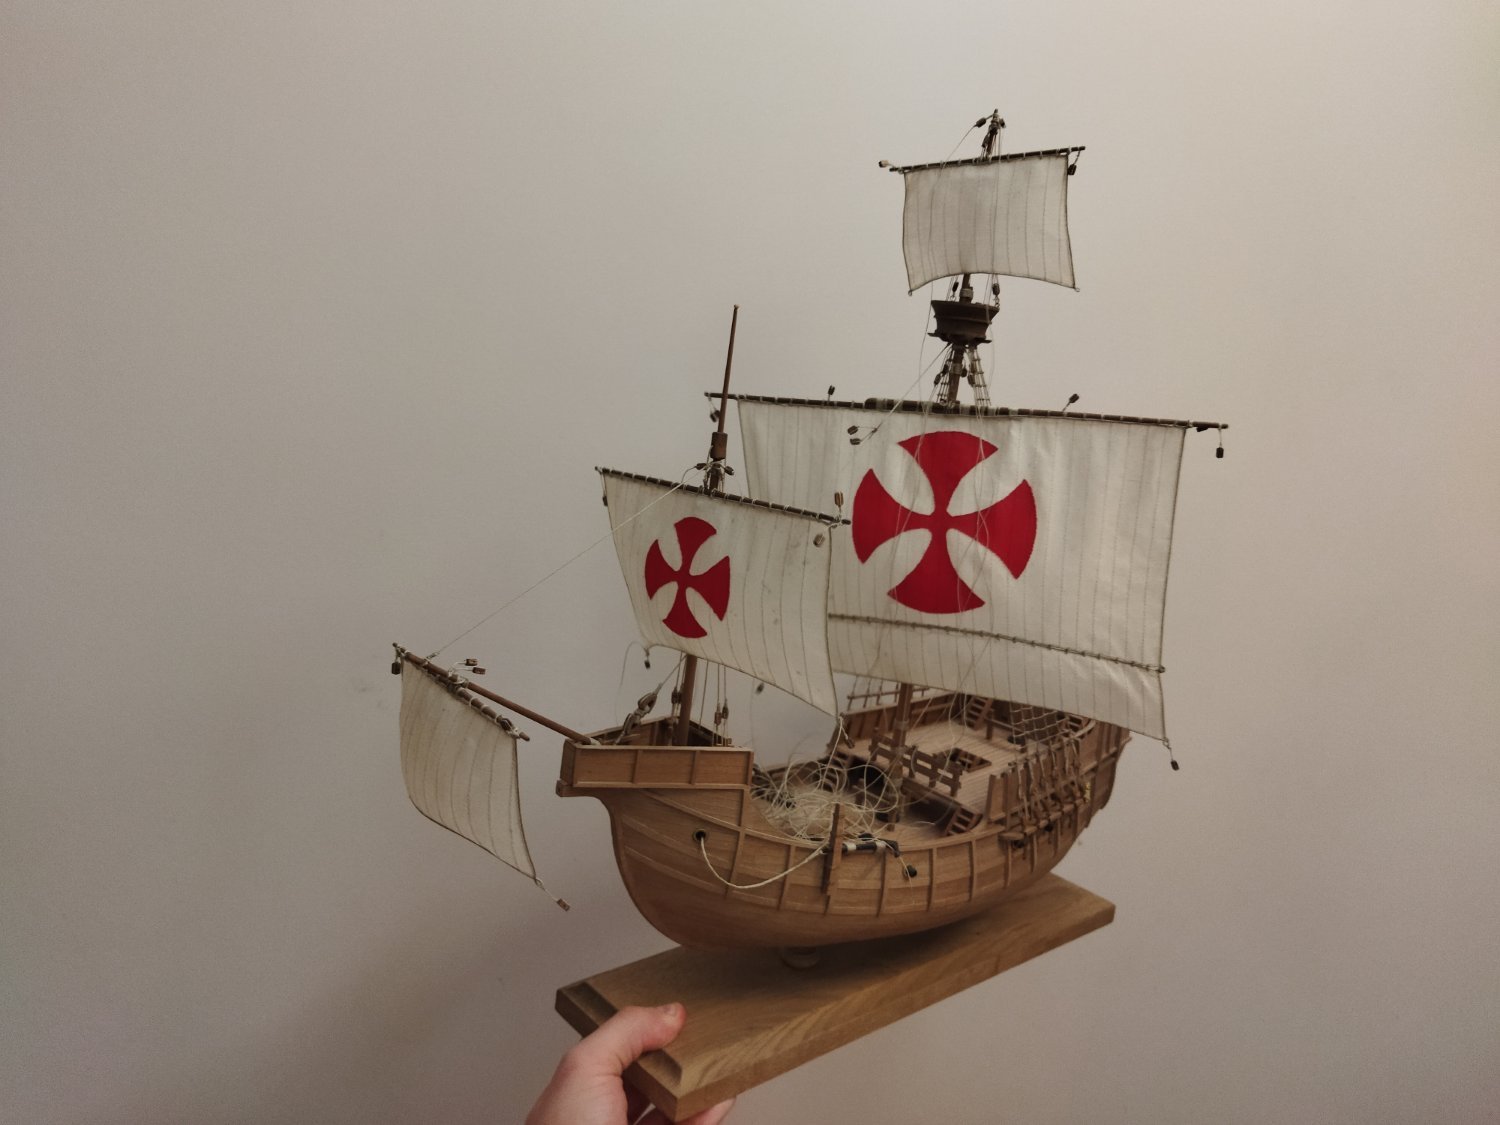
I had no idea it takes so long to do all the rigging! 😄 I have spent 5 hours, but the progress is barely visible!
- 93 replies
-
- 2
-
-
- santa maria
- amati
- (and 1 more)
-
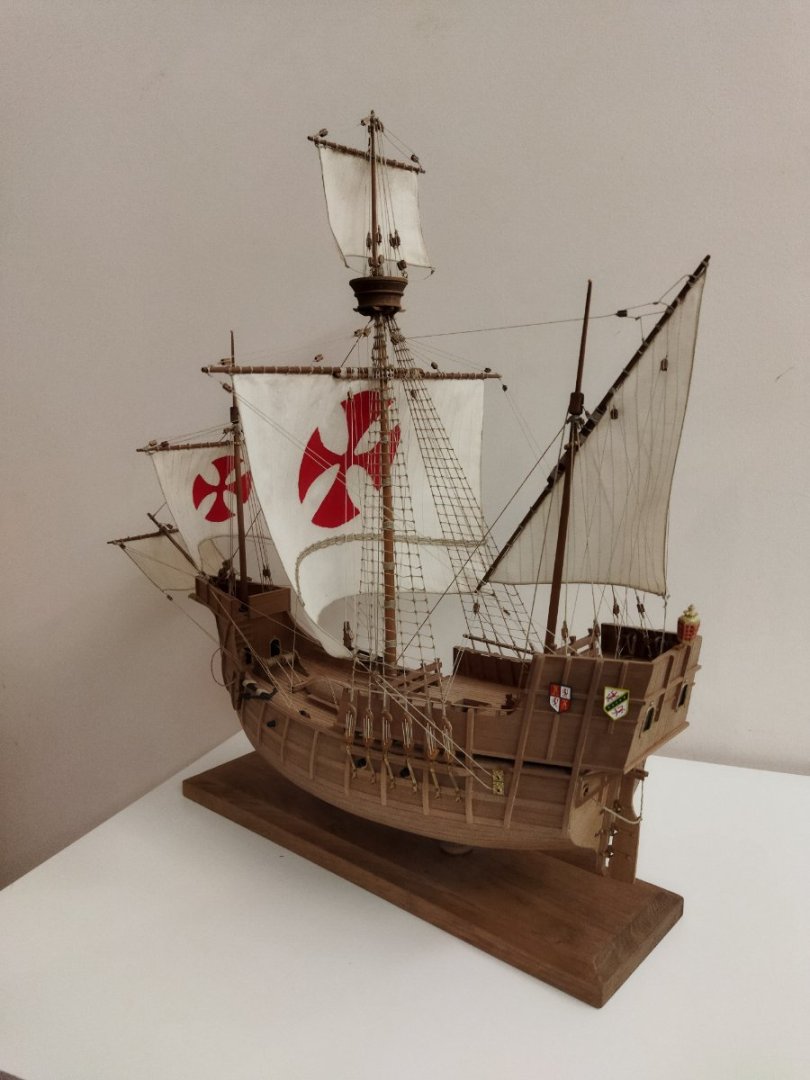
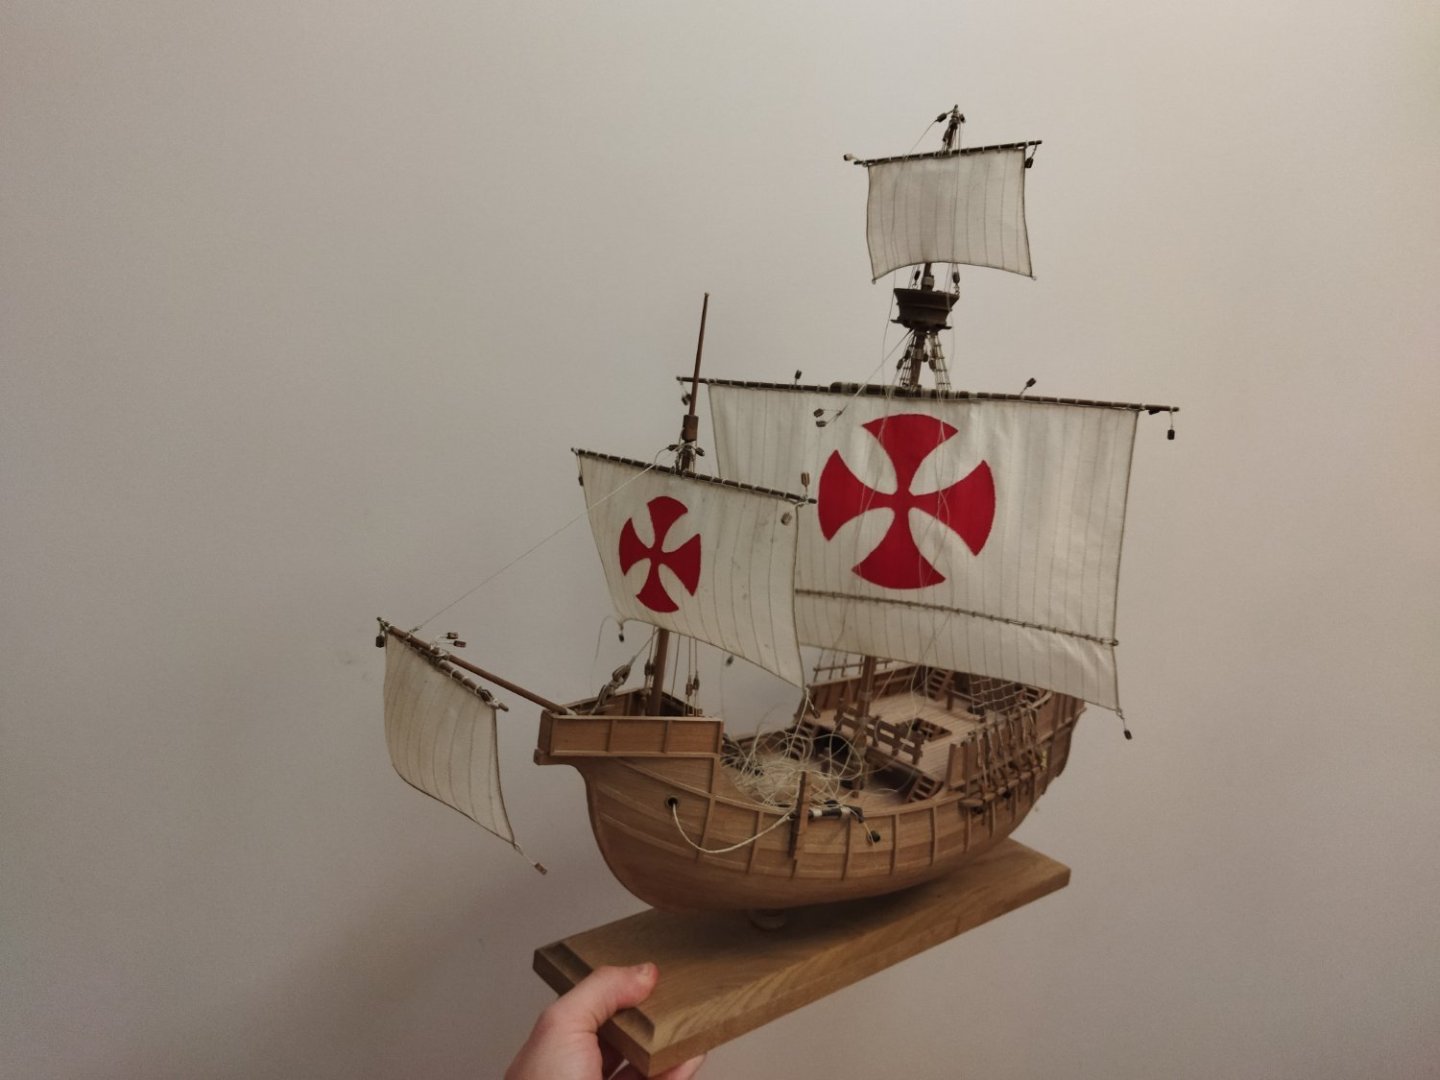
Lots of rigging left, but the ship is starting to take the final shape slowly!

- 93 replies
-
- 3
-
-
-
- santa maria
- amati
- (and 1 more)
-
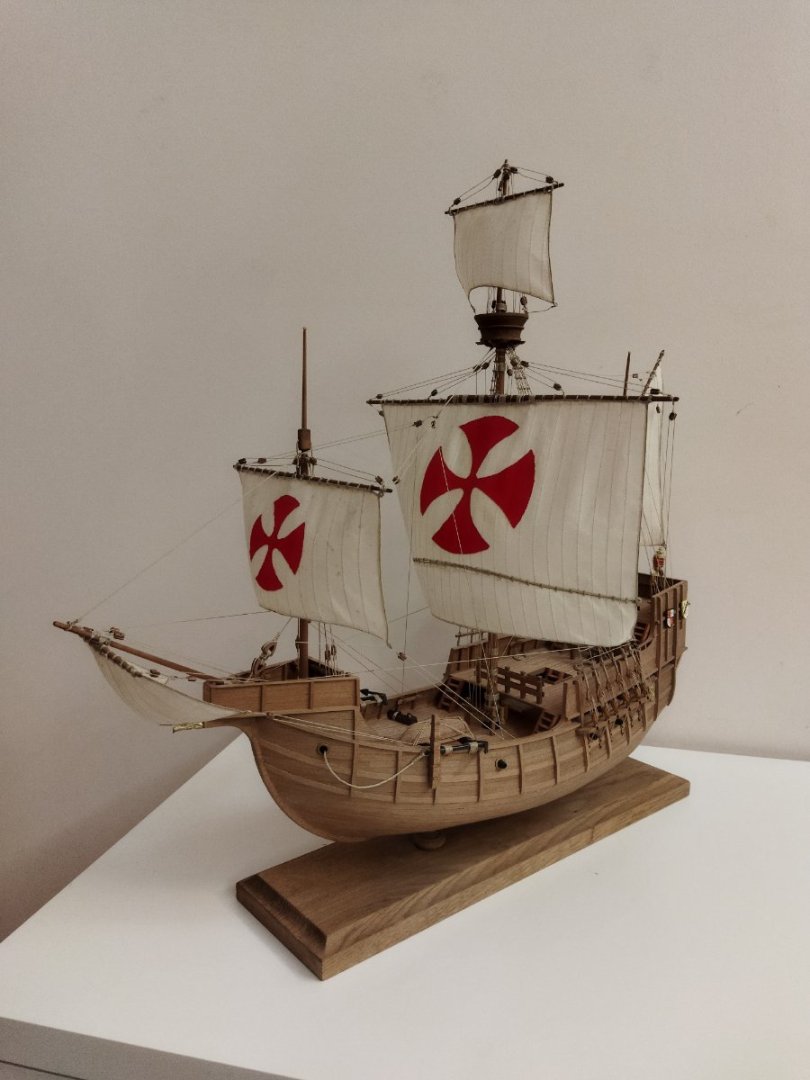
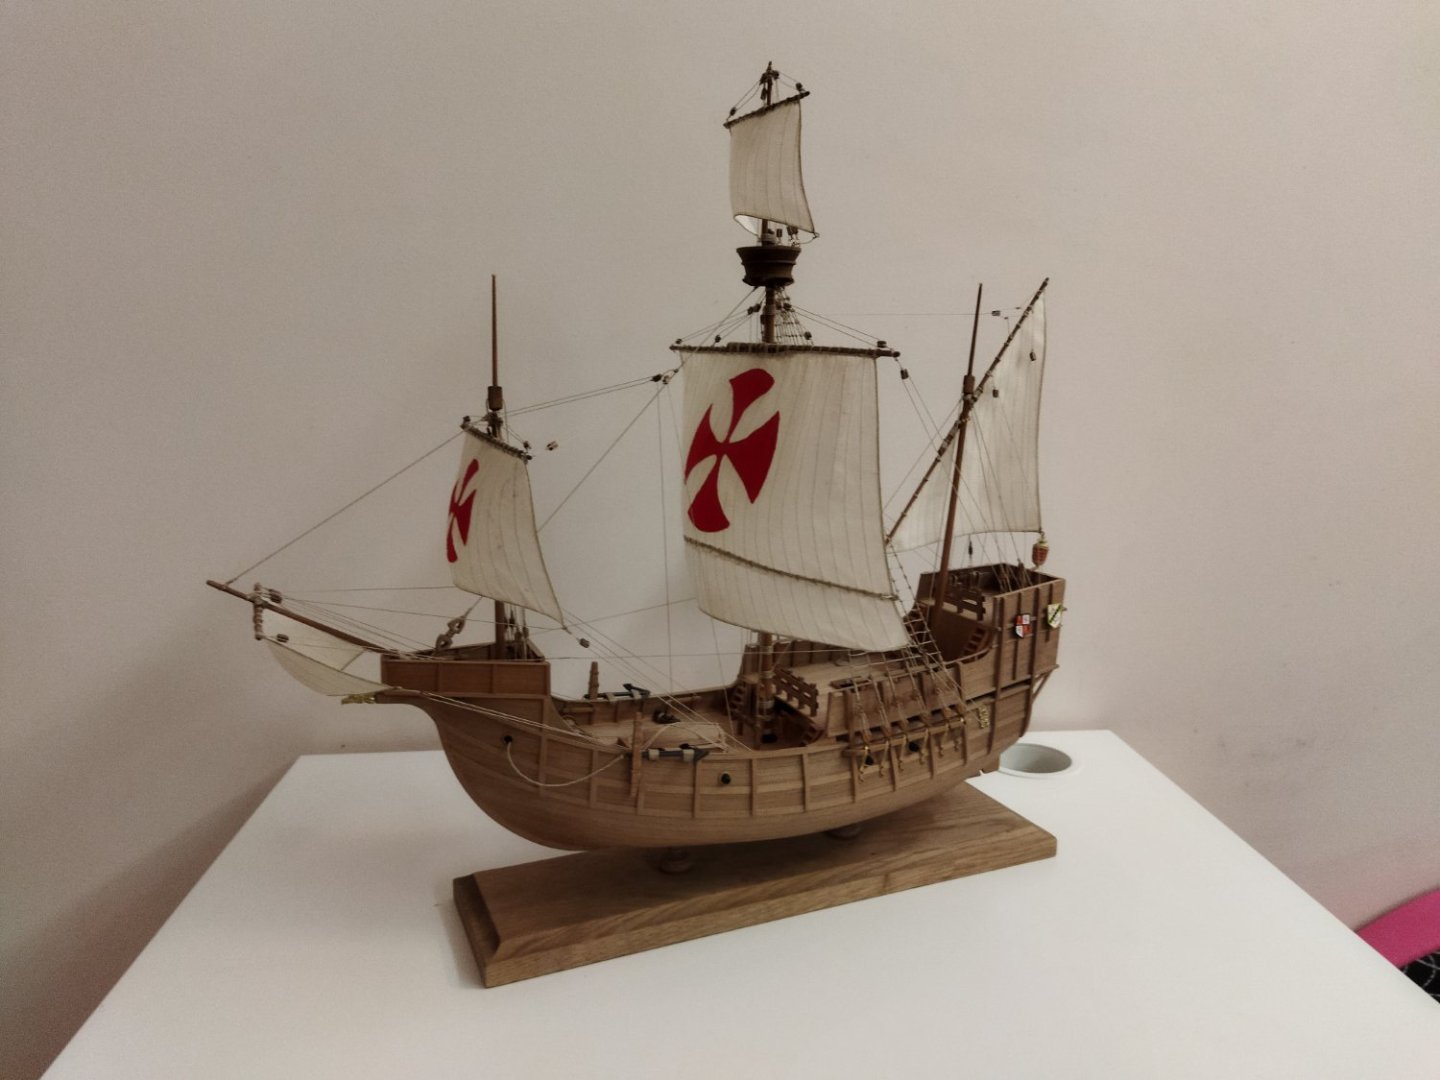
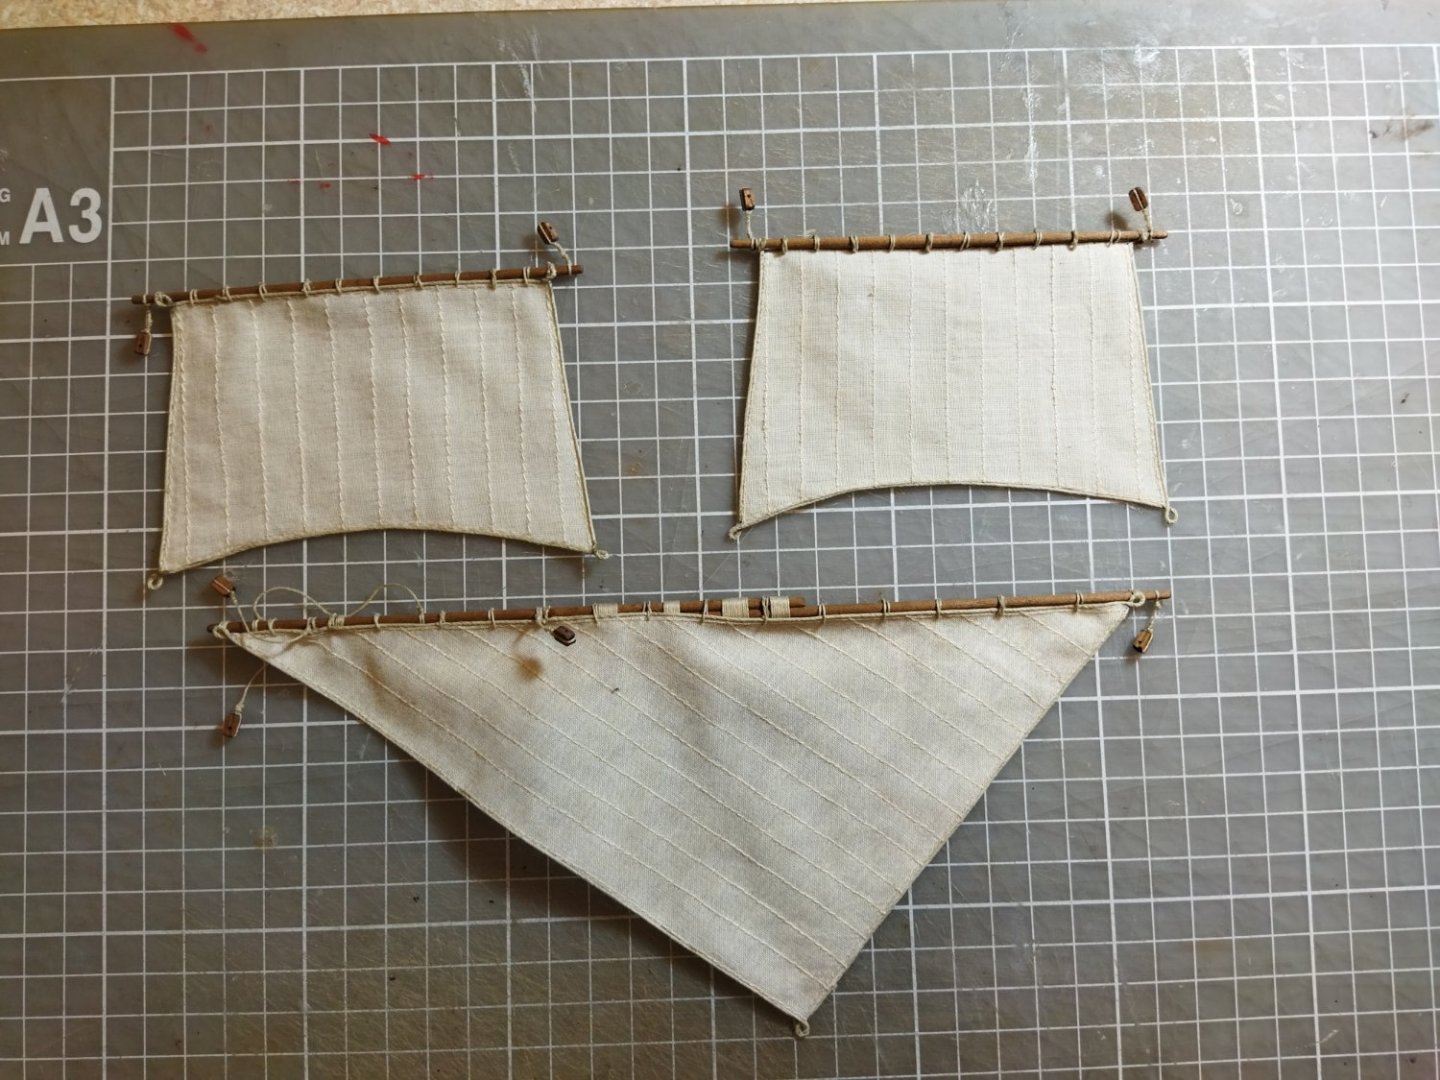
I have shaped the sails with water diluted PVA glue. It looks like the end is near now!

- 93 replies
-
- 2
-
-
- santa maria
- amati
- (and 1 more)
-
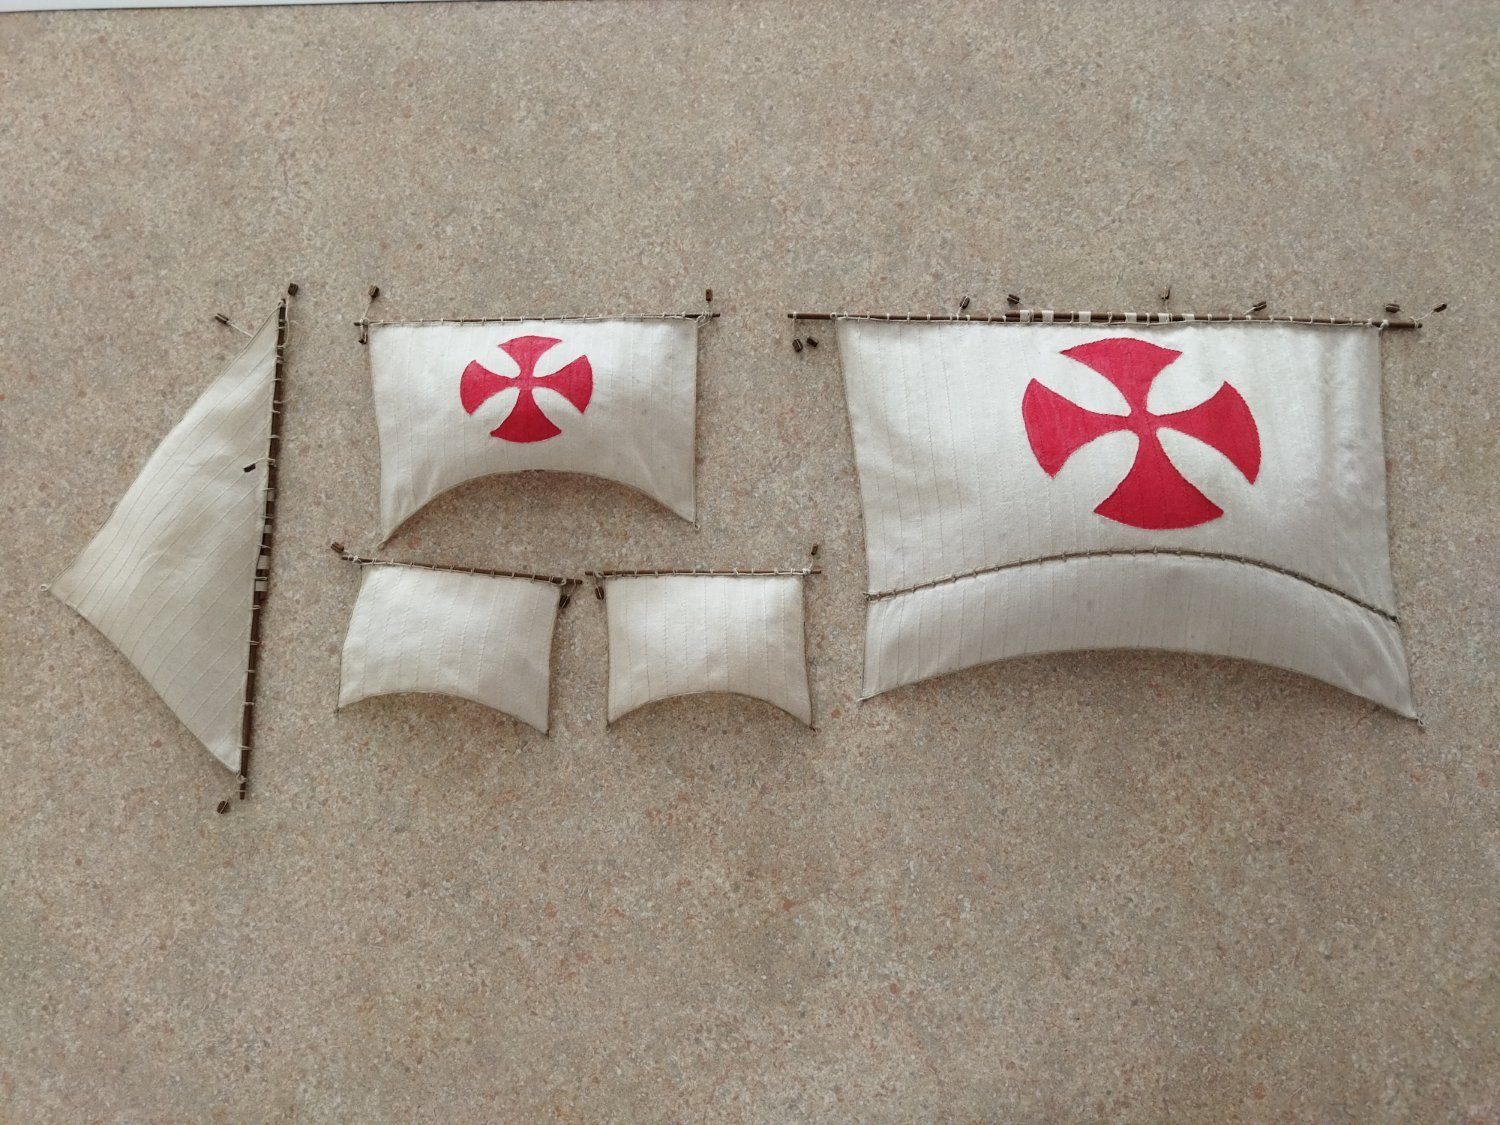
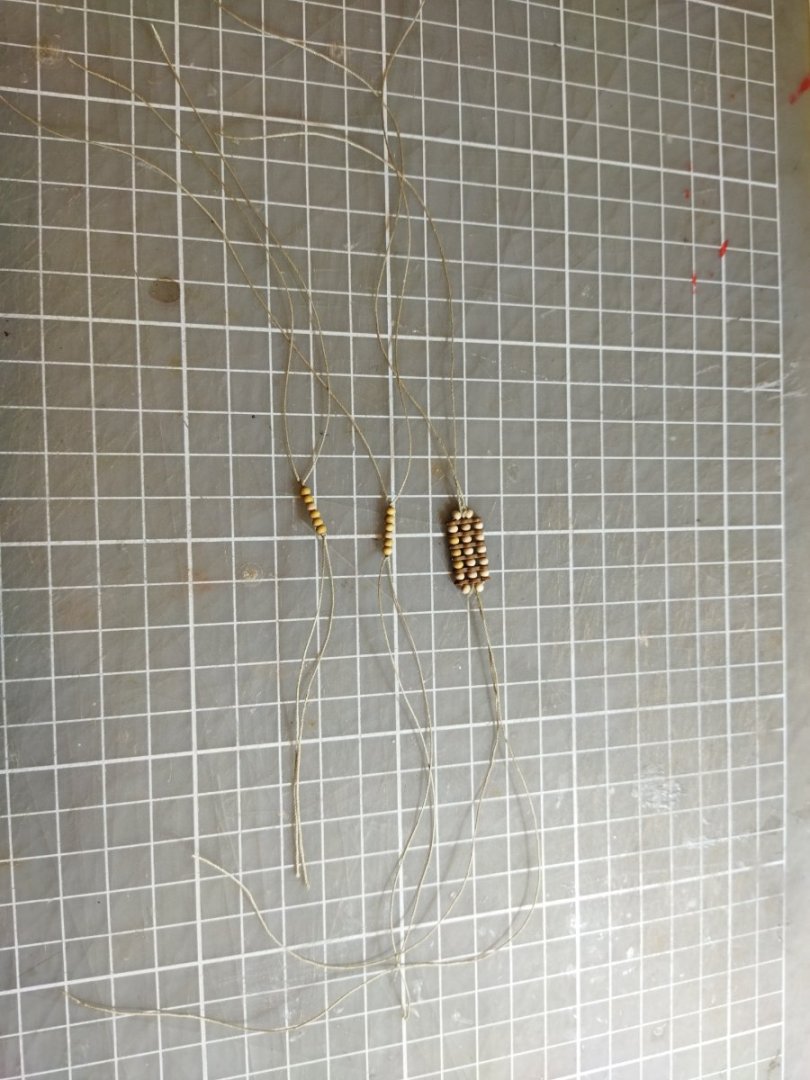
I have prepared sails for shaping I have also found that I have made one small sail too many by accident 😄
- 93 replies
-
- 4
-
-
- santa maria
- amati
- (and 1 more)