HOLIDAY DONATION DRIVE - SUPPORT MSW - DO YOUR PART TO KEEP THIS GREAT FORUM GOING! (Only 20 donations so far - C'mon guys!)
×


JohnRC
-
Posts
41 -
Joined
-
Last visited
Content Type
Profiles
Forums
Gallery
Events
Everything posted by JohnRC
-
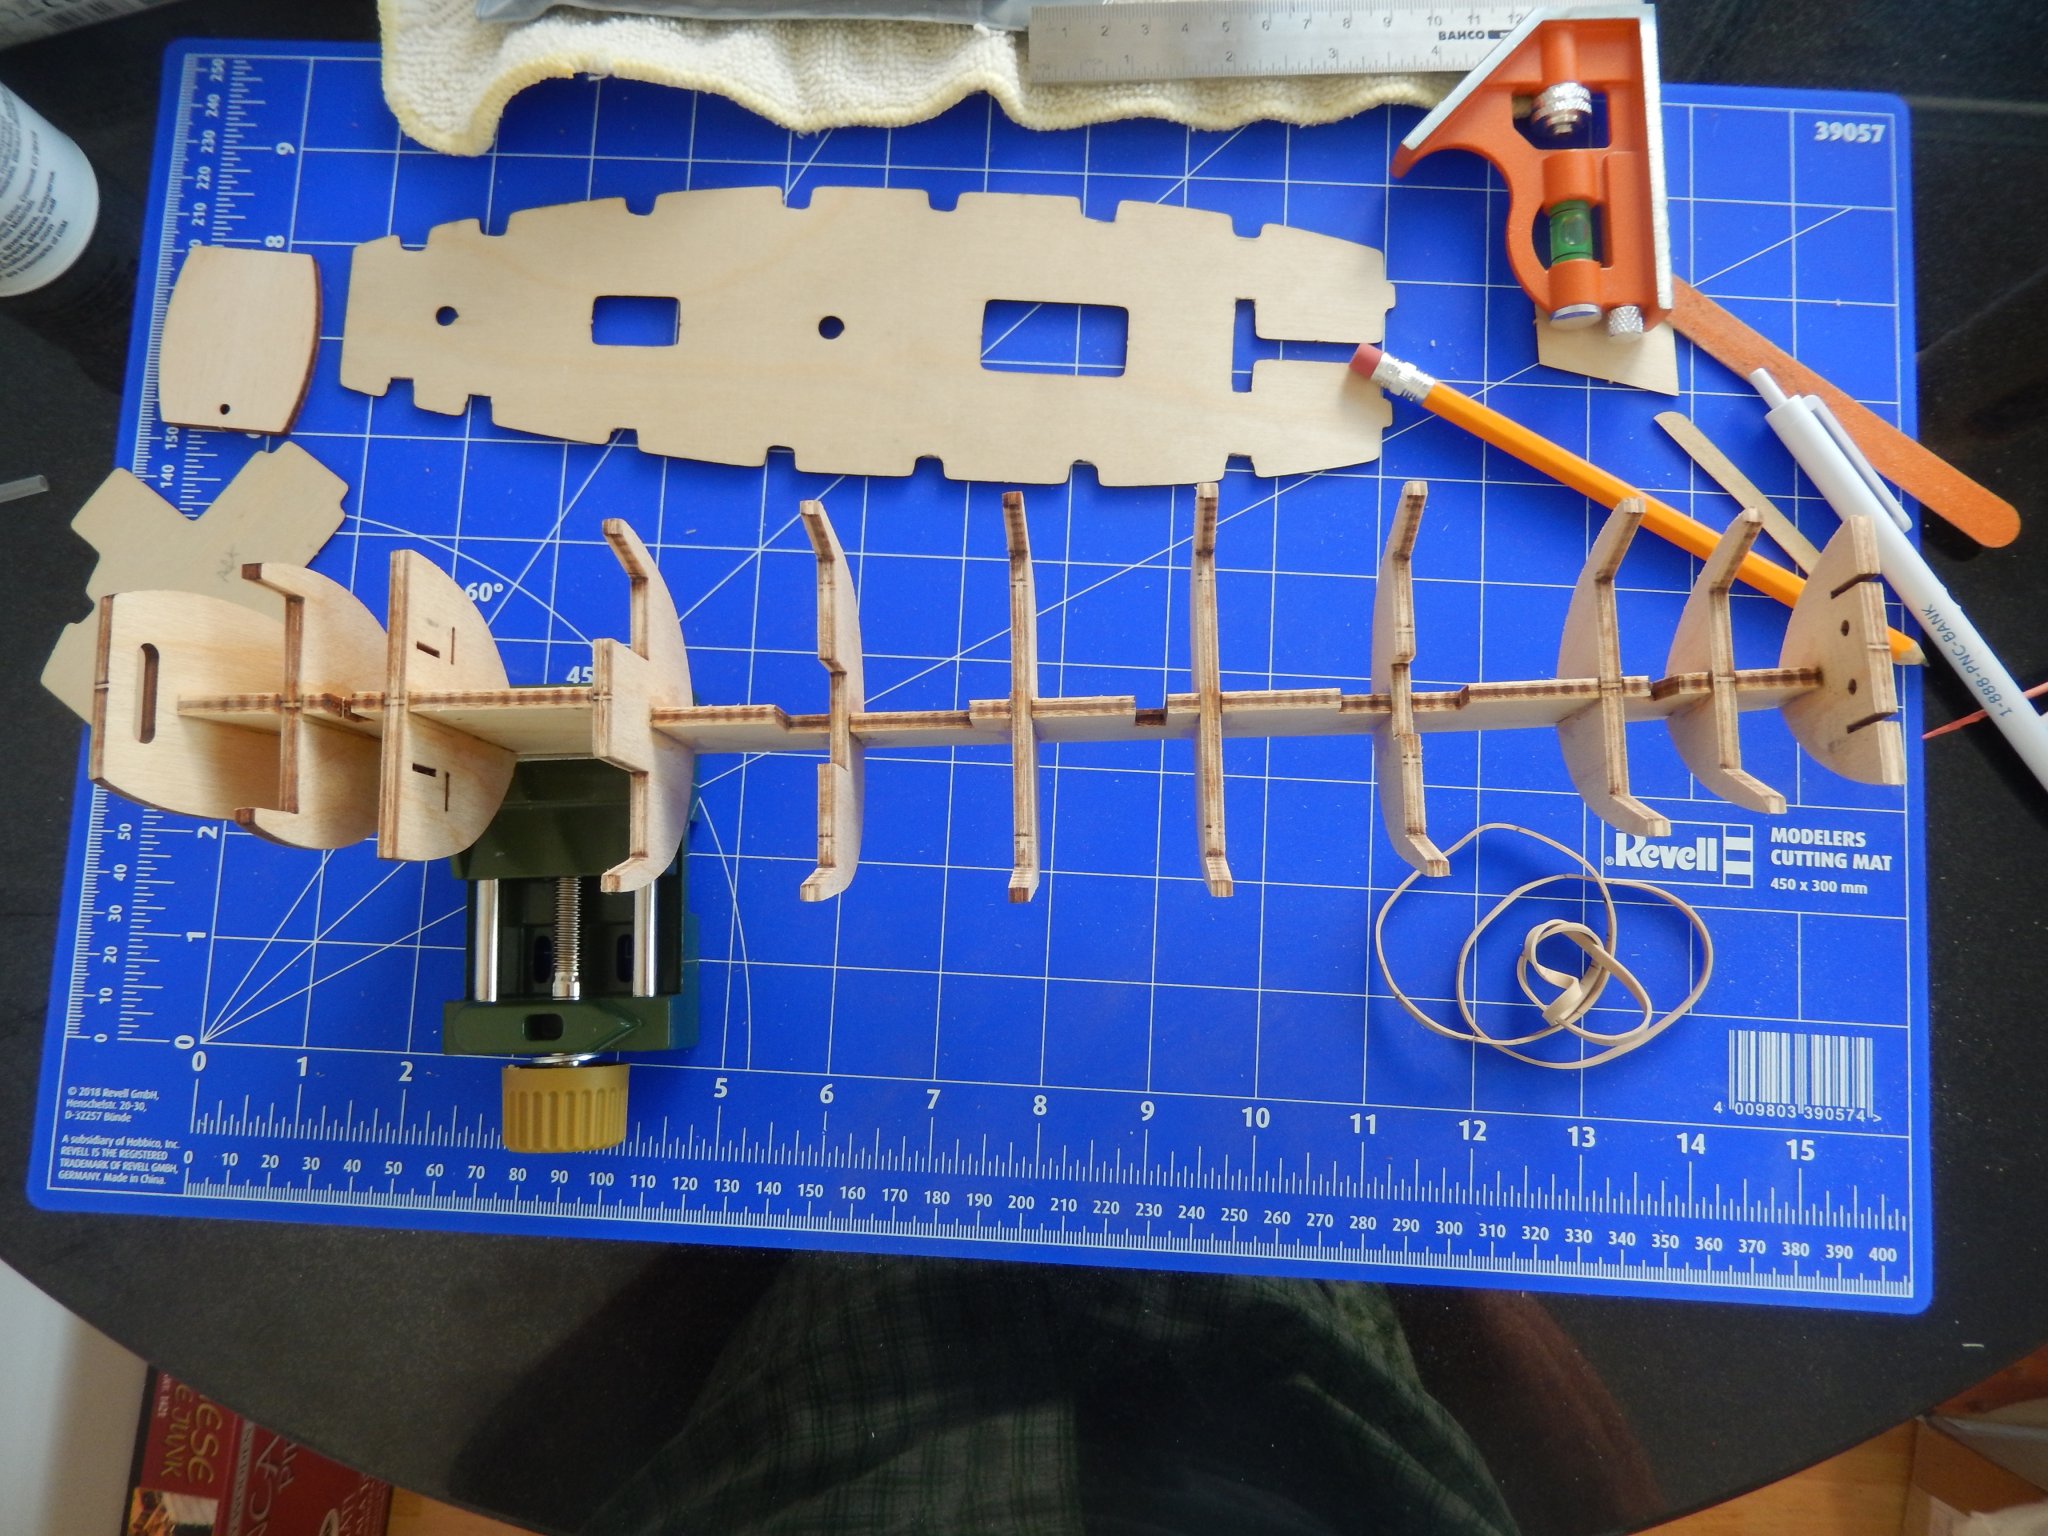
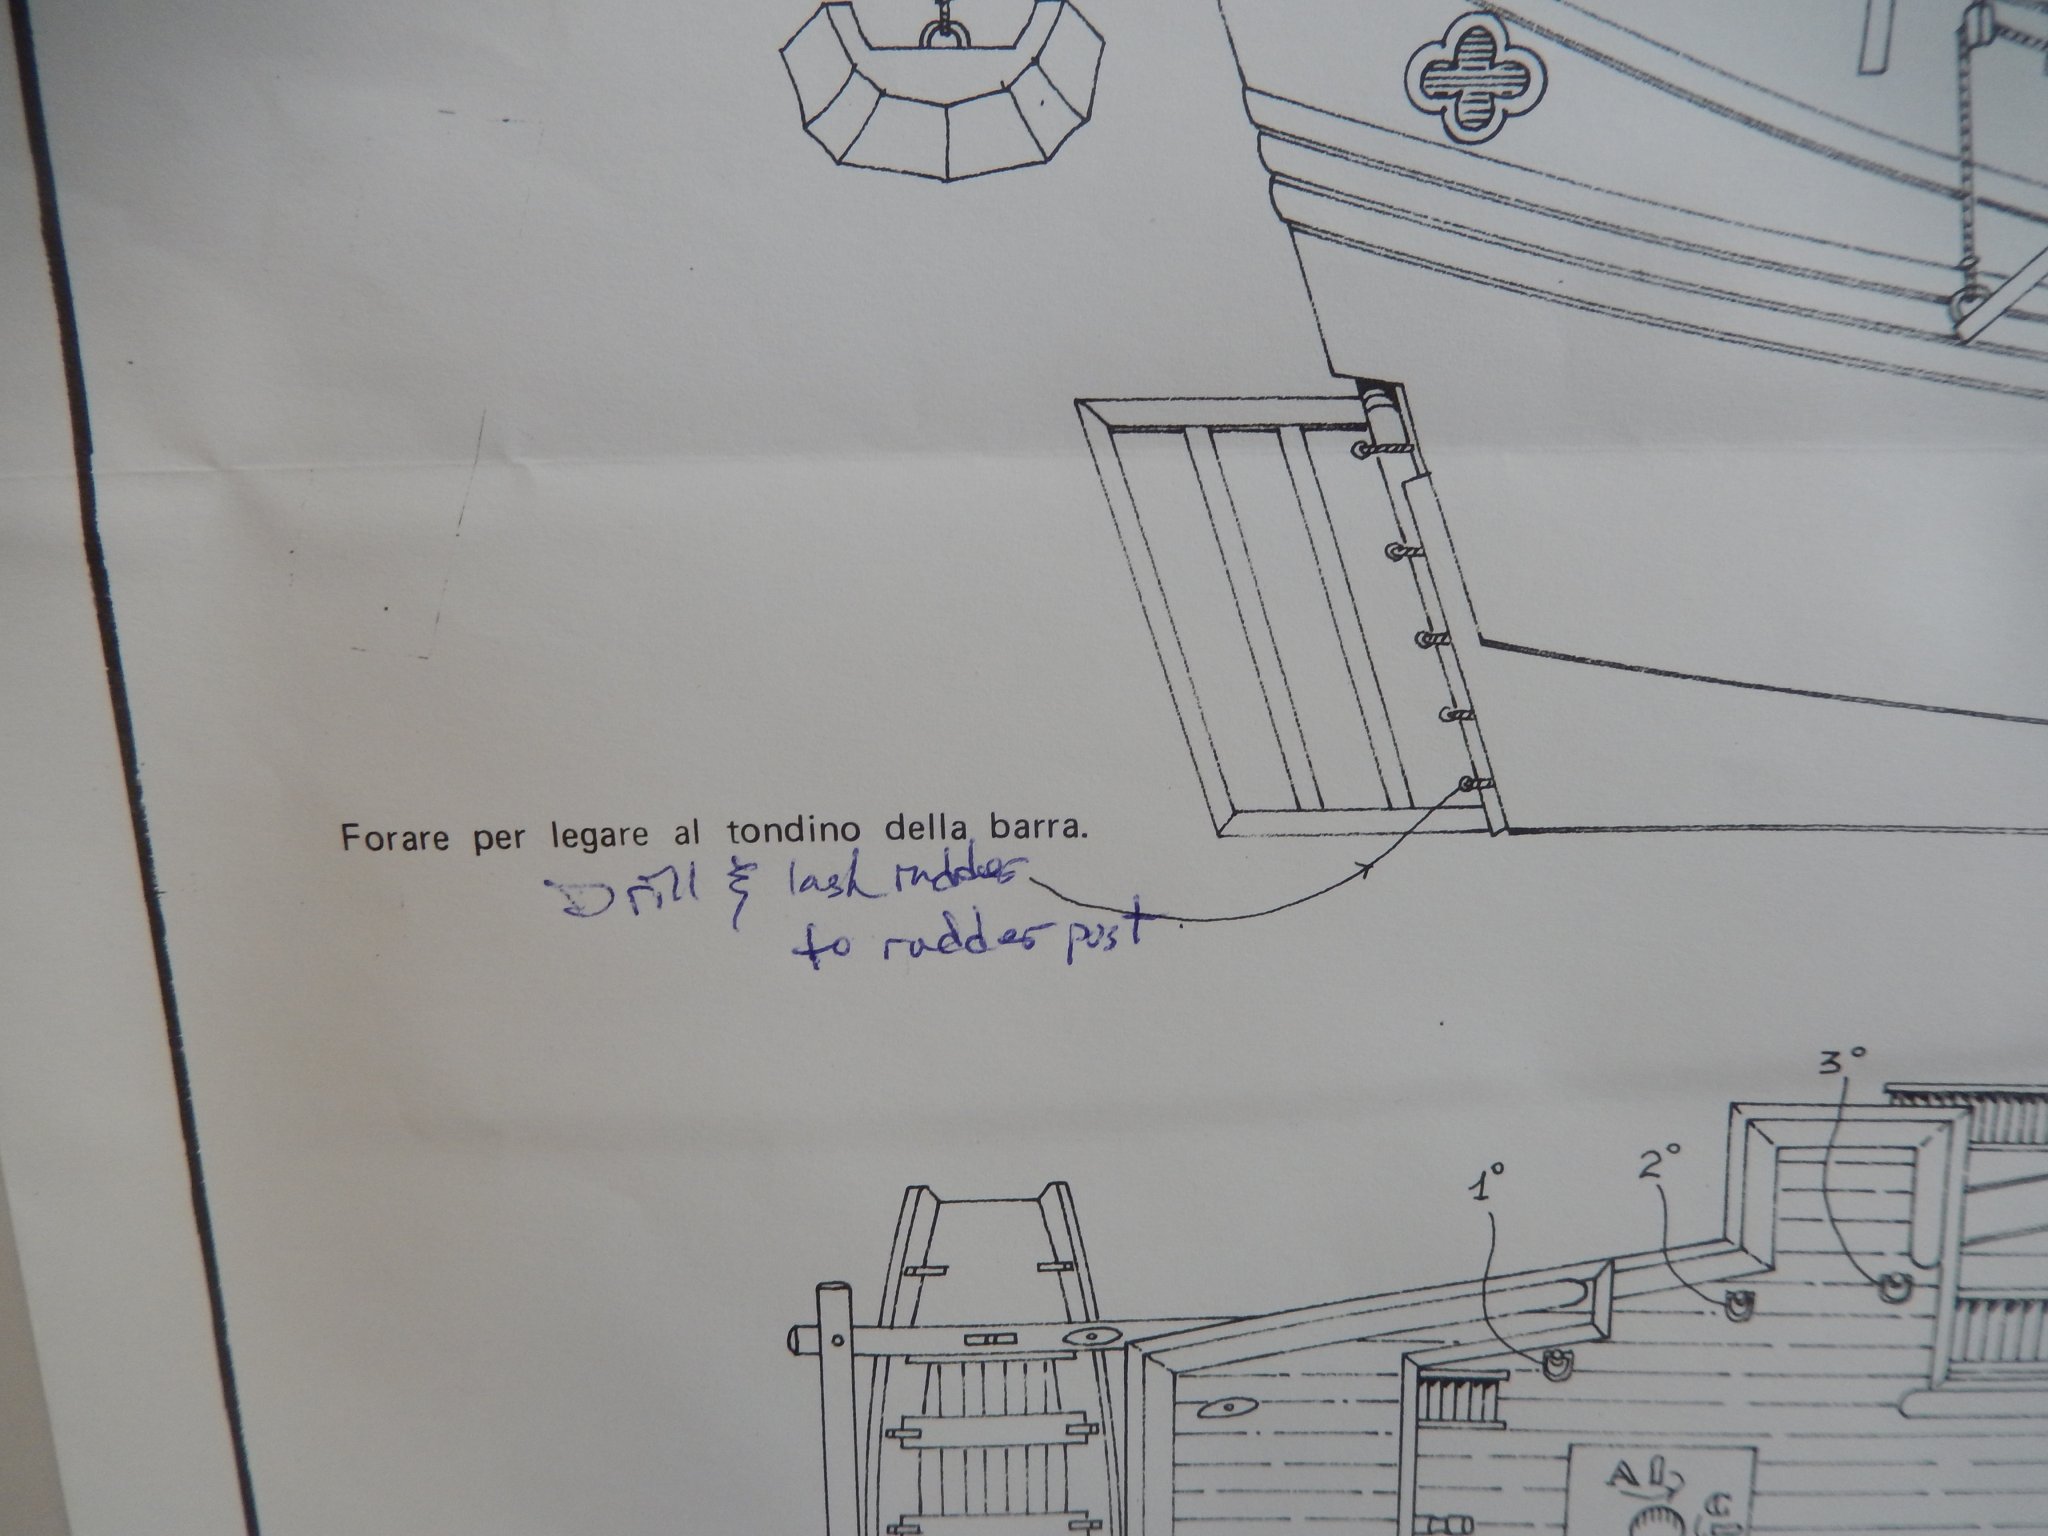
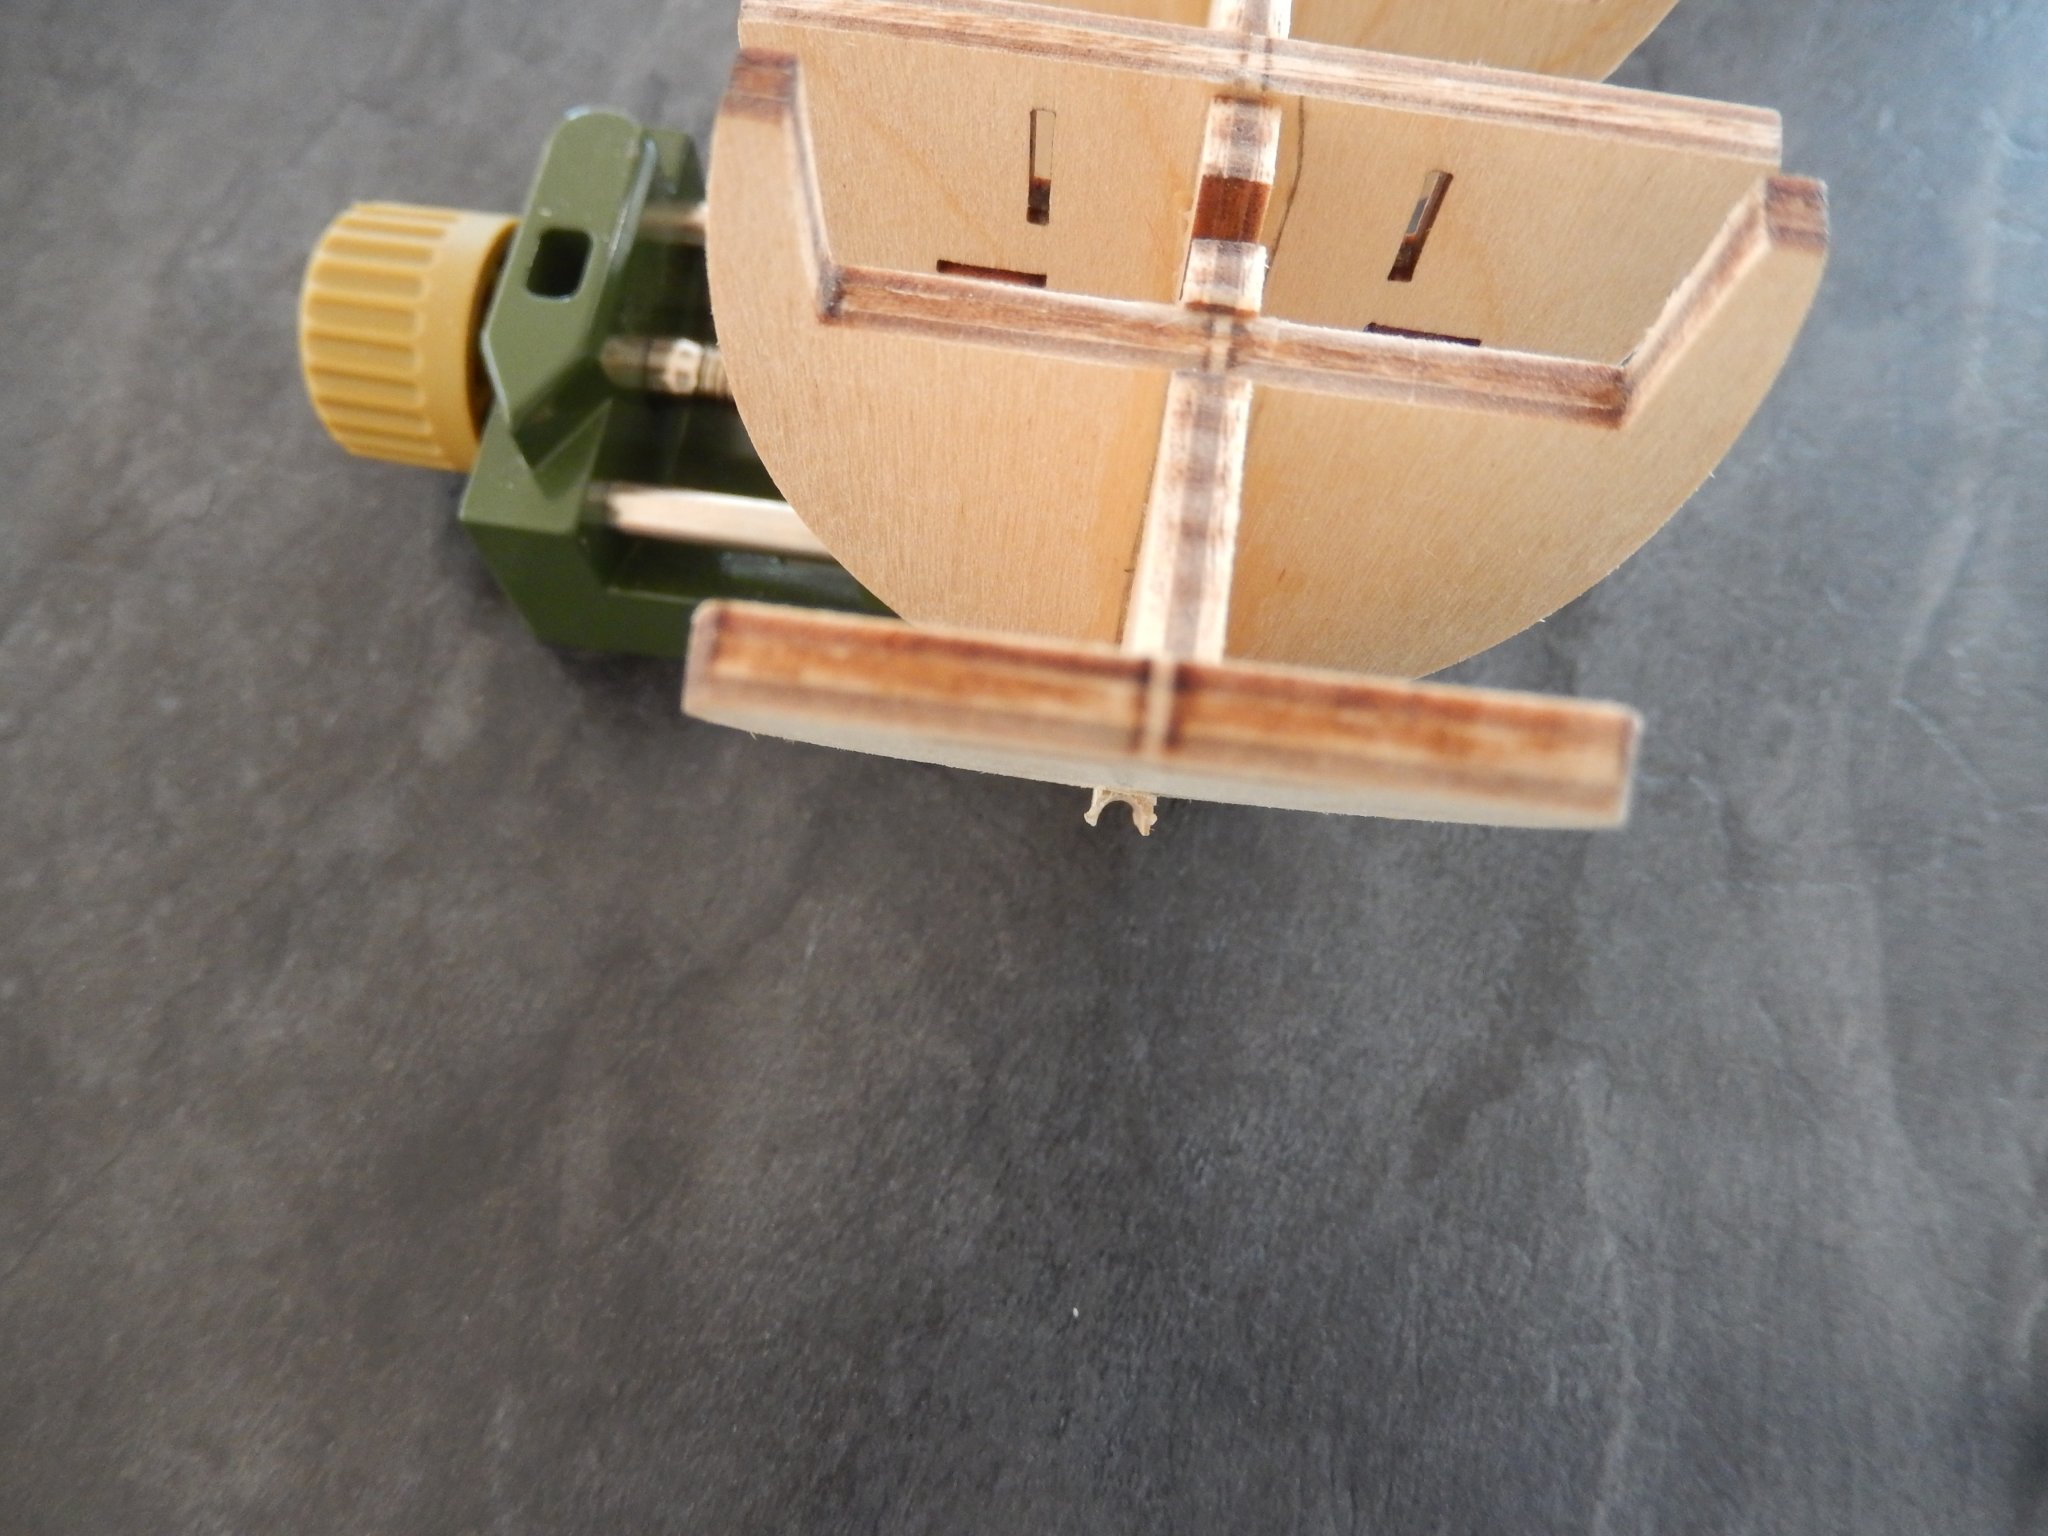
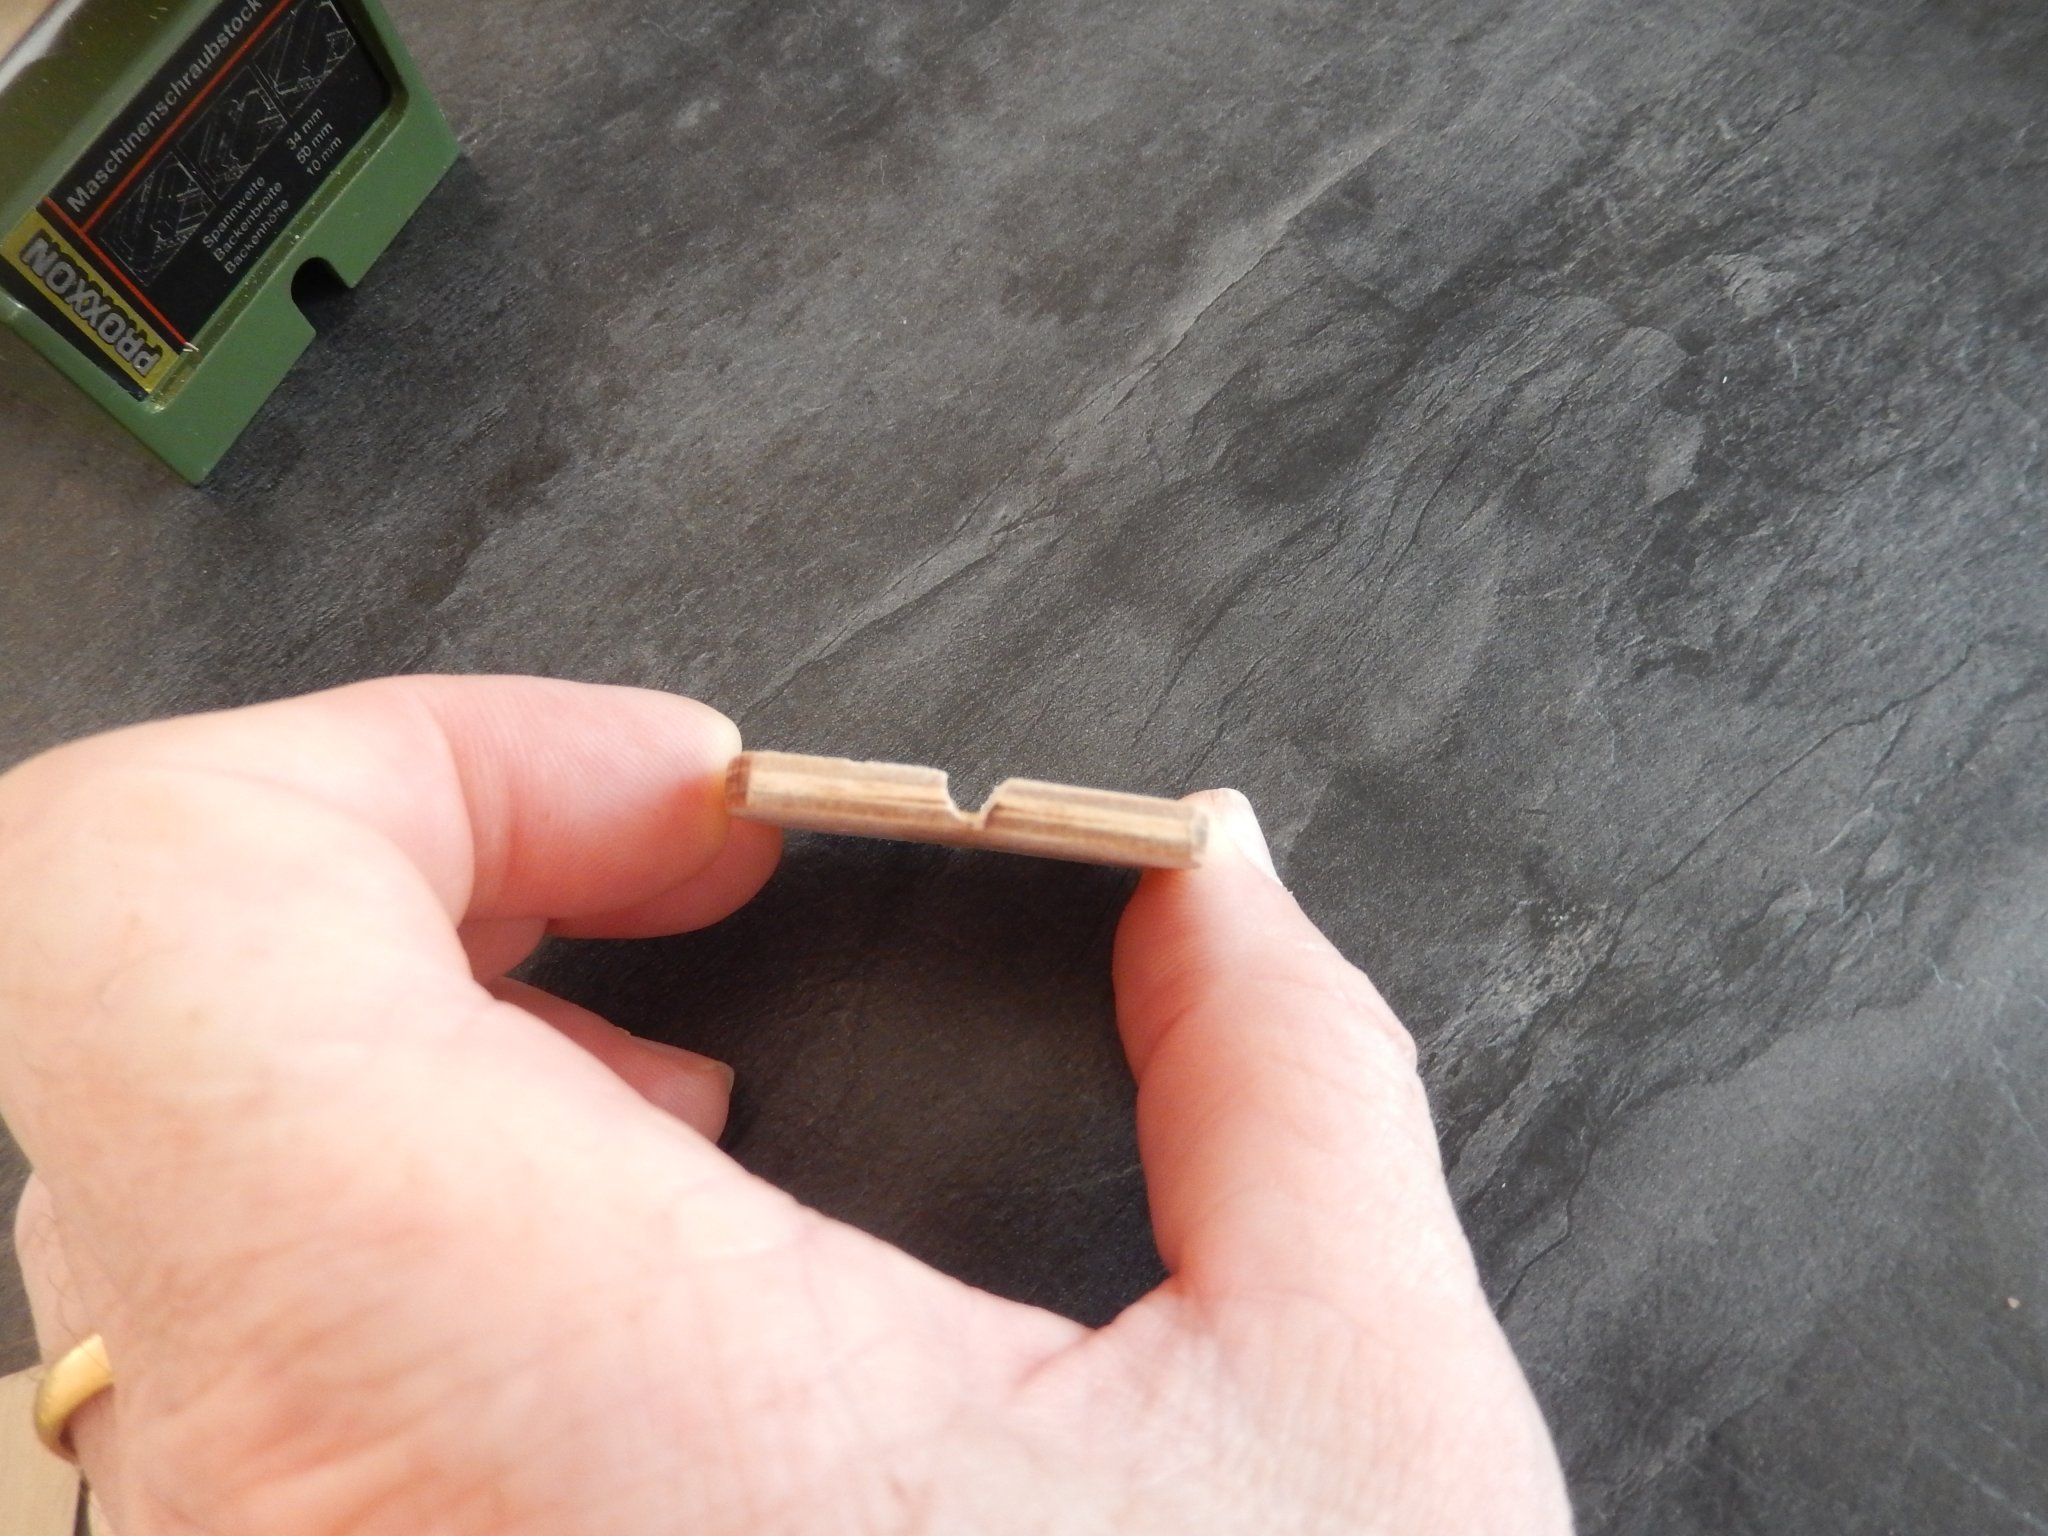
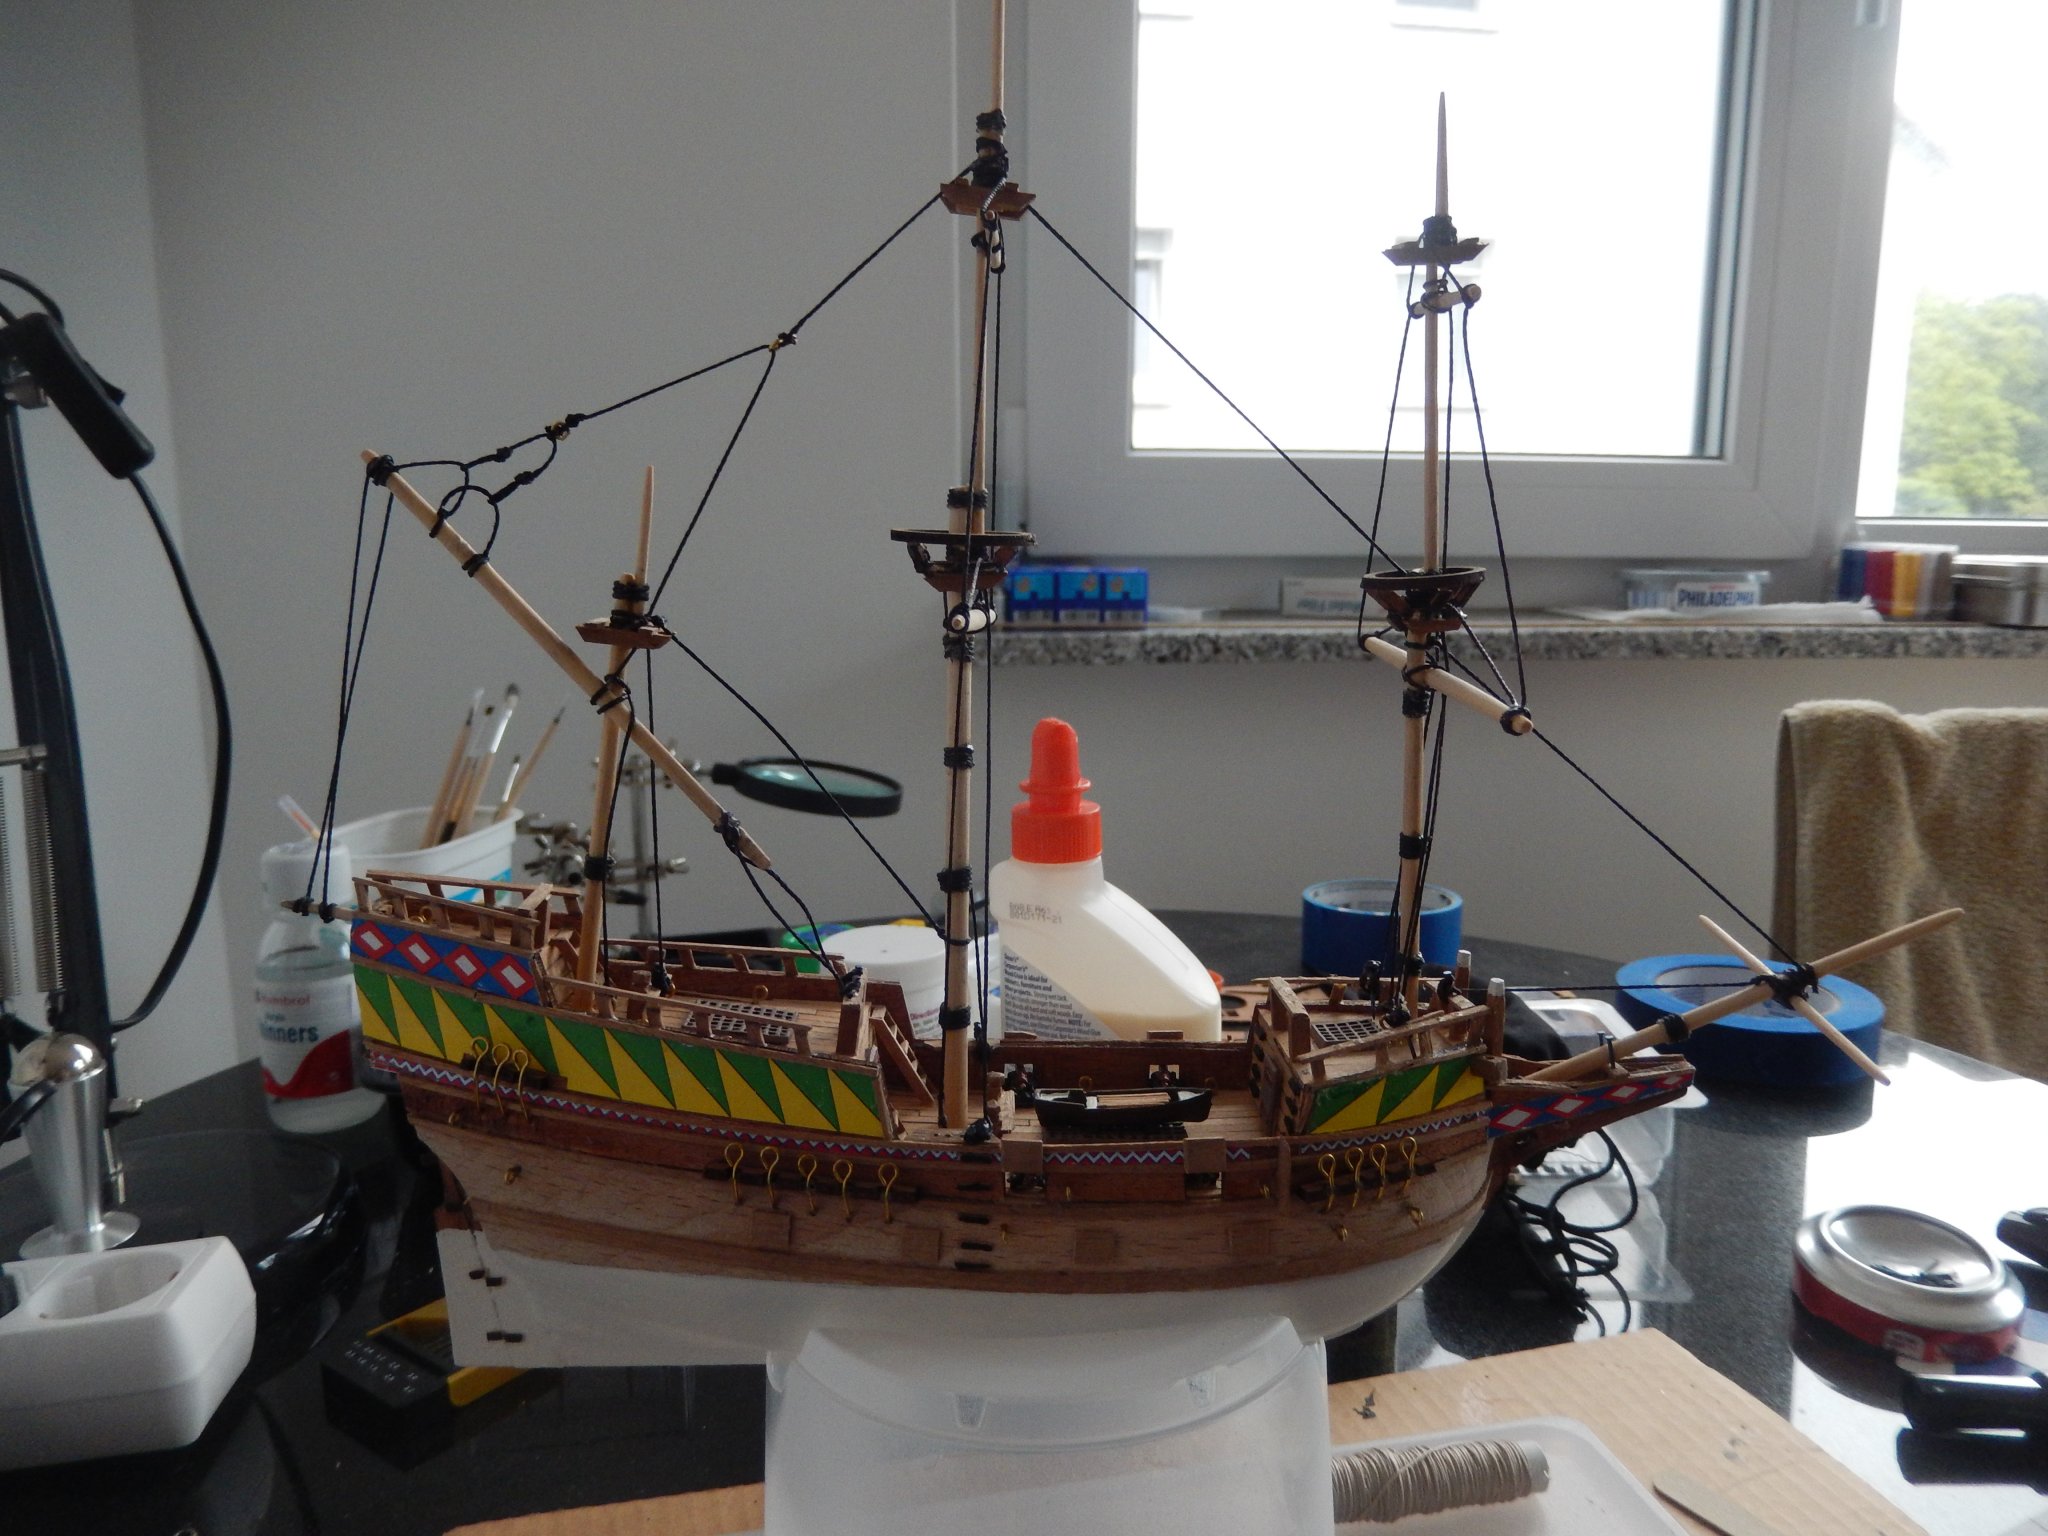
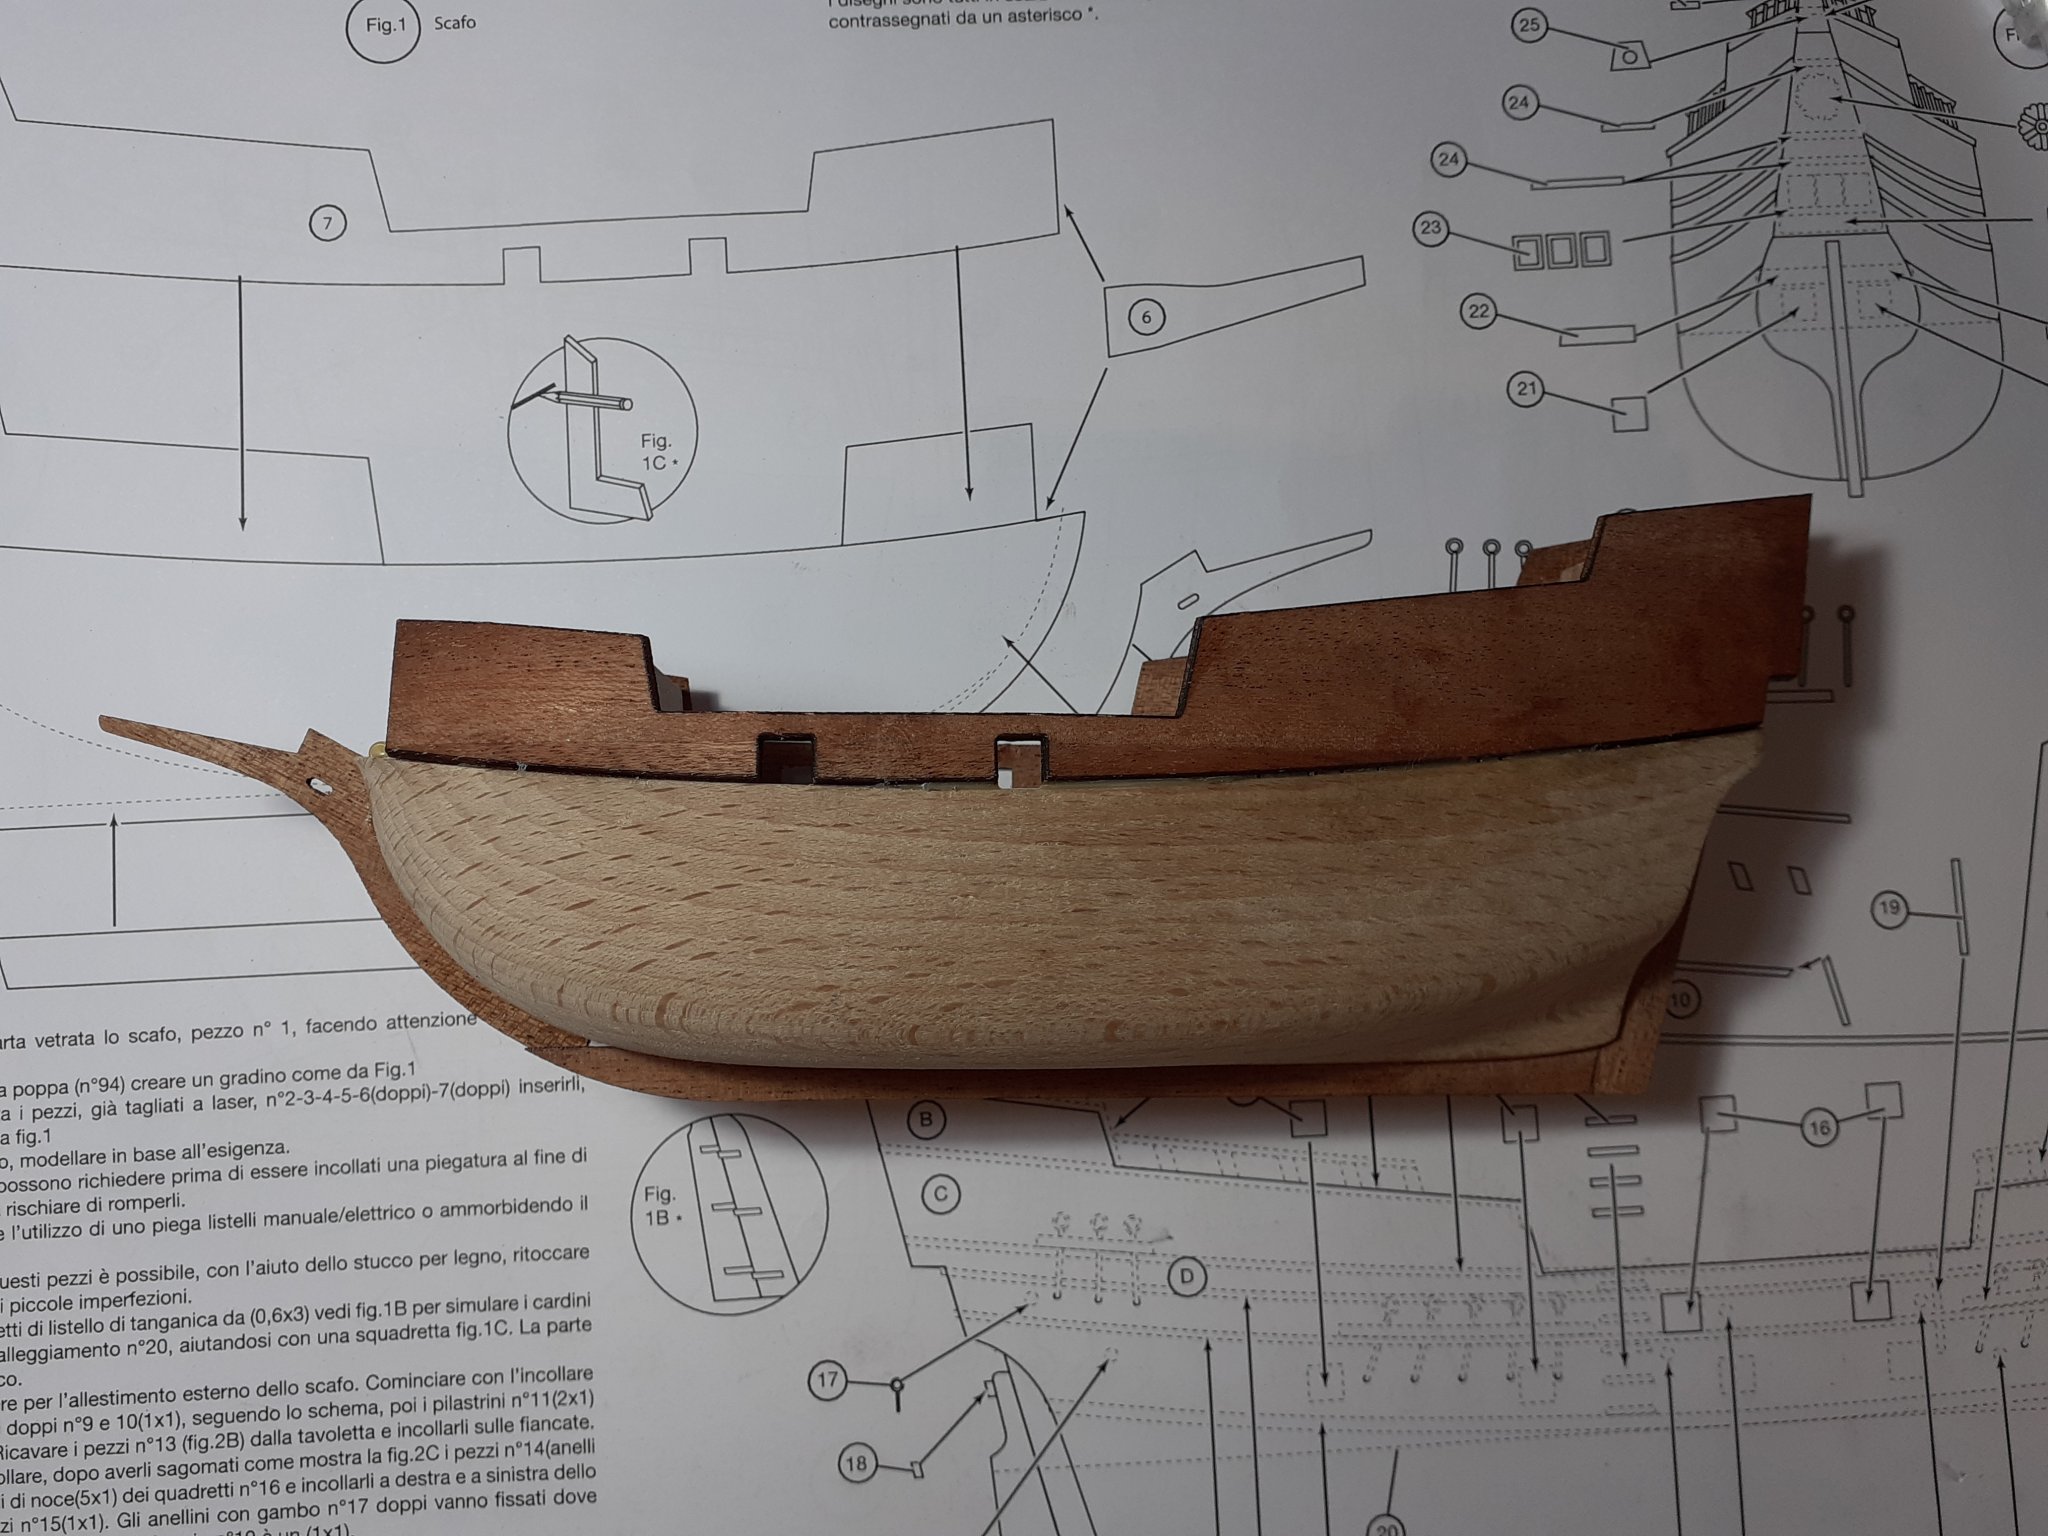
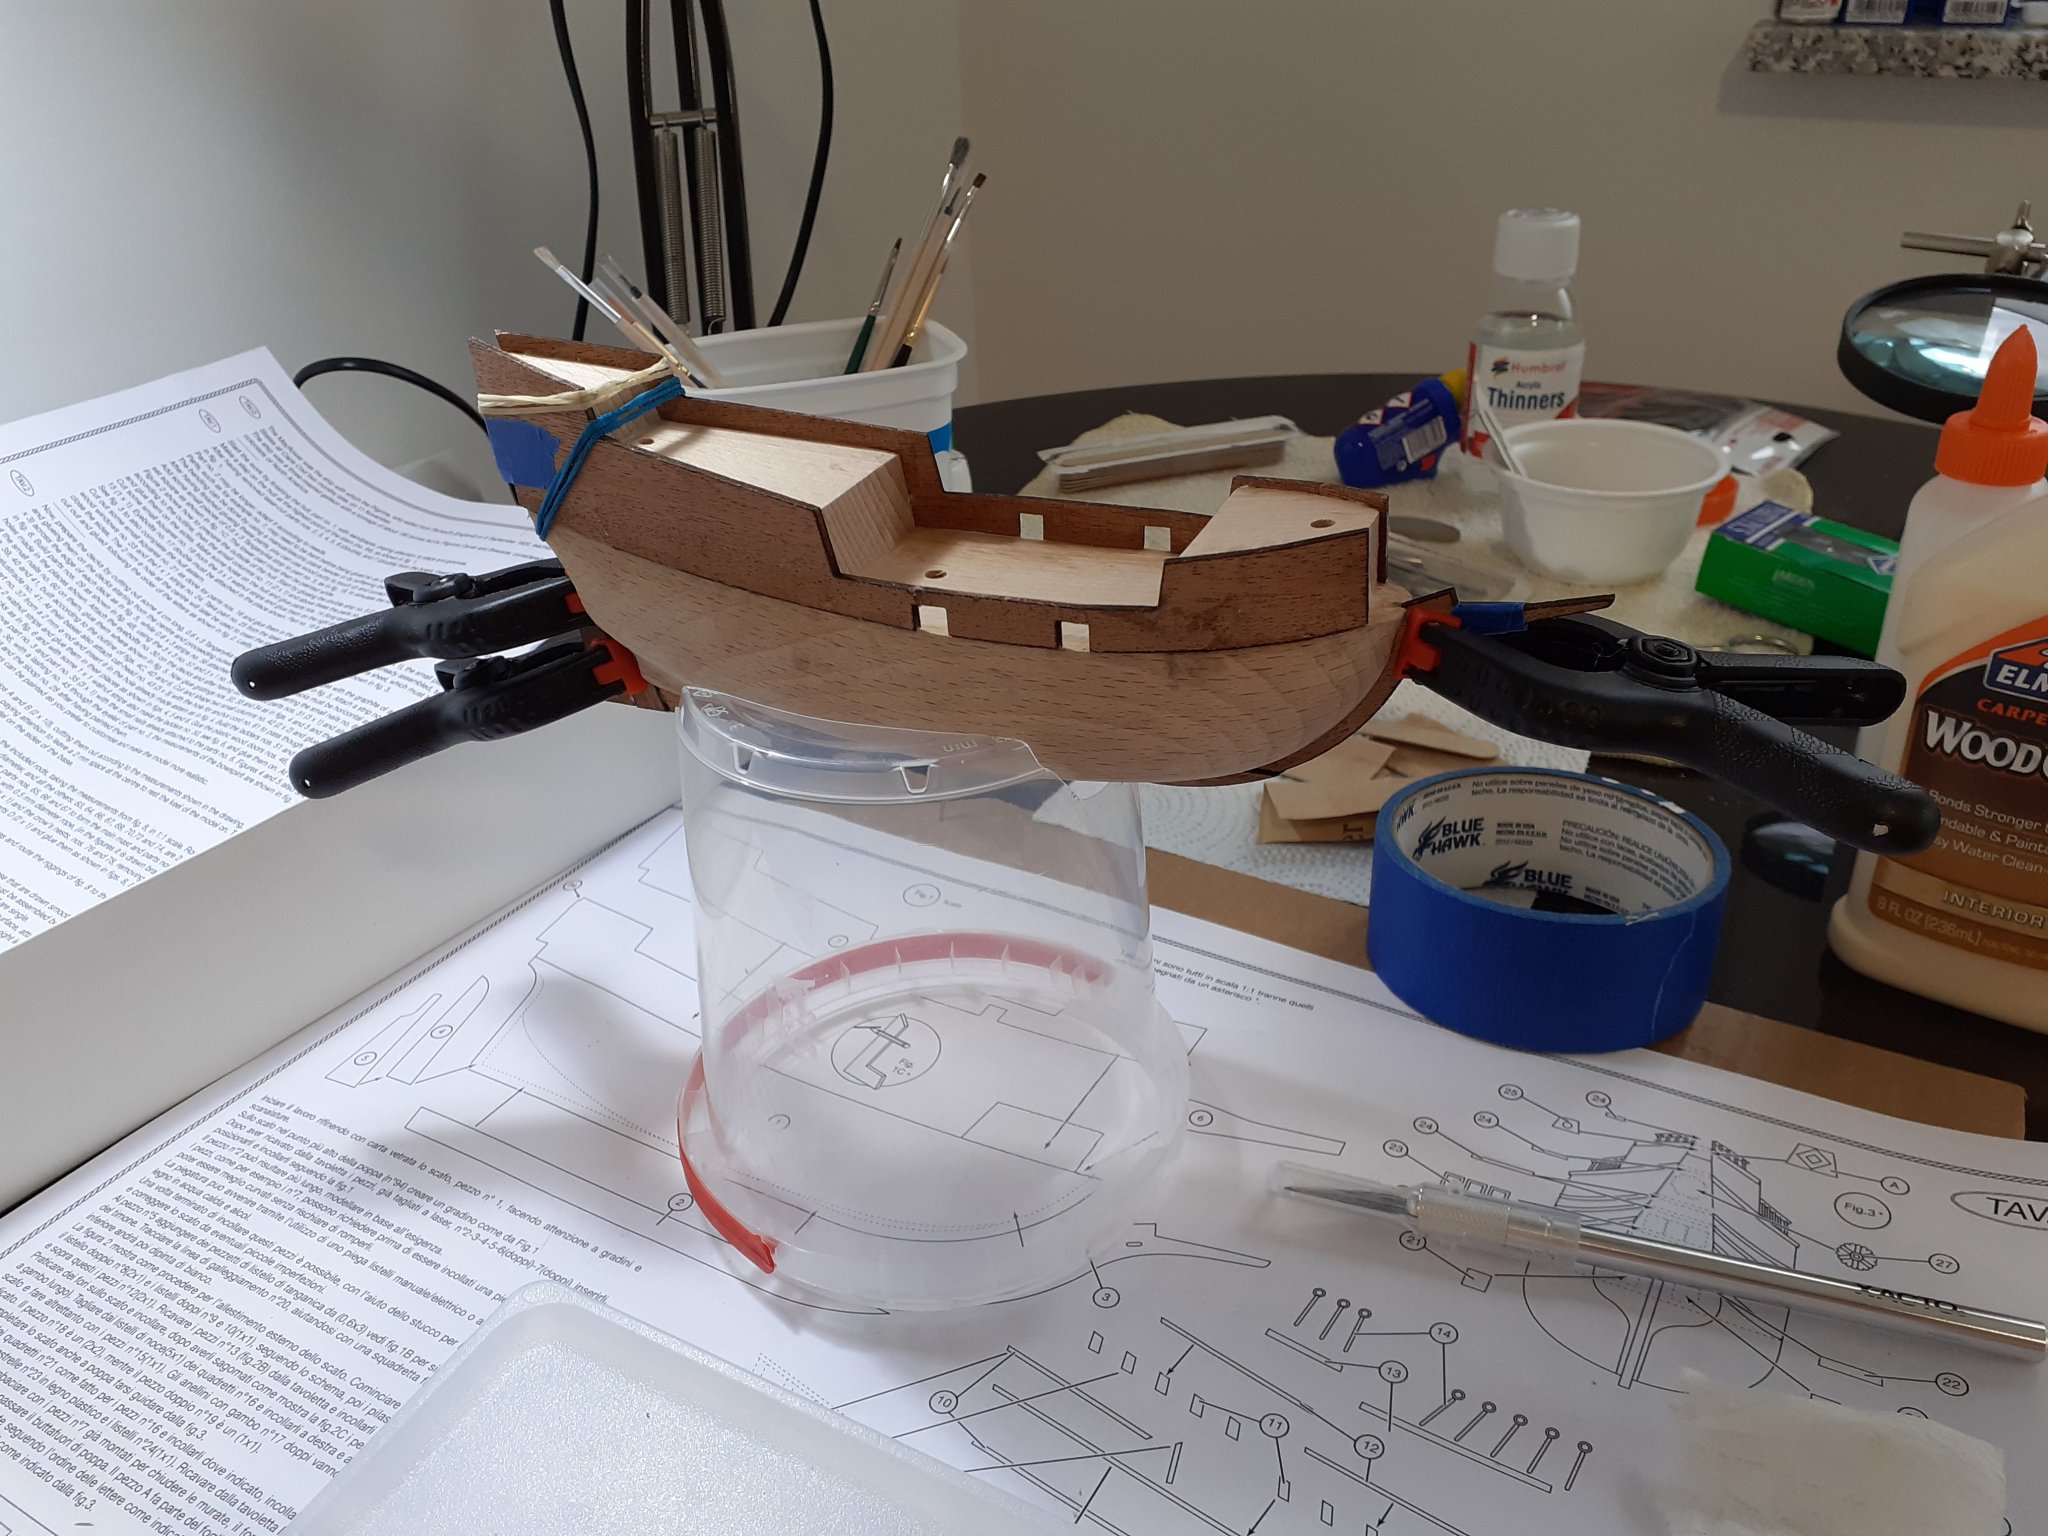
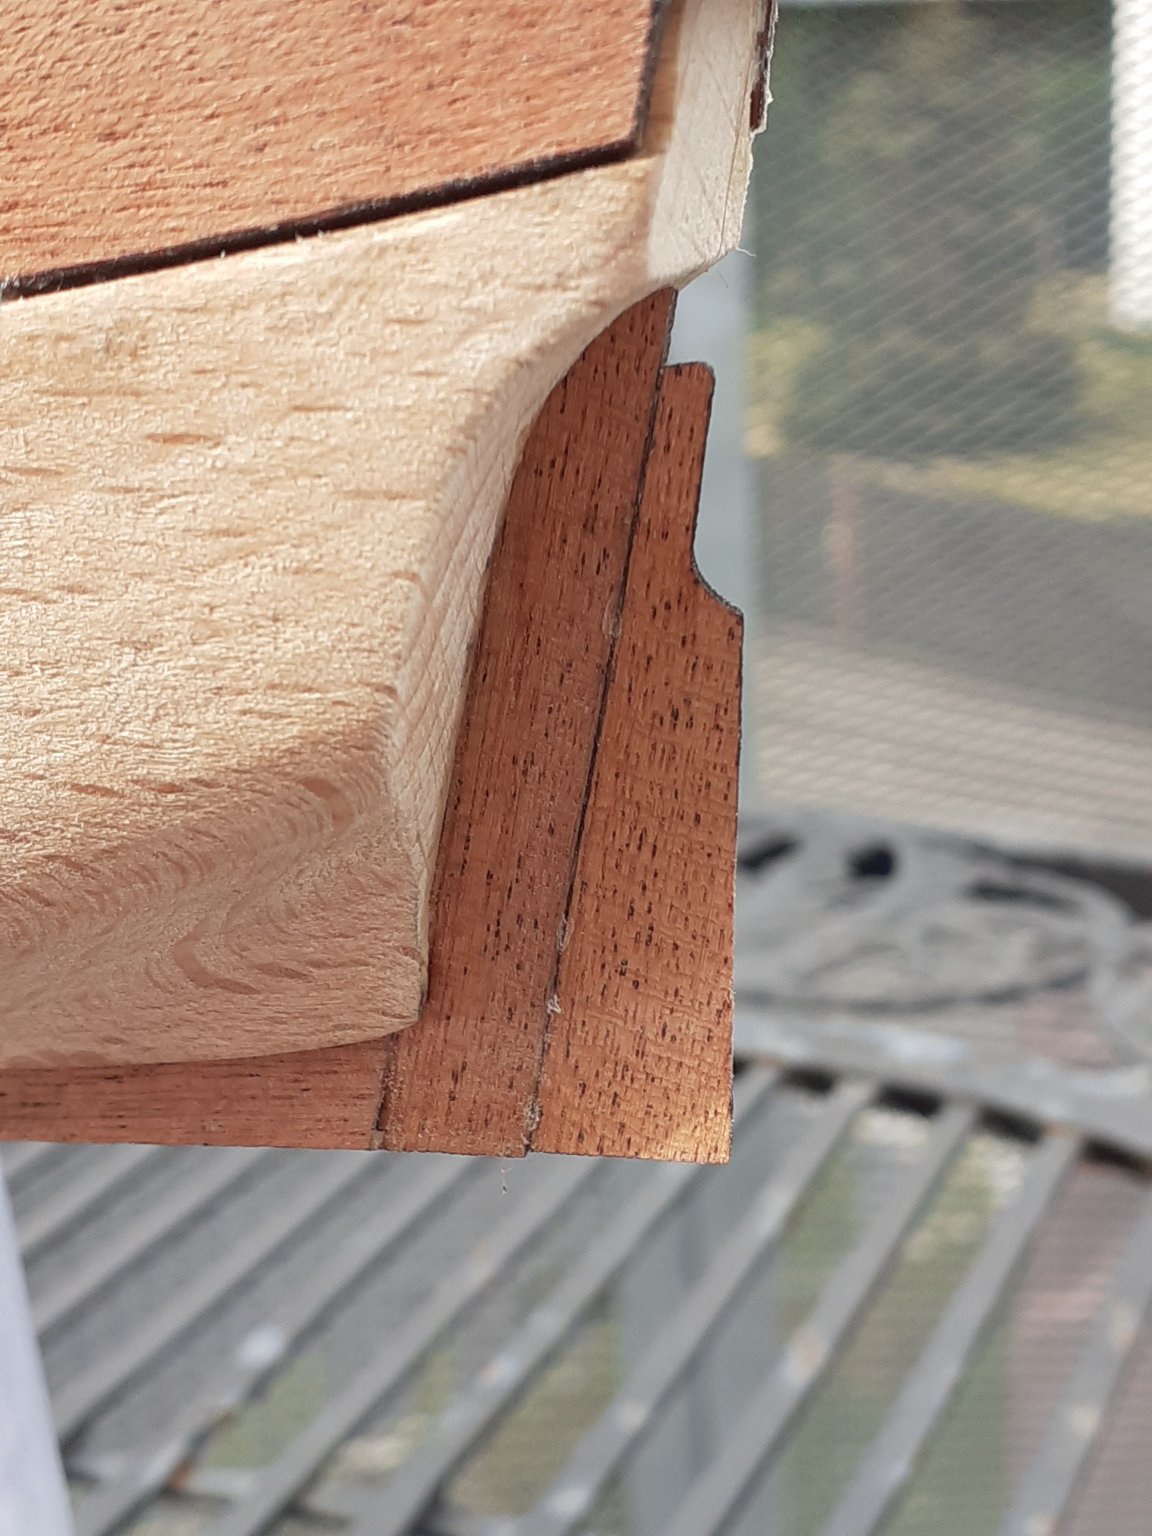
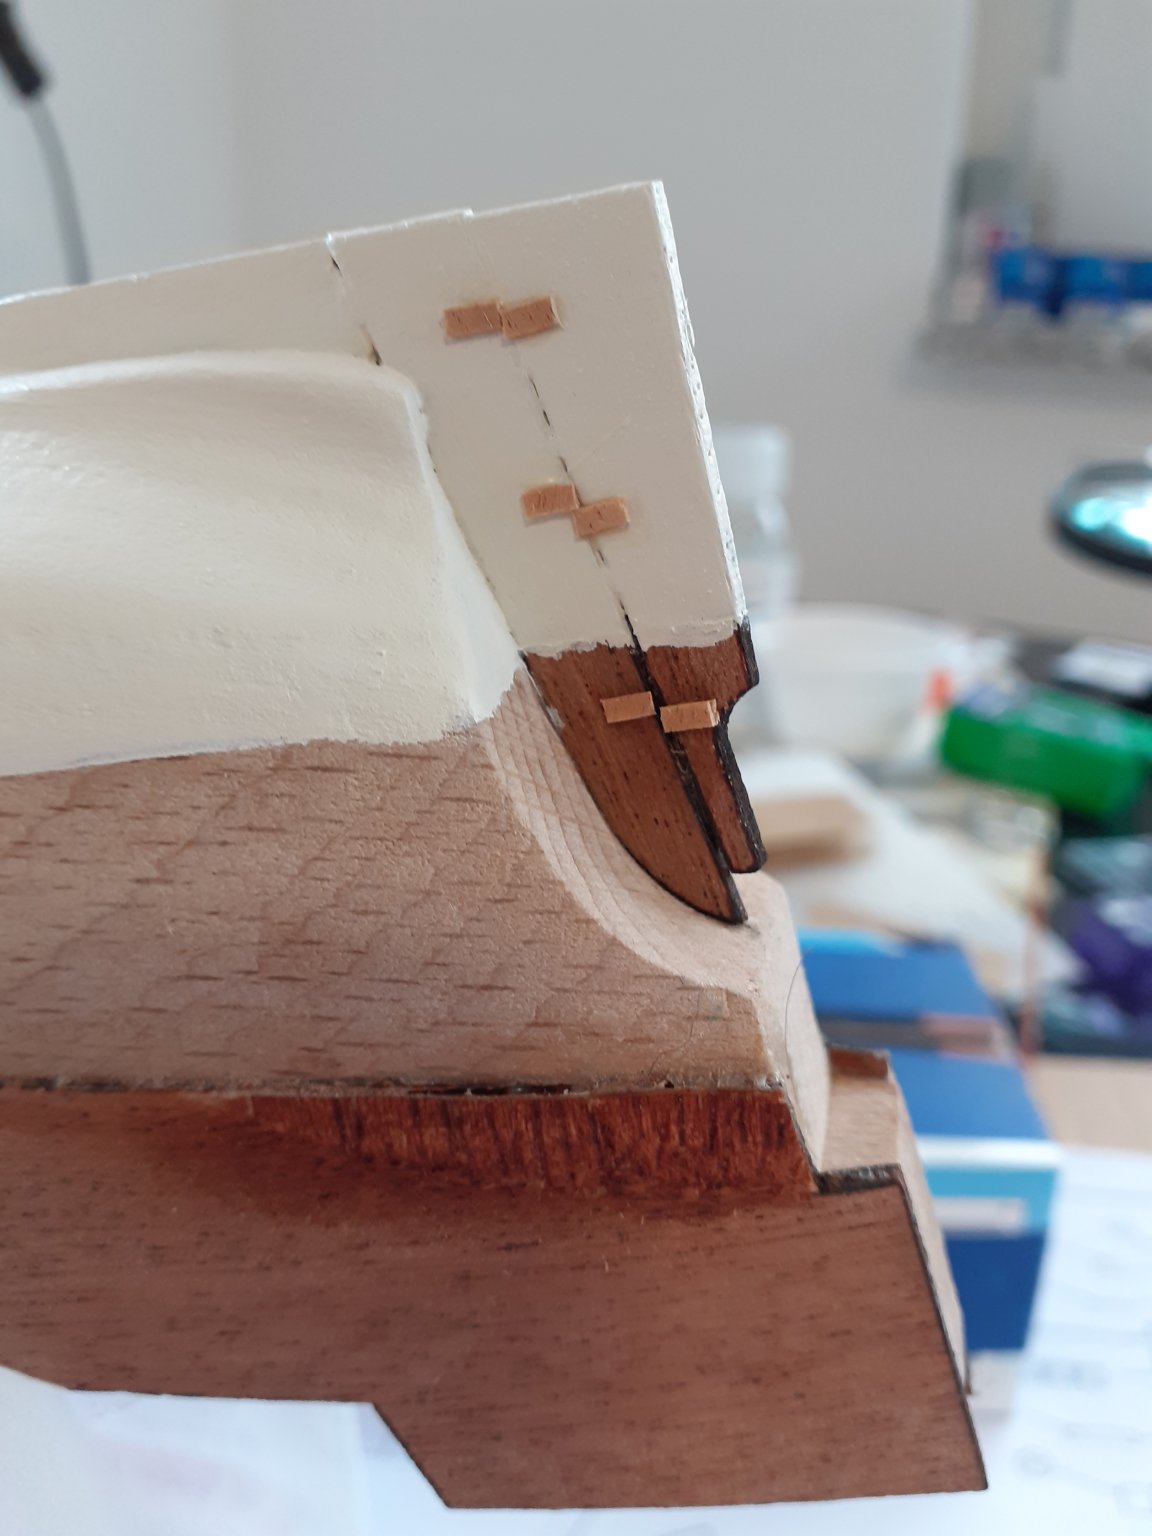
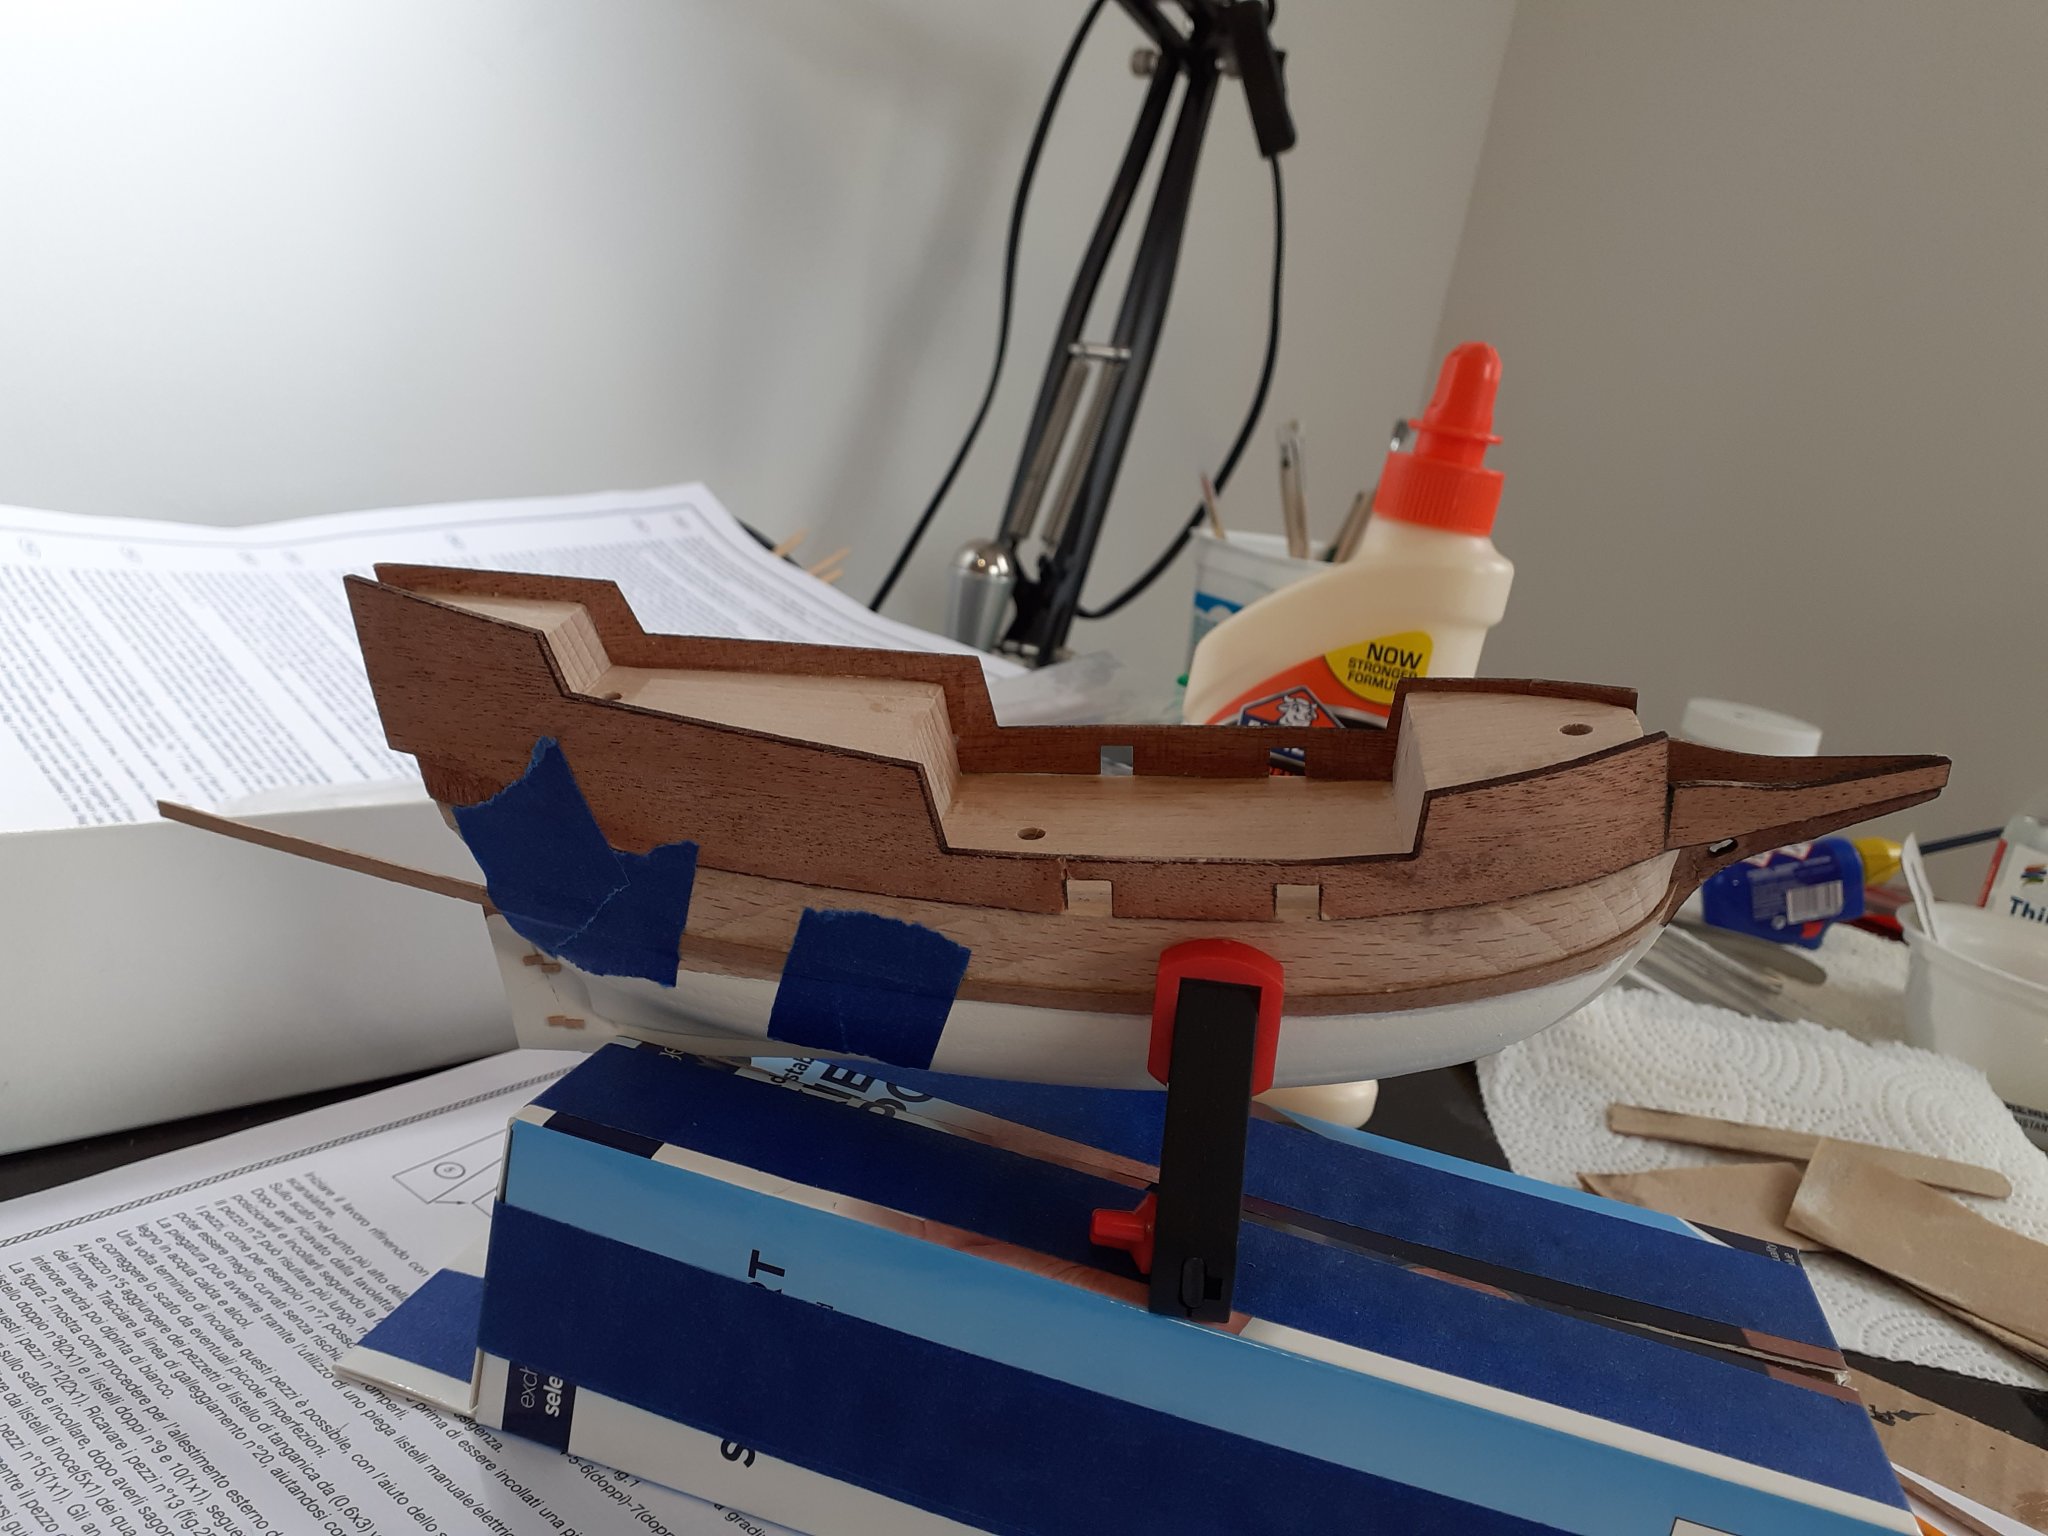
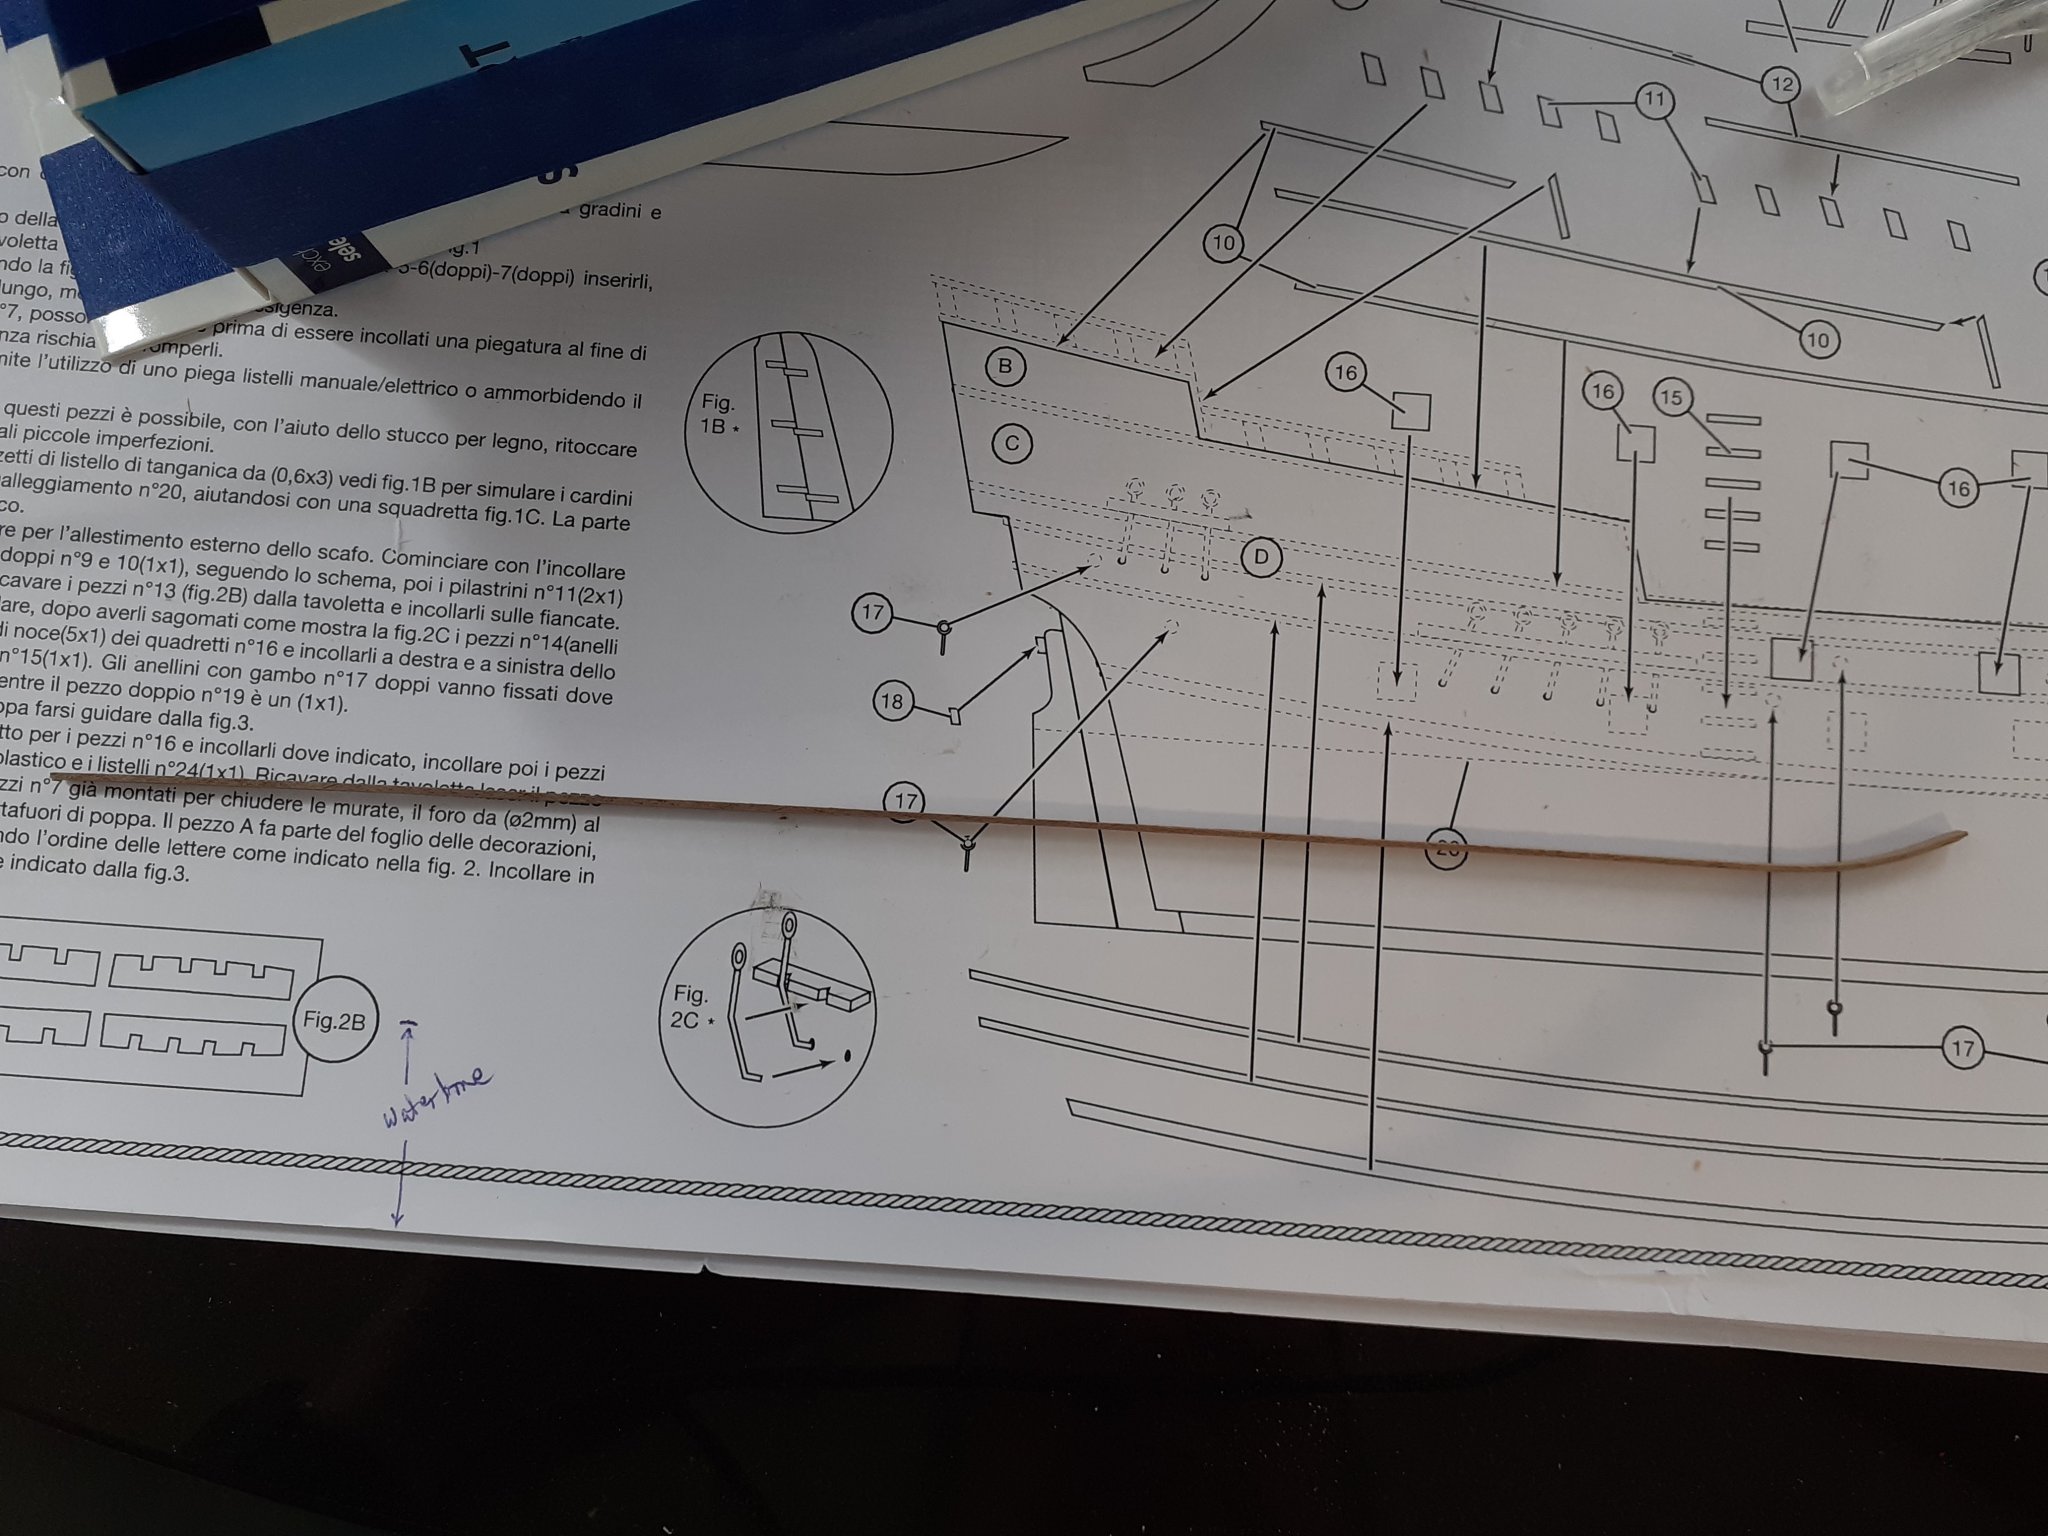
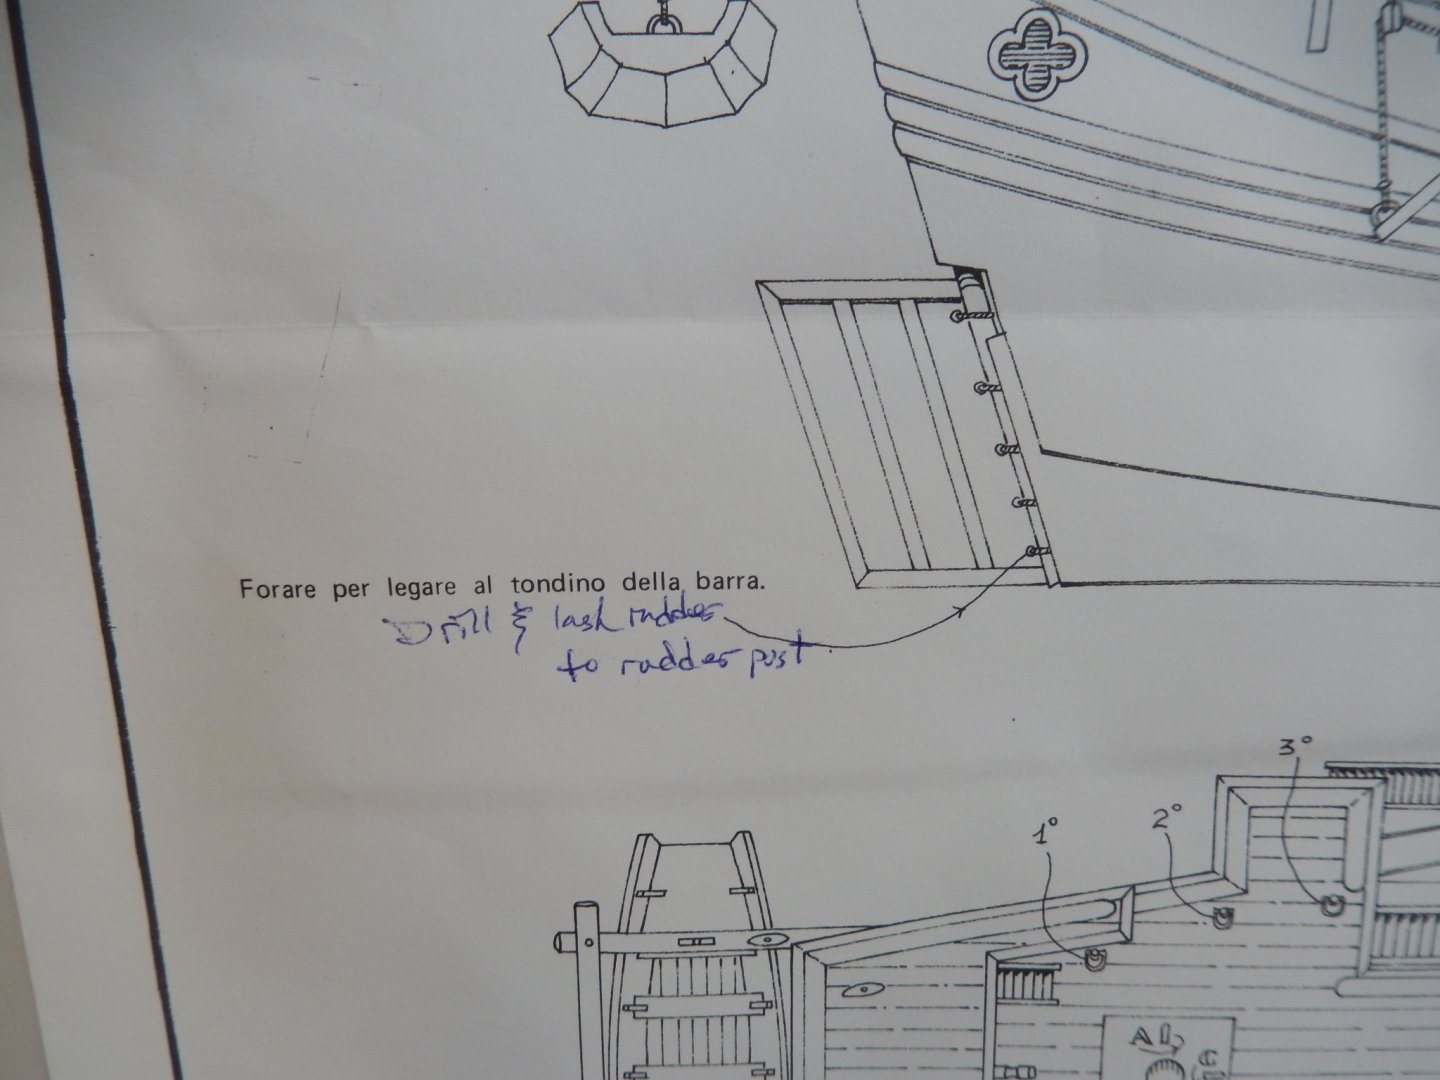
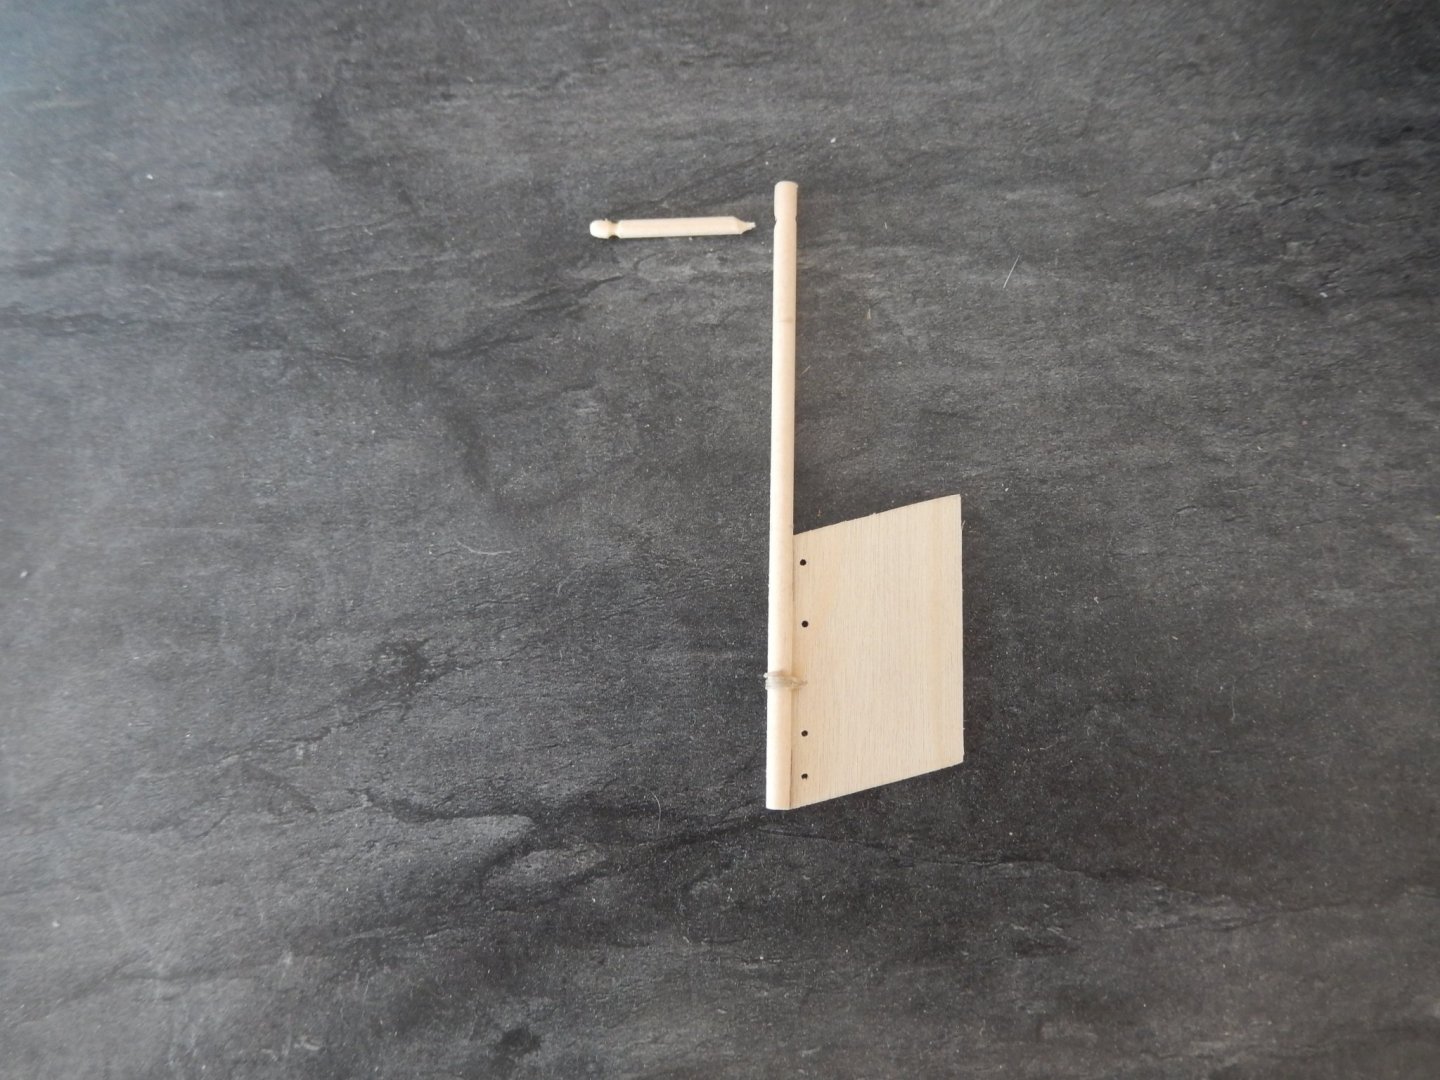
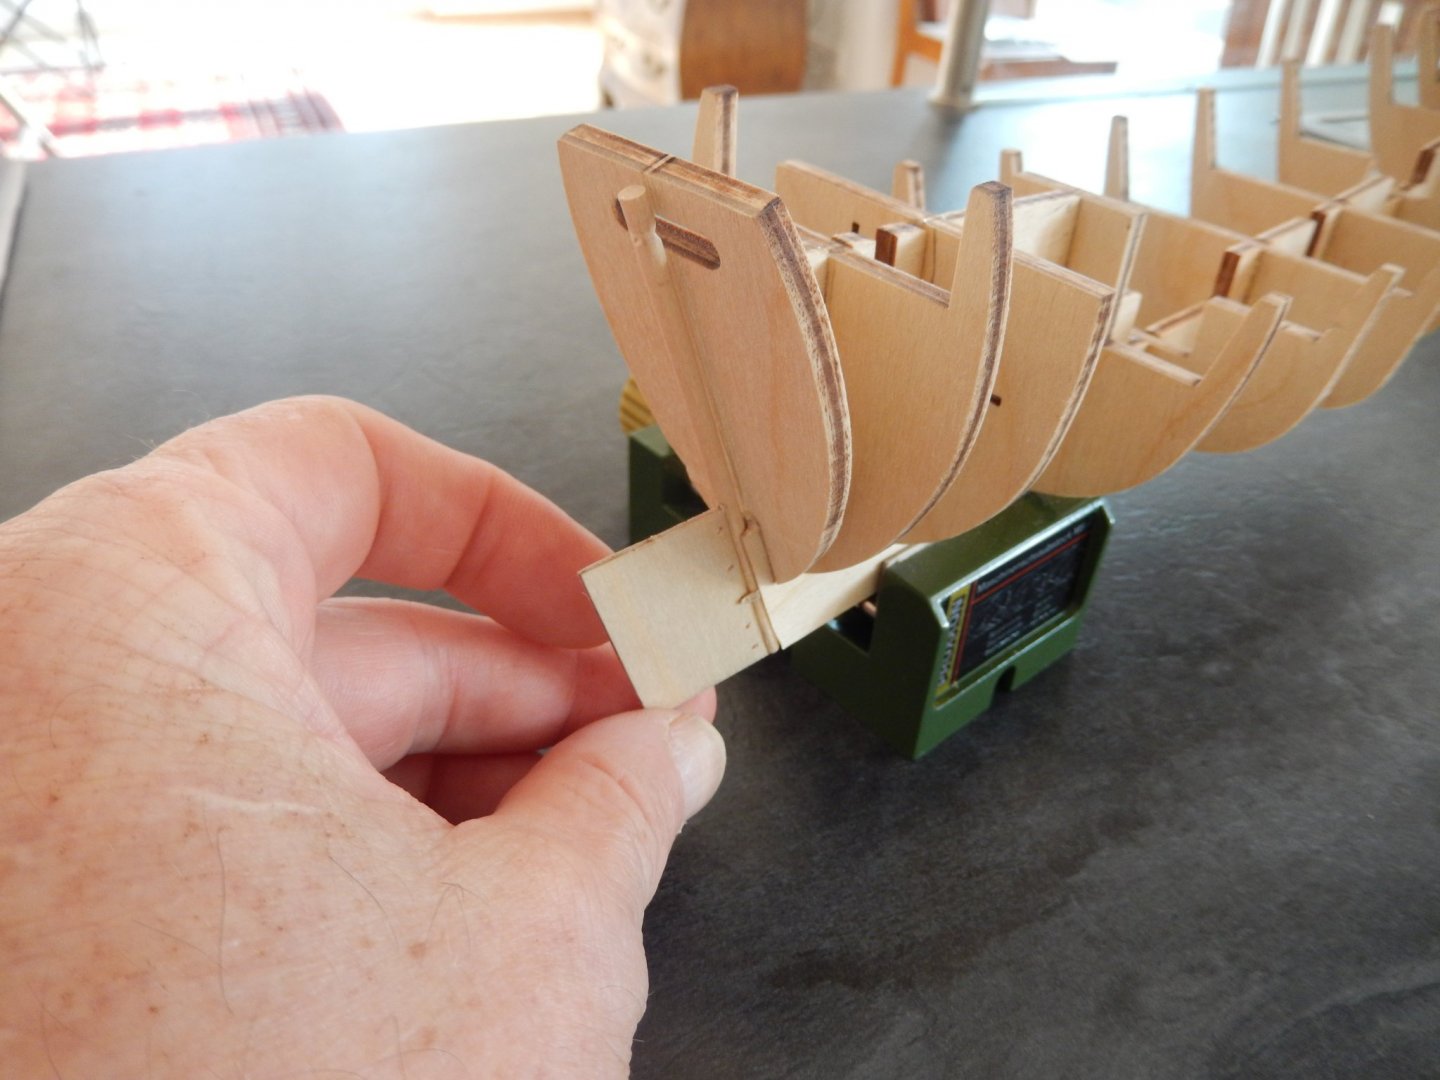
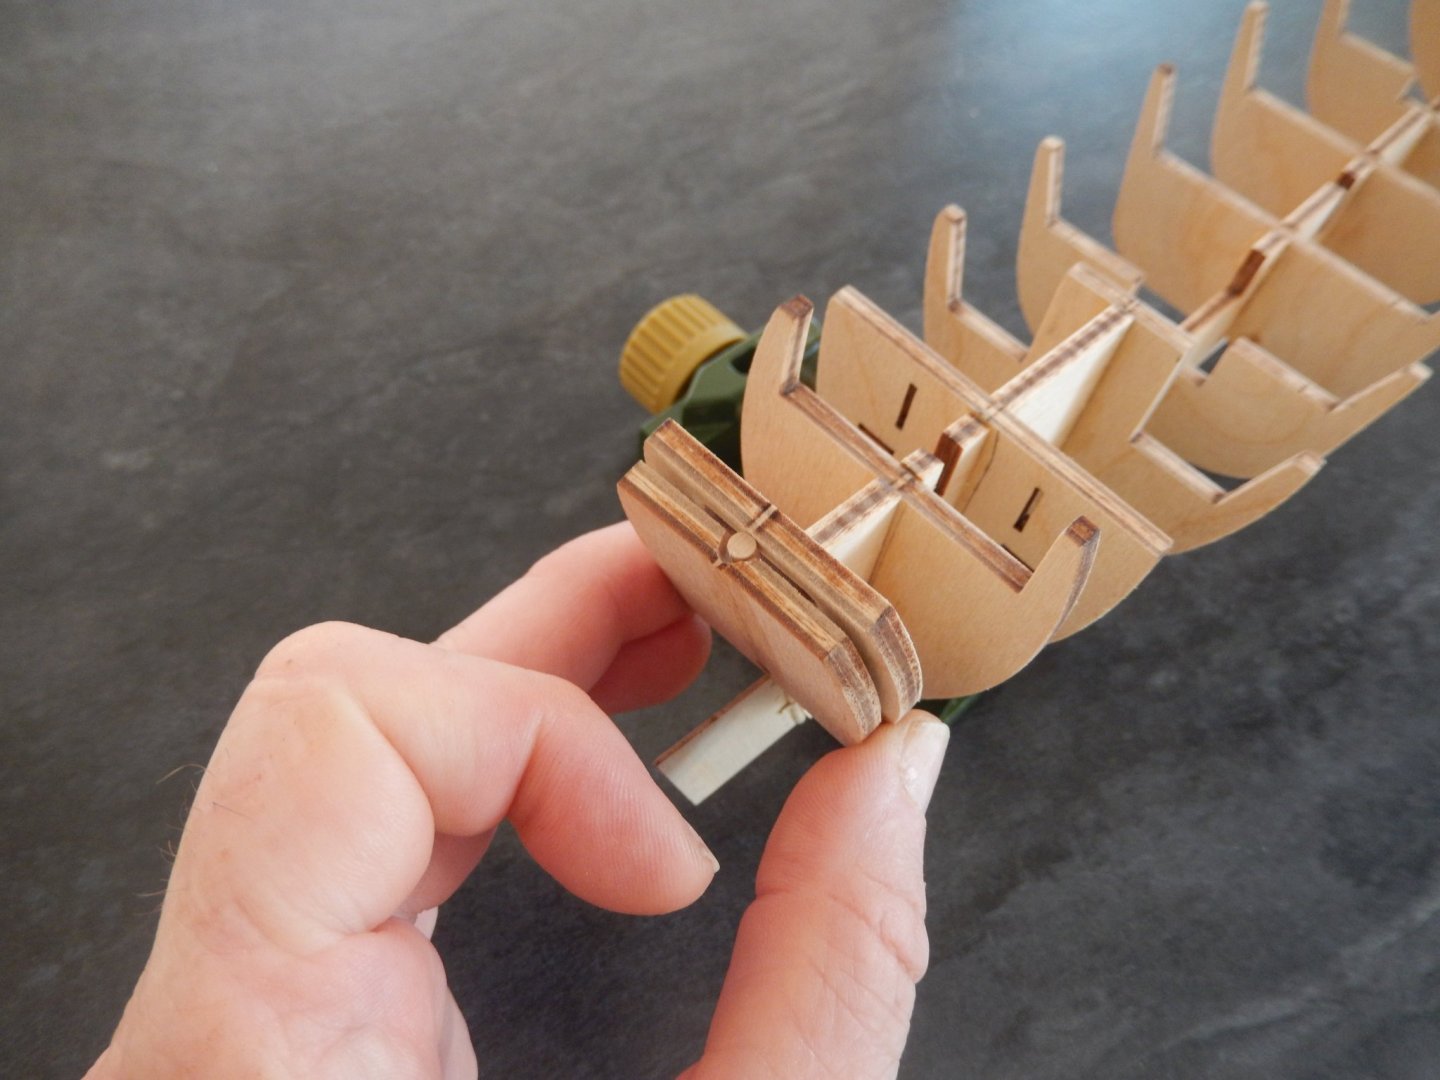
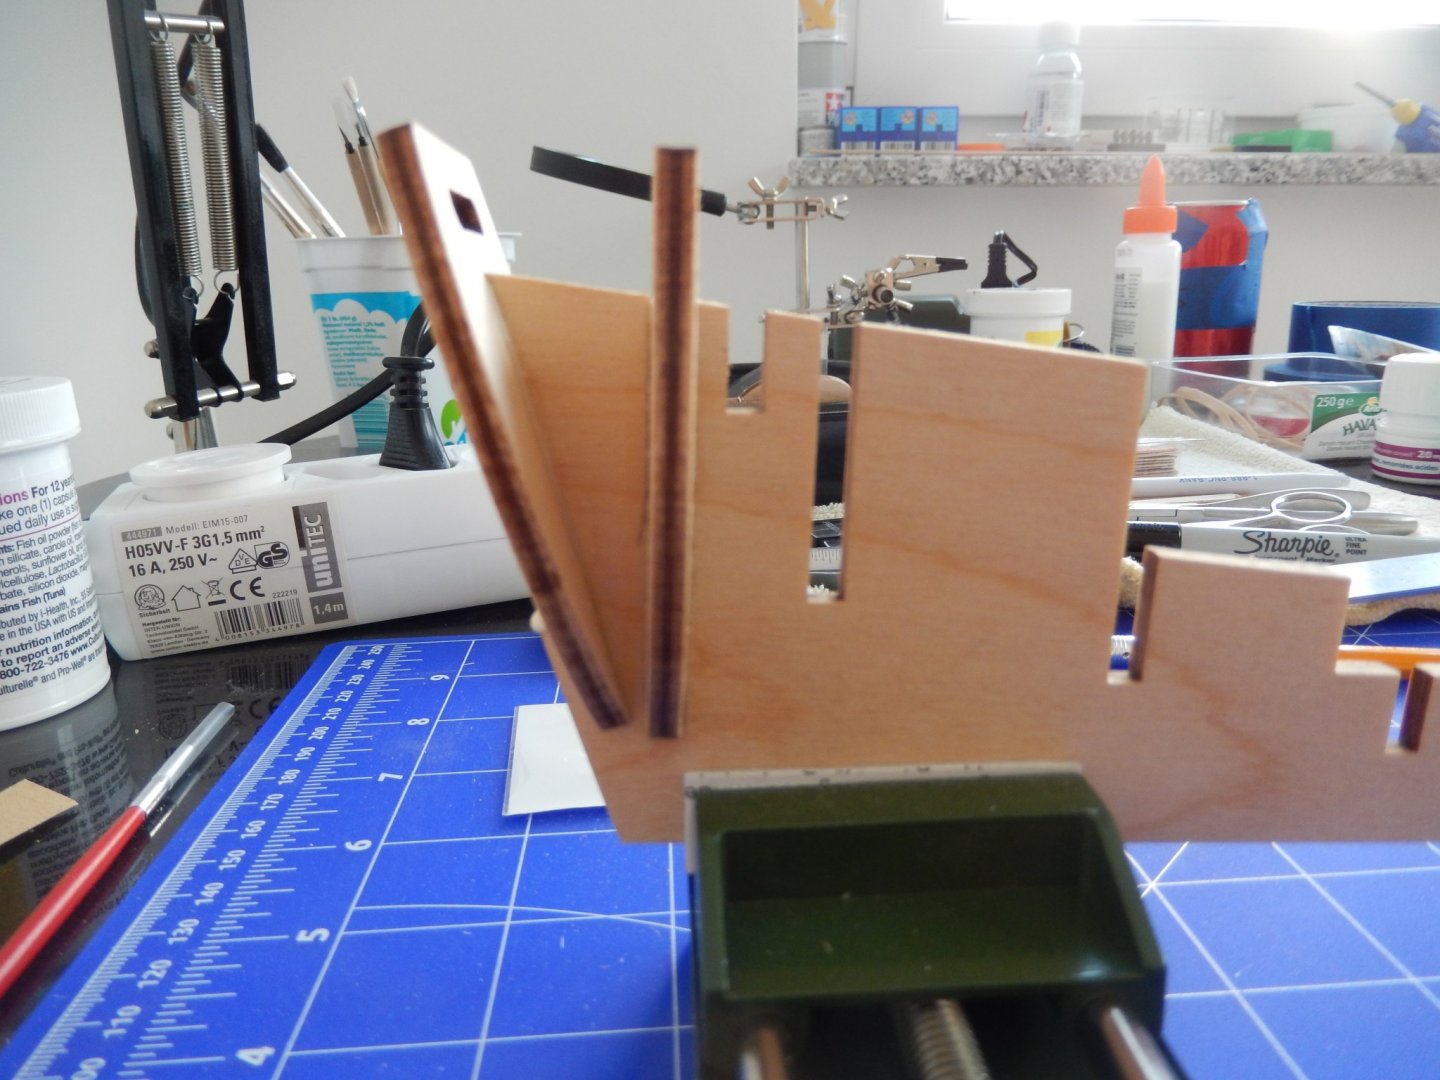
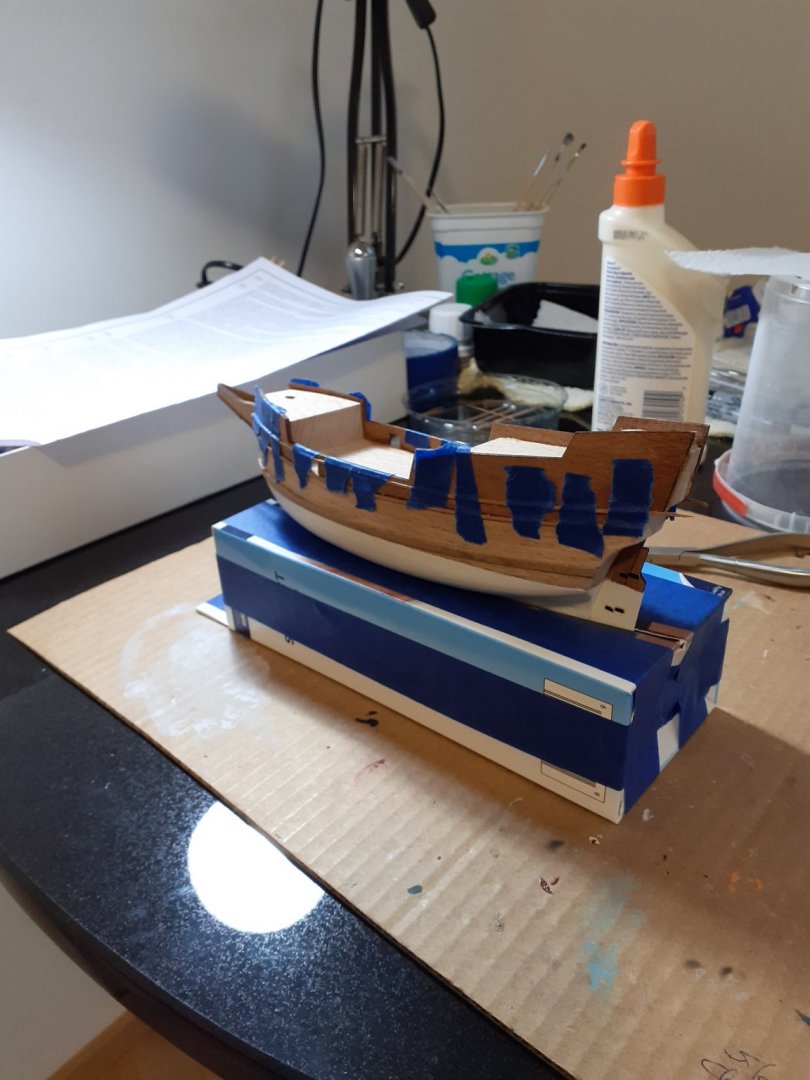
20200914 Finished installing the bulkheads to the keel piece yesterday and began working on the rudder assembly. Part of this is sanding a notch in the end of the keel piece to accommodate the rudder post and a corresponding notch in the aftmost bulkhead (called bulkhead 0 [zero]). I didn’t go easy enough with the file and cracked bulkhead 0. Repair was non-eventful but I still have a bit more filing to do to get it where it needs to be (there’s a decorative piece that covers bulkhead 0 so I’m not concerned over the minor crack that exists after the repair). Have installed the first lashing holding the rudder to the rudder post; this also affects how much filing needs to be done in the keel’s sternmost area. (I used Google Translate to make sure that what I thought the Italian said was in fact what it said.)


- 28 replies
-
- 6
-

-
- Amati
- chinese junk
- (and 1 more)
-
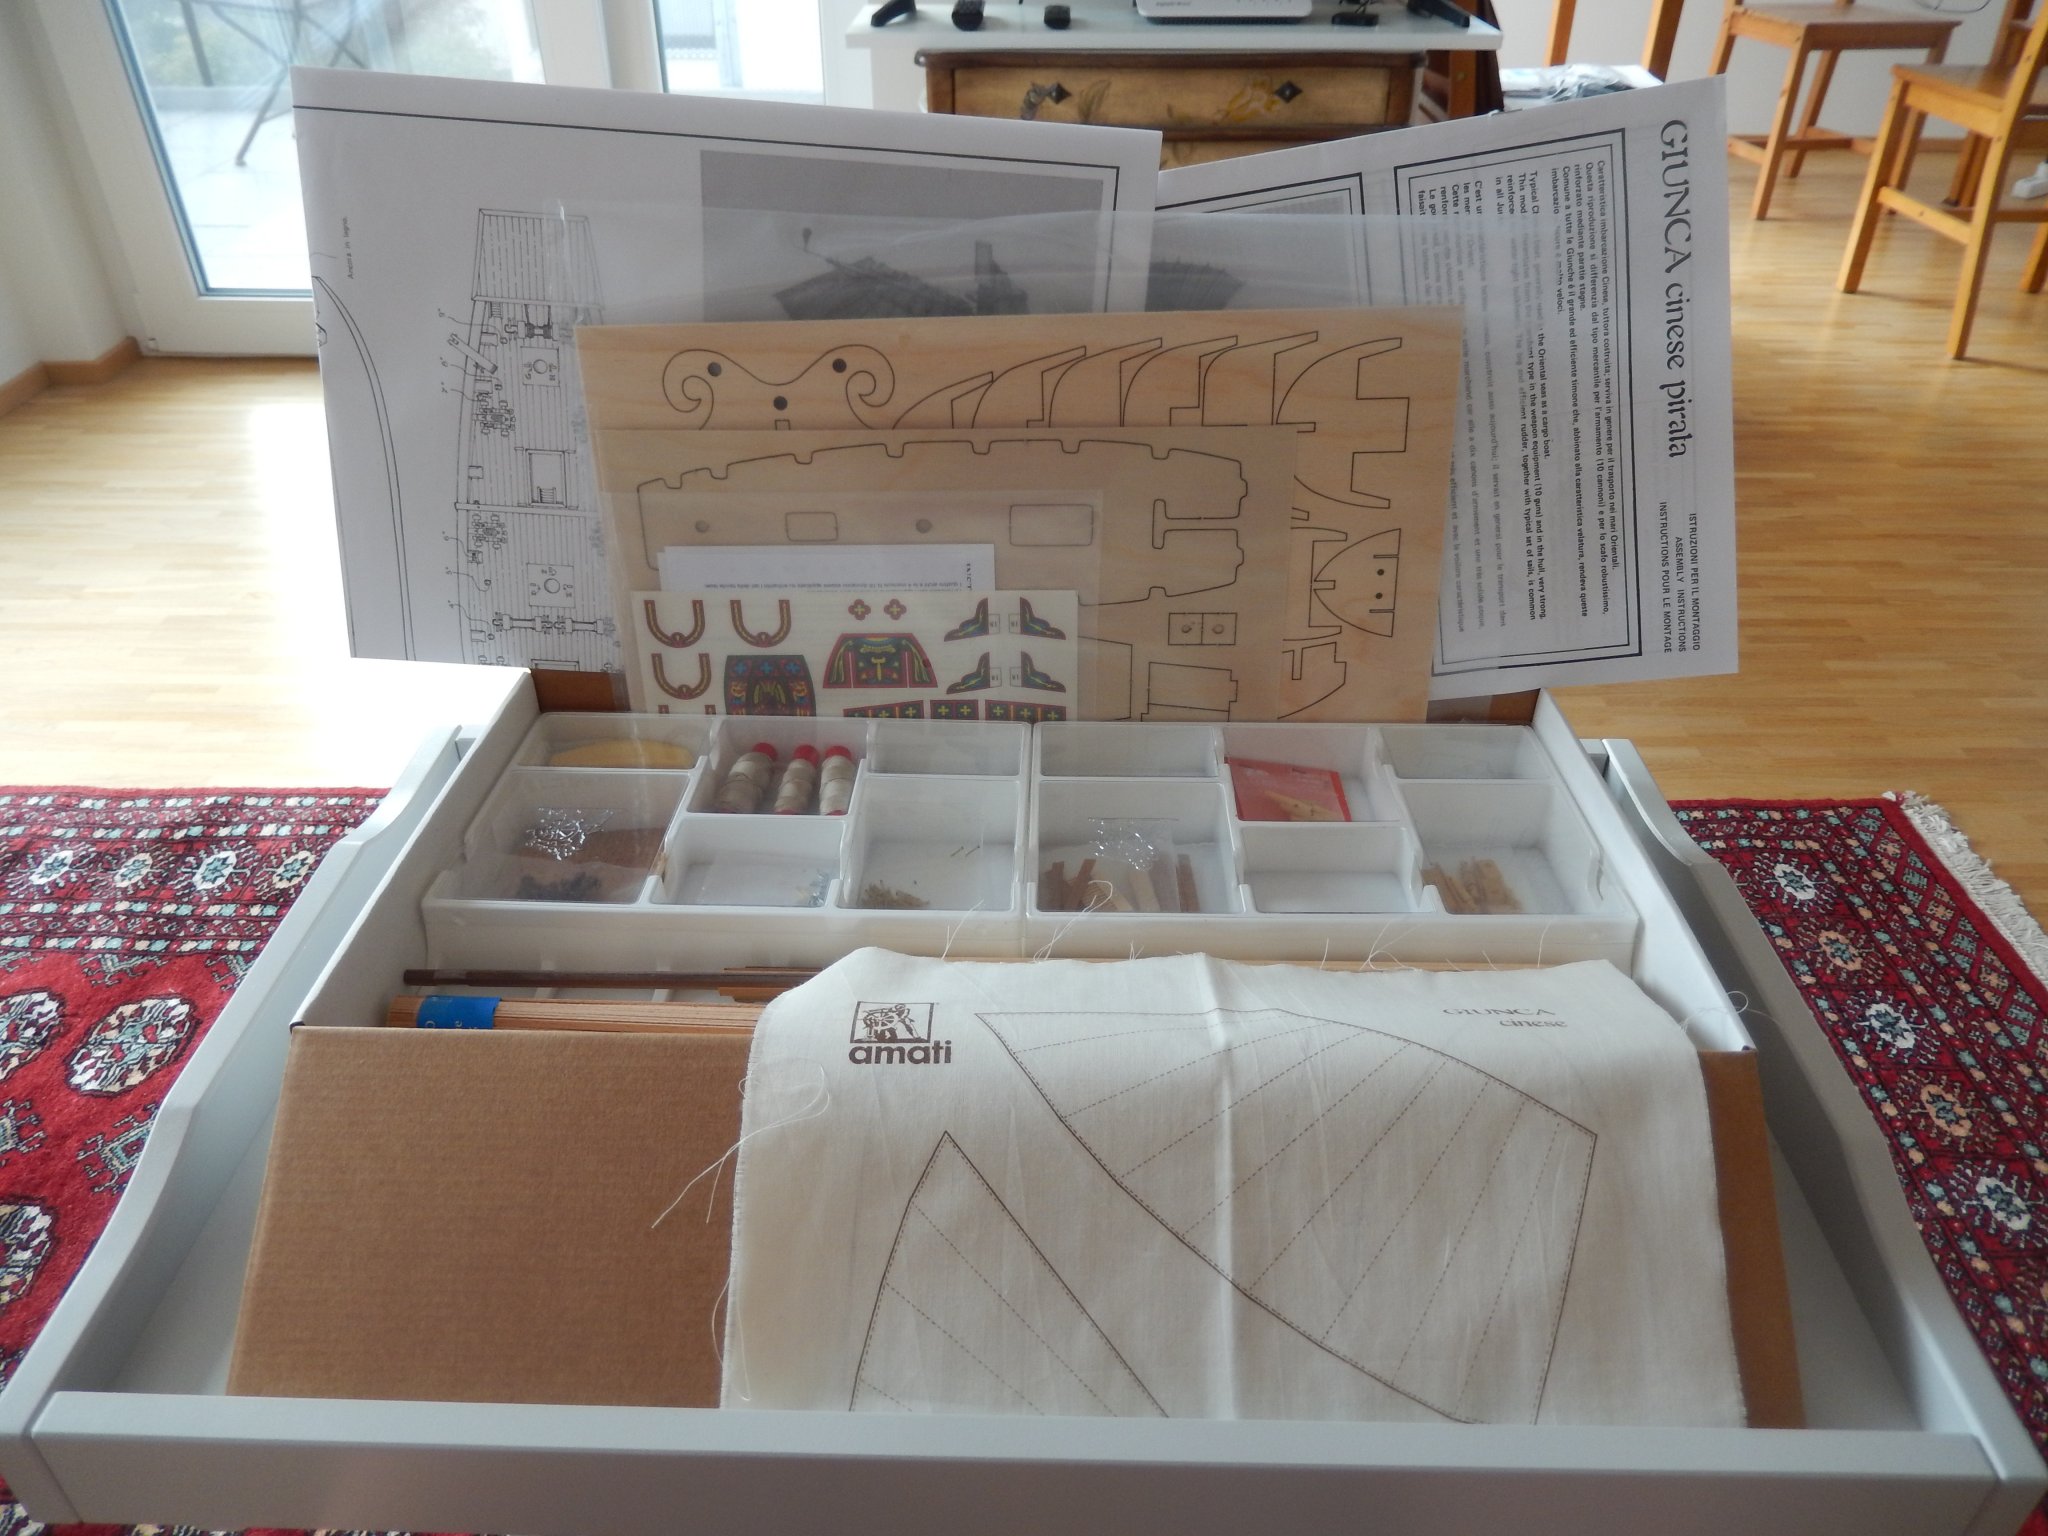
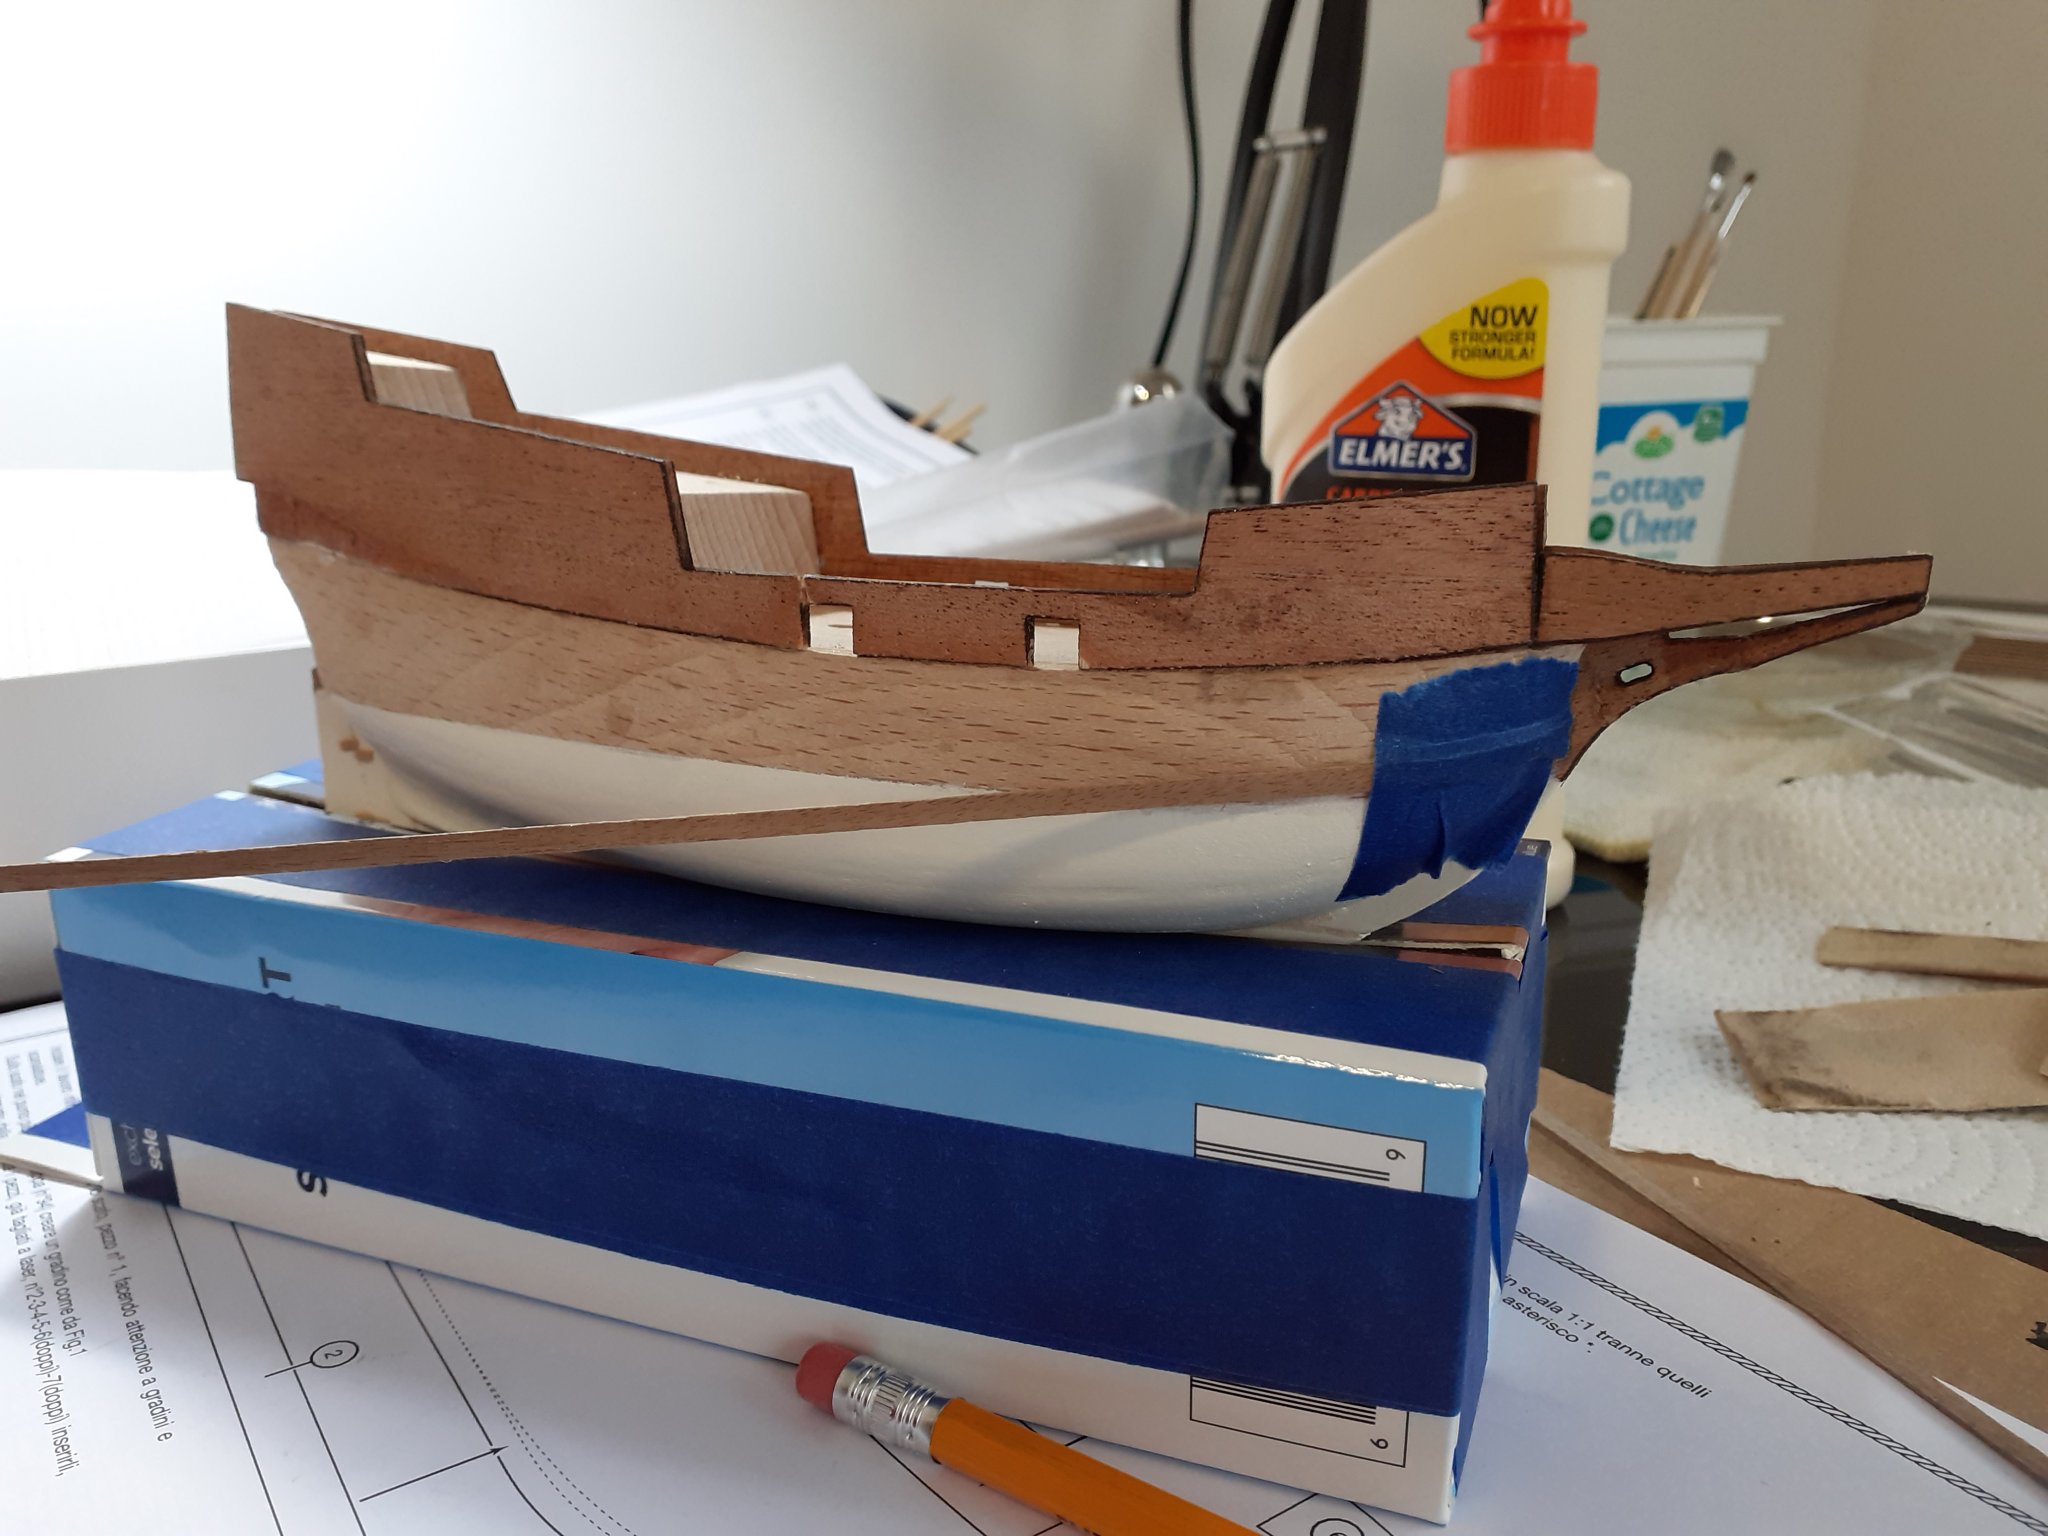
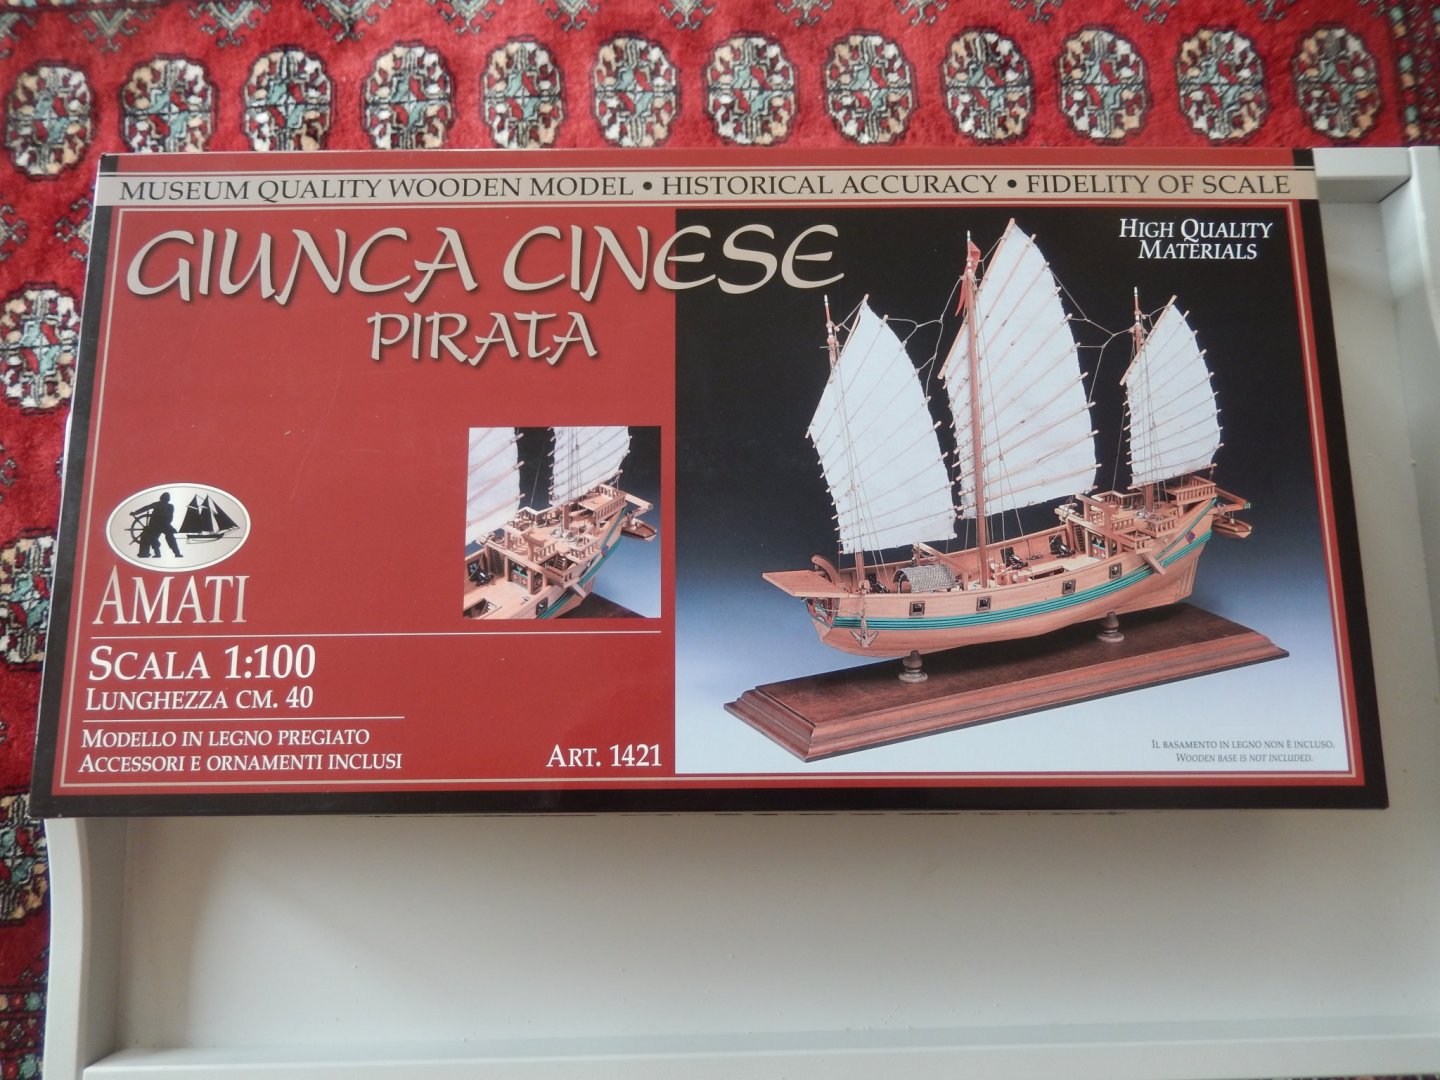
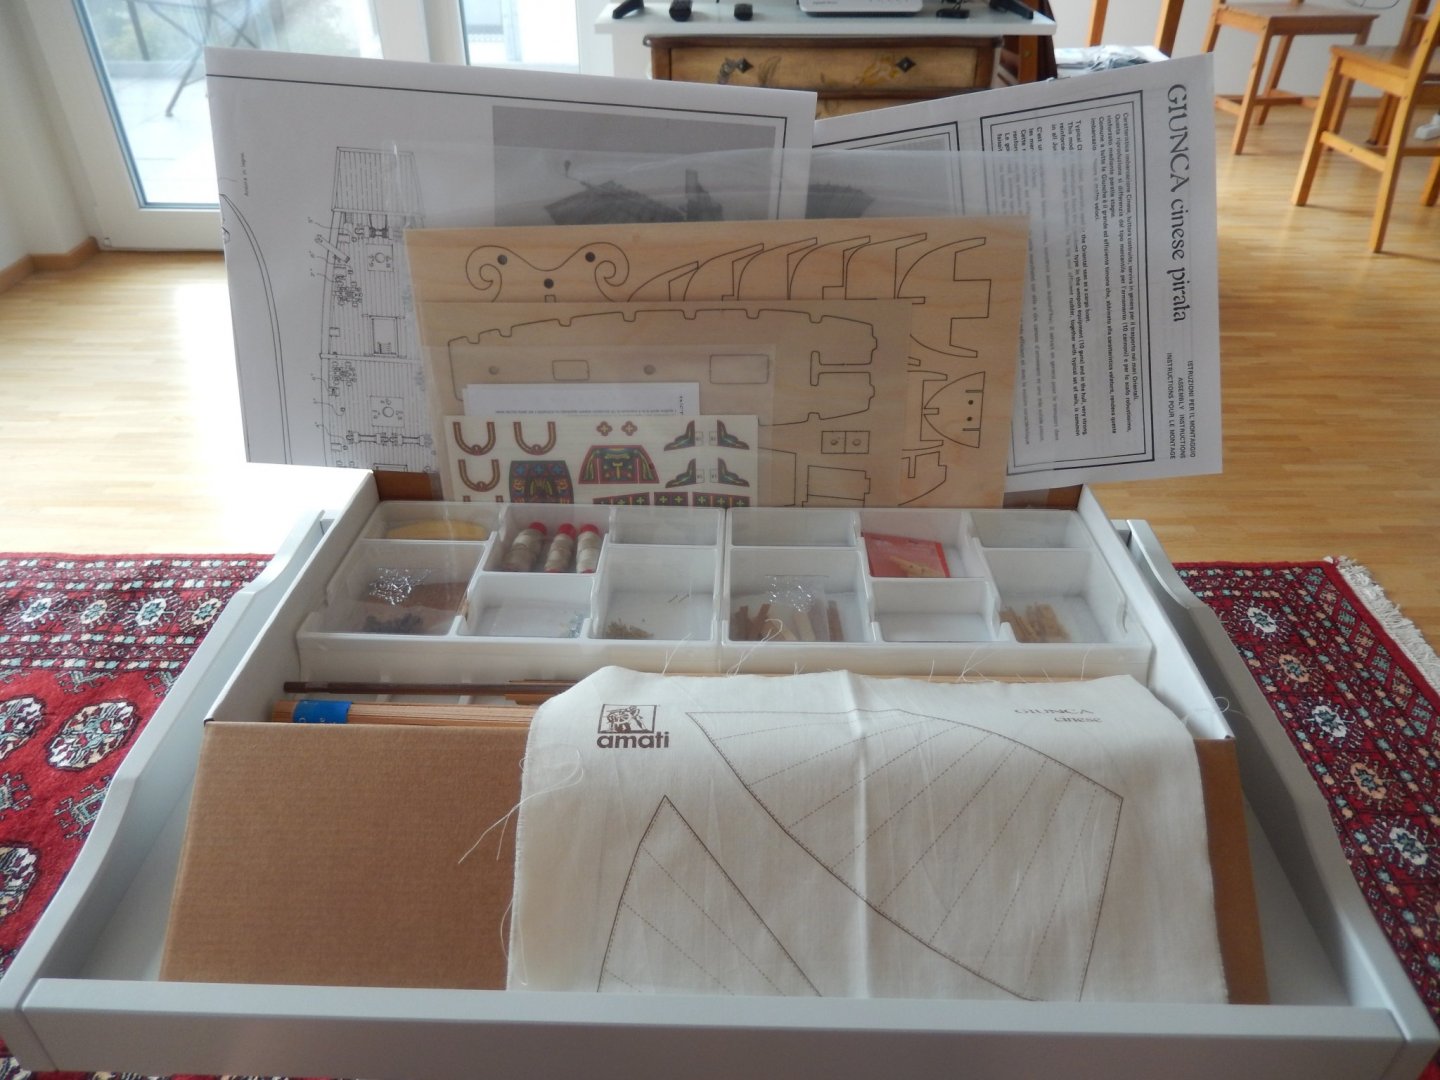
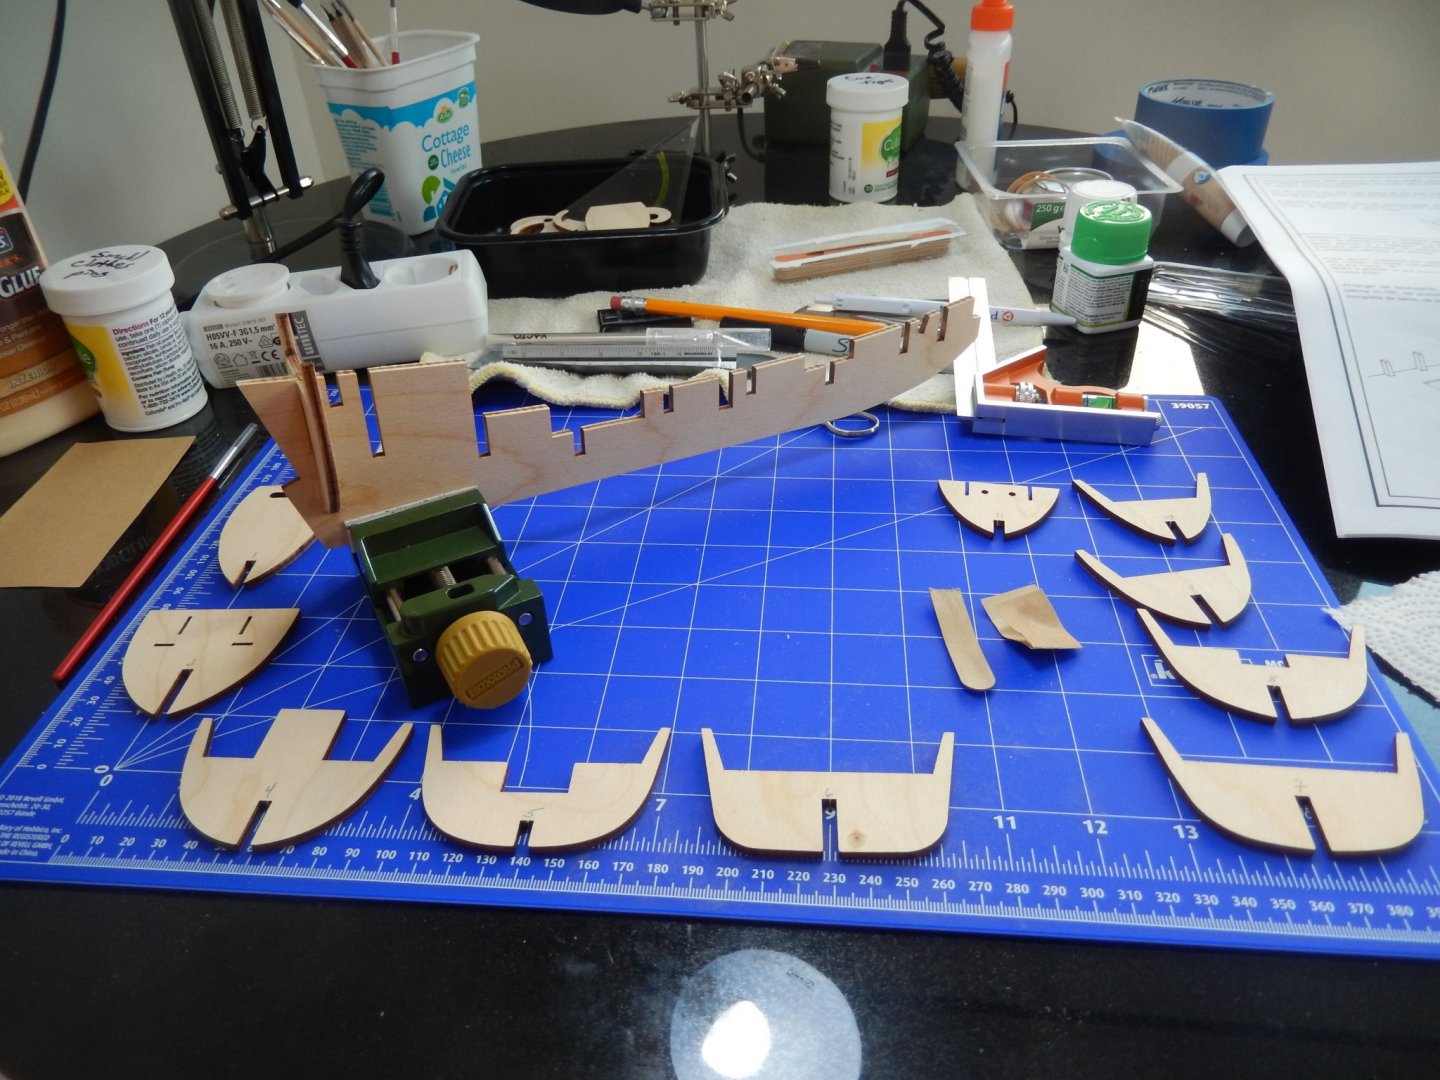
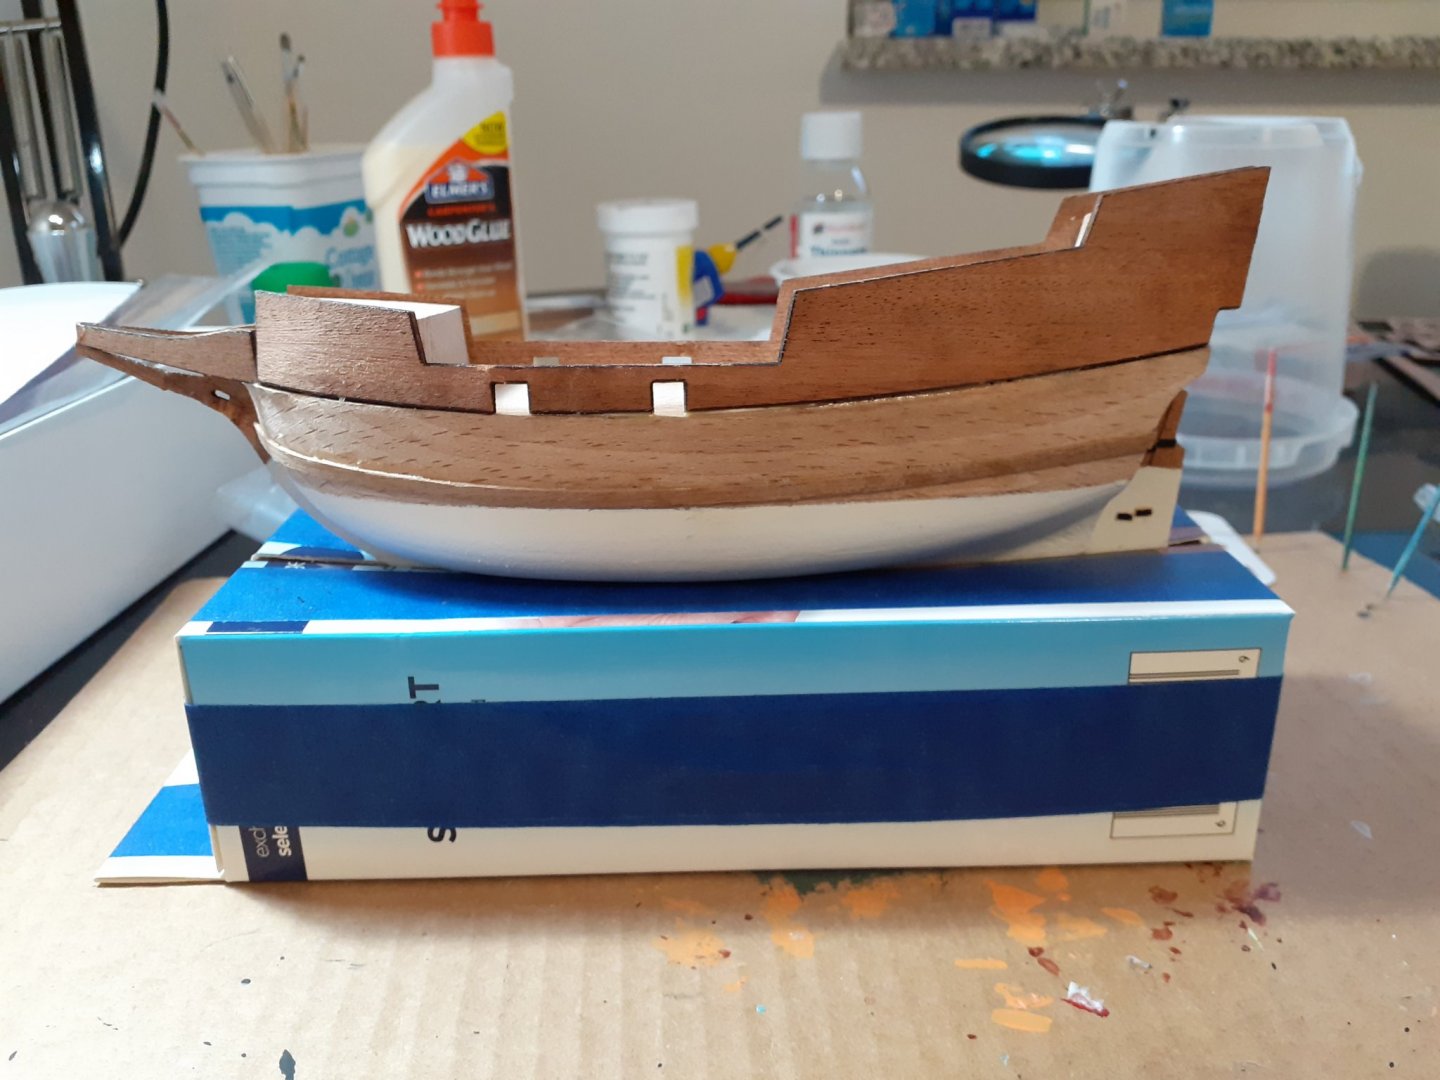
20200911 Yesterday went to visit the local hobby shop without any clear intention to purchase a new kit but if I saw one I just couldn’t pass up… Came away with the Amati Chinese Pirate Junk. POB so my first planking kit. Opened the box when I got home, perused the drawings and instructions, boxed everything back up for the evening and started doing some research. 1st impression was that Amati’s instructions, while clearly written, are a bit sparser than the ones that came with my first build (Corel Line’s Mayflower) and the drawings are also a bit sparser. Second impression was that this should be an interesting build. And then the old saw – take your time. 20200912 Too nice a day to spend inside today so not much accomplished. Have the keel piece and bulkheads cutout and the first 2 bulkheads mounted to the keel. Enough for today.
- 28 replies
-
- 4
-
-
- Amati
- chinese junk
- (and 1 more)
-
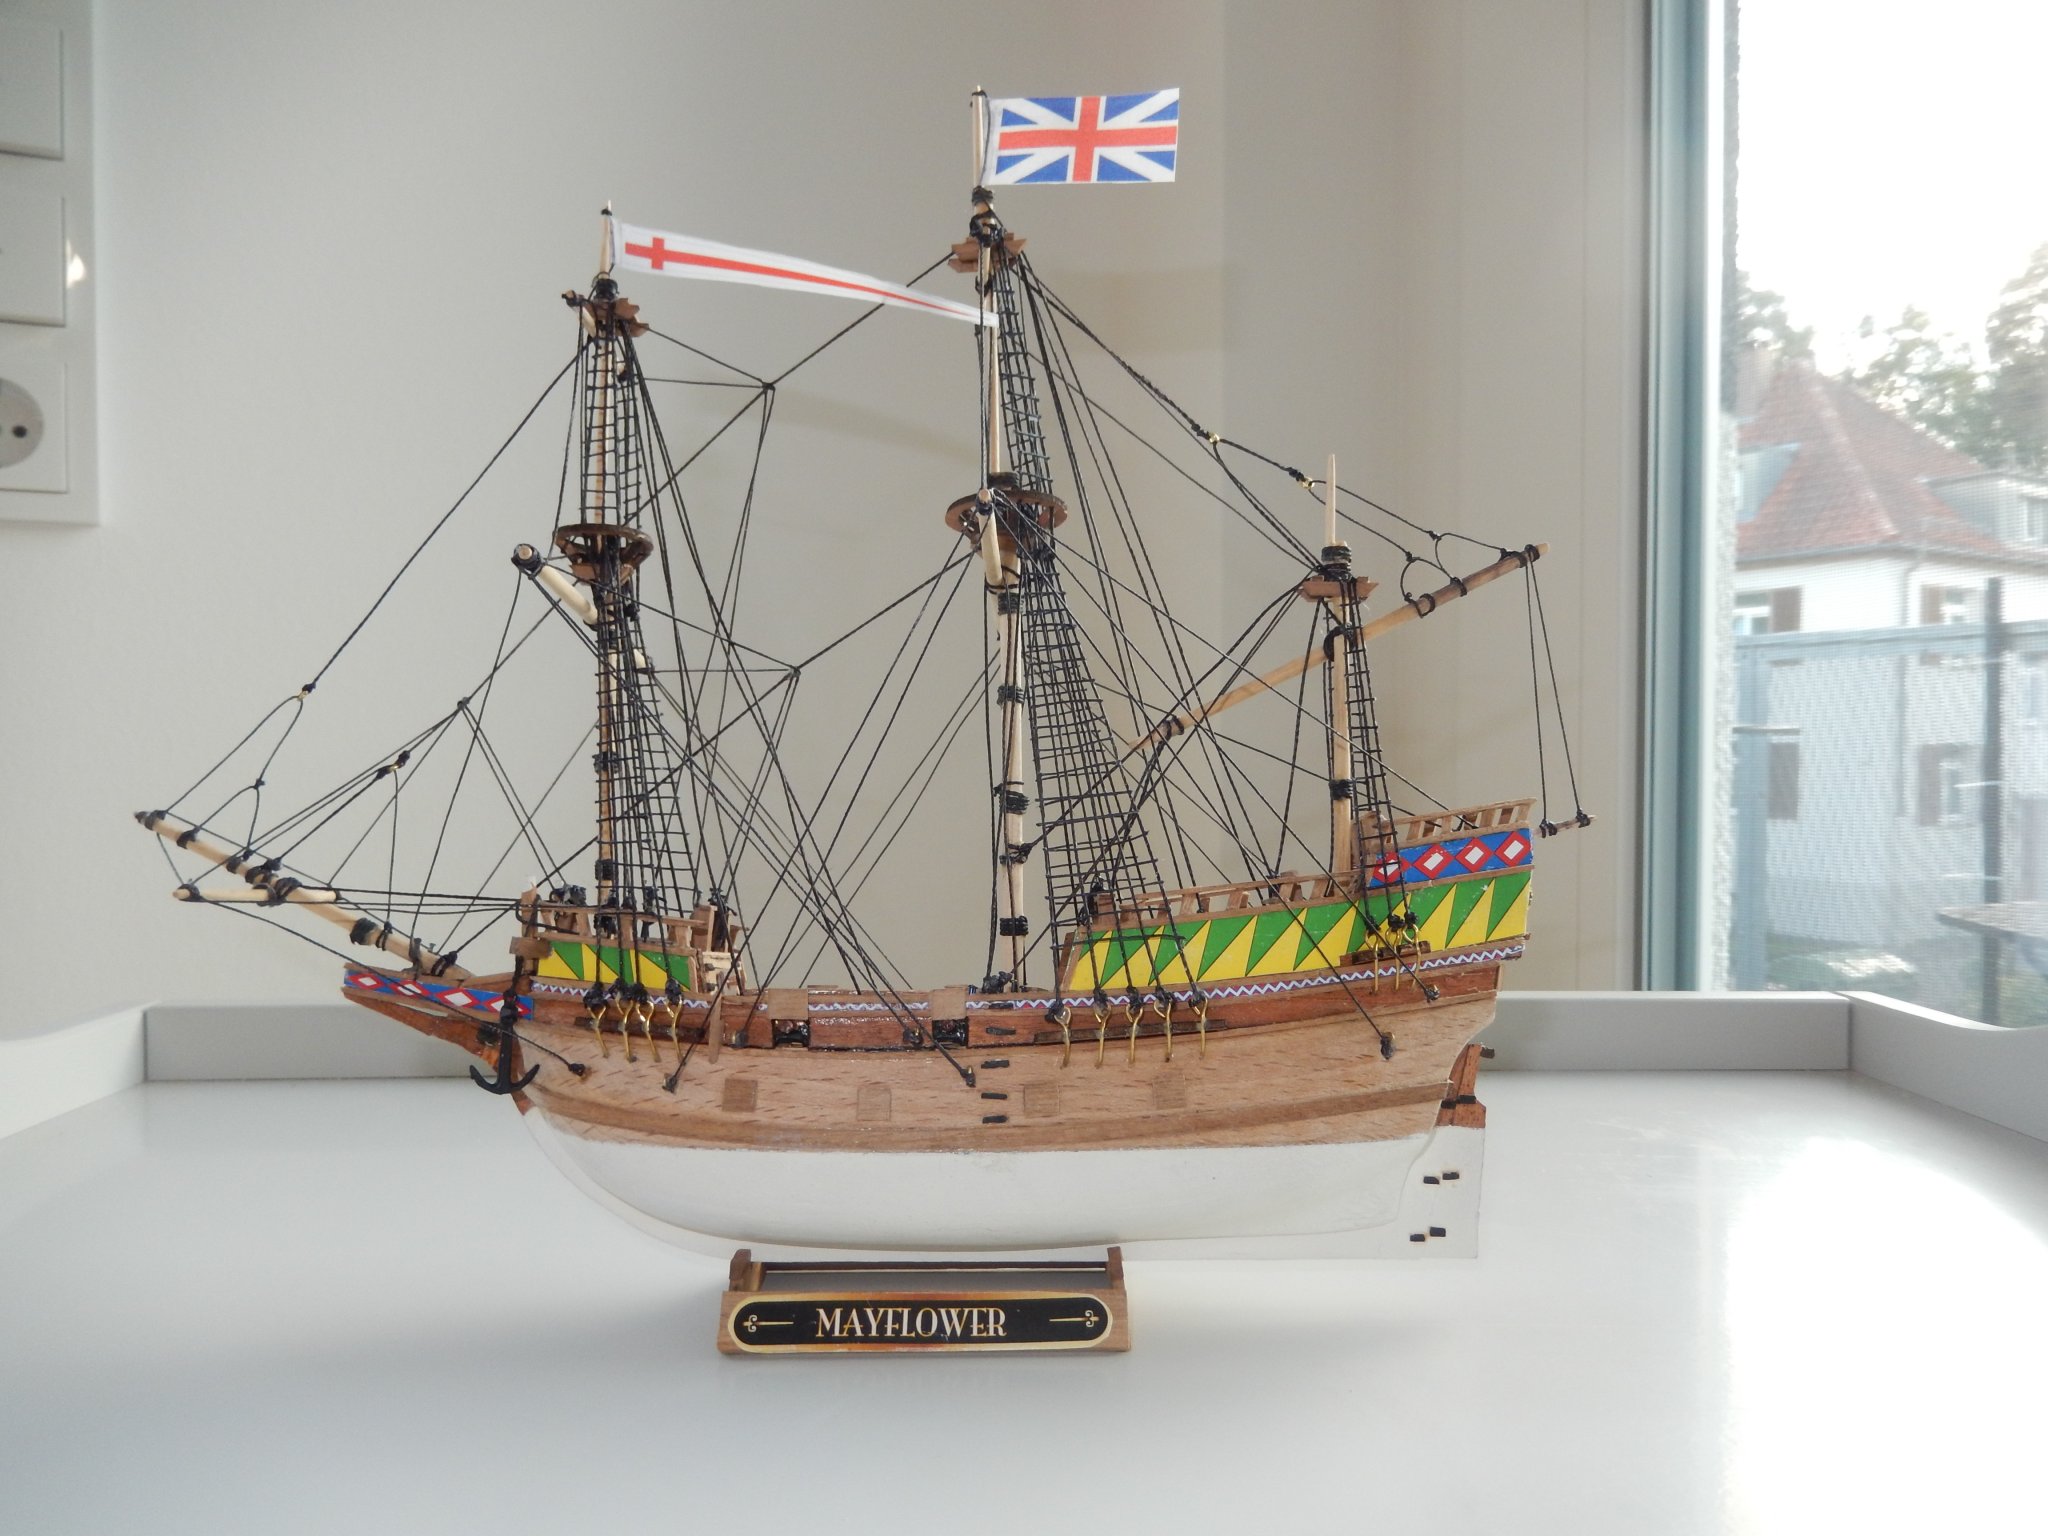
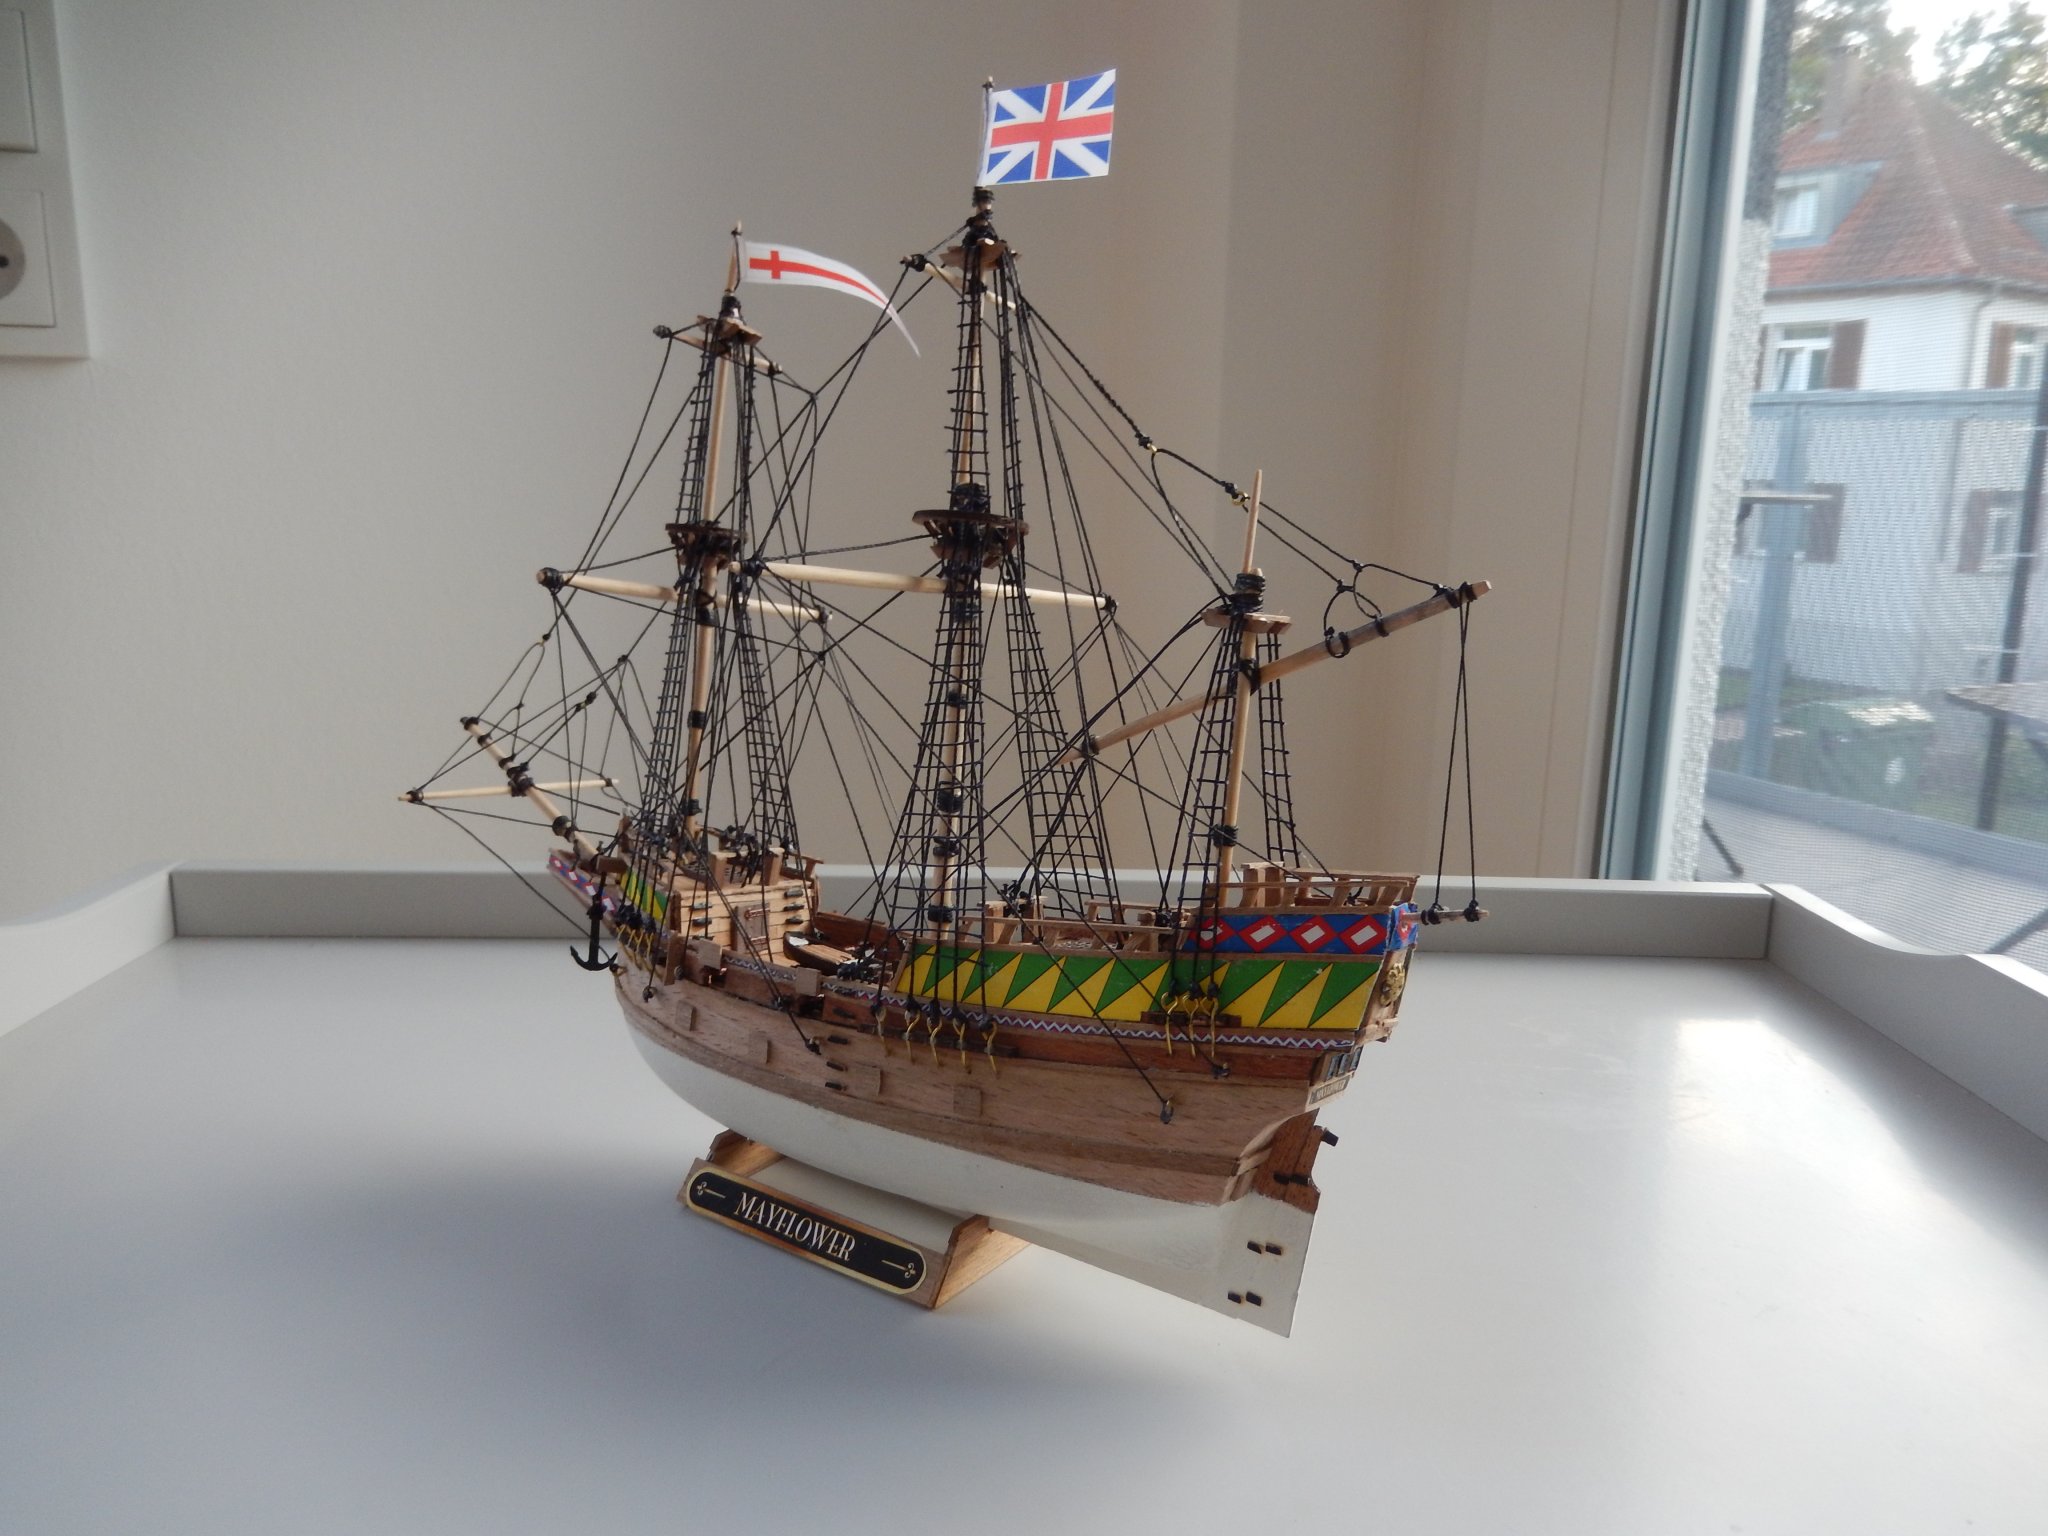
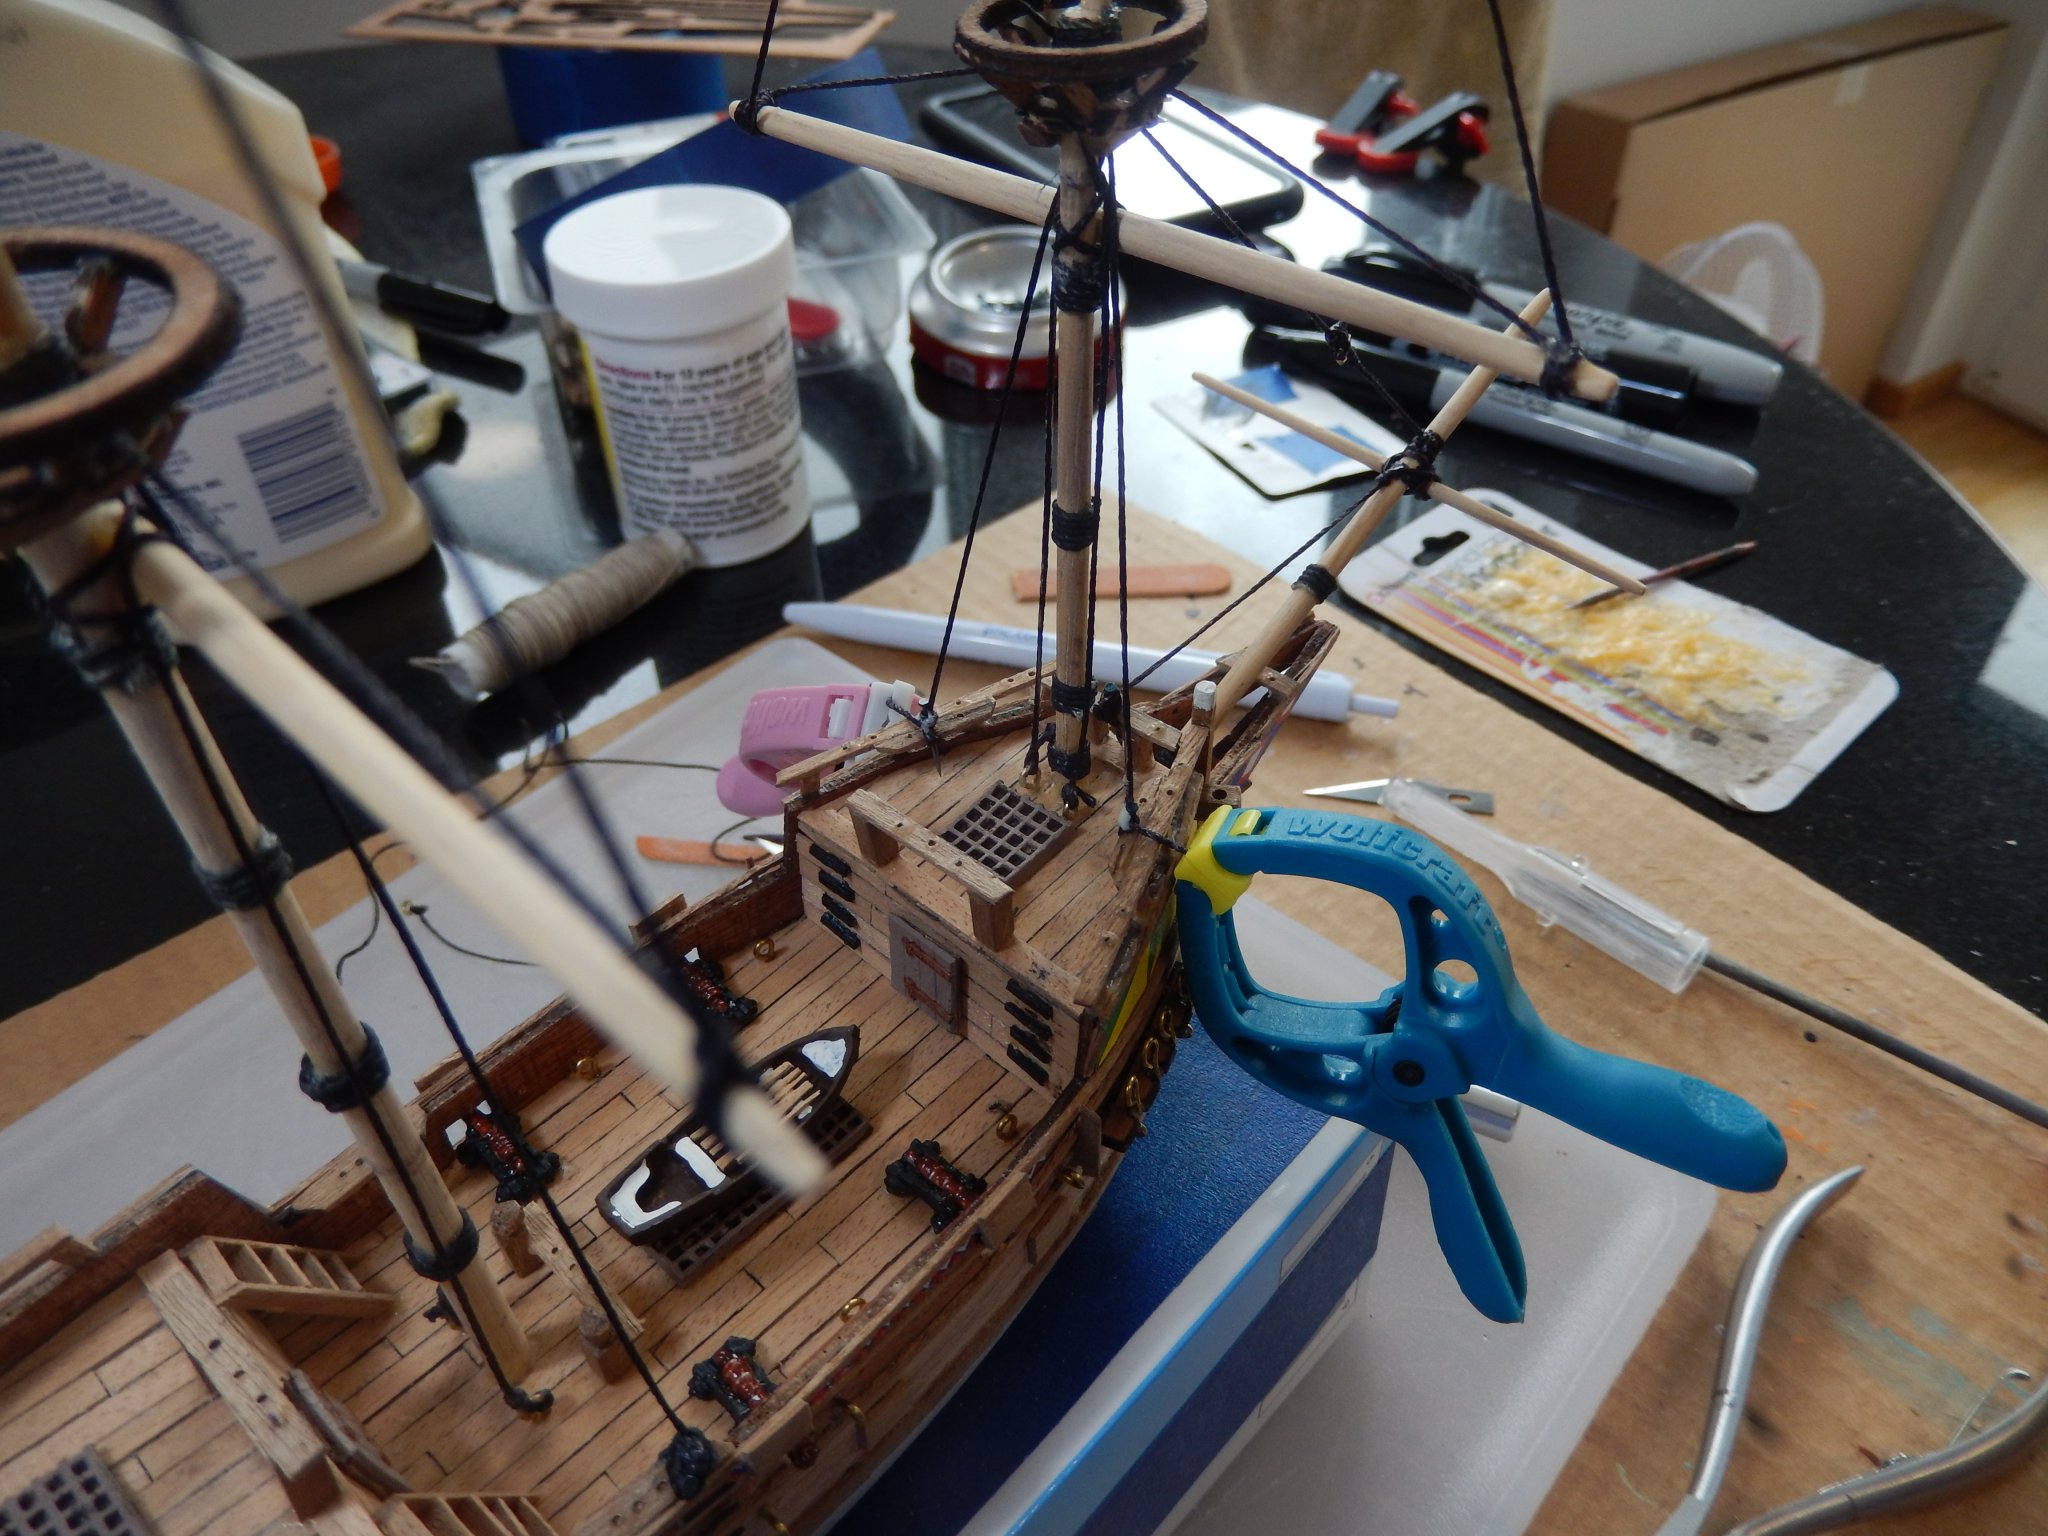
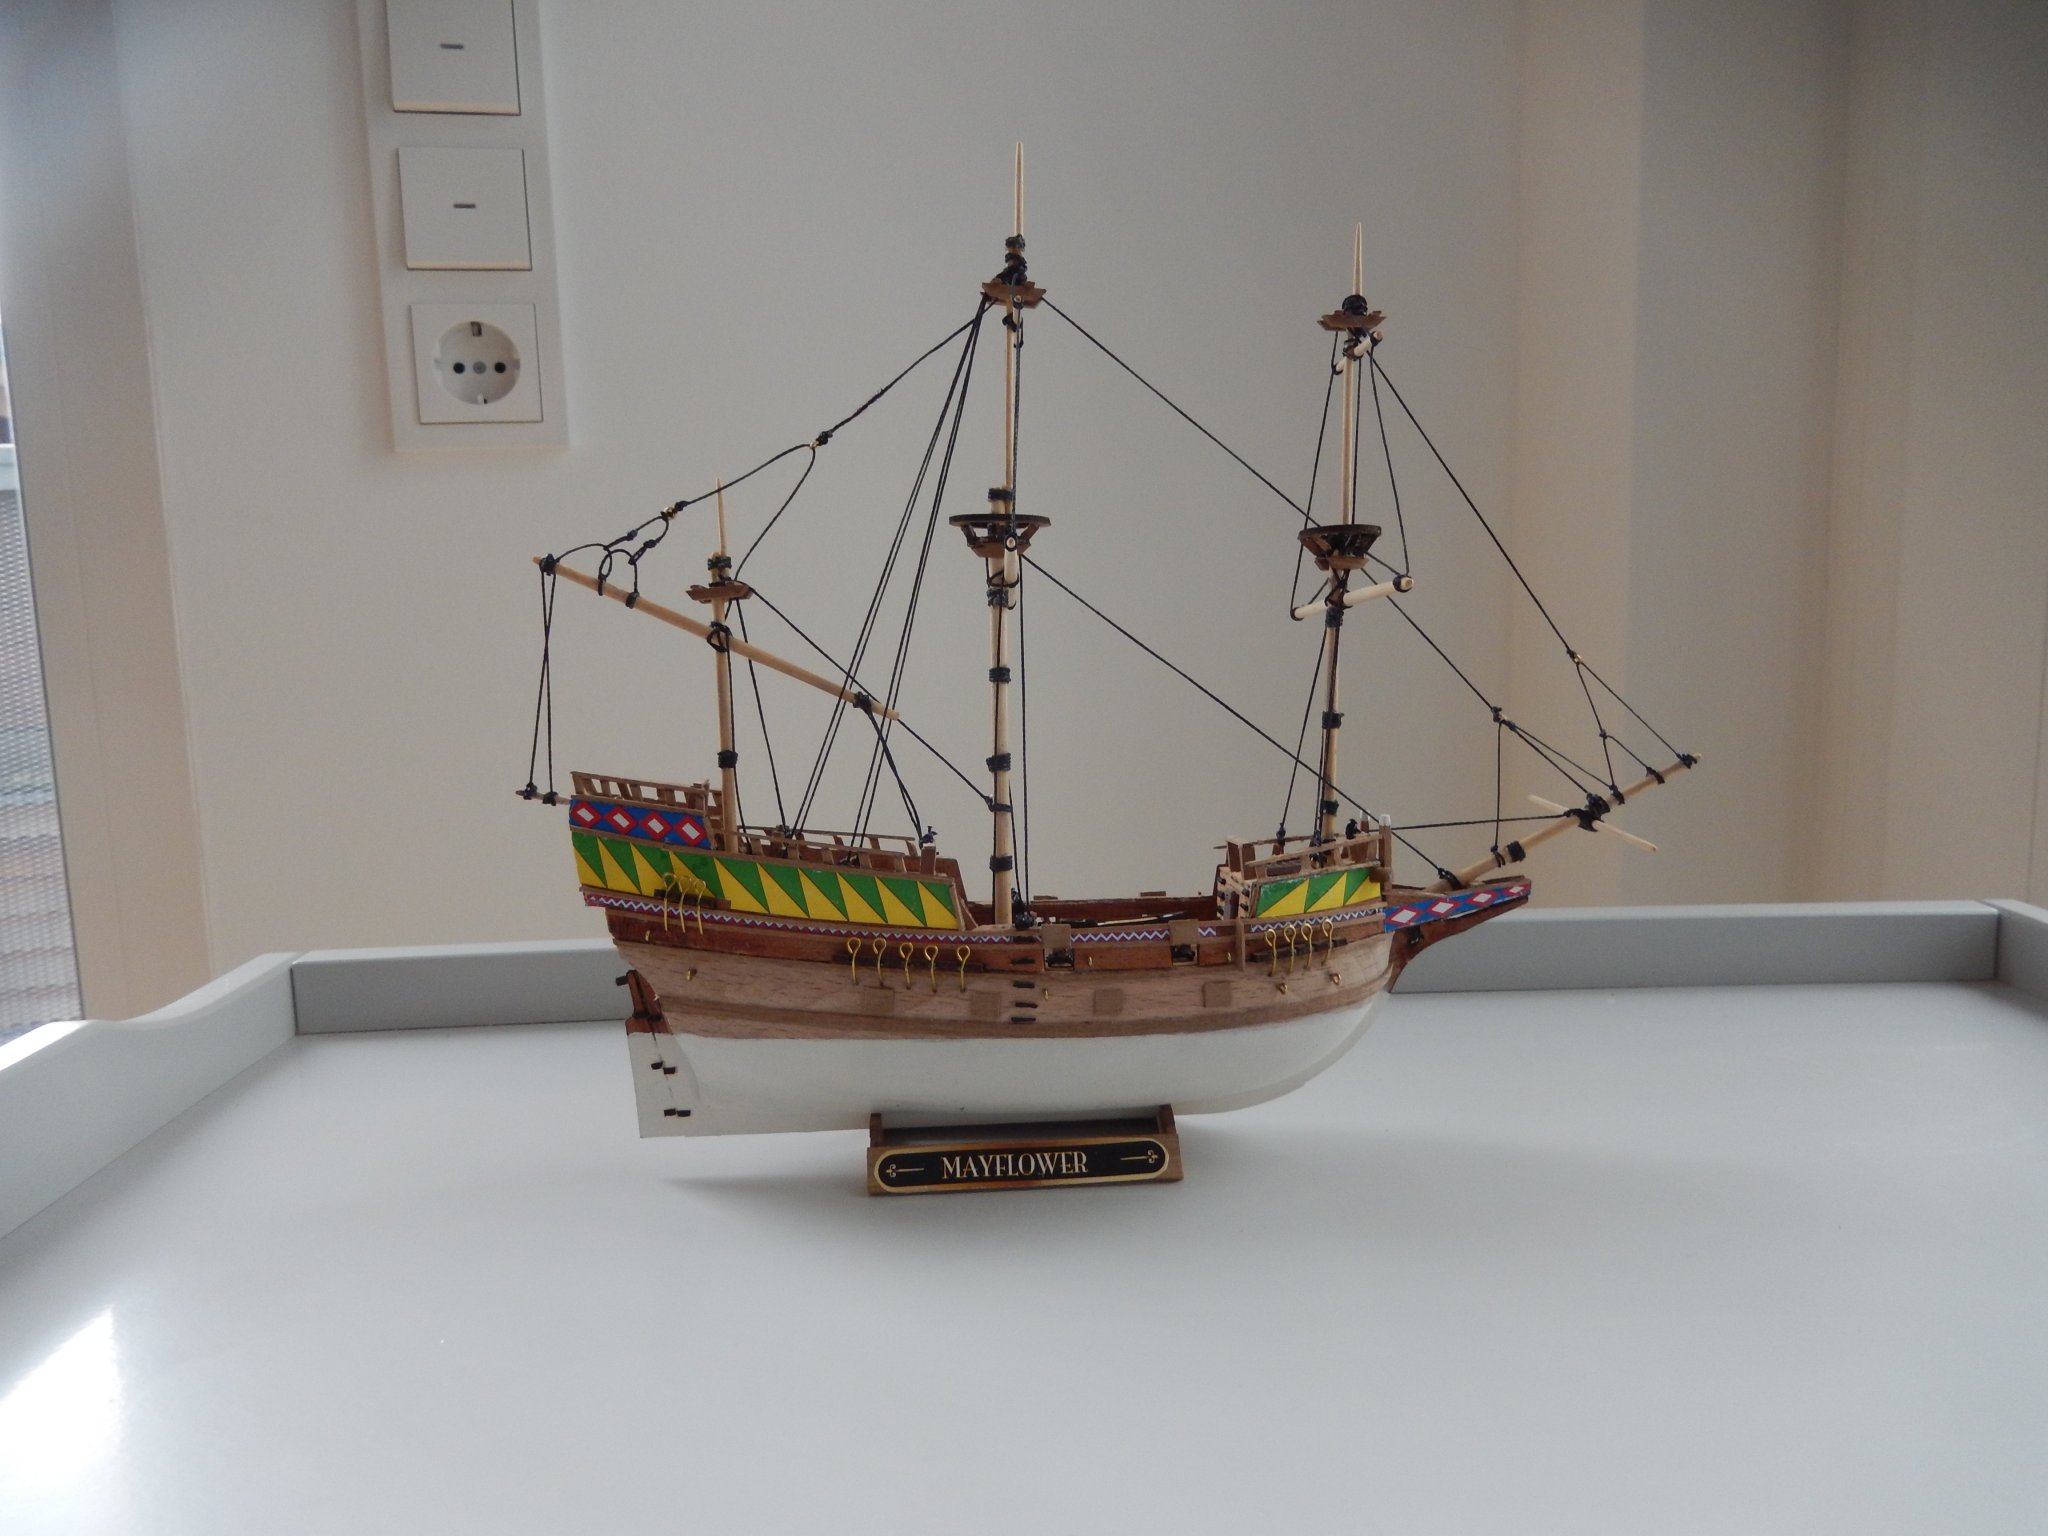
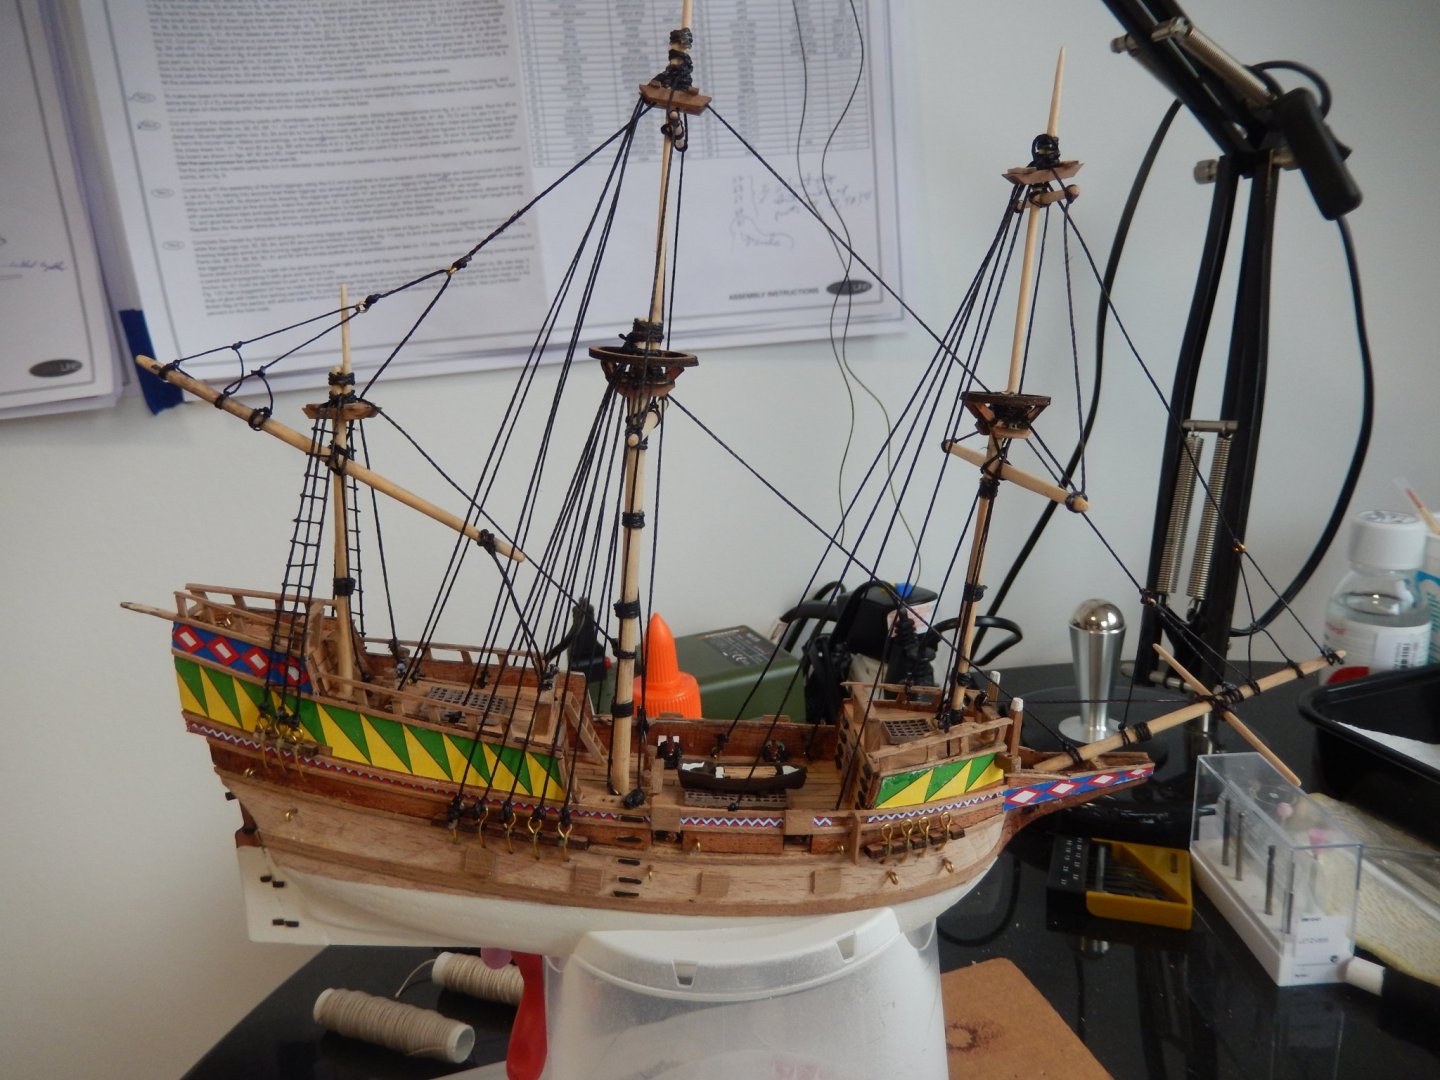
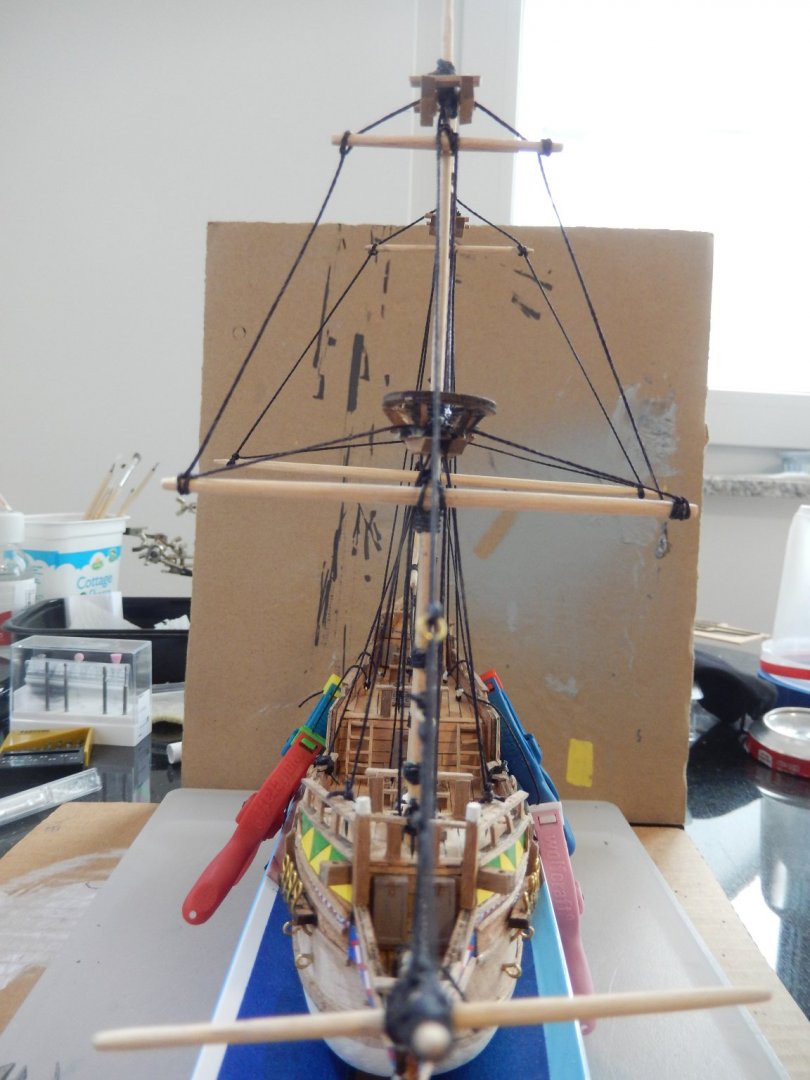
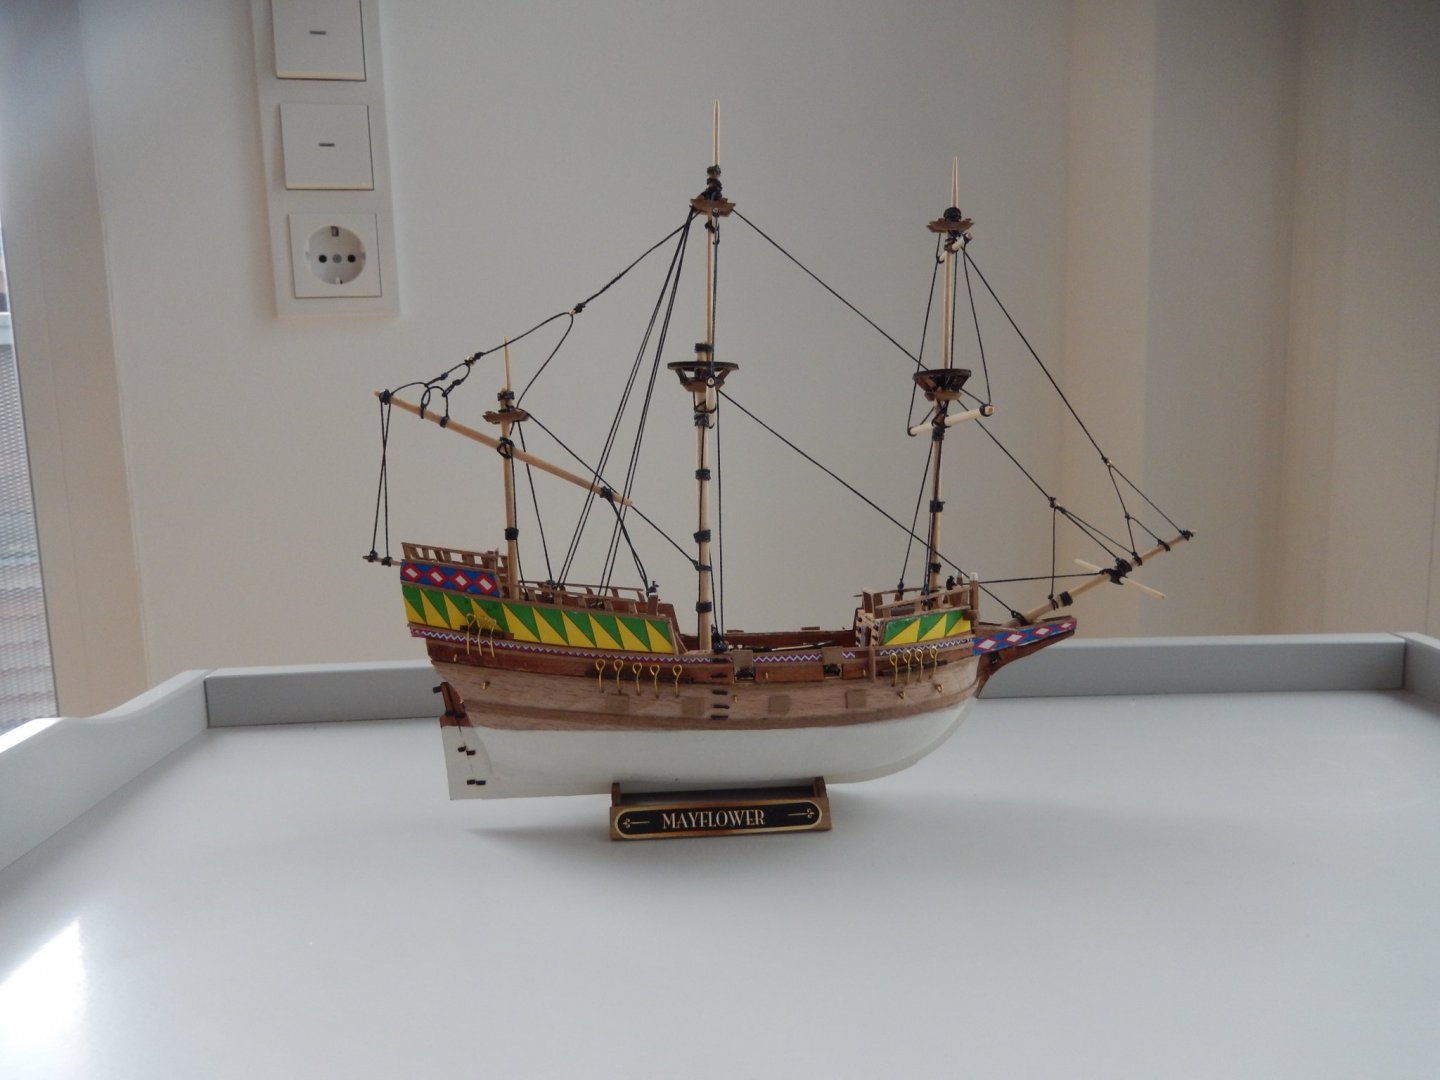
9/7/2020 Didn’t need a week; finished the remaining rigging today. (I forgot it was a US holiday - Labor Day – which meant, for me, no need to go into the office.) Took my time, took a break in early afternoon and took a walk, all finished by early evening. It’s been fun & I’ve learned plenty. Now need to ponder a bit and think about what my next project will be.
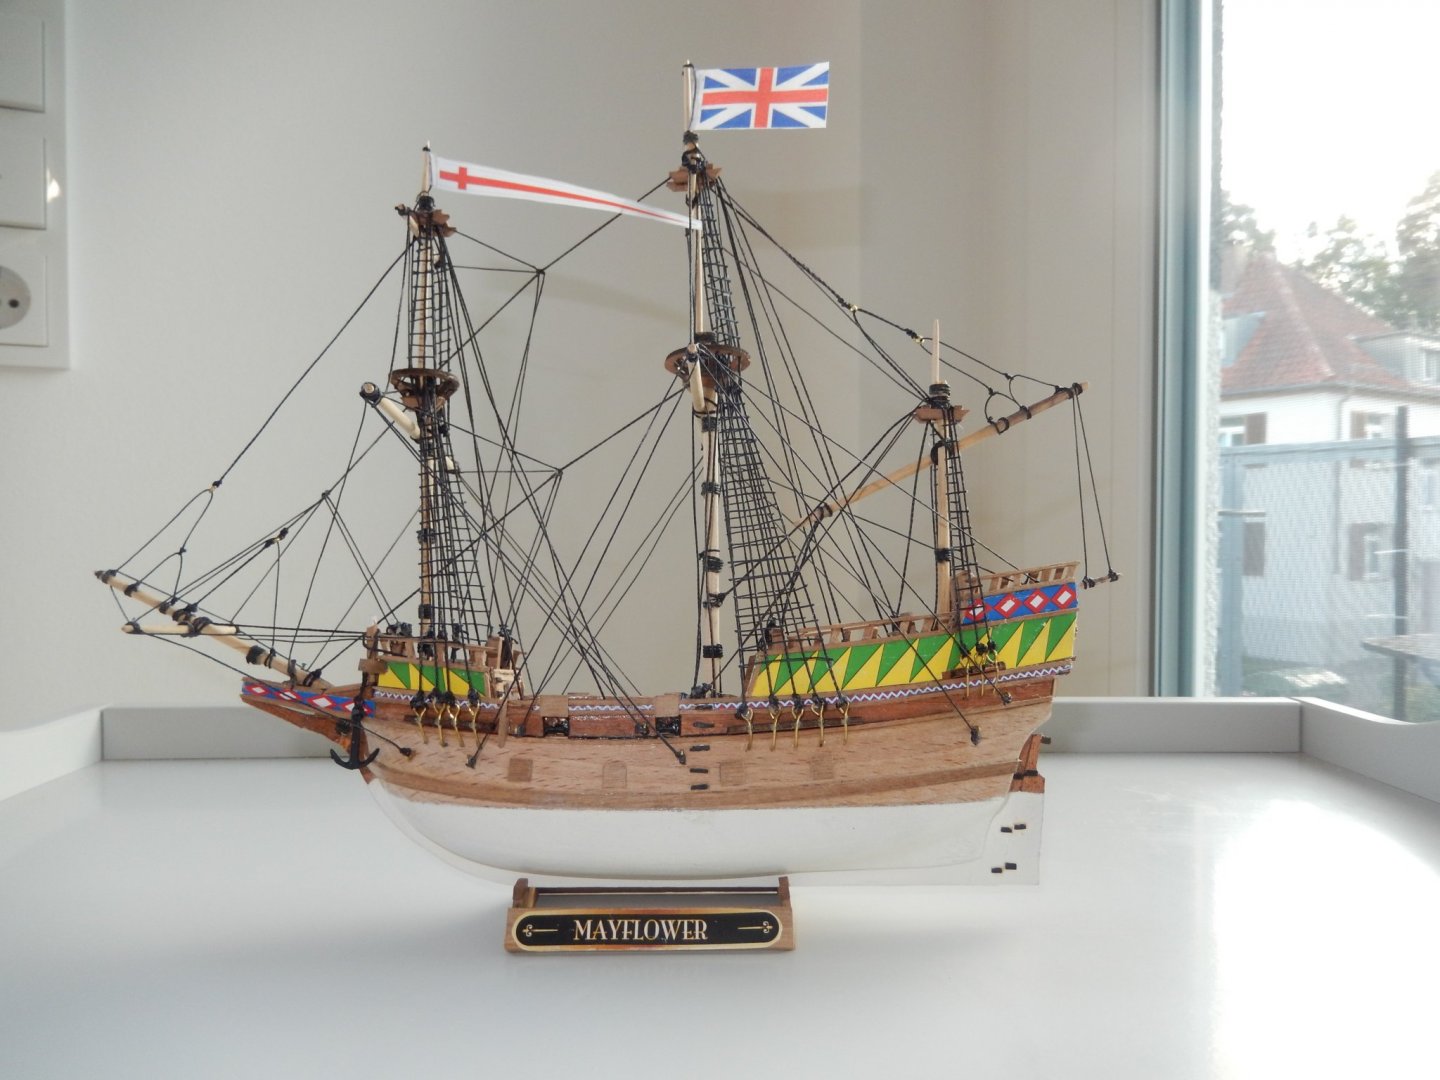

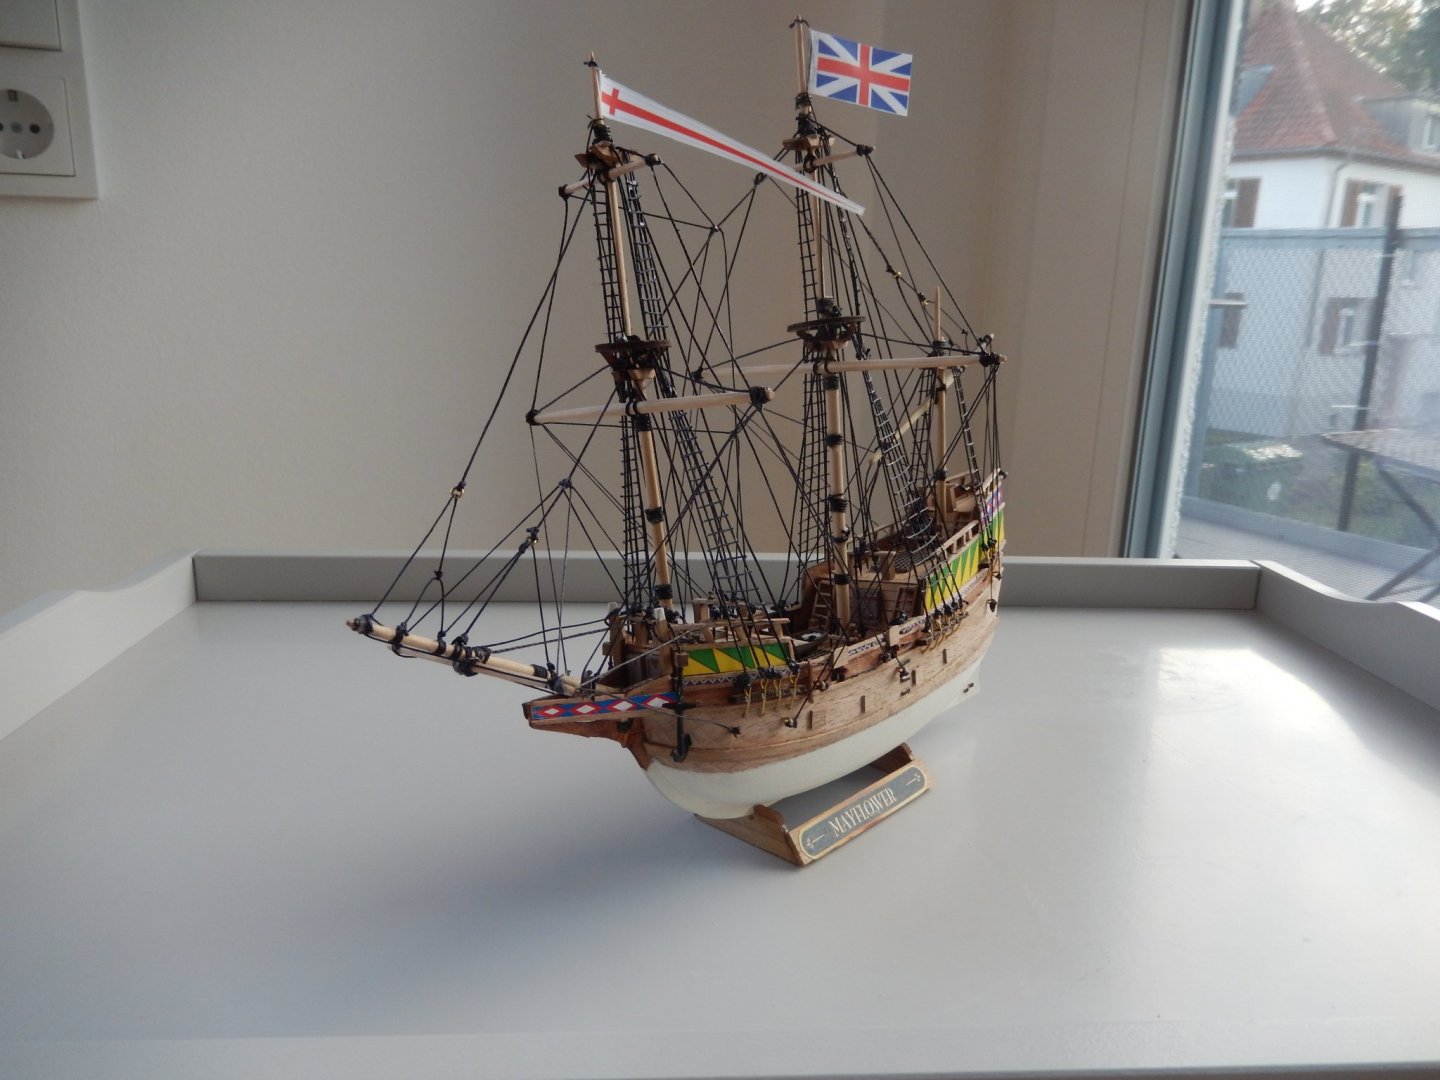
-
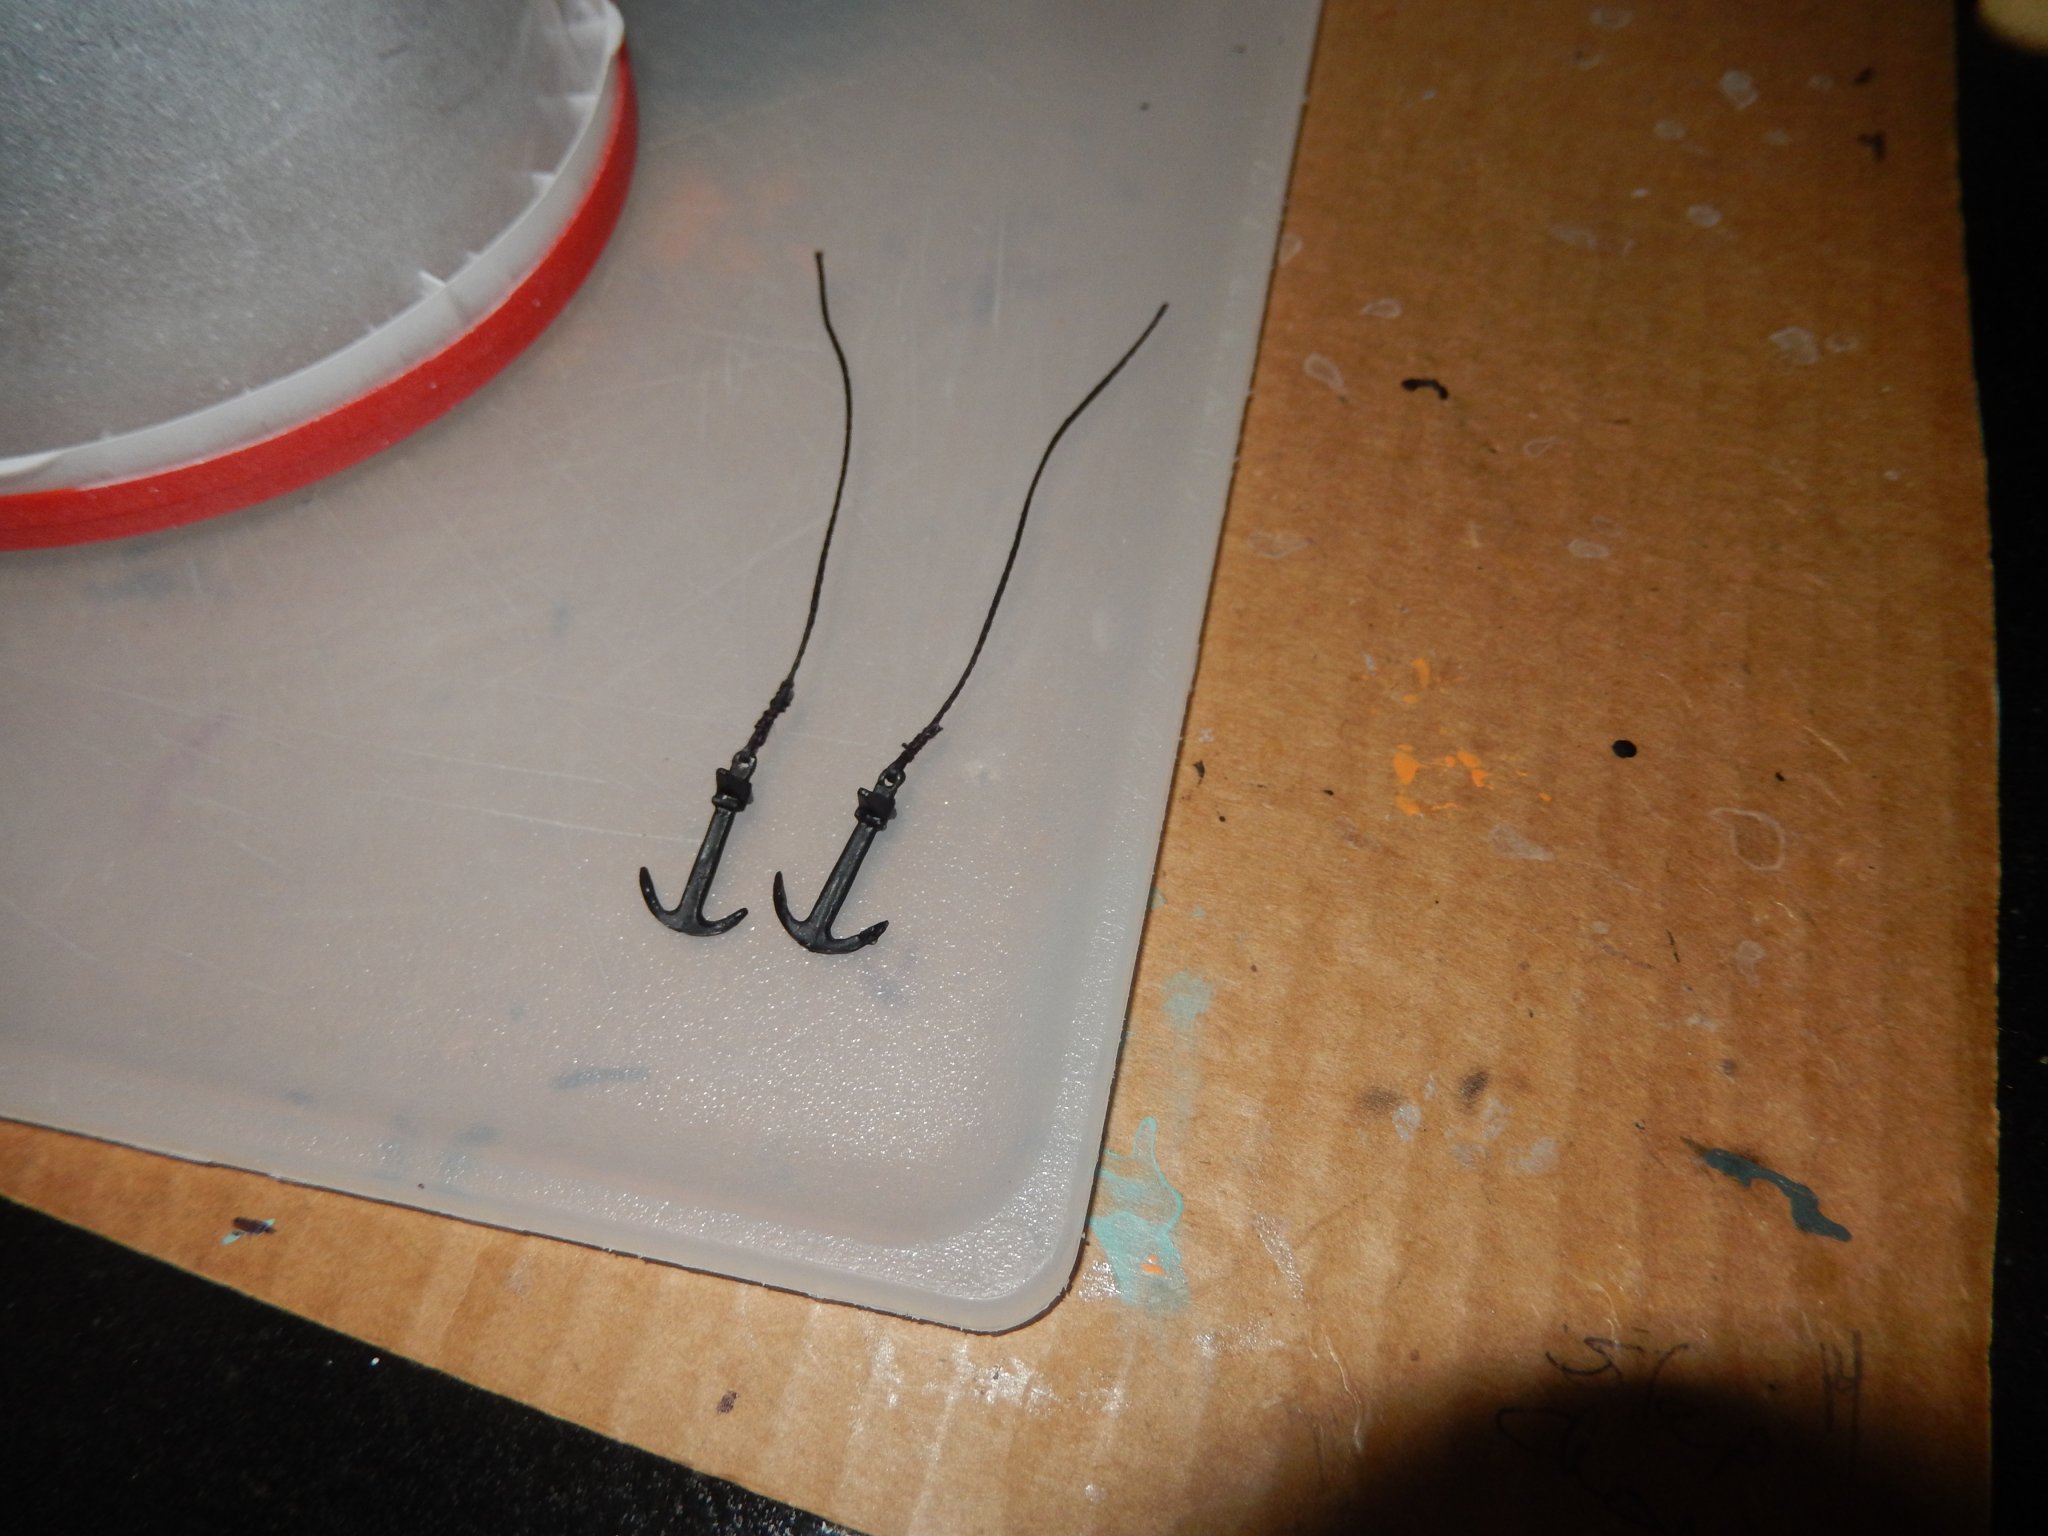
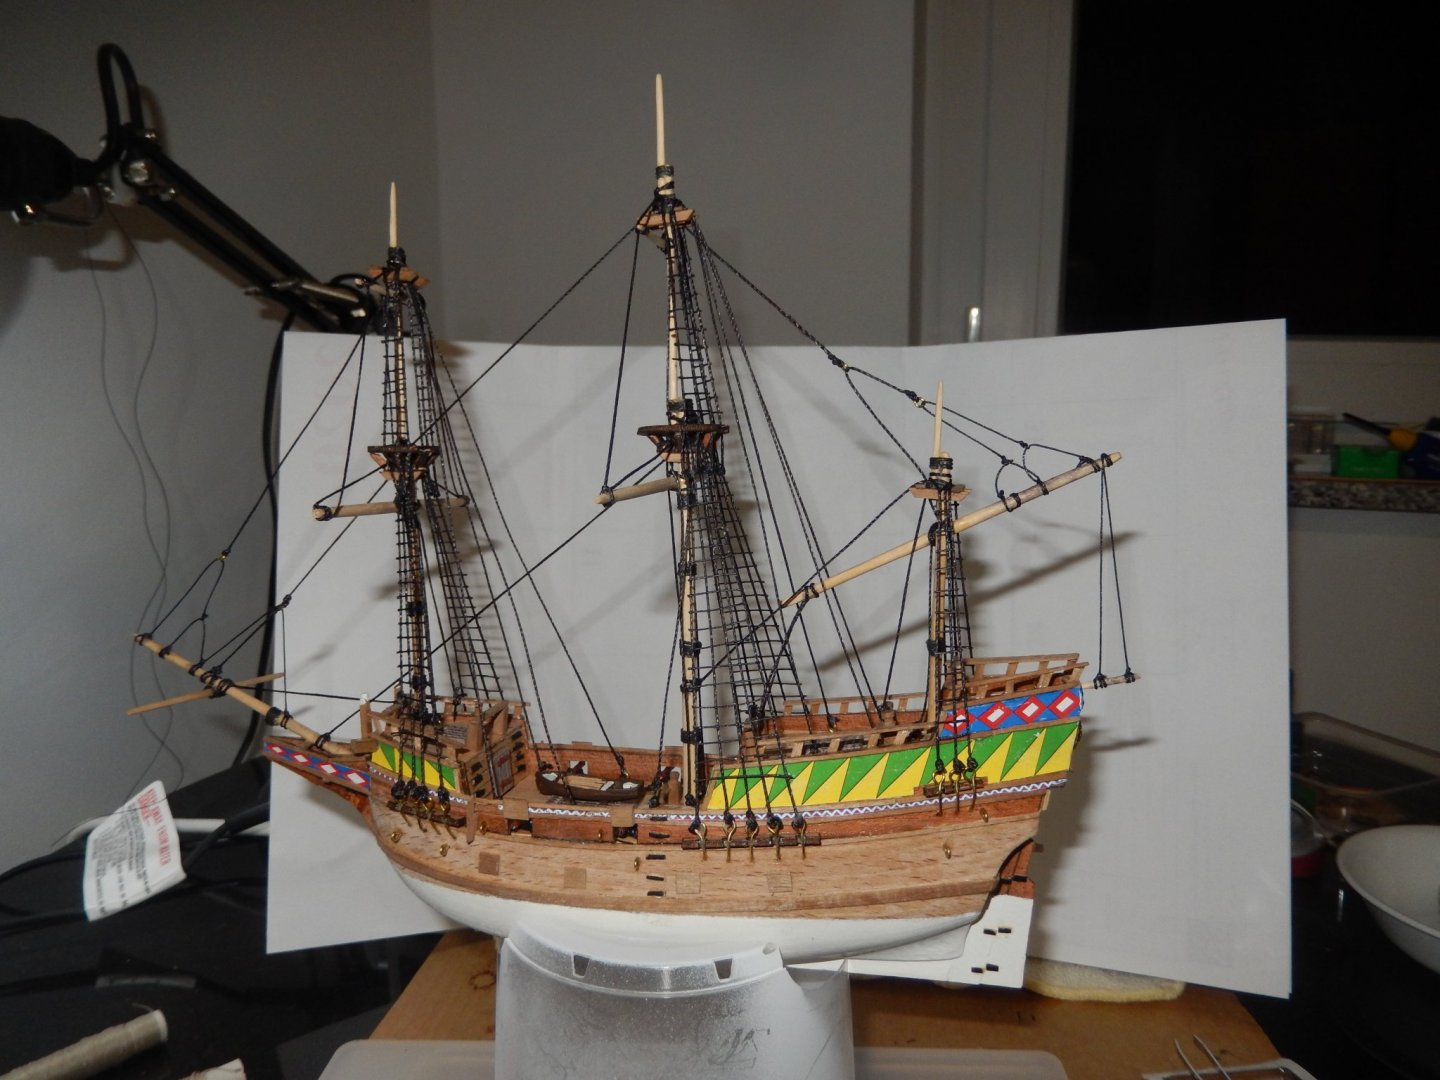
9/6/2020 Shrouds and ratlines done; all fixed rigging done. This coming week I’ll work on the running rigging. Last sheet of plans; end of the project in sight. Had a minor scare earlier today. I attached the anchors to some cord and, using a clamp, had hung them up for the glue on the knots to dry. About an hour later I looked up where the anchors were hanging and one was missing. After searching the work table, floor area and even the waste paper basket (which is on the other side of the work table from where the anchors were) I had about given up and was planning a trip to my local modeling shop to see if I could get a replacement. As I was putting the ship back onto the work table from where I had put it during the search I looked down at the mizzen top – there was the anchor neat as could be. I apparently hit the clamp at some point while threading rigging and that was enough for the cord to slip out of the clamp’s jaws. Anchors are secured safe awaiting installation later this week.

-
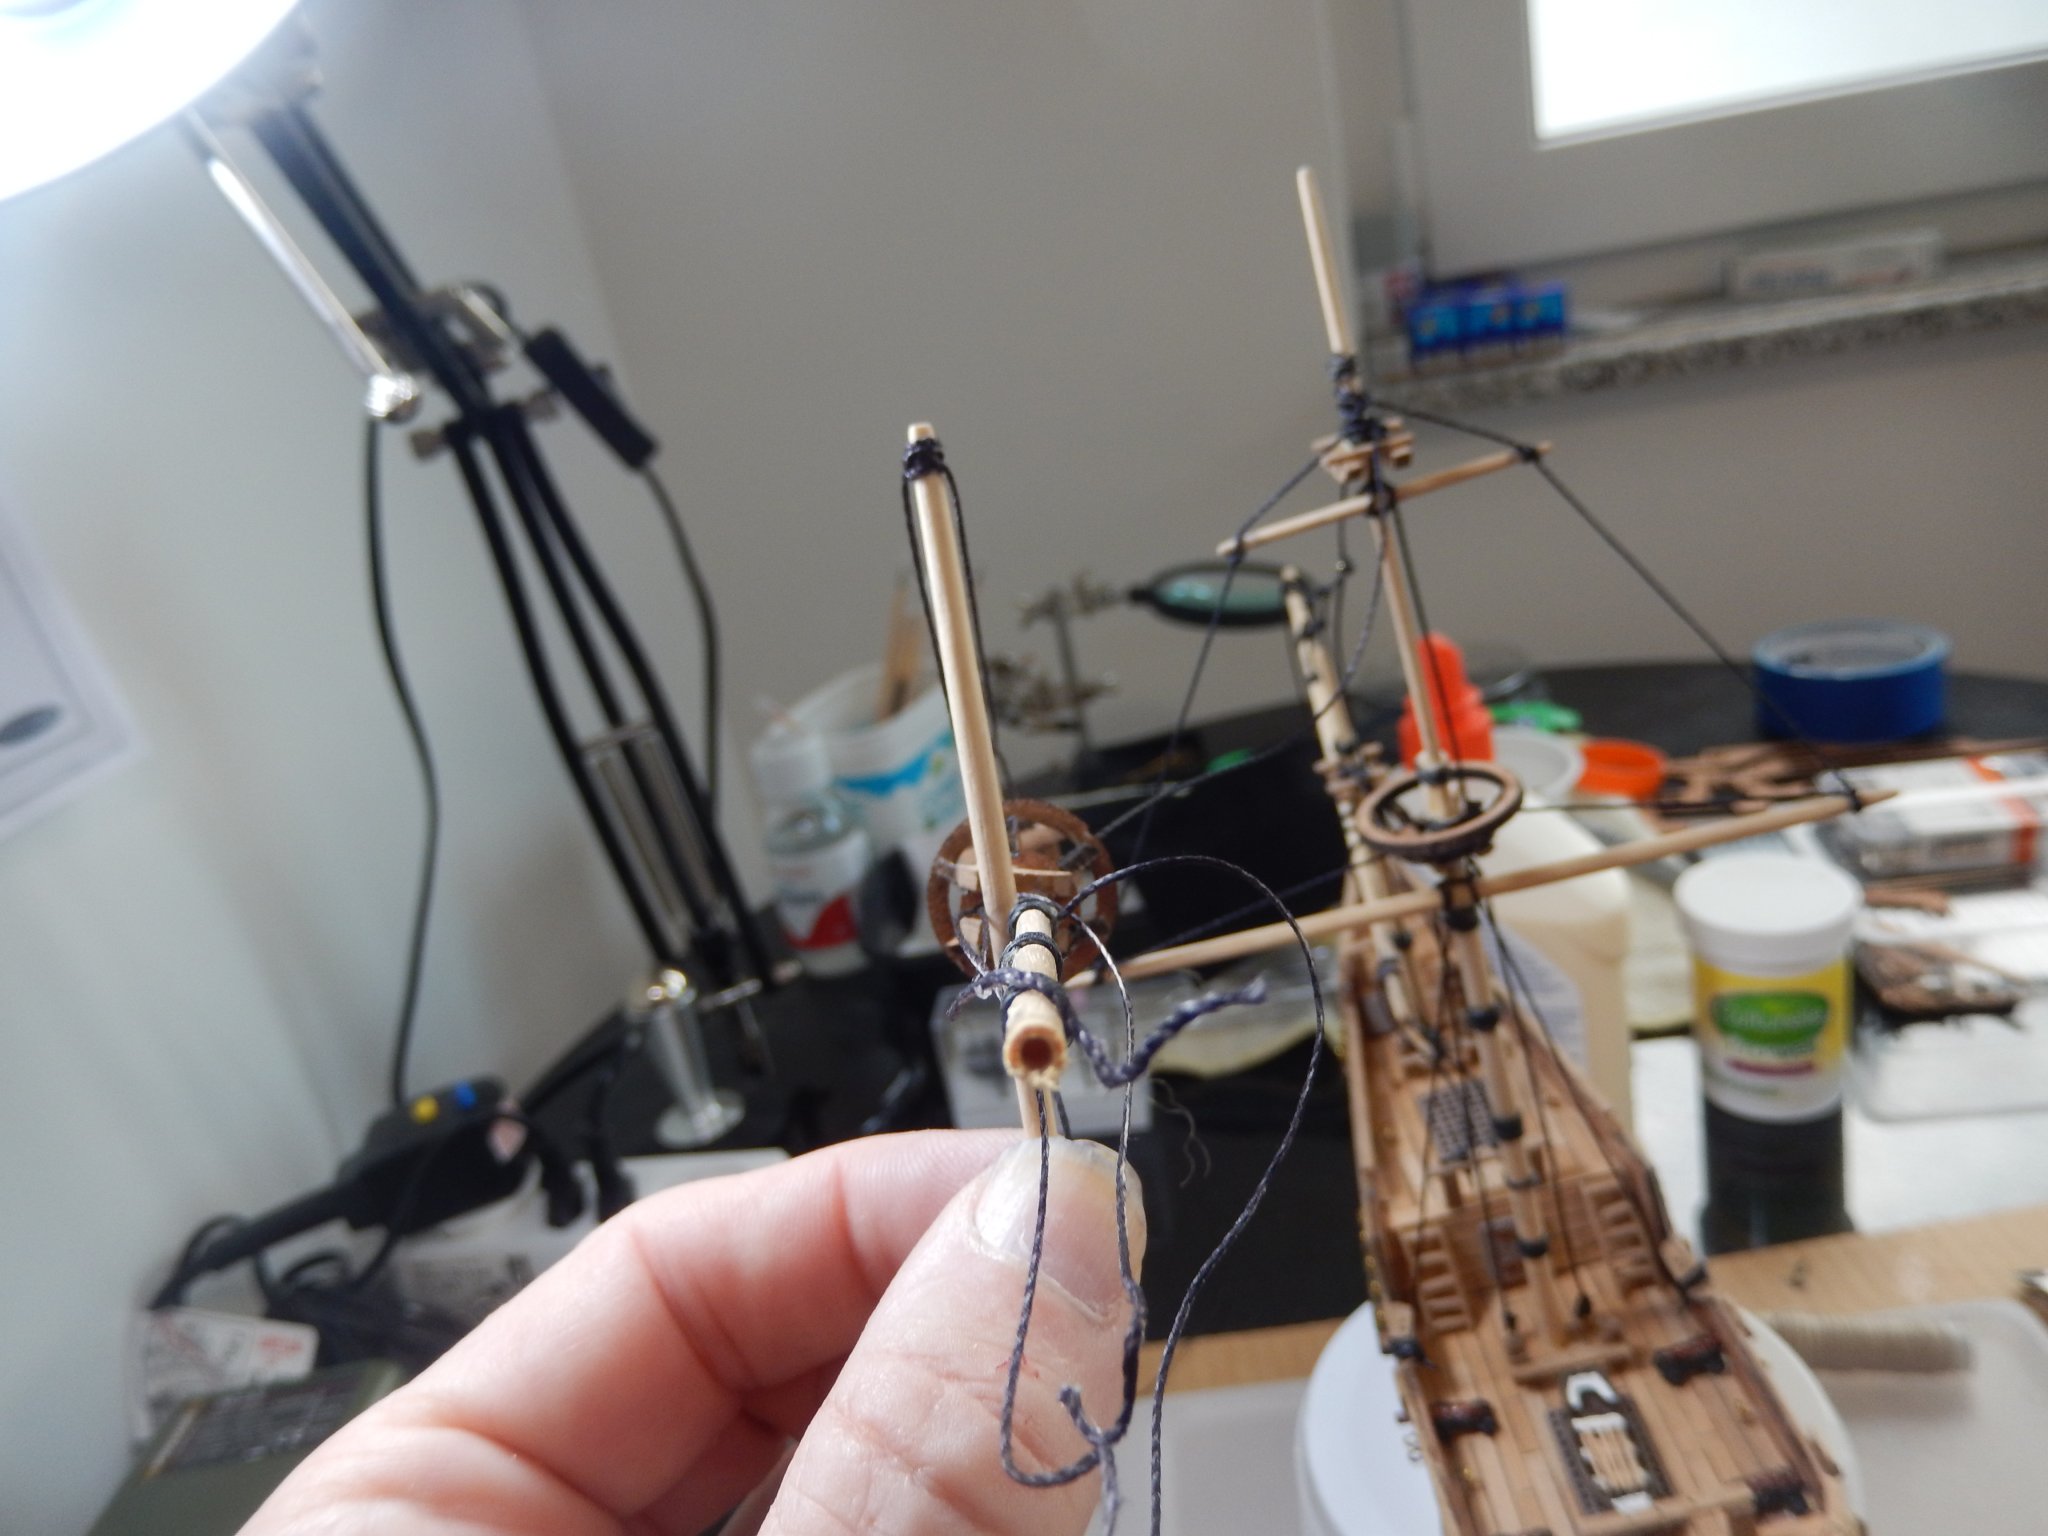
9/4/2020 Shrouds and ratlines coming along. Working the shrouds for the upper main & fore masts will be interesting. Taking my time.

-
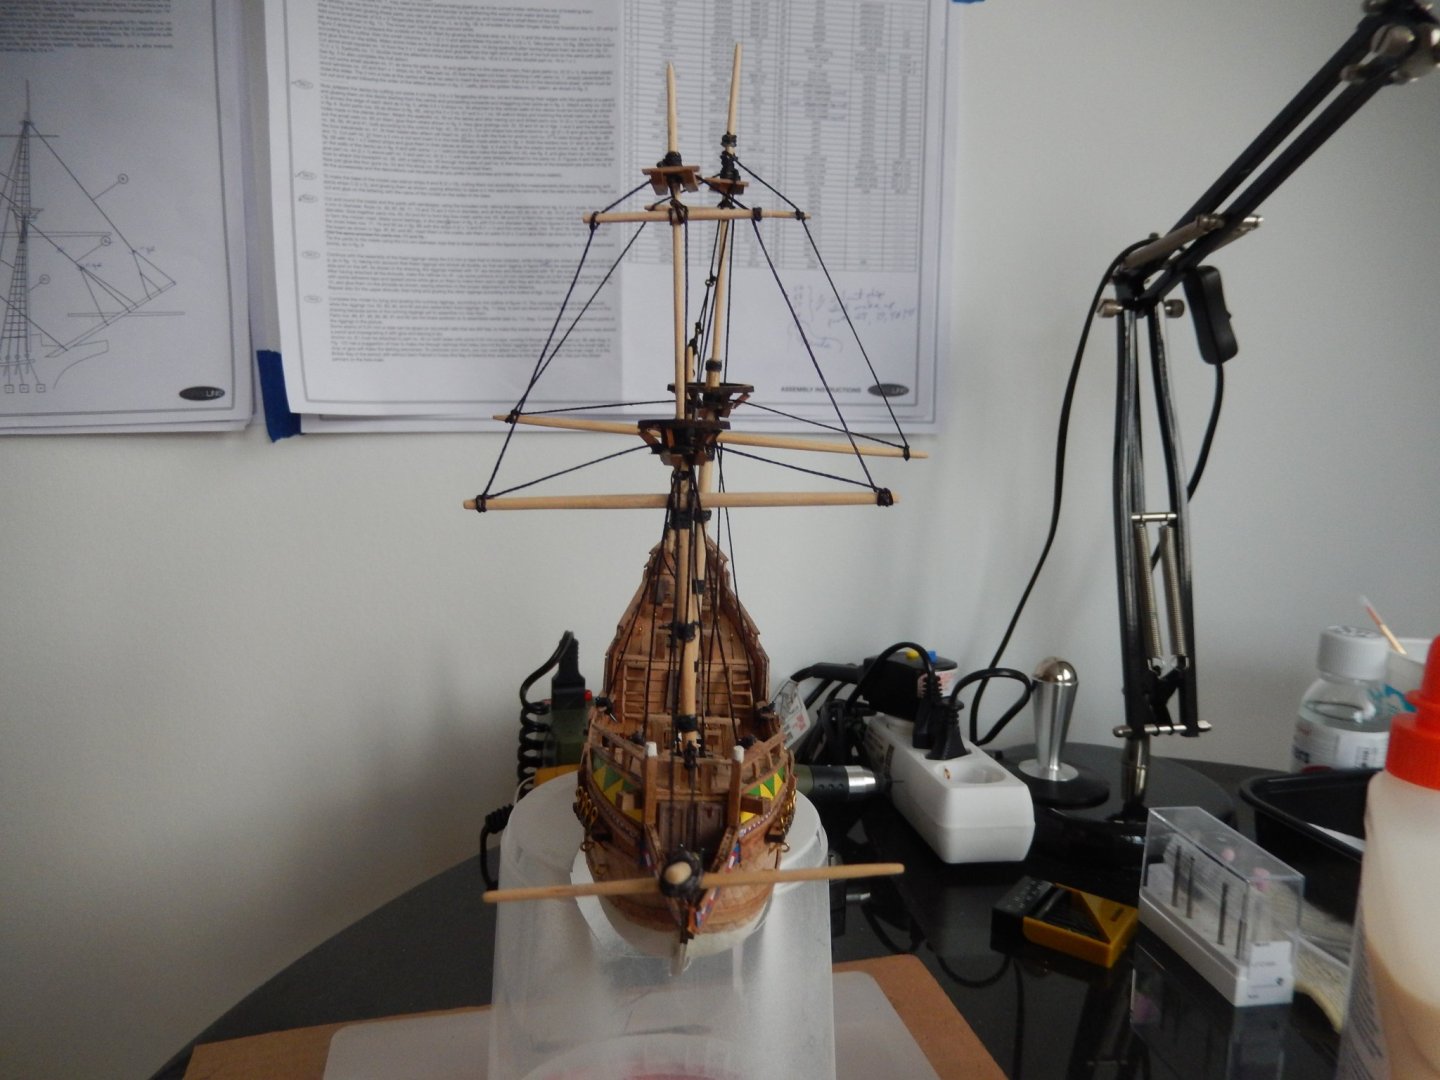
8/31/2020 Late afternoon & calling it quits for the day. Foremast and mizzen corrected; all but a couple of lines of standing rigging complete (time to ‘tar’ some more line). Will start working on the shrouds and ratlines tomorrow.
-
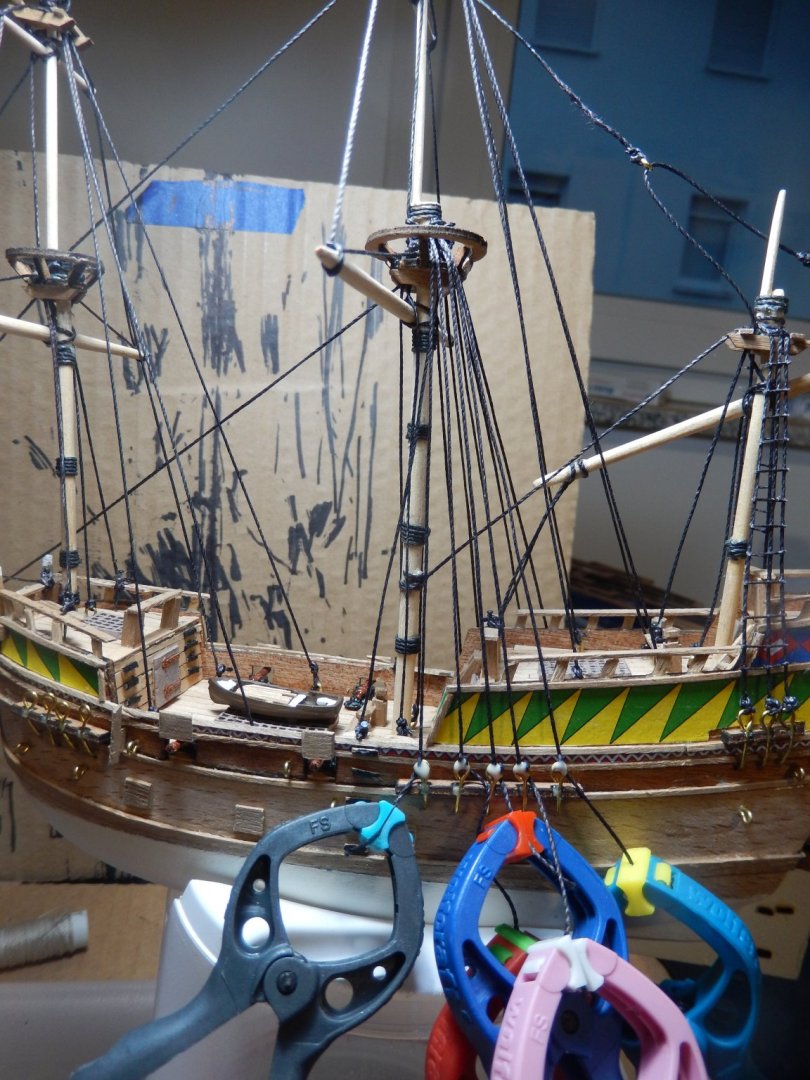
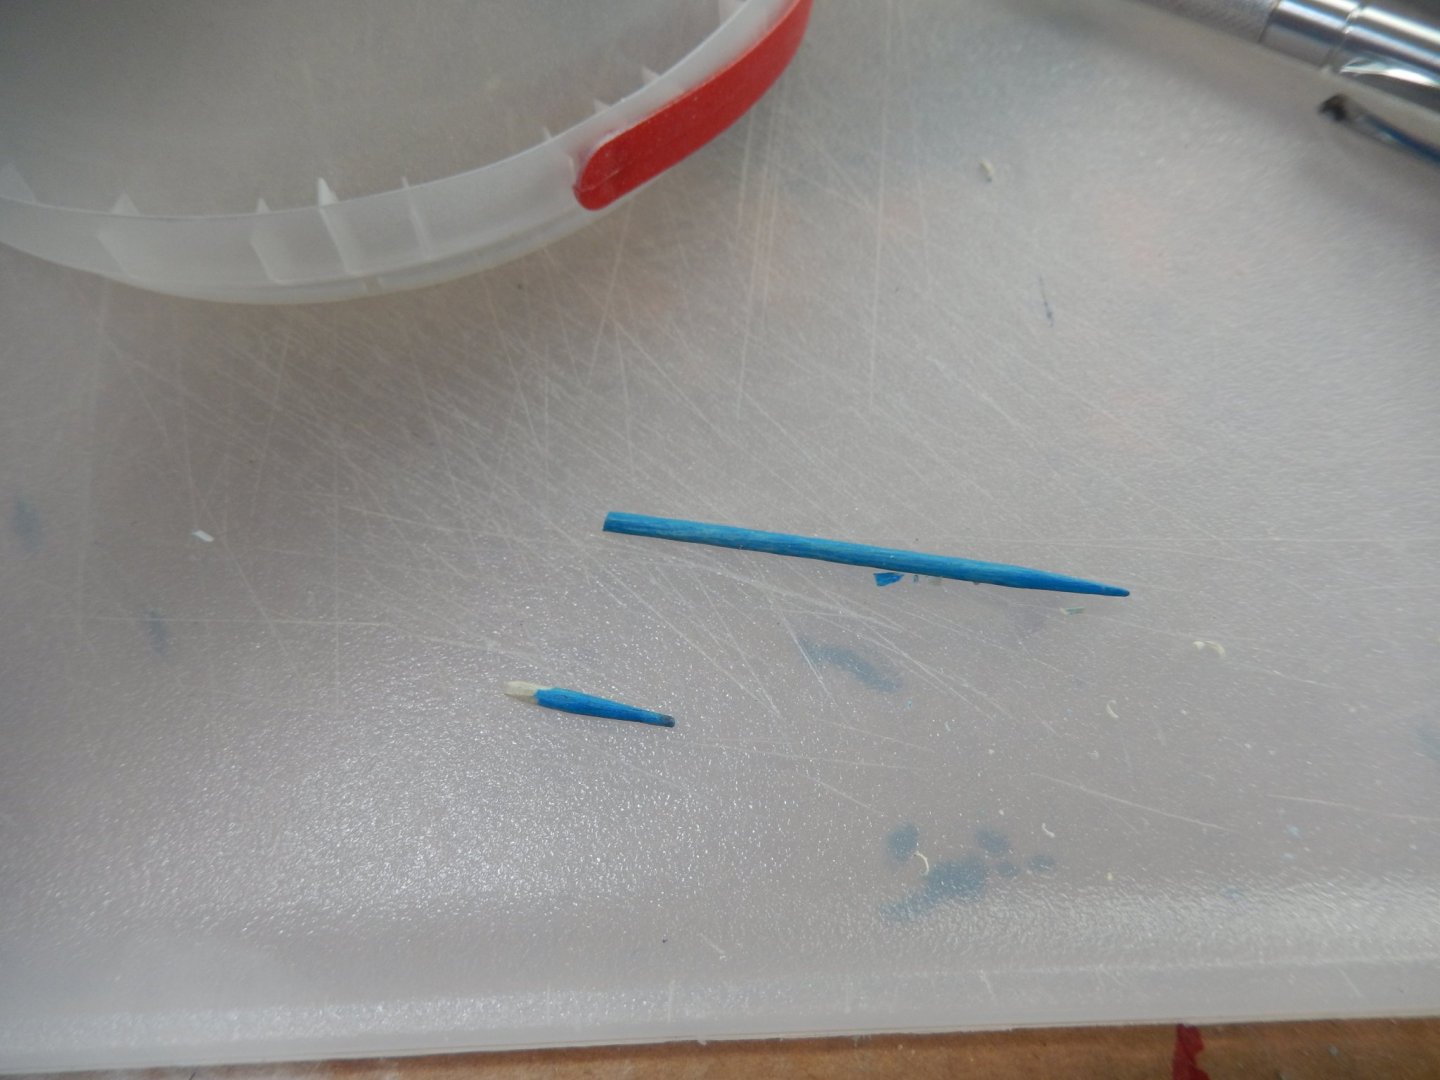
8/31/2020 Late morning De-rigging of foremast completed successfully. Snapped foremast off at deck level and drilled a 1.5 mm hole in the base of mast & in the deck to accept a small dowel (pretty nice what a cocktail toothpick can be used for). Foremast remounted and aligned with main mast. De-rigging of mizzen mast also completed successfully. Mizzen realigned properly. Will continue re-rigging later today. Have to remember to be more like the tortoise and less like the hare. No need to have a deadline to finish. When it is done, and done right, it will be finished. Enough with waxing philosophical. Time to get back to ‘tarring’ more line.


-
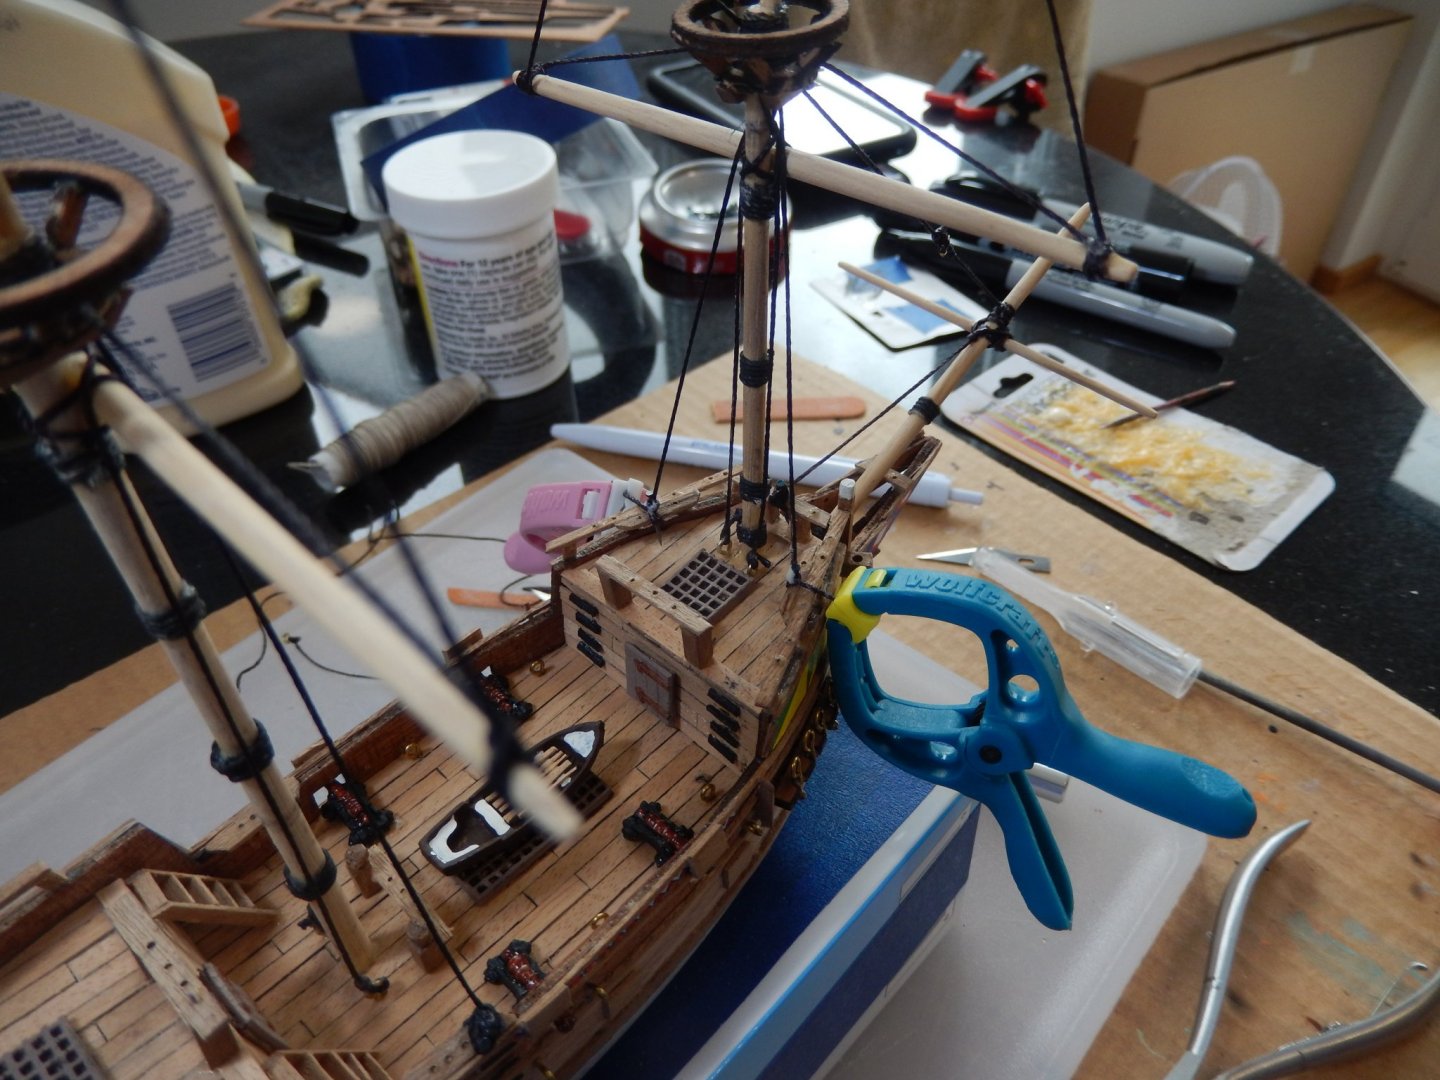
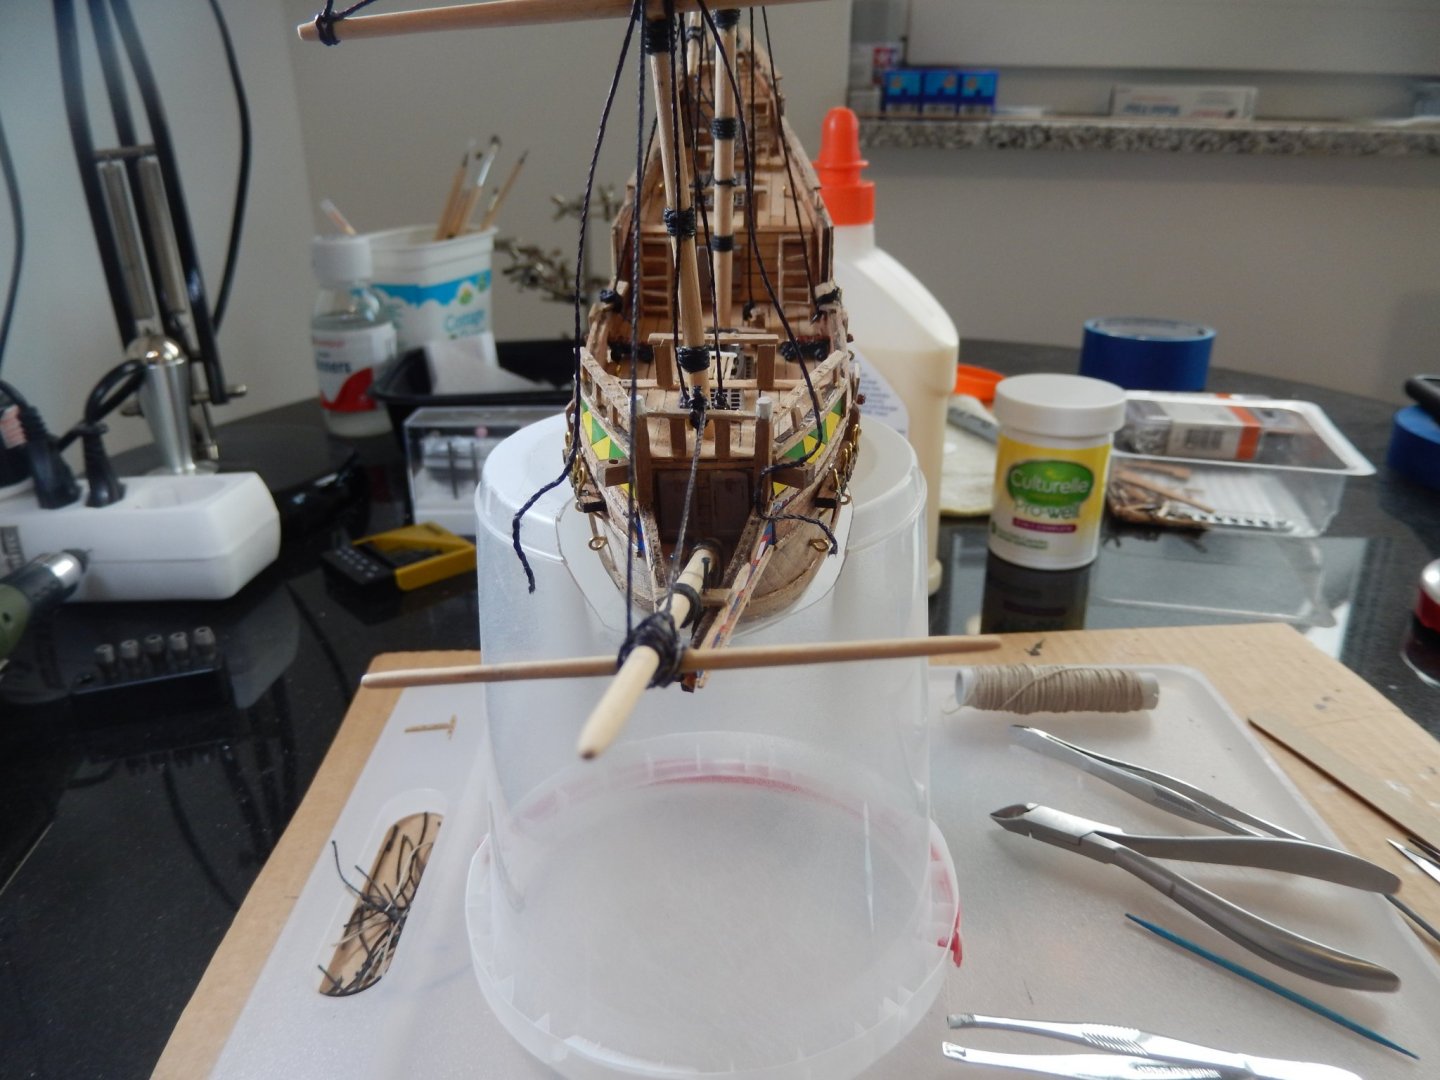
8/31/2020 A couple of days ago I finished the yards and started hanging them and working on the standing rigging. After making a bit of a mess ‘tarring’ line with diluted paint I decided to try something a bit different – Sharpie permanent marker. Working like a charm – no paint specks around the workshop and doesn’t take any time to dry. Yesterday I continued with the standing rigging. Was cruising right along; at least I thought so. After a few hours work I took a really critical look at my work. To say I wasn’t really pleased is an understatement. Along the way I managed to tilt the mizzen mast forward and the foremast to starboard; ship looked like it was being rigged by a drunken sailor after a storm. Since making the decision to de-rig and start over was a big one, I stopped for the day to take stock of resources (Do I have enough line? Can I de-rig without breaking anything? Do I have the patience to do this?) and figure out a way forward. Can’t accept that I wasn’t as careful as I should have been so I started de-rigging the foremast this morning. Untying from the belay pins is a pain but not as bad as untying small knots from eyebolts or around masts. Beginning to wish I hadn’t fixed all of the knots with glue. Mizzen mast next to de-rig and then I’ll start the reassembly – slowly. Need to remind myself not to get so focused on what I’m doing that I forget to step back & check the work more critically…it will all be worth it if I can get it looking correct.

-
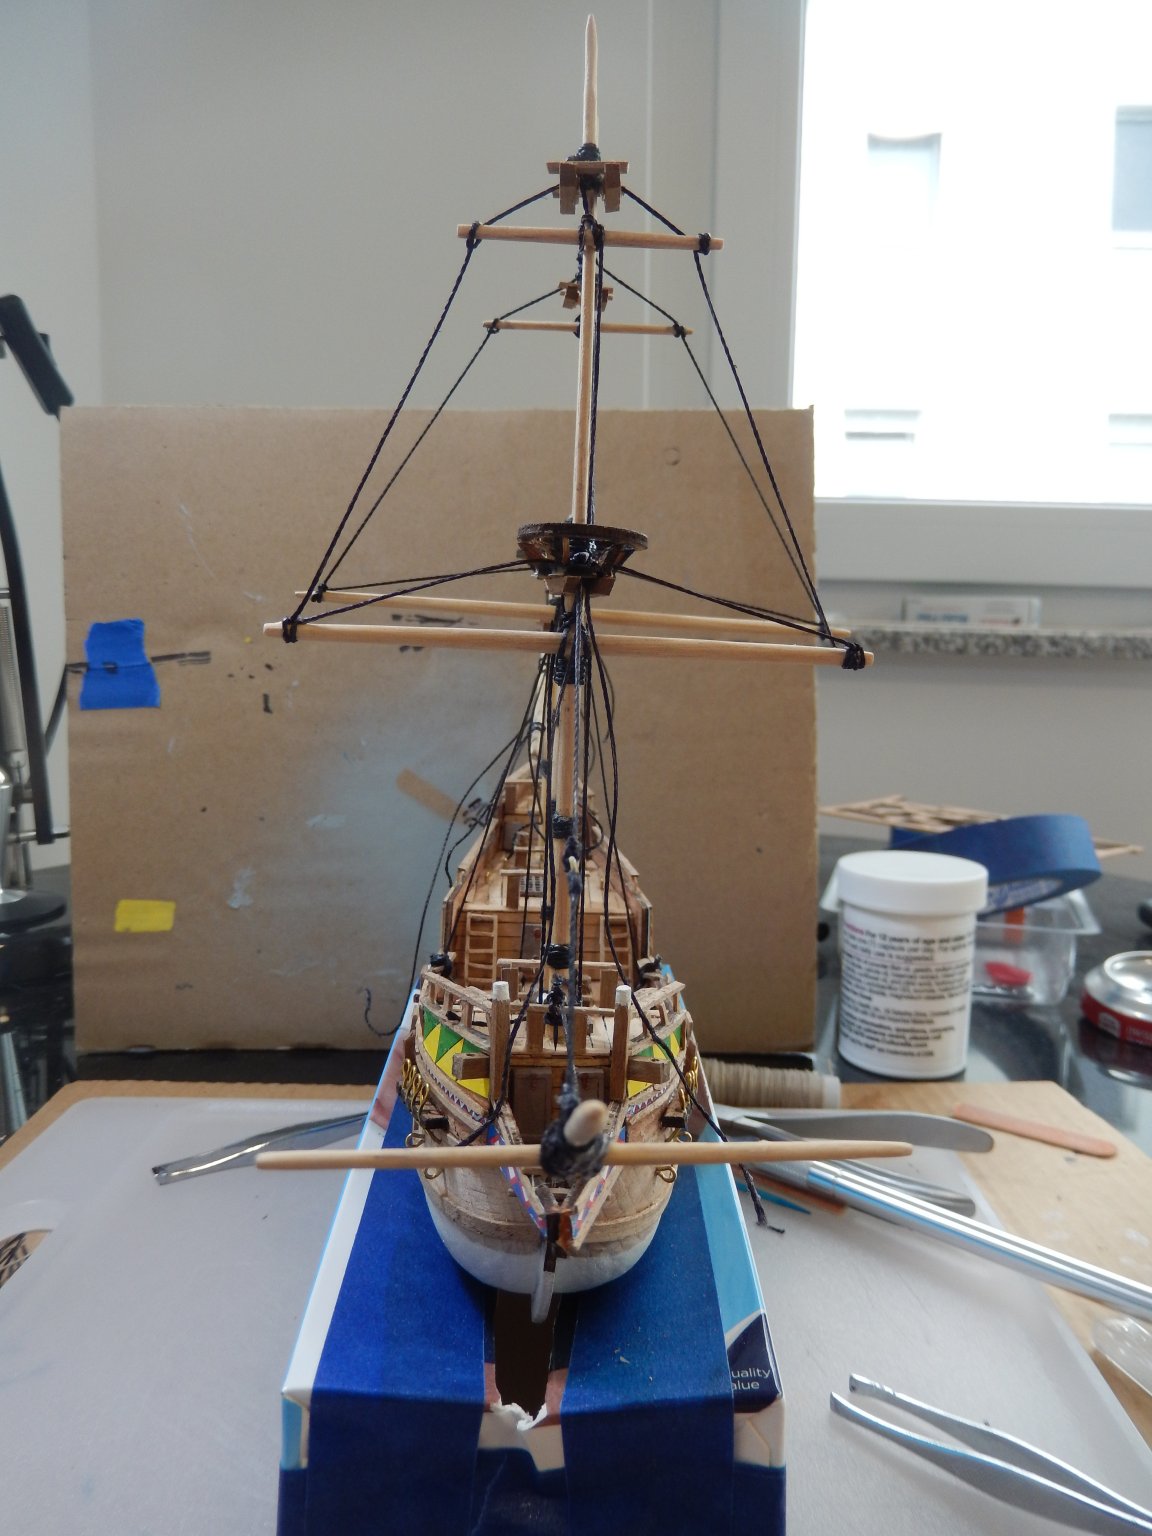
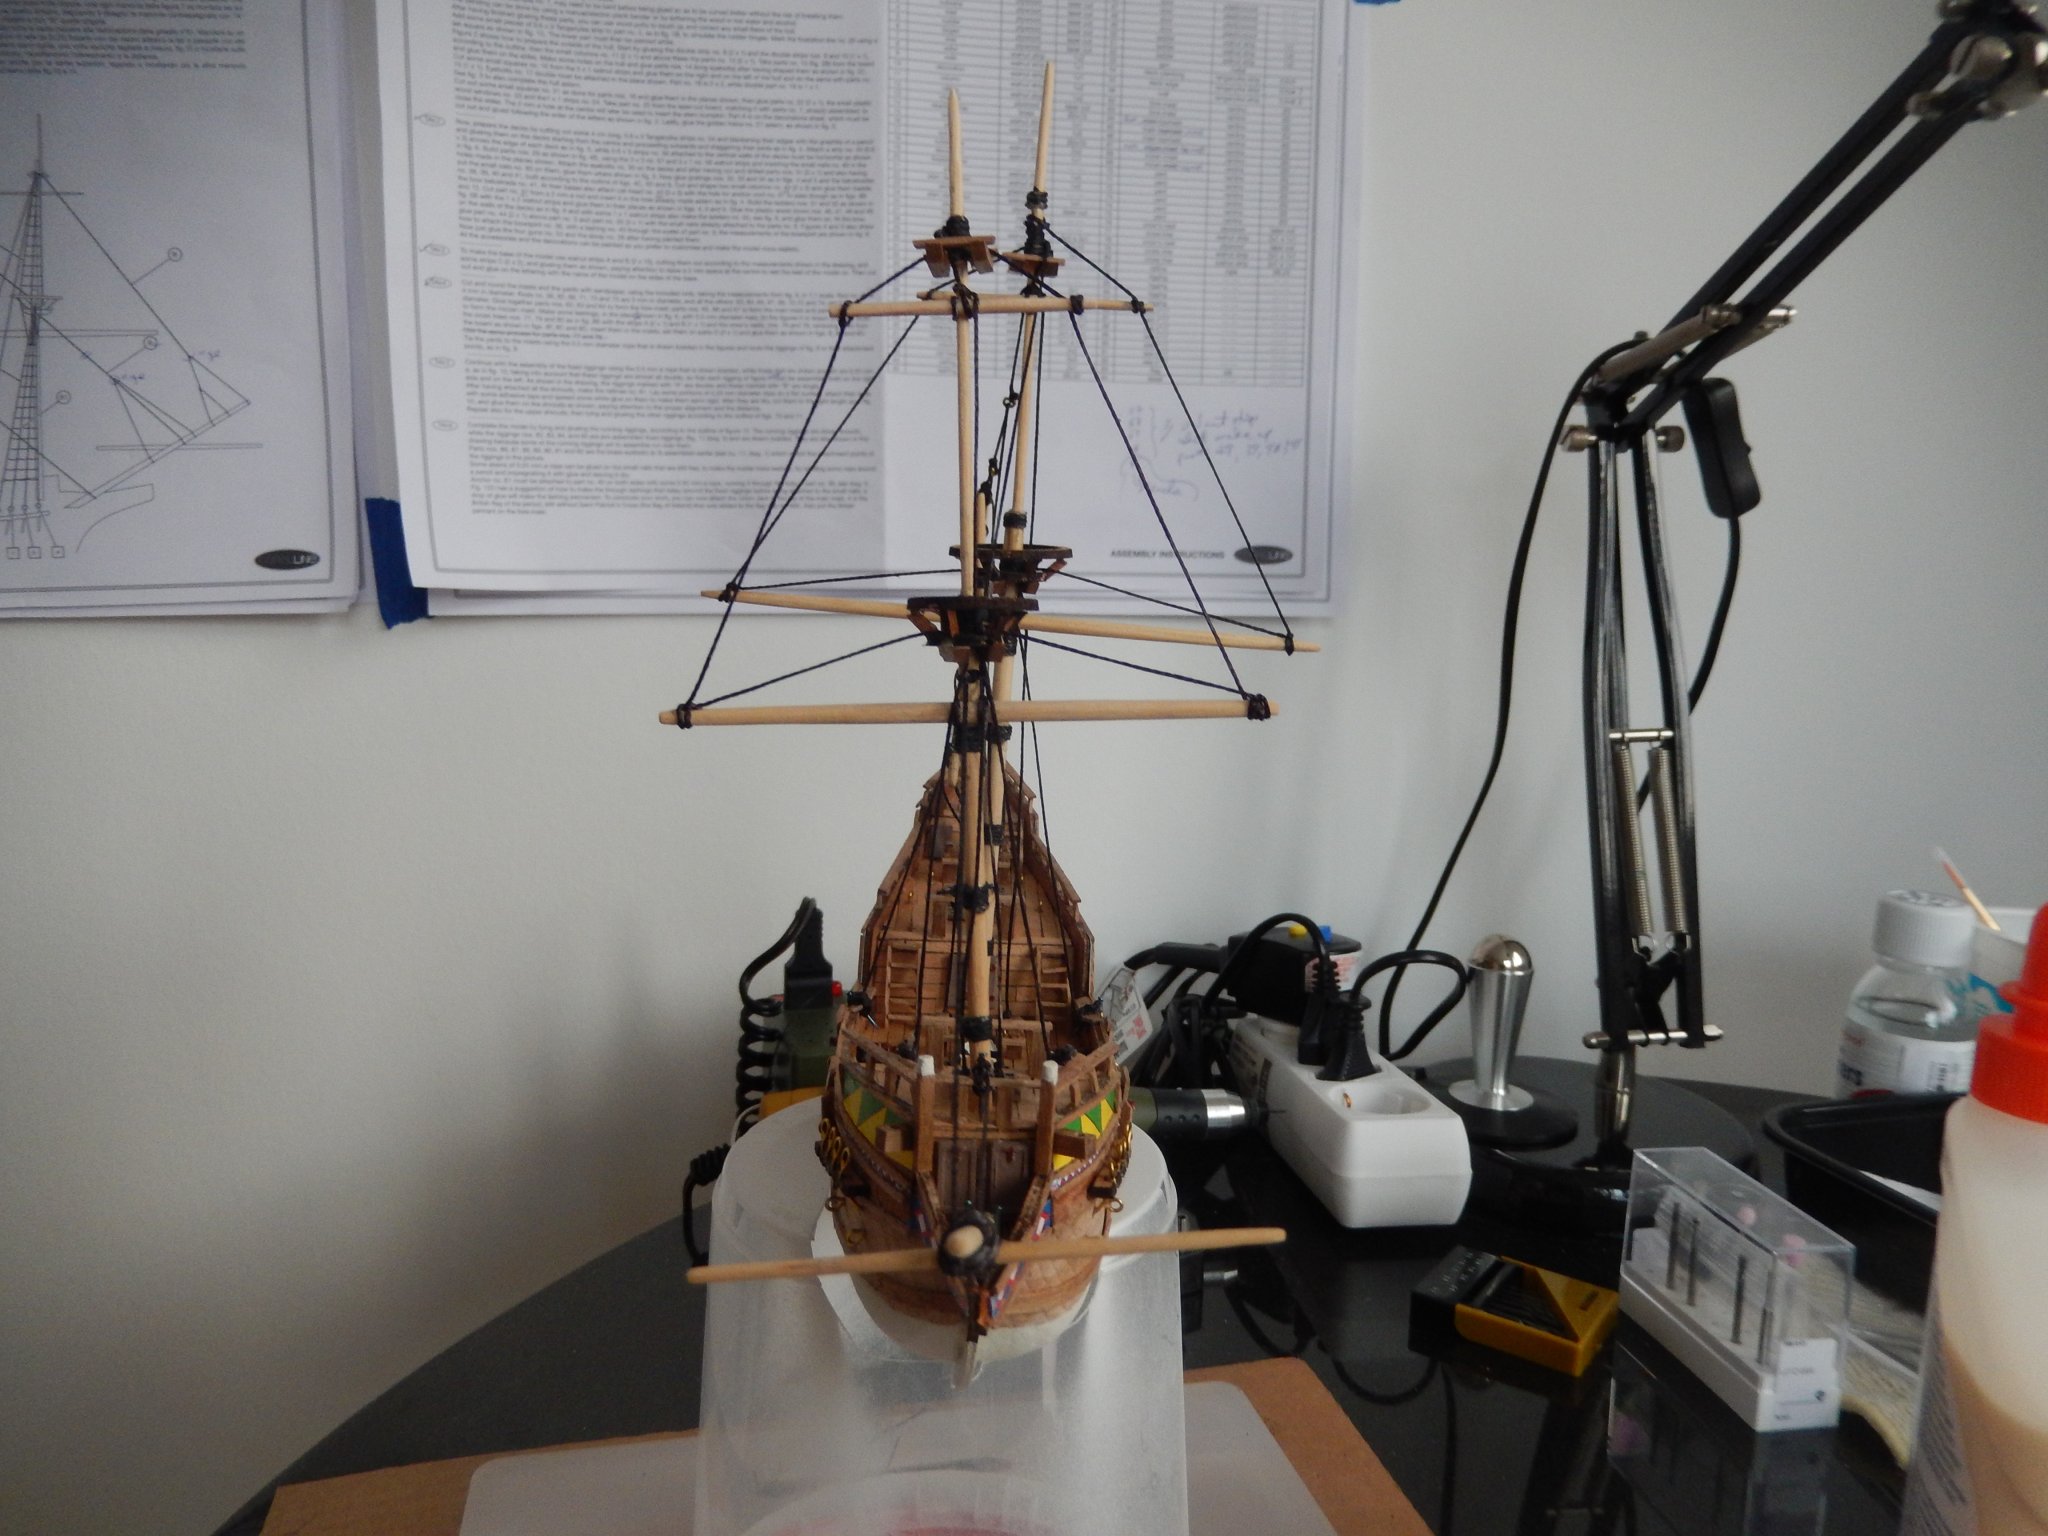
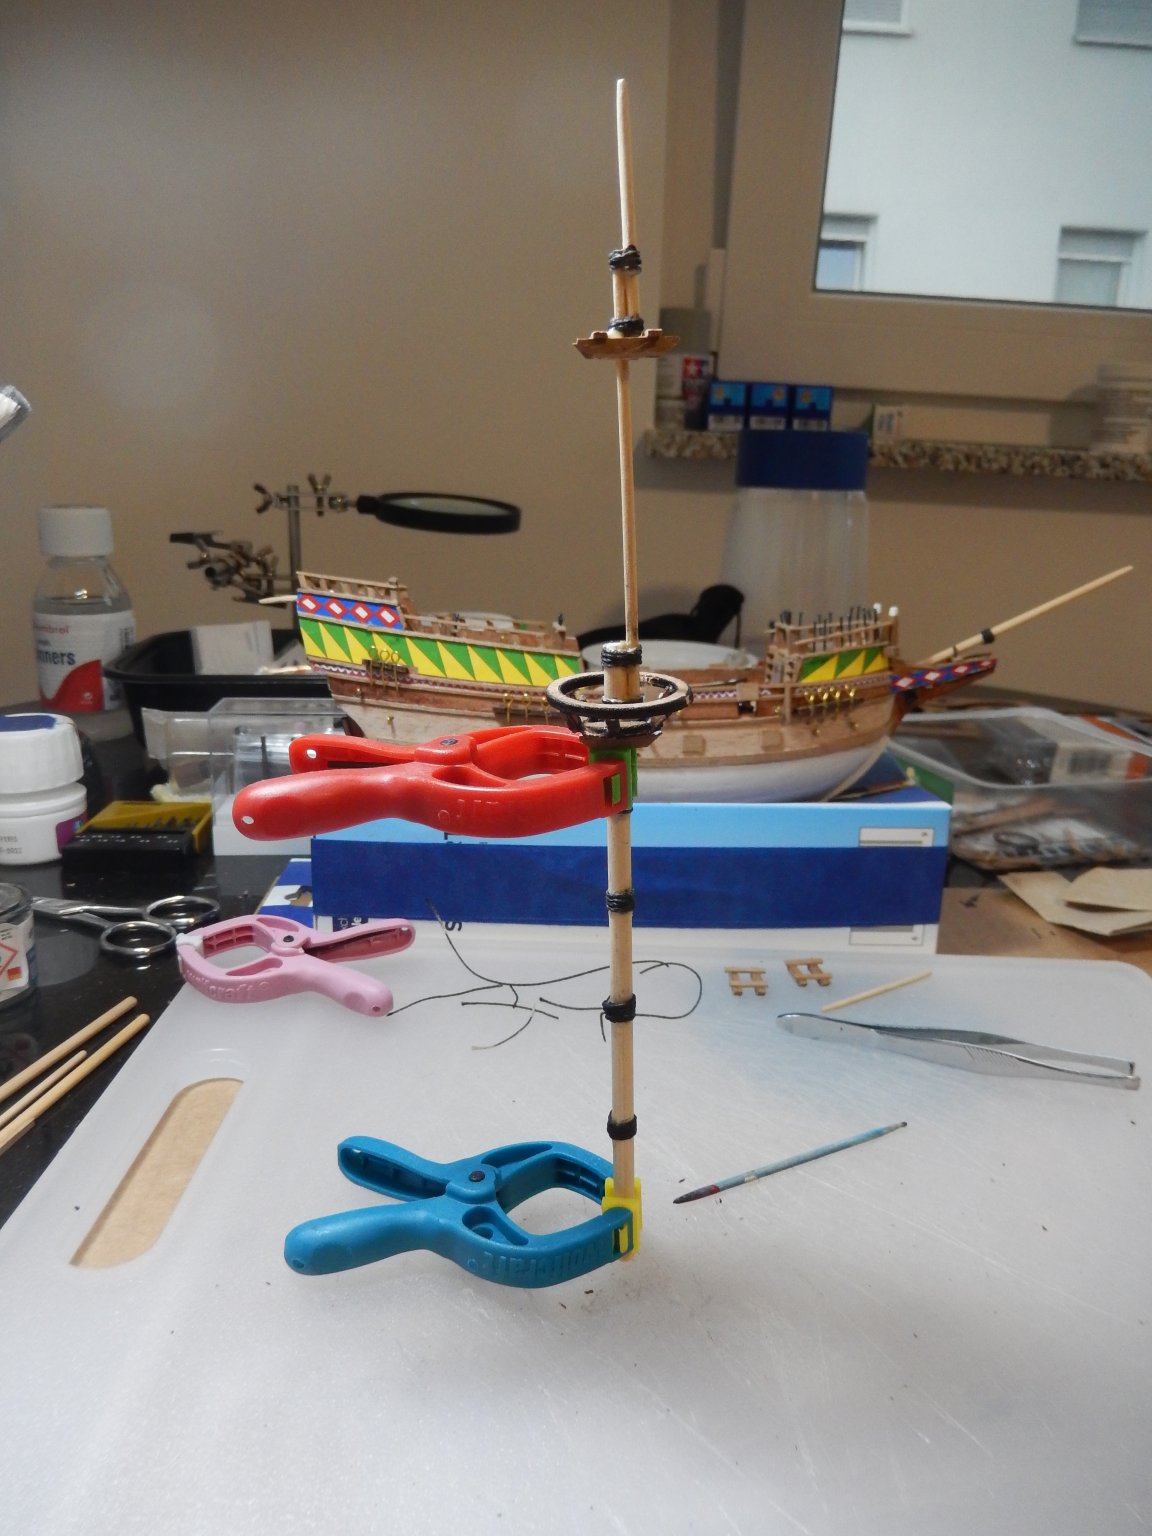
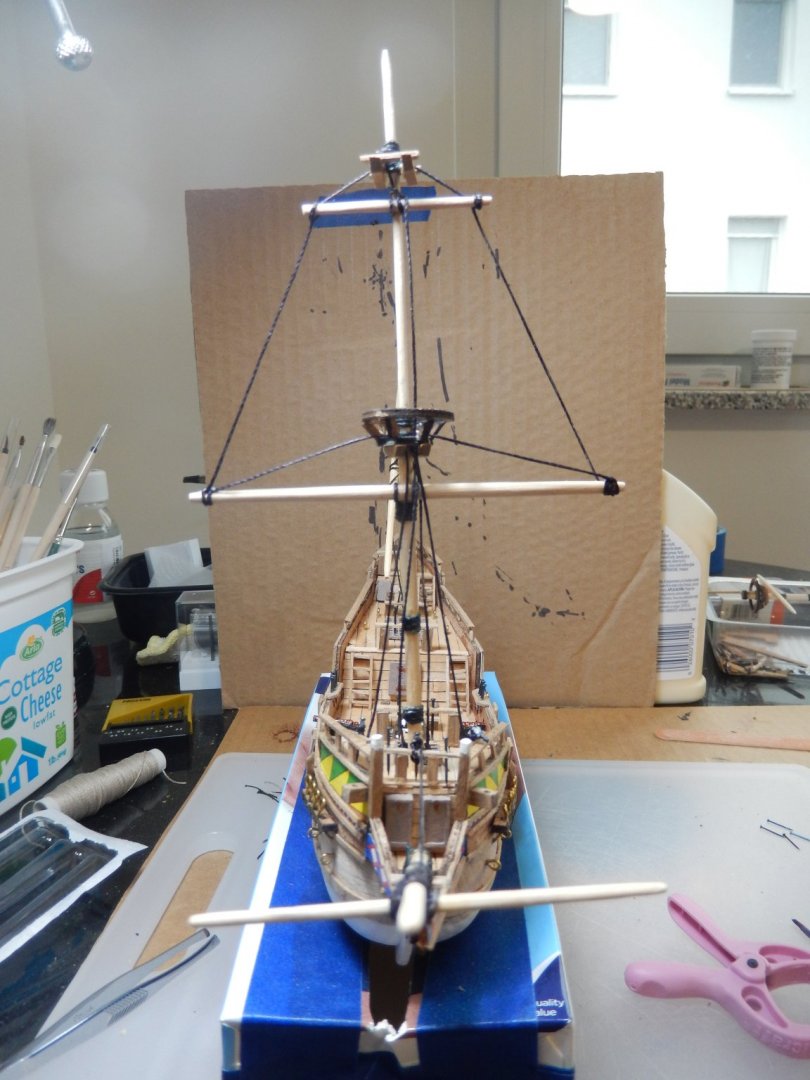
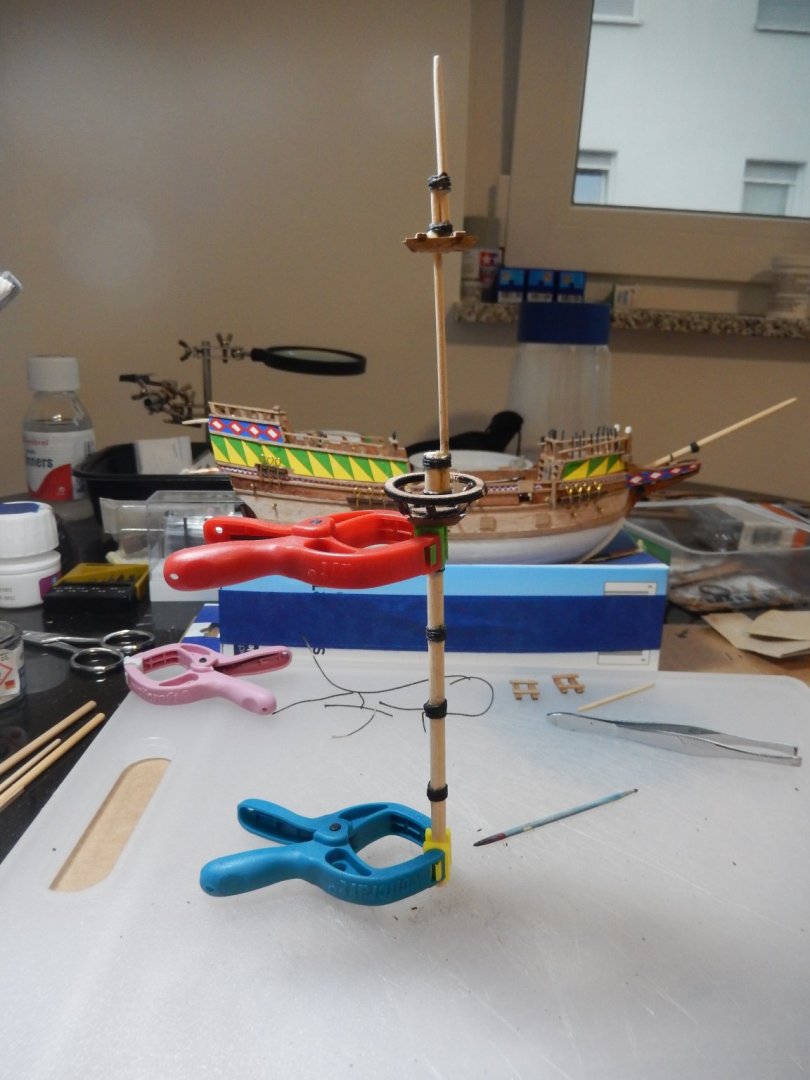
8/29/2020 Have finished the masts, crow's nests and cross trees. Will be working on the yards tomorrow; hoping to finish shaping them and get them hung on the masts.
-
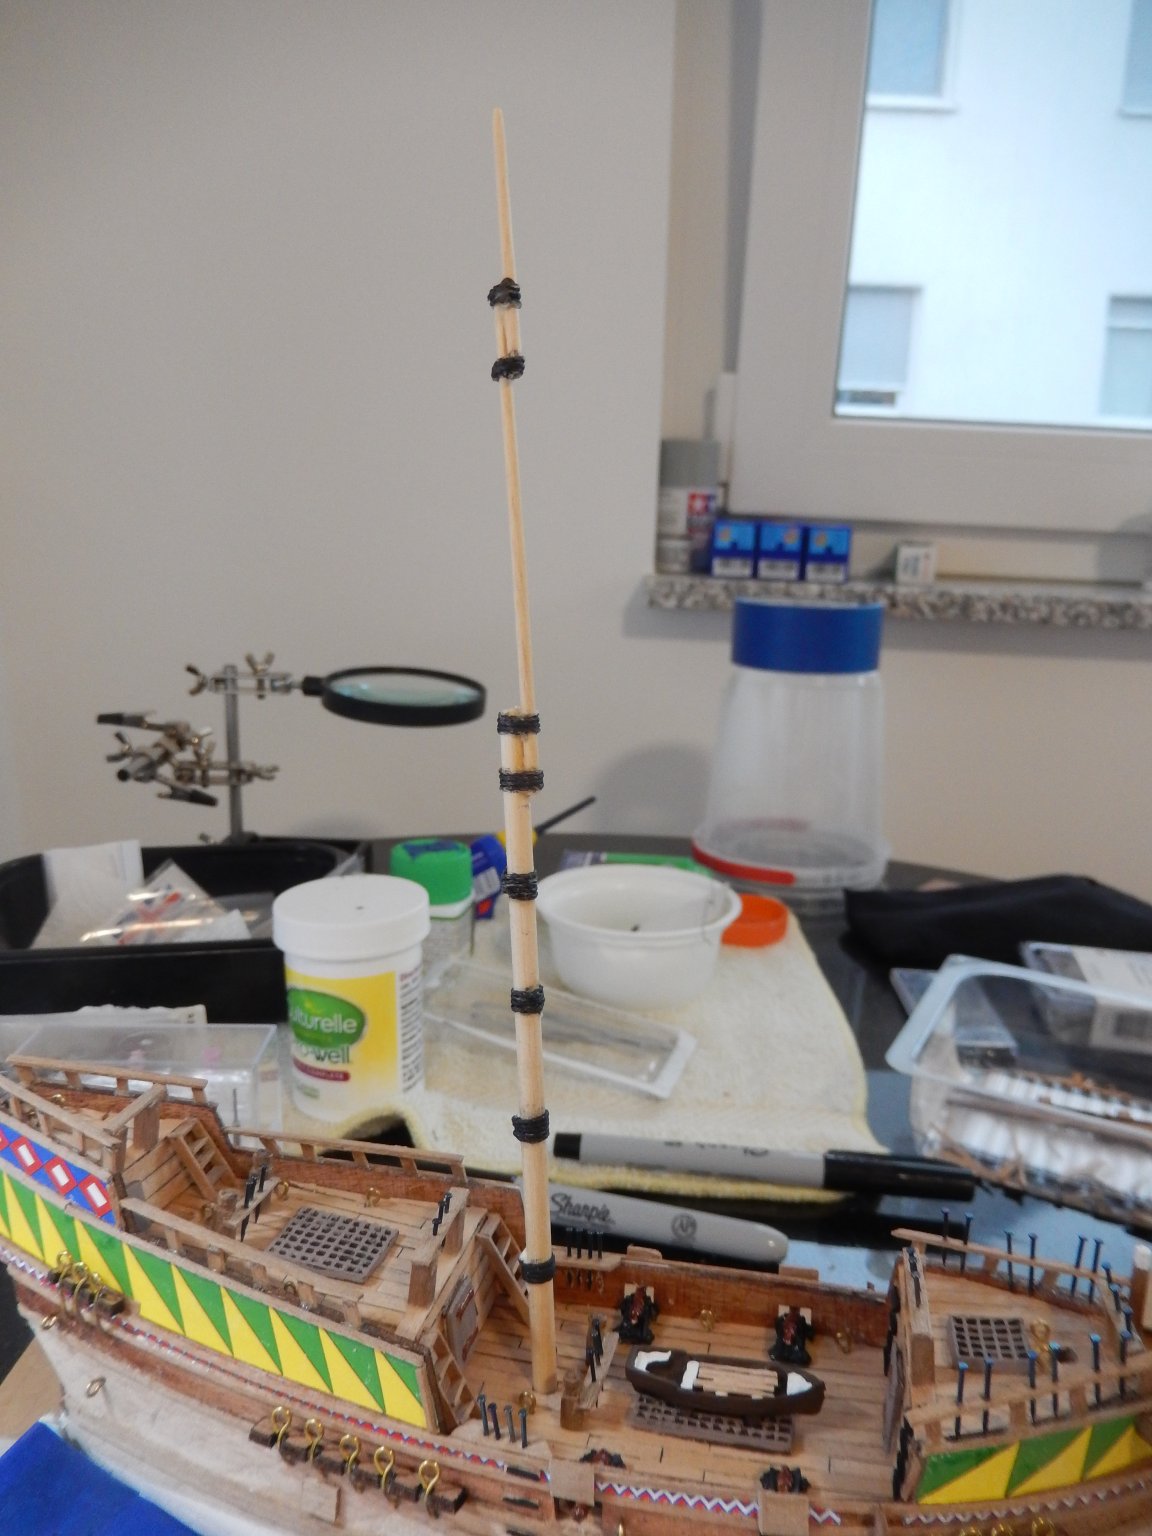
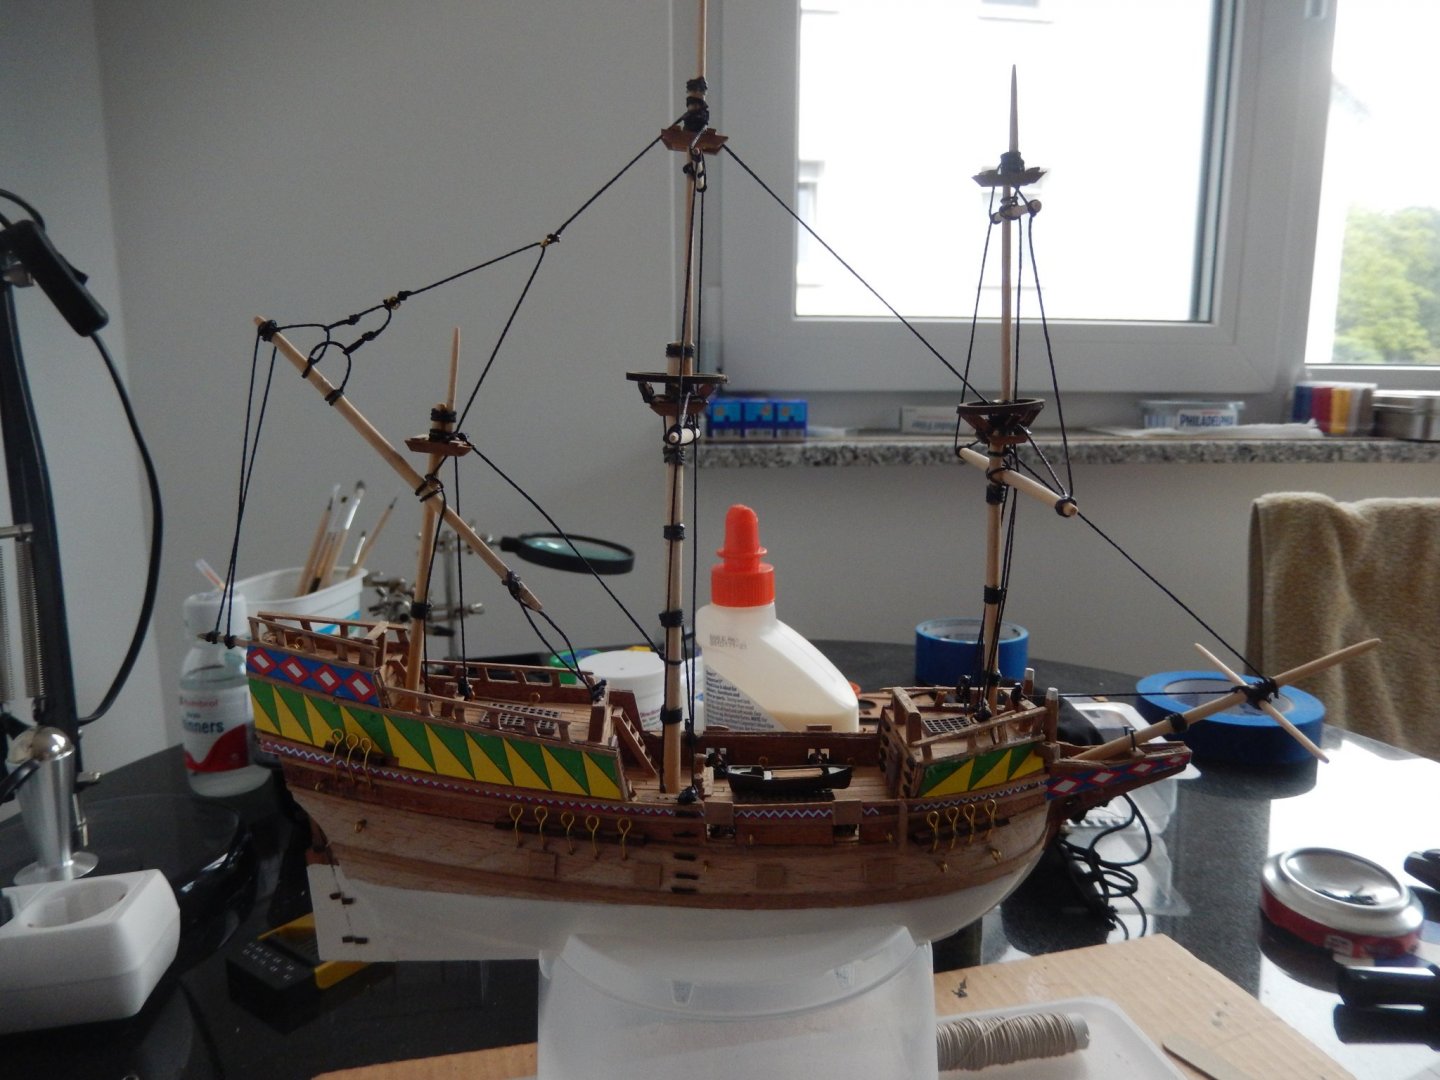
20200825 Started working on the main mast a couple of evenings ago. Sandpapered in the tapers, glued the pieces together and then started the lashings at the top. Let it stay that way for a day and then started looking at it – something just seemed a bit off. Then it hit me that the lashings needed to look like they had been tarred. I had some black enamel left from painting the flight deck of an aircraft carrier so I thinned a bit of that with some mineral spirits. Used a small paintbrush to put that on the lashings on the main topmast and the bowsprit (the thread supplied soaks it in quick). I liked the way it looked so I cut a length off of the provided line, dyed that, let it dry and then proceeded with the rest of the main mast lashings. Will do the same for the lashings on the other masts; not sure yet if I’ll dye the actual rigging to look like it is tarred. Have to look at some photos of Mayflower II and a couple of other rigged replicas of that era first. Little by little the ship is taking shape.


-
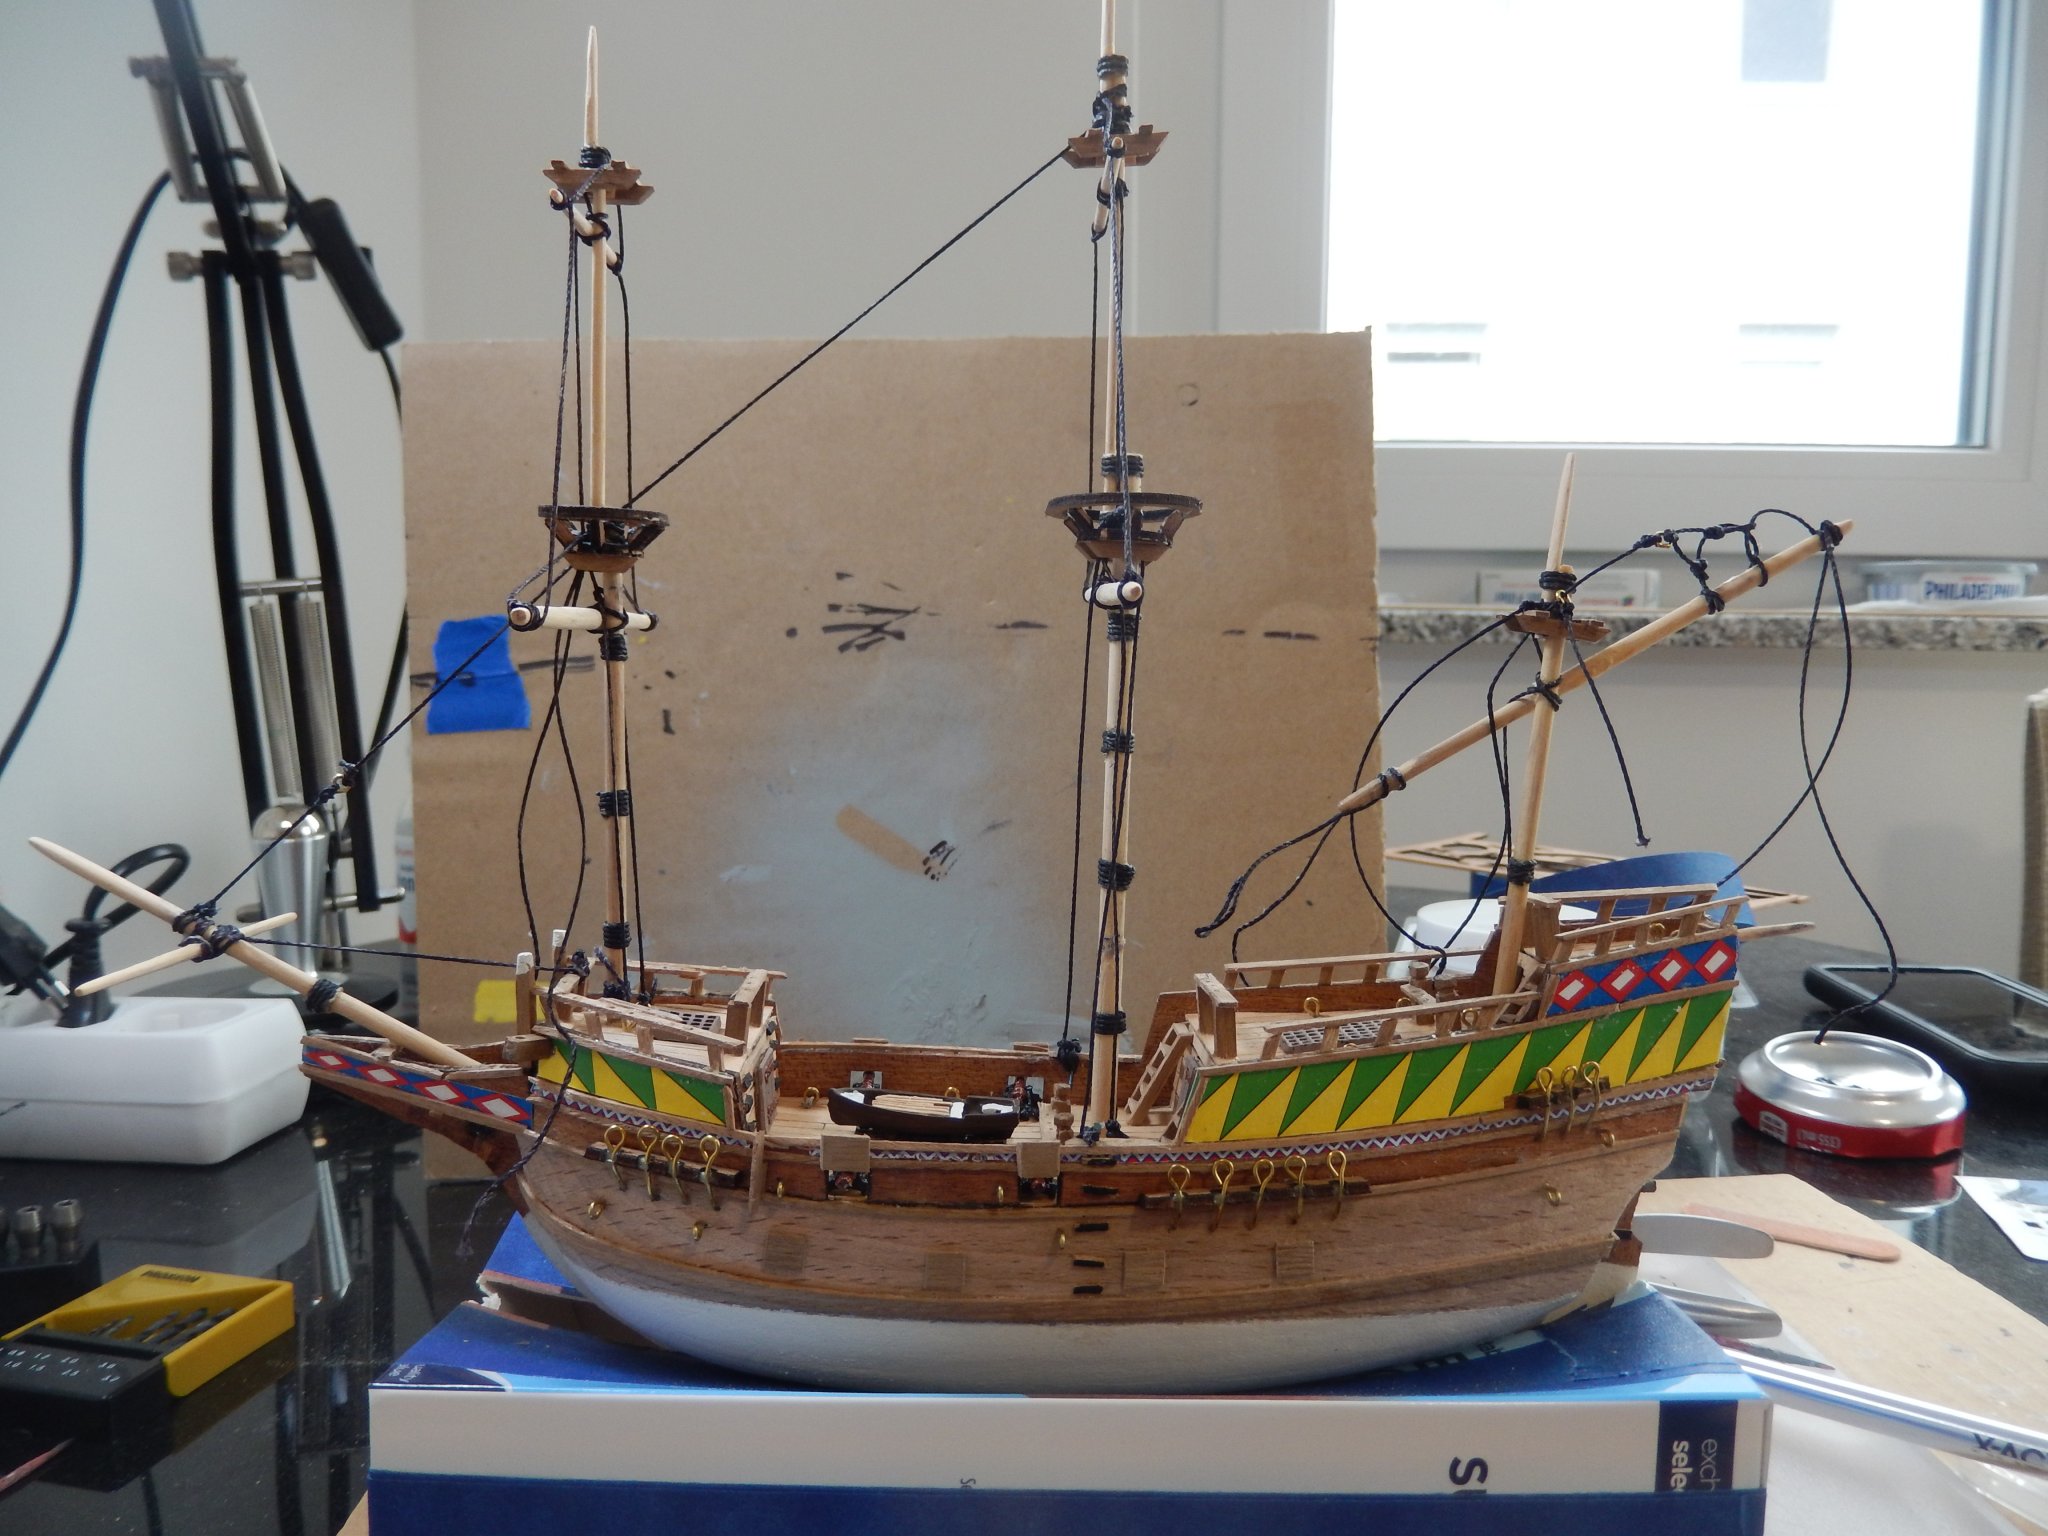
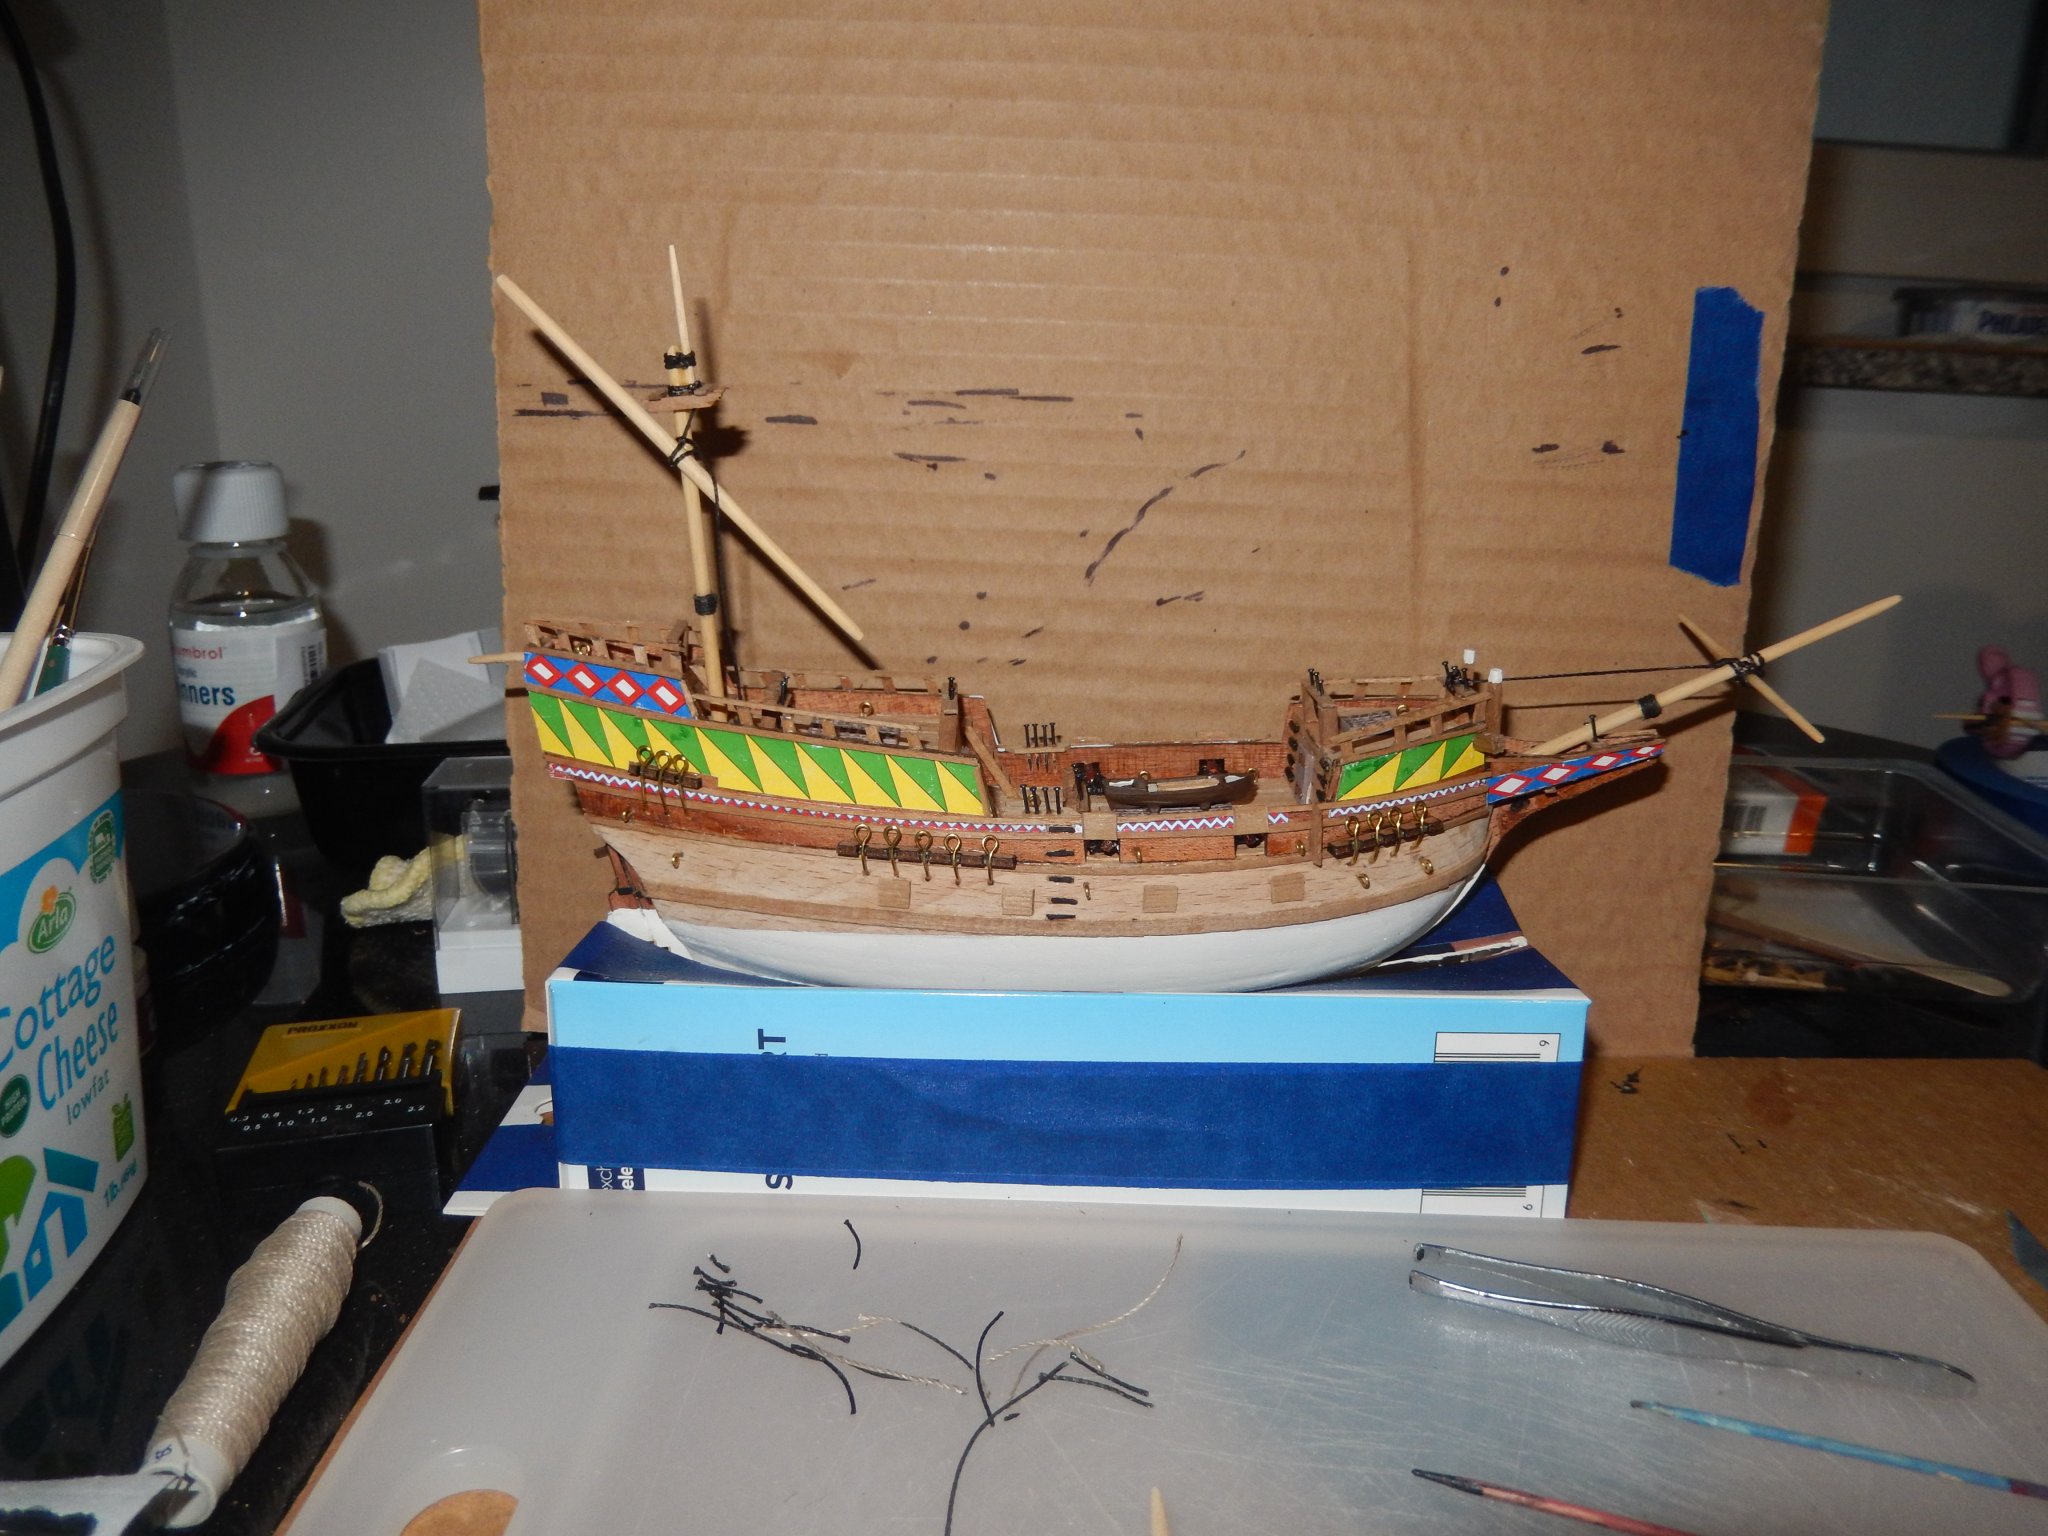
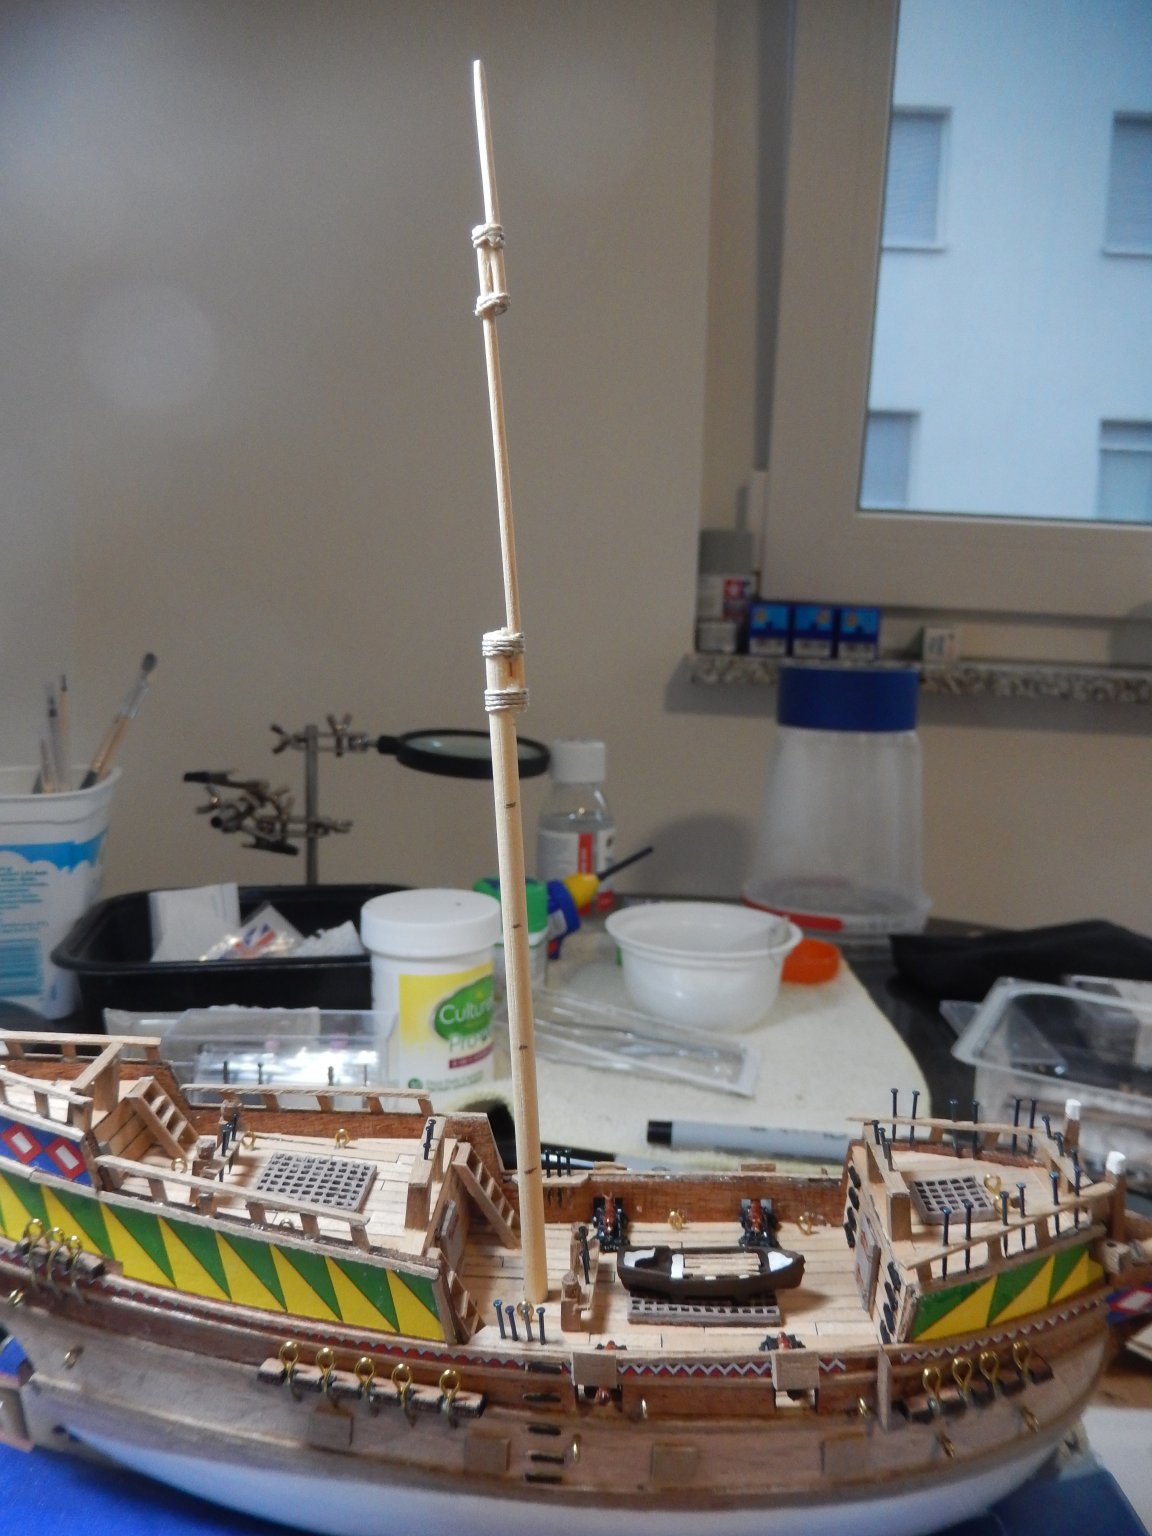
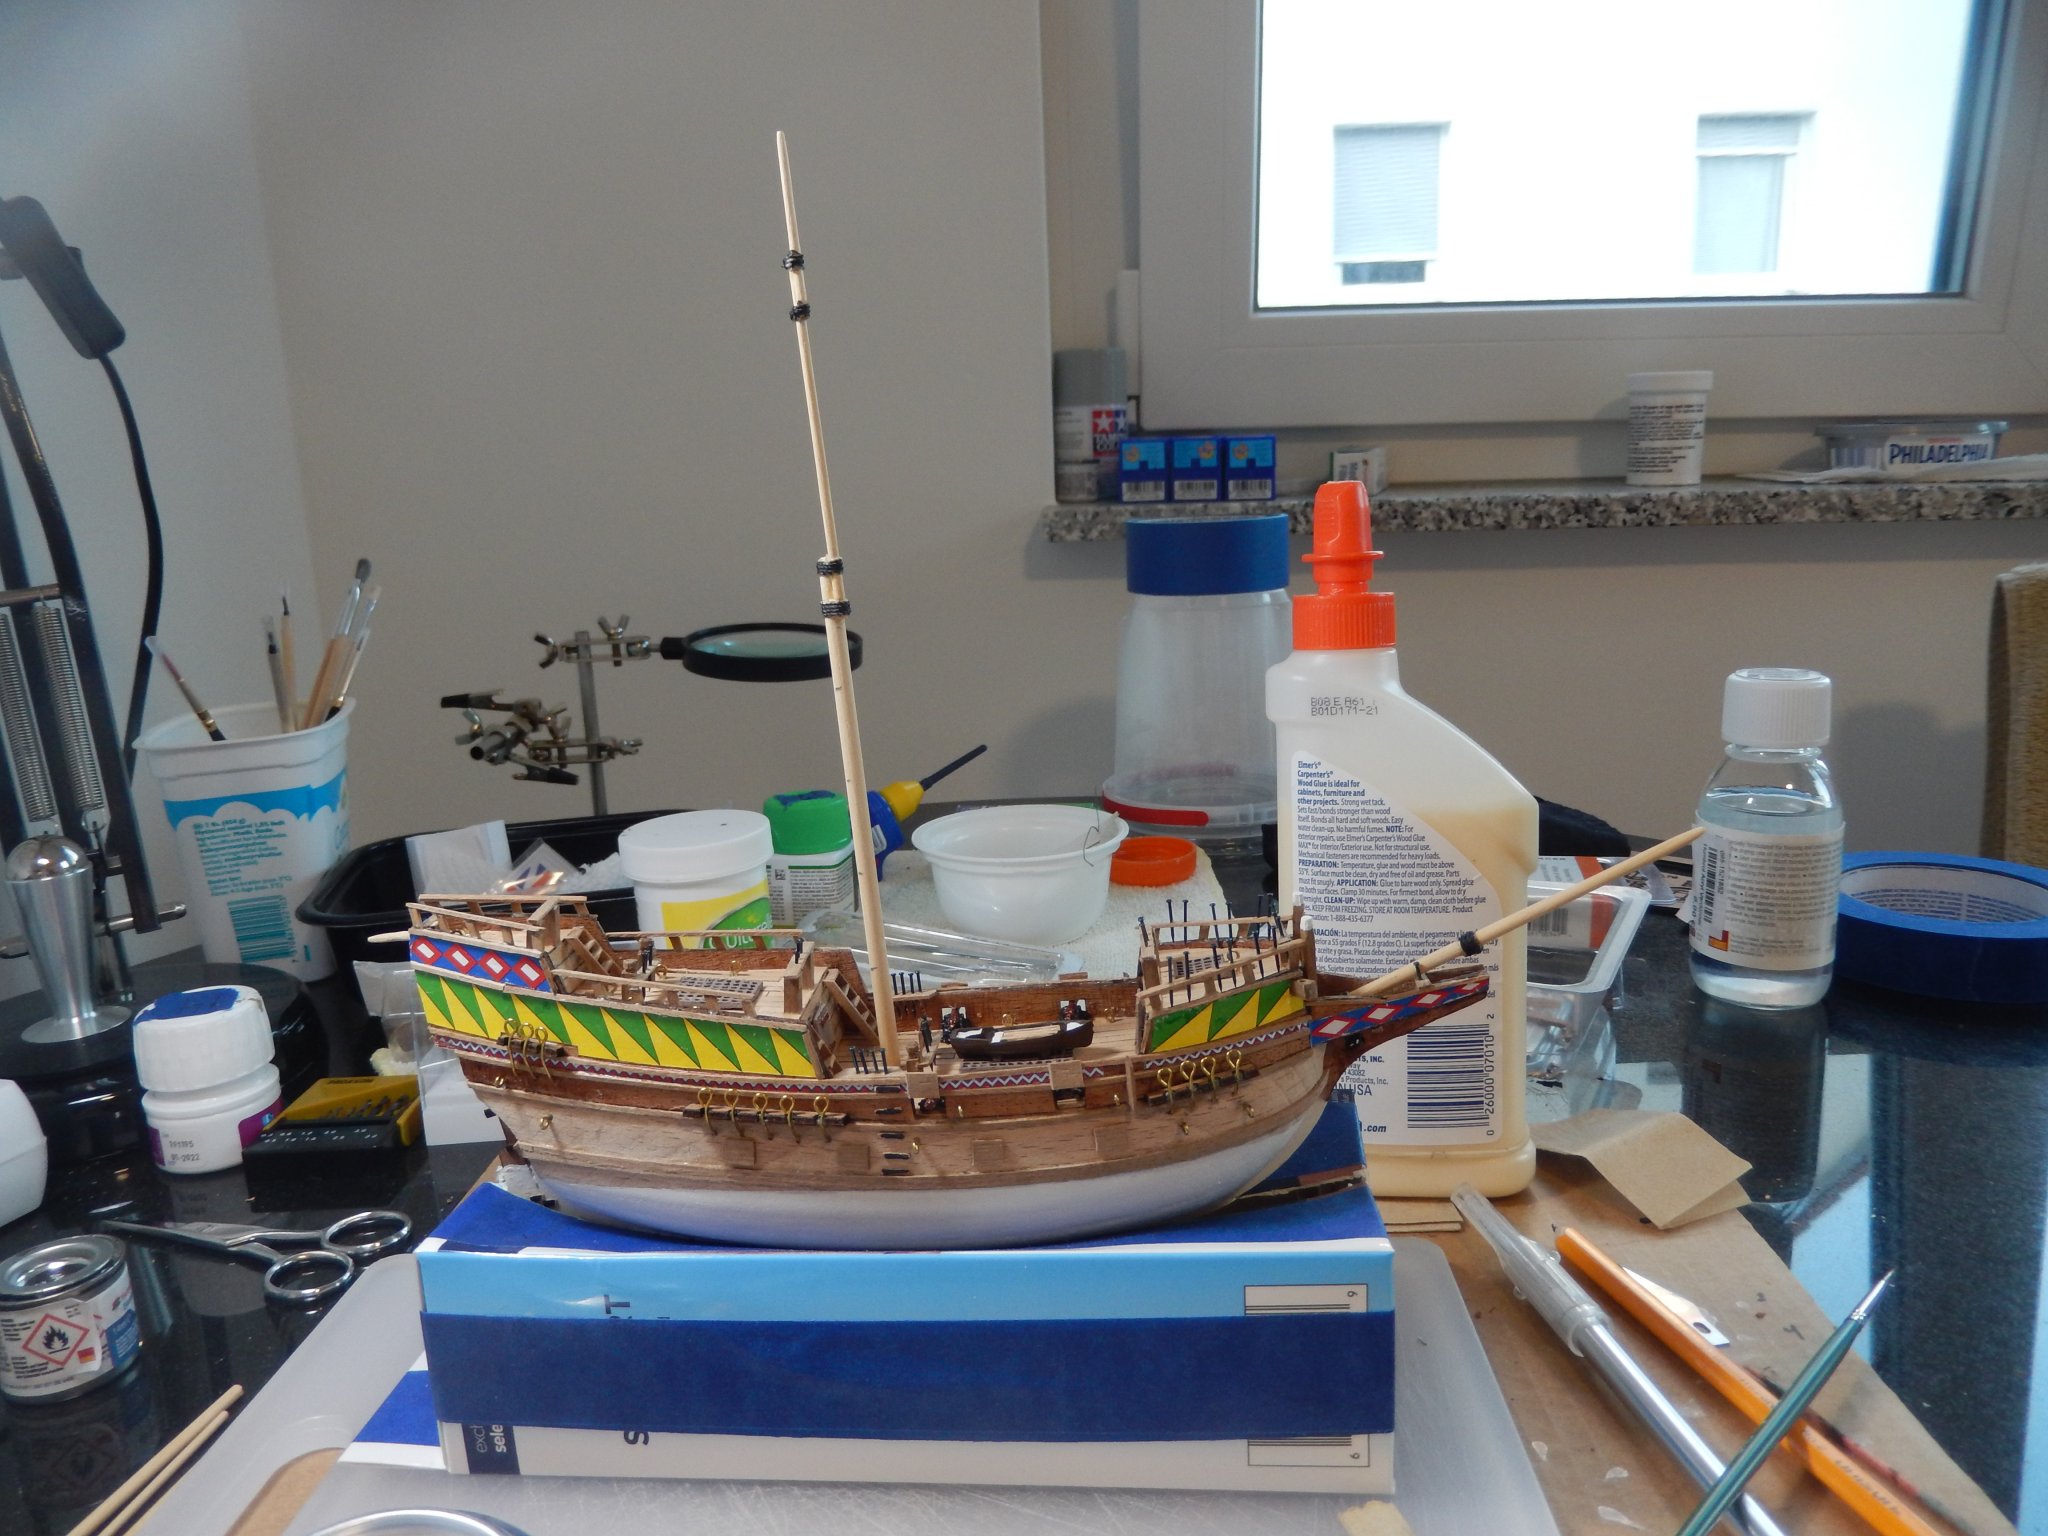
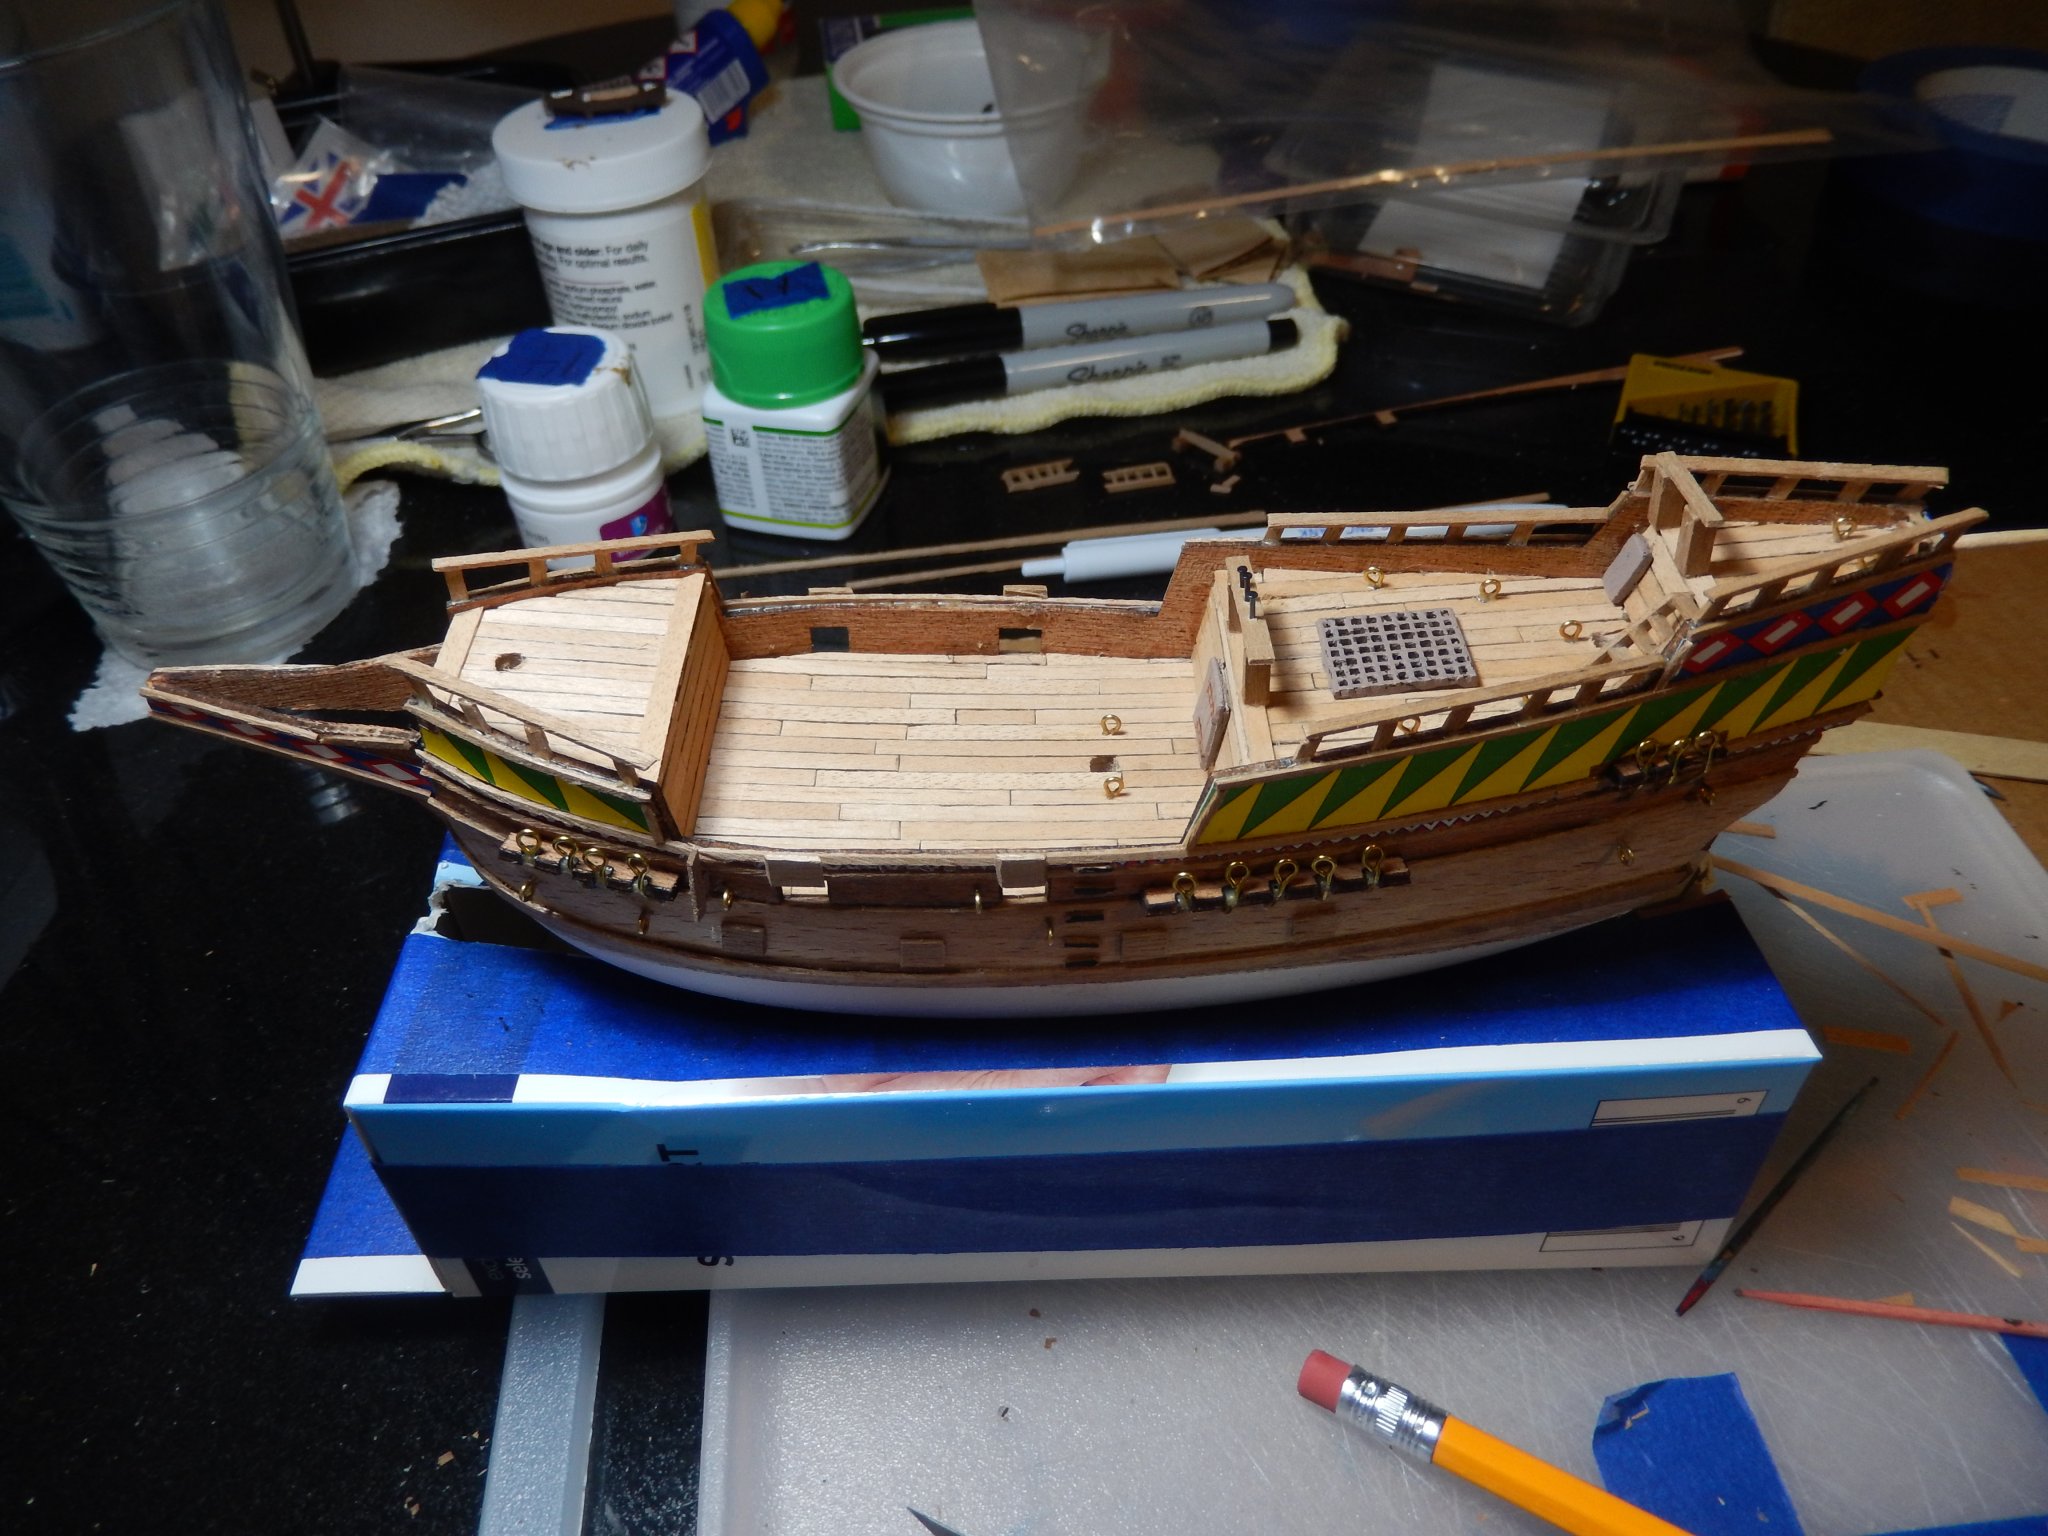
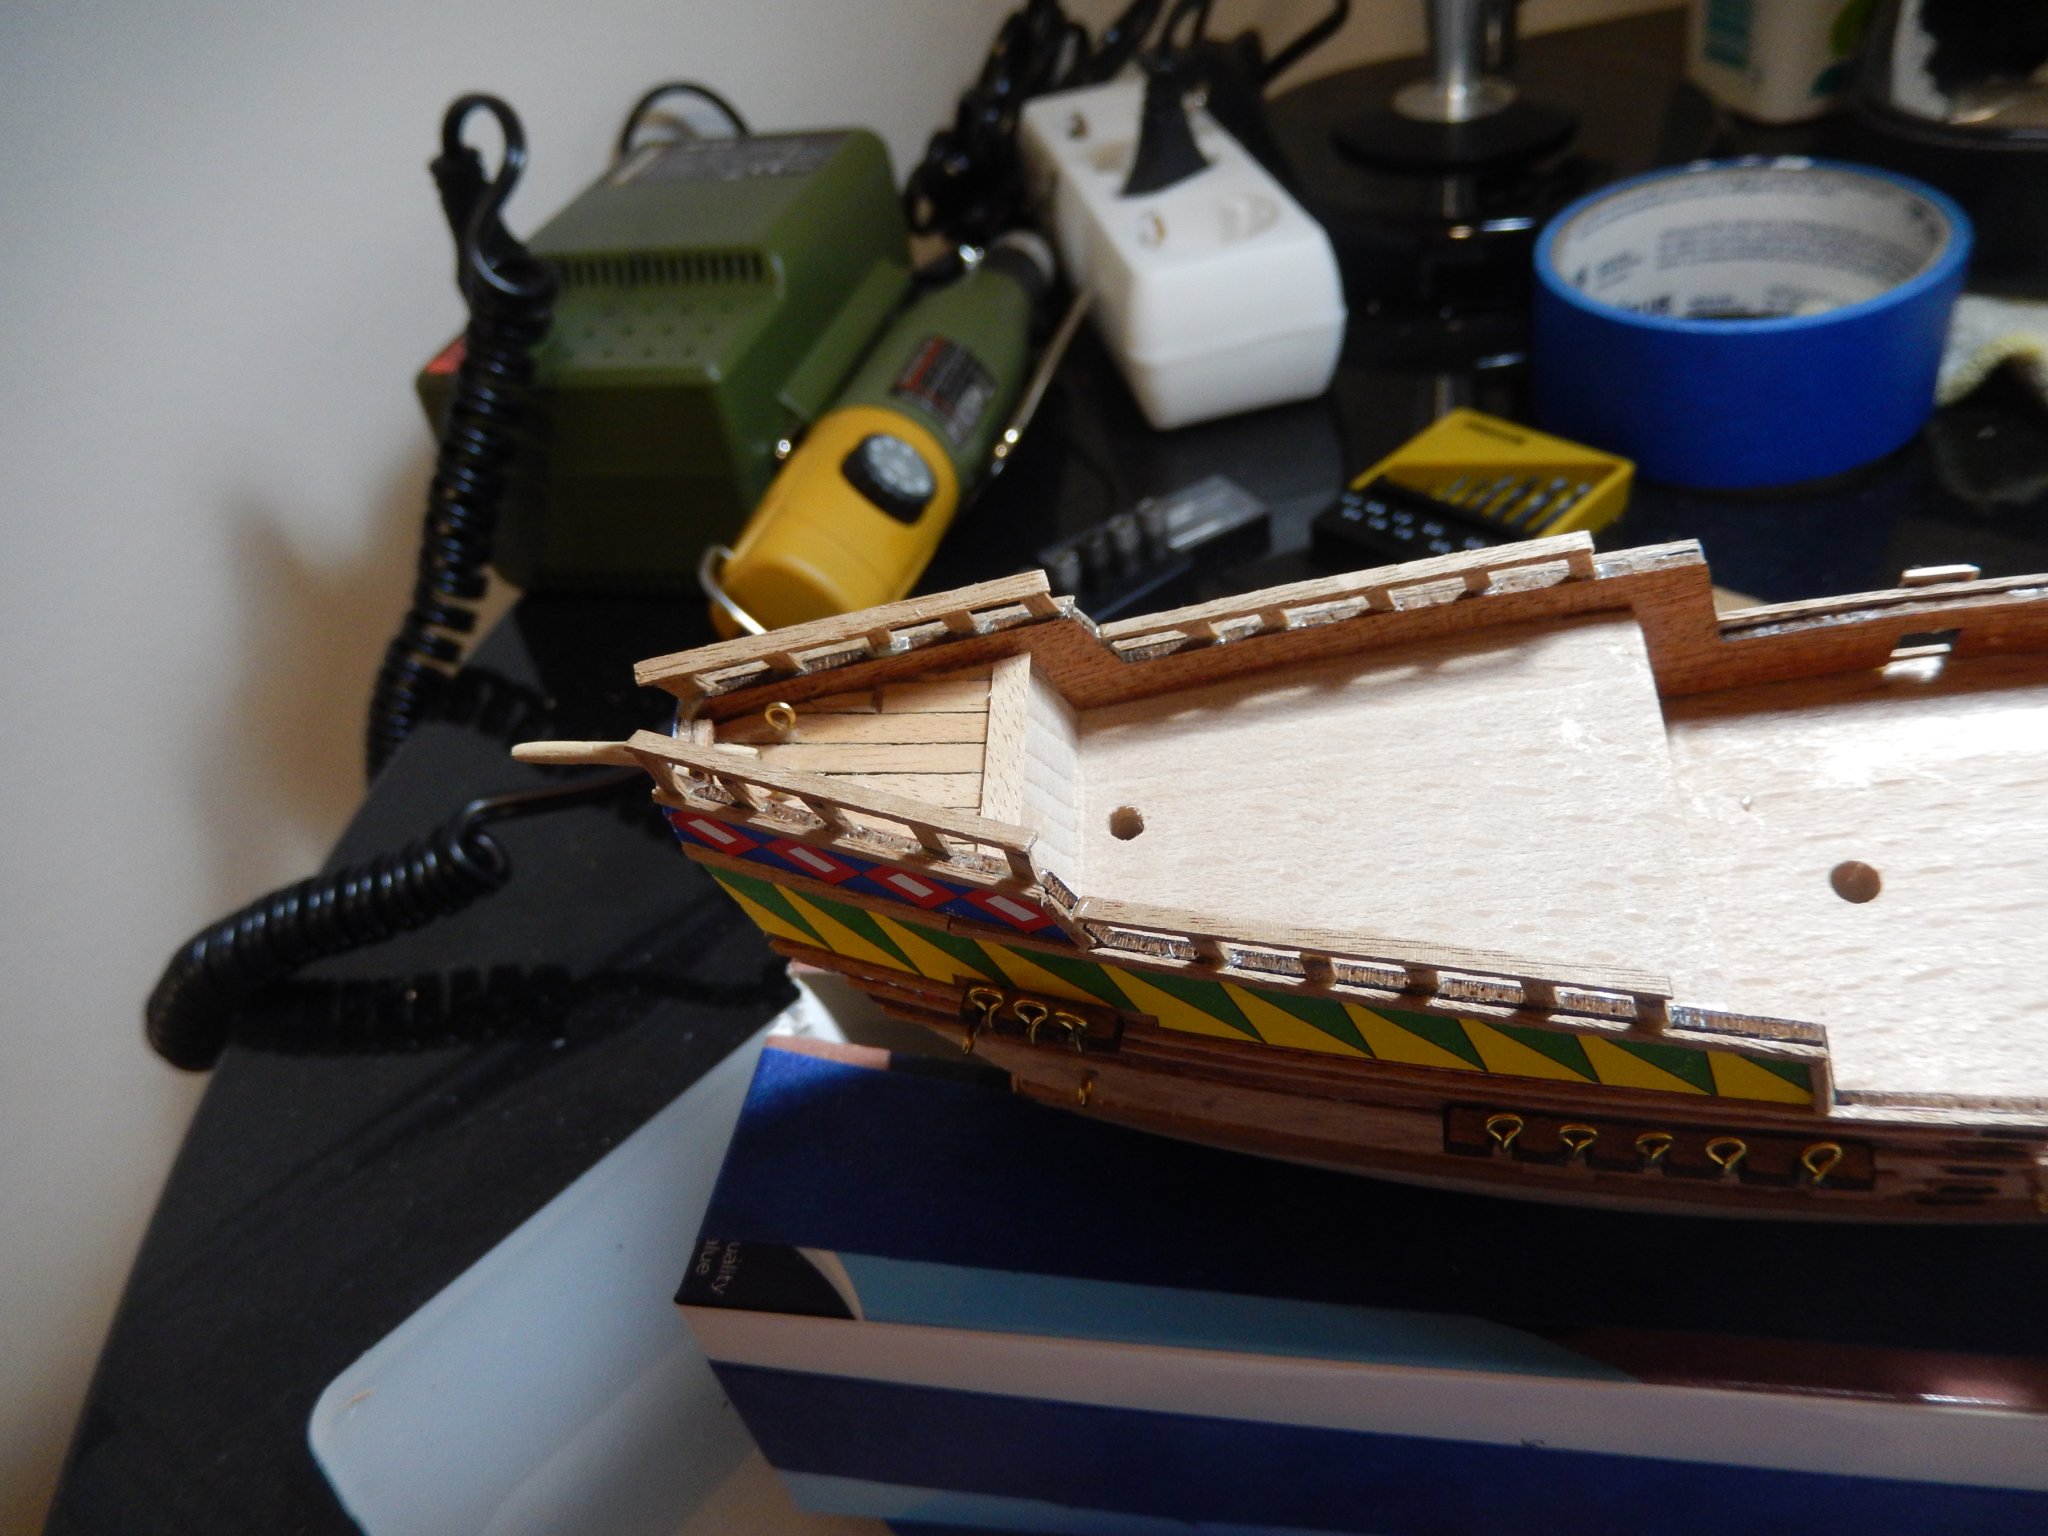
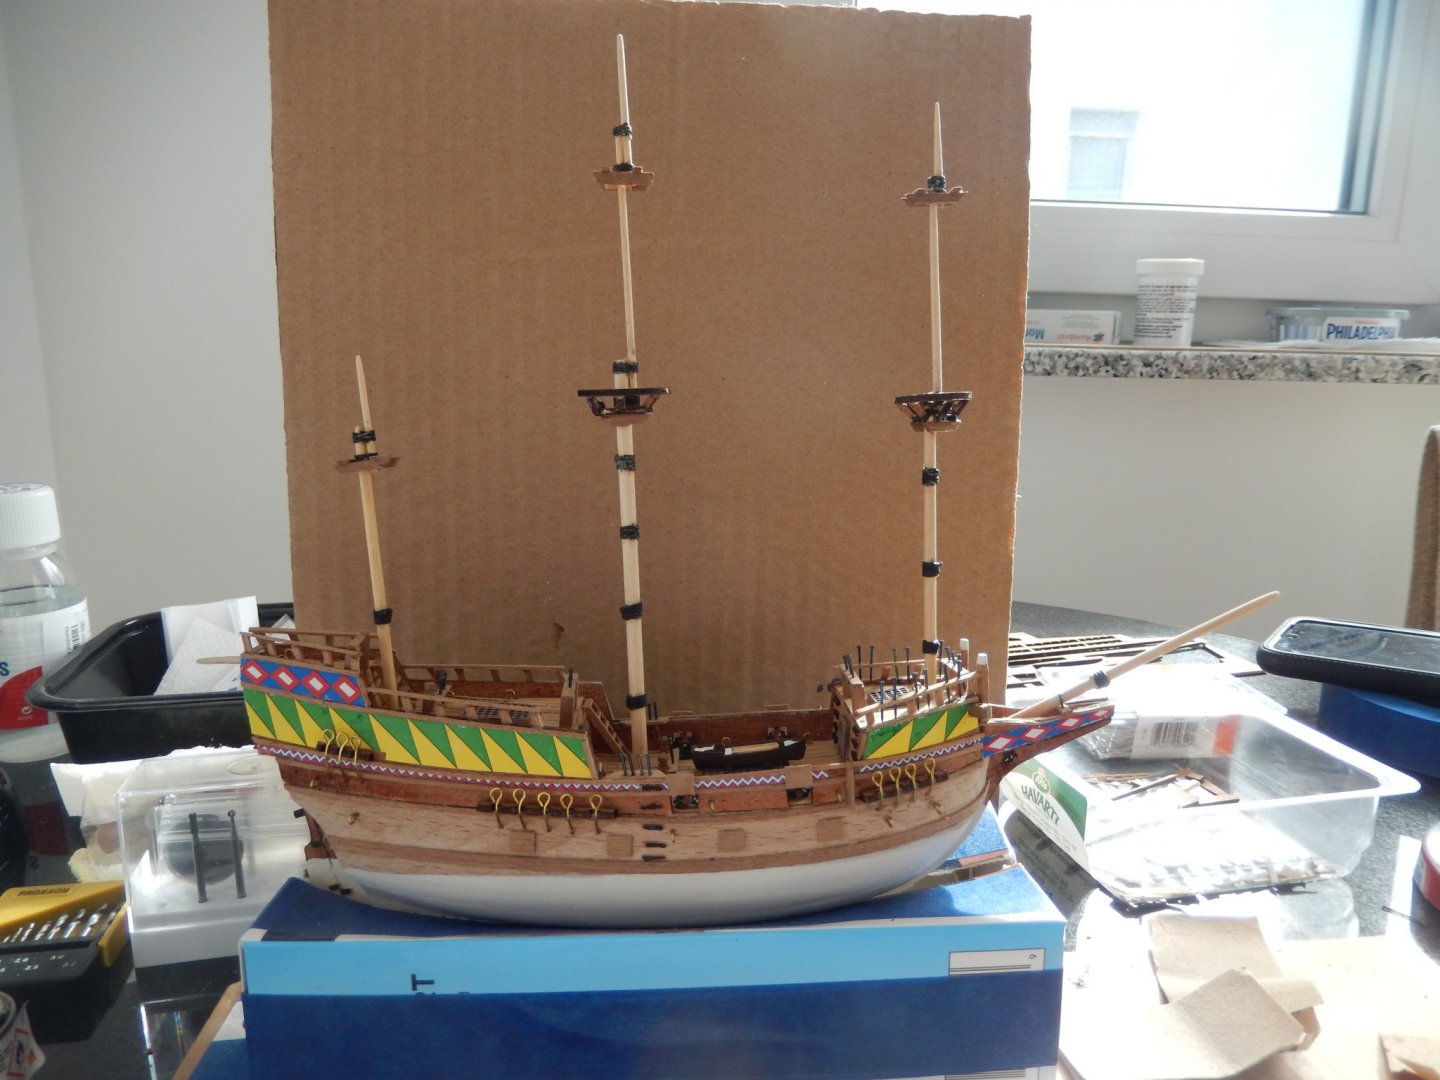
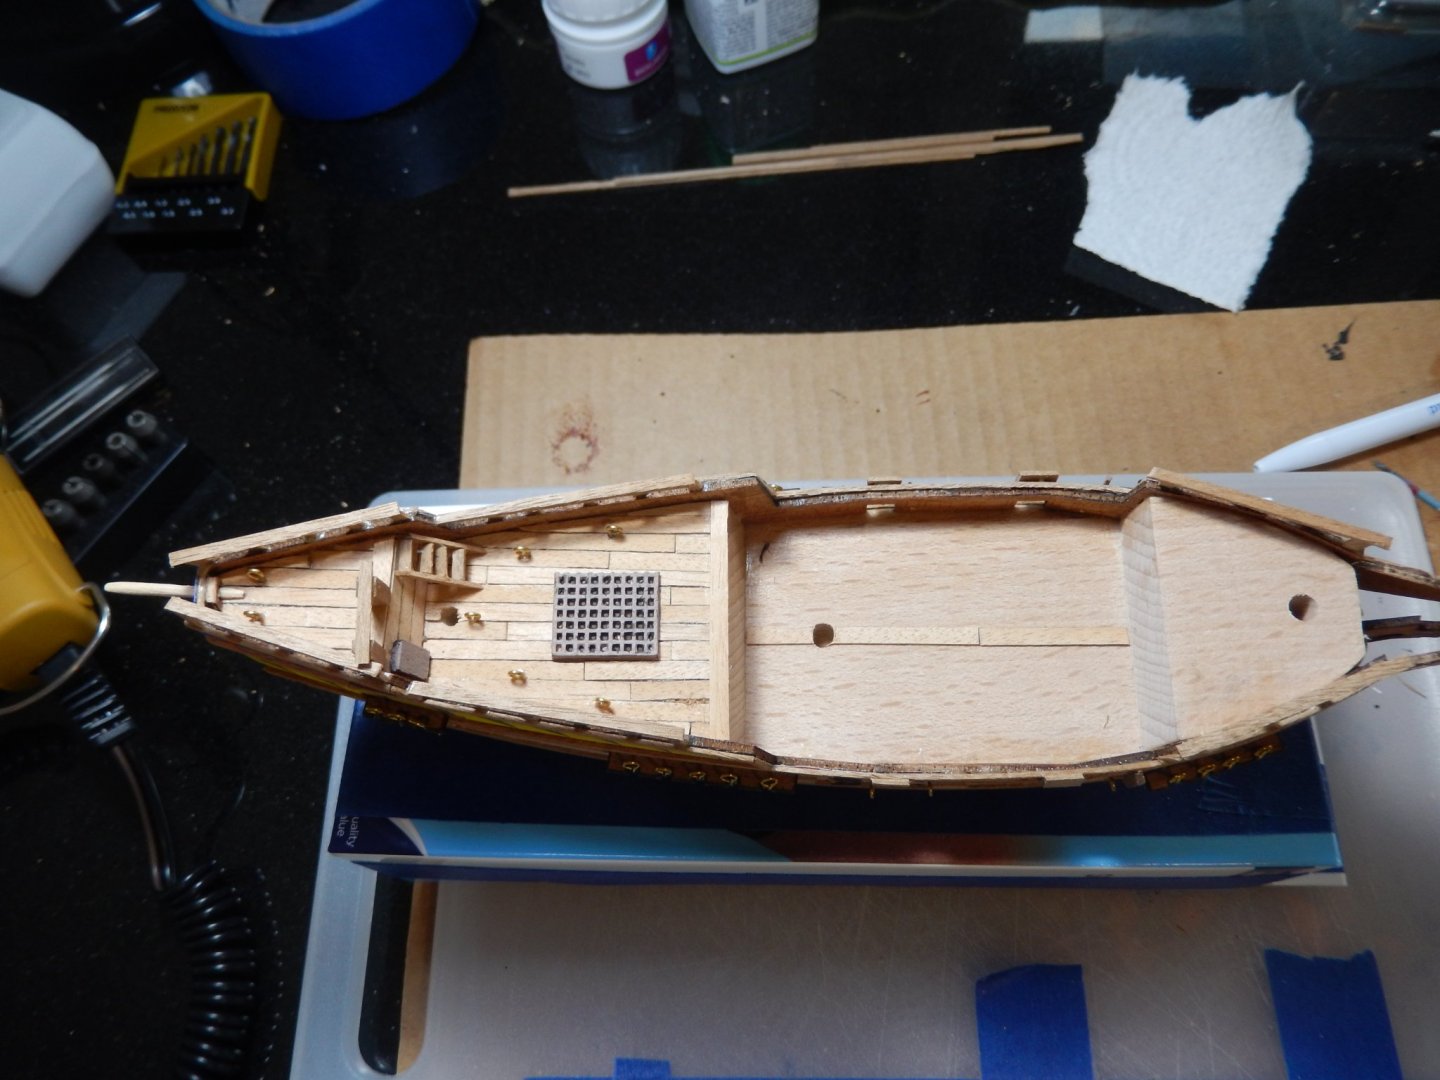
20200822 Rain this morning so spent time on the build. Belaying pins, doors, ladders, grates, etc. all finished and installed. Bowsprit installed and lashed down. Rain has stopped & sun is out; taking a break to enjoy the outside. Next week I’ll start working on the masts. Learning as I go...


-
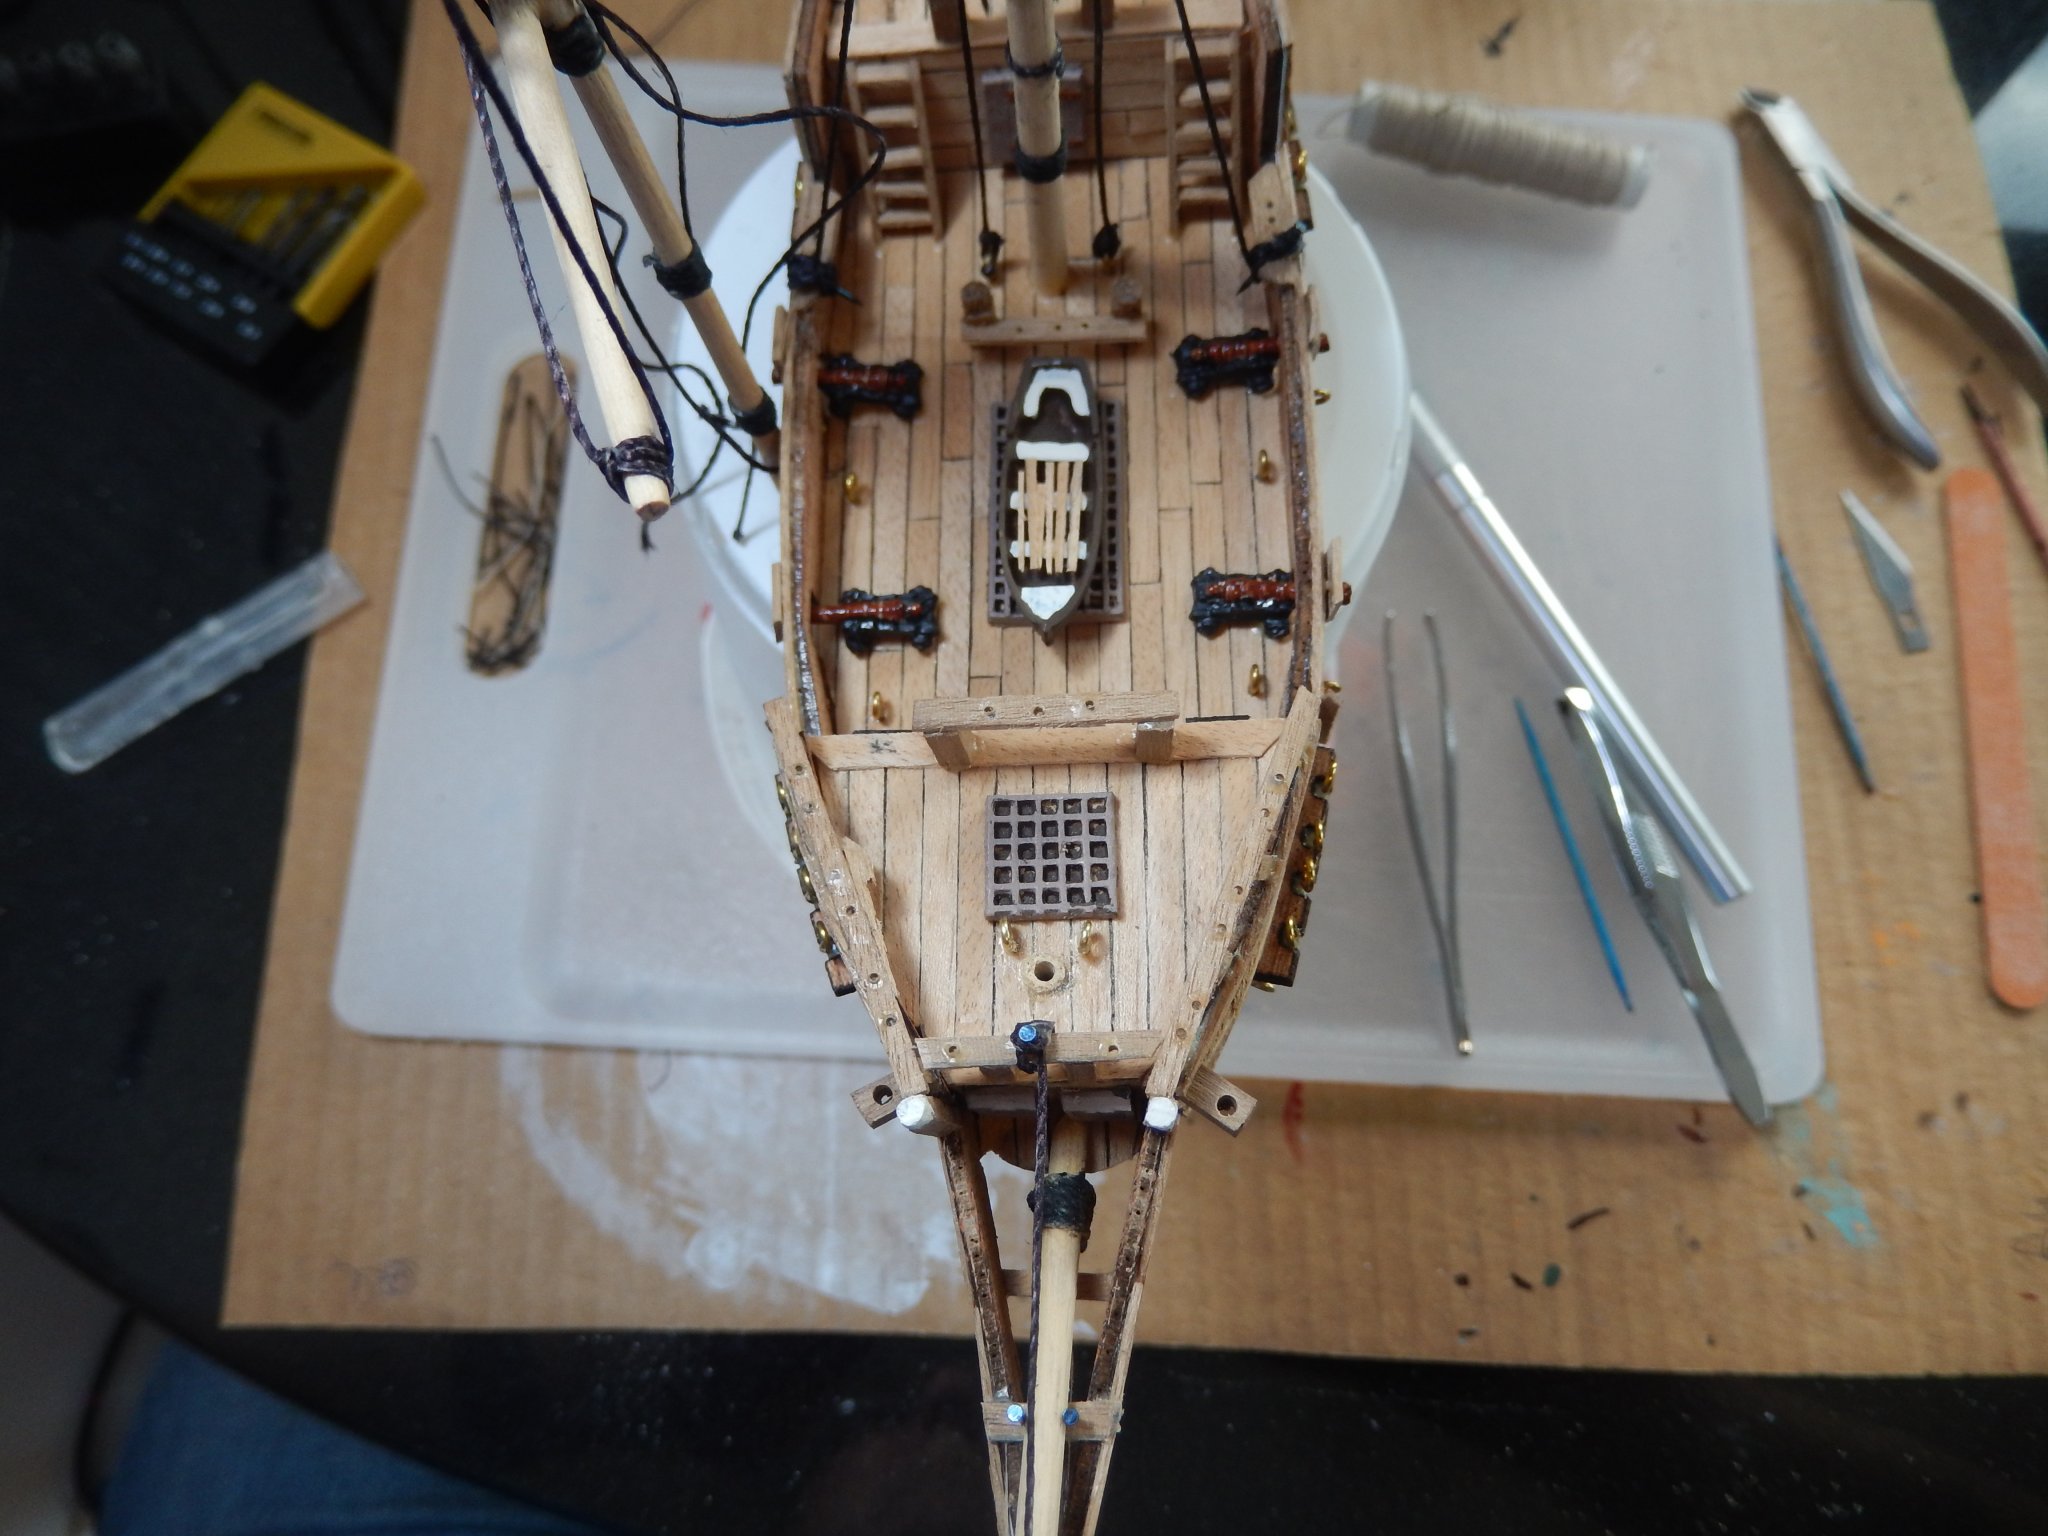
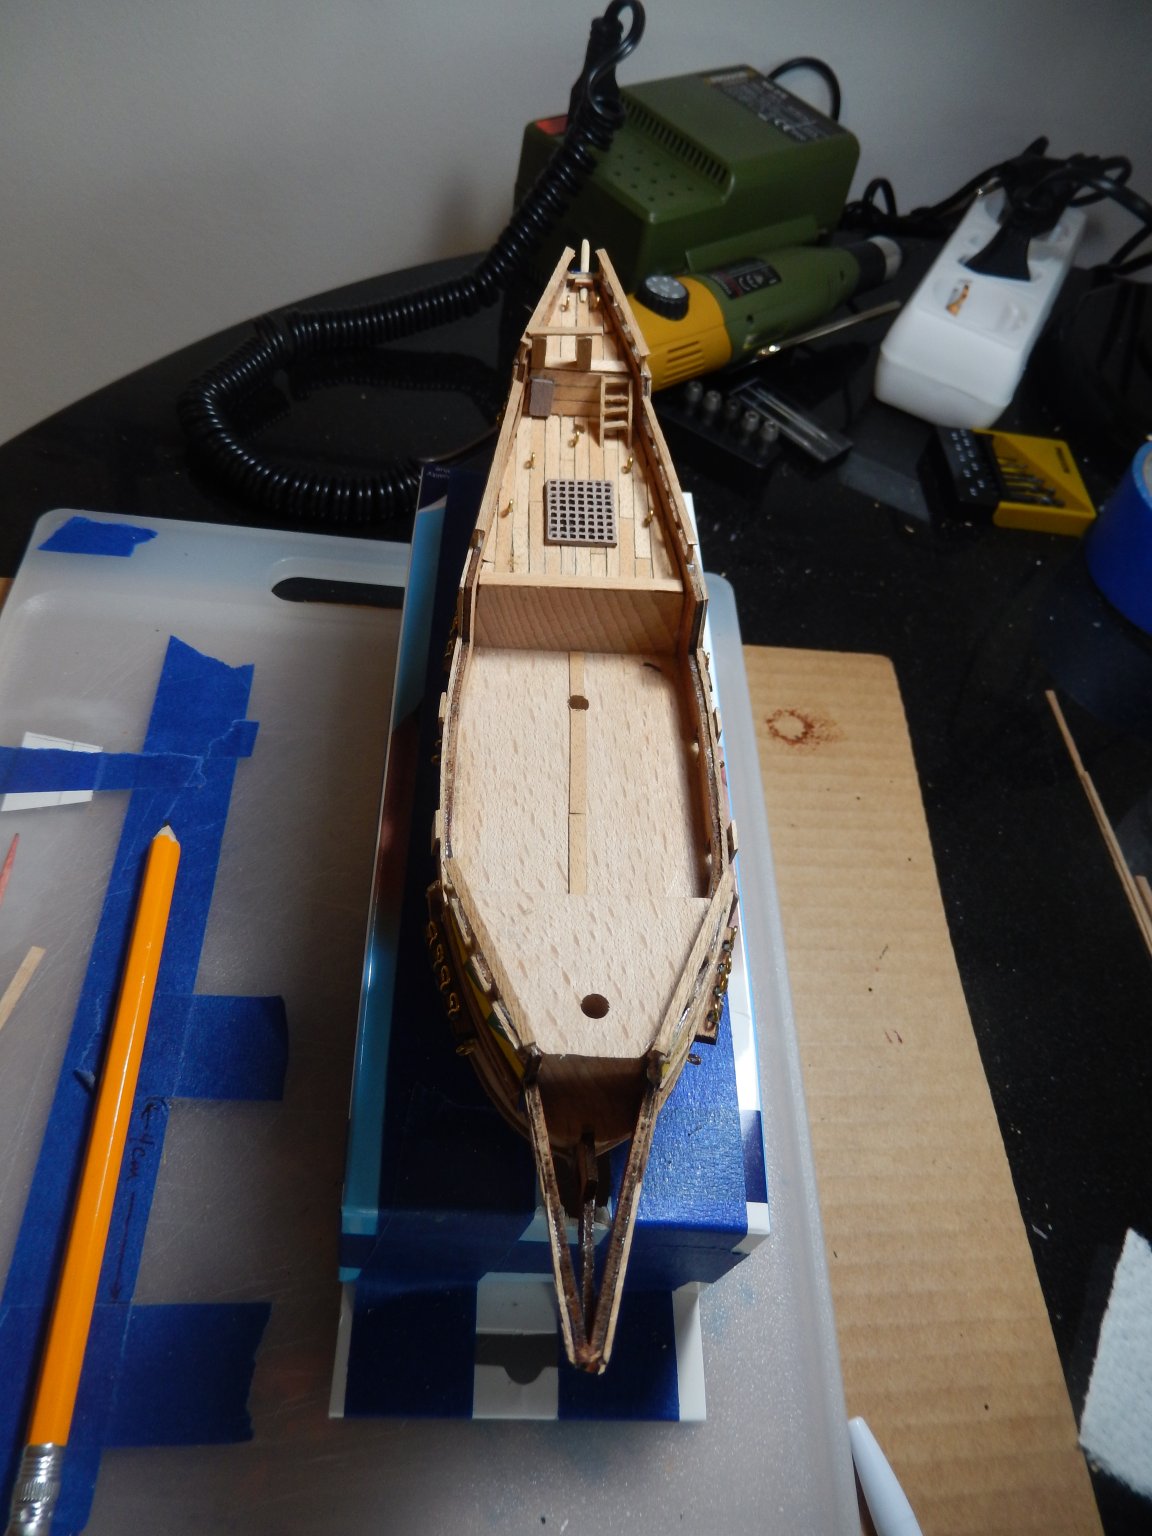
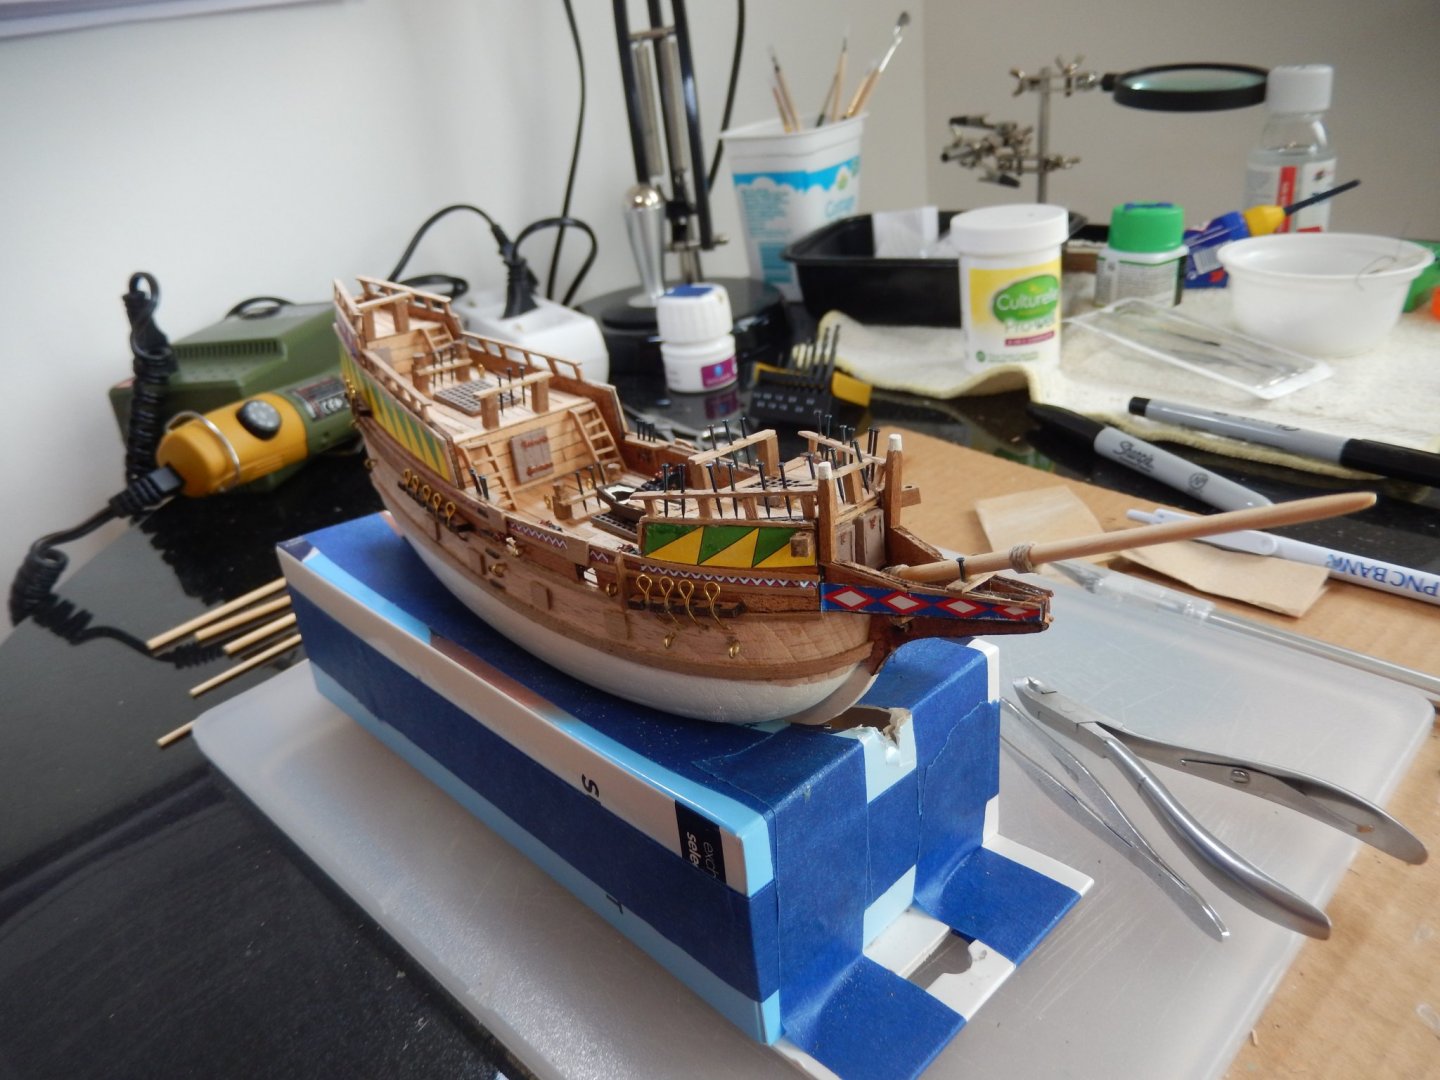
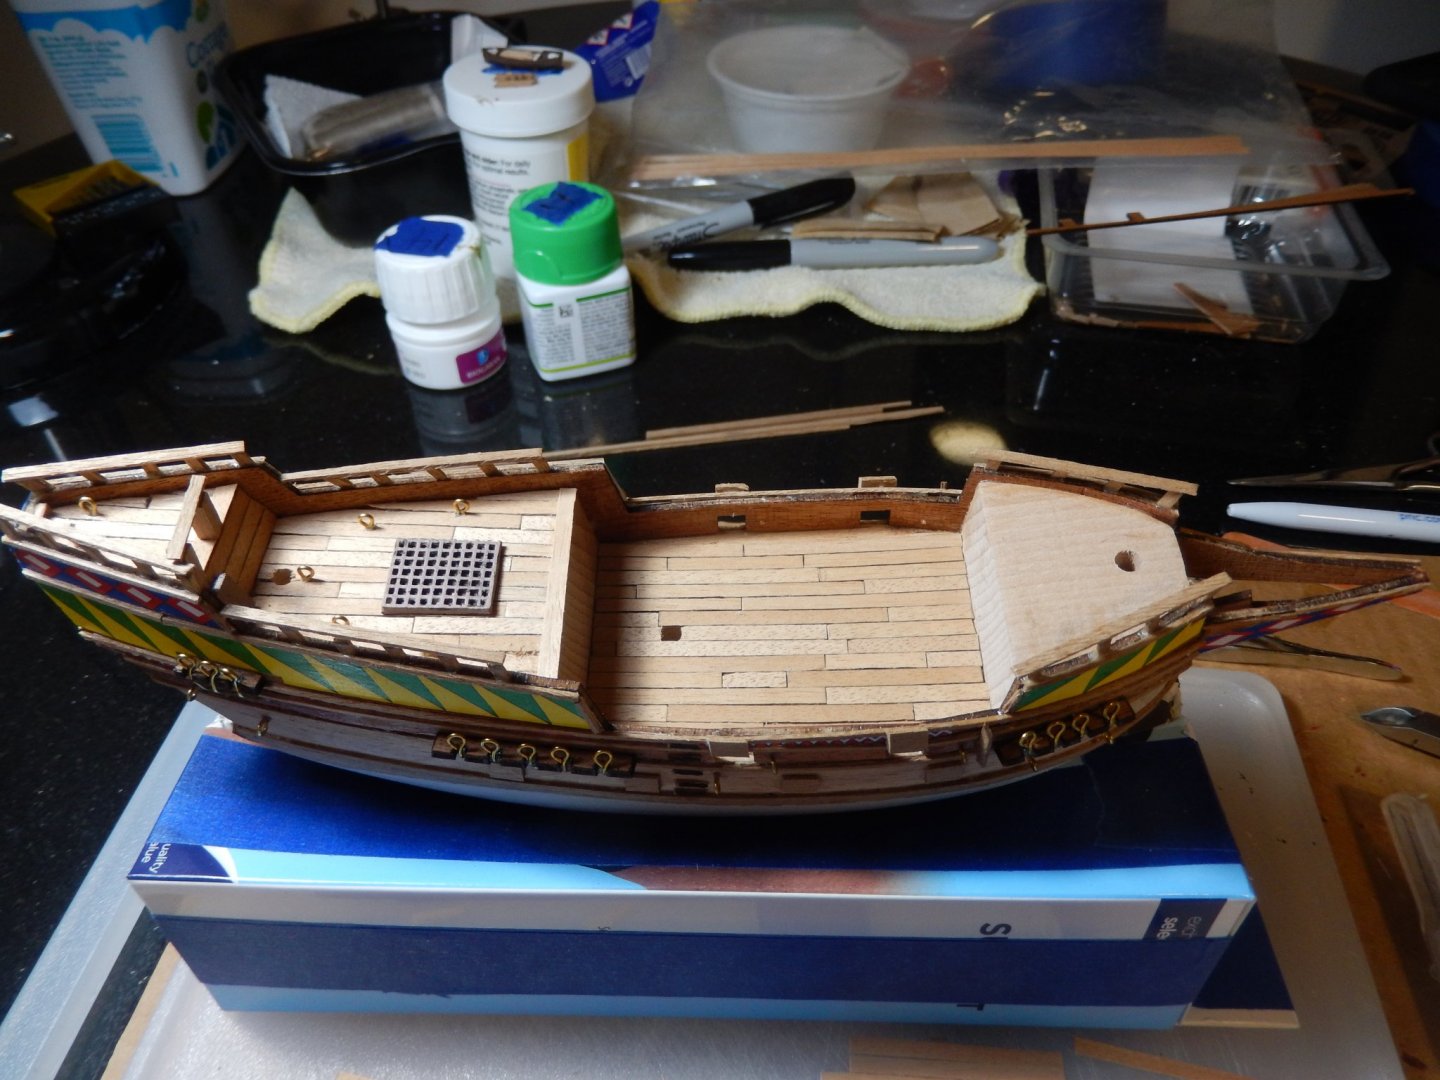
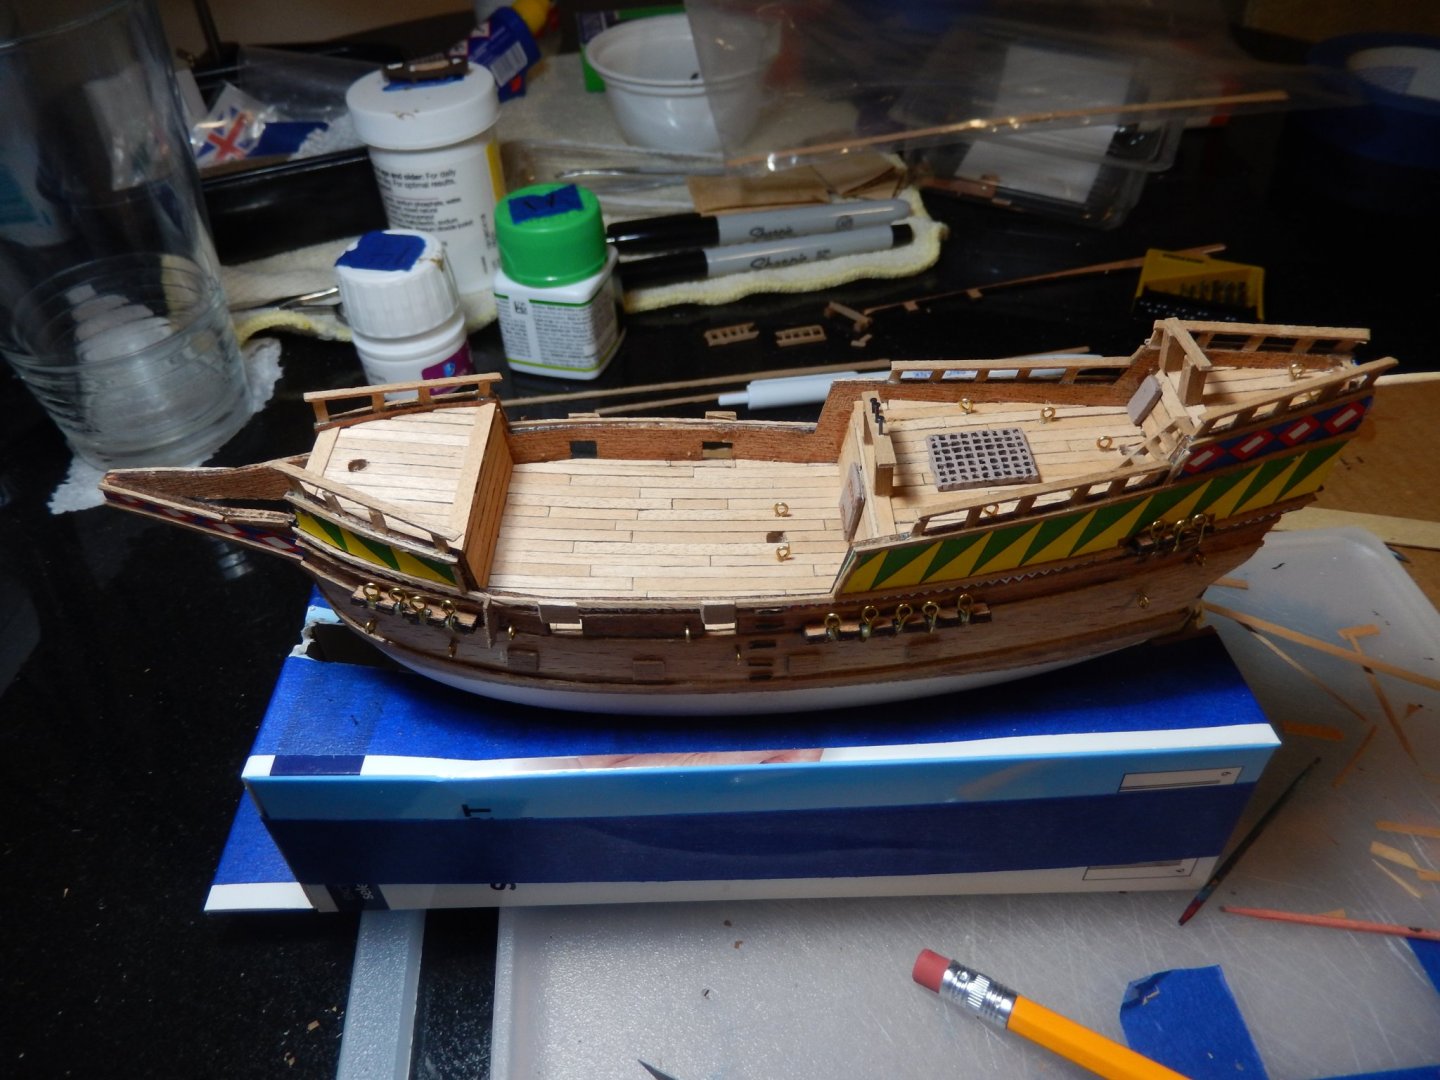
20200816-21 Have all of the decks planked and started adding ladders, grates, belaying pin racks. Have found that my fat fingers can make building things like ladders interesting. Bought a German 12v version of a Dremel to use to drill holes; plugs into a transformer. Did a couple holes with a manual twist drill but decided I needed something to make that particular task a bit easier (quite a few holes needed for eyebolts and belaying pins). Plan for today (8/22) is to finish the rest of the belaying pin racks, a couple of cat’s heads and the bowsprit and then add the rest of the hatches, grates & ladders along with the deck guns and ship’s boat.


-
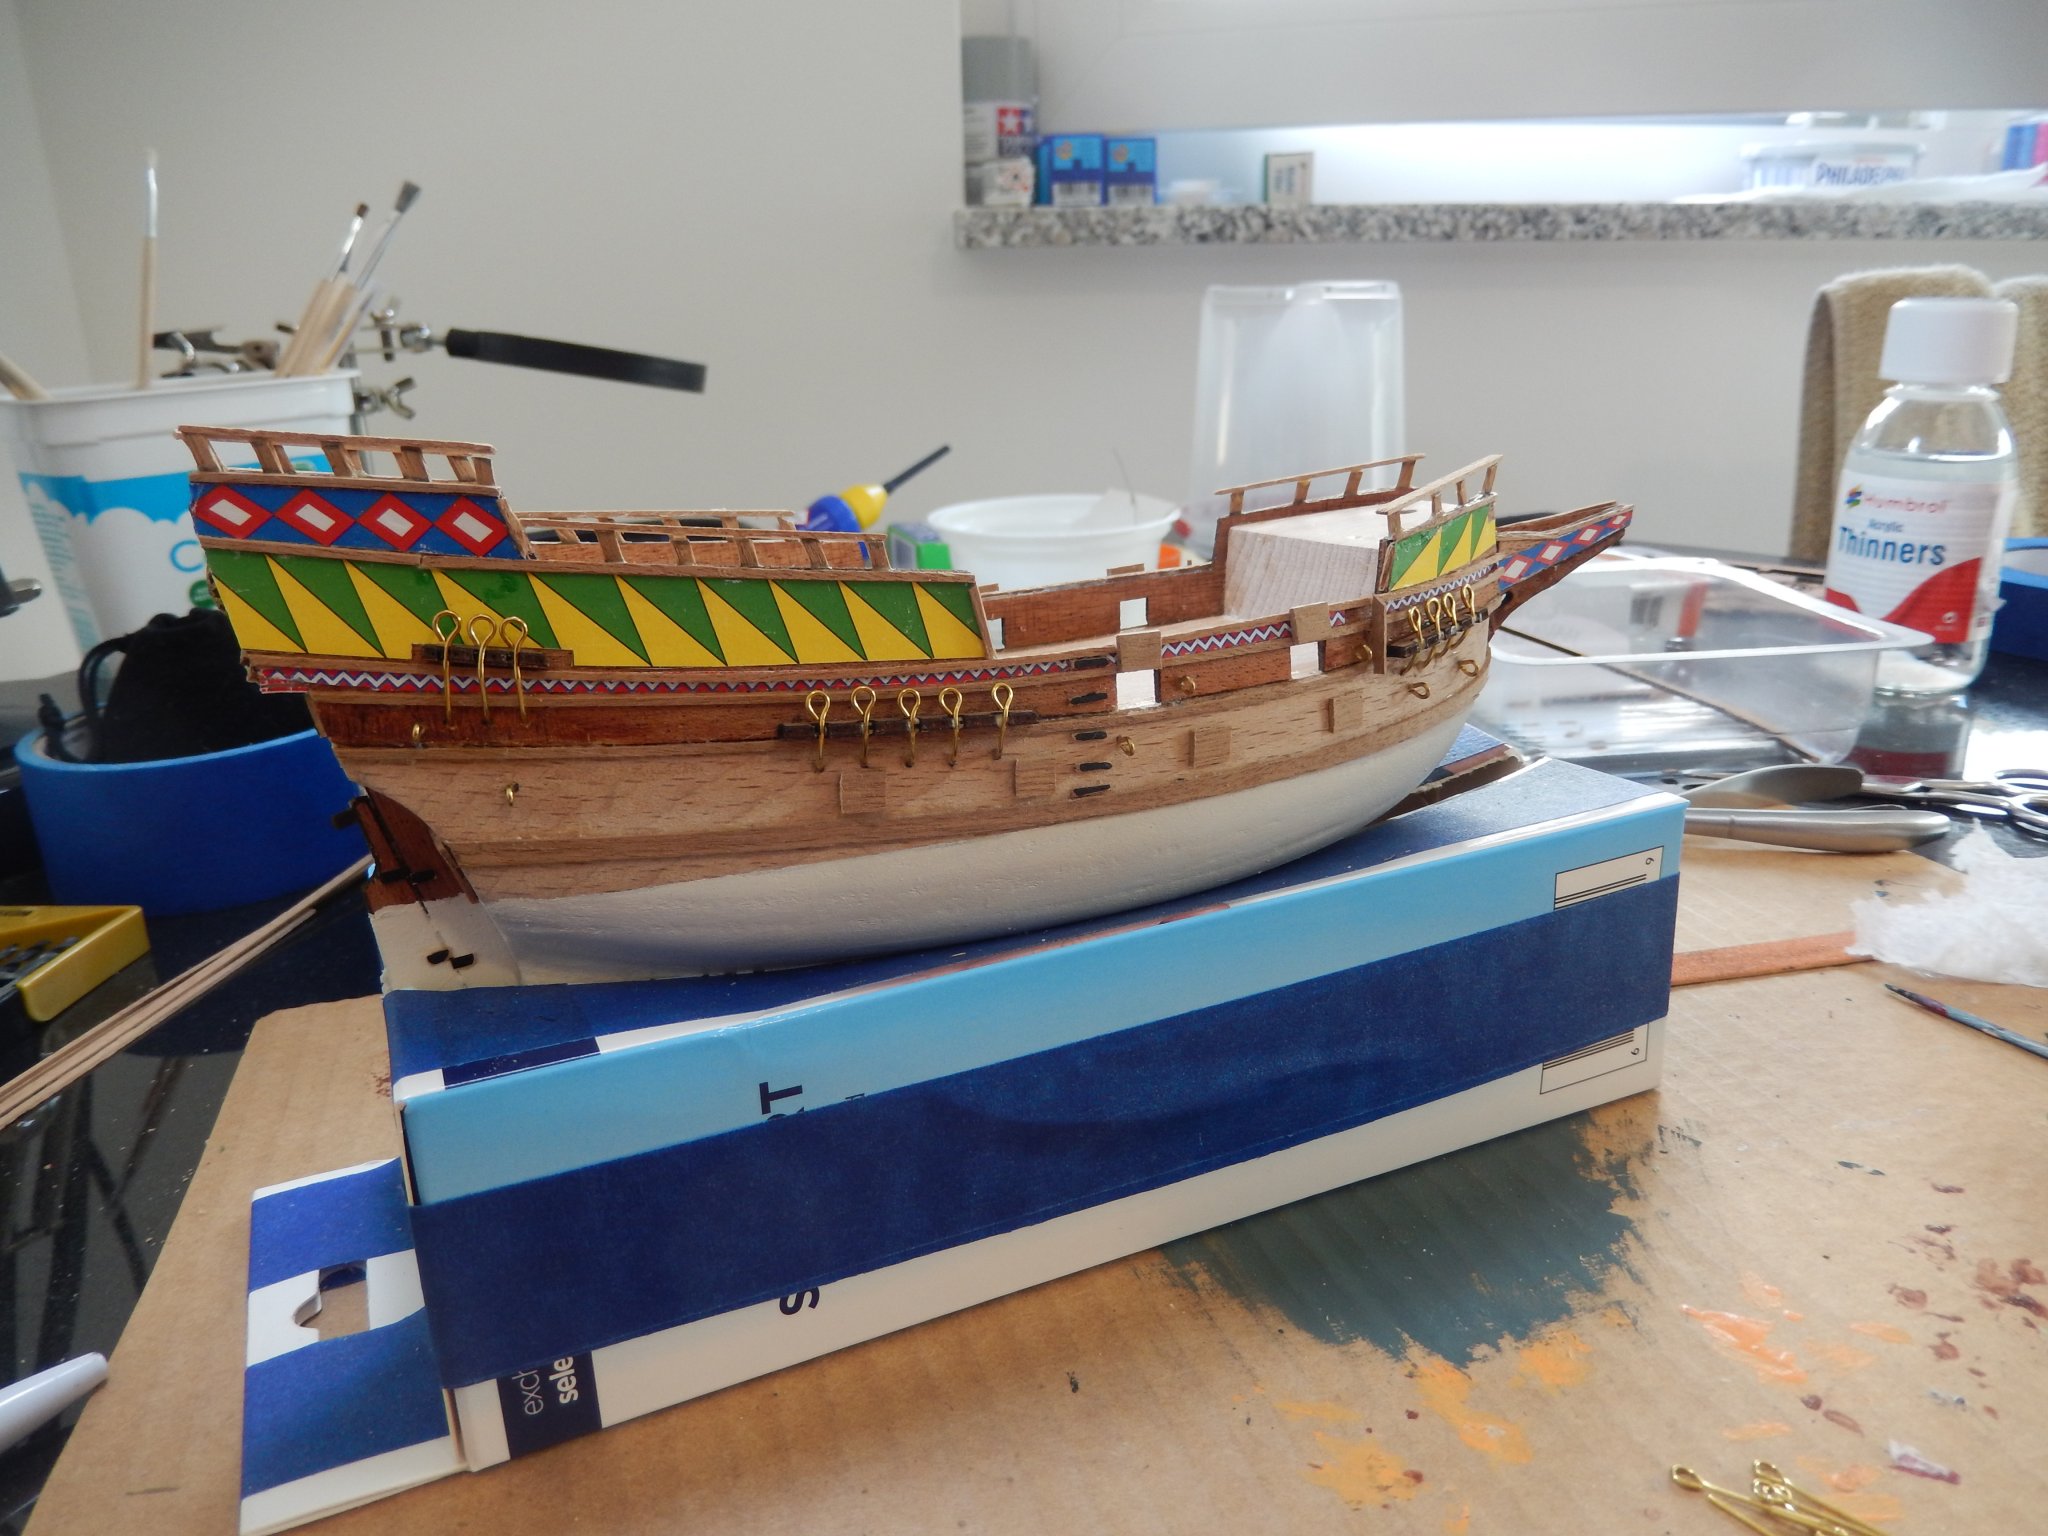
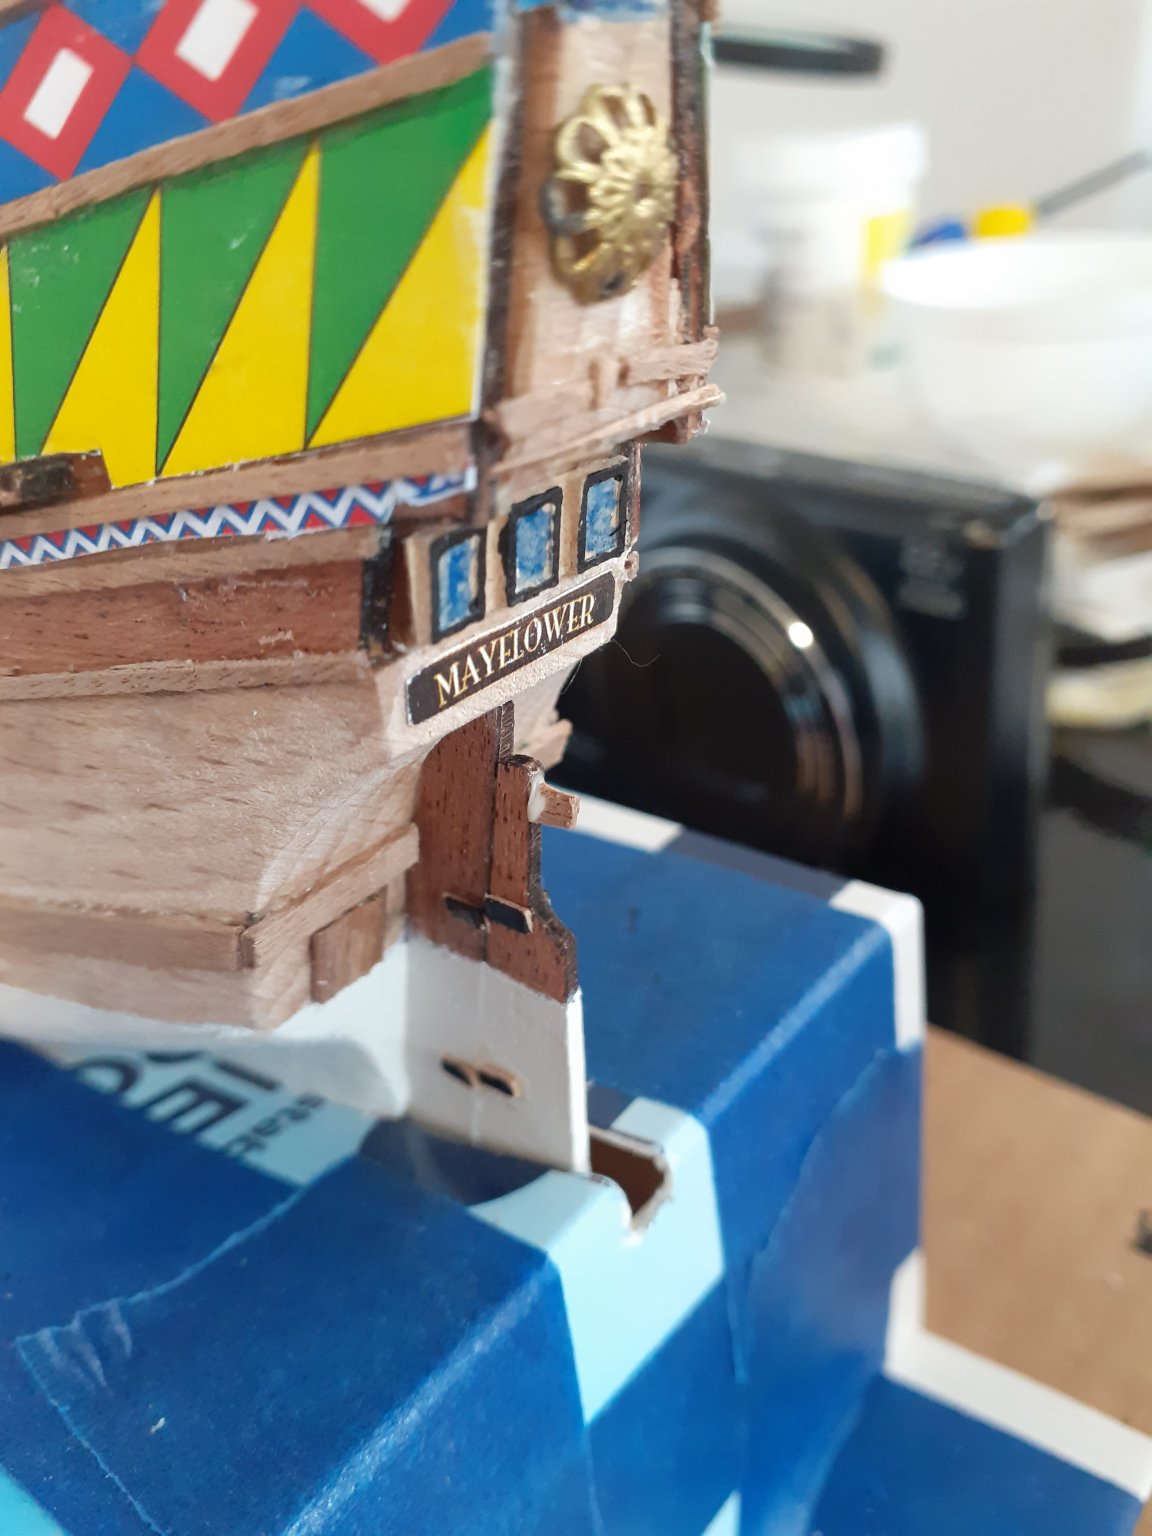
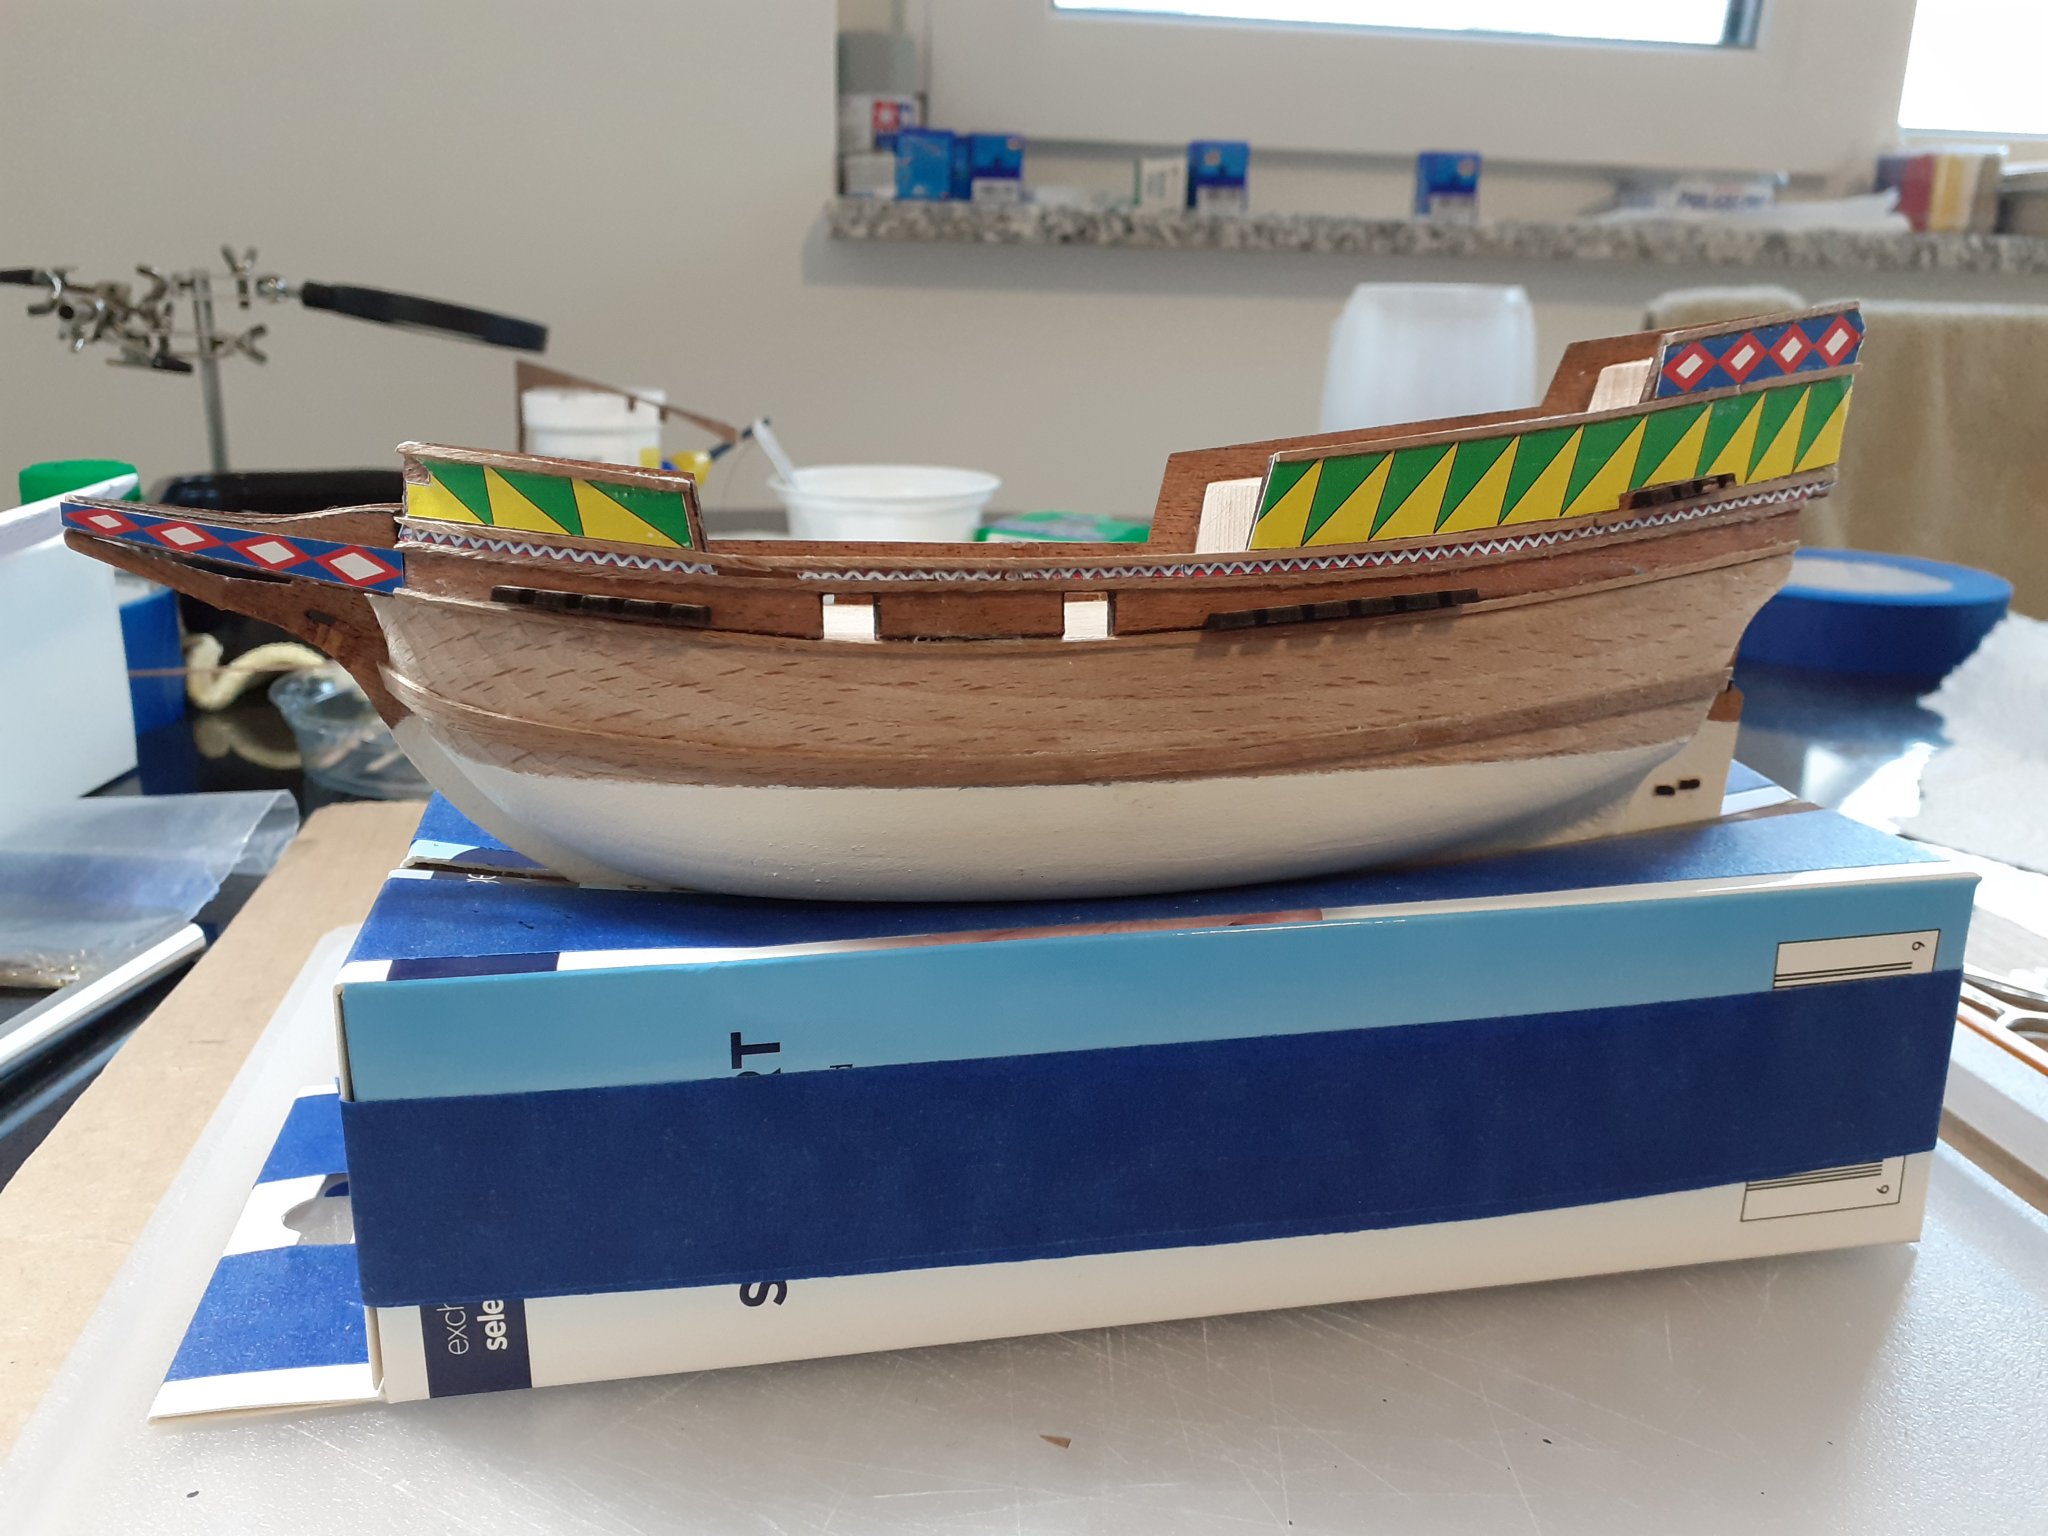
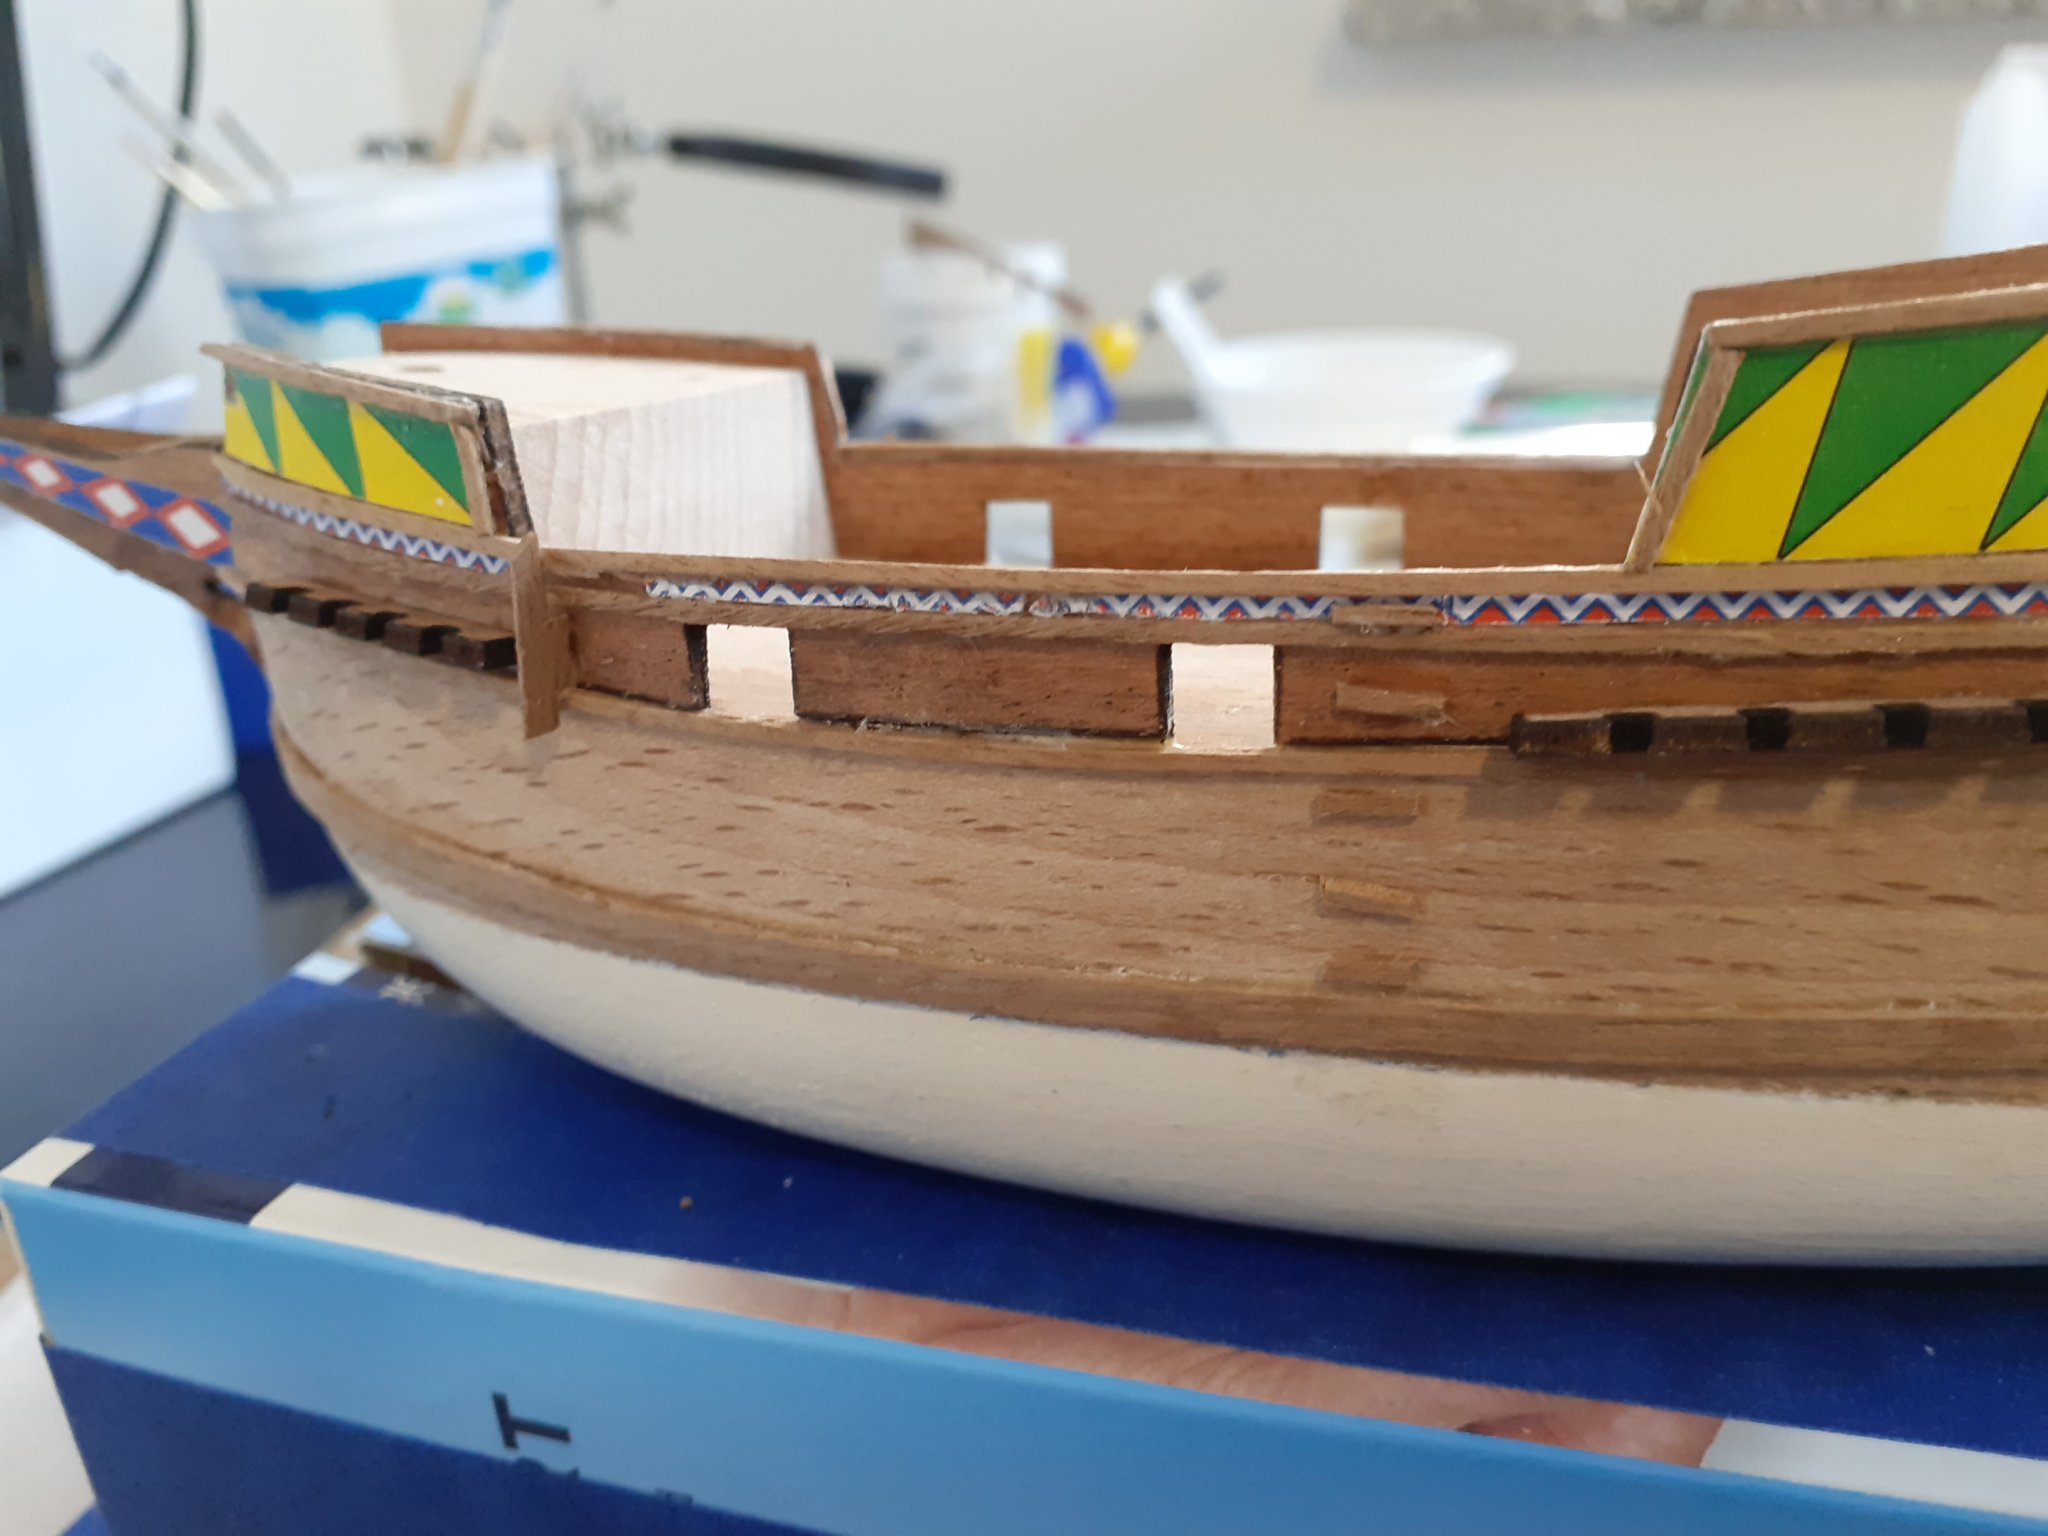
13 Aug 2020 Slow progress so far this week. A couple of railings, gun port covers and some decorations on the stern.


-
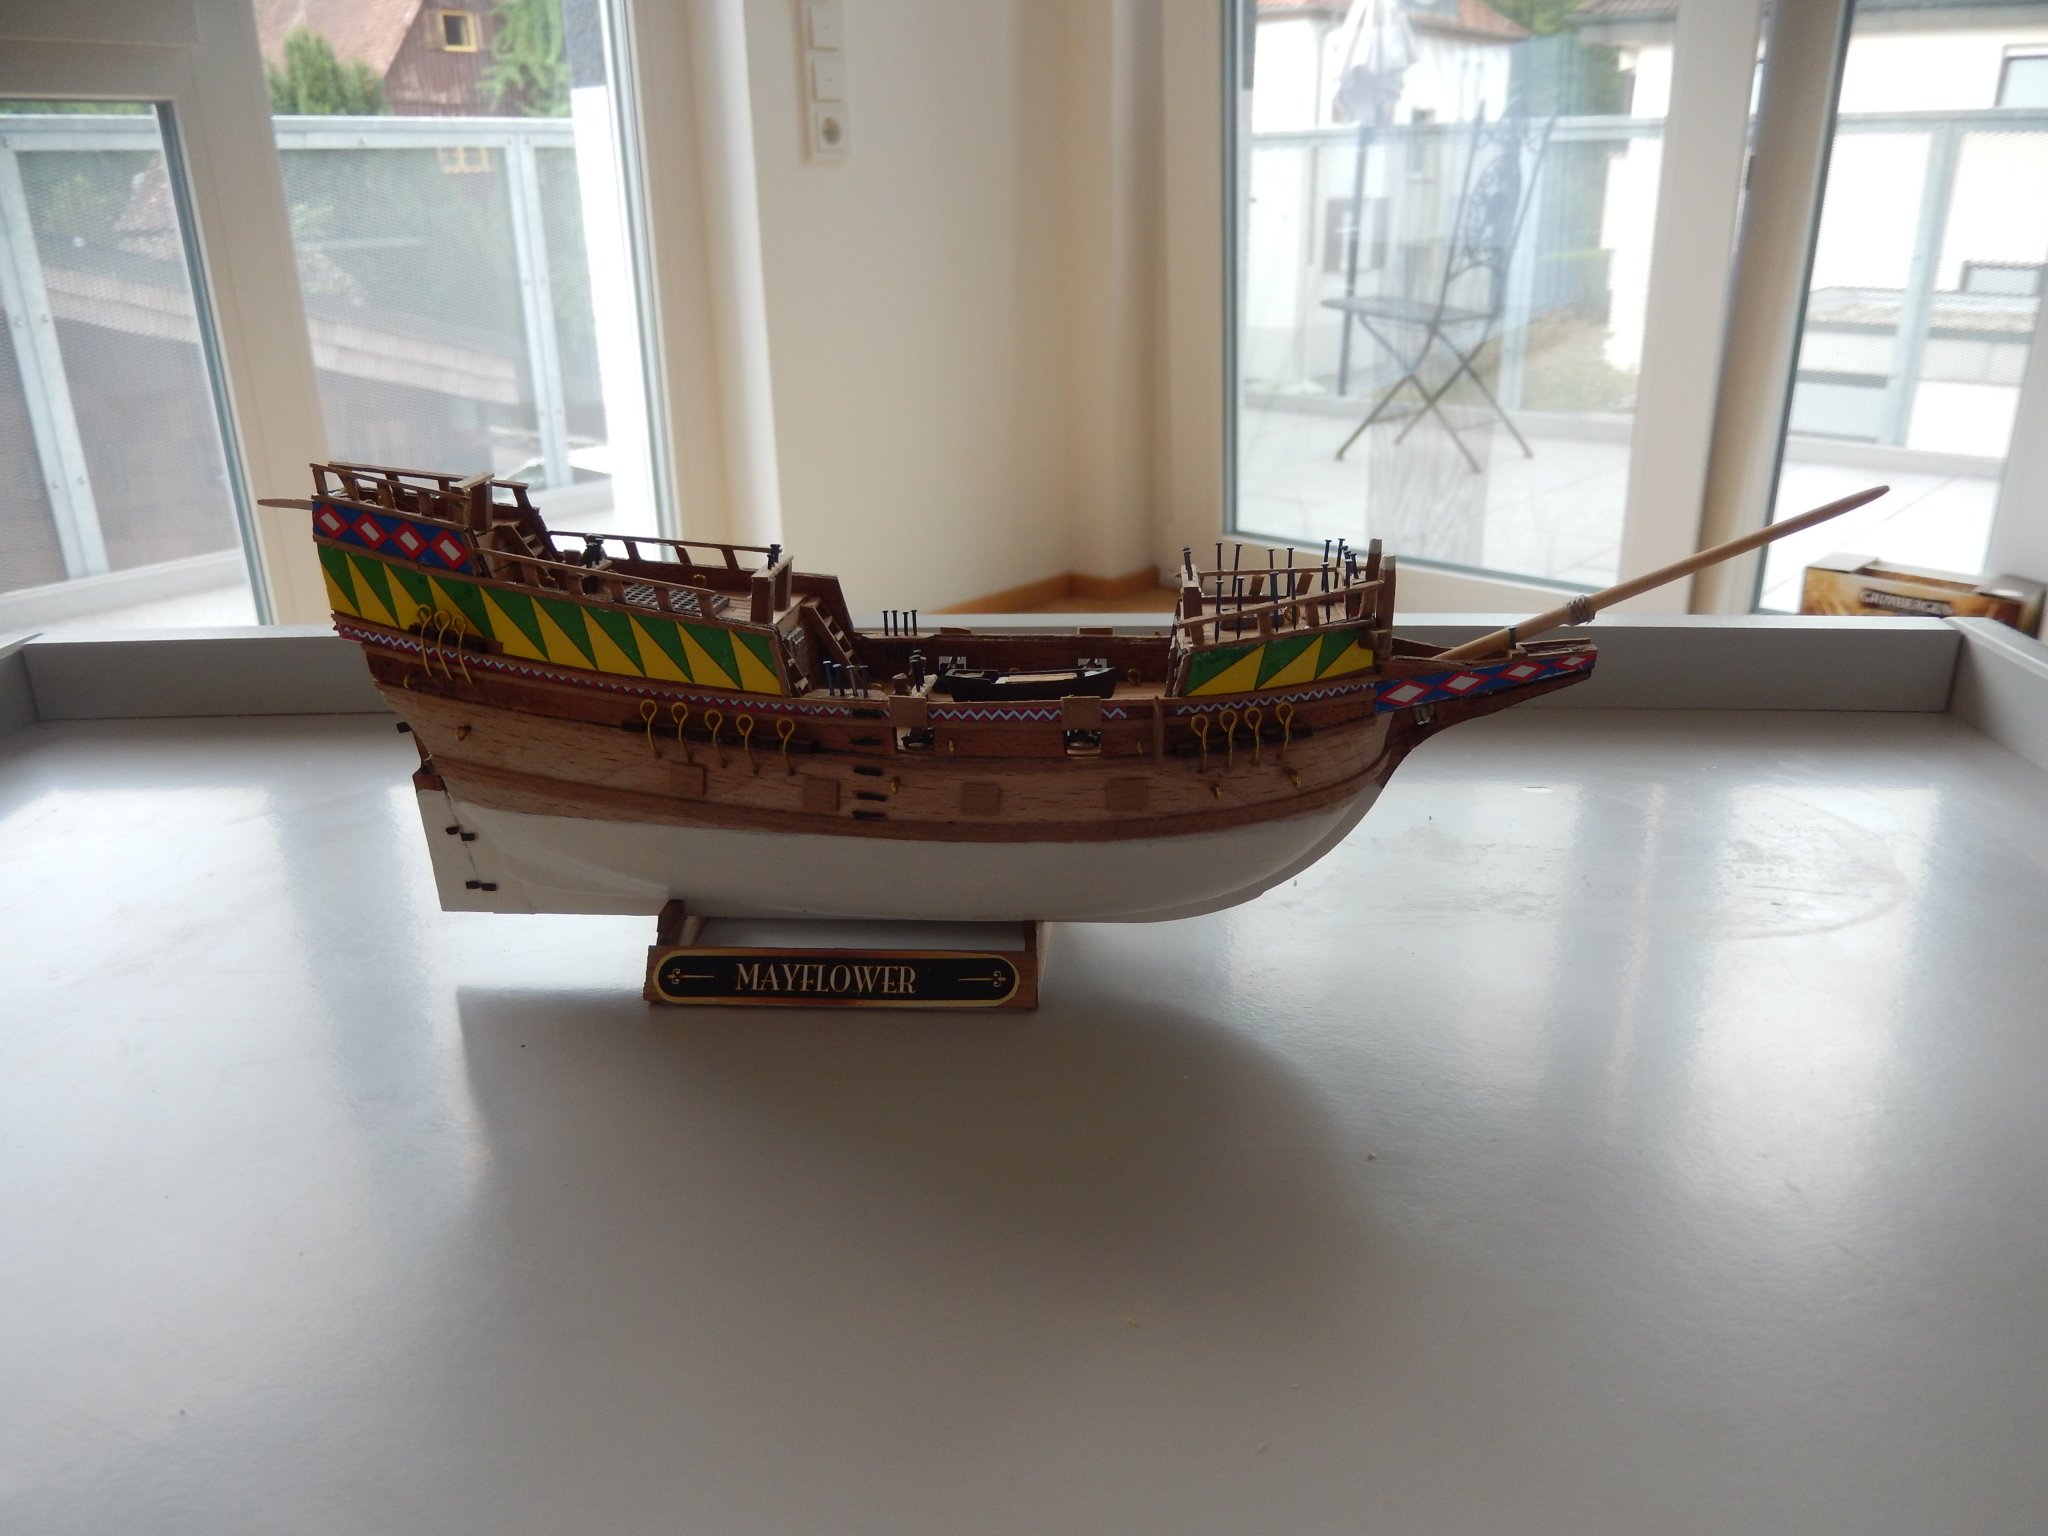
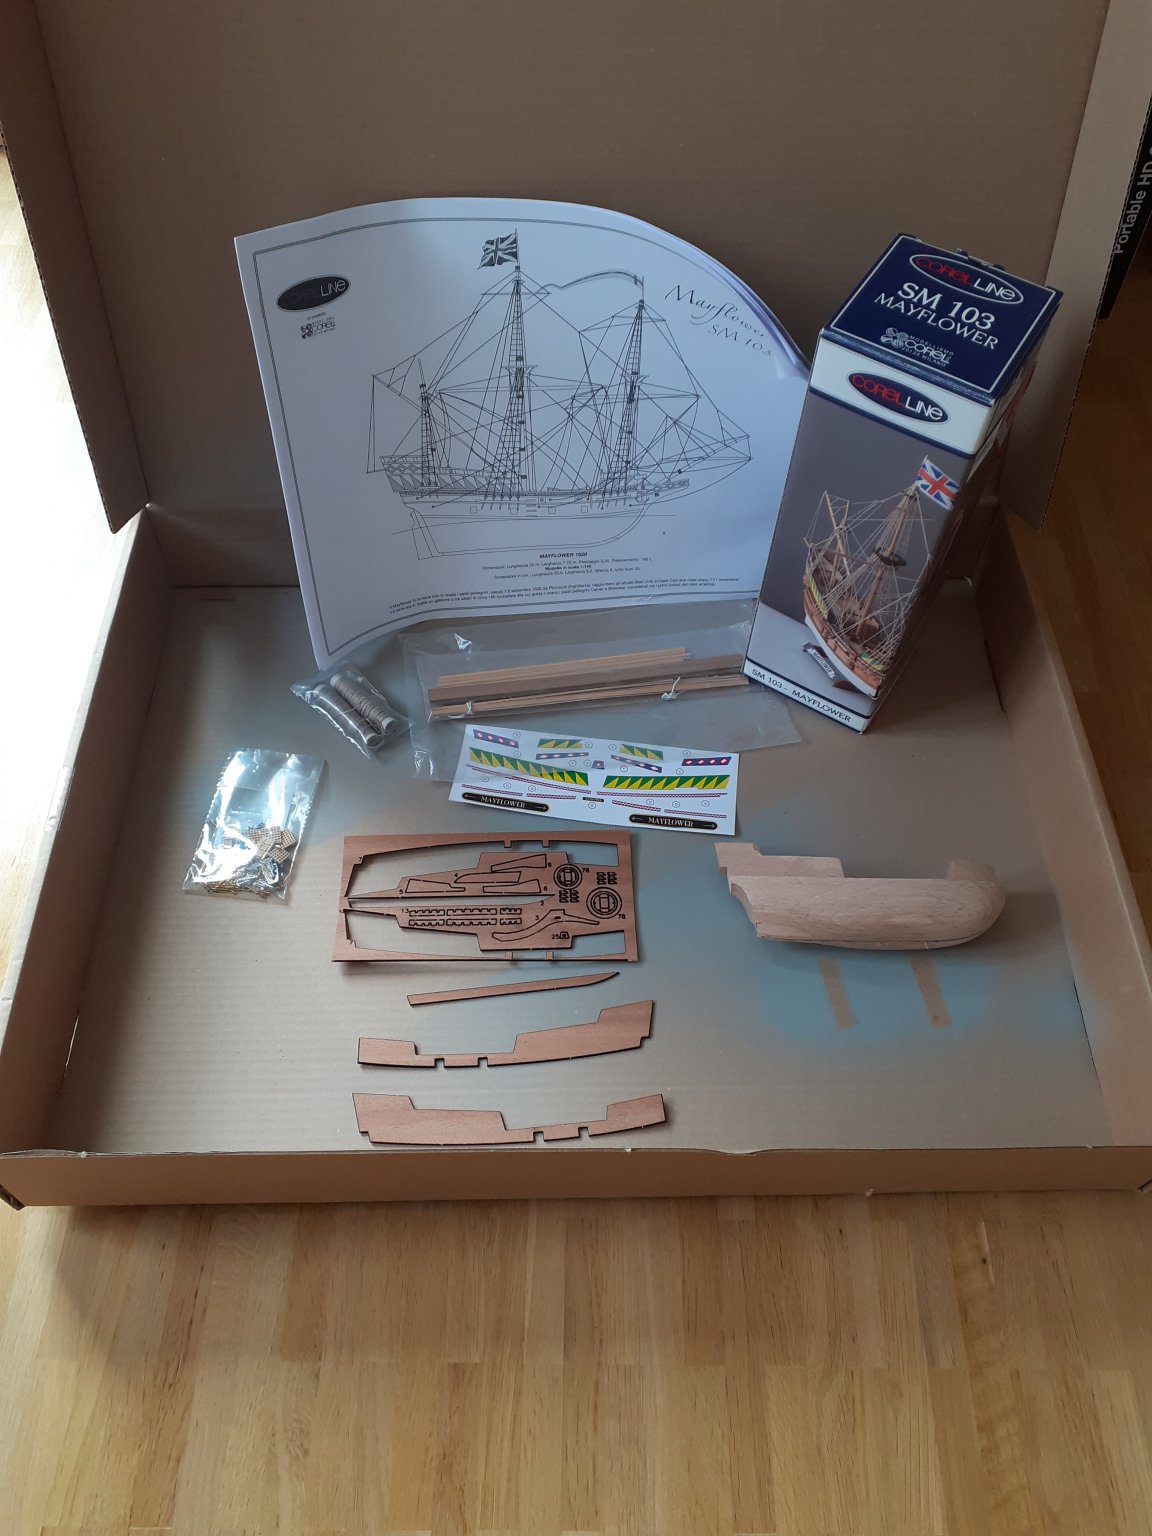
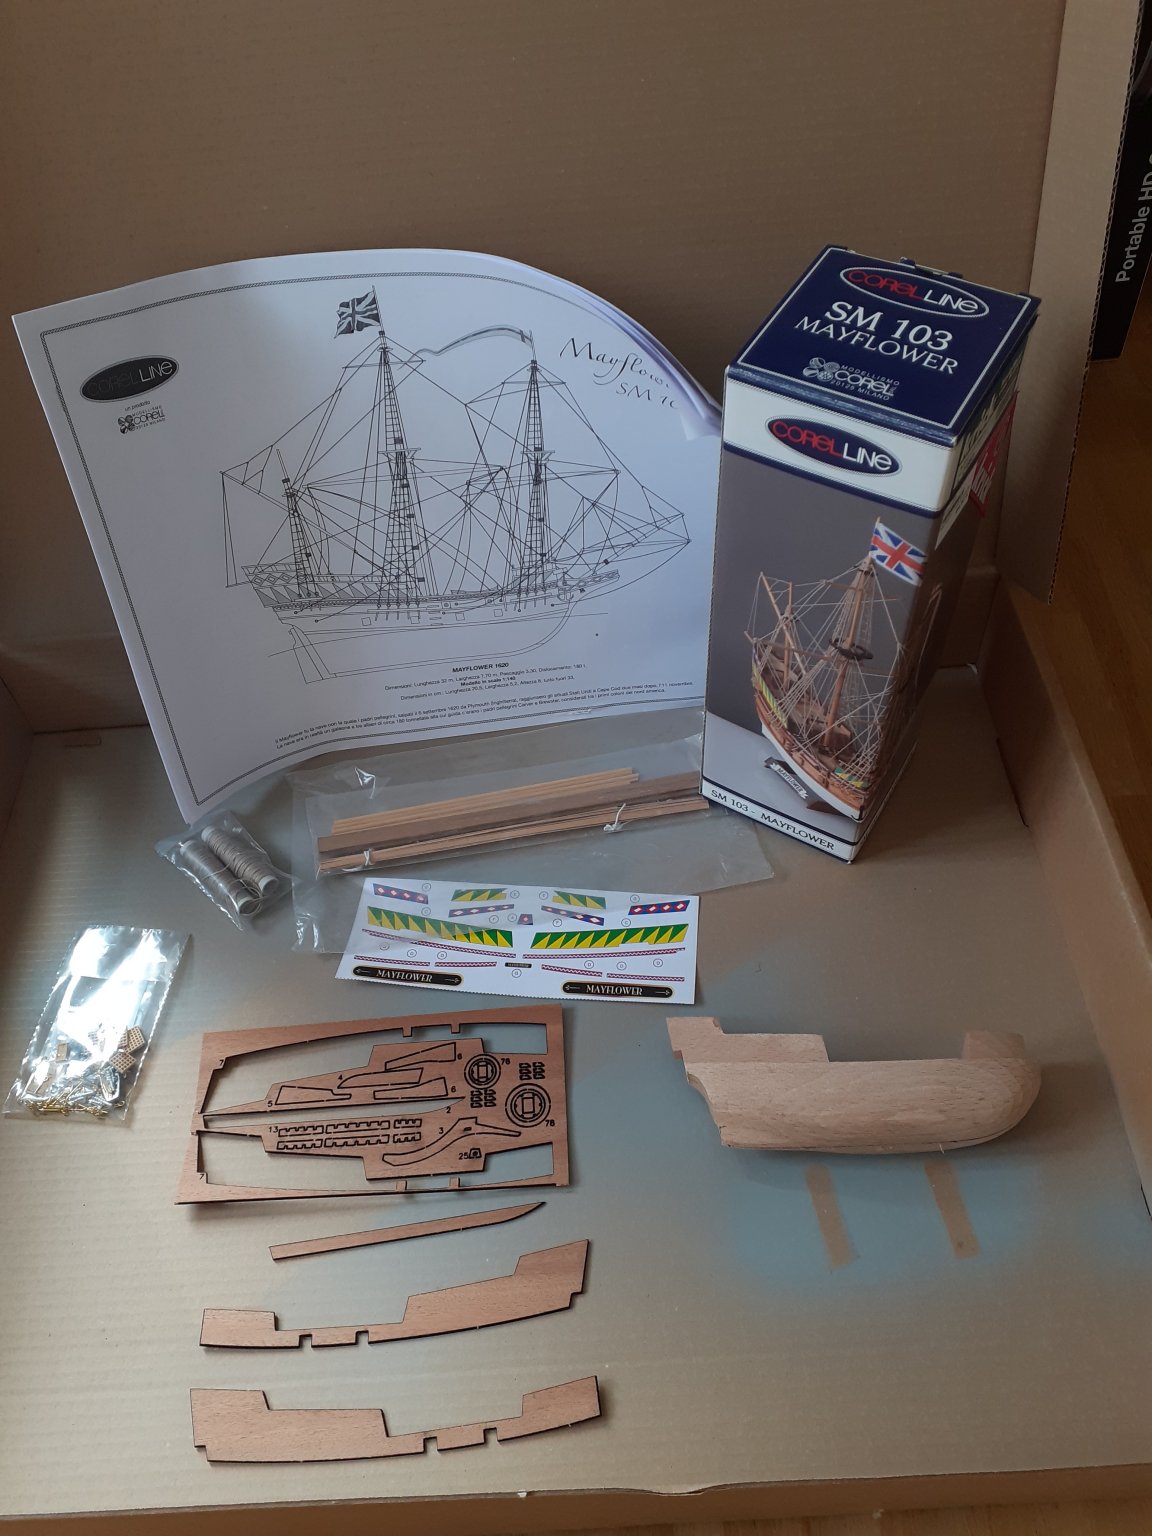
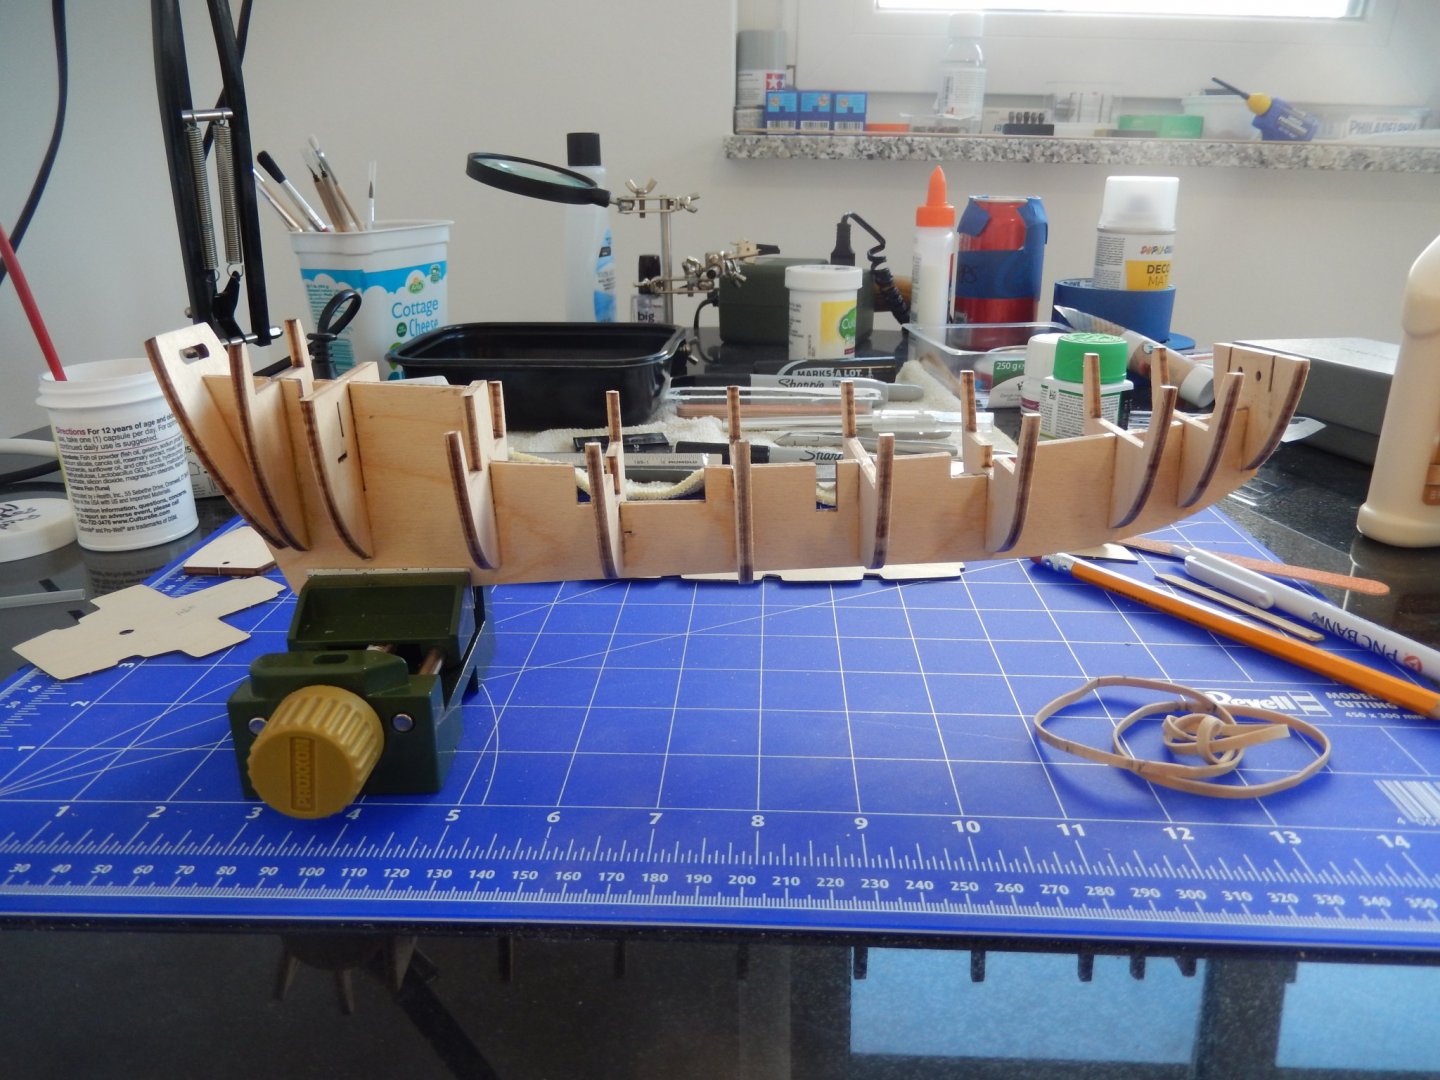
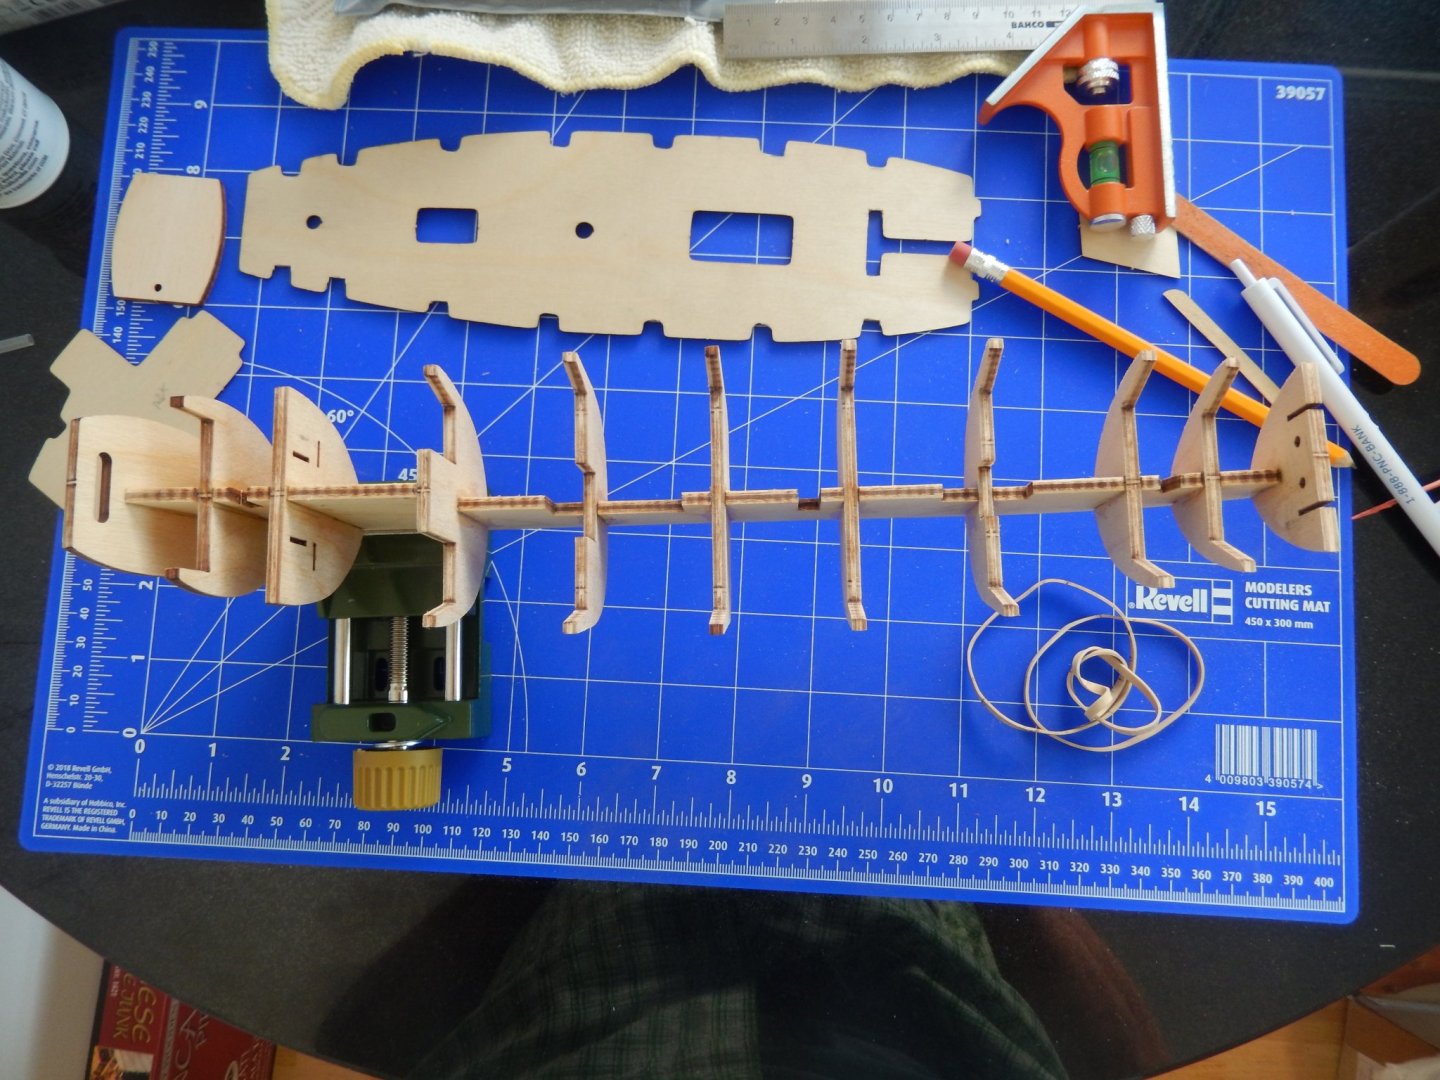
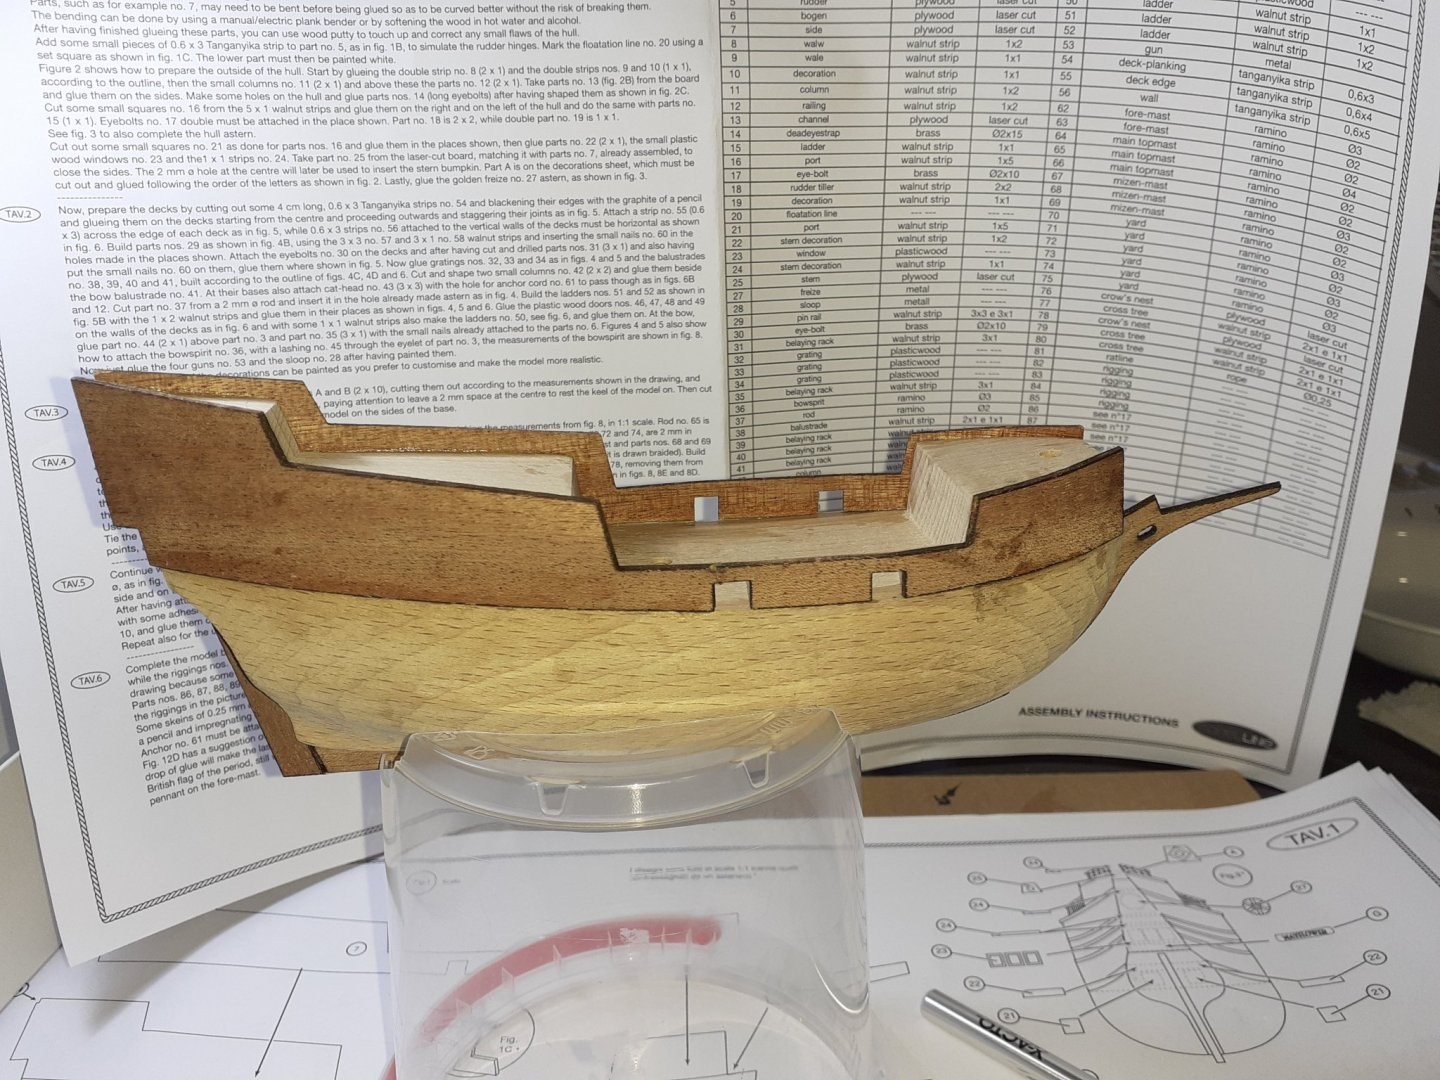
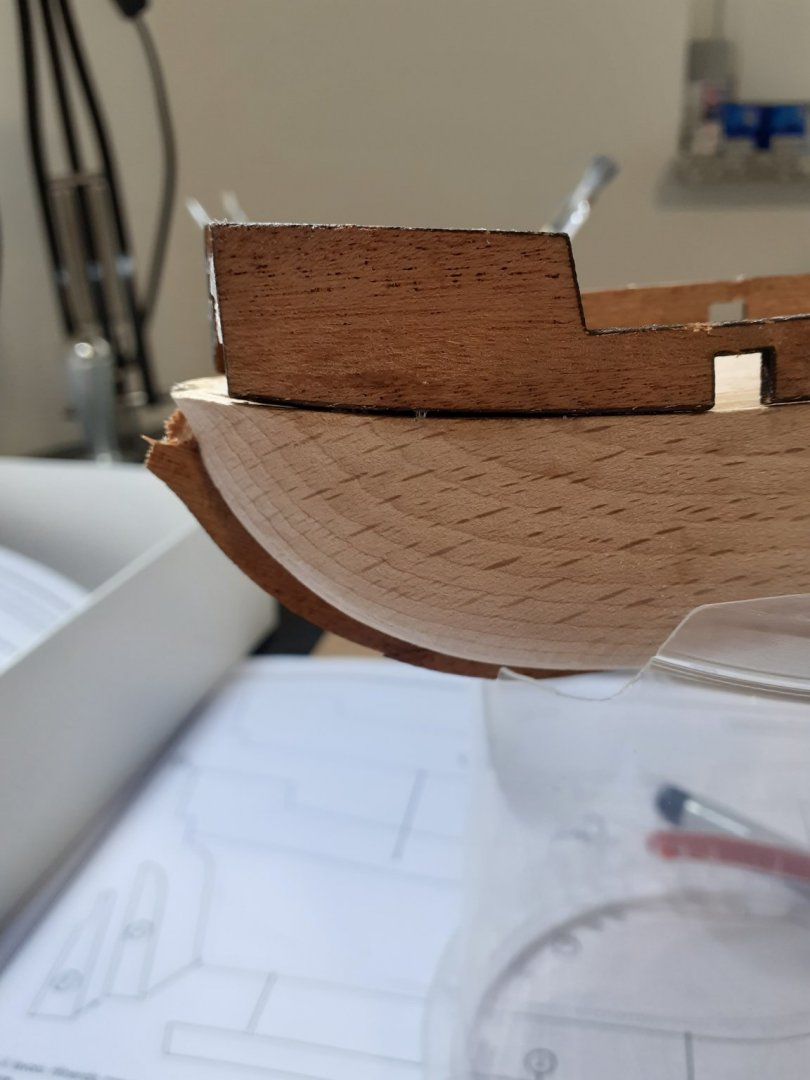
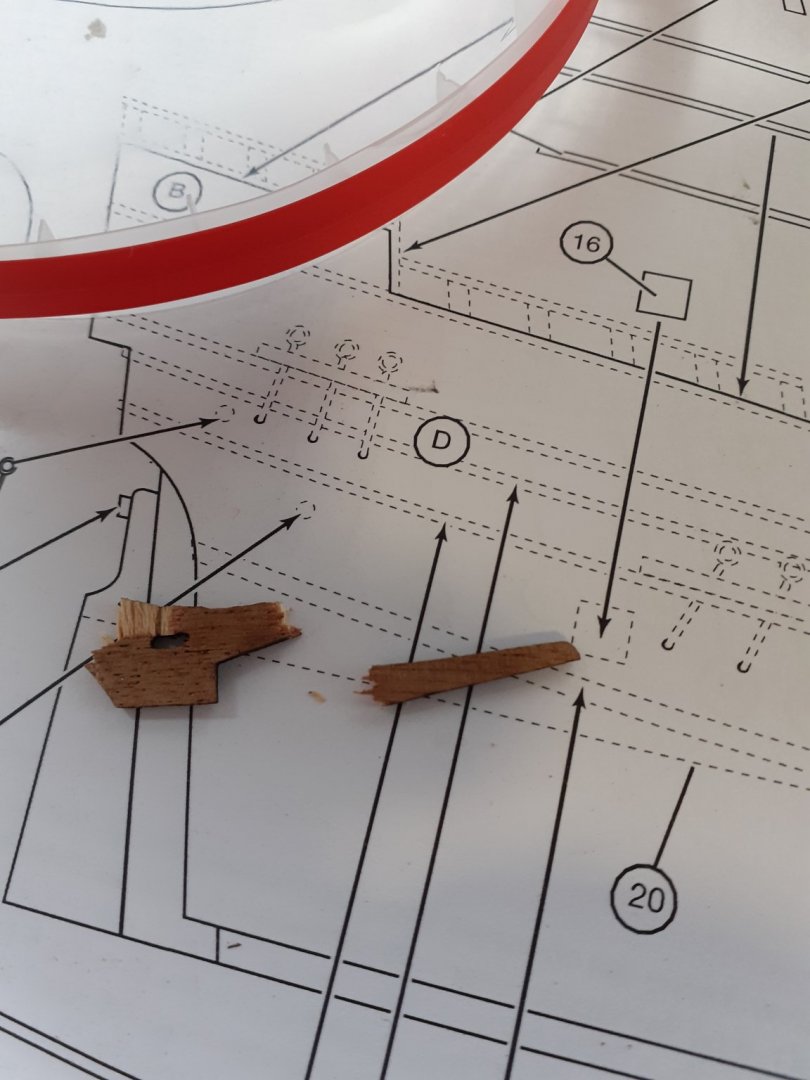
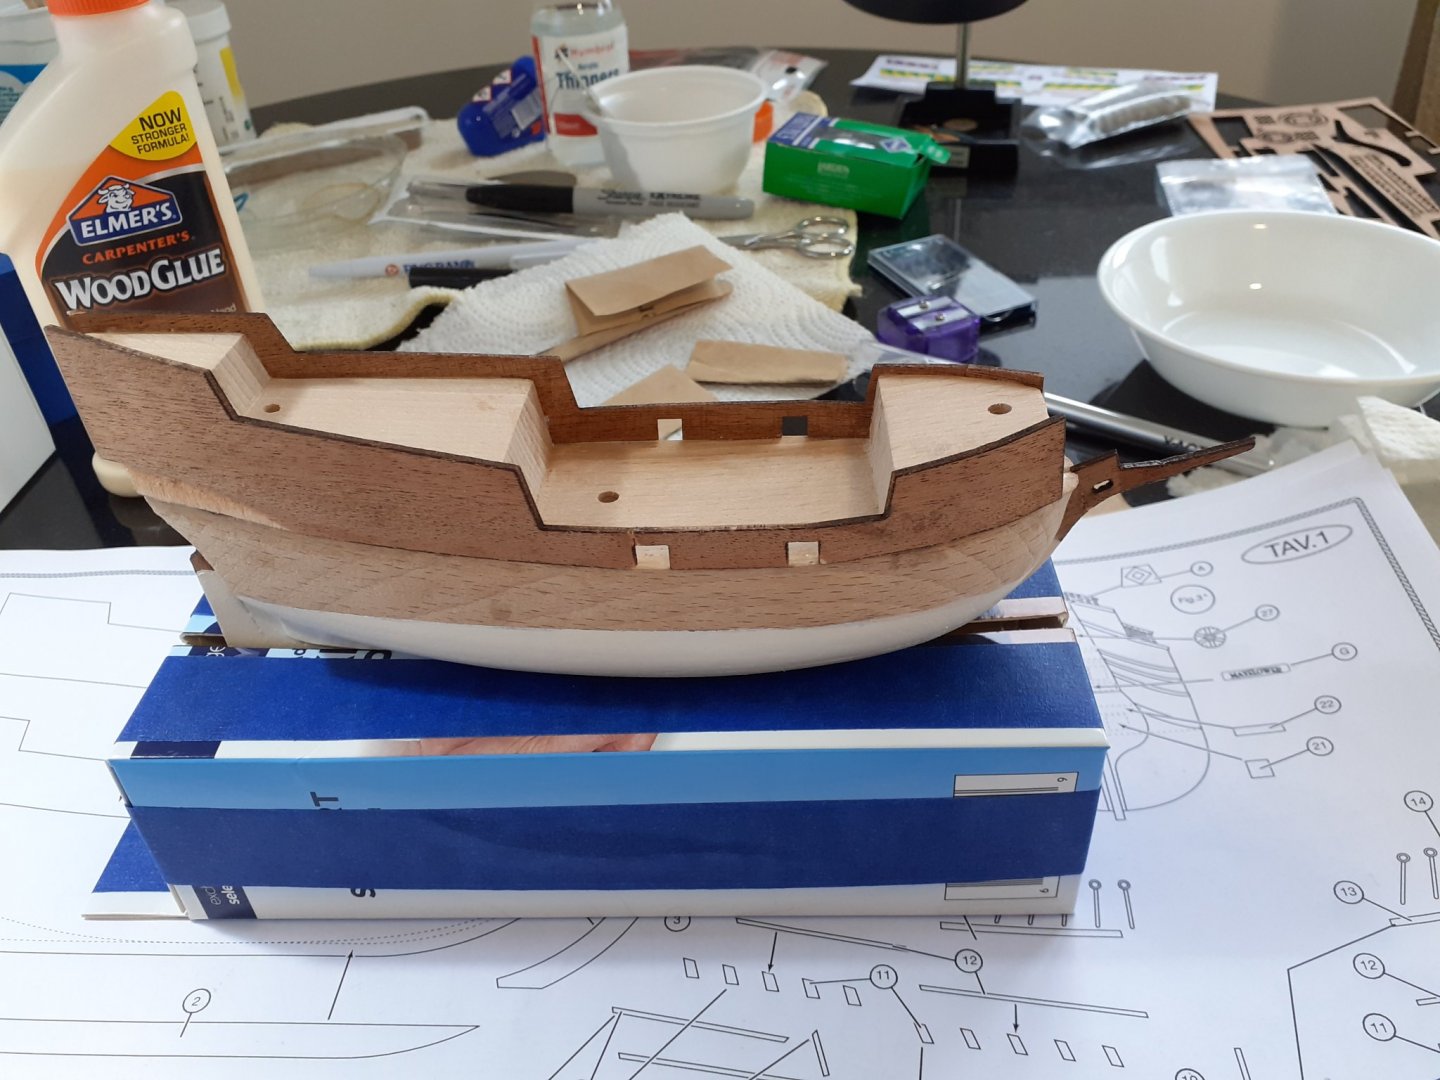
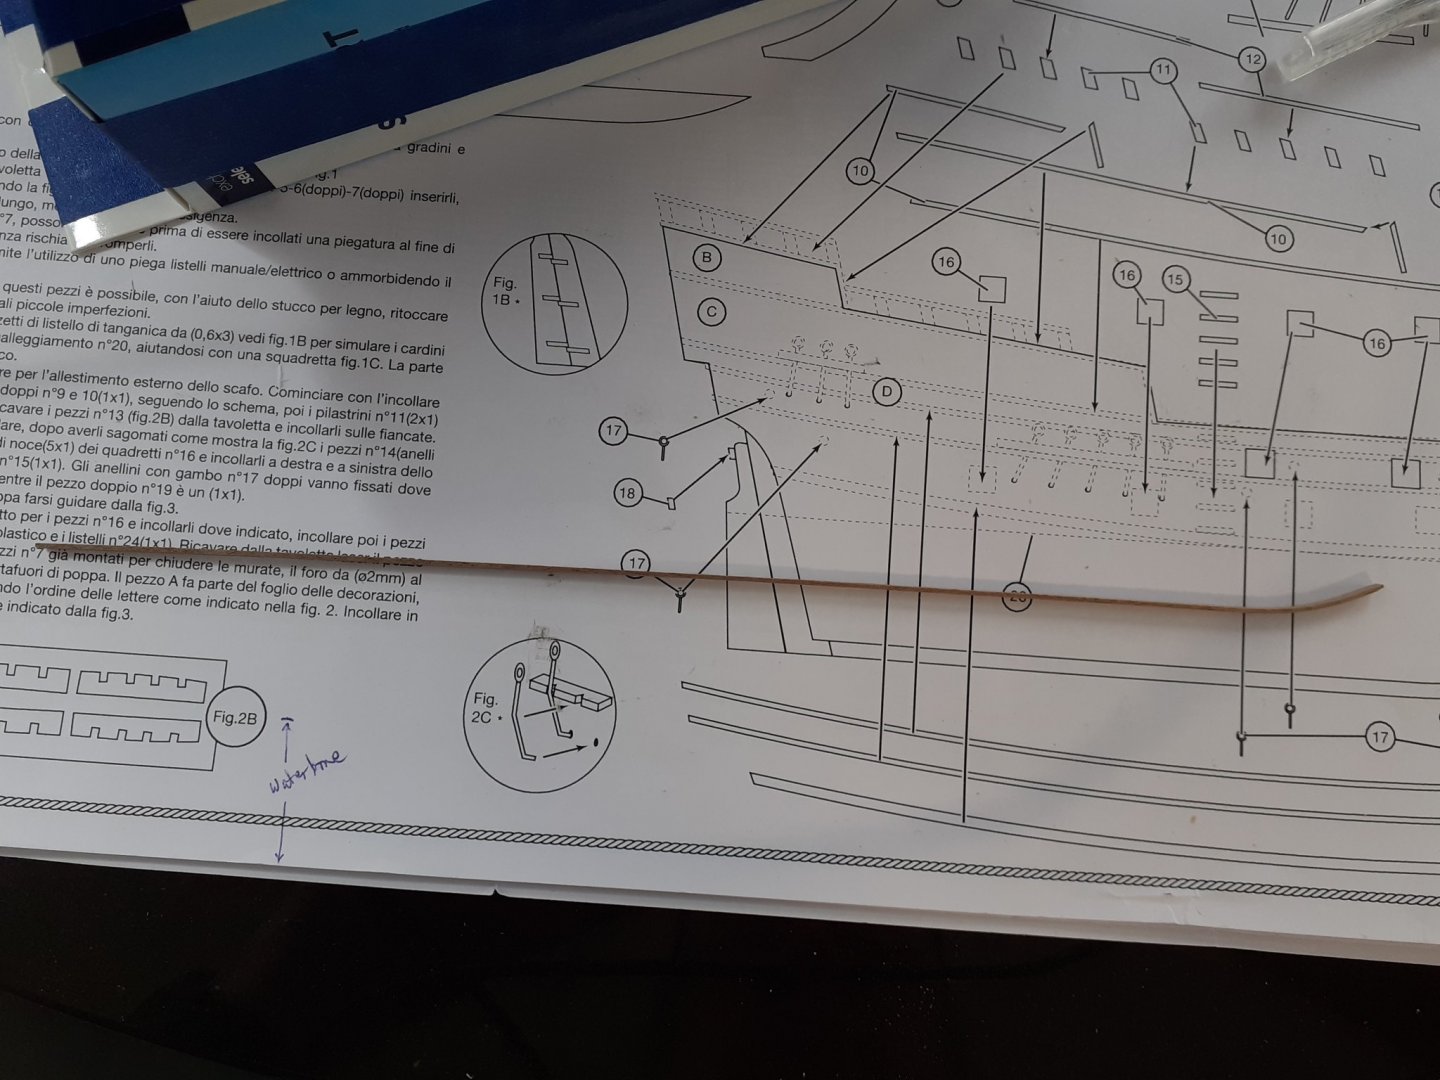
OK, now that I have some time I'll start a build log. As mentioned in my intro I picked up Corel Line's pre-cut hull Mayflower model. Probably just my speed as don't think I'm yet ready for planking a hull. We'll see how this one goes before I think about what may be next. So the pics attached today cover a week of activity - Last Saturday (8/1) to yesterday (Friday, 8/7). I am trying to work on the kit a couple of hours after work each day; we'll see how that goes. 1st pic shows the kit contents. 2nd & 3rd are with the upper sides, keel and bowsprit on - before the accident... 4th & 5th - What can I say? Definitely a case of butterfingers. I was able to find the 2 pieces that broke off so it was onto mending mode. 6th & 7th - While mending the bowsprit I added the rudder. 8th & 9th - Painted the bottom of the ship and added the rudder hinges. 10, 11 & 12 - Started adding the decorative planks on the sides. (The 1" diameter hair curler paid for itself.) 13 - 17 - Painted rudder hinges, added thin side decorative planks, added paper decorations (replicates paint on upper sides and forepeak), added ladders & decoration just forward of upper front gunports. Now that I know how to do a build log, I'll post more frequently. Lots still to do - still working on the 1st page of the plans but definitely not in a rush to get this done. Enjoying the experience.


-
A short intro mostly to say 'thanks' for the tips I found here on bending thin strips. Very useful and I now have a 1" hair curler to assist with the task. I'm working in Germany and during this crazy time decided to get back into modeling. Finished 3 1/72nd airplane models and the Saratoga (CV-60) and needed a challenge so I decided to find another ship only in wood not plastic. Years ago I built a couple of full rigged plastic ships (Mayflower and USS Hartford) so I searched local websites for a store where I could find a suitable not too difficult but not too easy wooden kit. Saturday I went to the local shop I located and picked up Corel Lines Mayflower and started work on it; bending the upper sides was the first challenge so I went to the internet and found this site. There have been challenges since that one on Saturday (broken bowsprit on Sunday was entertaining) and I expect there will be others as the build progresses and I work to interpret the instructions in relation to the plans. Looking forward to seeing what others are working on, to reading more on the site - and to completing the Mayflower.