HOLIDAY DONATION DRIVE - SUPPORT MSW - DO YOUR PART TO KEEP THIS GREAT FORUM GOING! (83 donations so far out of 49,000 members - C'mon guys!)
×


MadDogMcQ
-
Posts
96 -
Joined
-
Last visited
Content Type
Profiles
Forums
Gallery
Events
Everything posted by MadDogMcQ
-
 Jeez, you guys are all extremely kind and polite. Thank you all 🙂
 -
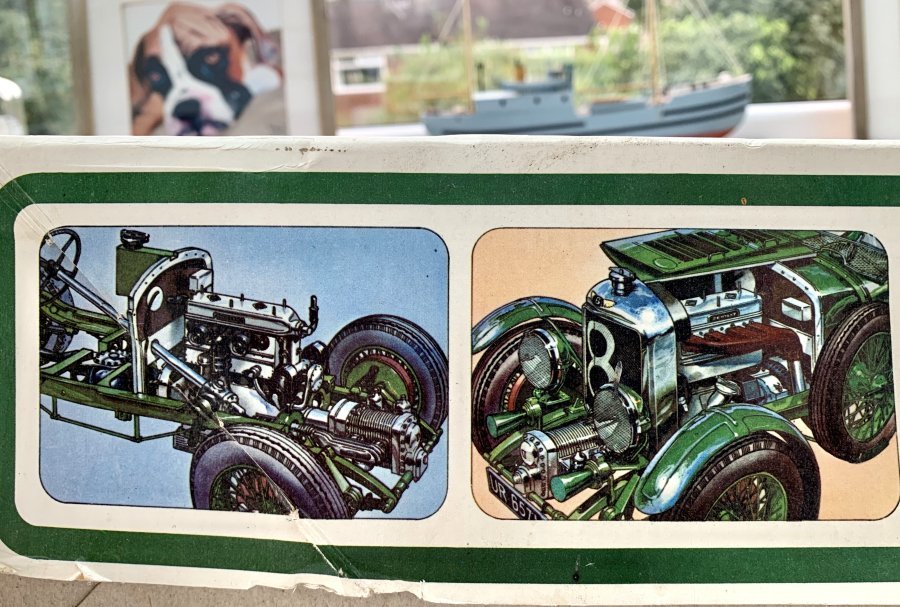
After reading all your encouraging comments, I've looked on Google and it appears you're right - most of the finished models do have a different finish between the body and the bonnet 😮 If I were doing the model again, I'd probably try to achieve a consistent finish, but for now I'll leave it as is. Thanks.
-
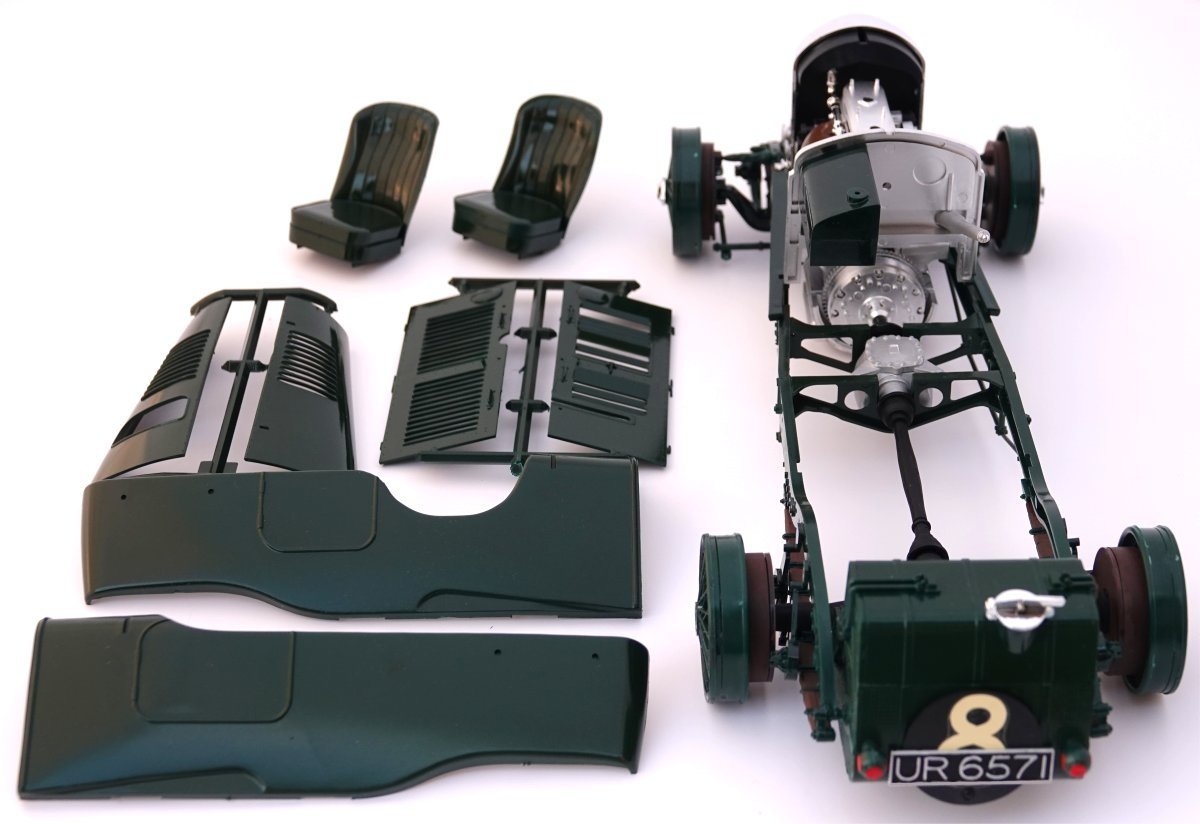
What a crap day. Instead of getting better, I swear I'm getting worse!! I put the main body-panels on and a few other bits and bobs, and then realised that the paint finish on the bonnet panels is far better (or more glossy) than the bodywork. How could I not have noticed that before bonding the body to the chassis?? 😲😫😫😭 Such a jackass. Ah well, it's another lesson learned. Like I said right at the start, this was never gonna be anything special - just the first step back into modelling after a lifetime away, lol. I've come to the conclusion that beginners like me may need to buy TWO kits so that they can discover all the pitfalls on the first attempt and then maybe produce a great model on the second. Having said that, I've been doing this model from a makeshift/temporary location in the conservatory and I'm sure that things will be better when I can build my permanent modelling area in the spare room.

- 65 replies
-
- 16
-

-
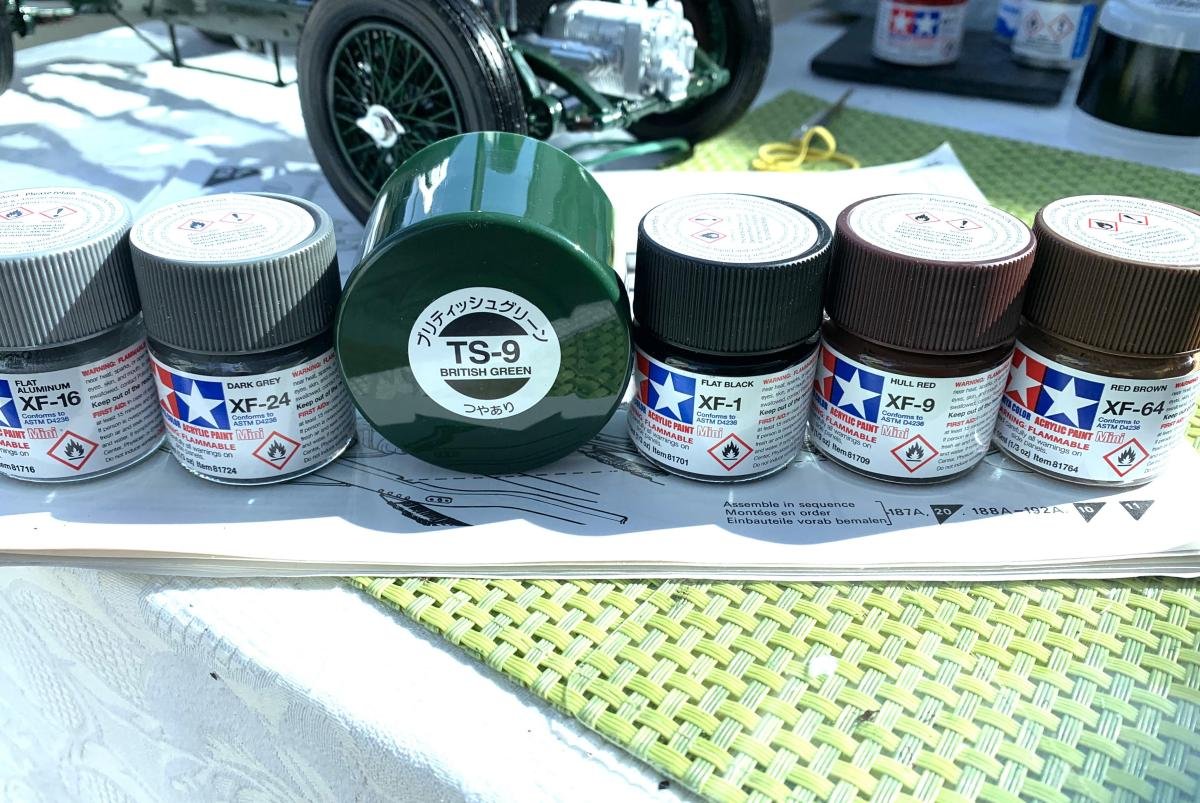
Hi Mike, dammit, I wish you hadn't shown me that Bentley build - it's magnificent and makes me want to quit 😄 😄 The colours I've got are...
- 65 replies
-
- 10
-
-
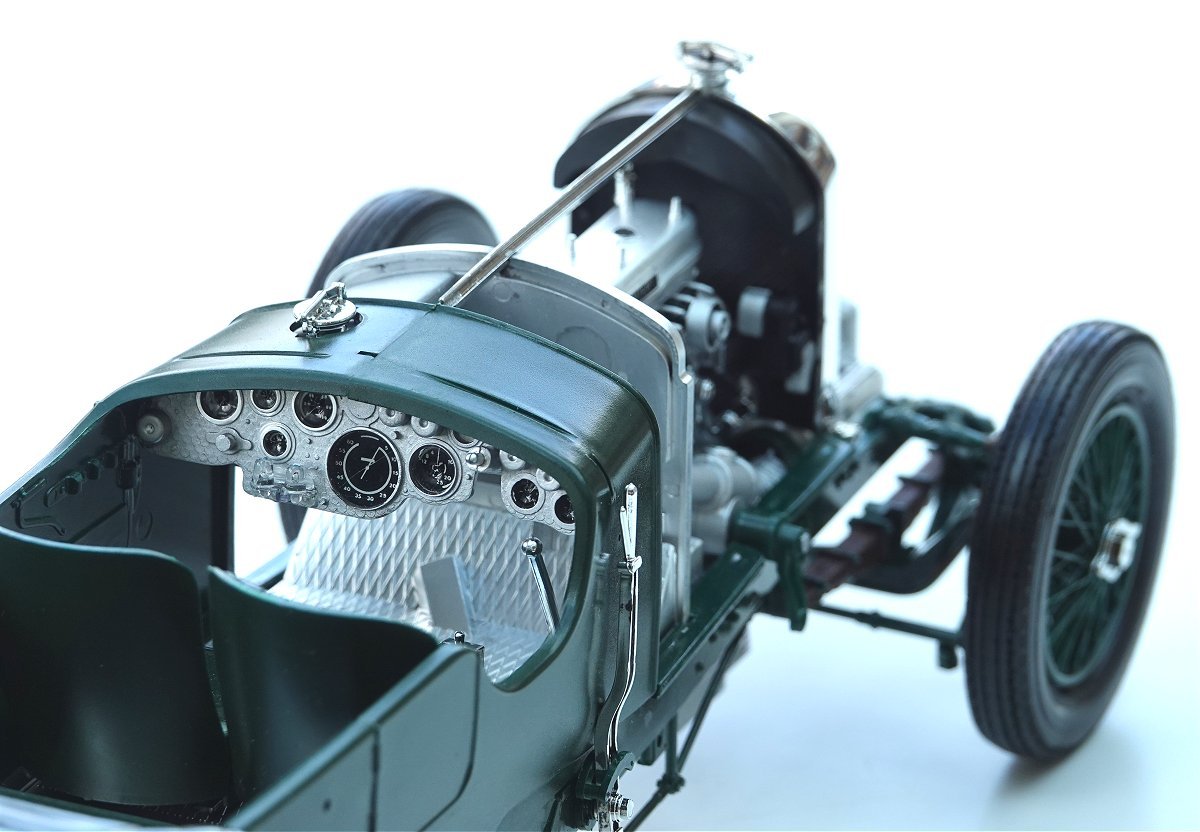
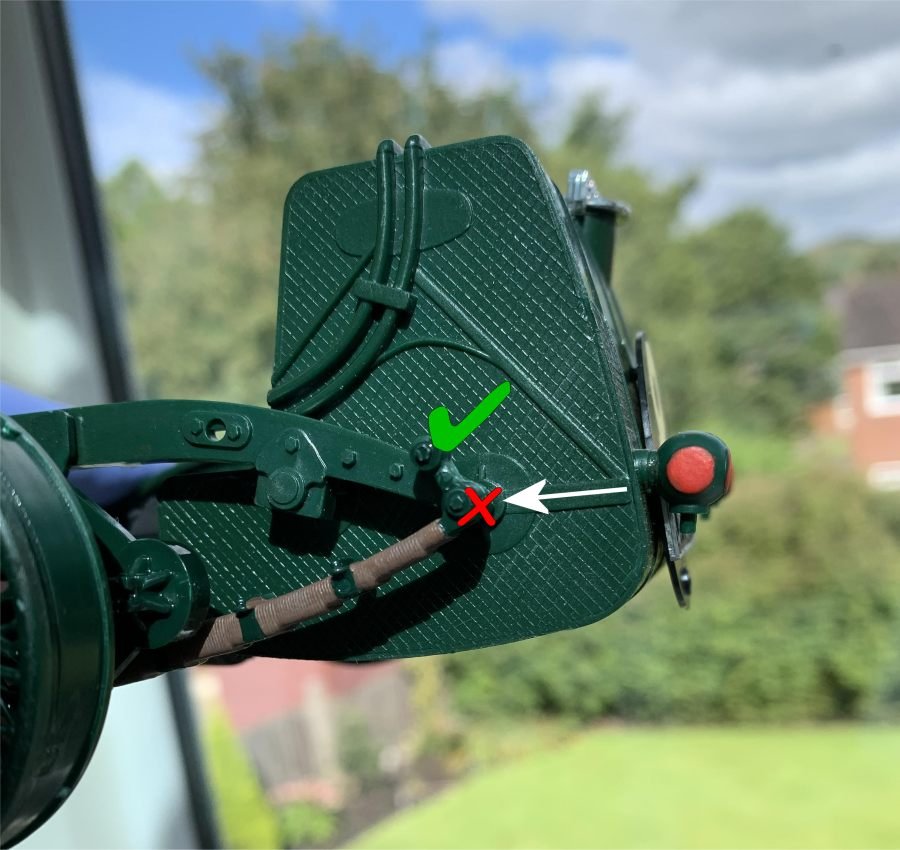
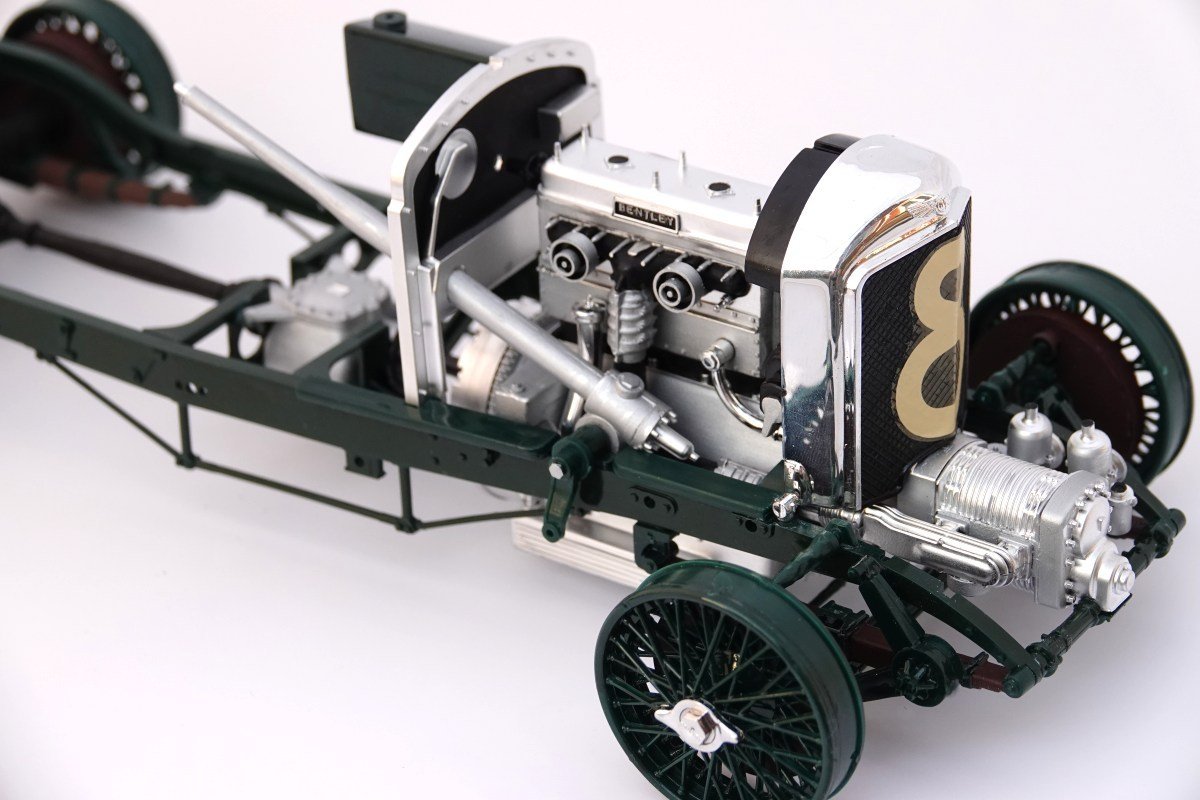
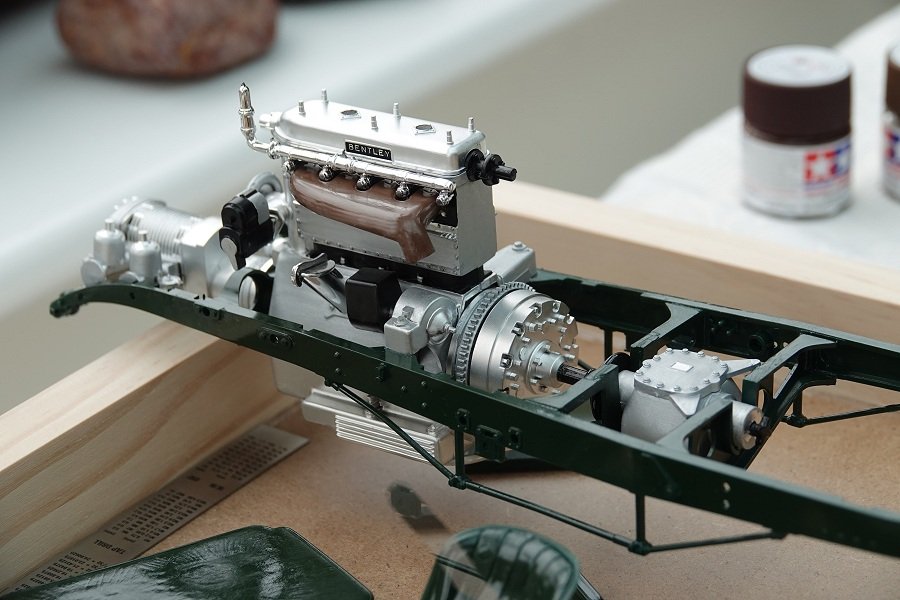
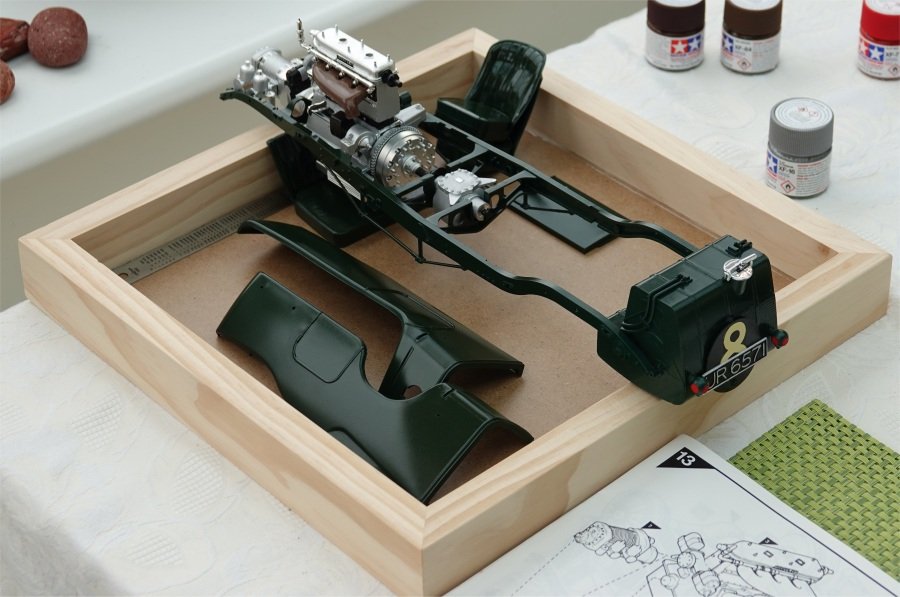
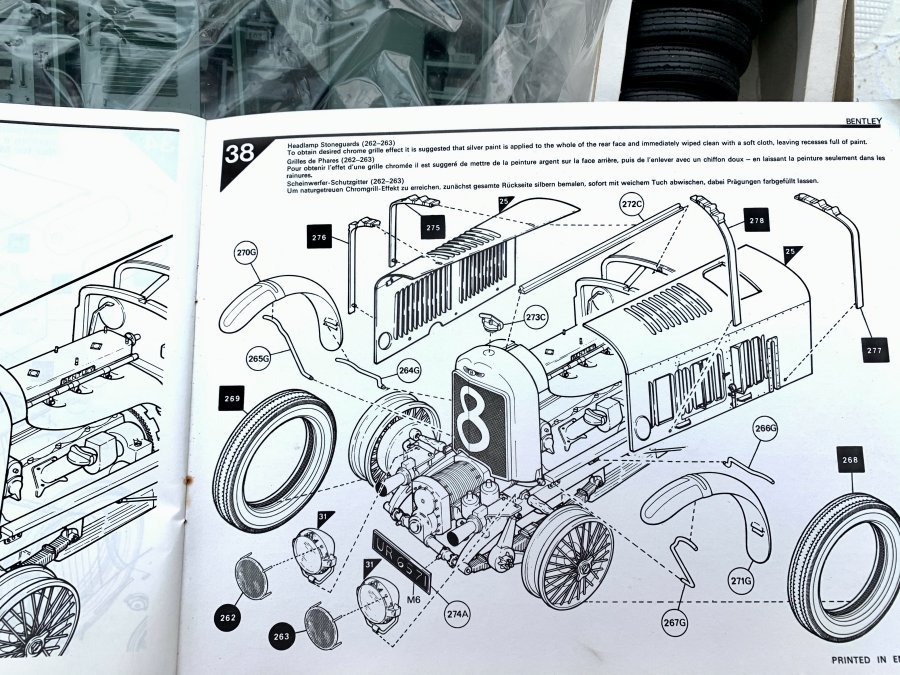
Little bit done today (been out for most of the day). I mentioned previously that there seemed something wrong with the way that parts were being mounted to the chassis - well I found out what it was today. Dumbo me had fitted the left side rear suspension point in the wrong place. I should be thankful that I found it at this point and not at the end of the build, I guess. Anyway I "deconstructed it" and corrected my error. After that, I carried on with the steering, front suspension and engine bulkhead, followed by the big Bentley radiator. The 40yr old decals had lost most of their ability to stick to things and they have also hardened up a bit, so instead of falling into the mesh of the radiator, it kinda stands proud. I'm not going to mess with it because I know it'll just break up and I'll be in a worse mess. The decals are also showing their age in their colour too. I'll be honest and say that I totally cocked up the front steering 😮 because I hadn't realised which way around the front cross-member was in the instructions. The previous few images of the kit had all been upside-down, but then in the cross-member image, they decided to flip it the other way and I wasn't paying attention 🙄 Unfortunate, but hey-ho, it is what it is. I couldn't be bothered undoing my mistake, so I accepted the fact that the steering won't be working from the steering wheel (if ever it should have). Other than that (and my chassis error), I've not done bad considering the four decades of absence from modelling 😂 Thanks for popping by.


- 65 replies
-
- 14
-
-
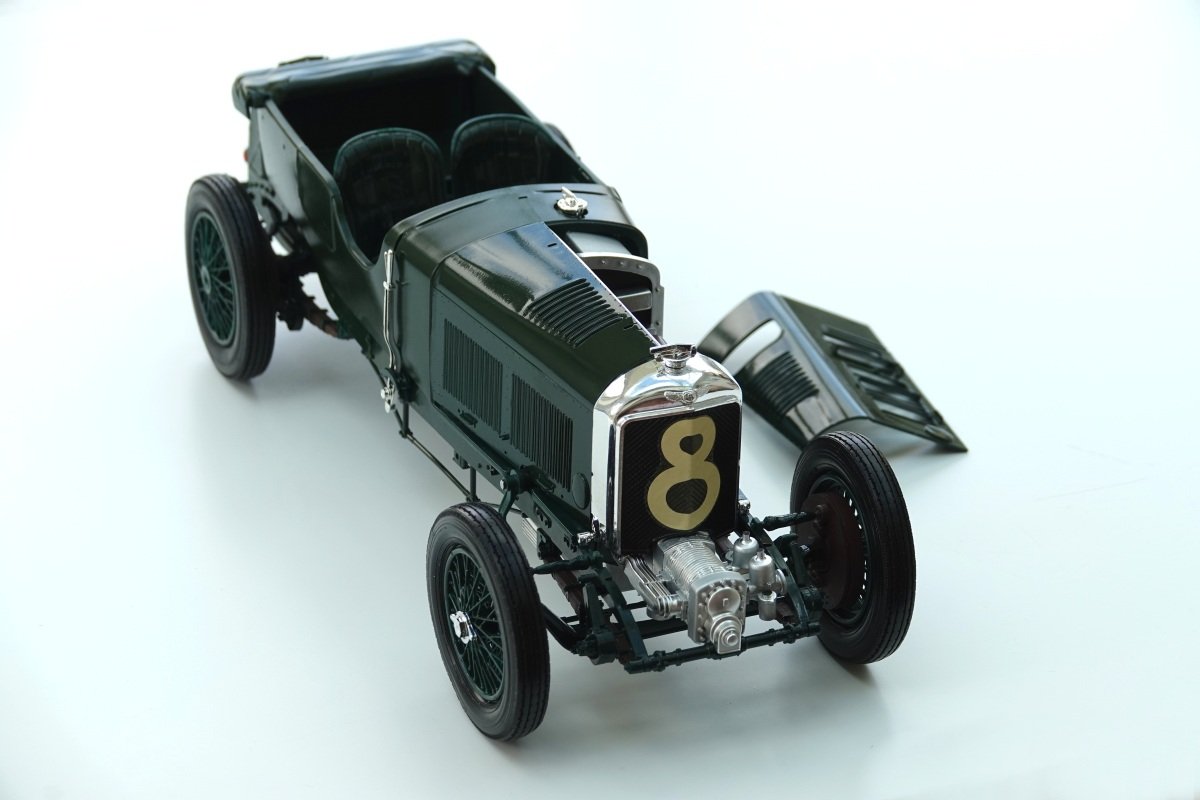
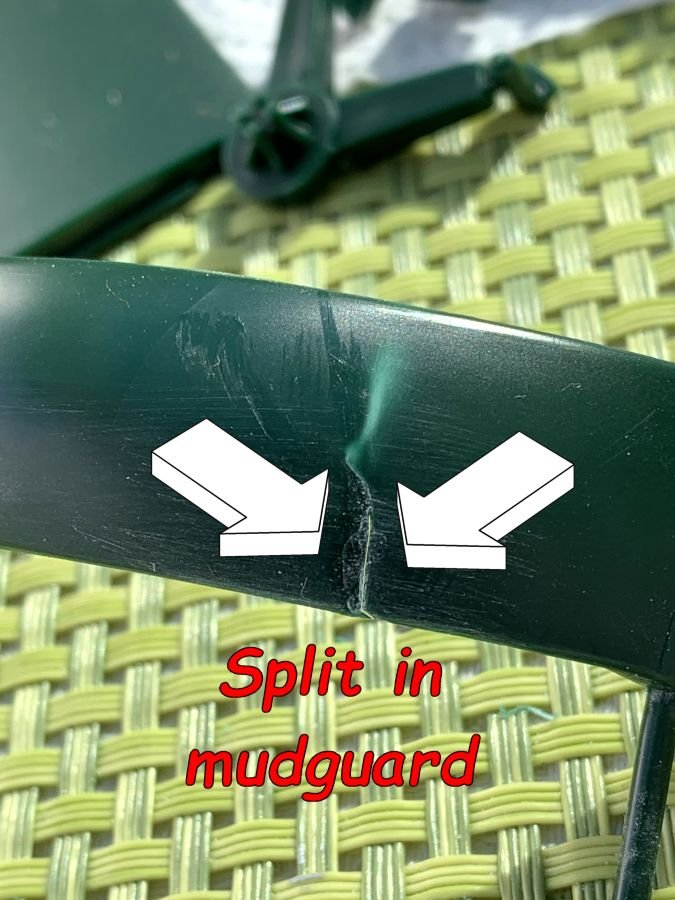
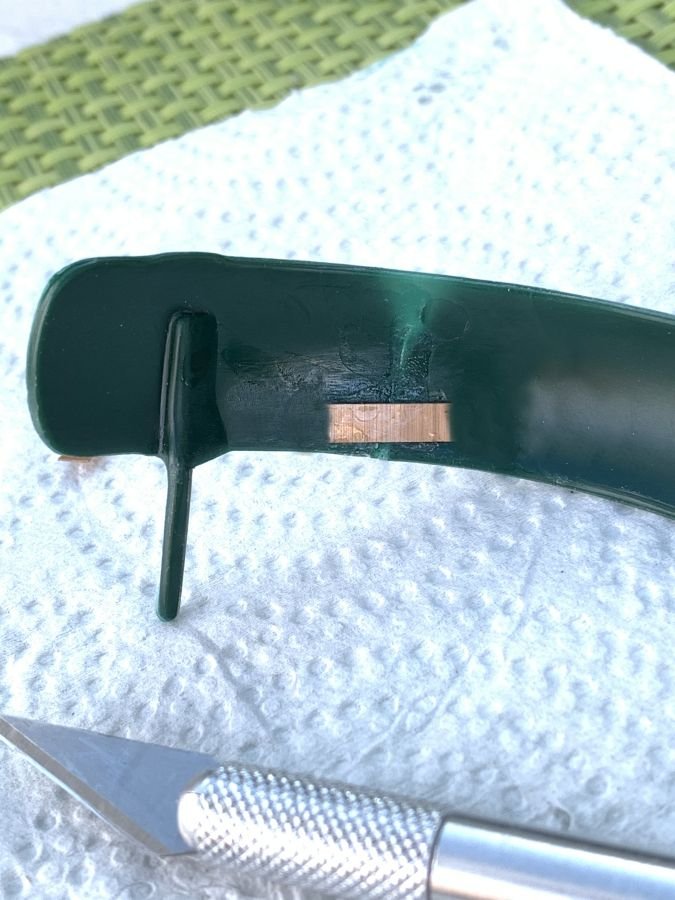
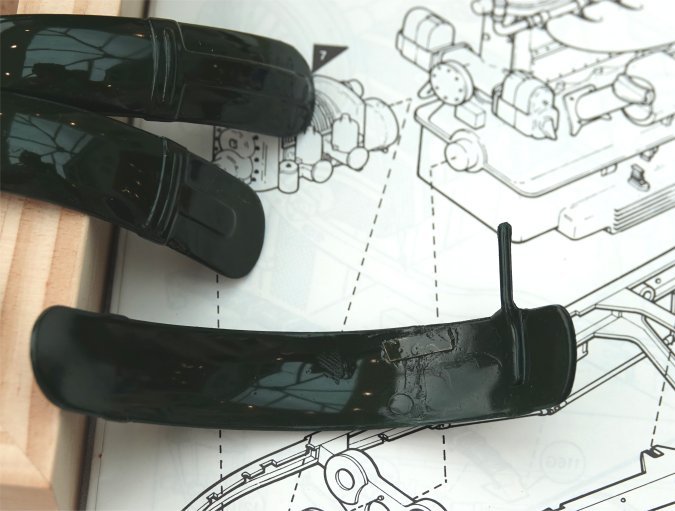
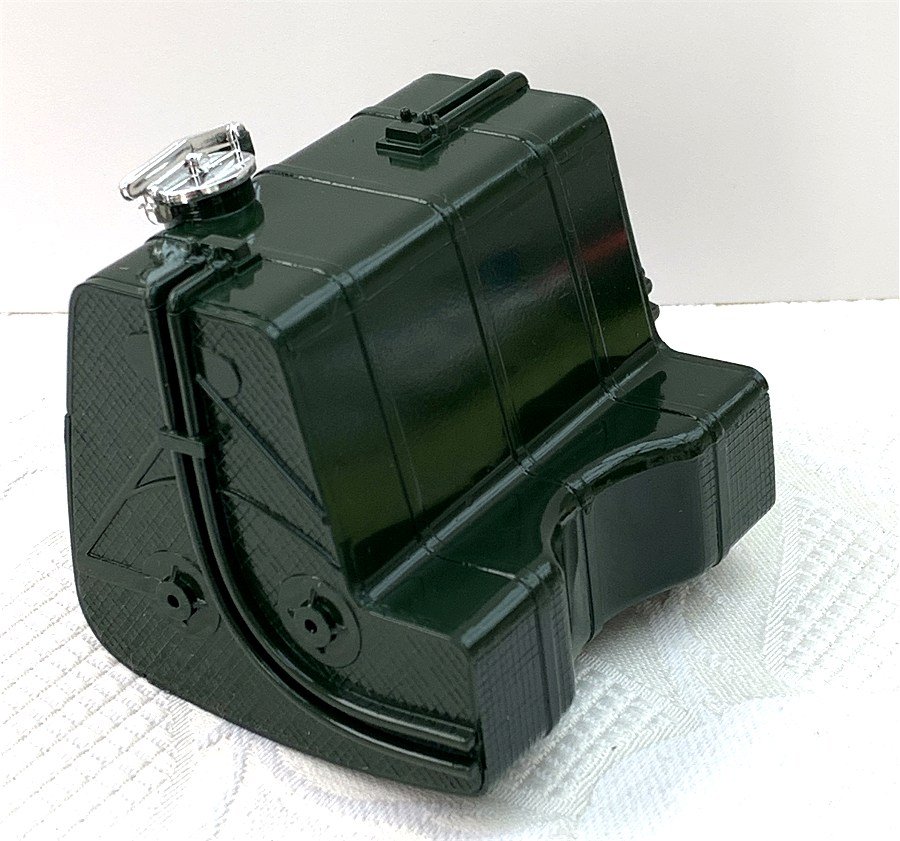
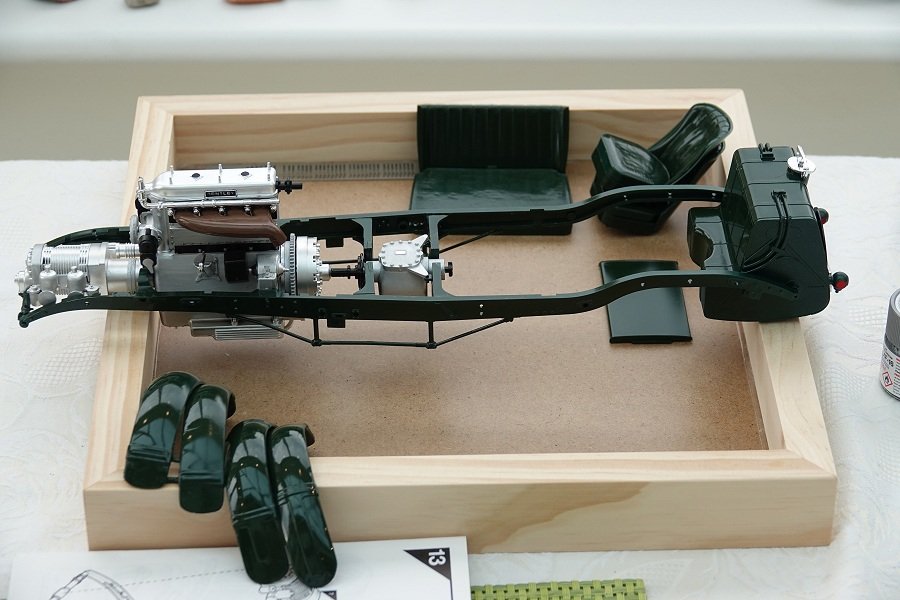
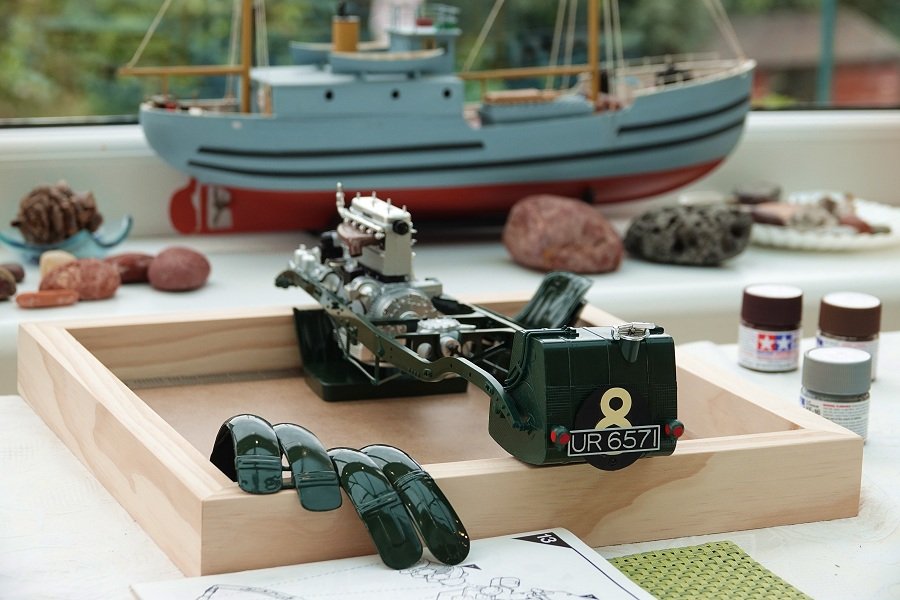
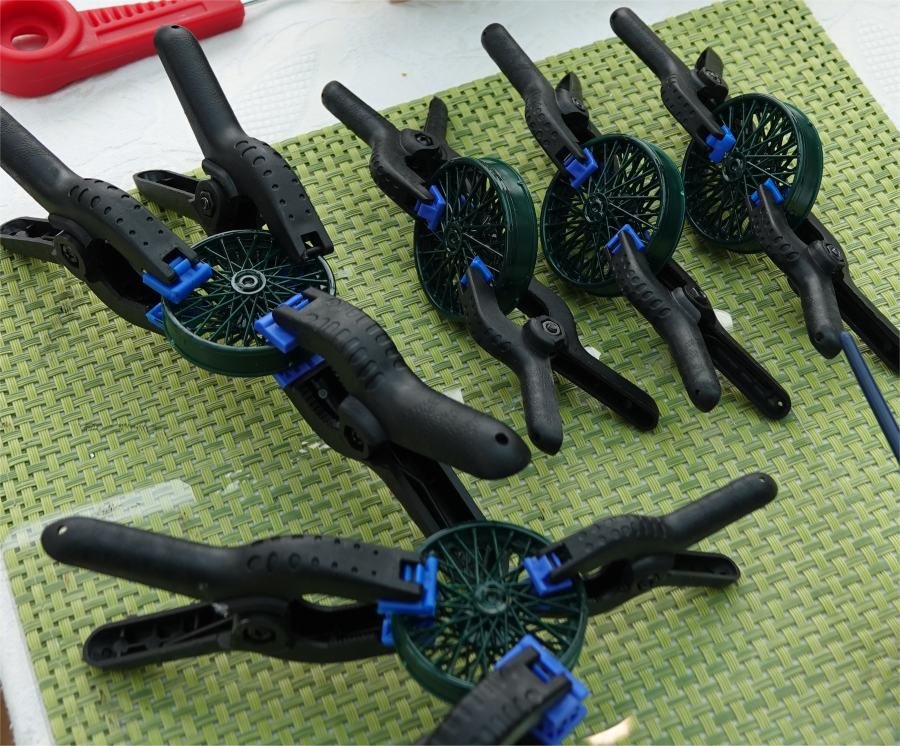
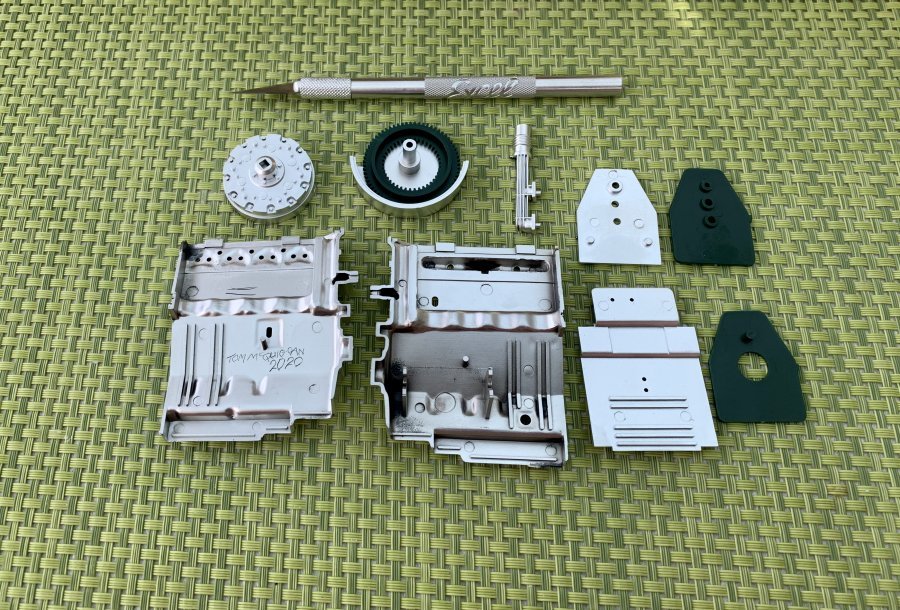
WOW! You're all way too kind. I'm winging it here. Made a few basic mistakes today but managed to recover. I'm not trying to add any "effects" or "aging" to this model - I'm just trying to get back into the swing of plastic models again. Anyway, I seemed to work hard today but don't feel like I got a lot done. I think it's because work was interrupted by painting (I hate waiting for paint to dry). I noticed today that one of the mudguards was split. Very strange considering the kit was unopened. I managed to use a tiny strip of metal to bind it together and stop it from spreading. Next up was the huge fuel tank. That was very straight forward and didn't take long at all. It could also be painted as one unit, which was good. Then it was time to do the chassis and for some weird reason, I struggled with it! It was such a simple thing but when it came to installing the engine and gearbox, it felt like the chassis was misaligned - things weren't clicking into place as they should. Anyway, I managed to sort it out eventually. One thing that I WAS pleased with was the number-plate. It starts off as a silver plate and you have to add the black. It came out pretty good (after a few attempts) lol. Finally, I built the wheels and rear axle (but I forgot to photograph the axle so I'll post that tomorrow). I've managed to paint all the main body panels using Tamiya's acrylic British Green aerosol. Unfortunately I only bought one can and they're pretty damned small, so I had to paint smaller odds and sods with a Humbrol BRG enamel. Luckily, the two paints are a pretty perfect match, so nothing stands out. More tomorrow - thanks for popping by 🙂 Tom.
- 65 replies
-
- 13
-
-
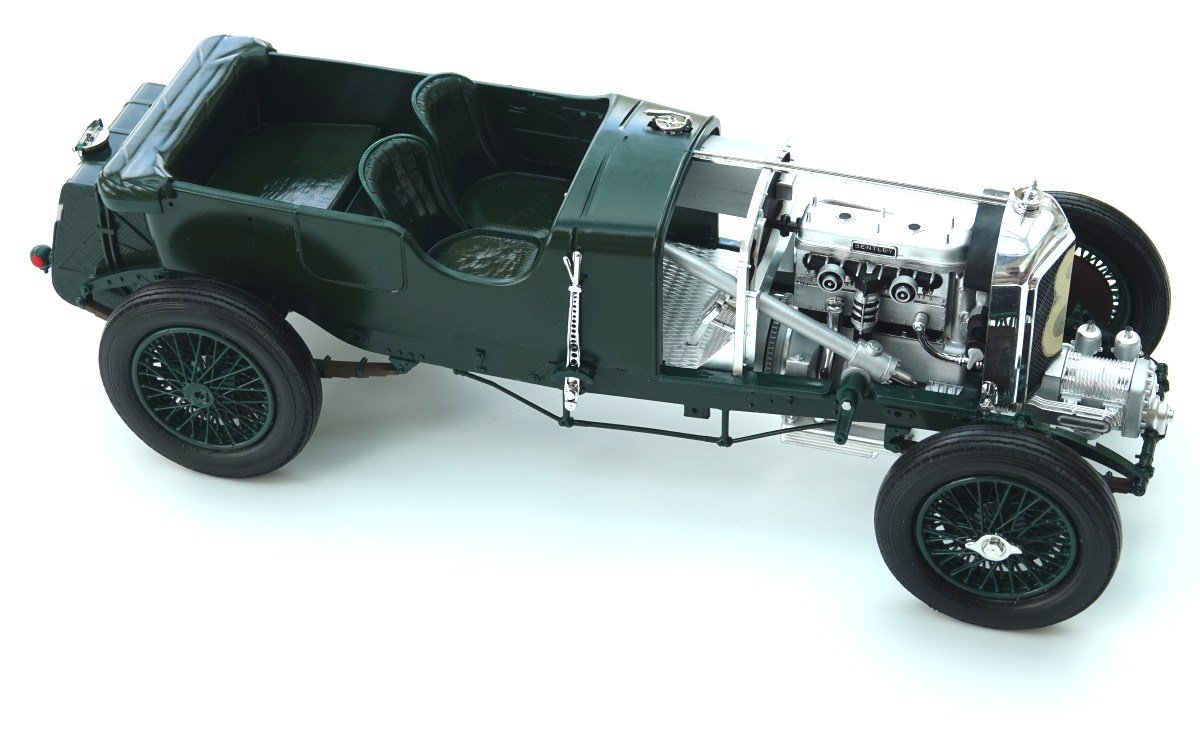
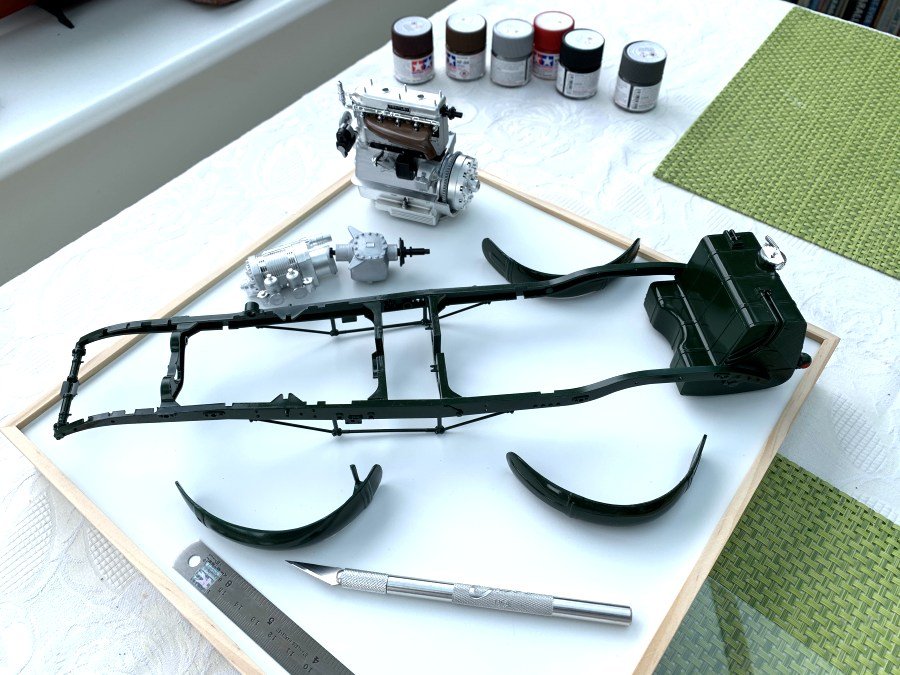
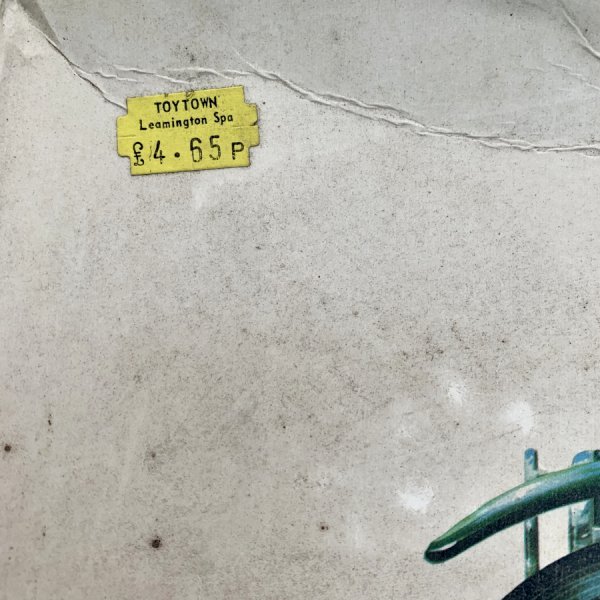
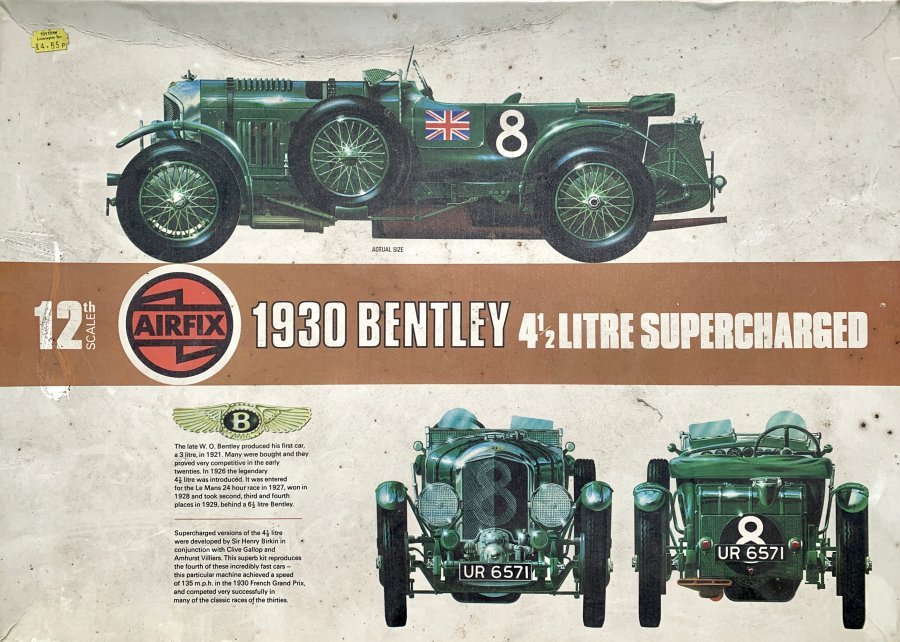
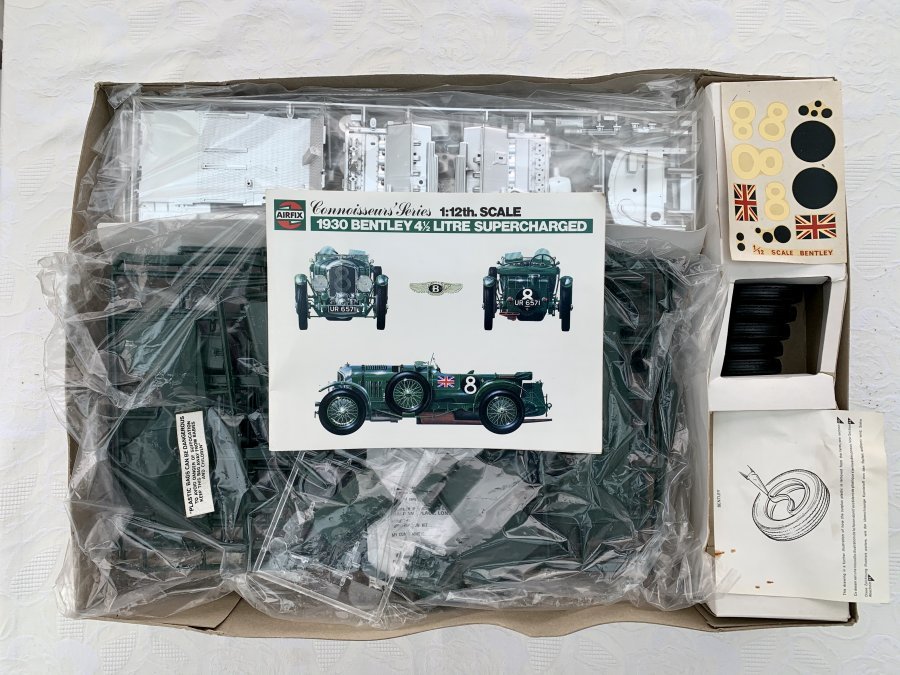
Just in case you didn't see my other post, I'll start by explaining that I stumbled upon this "Brand New In The Box" kit and just couldn't believe my luck. The box was a bit grubby but everything was intact and nothing missing as far as I could see. The original price ticket on the box is £4.65p from the Toy Shop in Leamington Spa. Amazing! I remember building this model as a schoolkid and I'm very excited to have the opportunity to do it again. So today, I started construction even though I have not made a plastic model for over 40 years!! Well it turns that despite being a prolific Airfix kit builder as a kid, I have retained no skills 😂😂. This build-log will be of no use to anyone, but I might as well record the build anyway. If you have any advice/tips please feel free to pile in and give me some constructive criticism. Thanks for dropping by 👍

- 65 replies
-
- 15
-
-

-
Well, that was 6 Pages of pure enjoyment! So many talented people on here - it makes me afraid to start a build-log. Look forward to watching the remainder of this amazing build 🙂
-
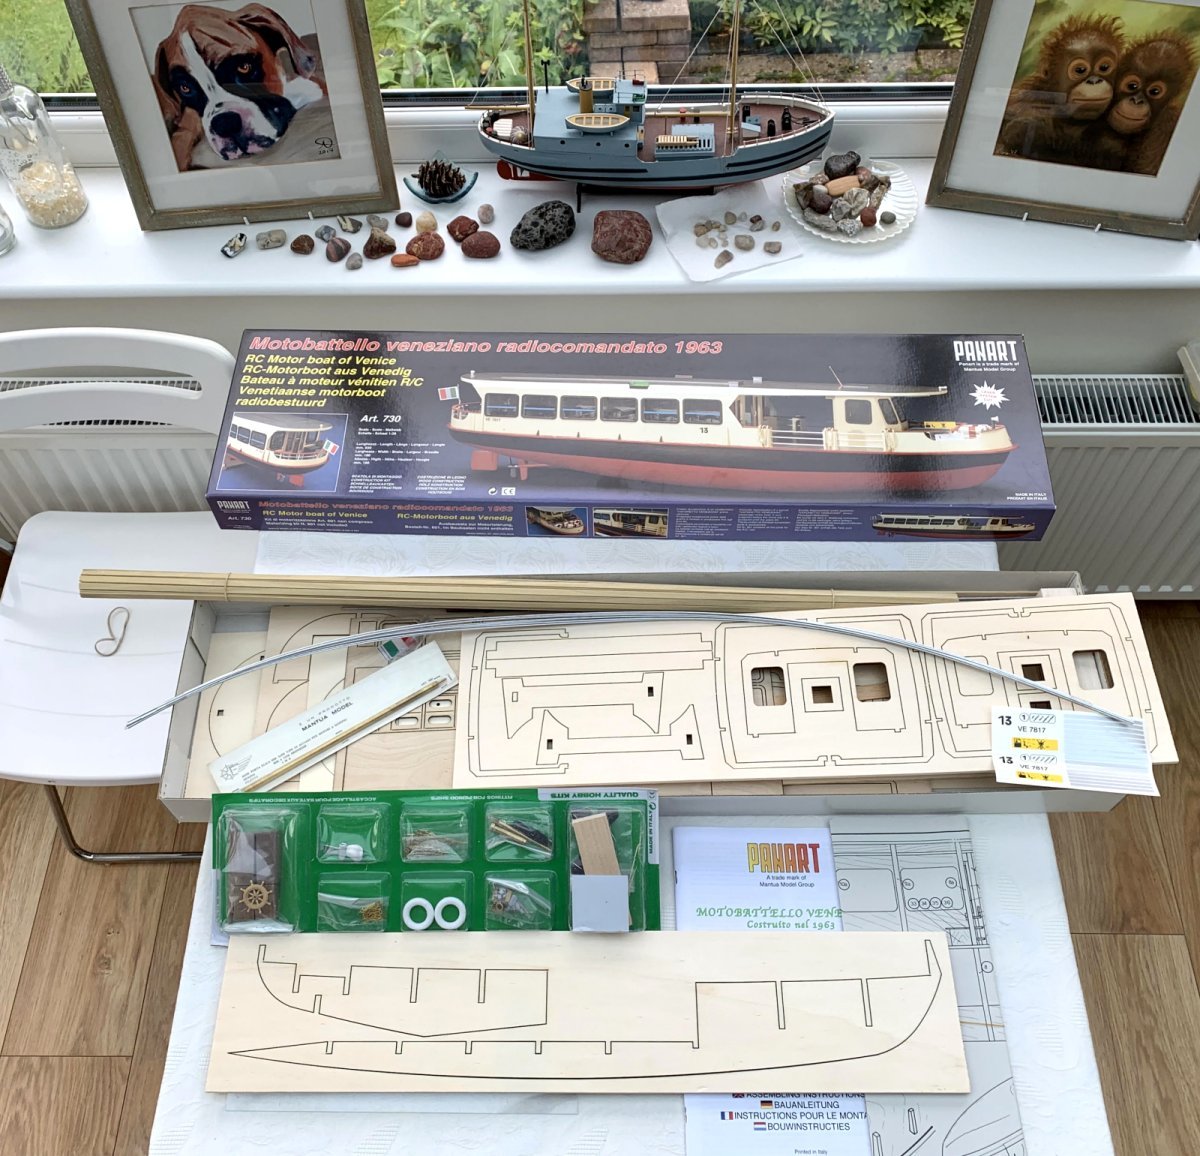
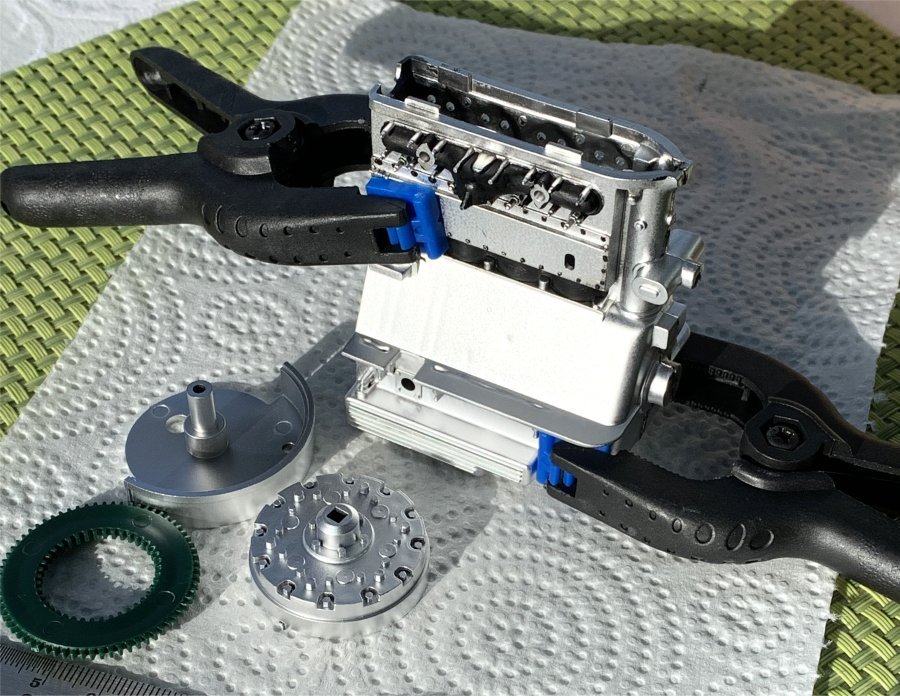
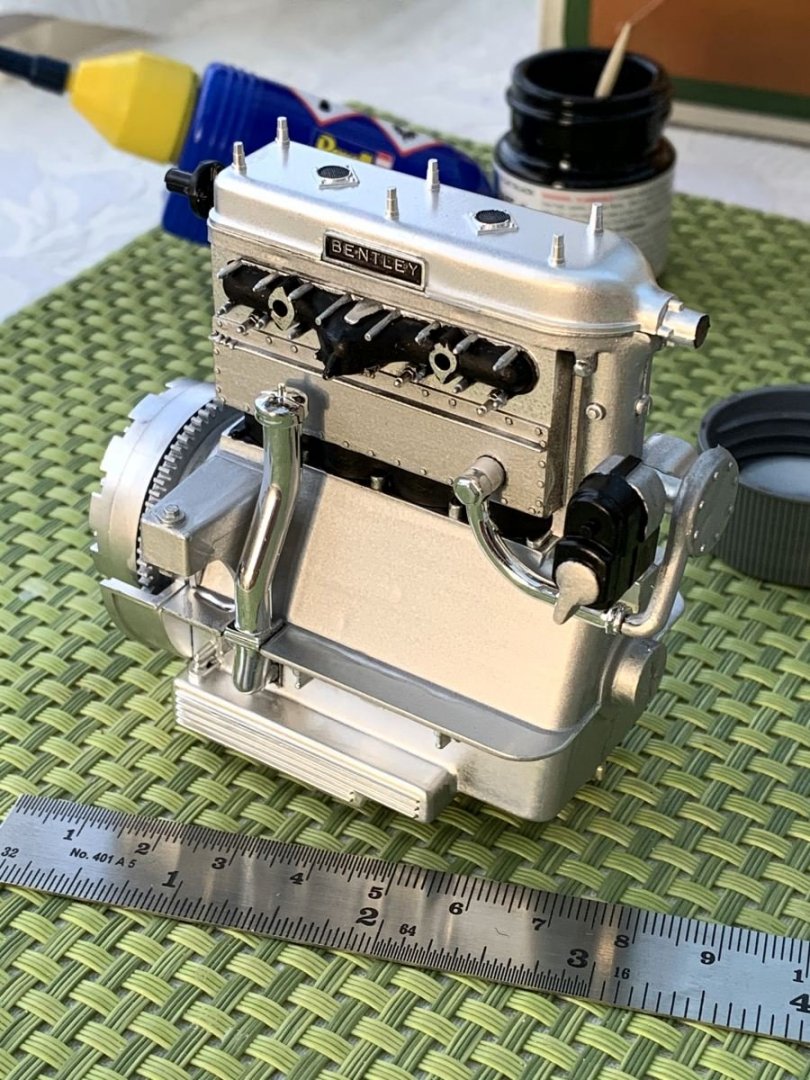
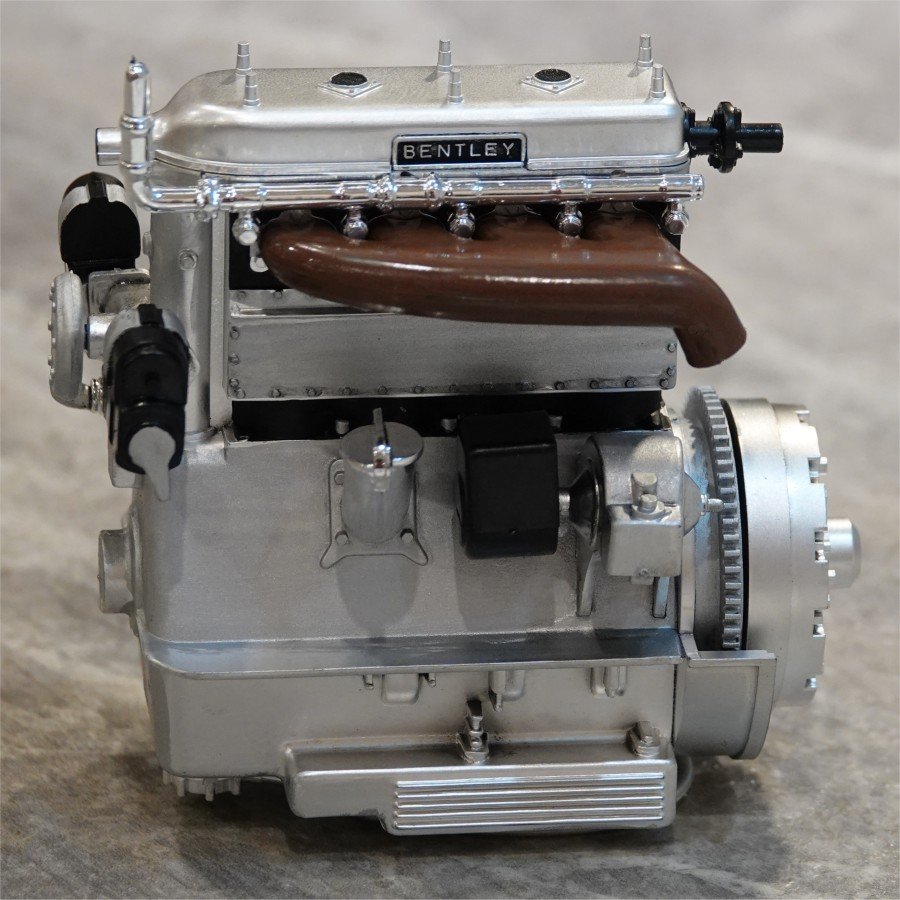
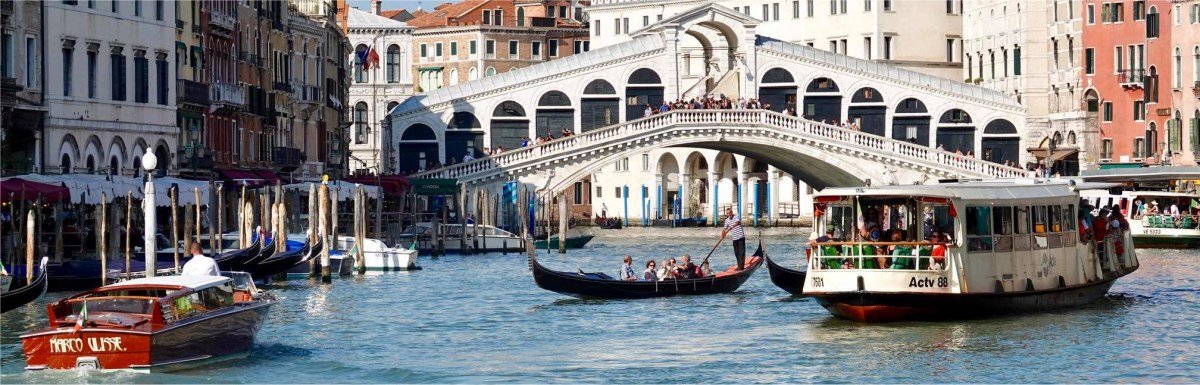
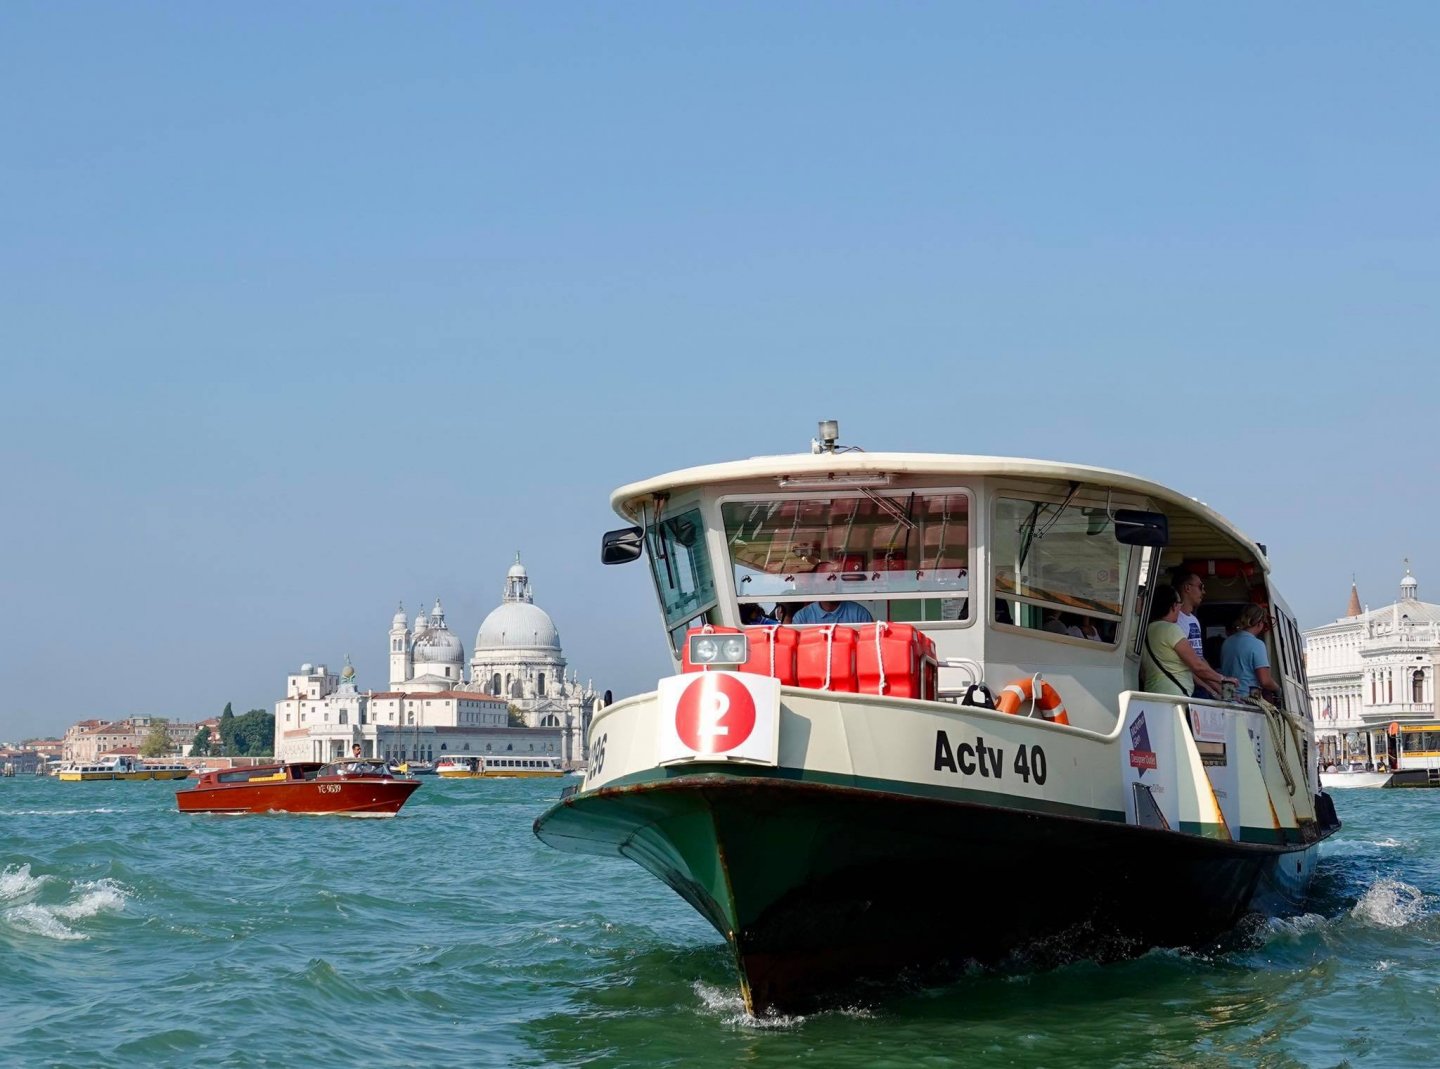
HI ALL and thank you for visiting these pages. This will be just my second attempt at building a wooden boat kit, my first one being the BILLING BOATS ST.ROCH which took me forever to complete, lol. I kept putting the kit away for months at a time, but this time, I'll be able to commit much more readily. I always fancied building this Venice Passenger boat since first seeing one on a trip to Venice (I took the photos below). I have no idea what attracted me to them - it just happened and then I became a little fixated after following Steve Gogs' amazing Build-Log (which has now very sadly been lost). Amazingly, just as this model arrived, I also stumbled upon an old BENTLEY Airfix kit which I built as a schoolboy in the early 1970's. I spotted it on Facebook's MarketPlace and couldn't believe my eyes - a totally "Brand New In Box", unopened kit with the original price tag of £4.65p from Toy Town in Leamington Spa. WOW!!! I just might build the Bentley first and try to get my grandson interested in the hobby. I should imagine the car-kit will get him hooked quicker than a long, drawn out boat build. Anyway, it's good to be back on here and I very much look forward to chatting with you all and benefiting from your knowledge and experience. Regards, Tom.


- 54 replies
-
- 13
-