Josh Williamson
-
Posts
117 -
Joined
-
Last visited
-
 catopower reacted to a post in a topic:
Revenue Cutter by wtimlen - FINISHED - BlueJacket Shipcrafters - 1:48
catopower reacted to a post in a topic:
Revenue Cutter by wtimlen - FINISHED - BlueJacket Shipcrafters - 1:48
-
Marcus.K. reacted to a post in a topic:
USS United States by Josh Williamson - Revell - 1:96 - PLASTIC - Frigate
-
GrandpaPhil reacted to a post in a topic:
Revenue Cutter by Josh Williamson - FINISHED - BlueJacket Shipcrafters - Scale 1/48
-
GrandpaPhil reacted to a post in a topic:
Revenue Cutter by Josh Williamson - FINISHED - BlueJacket Shipcrafters - Scale 1/48
-
GrandpaPhil reacted to a post in a topic:
Revenue Cutter by Josh Williamson - FINISHED - BlueJacket Shipcrafters - Scale 1/48
-
GrandpaPhil reacted to a post in a topic:
Revenue Cutter by Josh Williamson - FINISHED - BlueJacket Shipcrafters - Scale 1/48
-
GrandpaPhil reacted to a post in a topic:
Revenue Cutter by Josh Williamson - FINISHED - BlueJacket Shipcrafters - Scale 1/48
-
GrandpaPhil reacted to a post in a topic:
USS United States by Josh Williamson - Revell - 1:96 - PLASTIC - Frigate
-
GrandpaPhil reacted to a post in a topic:
USS United States by Josh Williamson - Revell - 1:96 - PLASTIC - Frigate
-
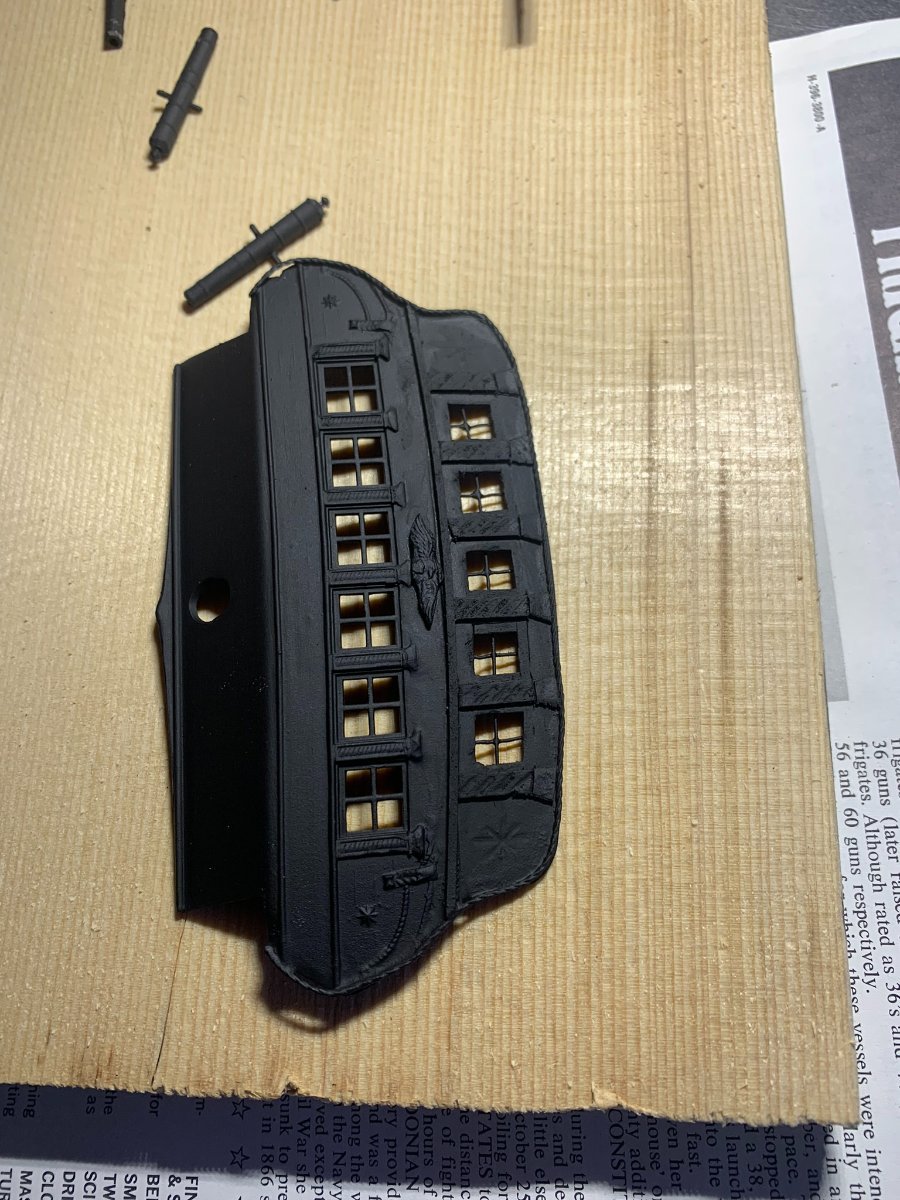
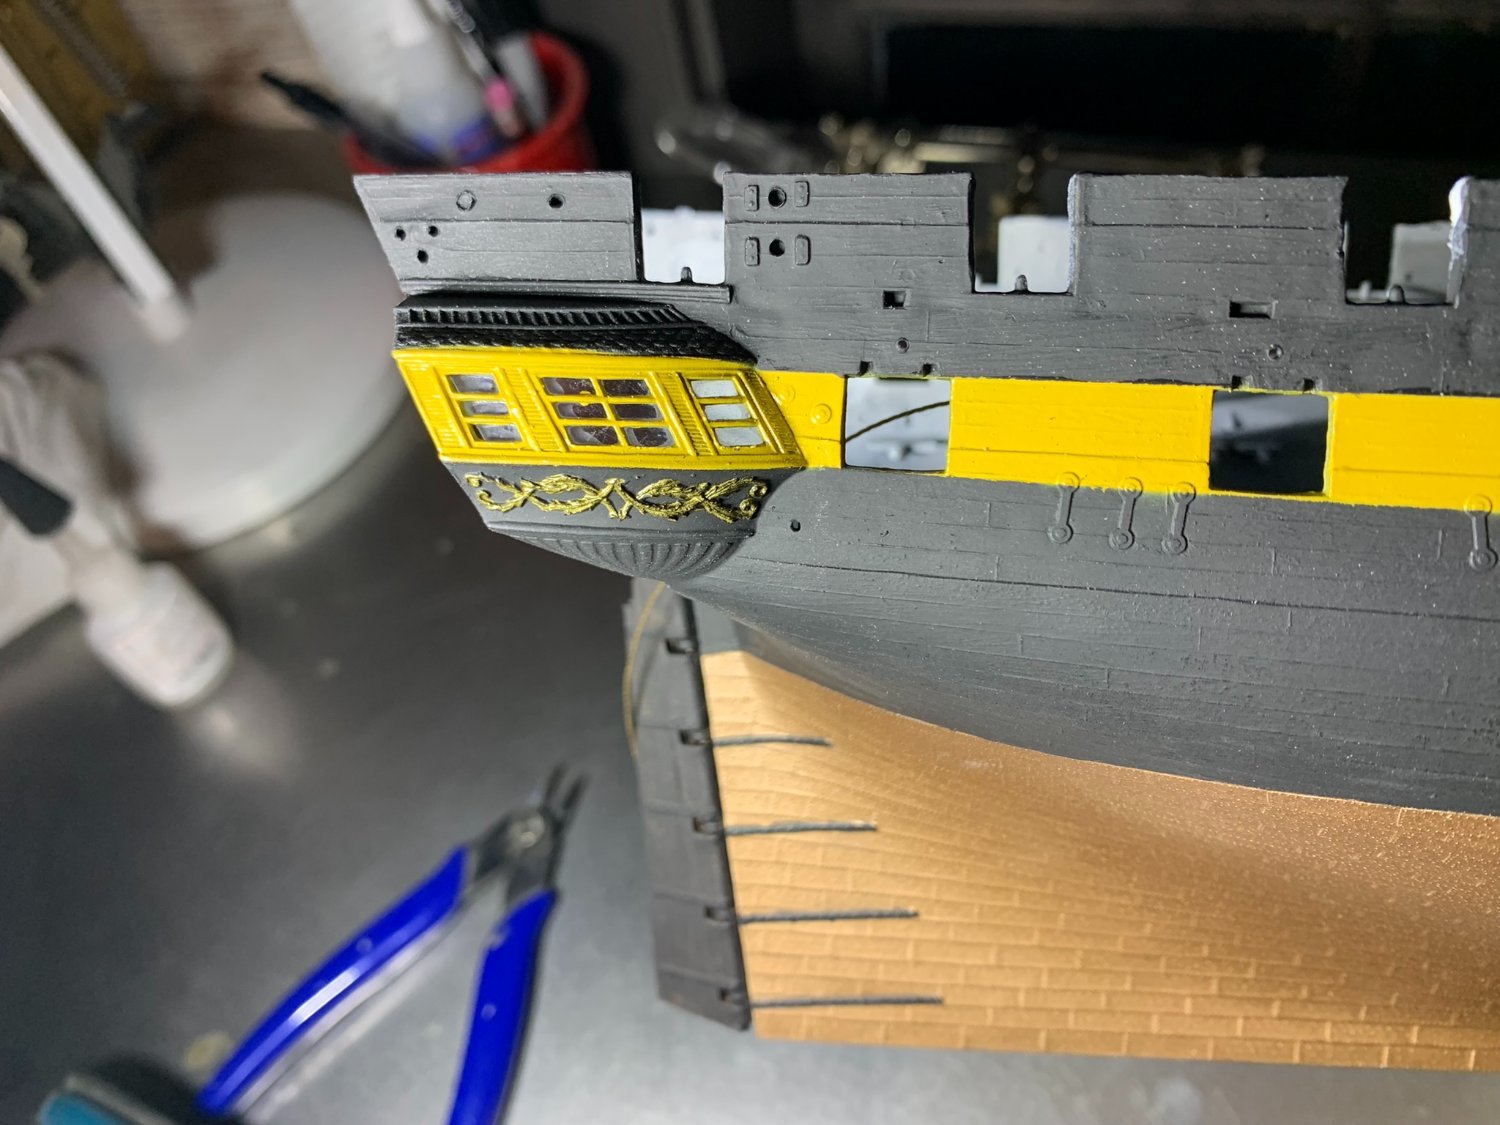
 Working on some of these details for the "frankenstein" transom... Hoping that with some TLC on the painting, I can add some detail to clean this up. Still a little rough. -Josh
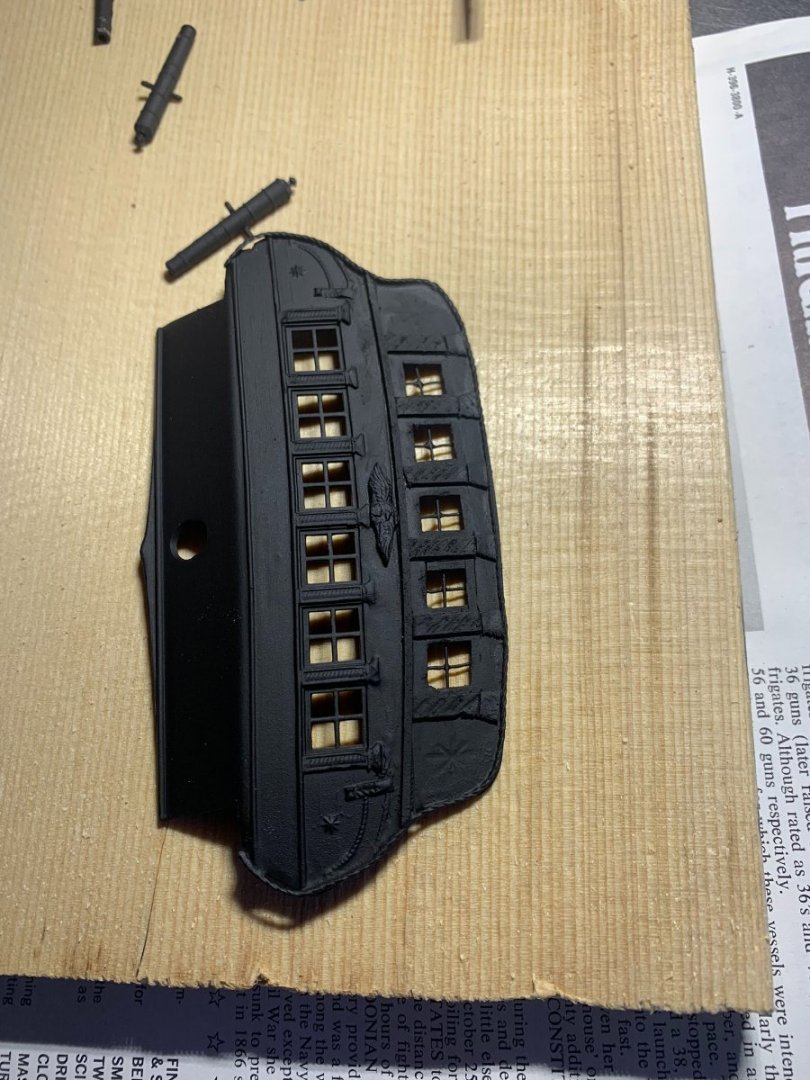


- 14 replies
-
- 8
-
-
- United States
- Revell
- (and 1 more)
-
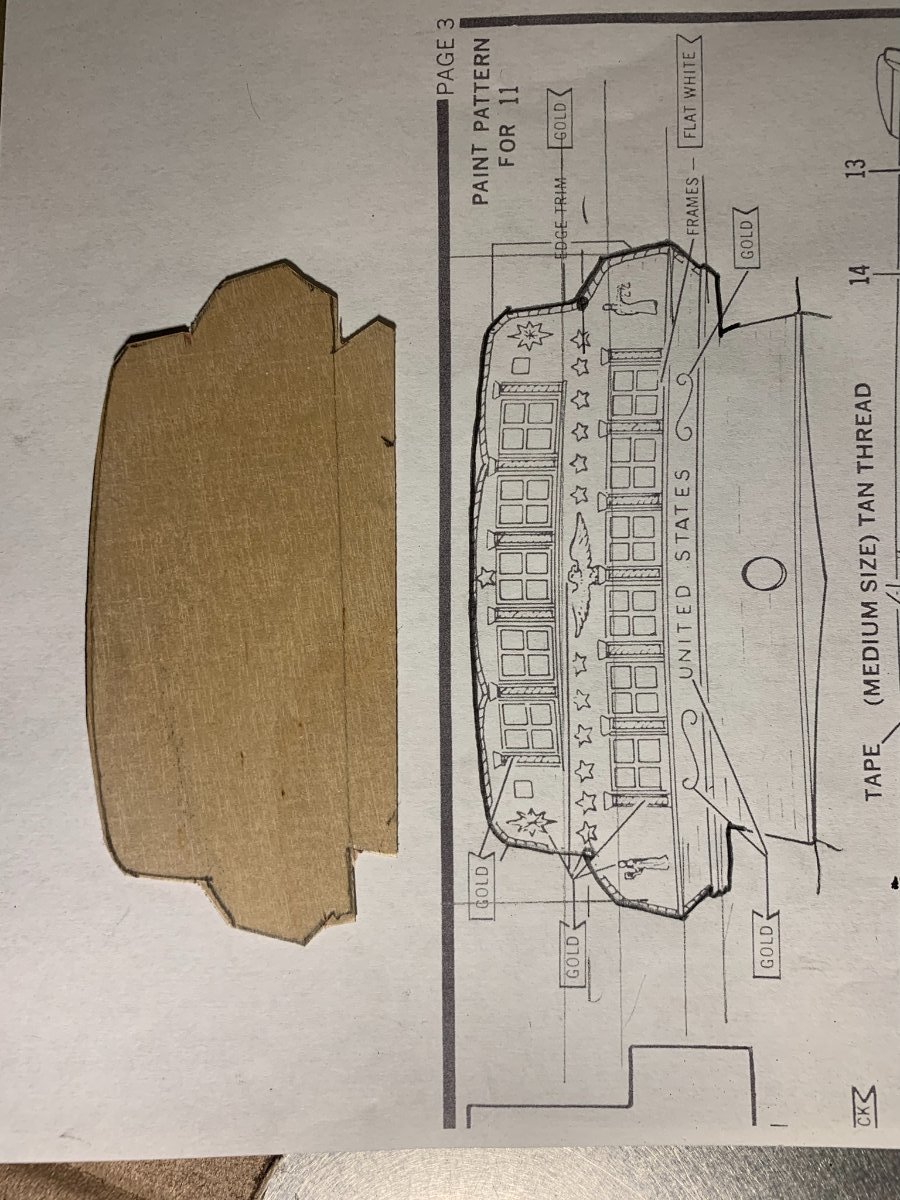
I did find the Bill, I did find these upper gallery parts, so at least there's that! I am curious if others have found the Constitution transom in the United States Revell kit - -Josh
-
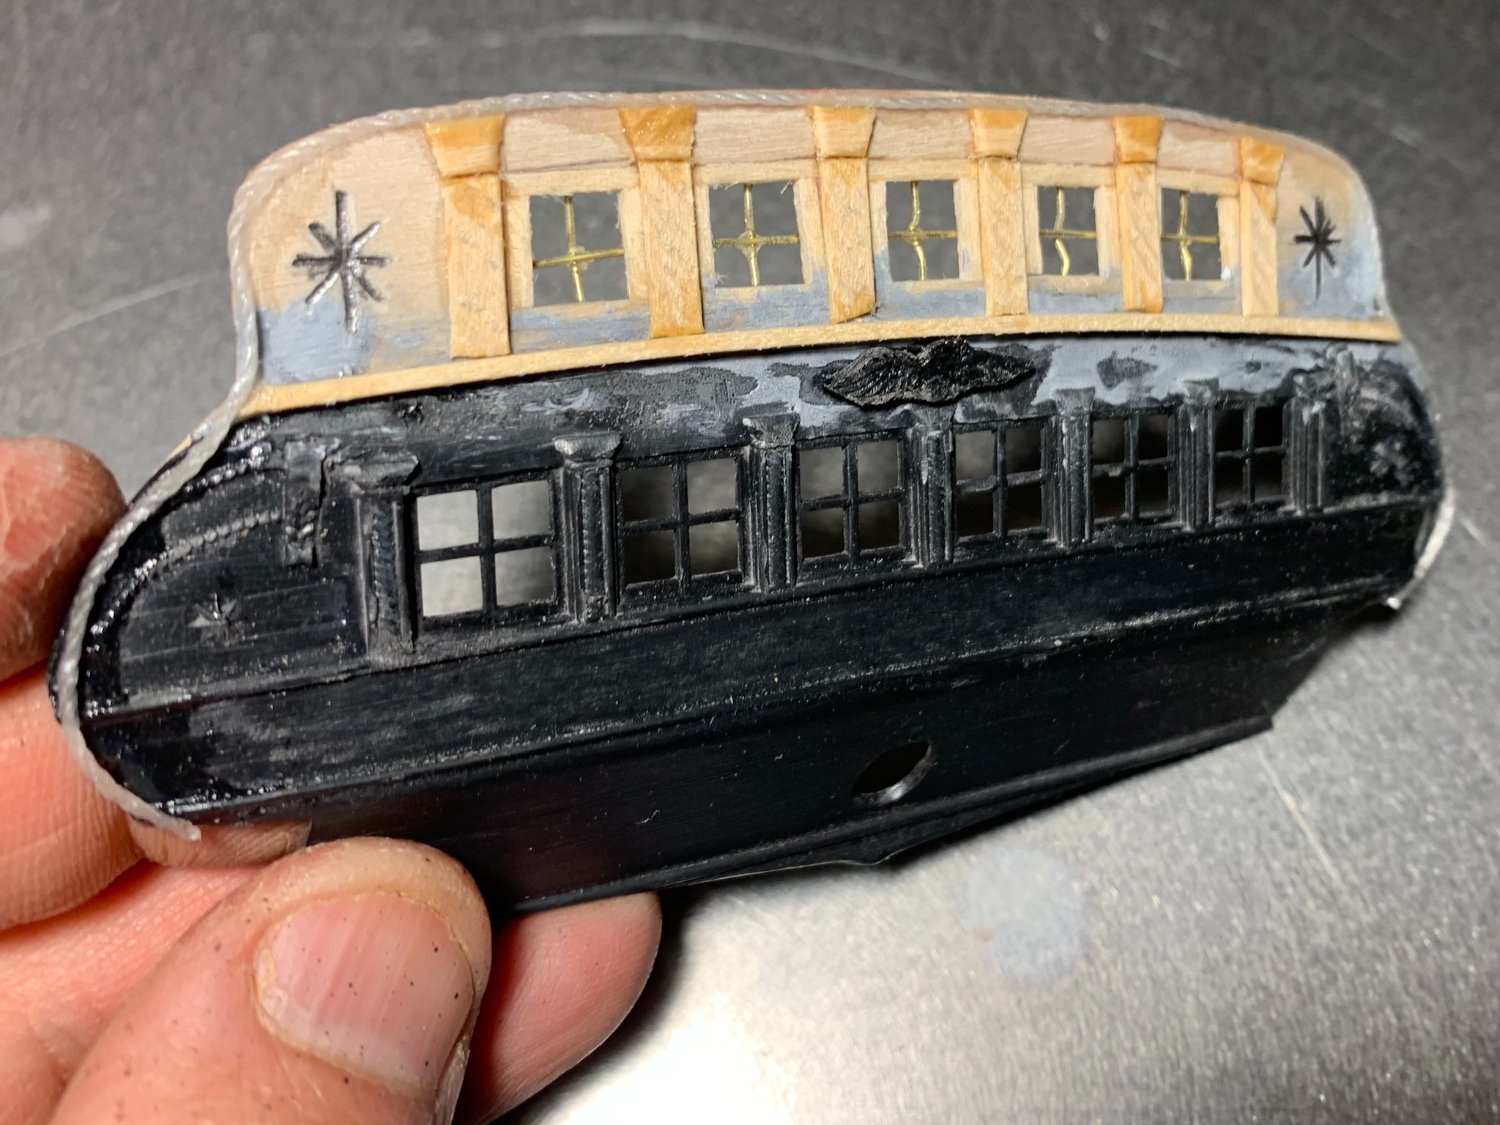
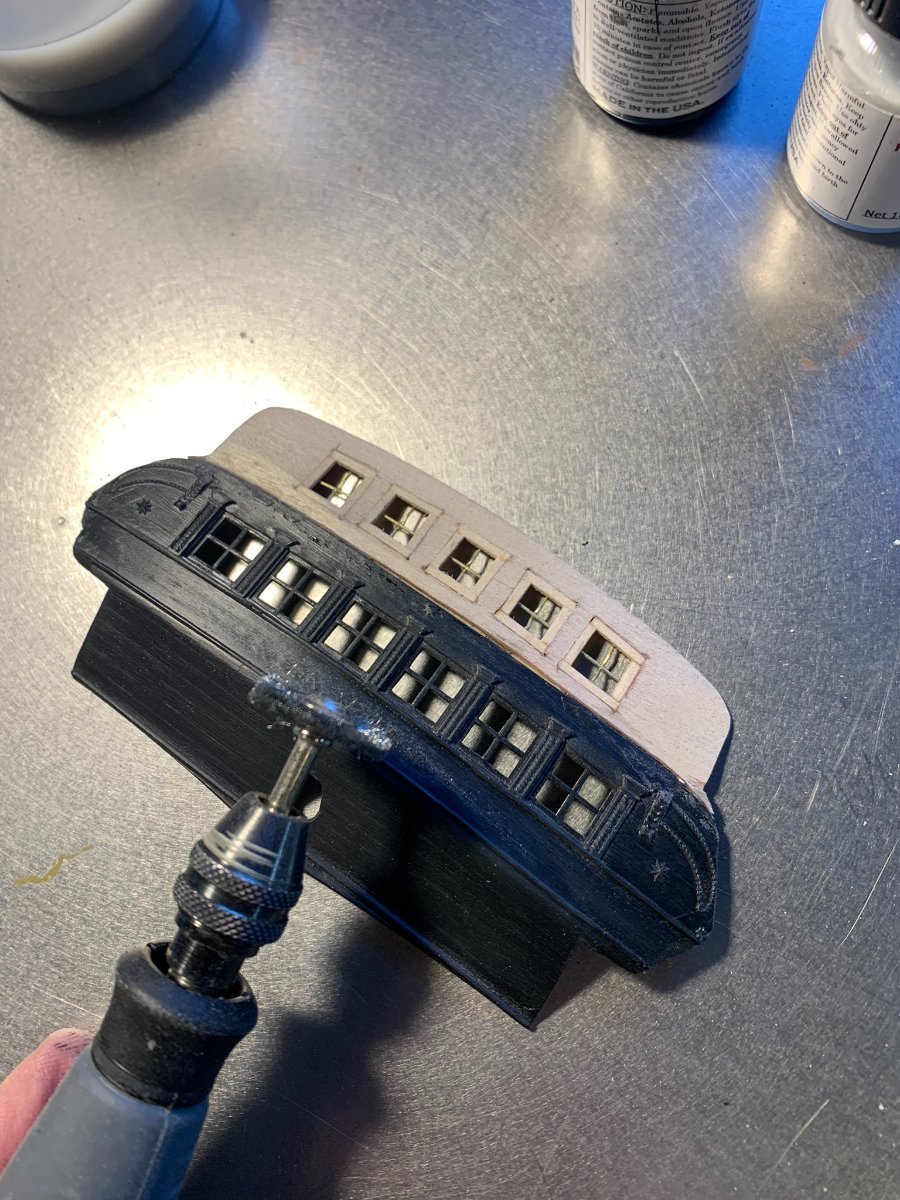
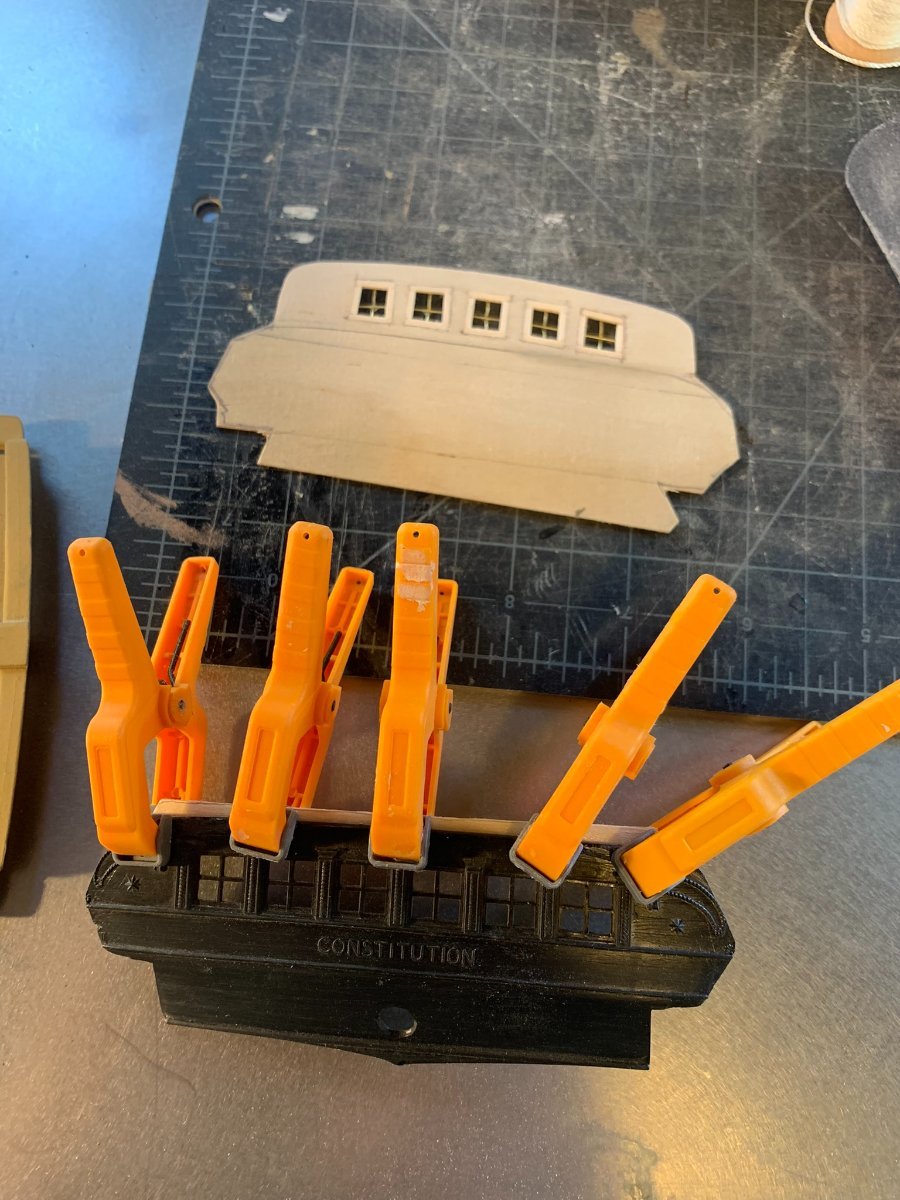
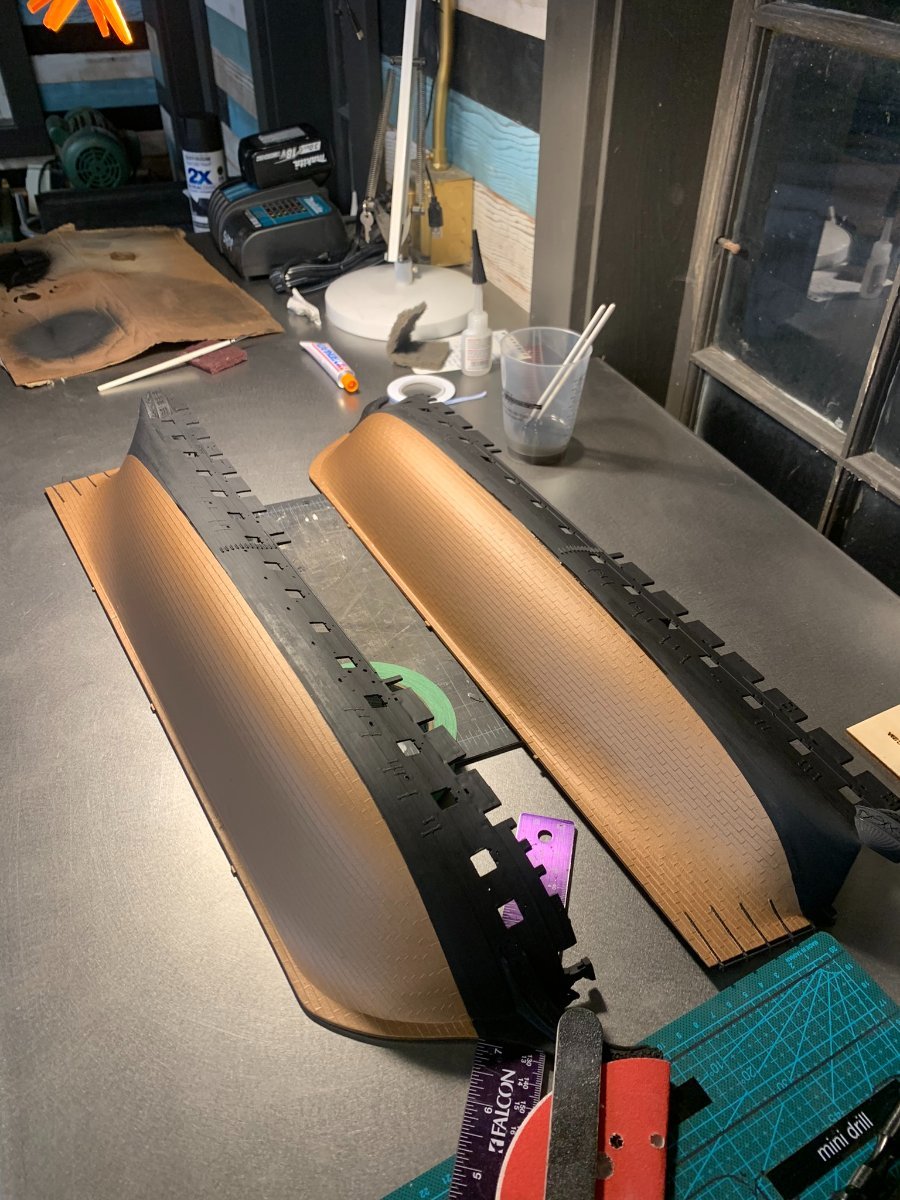
Thanks guys! In the meantime, a project is underway with the mating of the Constitution's lower half of the transom and the new scratch built USS US:


- 14 replies
-
- 7
-
-
- United States
- Revell
- (and 1 more)
-
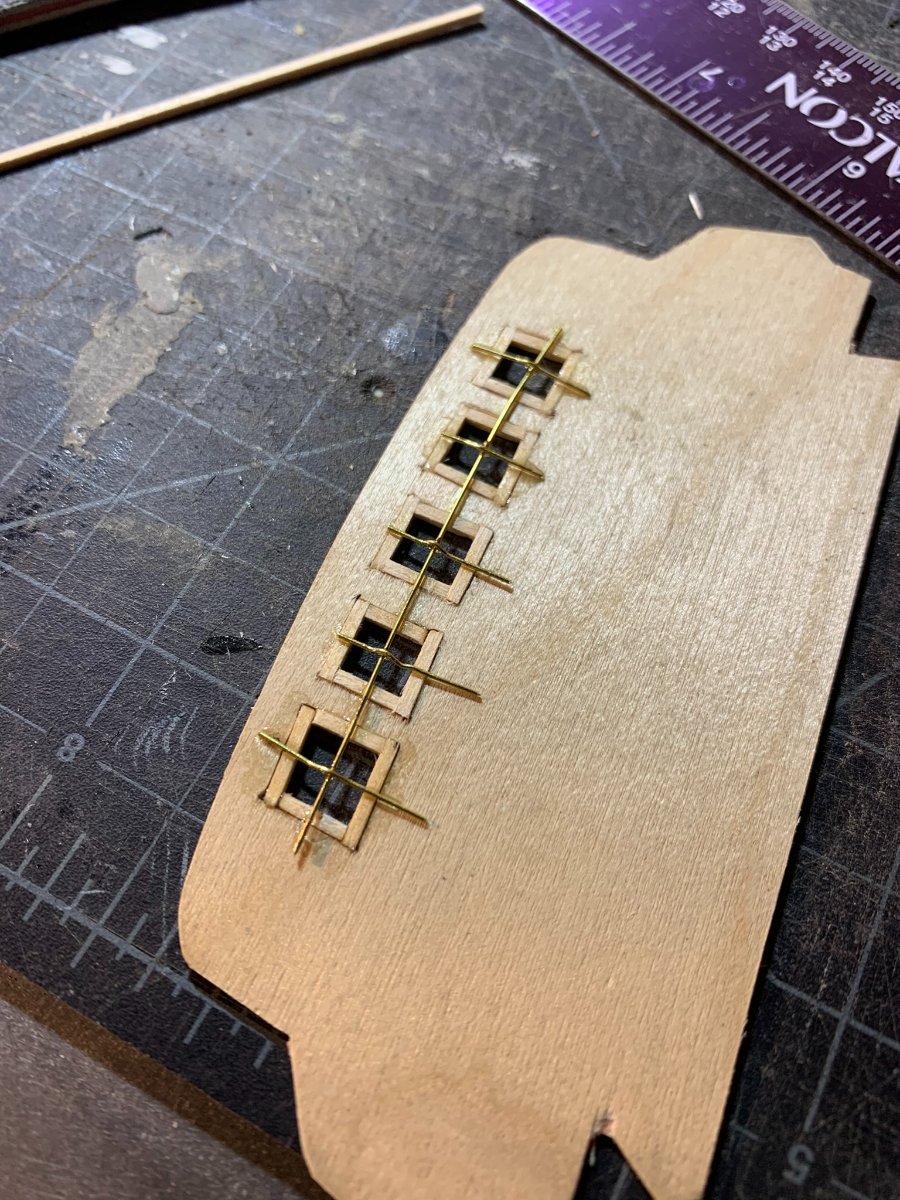
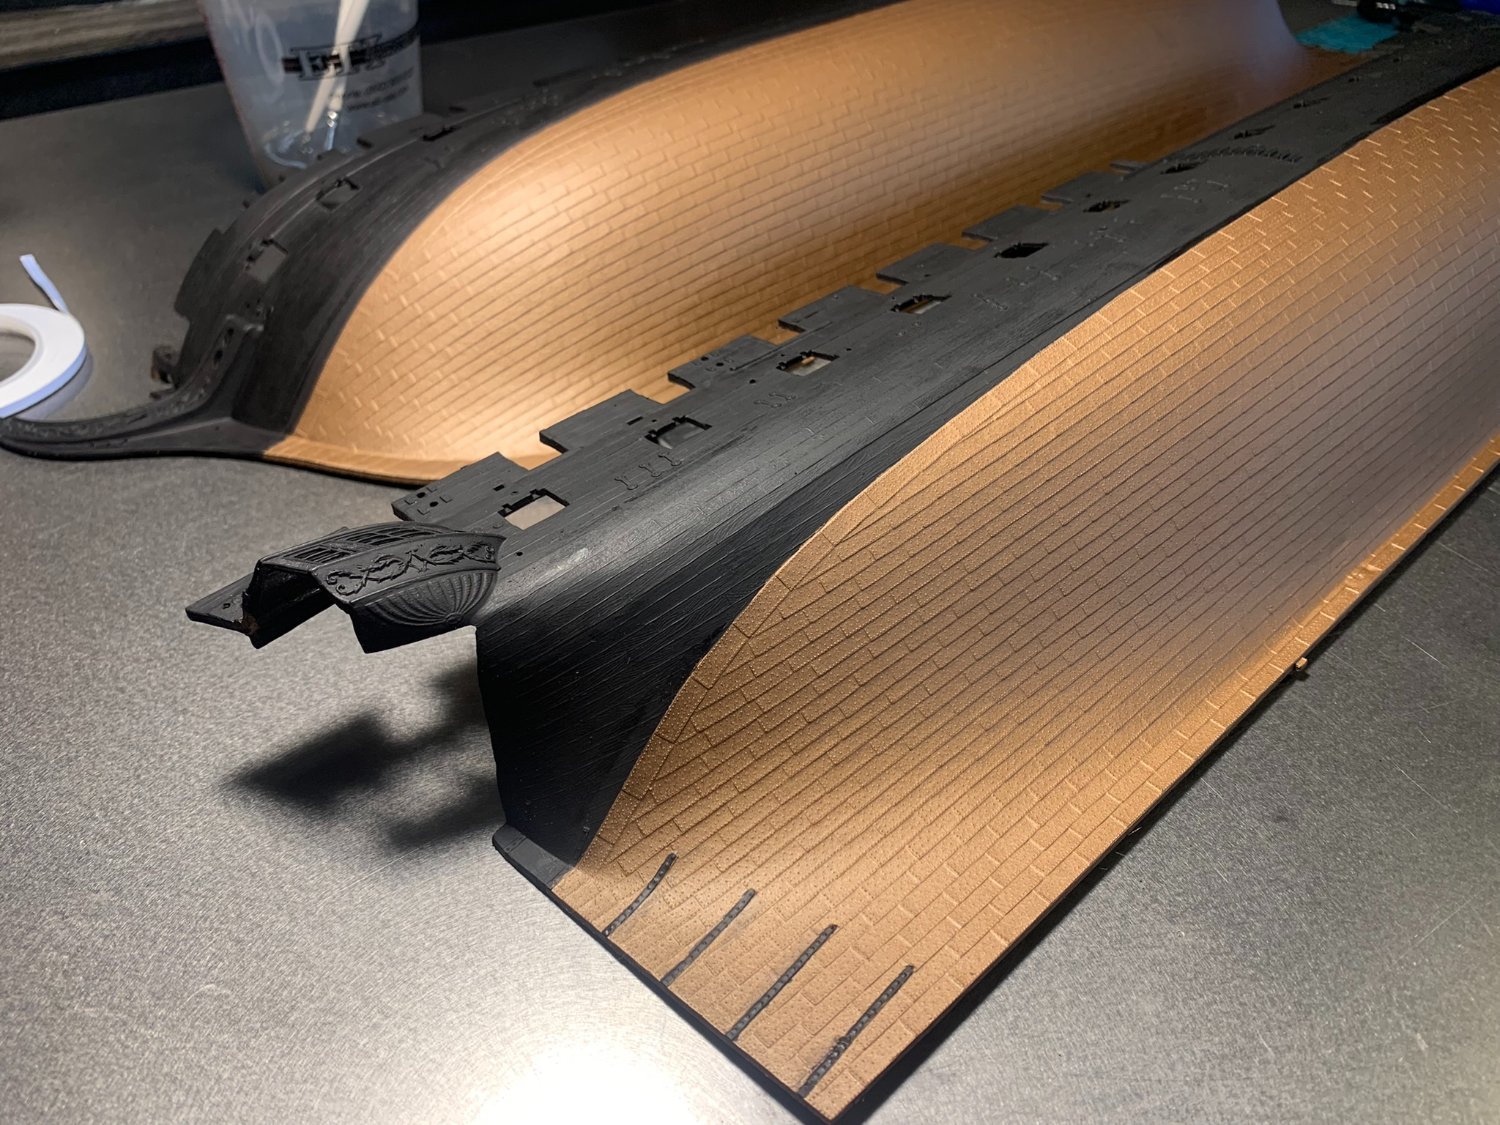
Thanks for the input and pointers. I am going to attempt to scratch build/modify the transom that I have (Constitution) to match the USS United States transom drawing per kit. One step at a time! Stay tuned -
- 14 replies
-
- 1
-
-
- United States
- Revell
- (and 1 more)
-
Gregory- Good question. I think you may have caught on to something. This is looking like Old Ironsides quarter galleries... It looks to be a fairly mismatched kit it seems. -Josh

- 14 replies
-
- 4
-
-
- United States
- Revell
- (and 1 more)
-
I have read some of the documentation about the differences in the transom. I'm not sure I know enough about the current consensus on the arrangement and number of windows to really make an educated guess on what I will build. I have seen the paintings that tell different stories! This also brings me to another issue I am faced with: my kit actually provided me with the "CONSTITUTION" transom, so I have at very least a custom-built transom (or heavily modified) to even fit the parts together in a way that approach the USS U.S. From the best I can tell, the rest of the kit is correctly packaged as USS United States.


- 14 replies
-
- 4
-
-
- United States
- Revell
- (and 1 more)
-
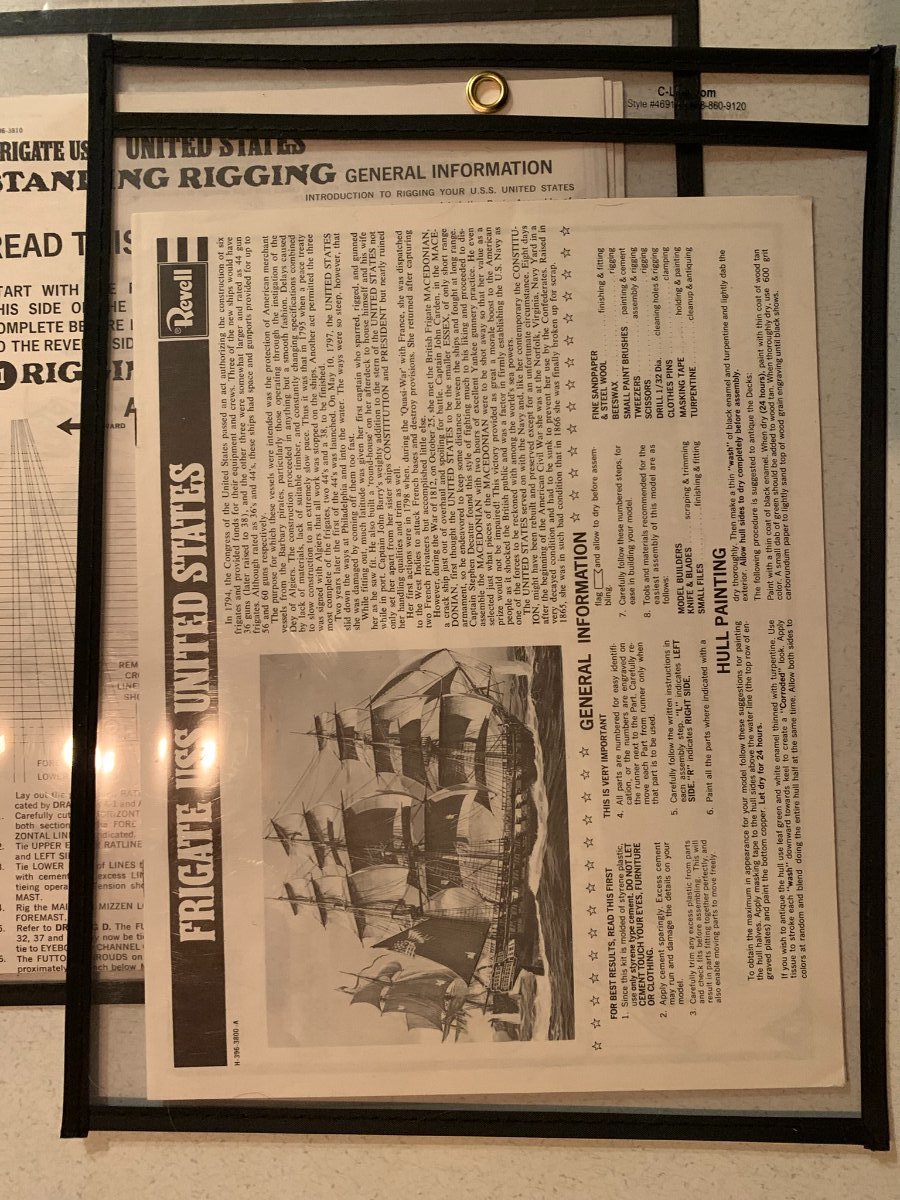
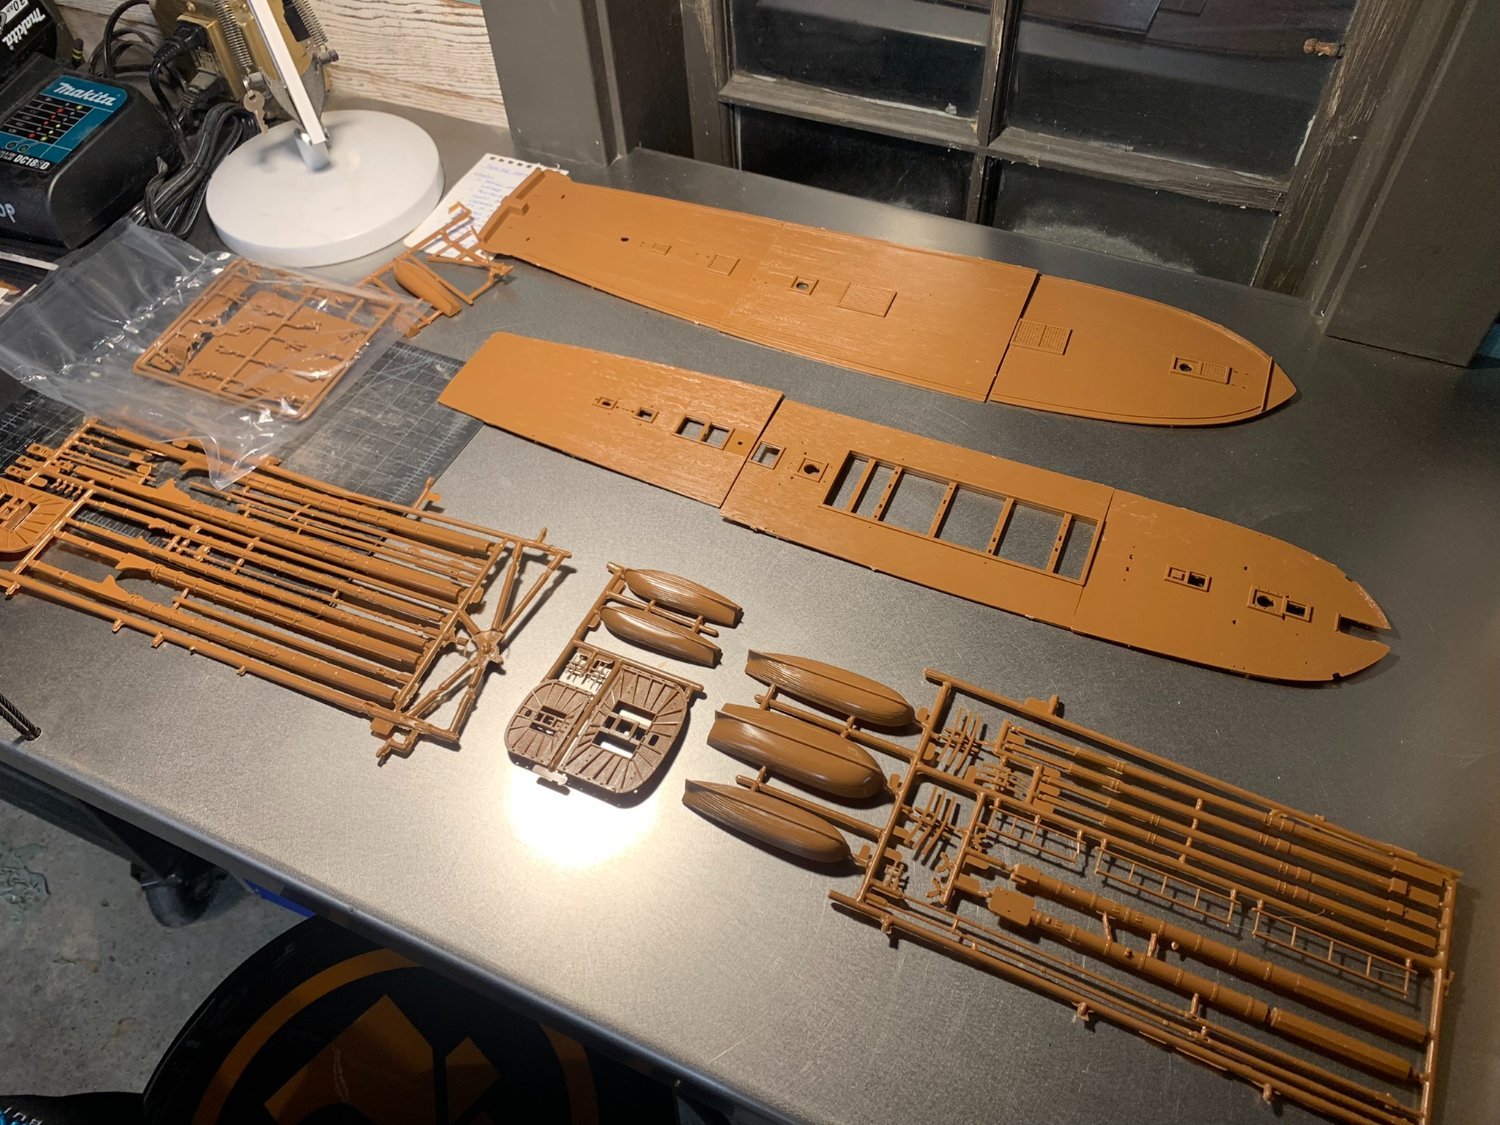
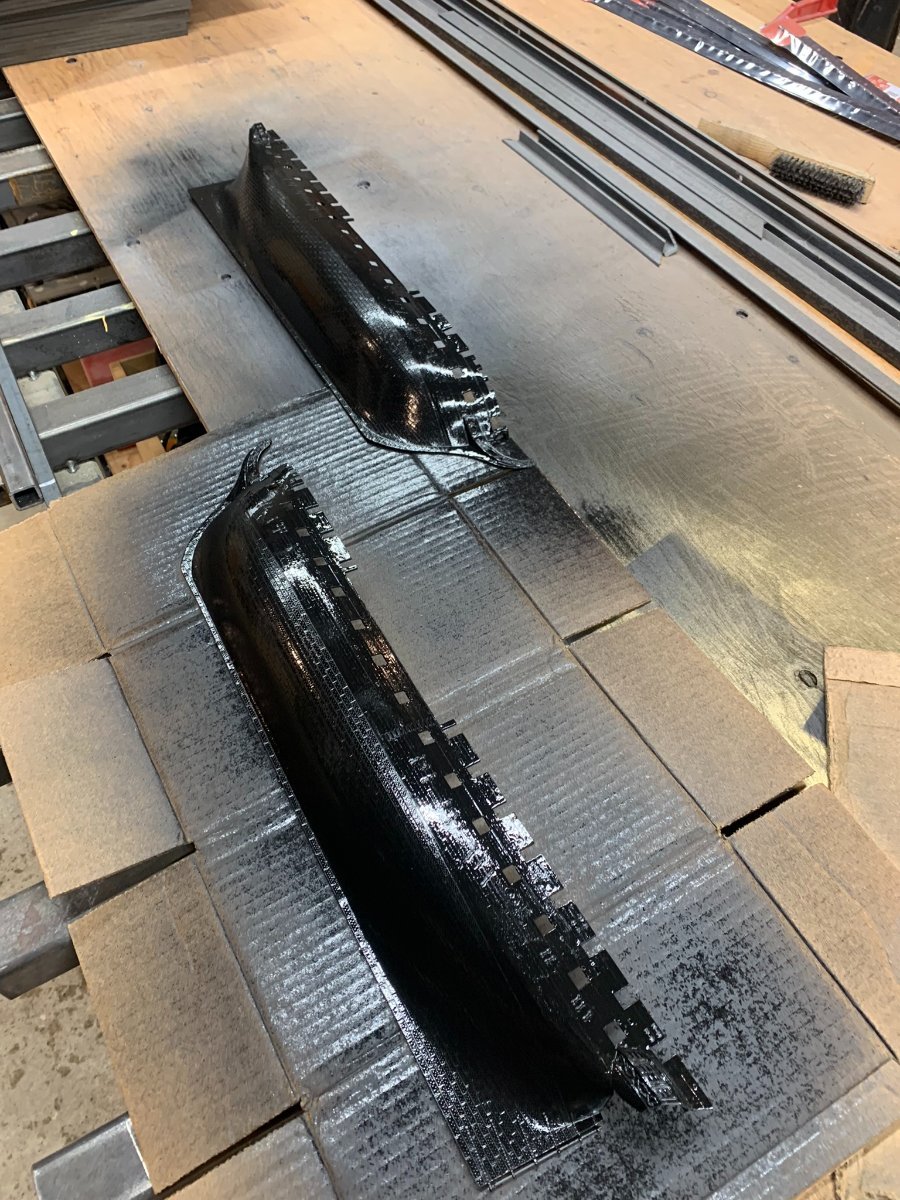
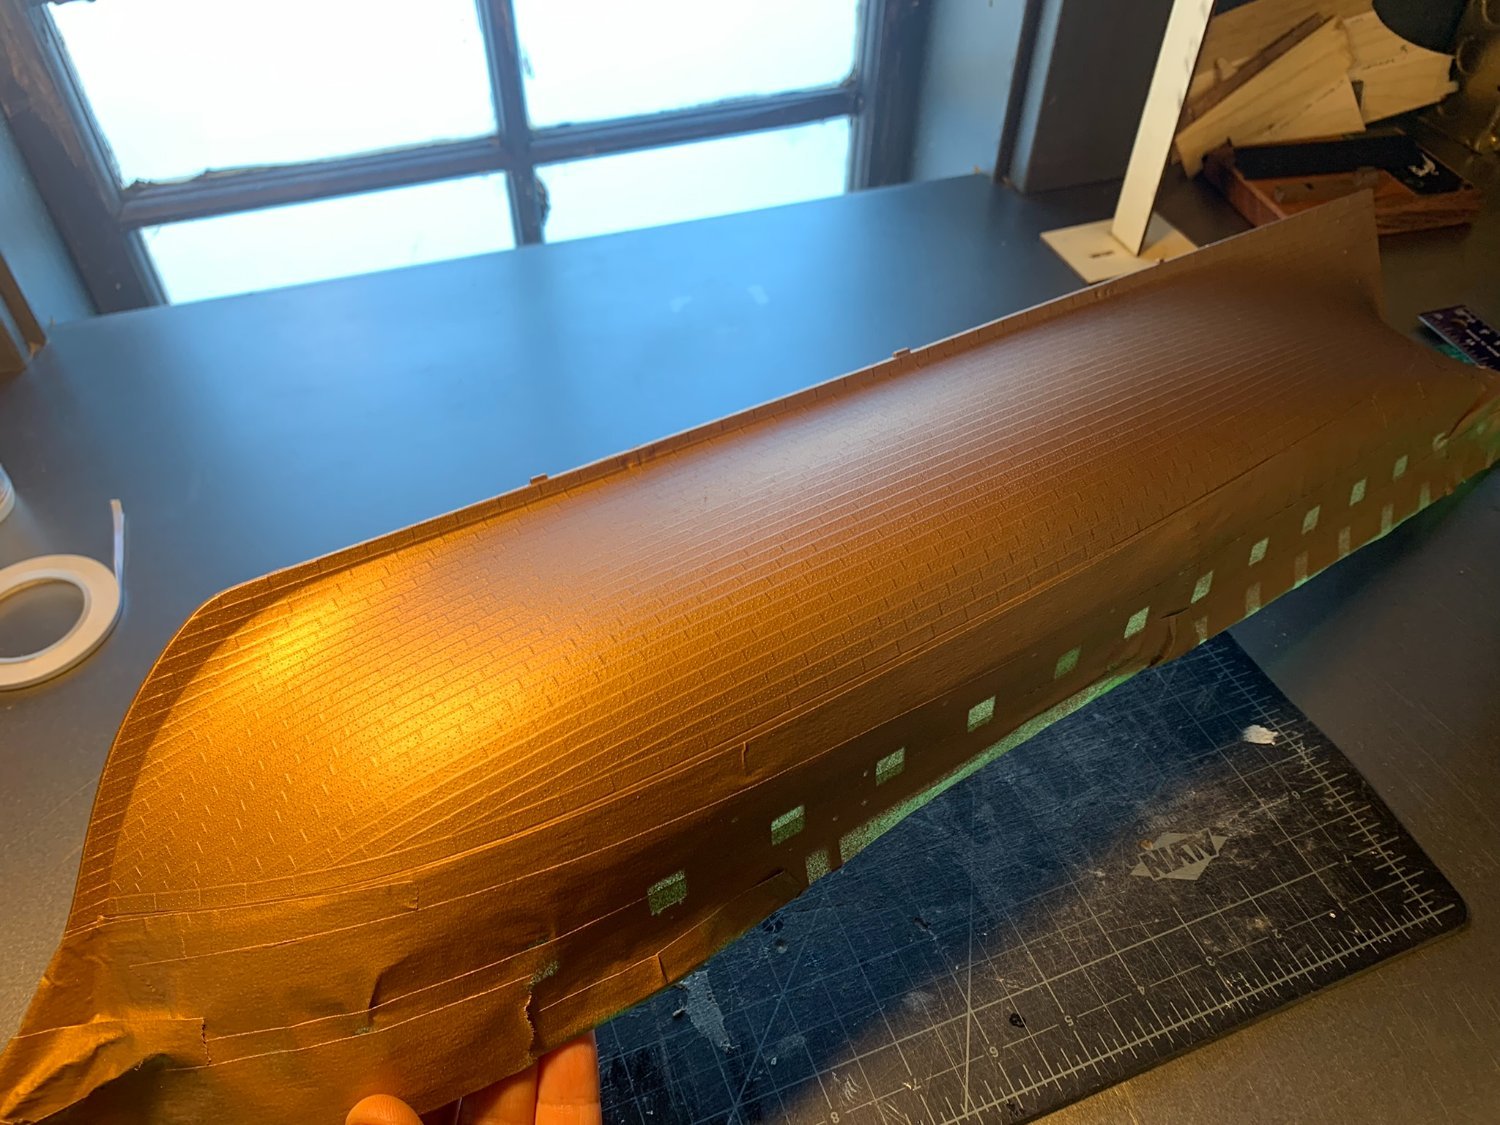
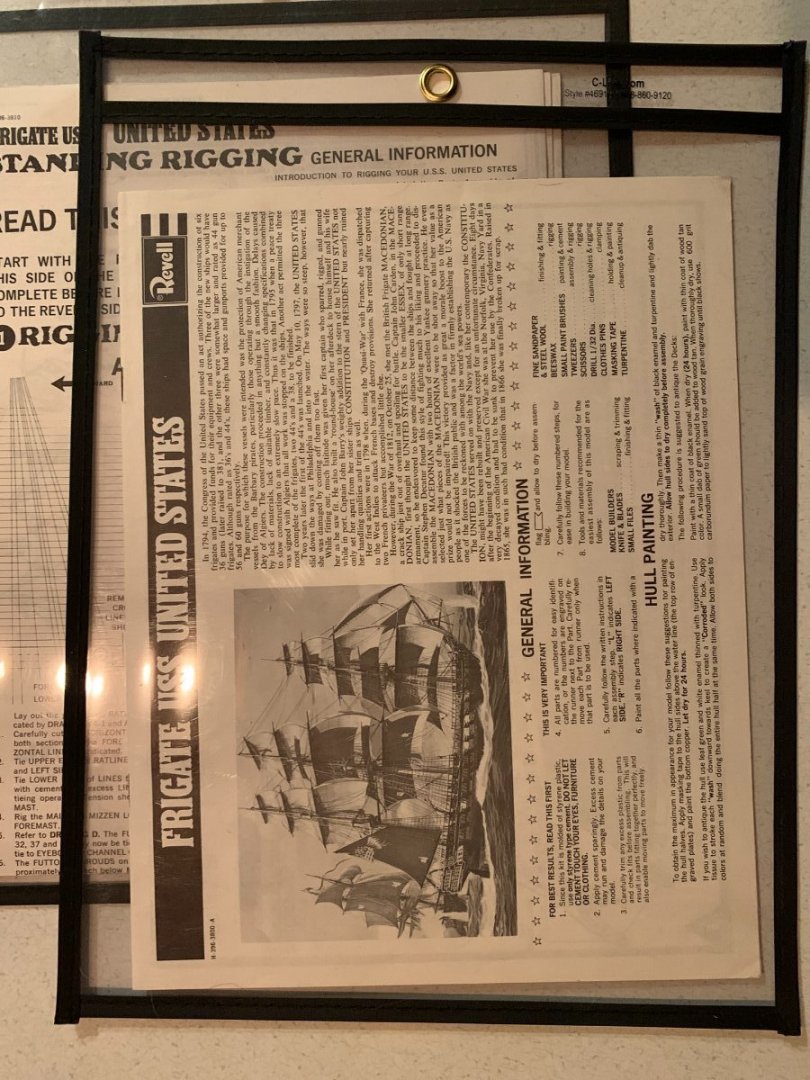
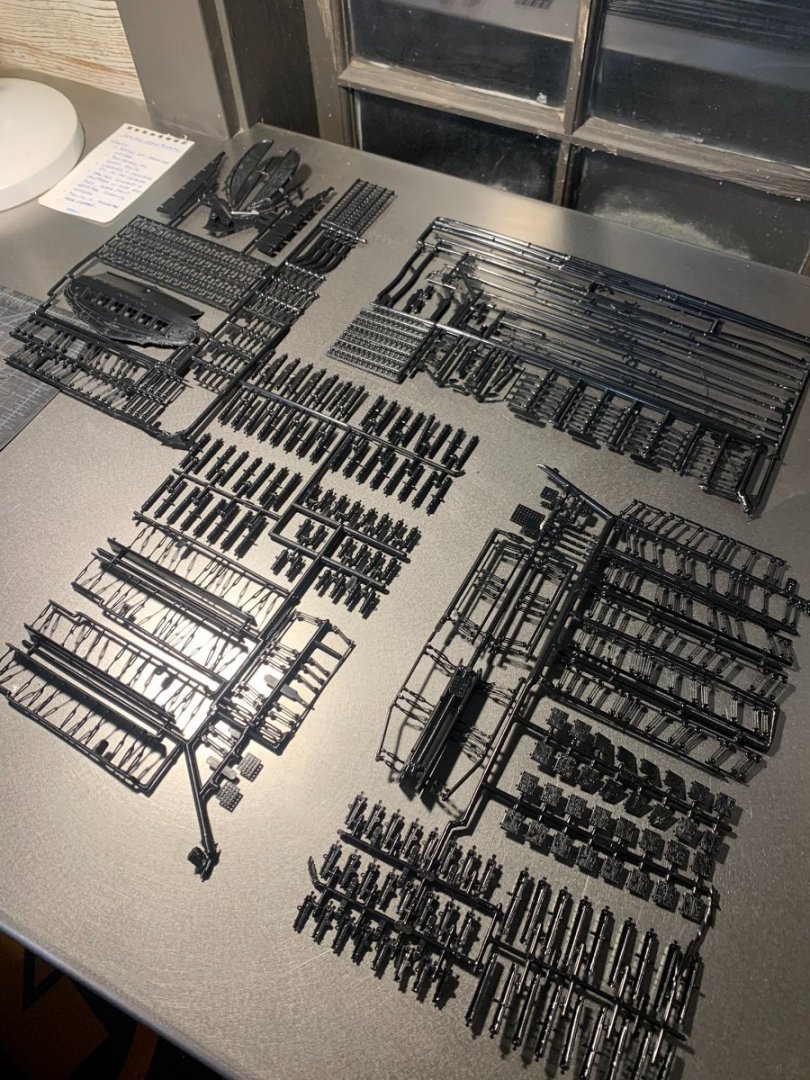
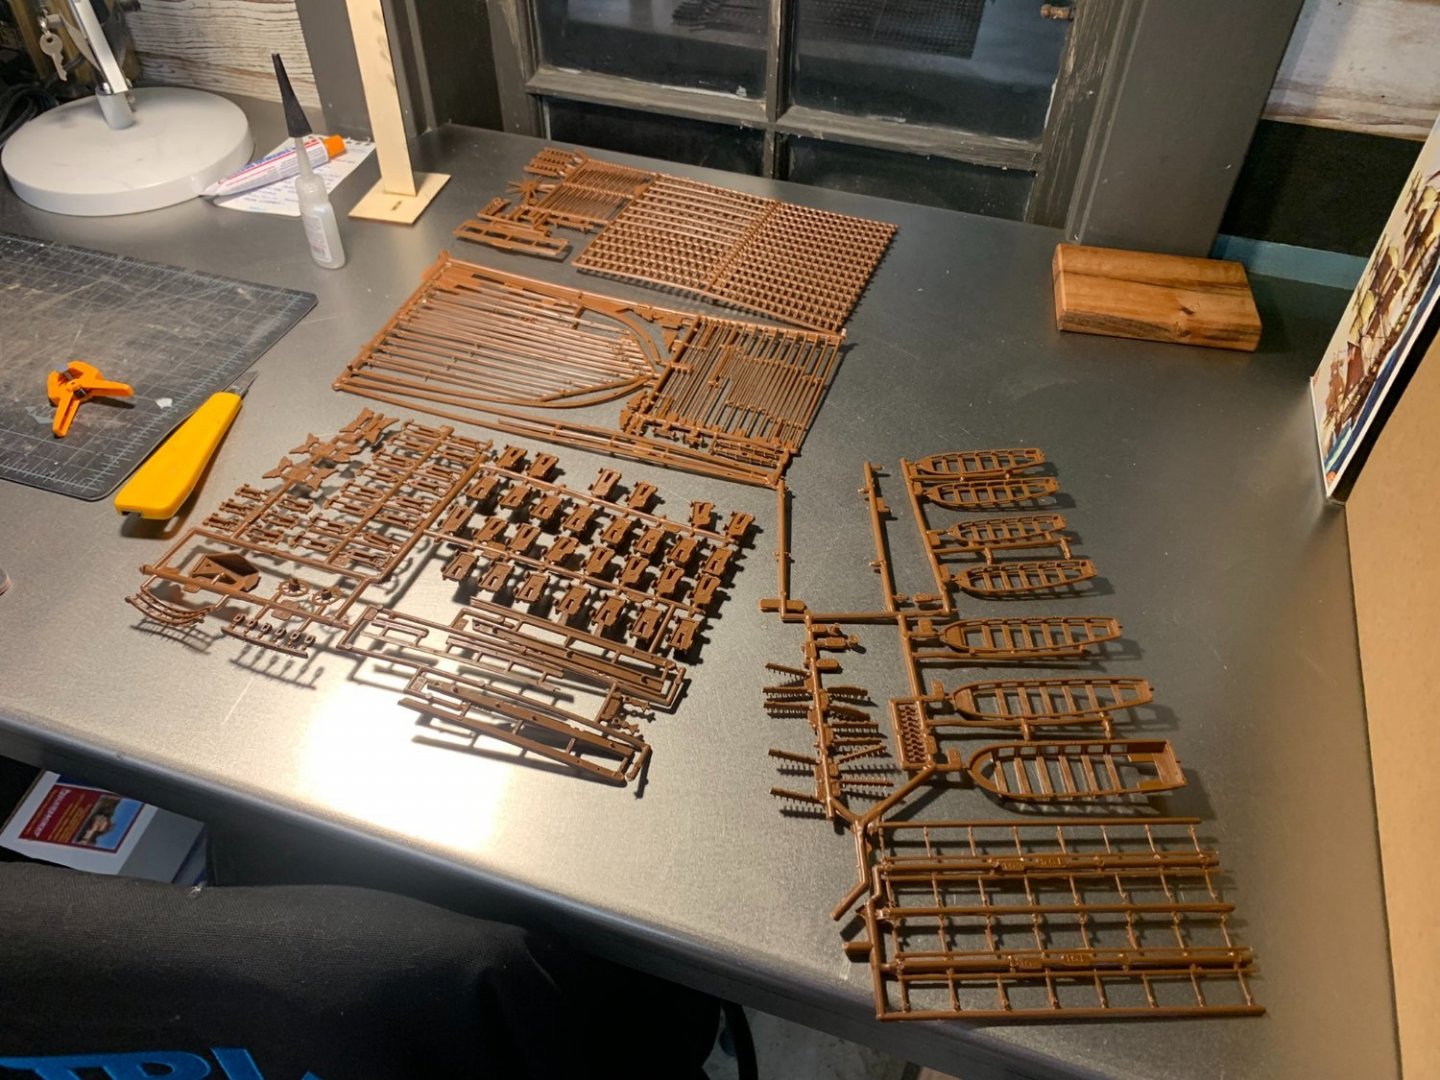
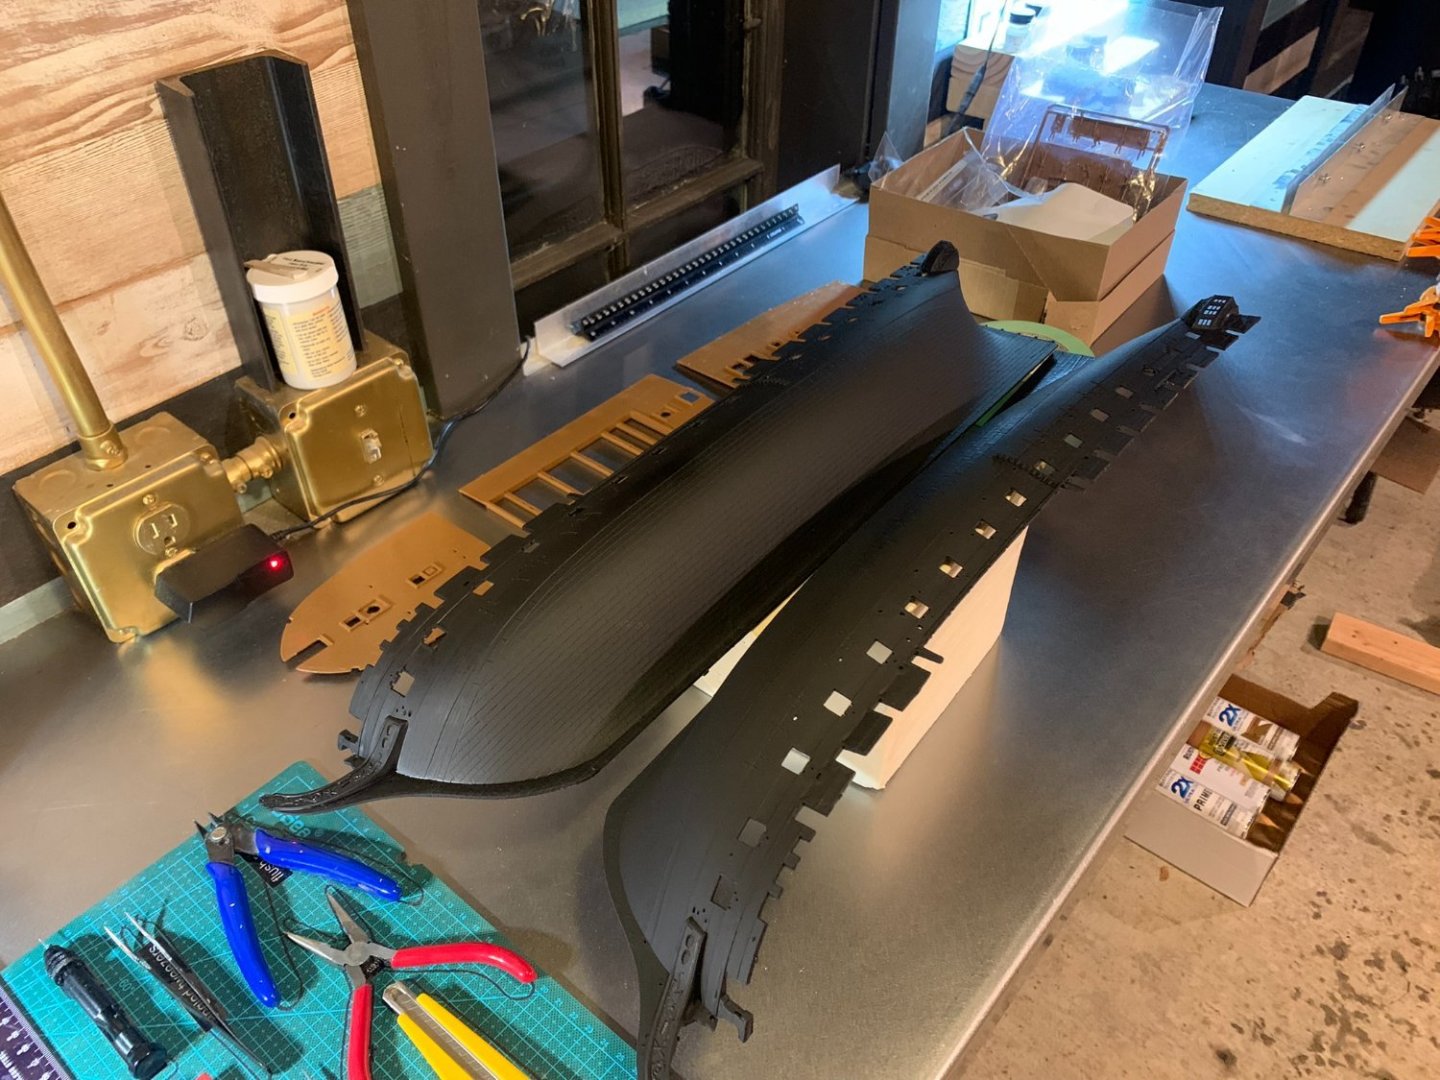
Hello again Model Ship World forum - I was planning on doing another Bluejacket Shipcrafters model after completing the Revenue Cutter and Spray kits last year. My wife came across this older kit of the USS United State frigate in a garage sale, and picked it up. I must admit I was not as excited about it initially (because of it being plastic), but after researching some nice versions that others have made with this kit, decided to make it the next one on the bench! I have been working on it for a few months now, so I am going back to January images to start piecing together the build...to get back to current. Here's the first few set up pictures, and painting out the hull - -


- 14 replies
-
- 7
-
-
- United States
- Revell
- (and 1 more)
-
Thanks Gary. This really was a fun build.
- 27 replies
-
- 1
-
-
- Revenue Cutter
- BlueJacket Shipcrafters
- (and 1 more)
-
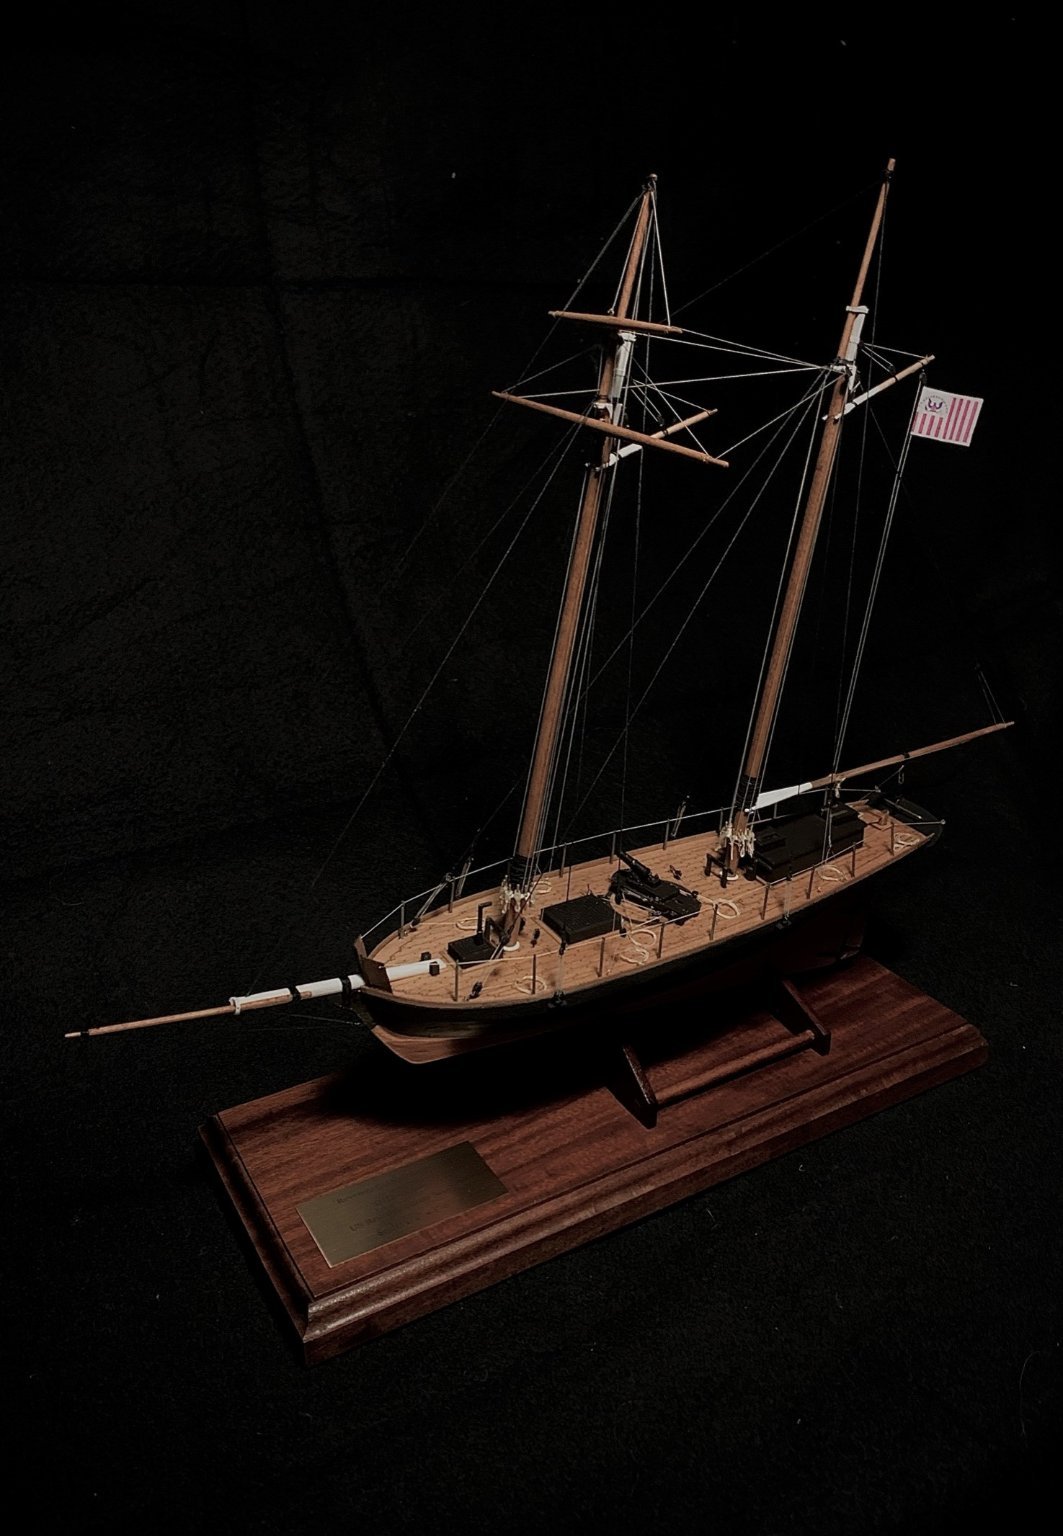
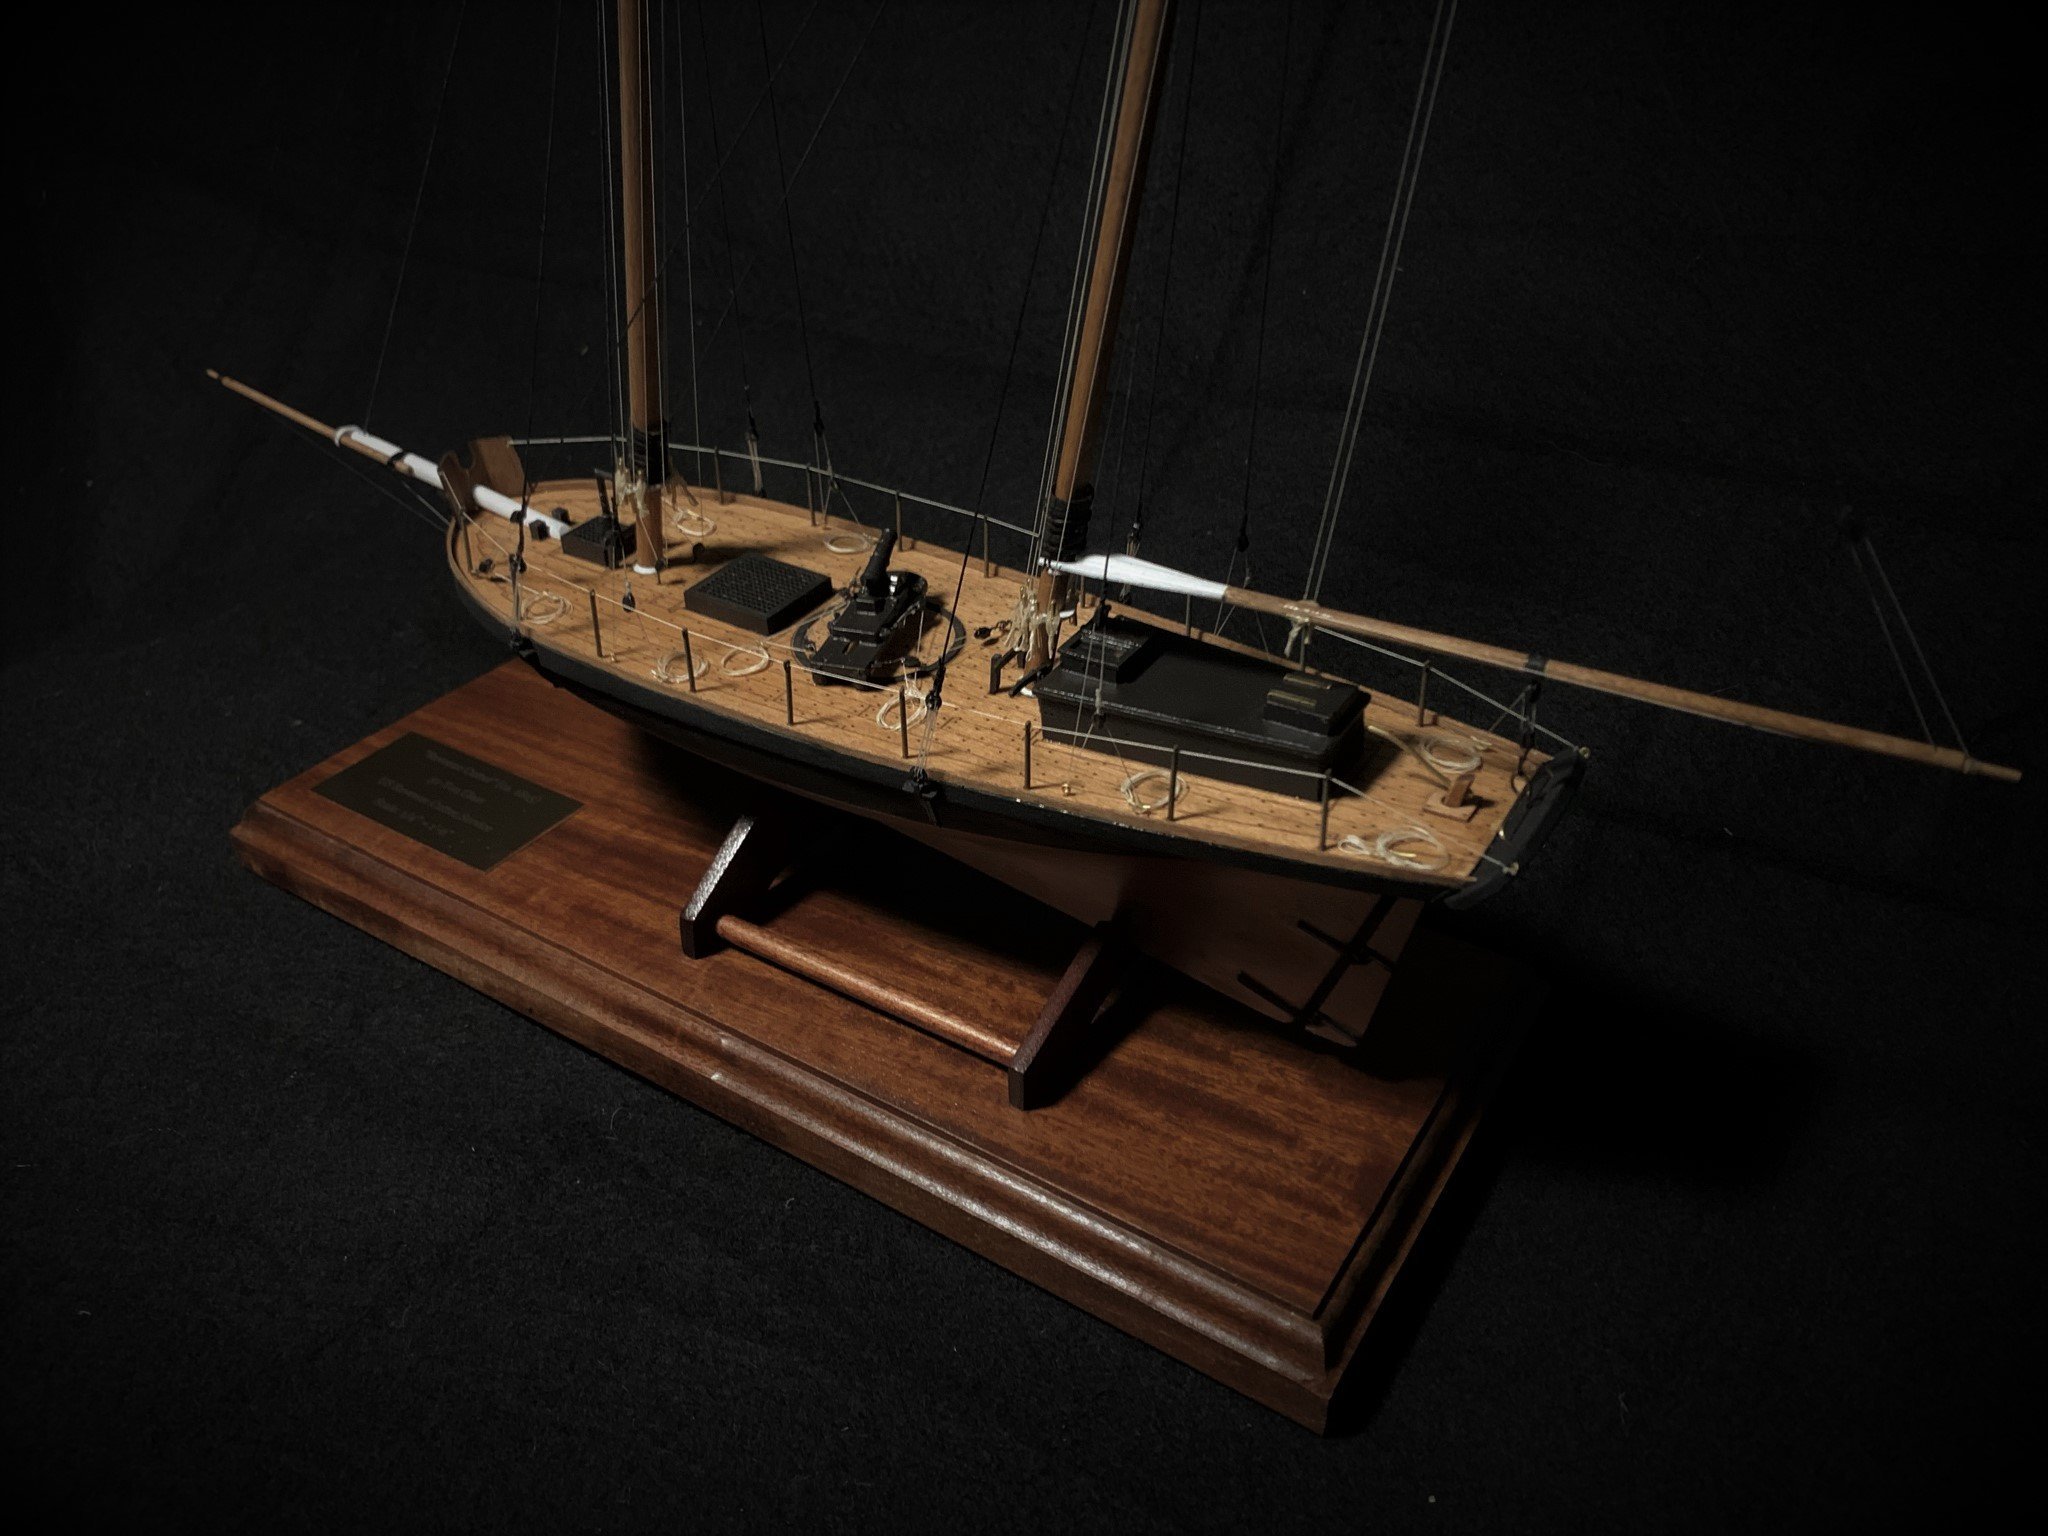
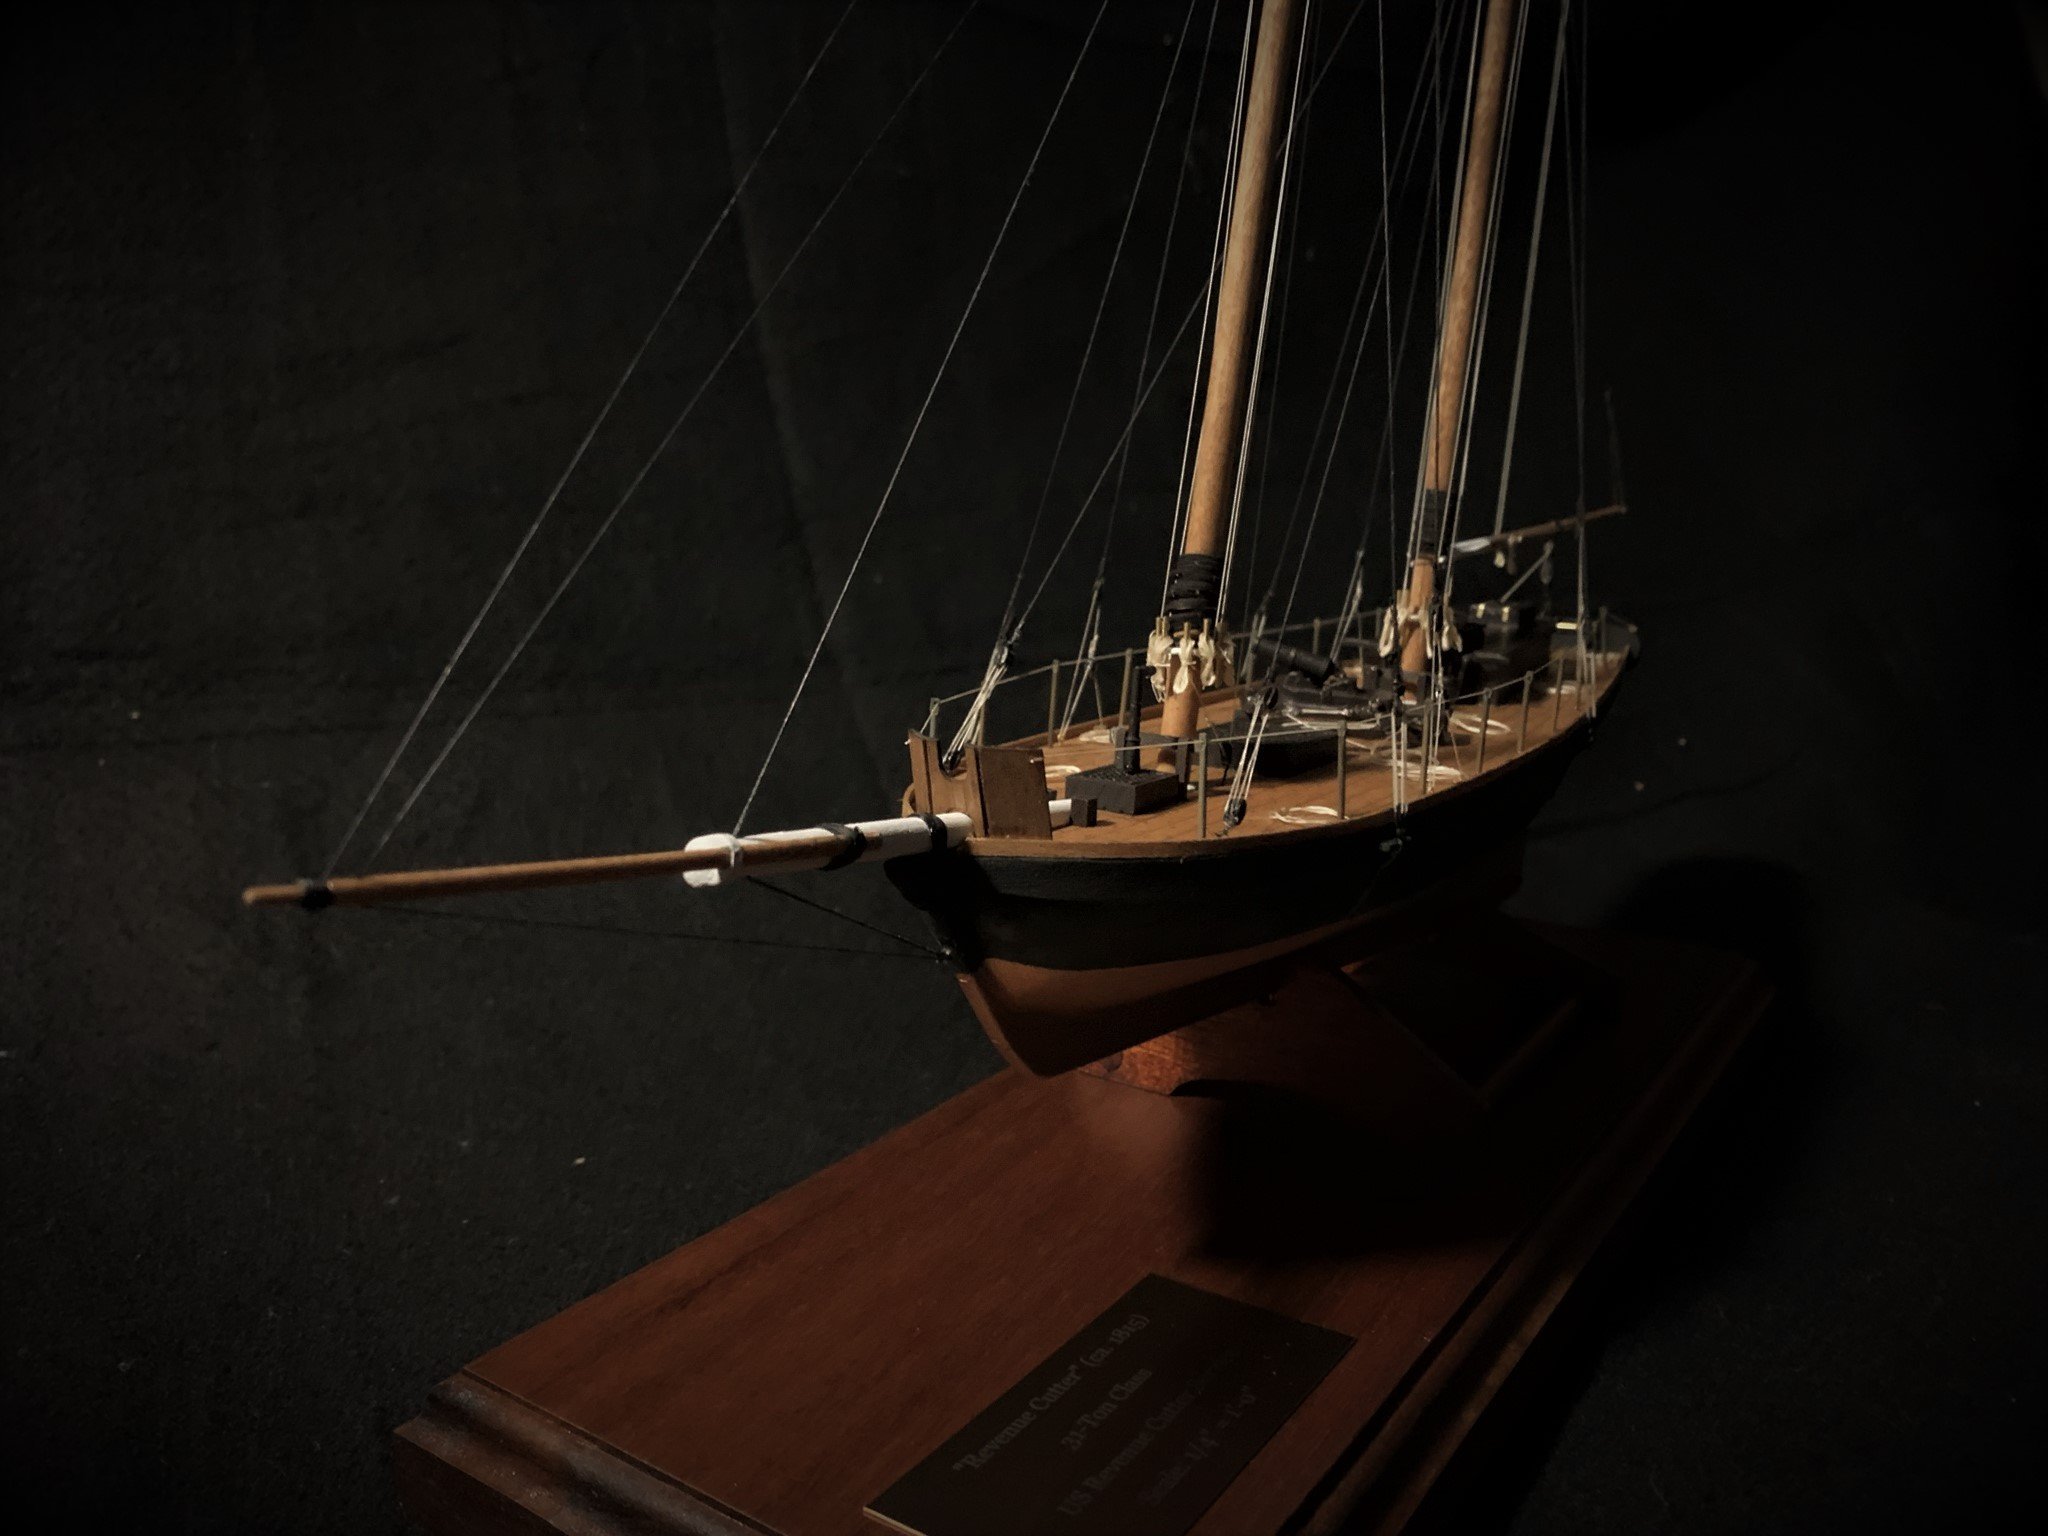
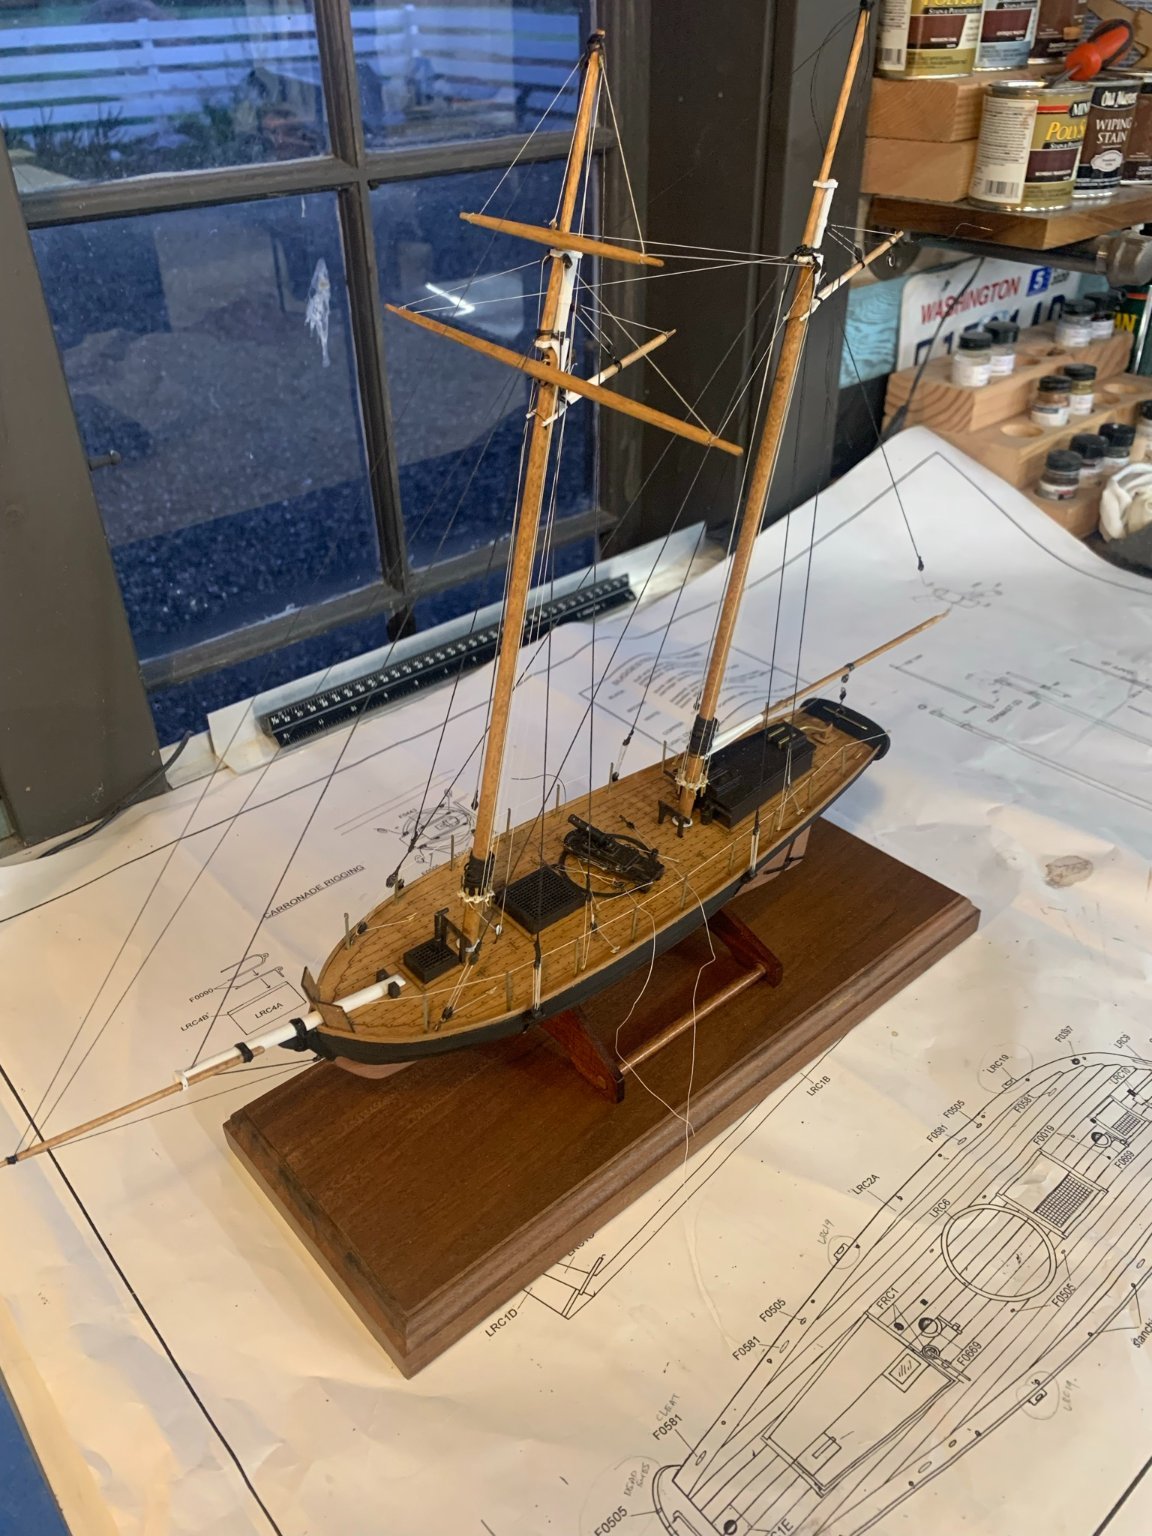
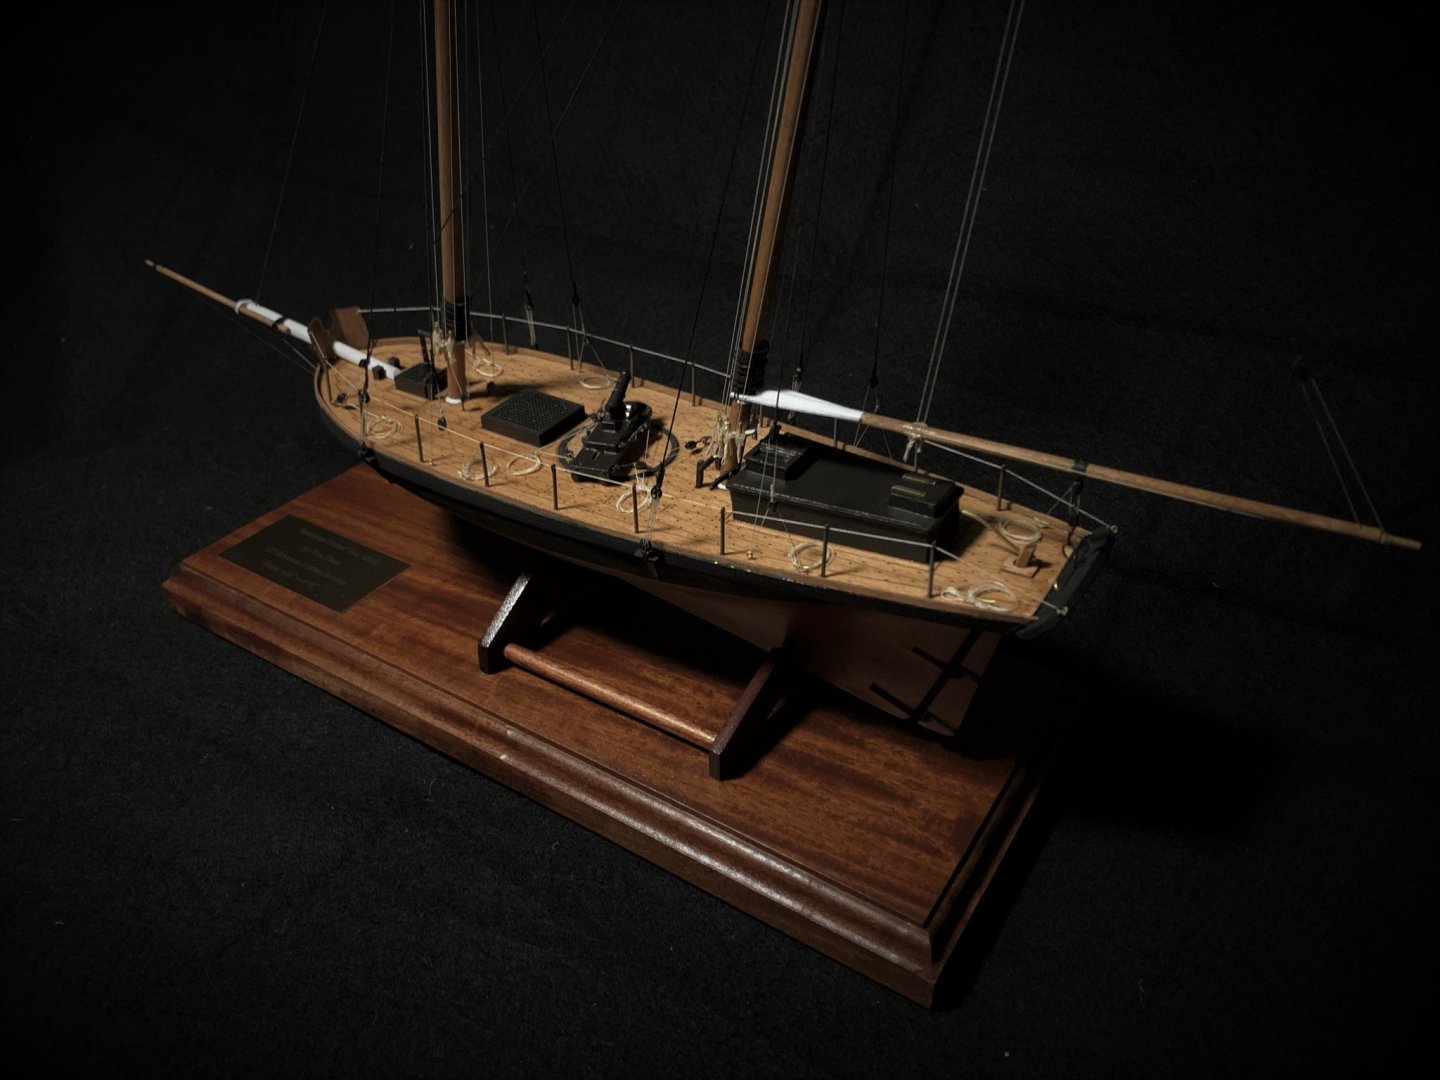
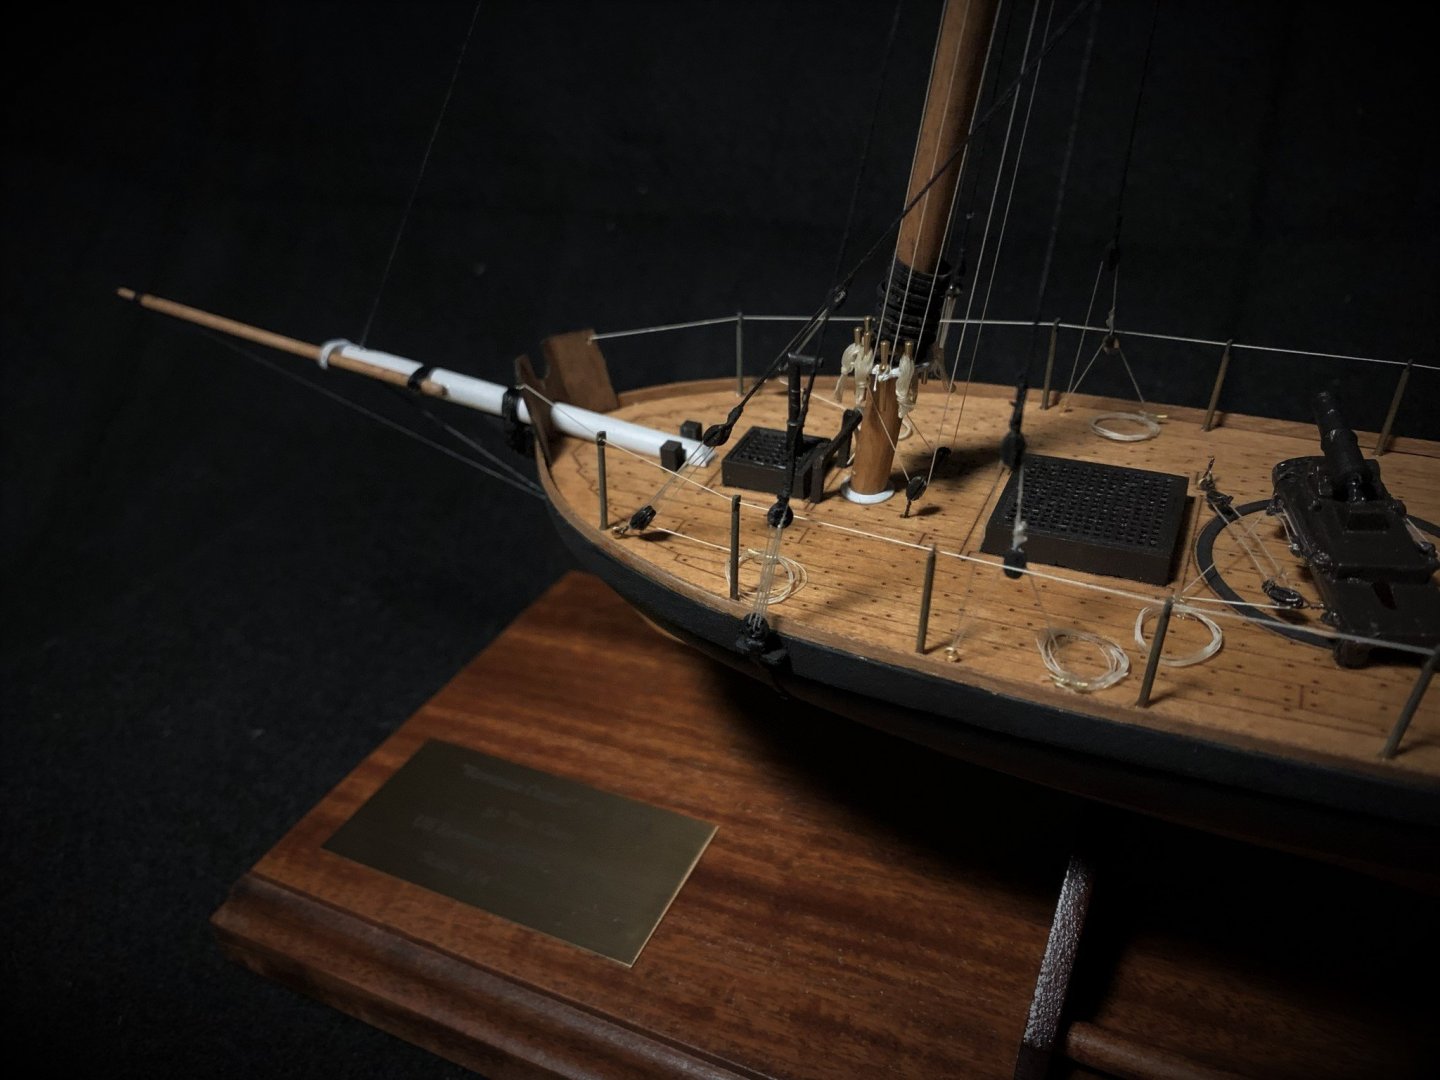
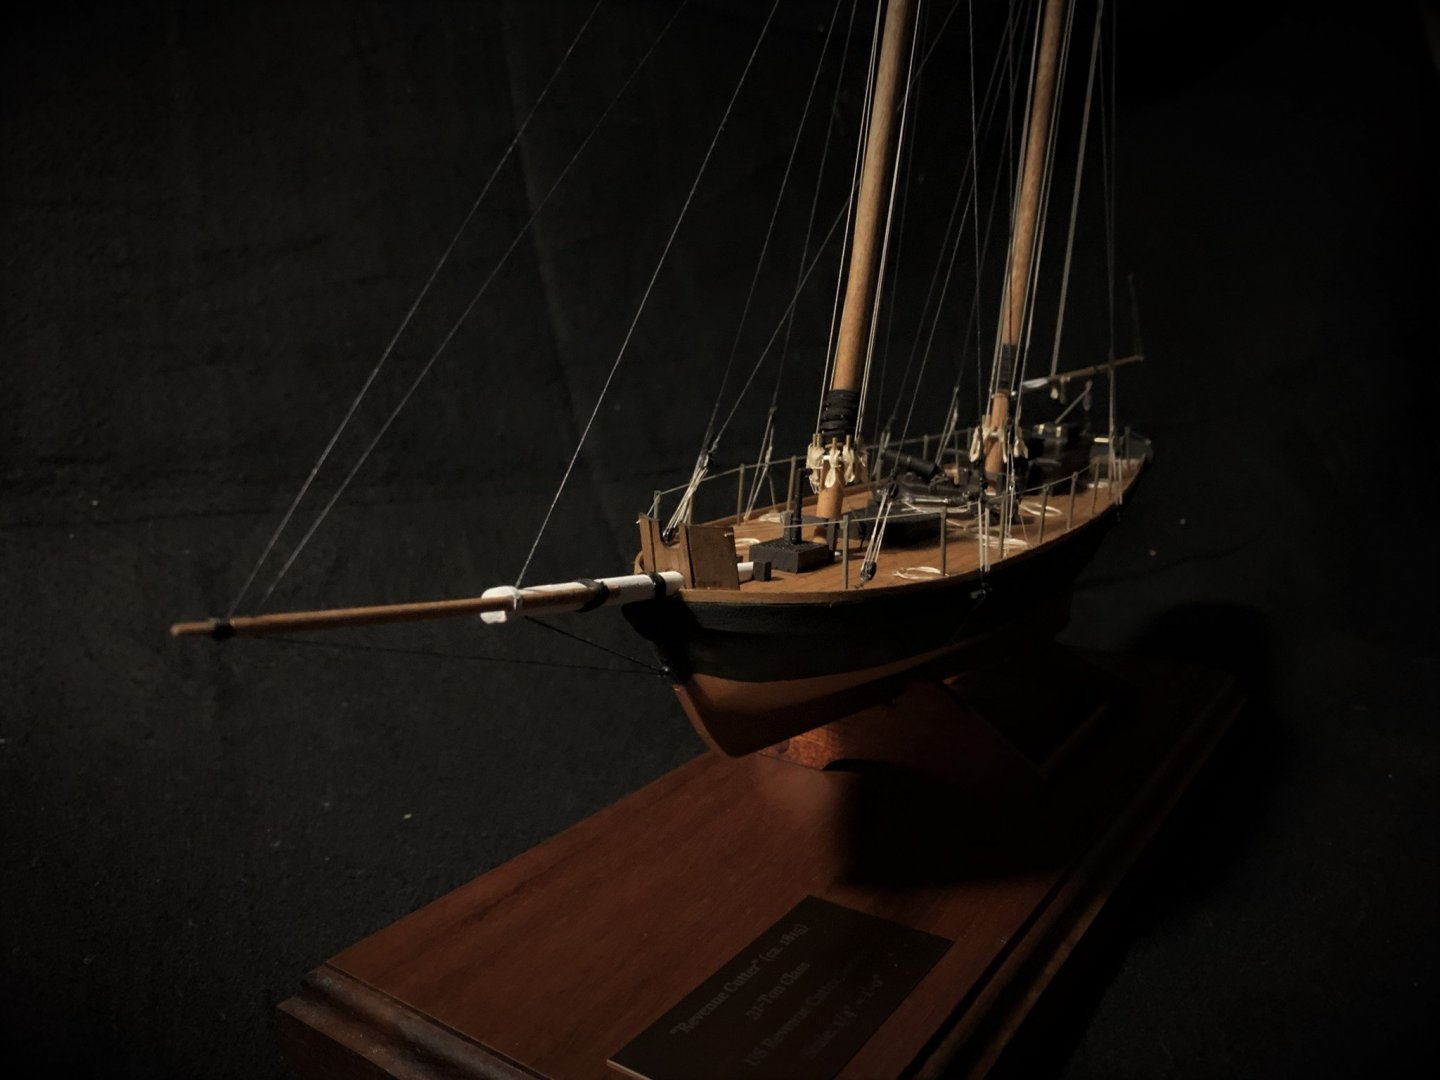
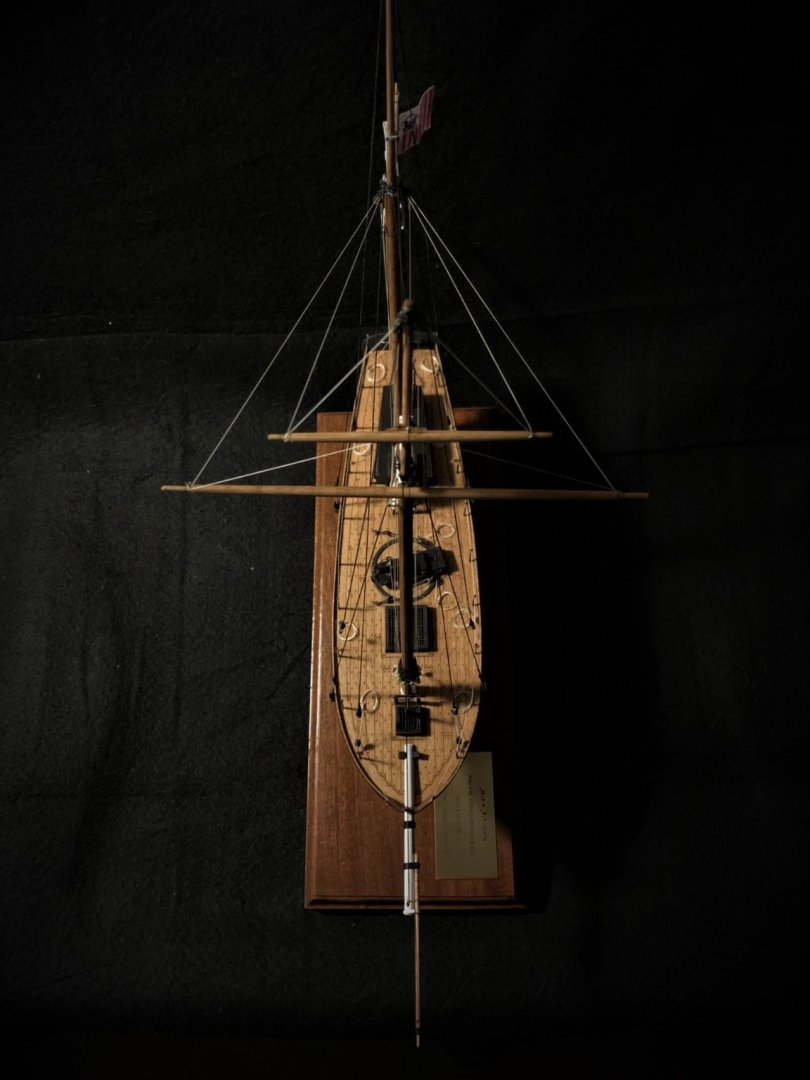
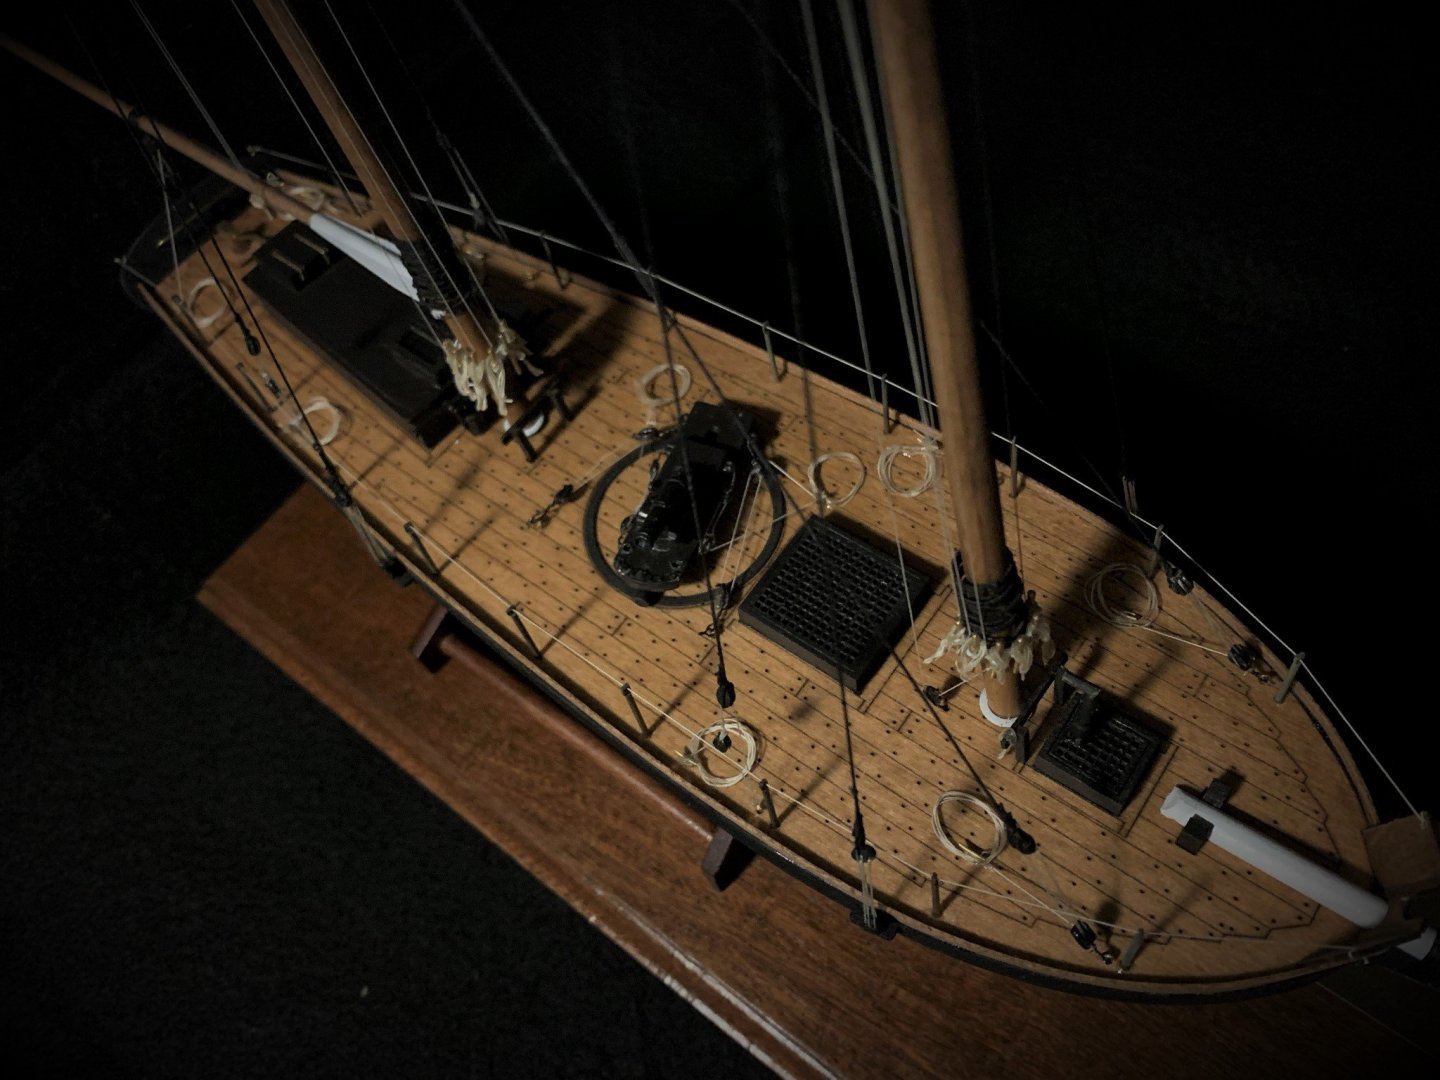
Completed pictures of the Bluejacket Shipcrafters Revenue Cutter:


- 27 replies
-
- 4
-
-

-
- Revenue Cutter
- BlueJacket Shipcrafters
- (and 1 more)
-
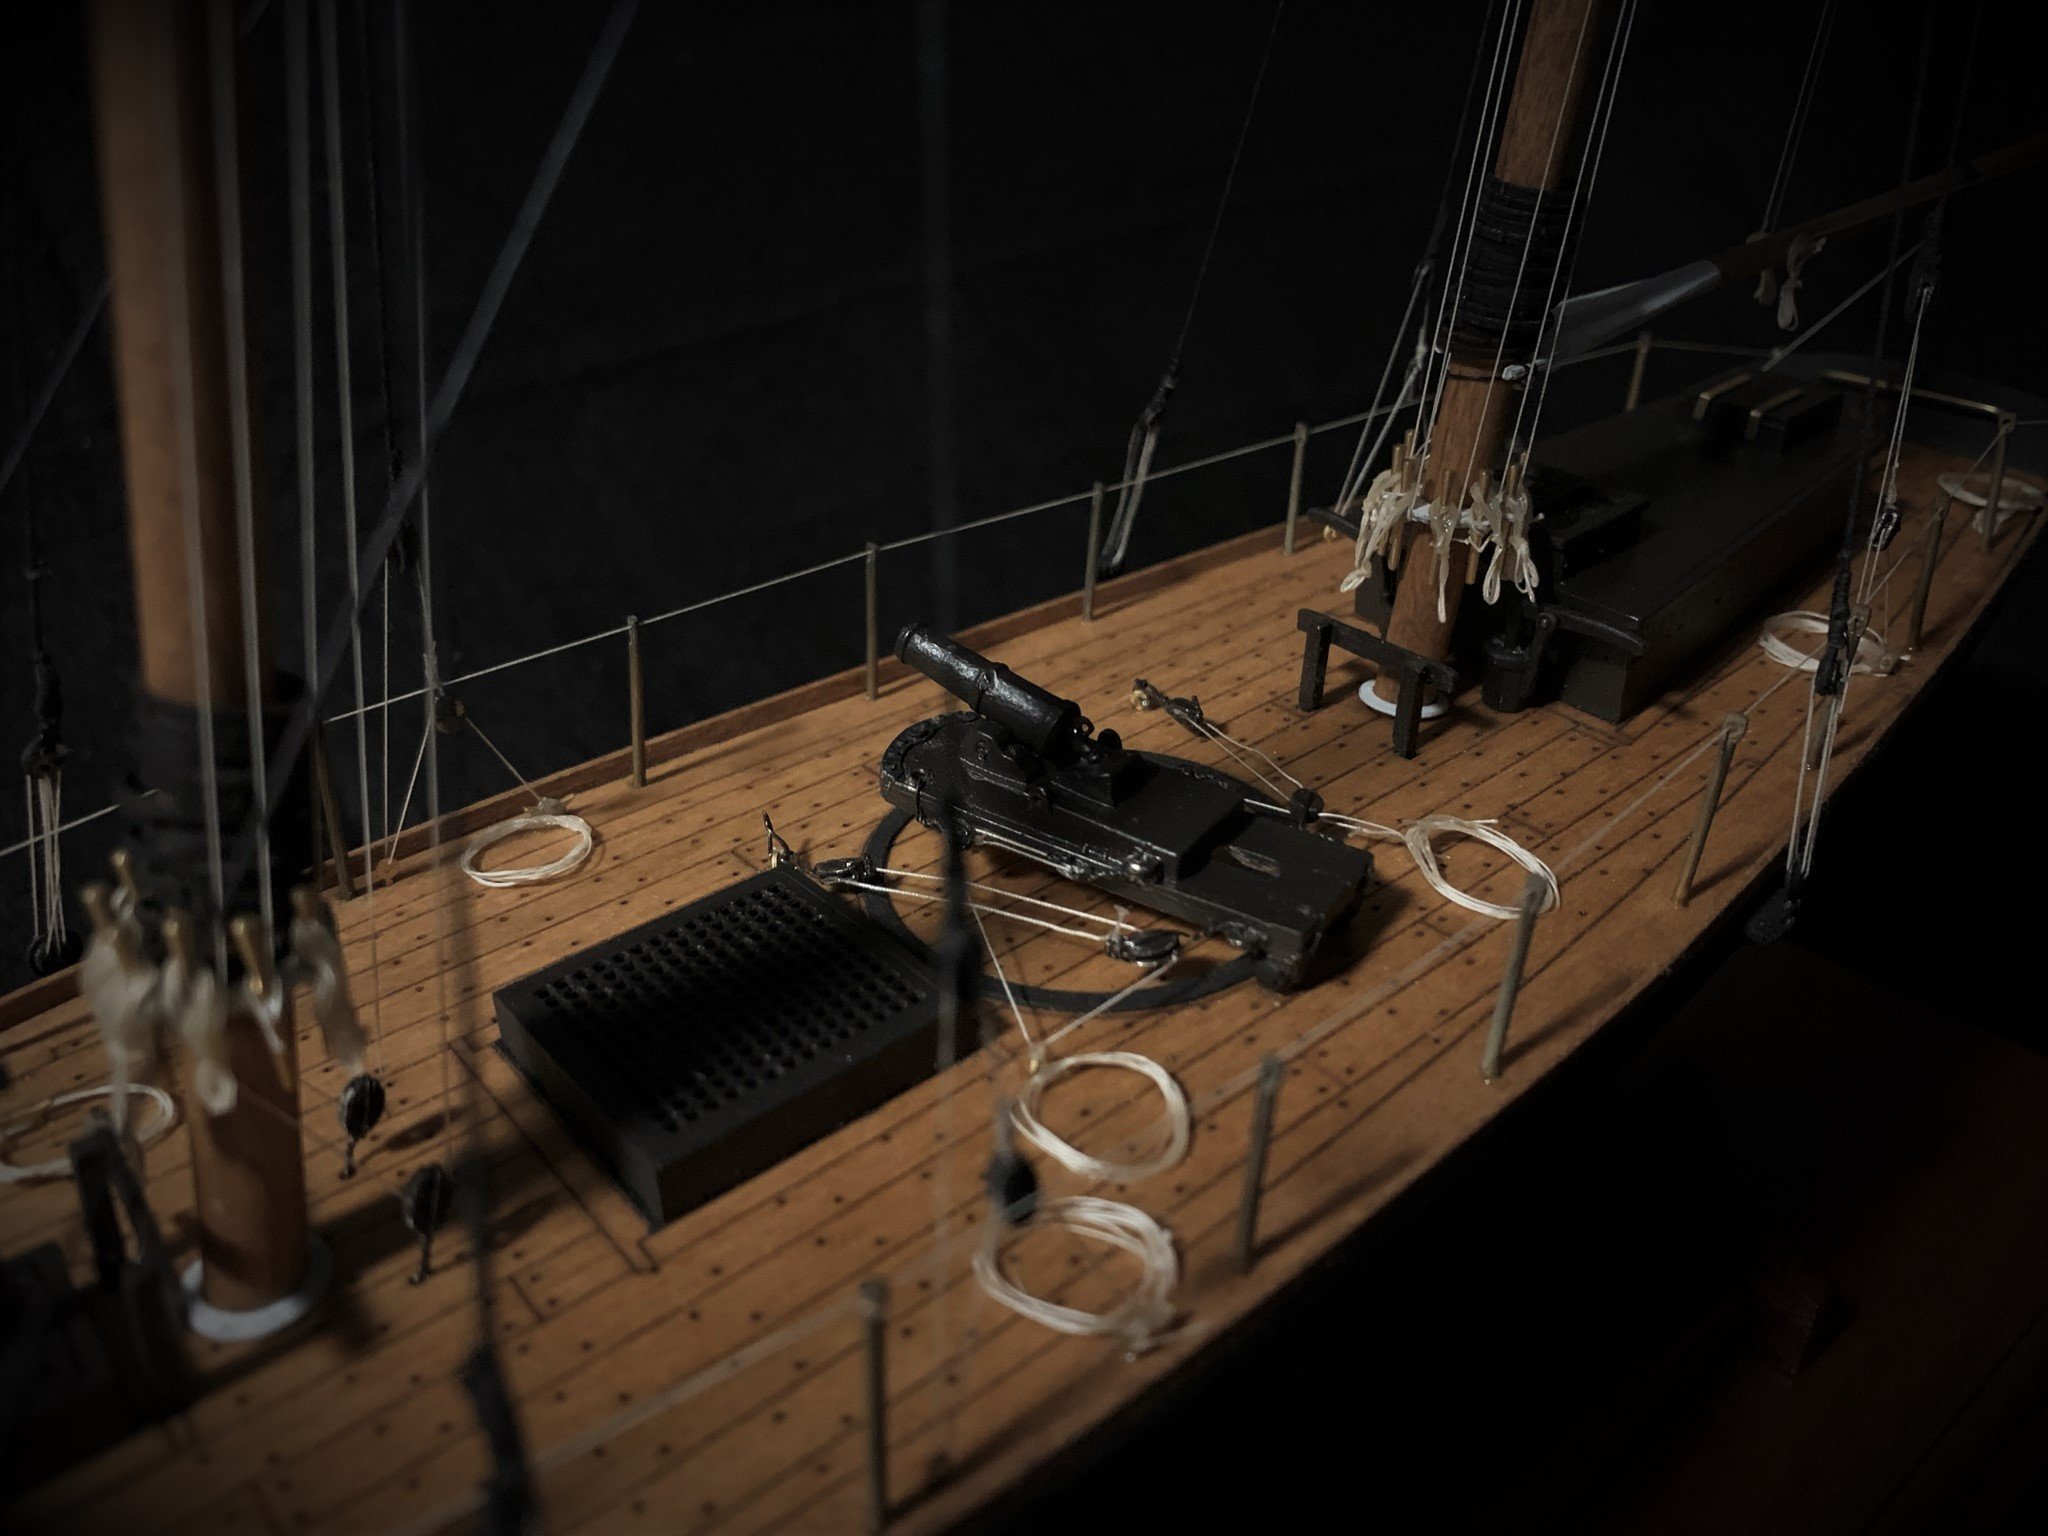
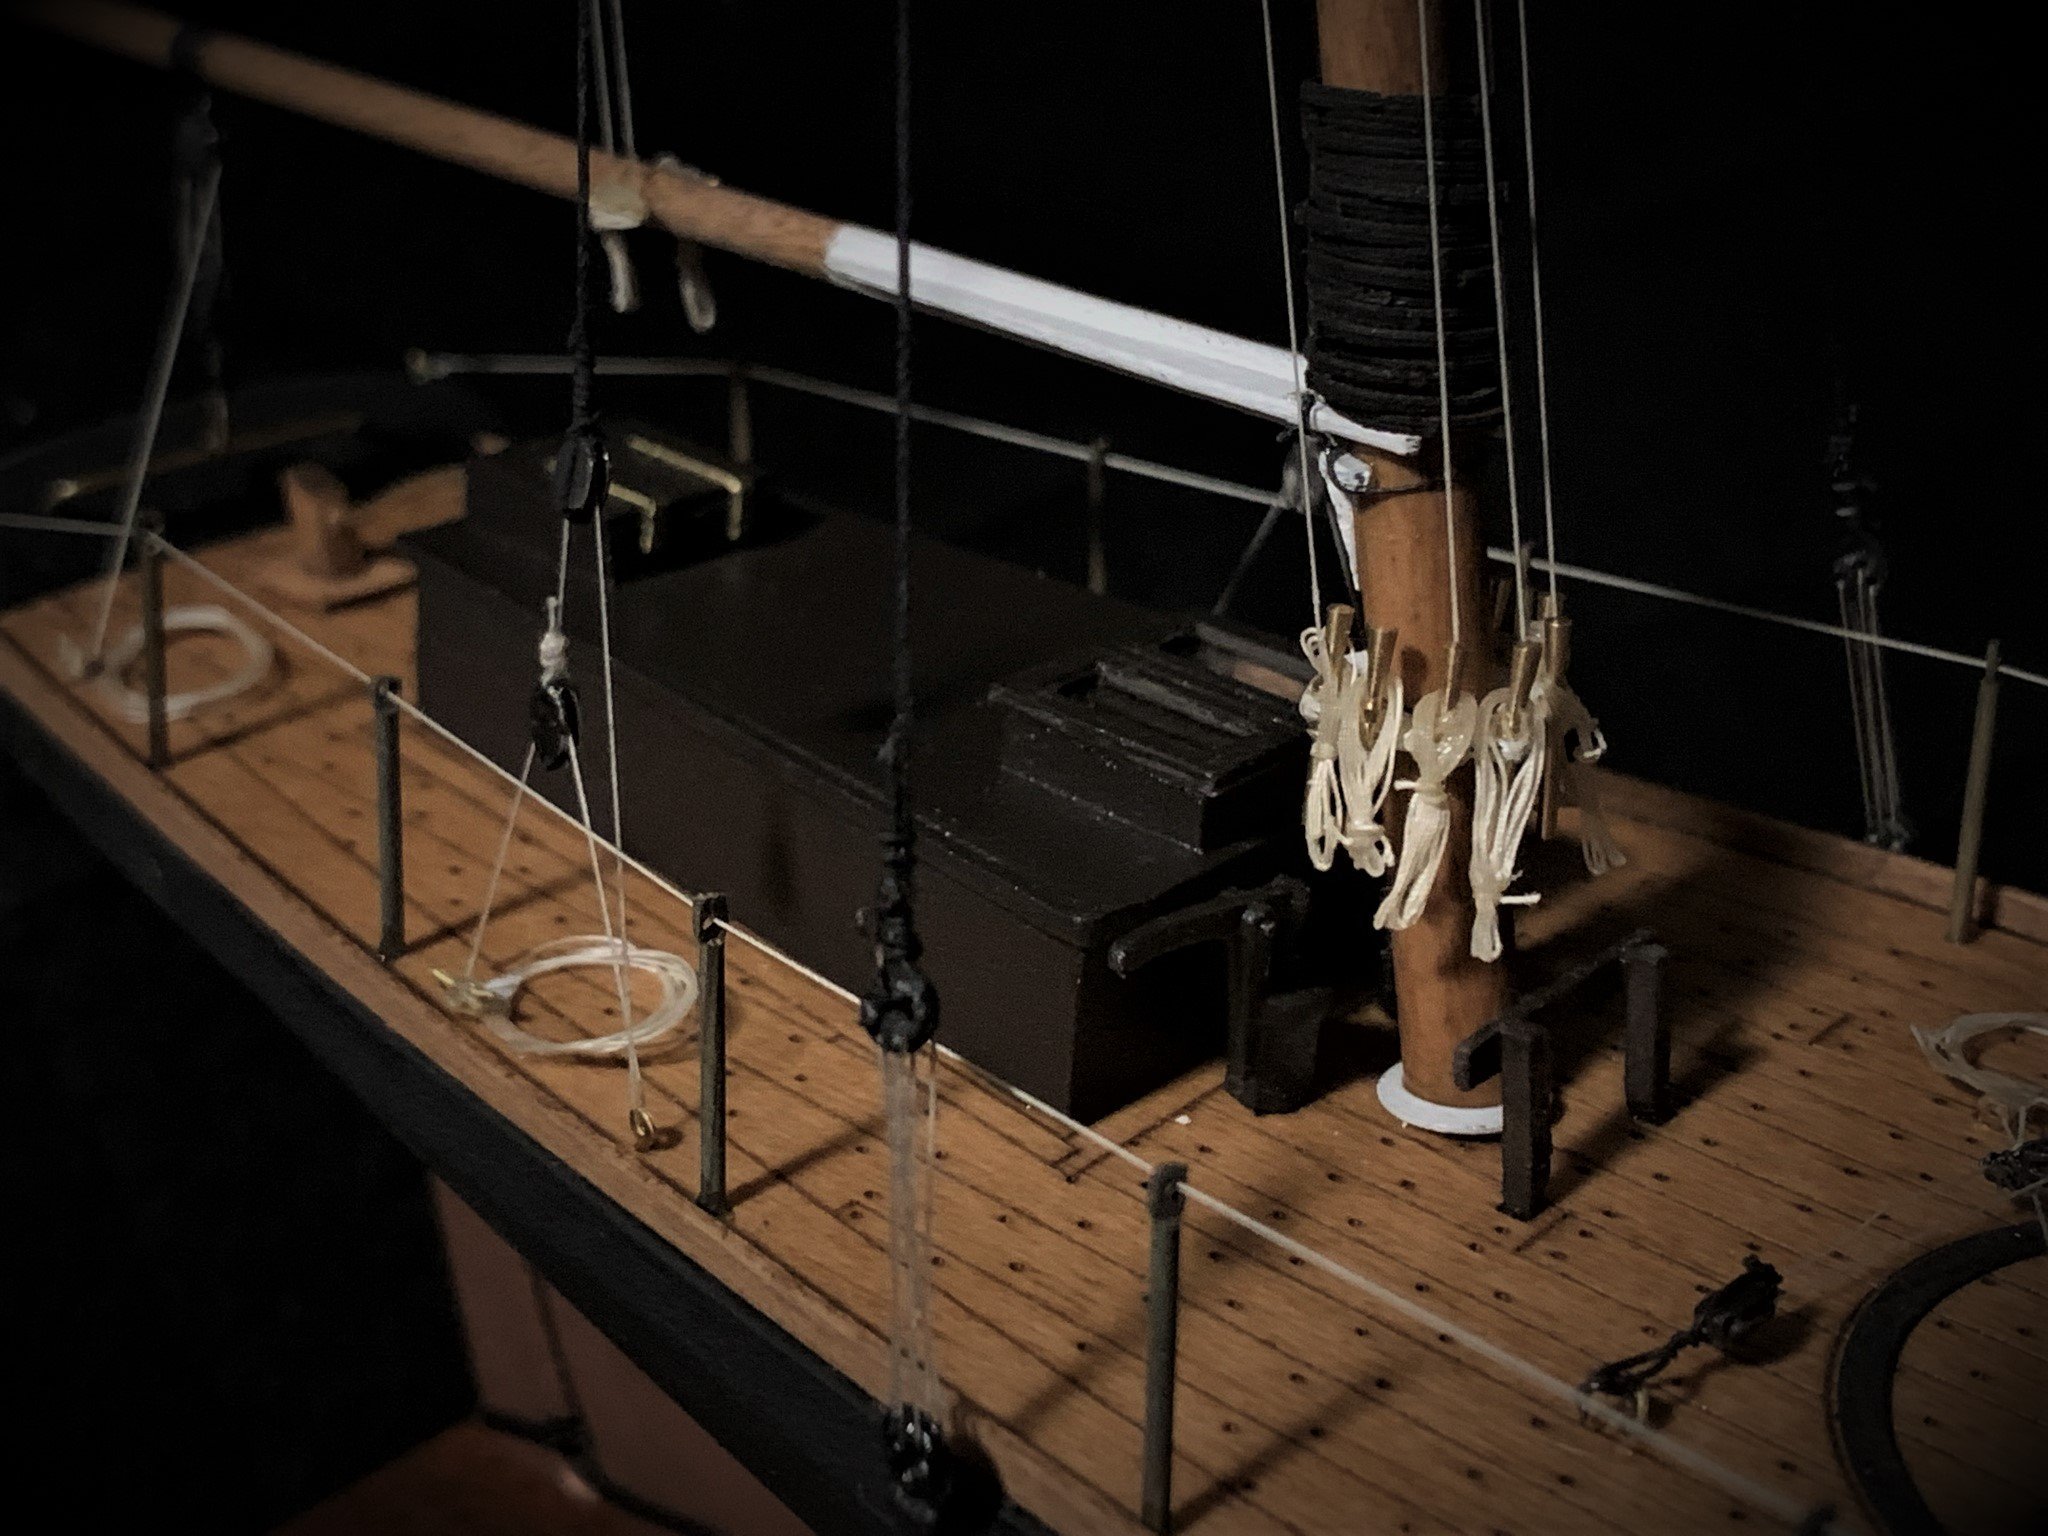
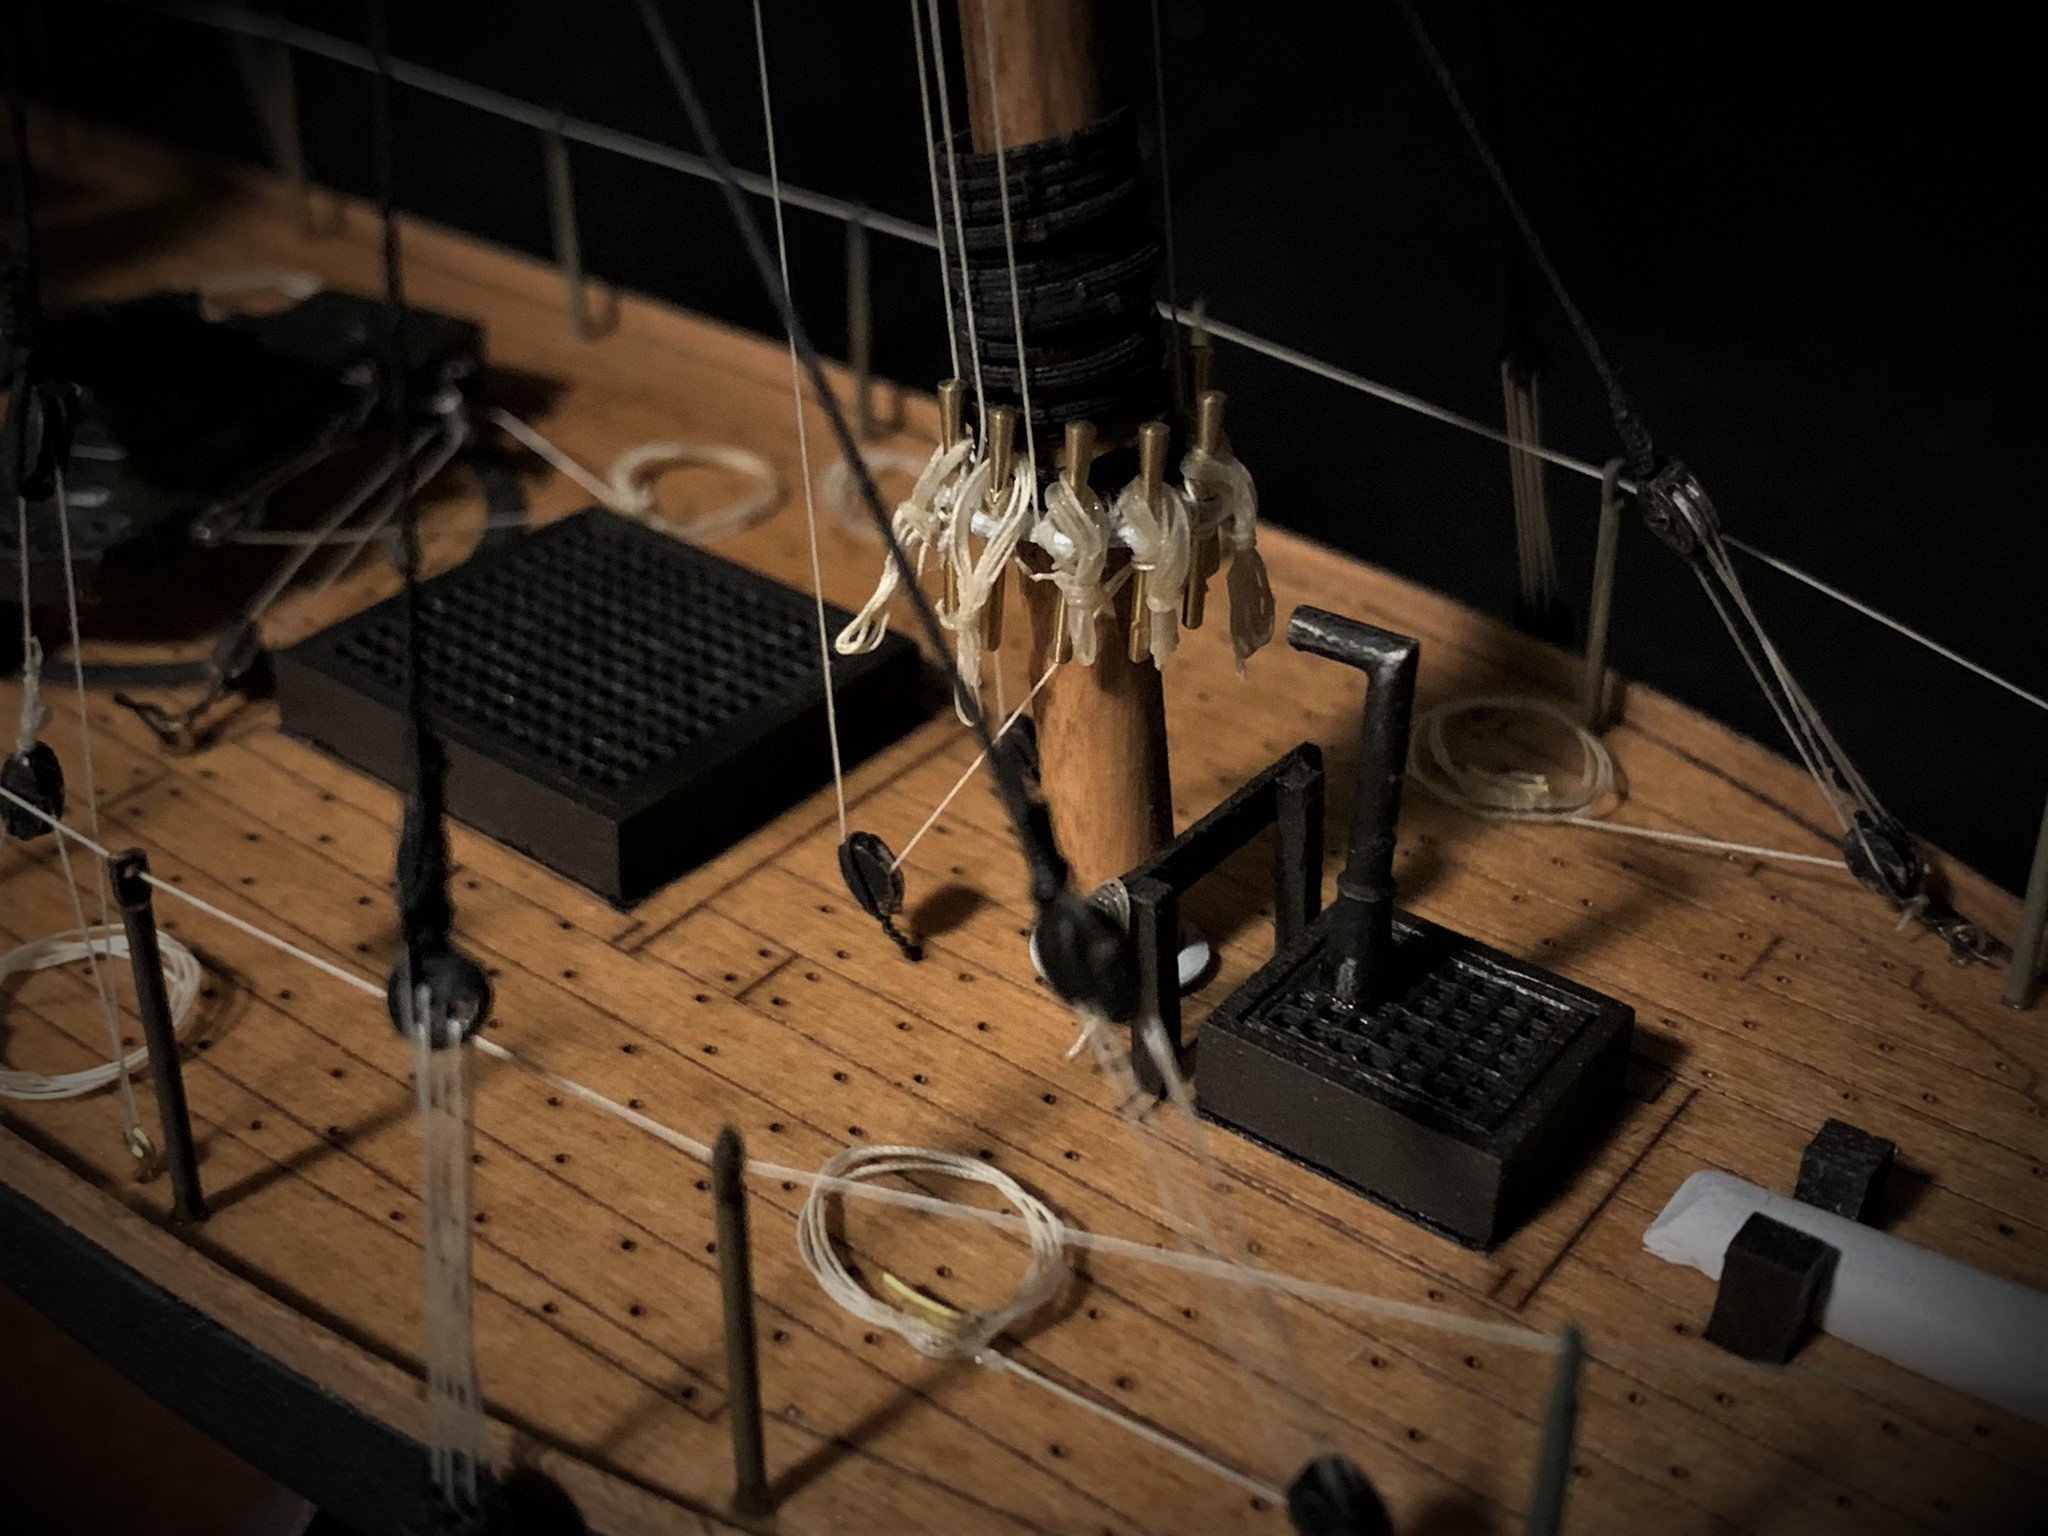
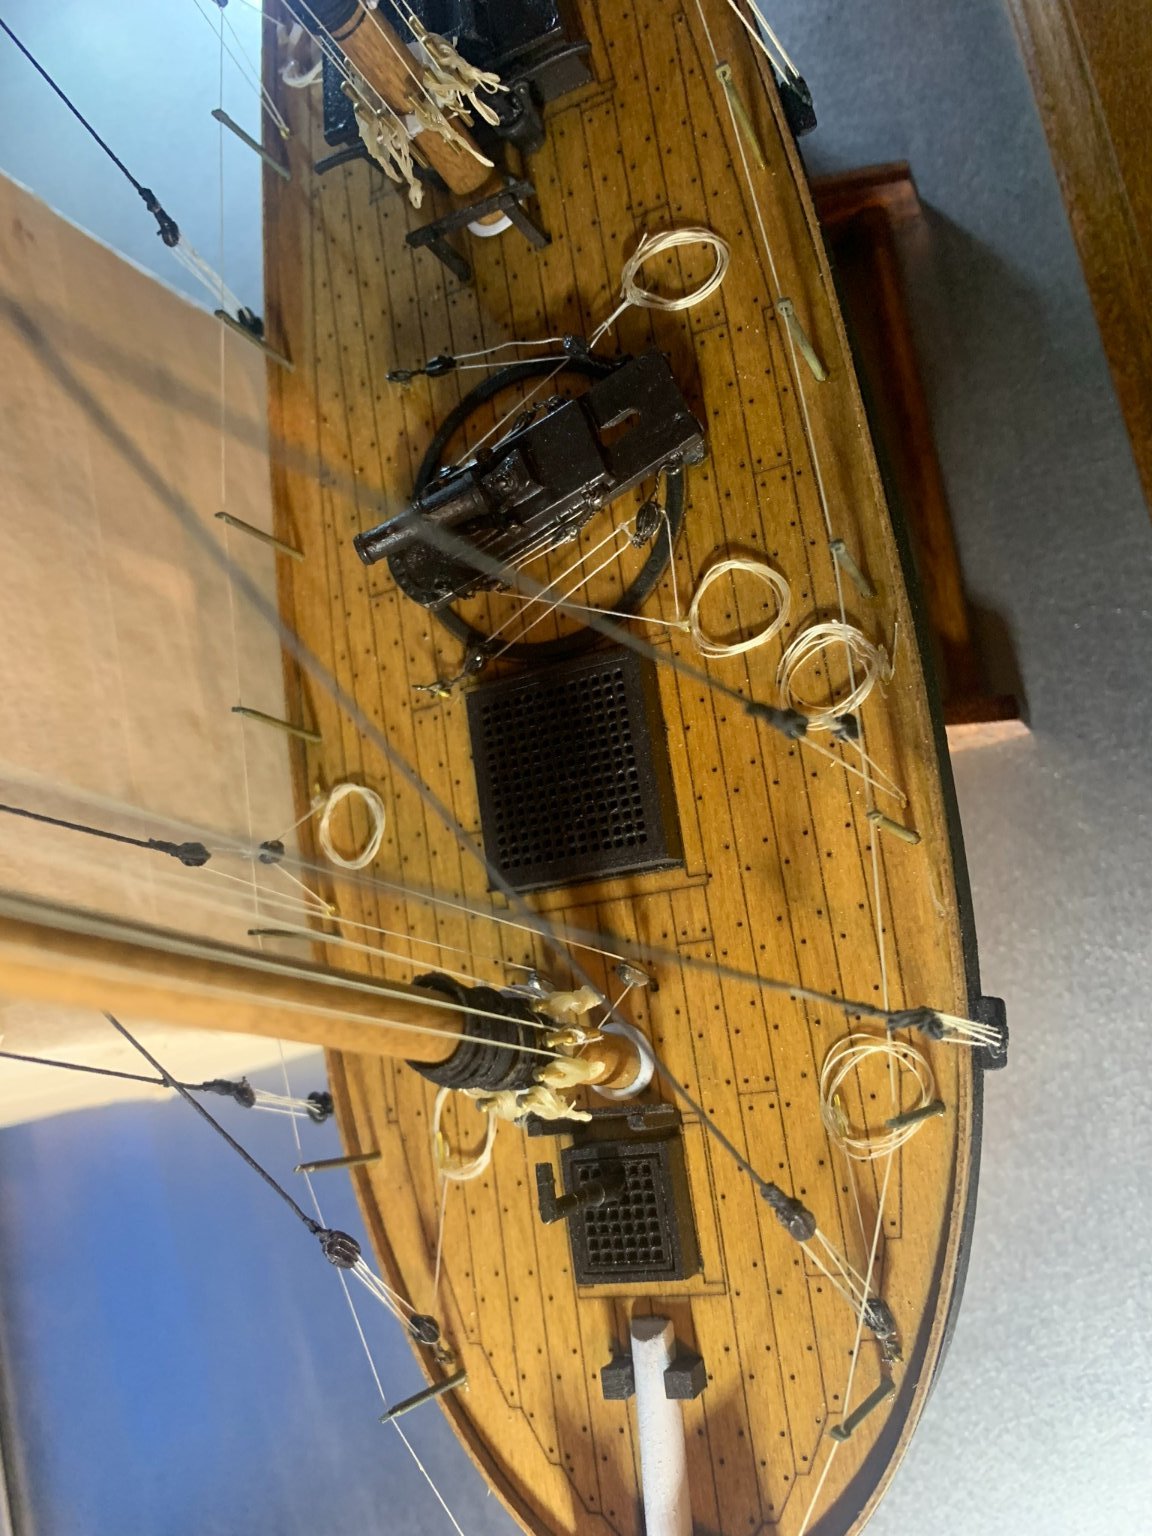
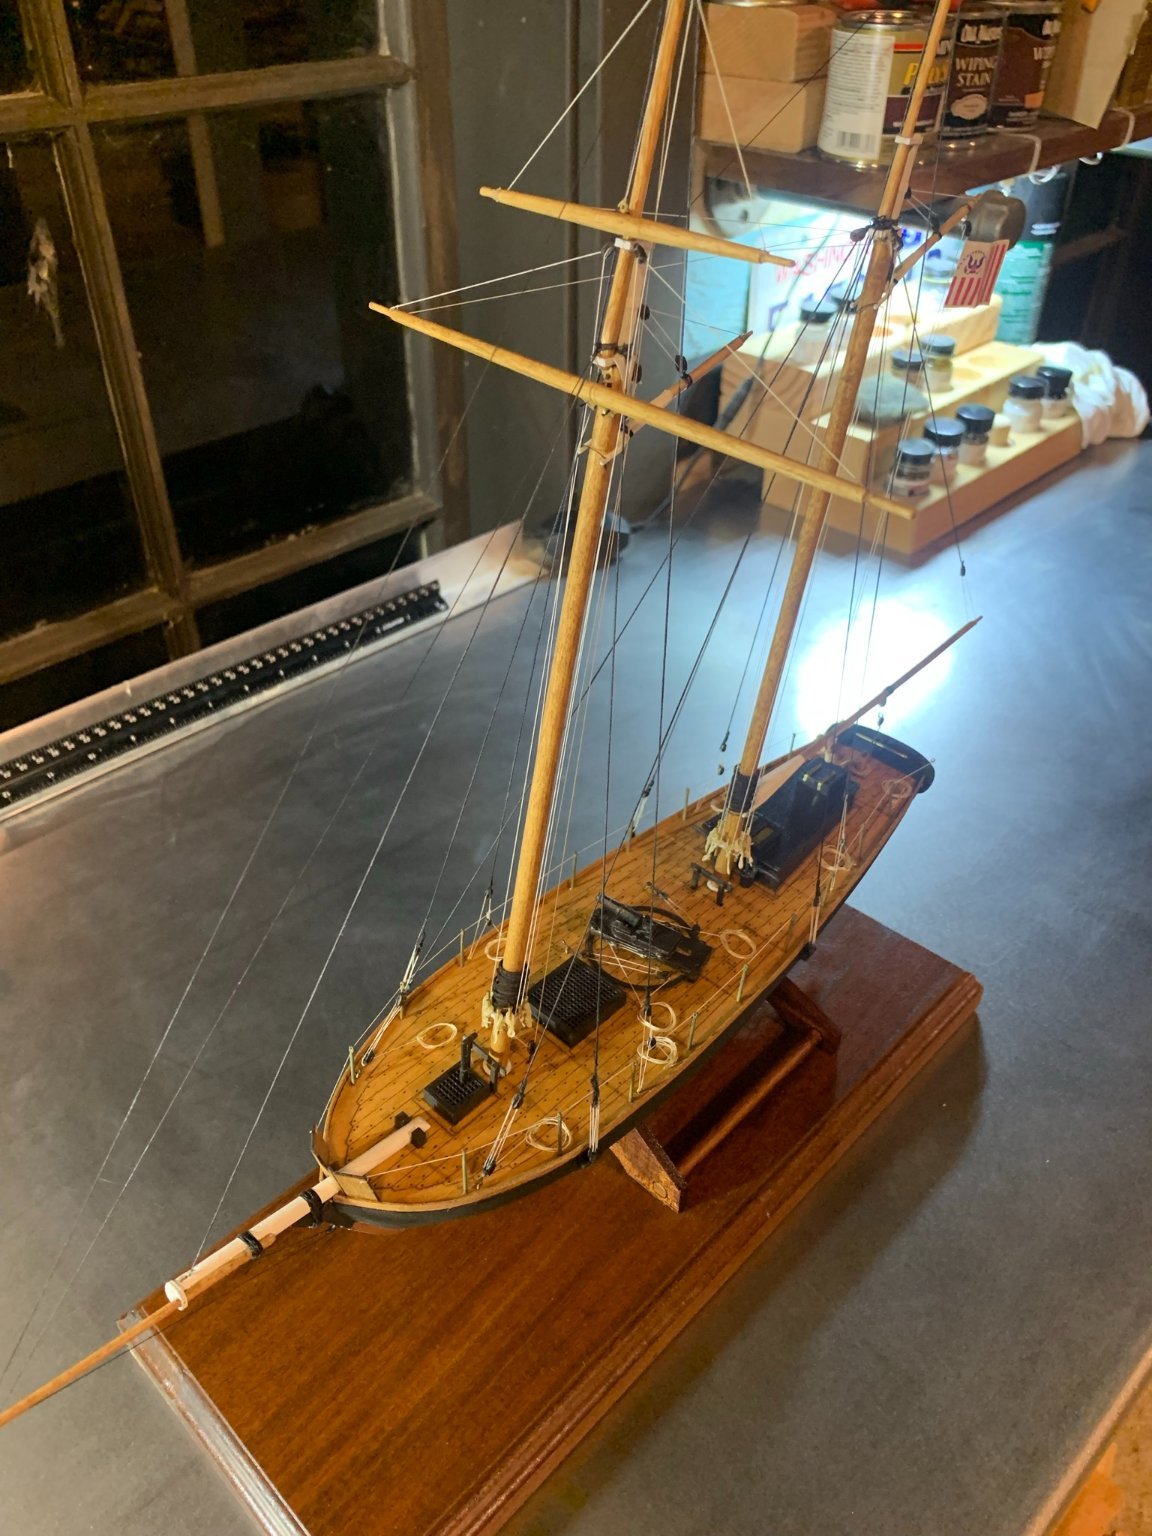
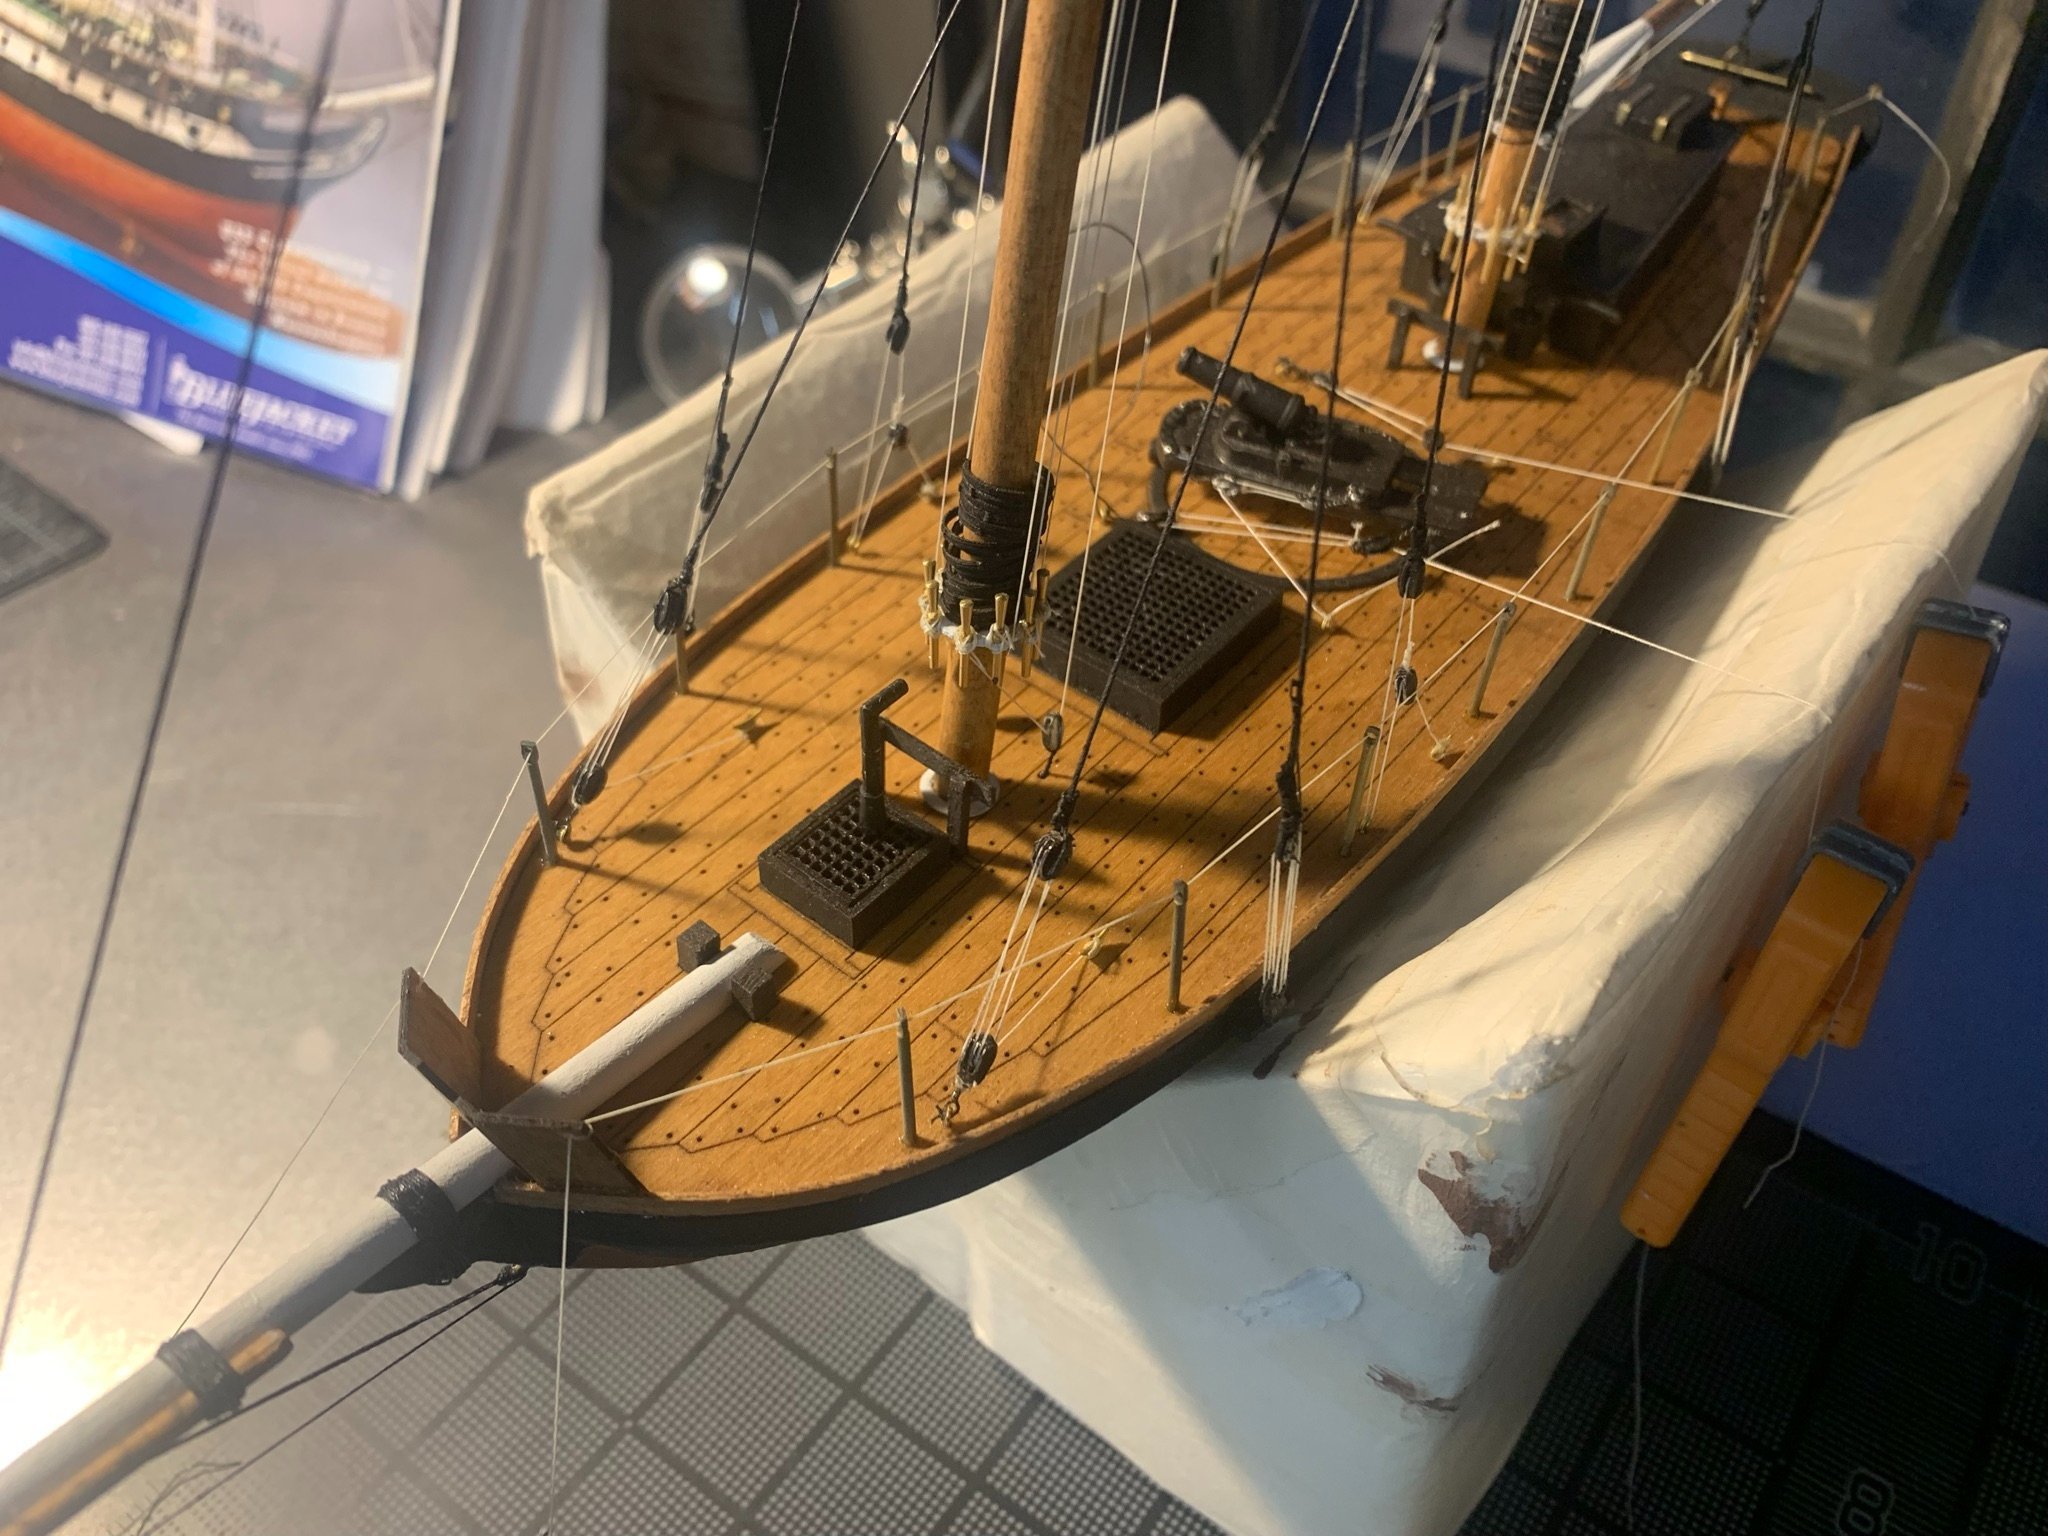
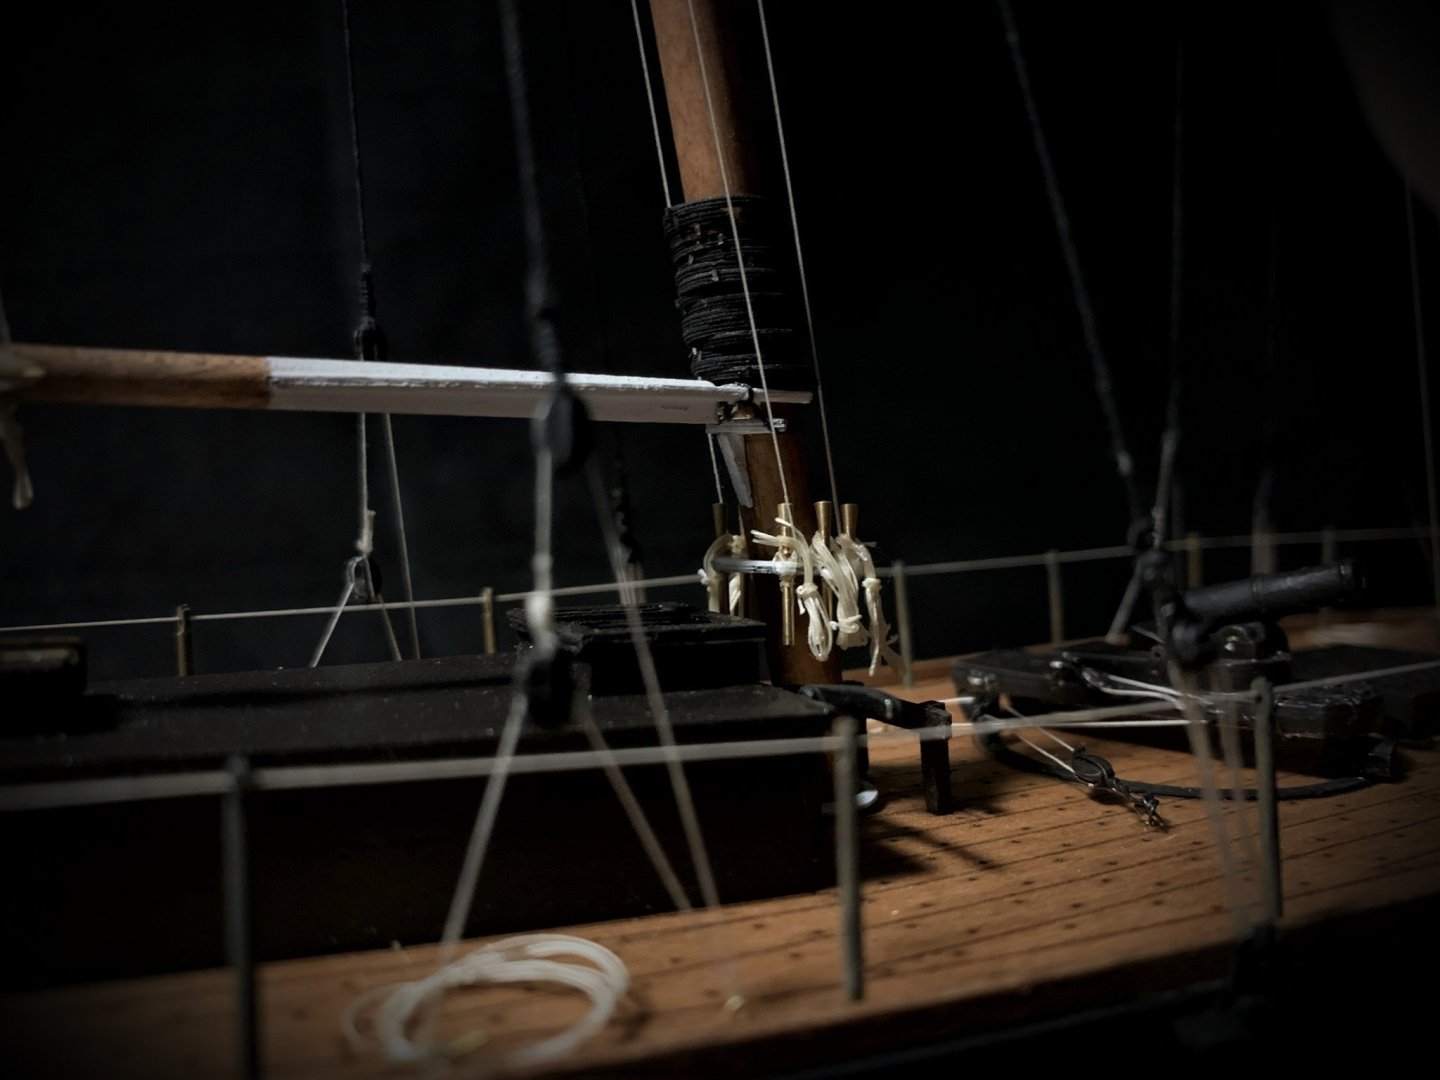
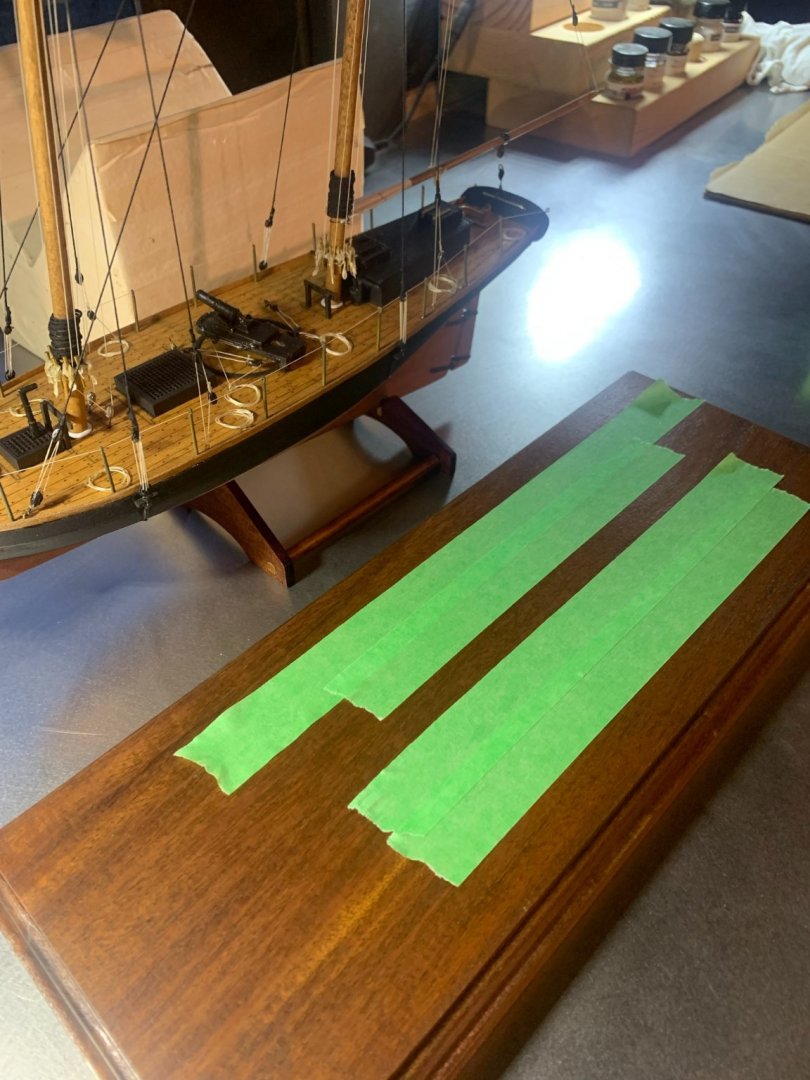
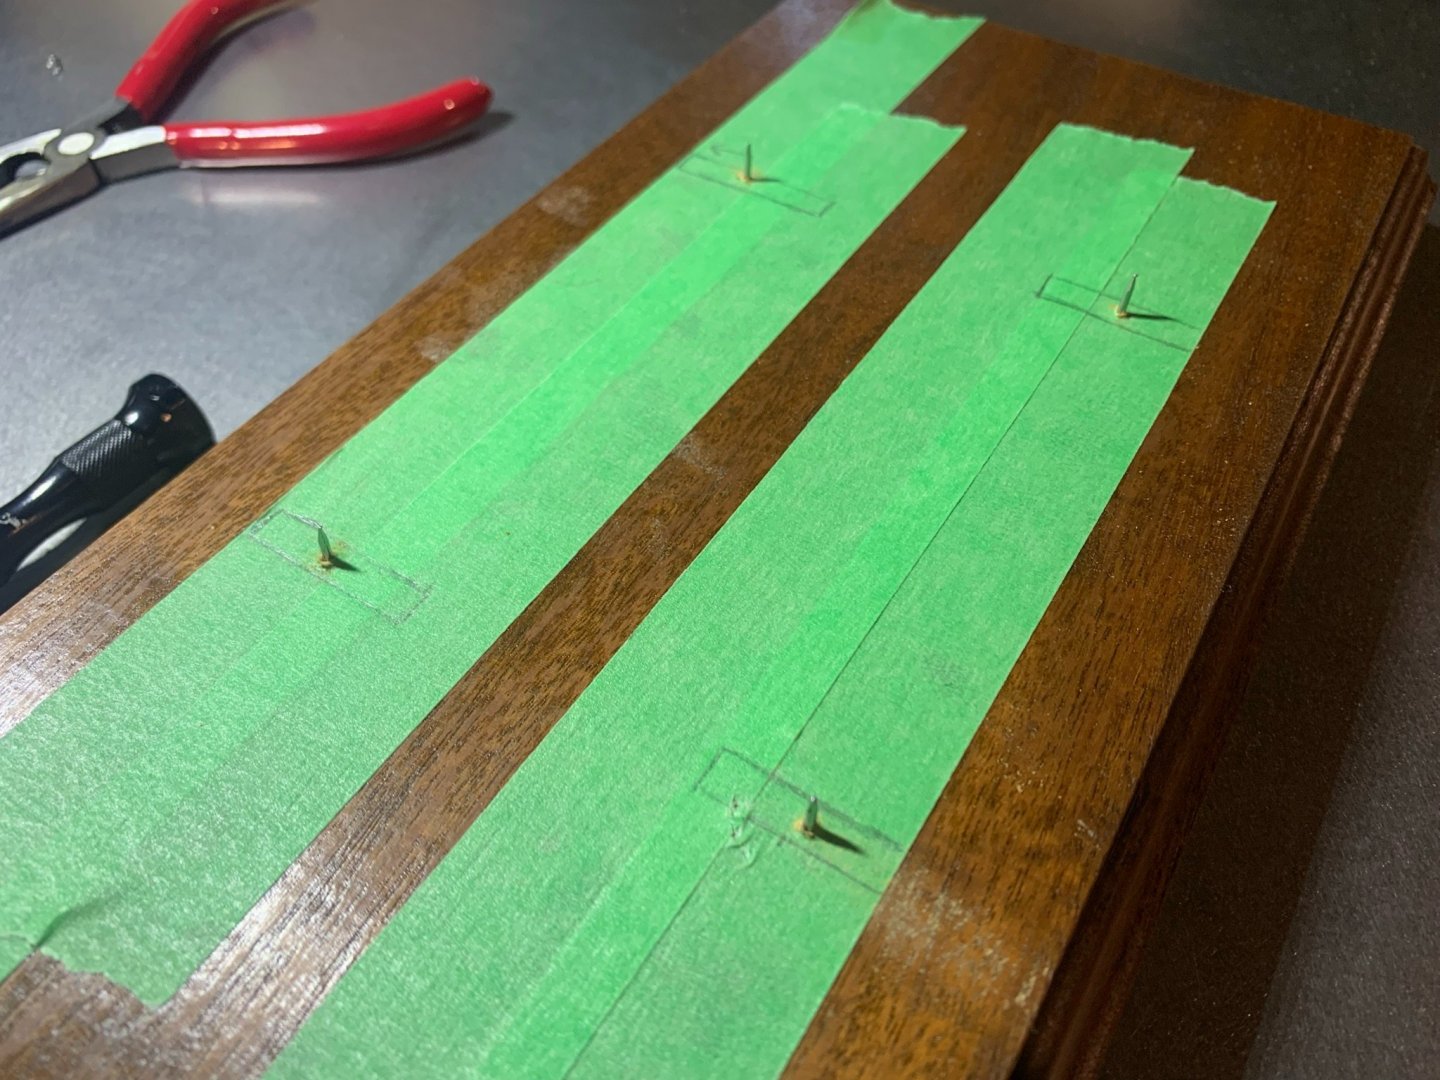
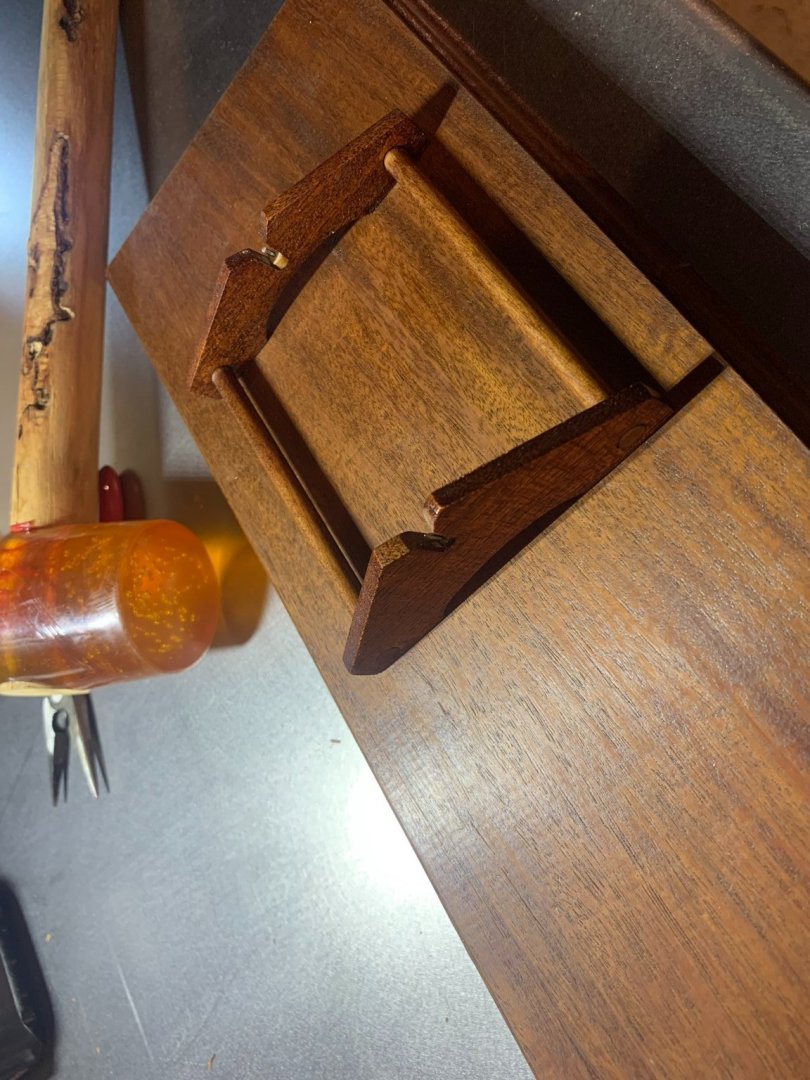
Hey everyone - a couple updates on the build: Was on a great sailing vacation in French Polynesia for the last couple weeks, but finally getting back to further completing the Revenue Cutter Build: LAST DAY OF BUILD: I spent some time to make up the dozen or so hanging rope coils, as well as the several coils of lines for the decks. The helping hand tool with the alligator clips really make this easier, and gently affixing them to their final locations only takes the smallest drop of CA. Here's a pic of the deck with the coils made up. (Note: the positioning of carronade - mentioned in previous post. Still not sure if I am correct in my reasoning, but I just don't like the look of a cannon pointed straight towards the mast!). I had left the Ipe base for a few weeks with one coat of Poly oil on it, and when I returned, the wood had sucked up most of the oil and there were some dry areas. I reapplied the poly, and waited another night - finishing the base with a final coat of spar varnish spray. Once the base cured, the next tasks were to start laying out for the mounting cradle. On the Spray Build, I used a system of affixing the the cradle to the base using friction fit and pins, and similarly affixing the boat to the cradle also using small pins (actually nails with the nail heads cut off). With the general location of the cradle figured, applied some masking tape so that I could make some reference marks, and drill out for the pins. With the pins (nails) set into their holes, I placed the cradle over top (referencing my pencil marks), and gently tapped with the rubber mallet to make a dimple where the nails were. Drilled out those marks, and then pulled the tape. Tapped the cradle in using the mallet again, and that's it! And that's more or less it! I did about 30 minutes of detailed brush touchups (mostly flat black on the blocks, and another coat of the brown on the cabin) The cradle sits towards the stern of the model, but the overall length is centered within the length of the base, with about 2" of jib pole extending past the base edge, and 2" of boom extending past the other edge. The open area on the base off the port bow will be where the little brass plaque will be mounted. I am super happy with this model (not just the kit itself, but also with my being able to keep it clean and true). Overall, the detail and precision was an improvement over my Spray model, and the rigging being more complex, gives me some confidence to try something more involved down the road. Being a solid hull, there were different techniques learned that I didn't encounter with the Spray's plank-on-bulkhead construction. Also, working at a smaller scale (1:48), improved my dexterity overall. I found the plans to be detailed and accurate, and the several build logs on this forum of the same kit proved to be very useful! NEXT UP, SOME FINISHED PICTURES!


- 27 replies
-
- 1
-
-
- Revenue Cutter
- BlueJacket Shipcrafters
- (and 1 more)
-
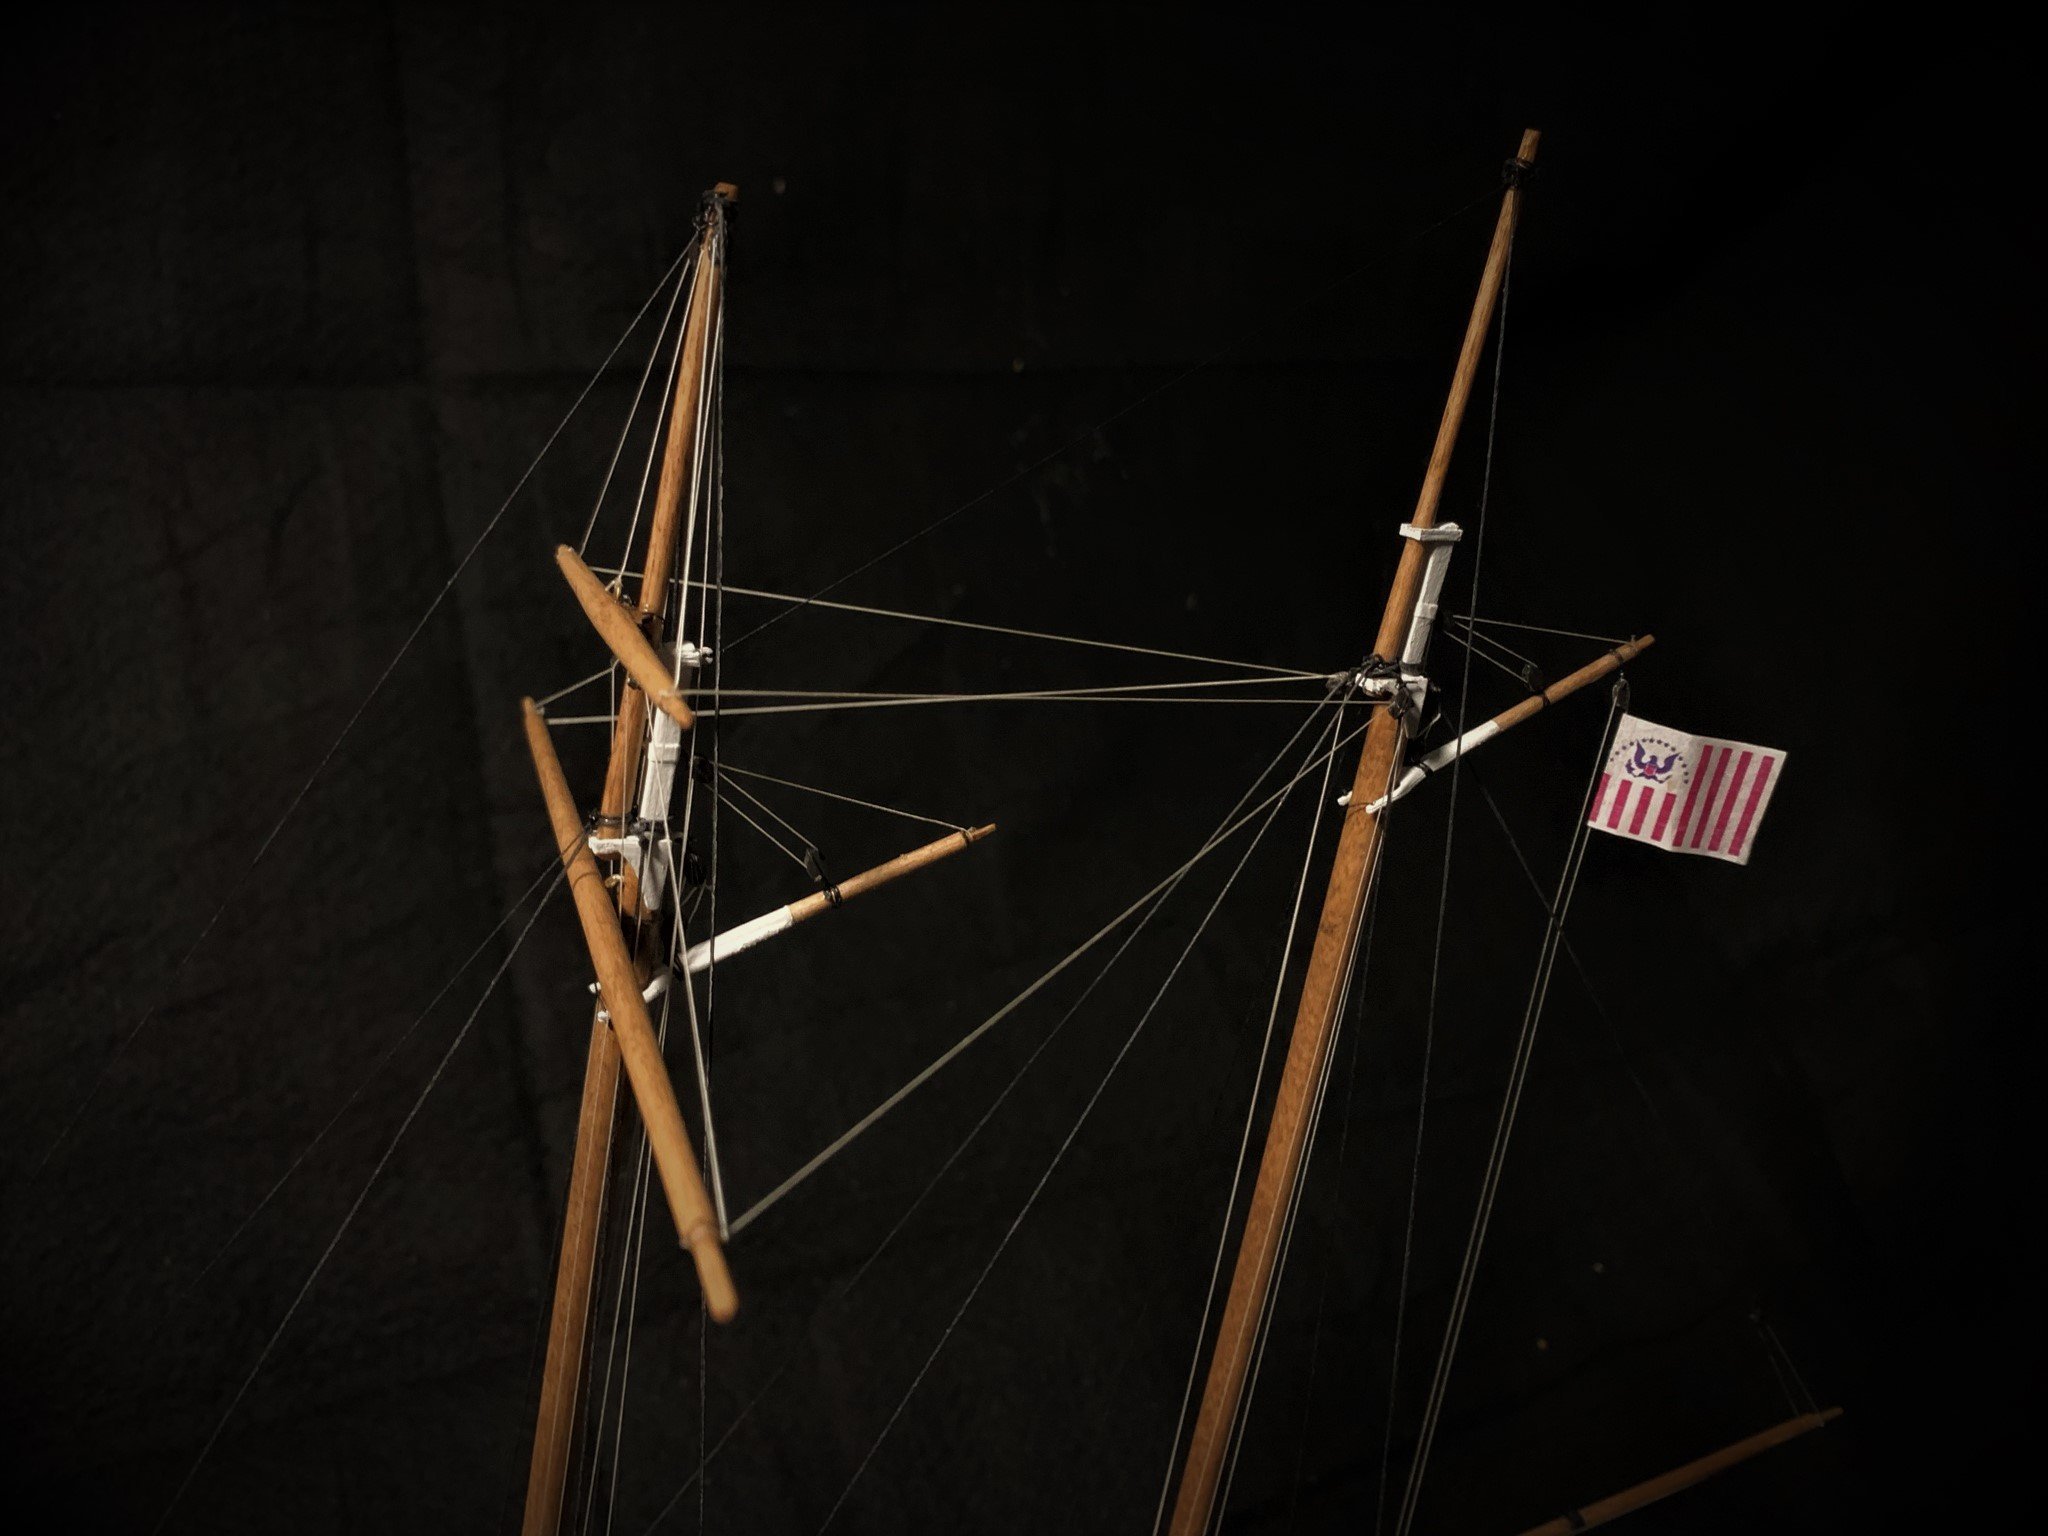
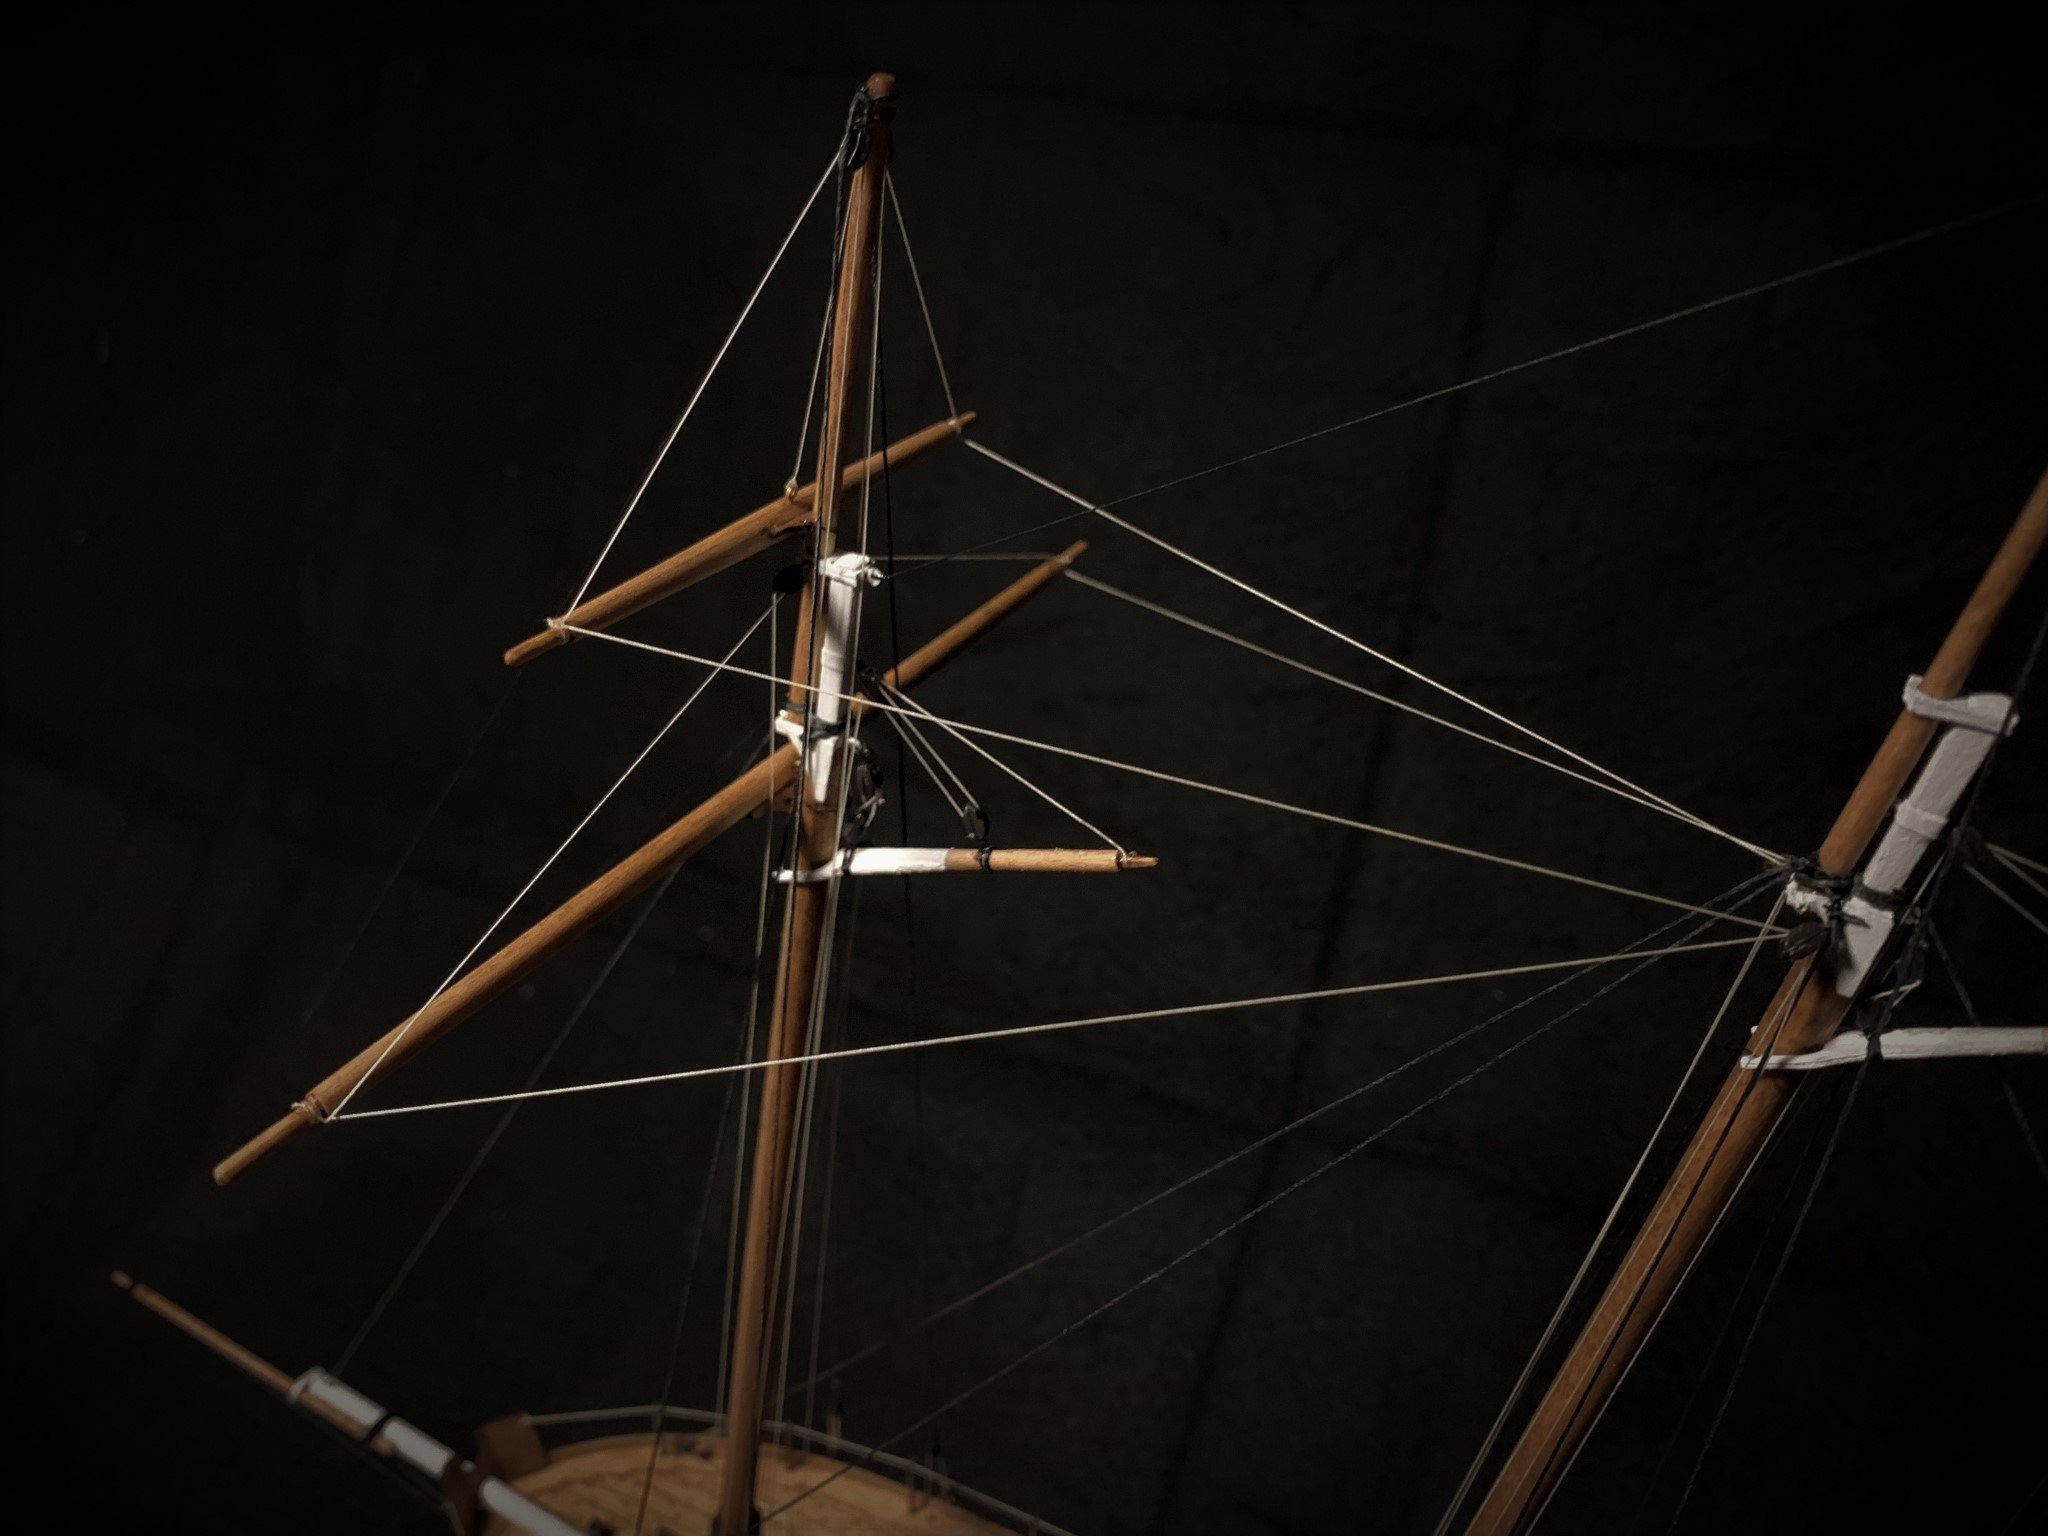
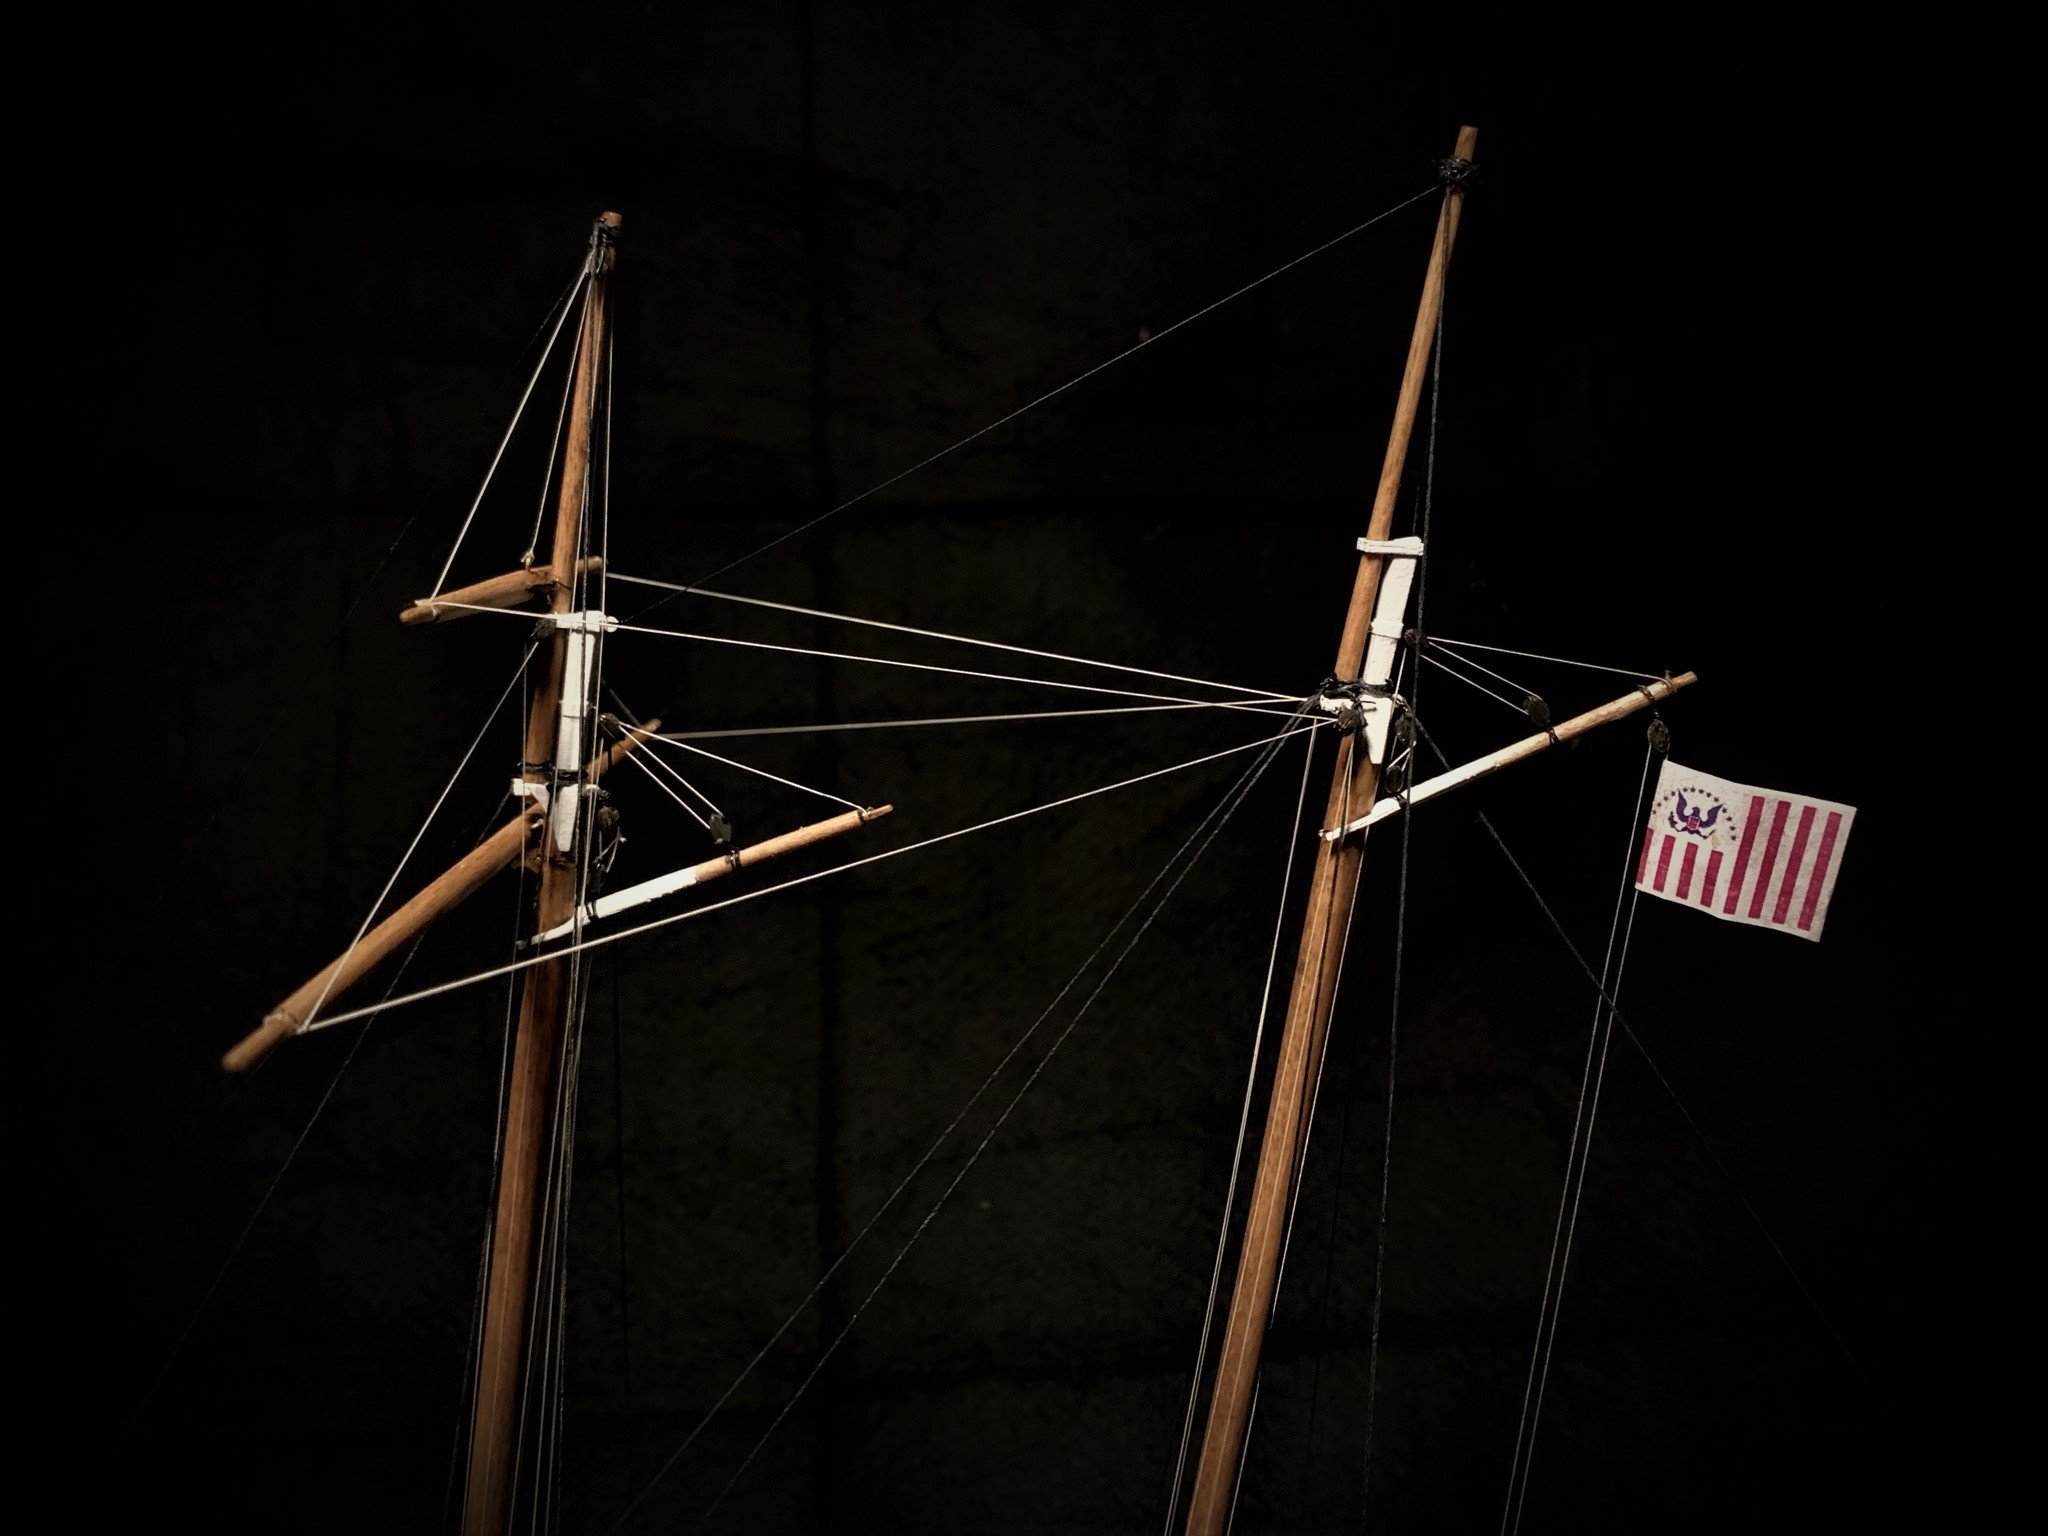
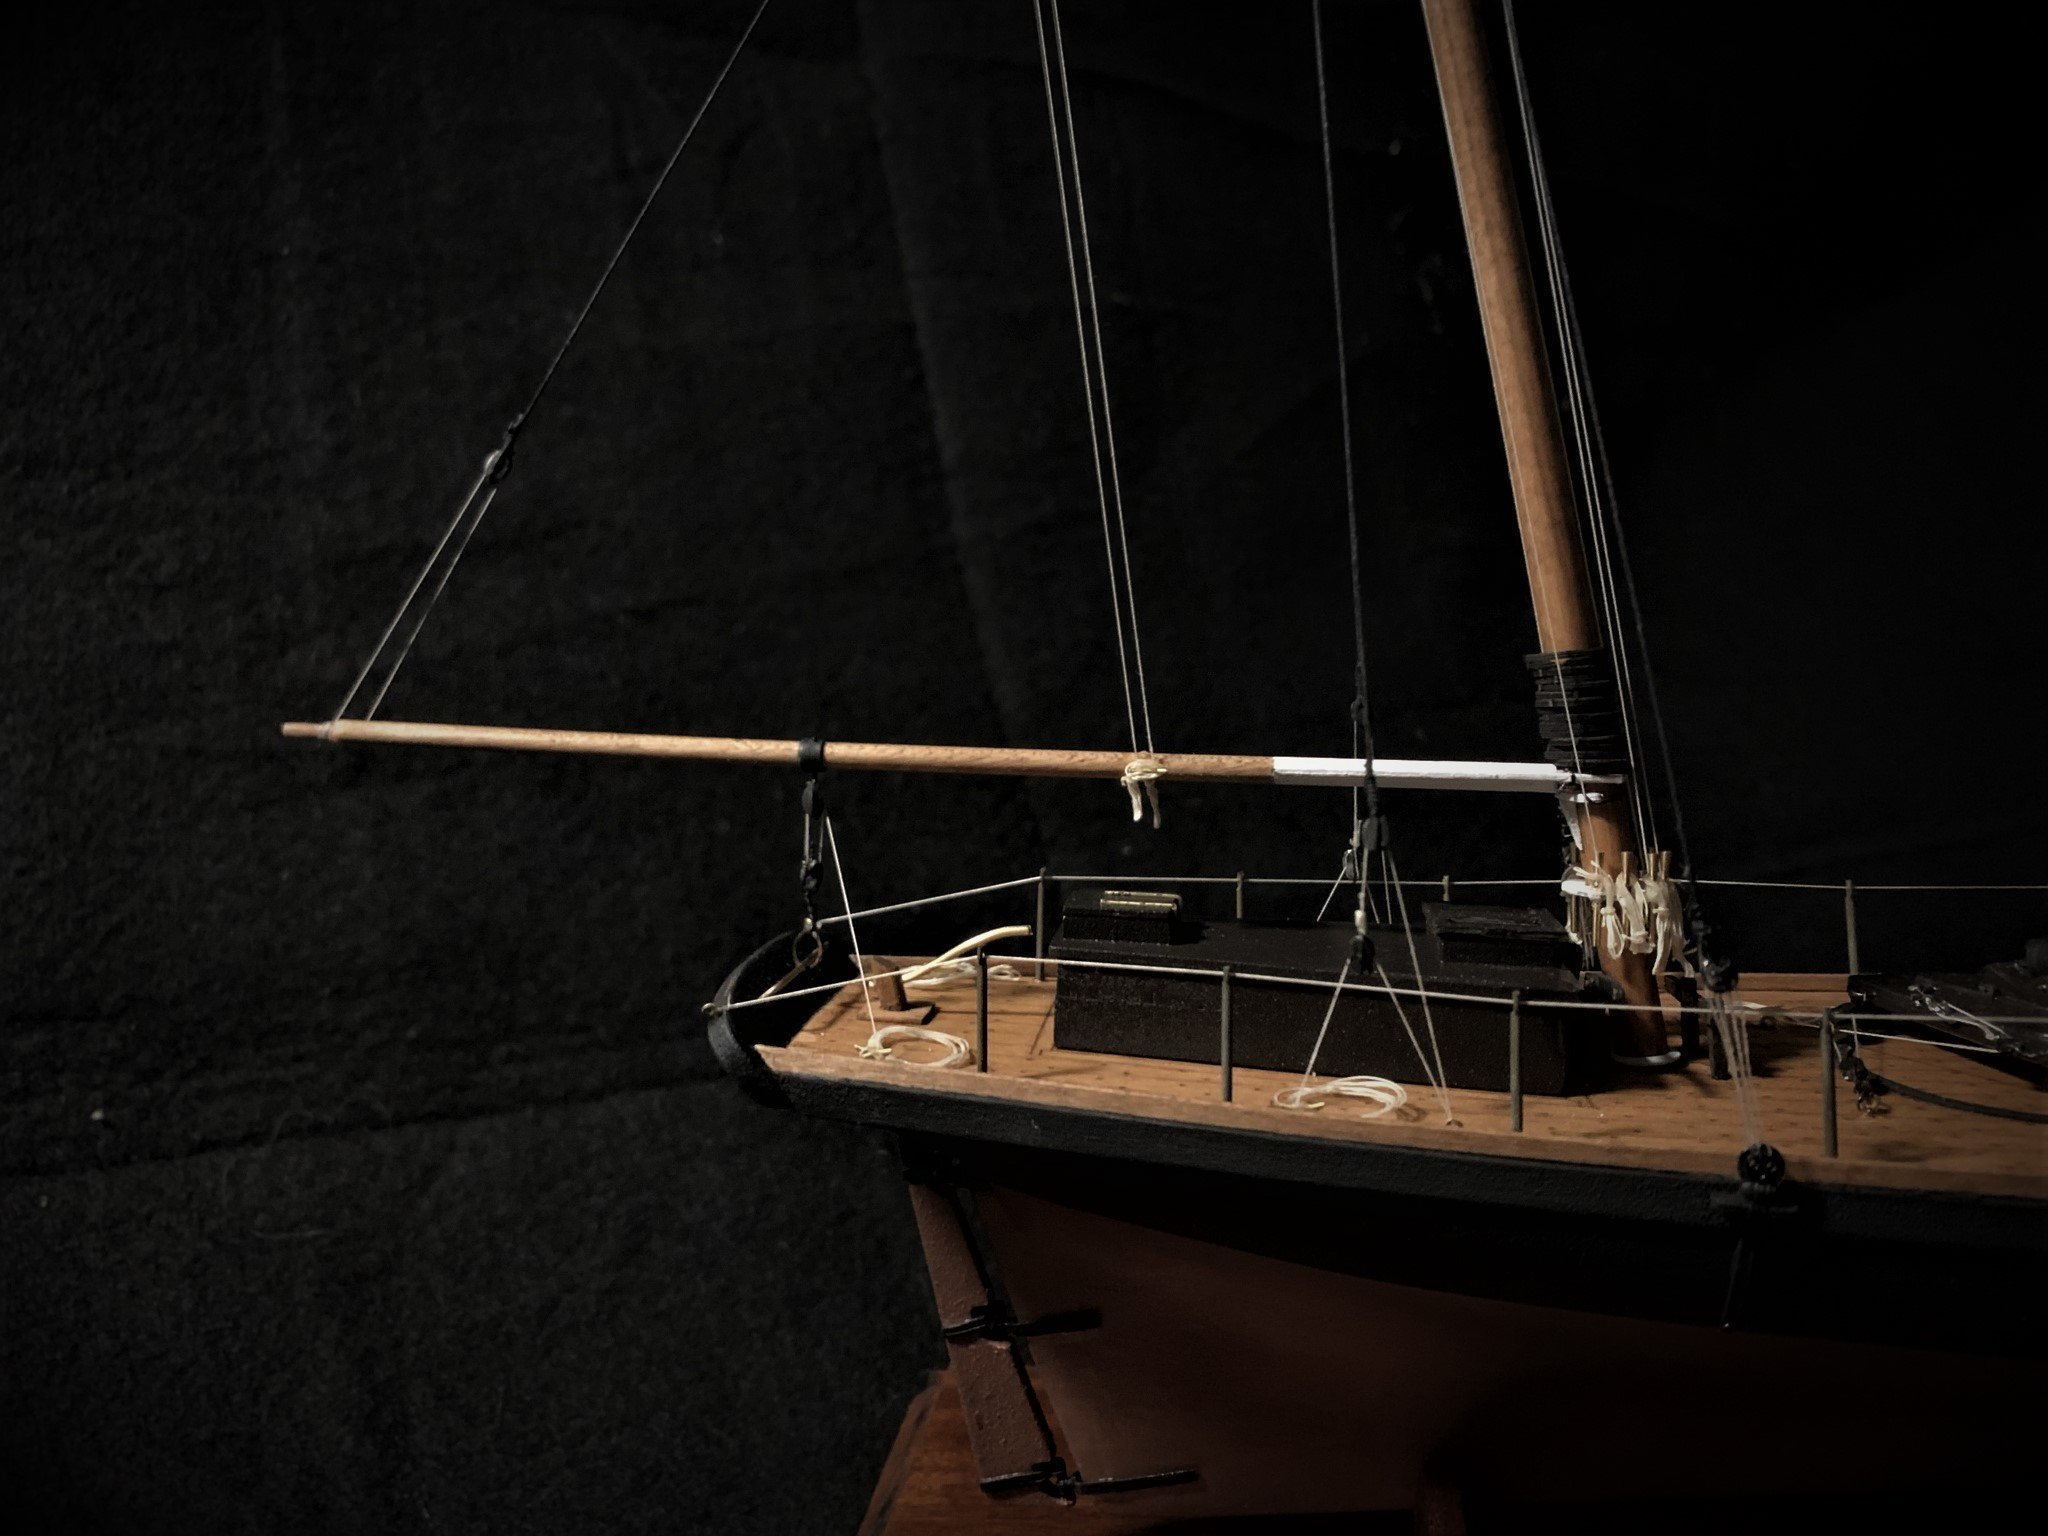
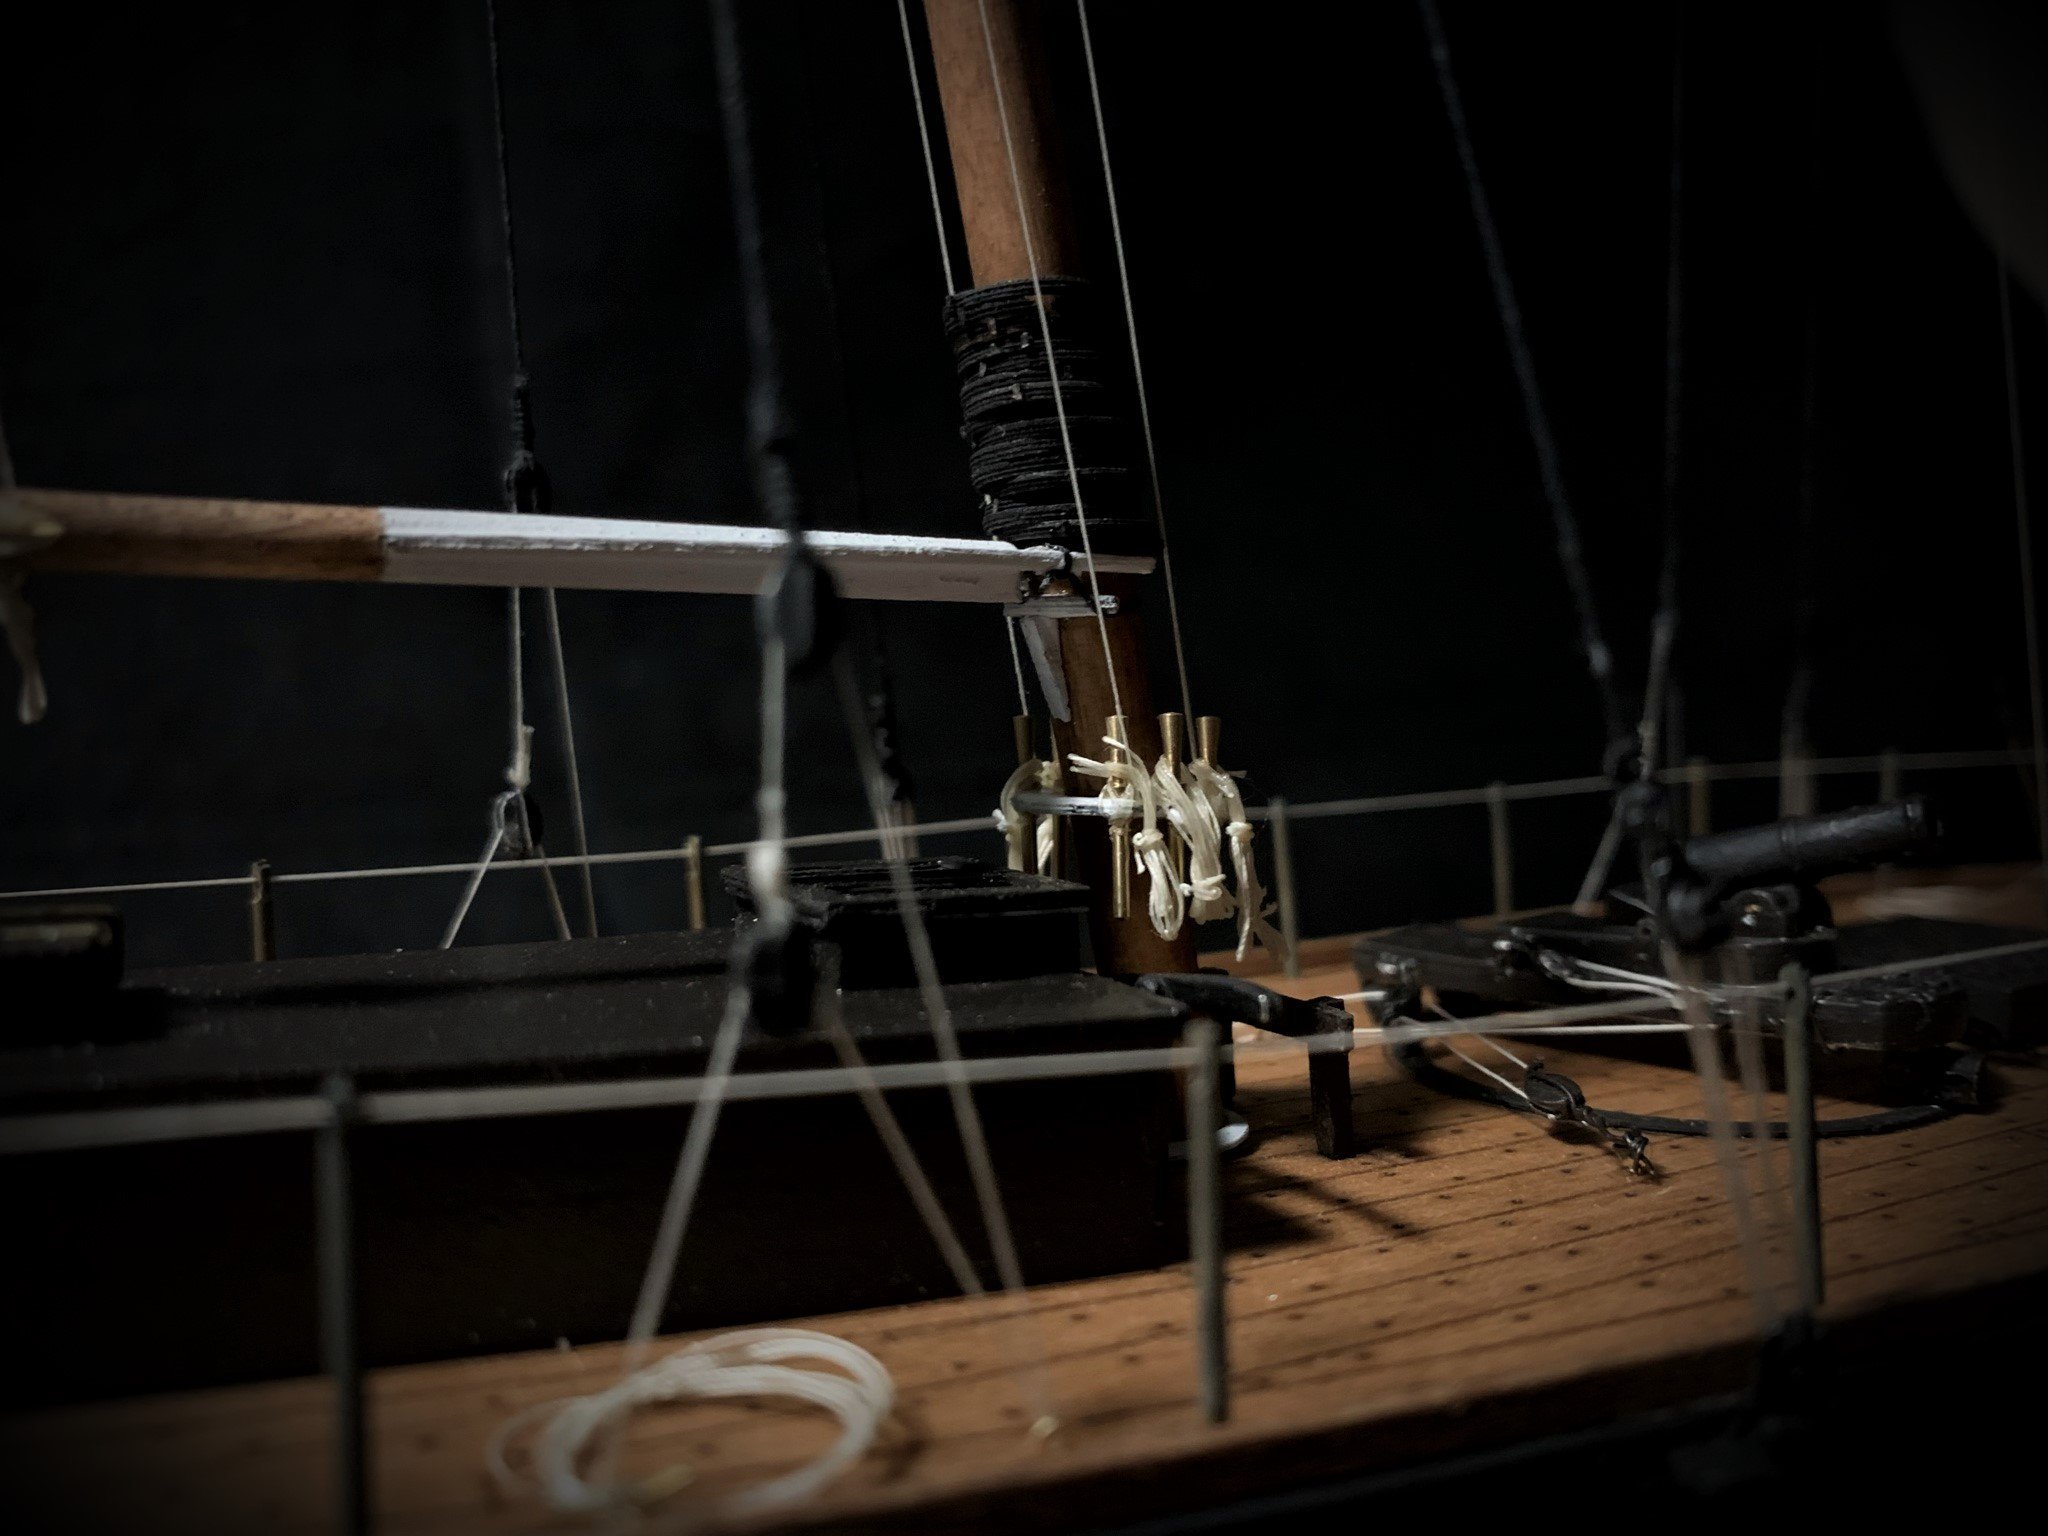
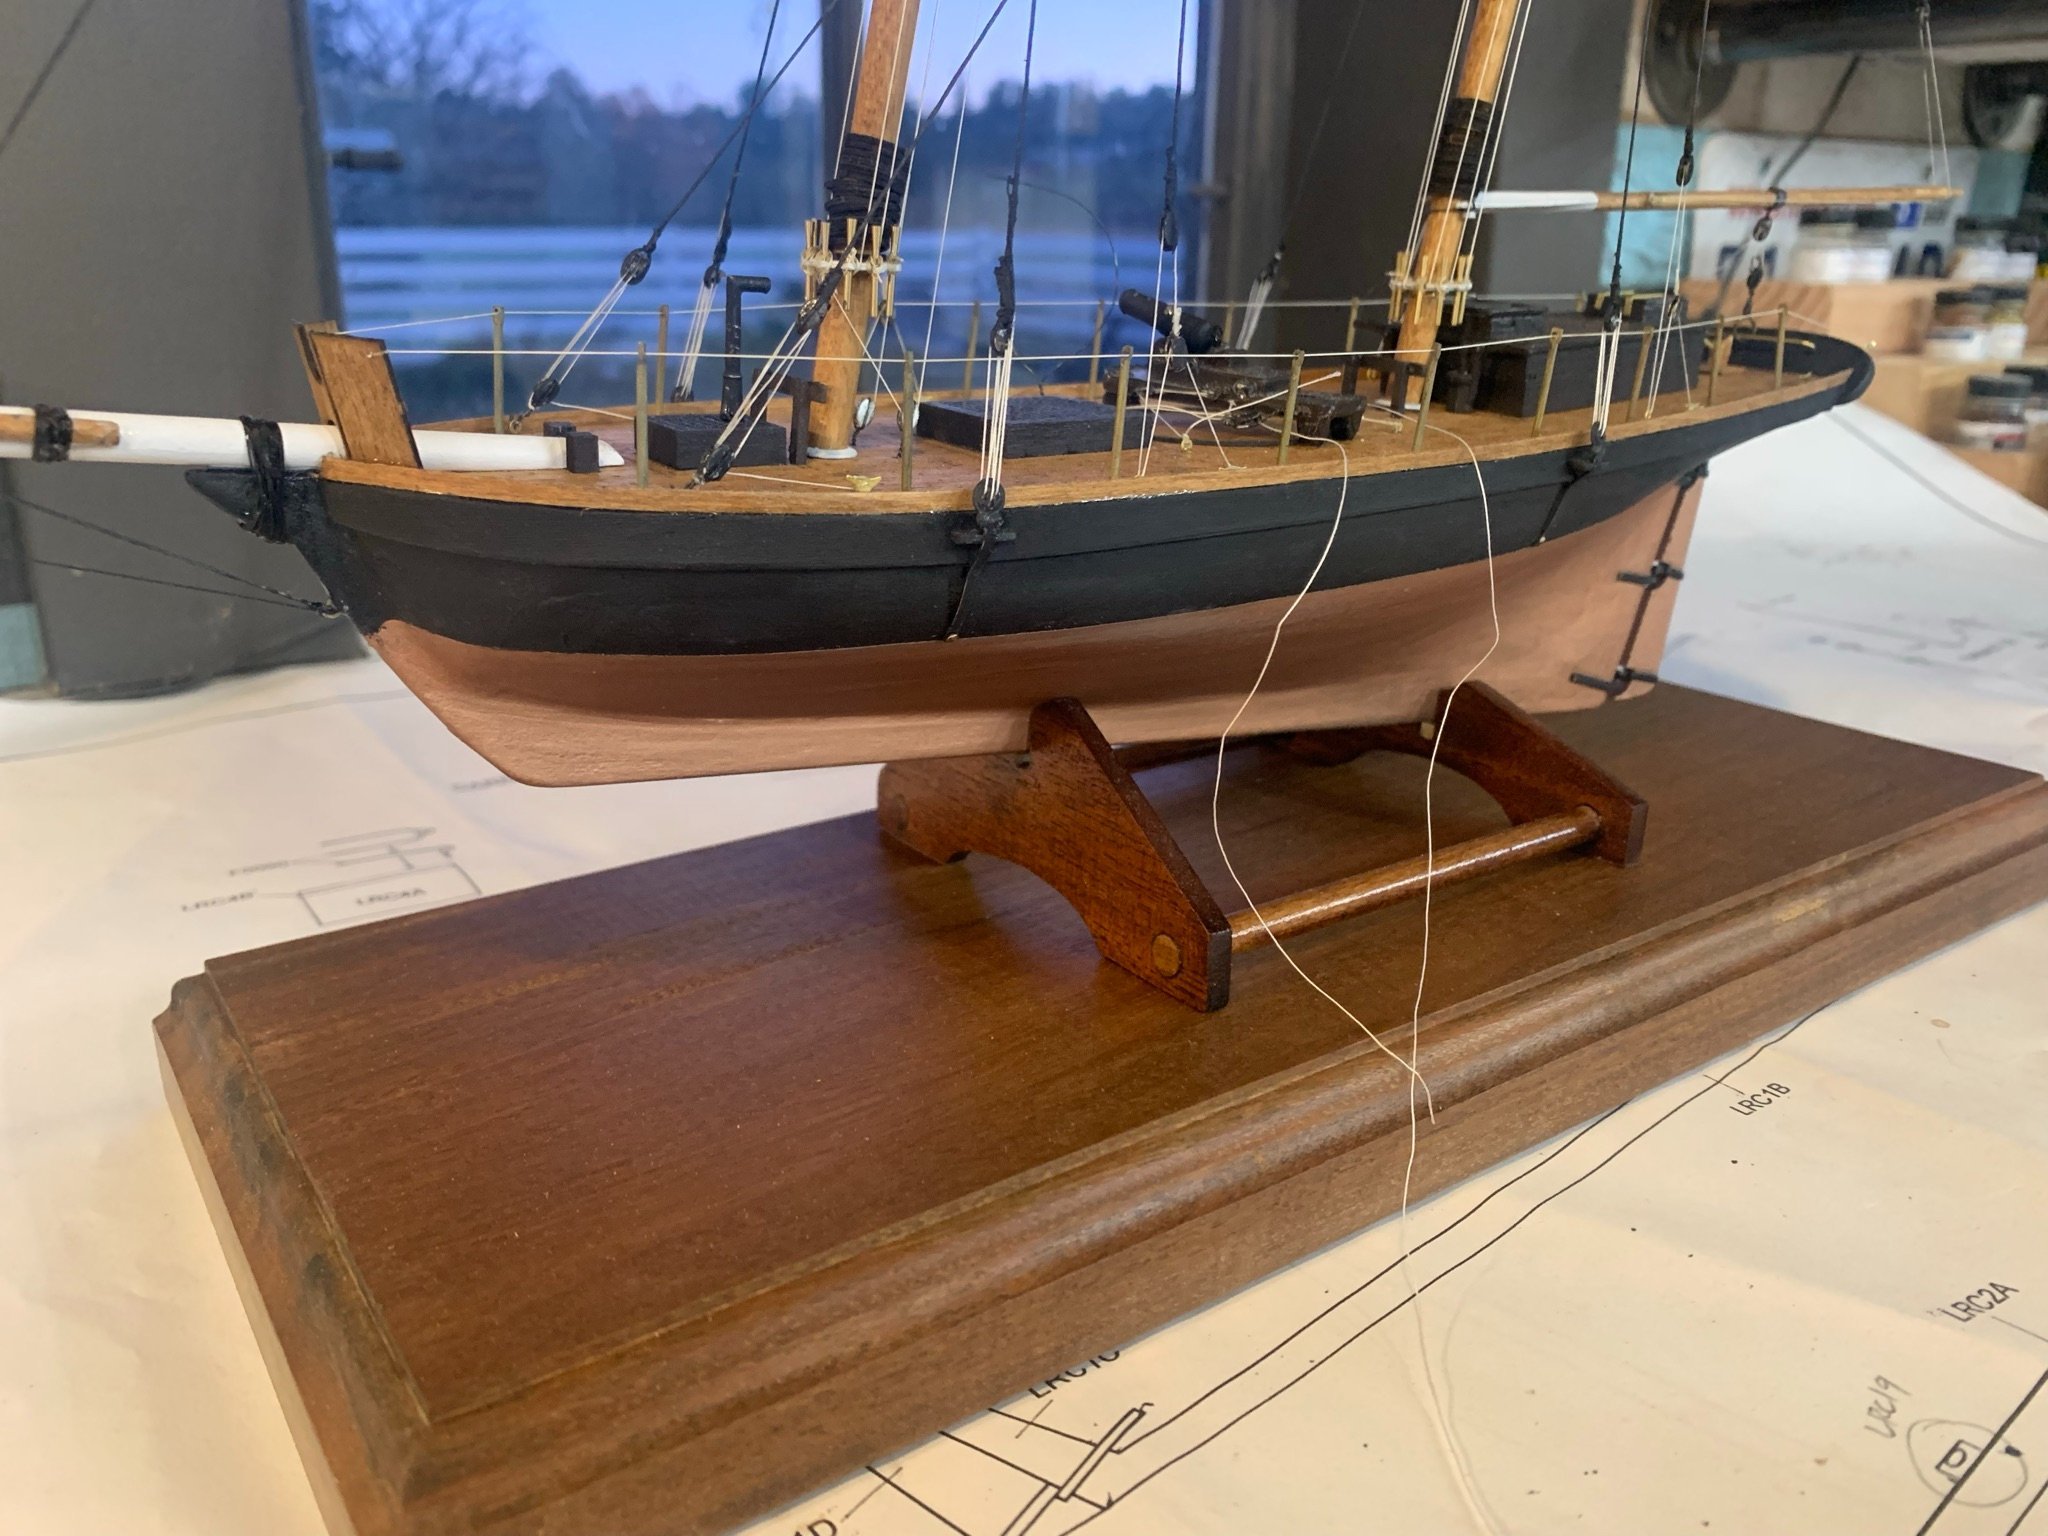
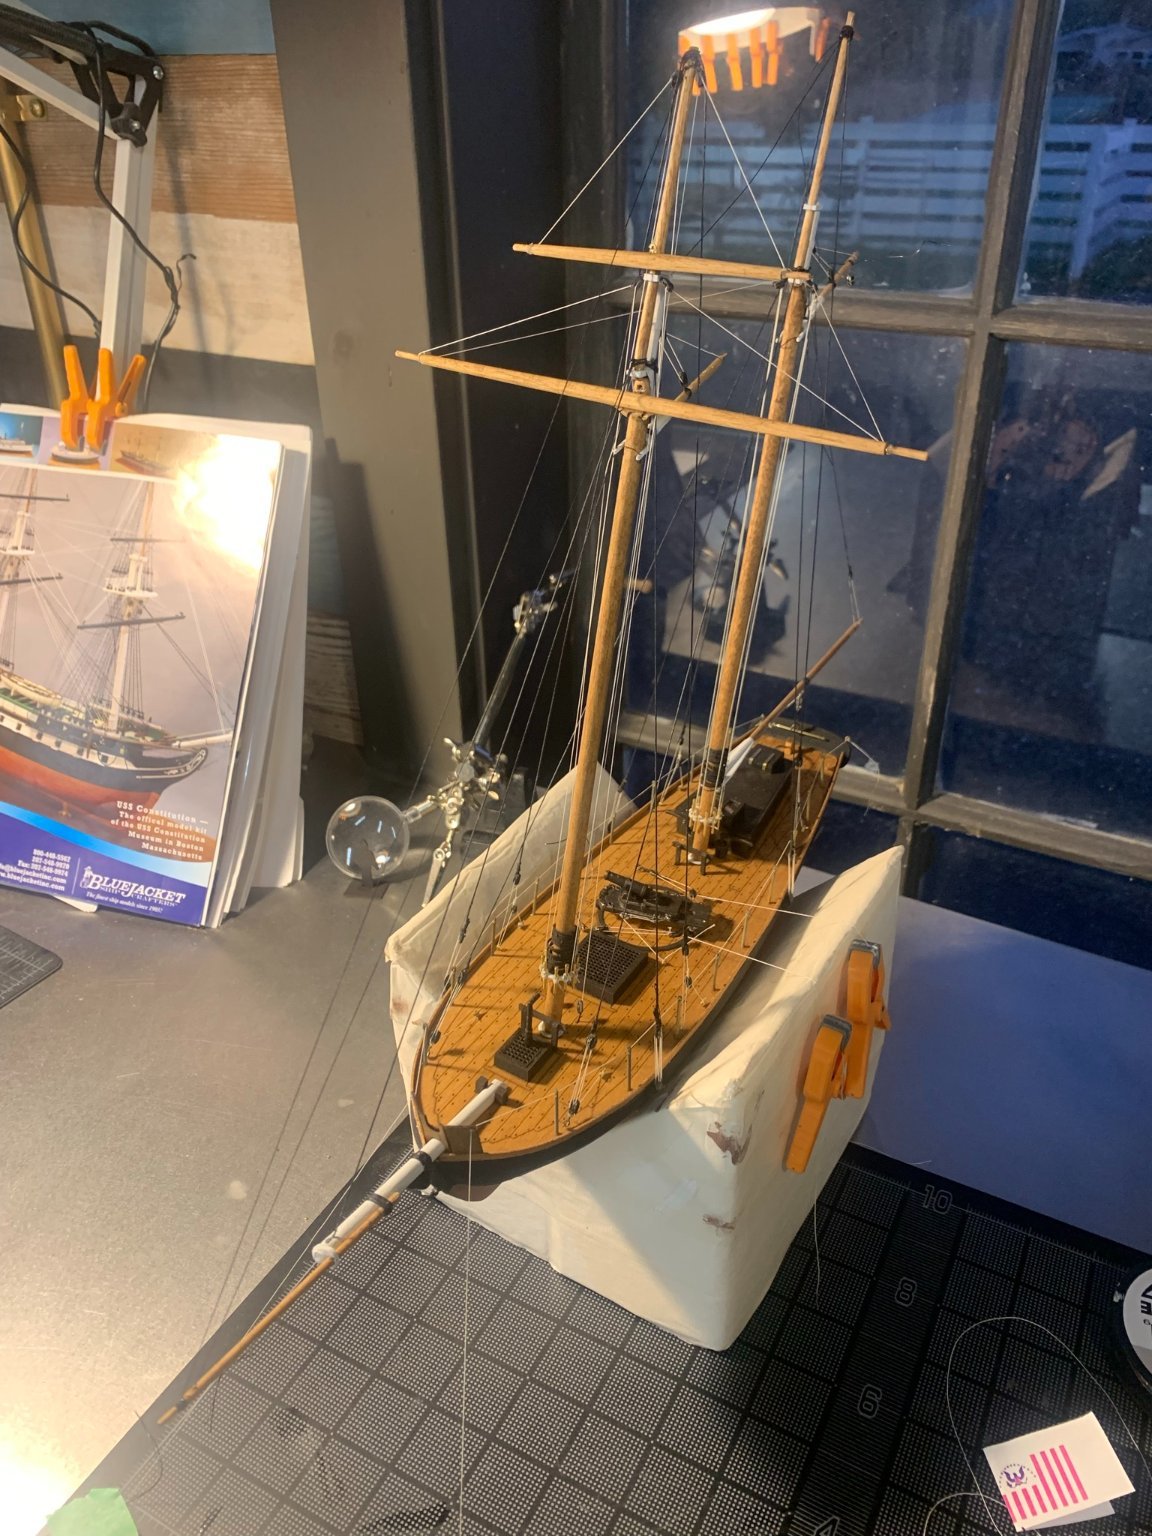
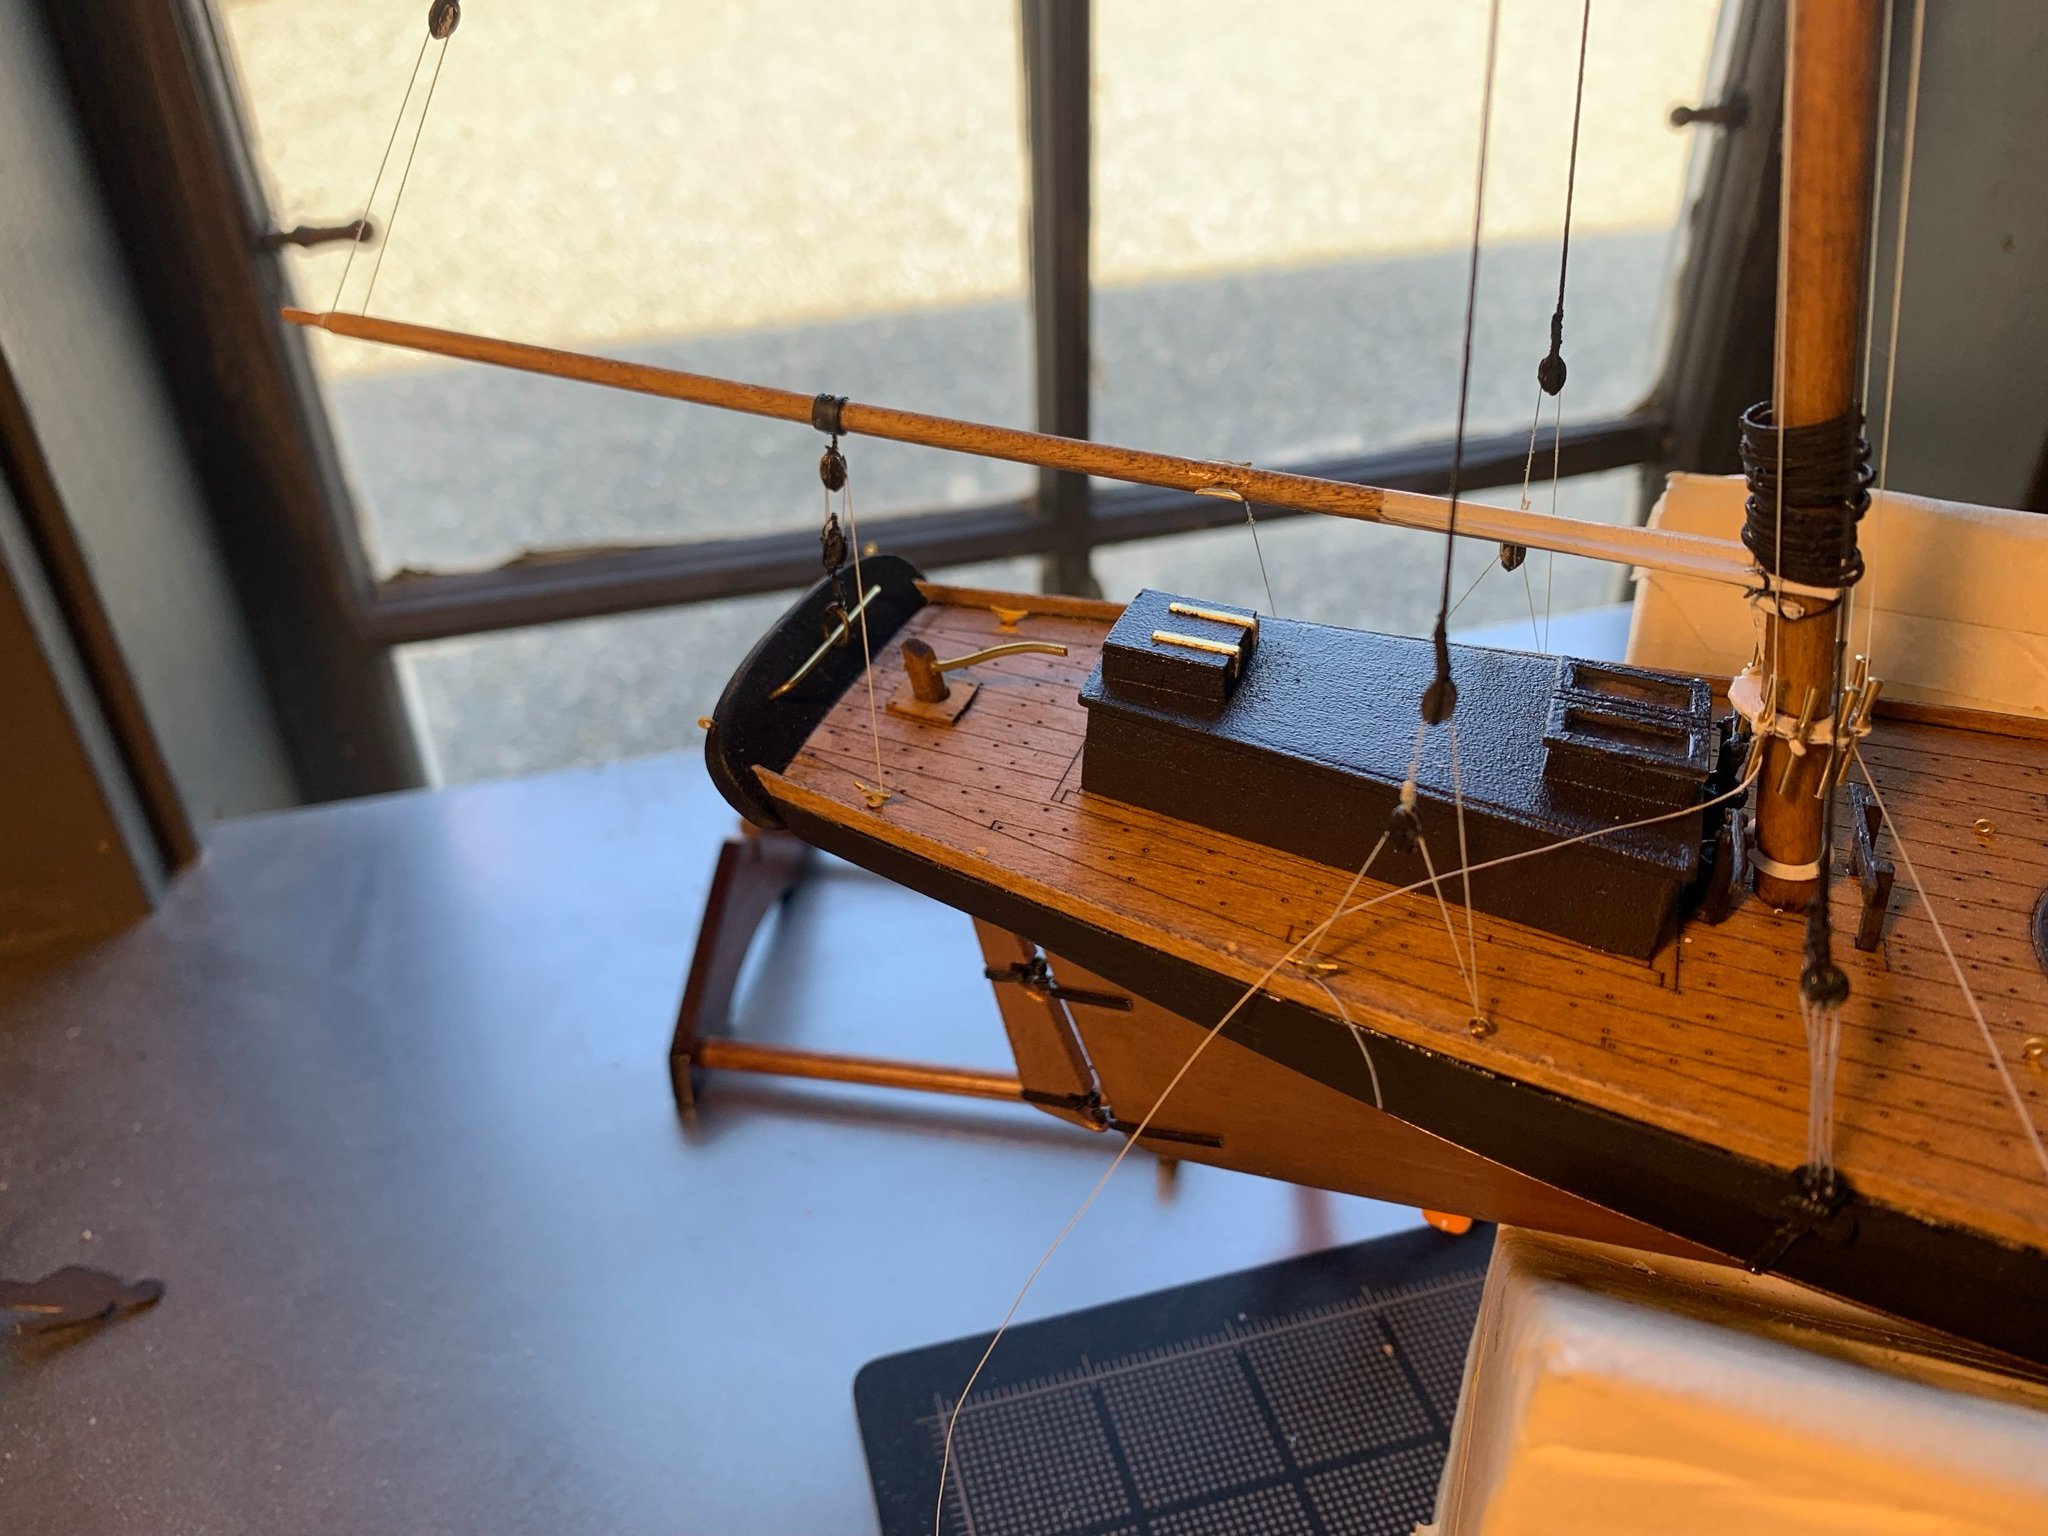
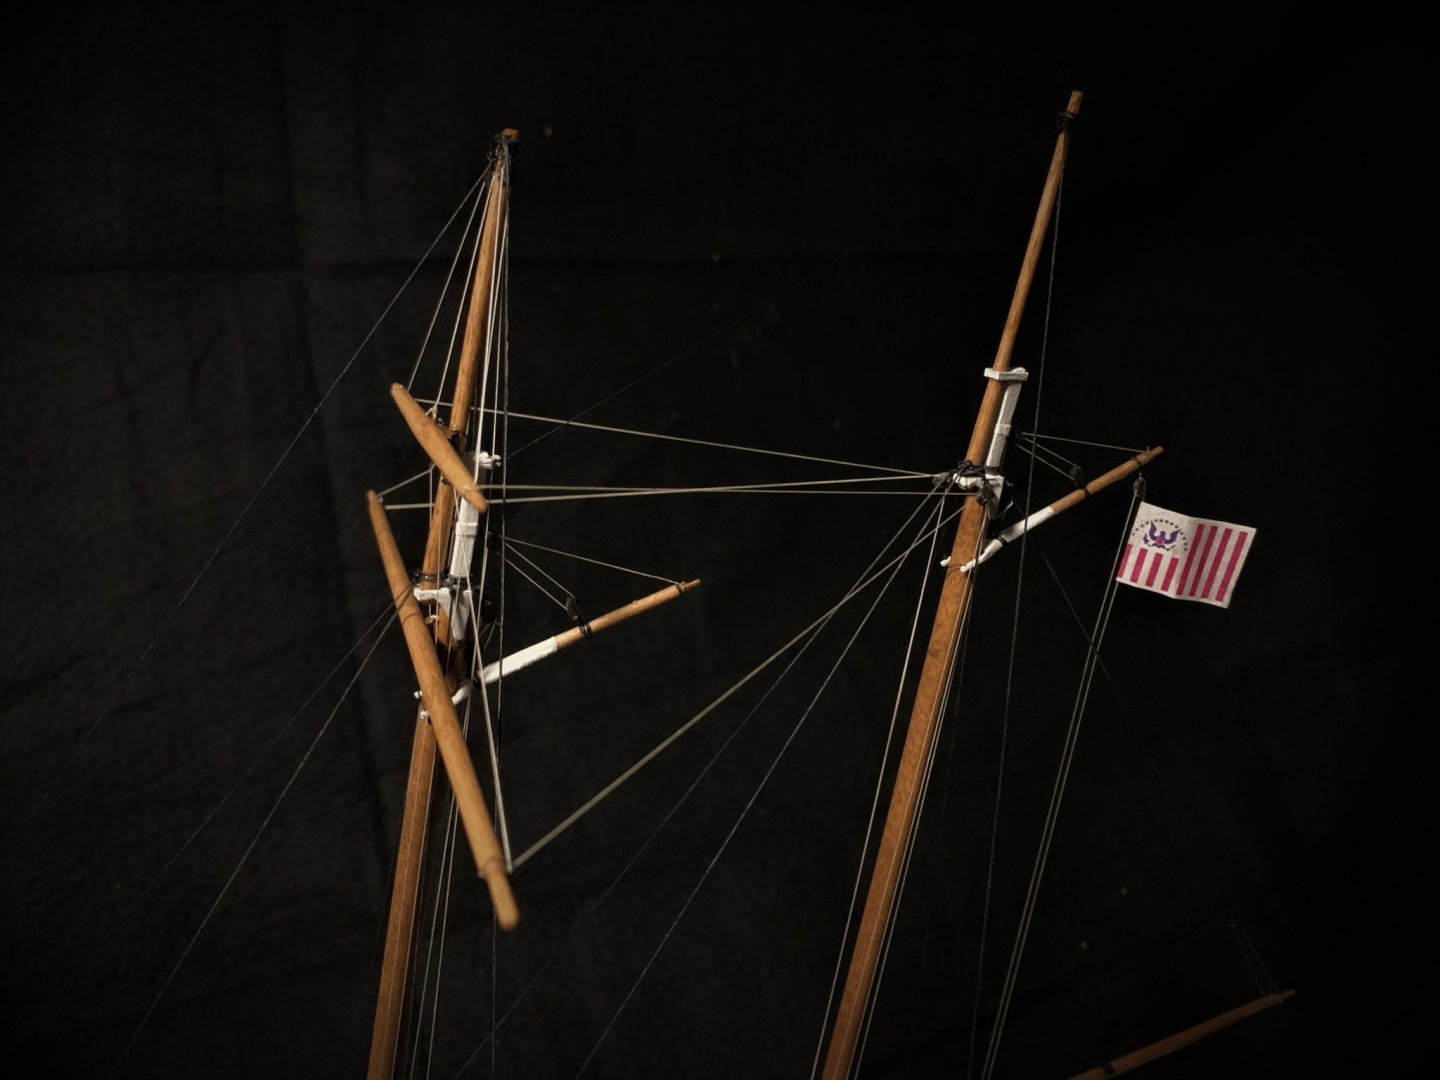
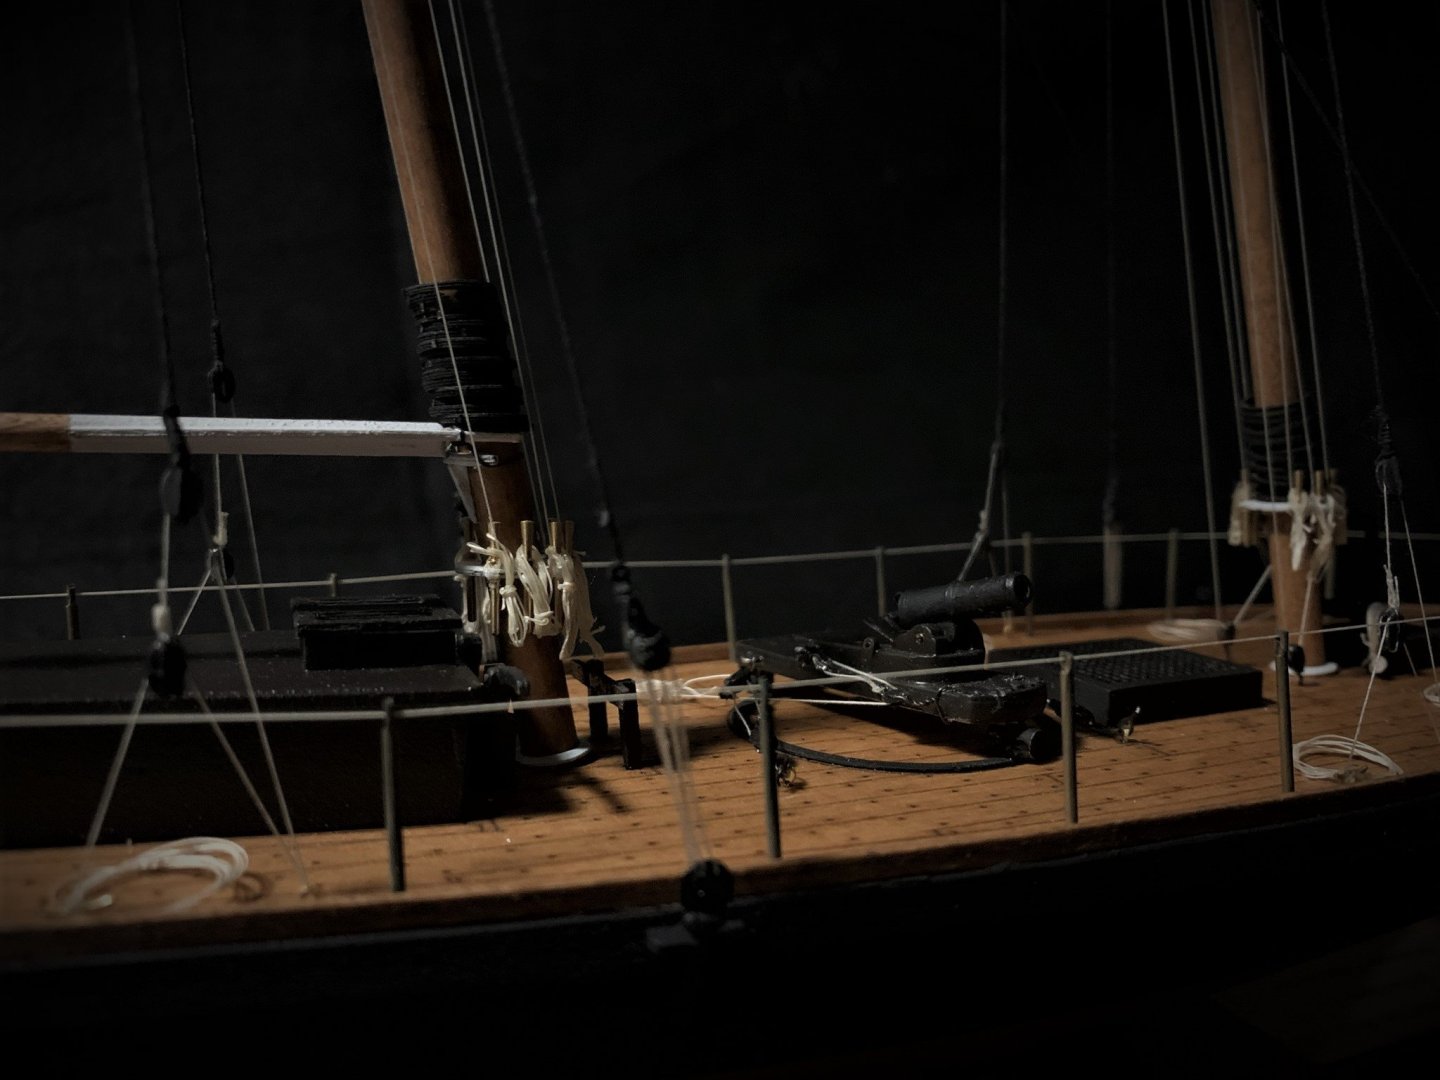
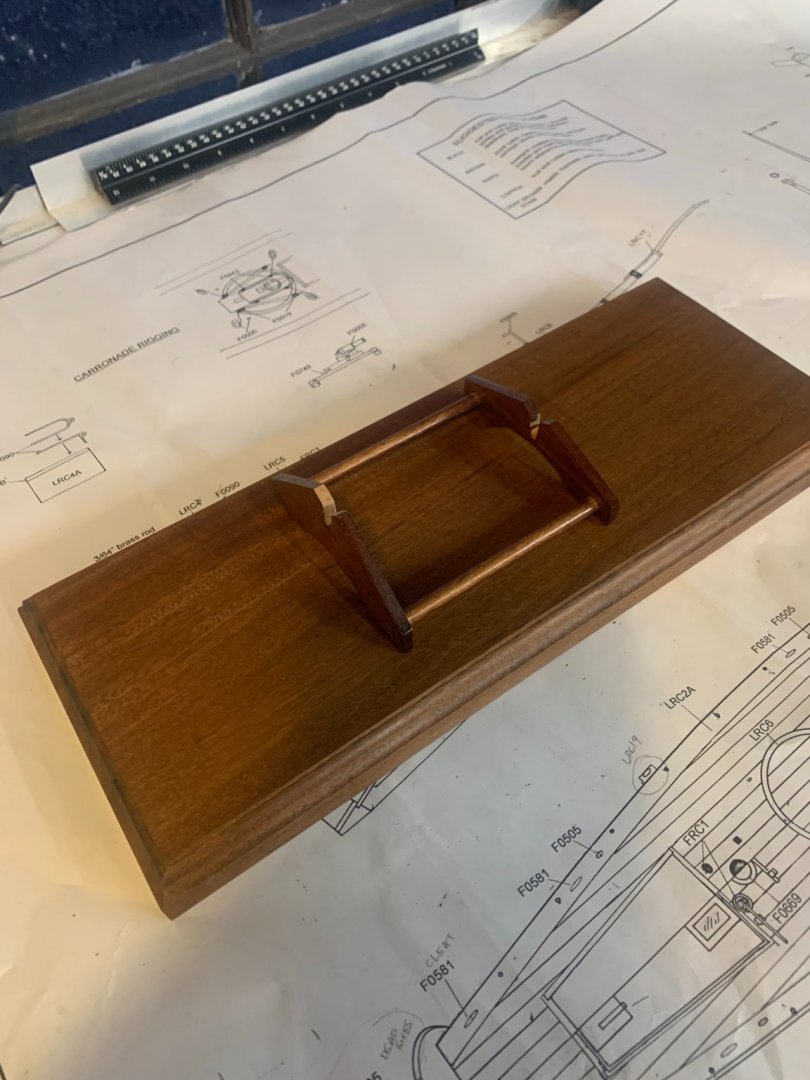
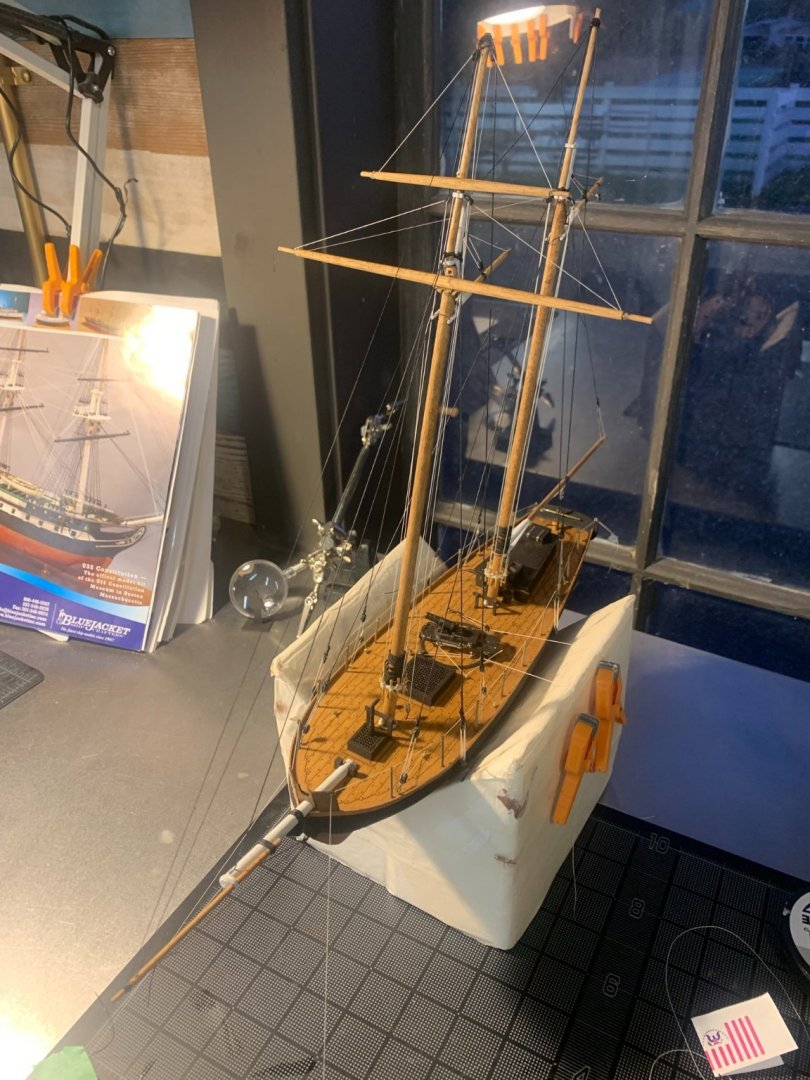
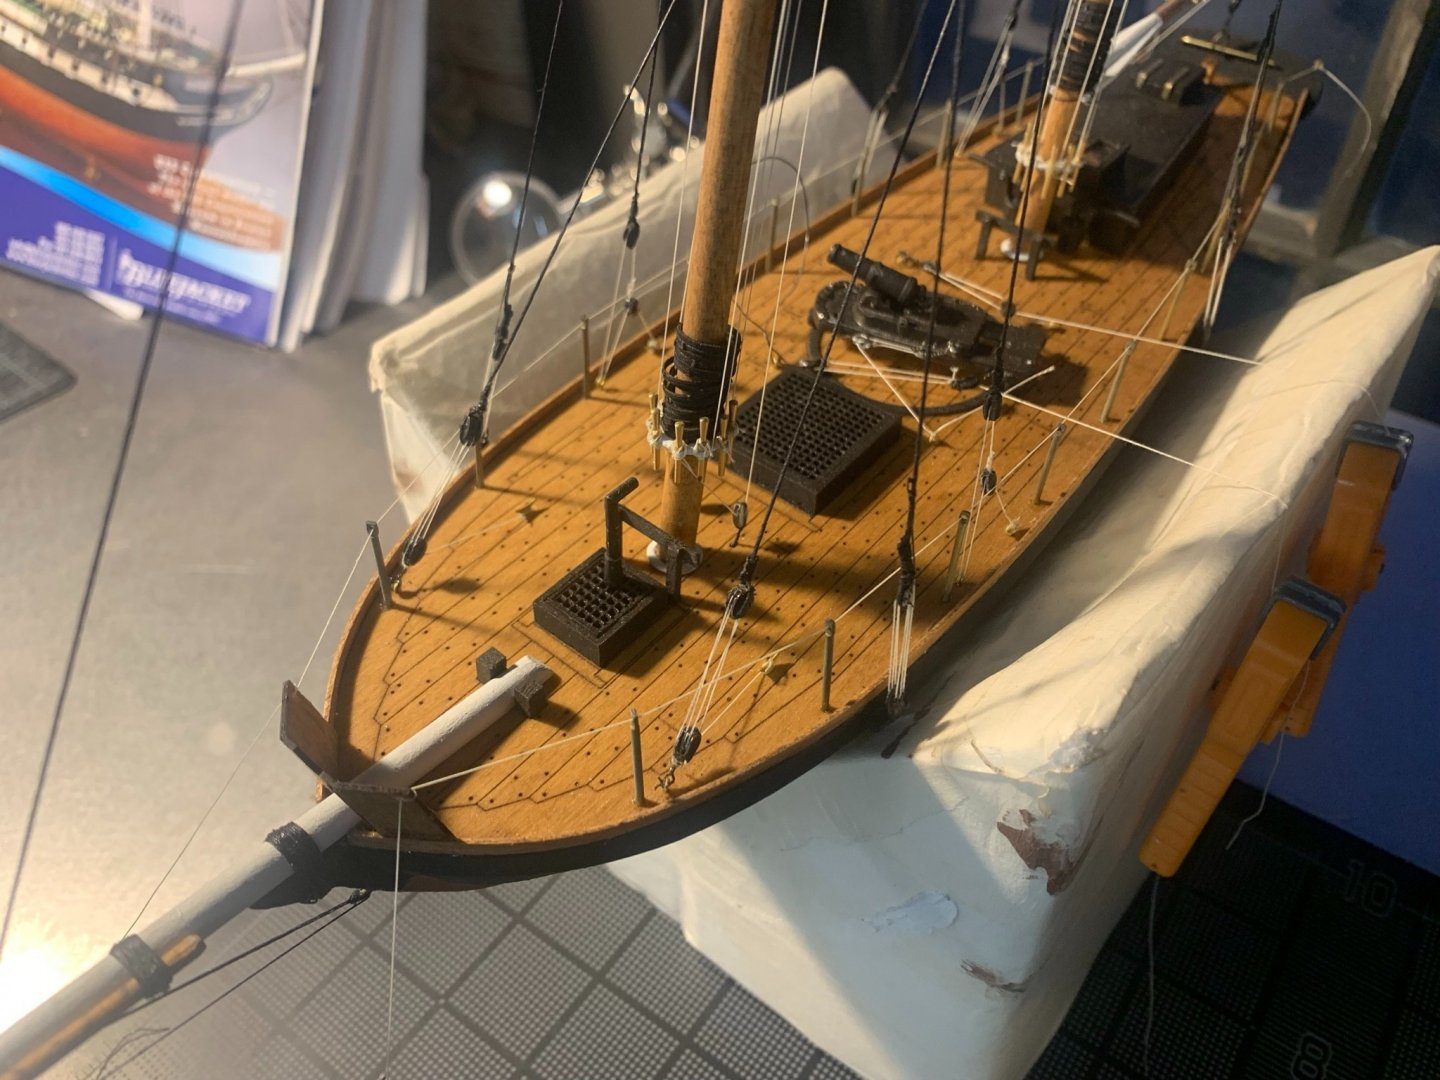
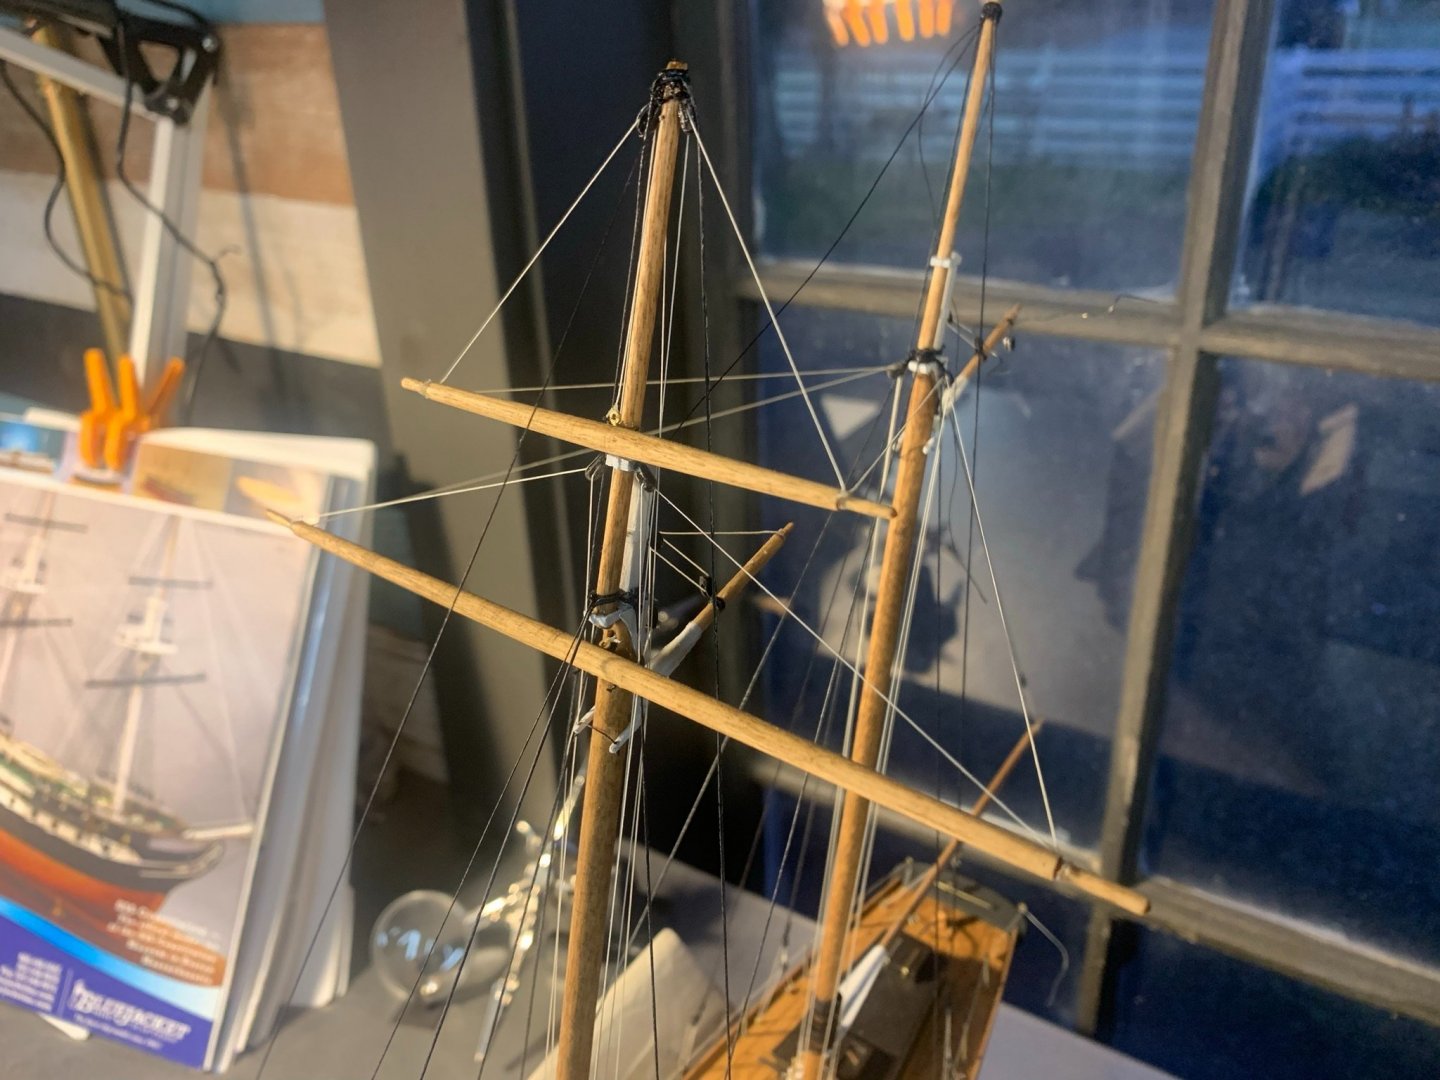
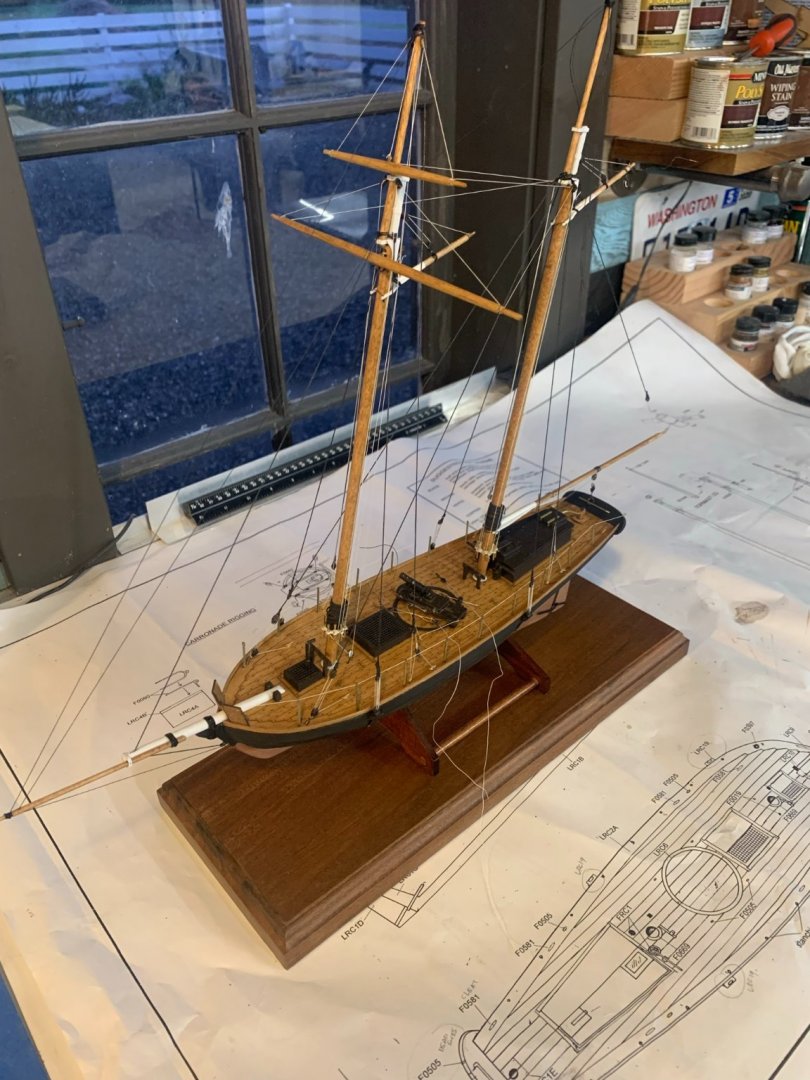
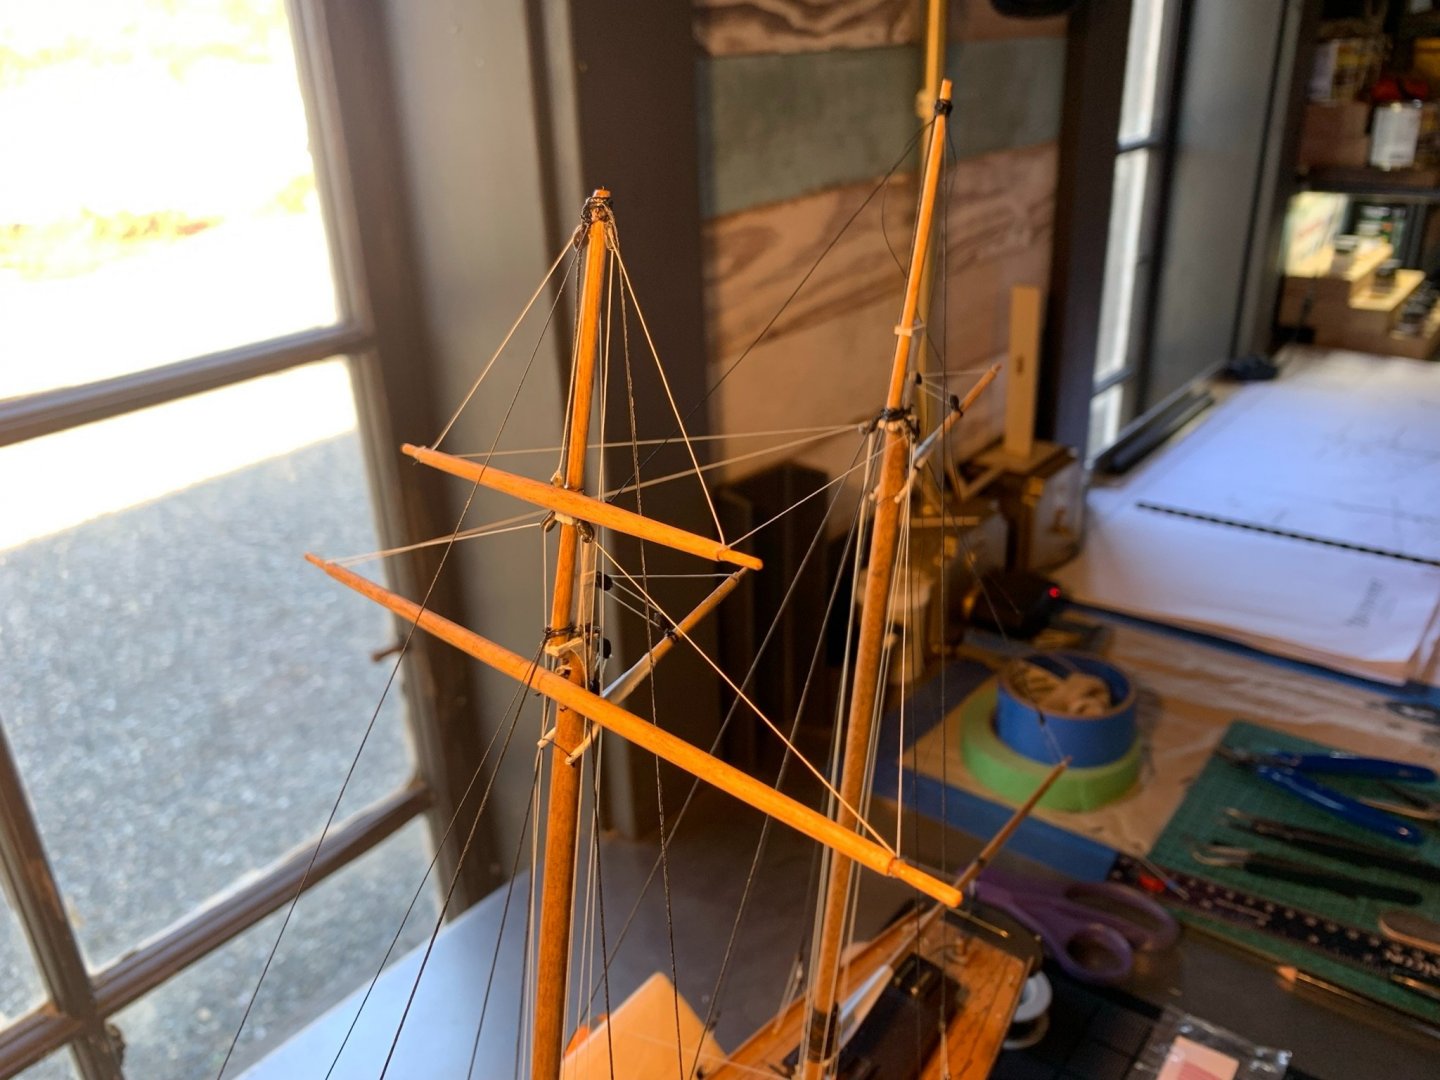
Another update on the Revenue Cutter build: Found a scrap piece of Ipe wood from a summer deck project to use as a base for the stand. Routed the edges with a Roman ogee bit, and did a little bit of hand finishing on some of the sharp edges. Applied a poly oil finish and worked on dry-fitting the stand: A close up of the base and stand dryfitting: Some carronade control lines prior to fastening.. Began mounting the carronade, and saw from various drawings, that the cannon was mounted pointing directly forward (pointed directly at the foremast). I just didn't feel great having the cannon pointed at the ship, and opted to set it pointed abeam...thus projecting fire towards the starboard side. Closer view of the deck: Up close view of the upper portions of the masts, showing yards, lines and halyards: More to come soon -

- 27 replies
-
- 2
-
-
- Revenue Cutter
- BlueJacket Shipcrafters
- (and 1 more)
-
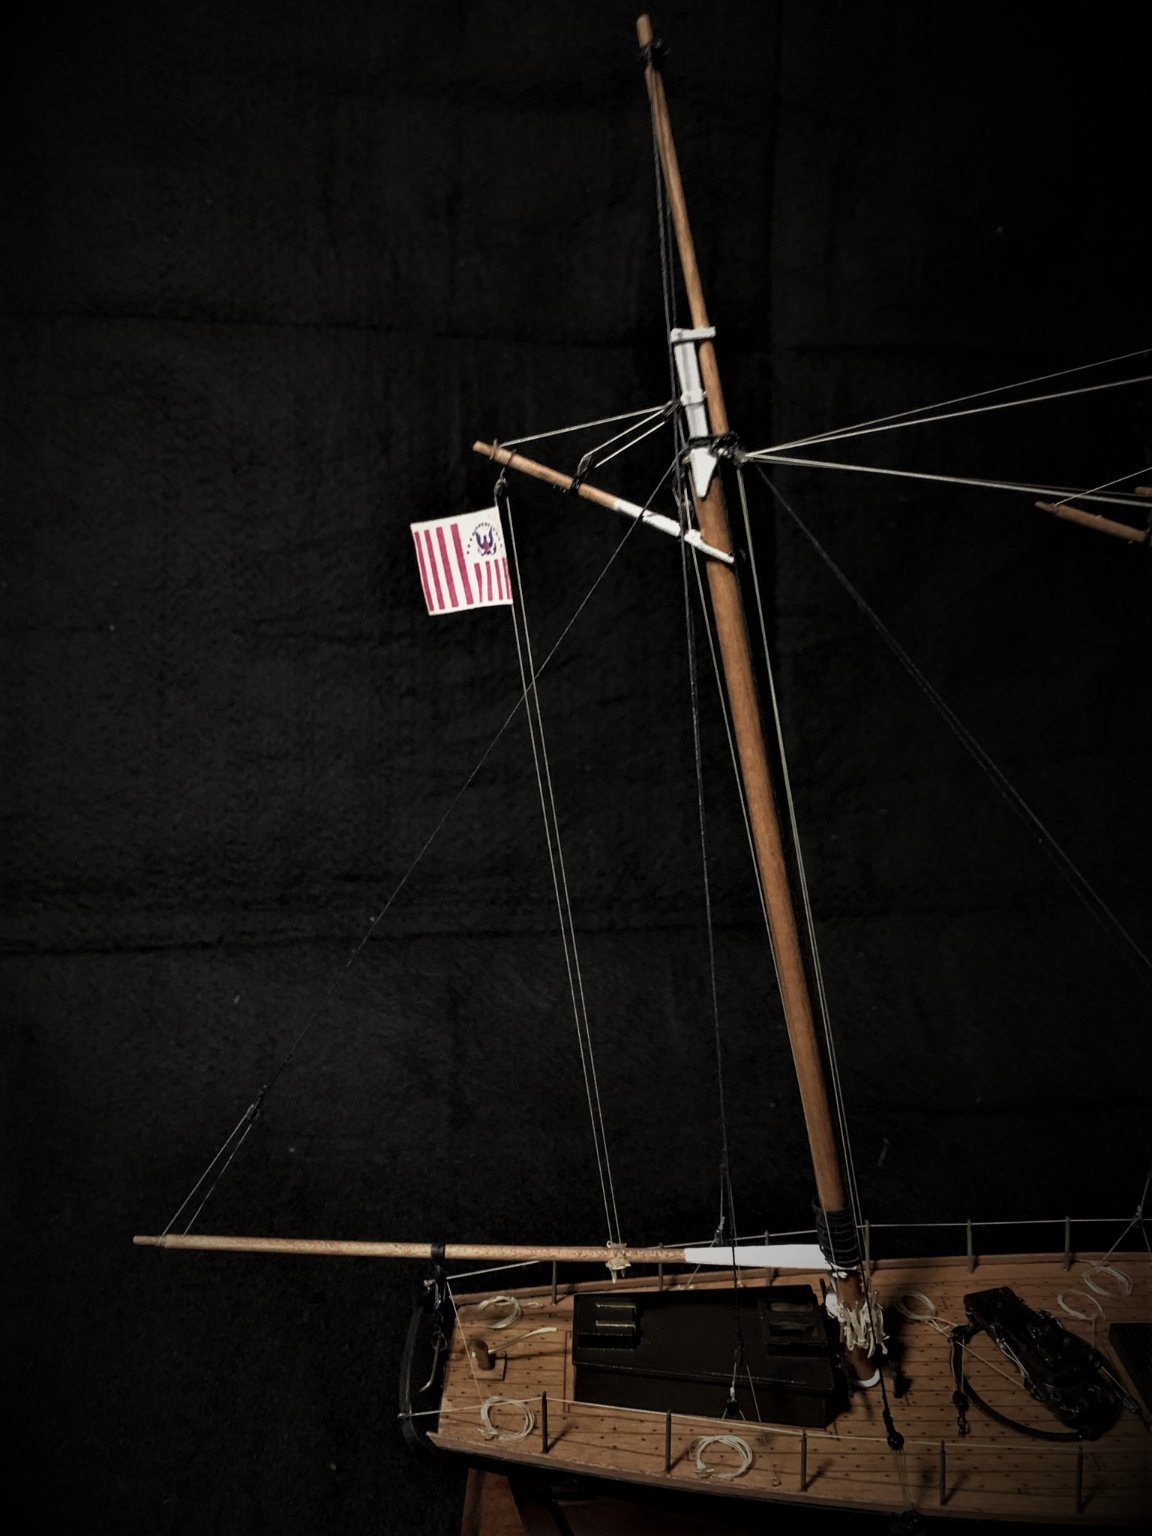
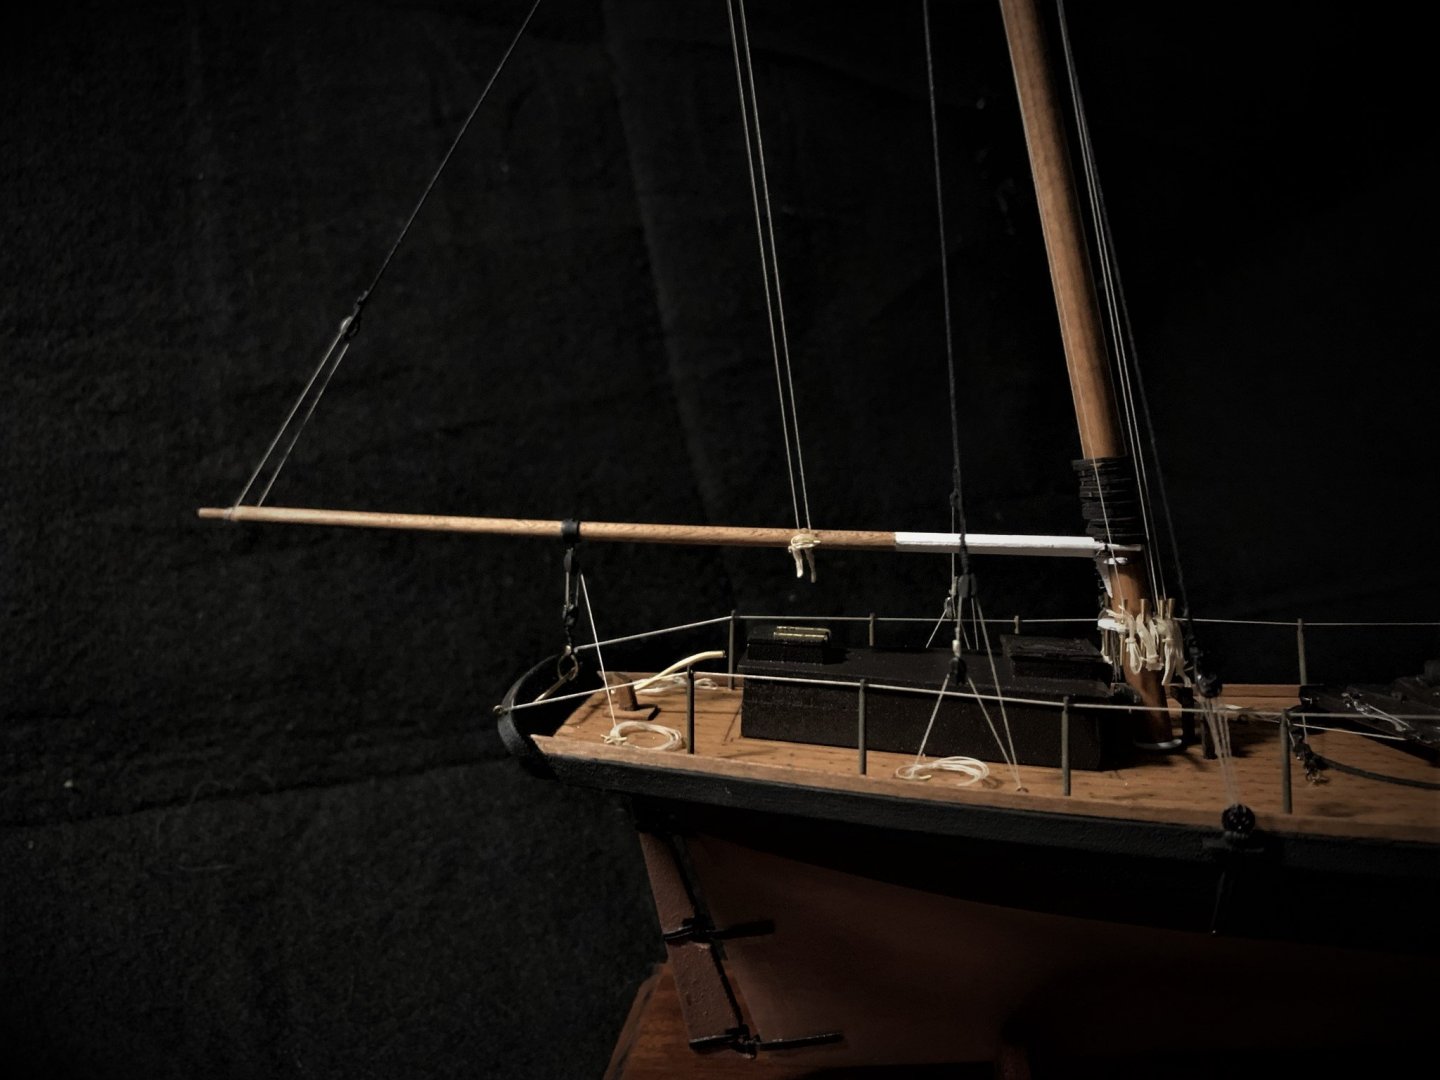
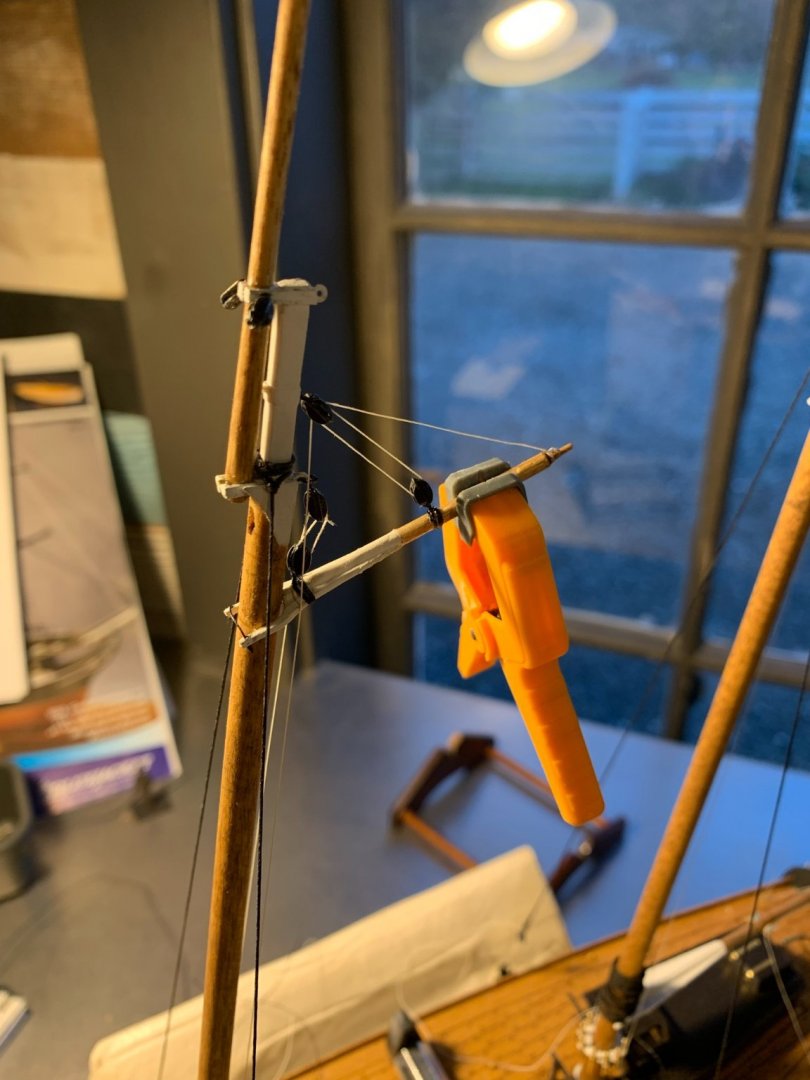
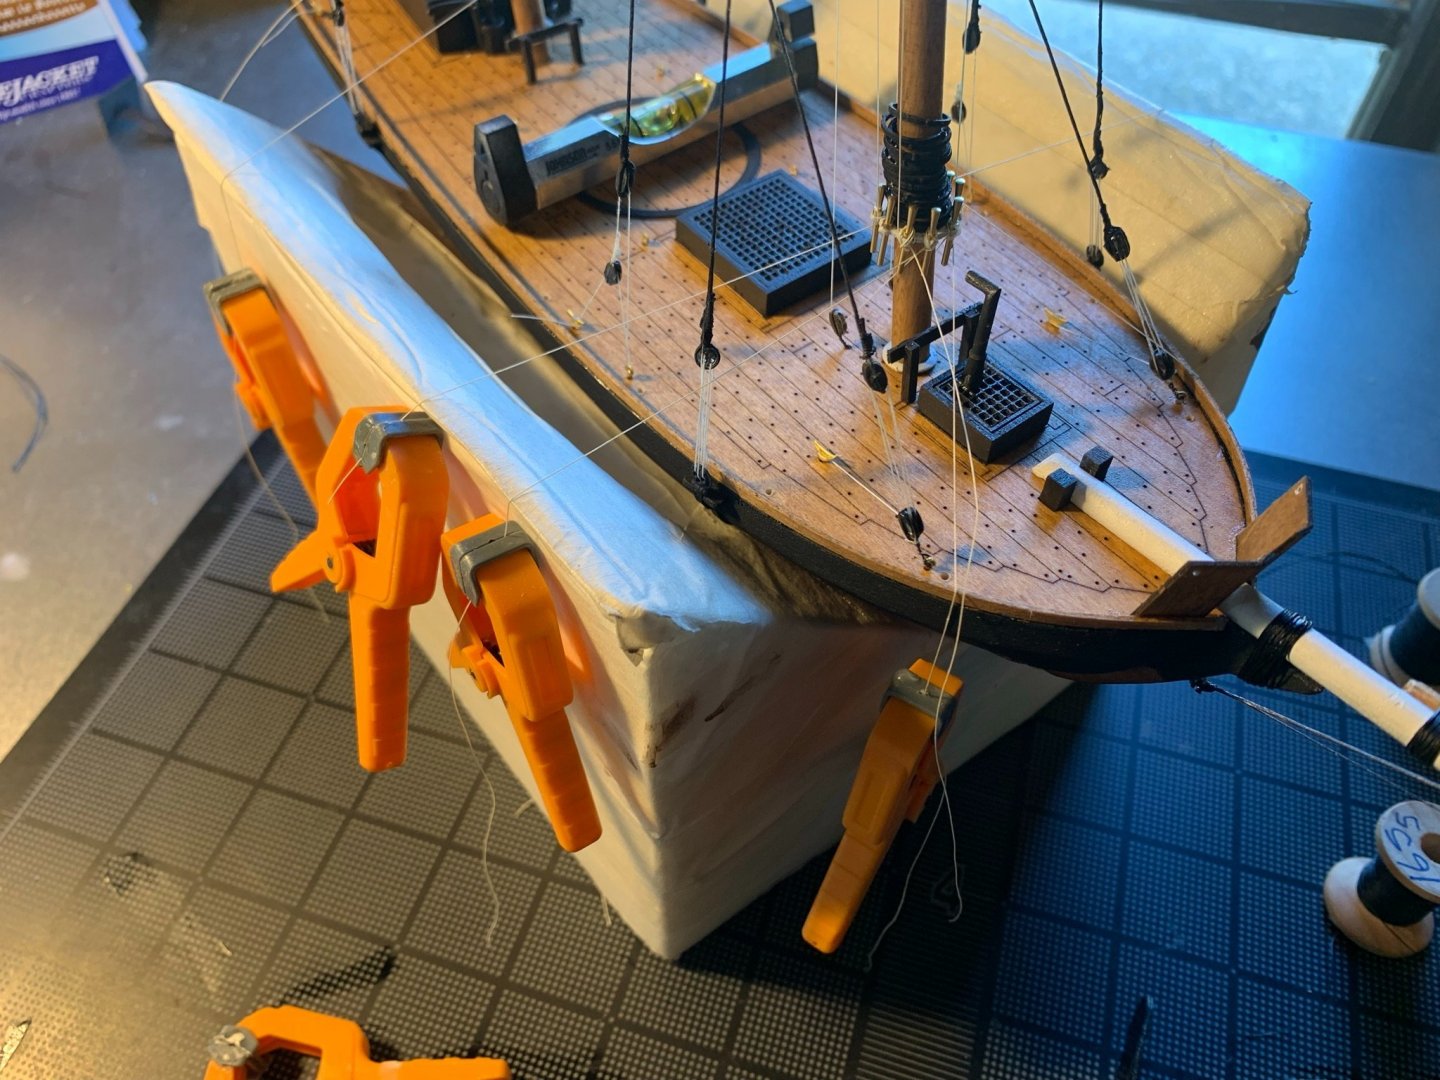
Posting a few images from the last 2 week's work on the Revenue Cutter: Rigged the gaff yards for both the fore and main mast... found that with a little downward weight on the gaff yard, it made it easier to apply tension to the line, so put one of the little clamps on the gaff (see below) Boom set in place, topping lift and main sheet rigged to traveler; main stays loosely tensioned: In rigging the various halyards and lines, I found it helpful to affix a clamp to the bitter ends to better organize the tail ends. It also makes it easier to visually follow the lines when adjusting. Yards hoisted, and braces rigged and run to the spiders. Final adjustments still needed (at which point, I will apply a drop of CA to fix their tensioning before adding some rope coils to the belaying pins). By the way, Rigging diagrams are very detailed and easy to follow (plus, having other build logs to refer to has been helpful). In the meantime, I'm working on preparing the ensign and flag halyard, as well as developing some thoughts on the mounting base! More to come! This build is getting close!!

- 27 replies
-
- 2
-
-
- Revenue Cutter
- BlueJacket Shipcrafters
- (and 1 more)
-
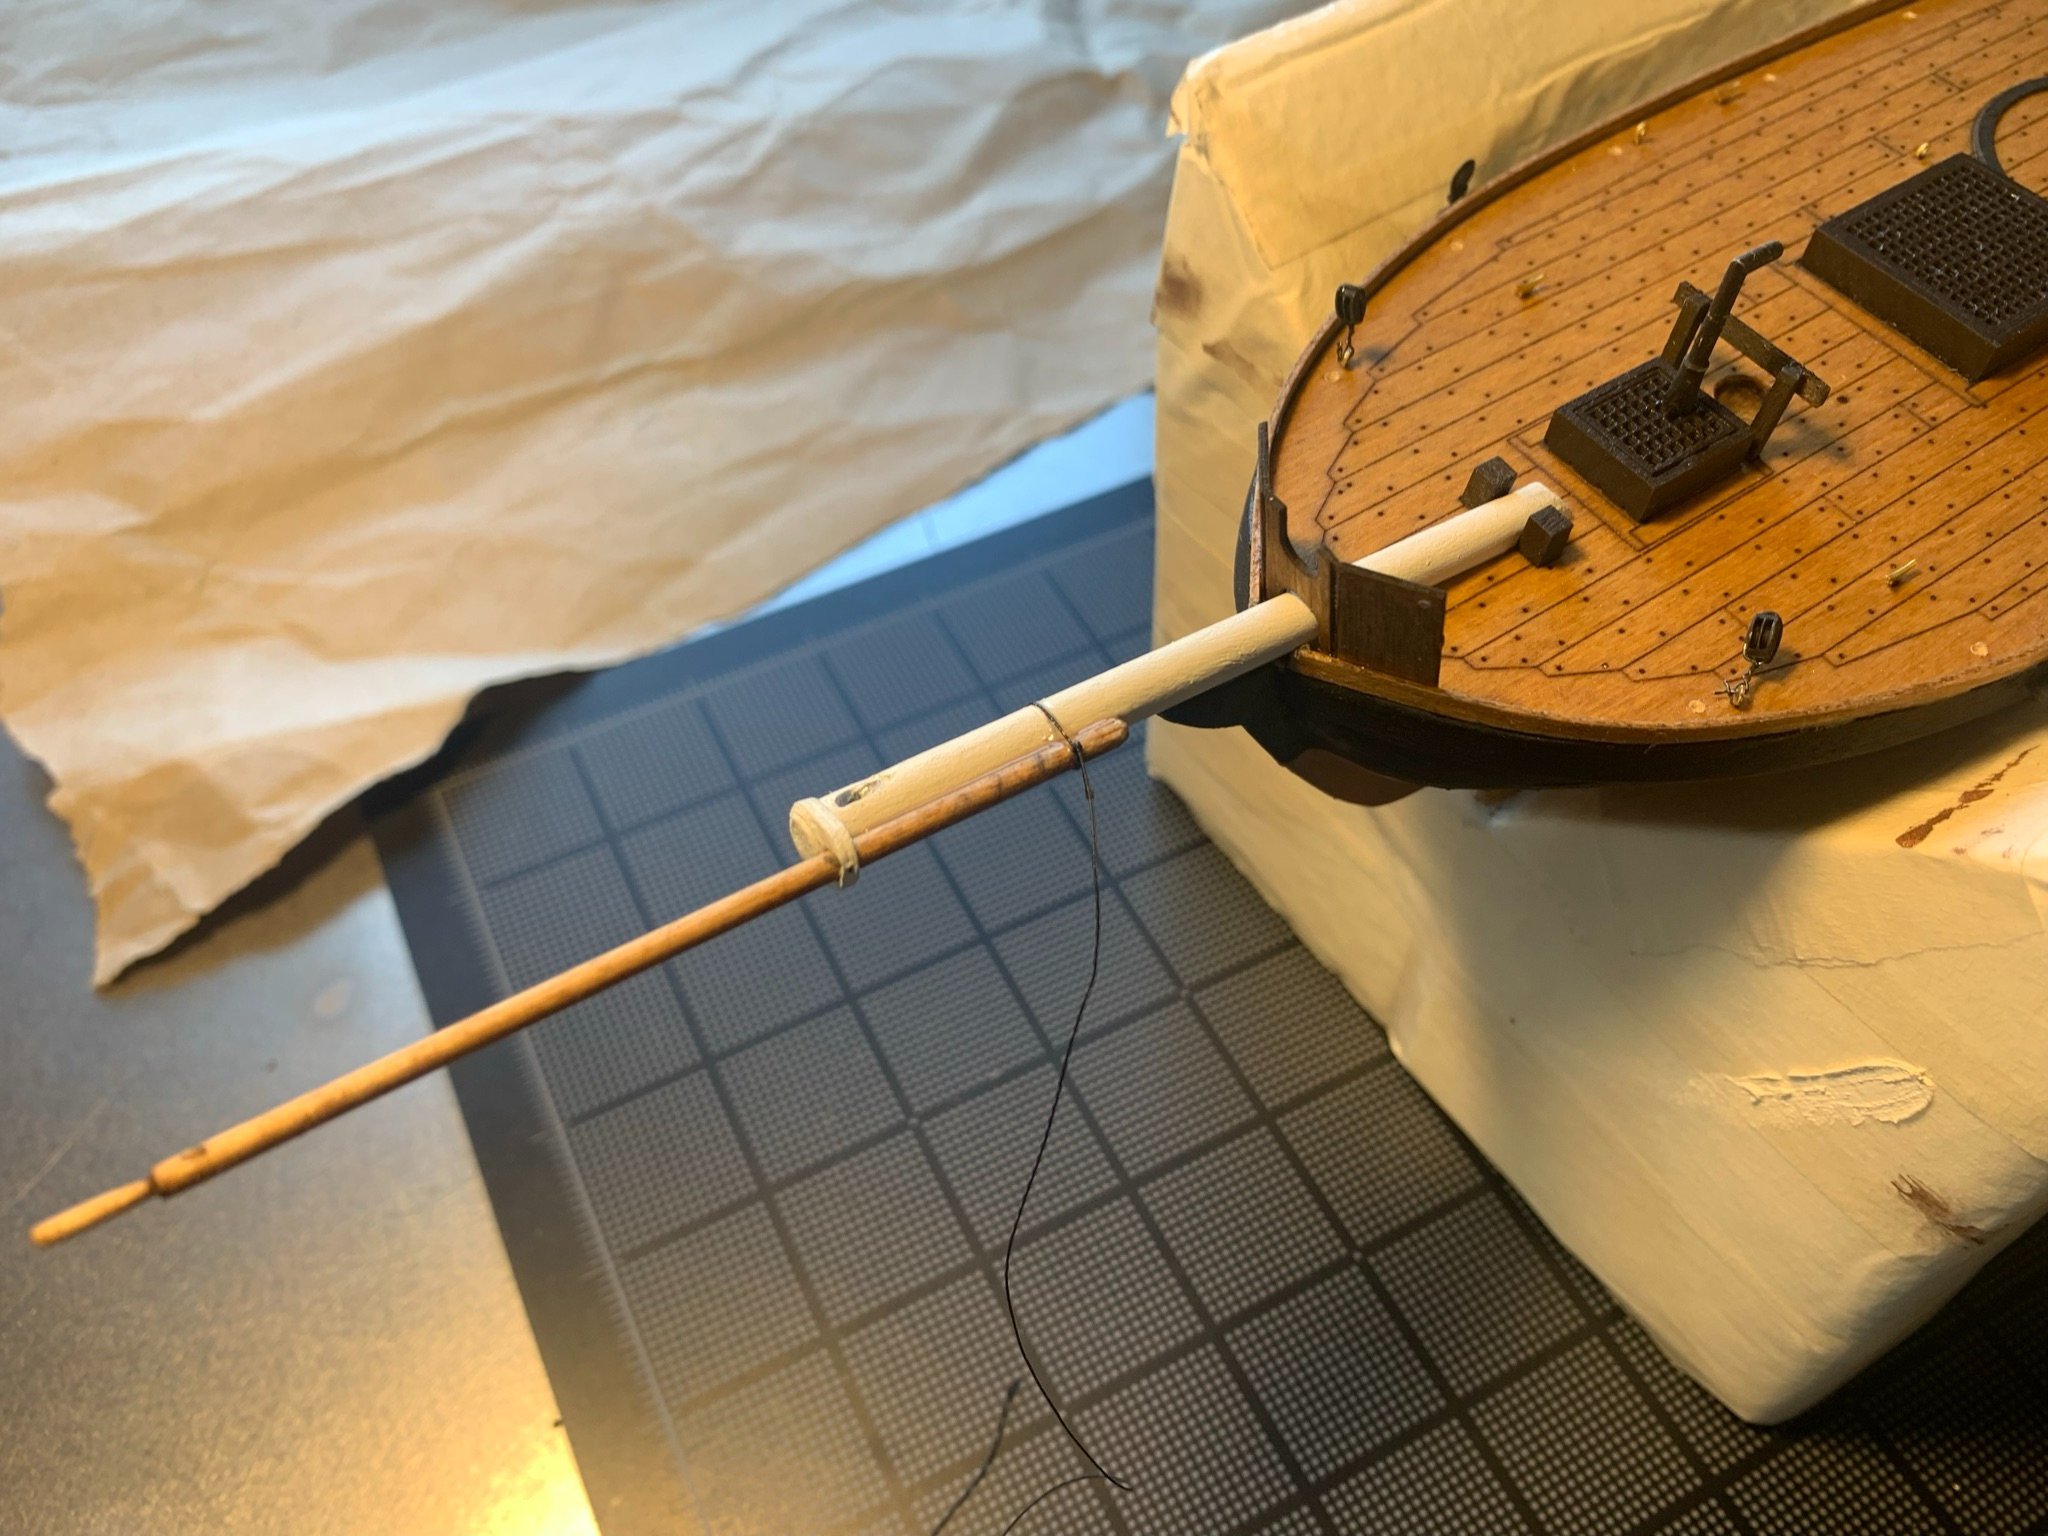
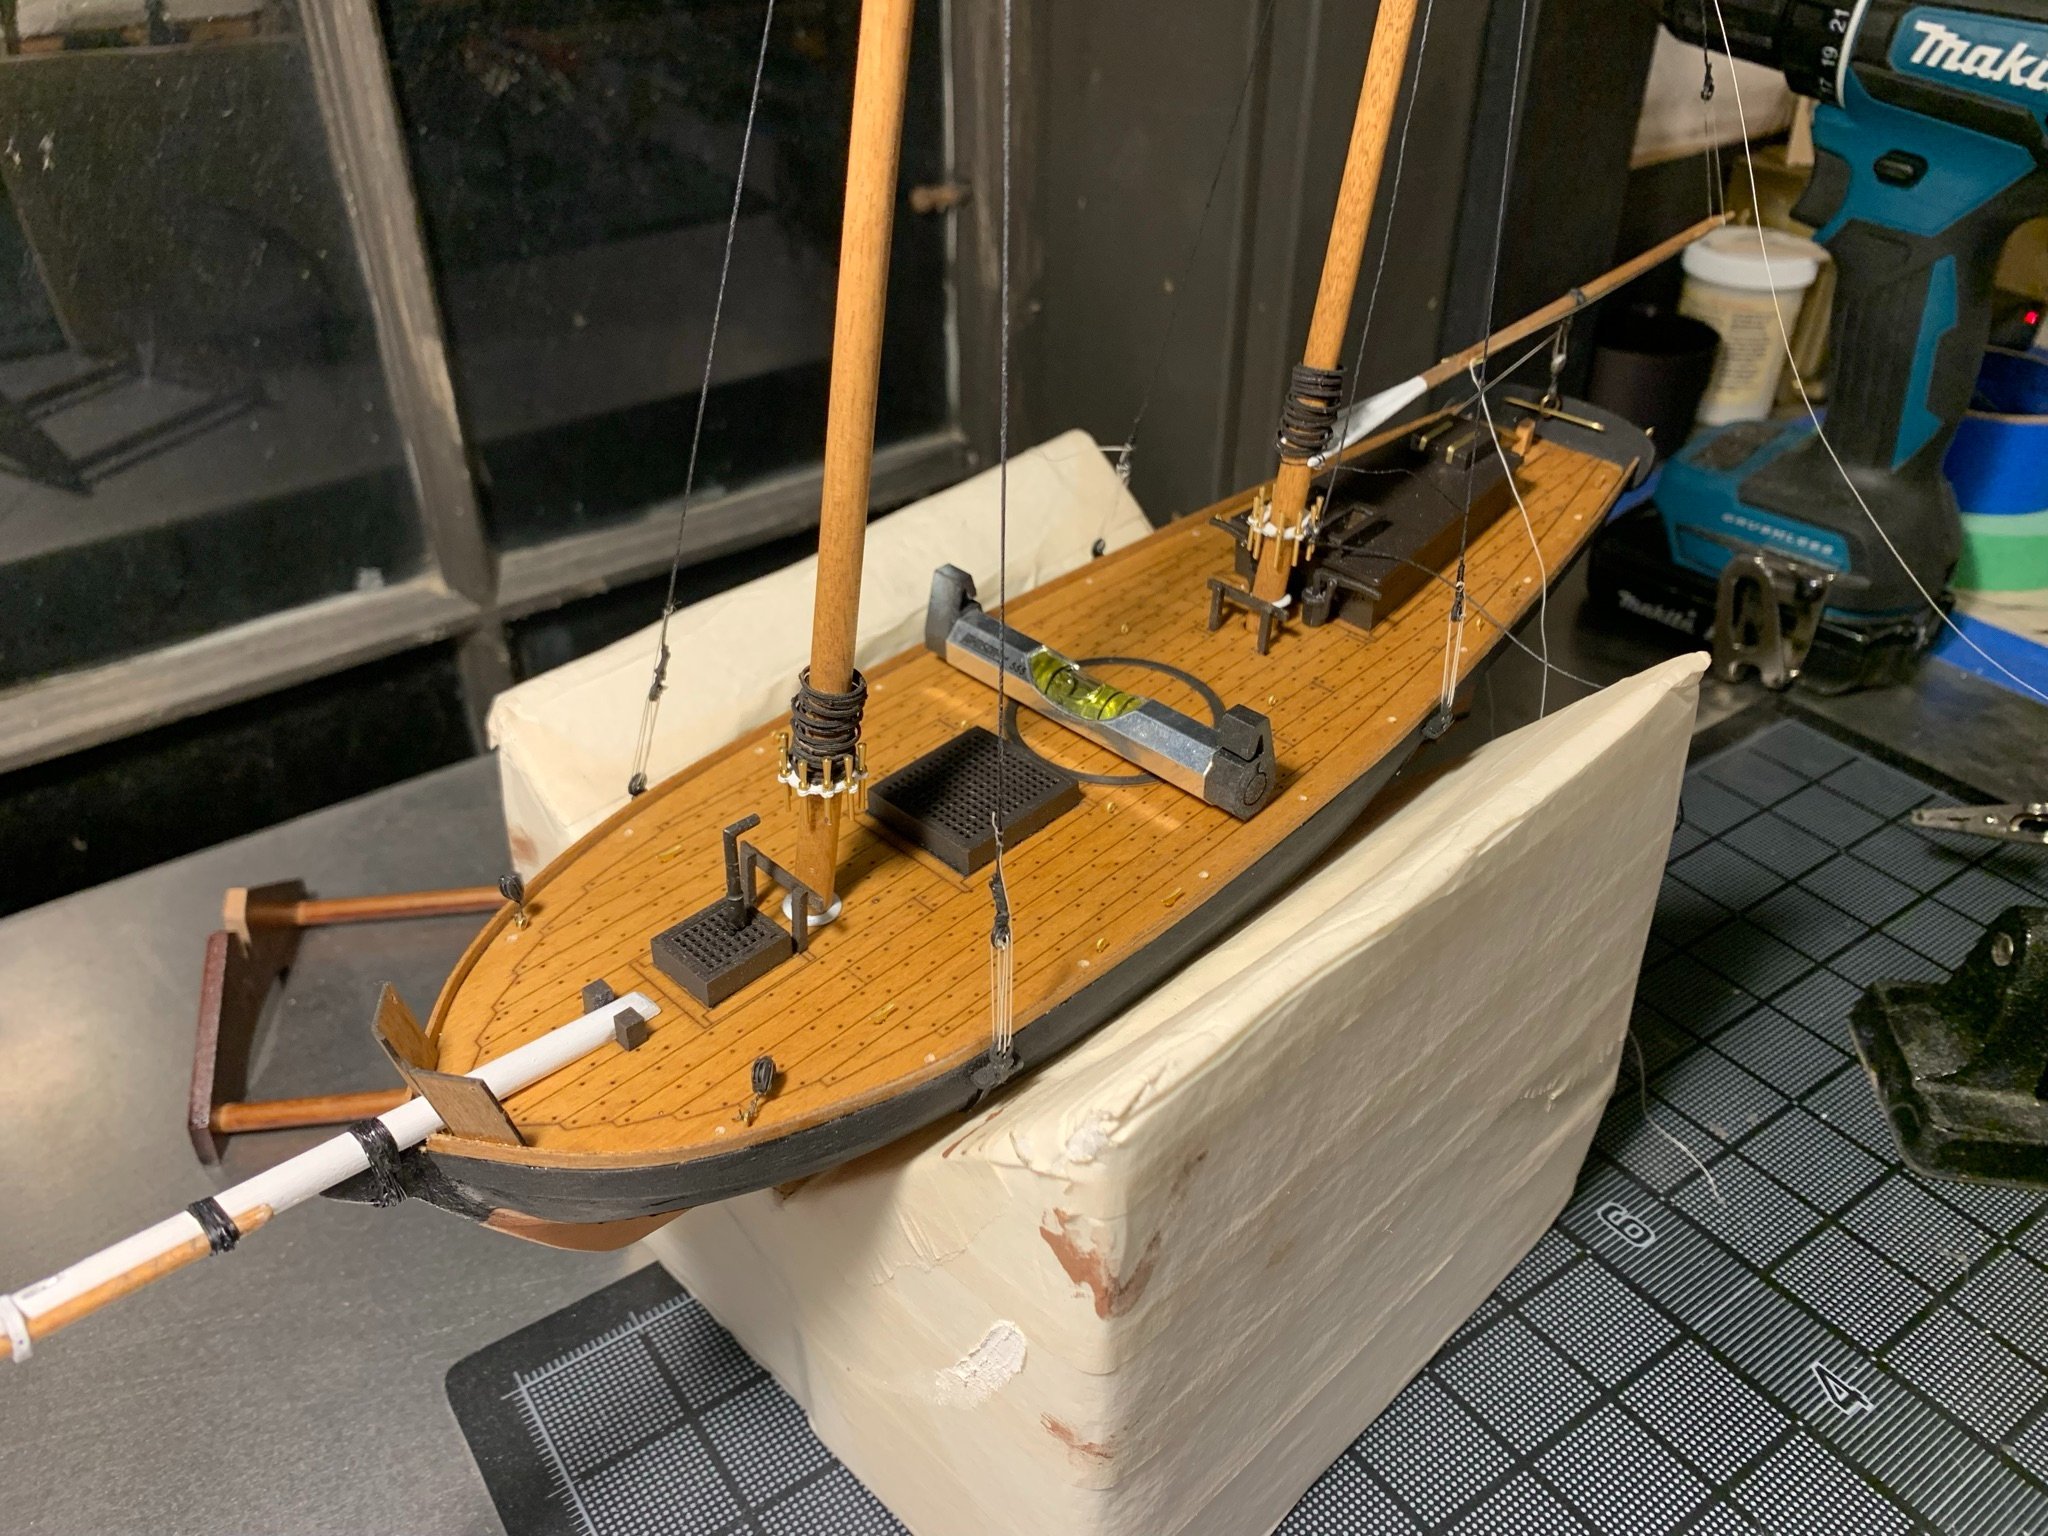
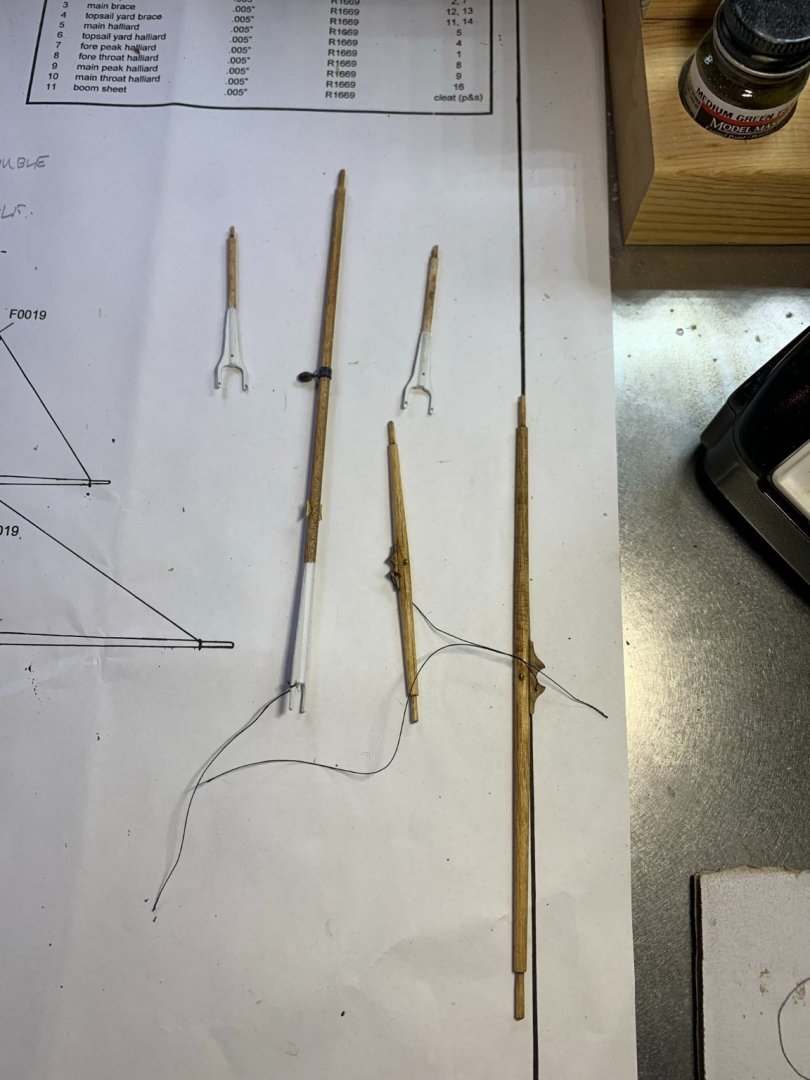
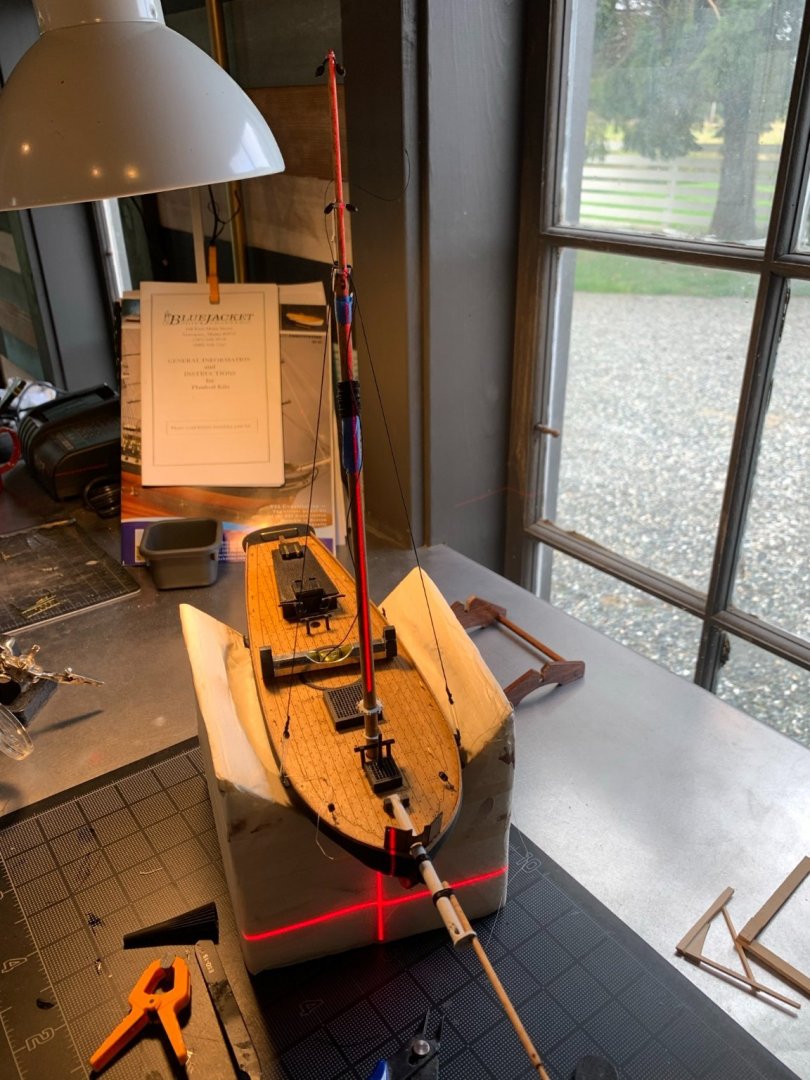
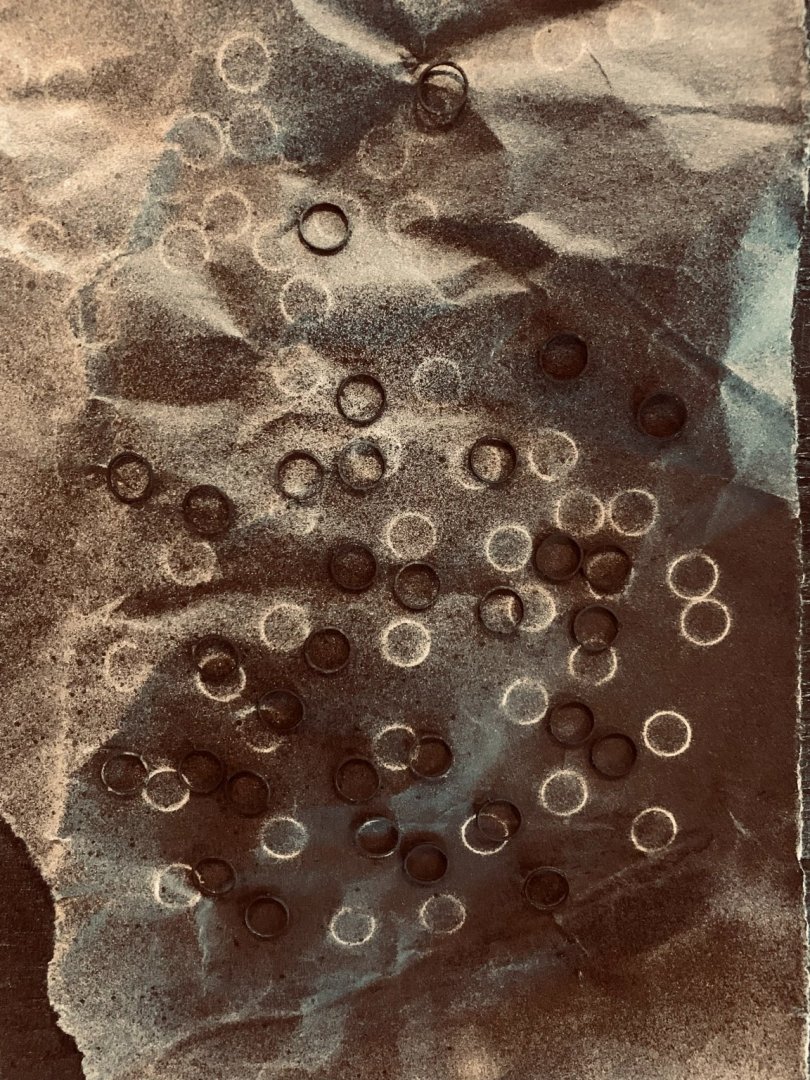
It's been a little bit since I last posted, but here's a quick update on the Revenue Cutter Build: Spent some time shaping and building the boom, yards and gaffs: *On the boom, had the sized-down section of the dowel where topping lift attaches snap off, so needed to carefully drill out a pocket for a smaller diameter dowel to be glued inside. ** The stain used was consistent with what was used on the decking and masts: "Provincial wiping stain" In the meantime, worked on the mast hoops. The instructions say to remove the char from these pieces, but I felt I would only break them if I worked them much with sandpaper or other means. So, opted to give them a good coat of some dark brown paint. I like this shot of the process... Some bowsprit work, and start of the stropping which secures jib pole: Rigging the first of the deadeyes for the mainstay. Watched a few tutorials on "rigging lanyards" on Youtube by Donnie Driskell to remember the basics of this. Had a few goofs with this first one until I fell into a rhythm. The "helping hand" tool is useful, and the tweezers are a necessity. I'll paint the deadeye black later... So, I am sure there are better ways to plum up the mast, but this was just what I thought of... I set a small level on the deck to ensure the model was level about the beam. Then, shot a straight line laser from the base of the mast up... Having the two stays loosely tied at the masthead, made a few adjustments and then made the final tensioning at the deadeyes. The two angles that I built (visible lower right) serve as a 90 degree, and one for the proper rake of the mast. I used those to verify correct positioning as well: Here, the two masts are stepped and temped in place. Will be gluing and finalizing the tying off on the rigging next... Also, some work on the boom and topping lift in progress, but not complete. Until next time!


- 27 replies
-
- 4
-
-
- Revenue Cutter
- BlueJacket Shipcrafters
- (and 1 more)
-
Josh Williamson reacted to a post in a topic:
Smuggler by juhu - FINISHED - BlueJacket Shipcrafters- 1:48
-
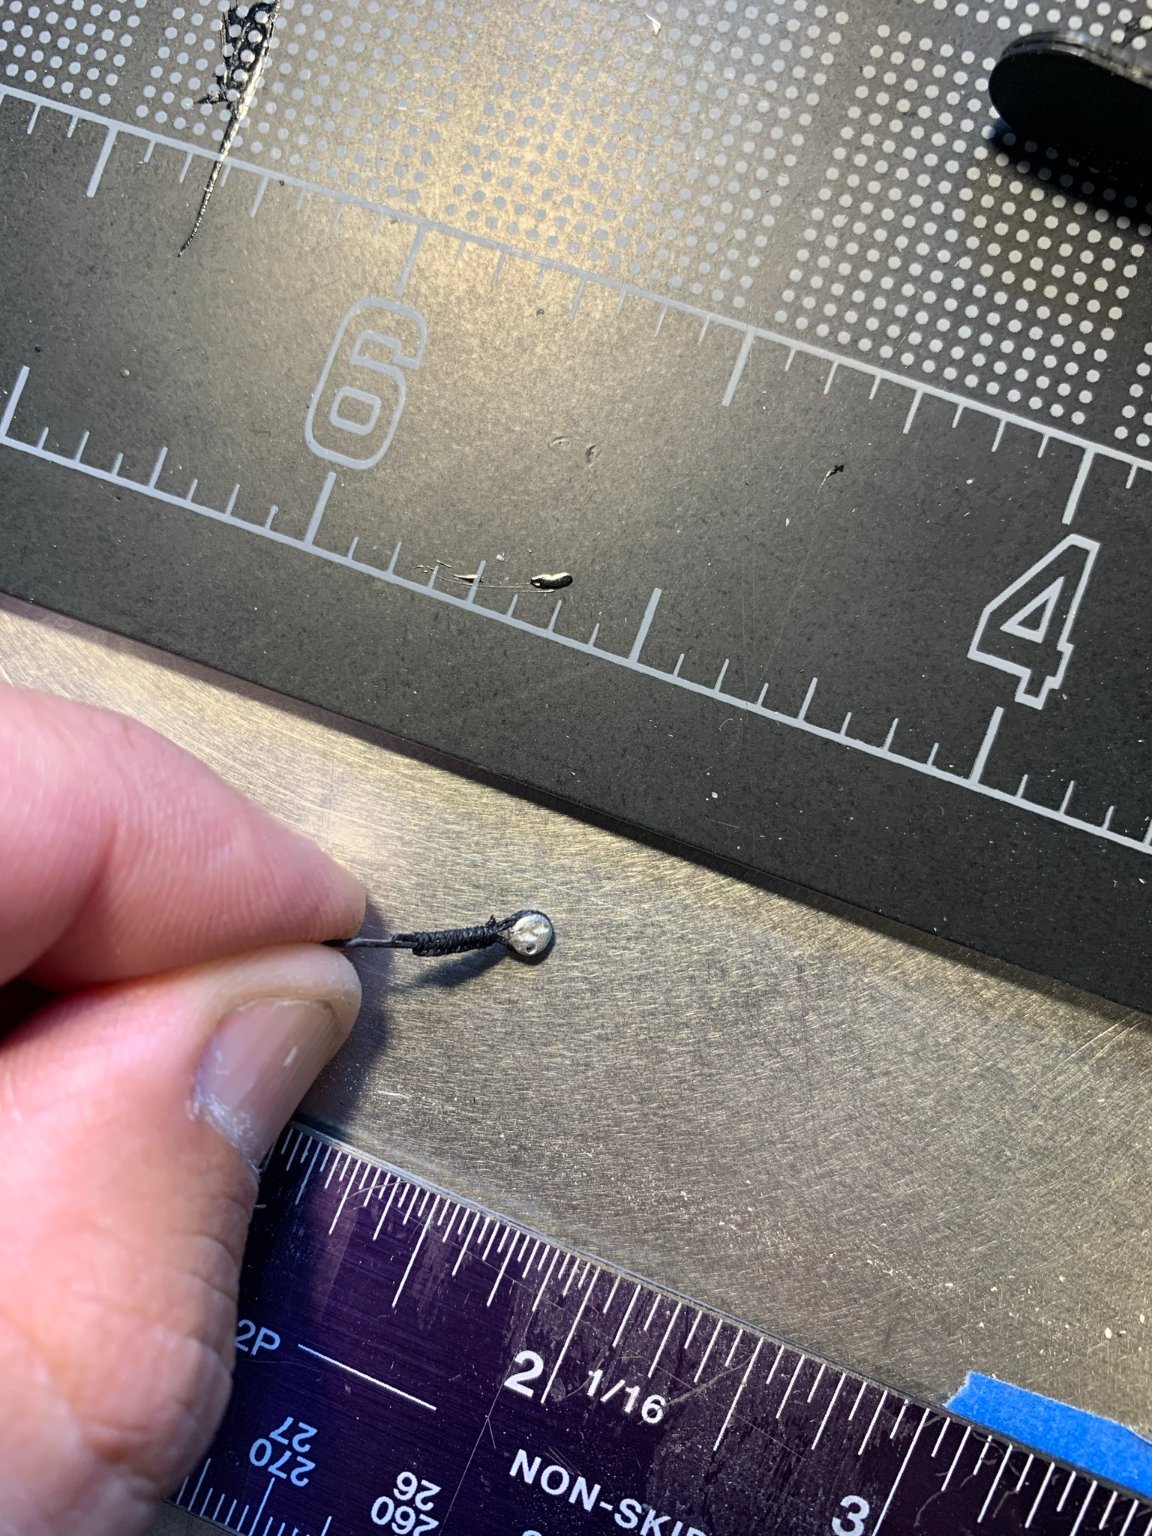
Thanks Nic - I did end up Finding these. I mistook them for one of the rudder assembly pintels and gudgeons and had painted them and set them aside (possibly thinking they were a spare). I have them now, and am deciding if I want to use them, as I have come accustomed to my brass solution.