Cpt_Haddock
-
Posts
86 -
Joined
-
Last visited
Content Type
Profiles
Forums
Gallery
Events
Everything posted by Cpt_Haddock
-
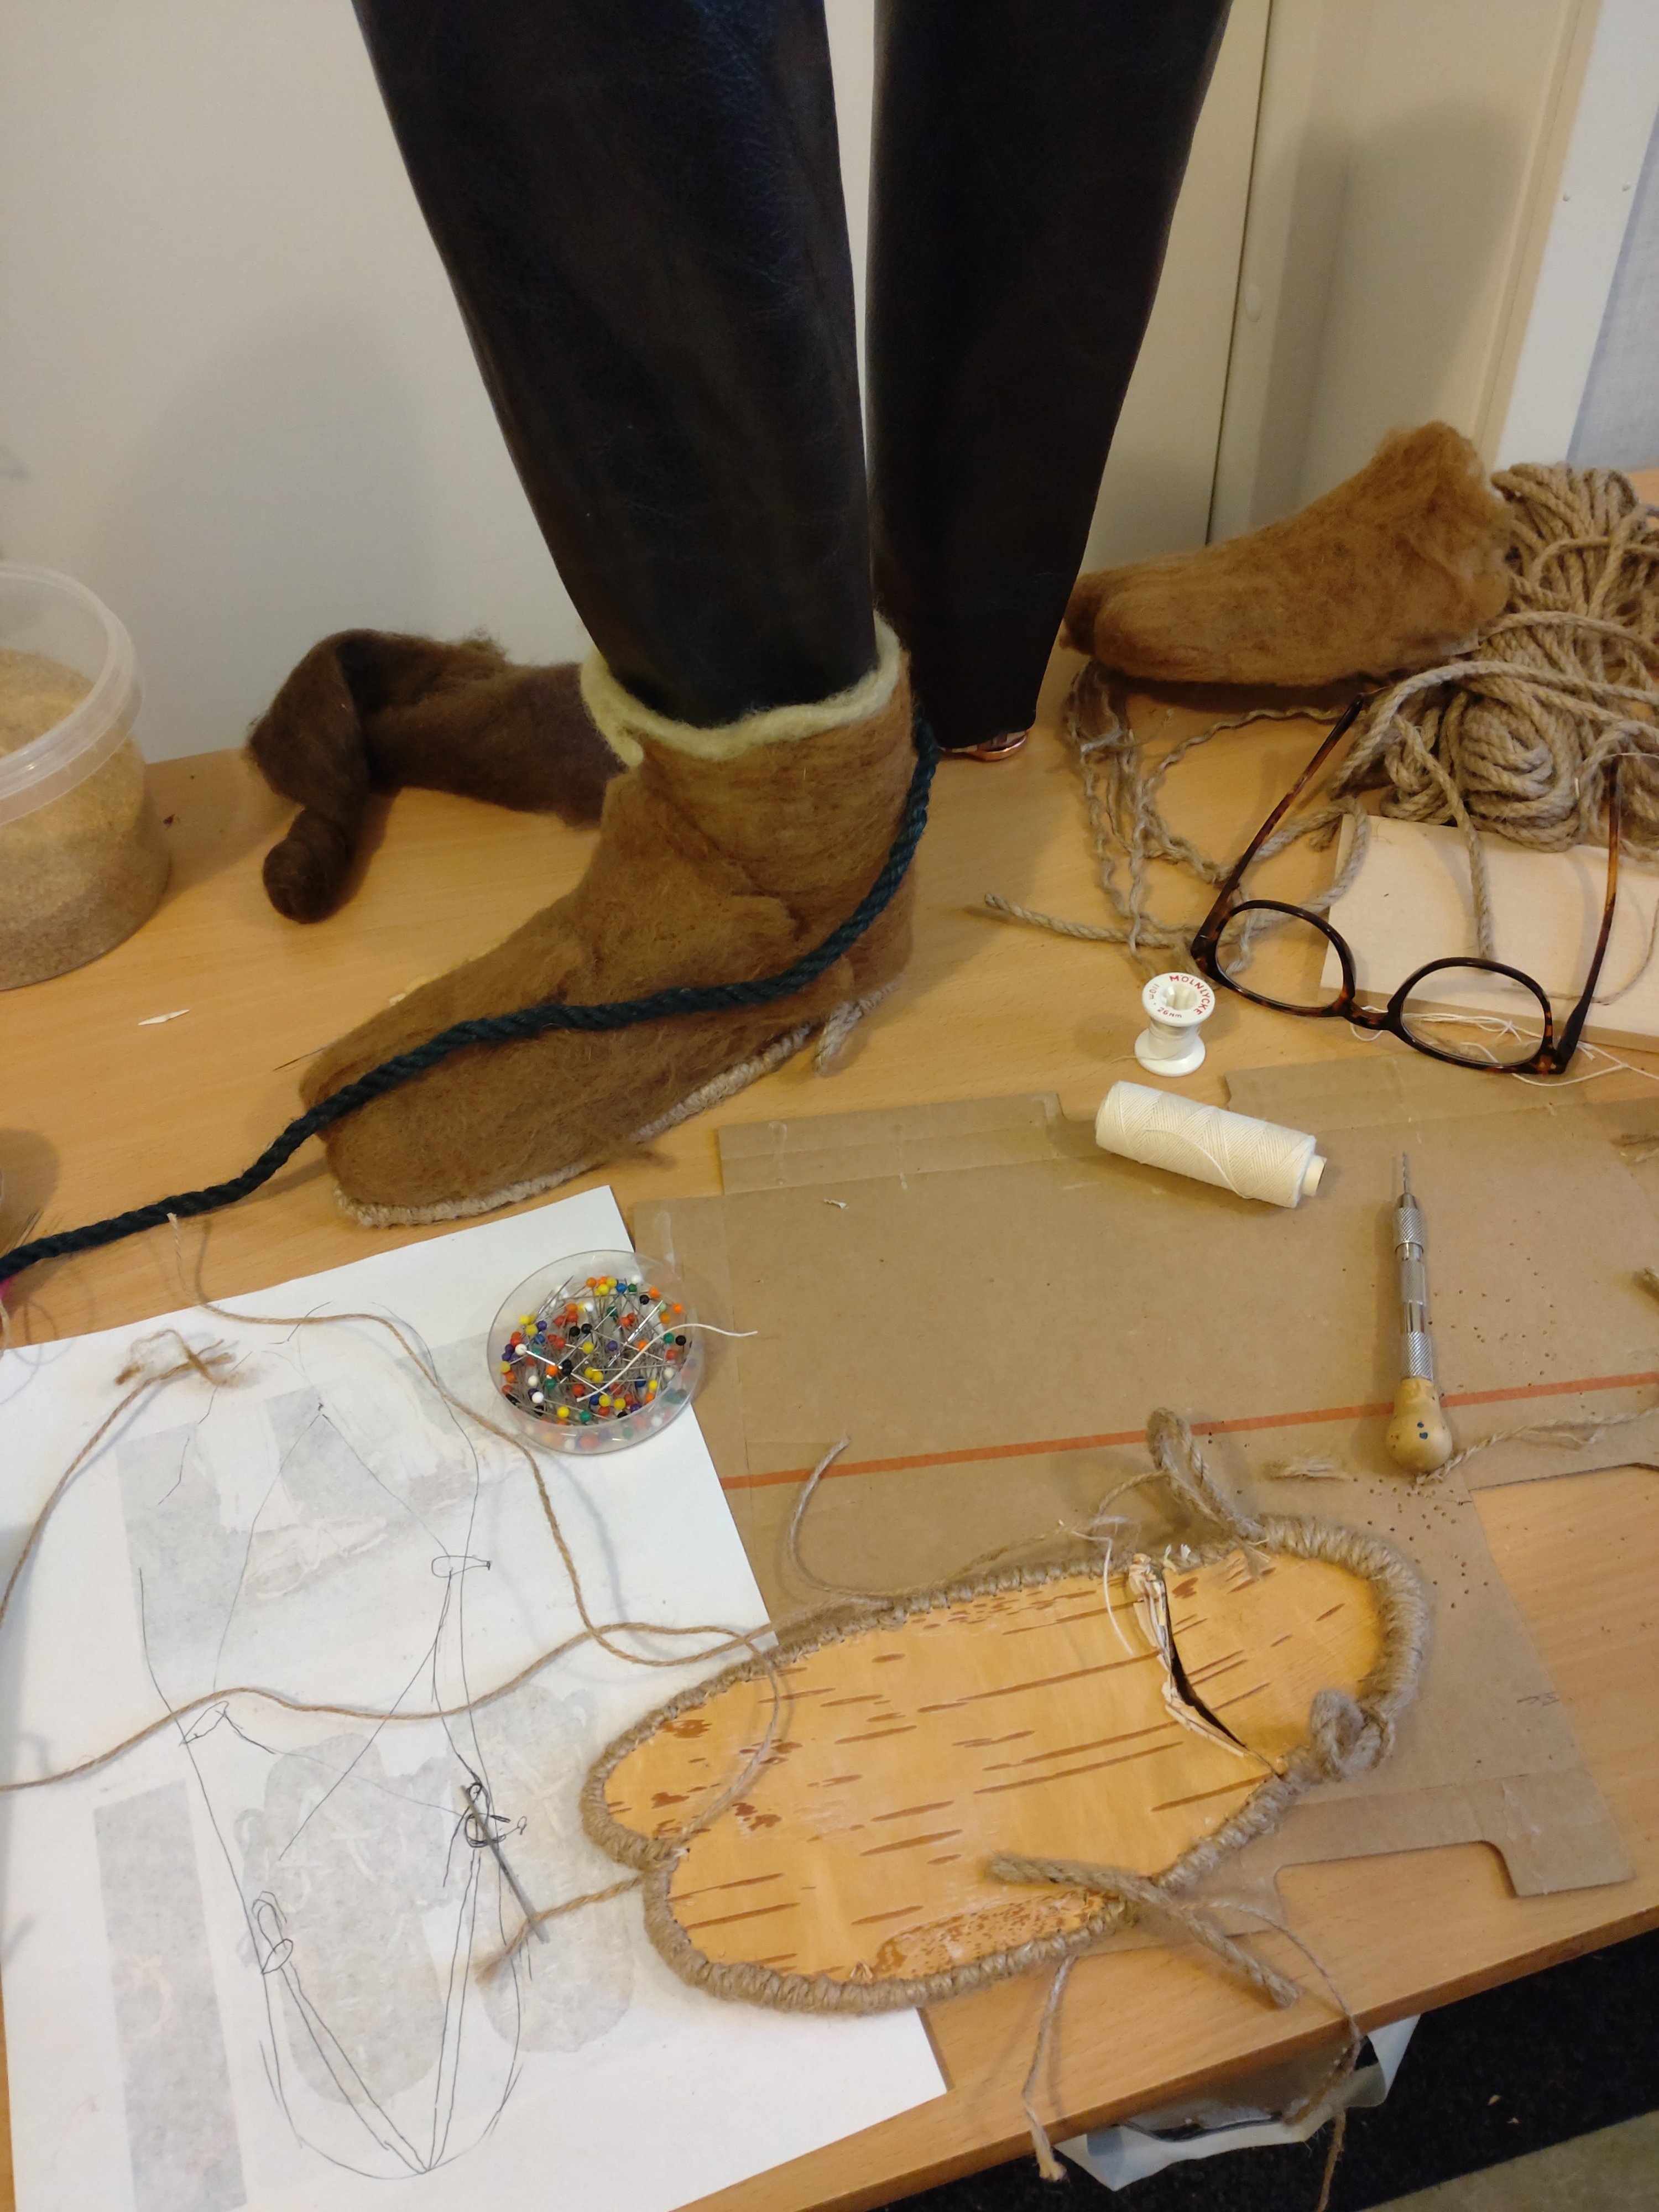
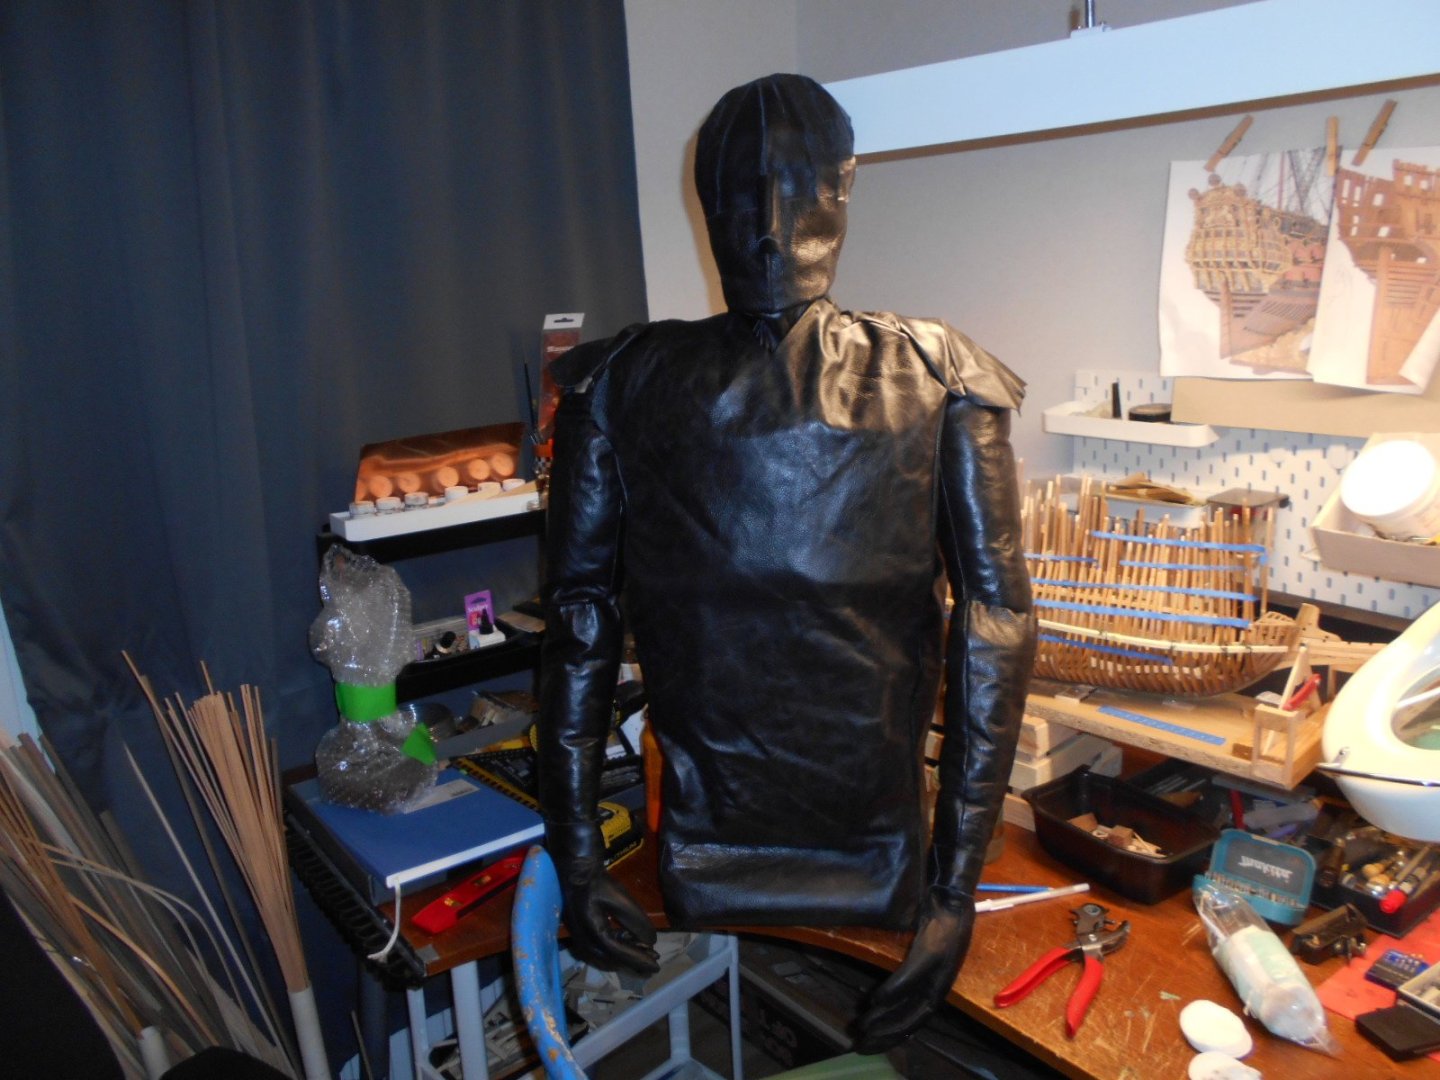
Could not stop myself from crafting a pair of Japanese foot wear/leg-protecting stand for my armor.

-
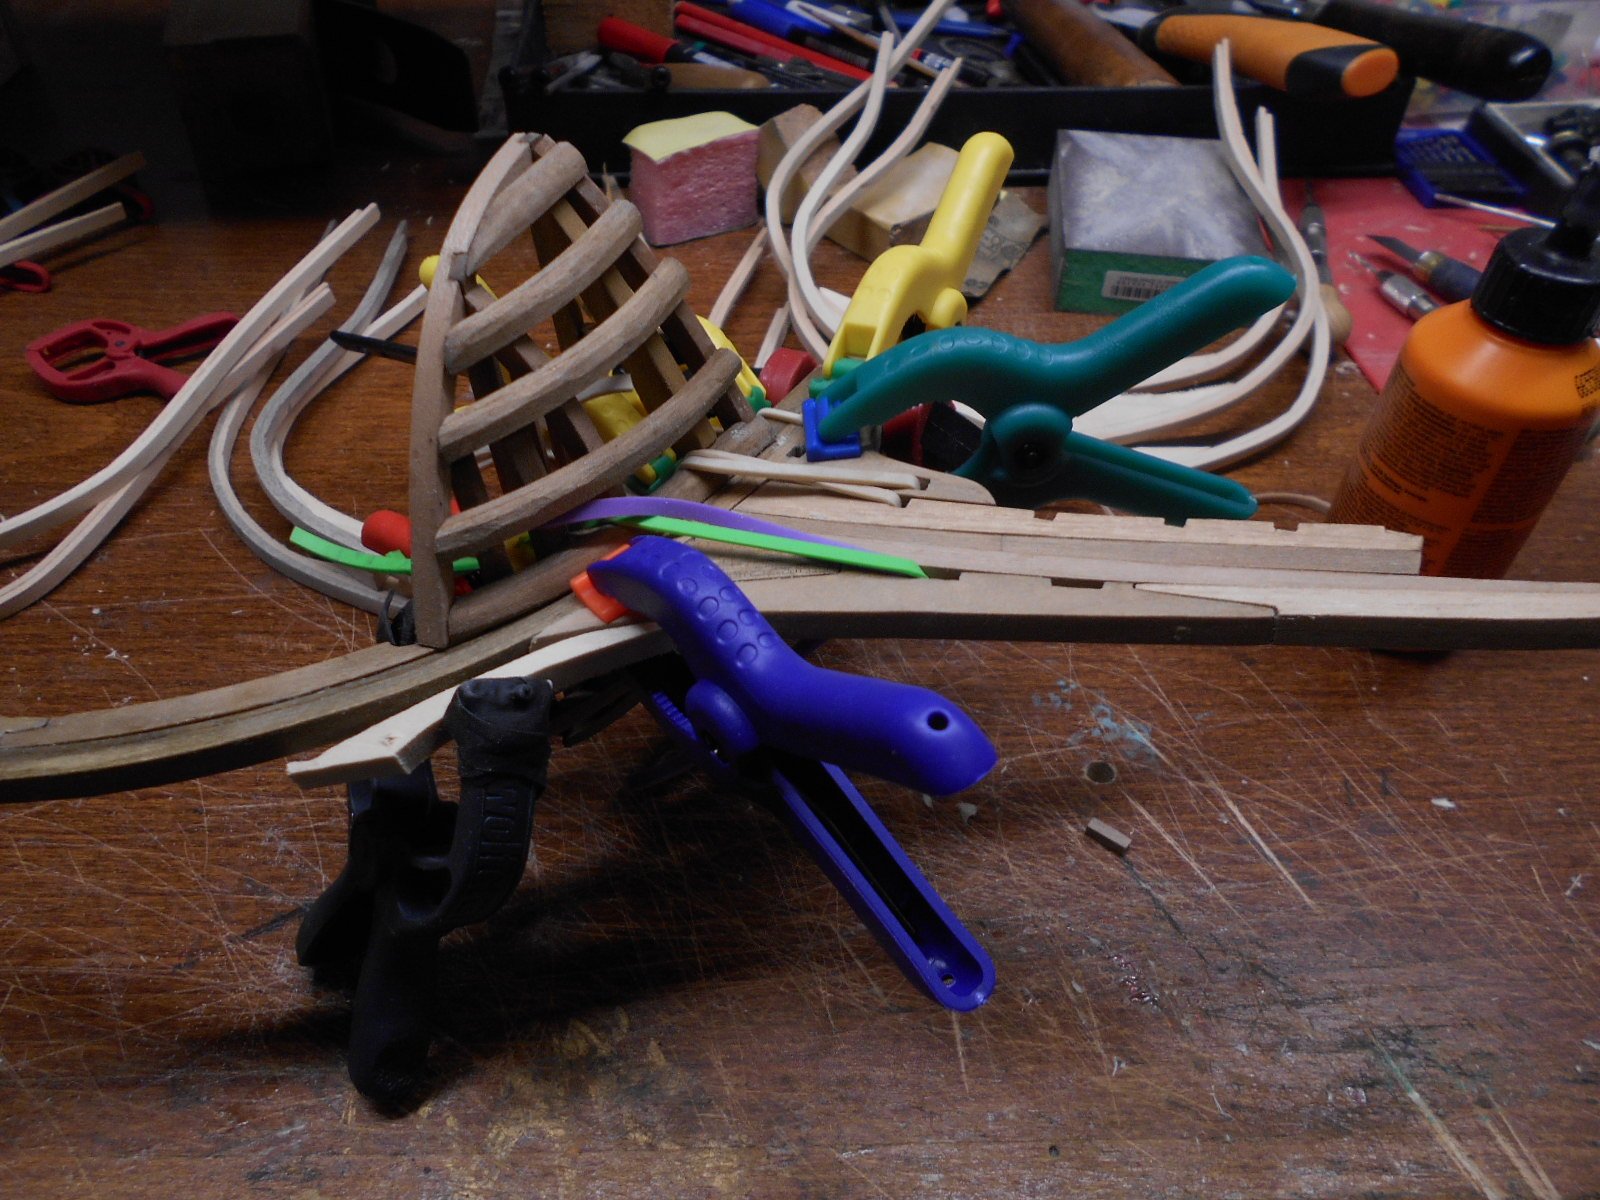
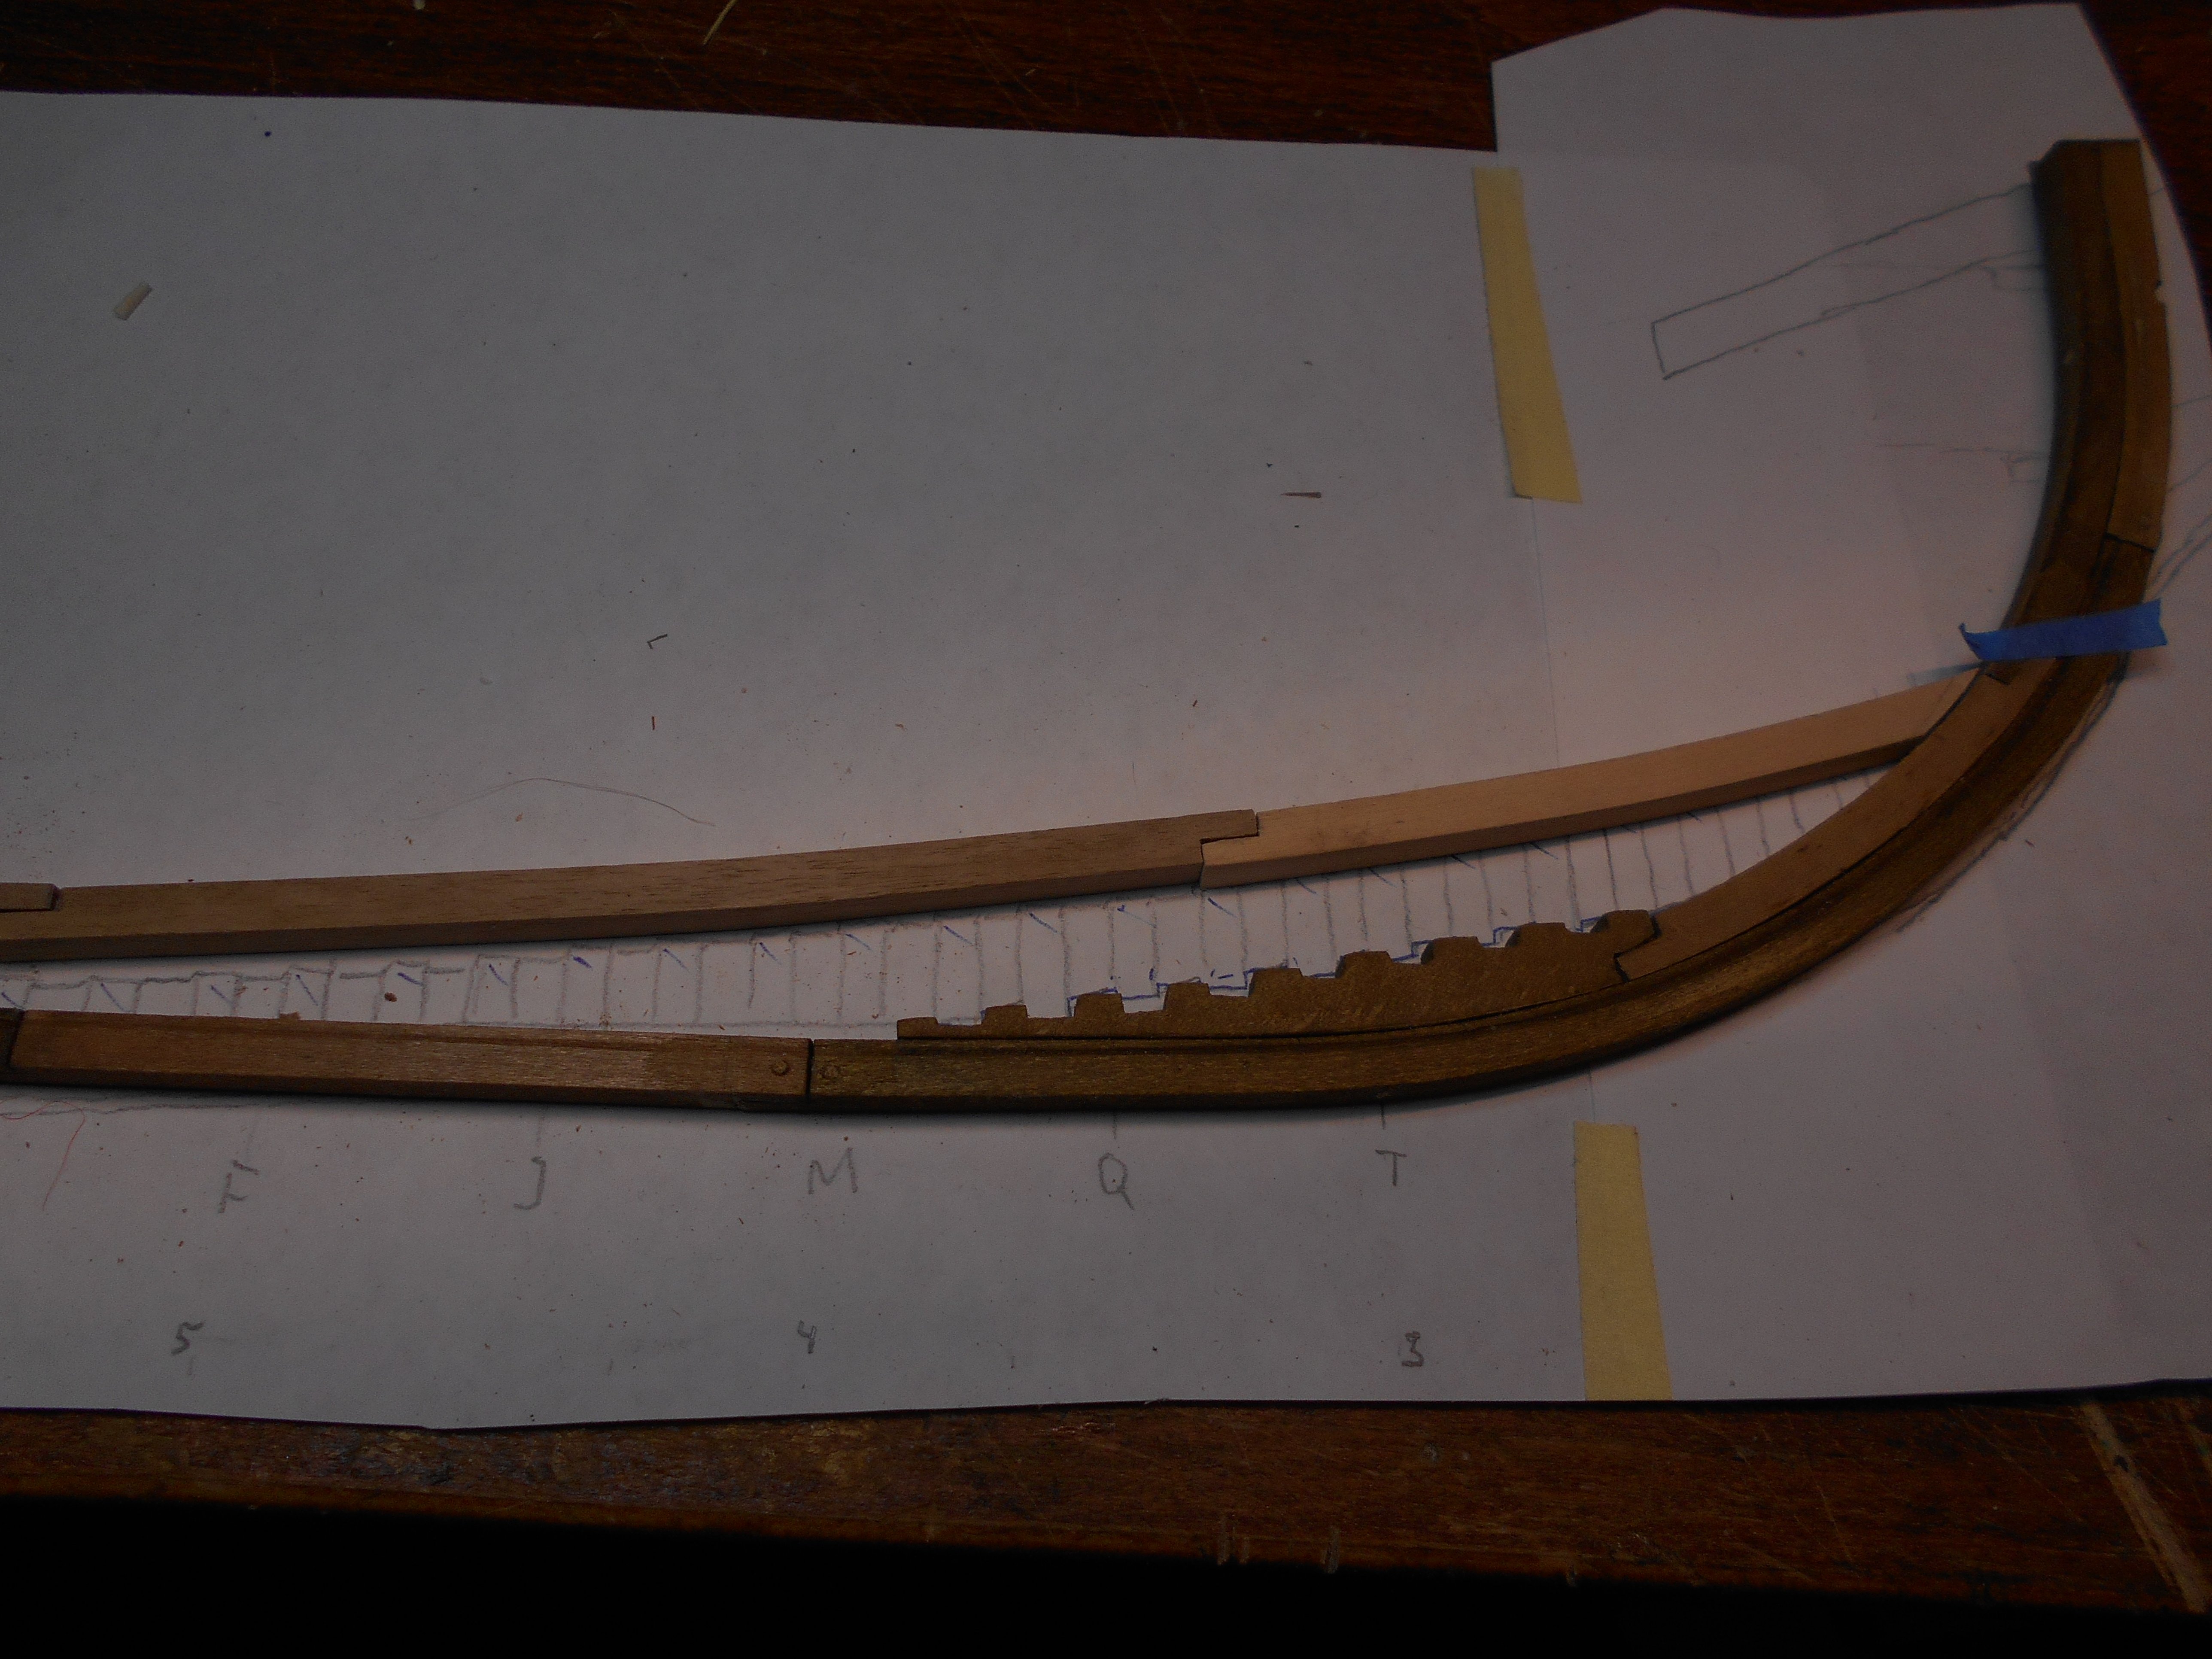
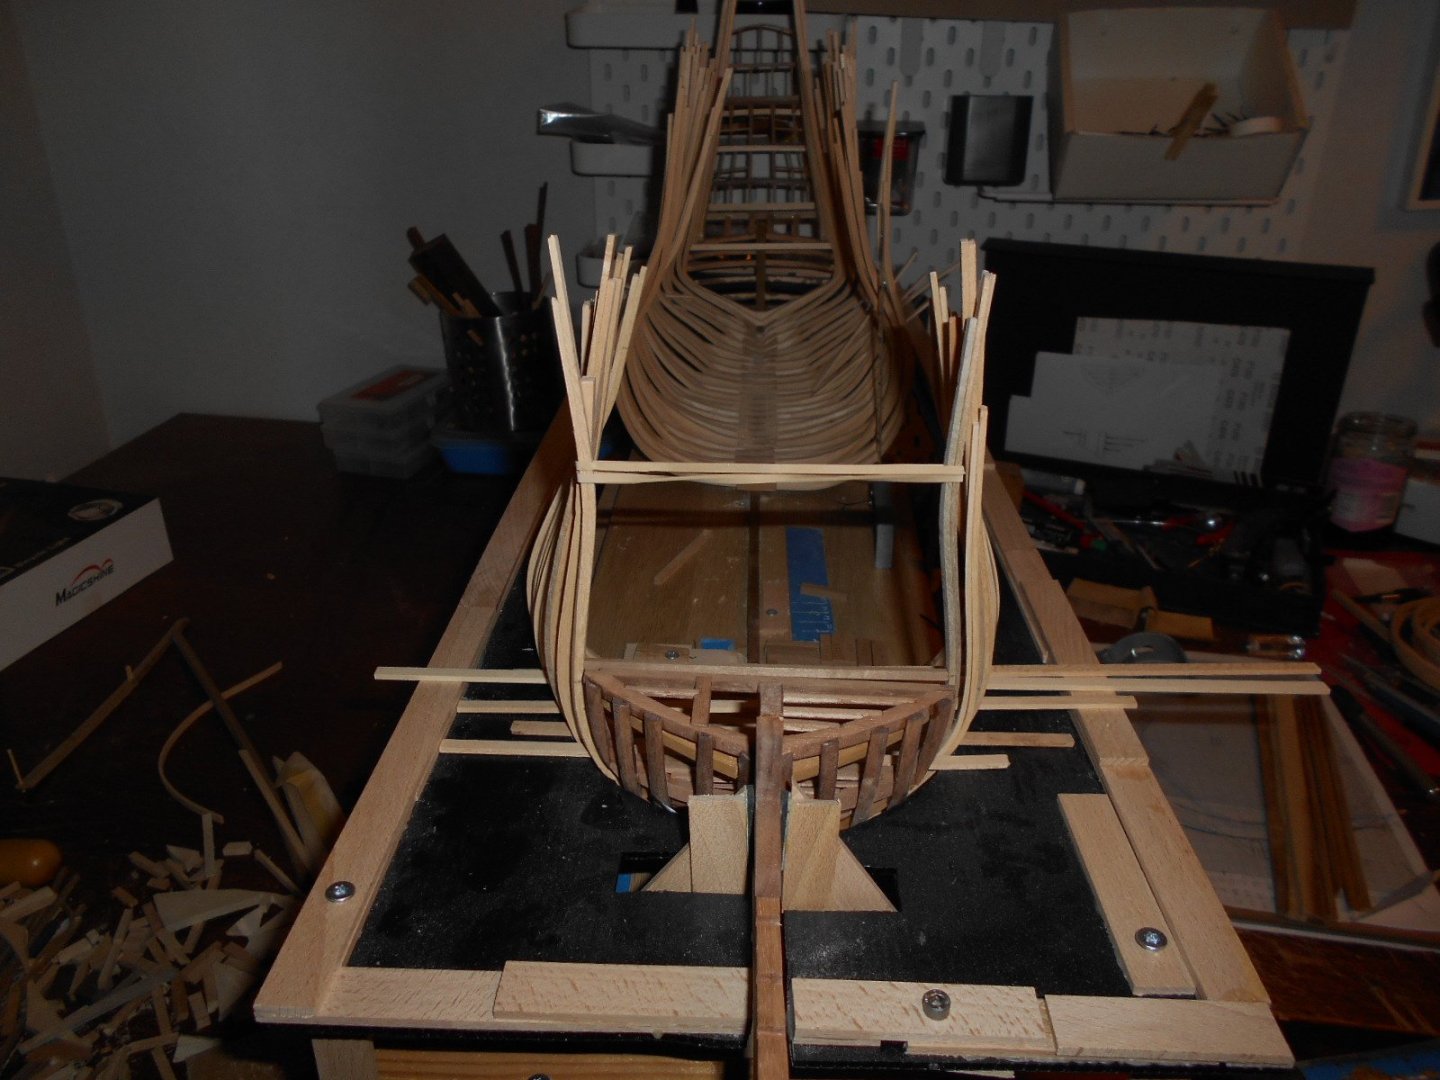
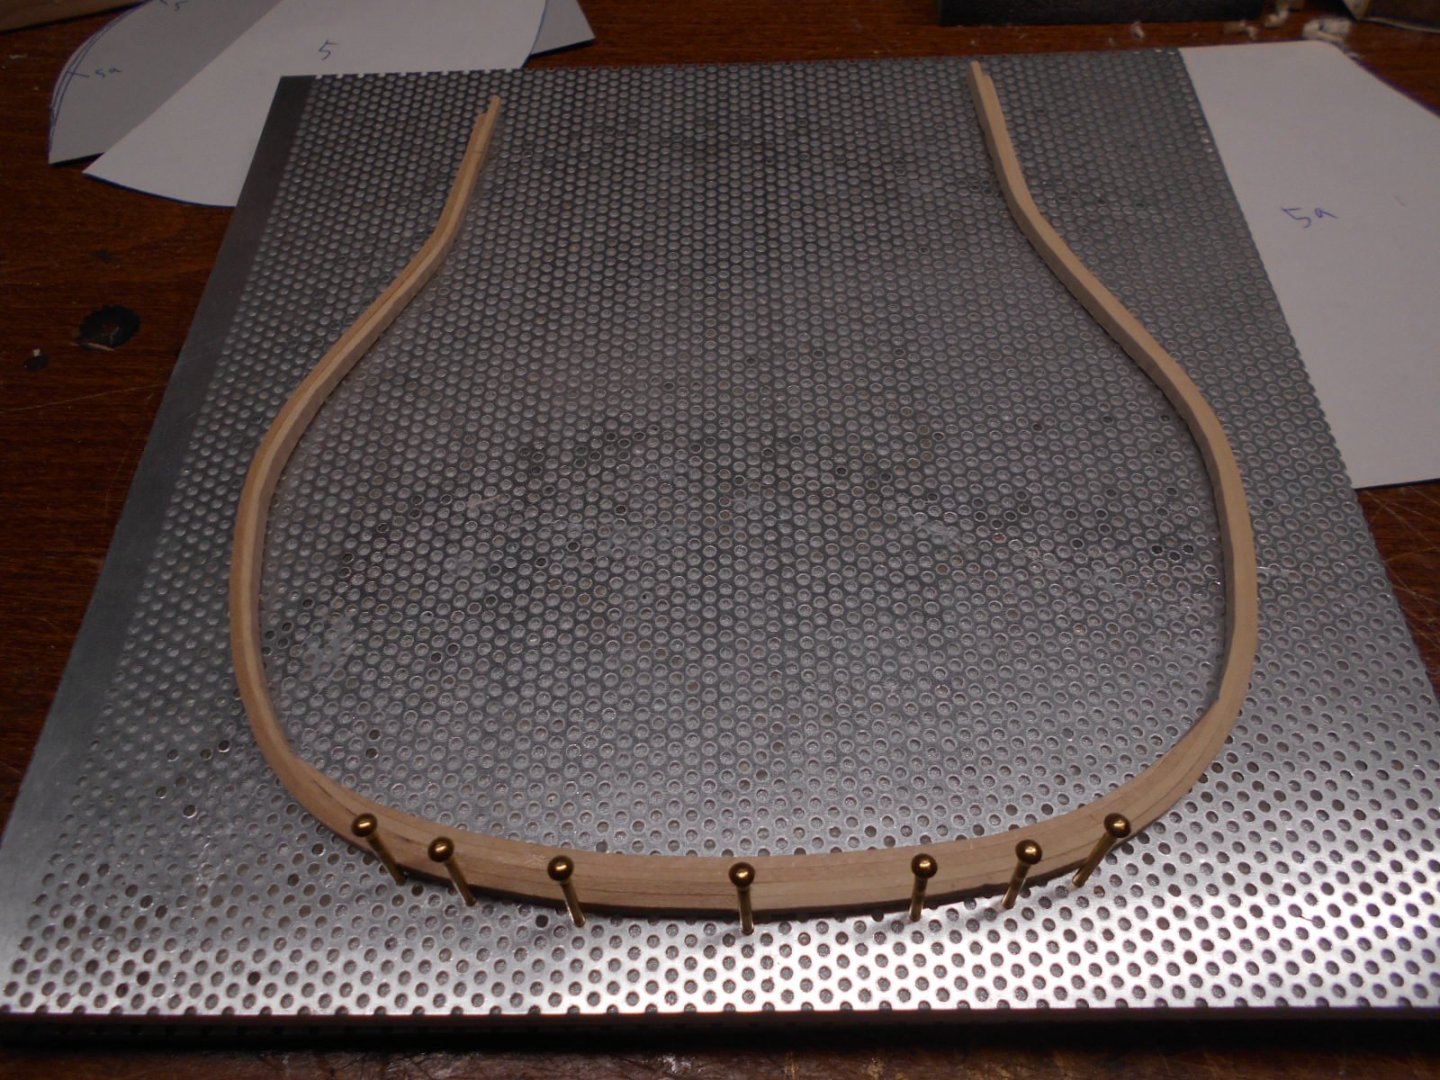
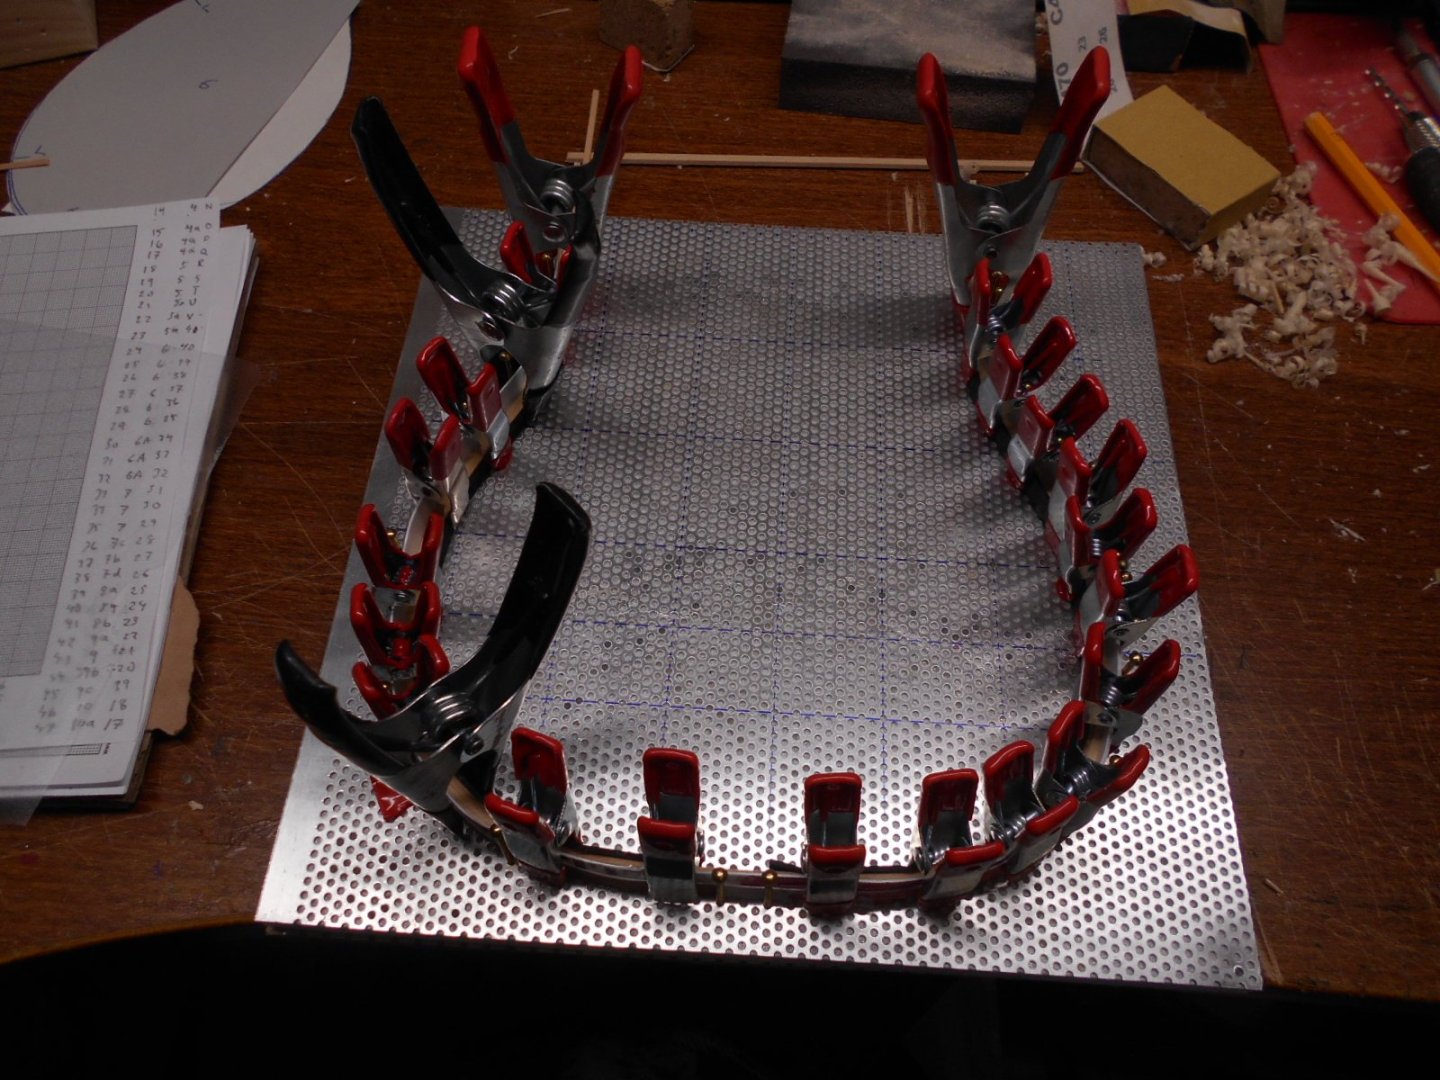
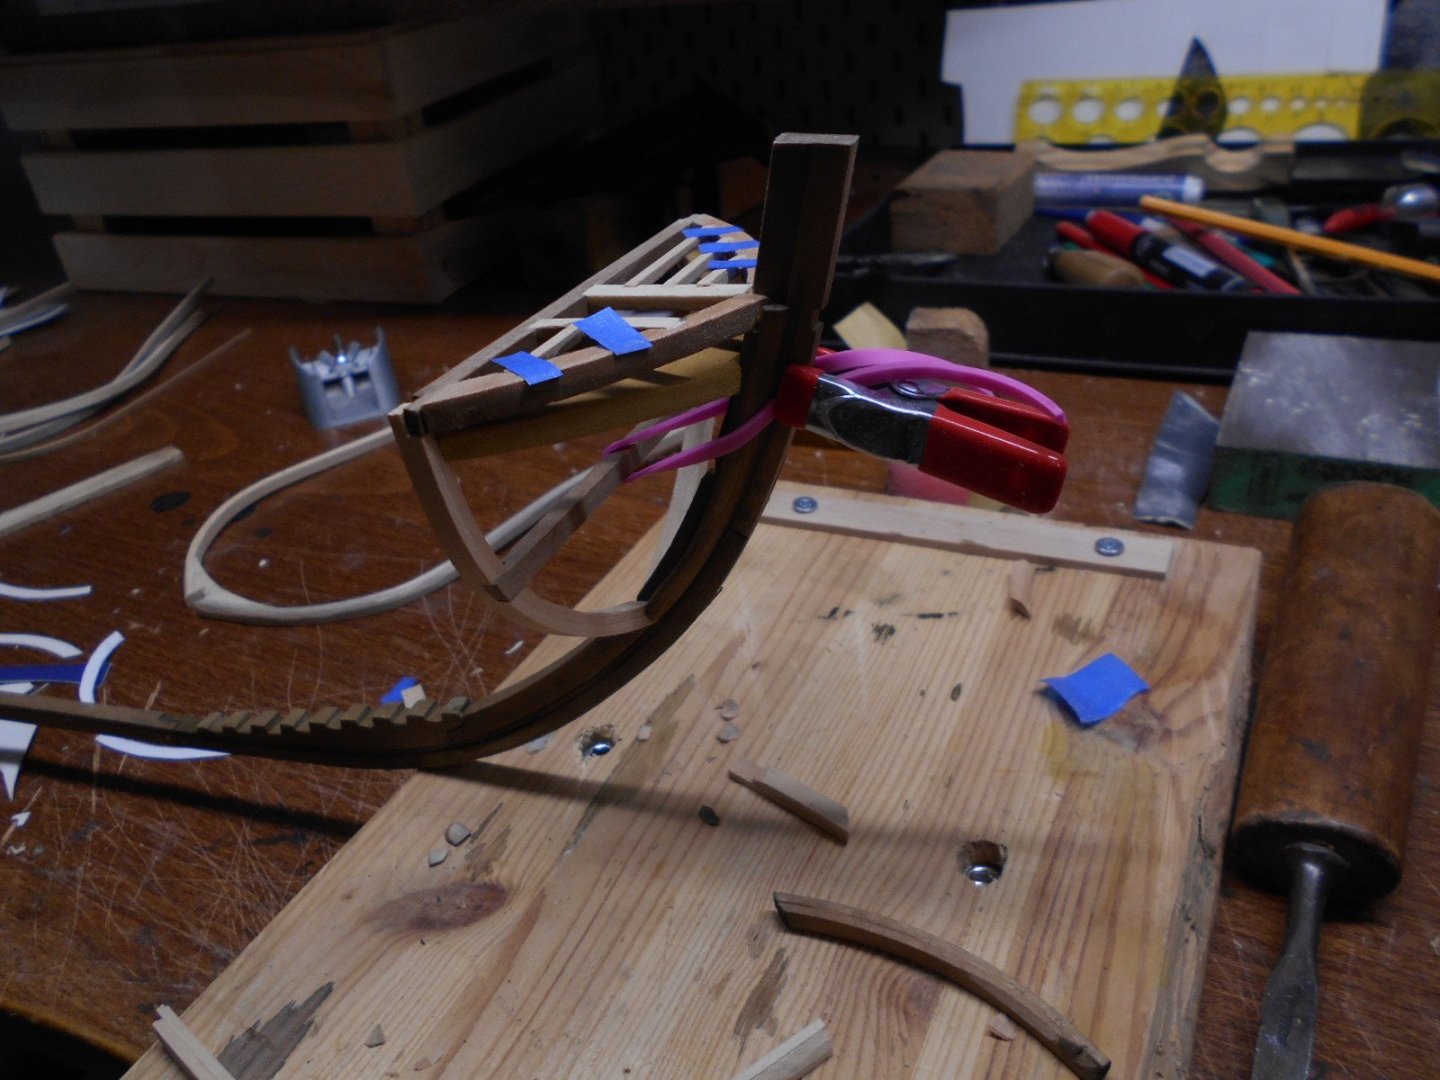
Finished the upper body for my armor but have some work left. But - some space to continue on the ship. Started fixing the frames with some small wooden pieces along the keel on both sides in a oval bow shape. The whole thing is a bit tricky to work on - i have not cut the top ends of the frames yet. I want to get the deck positions done before i do that.

-
Soon ready to continue on the build. Got some work with crafting a thing for an Japanese armor...

-
Taking a break - to hot working indoor these summer weeks. Planning the decks before trimming the tops of all the frames.
-
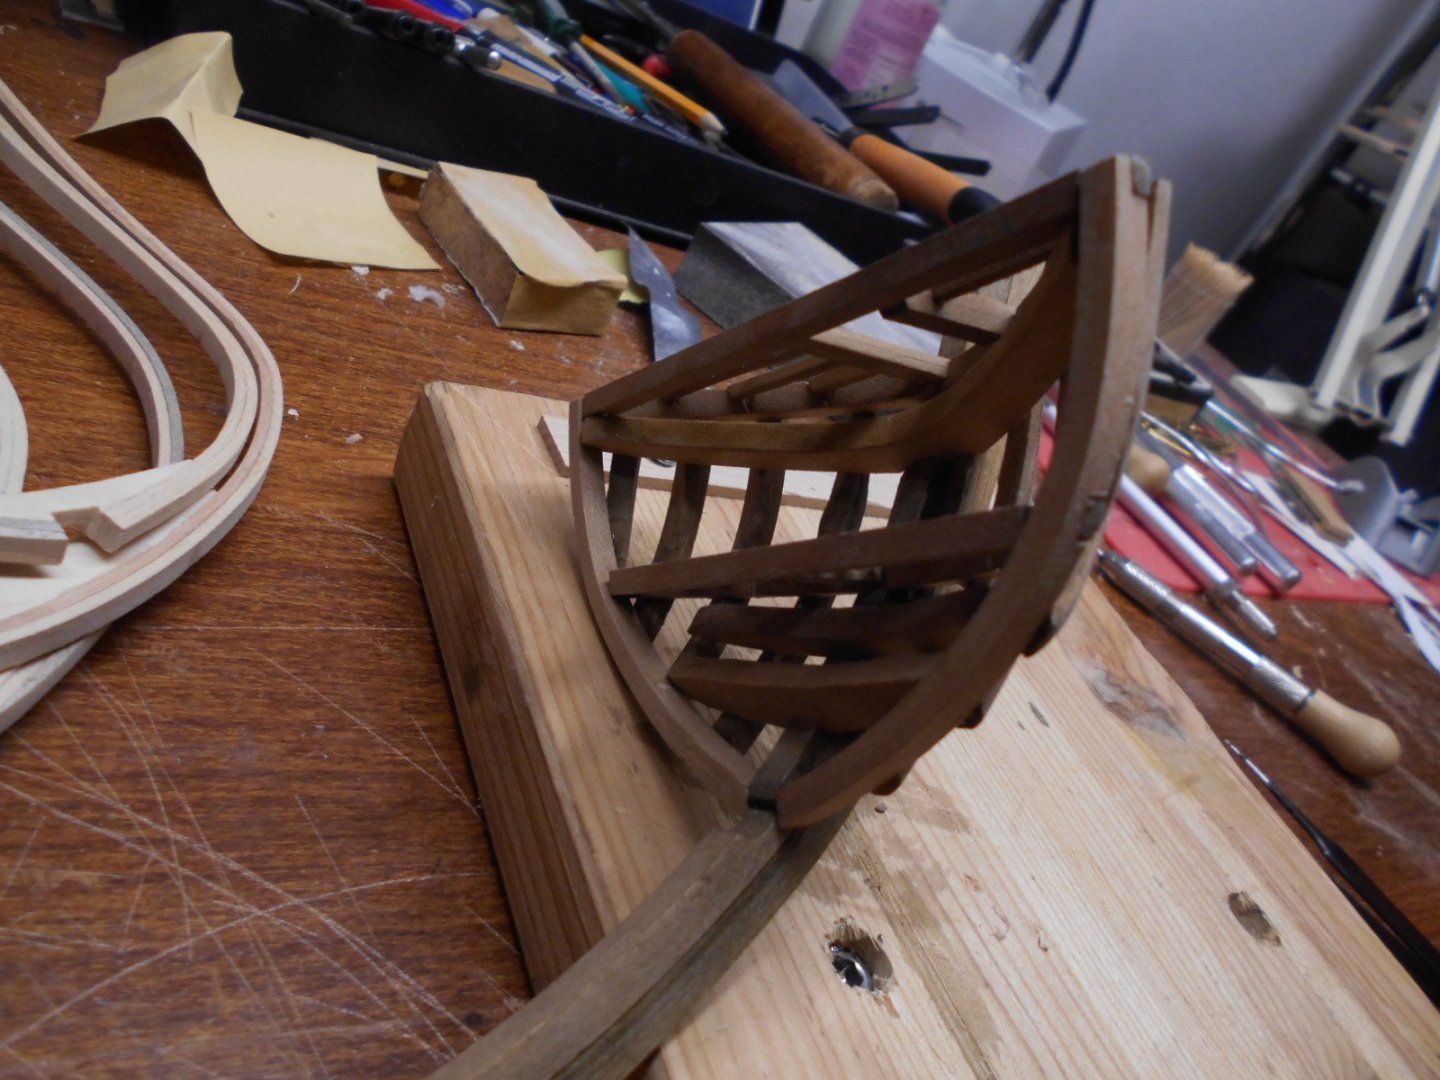
Final frame fitted - 65 in all. And a new book!

-
Had some trouble with the frames in the middle of the ship. I used to bend two half's of the frame and jigsaw the "deadwood" part in the center. But for the "easy" frame I though I could just skip the the jigsaw part and glue directly the frame while bending it, I did work out so nicely. I have to remake the 12 frames in with the max width and make them fit the outer lines. I have done the rudder. I found some very nice Mantua build on a Japanese site: ソブリン オブ ザ シーズ(Sovereign of the Seas)
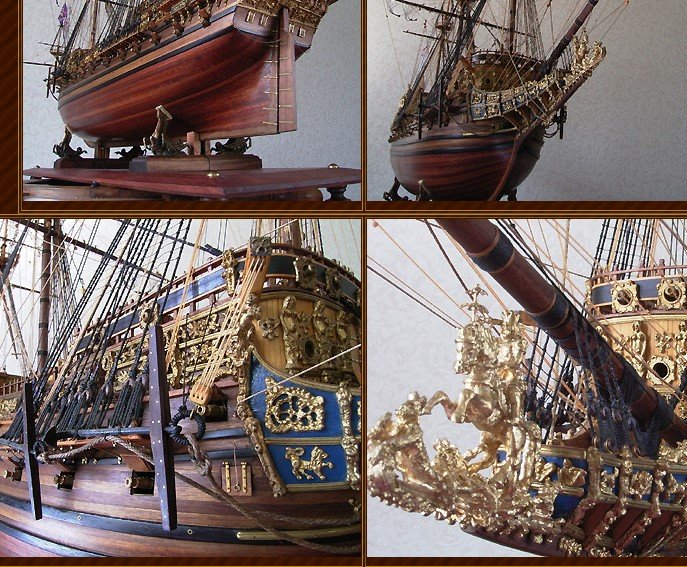
-
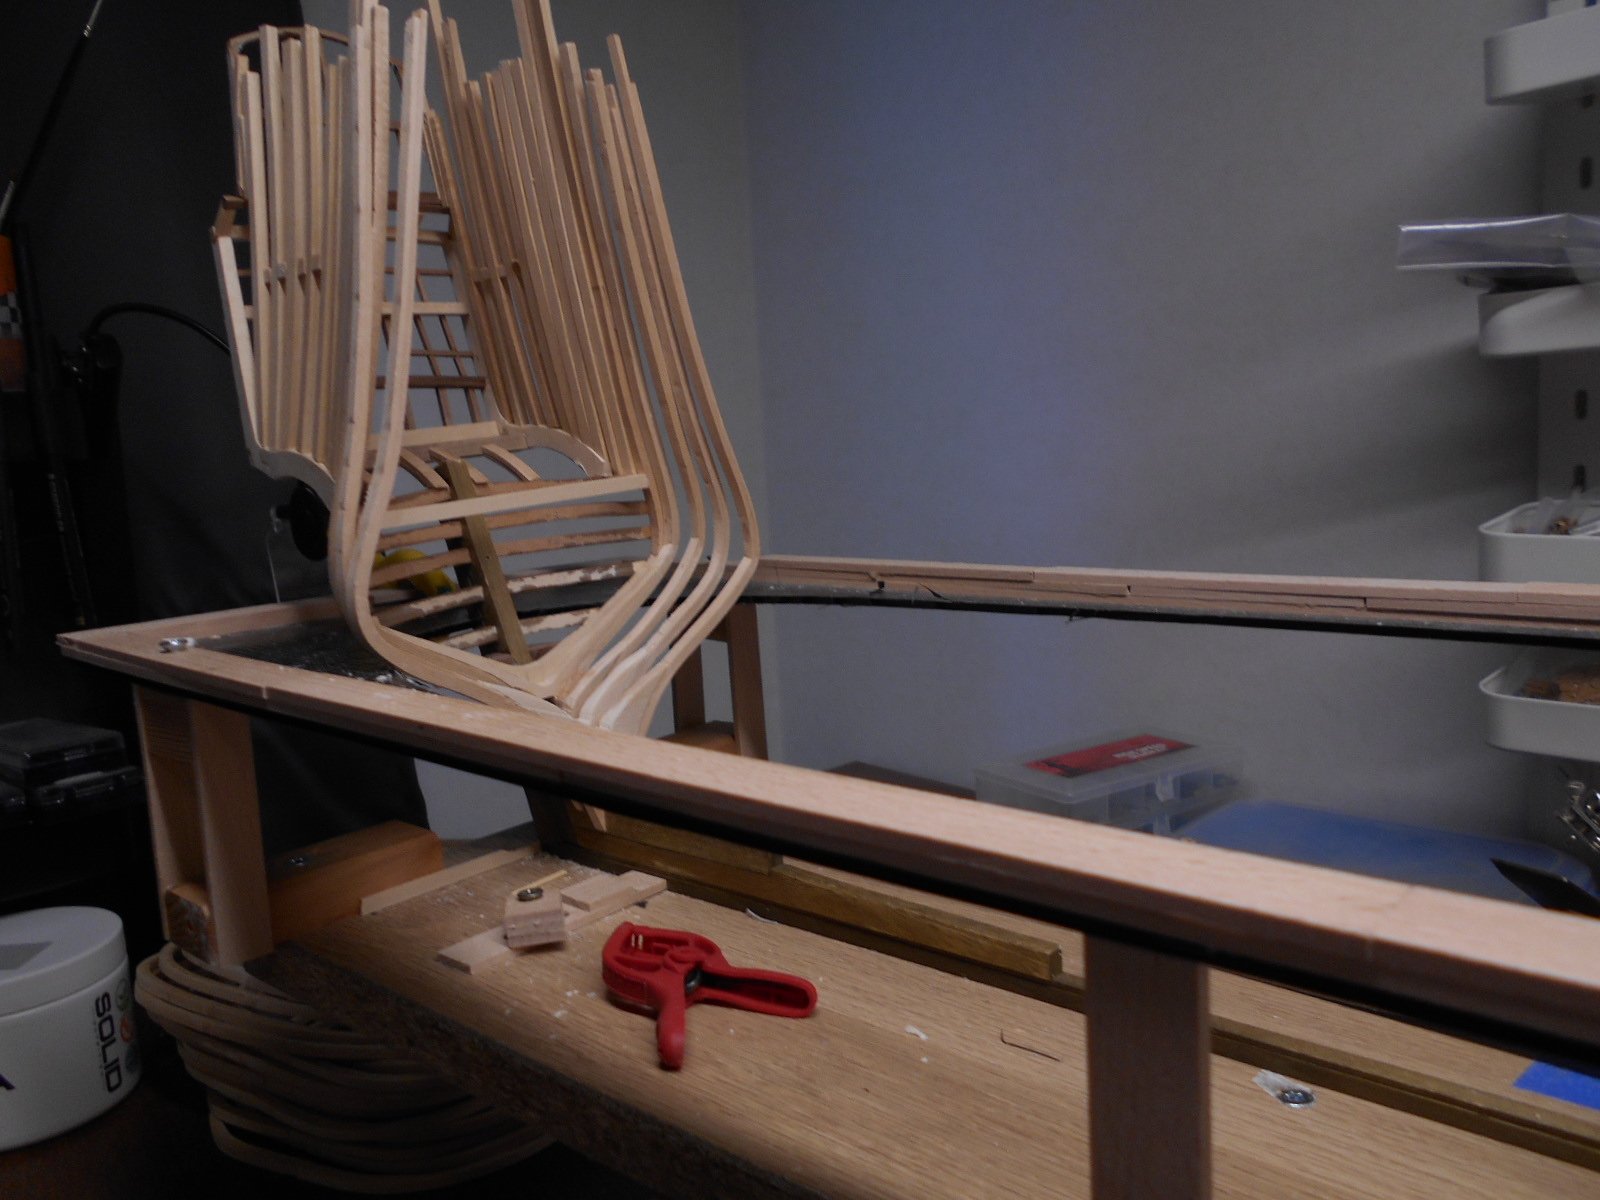
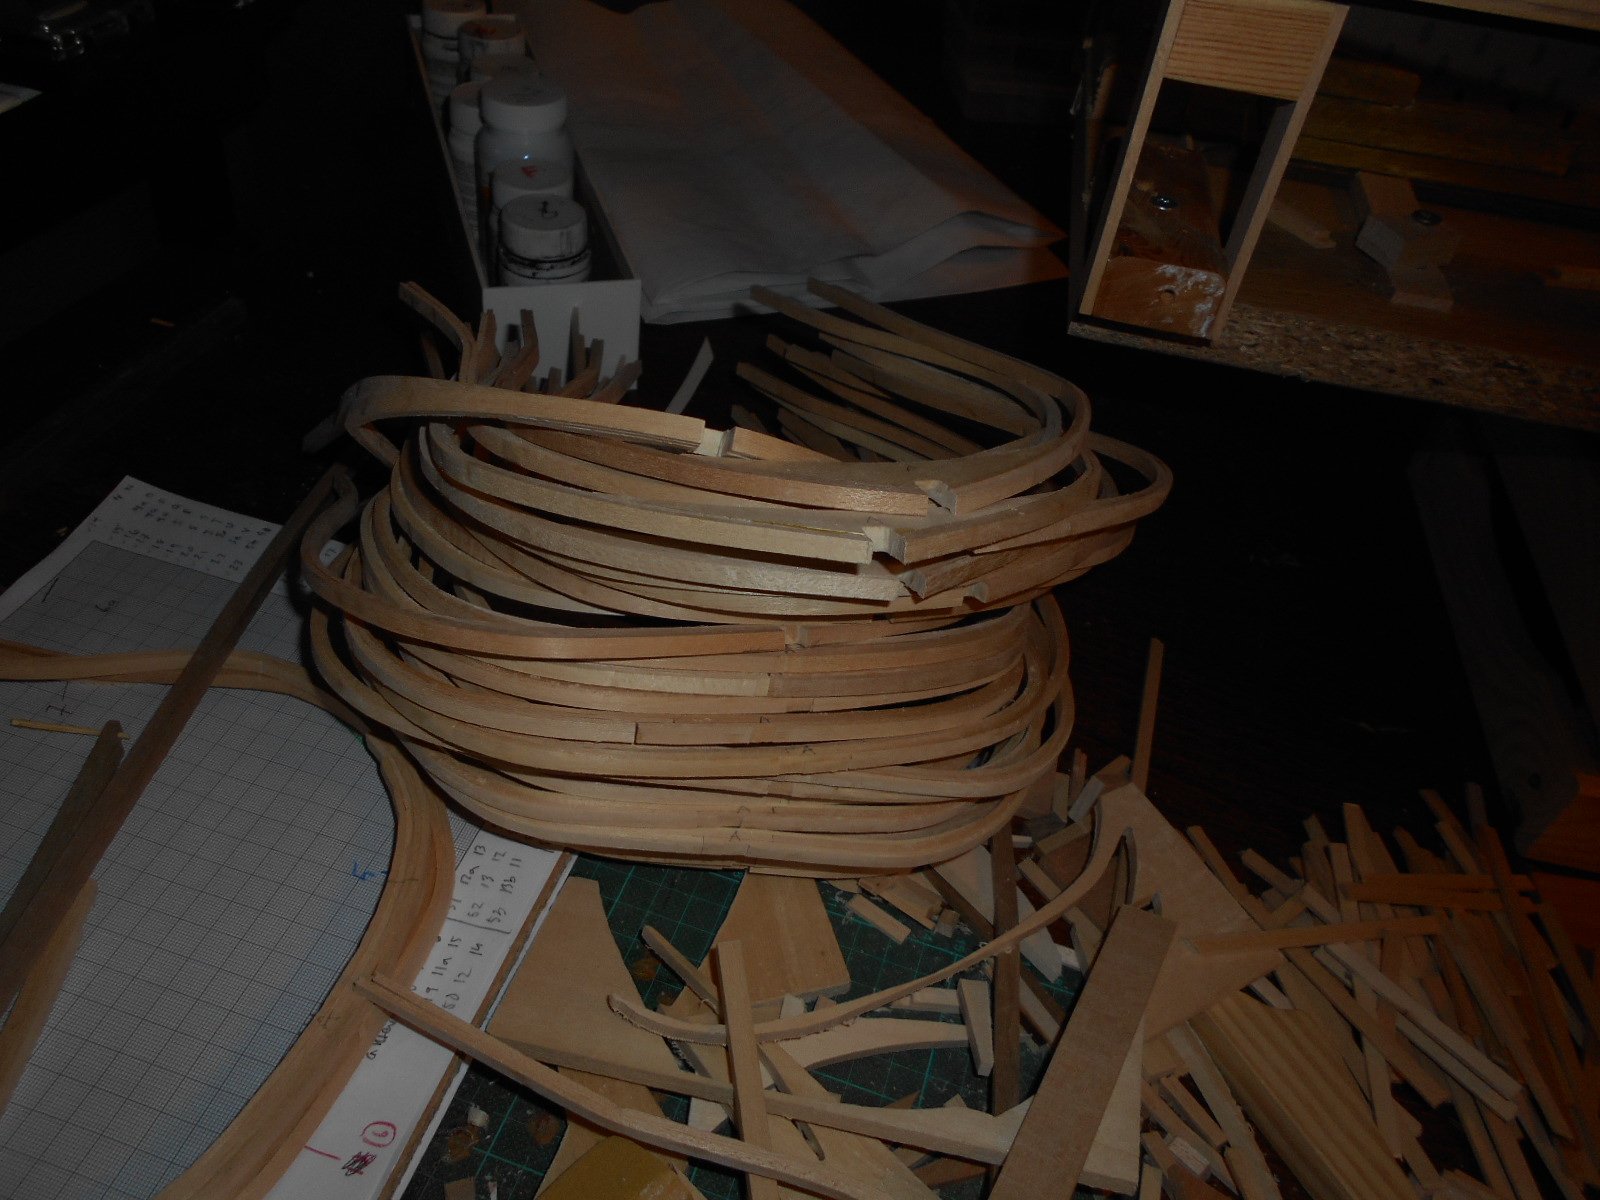
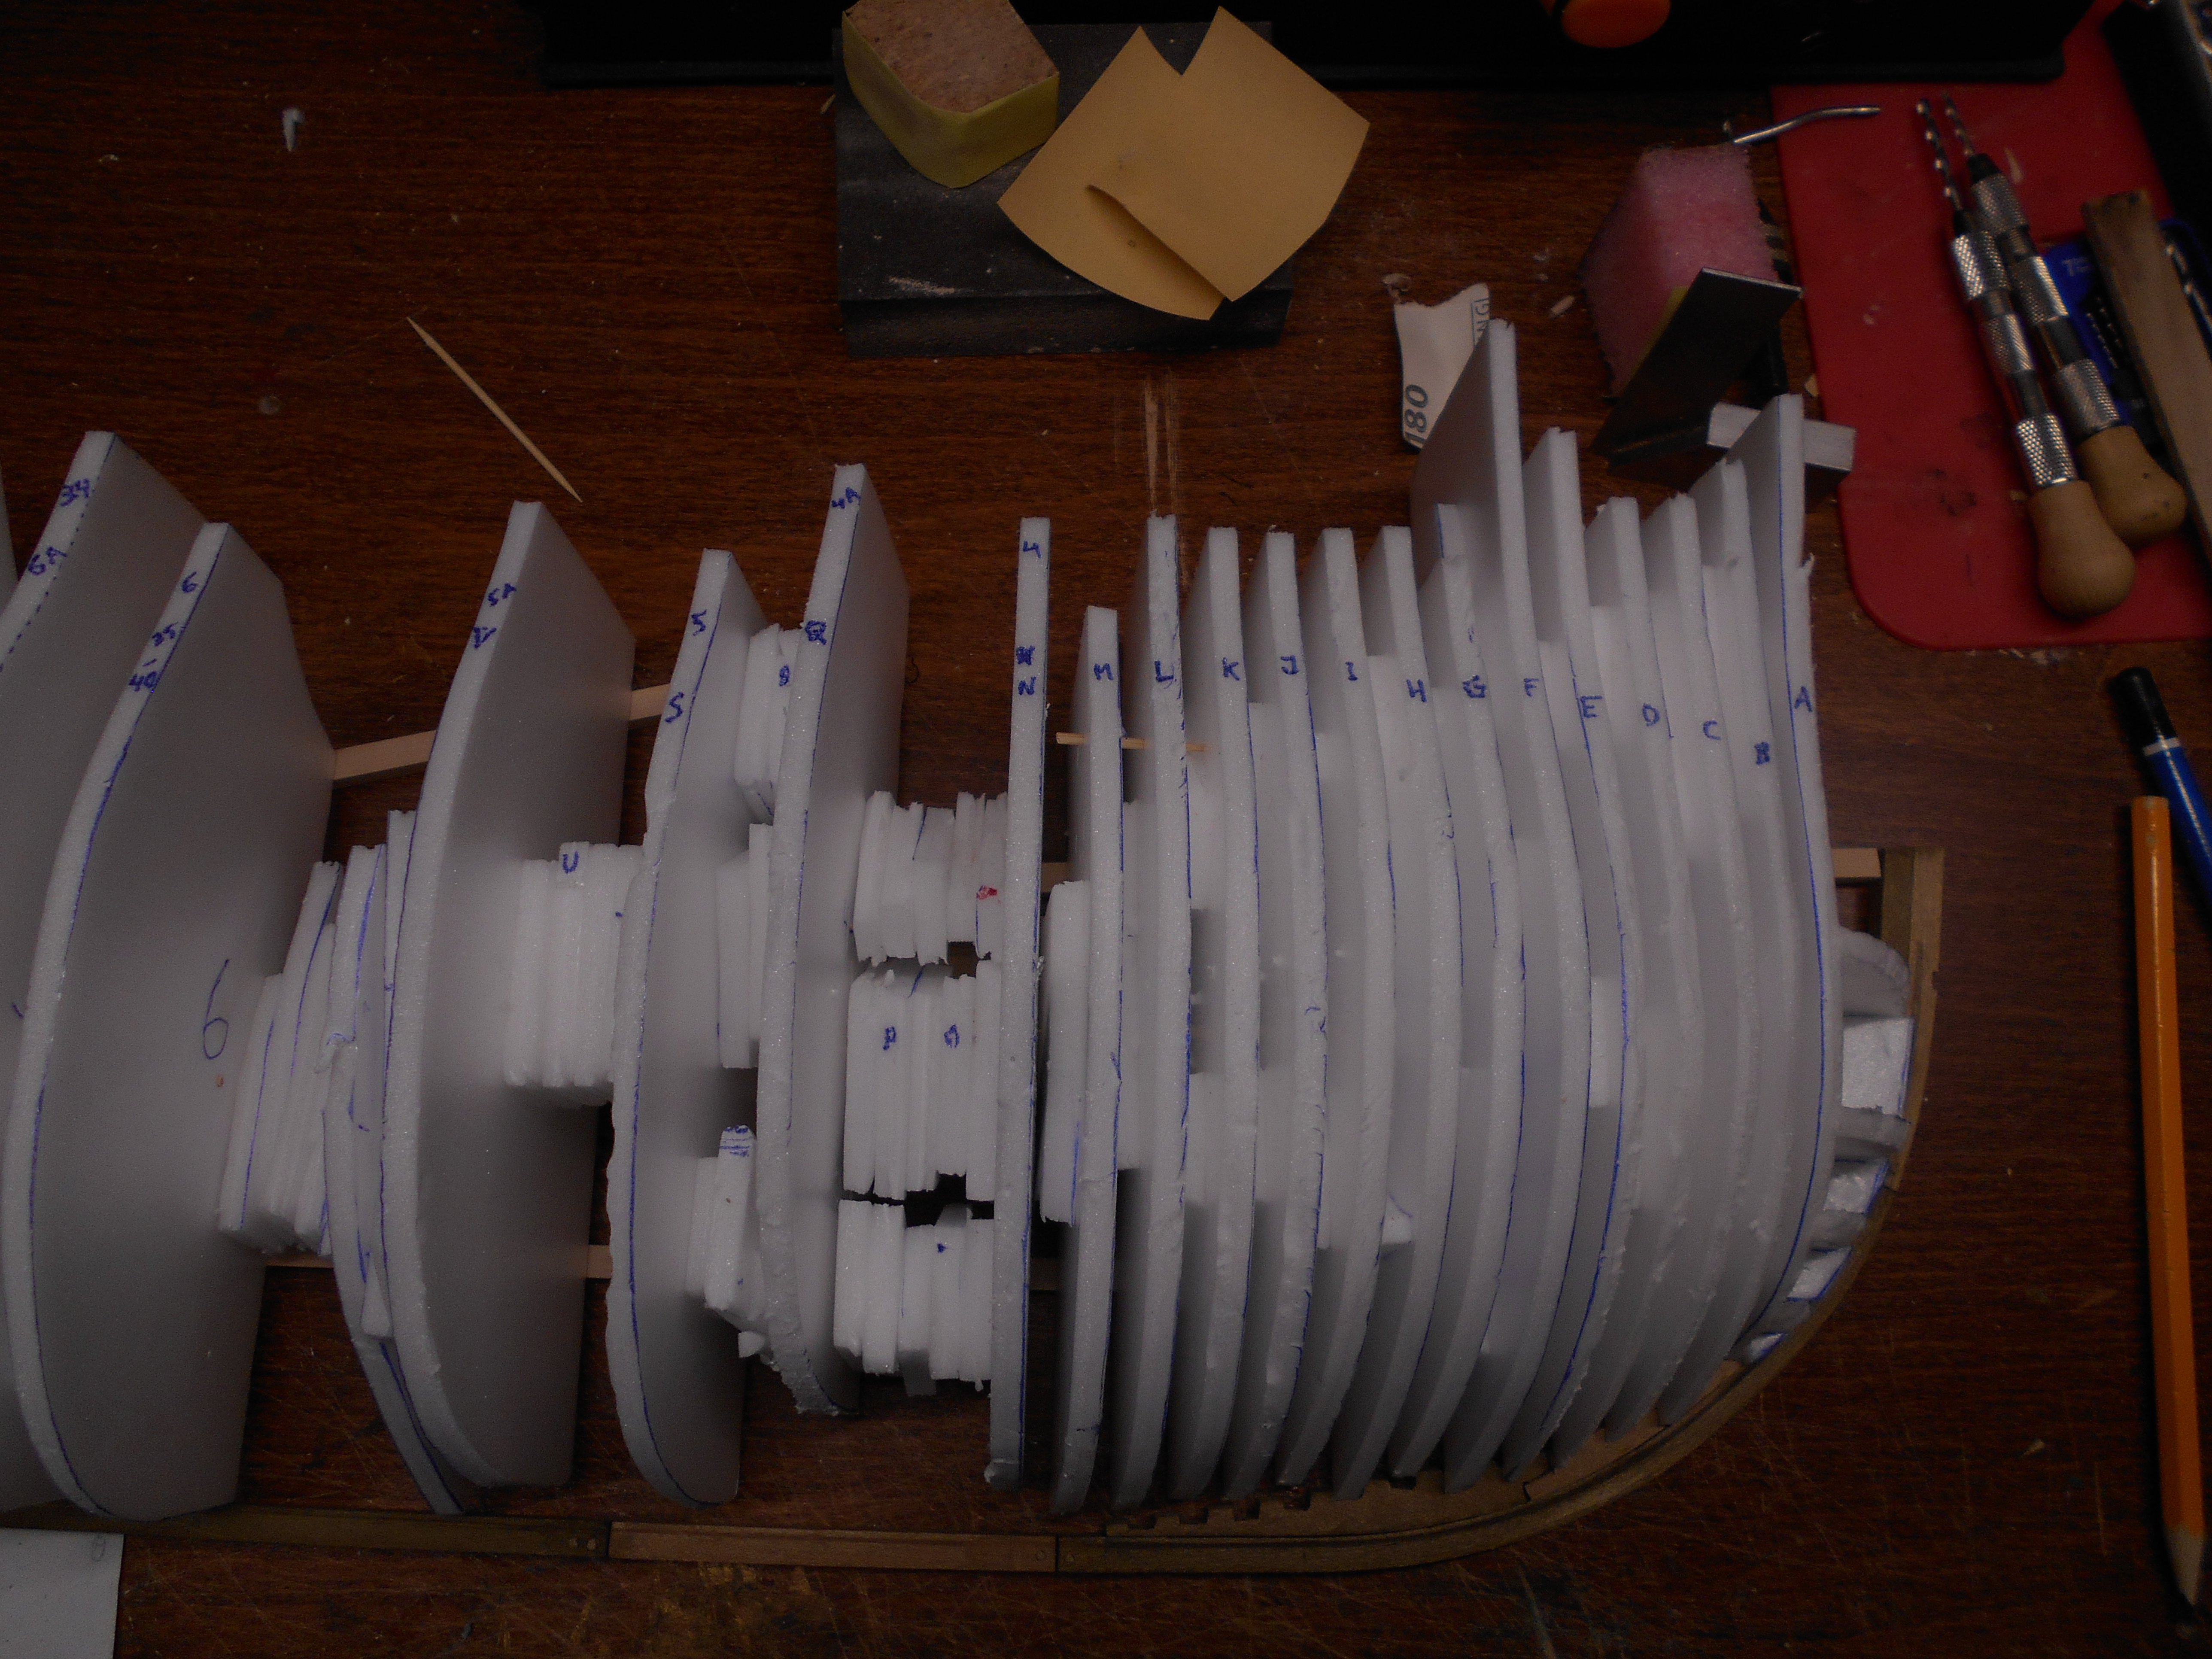
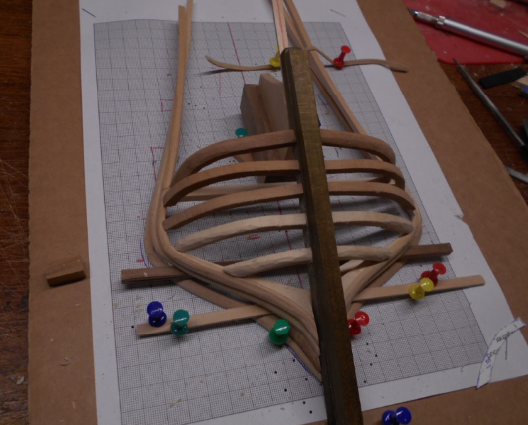
Started gluing the frames from each end and figured out I am missing a half a dozen frames in with the max size. All frames were leaning in one direction making it look like I had enough frames for the whole keel. So now I have to pick out my bending kit again and created some more frames. Dyeing the frames as a I fix them, it will be around 65 frames.

-
Greatly appreciate the input. Yes the angle of my rudder made me think of placing tiller up. I have only two more frames left and trying to fit the keelson with floor pieces between each frame. It is a bit tricky to fill the space on the lower part of each frame and a lot of crating templates and jigsawing. Practice pays off. Waiting for two more book of Lavery from the library.

-
Hi Trevor, the old model has been in my mind. I have not seen it in Stockholm though, only the Wasa ship. I have curved the top of the rudder now. I have not decided were to place tiller and length. I read about the use of whip-staff or not on big ships and Wasa as not being used for very long as it sank (maybe it is not such a great representative), I read that Lavery in this latest book I read was open for alternative ways (as McKay). I find it somehow crazy to have a single person without watching the sails only depending on shouts from above during a battle or bad weather. In Wasa the helmsman could see out through the upper part of the deck and Lavery writes about companions as can be seen in the animated video link in previous post. I am sort of done with the structure or the stern and finally working my way forward with making new frames. Things I am thinking about: Bonaventure mast or not, elongated quarter deck (main mast not on mid deck), protection over upper deck or not. Tiller length.

-
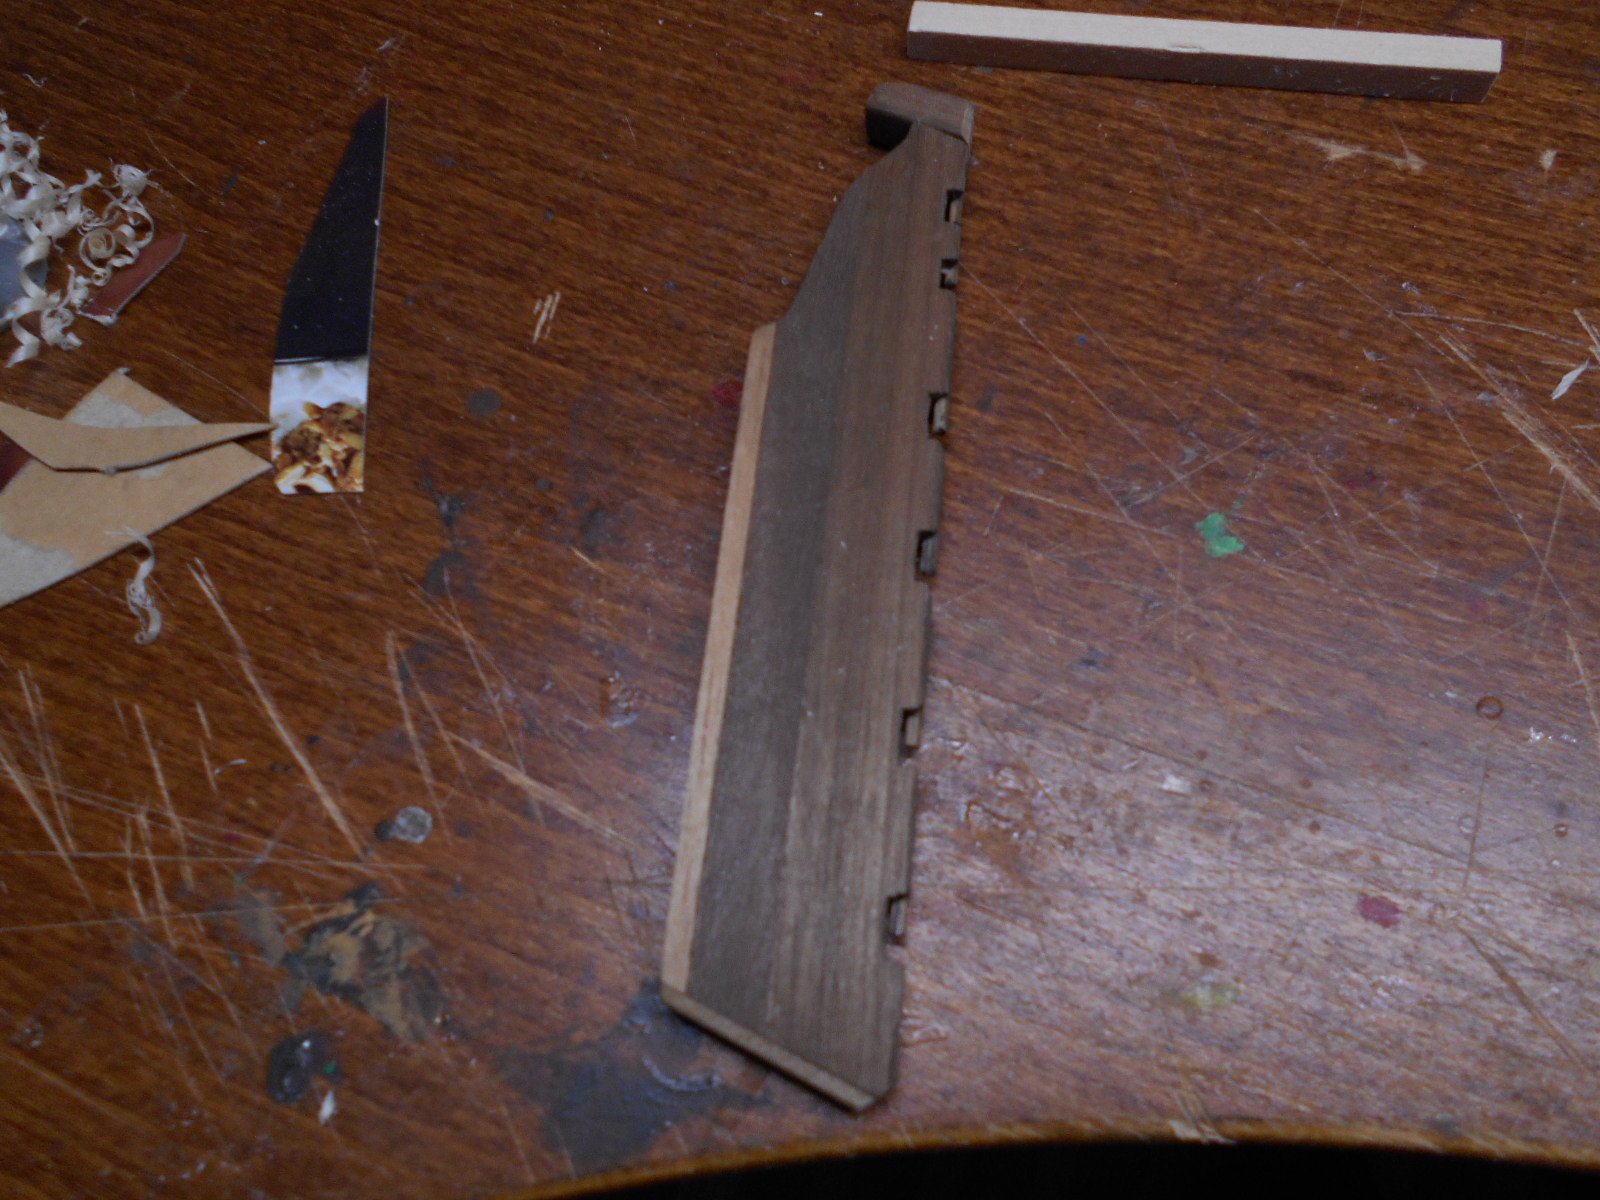
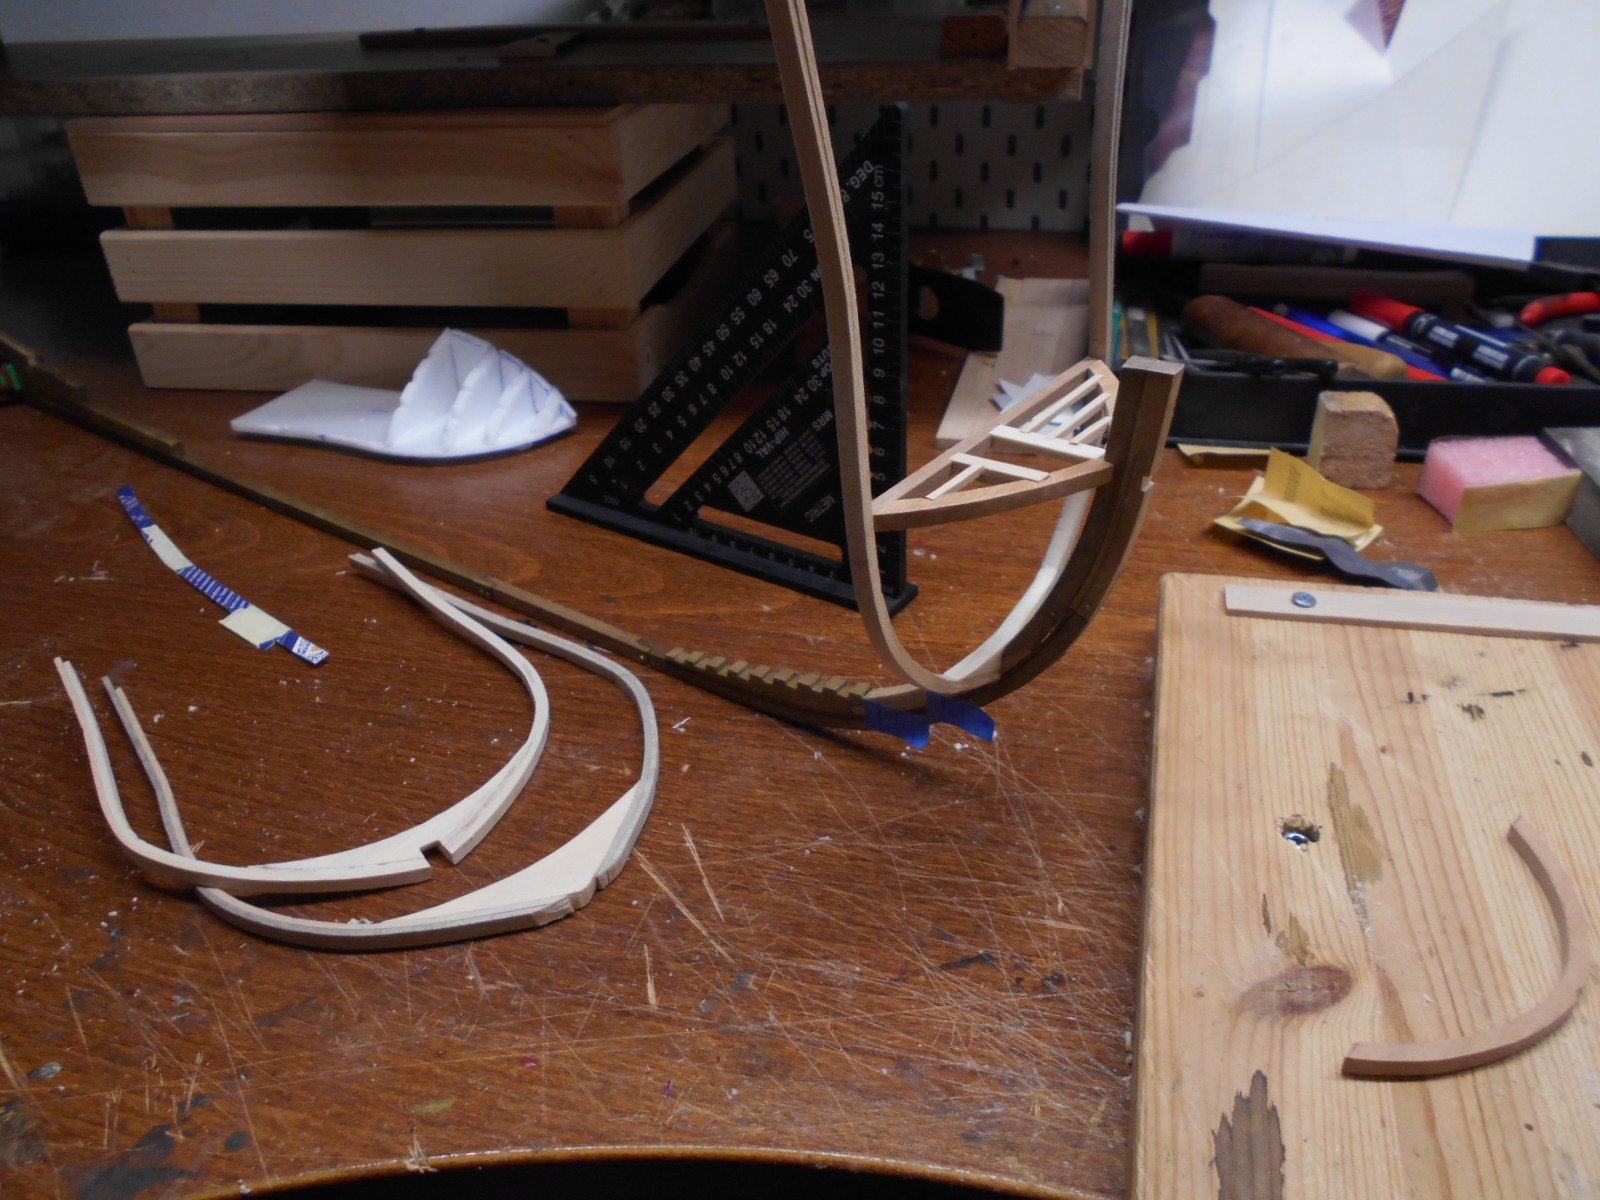
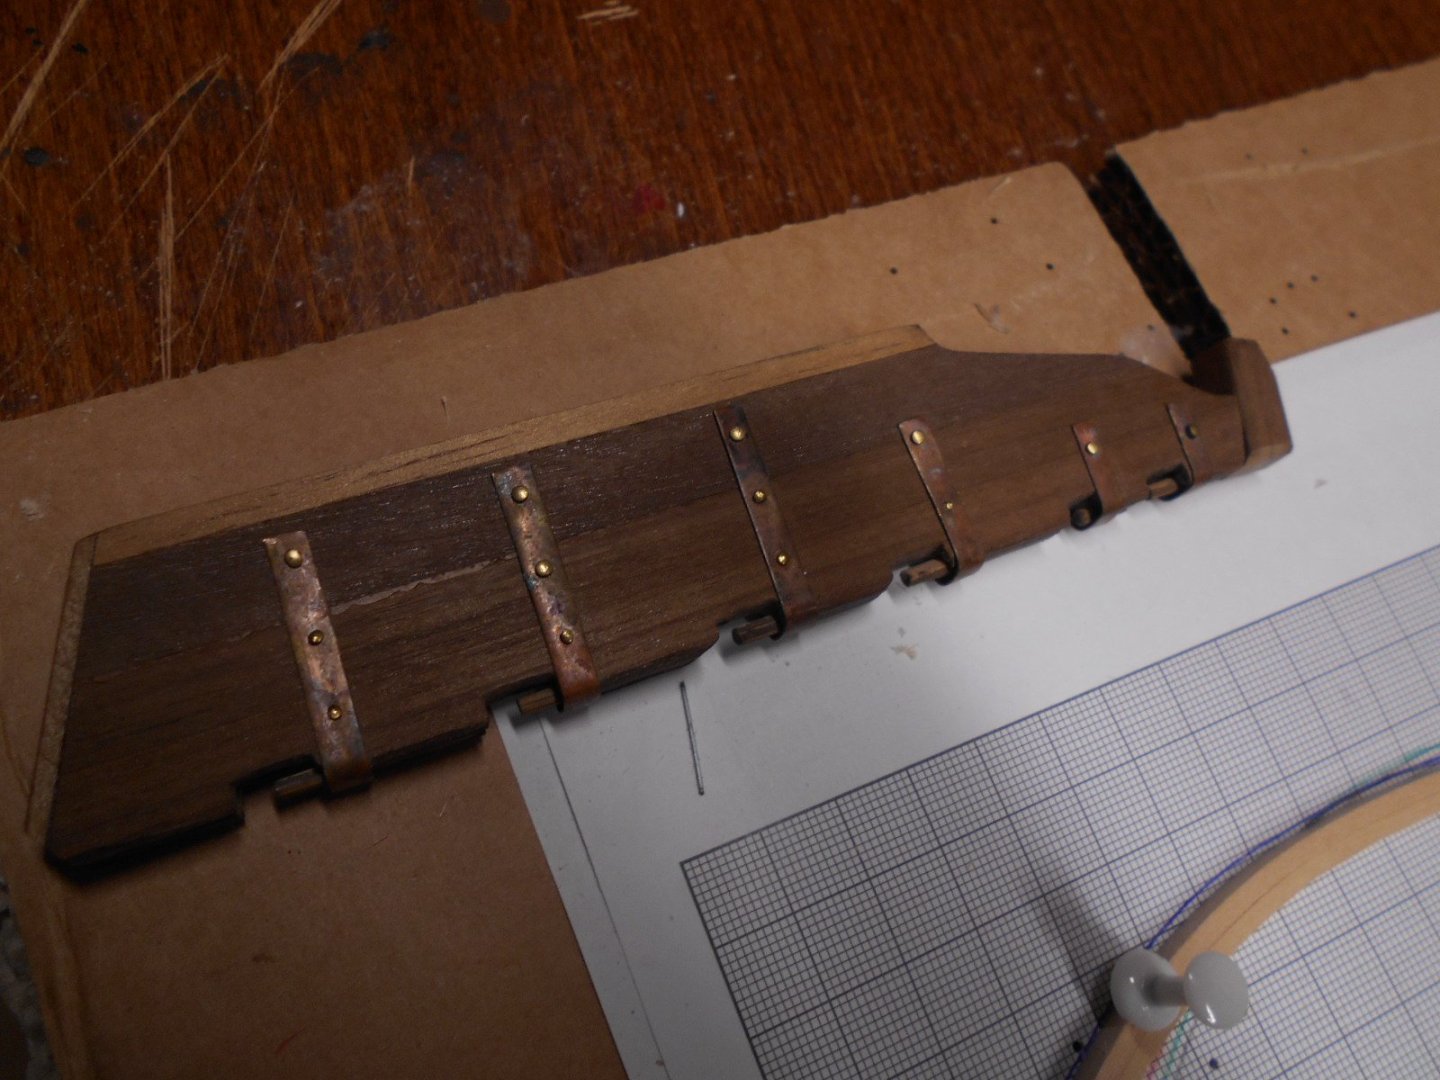
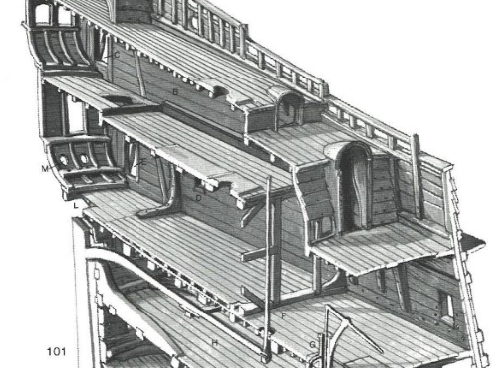
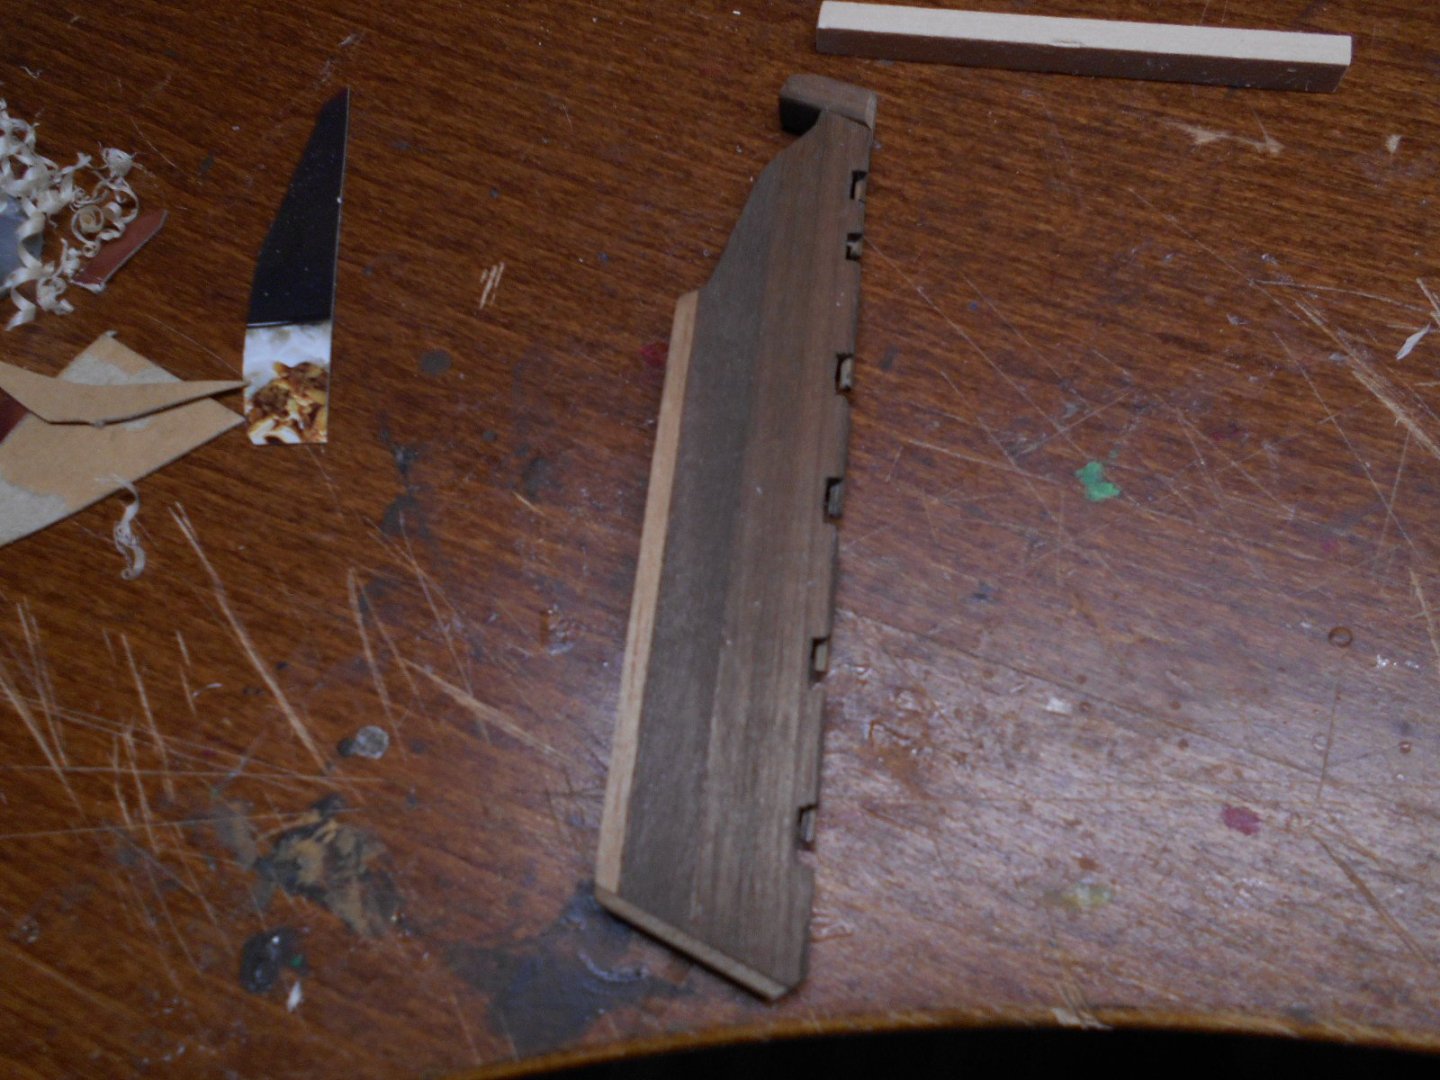
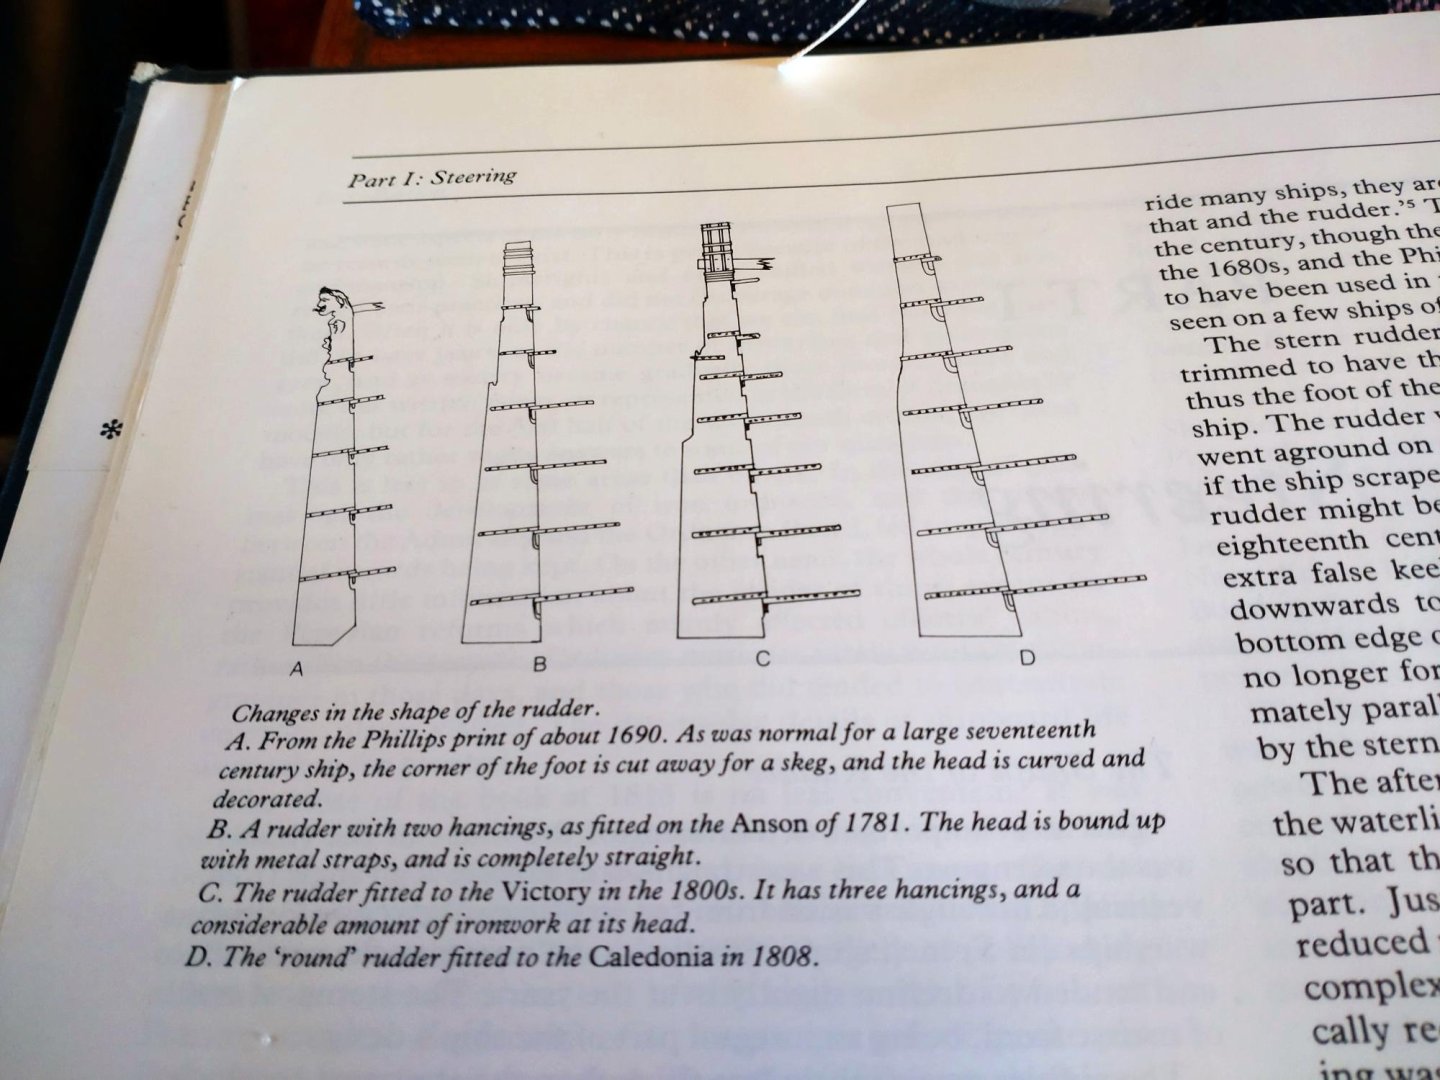
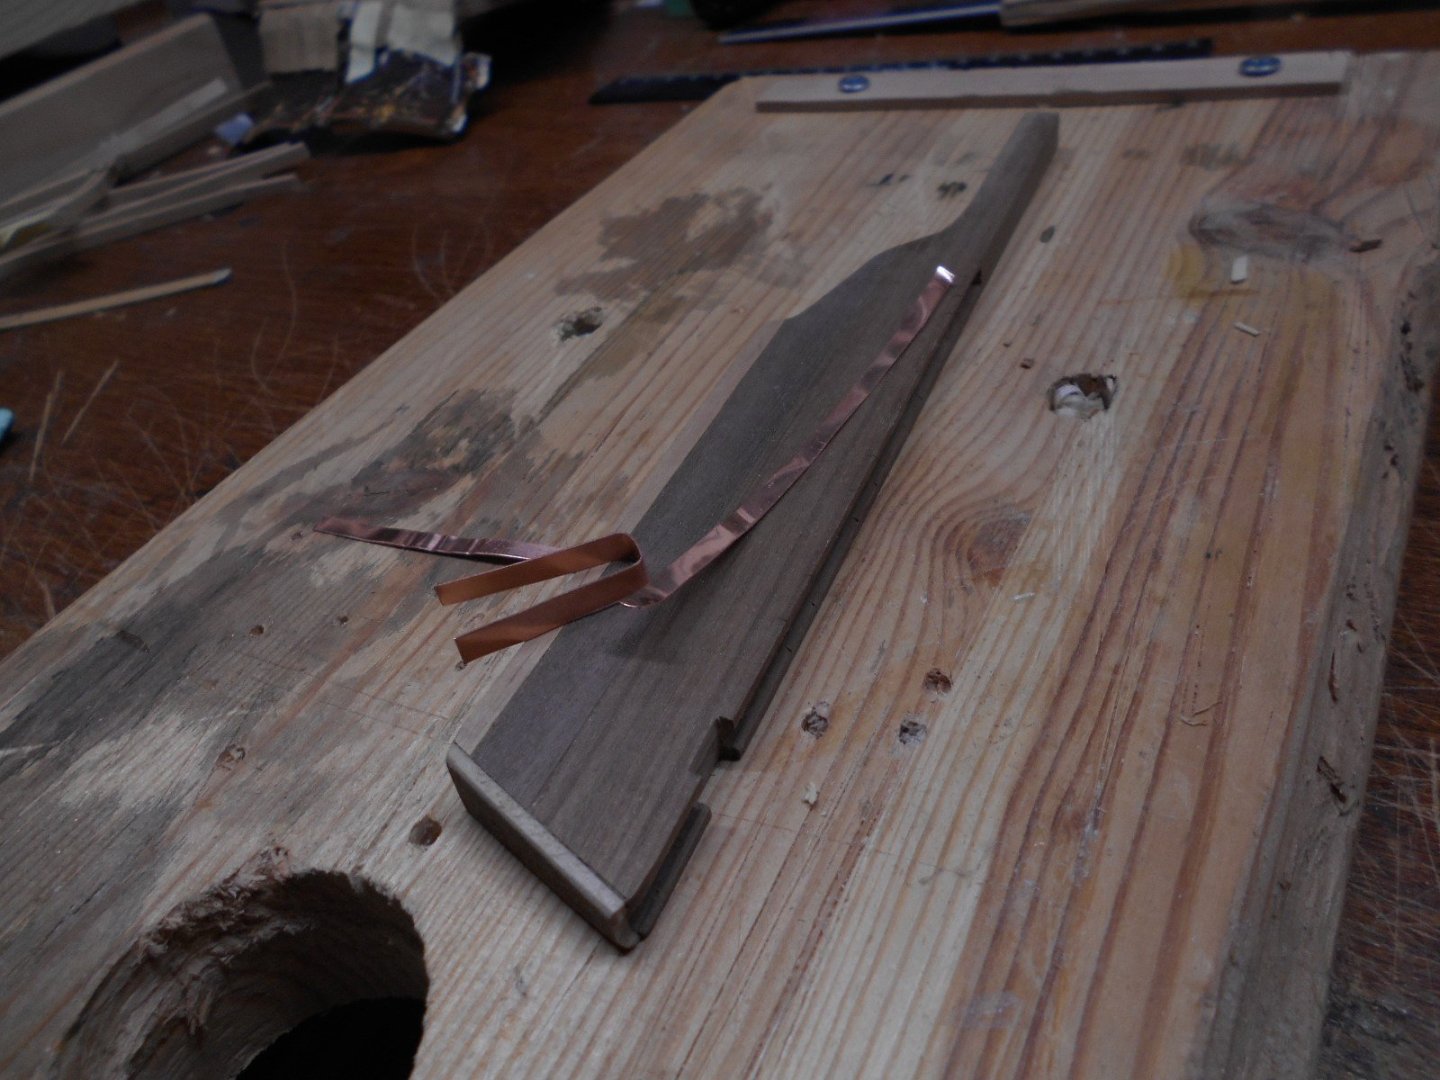
Found the Brian Lavery book (in the library) Arming and fitting of English war ships 1600-1815 and found out my rudder is a bit off for a early 1600 type of rudder. I was planning having the tiller not passing the hull but to be enclosed and have the rudder passing the hull vertically. I have now cut off a bit off the stern post and try making the rudder like the picture in his book. Made the "hinges" for the rudder of copper sheet. Put them in vinegar bath to age them a bit.
-
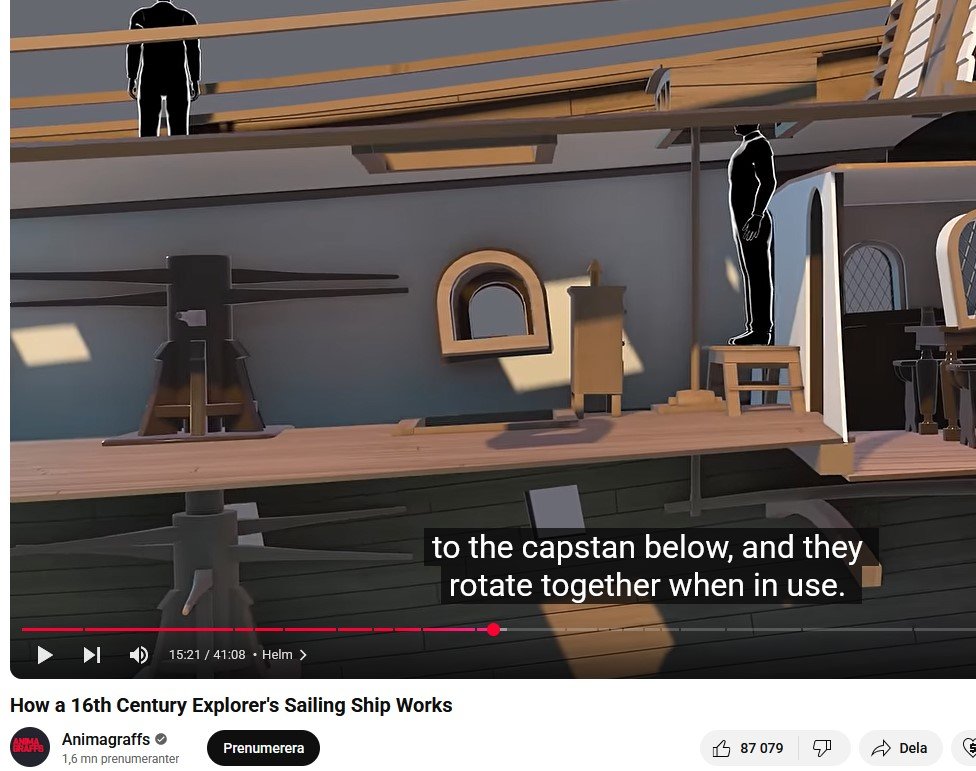
Keep struggling with the stern post transoms and above. Started with the rudder construction. Did see these amazing animations by Animagraffs on YouTube of the ships anatomy. Highly Recommended!

-
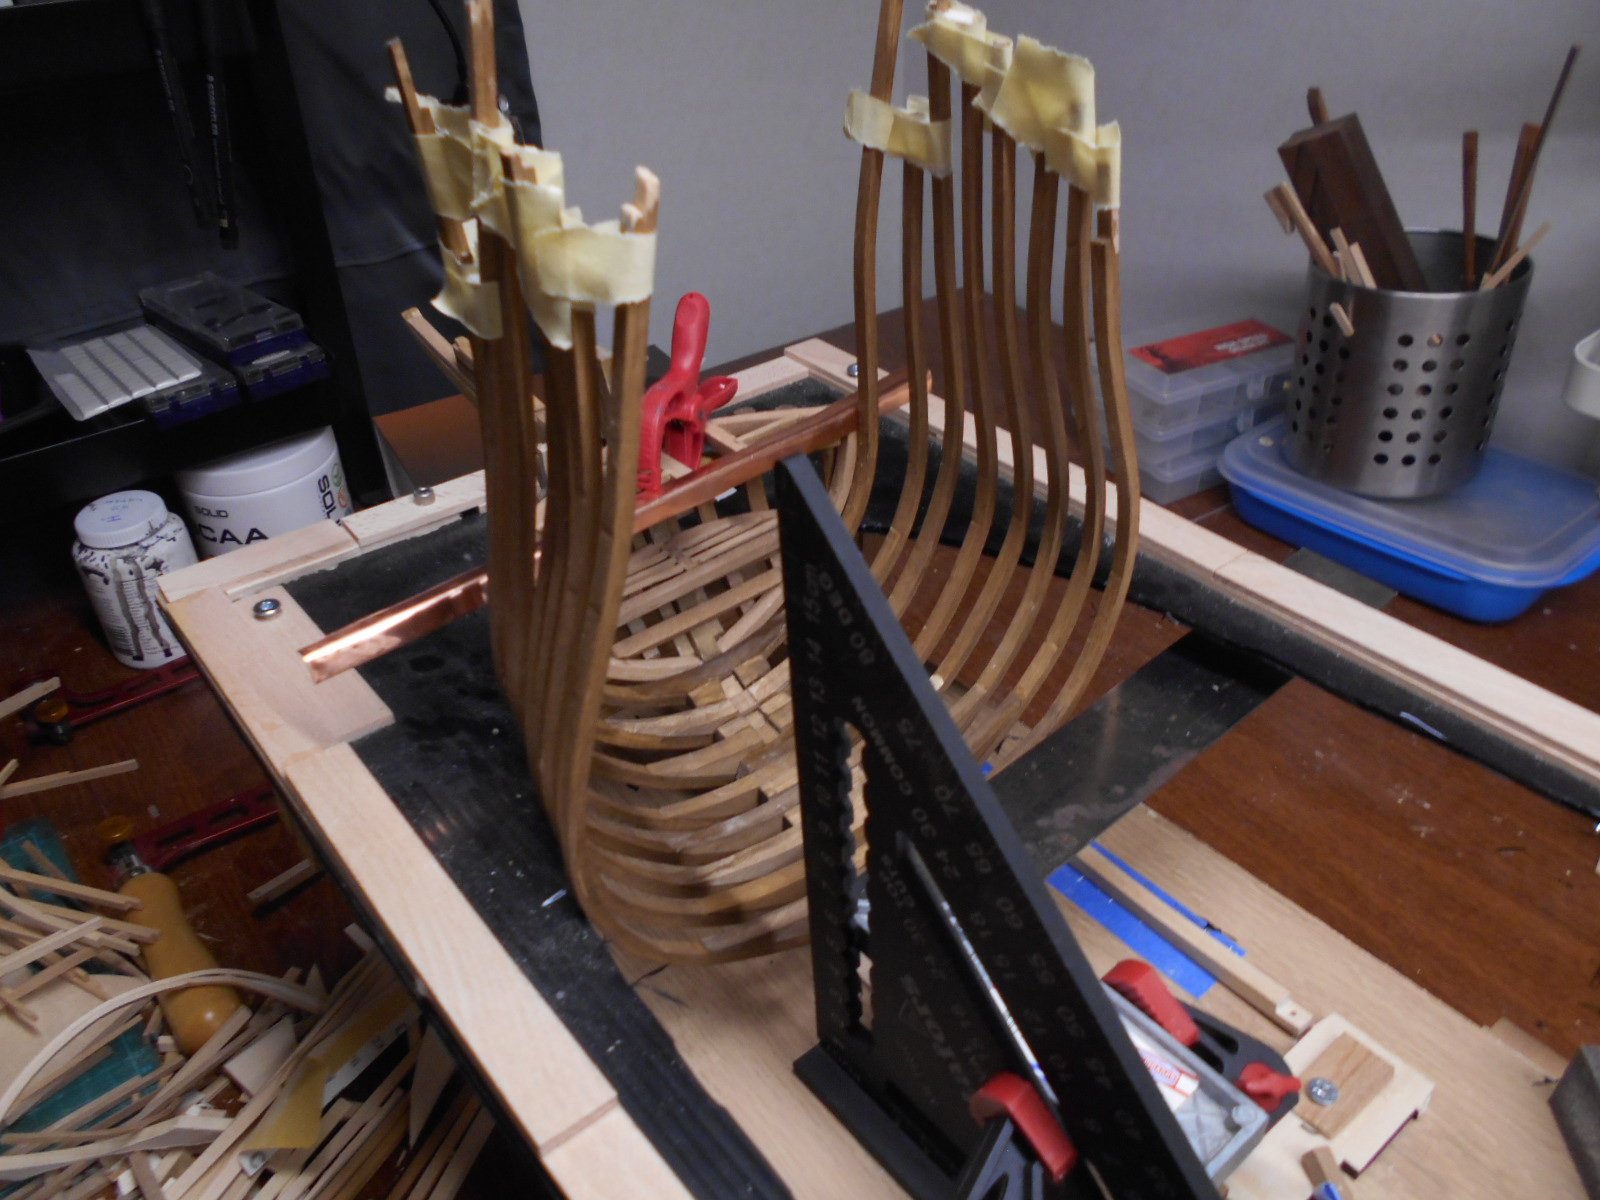
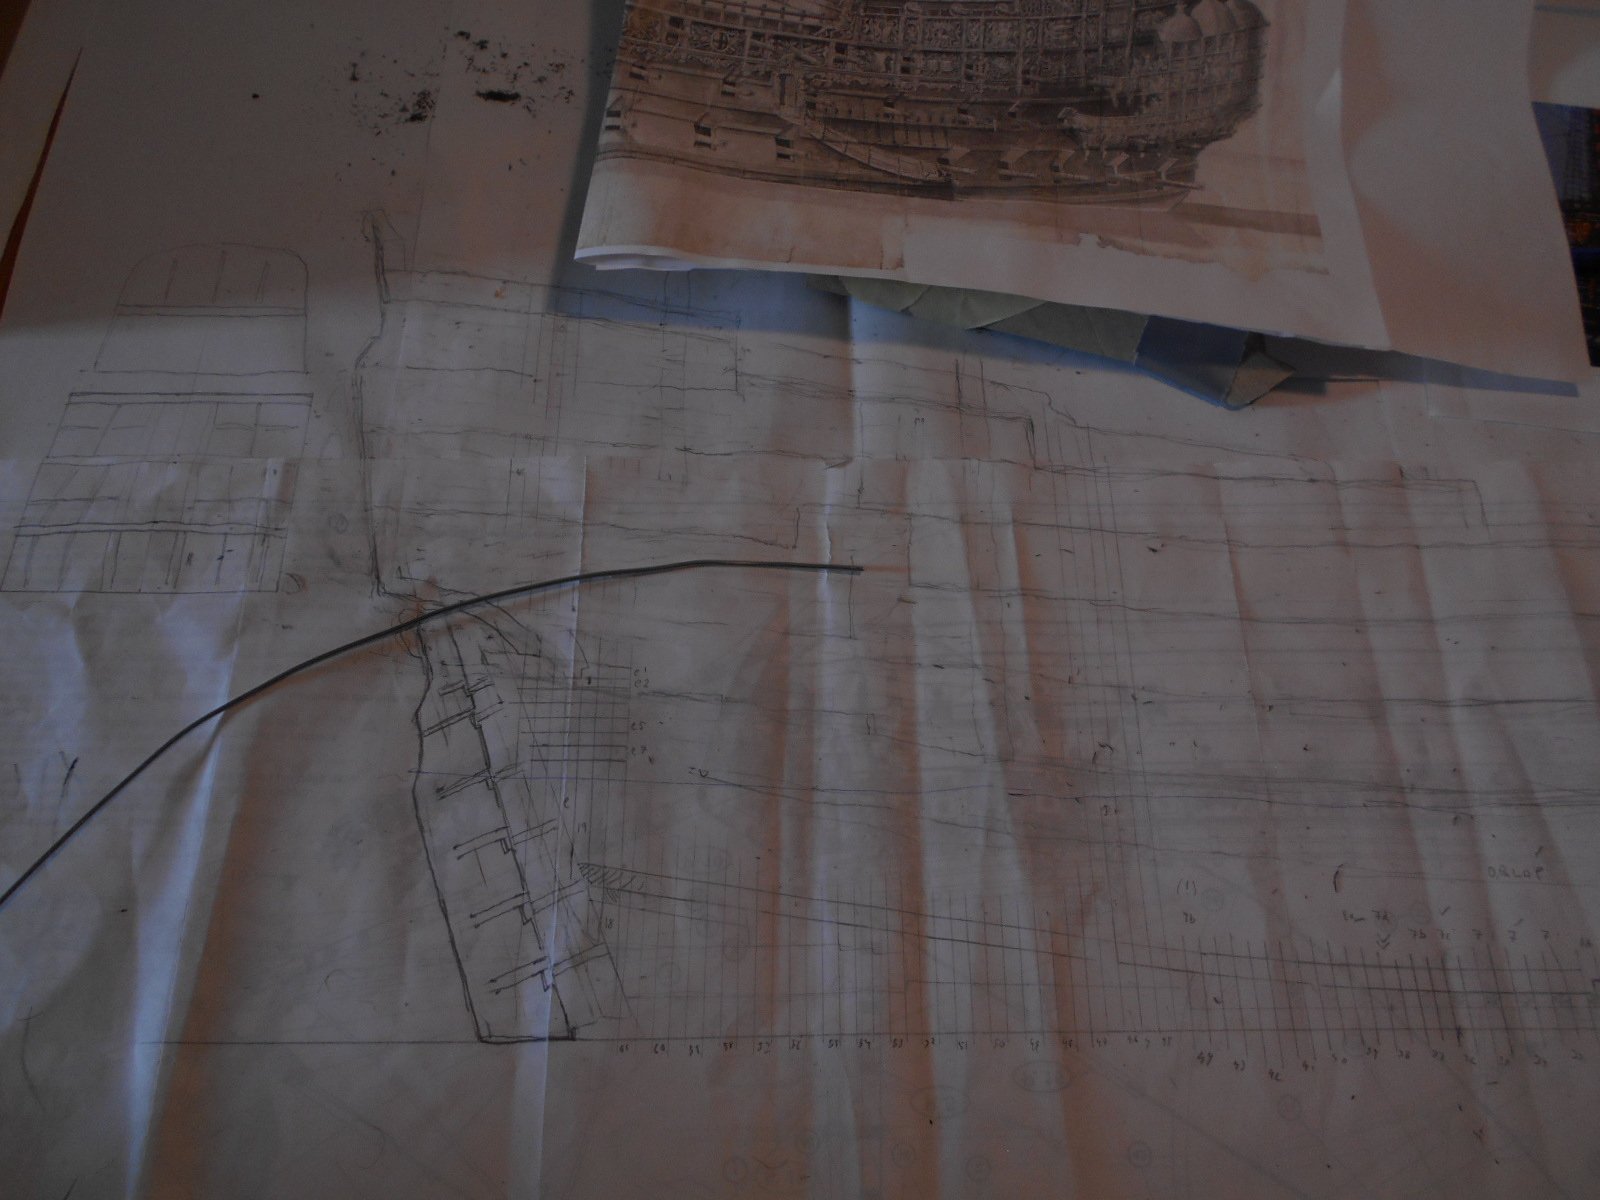
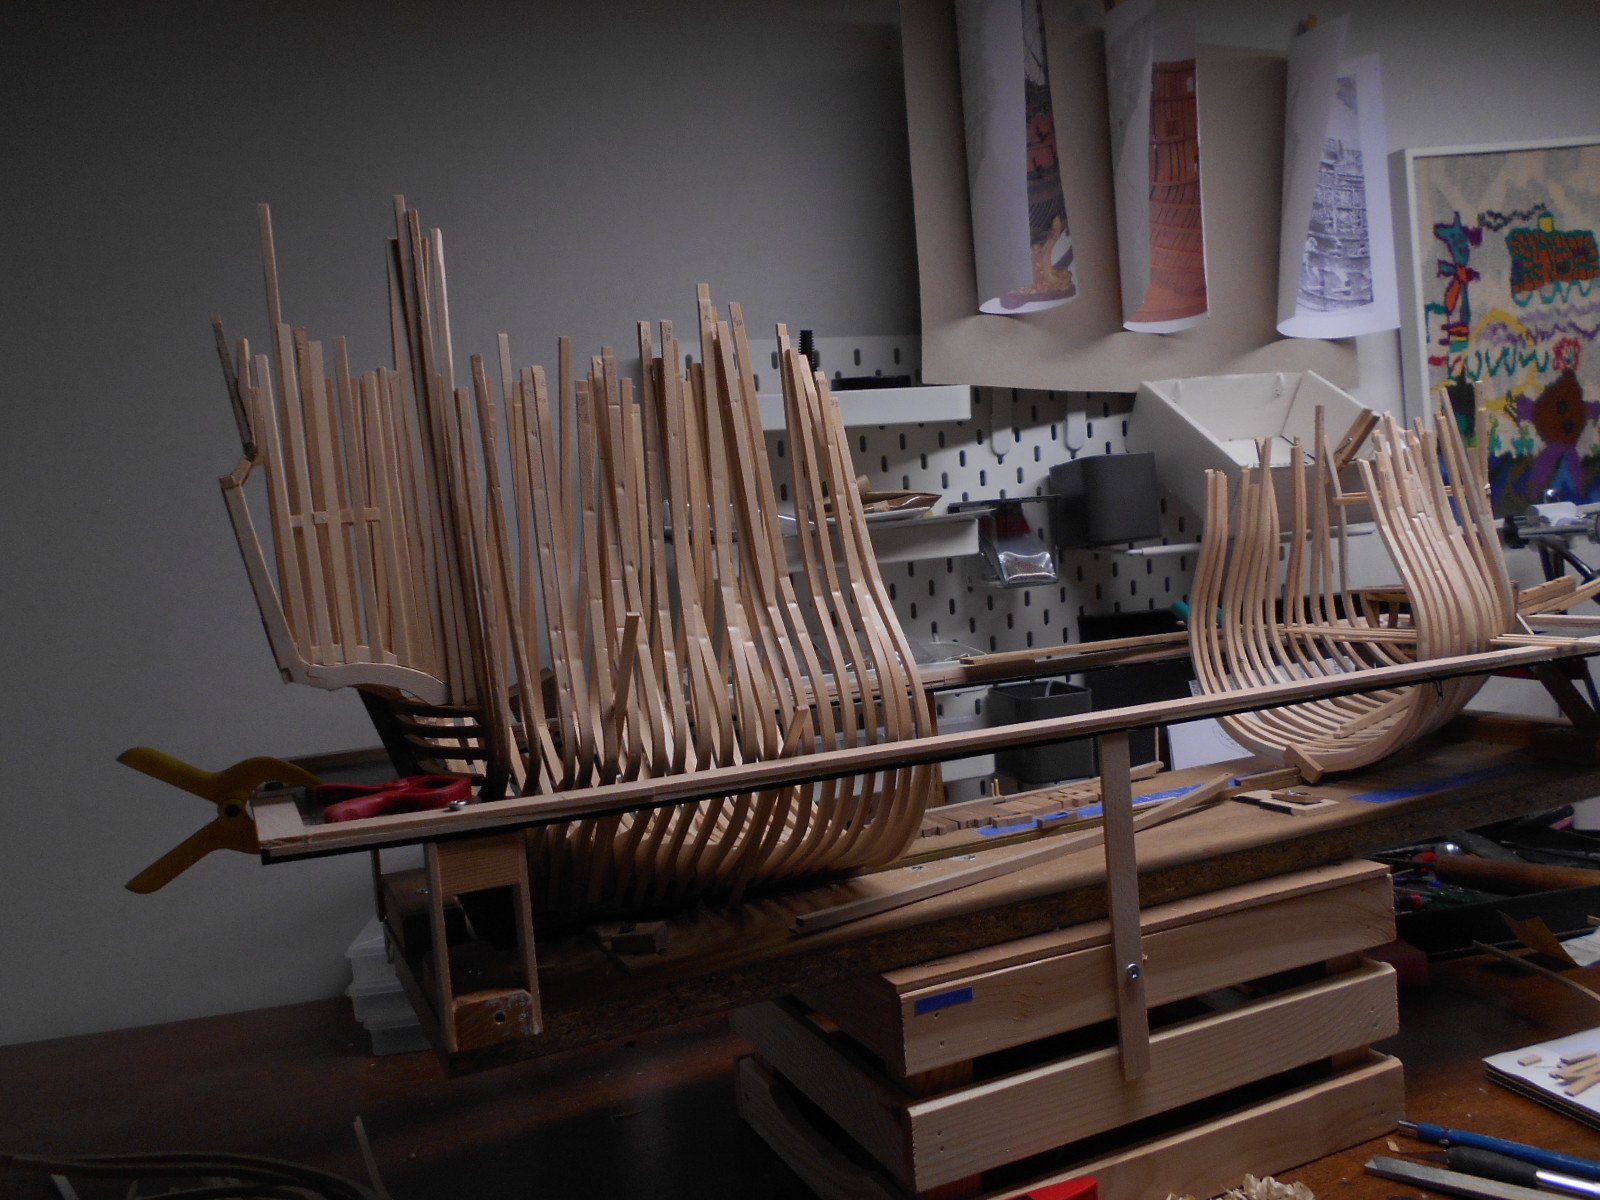
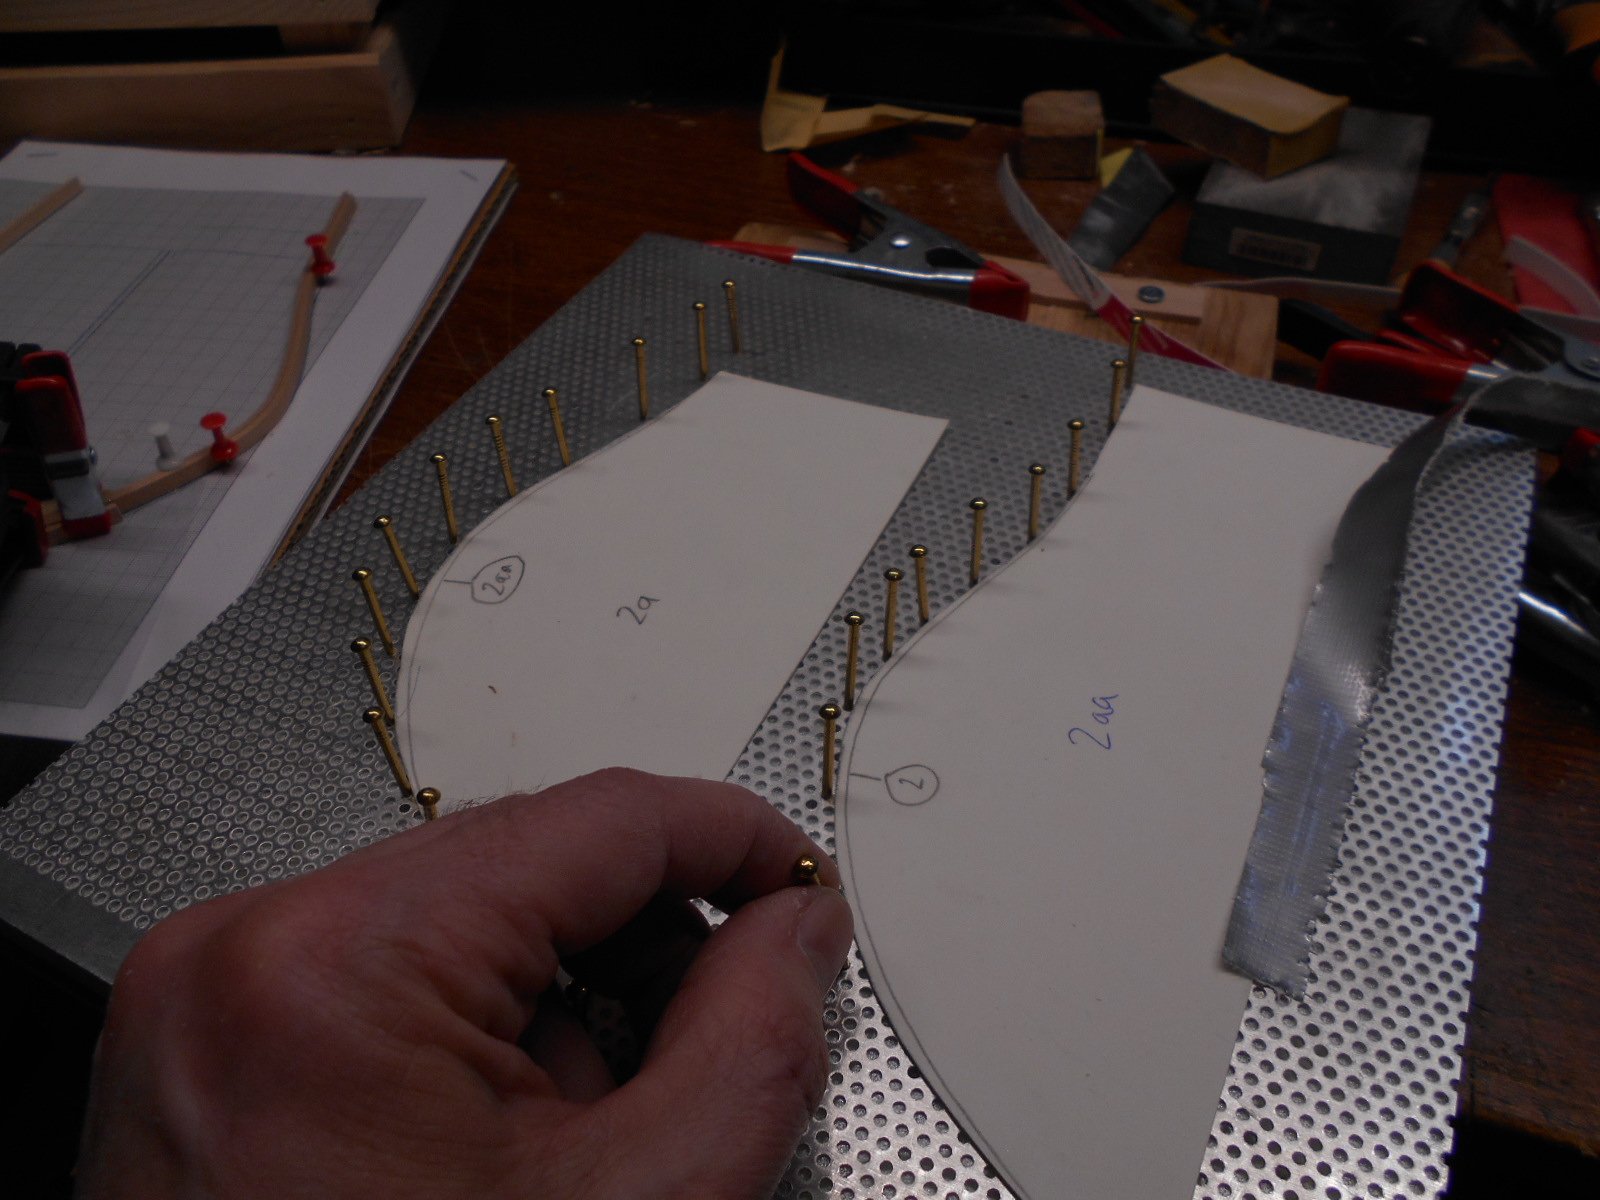
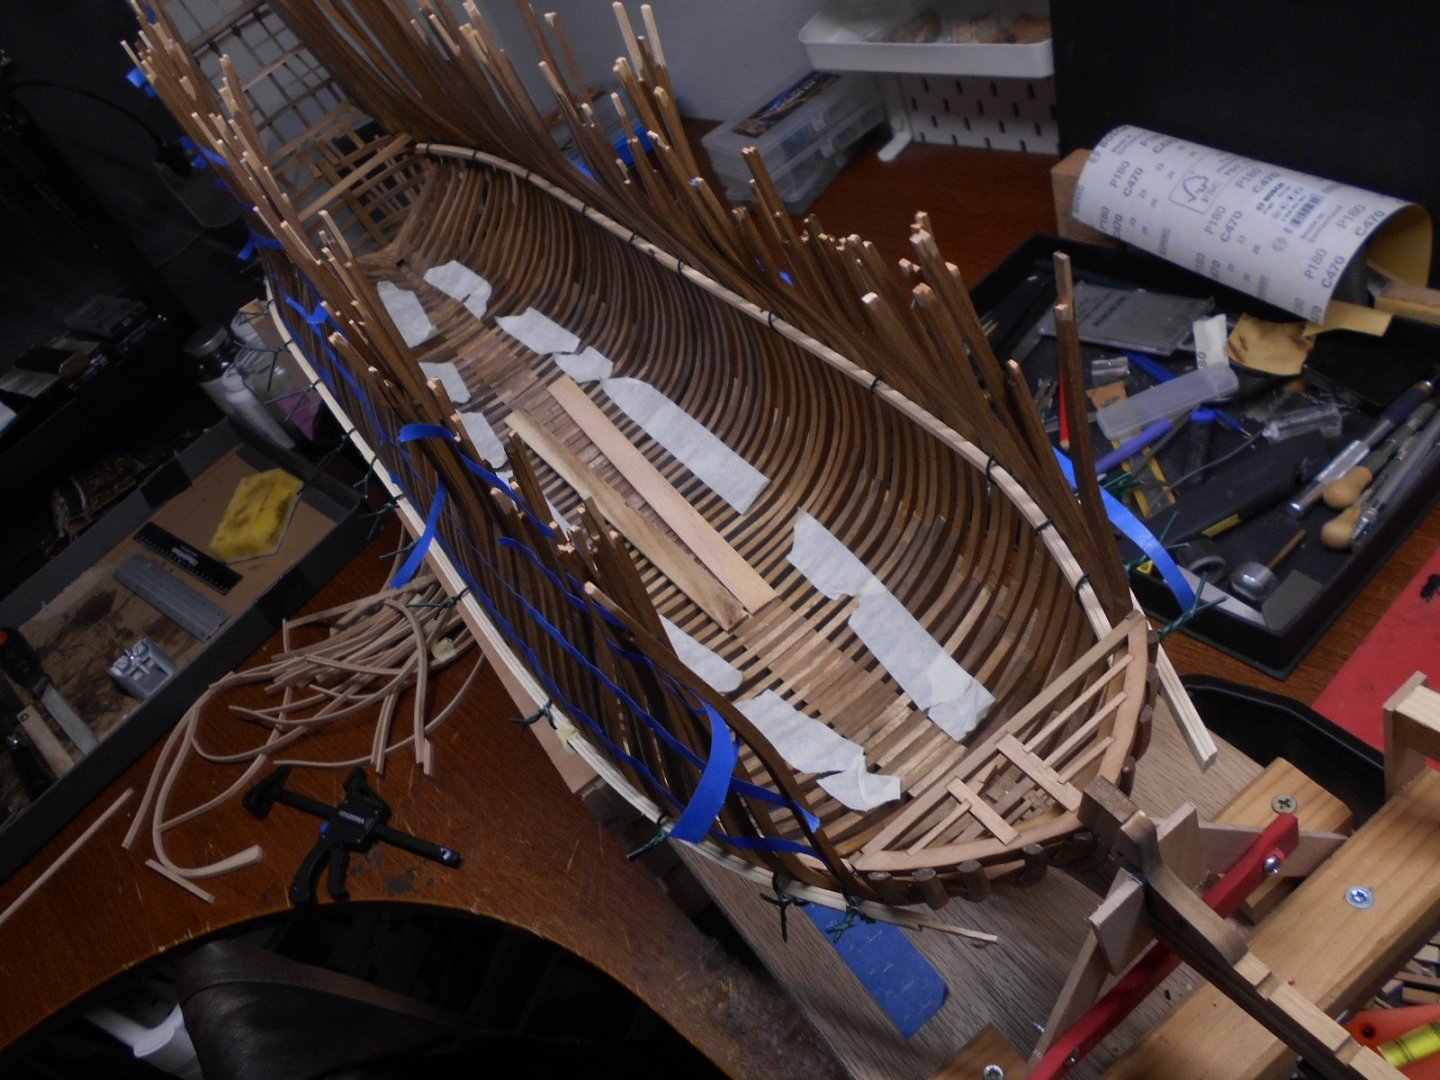
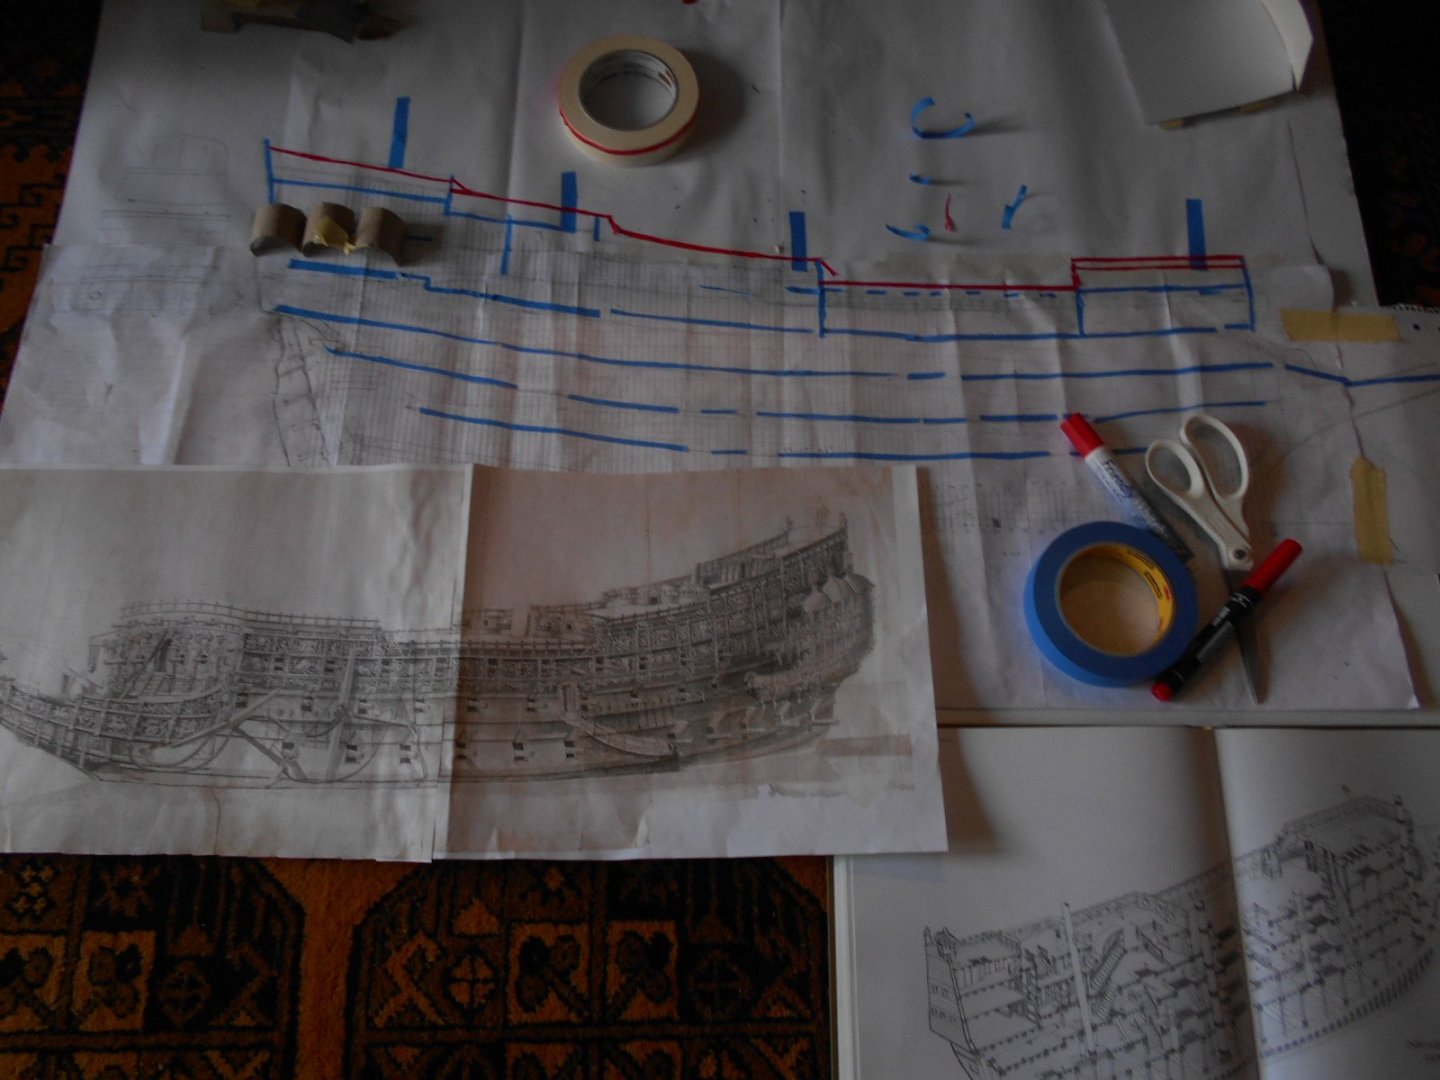
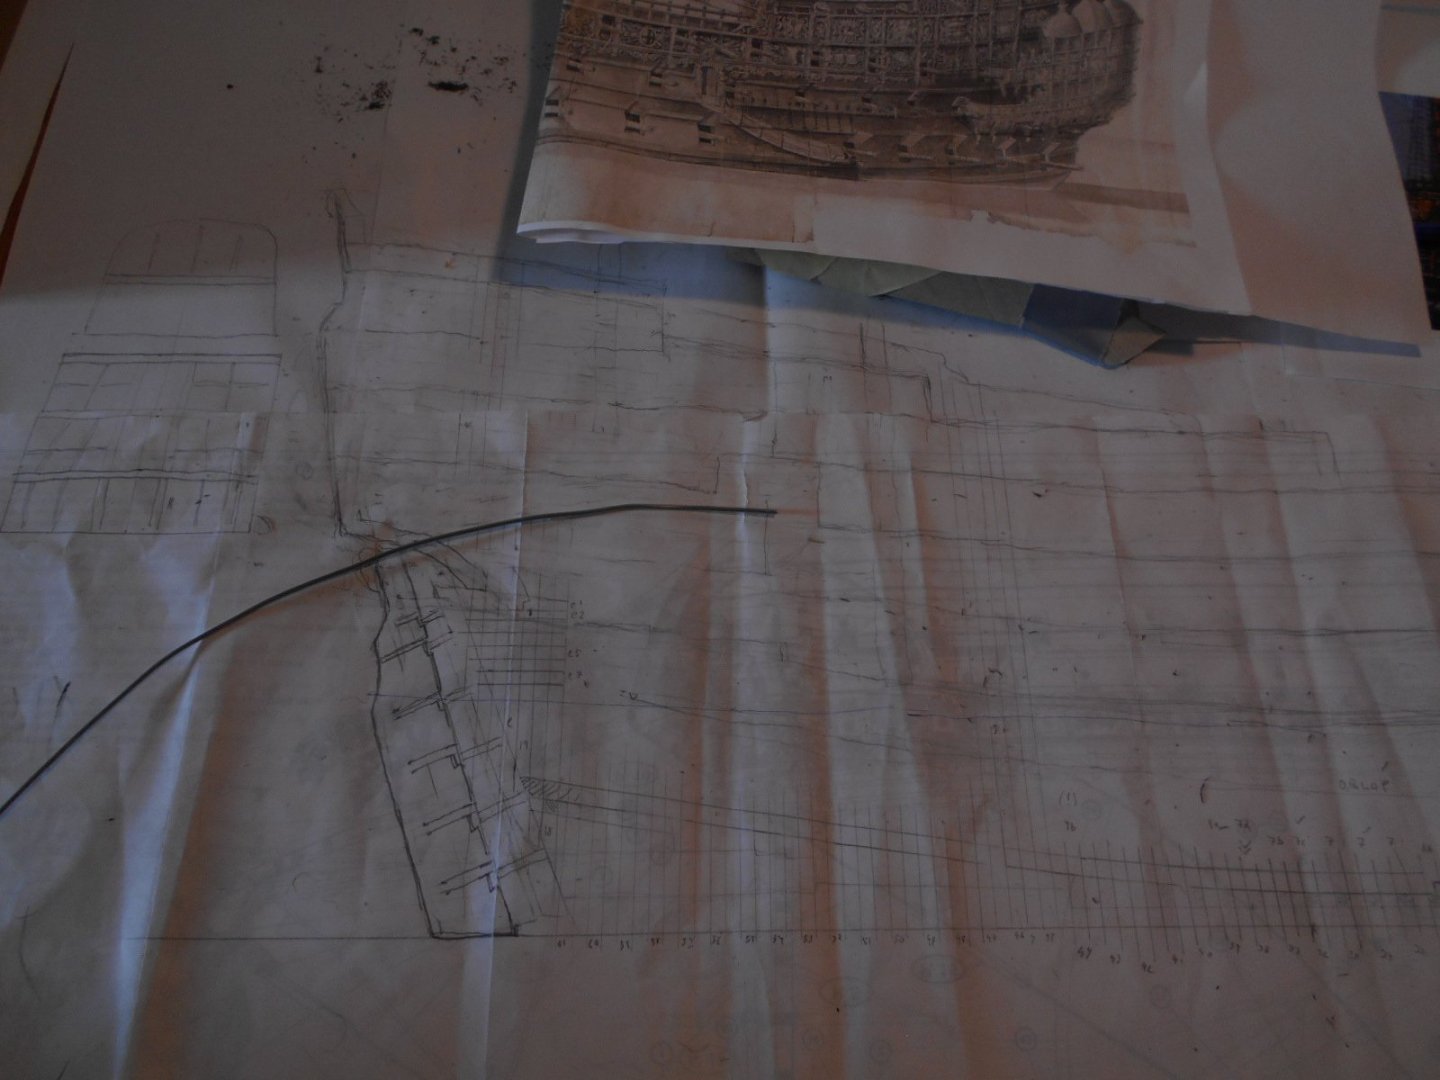
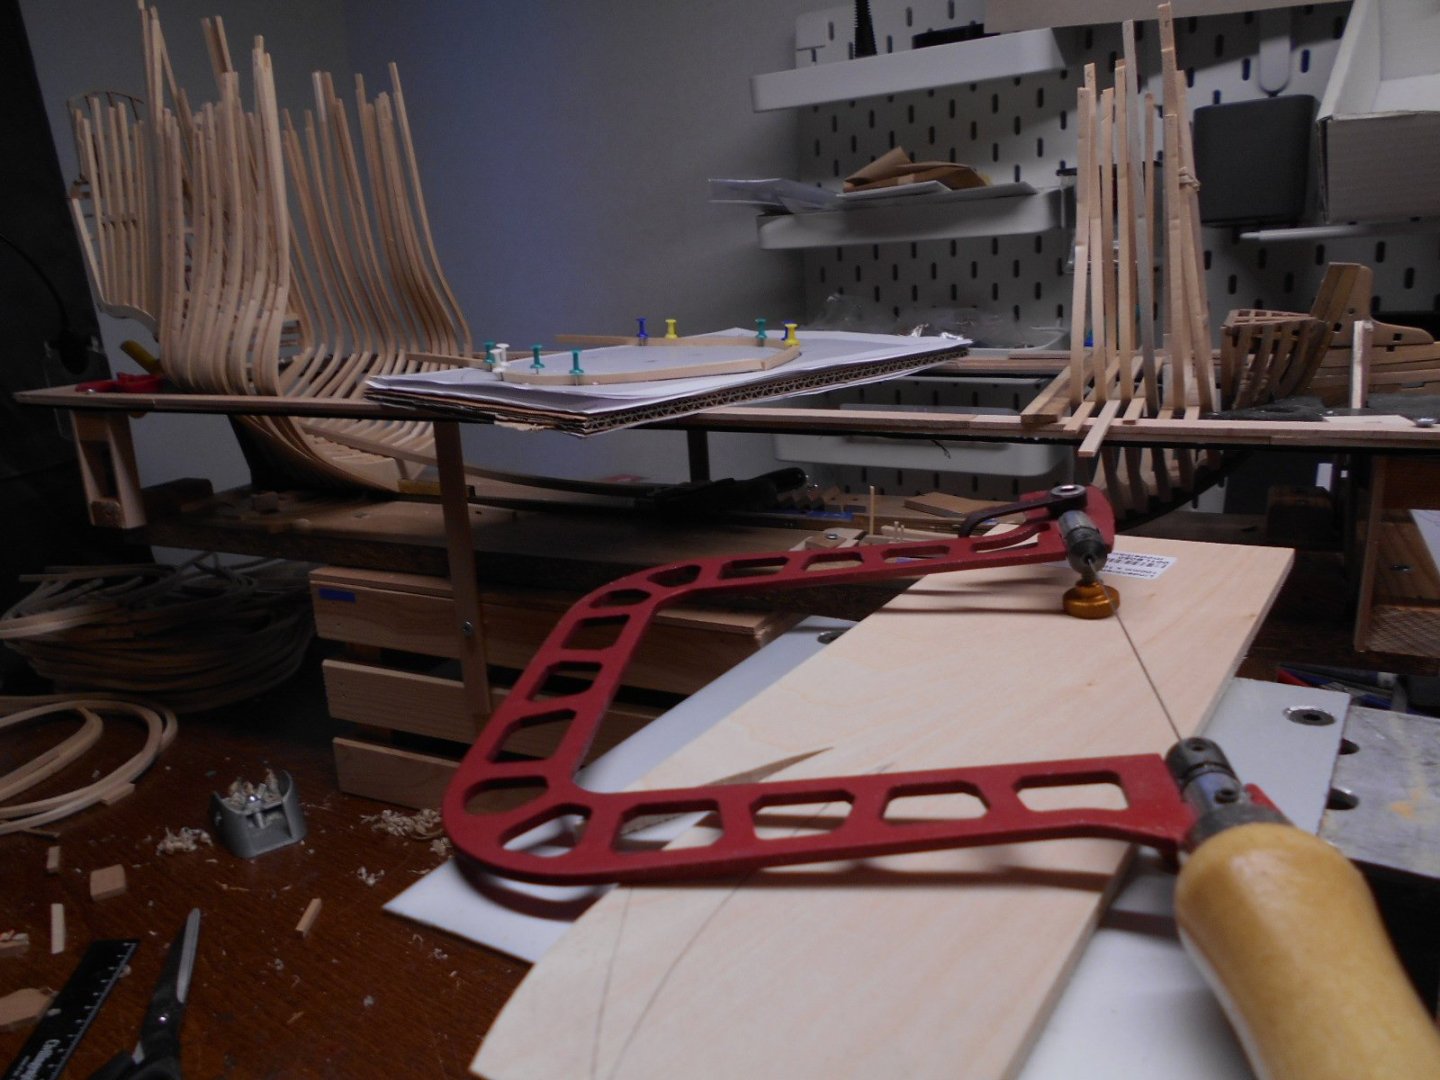
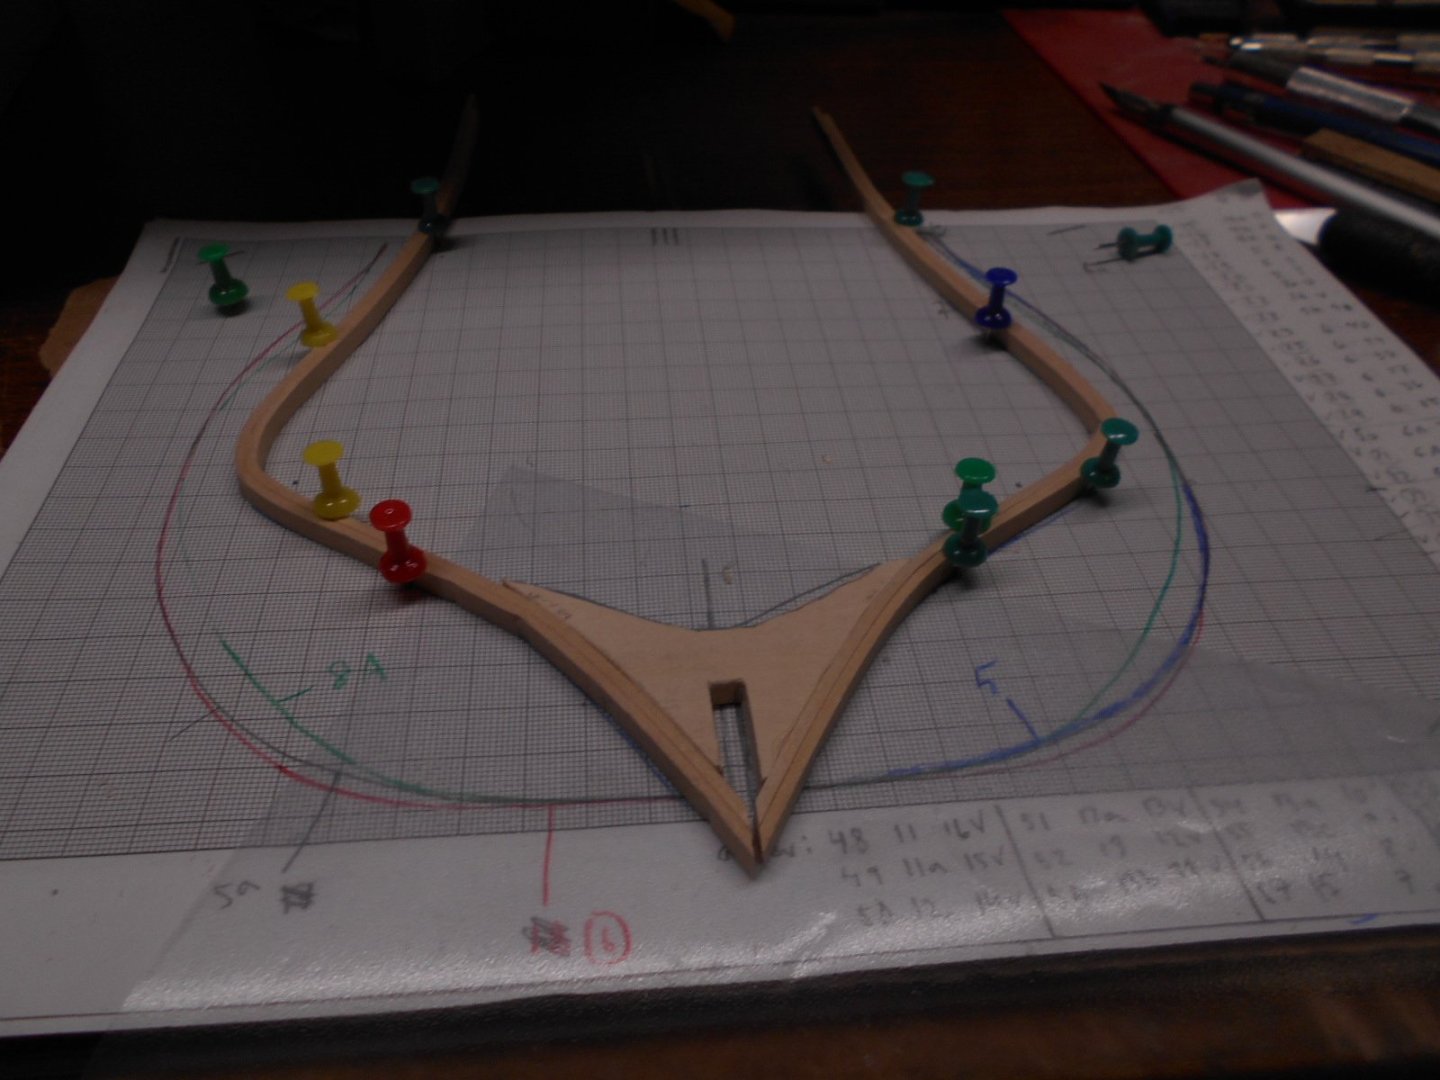
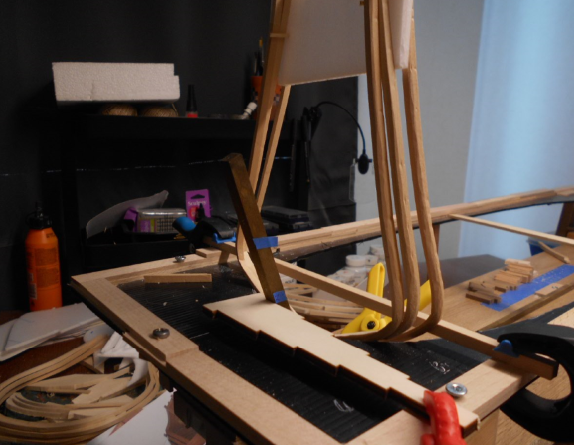
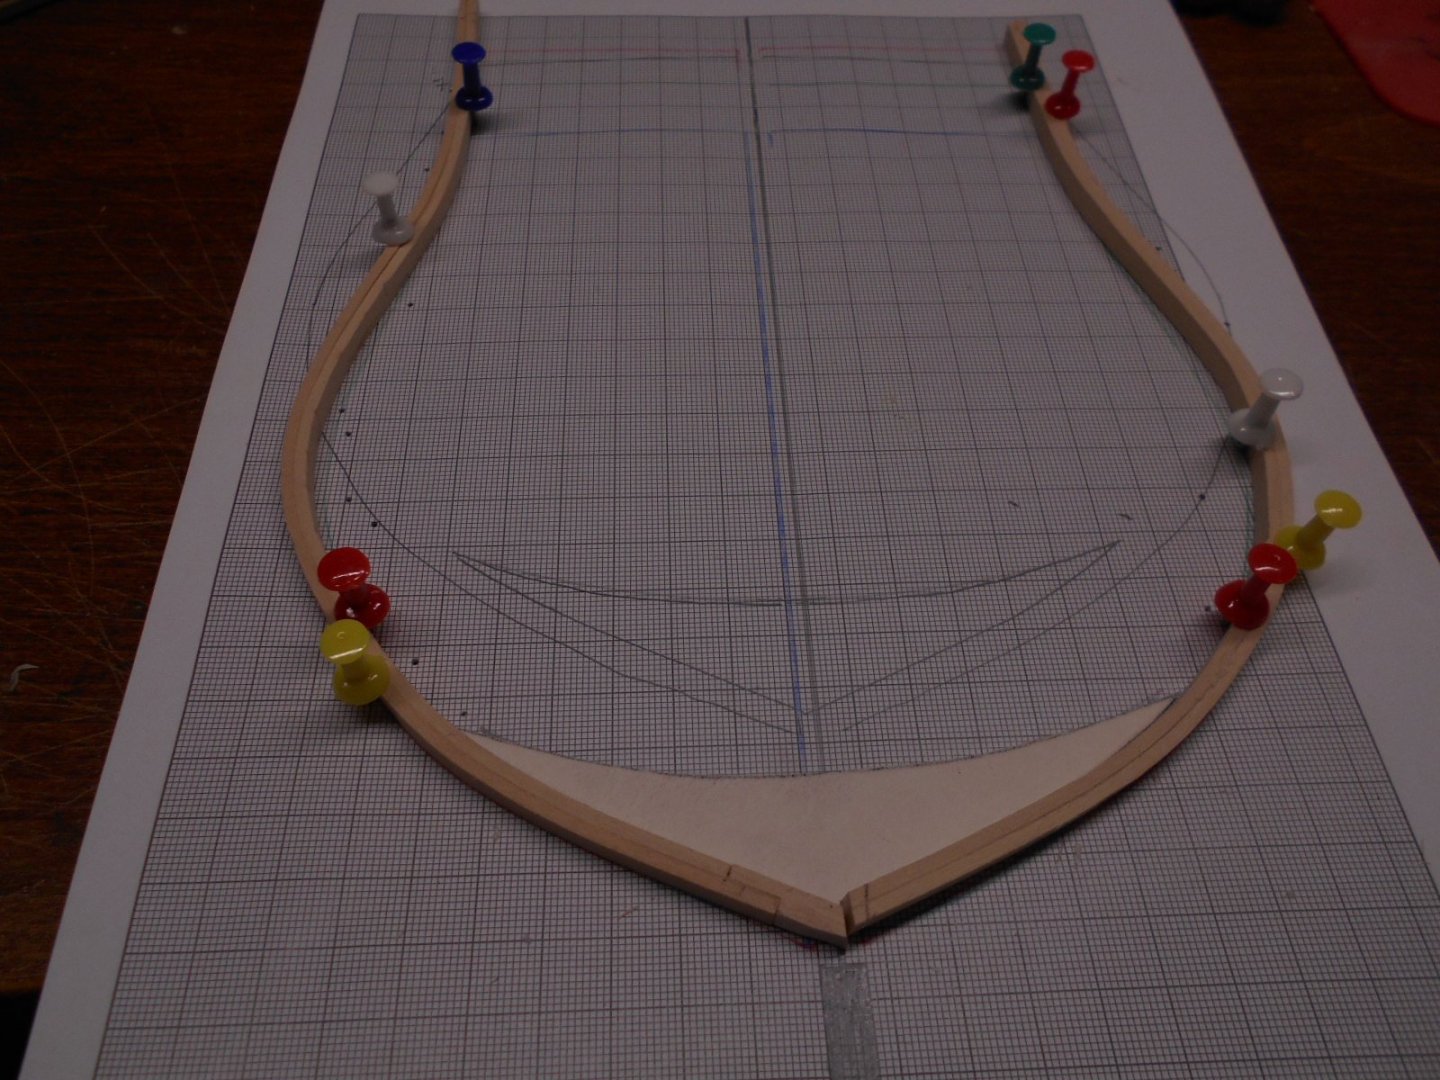
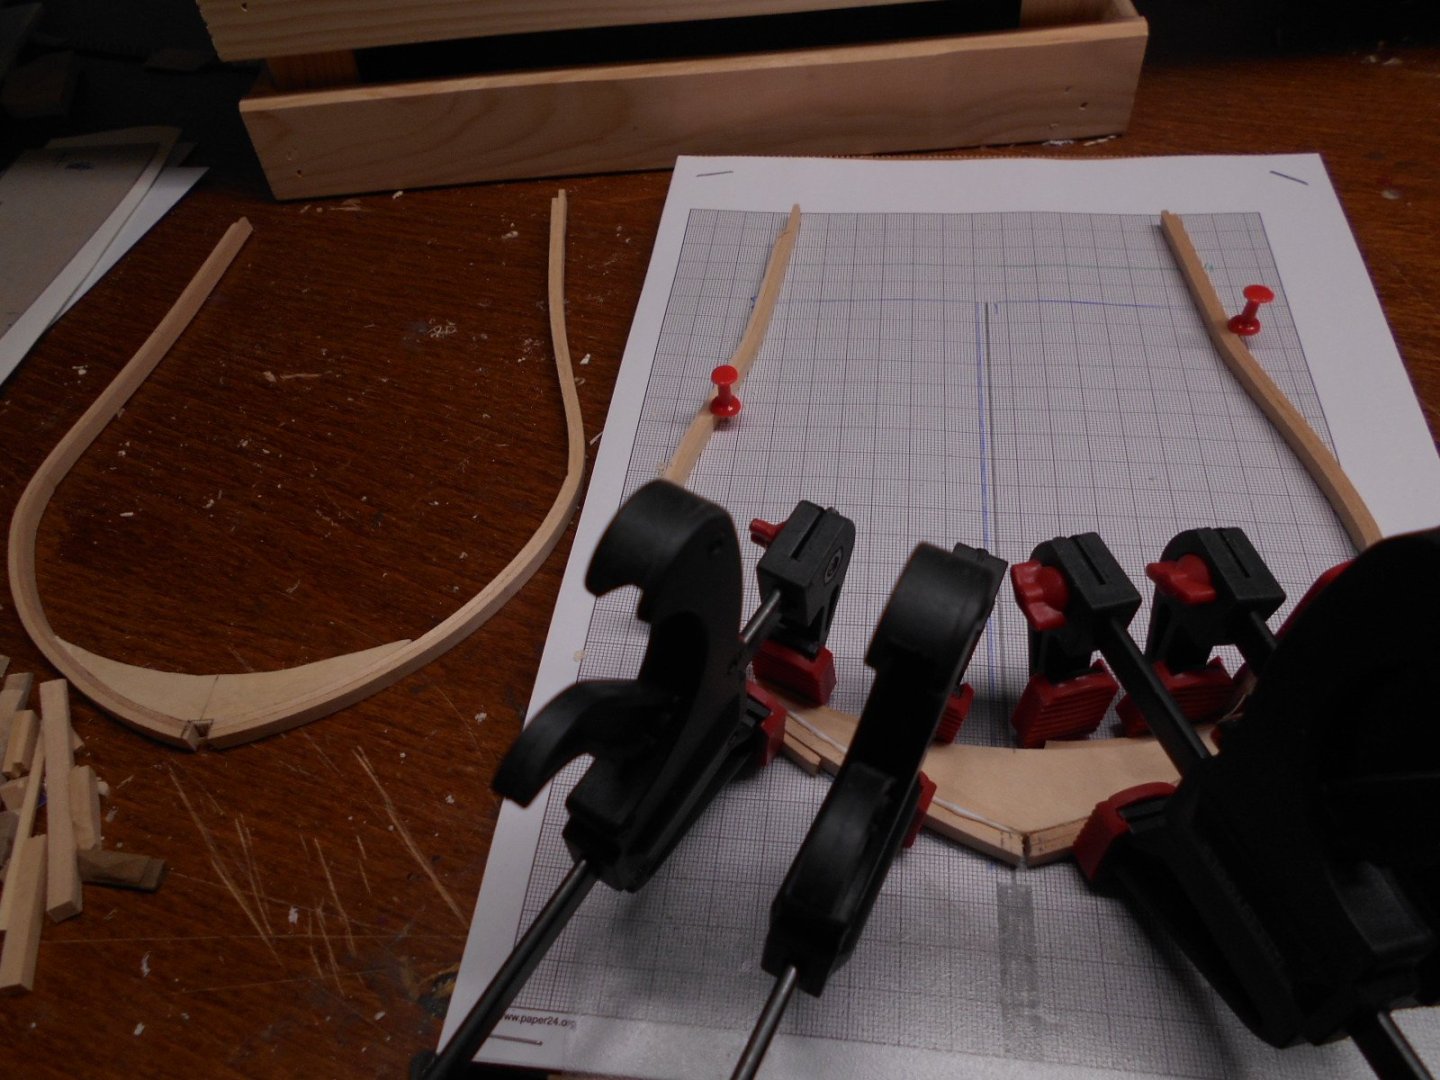
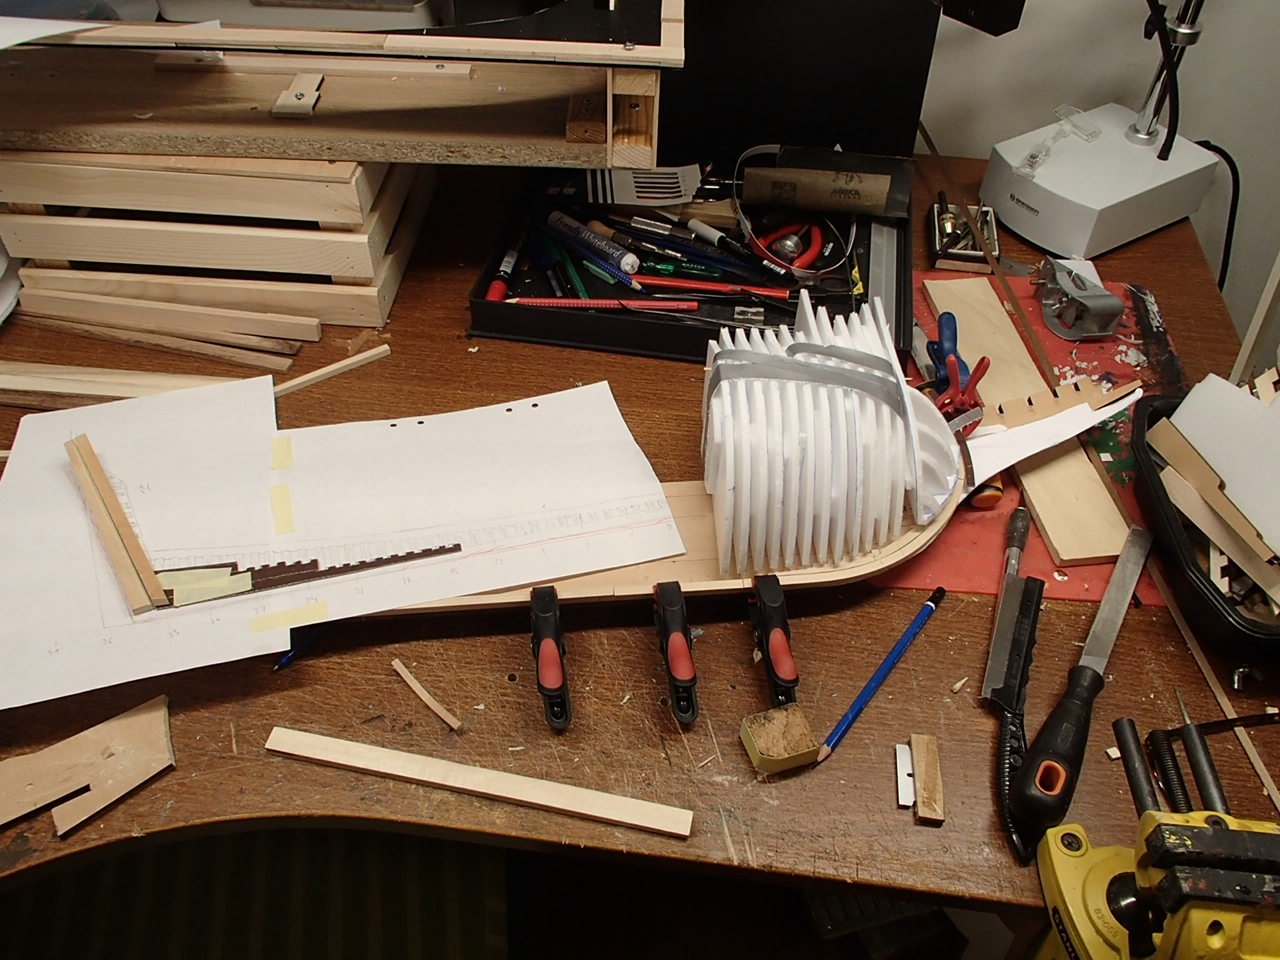
Looking back a year - never thought it would get so slow with this build. But anyhow, the last frame bending is done and I miss the every-day procedure of making frame part. Not every frame is completed with but the process of steam bending is done. I have started with the aft part and it is a bit tricky. I have not glued anything yet and have used a mix of lime and walnut on the transoms. I will fix a block of wood in the lowest part and build upwards to create the stern. Before this I have drawn the ship from the side on a big paper - I realized I needed a clear blueprint with measurements and some thinking forward.
-
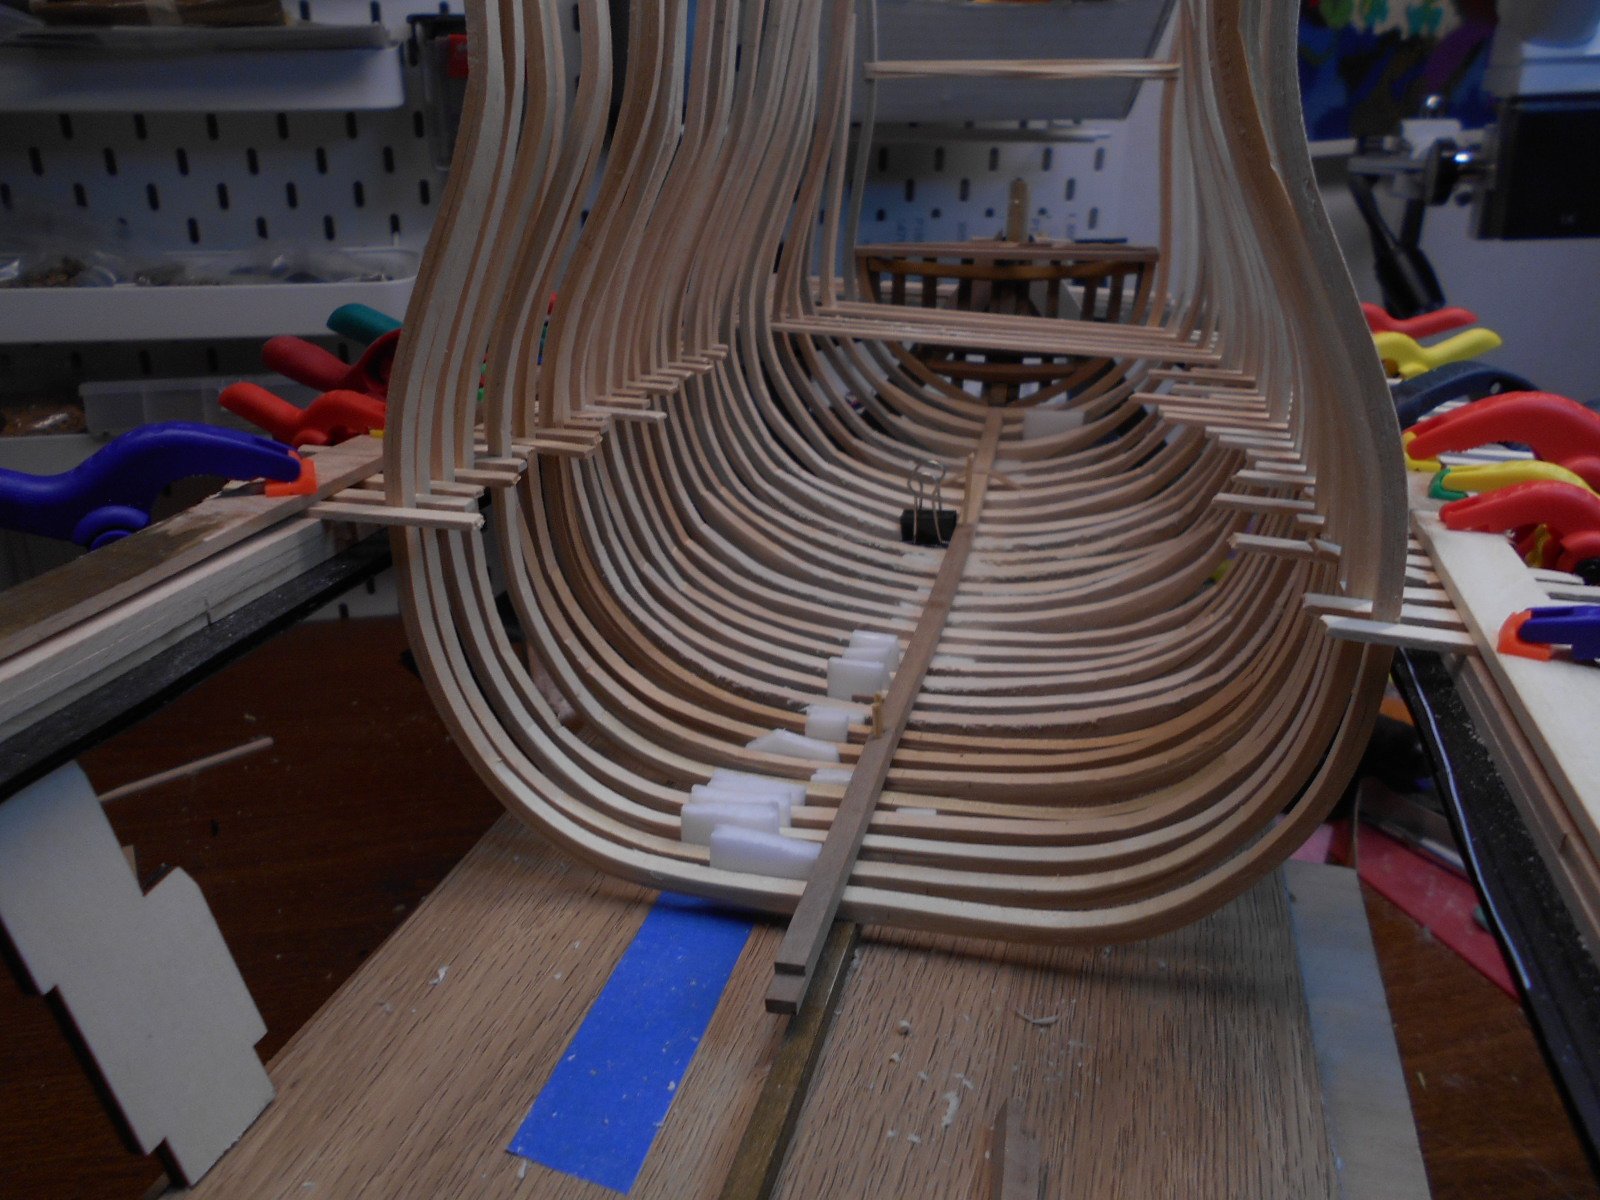
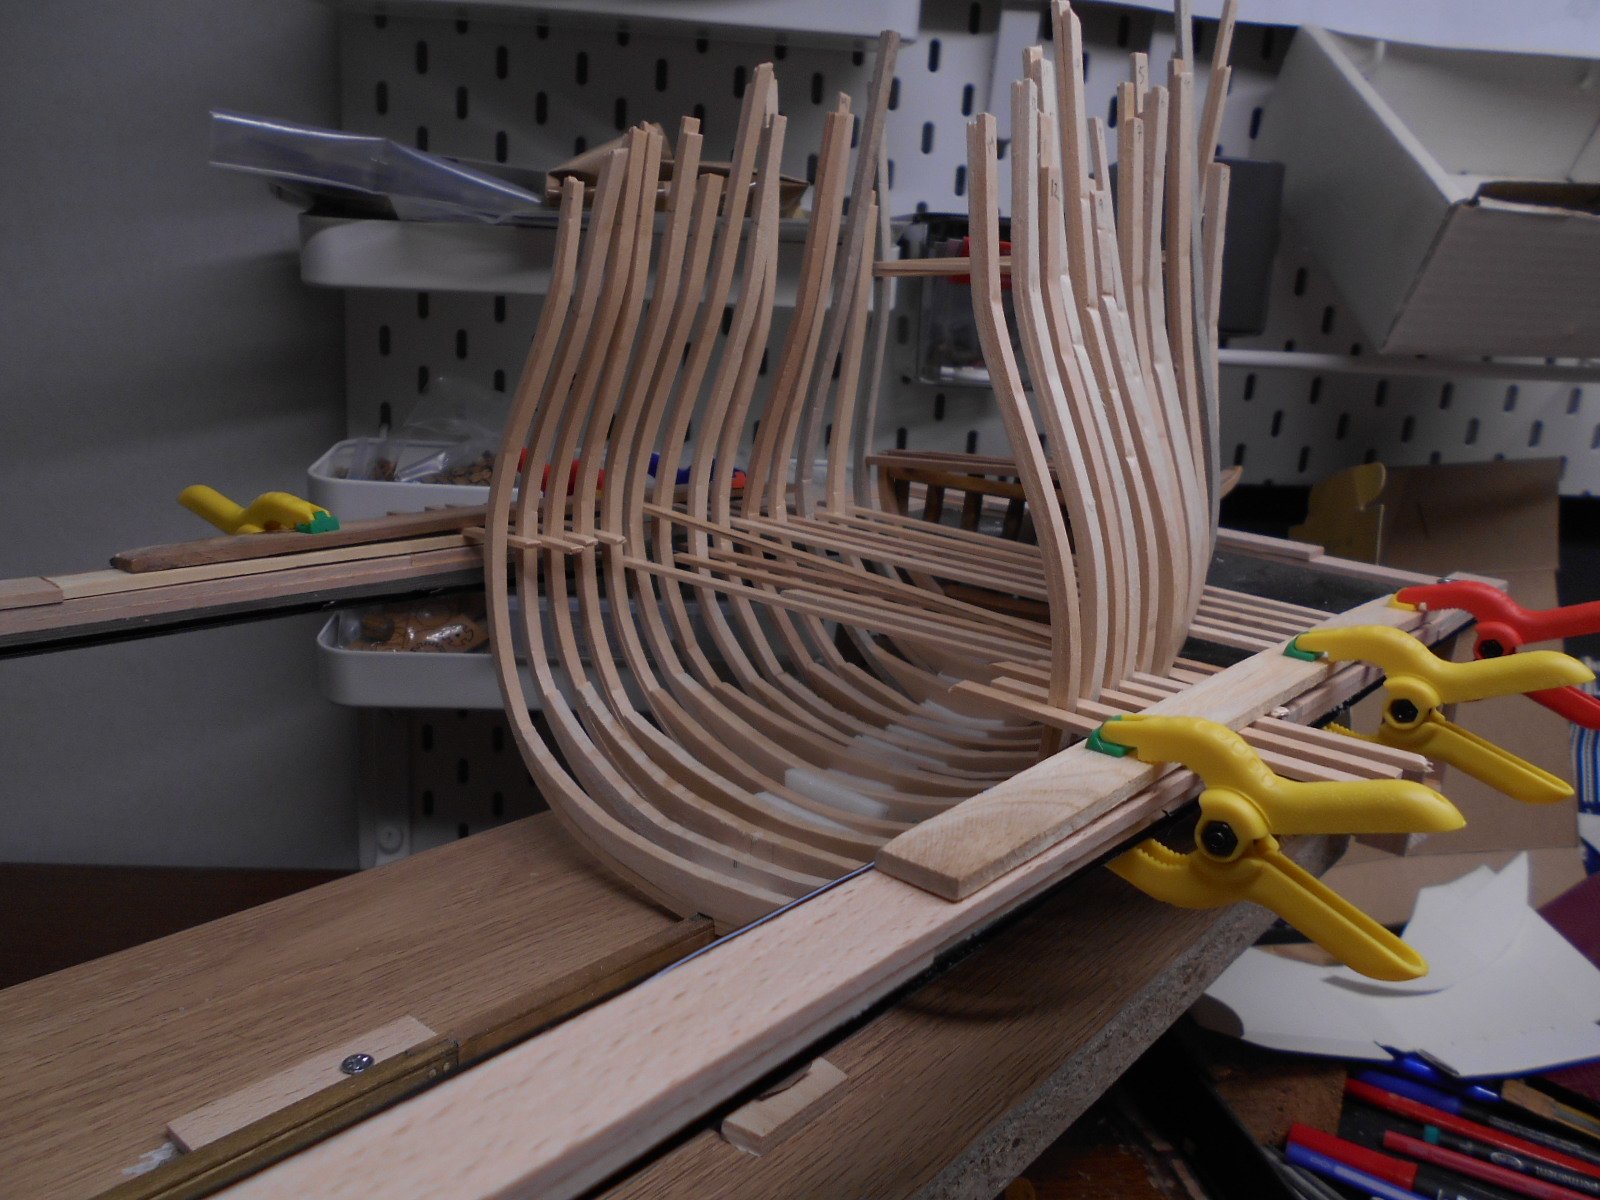
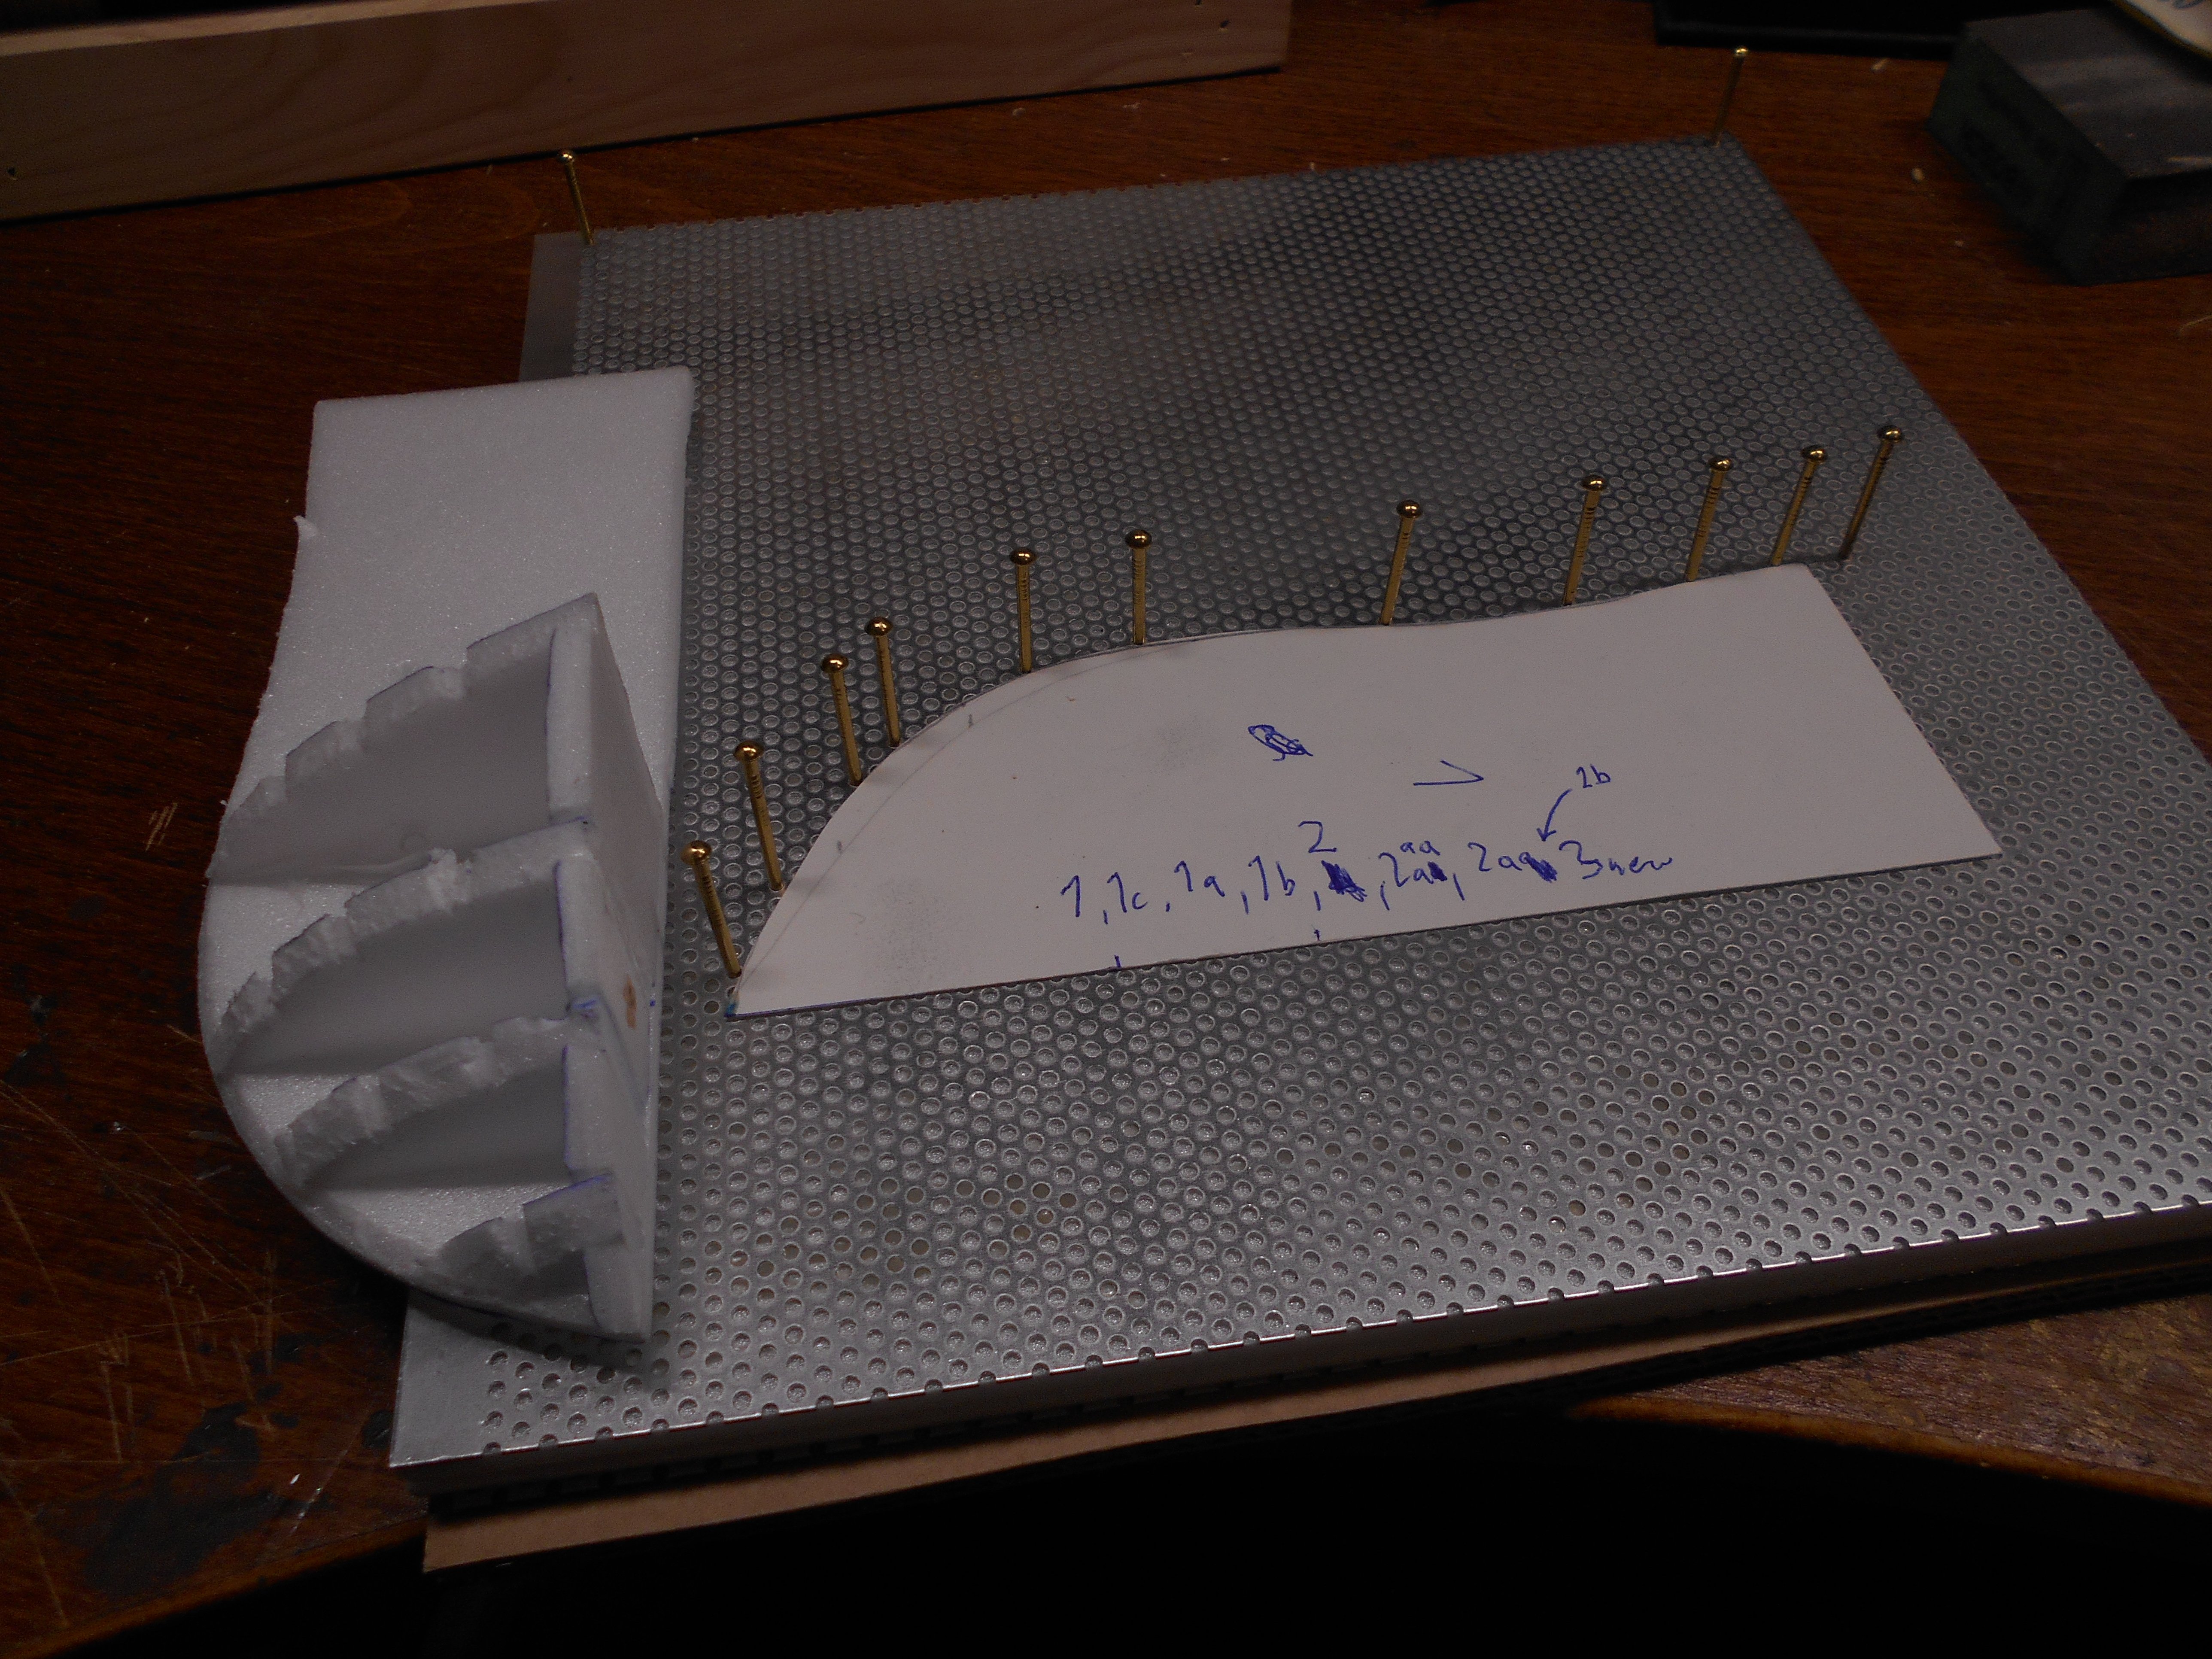
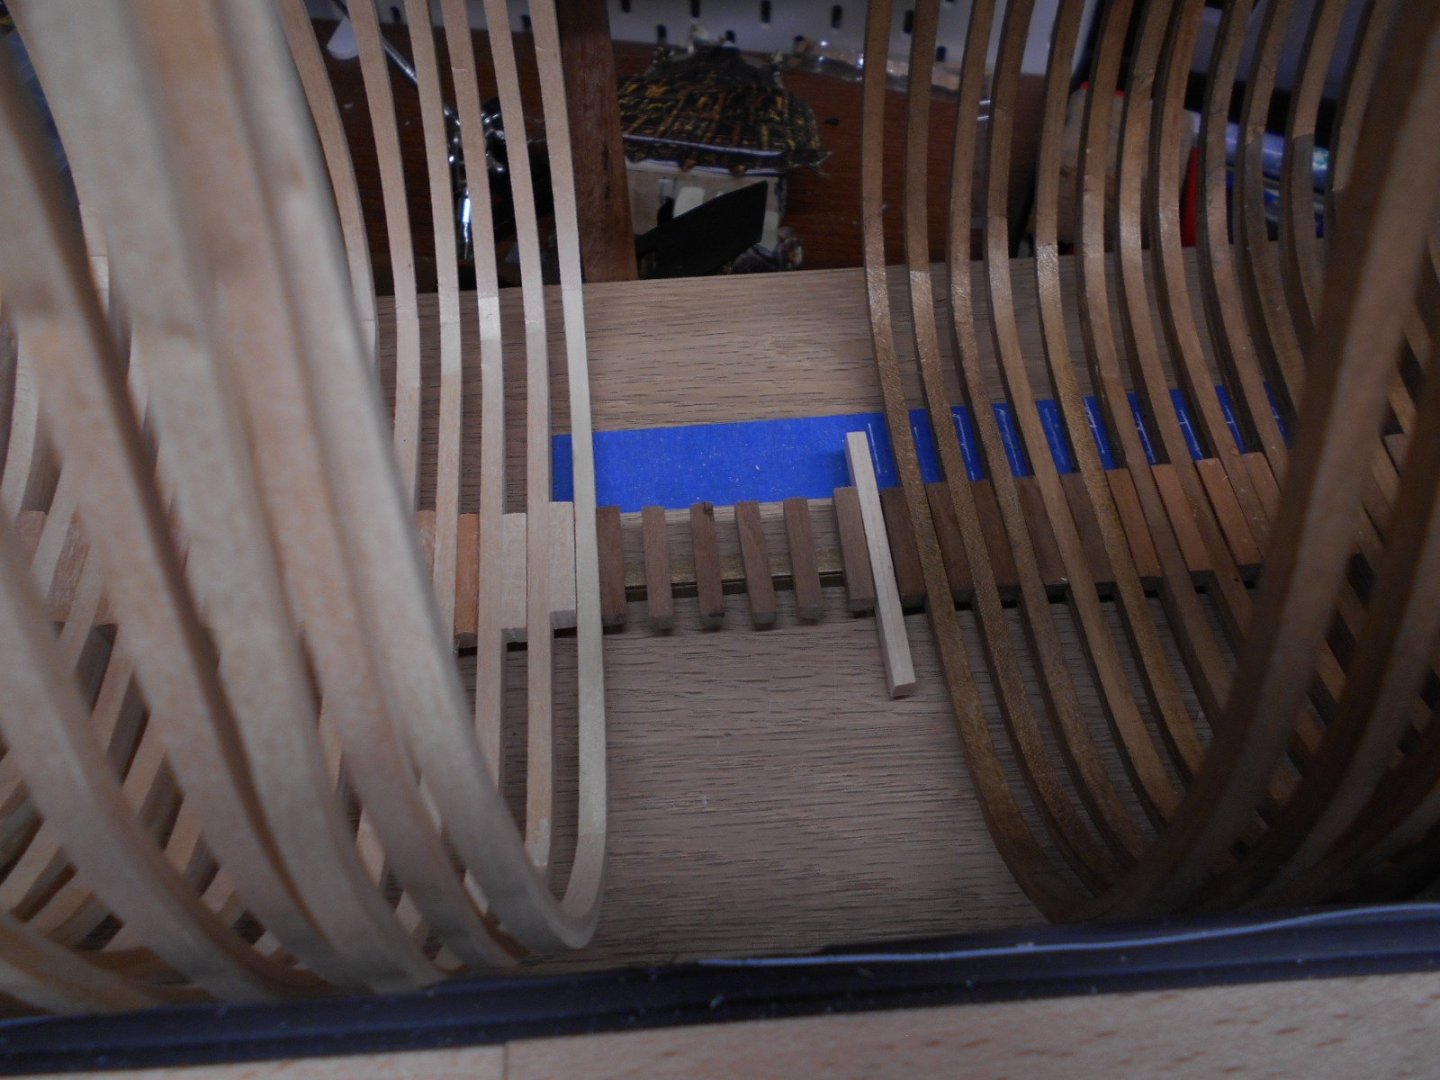
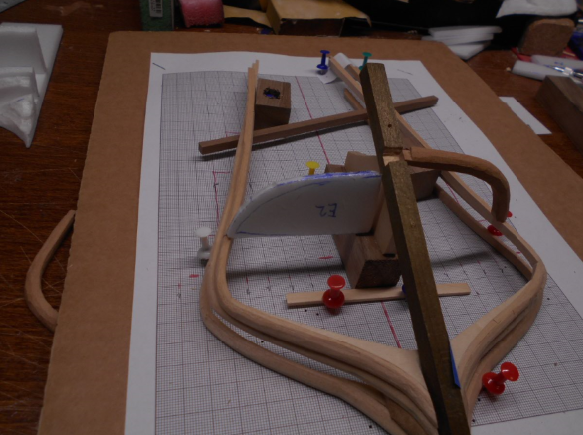
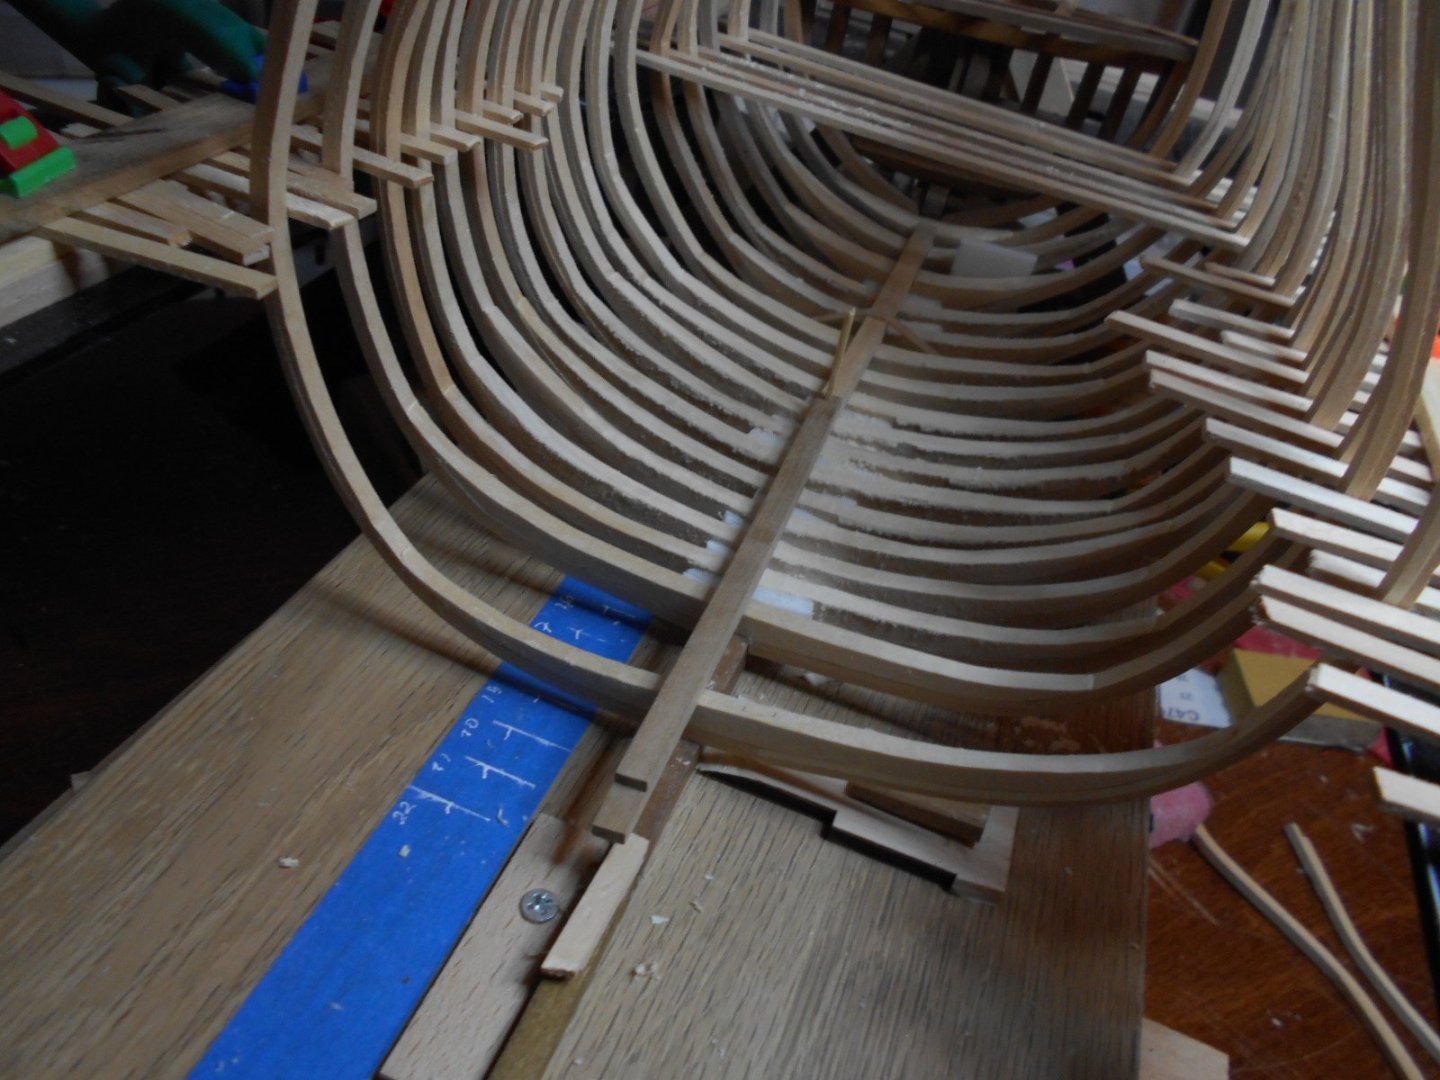
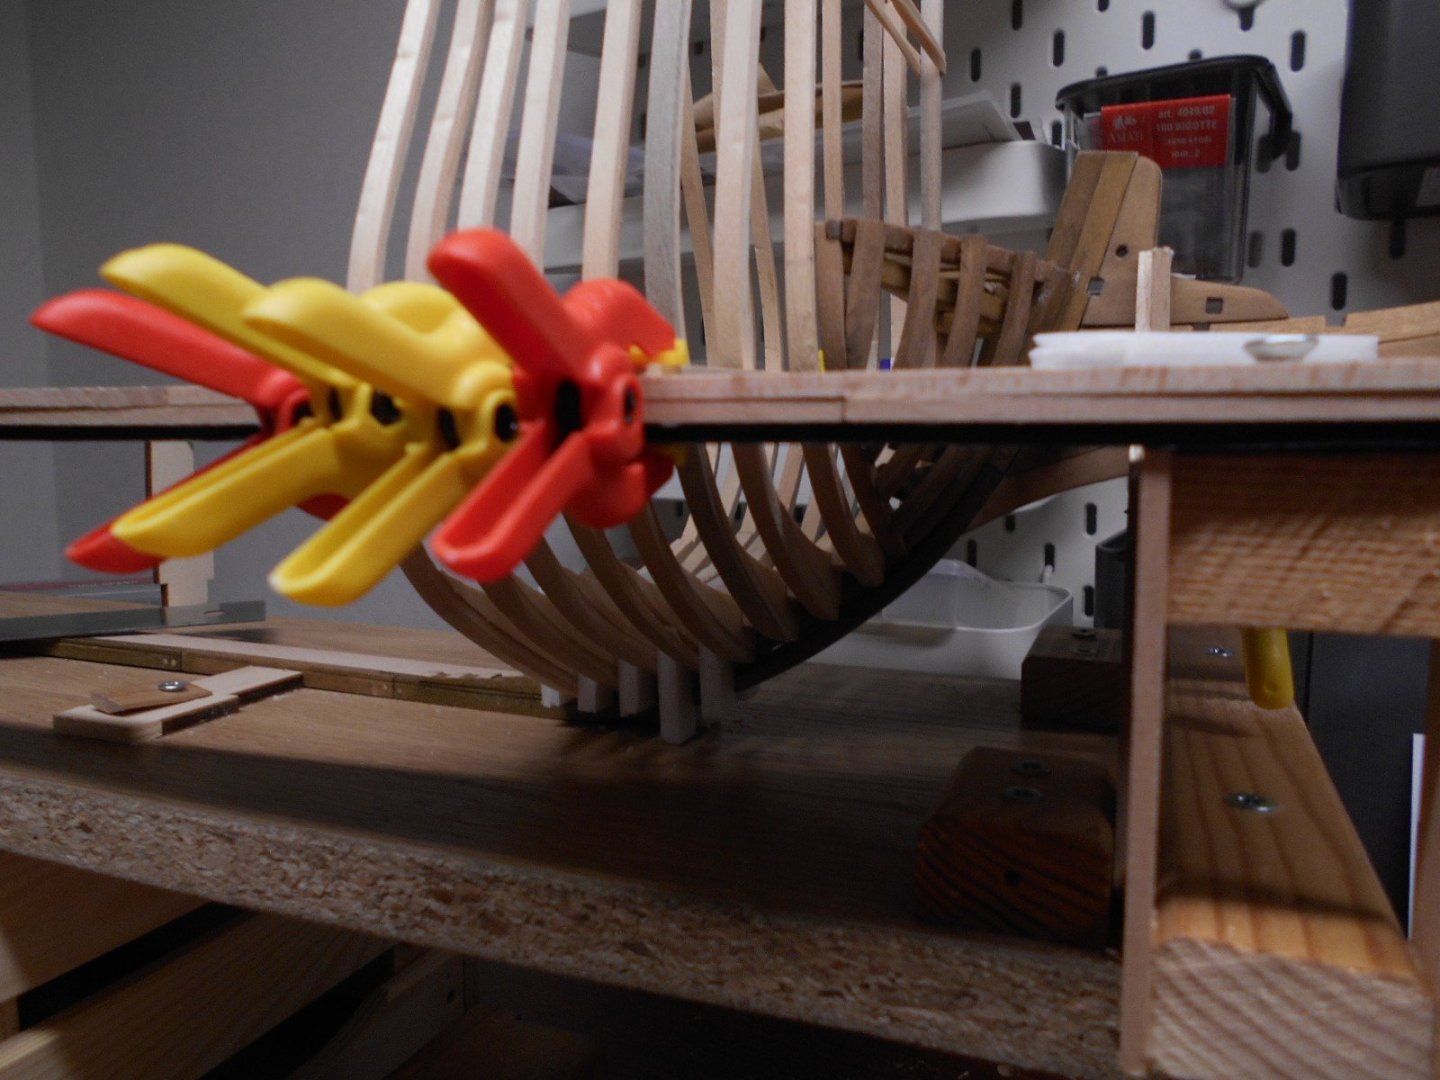
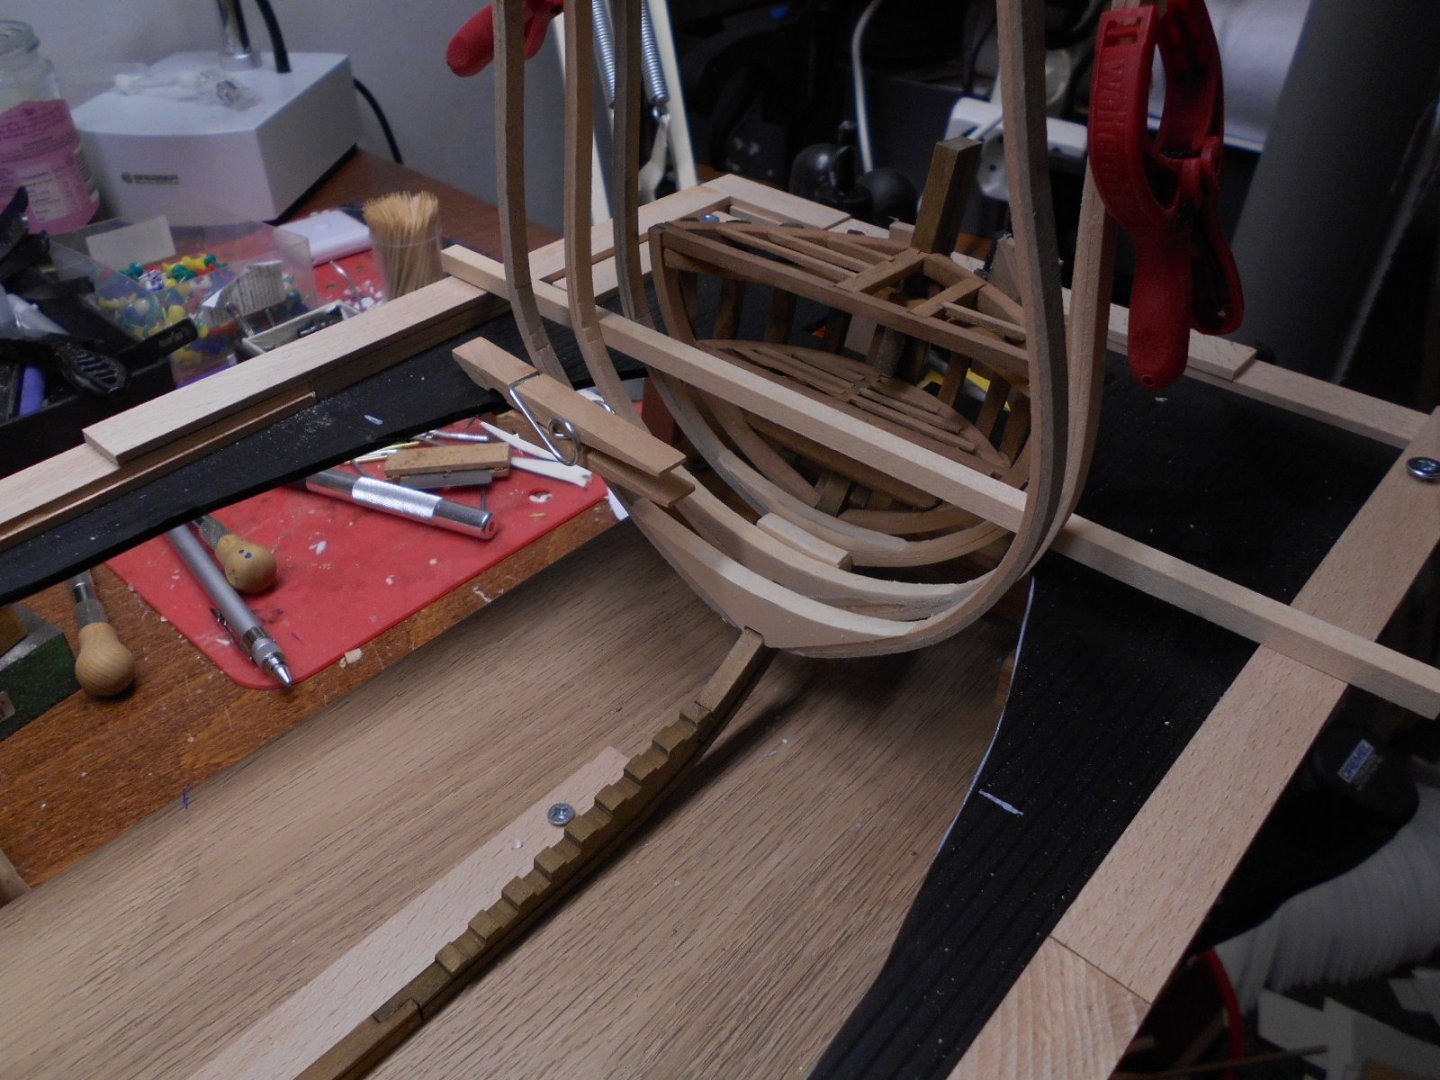
I have made some of the floor pieces for the space between the frames. Though I have the fixture it is getting lots of frames and a bit wiggle - like a house of cards. I am trying not to fix any frames because of I have to do some about the finish touch frame by frame. I have decided to stop making floors and do the aft frames.


-
Thanks for the informative input on the ships building battle, does anyone have an idea what to build from the the keel and frames I have from the kit? I will not use them since this build is more like a scratch-type of build as I come along. I have got much info from this build: https://www.alexshipmodels.com/2023/04/18/la-salamandre-gallery/ Adding frames, getting the hang of the process but still not yet halfway. The frames in the middle of the ship is quite uniform.

-
Until now I have built the frames in half and put a bit of wood above the keel part of the frame to thickness it. Now on from frame "5" and so I will try build the whole frame in one go. I don have to saw cut the piece in the middle.

-
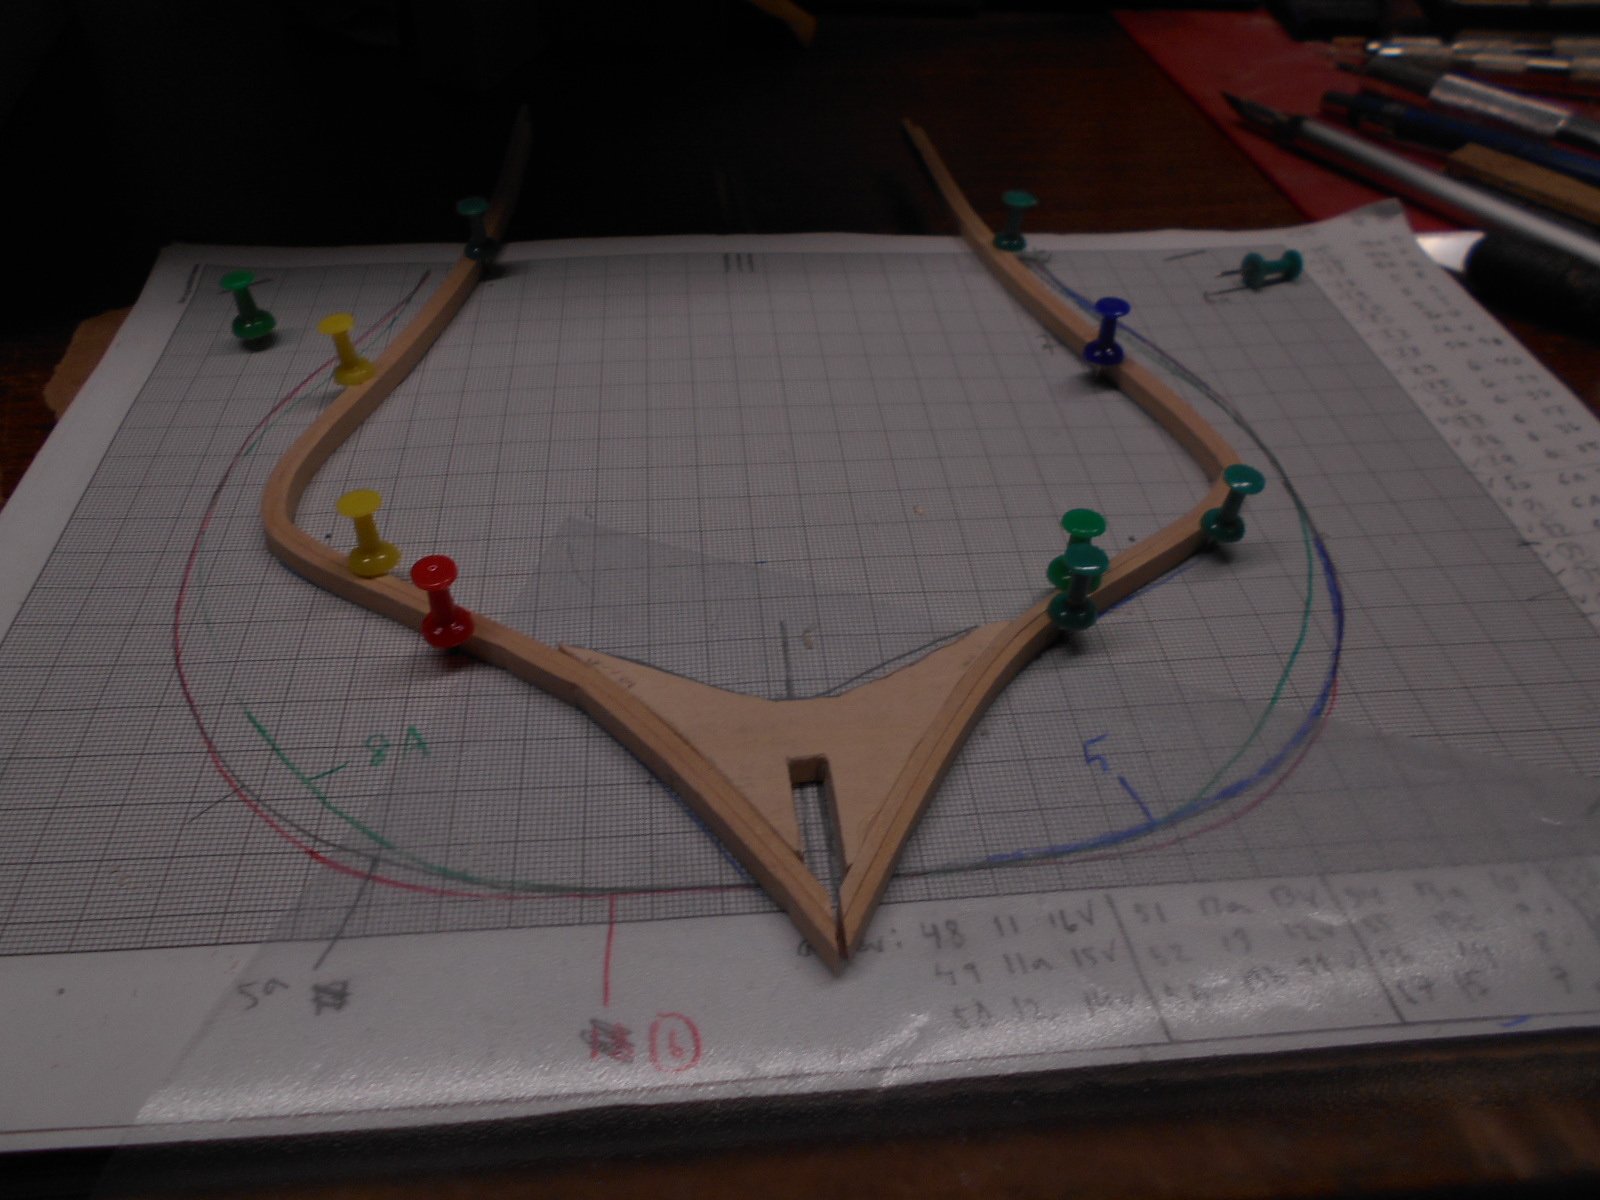
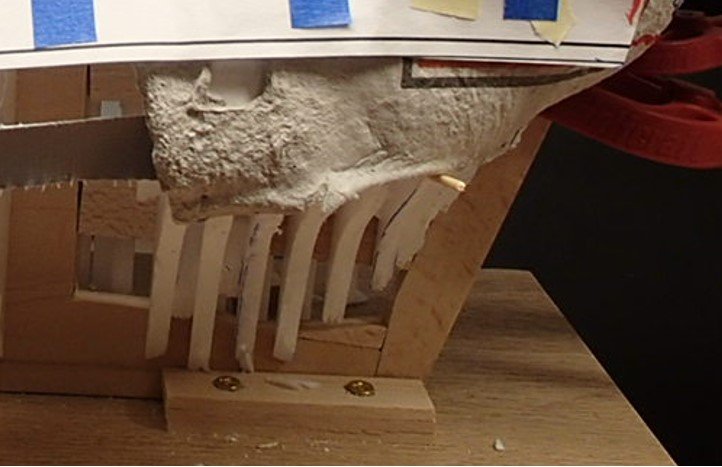
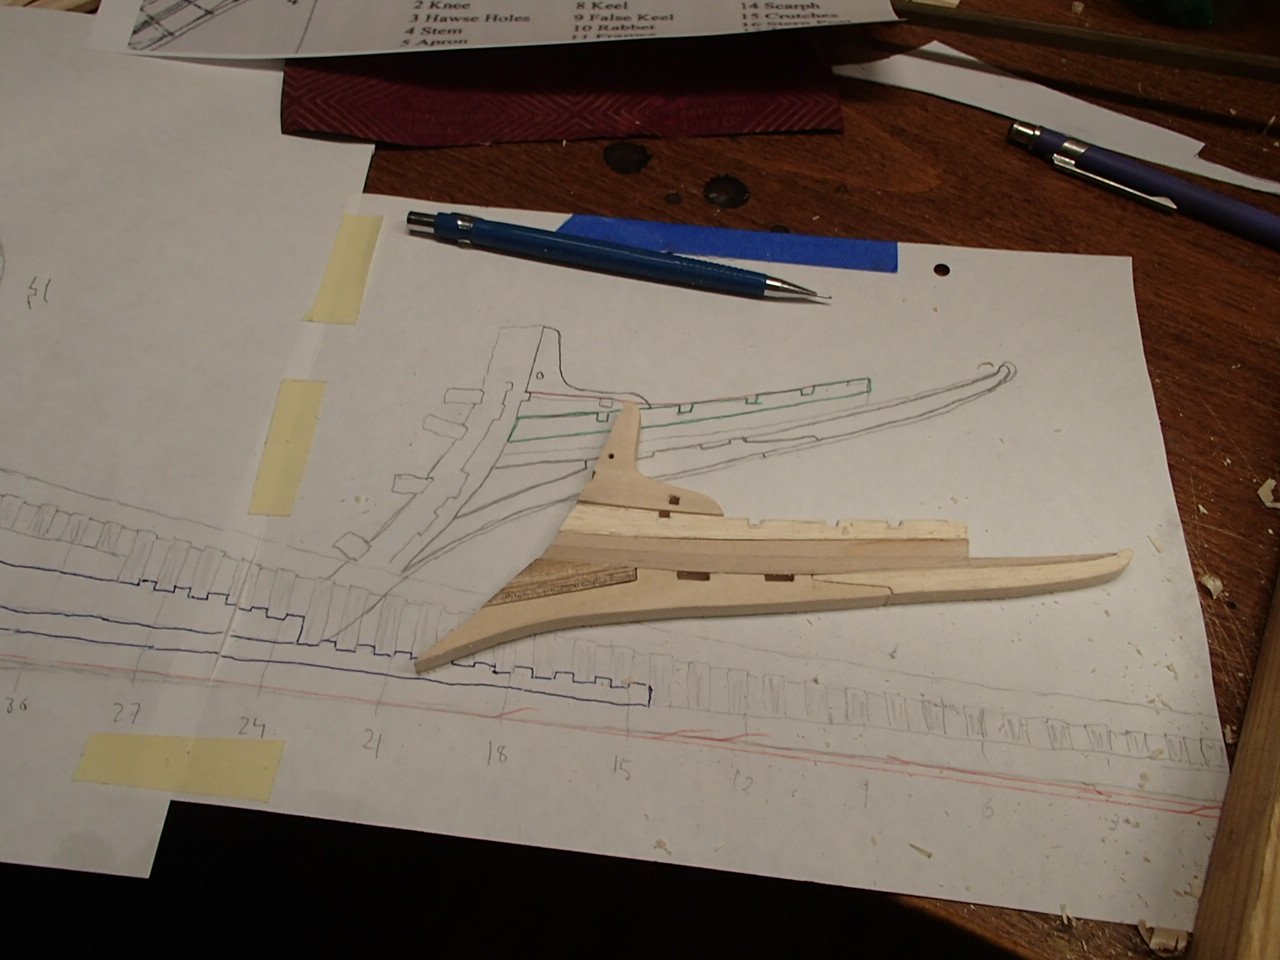
I had to fix the beakhead part to force the keel from bending upward. I am not sure how to make the keelson fit on top of the frames. Using linden wood for frames and walnut for other parts.

-
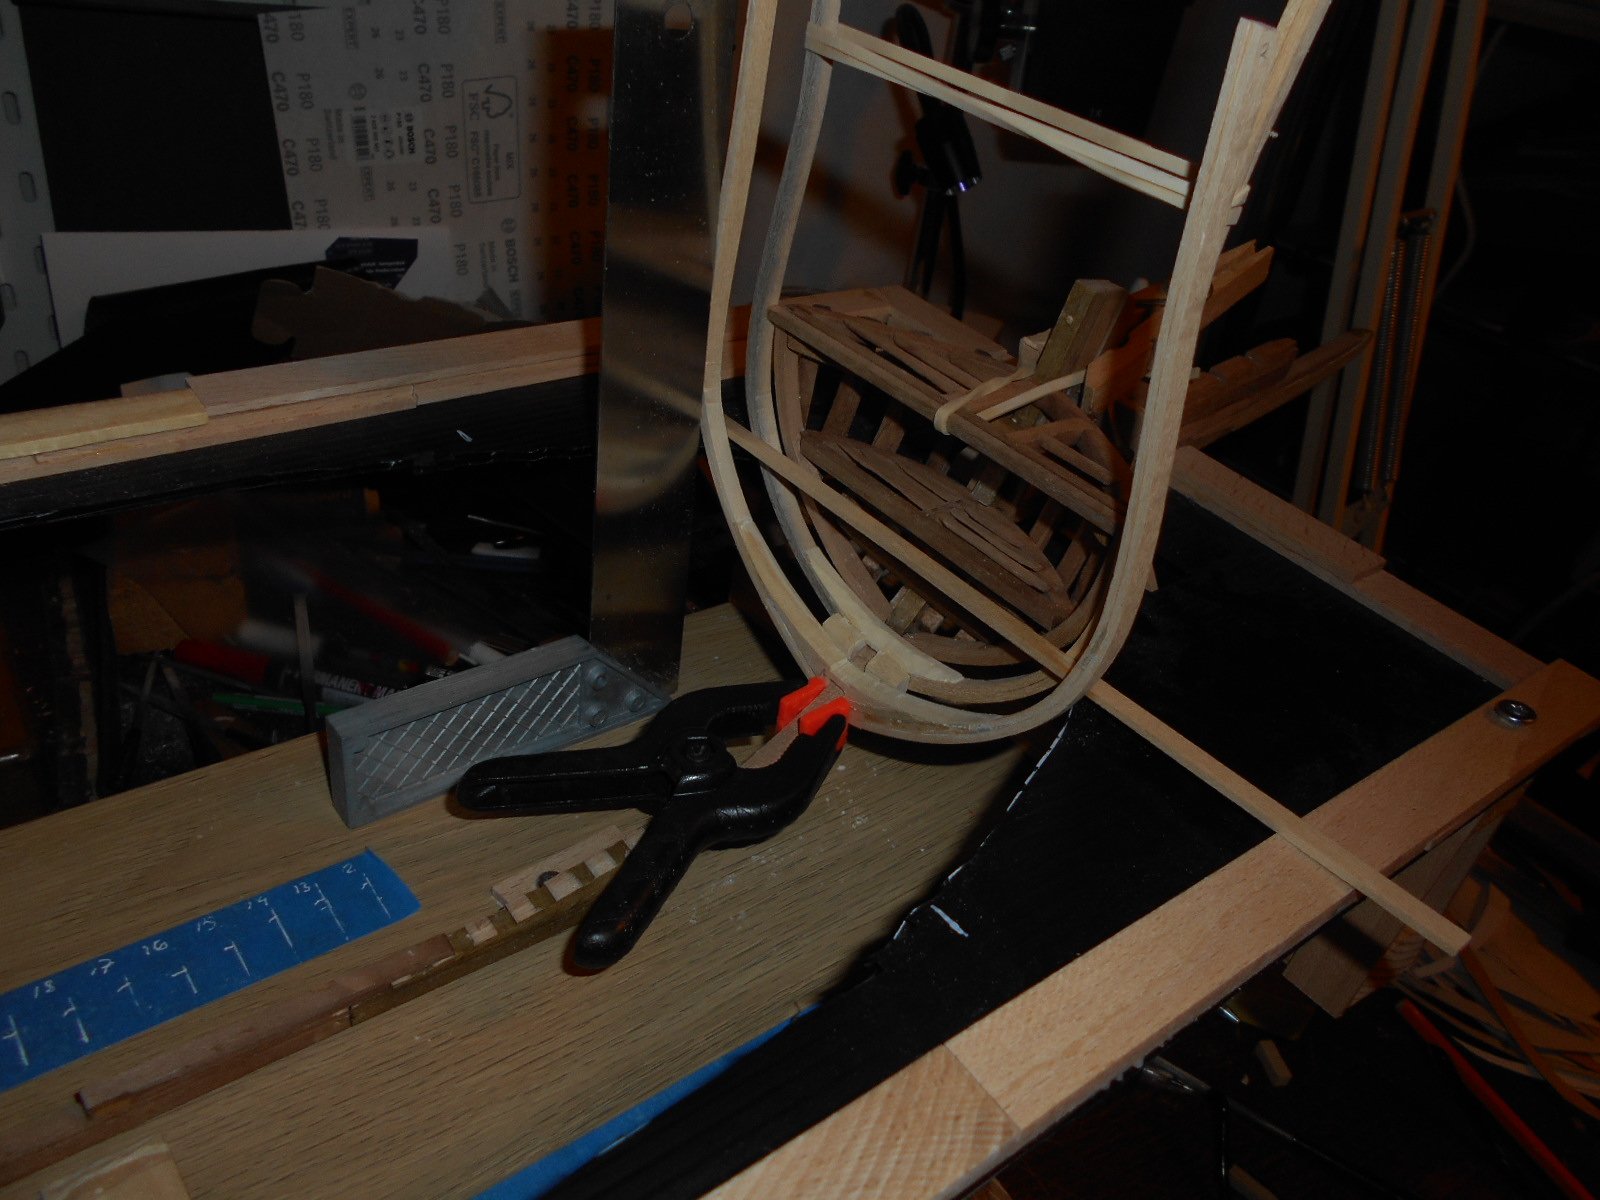
Some progress. I have some frames to build. I have now 5 frames and slowly working my way aft.


-
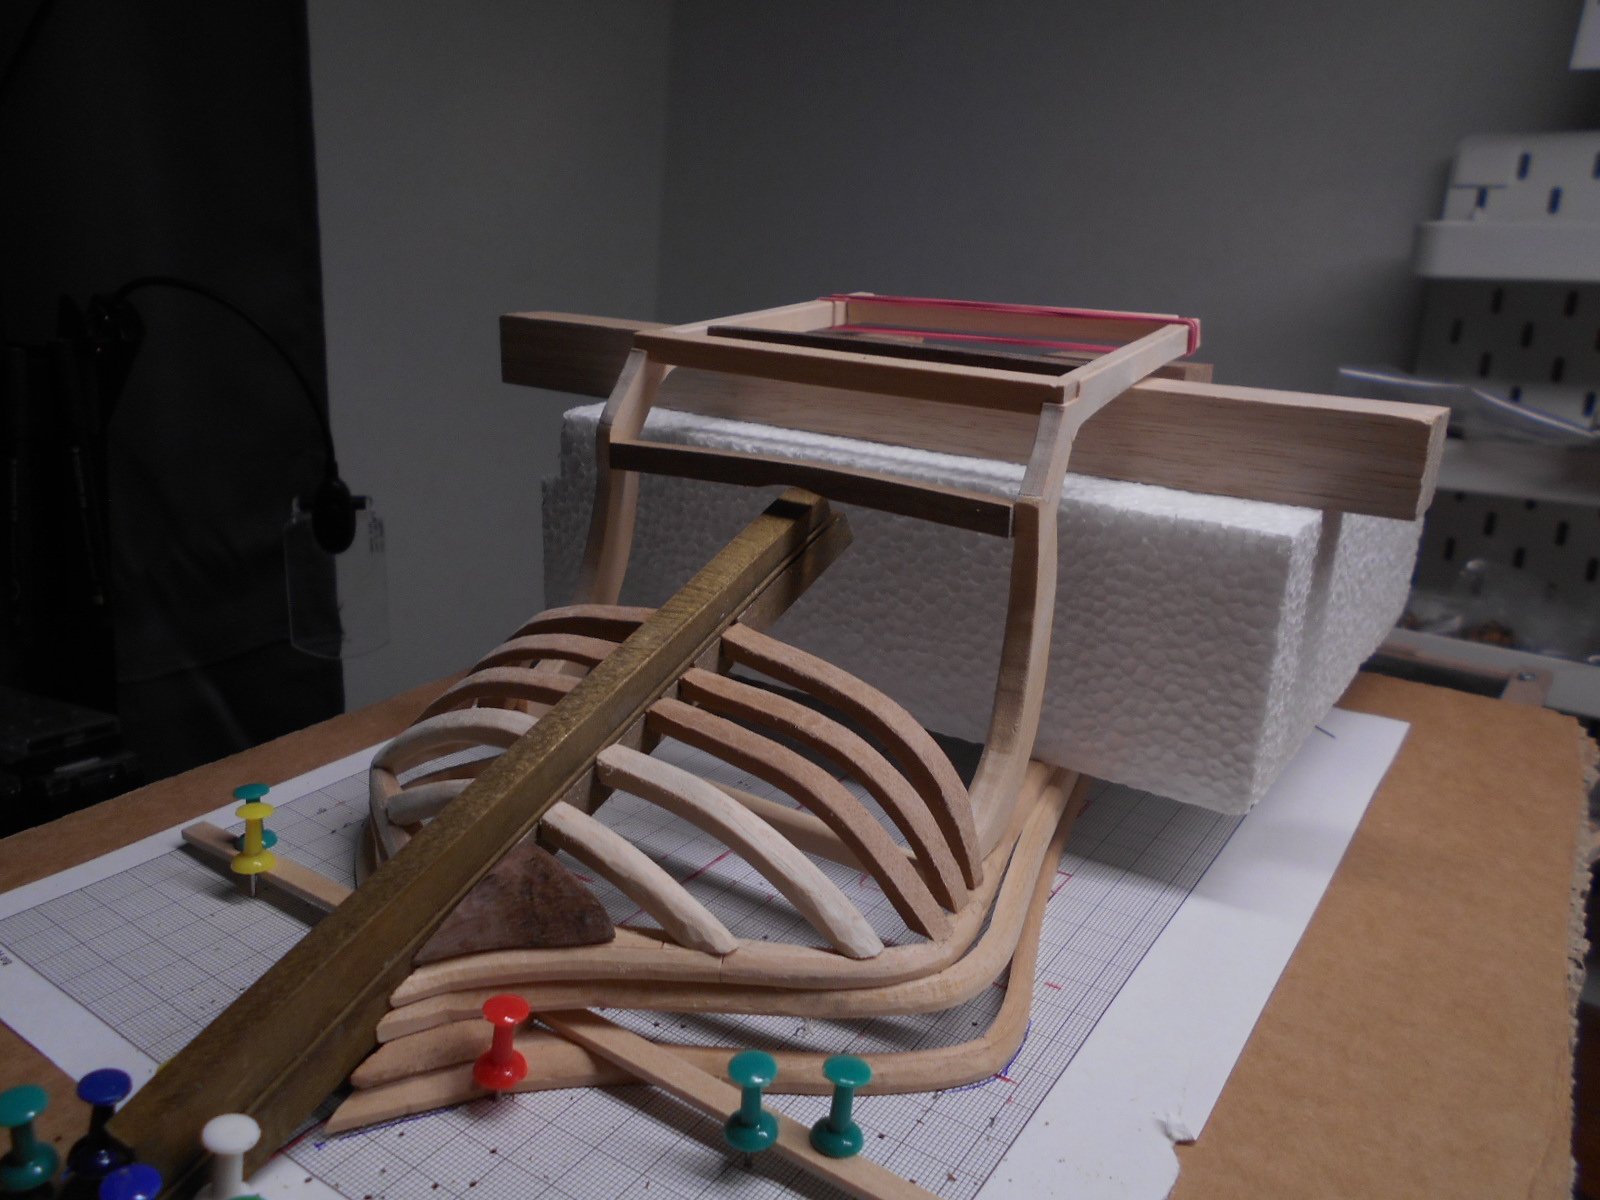
Long break but another go on this. Kelson done and trying out my new idea of bending wood.


-
Hello, going slow now but keel is done and lodging knee on its way.

-
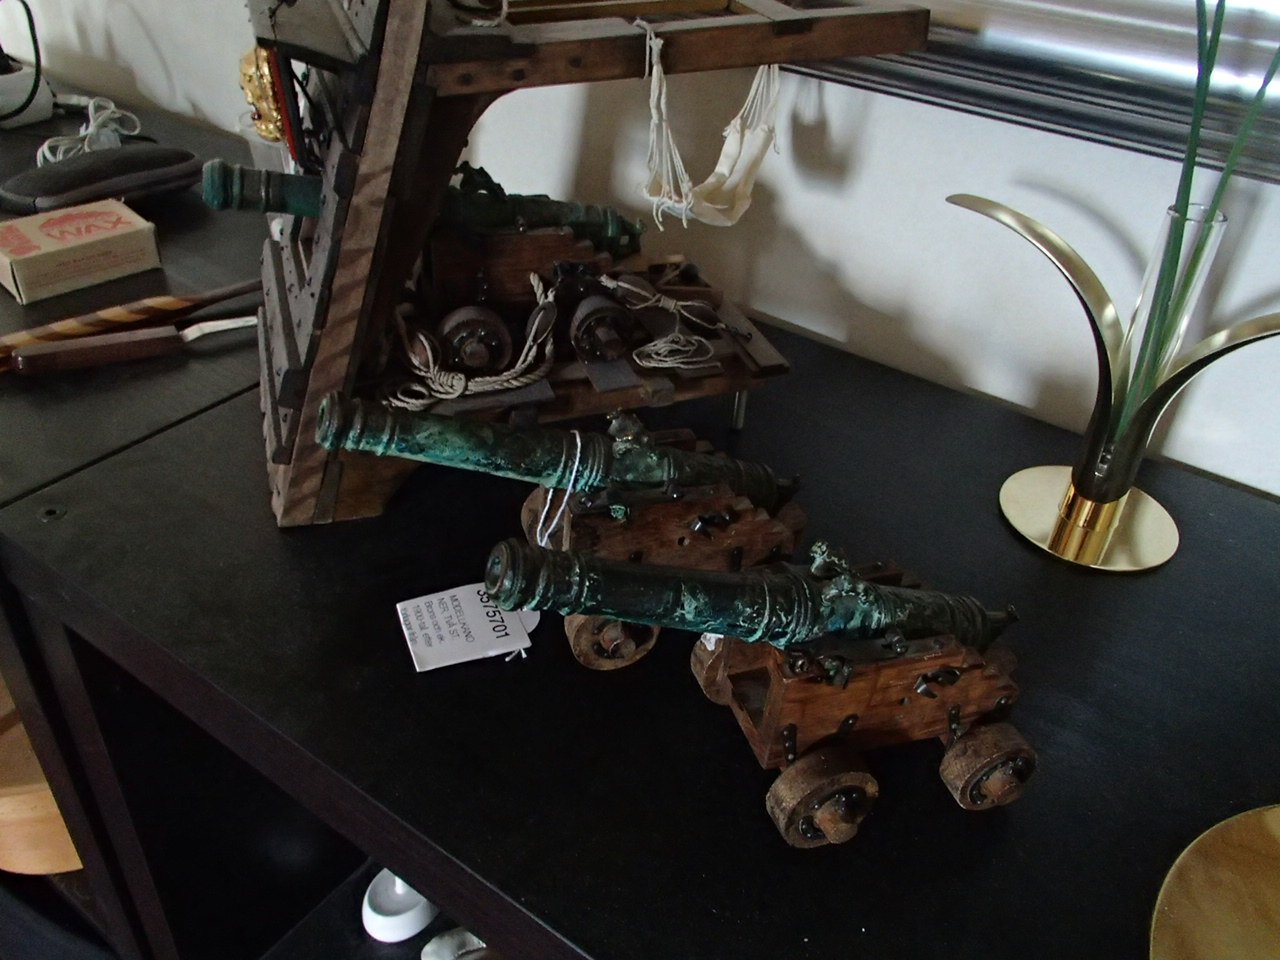
Update: I have found two more replica canons on auction. So now I need some advice what to do. Add more deck or something else?
-
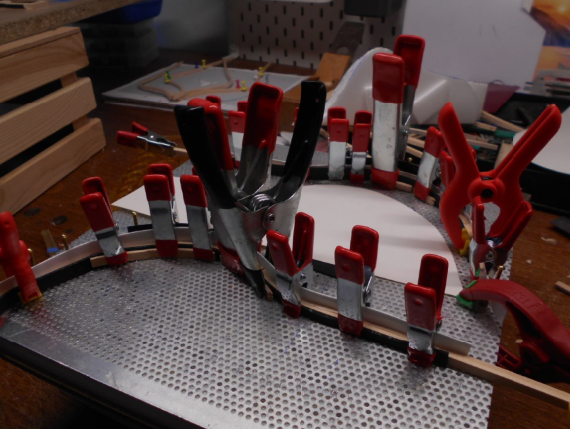
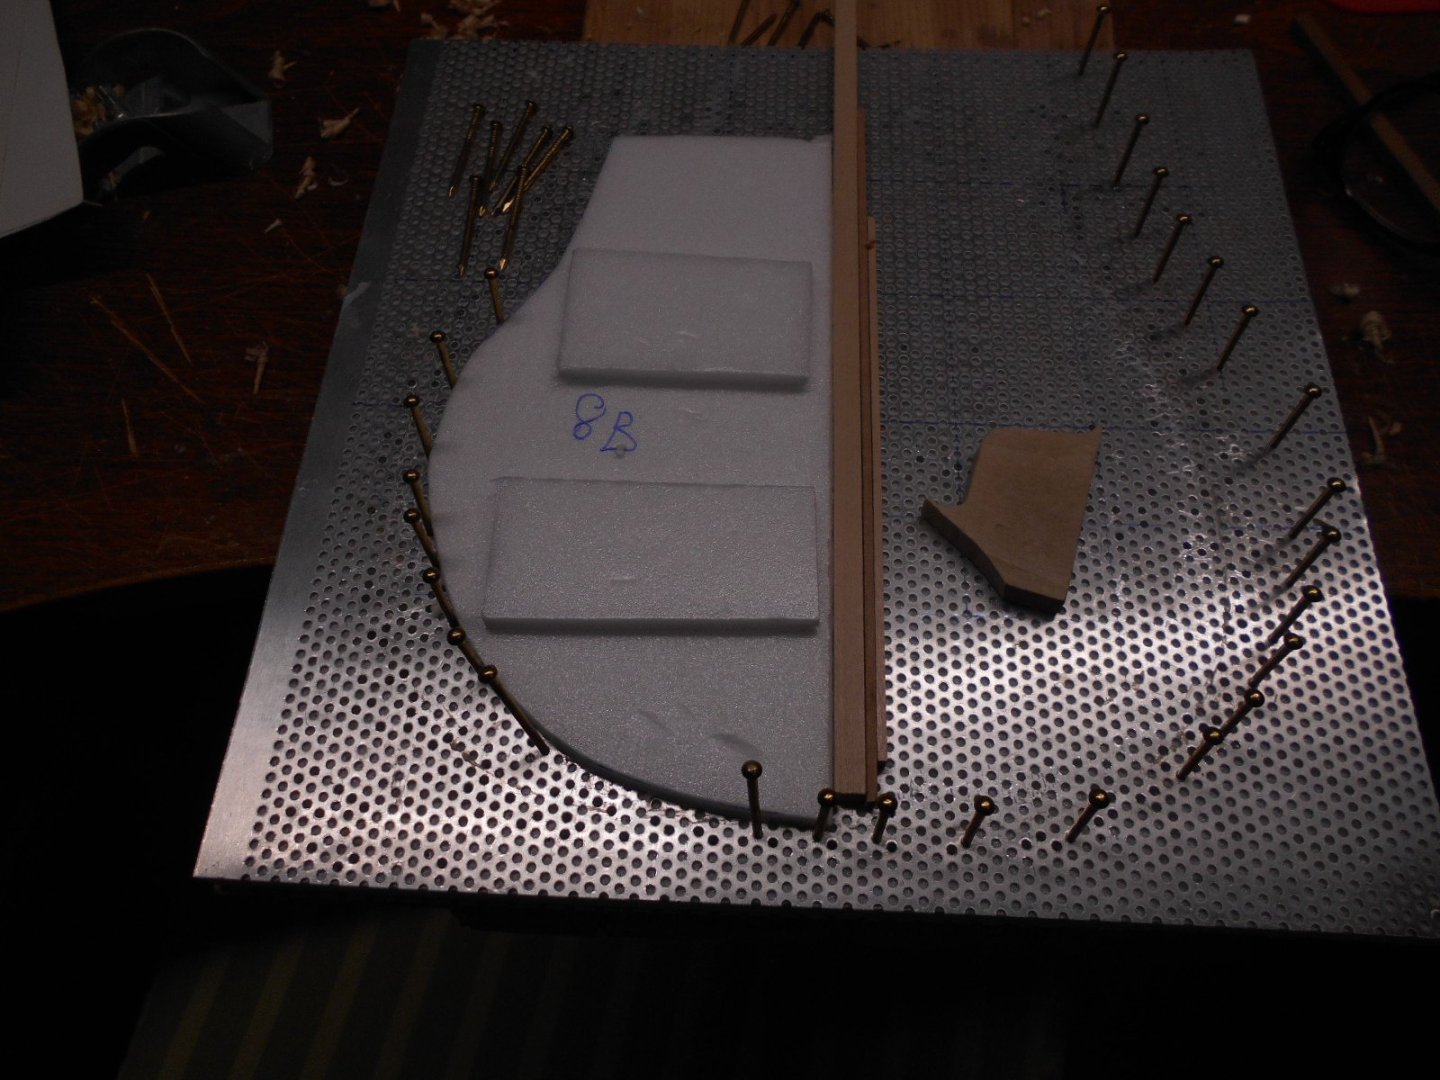
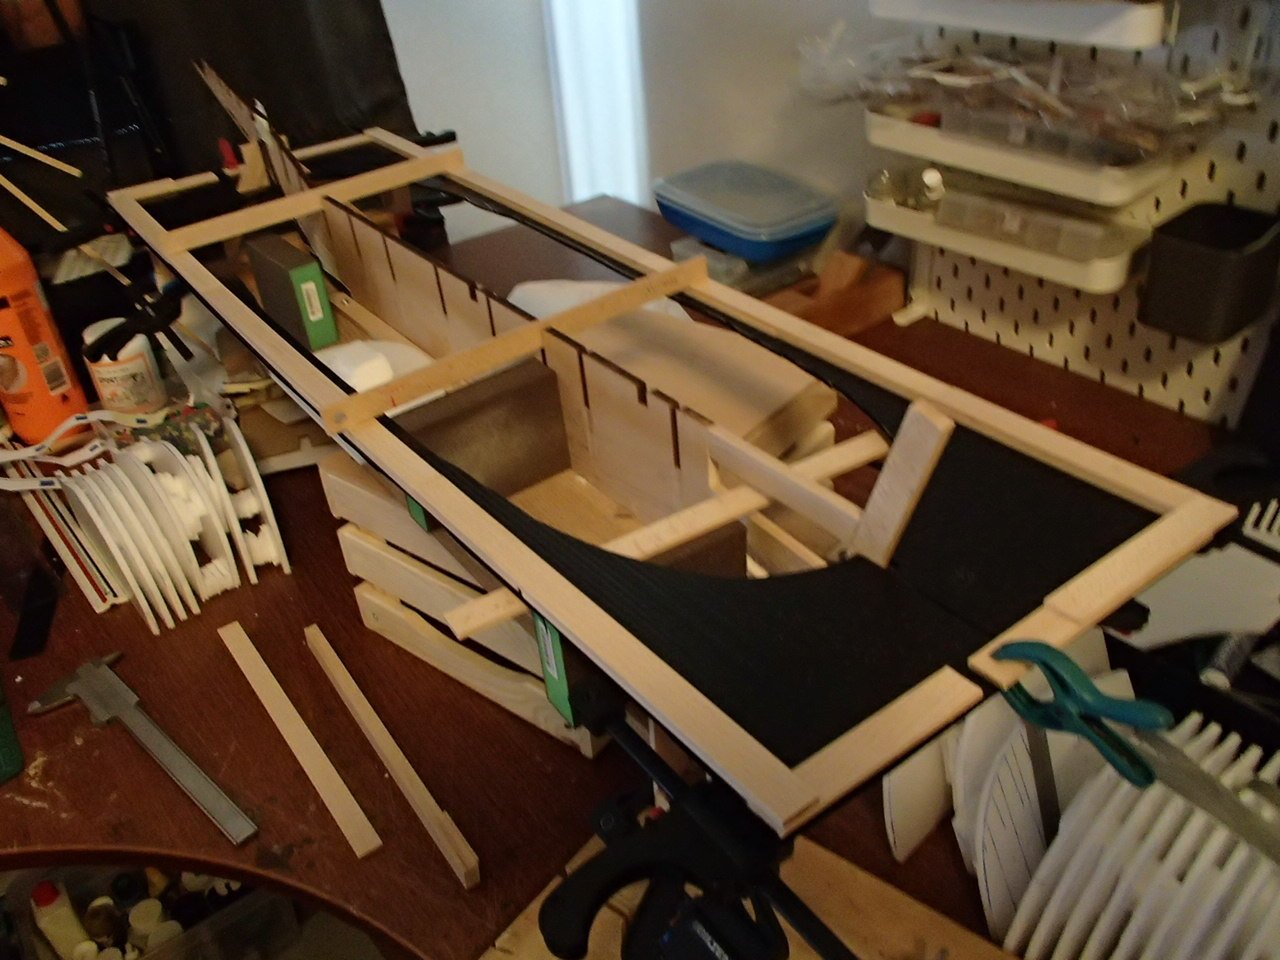
slow progress but some new pictures from work on the keel and deadwood. I have made an rig around the keel for the frames.
-
Here is where I found some of the pictures: https://forum.game-labs.net/topic/4187-danish-flagships-form-the-17th-mega-mix/ looks like a scanned book picture
-
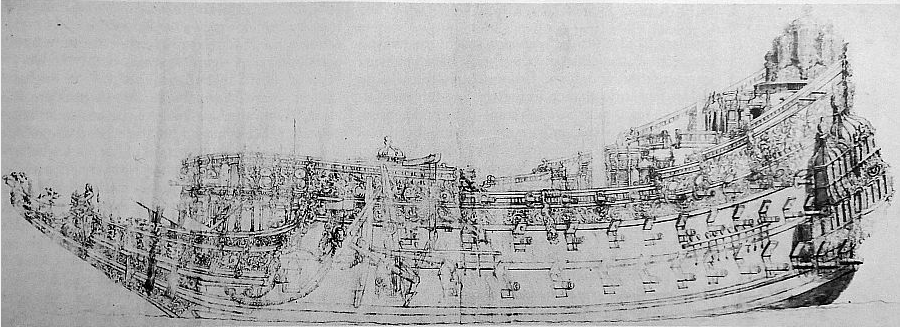
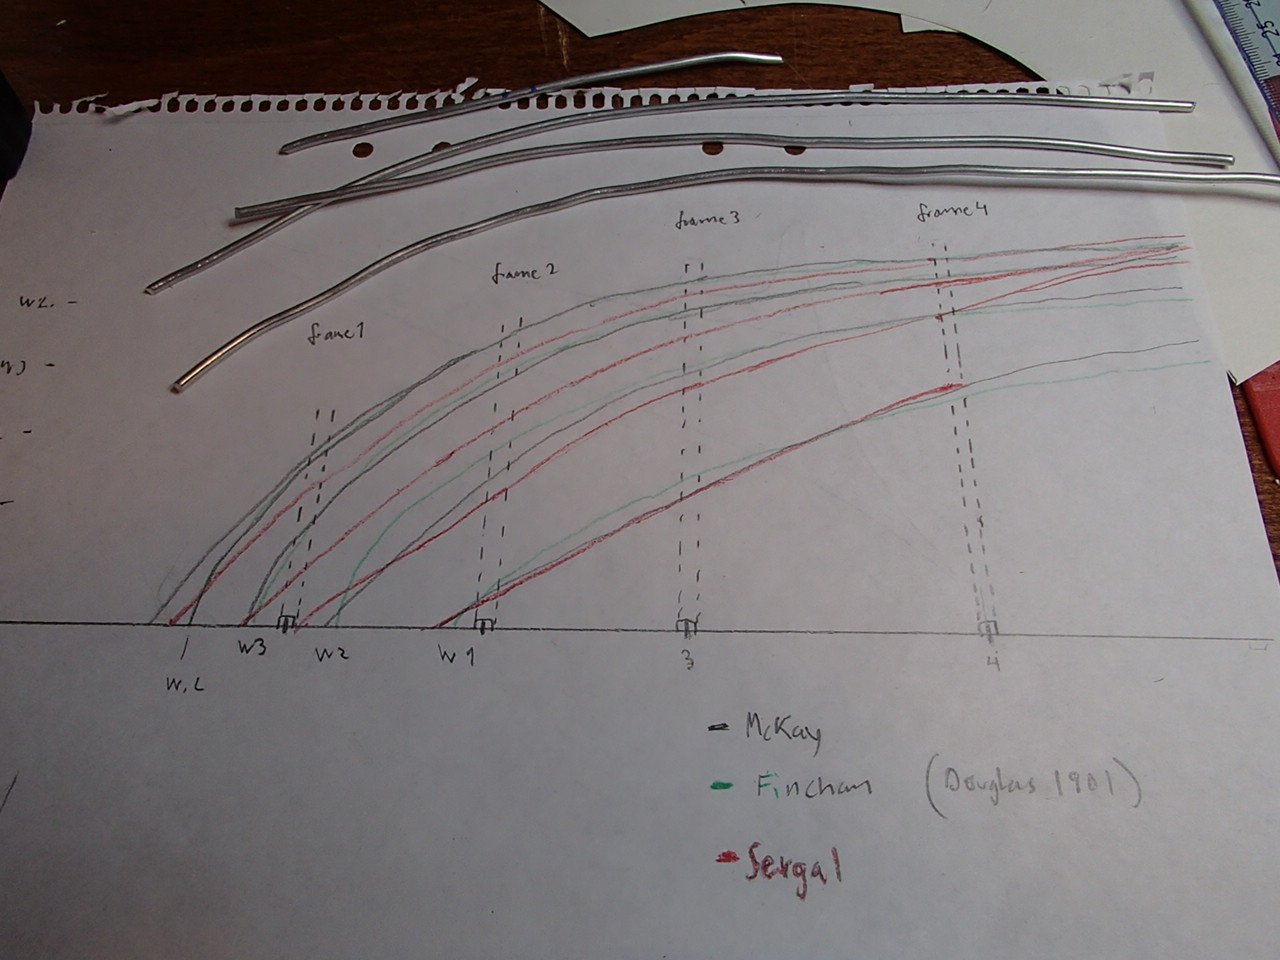
I have search so many 1700th ship pictures so I have forgotten were that came from, the other is from: https://collections.vam.ac.uk/item/O1020070/hull-of-a-three-decker-drawing-van-de-velde/ - you can zoom in and see details. Ran in to some problems with the framing. I was planning to use the Sergal kit frame 4-1 as is, but the difference Fincham (I use a Mr Douglas drawing from 1901), McKay and Sergal is to big. The kit is more wedge-shape than the other:
-
P.S. I read in some book about the Sovereign of the Seas that they did not use hammocks in 1628, it was used later on.
-
Here is a van Velde drawing of the Danish ship, a quick glance and it looks like the SotS. The fore castle is slightly lower and lower gun deck flat as SotS after the rebuild 1659-60.