HOLIDAY DONATION DRIVE - SUPPORT MSW - DO YOUR PART TO KEEP THIS GREAT FORUM GOING! (Only 13 donations so far - C'mon guys!)
×


Cpt_Haddock
-
Posts
85 -
Joined
-
Last visited
Content Type
Profiles
Forums
Gallery
Events
Everything posted by Cpt_Haddock
-
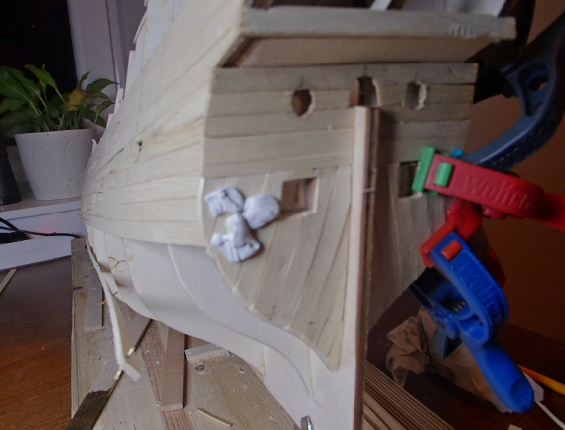
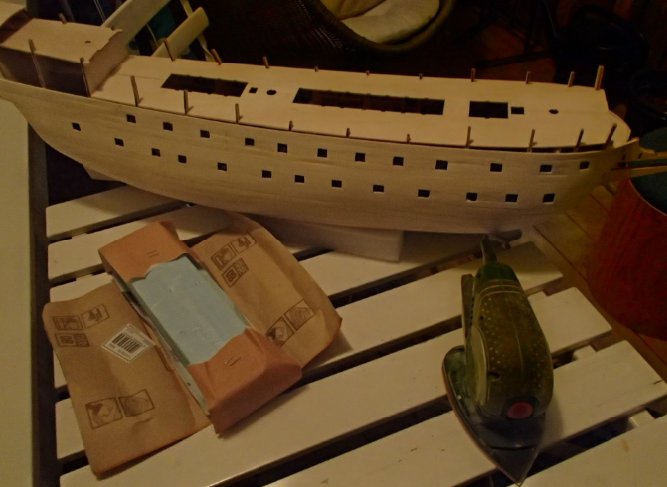
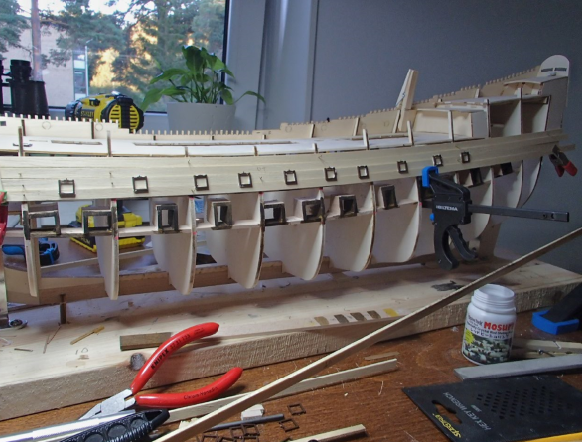
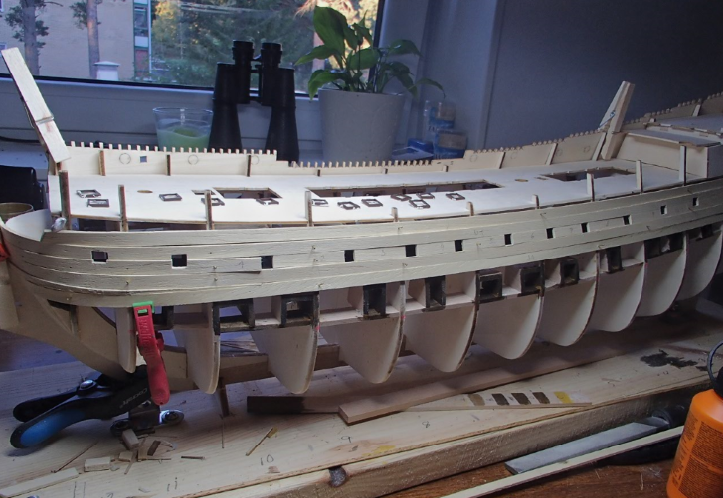
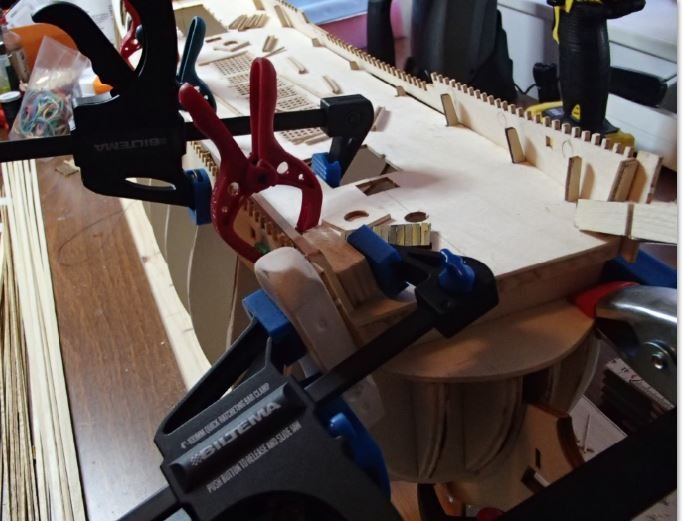
Some more pictures from planking the first layer: The lower part of the front got really tricky: One side done but one extra hole.. The non-symmetric placement of the cannon port can be seen here from the wreck: And then the same on the other side. The windows were soldered and the result was not perfect, maybe I should have gone with the kit plastic, below picture from the model at the museum: And the final board before sanding - I still have not attached the top sides. Some parts of the lower front came really thin after sanding it even. Progress bar (calendar time elapsed, roughly hours put in):

-
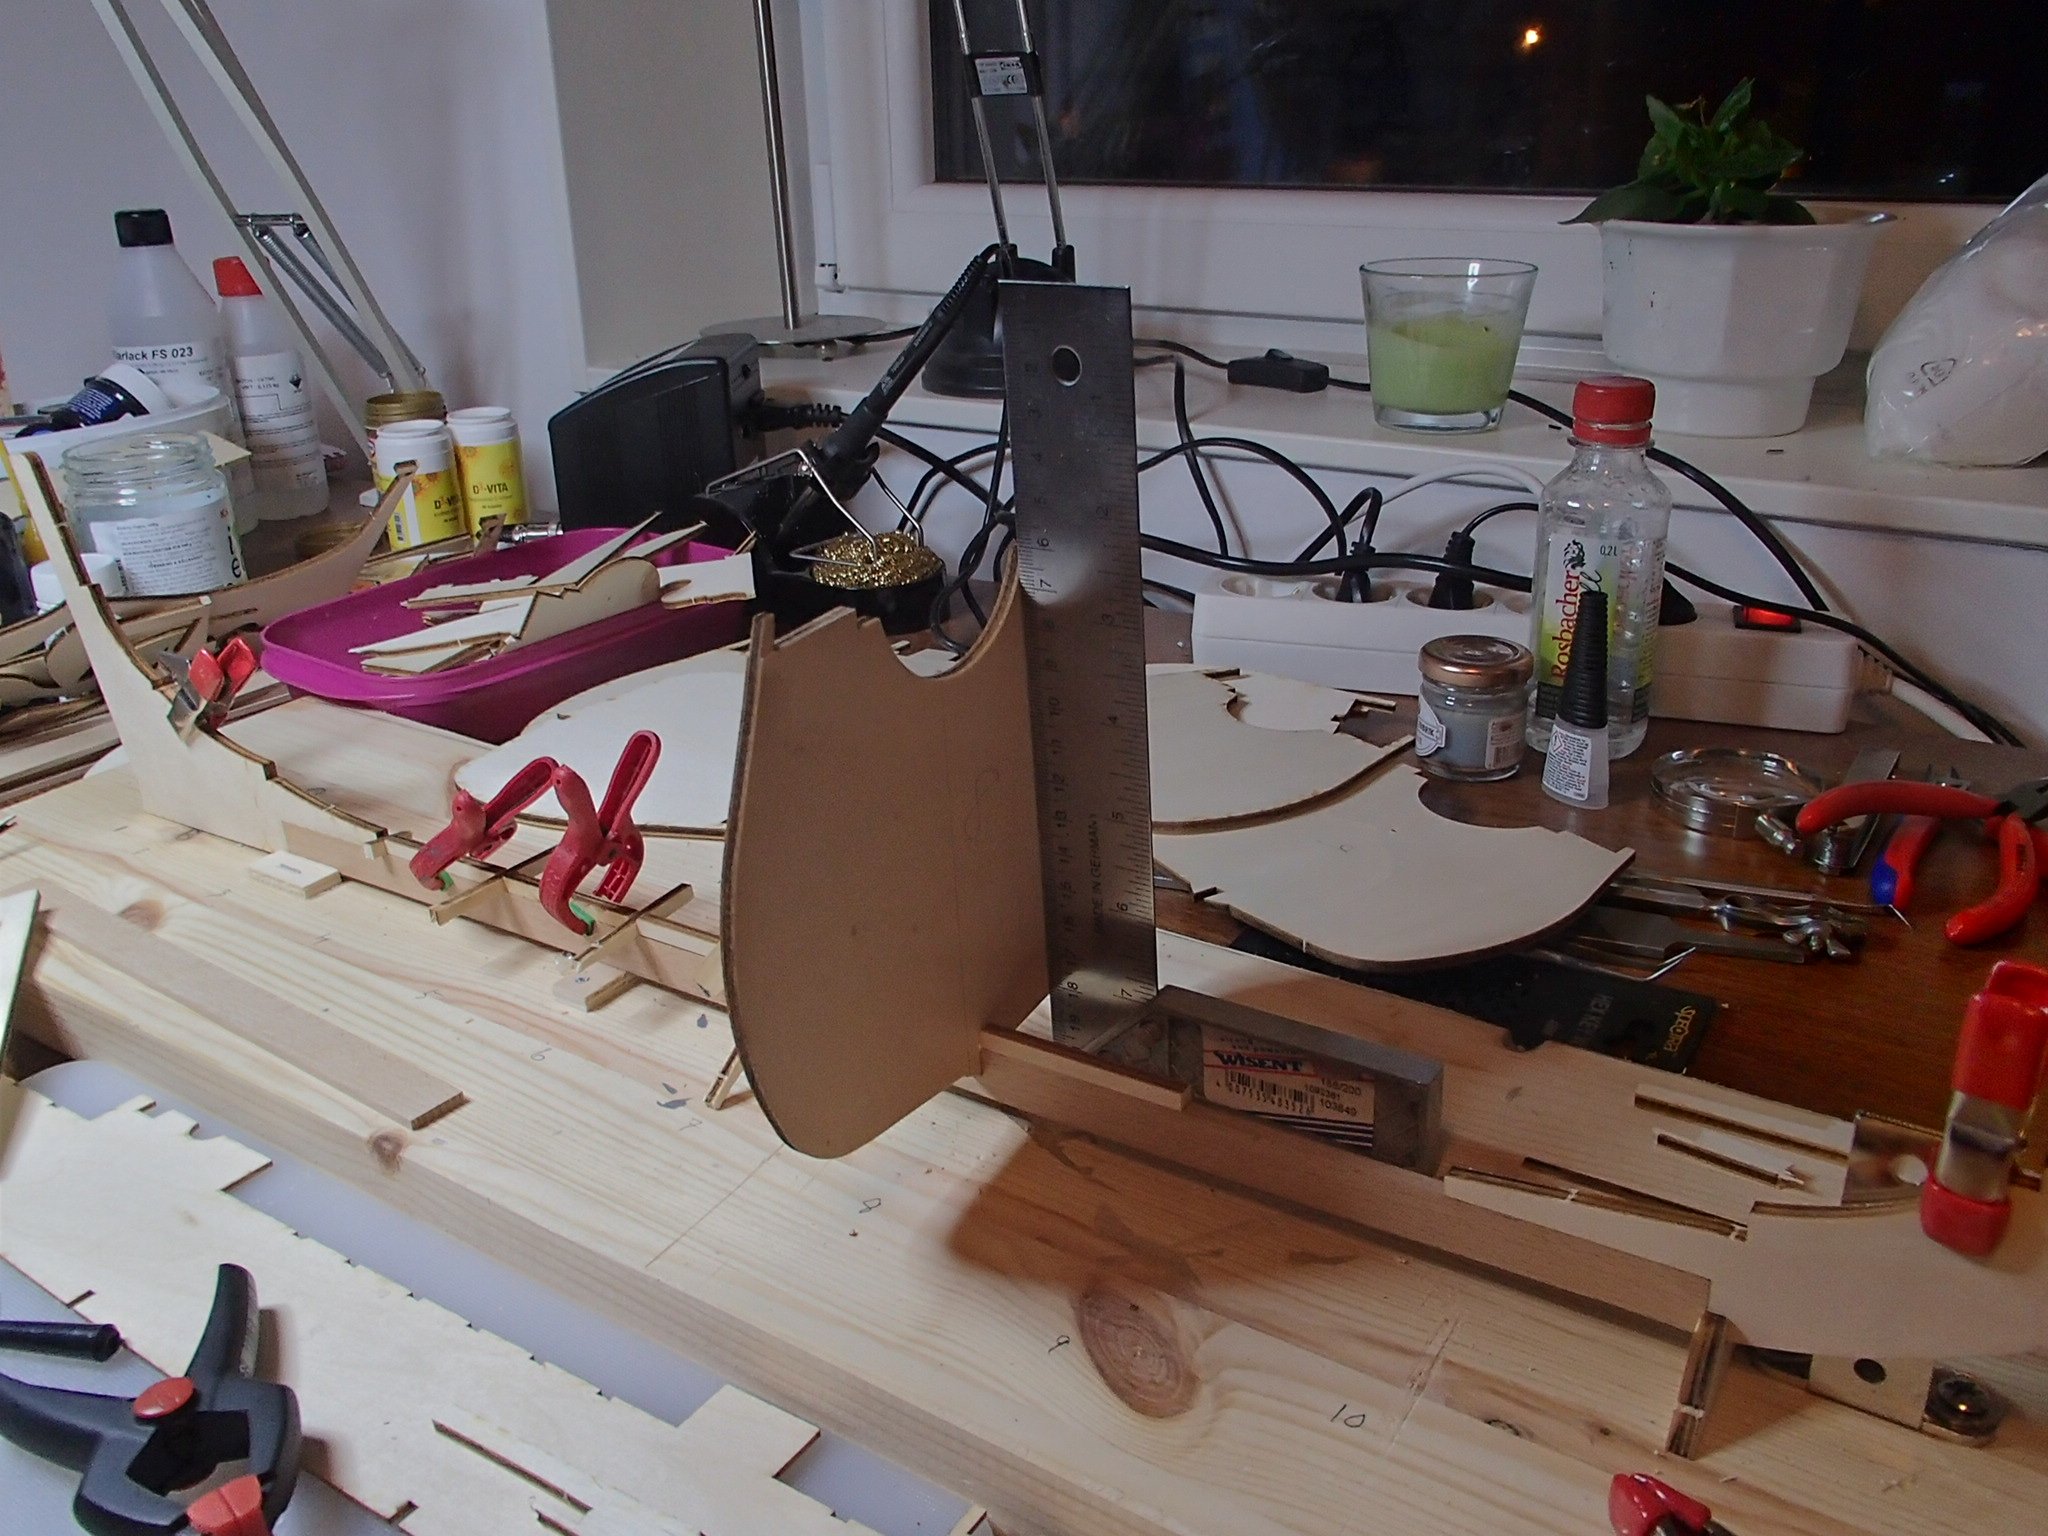
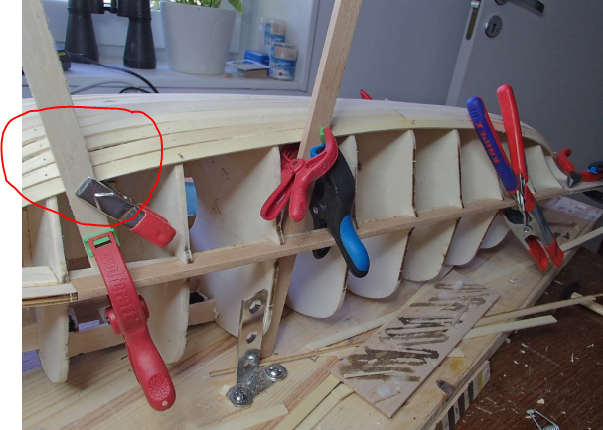
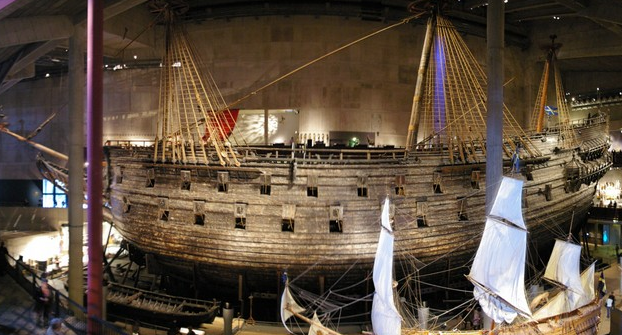
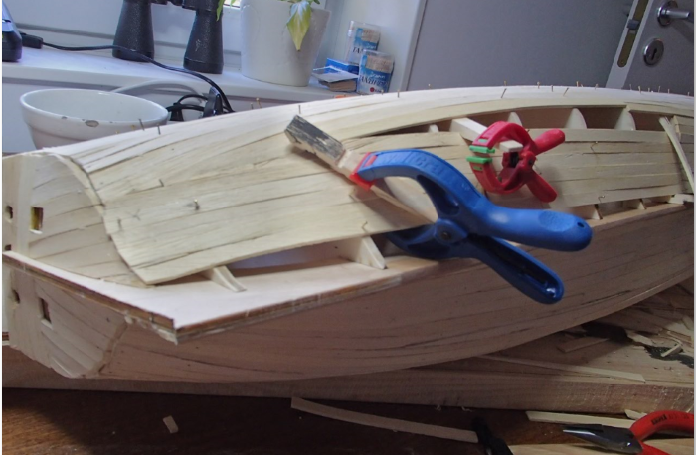
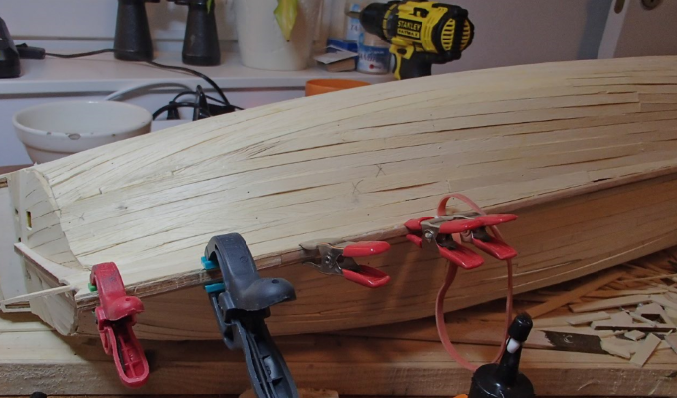
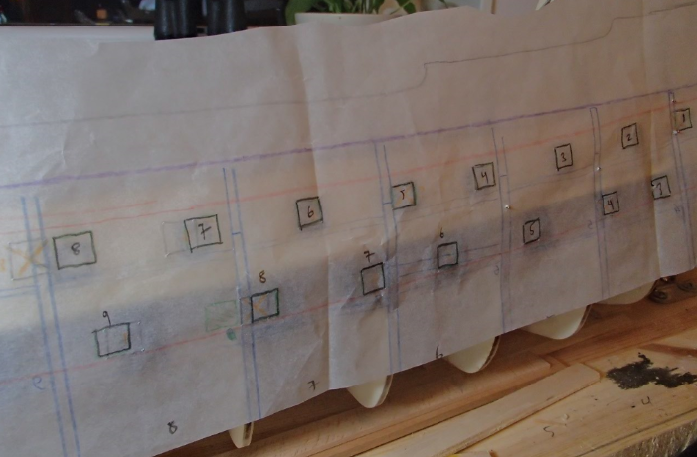
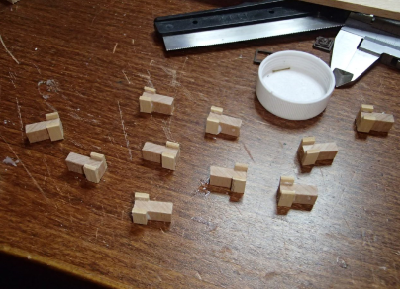
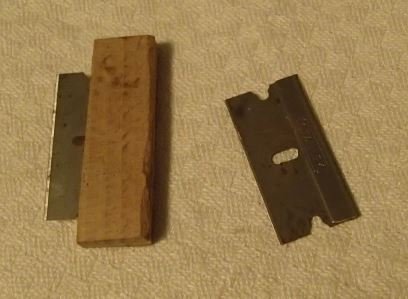
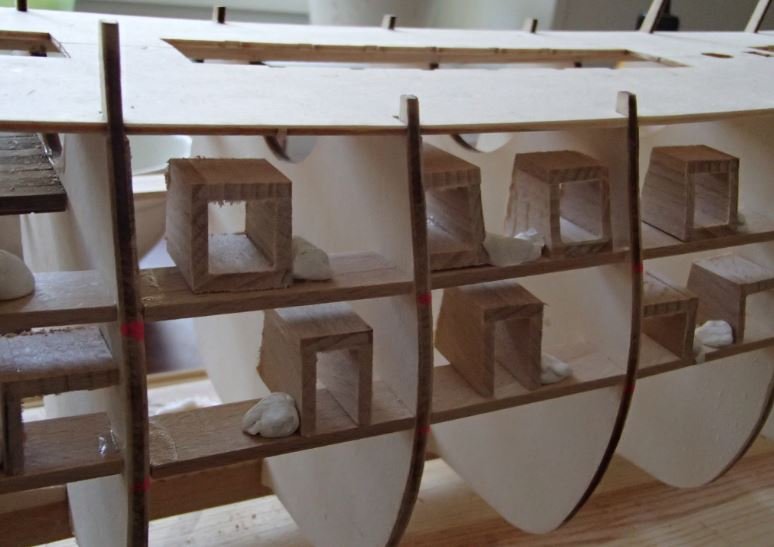
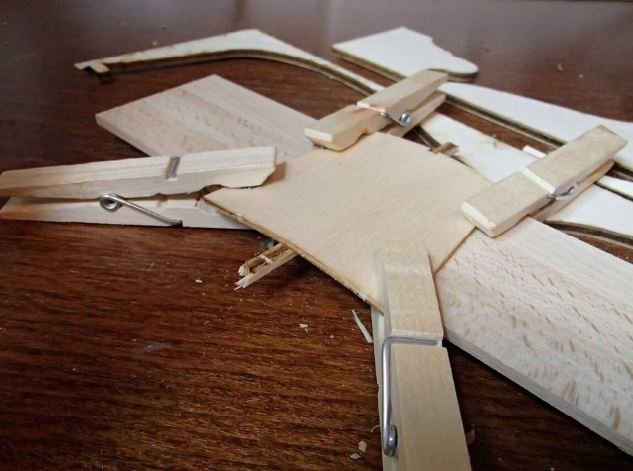
Thanks for your comments, yes I have been to the Museum and seen the amount of work they put in all the figures. The ship itself is kept in twilight (to protect the wood) and quite creepy - more like an old pirate ship. It is a sad story - building a ship with all that timber and then to sink on its first try on water. Figuring out the position of the ports: and making the "wagons" for the cannons. then continue planking: Among all the tools . I used this 1 1/2 inch Stanley (single) razer blade put in between a couple pieces of wood and found it very useful: And then cutting the holes:
-
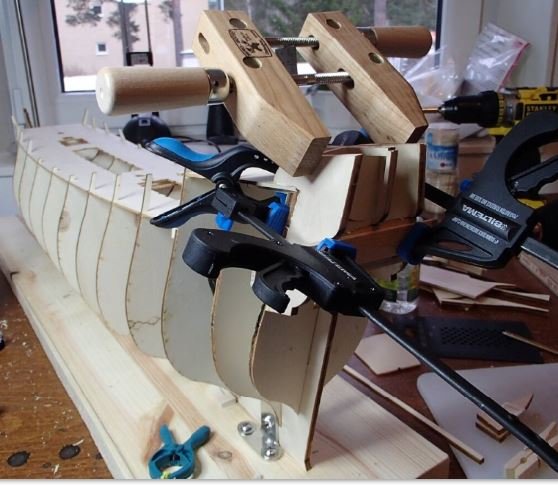
Hi, yes I am Swedish. (Avslöjad av Biltema-tvingarna 🙂)
-
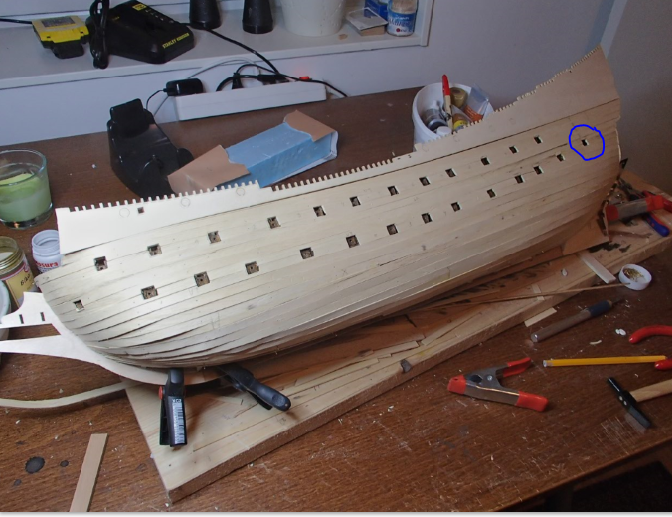
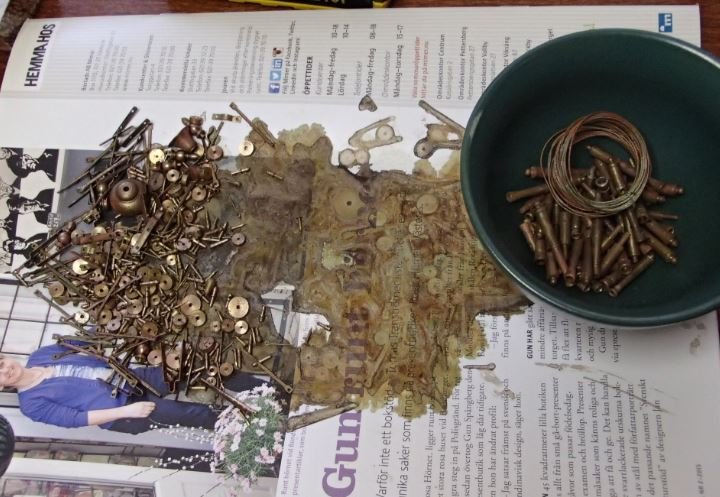
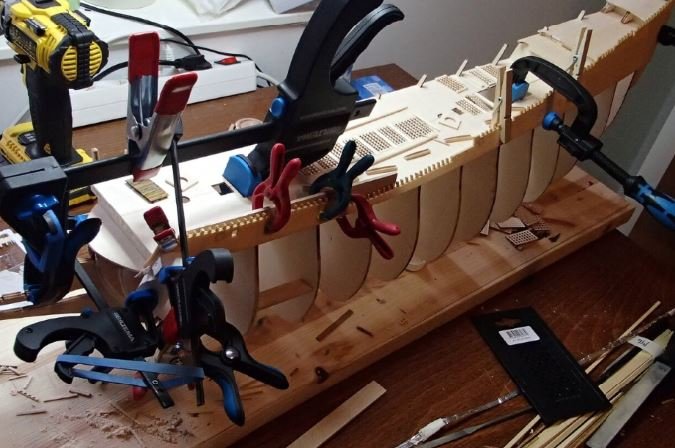
I put all the metal stuff in a bowl and mixed with vinegar to get the oxides. I notices that the canon holes on the lower level was "fake". I saw someone who made "real" holes and tried that. I made a mistake choosing some hard wood (beech) as building material. Later when i tried to drill though the planking the drill got stuck in this wood pieces. Some of these fell inside the ship. I then began the planking, starting from the top.
-
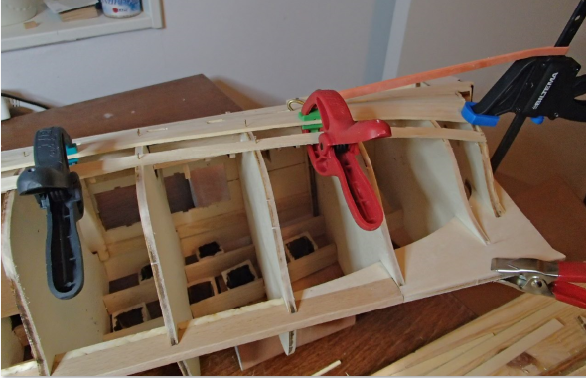
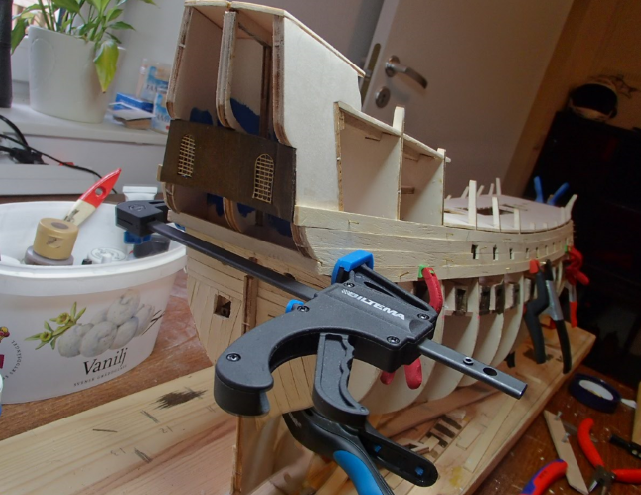
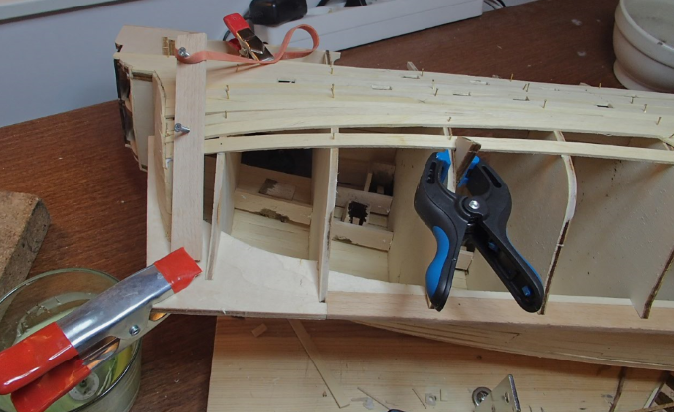
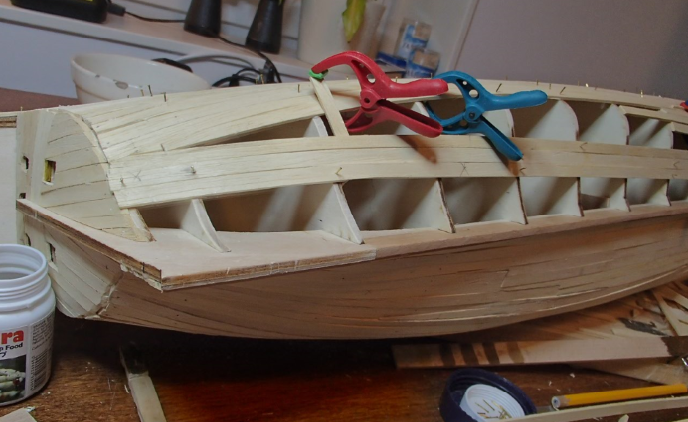
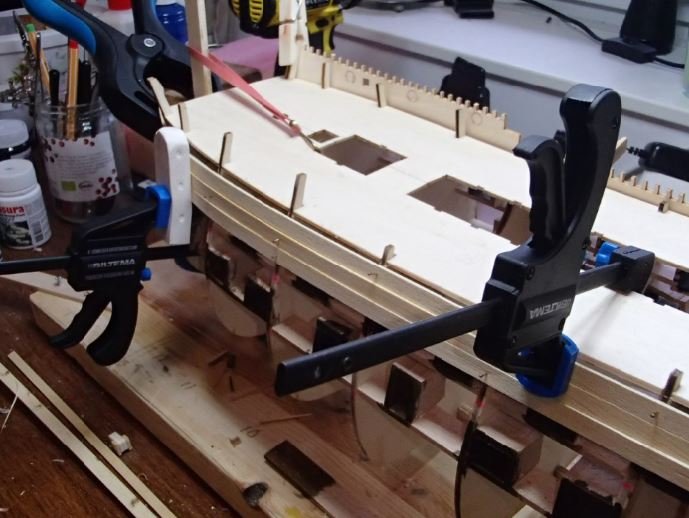
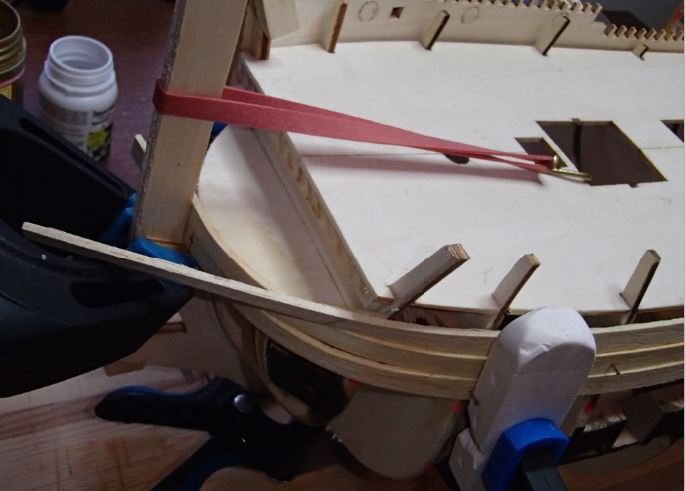
Bending the top planking pre-cut pieces to the right shape: Without a second planking layer this piece would have look strange.
-
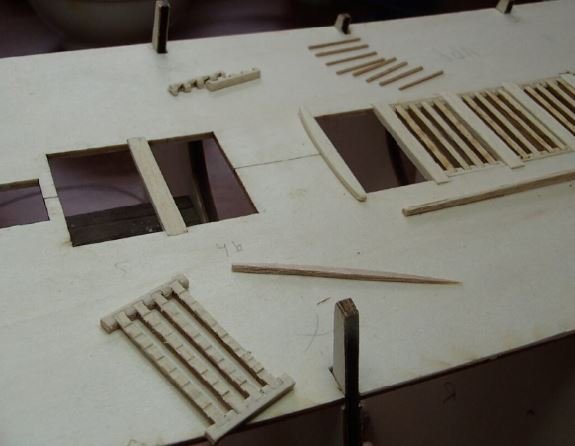
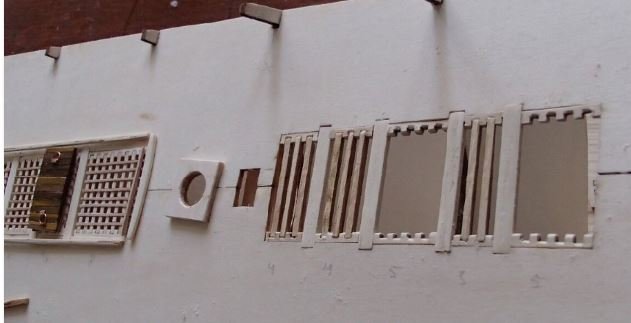
Two more pictures of the gratings:
-
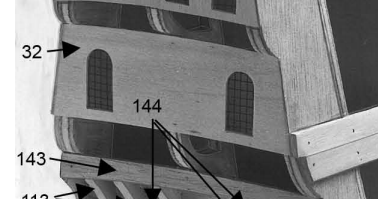
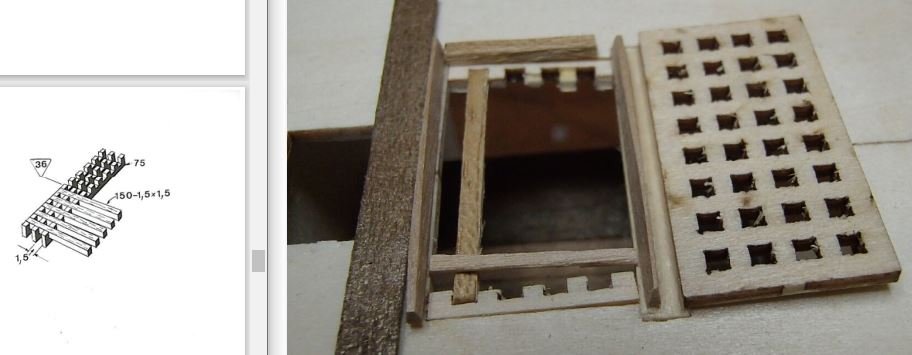
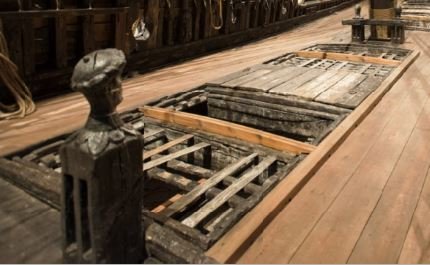
I did not like the pre-cut loading gratings (on the right) and it did not either match the drawings - I made some ribs out of tooth sticks. The actual ship.
-
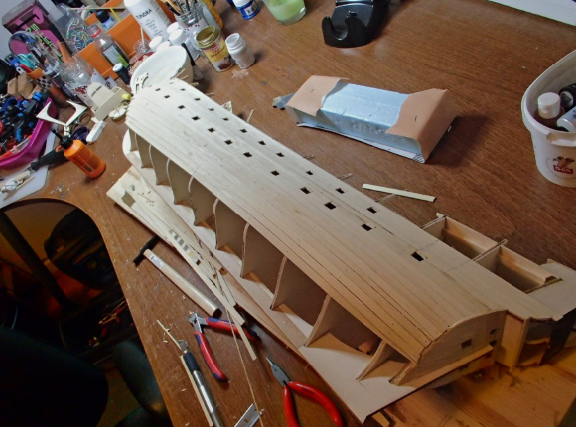
As I mentioned before, preparing for the planking was essential, but I had a hard time getting it right. I had to pay for this later on. An extra layer of planking was one way to "solve" the problem. I bought extra wood (walnut) for a second layer. The first layer is Pine wood (BB490 kit).
-
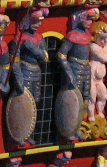
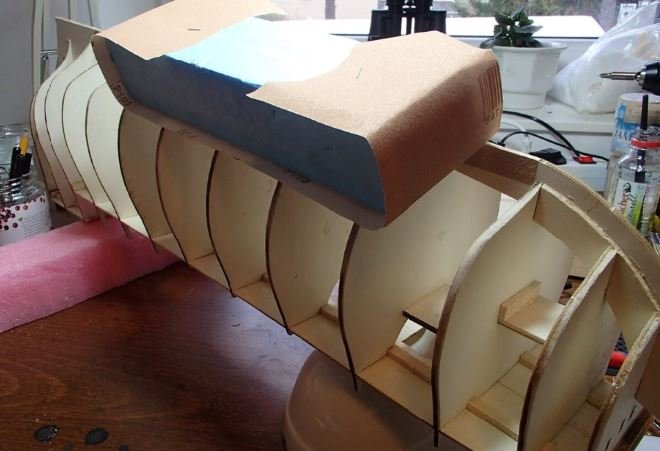
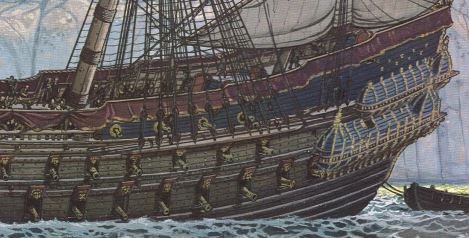
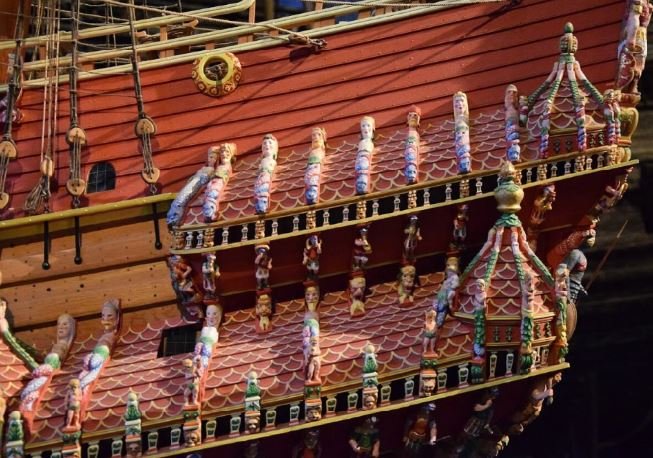
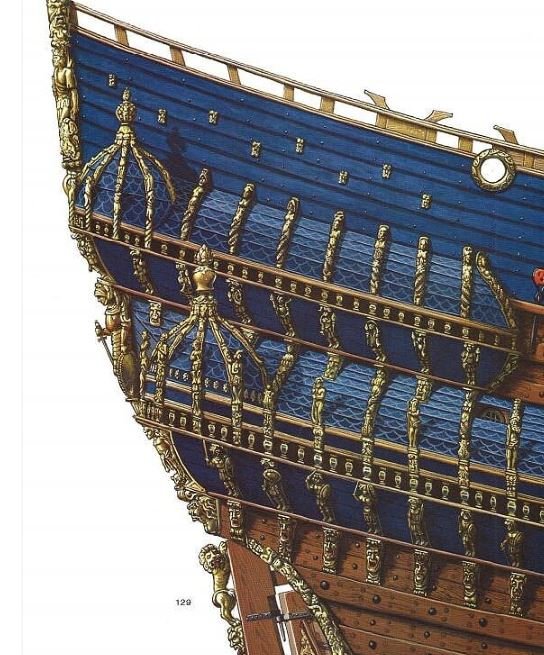
Some pictures, quite straight forward in the beginning. Bending the stern piece. The BB490 has the Blue color theme unlike the Stockholm museum ship model that has the red theme. I went along with the blue. It is blue in the book but with red fancy pansy "curtains" From "The Royal Warship VASA" From the model at the WASA museum I also decided to go with the gold instead of painting the small statues though not historically correct.


-
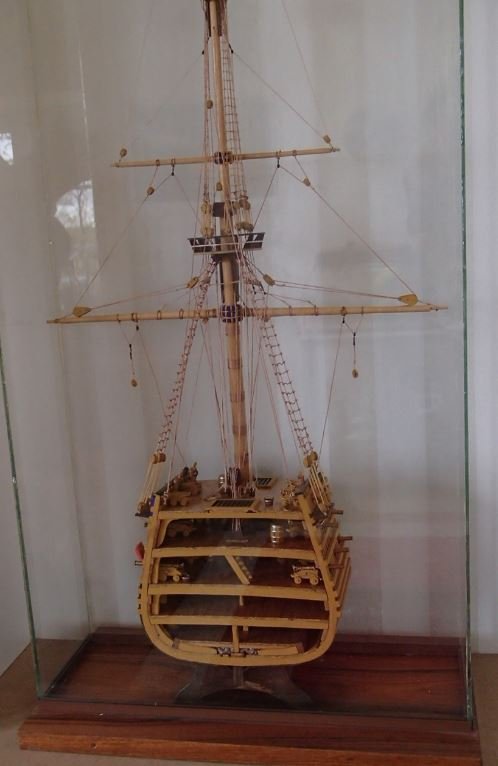
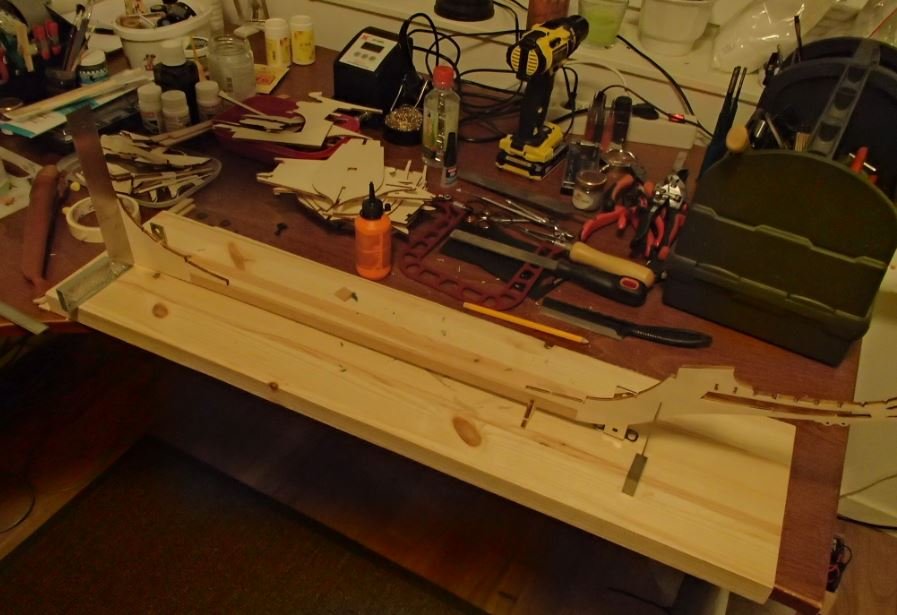
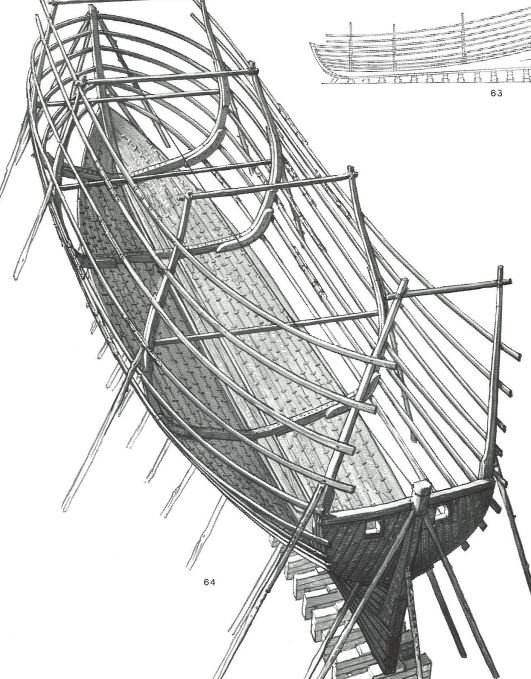
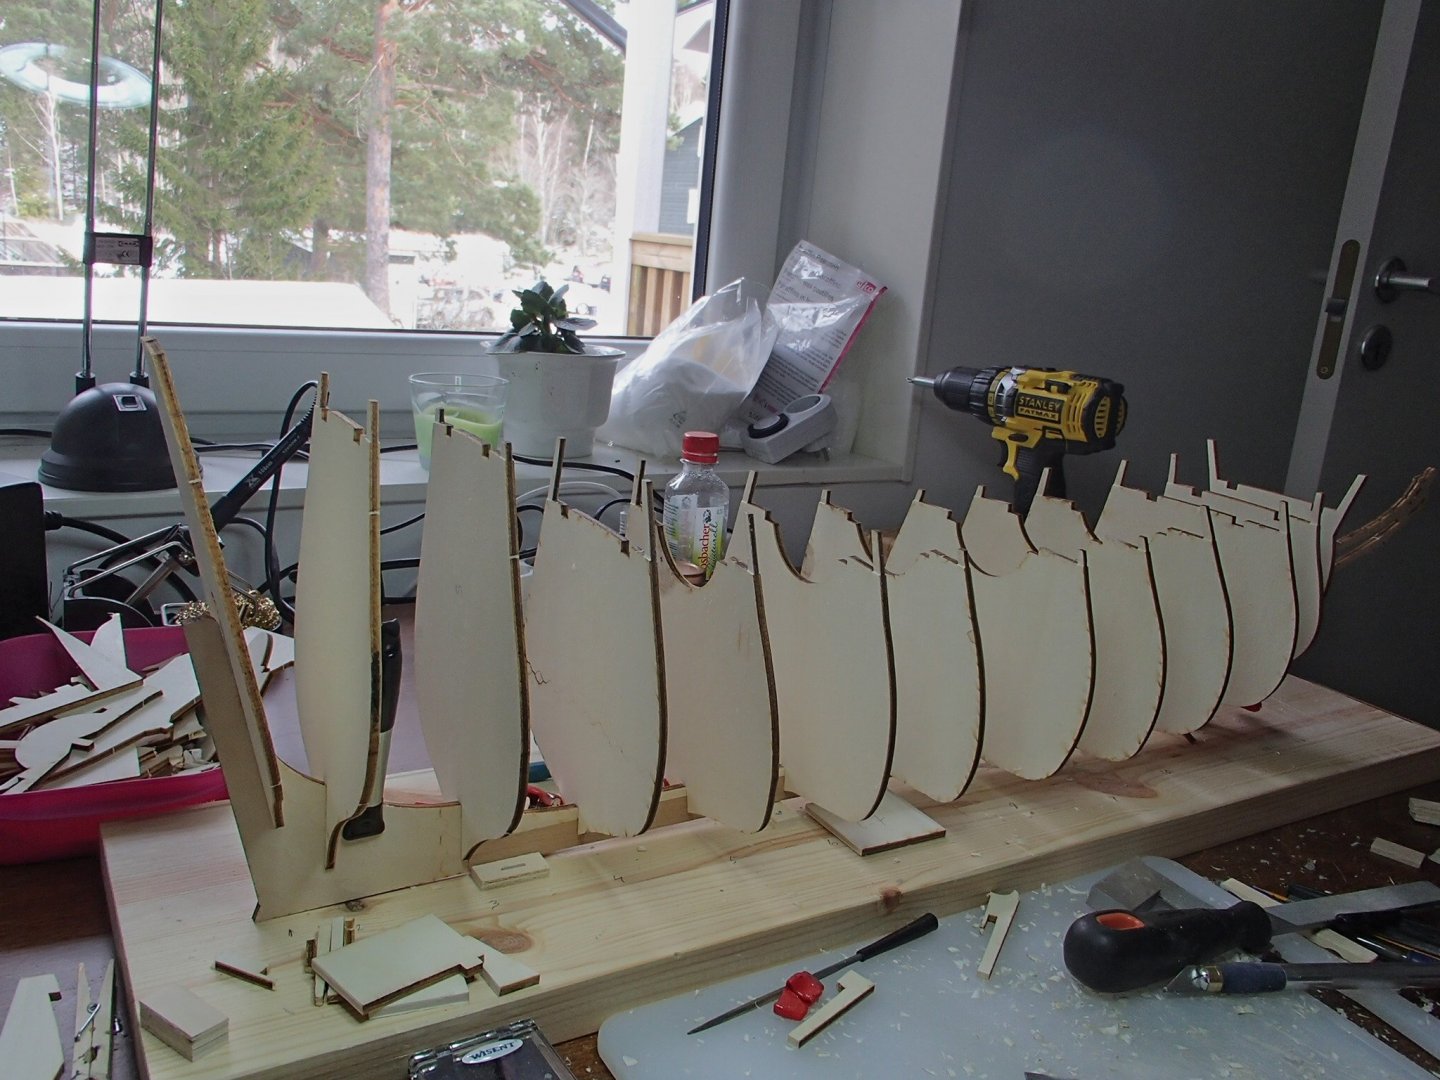
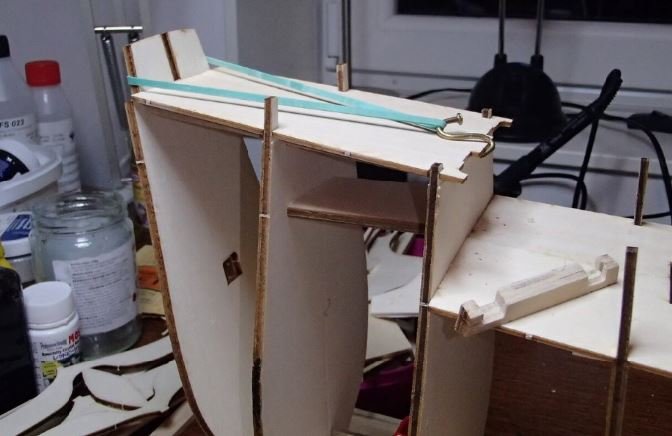
I am very happy to have found MSW and to get the energy and inspiration to build this ship. Thanks to fmodajr and md1400cs. The WASA ship section below (unknown fabricator - prob. Billing boats) - was built in the early 90s and I mostly remember the tedious work cutting all pieces by hand (not laser cut) from wood panels. It took two years to build the main part and then another 4-5 years until the rigging was finished. Most of the time the build was put away waiting for me building up confidence to finish the model. This time I had the opportunity to have a dedicated work space, were the model could rest when no work was being done, and laser cut pieces. I though replaced the keel with a solid wood bit due to poor quality plywood. I had read that the foundation was a key to get the hull planking go easy. I tried to follow the instructions but later I found the book by Björn Landström "The Royal Warship VASA" from 1980 (ISBN 91-86448-12-9) and I ended up with some "creative" planking pattern compared with the images in this book. I was very close to mix two of the mid pieces before cluing them on the keel.