HOLIDAY DONATION DRIVE - SUPPORT MSW - DO YOUR PART TO KEEP THIS GREAT FORUM GOING!
×


Cpt_Haddock
-
Posts
85 -
Joined
-
Last visited
Content Type
Profiles
Forums
Gallery
Events
Everything posted by Cpt_Haddock
-
I have modified the scale to 1:72 - I think it will be better. Recommend naval ship construction texts via Academia.edu, for example:


-
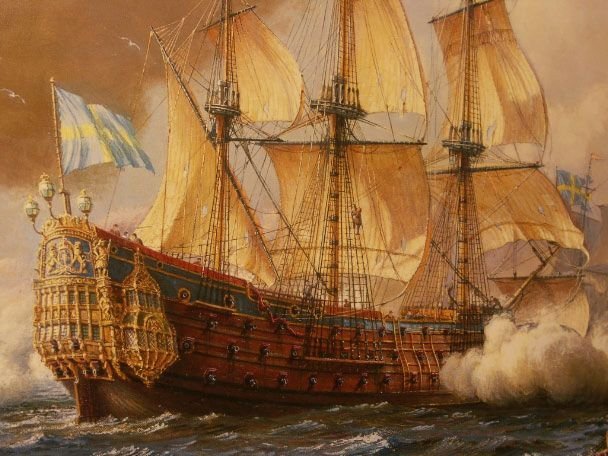
Totally agree - very hard to even come close to that amount of work and artistry. That is a bit why I will try to do a little different approach. When to movie for "the hitchhiker guide to the galaxy" by Douglas Adams come there was many discussions about the "real" story and so on. The real story from the books - but the story in the books came from a mix of radio-episodes that did not add up to that was printed - I feel a bit like that after reading about this ship. Building Wasa was so different - the ship is there to visit. For example - I am thinking of azur blue instead of Stockholm tar black and maybe modify the statues of Neptune/Apollo and the other "god of winds" figure - and make Diana/Nike bigger - I will see. I have decided the angle of the stern post the rake: I am trying to get the shape of the aft, I had to cut of the kit stern post - it was not straight
-
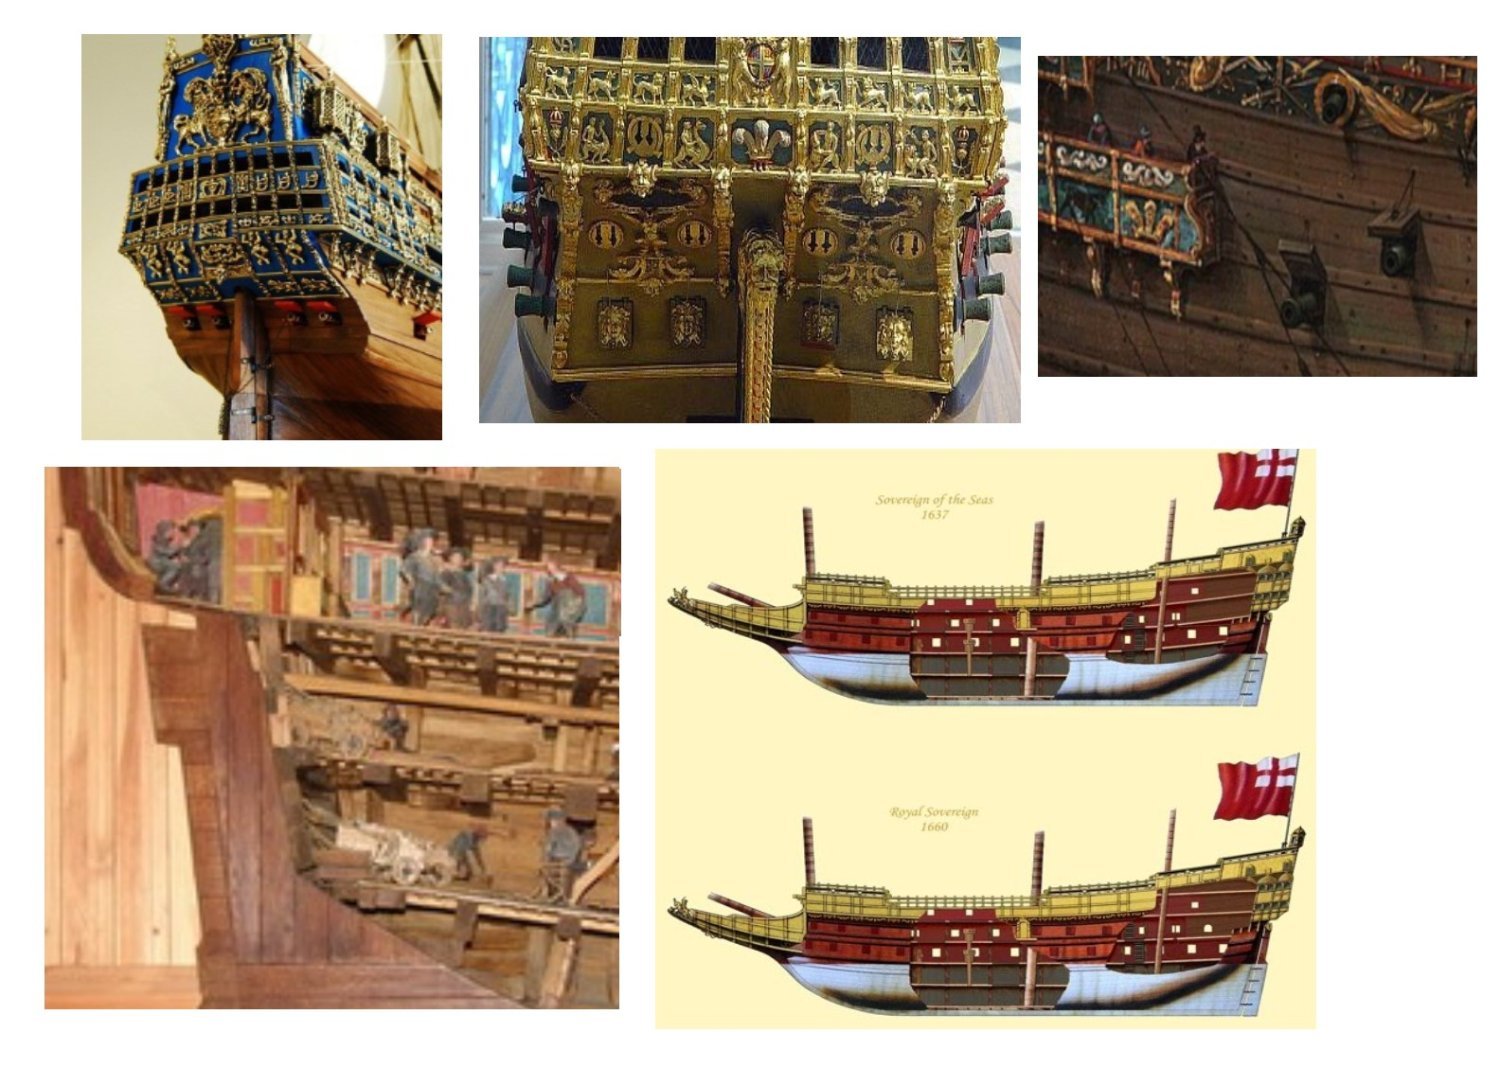
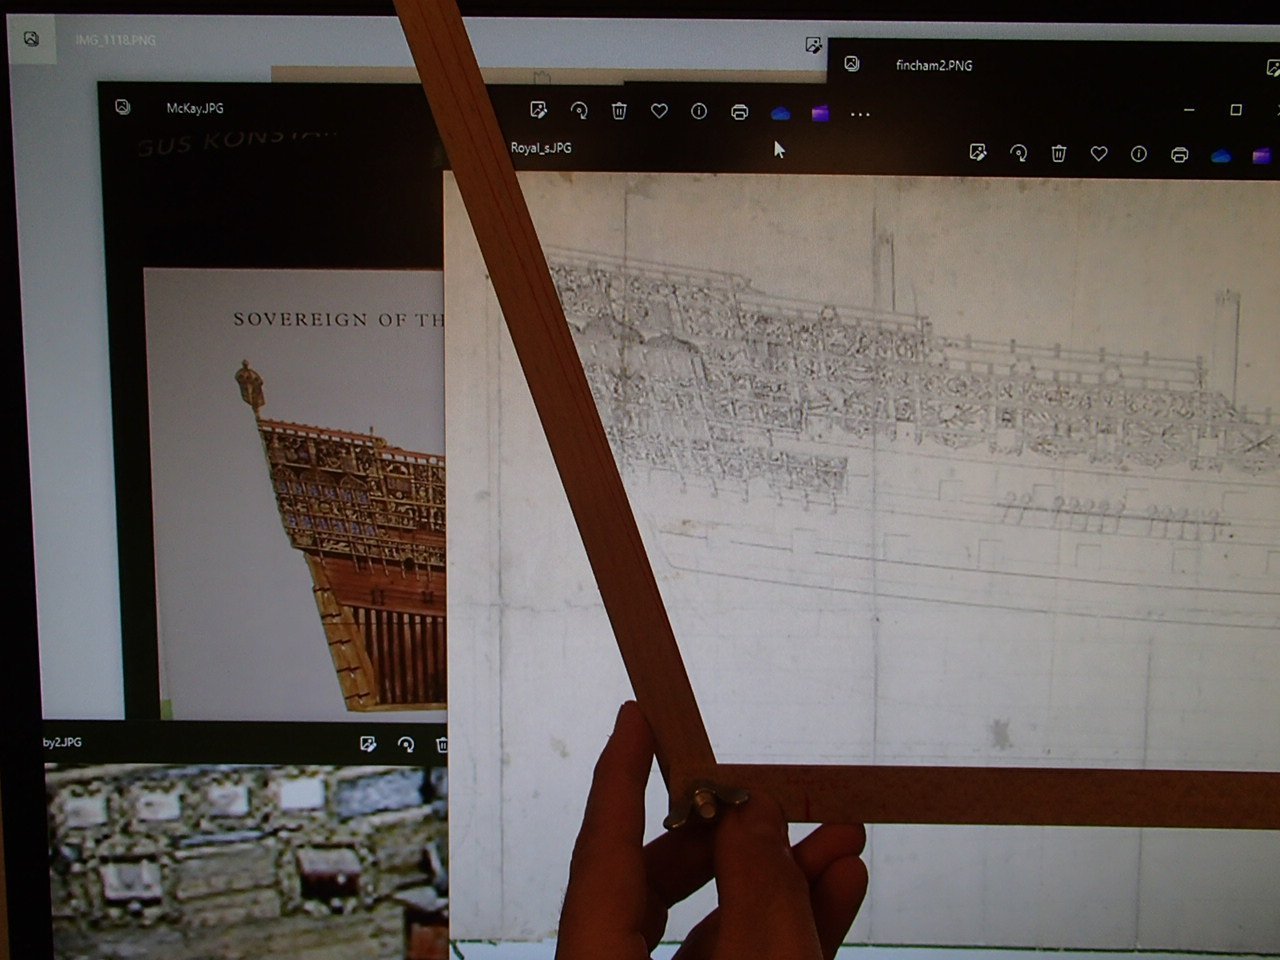
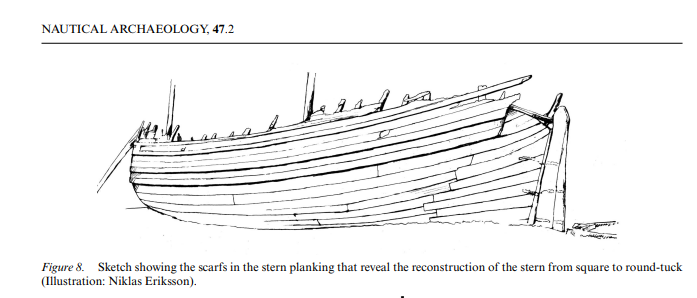
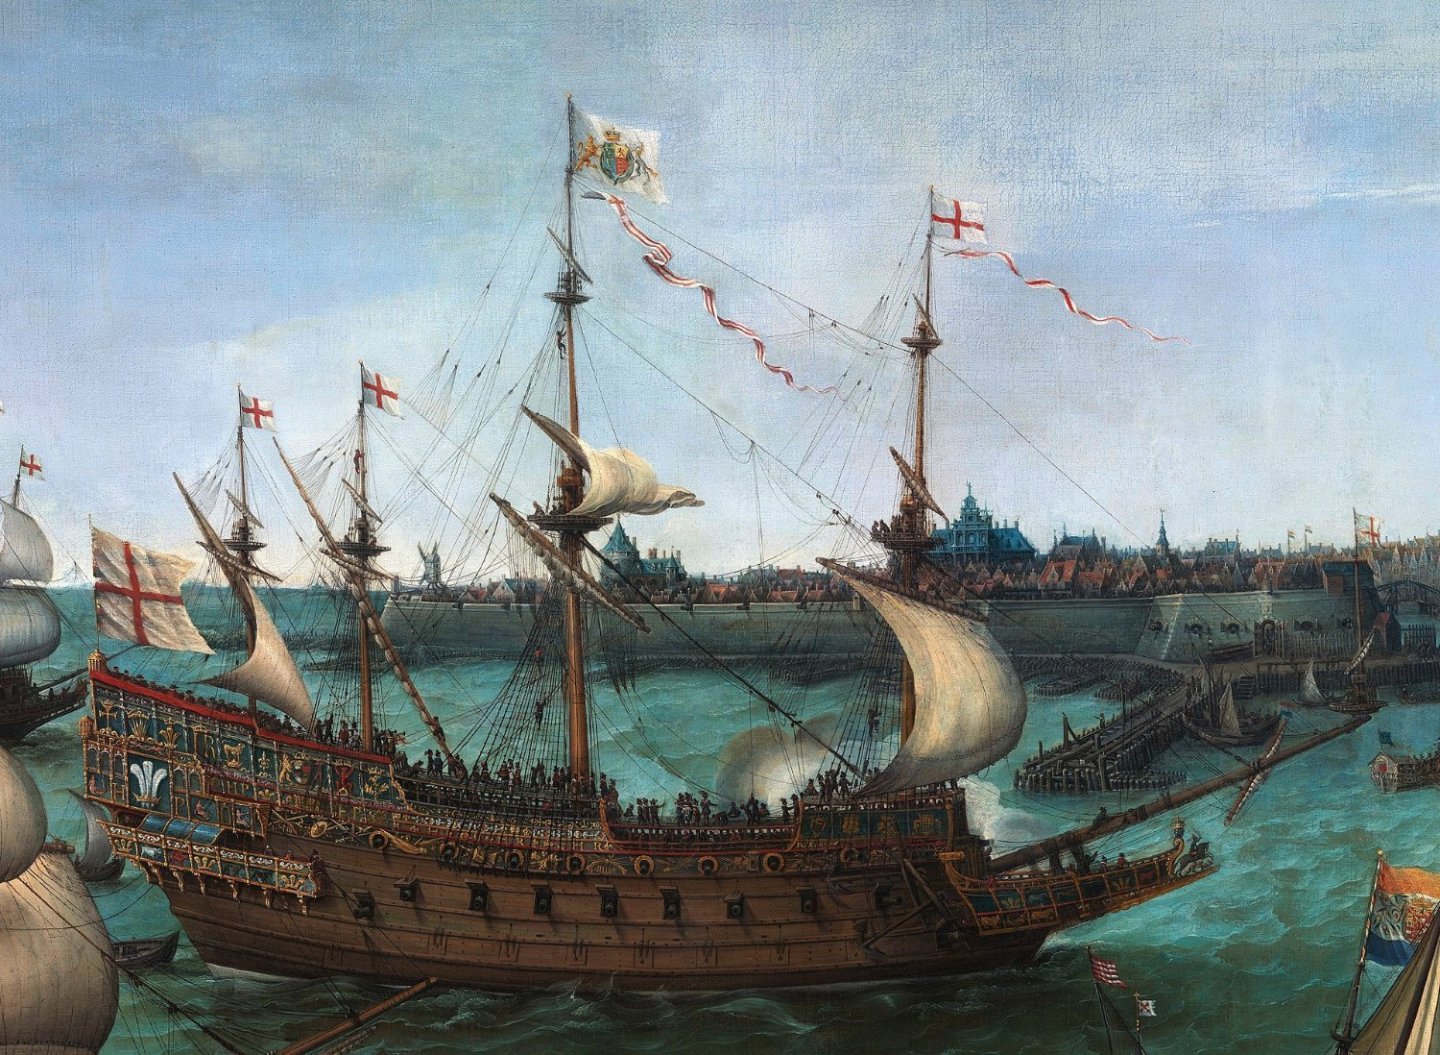
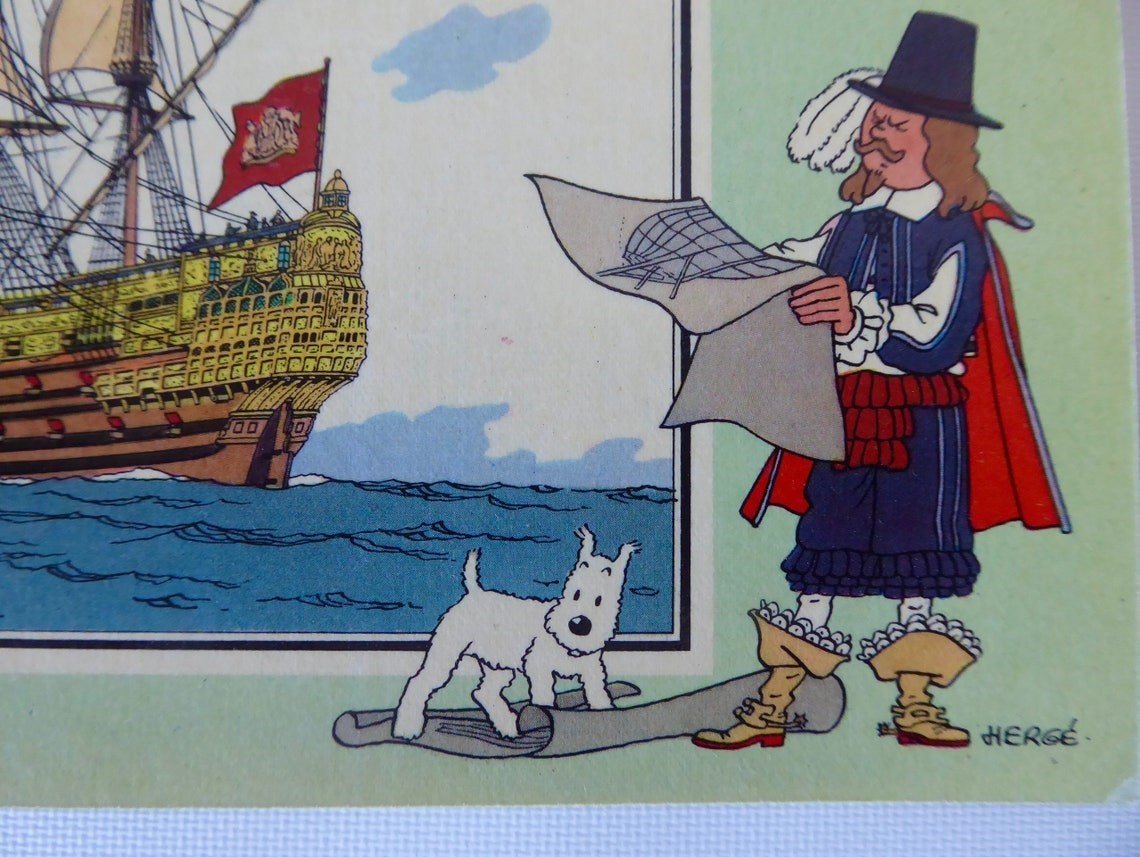
More things: I found some interesting reading and evidence of a ship rebuild in 1660 from square to round (Niklas Eriksson), and that the Prince was rebuild this way just before SotS was created. It is interesting with all these variants: Round stern like Naseby half circular Square stern dutch type (like Wasa) McKay arrow like stern (as Royal Louis 1668) Some have this almost elliptical stern or square with rounded edges and Sergals oval tube shaped stern with different versions of the lower part ... and this also influence on the lower gun ports and that they sometimes is way below the gun deck

-
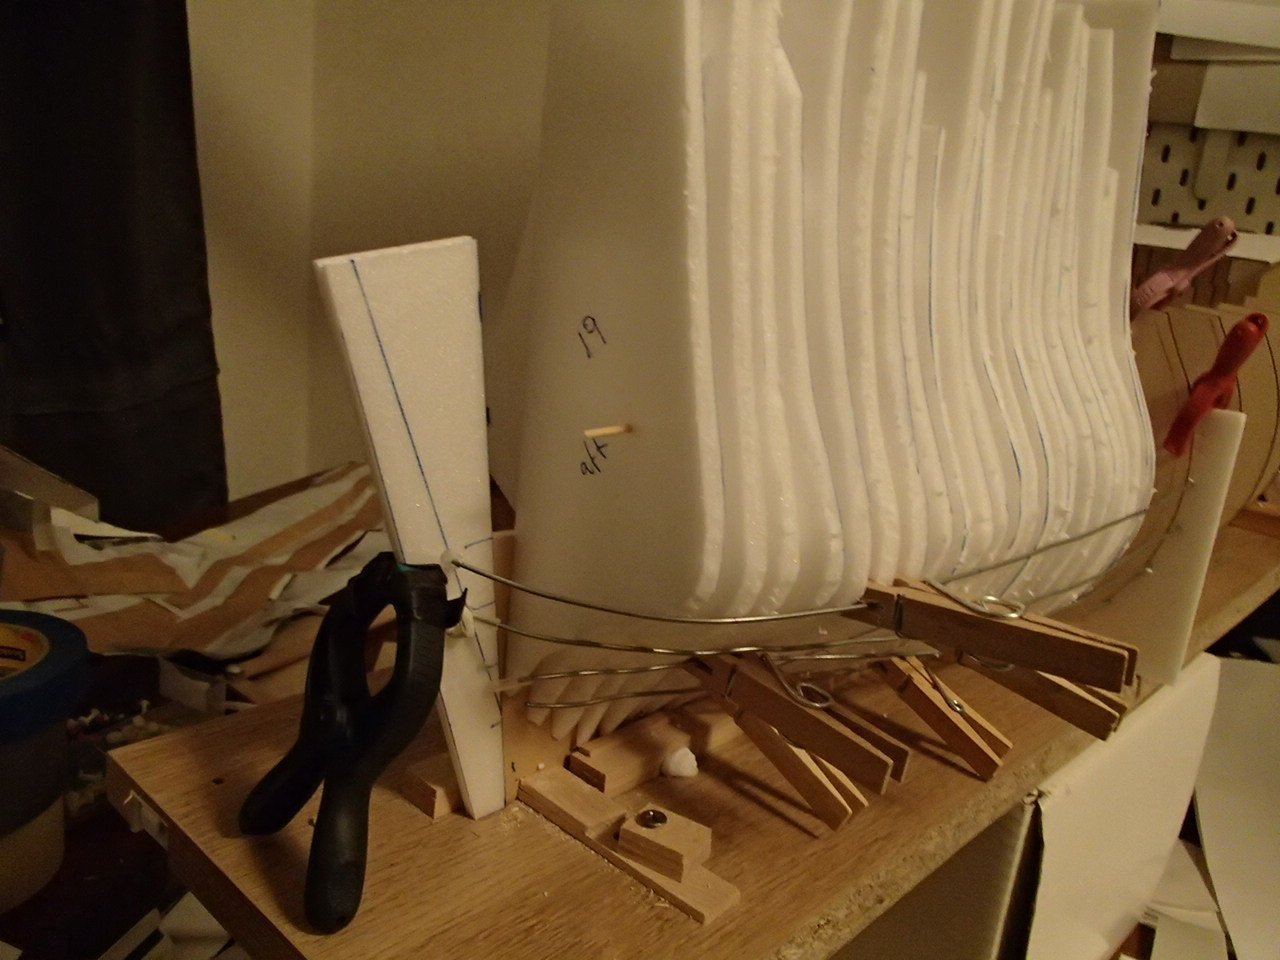
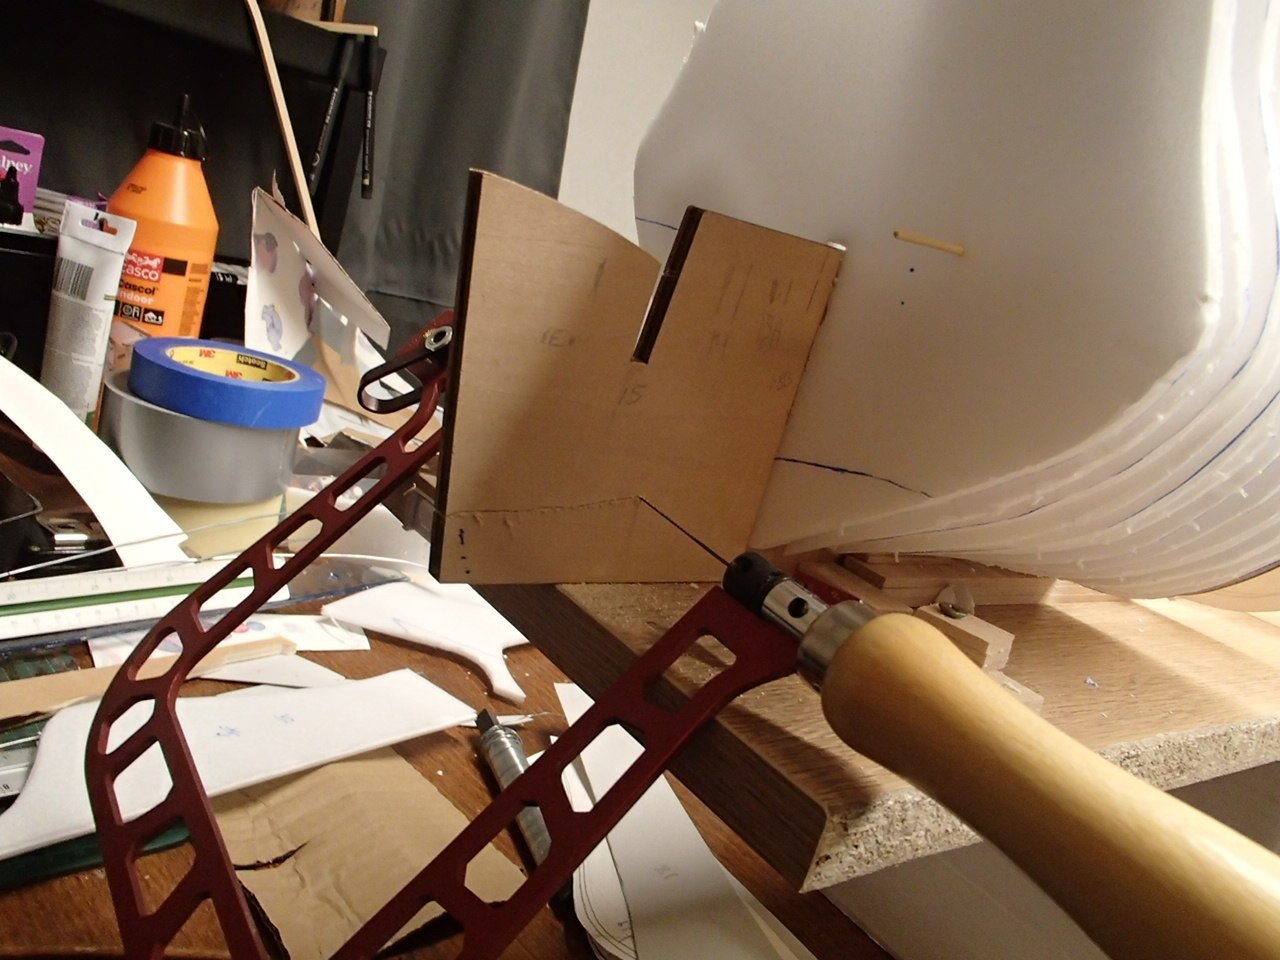
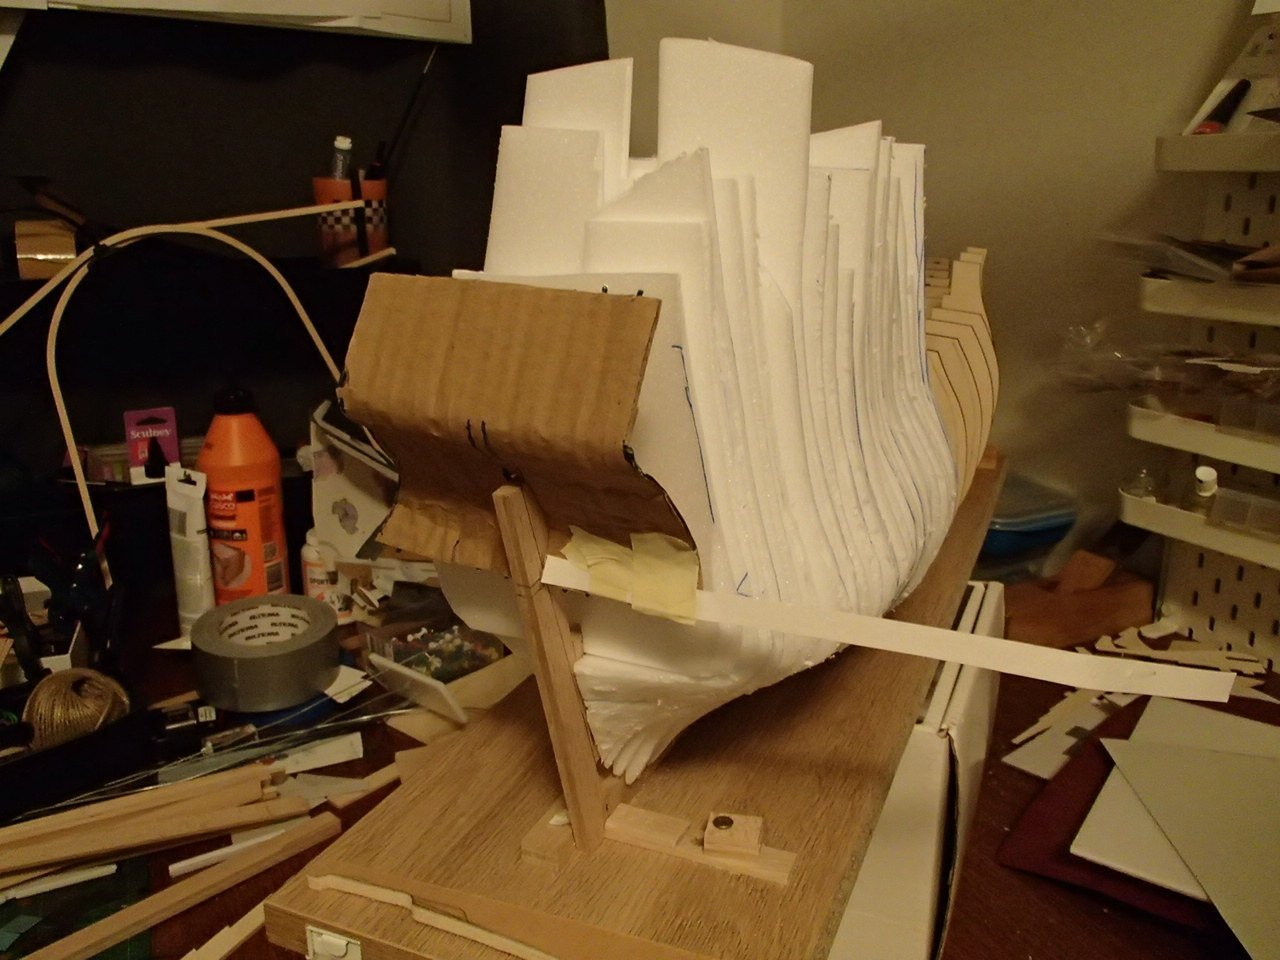
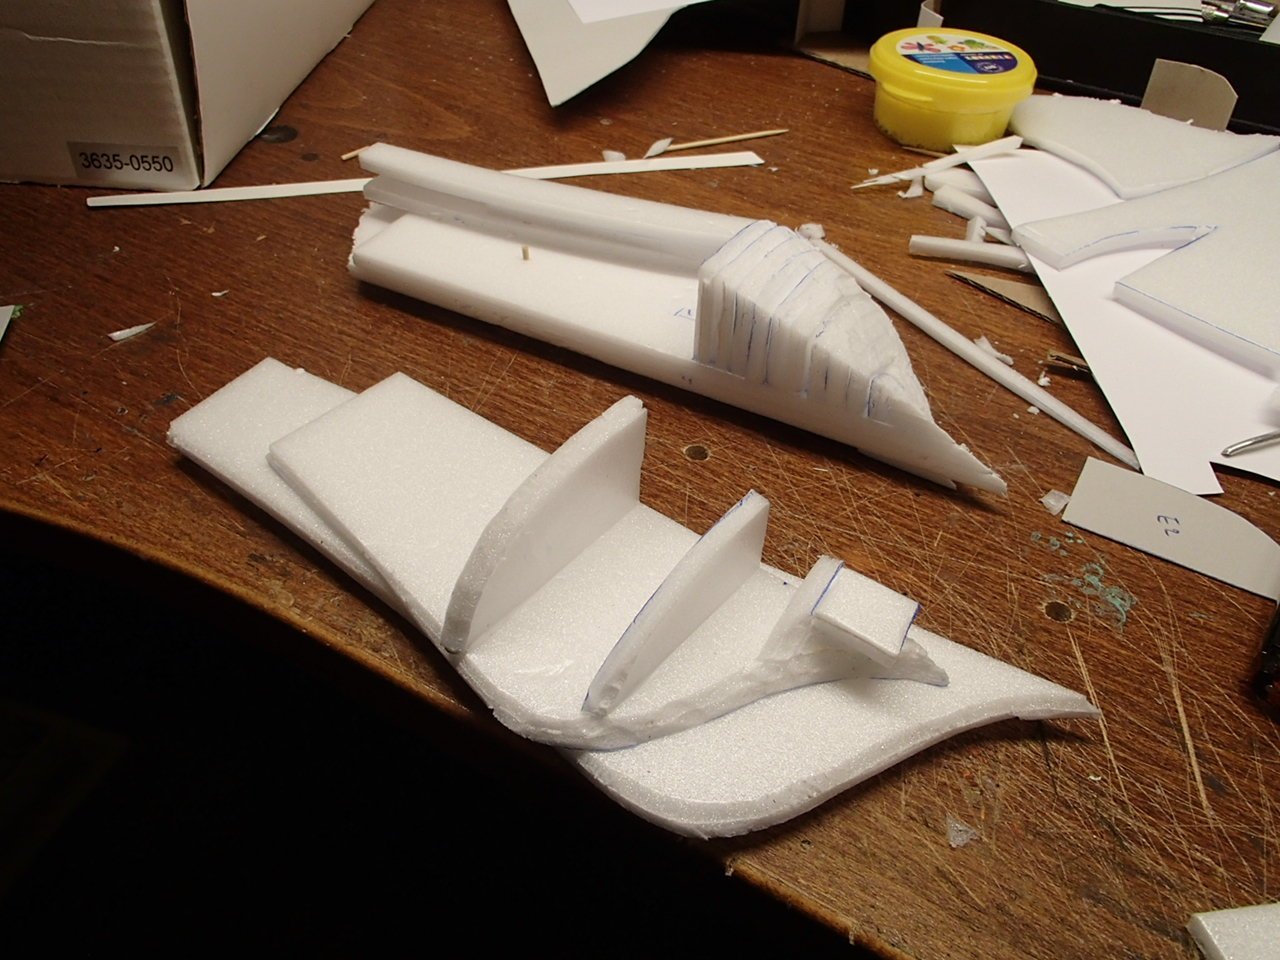
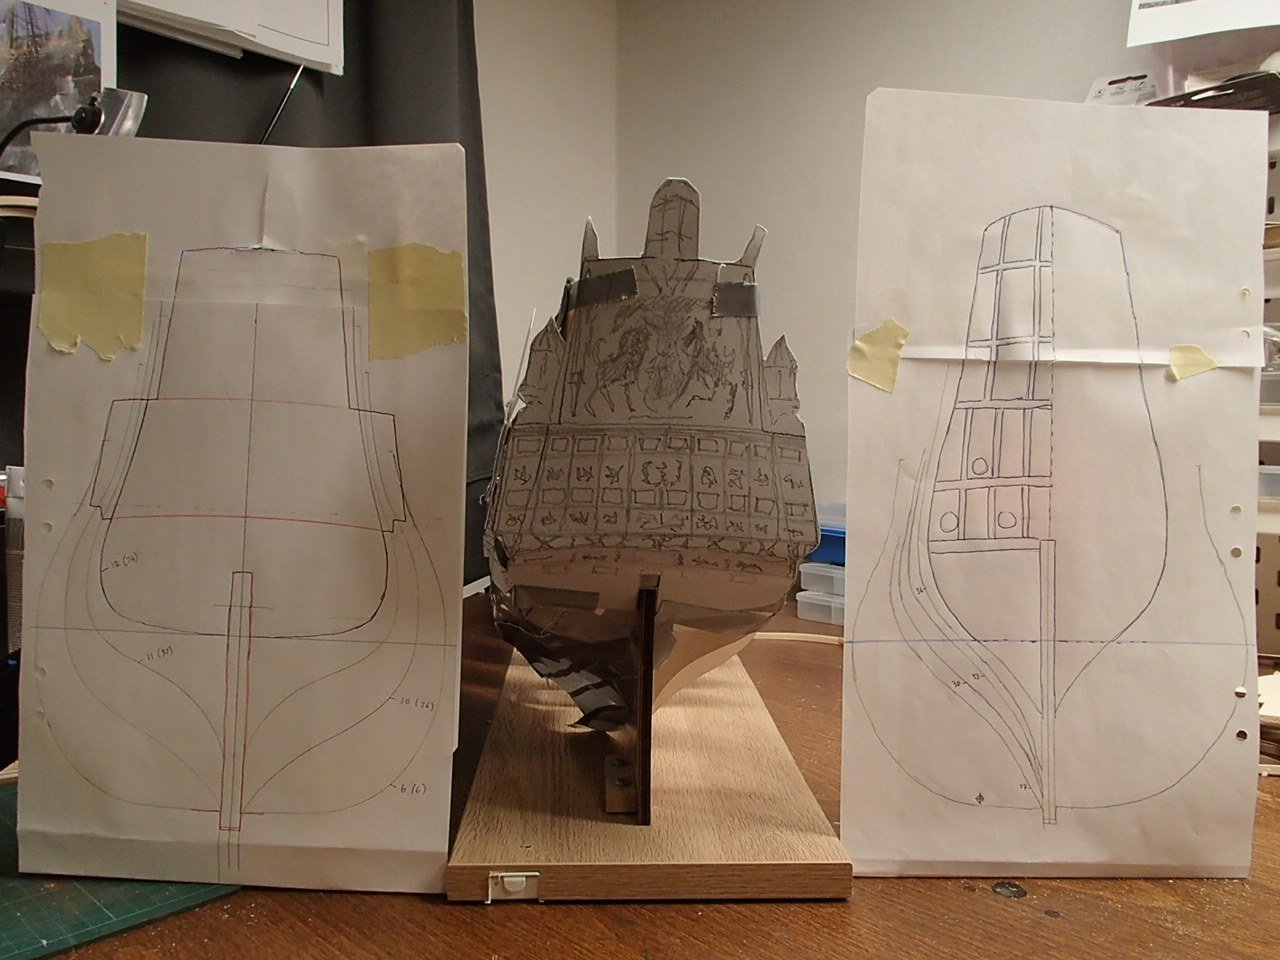
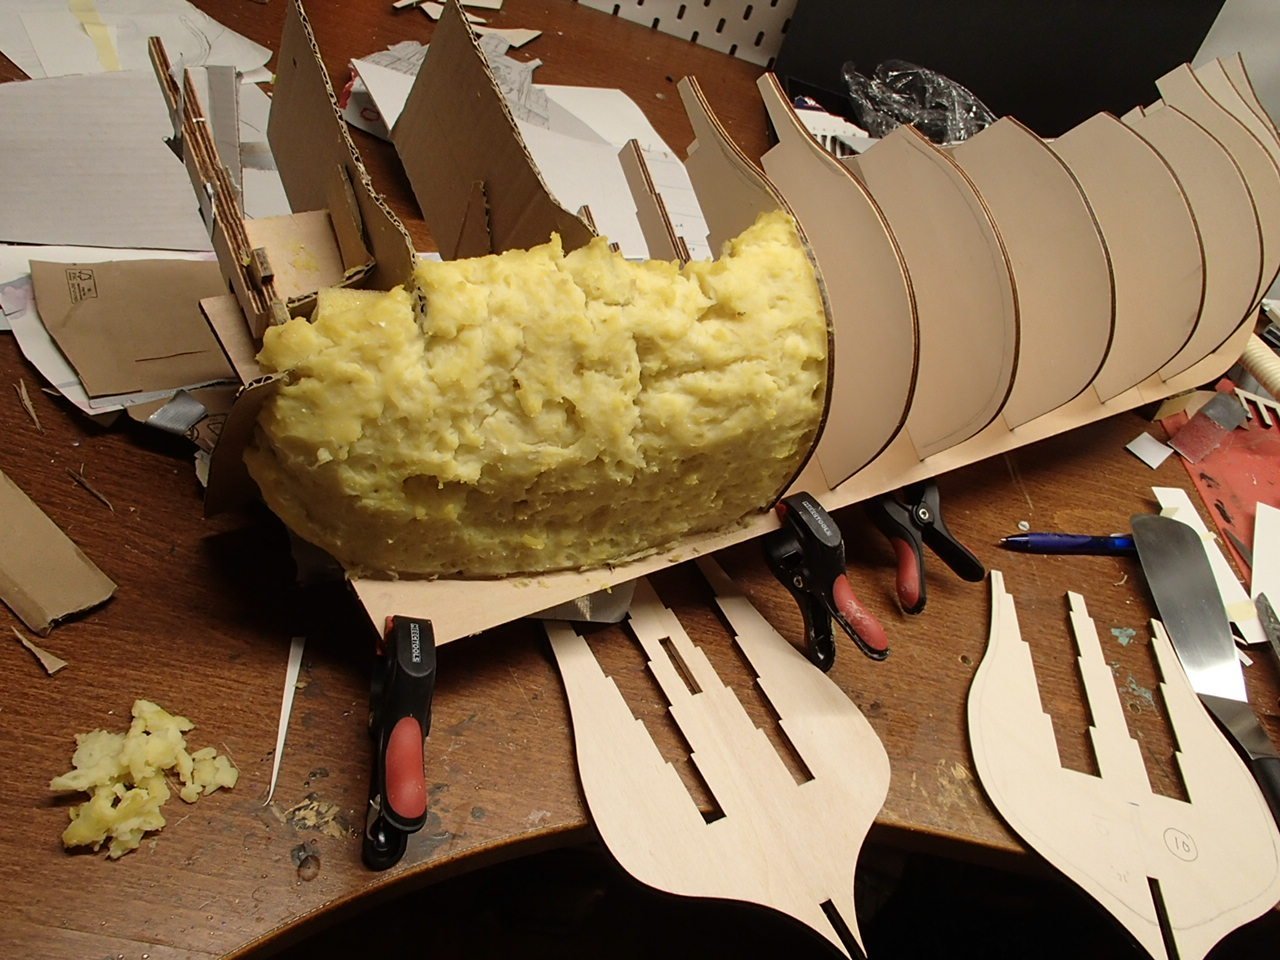
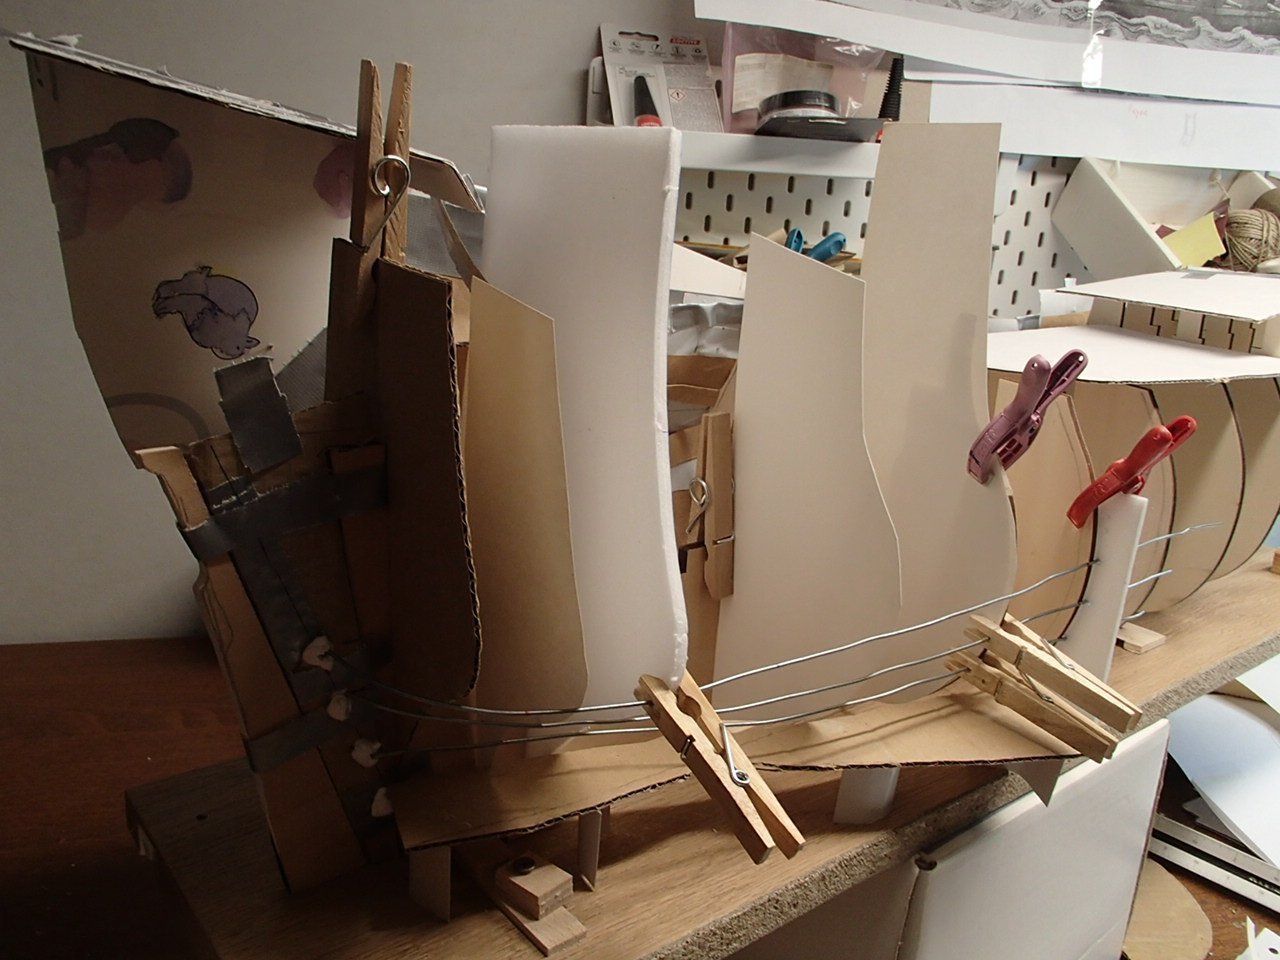
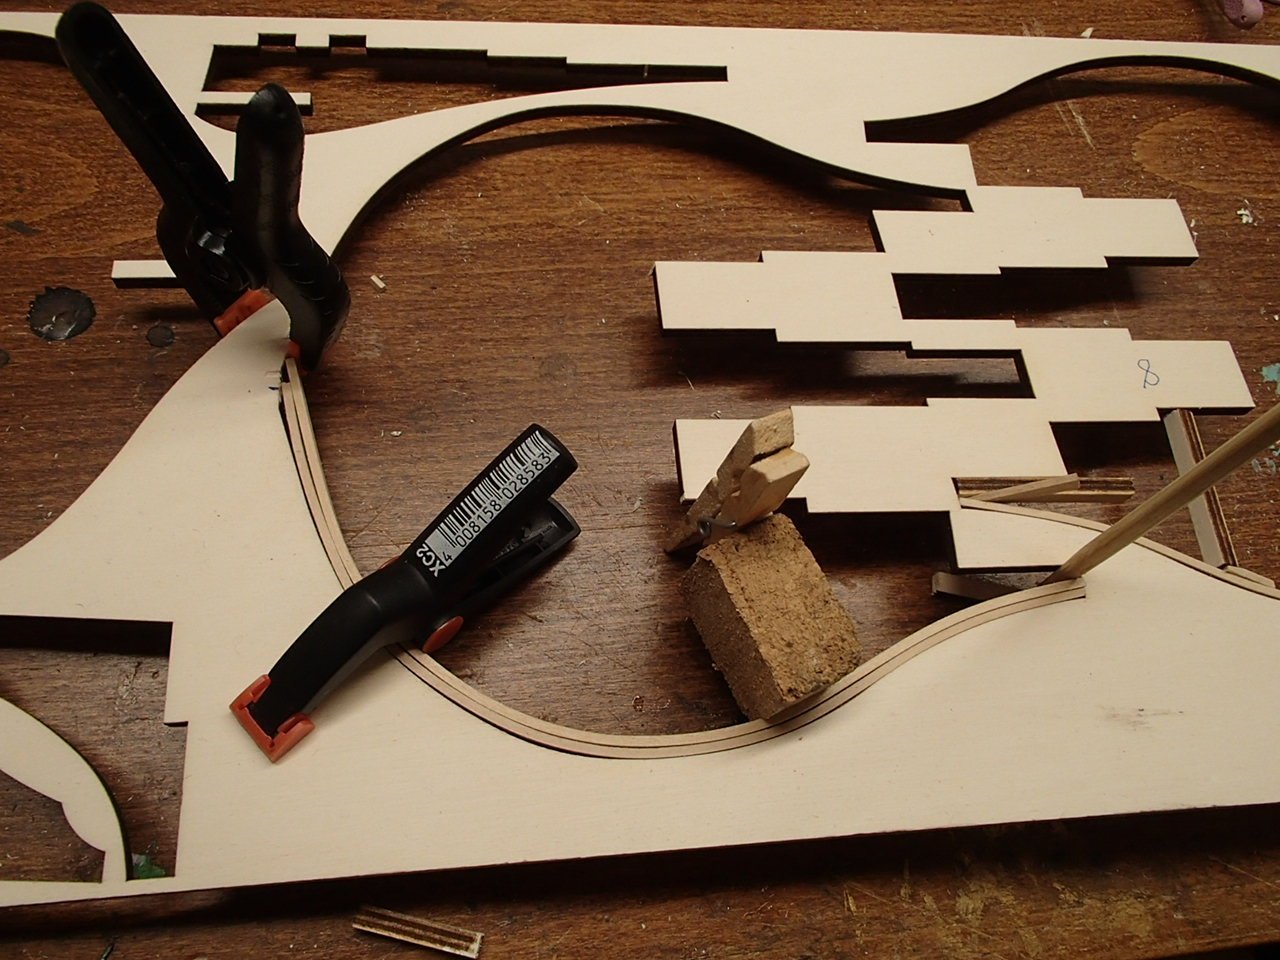
One step forward and two steps back. Now I have read the Septhon book and I must say it is stuck with information but as a builder I am still confused but on a higher level. I have come to the conclusion that the Sergel kit is not that bad after all - things considered. And I admire and thank McKay for all the illustrations - you can say that Septhon had very few of that kind - though nice photos and collections of drawings. Sometimes a picture says more than words. And searching internet I normally end up here on this forum - (the forum in some slavic language have lots of information but beyond my skills). I am working with altering the stern from extreme frame and aft. I try to use the Fincham drawings to re-shape the kit to a round-tuck one. I have even tried to use mashed potatoes to shape the stern but .. well I had to try. I did not work - surprise - so I now use plates of plastic foam and metal wires. Things I wondering about: The decks - why this steps in McKay? The deck lines were made flatter somewhere down the line (maybe 1660). But many models have this step in gun deck aft as the Prince in some picture. The Wasa had guns below gun deck aft and I have decided to skip this lower part i.e. guns with Square formed ports. I will try to have old-fashion curved decks - flush decks. The Sergal kit has only these lowest four and not the round shaped above - compare with all three deck ports in Culvers model.

-
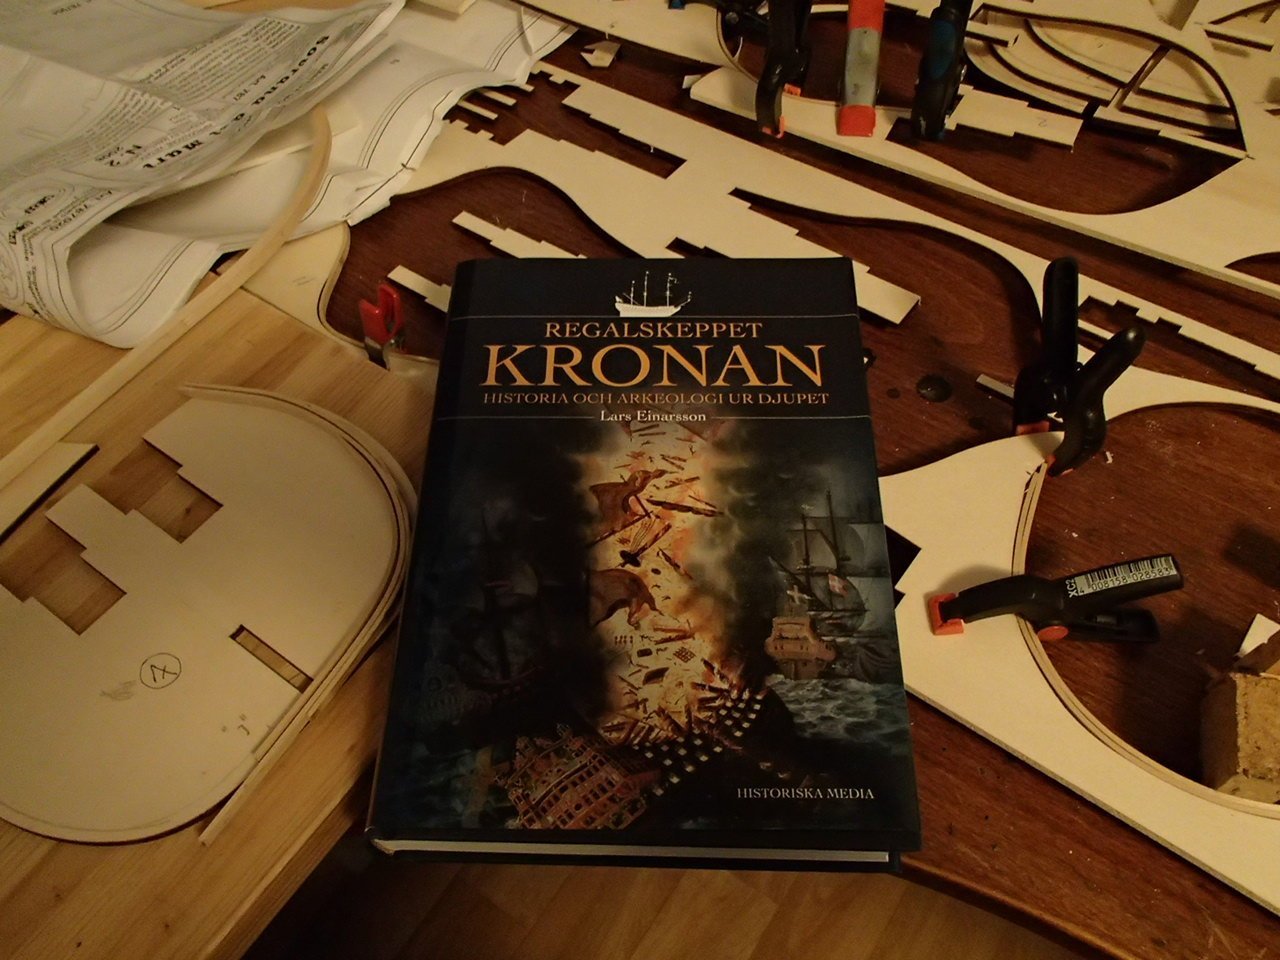
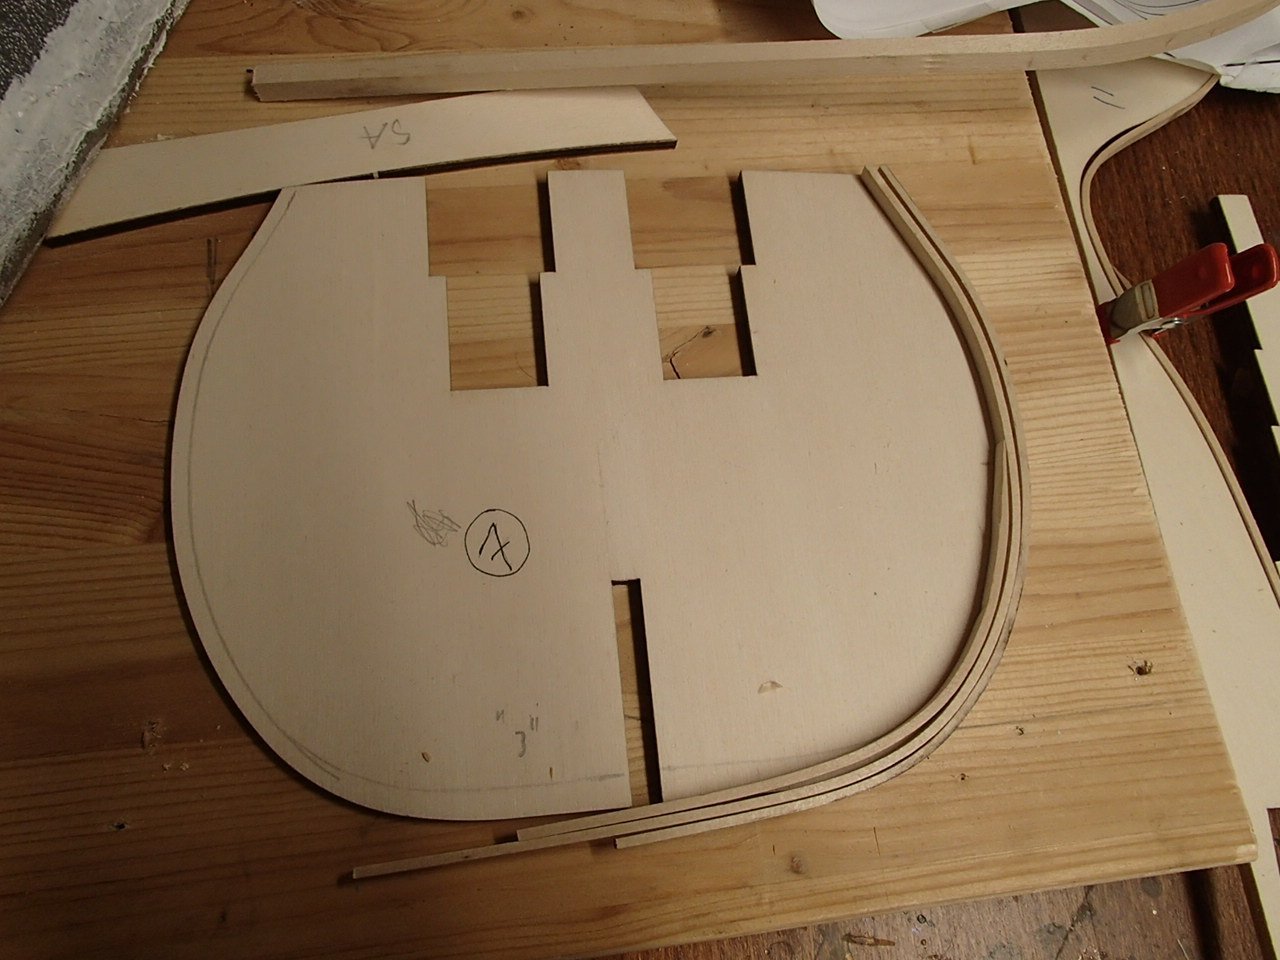
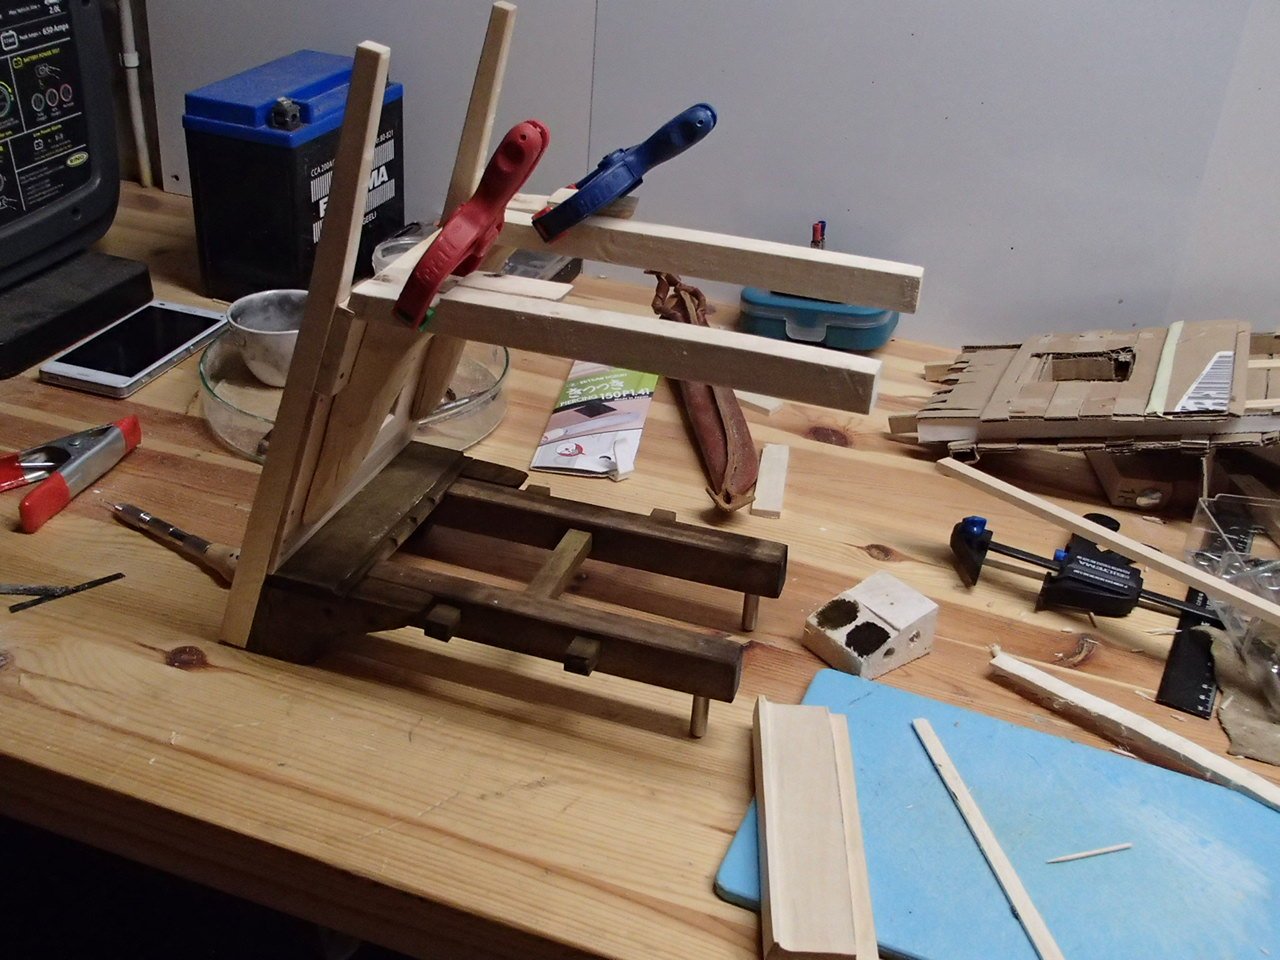
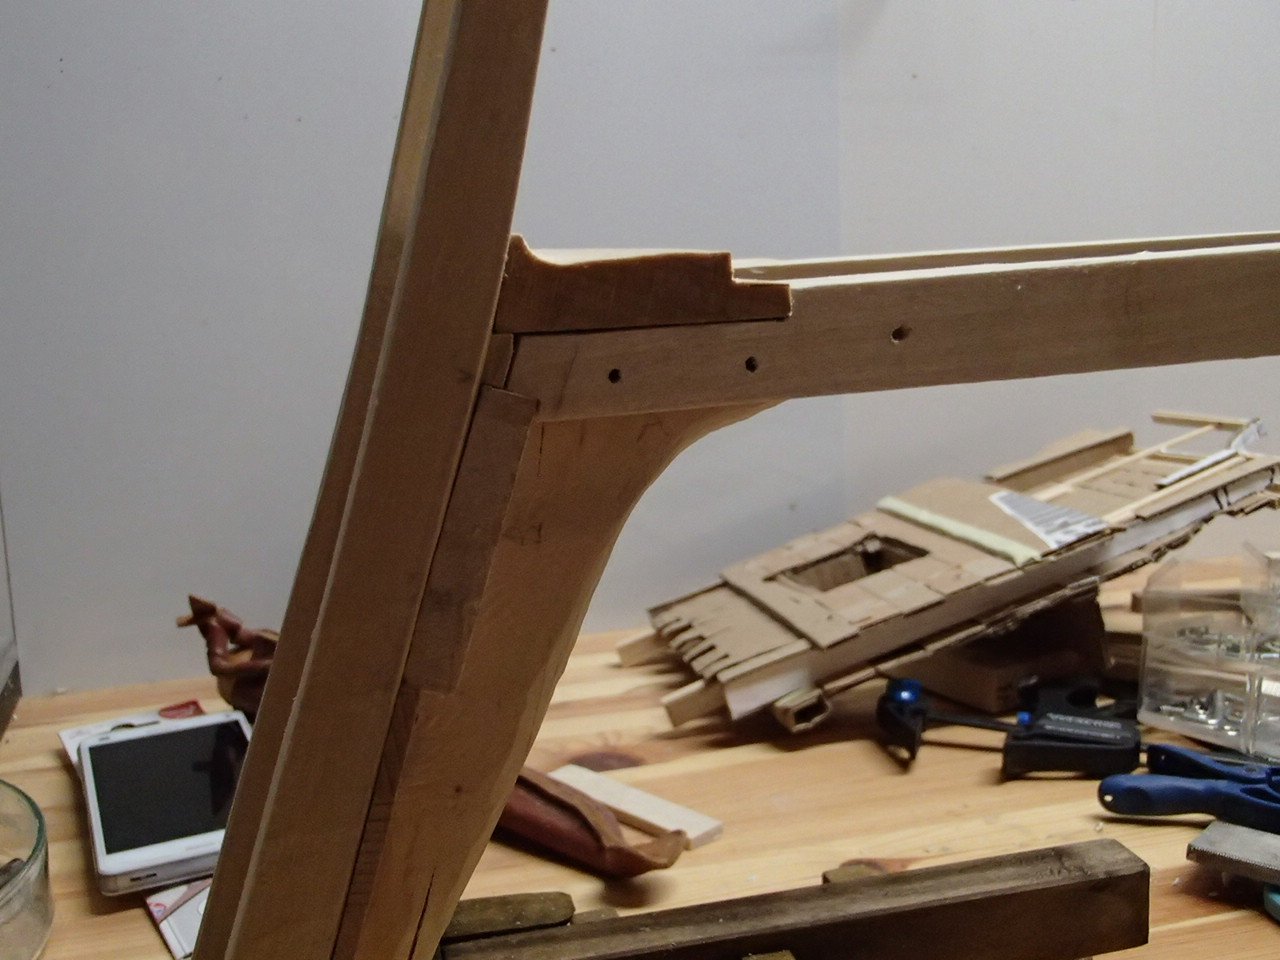
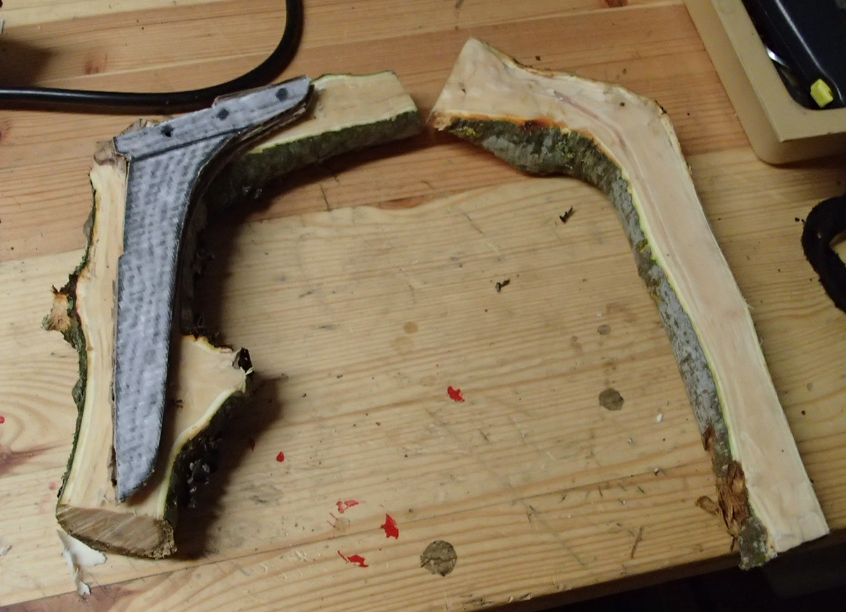
Added a picture of trying compass wood for stem. I used damp bending instead: Picture of Einarssons "Regalskeppet Kronan" book and a first frame part:
-
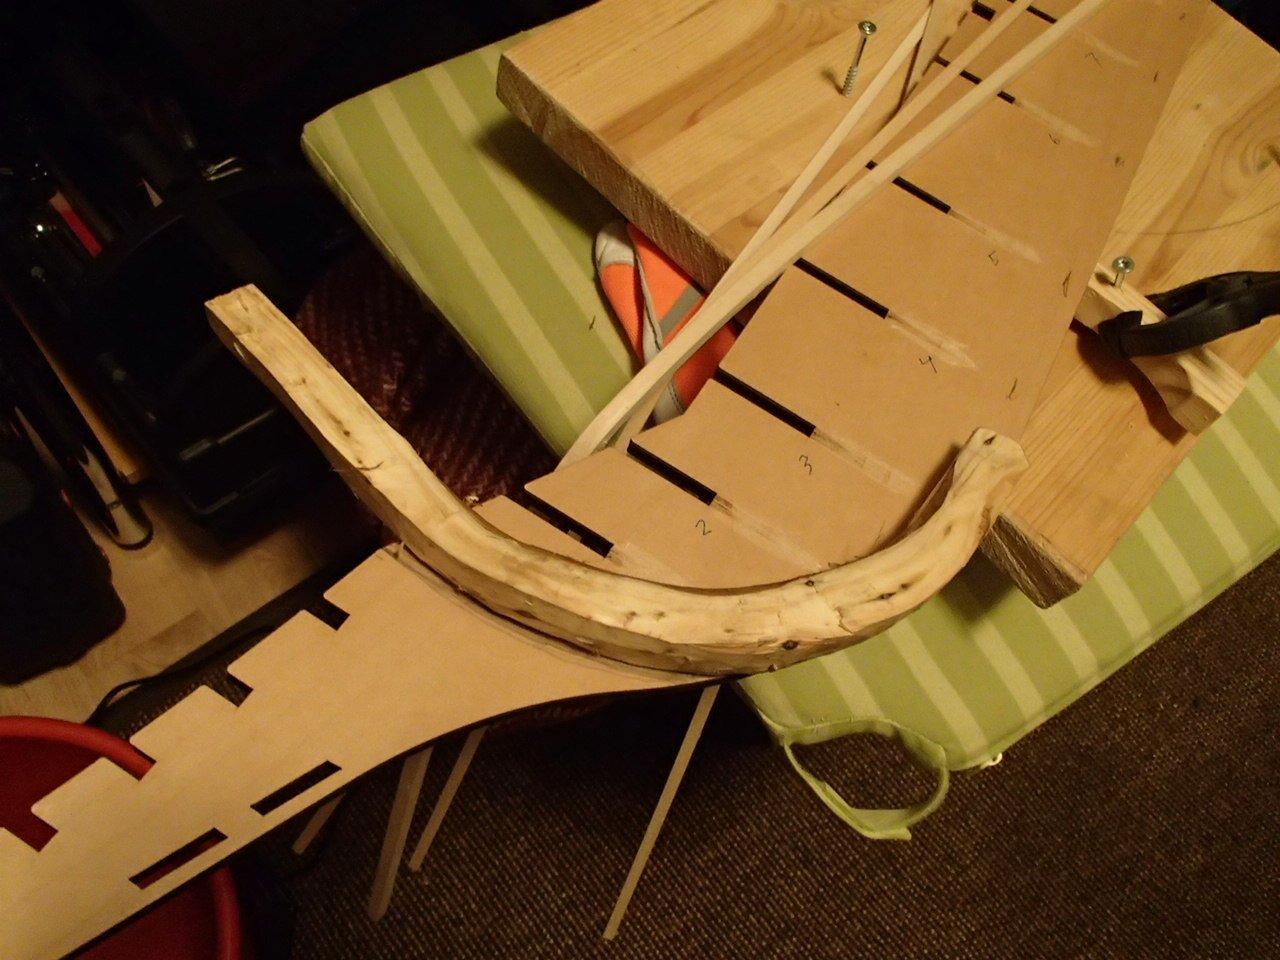
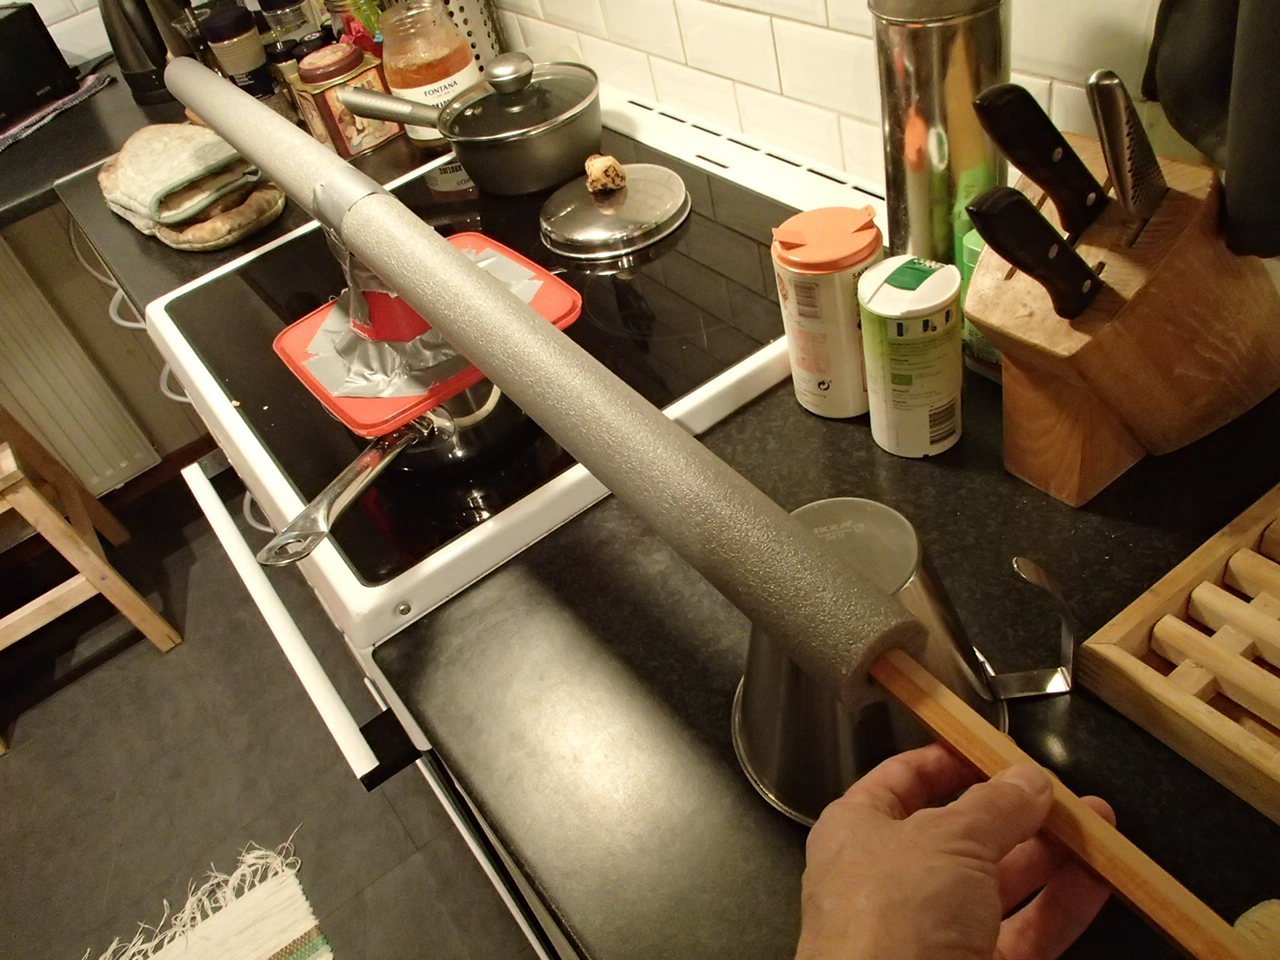
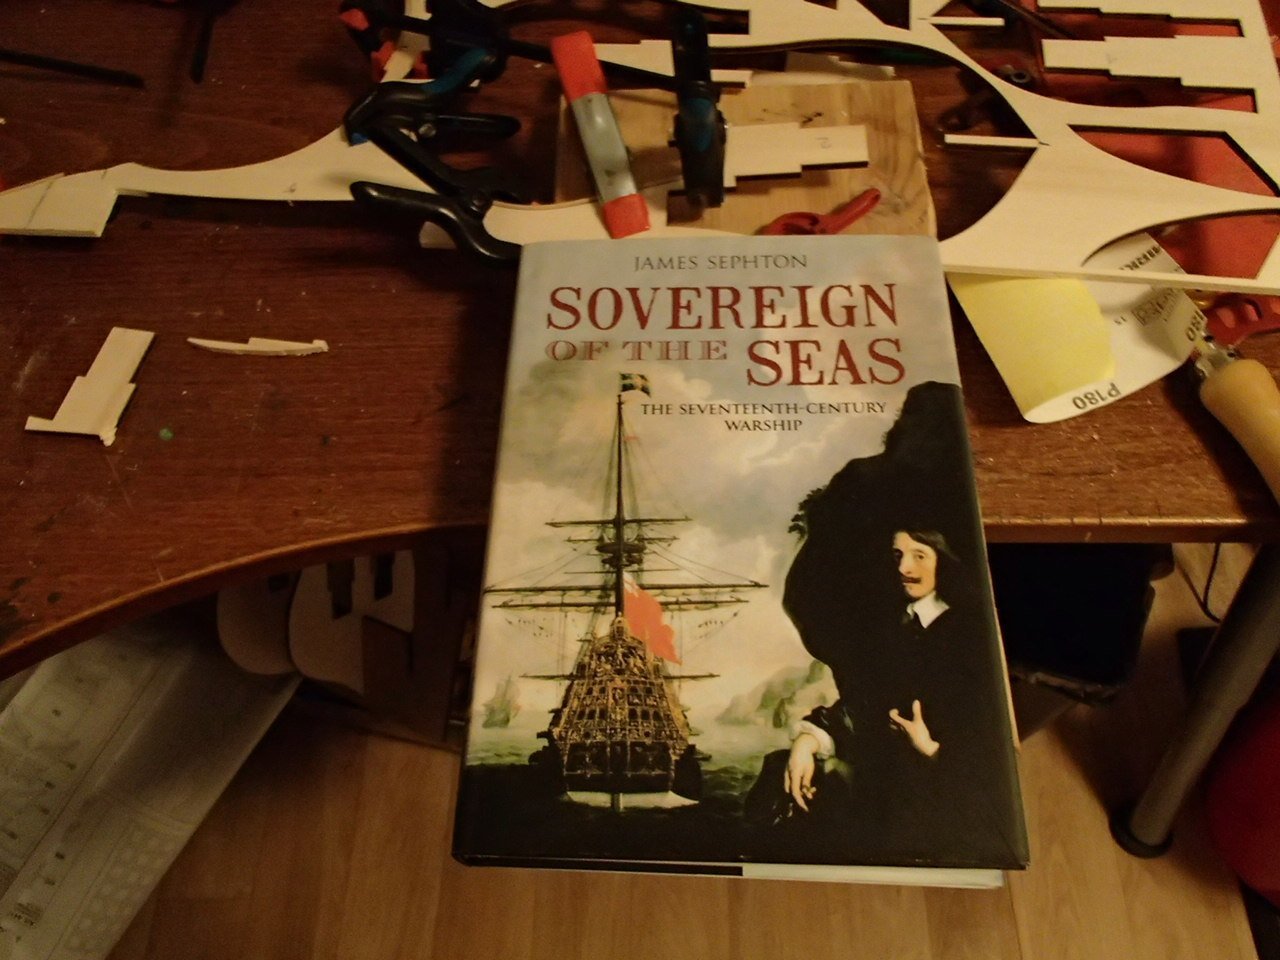
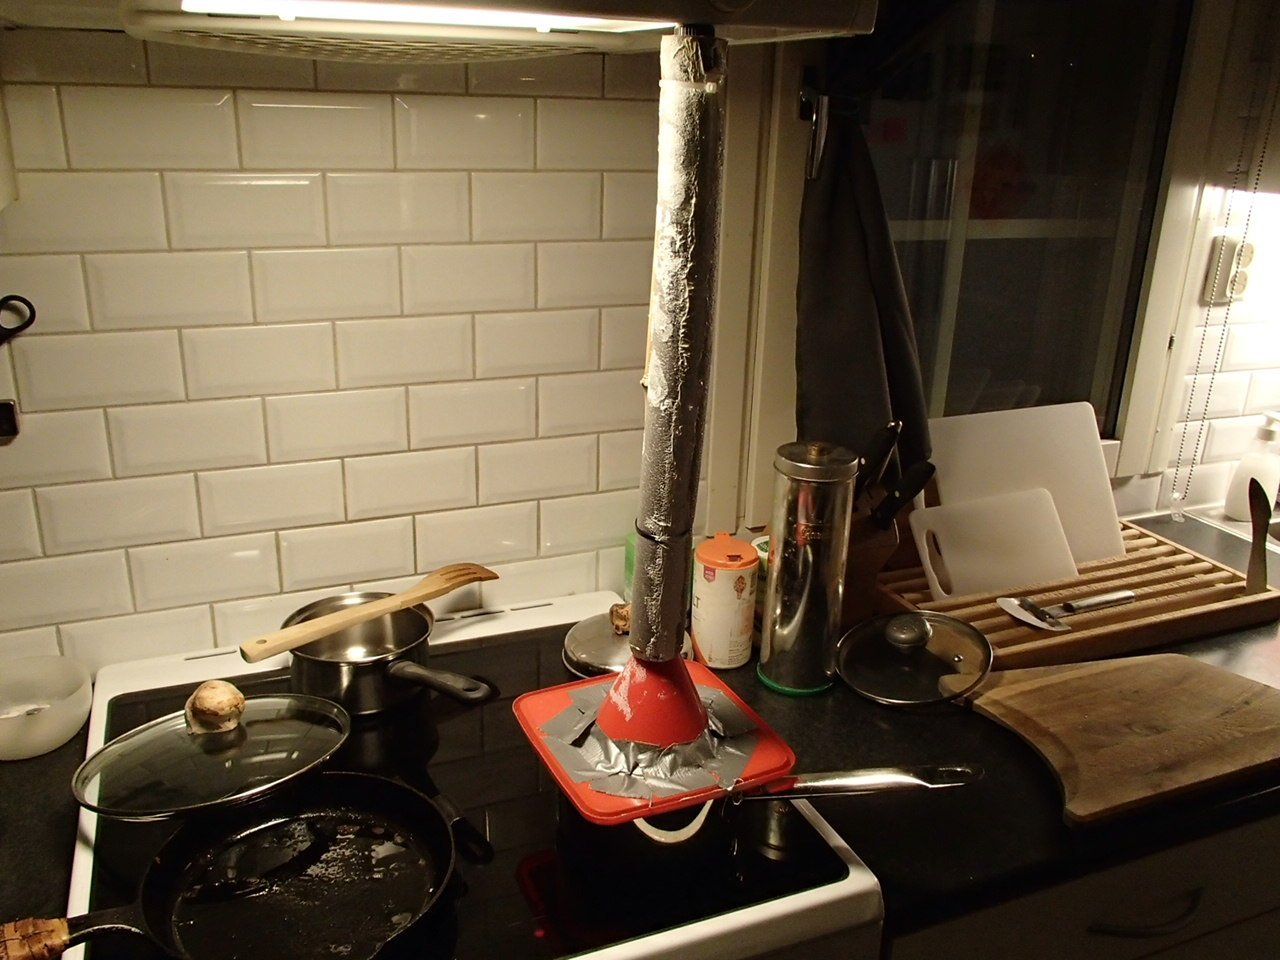
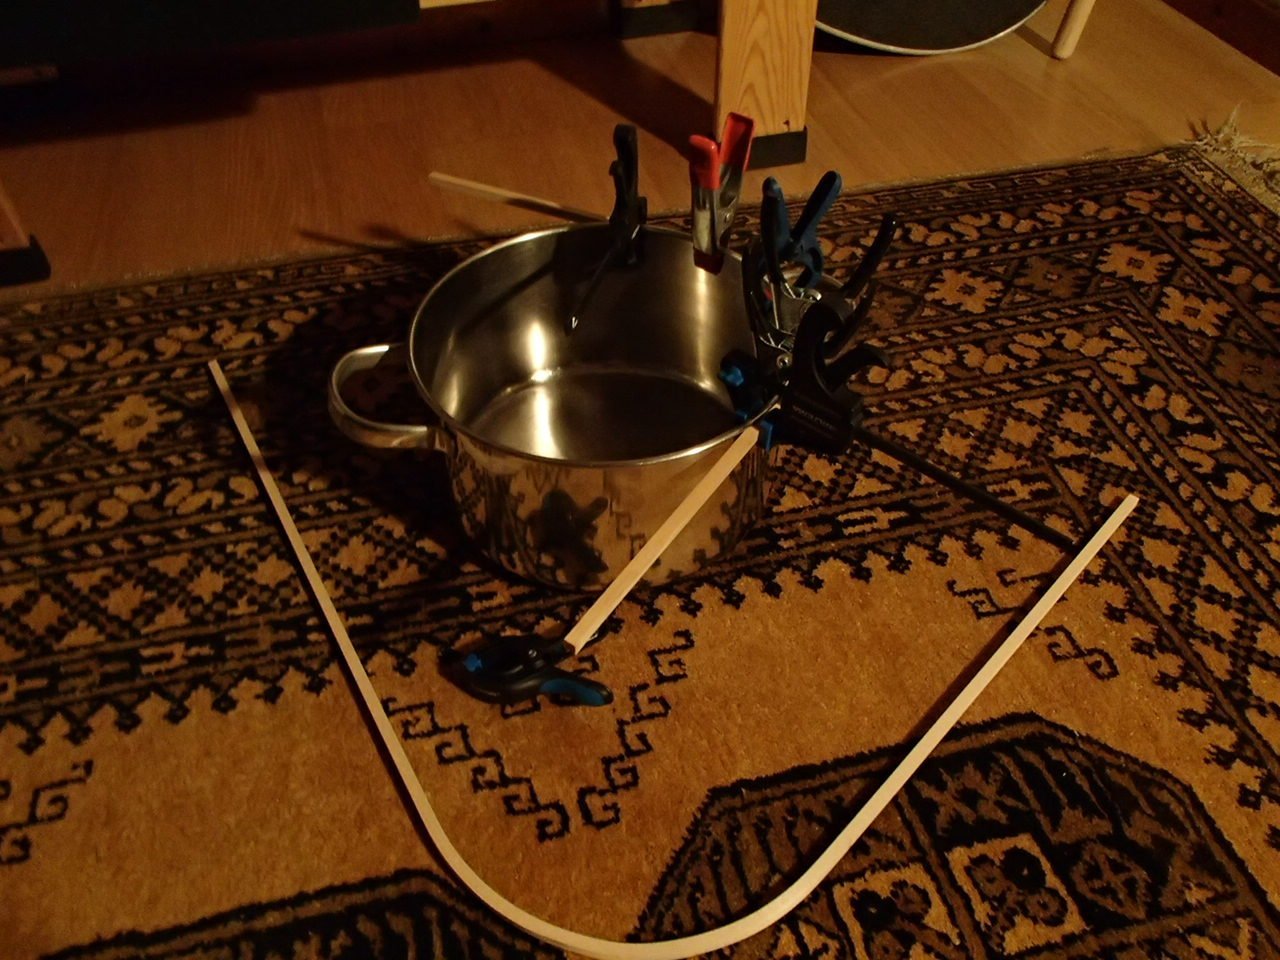
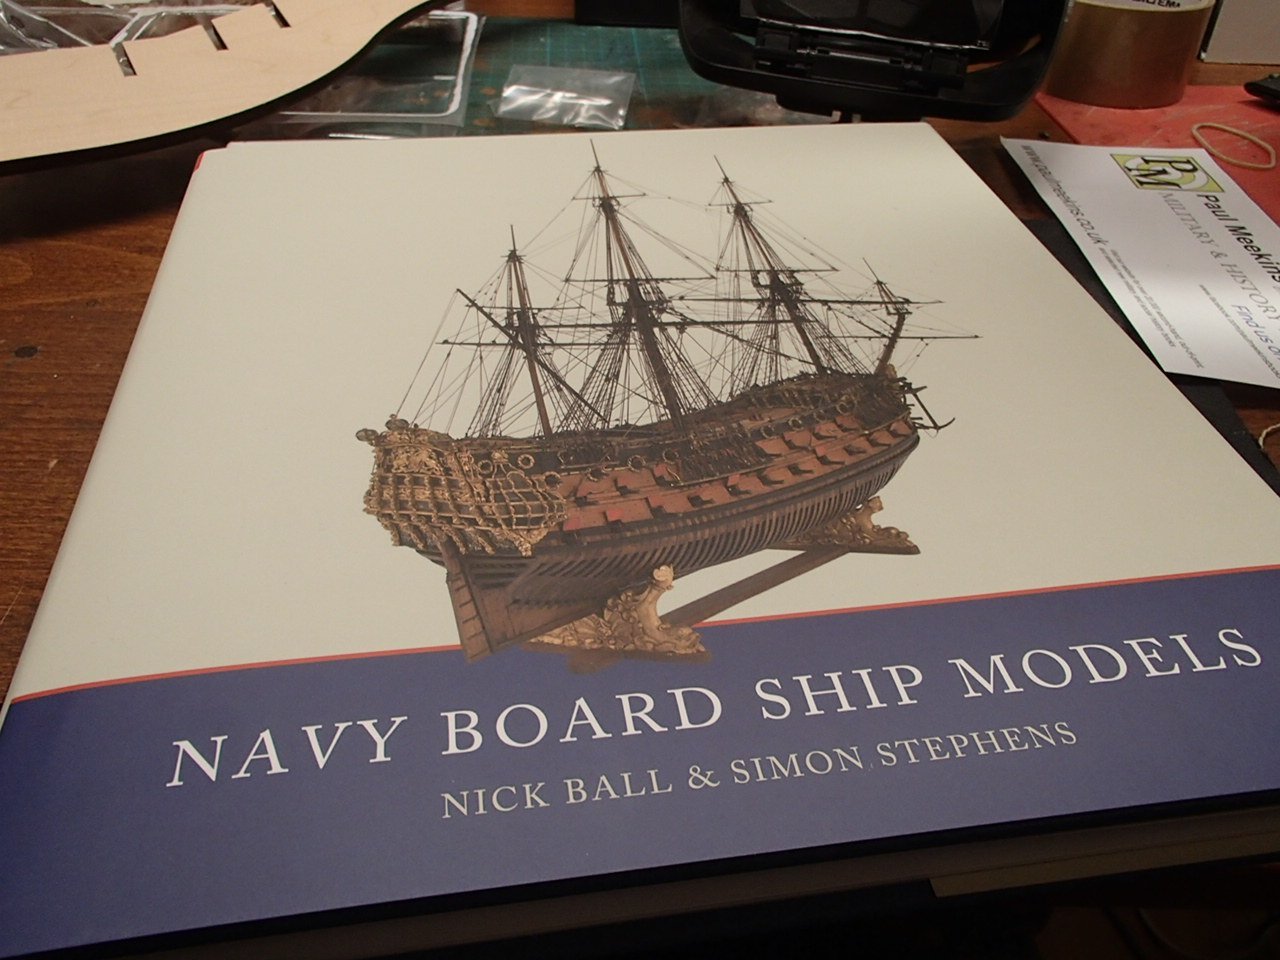
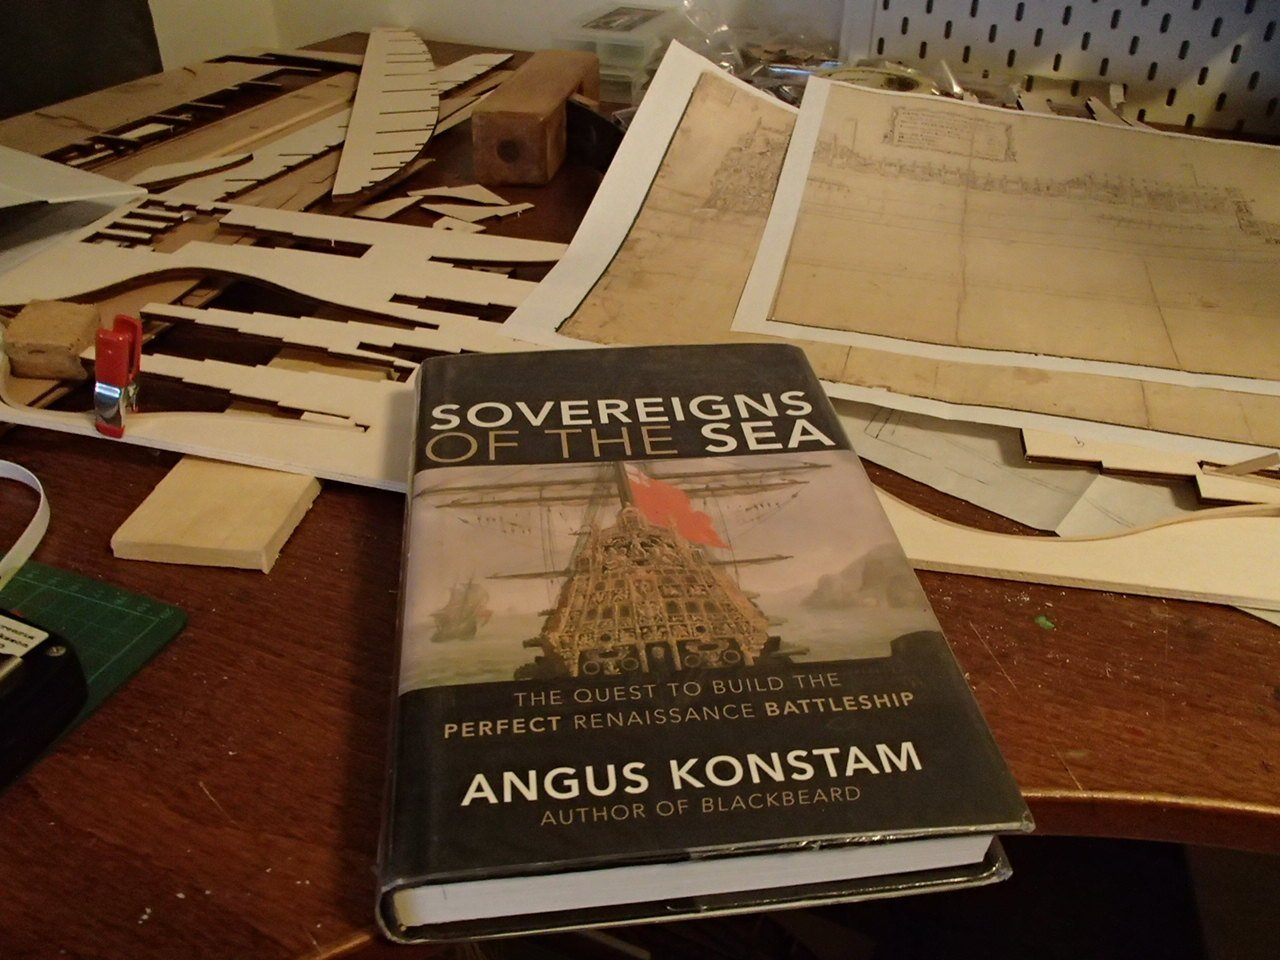
Hello! Yet another book, I was pretty mislead by the book by Konstams "Sovereigns of the Sea". I though like the book and it opened my eyes concerning war ships and 1600-1700th century Europe. I have now finally got Septhons "Sovereign of the Seas" - it looks nice! I have not come to any conclusion more than "bashing". I will read a little more and try to figure out how to proceed and still enjoy building some ship in the end. So member Ulises Victoria gave up.. I understand the feeling. I have put the green box somewhere I cannot see it and focus on bending wooden strips in the spare part of the kit. More about that later. I do get energy from reading about the 1700th century history that SotS and all this has opened up for me. I have found a interesting PhD thesis from Southampton University by Juan-Pablo Olaberria "Ship design-knowledge in early modern Europe: Royal yachts and the shared knowledge of ship-designers and common shipwrights." from 2018 that I found on-line. In the PhD text there is the description of building frame-first vs Shell-first. Shell-first was adding timber inside after the planking was "done" - frame-first was adding planking on frames as most (?) model boat kits, i guess. Has anyone build a shell-first model? The design was back then not scientific and the picture depicts a hull from the shape of a fish. I read the book about Kronan 1668 by Einarsson but I did not get any new technical info, (I did get a picture of a Penis from deceased crew member buried in the mud 1672 when the ship was blown up by Danes). Thanks Einarsson... I have to go to Kalmar and see at the museum - try to get more info on-site. Maybe not now, -12 C outside today. SotS: I am thinking of adding a mizzen as on Prince (Bonaventura). Raising the ship and moving the halfdeck Using the frame-holes to bend wood and build a "skeleton" type of framing. Use the kit frames to build the Kronan. The Kronan was more narrow but I do not get the scaling of Sergals model. 16m outside width? I have seen 14.6m. Keel length 43m? 127" is some 38m. Round tuck on both ships. the bow sprit in Sergal is longer than most other, and the stern is very steep: I have bend the stem and apron and started on the frames: I used some old plastic bin to lead steam in a isolated tube with wooden strips inside to get damp effect.


-
I have bought two new books: I have an idea of - in contrast to md1400cs - maybe build two boats from one kit. The idea is to build some sort of scratch build using the kit-frames to bend planks (SotS) and modify the kit discs to build the Swedish Kronan. I have seen many amazing version of SotS, and shipwright (Bill Short) carvings - wow! Doris: https://www.modelforum.cz/viewtopic.php?f=177&t=43575&hilit=1637&sid=2d00756880ad630cc97c5745201fb29f&start=930 Wolfgang Rotter: https://schifferlbauer.com/seite40.html .
-
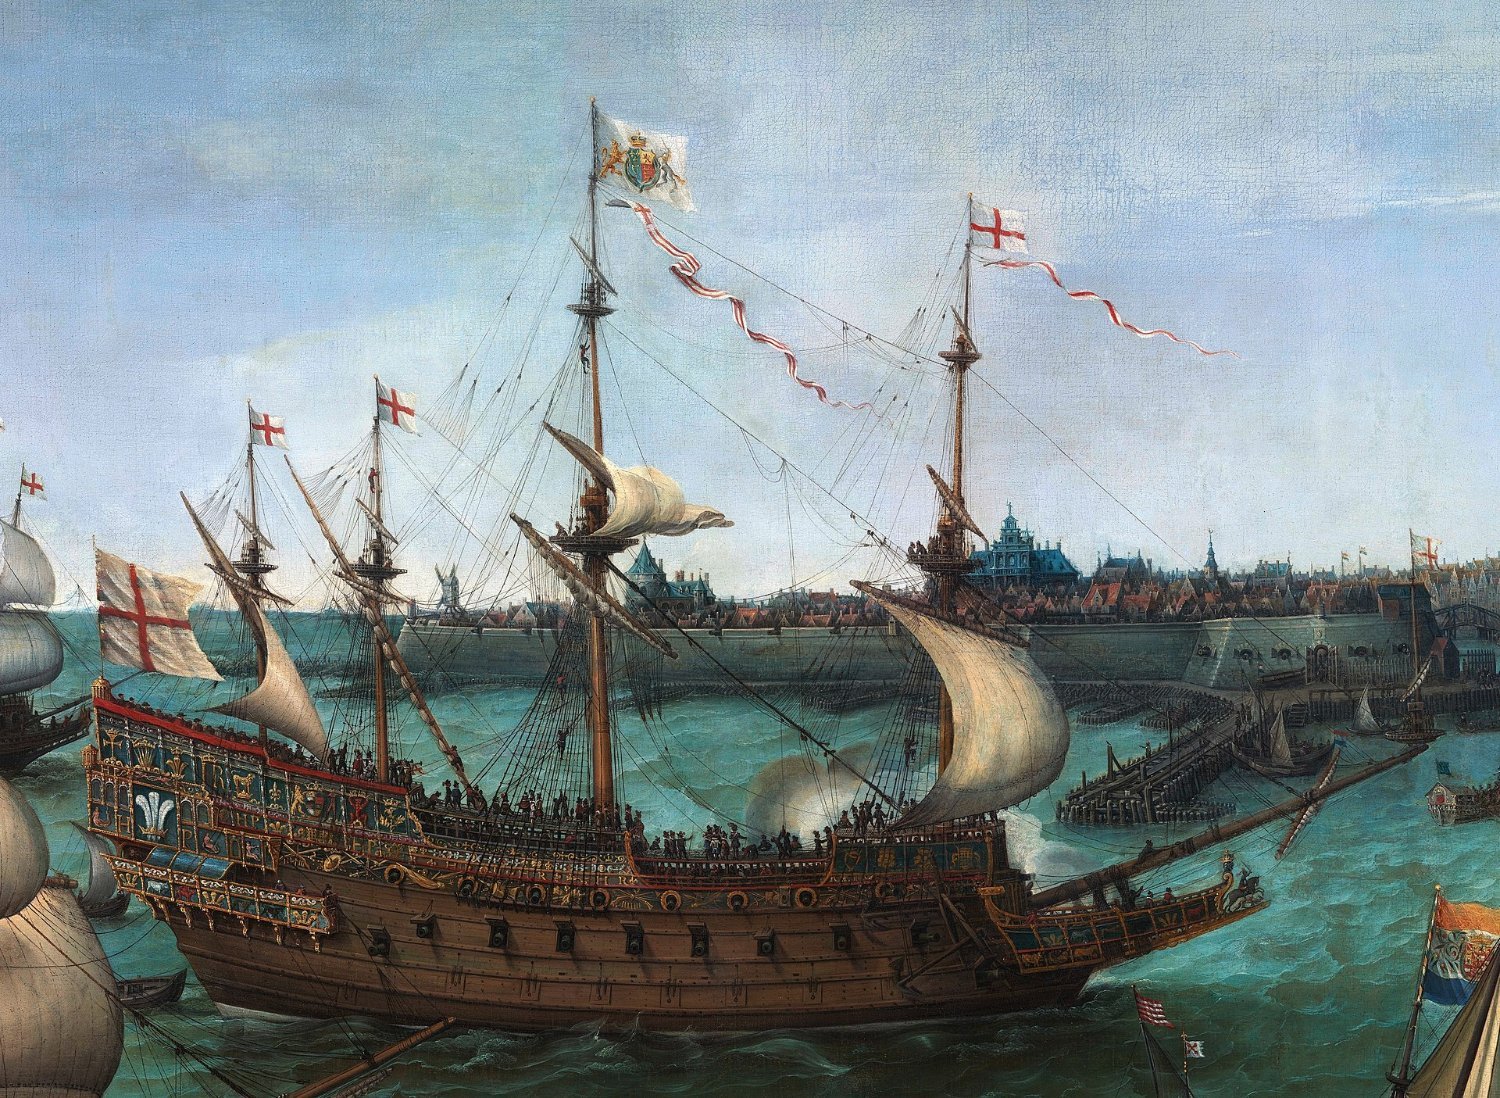
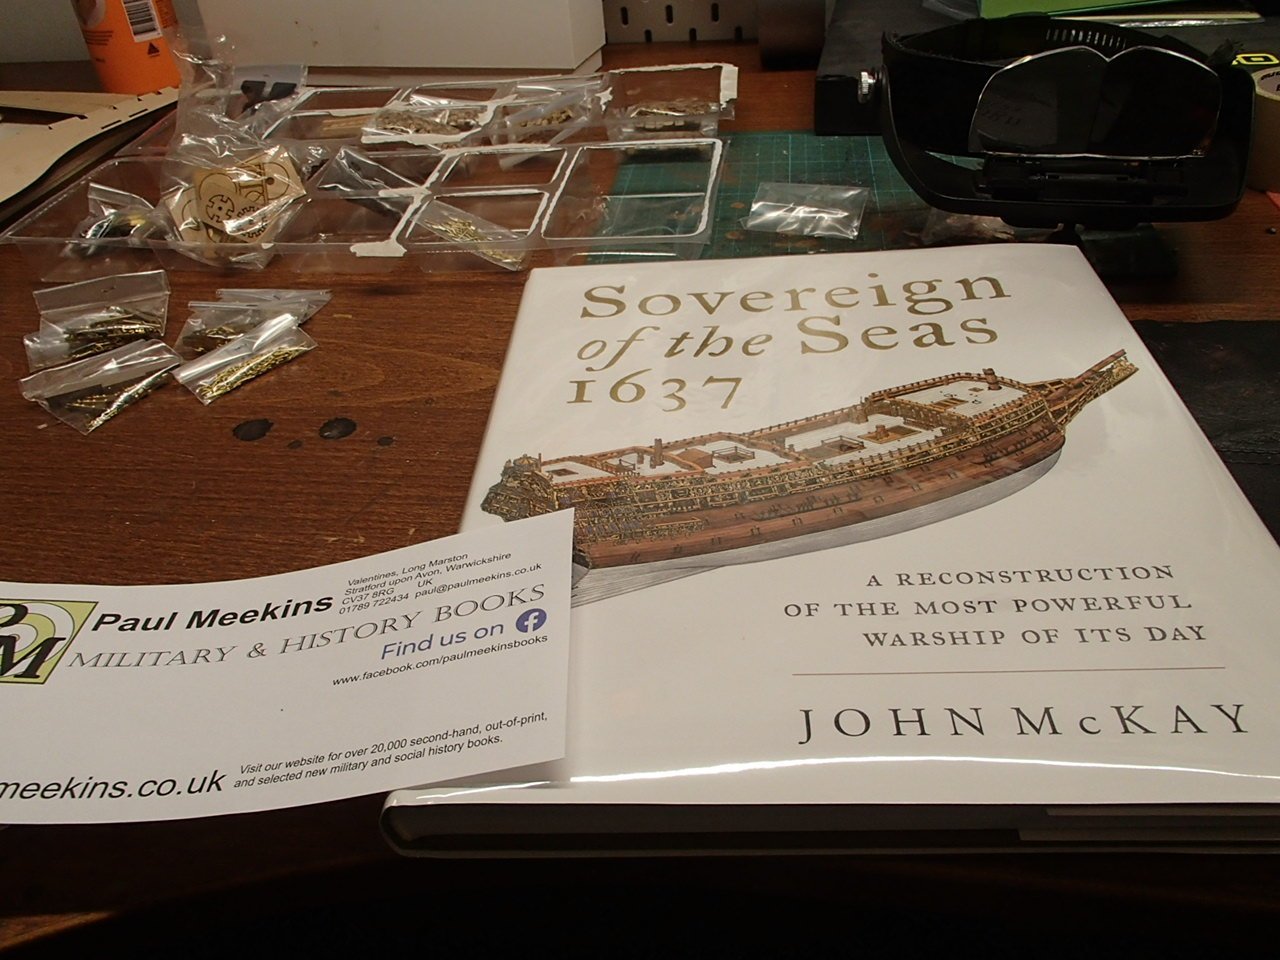
Thanks for comments, pep-talk and pieces of advice. I liked and much appreciate the McKay book, I like that is it "technical" though not "maybe 100% correct" - some books I read about Wasa was 2% ship tech and 98% about was how the timber was imported and what kind of silverware was used etc. I guess the Sots also could have ended as Wasa as she was built as a show-off piece. They have found/investigated the Wasa sister ship "Äpplet 1629" this autumn. Read that Pett associate Francis Sheldon was ordered to Sweden to build "Kronan" - a ship a lot like the Sots. Sheldon aslo built the Äpplet 1663. Read that there was 8 ships called Vasa. 9 ships called Royal Sovereign. But only one Sovereign of the sea, and still...
-
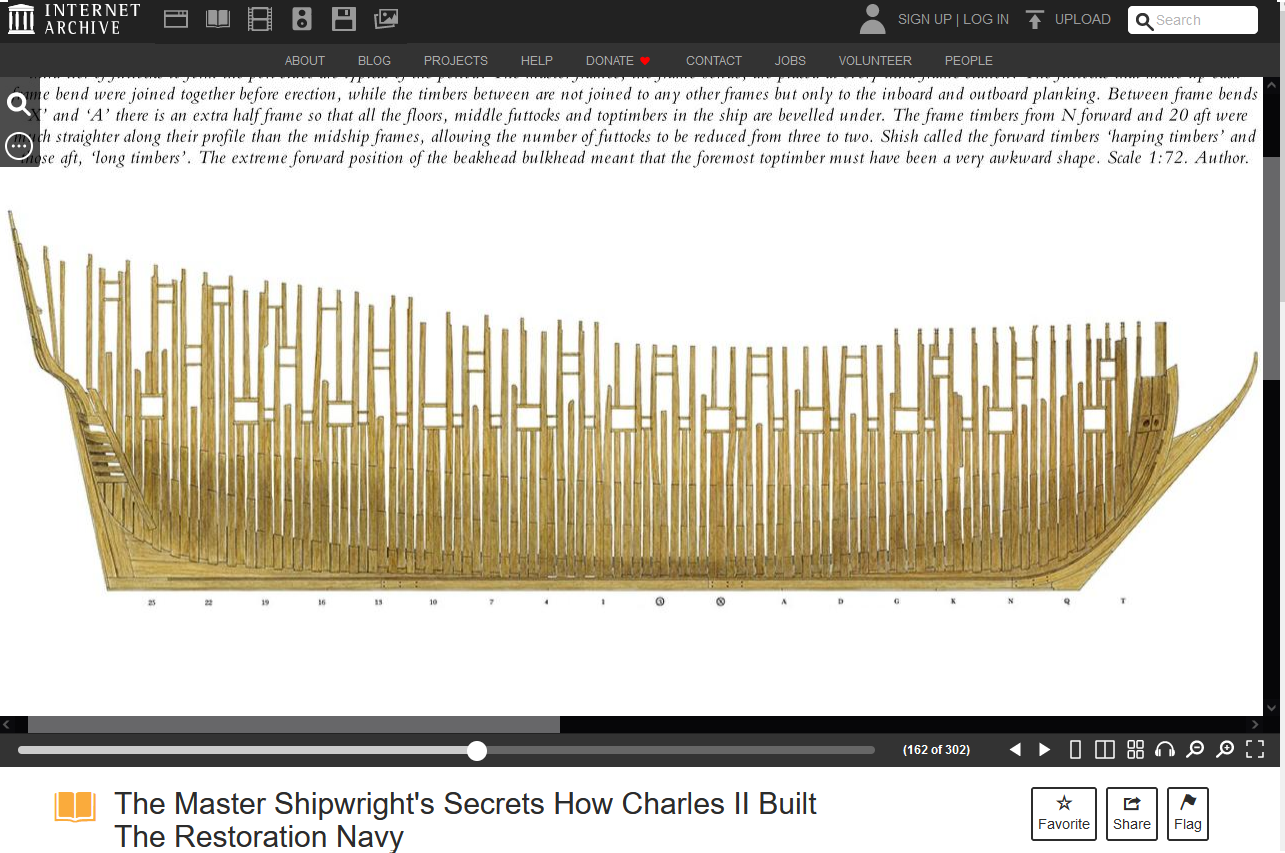
Just found it on this site: https://archive.org/details/richard-endsor-the-master-shipwrights-secrets-how-charles-ii-built-the-restorati/page/n1/mode/2up I think I will buy it - like the feeling of paper
-
I have had this kit for two years - time to start. Got the John McKay book from UK this week. To bad - the casting quality... Reading the log from Michael
-
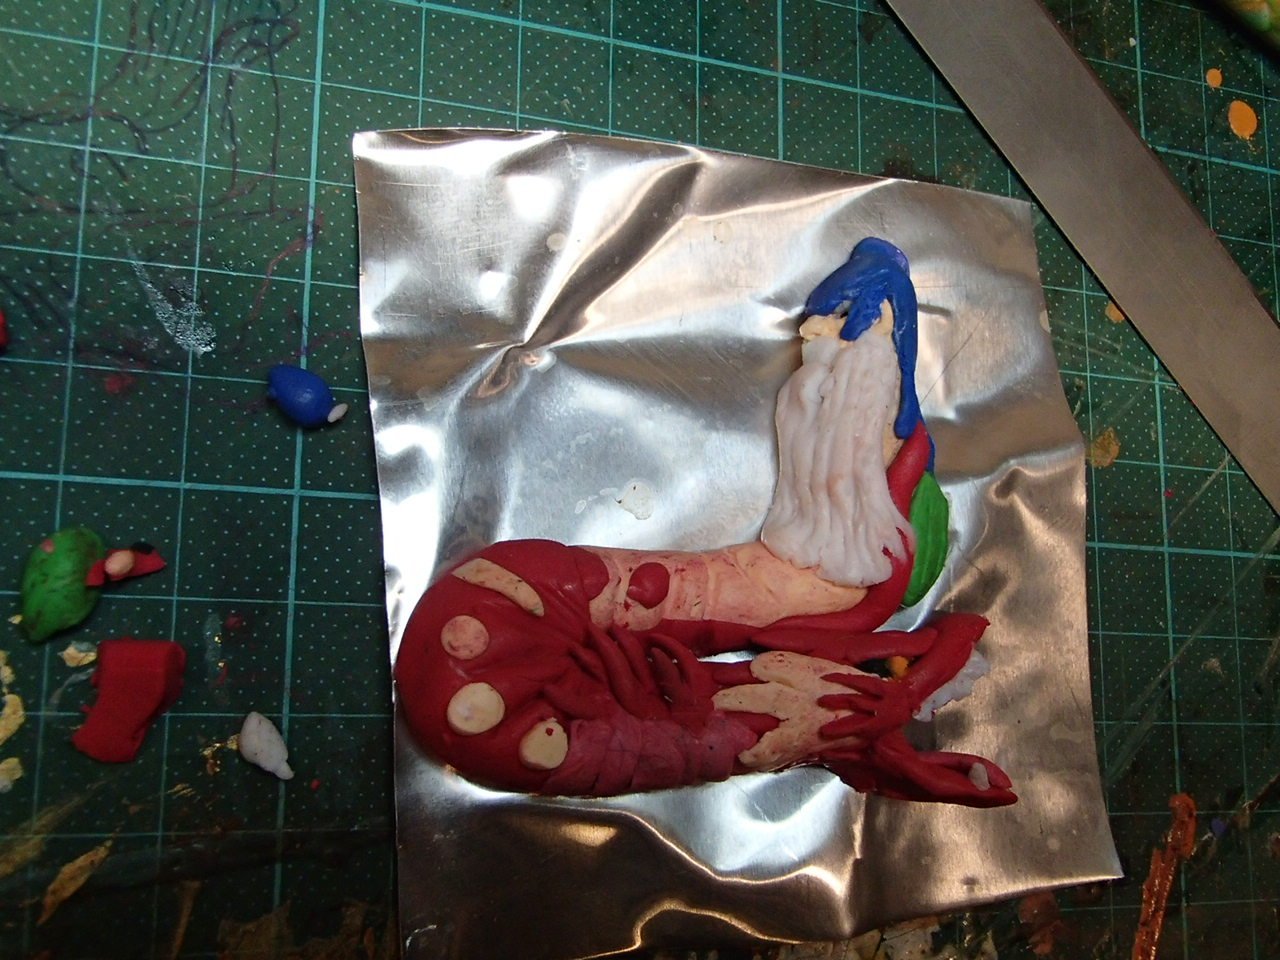
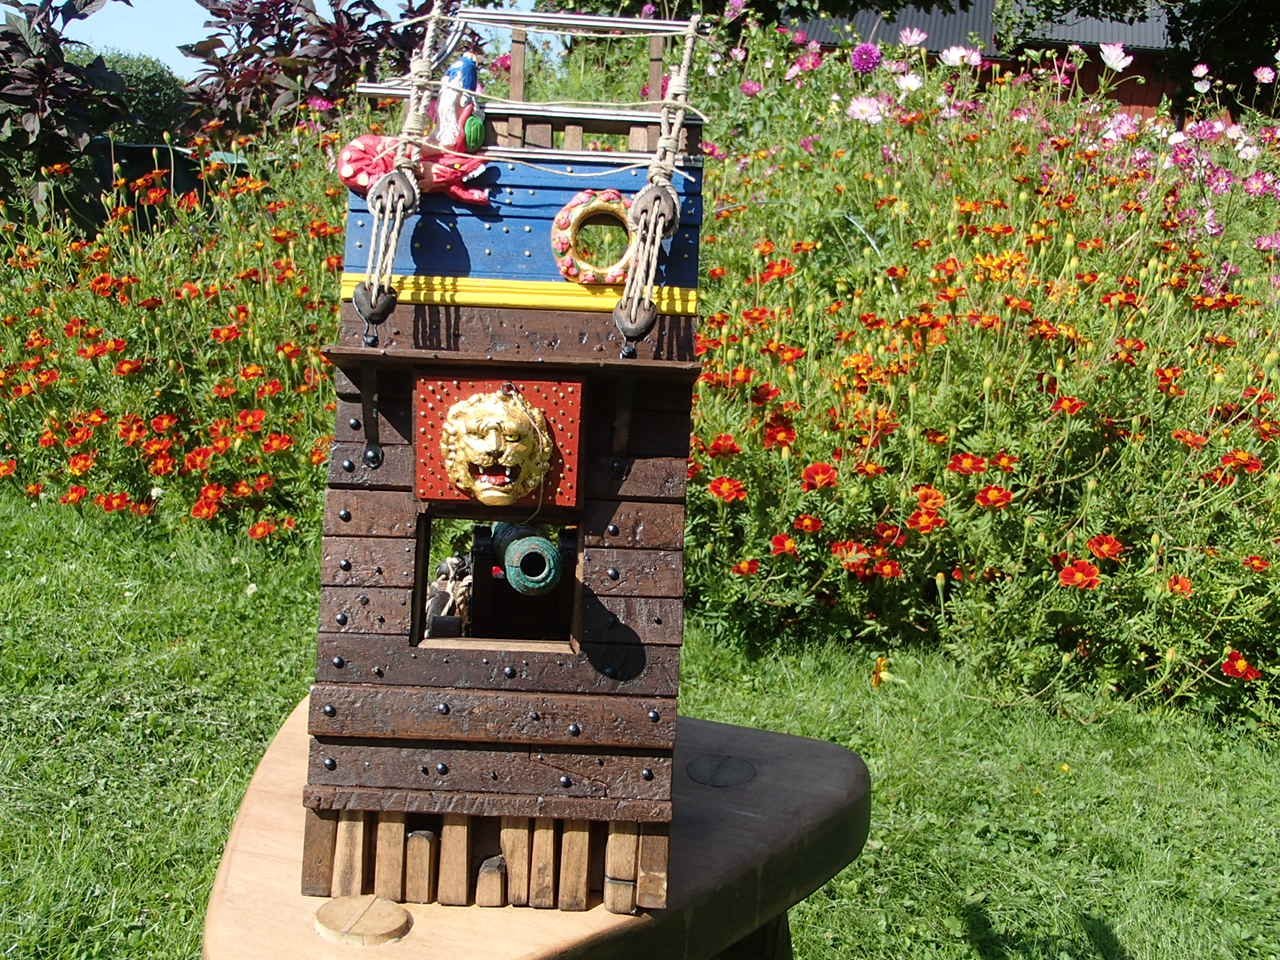
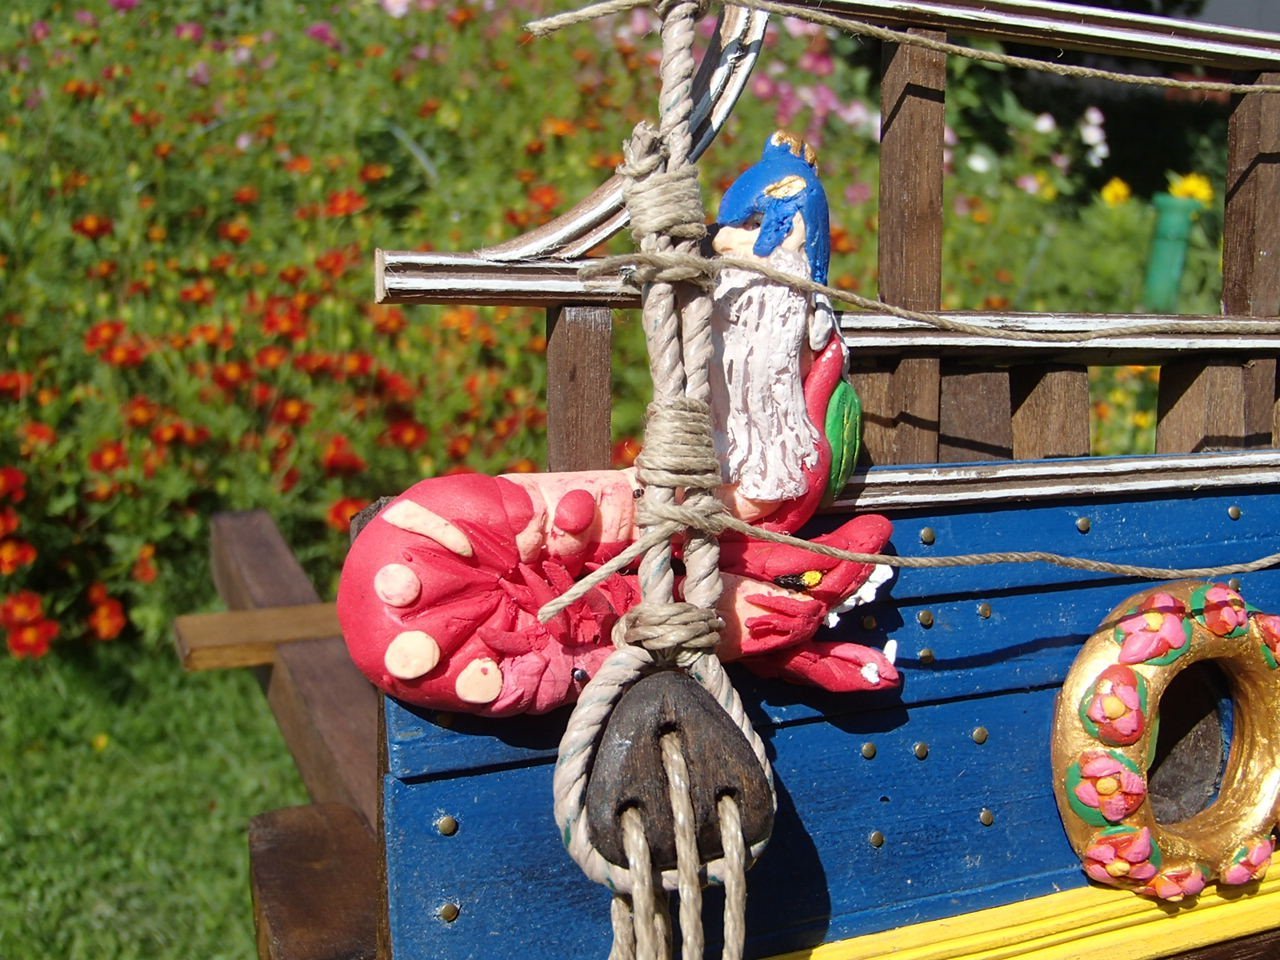
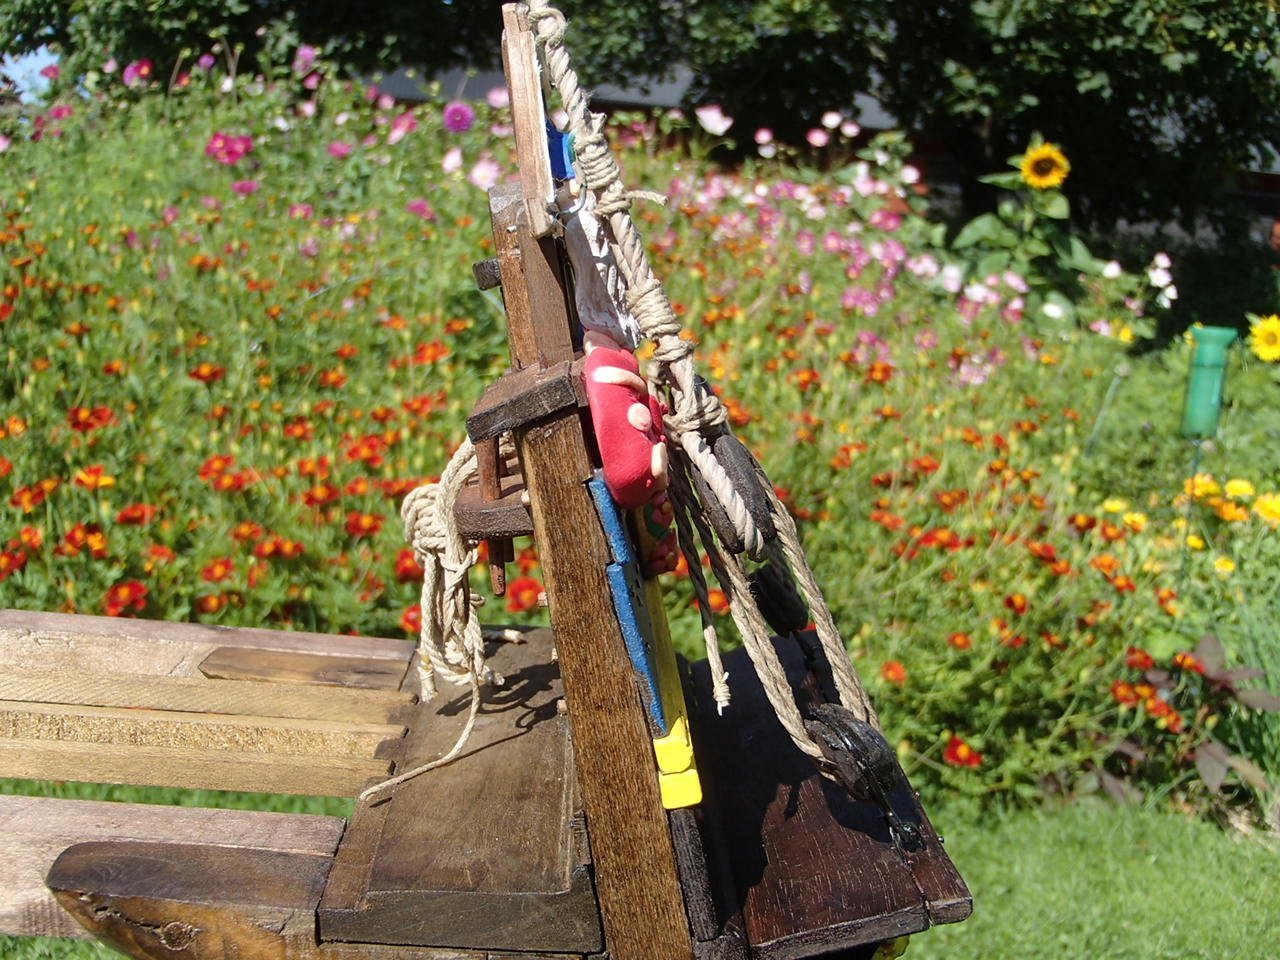
I am working on a hammock to put in but apart from that the build is finished. I made the figure in this plastic clay, a man transforming into a dragon.
-
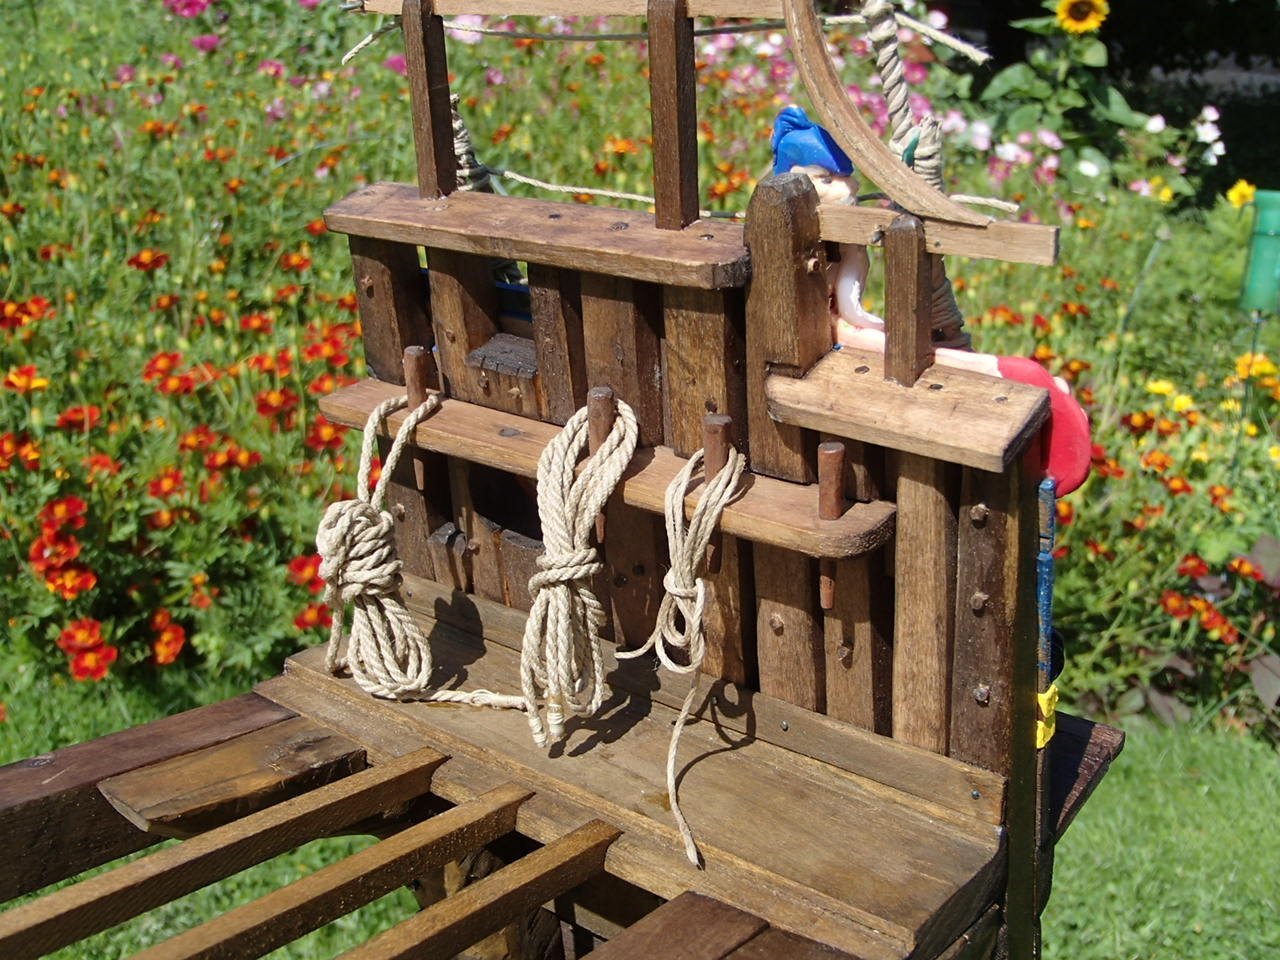
Two pairs of dead-eyes with the cord in gray painted metal wiring. I think this will be the easiest way to somehow fix the shrouds. Put nails in the gate: Not much work left I think, I will fix the upper railing and will also have to make the figurine - will paint the boards in blue as my ship though it should be red.

-
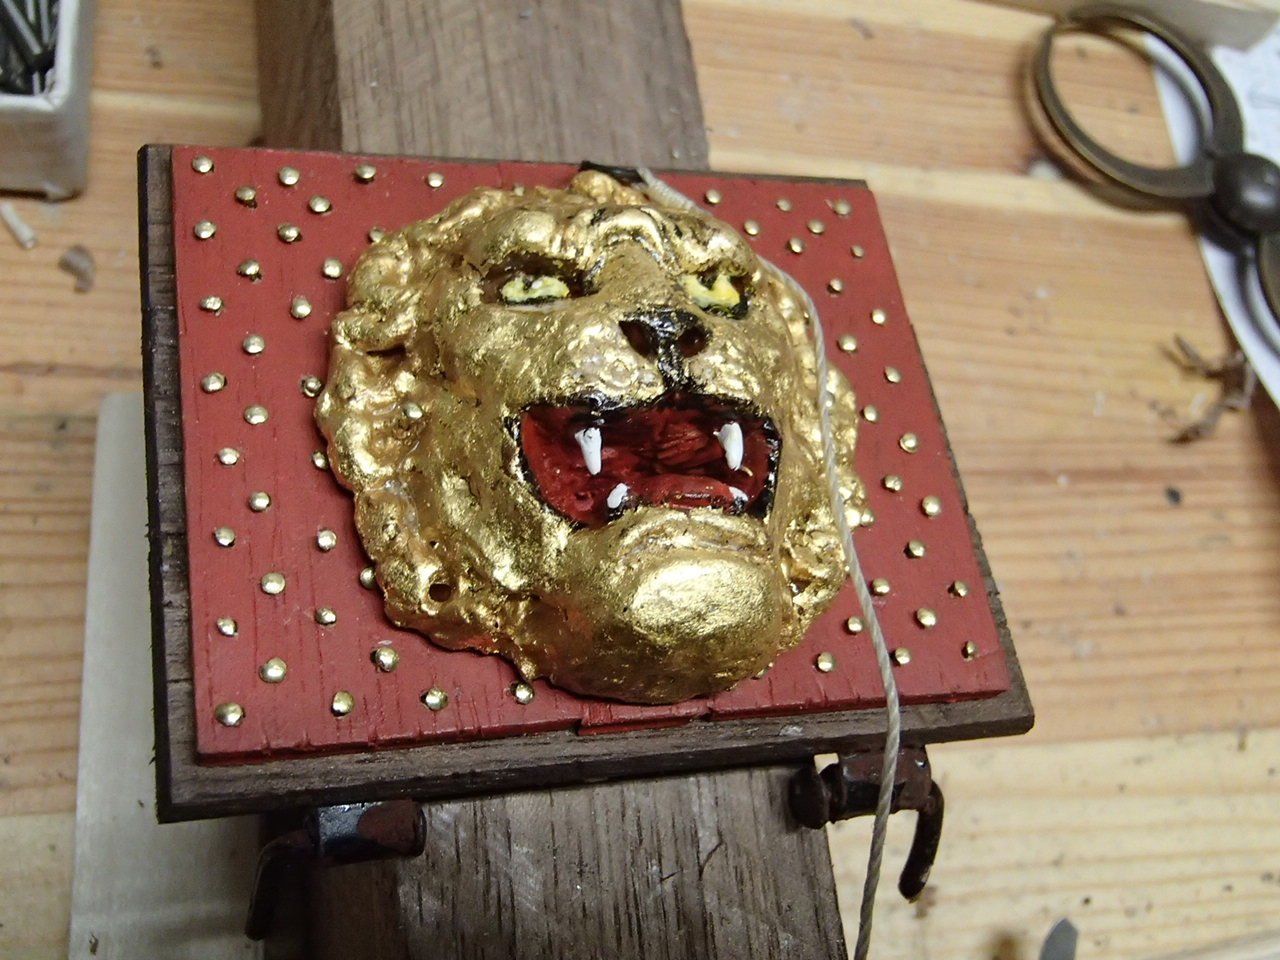
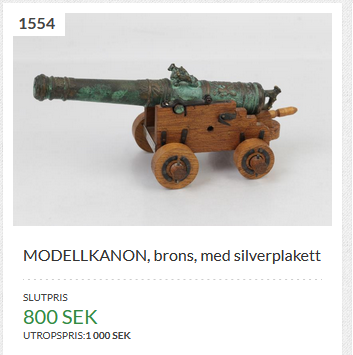
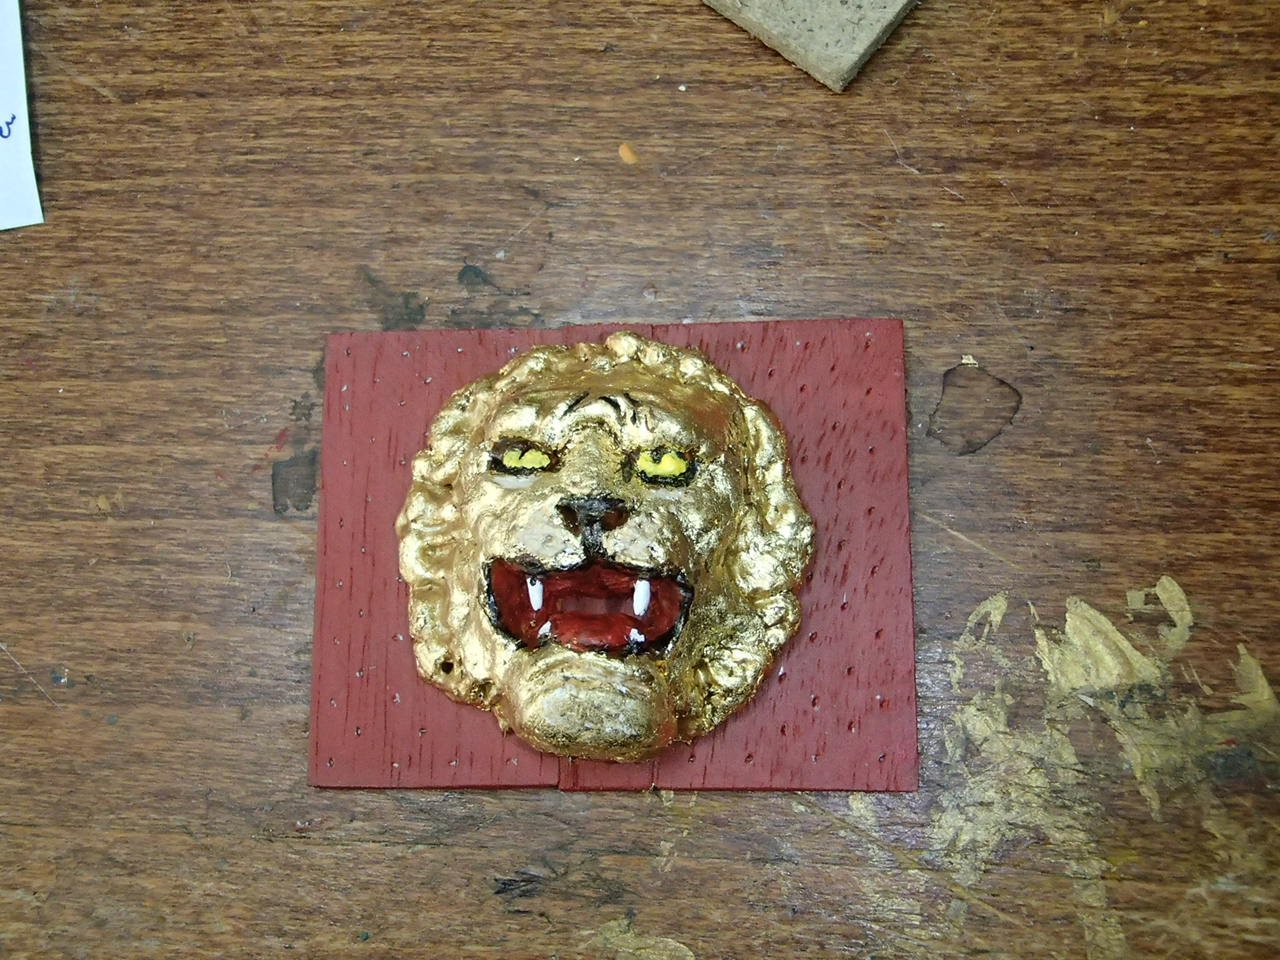
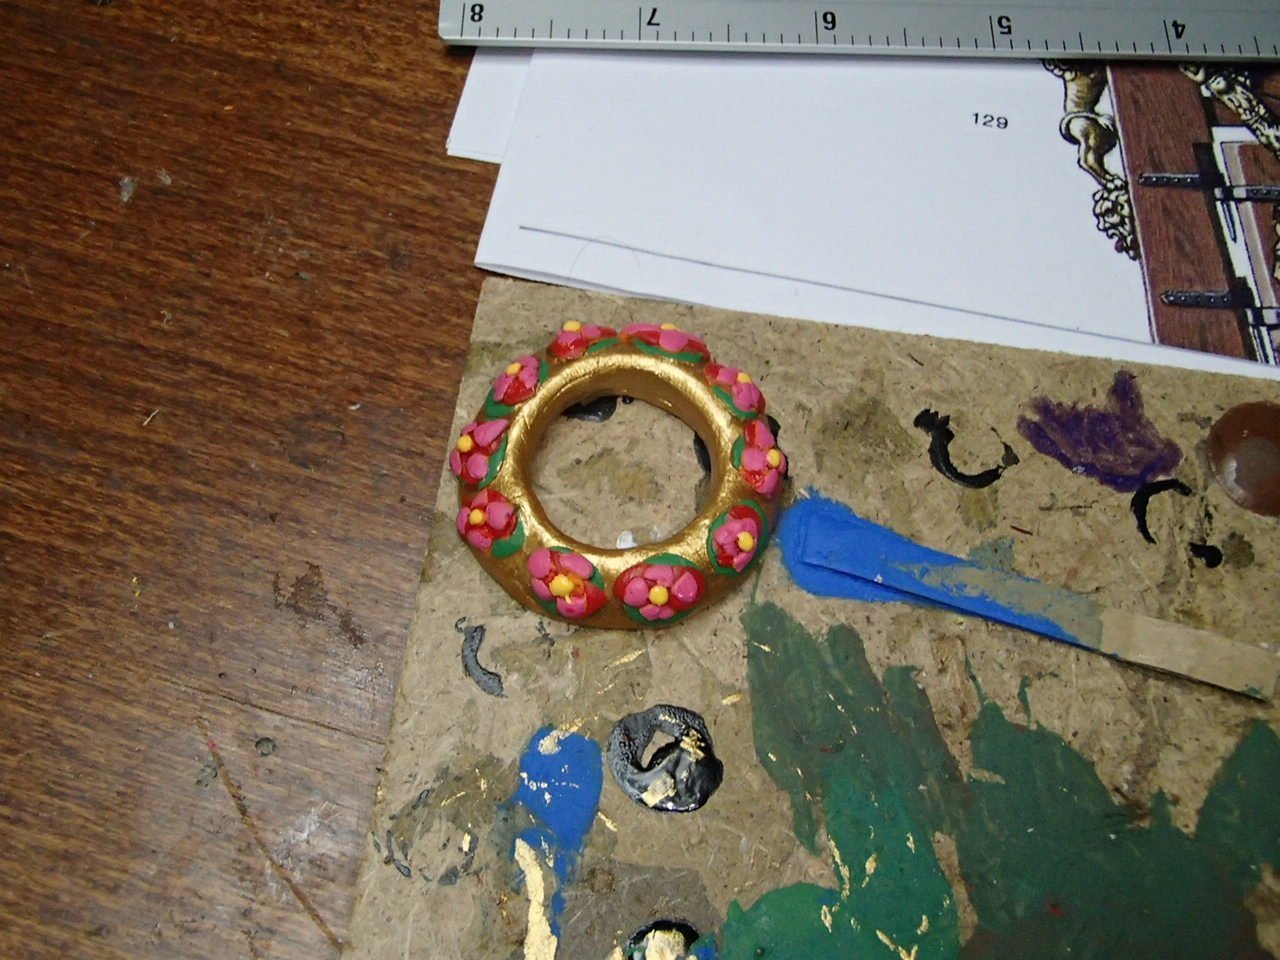
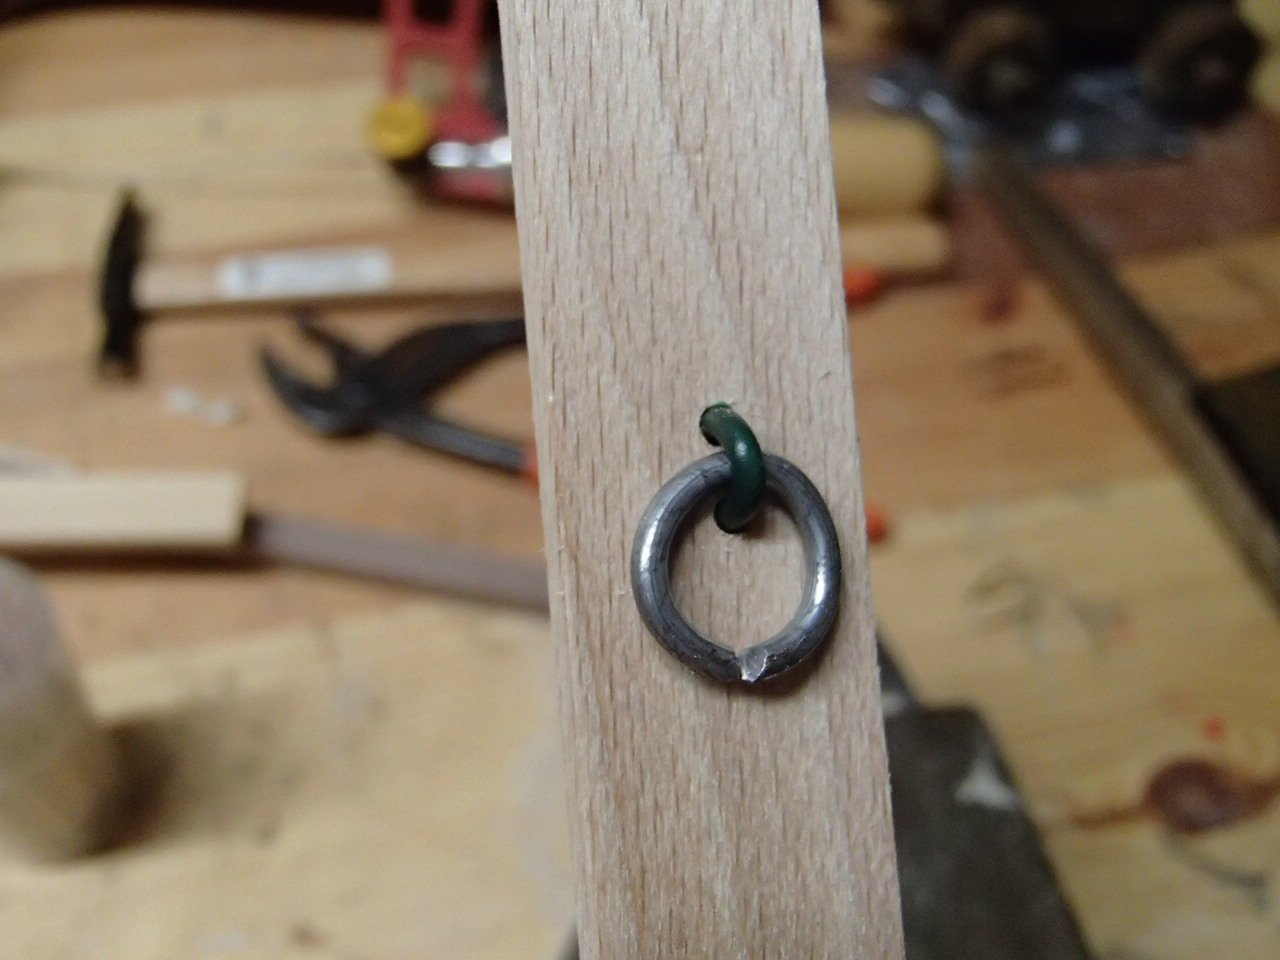
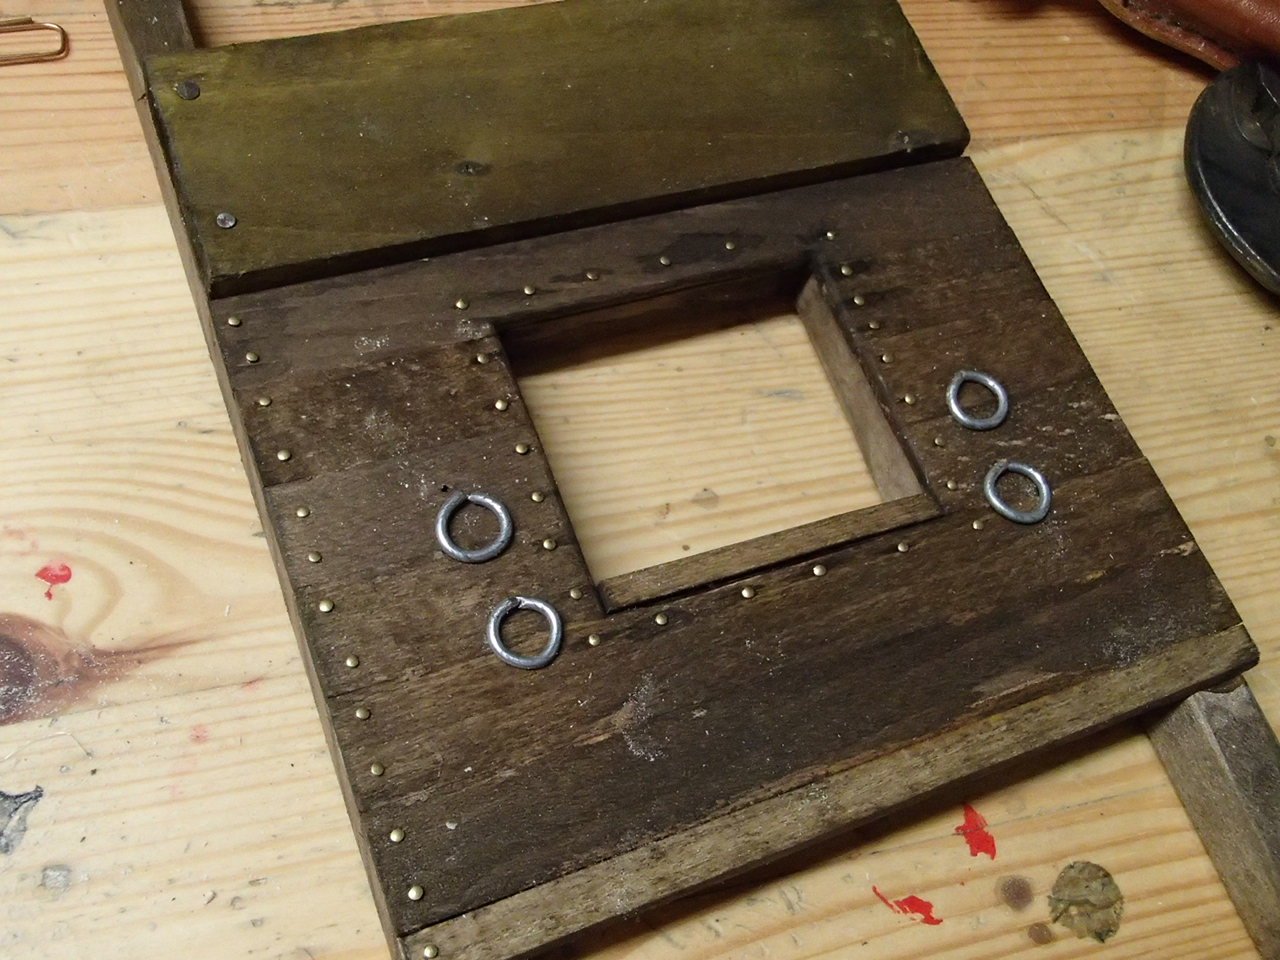
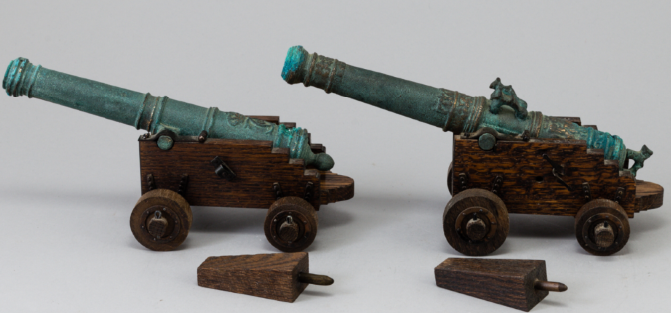
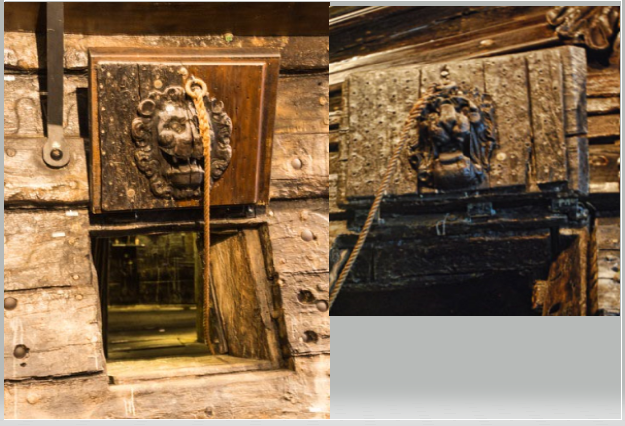
Hi, found another cannon on a local online auction site but did not get it: If I had bought it I would have placed it on upper deck but that would need some structure to hold the added weight. My build paused a bit for this. I am sort of glad I can continue with the one I got. Some update in pictures, Made the lion for the lid, found a page from Stockholm were somebody made a big one: https://www.stockholmsförgyllning.se/se/vasa-lejonmaskaron-19936243 My lion from "polymer clay": and with gold and paint: Made the "rings" using the same material: Now working on the cannon port:

-
It really looks like a full scale ship, the rivets and wood color - makes it feel very old. I also need to make a show case - what type of glass (thickness) did you end up with?
- 179 replies
-
- 1
-

-
- longship
- Helga Holm
- (and 1 more)
-
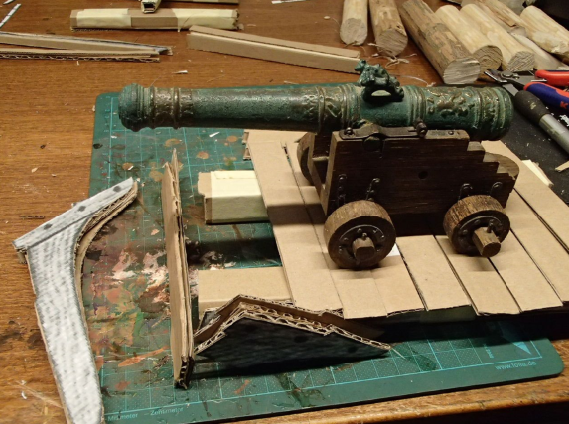
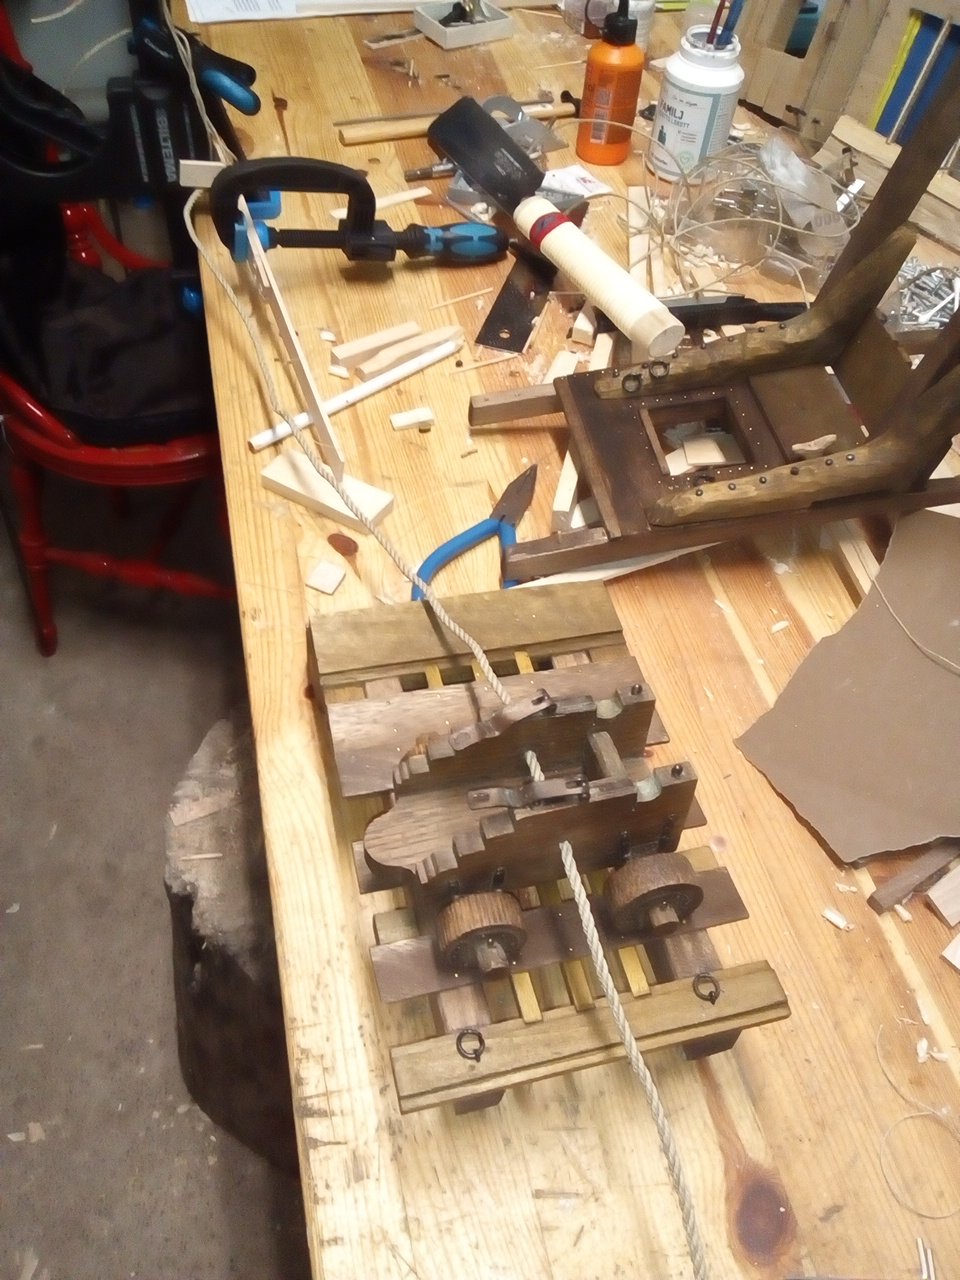
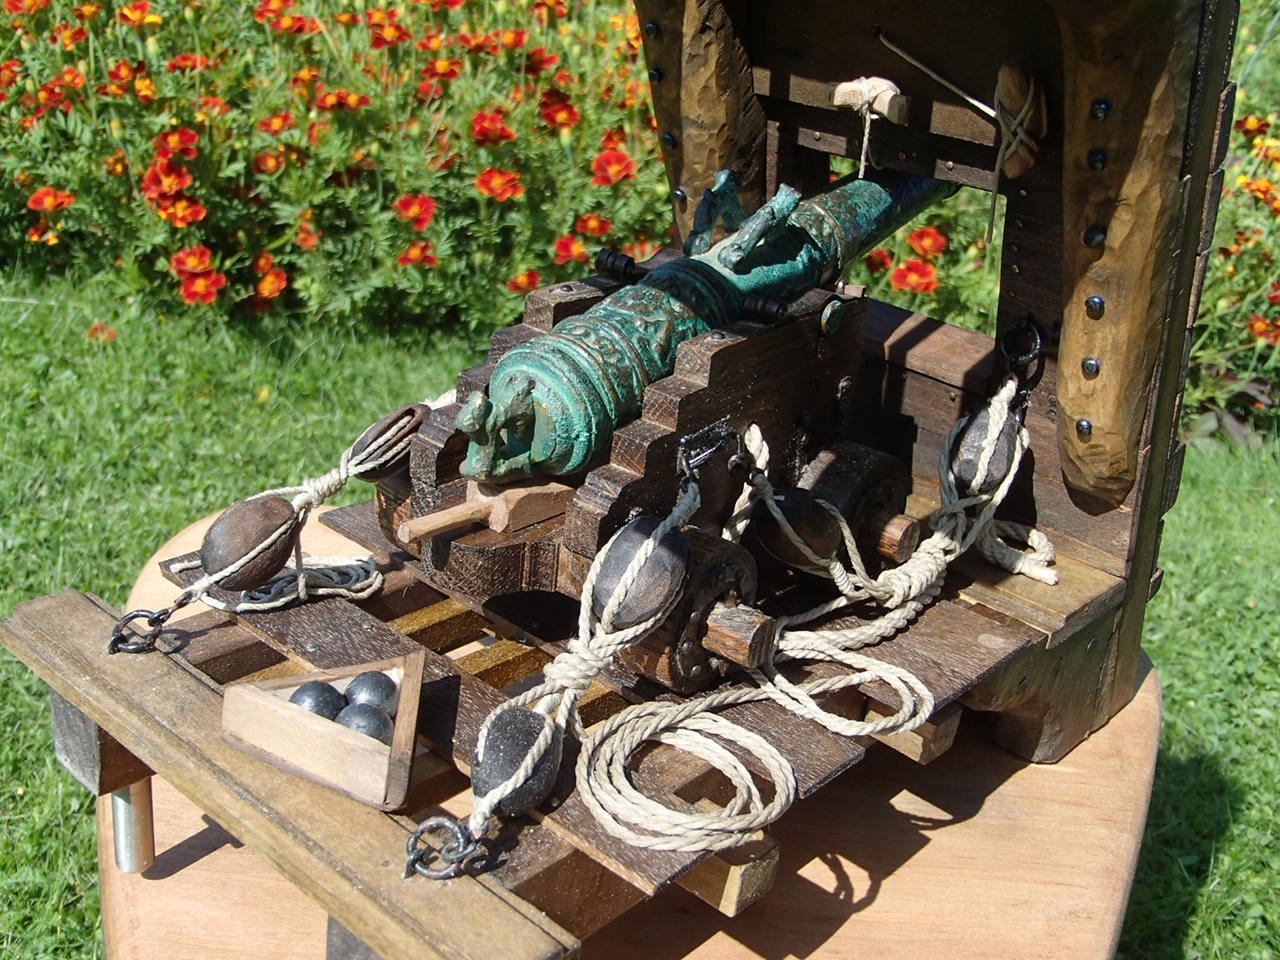
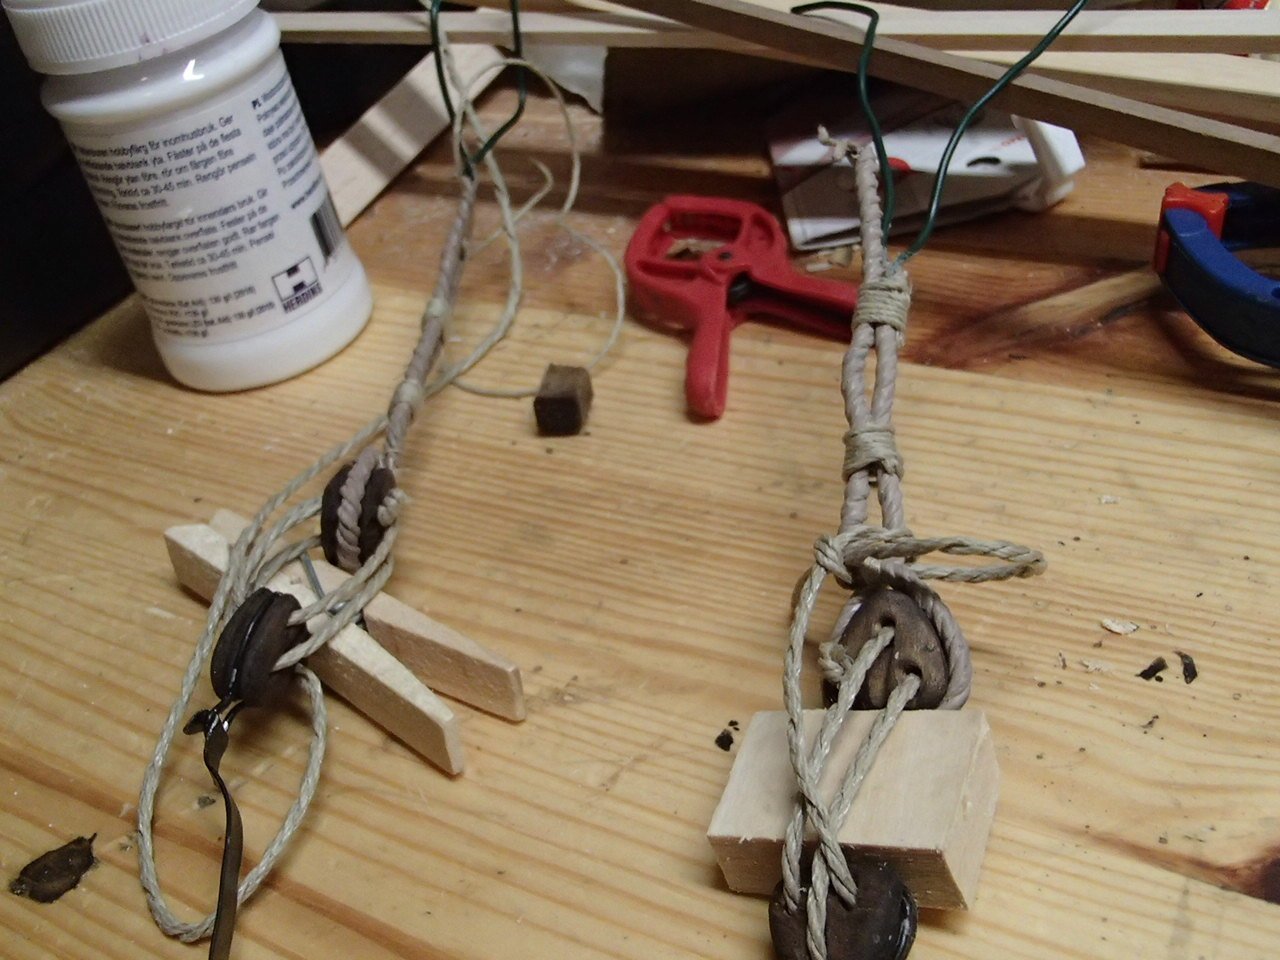
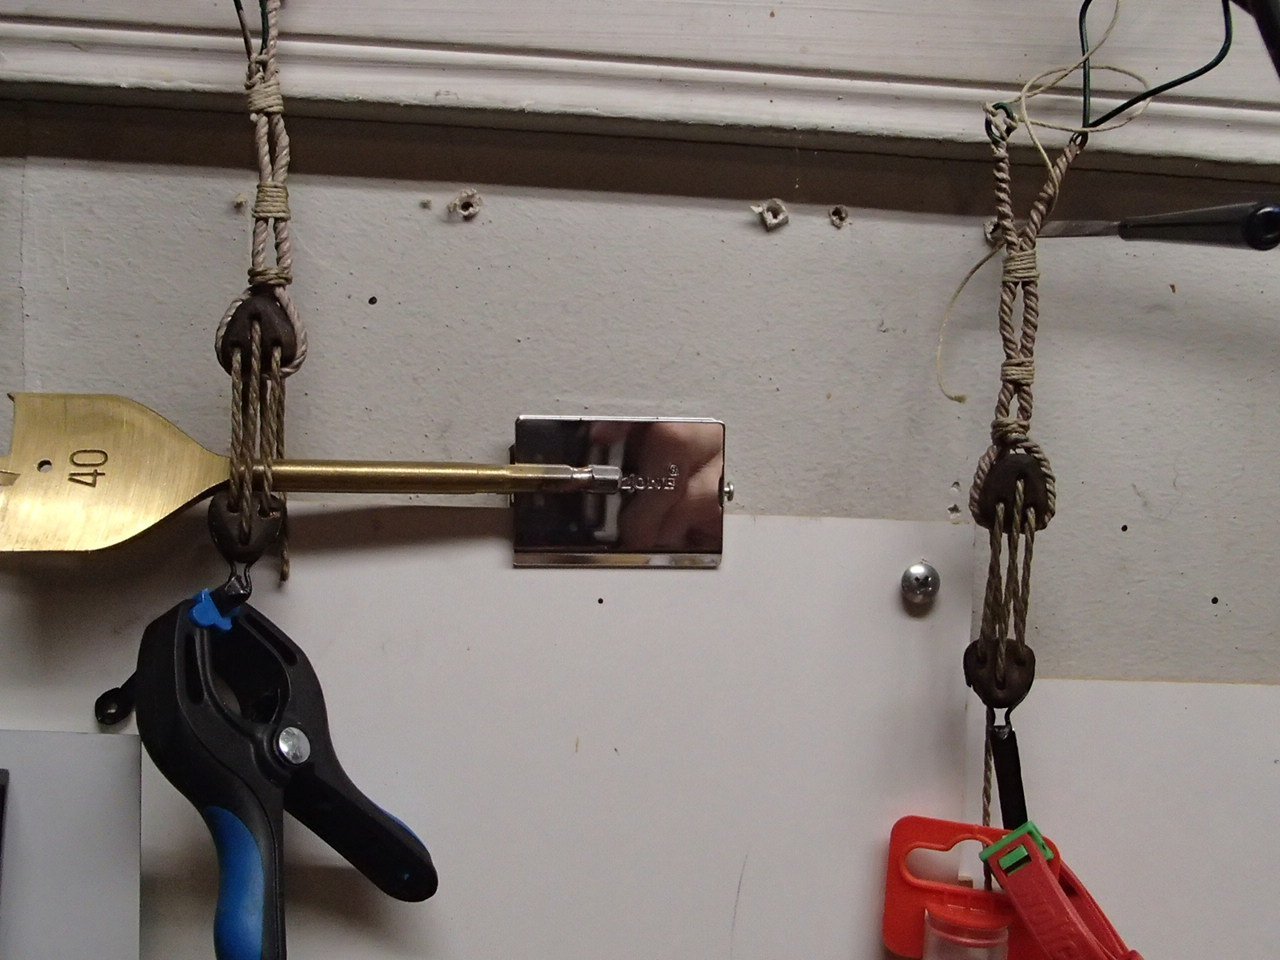
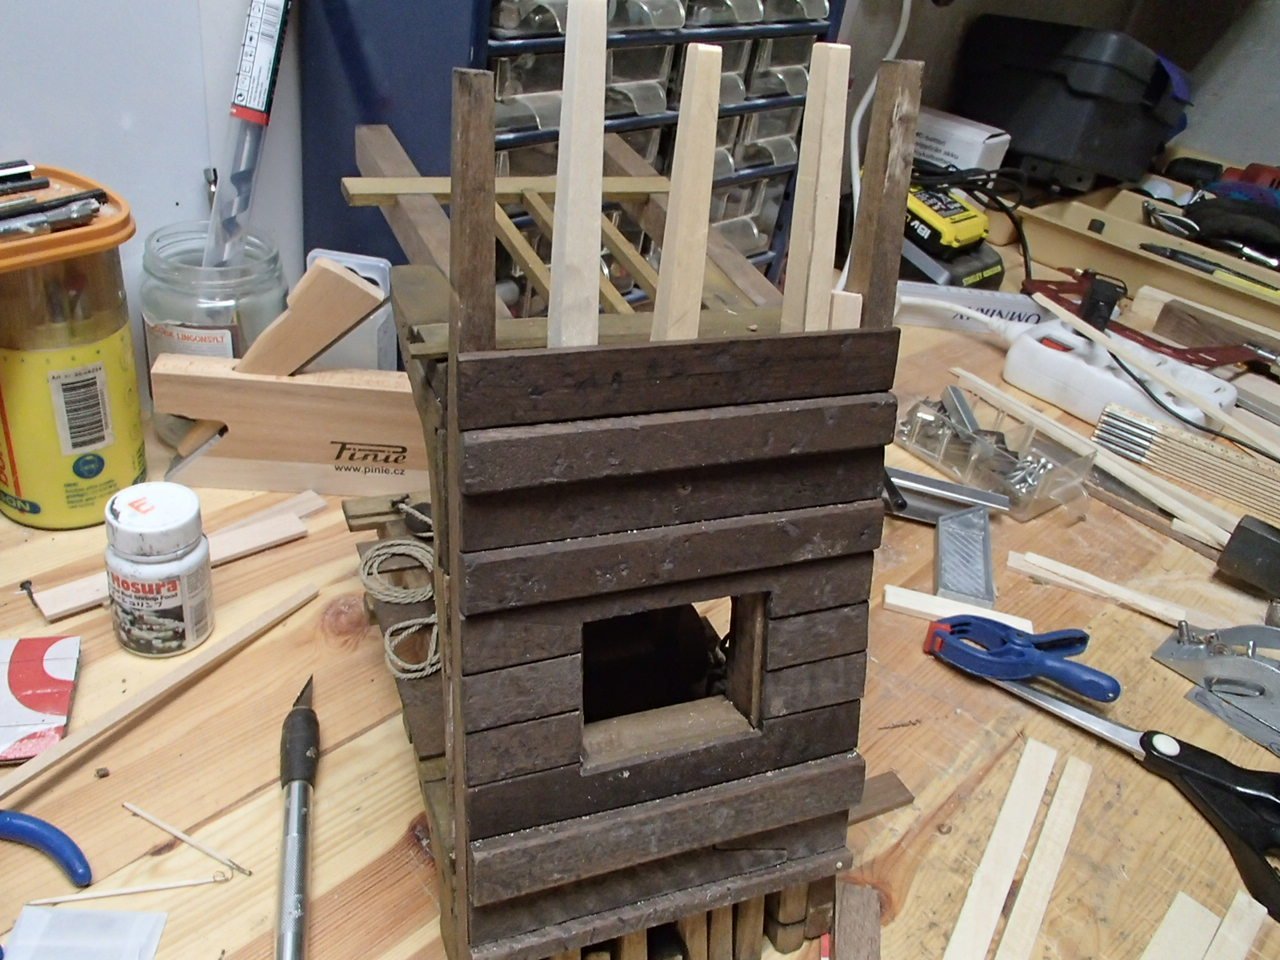
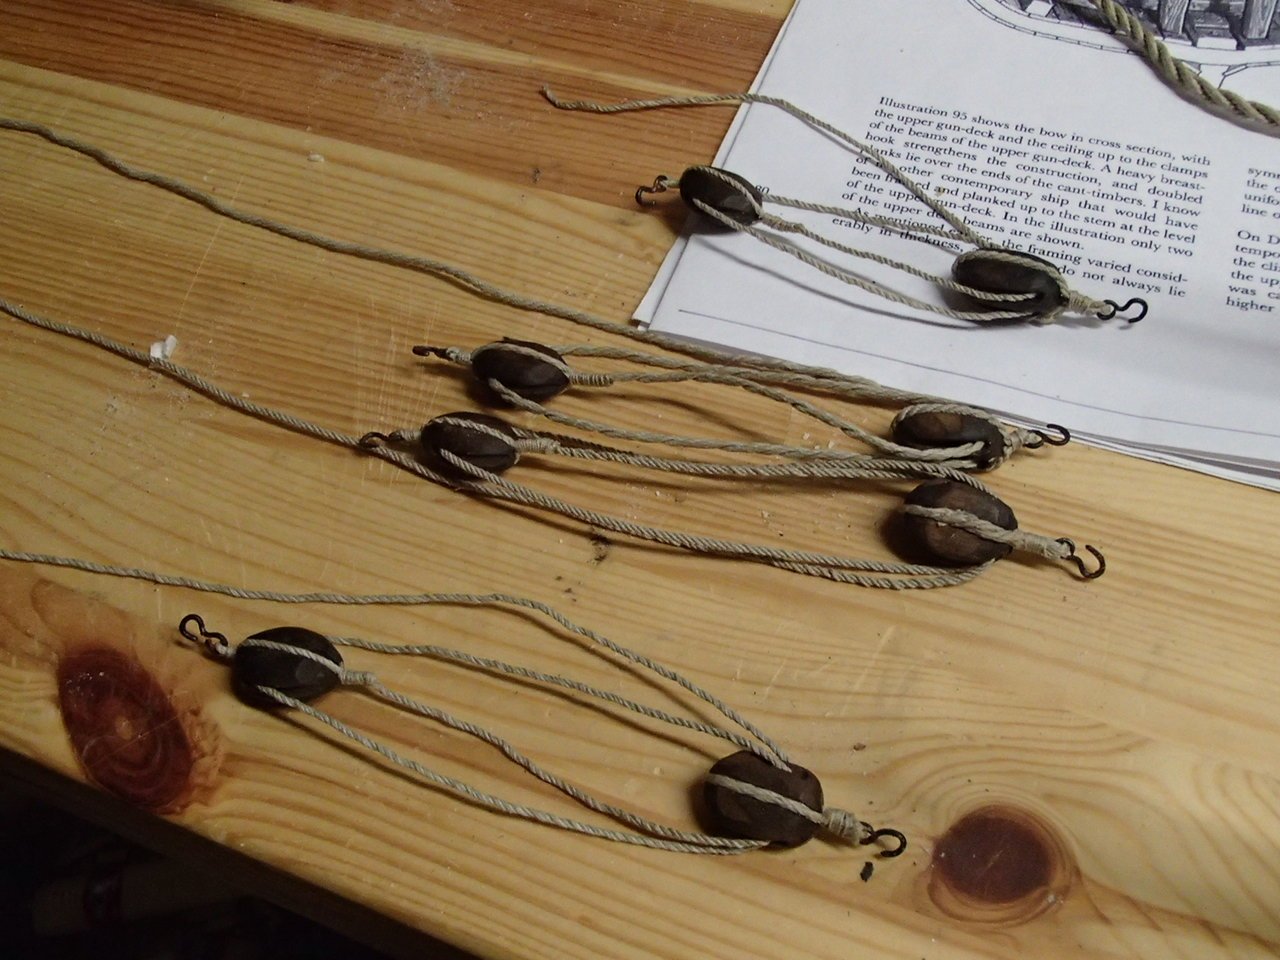
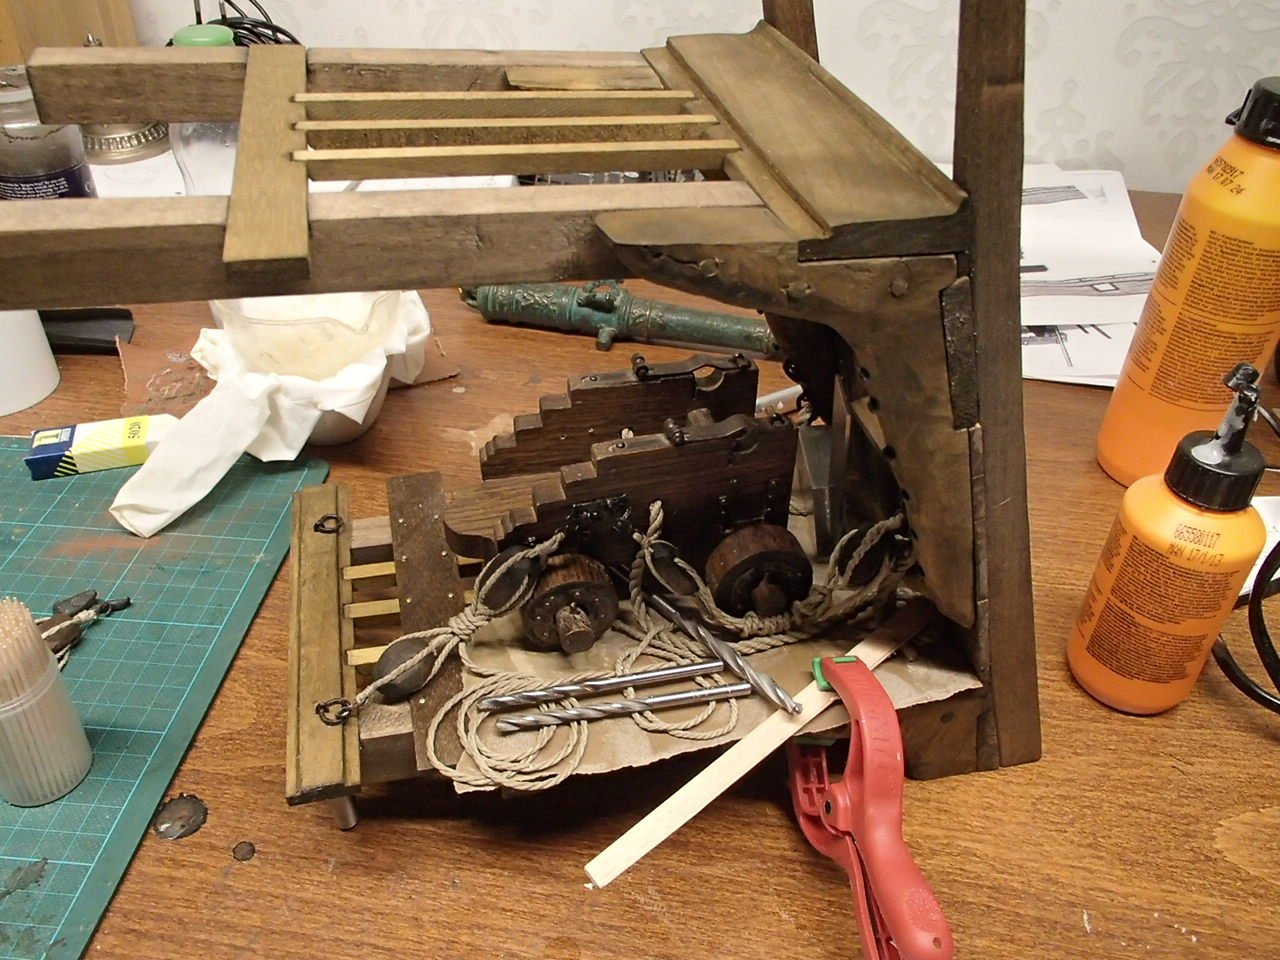
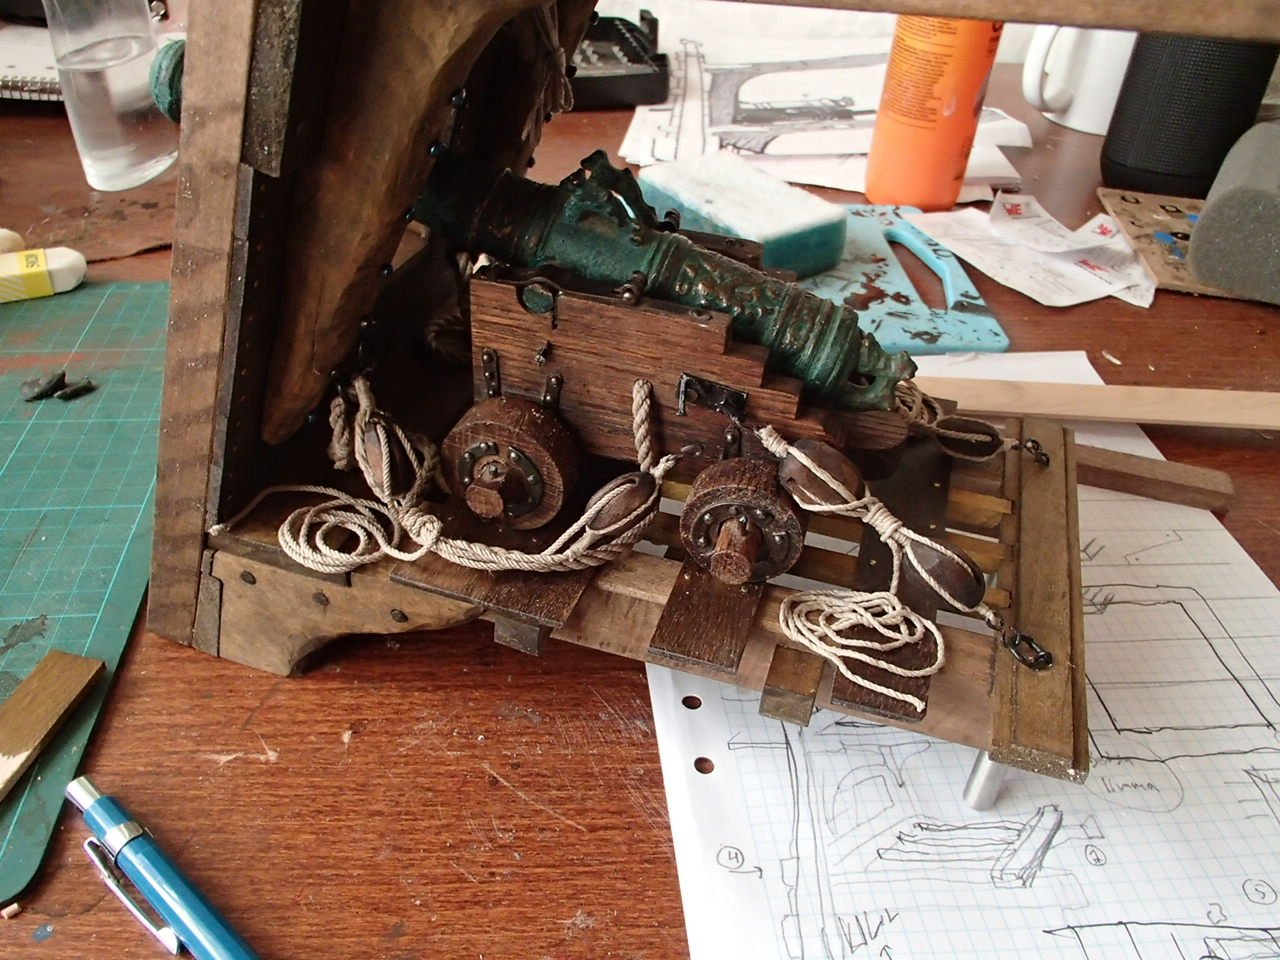
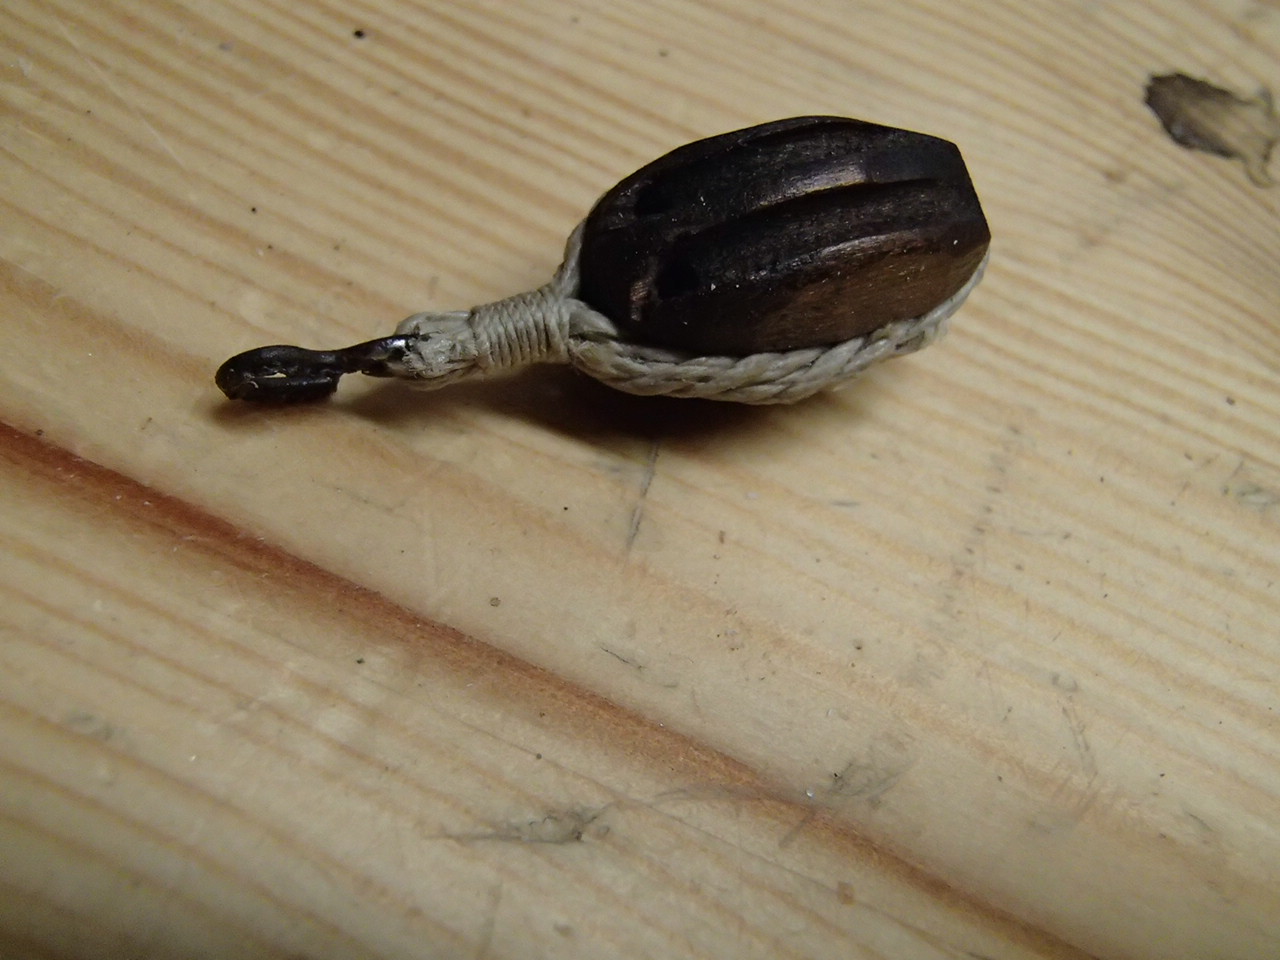
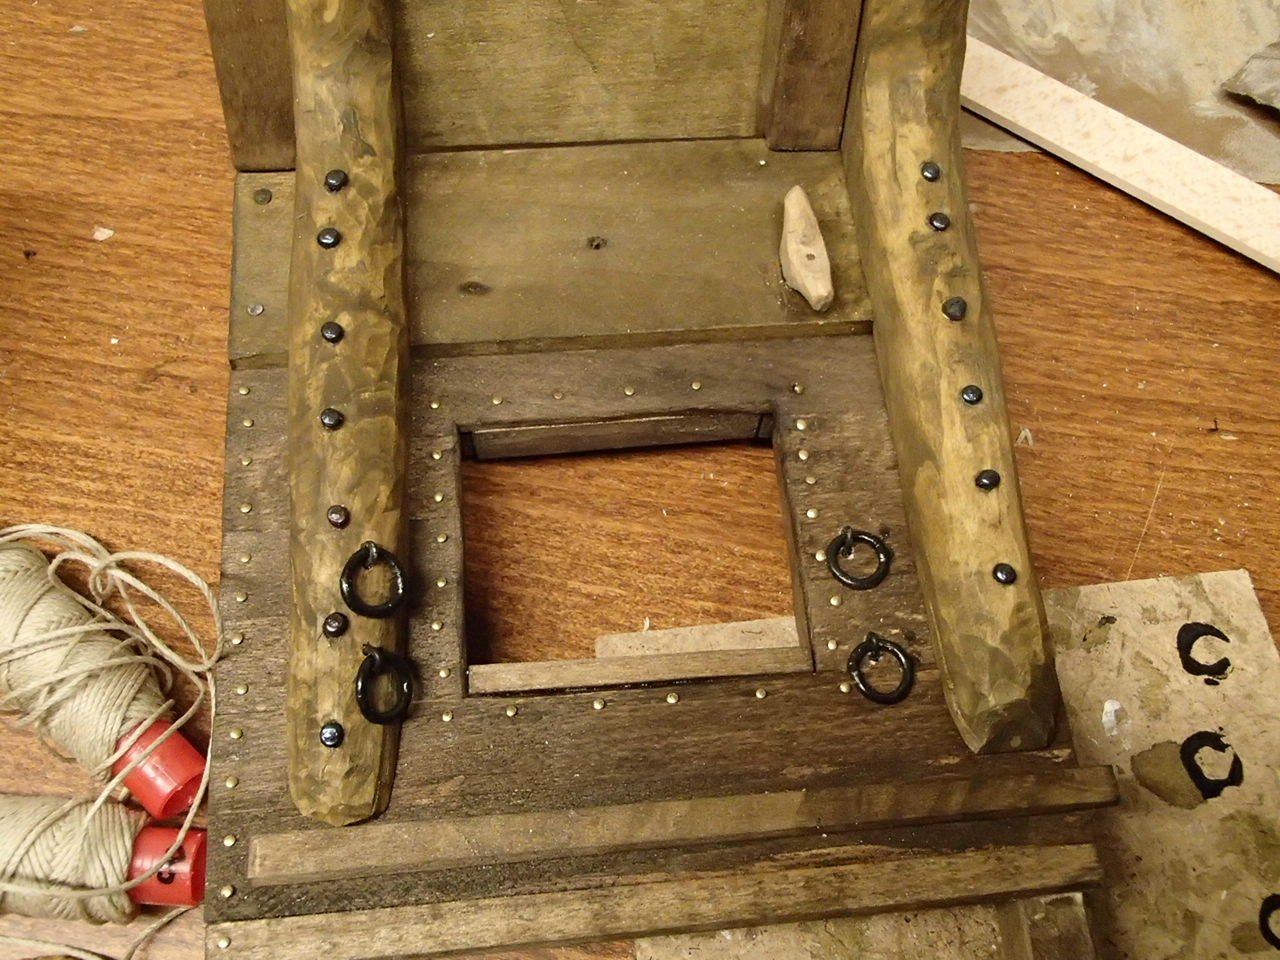
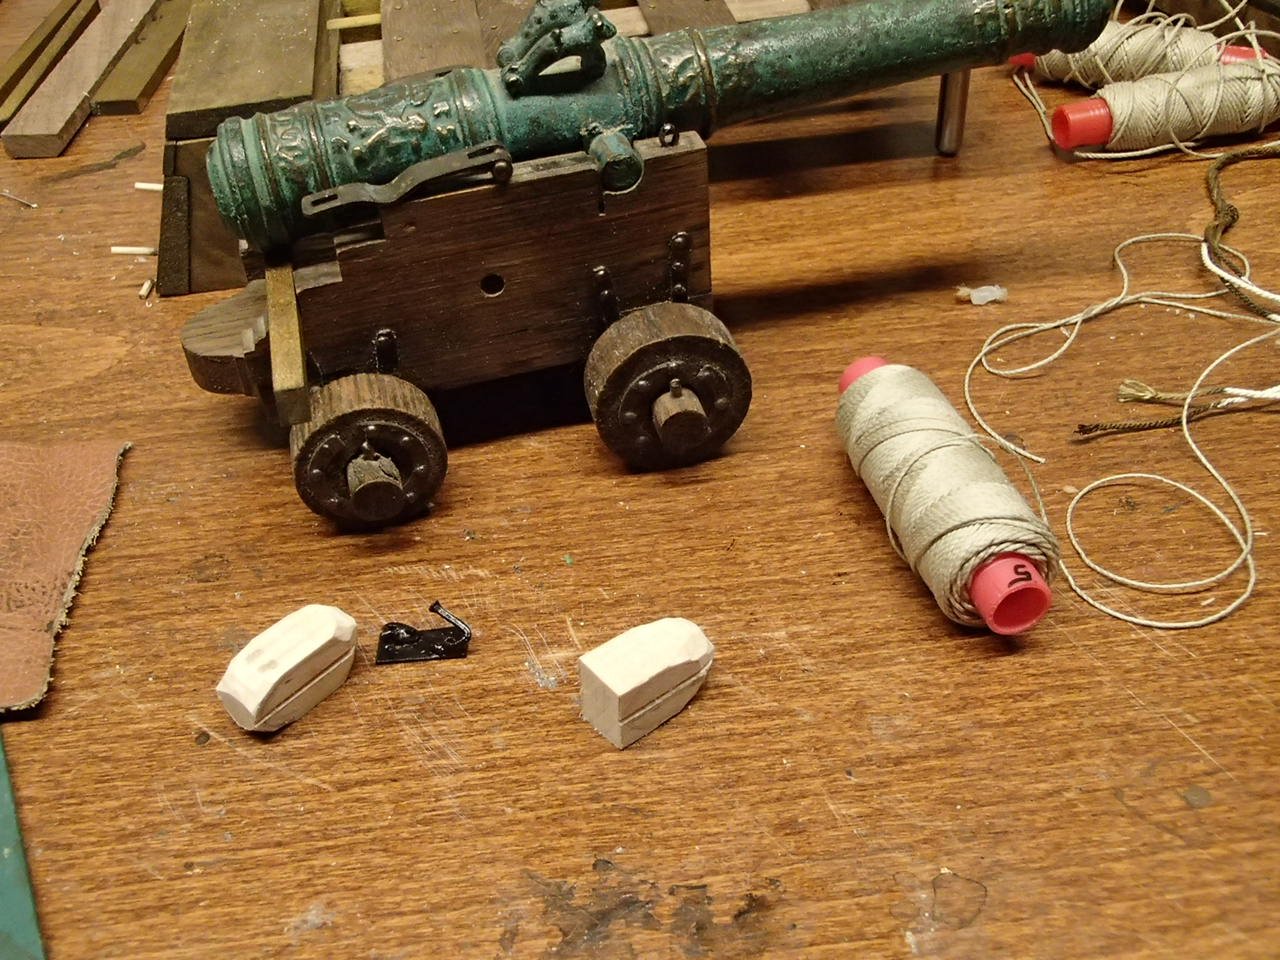
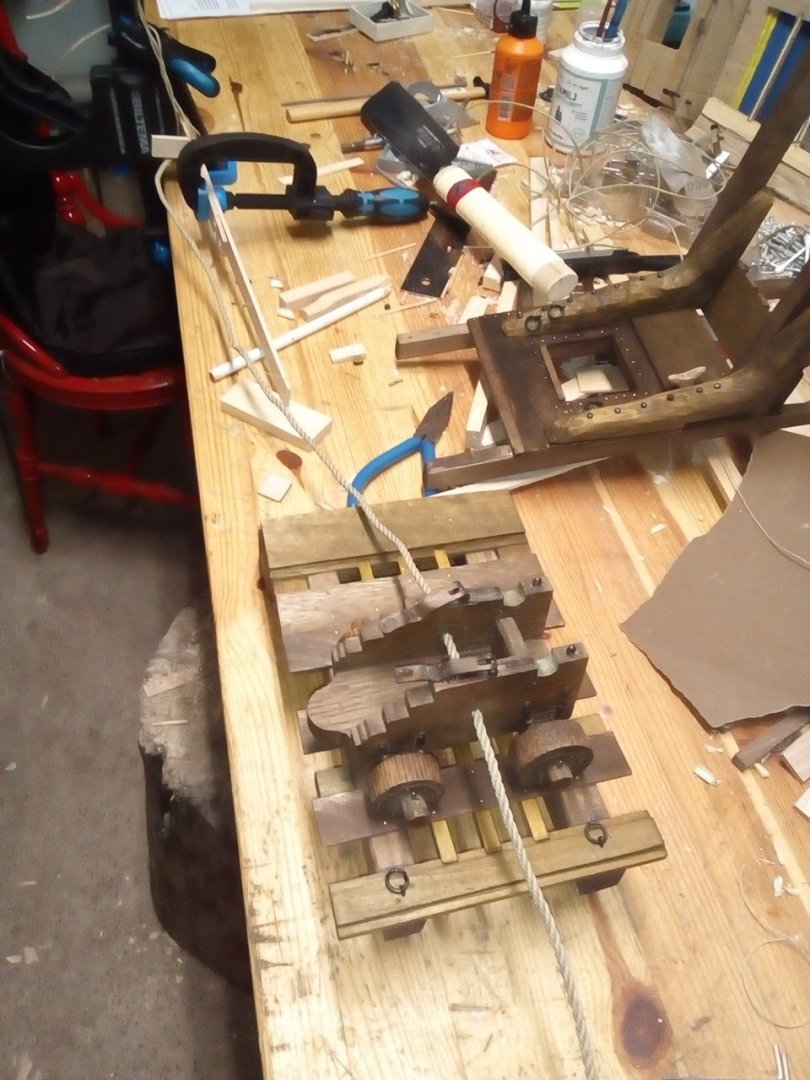
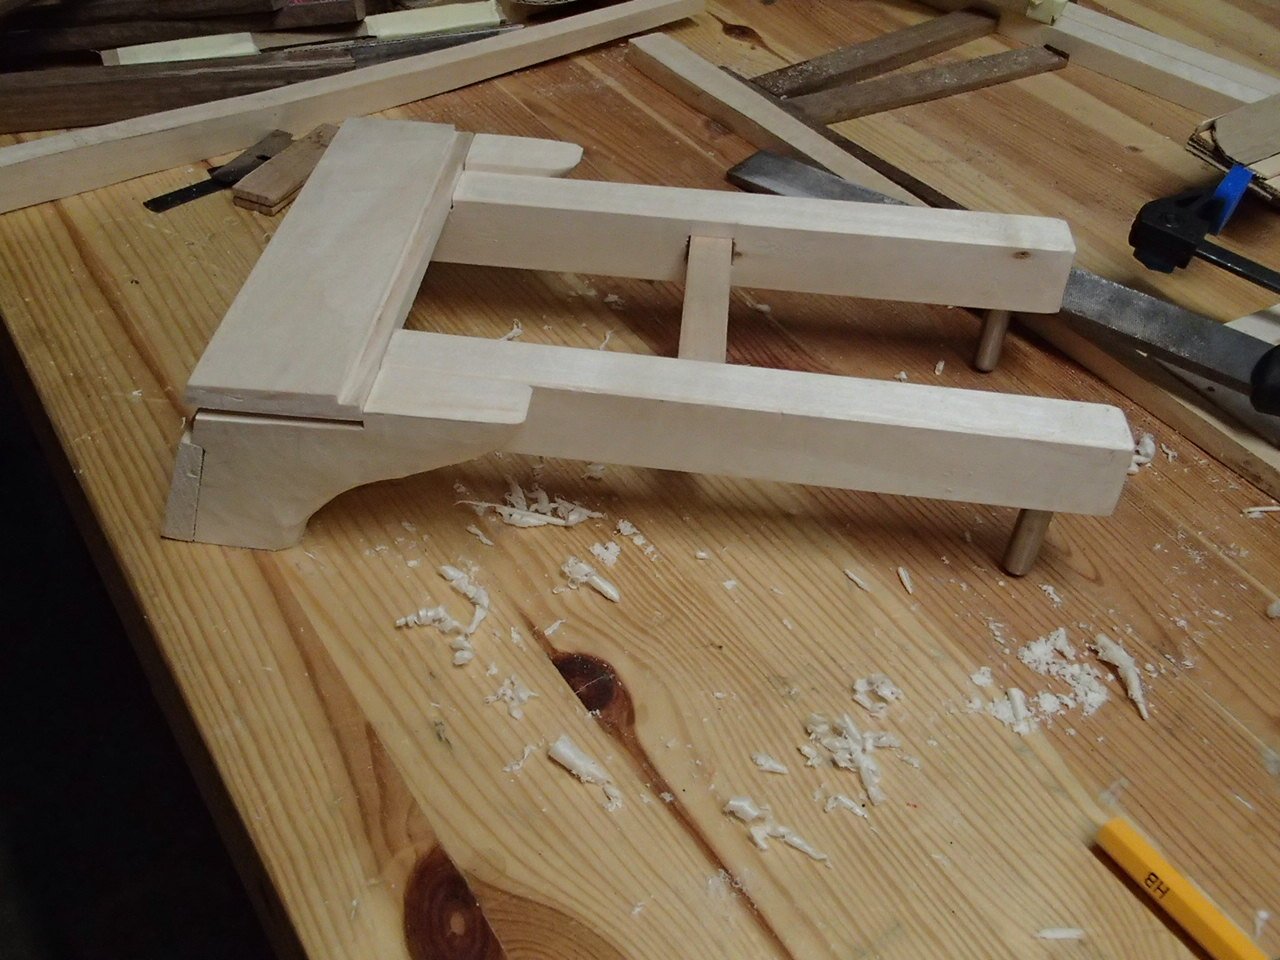
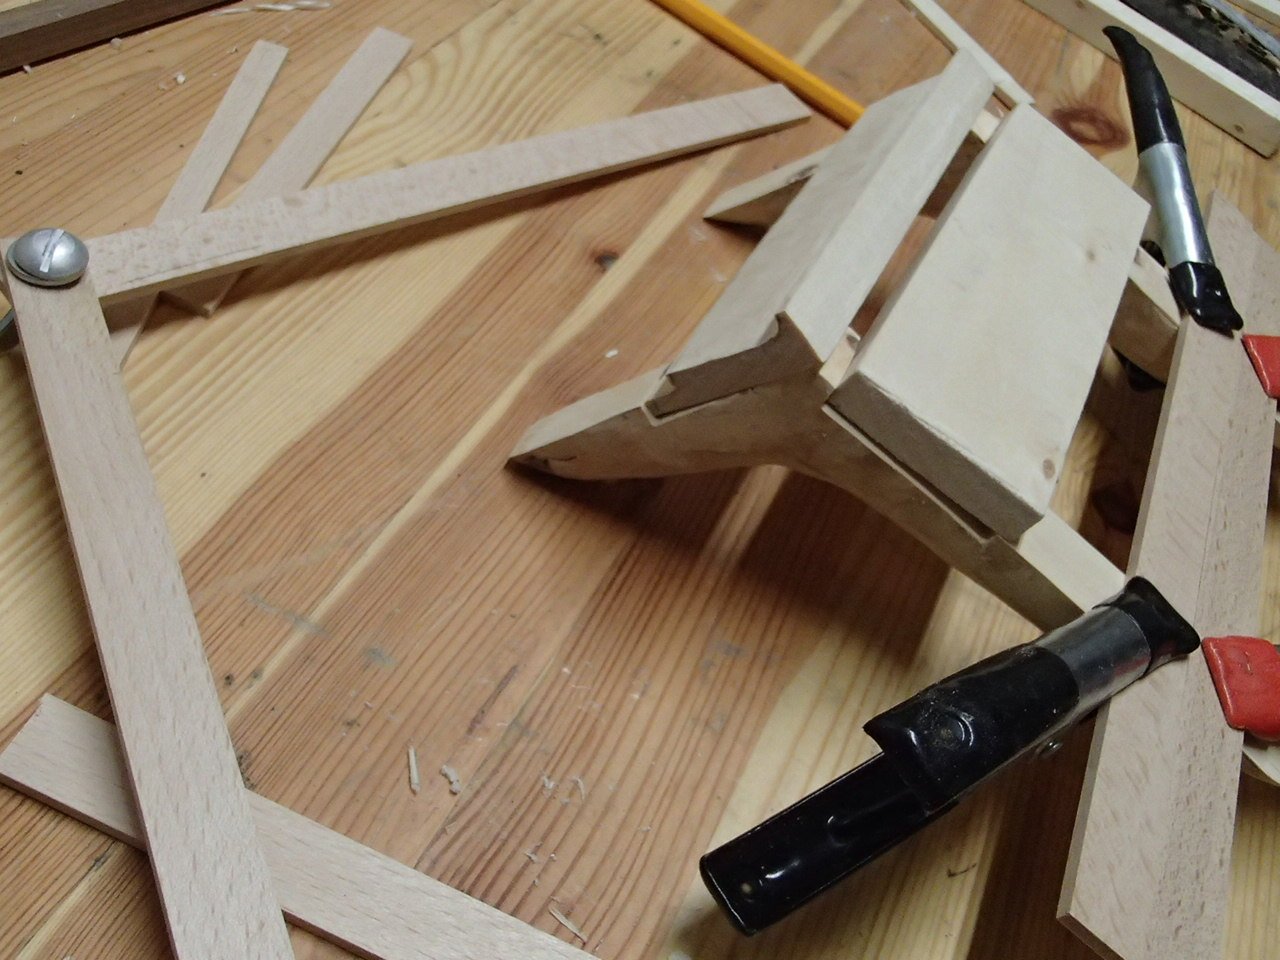
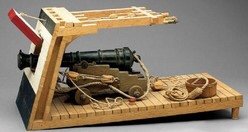
Found some interesting videos on ways to fix the rope endings, it is very satisfying to get the result. I will use a simple thin wire spun around the end on my build, though. It is easier on the thick wire. This is the final cords with blocks. The size for the blocks could have been even smaller in hindsight. The cannon is not fixed and quite heavy. The ropes will be drained in wall paper glue and fixed. I will need a way the fix the trolley, I think. The front side before attaching the planking.
-
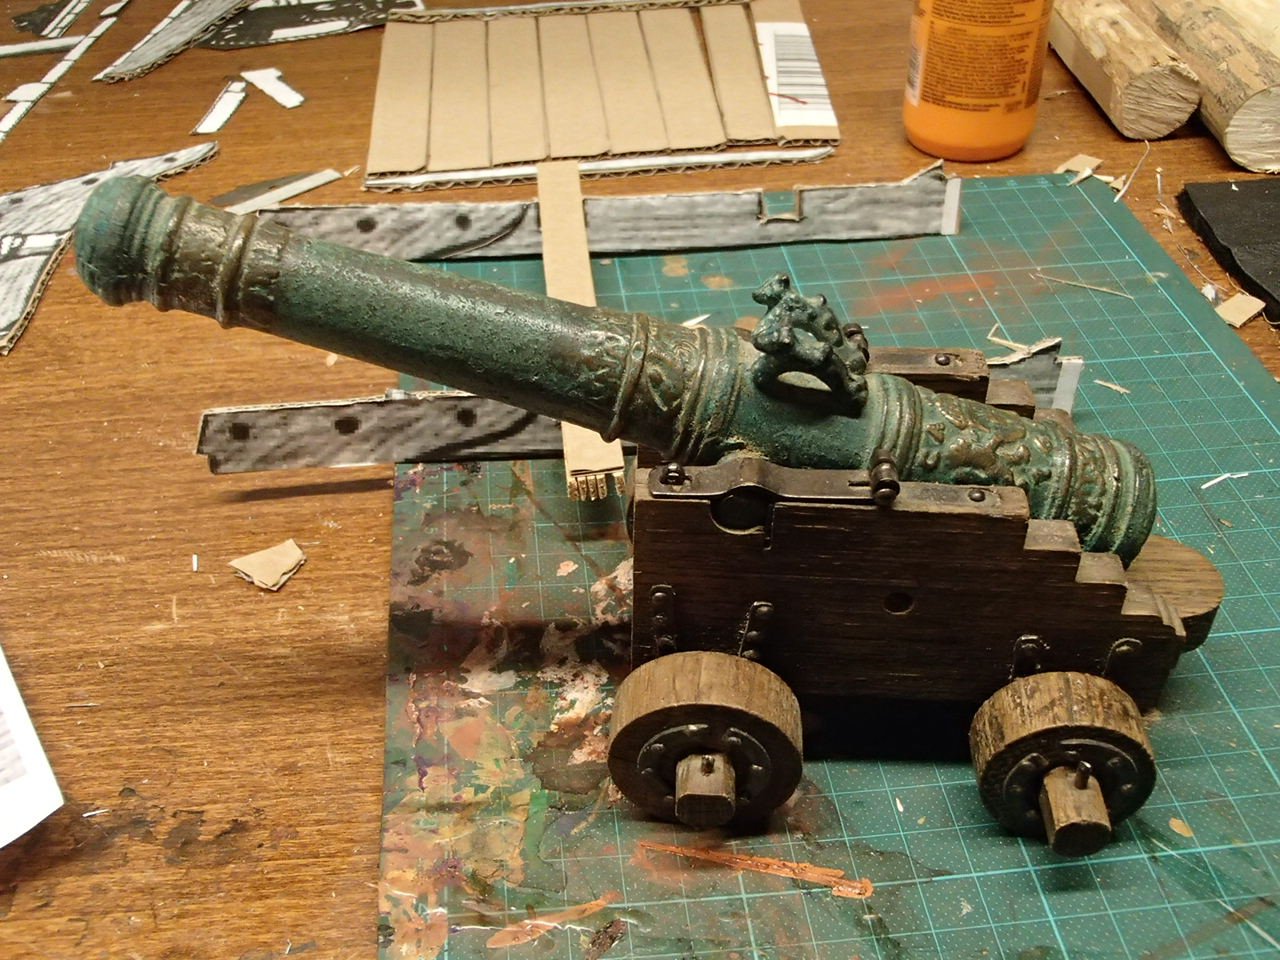
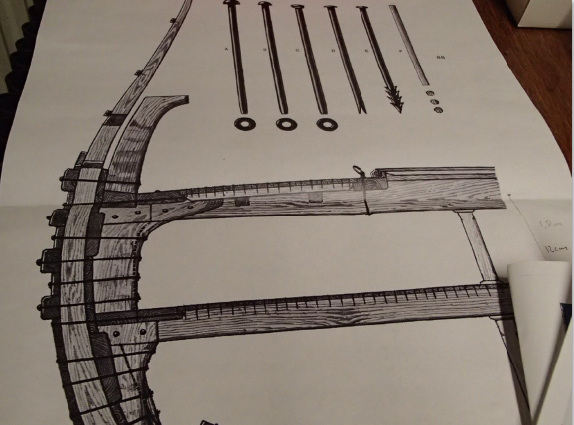
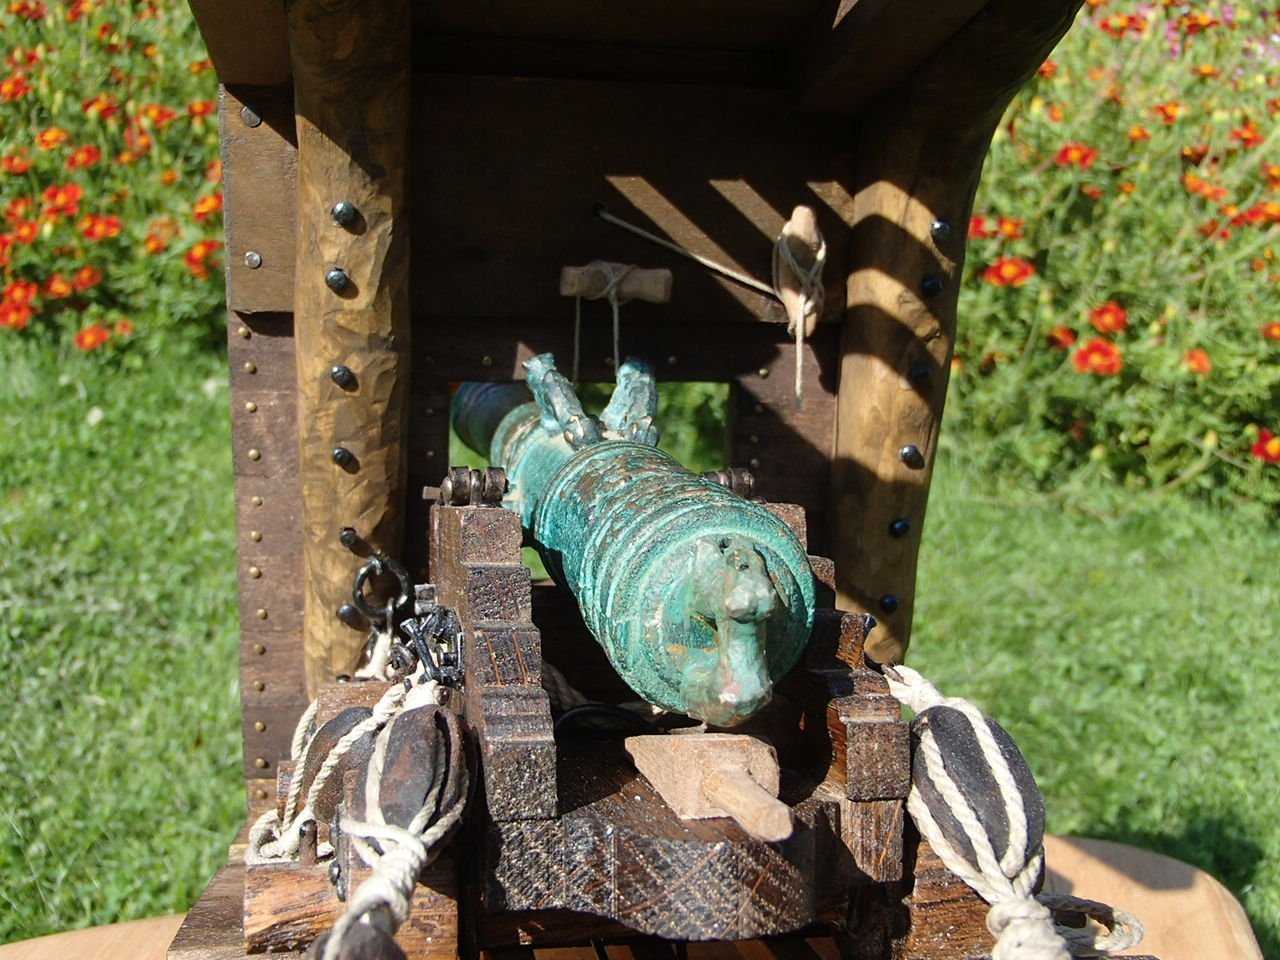
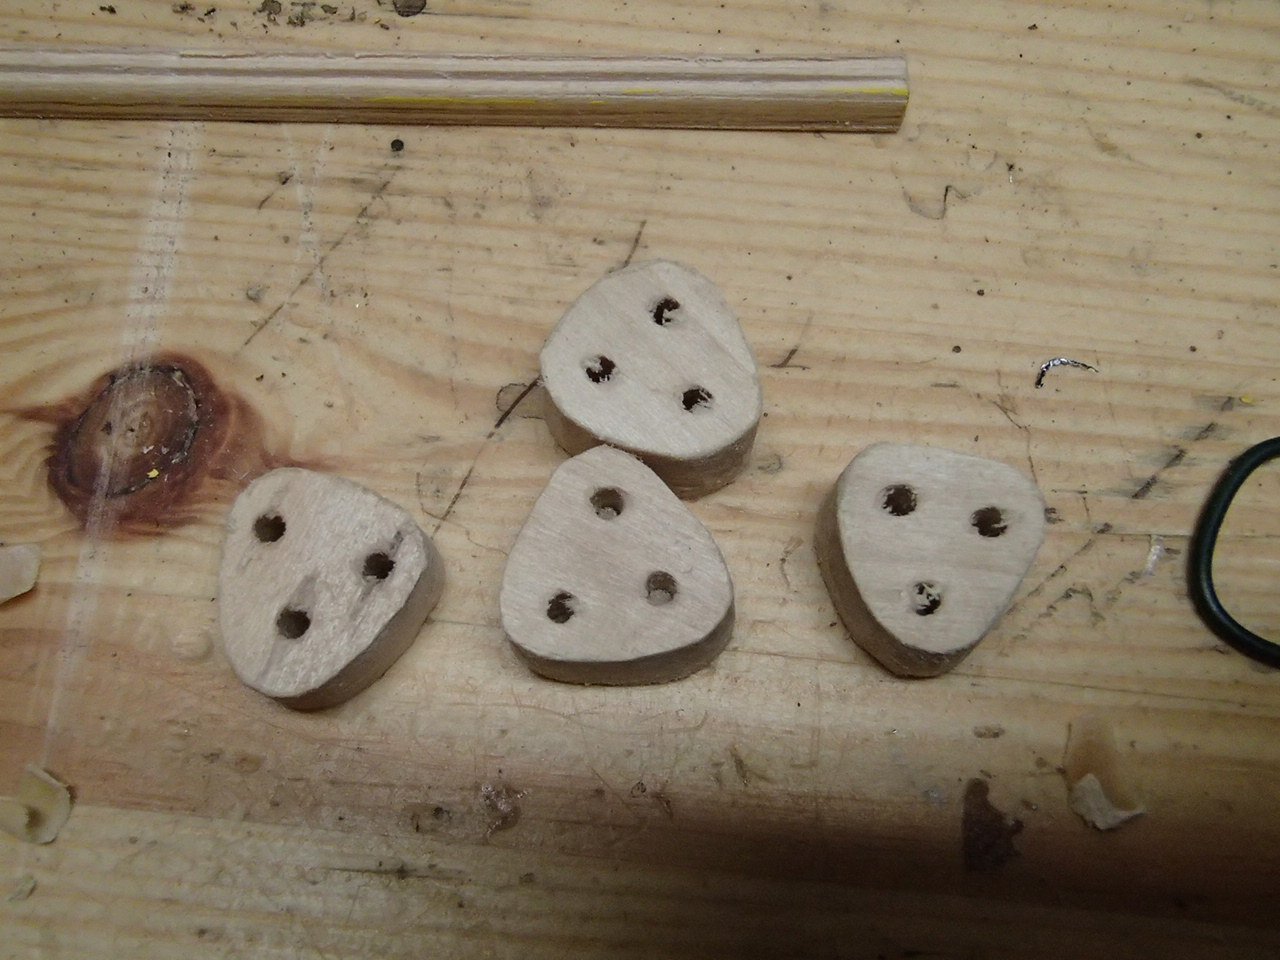
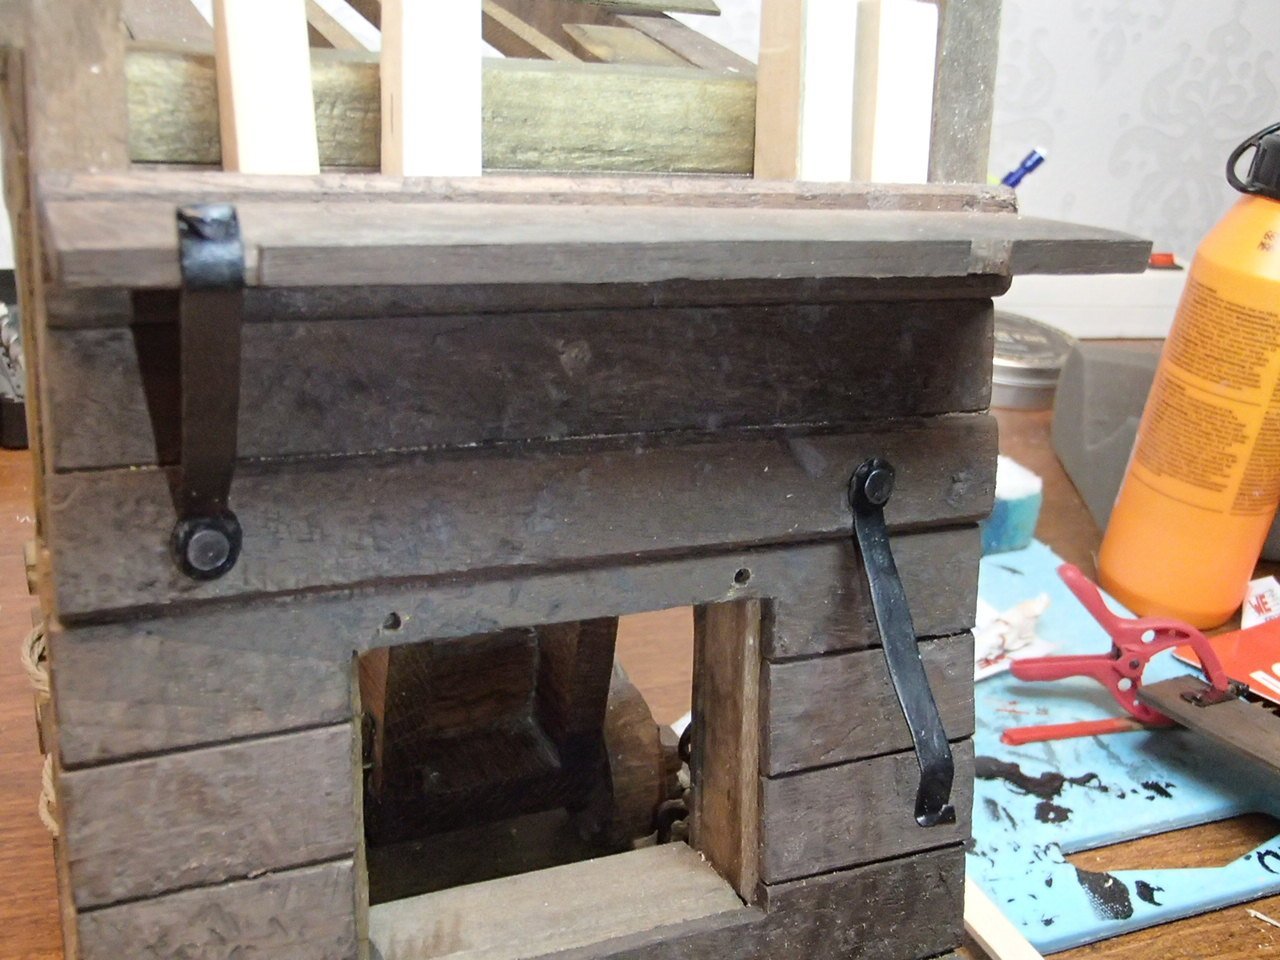
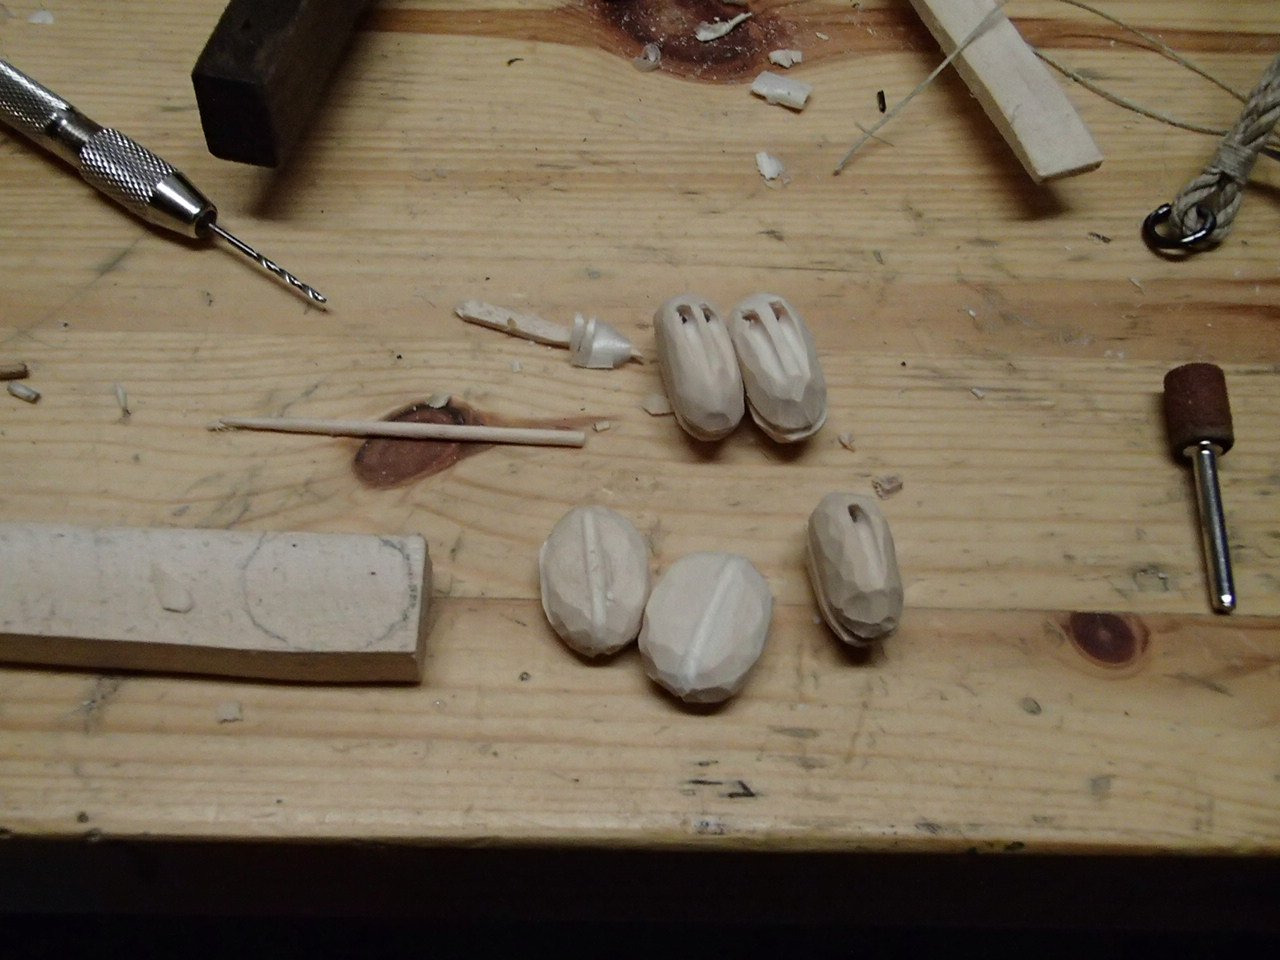
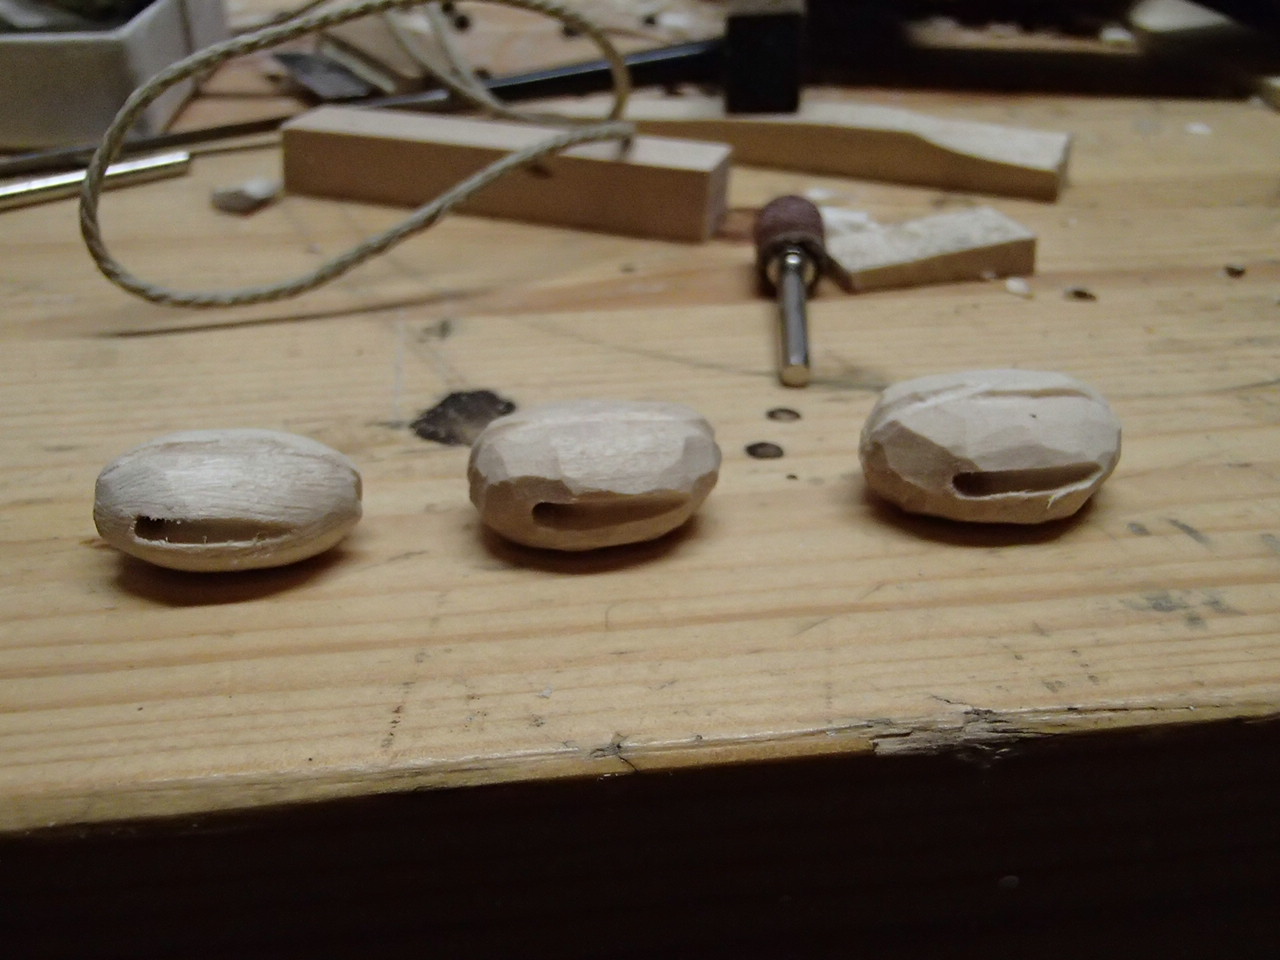
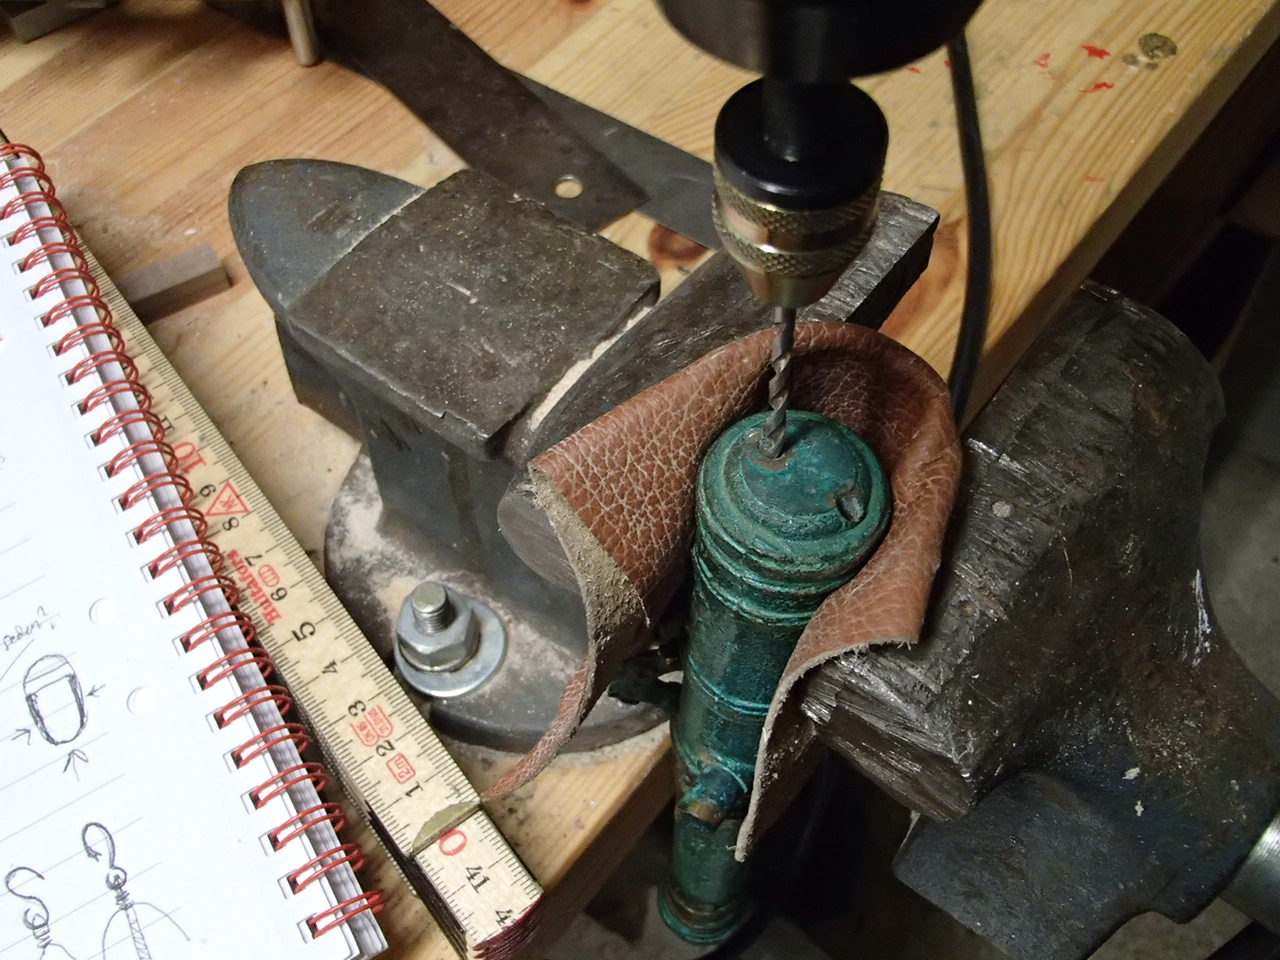
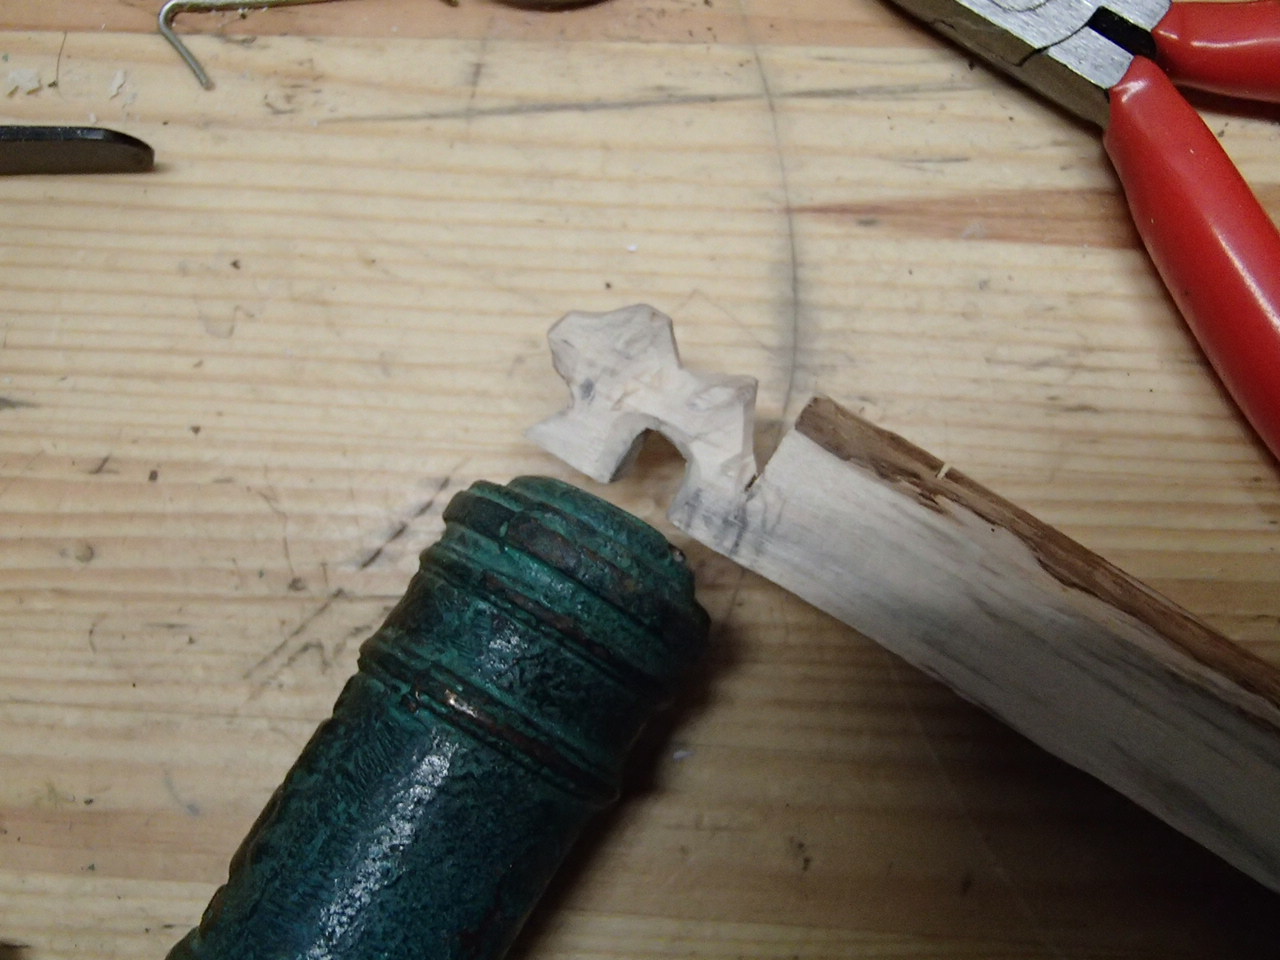
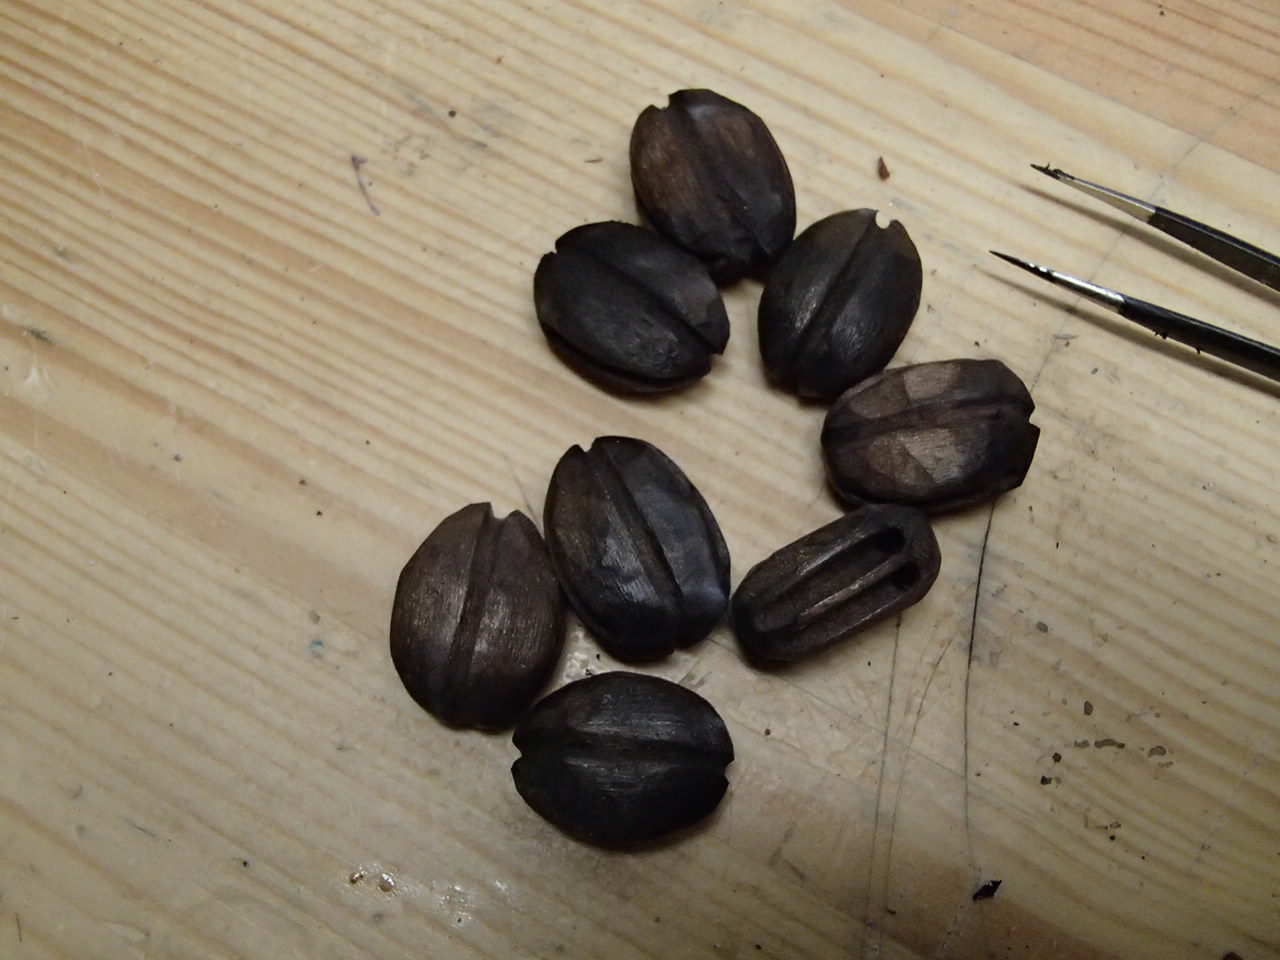
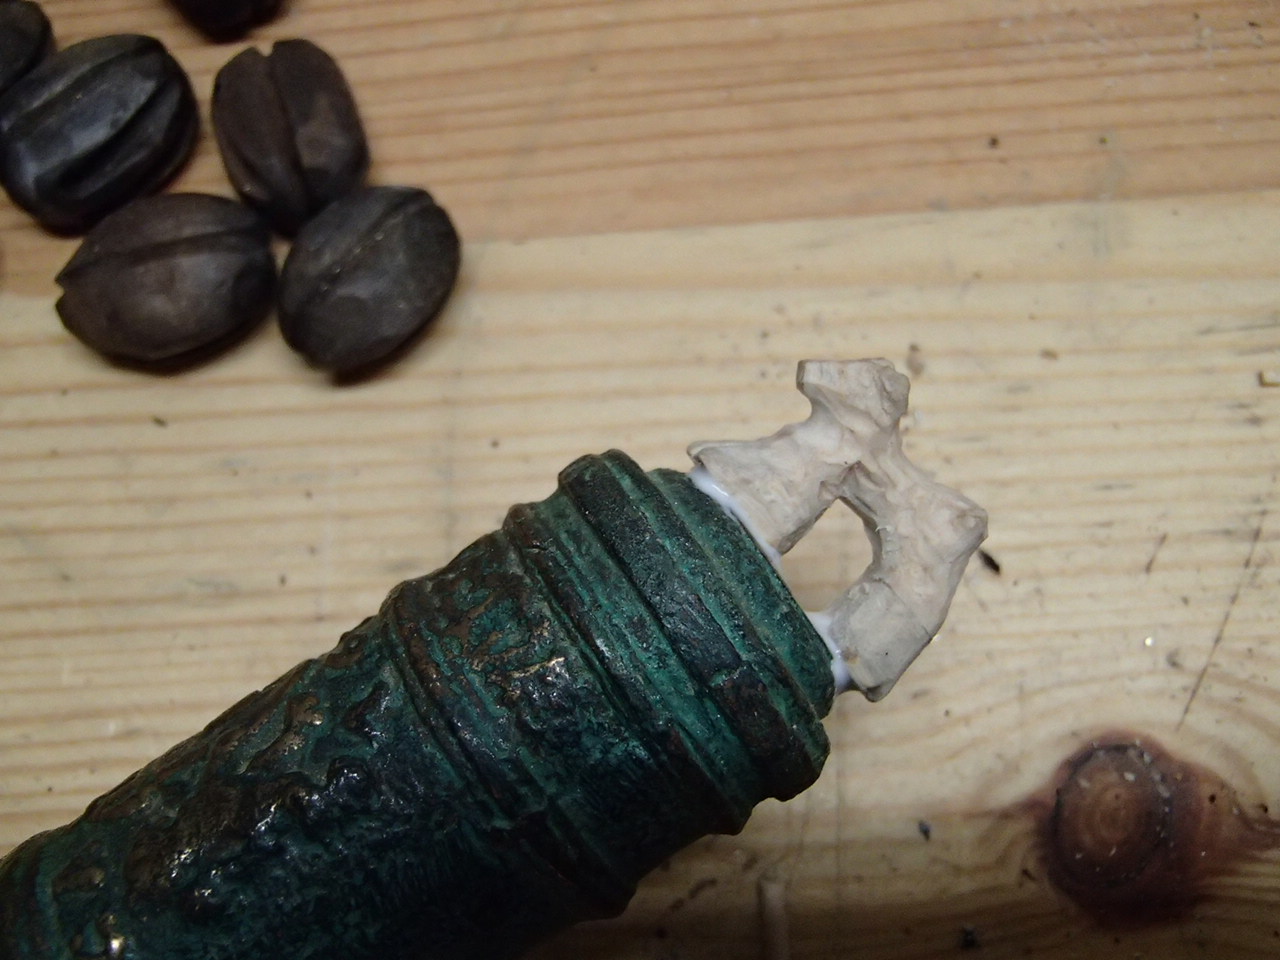
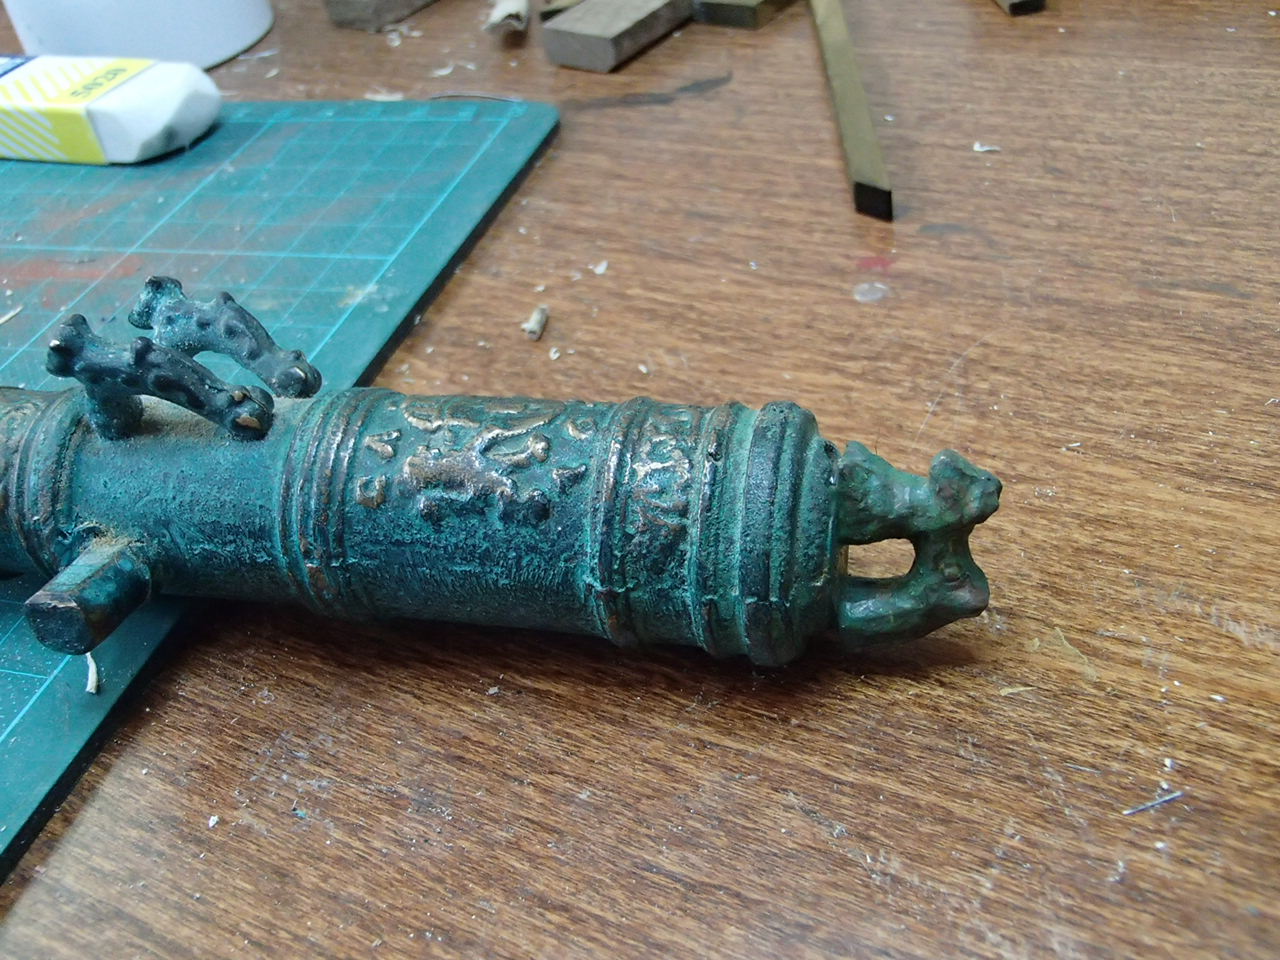
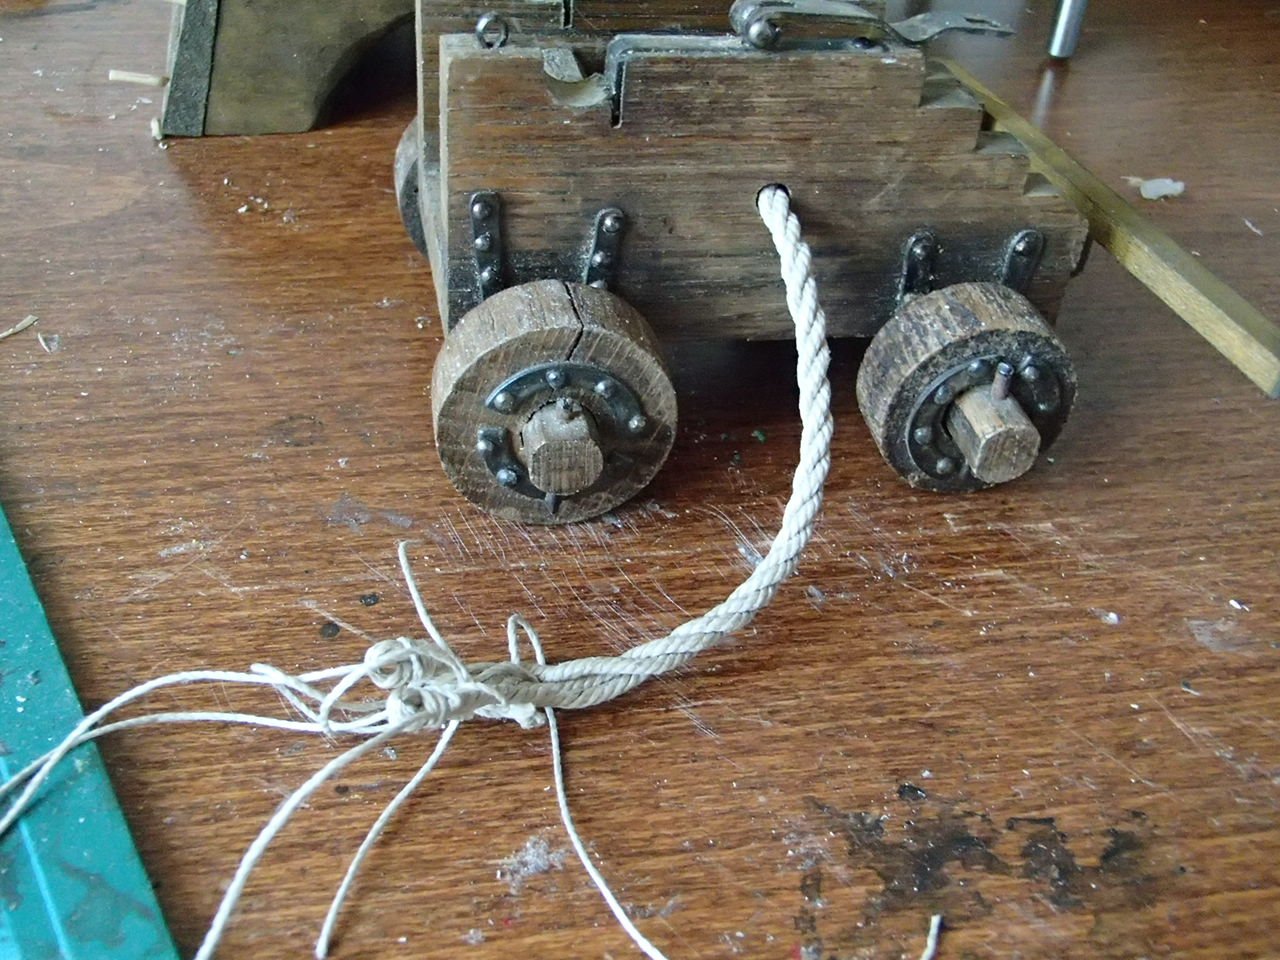
Thanks Michael, no i have no plans for the details around the ballistics but some tools and such would be nice. I have been working with the ropes and blocks - was trying the get the right size - but the rope making got mostly frustrating. I decides to reduce one that I had bought but found out (the hard way) it was twisted counterclockwise compared to clockwise as in all videos I have seen. Made the 8 blocks and then reduced them in size. Saw some page here on msd about the hooks - four are of "S" and four of "E" type:: I will make 4 double blocks with short attached hook. And then 4 single blocks with longer rope attached. The trolley needed a plate on each side for the ropes: The cannon was missing the end piece - some sort of animal with its front legs around the "ignition hole". I made it out of wood. It will be fragile but I will do. --- Of course i dropped the wooded stick on the floor and the hole thing broke! Only the animals poor back legs was left on the stick. Well I think I glued it back alright .


-
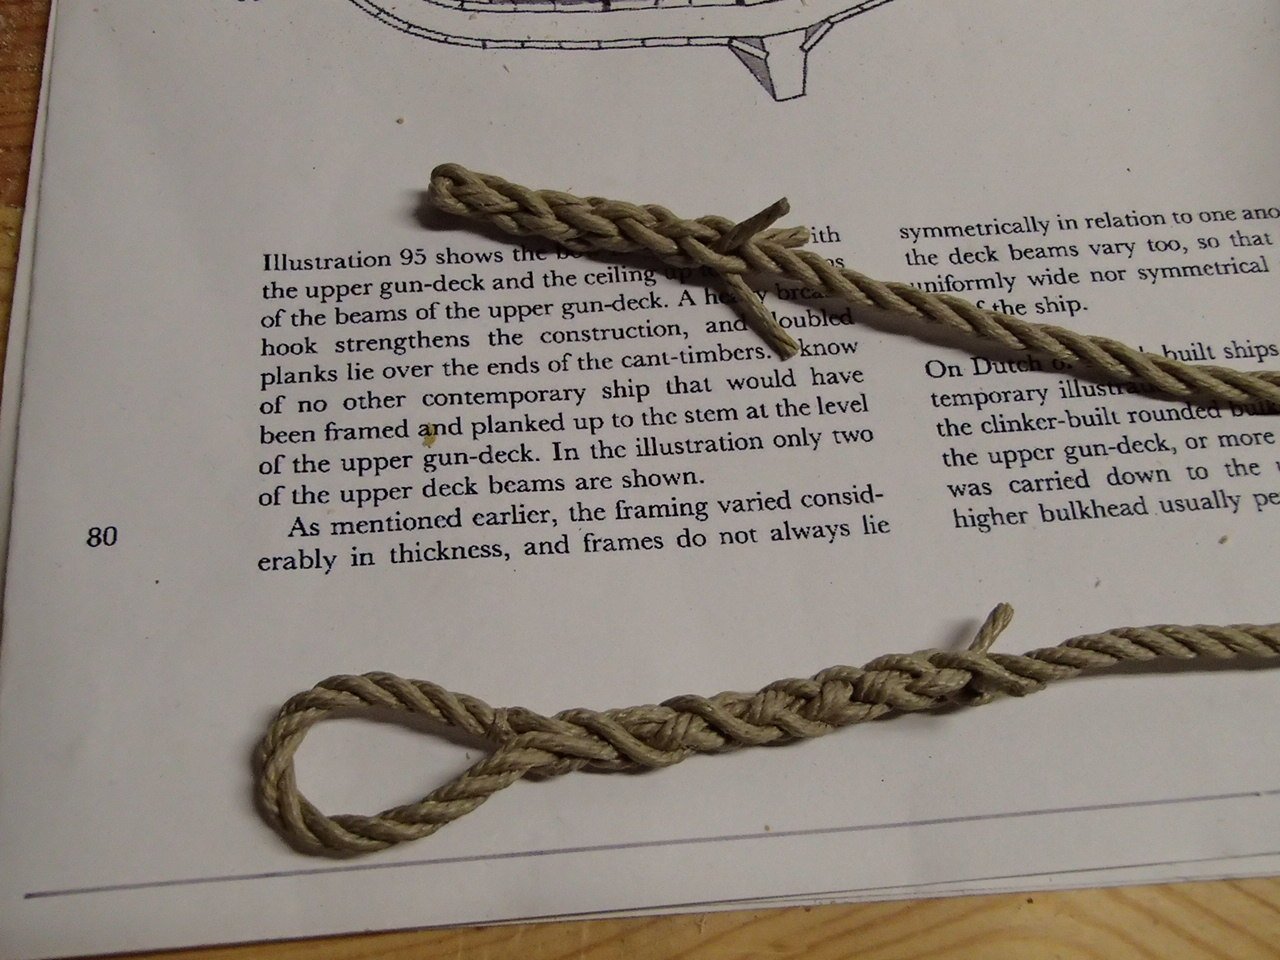
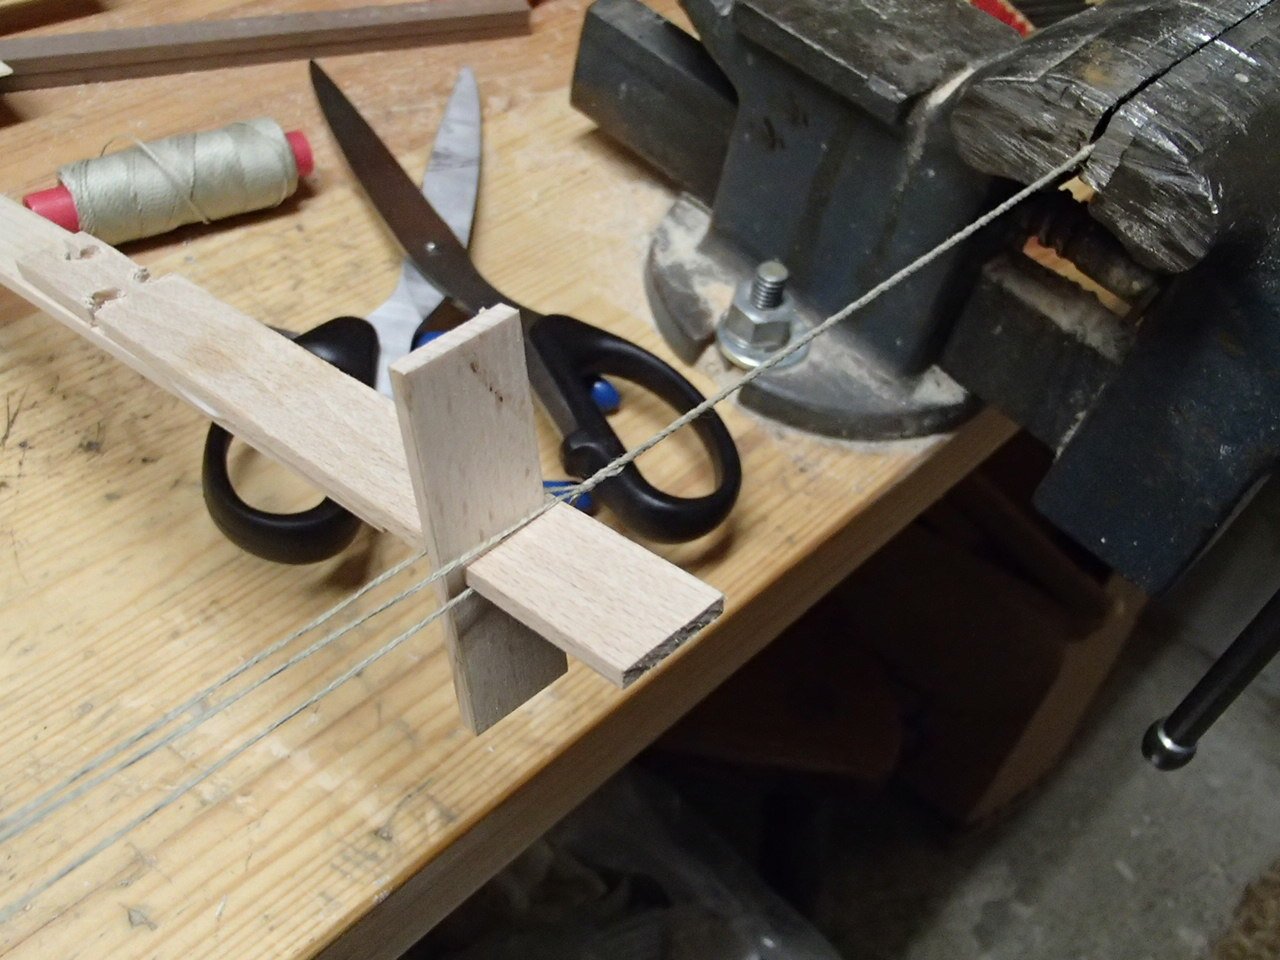
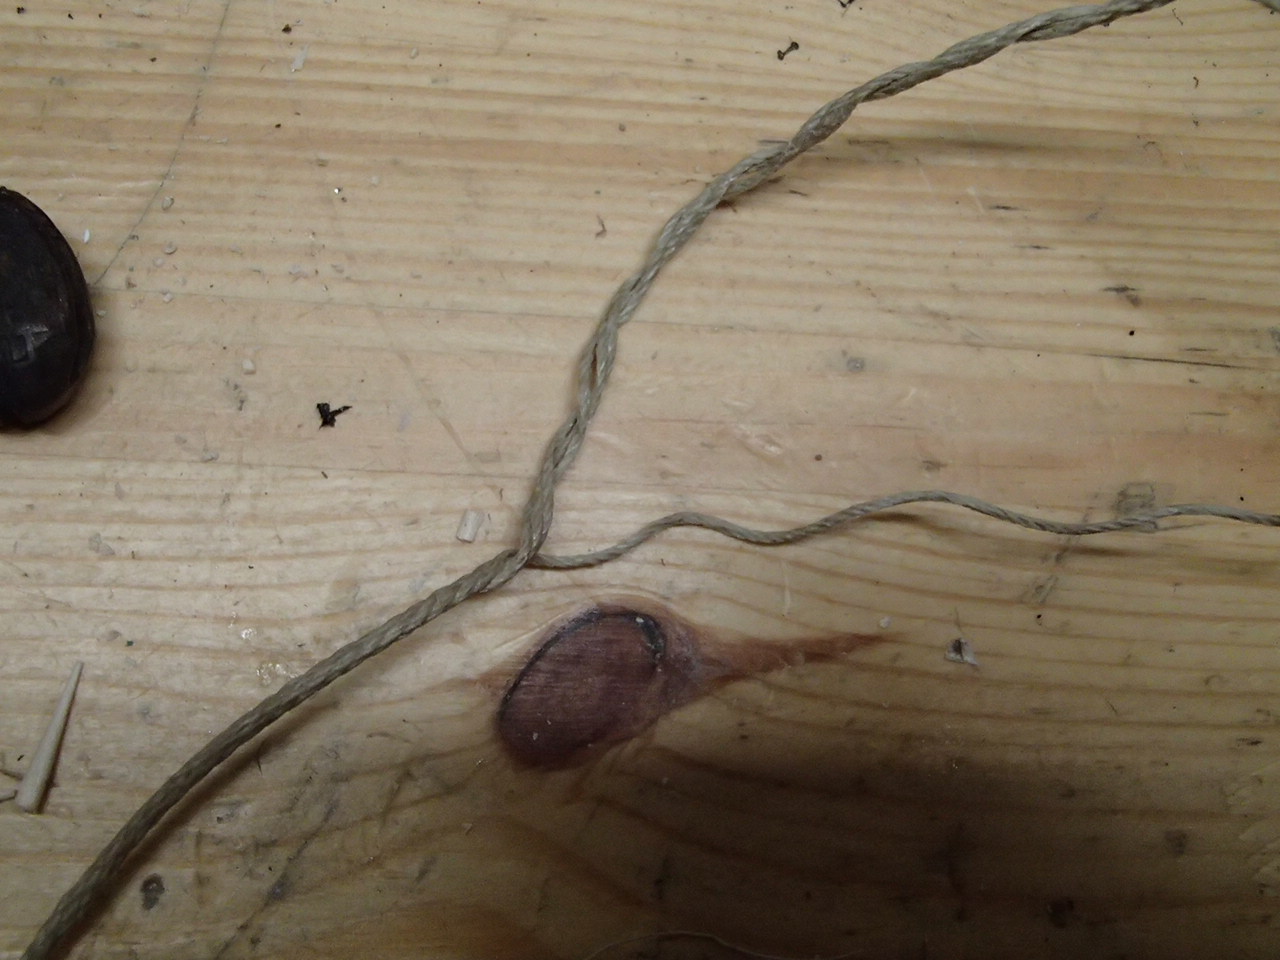
Some new pictures: I will need a thick rope and some thinner with the blocks. Three twisted fits the cannon trolley hole. Now I need to make a longer one.
-
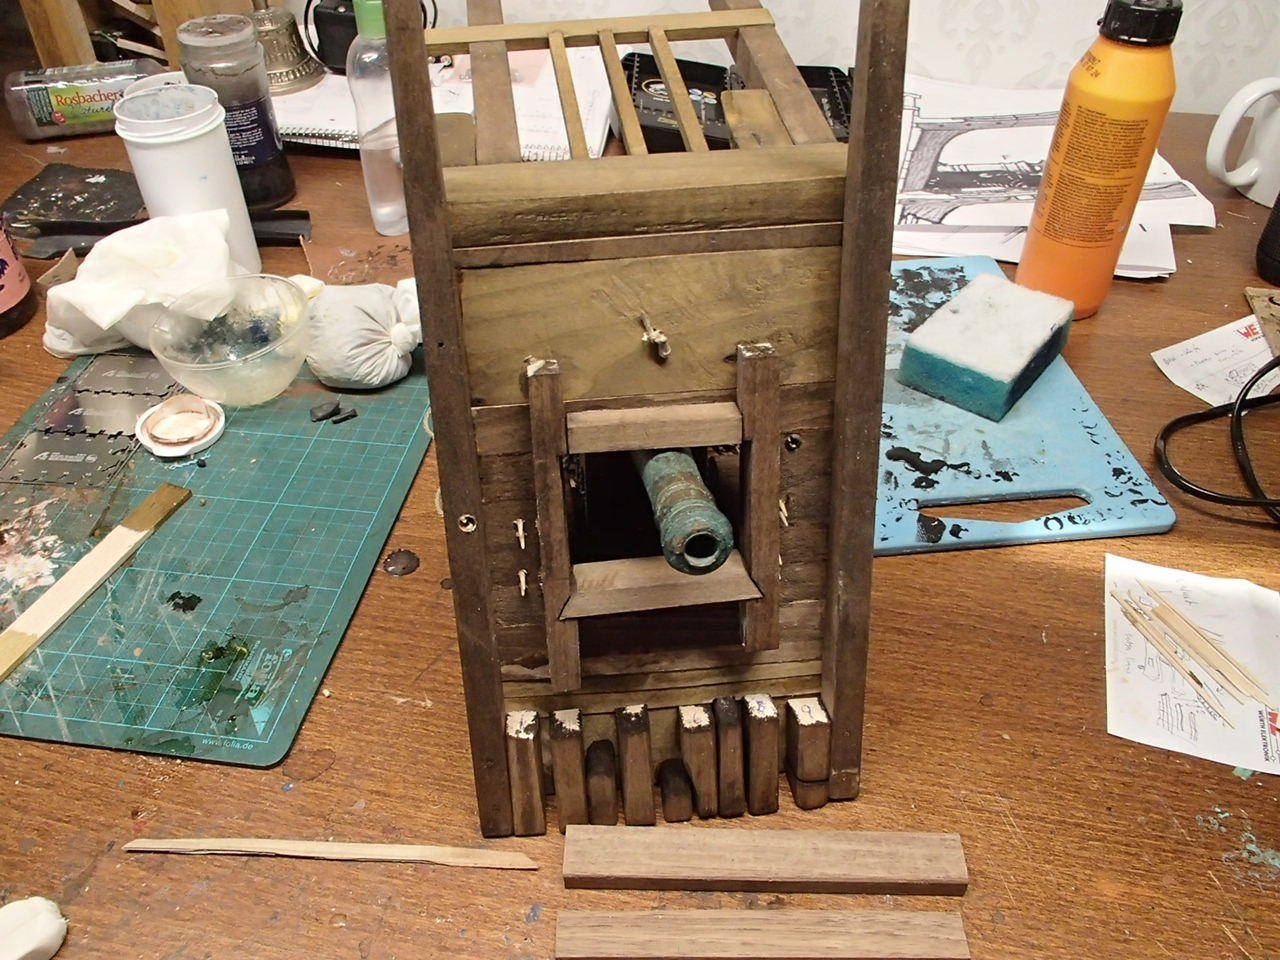
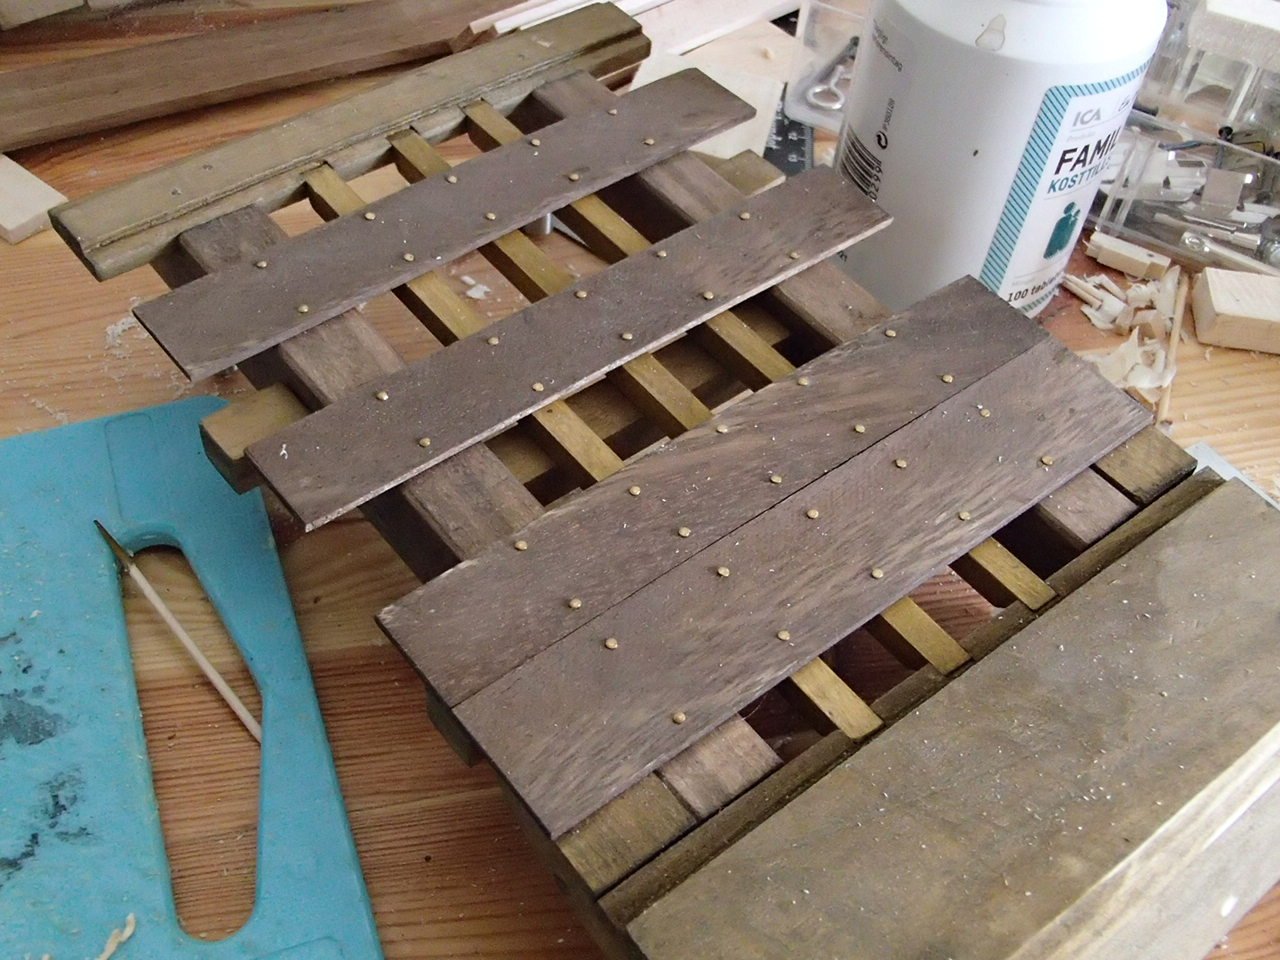
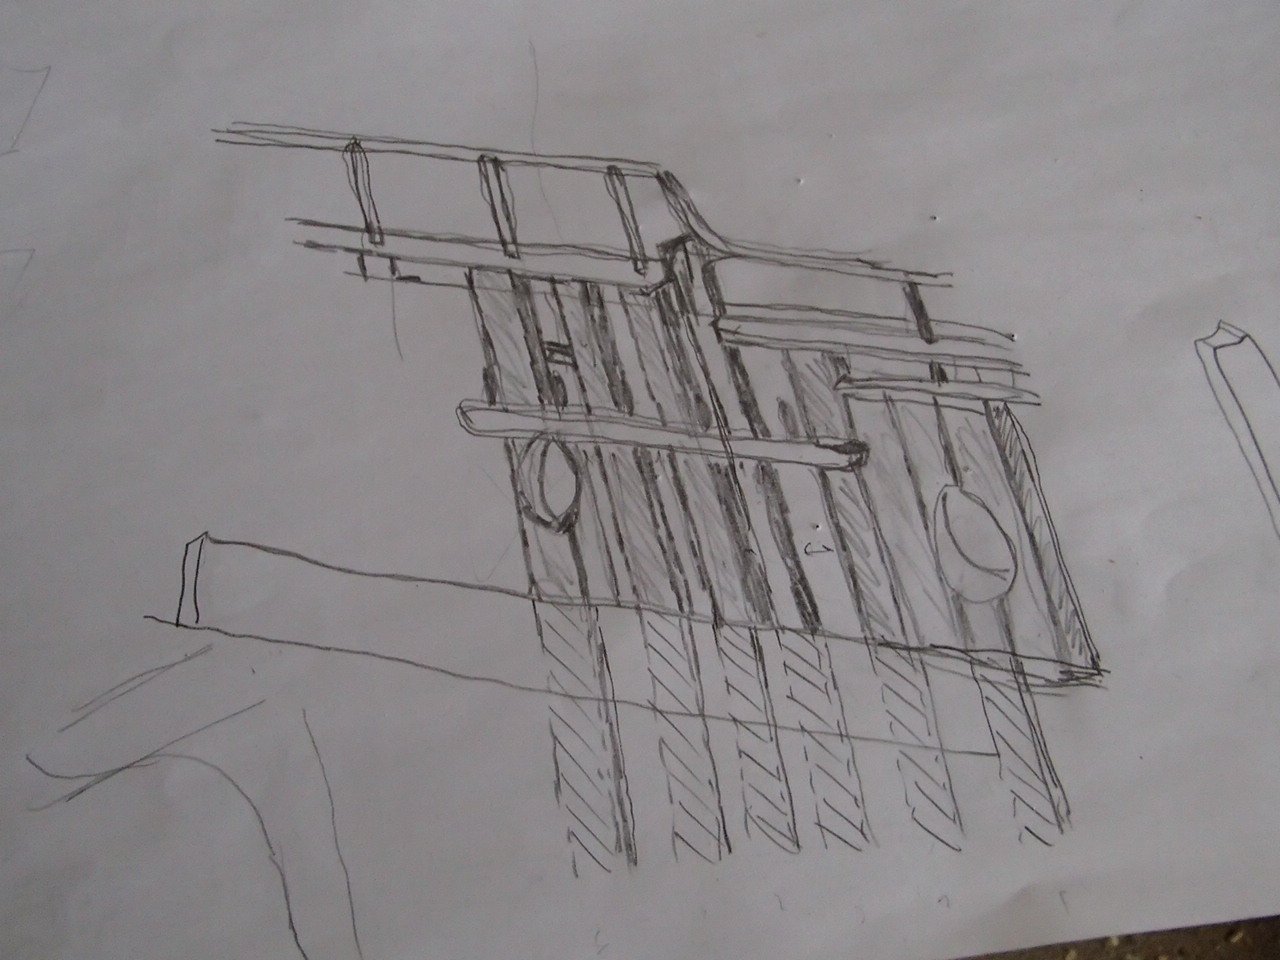
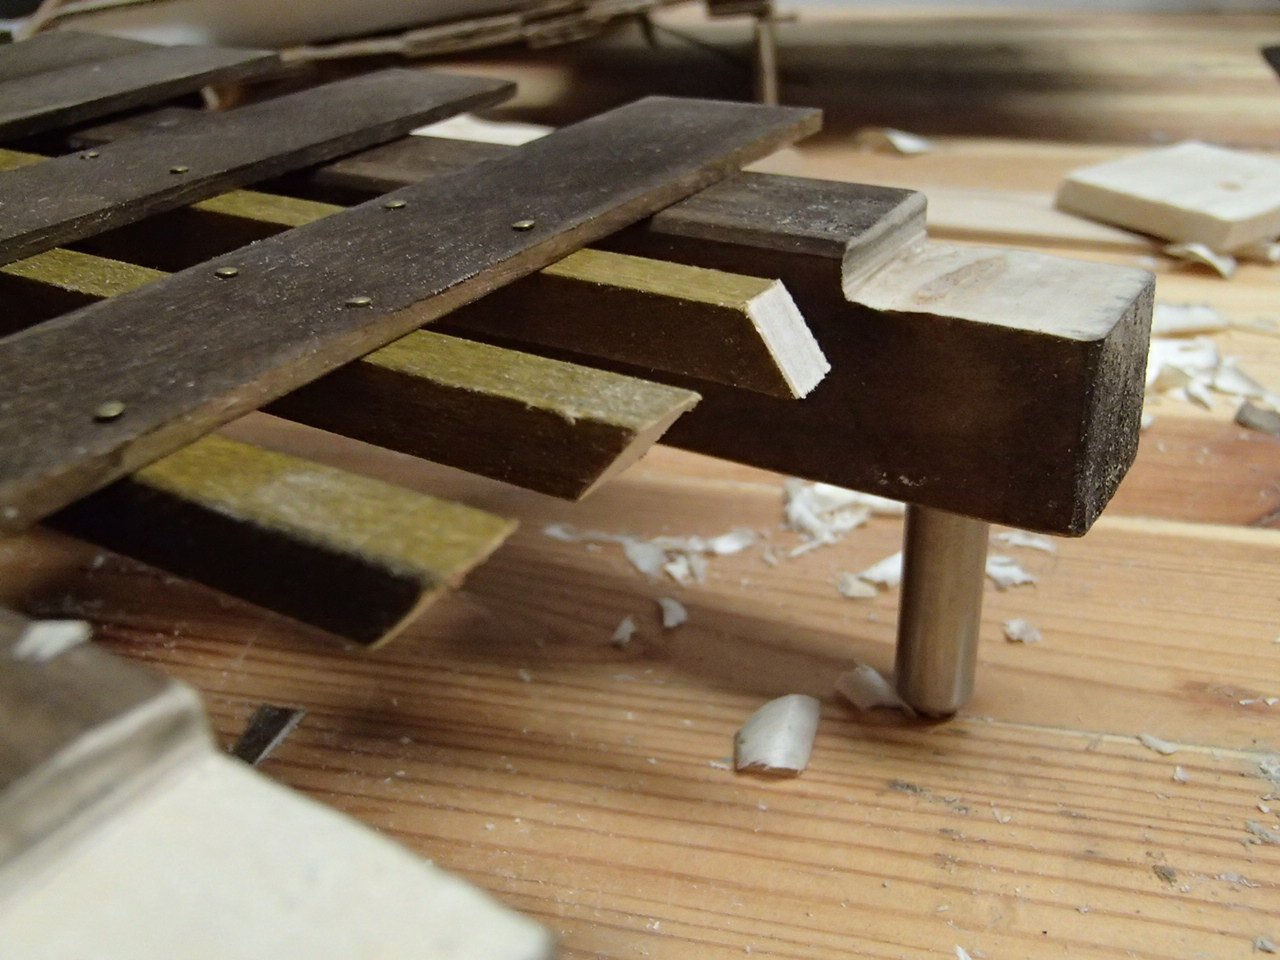
Hi, some new updates: Final gun deck. Some planks not mounted to show whats beneath. I will have fake vertical bars and after looking in the Backer linked Wasa dream pictures I decided to show a bit of the lower part and diversify the bars a bit. I will also show the upper sides of the bars sticking up above the weather deck. I think I will only have one of the cannon holes on upper deck - not both. I will solder them and paint them black.
-
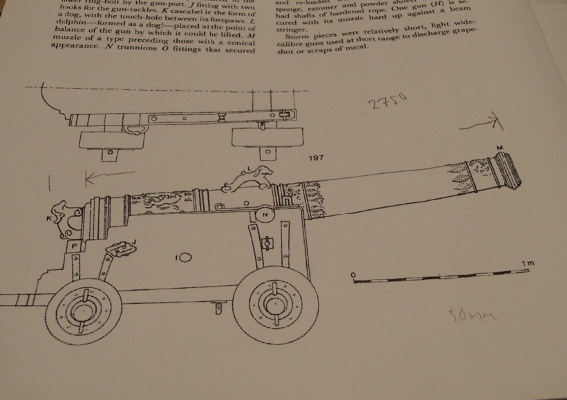
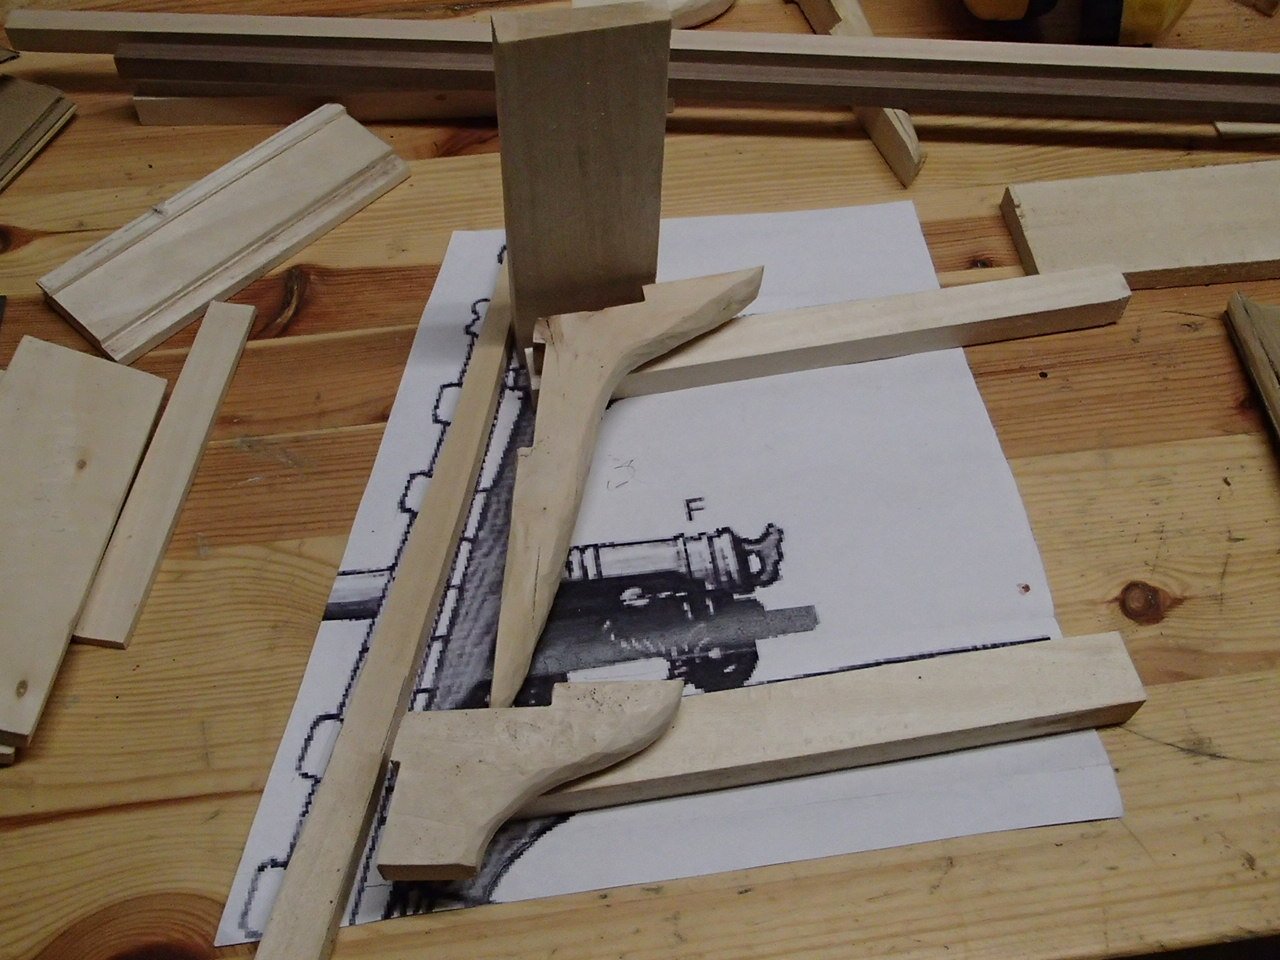
Hi, I found this page about making cannons for the Wasa museum 1:10 ship. Cannons It fits what Michael suggests, main artillery of 24 pounds guns (48 in all) whereas some heavy 4m (I guess for bottom gun deck) and a shorter (3m) light version for upper gun deck. On upper weather deck there was some 1 pound falconers (<1m), some 3 pound culverins (3m) and 6 Howitzers [stormstycken] of caliber 20, 42 and 82 pounds (1.7m, 2m and 2.7m length). Swedish war ships 1600-1649 Ooops!
-
Regarding were I found the gun: I found it in my parents garage - like the "pickers" on Discovery channel. I have an idea of making one more gun out of clay for the main deck. I put some oak stain on the bright wood and tried to get a different nuance on the horizontal bars. I will have some planking on the "floor" put gaps so the structure underneath is visible. had problem getting the right angles on this part - in the lower picture. The vertical beams are a little convex.
-
Wow, that was a fine collection of pictures. I will need them. Thanks!
-
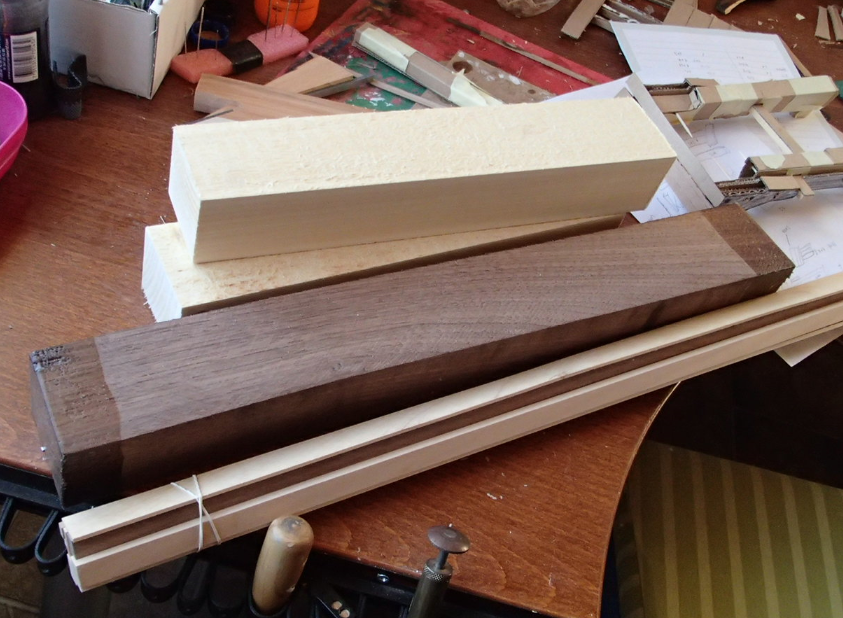
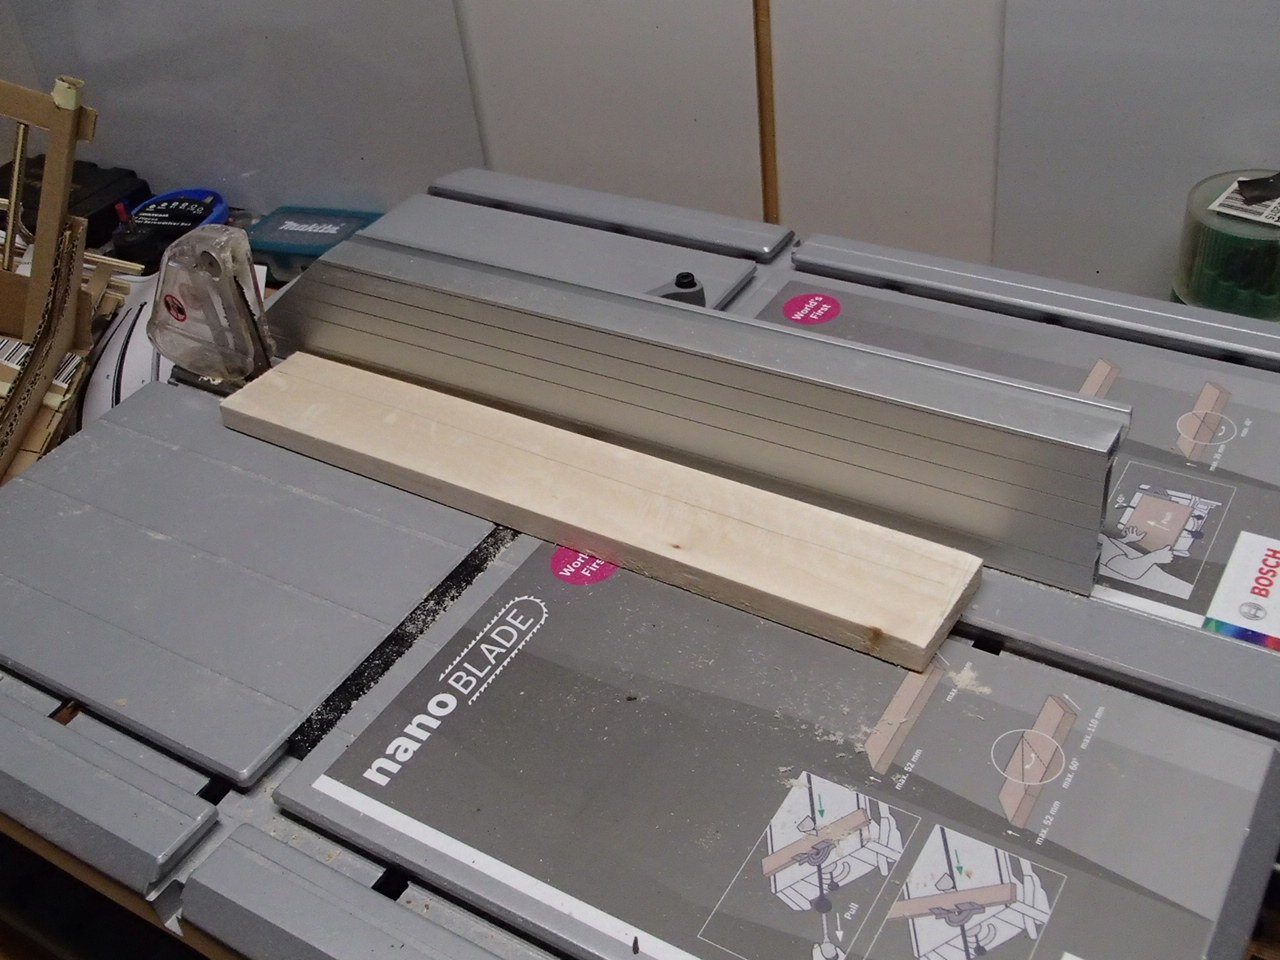
You are so right, It keep coming saw dust every were even when using the vacuum cleaner insert connected to the saw. The saw was nice but on the small-side for the Walnut - it so much nicer to use the Japanise hand saw - and the mini carpenter's plane I have.
-
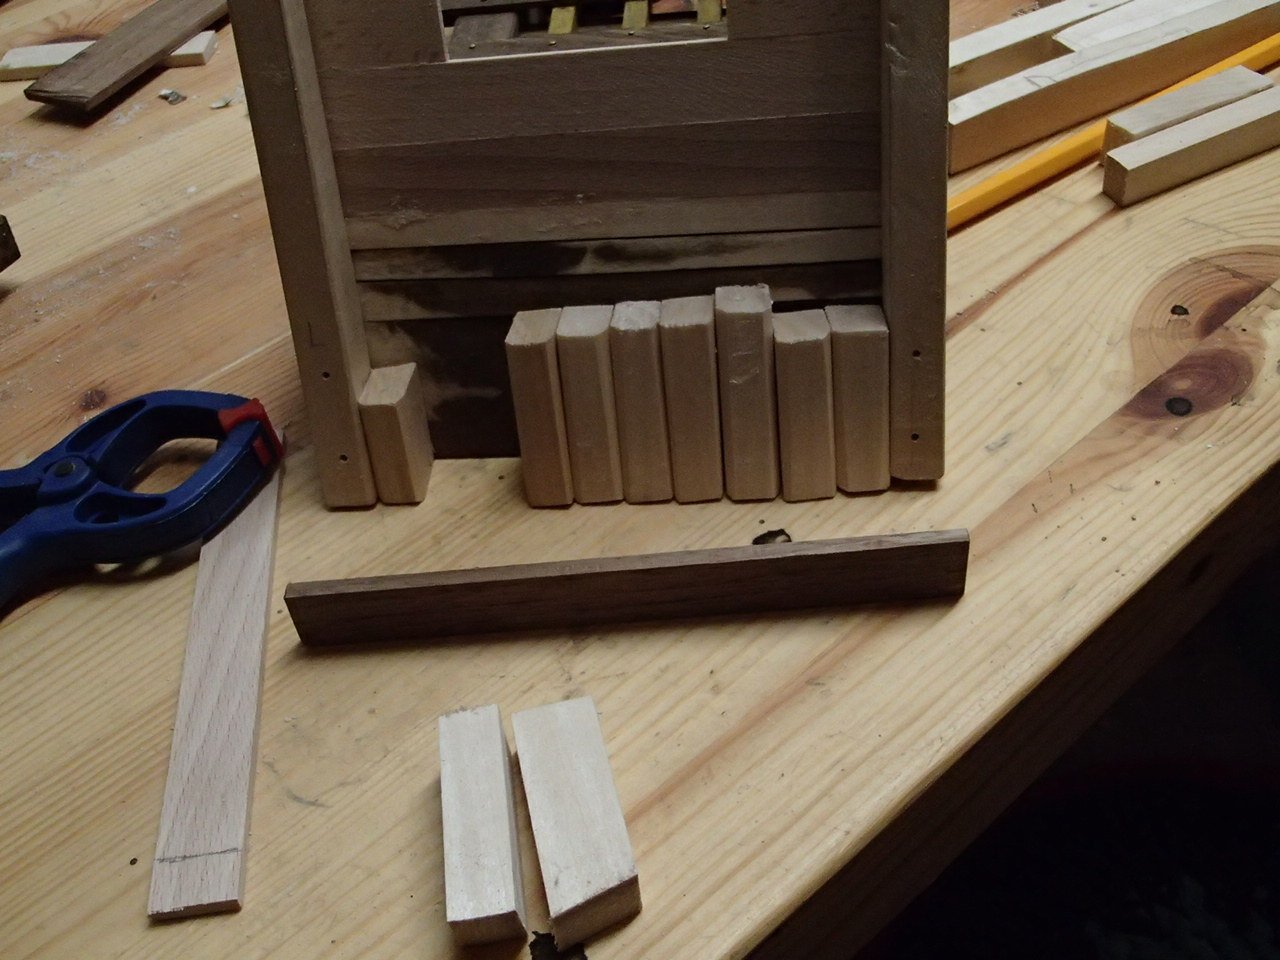
Hi, slow progress but some new: I found some fresh wood that I used but soon realized I had to buy some dried from store. So I bought Walnut and linden wood. And then I needed a electric saw too.. Yes, as the fresh wood got drier it got hard as (apple tree) - not so easy to cut and work with. The linden was so much easier.

-
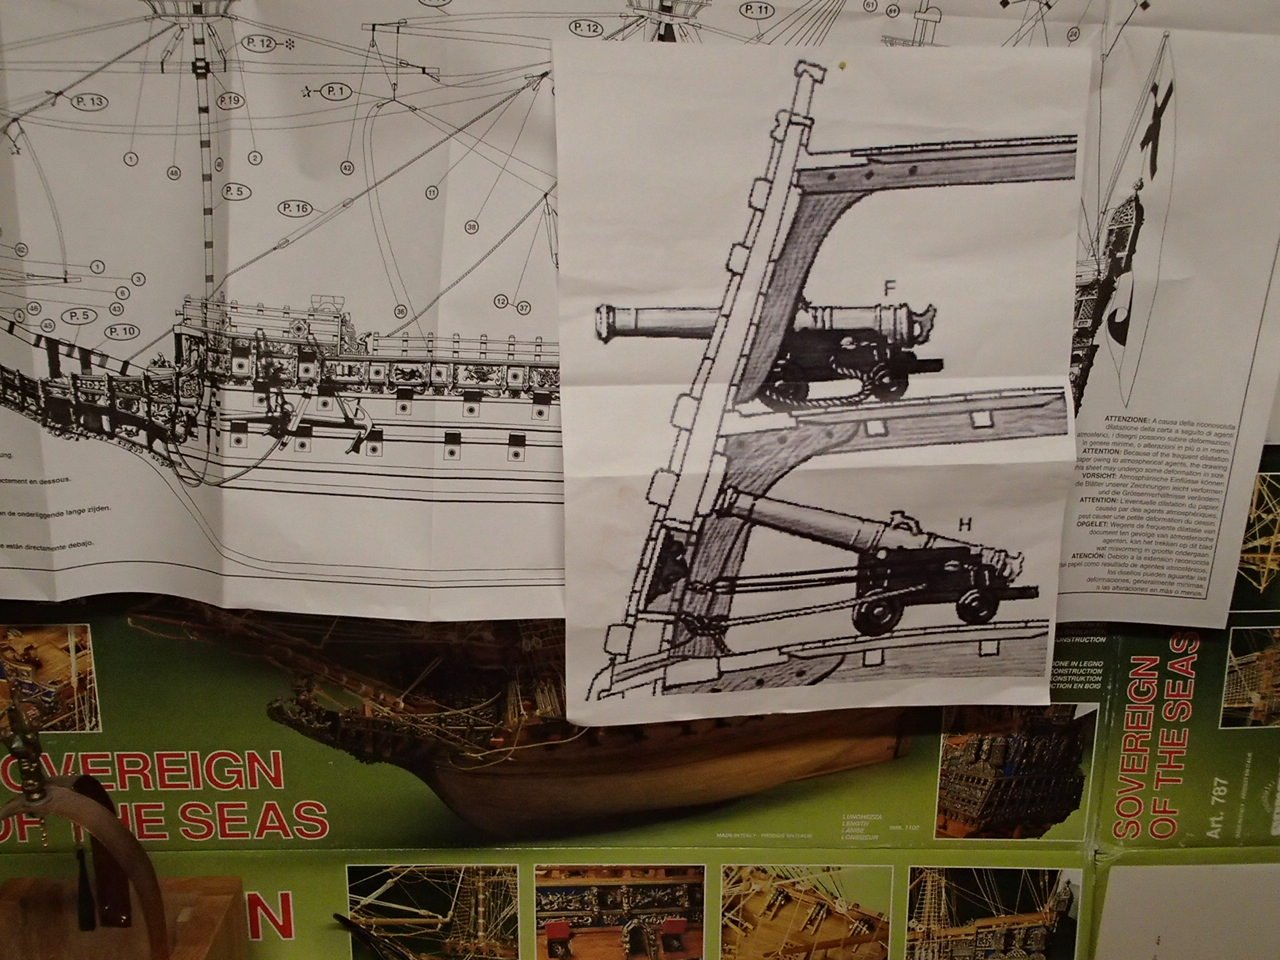
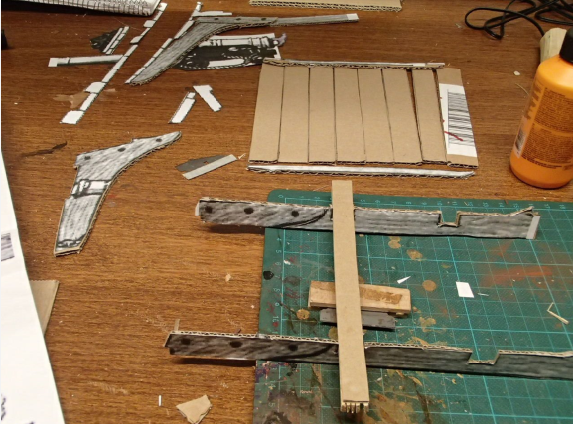
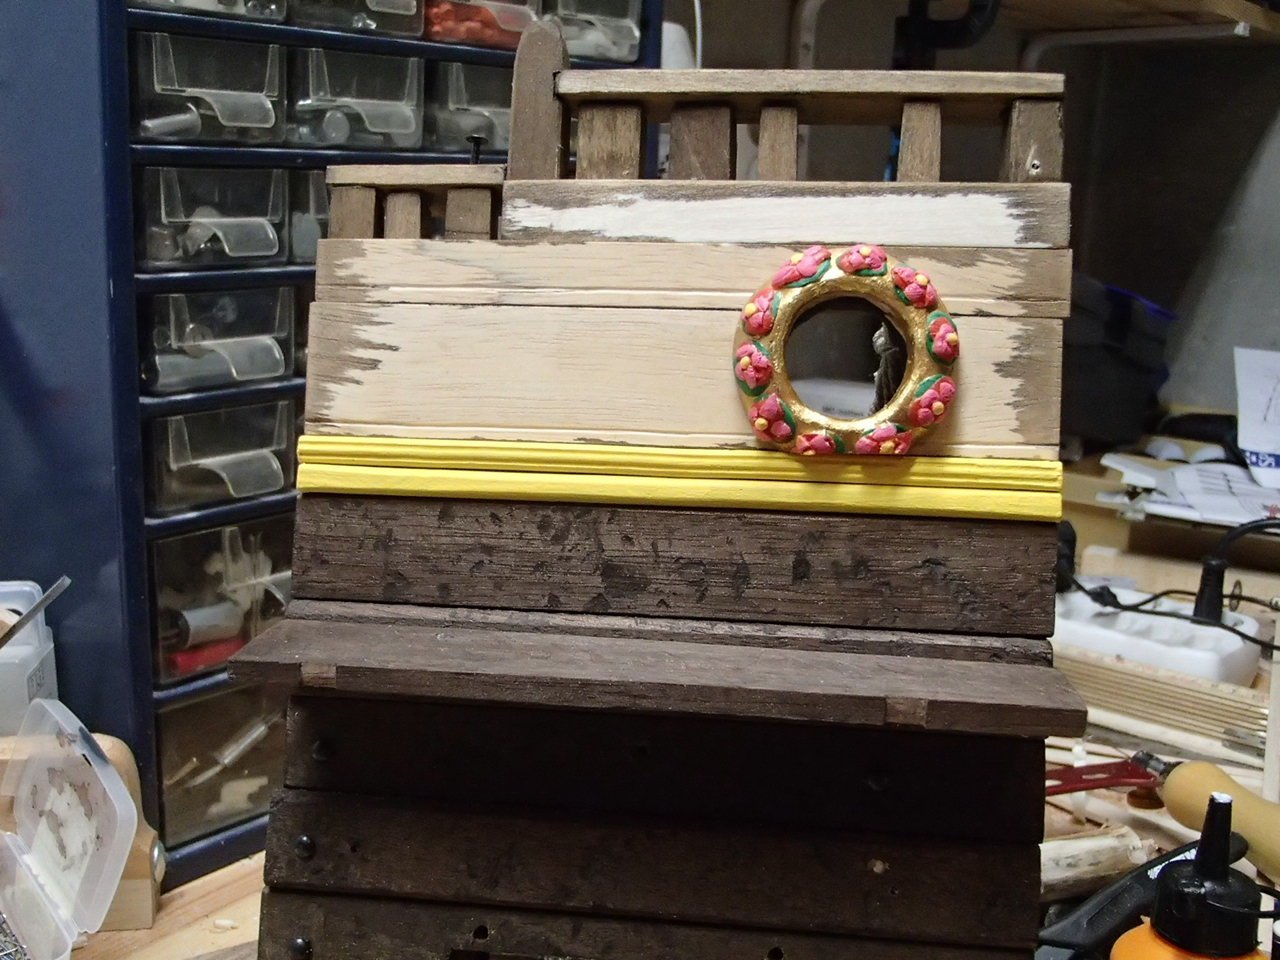
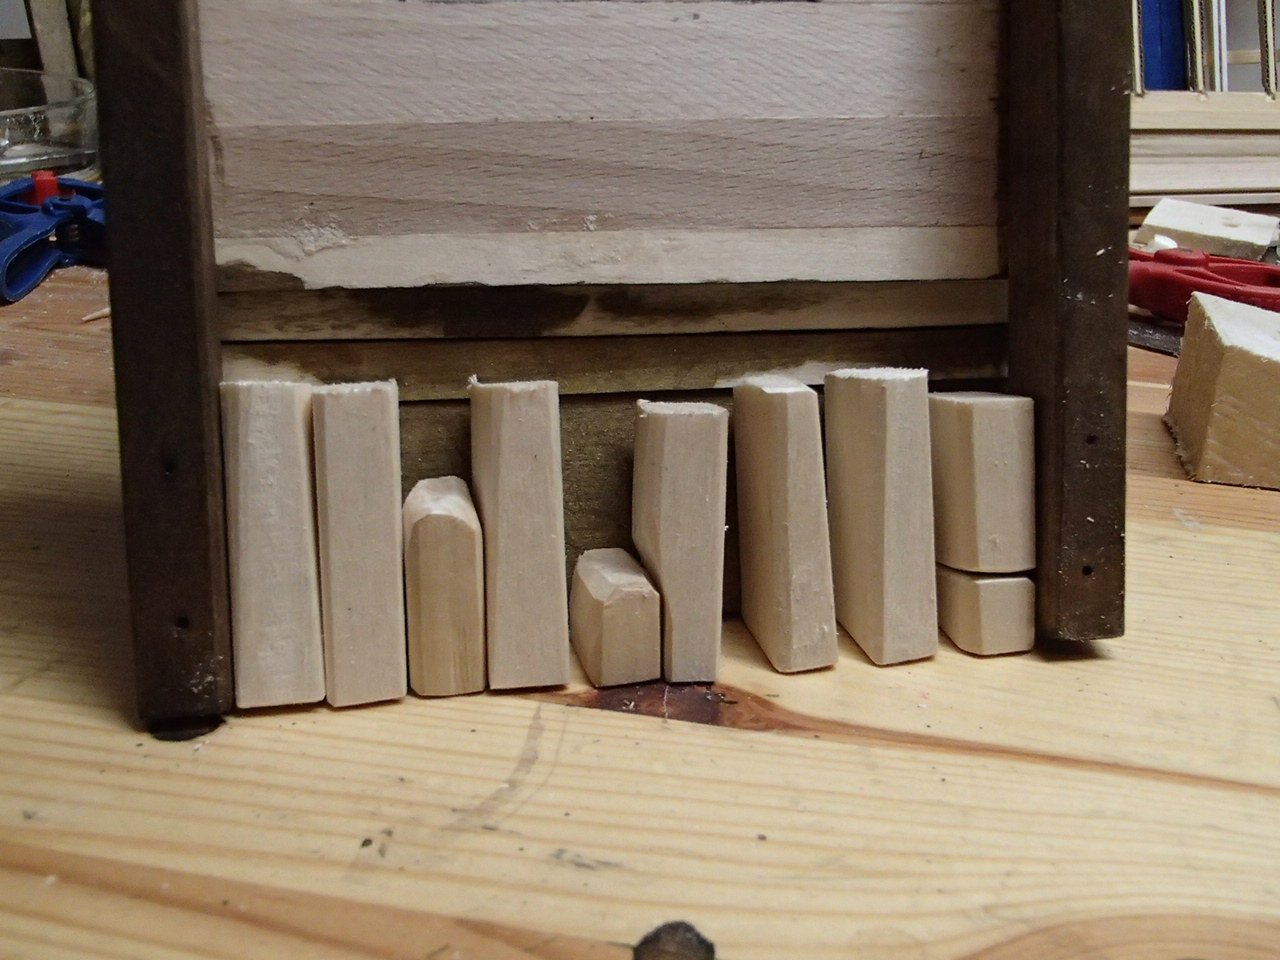
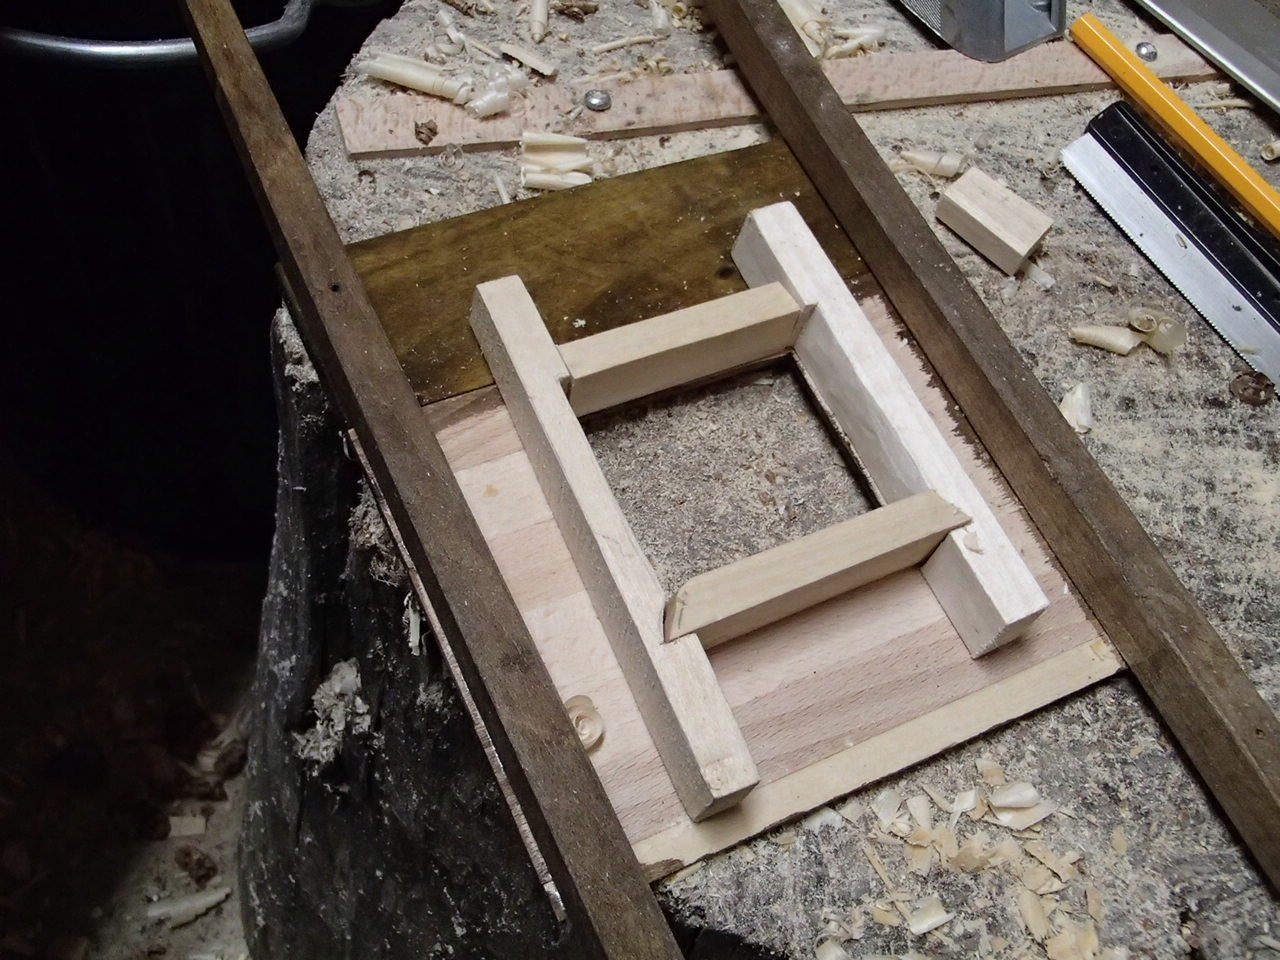
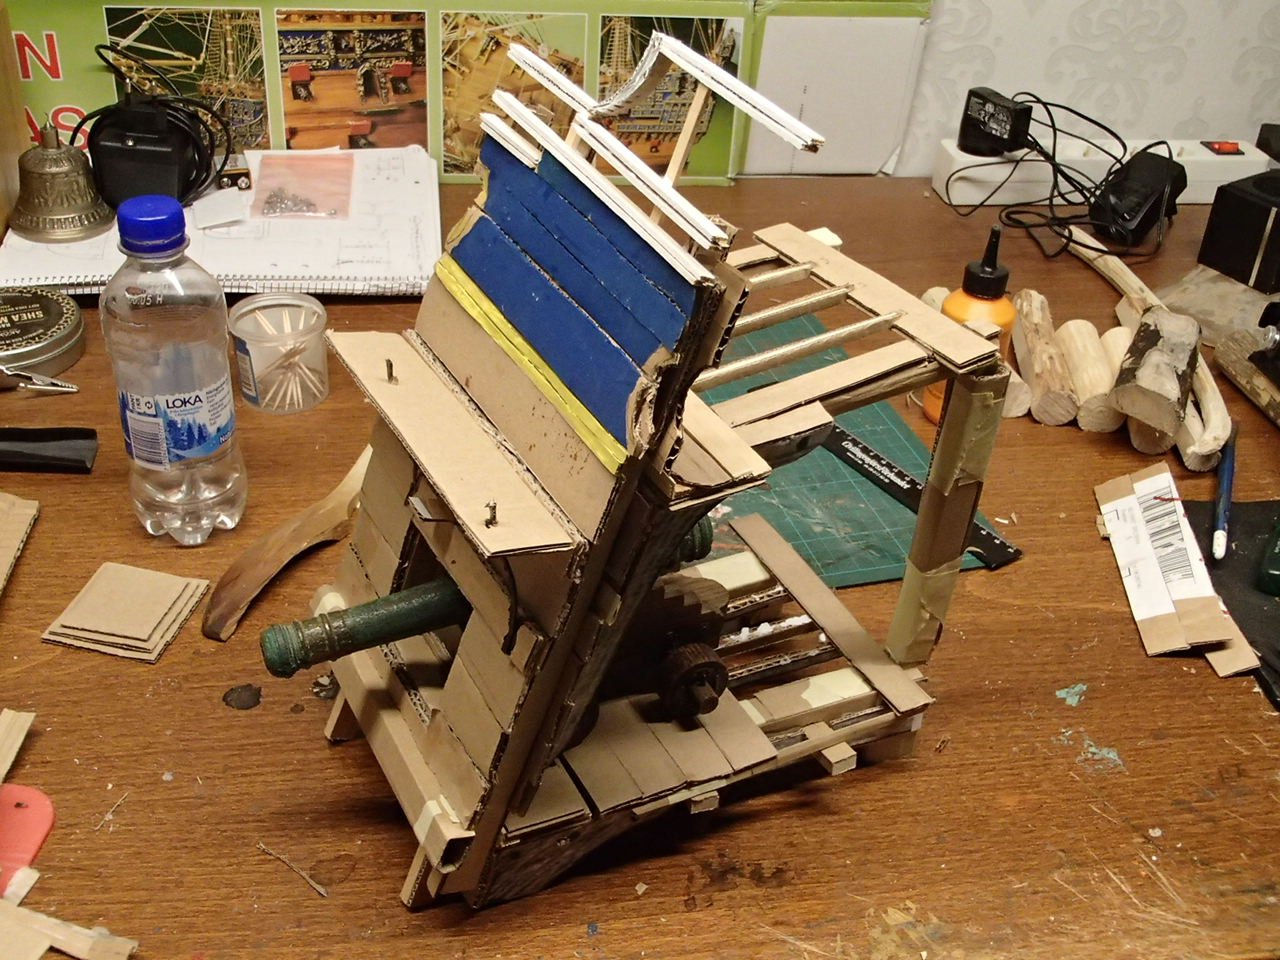
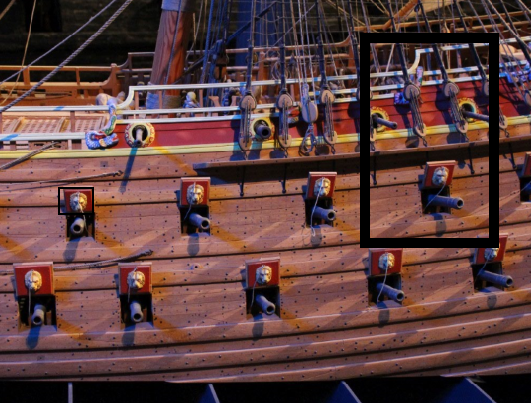
Finished the paper model and thinking about going forward with using wood. Have not yet decided the width - or keeping the deck round cannon holes or not. The section is now from the main mast area. I have found at least two kit that has a similar design - I think this was Corel: This below is not a Wasa kit but the above is, but one idea could be to skip upper cannon deck. I have run into some issues though. - The cannon (my) is a lower cannon deck type. It seems that the ship had a similar on upper cannon deck, but slightly lower. As the cannon (my) is on upper cannon deck, the cannon port gets to low. Also, as can be seen below, the cannon port on the ship (wreck) and museum model has different sizes. Some are wider and most on upper deck is more narrow than on lower deck. So I don think i will care less about the size . I could modify the cannon also but.. We will see. Here is two ports:
-
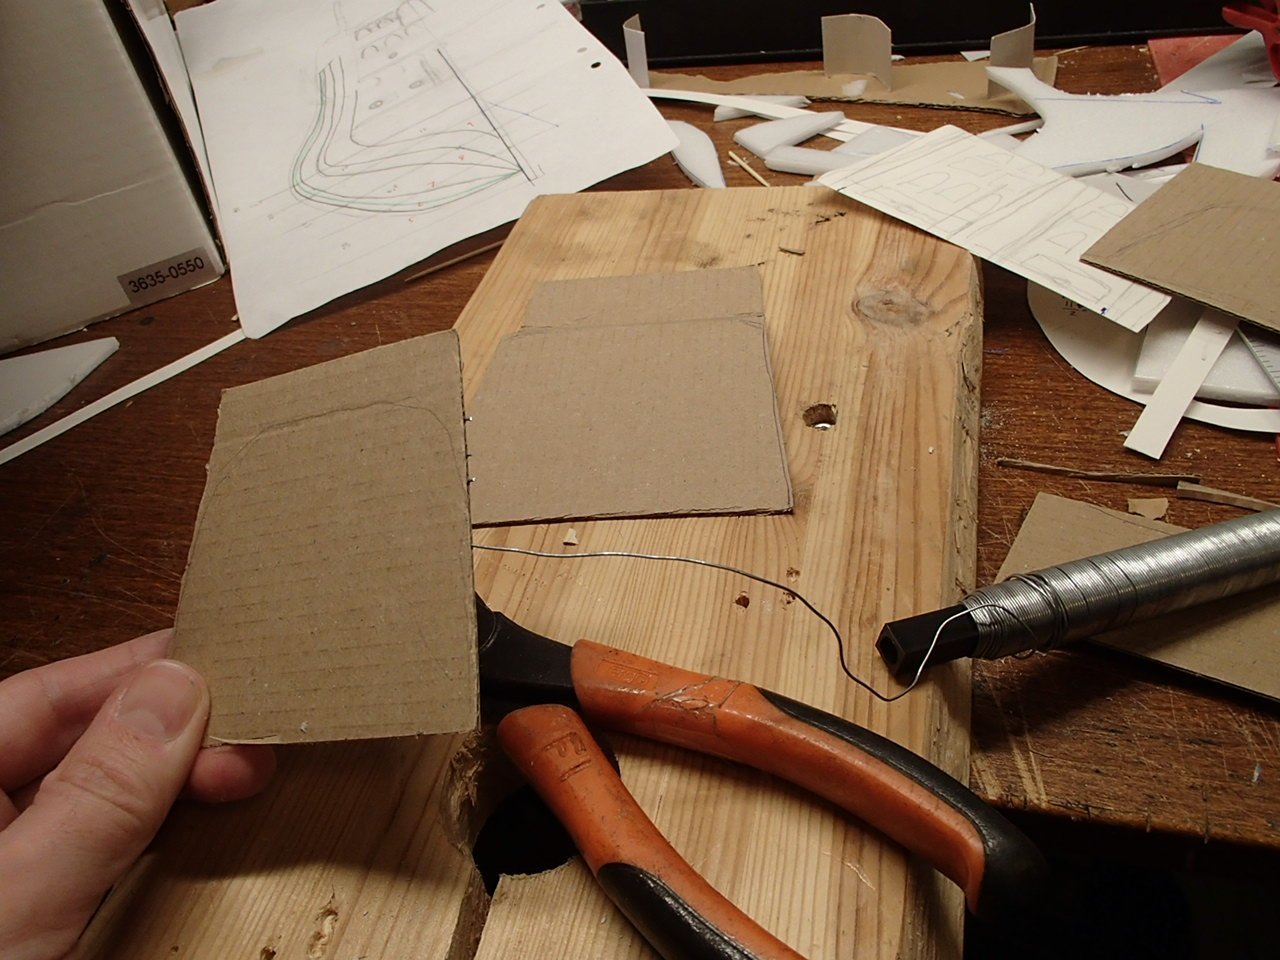
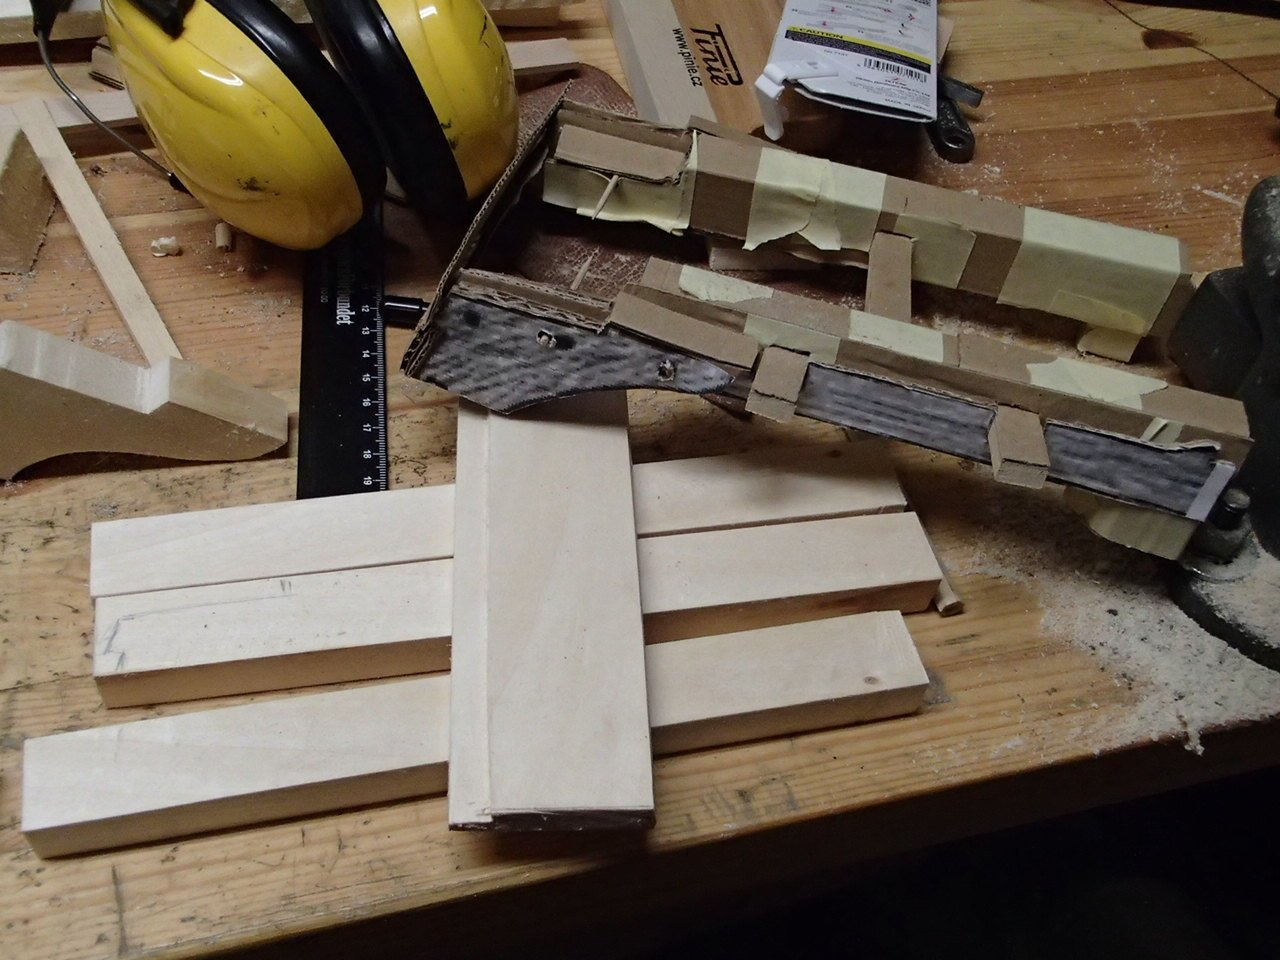
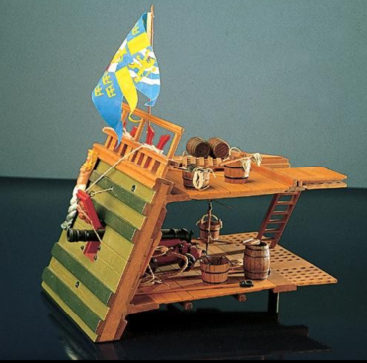
Before getting starting with the Sovereign of the seas and after finding a Wasa cannon in scale 1:15, i decided to try to build a section with a upper cannon deck port. The cannon is missing some details. I have the Wasa book with nice drawings and first I will try to do a cardboard model to get an idea of the size required and wood needed. I think it will be quite big - and heavy. I am wondering about what parts will be visible or not. I have cut some wood and dried but now I think I have to re-think the amount of wood and size of planks. I have not given up yet.