HOLIDAY DONATION DRIVE - SUPPORT MSW - DO YOUR PART TO KEEP THIS GREAT FORUM GOING! (Only 20 donations so far - C'mon guys!)
×


bosco72
-
Posts
207 -
Joined
-
Last visited
Content Type
Profiles
Forums
Gallery
Events
Everything posted by bosco72
-
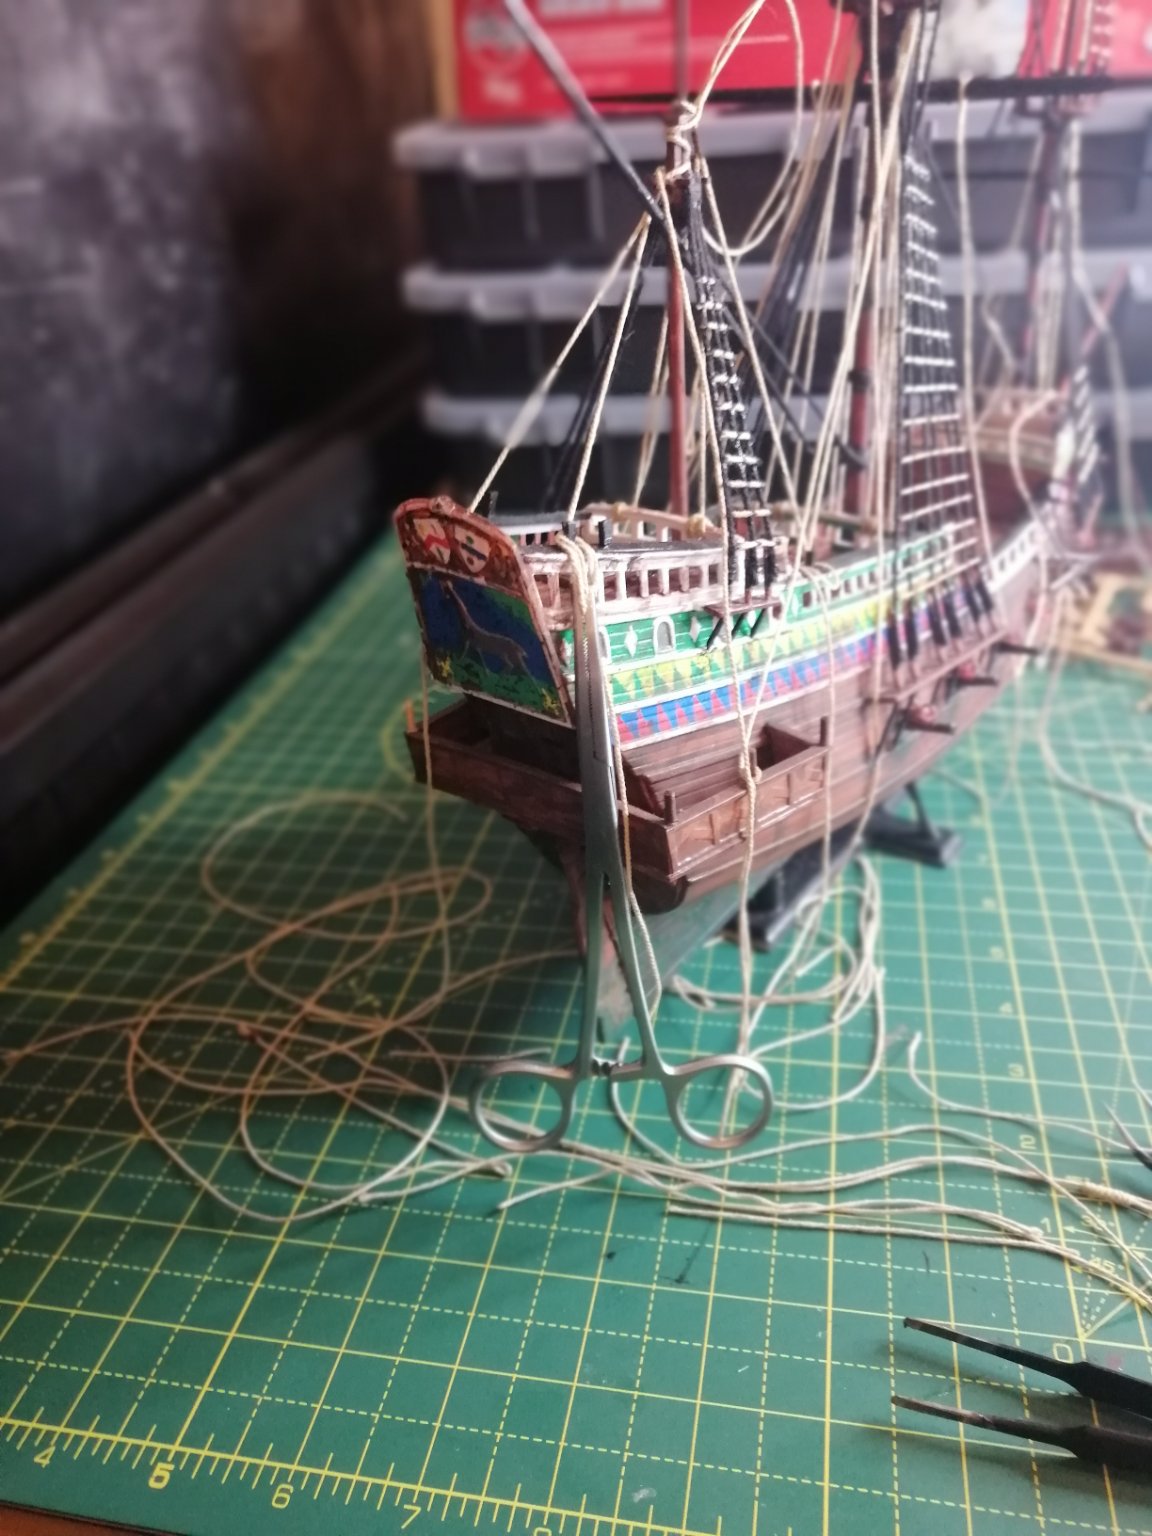
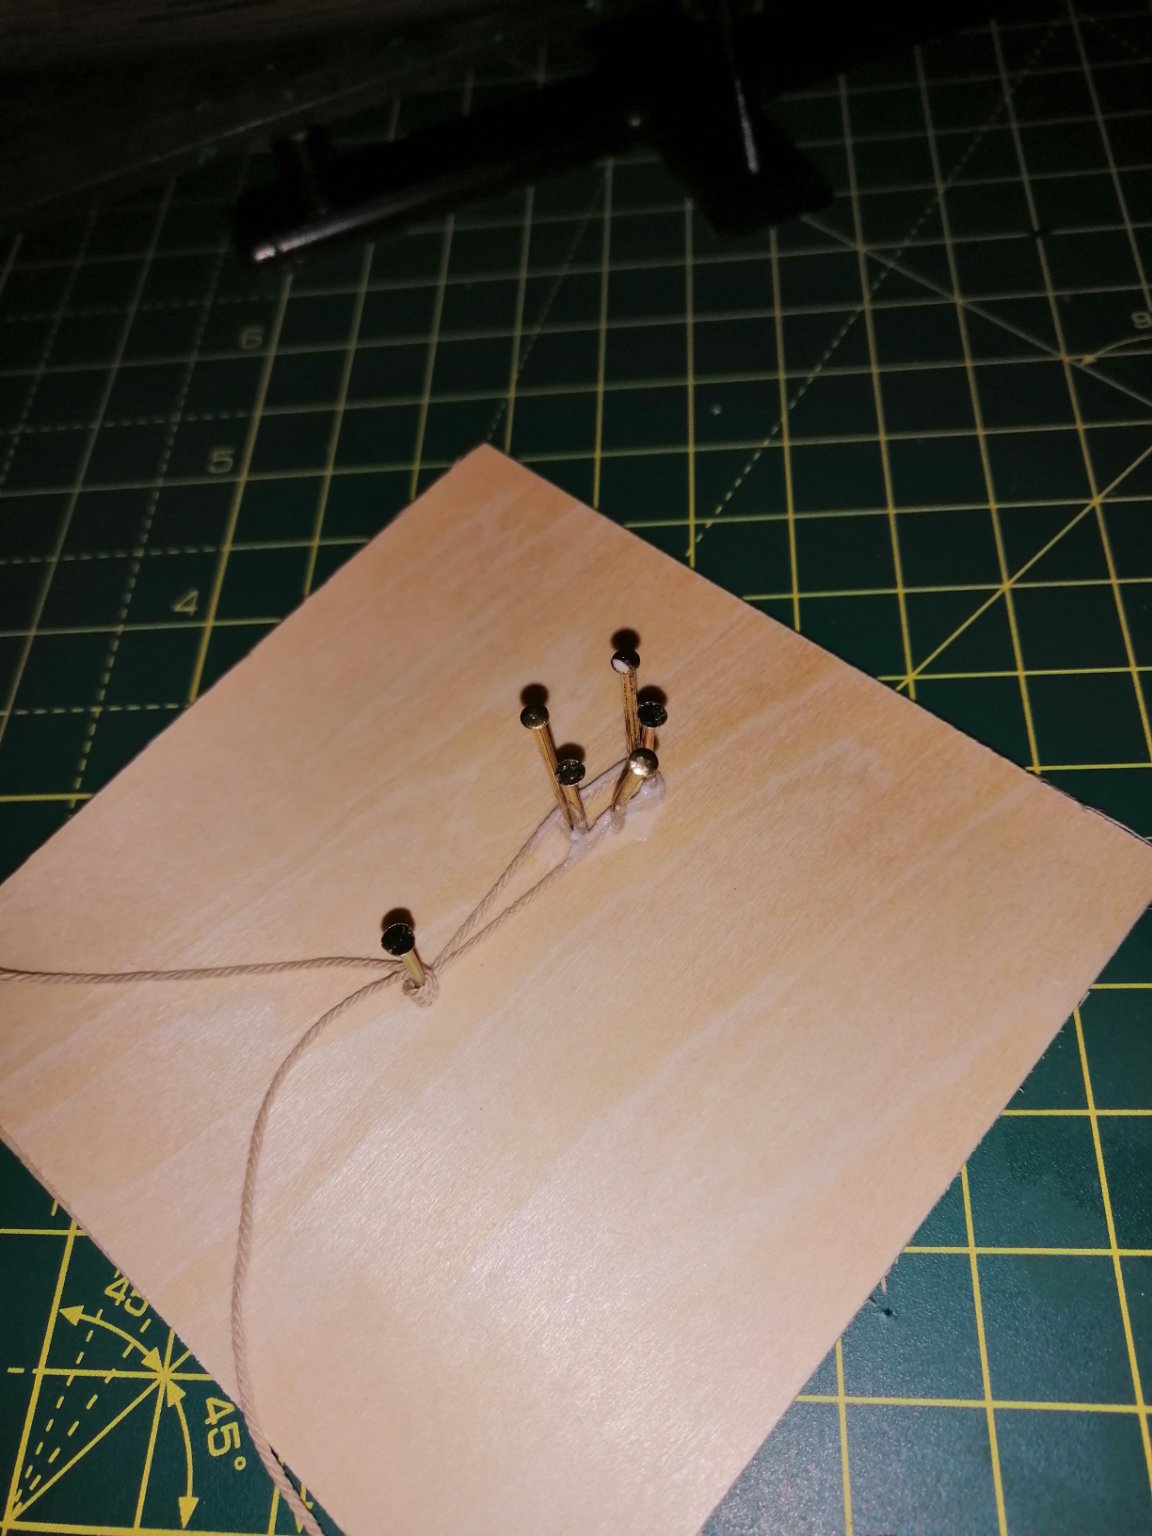
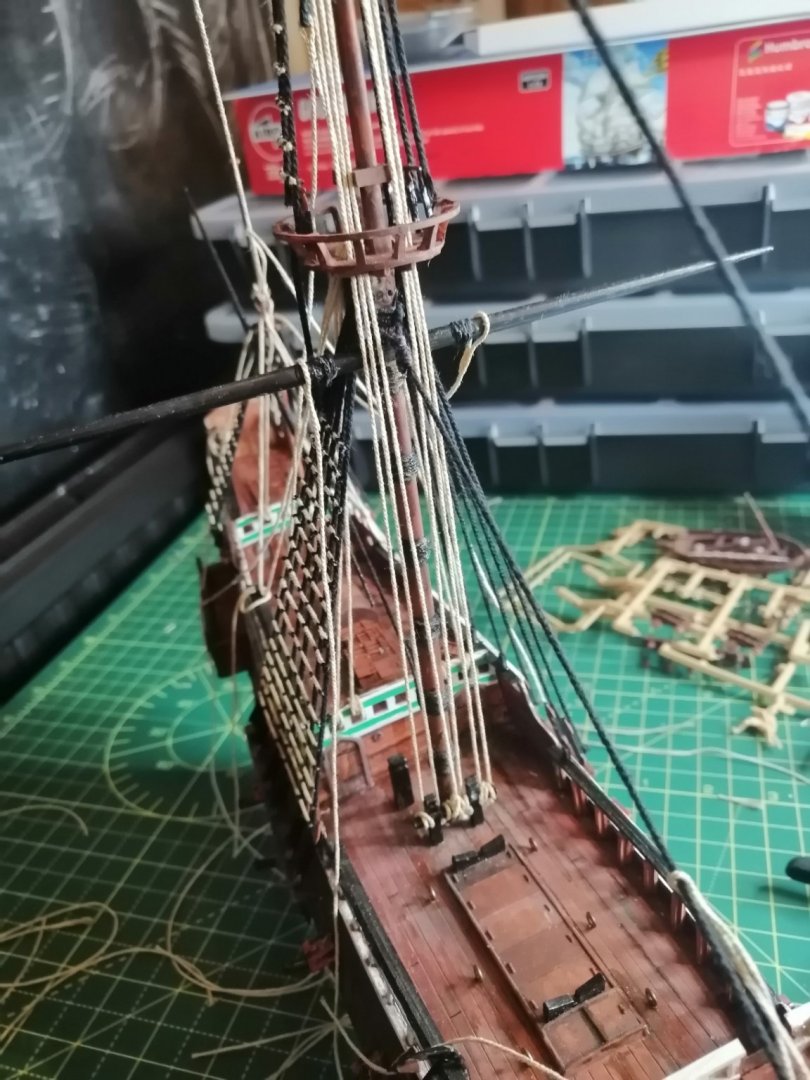
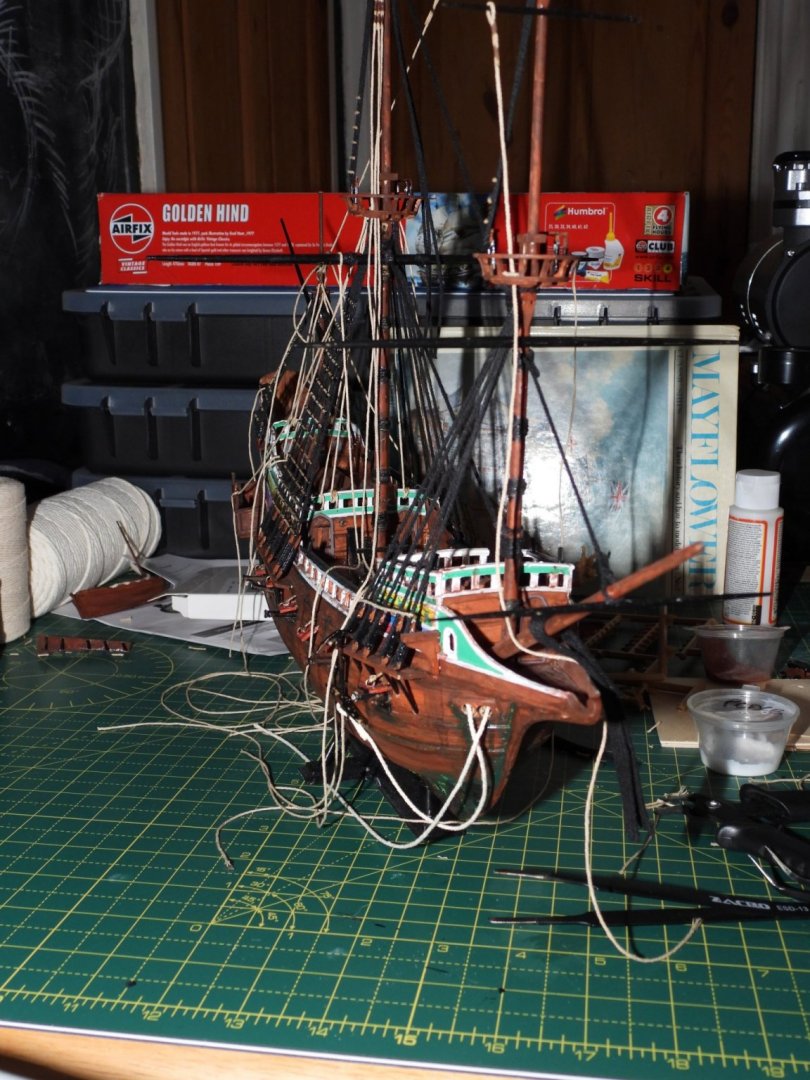
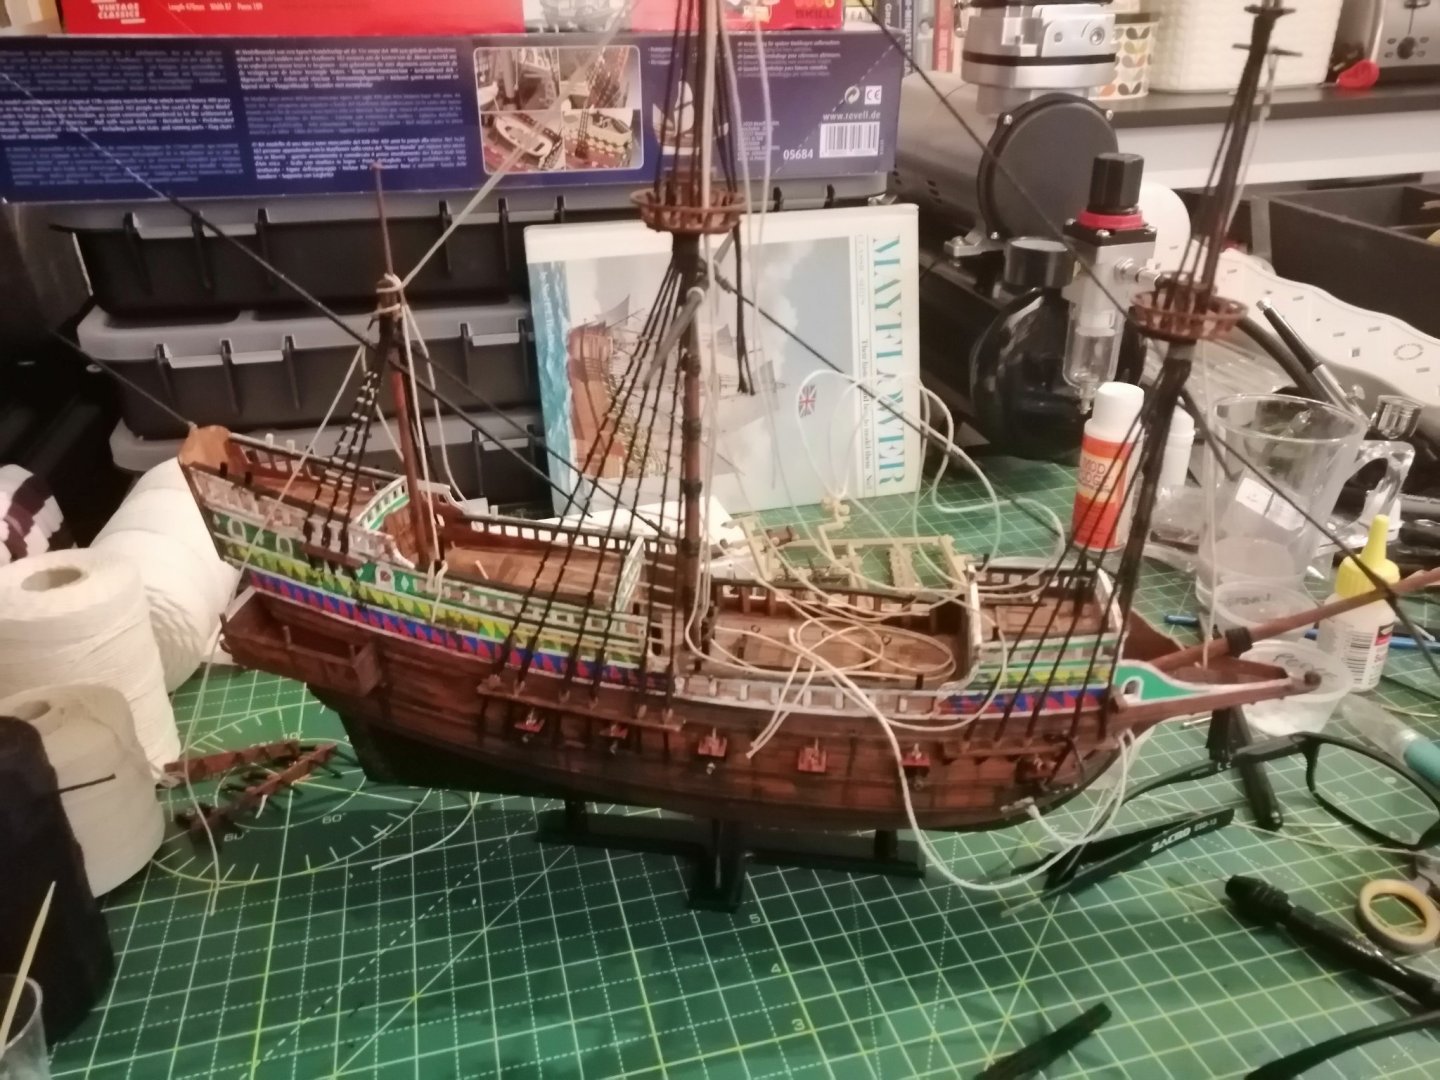
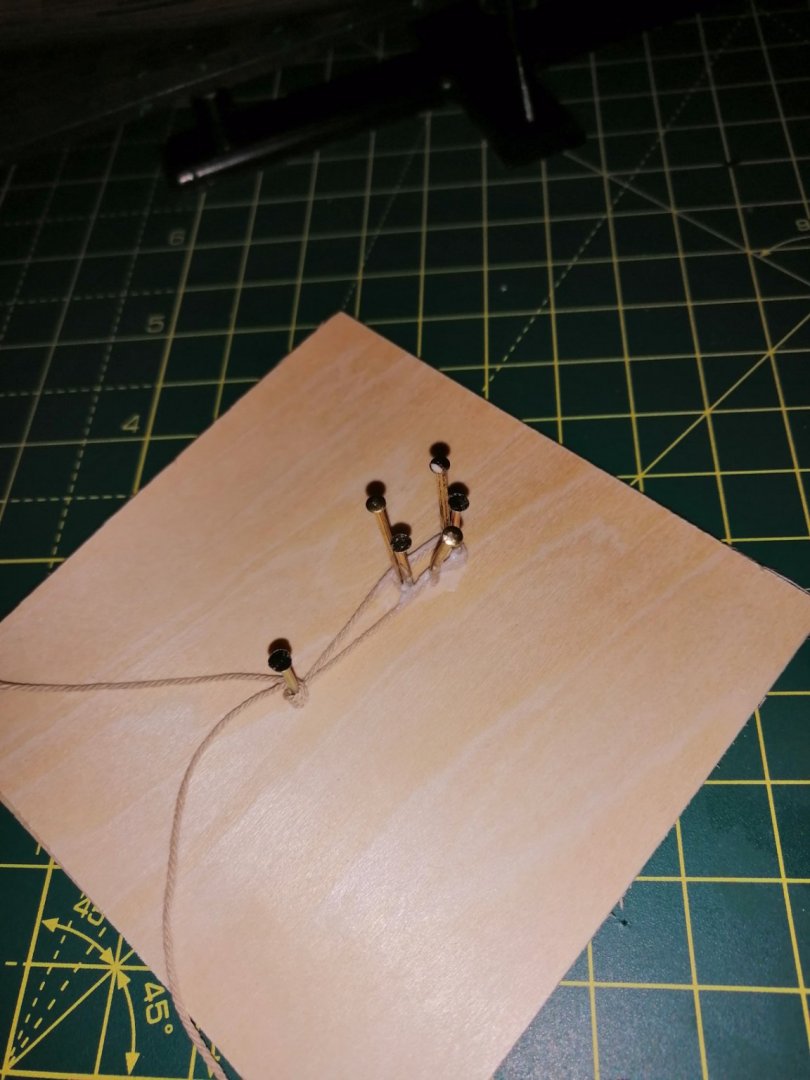
Progress. 2nd image shows using scissor clamps to add weight to rope loops soaked with pva. A different methed found when reading from using a jig to mould the ropes. Doing the rigging has been my favourite part of this build so far. Painting and detailing a close second. Hopefully as time passes with further builds I will improve on accuracey and technique.

- 265 replies
-
- 1
-

-
- Golden Hind
- Airfix
- (and 1 more)
-
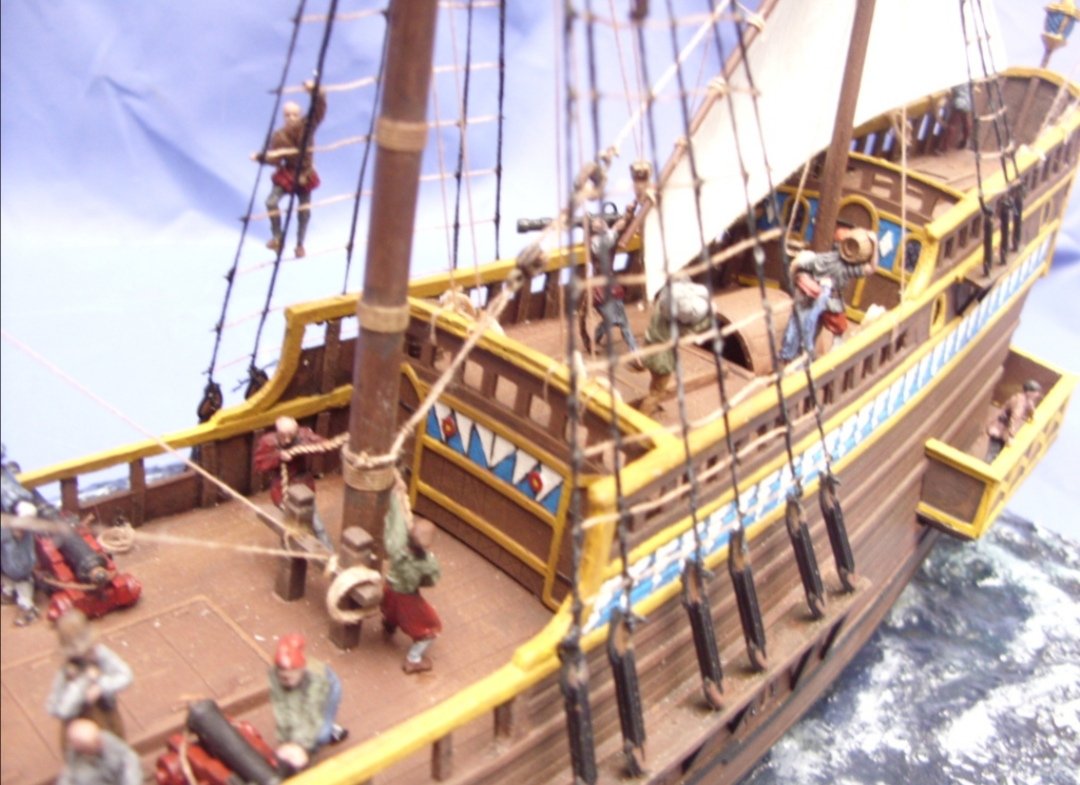
Thinking of adding the figures. Does anyone have opinions on this? Is it too much, overkill? Or does it add life and character? The build below is amazing, tells a story.
- 265 replies
-
- 2
-
-
- Golden Hind
- Airfix
- (and 1 more)
-
More progress. Definately agree, next build I will use scale appropriate string/thread.
- 265 replies
-
- 1
-
-
- Golden Hind
- Airfix
- (and 1 more)
-
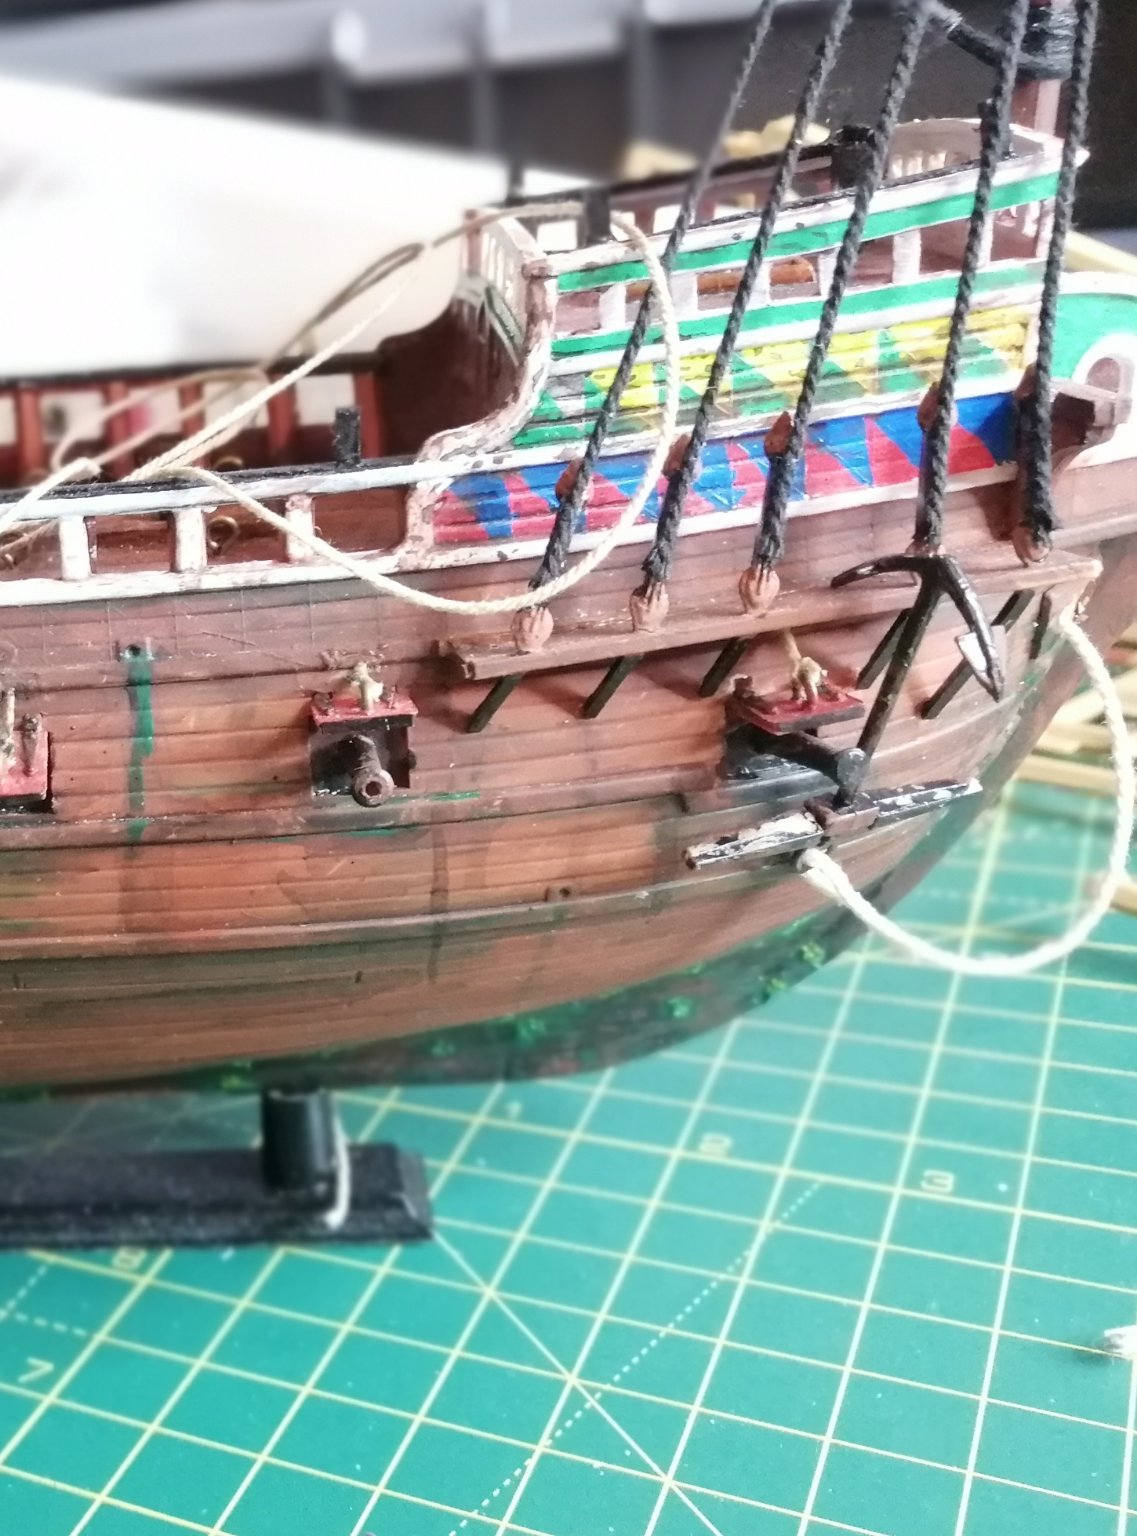
Progress, drilled out the holes for the anchor ropes, will give the ropes several washes to make them a lot darker and appear well used.

- 265 replies
-
- 2
-
-
- Golden Hind
- Airfix
- (and 1 more)
-
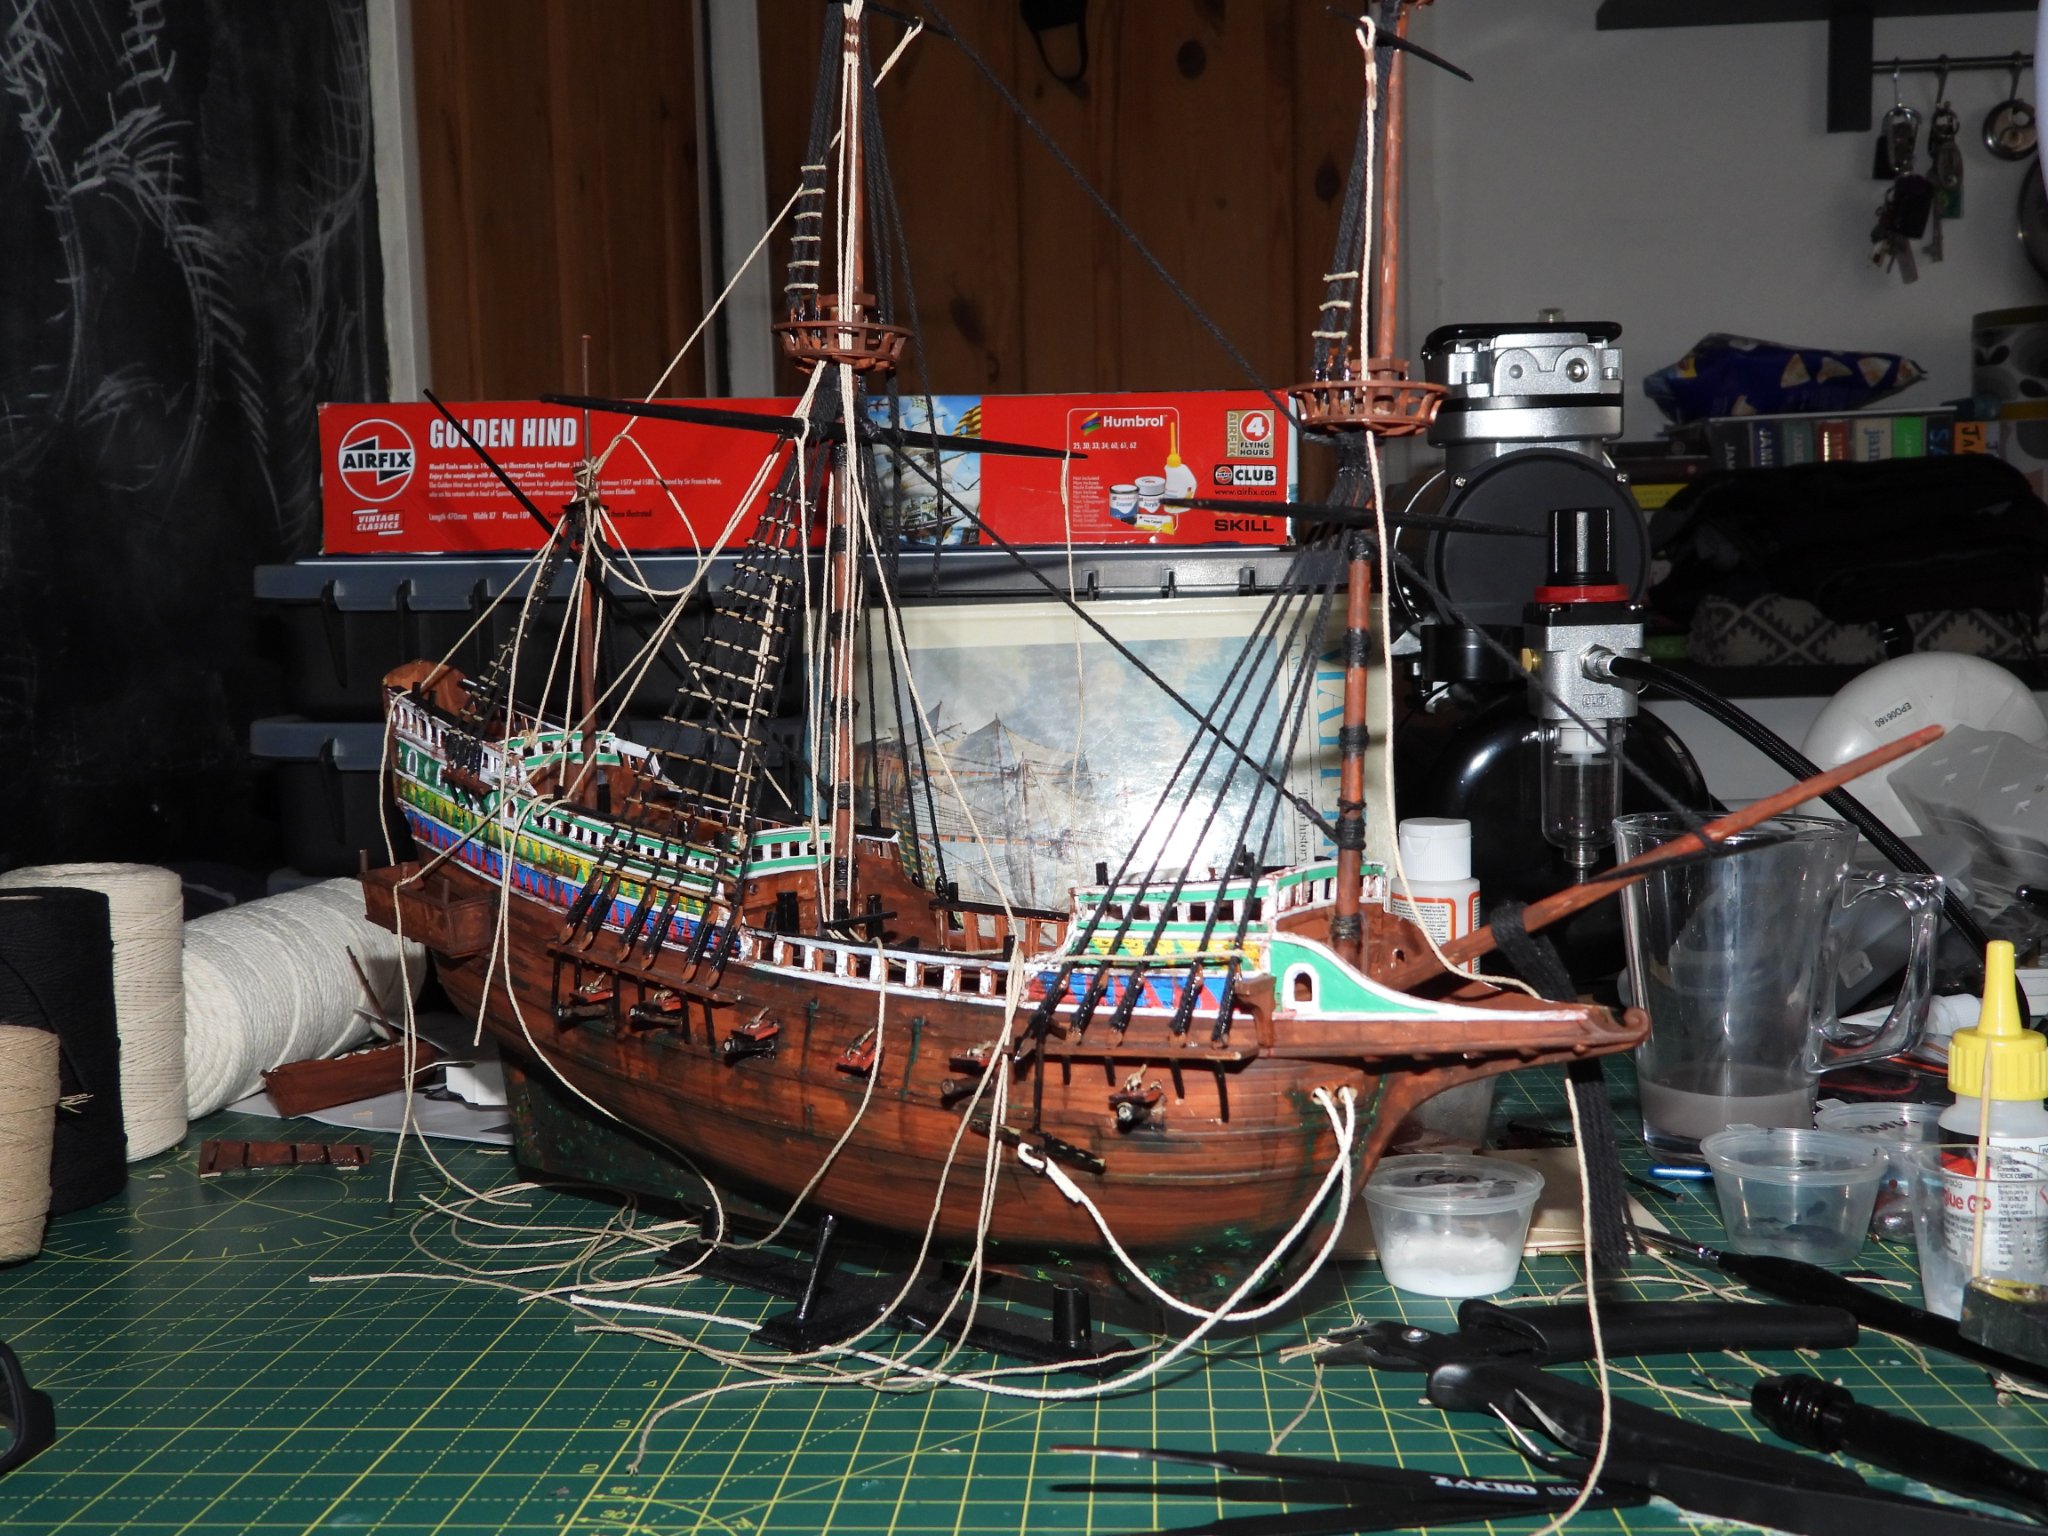
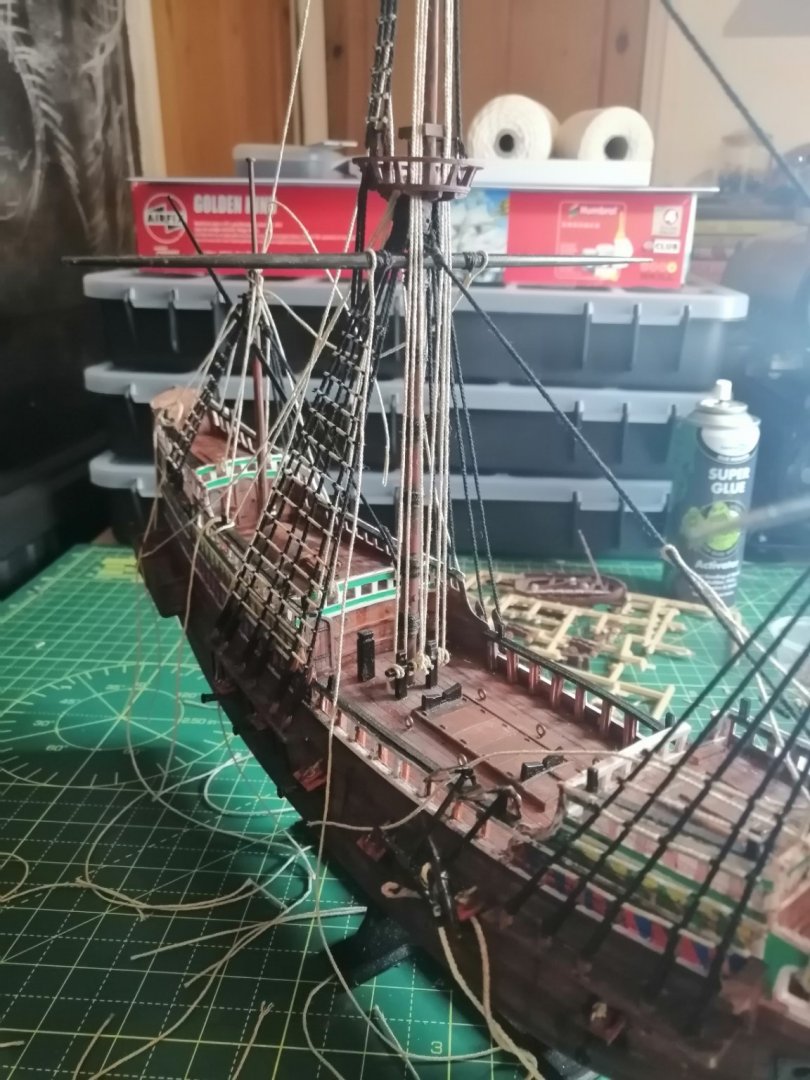
Hello thank you so much for your feedback. It is always greatly appreciated and very important. I have ensured there is only the slightest bit of tension to any of the rigging as was advised in an earlier post; anything excessive could snap the plastic masts. So I have used just enough to make the string taught and not sagging. What you could be seeing is the slight rake in the front and back masts that the kit dictates. Also I have purposly got the ship on a tilt on the stand dipping forward and leaning slightly to one side, so that the all decks are visable when viewing from the side. Again, thank you for the feedback and thank you for the great images.
- 265 replies
-
- 1
-
-
- Golden Hind
- Airfix
- (and 1 more)
-
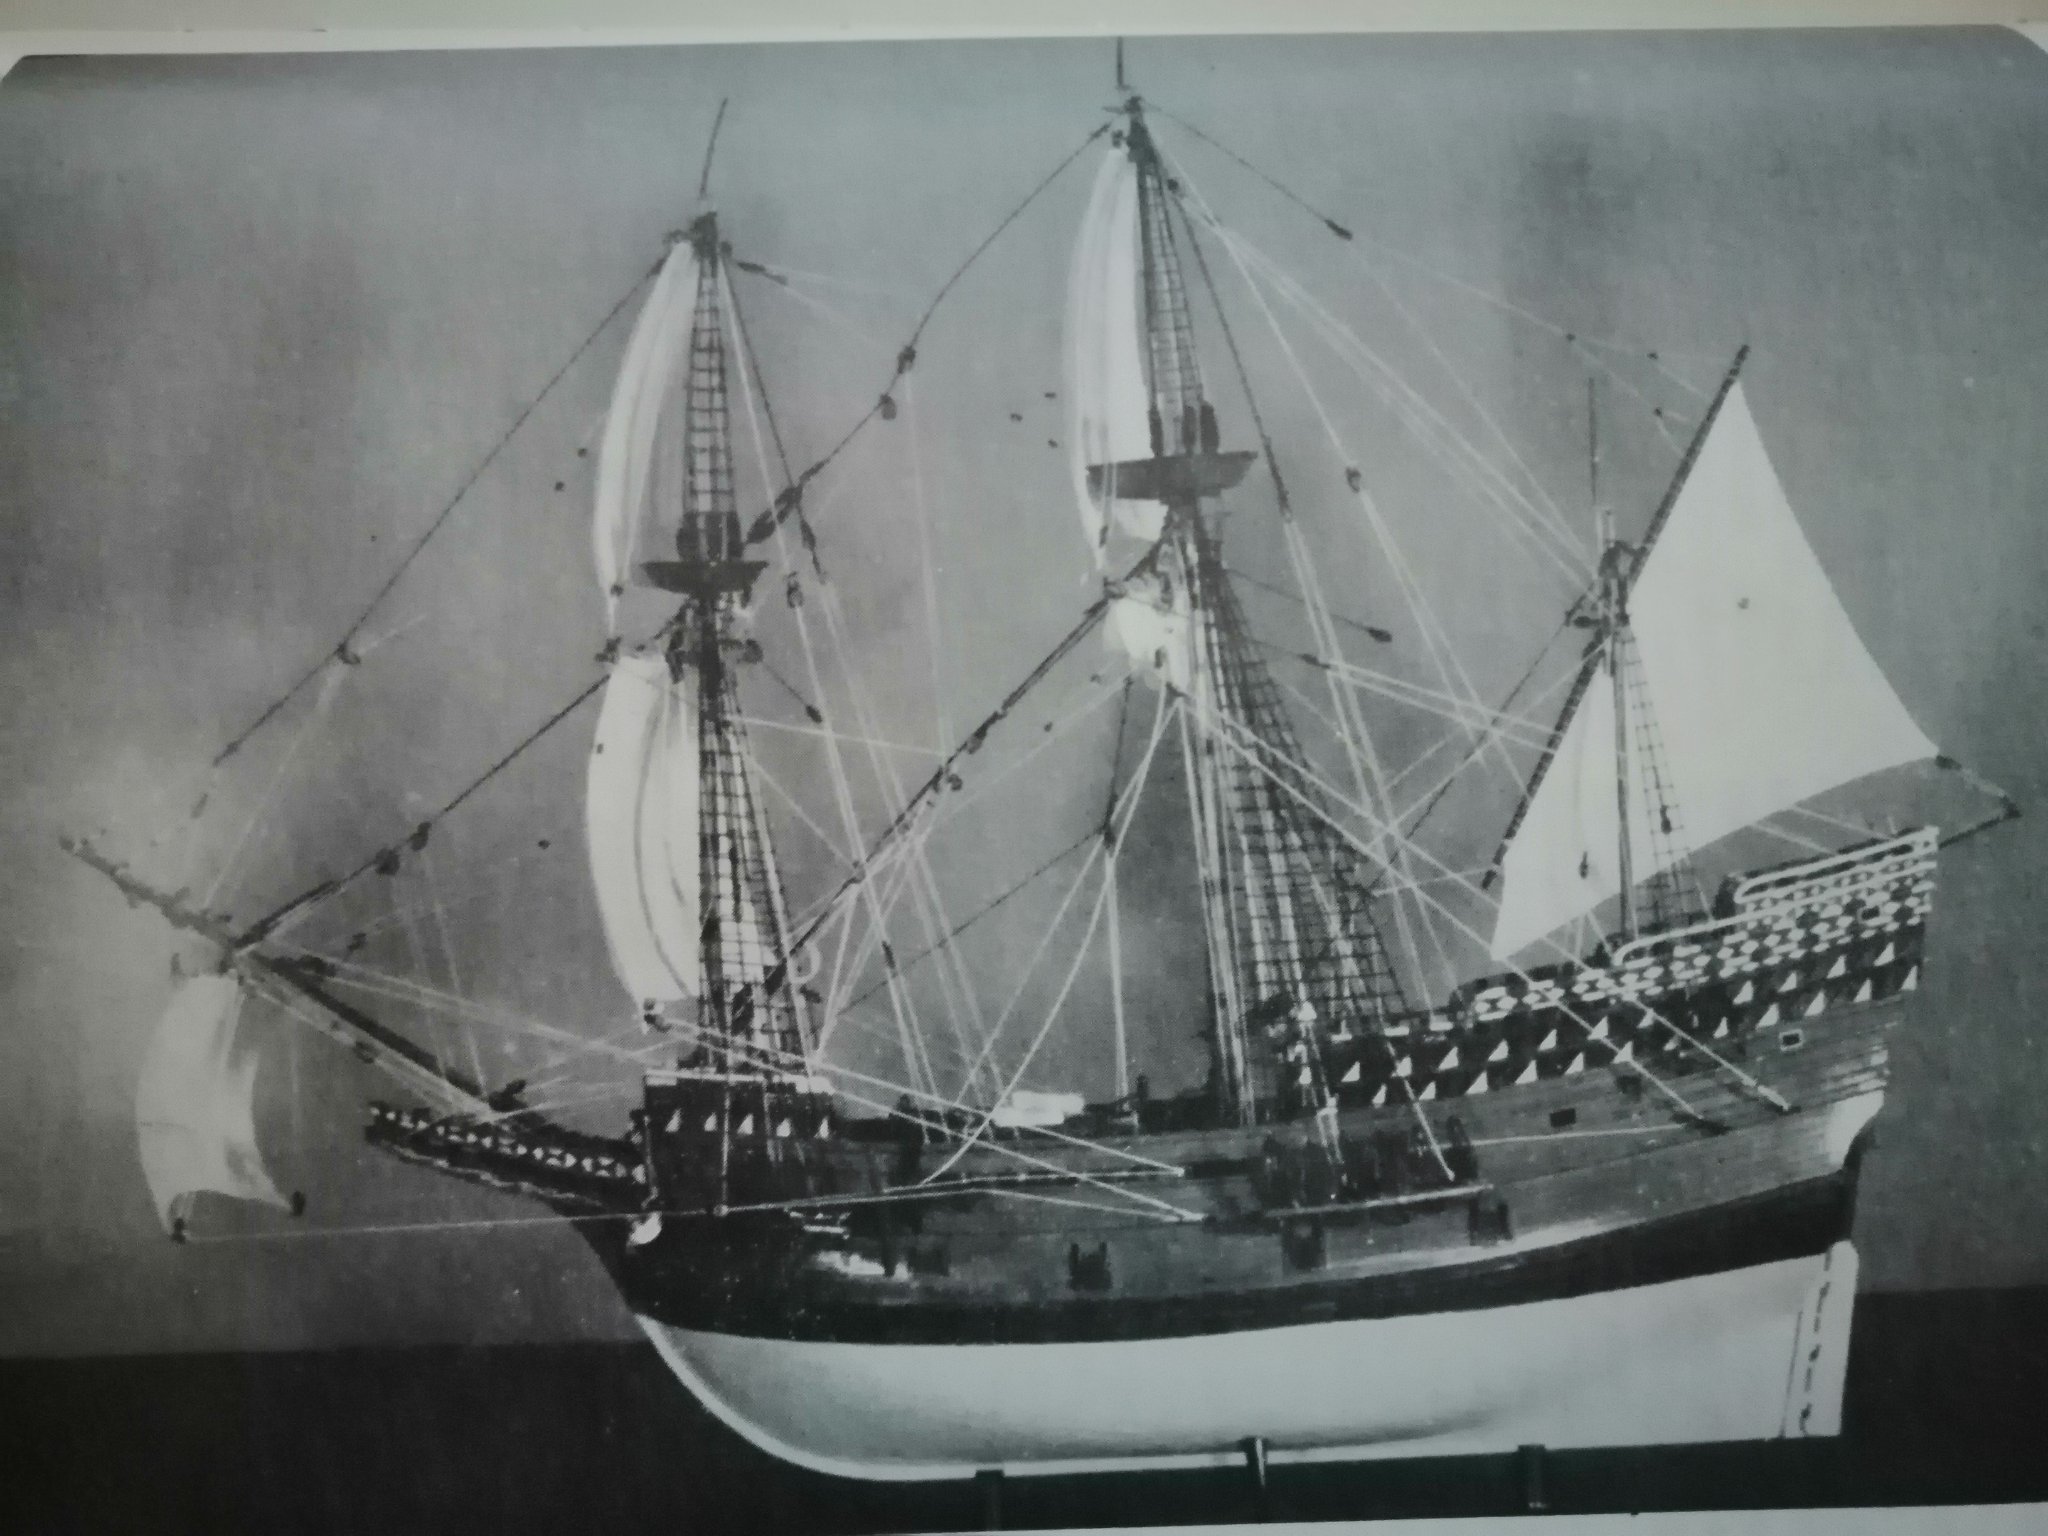
Hello, from images could you point out which is wrong, as I'm working roughly to the below image and the kit instructions, thanks. Also I'm not going for a 100% accurate recreation here, just trying to get in the ball park, as I learn about rigging, lots of reading needed. That said more than happy to know my mistakes.


- 265 replies
-
- 1
-
-
- Golden Hind
- Airfix
- (and 1 more)
-
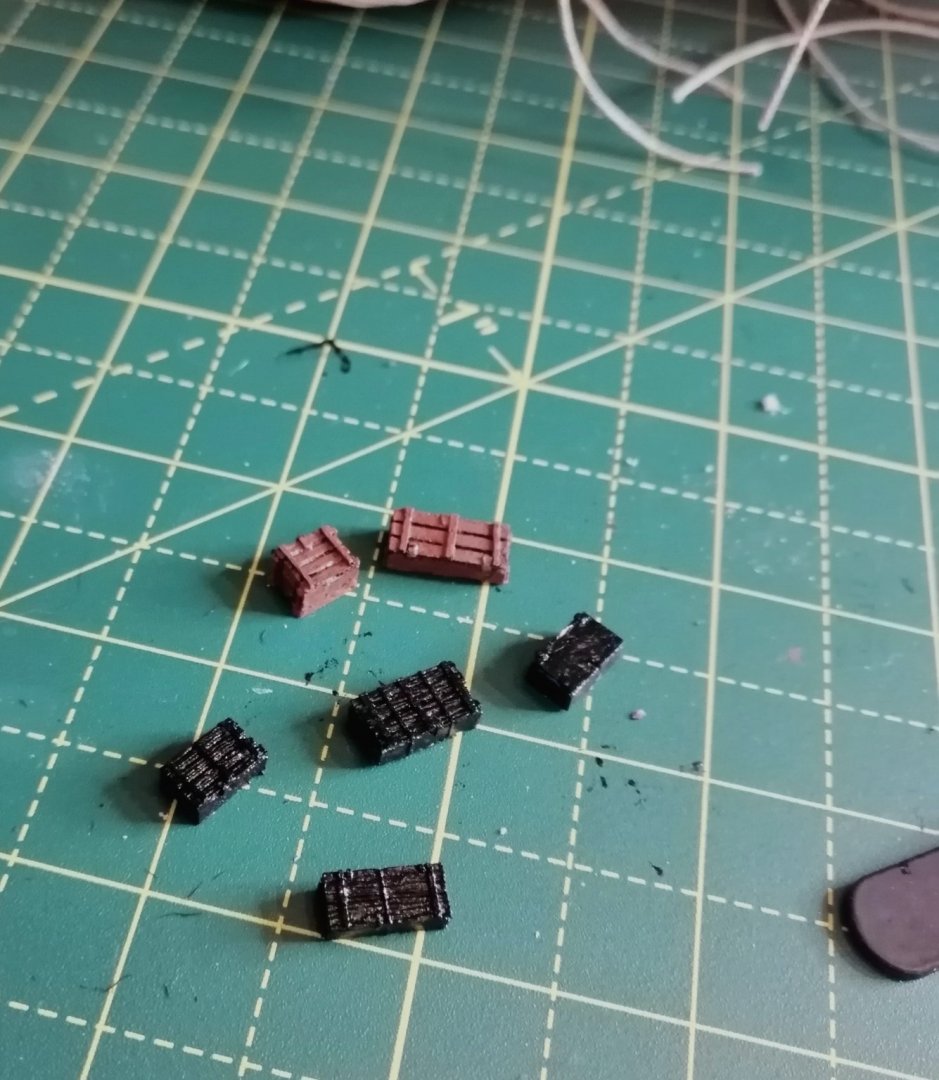
Working on some cargo, to add a little depth and life to the decks. First covered in black acrylic to ensue all the tiny details stand out when painted. Will drop more browns on individual planks and greys on hinges and latches.
- 265 replies
-
- 2
-
-
- Golden Hind
- Airfix
- (and 1 more)
-
You are correct, great spot, I would have missed that. I'm not fitting the sails but I will make sure there is sufficient room as if the sails was to be fitted. Thank you so much.
-
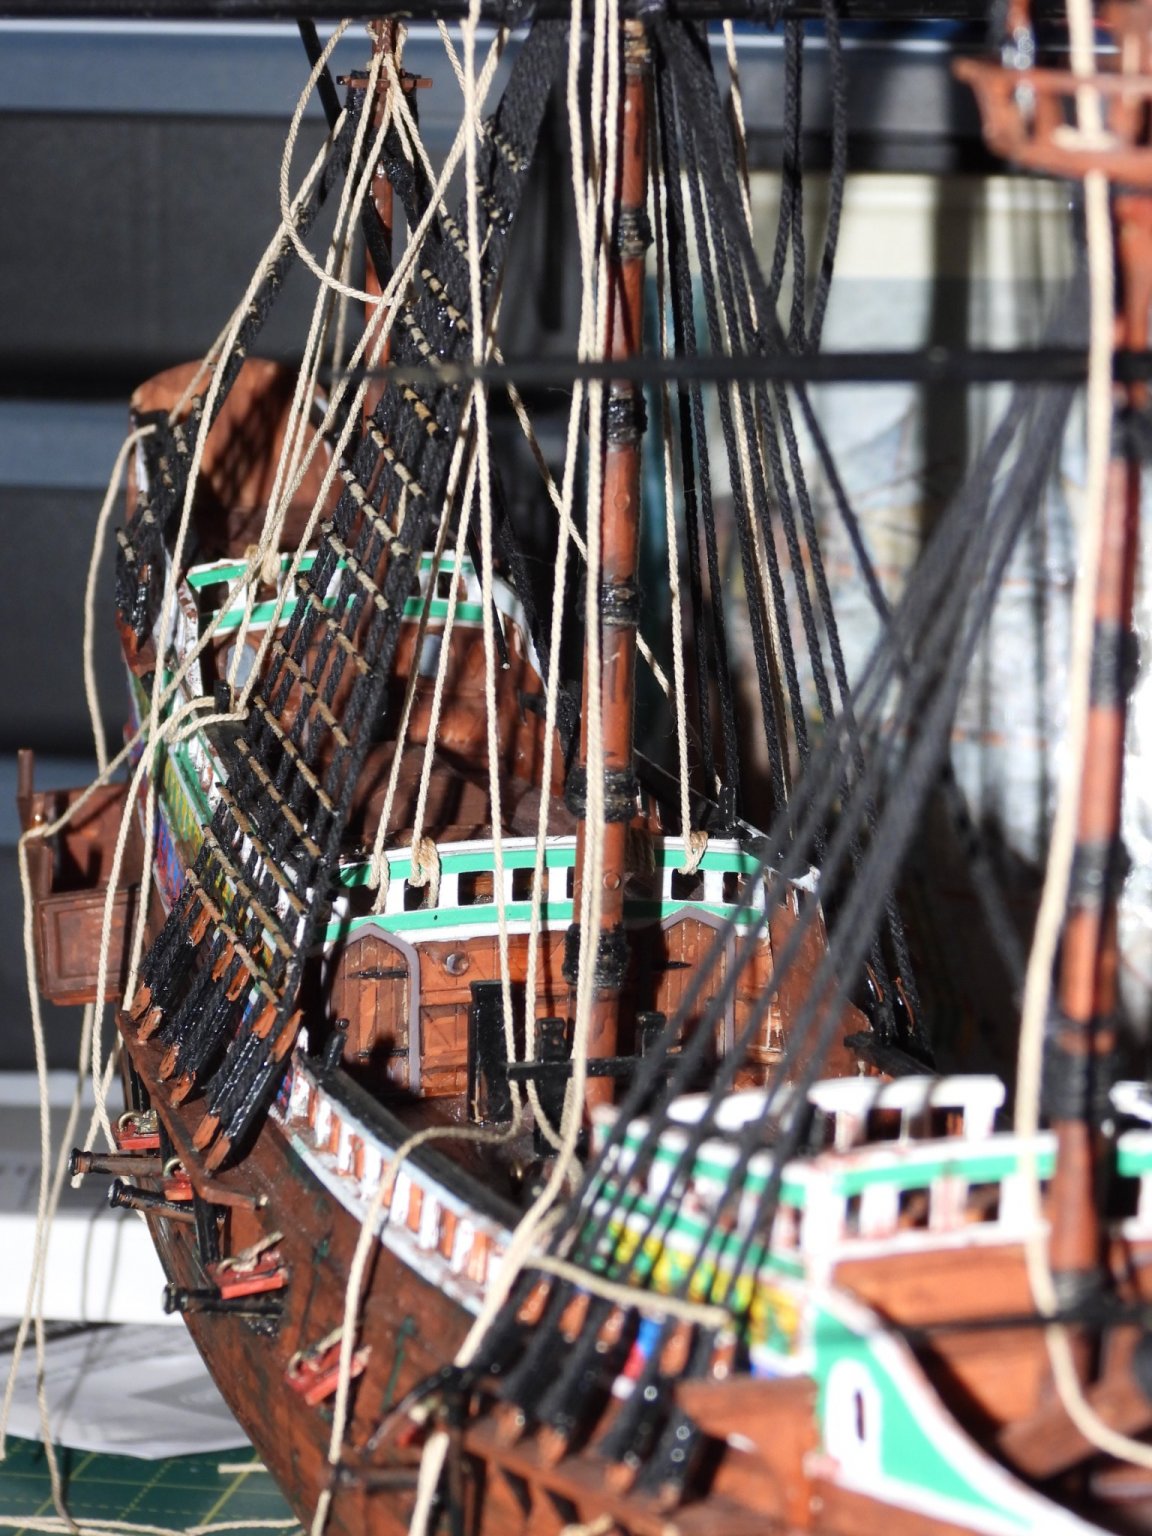
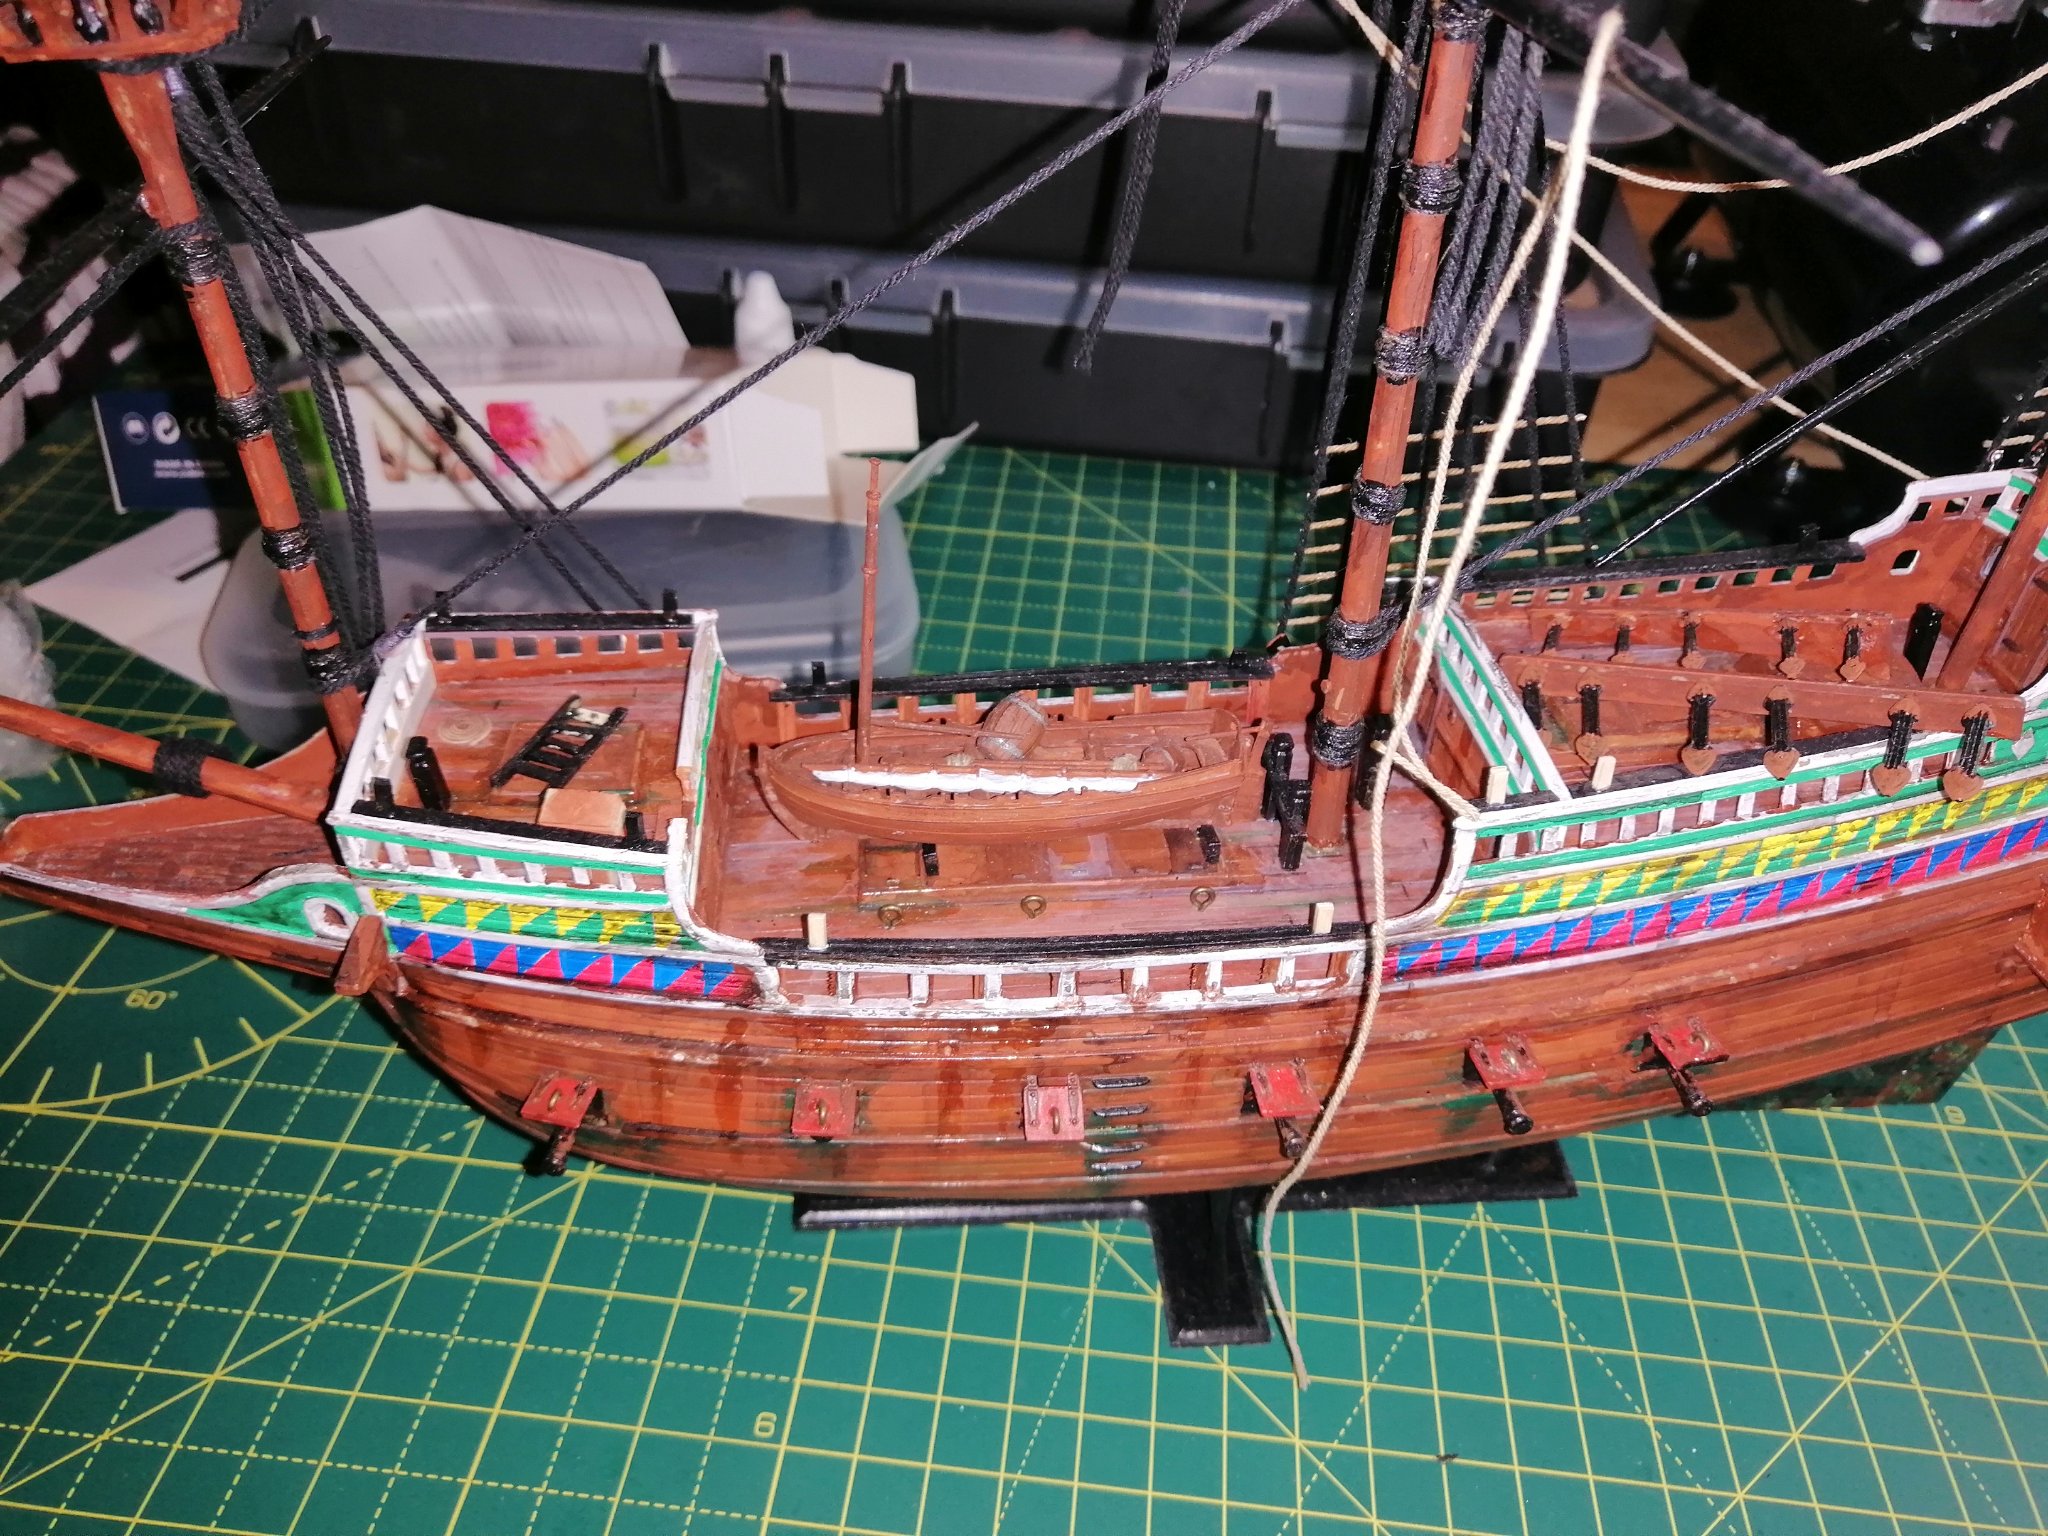
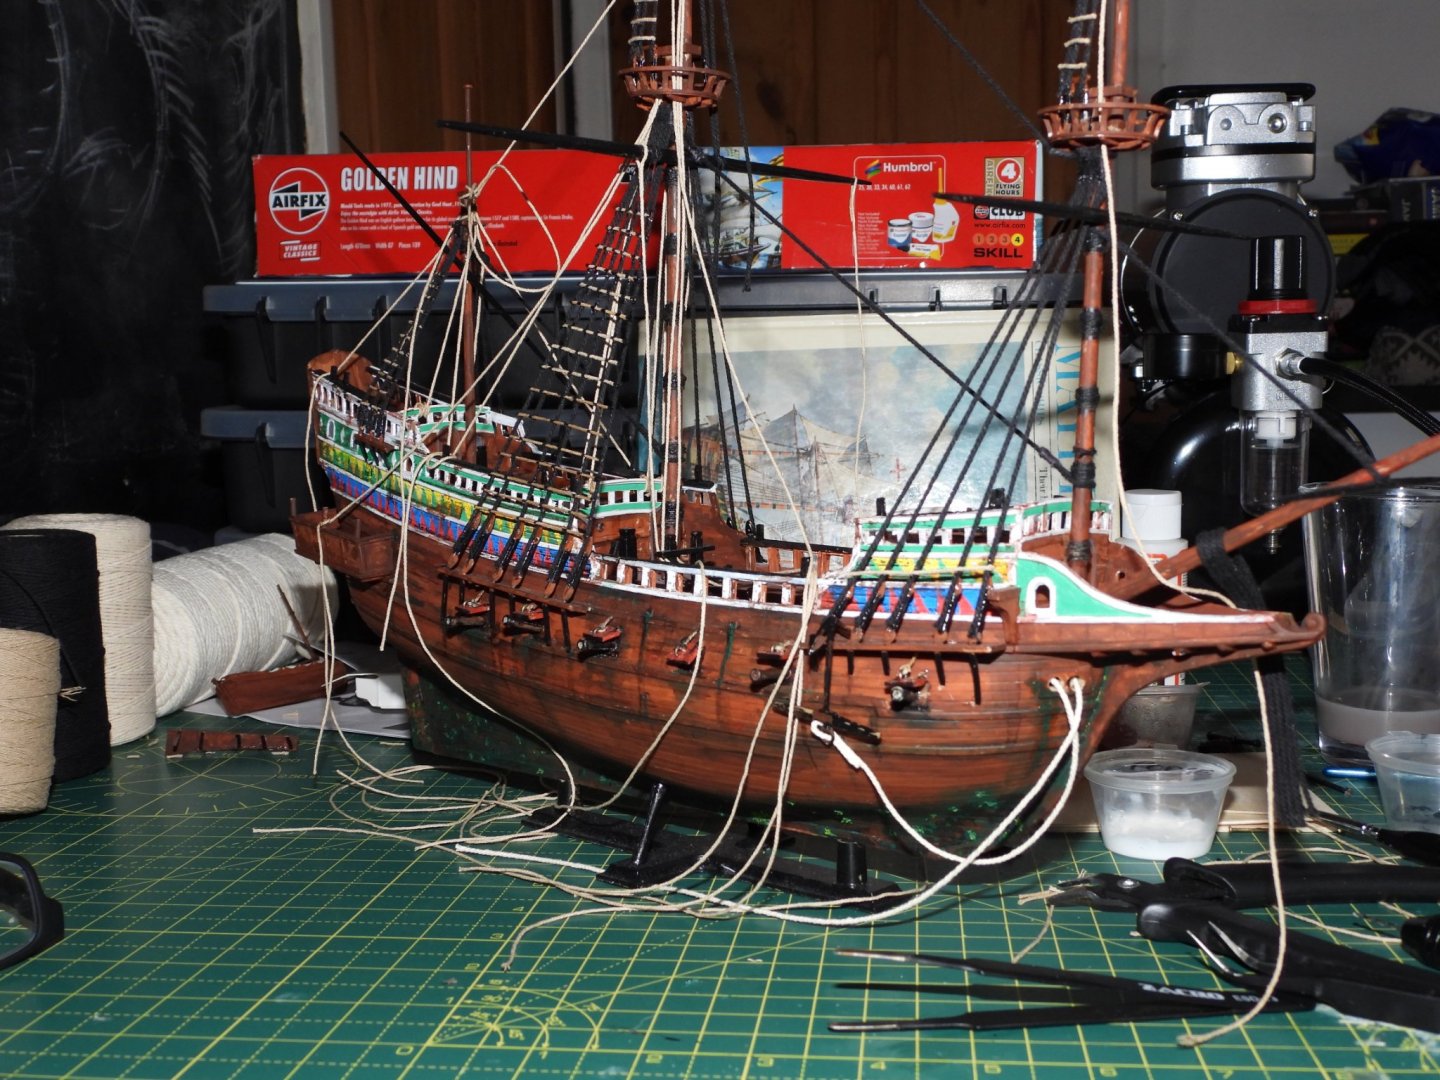
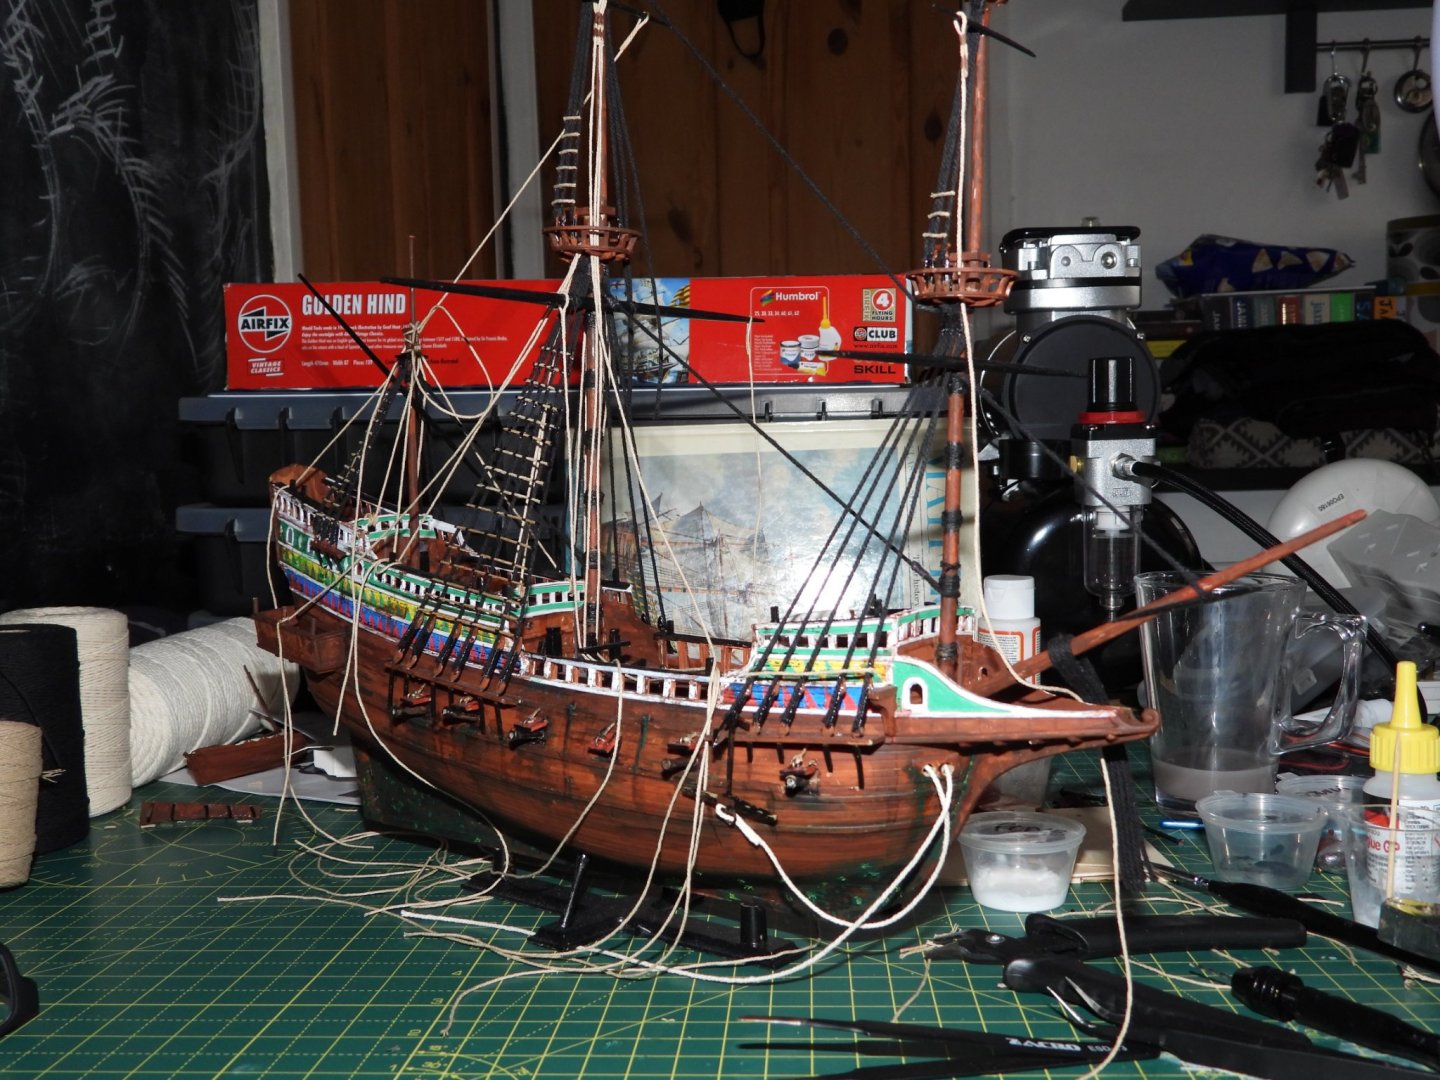
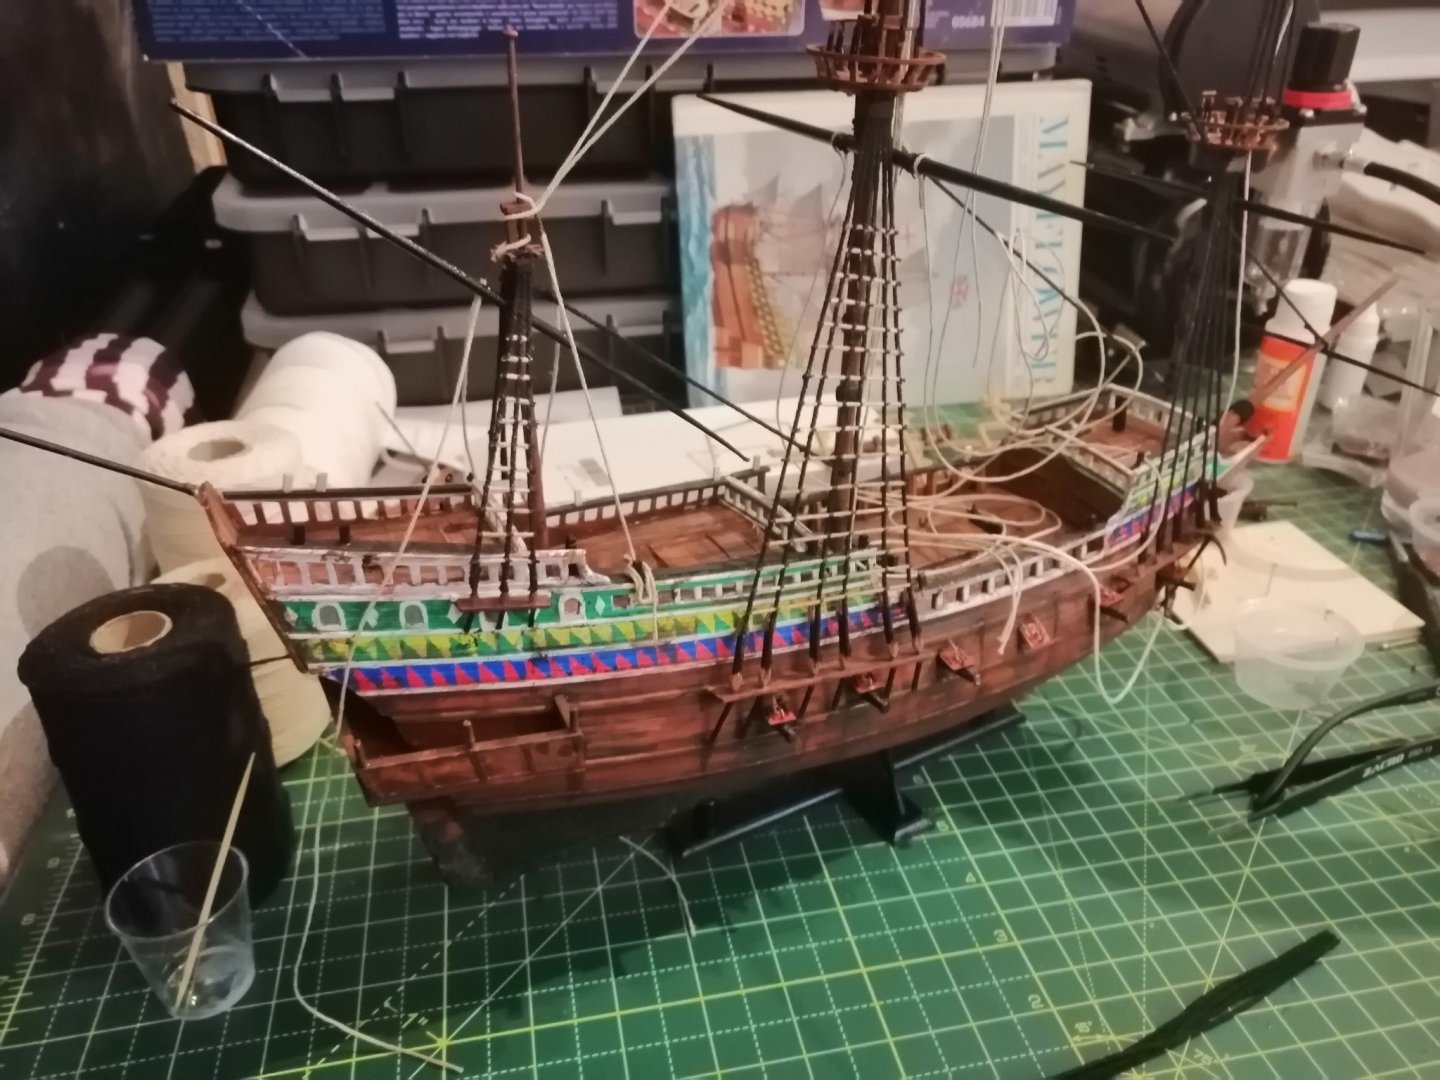
Took some high def images of my progress with nikon p1000 and a decent flash, can see the colour better.

- 265 replies
-
- 3
-
-
- Golden Hind
- Airfix
- (and 1 more)
-
This is super interesting, as I have read through a couple of Revell English Man O'war builds, and there was debate on the raking being too much. I think it will be my next build, and Im OK with tilting the masts as the kit dictates, I hope maybe I can counter the crows nests, as tilting them also makes no sense.
- 265 replies
-
- 2
-
-
- Golden Hind
- Airfix
- (and 1 more)
-
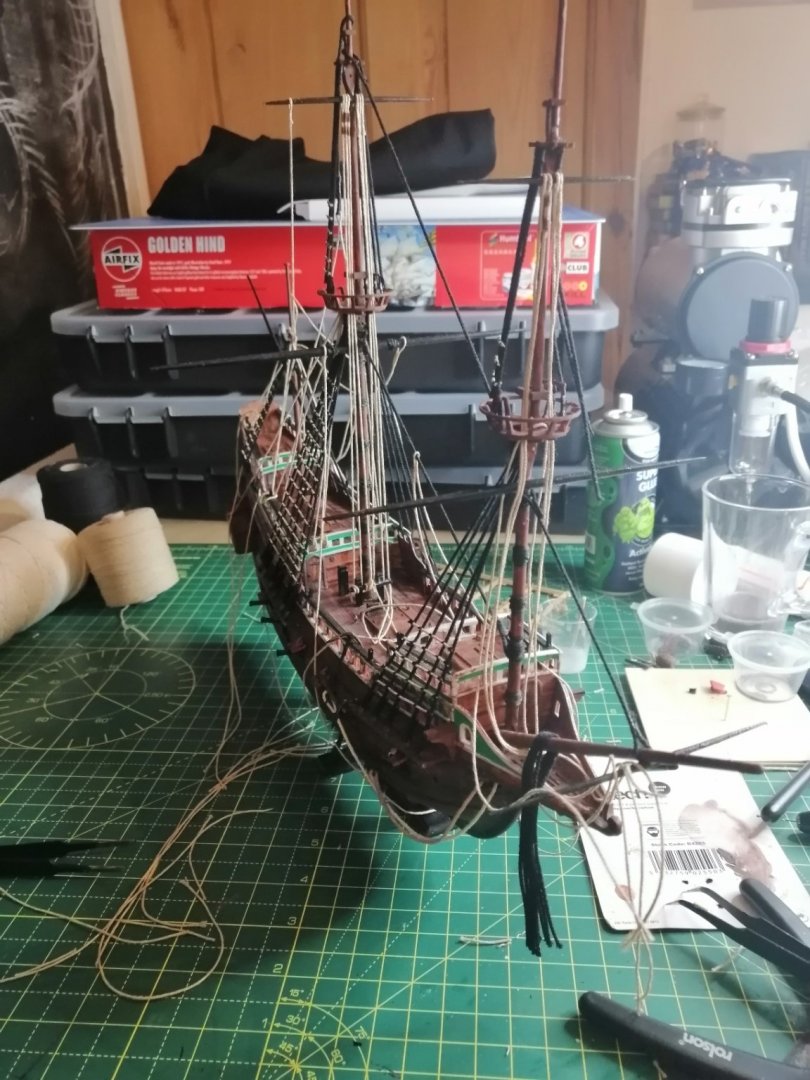
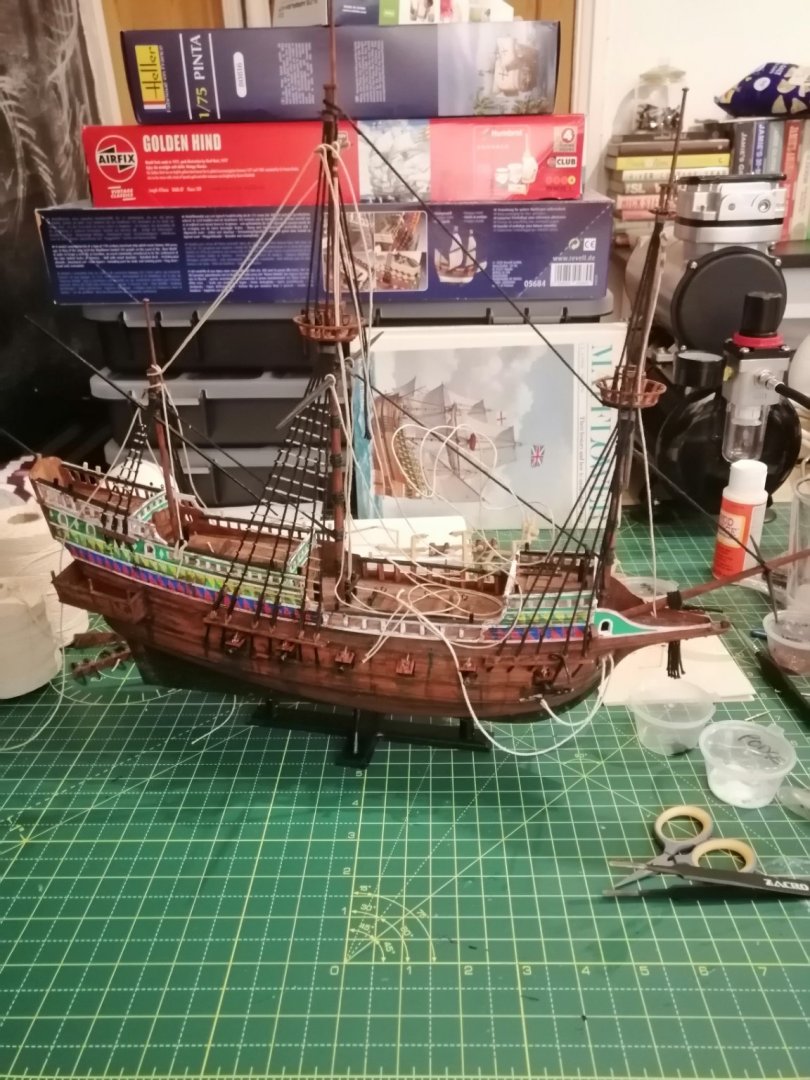
Progress. The opposite side, needs a lot of work, just trying to figure out process. Seeing what works, what does not.
- 265 replies
-
- 1
-
-
- Golden Hind
- Airfix
- (and 1 more)
-
Drilling out the guns. Using small hand drill 1mm bit. Drilled next to stock, makes a big difference.

- 265 replies
-
- 1
-
-
- Golden Hind
- Airfix
- (and 1 more)
-
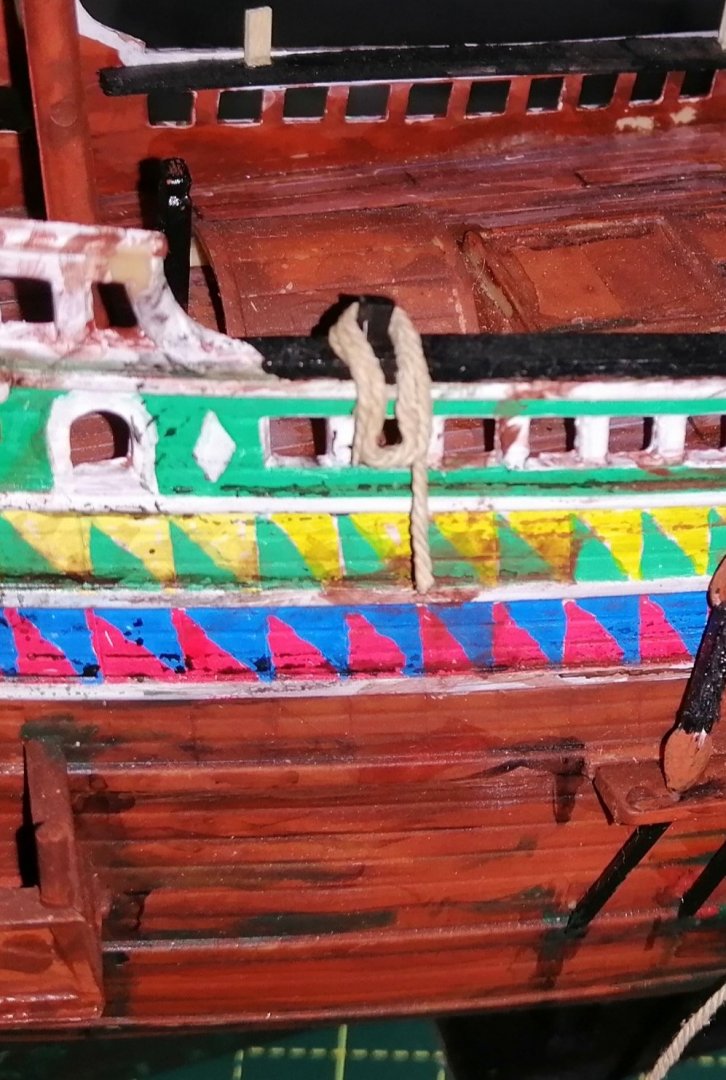
Worked out nice, Modge Podge stays a little flexible if you catch as it going off. This allows me to mould it into place.
- 265 replies
-
- 1
-
-
- Golden Hind
- Airfix
- (and 1 more)
-
Looking at making rope loops to add to the cleats. First test using Modge Podge.
- 265 replies
-
- 1
-
-
- Golden Hind
- Airfix
- (and 1 more)
-
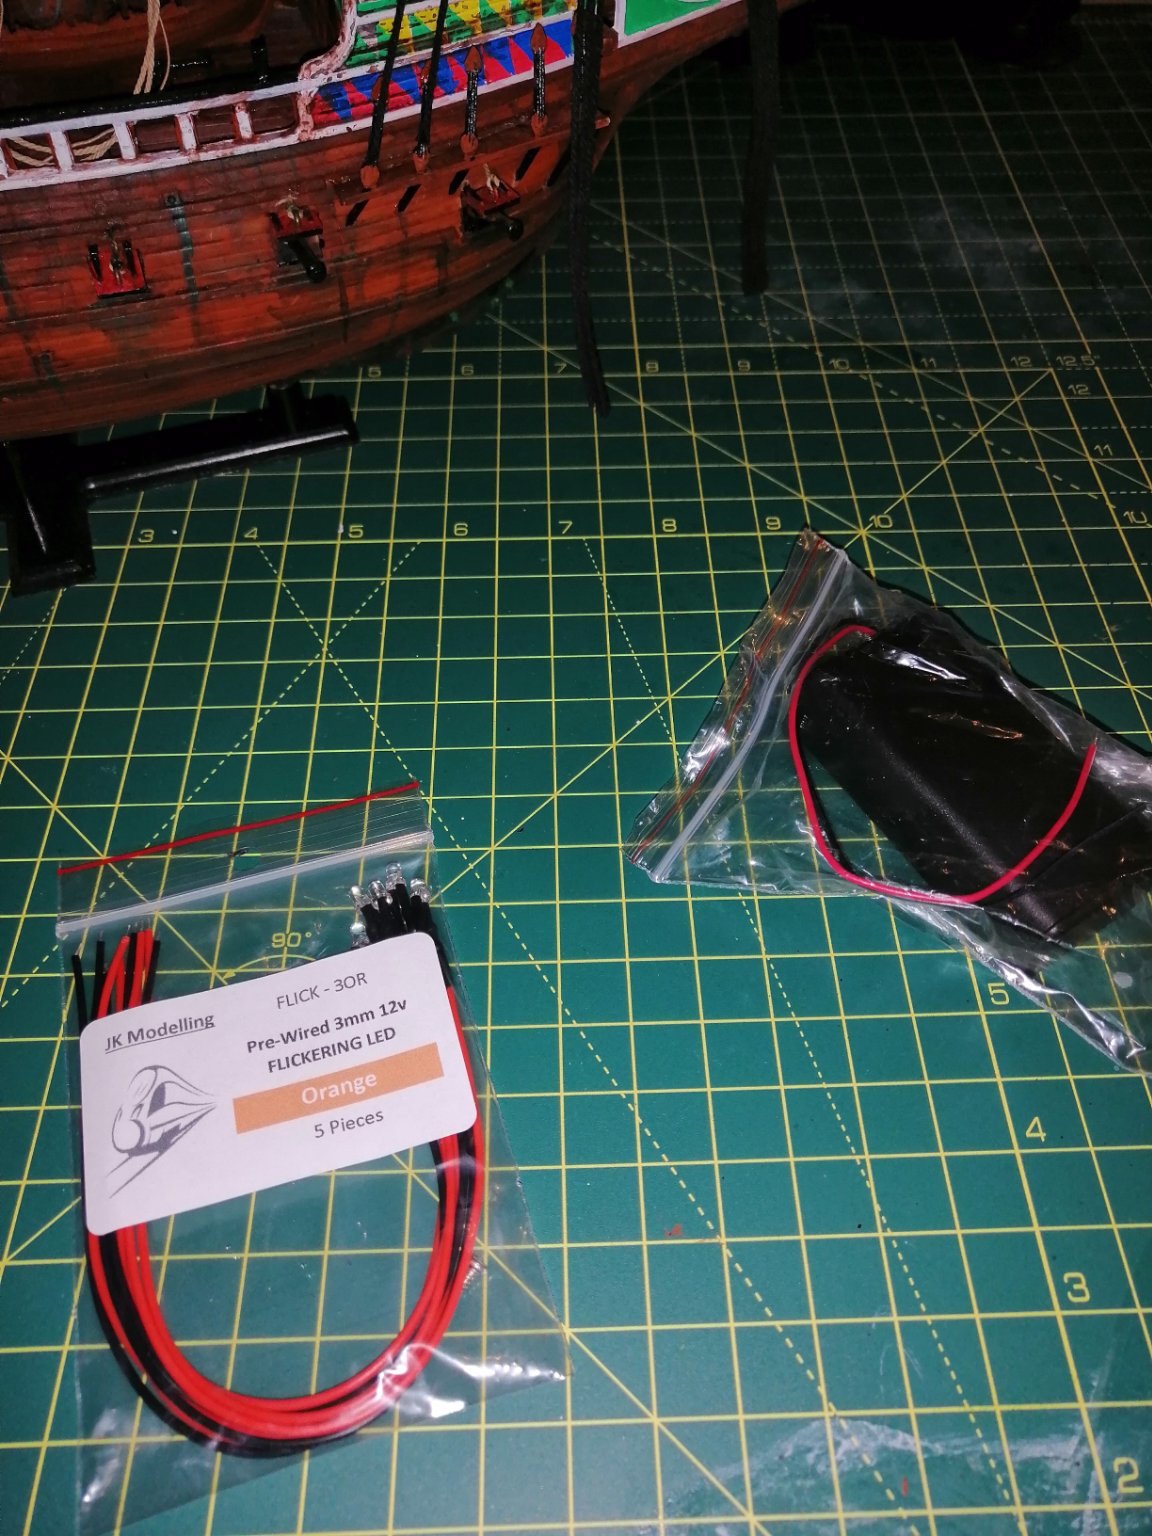
Back on the build, very excited. Considering adding some lanterns.

- 265 replies
-
- 2
-
-
- Golden Hind
- Airfix
- (and 1 more)
-
I'm thinking of adding the Revell kit English Man O'war 1/96 to my collection. Does anyone know why the back mast was purposely leaning? Thanks.
-
Yes I have read through this build in great detail. I am also watching/following several onging builds of this model and many older builds. My plan is to do the older original model with no mods, then do the second one custom. I'm not a big fan of the etched parts, I don't think they bring anything to the build, and they are extemly expensive, which adds to an already very costly model. That said the Dafi build log is massively fun to read and very informative. Dafi is clearly very talented. (I just want to add that, I think the etched parts are amazing and when I say they don't bring anything, they clearly add a level of refinement. I just meant, I think the kit is great as it is)
- 265 replies
-
- 1
-
-
- Golden Hind
- Airfix
- (and 1 more)
-
I now have two versions, looked inside the older version, looks very intimidating, will hang back on building them, I have two kits probably at my level.
-
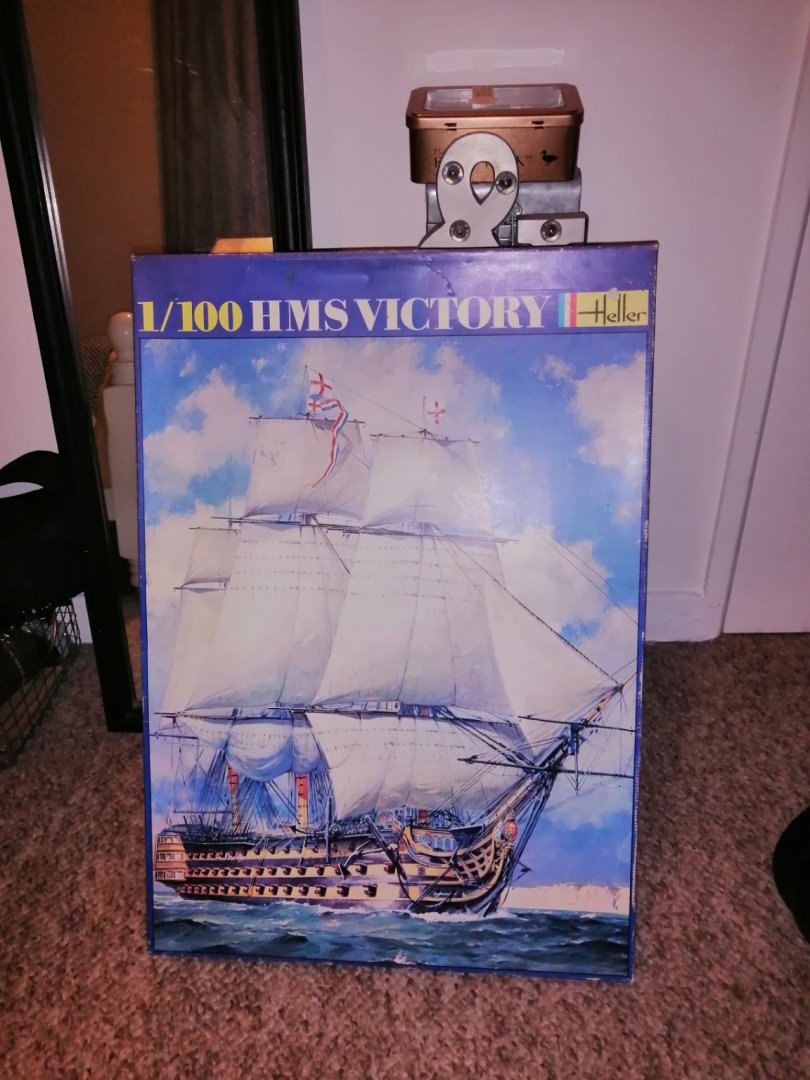
I think it's from the 60/70s. Could be later, not sure how long it ran for.
-
Just got this out of the shed, never looked at it until now. Vintage version of the Heller 1:100 victory.
- 265 replies
-
- 3
-
-
- Golden Hind
- Airfix
- (and 1 more)
-
All the input is very much appreciated. Its really encouraging to have all this help and expertise. I am 100% taking every chance I can to learn. I have managed to buy copy's of the books mentioned, I already have quite a few books on ships, inherited from my father and his father, but not so may on modeling. Throughout this build I have practiced a few techniques regarding rigging. Including hitch knots on the shrouds, seizing, waxing, and I also have read a lot on making my own scale ropes, to the point of ordering a ropewalk. The reason behind using the threads I have used here are simply because I liked the look of them, they look like ropes instead of string/thread. Are they out of scale, yes. But I'm happy with the trade off as I like the way they look a lot. If that what makes this build like like a children's toy to some people, I'm OK with that. My main focus of this build was to, firstly enjoy myself, then learn new things, new skills. (some of the other choices I have made are a result of, lack of experience and usually a trade off because of lack of time) Please keep participating and helping out. As siad it's massively helpful, informative and interesting. Thank you.
- 265 replies
-
- 1
-
-
- Golden Hind
- Airfix
- (and 1 more)
-
No problem, I wasn't aware. I asumemed it was out of print. Apologies.
-
Here is a link to an online version of the above book, 'historic ship models' you don't have to sign up for anything, you can access the full book online. Just keep scrolling. If you want a copy you will have to sign up. I might buy this book as it is very informative. Thank you to kirill4.