HOLIDAY DONATION DRIVE - SUPPORT MSW - DO YOUR PART TO KEEP THIS GREAT FORUM GOING! (Only 20 donations so far - C'mon guys!)
×


bosco72
-
Posts
207 -
Joined
-
Last visited
Content Type
Profiles
Forums
Gallery
Events
Everything posted by bosco72
-
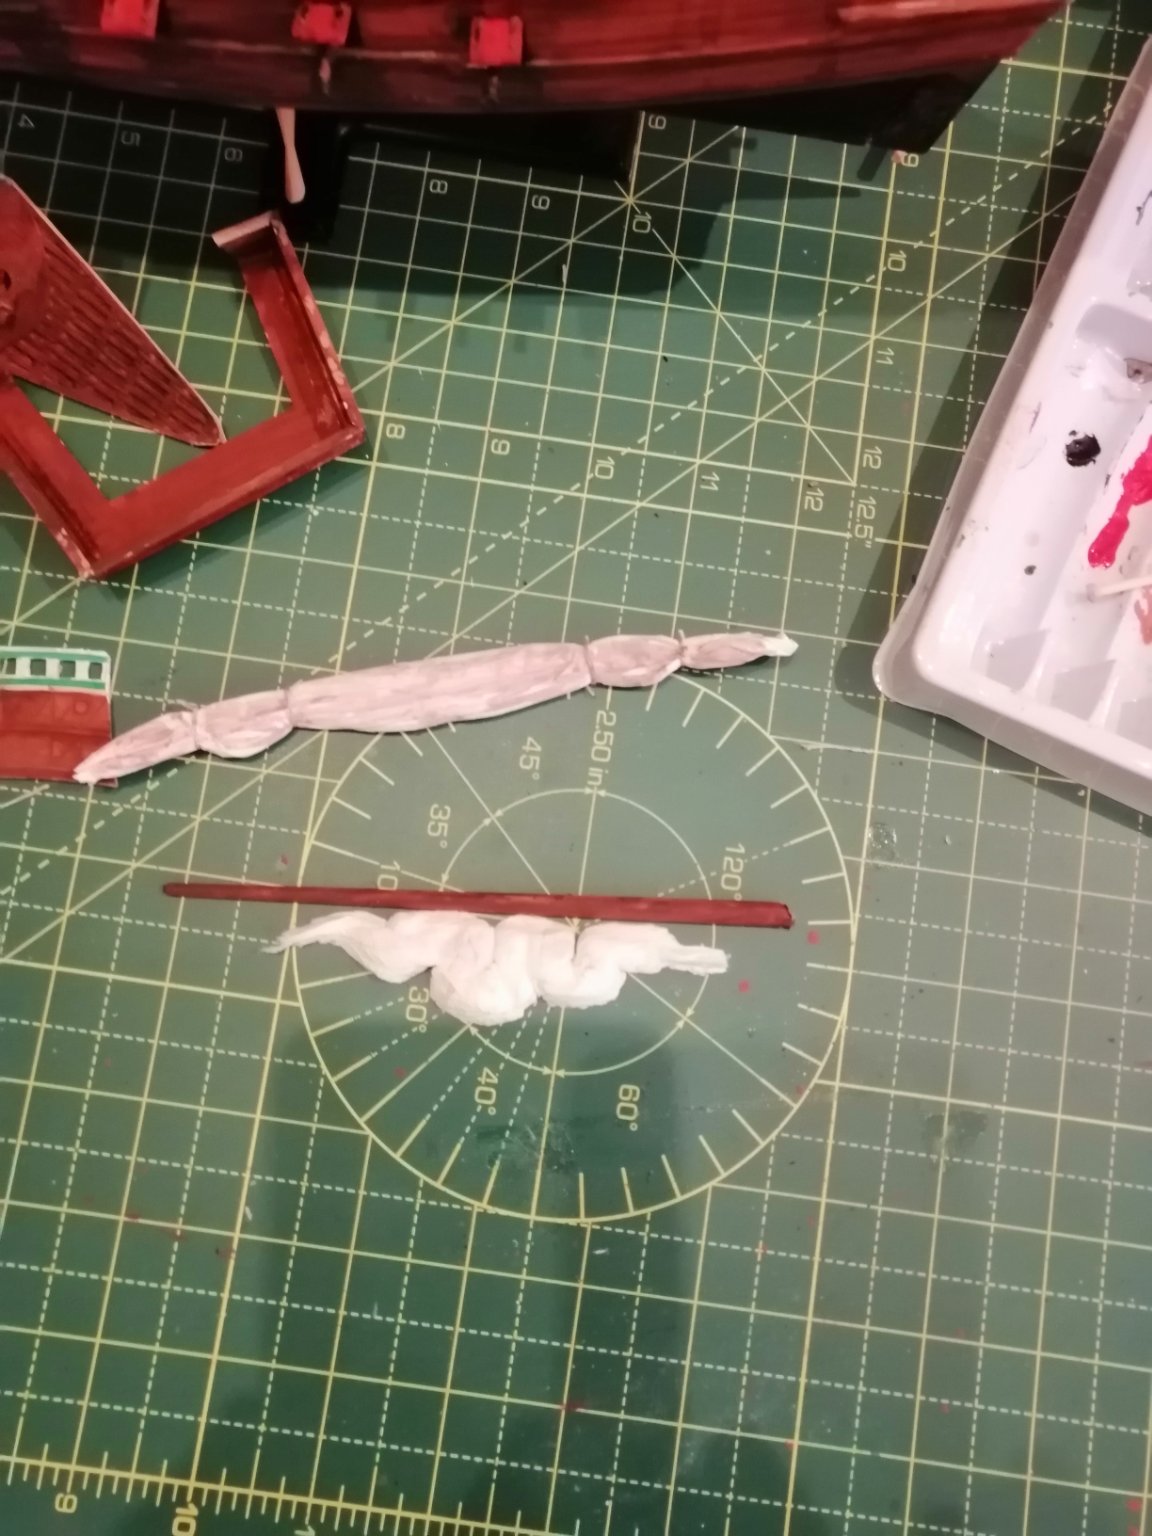
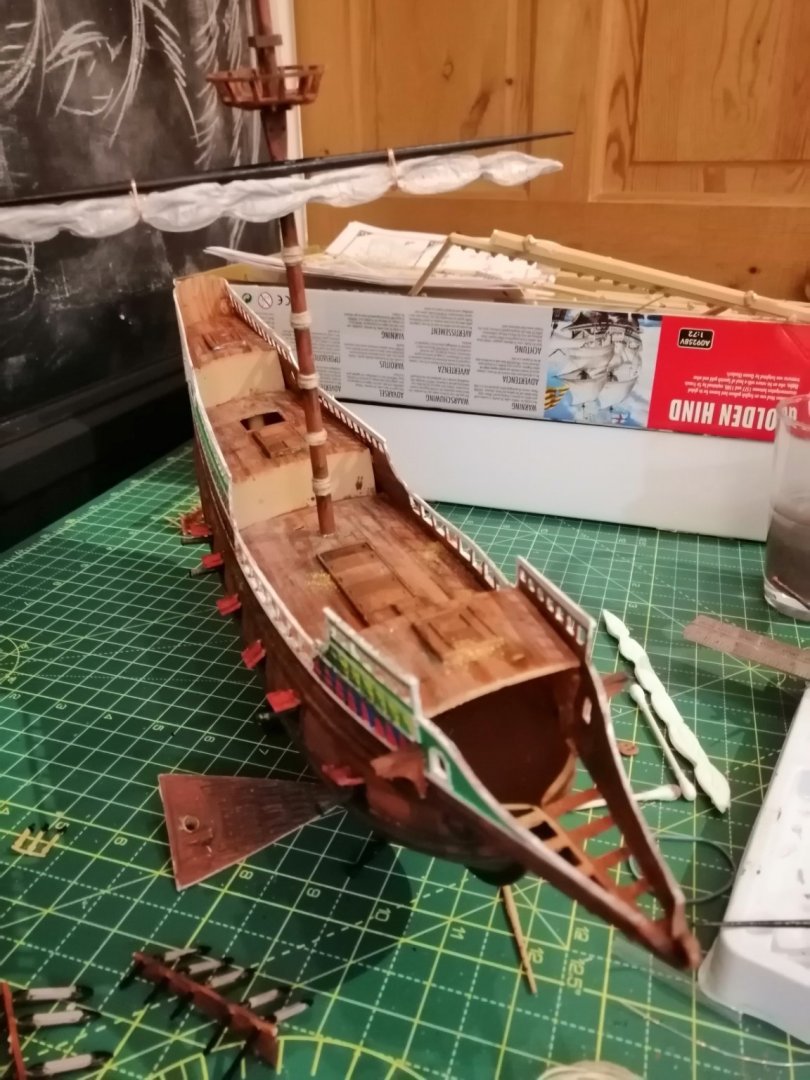
Not sure about the homemade furled sails, probably will leave them off. Used copper 0.04mm wire to hold in place temporarily.
- 265 replies
-
- 1
-

-
- Golden Hind
- Airfix
- (and 1 more)
-
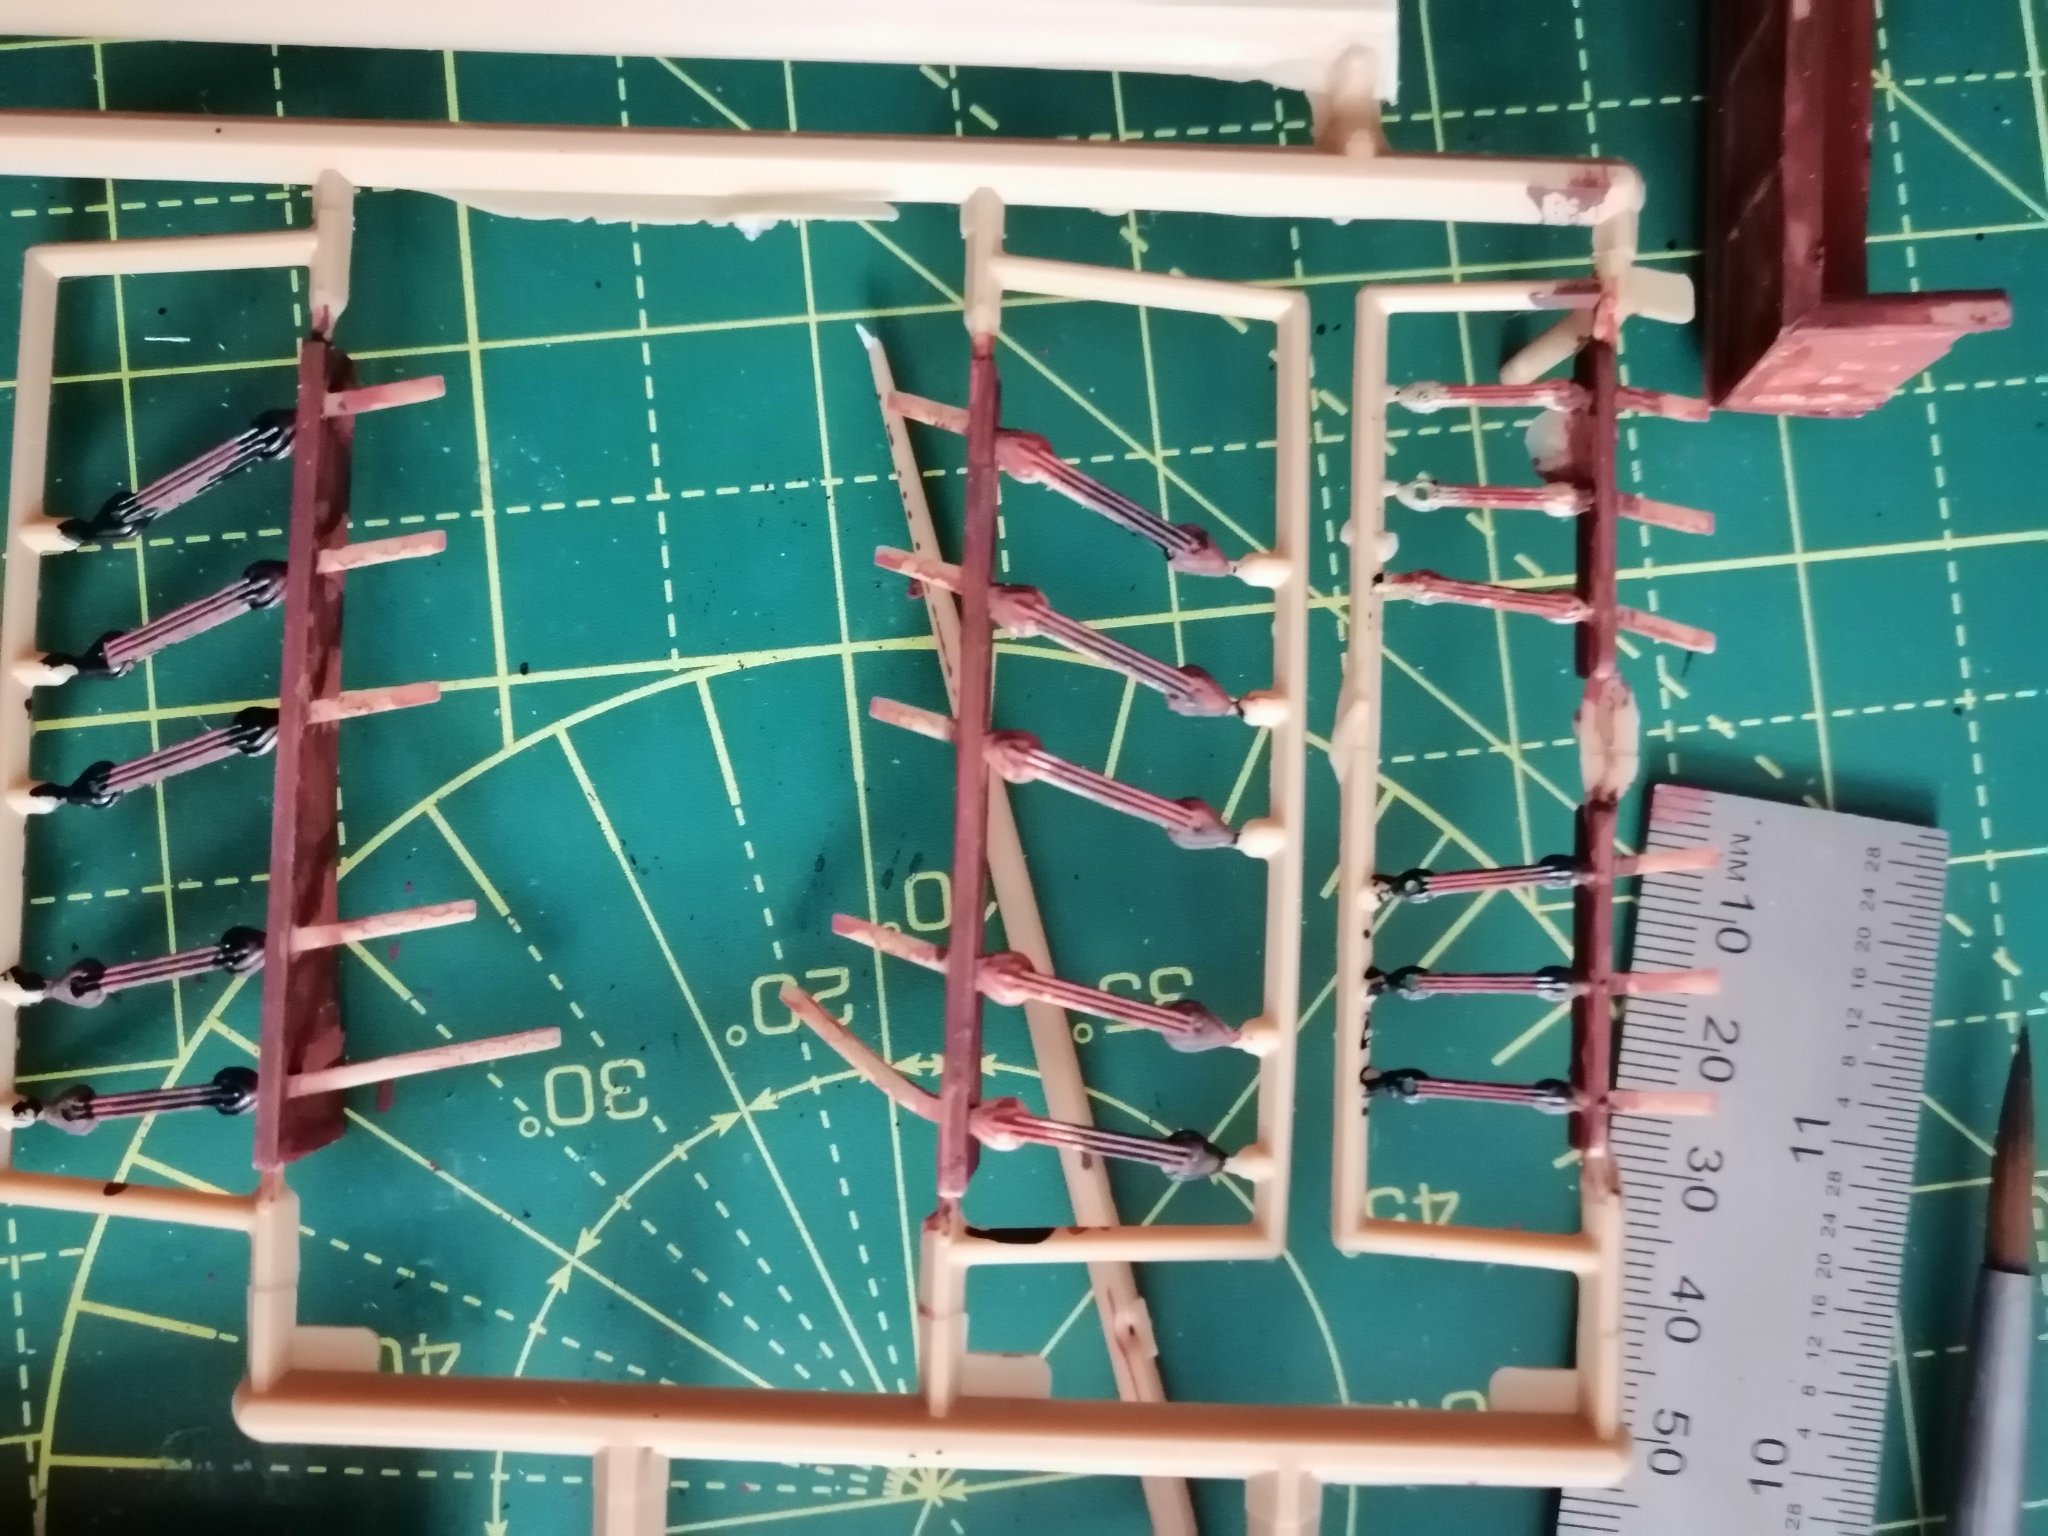
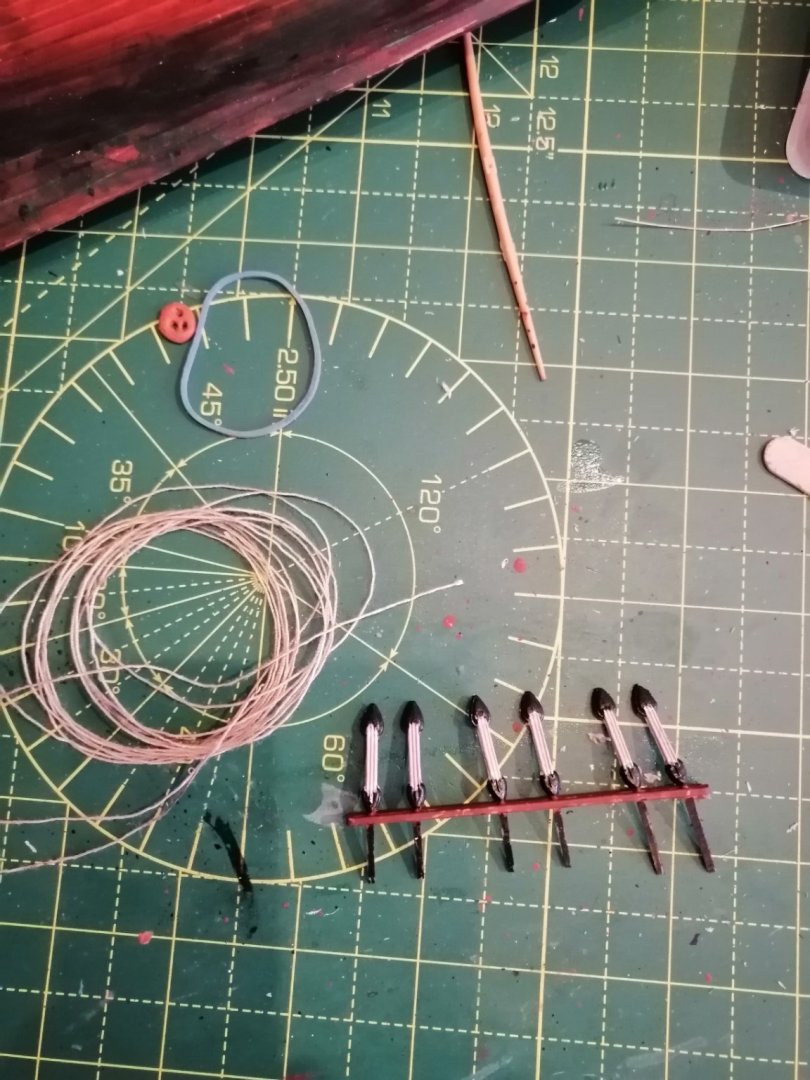
I think I will go with the provided deadeyes, I've tidied them up to try and match the ropes/thread I will use.
- 265 replies
-
- 2
-
-
- Golden Hind
- Airfix
- (and 1 more)
-
Not happy with the way the look, might have a go at making my own deadeyes (not the paint job as they are mid coats, just how they look in general)

- 265 replies
-
- 2
-
-
- Golden Hind
- Airfix
- (and 1 more)
-
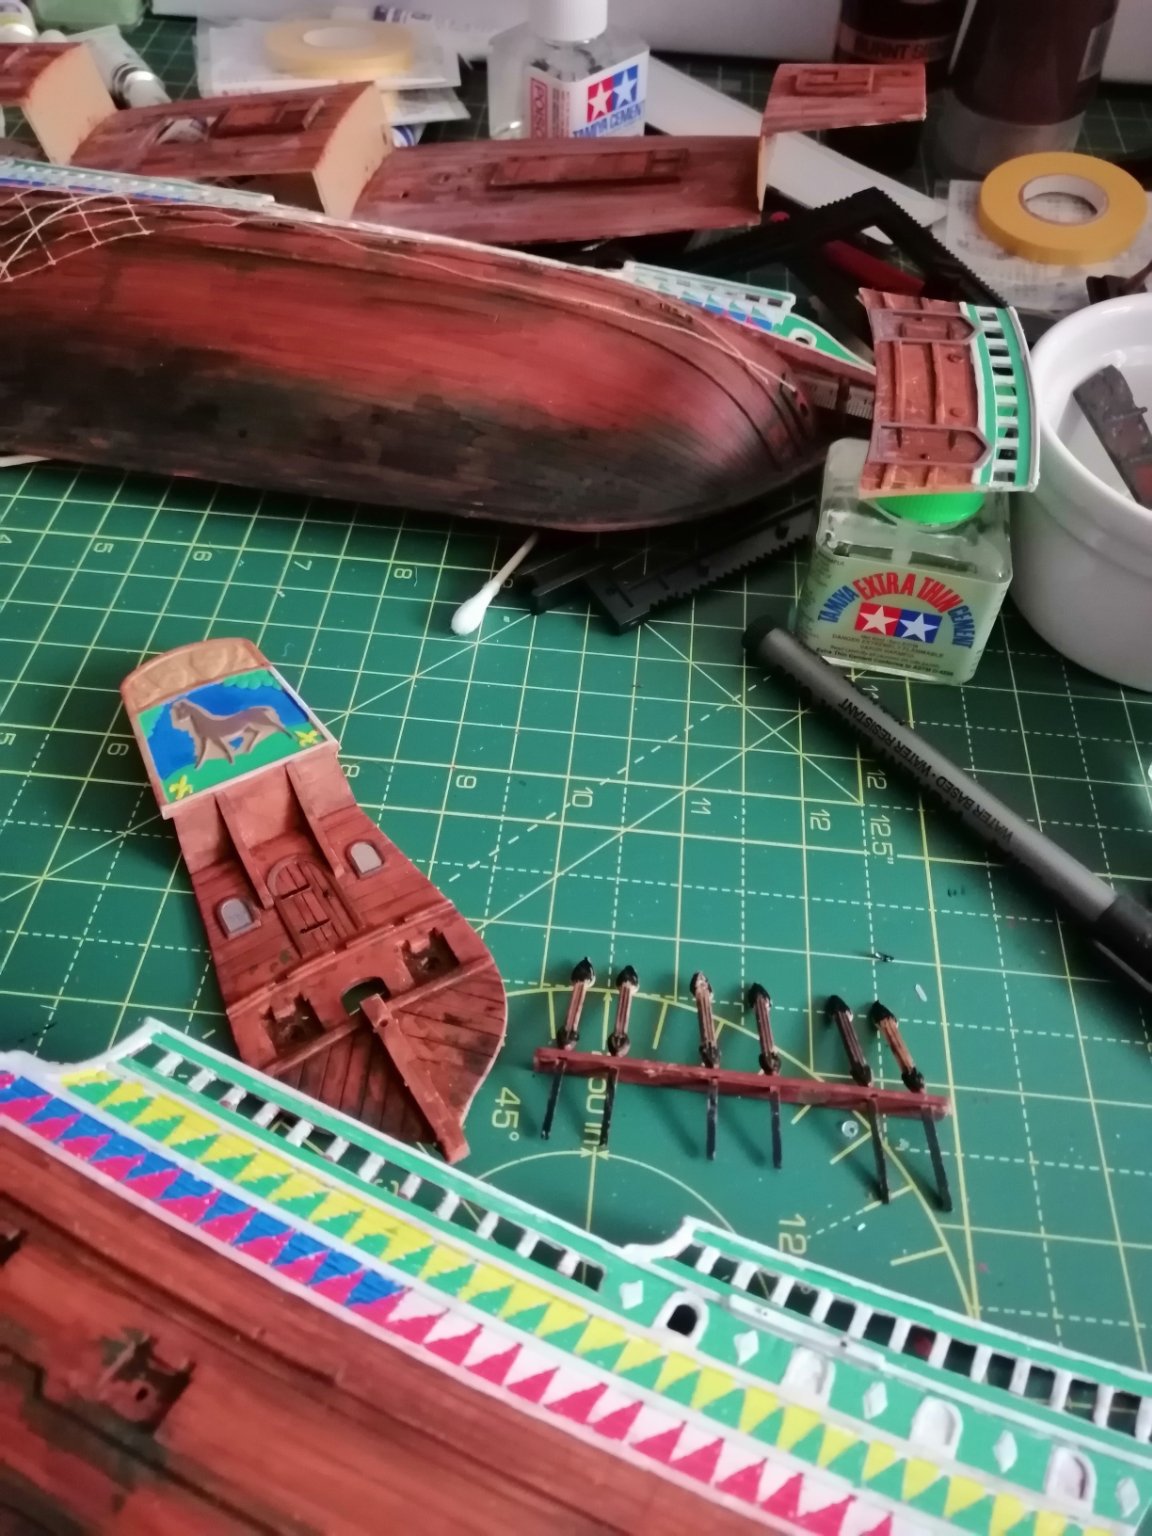
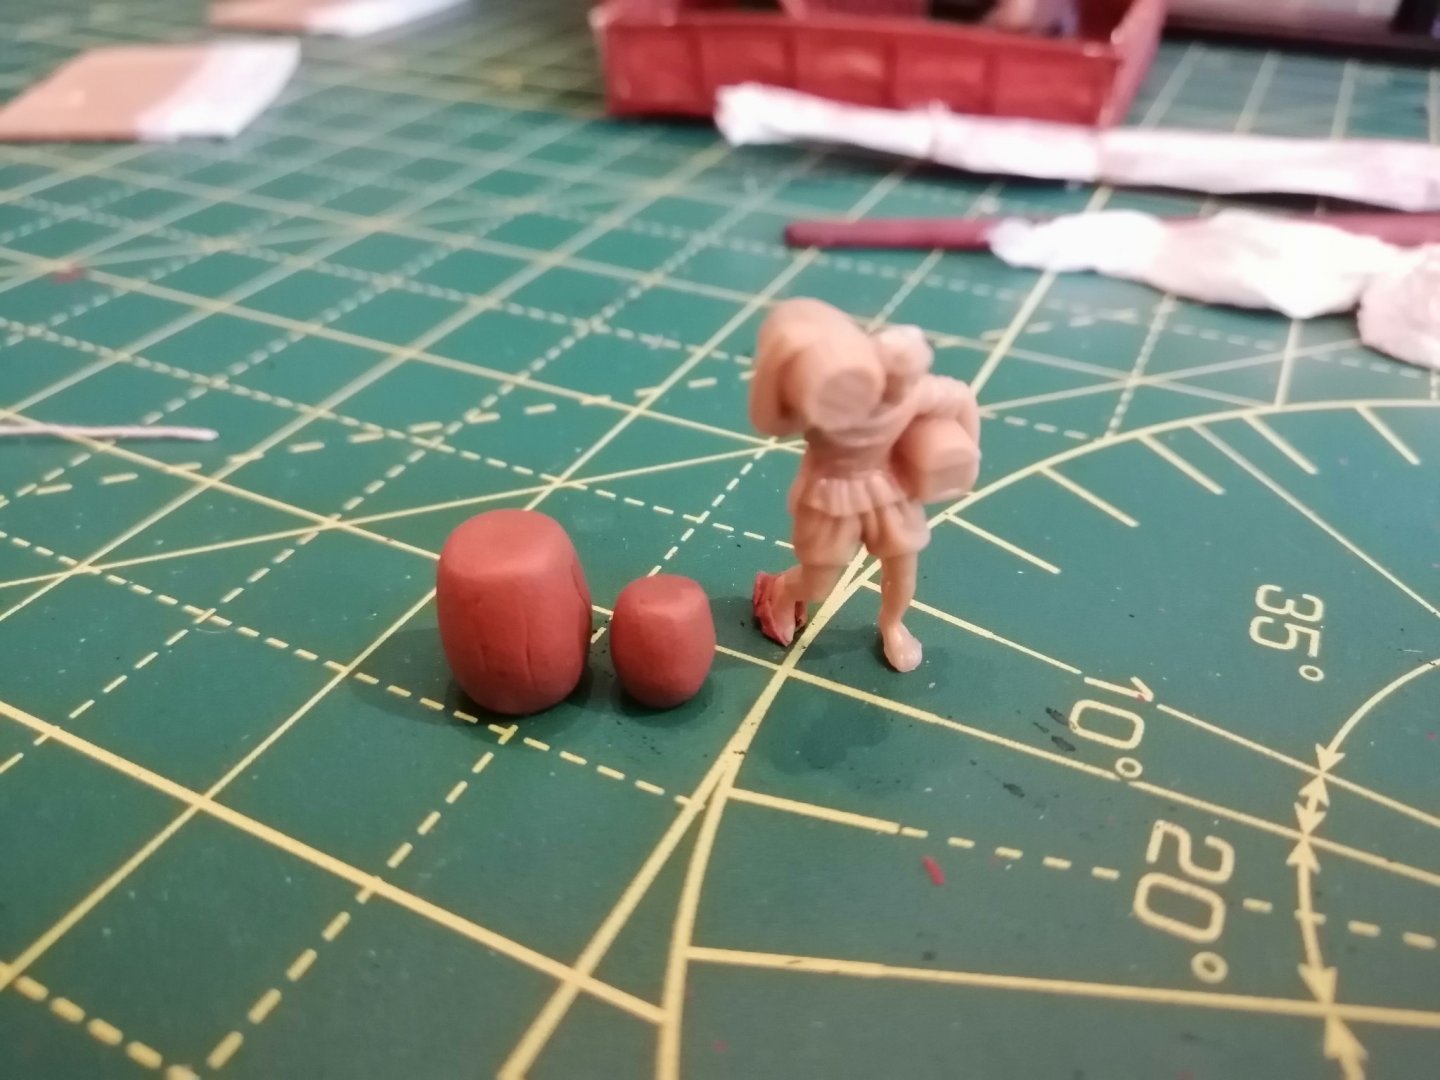
Barrel test 1, I think it is fit for purpose and will go with it.
- 265 replies
-
- 1
-
-
- Golden Hind
- Airfix
- (and 1 more)
-
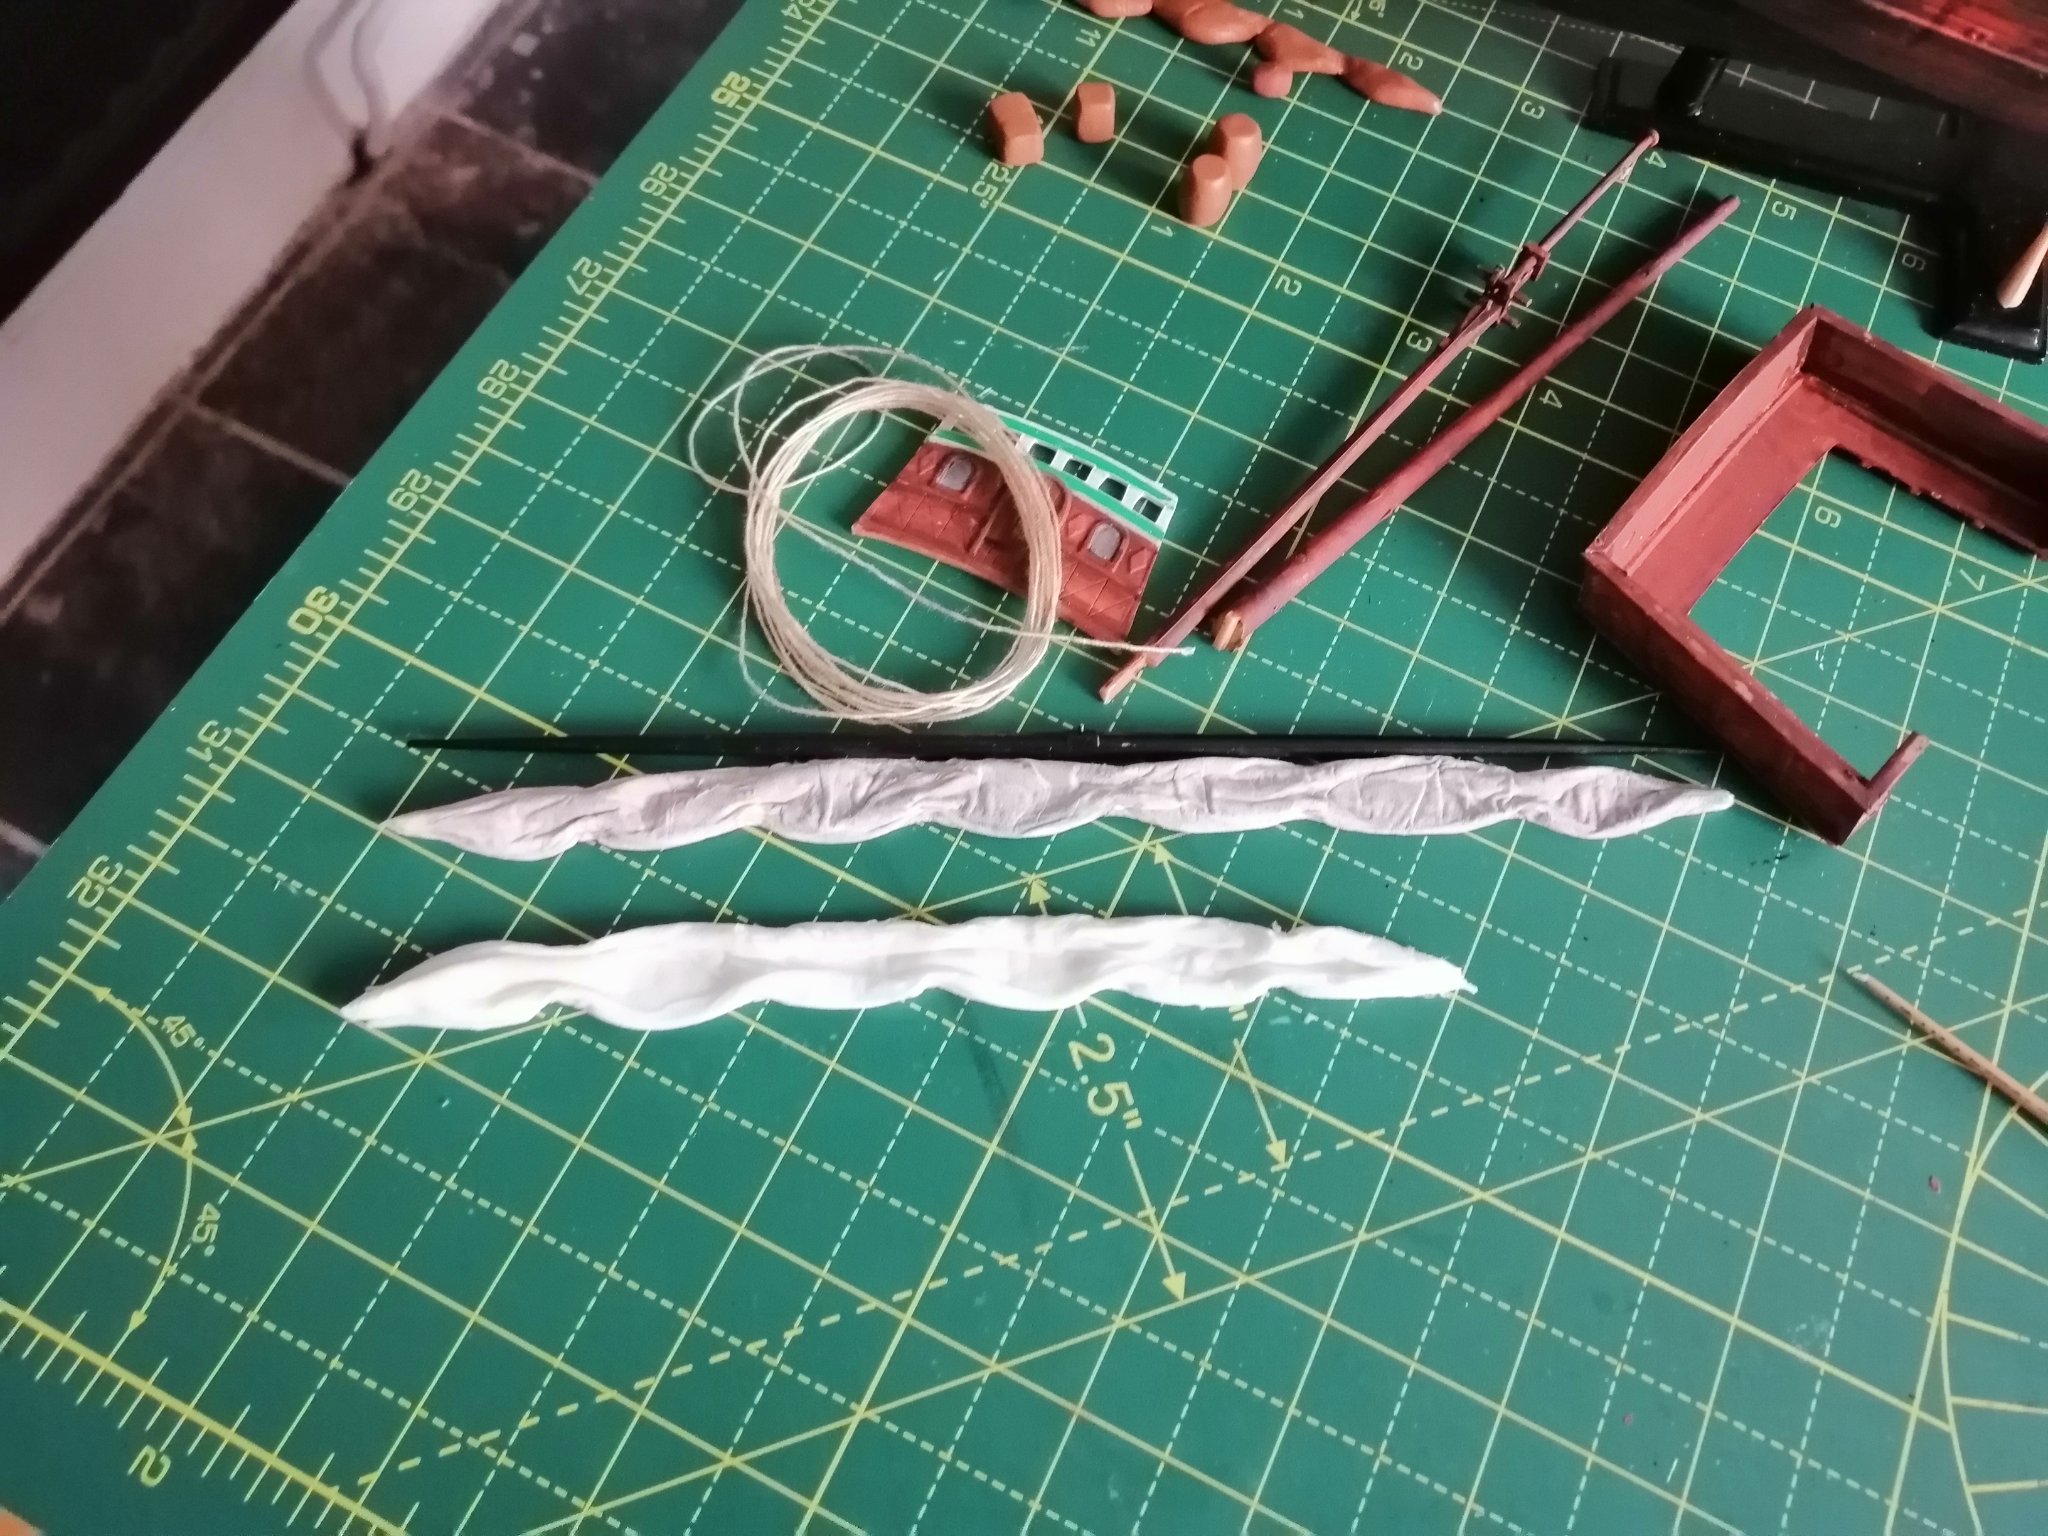
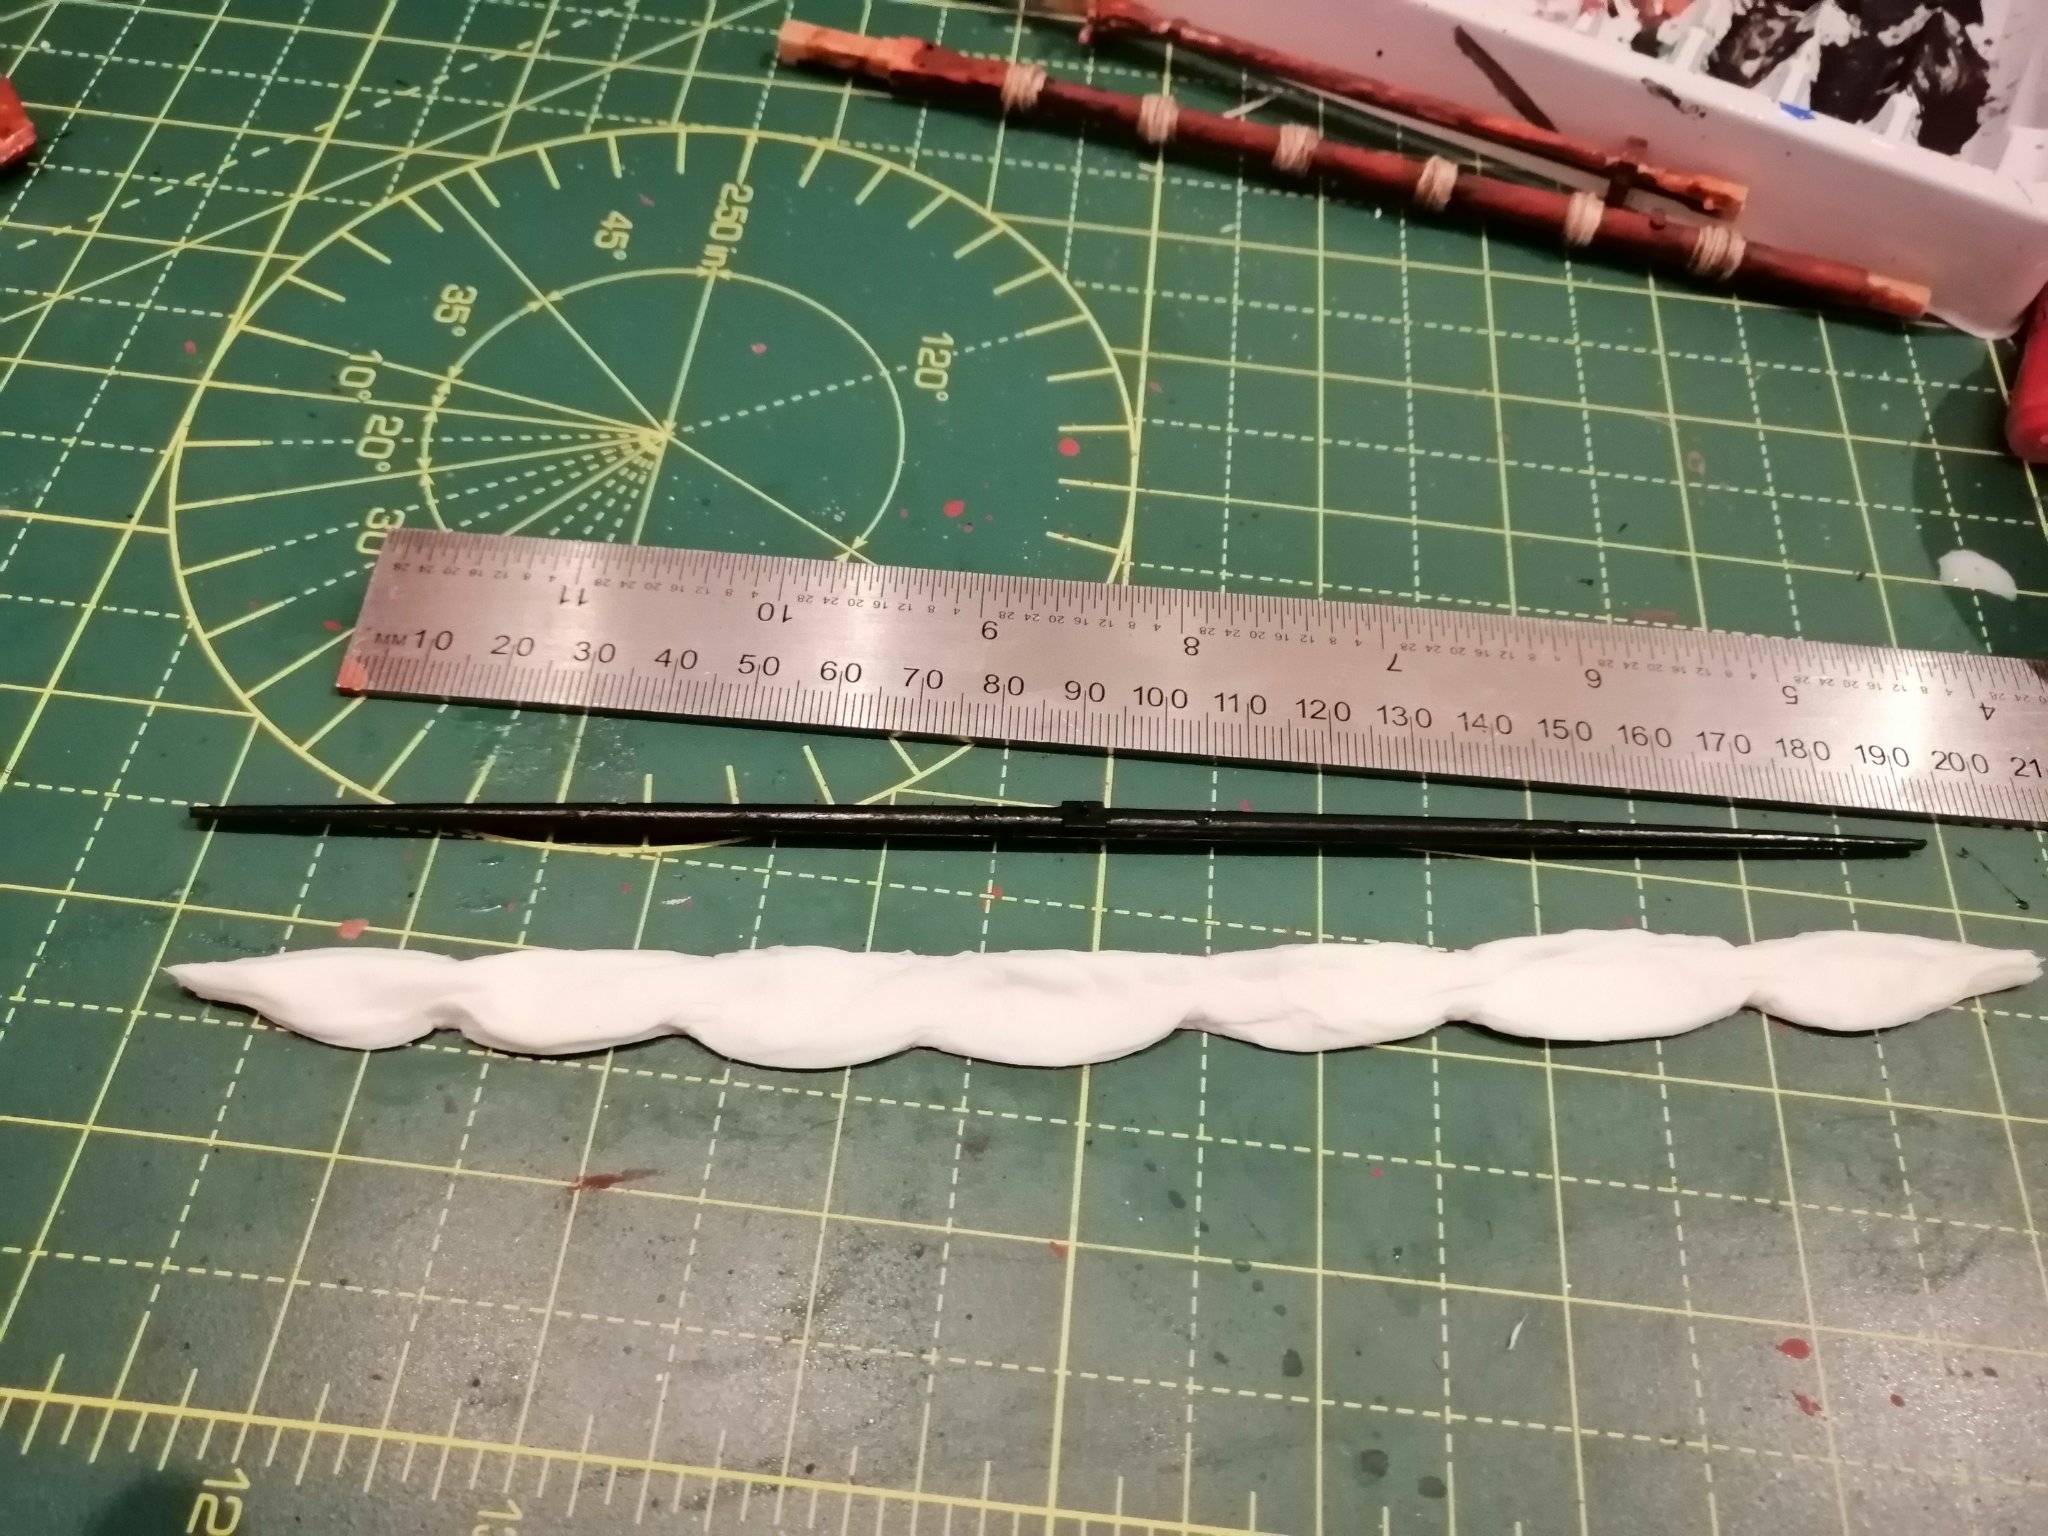
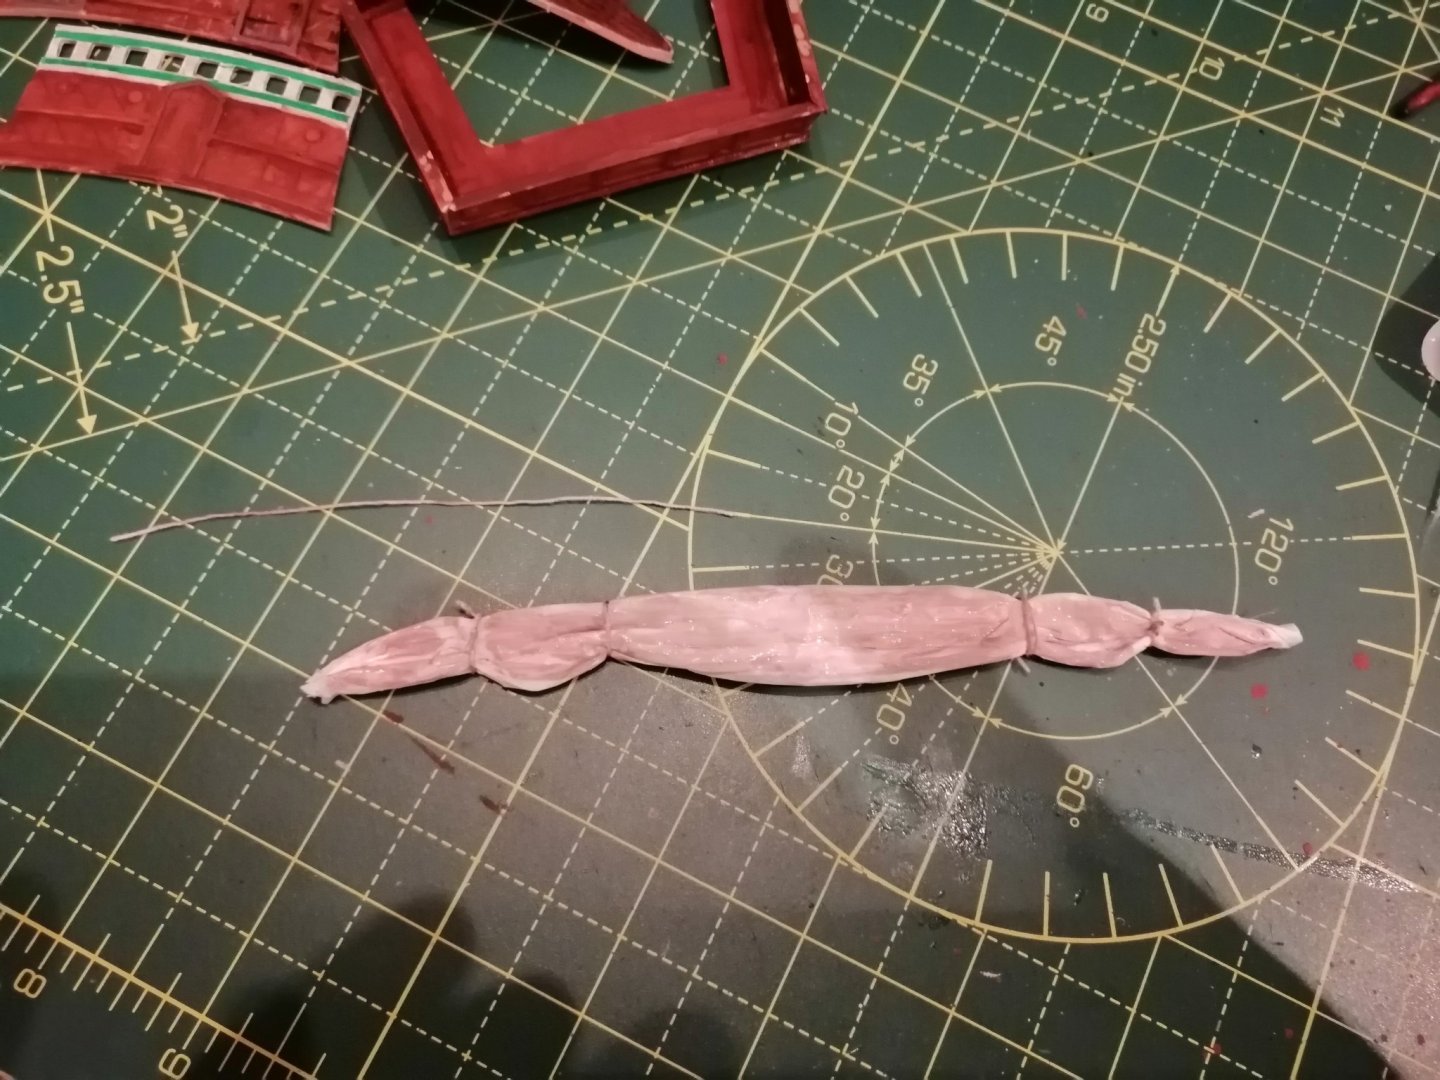
Furl sail attempt number (lost count) let's see how it dries and paints. I think it still might be too big in 1:72 land.

- 265 replies
-
- 1
-
-
- Golden Hind
- Airfix
- (and 1 more)
-
Also attempting to make some scale barrel and box shapes using fimo polymer, plastacine that can be hardened in a conventional oven and then painted.
- 265 replies
-
- 1
-
-
- Golden Hind
- Airfix
- (and 1 more)
-
I would like all the sails to be up but the kit only comes with one, so will begin to try and make my own. I saw that someone in the build logs had done an amazing job with tissue paper (.H.M.S.Victory by JerseyCity Frankie – Heller – plastic - 1/100 – mostly rigging and sails) First effort, not as good, but it's a start.
- 265 replies
-
- 1
-
-
- Golden Hind
- Airfix
- (and 1 more)
-
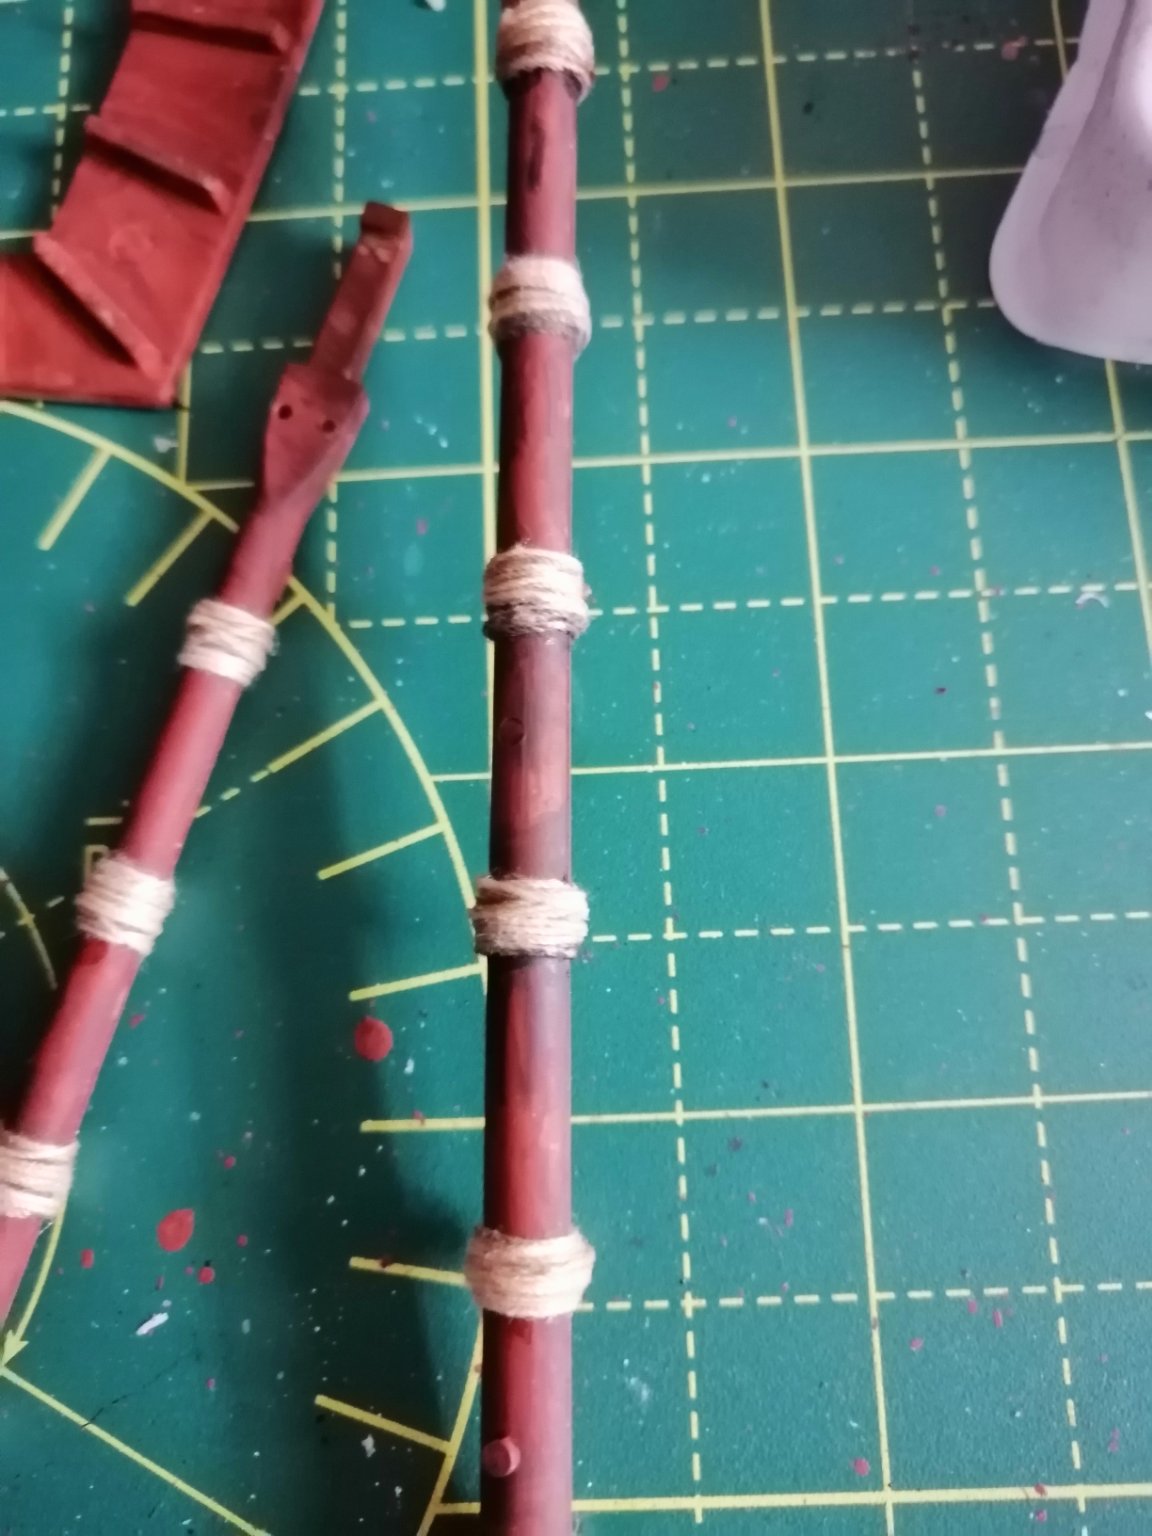
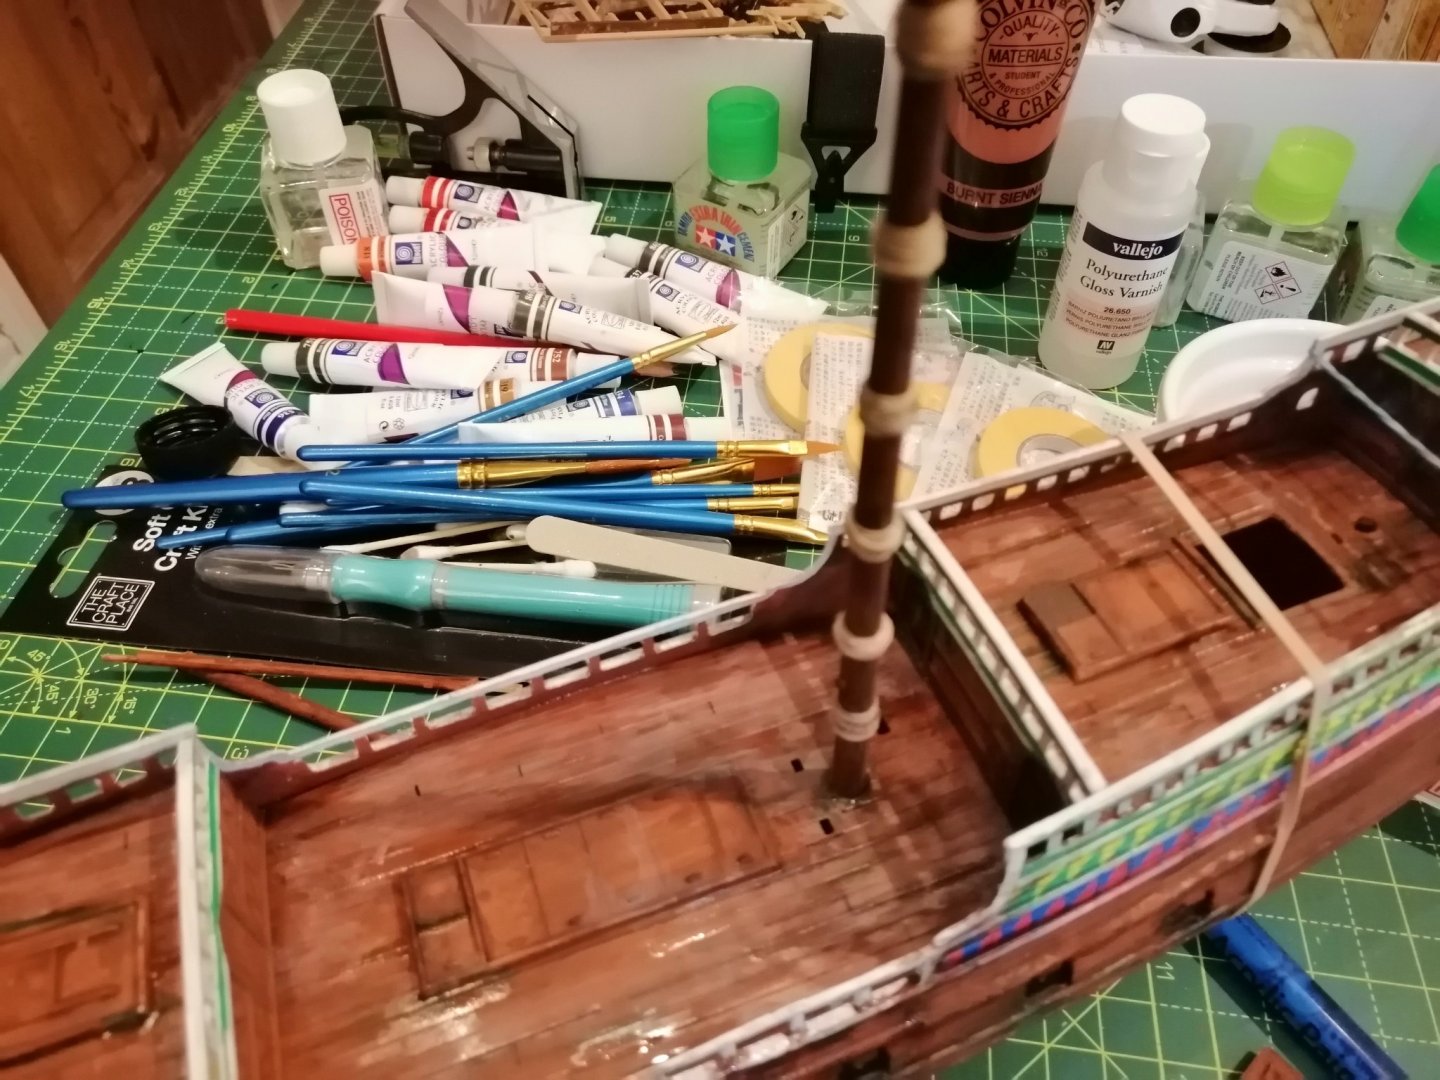
Adding a black and brown wash, burnt umber acrylic 5/95 water and then some detailing (black acrylic not mixed) to the mast ropes and just below each section of 'rope' to add more depth.

- 265 replies
-
- 2
-
-
- Golden Hind
- Airfix
- (and 1 more)
-
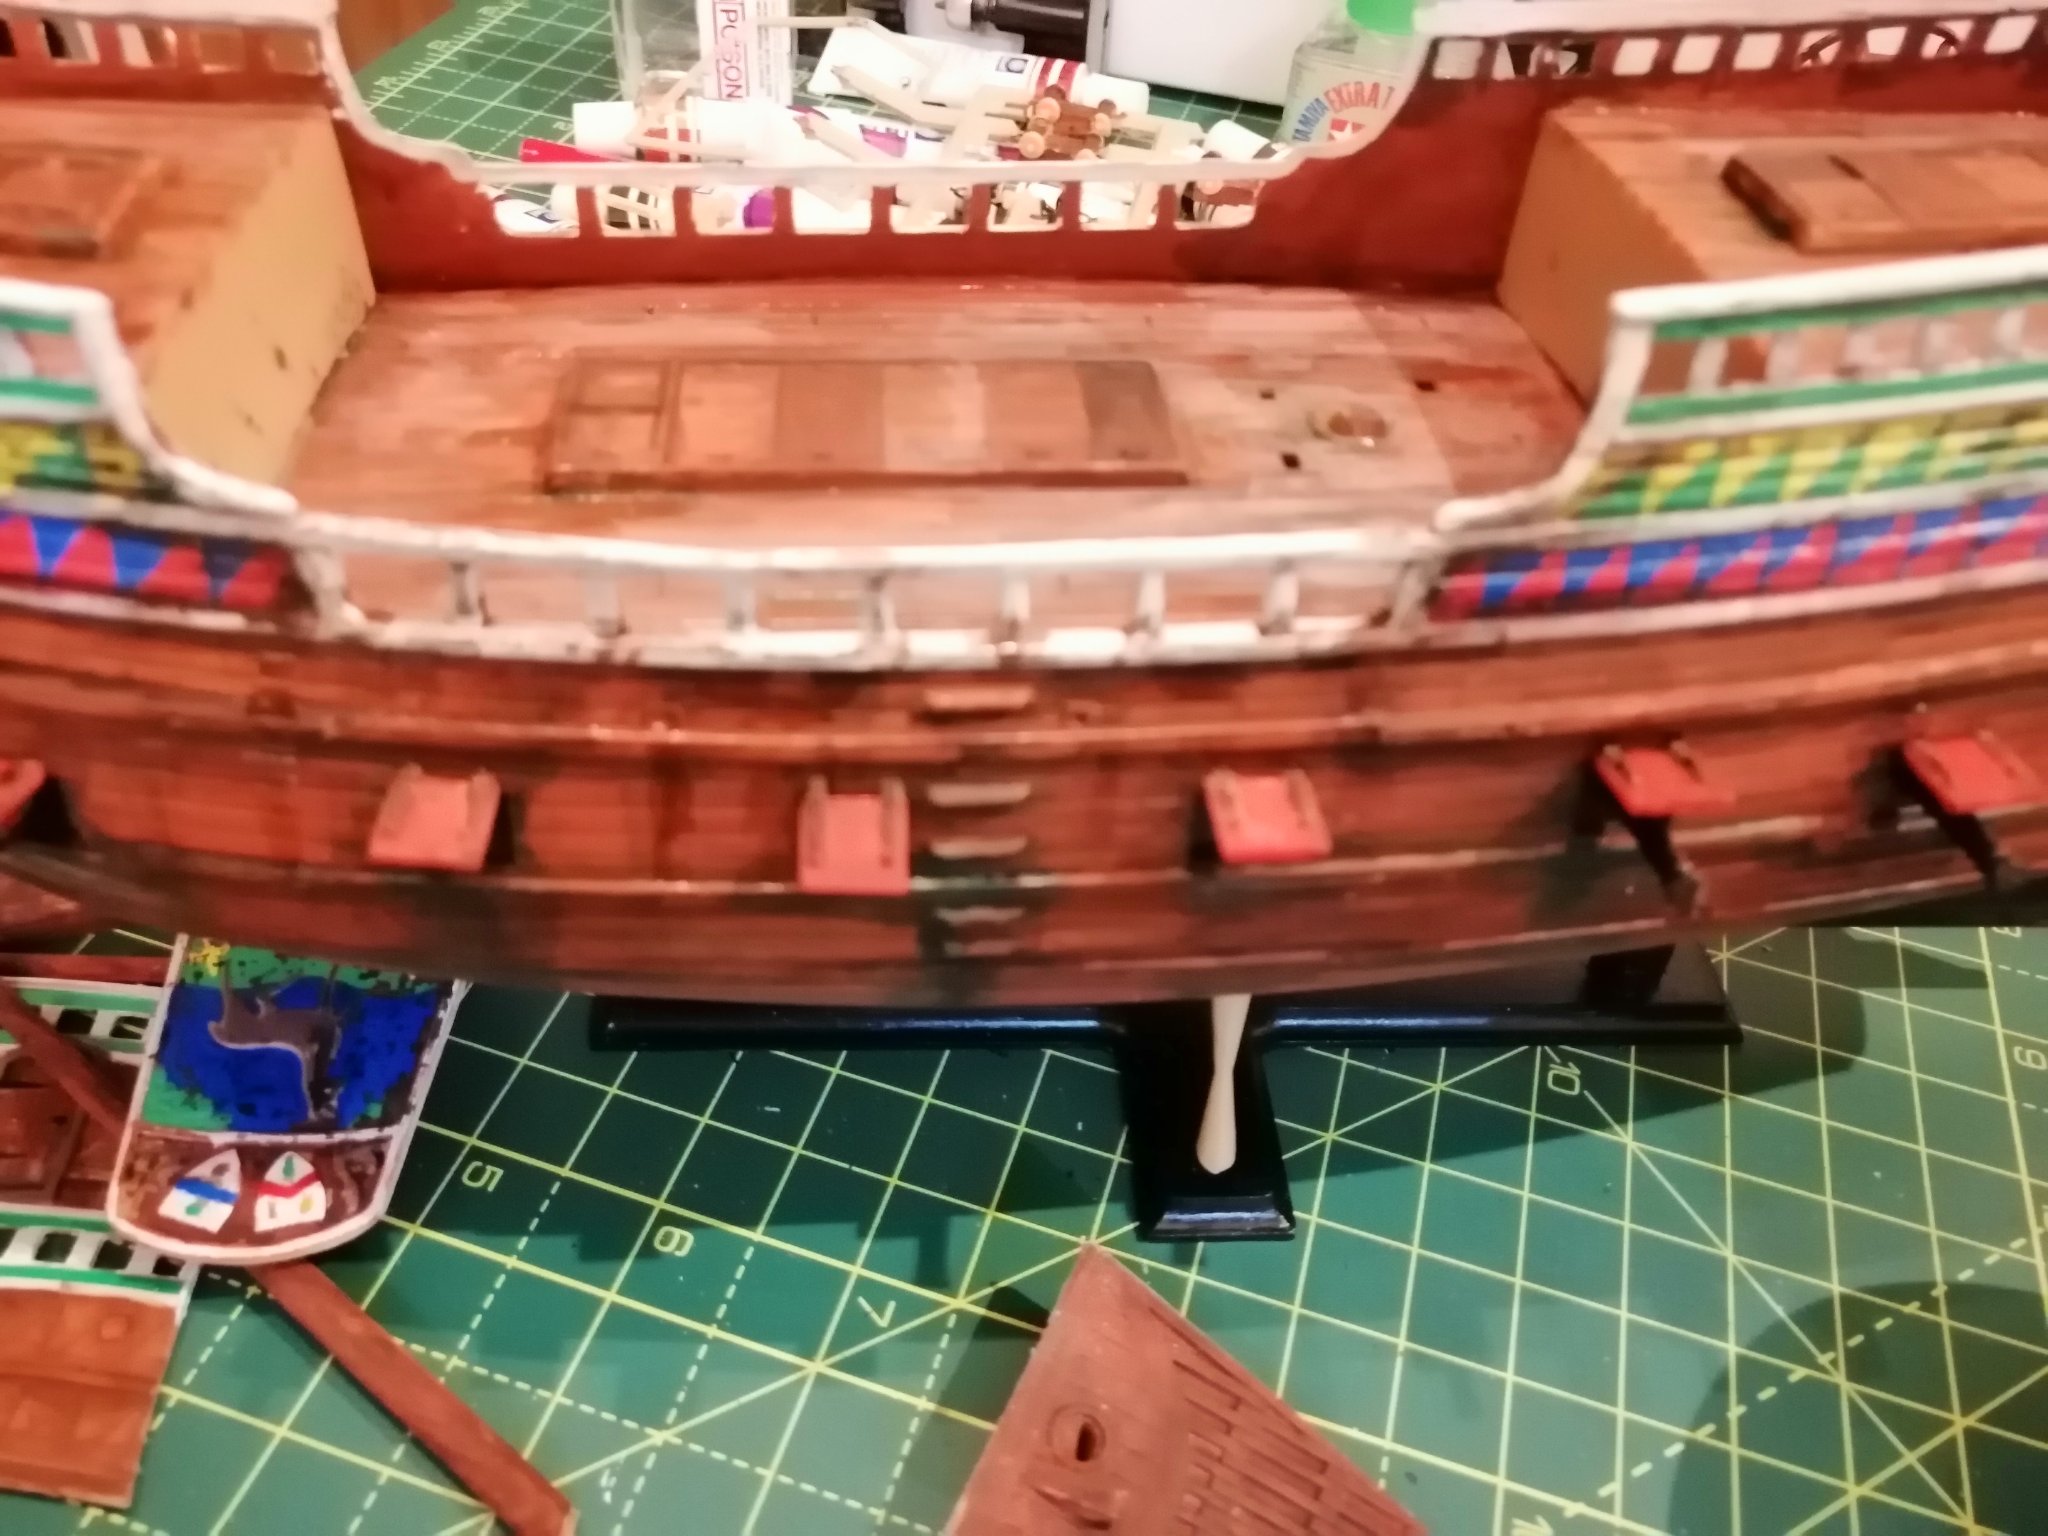
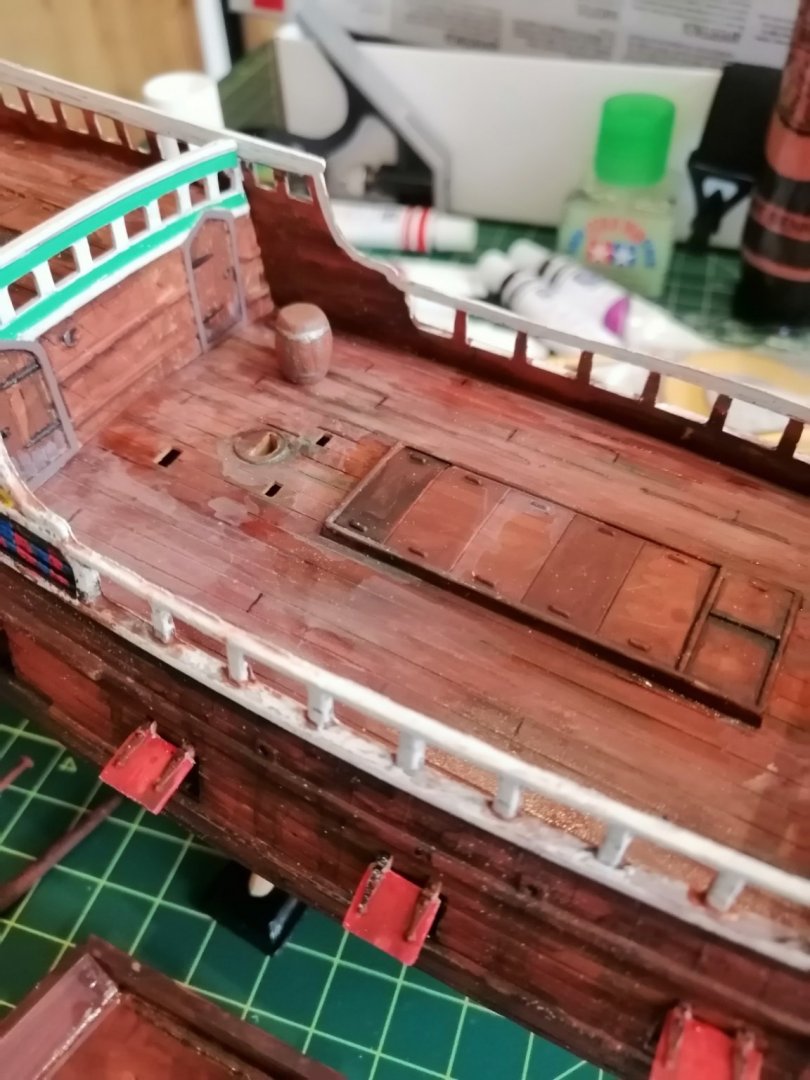
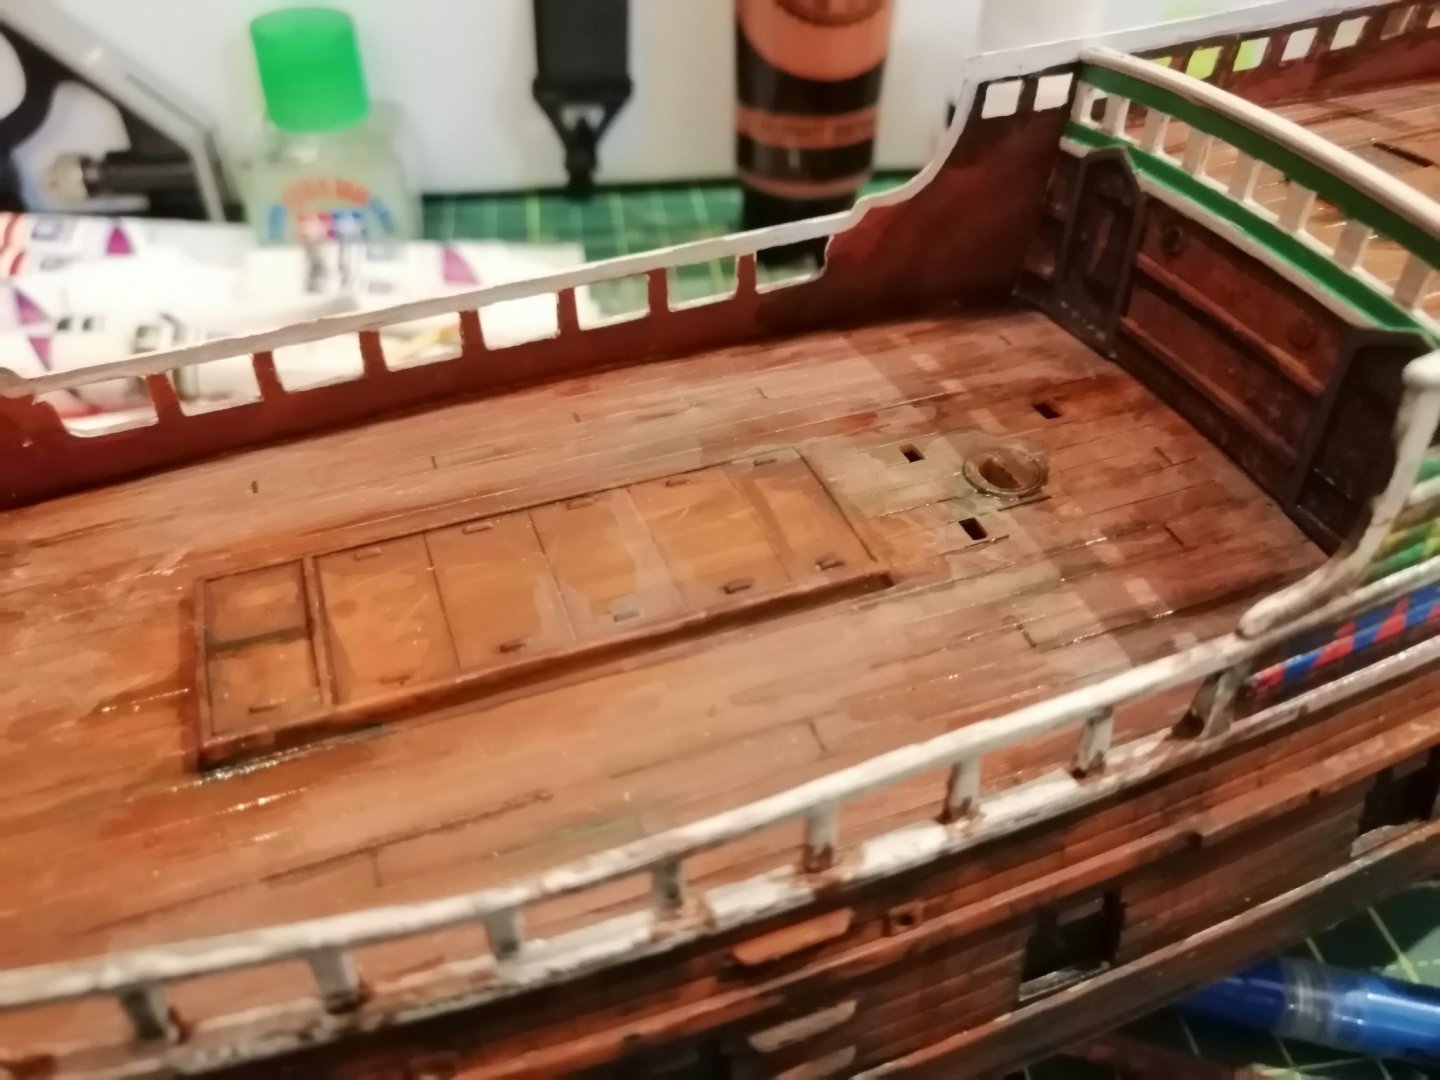
Added more colours to the decking hatches, so they didn't look uniform.
- 265 replies
-
- 1
-
-
- Golden Hind
- Airfix
- (and 1 more)
-
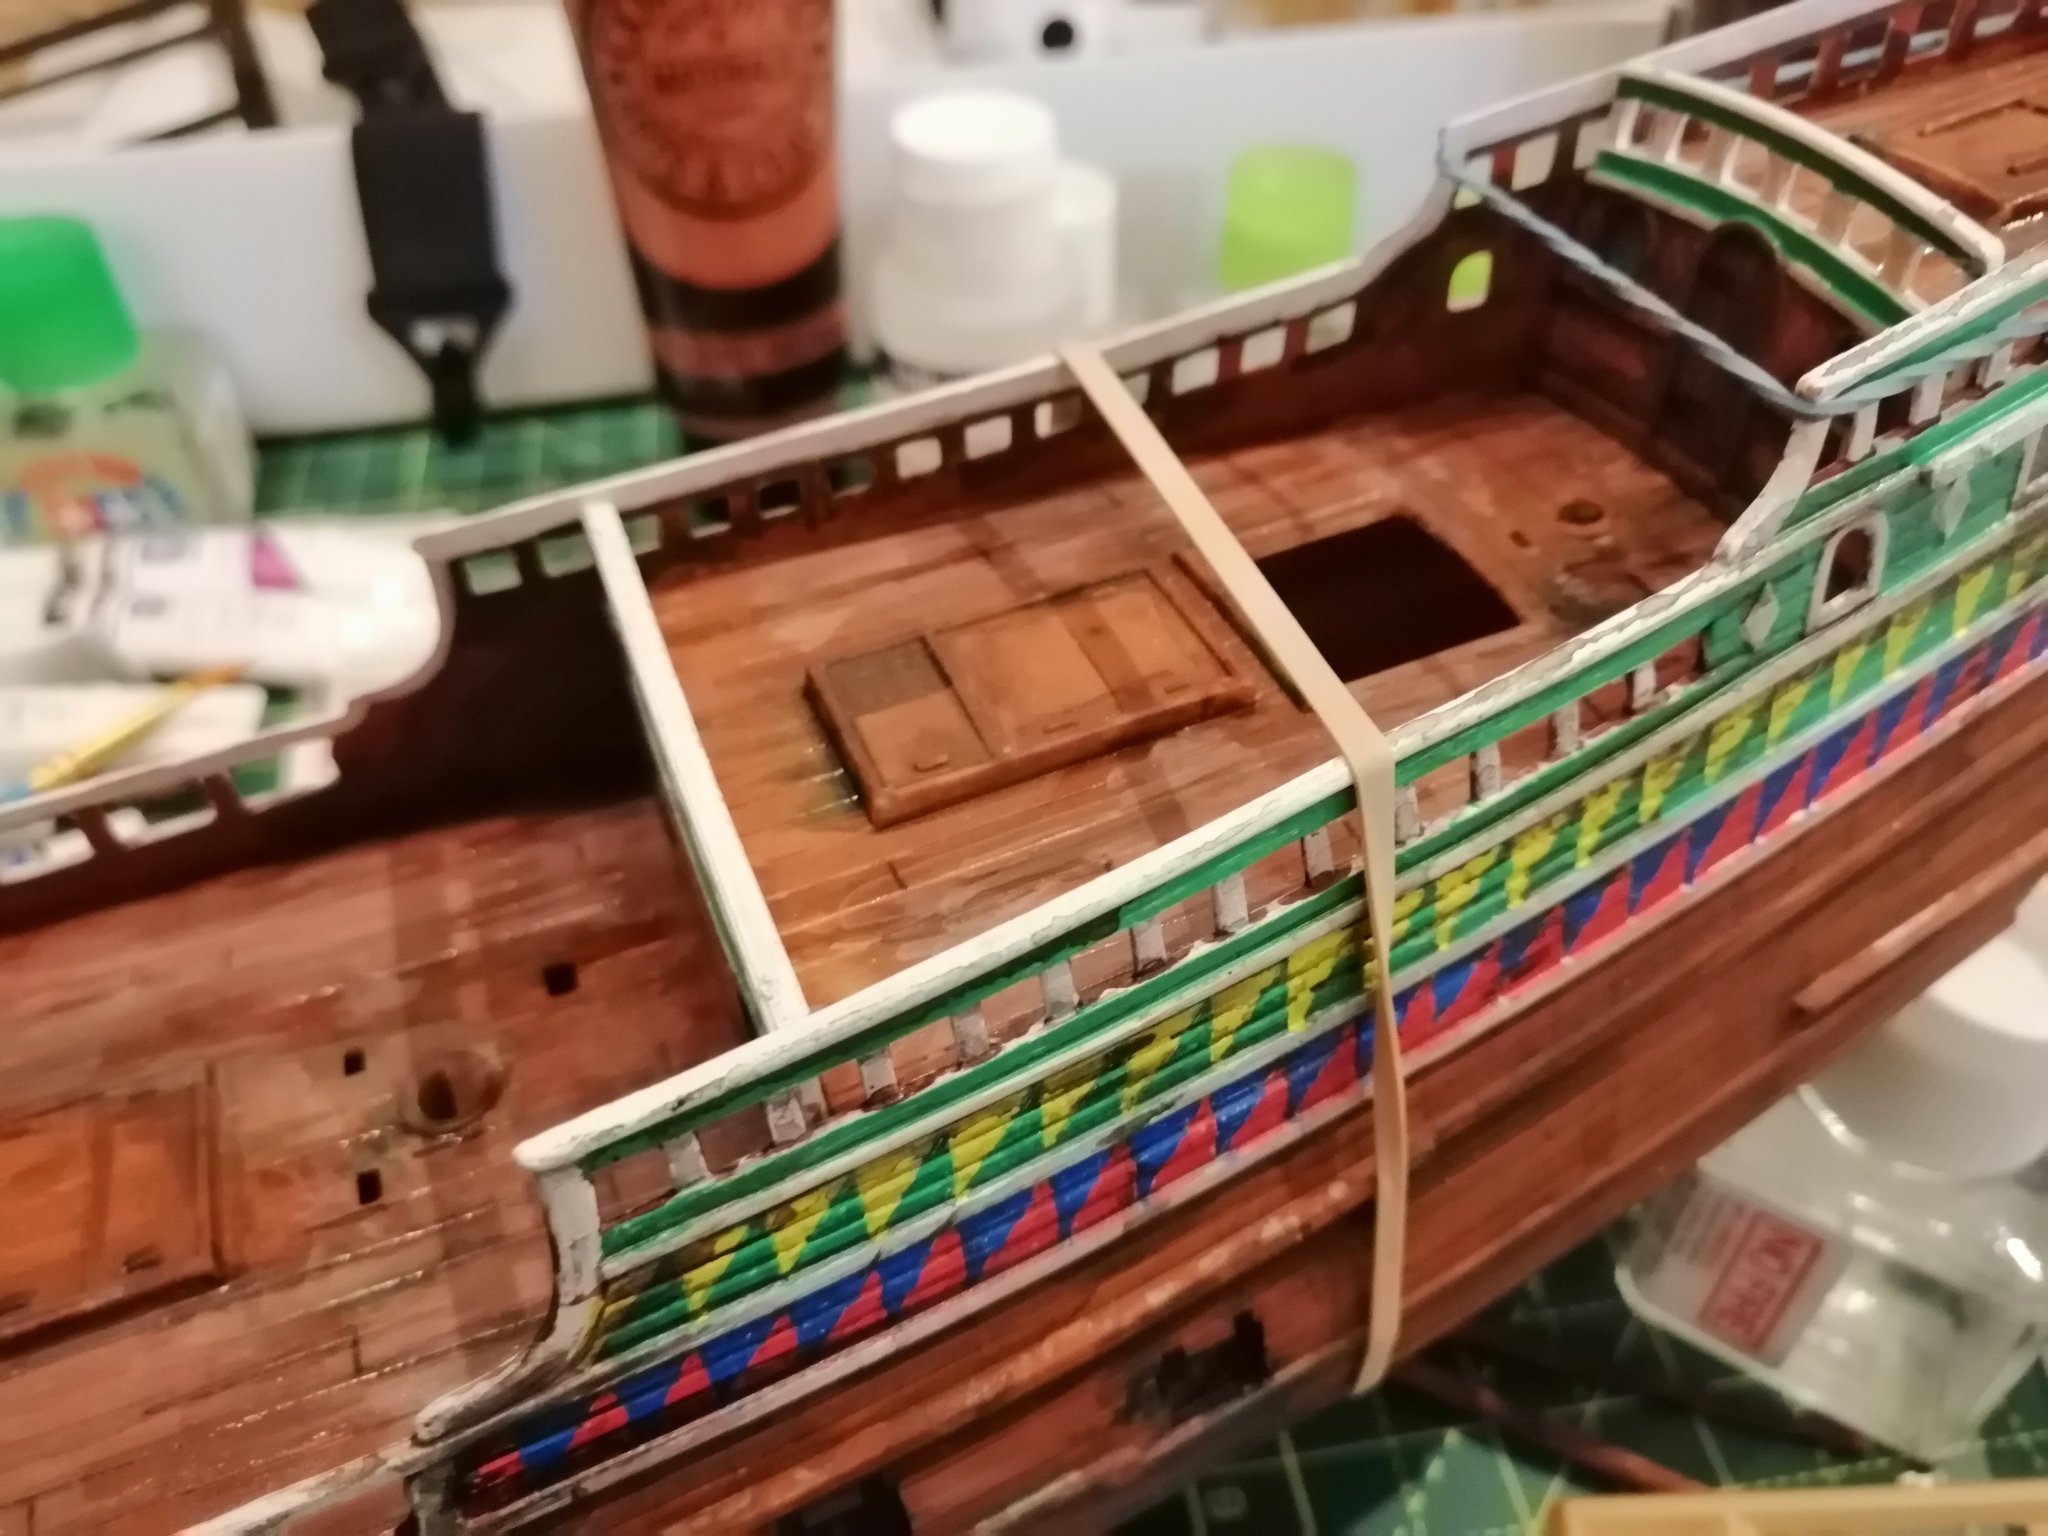
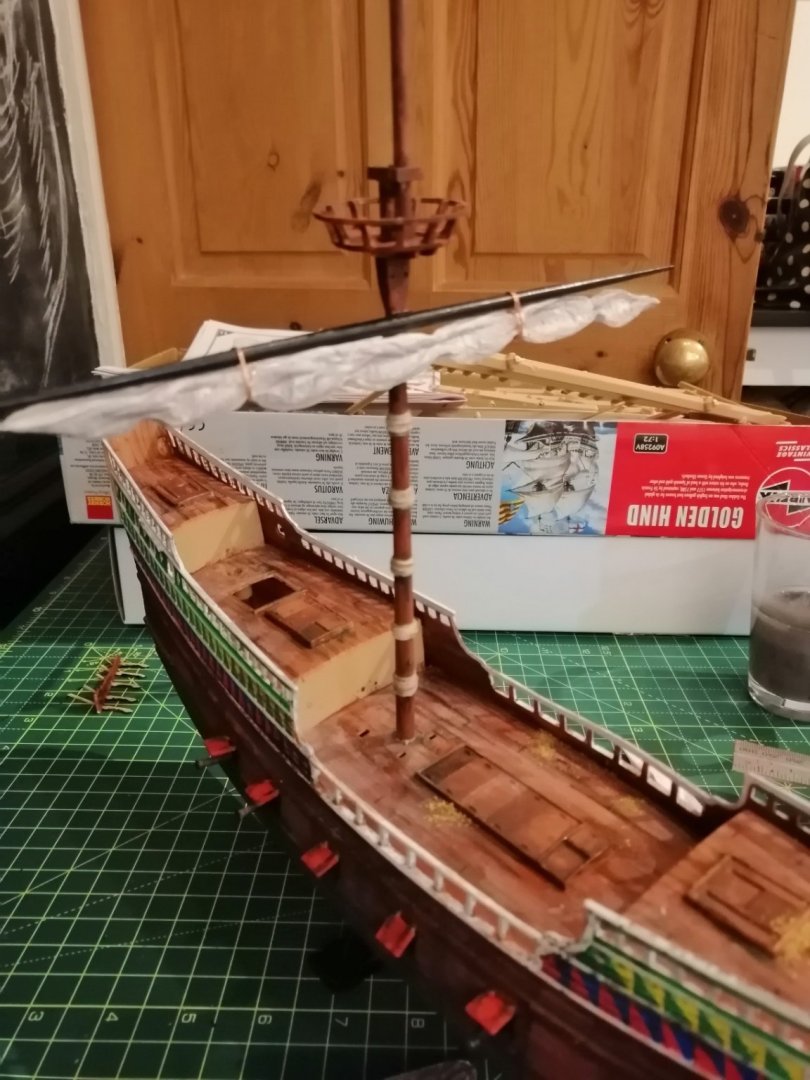
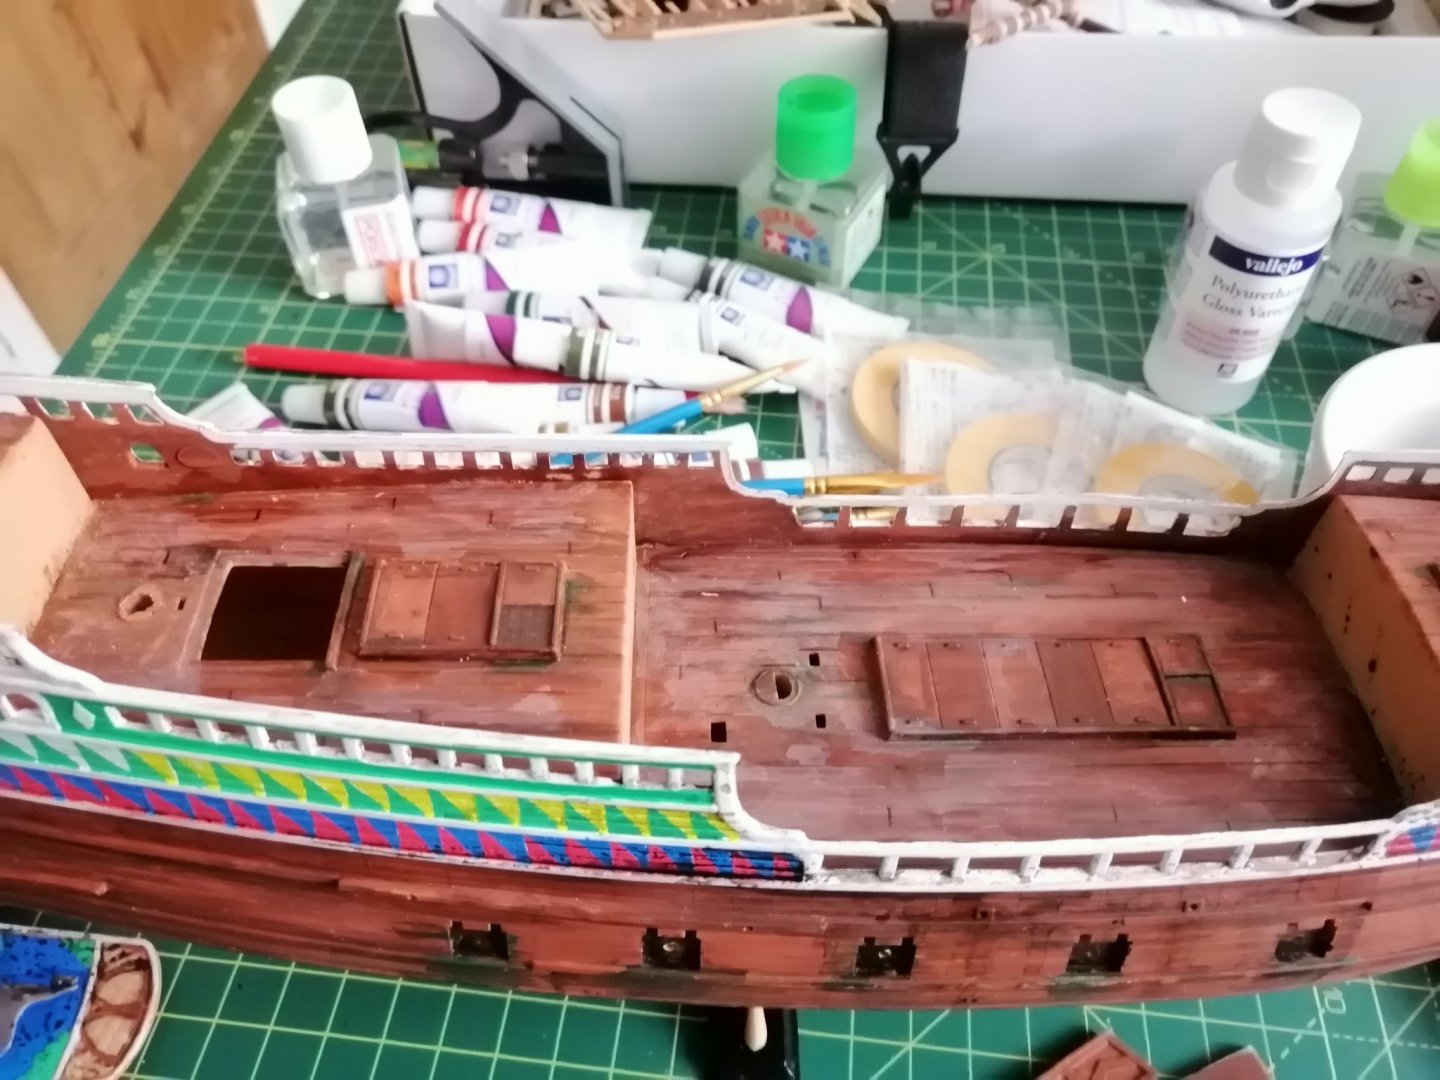
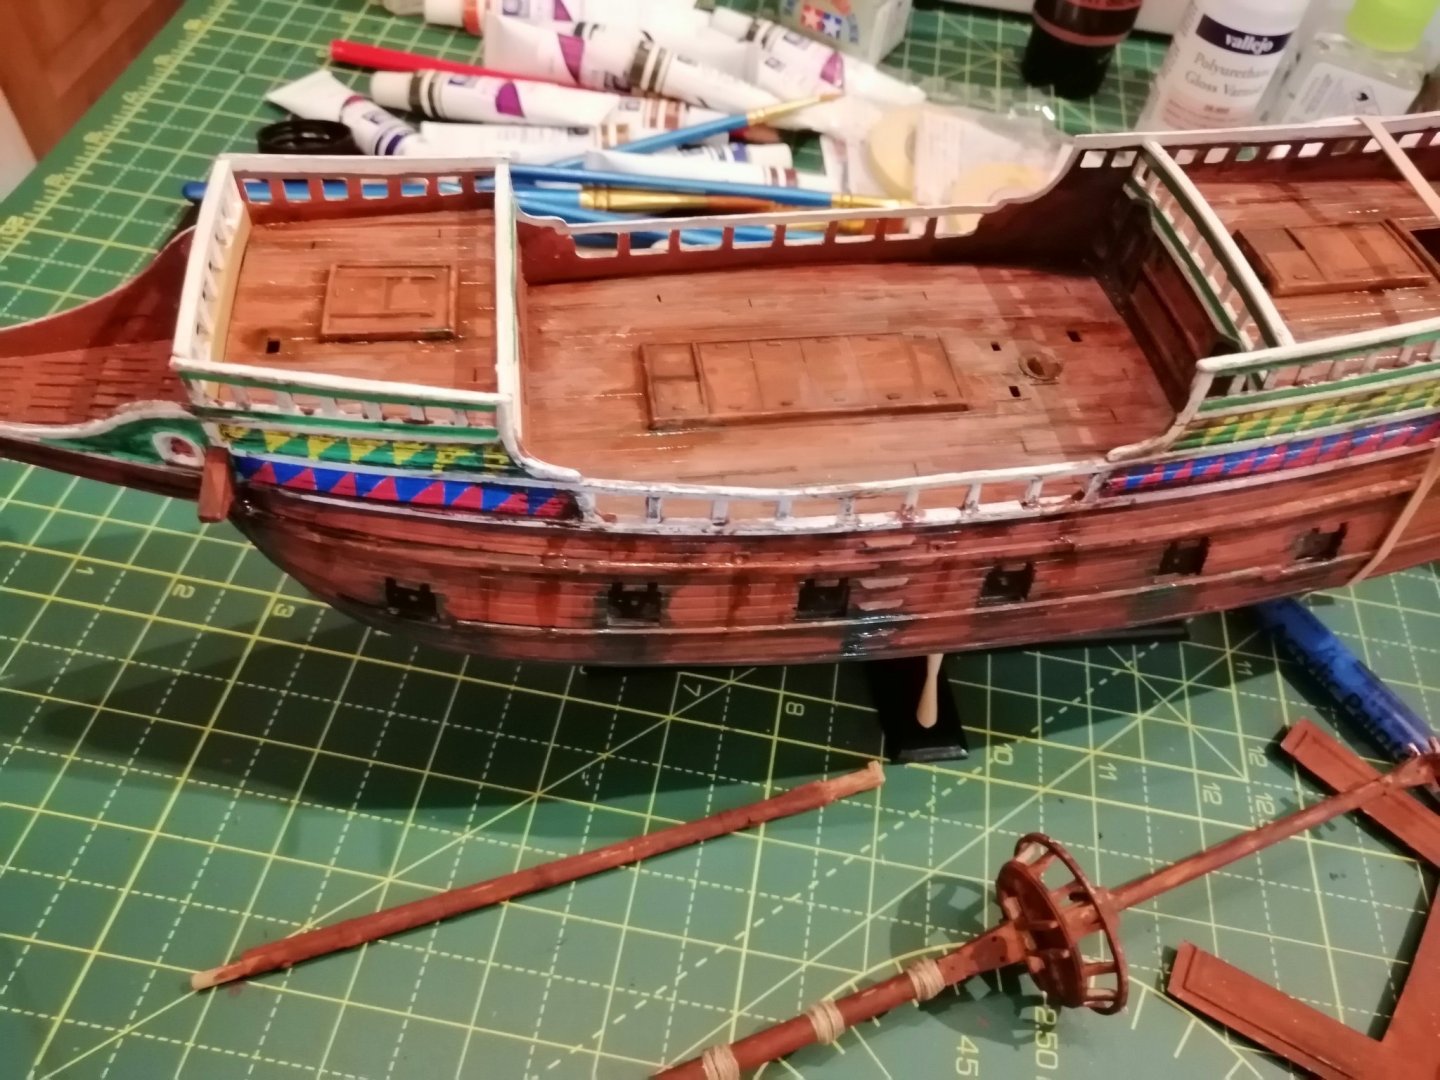
Progress, still a long way to go, next will be adding the guns and hatch doors. I intend cut down the cannon lengths so they look a little different along the side and have the hatches in various stages of open and closed. (I haven't added any masts at this, just wanted to see what they looked like)


- 265 replies
-
- 1
-
-
- Golden Hind
- Airfix
- (and 1 more)
-
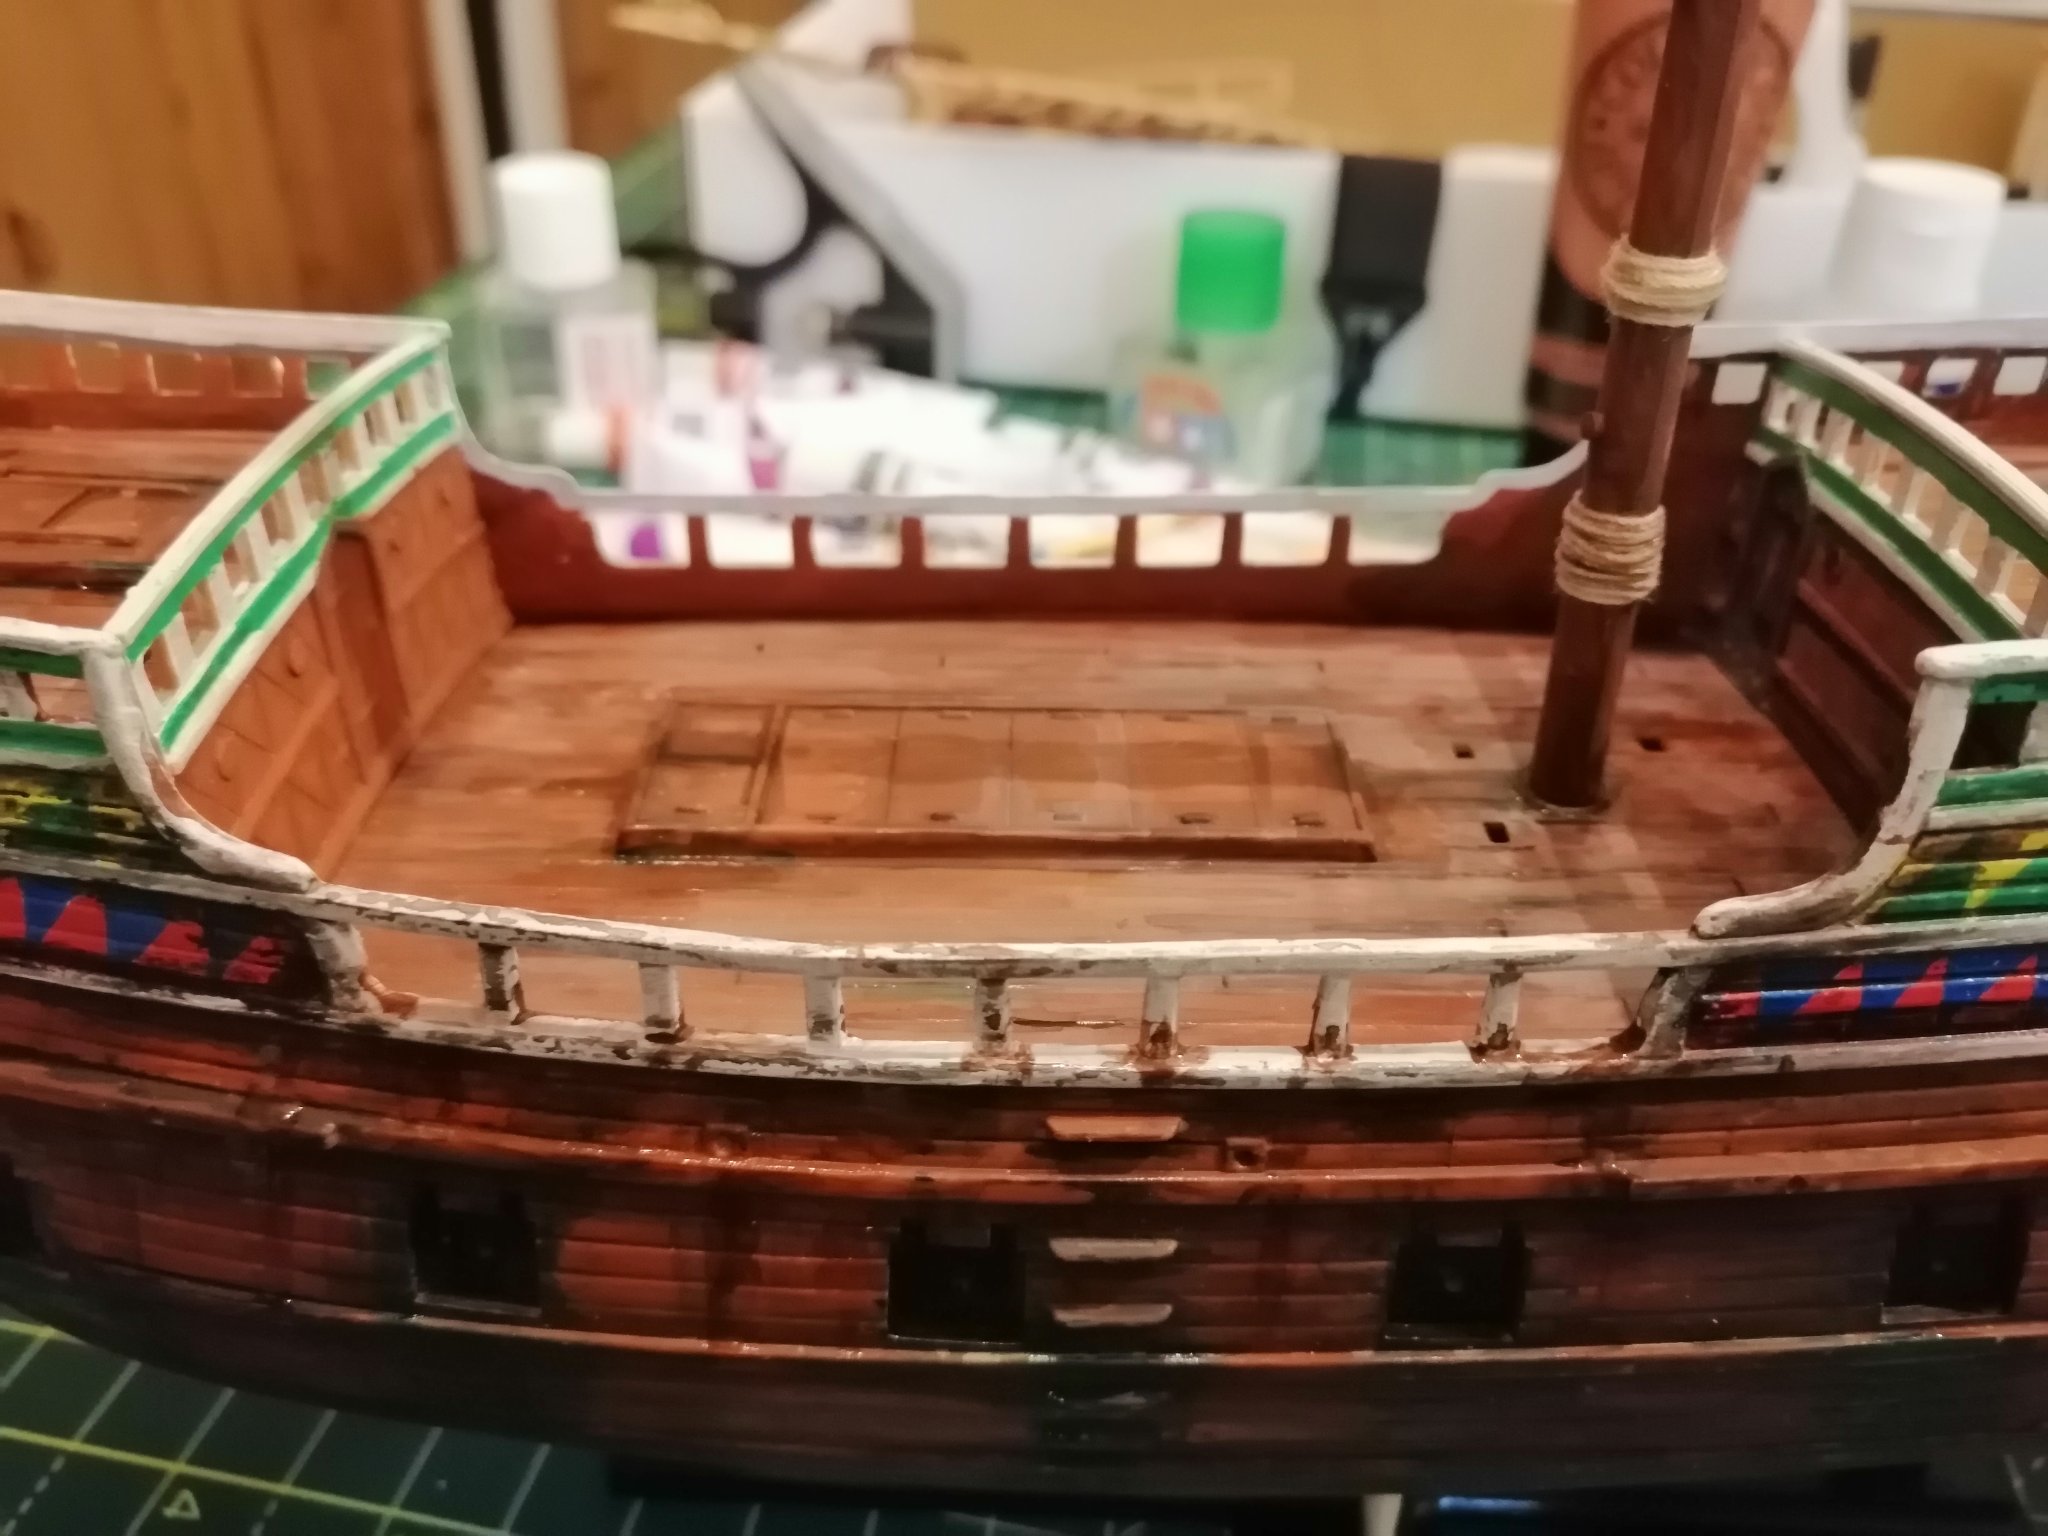
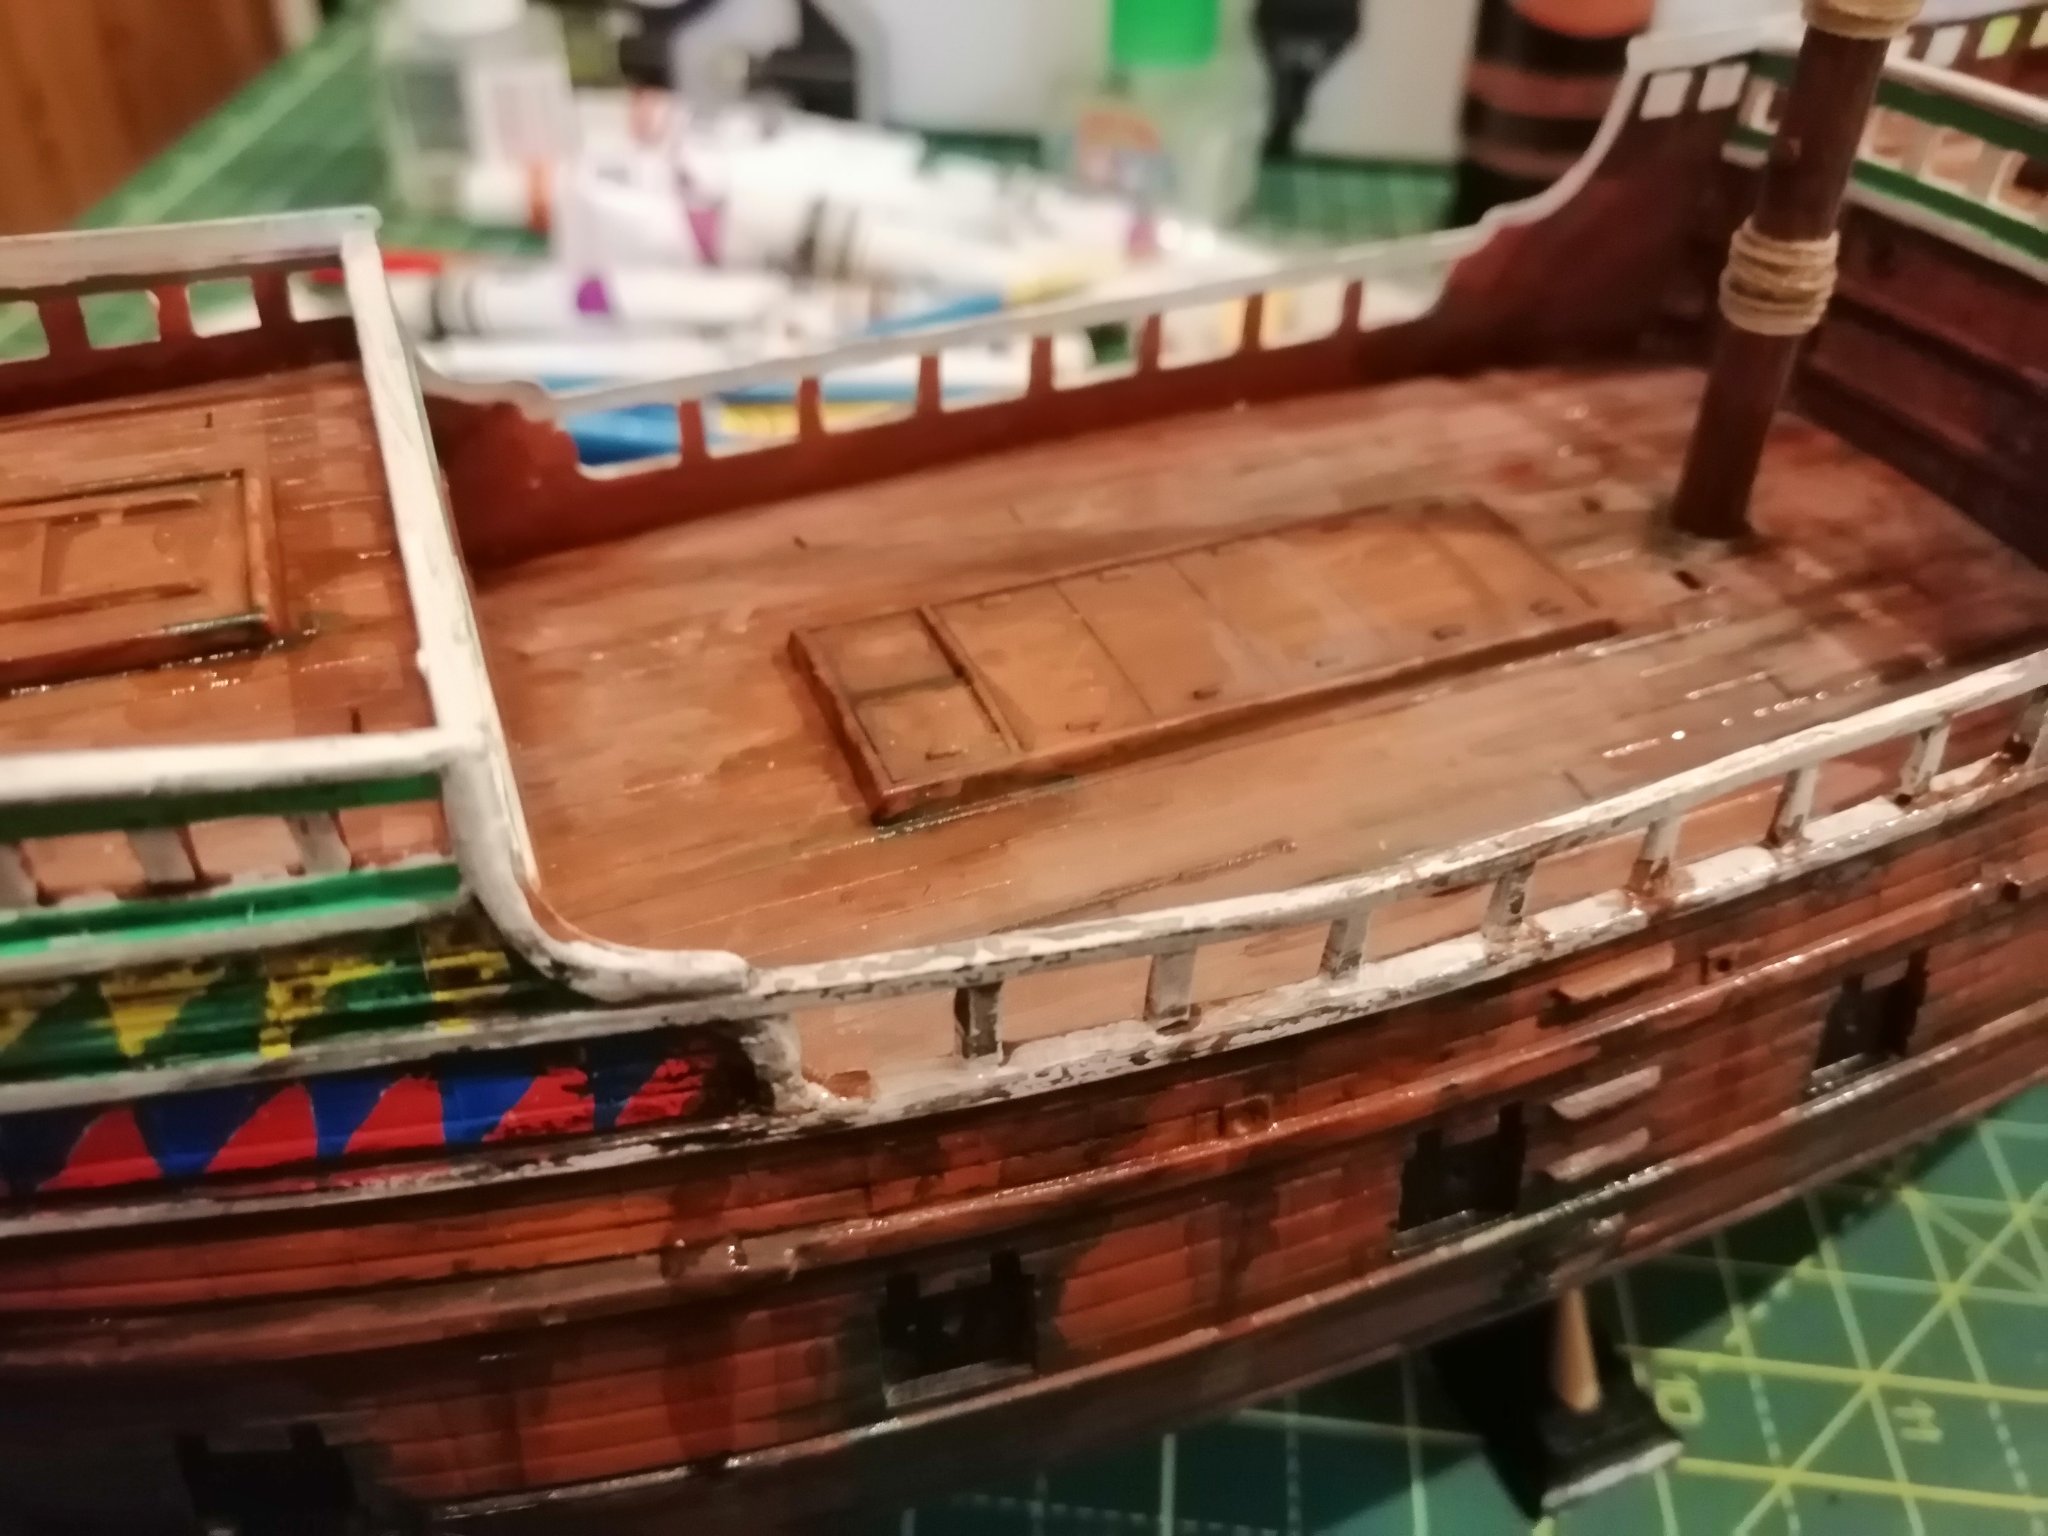
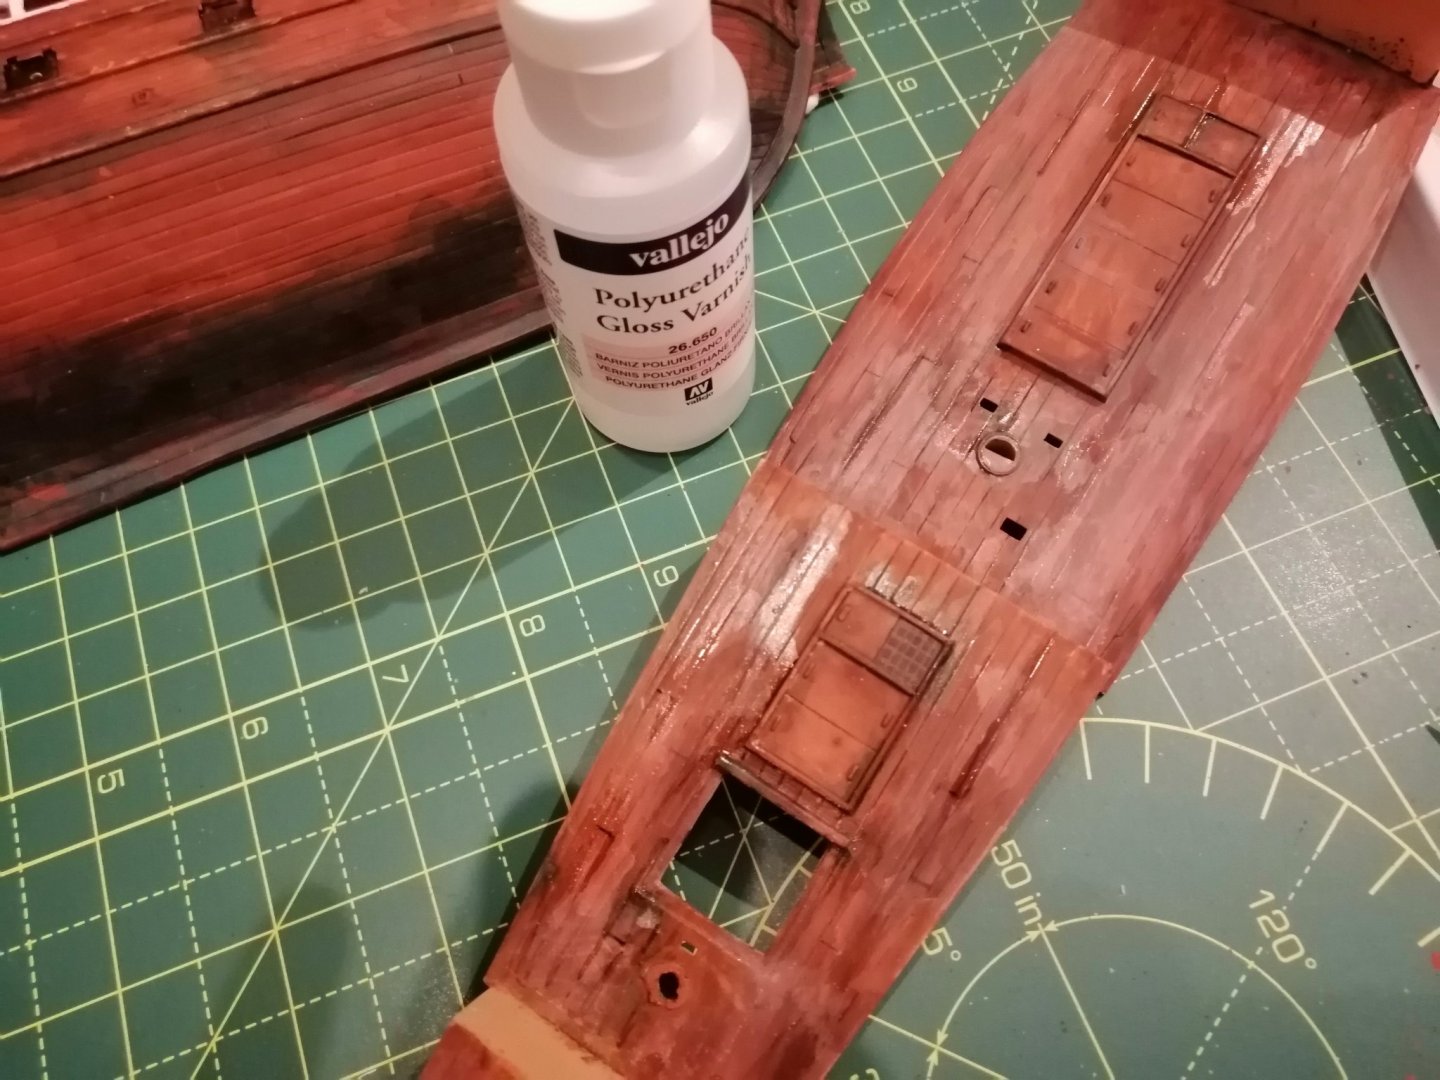
Added the new mast hole, also been trying to add gloss varnish to try and make the deck look like it is wet in parts.
- 265 replies
-
- 3
-
-
- Golden Hind
- Airfix
- (and 1 more)
-
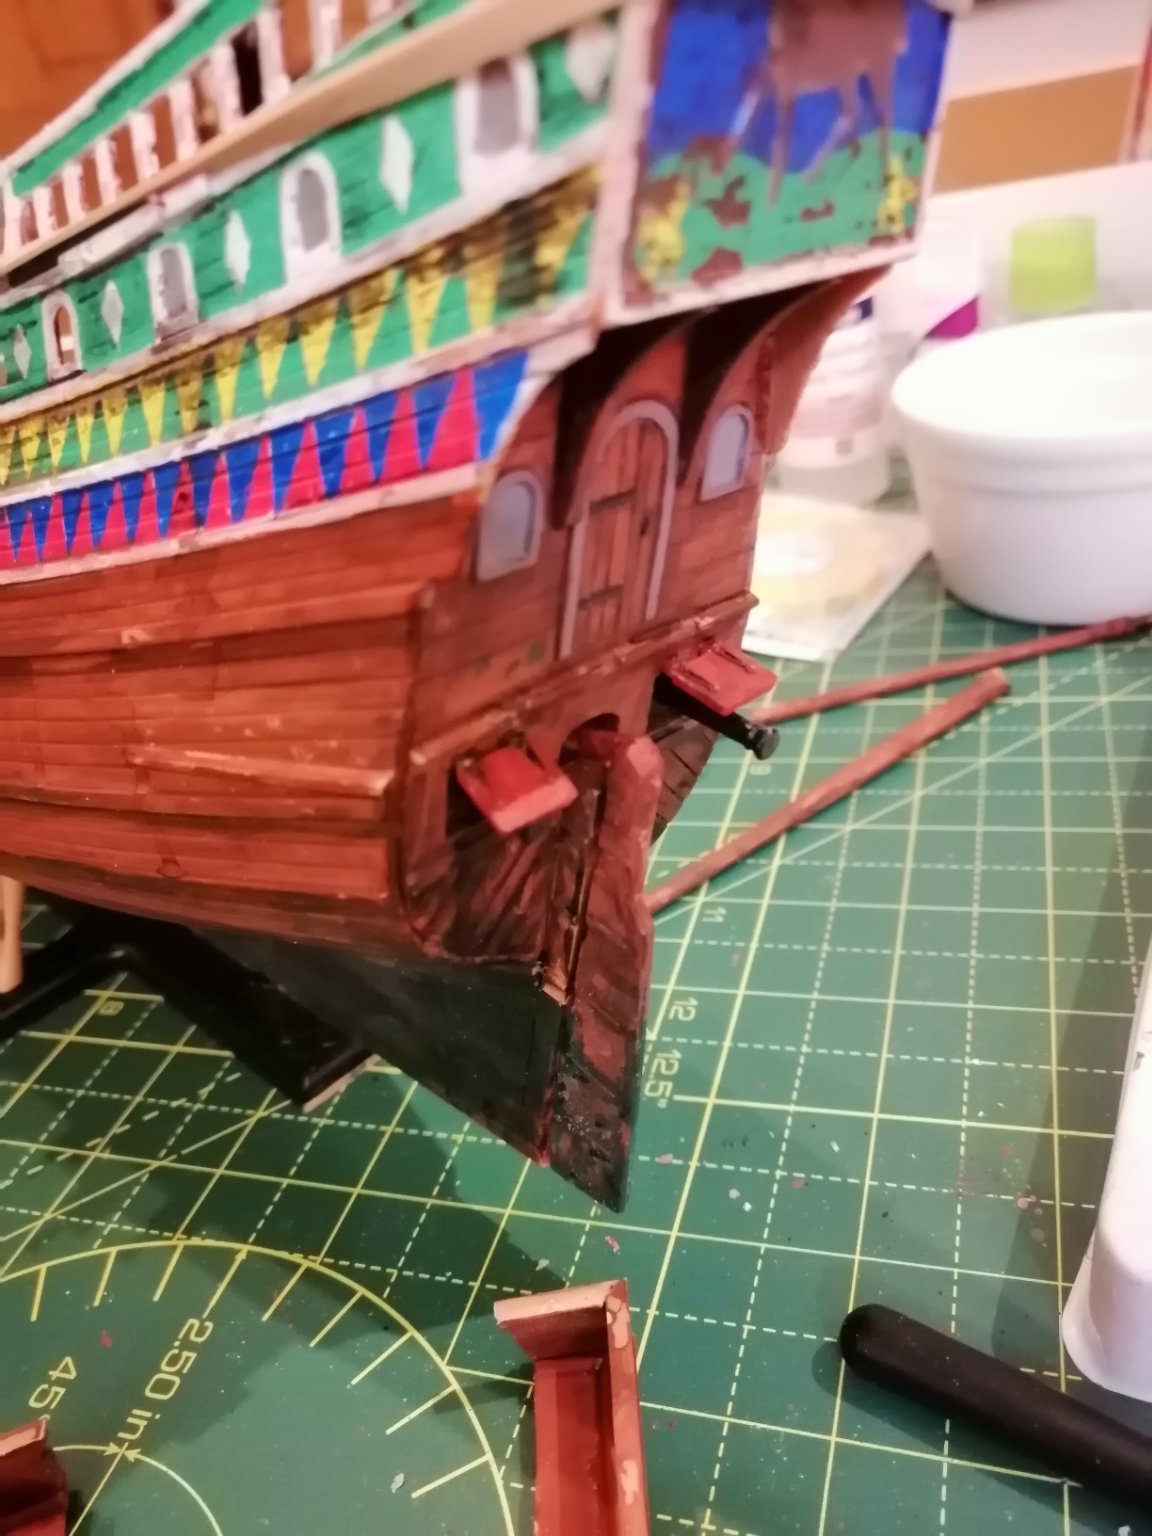
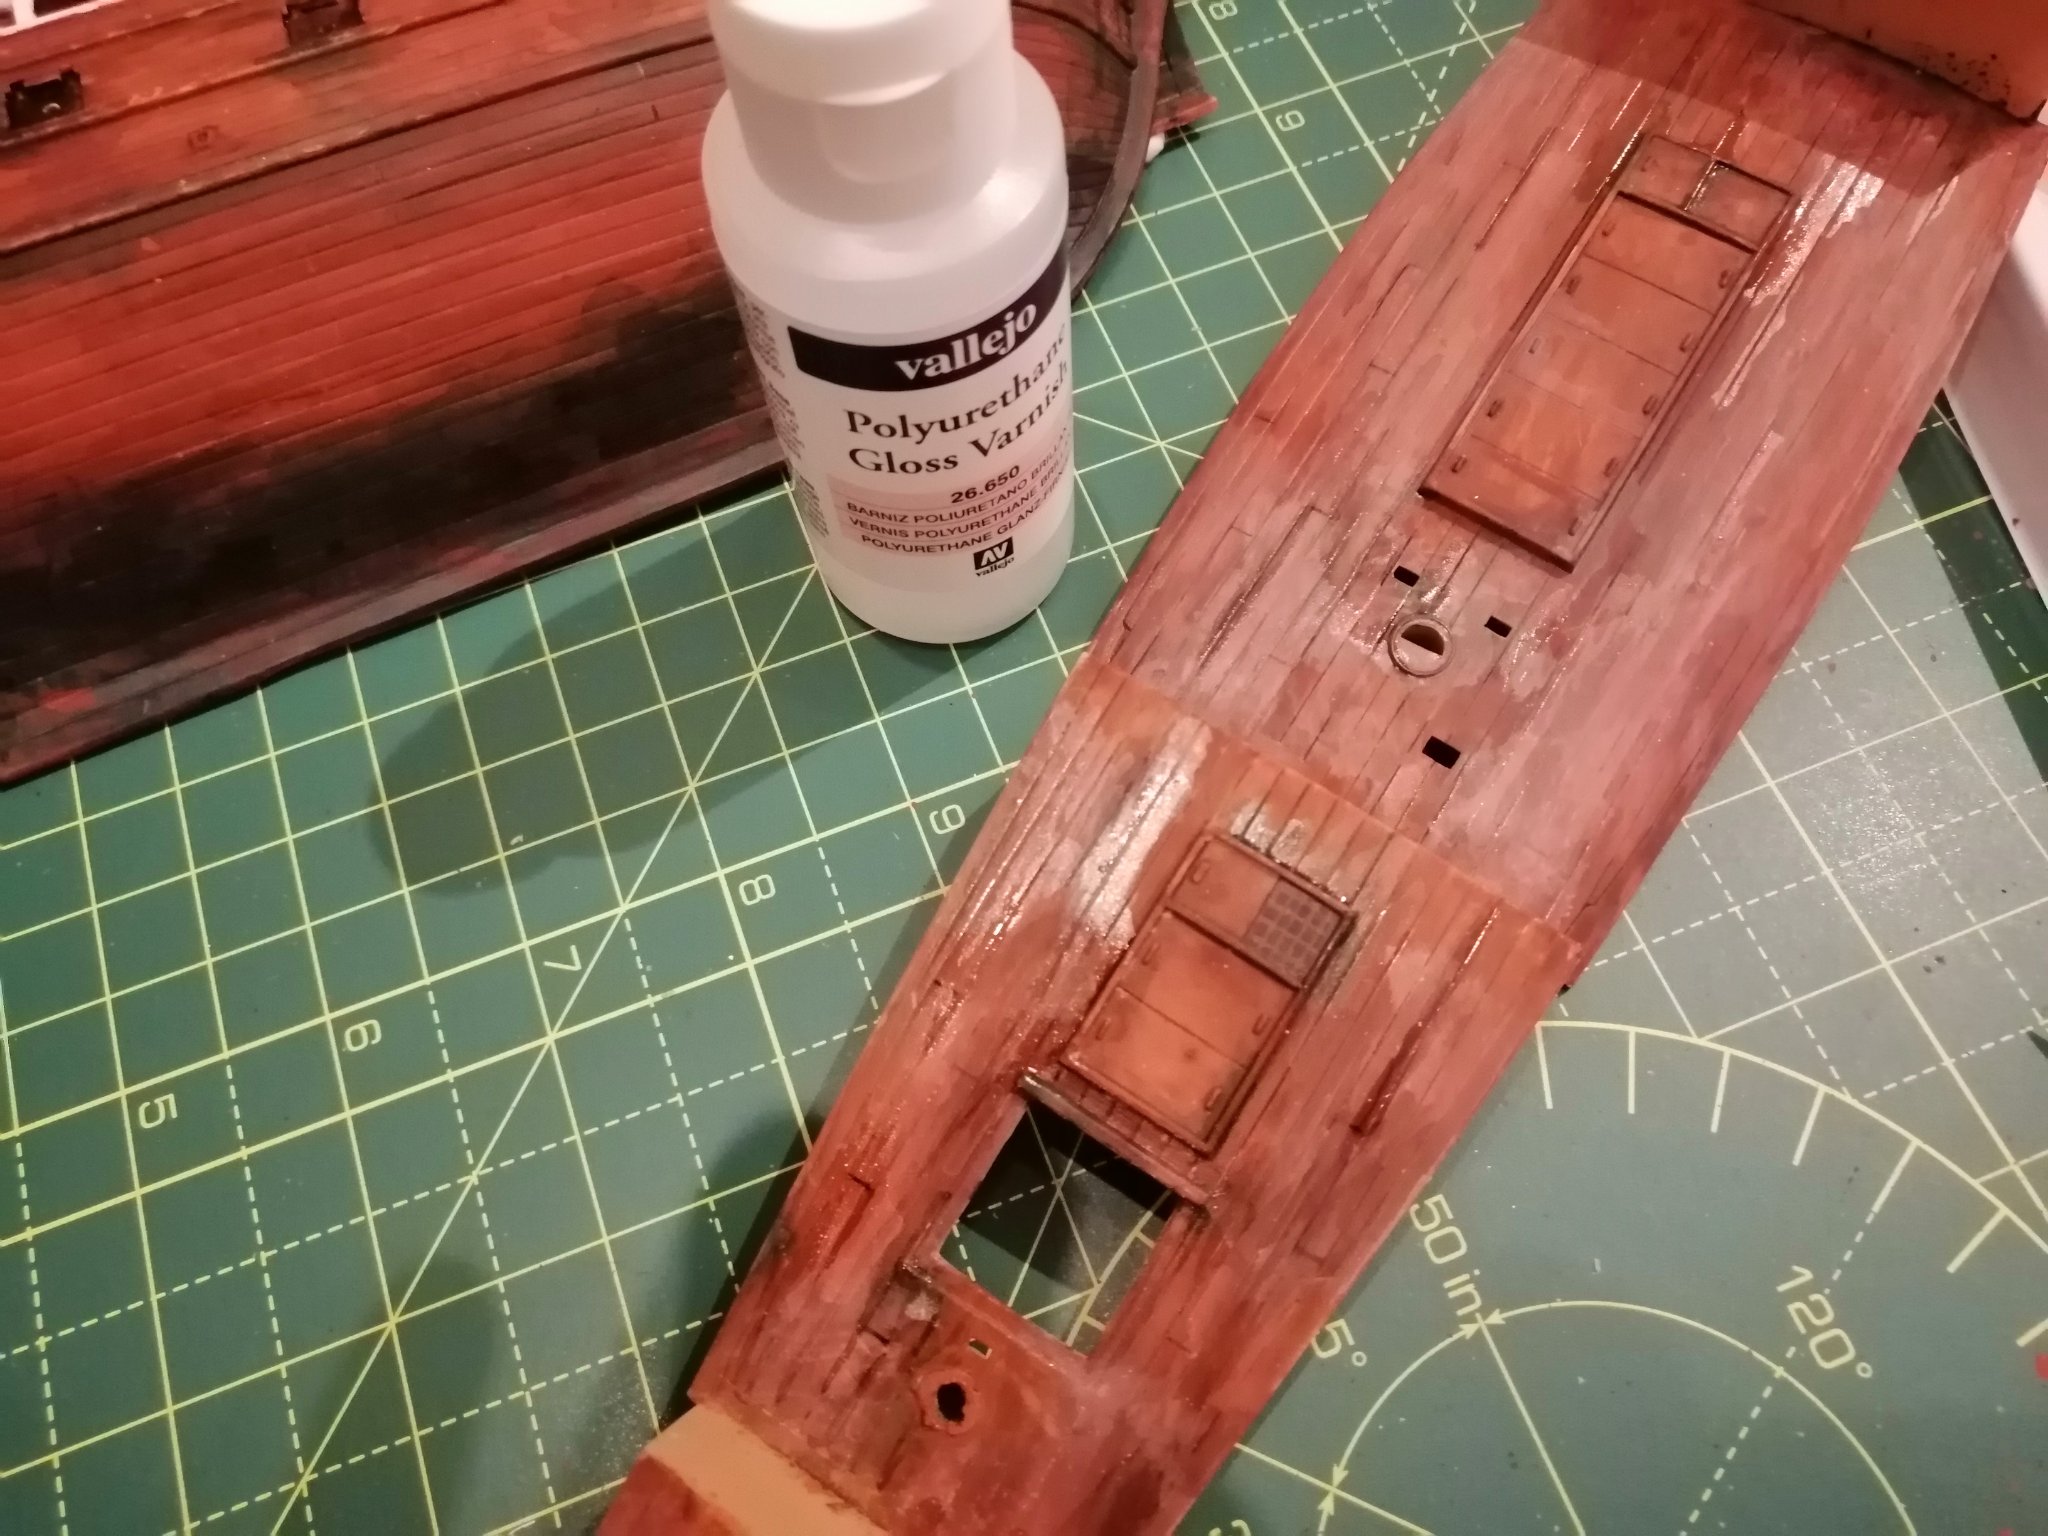
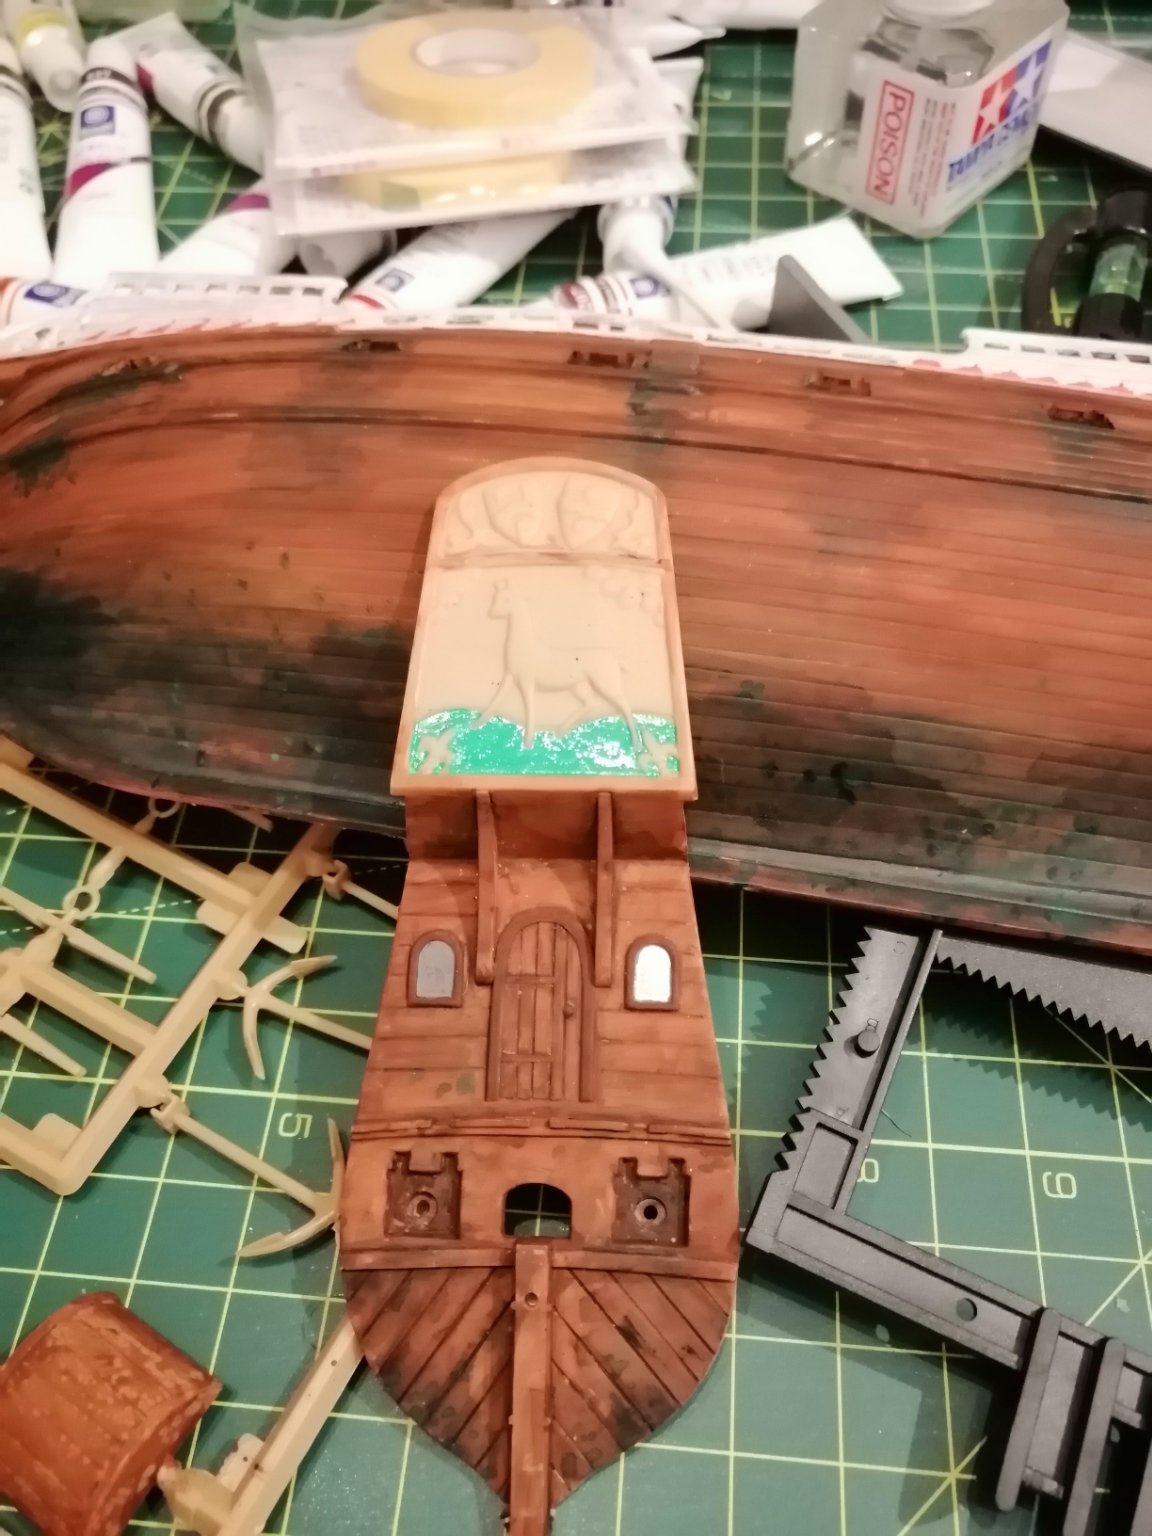
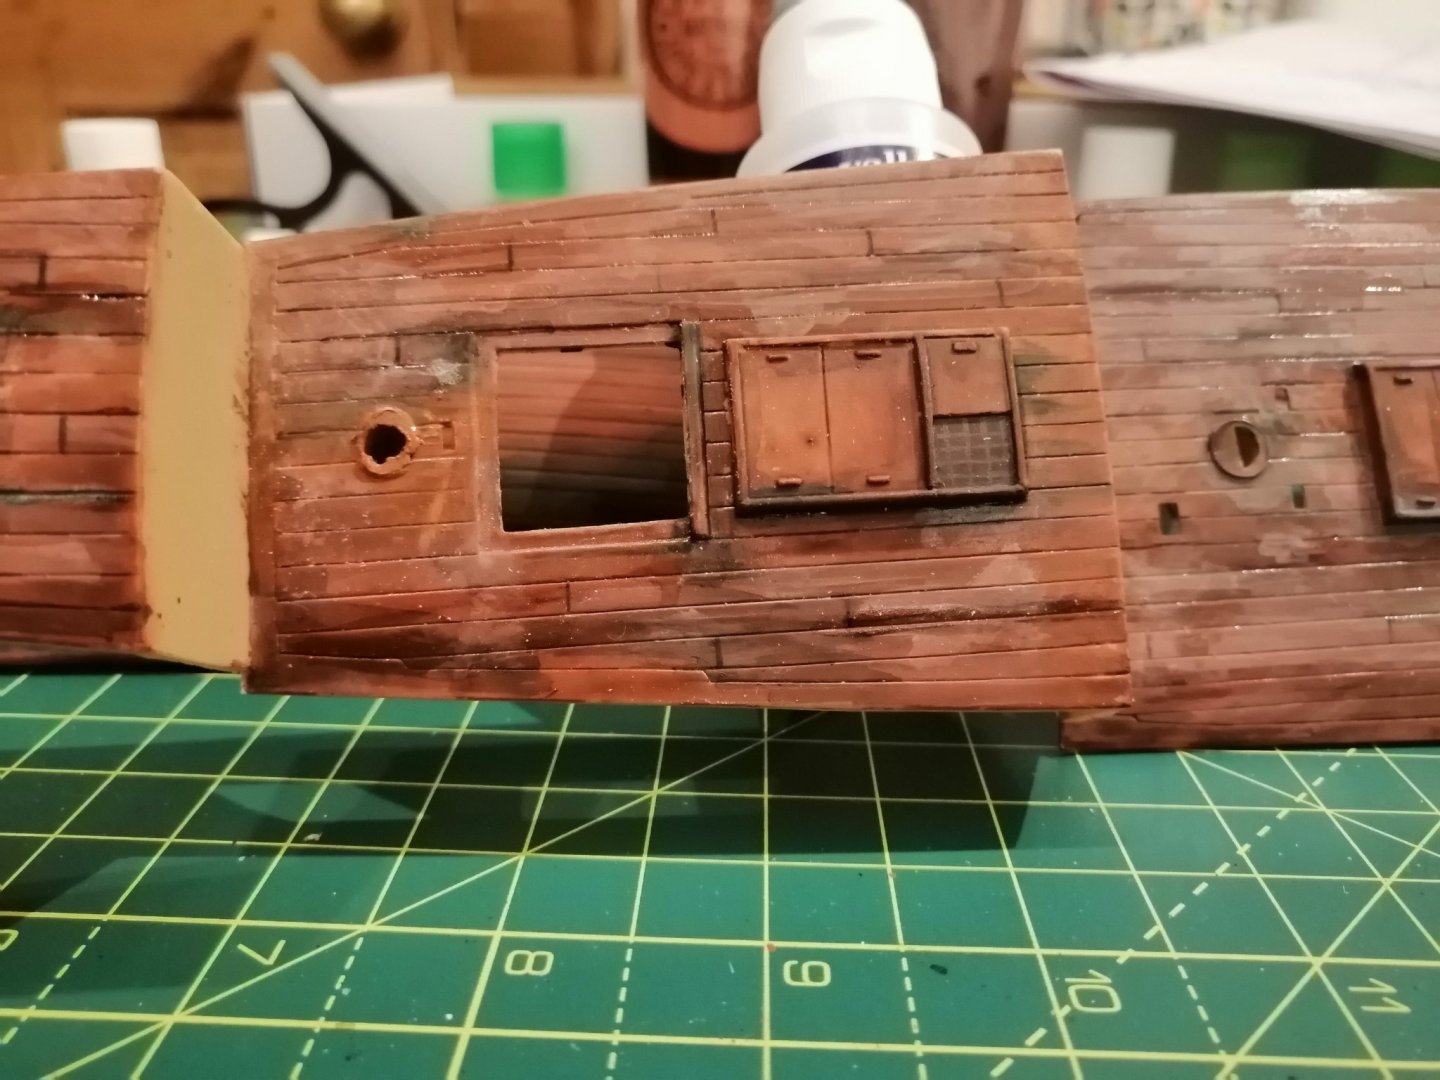
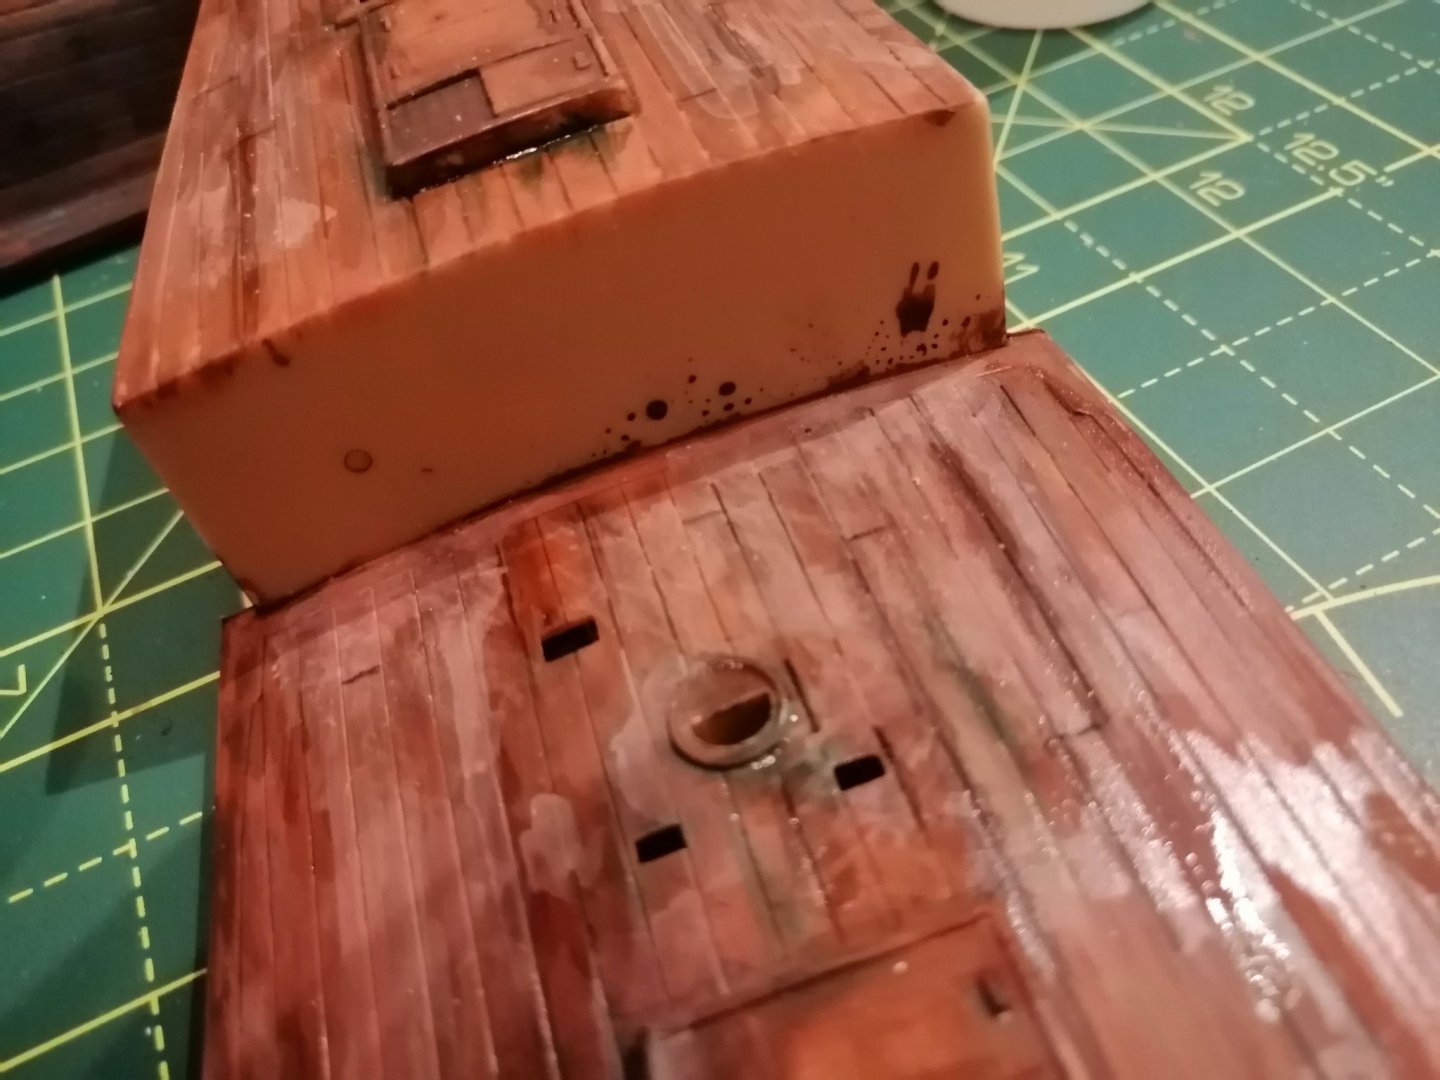
Missing mast hole? The bottom left shows how the mast slot should look, on closer inspection top right next to the large square opening should be another half moon opening which is not there. I've tested to see if it was covered by paint or a little flash, but it's solid plastic. I will have to make my own. (used an older pic as it was on my phone already)

- 265 replies
-
- 1
-
-
- Golden Hind
- Airfix
- (and 1 more)
-
I feel like I may be adding too much to this, potentially over doing it. I'm fully aware of this happening, but my thinking is this. I have had no idea how the products work or react with each other or the plastic, or if I have any skill to use some of the techniques I have researched. So I guess this is my tester model. My one big takeaway from this so far, is regardless how this turns out, as I have no intention of displaying any models in my house; is that I am thoroughly enjoying it.
- 265 replies
-
- 1
-
-
- Golden Hind
- Airfix
- (and 1 more)
-
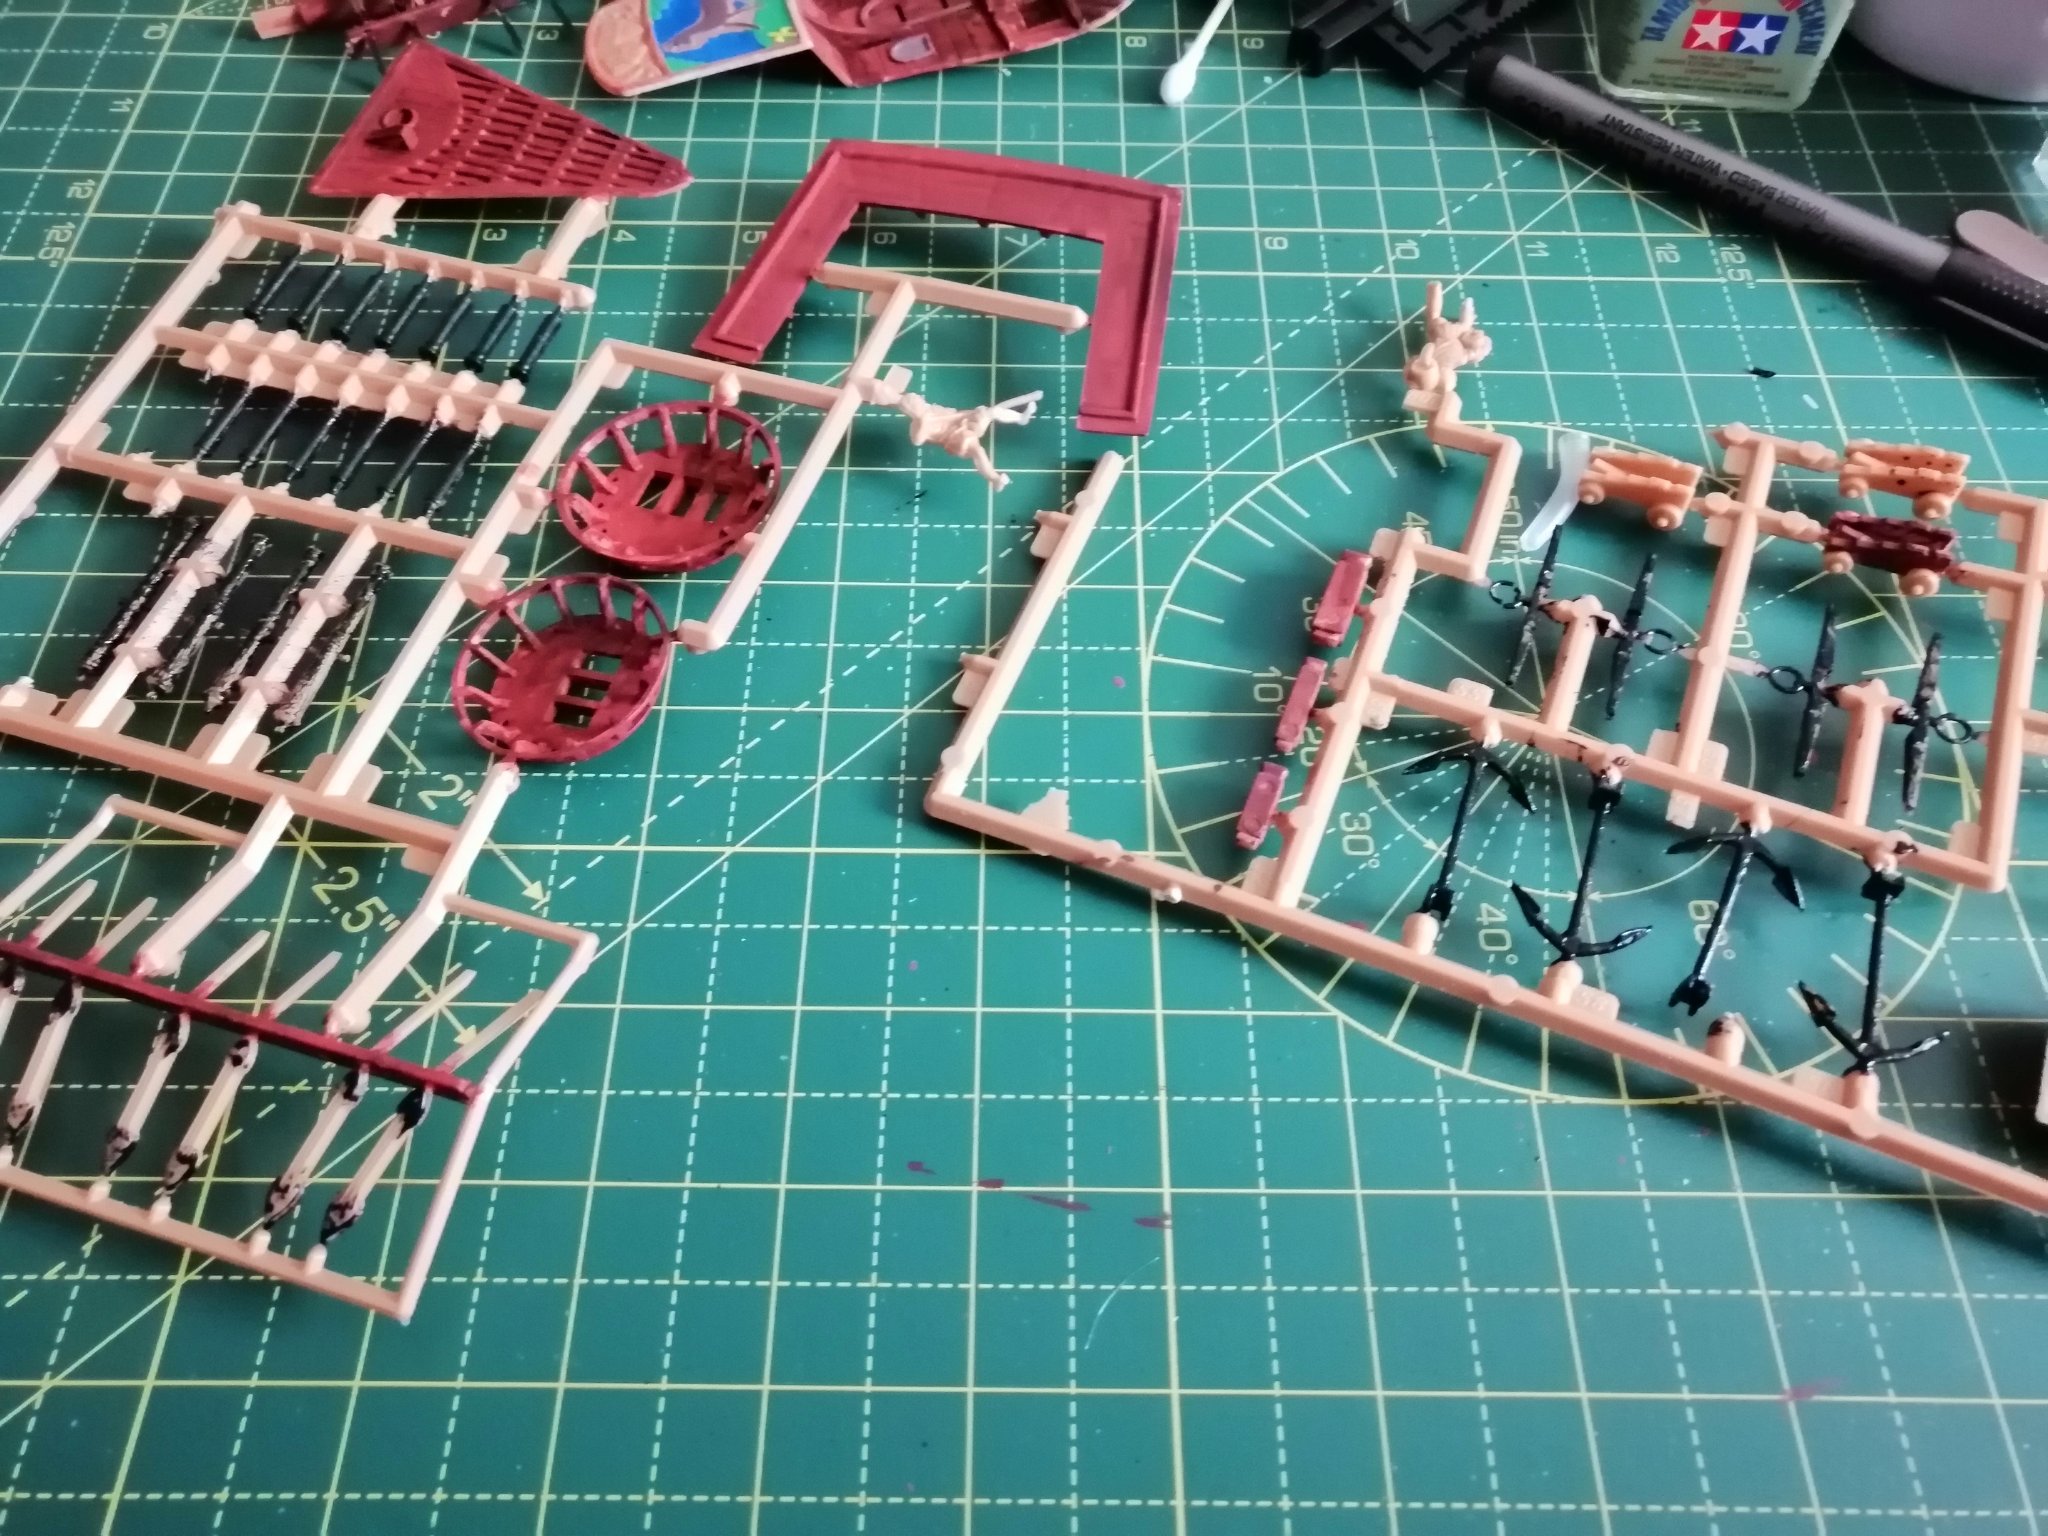
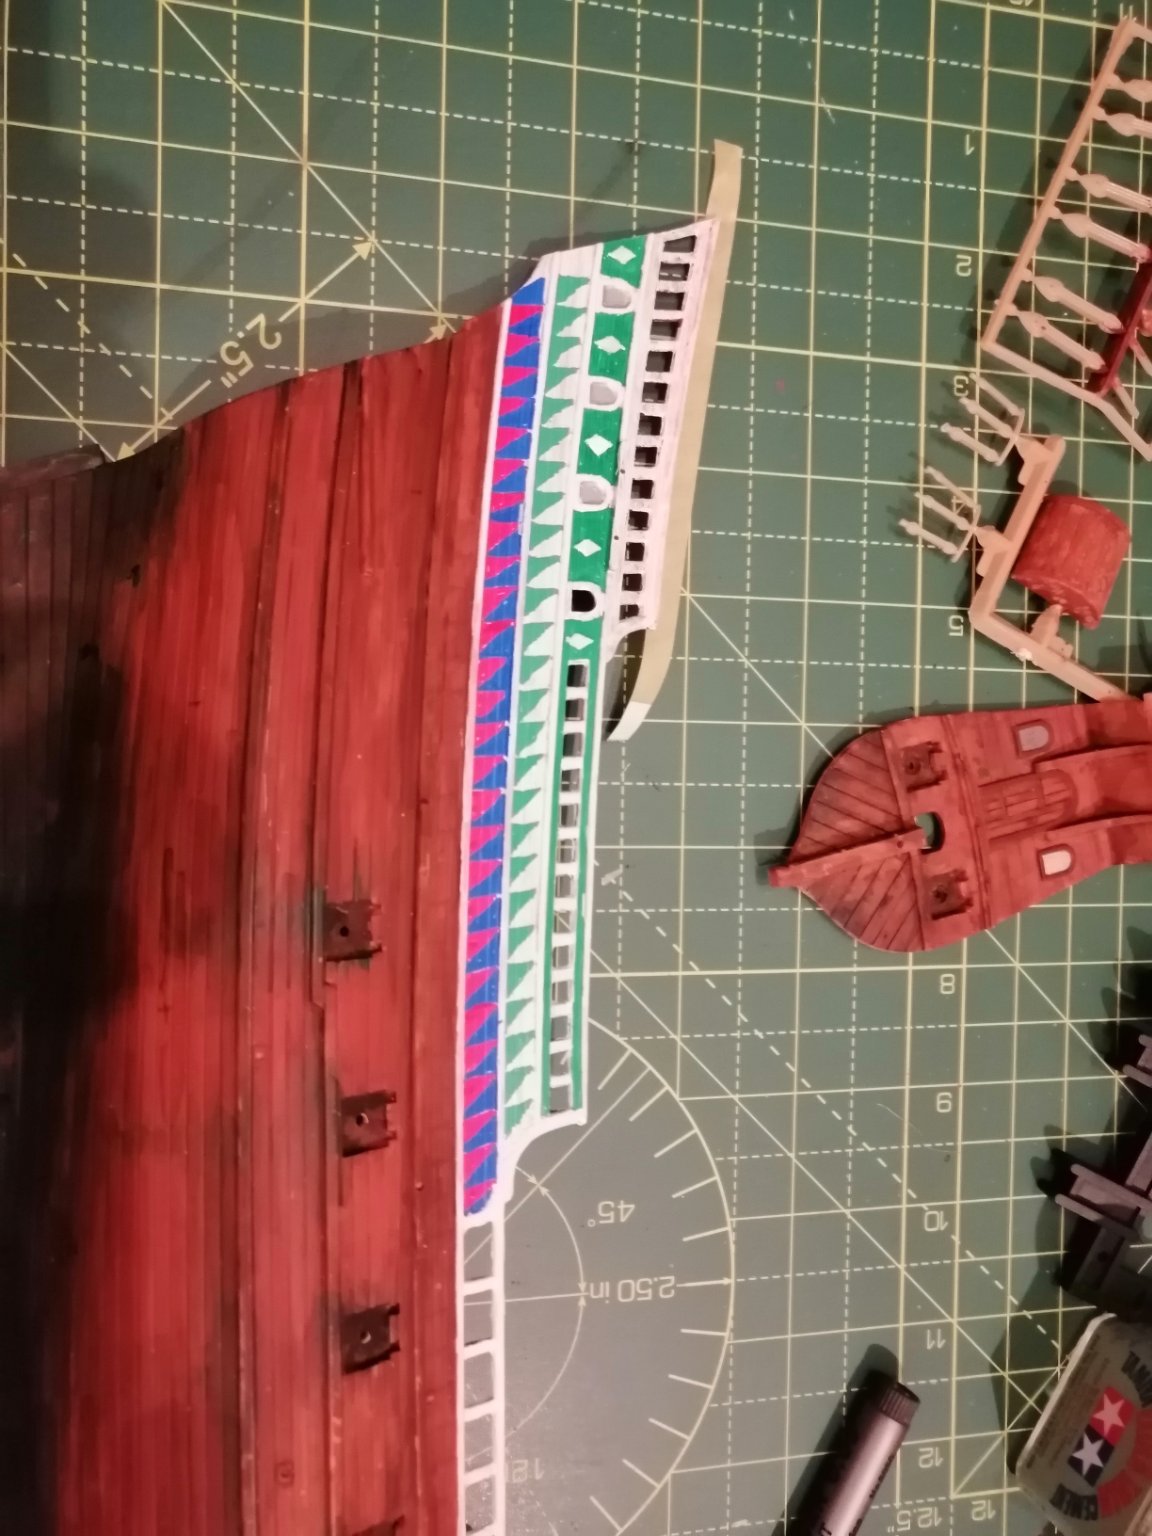
Adding more colour, they look very new and bright, will add several washes to them as I am try to achieve a well used look.

- 265 replies
-
- 1
-
-
- Golden Hind
- Airfix
- (and 1 more)
-
Thank you for you thoughts on this, and I agree on not using the silver.
- 265 replies
-
- 1
-
-
- Golden Hind
- Airfix
- (and 1 more)
-
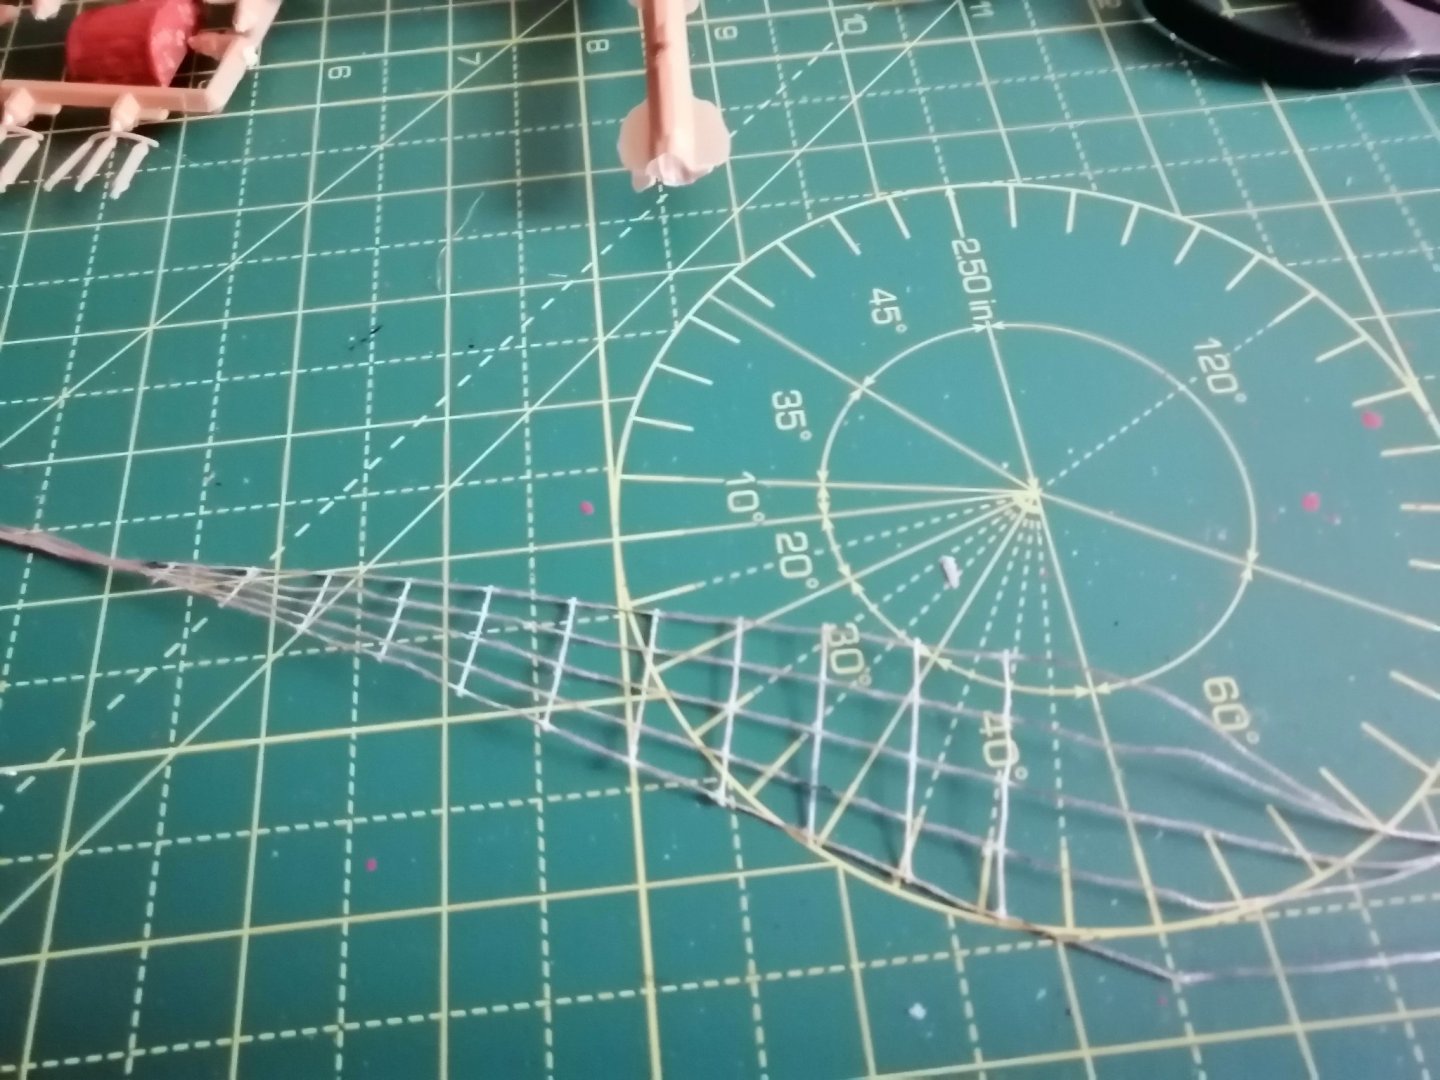
First attempt at the shroud and ratlines using the provided tool. Intend to document the full process.
- 265 replies
-
- 3
-
-
- Golden Hind
- Airfix
- (and 1 more)