bosco72
-
Posts
207 -
Joined
-
Last visited
Content Type
Profiles
Forums
Gallery
Events
Everything posted by bosco72
-
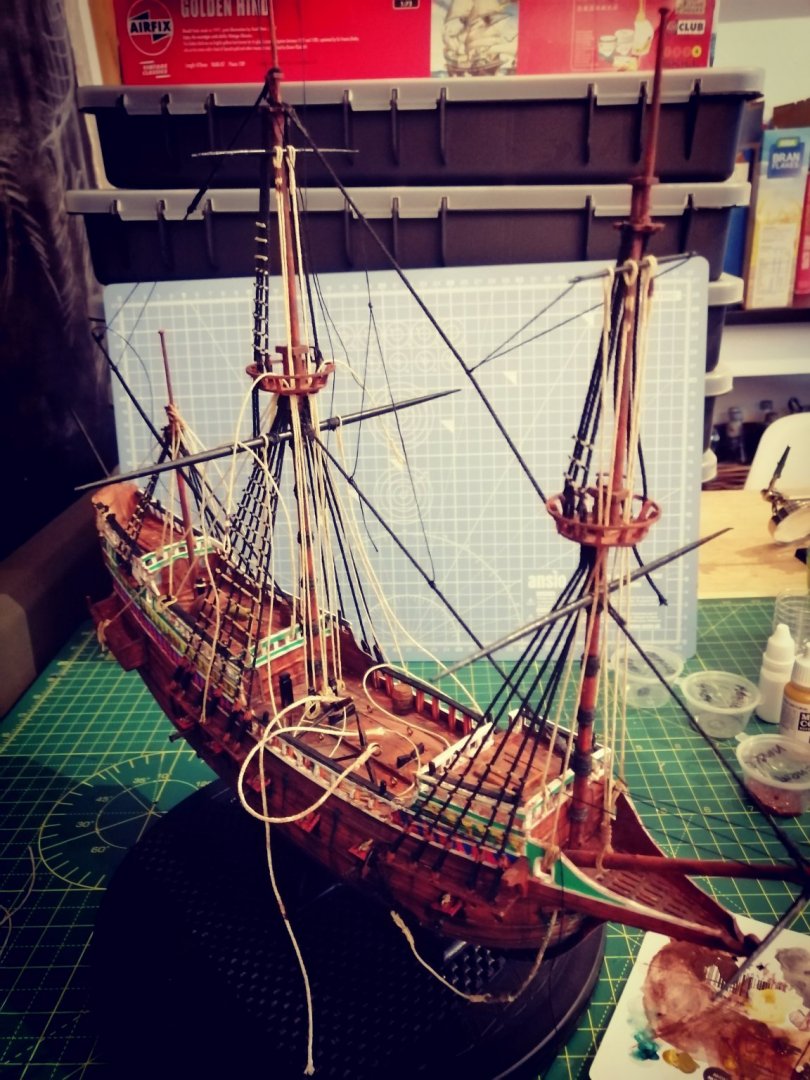
Hello, thank you for your input. Its much appreciated. On this build, I was /am never sure of what I am doing. So I am treating this more as my practice, learning curve. I'm not sure where my skill levels are also. I try something then I change it as and when I learn something new, I know if I keep doing this, it will never get completed. If I was to answer, I would say I'm happy for it to look good, but if I can do something that looks accurate and I can achieve it, then that is OK too. So a bit of both would be nice. Im about to strip all the rigging of the model for the 4th time. It can be a little daunting to think, I could be still doing this for the 10th time or the 100th time.
-
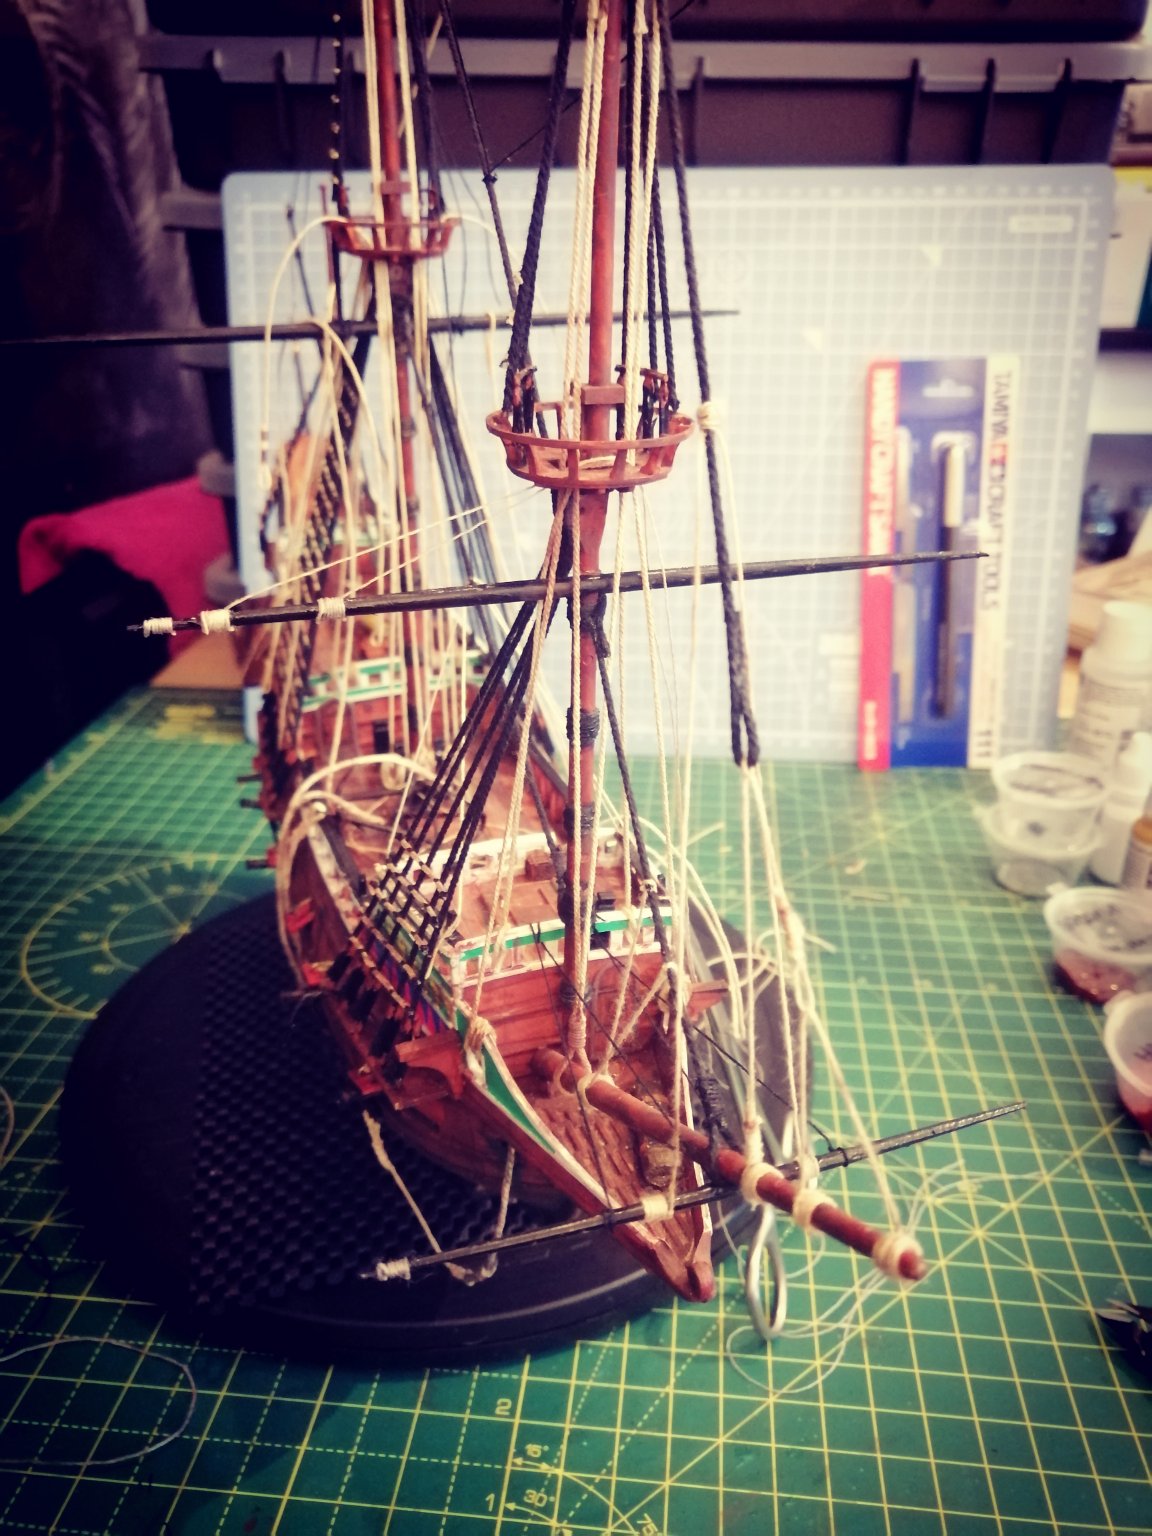
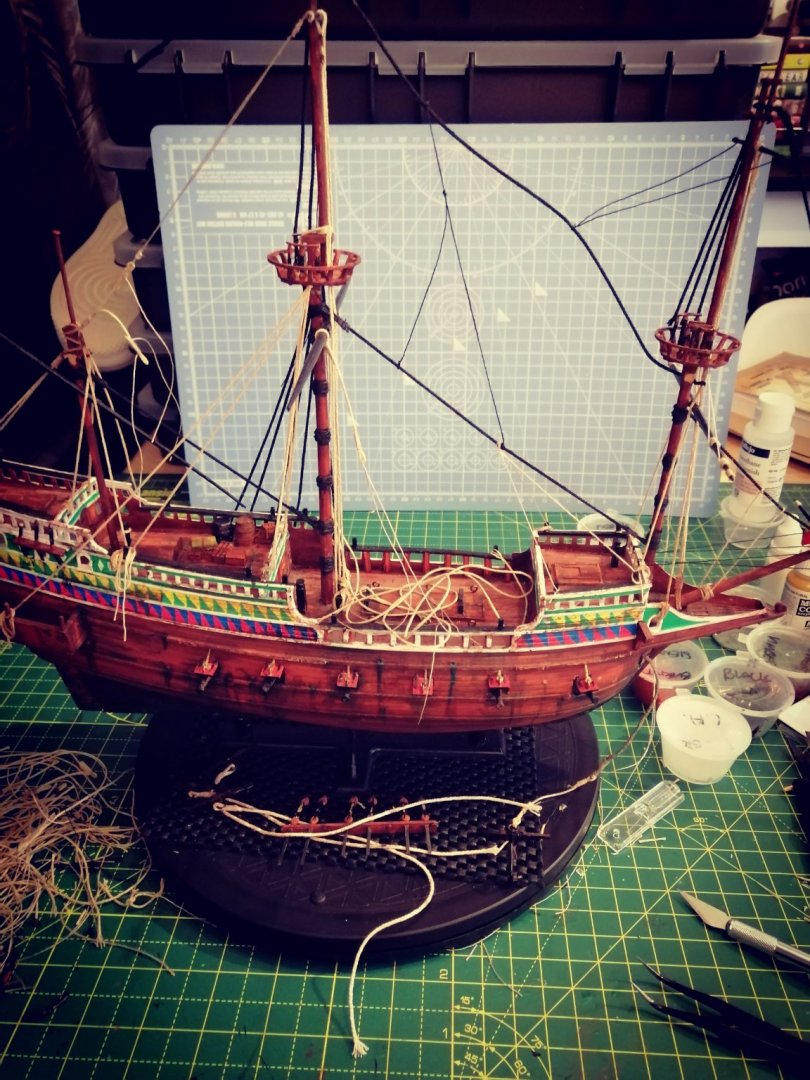
Going to redo the shrouds so they loop over the masts. I thought I would have completed by now. Still a long list of thing to complete.
- 265 replies
-
- 2
-

-
- Golden Hind
- Airfix
- (and 1 more)
-
I'm not sure where I read it, but would the first shroud line be whipped of each set of shrouds and rat lines? Thanks in advance for any answers.
- 265 replies
-
- 1
-
-
- Golden Hind
- Airfix
- (and 1 more)
-
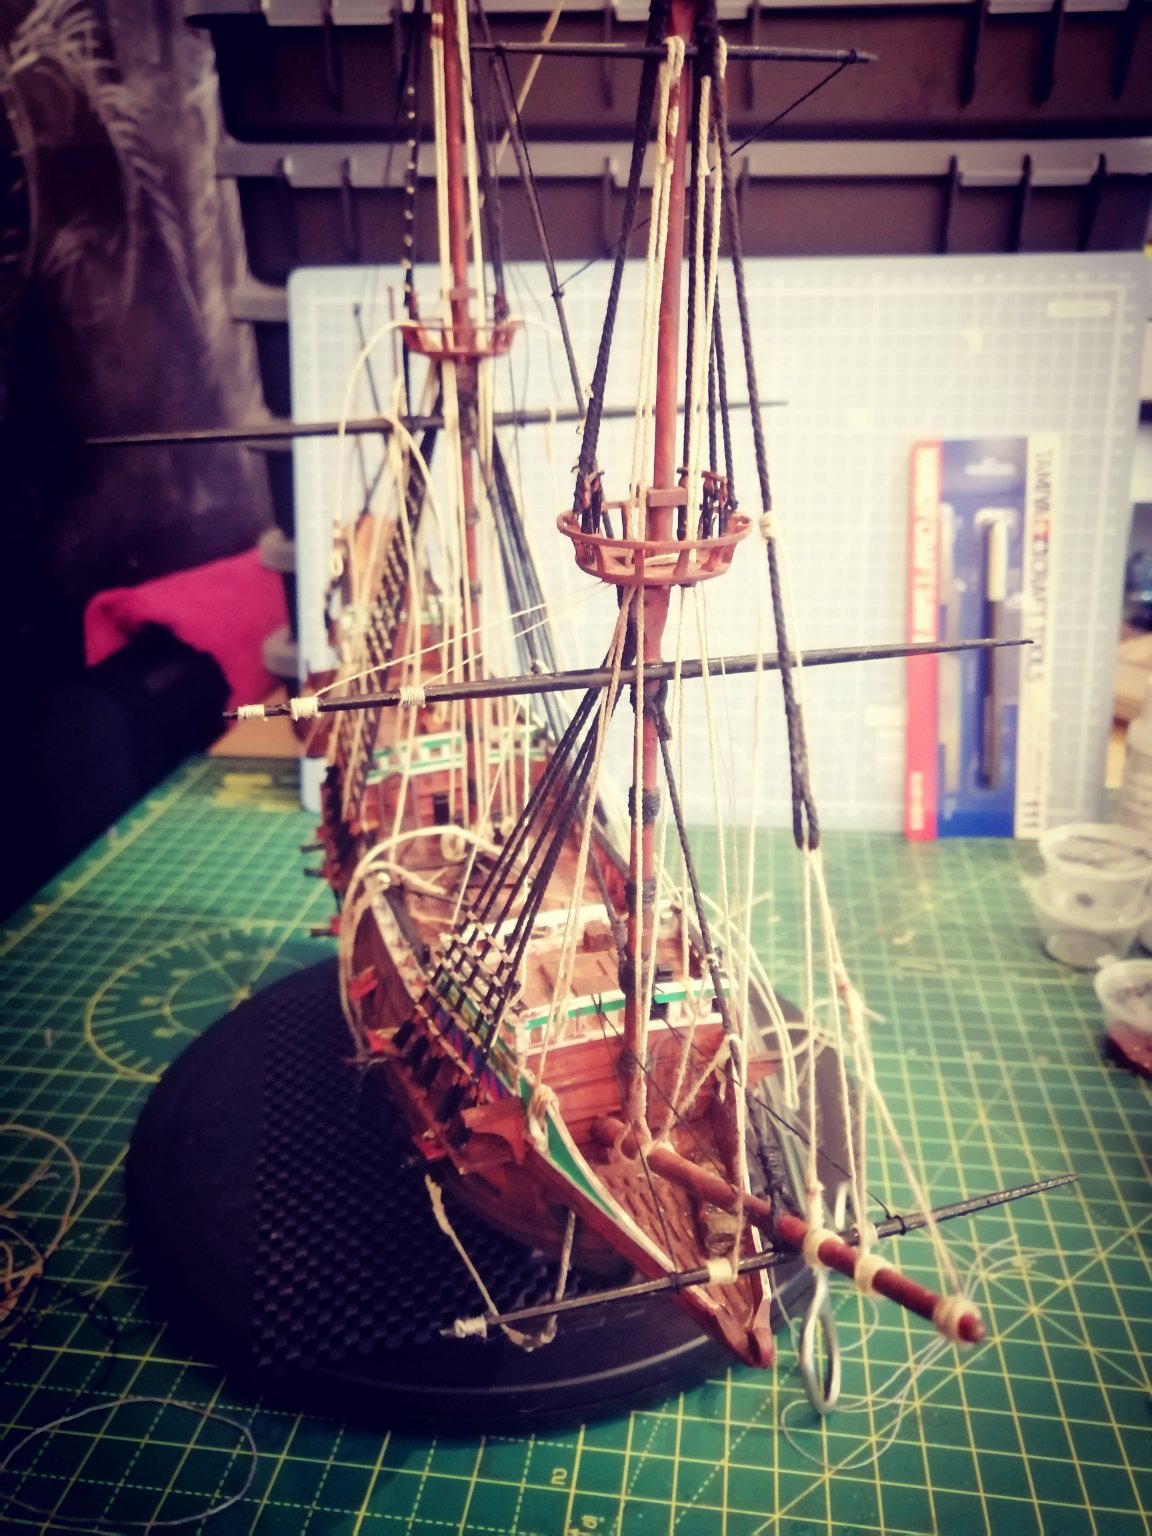
Started fresh with thinner thread, fully waxed up, using clove hitch knot.
- 265 replies
-
- 1
-
-
- Golden Hind
- Airfix
- (and 1 more)
-
Tough decisions. Scrapped the ratlines for a third time. Did a little damage, but nothing that can't be patched up. A step backwards, can sometimes also be a step in the right direction.
- 265 replies
-
- 2
-
-
- Golden Hind
- Airfix
- (and 1 more)
-
Thank you. Your advice is much appreciated. That book is very costly in my part of the world, but I will keep looking, as I may get lucky. I've seen a digital version and it definitely looks like a book I would like to add to the shelf.
- 265 replies
-
- 1
-
-
- Golden Hind
- Airfix
- (and 1 more)
-
Amazing build, could I ask what size deadeyes you used? Thanks.
-
Thank you. Your feedback is much appreciated. It was always my aim to make the ship to appear well used. Some of my rigging choices have been out of lack of knowledge and lack of experience, but I'm trying to make it work, without having to backtrack too much. I've already scrapped my rigging twice before and don't want to do it again.
- 265 replies
-
- 1
-
-
- Golden Hind
- Airfix
- (and 1 more)
-
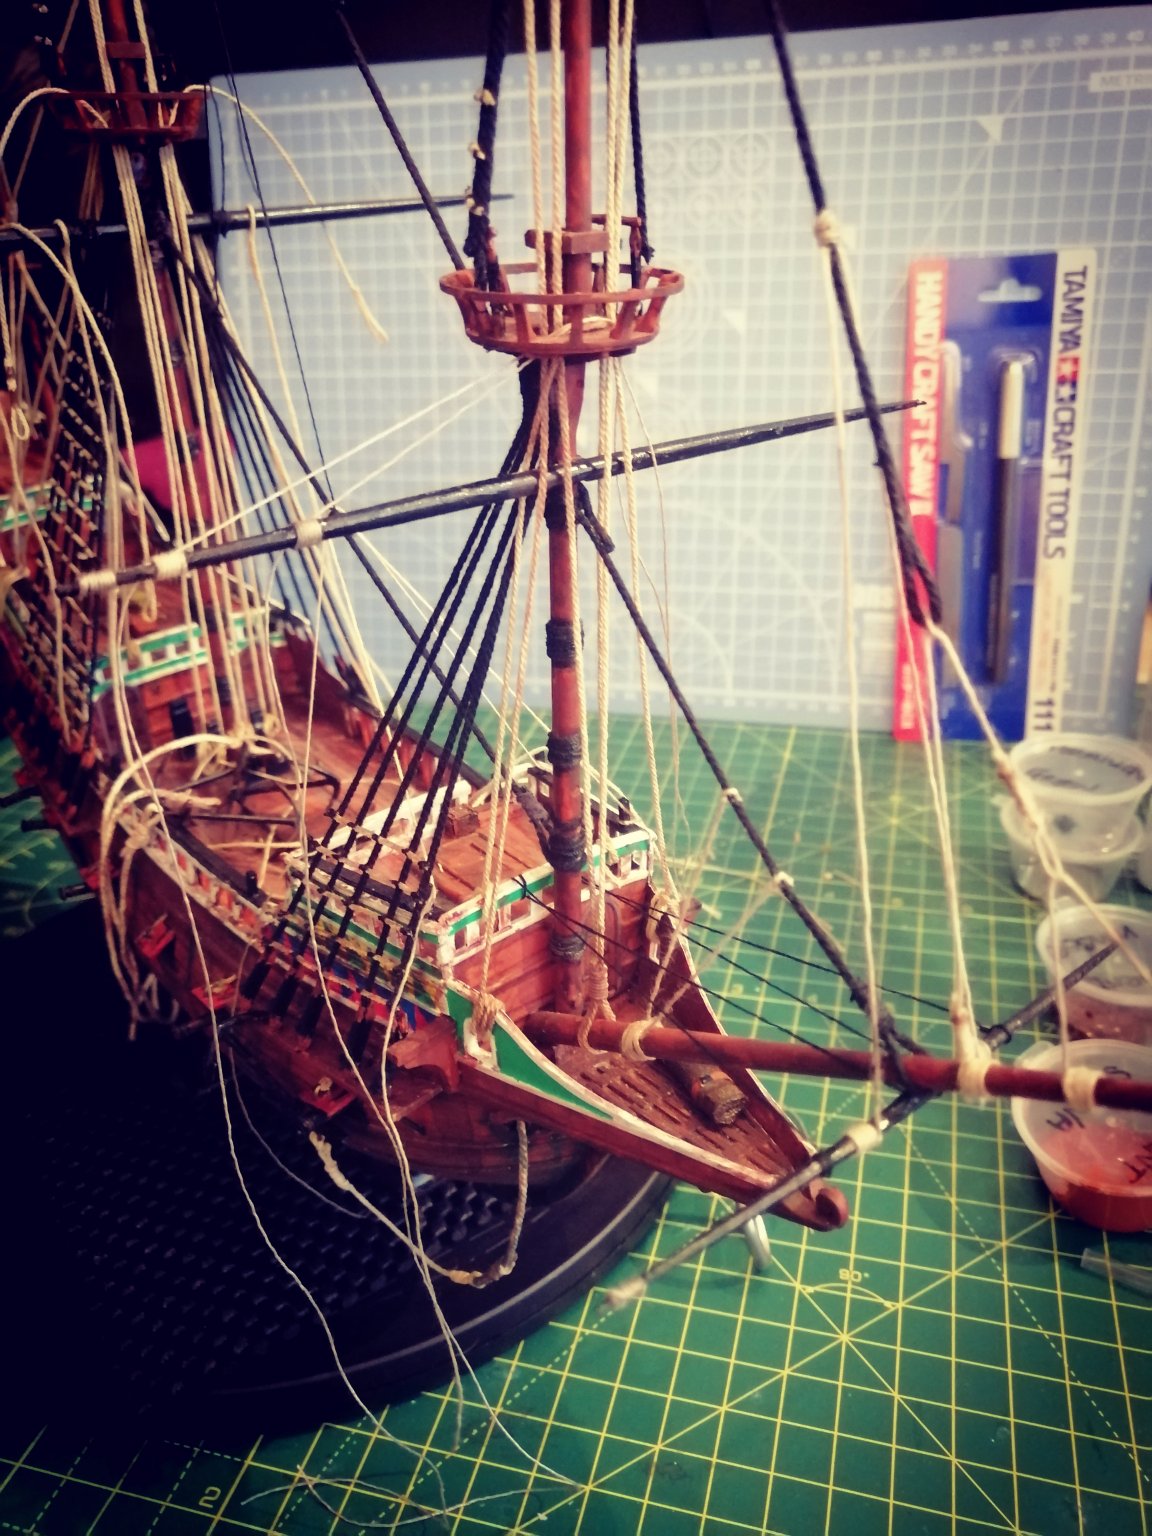
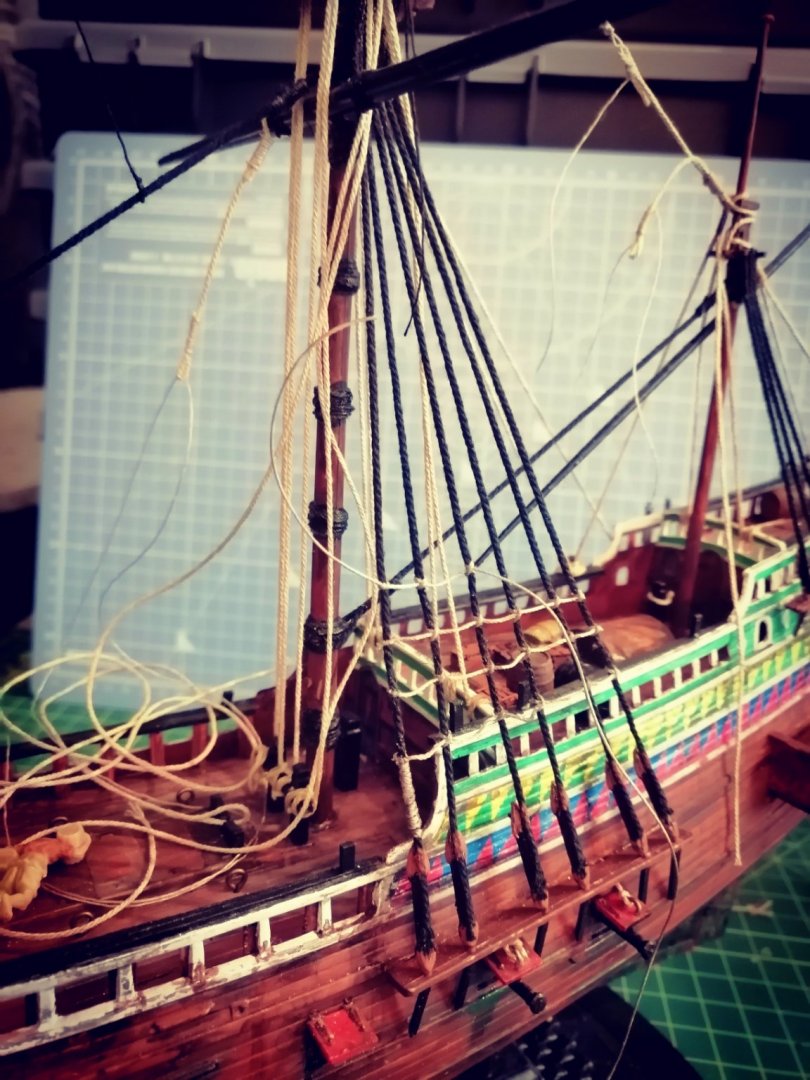
A little more progress. Playing around with different threads to try to create depth. Also started to put layers of paint wash on the threads to give a worked feel. (acrylic, burnt umber, black)
- 265 replies
-
- 1
-
-
- Golden Hind
- Airfix
- (and 1 more)
-
Much appreciated, I don't build for replicating an exact miniature or accuracy. Happy to learn as I go, and see what I enjoy and what I don't. If its going to take me five days to replicate gun rigging, then I will not do it, but if there is a compromise and it looks OK, I'll give it a go. I'm looking for relaxation and fun, not a headache. As my knowledge increases, hopefully so will my skill level.
-
Thank you, I have read through it, and Robert Taylor's, both builds very enjoyable and informative.
-
Much appreciated. Very helpful. I have the Revell Man O'war 1/96 (next build) and a smaller version of the Revell Mayflower 1/83 boxed. I like the look of this kit. The way you are dealing with it is great to follow. Thank you.
-
Loving this build (the revell Man O'war was great too) . I might buy this kit, is it bigger than the Man O'war. Also here is a video showing a method of rigging, deadeyes to shrouds. The chap in the video has produced some amazing work and seems super genuine. Might help.
-
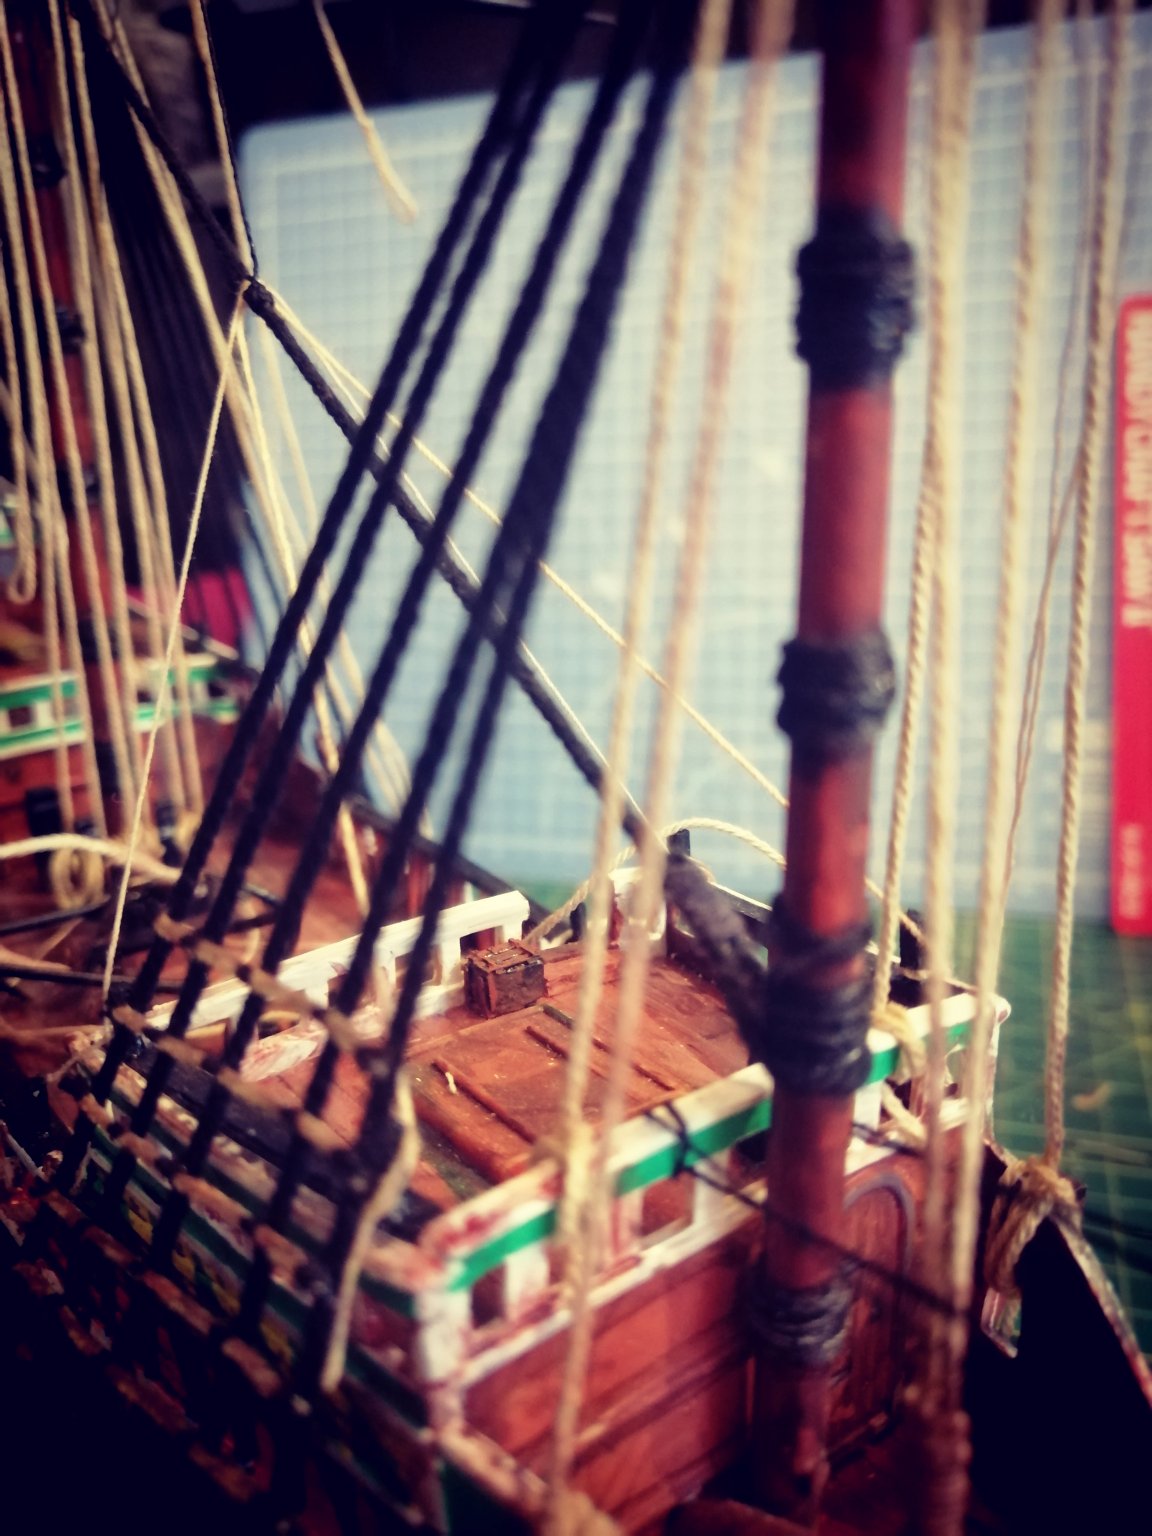
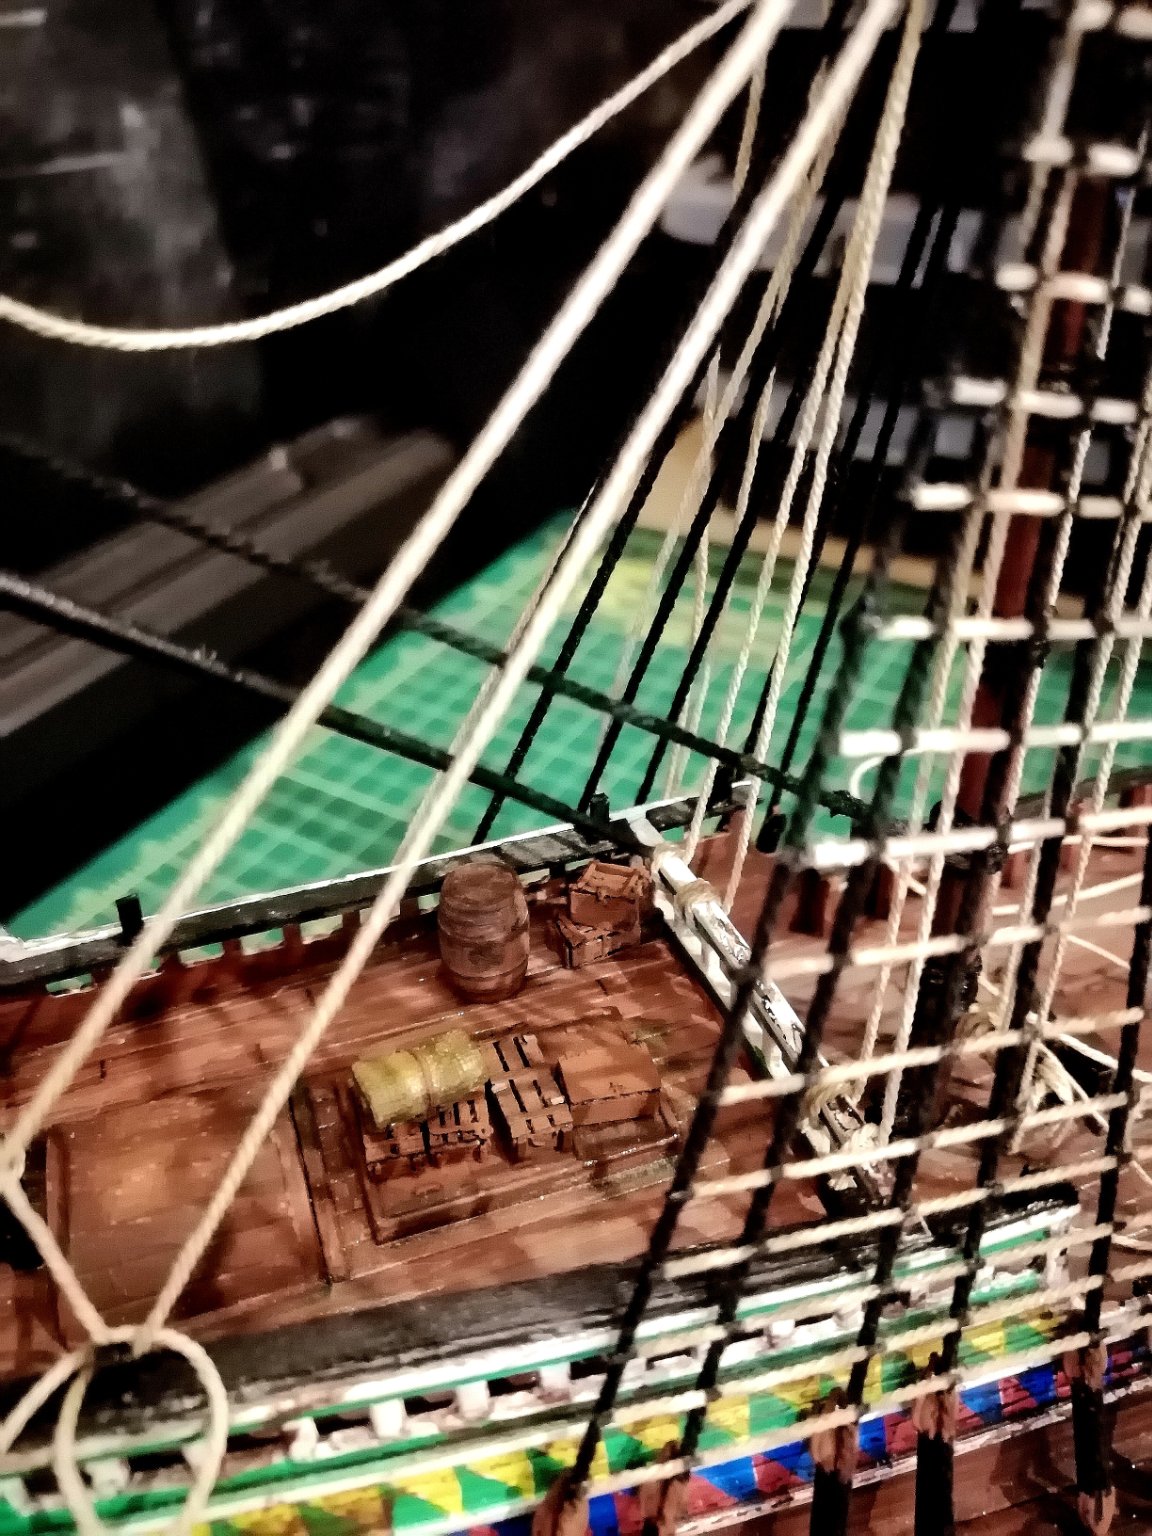
A bit more cargo has arrived. I'm sure anything on deck would be lashed in some way. Will work that out at a later date.

- 265 replies
-
- 2
-
-
- Golden Hind
- Airfix
- (and 1 more)
-
I like the detail, I'll give it a try and post the results.
-
Thank you. It's challed a anchor bend/anchor hitch knot. Could you show me an example from one of your builds? Thanks.
-
Whipping/seizing, more practice is needed. Also, I'm doing this on small loops which makes it very fiddly close to the object. I'm guessing this can be done far away from the object, and moved/slid into place.

- 265 replies
-
- 1
-
-
- Golden Hind
- Airfix
- (and 1 more)
-
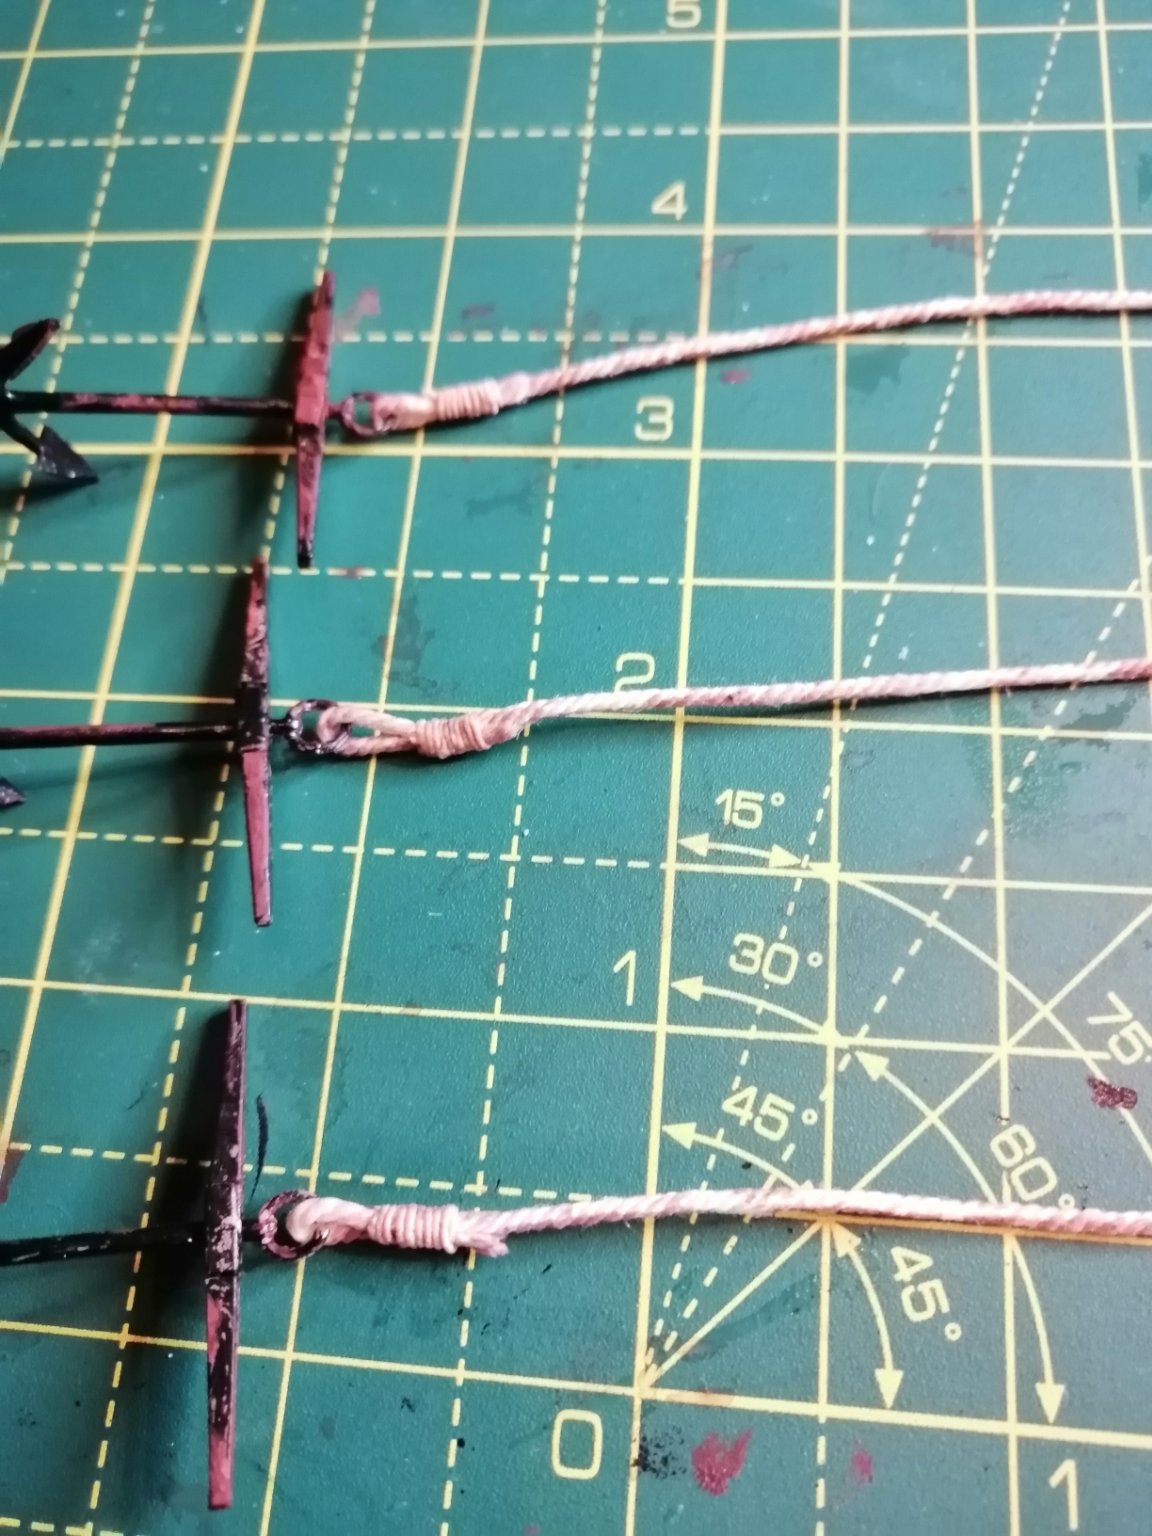
Anchor progress, adding washes to the ropes, acrylic - burnt umber, burnt sienna, viridian, and black. The top rope has not been touched for comparison.

- 265 replies
-
- 2
-
-
- Golden Hind
- Airfix
- (and 1 more)
-
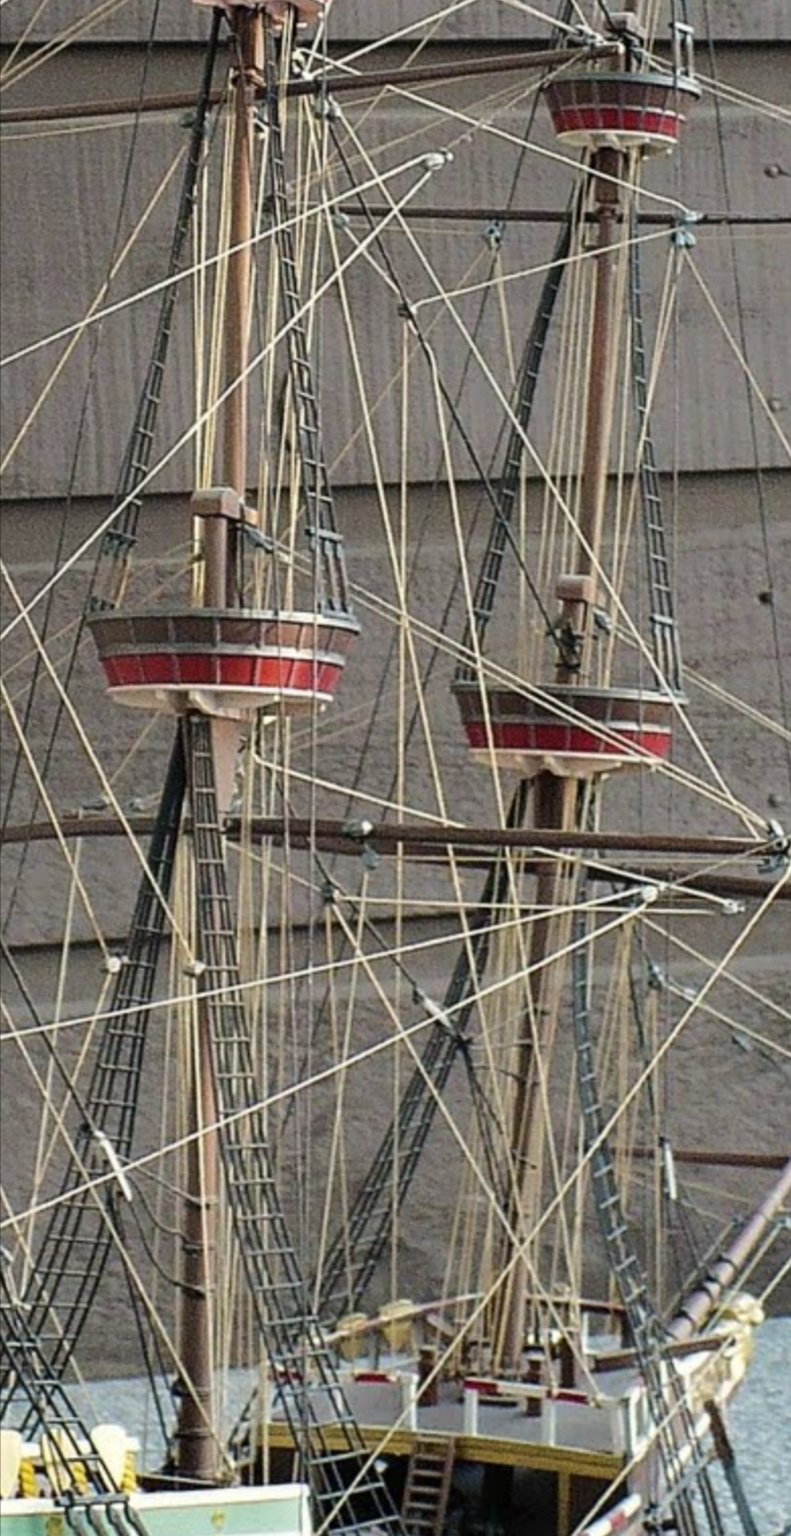
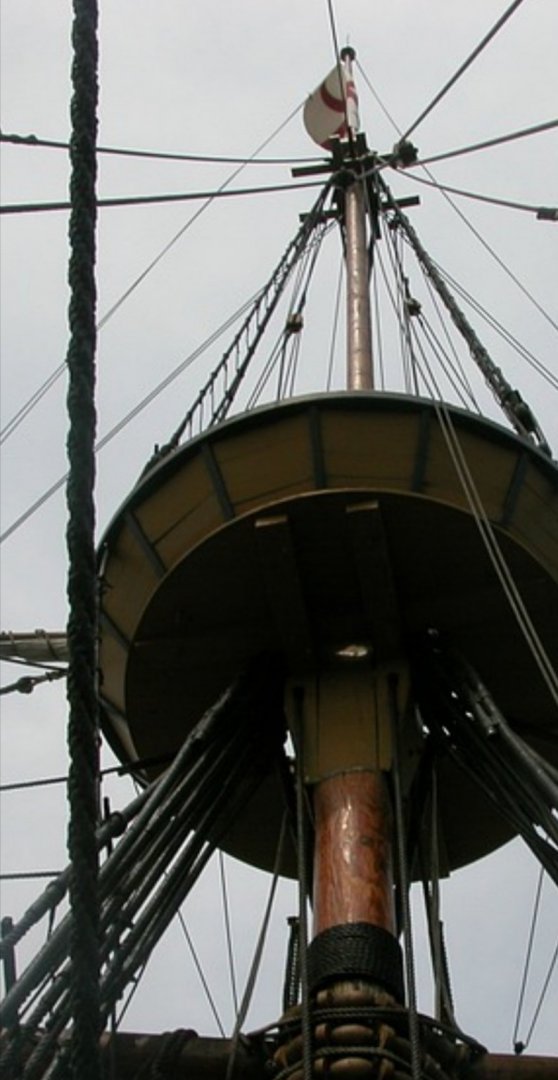
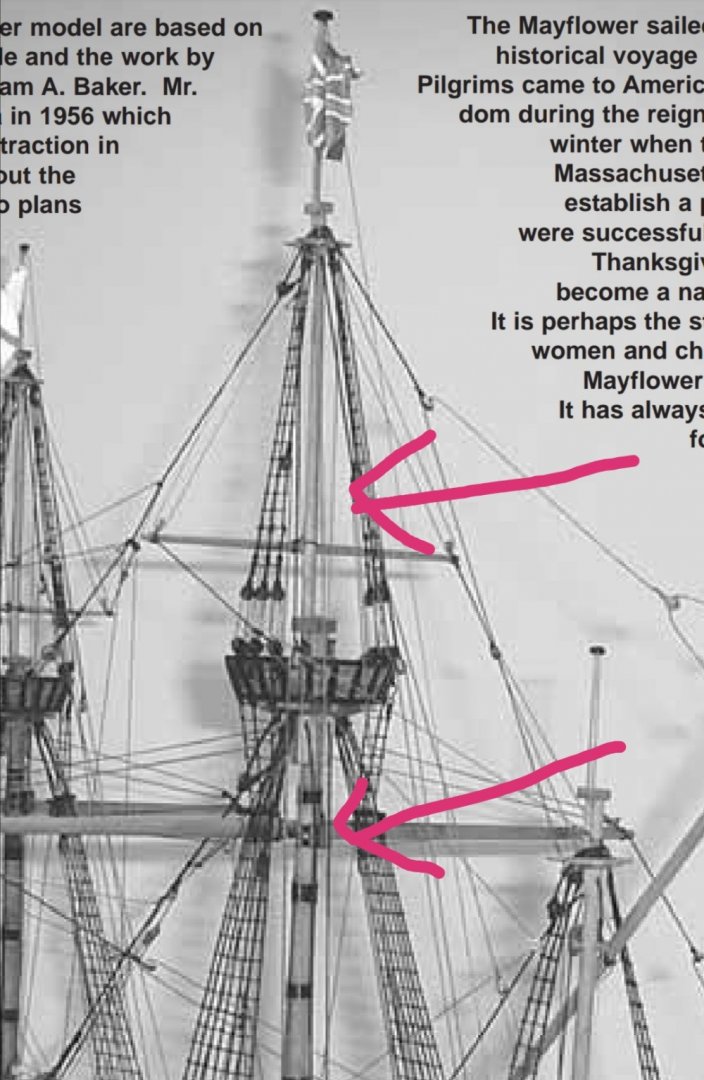
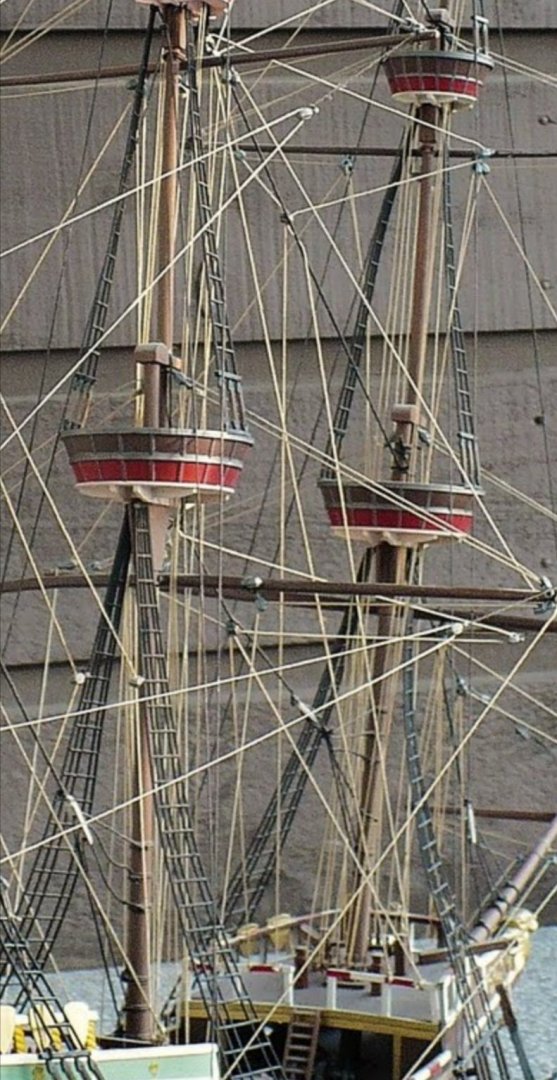
Im using lots of different reference images for inspiration, they are not exact and I don't have any blocks. I'm mainly using images of the Mayflower. Thank you for your helpful contributions.

-
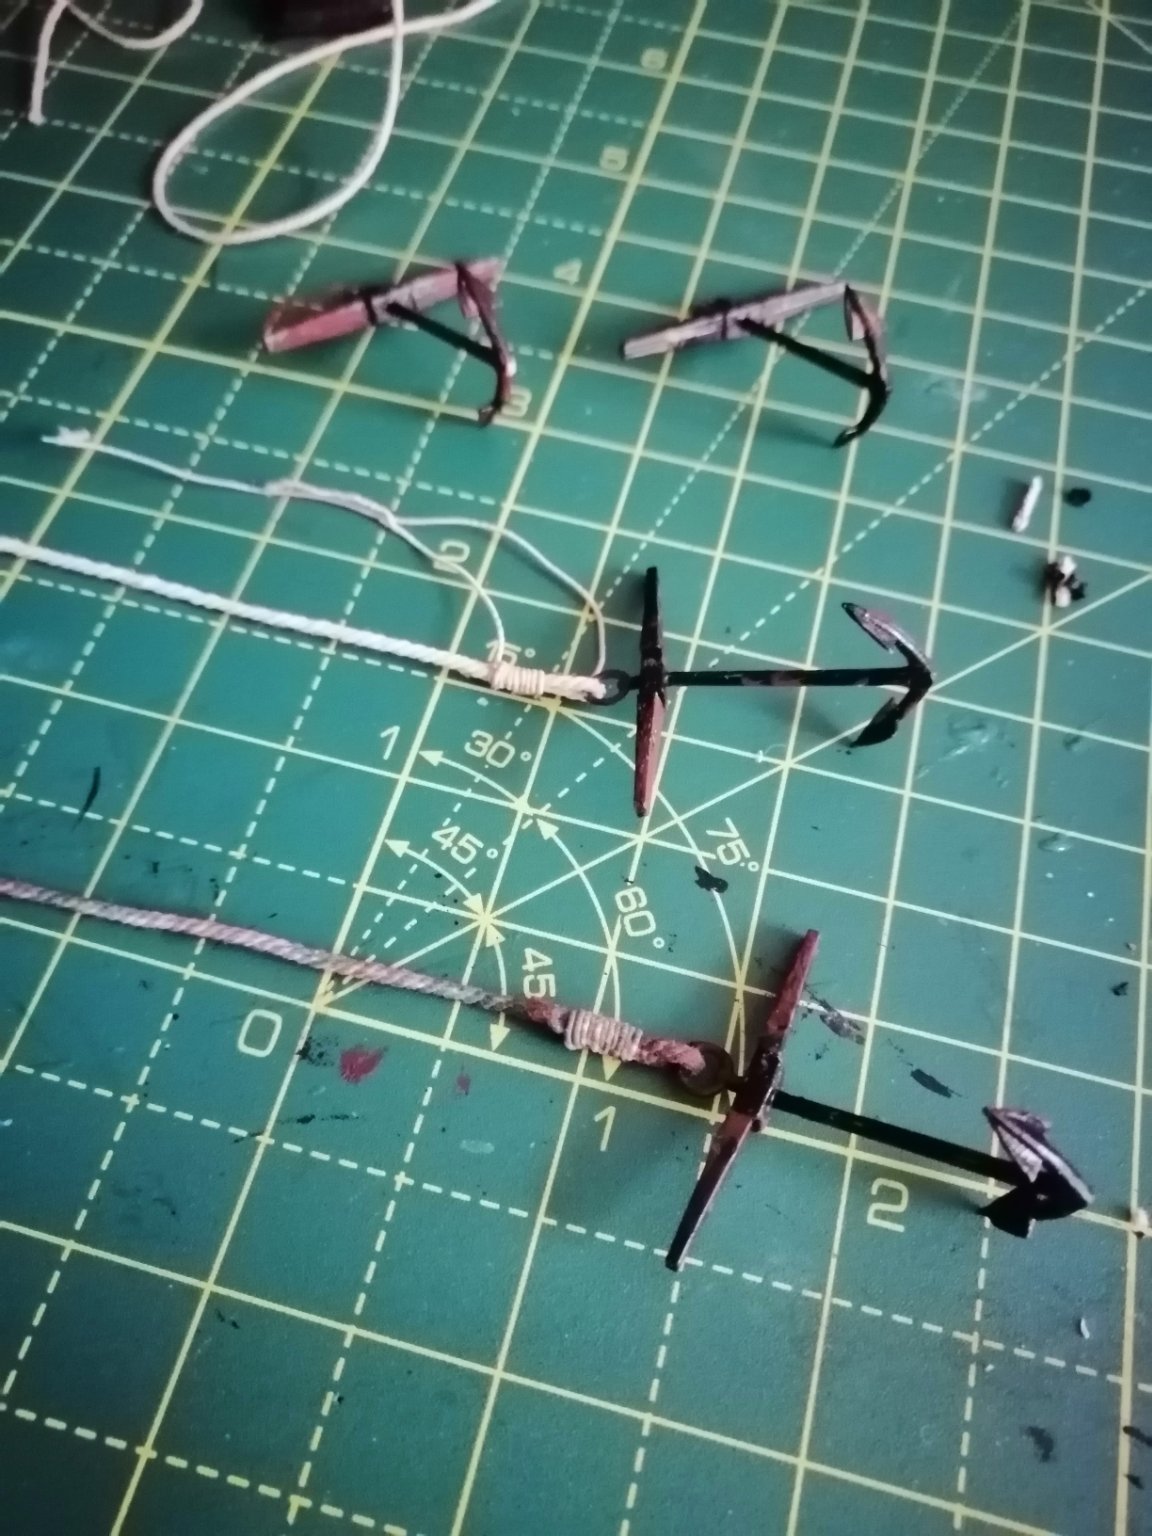
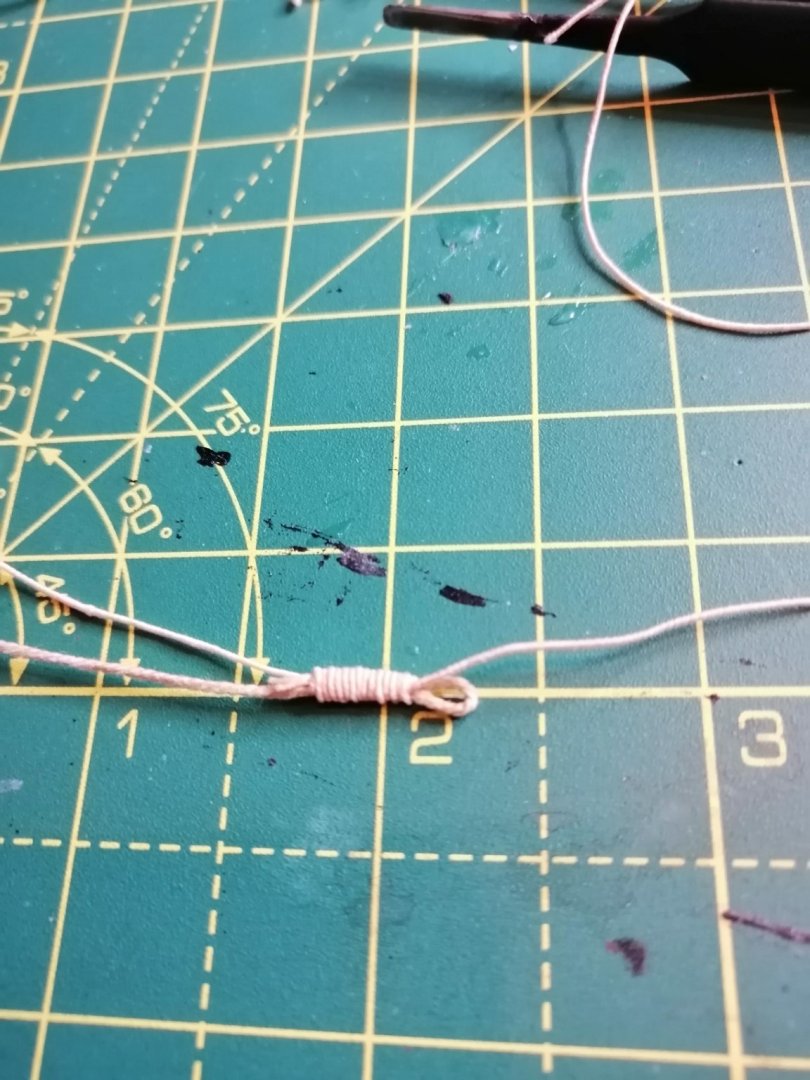
More practice, different sizes. Without glue, you can slide the whipping into position after it has been done.
- 265 replies
-
- 1
-
-
- Golden Hind
- Airfix
- (and 1 more)
-
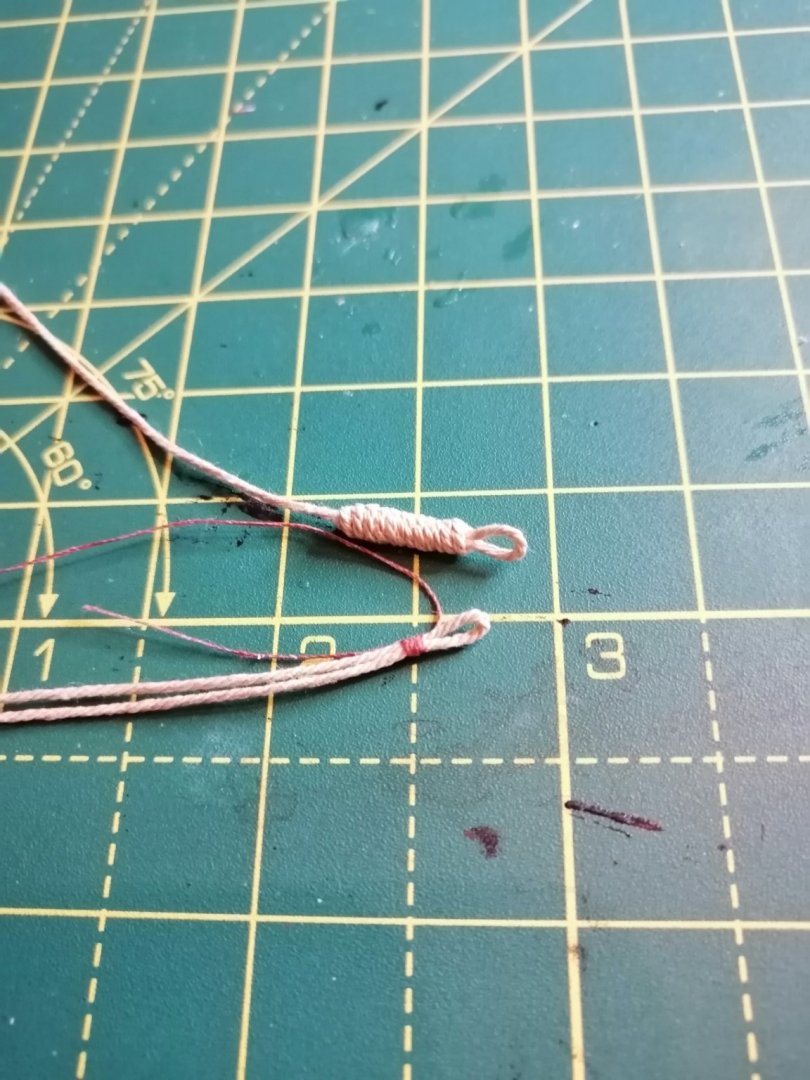
Practicing whipping (common) and seizing, no glue. What I'm struggling with, is the first couple of turns once you have both loops in place. I'm using bees wax, but I don't see how this helps here. (I know it stops the string from being fluffy, I also find it works really well when making knots)
- 265 replies
-
- 1
-
-
- Golden Hind
- Airfix
- (and 1 more)
-
I'm not sure which part of the rigging you are talking about, if you are saying it is all incorrect then as I said; I'm OK with that. At this point, with this build it is serving as a test, a fun learning curve. If you are actually asking about the string, it serves no purpose what so ever? It's string on a plastic model, it has no functionality at all. It's decorative? If you want me to pretend it was a full sized sailing vessel; I would have to say, I don't know wat the exact function of each rope. At this point in time, I currently do not know enough about rigging a full sized working vessel. But I'm reading and I'm learning. Do I want to undo and change my every mistake as I learn more, not really, I don't have the time, I work 50 to 60 hours a week, have 3 kids and do my share of running a very busy household. This is my first model and I'm still figuring this all out, whilst trying to enjoy this process. Hope this goes in some way to answer your question.