


Fentone
-
Posts
47 -
Joined
-
Last visited
Content Type
Profiles
Forums
Gallery
Events
Posts posted by Fentone
-
-
-
-
-
-
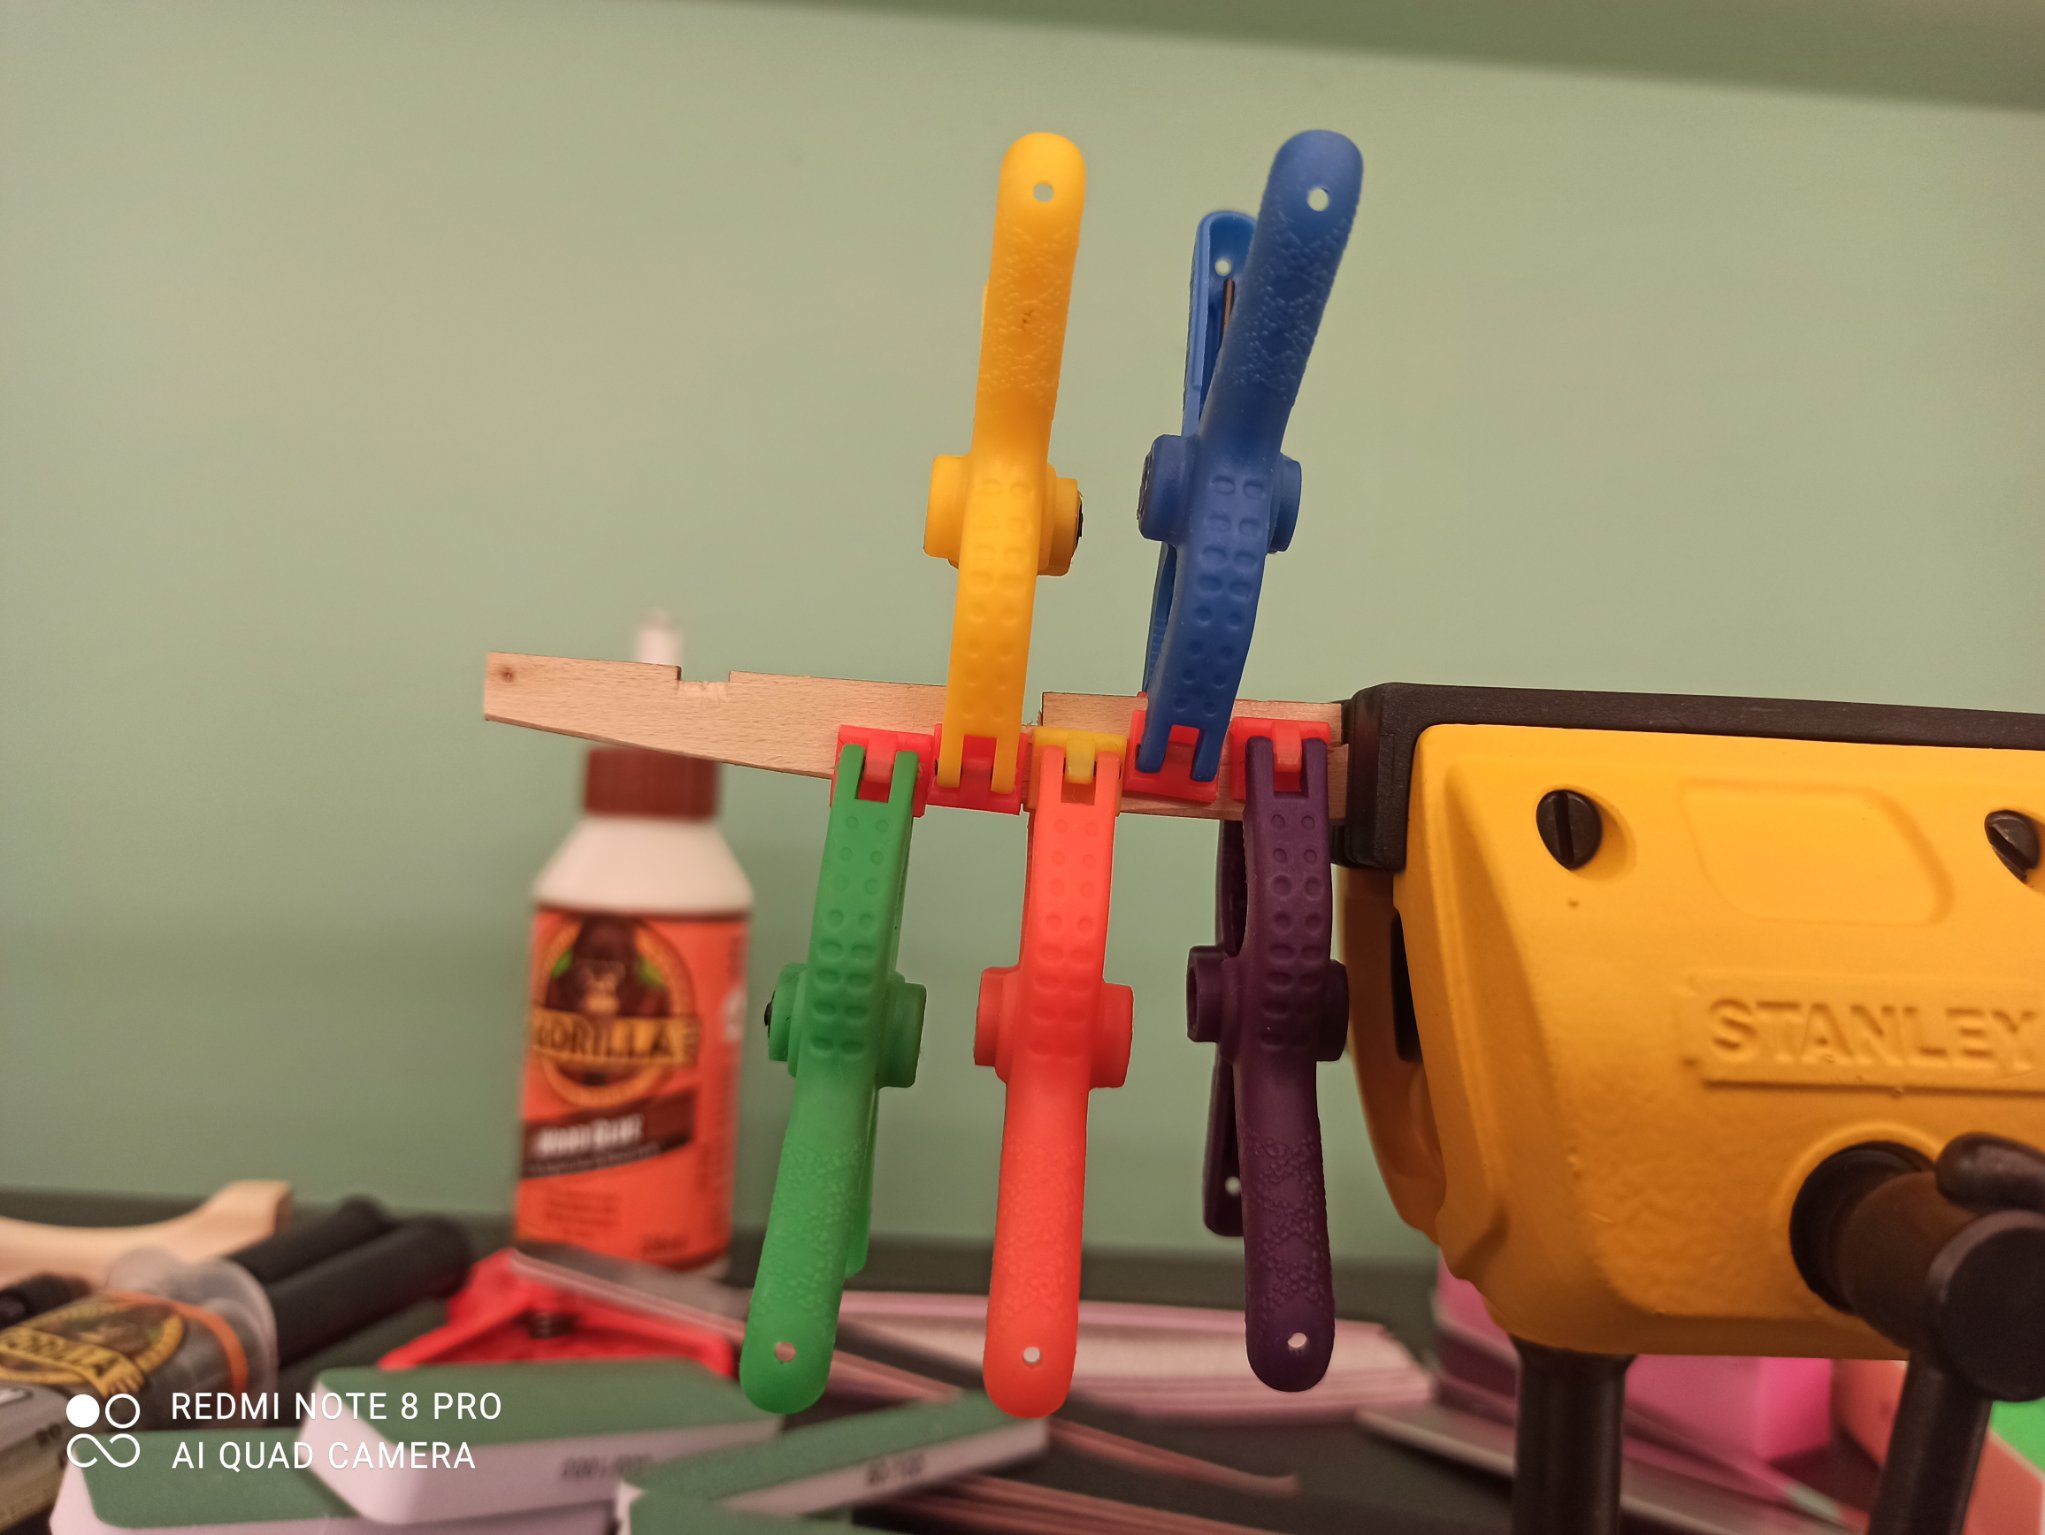
Thank you for your advice and encouragement. So I had a look at another build log. Turns out that those "holes" are not visible anyway. Not until after I took my course of action though! Too bad. There is no spare basswood on that sheet, so I did this instead. I figured that this way was less messy than trying to cover up the ugly filing which is on the other side, but it doesn't matter either way as this bit will be covered ip.. At least I got some practice doing this sort of thing. I think this could have been a good candidate for the Contact Adhesive, as there is no easy way of clamping the slower drying wood glue in this position, so I don't know how strong this will be when plank bending tomorrow. However I'm used to the wood glue now, so felt more confident with it. Perhaps I should have taken a risk with the CA. I'll find out in due course.
-
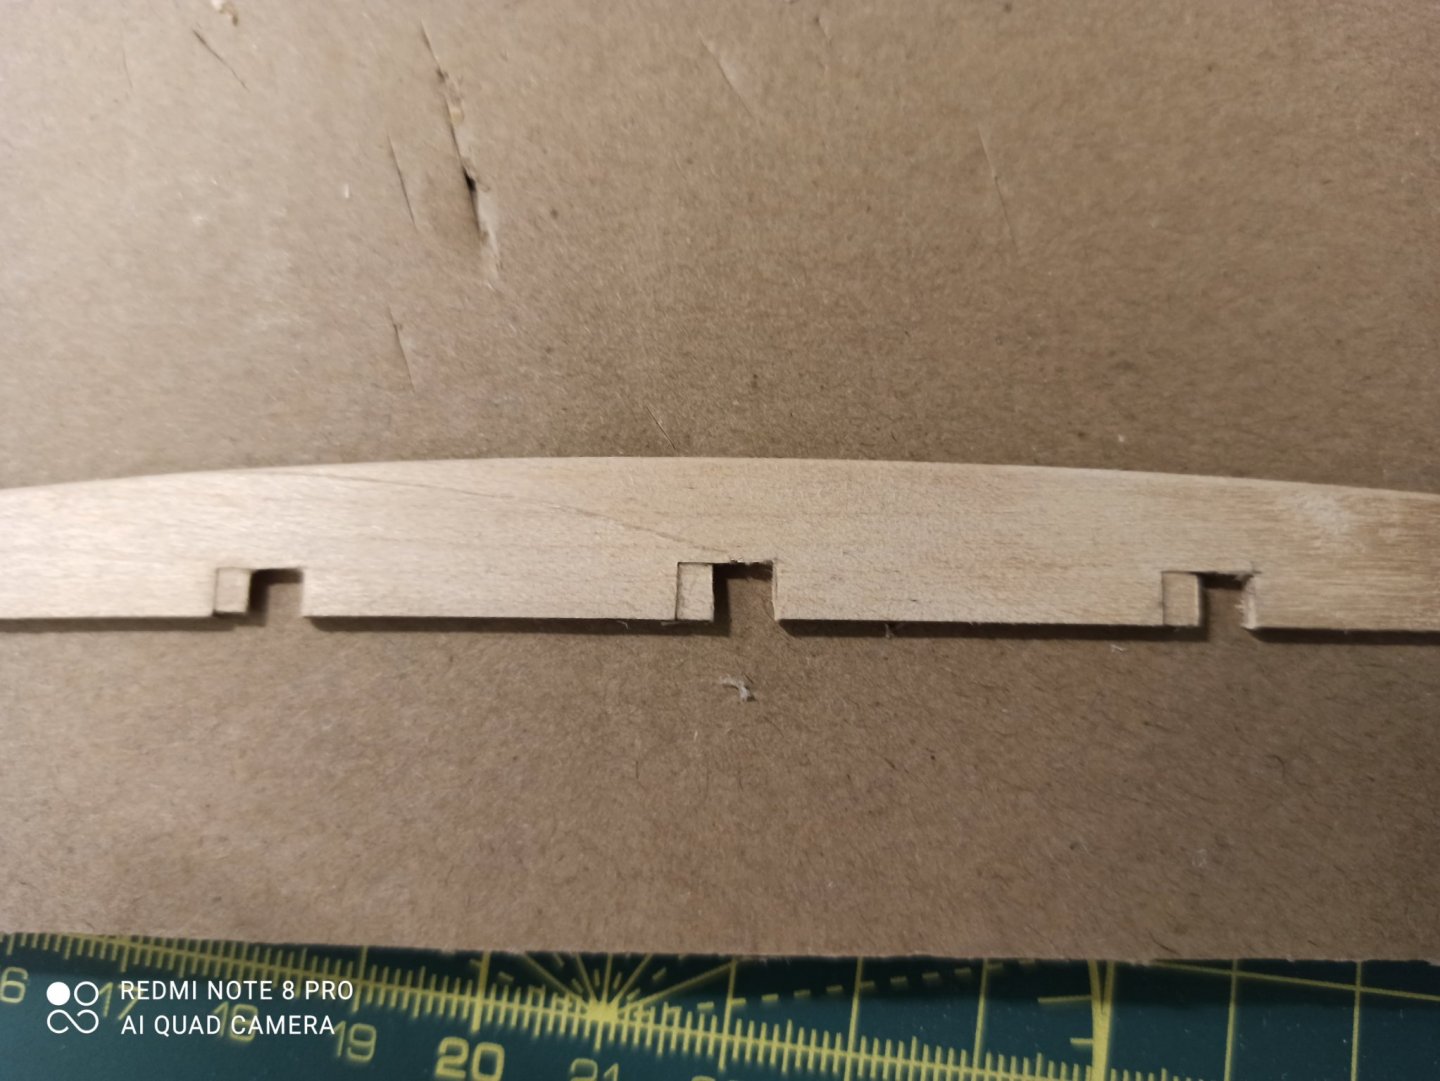
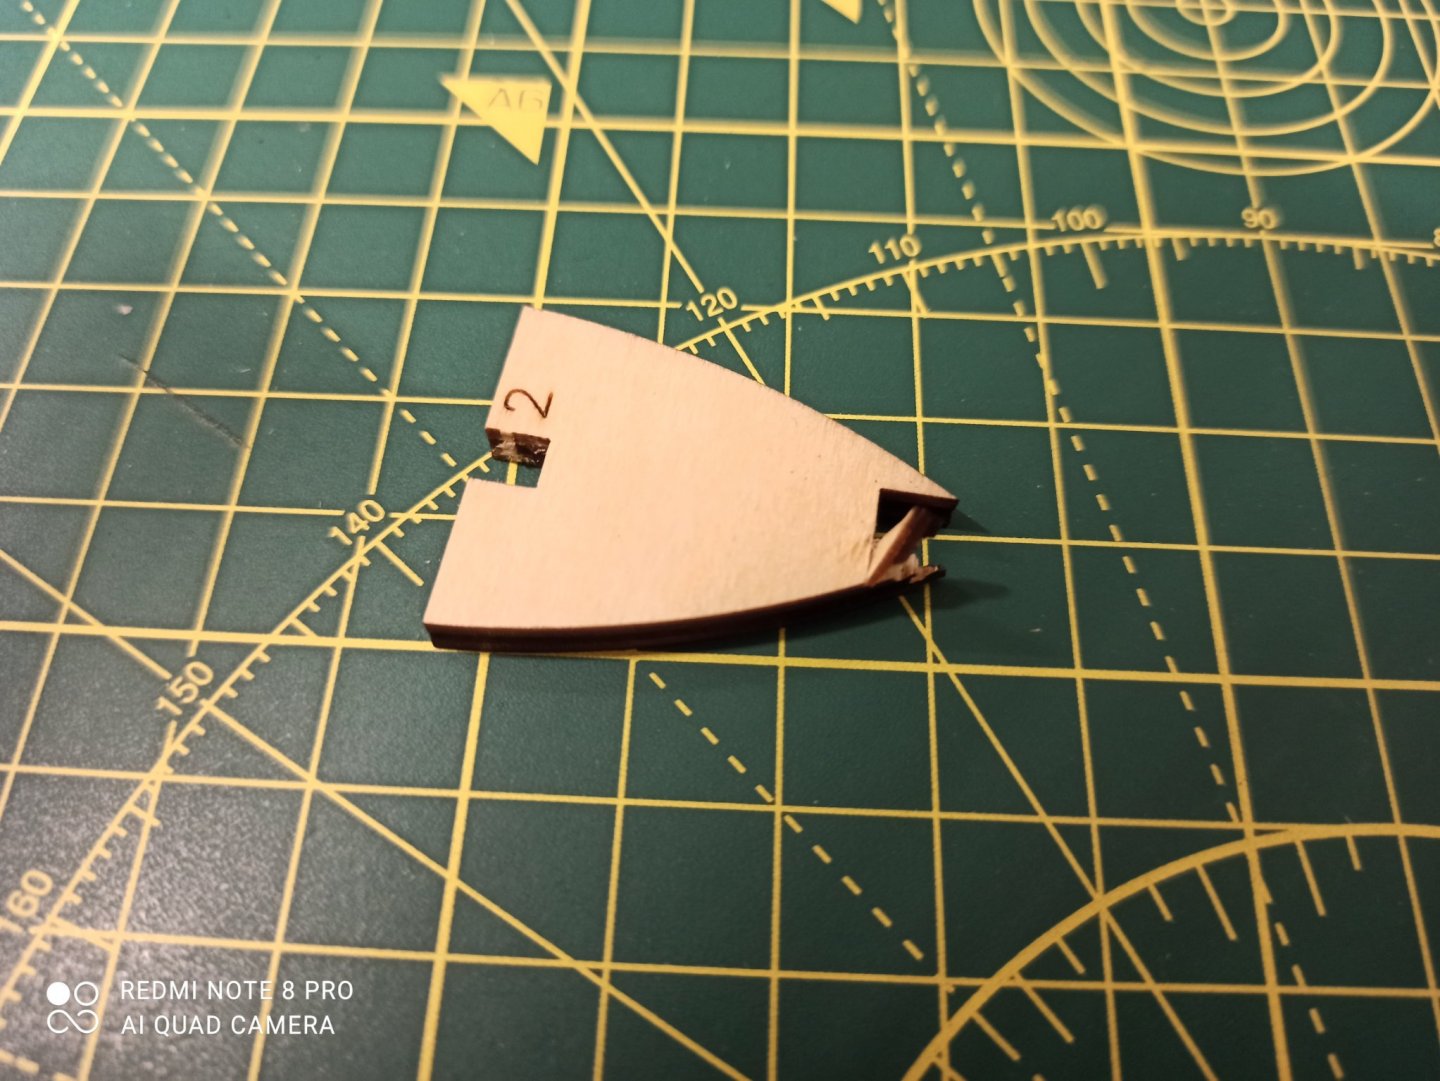
I've finally worked out why the holes in the plank don't line up properly. It turns out that the plank is NOT symmetrical around the center of the long axis. Therefore there IS a correct way up. Nowhere does it mention this in the manual, and it is not obvious from looking at it. However, it's too late, I already chose a side to be the 'top', and filed the back of the 'holes', however I made the wrong choice. I have two options.
1. Stick with my incorrect choice, like in the TOP picture, and make the square holes bigger on the right edge so they slot onto the bulkheads. However, those holes will end up HUGE, with a gap on the left hand side.
2. Flip it over and adapt the correct way up like in the BOTTOM picture (with the clamp). However I have already filed the holes, so it is going to look super ugly as you can see. Perhaps I could tidy up the ragged edges. Also the failed bevel is on this side. Also I have already shortened the wrong end, so there will be a massive gap on the far right which you can see, where it is meant to butt up against the bulkhead to the right of the orange clamp.
Any suggestions, votes please?
-
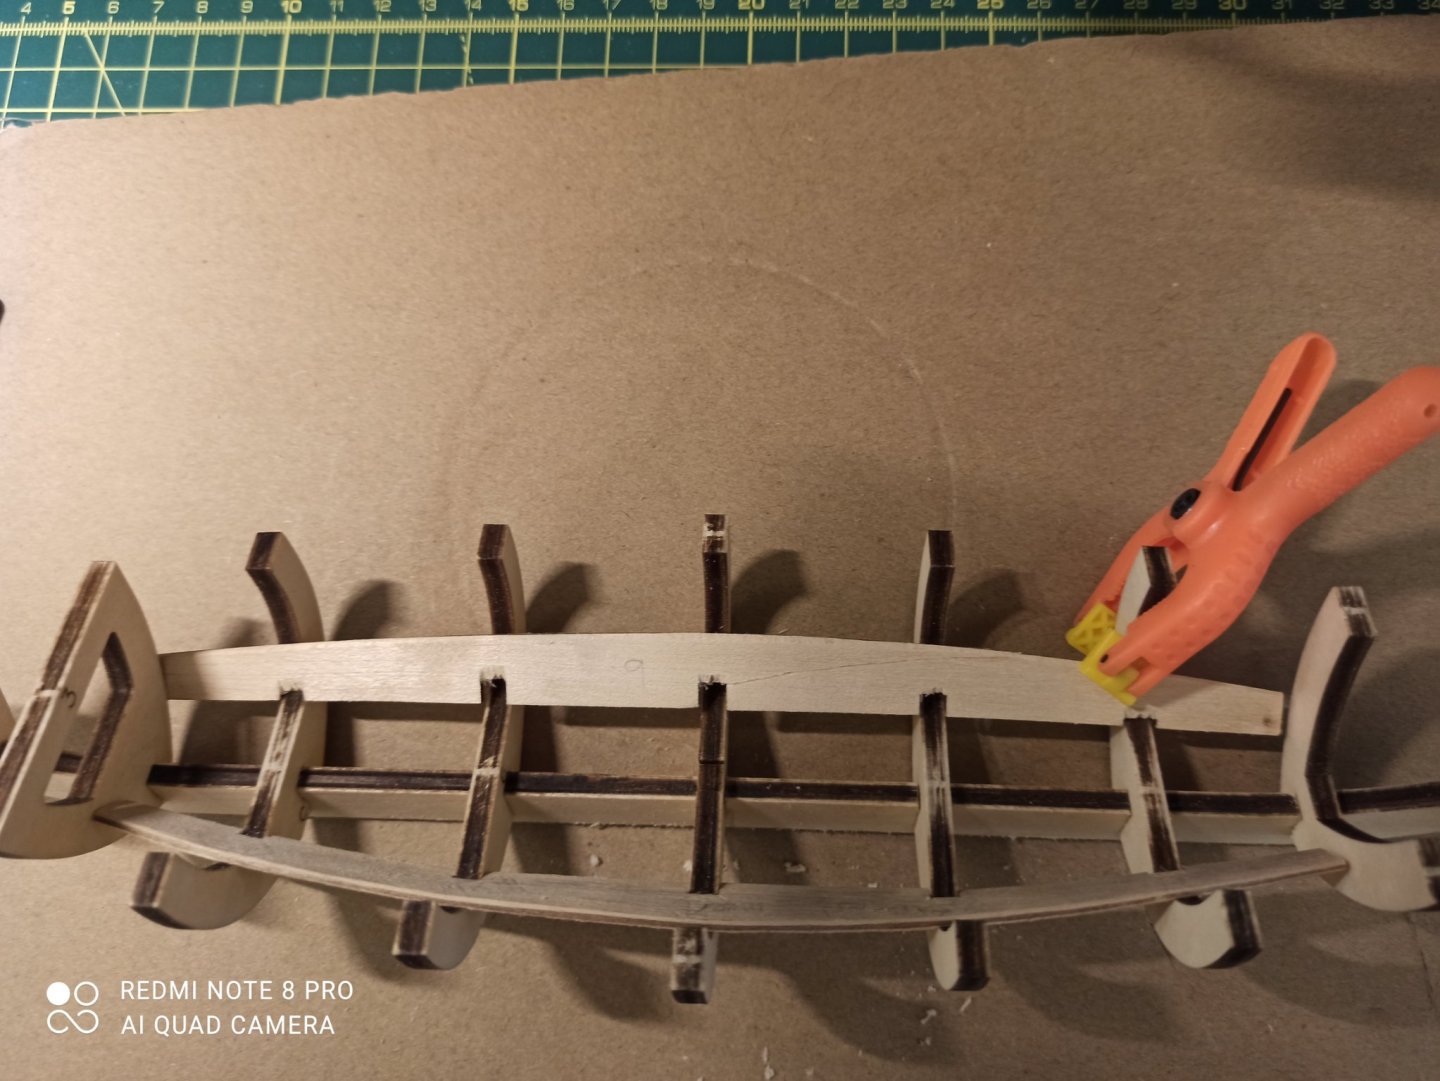
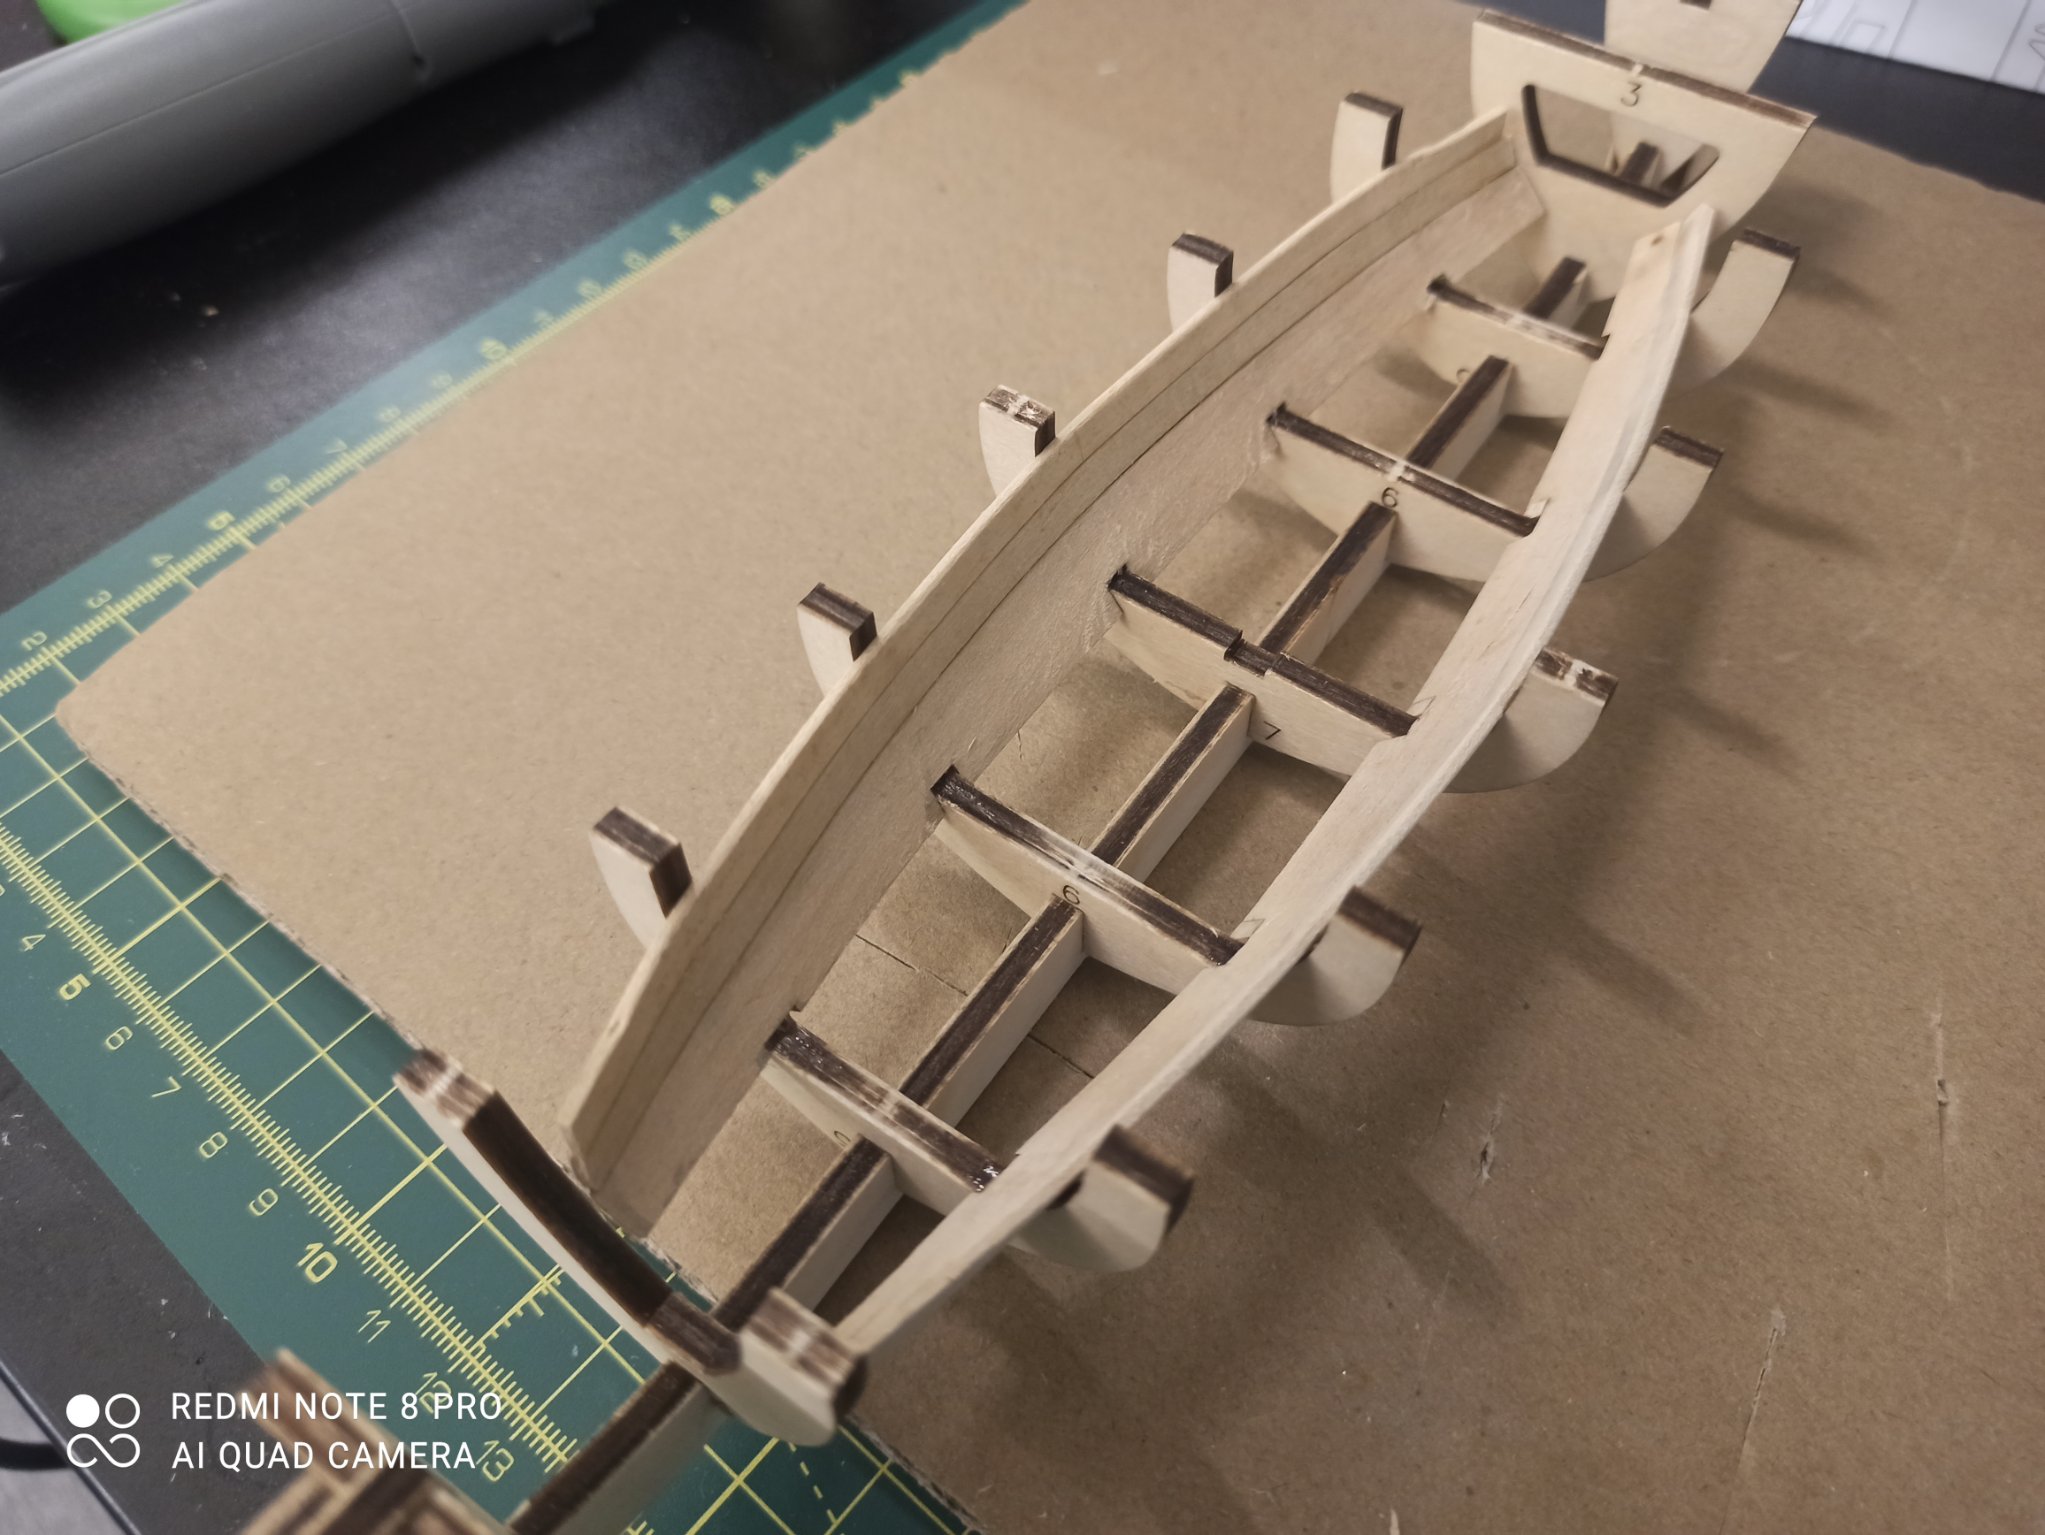
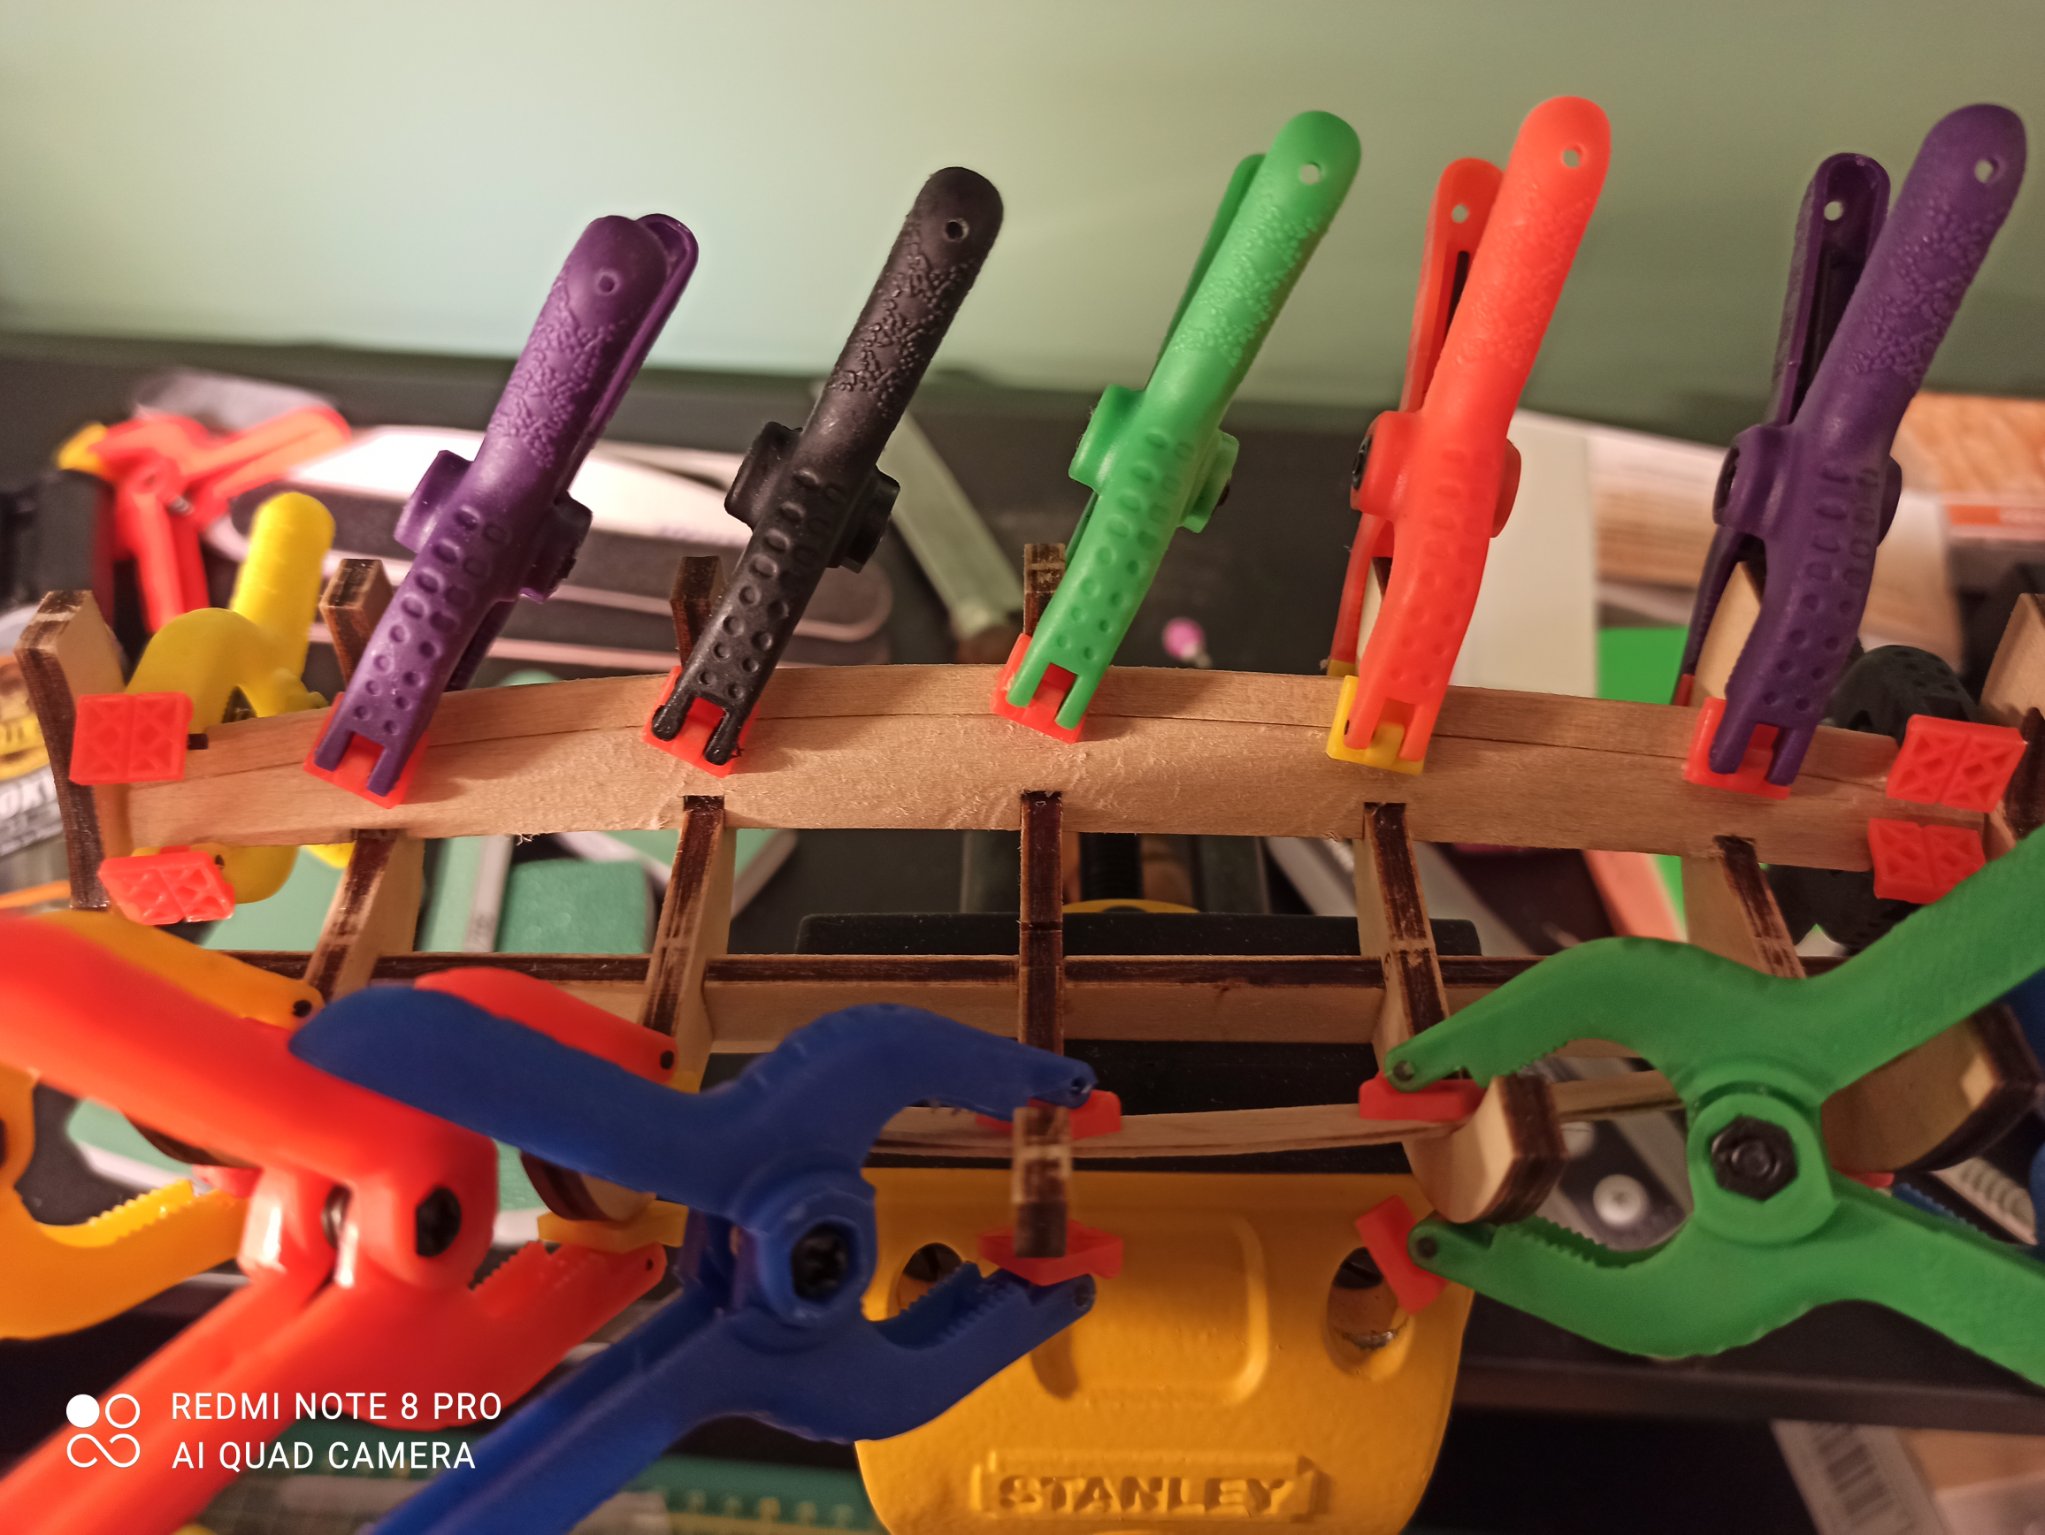
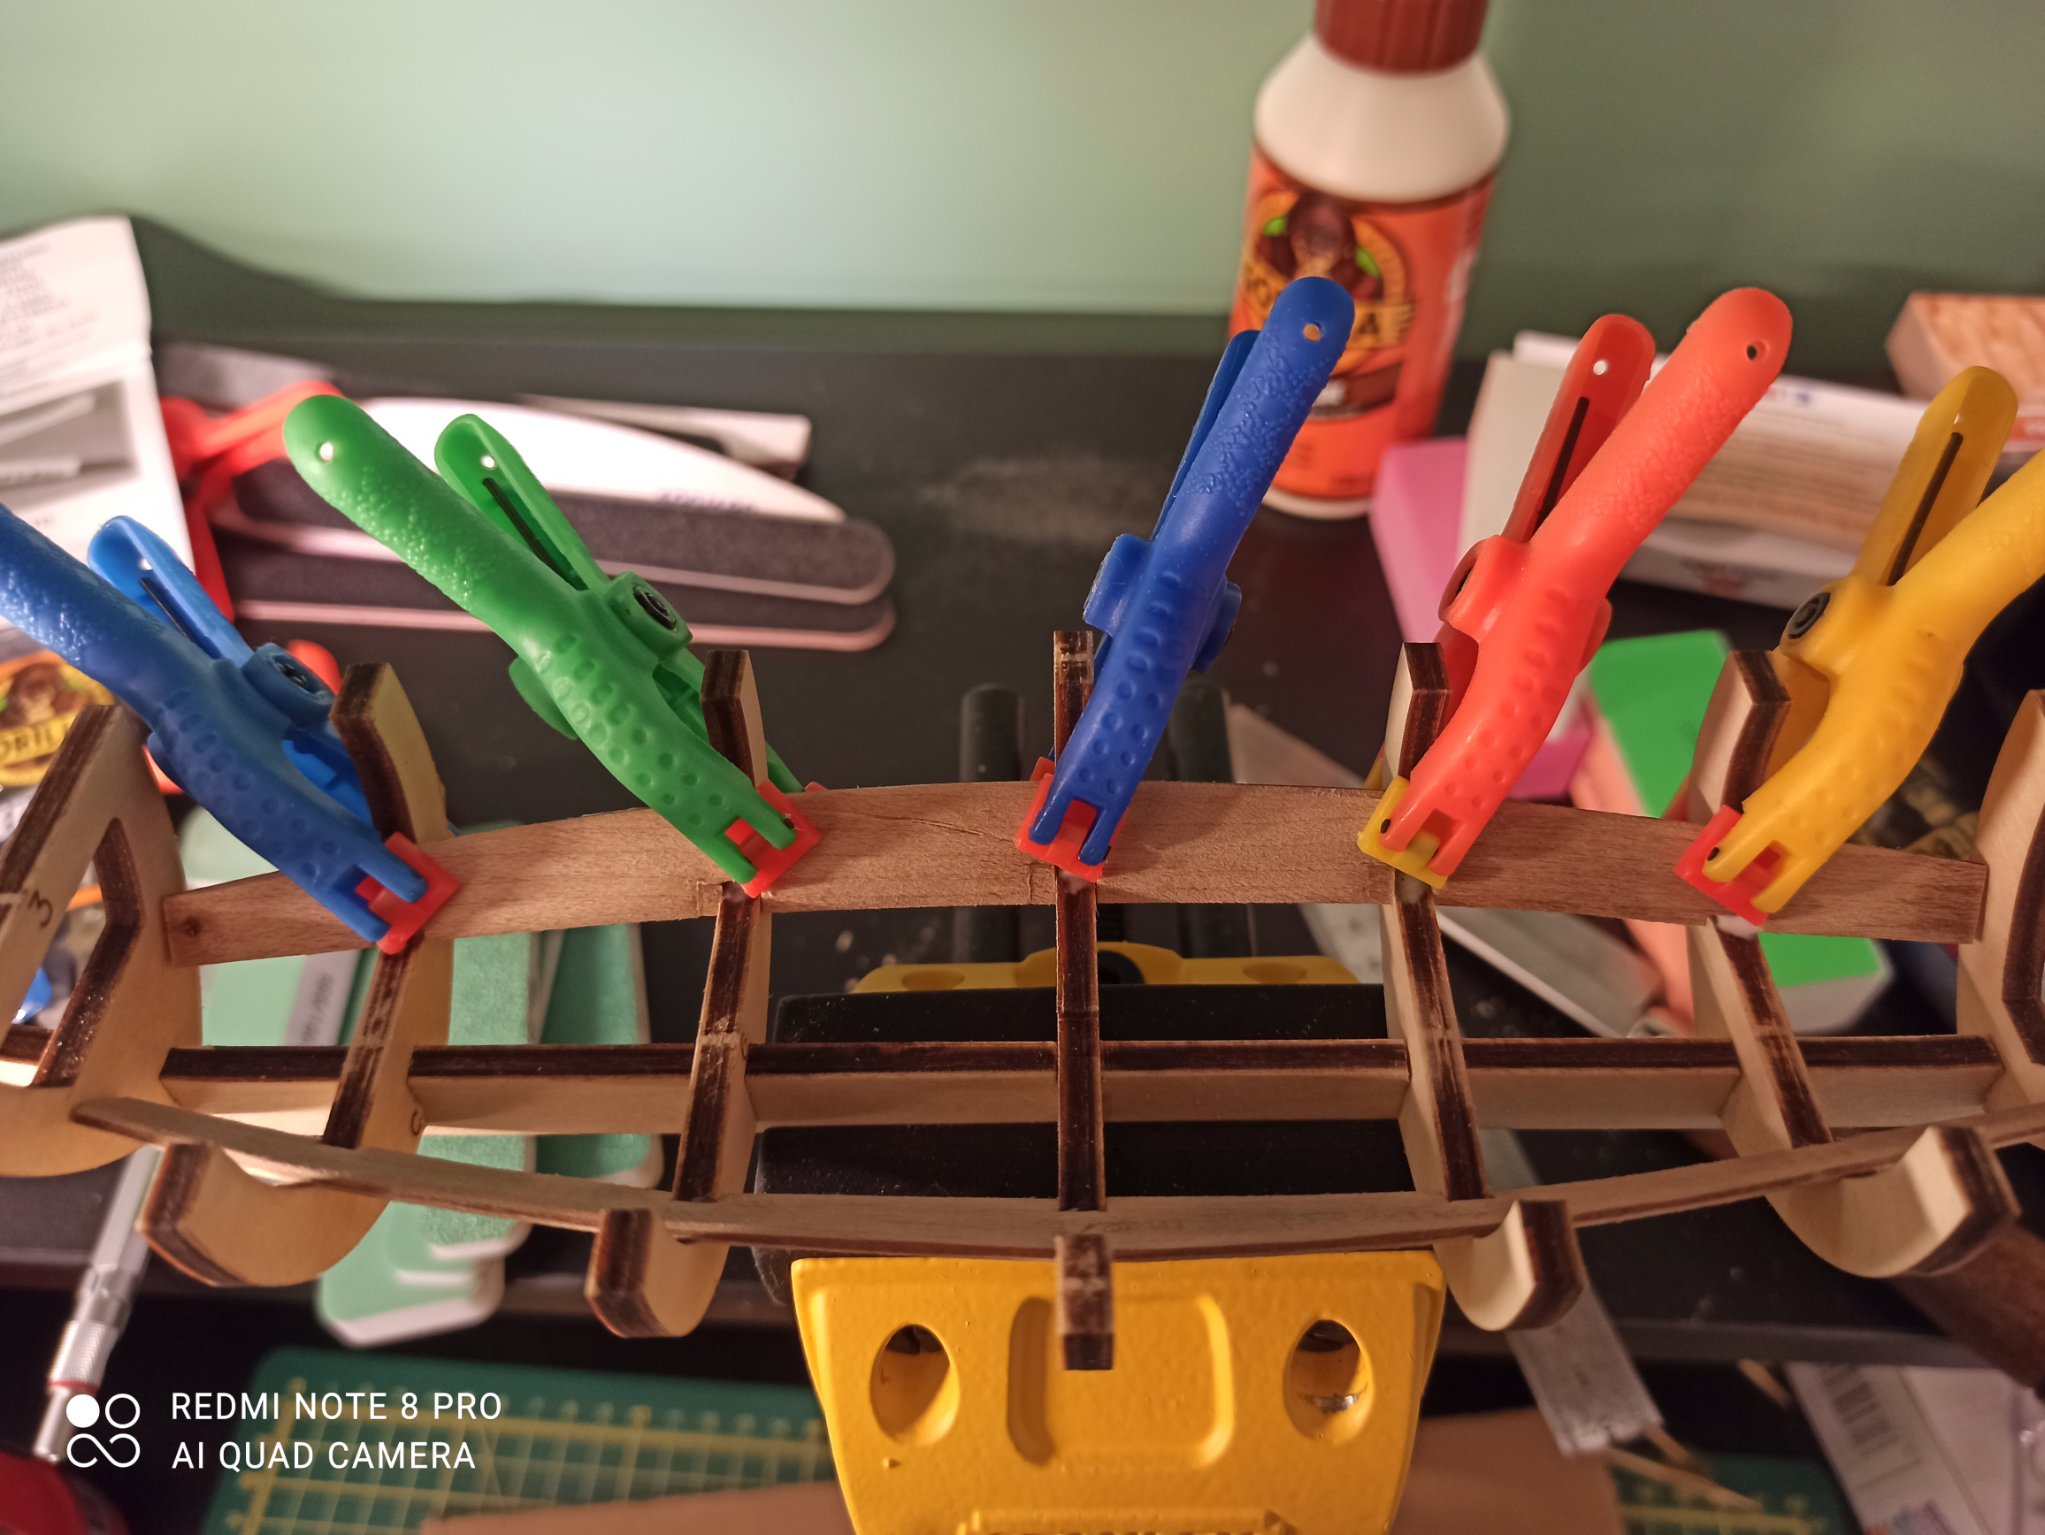
Finally got the (unbroken) one in place. The plank bending soldering iron did its job nicely. I discovered that filing while wet is a messy business. I took too much off each L and R end, so there are little gaps. Guess it will have to be shims or big dollops of glue. So far the "can't live without" tools have been:
(Gold) Absolute bare minimum:
1. Scalpel
2. Wood Glue (the special self cleaning spout on Gorilla brand is genius)
(Silver) Can't live without:
3. Needle files (literally no other tool does this)
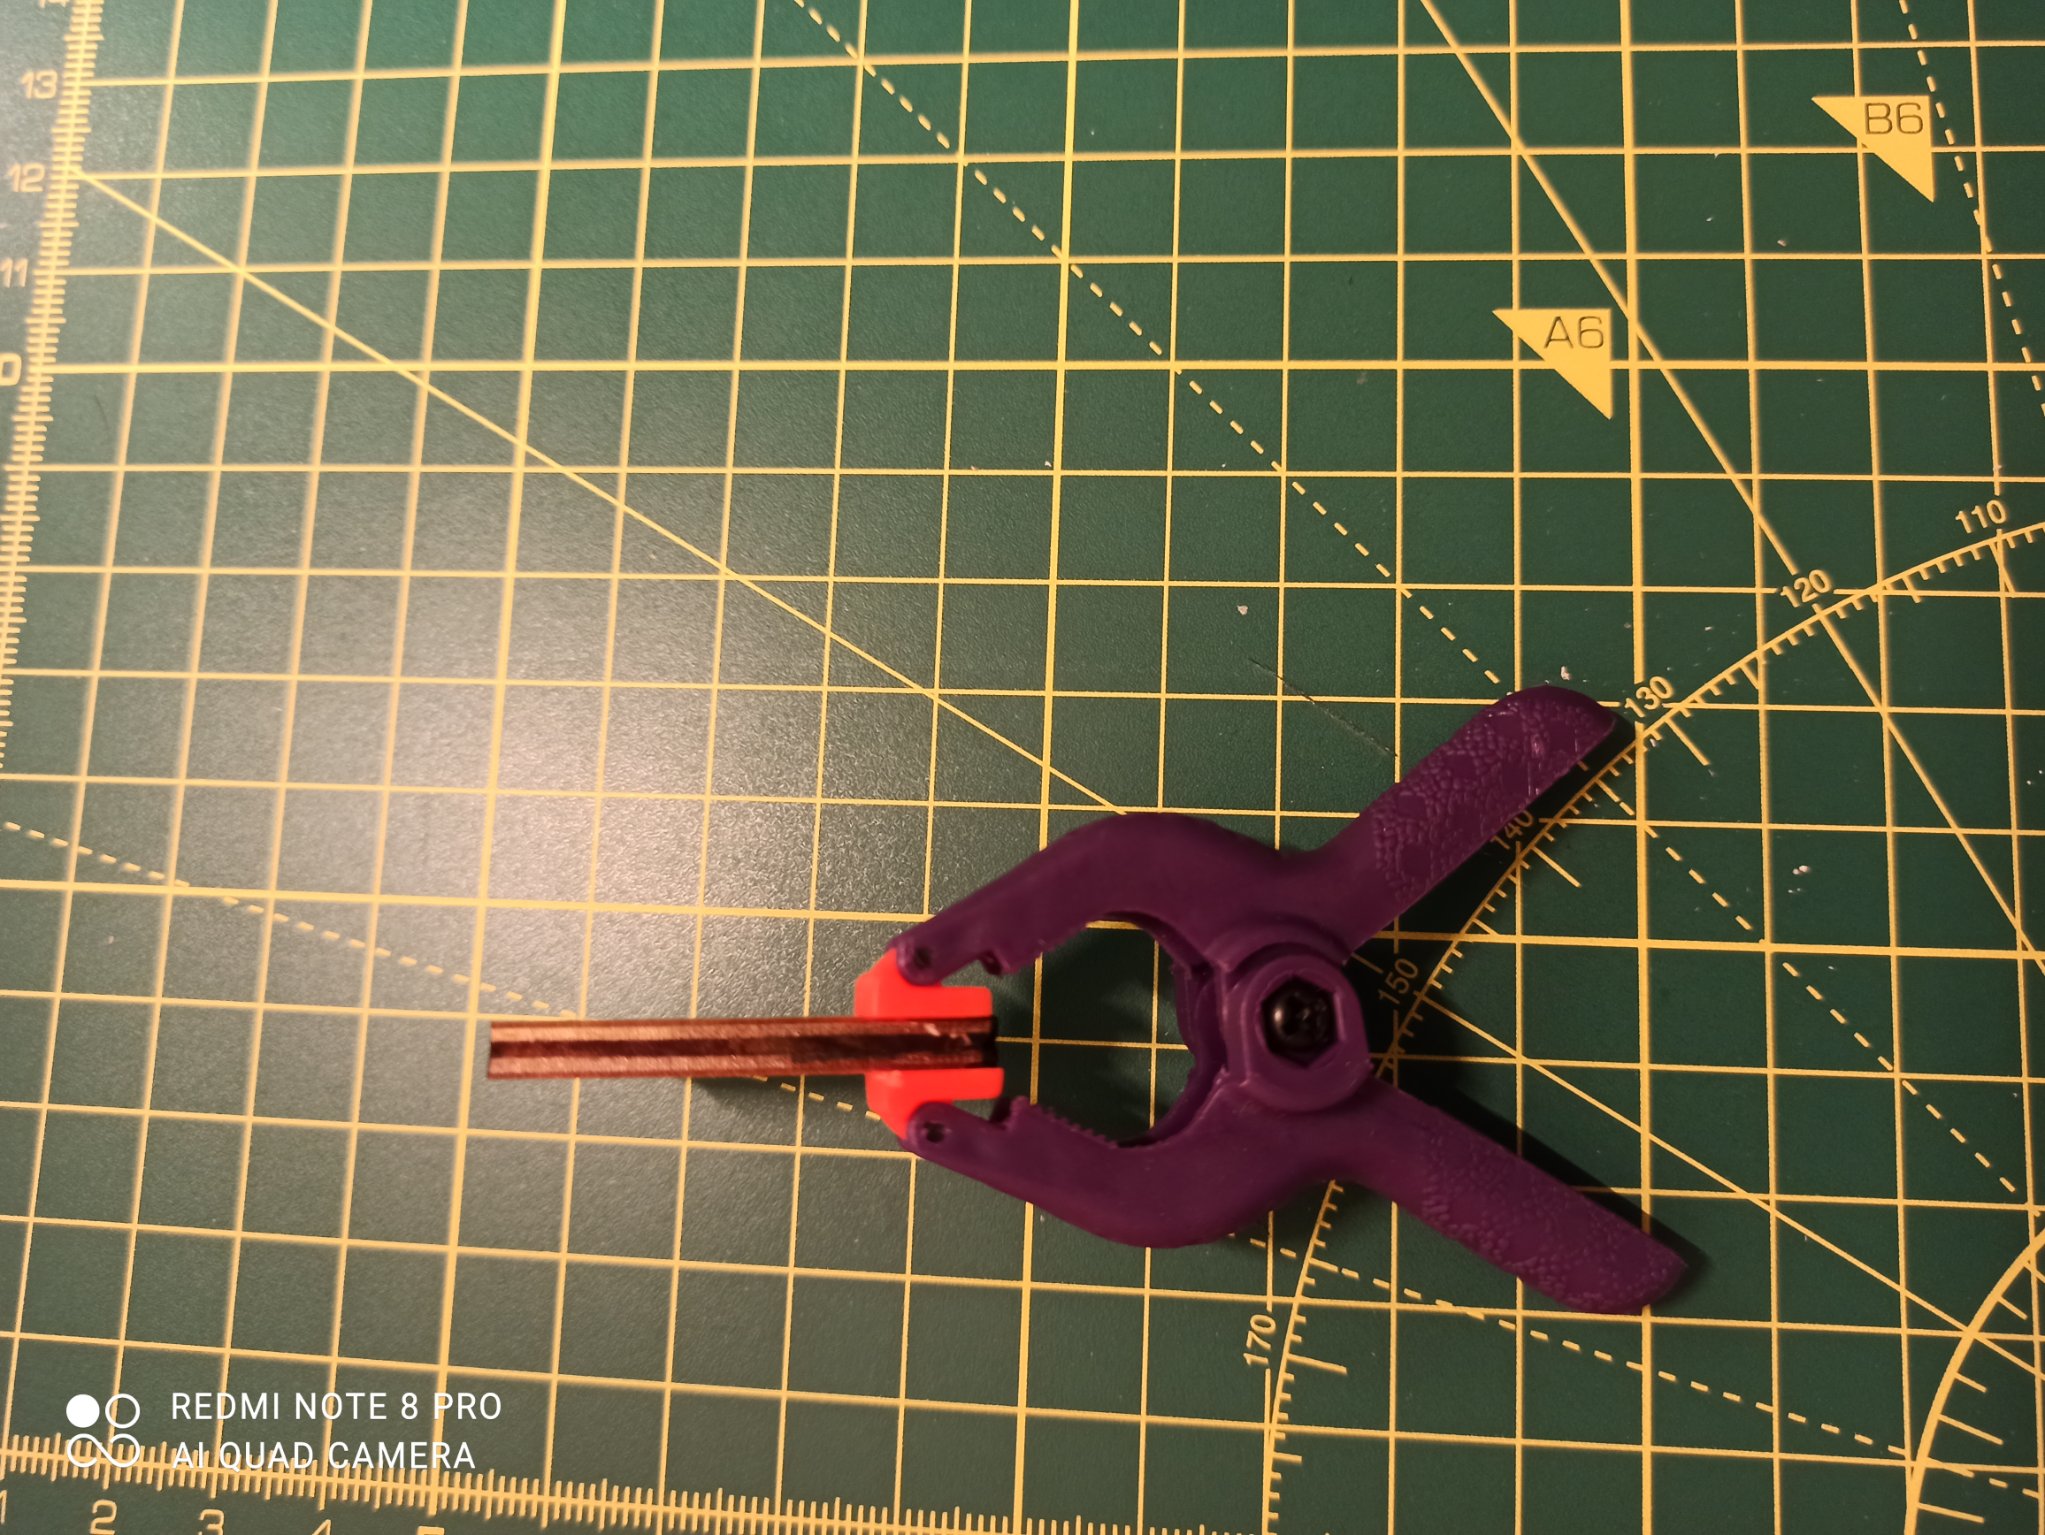
4. Plastic Clamps (incredible invention)
5. Toothpicks (for applying tiny amounts of glue. Wish I'd known about this in my Airfix days)
(Bronze) Almost couldn't live without:
6. Sanding blocks (reach for these over paper every time)
7. Plank bender (I guess you could use hair curlers, but you need something)
8. Thermos flask (to soak planks in hot water)
(Copper) Nice to have QOL, but not as essential as I thought would be:
8. Razor saw
9. Table vice
10. Mechanical pencil
(Iron) Still haven't used:
11. Rotary tool
12. Contact Adhesive and Epoxy
13. Rulers etc.
14. Masking tape
15. Nail files
(Unicorn) What I wish I had:
13. That hand plane Bradley mentioned
14. Small mitre block for the razor saw
15. Weird aluminium cross shaped bulkhead holder-in-place I saw in someone else's build
16. Varnish
19. Paint
20. Airbrush (live the dream)

- BobG, Keithbrad80 and G.L.
-
 3
3
-
-
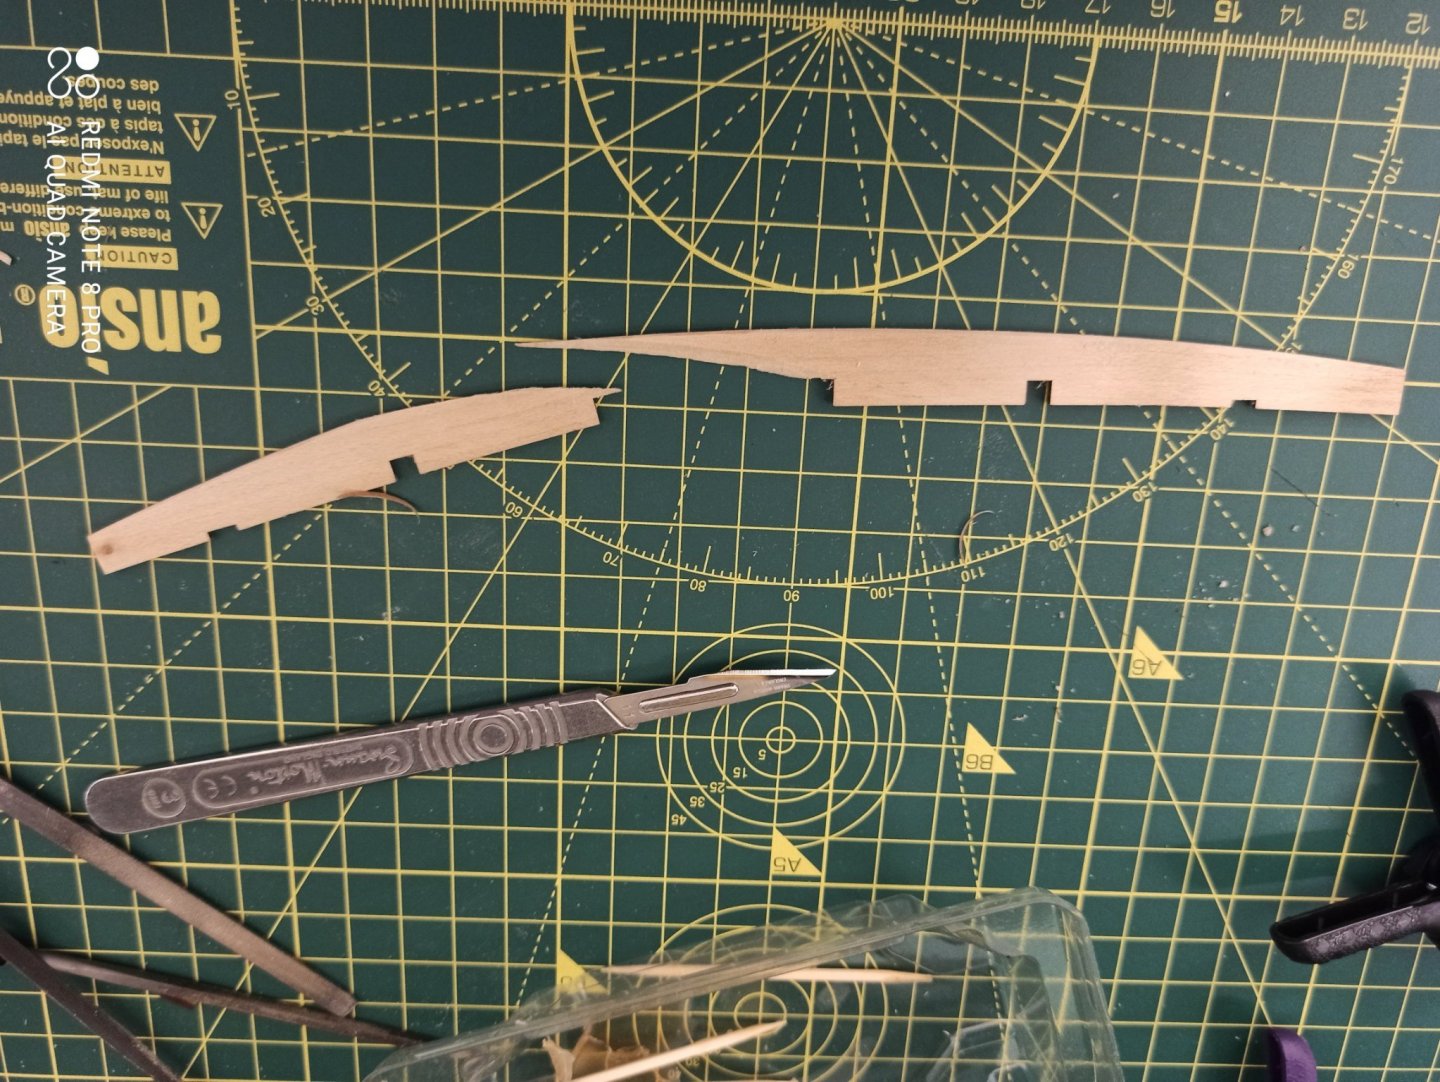
Big mistake. Instructions call for you to bevel the 'upper edges' of these parts. It's not really clear which if it means both sides, one side, or all 4 long corners. Anyway I noticed in another build log someone used a tiny plane. I decided to to this by hand with a scalpel. Worked great the first side. Then I got over confident on the other side. The wood kind of "caught the edge" of the blade, and it took a big chunk. The next stroke split the wood on too. Also this piece totally doesn't fit where it's meant to go. I'm guessing it needs a bit of bending, but the the instructions don't say that. Also, it's too long, and the little holes don't line up properly. I took a little off one end, but it may be too much. Either way I need to wait 24 hours for the repair to set.
-
On 10/19/2020 at 3:38 PM, Vivian said:
Fentone,
Good luck! I saw you already have a lot of good advises from people with the same interests. You inspired me to take my Mayflower box from the storage and will start to build It again from where I left-off since the spring.
viv
That's great news Vivian! Would love to see a build log!
-
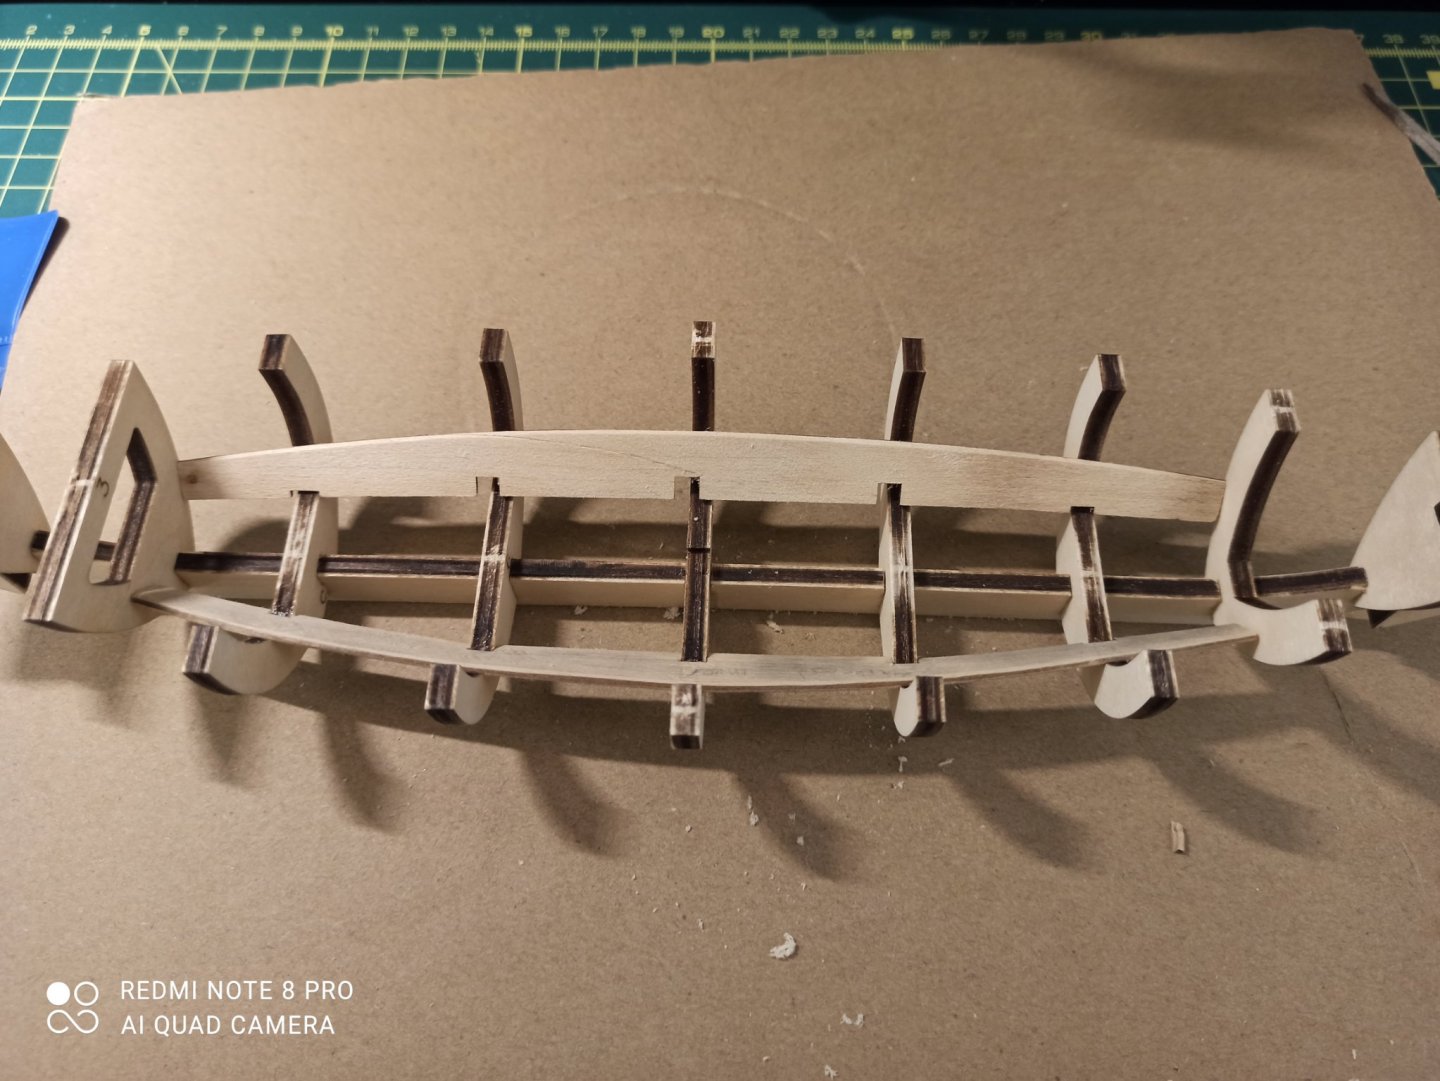
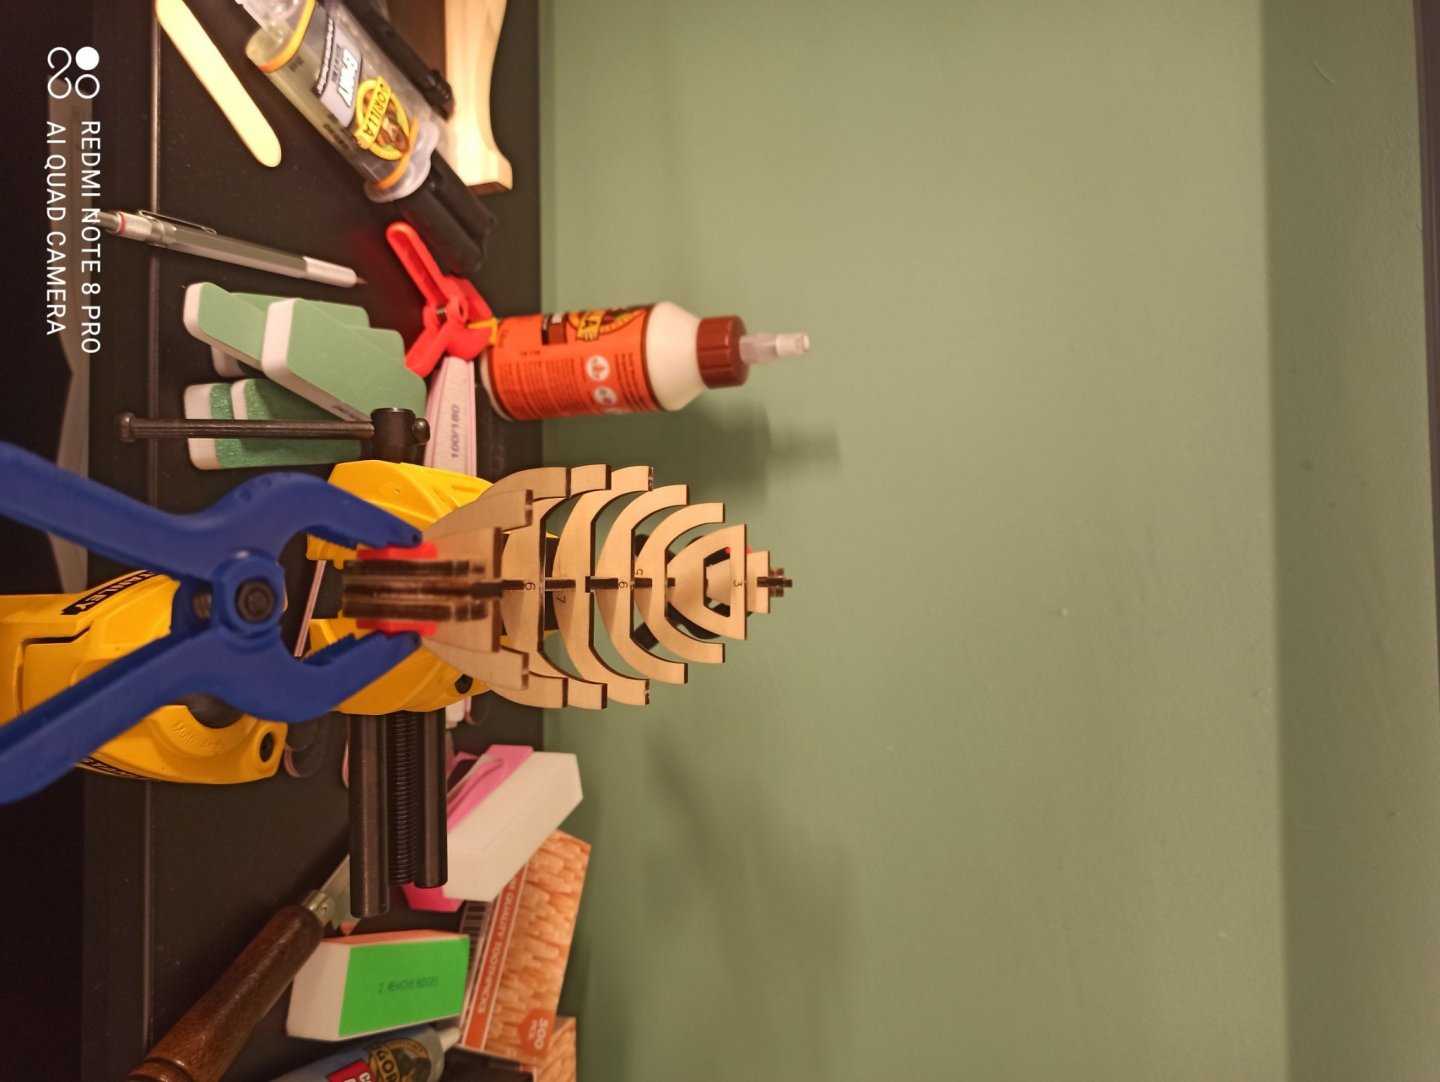
Glued the last of the 'skeleton' i.e. the bulkheads to the false keel. I spent quite a while trying to come up with a clever way to get the angles perfect with Lego. But in the end I decided to eyeball it, glueing a few each day. I'm sure it will end up wonky, but I want to make mistakes on this build and find out WHY I need to do it differently next time.

-
-
Thanks Keith! I've put it to bed for the night. I was surprised to find that the pieces really don't slot together easily, they are very tight. So, so far the No. 1 can't-live-without tool has been the needle files. I really can't see how you would file in that little square hole any other way. I have a question: is there a foolproof way of getting the 'ribs' square on at right angles? It's a challenge enough just getting them to fit together, and I have no ideas yet as to how you get the symmetry and precision you are talking about.
-
-
So it turns out that even if you just use the scalpel, the plywood tips have a habit of breaking off. I'm getting used to gluing and clamping now.
-
-
Made my first mistake. Getting the plywood pieces off the sprue proves to be much harder than I was expecting. The No 11 scalpel blade is a bit too narrow for this, as I'm scared of snapping the blade as it's really bending. The razor saw is better for this, but it needs space to draw it through. I thought maybe I could do it with a bit of finger force and twisting, but it split the layers of plywood and made this mess. Time to use the glue for the first time.
-
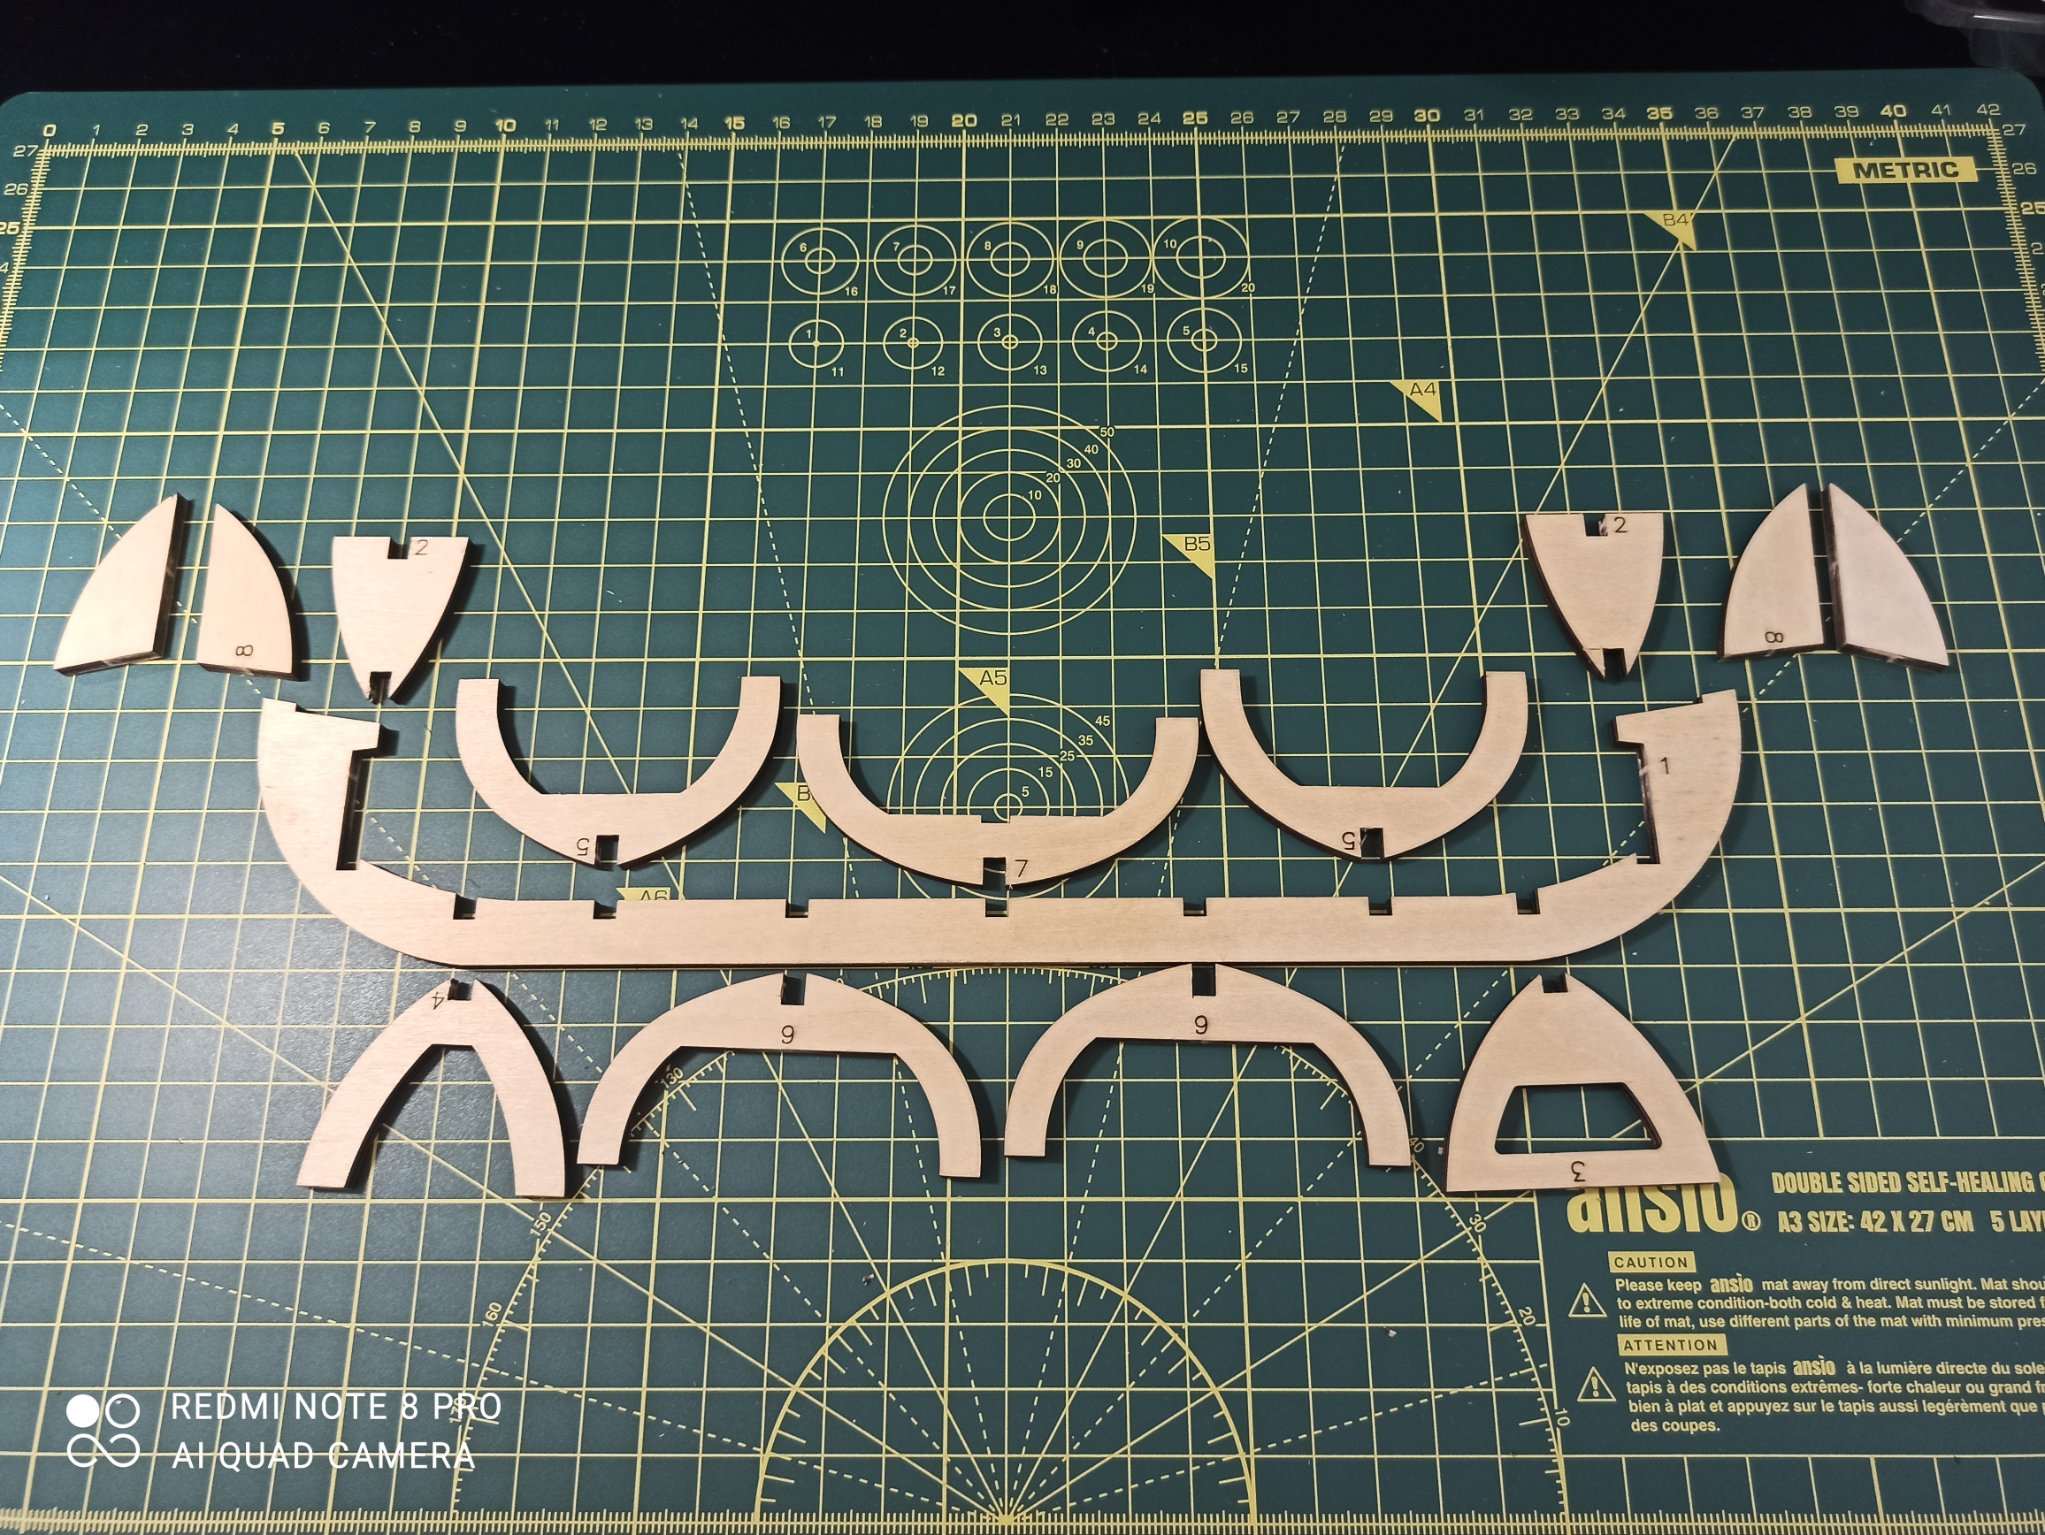
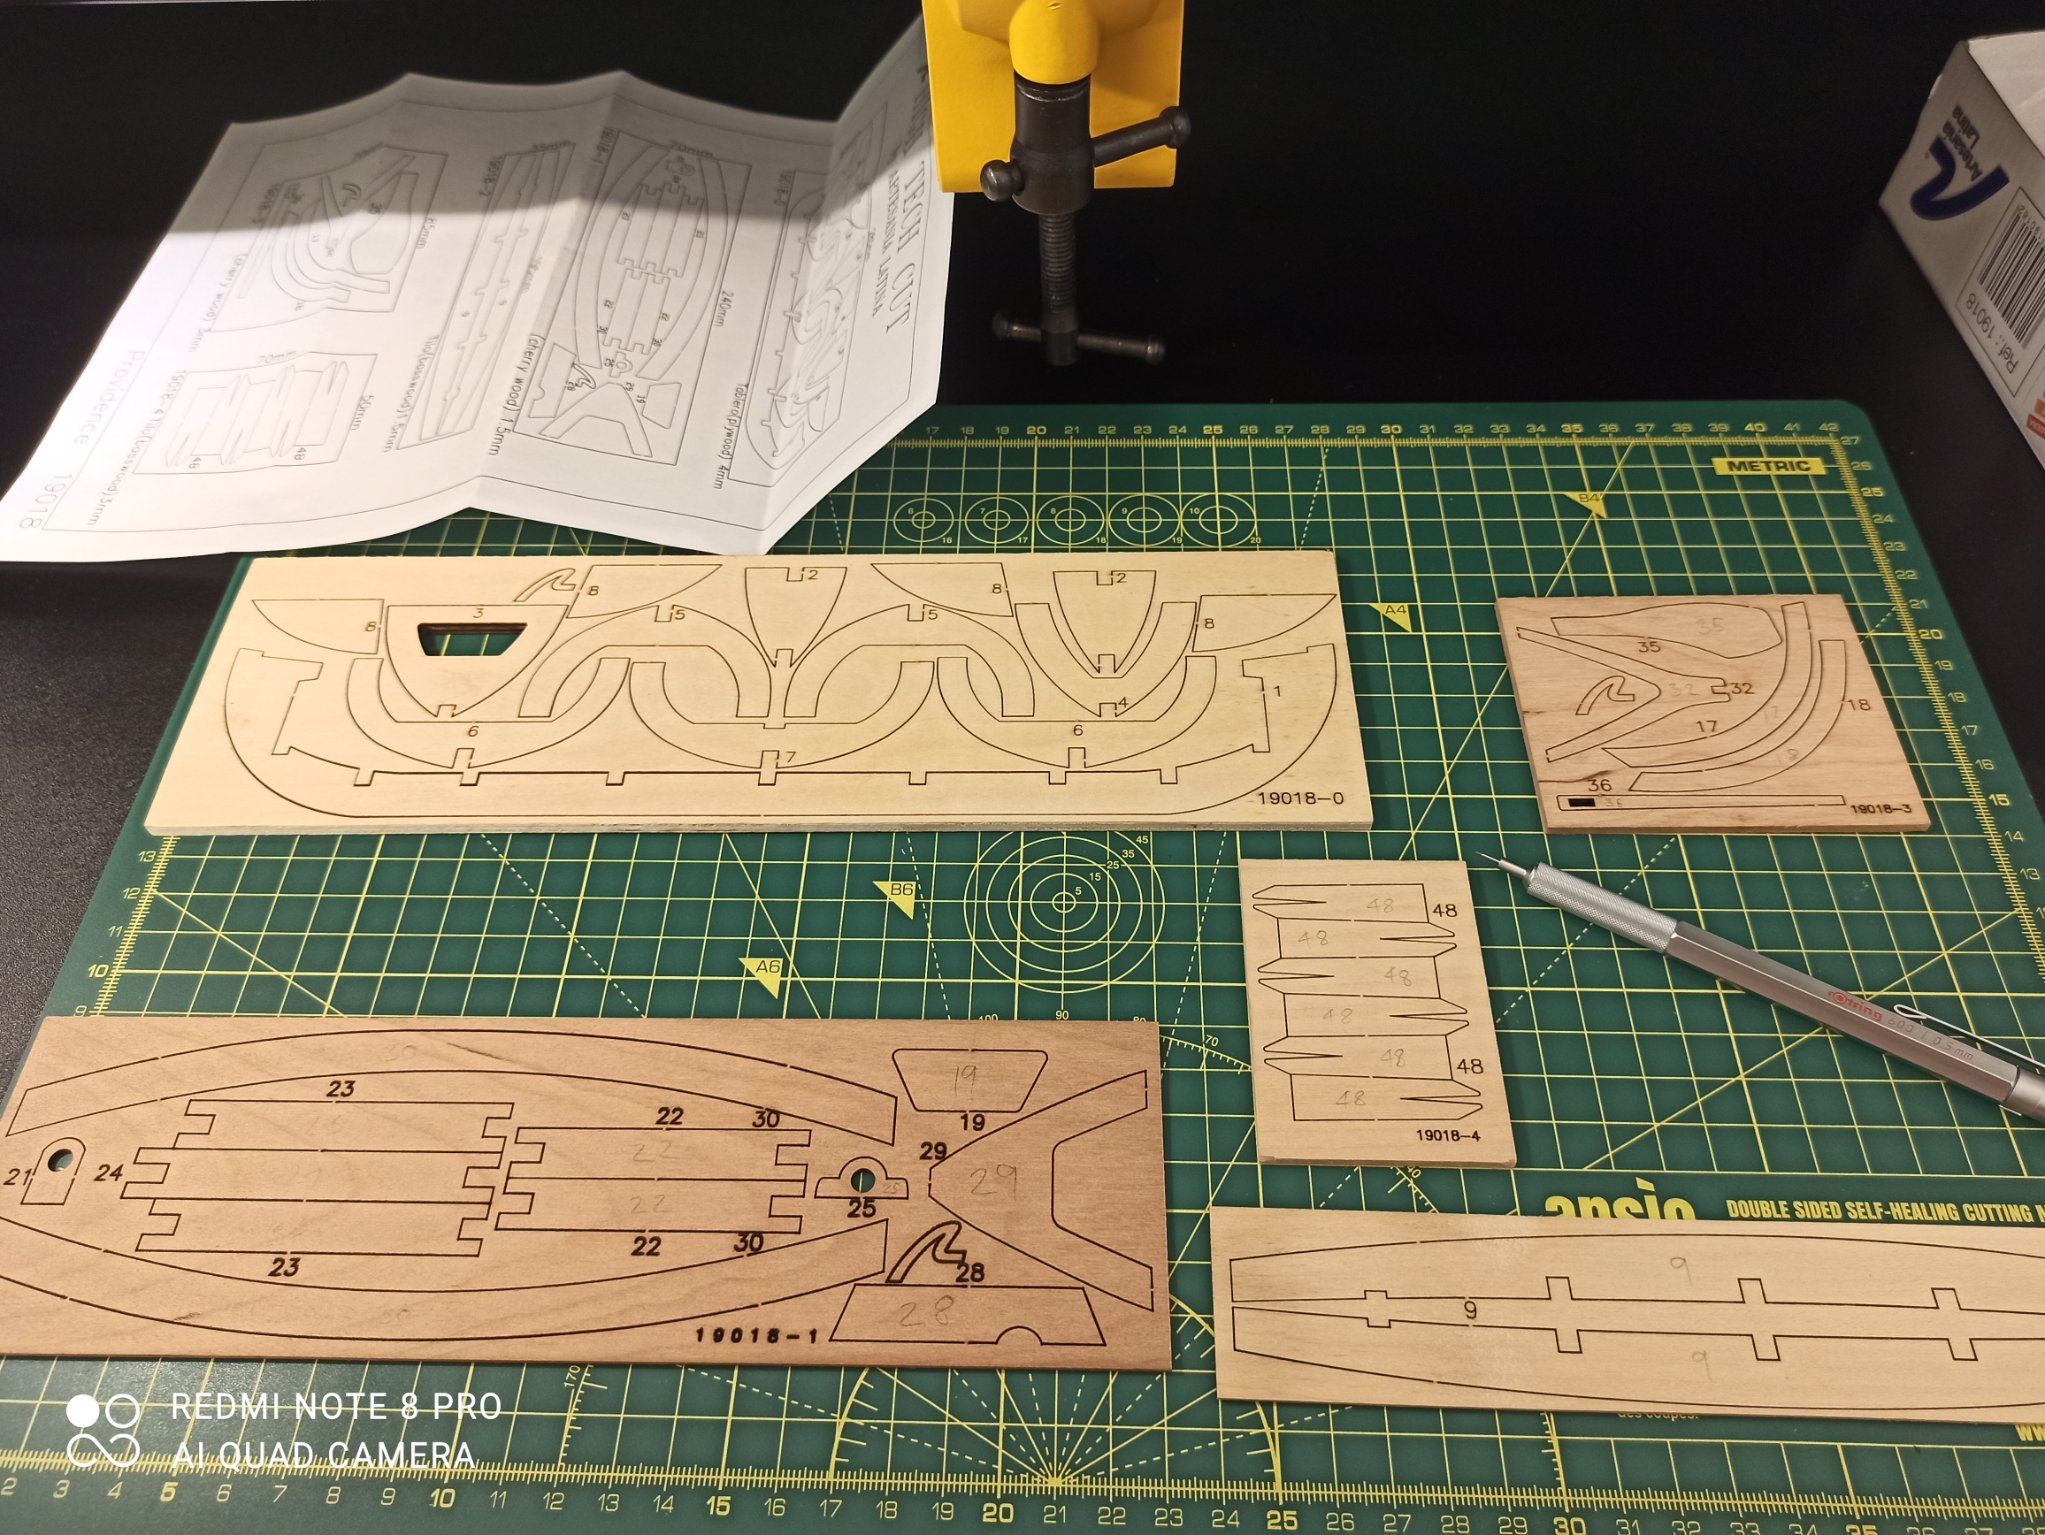
All laser cut parts present. I've penciled the number onto each part so I can keep track of them once they are free. This mechanical pencil is truly wonderful (Rotring 600). I wish I had beautiful handwriting, like when you open up an old accordion and it has a curly 9 written in the wood.

-
Oh, I've answered my own question. Off the manufacturer's website:
- The new models come with instructions in DVD format, so we do not have instructions on paper, in order to also preserve the environment.
-
Ok, problem number 1, it came with no instructions! Just a CD (which I can't read as I don't have a computer with a CD drive on it). Is this normal for Artesania kits these days?
-
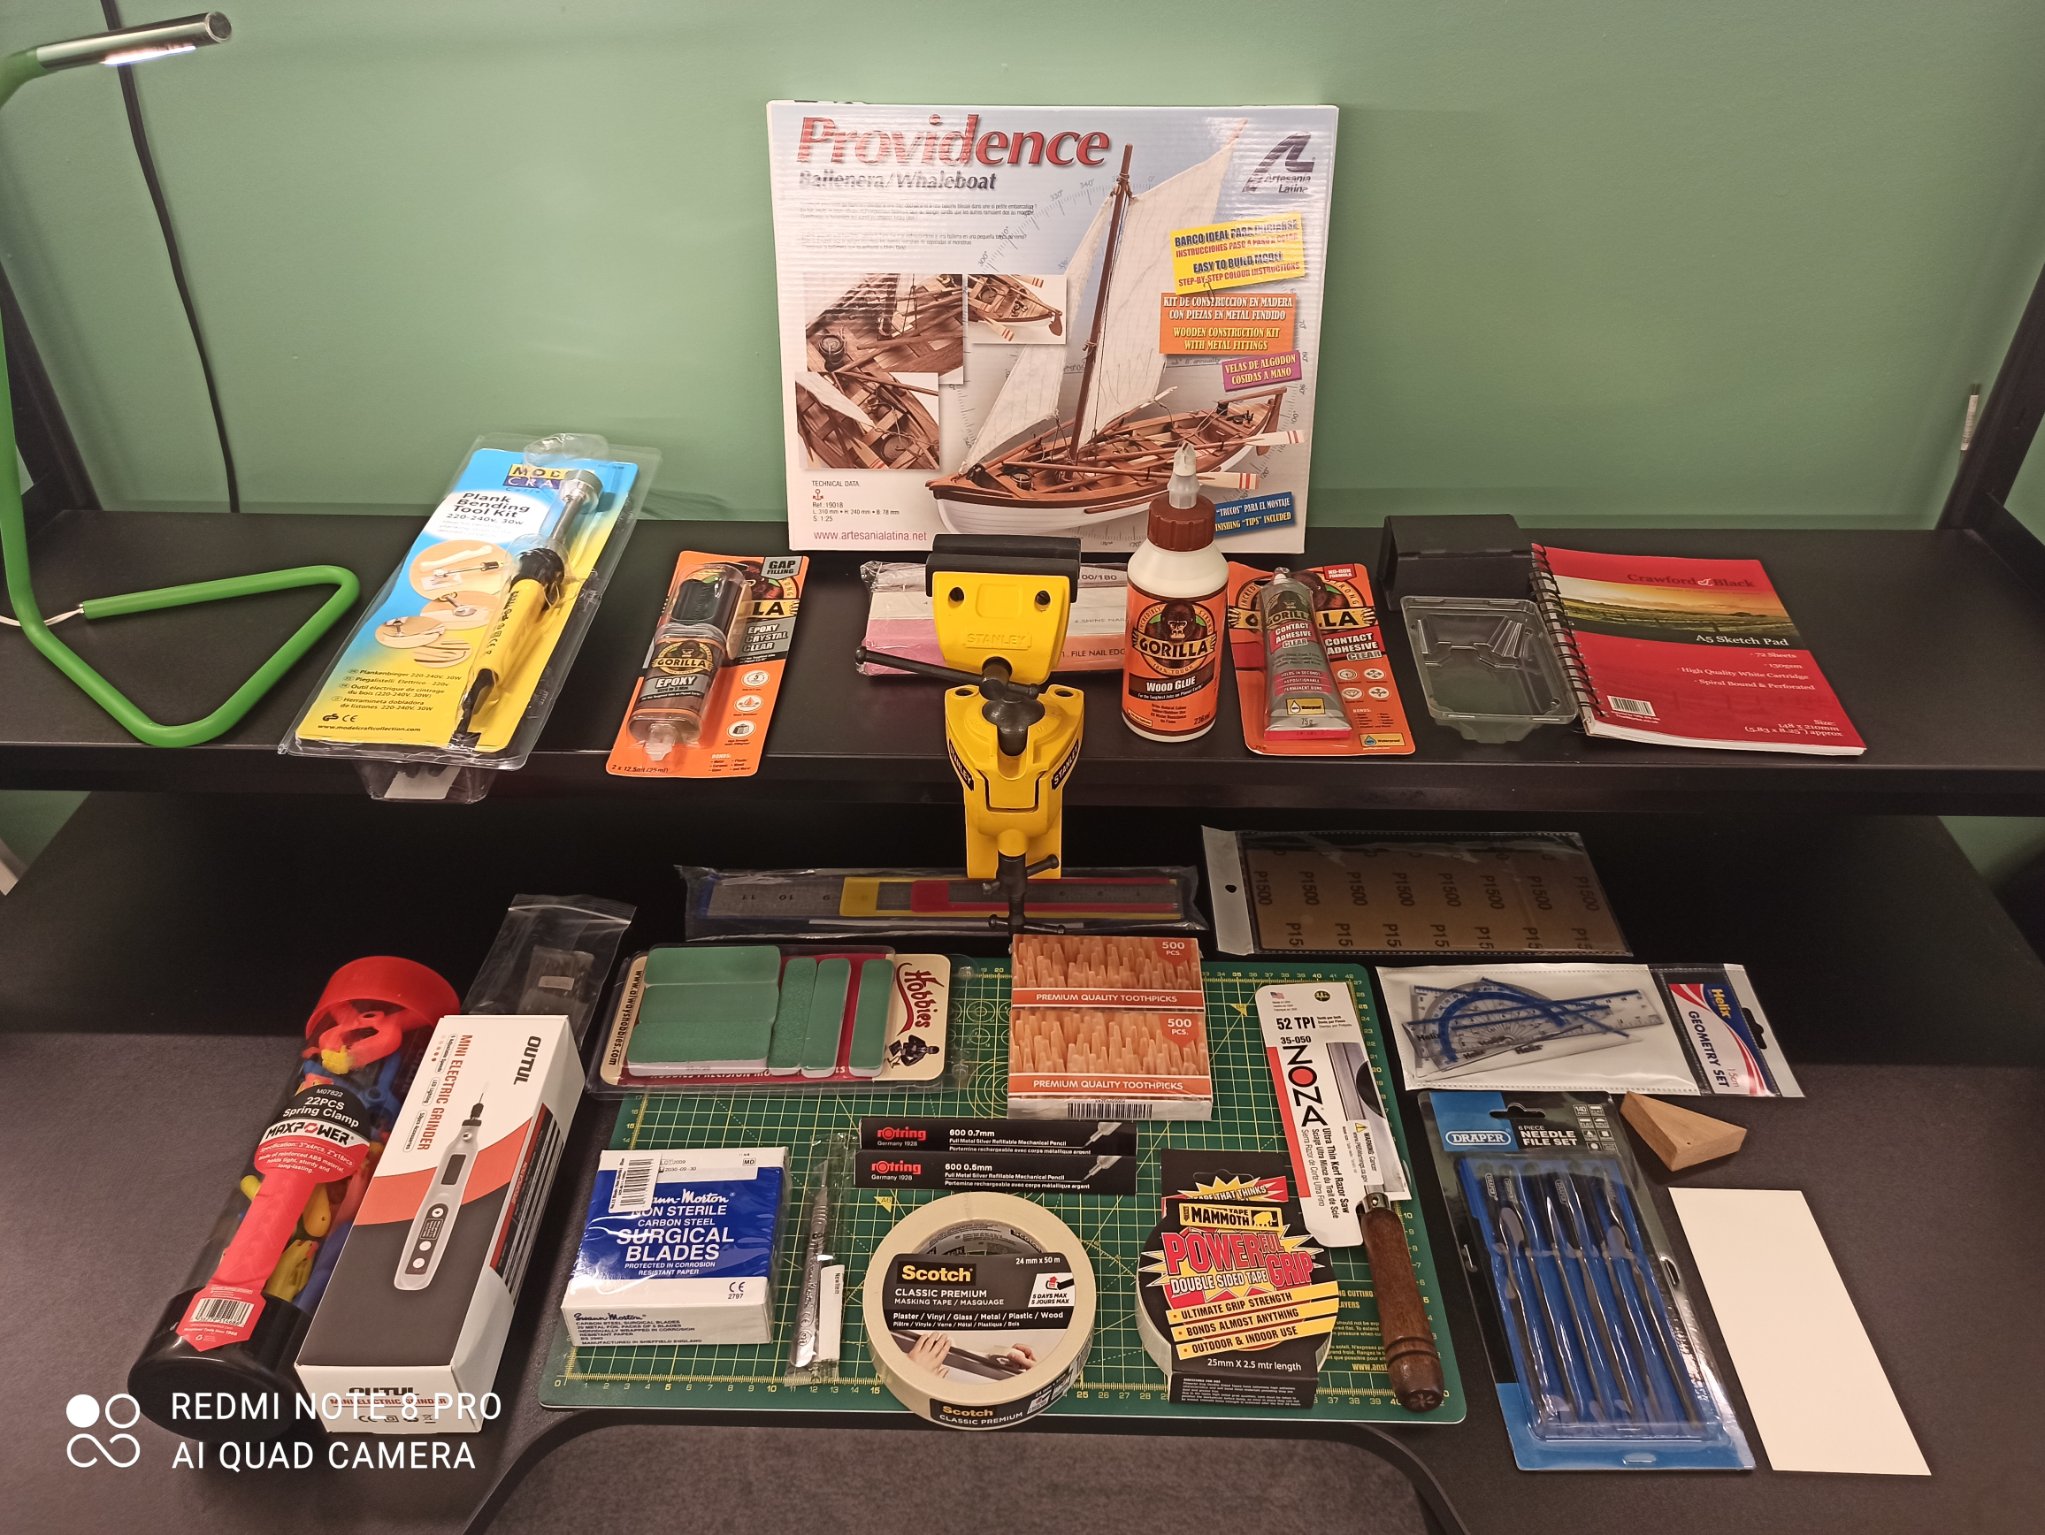
Hi everyone. This is my first wooden model ship. I thought I would start with this kit, as it seems to be one suitable for beginners, and it looks beautiful in the photos (although I am not expecting my first work to look as good as that). I have never read Moby Dick, although that connection attracted me. It seems unbelievable that anybody would venture out in something so small to fight a whale. I guess they were made of strong stuff back in the day.
My previous experience has been limited to relatively easy model Airfix and Revell plastic aircraft. Even then I tried to smash those out in an evening or two with a friend, doing a late nighter with copious quantities of ale. I know this is going to be a very different experience. I intend to take it very slowly and carefully. The closest thing to this I ever tempted was a Guillows wooden plane, the Fw 190. I made the mistake of using the foaming type of water activated Gorilla glue, which was a lot of fun, but made a terrible mess of the model. I never got to the wings and it was abandoned. This time, I have dedicated an entire bench to the project, and bought the appropriate tools. I will attempt it with a very different mindset.
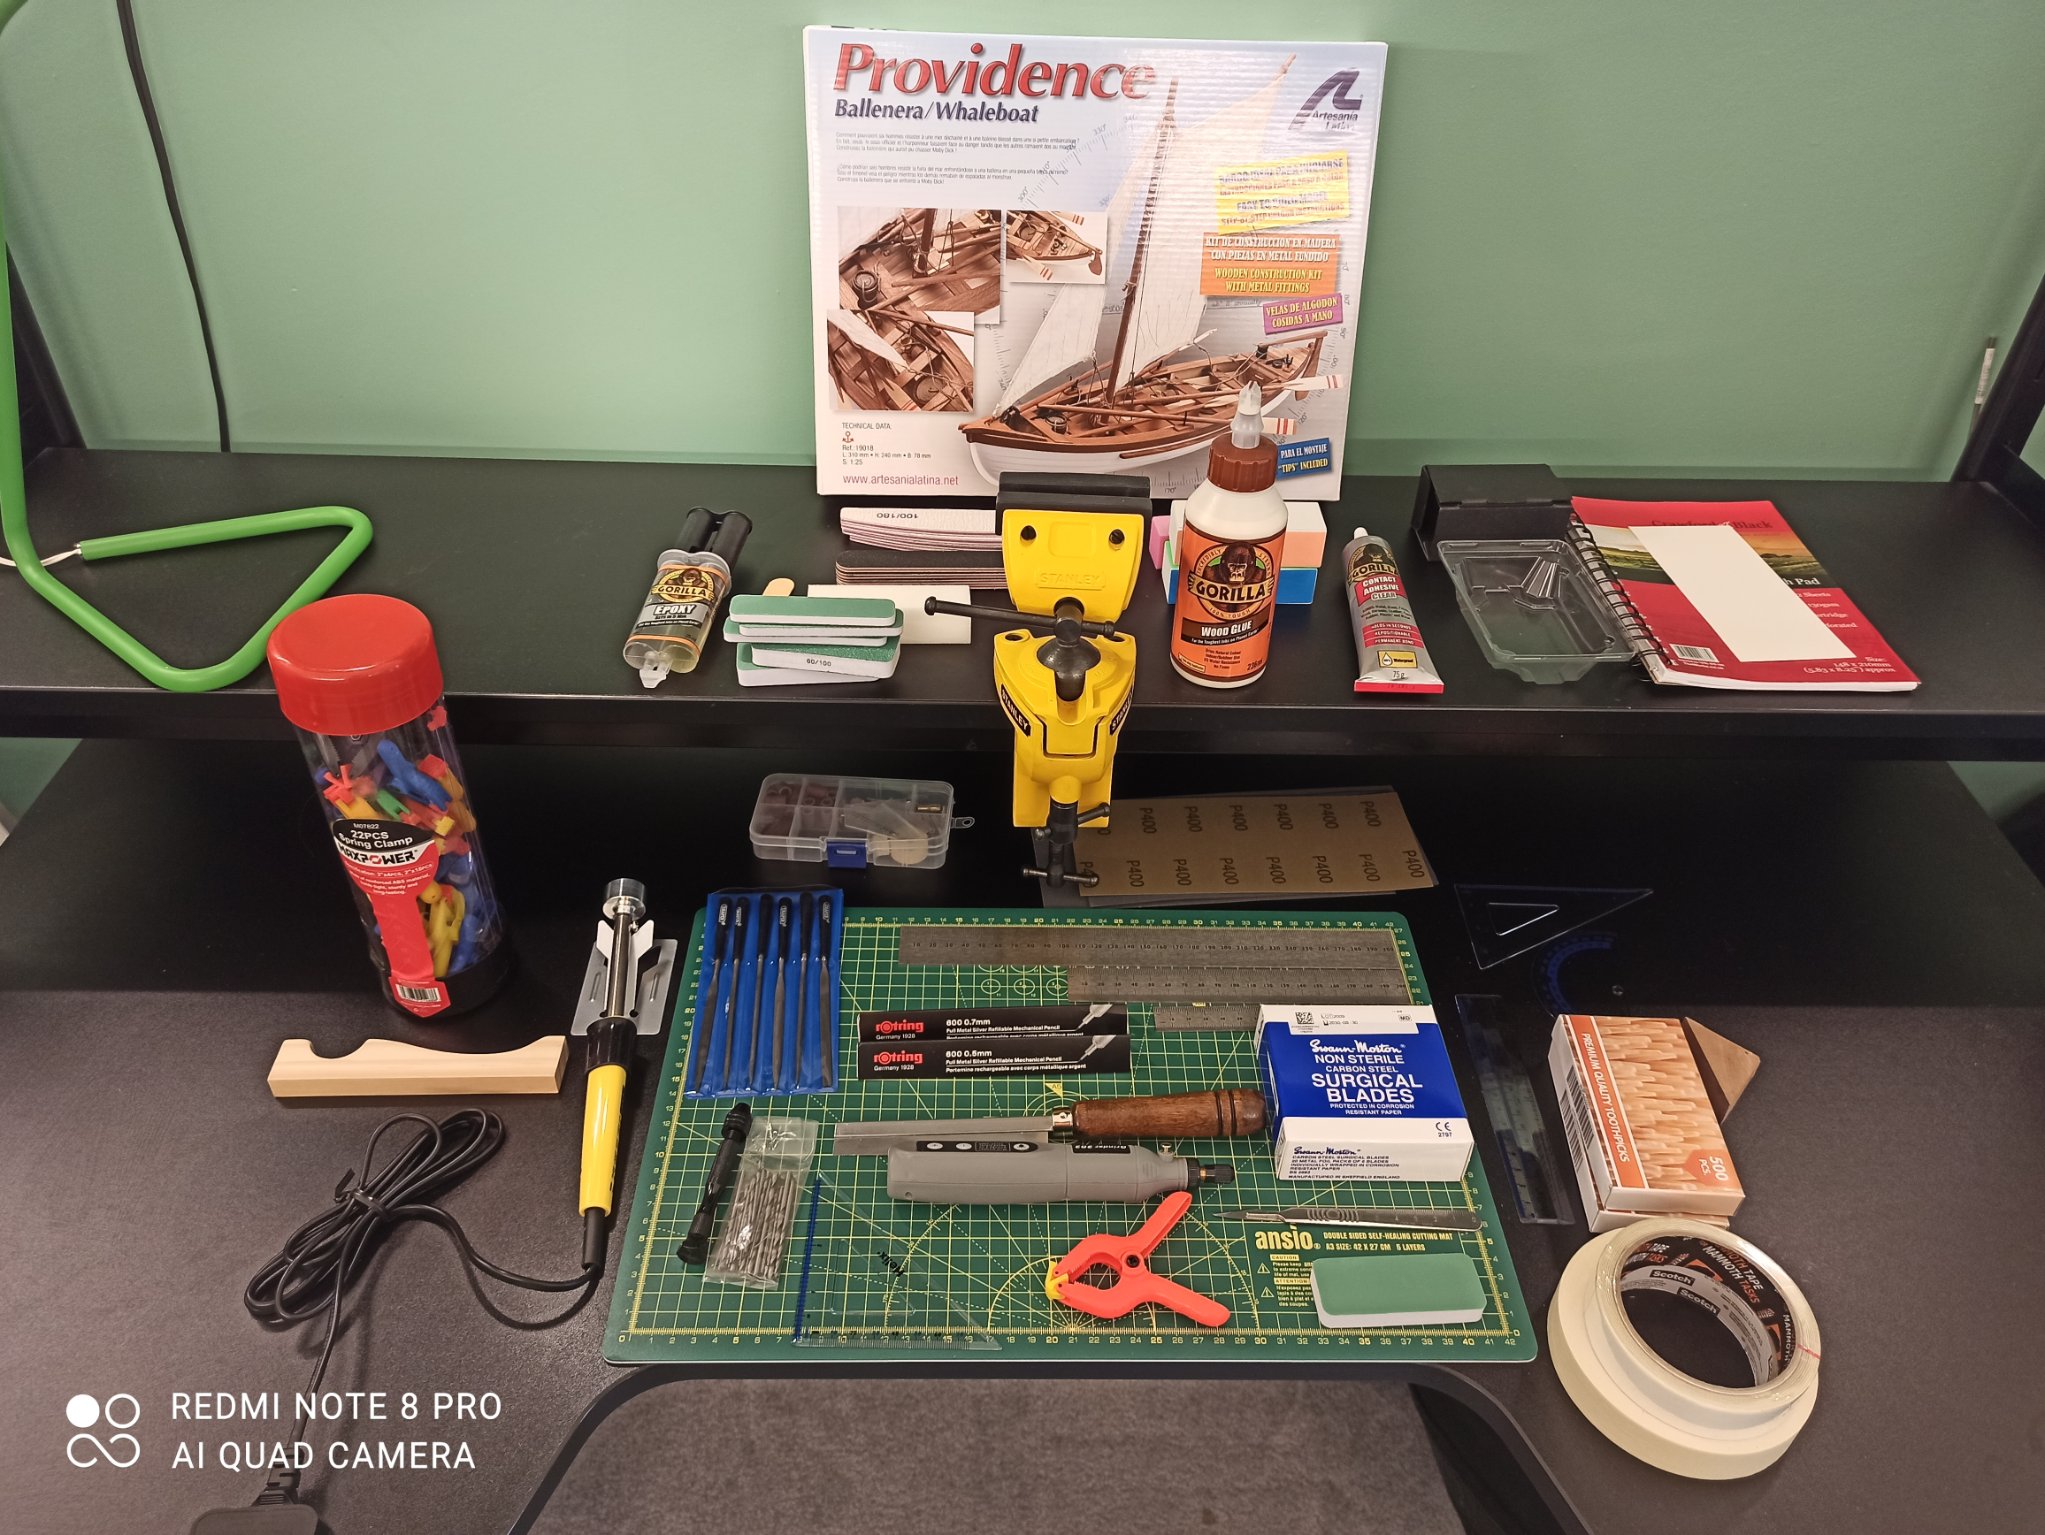
Regarding tools, I basically had nothing to start with (I'm not much of a DIYer). I went a little overboard, but tried to keep it (relatively) sensible. I have attached a couple of photos. I will try and keep a log of what is useful or not, as when I was researching I really didn't know the difference between what I really NEEDED and what was nice to have. I suspect some of what I've acquired won't get much use, and yet there will be some surprises as to what becomes indispensable. My initial thoughts: I'm pleased with the table vice, which was relatively inexpensive, and has a ball socket that allows you to move the model into any position. I'm not sure the cheap rotary tool will get much use, and I'm not sure the epoxy will be used for anything. Same with the nail files, I mainly got them to have something to wrap the sandpaper round. I have a little hammer somewhere else. I'm not sure how well those super cheap plastic clamps will hold up.
I really like what I have read so far in this community regarding the MINDSET about approaching a build, and it seems that patience and mindfulness are championed here. I am hoping some of that will rub off on me, both in this build, and also in my daily life. With this in mind, I treated this week as:
STEP 1: Man cave tidied and cleaned
STEP 2: Materials and tools laid out
I am looking forward to step 3, unboxing the kit, and reading the instructions.


Providence by Fentone - Artesania Latina - 1:25 - New England whaleboat
in - Kit build logs for subjects built from 1851 - 1900
Posted
Thanks Bradley! 👍
My problem is I've taken off too much on each end of all of them, they're meant to butt up against the end bulkheads. They get shorter when you bend them! But not enough off and they don't go in at all. I'm (heavily) banking on that bit not being visible at the end.