G.L.
-
Posts
1,553 -
Joined
-
Last visited
1 Follower

Recent Profile Visitors
4,822 profile views


-
 Archi reacted to a post in a topic:
La Legere 1682 by woodeater - FINISHED - scale 1:32 - French frigate
Archi reacted to a post in a topic:
La Legere 1682 by woodeater - FINISHED - scale 1:32 - French frigate
-
KeithAug reacted to a post in a topic:
Oostends schipje by G.L. - scale 1:20 - Ostend shrimper - first POF - Edition 2
-
Thukydides reacted to a post in a topic:
Oostends schipje by G.L. - scale 1:20 - Ostend shrimper - first POF - Edition 2
-
GrandpaPhil reacted to a post in a topic:
Oostends schipje by G.L. - scale 1:20 - Ostend shrimper - first POF - Edition 2
-
GrandpaPhil reacted to a post in a topic:
Oostends schipje by G.L. - scale 1:20 - Ostend shrimper - first POF - Edition 2
-
Roger Pellett reacted to a post in a topic:
Oostends schipje by G.L. - scale 1:20 - Ostend shrimper - first POF - Edition 2
-
Colin B reacted to a post in a topic:
Oostends schipje by G.L. - scale 1:20 - Ostend shrimper - first POF - Edition 2
-
vaddoc reacted to a post in a topic:
Clipper d'Argenteuil by G.L. - scale 1/15 - POF - SMALL
-
G.L. reacted to a post in a topic:
Mary Rose by Baker - scale 1/50 - "Your Noblest Shippe"
-
G.L. reacted to a post in a topic:
Mary Rose by Baker - scale 1/50 - "Your Noblest Shippe"
-
Retired guy reacted to a post in a topic:
Mary Day by jdbondy - 1:64 scale (3/16" to 1 foot) - Schooner
-
G.L. reacted to a post in a topic:
SS Blagoev ex-Songa 1921 by Valeriy V - FINISHED - scale 1:100 - Soviet Union
-
 G.L. reacted to a post in a topic:
La Créole 1827 by archjofo - Scale 1/48 - French corvette
G.L. reacted to a post in a topic:
La Créole 1827 by archjofo - Scale 1/48 - French corvette
-
G.L. reacted to a post in a topic:
Le Rochefort by No Idea - 1/24th Scale - First POF Build
-
G.L. reacted to a post in a topic:
Pen Duick by jpalmer1970 - FINISHED - Artesania Latina - 1:28
-
G.L. reacted to a post in a topic:
Pen Duick by jpalmer1970 - FINISHED - Artesania Latina - 1:28
-
G.L. reacted to a post in a topic:
SS Blagoev ex-Songa 1921 by Valeriy V - FINISHED - scale 1:100 - Soviet Union
-
G.L. reacted to a post in a topic:
SS Blagoev ex-Songa 1921 by Valeriy V - FINISHED - scale 1:100 - Soviet Union
-
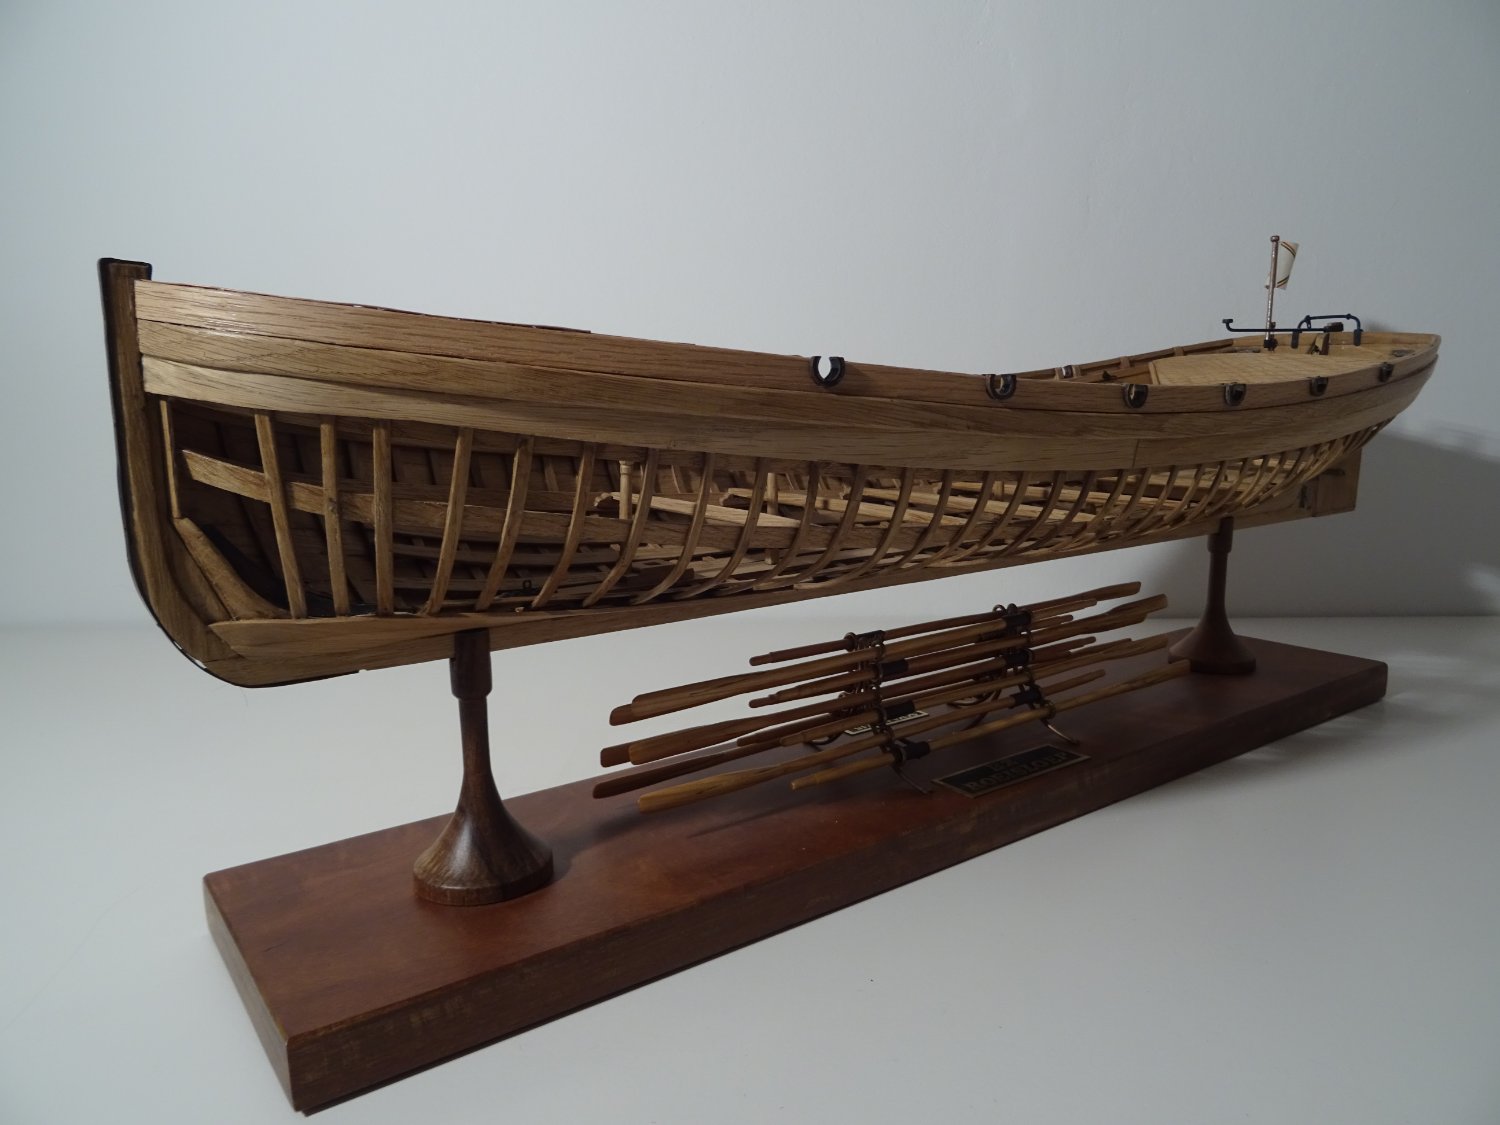
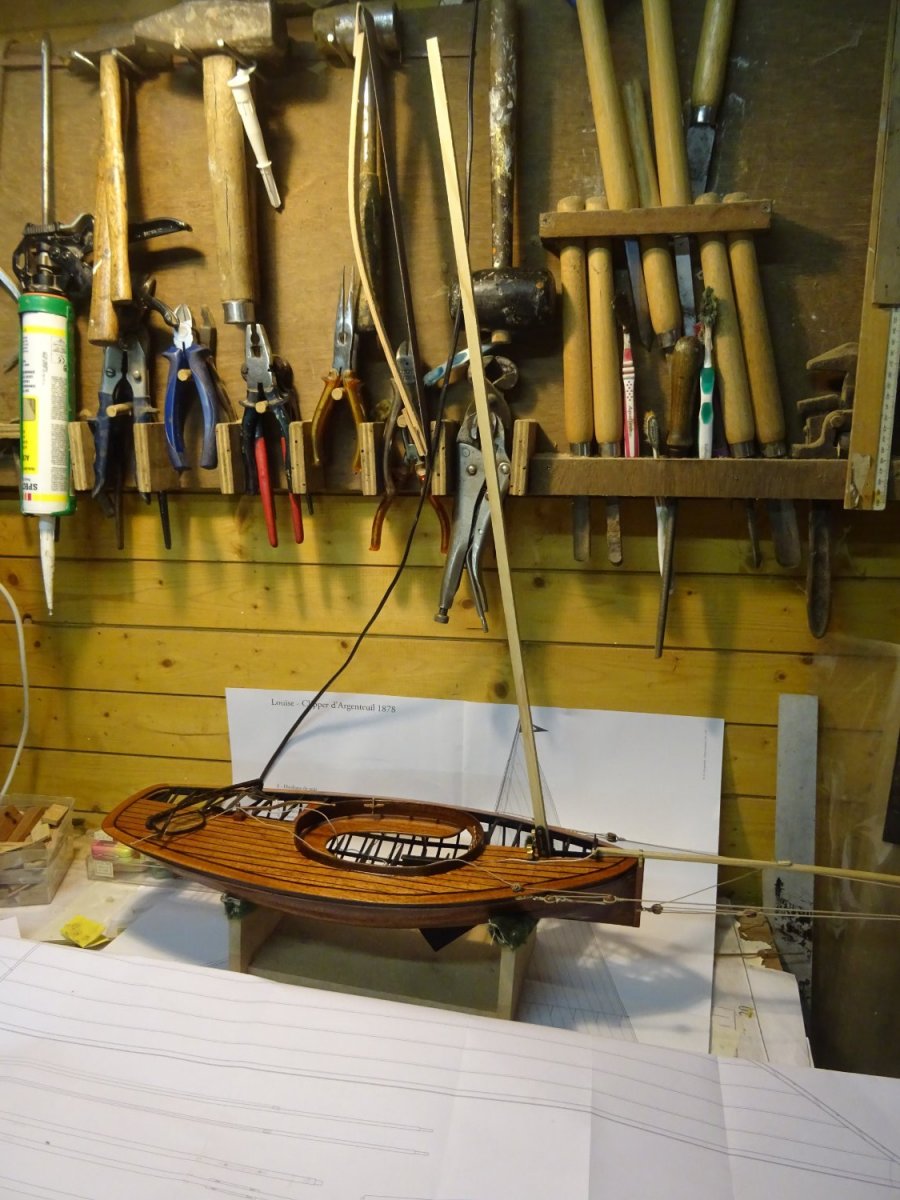
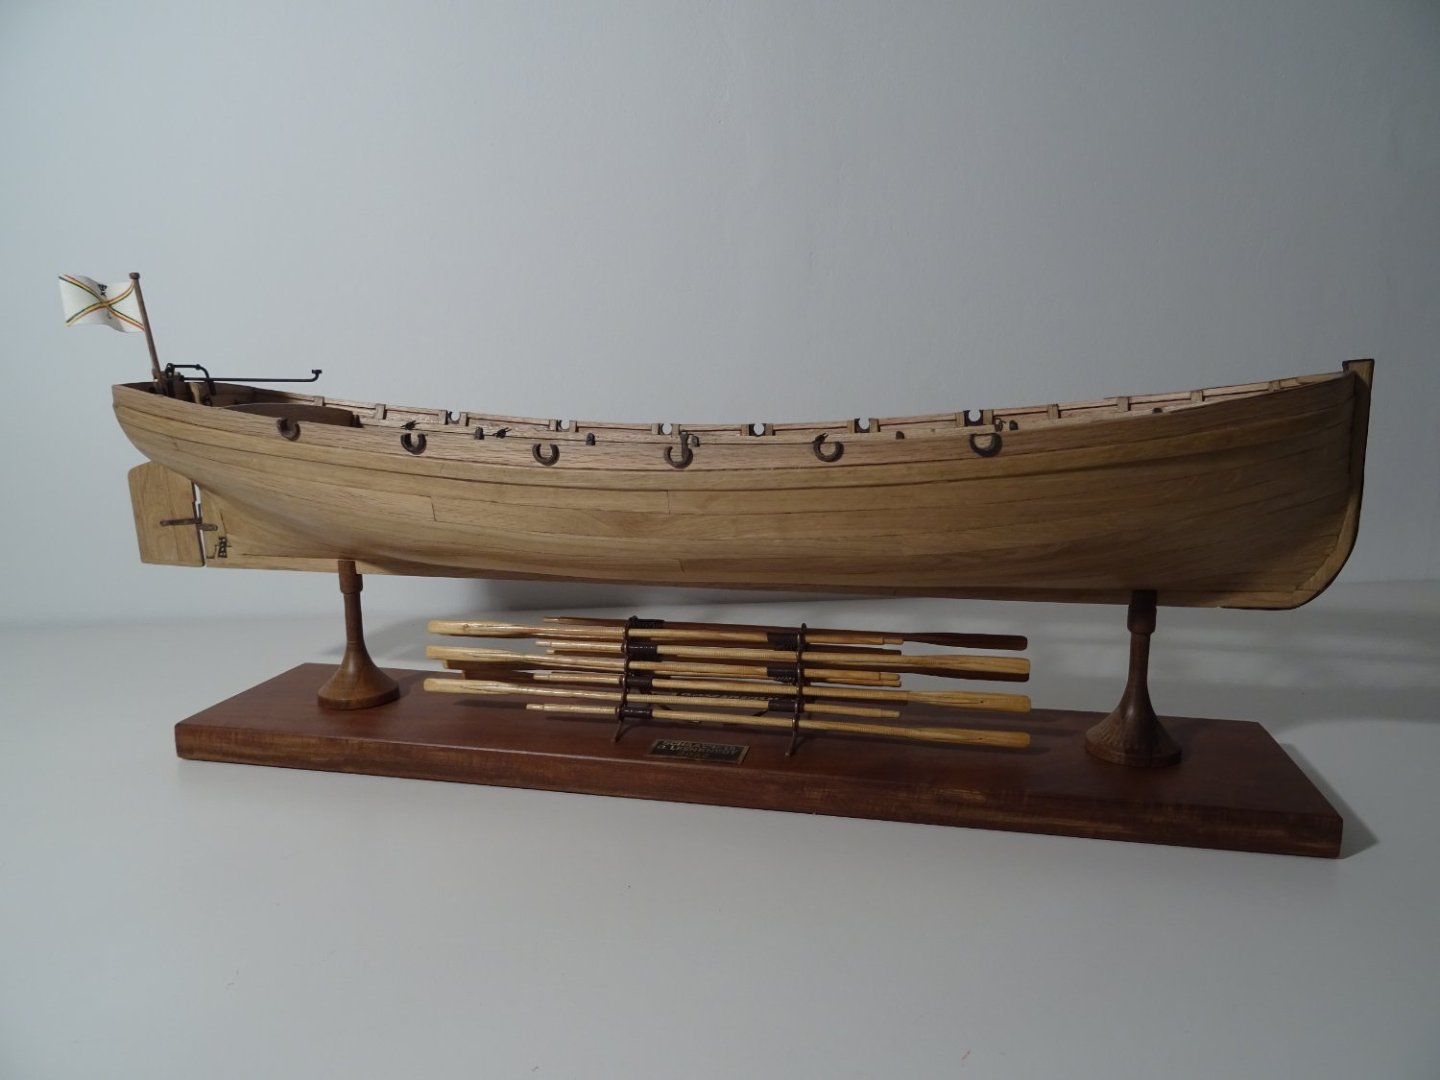
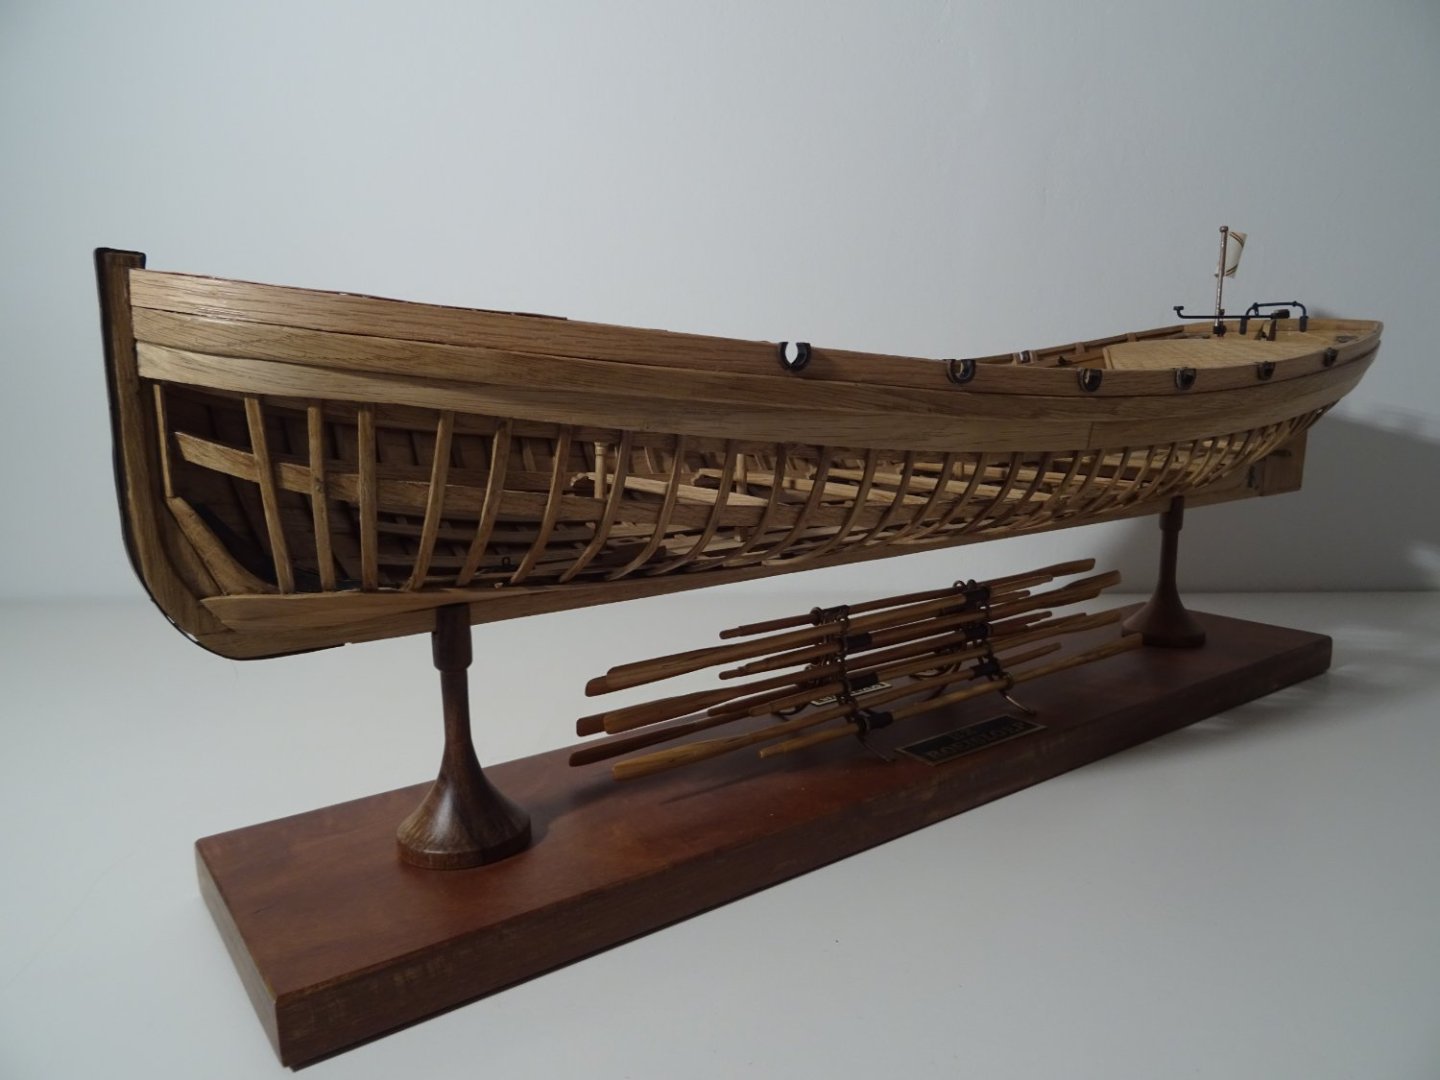
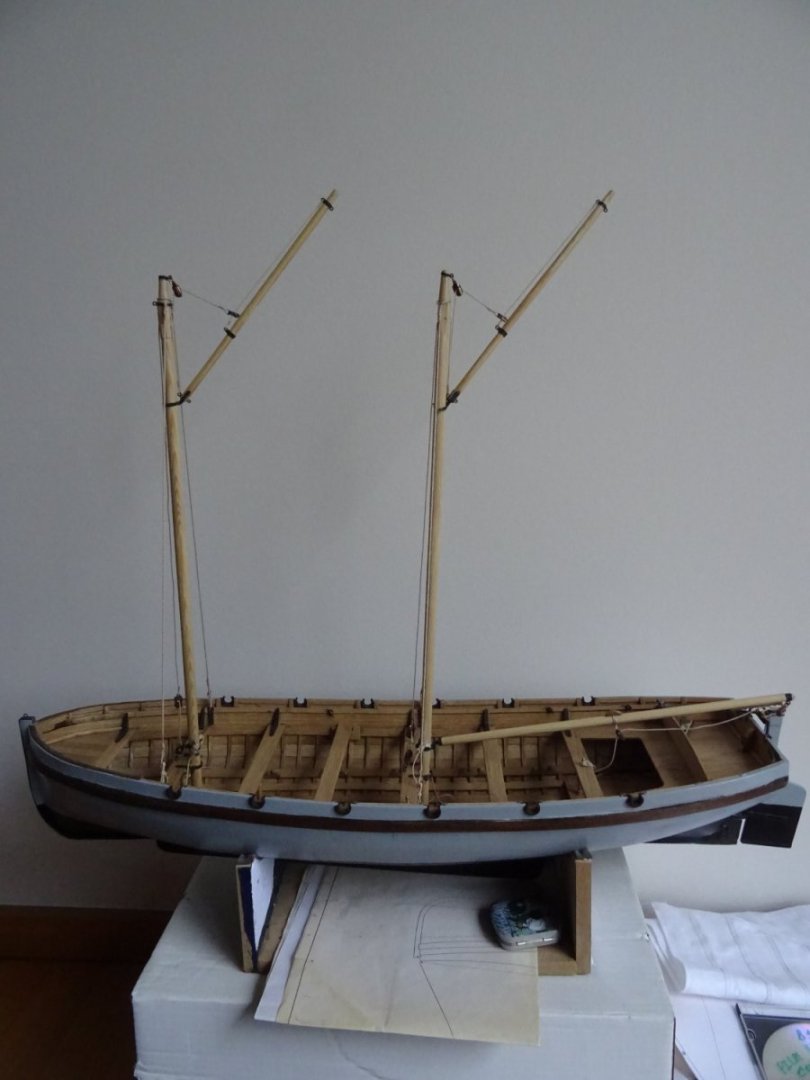
 Hello Ekis, The project is currently dormant. I rigged the mast and spars, but waited to put the sails on it because then the model would be almost impossible to transport by car. My intention was to first take the model to the model discussion of my modeling club. That happened in November last year. In the meantime I have started a new project: a kind of triptych of the sloop that we used to row during our nautical training in the navy in the seventies. I want to build a rowing version and two sailing versions of it. The rowing version is now ready, I am now making the sails of the first sailing version. Unfortunately I didn't get around to writing about it on this forum. But now to answer your question: Yes, I intend to finish the clipper. And the story on the forum will take its course. It just might take a while.
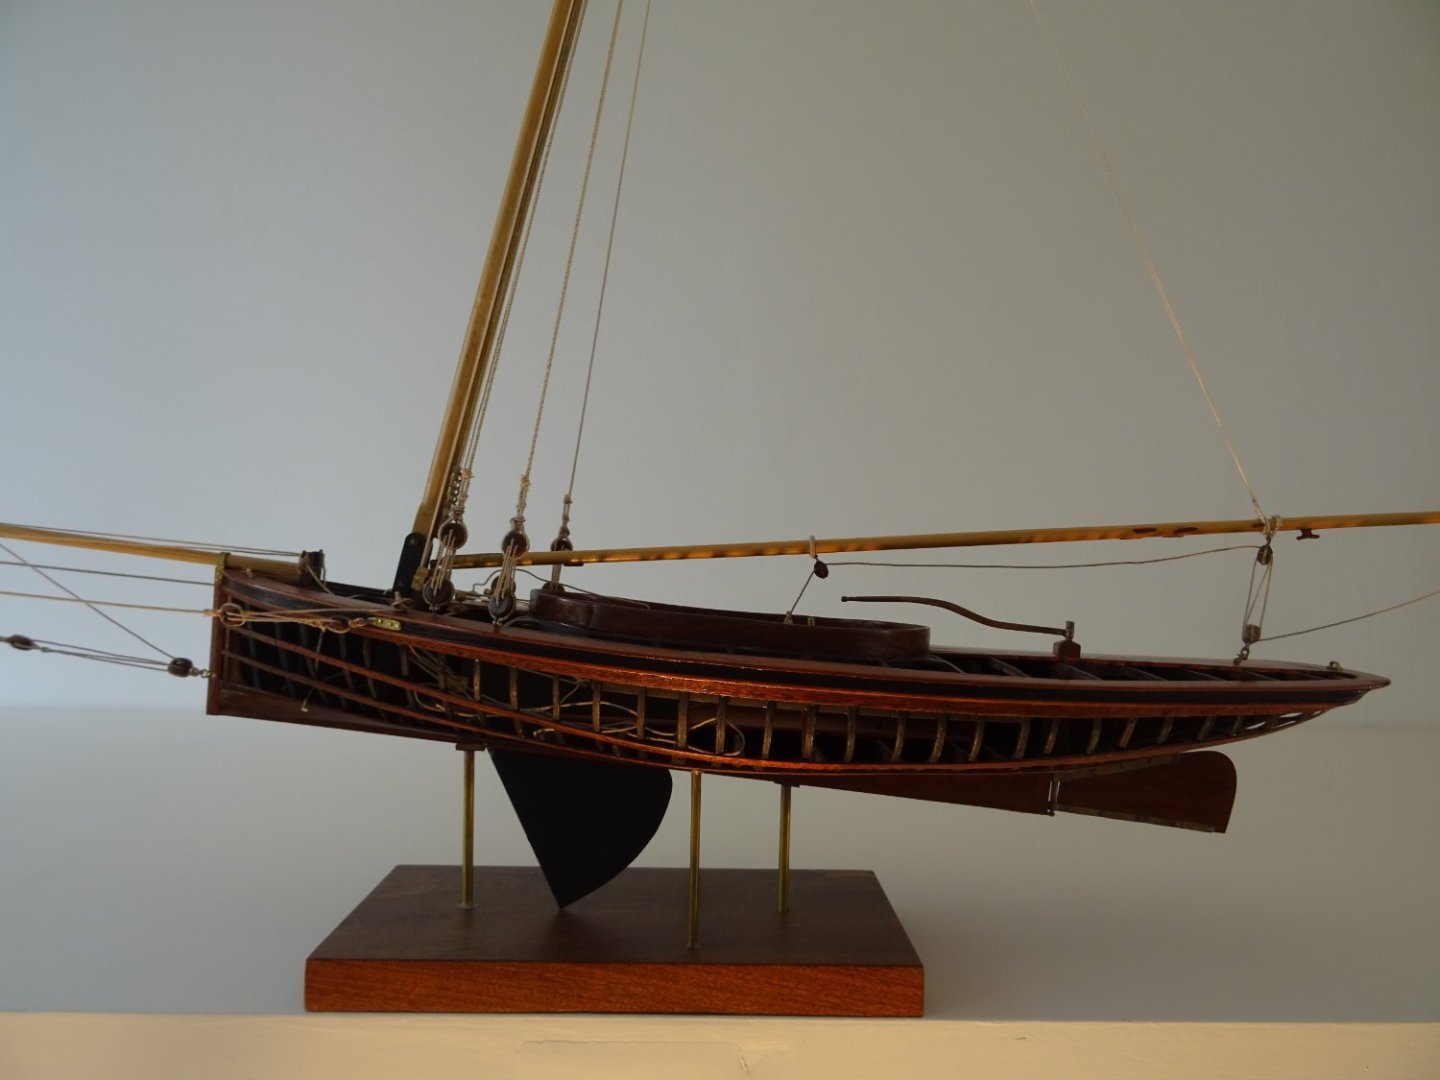

- 153 replies
-
- 12
-
-
-
- Ancre
- Bruno Orsel
- (and 2 more)
-
This has really become a beautiful model. My sincere congratulations. I look forward to your next project.
-
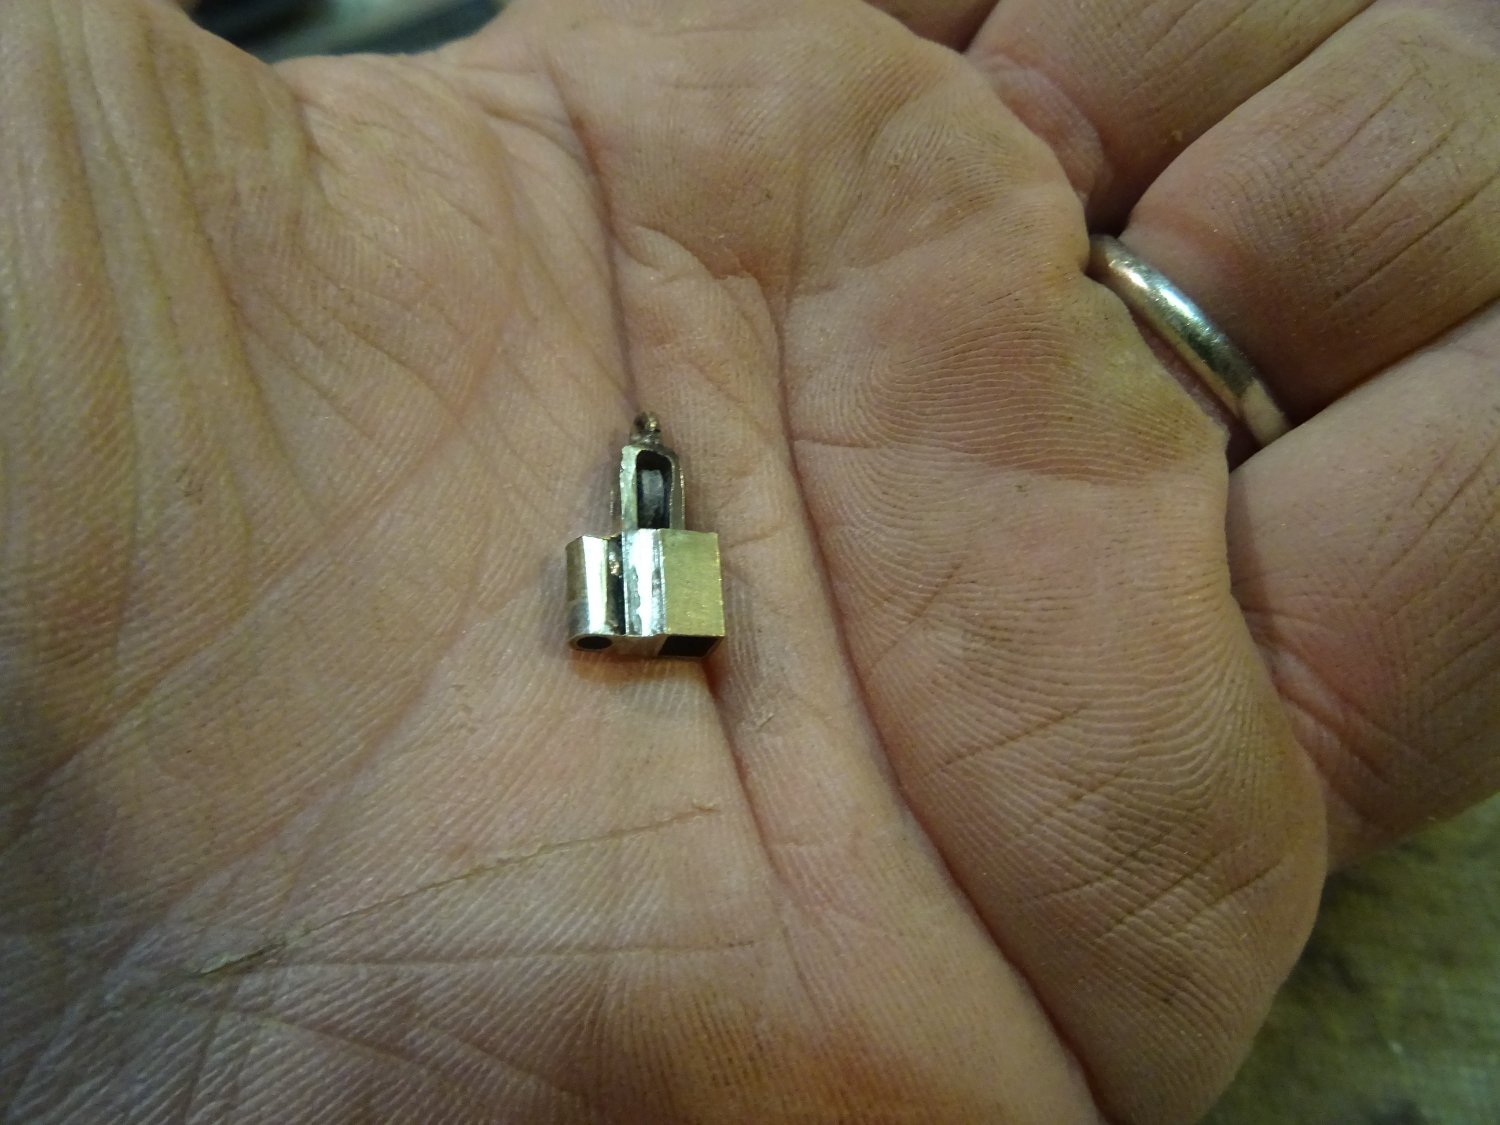
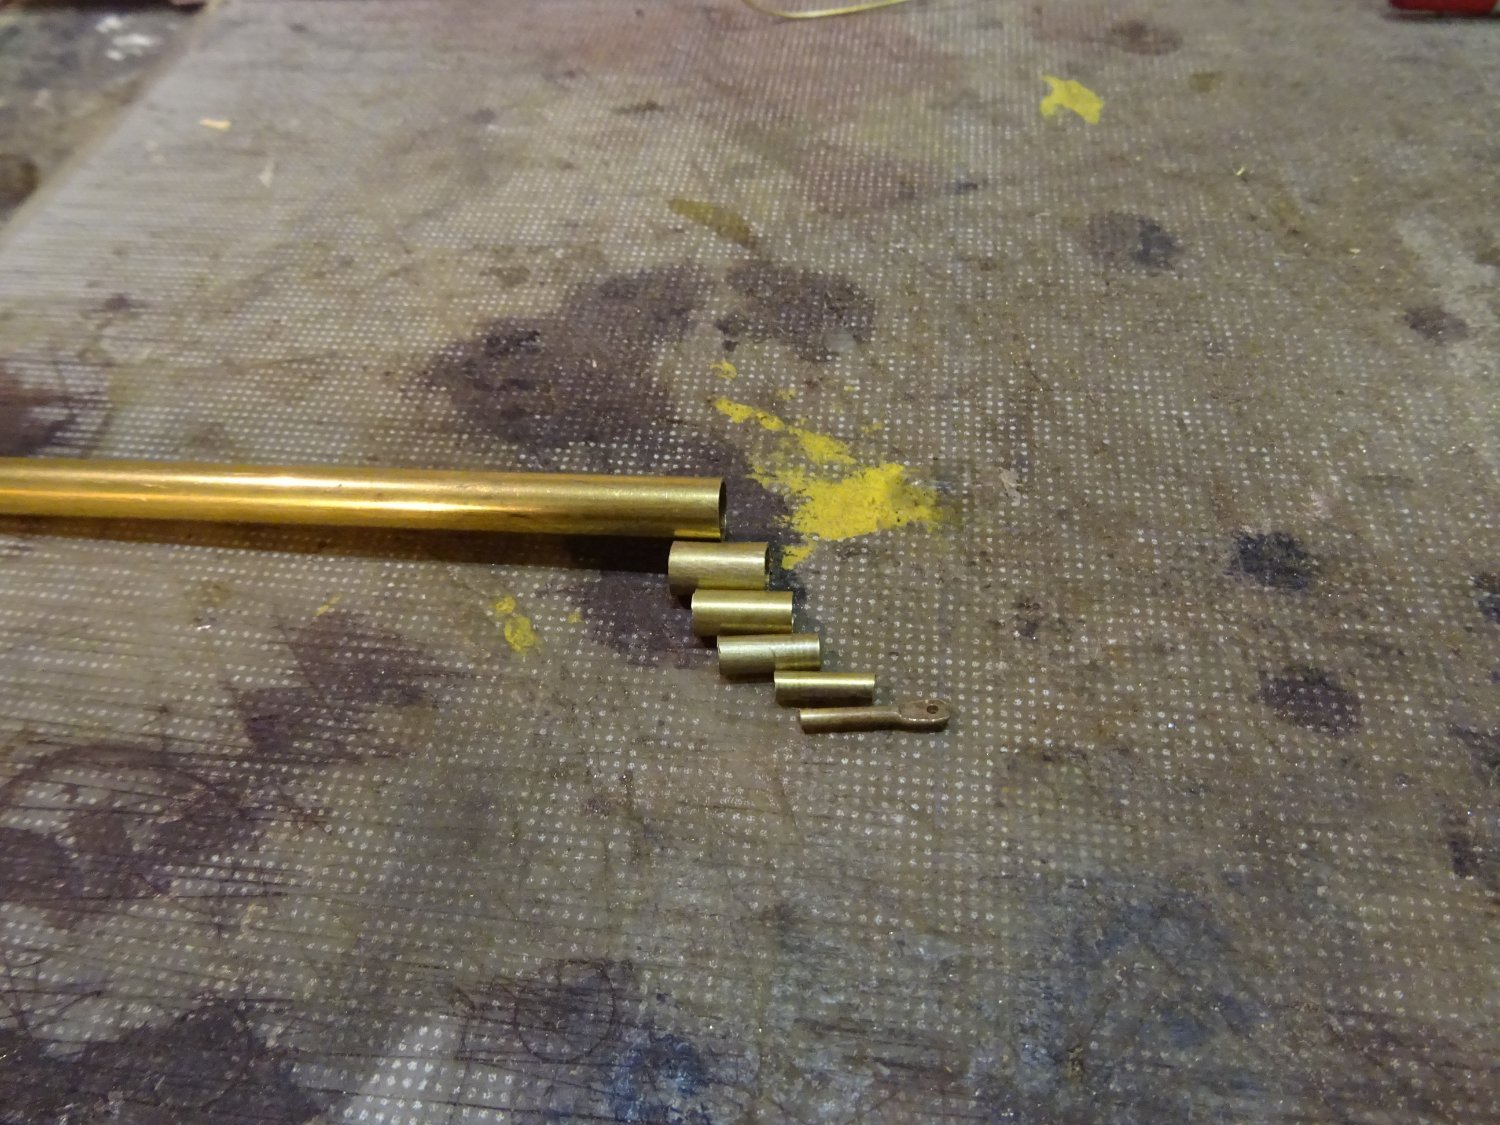
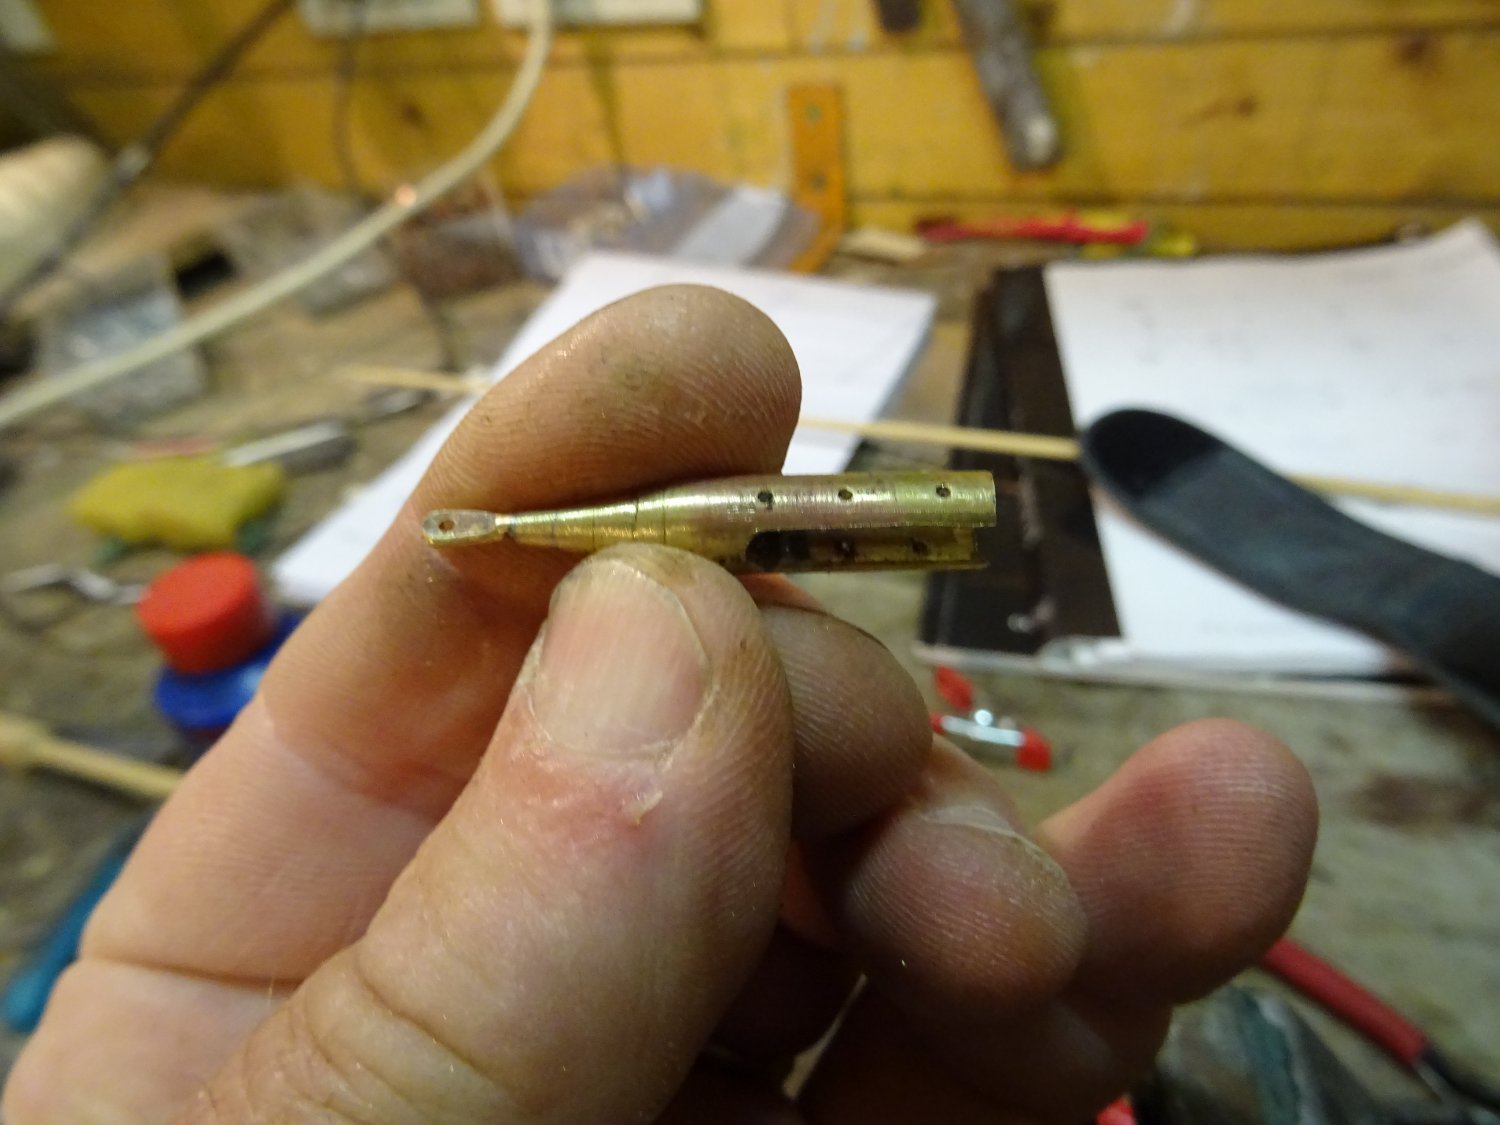
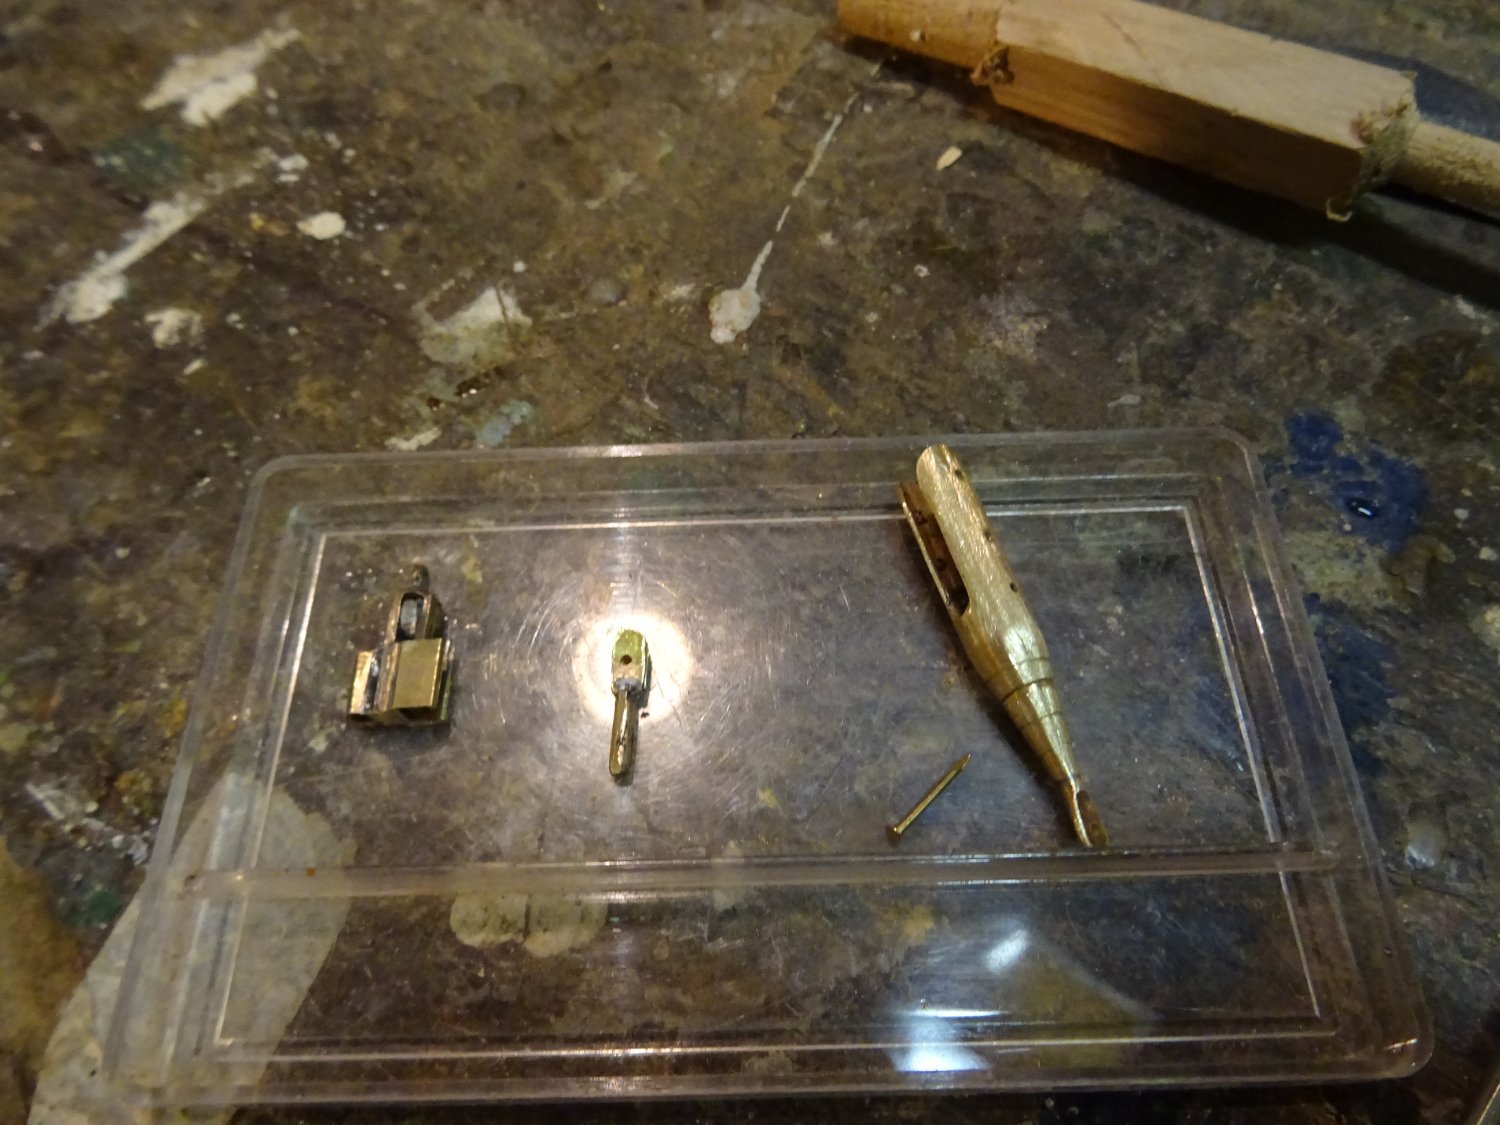
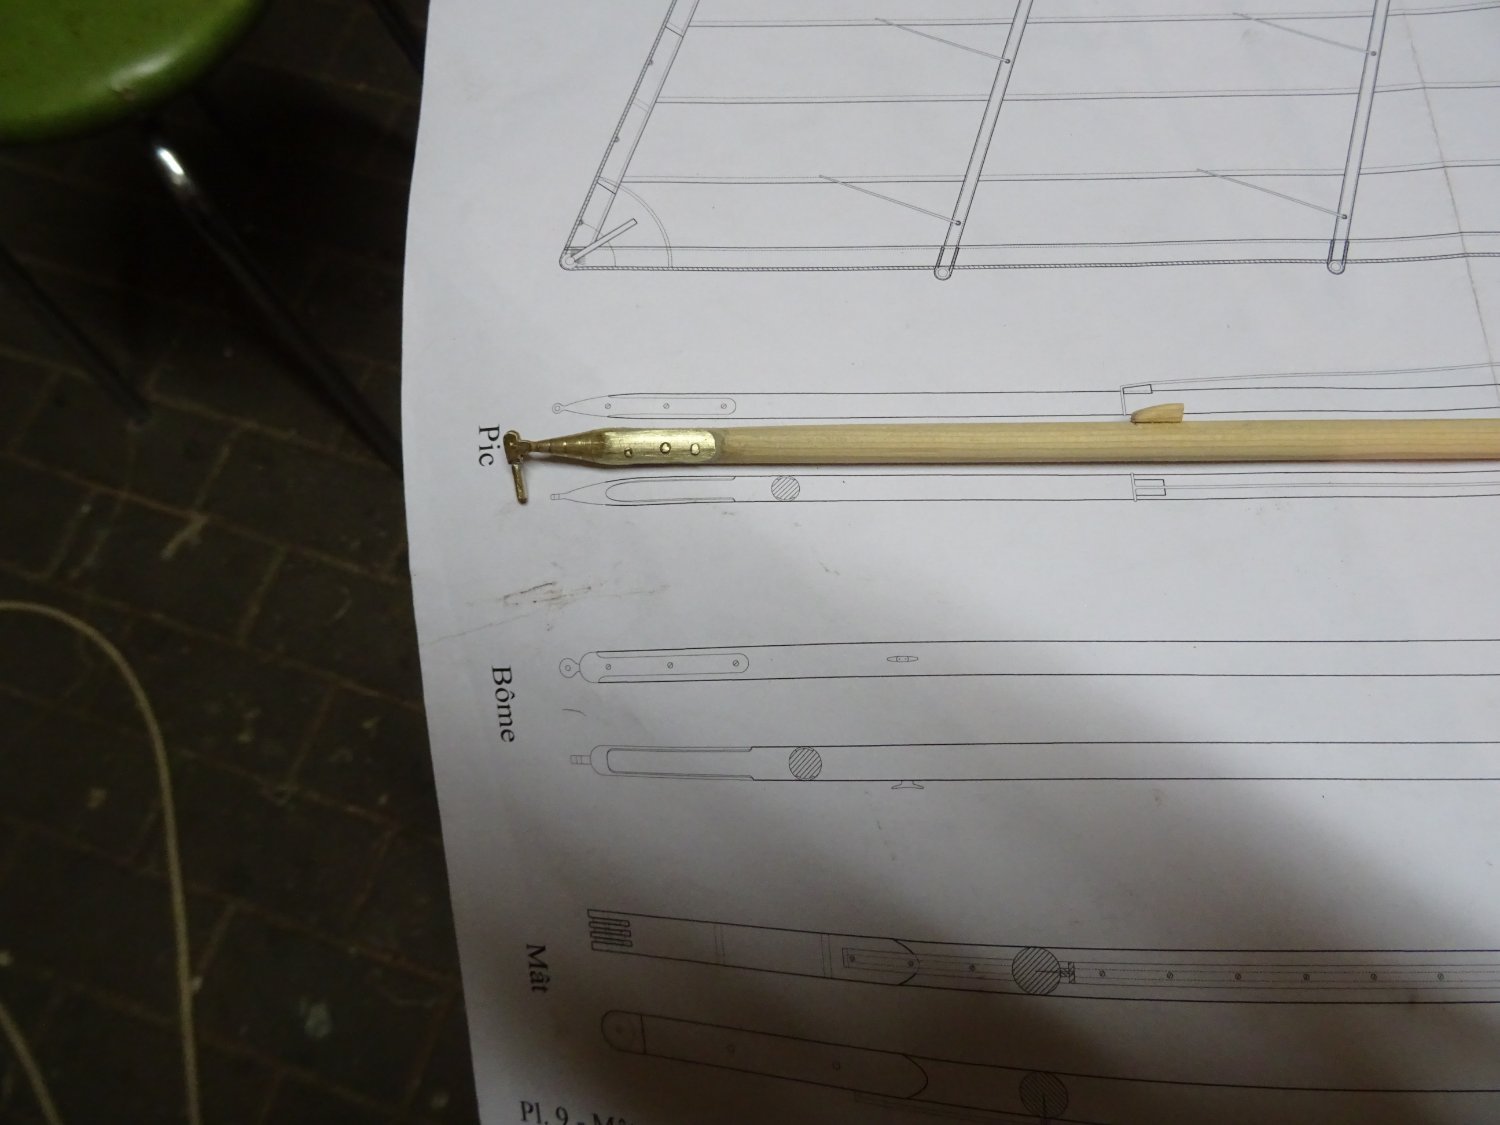
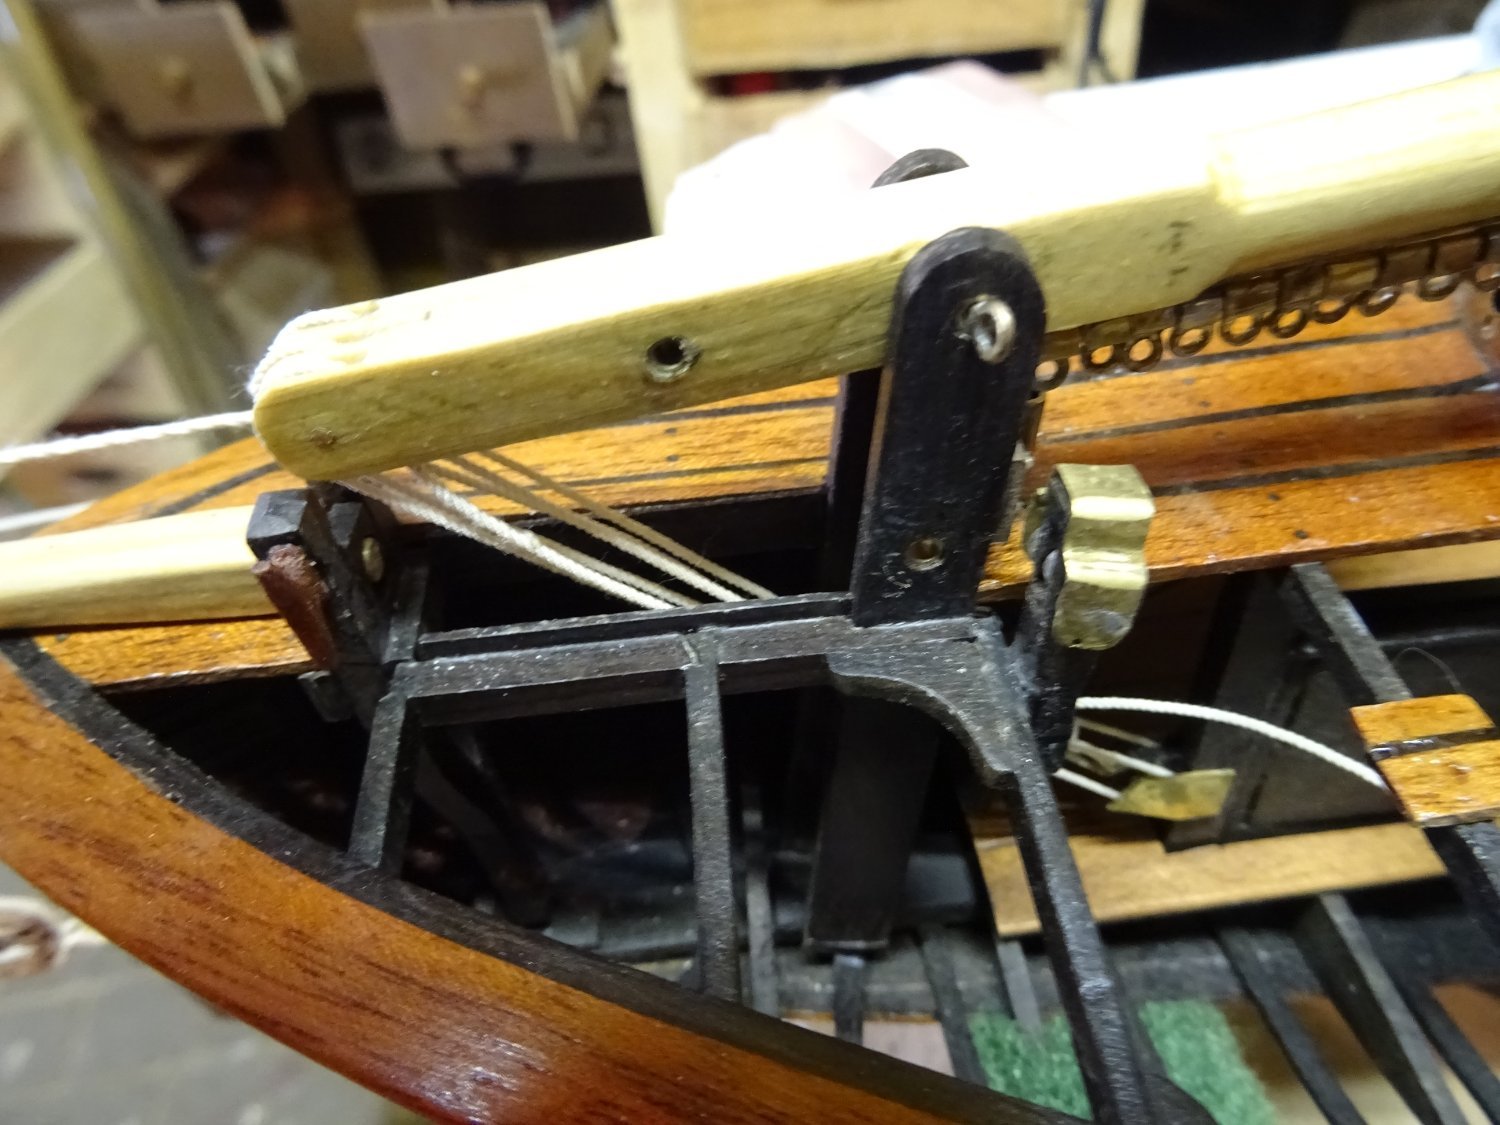
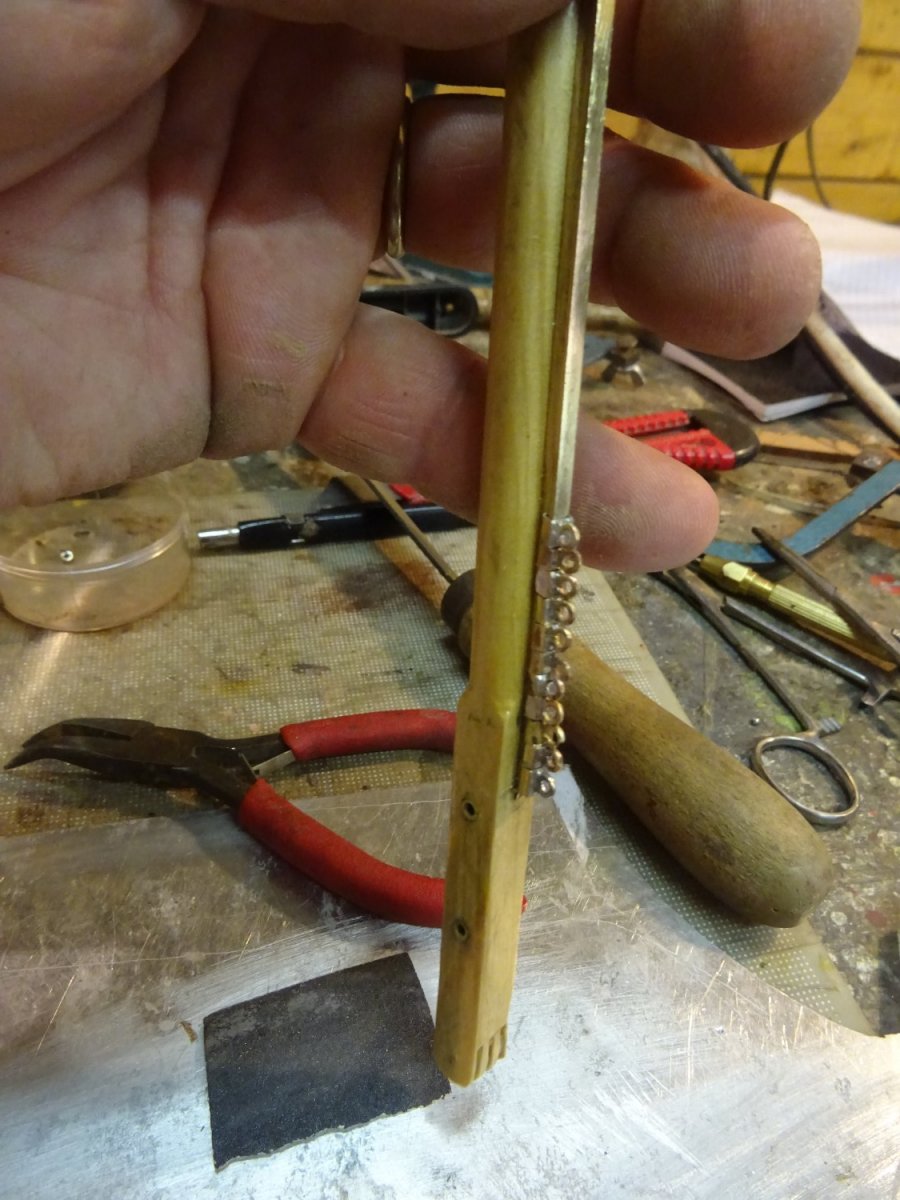
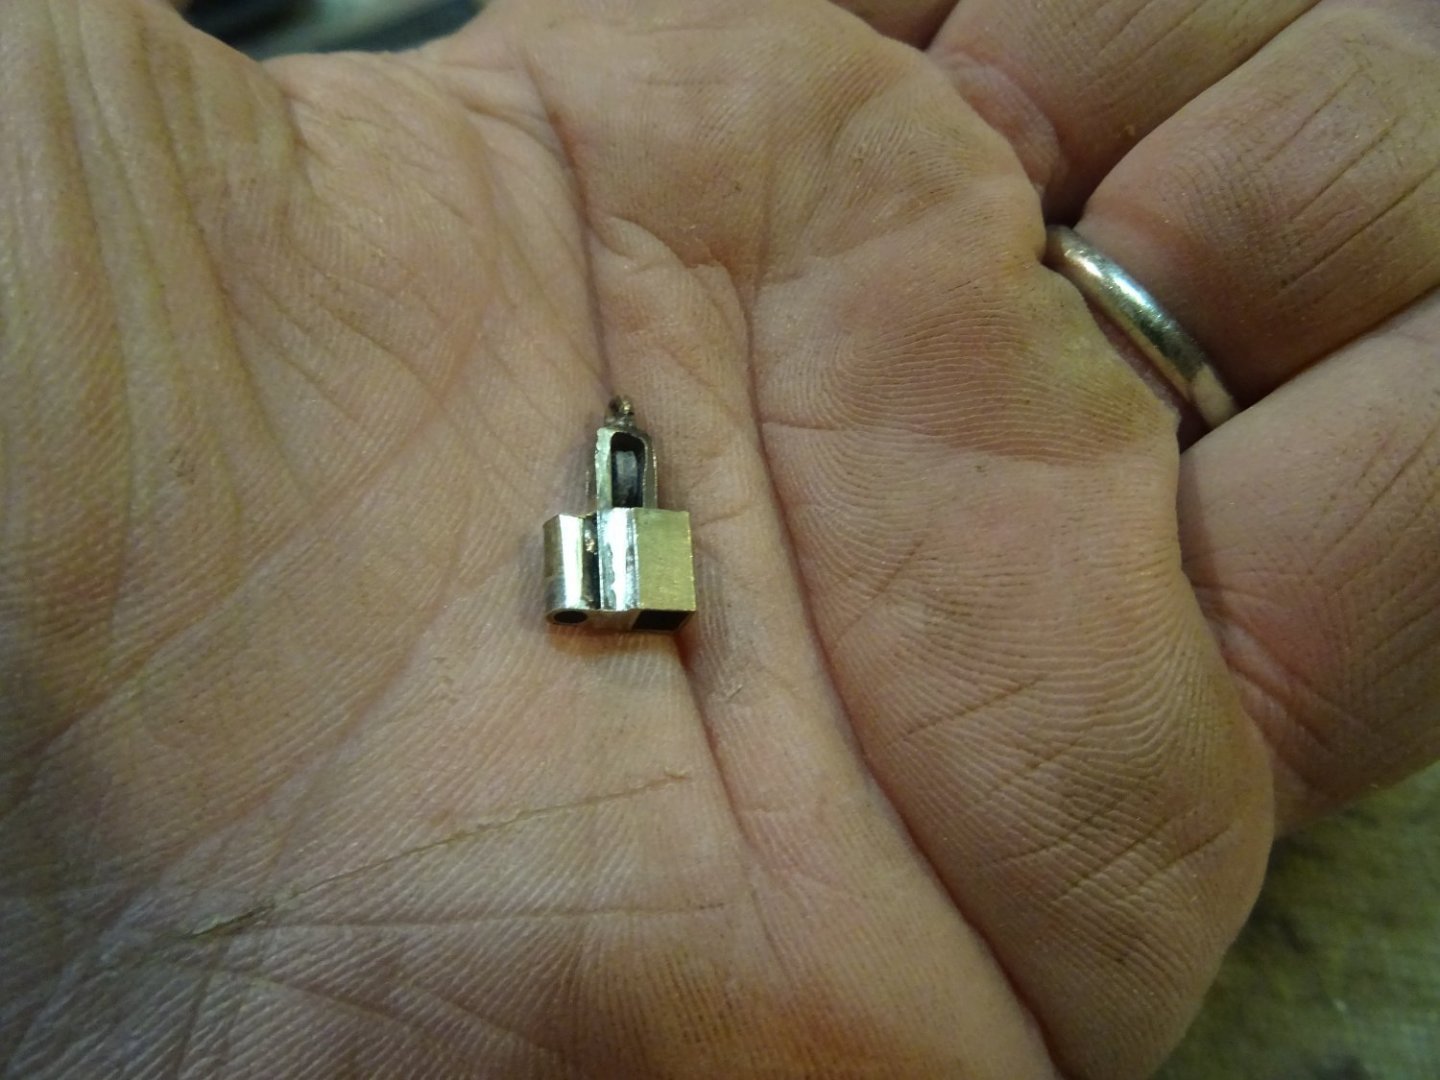
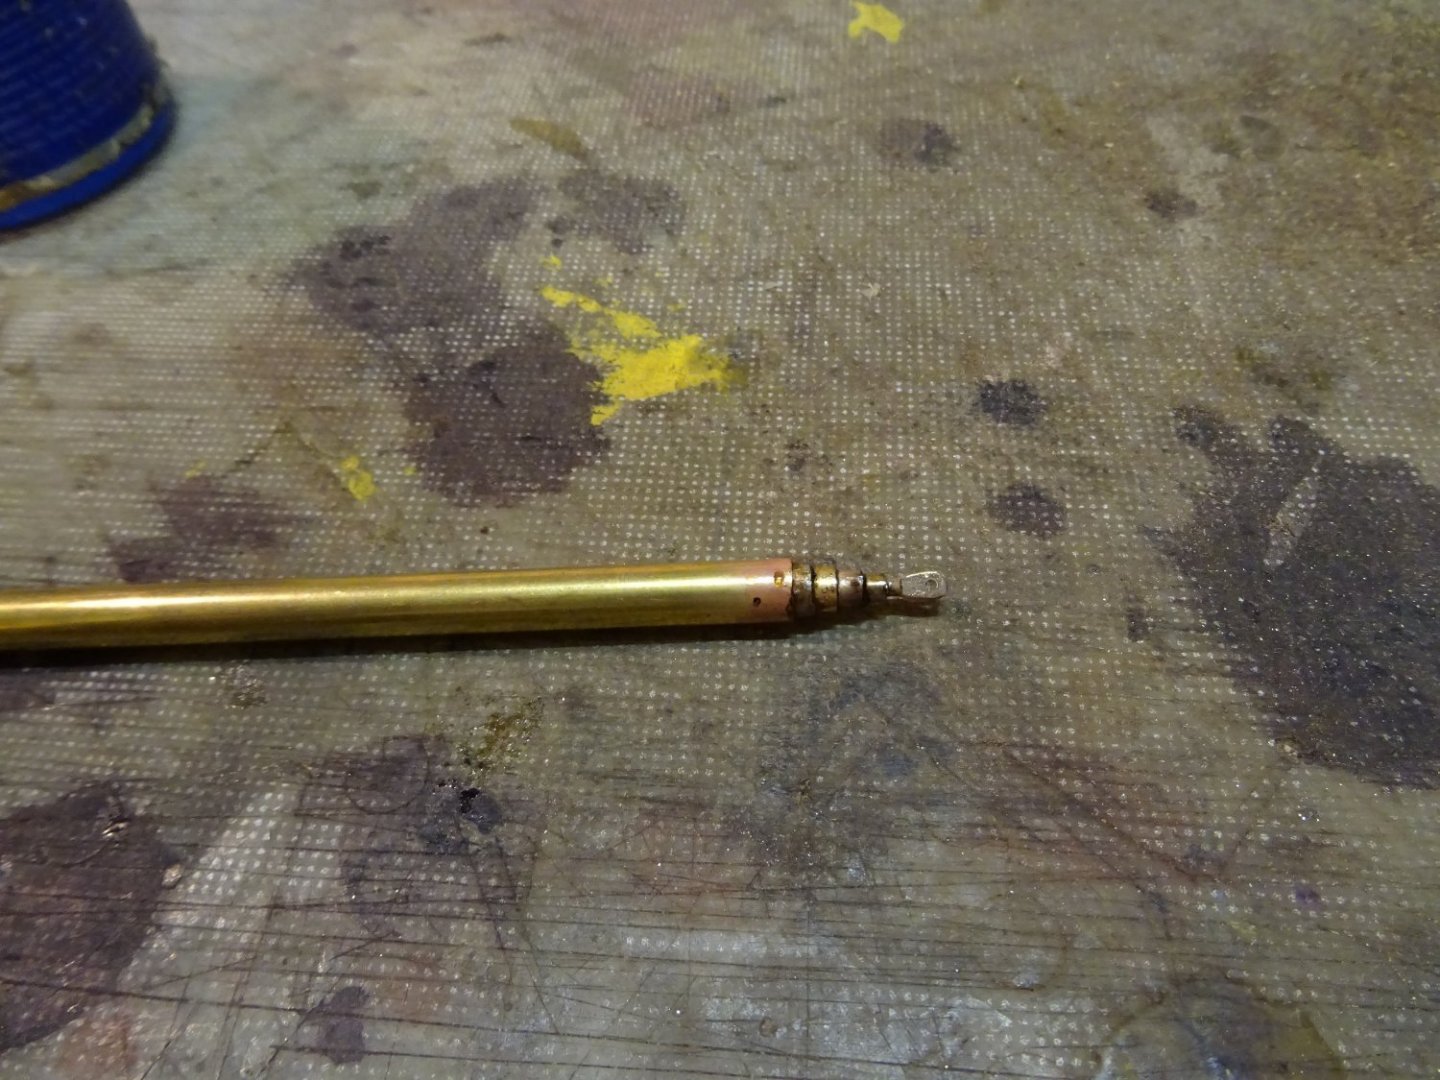
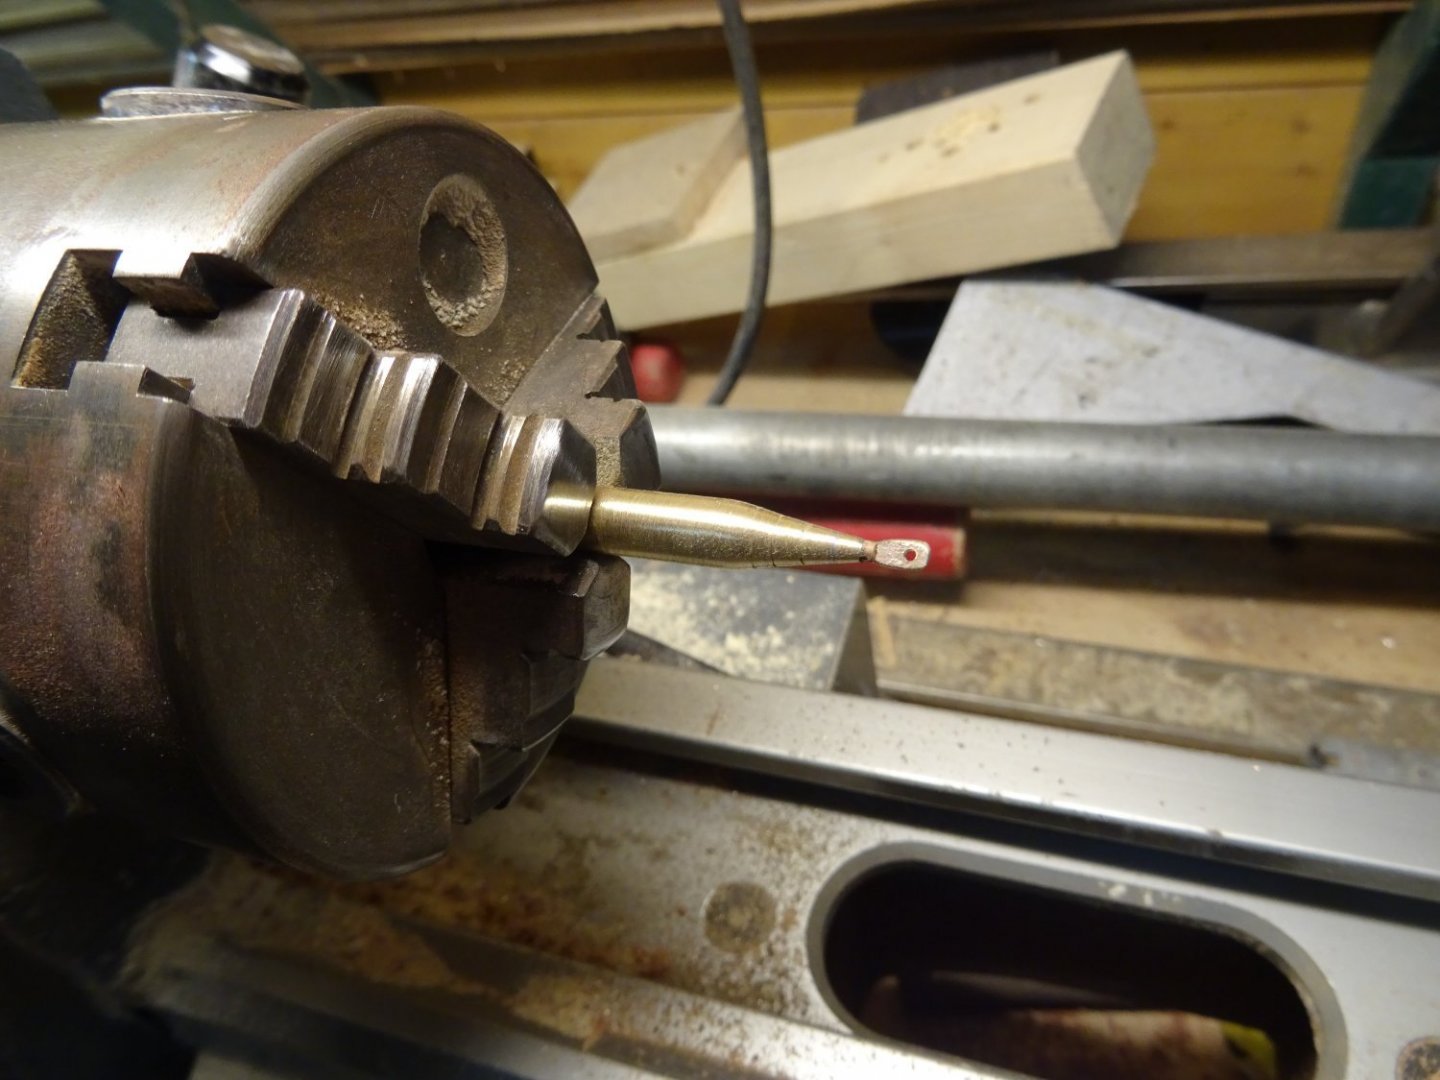
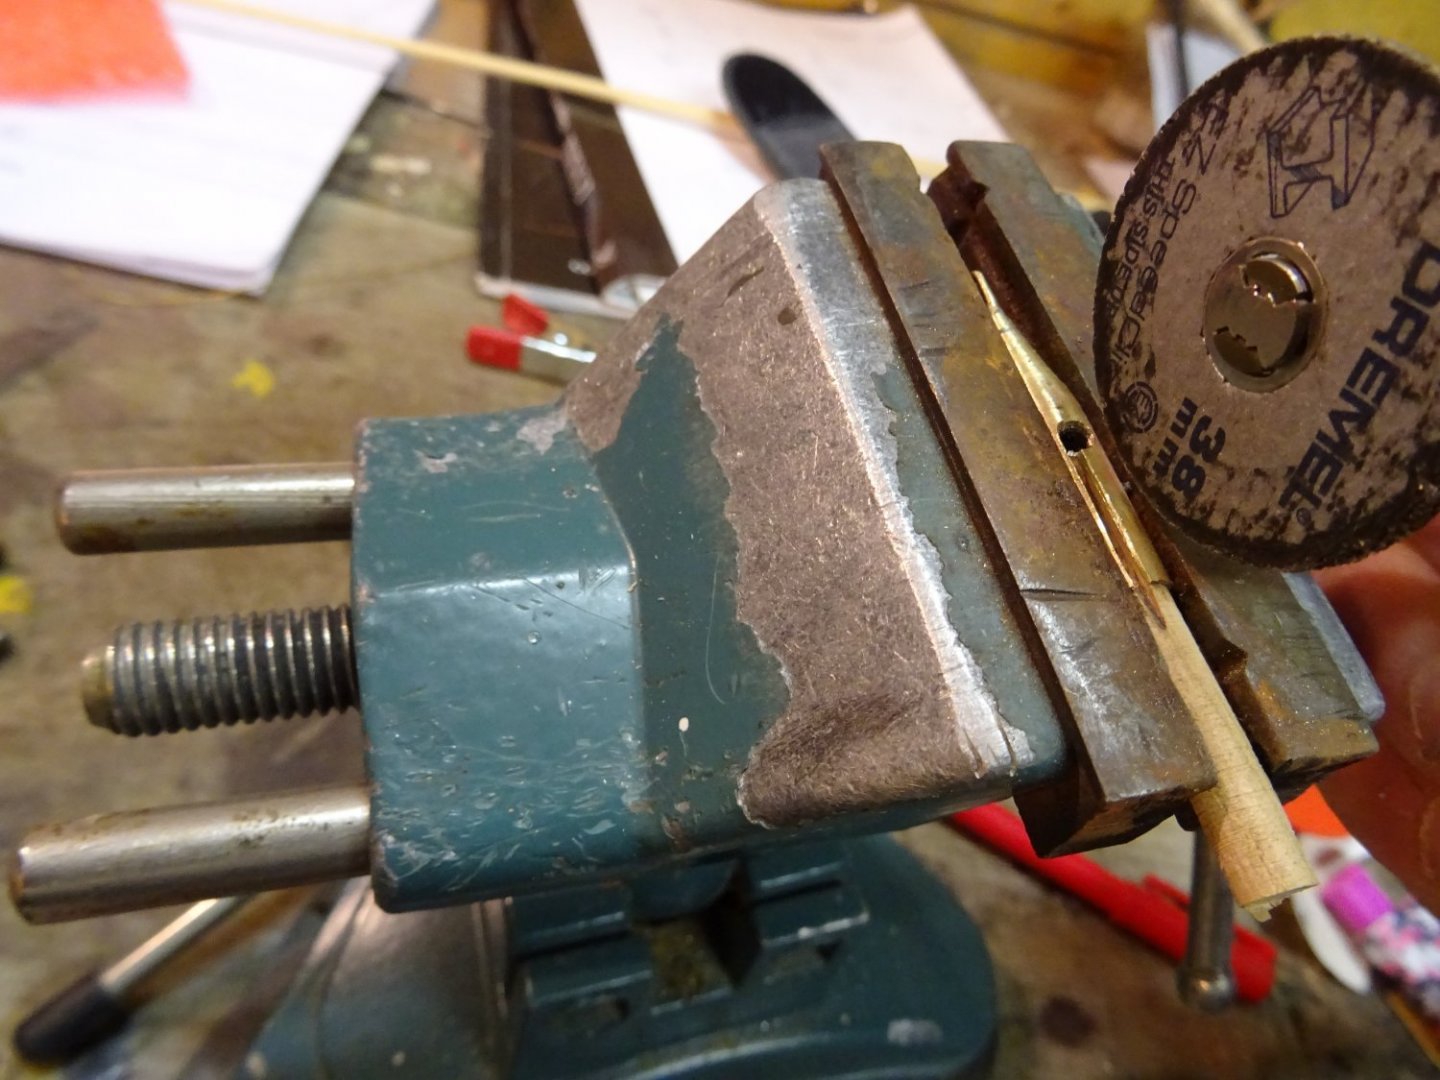
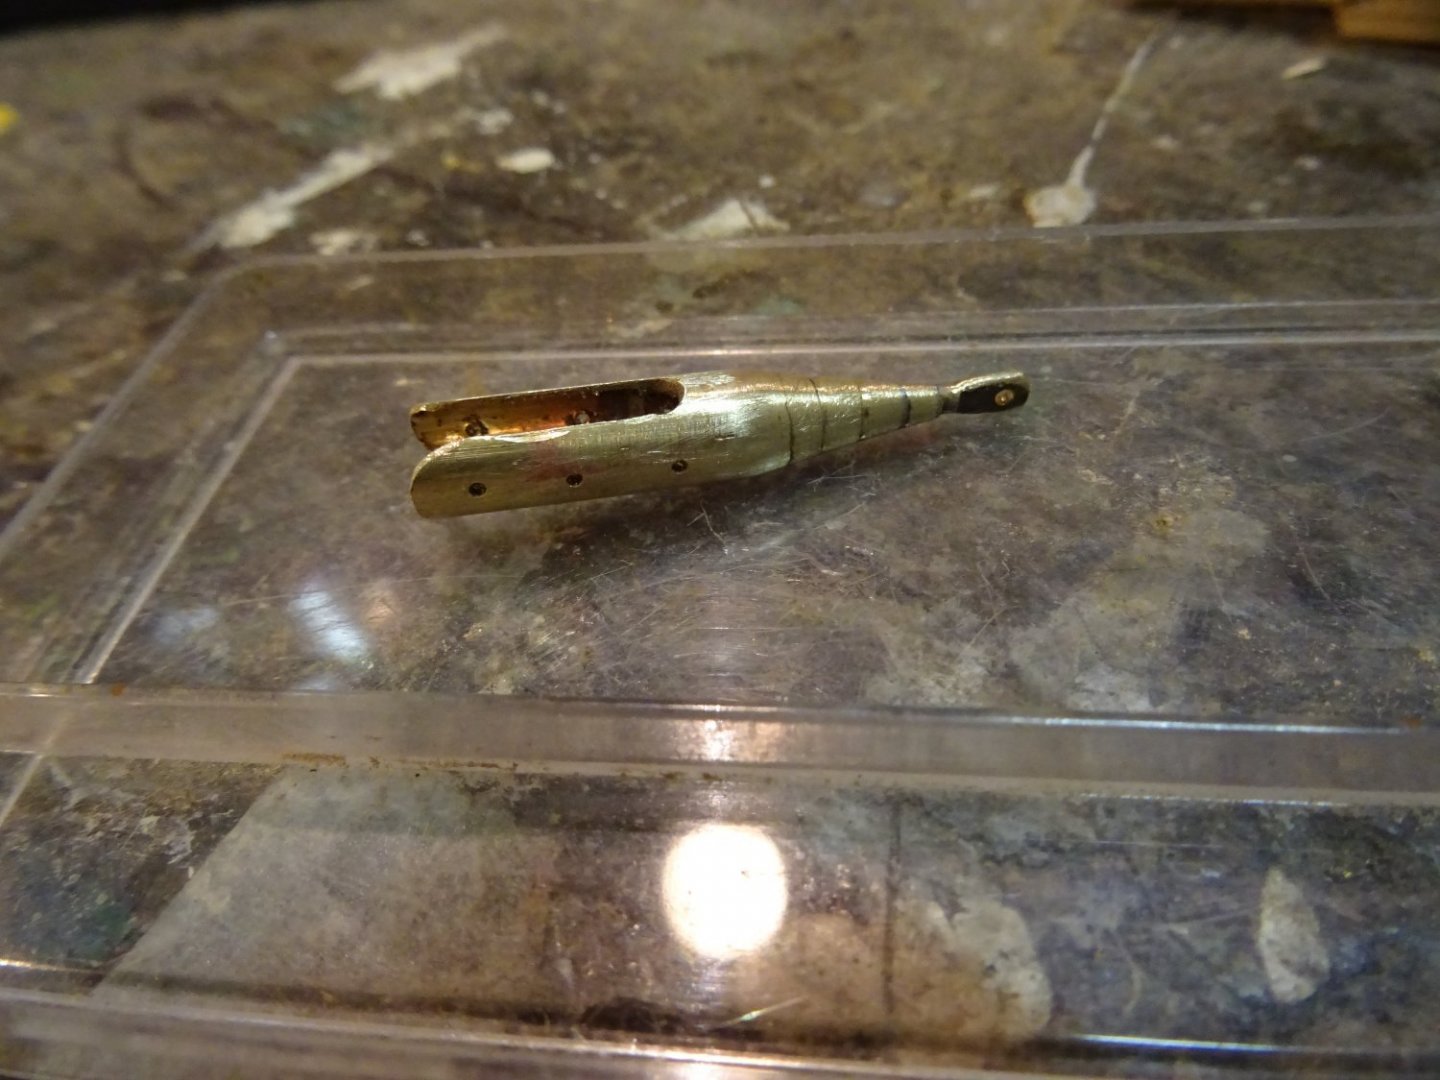
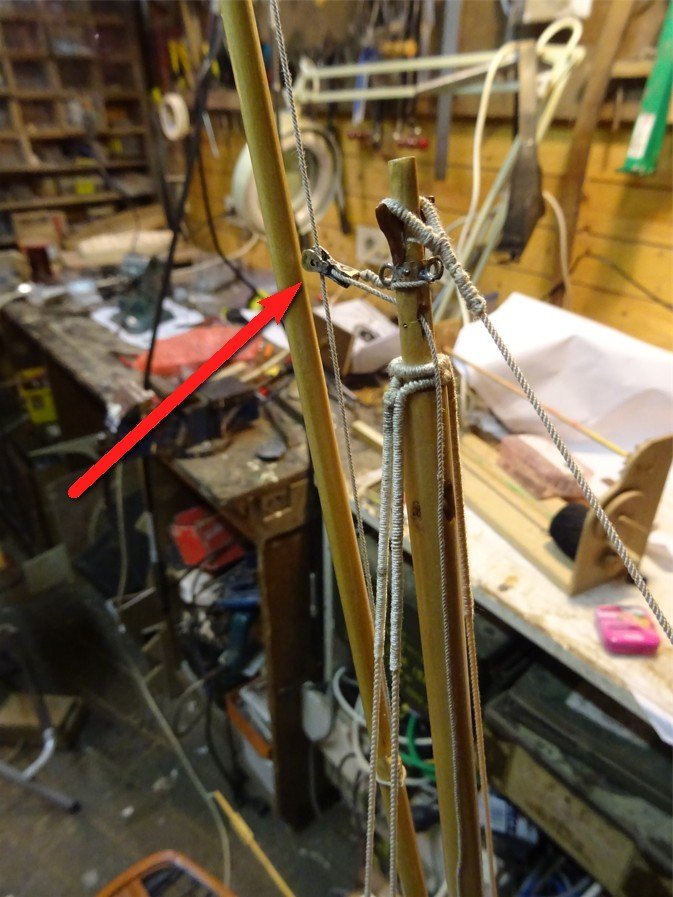
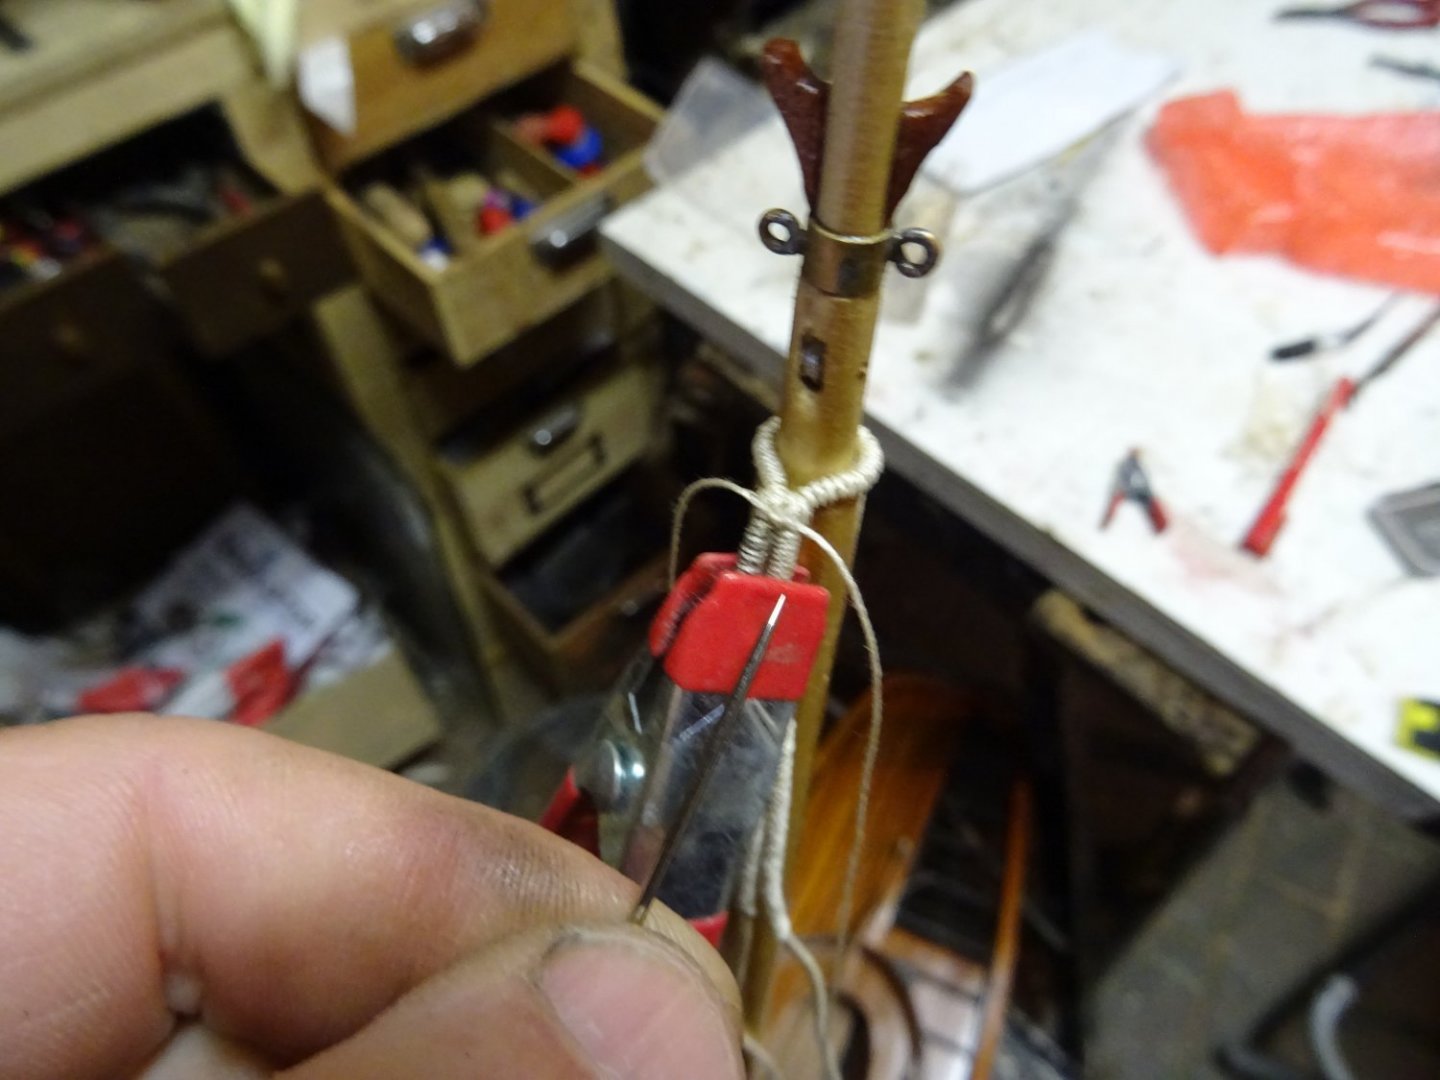
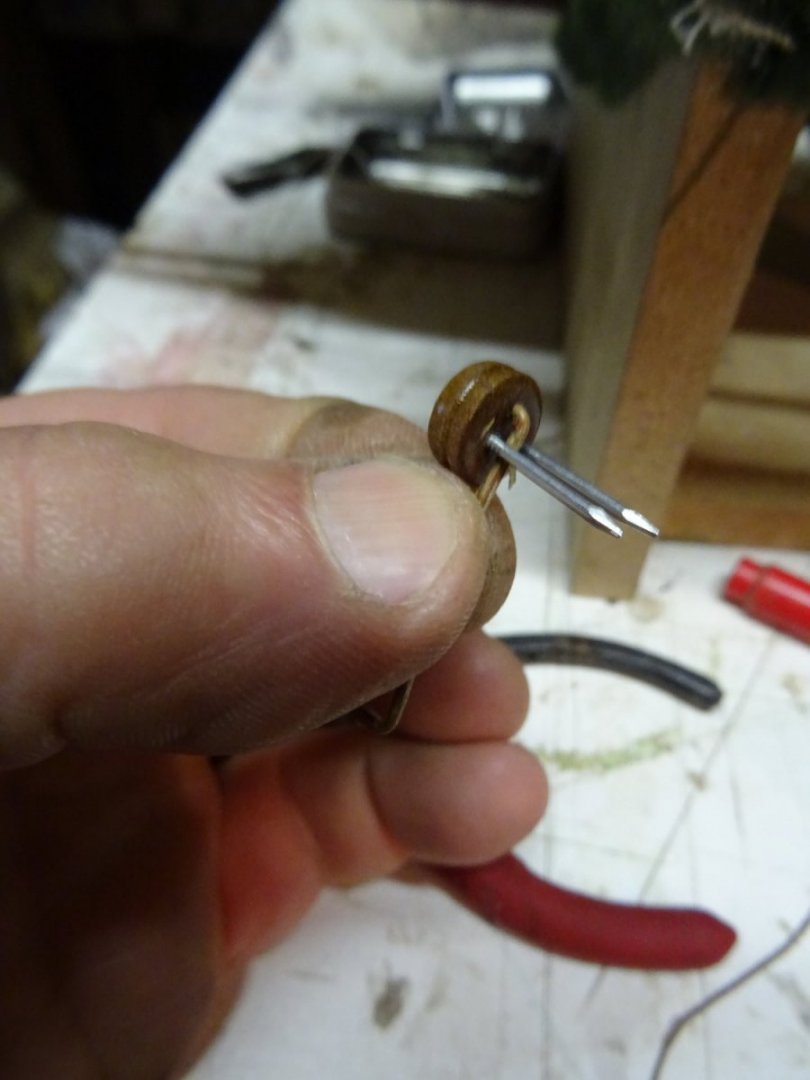
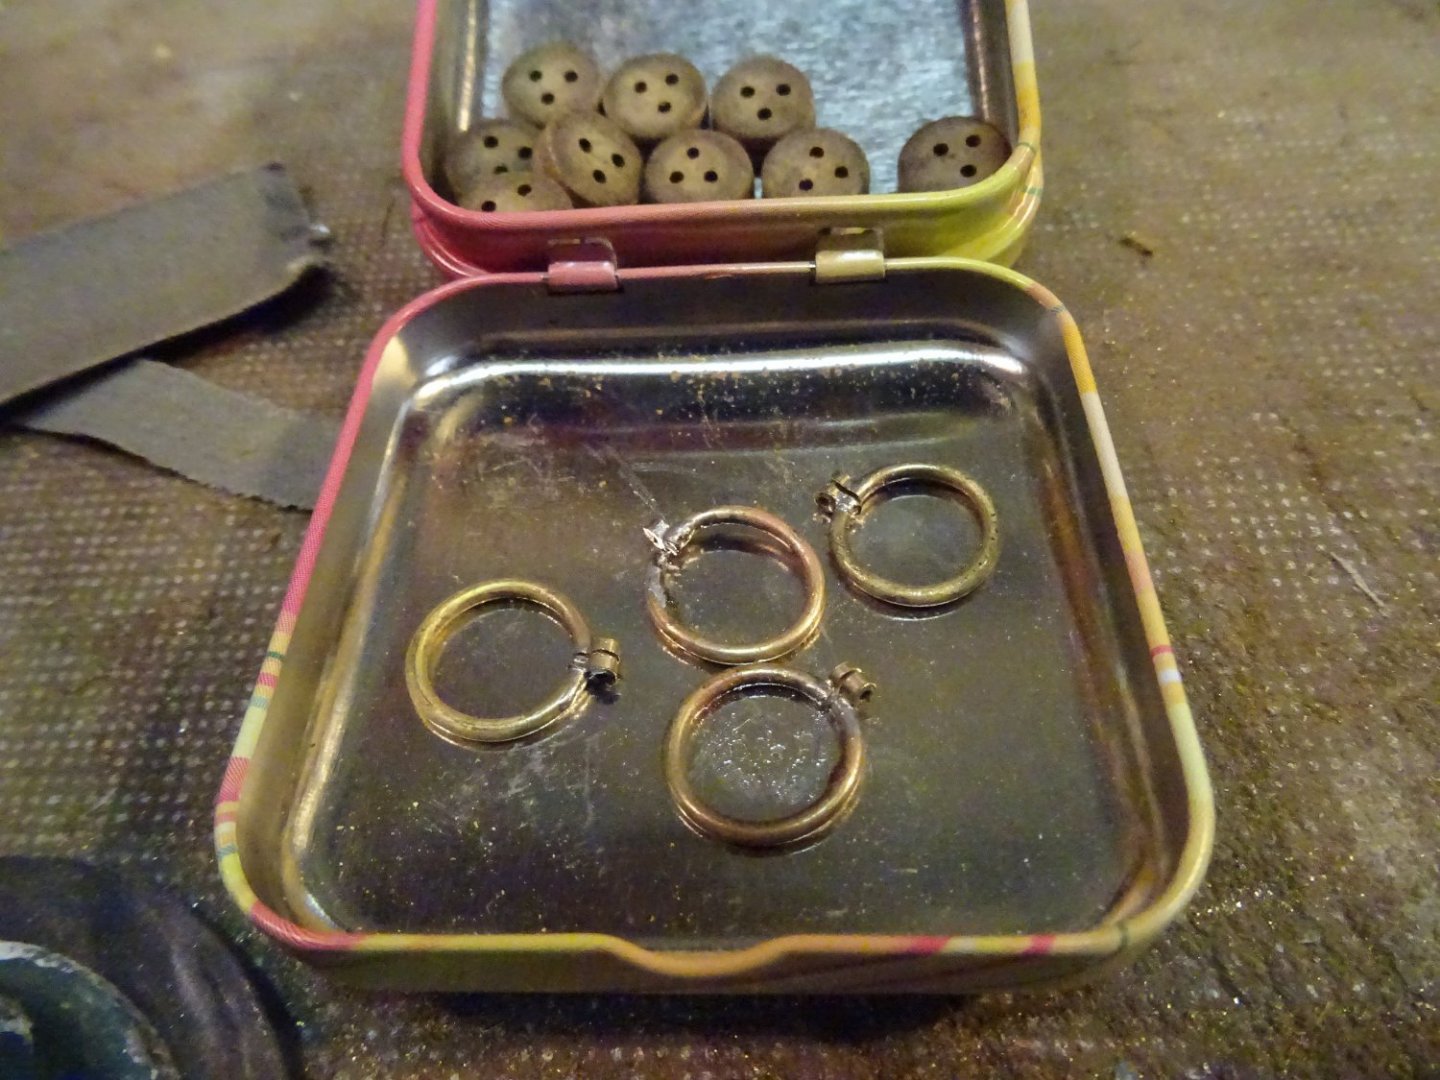
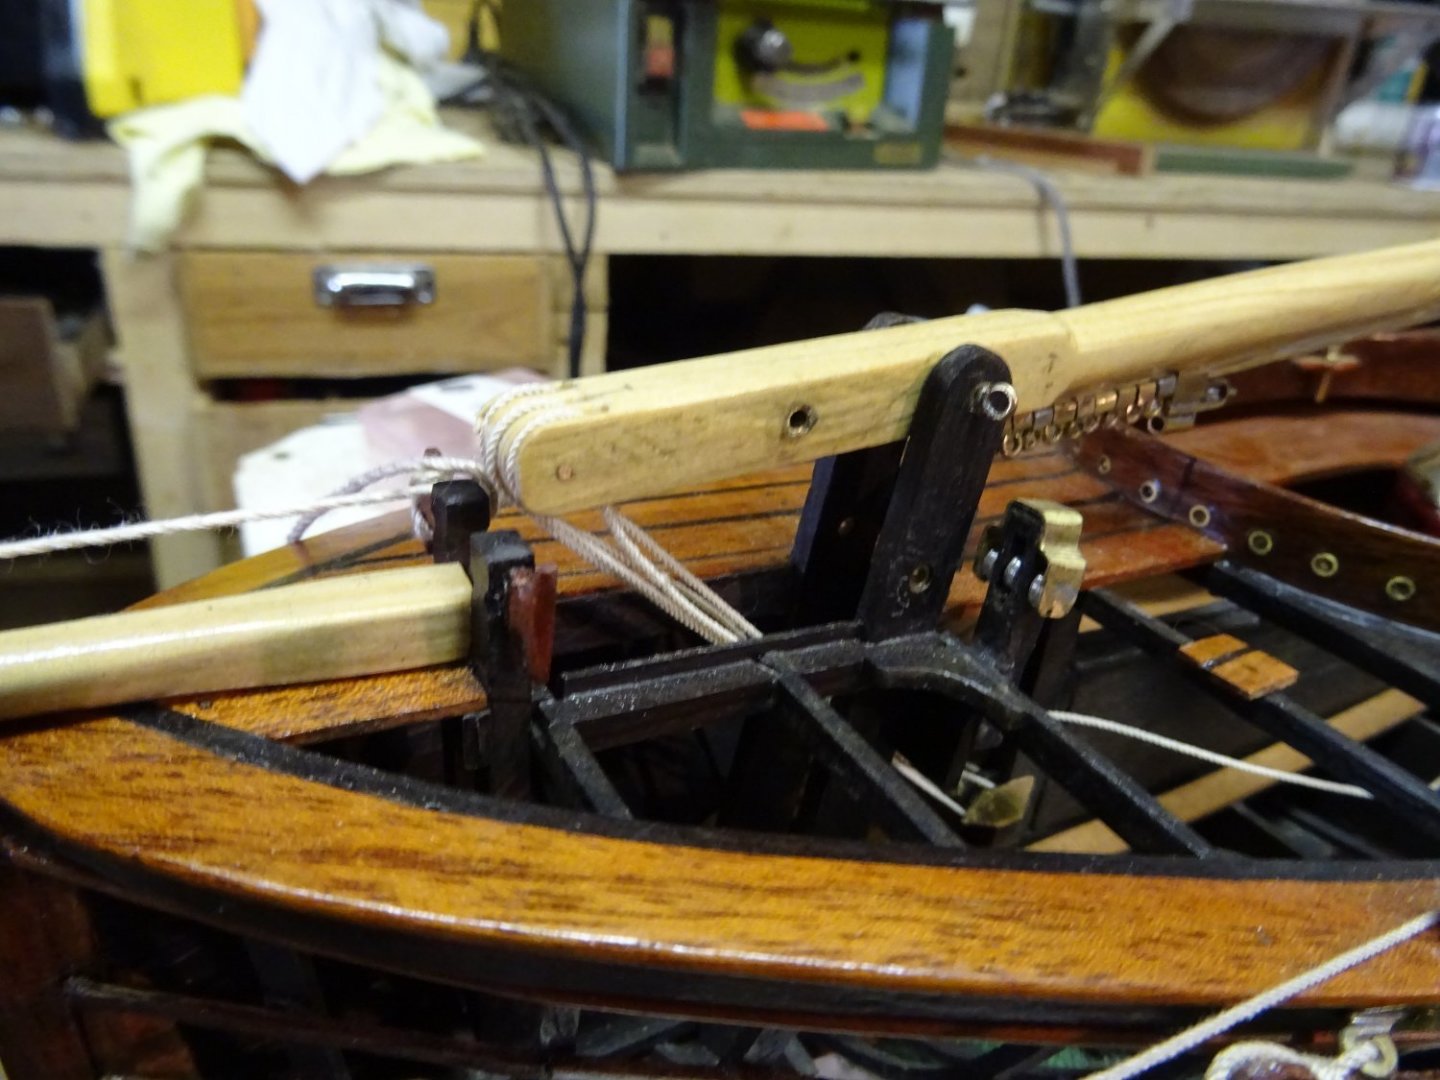
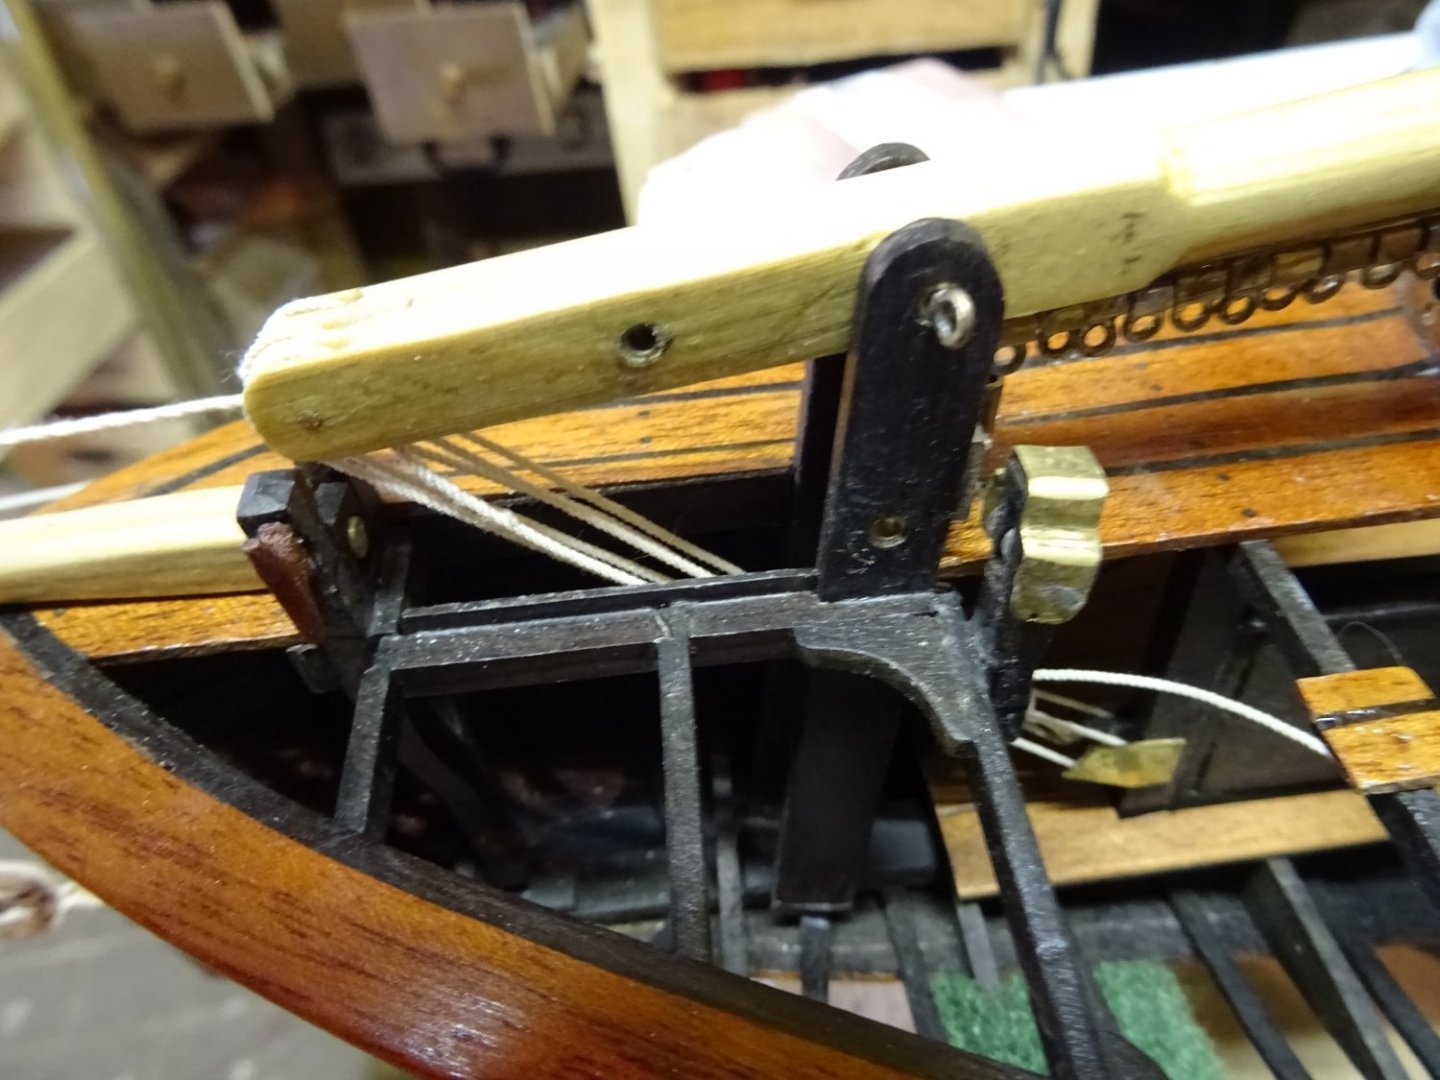
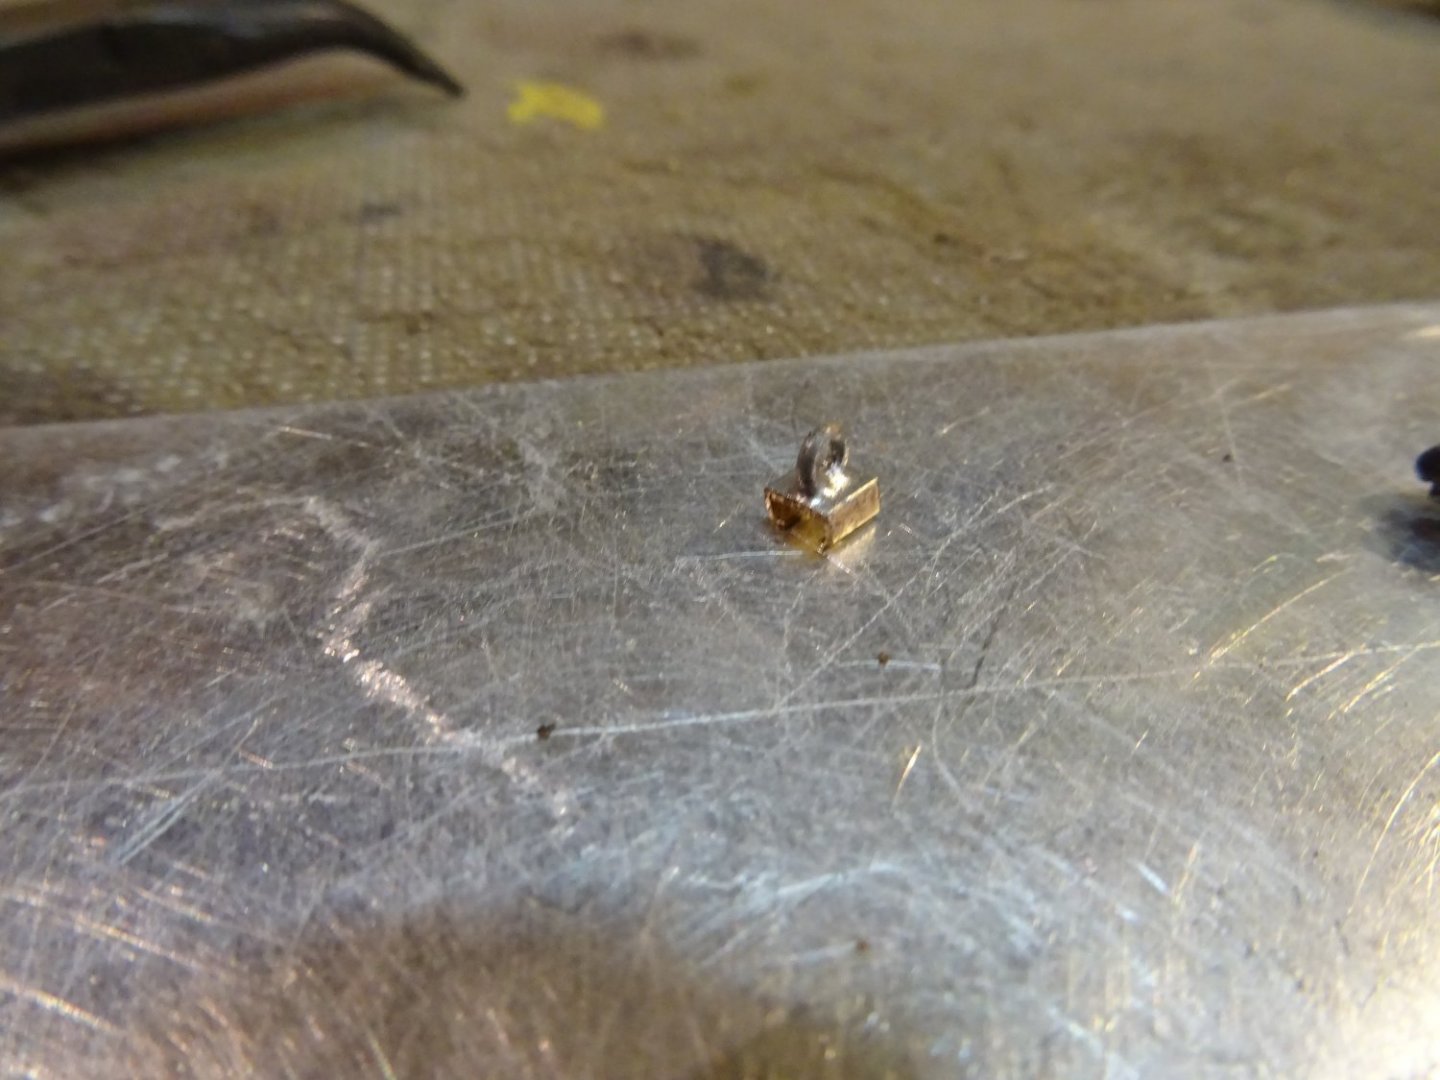
6. Gunter The clipper d'Argenteuil is rigged with a Houari sail, so the gaff is very steep. I believe the correct English term is 'gunter'. The gunter is also lifted along the mast rail. The gooseneck of the gunter fits in a special slug on top of the sail slugs. Making this slug correctly and in detail is a bit beyond my metal skills. I still managed to make something that didn't differ noticeably from what it should be. To make the gooseneck I use some telescopic brass tubes that I solder together. I then file them conically or the lathe. There is a slit at the top and bottom. Sawing the slot. Everything cleaned up. All the parts of the gunter goose neck. Goose neck on the gunter. When the gunter is raised on the mast, it is held upright by a metal violin block that runs along a guide rope. The hoisted gunter. Thank you very much for reading this log and for your likes and for your constructive comments. Till soon!


- 153 replies
-
- 15
-
-
- Ancre
- Bruno Orsel
- (and 2 more)
-
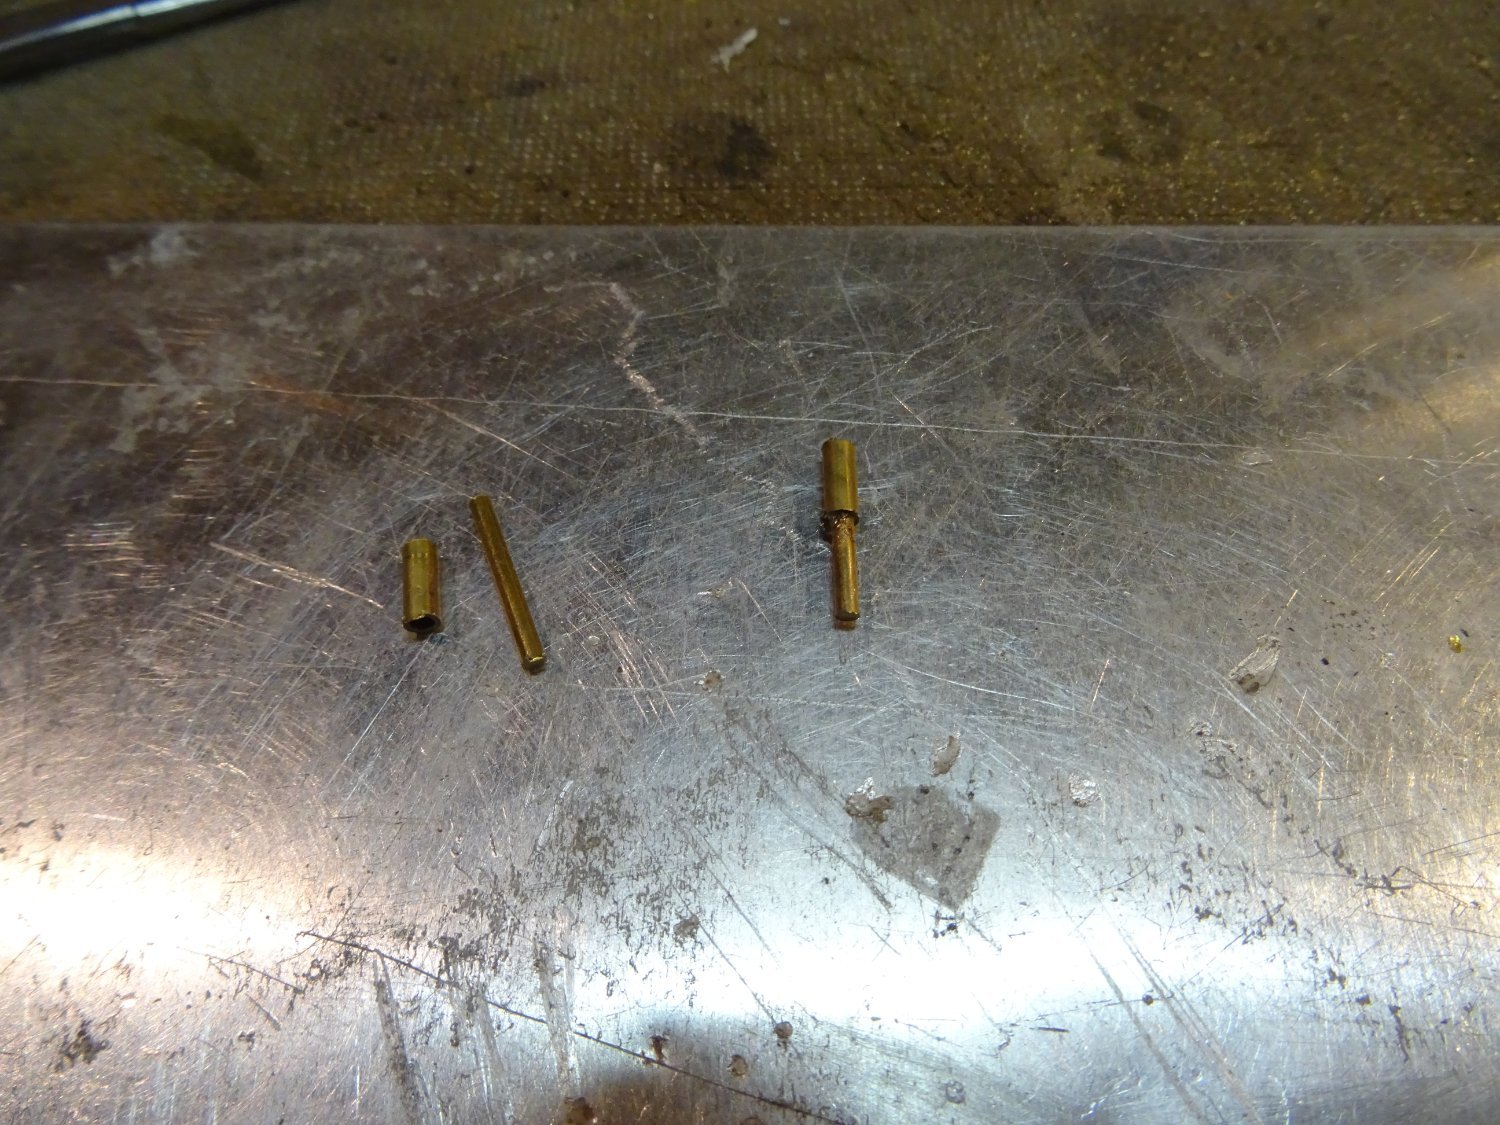
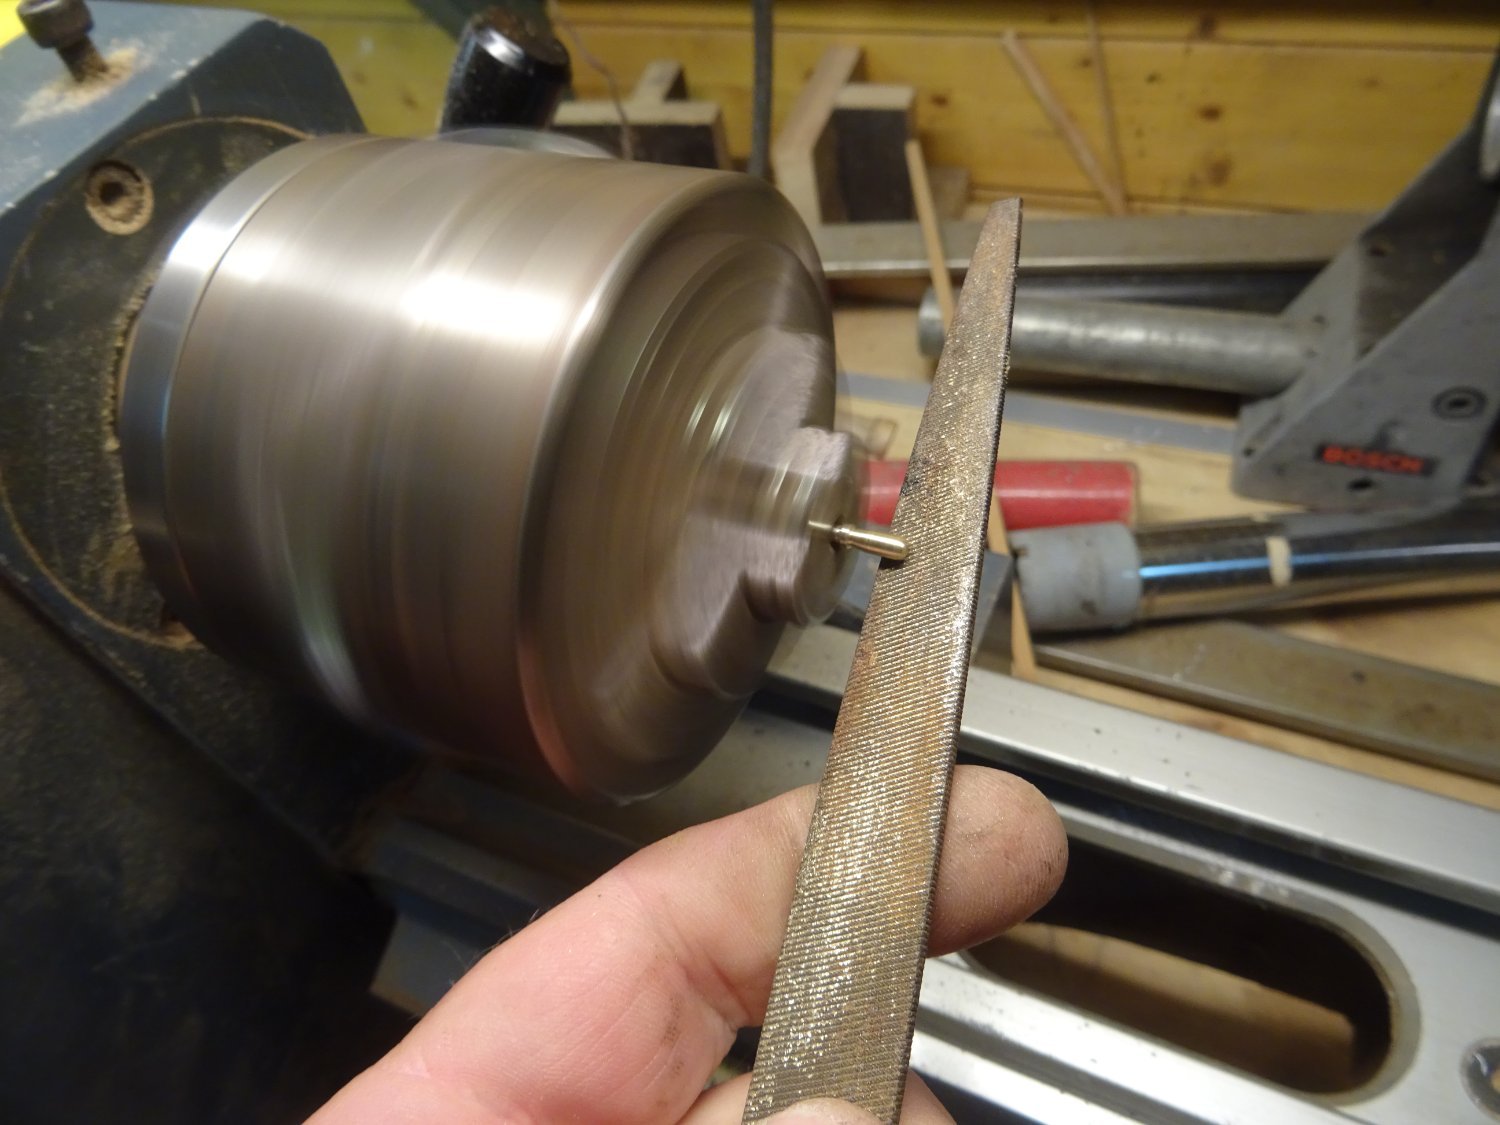
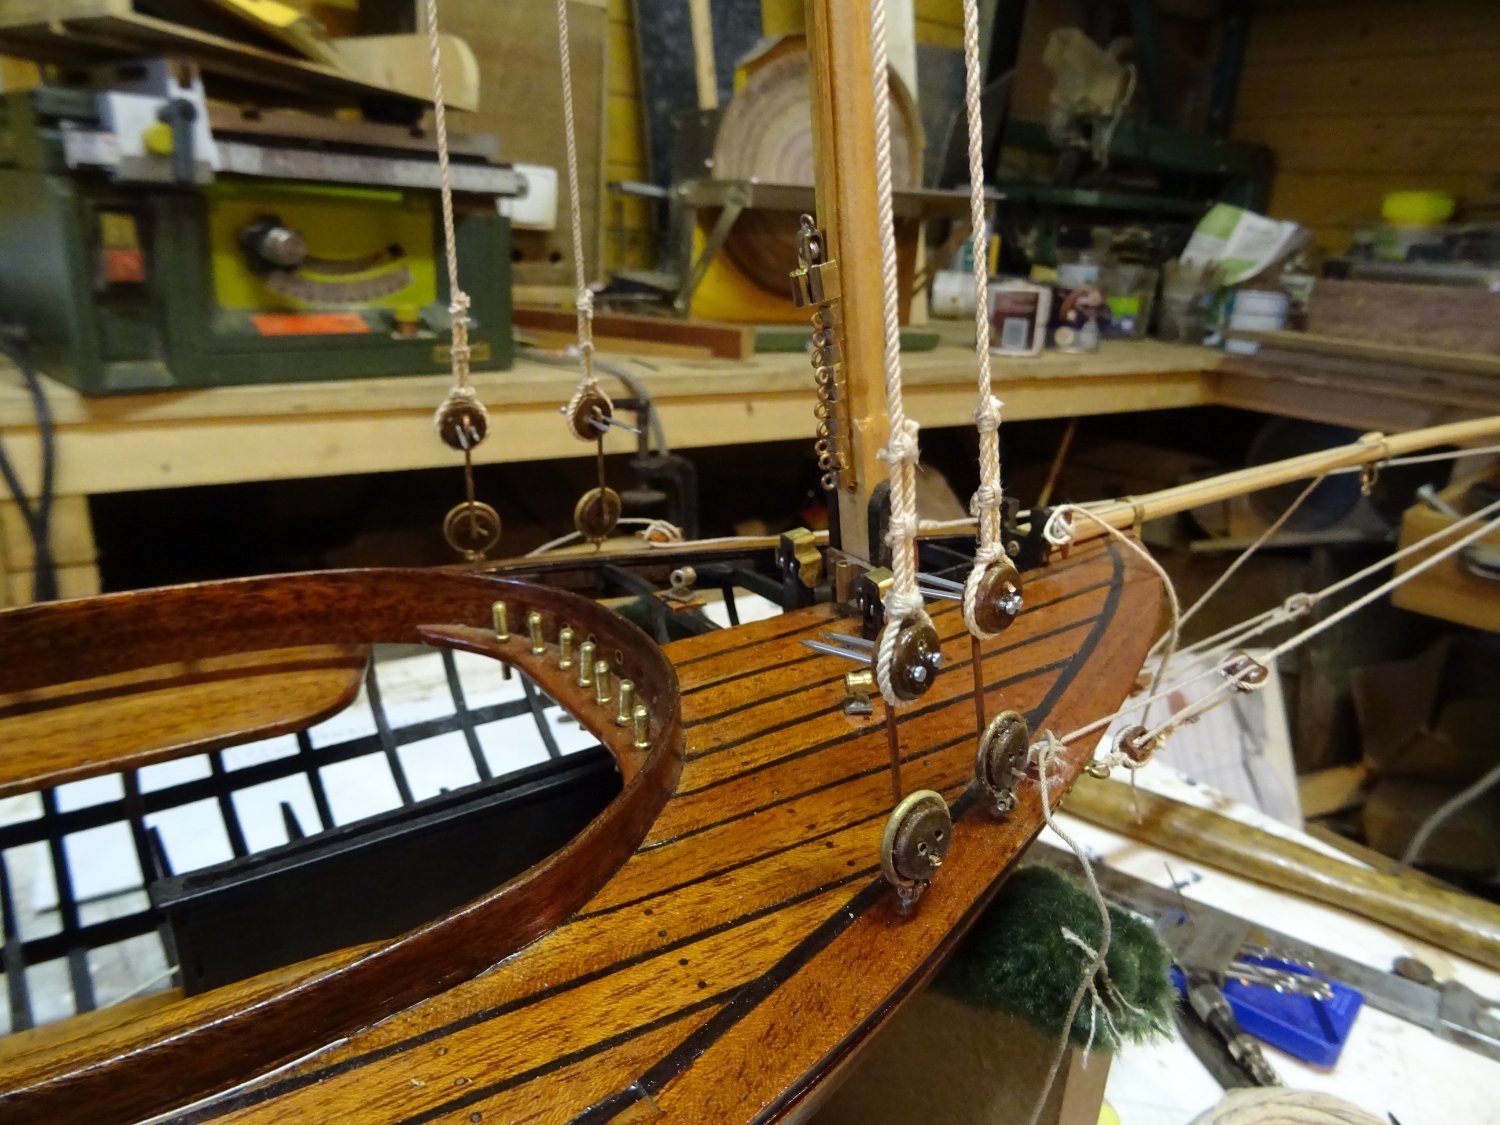
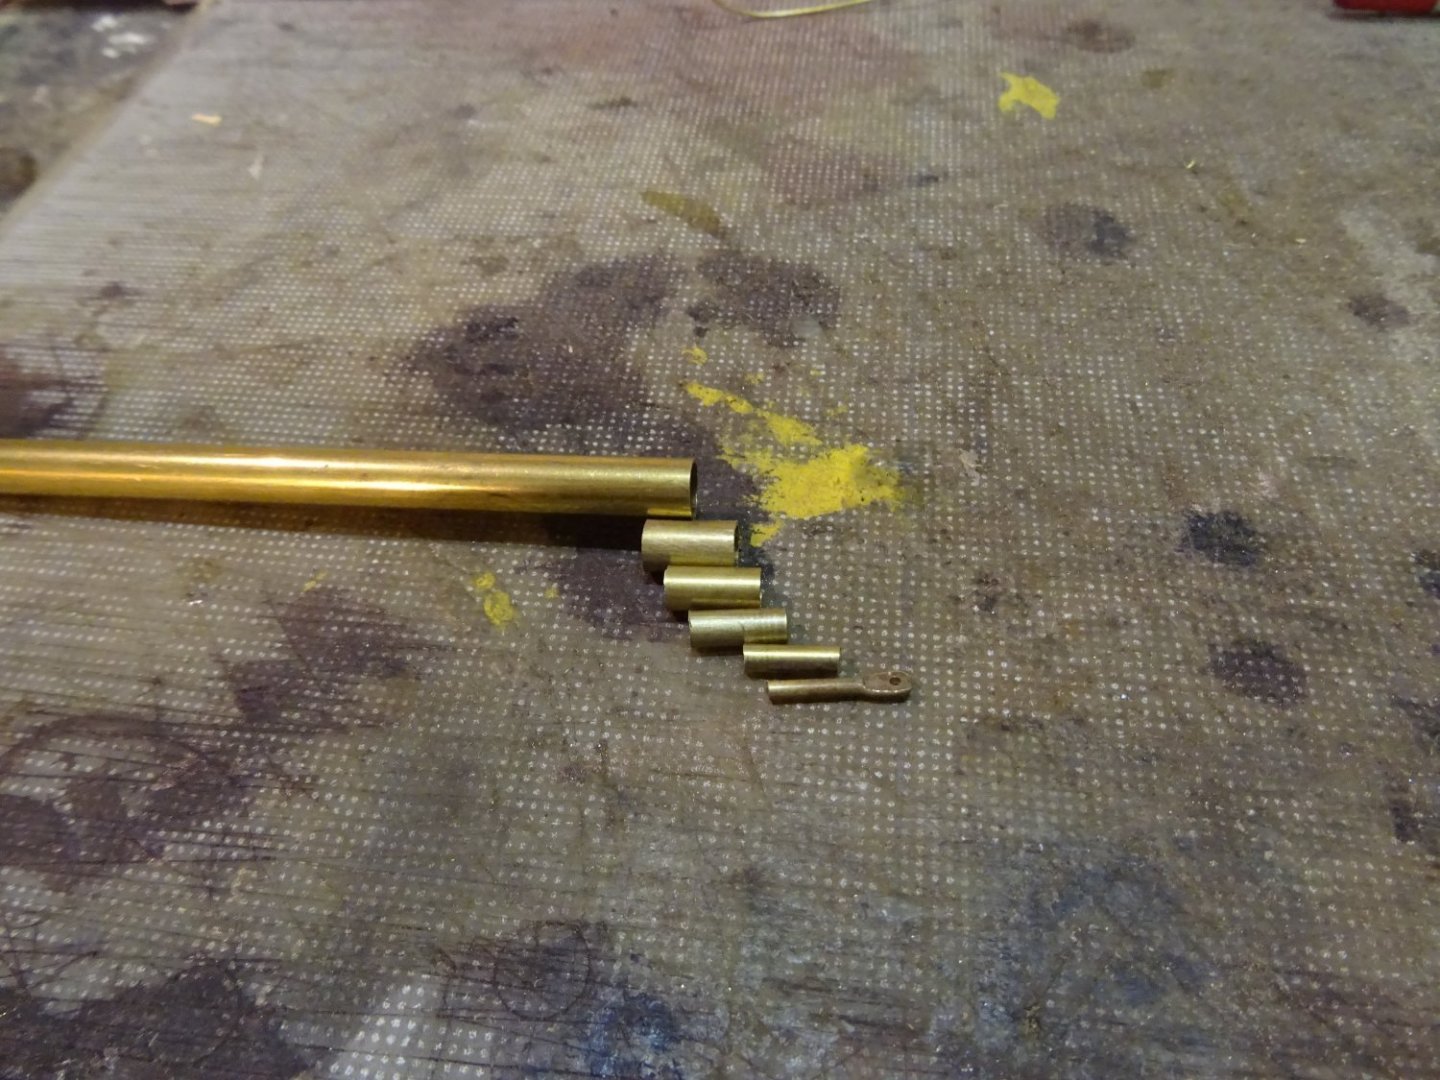
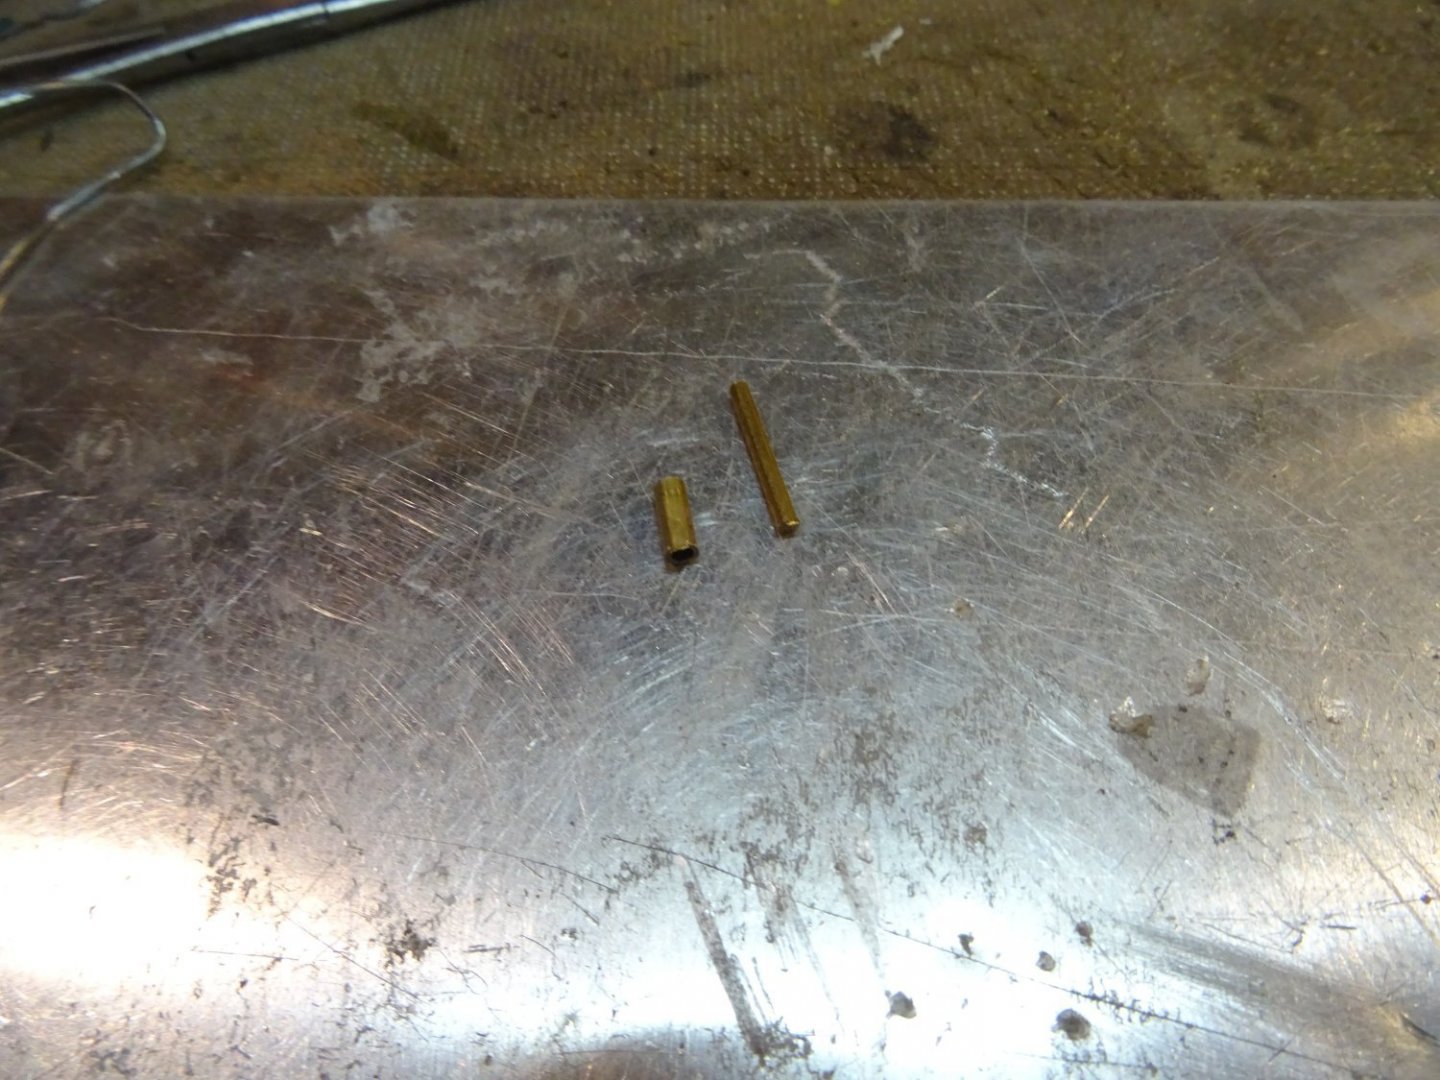
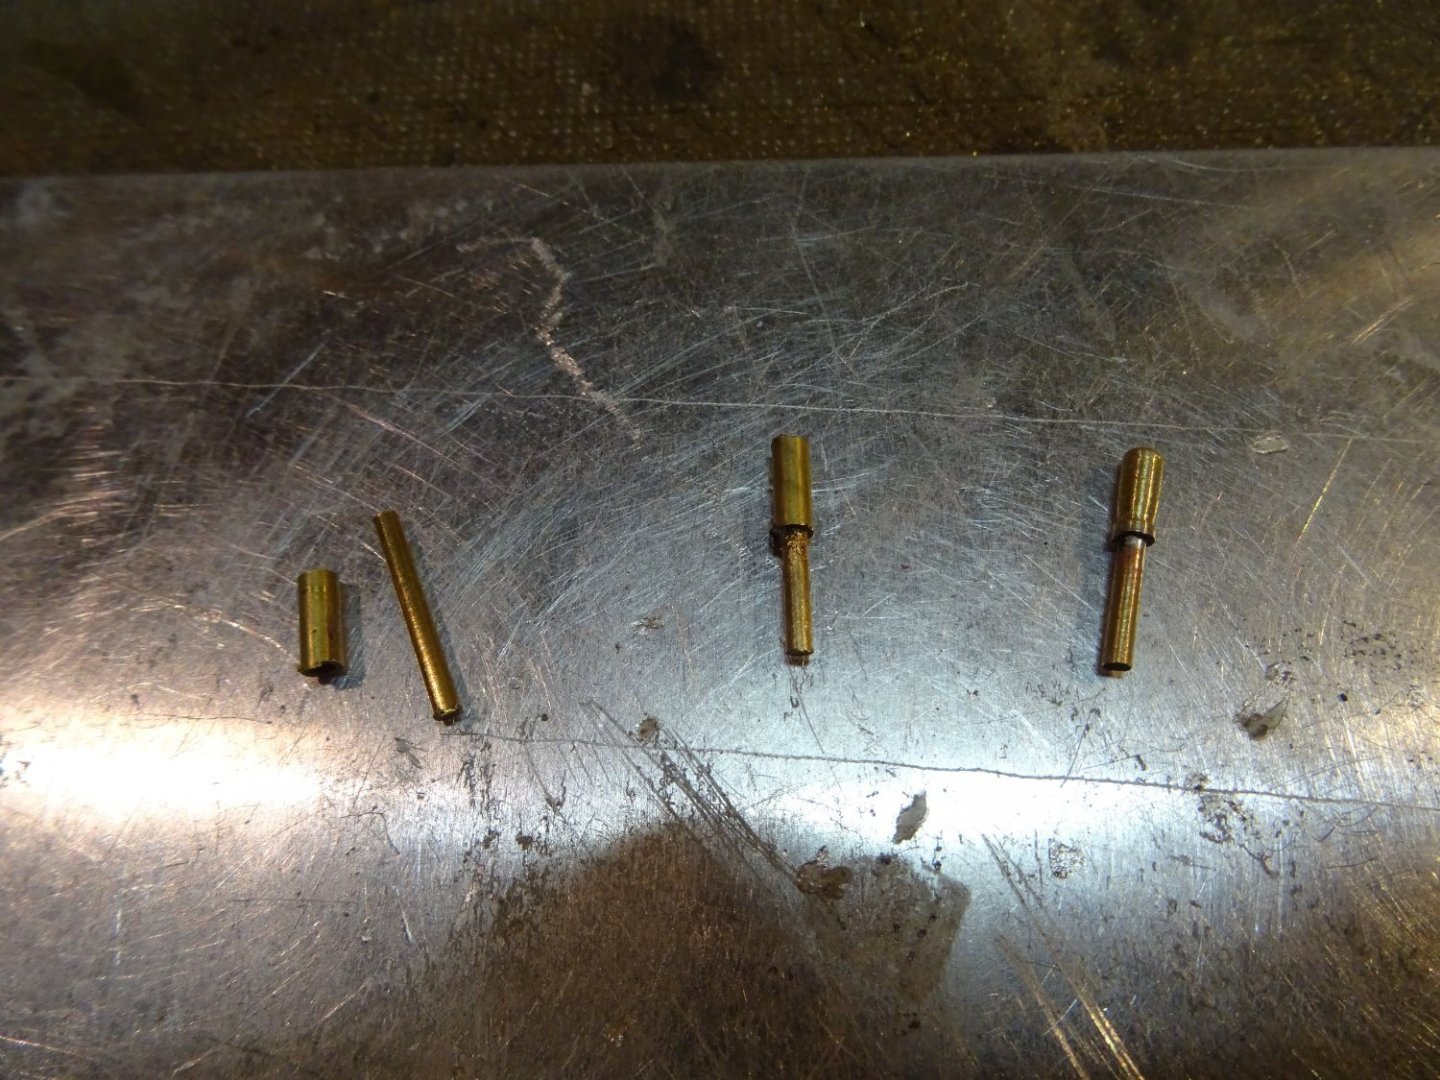
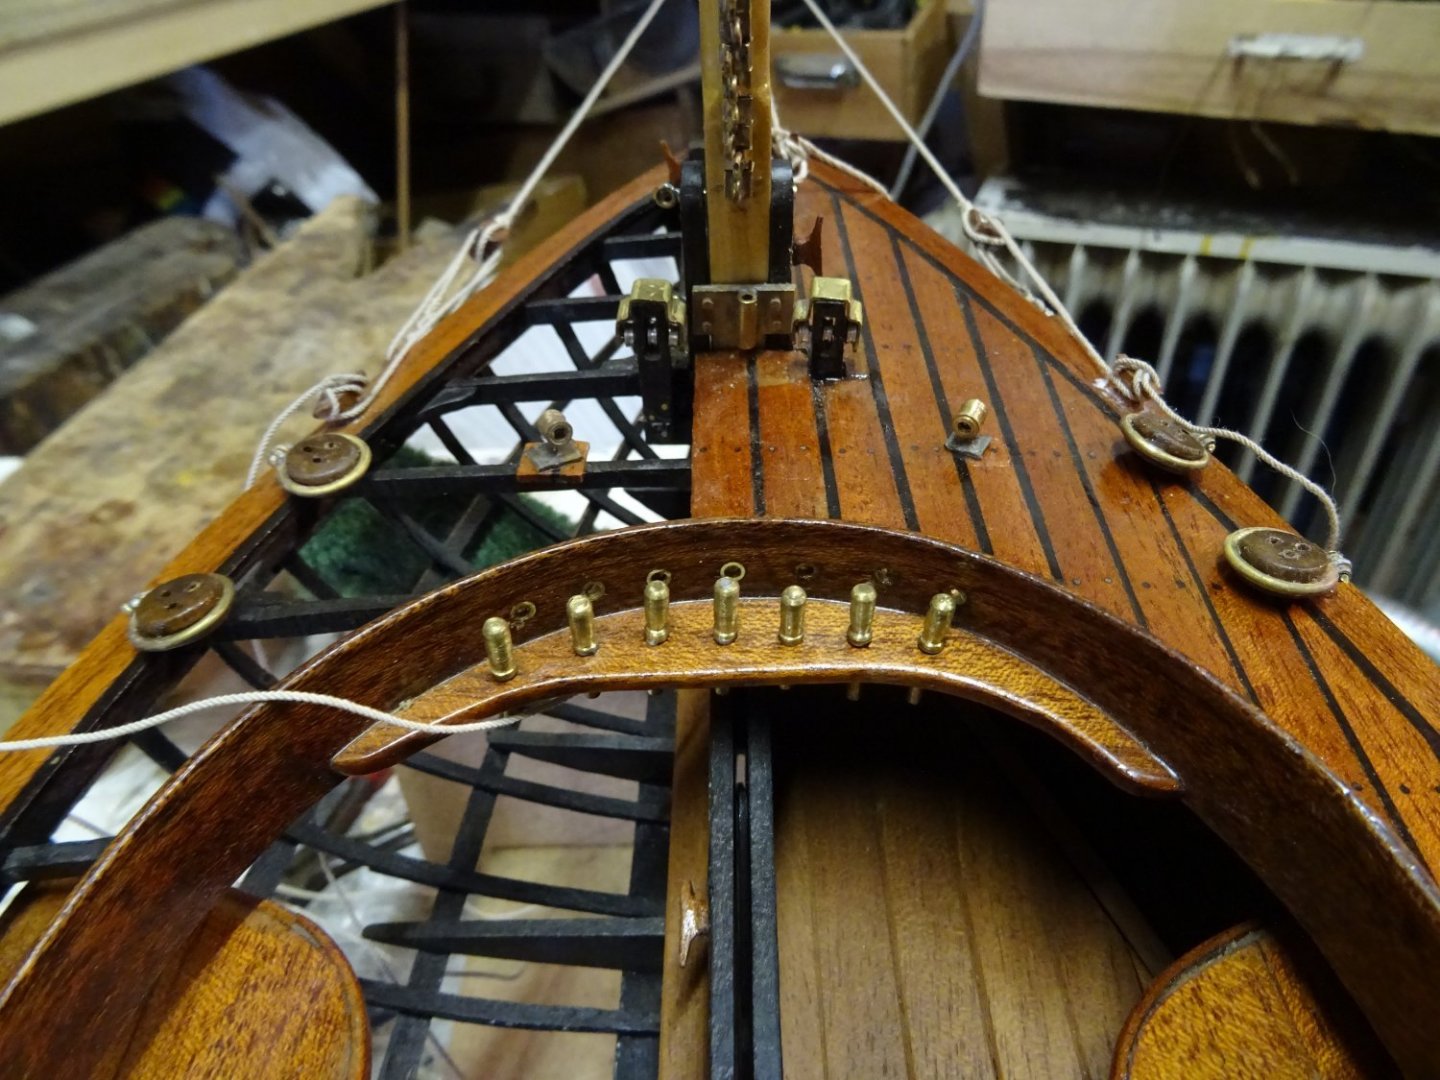
5. Pins Before continuing on the spars I want to make the pins first. The pins are made of a brass rod over which a brass tube of half the length is soldered. The tube becomes the handle and is filed into shape with different files (not only this big one). In this photo you can see the three successive steps from left to right. The pins in the pin rail.


- 153 replies
-
- 9
-
-
- Ancre
- Bruno Orsel
- (and 2 more)
-
Very realistic sea surface! I like the color, me too. It seems to me that you won't have to fill much gaps between the hull and the sea.
-
Well I also think turnbuckles seem more normal for this type of boat than dead eyes. There are no dead eyes to be seen in the 19th century paintings of the Seine sailors either, but these are mostly impressionistic paintings in which no details can be seen. Frankly, I'm glad there are dead eyes on the plan because turnbuckles seem much harder to make to me.
- 153 replies
-
- 2
-
-
- Ancre
- Bruno Orsel
- (and 2 more)
-
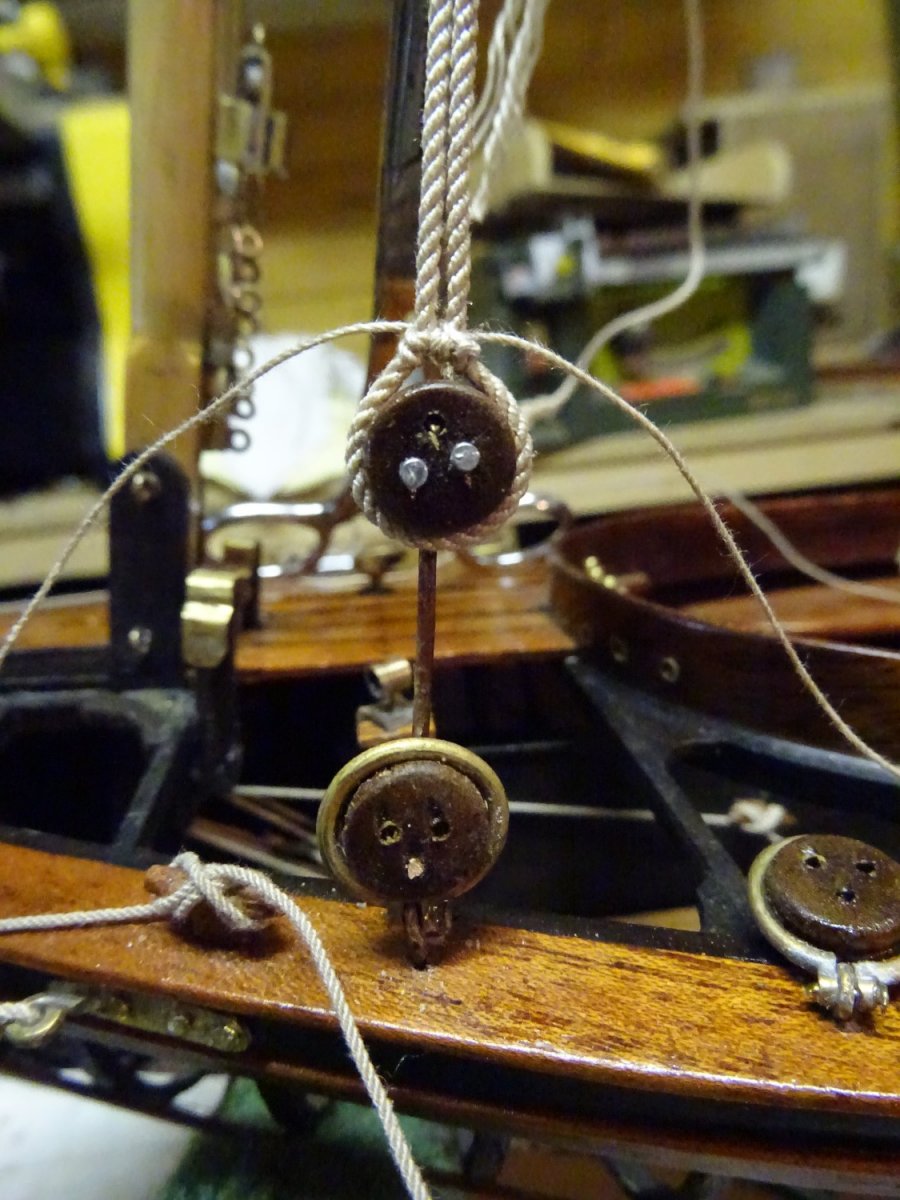
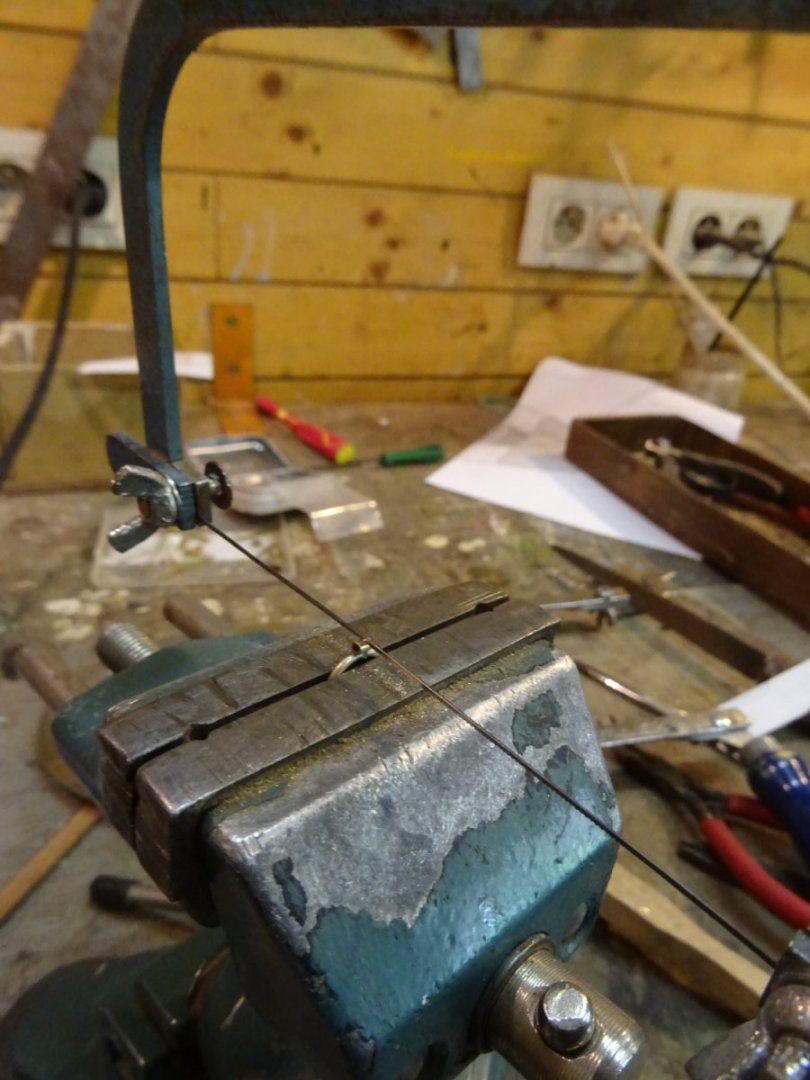
The part of the shrouds that goes around the masthead is served. I make a small spacer gadget to help me to keep the space between the dead eyes equal. Two small nails in the top dead eye avoids it twisting. Now the lanyards go through the dead eyes and that is the situation as it is now. Thank you very much for reading this log and for your likes and for your constructive comments. Till soon!


- 153 replies
-
- 12
-
-
- Ancre
- Bruno Orsel
- (and 2 more)
-
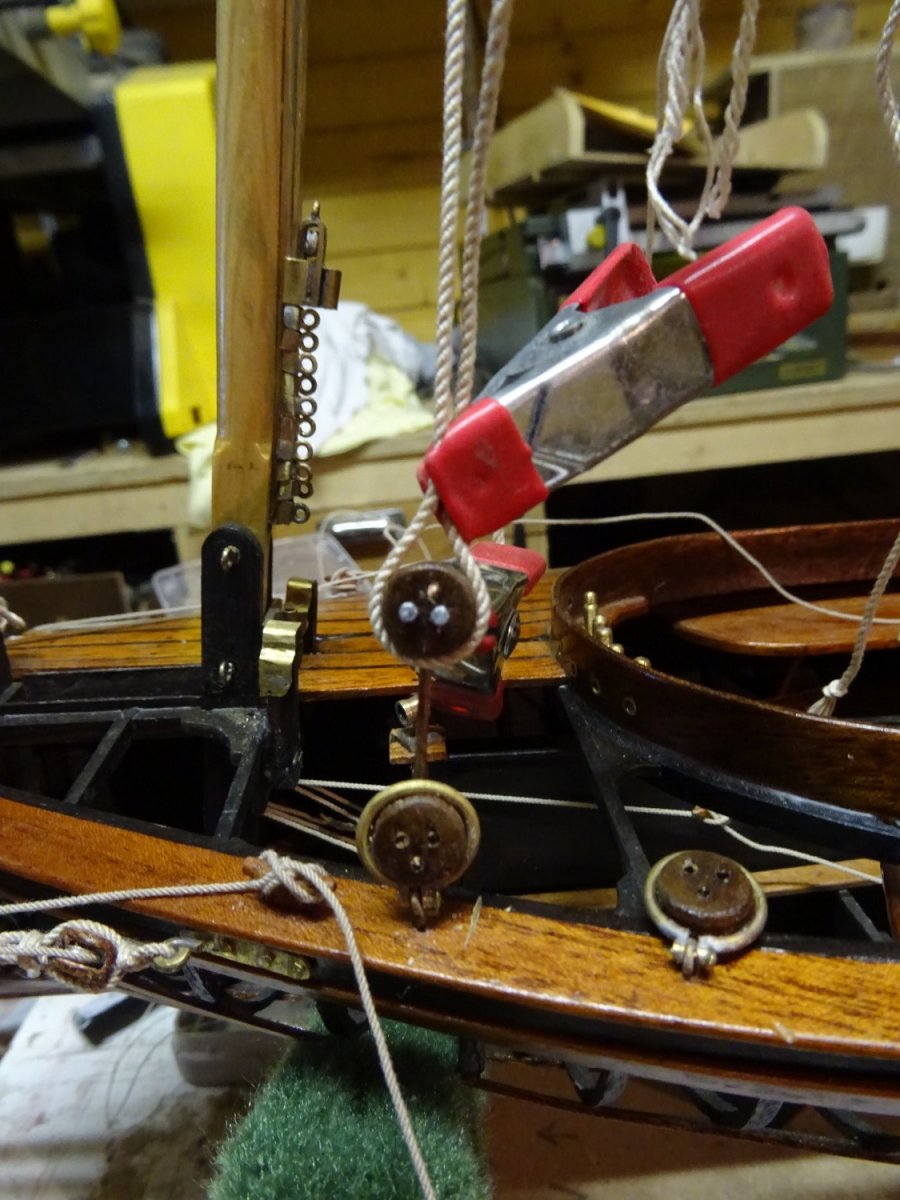
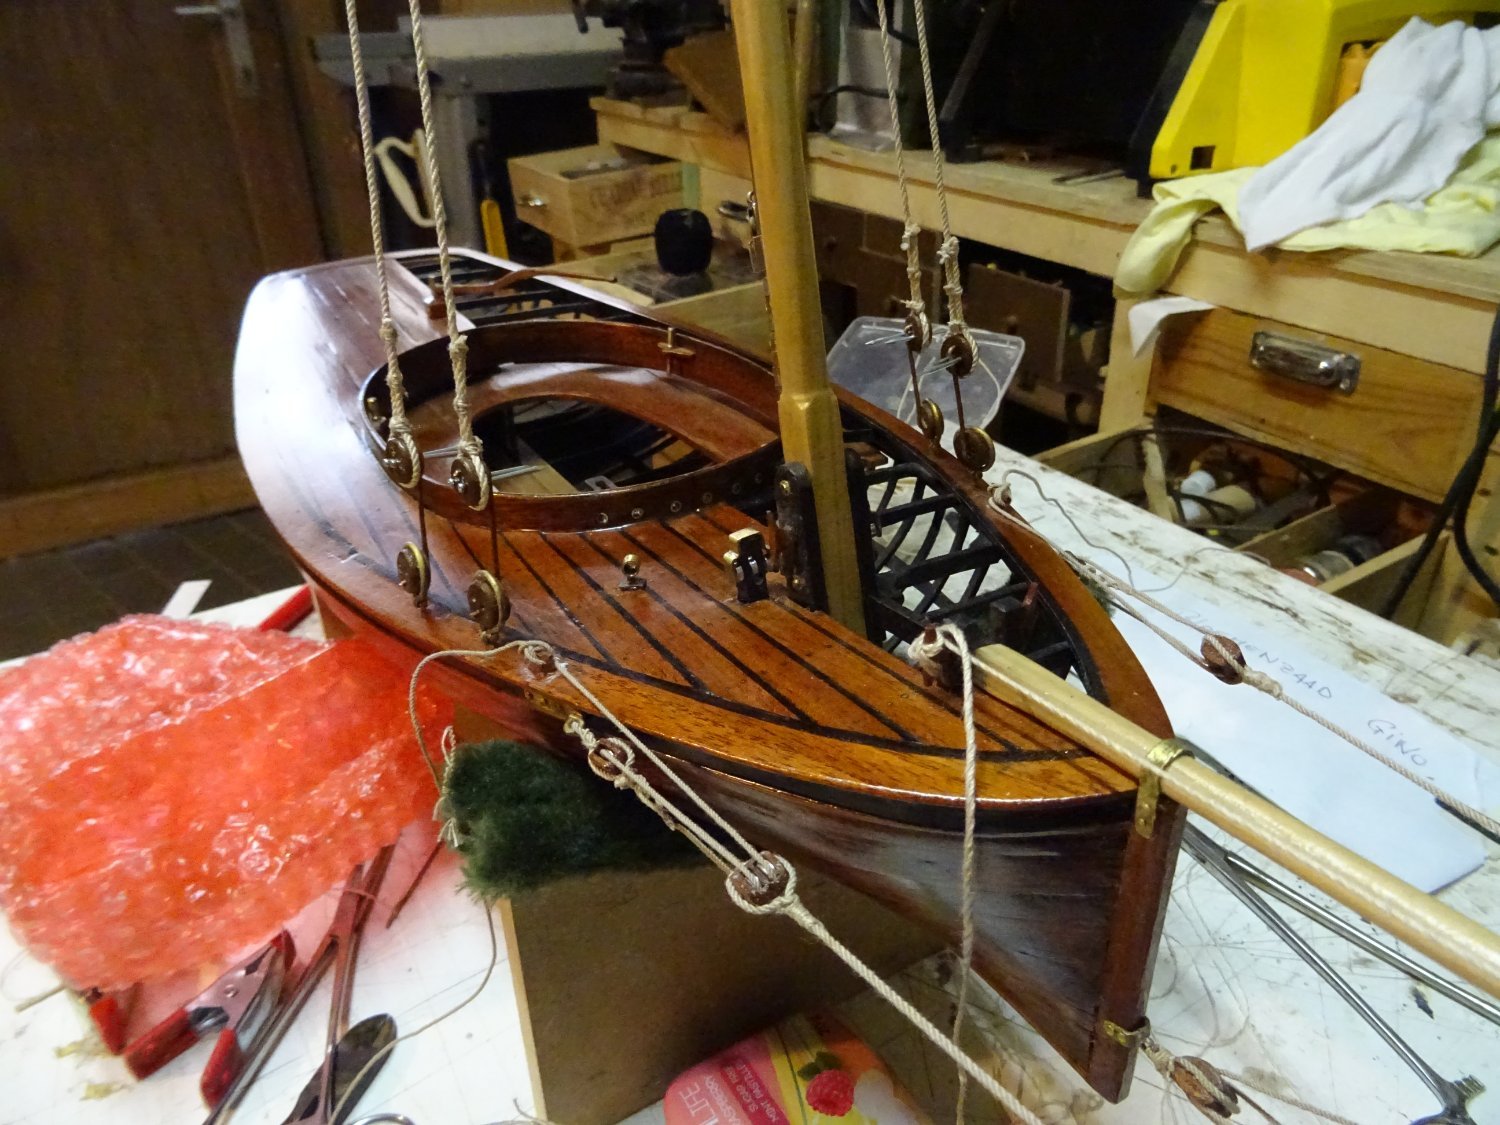
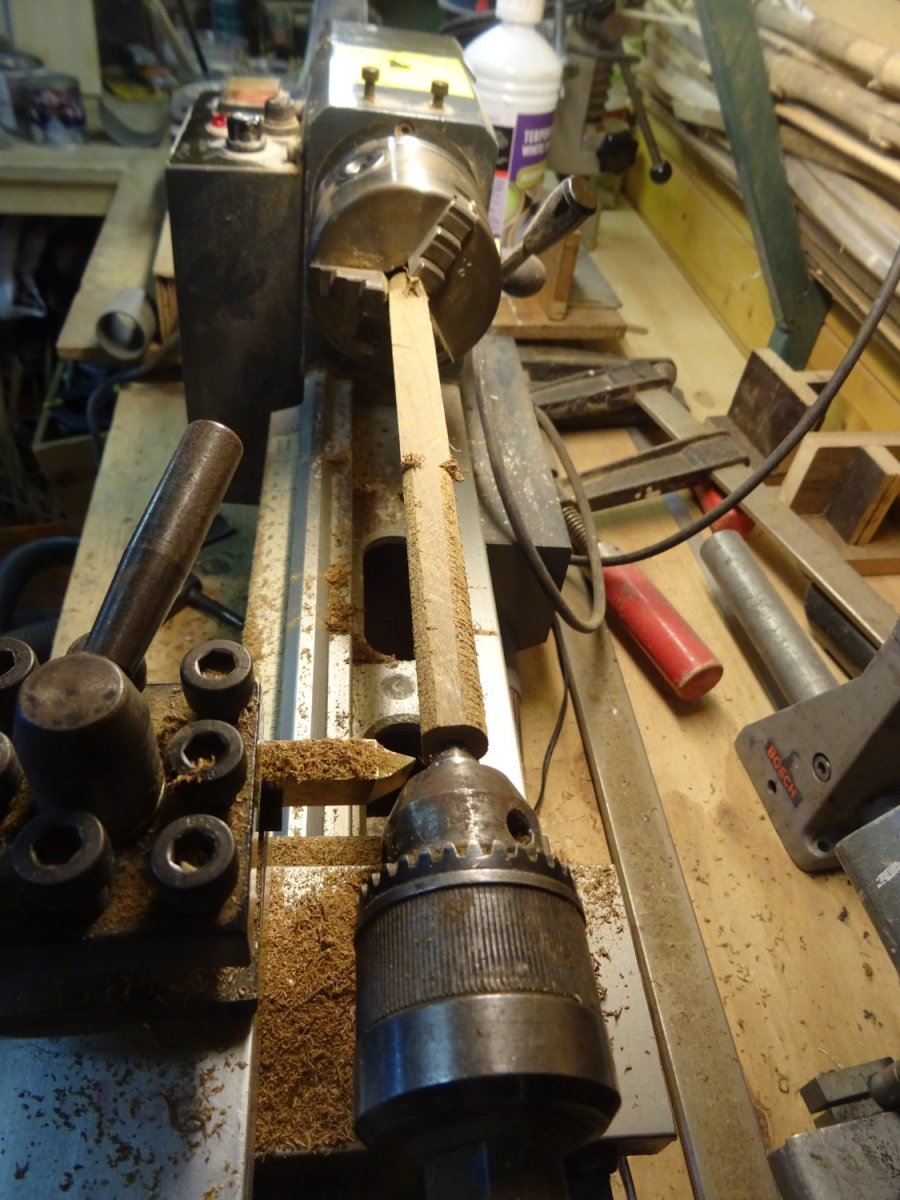
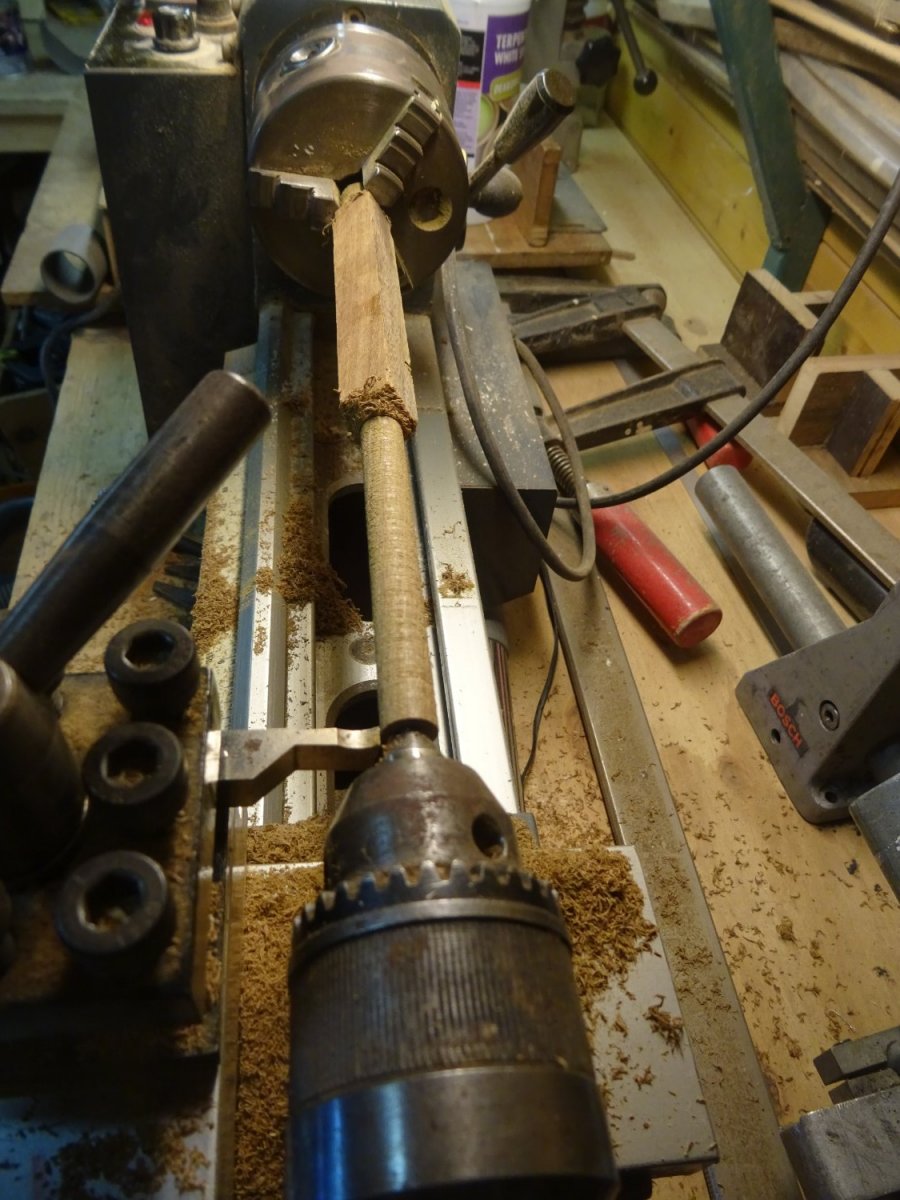
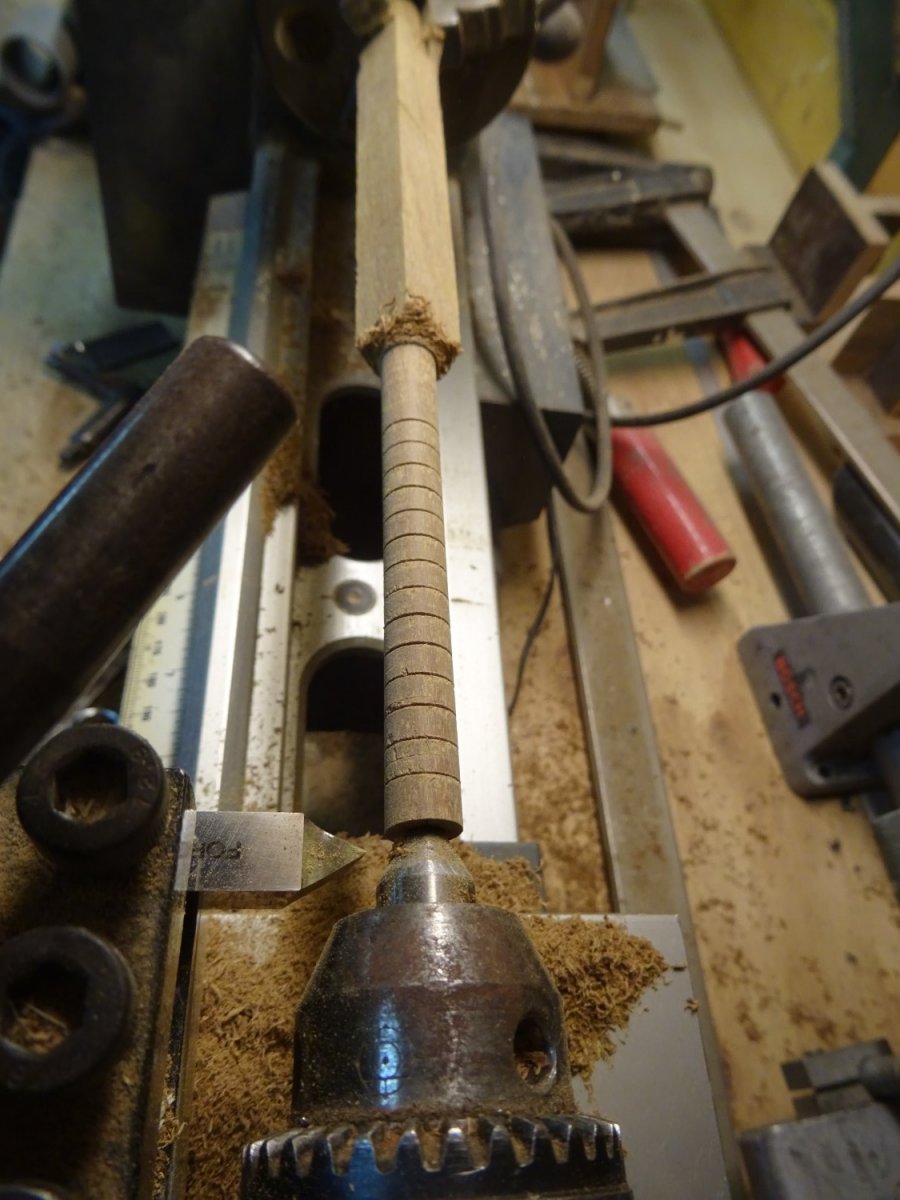
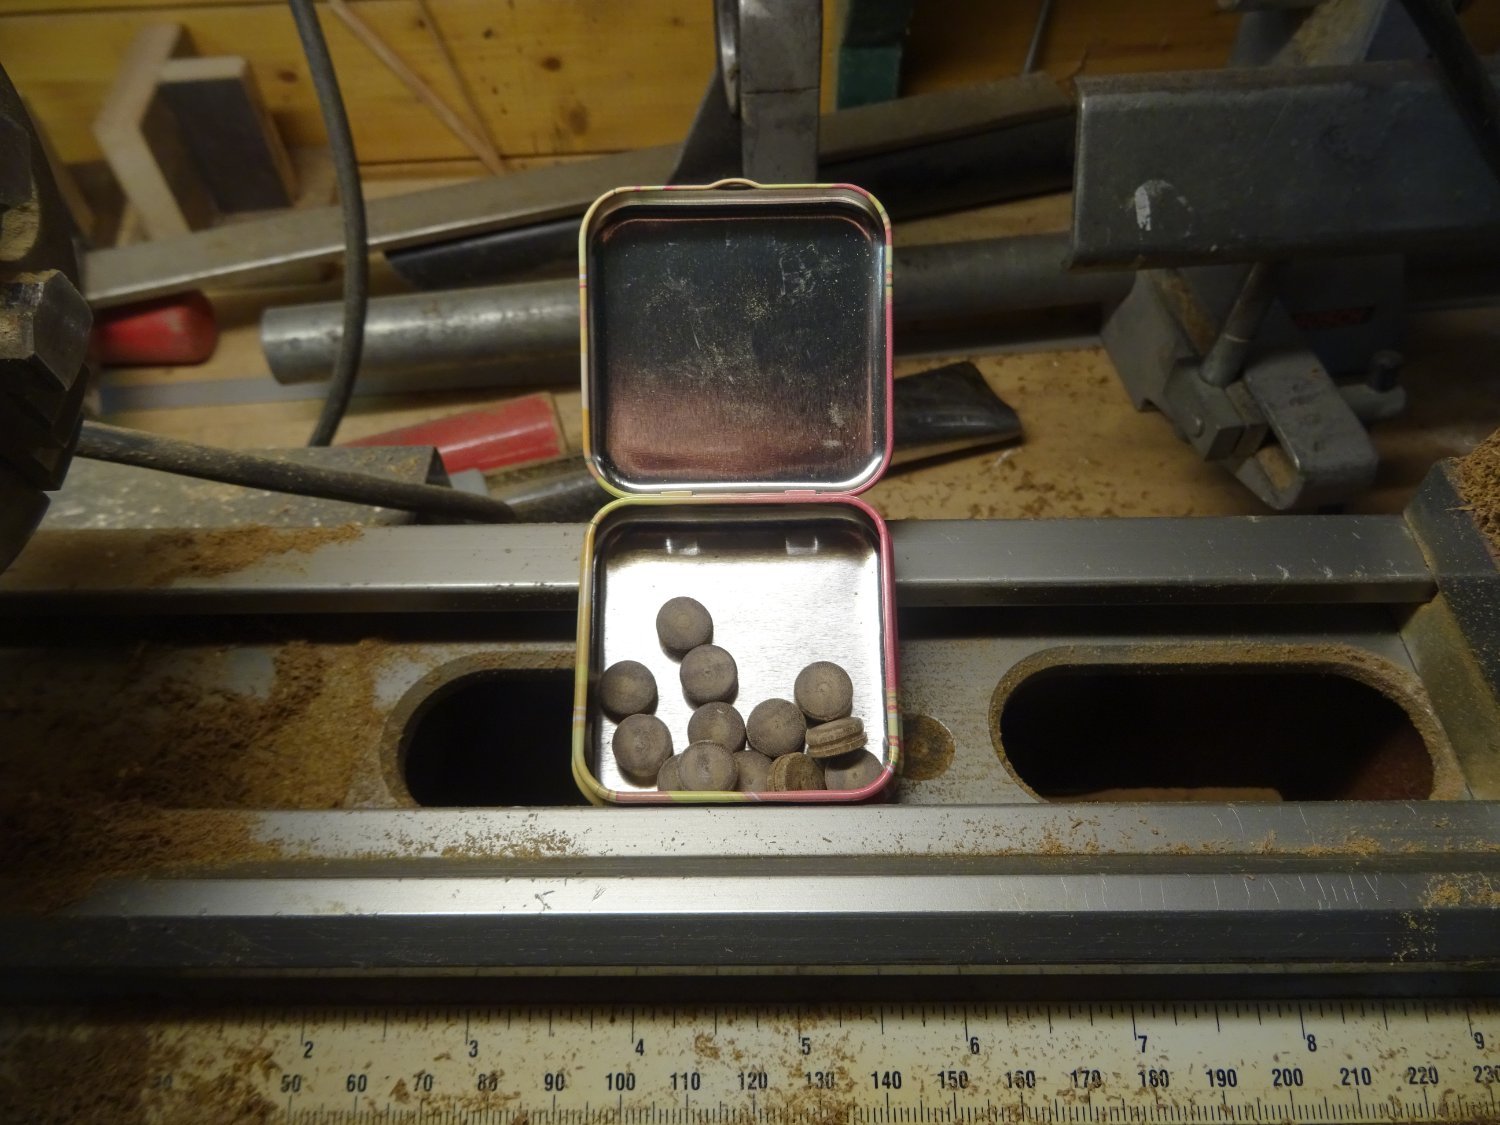
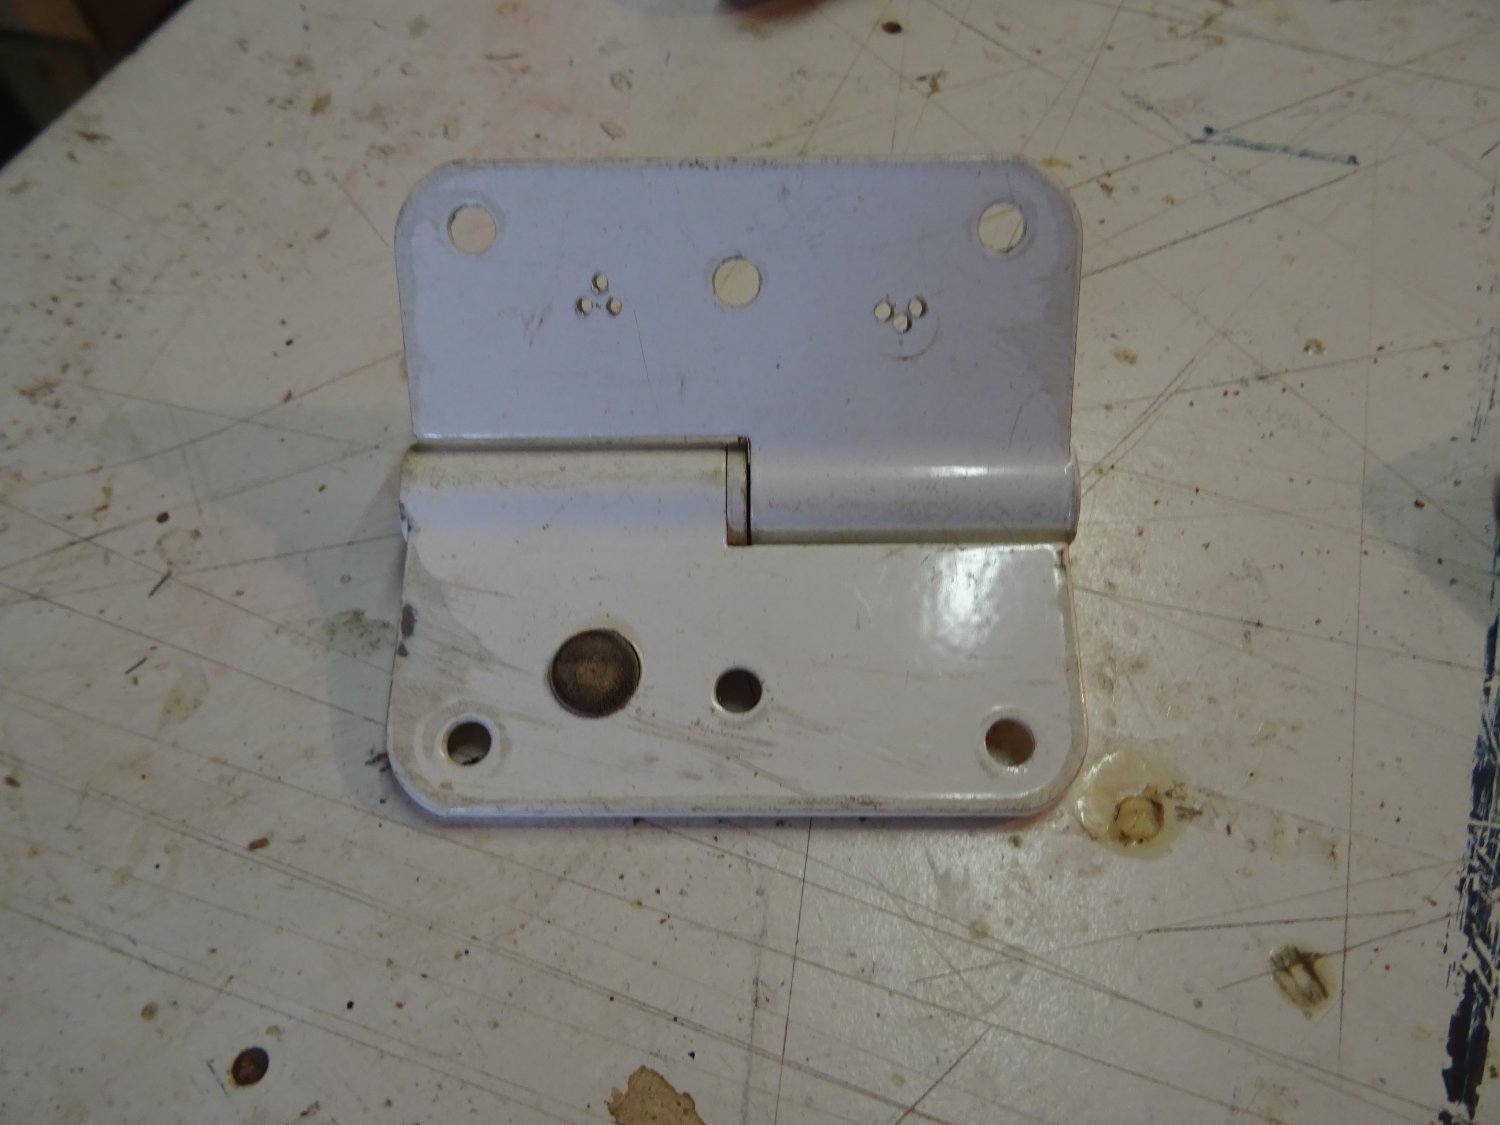
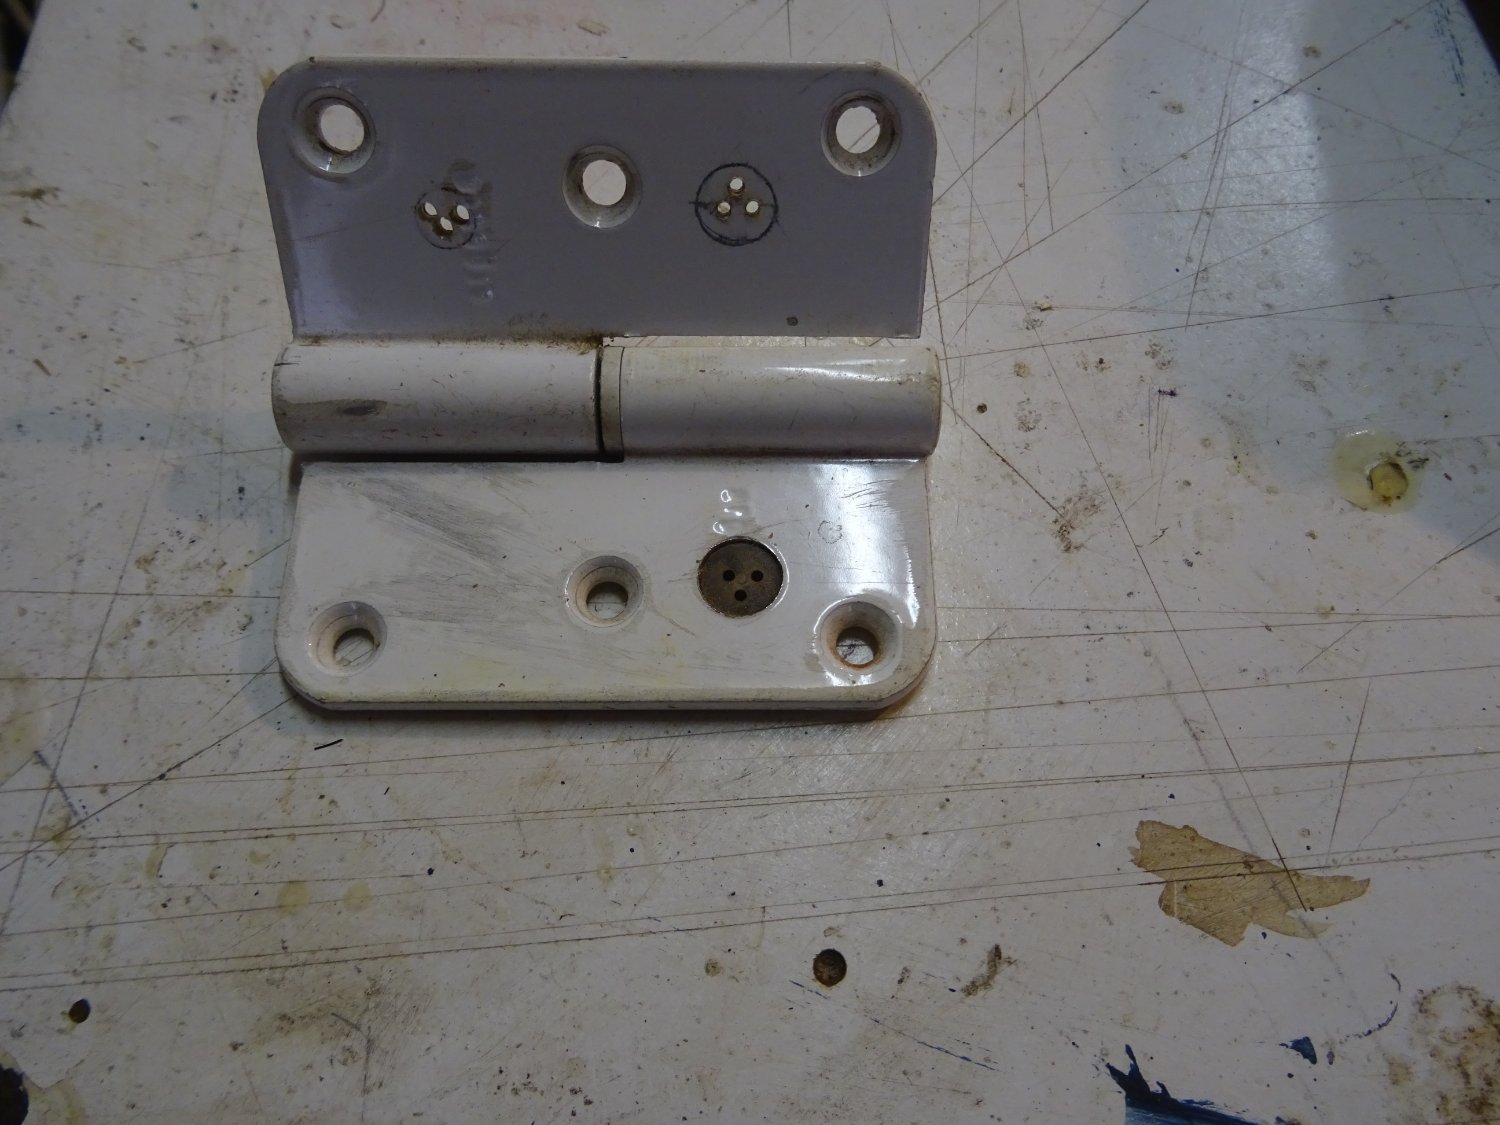
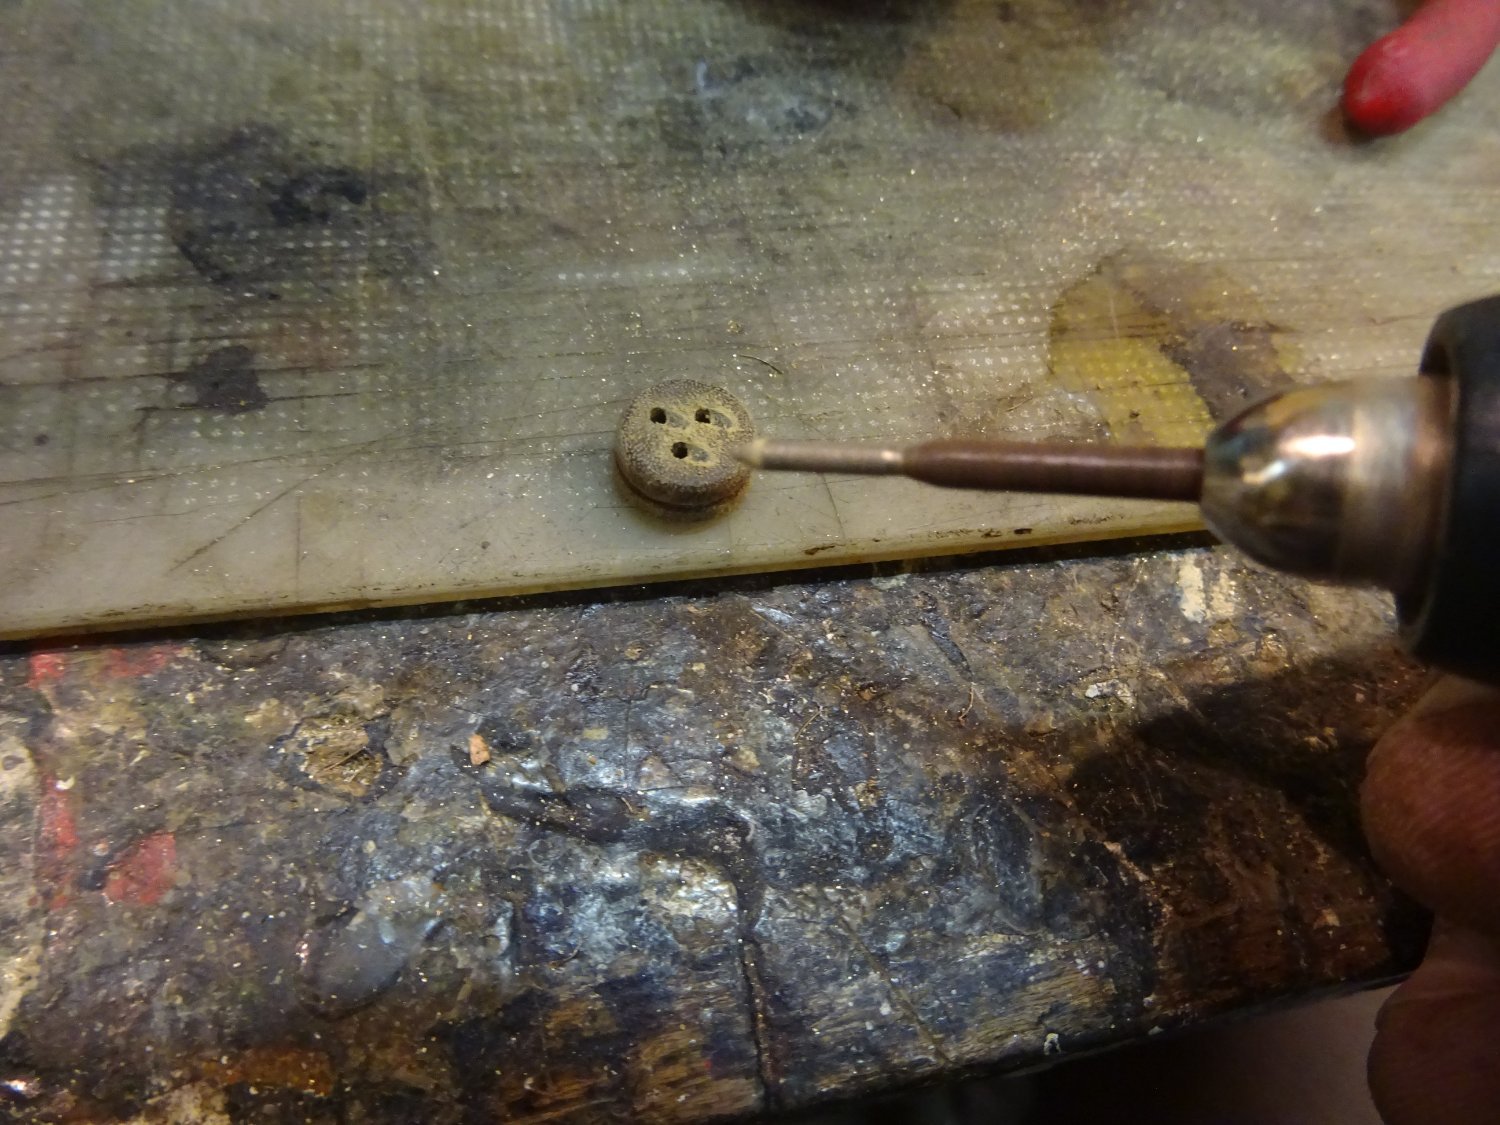
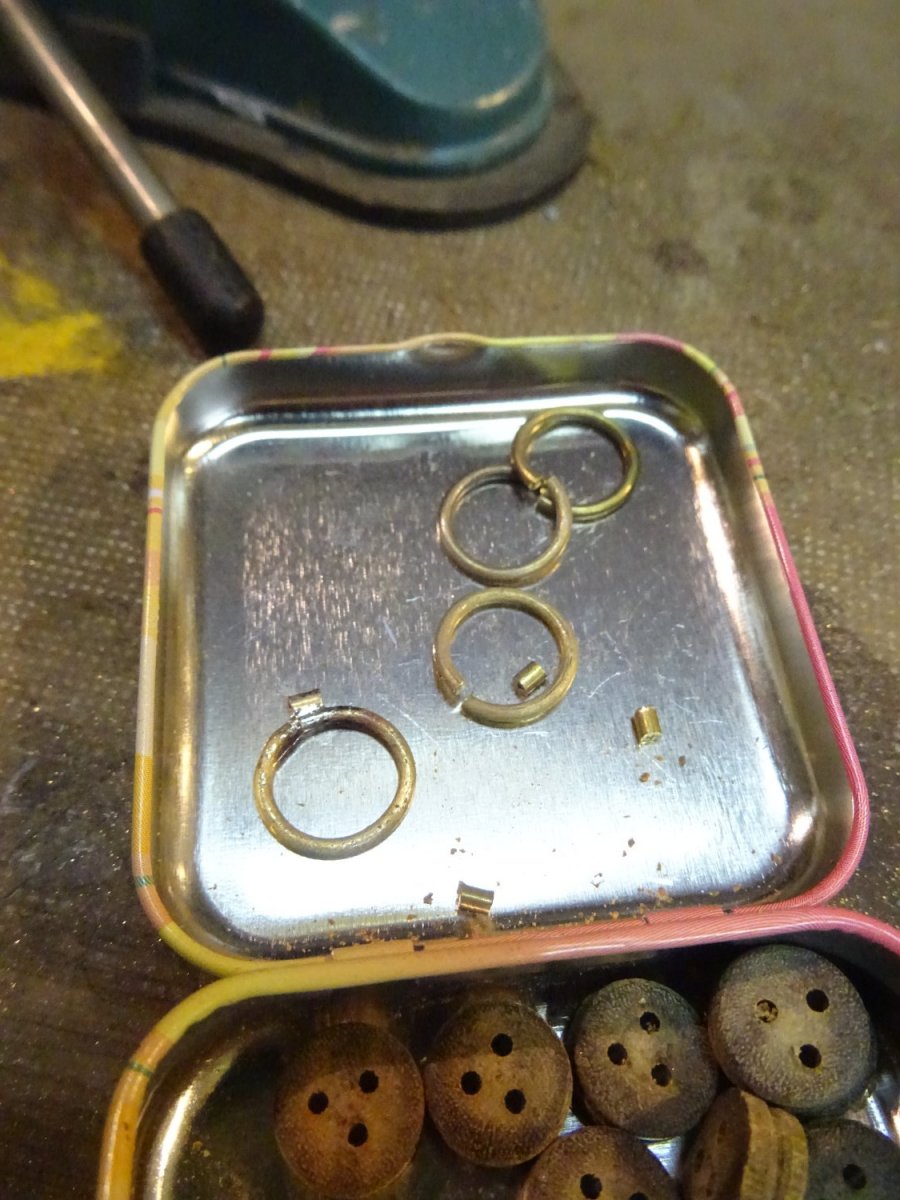
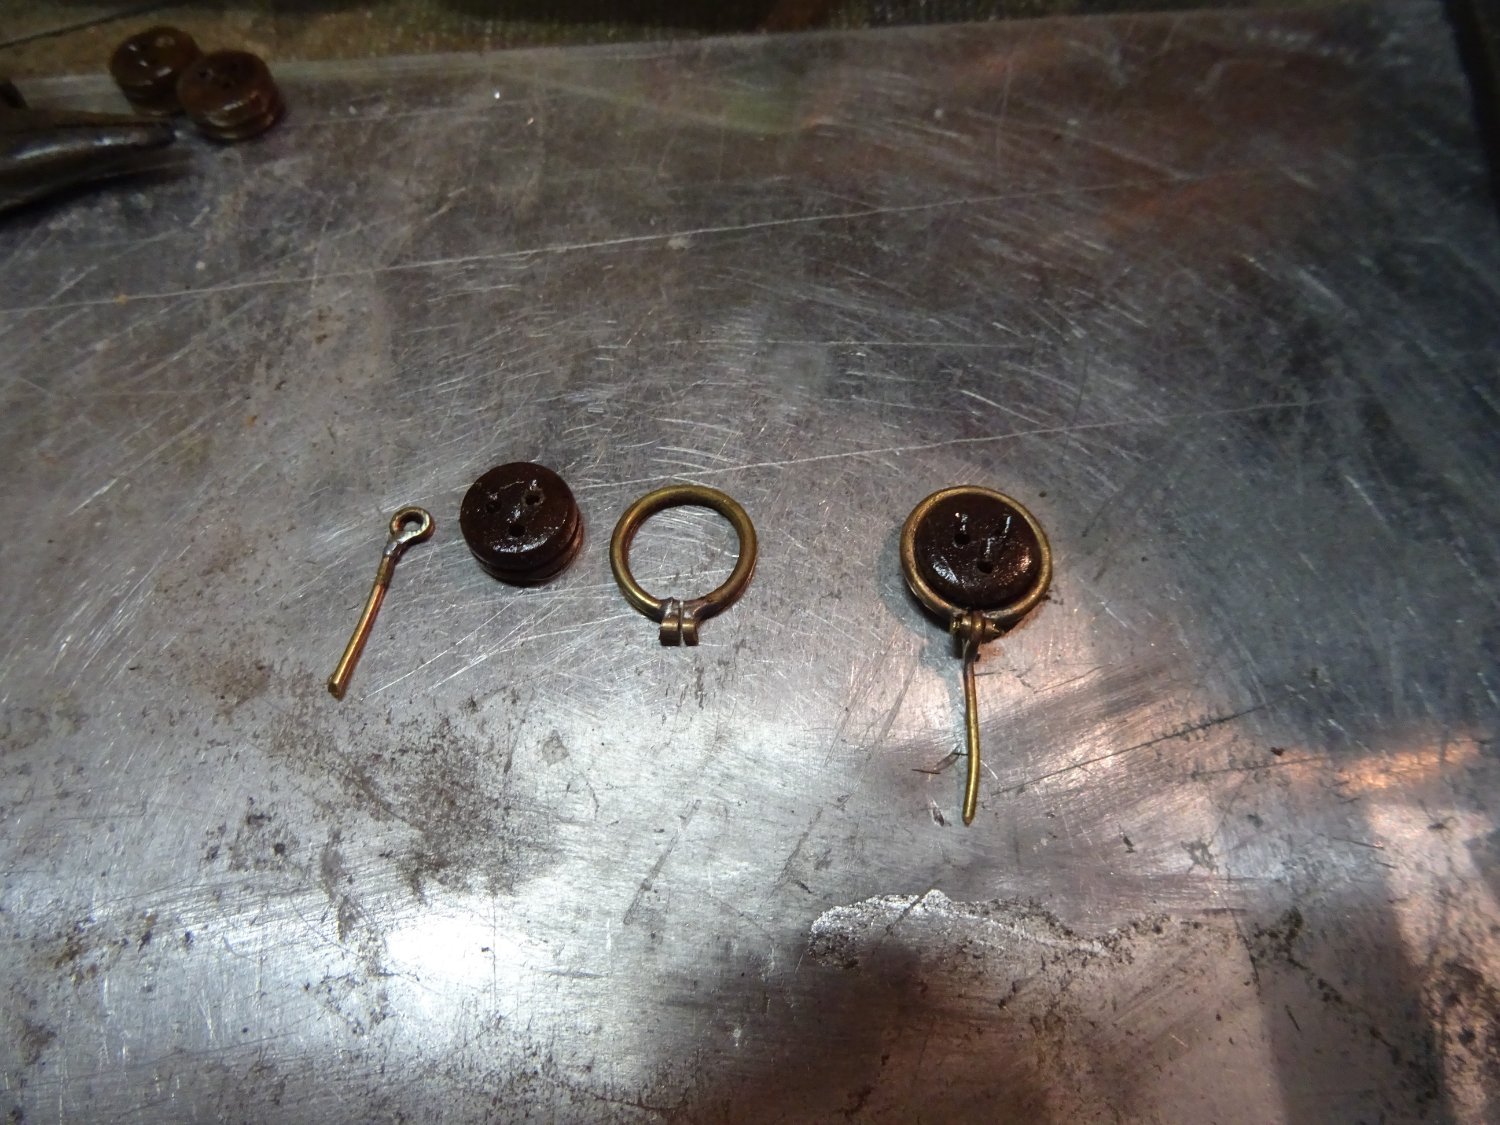
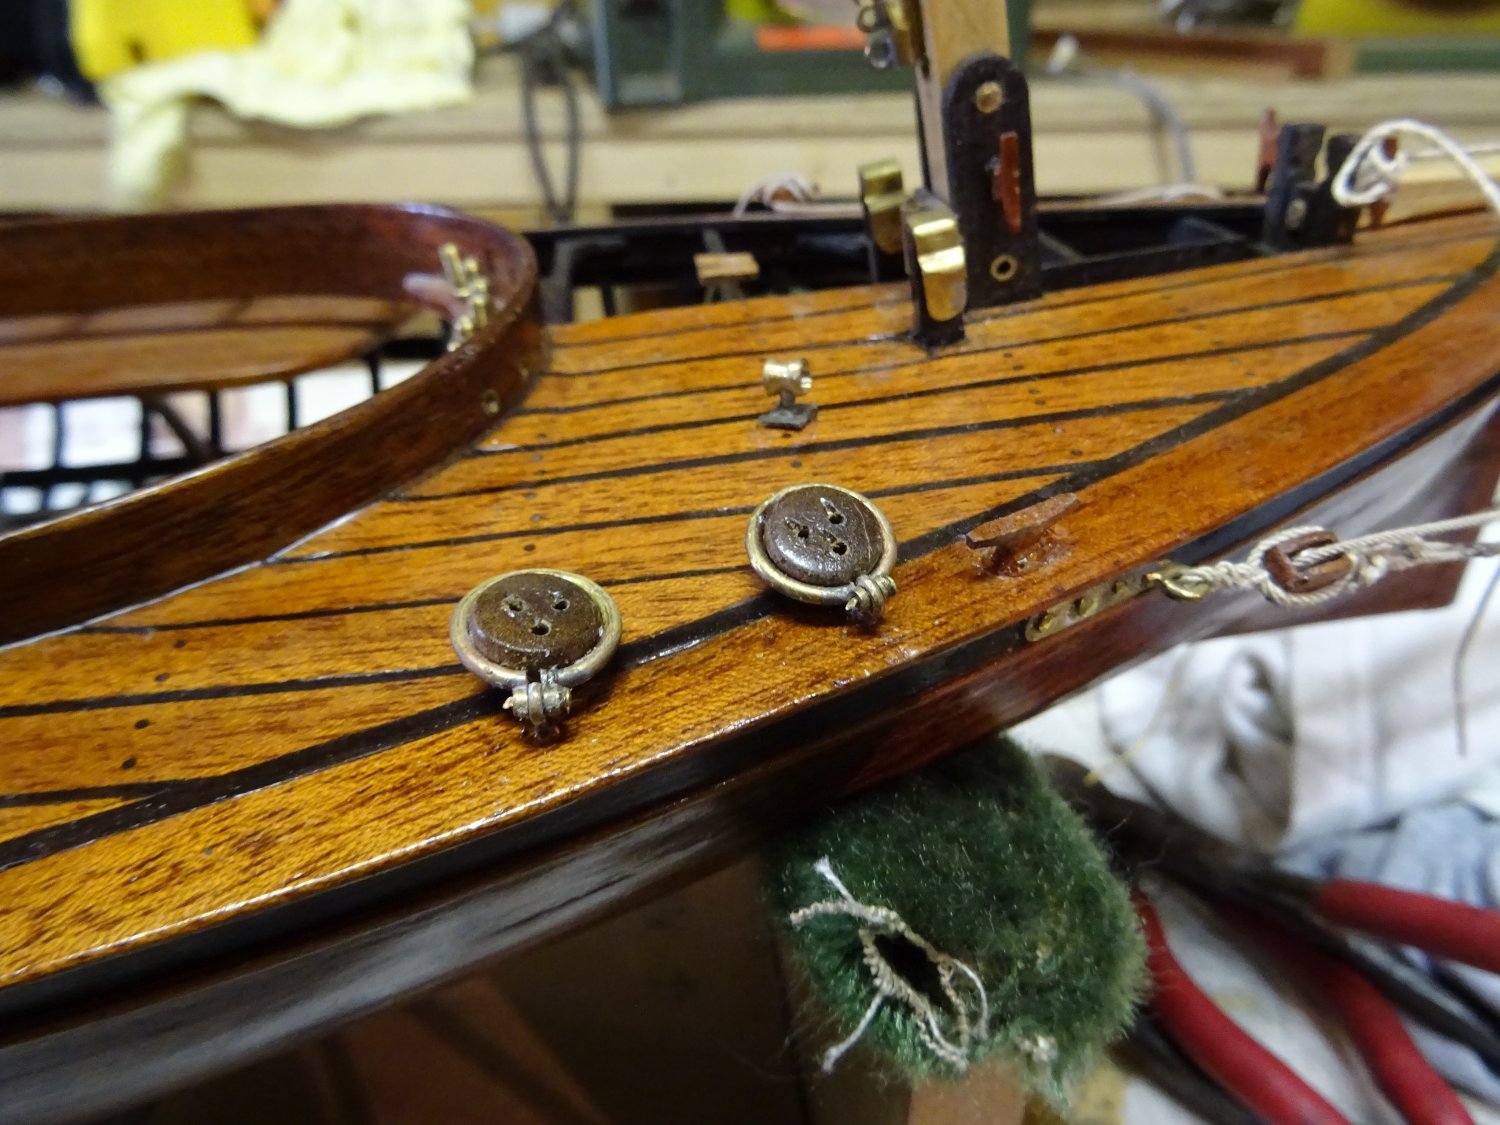
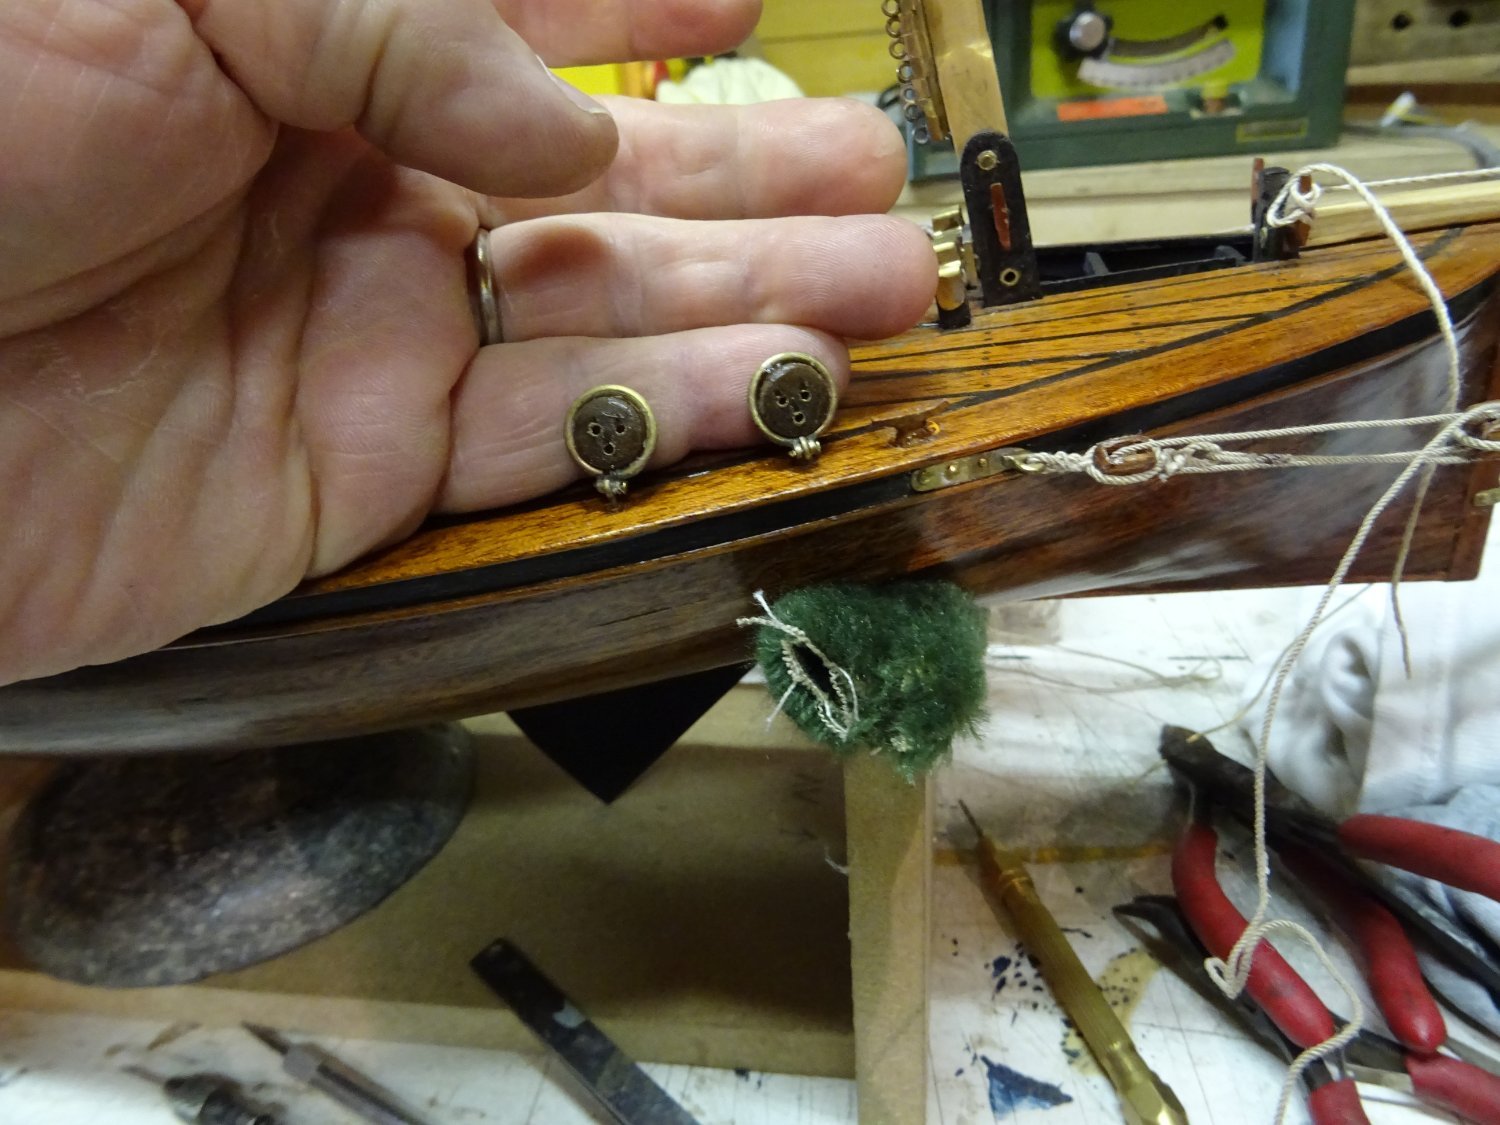
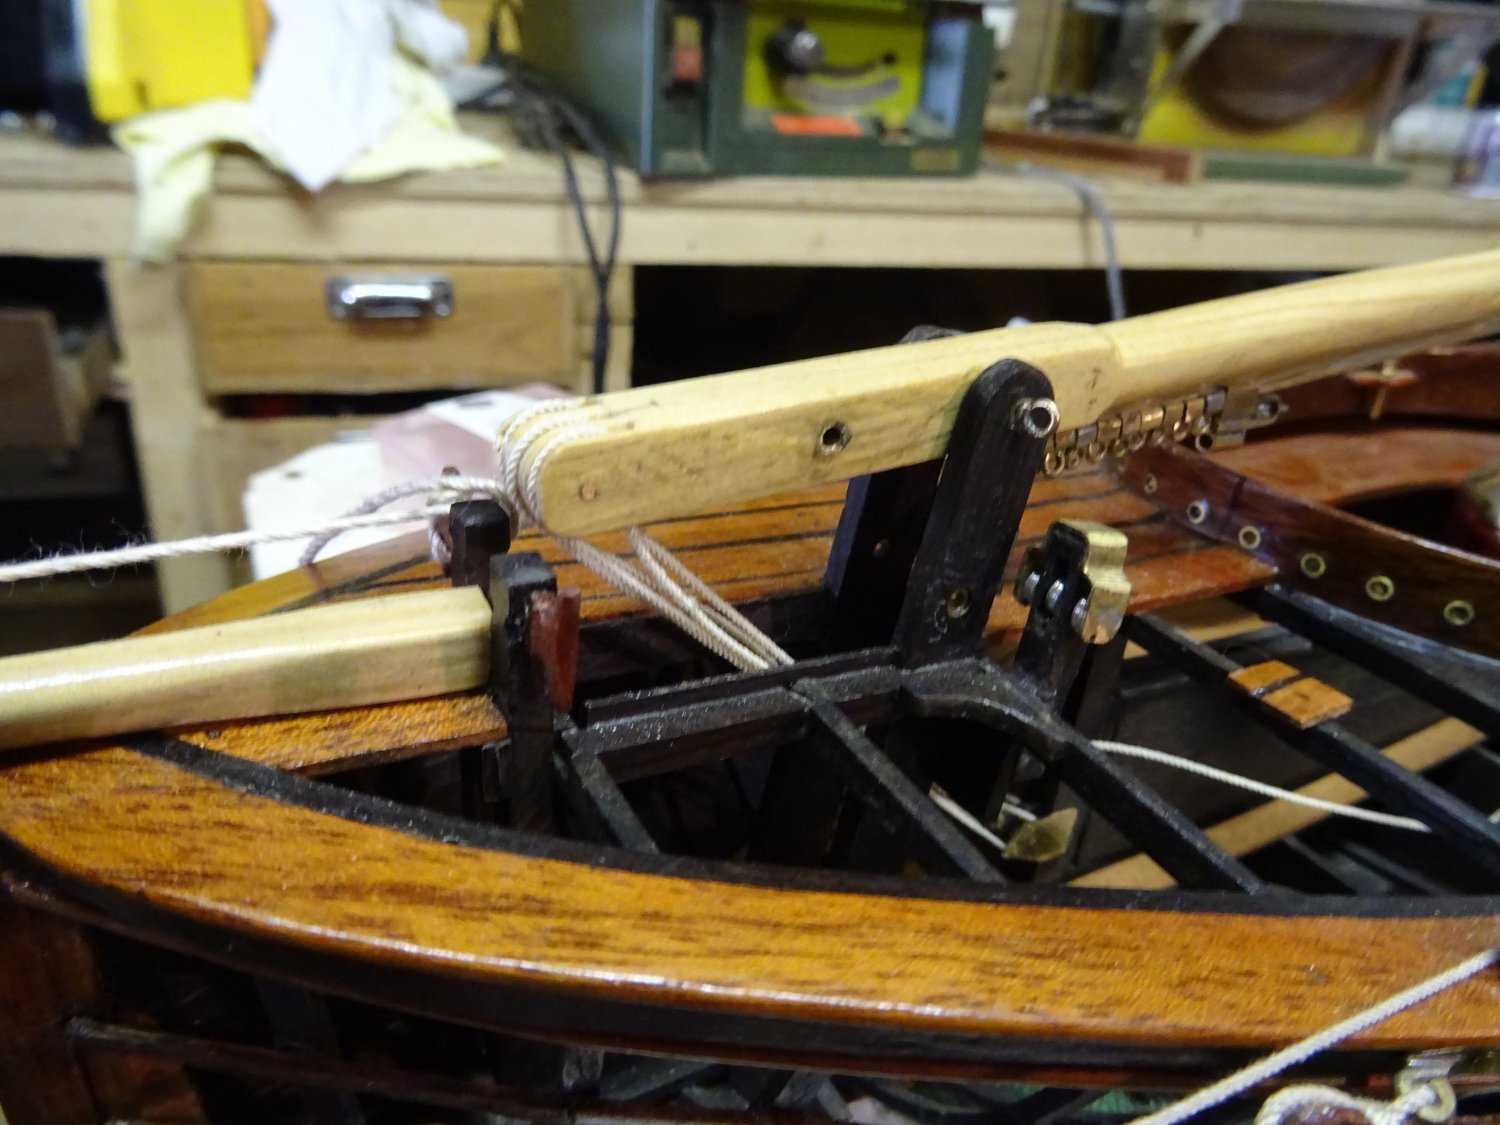
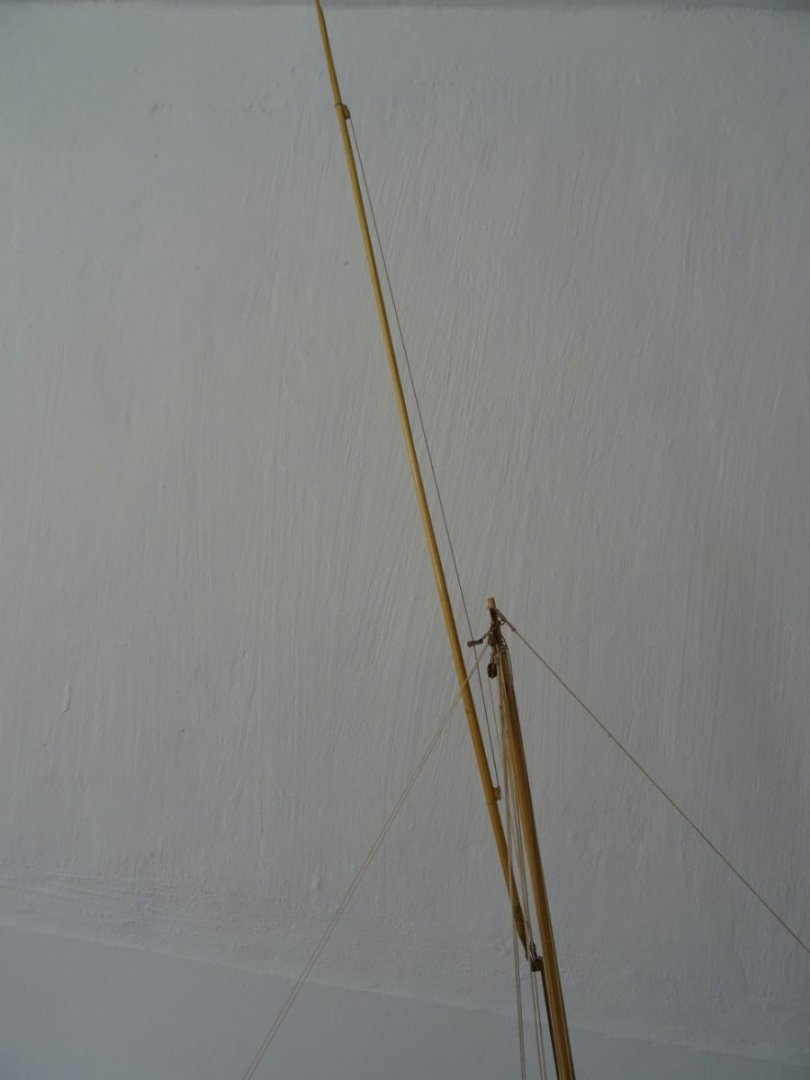
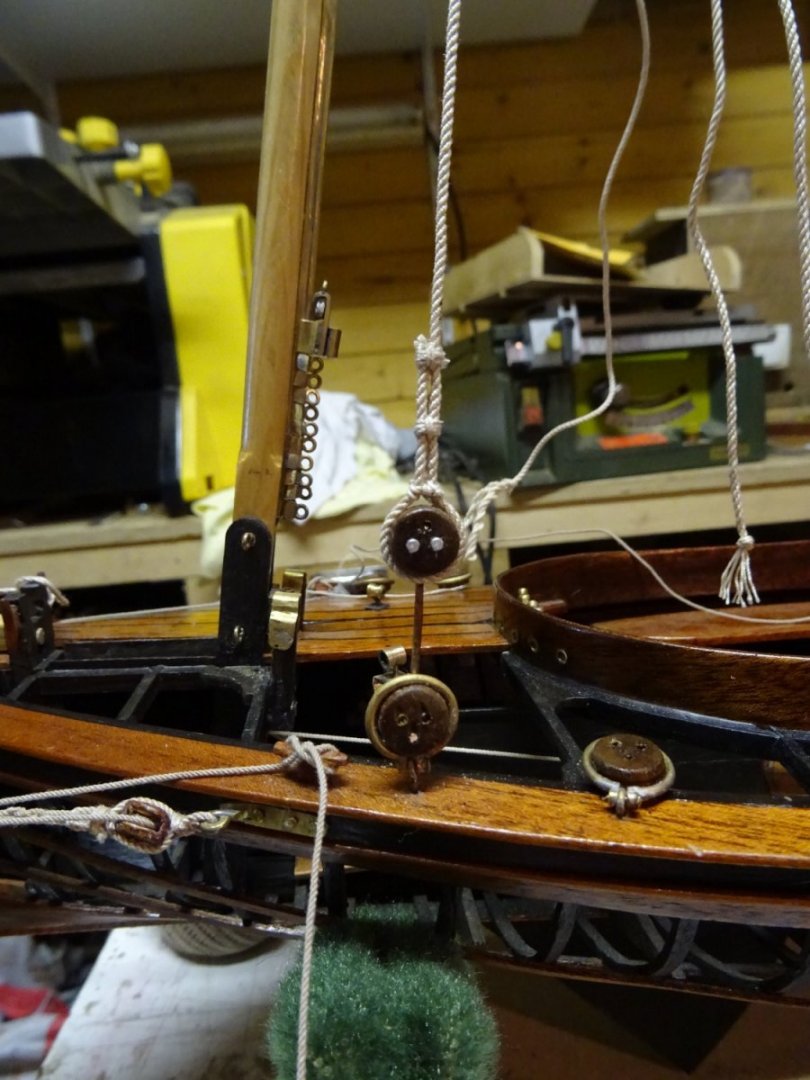
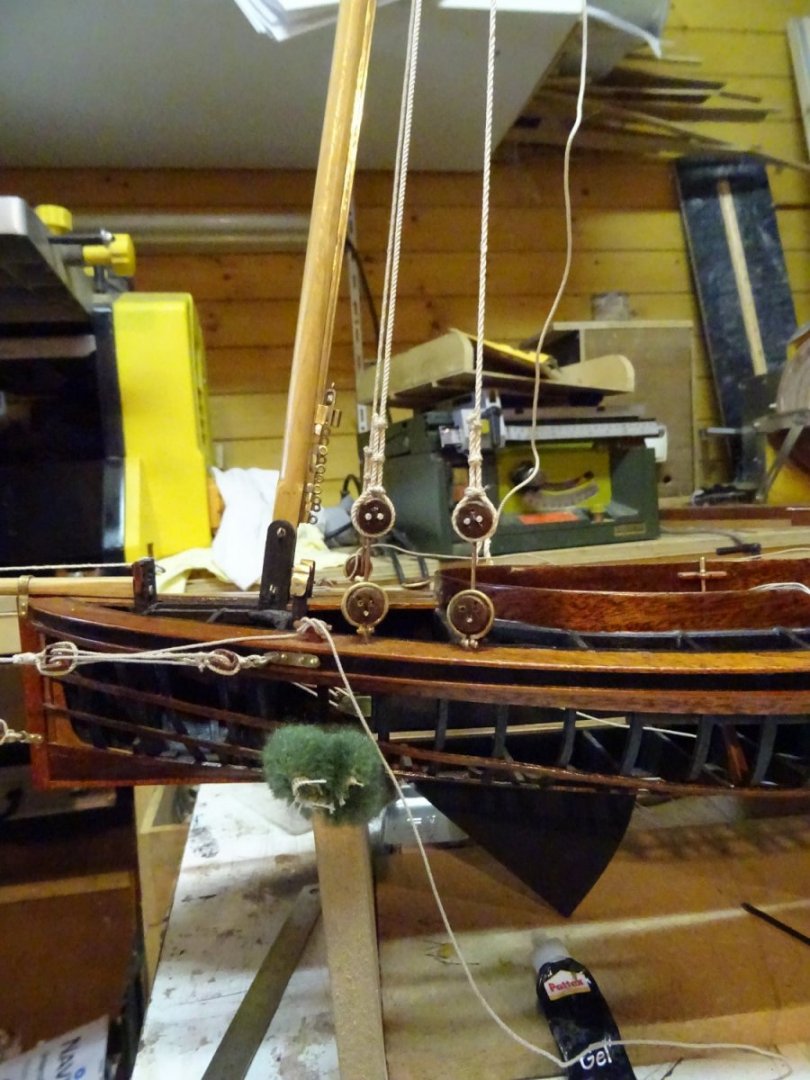
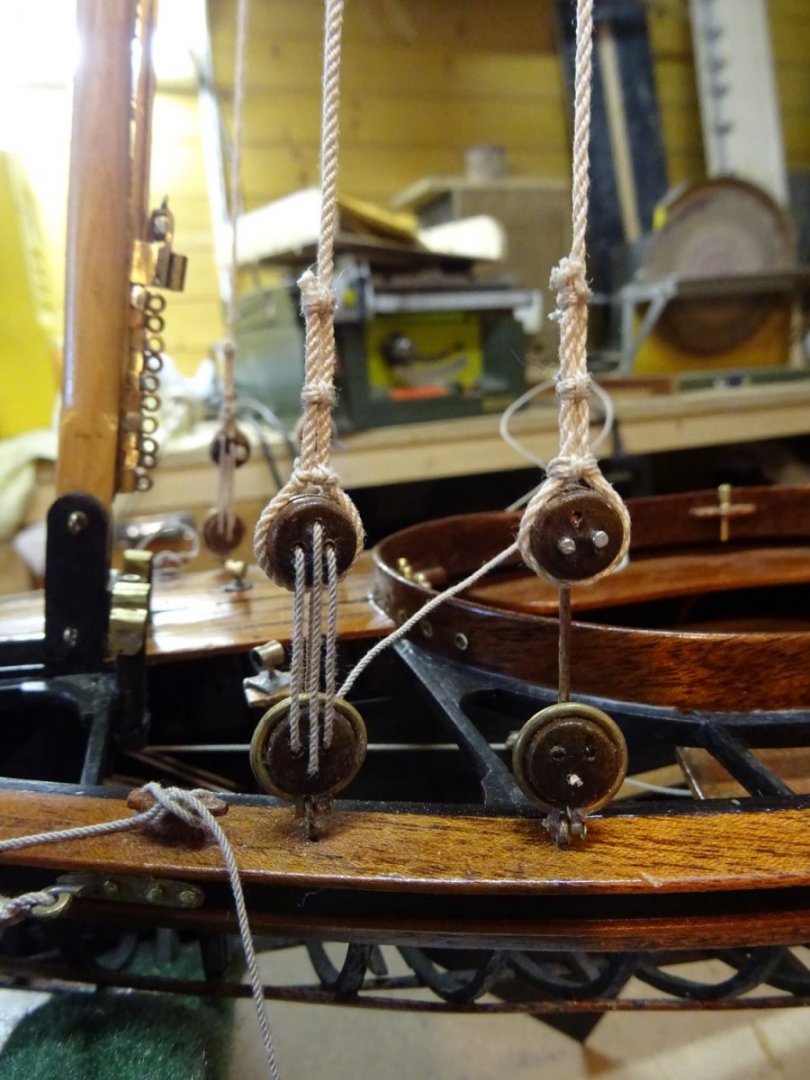
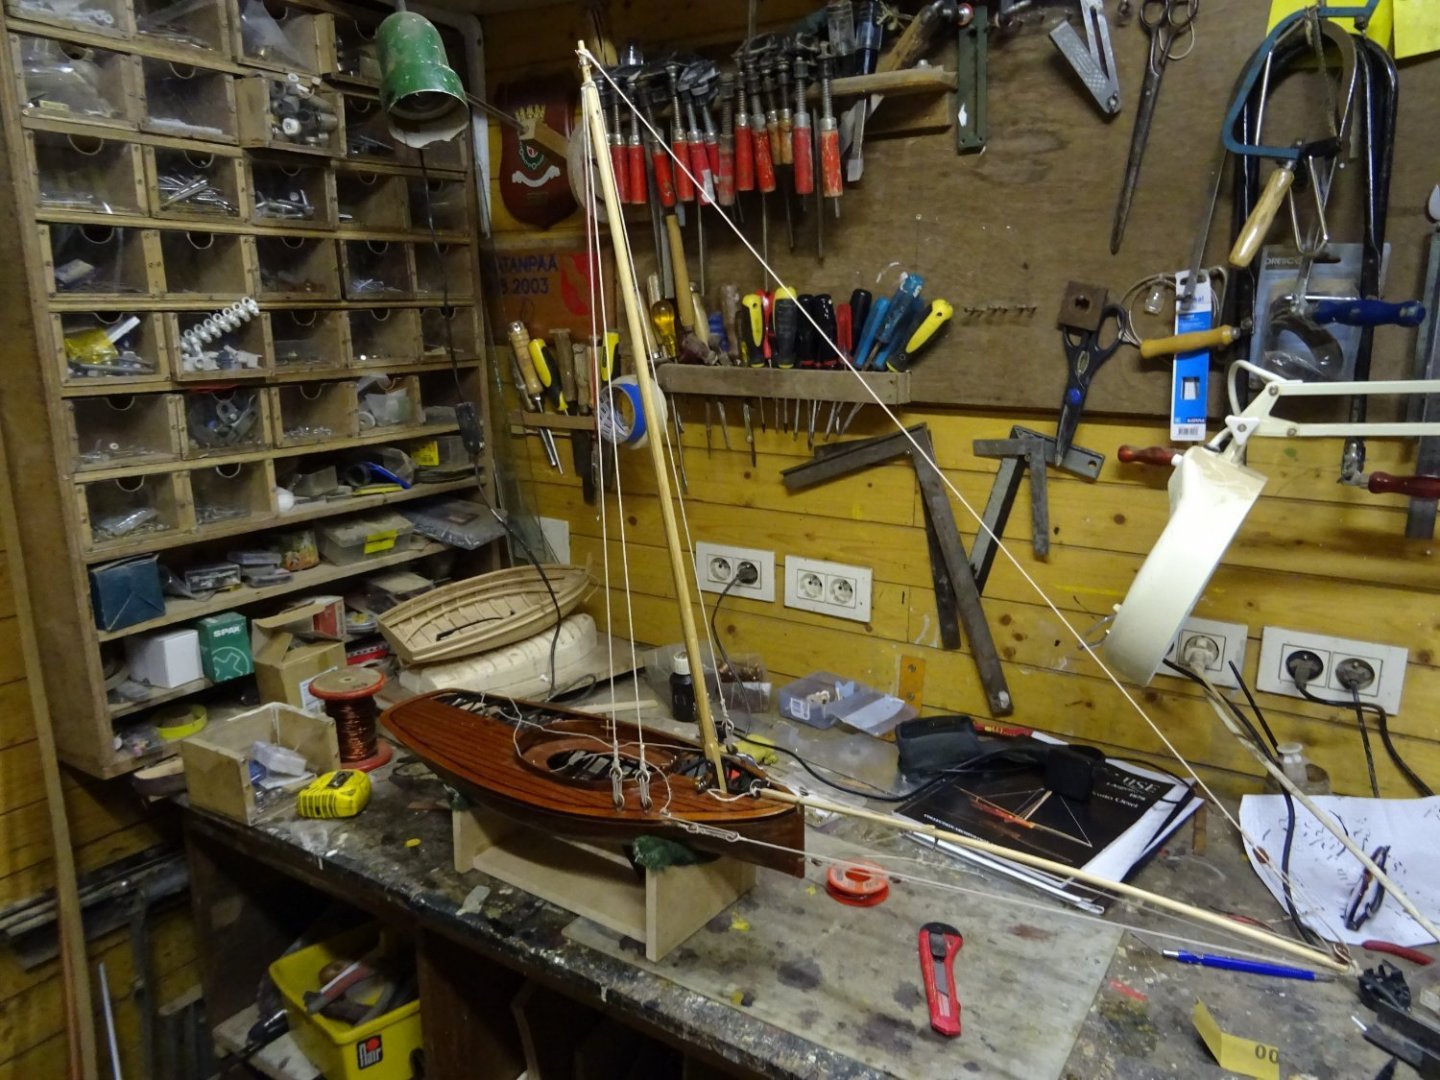
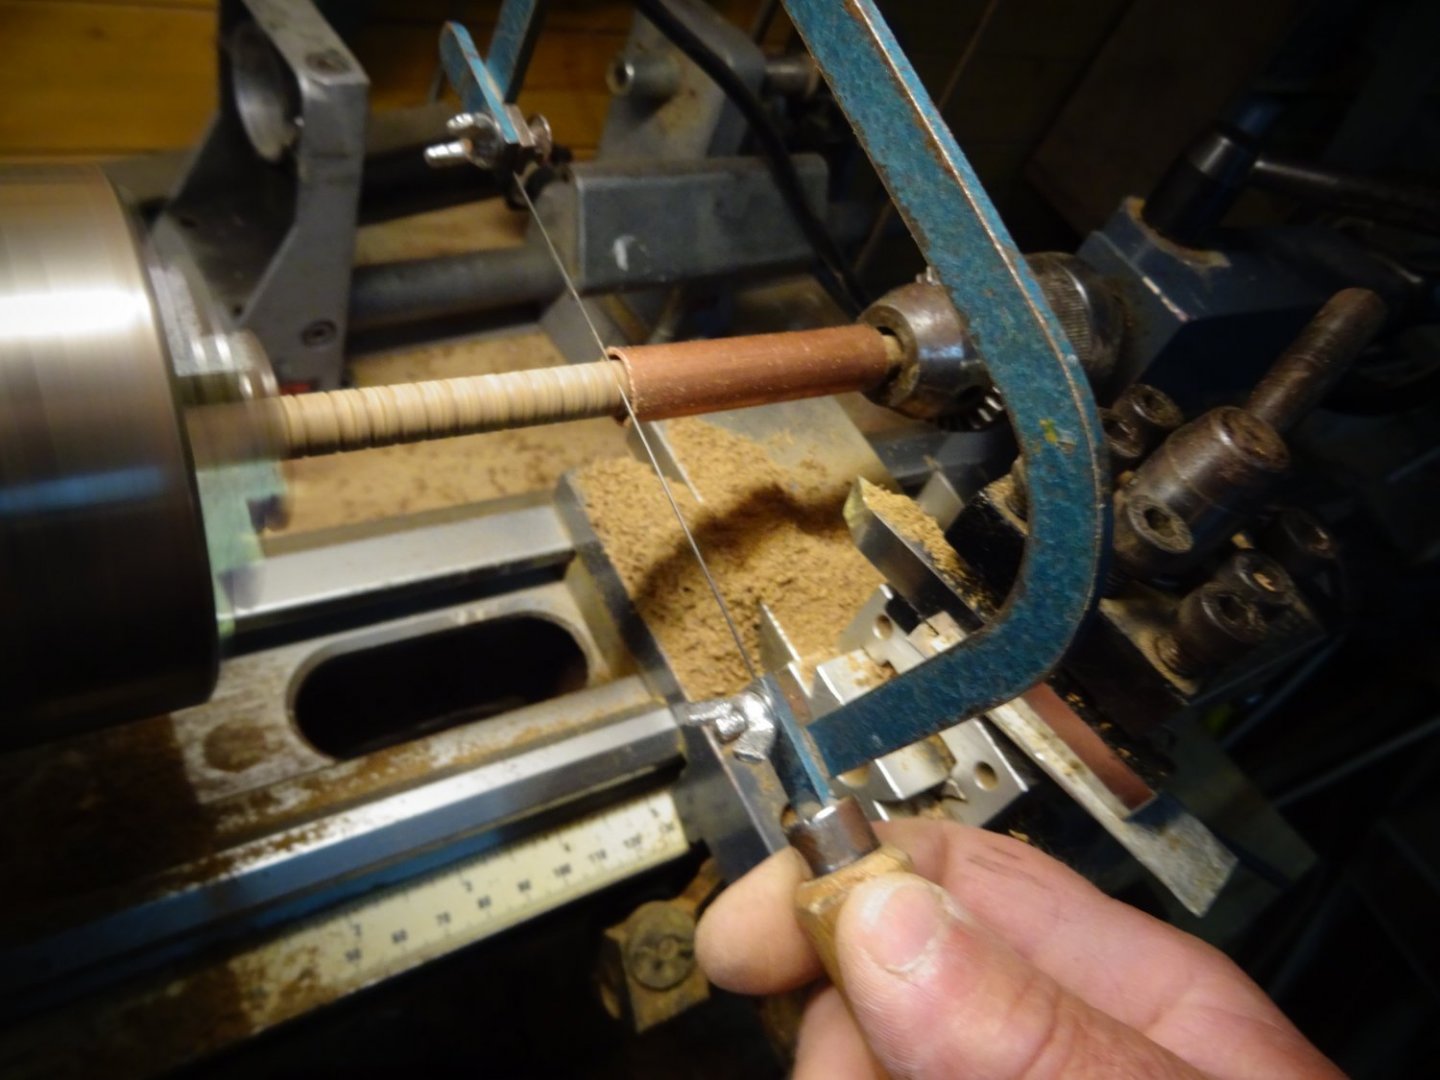
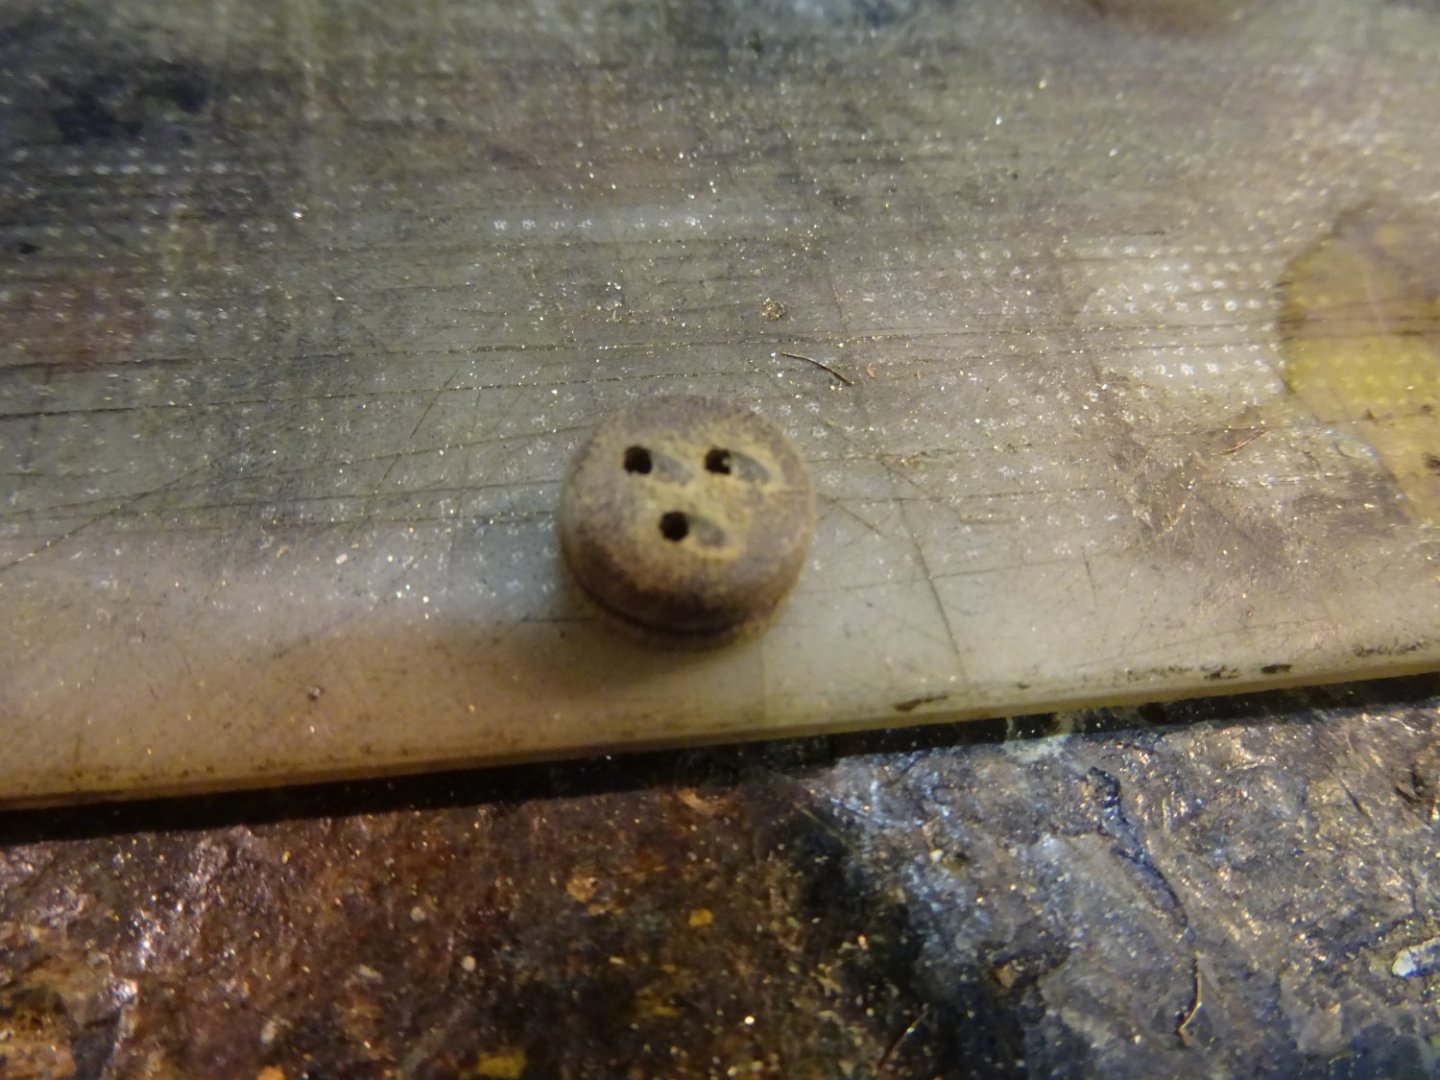
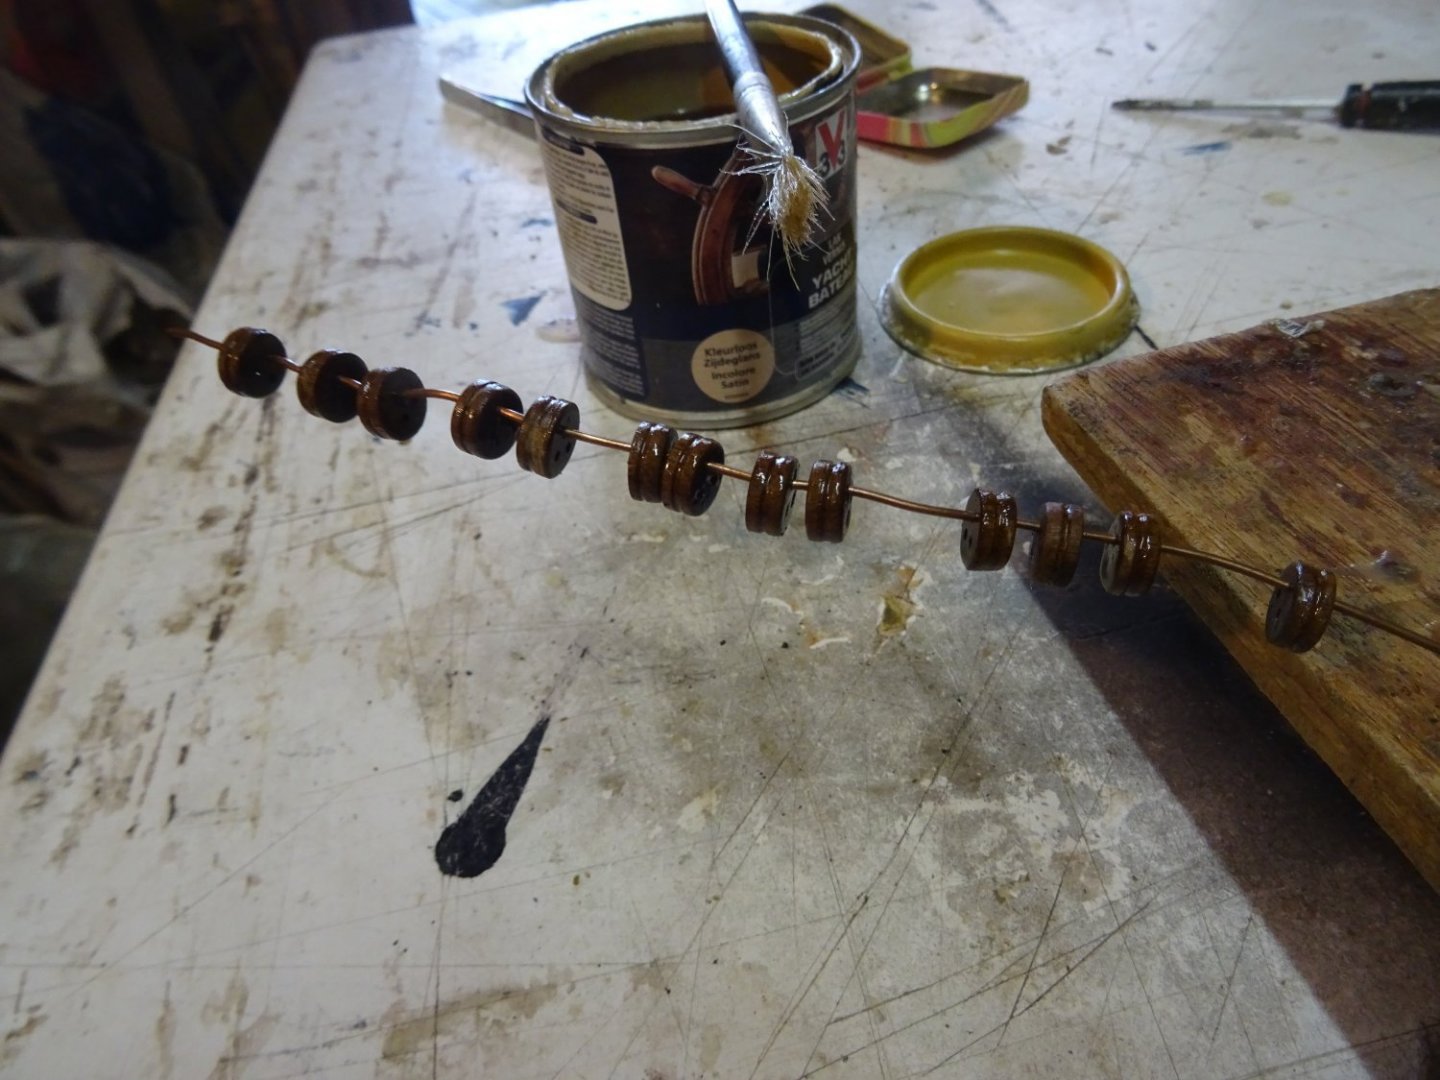
Time to rig the mast. Before rigging the mast, the pulley of the tabernacle must be rigged. The halyard for erecting the mast has already been split at the fixed part of the hoist and must now be passed through the sheaves at the bottom of the mast. The mast is supported on both sides with two shrouds and dead eyes. The dead eyes are tuned on the lathe from a piece of hard wood. I use my proven hinge method to drill the holes in the right places. Finishing: And varnishing Making the strops The dead eyes in place.


- 153 replies
-
- 11
-
-
-
- Ancre
- Bruno Orsel
- (and 2 more)
-
Ebenhard, You're probably right, but I don't have a precision milling machine to make a neat slot so I'm just trusting that the rail will only stay on the mast with glue. Thanks Jim.
- 153 replies
-
- 1
-
-
- Ancre
- Bruno Orsel
- (and 2 more)
-
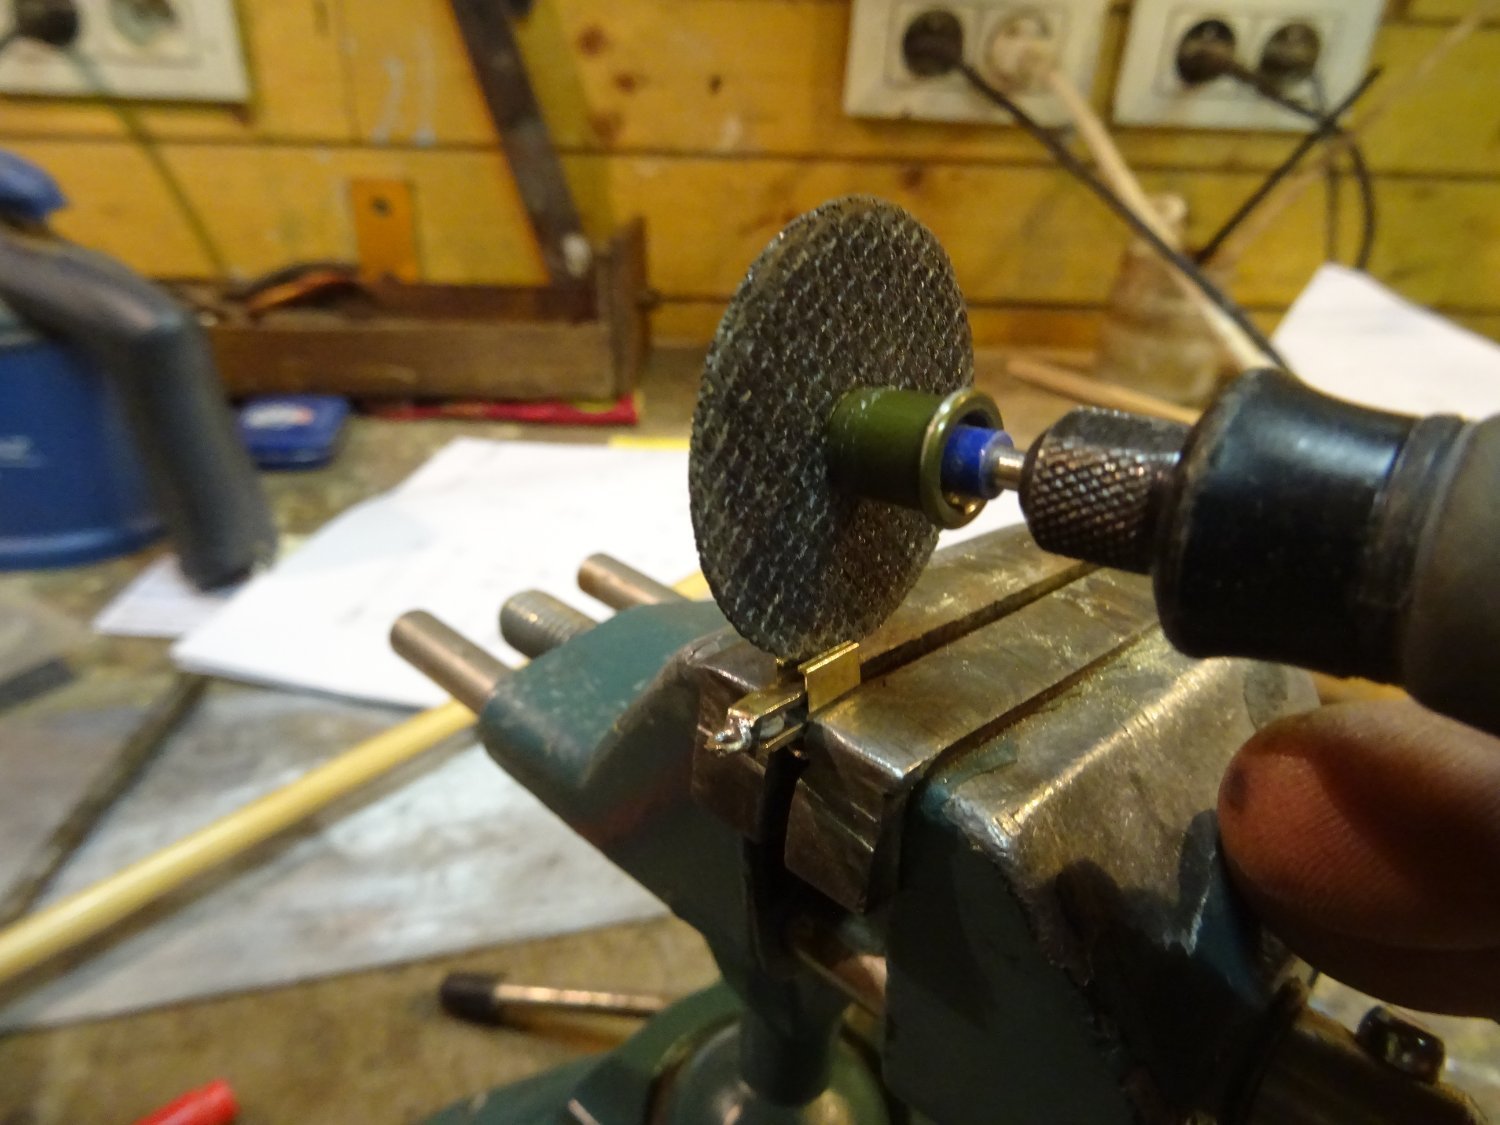
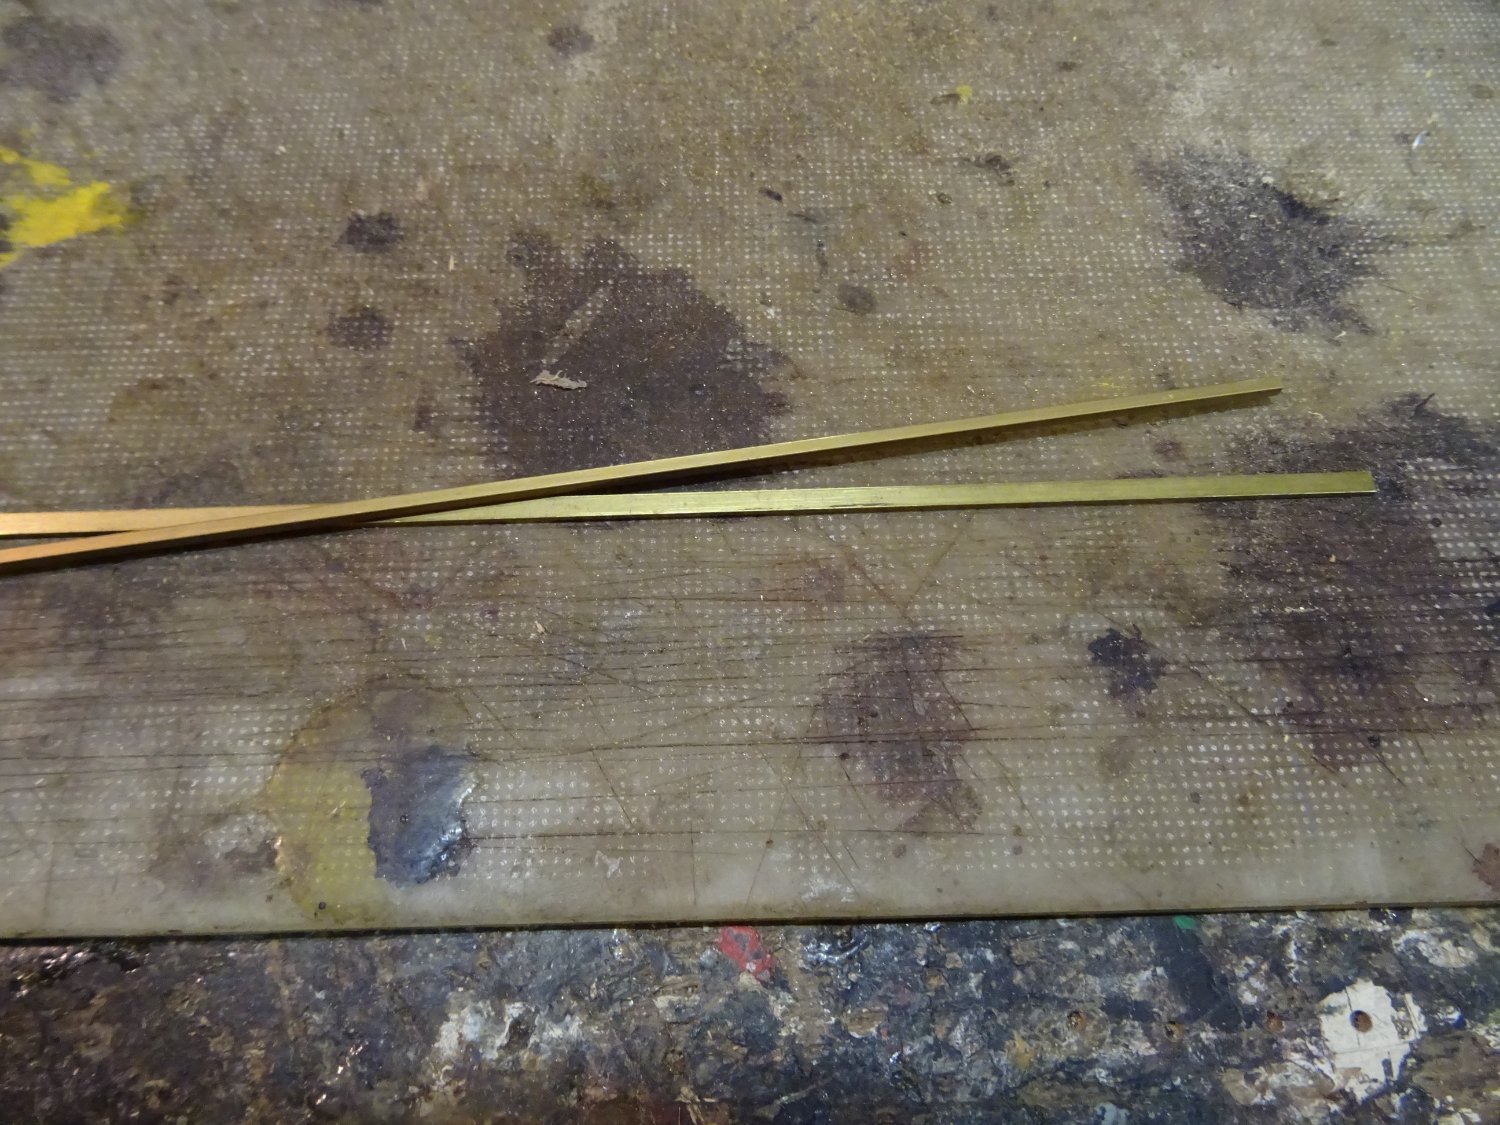
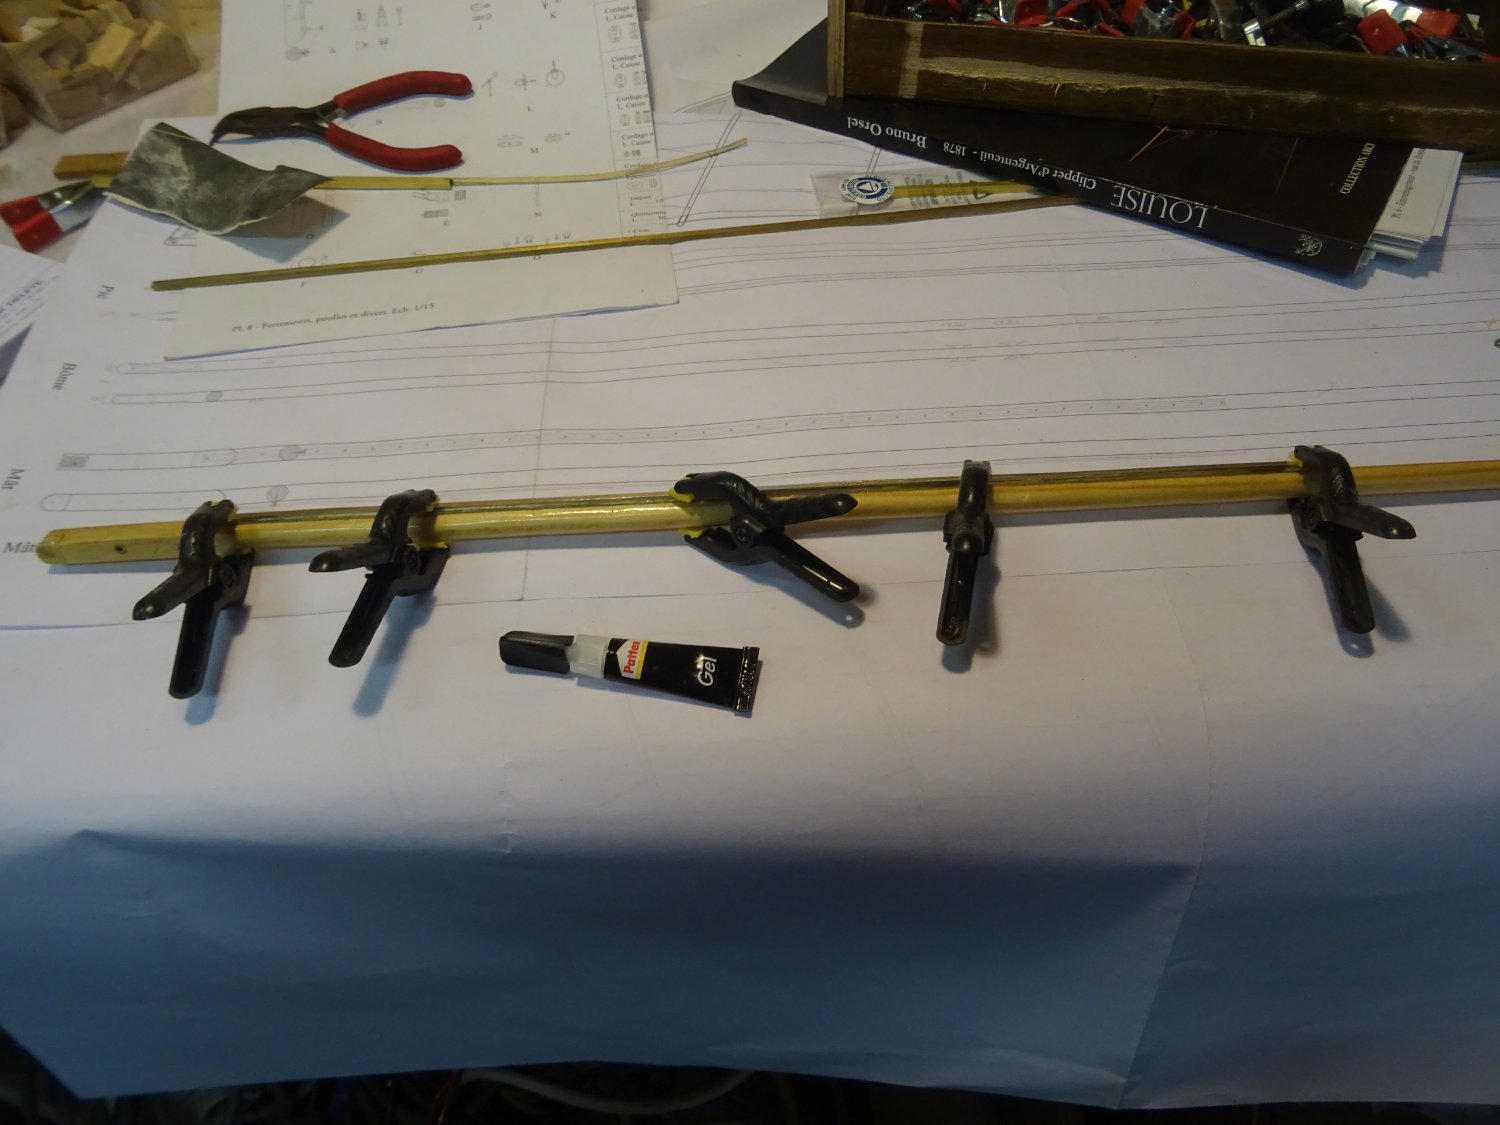
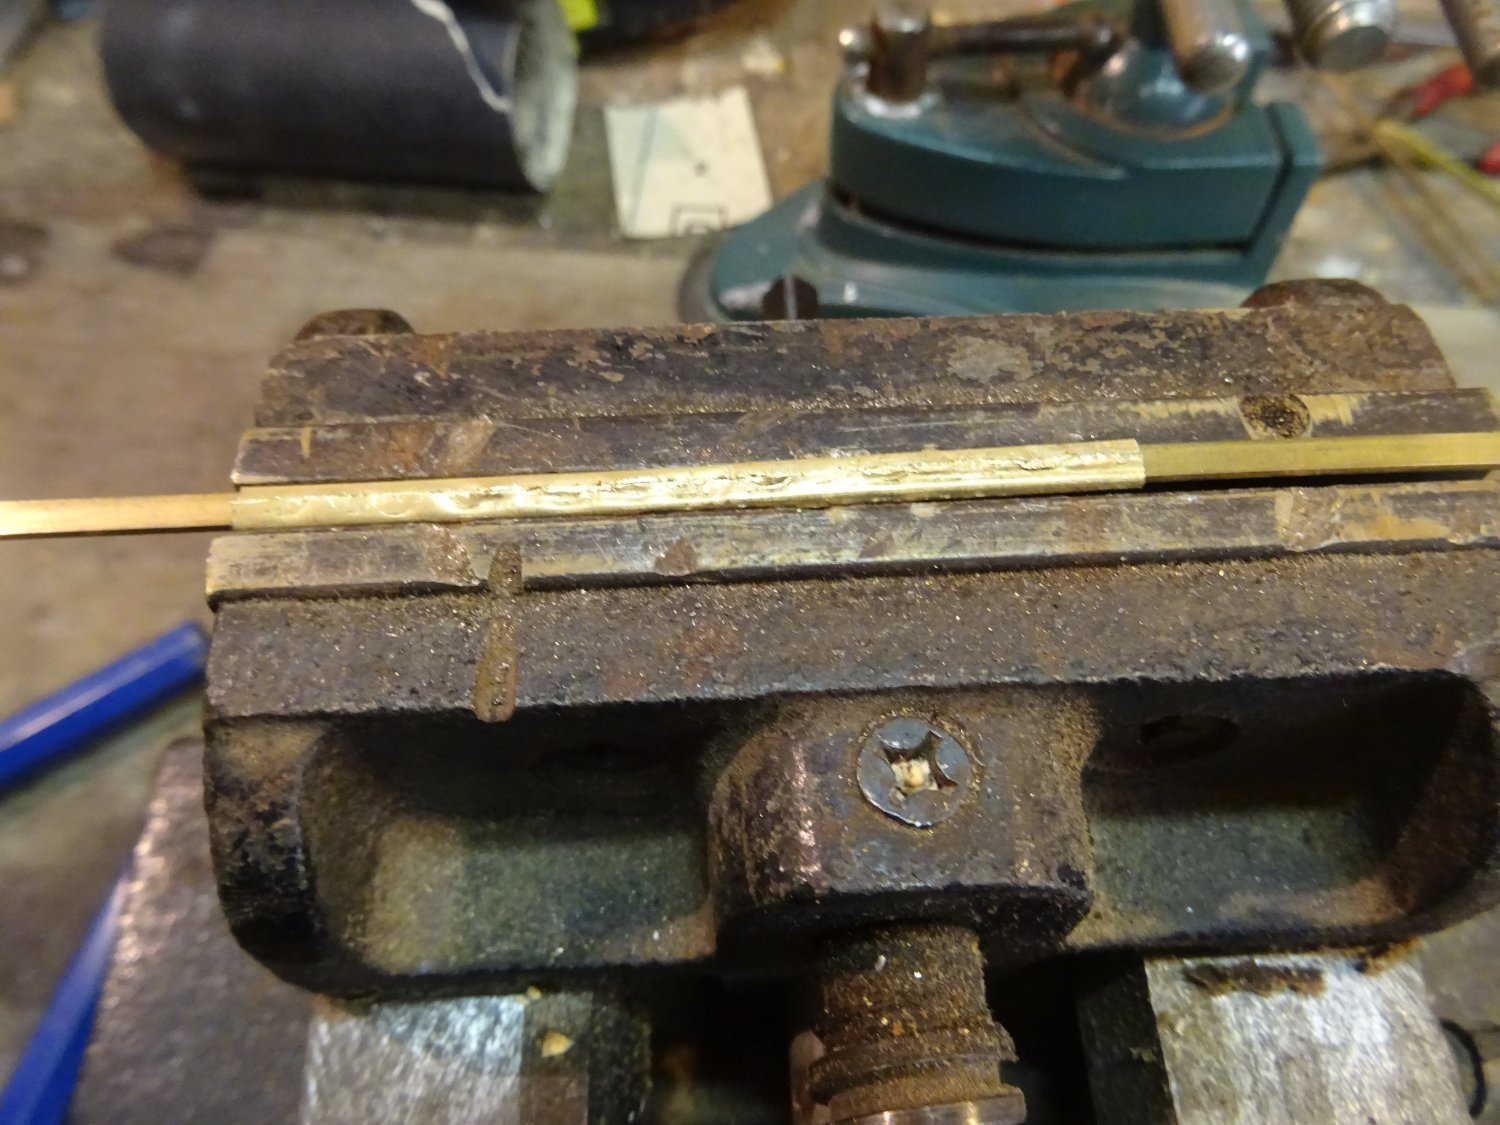
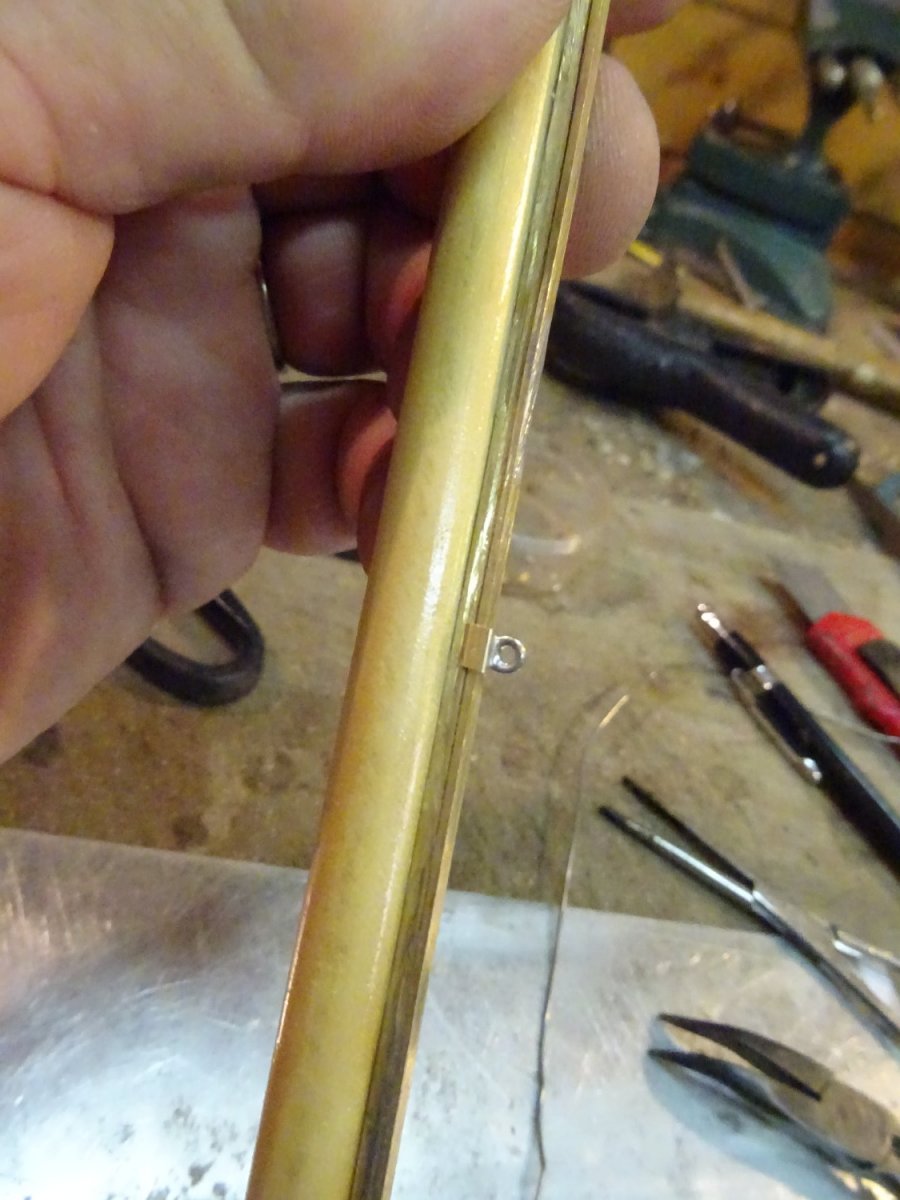
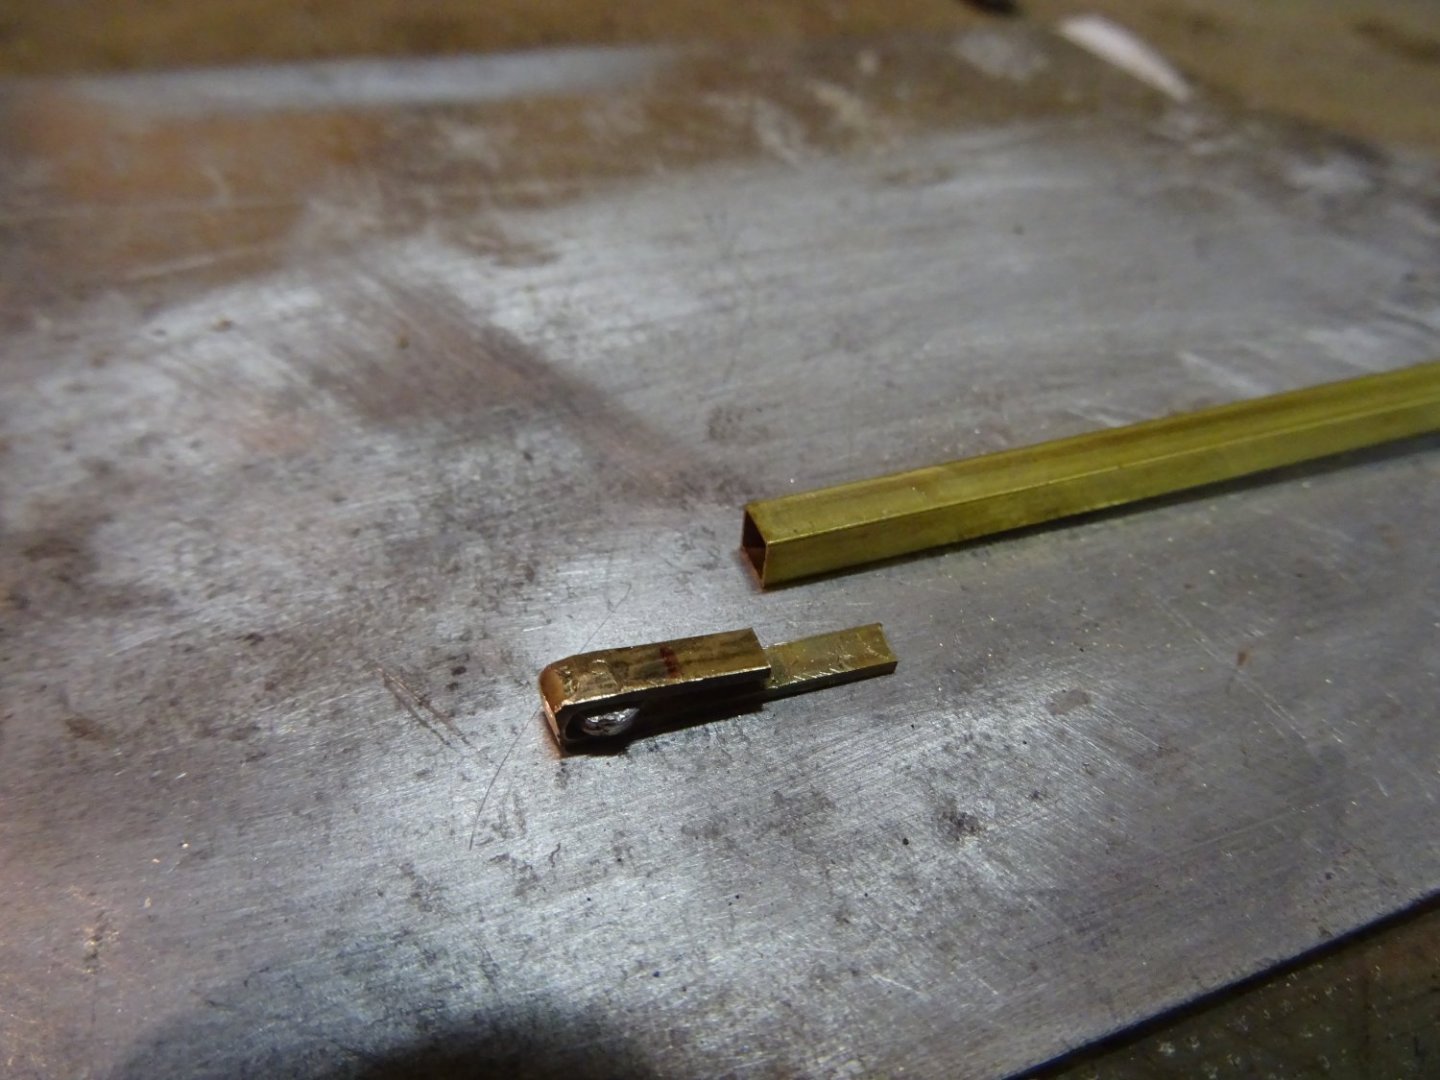
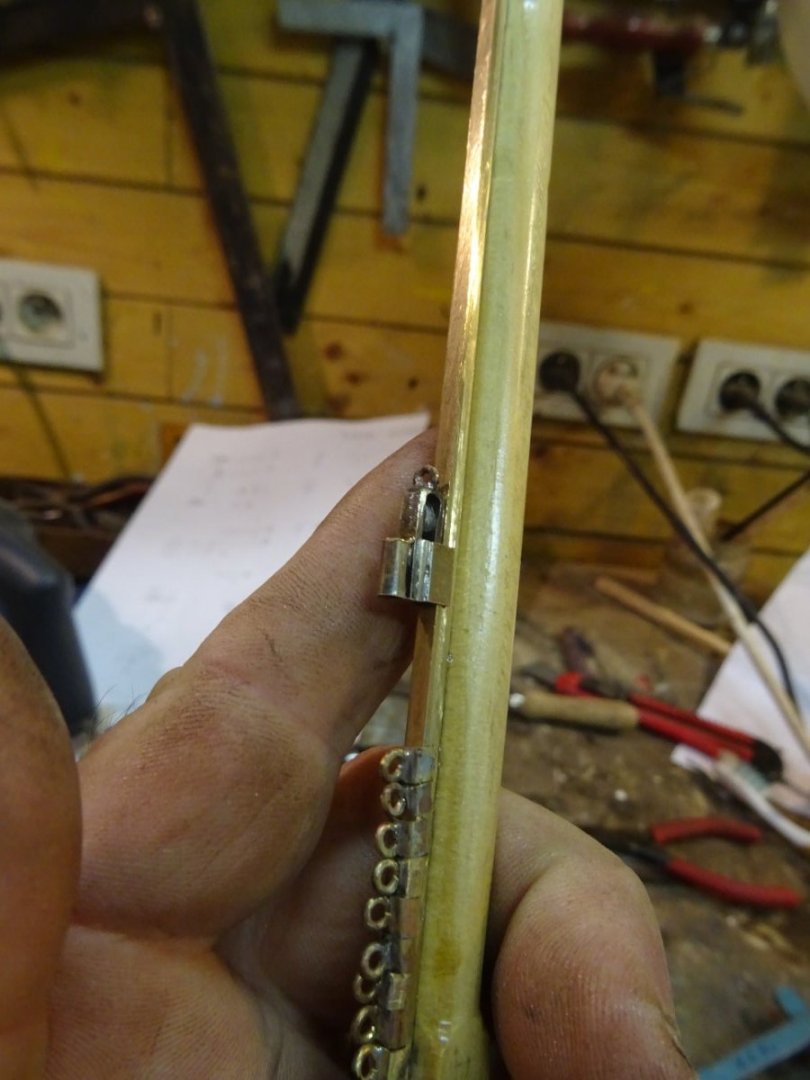
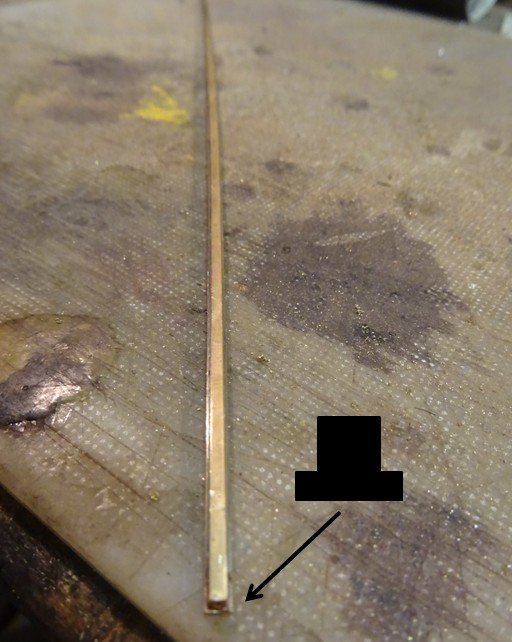
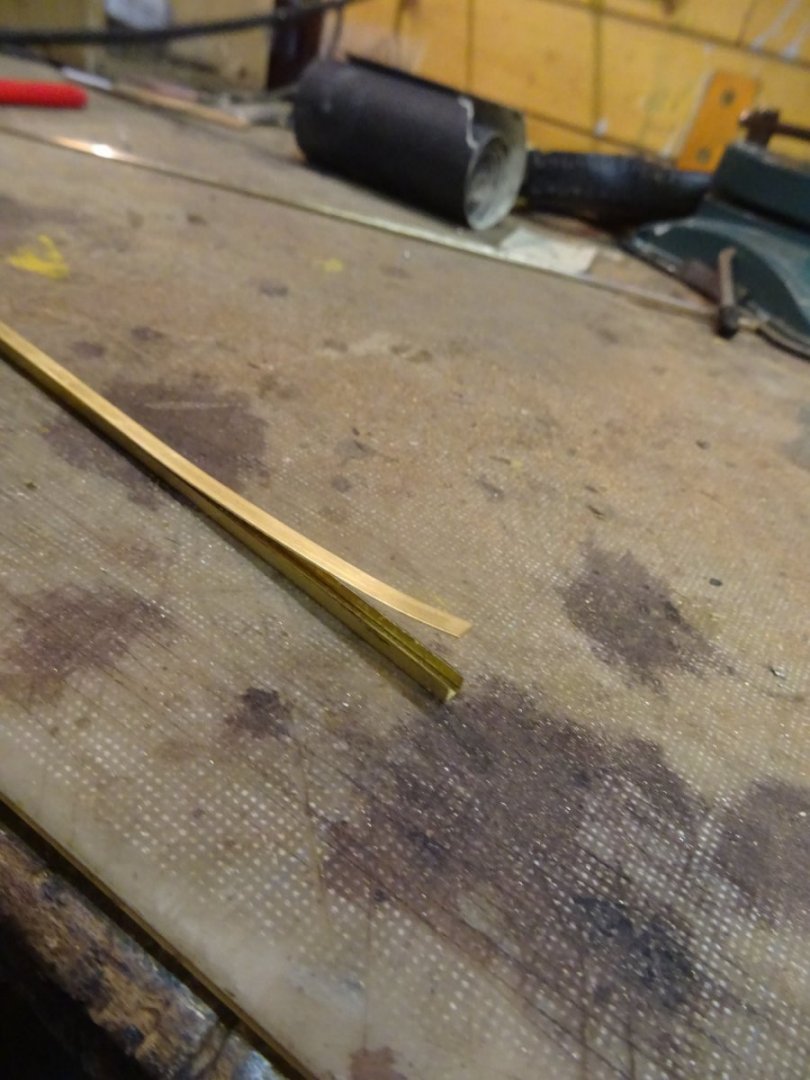
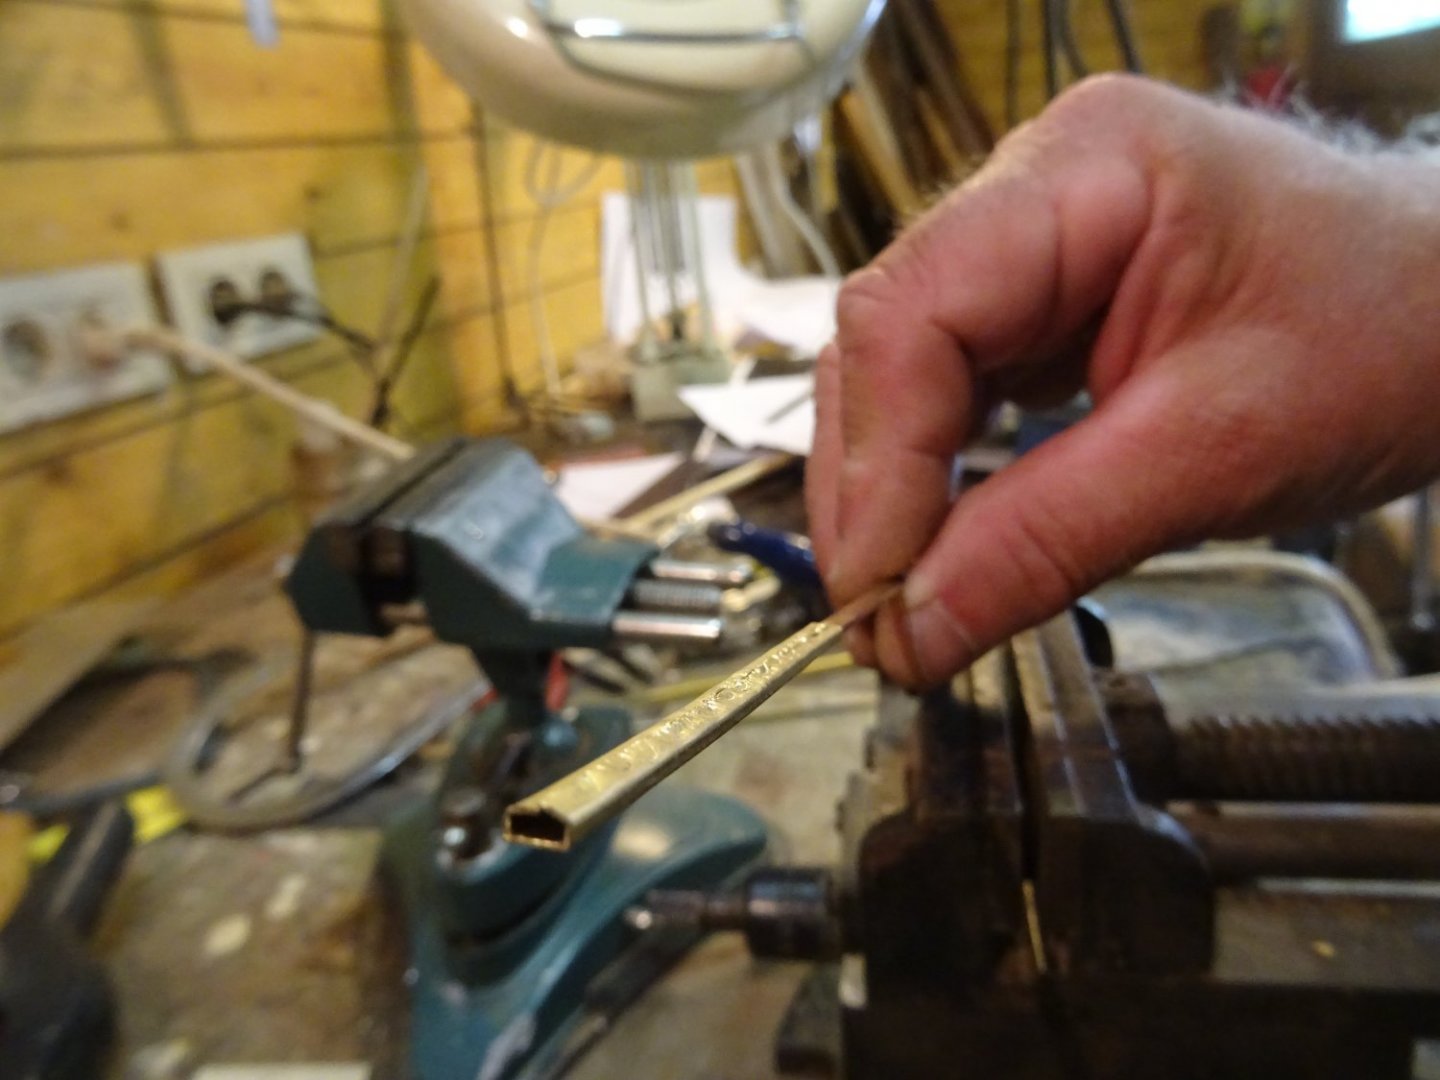
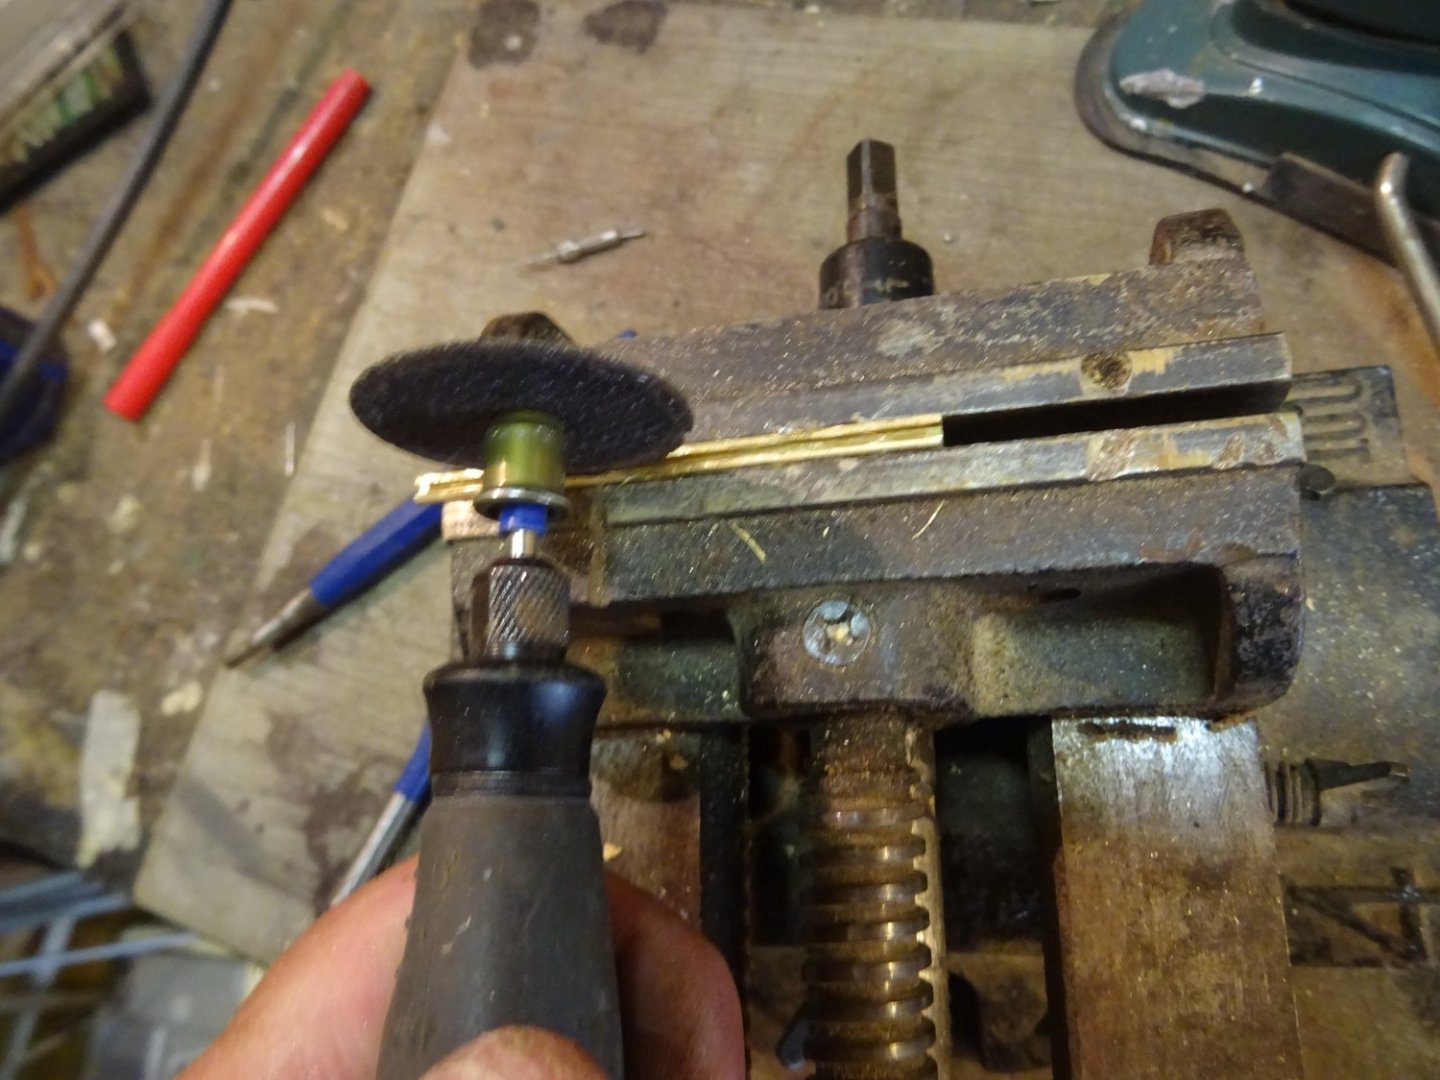
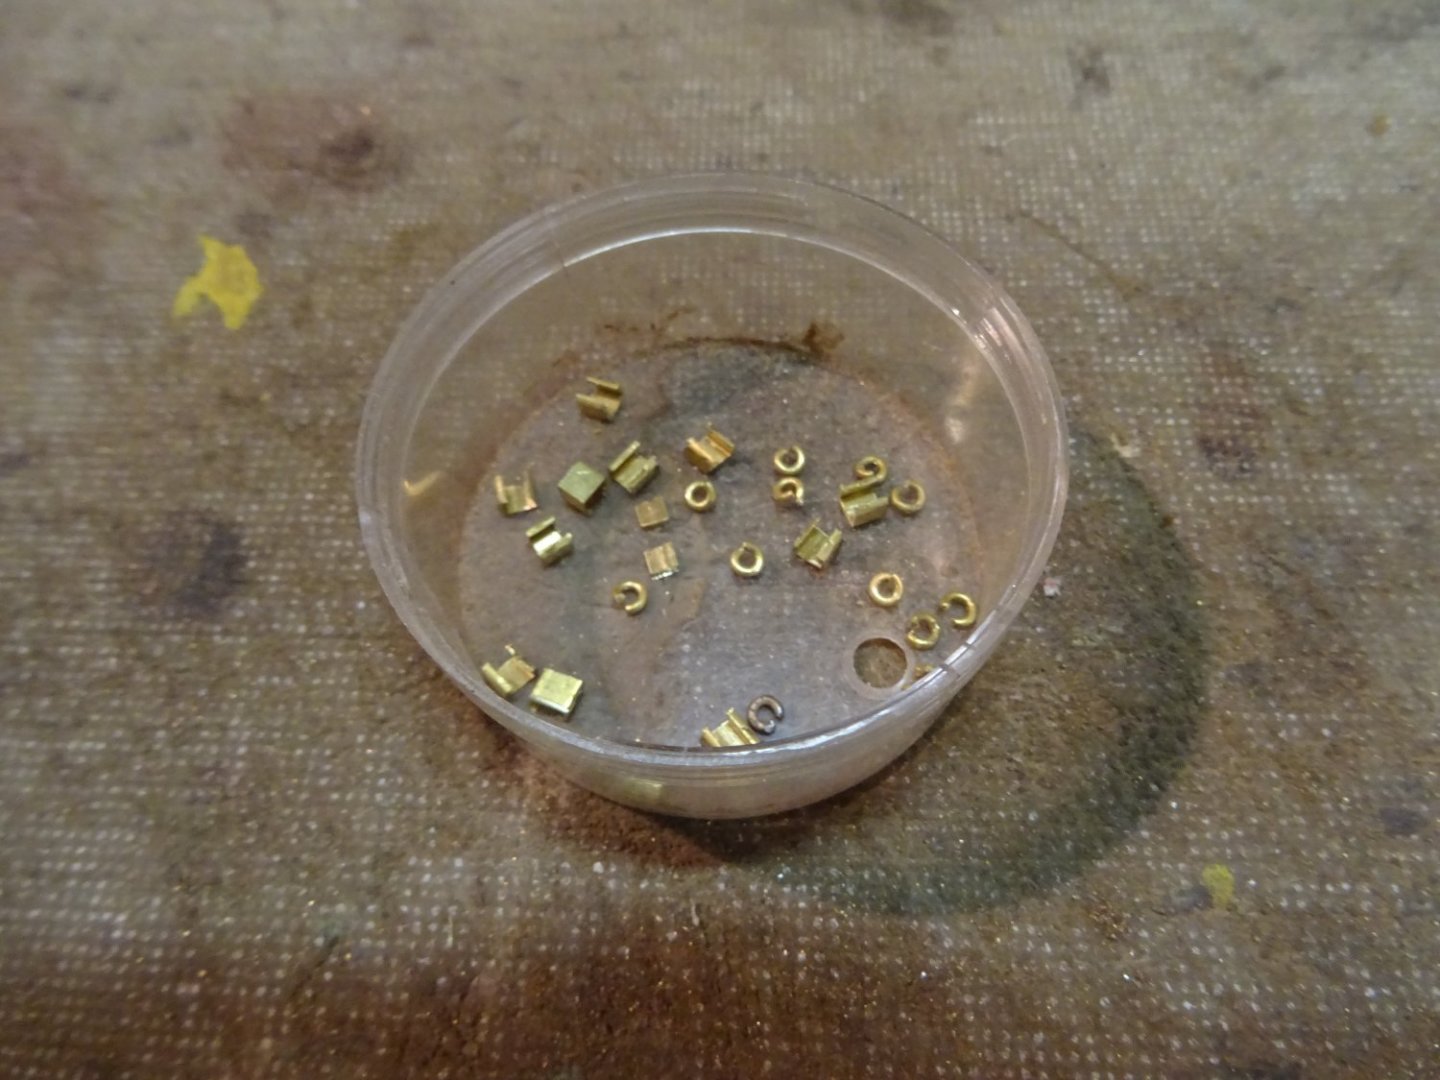
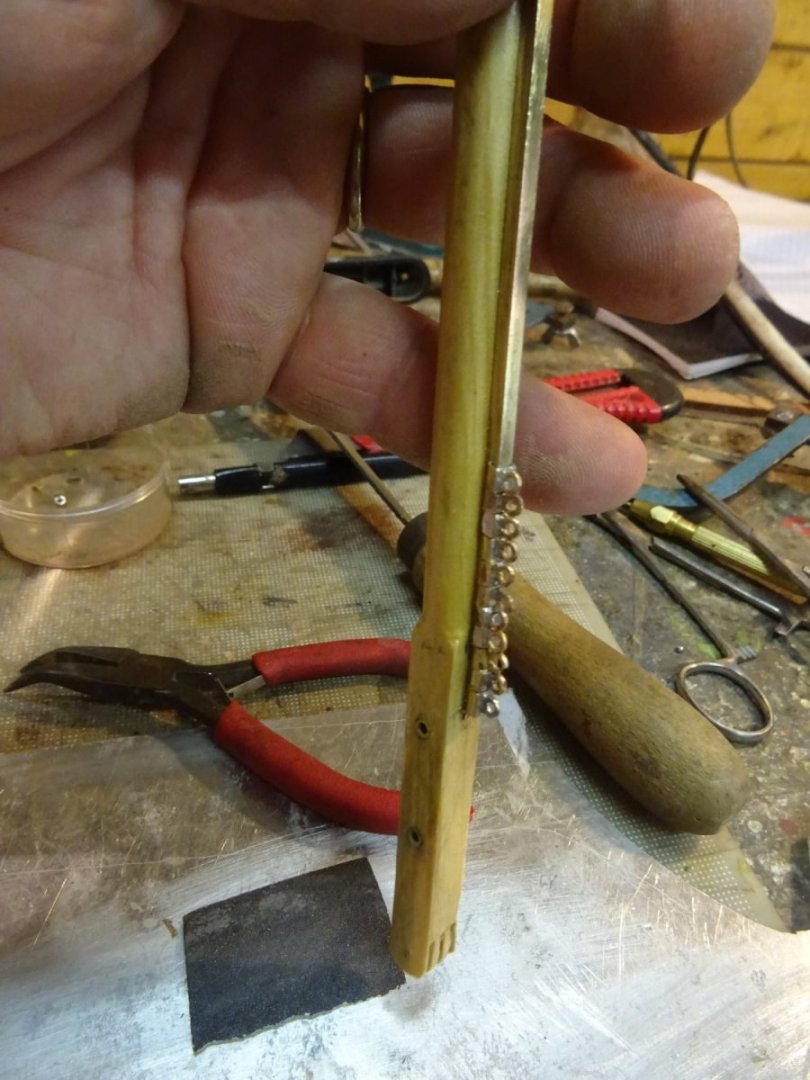
The mainsail is attached to the mast with slugs that run over a rail. To make the rail I solder two brass strips together. One with a flat profile on top and one with a square profile. It's hard to see in the picture but the drawing next to it shows what I mean. The rail is then glued to the mast. Making the slugs is another matter. For some of you that is a piece of cake, but first I had to think about the method to follow. Finally I solved it like this: I saw off one side of a brass square tube with the same internal dimension as the rail. Then I knocked the raised edges of the tube flat around a strip like the rail. Next I saw a slit in the slammed side. I saw my slug profile into pieces and also make small brass rings. When I solder both together, I have a slug. A slug on the rail. All slugs on the rail. Thank you very much for reading this log and for your likes and for your constructive comments. Till soon!


- 153 replies
-
- 14
-
-
- Ancre
- Bruno Orsel
- (and 2 more)
-
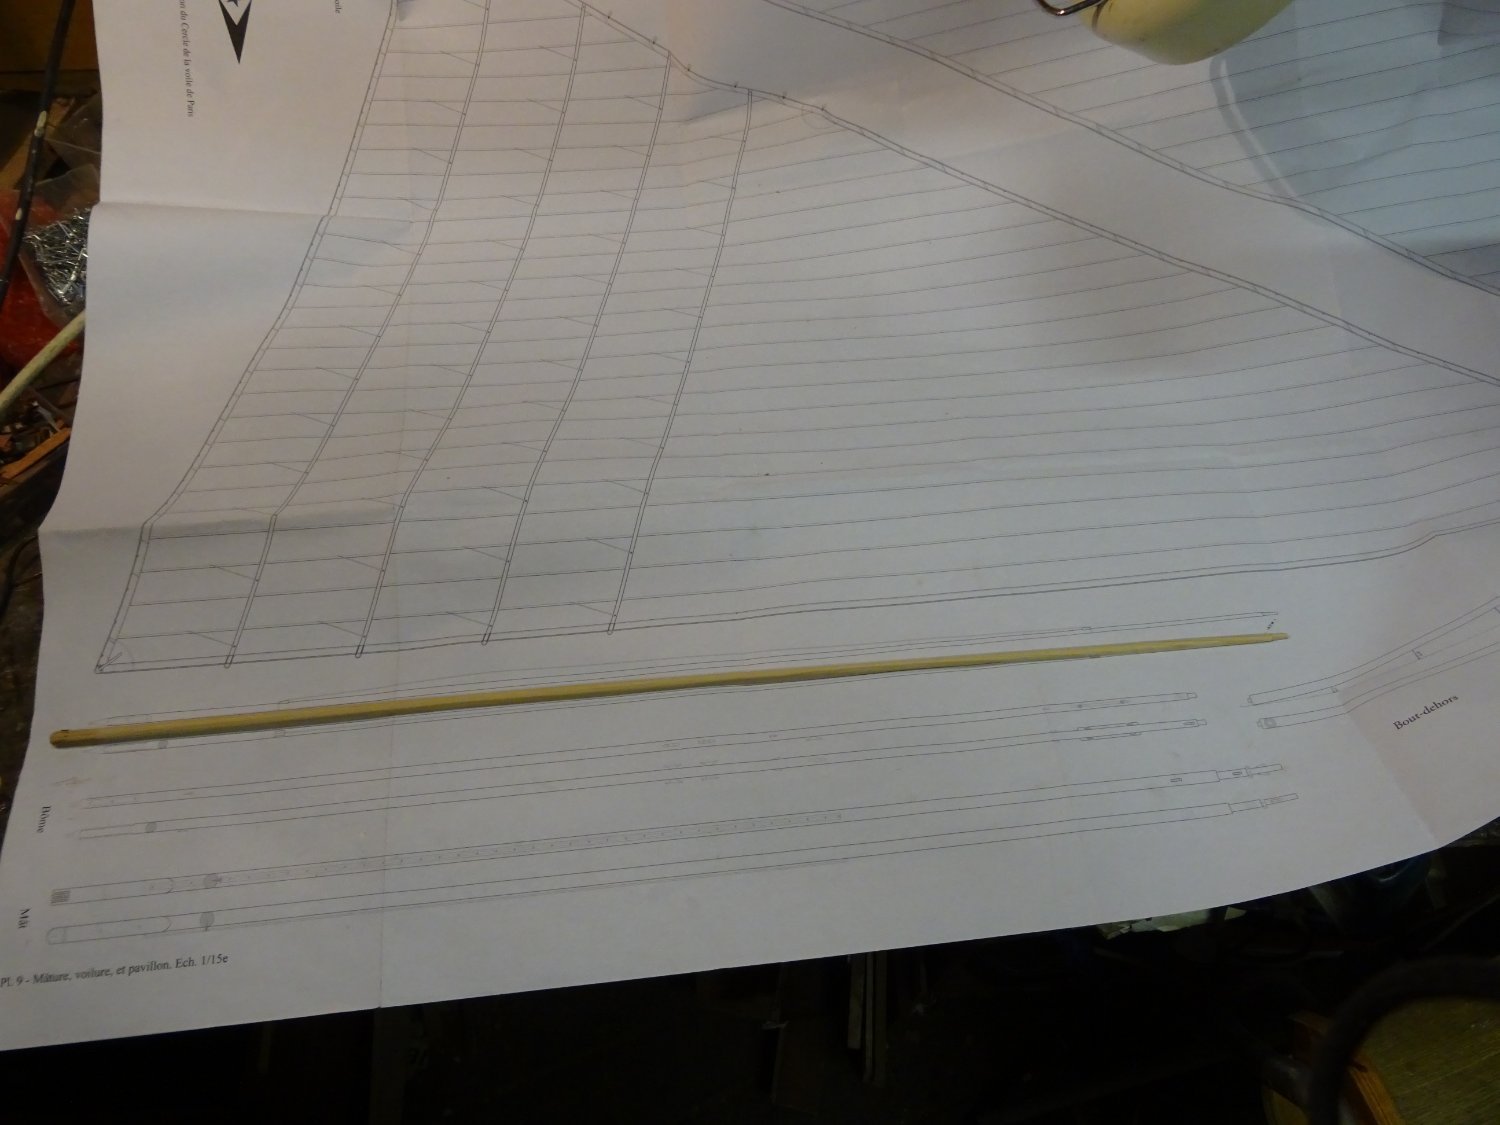
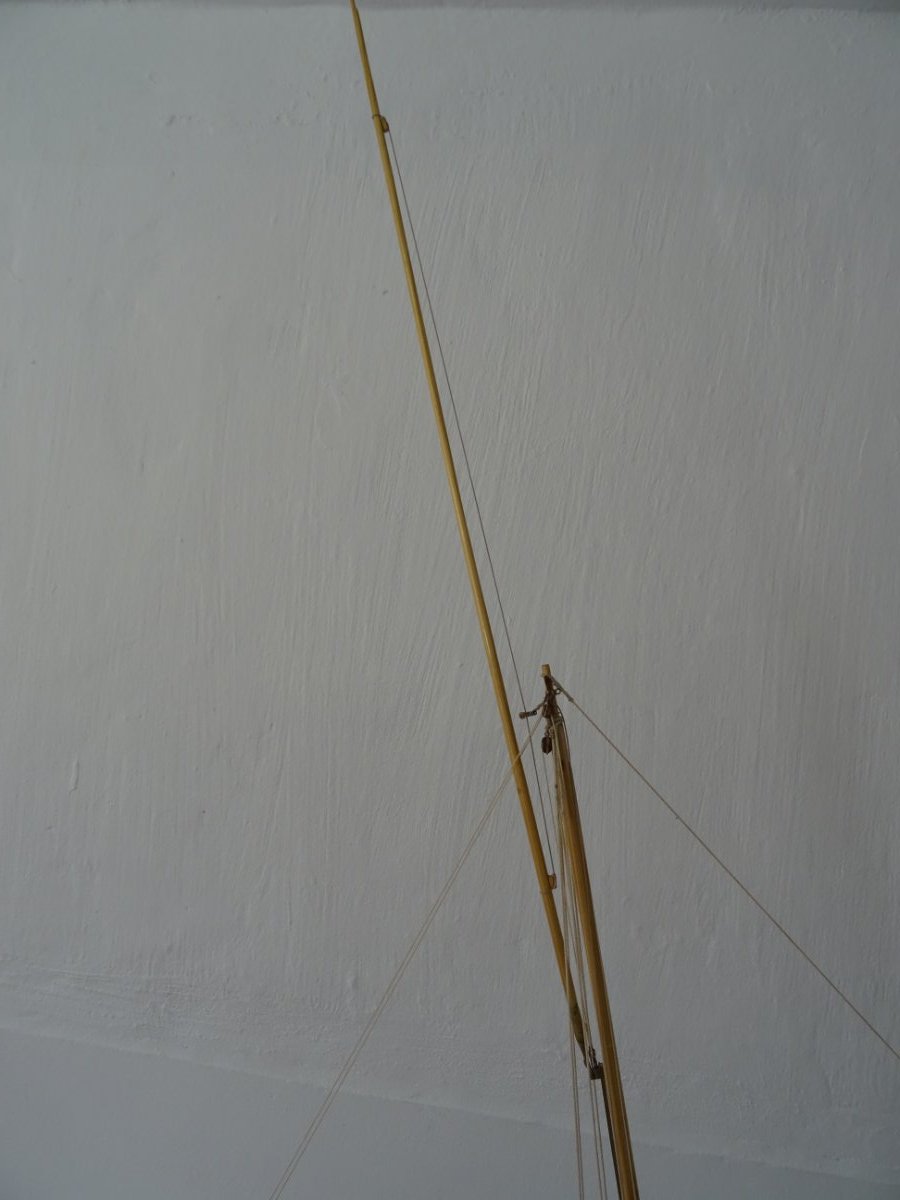
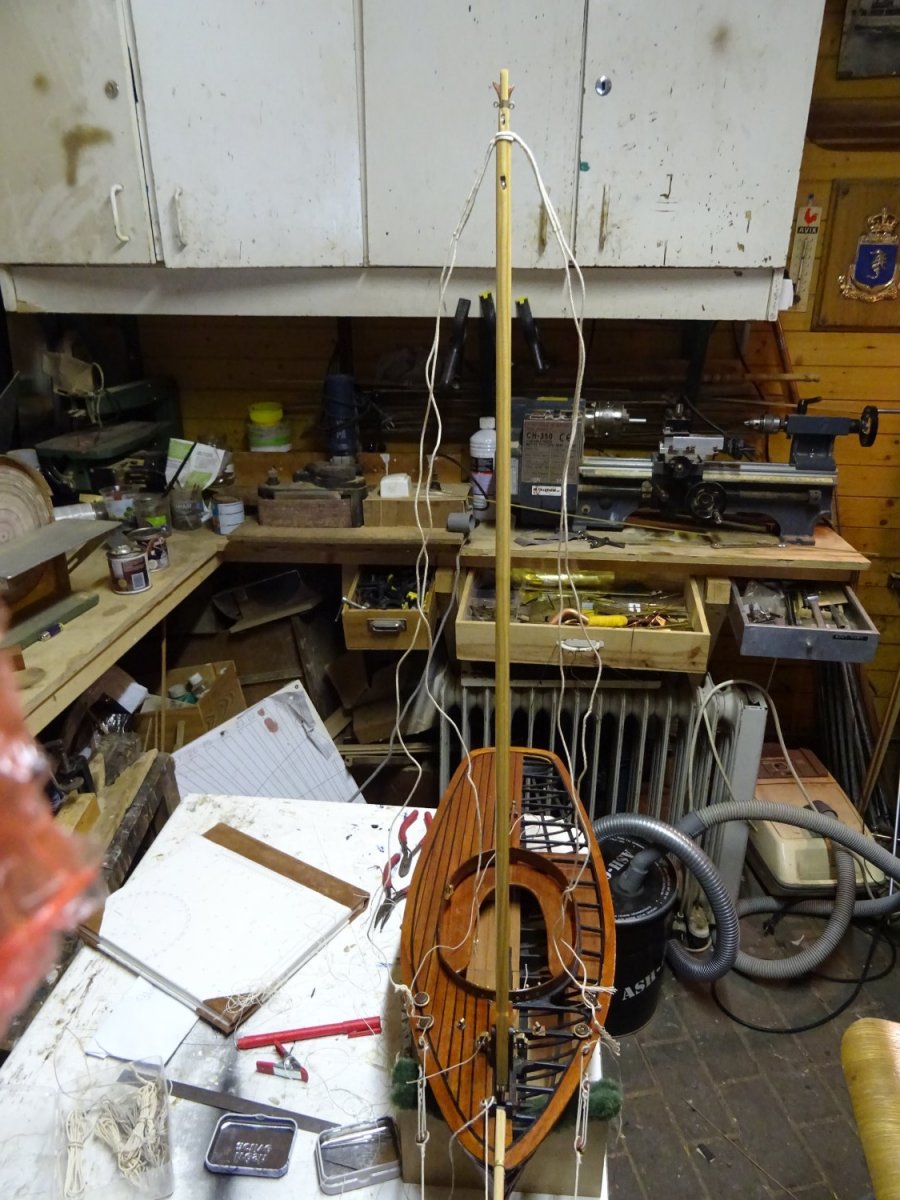
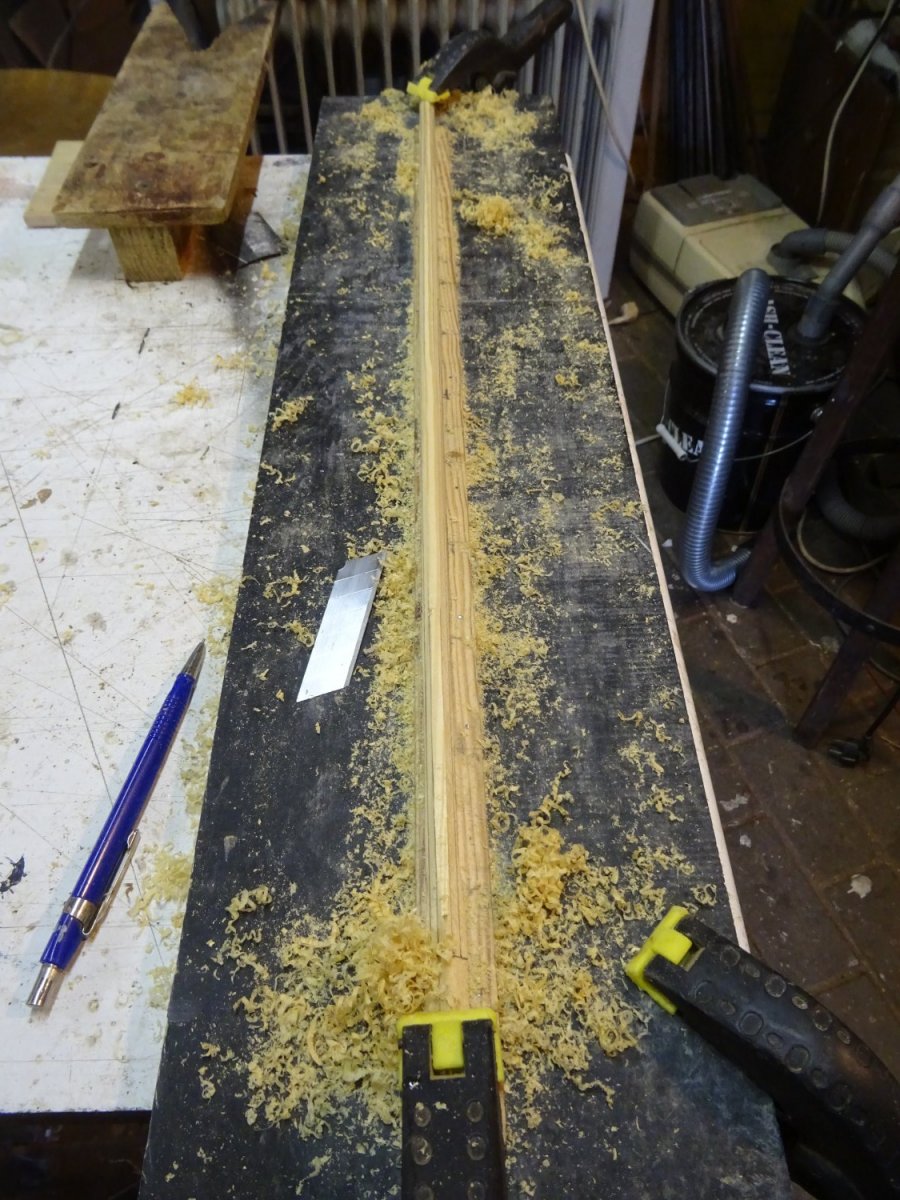
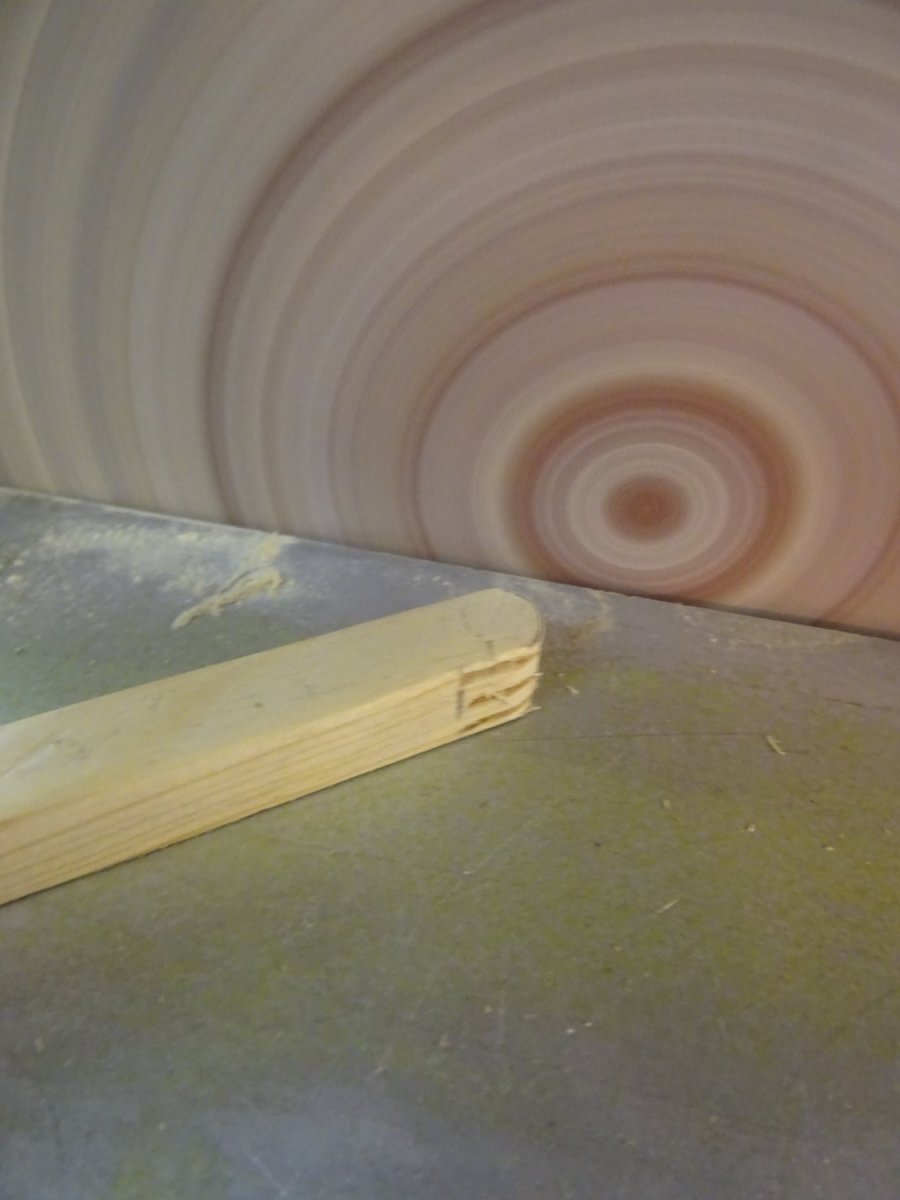
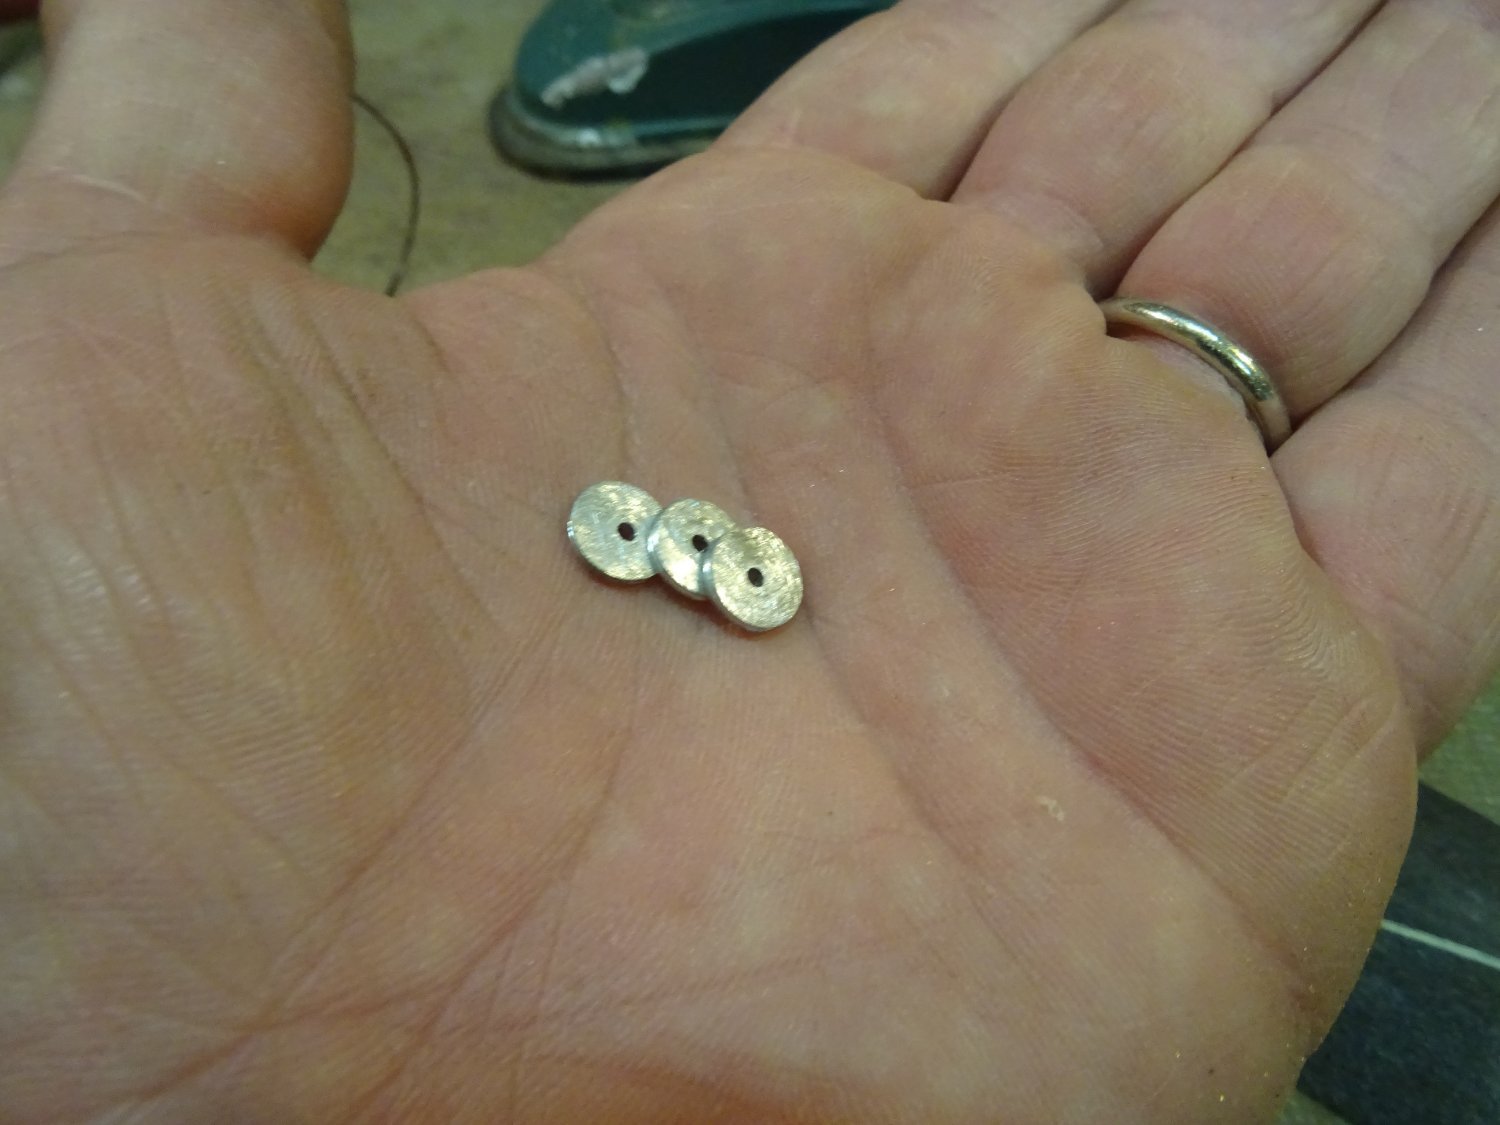
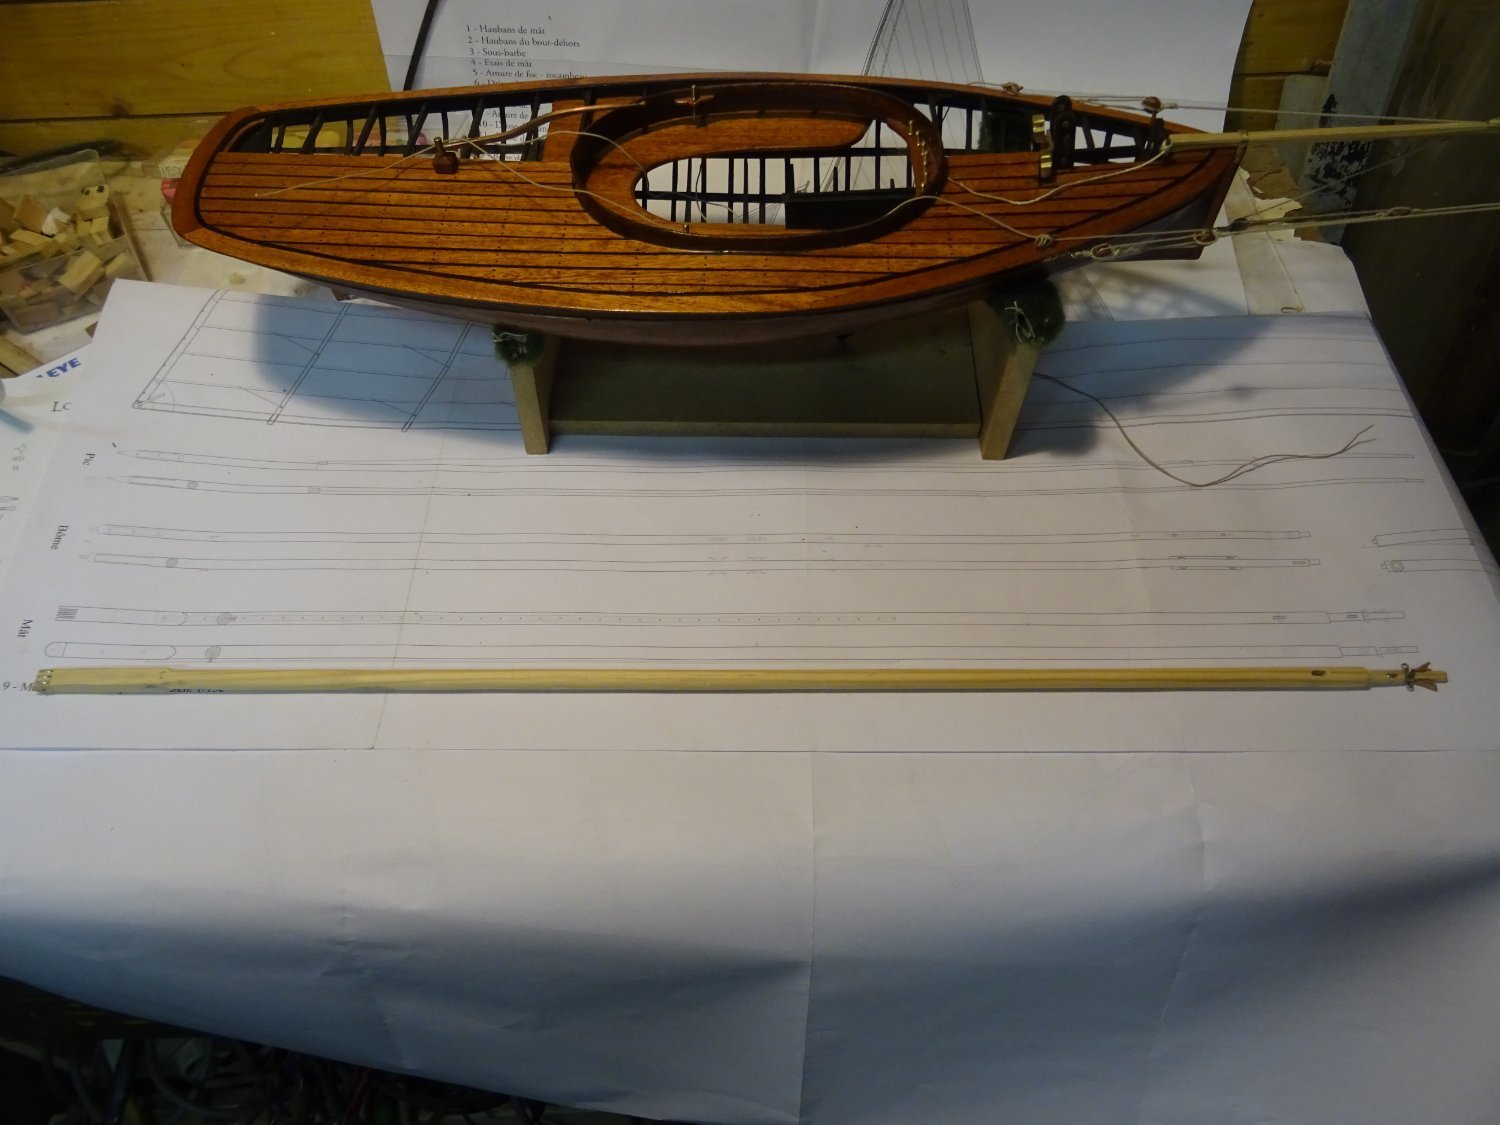
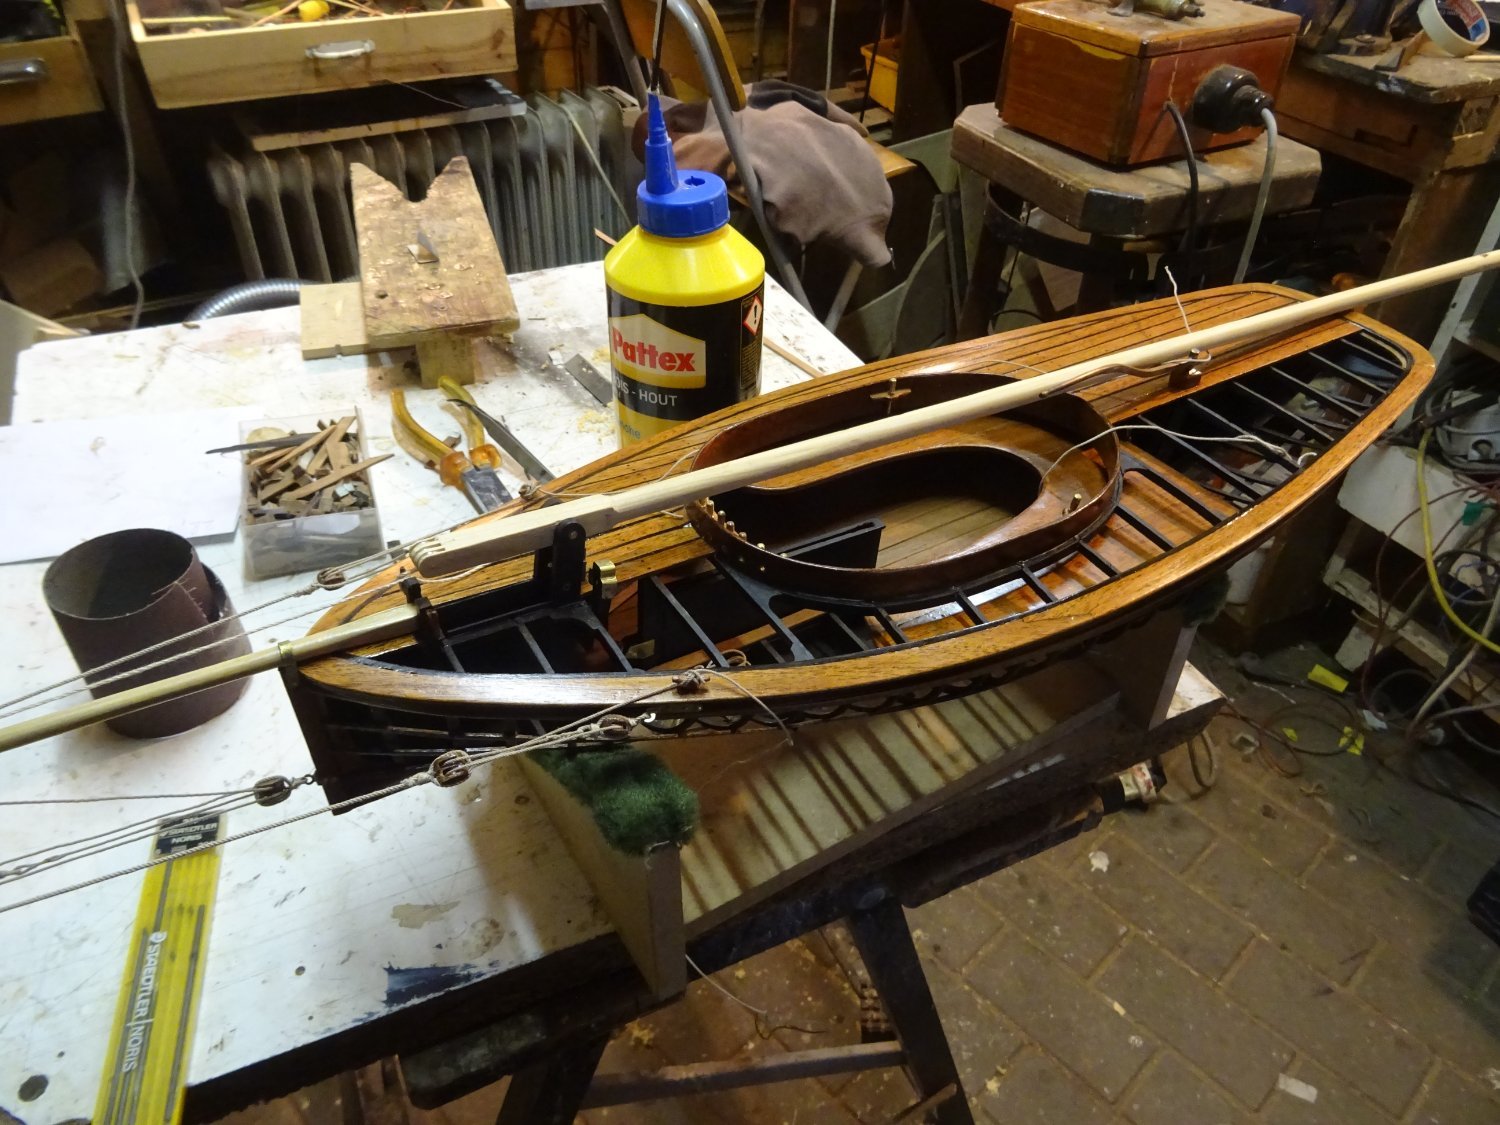
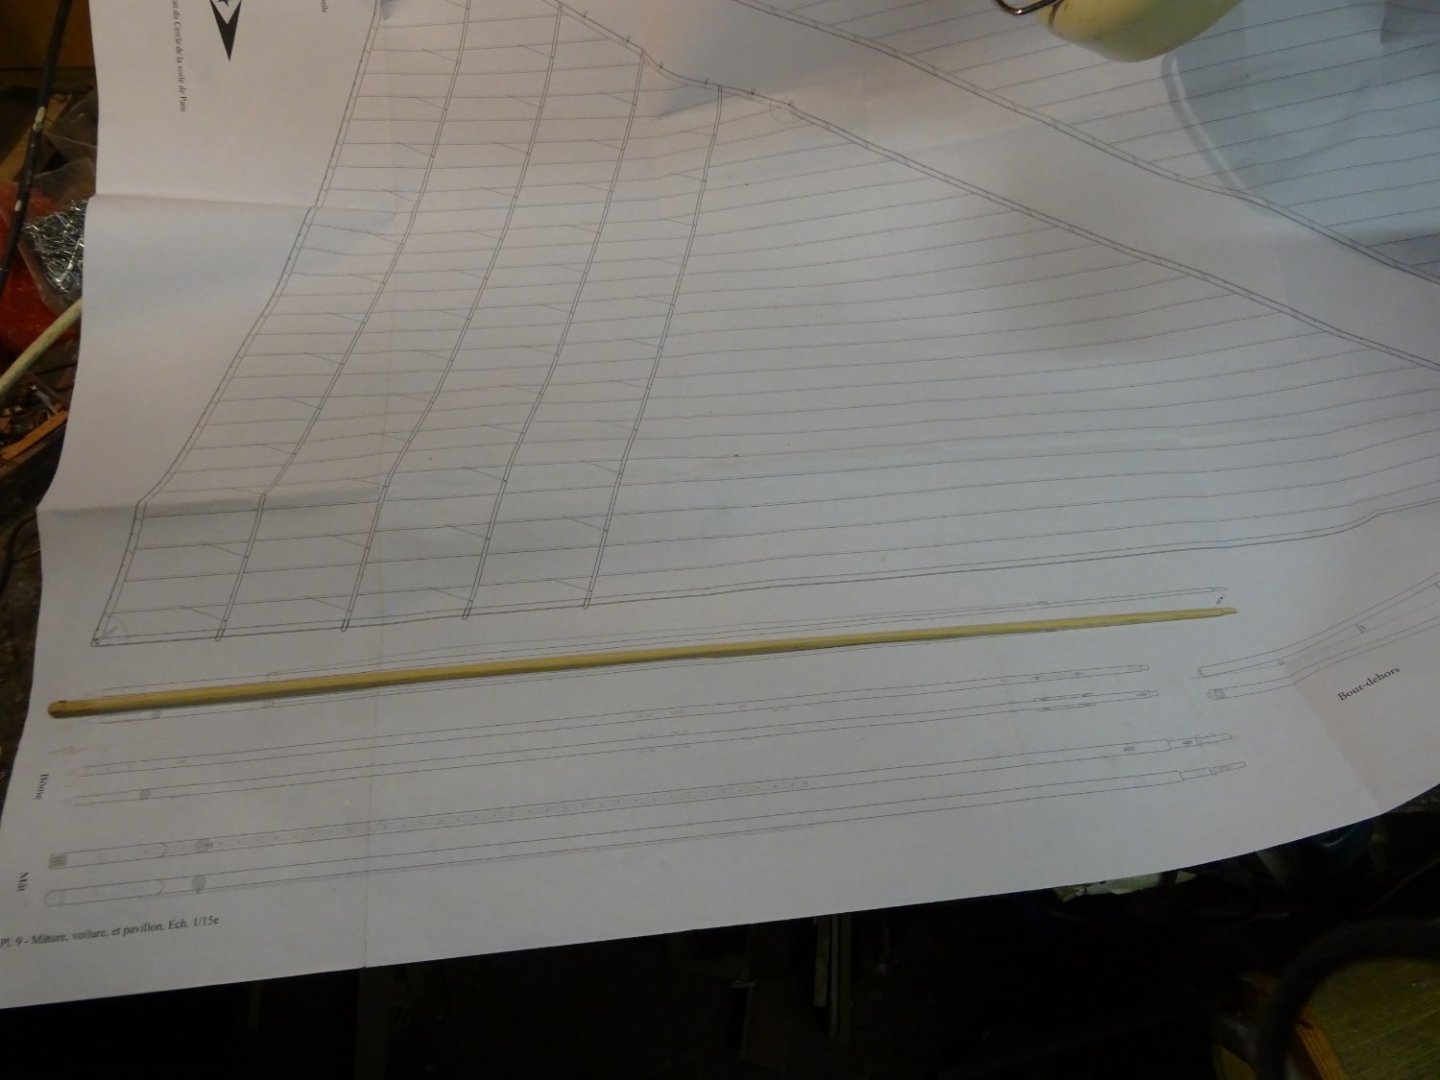
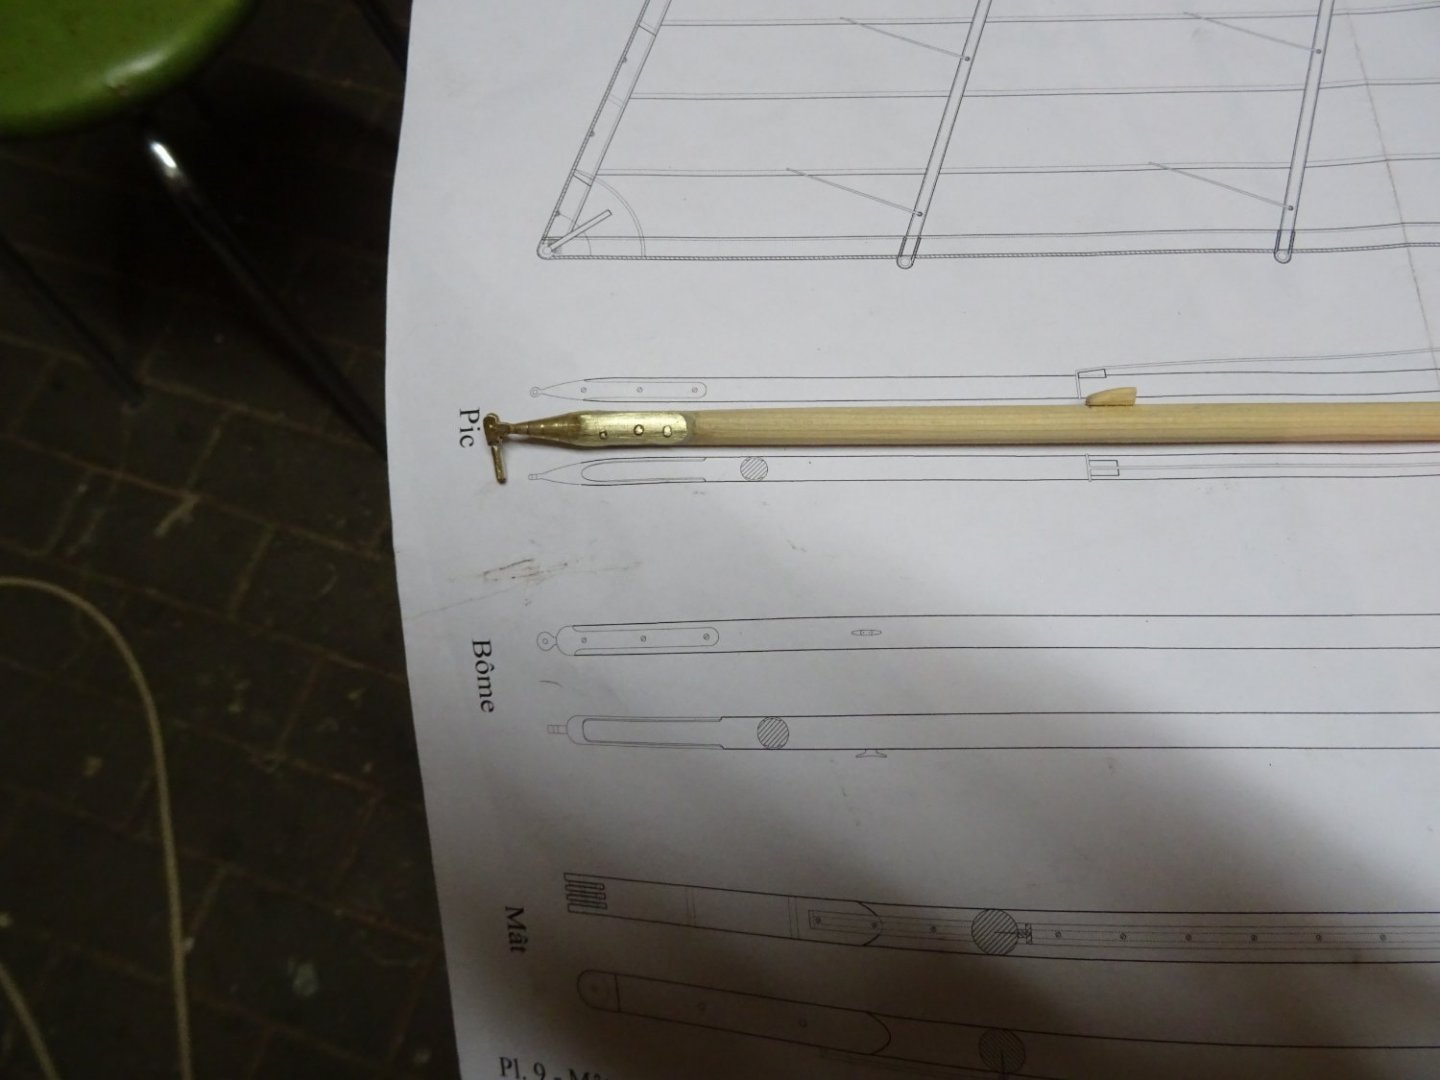
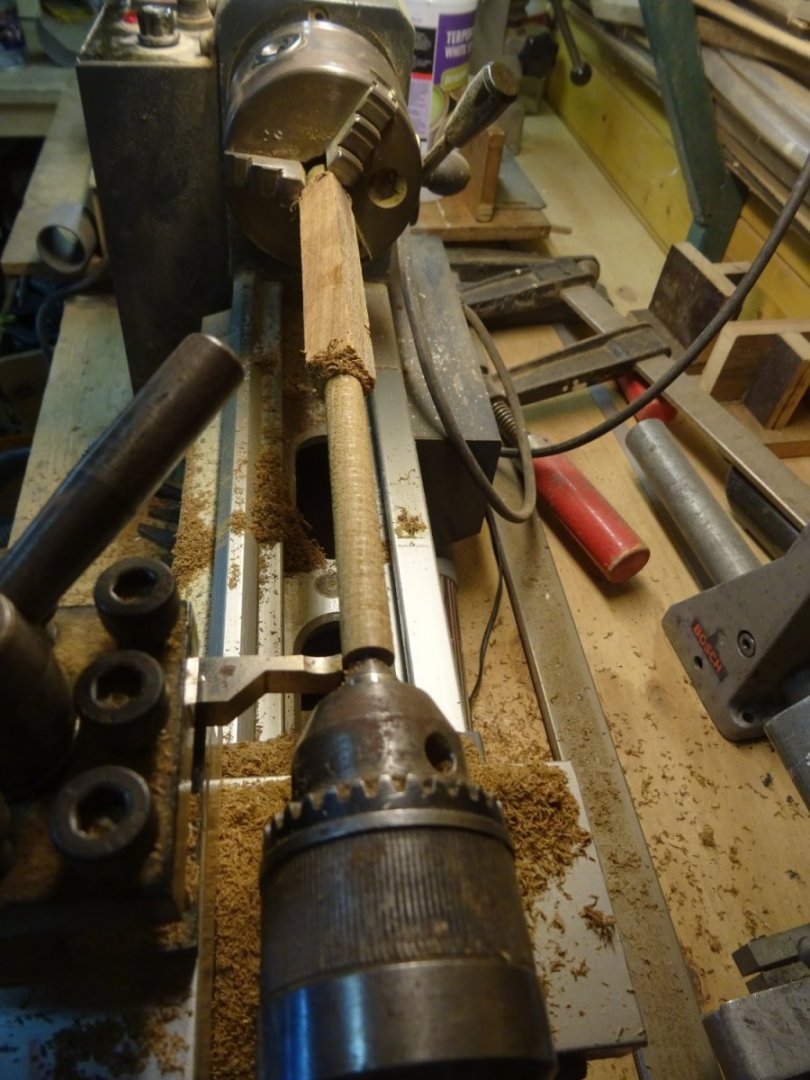
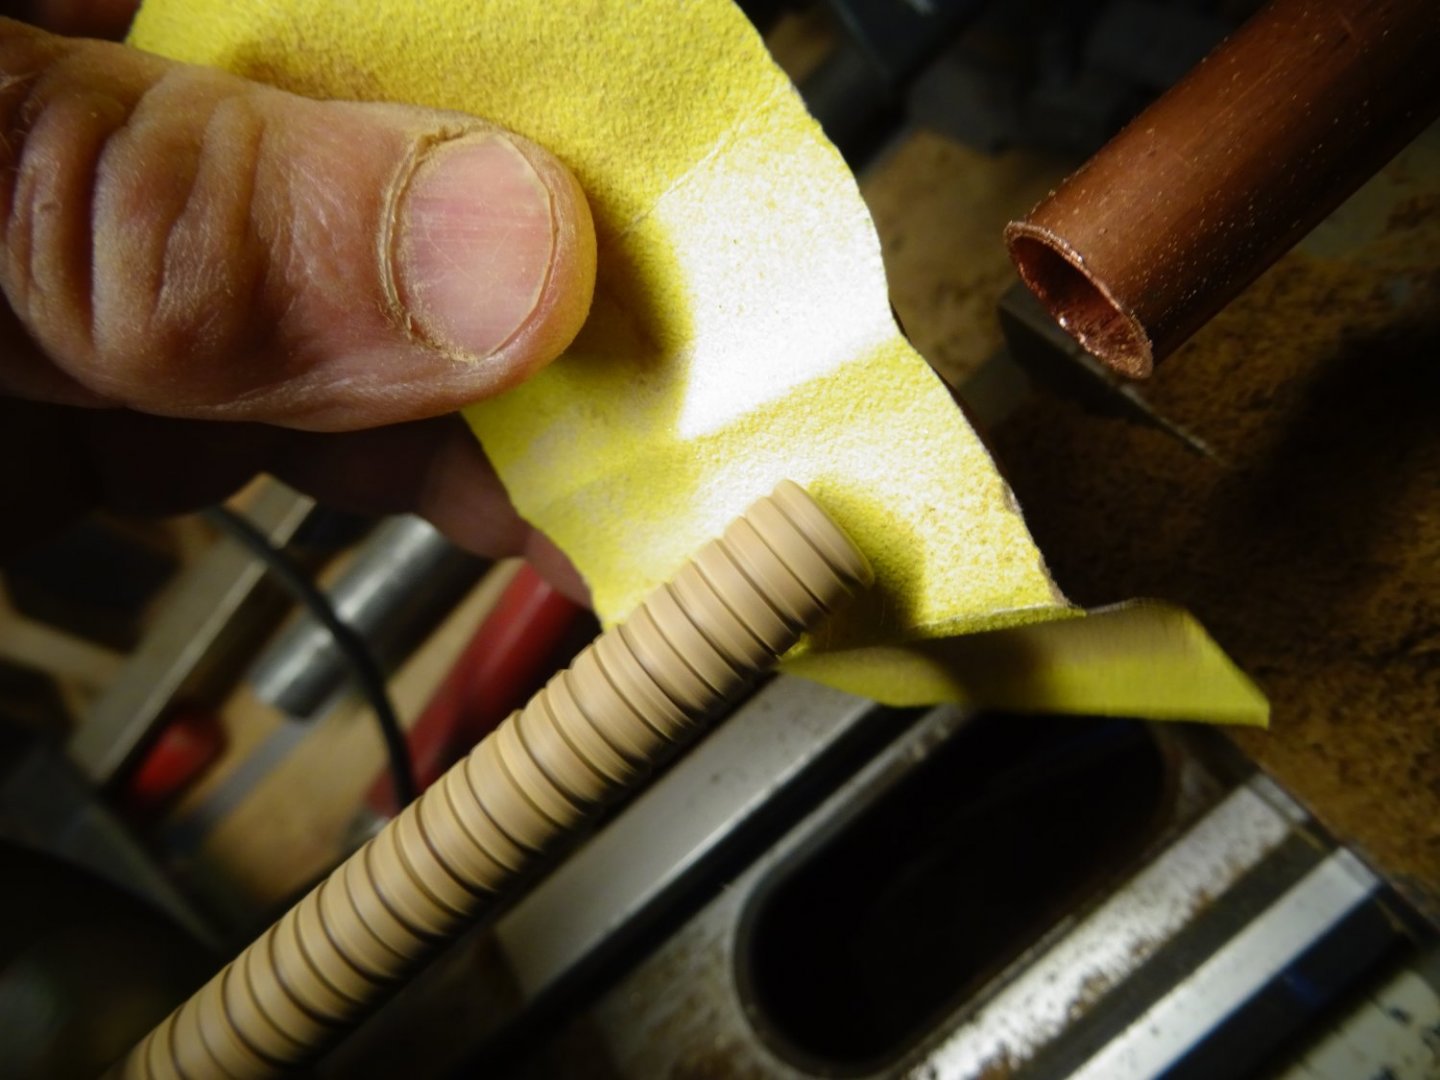
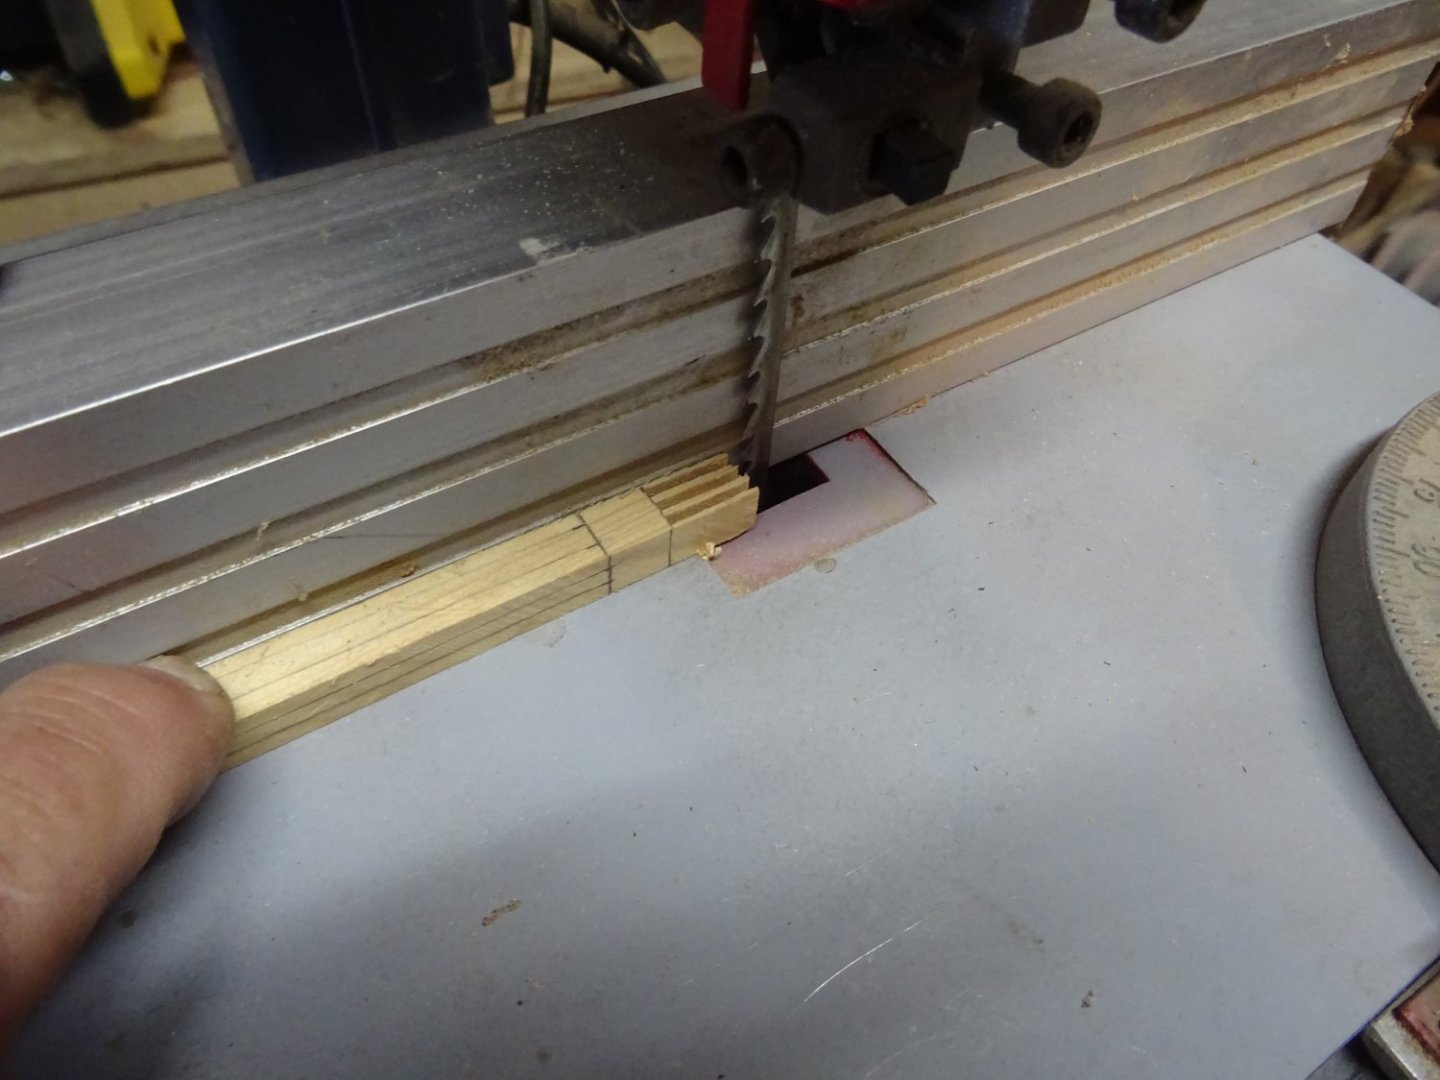
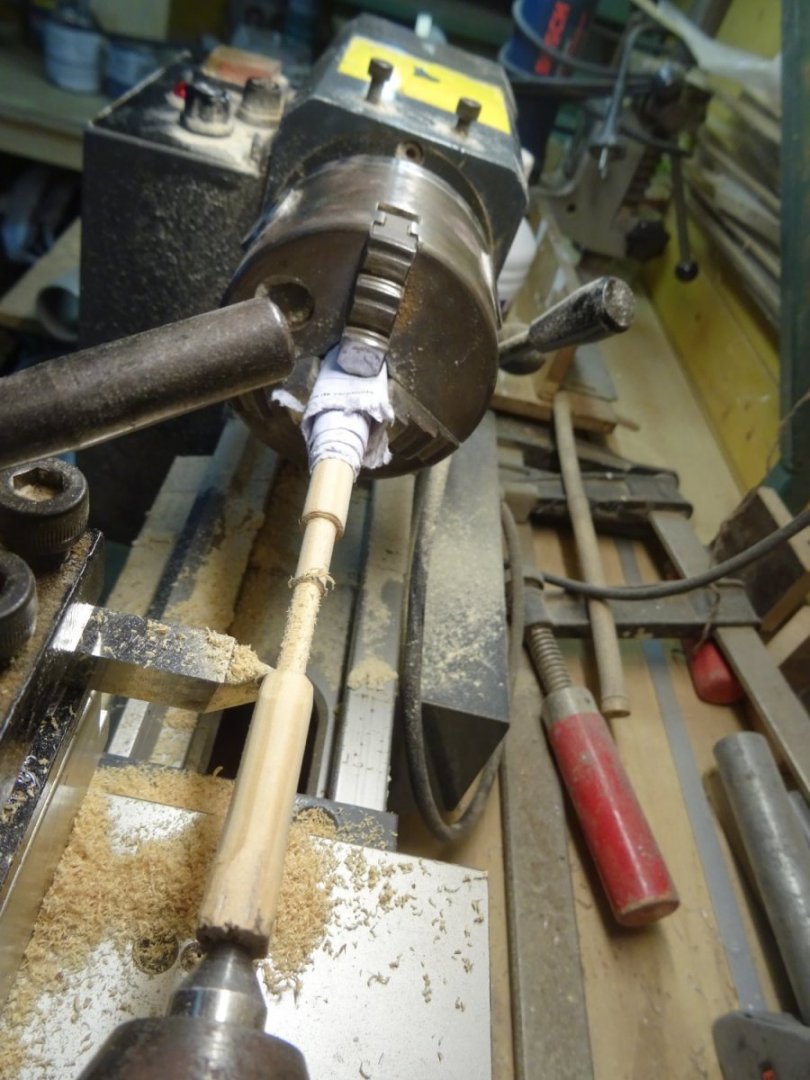
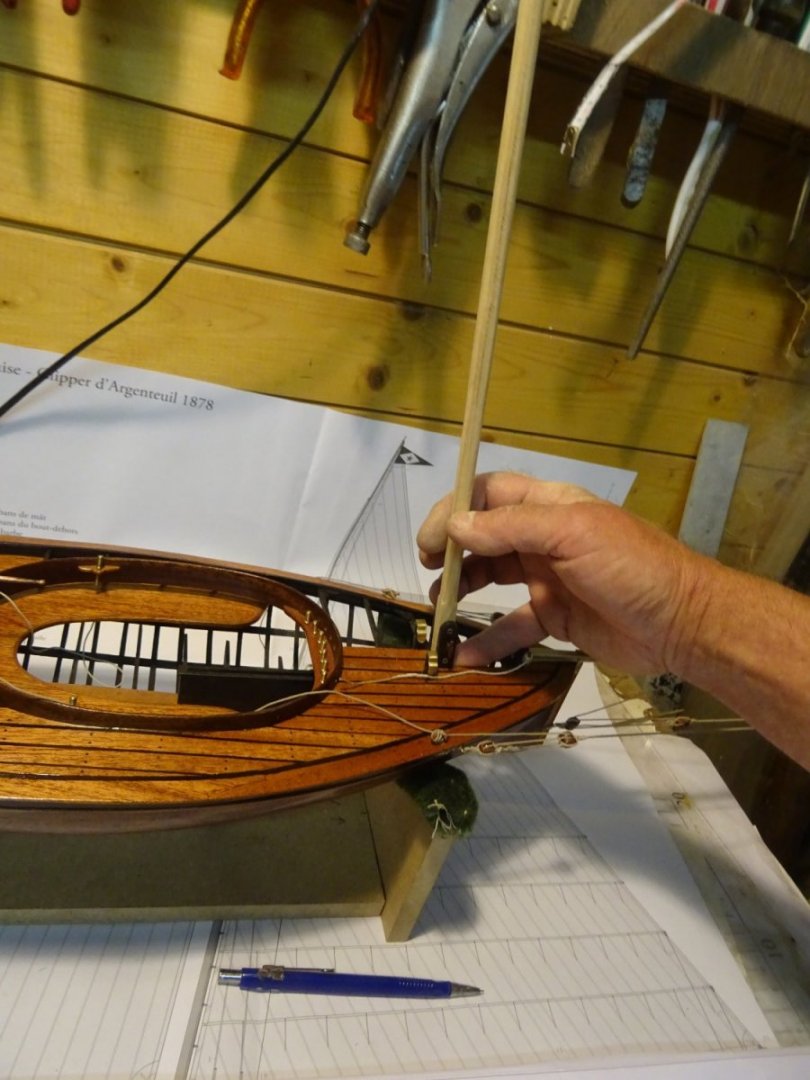
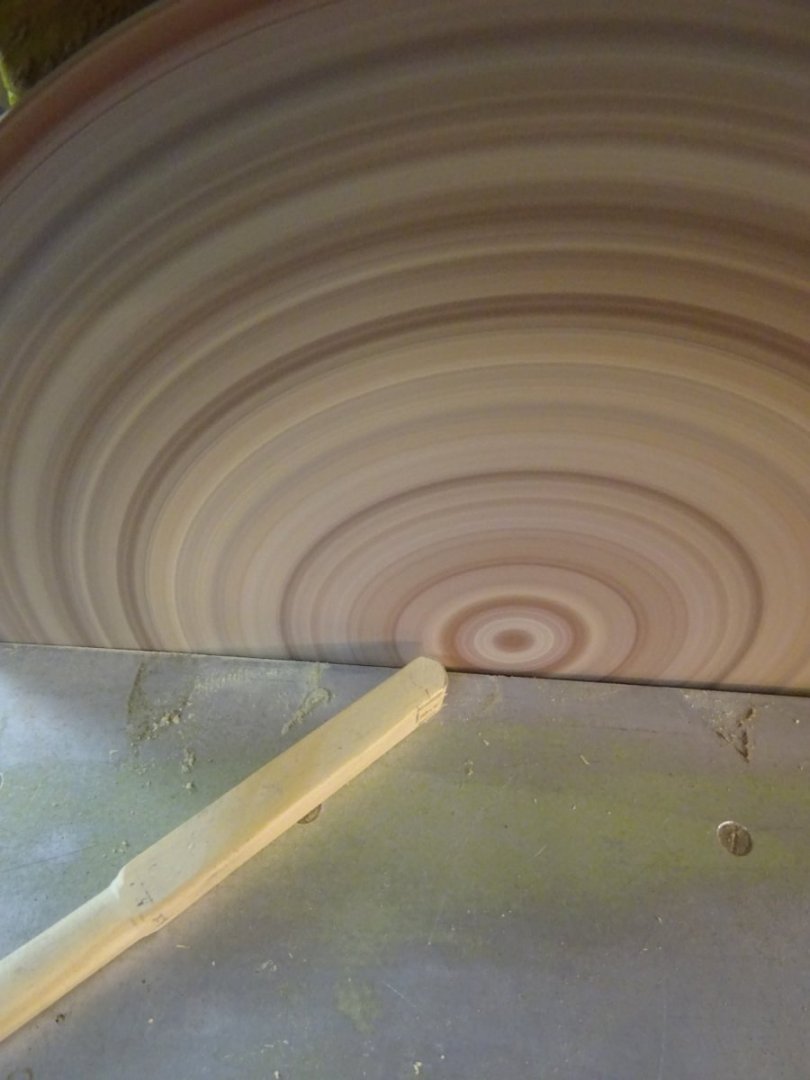
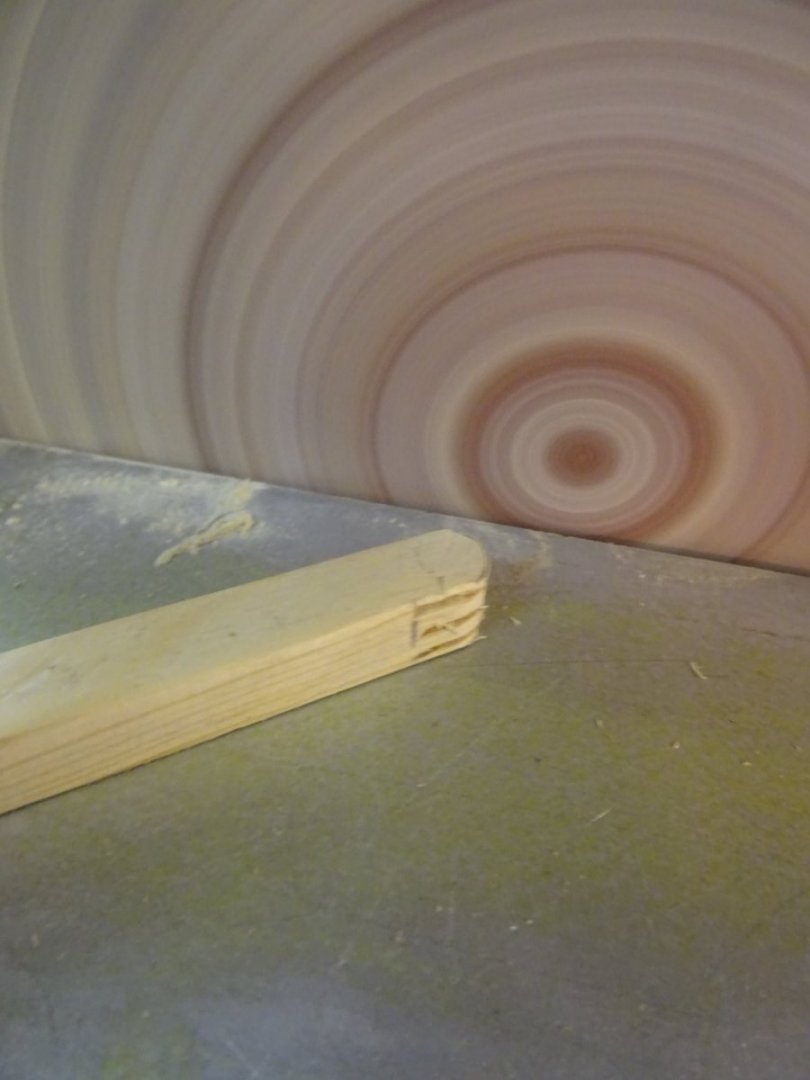
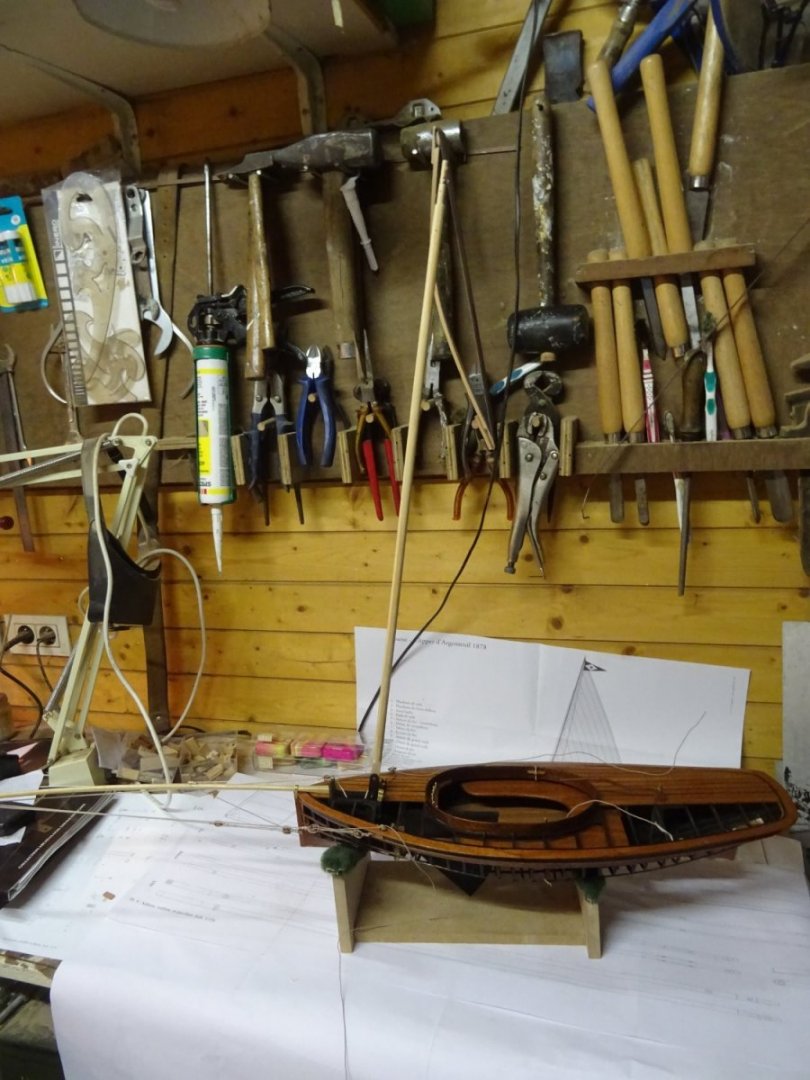
4. Mast To make the mast, I first saw a square stick to the appropriate length. Here it stands in the tabernacle: At the bottom of the mast step there are three slots in which the sheaves for the mast raising pulley come. The mast is made in the same way as the jib boom. First I scrape it into an octagonal shape and then I sand it around. The top of the mast narrows in two steps. I make the tapers using the lathe. Fitting the mast in the tabernacle. I sand the mast step around where the sheaves have to be placed. The sheaves: The mast, ready to be varnished. Two more sheaves are incorporated in the top and two mouse cleats have been fitted. The mast on the model: Thank you very much for reading this log and for your likes and for your constructive comments. Till soon!


- 153 replies
-
- 13
-
-
- Ancre
- Bruno Orsel
- (and 2 more)
-
Thanks for the compliment. Also nice to get some information about the sailing area from someone with local knowledge. Thanks Keith. Knowing your sense of detail, your blocks will be more detailed than mine.
- 153 replies
-
- 1
-
-
- Ancre
- Bruno Orsel
- (and 2 more)