


jct
-
Posts
1,519 -
Joined
-
Last visited
Content Type
Profiles
Forums
Gallery
Events
Posts posted by jct
-
-
Hey All,
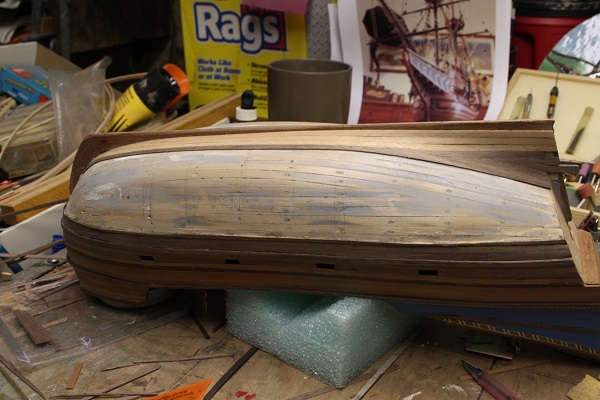
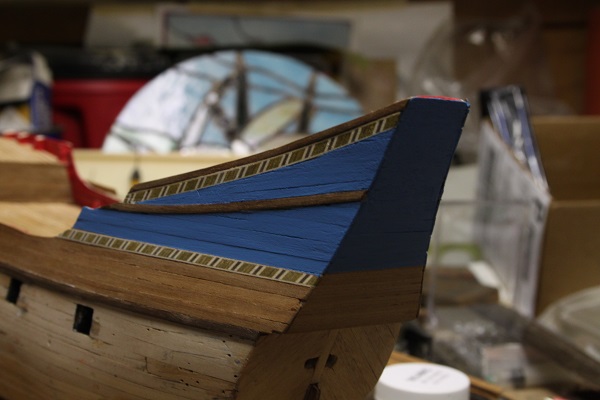
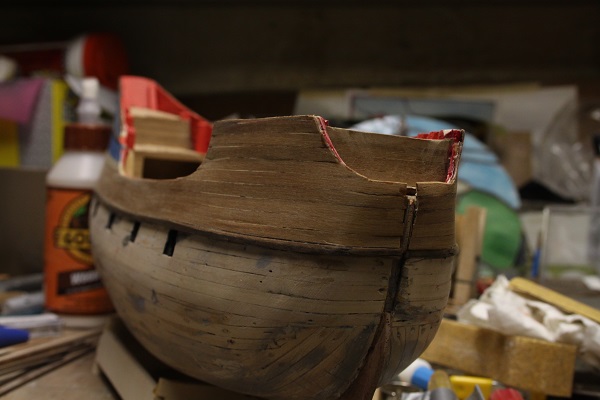
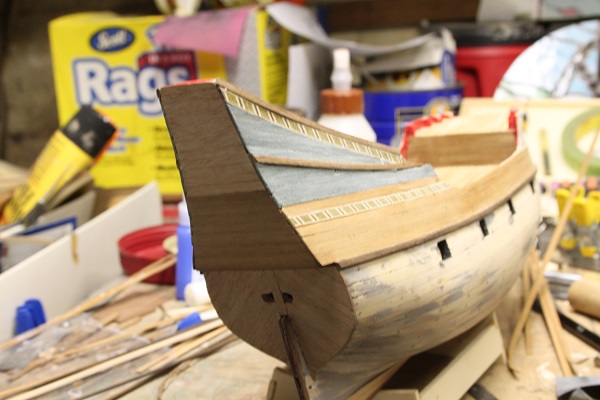
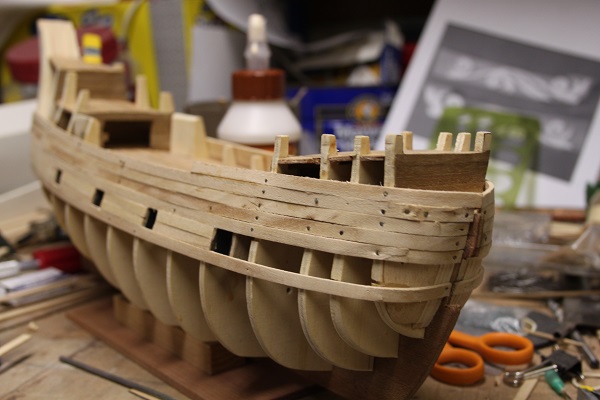
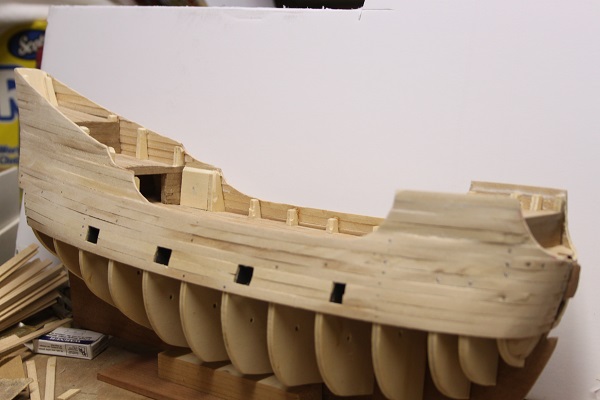
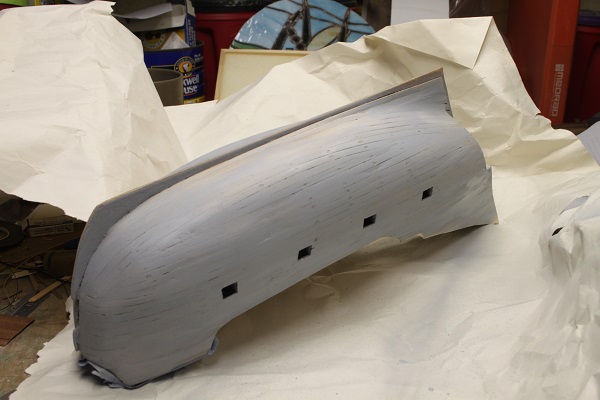
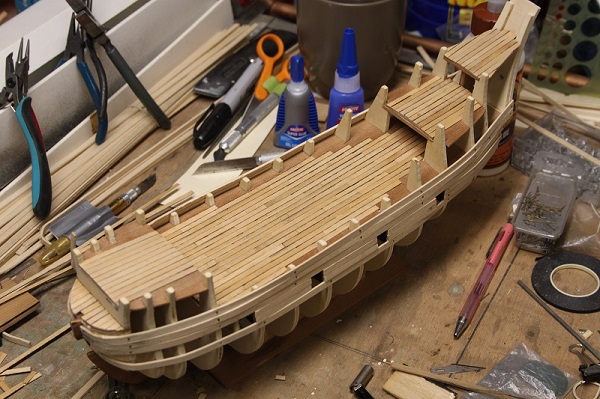
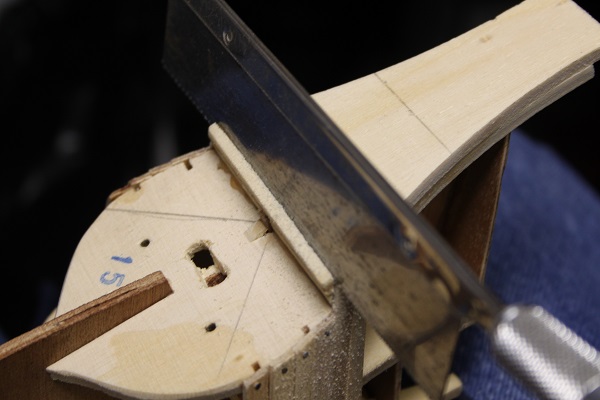
Working on the second planking, the stern deadwood is complete as well as the stern post. I'm using the dark walnut low on the hull as I plan to paint below the water line, below the wales will be the kit supplied tanganyka, to provide contrast to the upper dark walnut on the wales.
I use a little stain to minimize the contrast between the kit walnut and the new materiel above the wales, not sure about that yet..
THX
J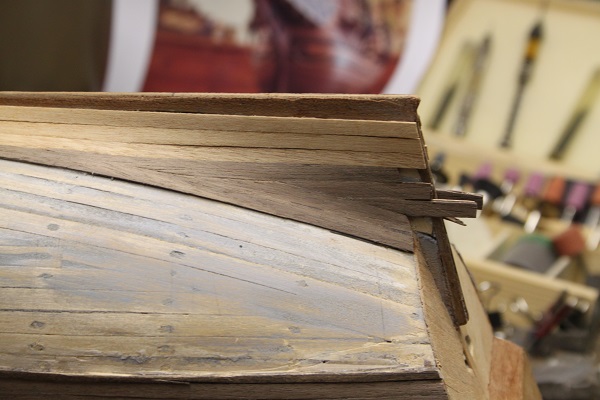
-
Steve,
She is looking good, really like what you did to add a true keel and stem and stern posts. I'll have to remember that one. The detail in your log is just right, I think most of us enjoy seeing how others accomplish their tasks and solve problems that arise. Nice work.
J
-
Hey Steve, Thx for your kind comments, it is an interesting ship to build with its own set of challenges, I see yours is a Corel kit as well, watch out for the difference between the plan drawing and the instruction drawing, they show plank/stark #34 in two different locations and created much grief for me!
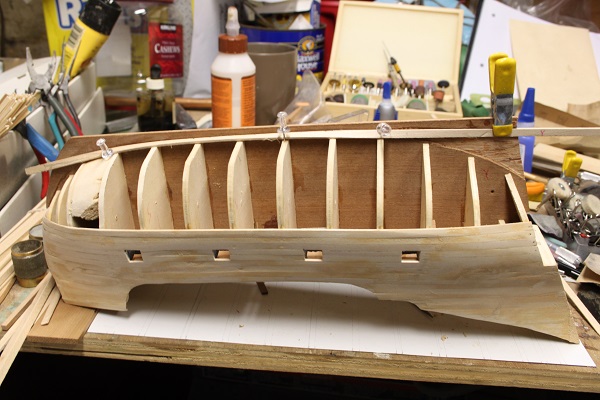
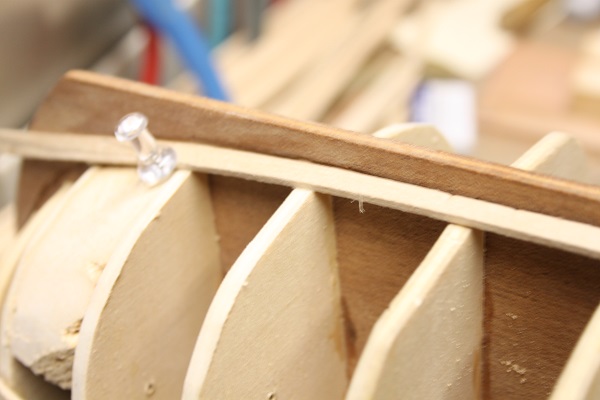
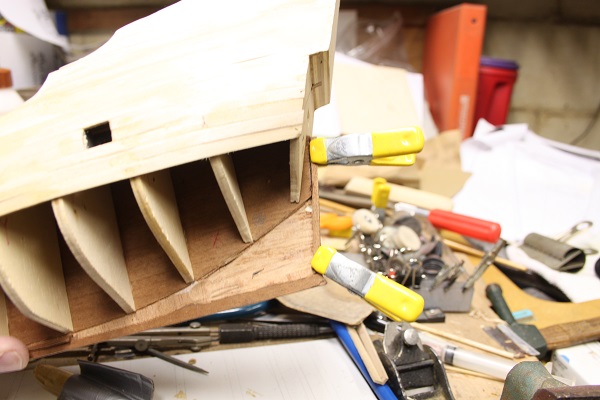
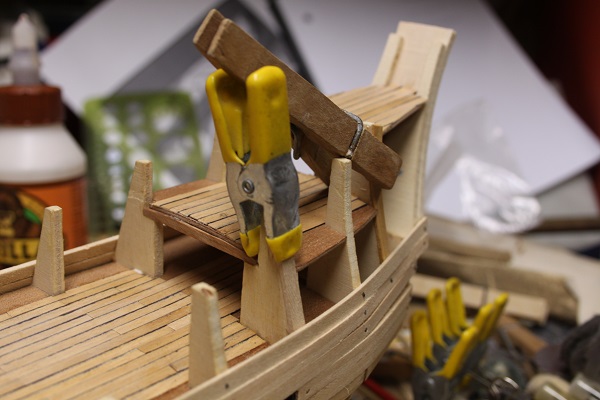
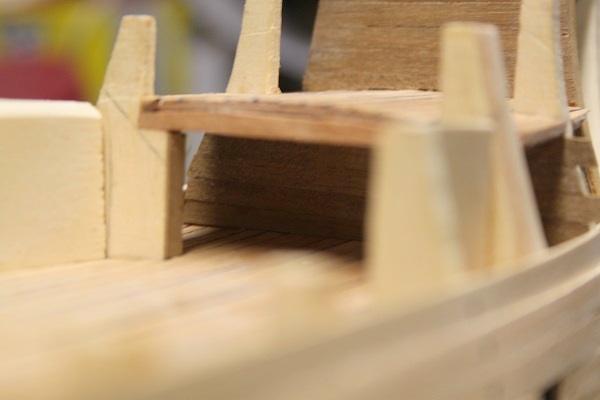
Hi Rick,
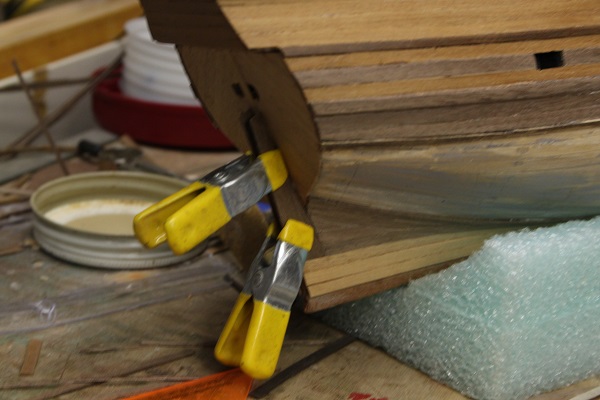
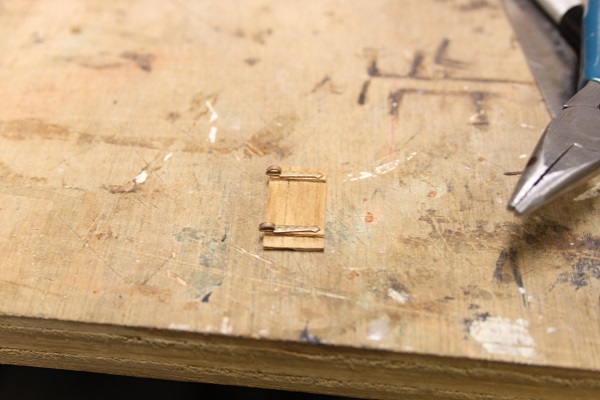
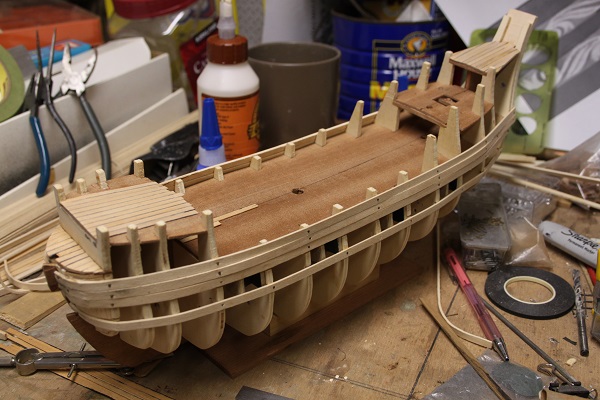
Your Mayflower is looking good. I get your apprehension about putting to much tension of the planking, but if you soak them first they will go where you need them to. Something that may also work for you on your second level are push pins. You push them into the first layer so the the bottom of the heads catch and hold the top layer plank in place. You can see them in the pic I've attached below.
THX
J.
-
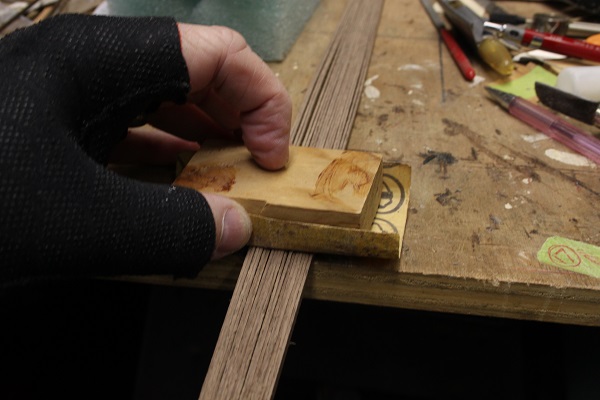
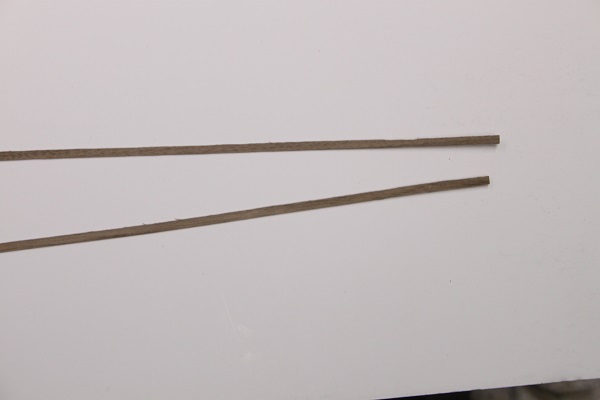
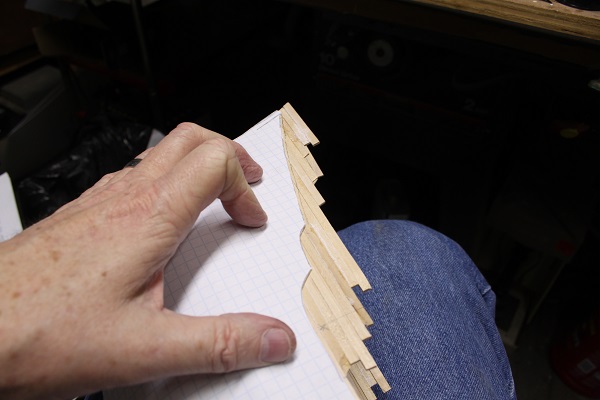
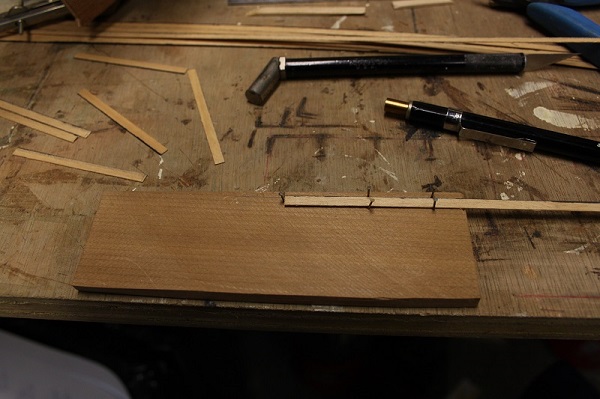
Some progress to report, I was have some issues with the veneer I purchased to make planks from. It was really brittle so when tried to cut it with an xacto style blade it wouldn't cut cleanly, the material kept splintering. When I tried the bandsaw the material was so thin it would get stuck under the fence.
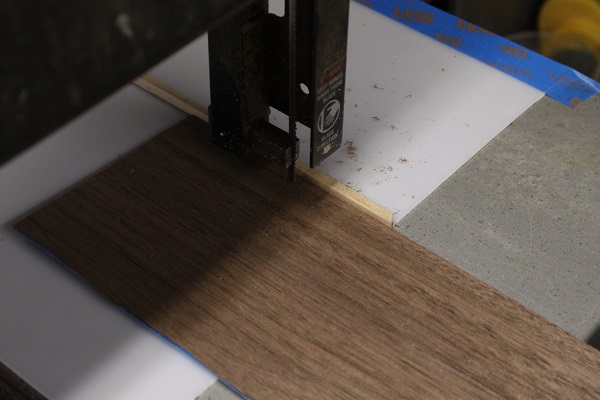
My solution was to construct a new saw "table" out of sheet styrene to which I glued a fence fixed at the correct width, in this case 4mm. This jig was just taped to the saw table.
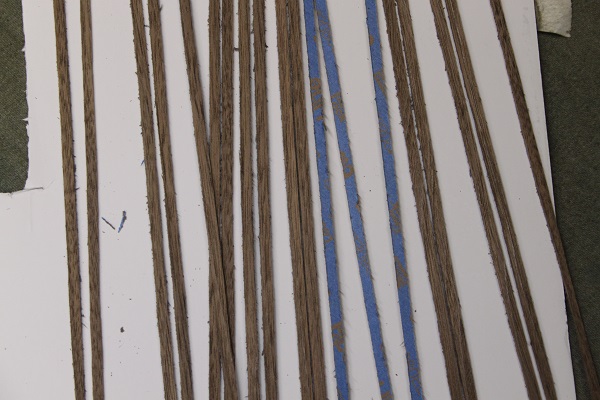
To prepare the veneer I cut a 32 inch sheet in two and glued the two halves together, giving me a double thickness sheet of 8x16 in. This was then backed with blue painters tape to cut down on splitting.
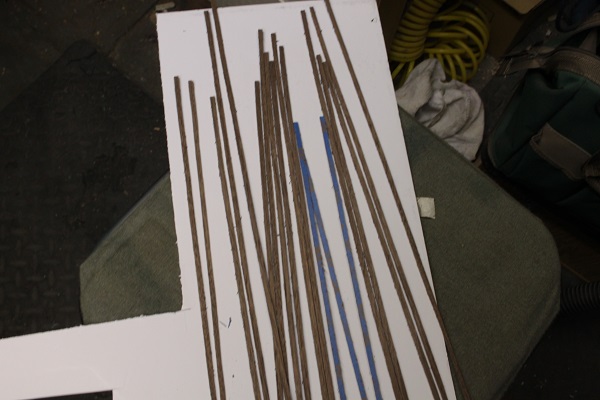
This technique worked well, after edge sanding I think the finished planks look pretty good, pics follow.
THX
J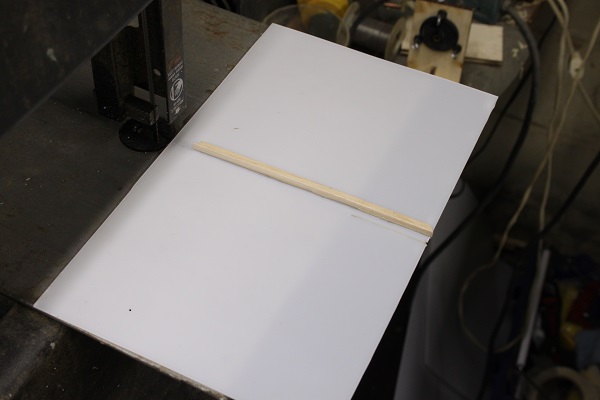
-
Hi Rick,
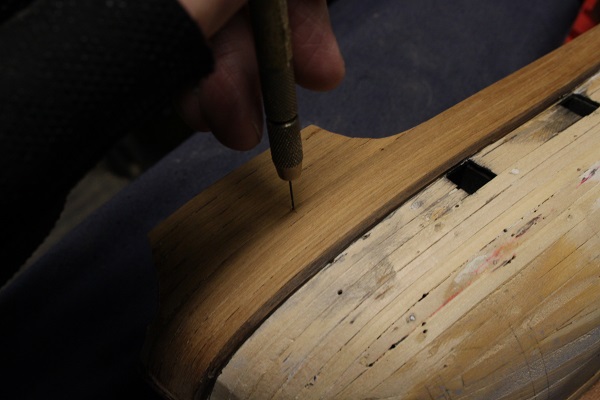
First thanks much for your kind words, and yes I have checked out (via internet) the Netherlands model as well as the builds on this site and others. As for nails...I left them in, and they will interfere with sanding, what I did was set the heads slightly below the wood surface with a nail set.
Is your Mayflower a single or double plank model? If double plank that technique works for the first layer of planks. The second layer is held on with a combination of CA and PVA glues.
If your ship is a single plank you'll want to remove them. That can be difficult if the nails are driven all the way to the surface What you can do is put small cut of pieces of planking under the nail heads, kind of like a washer, by drilling a small hole in the scrap and sliding the nail through the hole and setting it with a tiny bit of CA glue (trick I learned from others). Then when its time to remove you have a larger surface to pry out the brad. Hope that gives you some direction.
Do you have a build log here or on another site? I'd like to see your work on Mayflower.
THX
J
-
Max,
Your HM is really coming along, my build has stalled a bit while I sort out making more planking from venner. I agree with all the previous comments, she is a beautful creation and you should be proud.
J
-
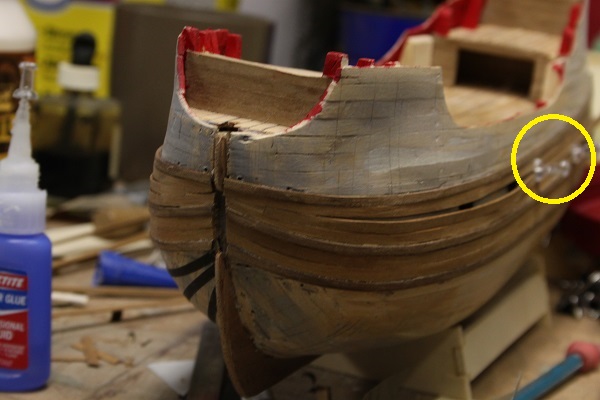
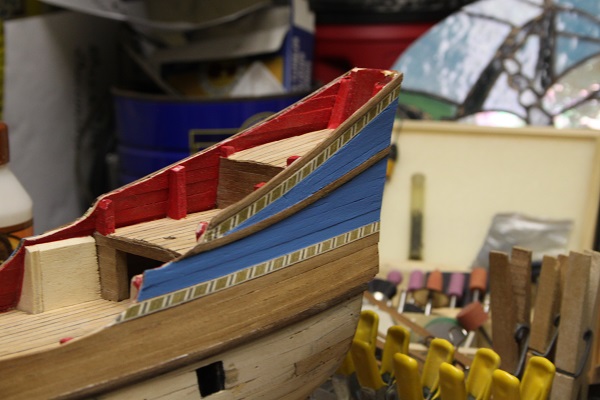
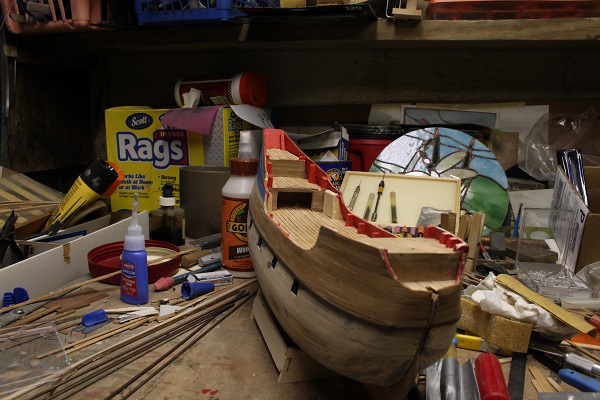
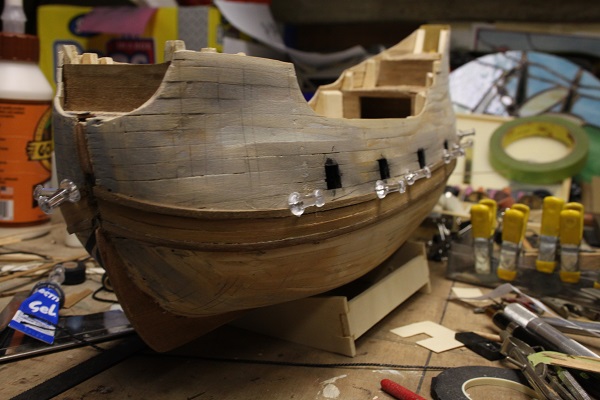
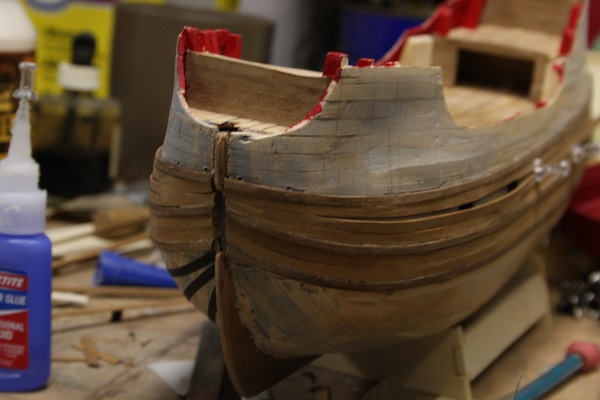
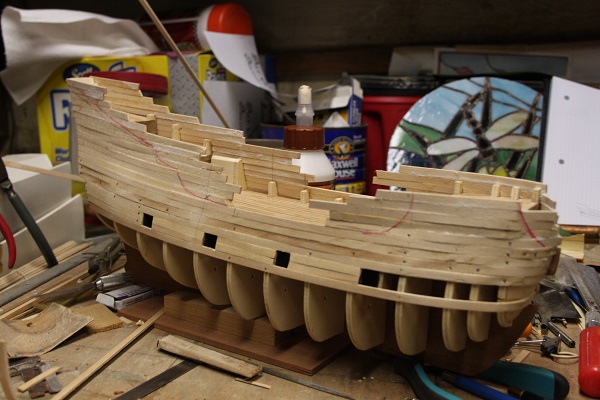
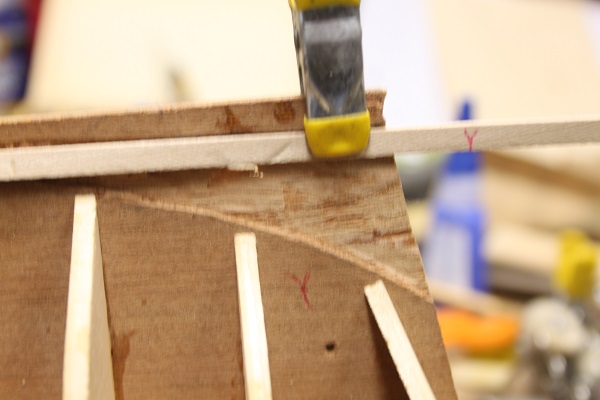
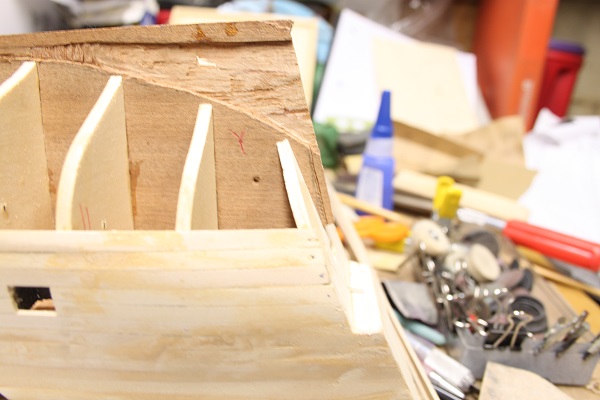
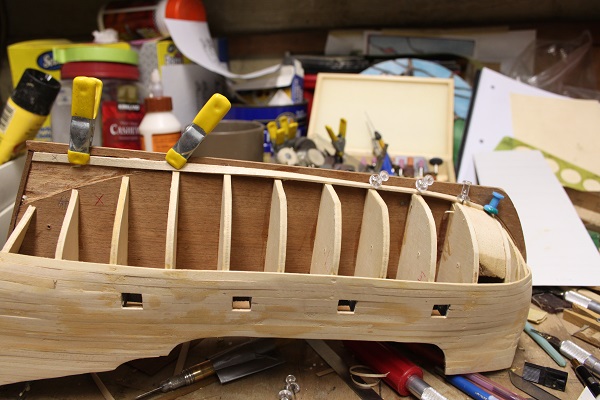
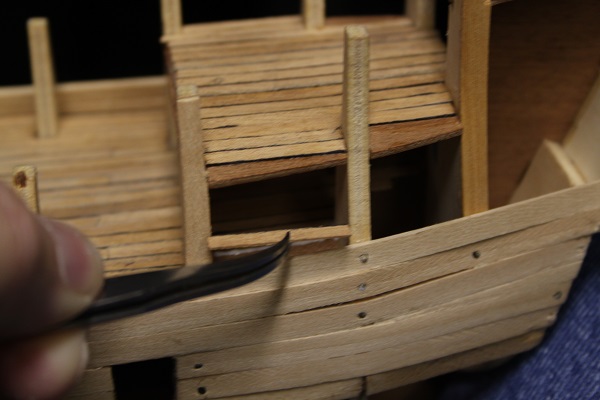
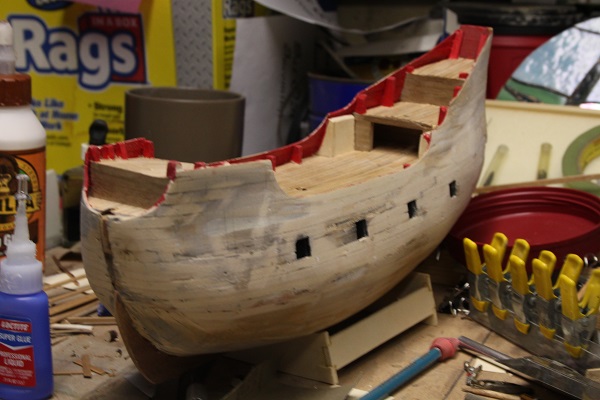
a few pics to add, painted out the blue and repainted the inner wales, finished the bow planking. I've installed some pins to attach the rub stakes to so I can glue them with white glue instead of CA. I always manage to get the stuff everywhere and have no desire to strip the planking again!
THX
j


-
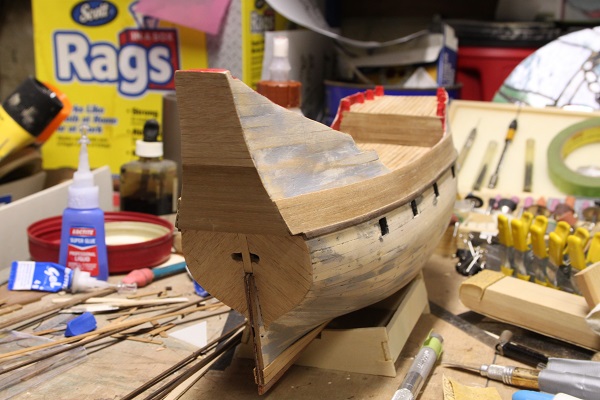
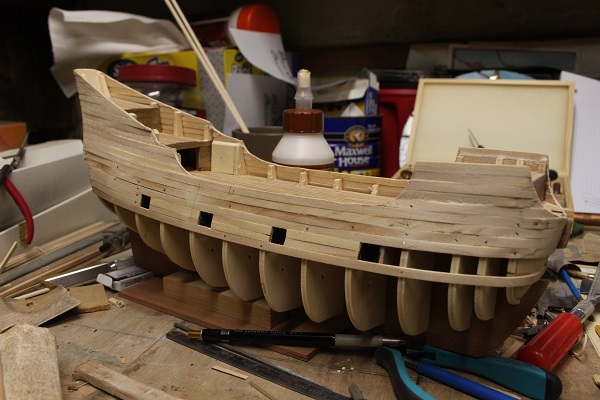
Got more of hte second planking done, added the colored planking to the stern
-
Very nice, Anja, will you be leaving her a natural wood finish or do you plan to add paint? I am planing a combination of the two for my build.
THX
J
-
THX Anja,
I have been following your HM build and I think you've done a good job with you Moon,she looks very nice. The HM does present some challanges but I believe that is what give her such a pleasing shape when she is completed.
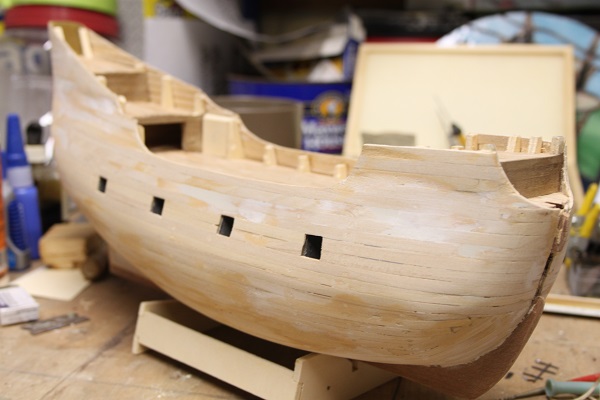
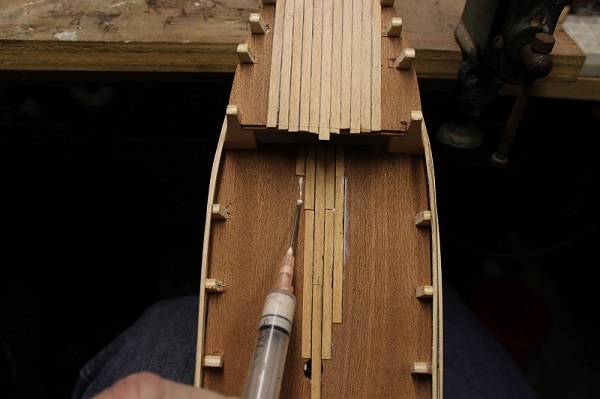
I've restarted the second planking.. working up from the wales,pics follow.
THX
J

-
Thanks Max, it has had its challenges so far but the HM does have a nice shape. Some of the finished models of her I've seen are very nice. Thanks again for your interest.
J
-
-
-
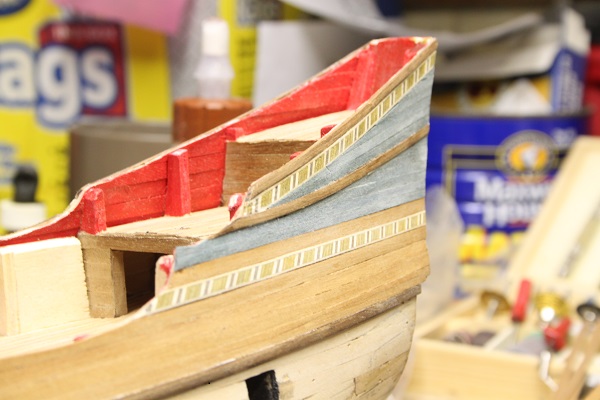
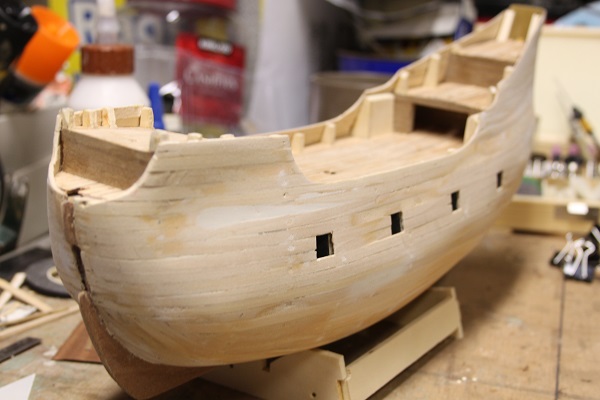
Just a few pics to add, worked on the rub starkes and the 2nd layer planking between them, also painted the inside of the wales red but it's way to bright I'll need to get something more subdued
THX
J
-
THX Much Nick, good to be back, the HM is coming along but there are glitches and bound to be more
THX
J


-
Hello everyone,
I an returning to the hobby after a few year hiatus, this is my second wooden model ship though I have modeled in plastic for many years. This build fill log will follow my construction of Corel's HALF MOON. I will include as many photos as possible and comment when appropriate. This will be as comprehensive as I can make it and will include my failures as well as successes.
Thanks for your time and attention,
J
Just edited to re-poet the pics that had disappeared into the void


Shenandoah 1864 by SGraham - FINISHED - Corel - Scale 1:50 - American Civil War-era Cutter
in - Kit build logs for subjects built from 1851 - 1900
Posted
Hey Steve,
She looks good so far; a question though, are you planning on narrower planks for the lower hull? You may have an issue getting the wide ones to take the bends required, especially that double 90 at the stern!
THX
J