


jct
-
Posts
1,519 -
Joined
-
Last visited
Content Type
Profiles
Forums
Gallery
Events
Posts posted by jct
-
-
This is some black walnut that I second sourced...the kit supplied planks ran out during my second re-do

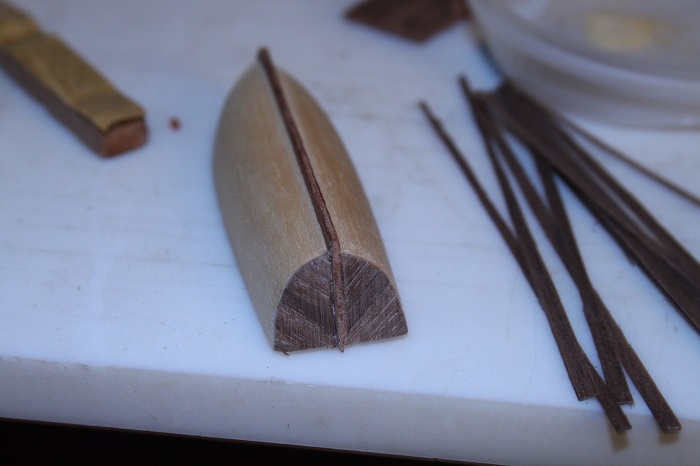
The launch is hollow but rather thick sided, I'll have to figure a way to deal with that. I had planed to carve it thinner but it appears to be the same type of wood the crows nests were made of... and we saw how well that went!!

Barring any unforeseen crisis at the 'salt mine' I should be able to start planking latter today.
J
-
Last two pics should be first...
-
-
Hello all,
This update doesn't have much to do with the little launch, but it is something I thought you might find interesting all the same.
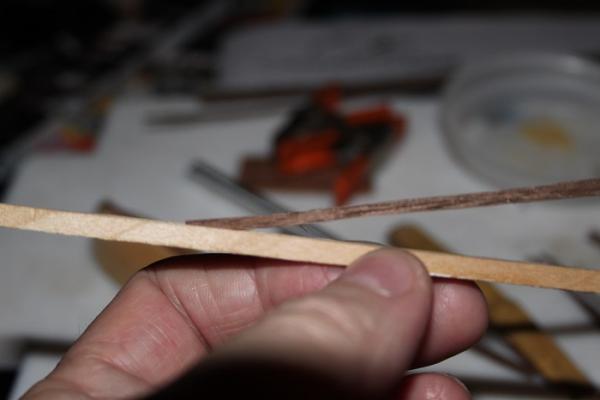
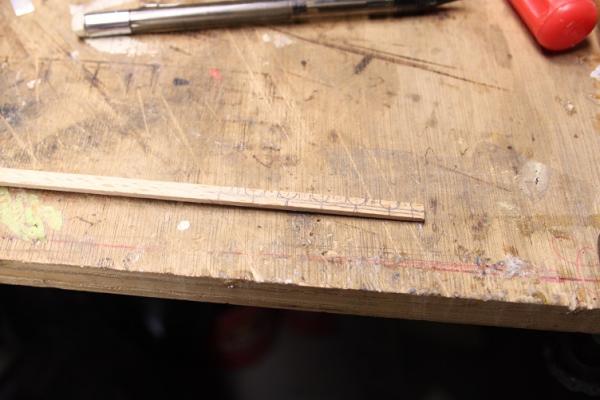
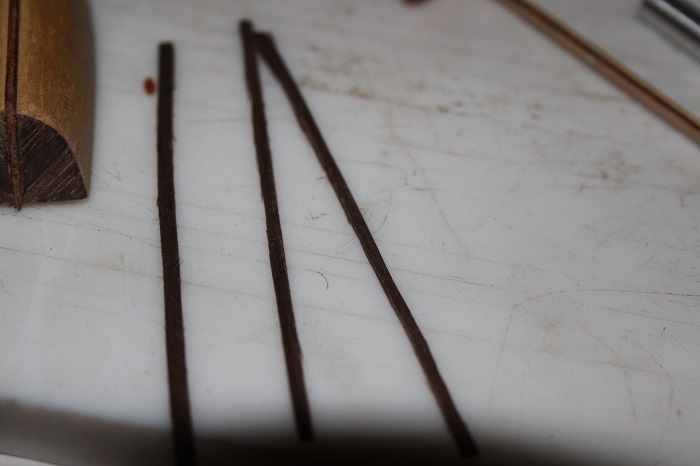
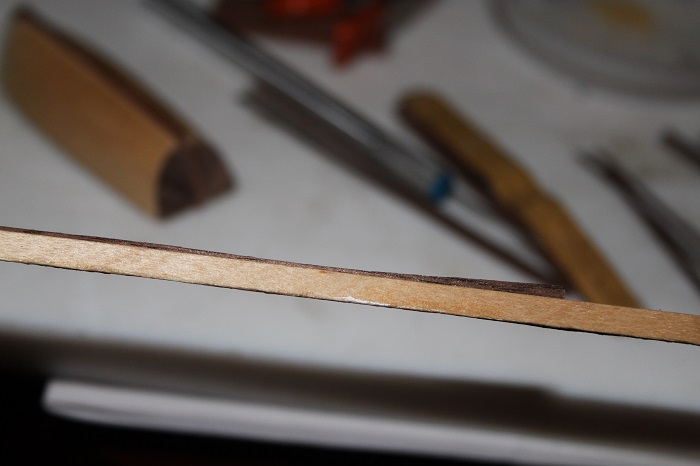
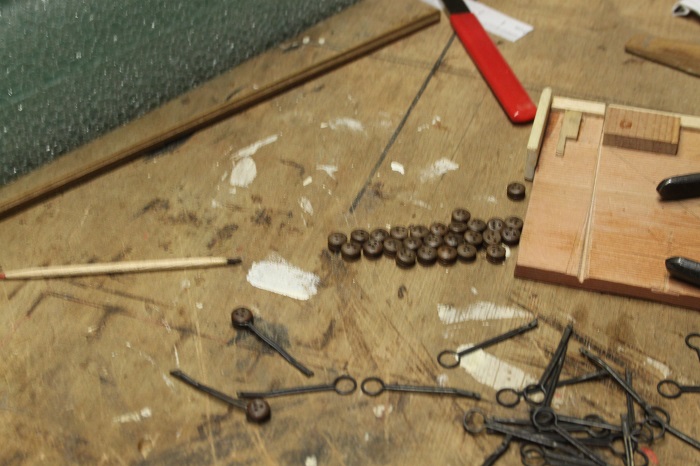
In a previous post I had mentioned that the veneer I've been using is very thin and brittle and has caused me some problems when trying to slice it into plank widths.
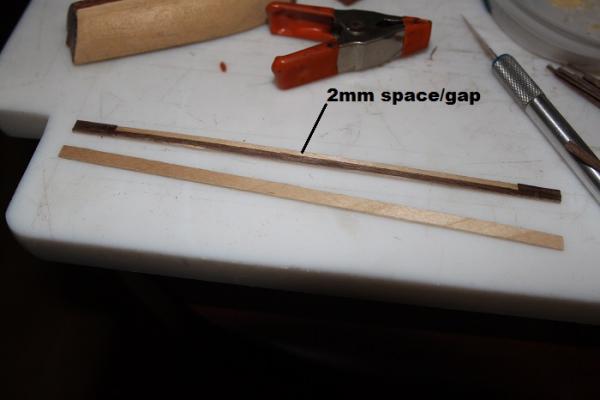
The fixture I made for my bandsaw worked well but the minimum cut achievable was 4mm, for the launch I wanted planks at about 2mm.

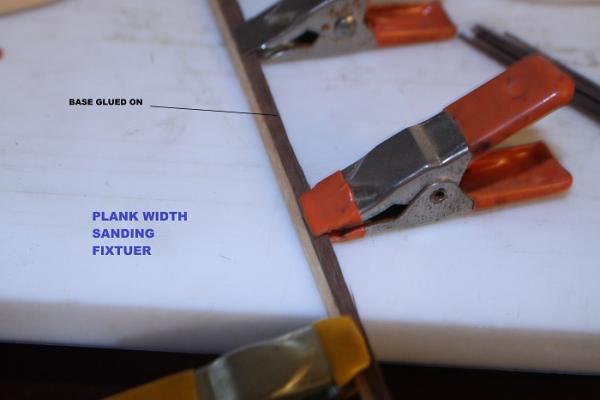
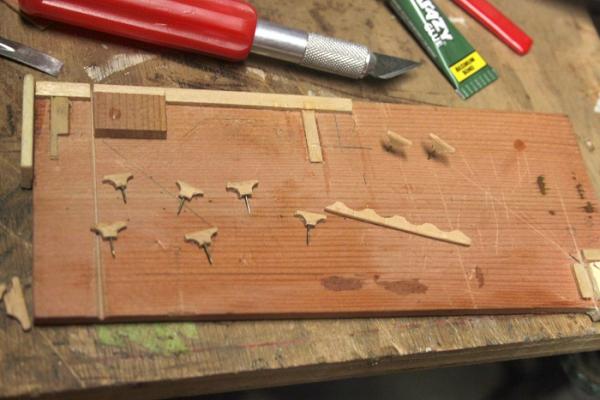
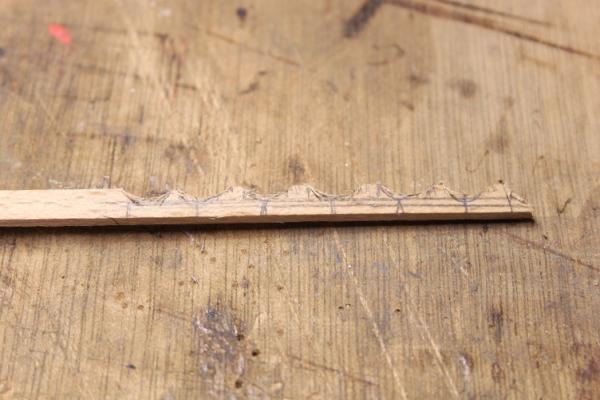
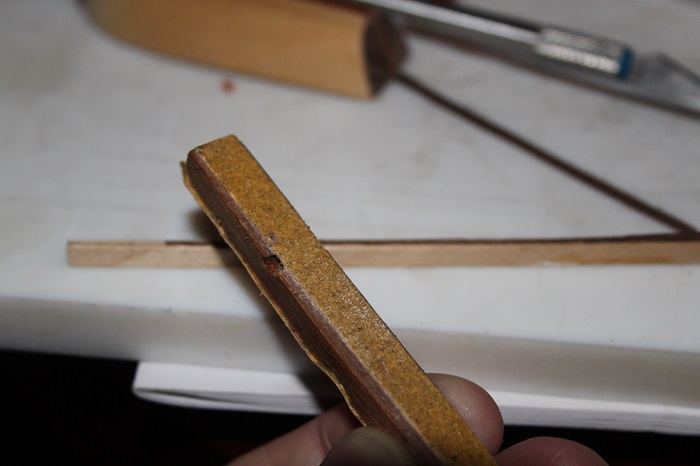
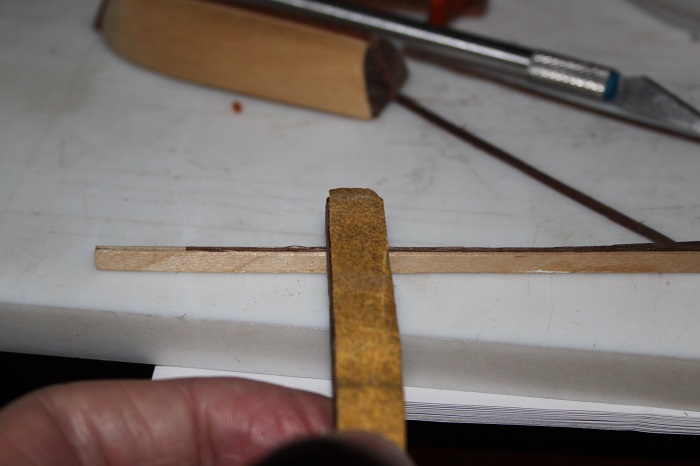
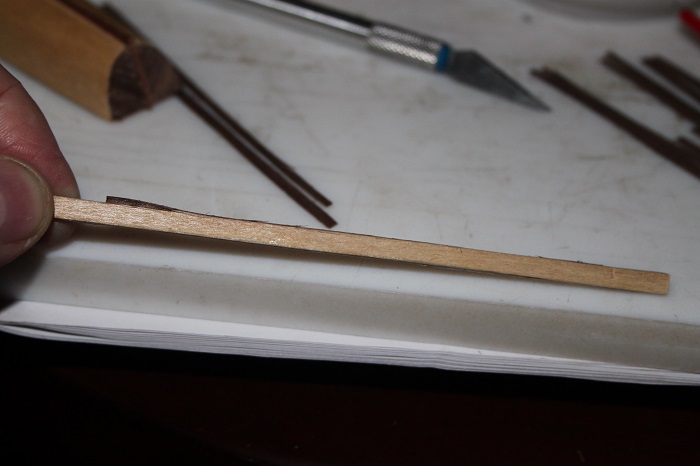
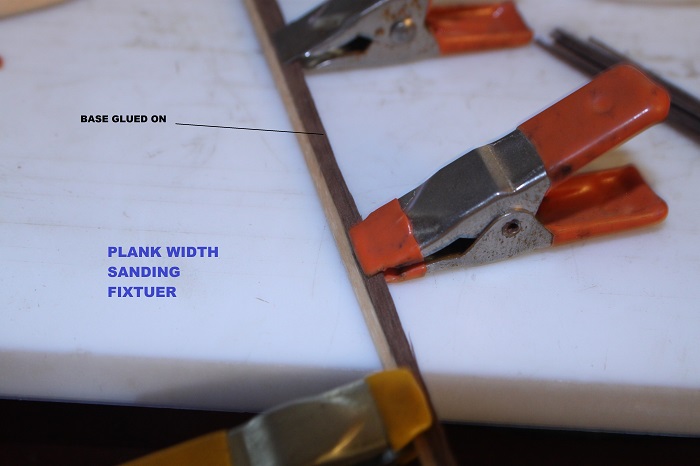
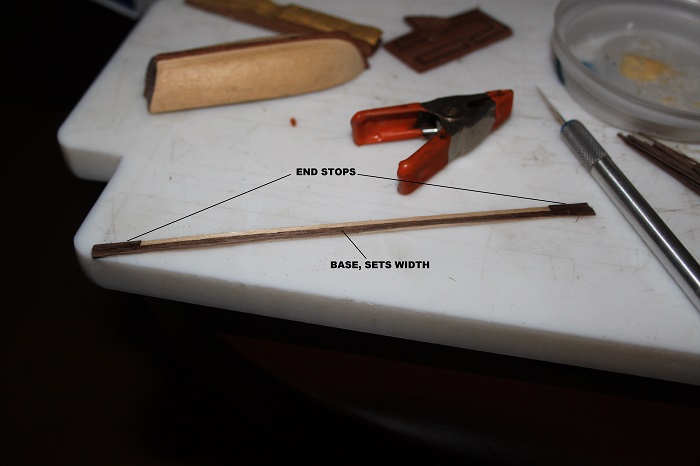
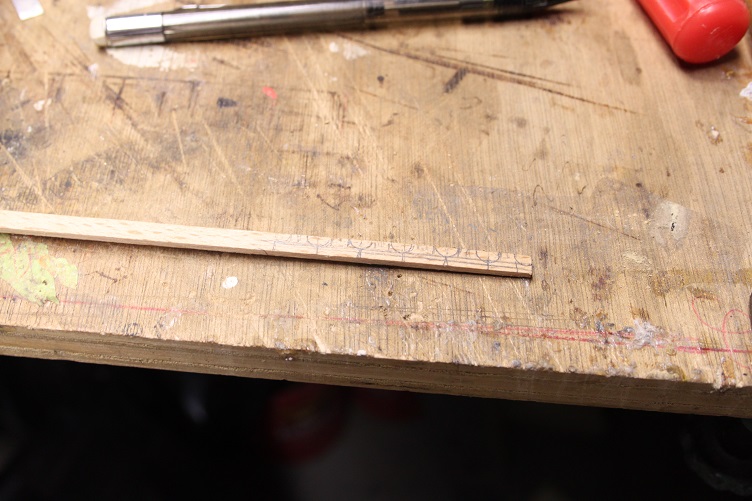
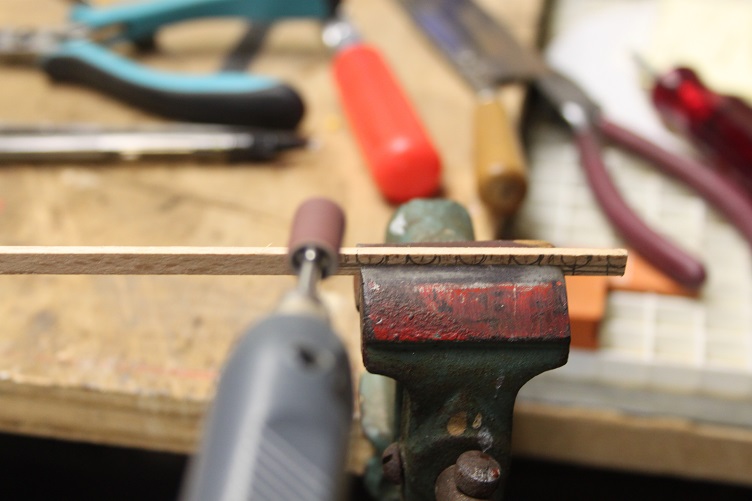
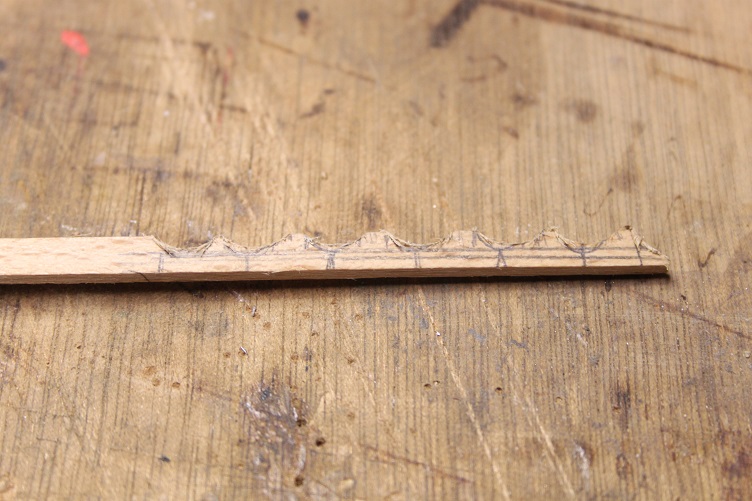
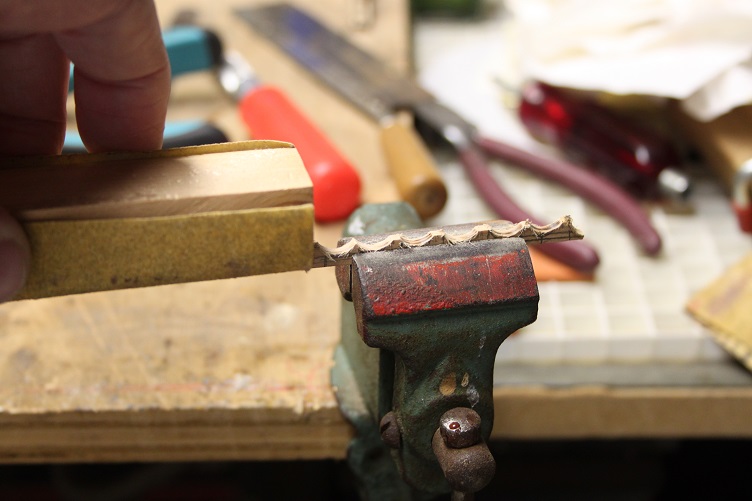
The solution I came up with was to construct a sanding fixture which would allow the planking materiel to be held firmly and ensure a consistent width when complete.
I started with a couple of coffee stirrers and some scrap planking materiel, the planking materiel was glued to one of the stirrers at a 2mm distance from the edge, stops were applied to keep the plank from slipping out and the second stirrer glued on. The idea is to trap the raw plank between the stirrers and sand the width down to the top of the fixture. I know all that is hard to follow, hope the attached pics help...anyway it works well only a few more to make before I can start planking the launch....as always thanks for your interest.
J


-
-
I agree Pete it can be though I've had my share with this build and all the re-do's
 ...seriously it is nice to watch the transformation take place during planking.
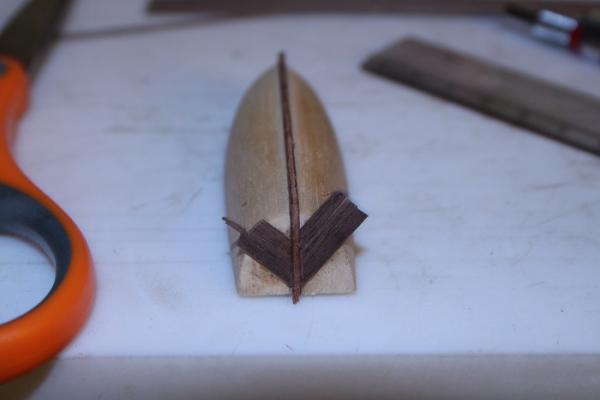
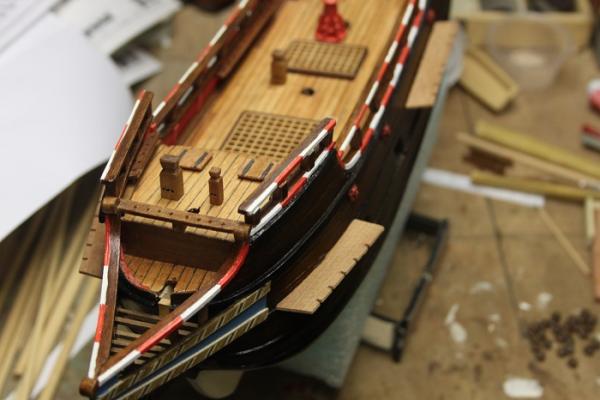
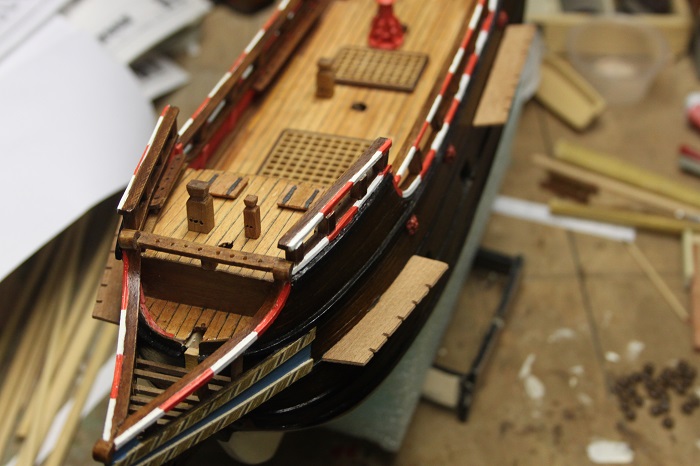
I did manage to start work on the launch, just a little progress though. Planking the stern I decided to follow the same pattern the main hull has with the planking on the transom running at a 45 degree angle, Pics follow
As always thanks for looking in and your continued interest
THX
J


-
Planking over is the current plan, the launch has a nice shape but just lakes the detail I think it deserves, it has a very prominent position on deck I thing\k some level of detail is require> I'll probably start on it this pm when I'm done at the salt mine. Will post progress pics
J
- pete48 and popeye the sailor
-
 2
2
-
THX Popeye, your support is appreciated. think I'm gonna work on the launch next...not happy with the wooden form Corel provided
-
-
-
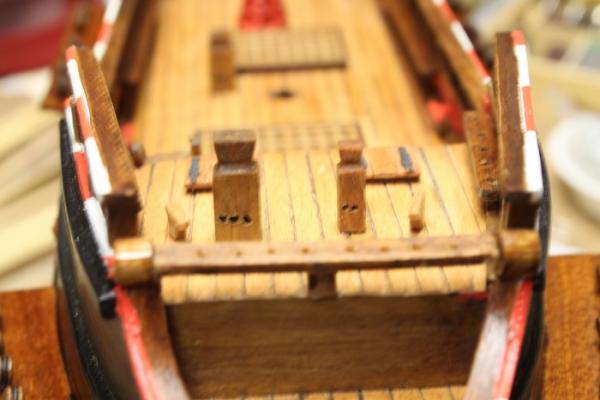
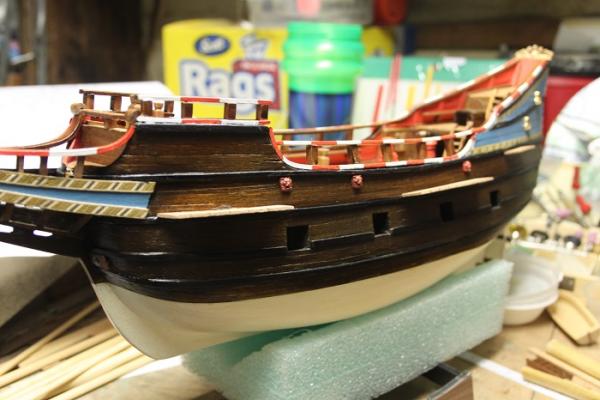
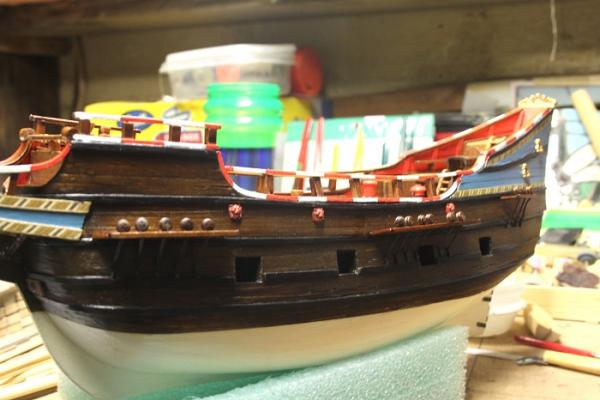
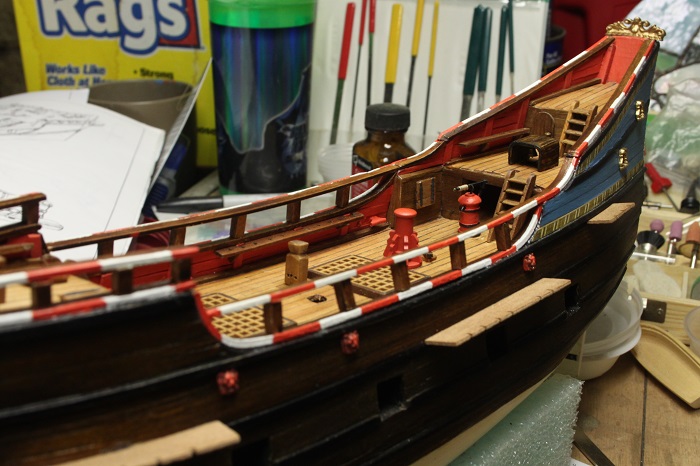
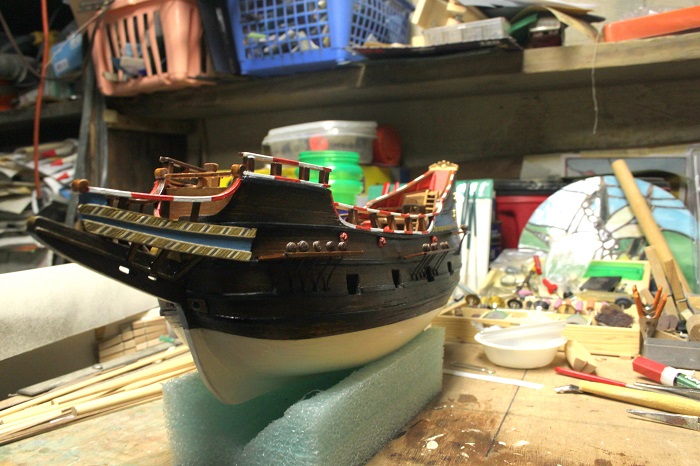
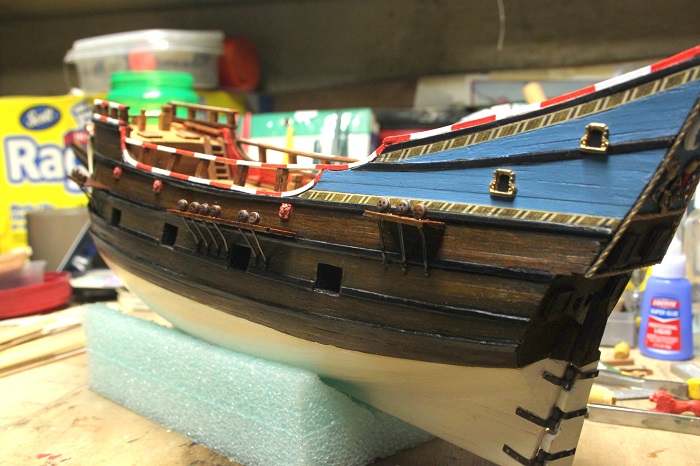
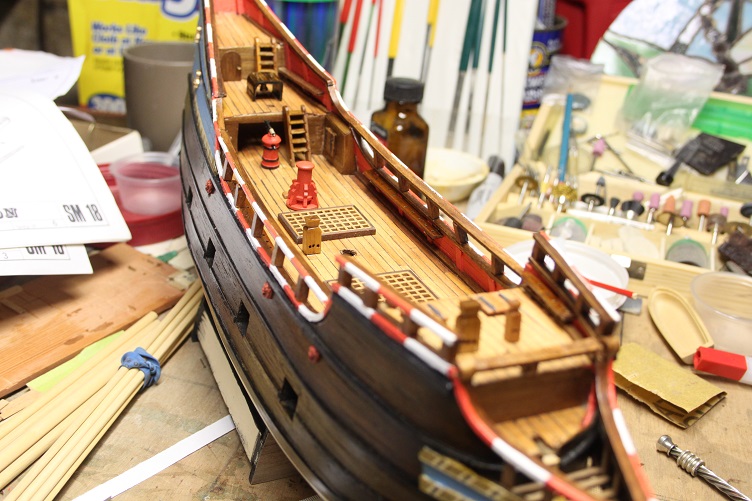
some progress om my HM, got the cleats made and mounted both forward per the Corel plans and midships as in the Billings plans Popeye provided. Chain plates were mounted and the deadeyes wired and mounted and the plates oiled they will get a coat of poly later in the week. Pics follow, thanks for your interest.
J


- pete48 and popeye the sailor
-
2
-
The "thinner" is a mix of distilled water and blue windshield washer fluid, 50/50, as for the actual paint mix. I prepare small batches as needed in little plastic squeeze bottles, I start with a ratio of 2/3 paint and 1/3 thinner and add more thinner as required depending on how the airbrush reacts
J
-
Hey Popeye,
I used a modelers awl and pin vise with a number 72, through the mouth, under a magnifying light to get the process started. Drilled a pilot hole all the way through and then just stepped up the hole size, working from the back to the front. Seems that once you get past the plating layer the metal is fairly soft, least on my samples they were. As to holding, I used a small vice for the pilot hole, I didn't worry about crushing them as I had a lot of cleanup to do on mine anyway. Hope that helps some
J
-
Thanks Eyup,
I appreciate your complement it has been a fun challenge so far
J
-
SCORE!!! those are some nice castings, you shouldn't have a lot of prep work, looking fwd to seeing them on your HM. Are you planning to run lines through all 3? The Corel plans only shoe rigging the one closest to the stern
J
-
Seems it's something all the kits have in common...I remember scratching my head alot when I built my Enterprise, that was an old Golden Kits.
-
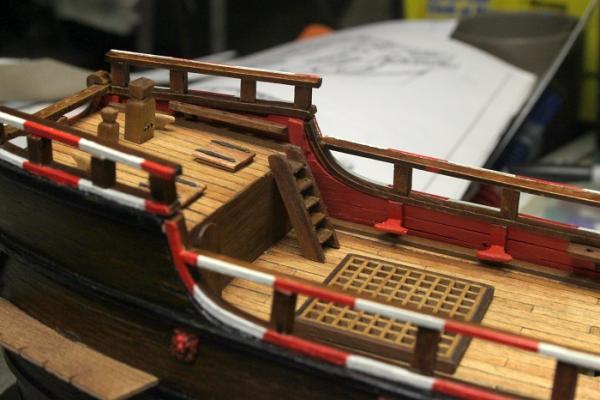
Cleats are not too bad so far, the steps you see here only took about 7min counting the photo time...a little more in the layout though. This is strip stock...what looks like a ply core is just burn marks from the sanding drum, I plan to run a pin up through them to add some strength and to secure them to the deck and wales. nothing supplied in the kit, in fact when you look up the part number to see what stock to use it says "wood". This is 2X6mm euro walnut. Still a lot of shaping to do.
J
-
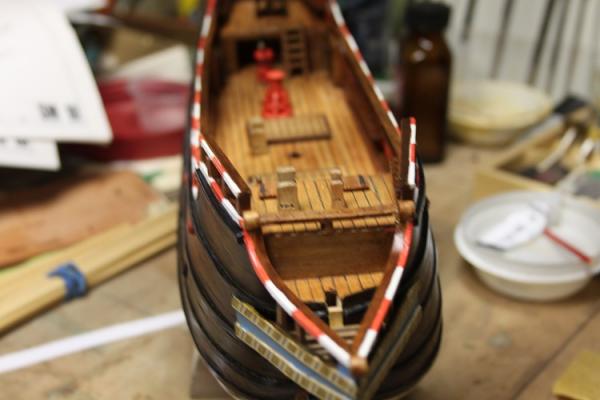
A little more to report on...got more of the deck furniture made and mounted and started making the cleats, pics follow


-
Steve,
Those look great, love the handles, I've accidentally hit surfaces painted with Model Expo acrylics with boiled linseed oil with no adverse effects, but I'm not sure how tung differs from linseed, other then their different origins.
J
-
Always a possibility' good luck on your quest.
-
Any time my friend

-
Here you go...looks sweet

-
Thanks Nick...I cant either, wonder whats up with that? Hey Popeye, I think Steve may have something there Hello Kitty might just add a certain je ne sais quoi to the build
-
As Steve said...THX Popeye, so we're protecting the lines and not the hull
I always was a little back asswards glad you posted the Billings Deck plan...I'll have to double check the Corel plan, don't have it in front of me now, but I don't remember it showing cleats in those positions! I'd have these really cool lion heads with lines running through them with no where to go!!!THX
J


HALF MOON by jct - FINISHED - Corel
in - Kit build logs for subjects built from 1501 - 1750
Posted
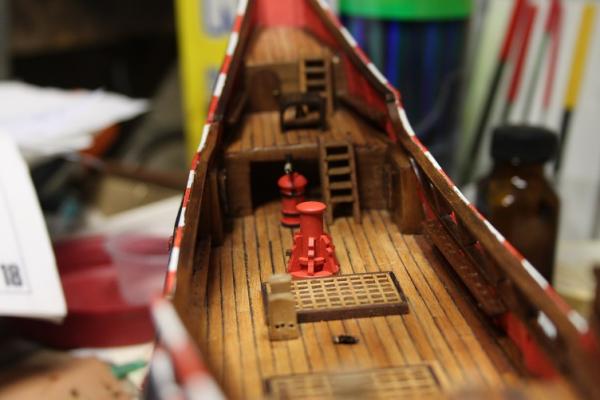
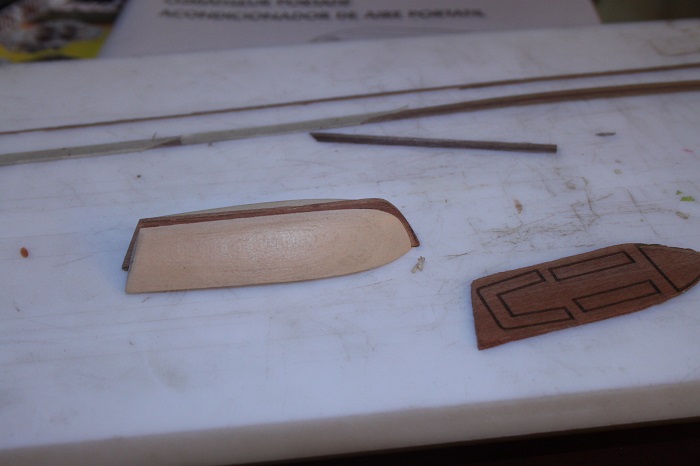
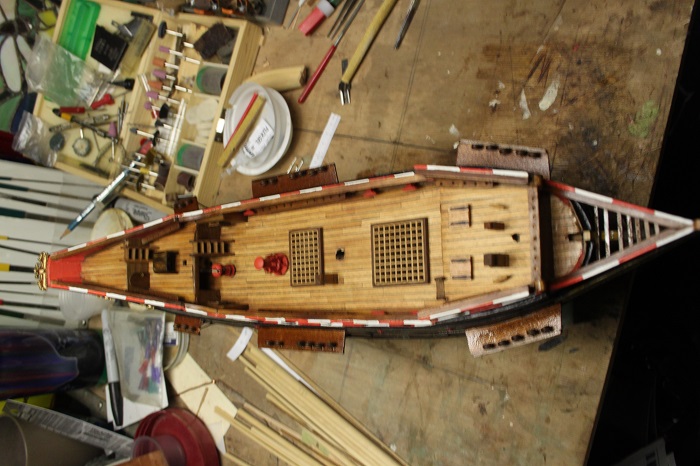
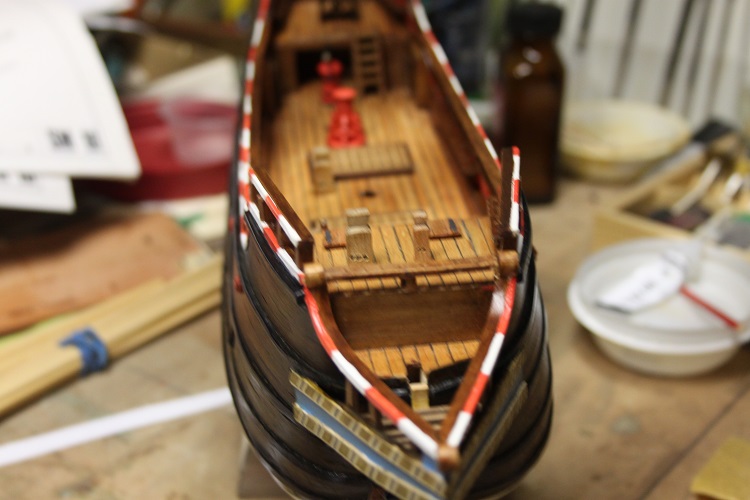
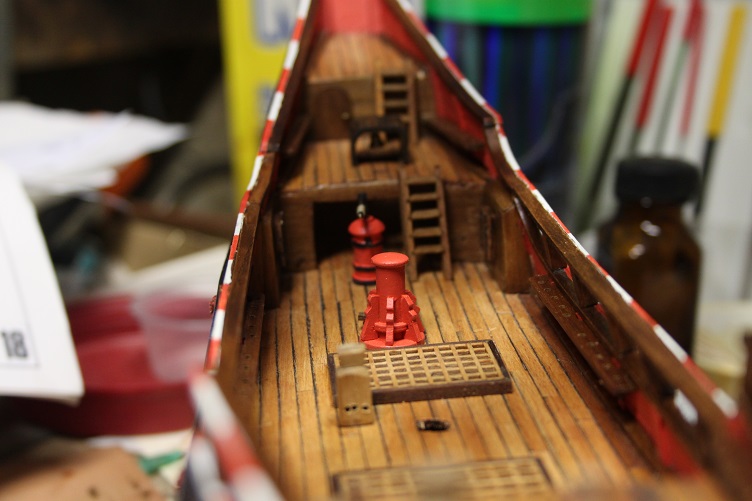
The outside of the launch is completed, debating how to complete the inside, I've already decided that I'm not using the plywood parts that came with the kit...they make the launch look like a Cris-Craft! Beautiful but kind of out of place on the deck of a 17th century vessel Pics follow
THX
J