
Cmm4000
-
Posts
60 -
Joined
-
Last visited
Content Type
Profiles
Forums
Gallery
Events
Everything posted by Cmm4000
-
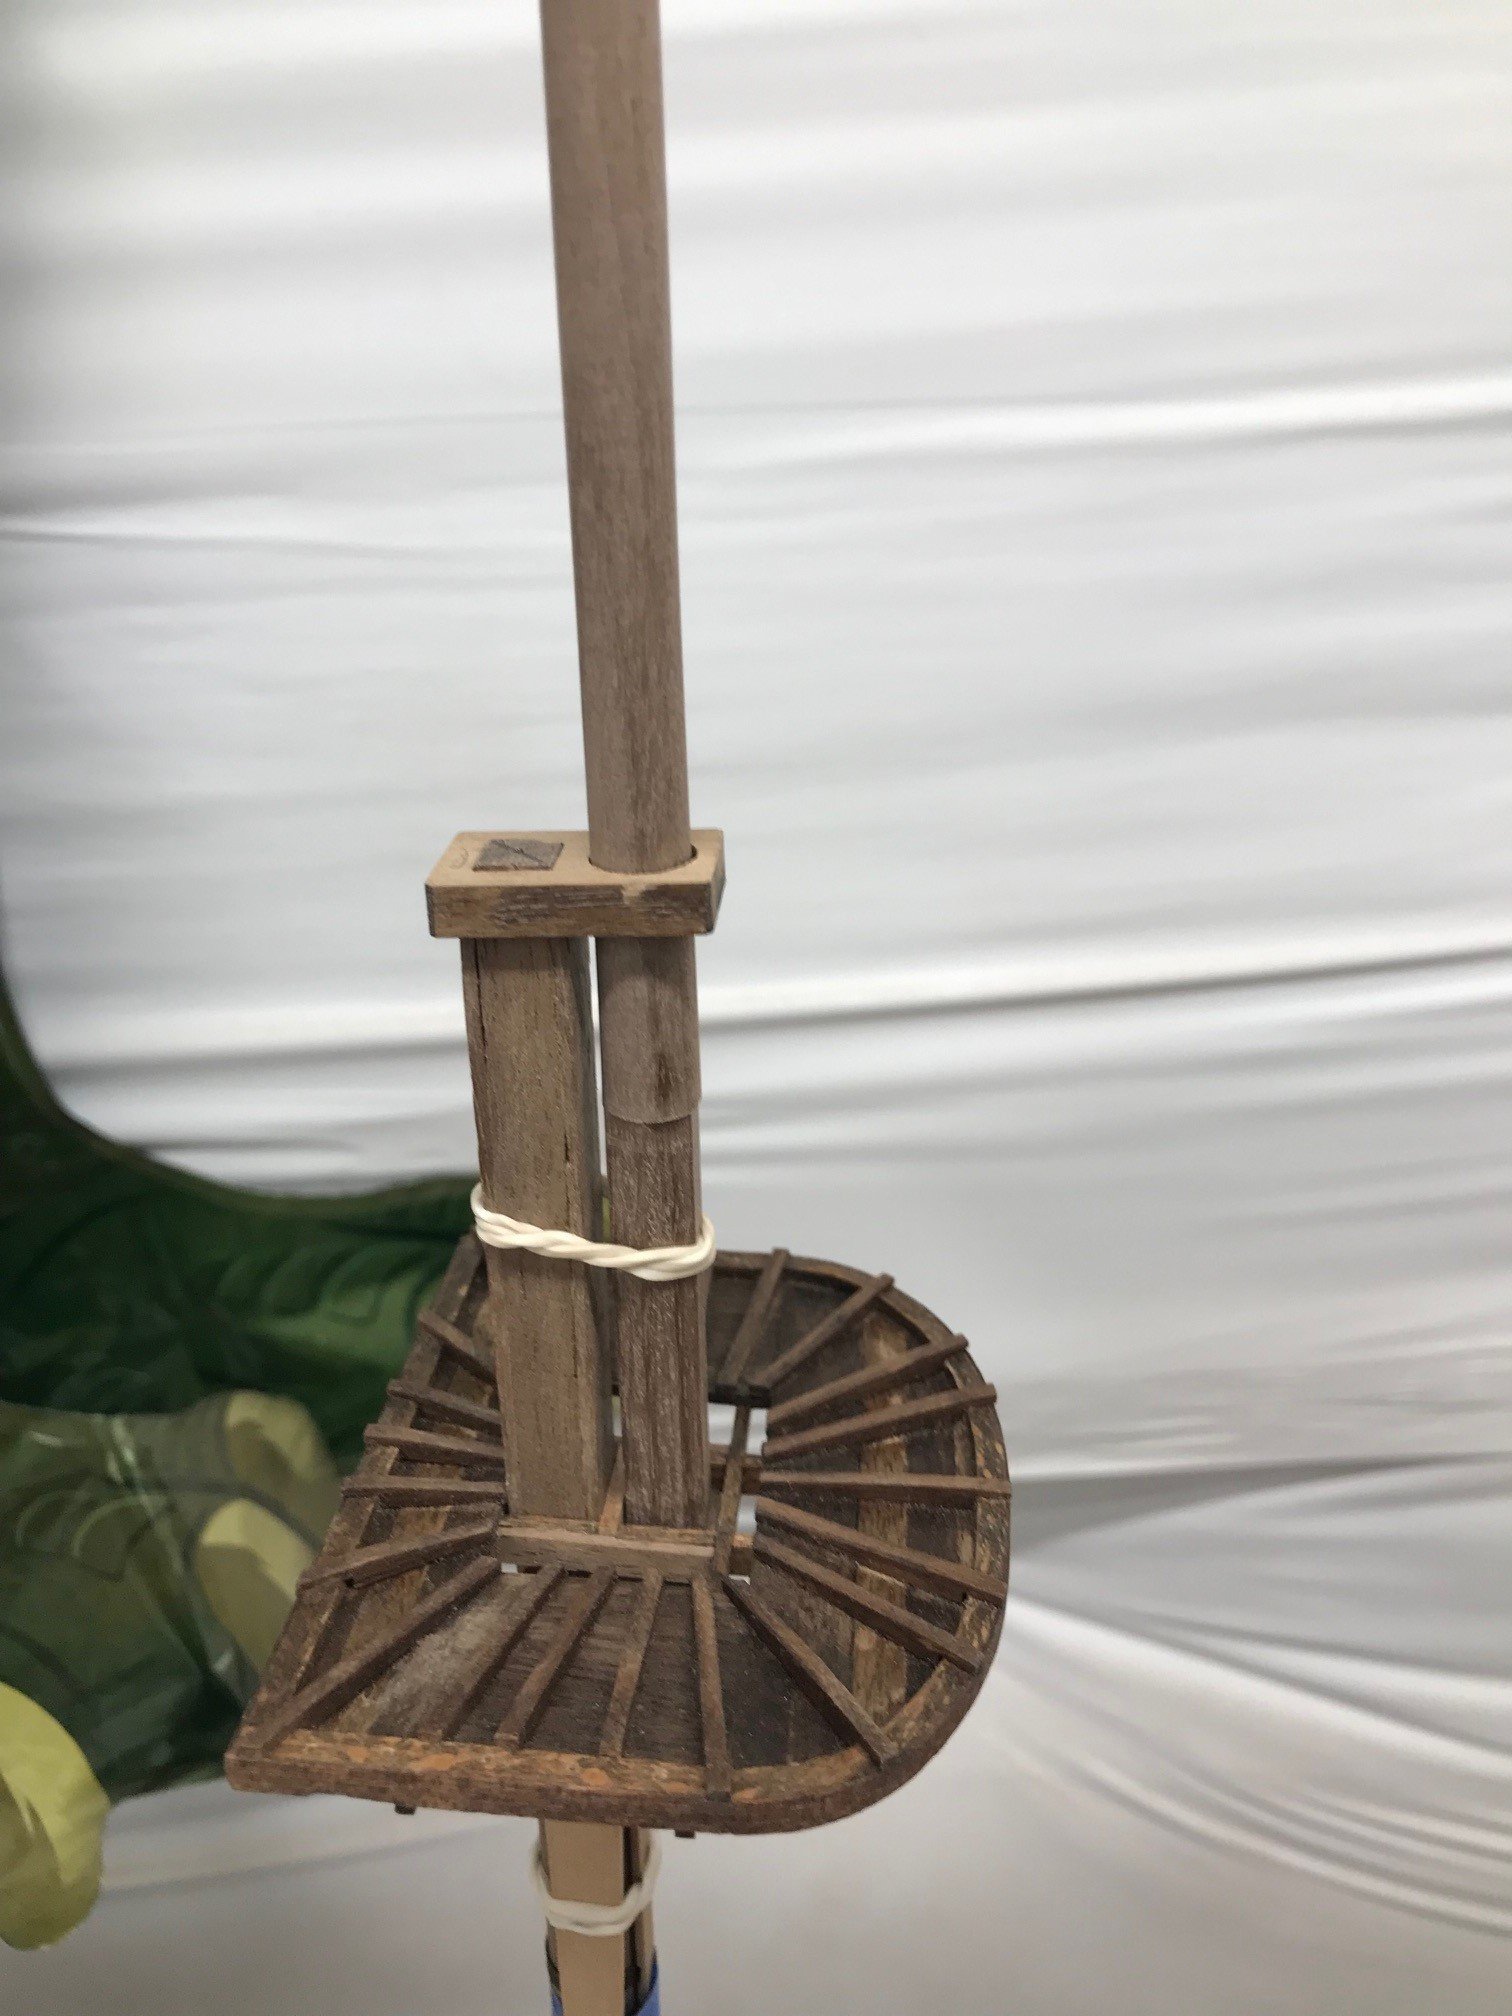
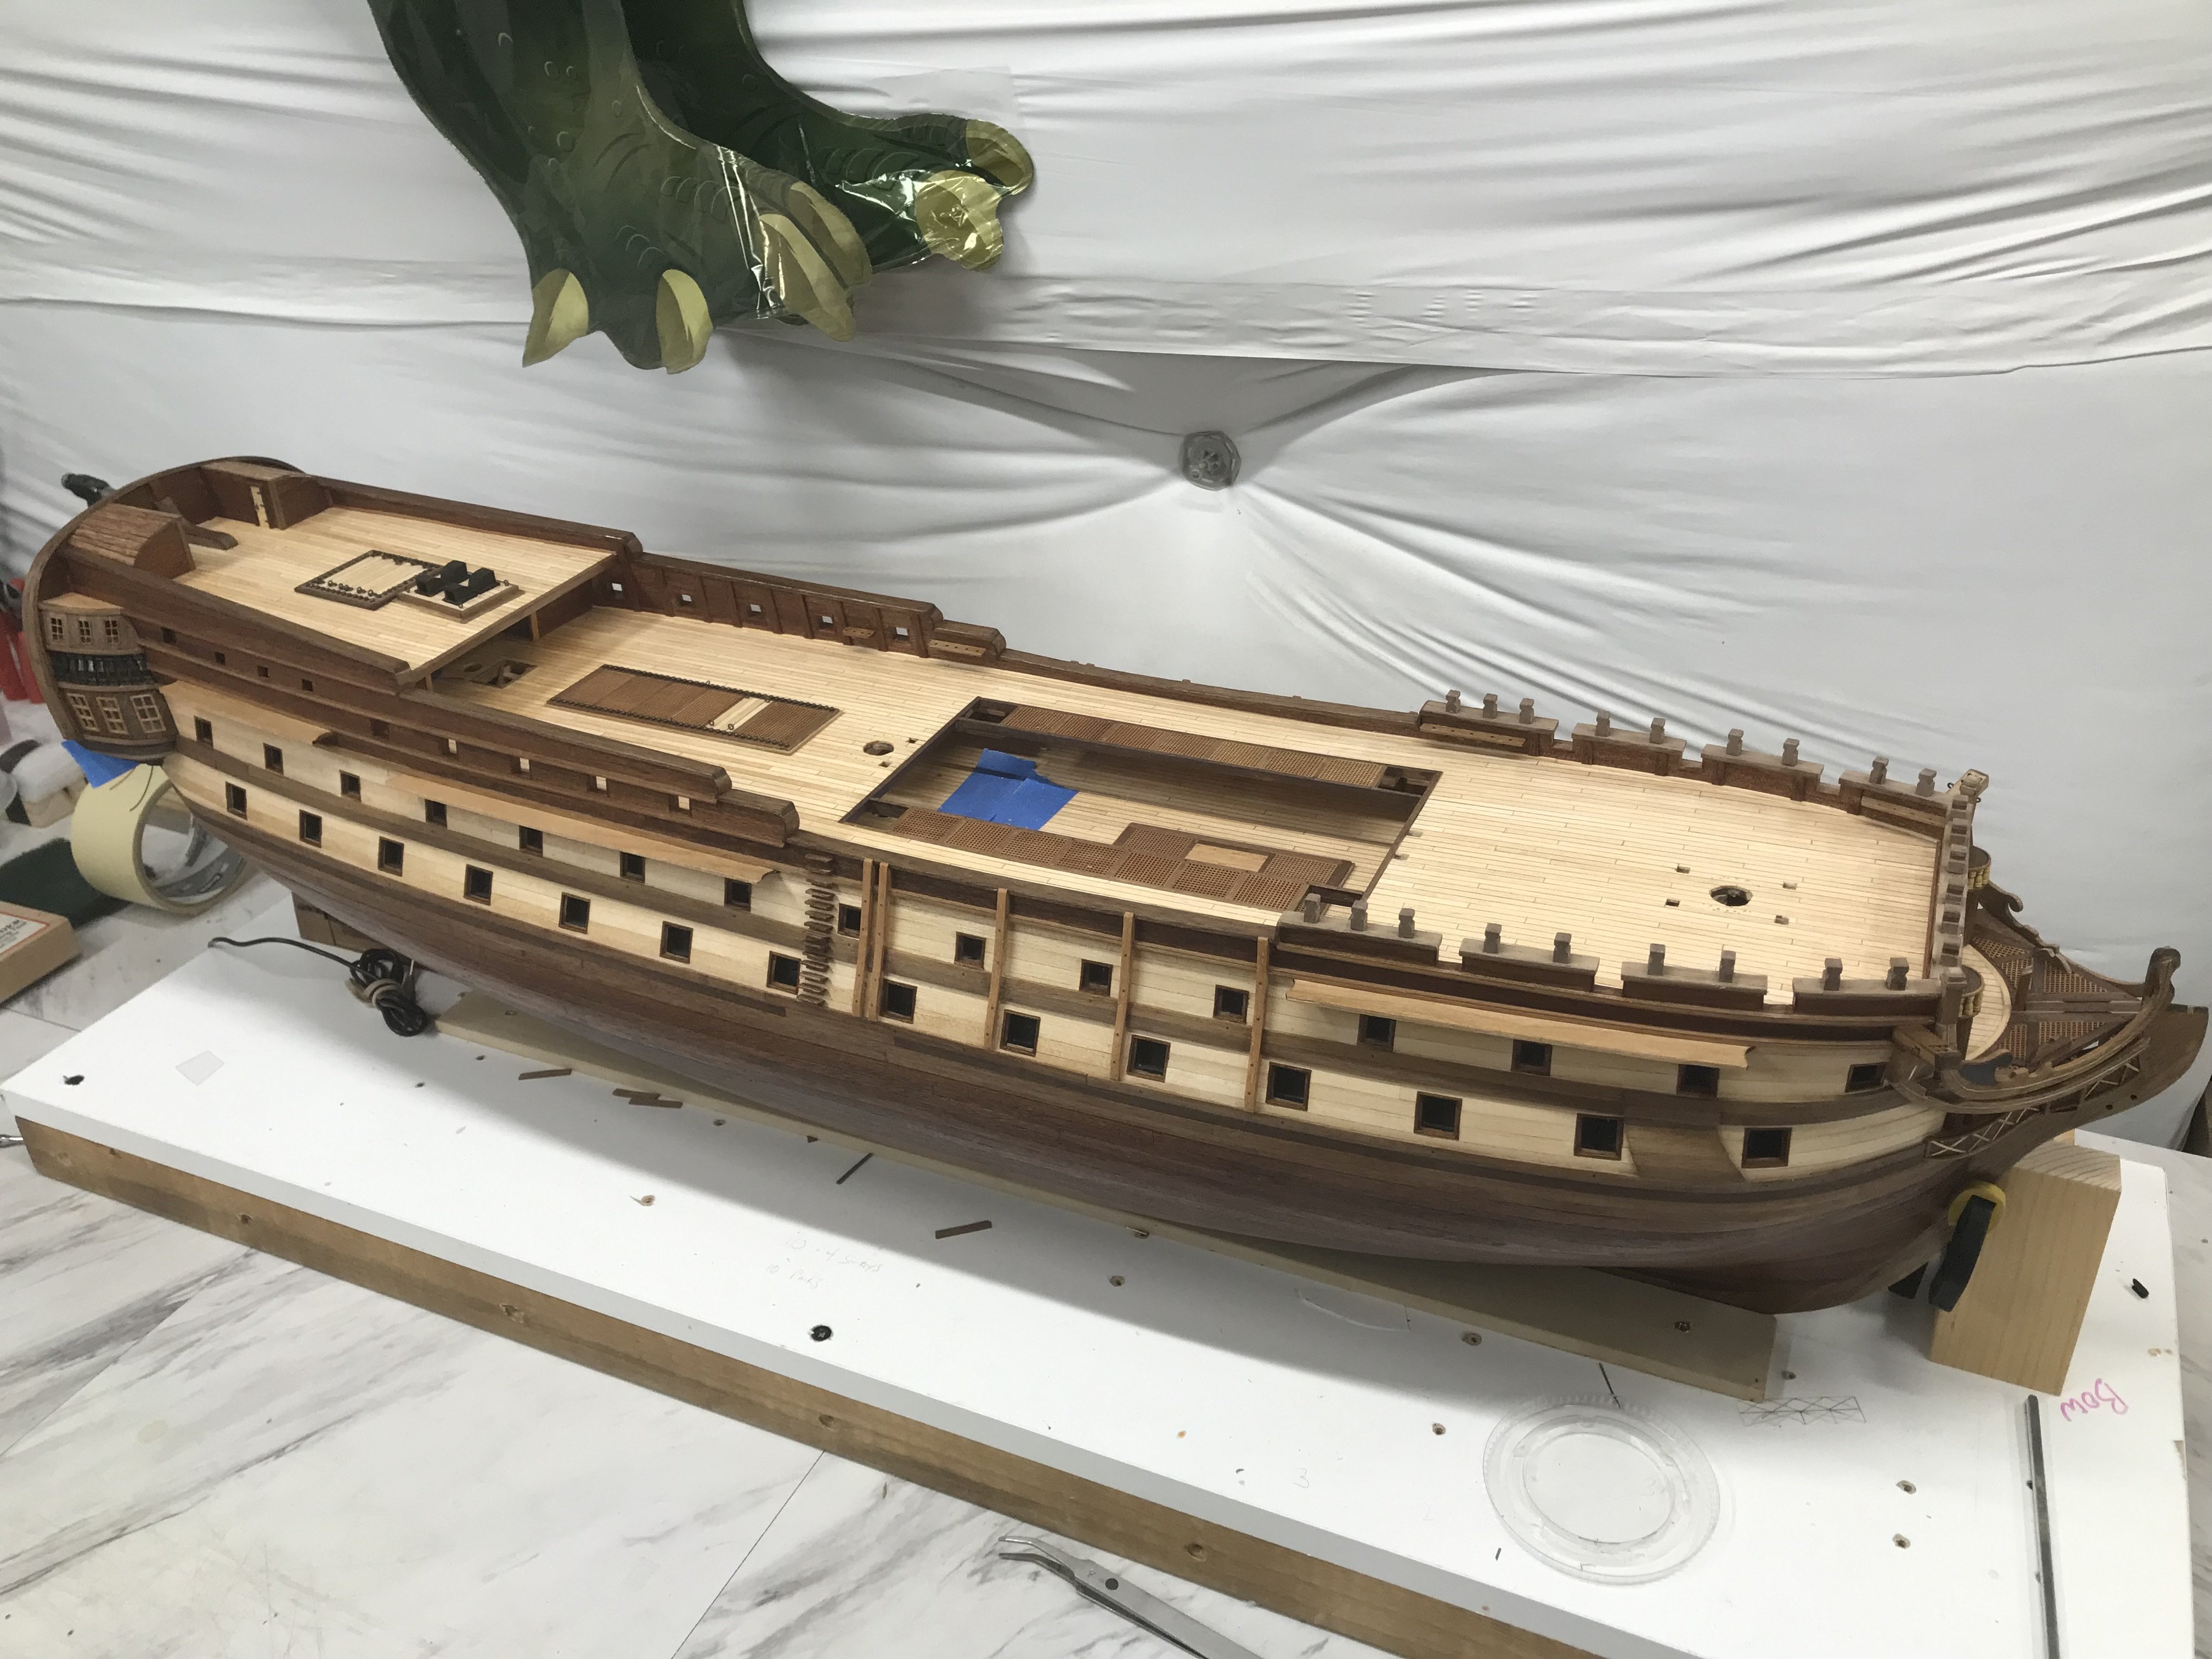
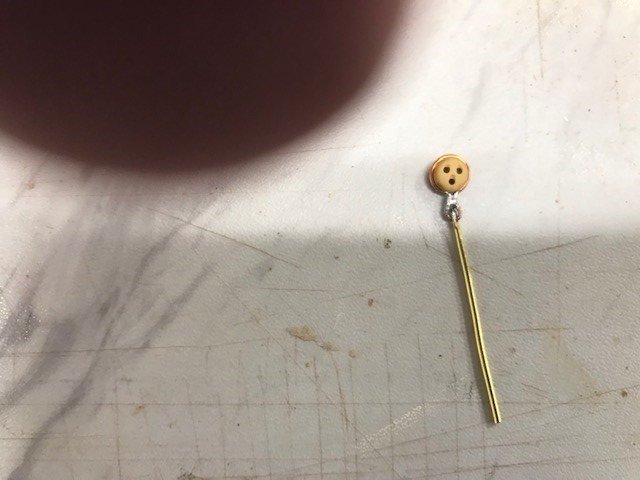
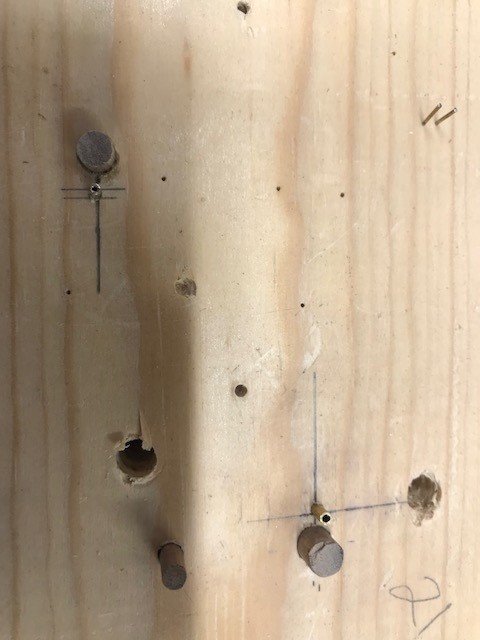
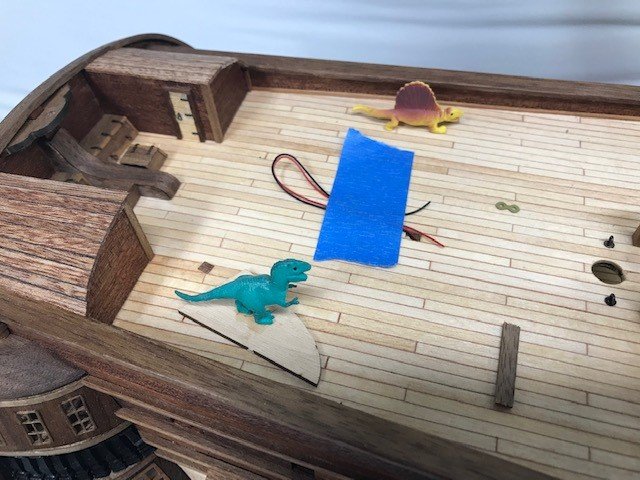
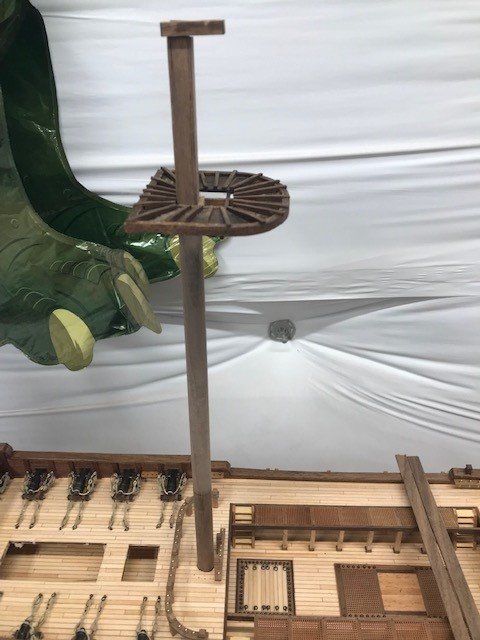
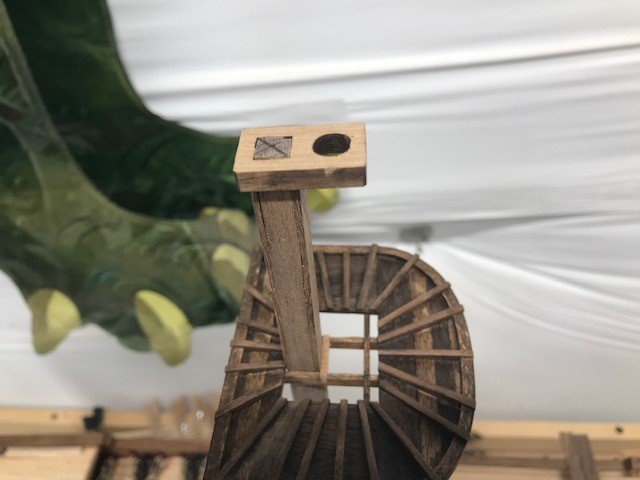
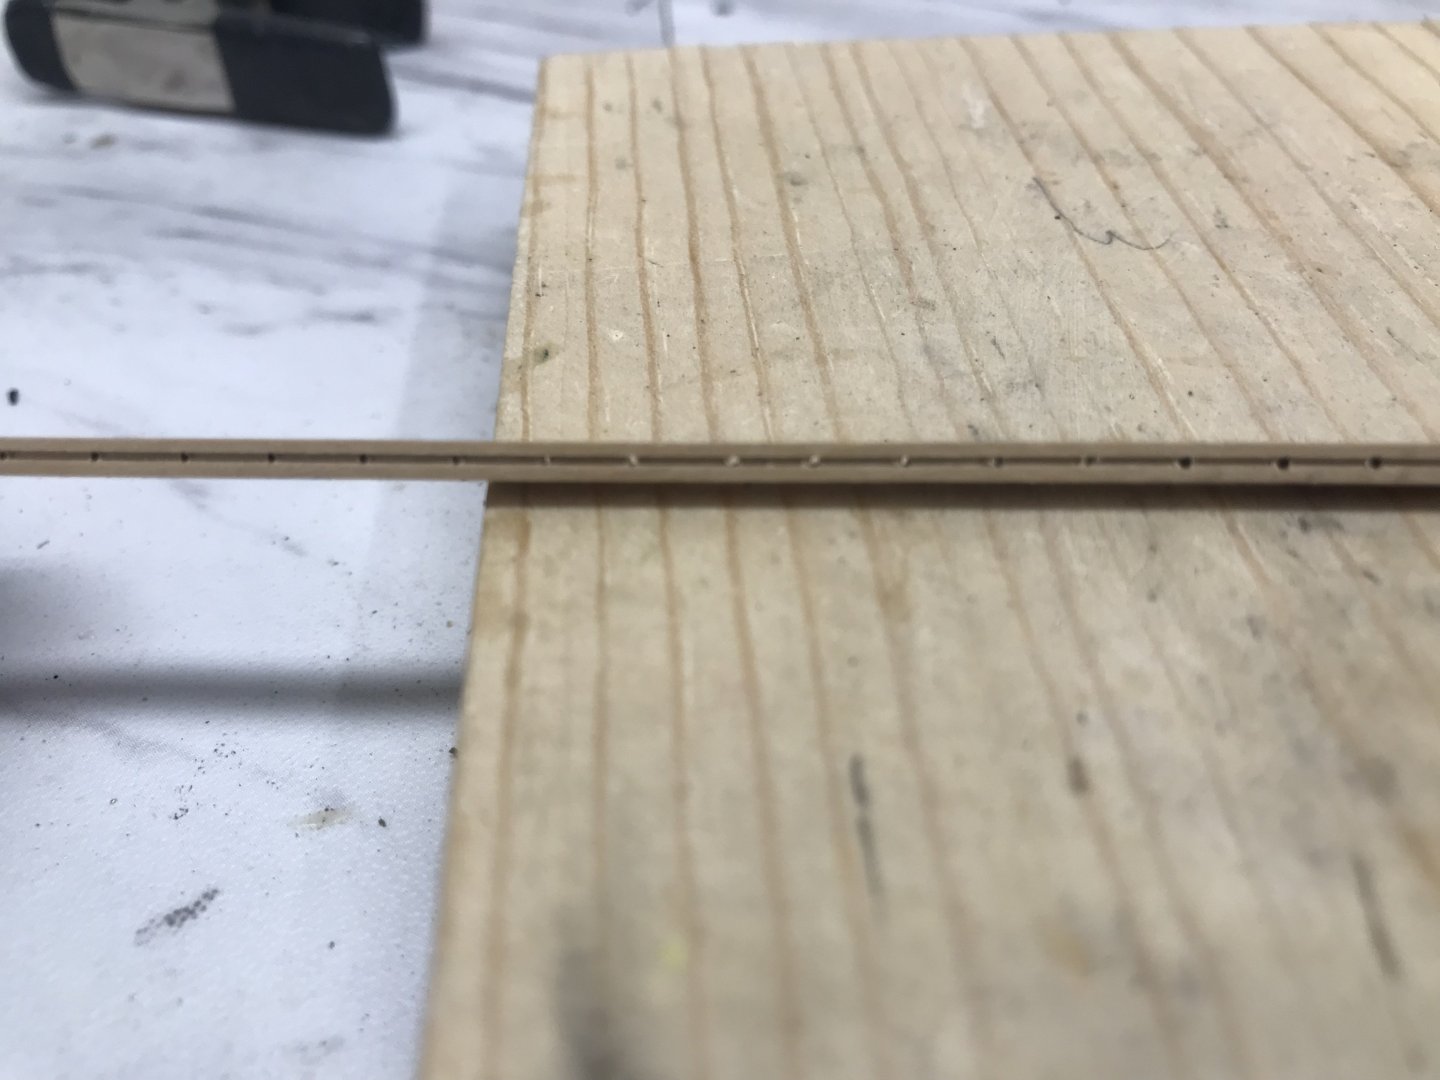
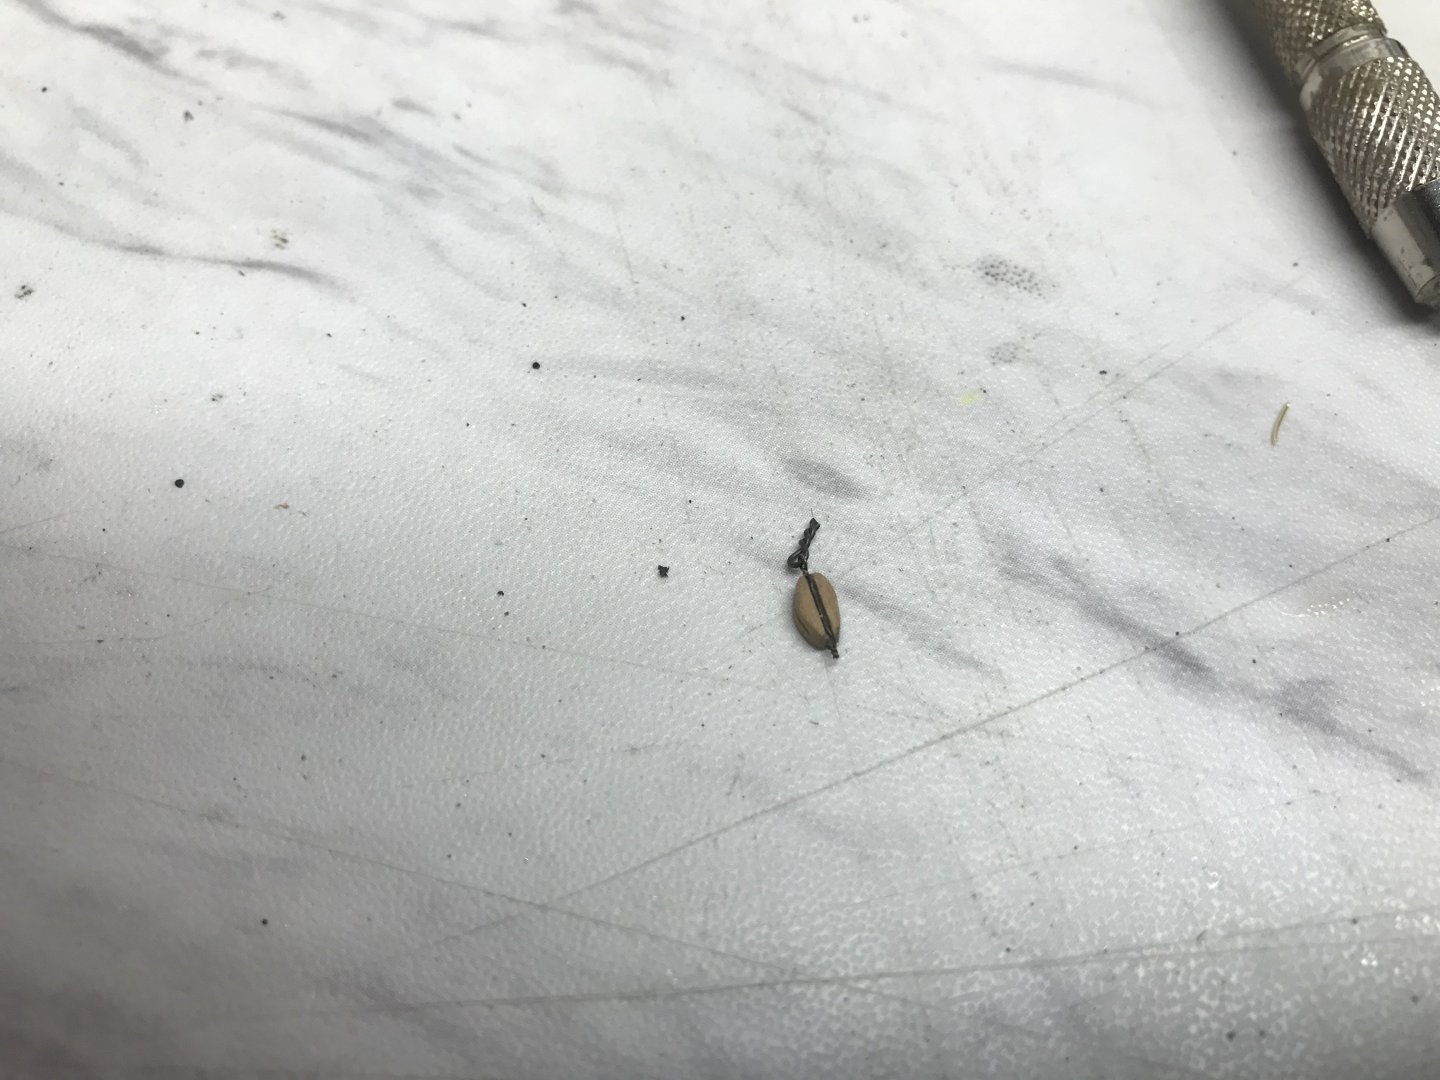
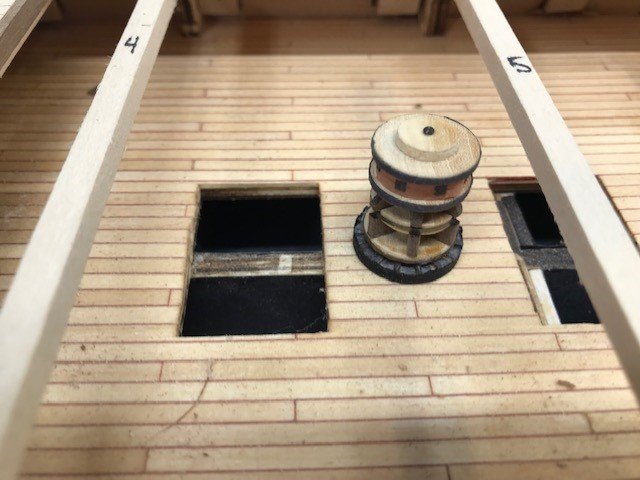
 Been a while since my last post, work continues with the masts and deck details. Prototype deadeye and jig made. Still working details for the jig I'll post more photos when I start the mass production process and the prehistoric poop deck.
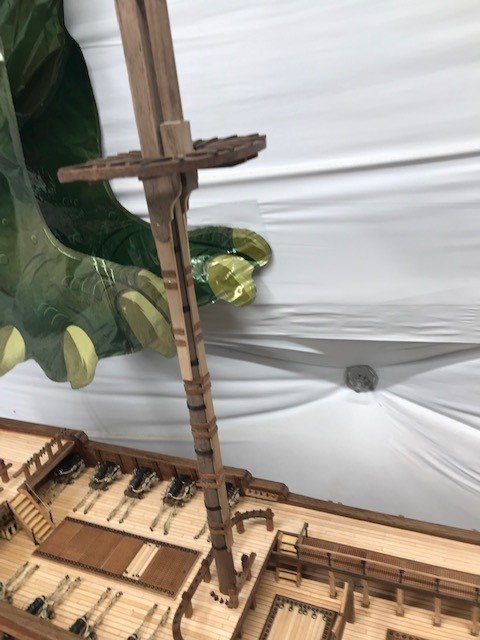
-
Yes, I was going under the assumption he was working on round stock.
-
Hi Julian, Looking at your first picture it looks like jaws are in backwards the taller part of the jaw should be towards the center of the chuck see the picture that GGibson posted above. The jaws are taller towards the center of the chuck. Curt
-
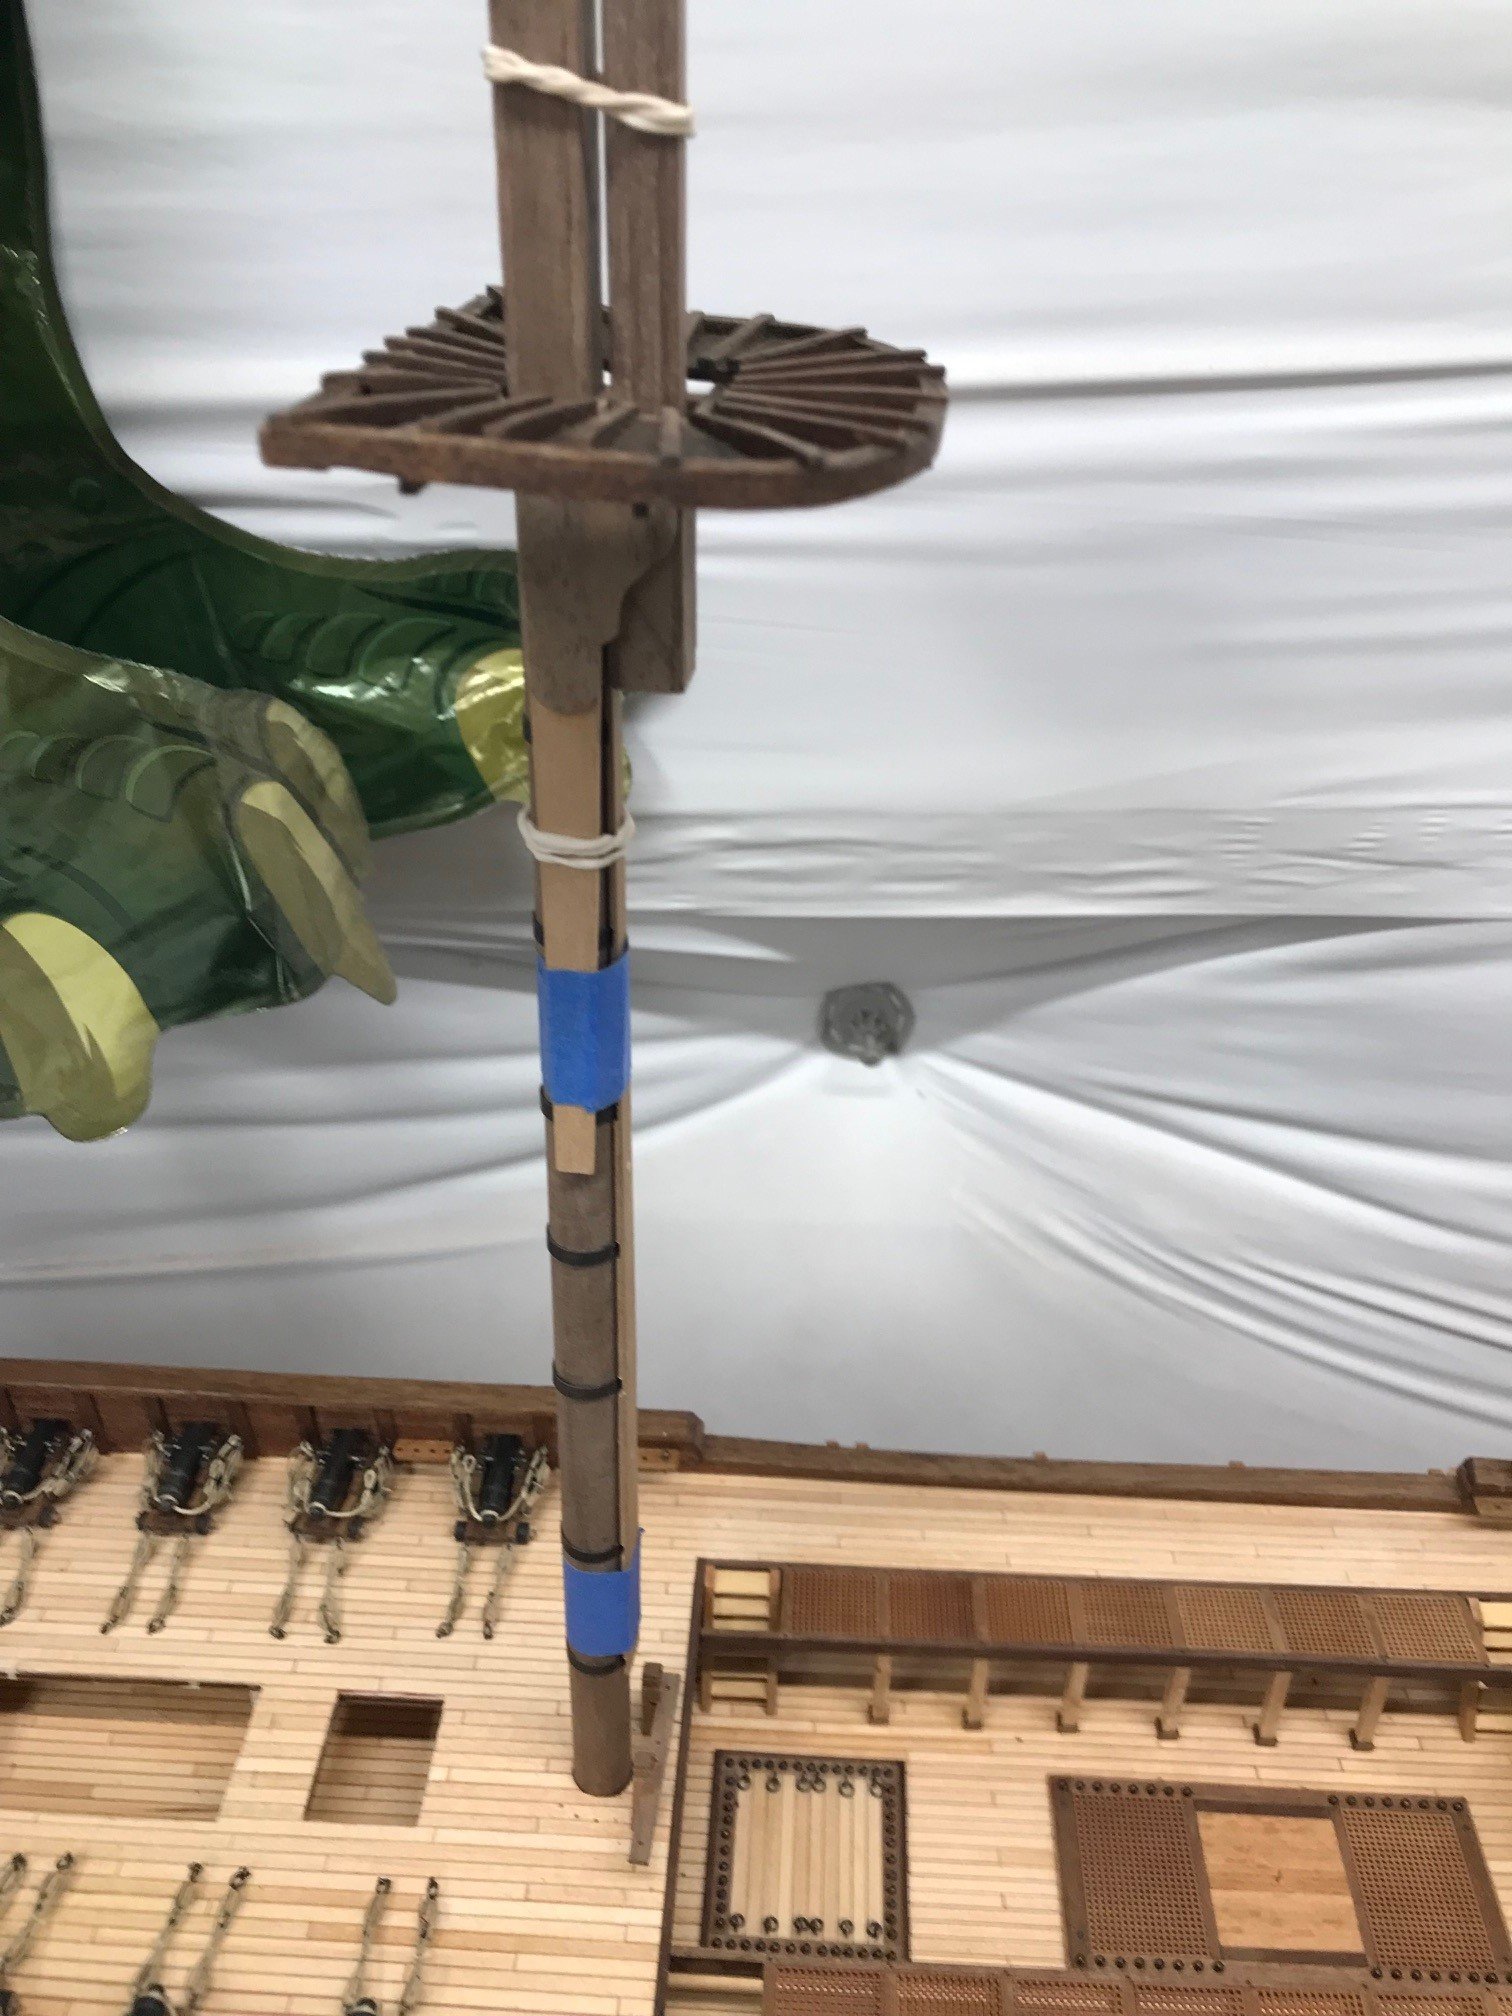
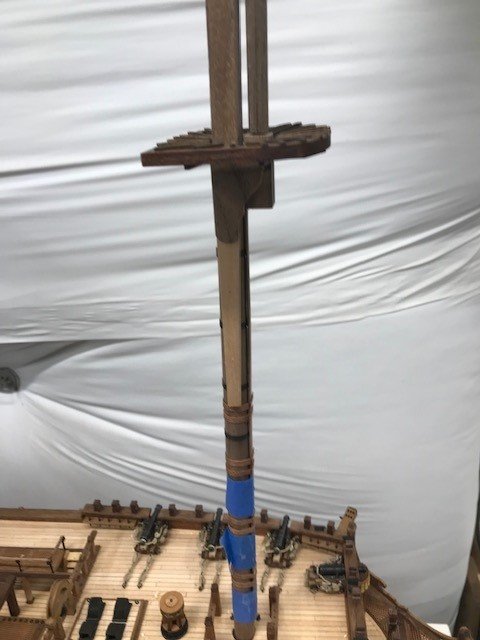
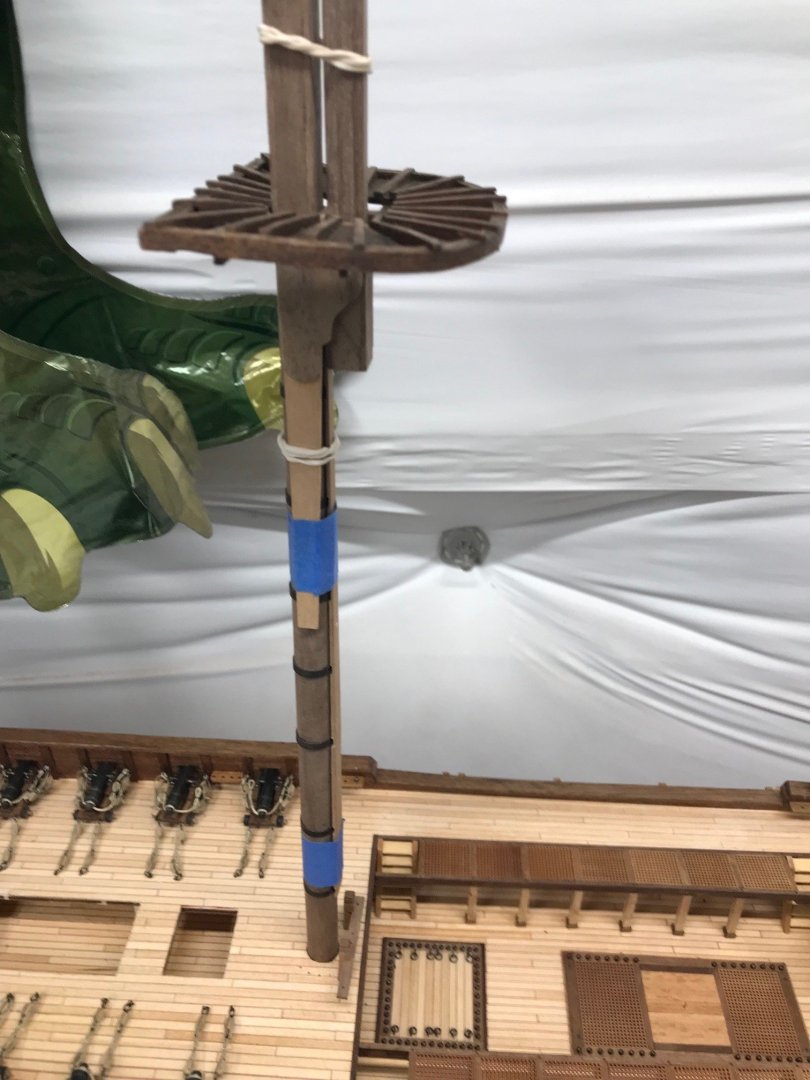
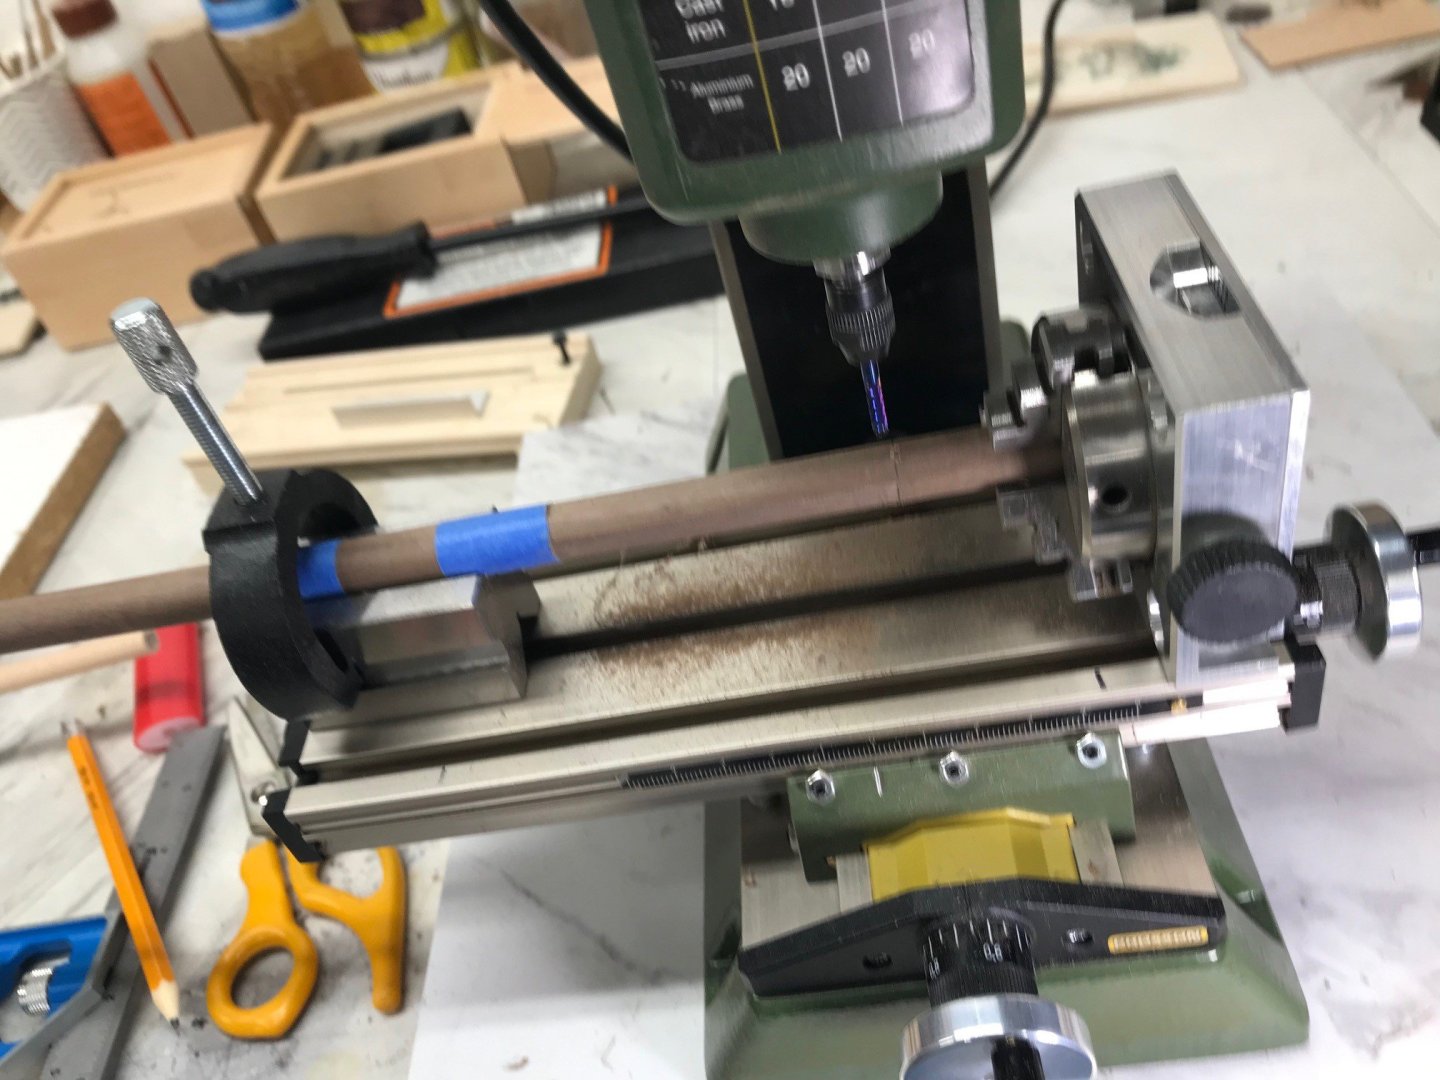
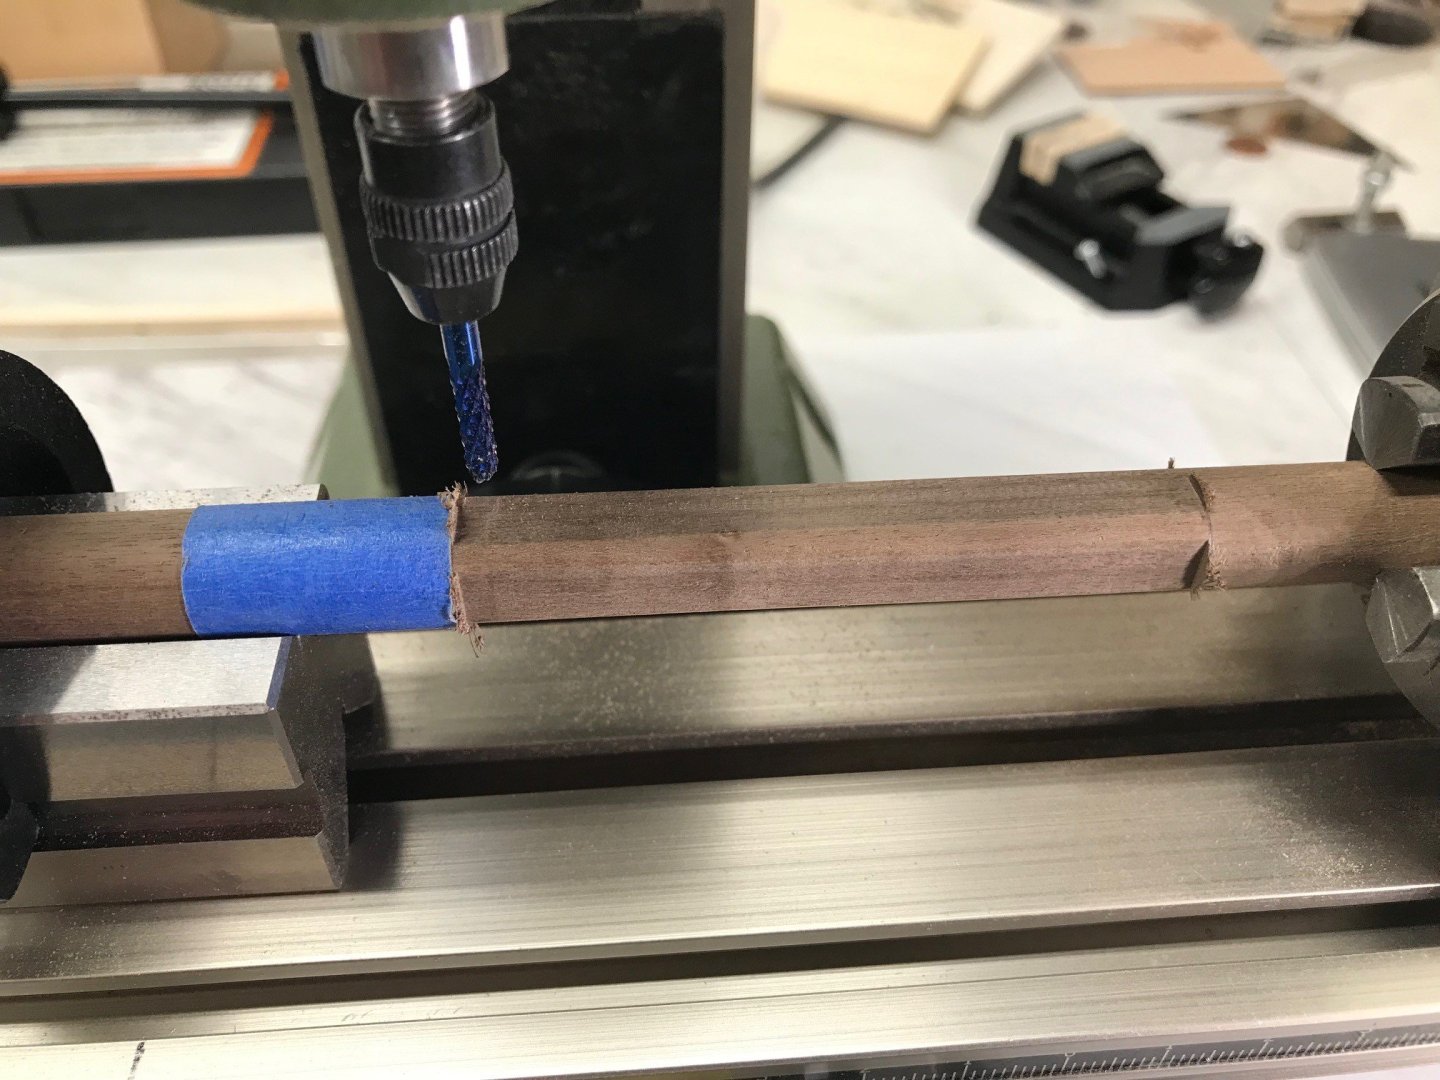
More work on the masts.


-
Work finally begins on the masts!
-
Sorry first mast.
-
Last gun installed! Dry fitting some of the deck parts. Finally started the firs mast too.
-
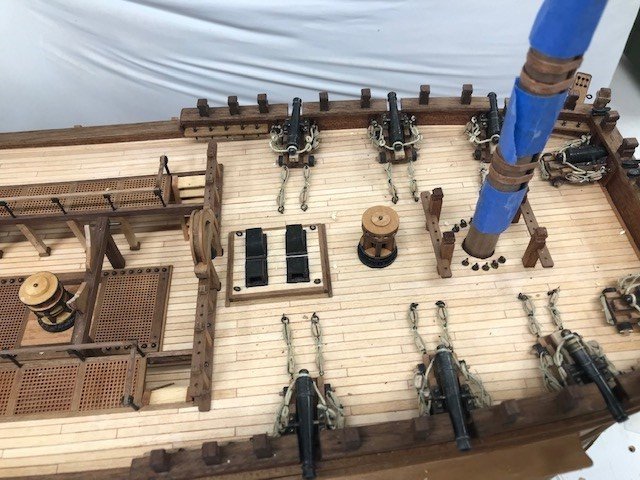
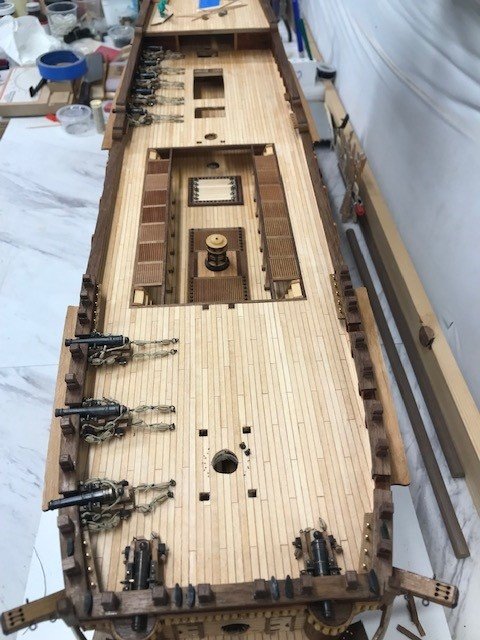
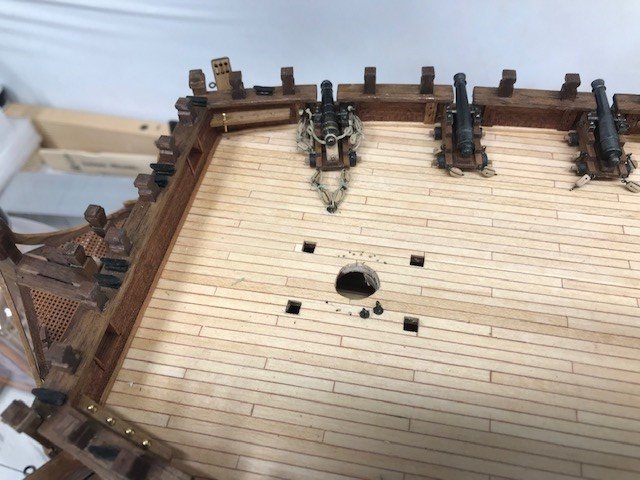
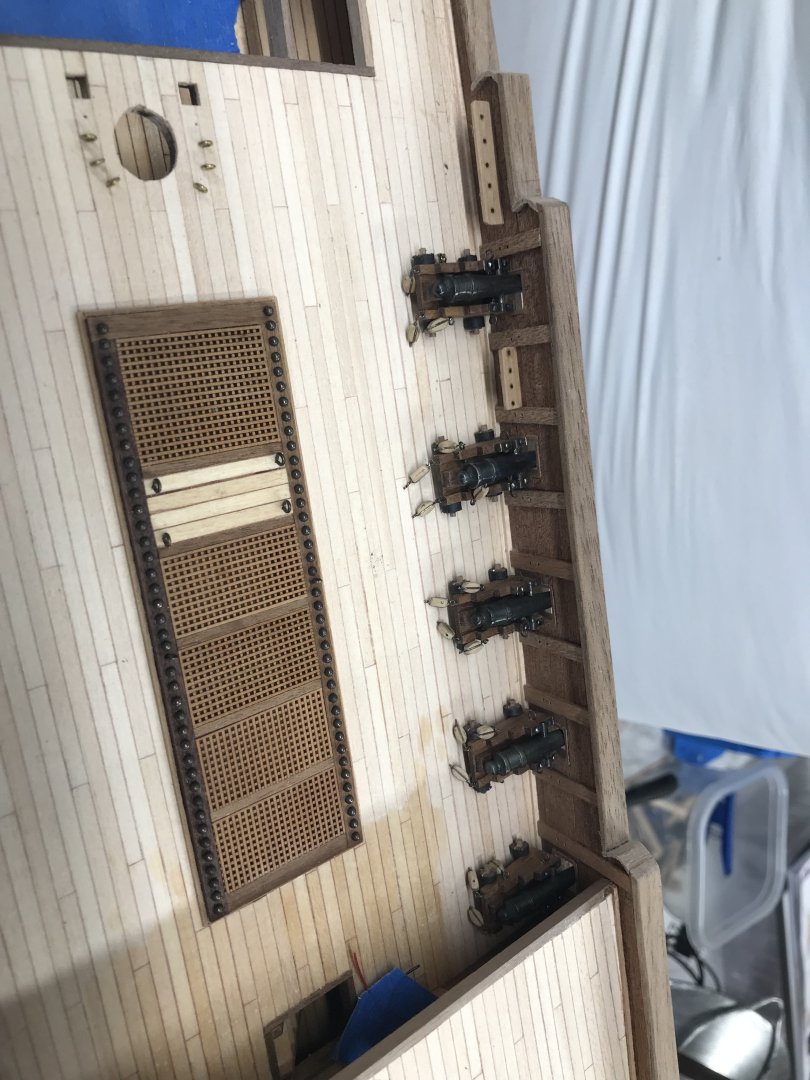
Starboard battery finally completed only 10 left yea!
-
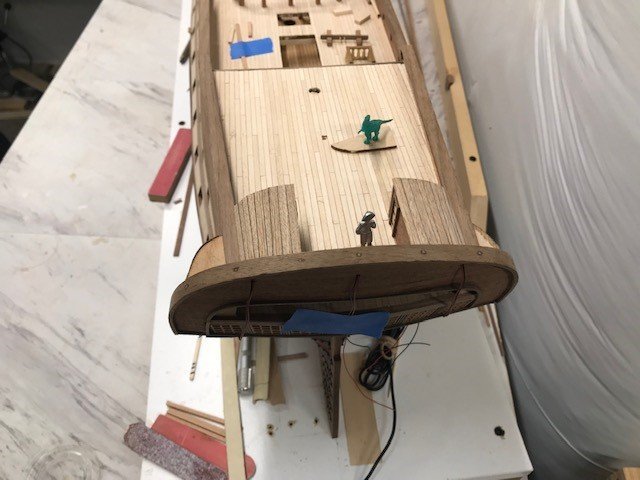
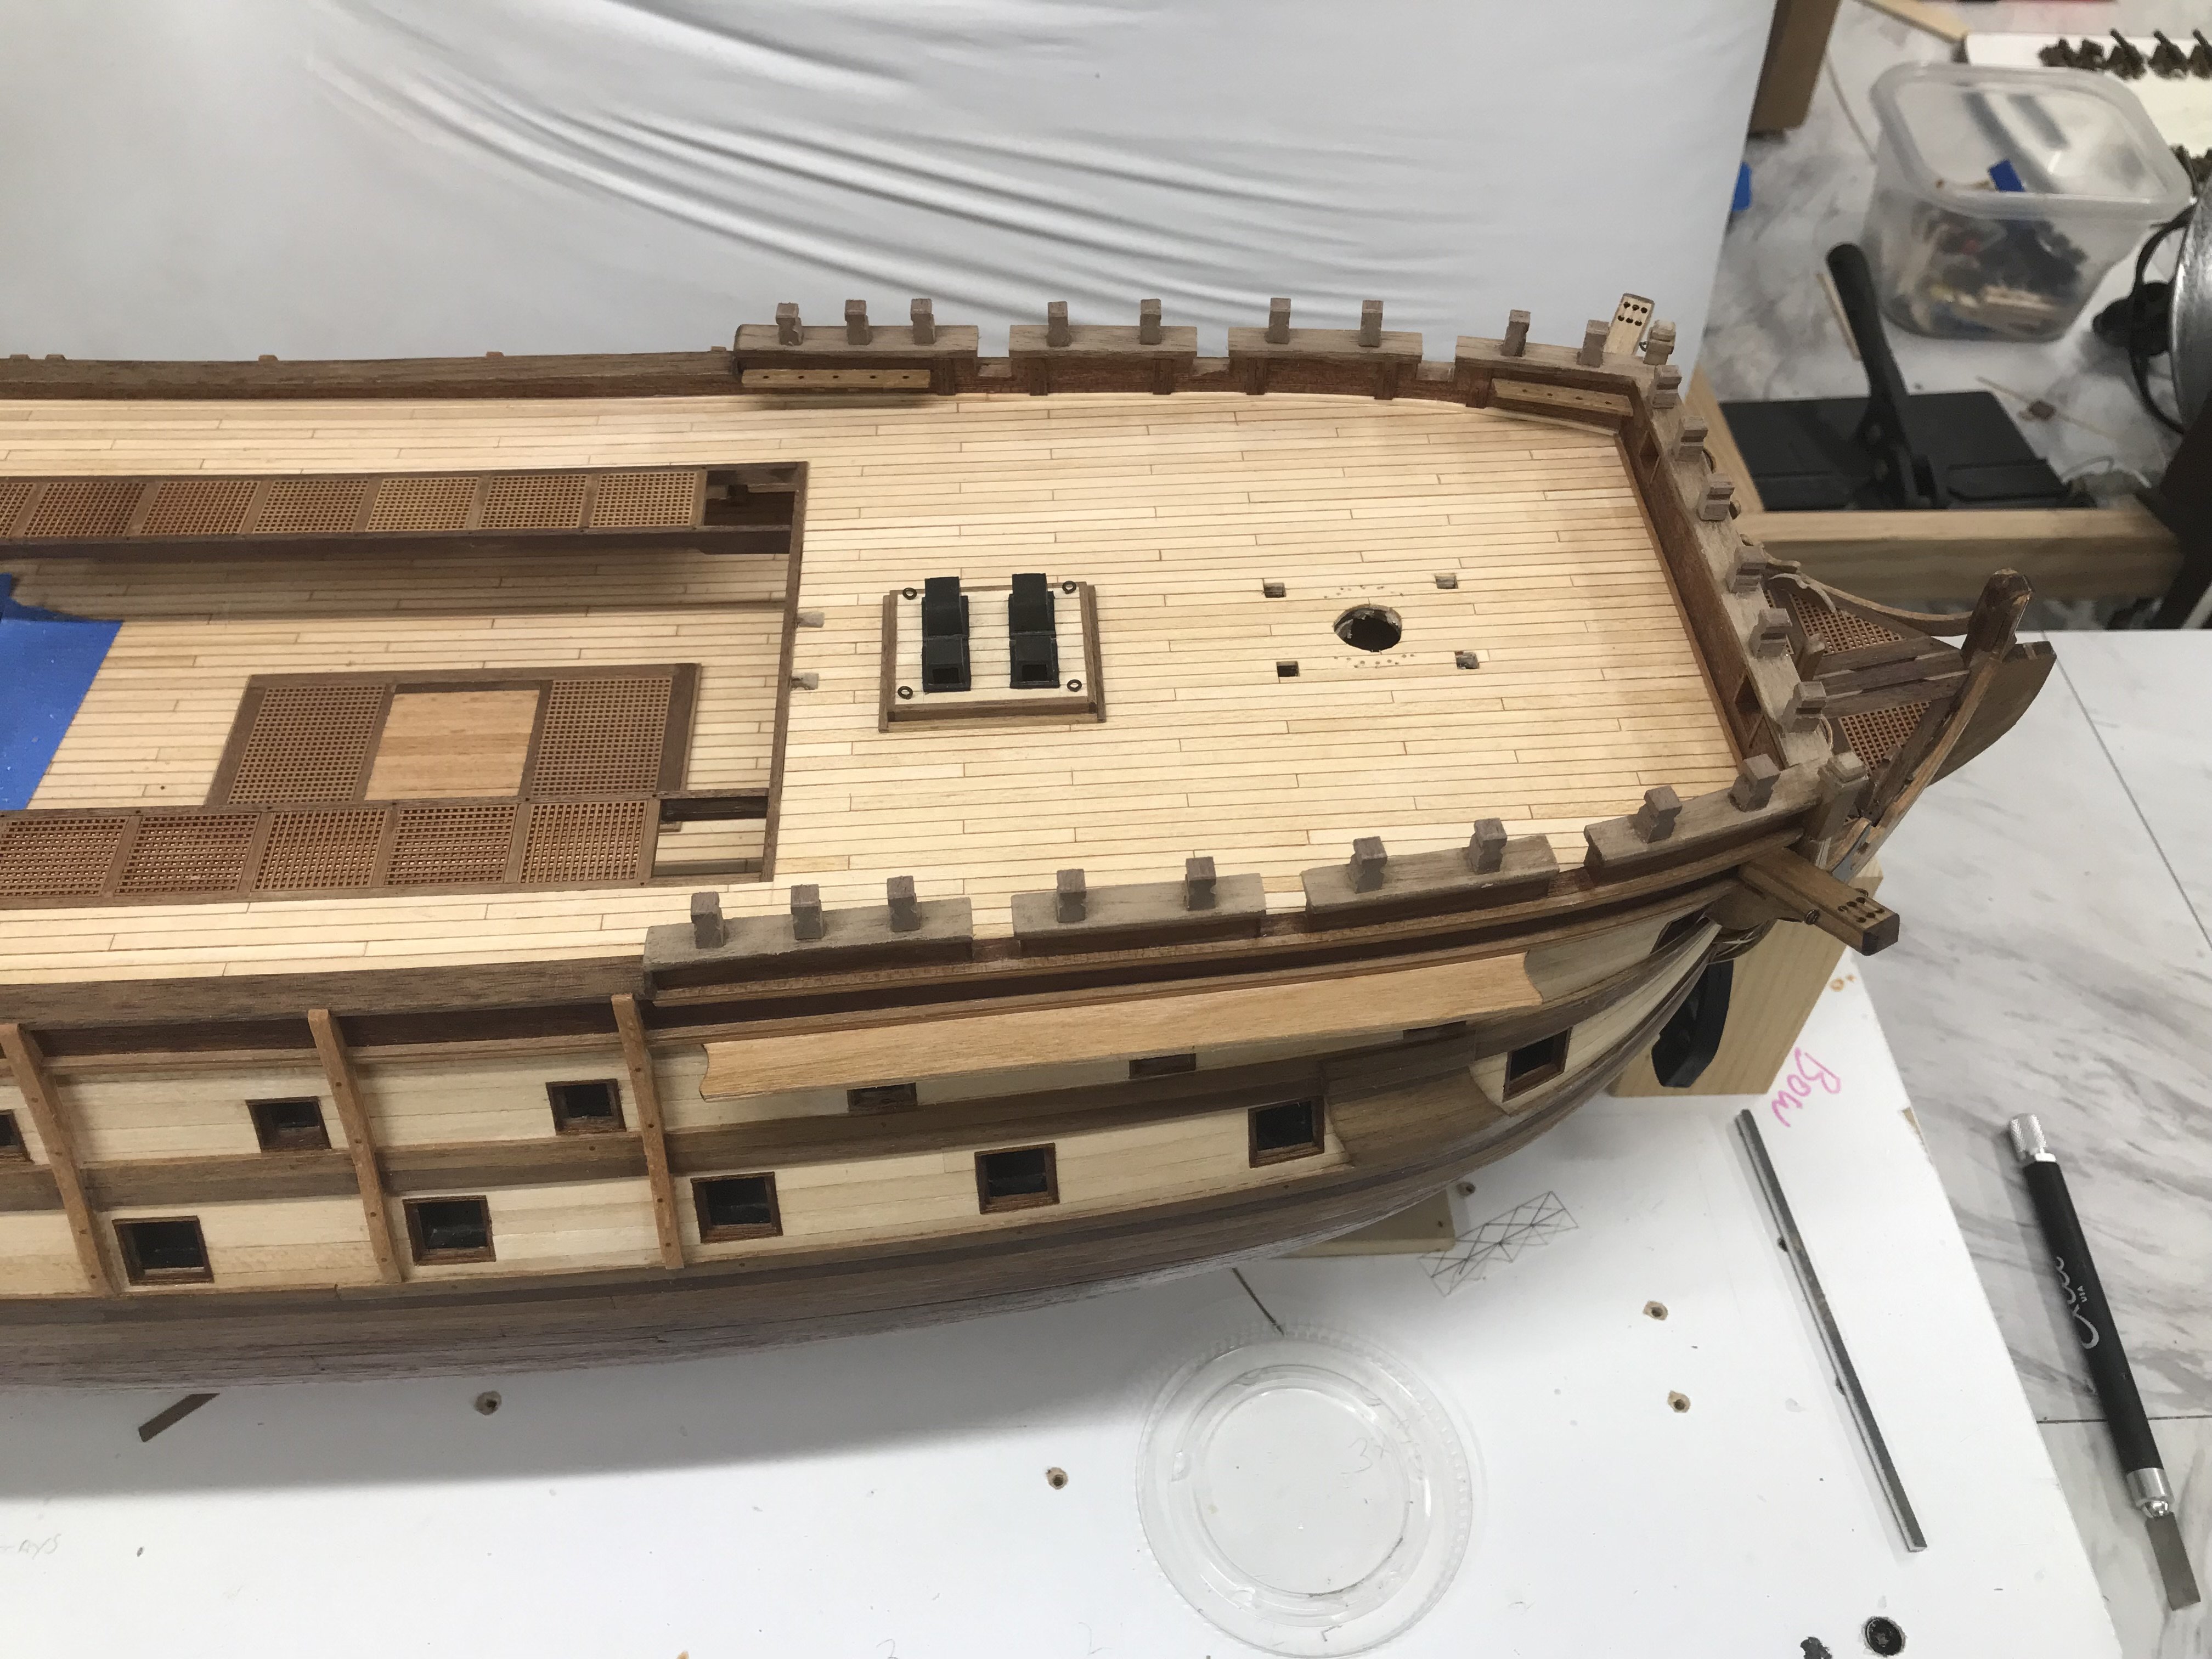
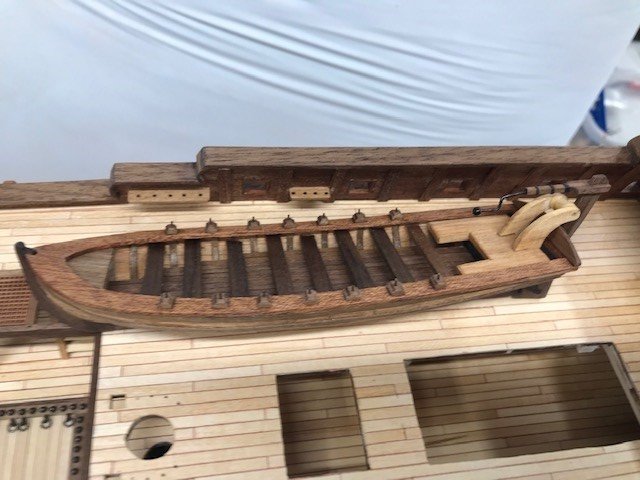
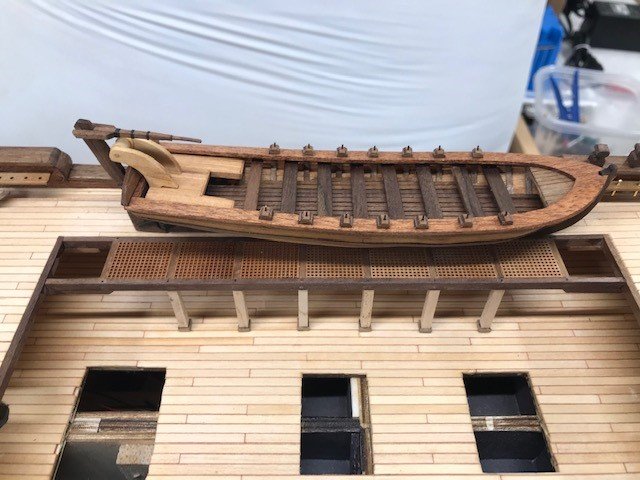
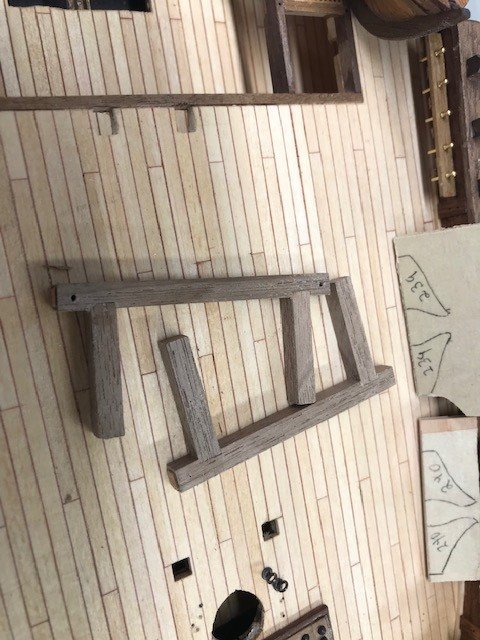
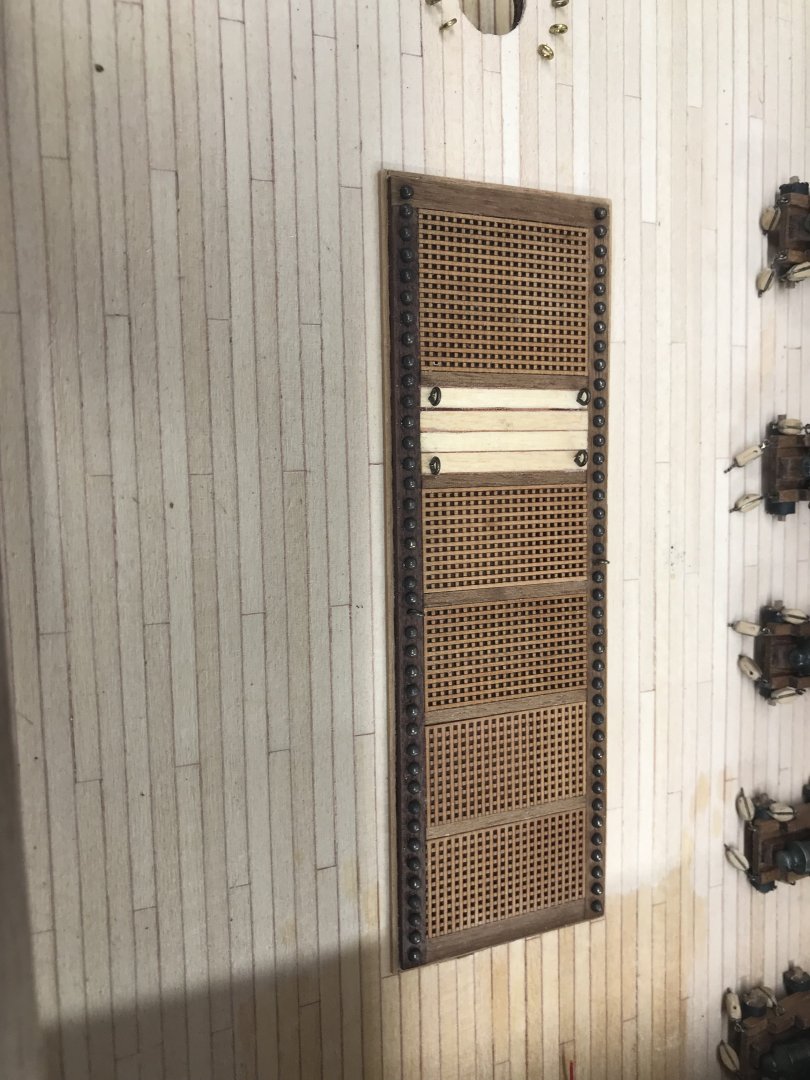
Added some more detail to the ship's boat. Waist details installed. Had to remake the supports for the ship's boat since I did not account for the width of the grating. The first gun and rigging is installed only 15 more to go. Kicking around the idea of mounting the port side guns in the stowed position.
-
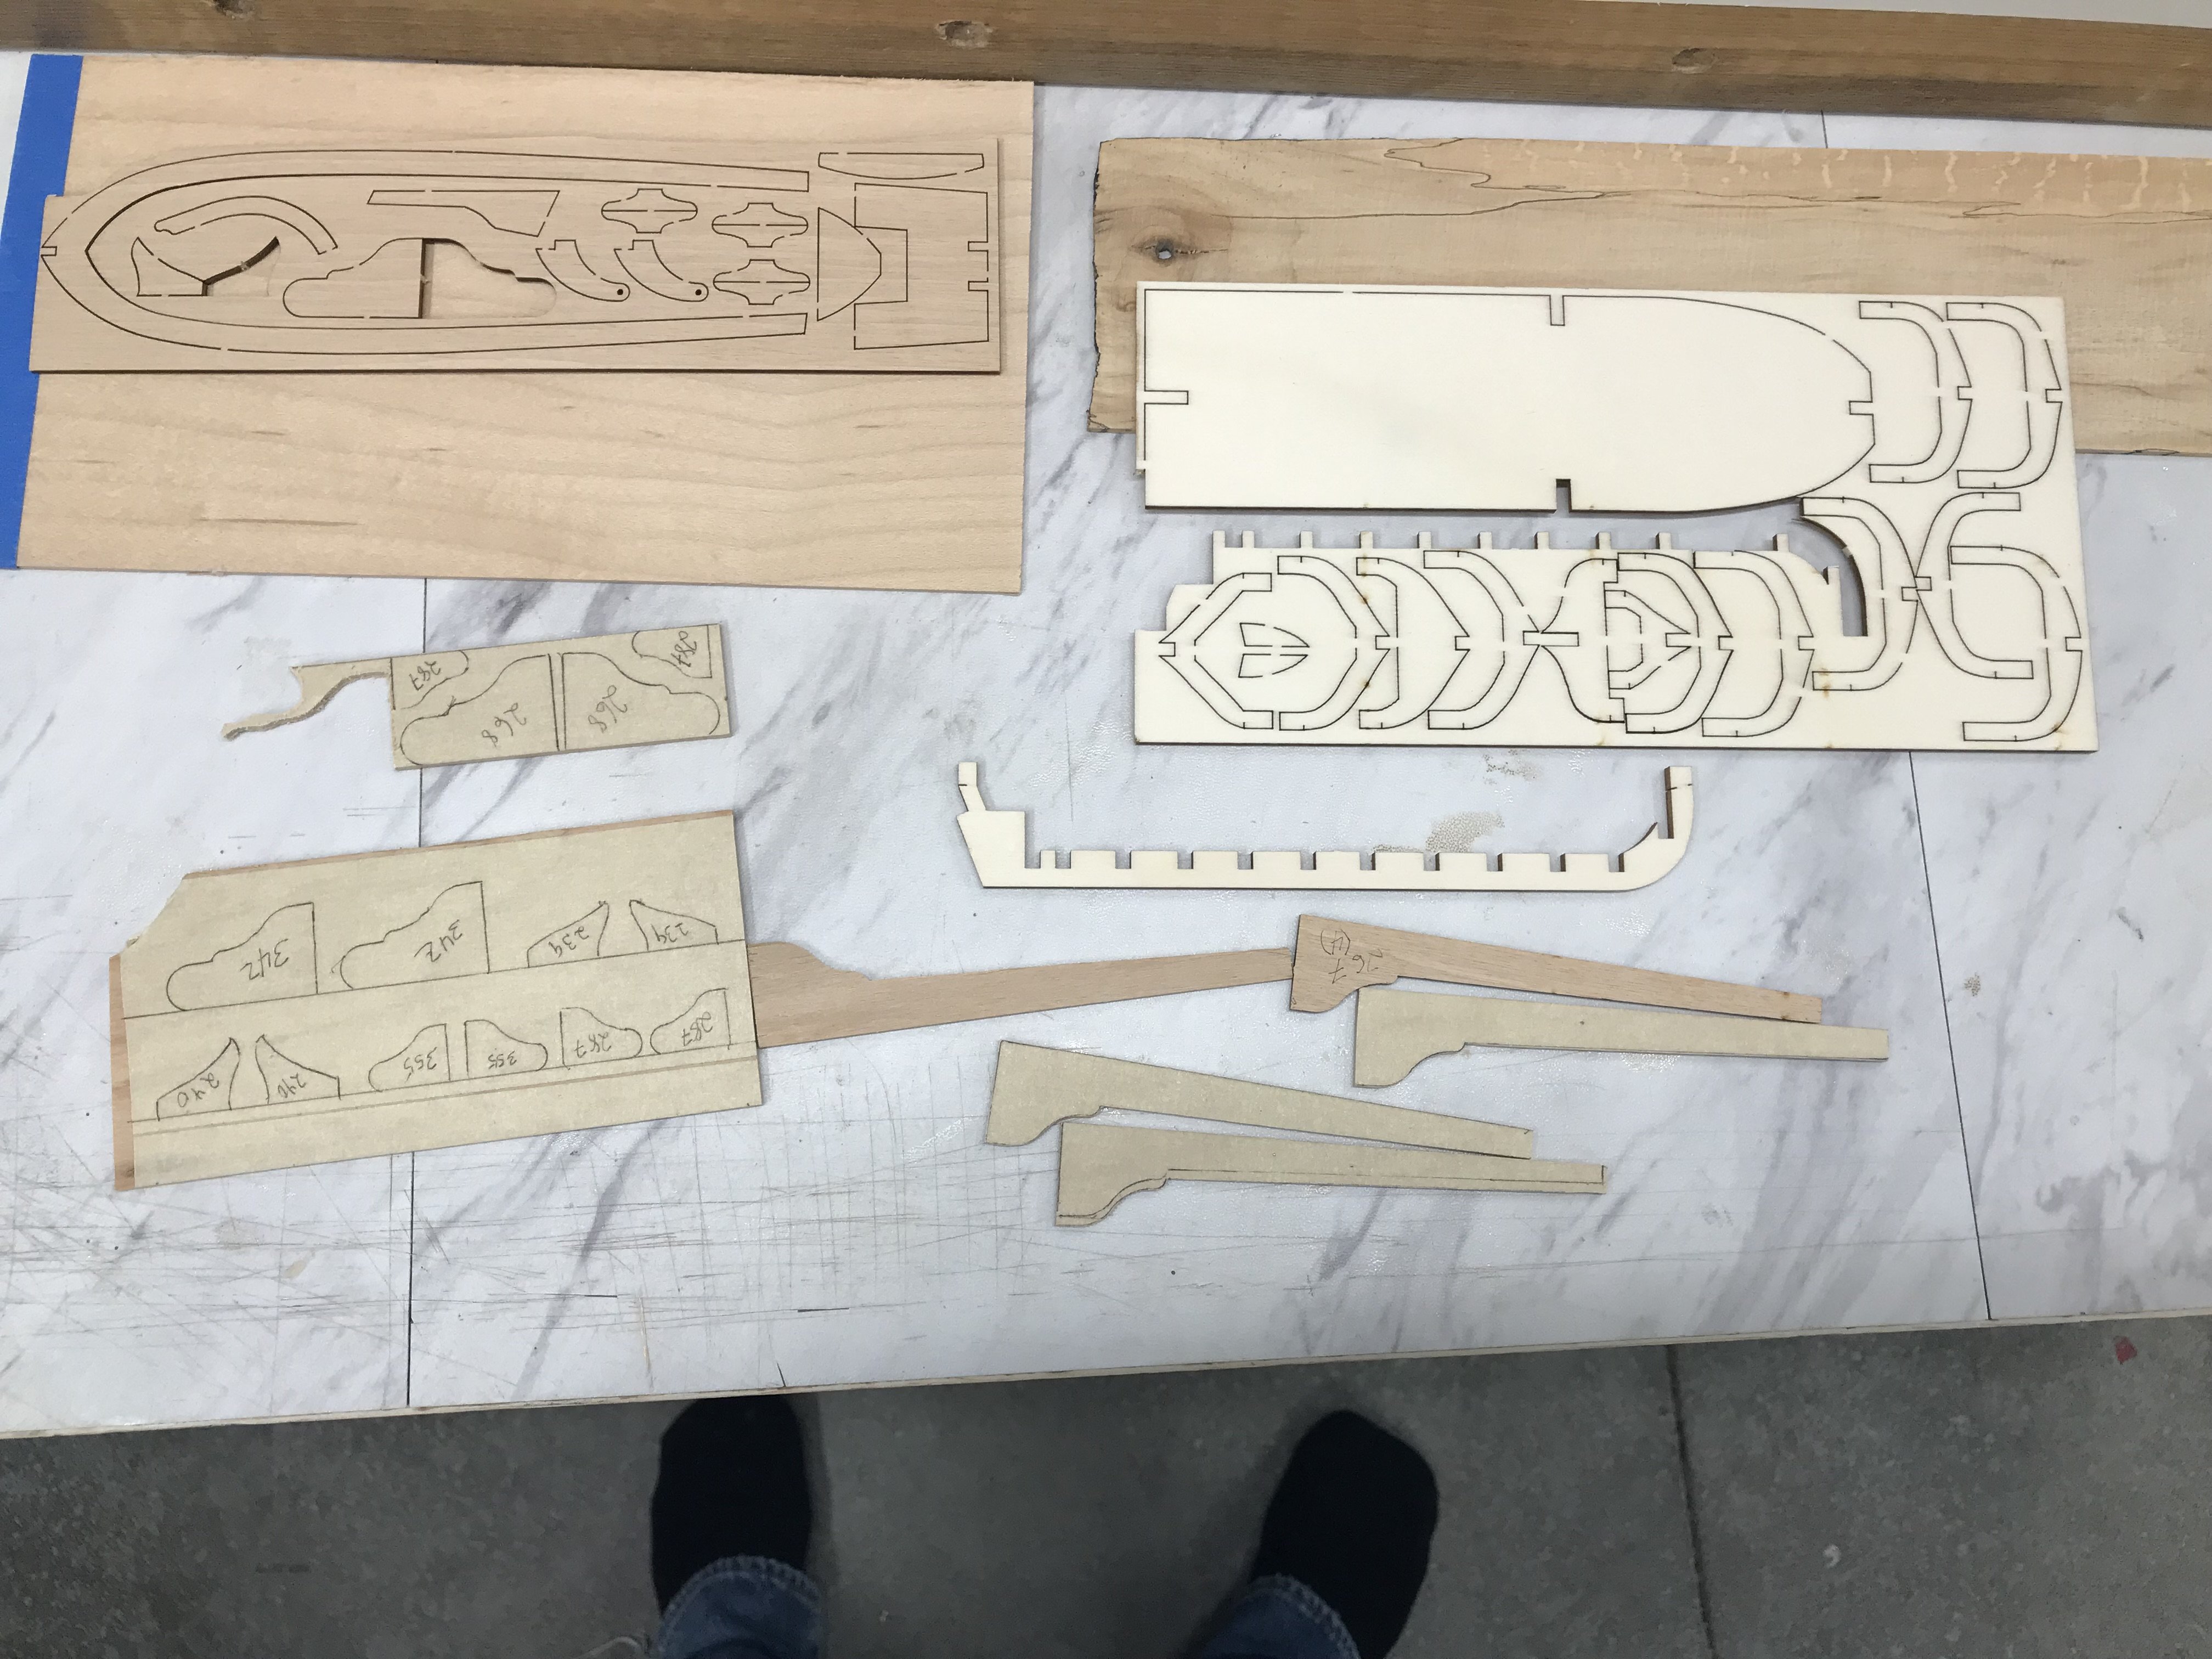
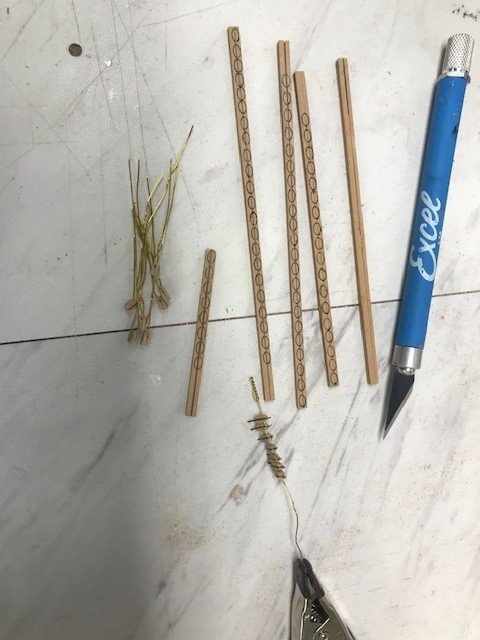
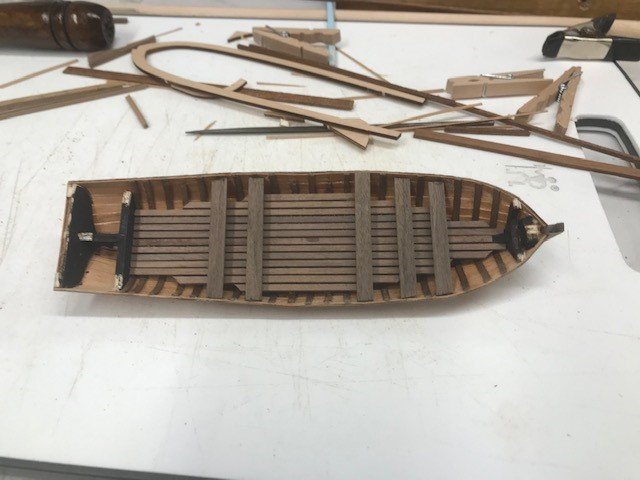
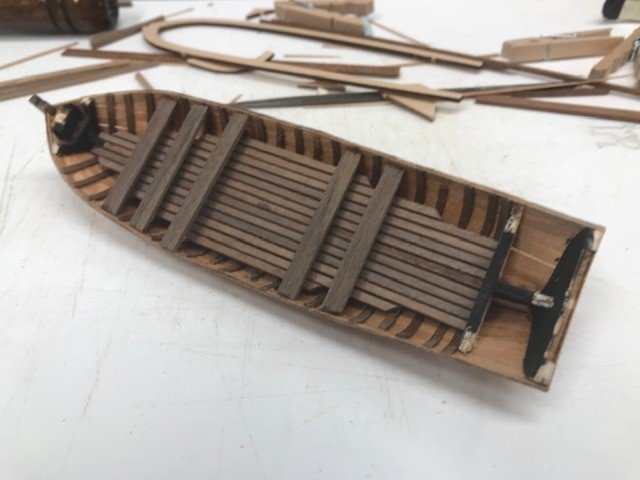
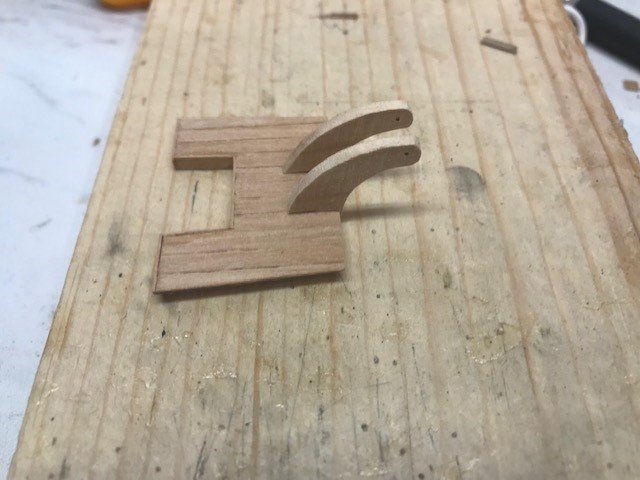
Finished the first ship's boat, still have to make the fine detail parts but the major construction is done. For the boat I used maple, cherry, walnut, and mahogany to replace the kit supplied ply. The first six supports for the walkway are in place. The supports to mount the boat are walnut and I still have to cut the uprights from cherry. Block making continues, these are the blocks to complete the gun tackle.
-
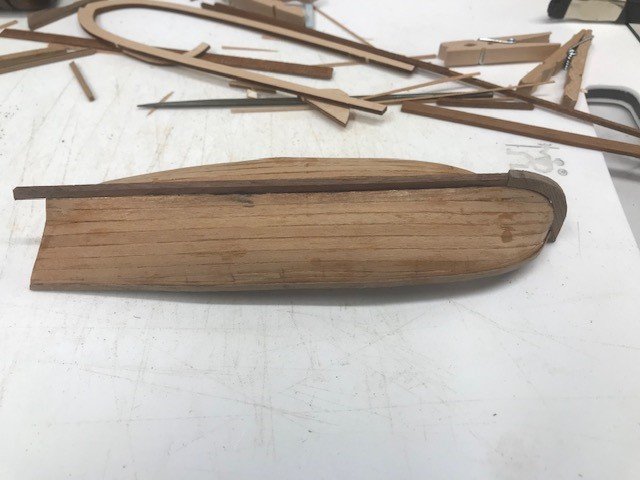
The ships boat from the kit is nicely laser cut but all ply. Made great templates to cut all the parts though! The planking is cherry, and I cut the plywood frames away and replaced them with walnut strips. The decking, keel, stem and rudder are all walnut. Still have quite a few parts to fabricate.
-
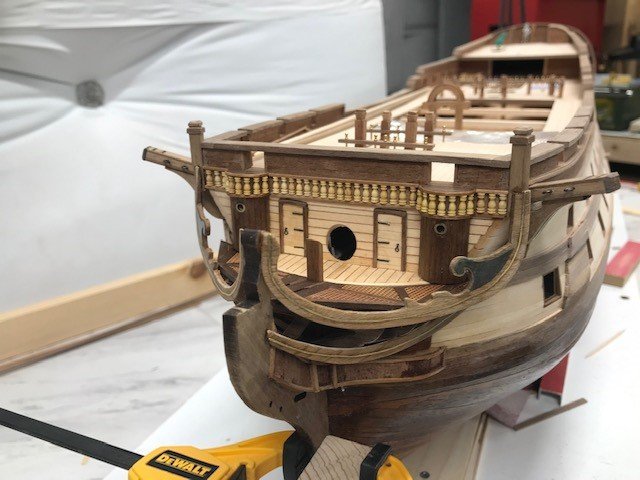
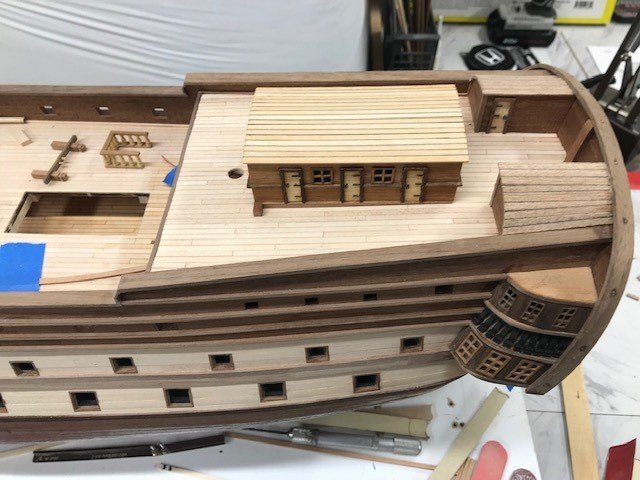
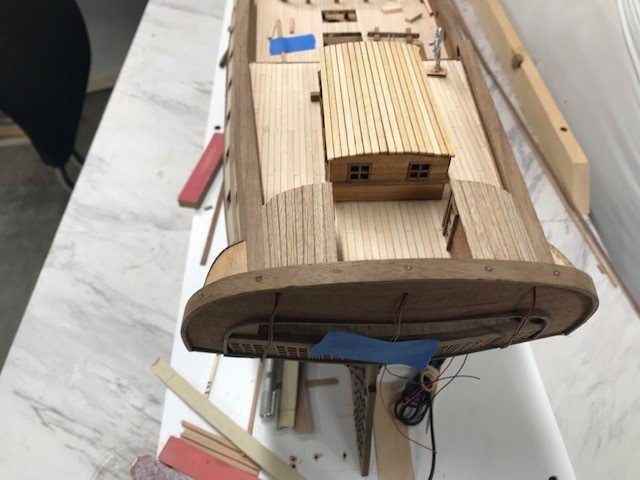
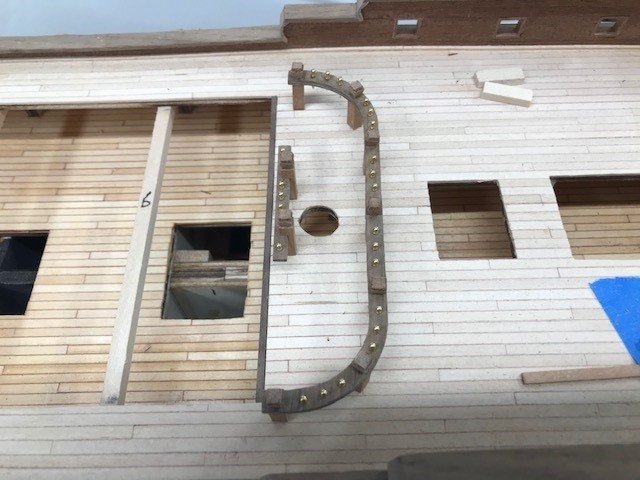
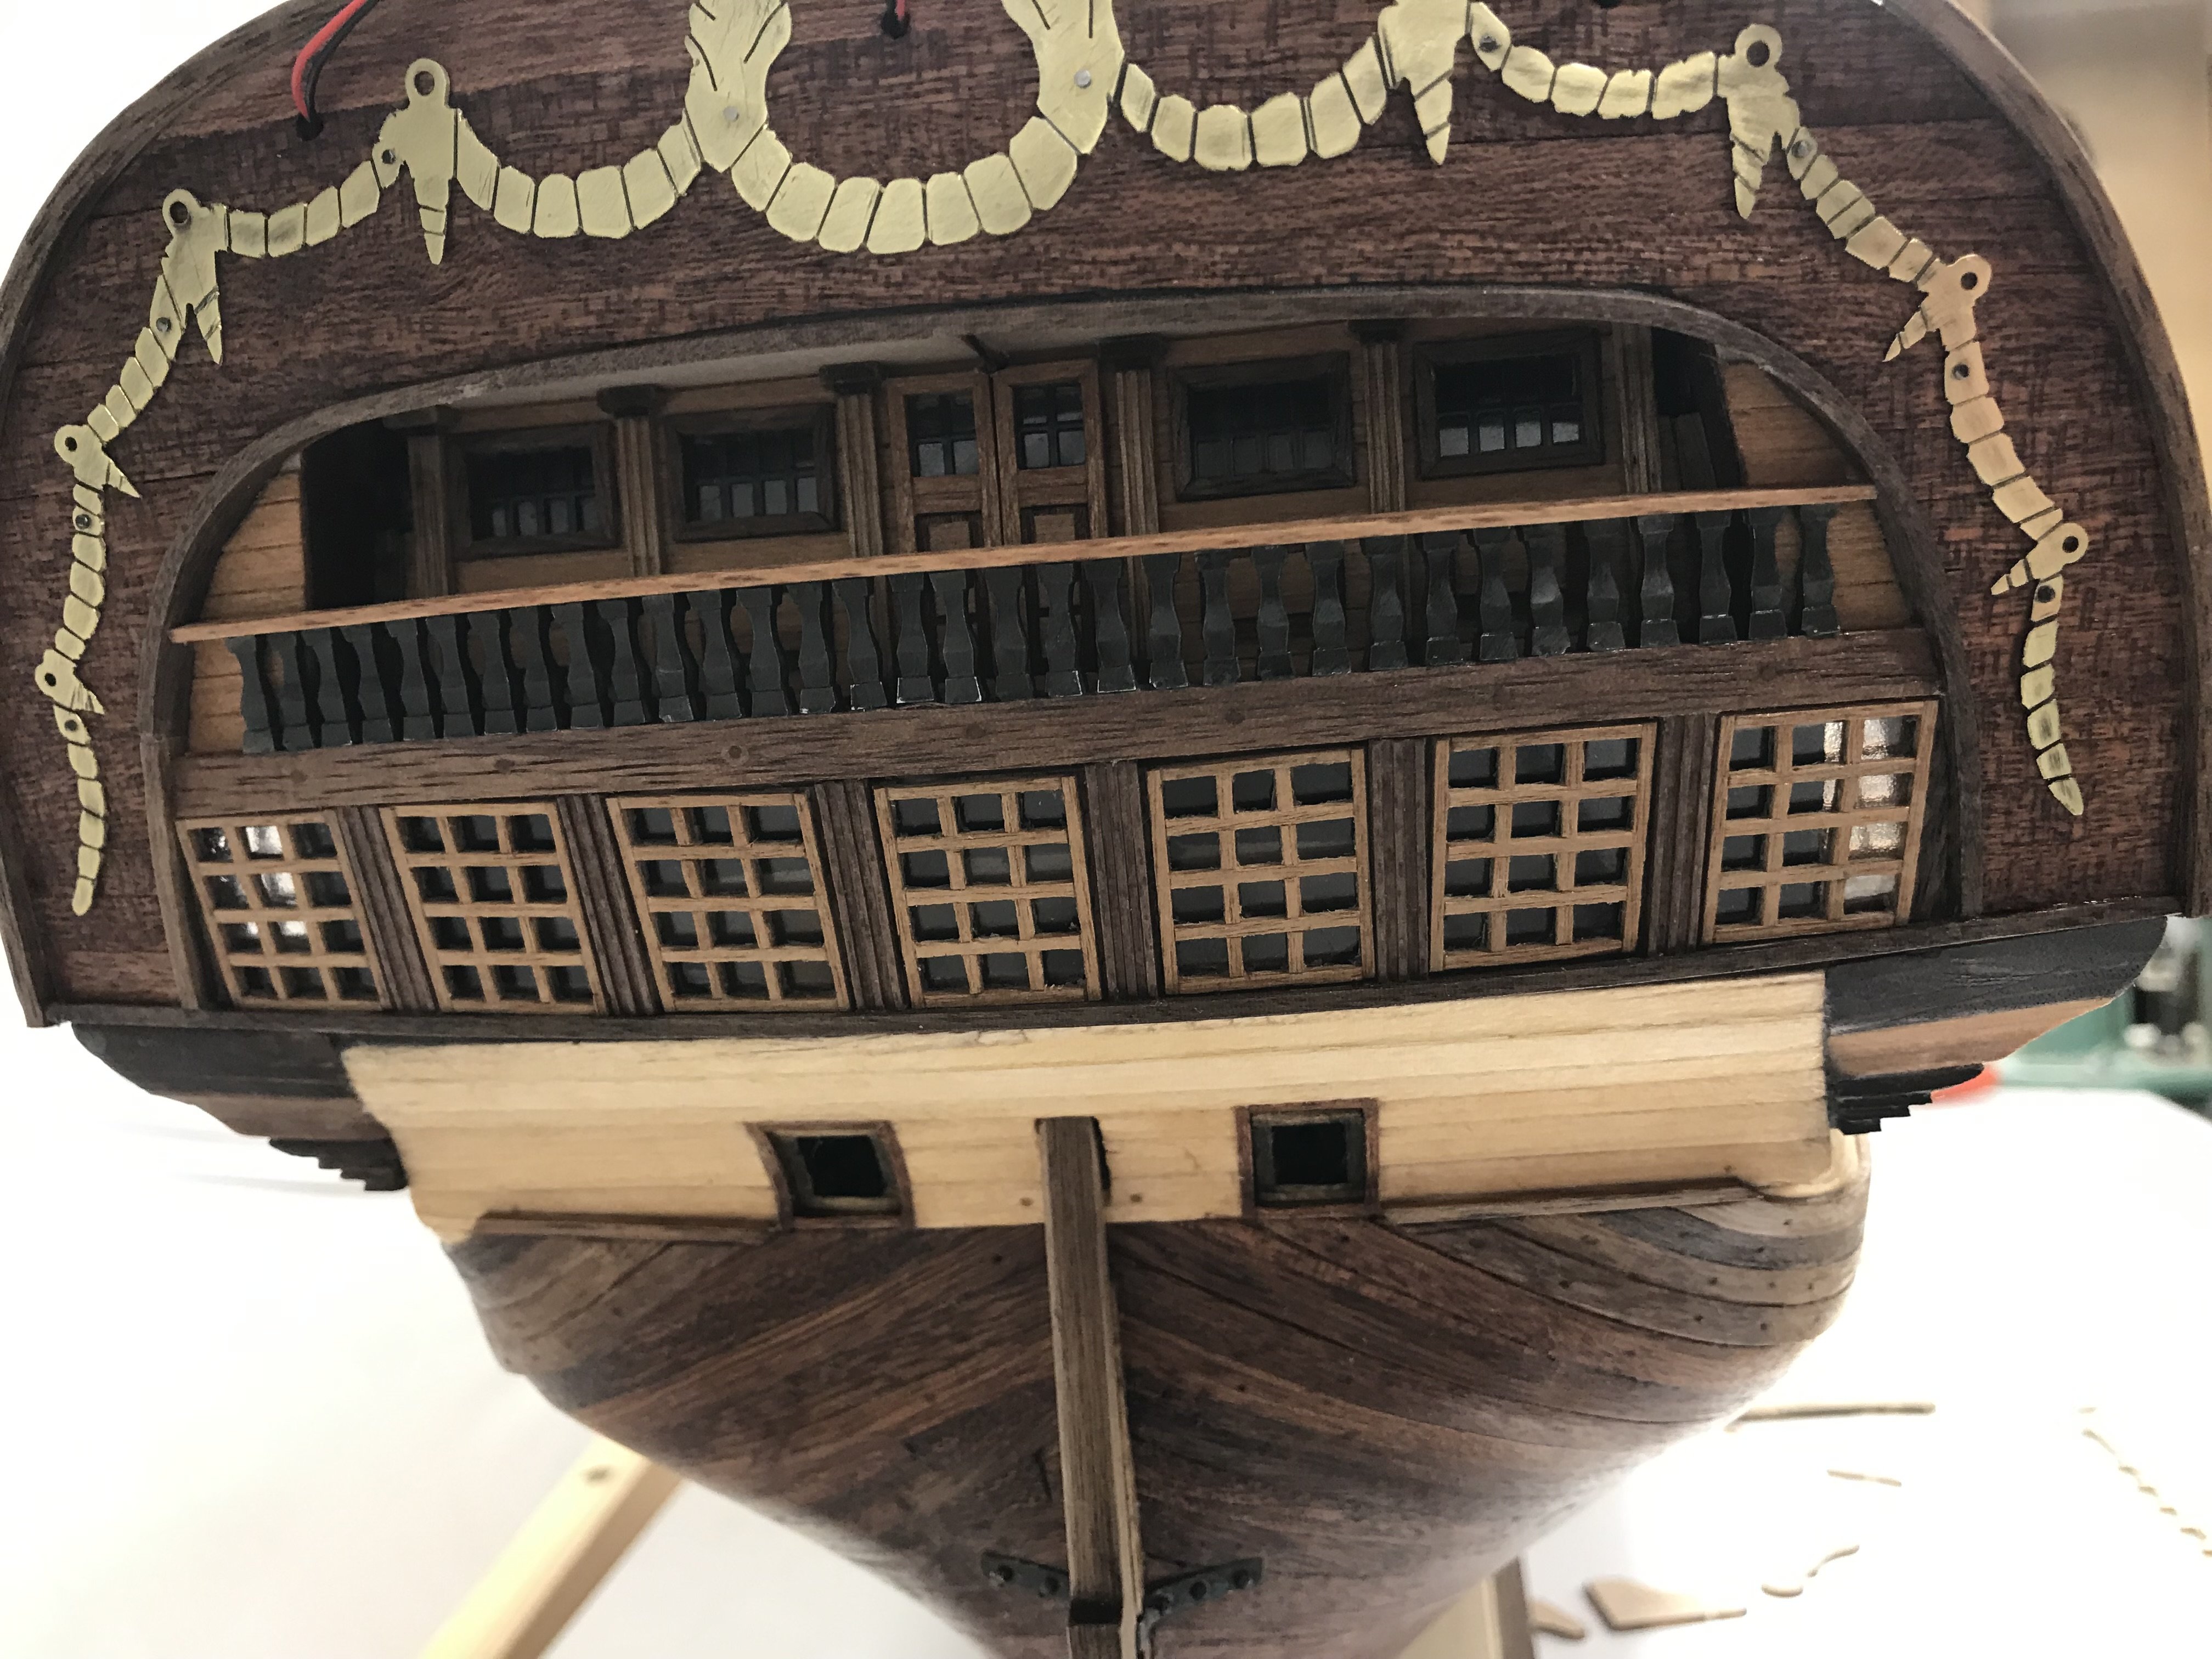
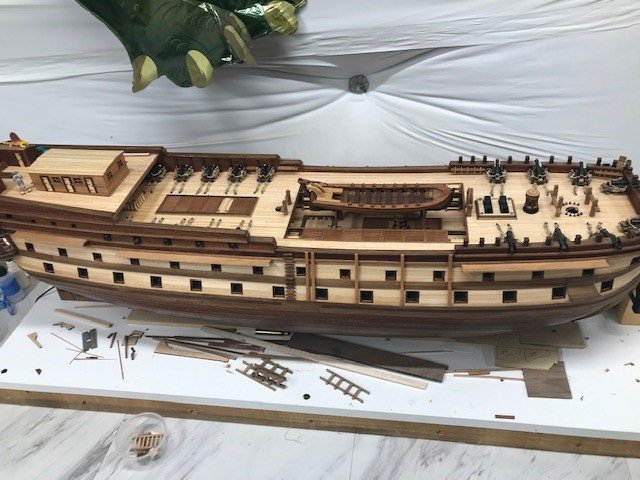
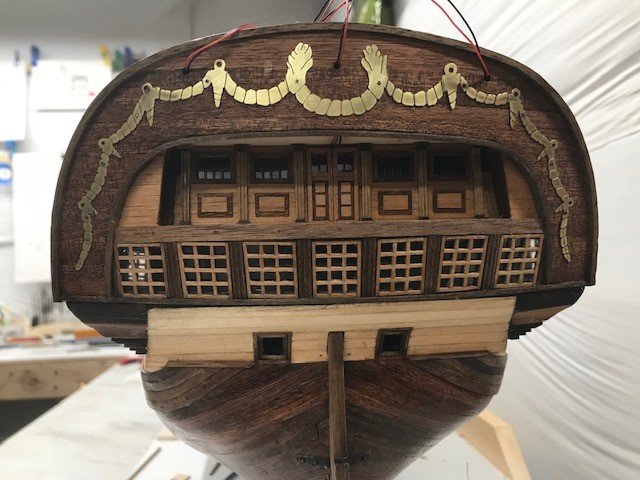
Completed the stern railing and work begins on the masts and ship’s boat.


-
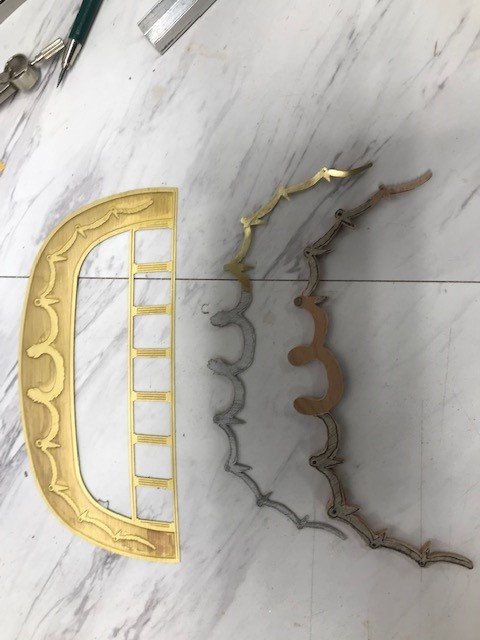
Oh, here is a shot of the inspiration. The PE part is from the kit. I messed with both wood and brass decided on brass in the end.
-
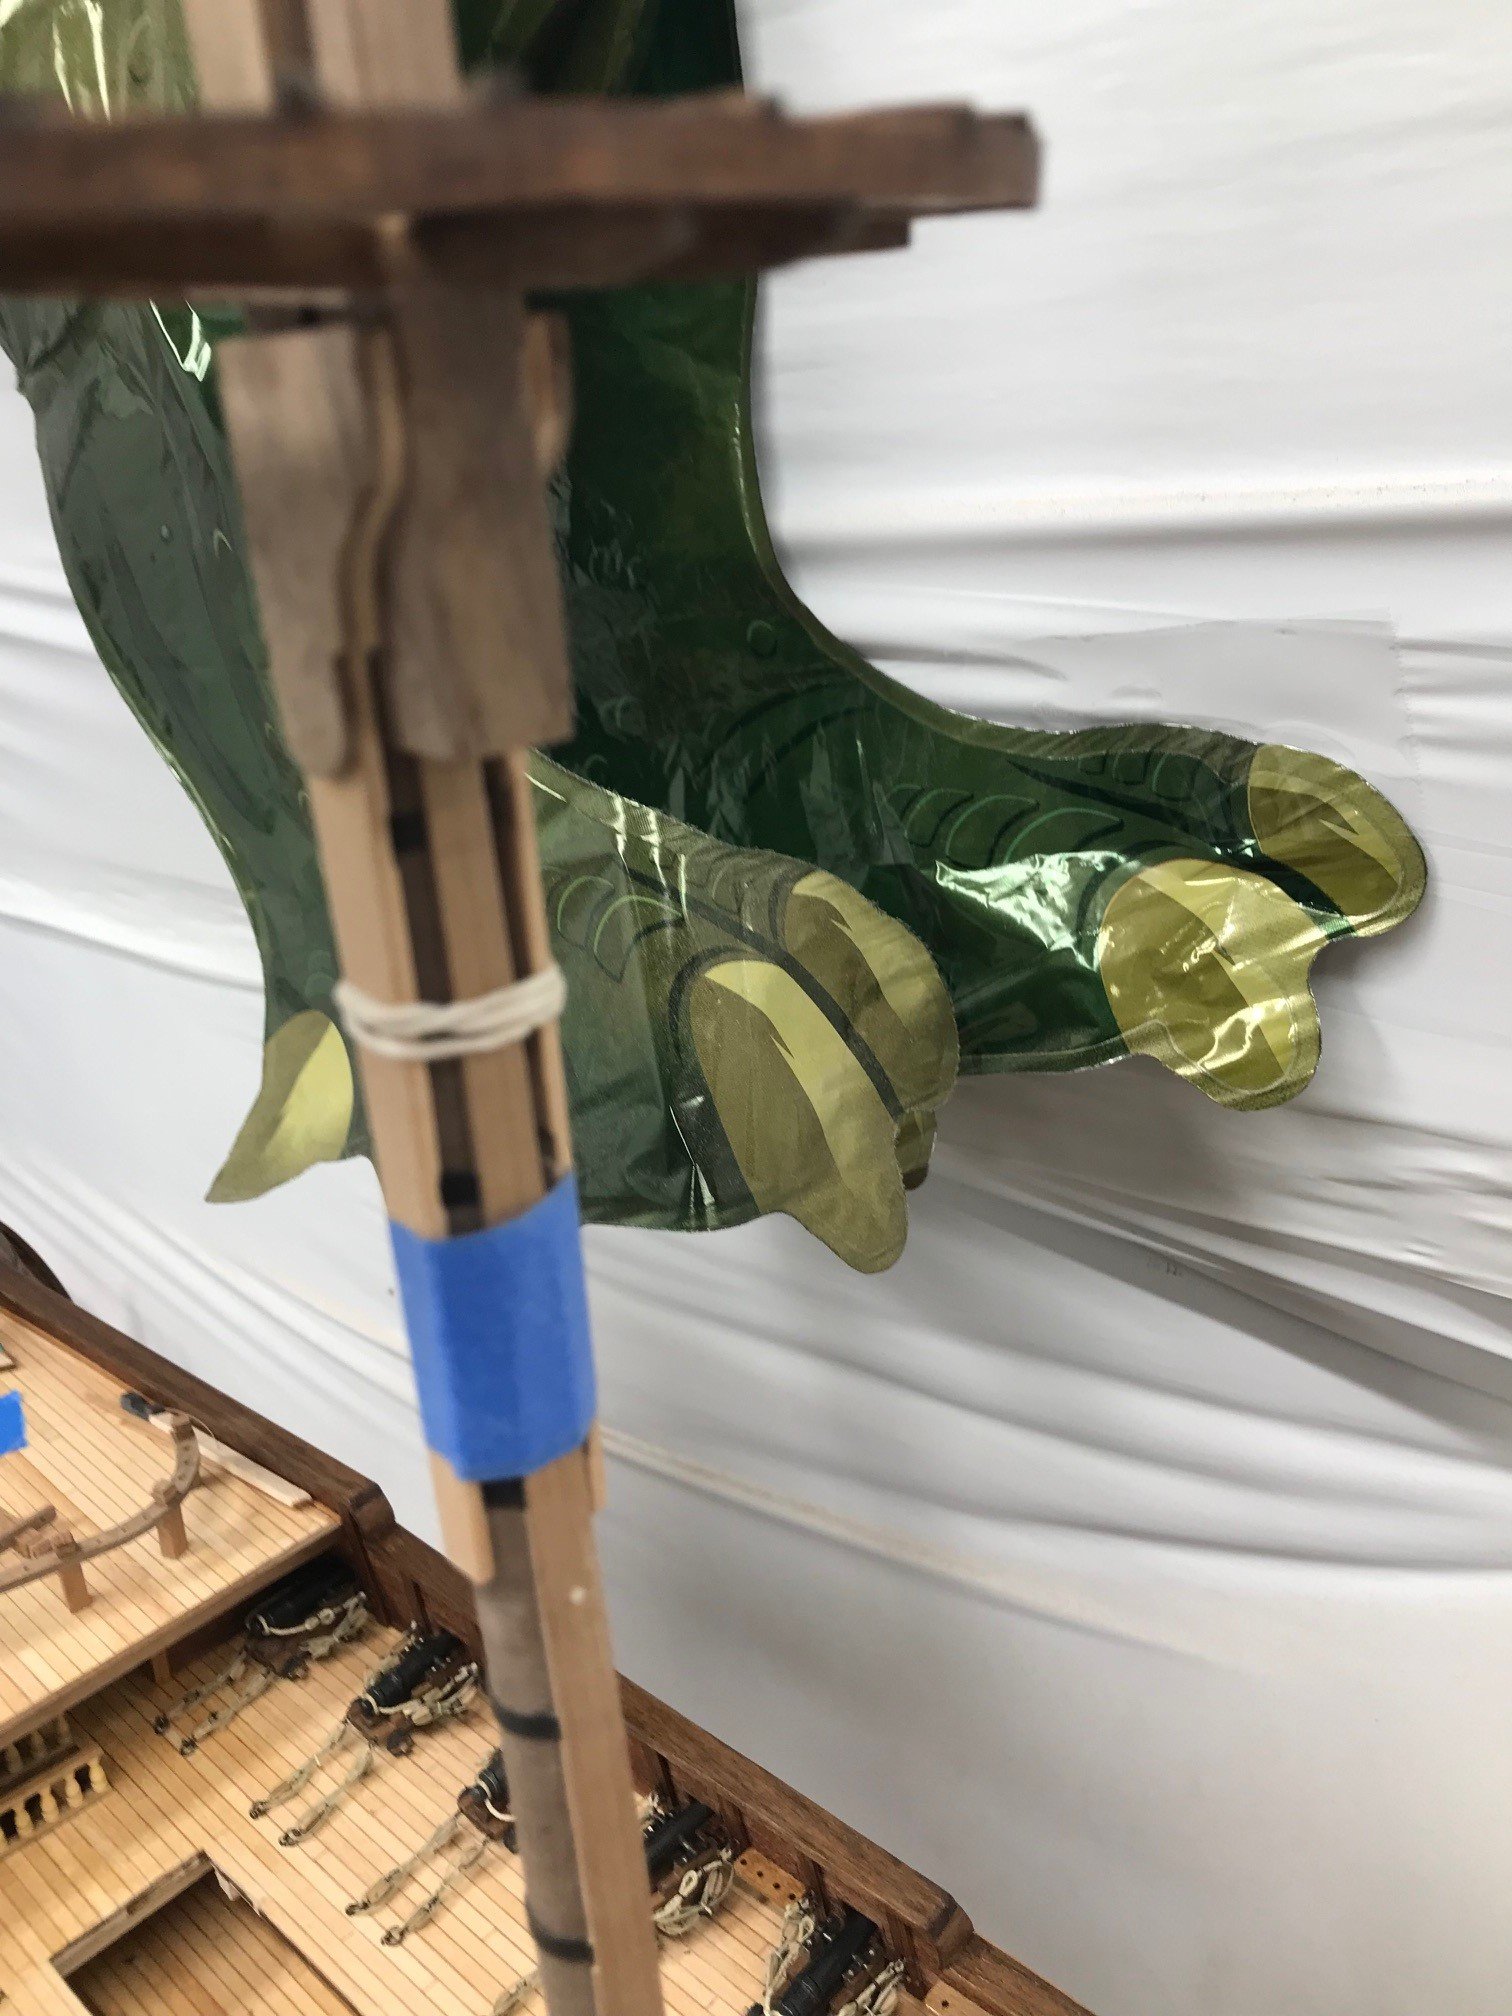
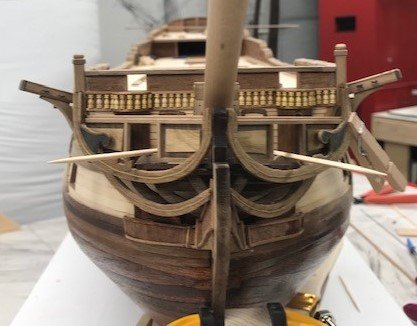
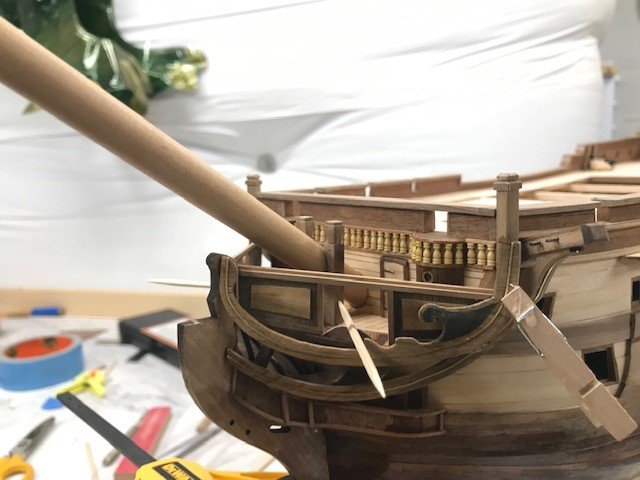
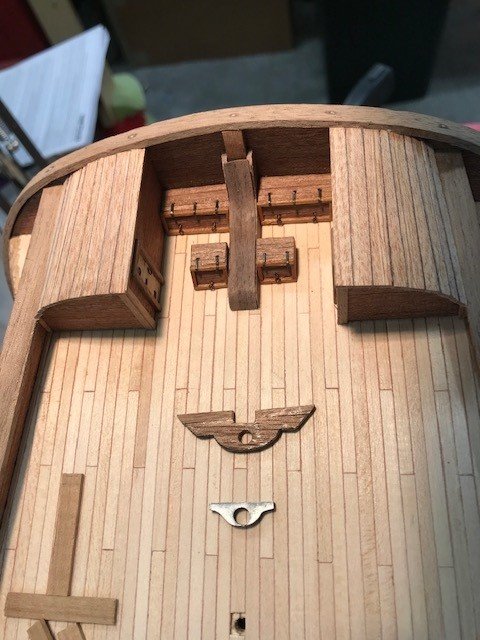
Completed the bow davits and oiled all the wood. Attached the stern decoration (I haven't buffed the pins to match the decoration yet but they will blend better when I do). Next start the railing.
-
Oh I forgot to mention the kit supplied parts for the lanterns soldered and blackened quite nicely happy with the results!
-
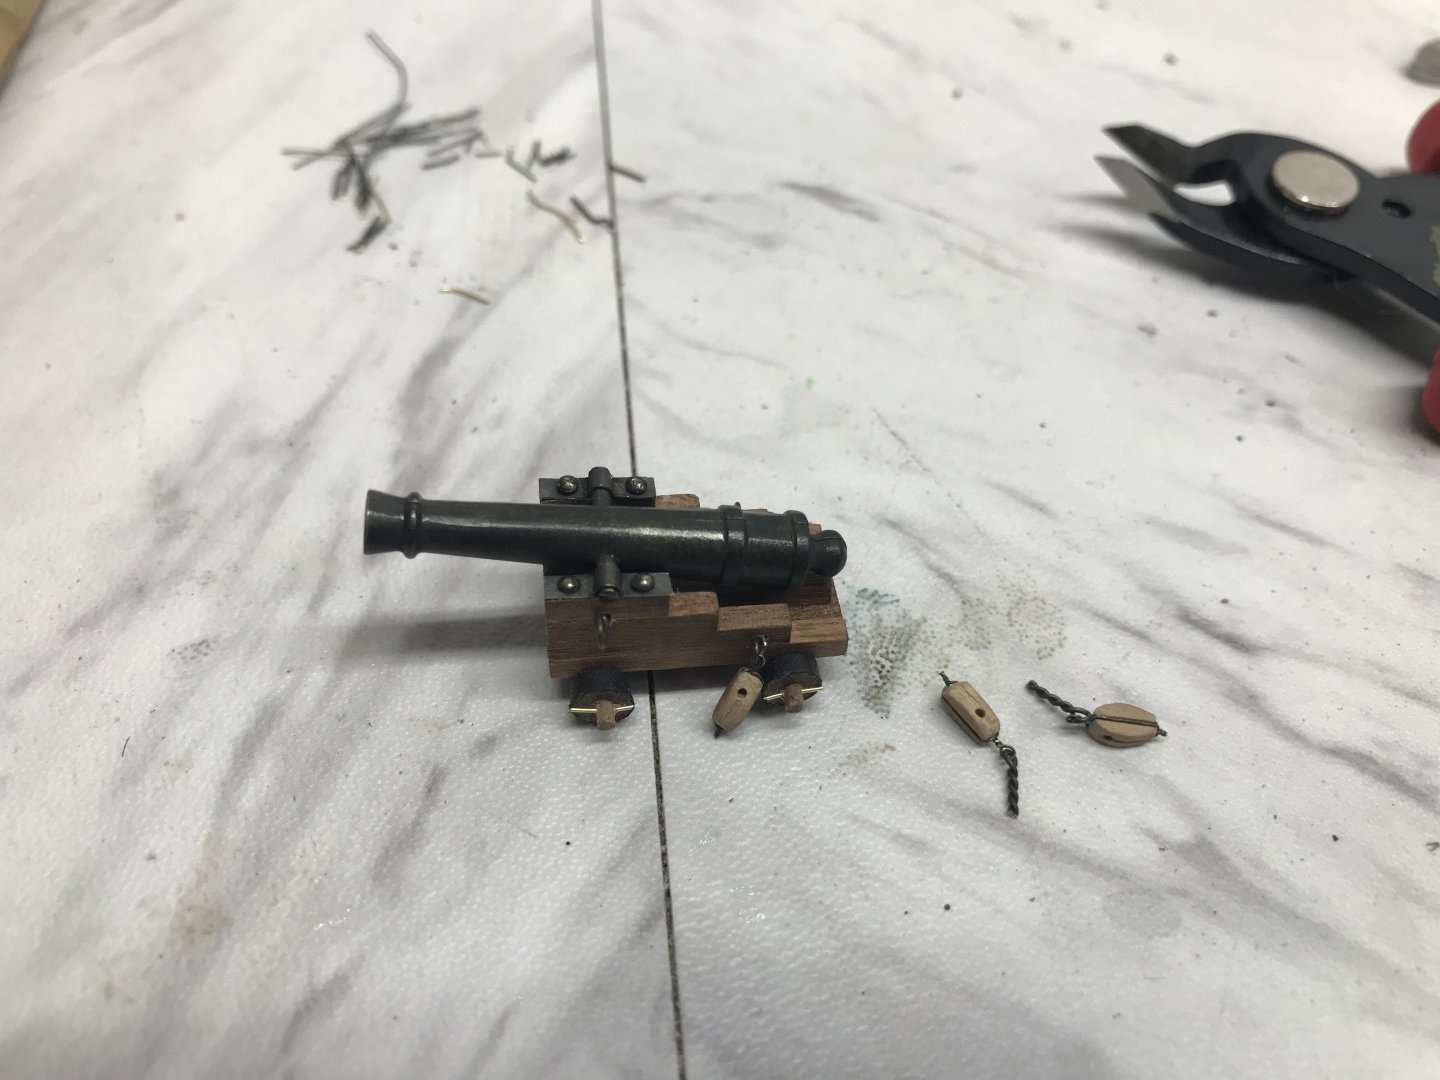
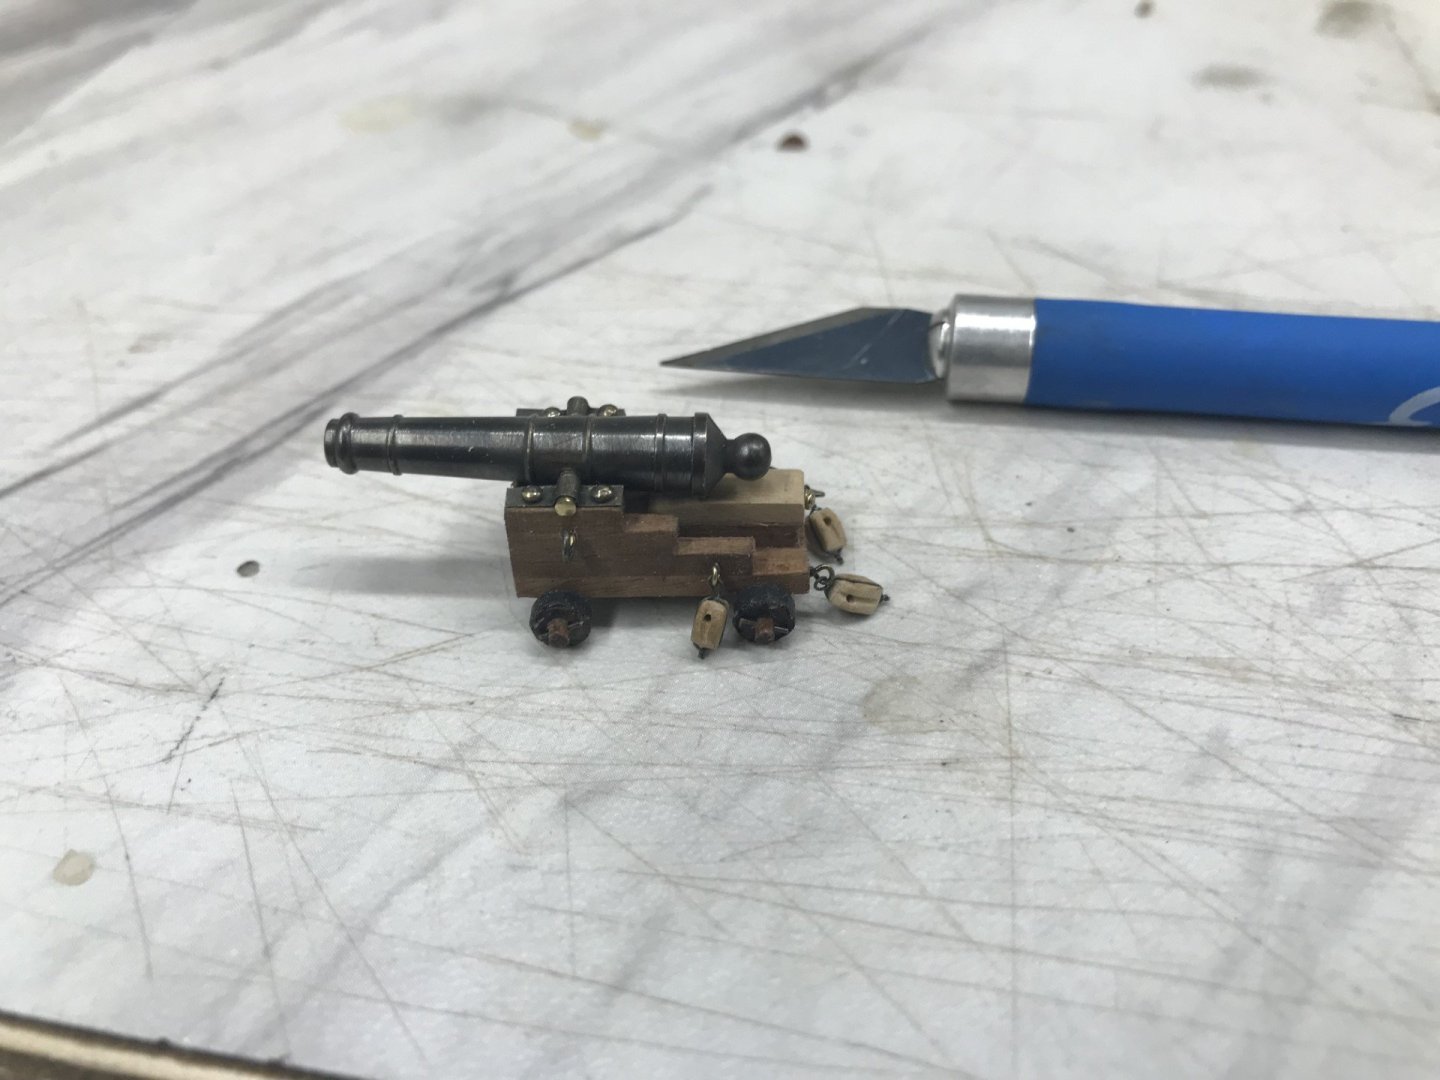
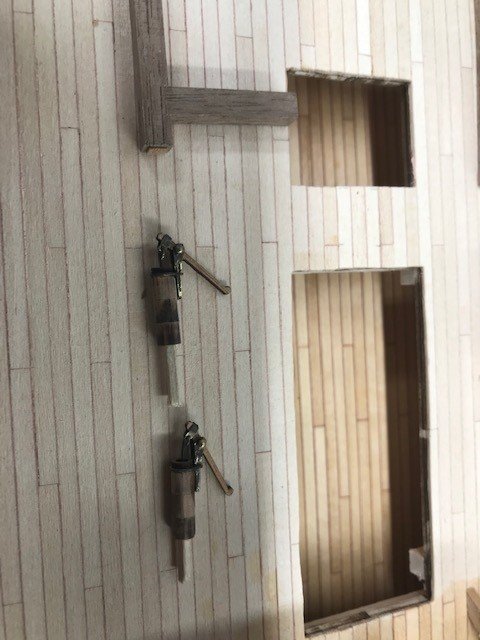
All the cannons are finished. First coat of oil. Lanterns assembled, these are the from the kit. I drilled the bases thru for 2 mm brass tube for the wiring for the leds and sheet plastic from a container for the glass.


-
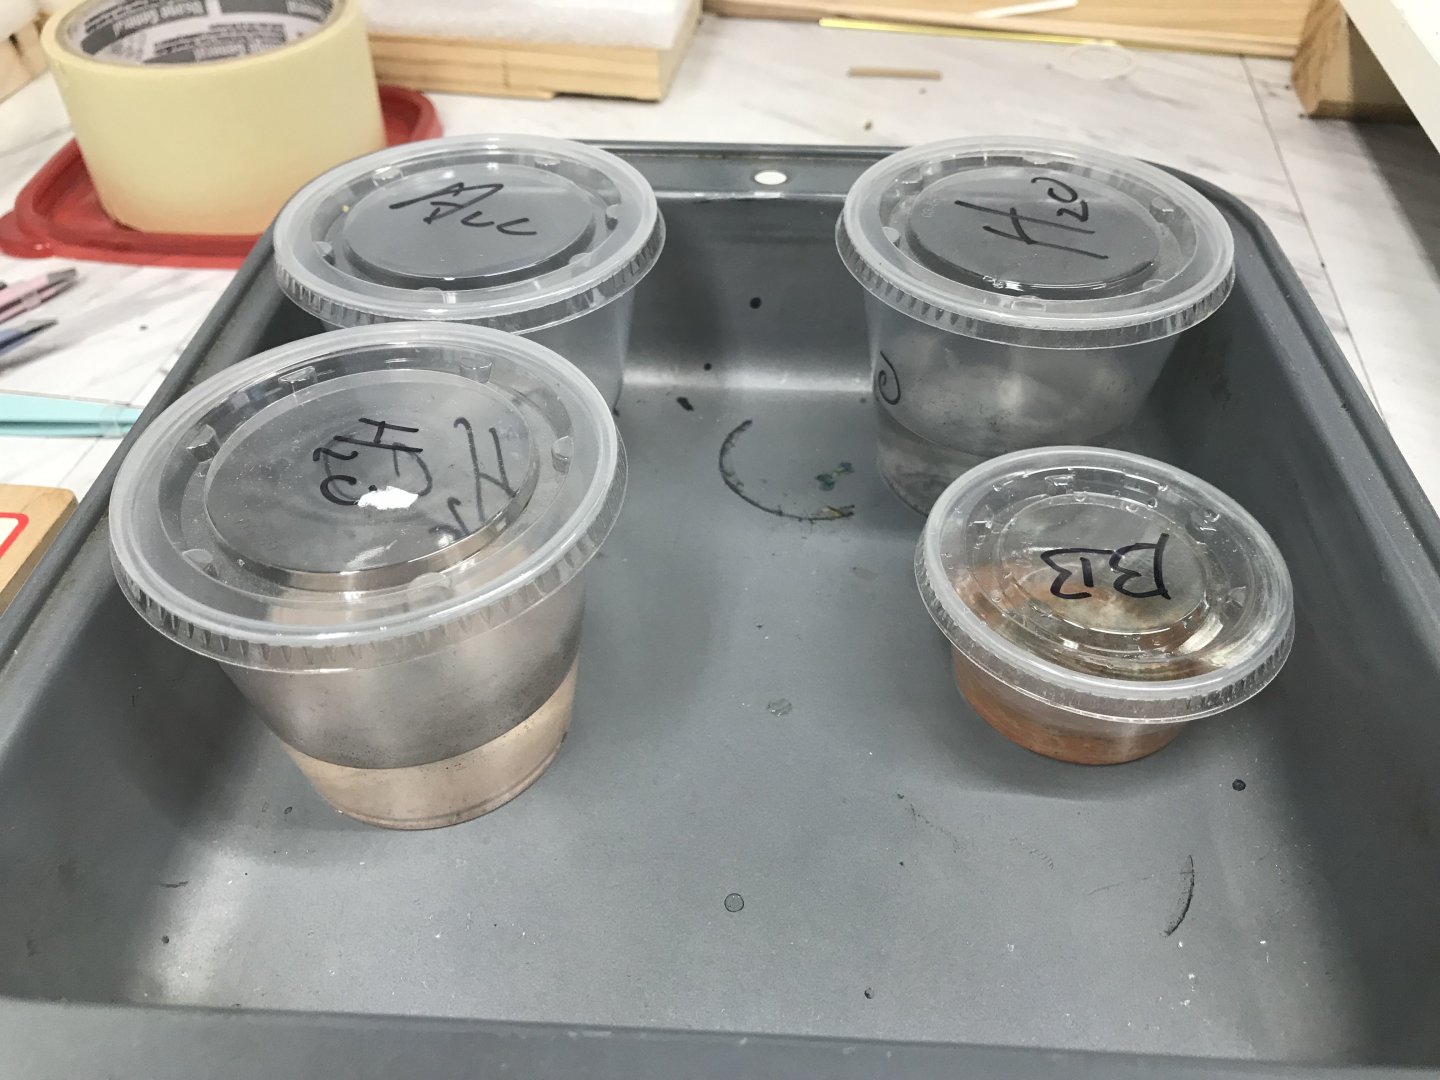
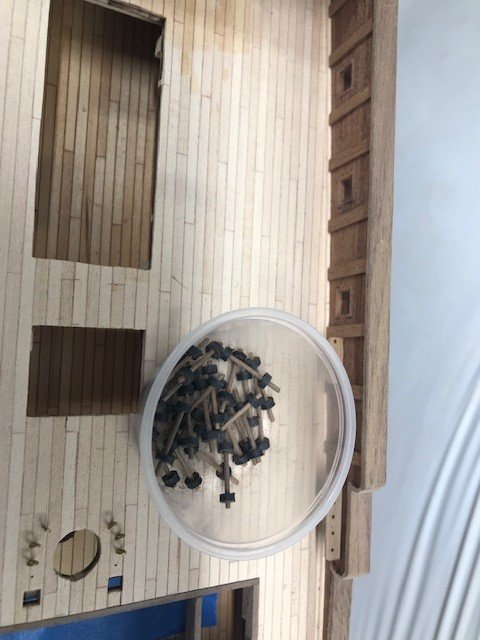
More block making and my blackening setup. More cannon balls glued in.


-
Scale size questions
Cmm4000 replied to Desertanimal's topic in Building, Framing, Planking and plating a ships hull and deck
I know this has probably been posted before these are awesome. https://www.blocklayer.com/scale-ruler -
Oops I should have typed cleats not davits.
-
My inspiration for the bow work and the bow. The forward battery cannons built and the rest in the carriages and trucks also done. The blocks for the cannons are slowing me down, so many make. Also started adding the bitts. The davits are cast and fairly nice so I'm going to try blackening them first if not I'll paint. I'll also drill and add a pin to the bottom for extra strength. The Admiral ordered the Ancre monograph for the La Mahonesa for me I'm going to try my hand at scratch after the Norske Love.


-
Changed the design on the cannon carriage and went with one made from individual 2x2 walnut strips. The cannon factory production so far and only 17 more to build. If I counted correctly each cannon when installed will be 64 parts.

-
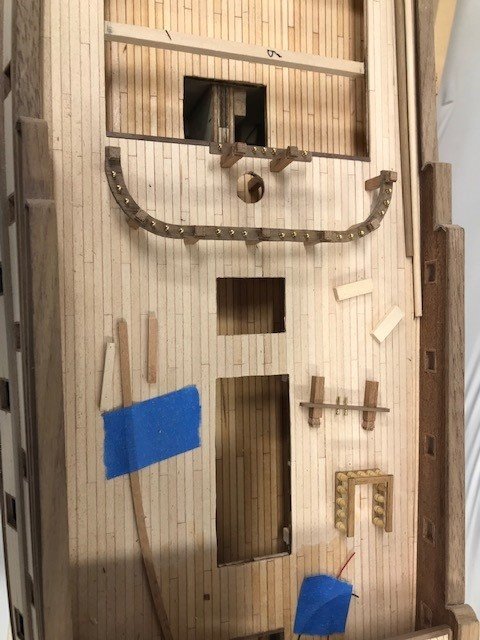
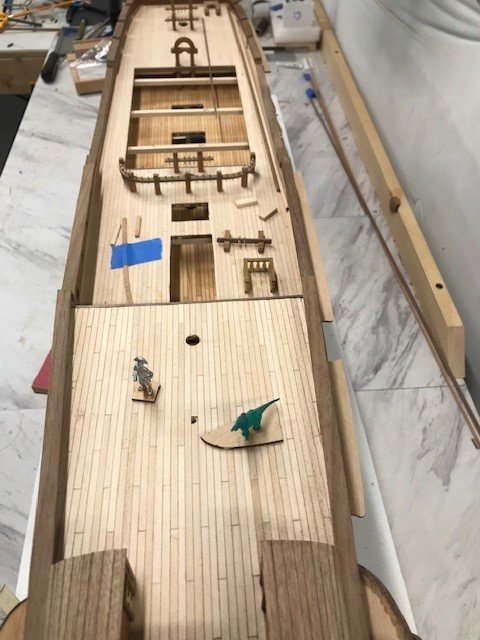
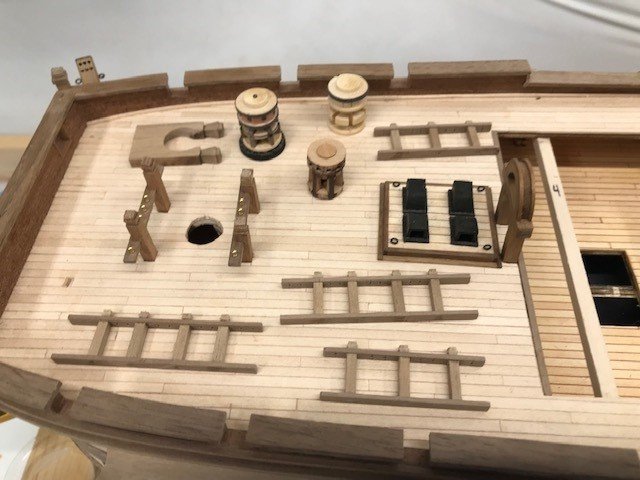
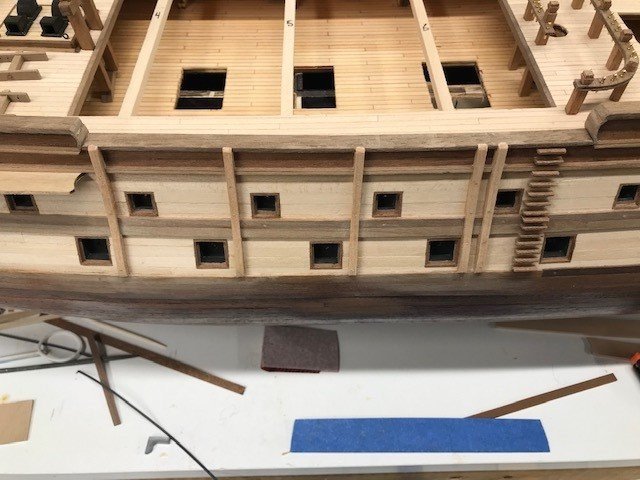
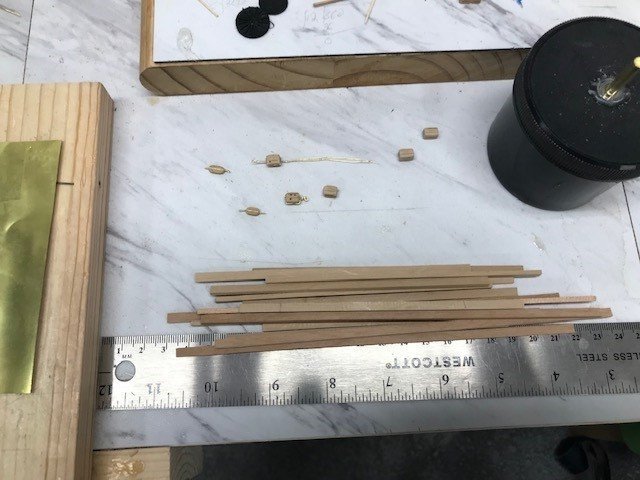
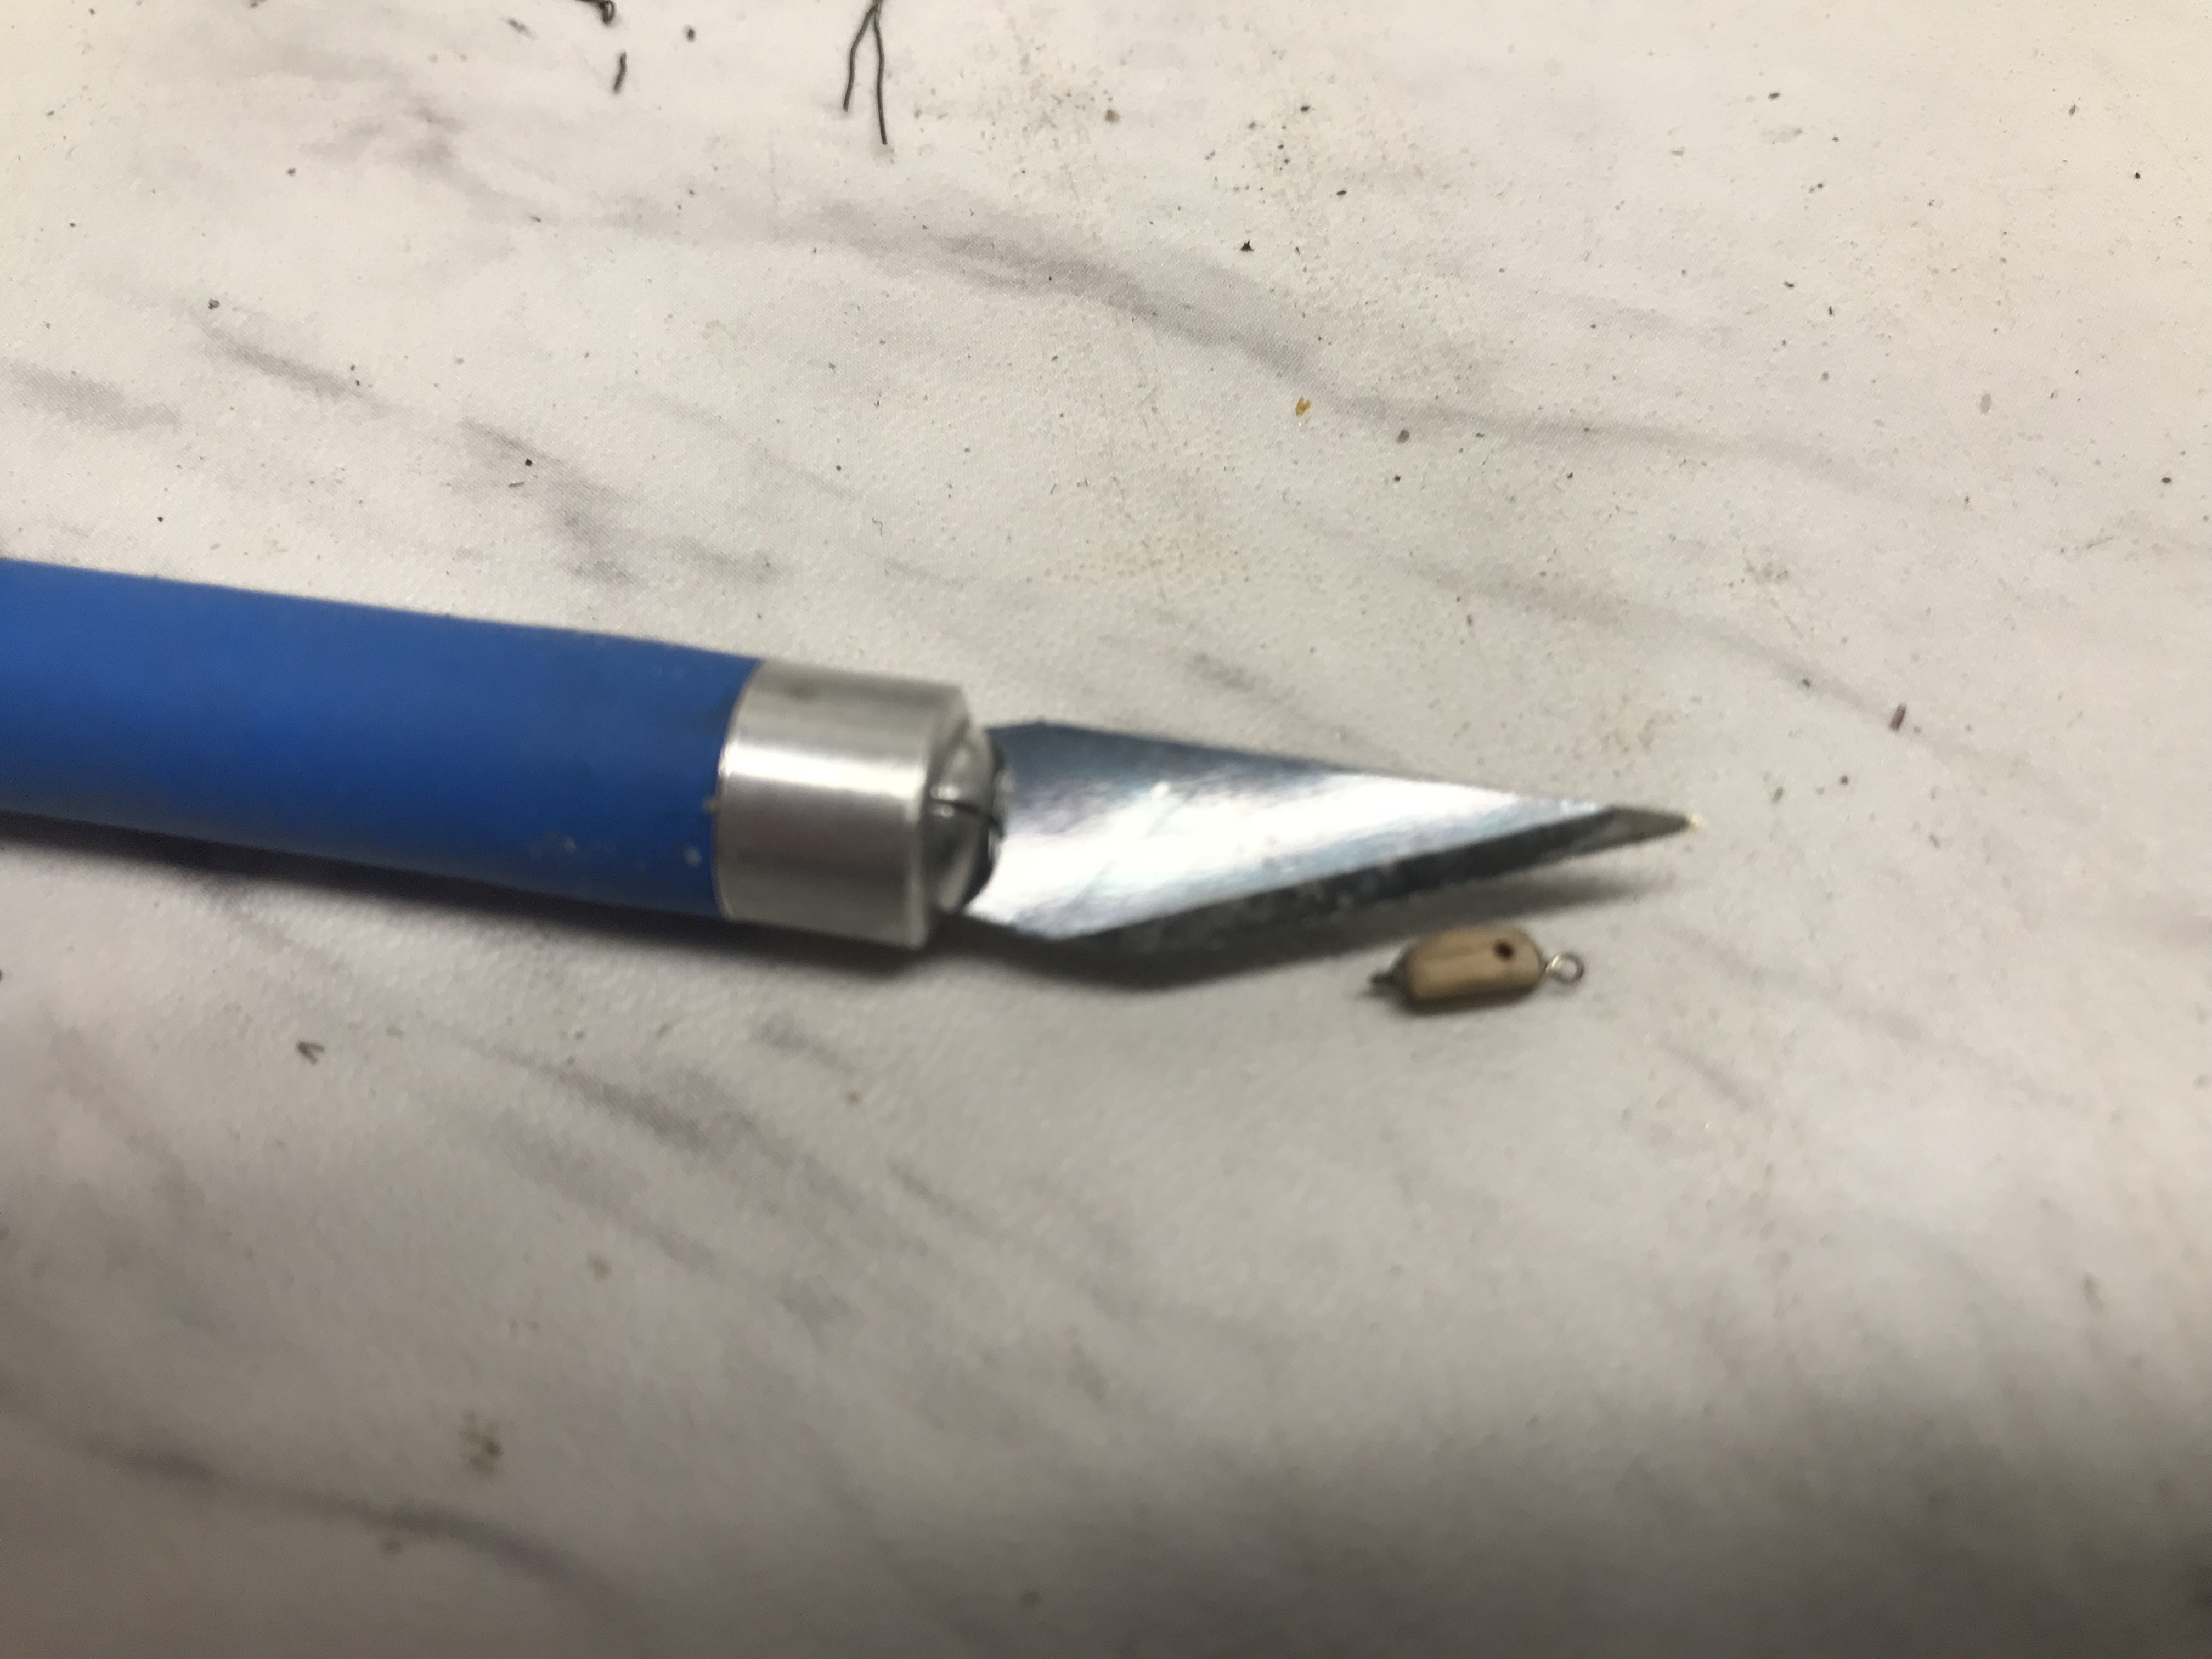
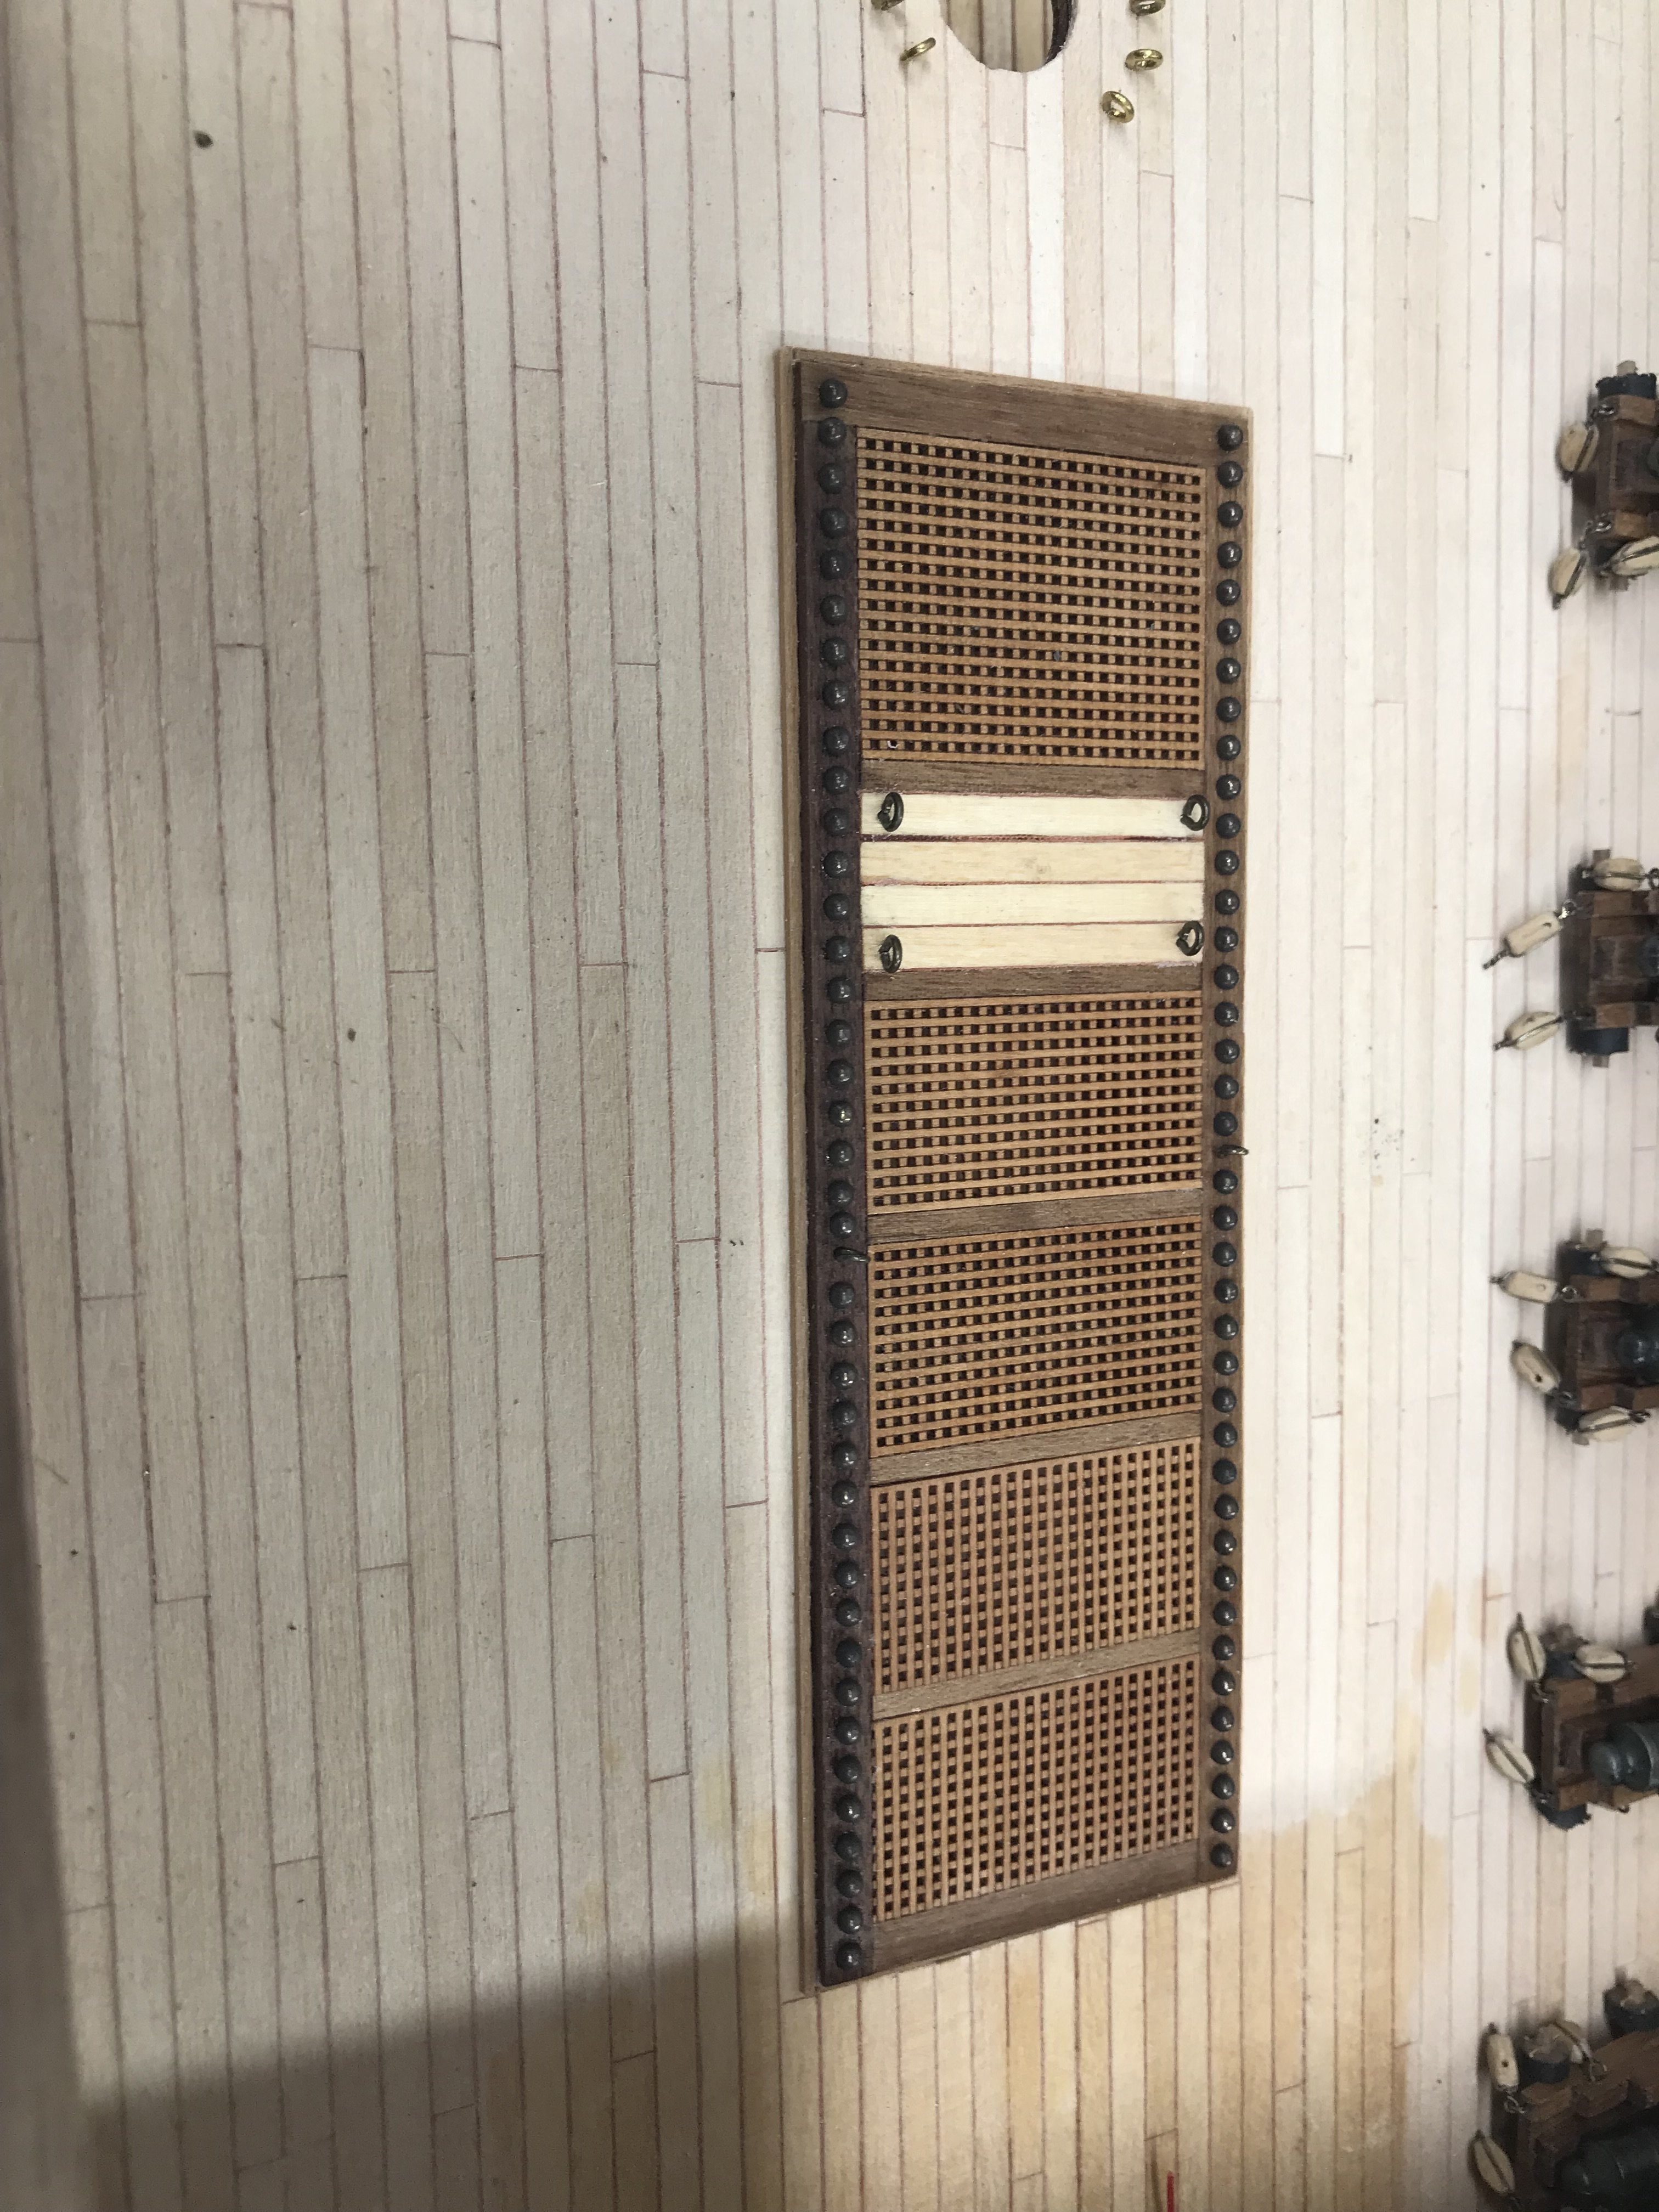
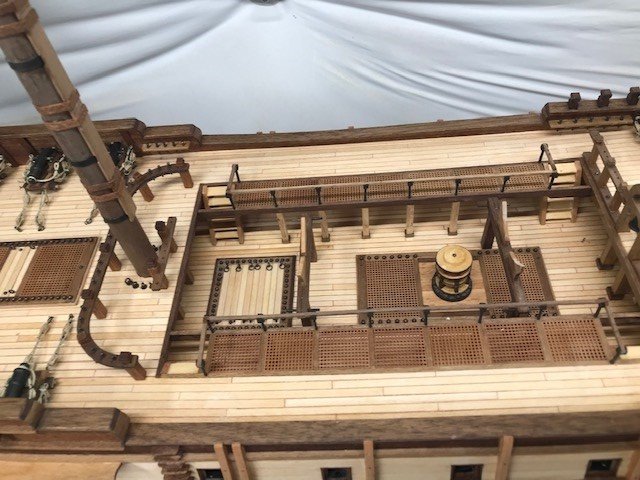
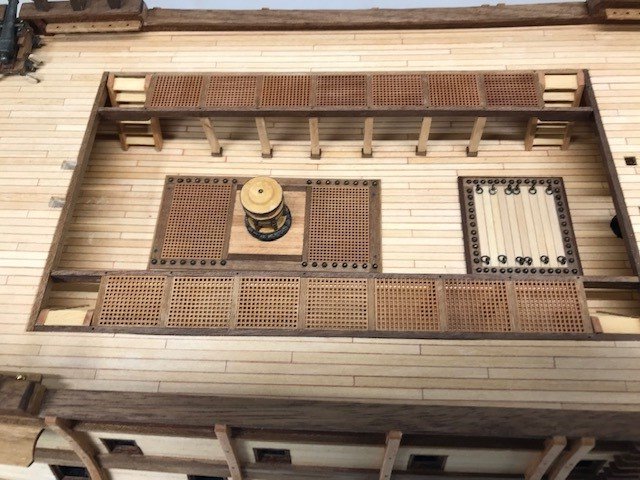
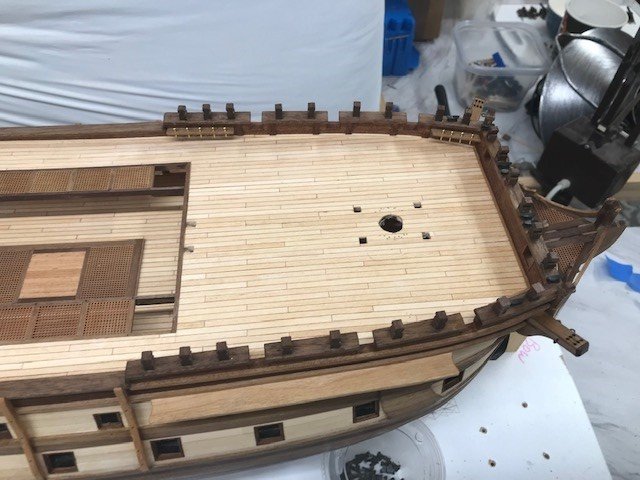
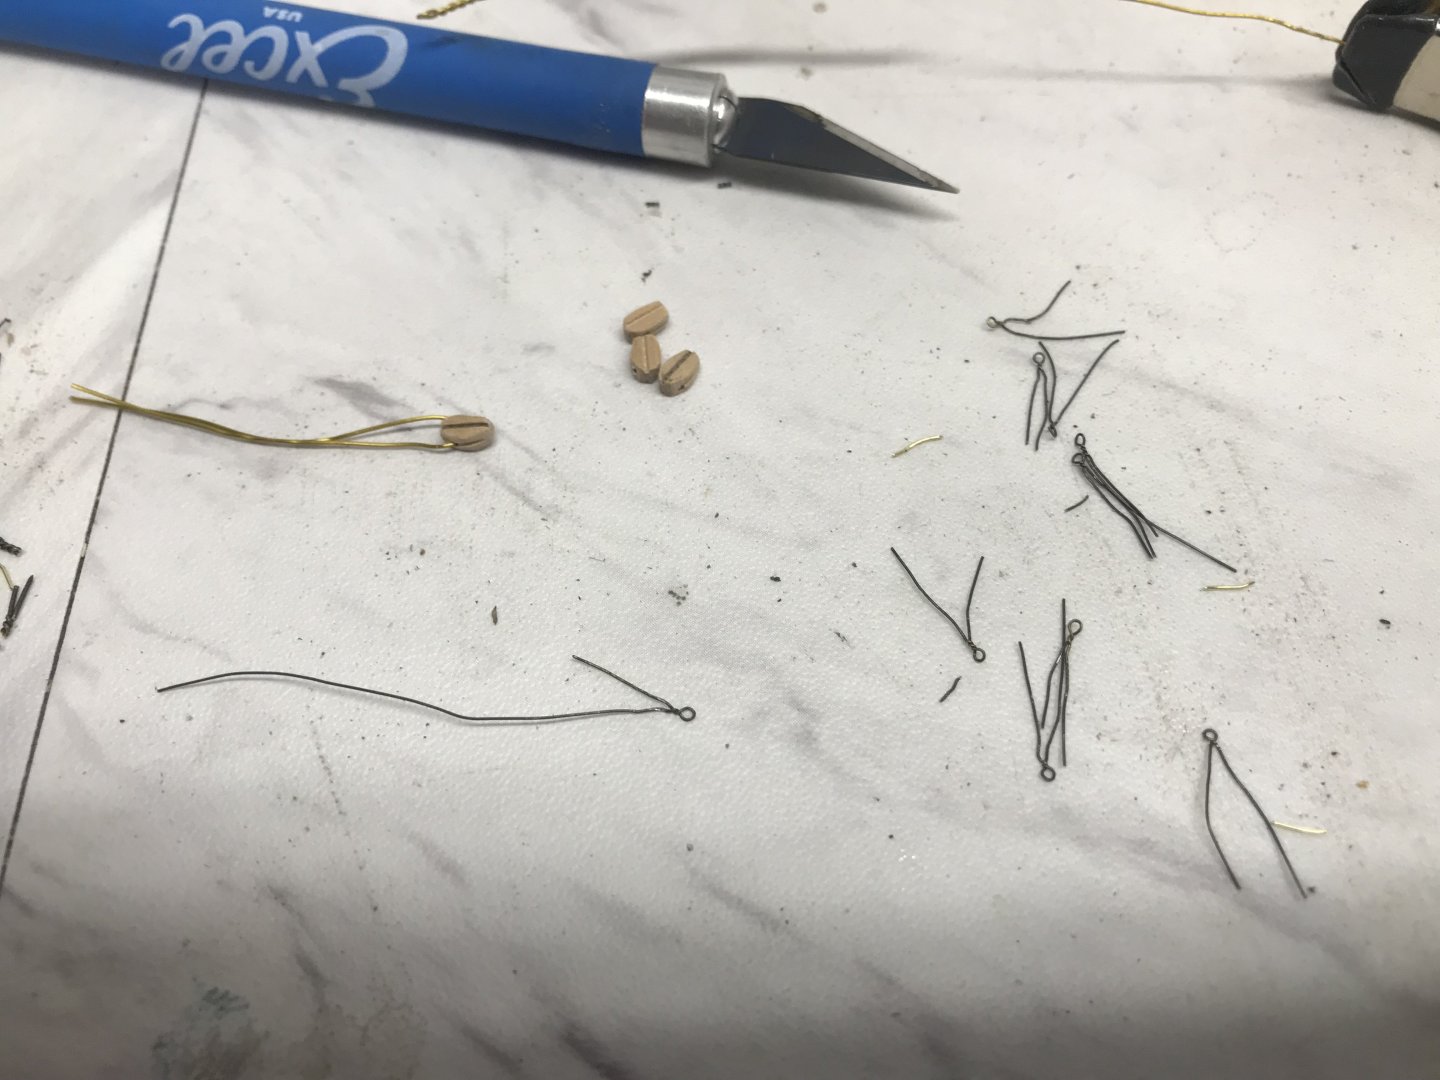
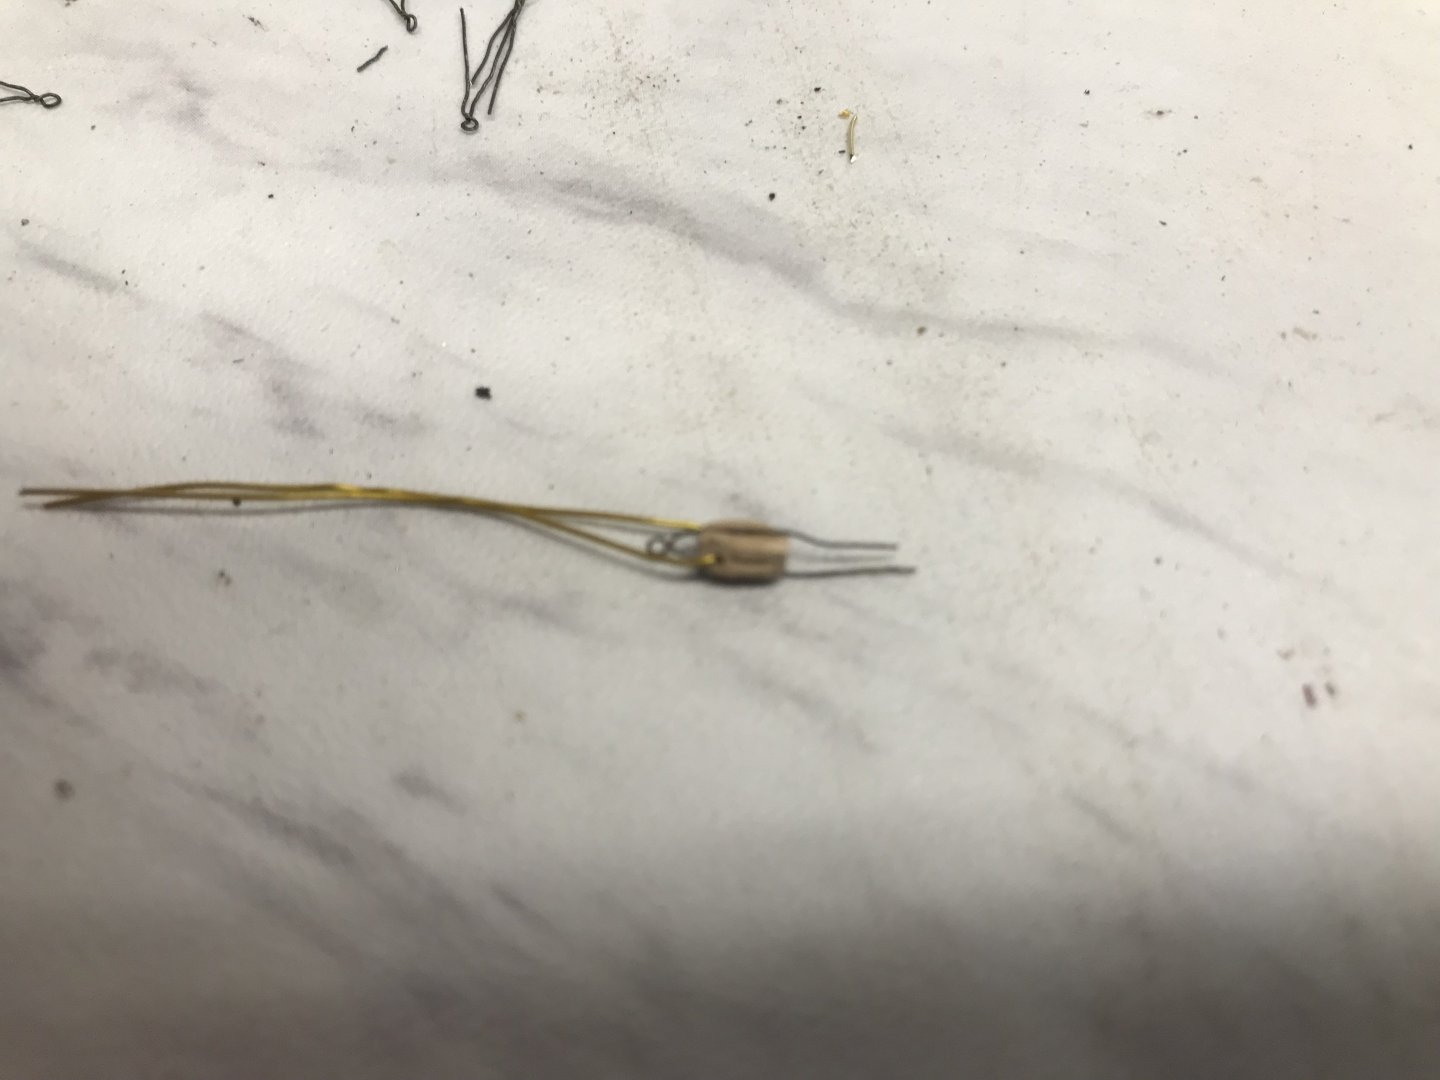
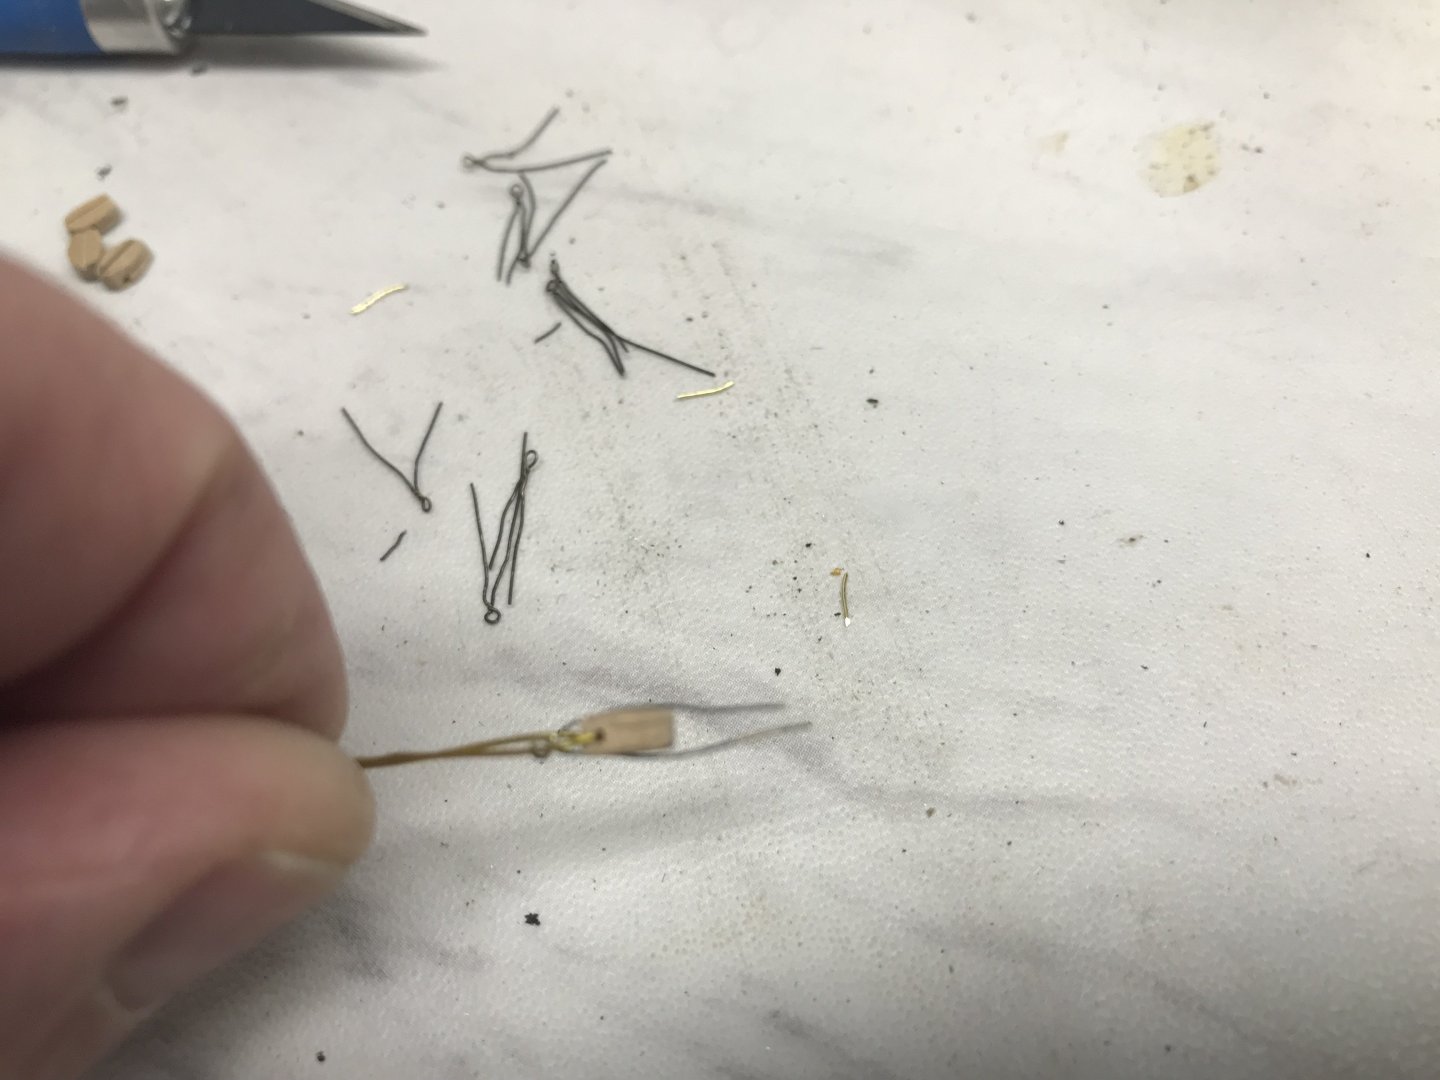
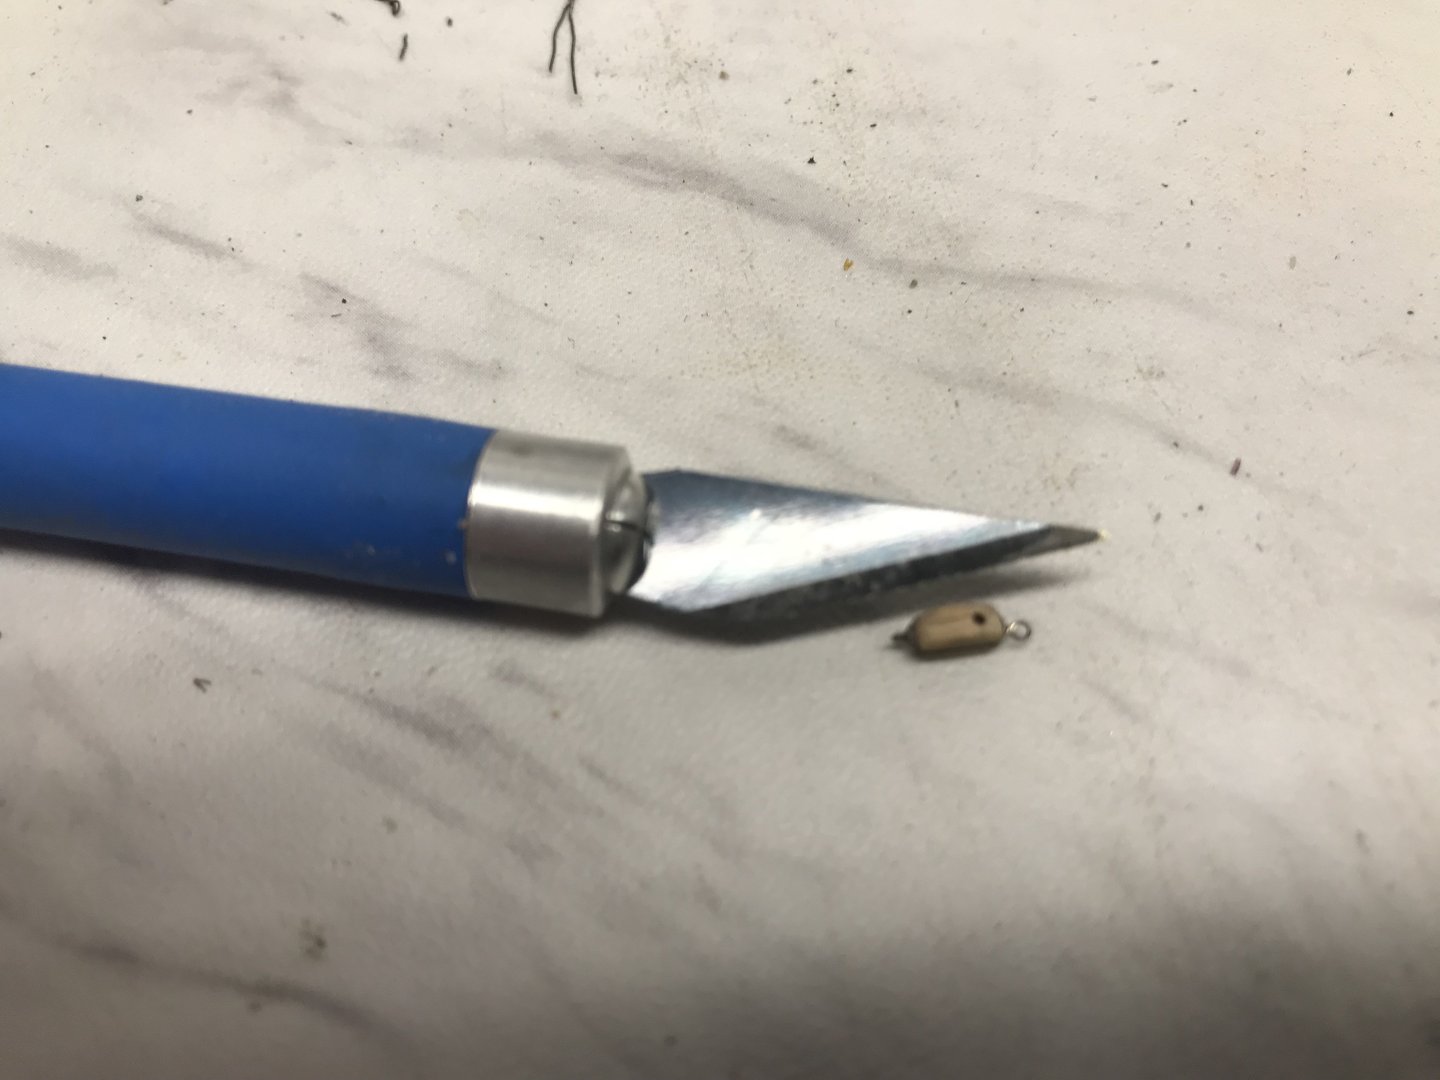
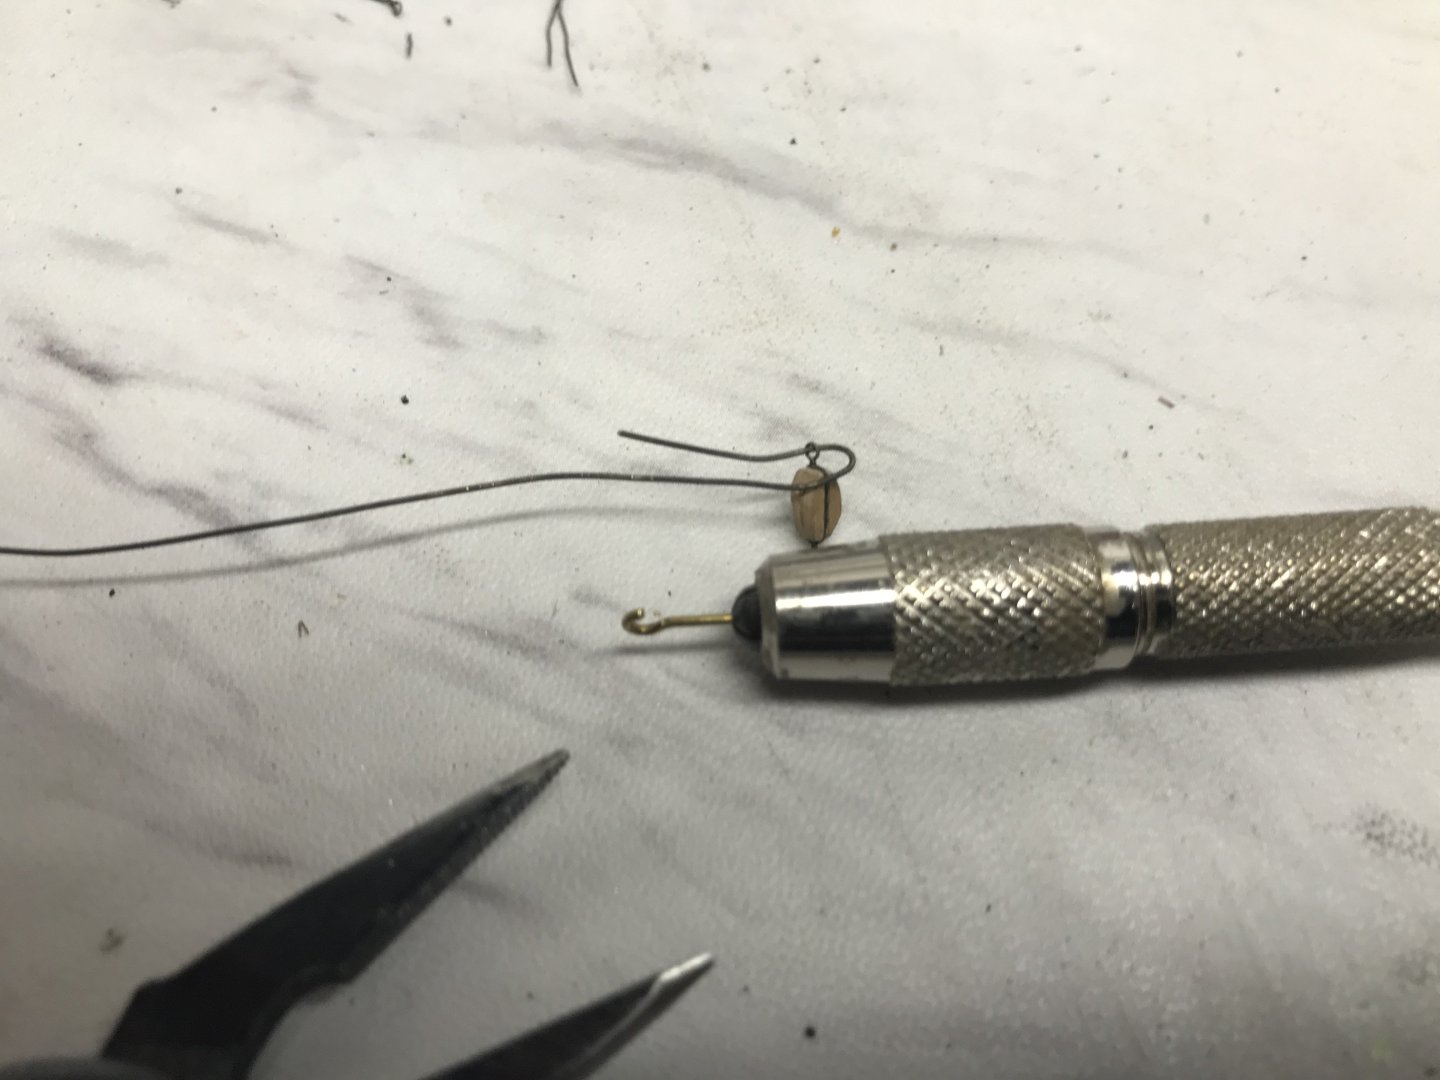
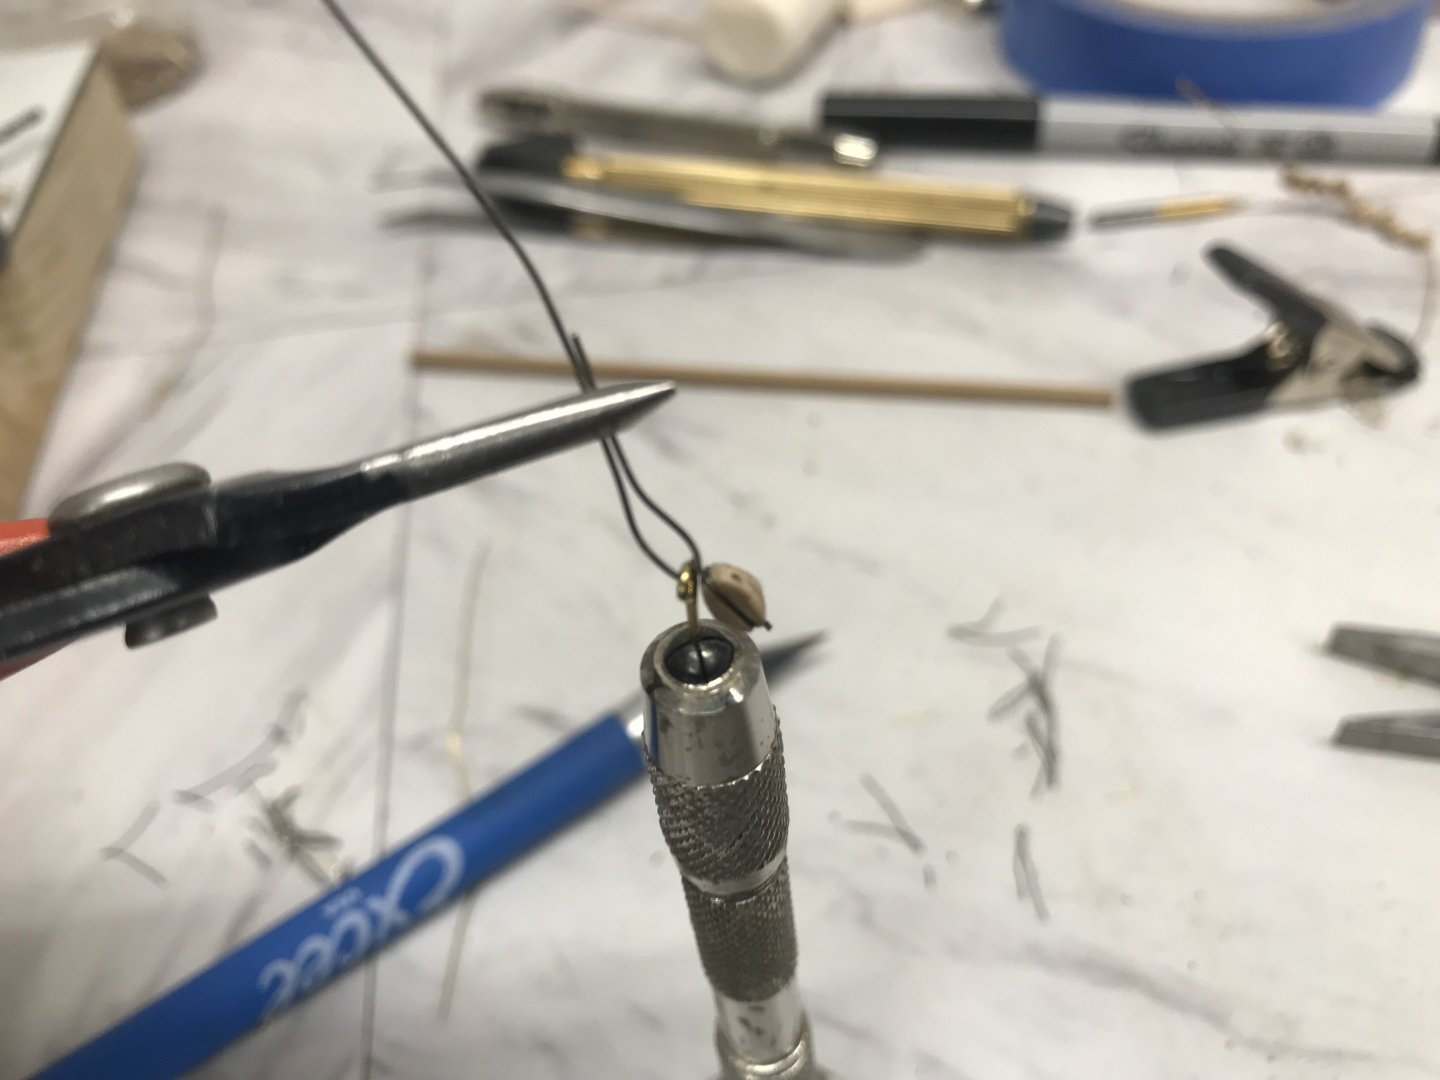
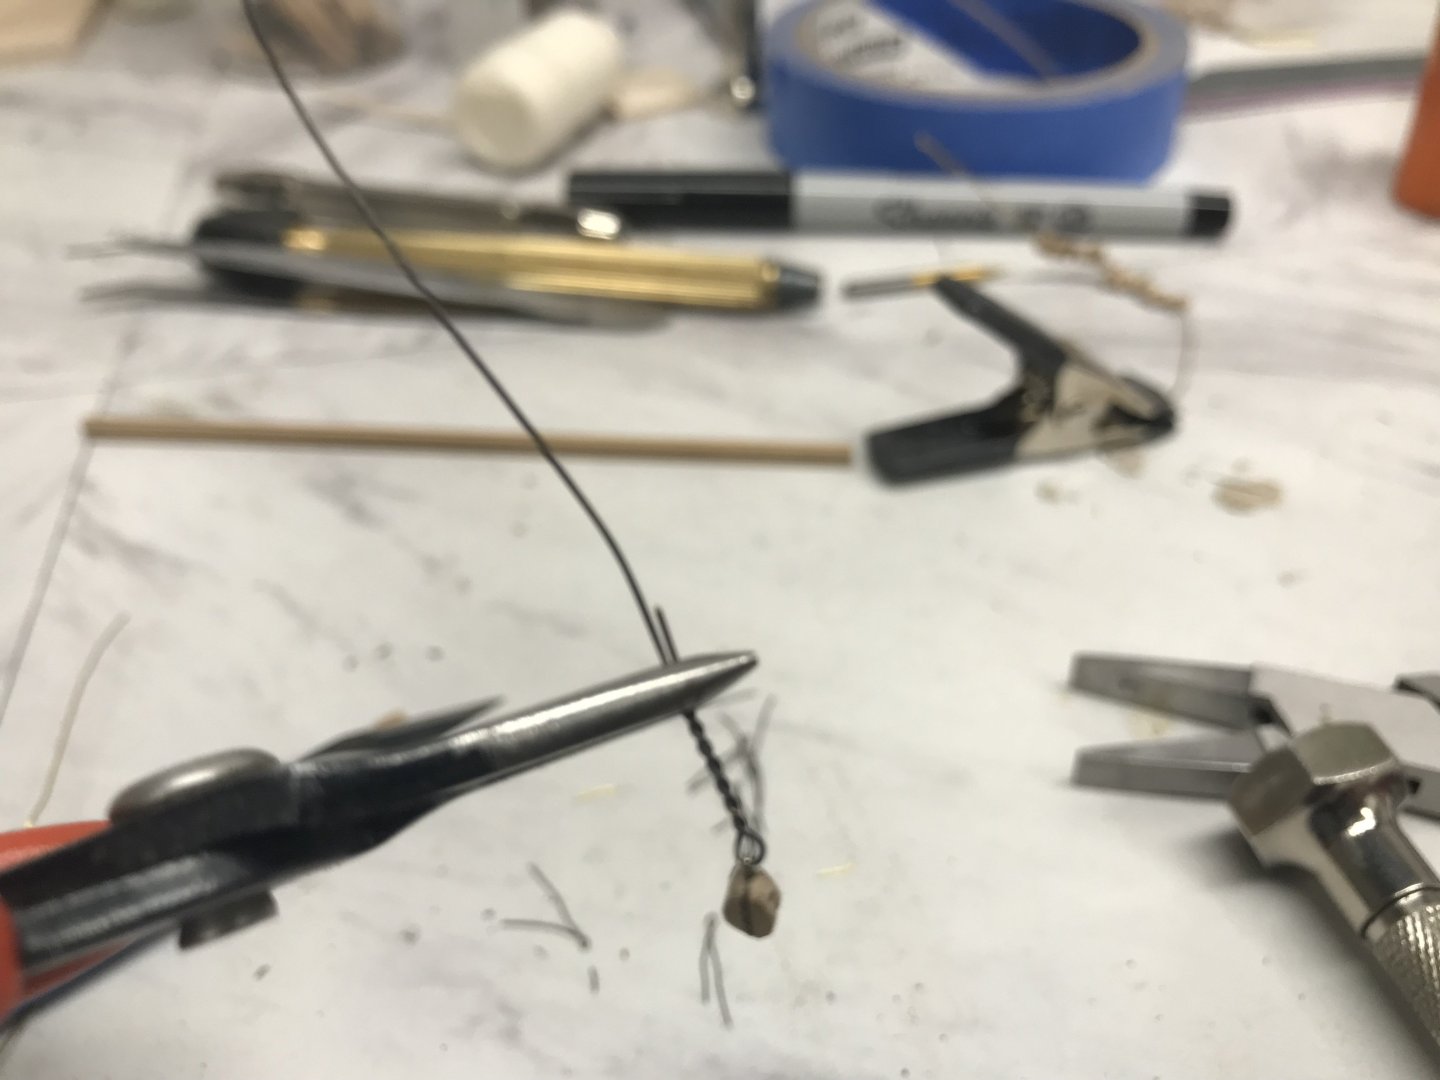
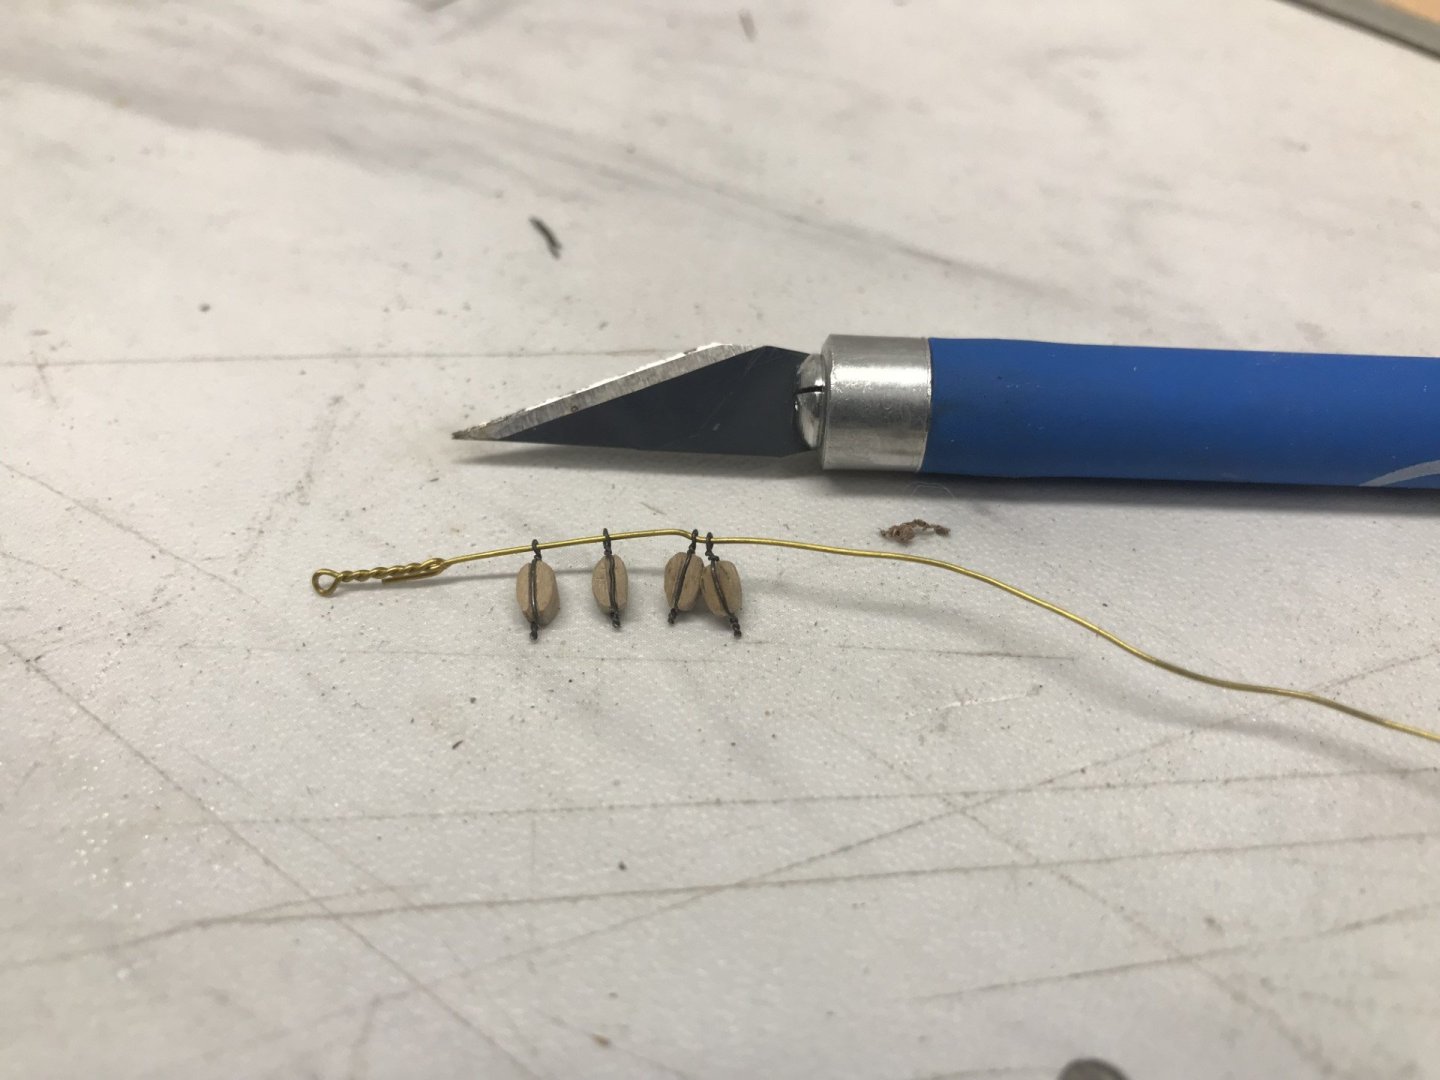
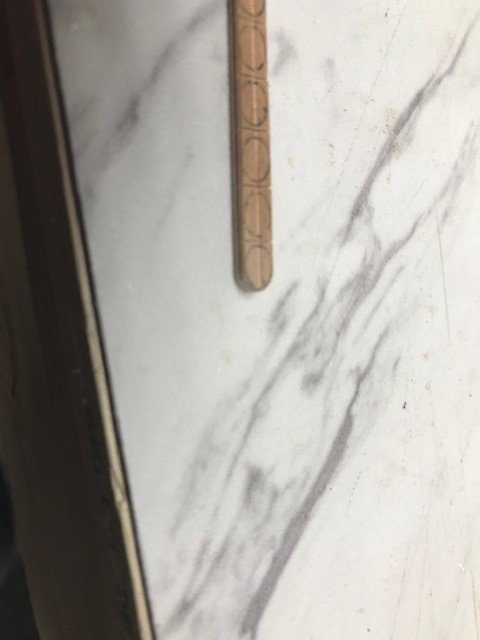
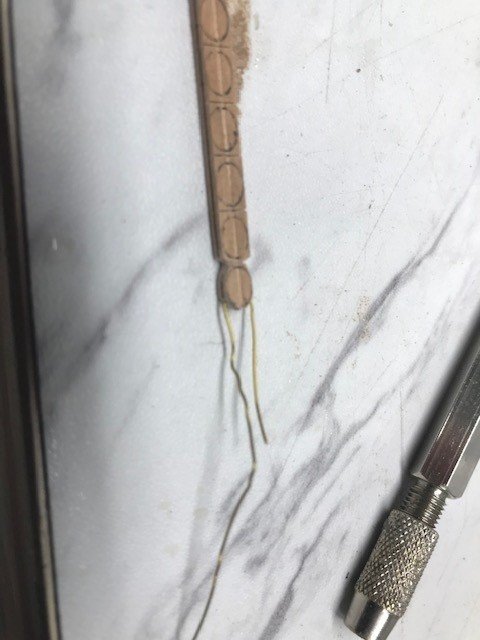
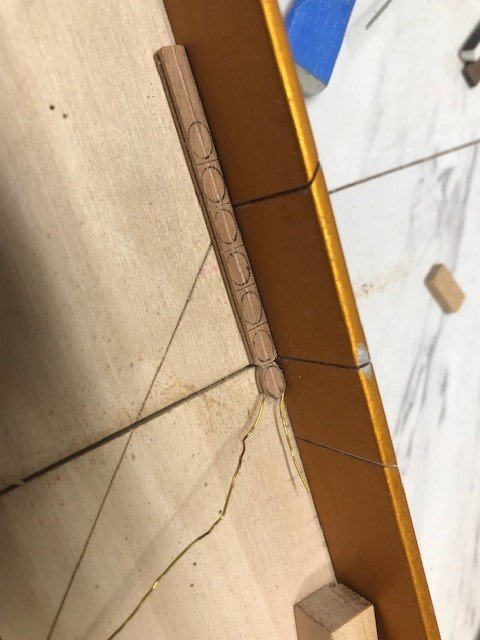
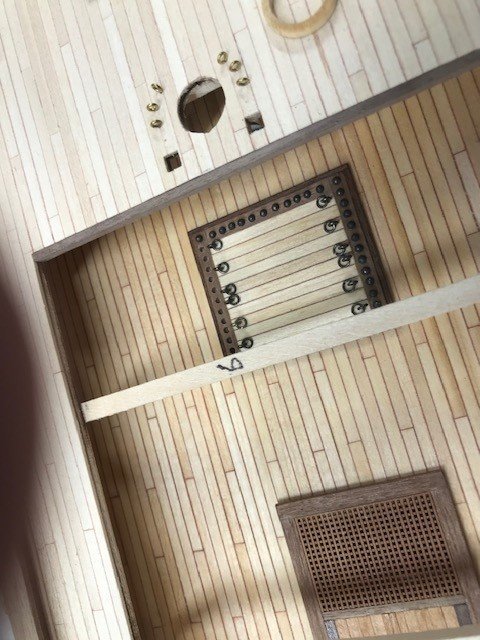
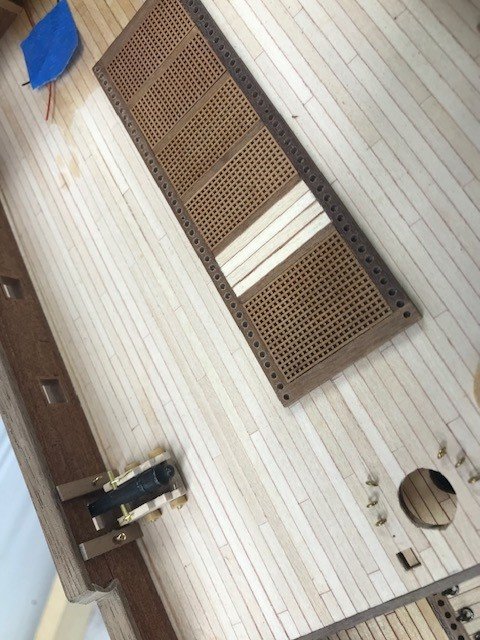
Hi all, been neglecting my posting, Got the waist grates installed, stairs, pumps and some more railing built. Been working on a block making technique (this is a combo of much of the info from MSW thank you all). Acquired an ellipse template, cut the strips from pen blanks jigsaw/table saw and cut the groves using Proxxon mill. Shaping with files/sander, drill hole with hand drill, put wire through the hole before cutting the block free (they sure are hard to find once they go flying). Haven't run them through the tumbler yet and I've only made single sheeve blocks so far.


-
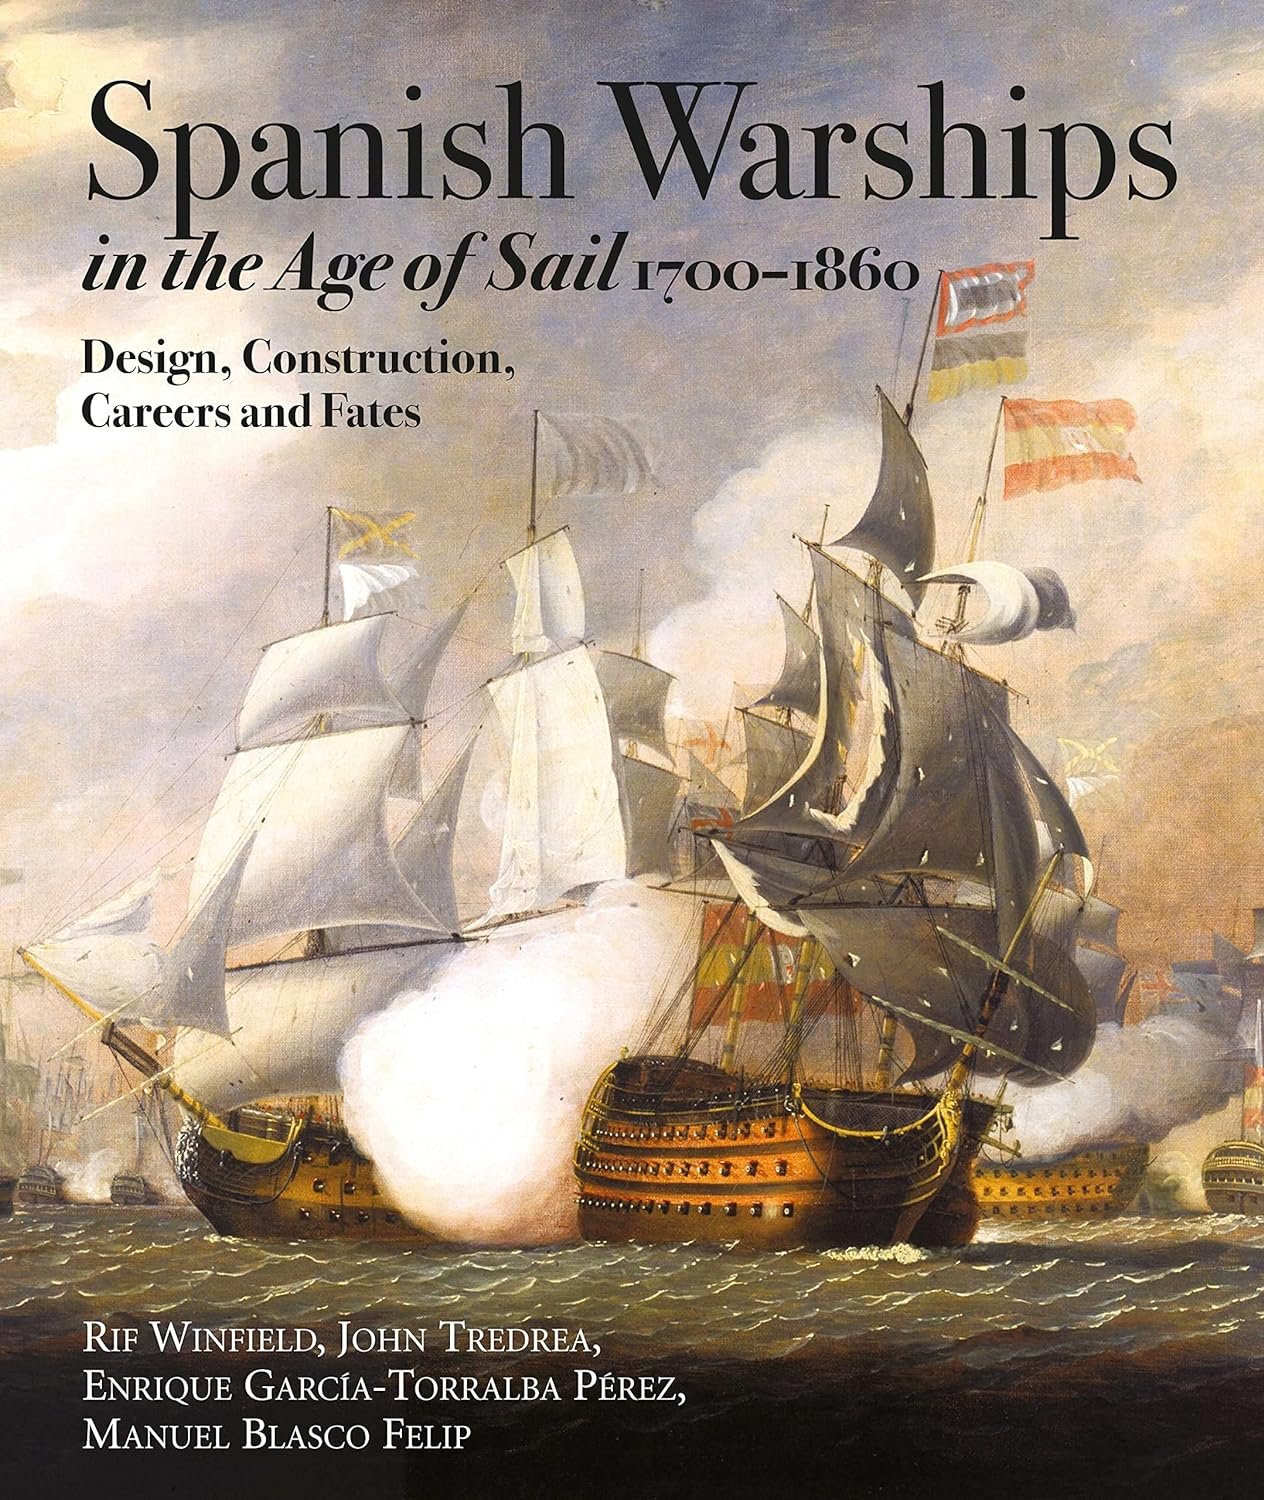
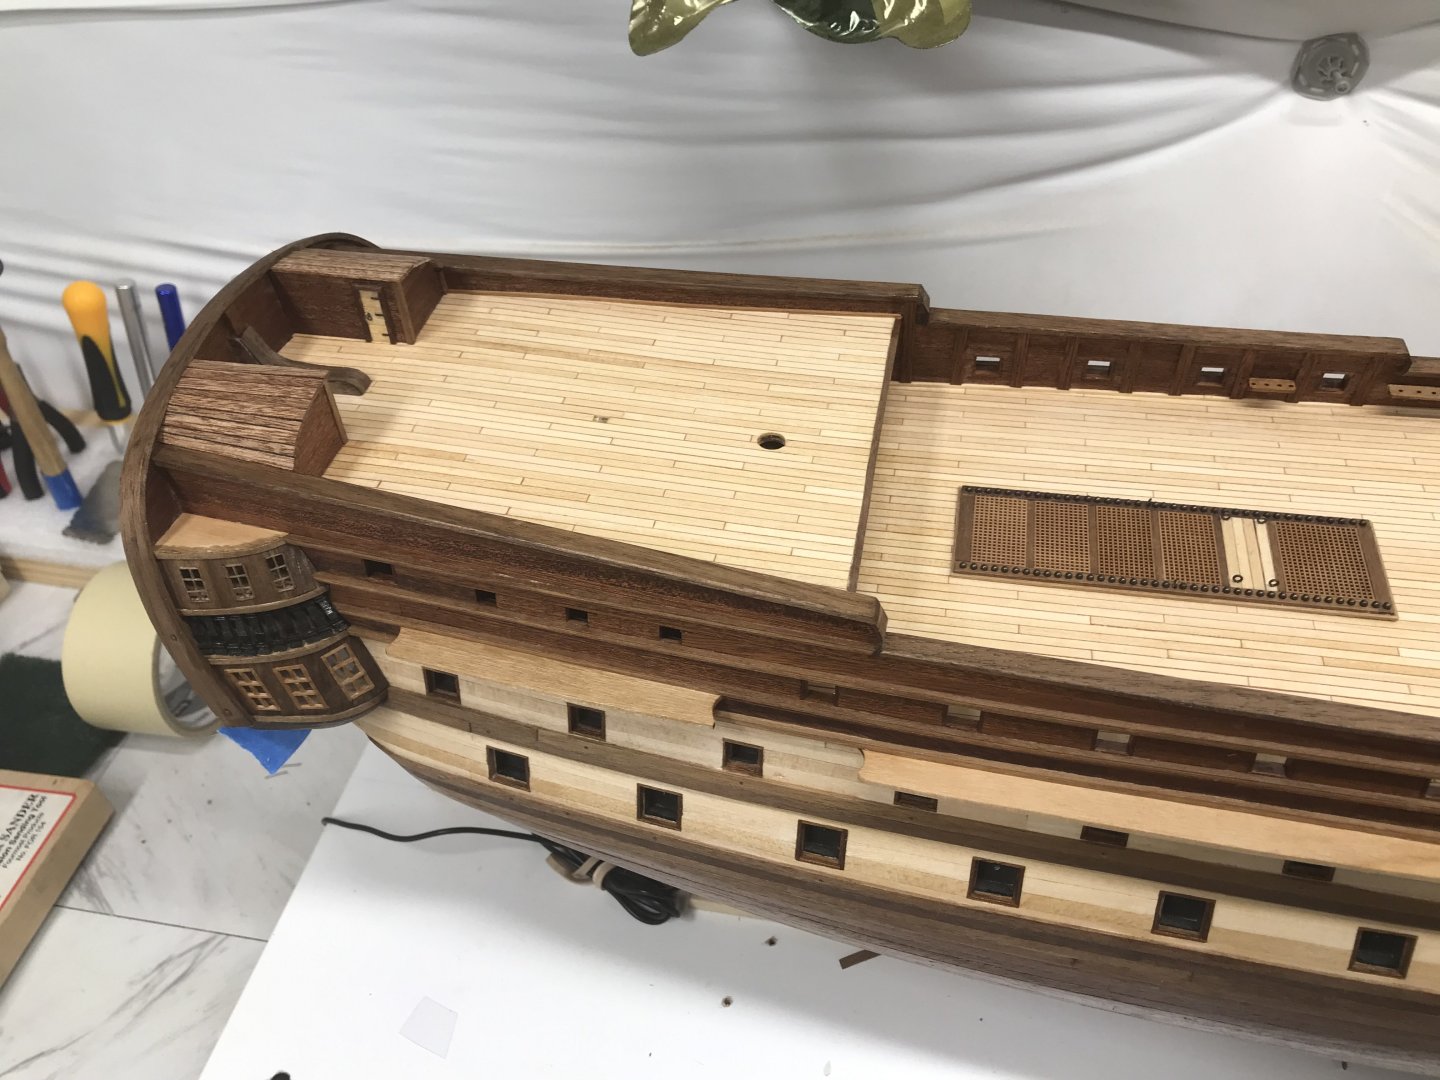
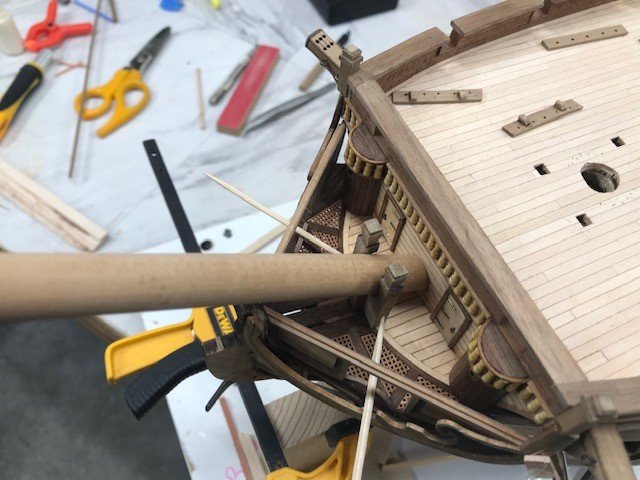
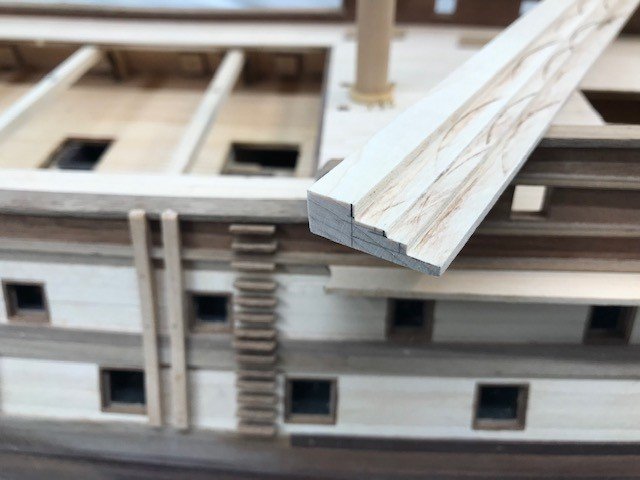
More dry-fit work on the bow, just some detail work left before things get set. Detail work on the hatches and gratings and got the gun tackle worked out so I can start mass production. The admiral got me a copy of Spanish Warships in the Age of Sail, 1700-1860: Design, Construction, Careers and Fates for Christmas I highly recommend it. I used several of the illustrations to help build the bow parts.

-
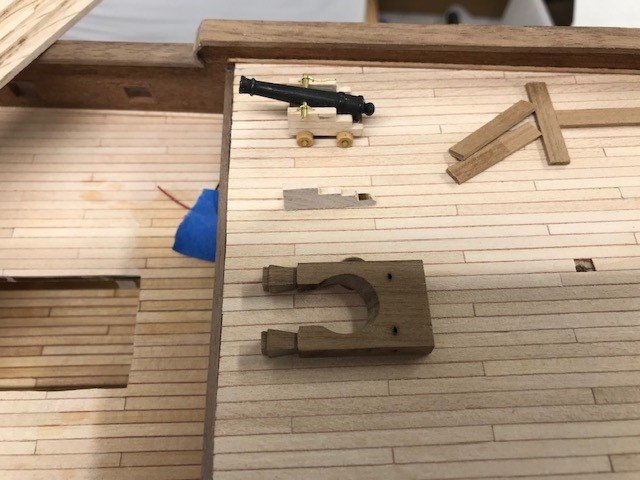
Just more detail work. Made a proto cannon to verify the height and milled the stock for the carriages using a table saw (The kit supplied cannons and carriages are horrid). All the detail is added to the capstains. My versions of the flag boxes and the ensign staff support. Holes drilled for the davits using a proxxon mill and a dividing head.
-
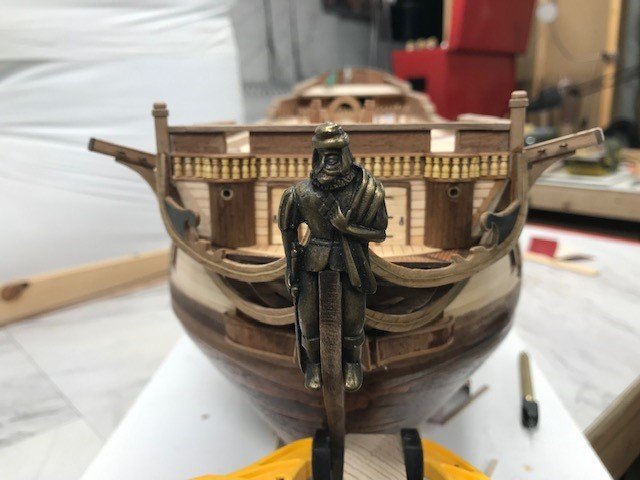
Tyguy35 Thank you! Just been doing detail, navigator cabins (I used different wood and caulking to make the officials quarters and the navigator cabins stand out a bit), rails, fenders, ladders and capstans. Gonna try making blocks, been playing with all the variables, size proportions, wood type, wood processing, machining and tumbling. I'm waiting on an ellipse template with less projection and some router bits. Looks like the hard part is going to be the mass production. The three types of wood so far castello boxwood, pear, and cherry from pen turning blanks. Once I'm happier with the prototypes and I get the production stage I'll post more photos of the block project. On the bright side I'm not going to do sails so I won't have to make as many blocks. Oh, El Capitán is back on his feet.