-
Posts
44 -
Joined
-
Last visited
Content Type
Profiles
Forums
Gallery
Events
Everything posted by WhiteWolf
-
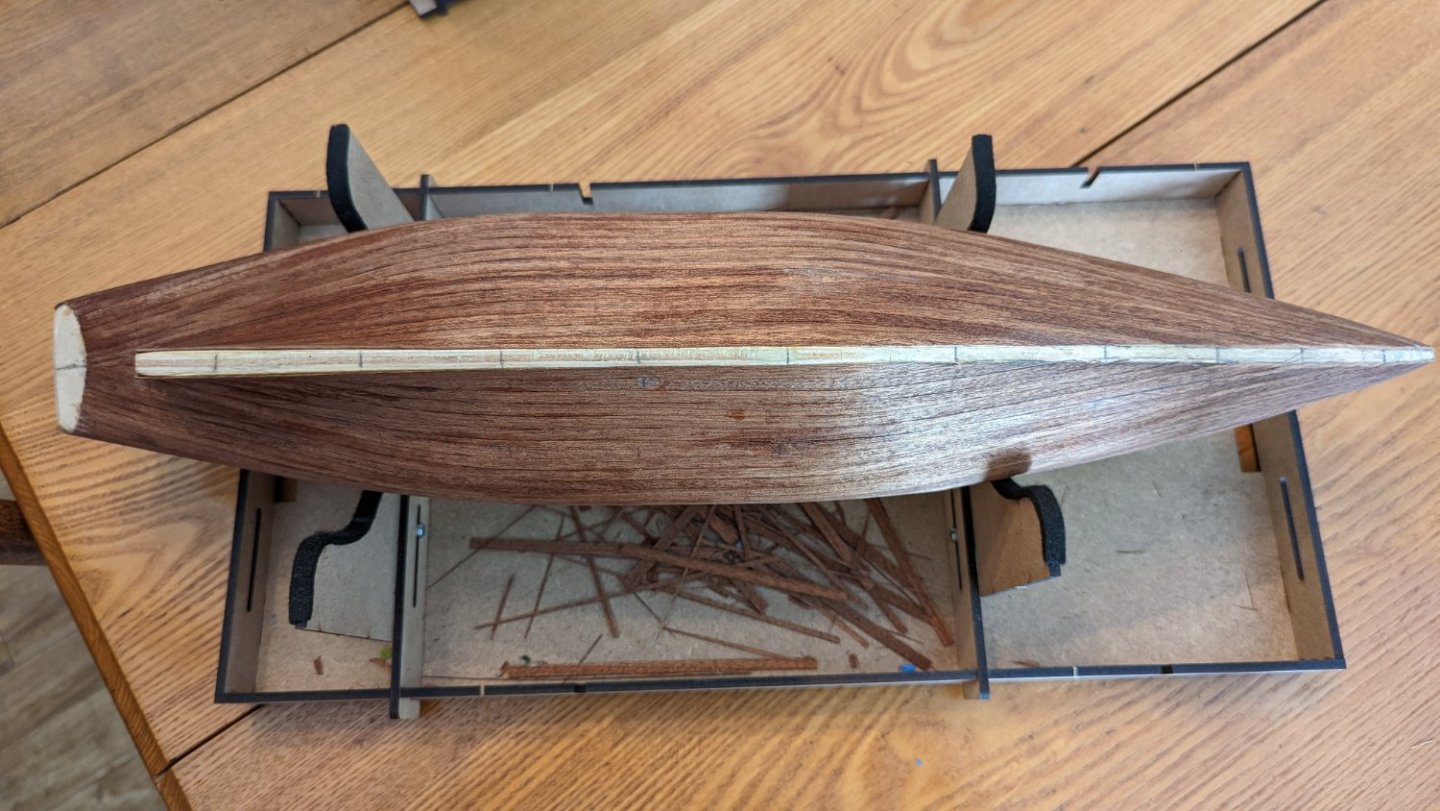
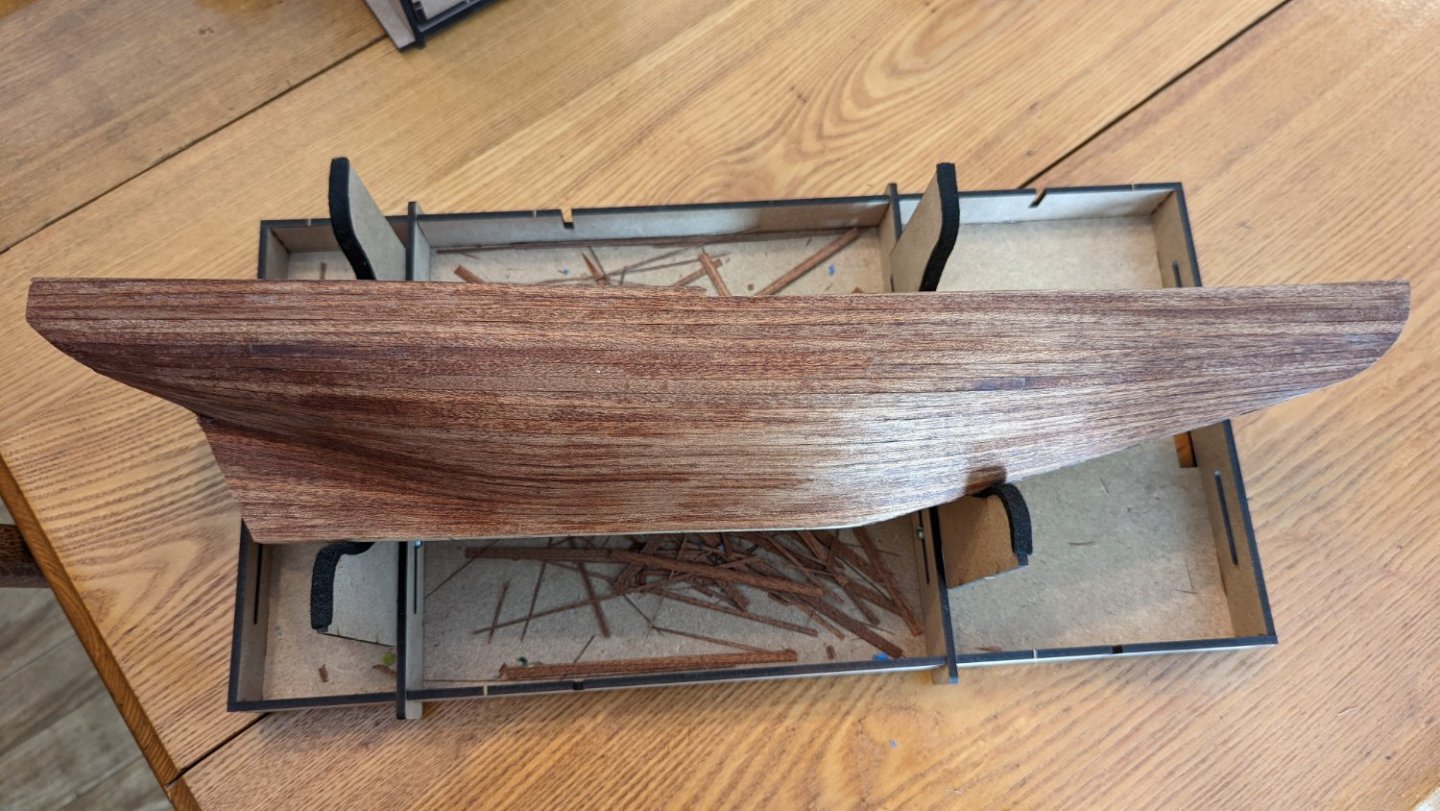
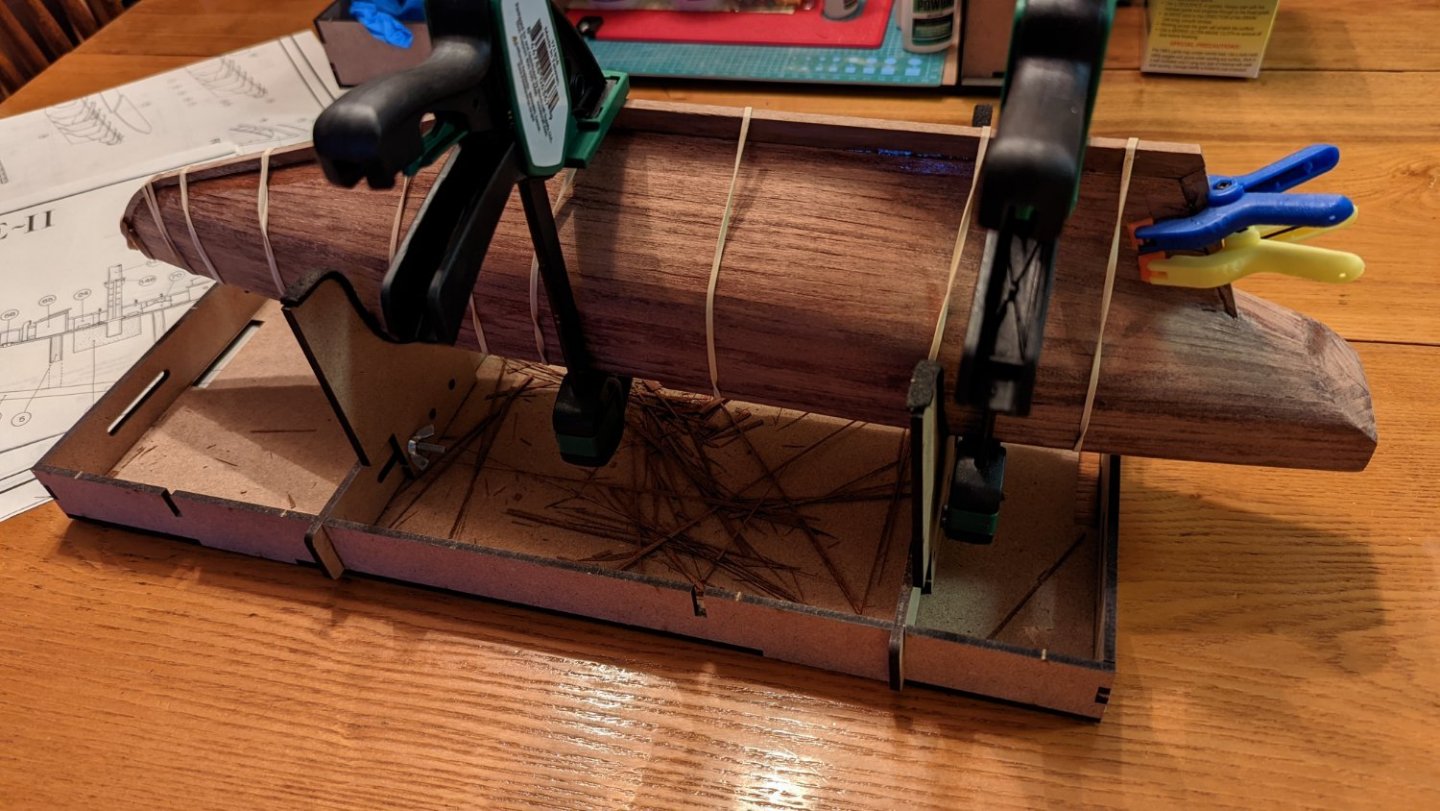
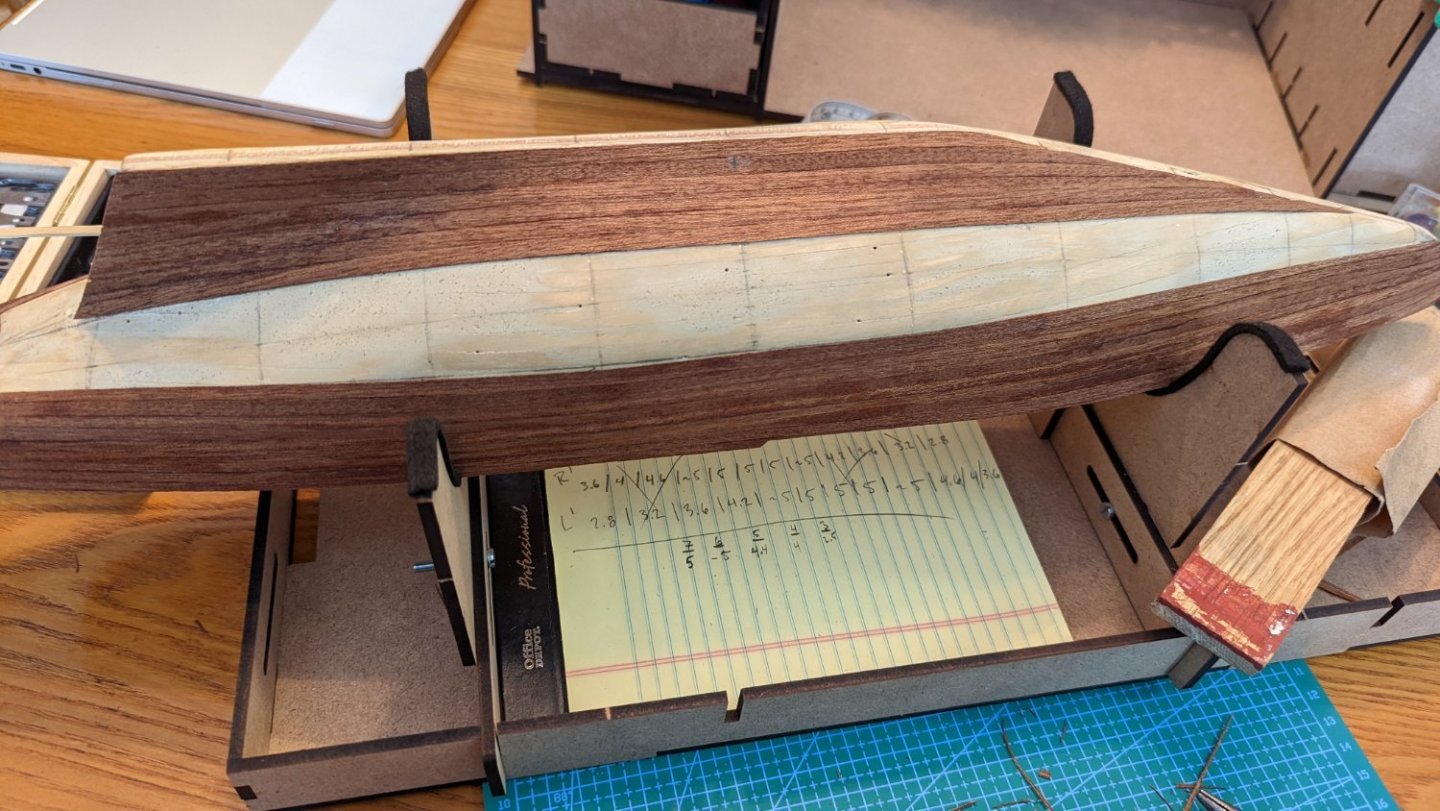
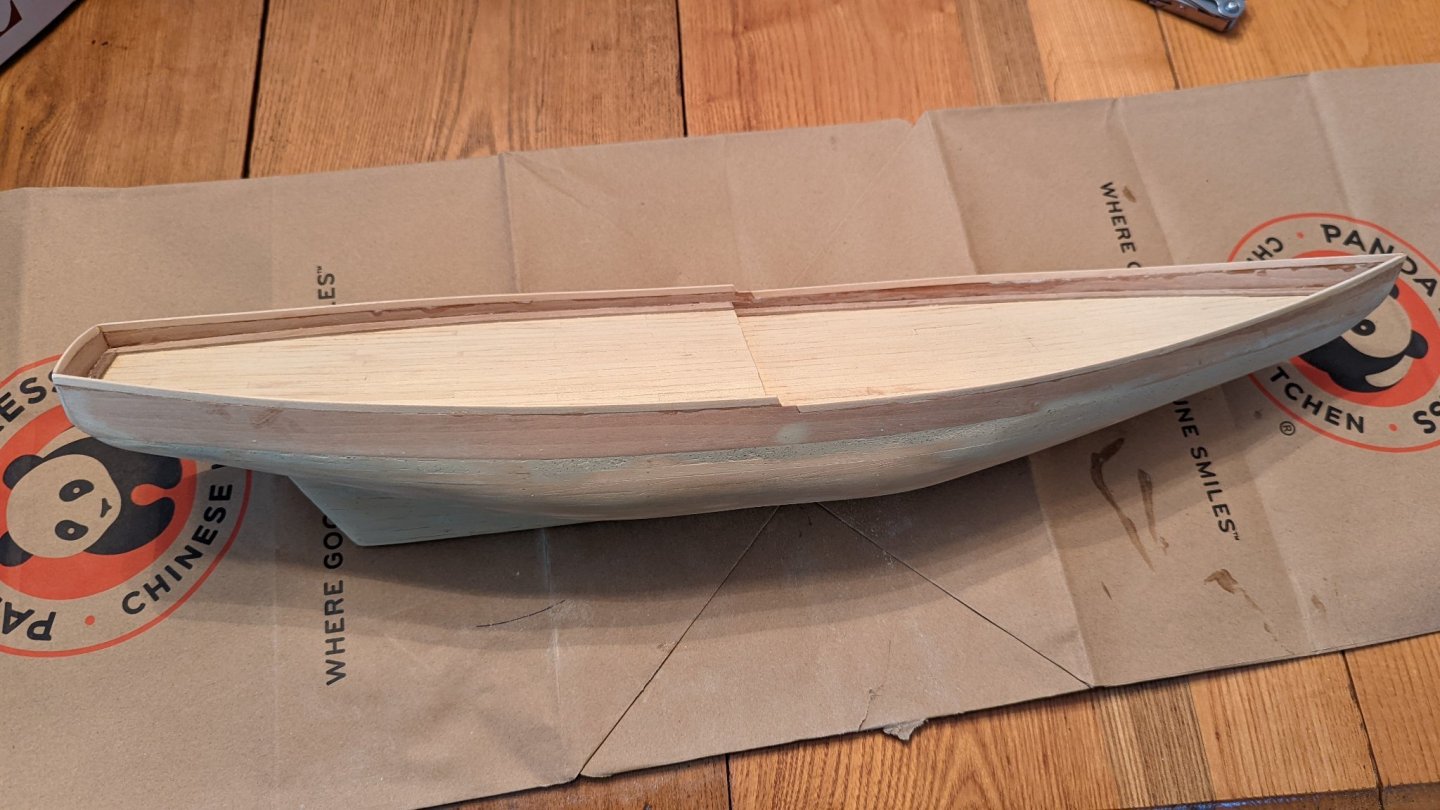
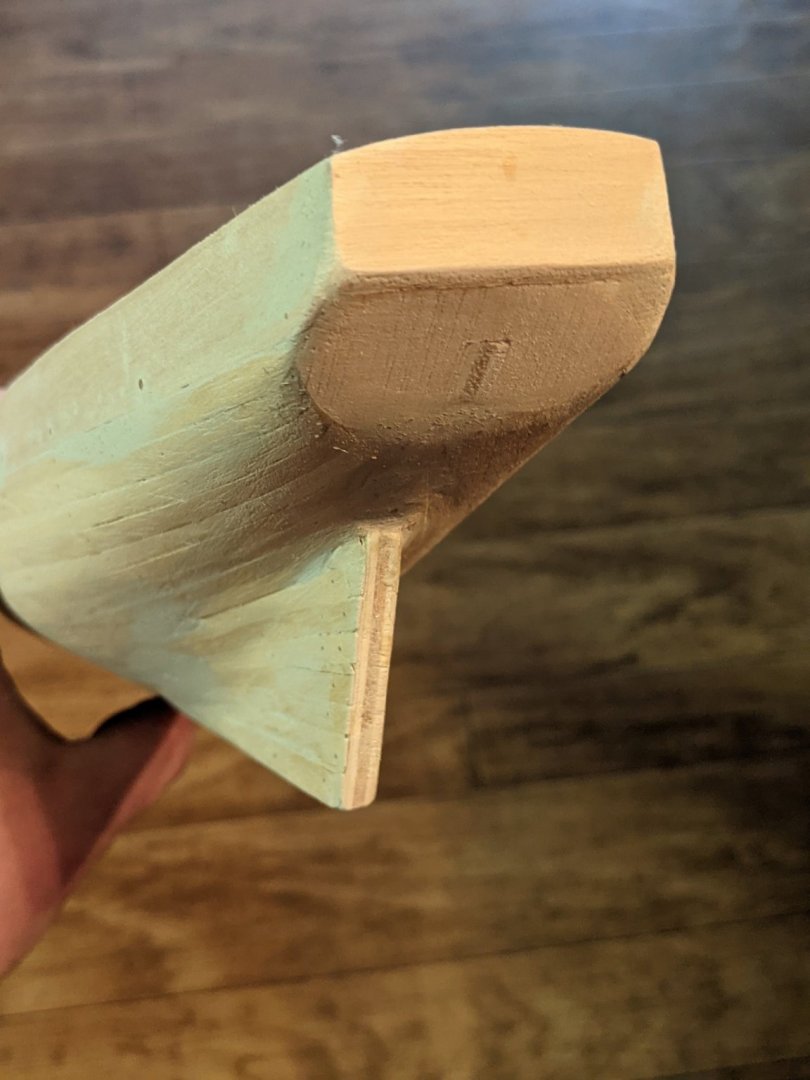
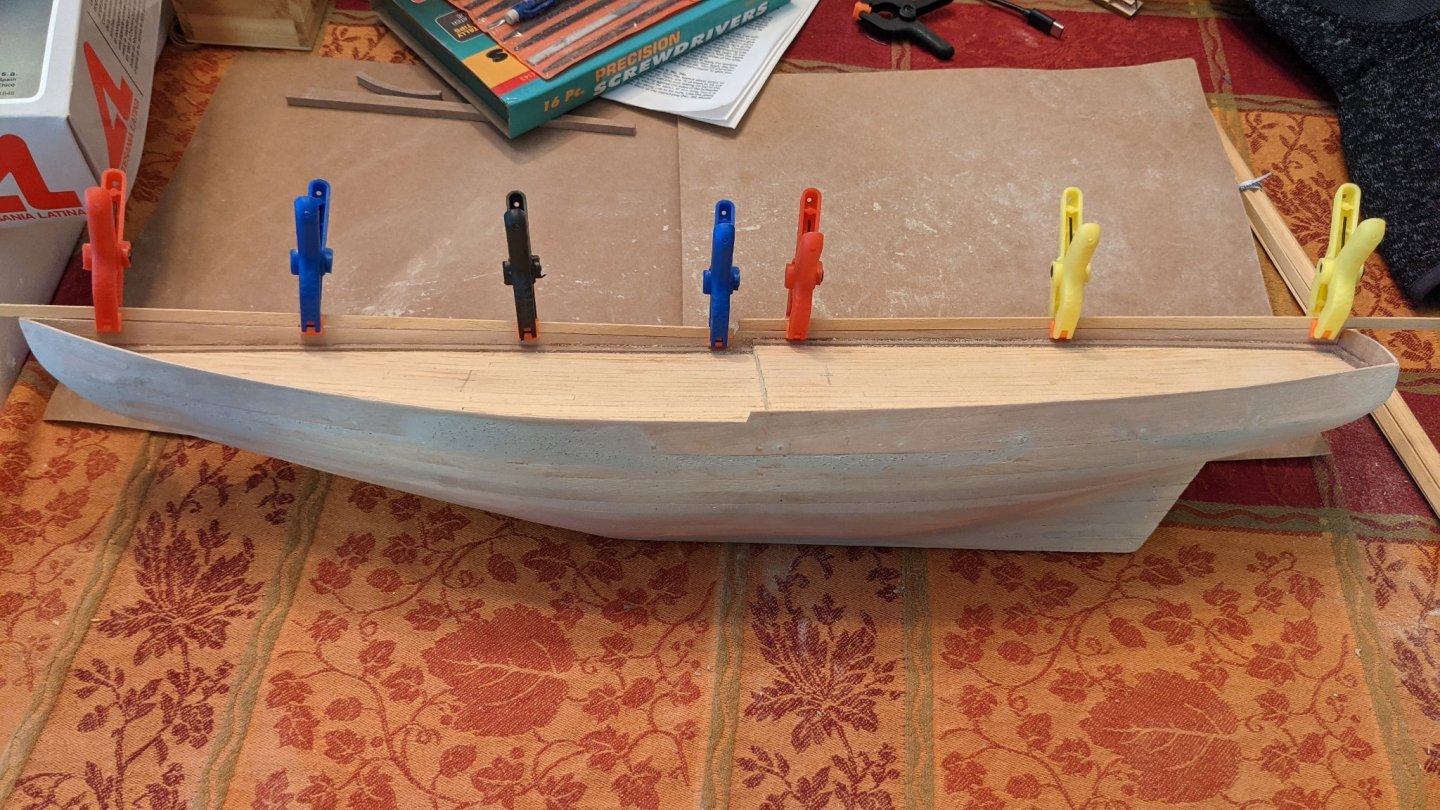
Finished the other side, covered the stern, and the keel is glued, clamped, and drying. Small gap I'll have to fill from the extra stock because the laser cut pieces wasn't quite long enough since I had to alter a bit at the bow from the modifications I had to make, but I decided to do that once the rest has dried so I can fit it exactly. But it's going well so far! I hope. Purchased some finish and paint as well. should this be a gloss finish? I went with more of a matte paint so I can put a clear coat on as needed.
-
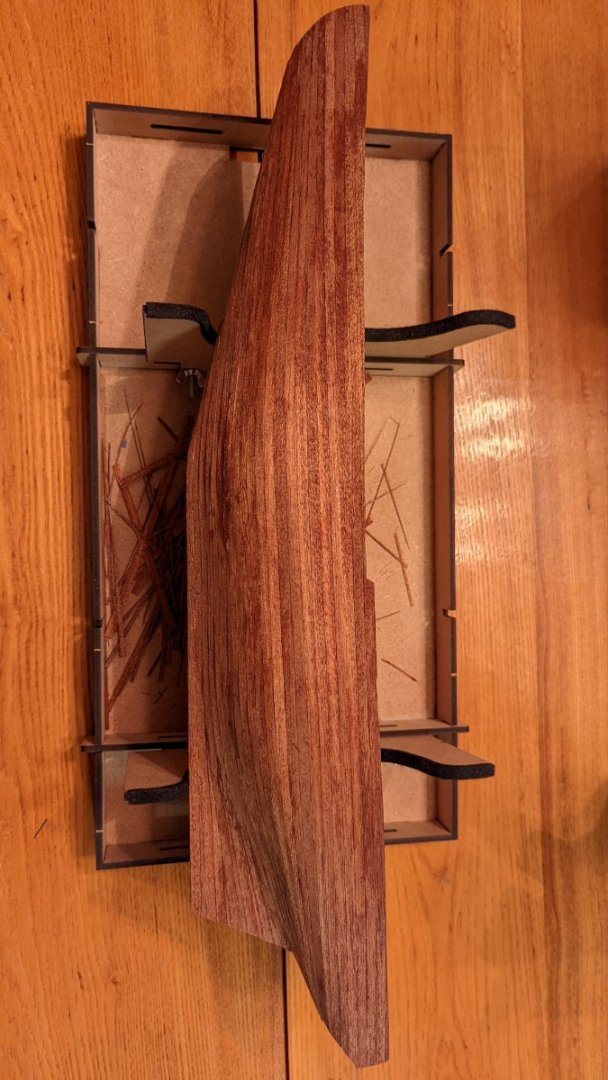
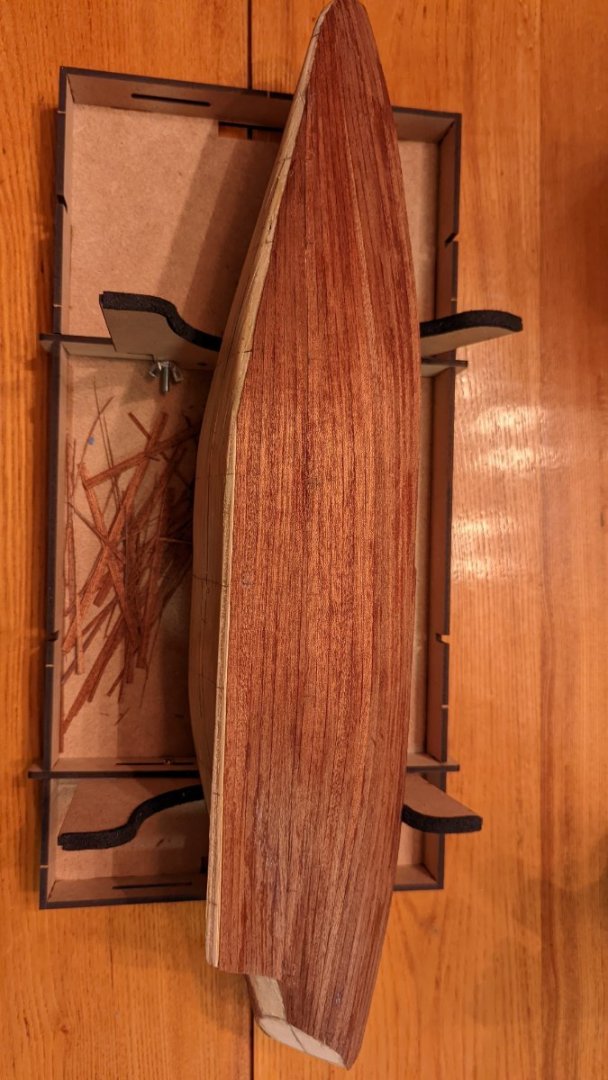
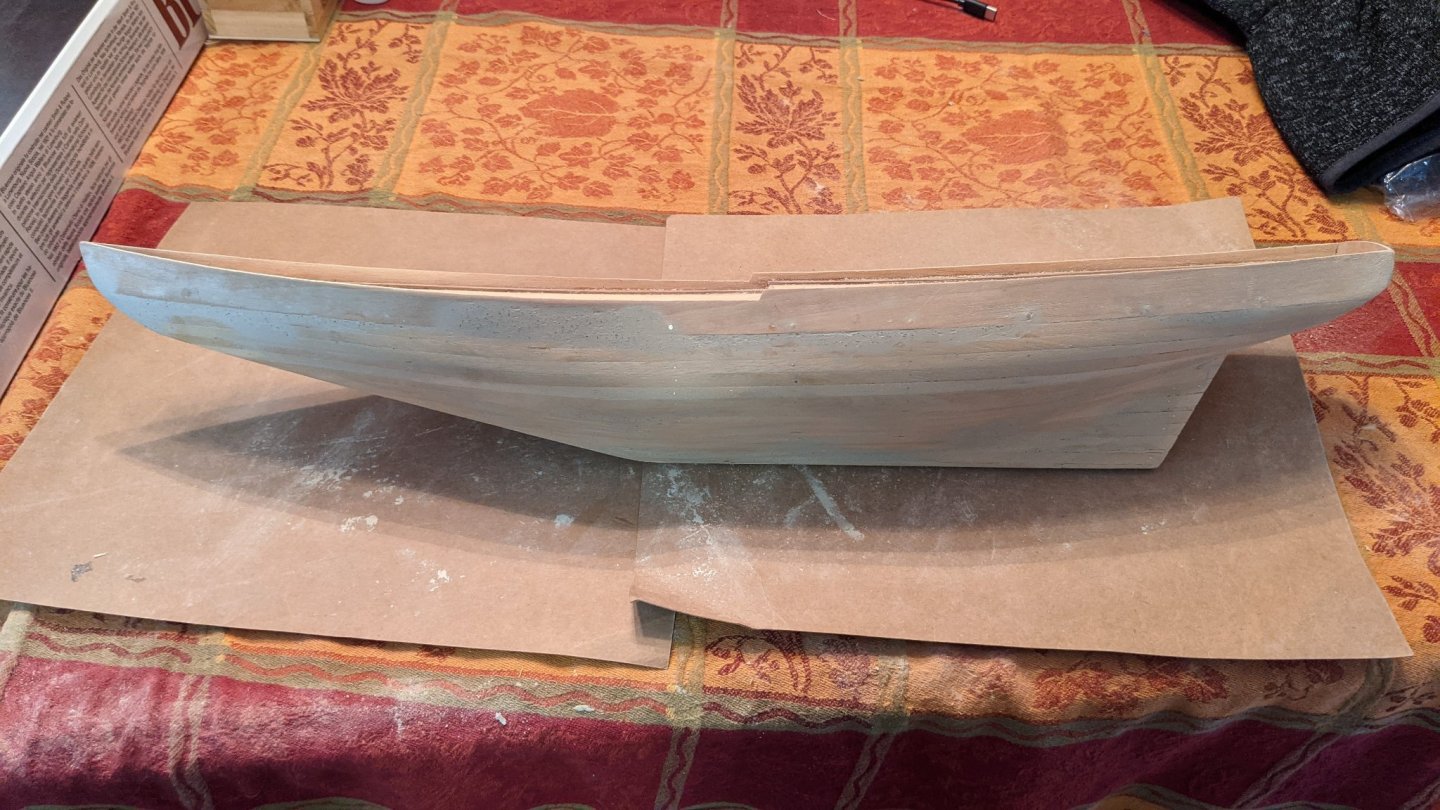
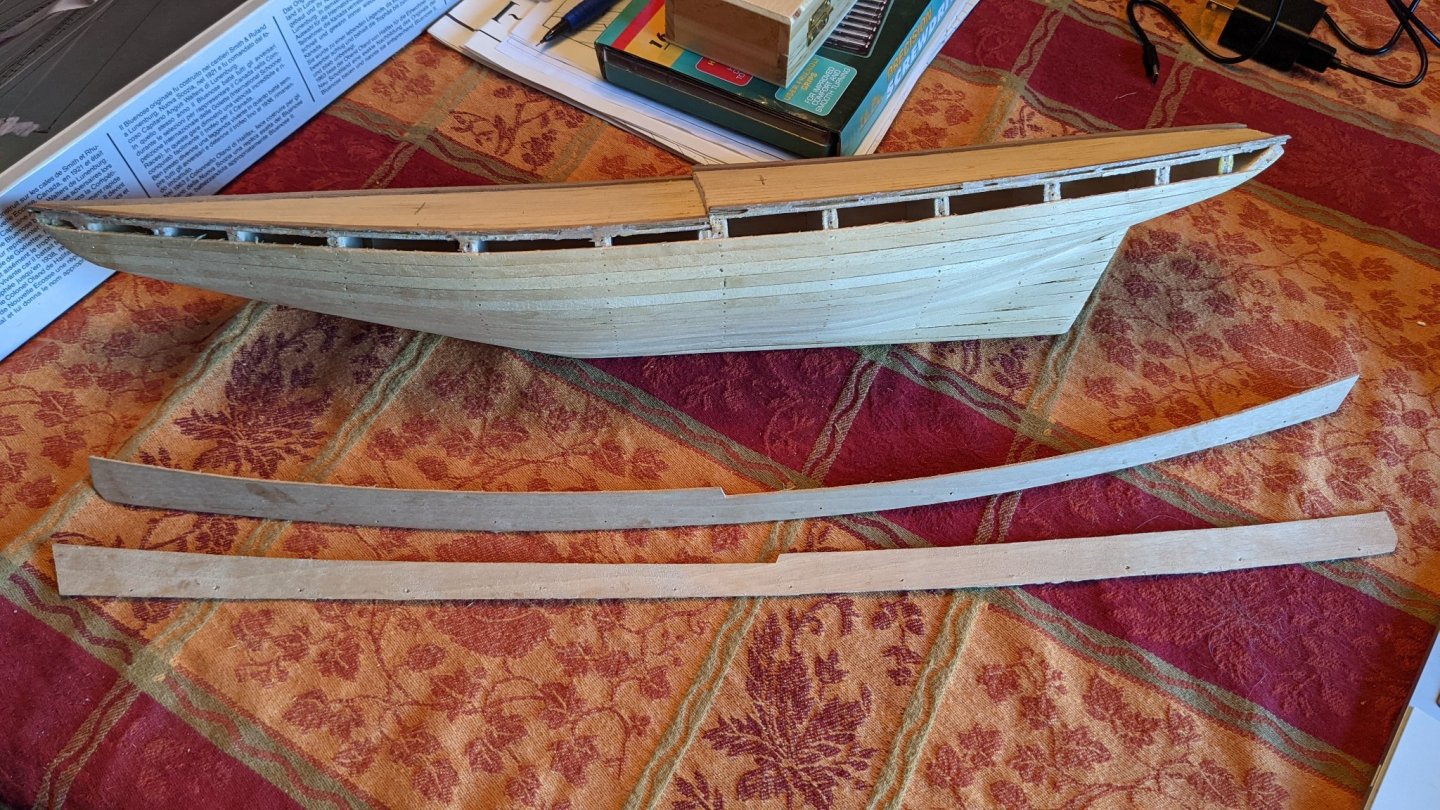
Been a few weeks. Work has been busy, and my wife unfortunately had COVID, causing quite the uprooting of our schedule and routine. Thankfully she is much better, and I managed to keep myself healthy throughout. Needless to say, didn't have much time to work on the ship. Managed to finish up planking the port side today, though! Very happy with the results. A few things I'll tweak for the starboard side, but all in all, not bad for my first attempt at this! Ignore the scraps. Keeping all of those for patching up and filling.
-
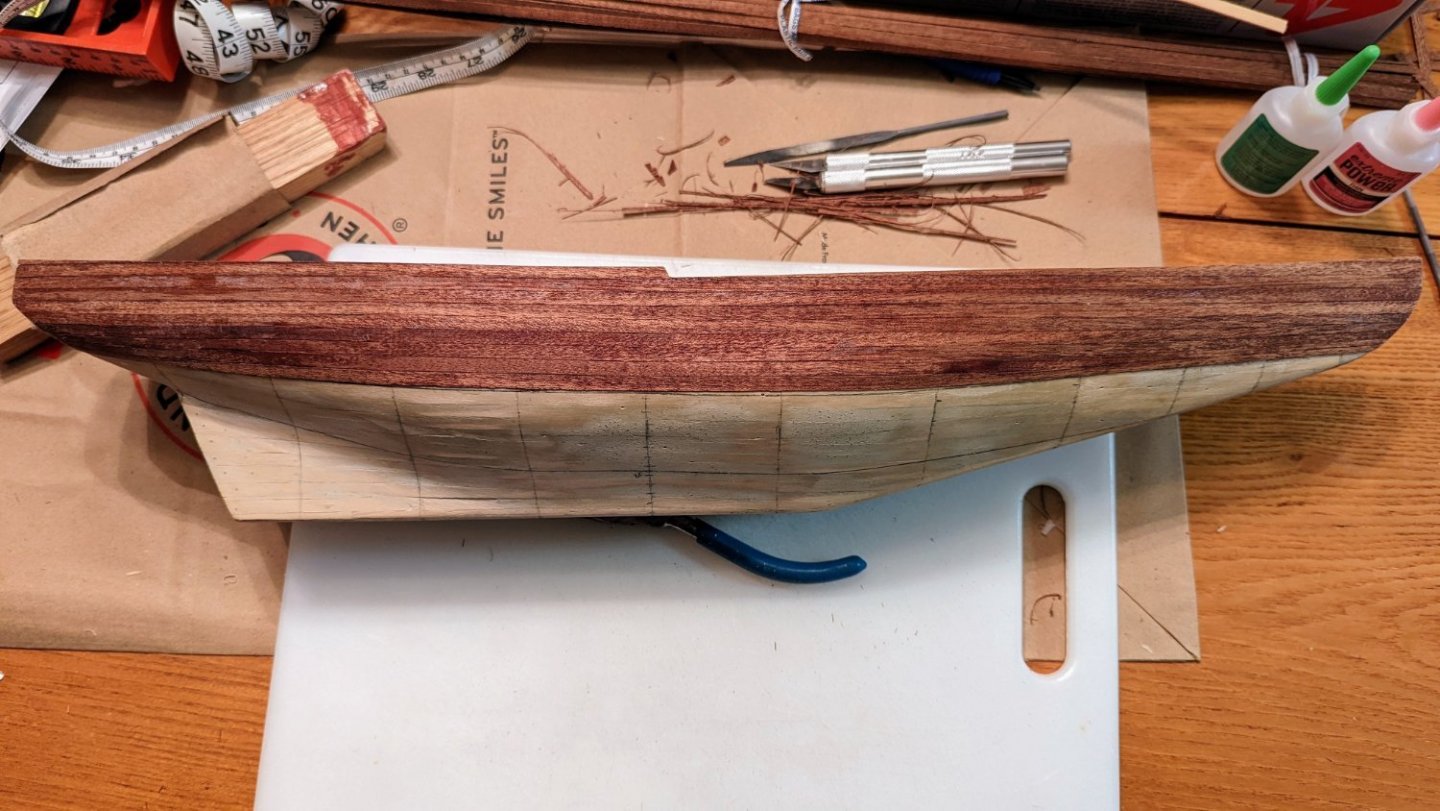
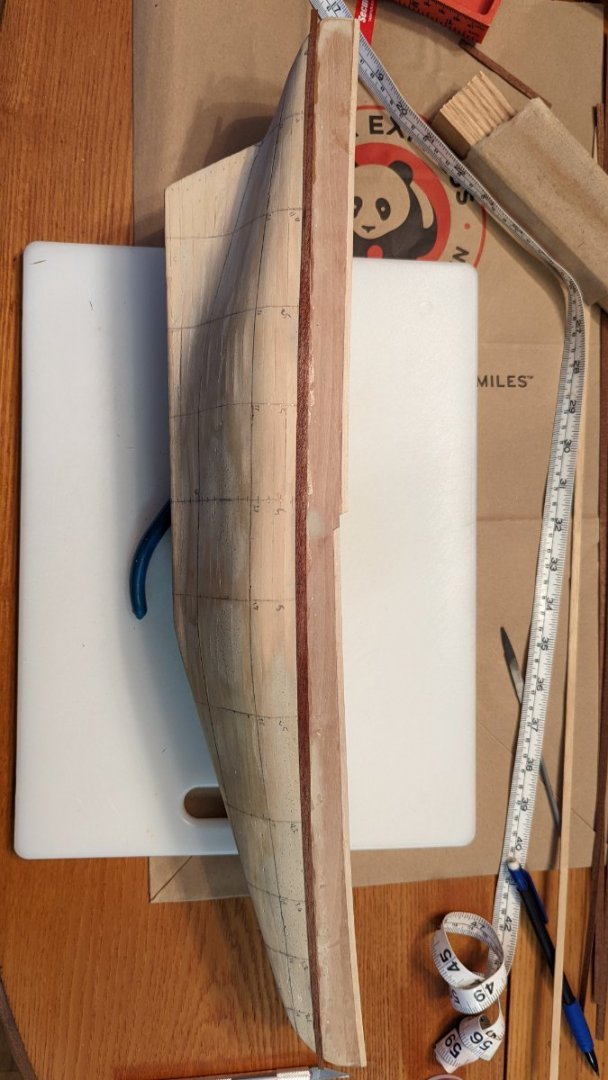
Spent a few hours today working on the lower third. I'm using a mix of John's practicum, the instructions, and several online resources for my approach, and so far so good! I think I can fill that mid section with tapered planks easily enough, and fill in any small gaps with some cut strips. Should be good enough to sand and paint over! Maybe not perfect, but should be convincing in the end! For those wondering, I have been updating my grandfather as well, and he is absolutely loving the progress and is enjoying seeing it done as much as I am enjoying doing it!
-
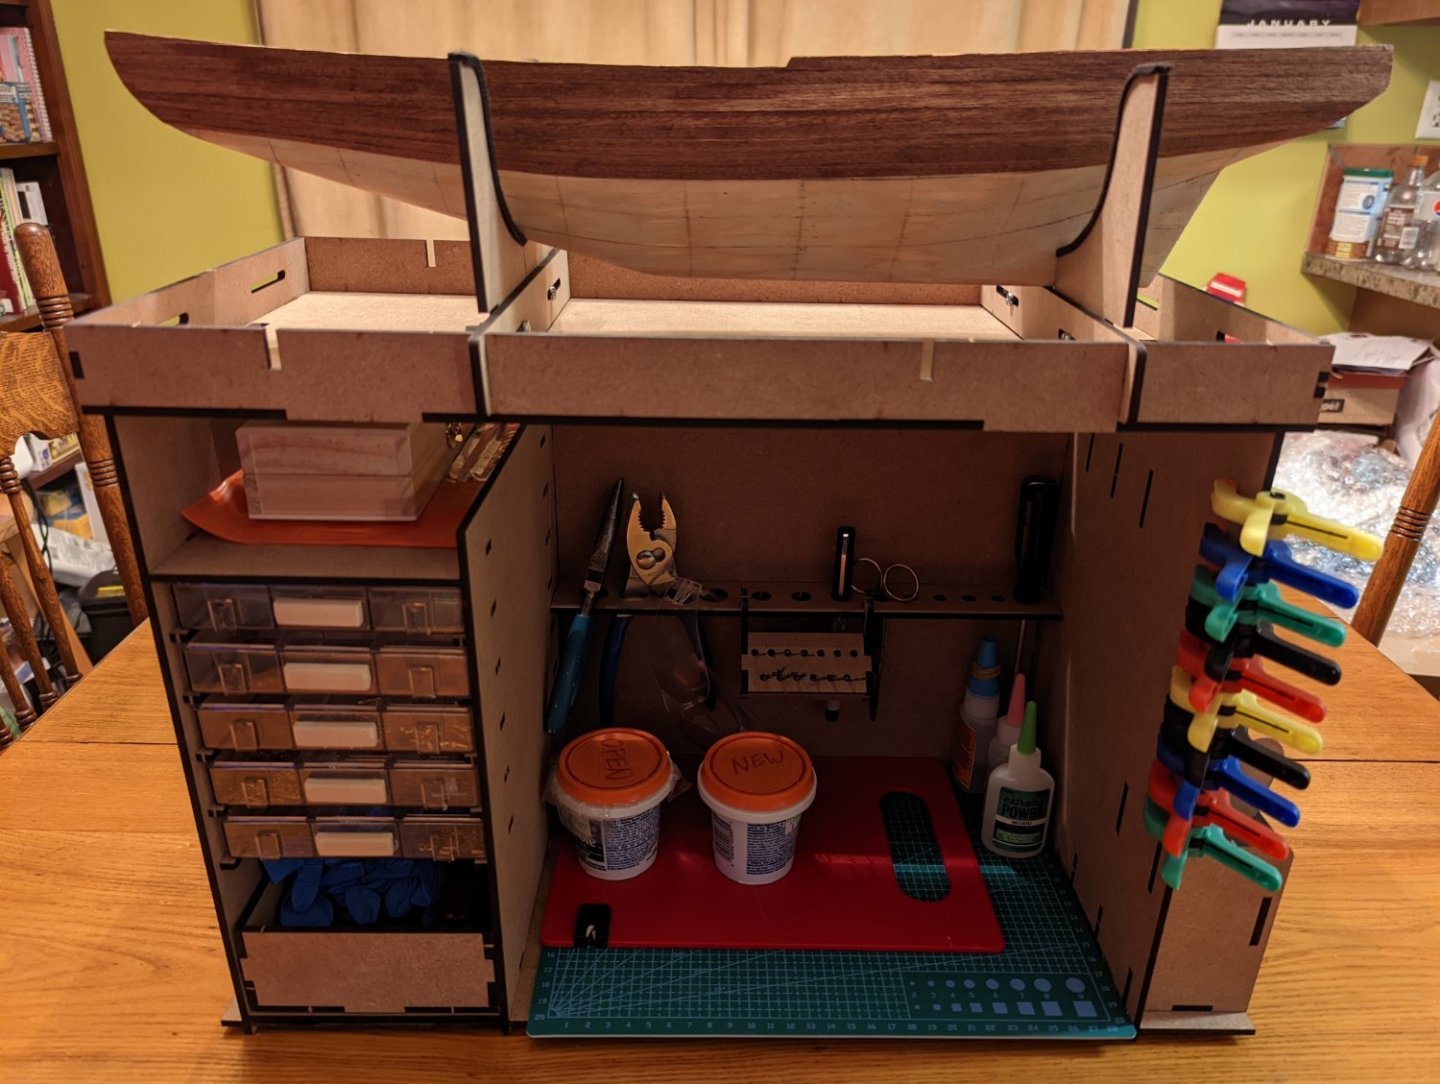
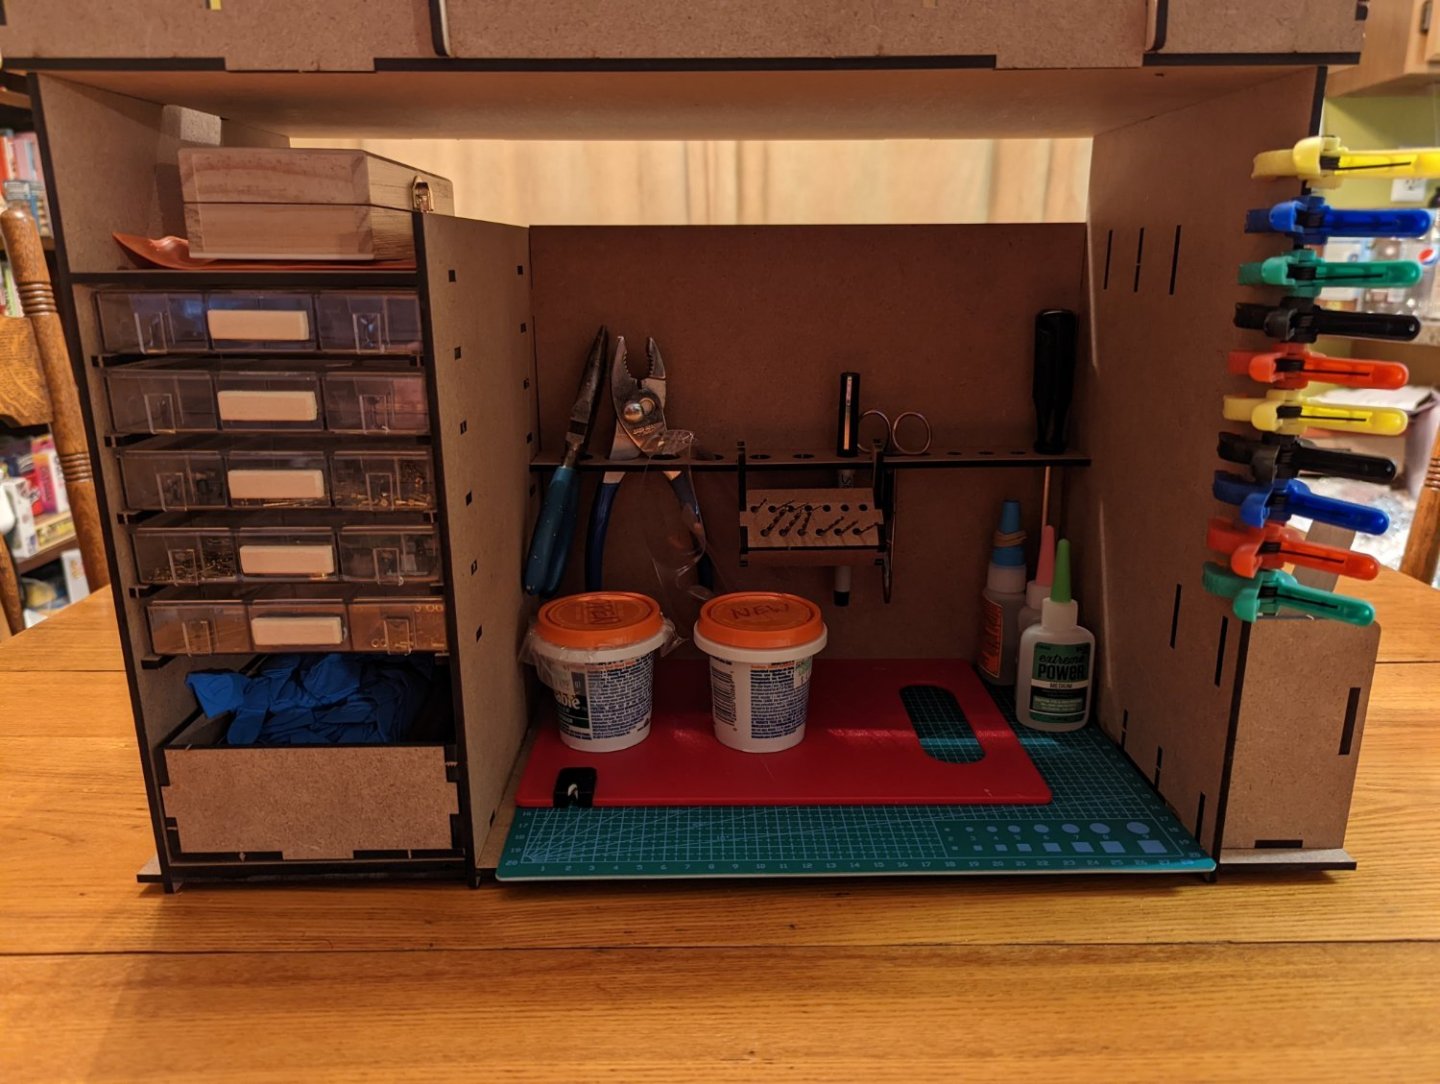
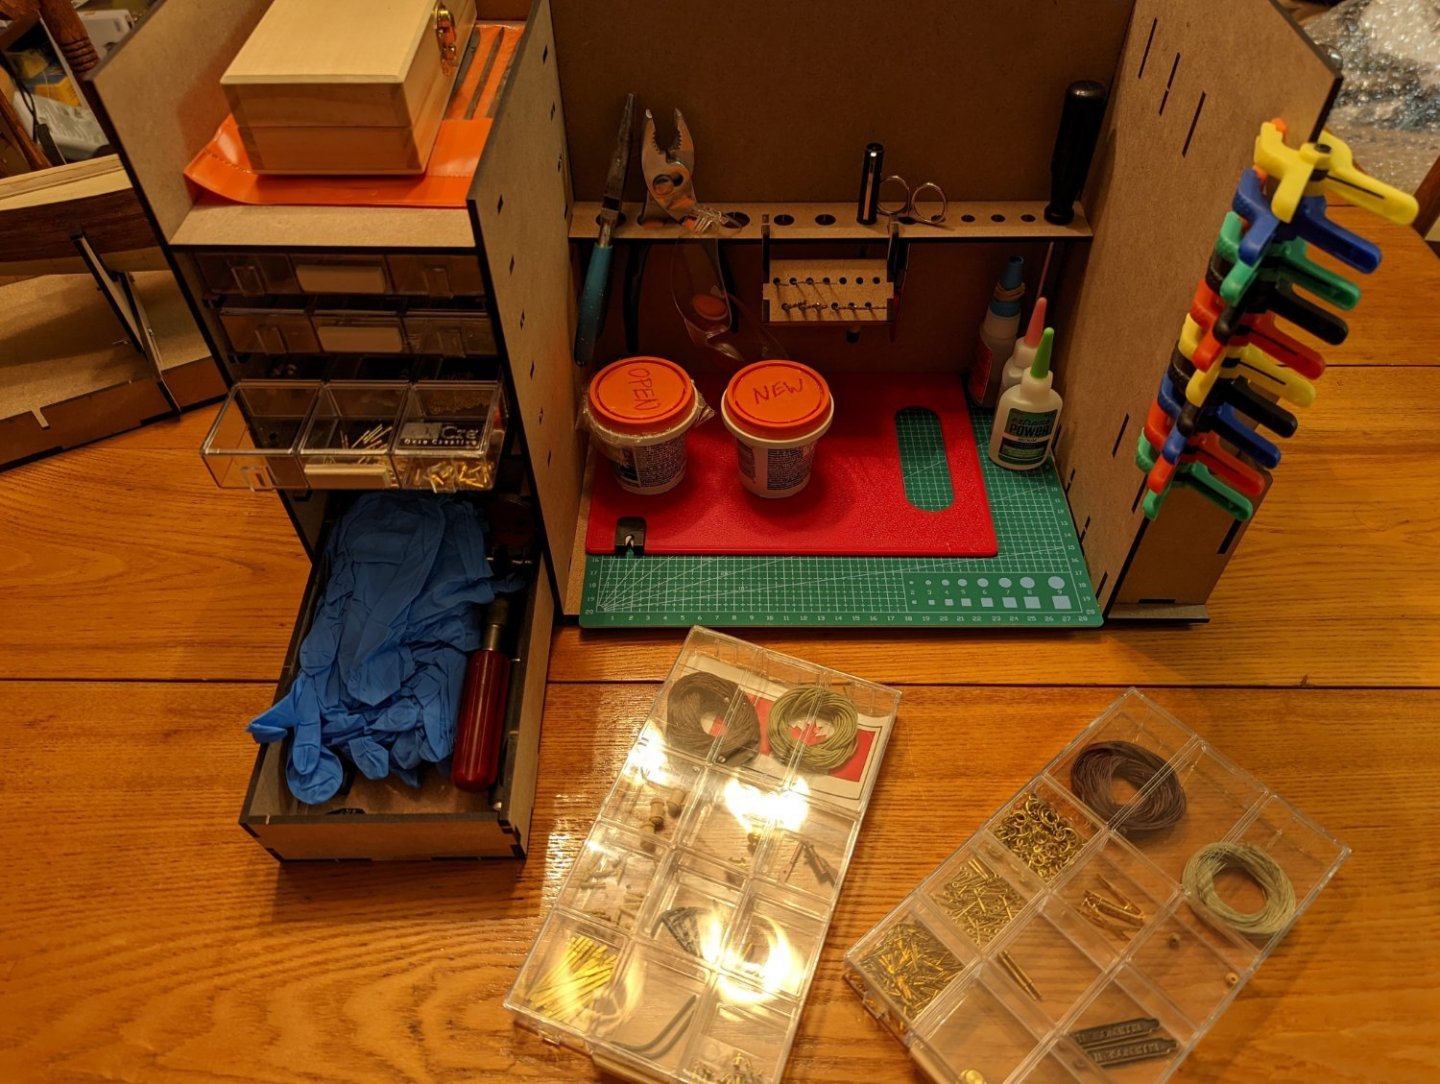
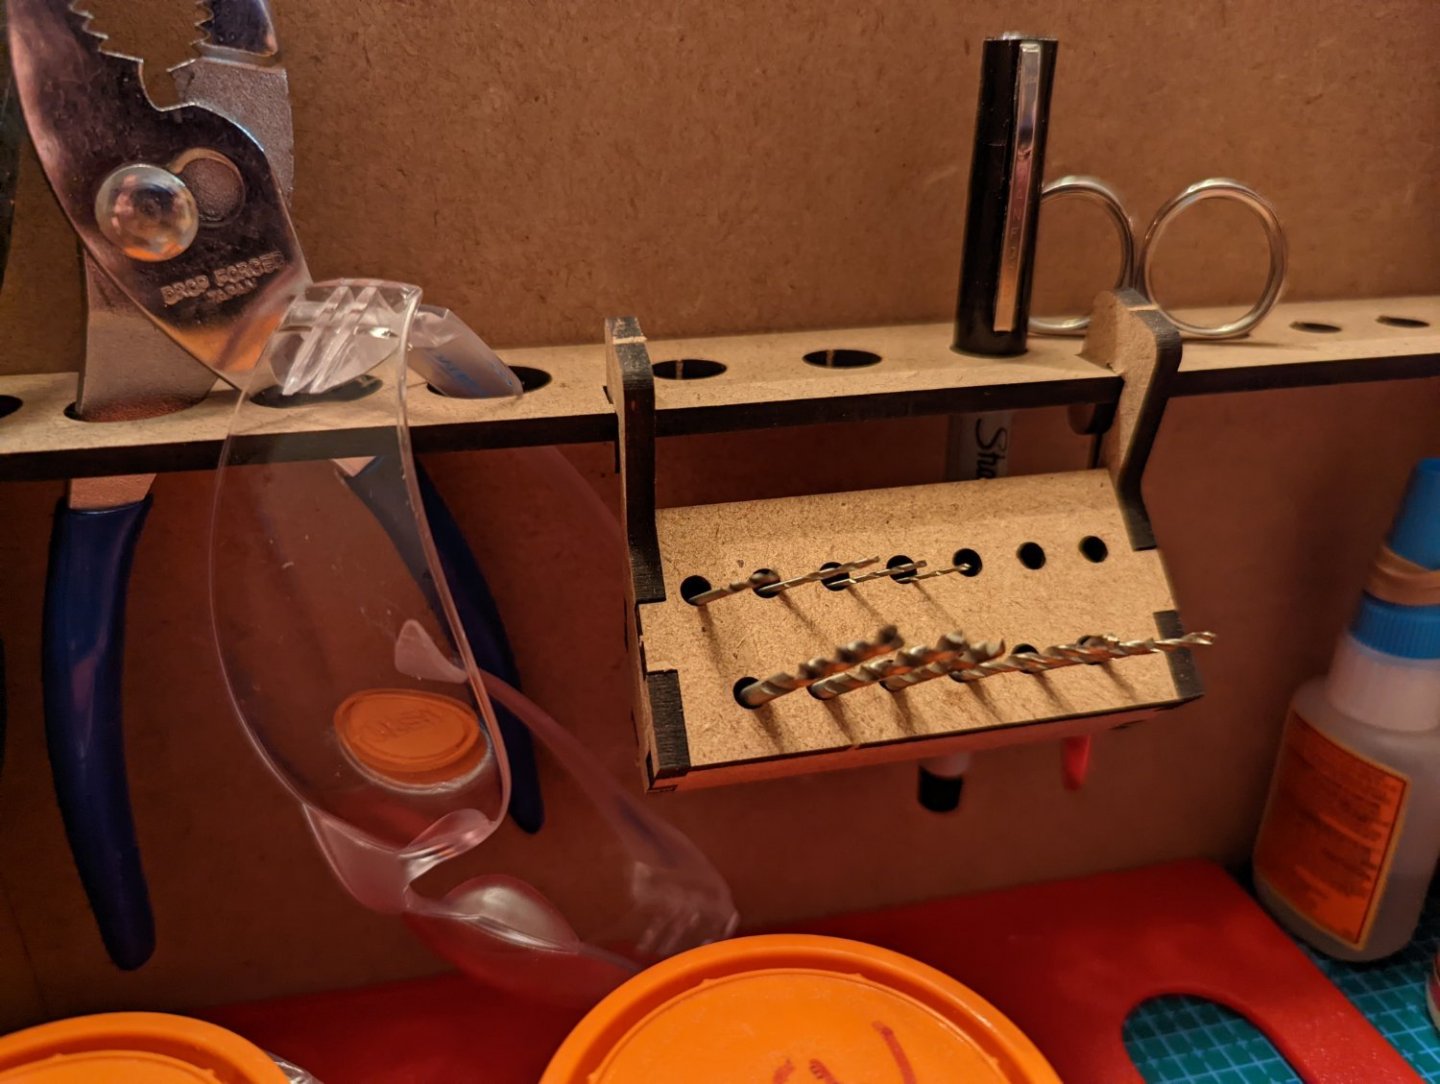
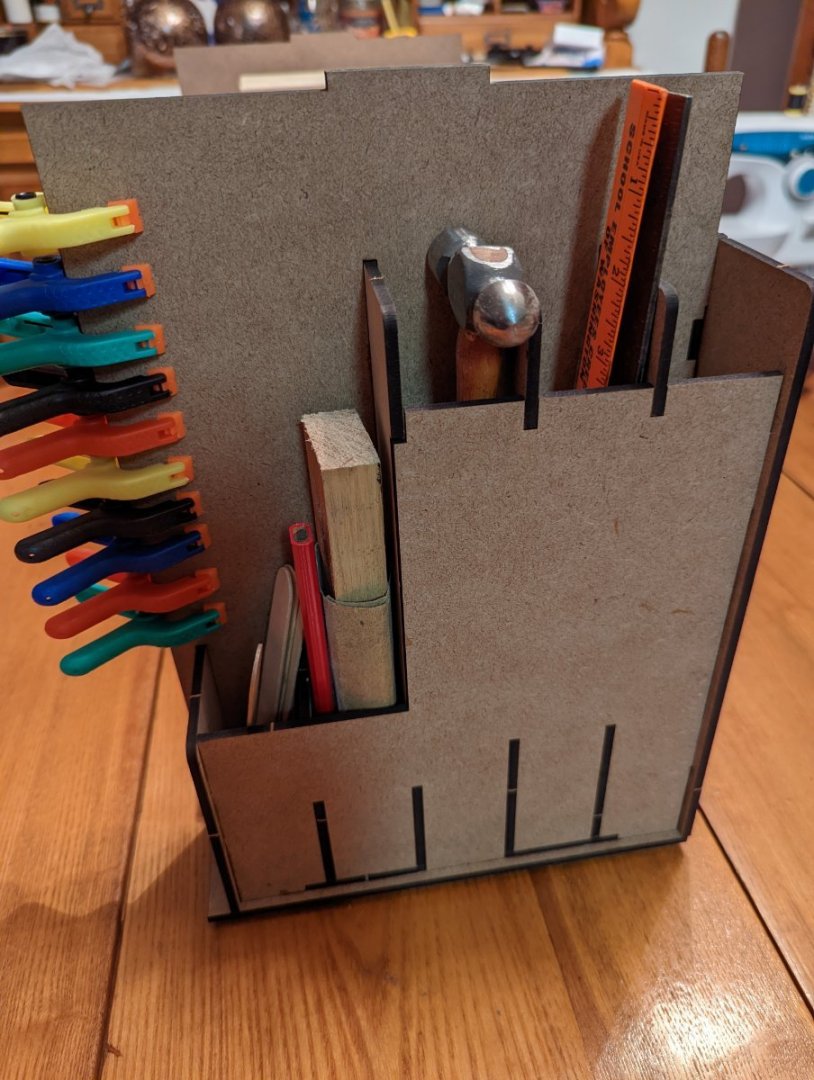
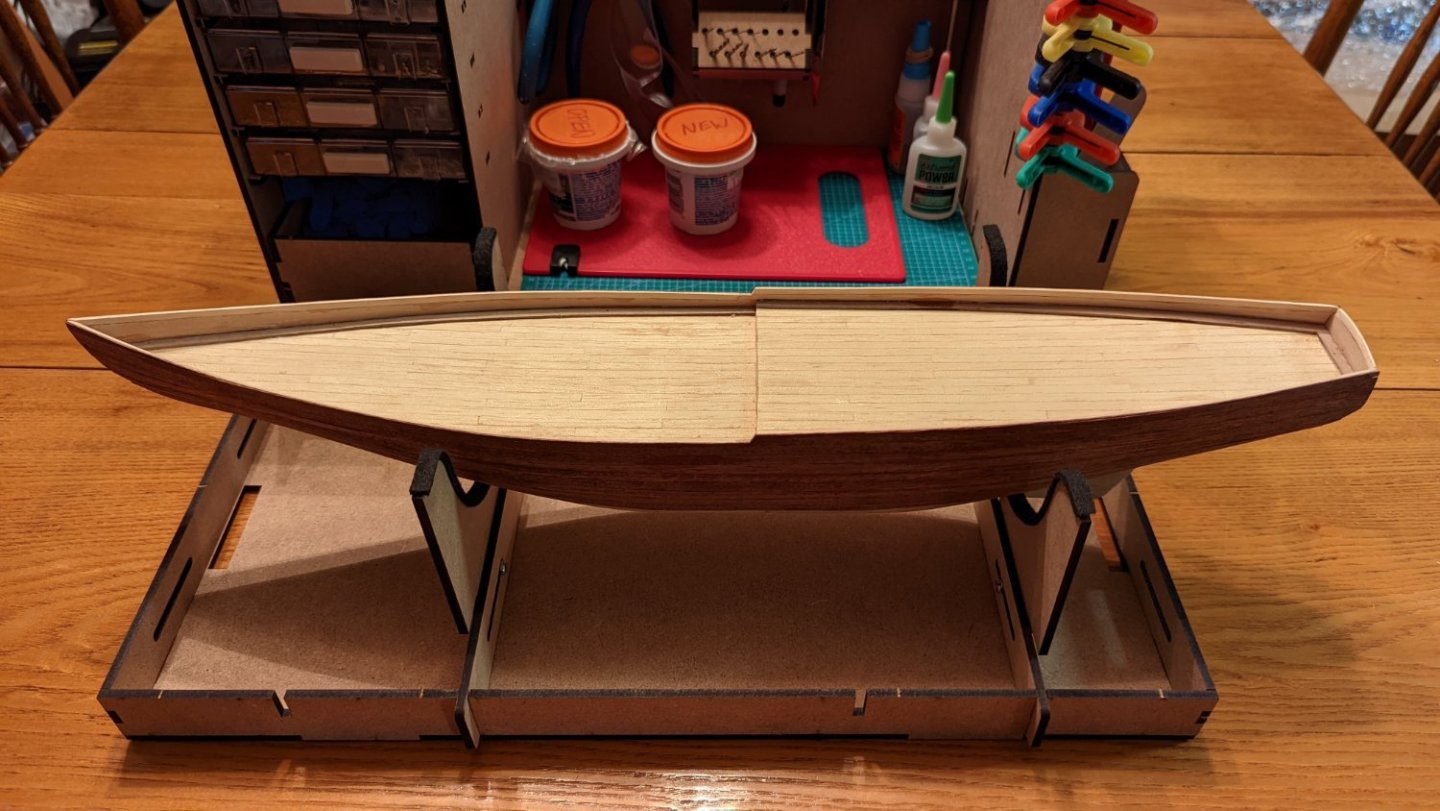
Got the second side caught up, but the main part of this post is that I picked up this workstation from OcCre. Ordered direct from manufacturer in Spain. I don't have a ton of room where I build (garage workbench still needs to be finished), so this is super handy, allowing me to significantly reduce my footprint and stay organized. Very pleased with it! Hope to do more work on the ship proper this weekend.
-
Okay, today's progress. Several hours of measuring, cutting, gluing, measuring again... Preaching to the choir! I did five tapered planks don the side in my first section, and then covered the bulwarks with untampered planks, trimmed, and sanded the edges. I'll continue working down the hill, starting from the keel section, next time! I've read in several sources to go top, bottom, middle while planking in three sections. I'm sure there are tons of variation, but that's what I'm trying here for my first try! Pretty darn happy so far!
-
Okay, second layer of planking is started! I did some final shaping, split the hull into sections, and measured for tapers. This is my first attempt at this since grandpa did the first layer (with no taper), so if I mess it up a bit, at least it will be painted! Ha! Once this layer is on, I'll finish the deck, paint the water ways, and go on from there!
-
Thank you!! I'm crossing my fingers my math is right, but I measured twice, cut once as they say, so I think it should work out. This week I'm reading up and researching/planning how I'll do the second layer of planking. Hopefully I'll be able to start on that this coming weekend. May be the next week. When I go to finish the deck, what do you recommend? Just a clear finish? I plan to paint the model as well. Any tips on the correct type of paint to get for that? I'll be ordering the tool to mark waterlines, as well.
-
Okay, sorry for the long delay. November was a busy month, and I had so little time to sit down and get to work. Finally had time this weekend! Measured and remeasured the plans, spent a lot of time looking at multiple build logs of the model, and tested multiple sizes of wood strips until I found something that would be as close as I could get. (Keeping in mind that I'm building off the plans, and not necessarily from he practicum by John.) Once I get the second layer of finish planking on, that will cover the added wood there, and painting the inside of the bulwarks, plus adding the rest of the construction there should hide it there. Well enough for me, anyway! I also adjusted the step in the bulwarks, as they ended up too far forward with the way I had to do the other repairs. It's not MUCH closer to the plans, and satisfactory for me! I believe I'm now in a place where I can move forward onto new construction, and have finished adjusting and correcting the things that needed to be fixed/altered. Phew!
-
Thanks again for the input. This is 1/8 inch height by 1/16 inch width. Lovely imperial measurements and no metric at the store. Arg! I will do a cardboard mock up of the deck house and see what I think. I can get a 1/16 in square as well if I need to. I'll do some more measuring and looking. It feels right when looking at the plans and shuffling it around in my hands from different angles. I'll check a few different things once more, and keep at it. Once I can get this sorted, I think I'm back on track to move forward!
-
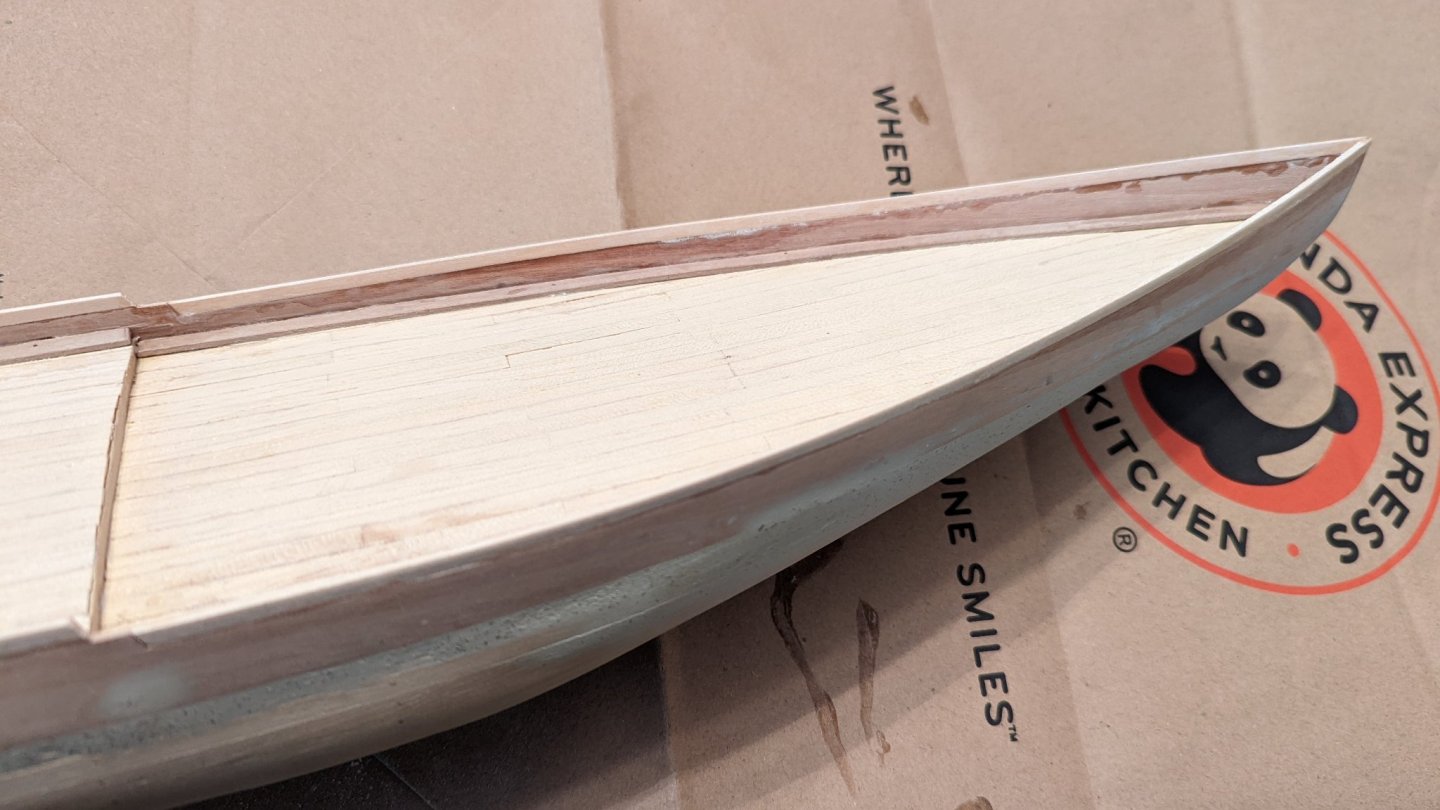
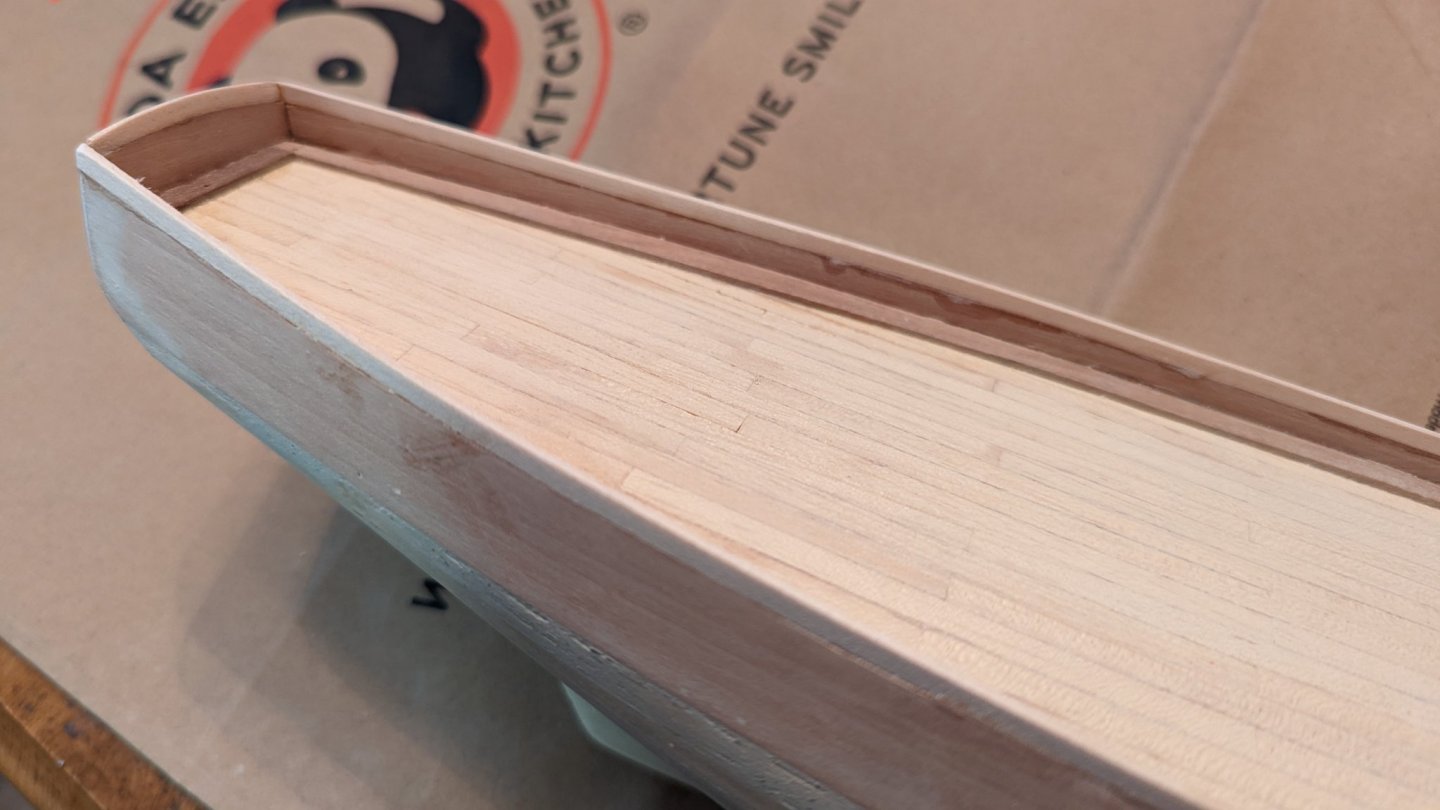
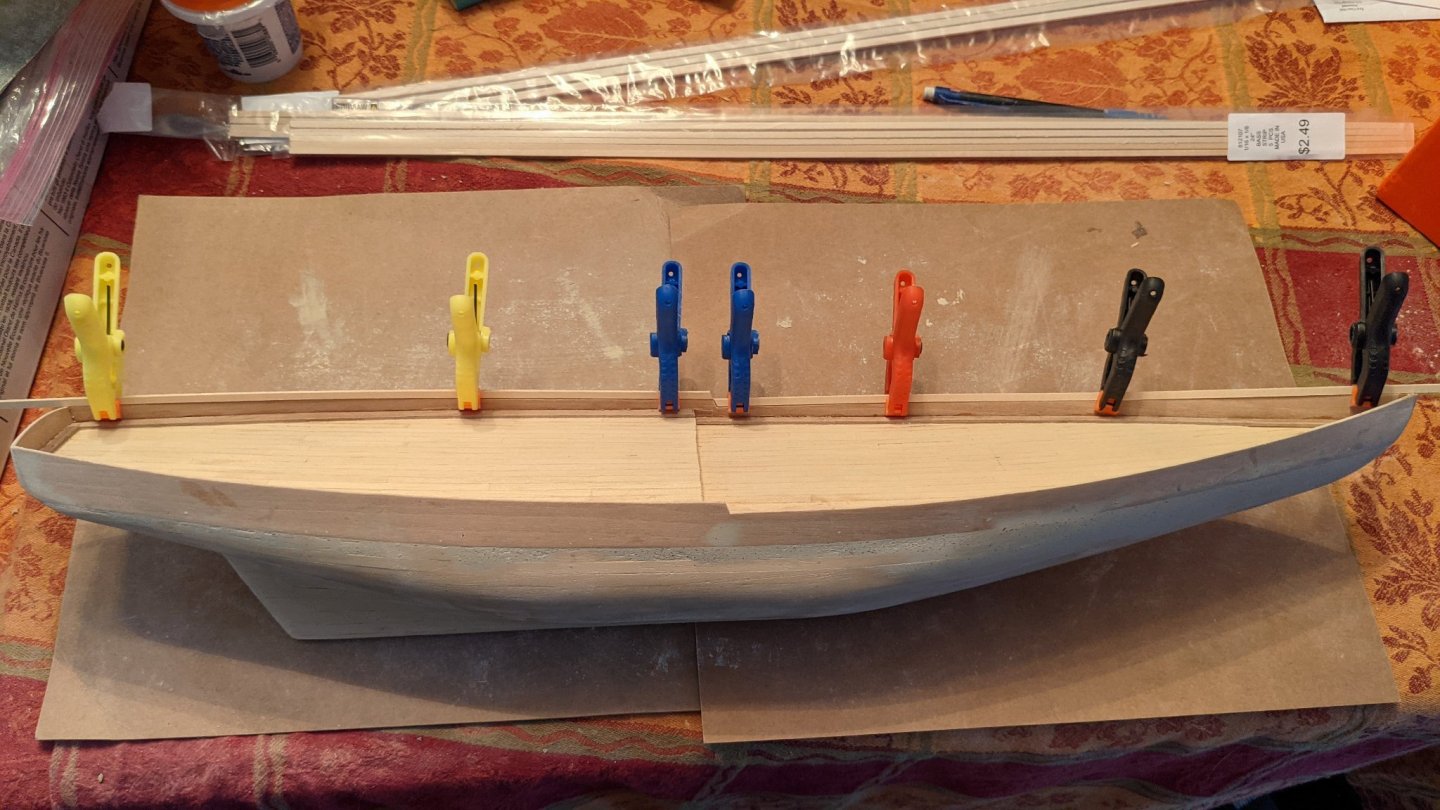
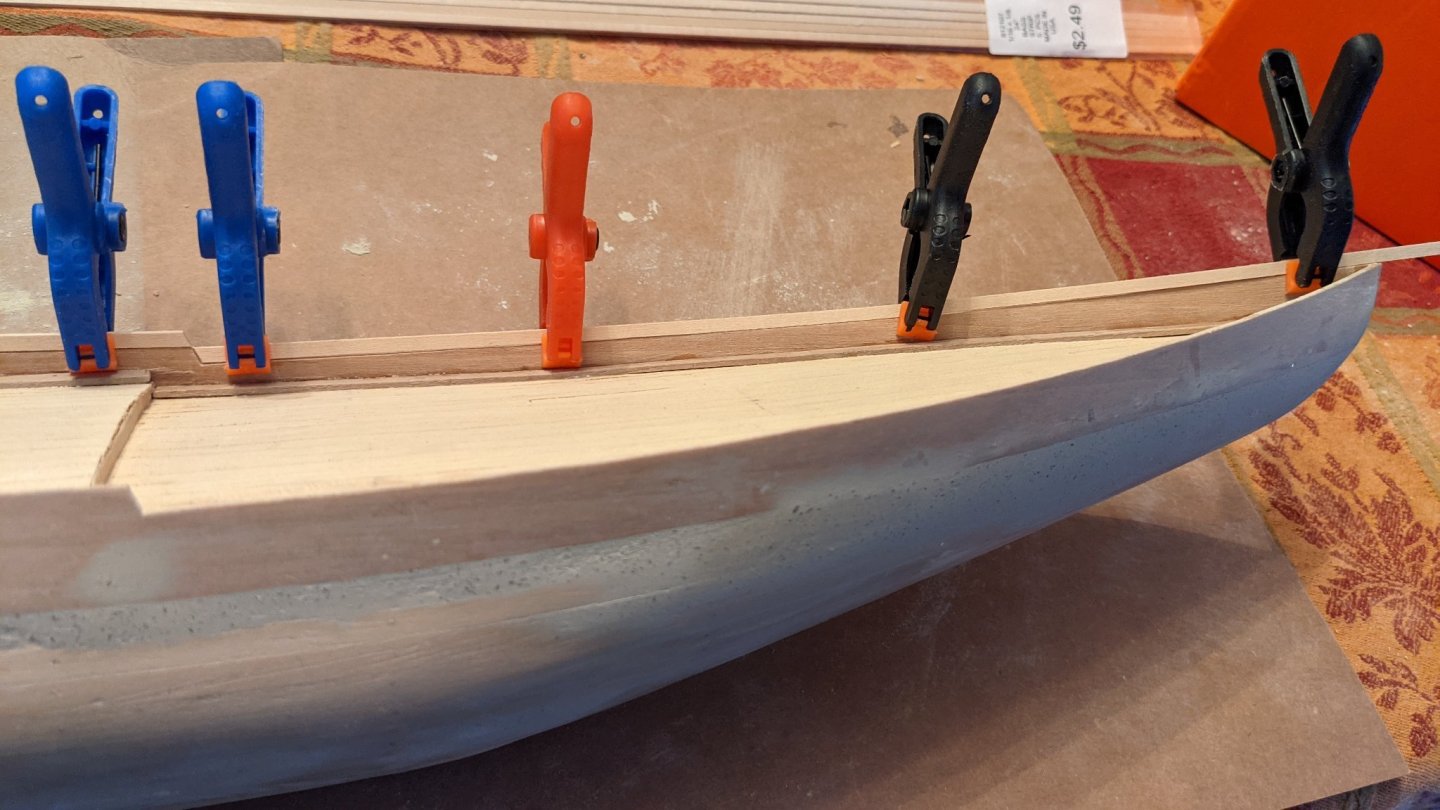
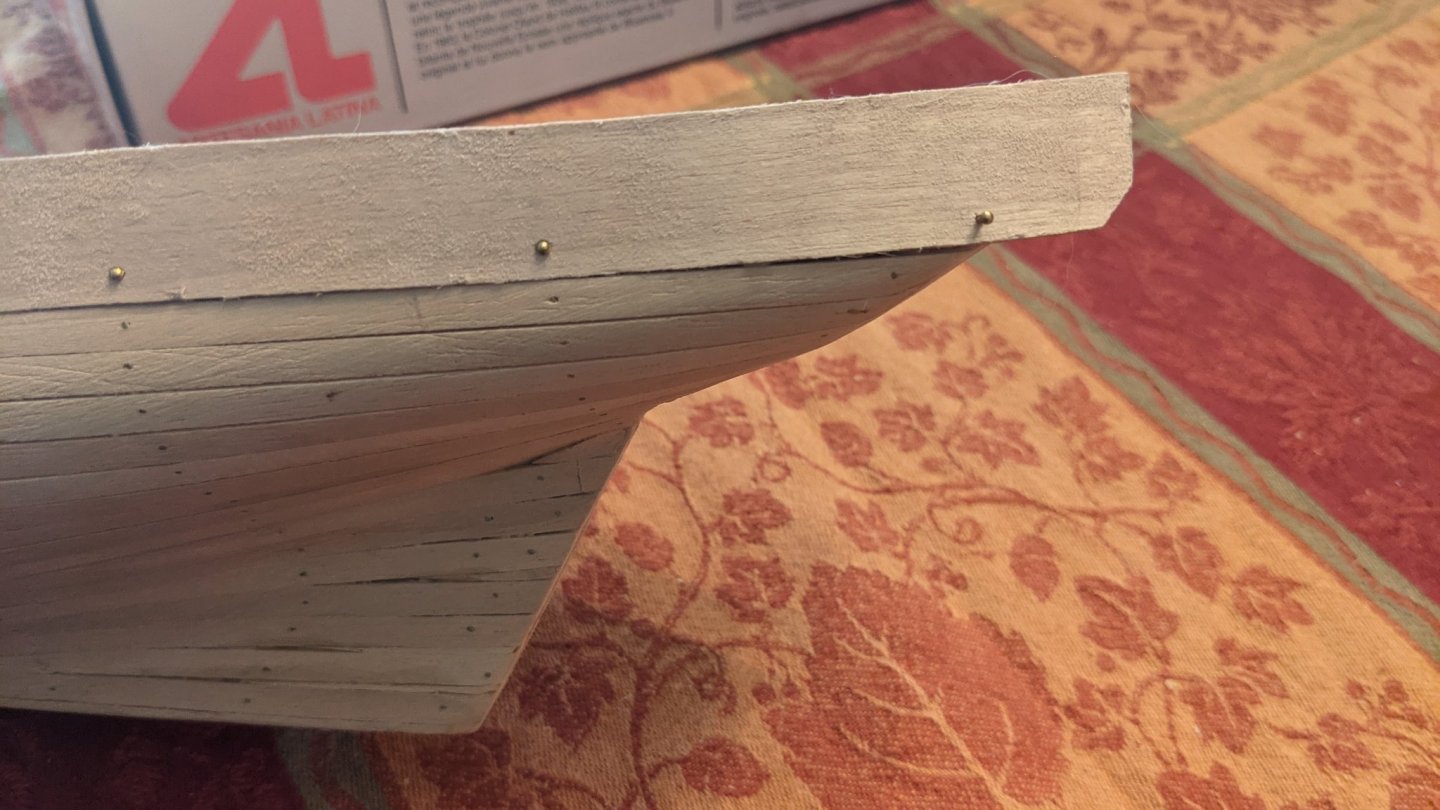
Been a bit, but it's been a crazy busy few weeks. I managed to get another round of filler and sanding done, and it's much better all around. I'm satisfied. I got to the hobby store this weekend and picked up some different widths of bass wood strips, and I think this is the ticket to extend the bulwarks up a bit. See what you think! I believe it matches the plans MUCH better with this amount of extra. So far, just clamped in place for mock up, no glue yet. If this looks good, ill lock it down, and CA glue it to the model, then add filler again if necessary. It will at least need some gentle sanding to finesse it to the same width as the kits bulwarks. But I can see the light at the end of the tunnel for this step! Edit: this height was measured to the bottom of the rail that will go on top, so it should fit that. Thanks HOF!
-
Excellent, thanks! I will do another light pass of filler and one more pass of light sanding to get that finale shape in place, and I think I will attempt to add some height to the bulwarks so I don't run into trouble later with some of the finishing details. Then I'll do the second layer, and put some finish on the deck after a fine sand of that, and I'll be on my way. I'll do some planning and experimenting for that height addition this week and see what I come up with. Again, as always, thanks for the input!
-
Alright, spent several hours filling, sanding, shaping, and checking and double checking angles and curves. I think this is as close as I'm going to get given the corrections I had to make, but I'm feeling good. I test fit some of the keel pieces, and I may need to do some filling and shaping when we get there, but it's pretty darn close. The bulwarks are a bit lower than I'd like, but I think I can compensate. (See below.) I have sanded this pass down to 200 grit, and it's smooth to the touch. A couple questions: 1) Should I do a second filler pass since I plan to double plank and then paint the second layer of planking, or will the second layer be enough? 2) should I add a small amount of additional height to the bulwarks with some leftover plank? It will be painted, so that would hide some of the discrepancy. Looking at your photos and the plans, HOF, I could use an additional 2-3mm of height. (See attached photo for my idea.) 3) When double planking, does the second layer cover the bulwarks as well? The instructions are unclear, but I see that your second layer does go all the way up. thanks!
-
Hey HOF! Thanks again for the input. I looked really hard at yours and at a few others, and made a calculated risk and went off the path a bit and improvised. As I was sanding and grinding away to try to reshape and move things around, I was running the risk of carving way too much of the waterways away, and unfortunately, my grandfather didn't do a great job of sanding and shaping the bulkheads and the rest of the ships skeleton, so things were very uneven as I got in there. The bow of the ship the way he had it came to a hard, flat edge that was about half an inch or so, and I sanded down as much as I could before I was afraid of taking off too much of the planking and causing issues. I found another builder on here with the bulwarks overlapping this way too, and he was successful in using wood filler to fill and sand it back to shape, so I'm going to attempt the same. It elongates the bow a bit further than the plans, so I'm hoping that doesn't get me into trouble in the future, but I couldn't figure out how to make it work without risky deconstruction... Fingers crossed my plan works! I'm going to do a bit more shaping and sanding before then, to see if I can massage it a bit more before going further based on your input before going on, so we will see what I can manage! Nate
-
Okay, thank you. I tried really hard to get to the point where I wouldn't have to do much, but I was going to have to do a LOT of risky deconstruction, so I got it the best I could. Your photos helped me solve some problems.
- 33 replies
-
- Artesania Latina
- Finished
-
(and 1 more)
Tagged with:
-
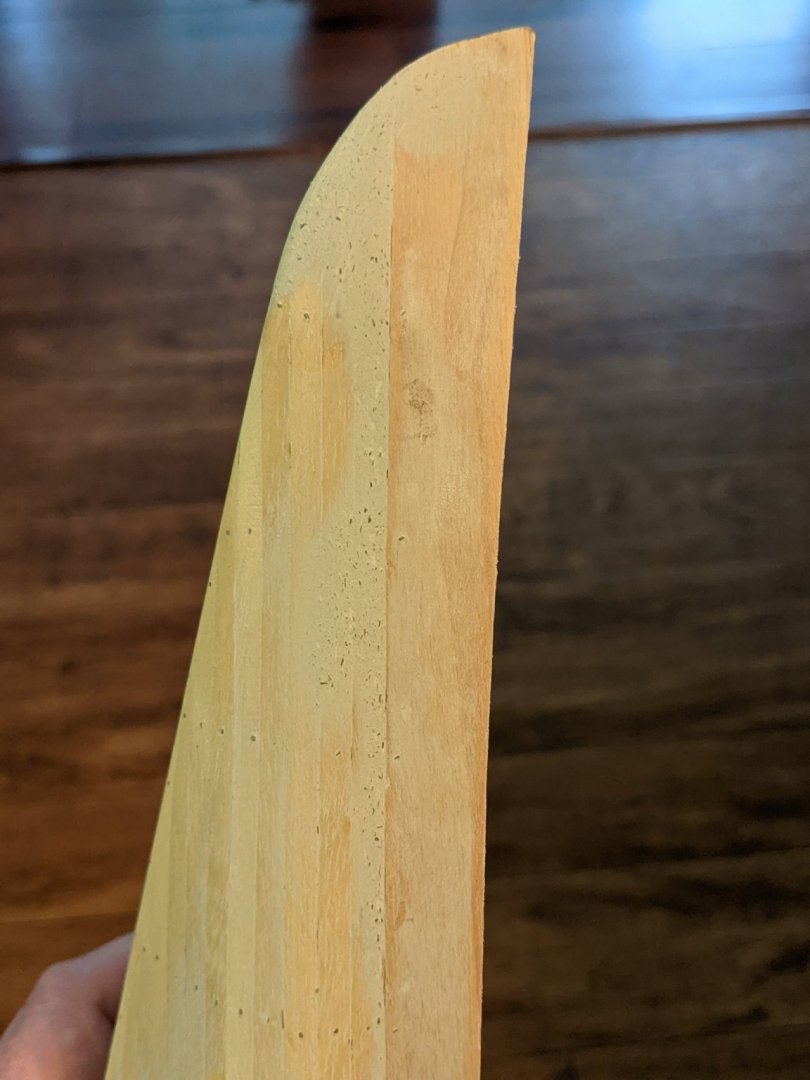
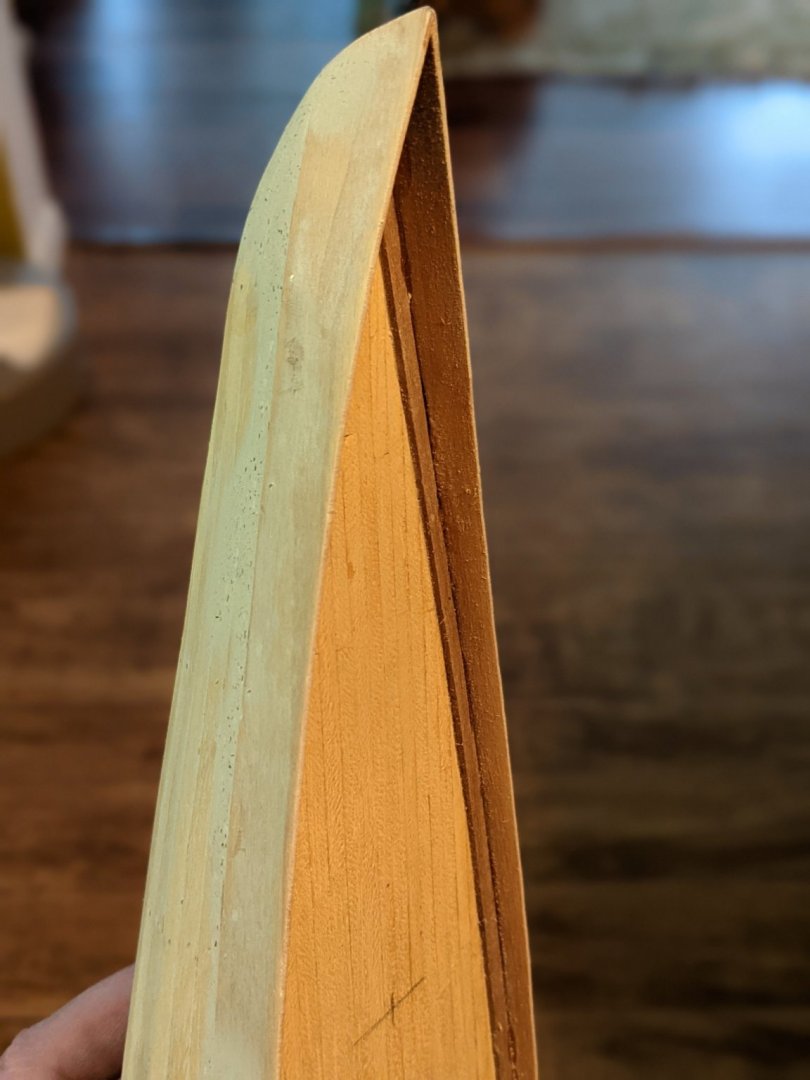
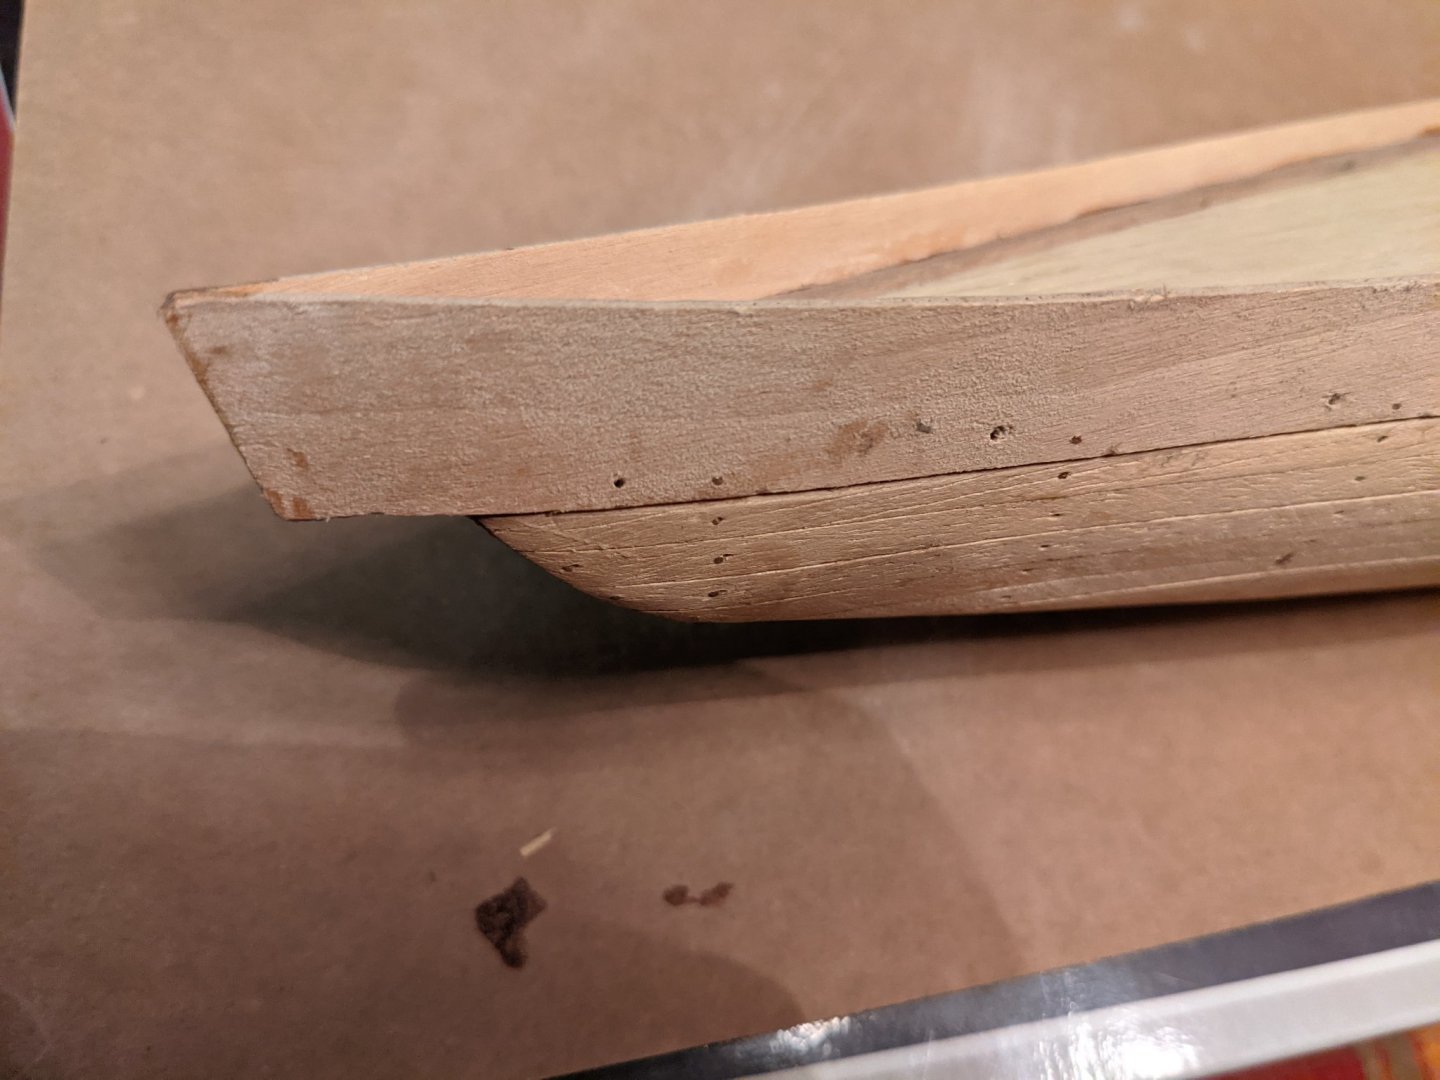
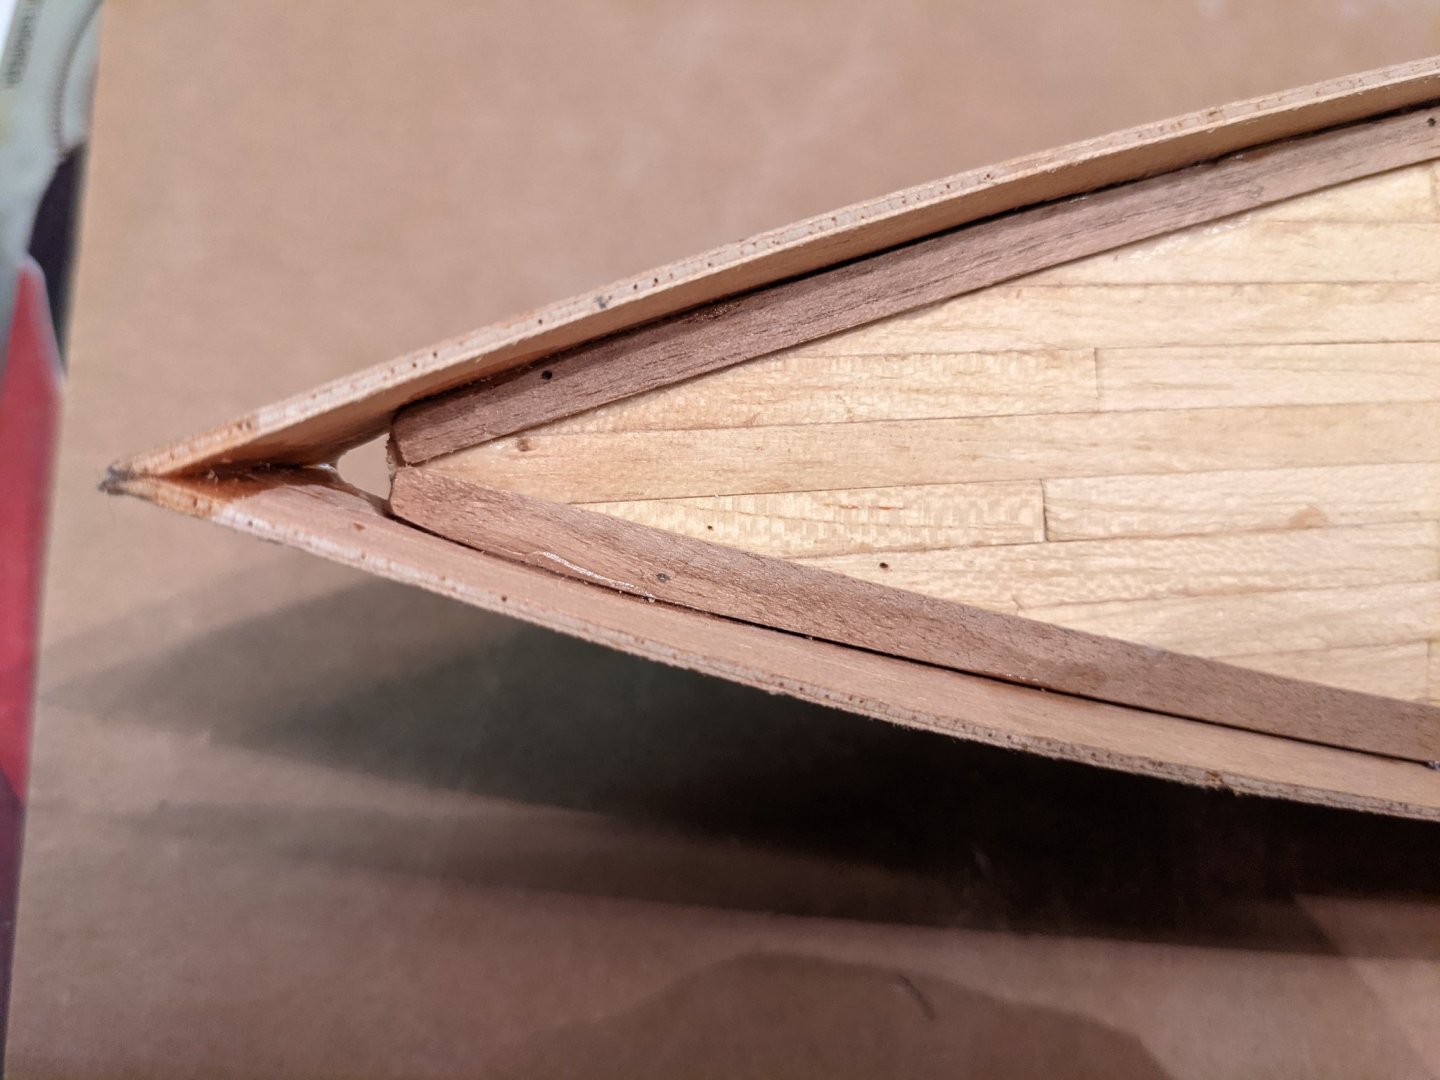
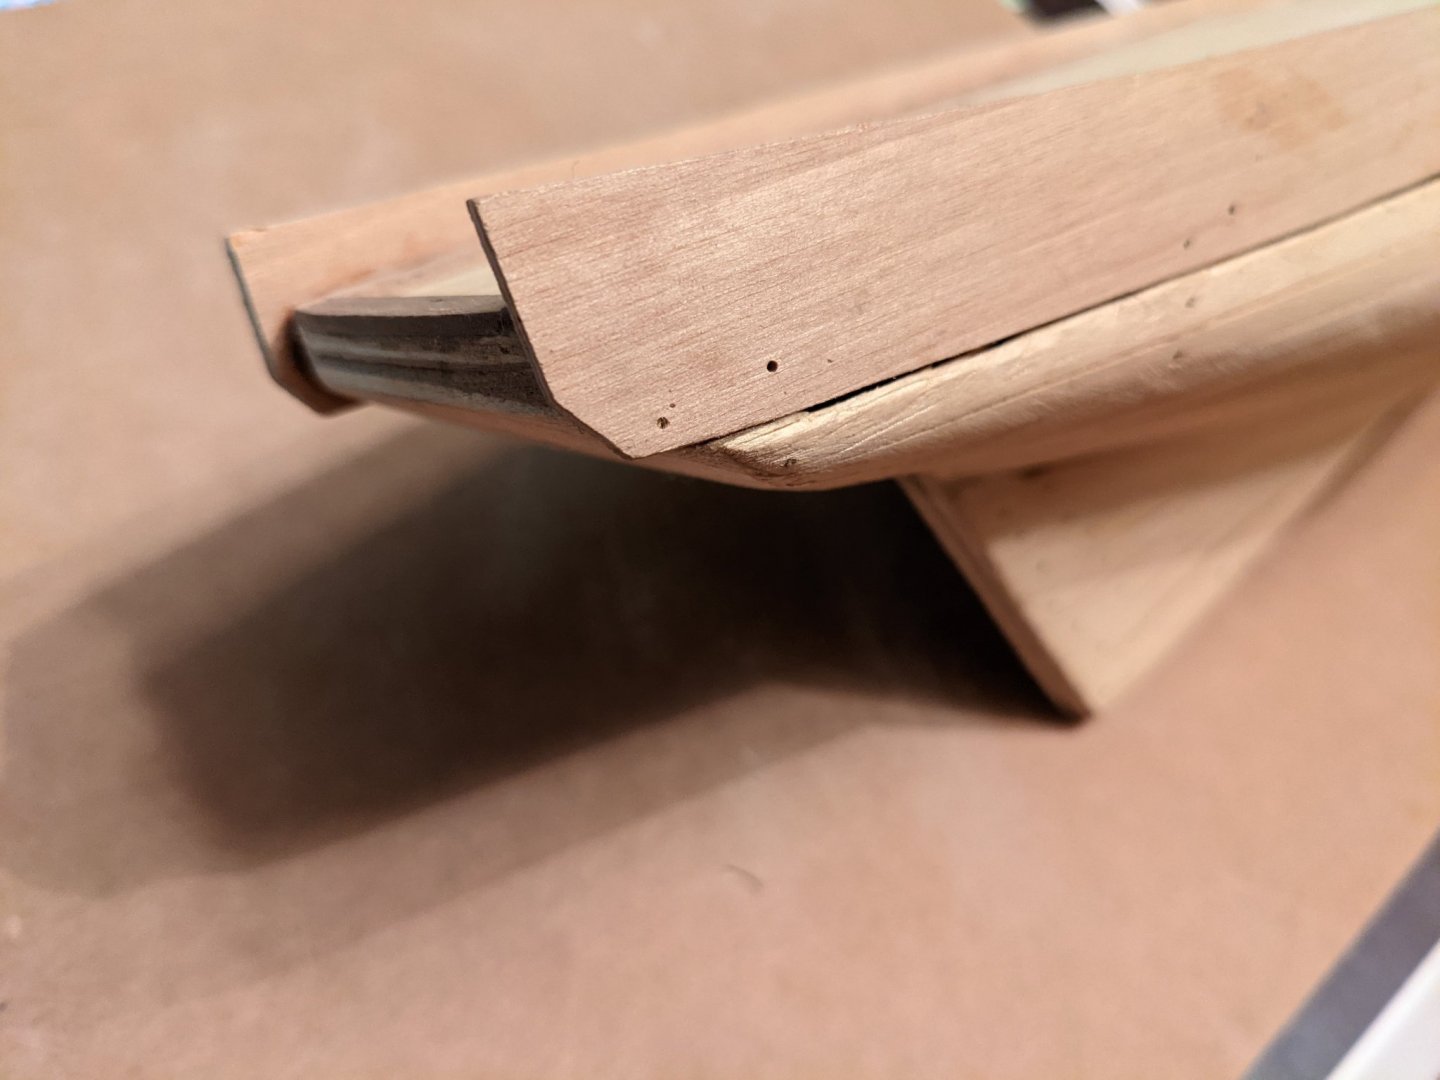
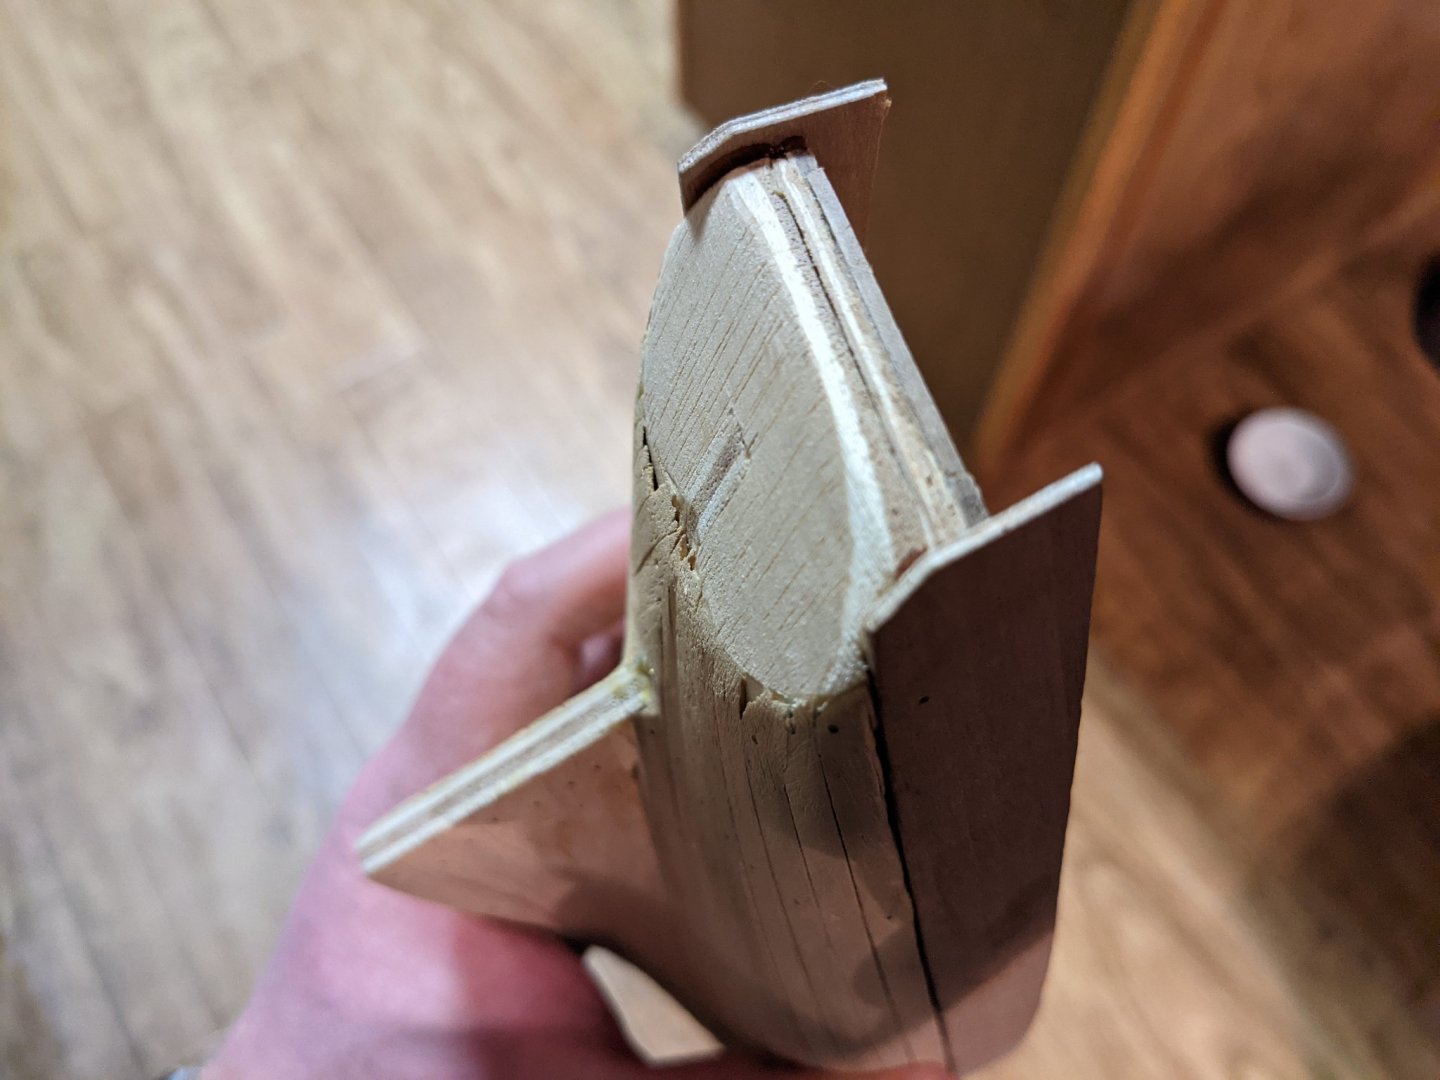
Okay, made some progress. Sanded like crazy, filed a bit, and managed to refit the bulwarks so they came to a point and I have a bit of extra on the stern end to shape and sand as needed when I continue there. It's not perfect, and it will need some body filler and A LOT more sanding after that, but it's the best I could figure out without much heavier work. But I think it will be serviceable. I have some wood filler that is going to be slathered on the entire thing, and used to fill the hole under the point of the bulwarks so I can properly fit the keel and second layer of planking, but I am starting to see the path.
-
I'm working on this same one that my grandfather started years ago, and I'm going to have to do some filler on the bow like you did, I think. I don't think I can get it to meet correctly as there were some mistakes he made that I am accounting for. Your photos helped me problems solve a lot. Quick question, does your false keel fit over the bow curve well after you filled and shaped it?
- 33 replies
-
- Artesania Latina
- Finished
-
(and 1 more)
Tagged with:
-
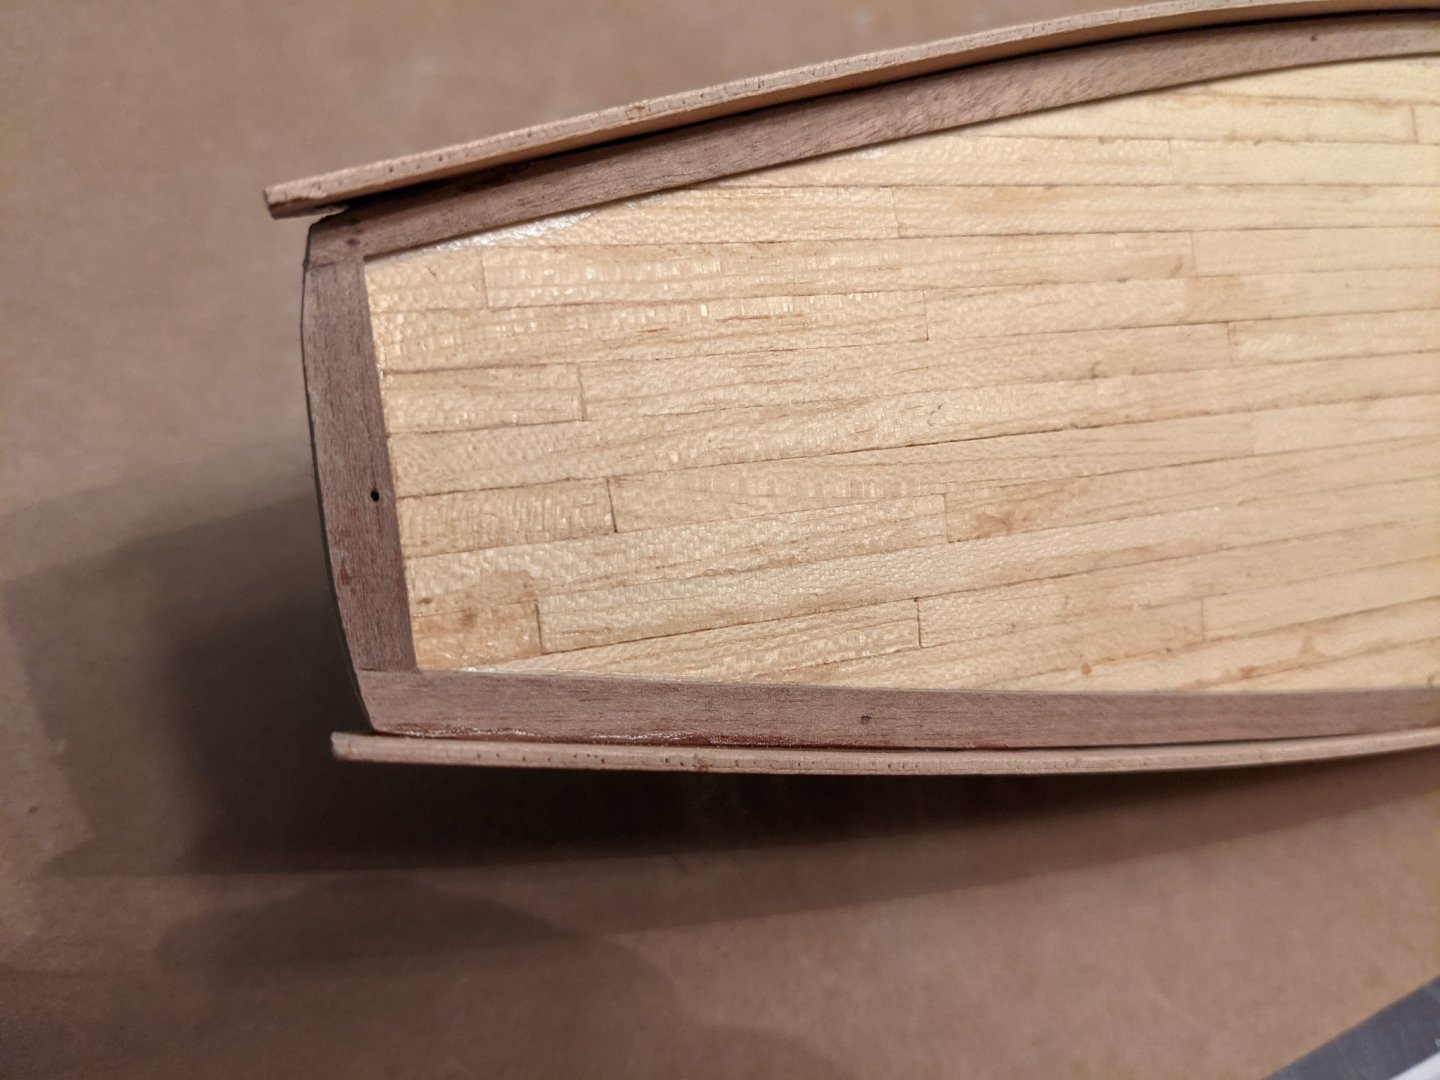
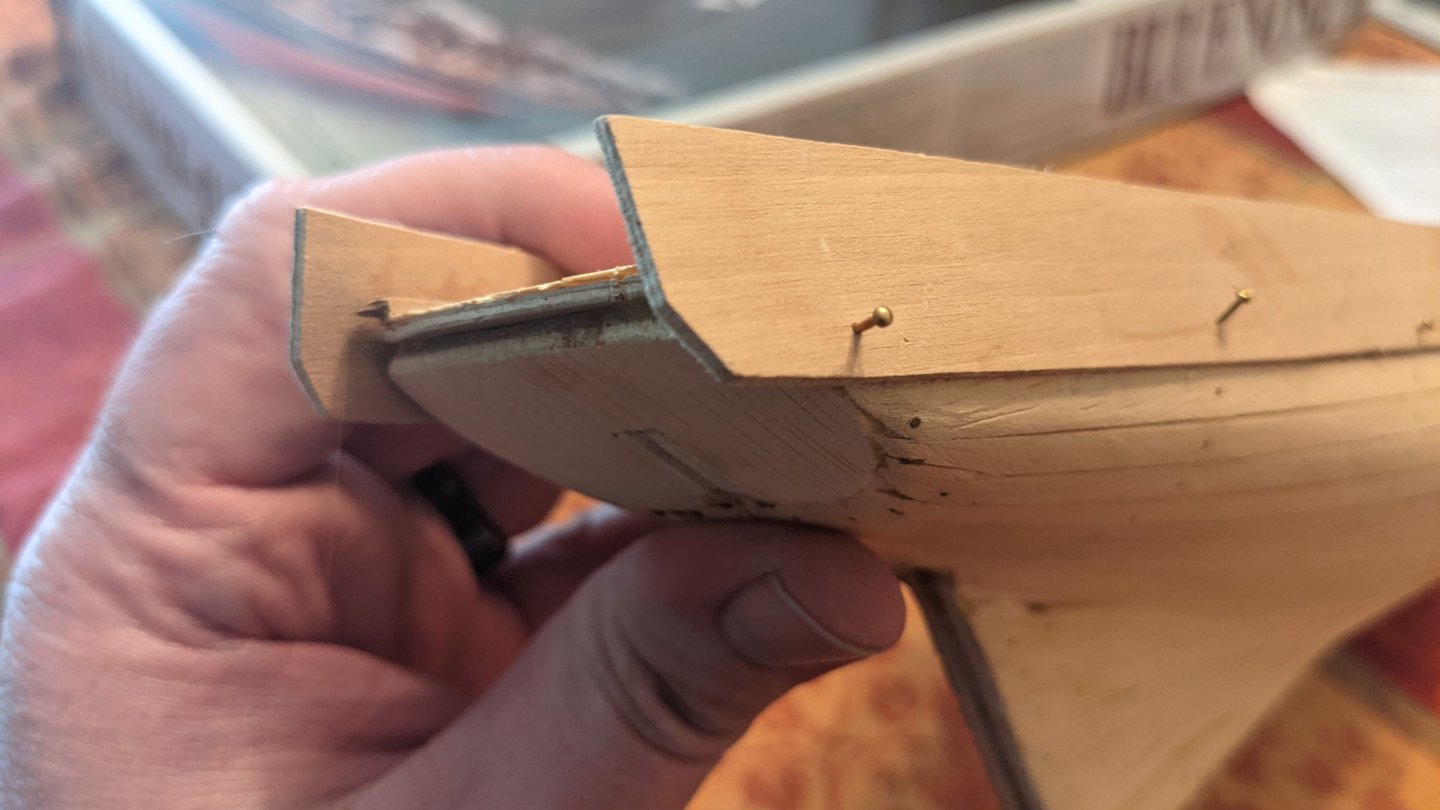
Oh man, those photos are exactly what I needed. You are a life saver! I'll continue to refer to the practicum as well, but I think I'm going to go in the spirit of the original build, and make it as the kit instructs ala the way grandpa would have years ago without those resources. A little bit of a homage to the time it was started. That said, John's articles are incredibly detailed, and really look helpful. So this may be a hybrid build, especially in regard to colors and paint. I managed to pull the pins and release the glue through some very careful x-acto work. There is a bit of damage to the backside of the bulwarks from the 15+ year old glue, but I THINK I can make some repairs. I added some CA glue on some thin cracks to strengthen it, and I will do some very delicate wood filler and sanding. I think once it's on the model, it should hide most of the crimes, and I will be able to get away with it. As you can see, I was able to salvage the outward facing side. I can see that when my grandpa added the bulwarks, he didn't do much sanding and shaping of the pieces underneath, so I'll be able to account for that now, and get them more flush with the planking. After I manage getting them back on the best I can, I'll do some wood filler, more sanding, finish the transom, and be able to move forward. Progress is being made on the model for the first time in well over 15 years, at least! Huge help, my friend! Thank you!
-
Thanks, Hof! Do I need to worry that the bow side of the bulwarks aren't meeting at a point like the plans suggest? I don't want to throw anything off. I was concerned I'd need to cut them away and do some more sanding and shaping to get them to meet, or add some material. Should the false keel lay on top or meet underneath? Pardon the extra questions, I just want to make sure I do this right! I'll start this week by getting some wood filler and massaging the hull smoother for the second layer of planking. I need a few more tools and some fresh glue as well, so I need to make a trip to the store, anyway. Oh, I'll also get the finish for the deck. I do intend to paint it, too. Thanks for the input! Any help I can get is welcome, as this is a new adventure for me. I'll make sure to keep photos coming as I make progress!
-
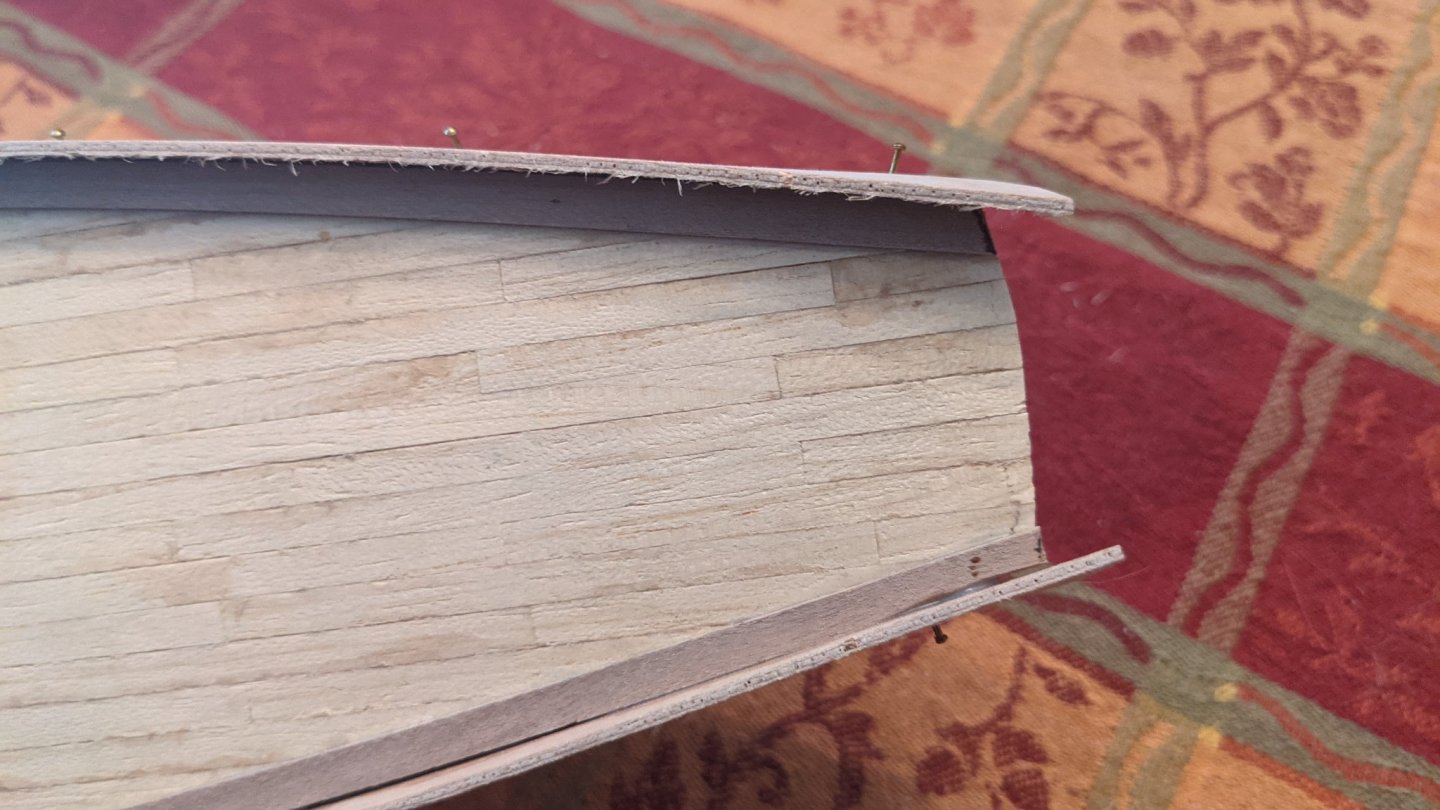
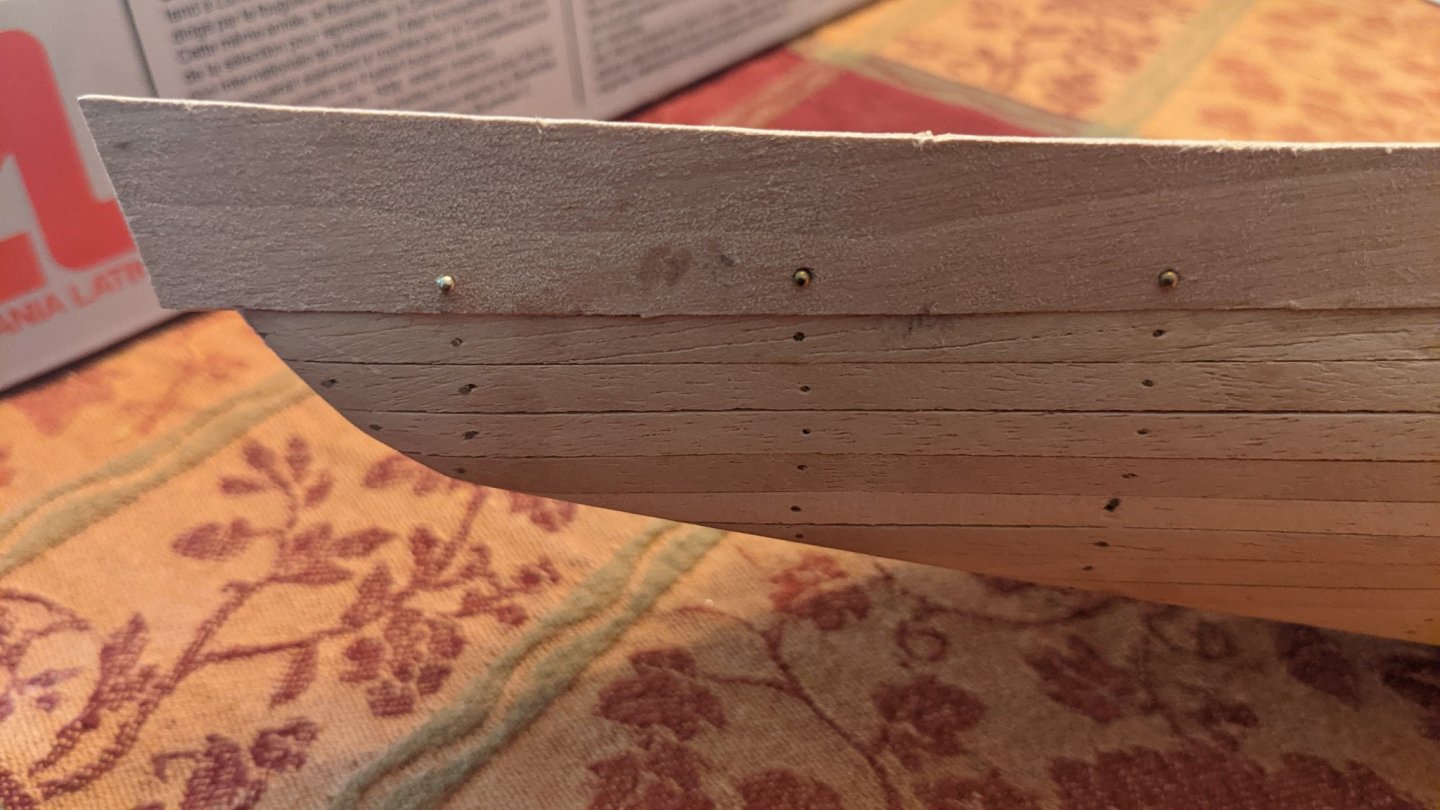
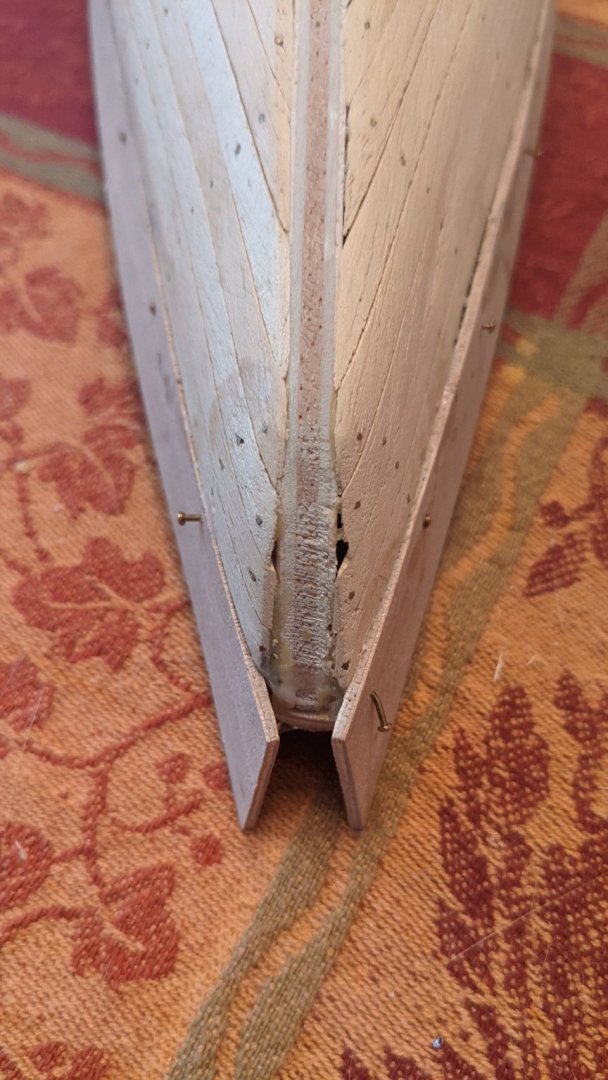
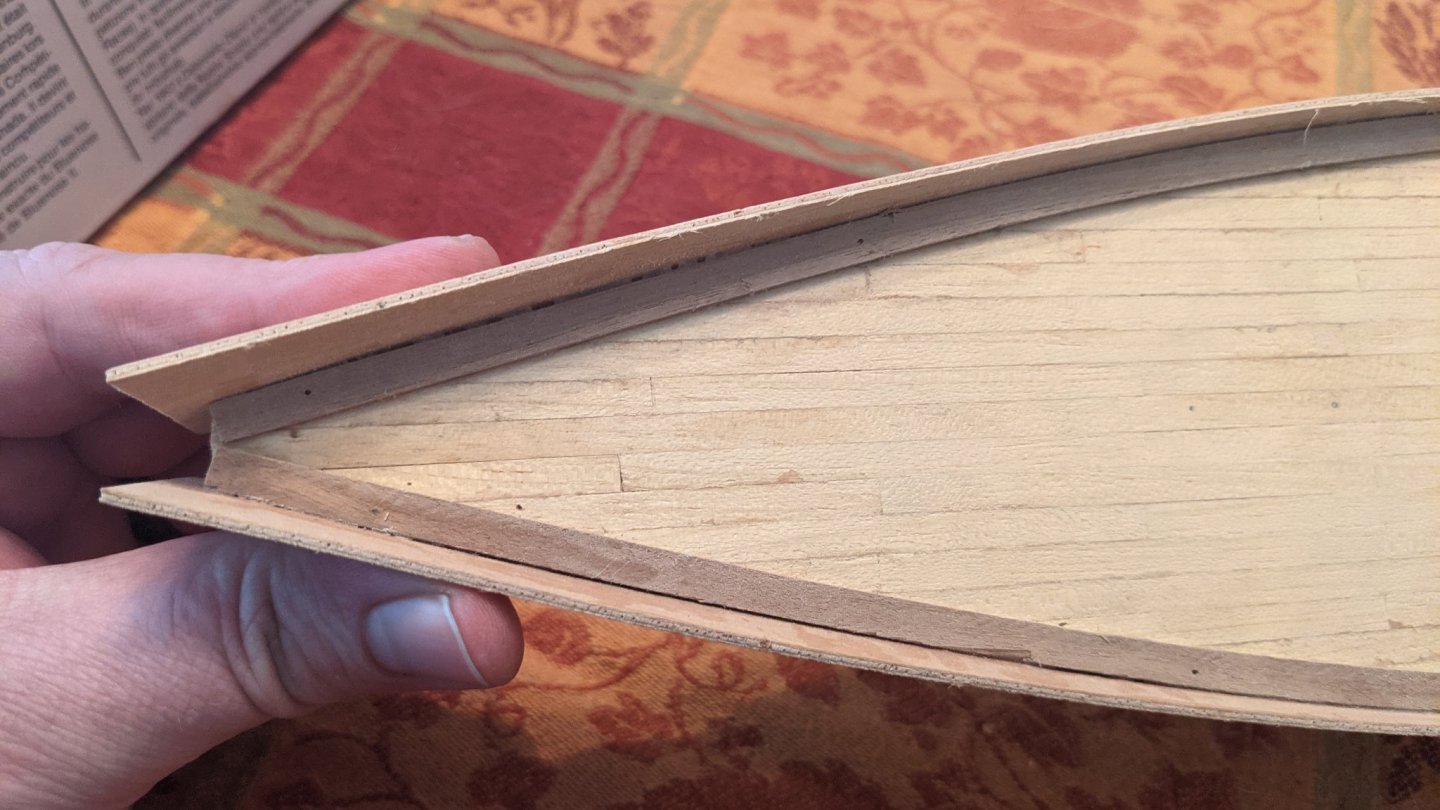
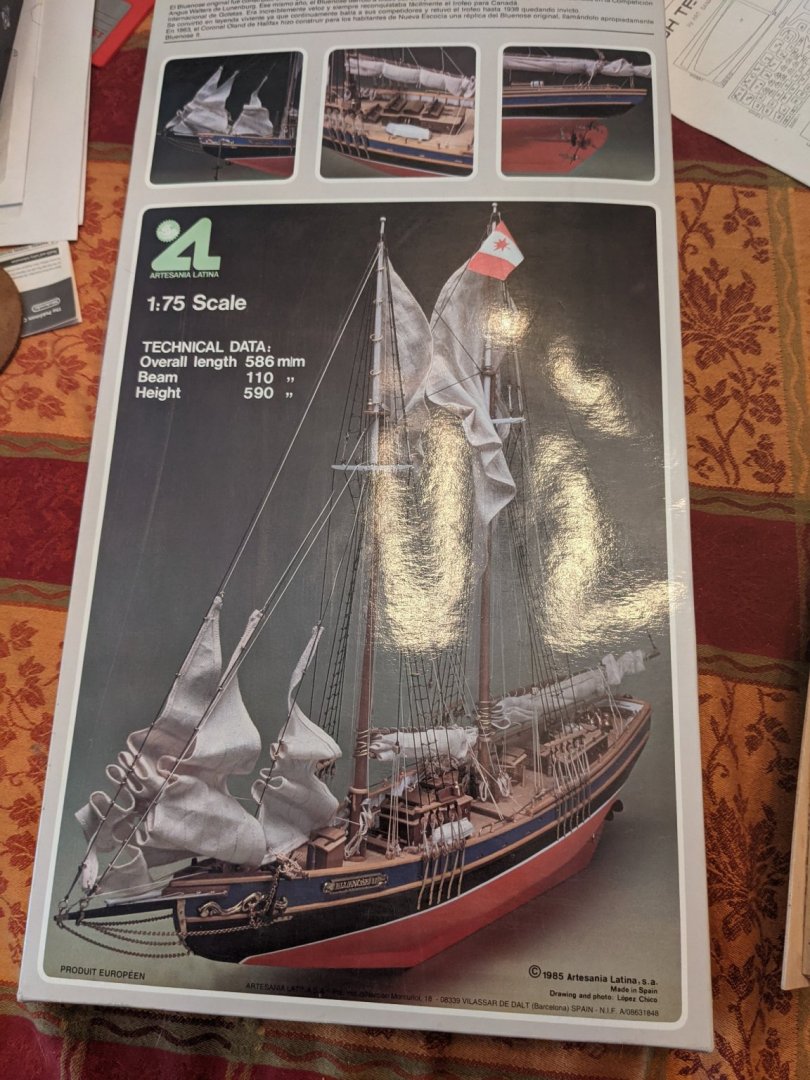
Hi everyone! Brand new to the forums, and to ship building. My build log is going to start with a bit of searching for advice before I proceed. Let me lay out the problem/story for you, and then we'll go from there! My grandfather started this model many years ago after he had retired. Shortly after, they moved, and it has been sitting in his storage at his new place for... 15+ years. On a recent visit, the subject of model making came up (we both make model cars and airplanes), and he asked me if I was interested in this ship. Wooden ship building has been on my list of things to try for a long time. I've even bought and read several books on the subject. Of course, I said sure! Upon getting the model home and reading through the instructions and plans, organizing the components, and trying to figure out where he left off years and years ago, I discovered some potential issues with the model. I did a lot of research, found these forums, found a series of older posts, and a log by John Earl that made the light bulb come on. This is the old kit that has incorrect parts, and that most people have to modify or supplement parts for... Long story short, my grandfather didn't have the internet or access to these logs all those years ago, and forged ahead, and now I need to figure out what the best course of action is so I can proceed with the build. I hope to finish the ship and send progress photos to him since he is no longer able to do the fine detail work. A couple things: - I fully understand that this model is not the most accurate, and that most people single plank it due to painting it. I am not worried about the inaccuracies, and have accepted that it won't be perfect due to the "mistakes" that were already made. I also will be doing the second layer of planks for that experience and to learn, as it's my first ship. - I'd like to figure out the easiest and most straight forward way of getting the bulwarks (namely the bow) to an acceptable state, that won't entirely mess on the model, and proceed. I don't want to cause major damage to the rest of the ship, and am fine with inaccuracies and a bit of... improvisation for the purposes of learning and finishing it while my grandfather can still appreciate it. Thank you all so much. Seems like a great forum, and I'm excited to get this under way. Here are some pictures, and if you need more photos or different angles, I'm happy to do so. This is the state that he gave it to me in. I haven't done or changed anything yet.
About us
Modelshipworld - Advancing Ship Modeling through Research
SSL Secured
Your security is important for us so this Website is SSL-Secured
NRG Mailing Address
Nautical Research Guild
237 South Lincoln Street
Westmont IL, 60559-1917
Model Ship World ® and the MSW logo are Registered Trademarks, and belong to the Nautical Research Guild (United States Patent and Trademark Office: No. 6,929,264 & No. 6,929,274, registered Dec. 20, 2022)
Helpful Links
About the NRG
If you enjoy building ship models that are historically accurate as well as beautiful, then The Nautical Research Guild (NRG) is just right for you.
The Guild is a non-profit educational organization whose mission is to “Advance Ship Modeling Through Research”. We provide support to our members in their efforts to raise the quality of their model ships.
The Nautical Research Guild has published our world-renowned quarterly magazine, The Nautical Research Journal, since 1955. The pages of the Journal are full of articles by accomplished ship modelers who show you how they create those exquisite details on their models, and by maritime historians who show you the correct details to build. The Journal is available in both print and digital editions. Go to the NRG web site (www.thenrg.org) to download a complimentary digital copy of the Journal. The NRG also publishes plan sets, books and compilations of back issues of the Journal and the former Ships in Scale and Model Ship Builder magazines.


