Supplies of the Ship Modeler's Handbook are running out. Get your copy NOW before they are gone! Click on photo to order.
×

cabrapente
-
Posts
582 -
Joined
-
Last visited
Content Type
Profiles
Forums
Gallery
Events
Everything posted by cabrapente
-
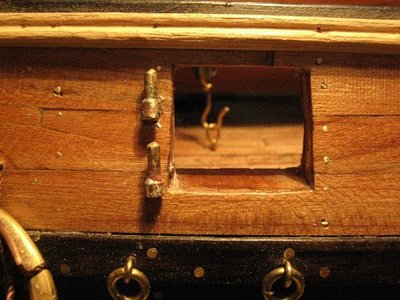
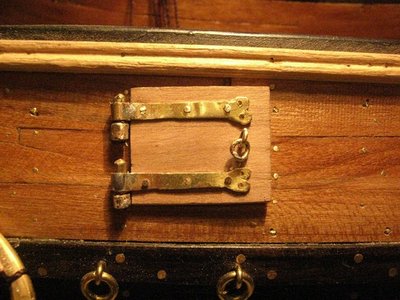
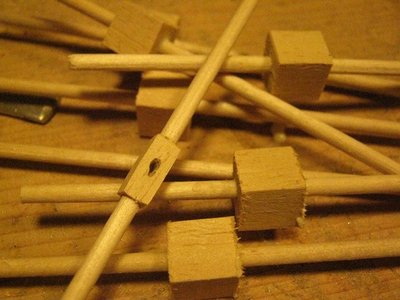
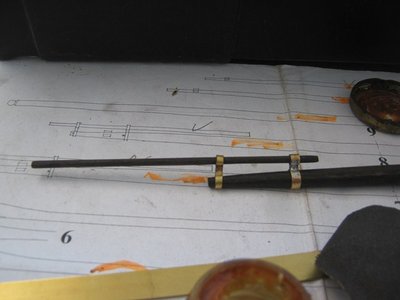
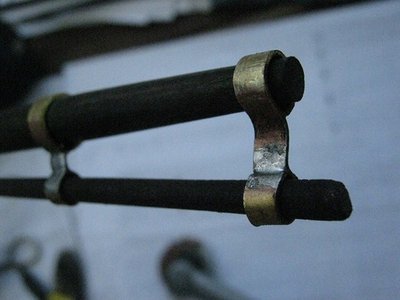
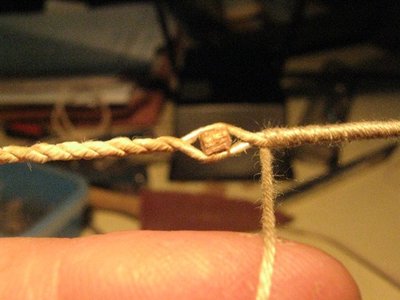
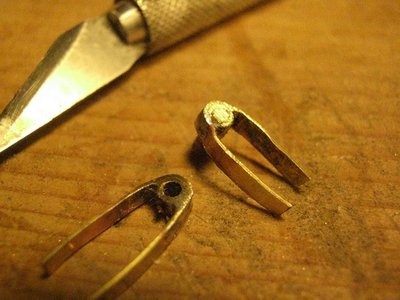
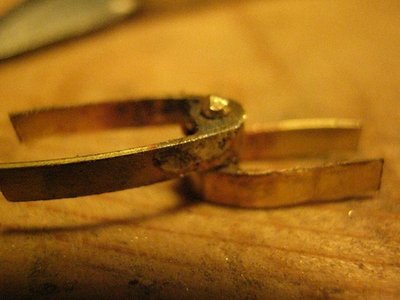
 imajen in 4334, it is still not to channel. are very small pieces (such as clips) next time, I'll put the thread through notches, and will give full circle, nailing just the tips. is much easier and less work.
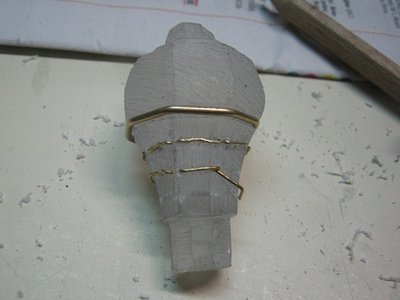
-
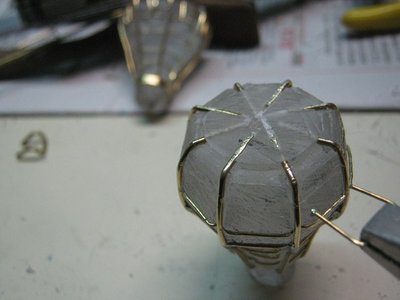
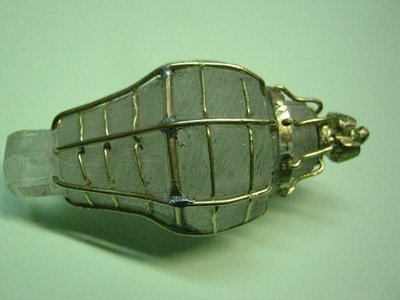
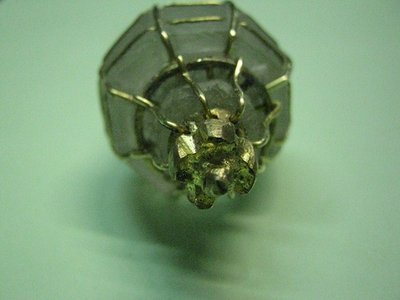
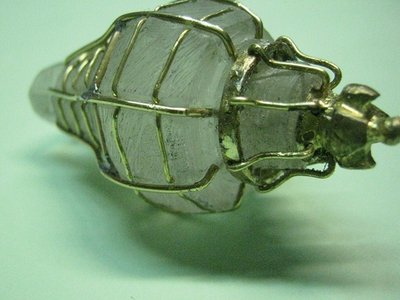
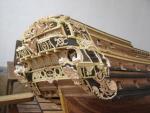
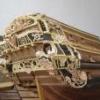
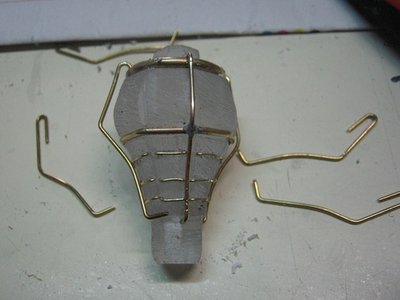
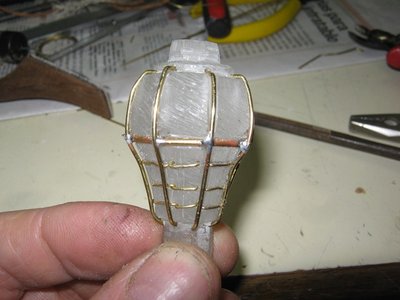
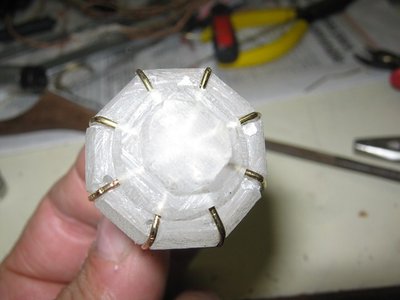
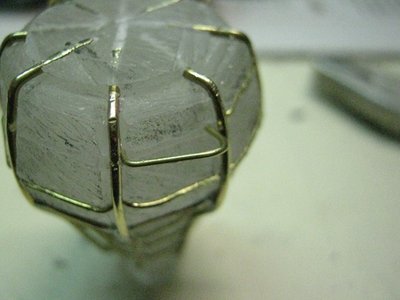
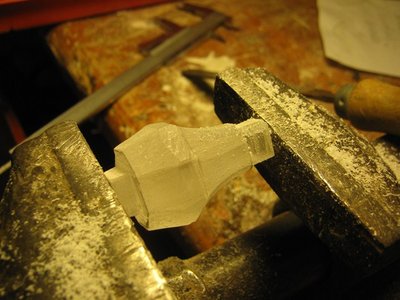
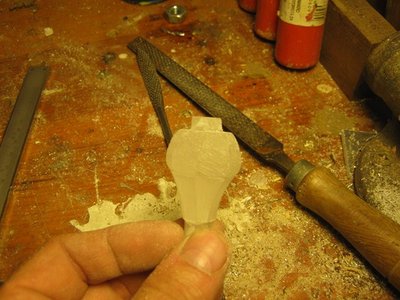
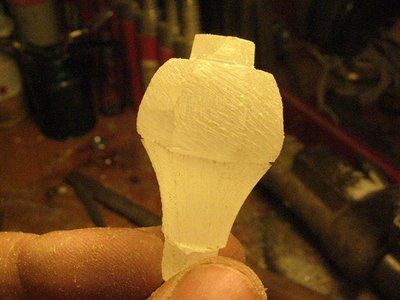
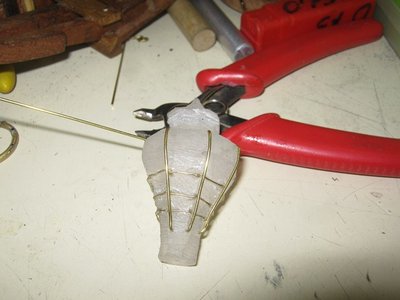
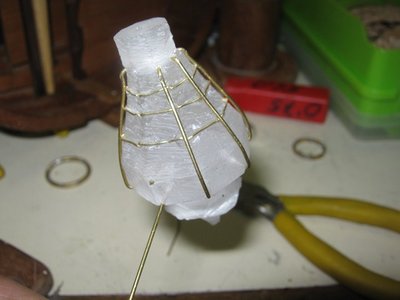
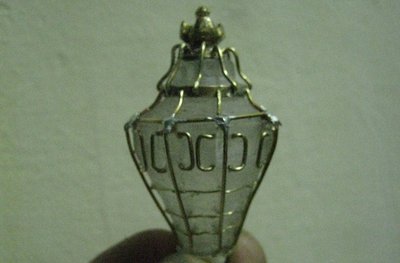
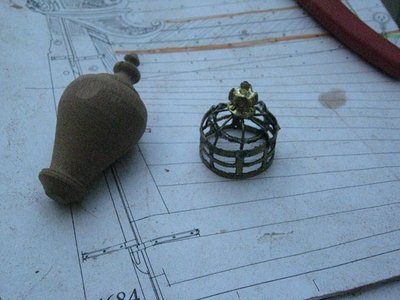
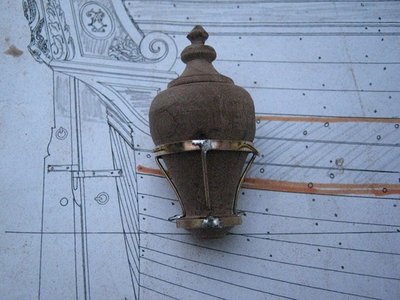
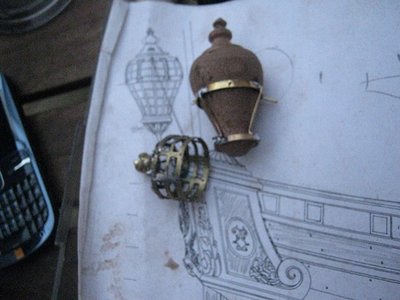
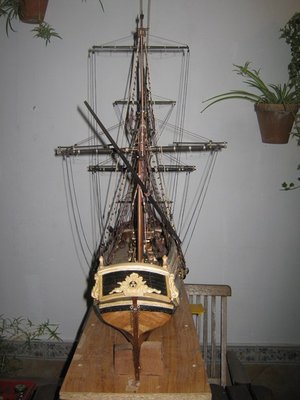
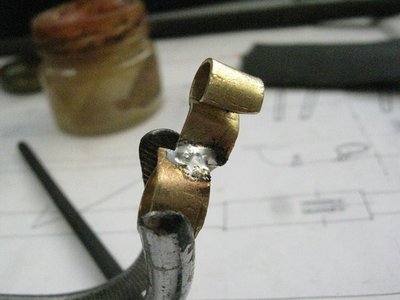
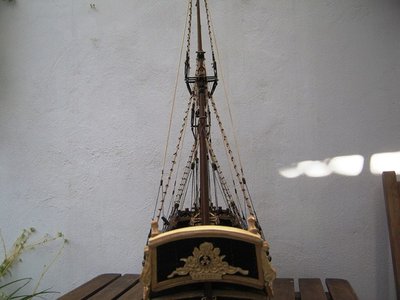
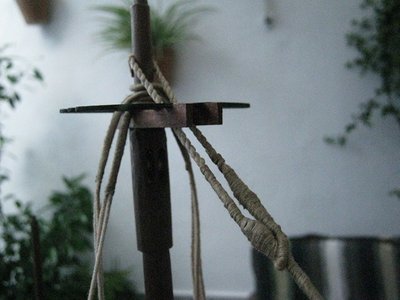
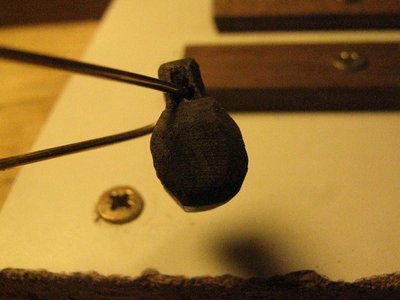
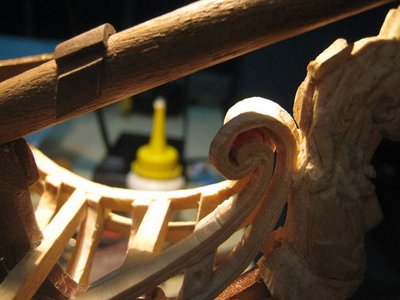
was not happy with the lantern, as I did by eye, and their faces were not symmetrical. so I made a new one. the system to do so, has improved greatly. Now, I make a small notch where the rod is inserted and if the nail tip (previous drill) in methacrylate. no need to stick almost anything too tight as it enters and costs of out with pliers.

-
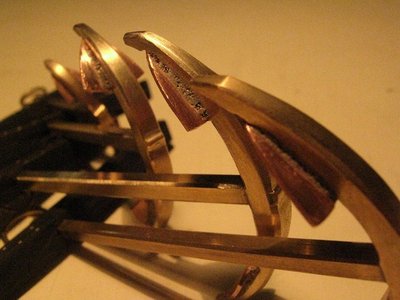
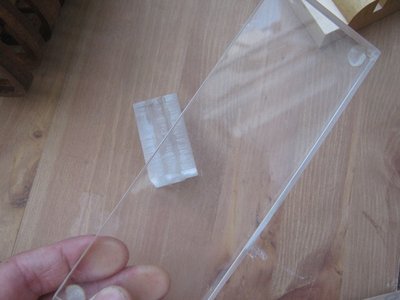
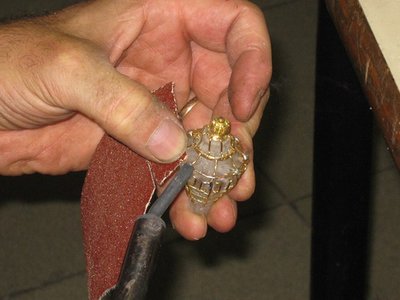
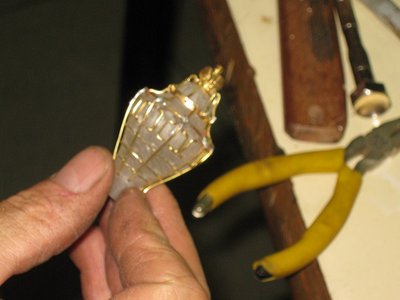
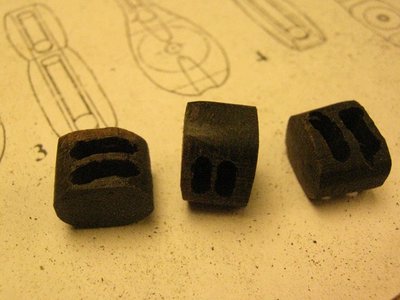
After many attempts, I got a way to make the lantern. methacrylate sheets stick, until a taco. given the shape of the lantern, and nailed directly brass rods, needless to paste. Finally, we pay brass rings around.
-
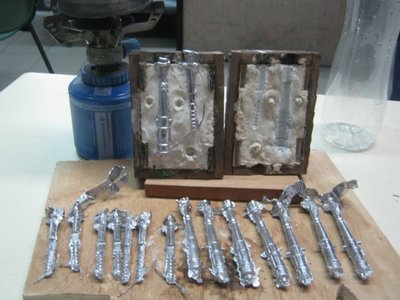
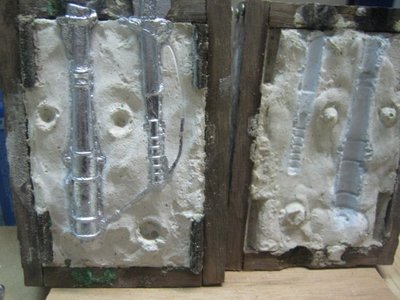
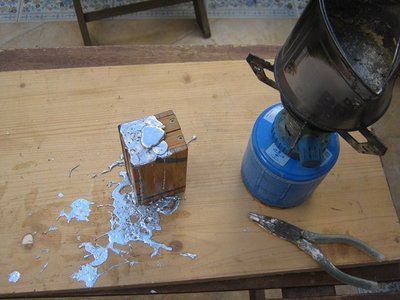
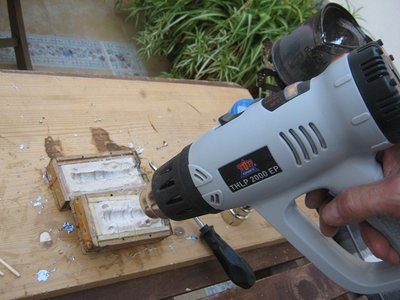
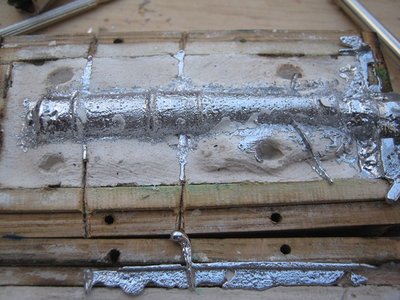
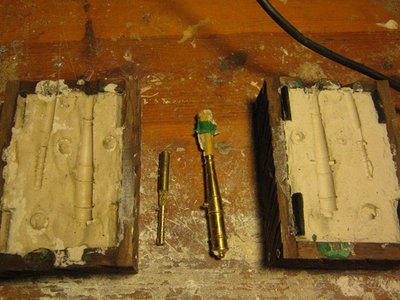
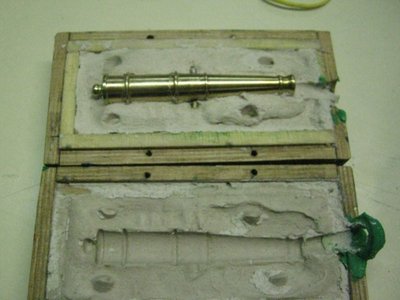
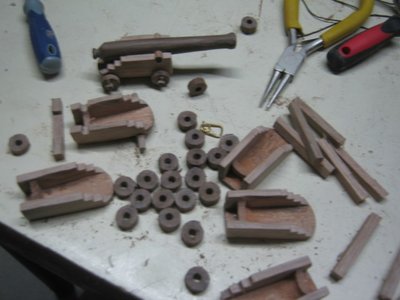
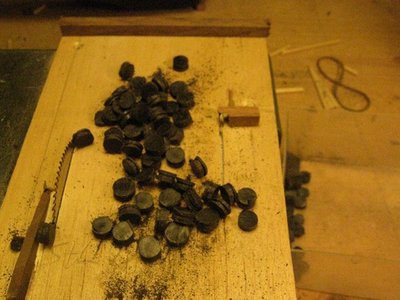
This time, I put the pan in the microwave and hot already, I put the lead. goes perfect. not grab anything and can be reused. (I thought the cast was single use) I'm thinking of making a new mold, as this has shot a lot and has imperfections in the union. surely spare you work.

-
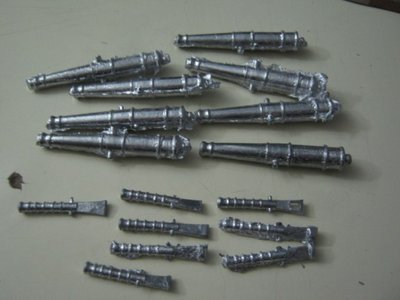
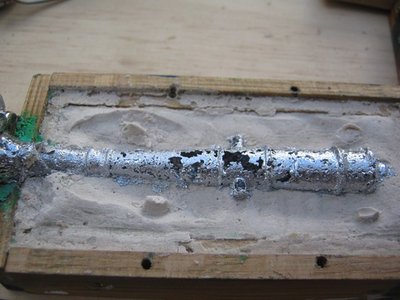
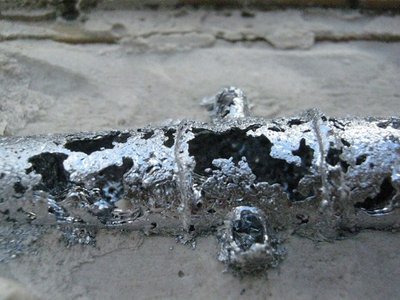
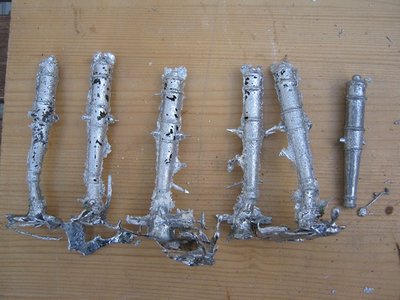
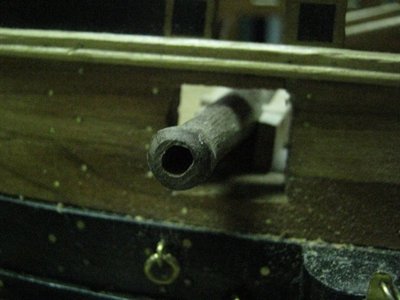
the first guns came out holes and splashed a lot. I think the cast was not dry enough, until warmed it, it started running better. I made a new mold, with additional cast as the first, was beginning to burn.

-
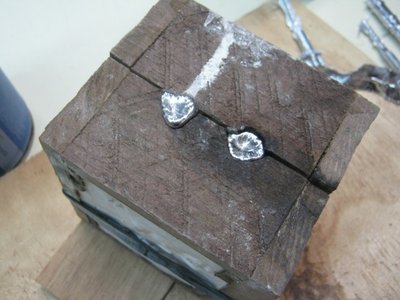
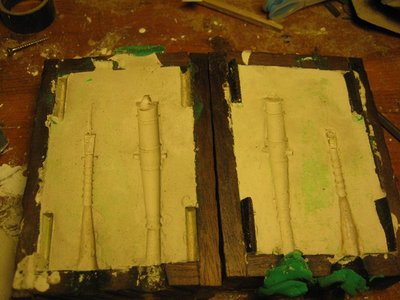
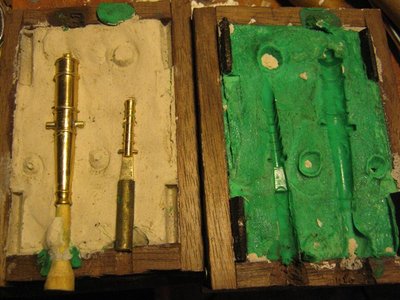
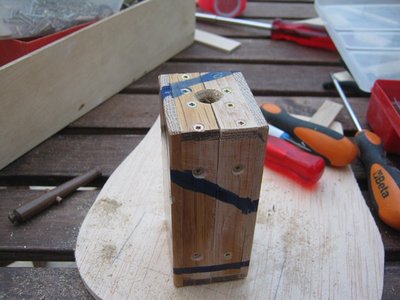
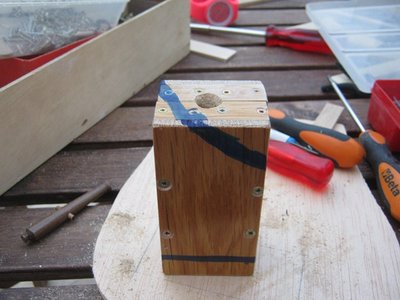
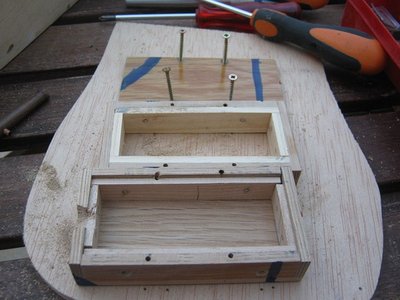
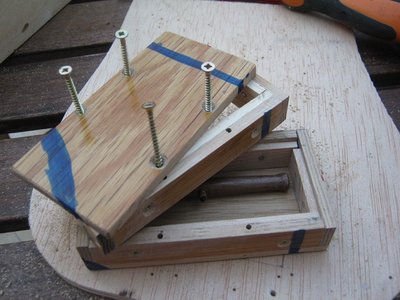
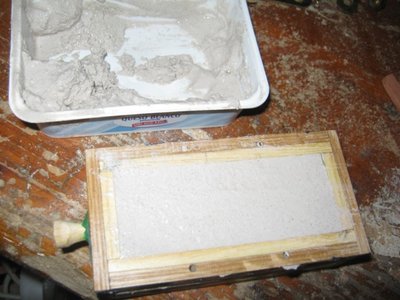
I prepared a box compAugust 2011. Today my father has given me back the gun. because the weld, polish got no good. I also did a mason. I the first plaster mold, since it takes much silicone me.letely disassembled to try to melt the lead cannon
-
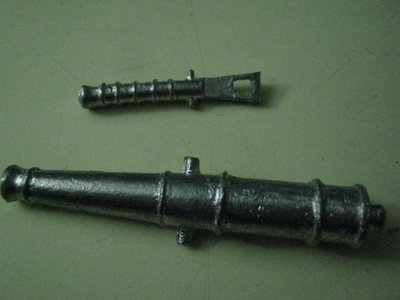
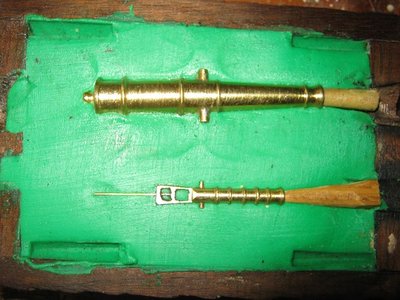
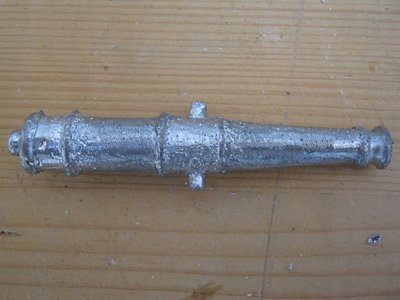
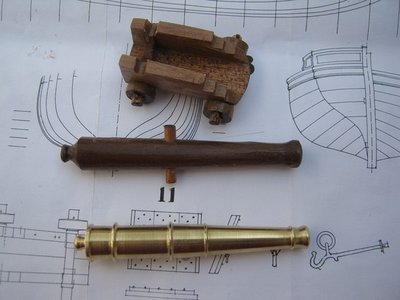
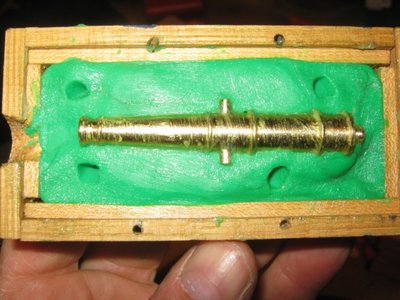
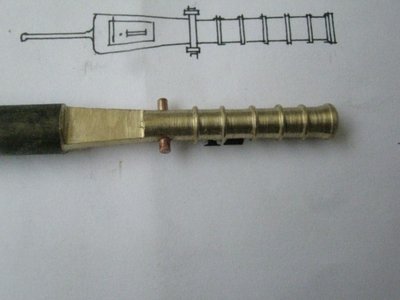
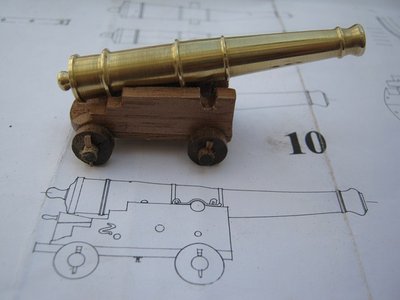
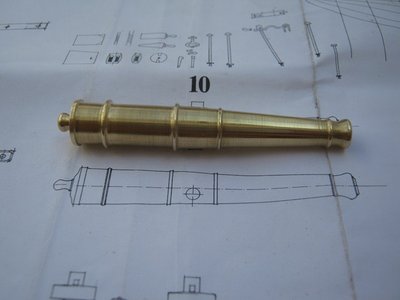
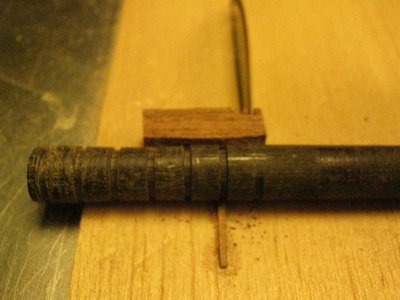
first attempt to make the stern lantern. because my wife's father, who is also fond of modeling, I have built a brass cannon with his lathe. I will use it as a mold to cast.
-
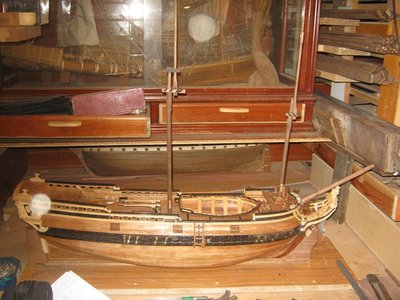
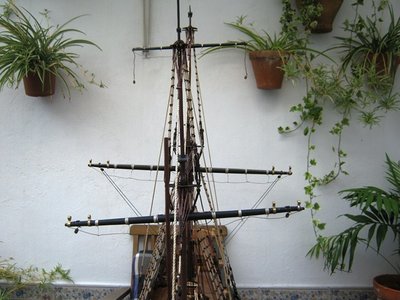
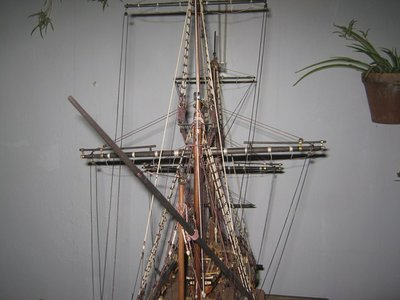
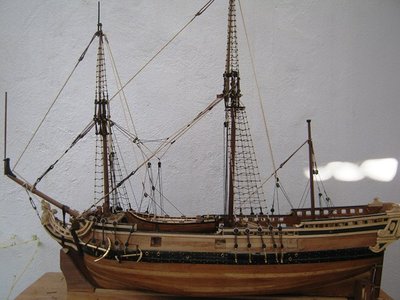
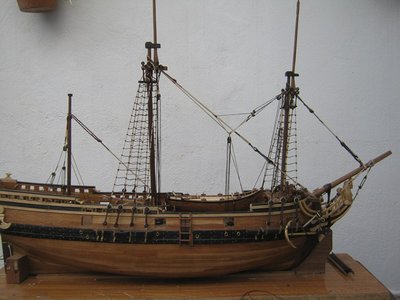
I have already put all the sticks, but ropes still missing. not know how to make candles.
-
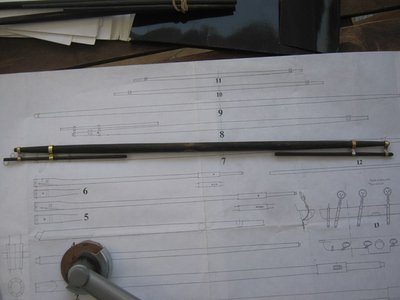
July 2011. finish the yards, with booms (if I remember correctly, because I have not very clear)
-
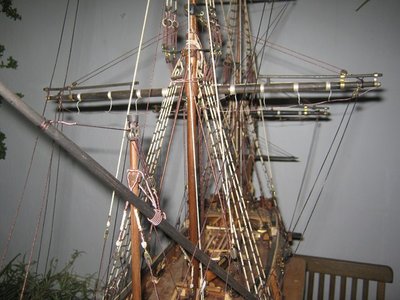
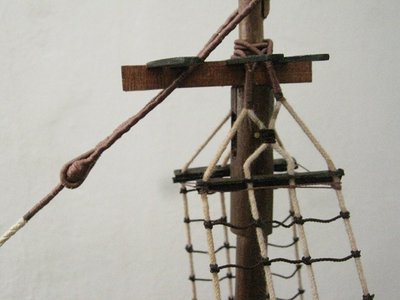
term standing rigging.
-
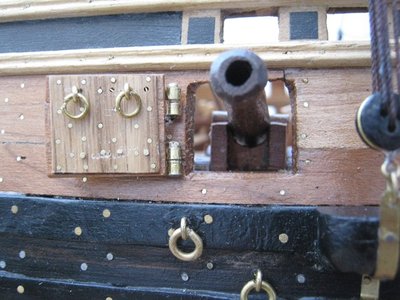
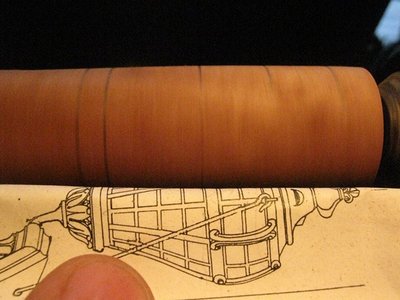
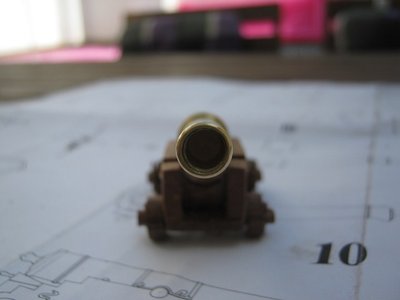
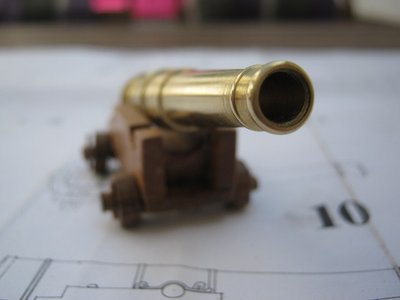
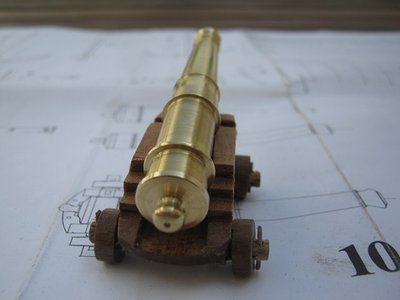
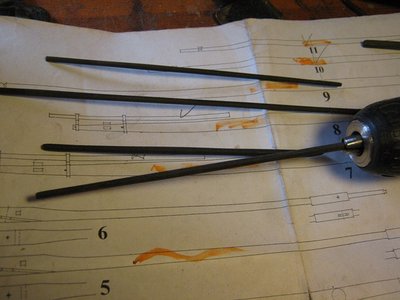
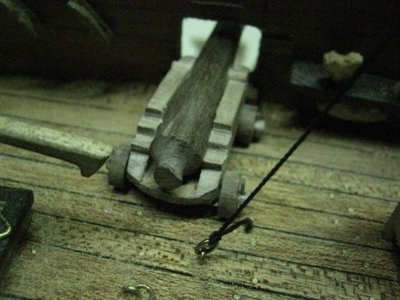
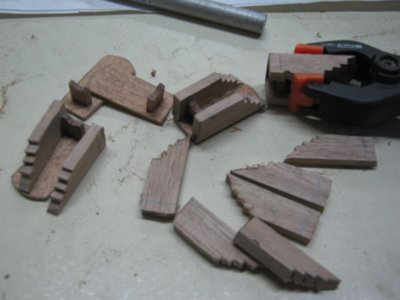
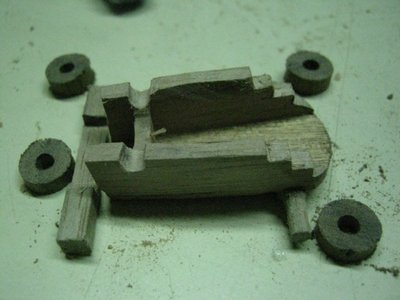
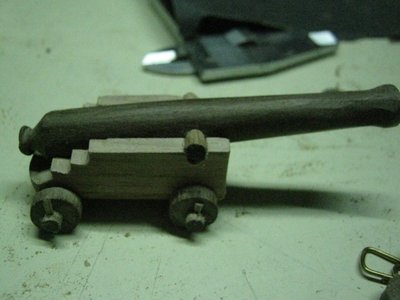
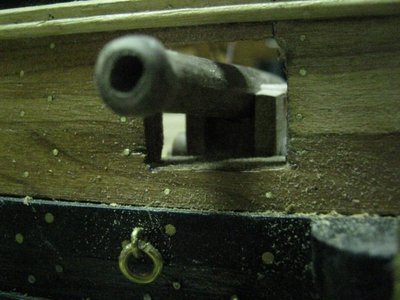
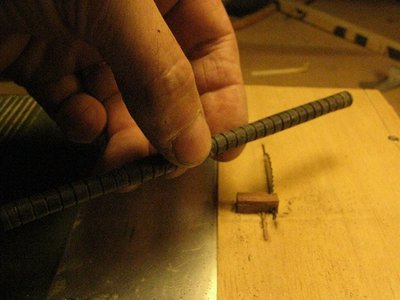
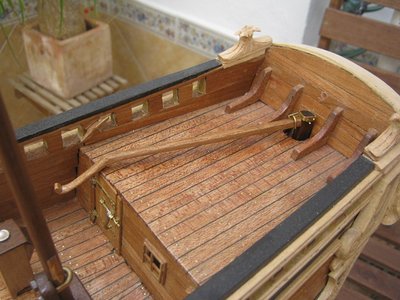
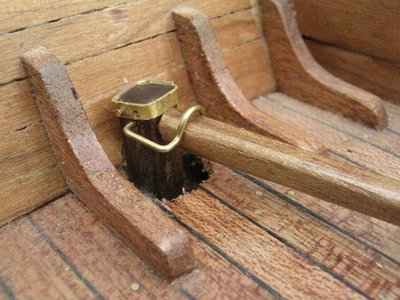
I start the carriages. the barrel, is just to see how it looks. I have thought about making one with the melt and 6.
-
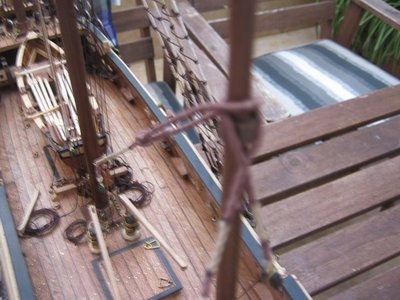
June 2011. put the mizzenmast. although in the book are sketches of the rigging, I just do not see it clearly. I am placing the ends, where I imagine it can be.


-
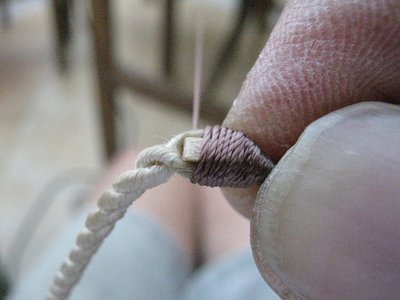
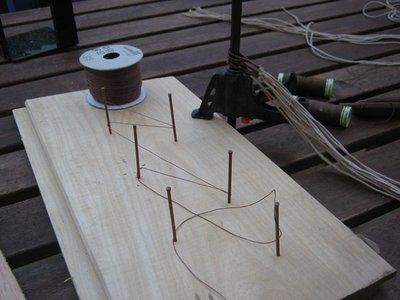
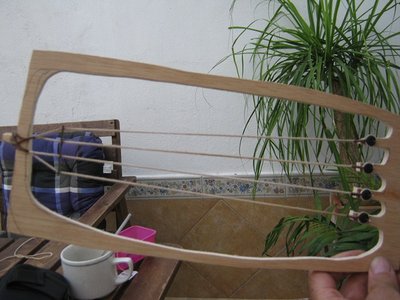
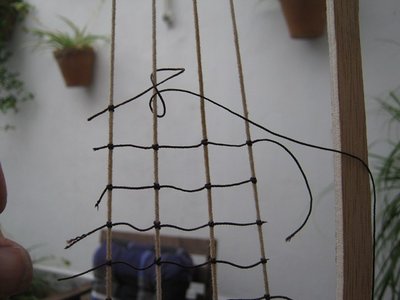
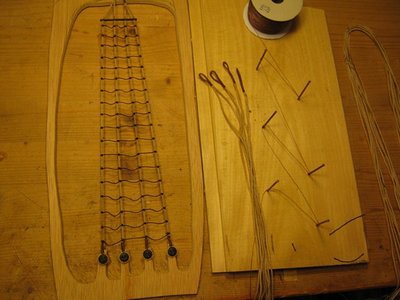
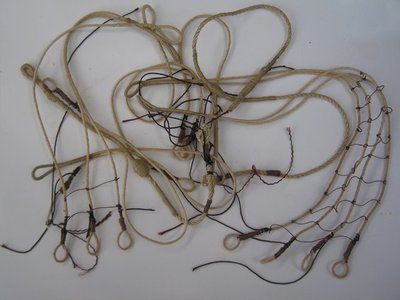
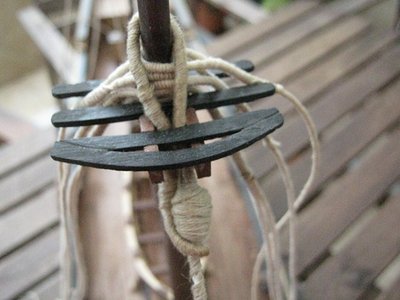
I start again with other shrouds. This time I have prepared a useful, to come out the same. this string, it is much more difficult than the woodwork.
-
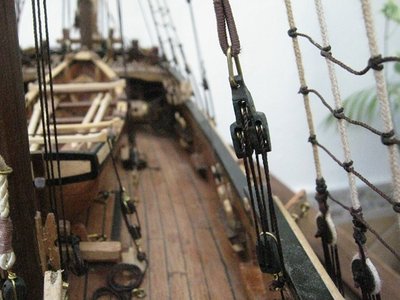
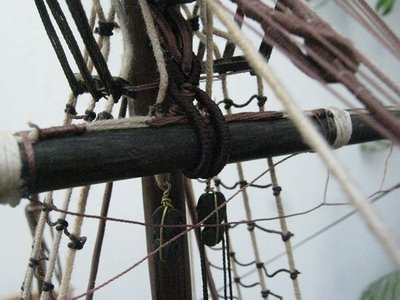
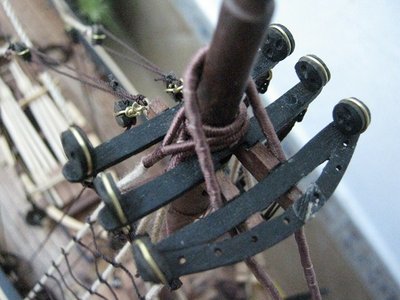
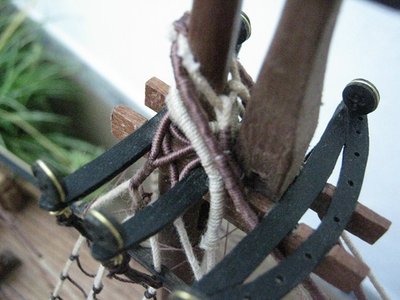
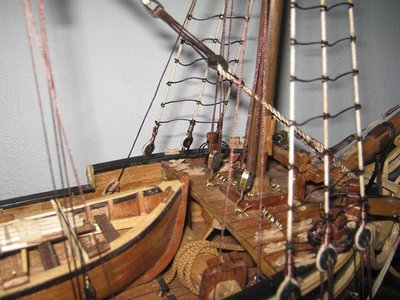
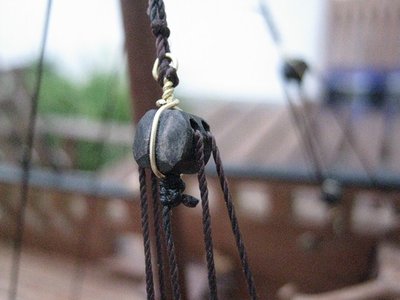
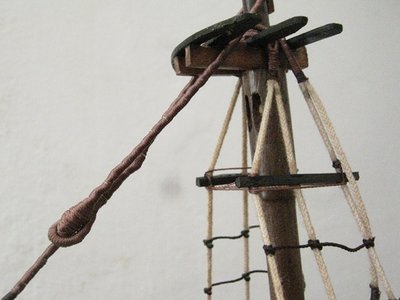
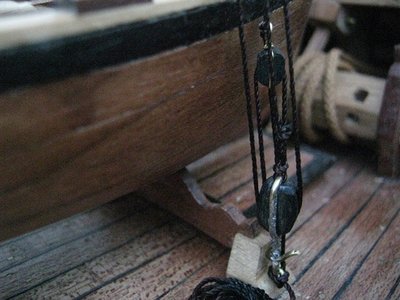
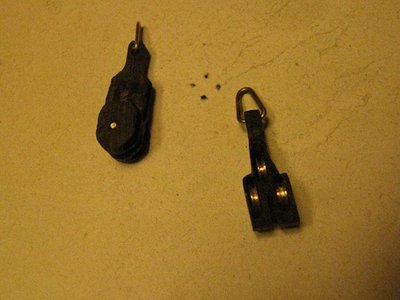
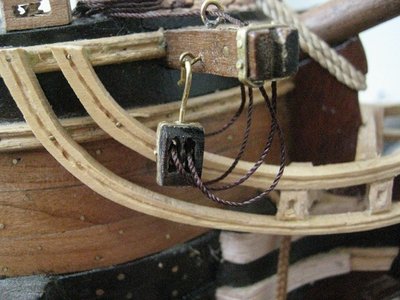
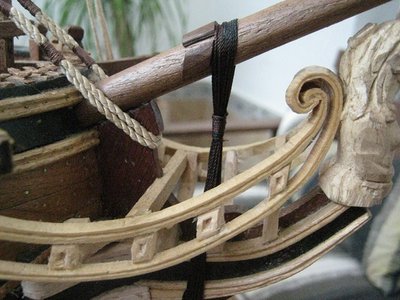
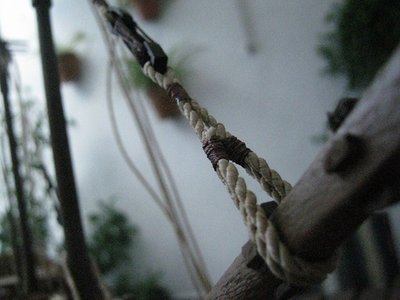
this pulley is homegrown.. the shrouds, I have left something short. the stays, have aforrado set too thick and do not like.

-
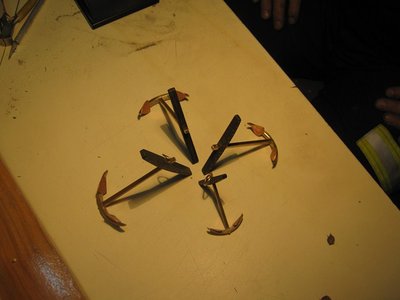
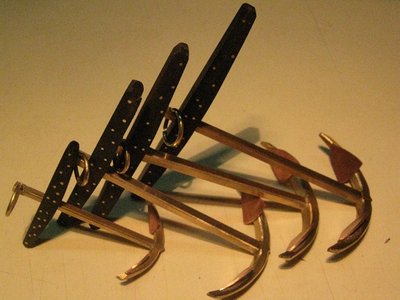
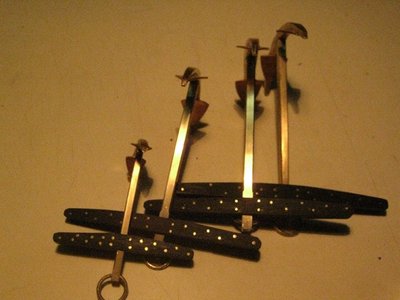
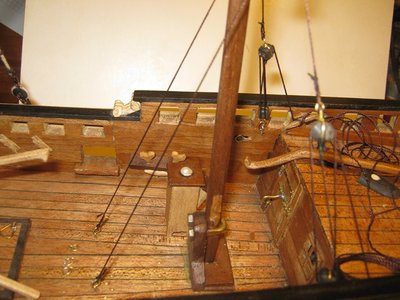
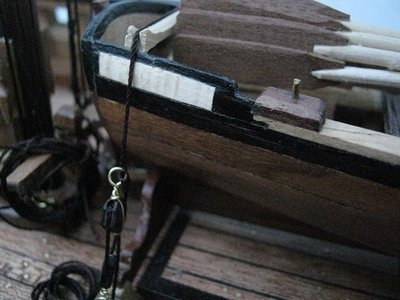
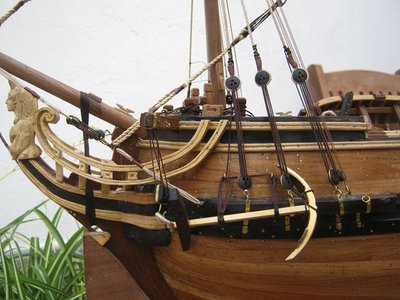
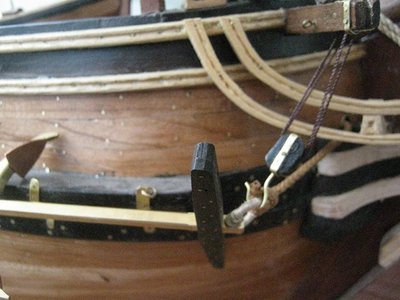
put an anchor.
-
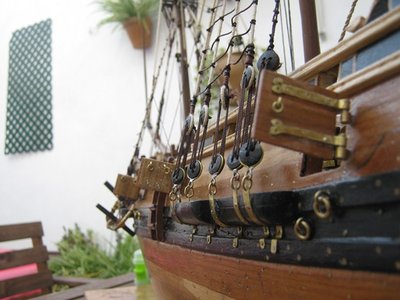
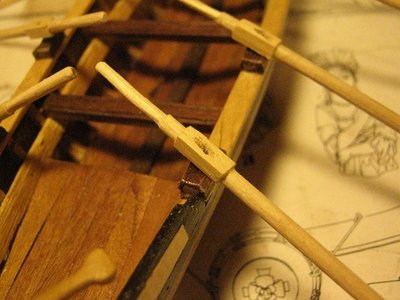
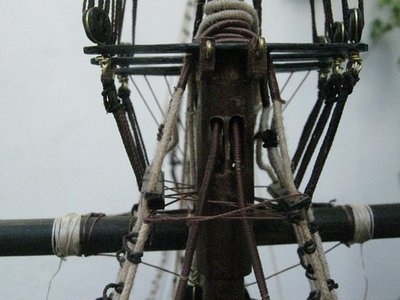
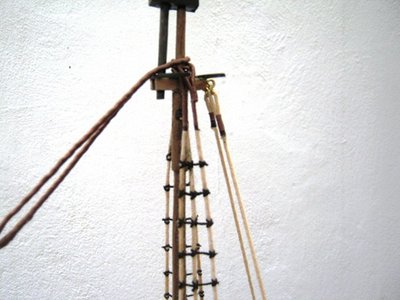
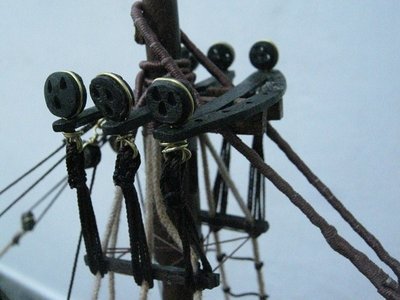
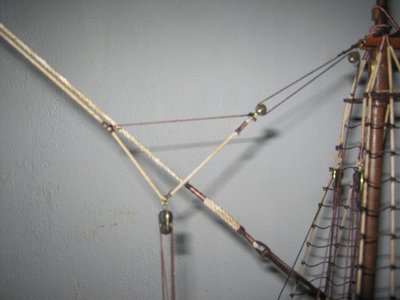
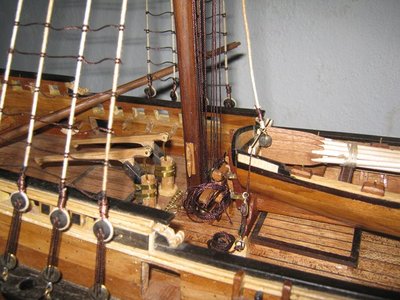
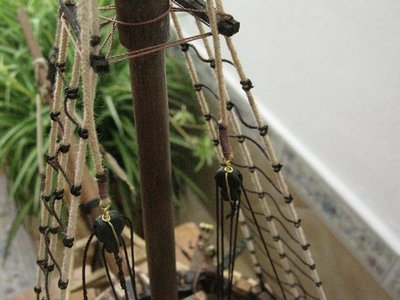
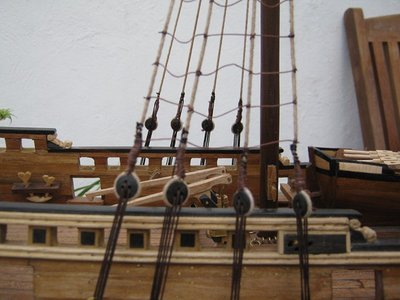
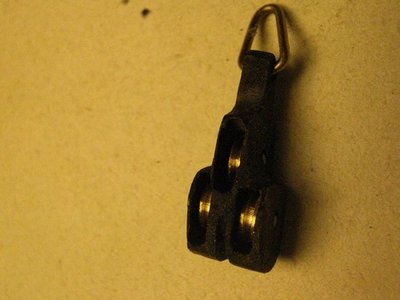
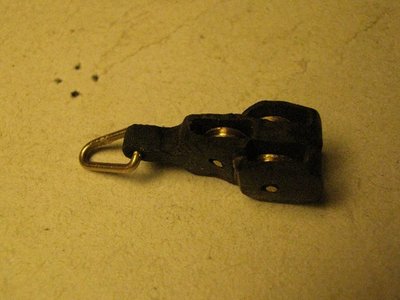
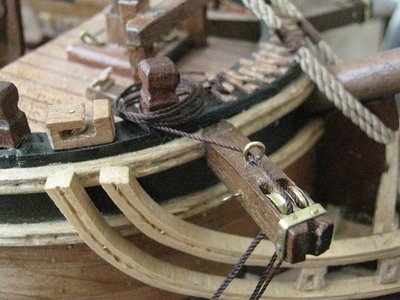
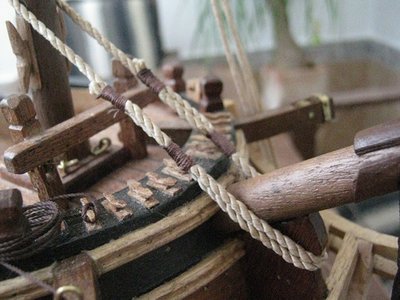
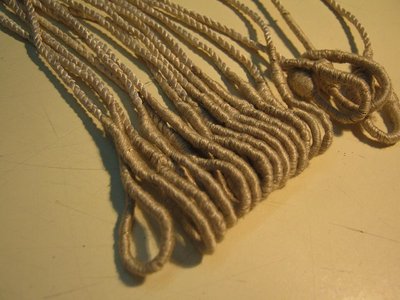
a view of the pulleys. I'm going crazy with ropes. I'ma big hands and I'm not used to handling such small stuff. I managed networks sewing thread, which looks very good. but the color is very dark. the staying put

-
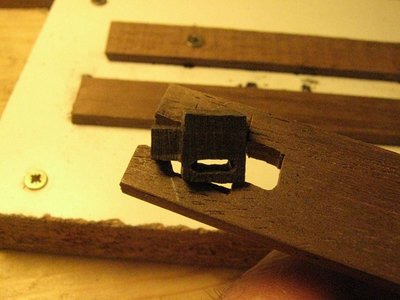
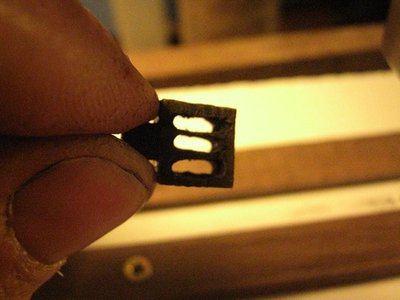
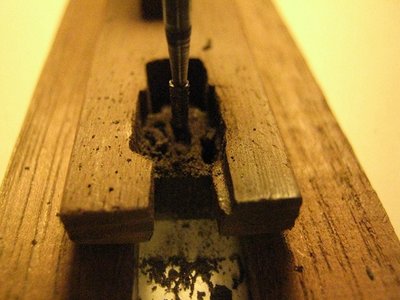
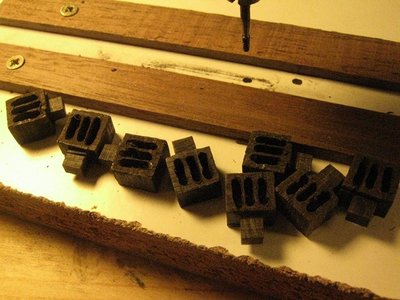
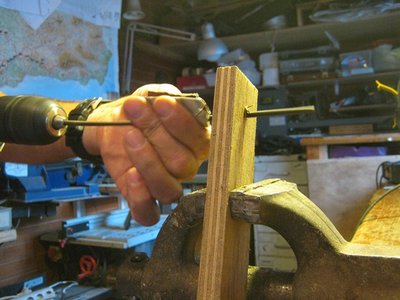
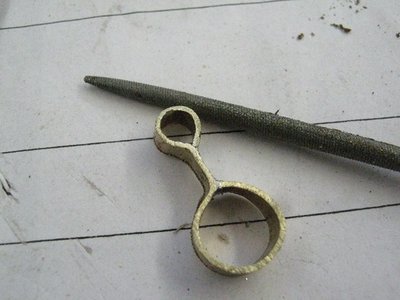
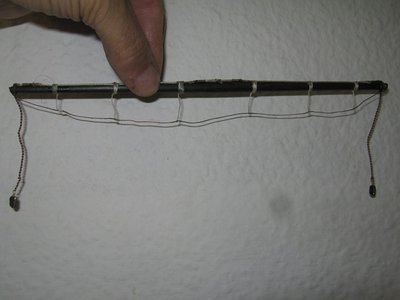
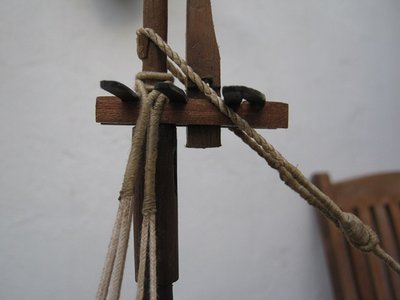
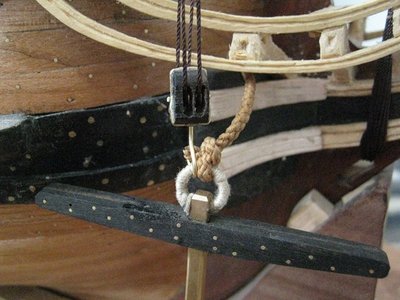
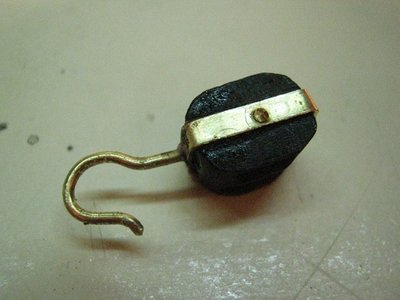
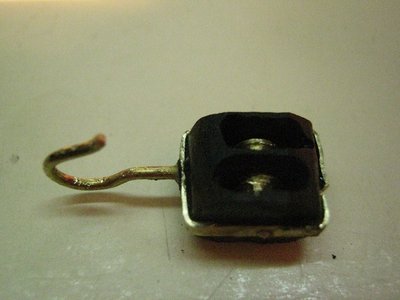
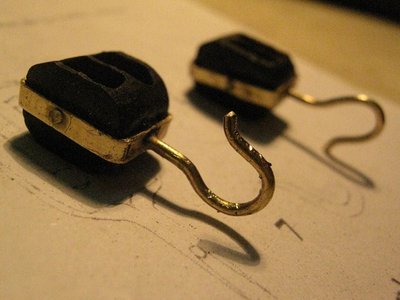
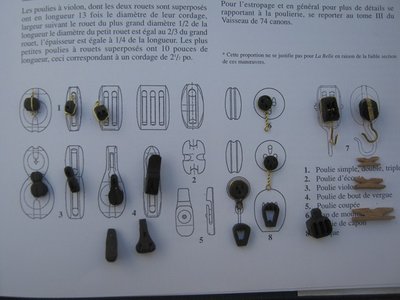
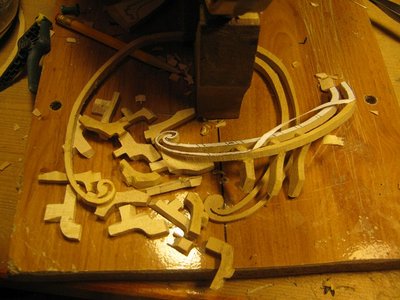
making a round stick, making deadeyes. to give them the same thickness, made a useful similar to the gratings. to make the stays, I put out a supplement to, and glued it would mess up the thread, and not as do the knot. violon pulleys, and Capon, they put the plate and the hook below. dictionaries naval encounter come in Spanish, French, and English. but I can not put first French, and translate it to Spanish. Does anyone know how this is achieved? thanks

-
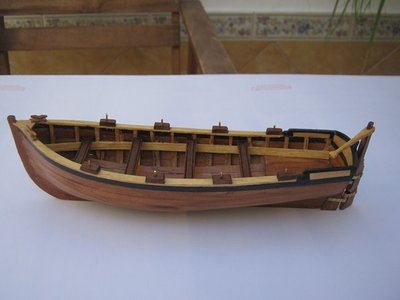
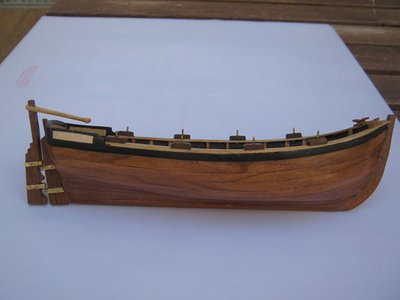
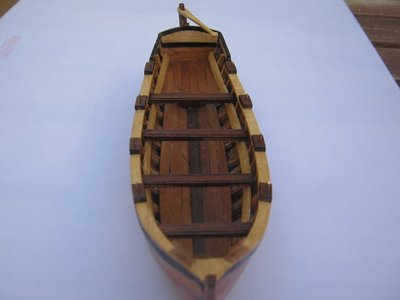
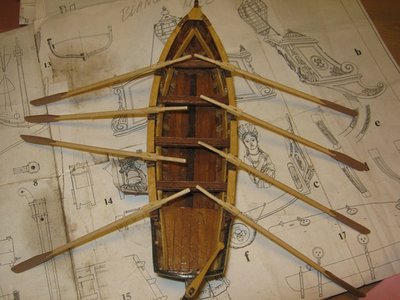
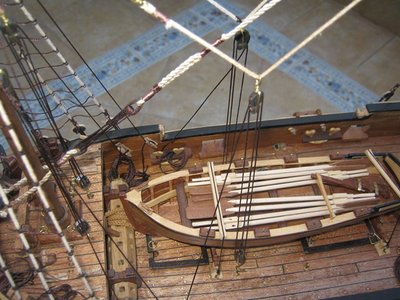
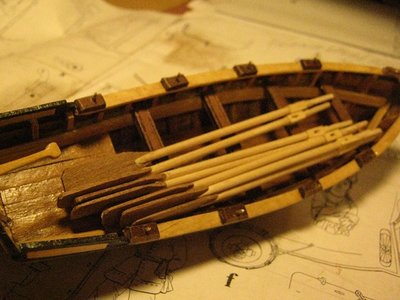
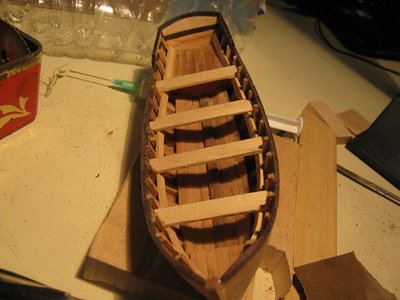
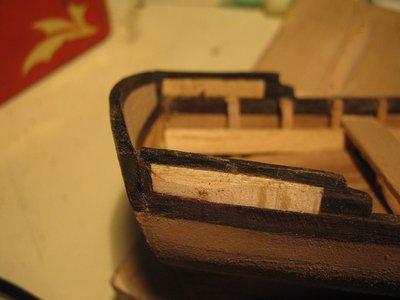
May 2011. I have no time. At times, I'm making ropes. Today I made the rudder of the boat. ended the helm of the belle


-
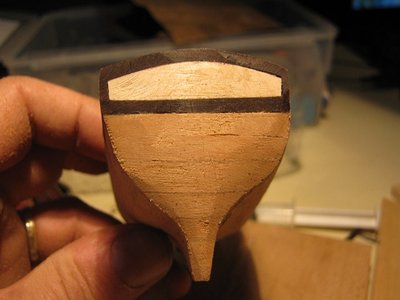
After many attempts, I think I've got the hang

-
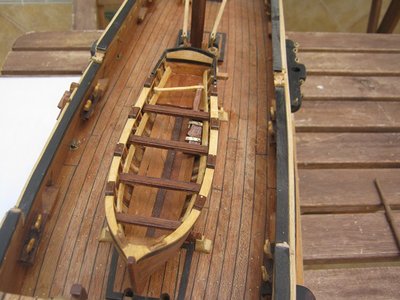
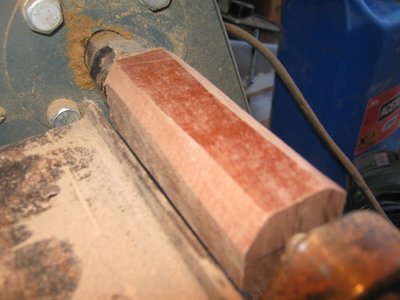
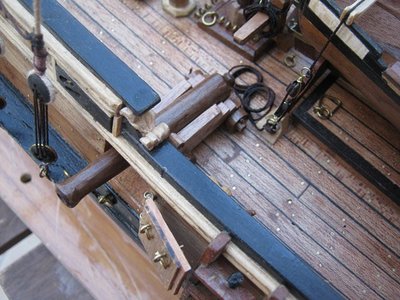
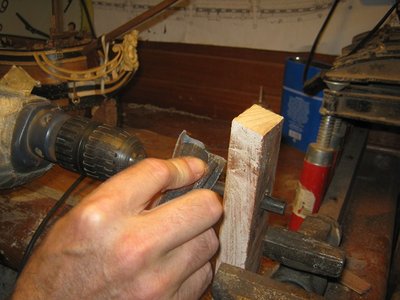
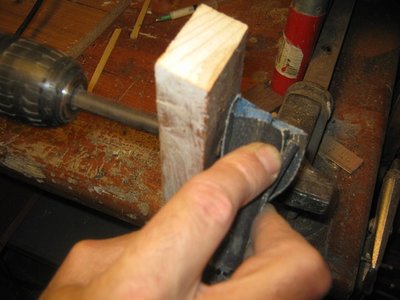
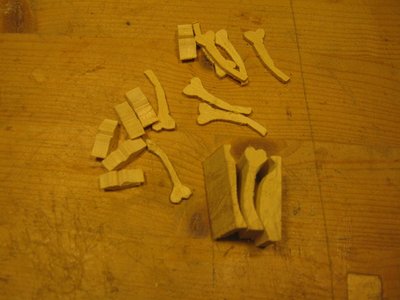
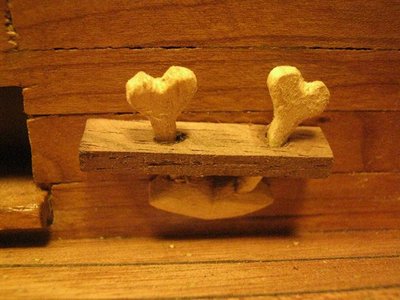
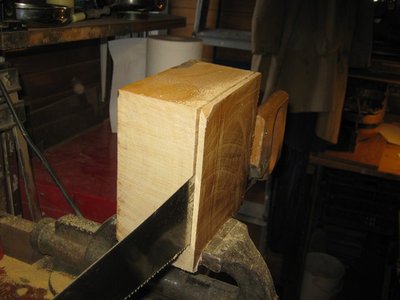
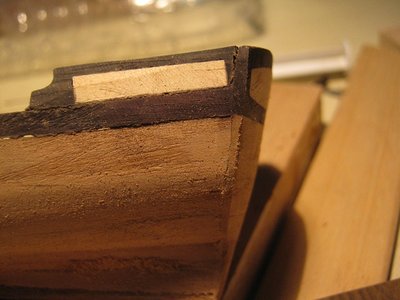
April 2011 heart cleats. start a block of boxwood for bracers.. I still have the boat.

-
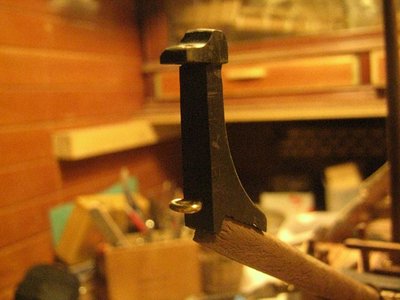
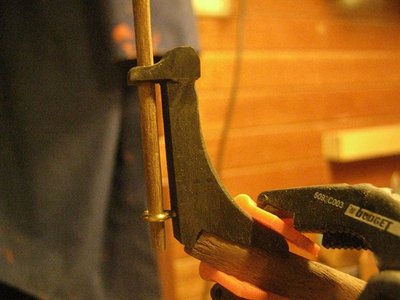
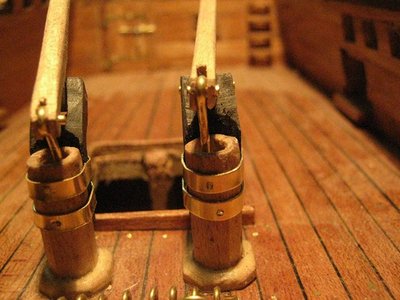
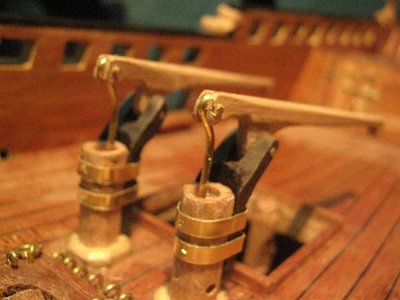
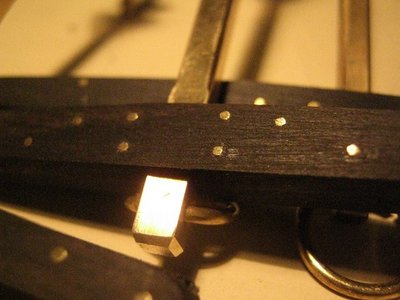
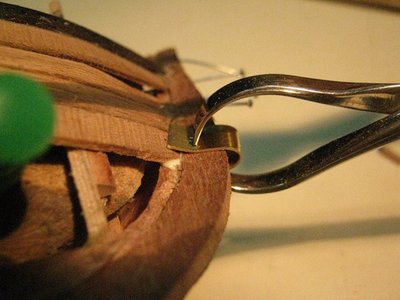
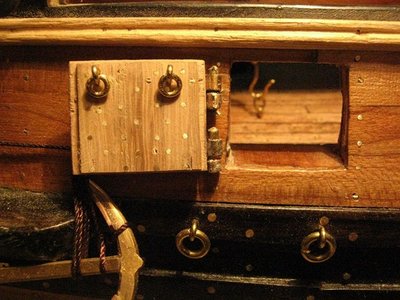
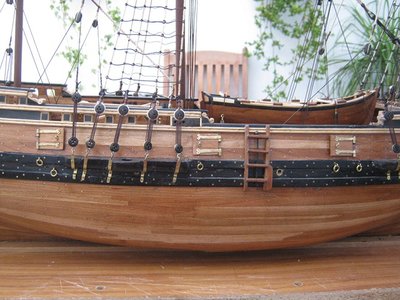
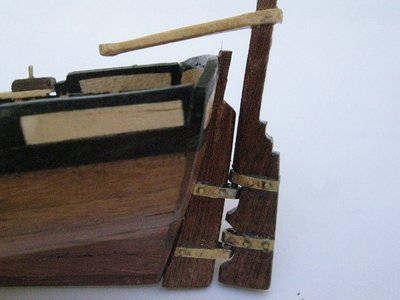
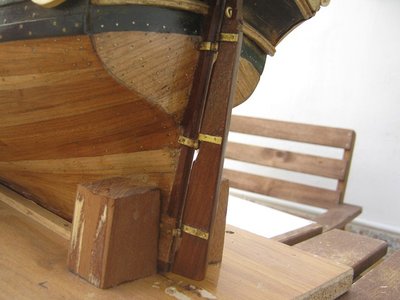
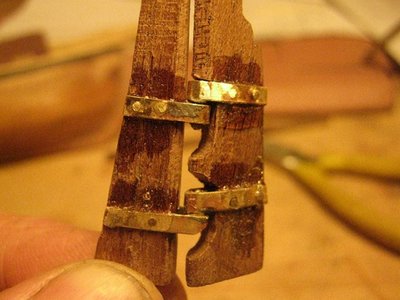
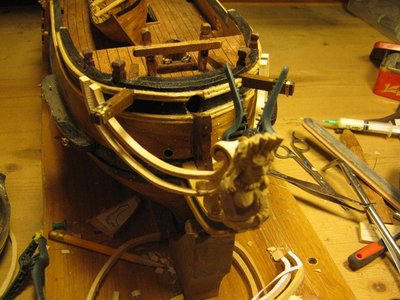
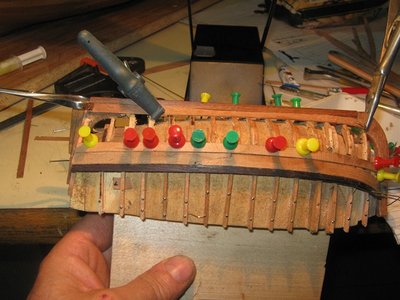
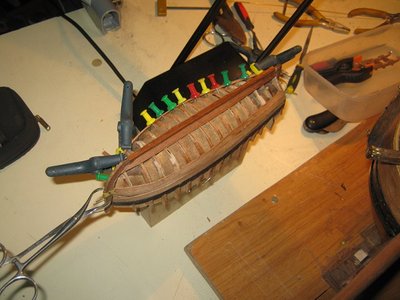
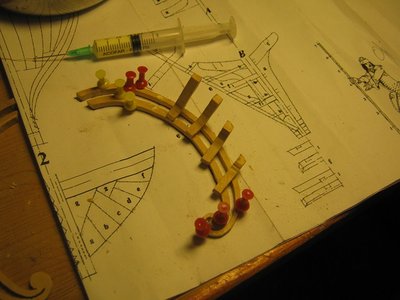
ebony placed at 4 anchors. and pumps. to hold the strakes within the rabbet, I have placed a clamp chapita and above.