Marinus
-
Posts
40 -
Joined
-
Last visited
1 Follower

-
 kiwiron reacted to a post in a topic:
HMS Victory by Marinus - Caldercraft - 1/72
kiwiron reacted to a post in a topic:
HMS Victory by Marinus - Caldercraft - 1/72
-
KARAVOKIRIS reacted to a post in a topic:
HMS Victory by Marinus - Caldercraft - 1/72
-
Charter33 reacted to a post in a topic:
HMS Victory by Marinus - Caldercraft - 1/72
-
vossiewulf reacted to a post in a topic:
HMS Victory by Marinus - Caldercraft - 1/72
-
kiwiron reacted to a post in a topic:
HMS Victory by Marinus - Caldercraft - 1/72
-
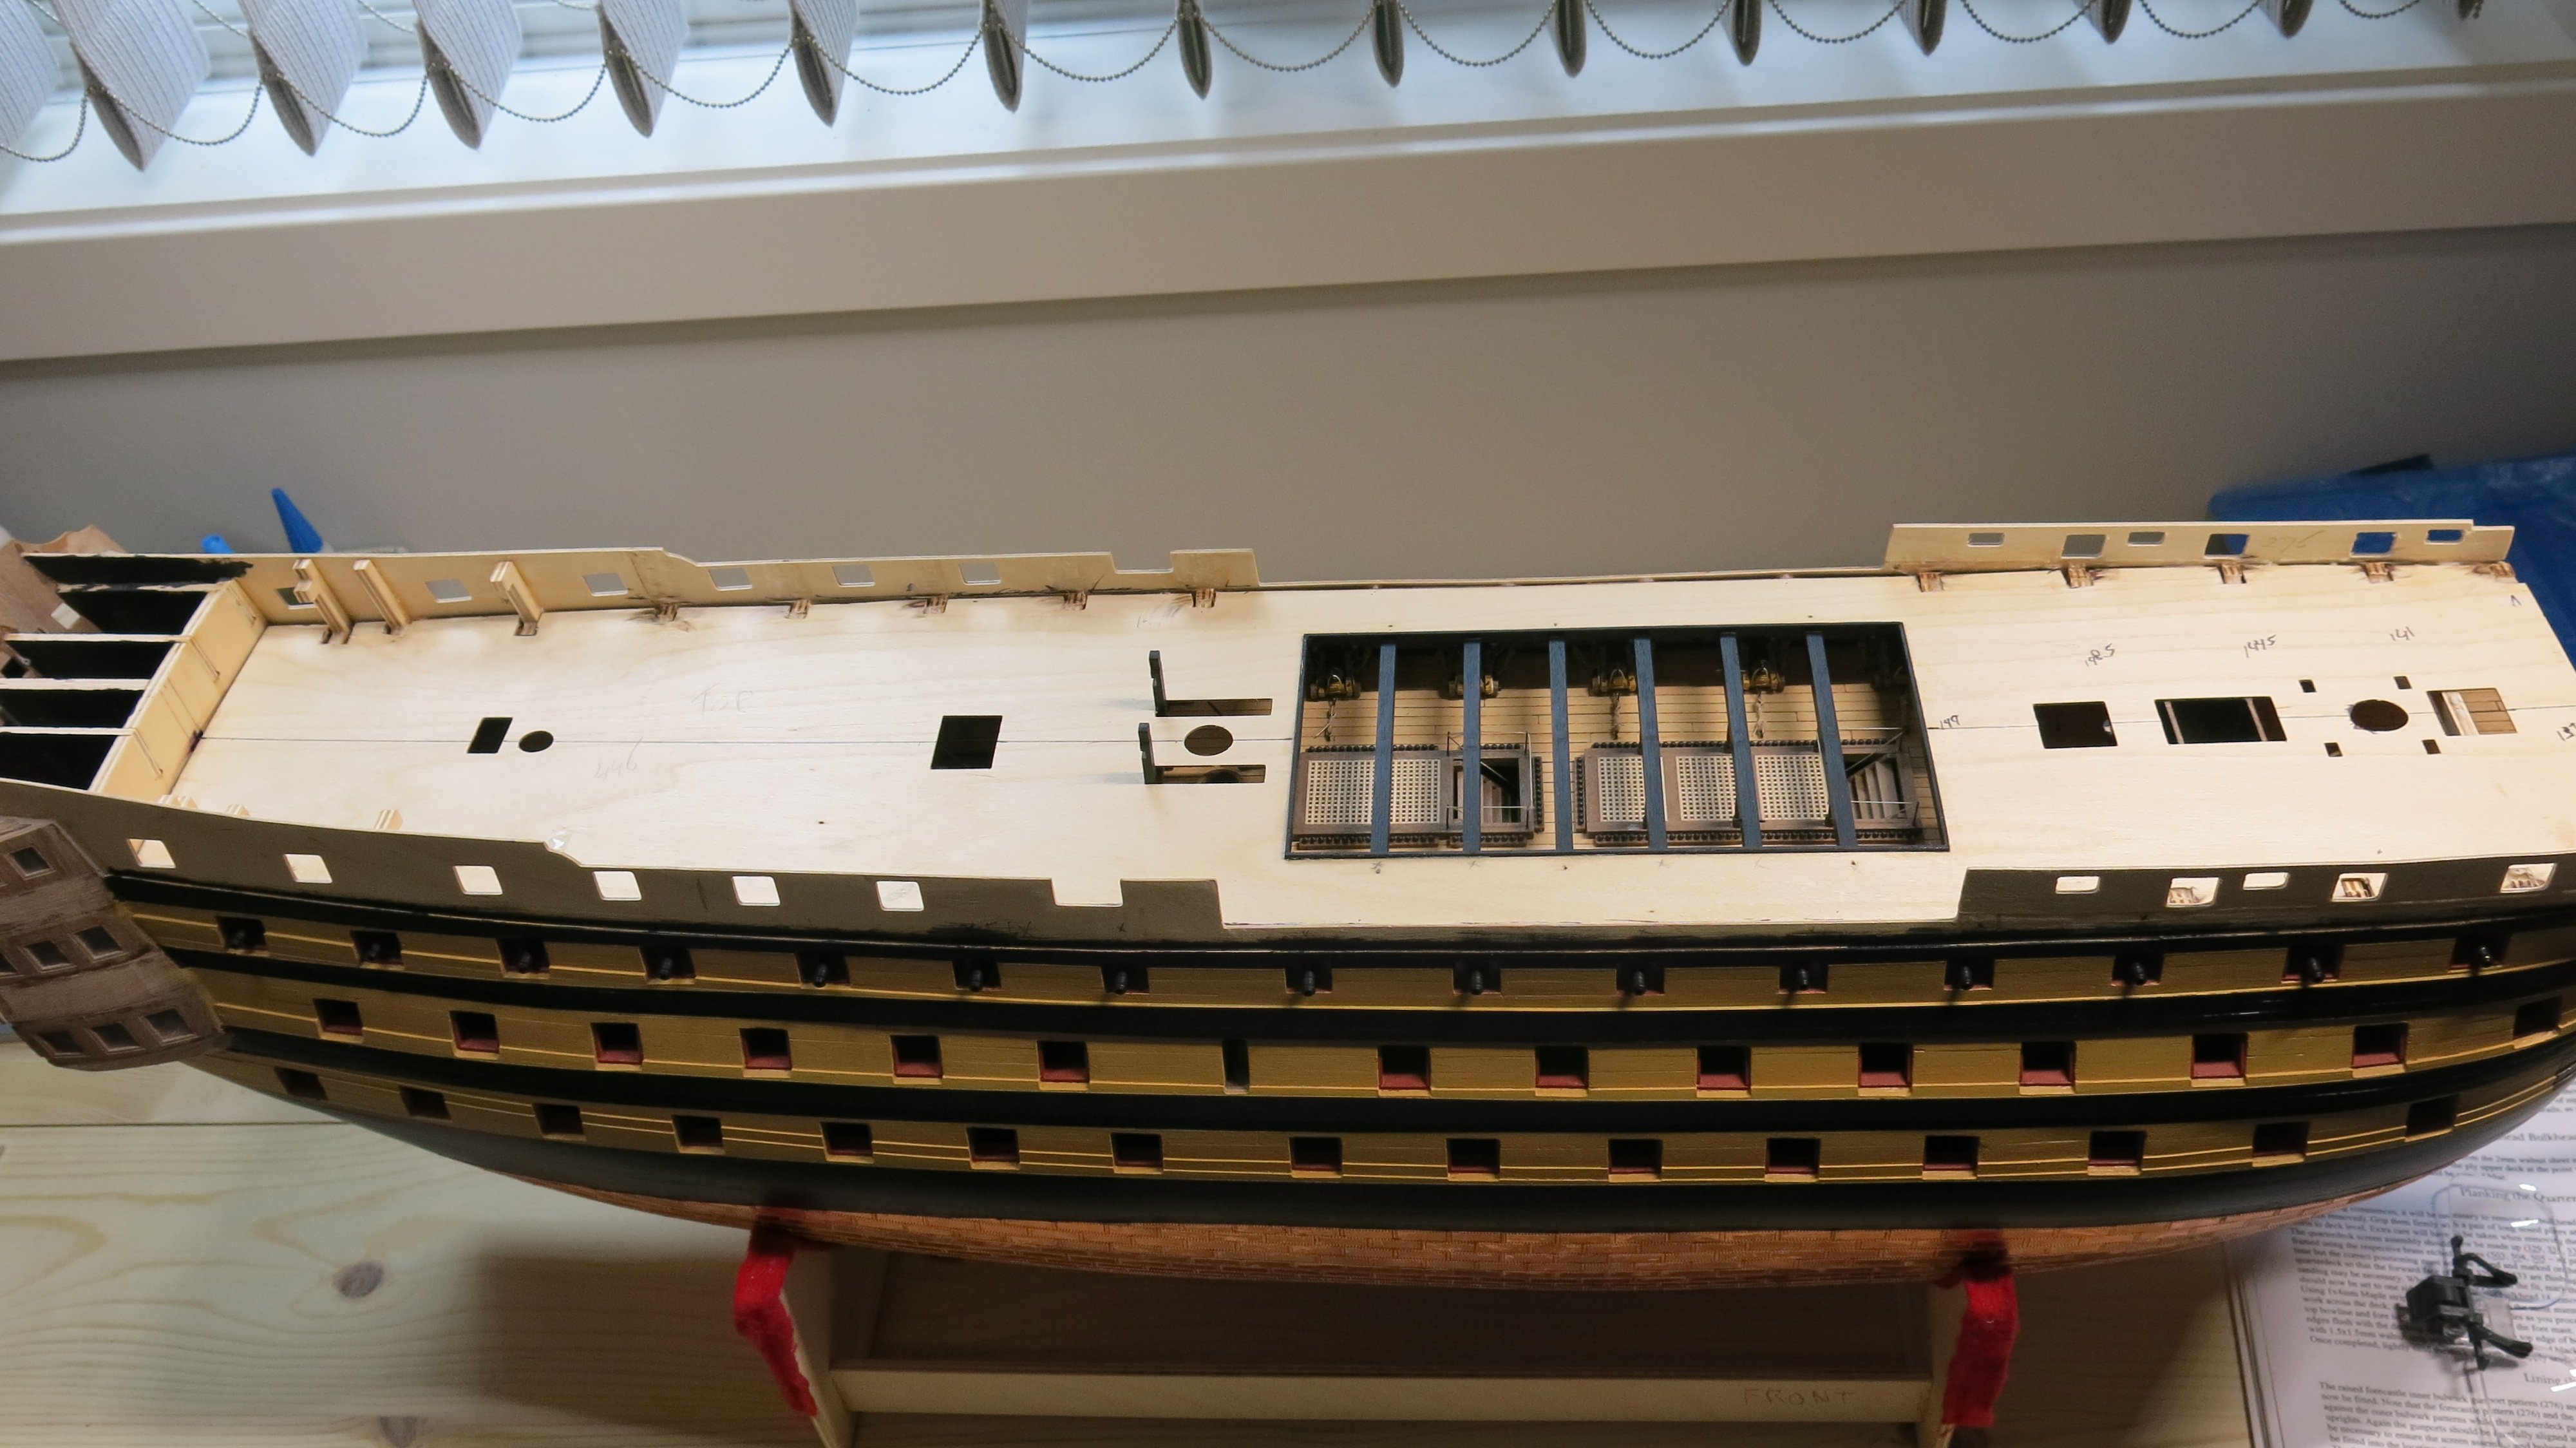
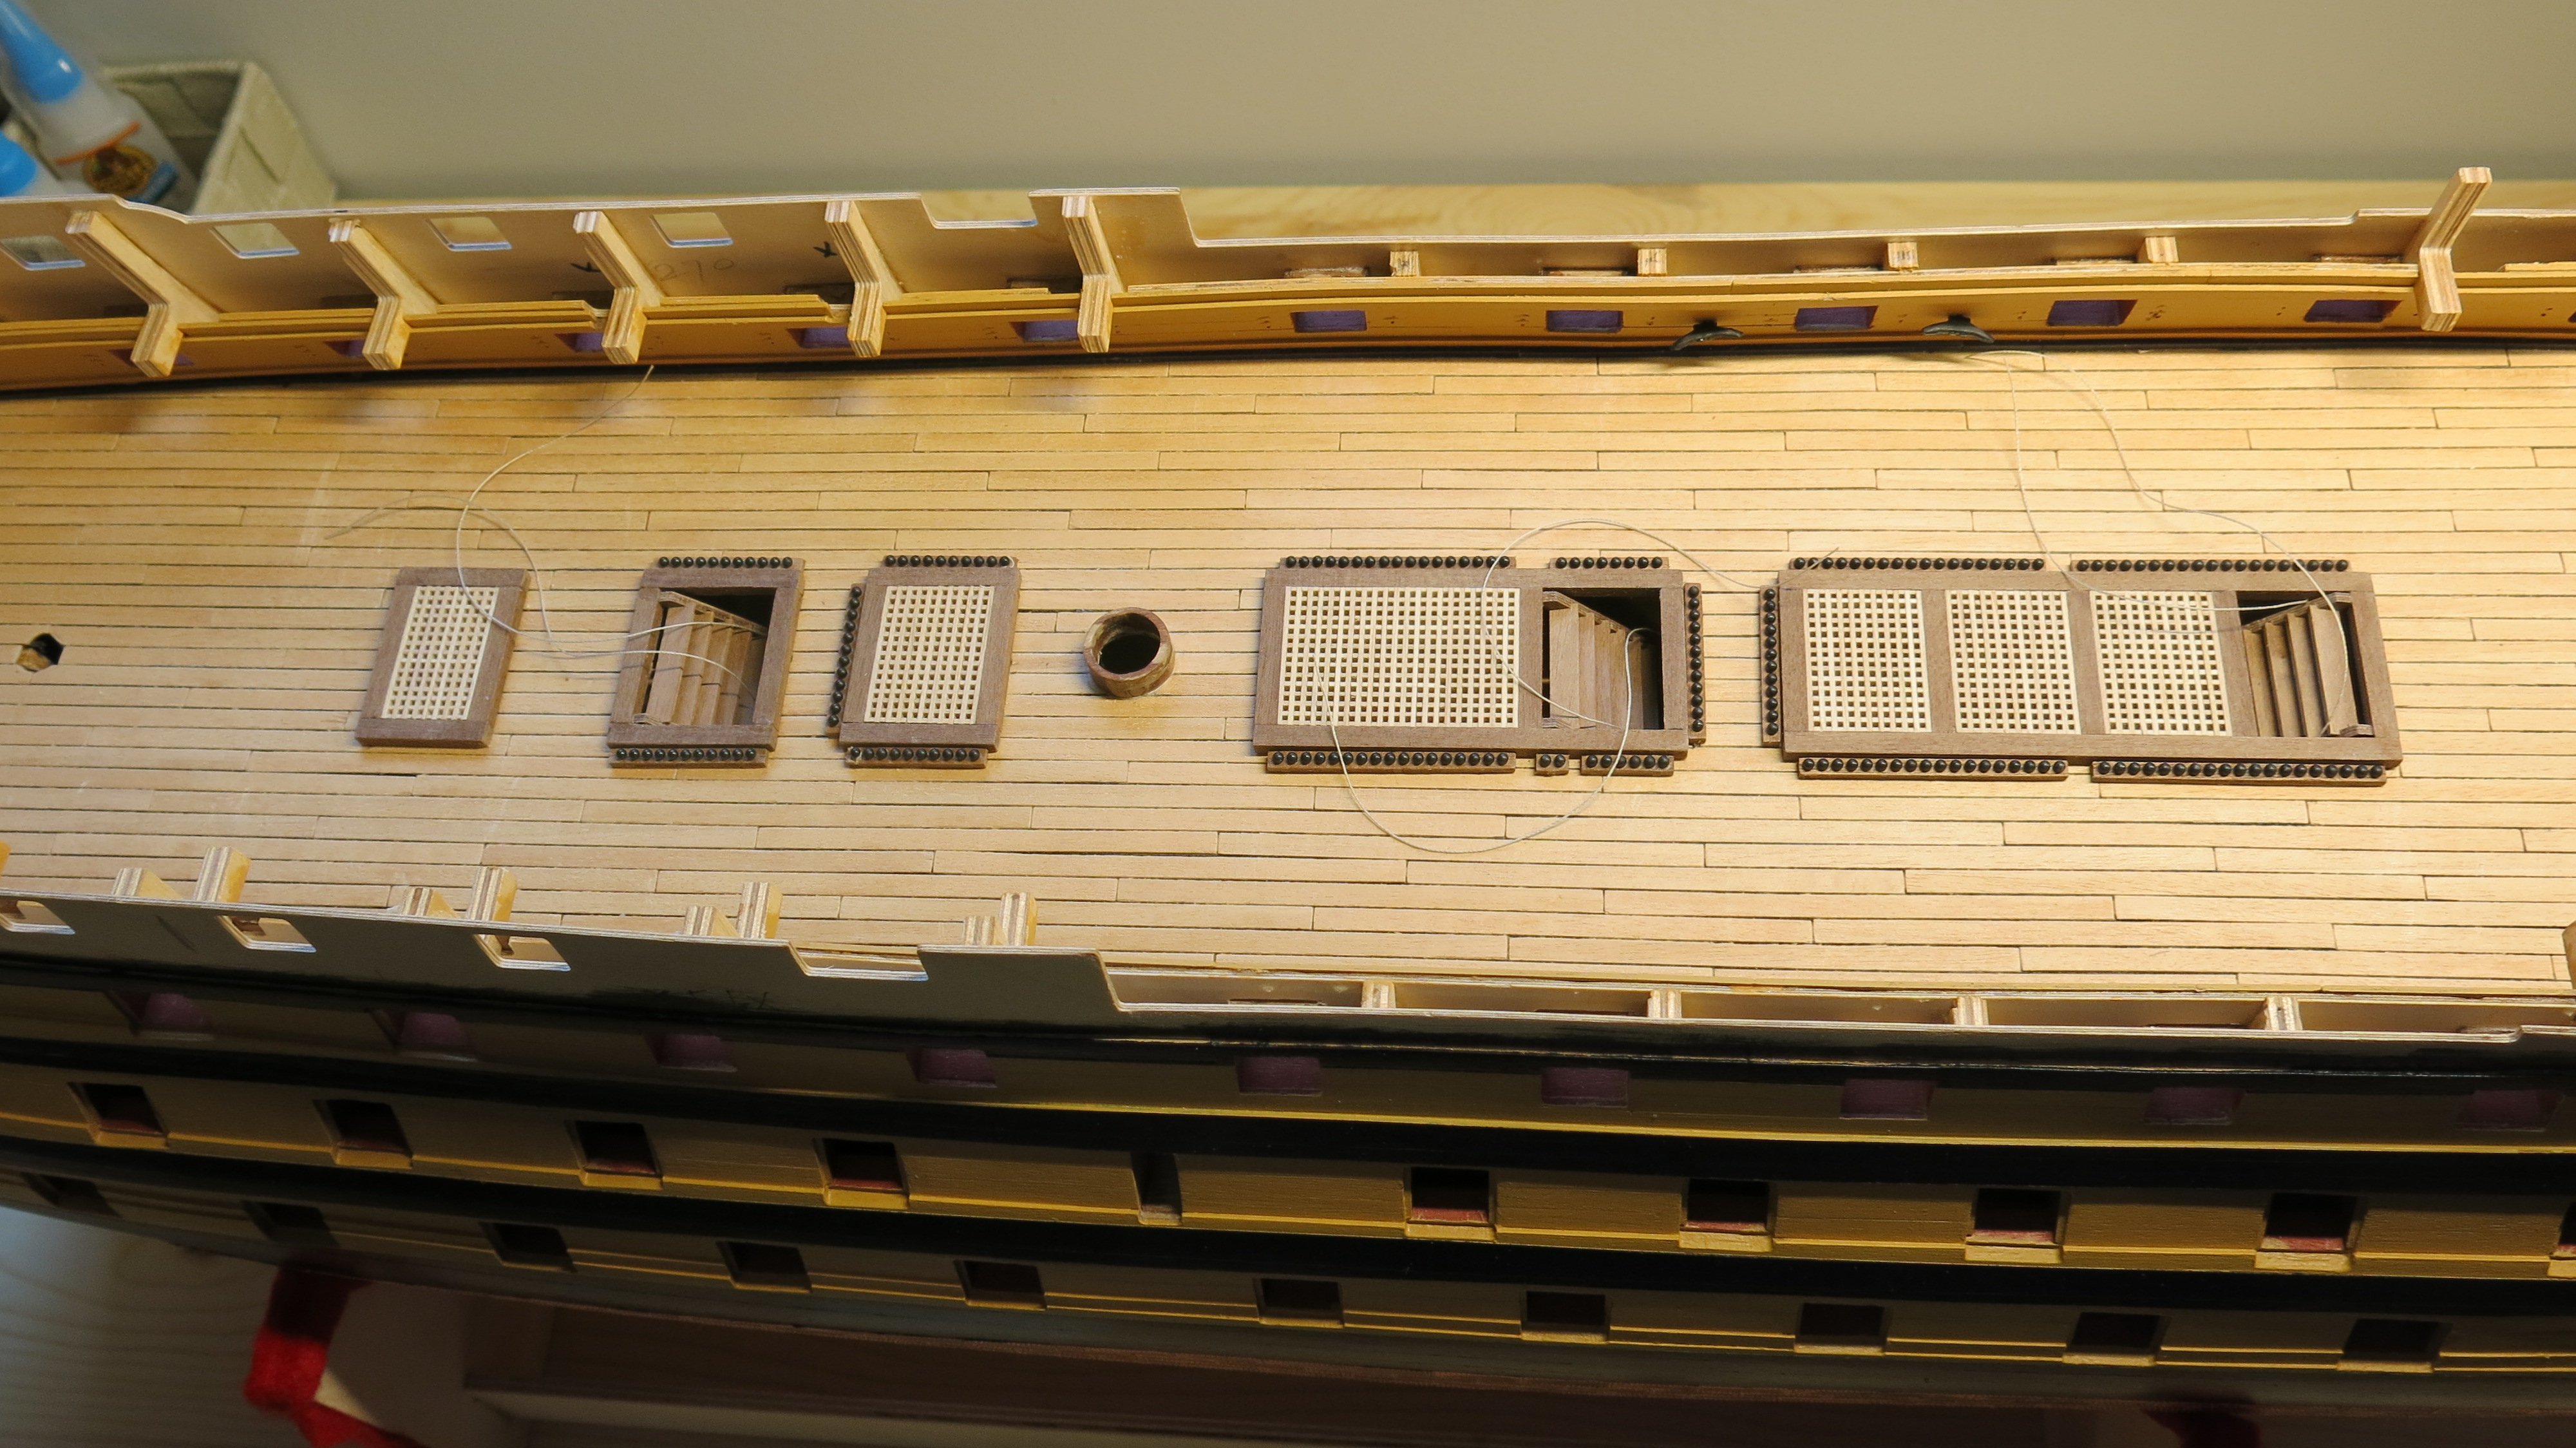
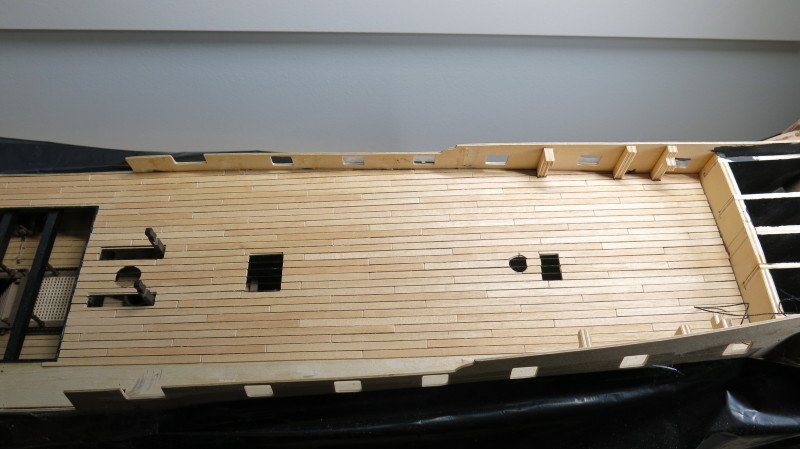
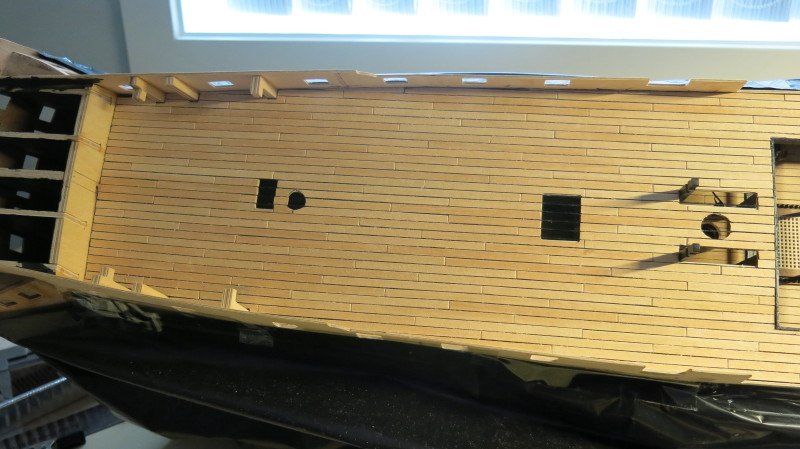
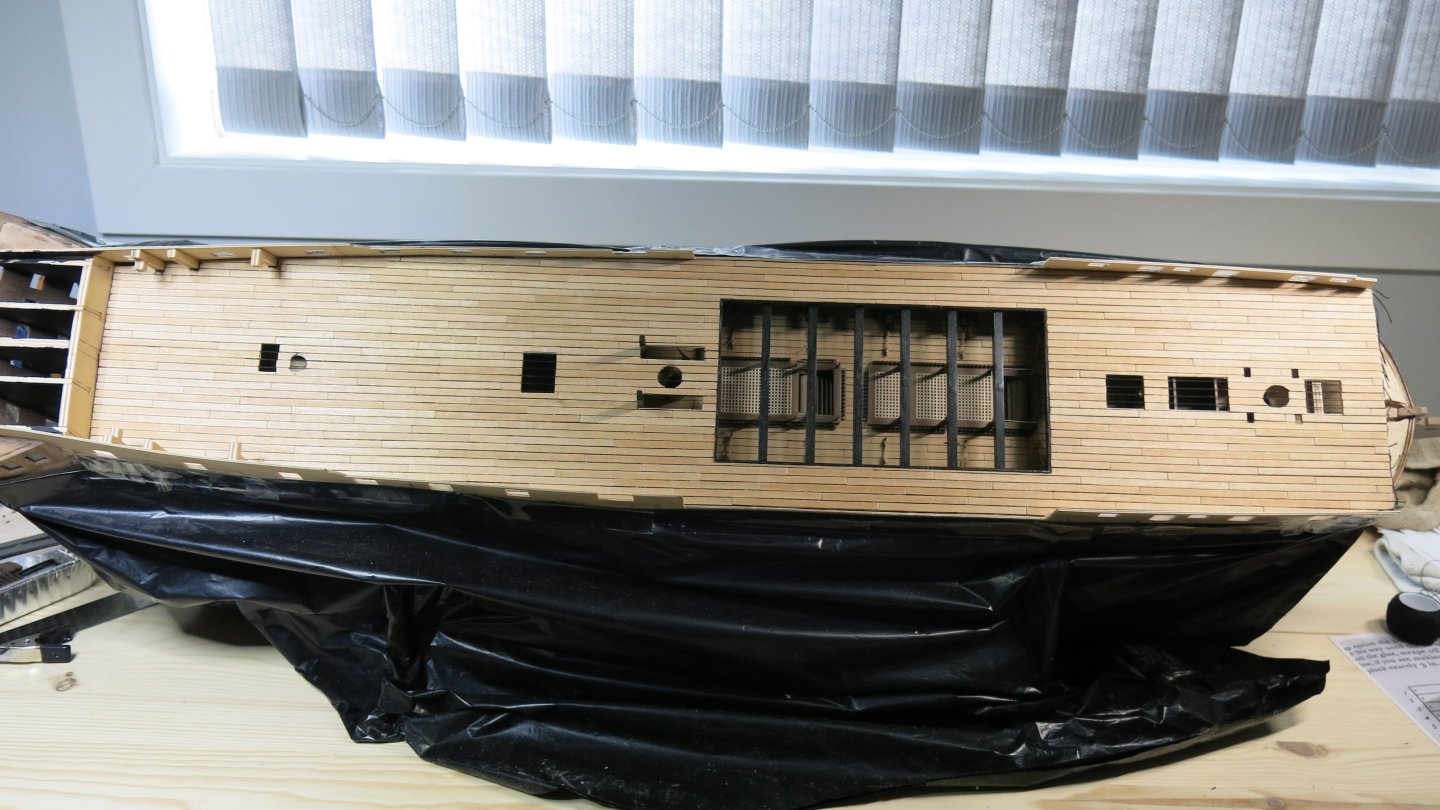
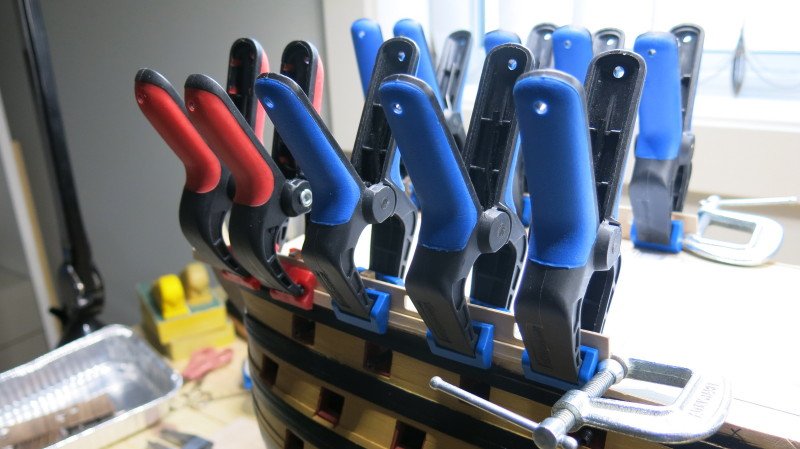
 The planking of the Quarterdeck is done. Next job is the sanding and putting on the varnish. After that I will do the lining of the gunports.
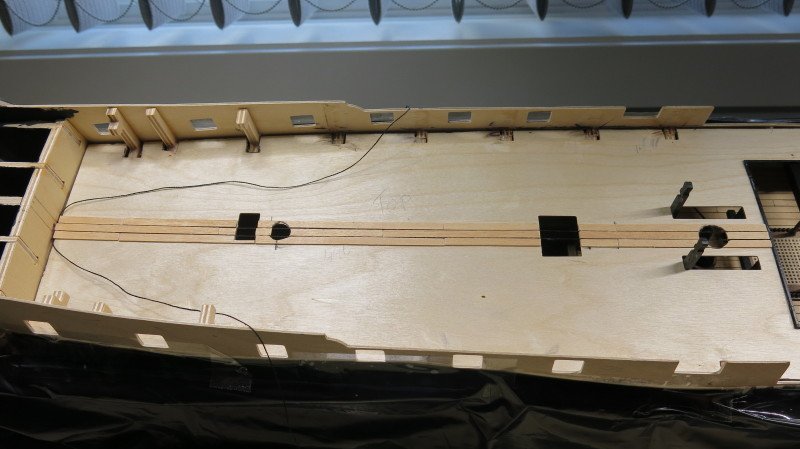
-
KARAVOKIRIS reacted to a post in a topic:
HMS Victory by Marinus - Caldercraft - 1/72
-
KARAVOKIRIS reacted to a post in a topic:
HMS Victory by Marinus - Caldercraft - 1/72
-
KARAVOKIRIS reacted to a post in a topic:
HMS Victory by Marinus - Caldercraft - 1/72
-
KARAVOKIRIS reacted to a post in a topic:
HMS Victory by Marinus - Caldercraft - 1/72
-
KARAVOKIRIS reacted to a post in a topic:
HMS Victory by Marinus - Caldercraft - 1/72
-
Marinus reacted to a post in a topic:
HMS Victory by Marinus - Caldercraft - 1/72
-
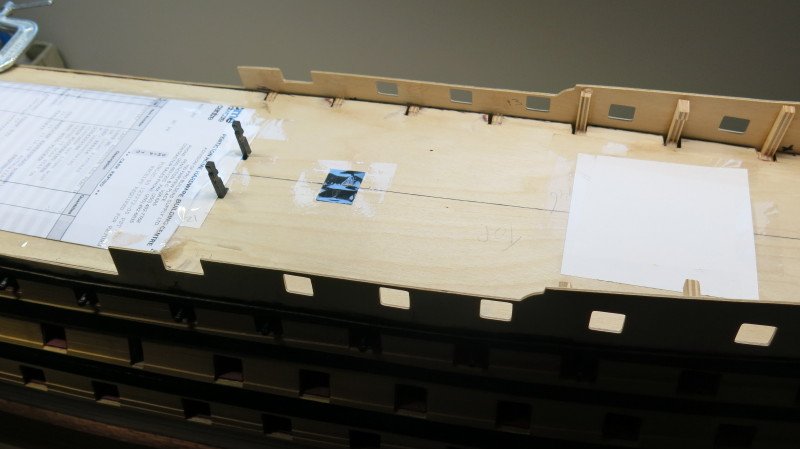
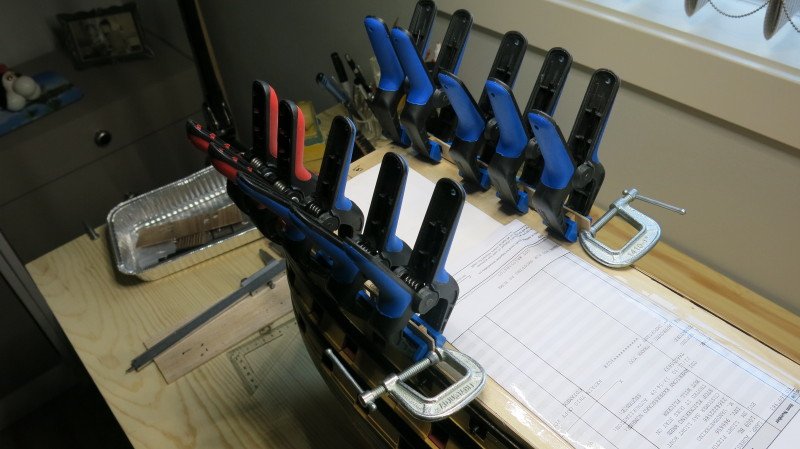
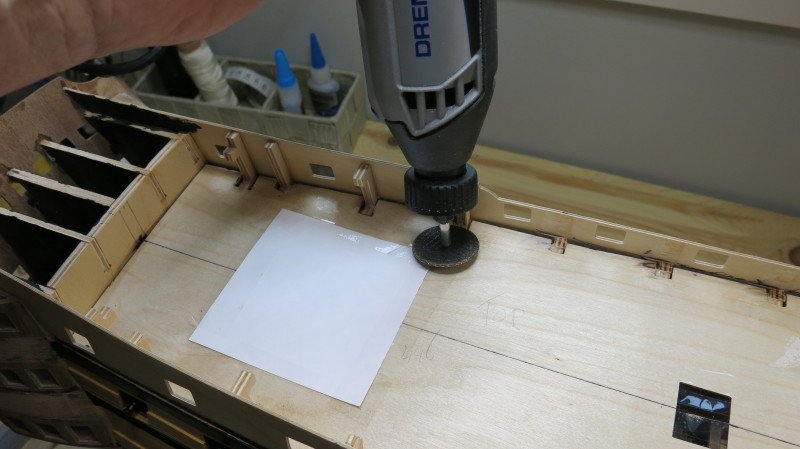
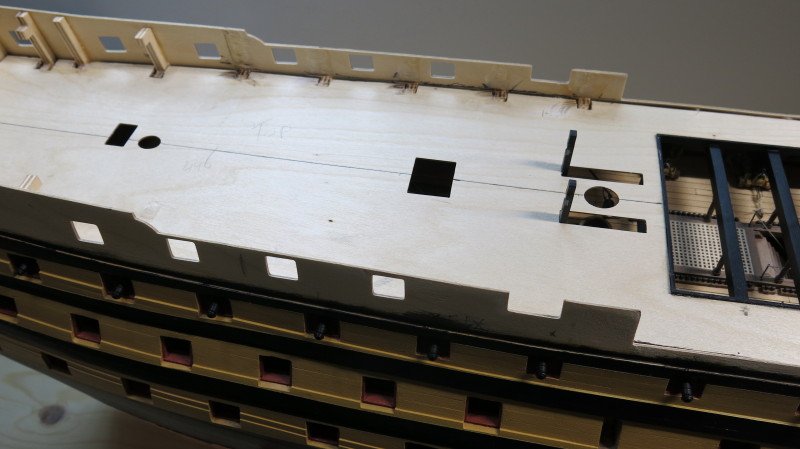
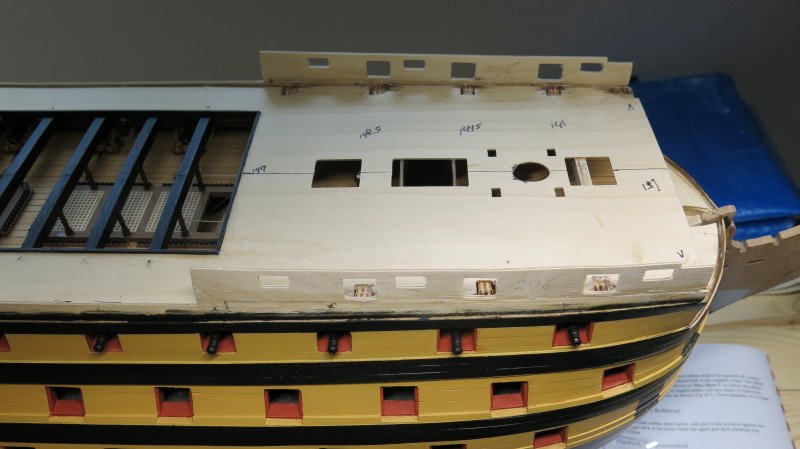
Fitted the gunport strips 276 in place. Only glued the strips onto top gun port pattern 270. This way it is easier to remove the uprights 1 to 5 on from the bulkheads. Removed the uprights on bulkheads 1 to 5 and 10 to 13. I used a Dremel grinder to remove the uprights. Fitted the quarterdeck screen assembly and removed upright 14. Next will be the quarterdeck planking.


-
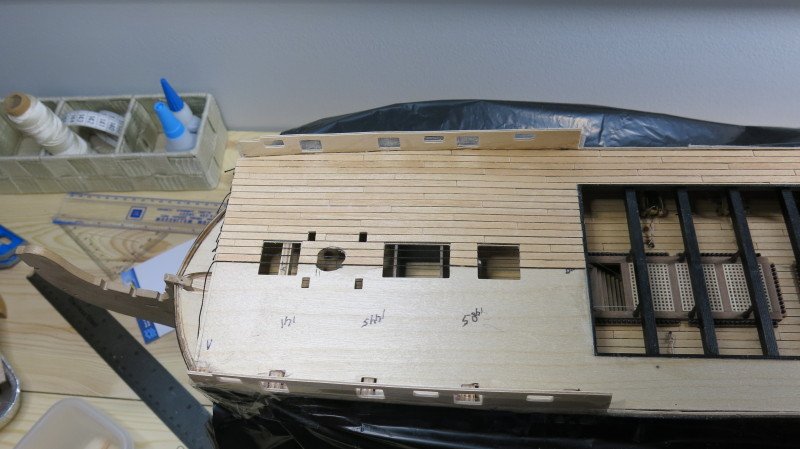
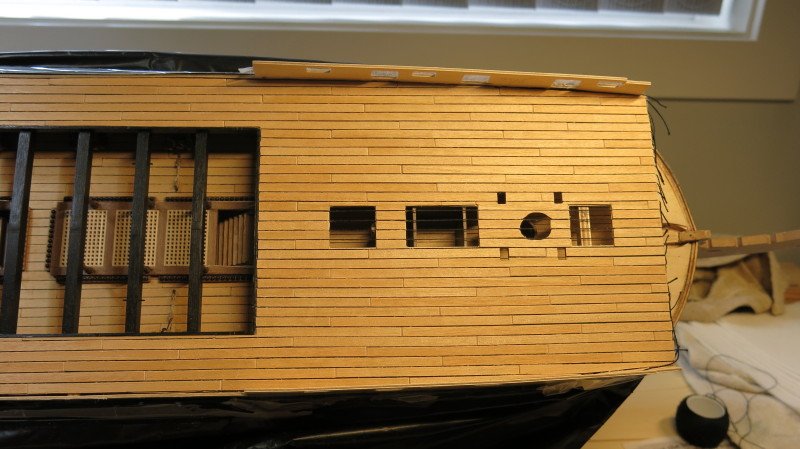
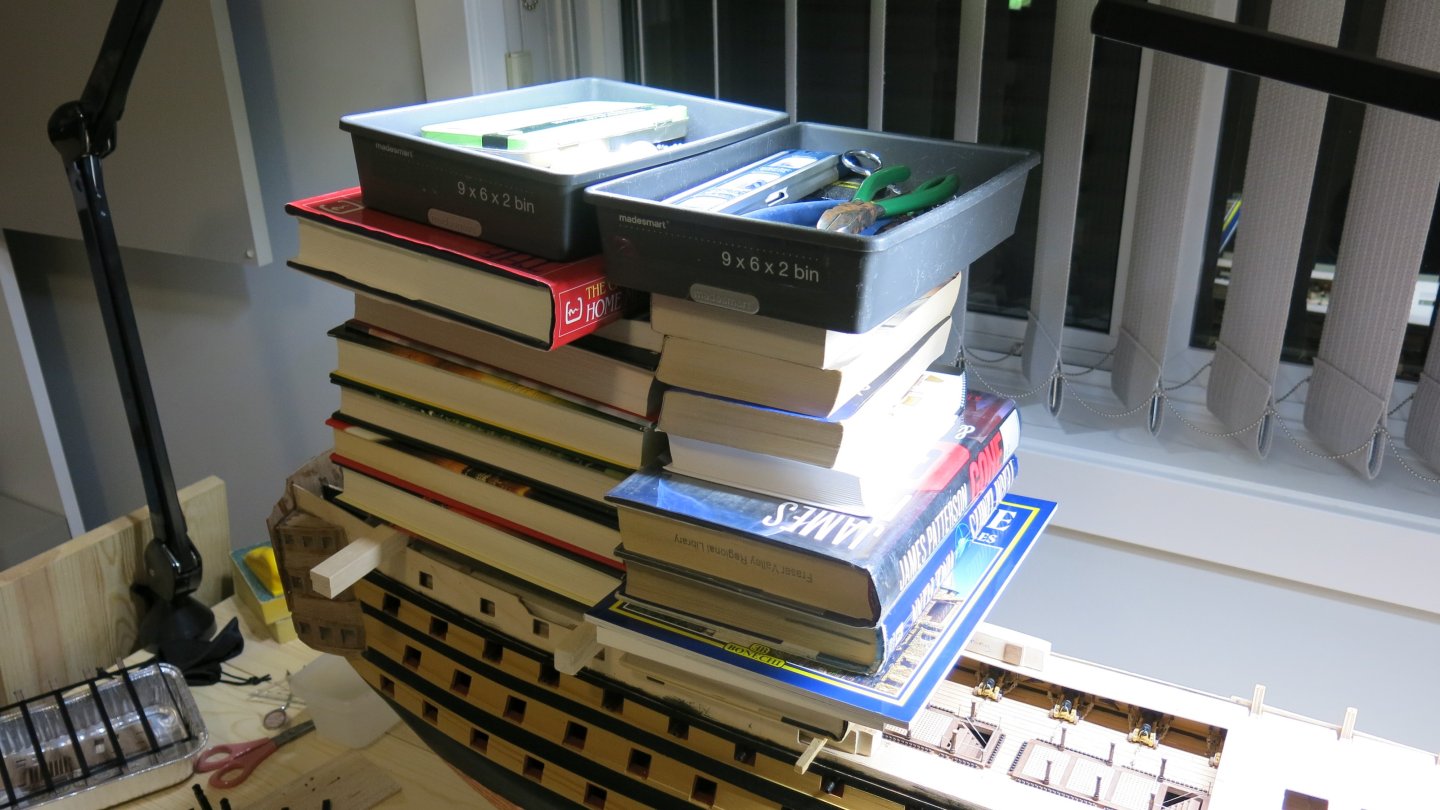
Got the Upper Gun Deck finished and glued the back end of Quarterdeck in position. It will cover a lot of work done, but I think they call that progress. Luckily I am a reader, but I never thought I would use the books for this.

-
Thank you all for the thumbs up. I also like to thank Charter33 for his great building log, I use it a lot and get some great help from it. I also use Robert29's building log. Thank you both.
-
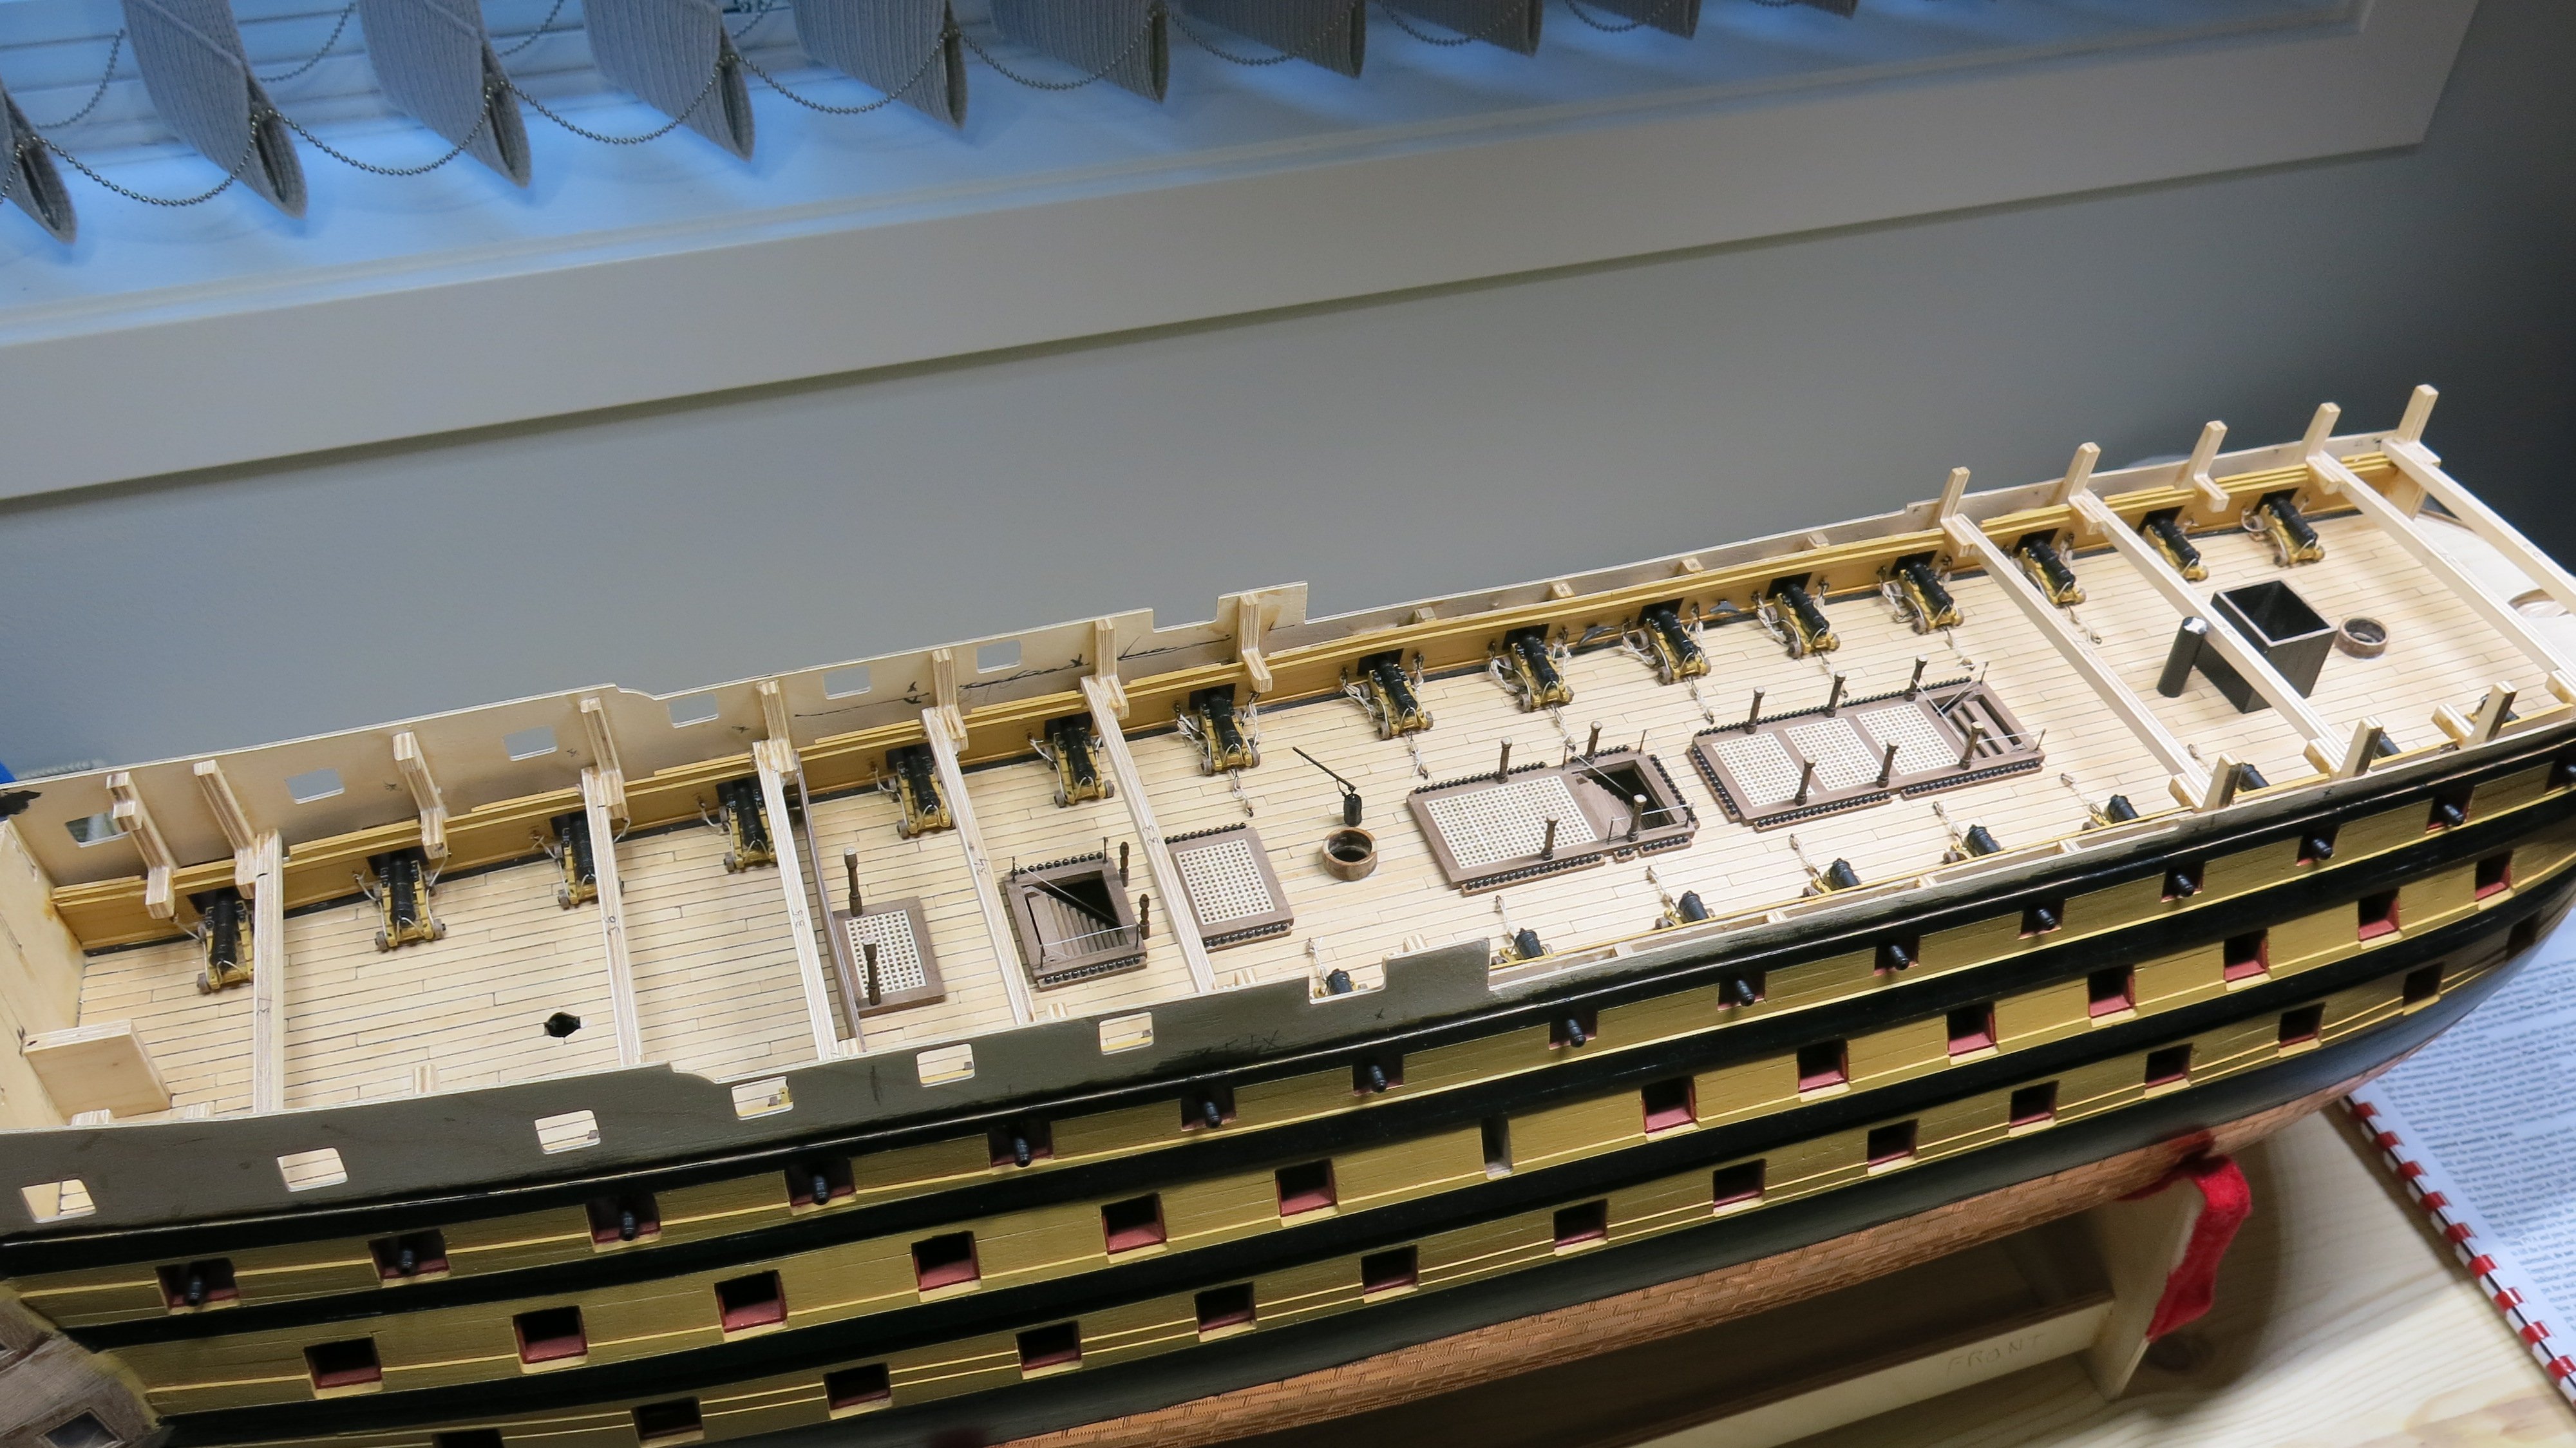
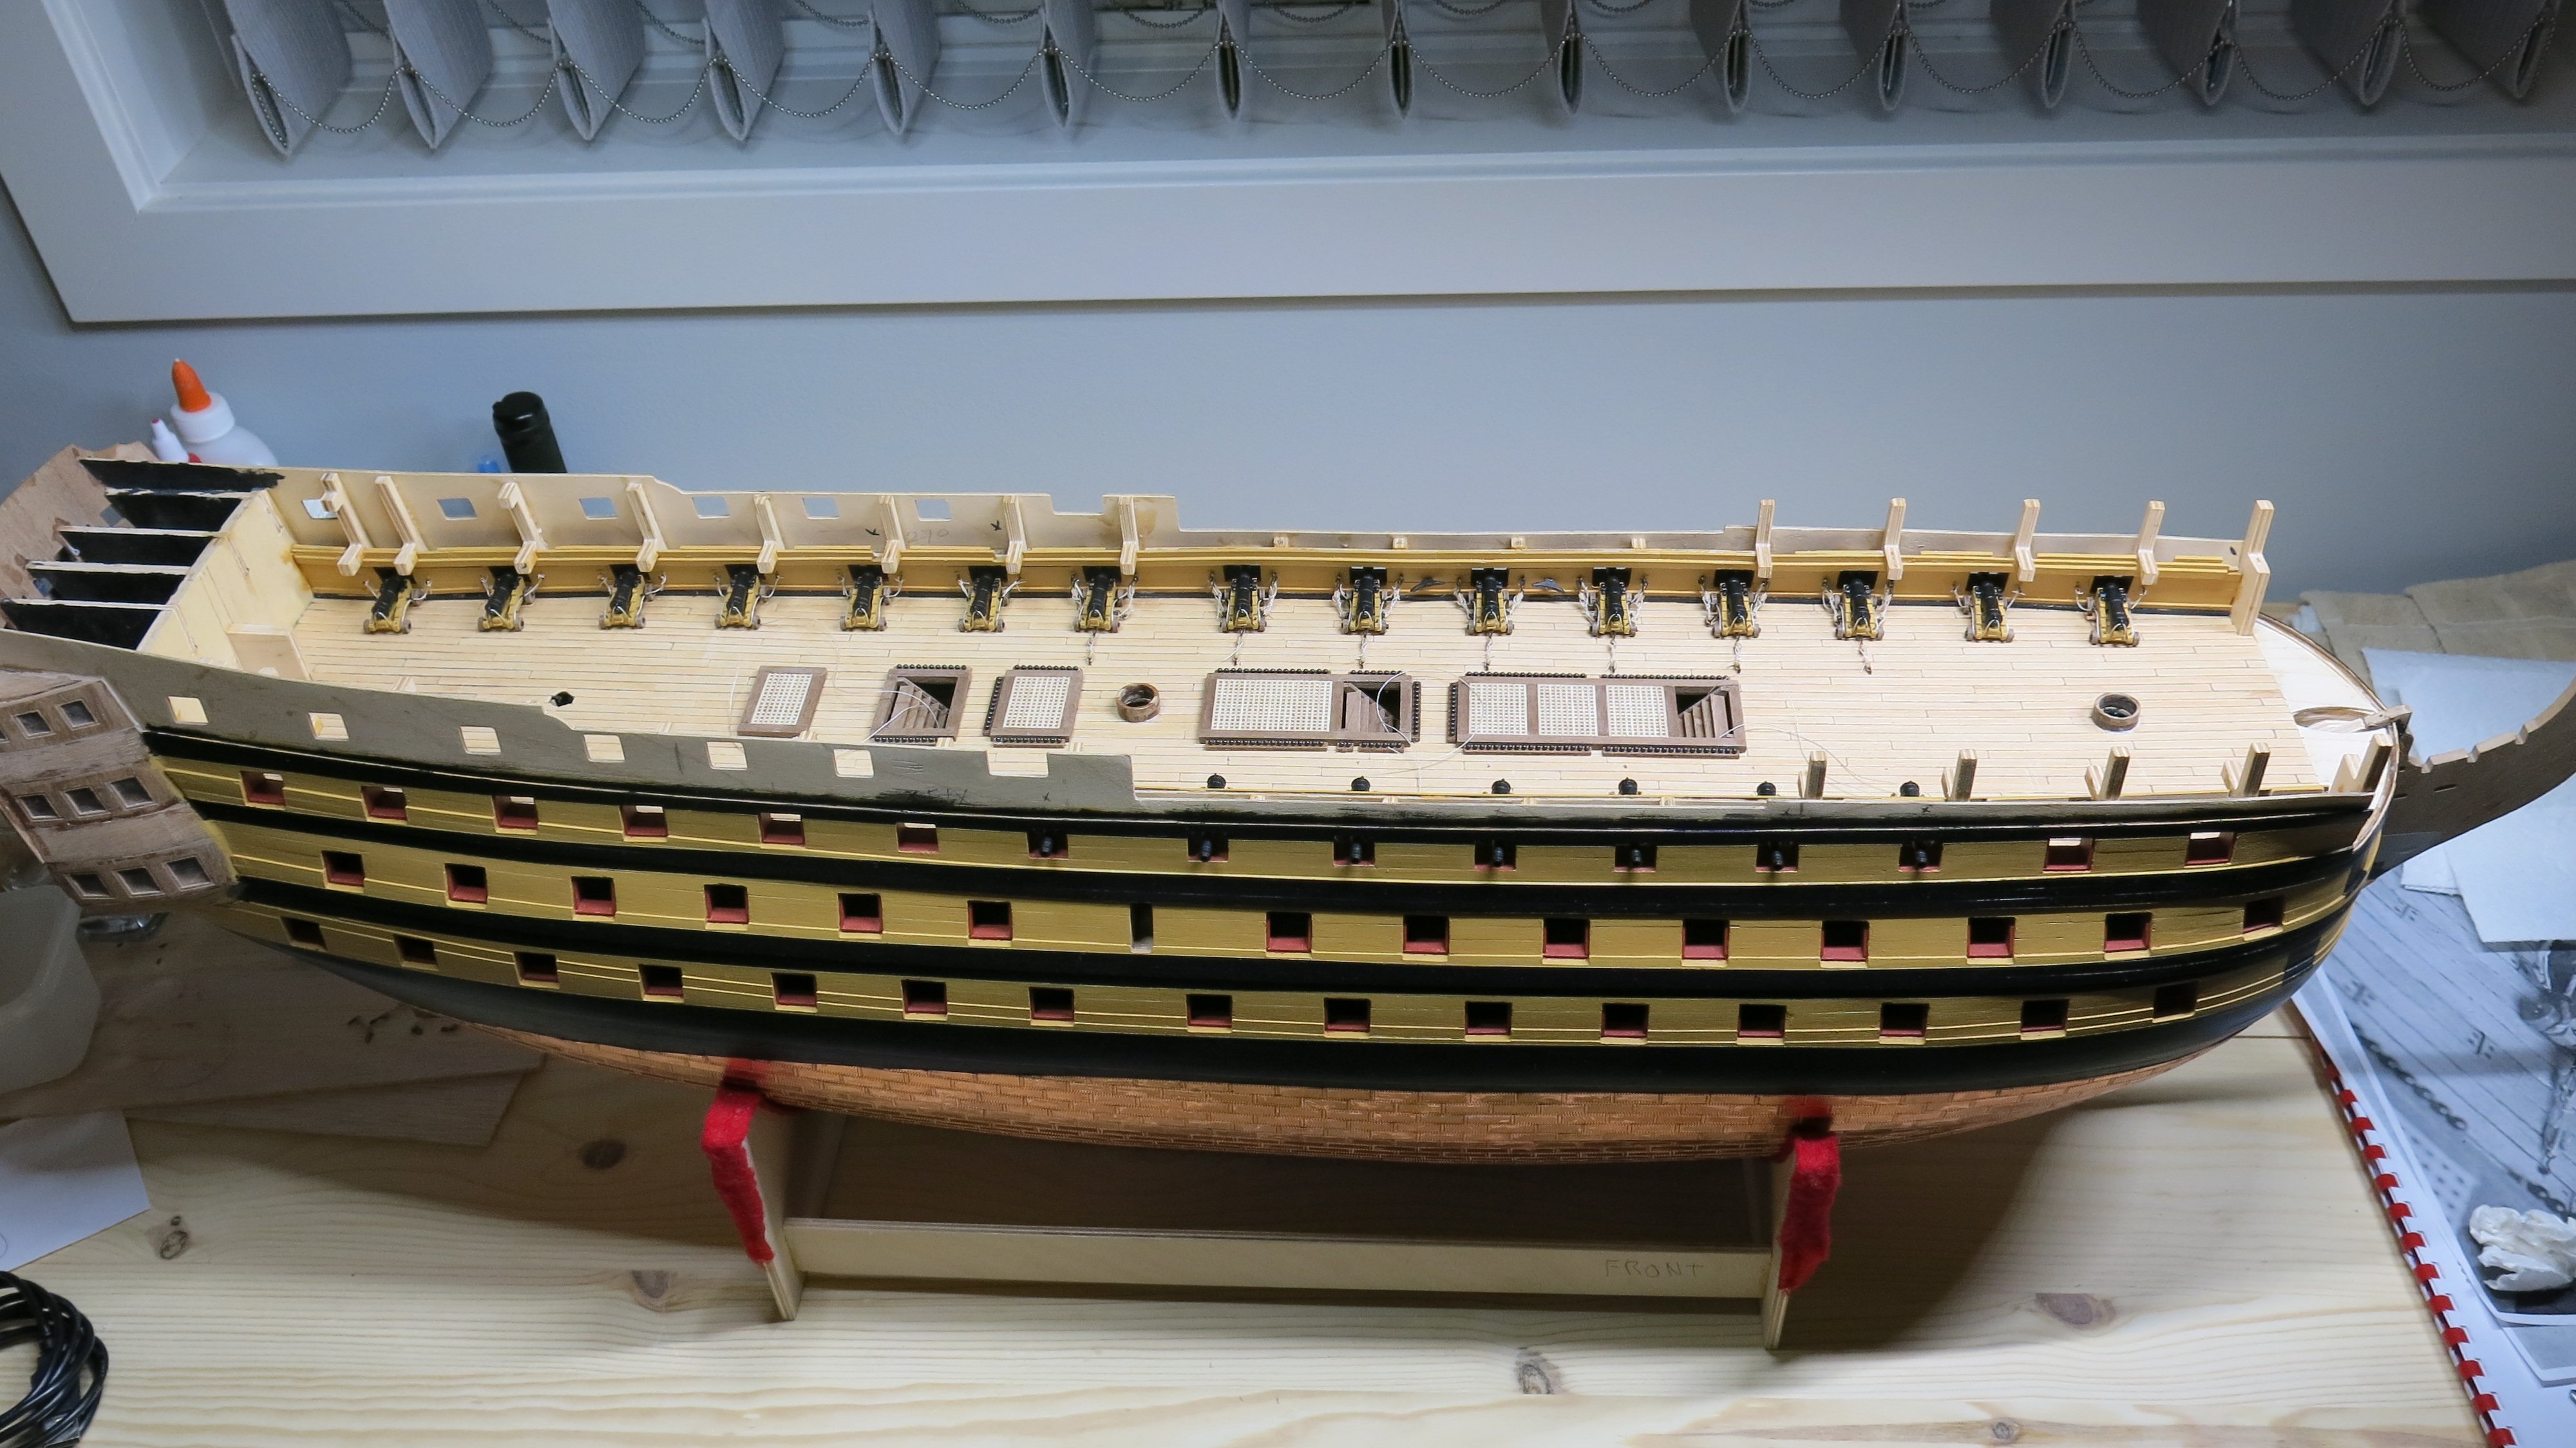
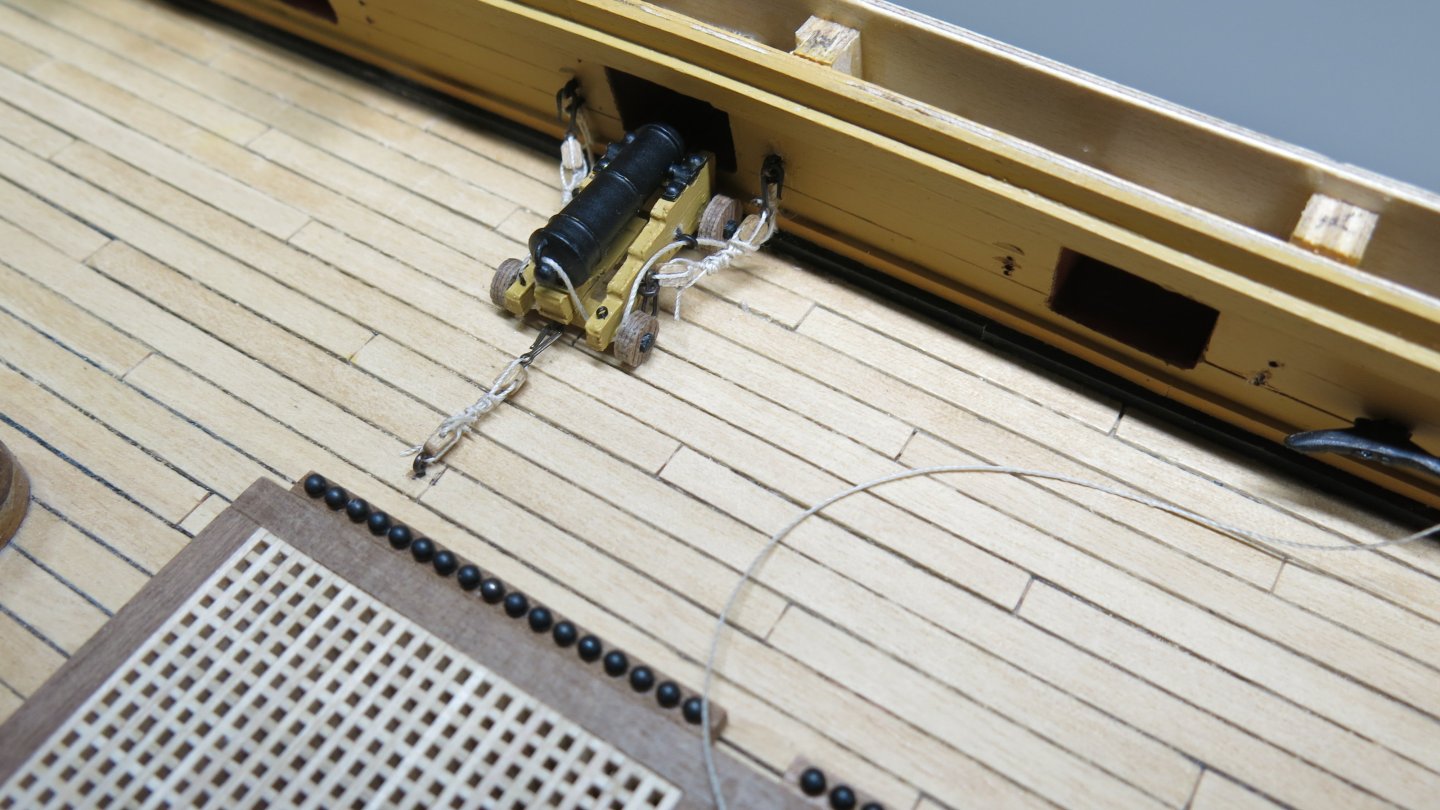
I got one side of the cannons rigged. I only fully rigged 7 cannons, the other cannons I only did the breaching ropes. You don't see them later anymore.


-
Thanks for your compliment.
-
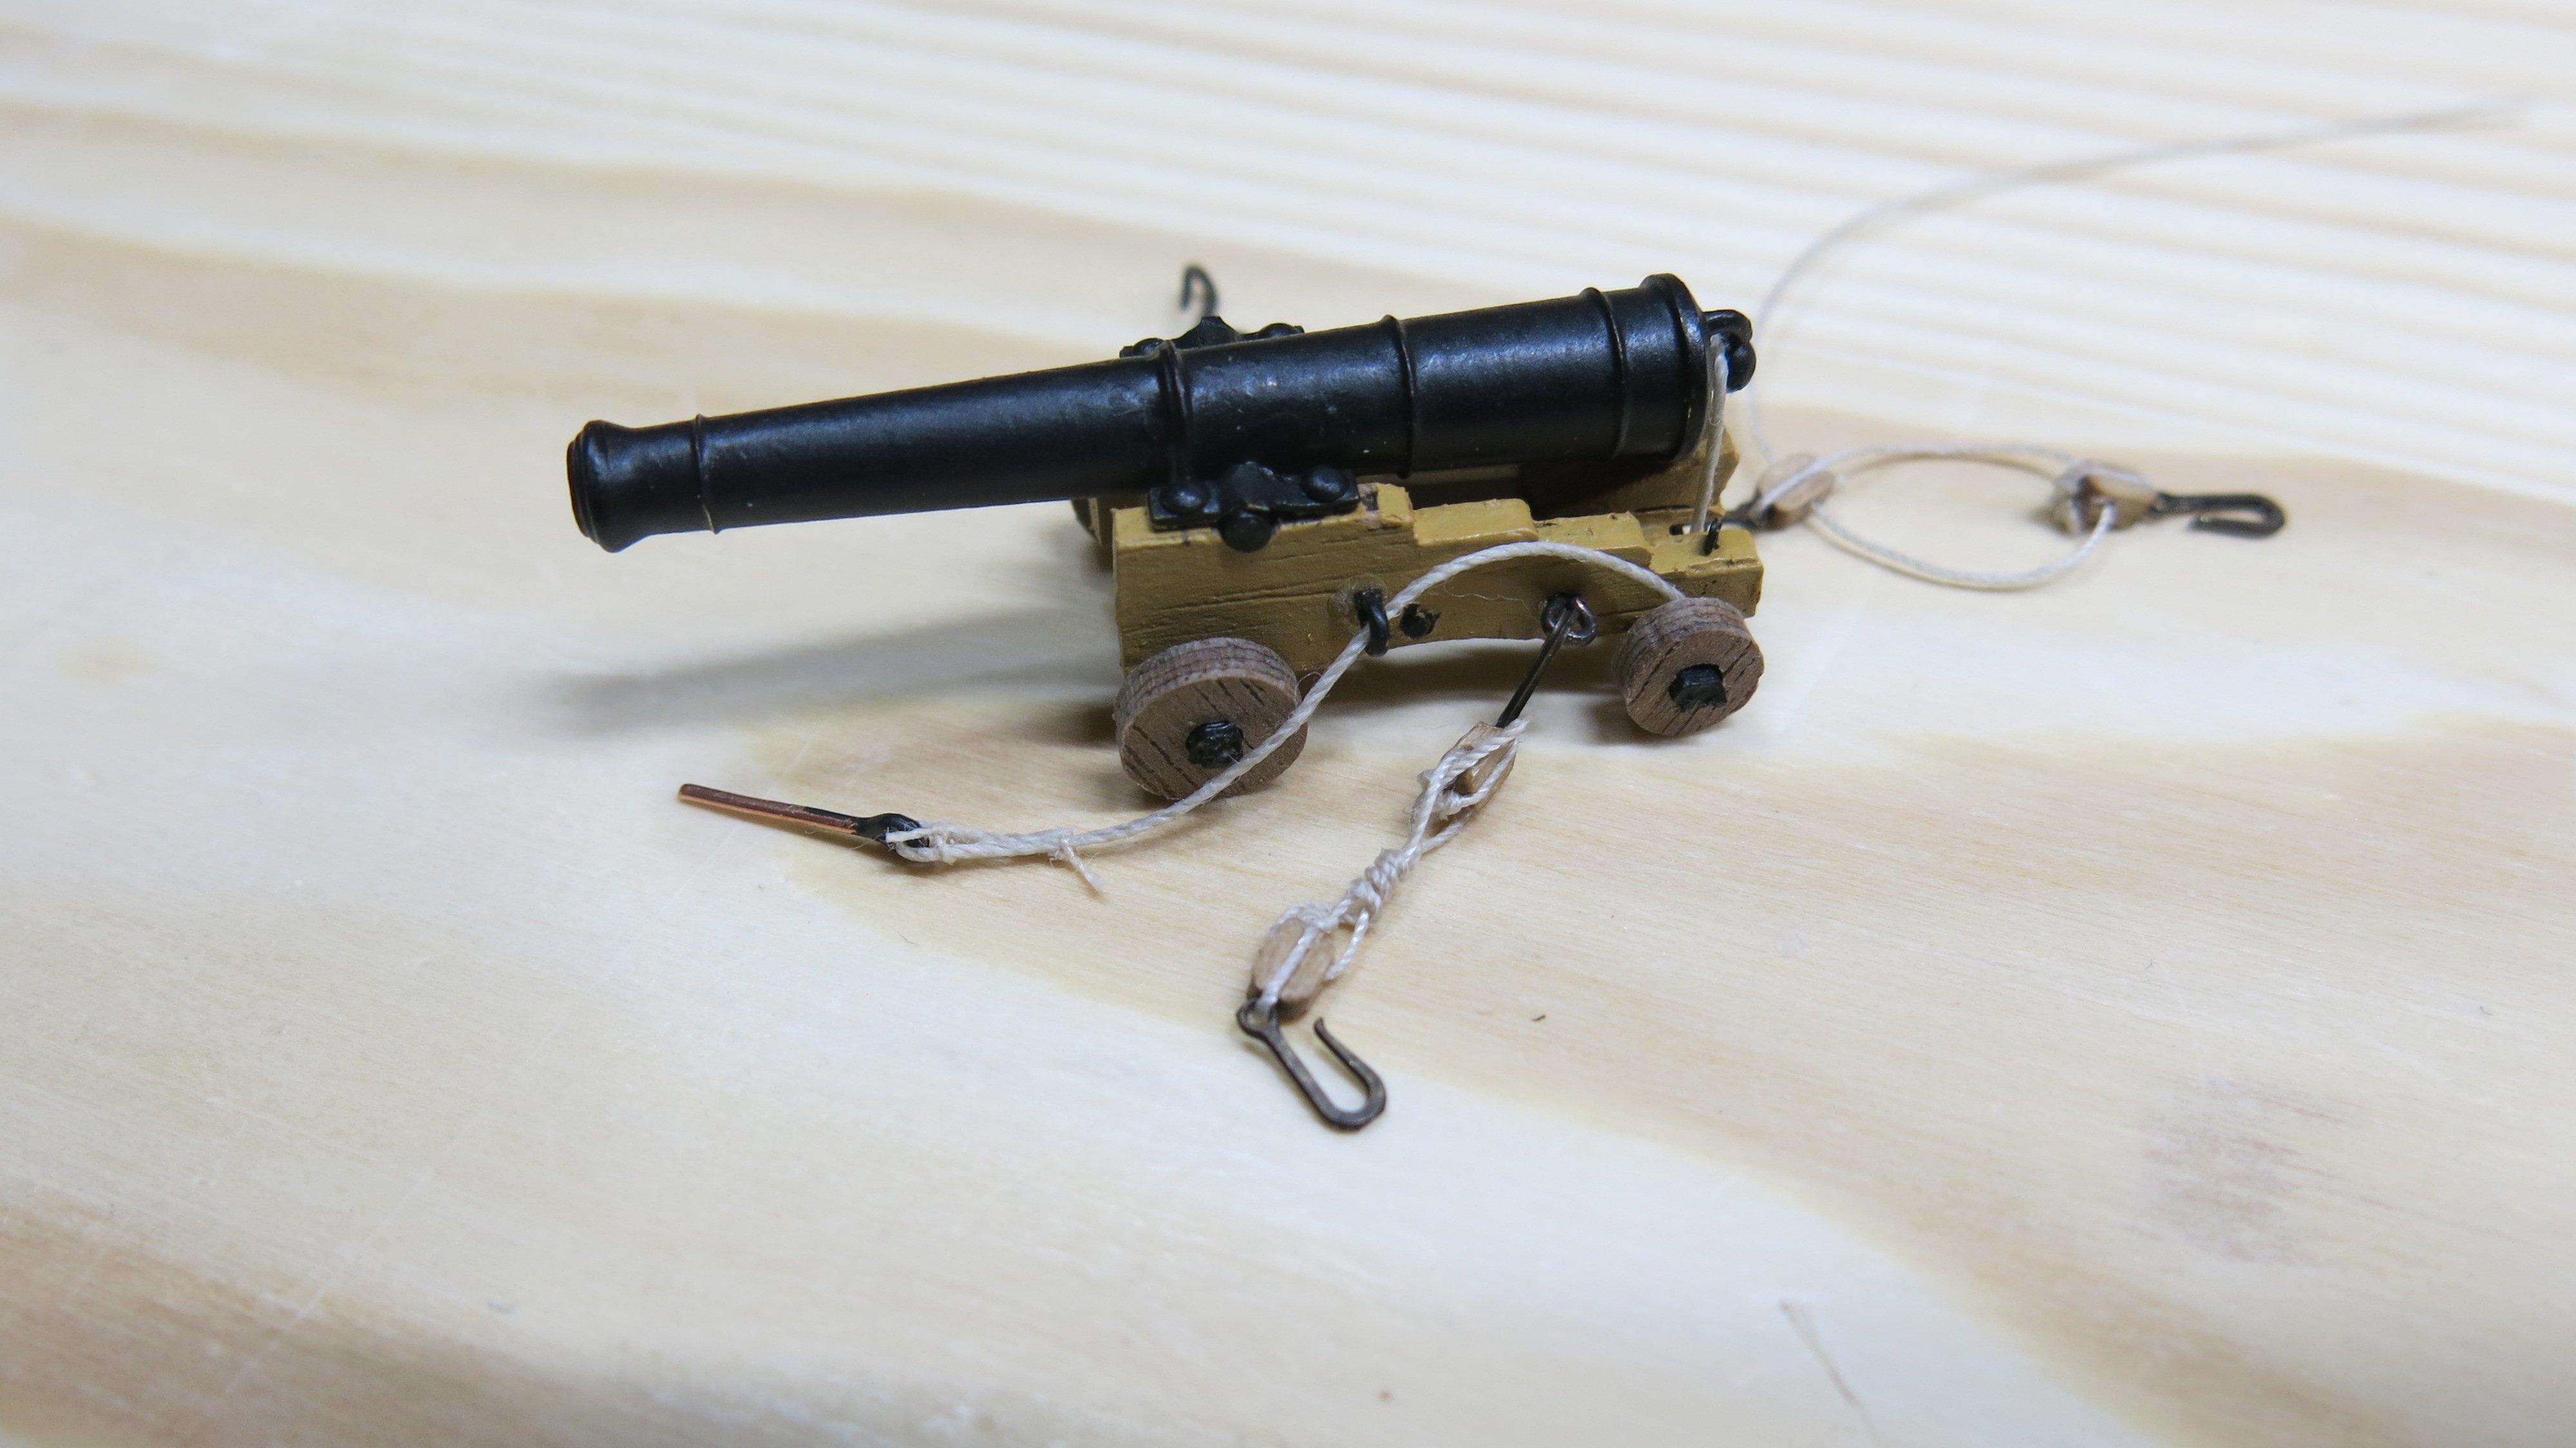
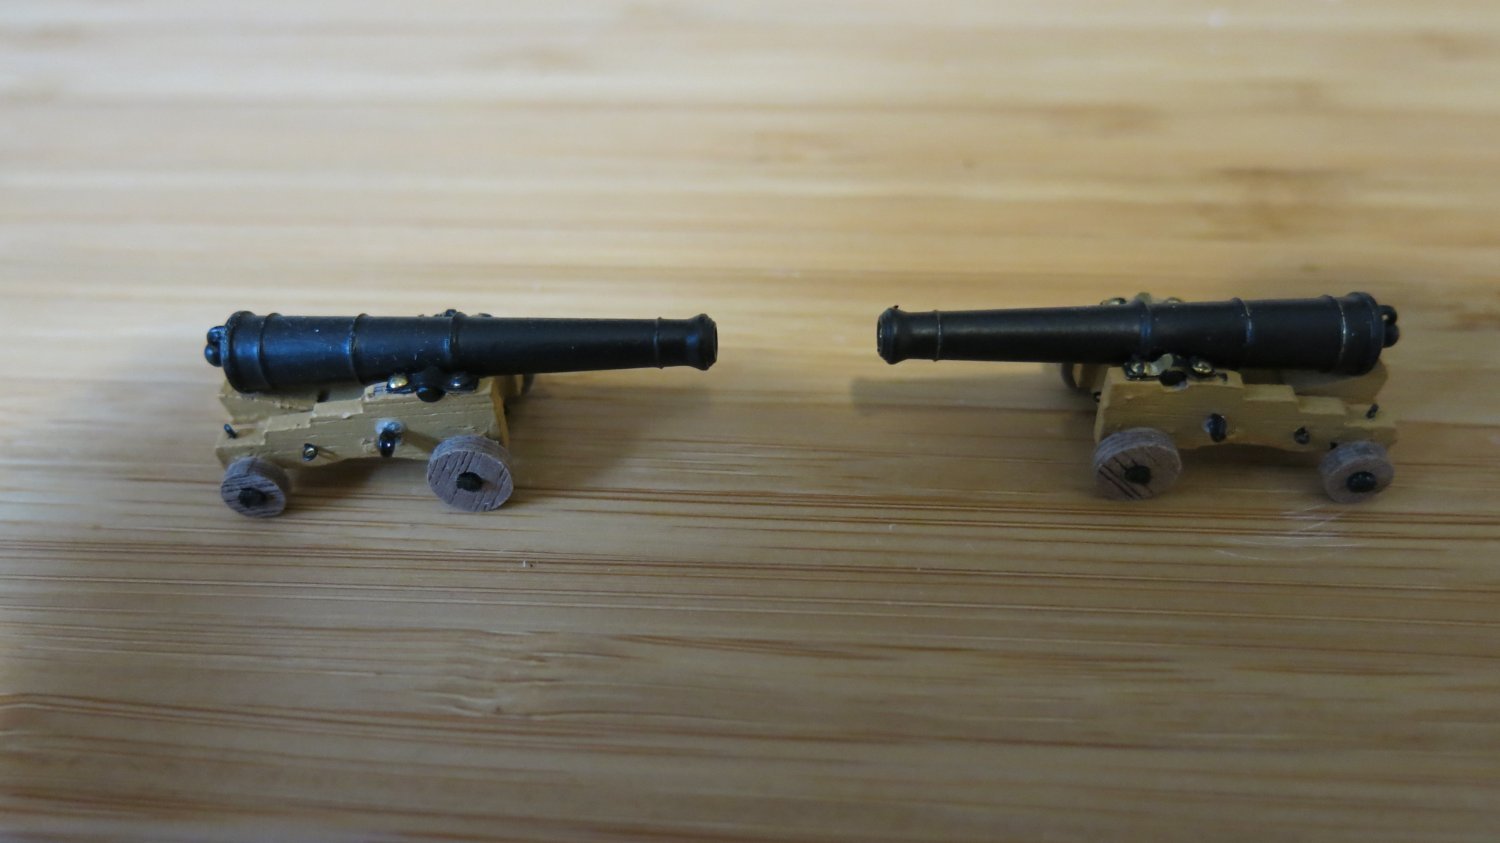
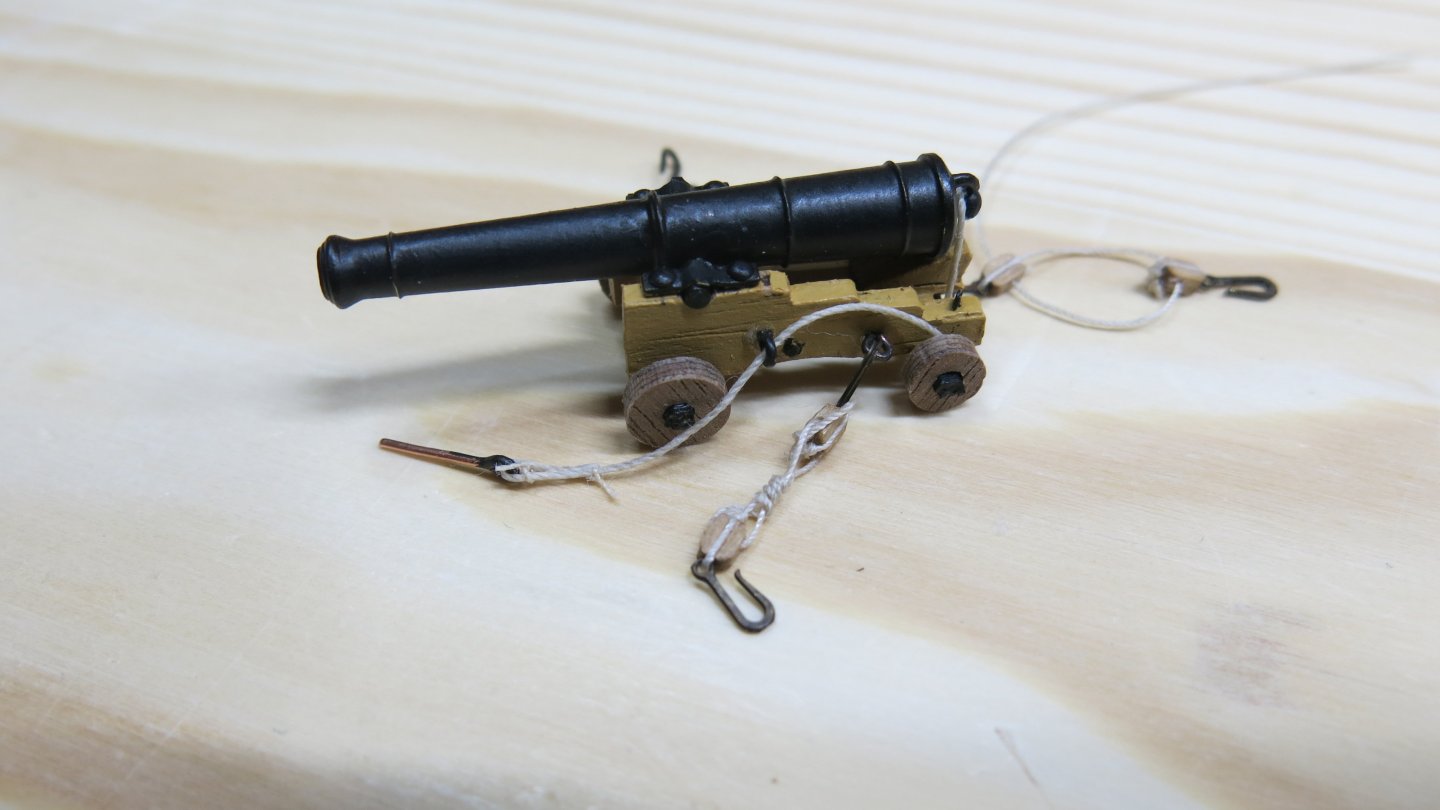
First cannon rigging done. It is a lot of work but I am happy with the result. I changed the hook up on the deck. The hooks provided with the kit are to long.
-
Marinus reacted to a post in a topic:
HMS Victory by Marinus - Caldercraft - 1/72
-
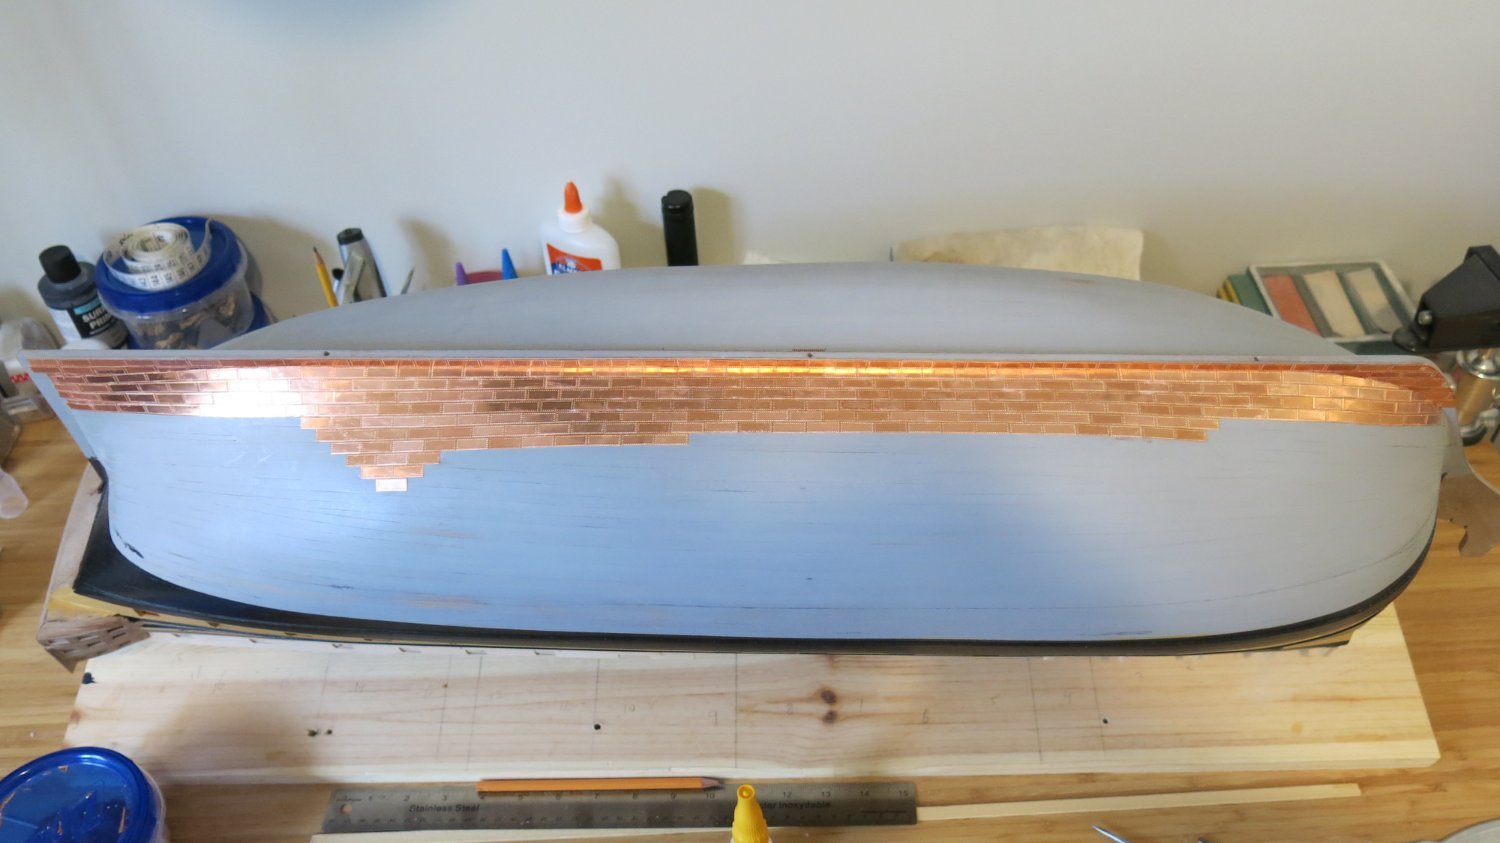
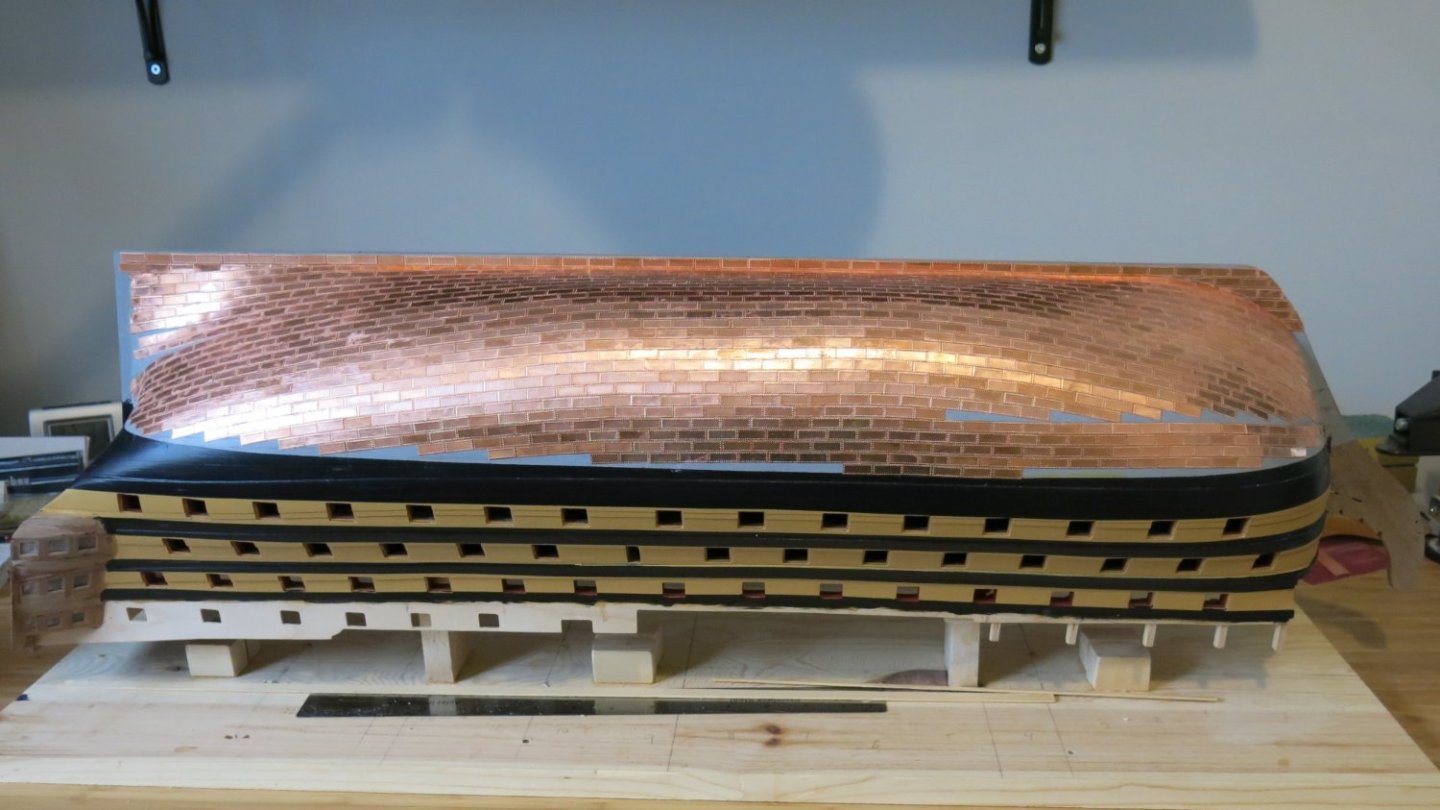
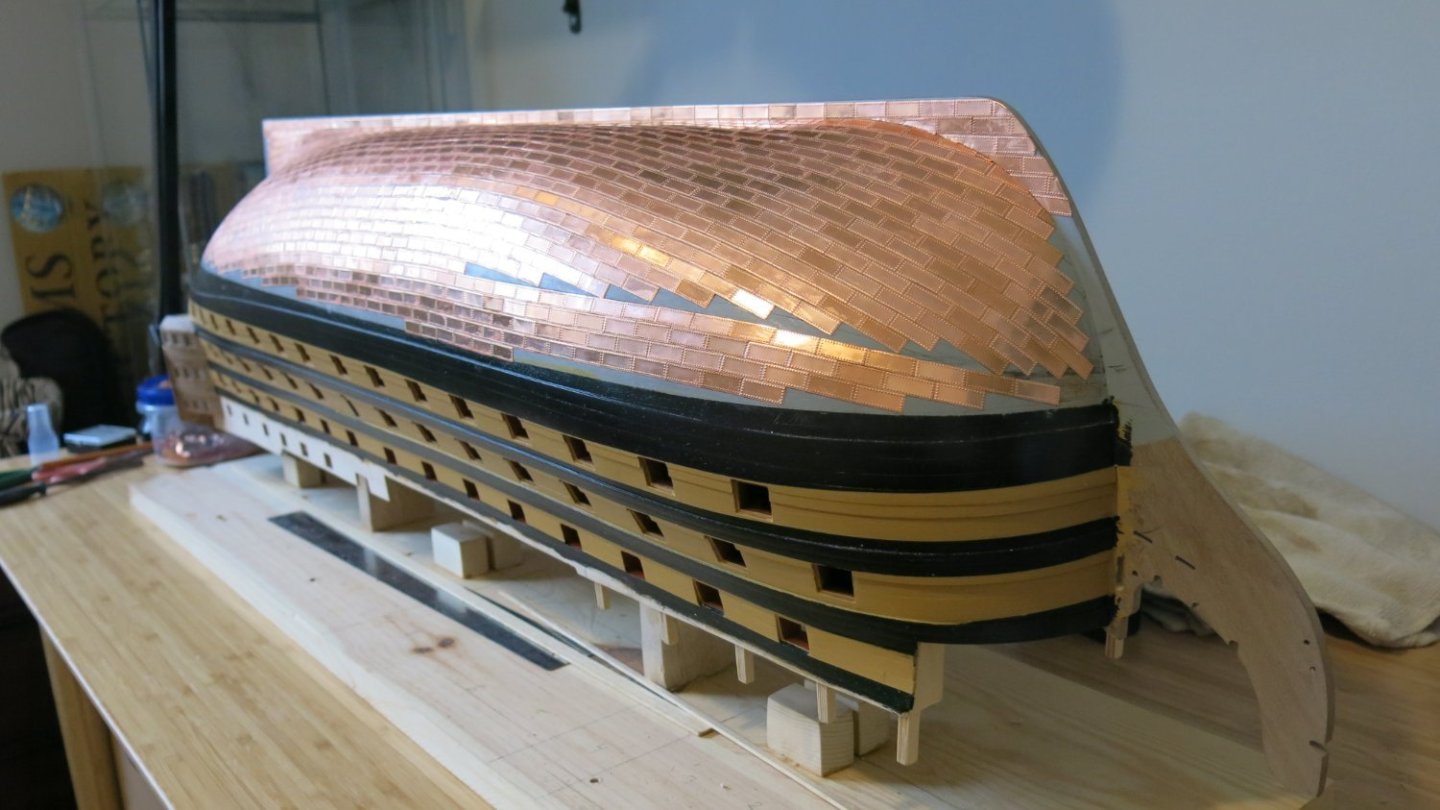
It is almost a year ago that I worked on the Victory. My wife got very sick and needed me to help her, she is doing way better now. I finished the copper plating and starting now with the rigging of the cannons. I just add pictures of my progress to my site. There is already a lot of great advice and helpful hints on the website. Thanks to all of you, it helps me a lot.

-
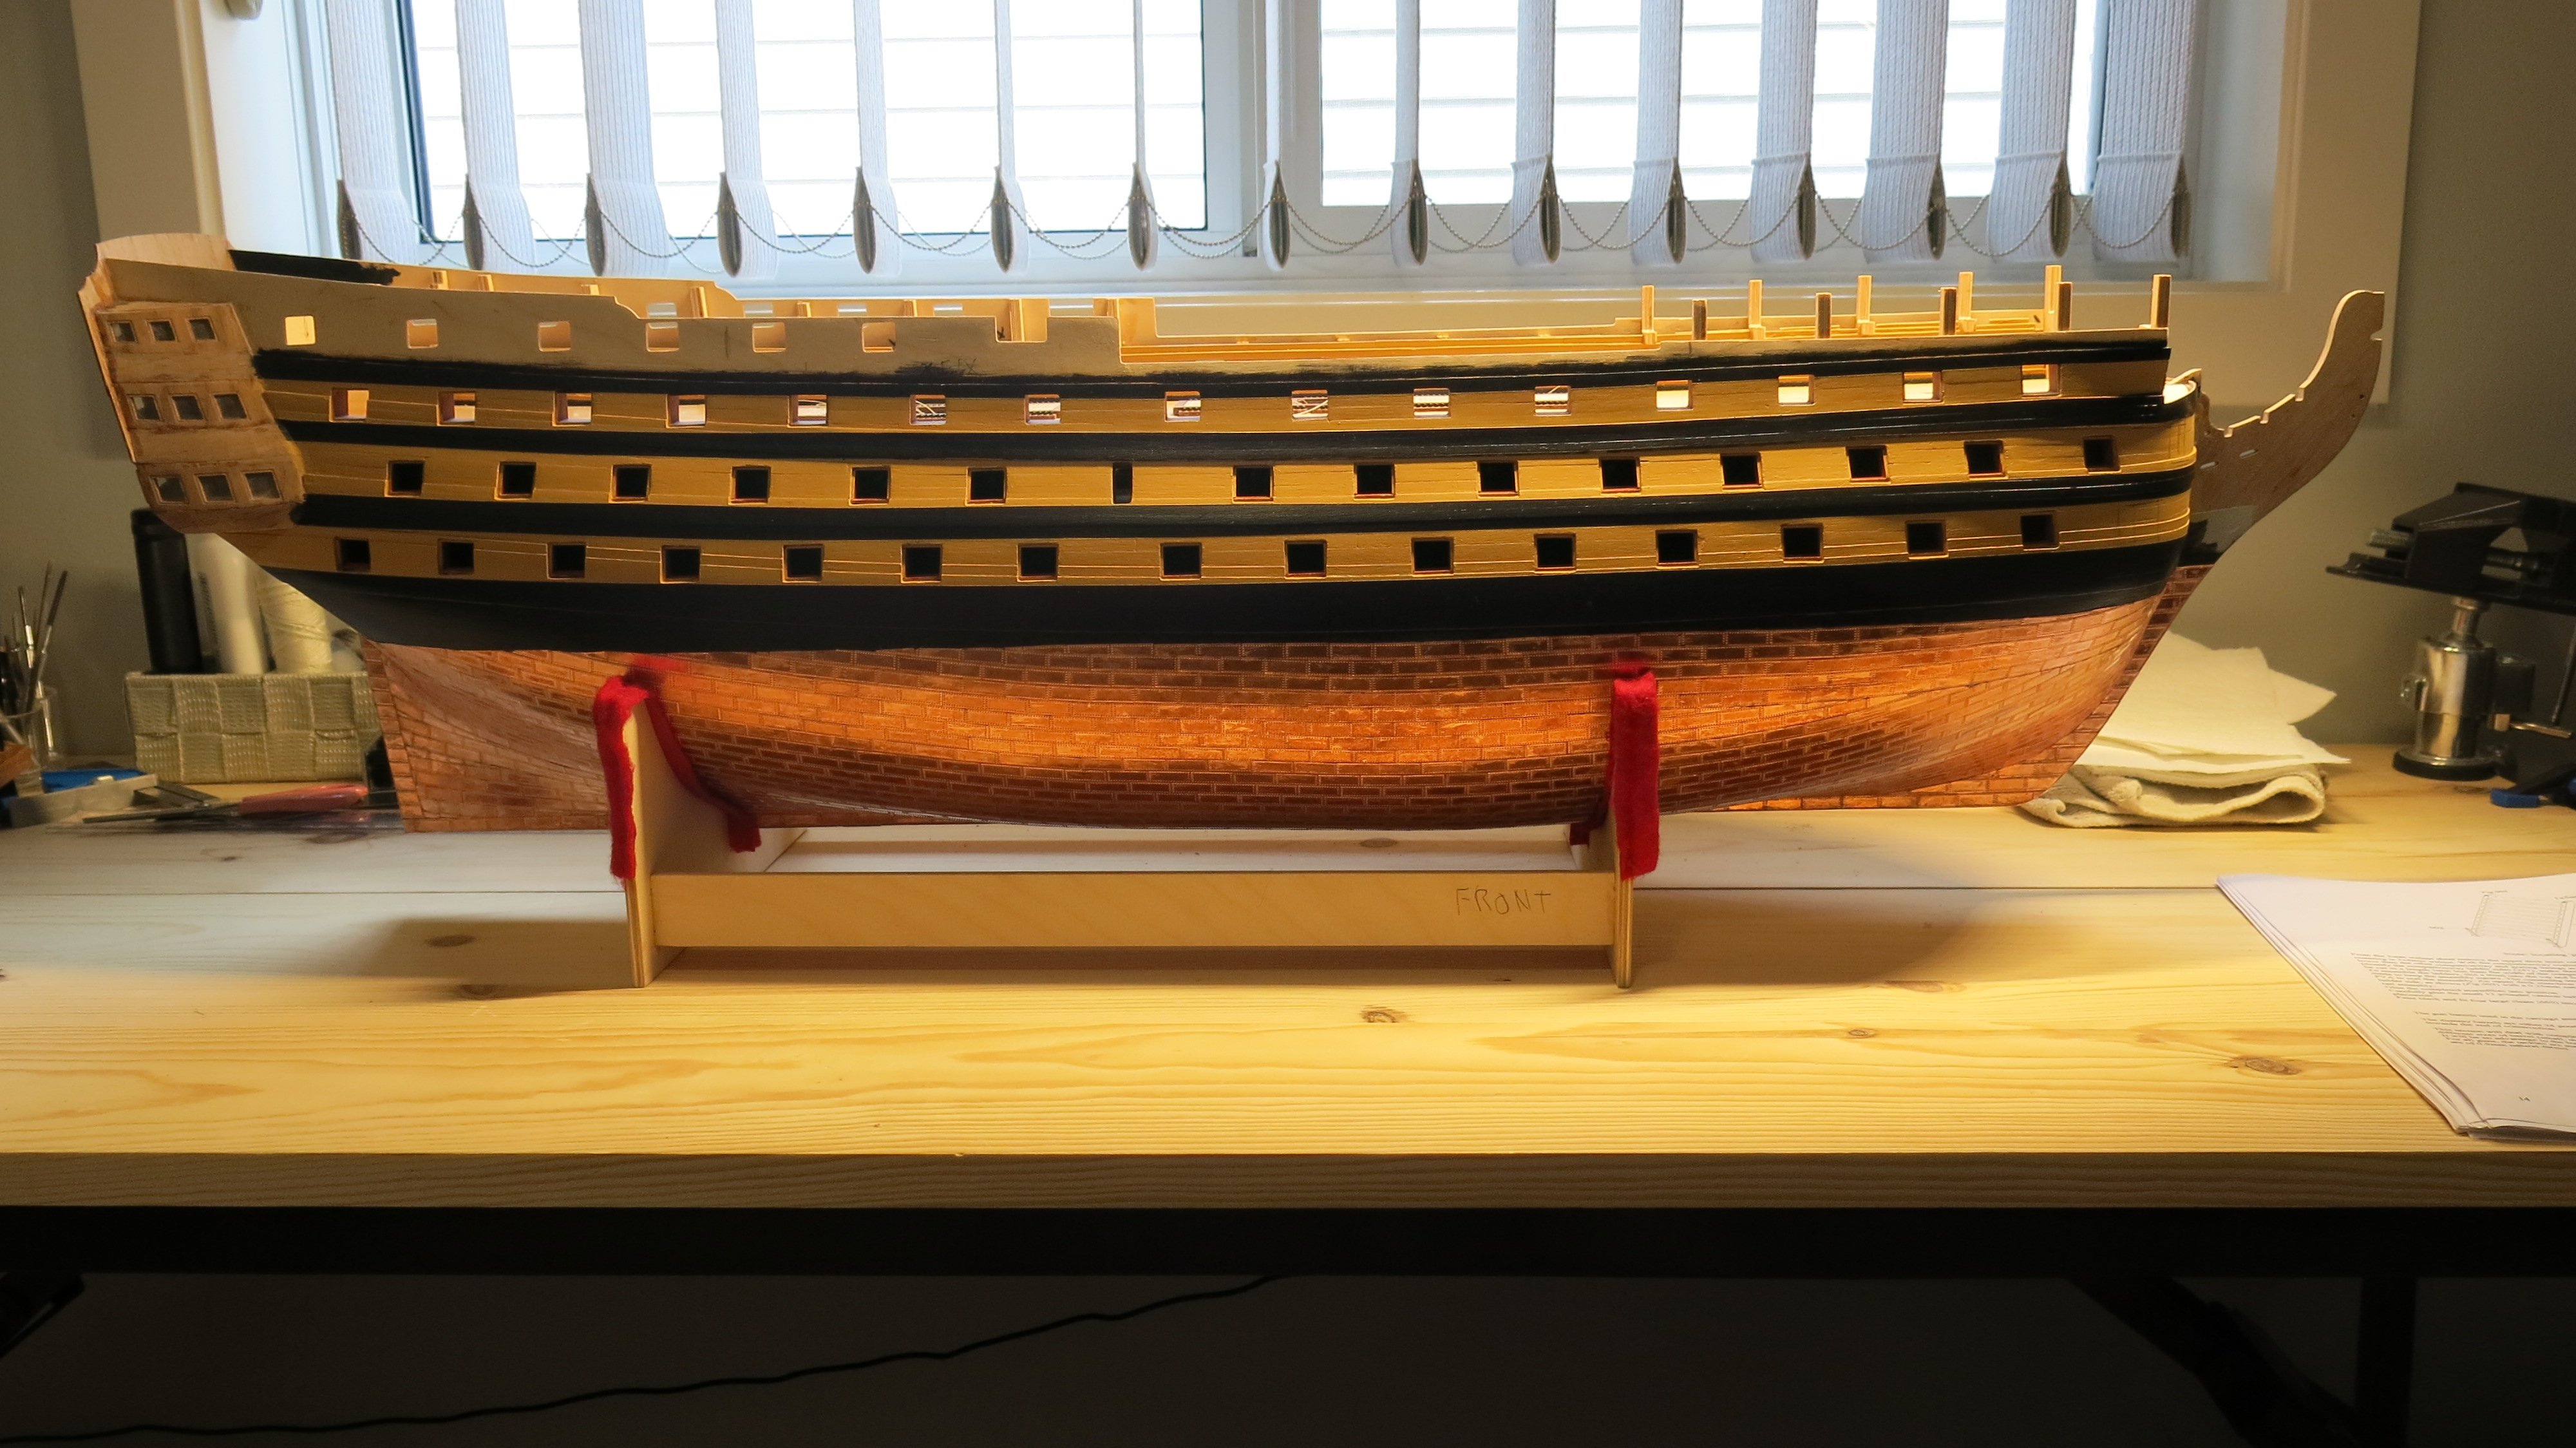
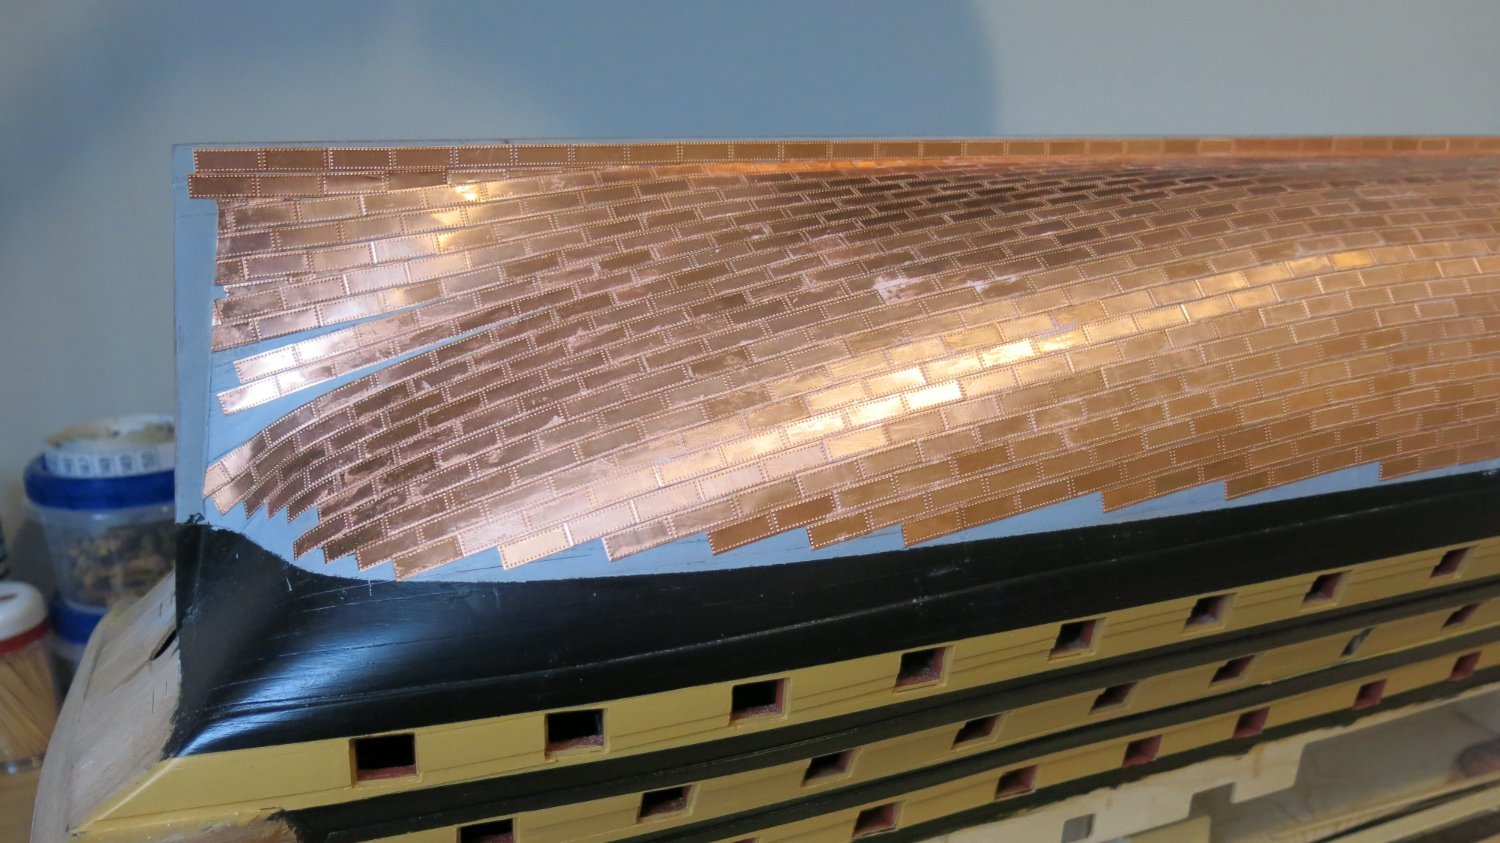
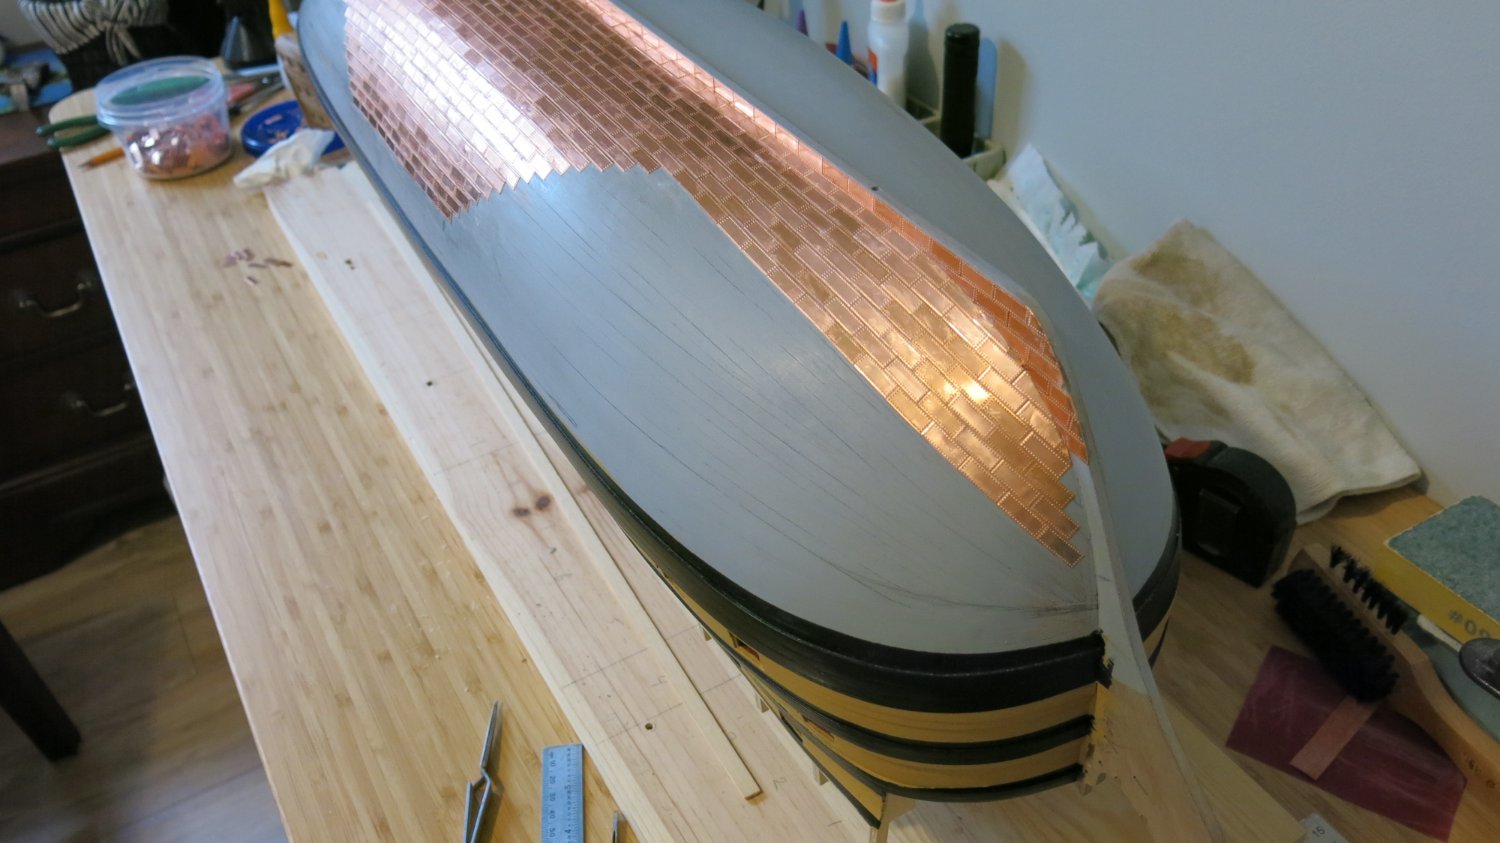
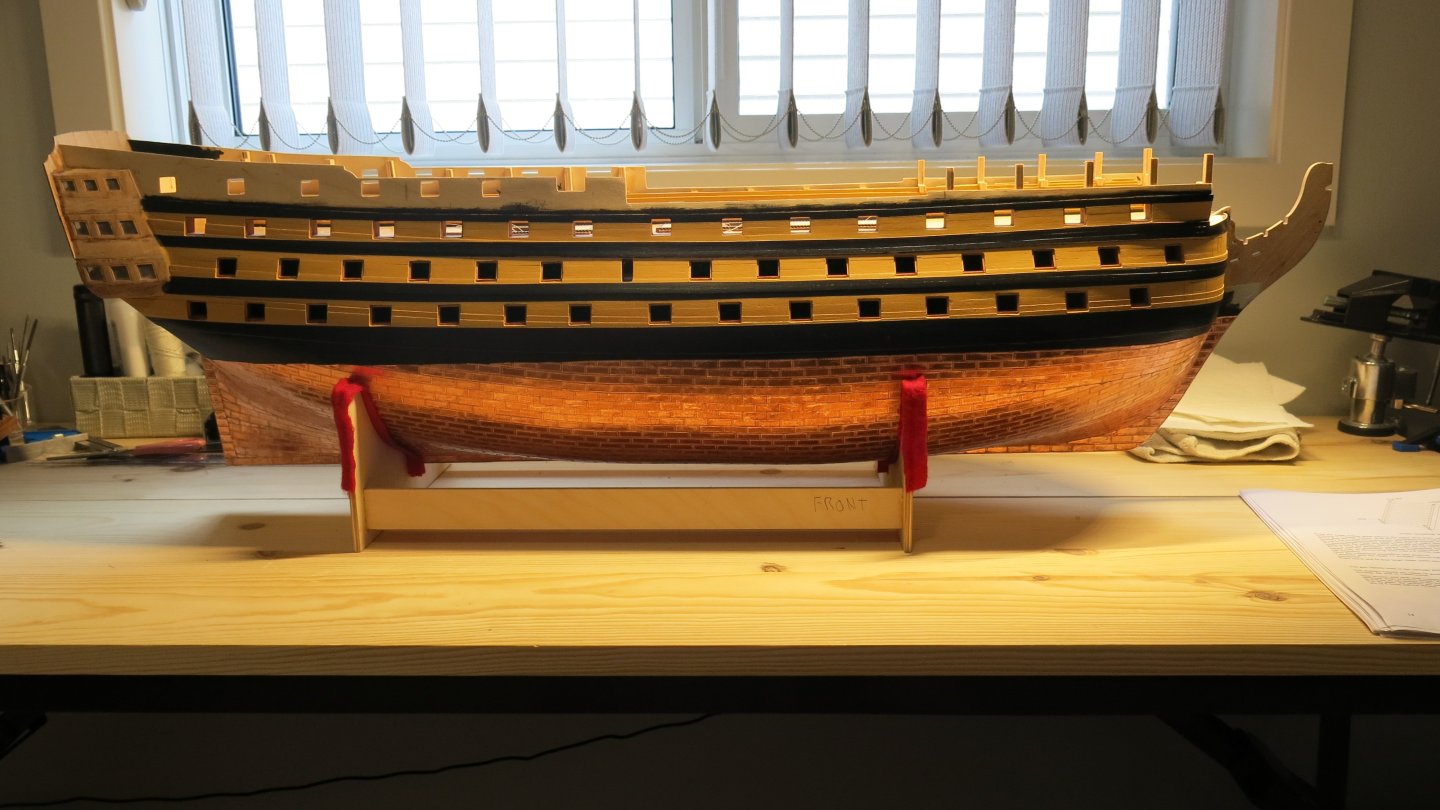
The Port side is sofar done. I will buy a paper cutter to cut the rest of the missing plates. I will start next with the Starboard side. It's not perfect, but I am happy the way it turned out. First time I did the copper plating. Any suggestions are welcome.

-
It's been a little while that I worked on the Victory. We moved to a new house and it took some time to set everything up again. I am working on the cannons and the copper plating of the hull.


-
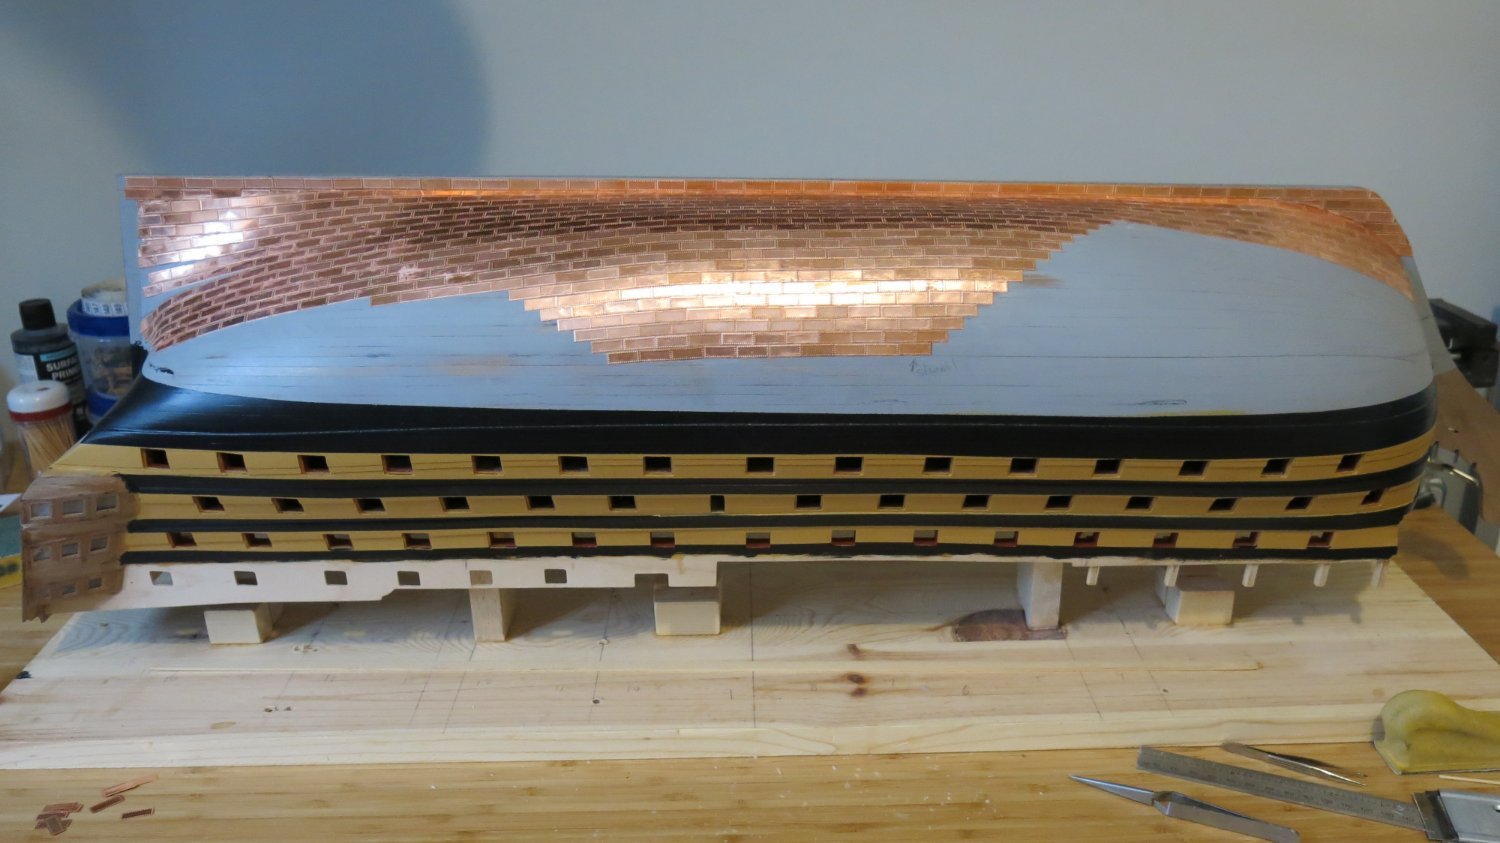
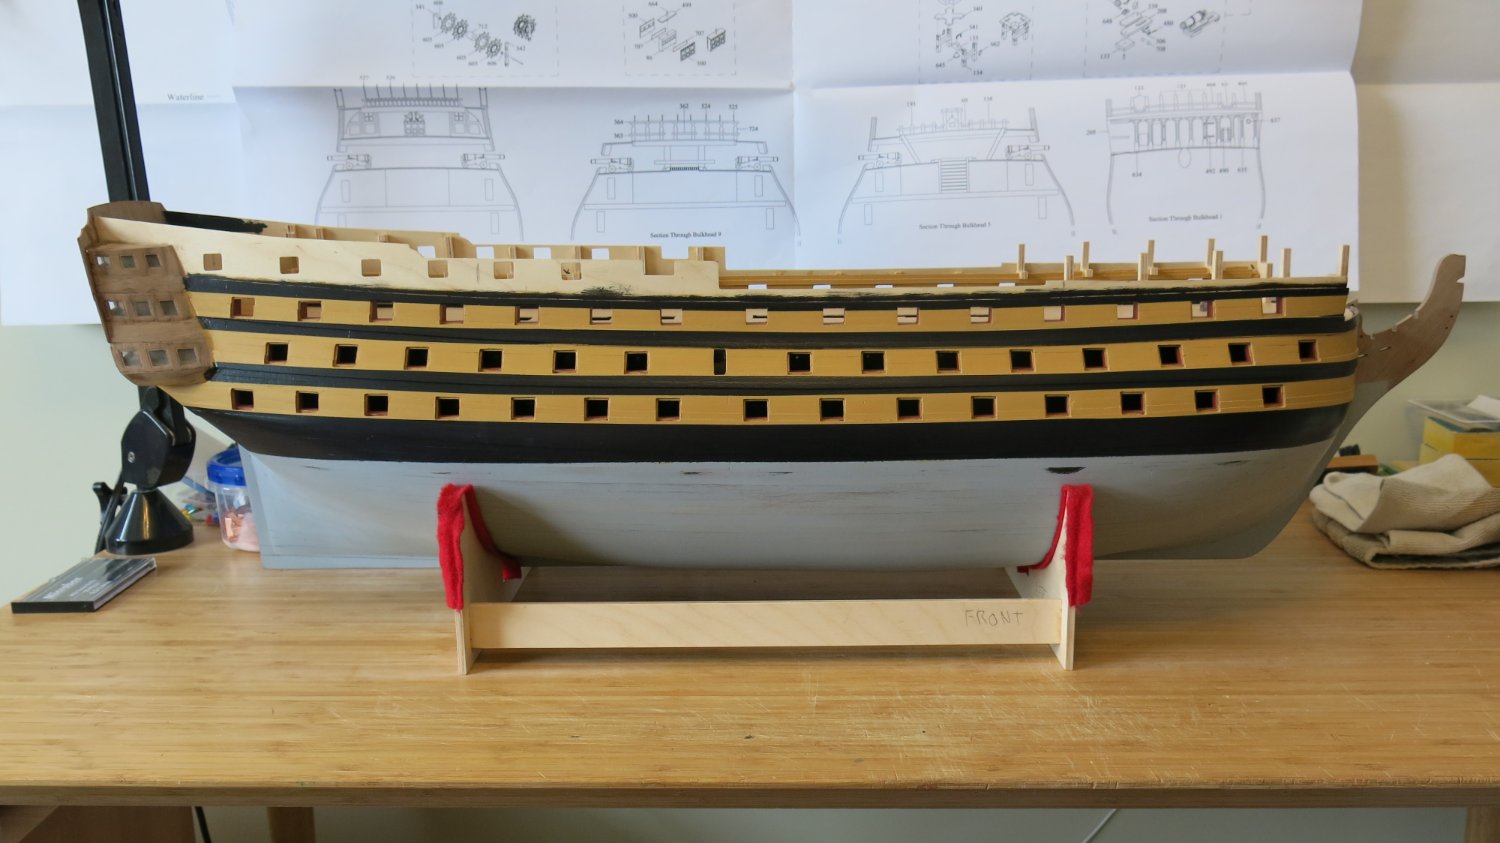
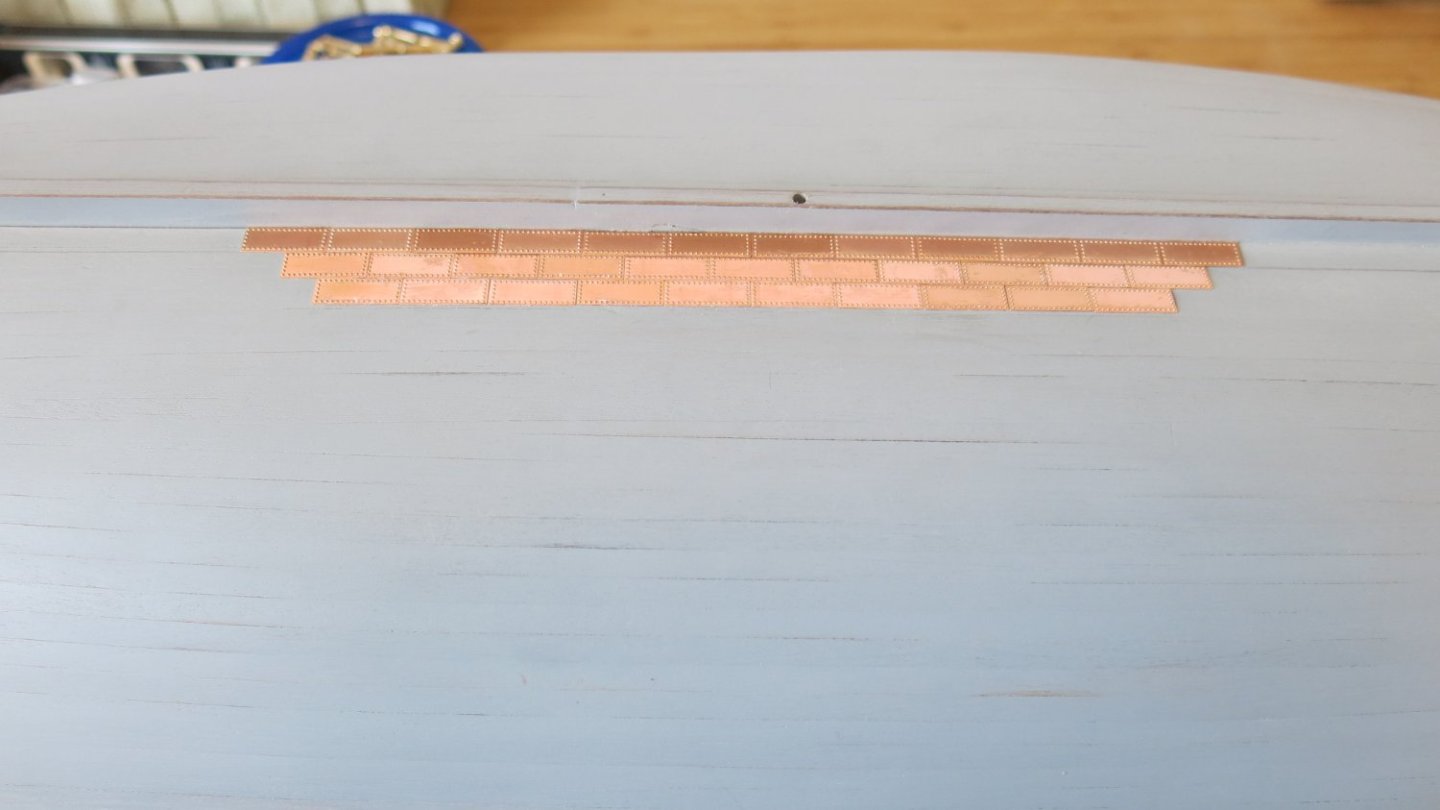
Happy New Year to you all. Back working on the Victory. Painted the hull and Cannon carriages and started the copper plating. Have to touch up some spots on the hull and paint the gunports. The instruction says that the outside edges should be yellow, but the real Victory has everything painted red. Didn't make a decision yet what to do. The cannons take a lot of time, same as the copper plating. I will find some other things to do on the Victory in between so I will have a break from it.

-
Marinus reacted to a post in a topic:
HMS Victory by Marinus - Caldercraft - 1/72
-
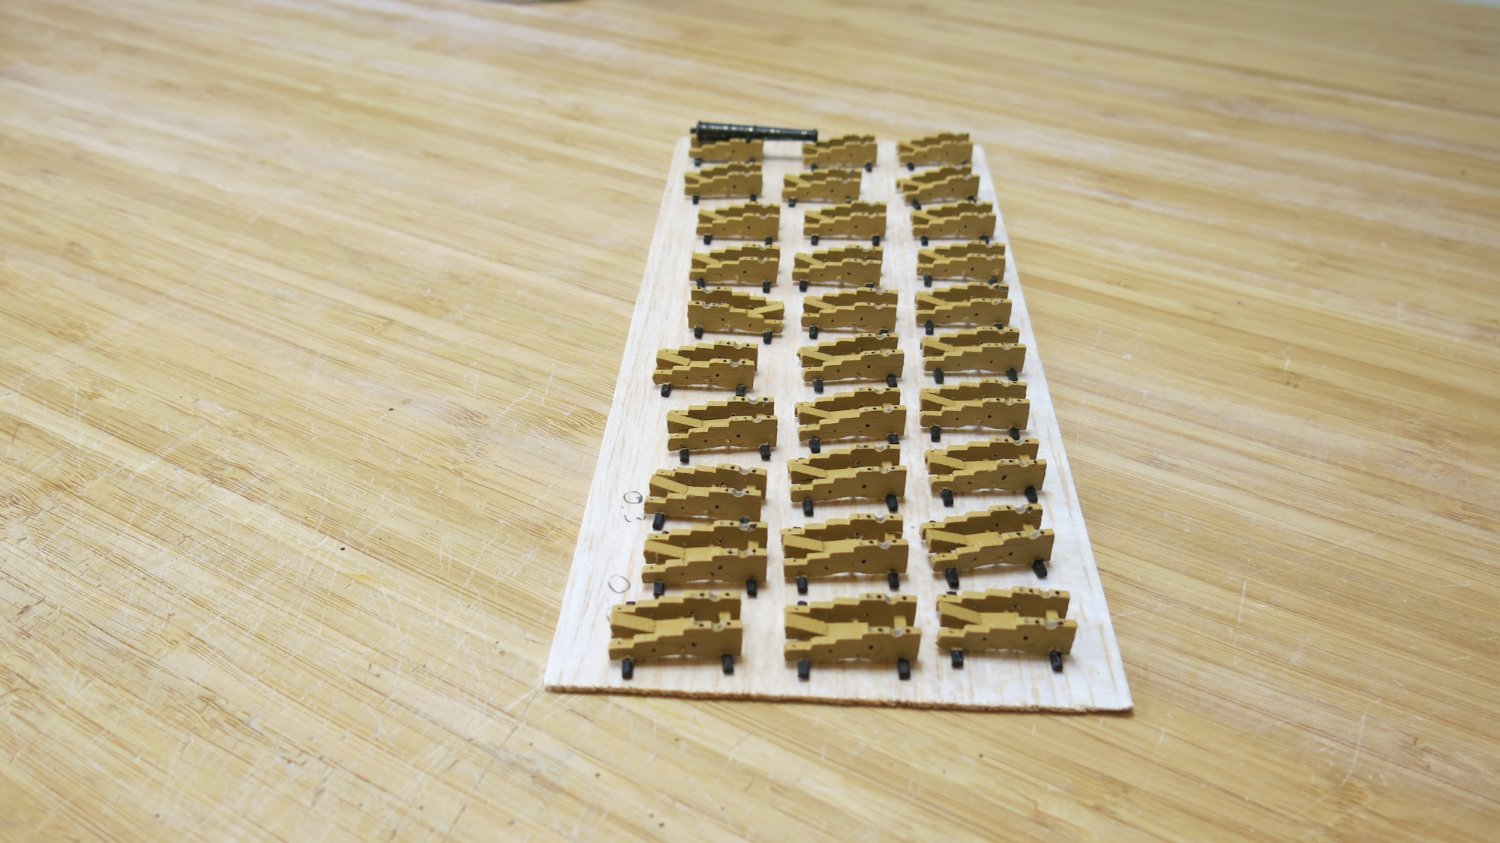
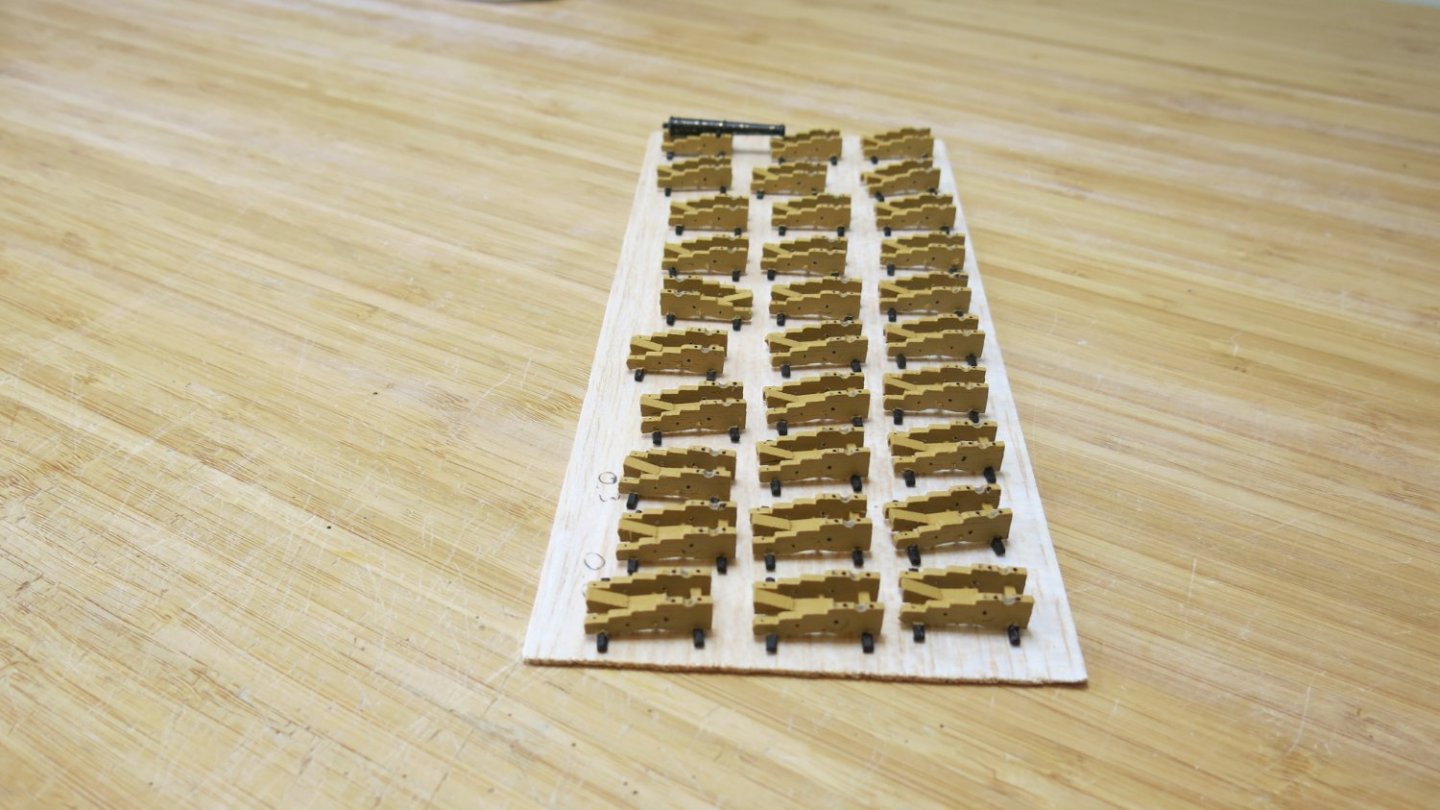
Gunports lined and painted. Painting the inside bulwarks, it takes a lot of coats to cover nicely. In the meantime in between the painting I started the Cannon carriage assemblies.
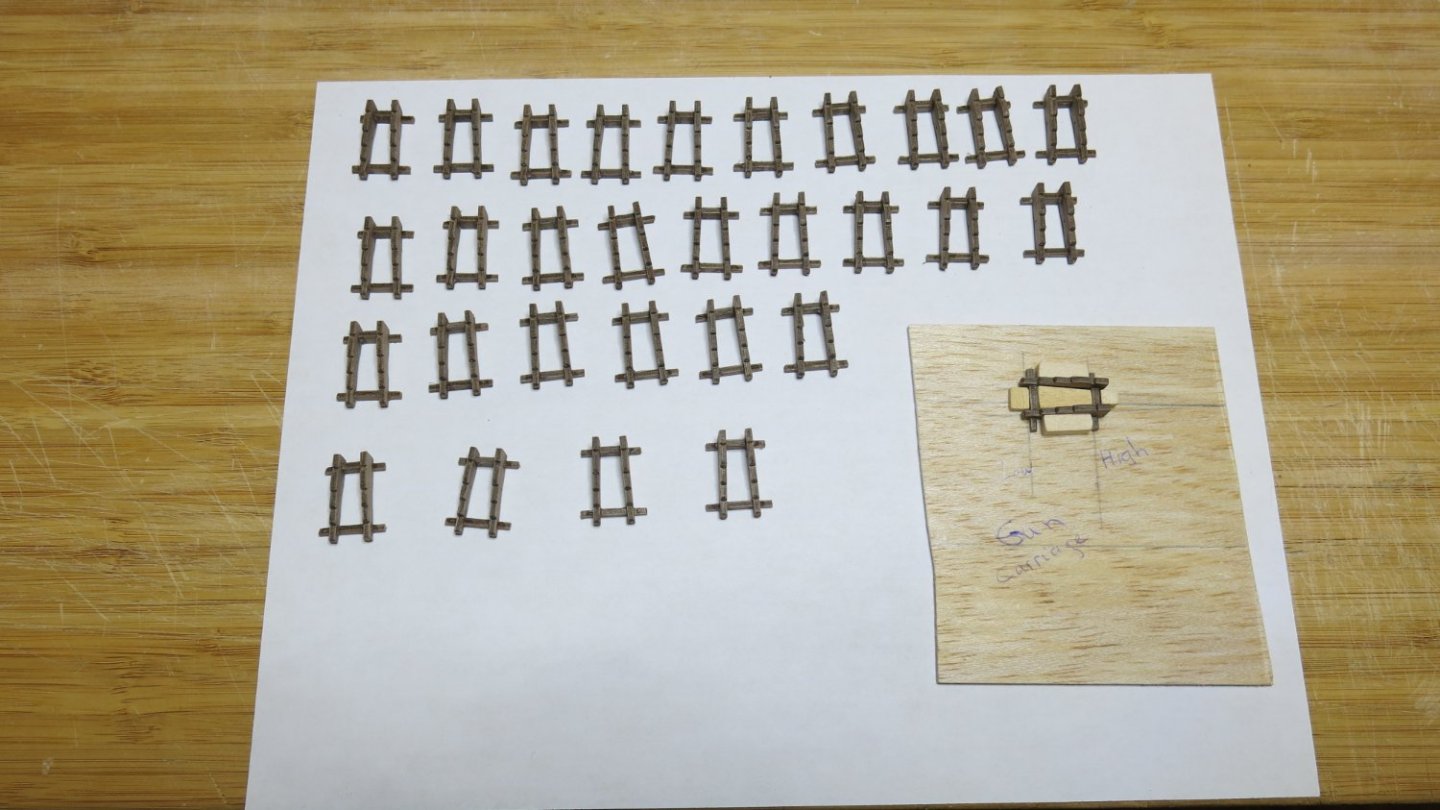
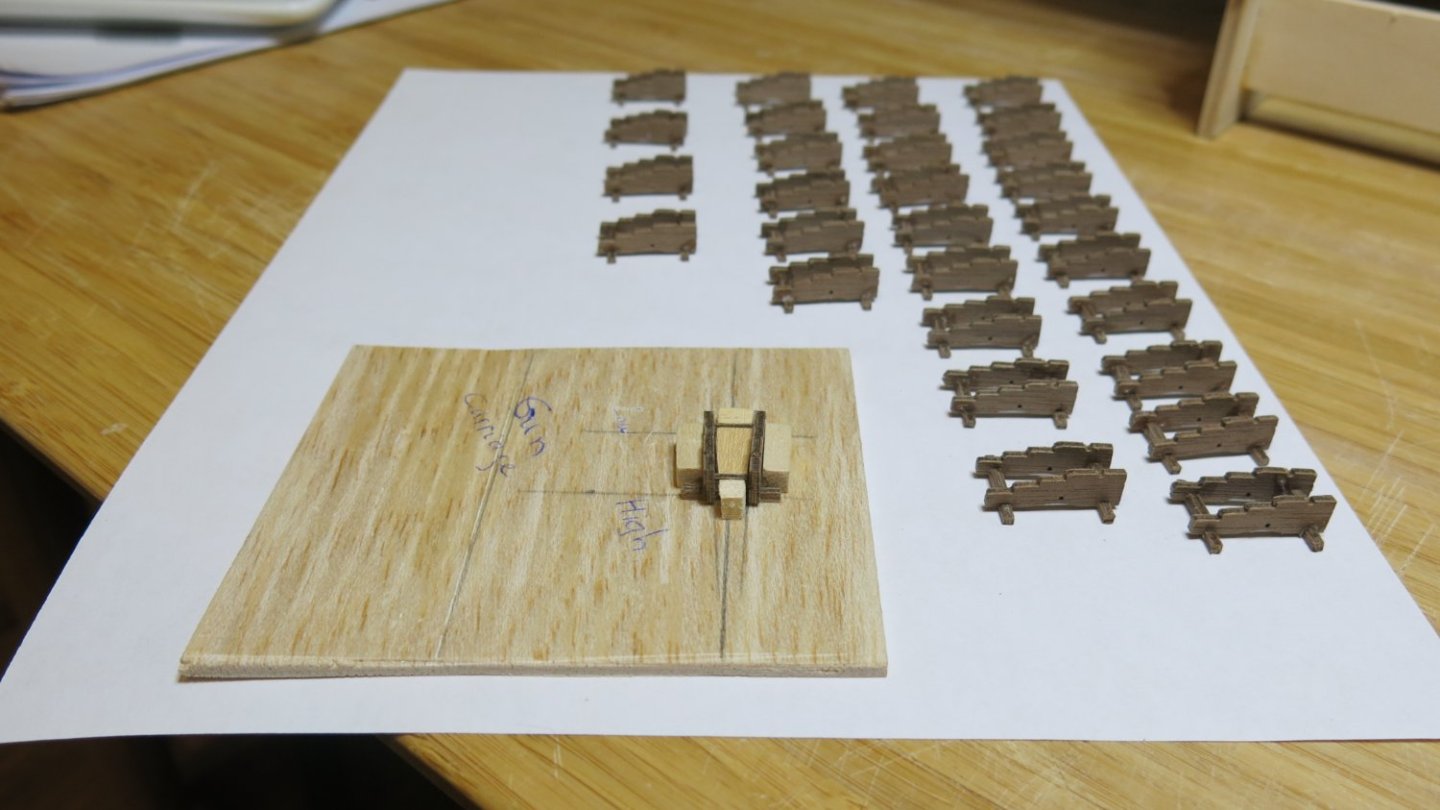
-
Marinus reacted to a post in a topic:
HMS Victory by Marinus - Caldercraft - 1/72
-
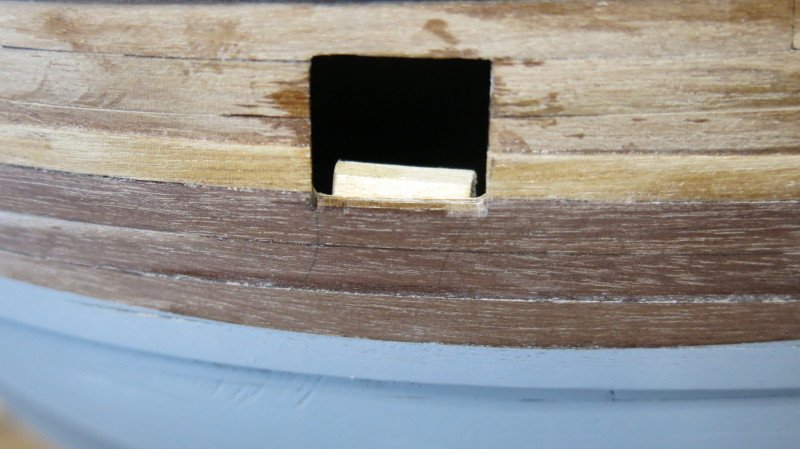
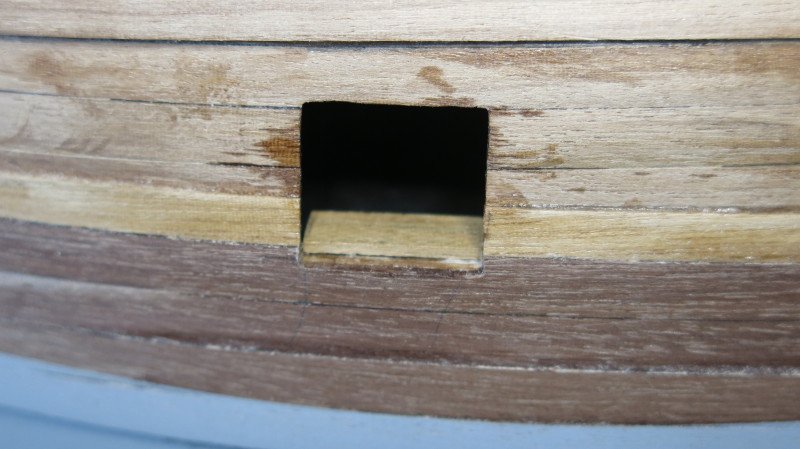
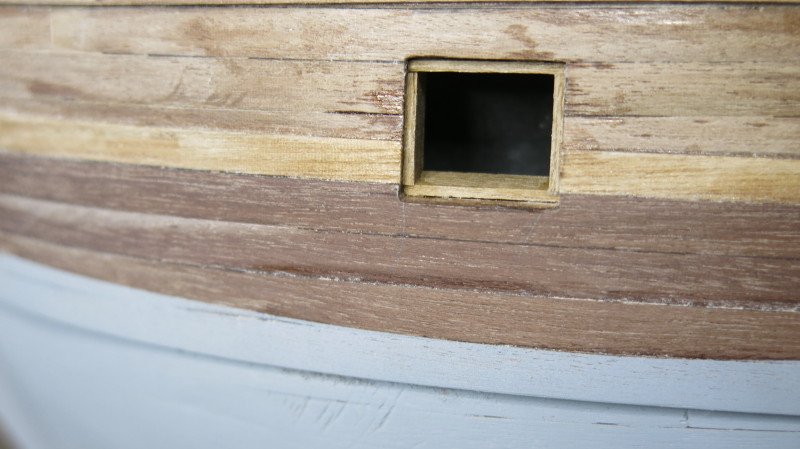
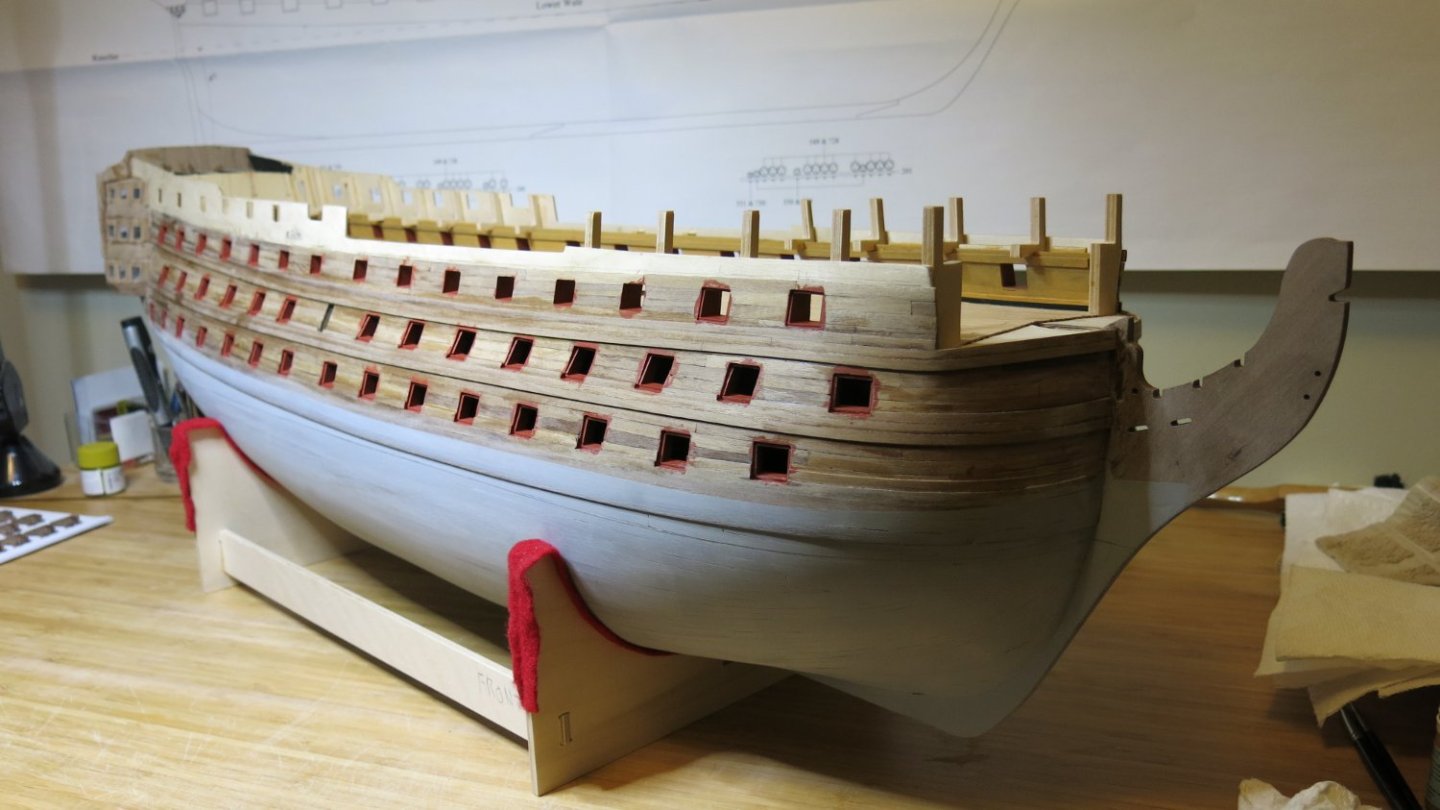
Lower gunports lined on the starboard side. Not as difficult as I thought but still a very challenging job, patience helps a lot.
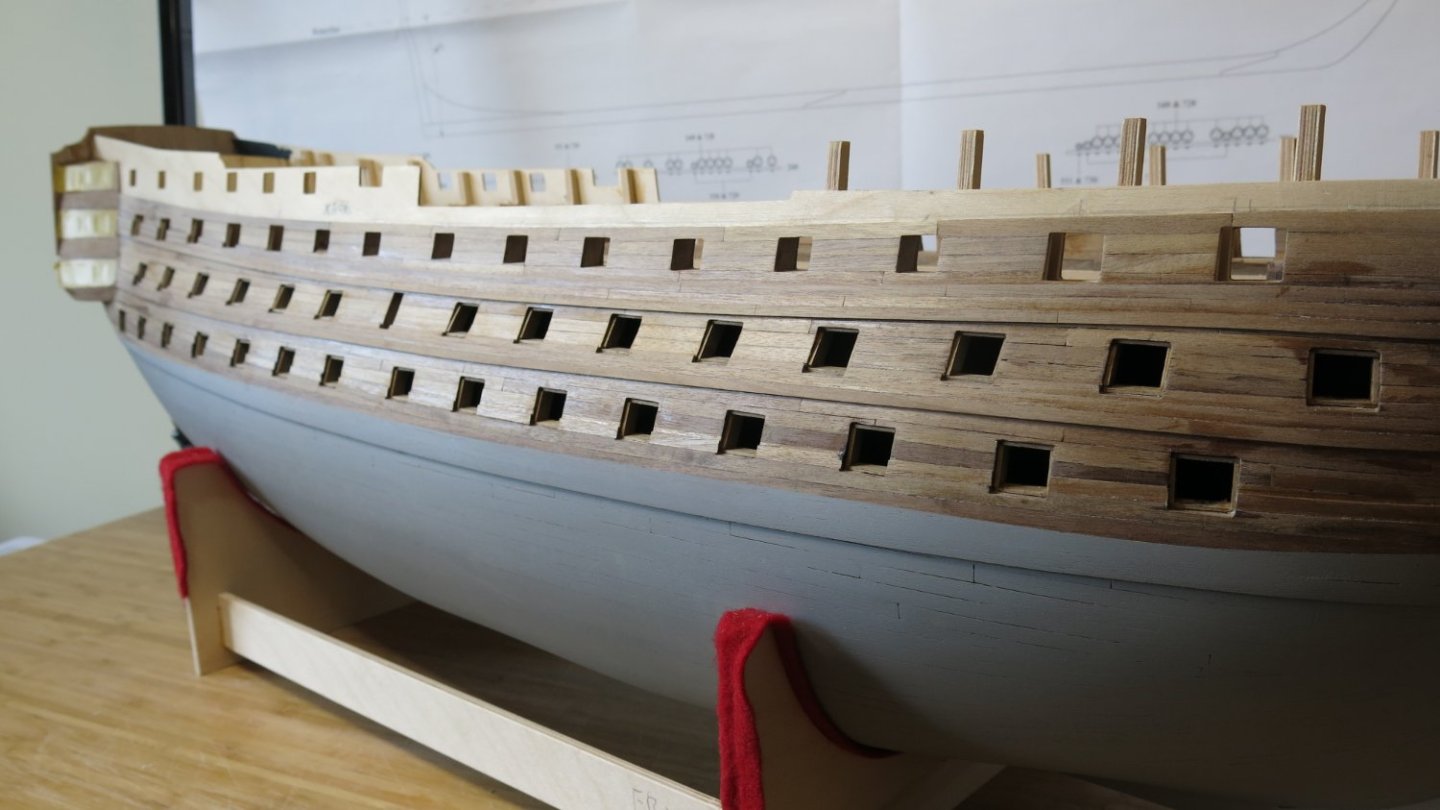
-
Got one gunport lining done, many more to go. I like to thank all Victory builders who posted a lot of great information to make it easier for new builders. 👍