HOLIDAY DONATION DRIVE - SUPPORT MSW - DO YOUR PART TO KEEP THIS GREAT FORUM GOING! (Only 20 donations so far - C'mon guys!)
×


Melissa T.
-
Posts
150 -
Joined
-
Last visited
Content Type
Profiles
Forums
Gallery
Events
Everything posted by Melissa T.
-
Welcome, Steve! The Swampscott Dory is fun and a great first build. If you’re interested, my build log for for this kit is here - best wishes! Melissa
-
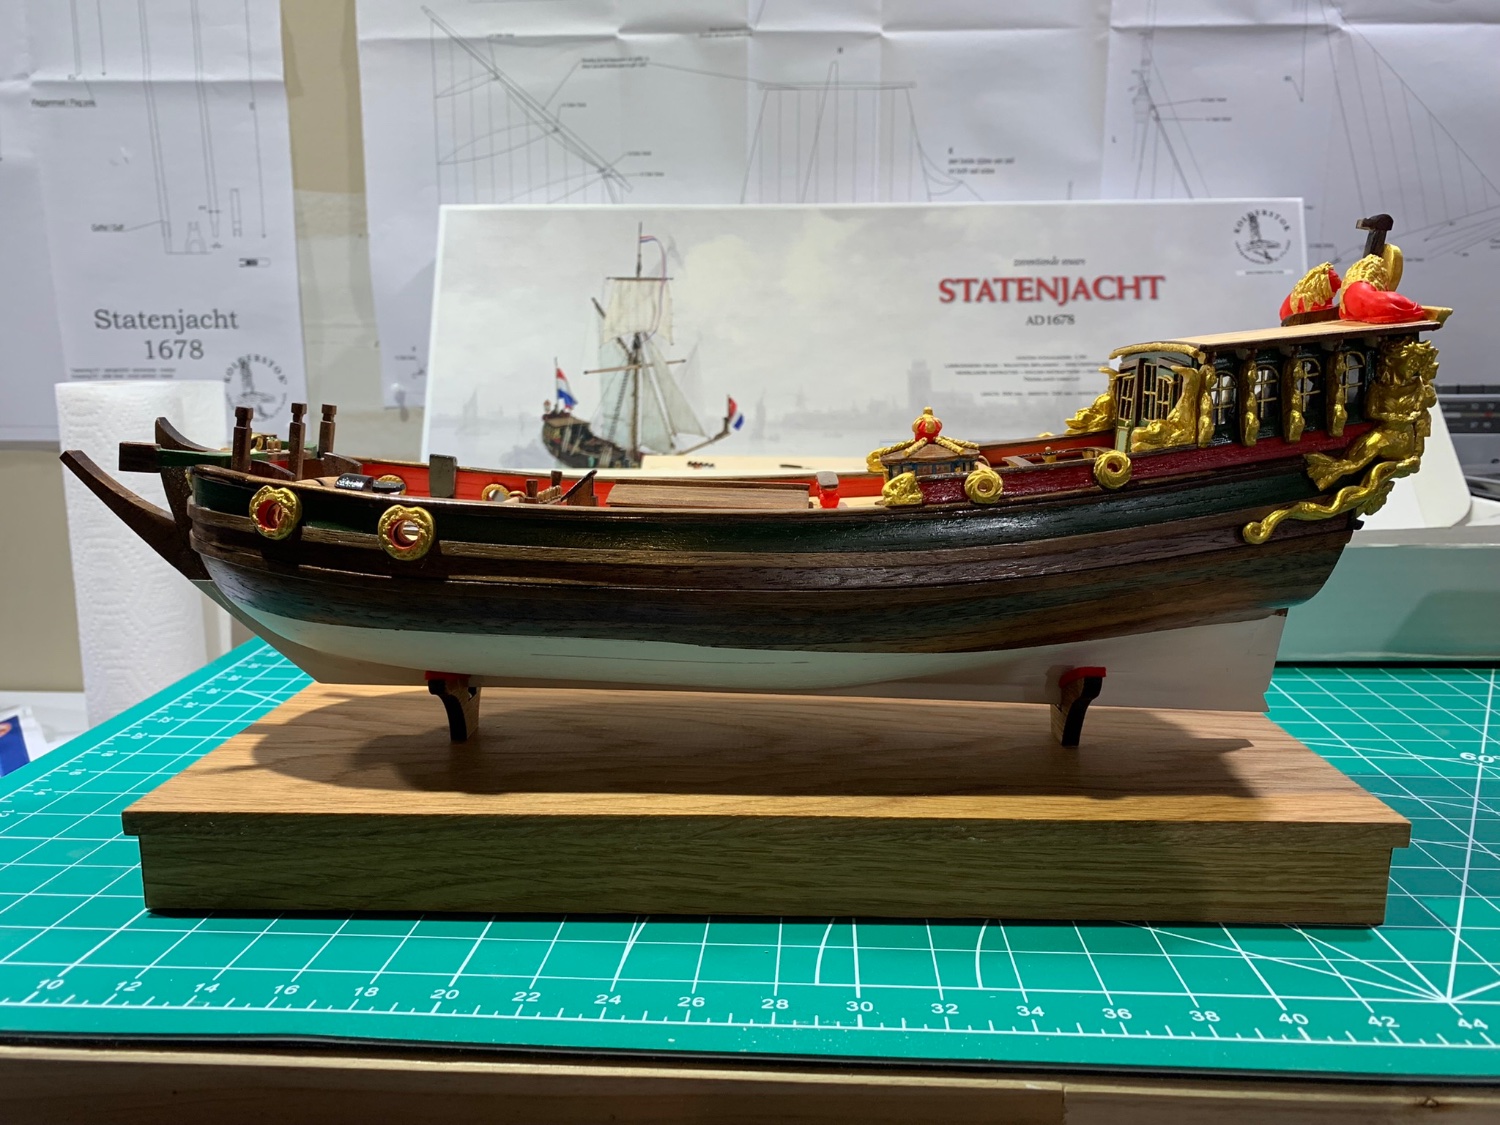
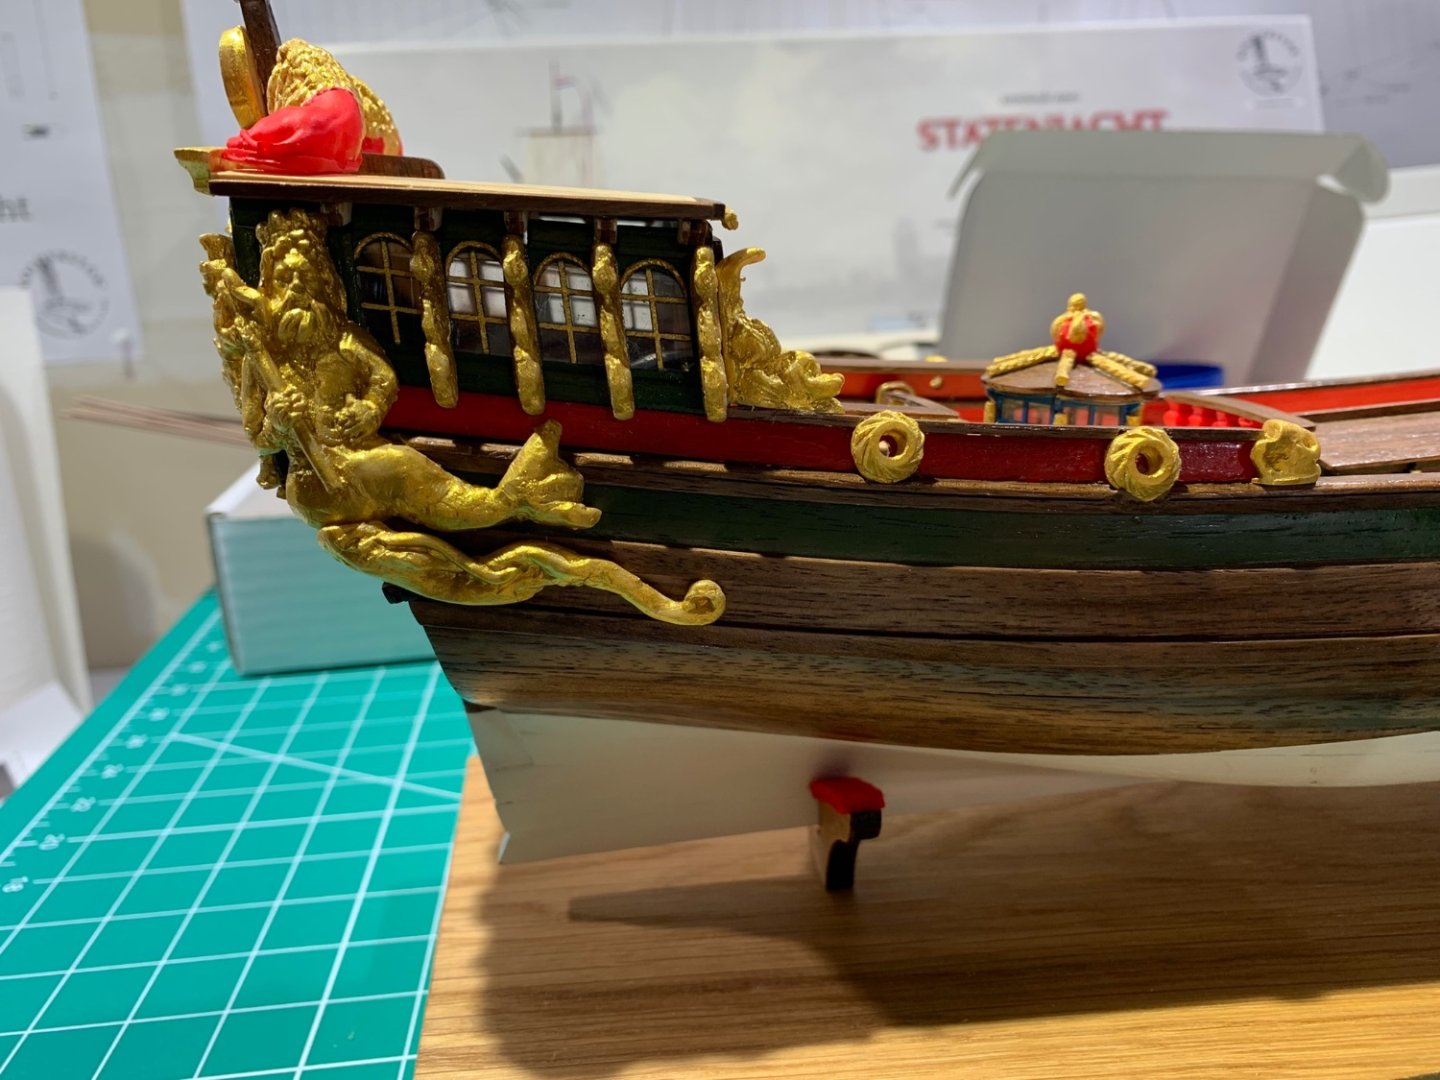
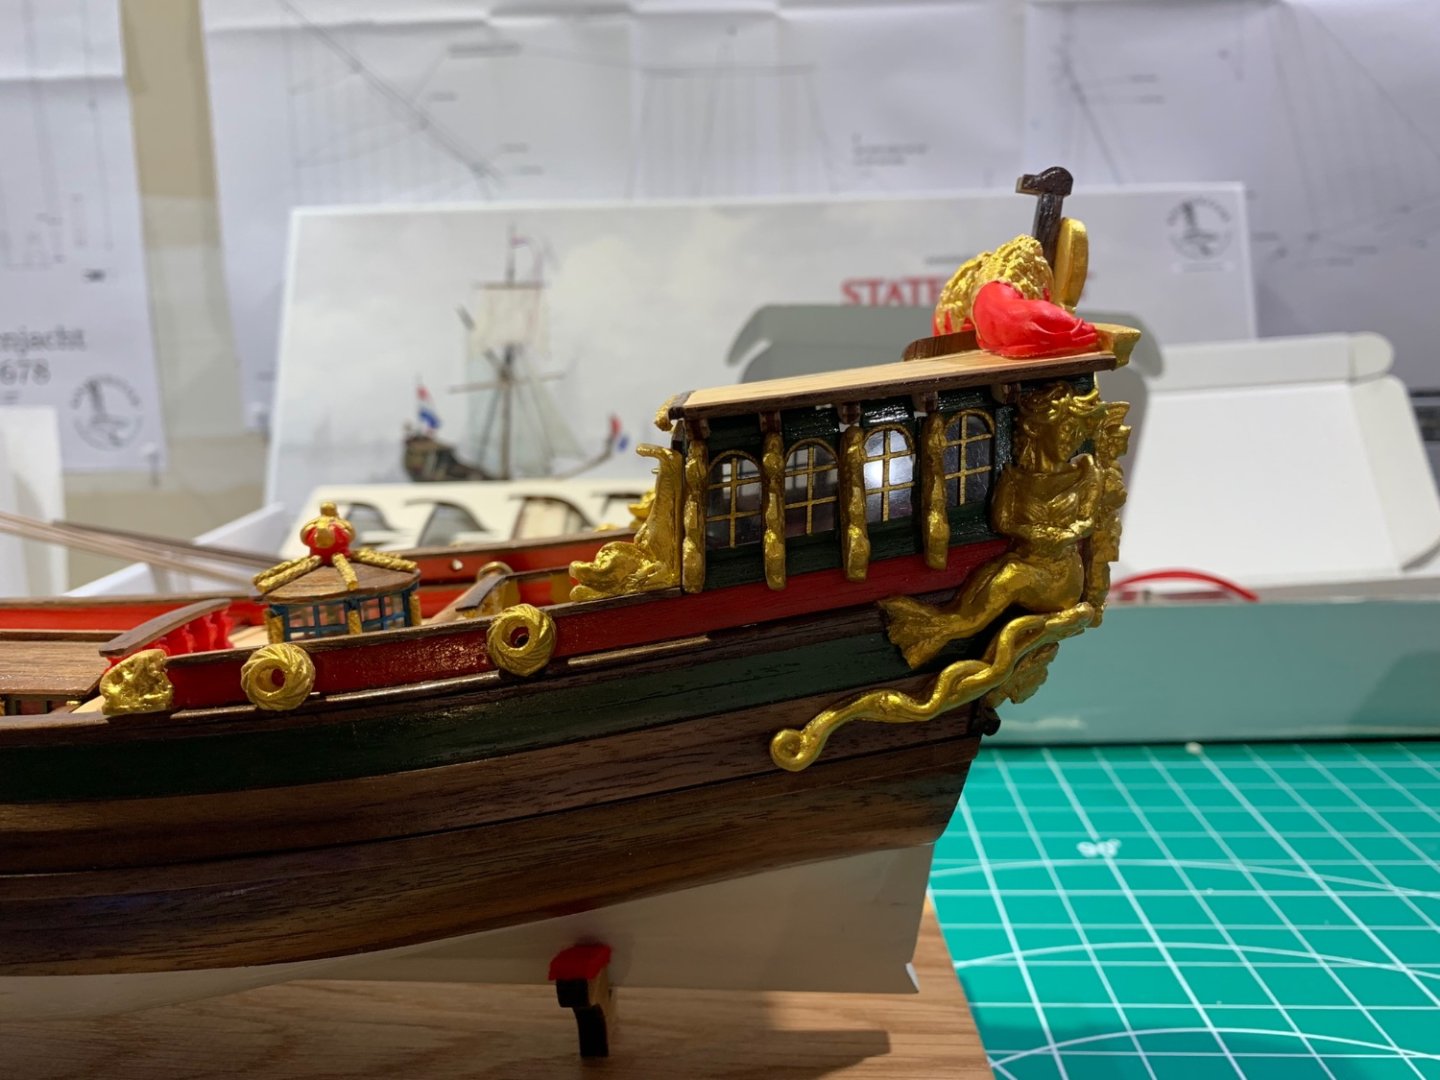
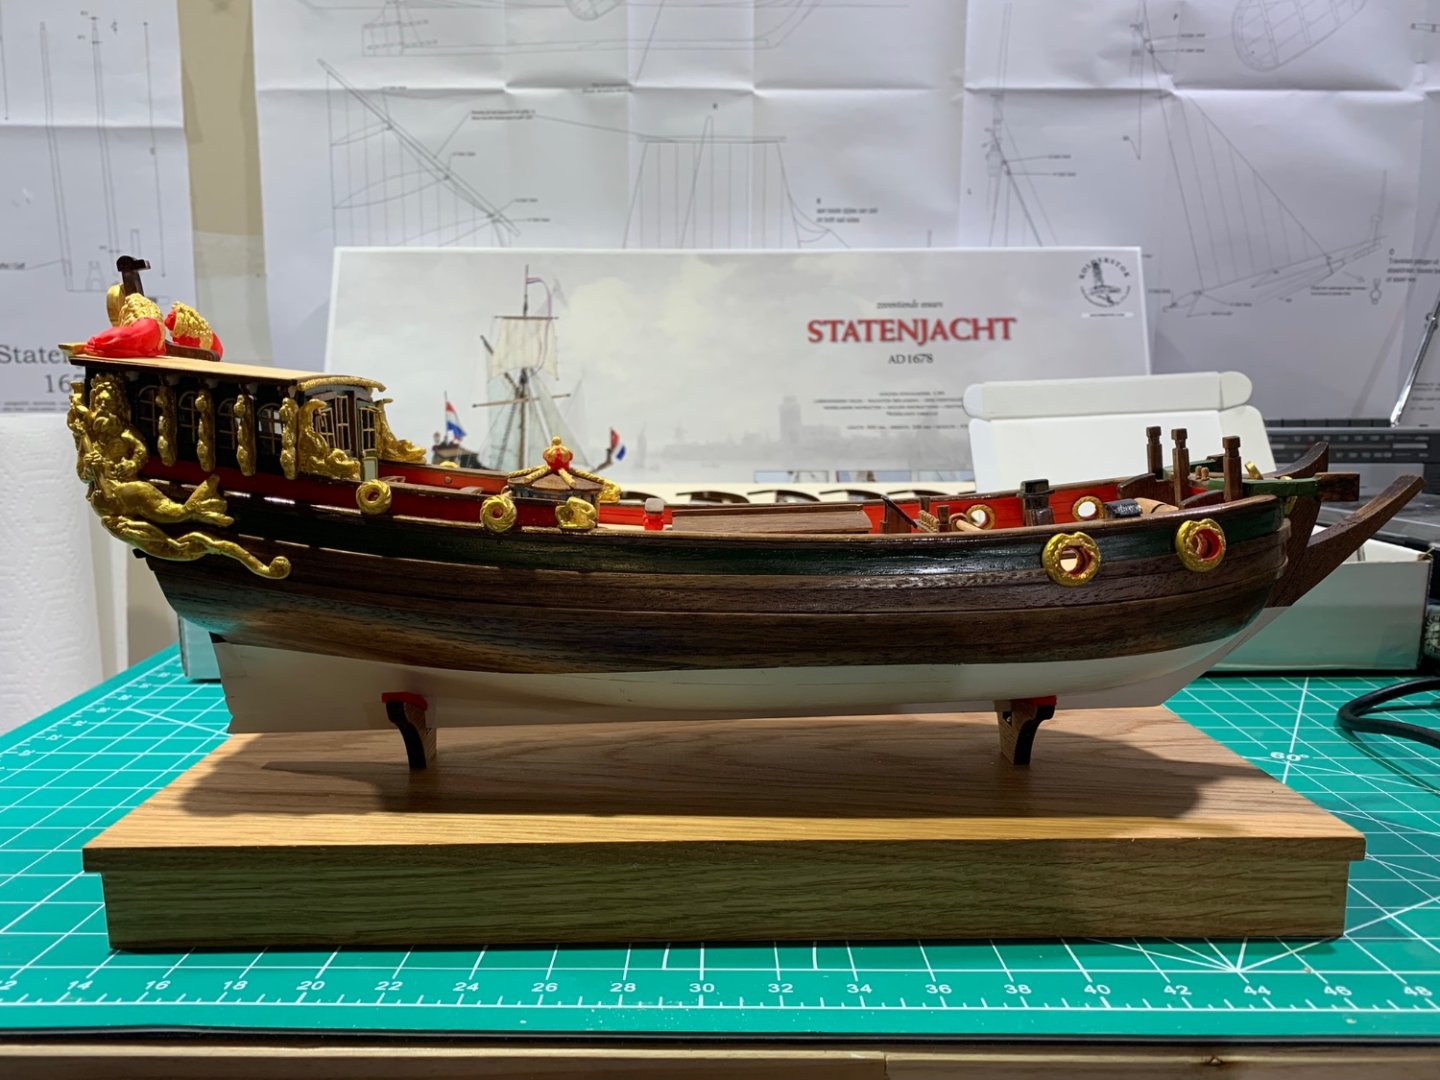
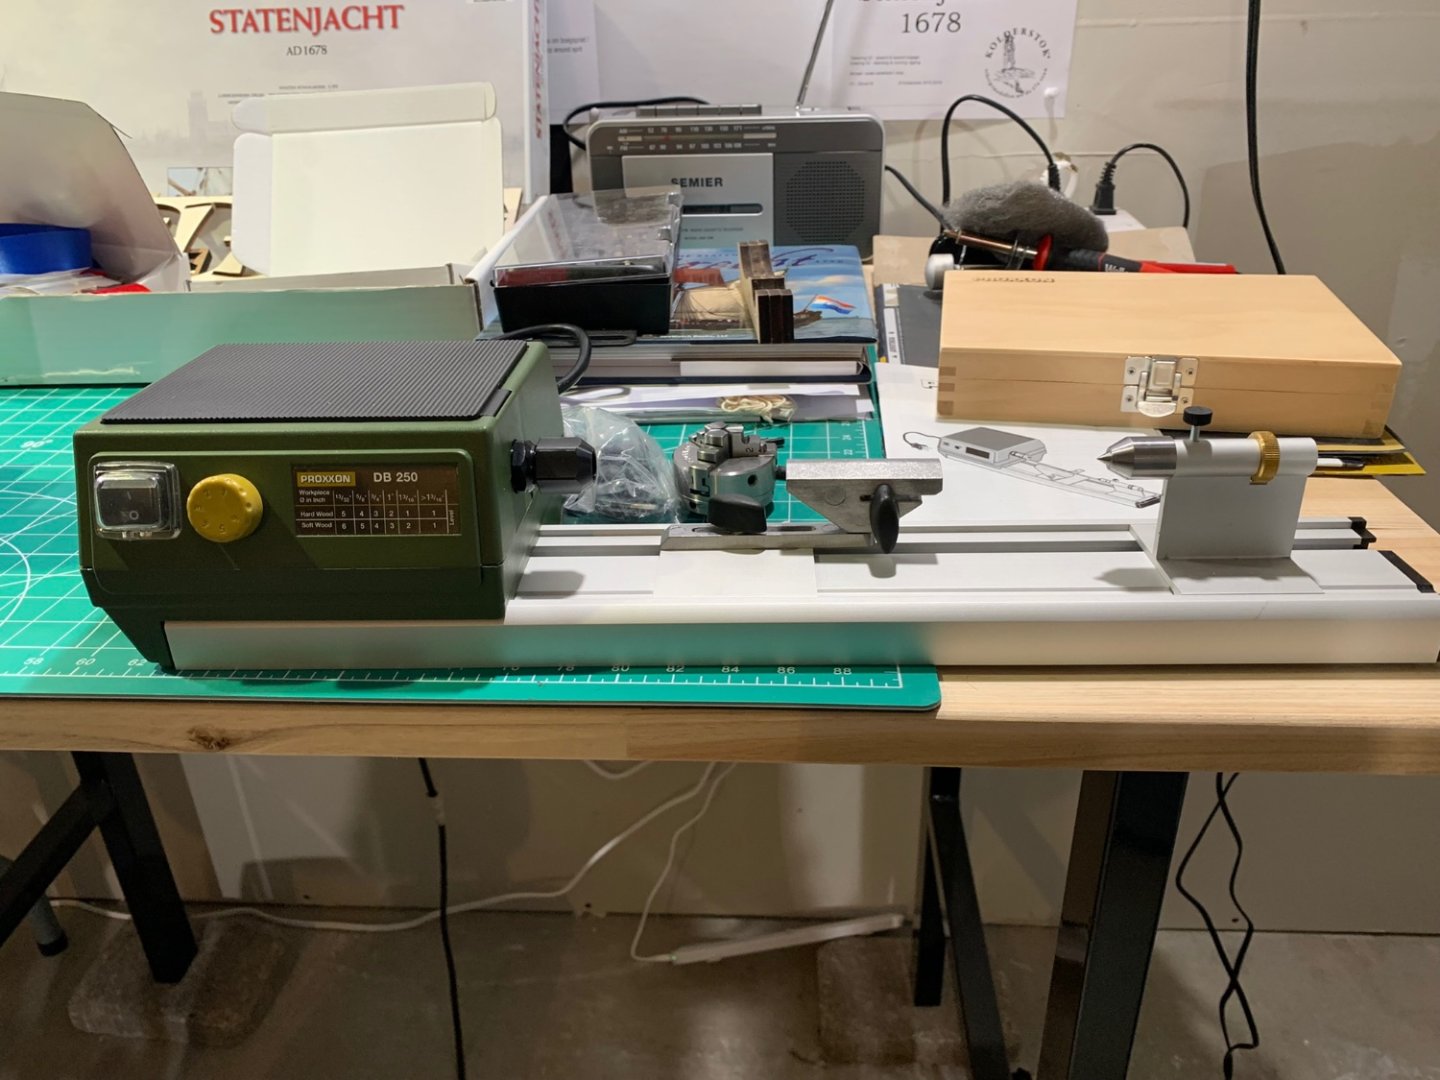
 I got this kit back in March both for its historical interest and as a skill-building exercise - it has definitely been a stretch, but a fun one! Over the past month, I’ve been focused on finishing the stern cabin, its roof, and the extensive ornamentations. The coat of arms I painted is for the city of Amsterdam. The work at the stern is mostly done now, though I still need to make a flagpole. I invested in a Proxxon mini-lathe to make that job easier, as well as the masts and spars on this and future projects. Will figure out how to use it tomorrow! After that, I’ll begin work on the bow.
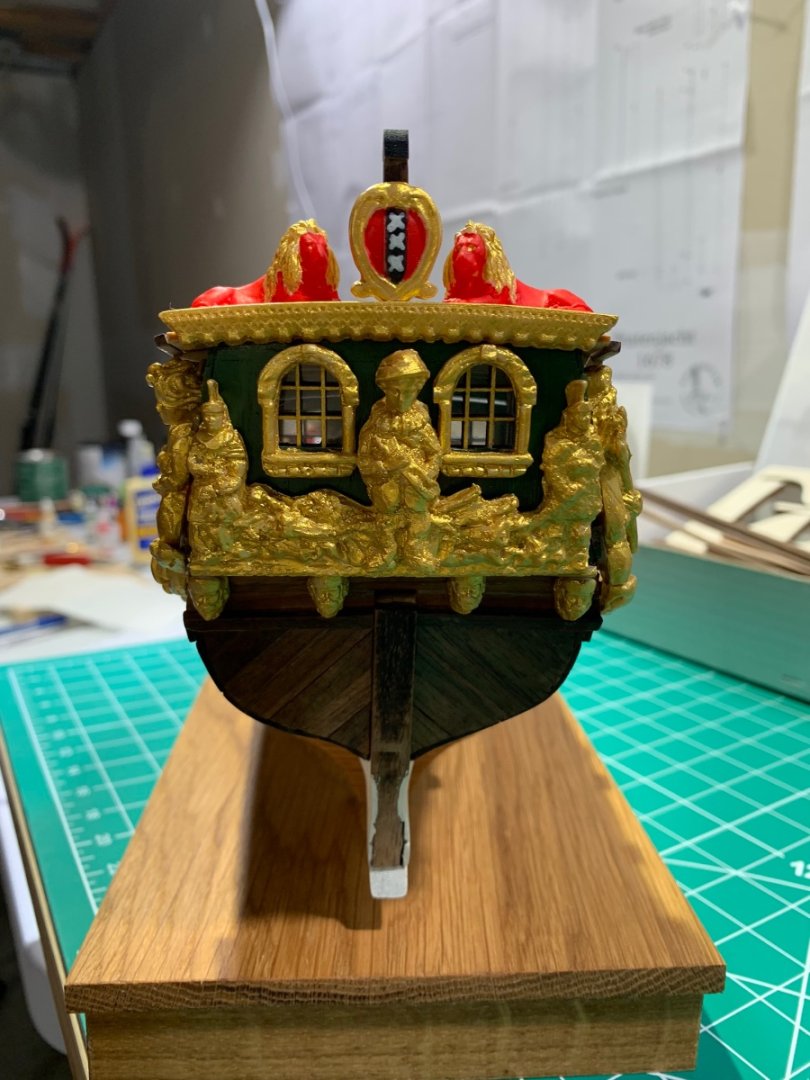


- 84 replies
-
- 18
-

-
- Statenjacht
- Kolderstok
- (and 1 more)
-
Thanks Paul - I’ll post updated pics in the next day or two. I’ve made a lot of progress on the stern cabin.
- 84 replies
-
- 2
-
-
- Statenjacht
- Kolderstok
- (and 1 more)
-
Good idea on the wet towel, and I love the pink weights - I have some just like those! 😊
- 25 replies
-
- 1
-
-
- Swampscott Dory
- BlueJacket Shipcrafters
- (and 1 more)
-
Looking great! This is a fun kit - enjoy
- 25 replies
-
- 1
-
-
- Swampscott Dory
- BlueJacket Shipcrafters
- (and 1 more)
-
Thank you, Mark!
-
Keith - So many people have asked me about that house, though I don’t even watch that show! I know where it is, but haven’t been by there. May check it out, now that the hoopla is over.
- 84 replies
-
- 1
-
-
- Statenjacht
- Kolderstok
- (and 1 more)
-
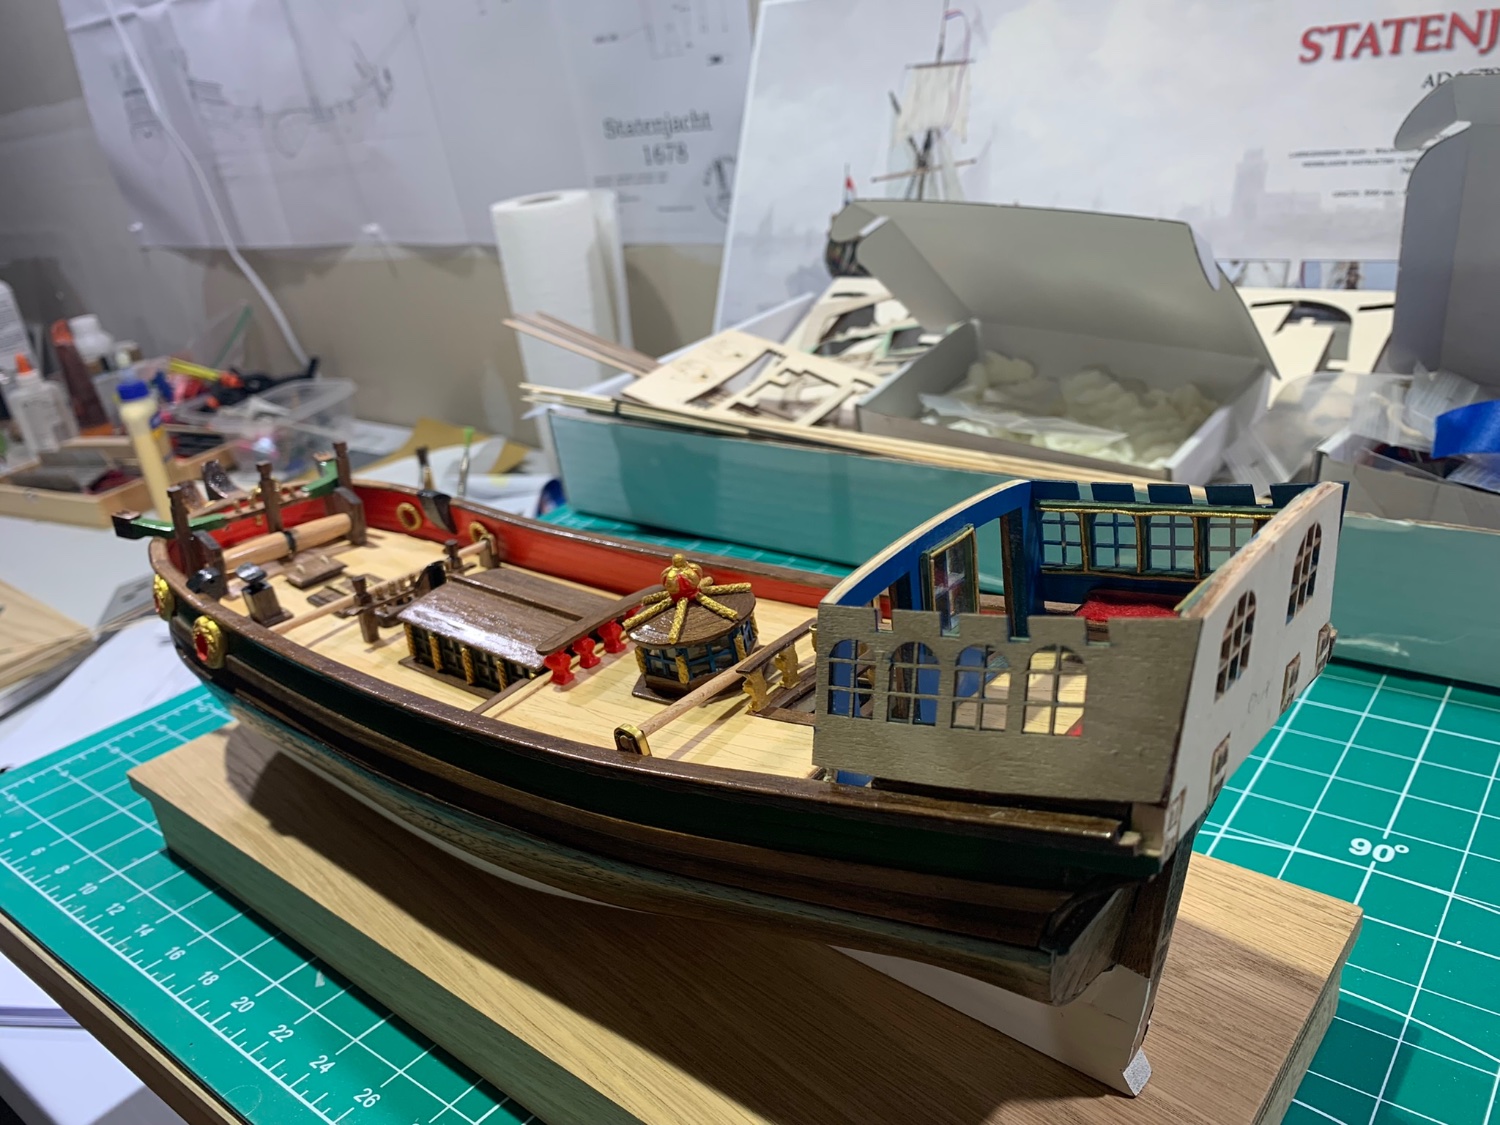
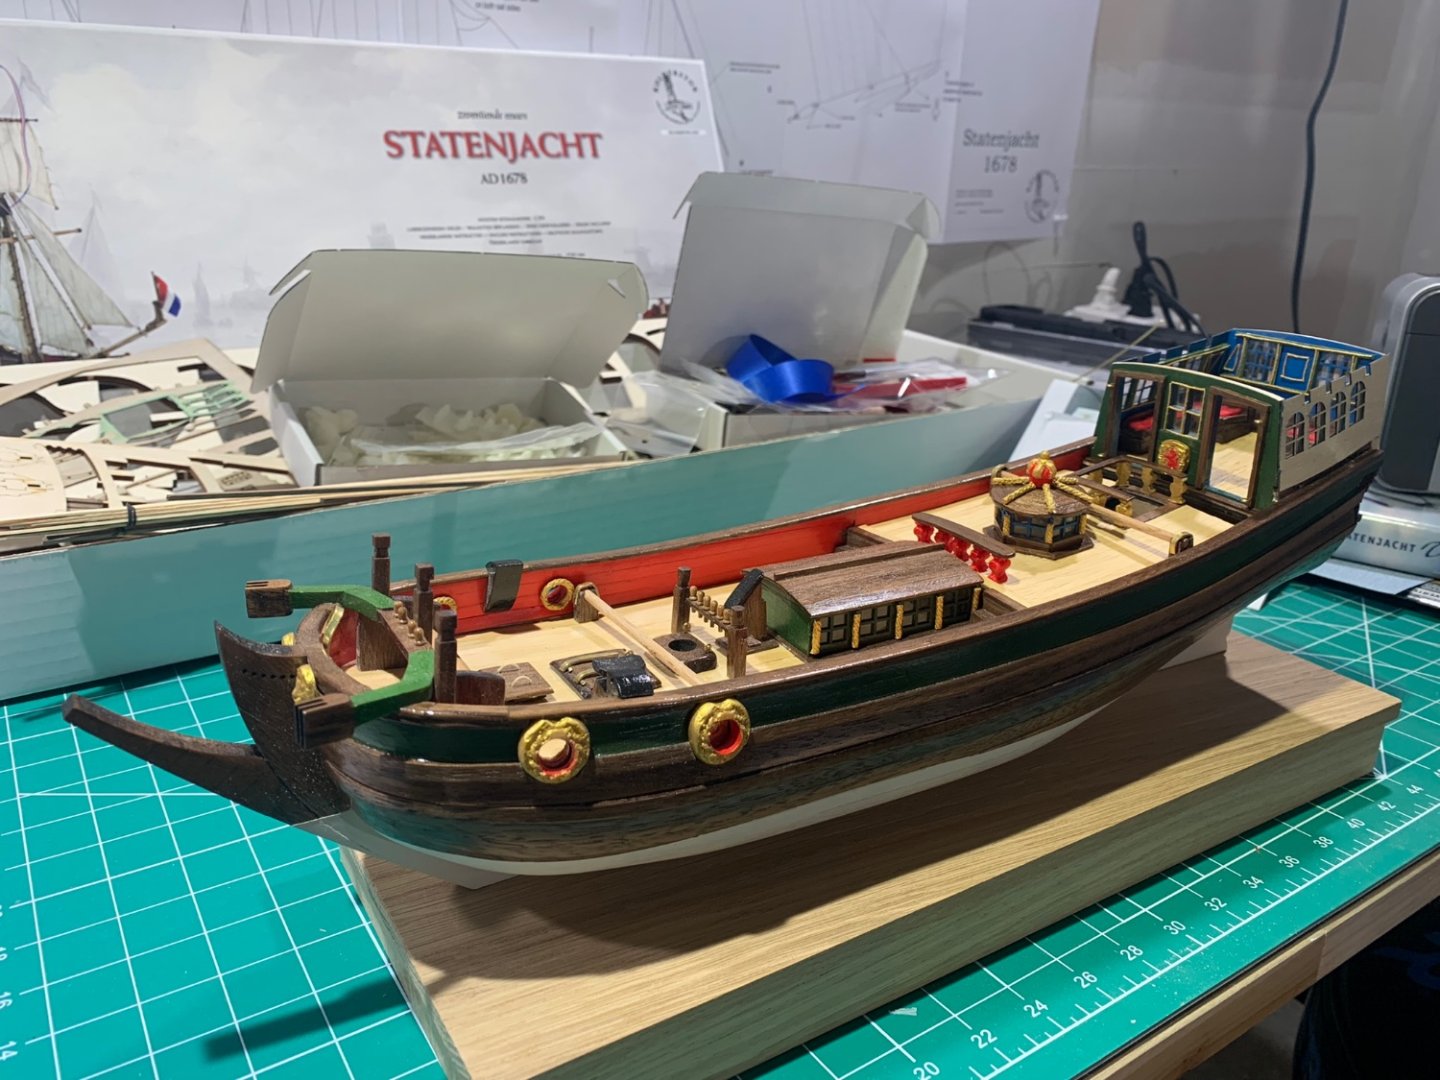
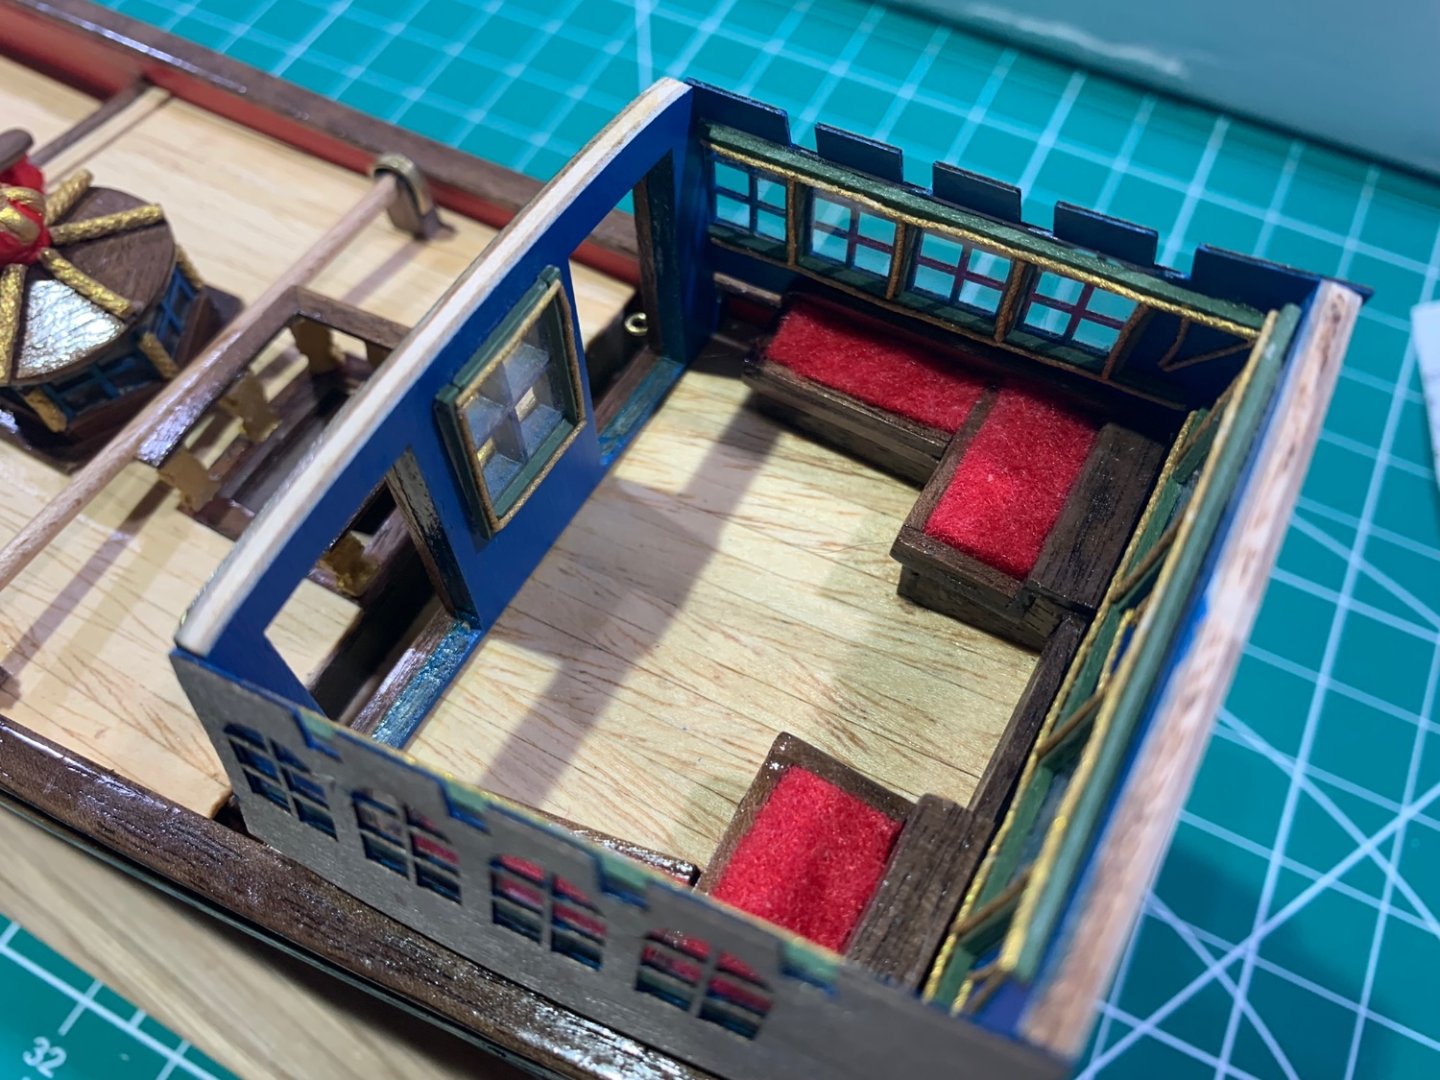
Summertime in Saratoga Springs means lazy afternoons at the track watching the horseraces, outdoor concerts, visits from friends and family, long bicycle rides in the surrounding countryside, daytrips to the many historical sites in Upstate New York, watching too much baseball (Let’s Go, Mets!) and occasionally, just occasionally, finding time to continue work on my Statenjacht. I realized I hadn’t posted anything in two months, and didn’t want anyone to think this was another “dead” build-log! I’ve been continuing the slow work on the deck cabins and furniture, working my way towards the stern. The stern superstructure, which I have most recently been working on, is quite intricate and has been a bit of a challenge since the side panels are too short for the laser-cut front and back of the cabin. I partly solved that issue by sanding down the tops of the front and back as much as practical without interfering with the windows. It was important that the tops of the side panels line up with the tops of the front and back to properly fit the roof (yet to be built). So I ended up gluing the side panels a bit higher up off of the deck rail than shown in the plans, hence the gap at the bottom – I plan on fixing that by adding a bit more planking than called for in the instructions. I don’t see this as a major problem going forward. One thing I’ve learned is to not be afraid to improvise when things don’t go exactly as shown in the plans or instructions. Which happens a lot. I continue to enjoy all the interior details on this kit – each of the deck cabins are removable so that the interiors I had worked on earlier can be viewed. I’m currently working on the stern cabin doors, then I’ll tackle the roof and side paneling. Onward!


- 84 replies
-
- 12
-
-
- Statenjacht
- Kolderstok
- (and 1 more)
-
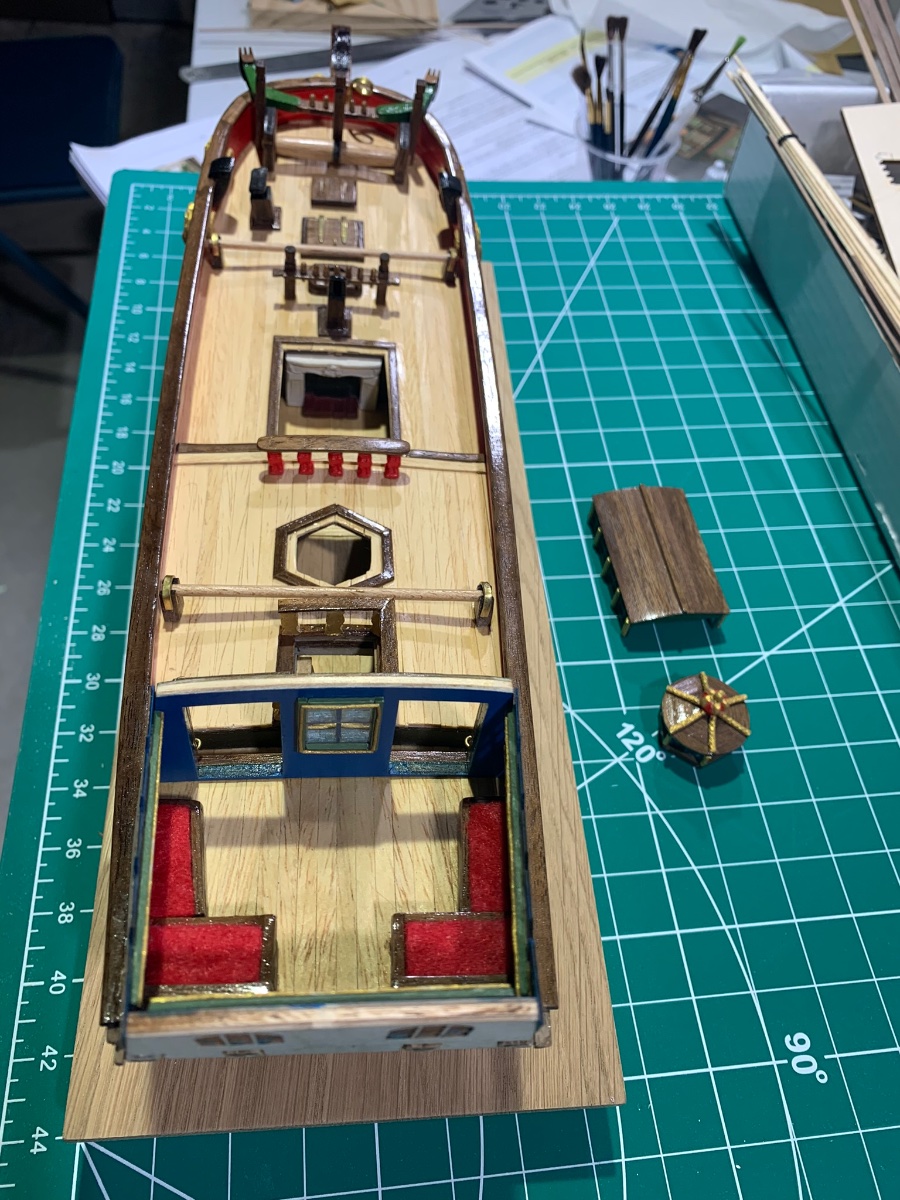
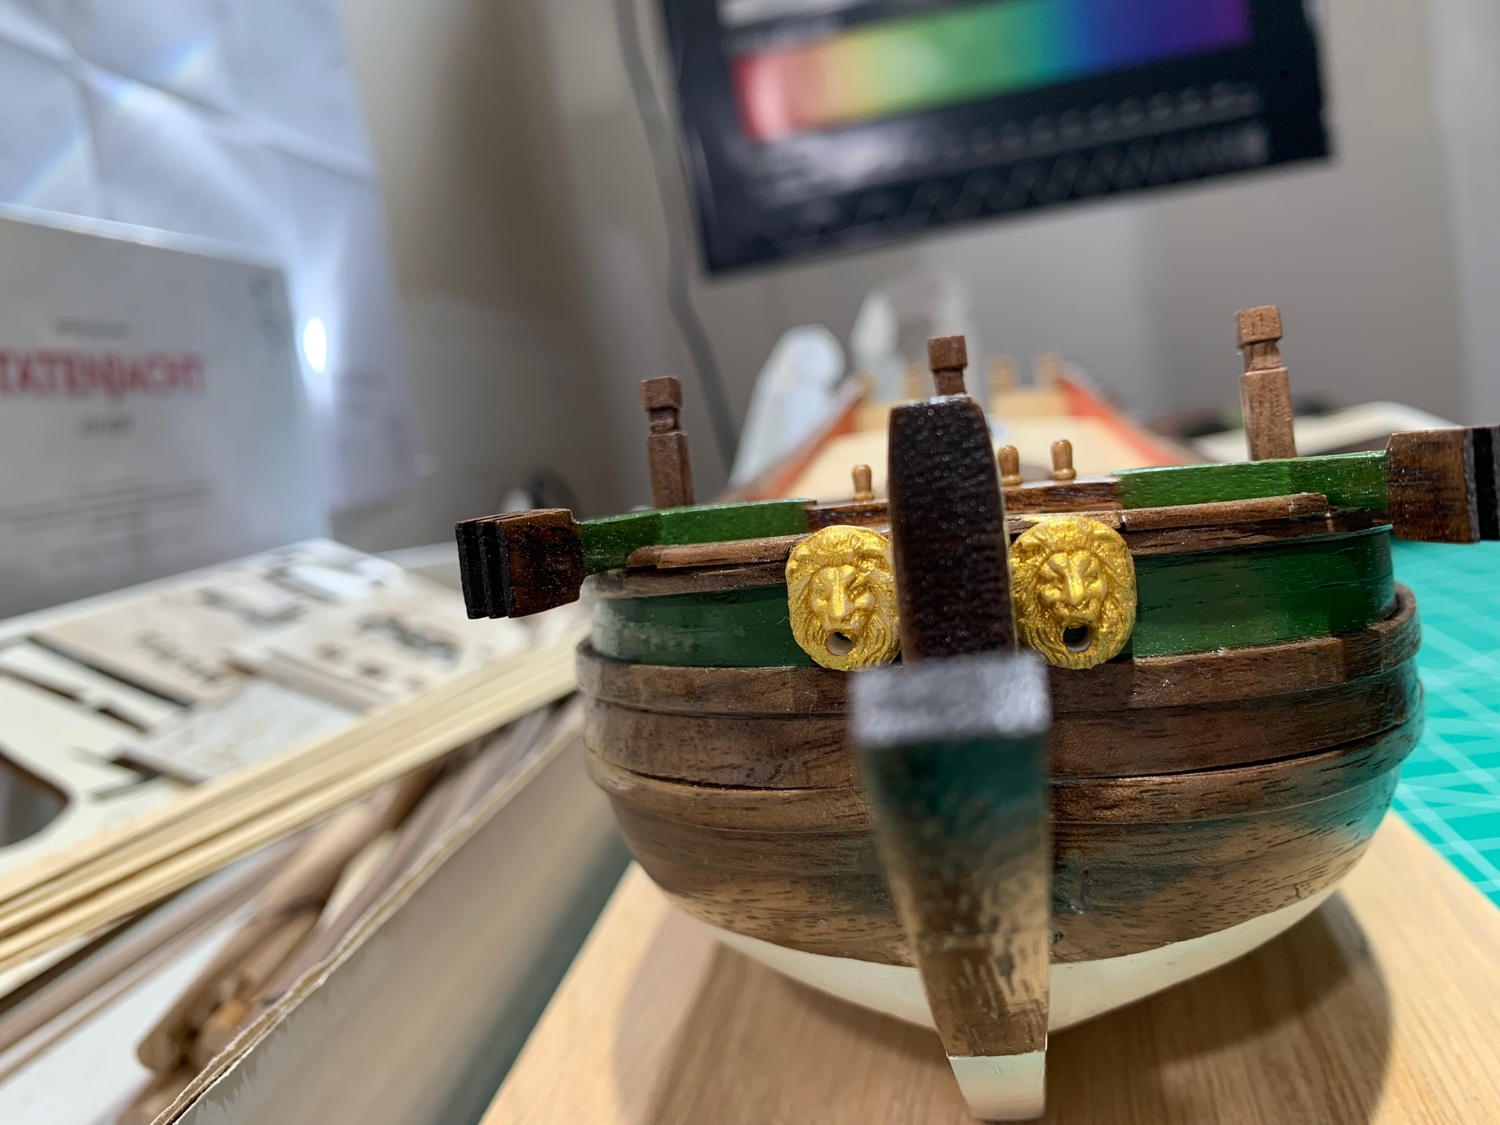
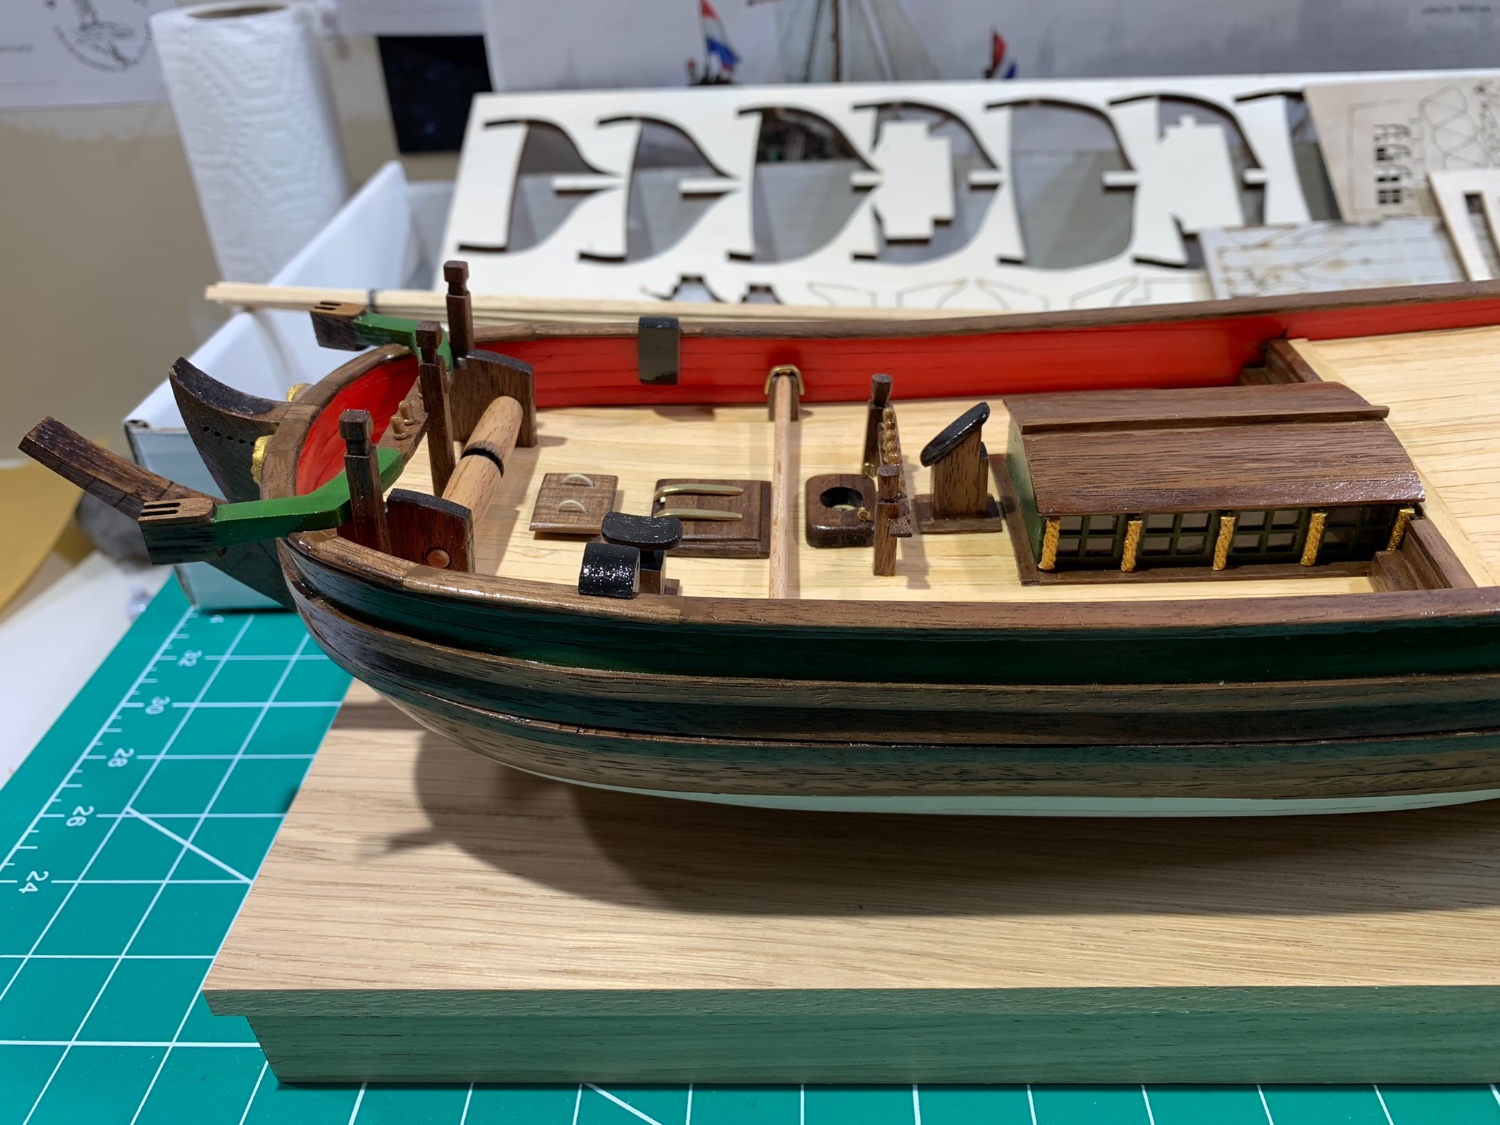
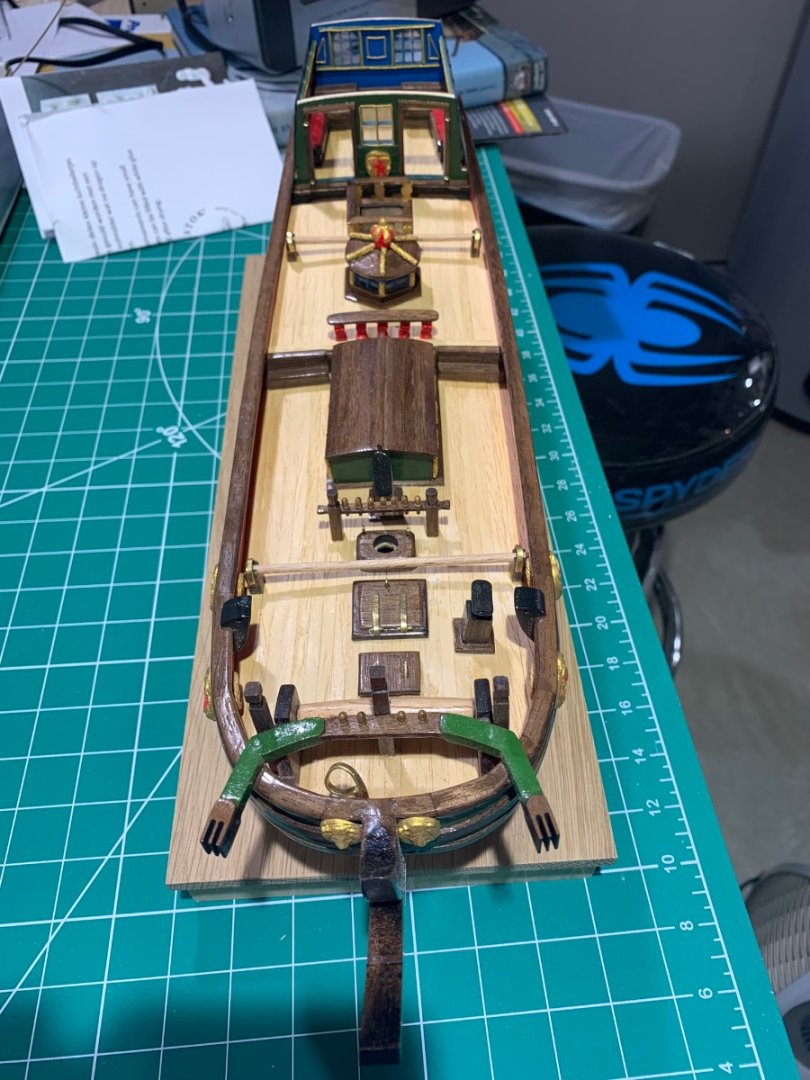
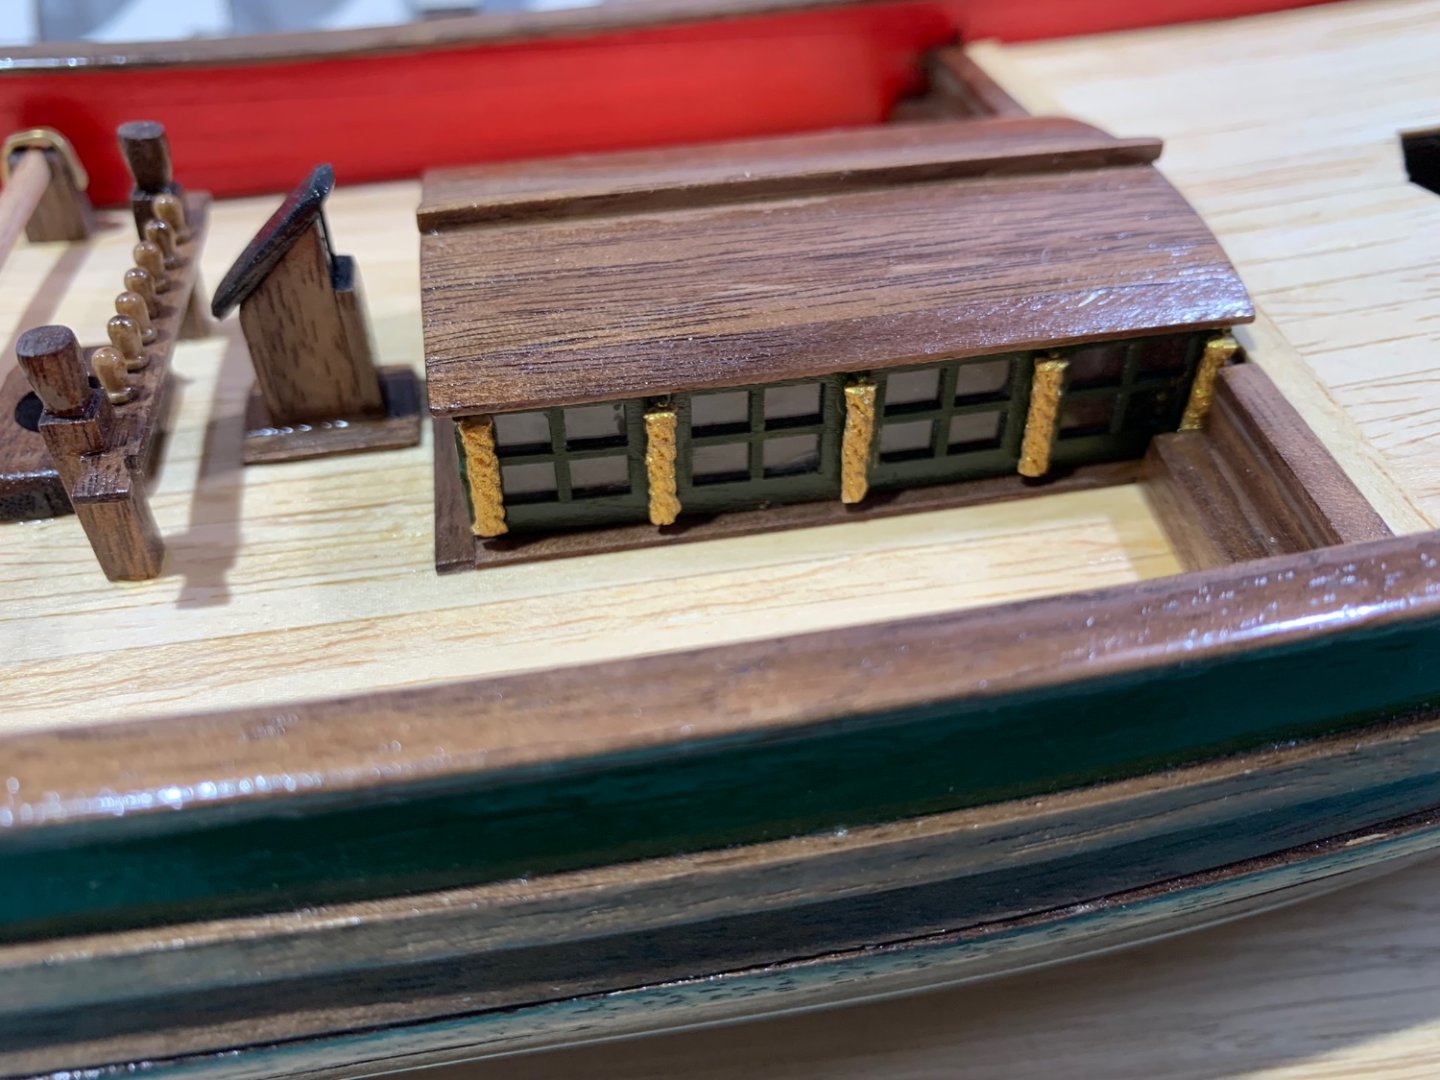
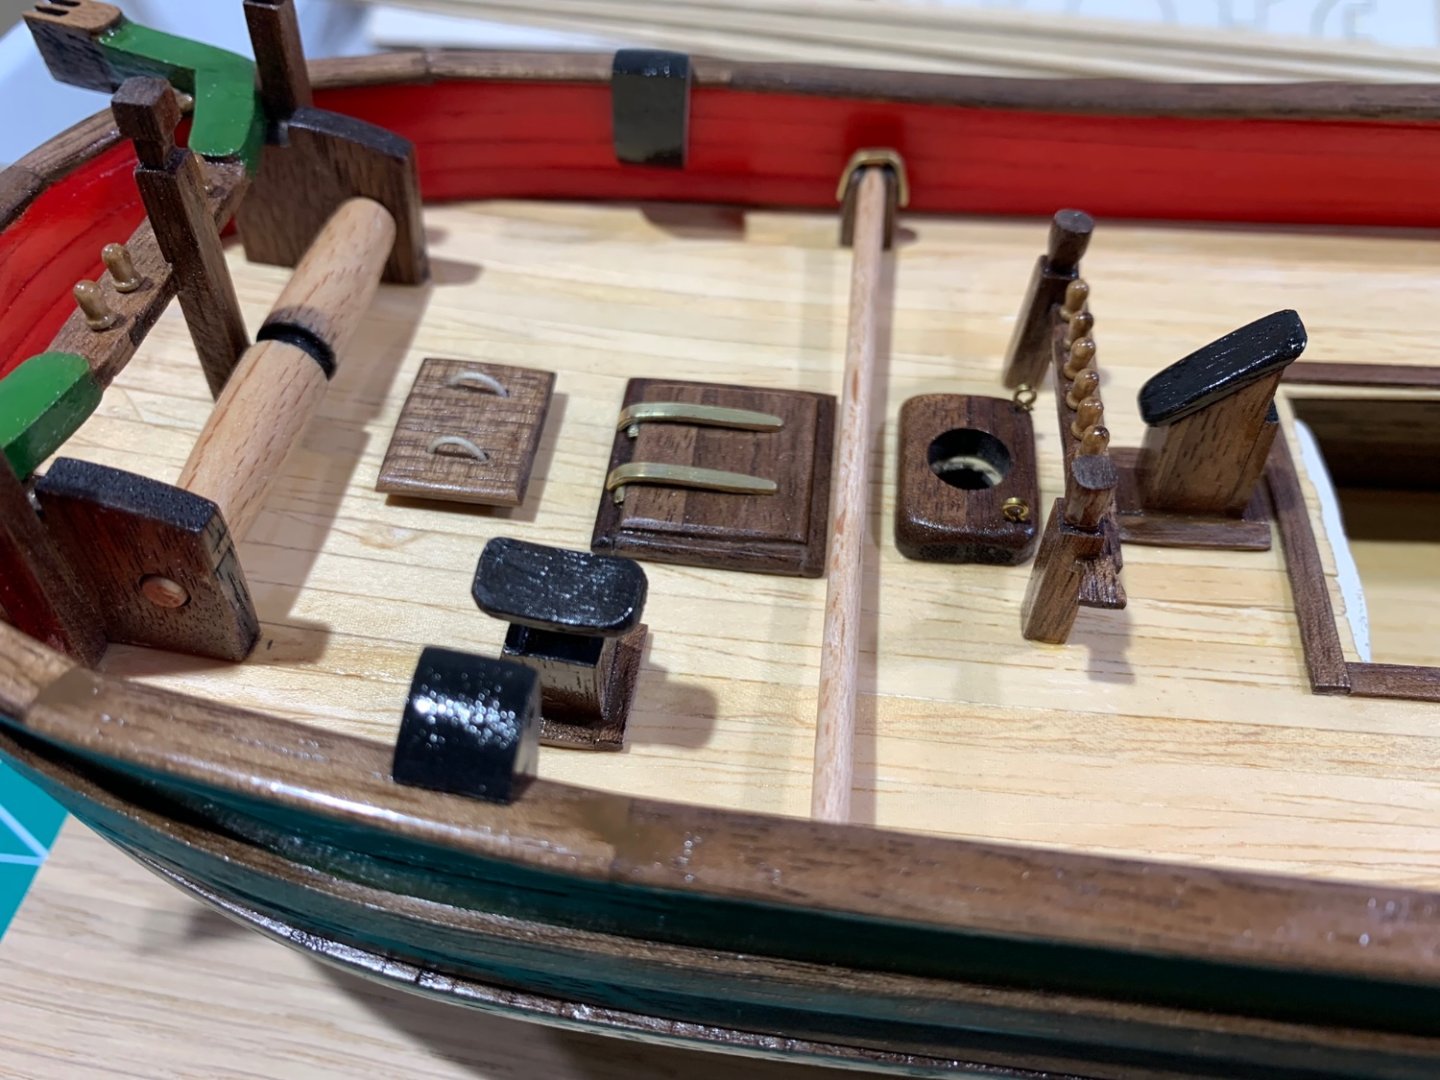
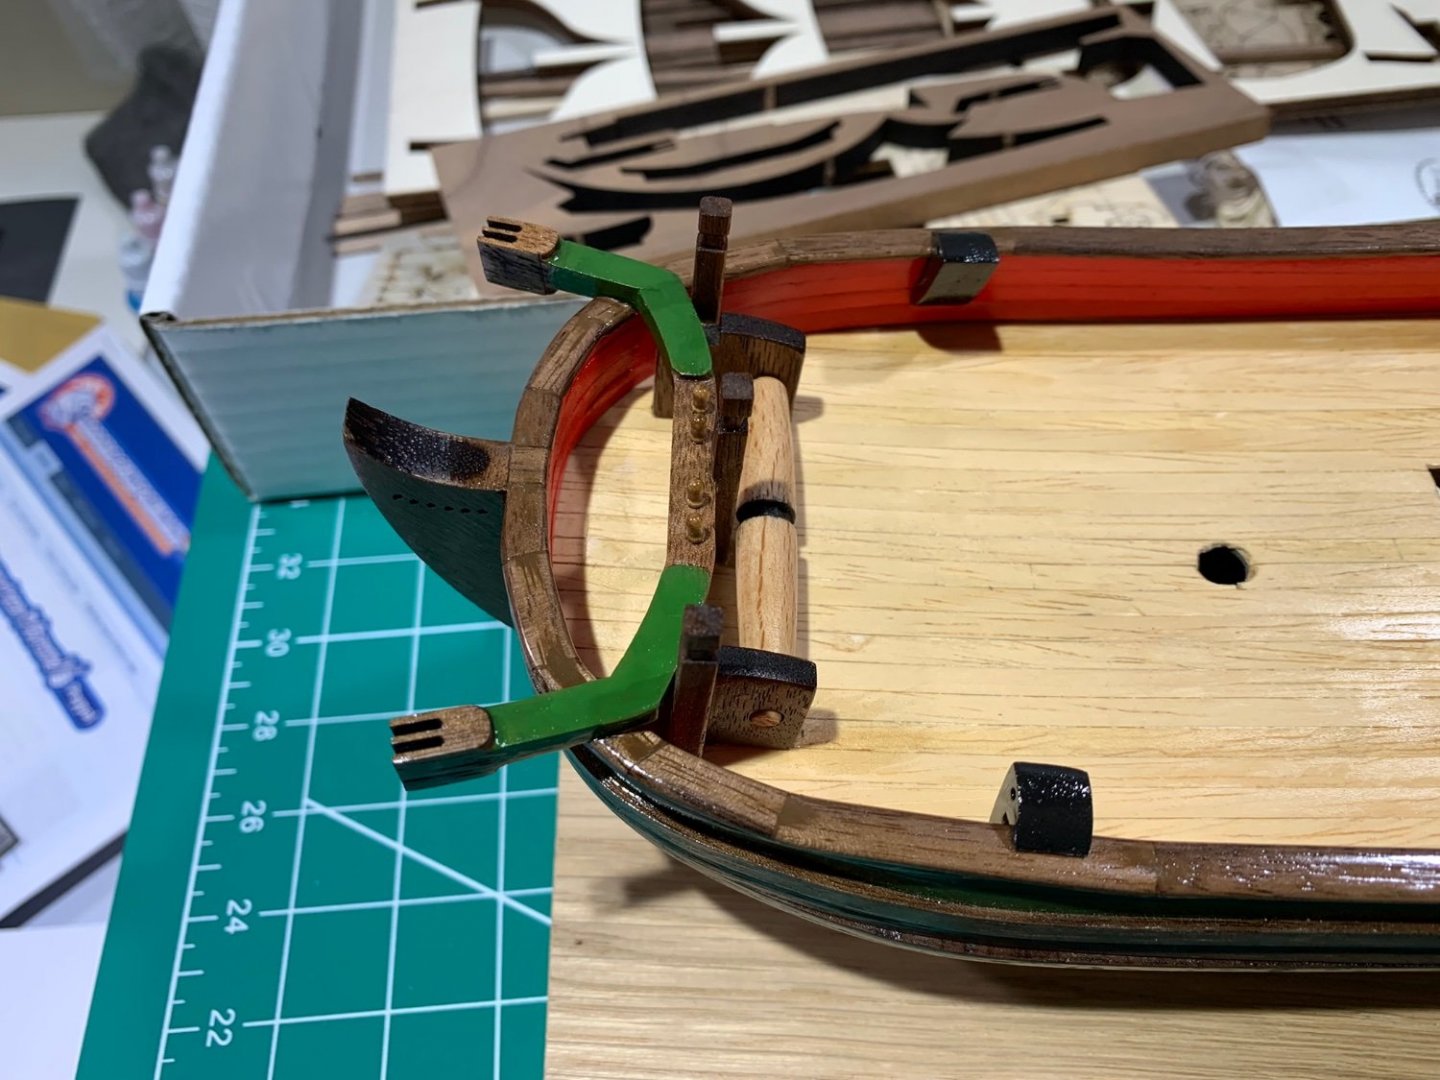
Since posting last month, I’ve been busy with summertime activities but have still found time to work on my Statenjacht for at least a little bit on most days. The focus has been on the various forward deck fittings and furnishings. Most of these are made from scratch, which I find very enjoyable and relaxing, plus I like learning new skills and tricks. The anchor cables will eventually feed through the holes in the lions heads mouths - I love that design feature. The deck house is removable, so you can still view interior details like the fireplace. I made the vertical gold rope decorations along the side by dipping the rope in my clear nail polish primer and then letting it dry overnight before painting it gold. The instructions had said to use CA glue - I find that nail polish primer is much easier to use and gives the same result. Now here’s something I have not been able to figure out - how do you drive a tiny brass nail through an equally tiny brass strip? In the next step, I have to do this for a bowsprit strap and I had also wanted to do it for the brass strips on the hatch cover I made. This totally baffles me, so any suggestions would be greatly appreciated.


- 84 replies
-
- 14
-
-
- Statenjacht
- Kolderstok
- (and 1 more)
-
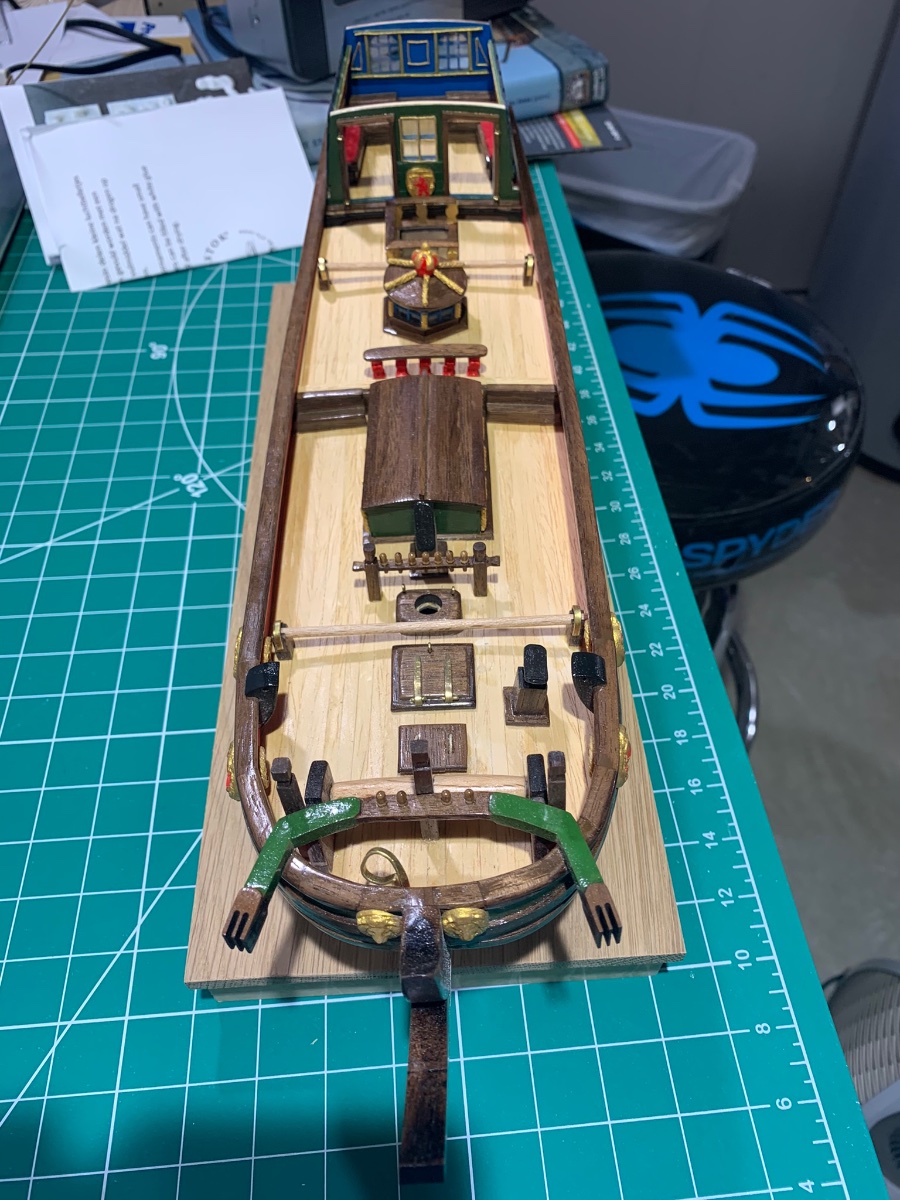
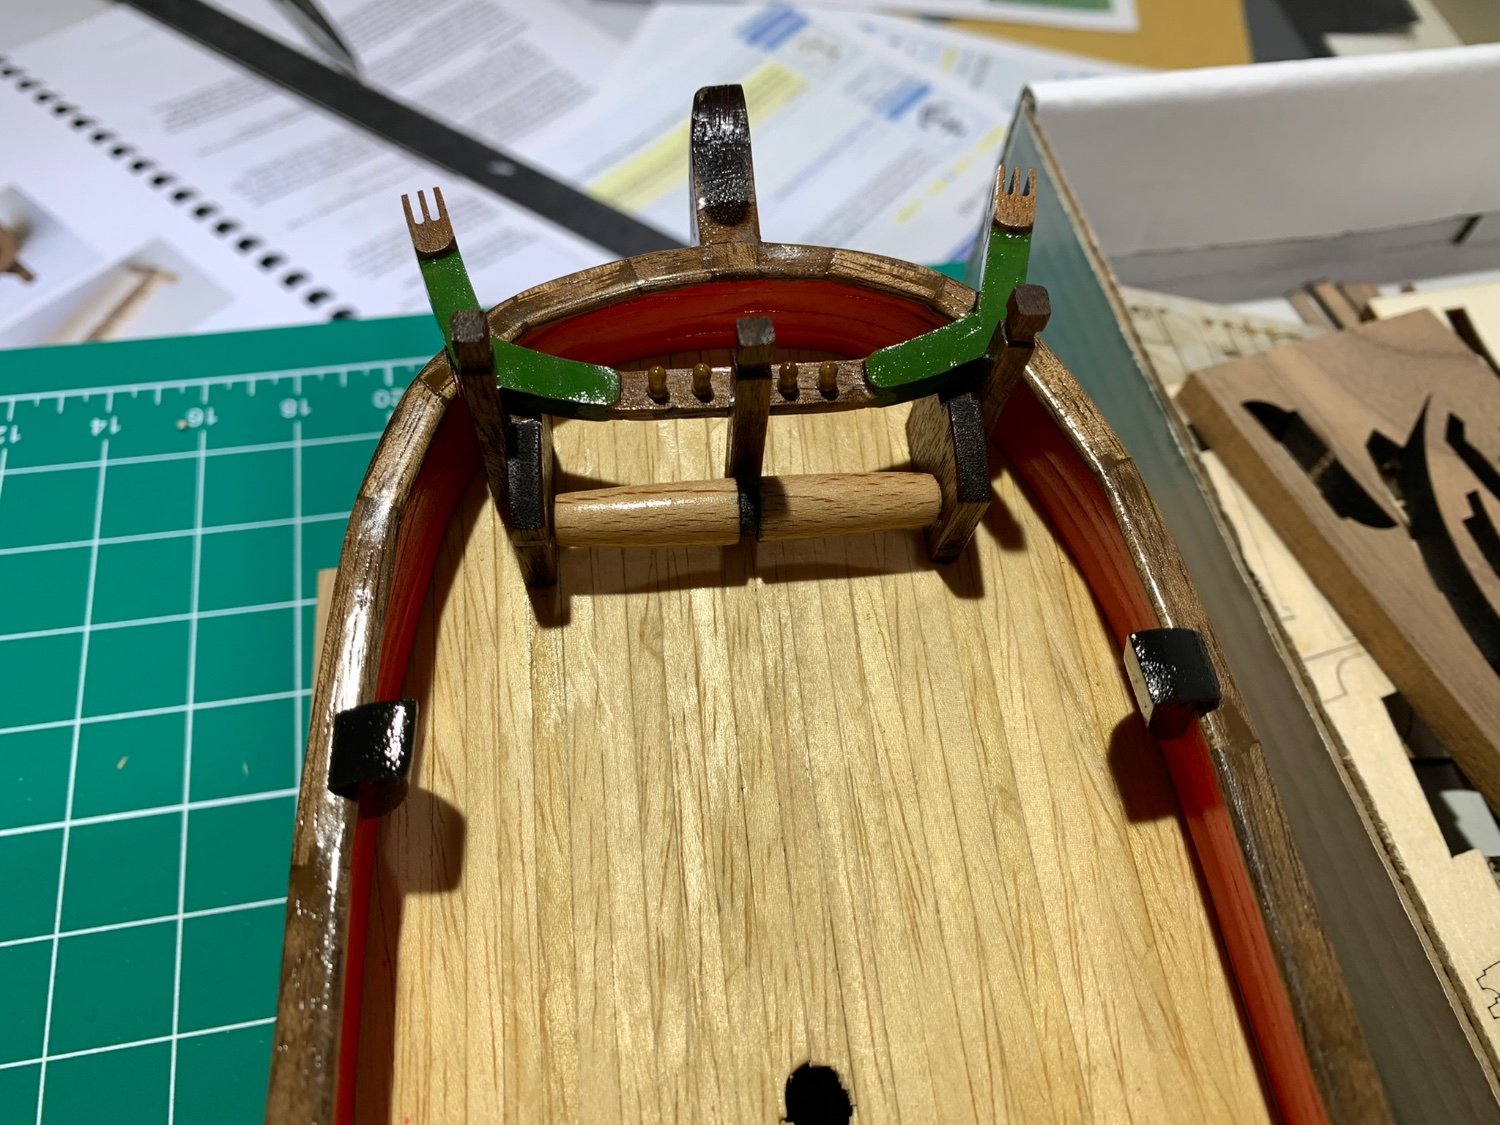
About to leave on another trip (busy summer already!), but I did manage to build and install some of the forward deck fittings this past week. Satin urethane still drying in these photos, hence the shiny appearance. All good.

- 84 replies
-
- 12
-
-
- Statenjacht
- Kolderstok
- (and 1 more)
-
Devin - Great start, and definitely a great idea to do the build log - they are fun to do, and the support you receive from this community is priceless. The Philadelphia is on my short list of future builds, so I’ll be following along with much interest.
-
Thank you! I truly appreciate both the wisdom and kind words of encouragement on this site!
- 84 replies
-
- 1
-
-
- Statenjacht
- Kolderstok
- (and 1 more)
-
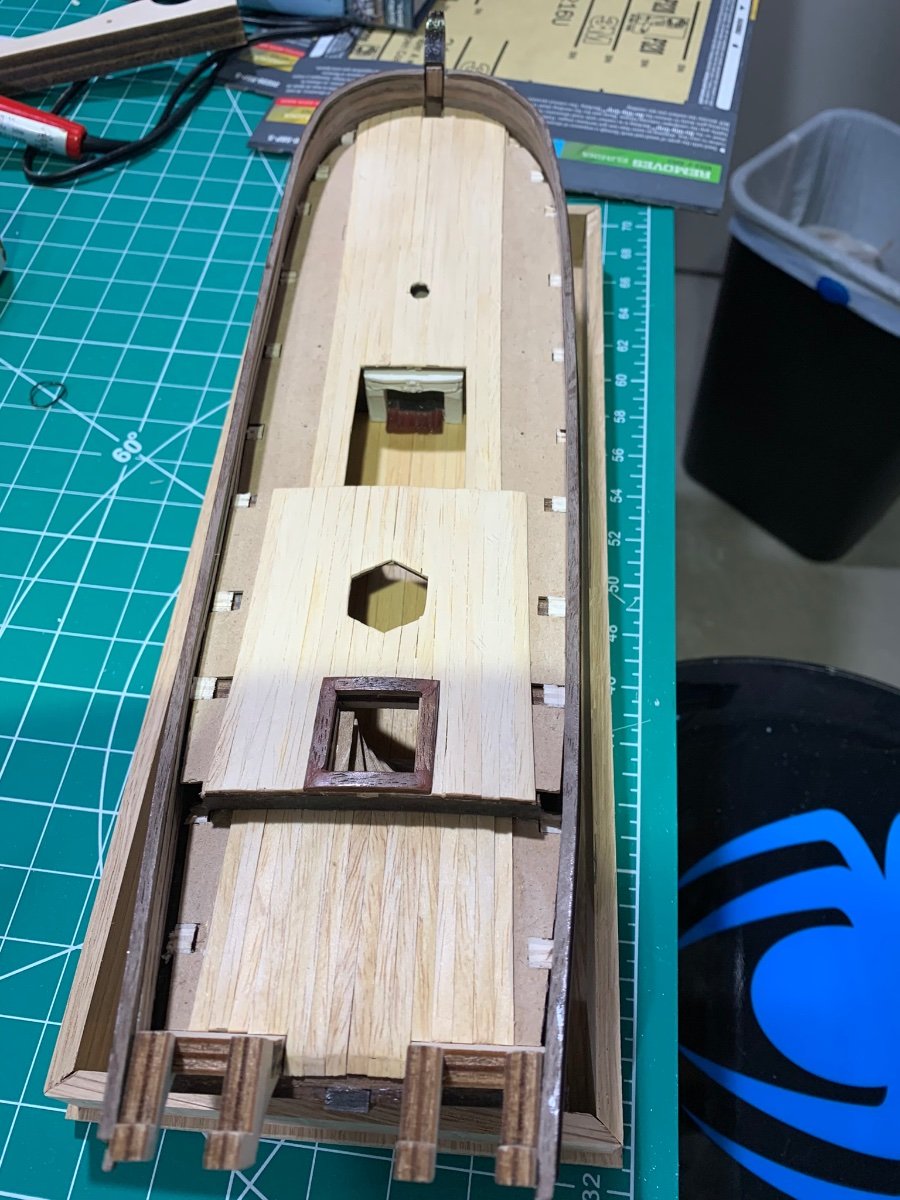
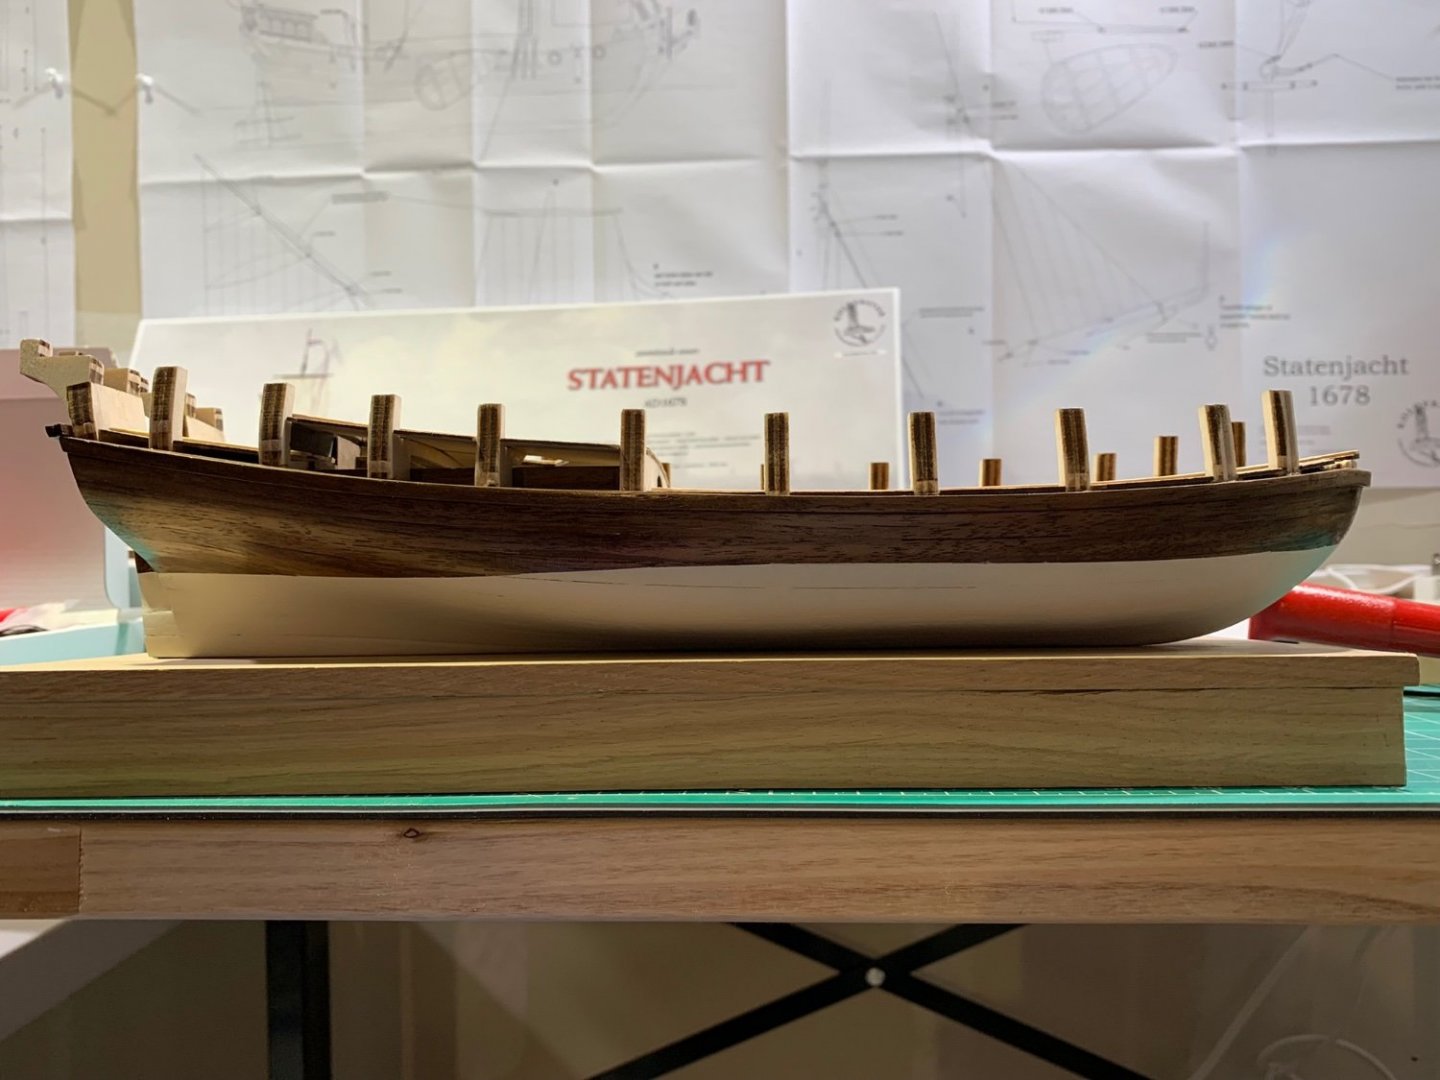
Several trips away from home in May as well as the arrival of warmer weather have slowed my already slow progress on the Statenjacht, but I have been able to finish the upper hull and deck planking. This essentially completes the hull after three months work. I’m enjoying the project very much, and I’m definitely learning a lot in the process. I see the mistakes I’ve made, though I try to think of them as “lessons learned”! Looking forward to working on deck furniture and fittings, which is next.
- 84 replies
-
- 12
-
-
- Statenjacht
- Kolderstok
- (and 1 more)
-
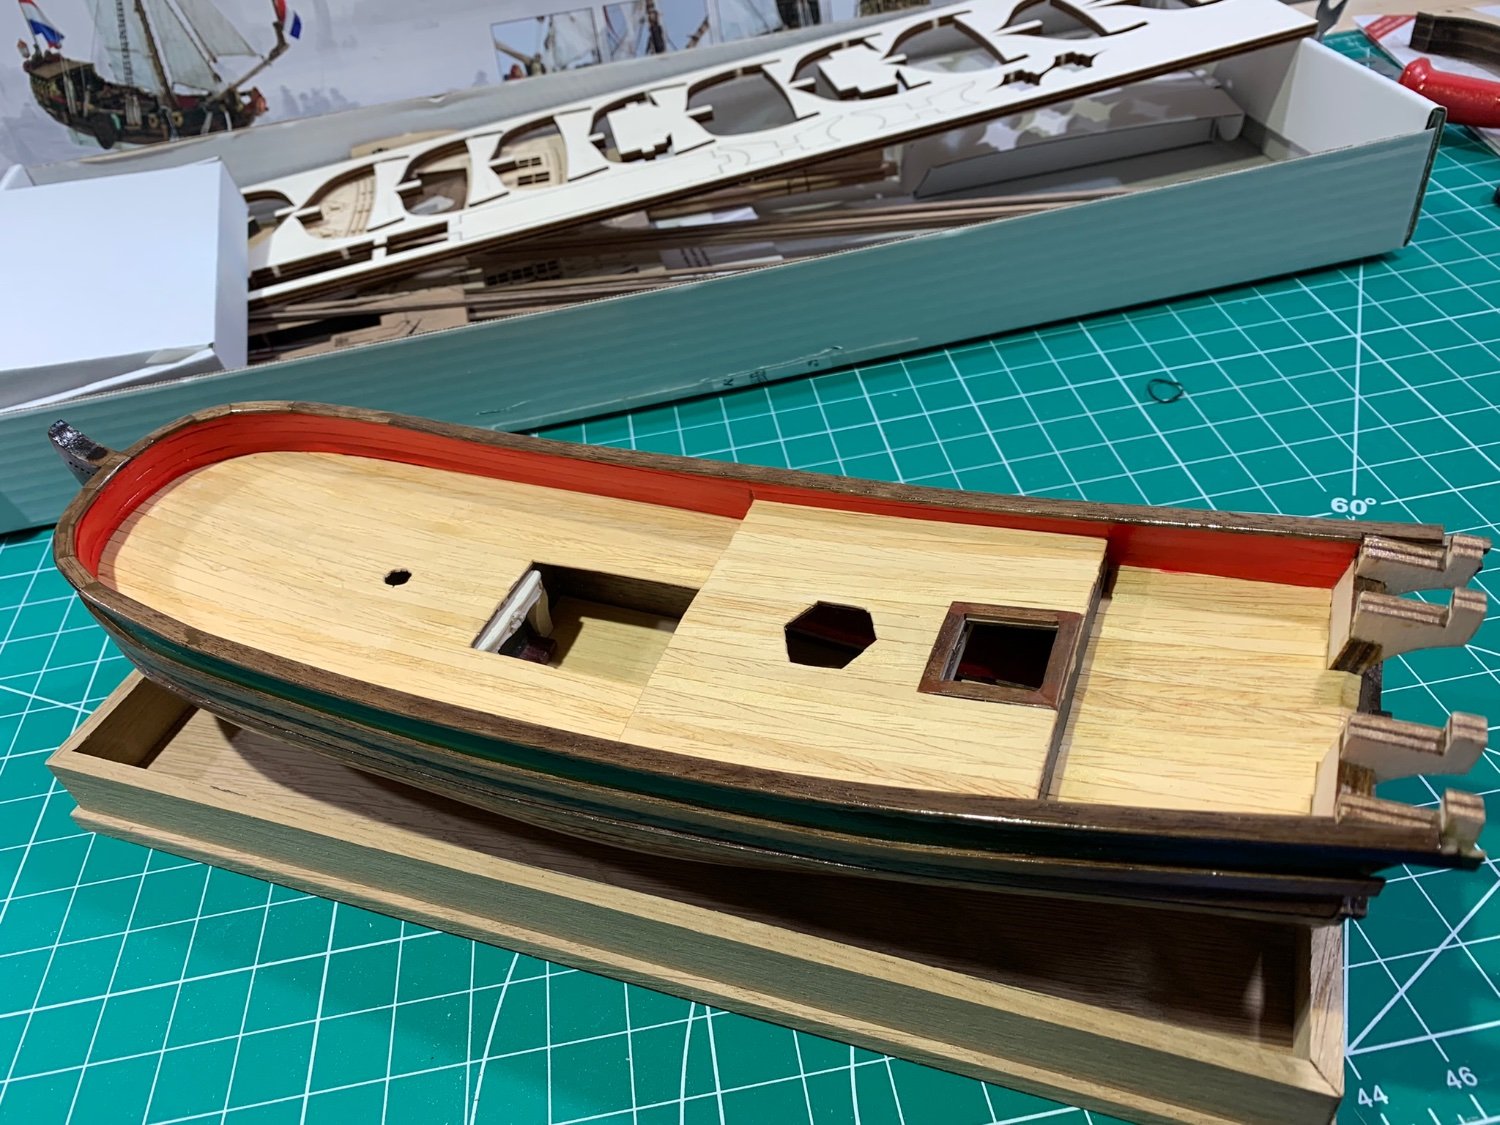
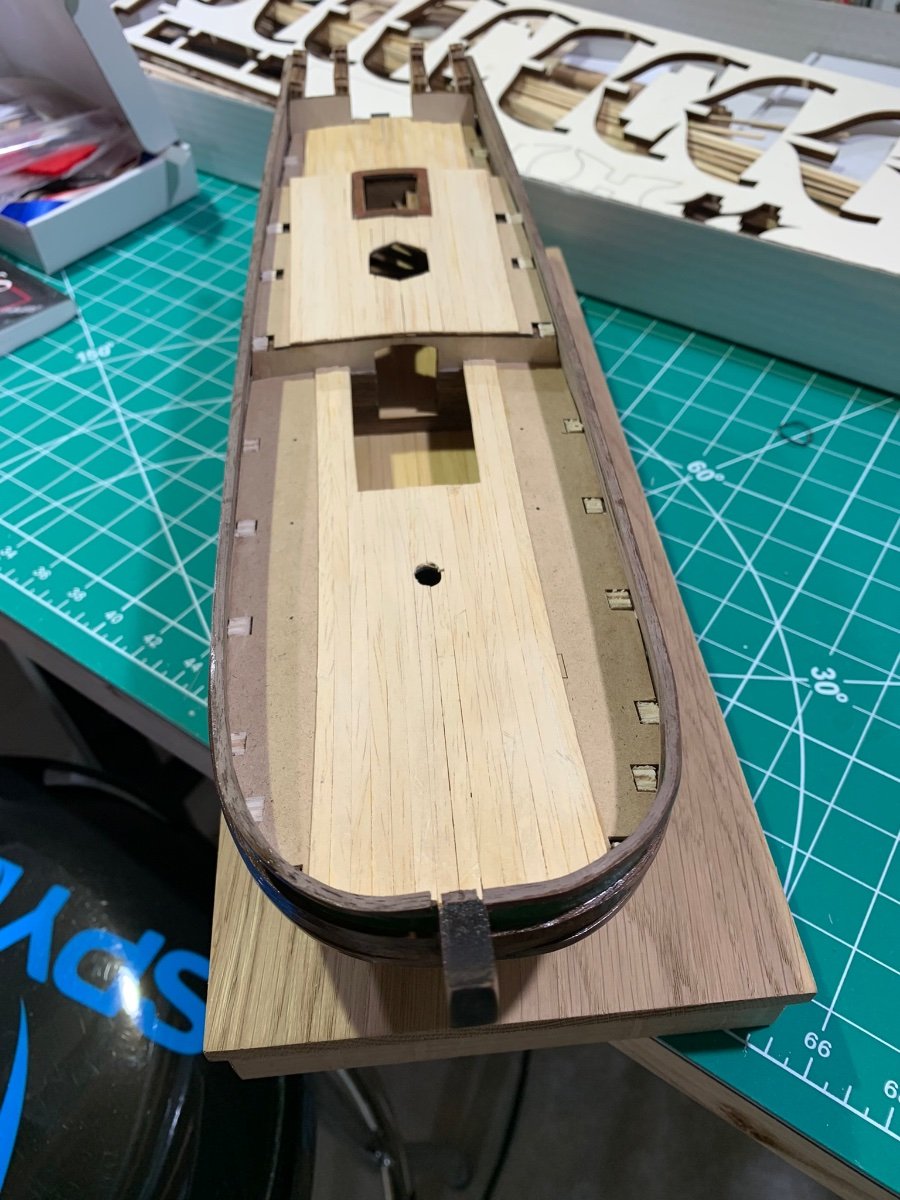
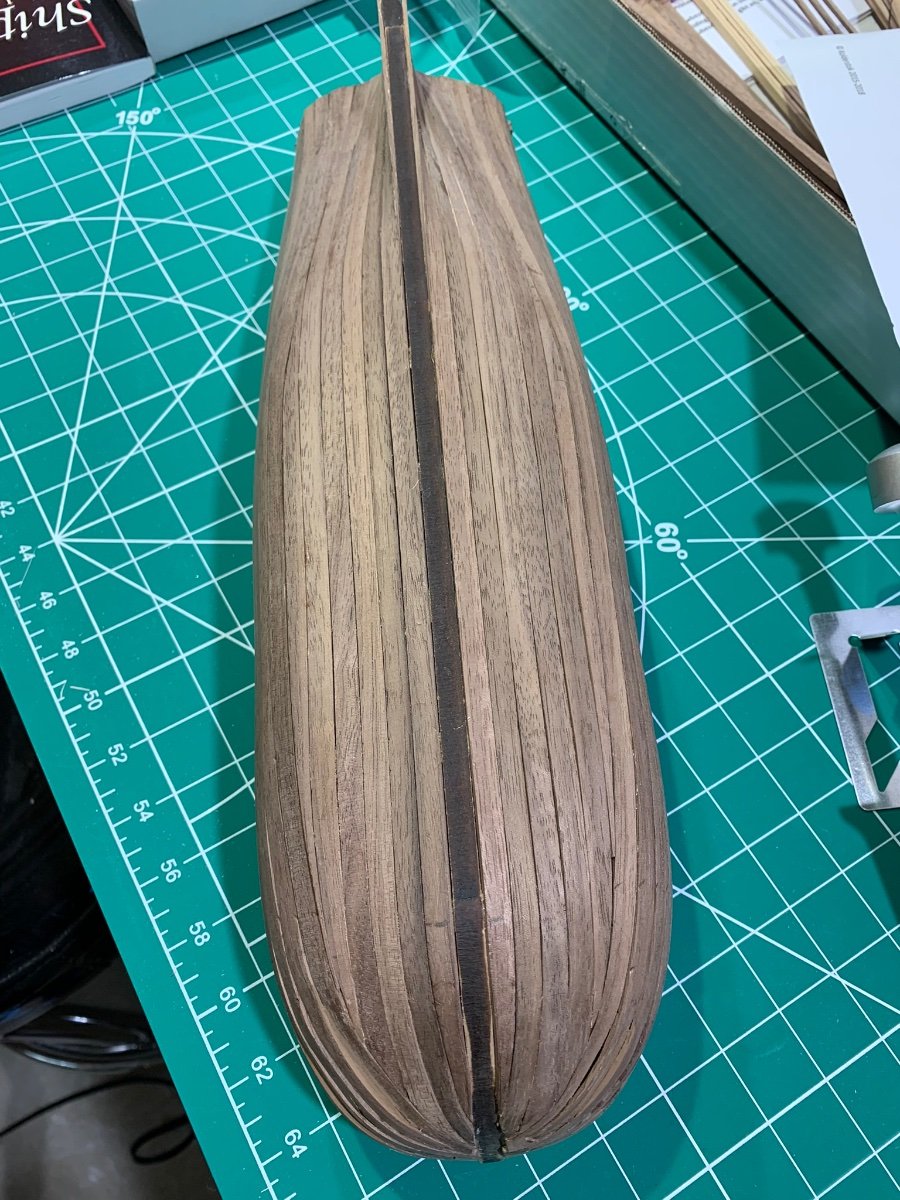
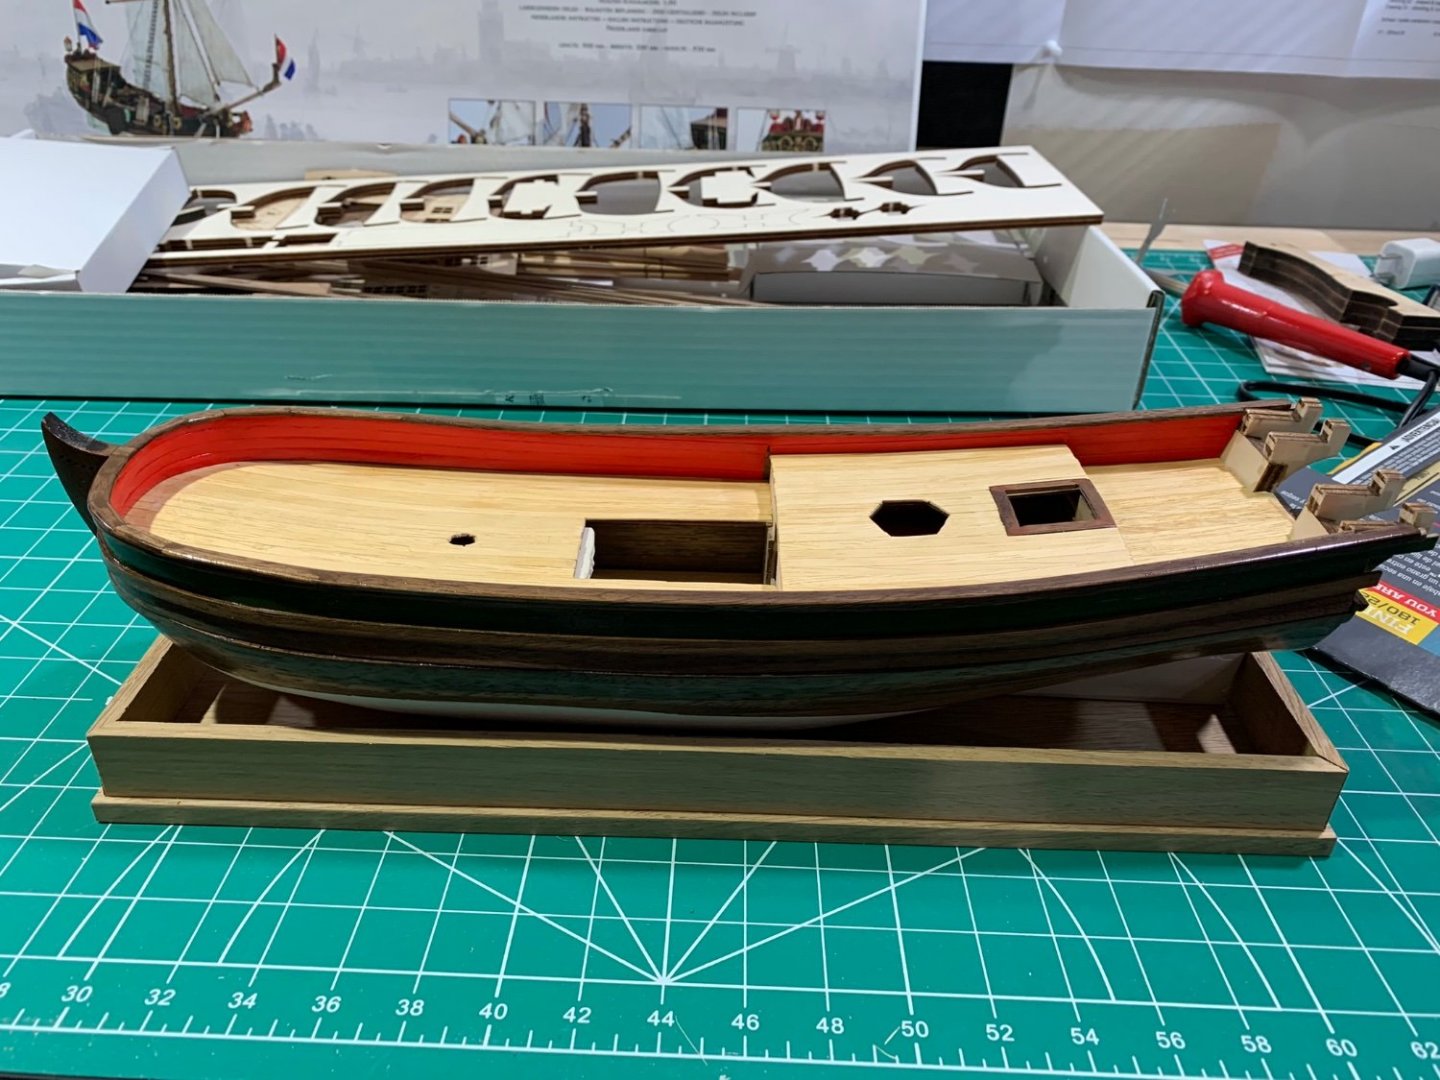
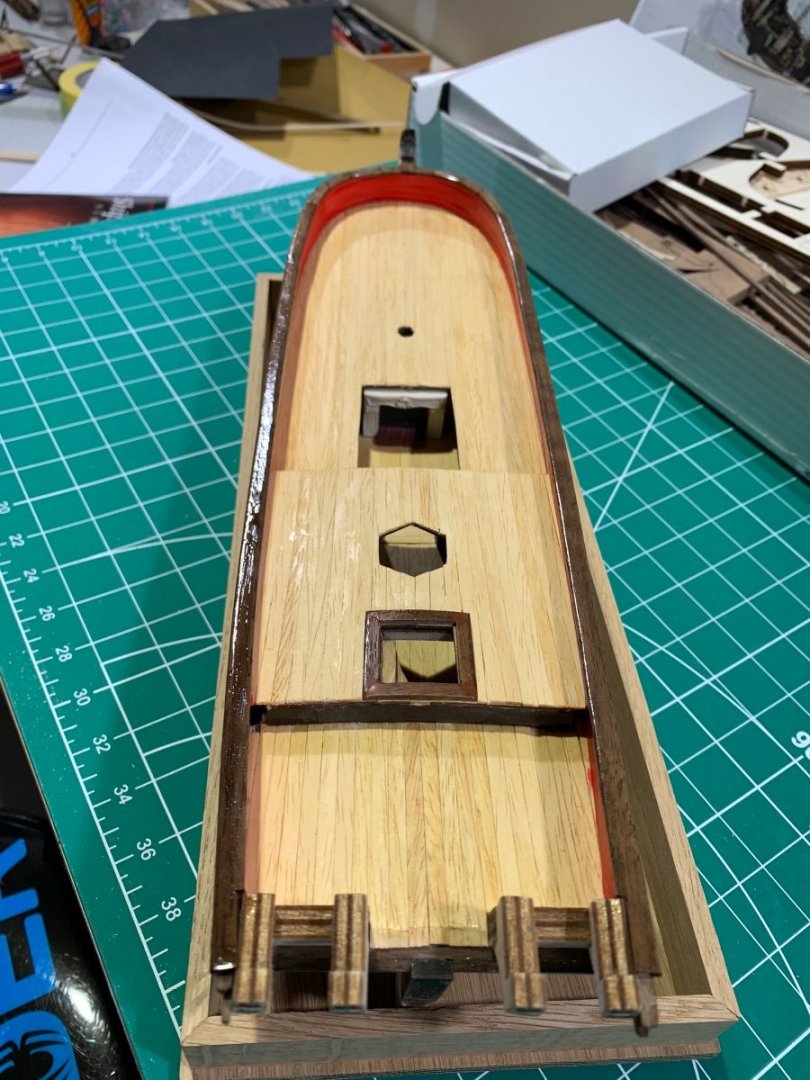
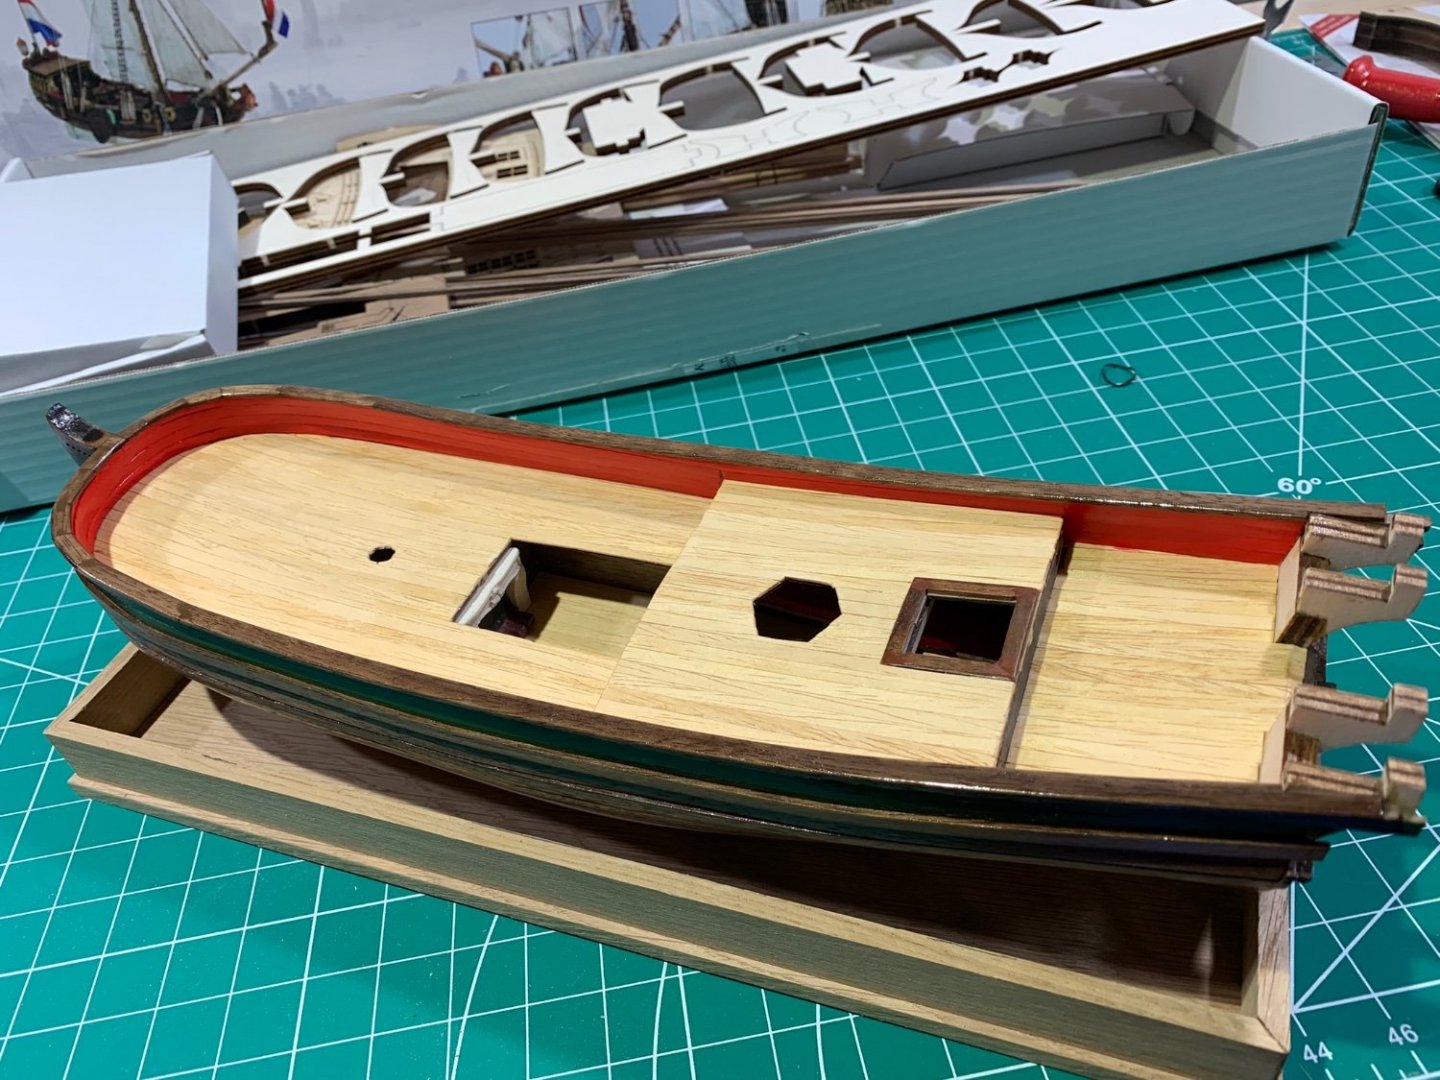
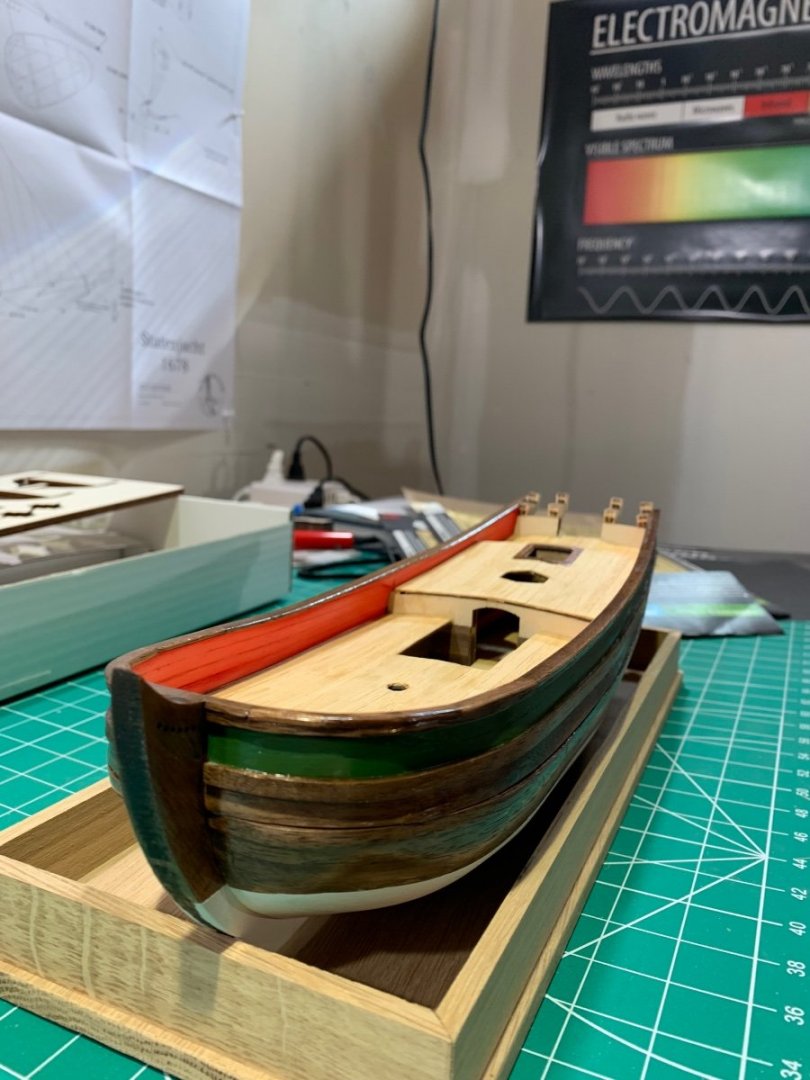
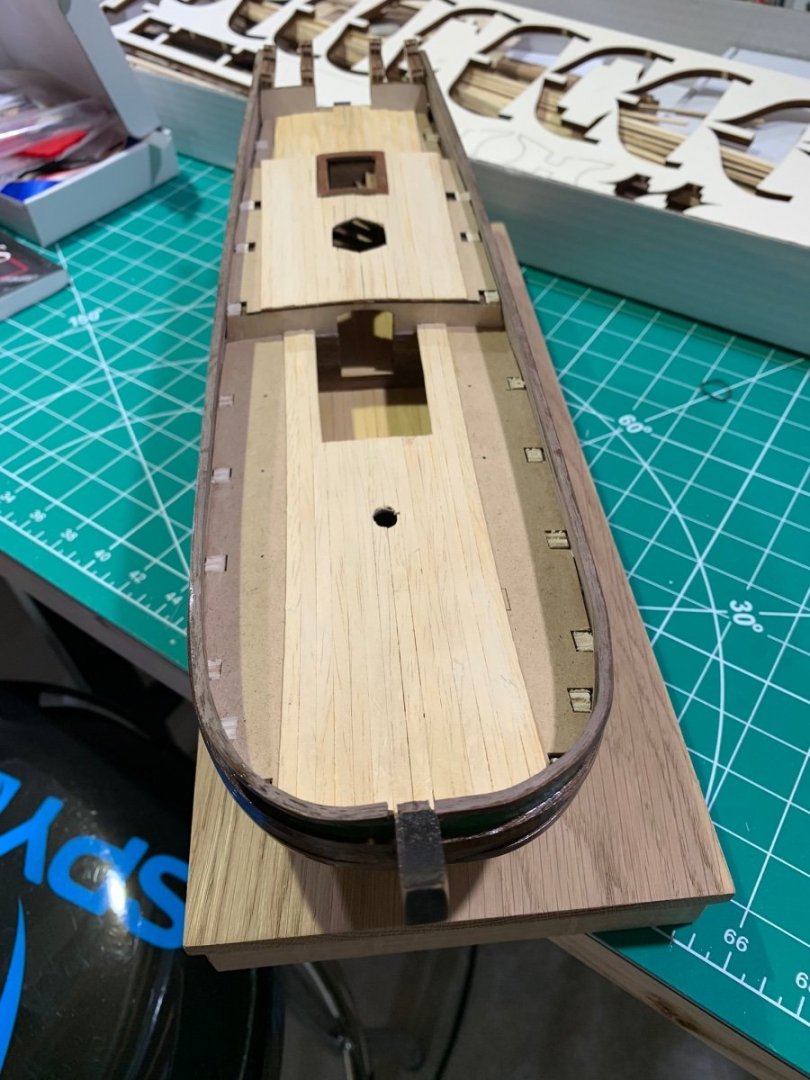
I’ll be off on a brief trip out to Oregon through next week, so I thought I’d post a quick update before I leave. I’ve finished the upper hull and the keel - it’s been fun to see these scraps of wood gradually take on the contours of a ship! When I get back, I’ll finish the deck planking and the inside of the upper hull. The latter will be painted bright red. One of the things I love about this kit, and a reason I chose it, is for all the bright colors.


- 84 replies
-
- 10
-
-
- Statenjacht
- Kolderstok
- (and 1 more)
-
Thanks - that is one amazing build log! My Statenjacht will not look like that…..😬
- 84 replies
-
- 3
-
-
- Statenjacht
- Kolderstok
- (and 1 more)
-
Slow is the way to go, IMO! Good luck with your build!
- 84 replies
-
- 3
-
-
- Statenjacht
- Kolderstok
- (and 1 more)
-
Thank you Clare and Keith for your kind comments! This has been a real learning process, though I will say that the resources on MSW and the NRG website have been invaluable. I could not be doing this on my own. Again, I appreciate your generous comments!
- 84 replies
-
- 6
-
-
- Statenjacht
- Kolderstok
- (and 1 more)
-
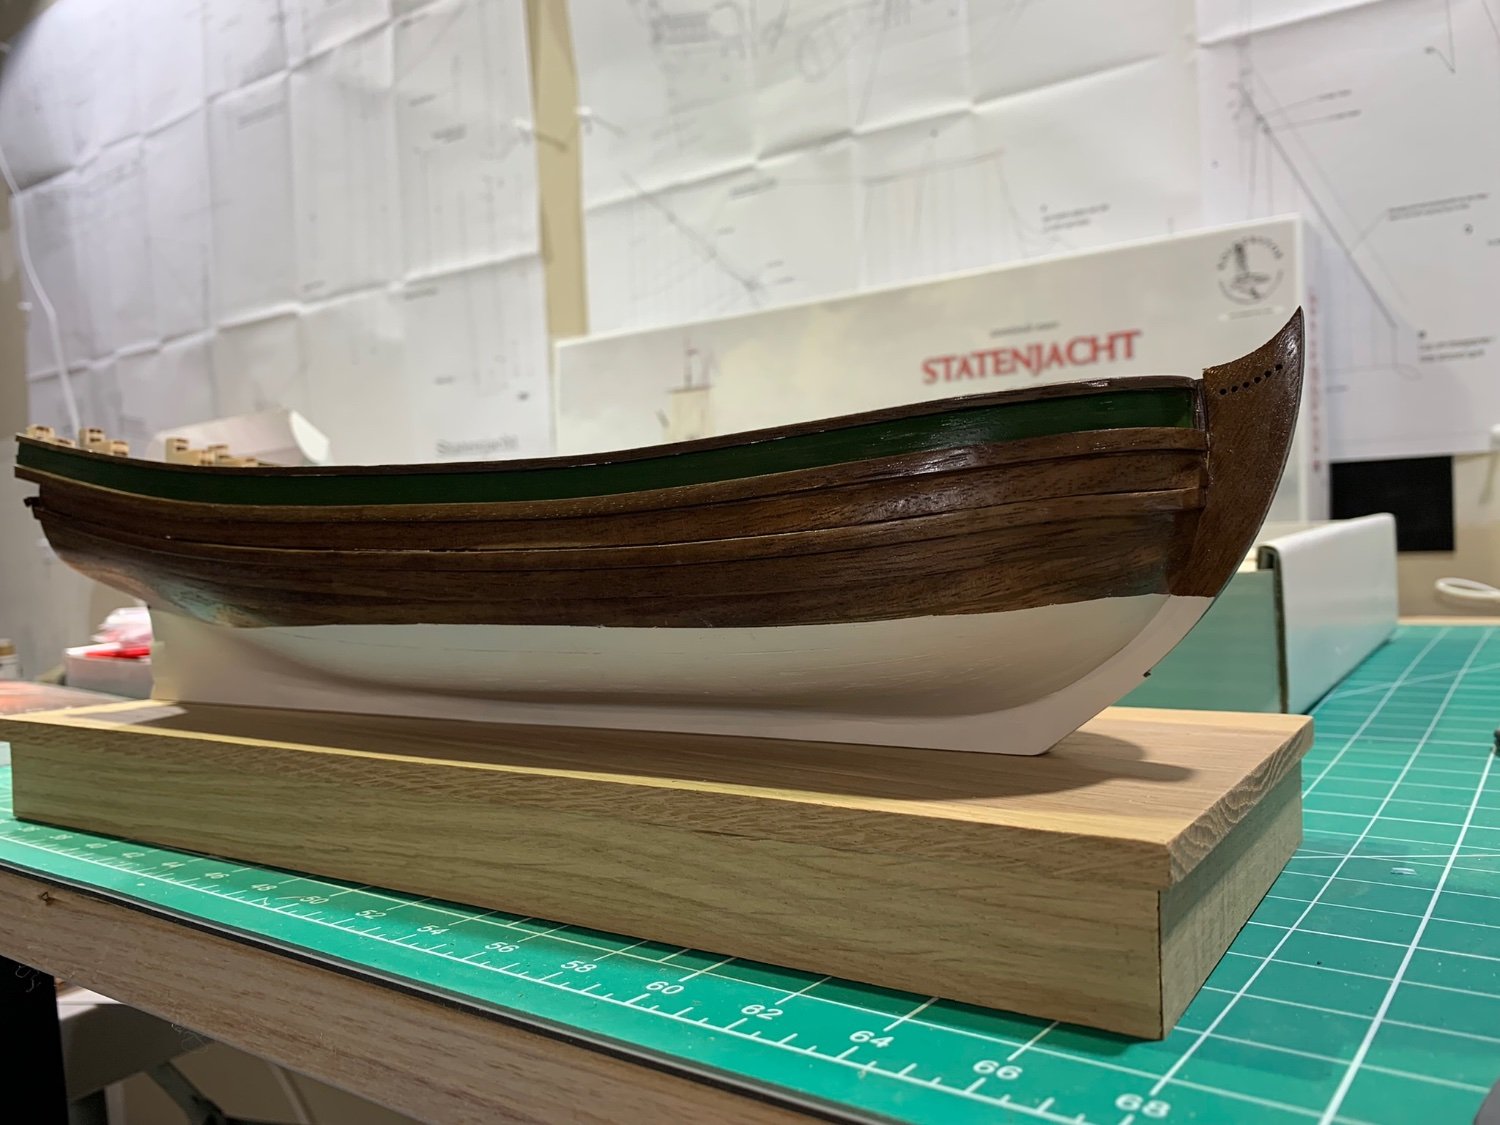
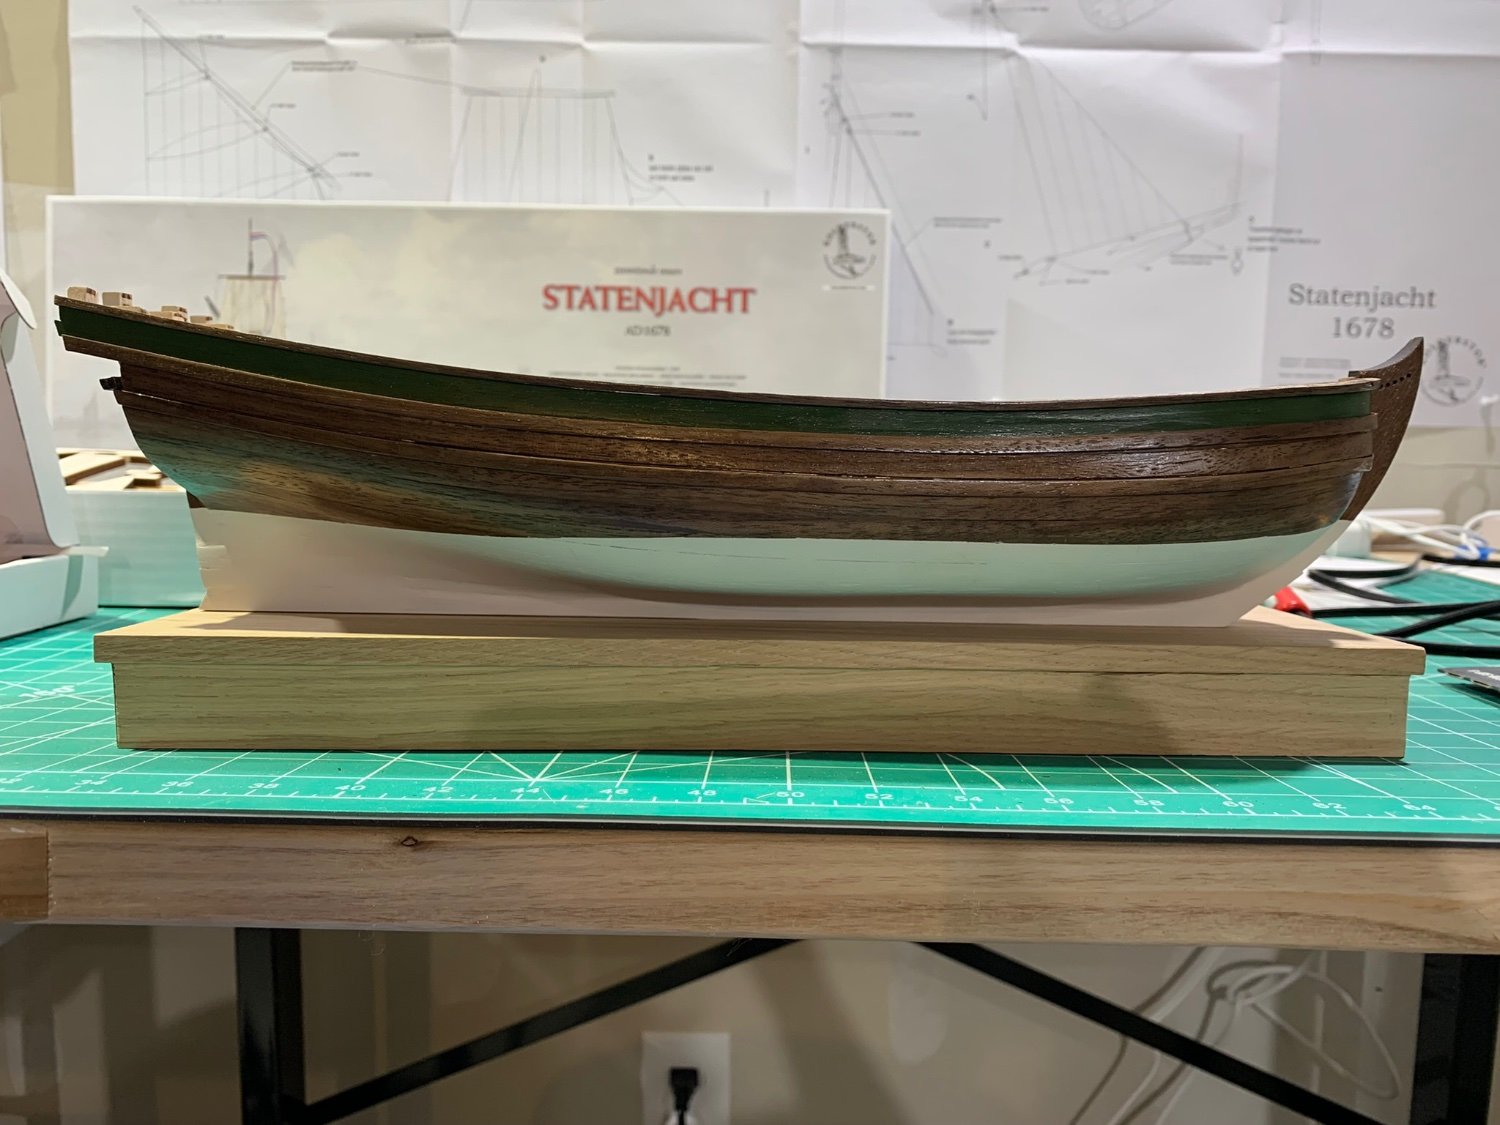
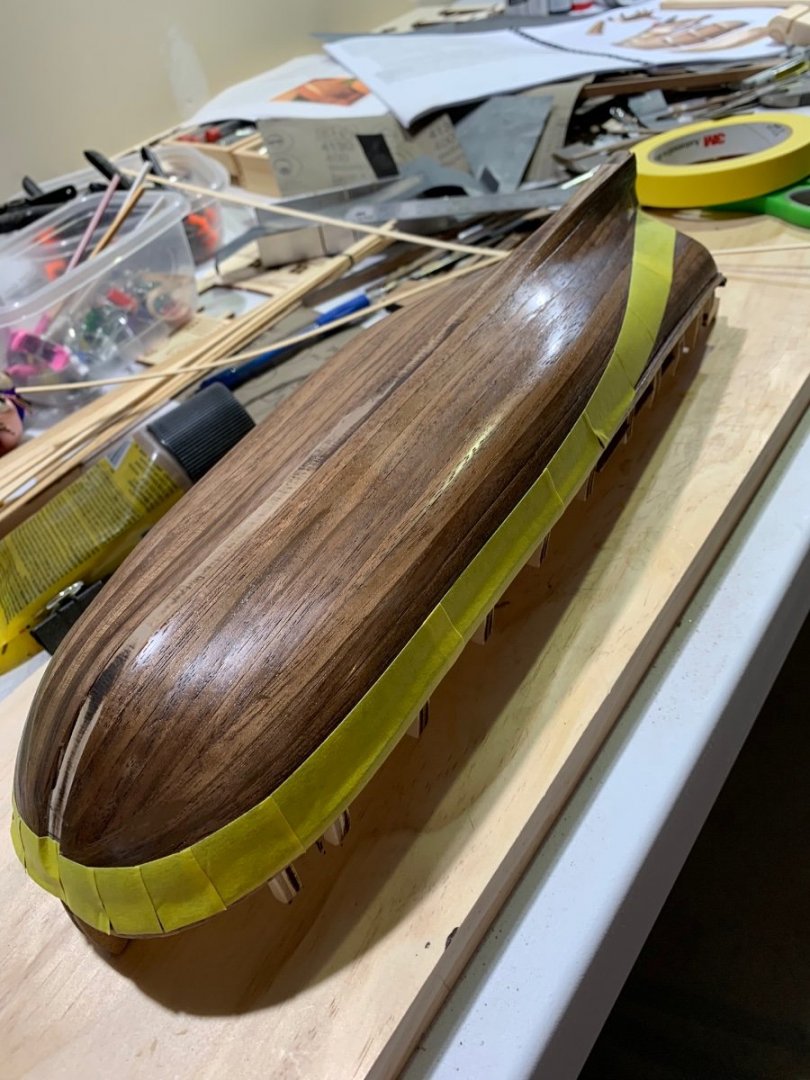
The Northeast Ship Model Conference last weekend was very inspiring - kudos to the organizers with the Philadelphia Ship Model Society! After returning from New London, I spent the week sanding and polishing the hull of my Statenjacht, and then marking and painting the waterline. I started sanding with 220 grit, then worked down to 320, 420, and finally 600. Put two coats of satin spar urethane to bring out the walnut finish. I thought marking the waterline would be a quick and easy step - wow, not so much! After several trials and mostly errors, I ended up using a thin, flexible plank to draw the lines in accord with what is shown on the plans. I masked using a 3M fine line tape, which I found in a NAPA auto parts store (Michaels had nothing like it). Glad I used it as it resulted in a really sharp line with virtually no bleed-over. Even gladder that step is behind me. Next is to build up the upper hull. Page 16 of a 62 page instruction manual - I might finish by Christmas!
- 84 replies
-
- 19
-
-
- Statenjacht
- Kolderstok
- (and 1 more)
-
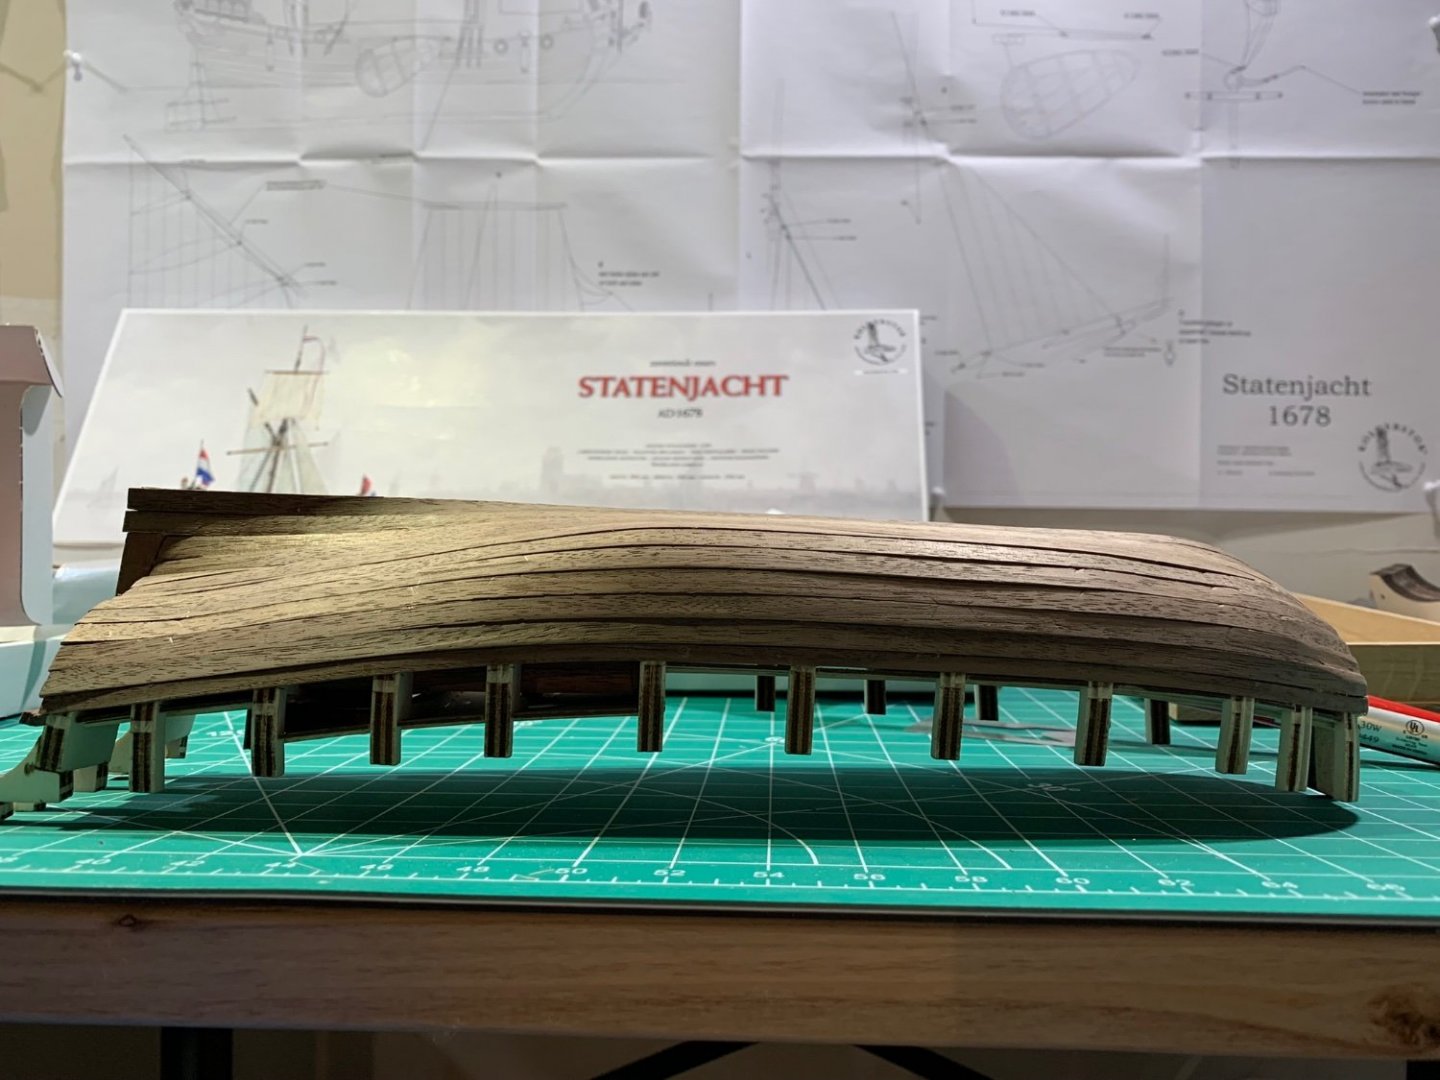
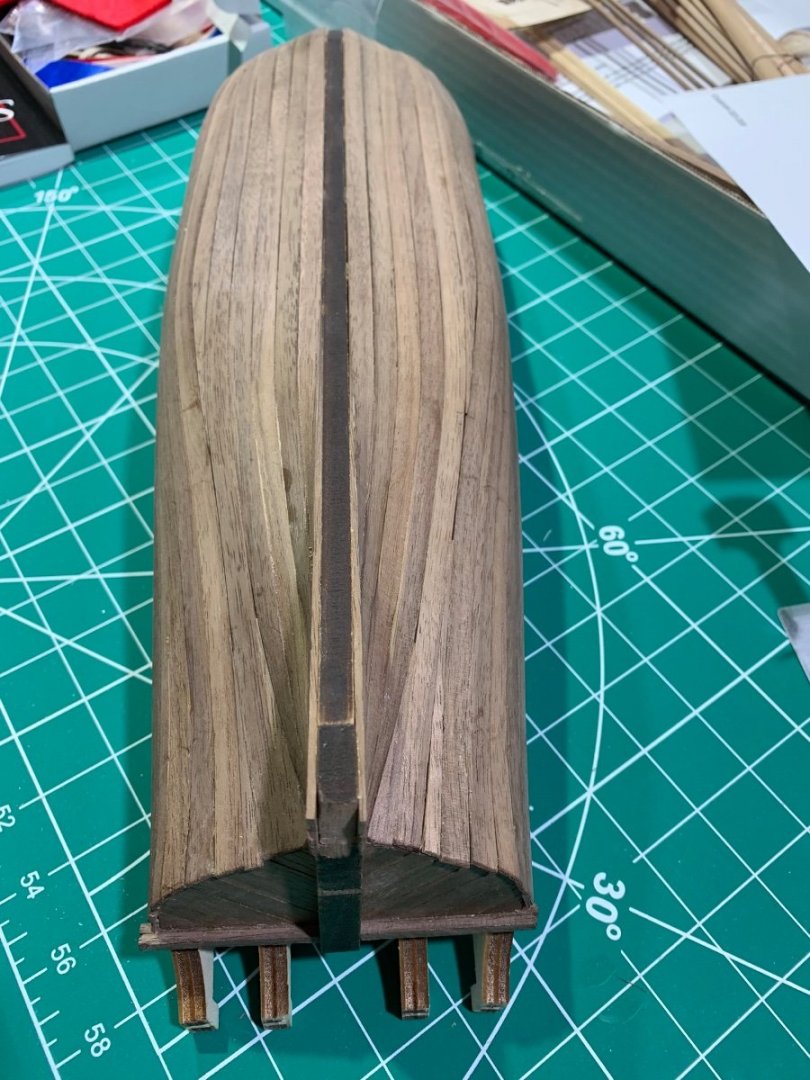
Lower hull planking complete. Have a lot of work yet to do sanding, smoothing, and filling in cracks and crevices, but very happy to have achieved this initial milestone. Off to New London, CT tomorrow for the Northeast Ship Model Conference (looking forward to that!), and then back to my Statenjacht next week.

- 84 replies
-
- 16
-
-
- Statenjacht
- Kolderstok
- (and 1 more)
-
Just finished reading Alfred Lansing’s classic book on the Endurance expedition. Was ever a ship so aptly named?! Such an incredibly inspiring story, and your model is looking fantastic!
-
Yes, Hans is the owner of Kolderstok, in Dordrecht.
- 84 replies
-
- 3
-
-
- Statenjacht
- Kolderstok
- (and 1 more)